DIY Yarn Leaf Wall Decor
Fall décor is among the favorite theme for those who like to decorate for the season or time of year. This is because the colors of fall are soothing, and those decorations are usable for multiple occasions, including Halloween and Thanksgiving. While you can find lots of things in the store, creating your own décor can be a lot more fun, less expensive, and more unique.
One project you might consider that you can keep up through the entire season is yarn leaf wall décor.
Yarn Leaf Wall Decor (Tutorial)
This DIY project can be completed by anyone, even if you aren’t very crafty, and they look complex and create a soothing feel in your home as the temperatures drop. You don’t need very many materials to get started, either.
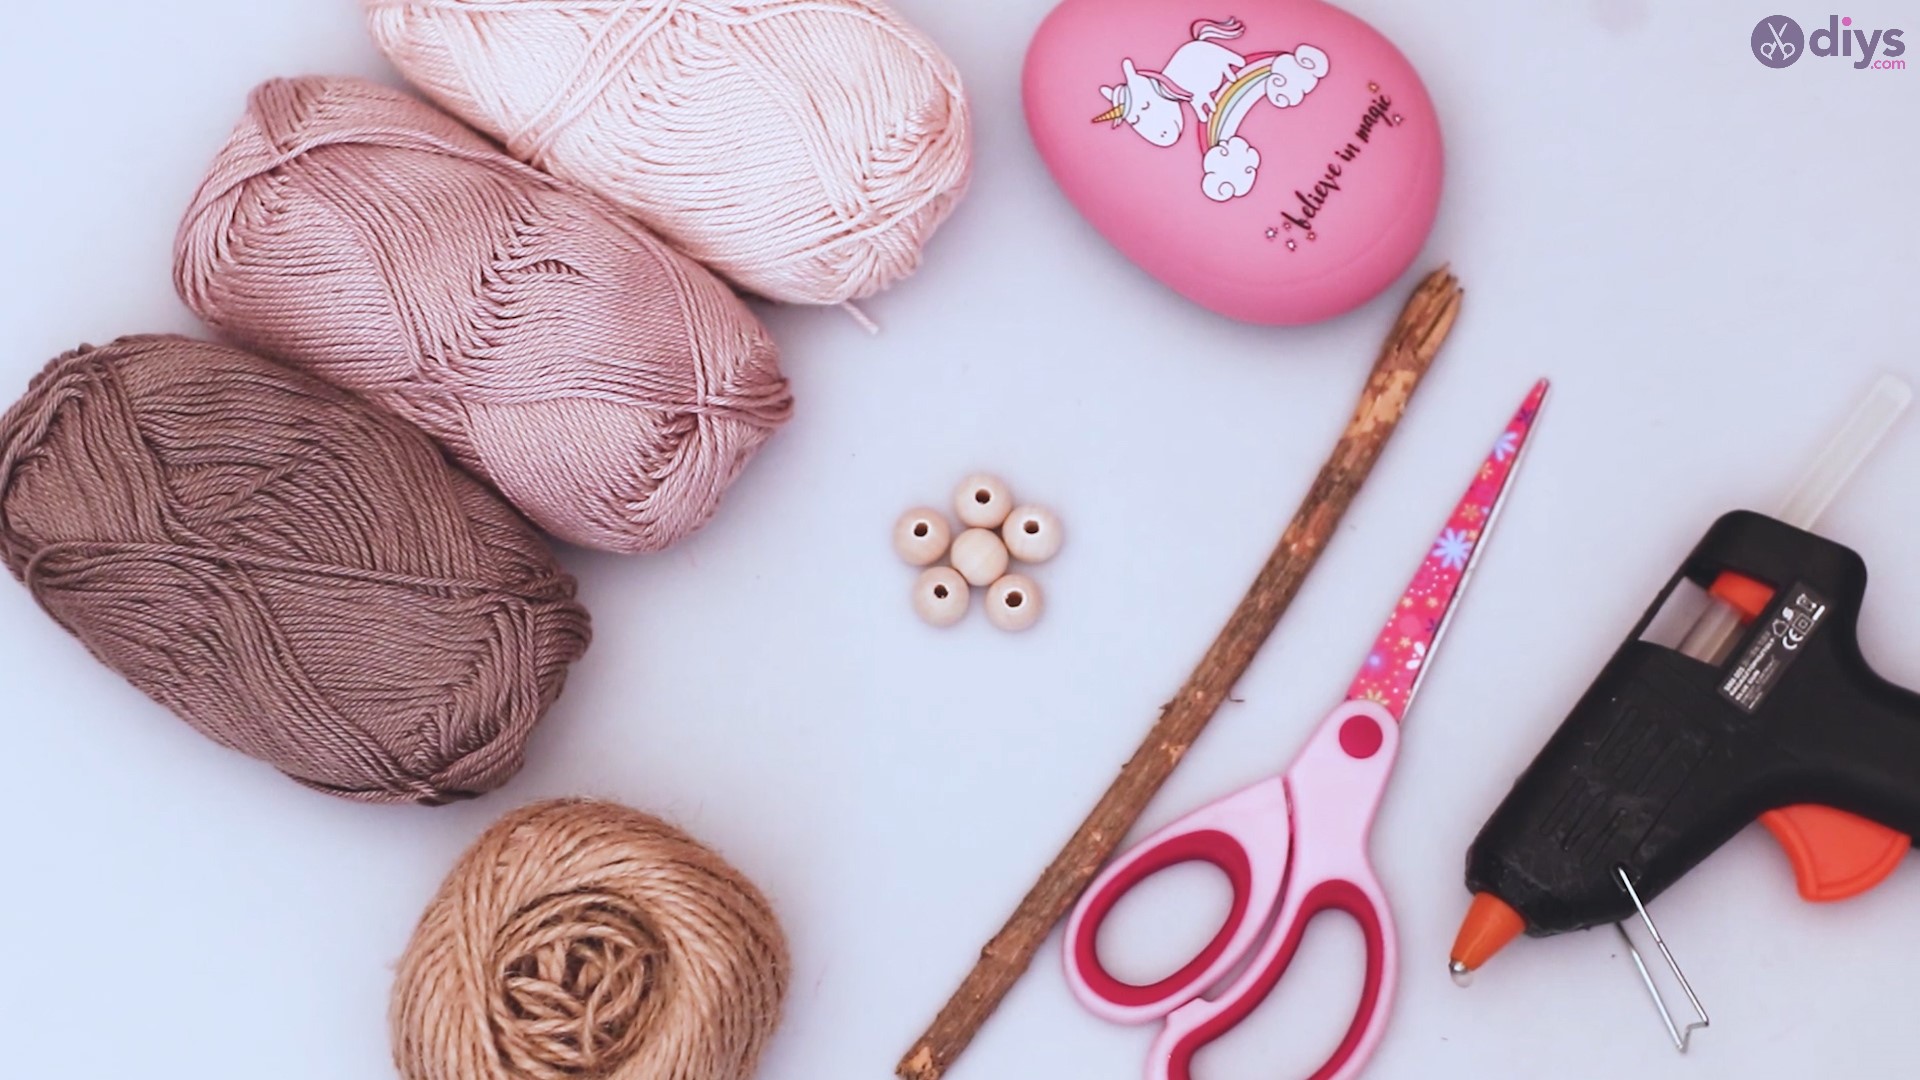
Materials:
- branch
- 3 colours of yarn
- hemp twine
- scissors
- wood beads
- comb
- glue gun
Step 1: Create your stem
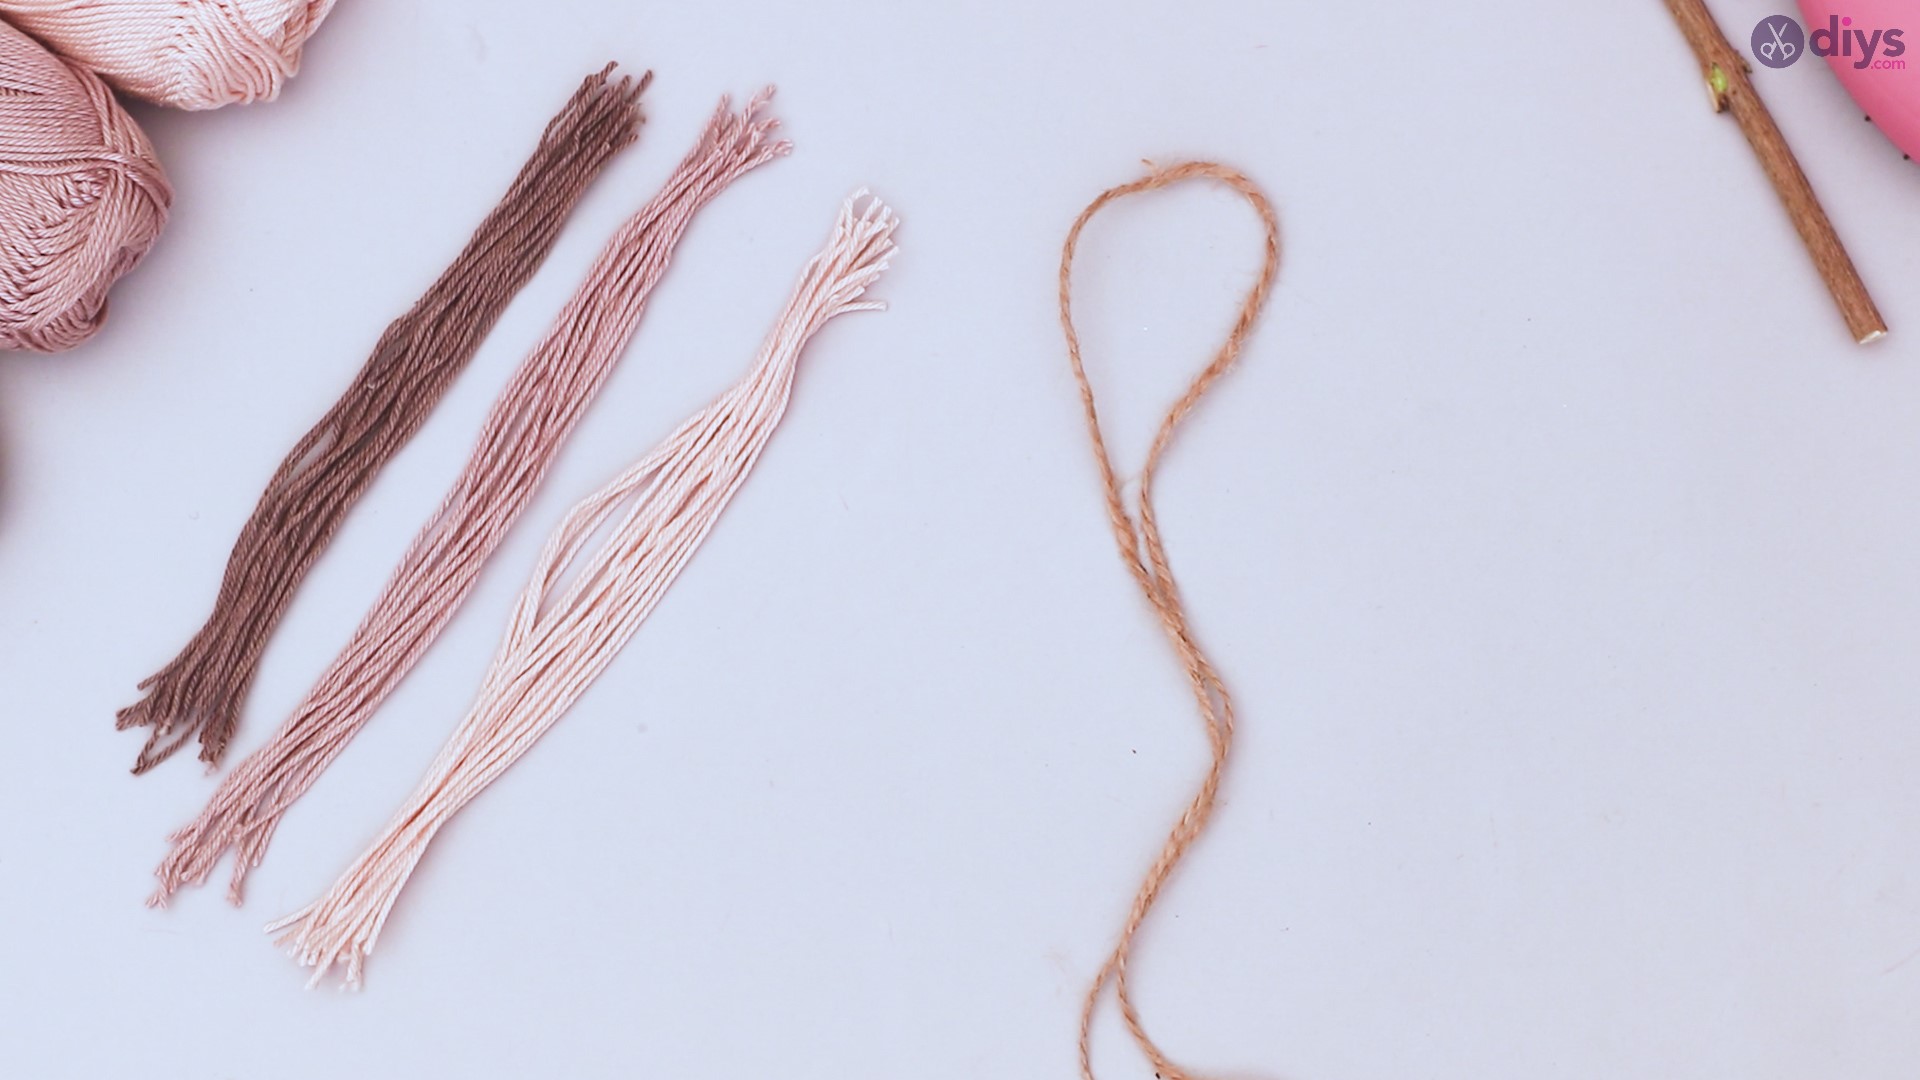
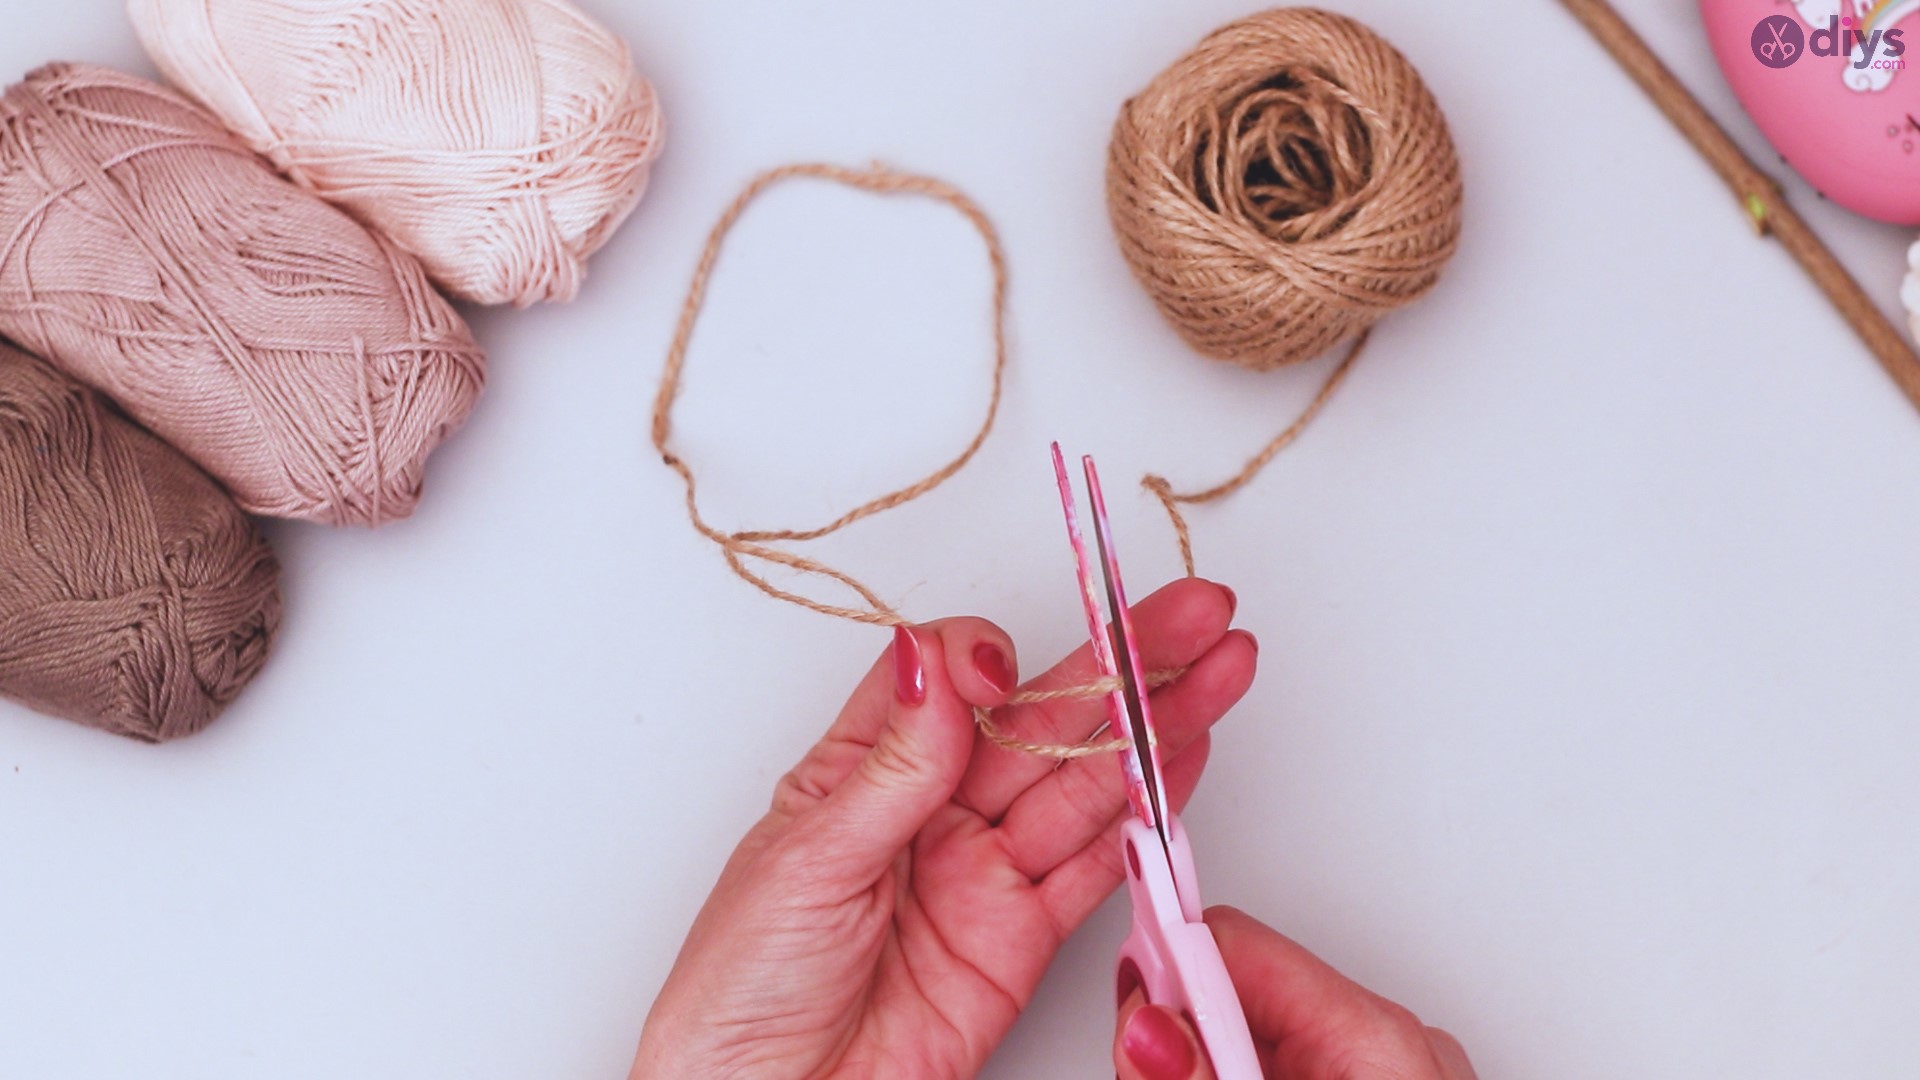
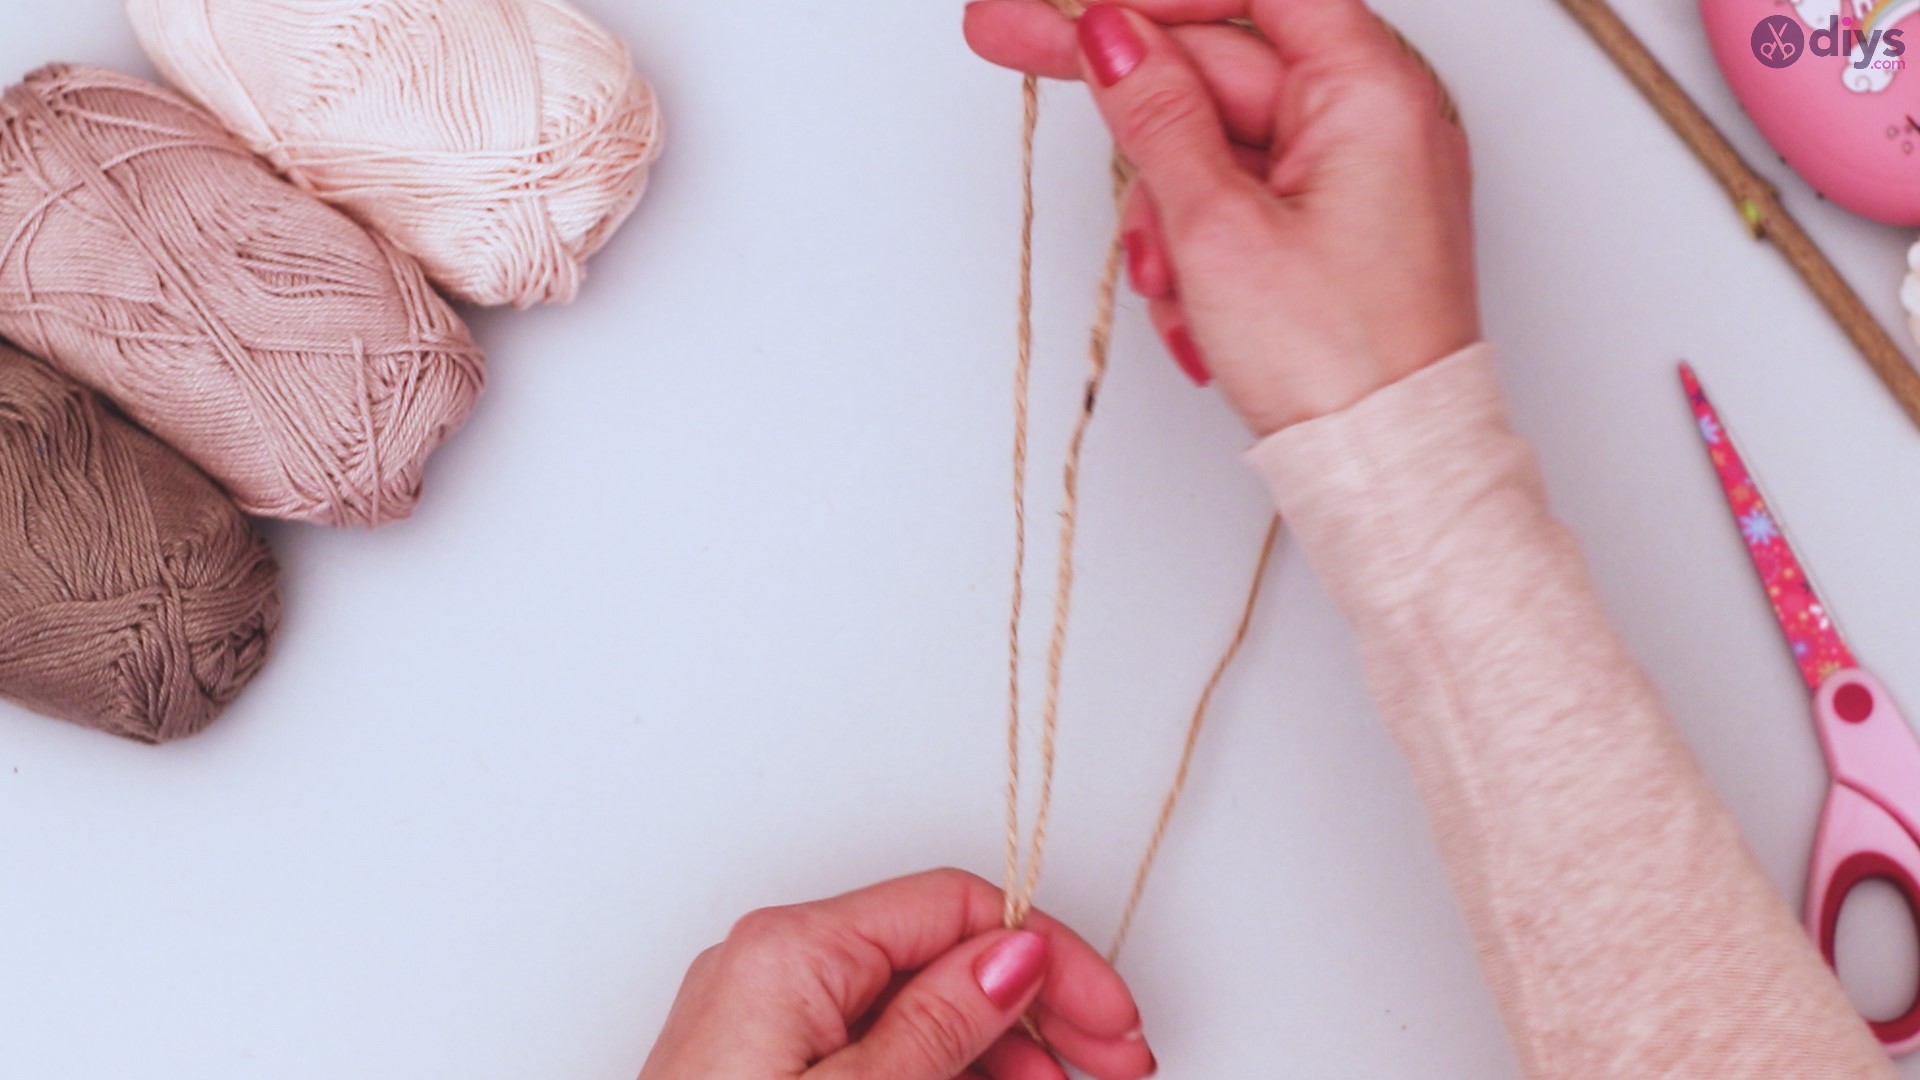
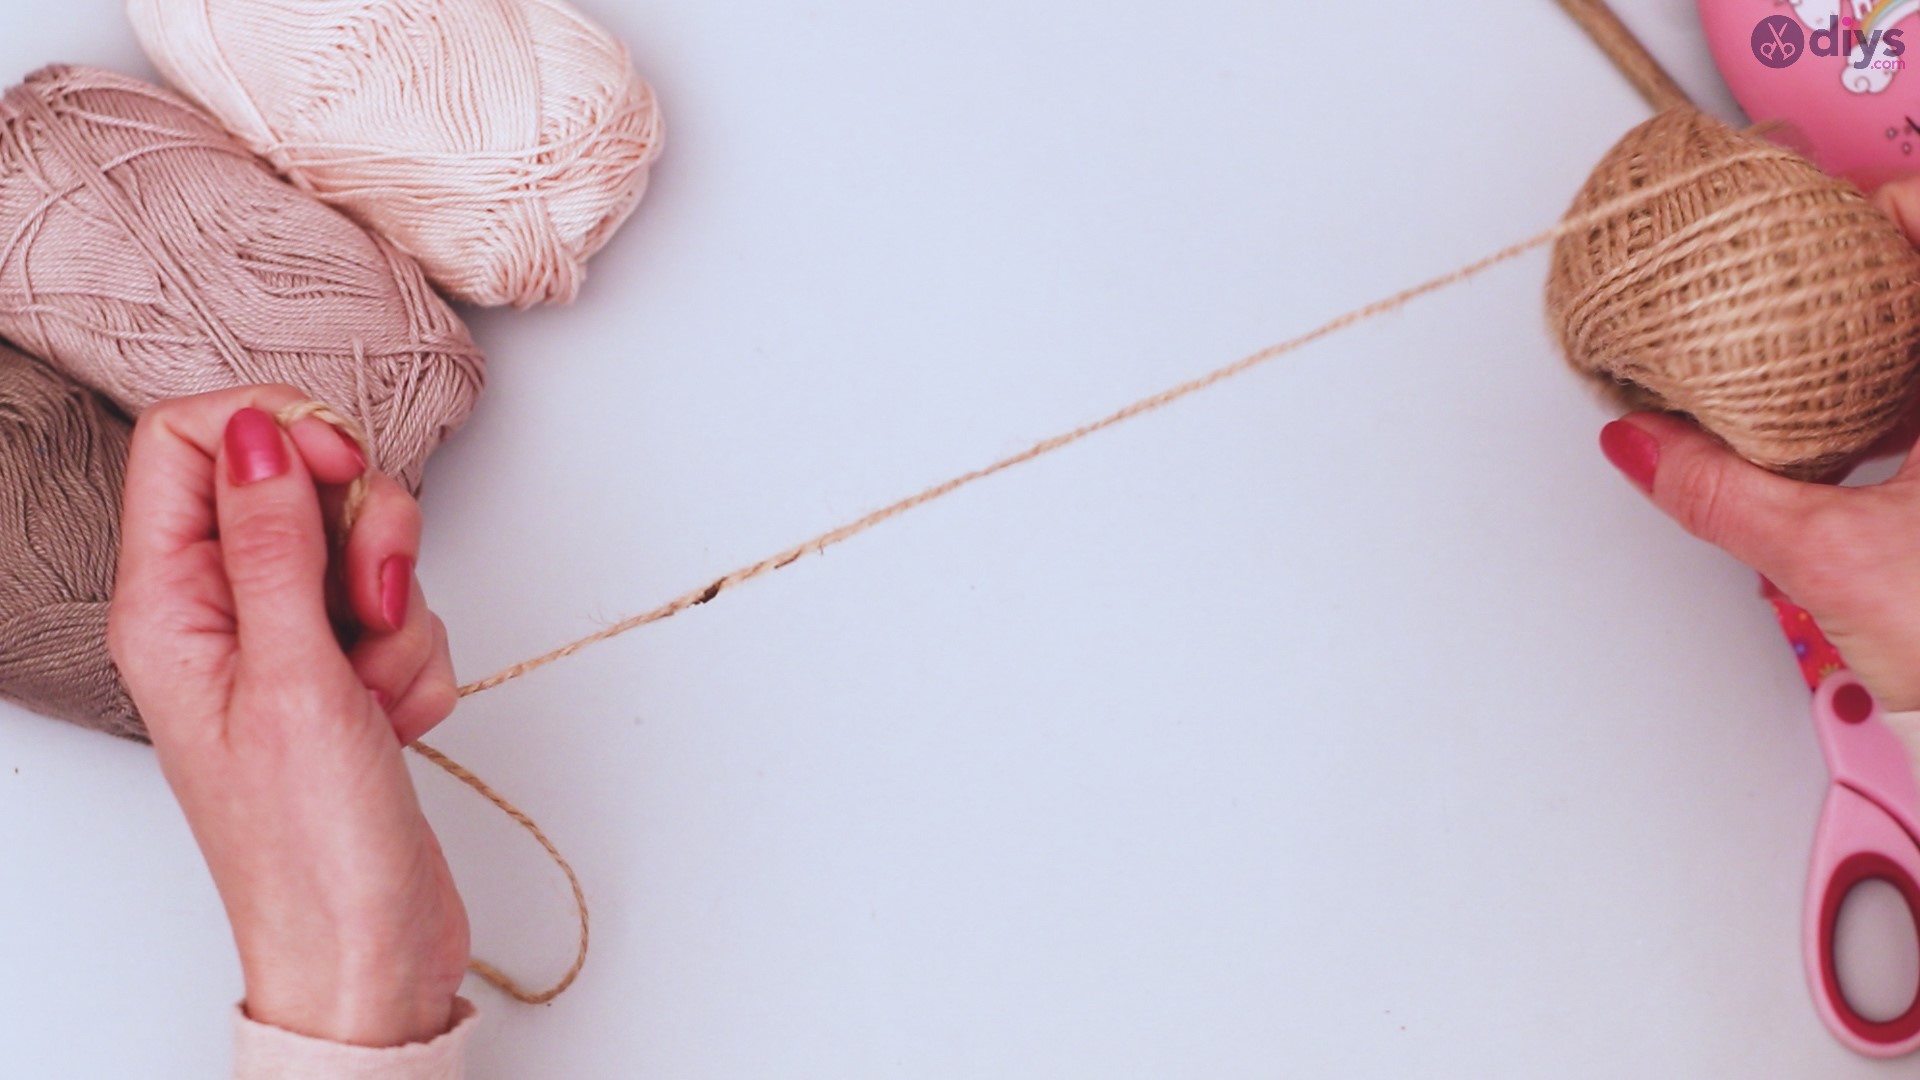
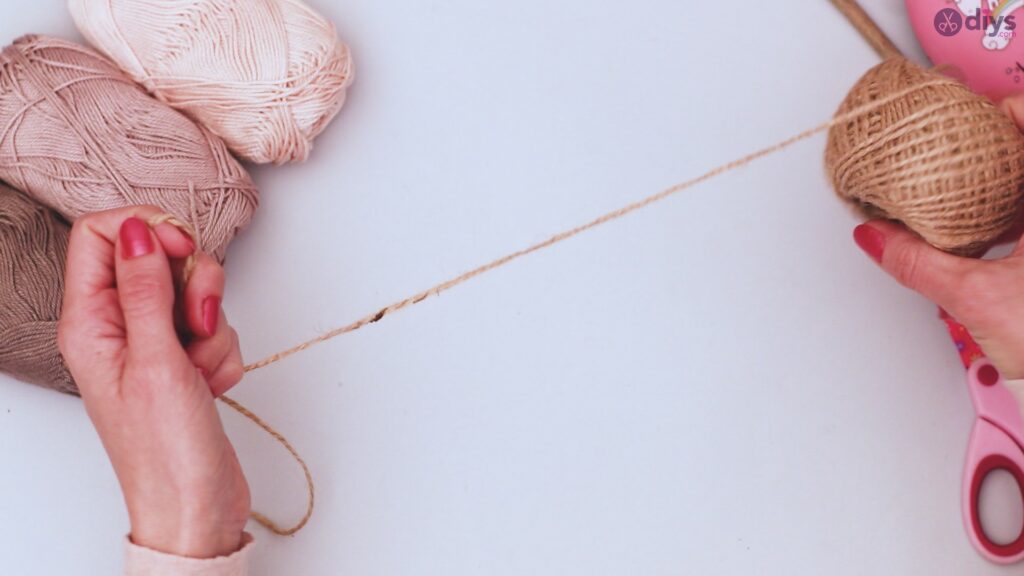
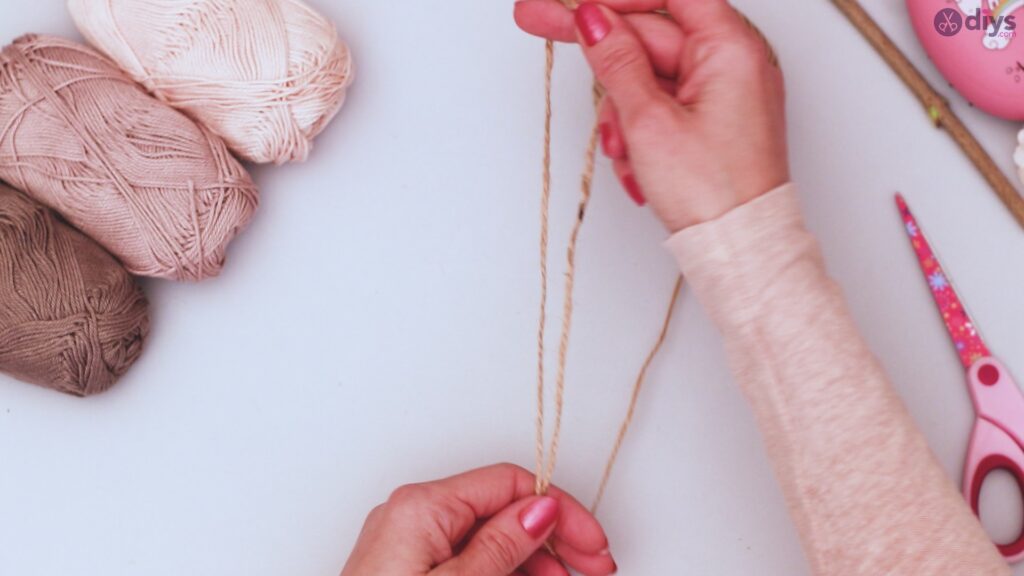
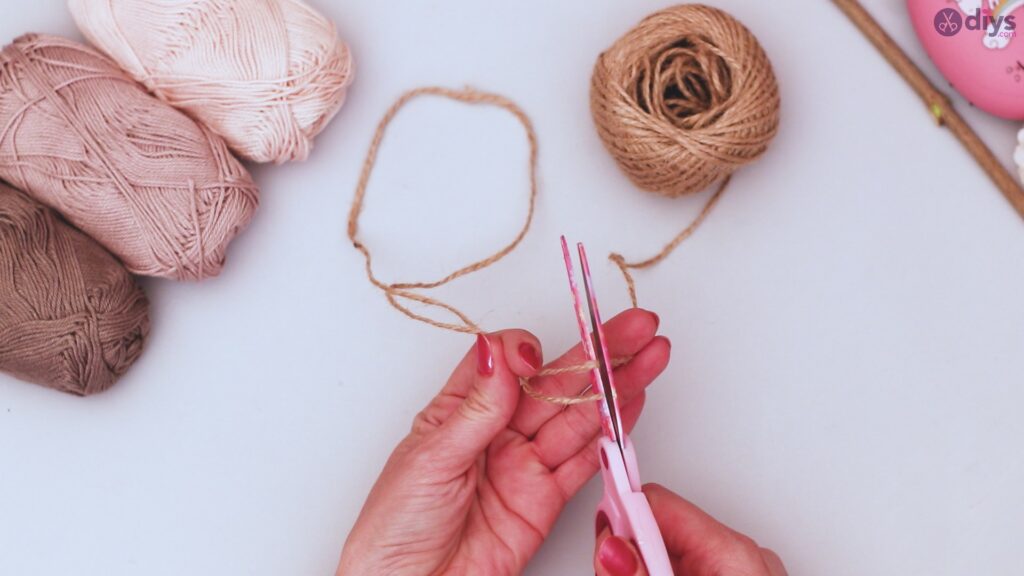
Cut a length of your hemp twine between eight and twelve inches long, depending on the size of the leaf you wish to create. Fold it in half to double its thickness. This should create a loop at one end. Set this aside.
Step 2: Prepare your yarn
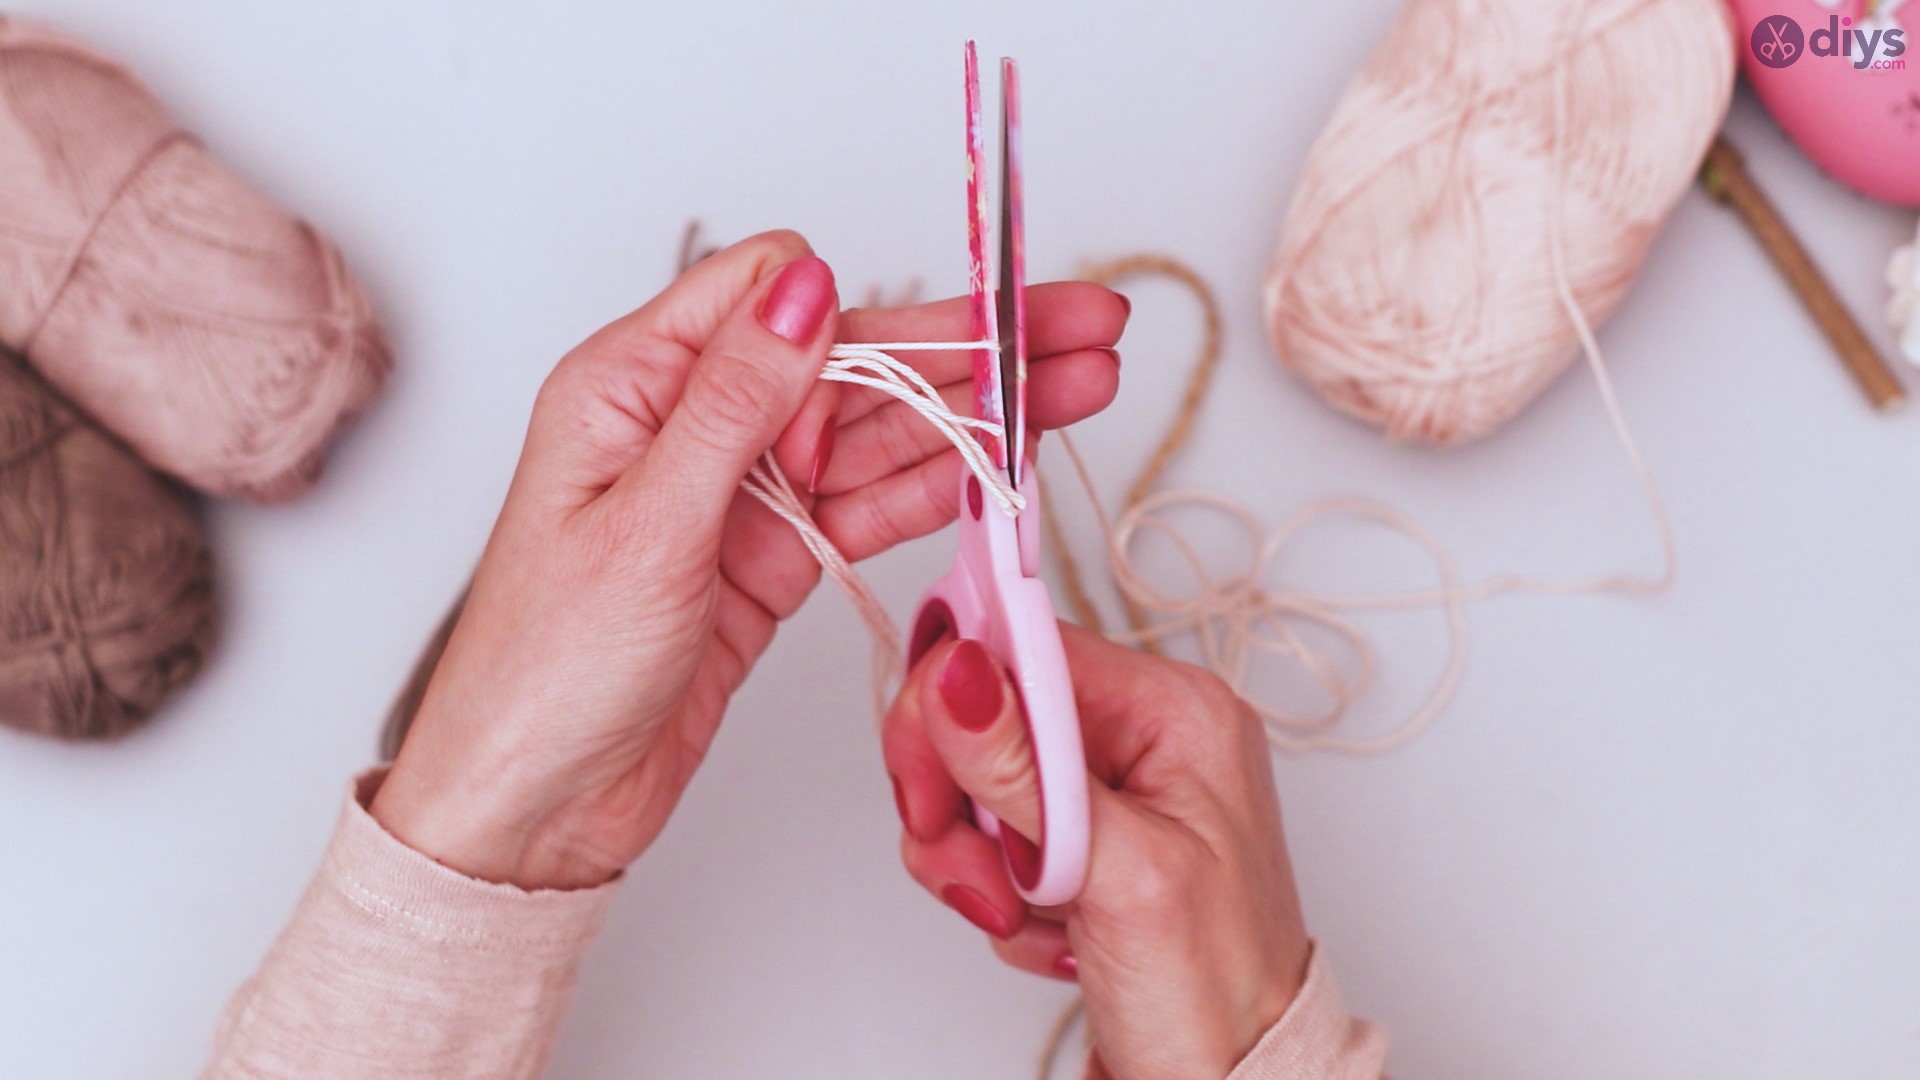
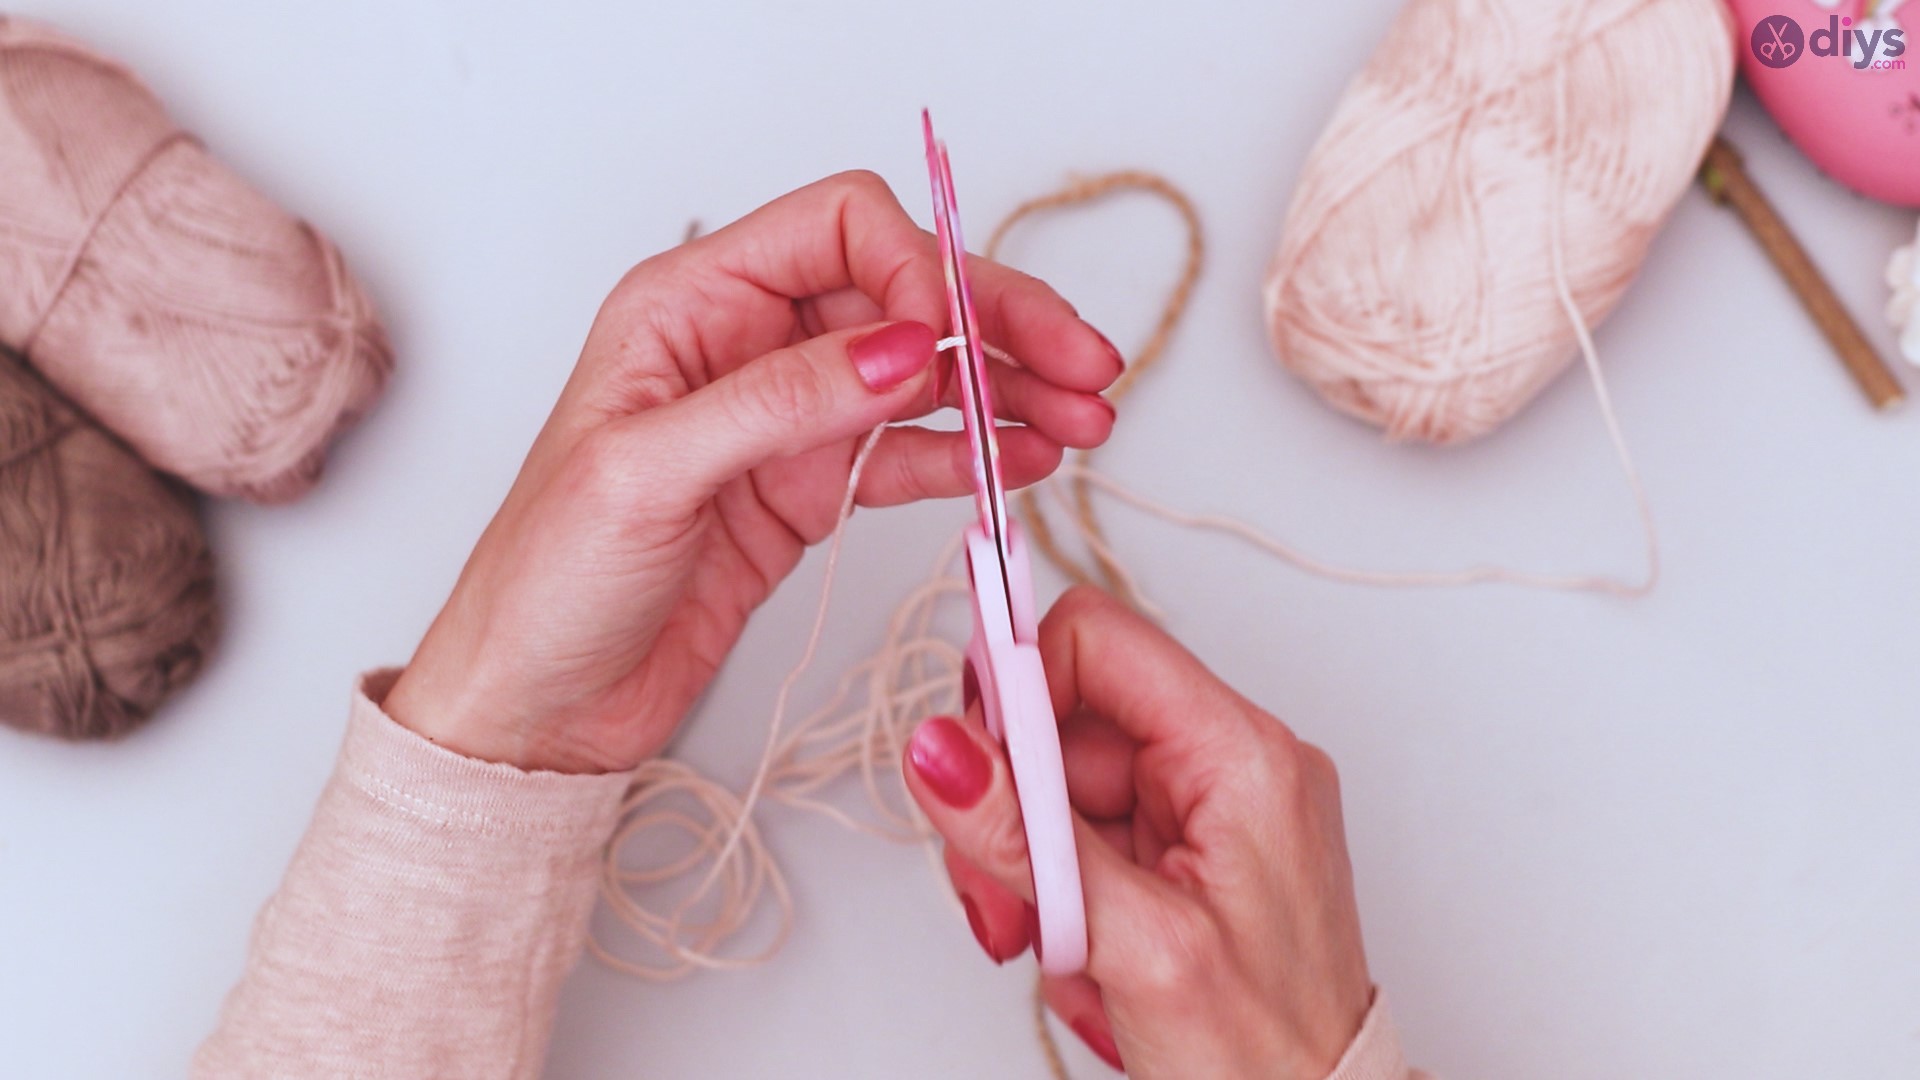
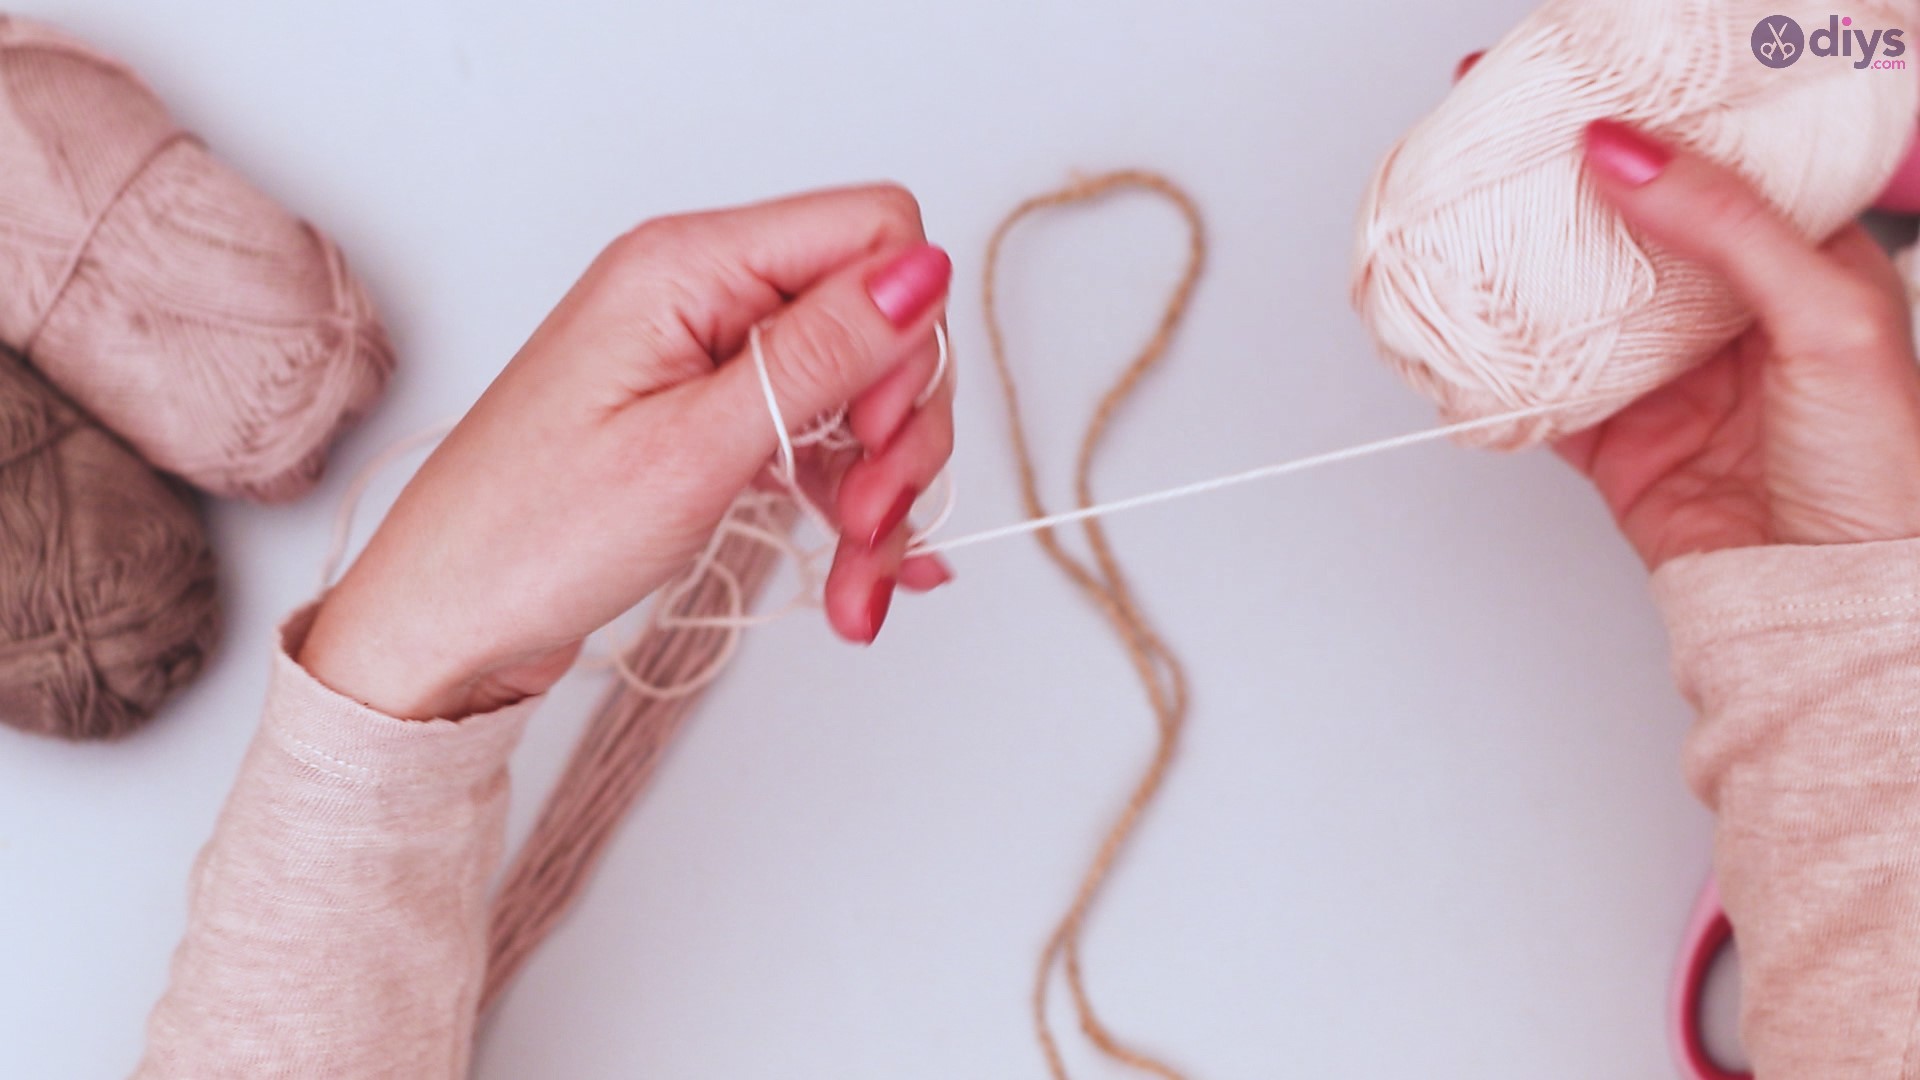
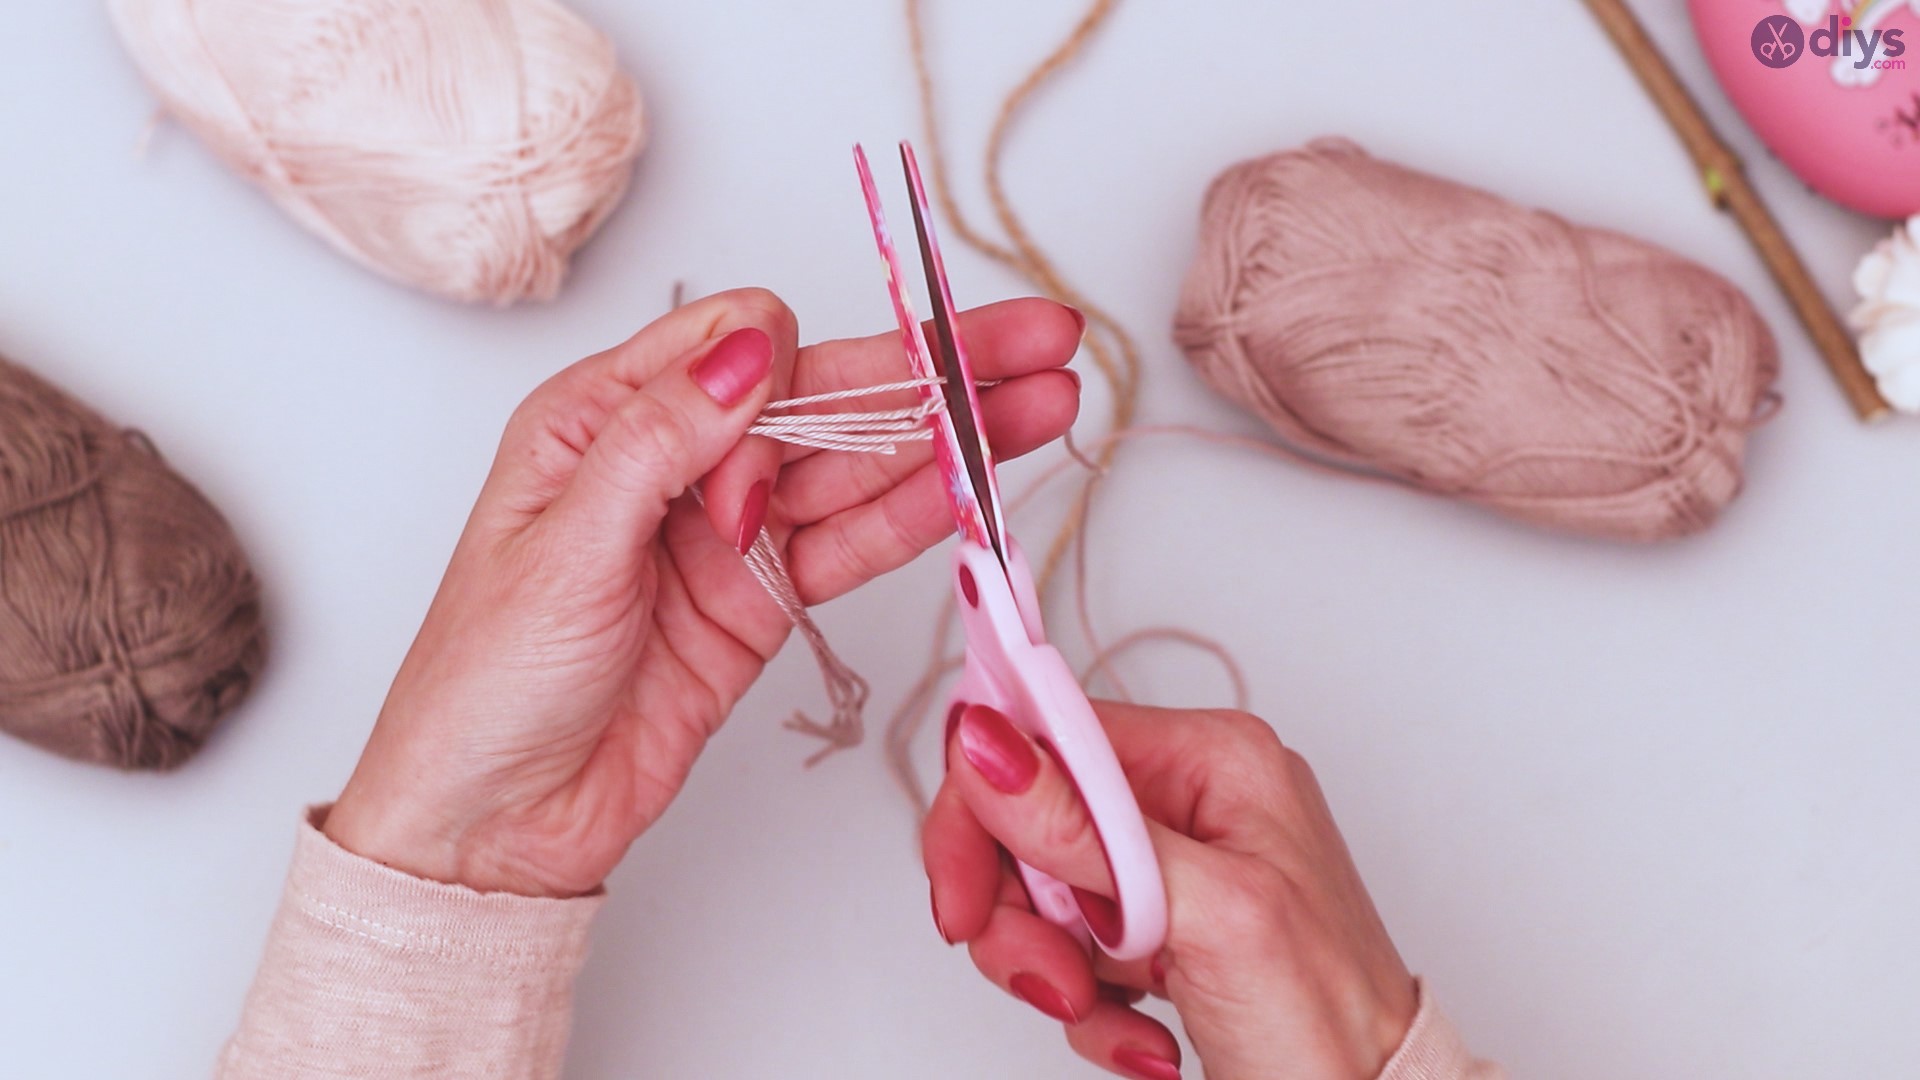
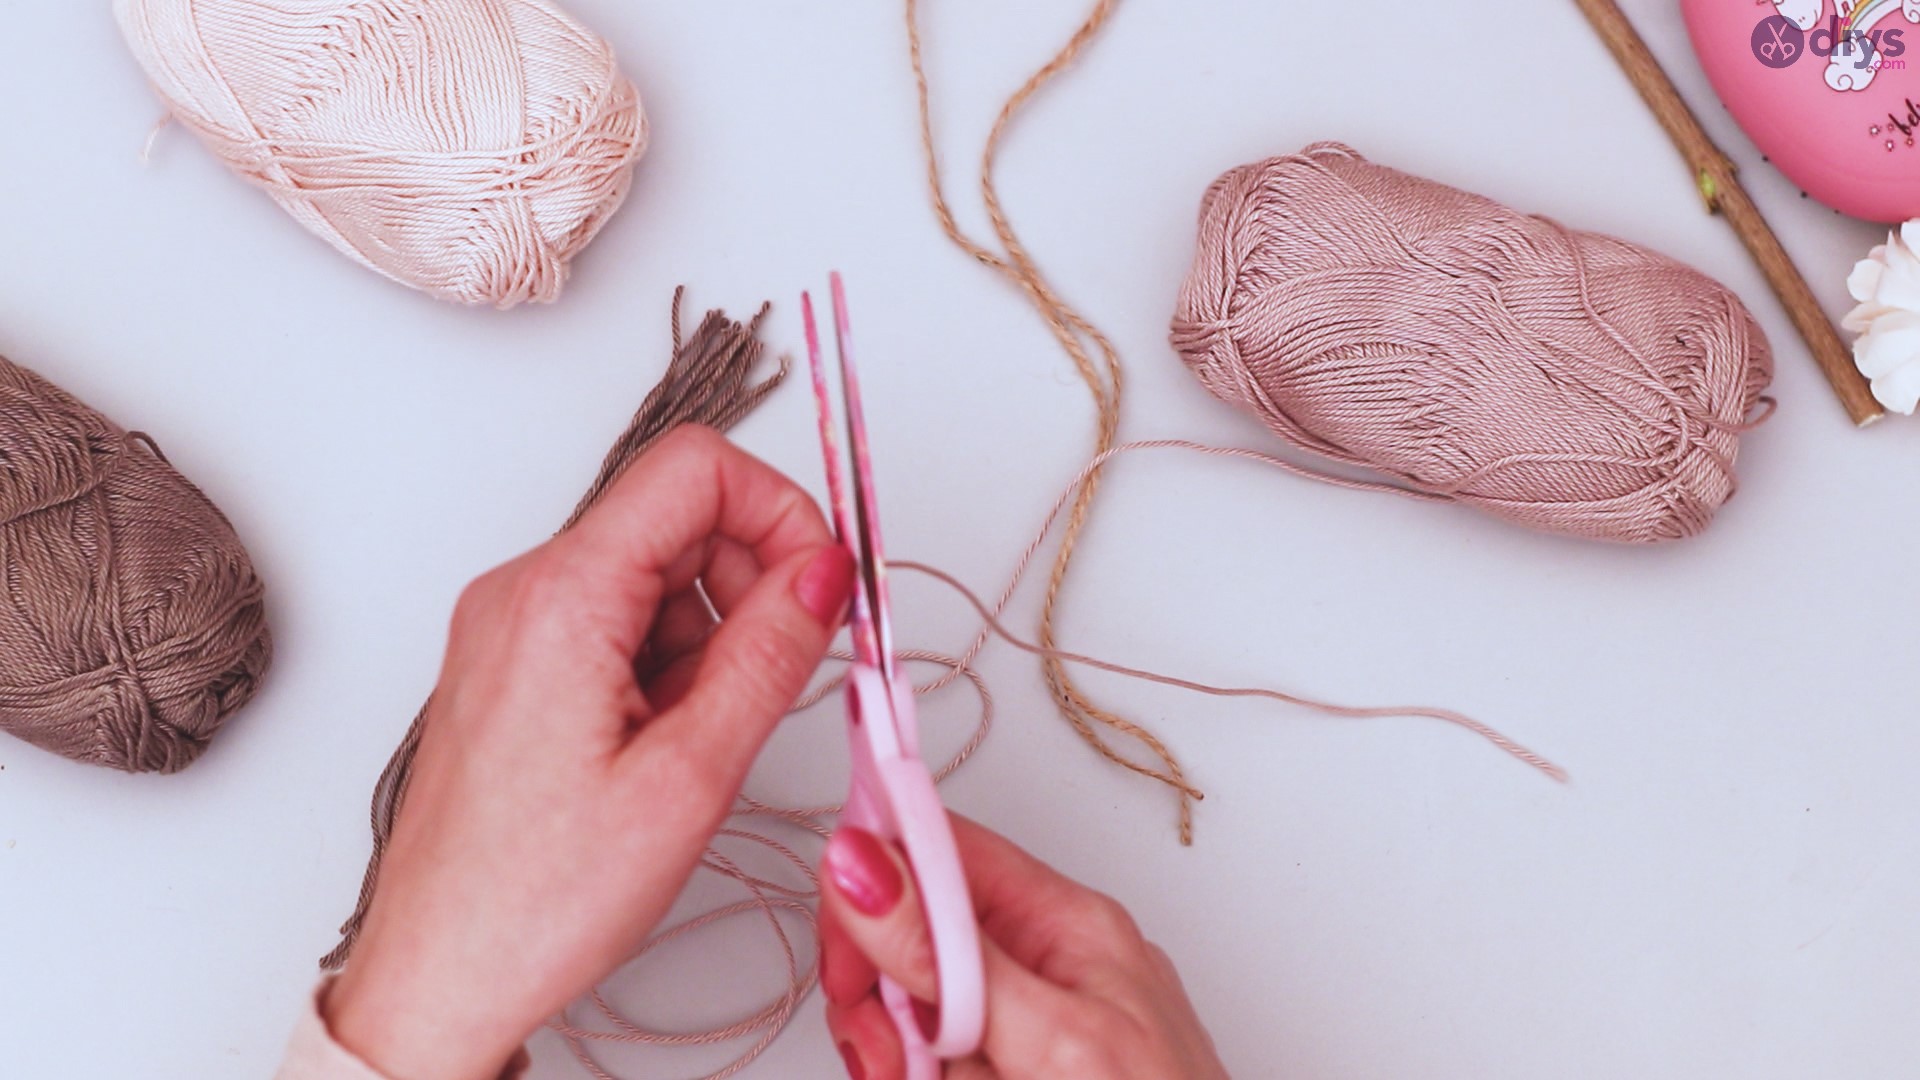
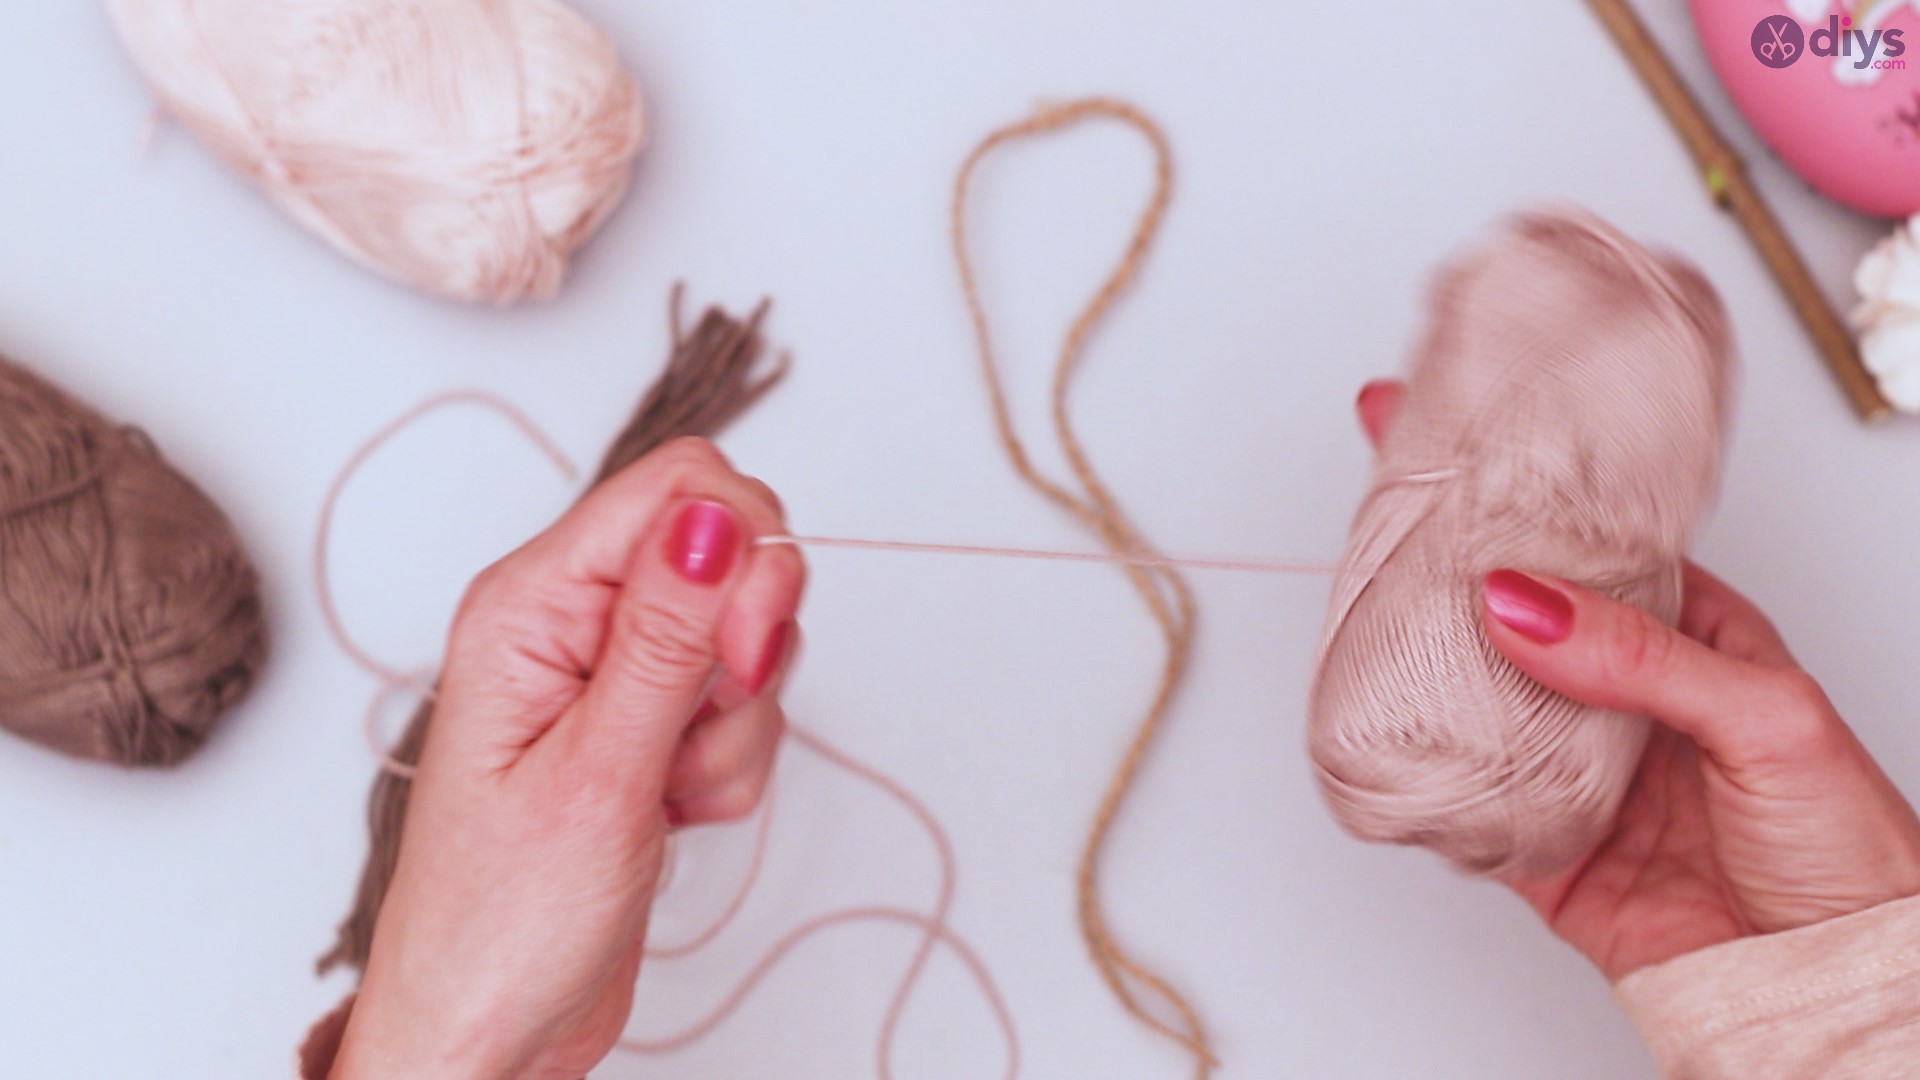
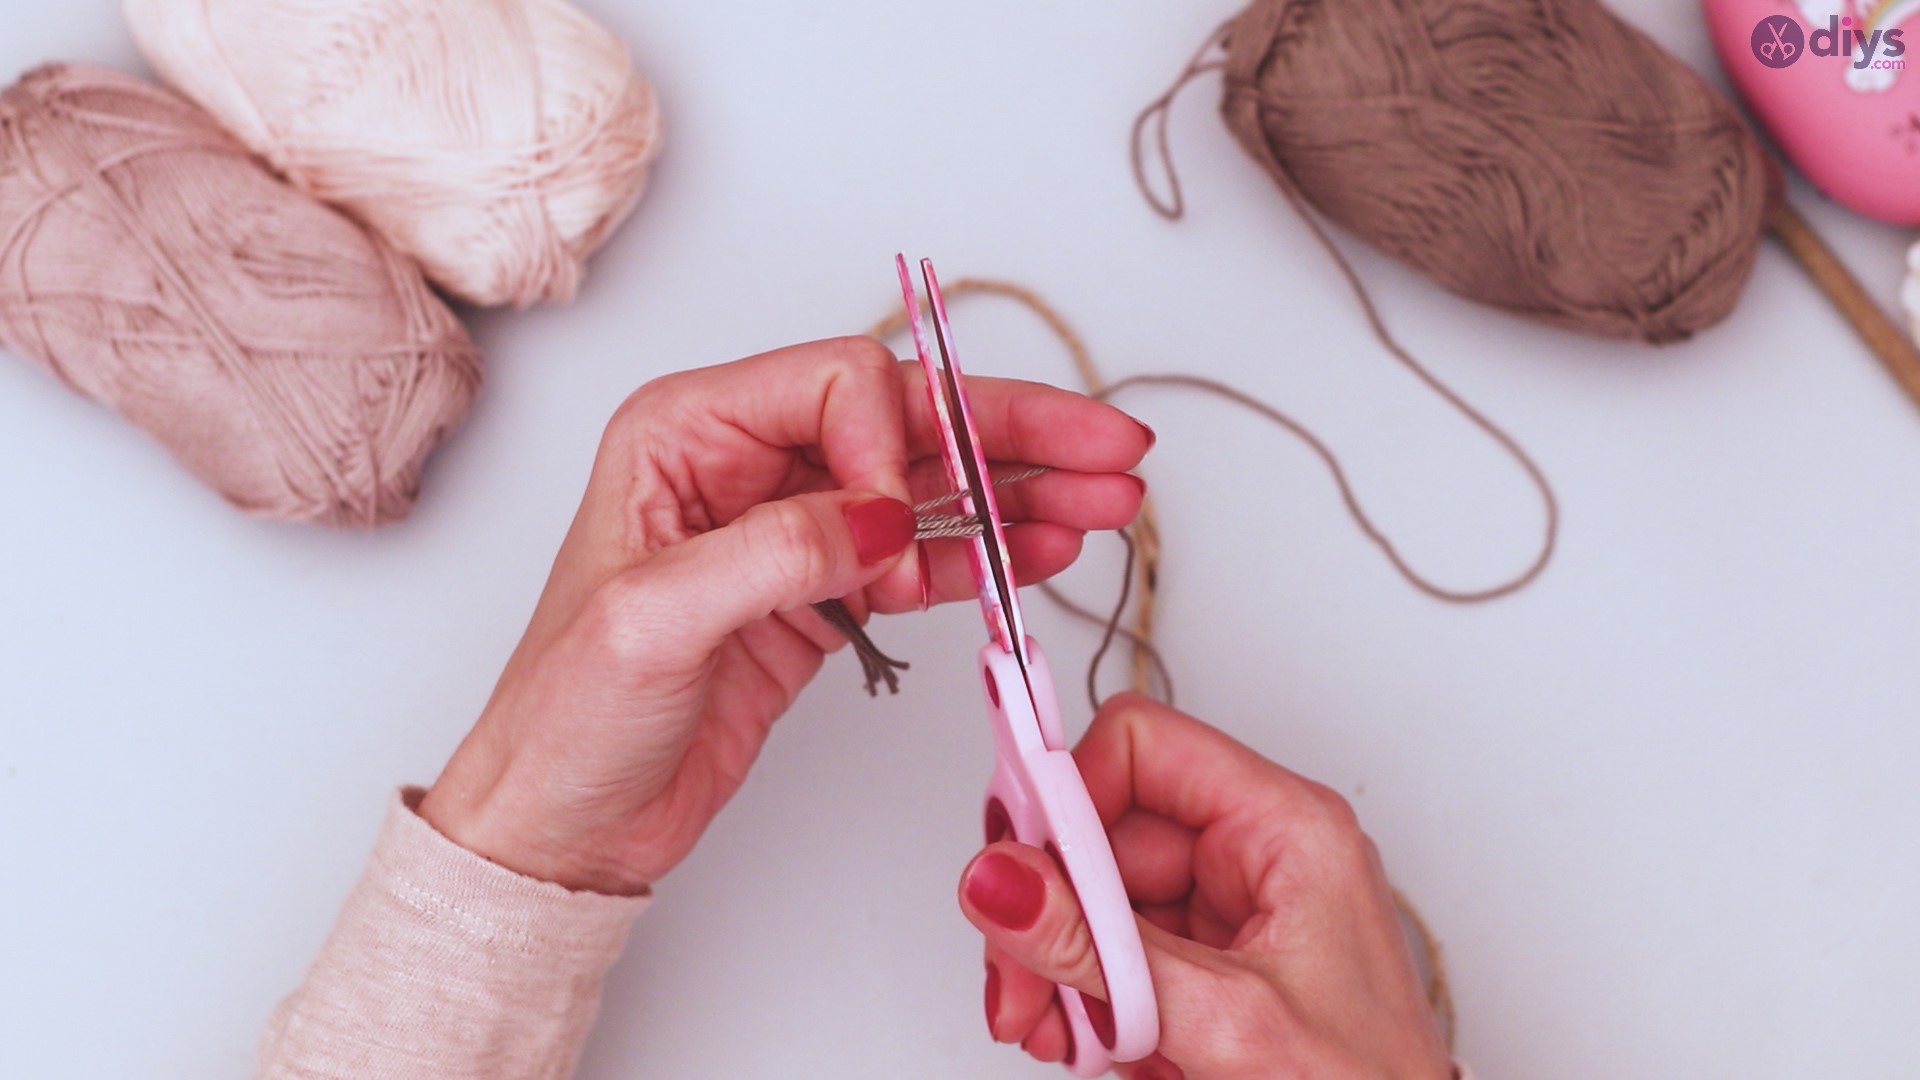
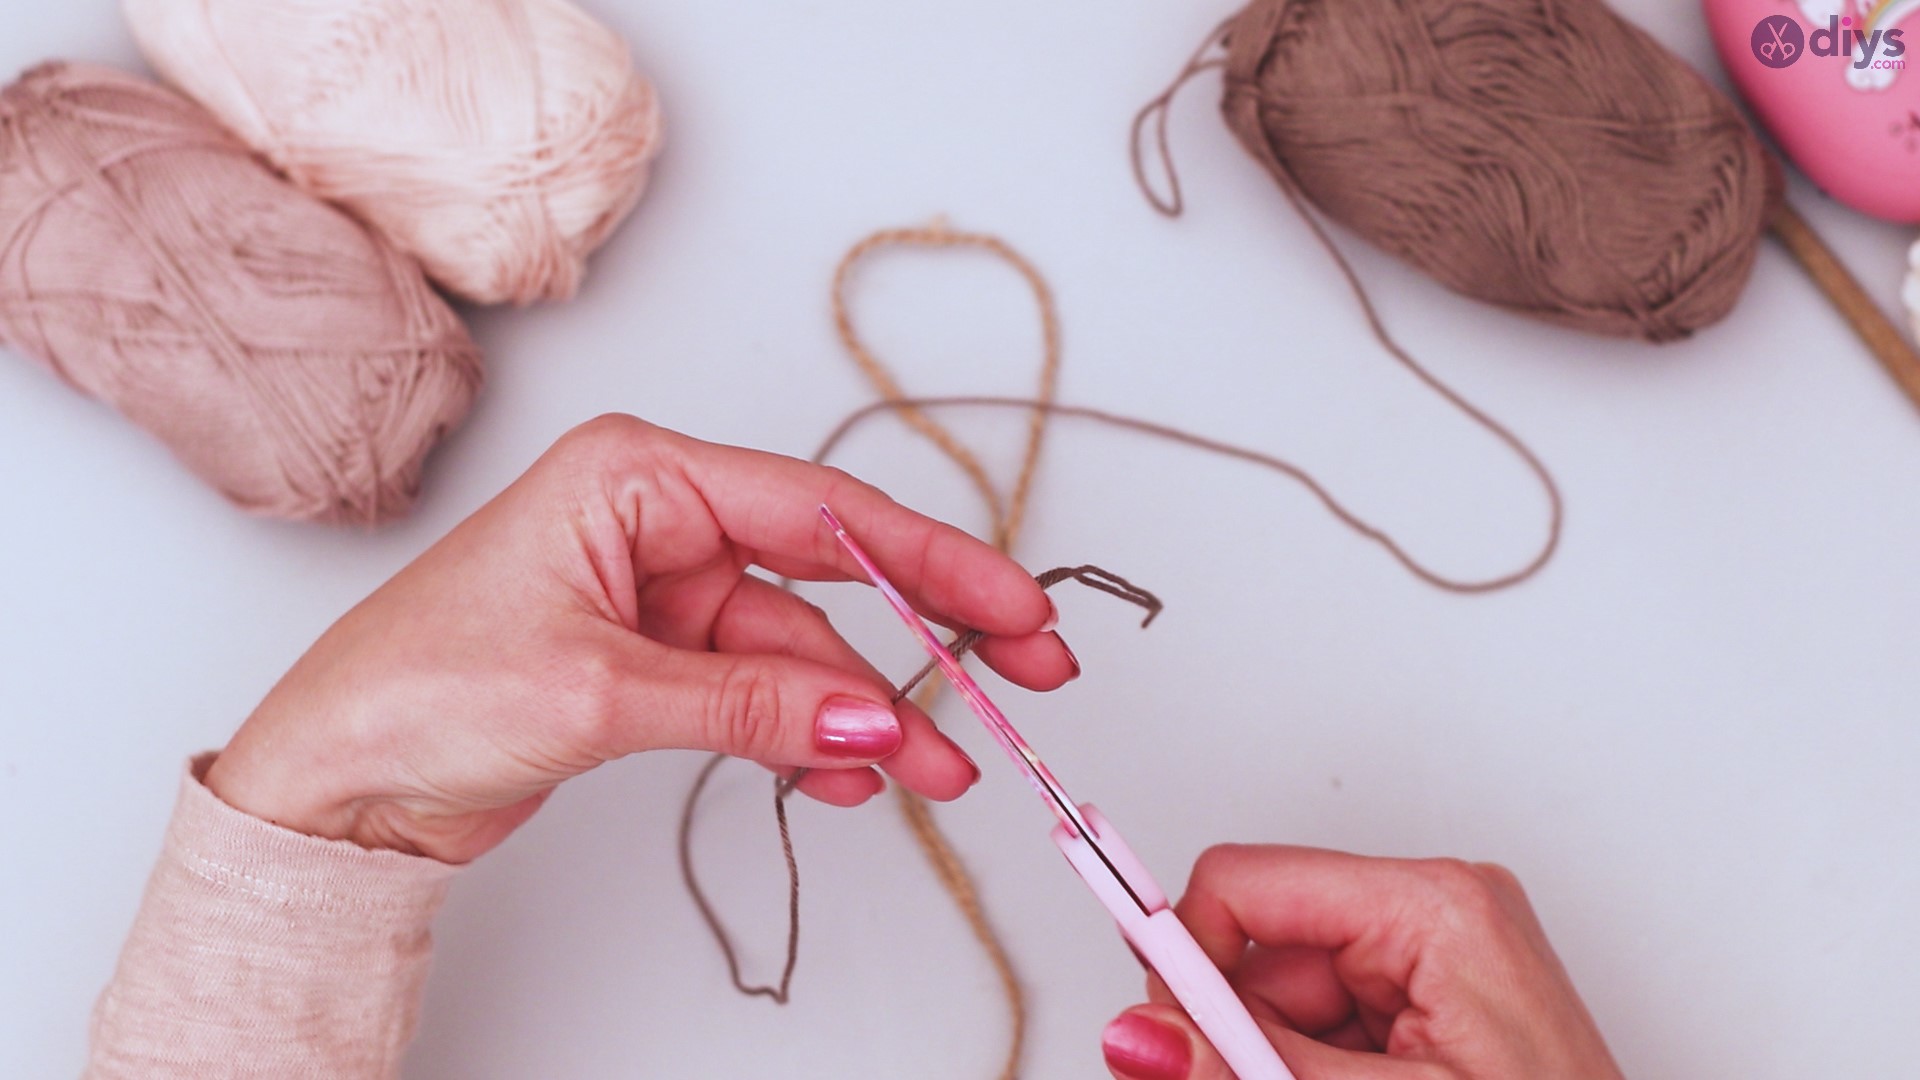
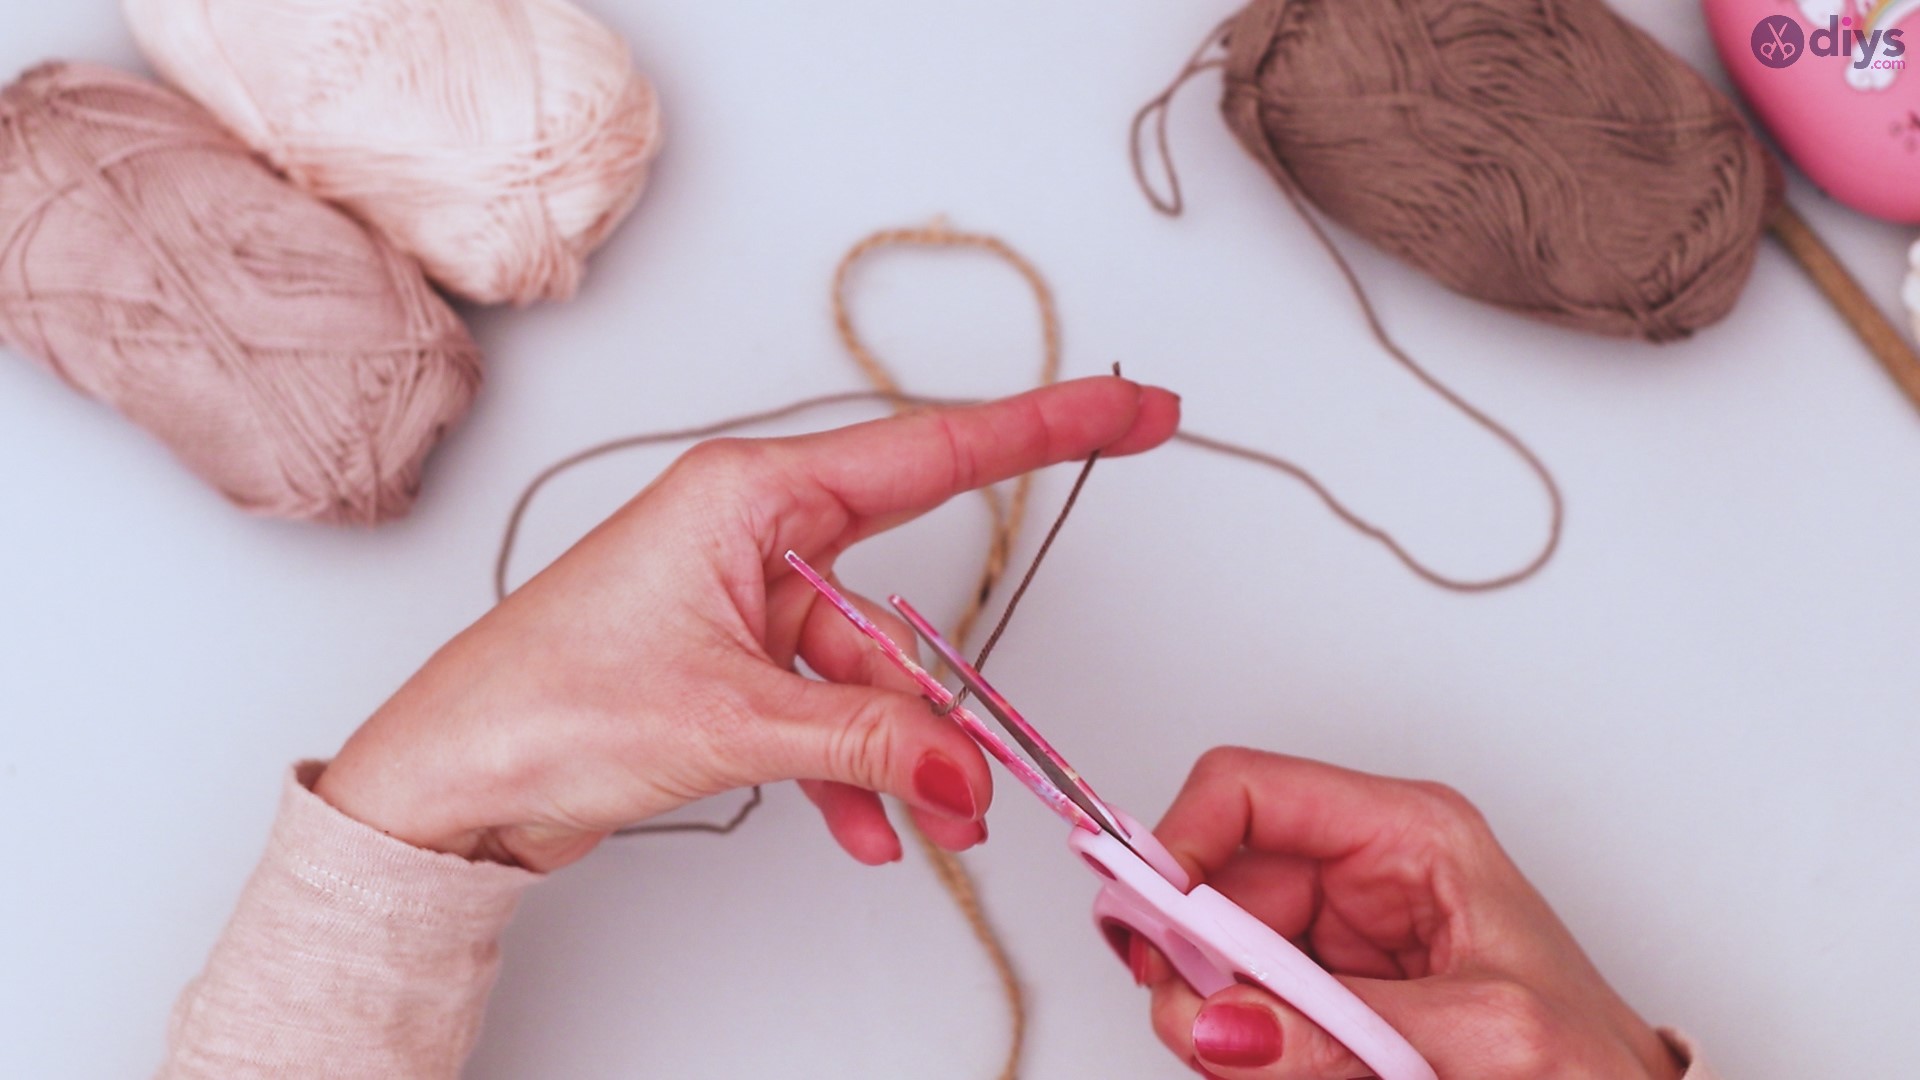
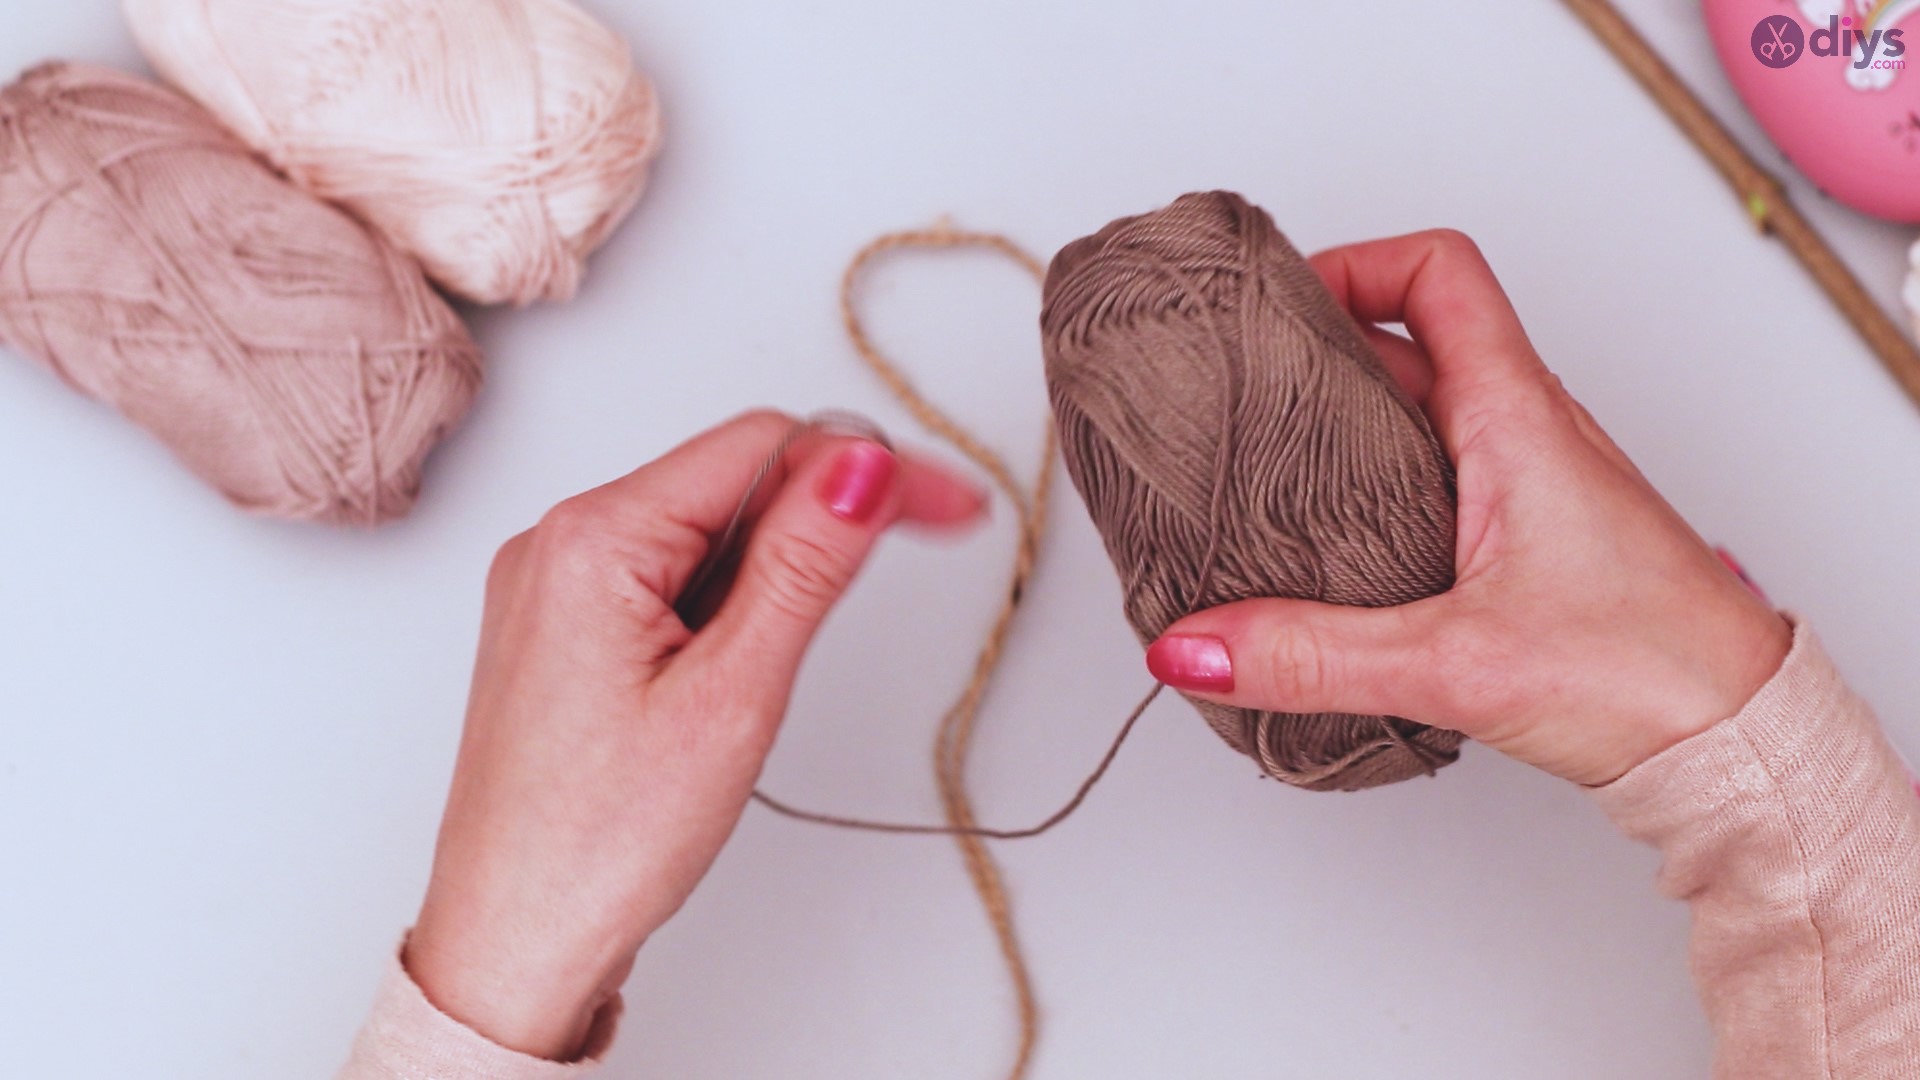
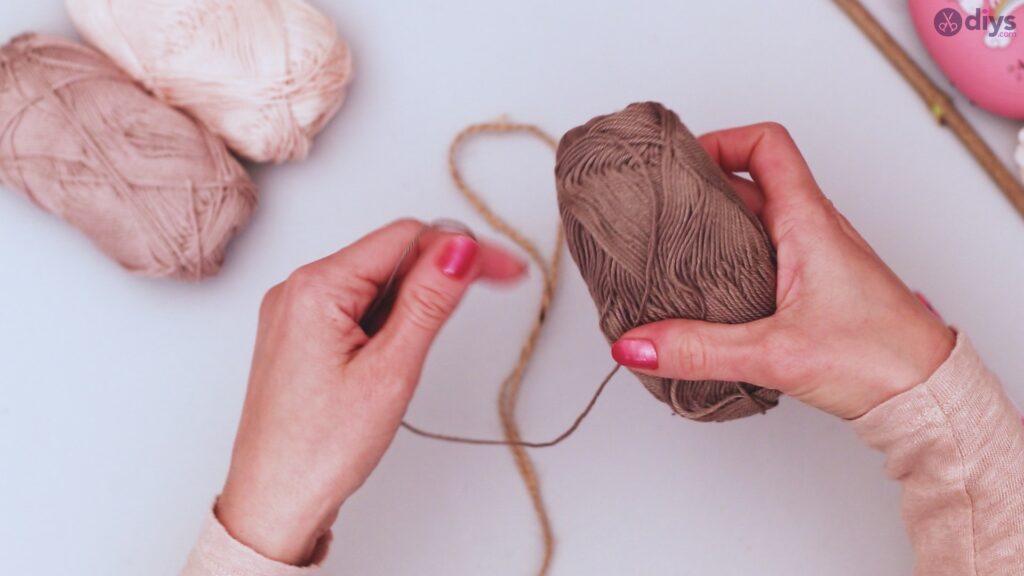
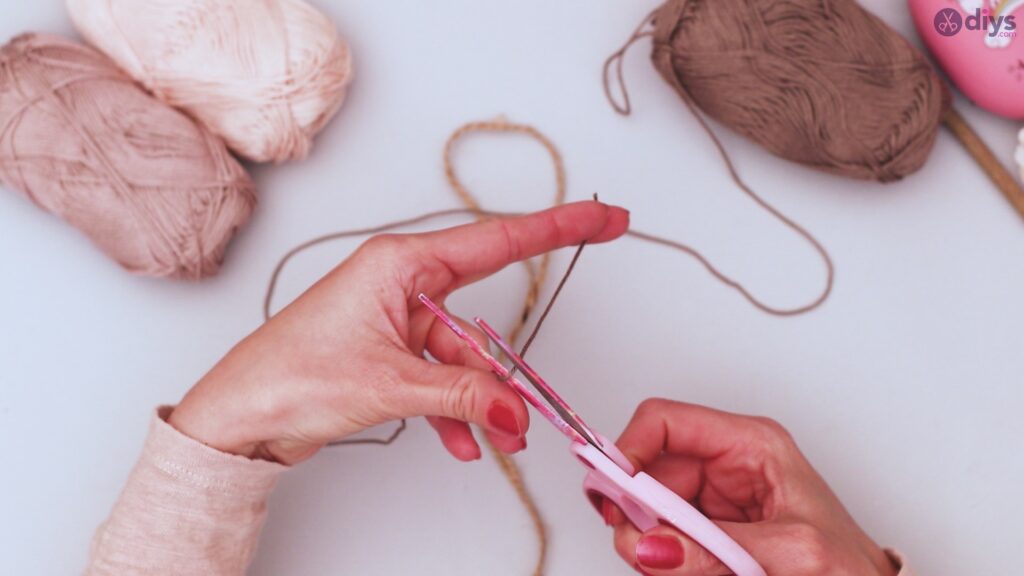
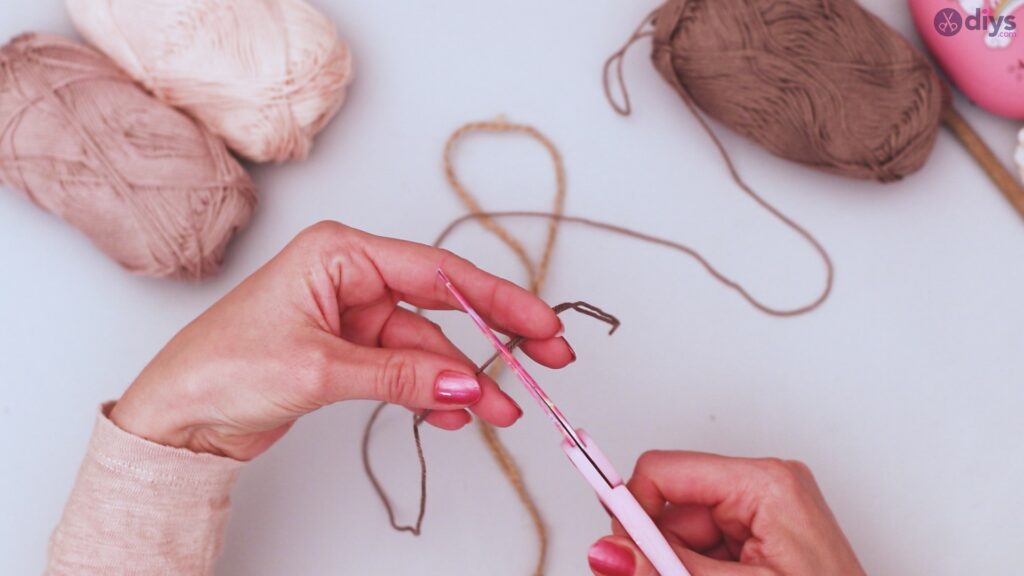
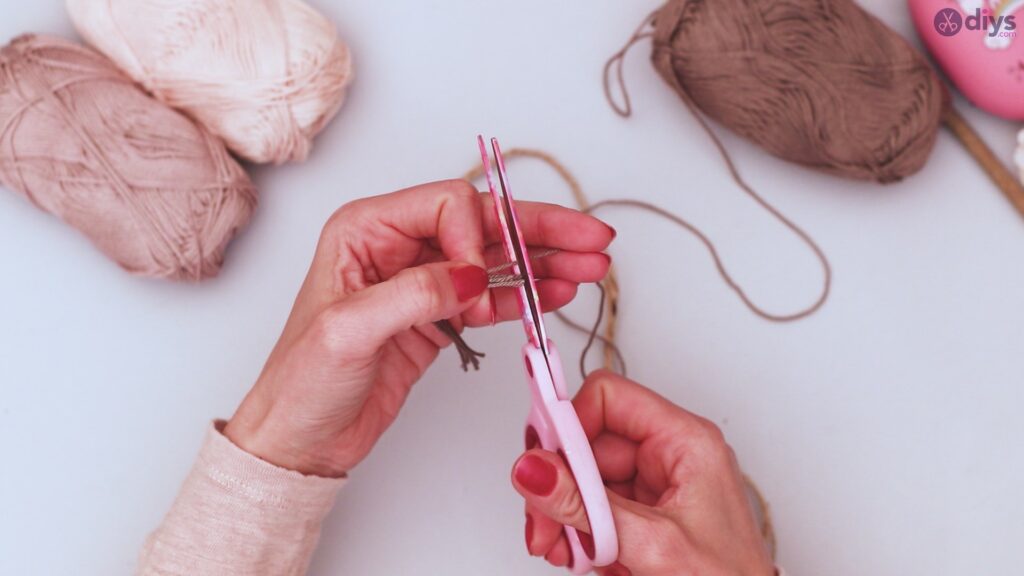
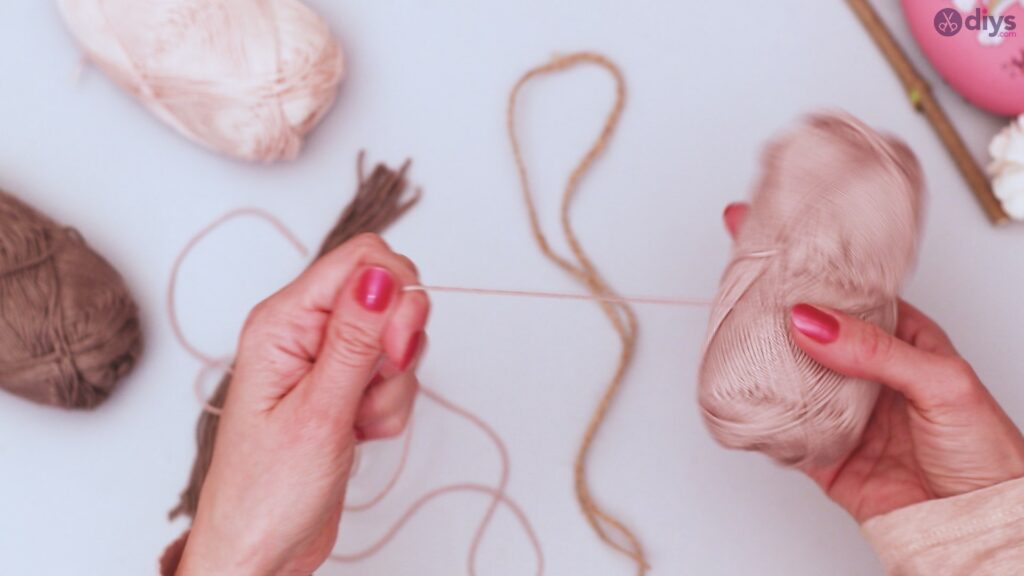
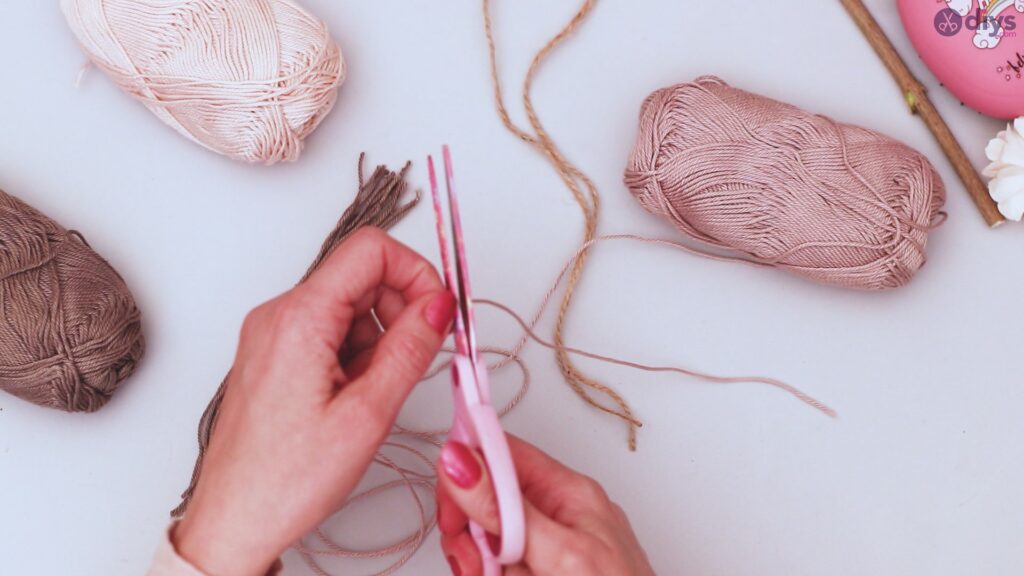
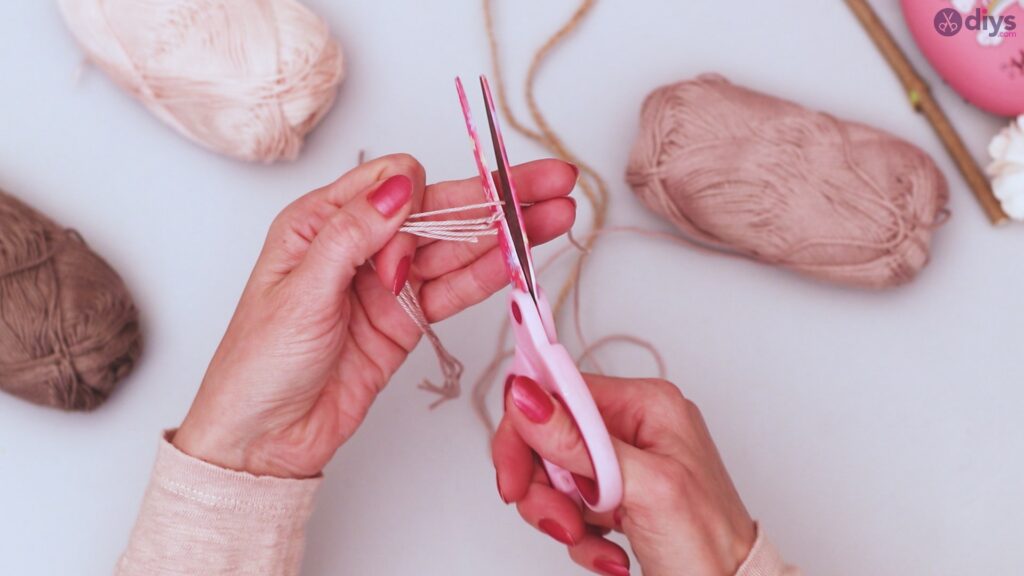
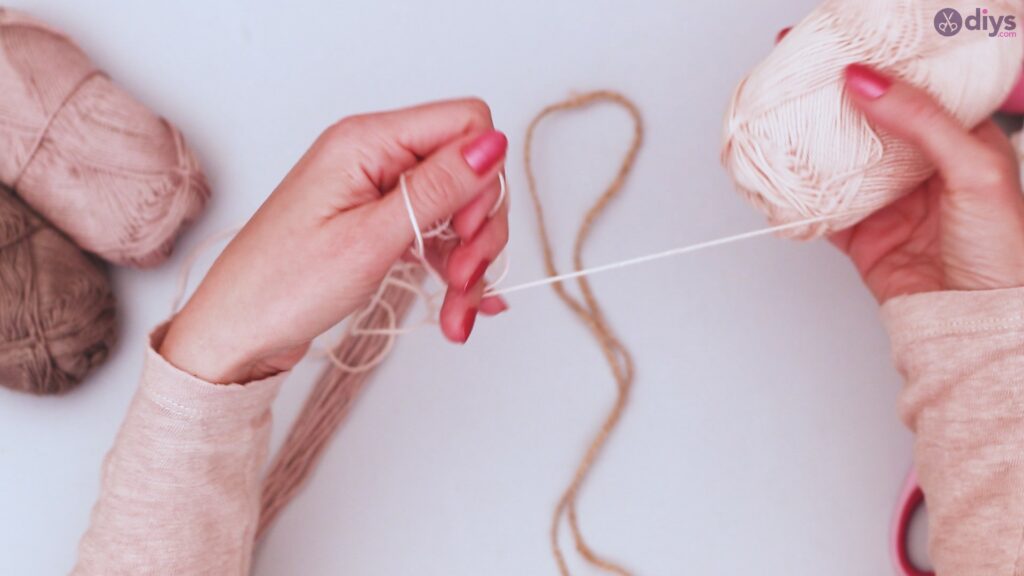
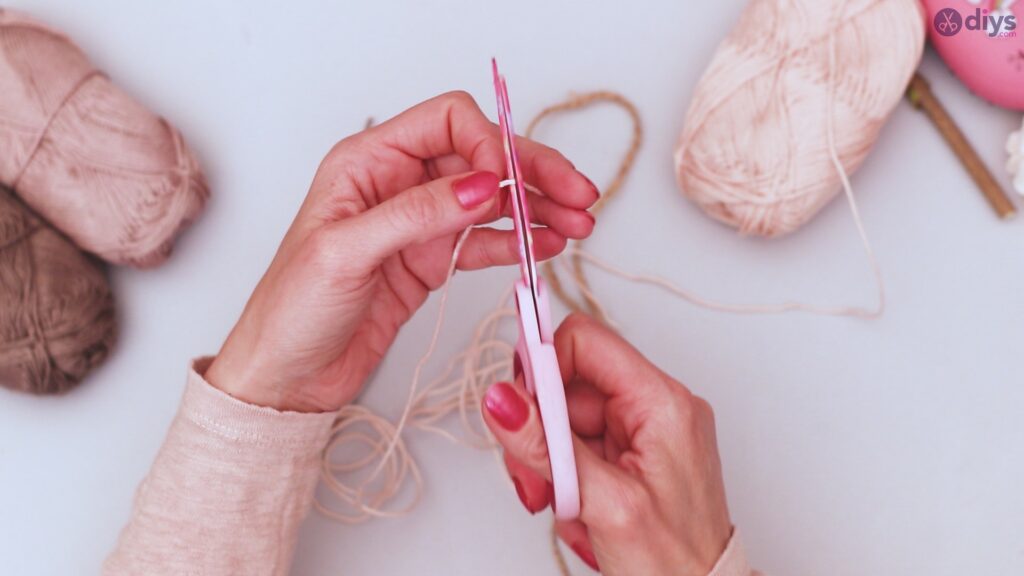
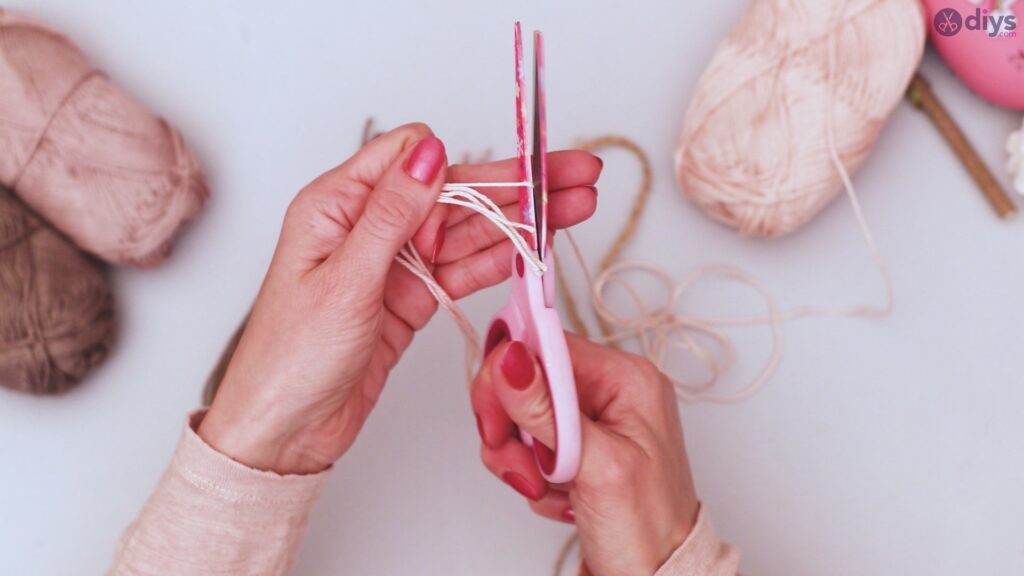
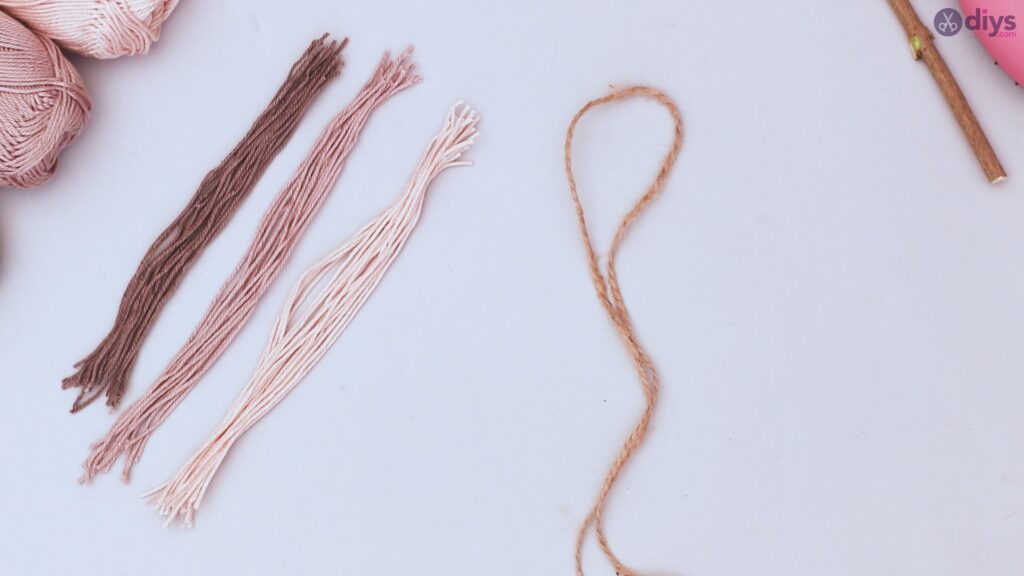
Choose a yarn color to start with. Cut several pieces of this yarn, approximately the same length. You’ll want to have enough lengths that, when laid next to each other, they cover between a third and half the length of your stem. Repeat this process with all three colors of yarn you have.
Step 3: Looping the yarn
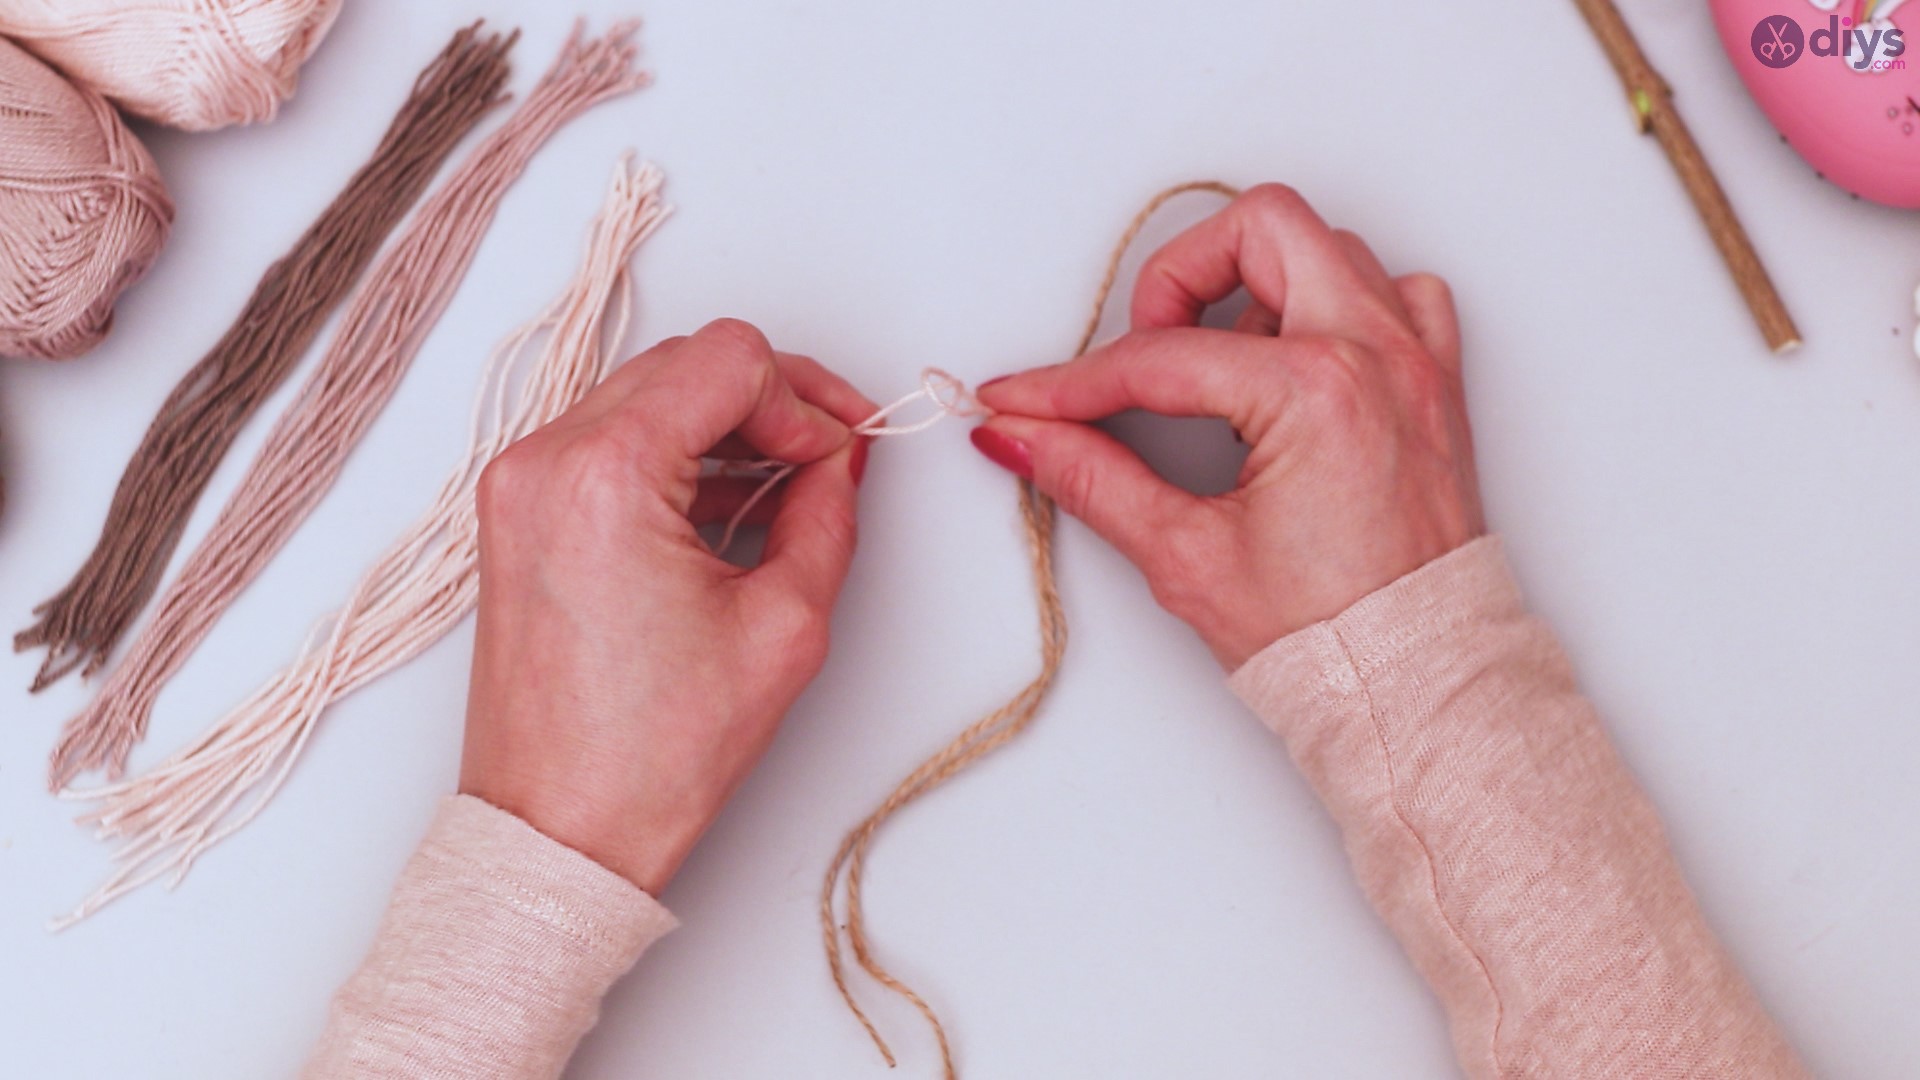
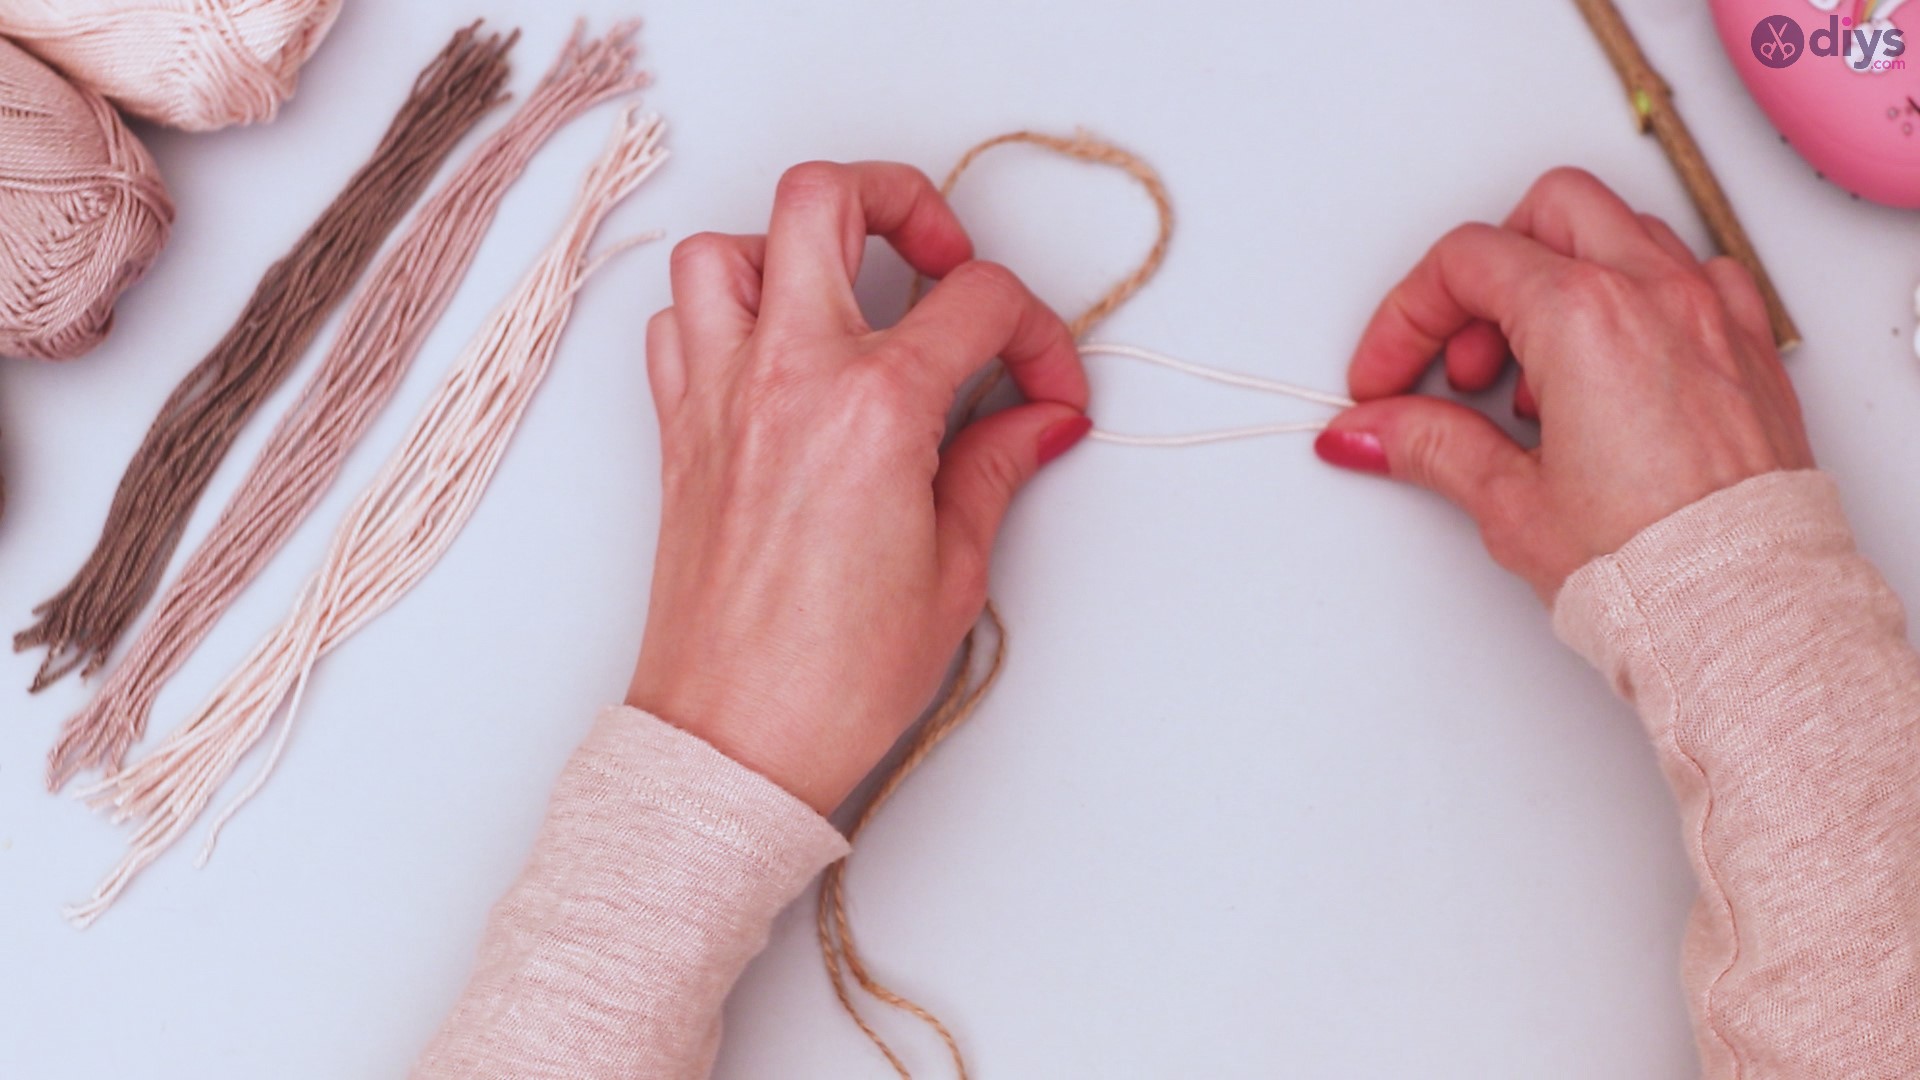
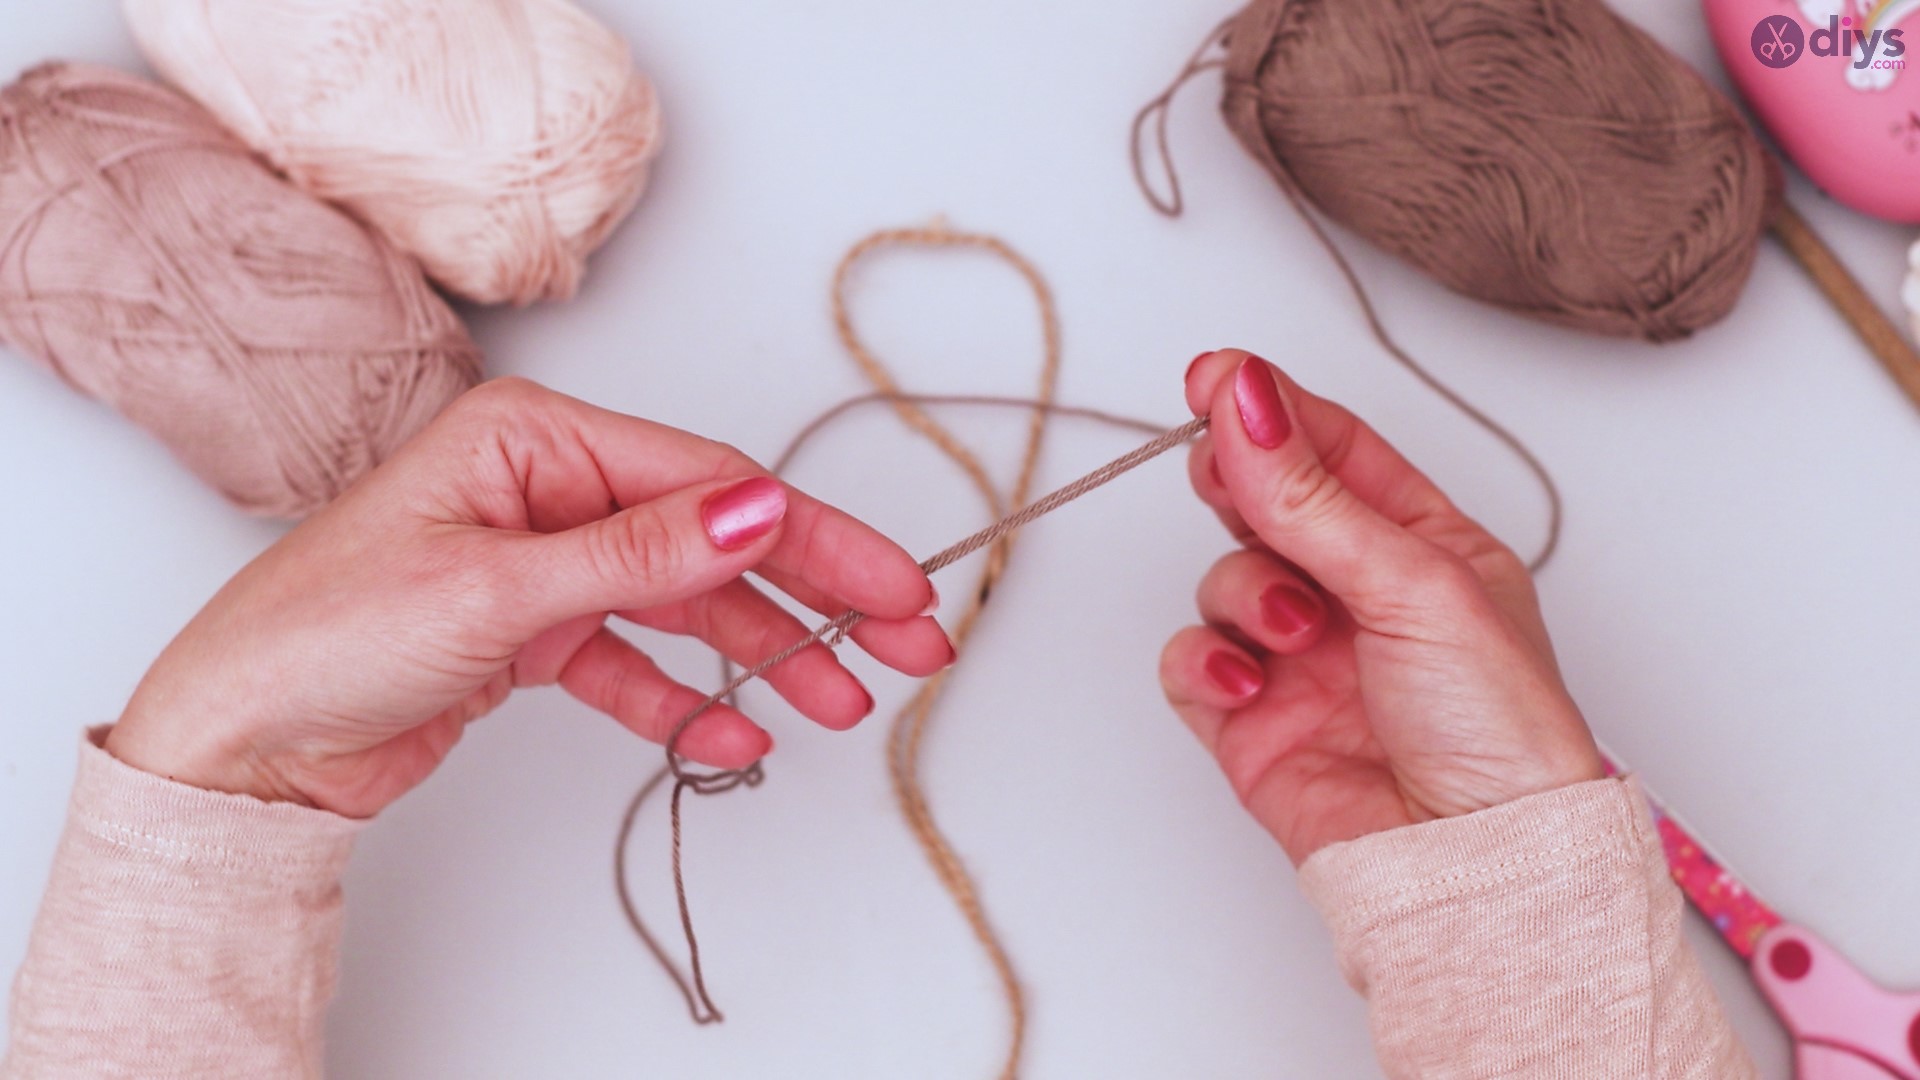
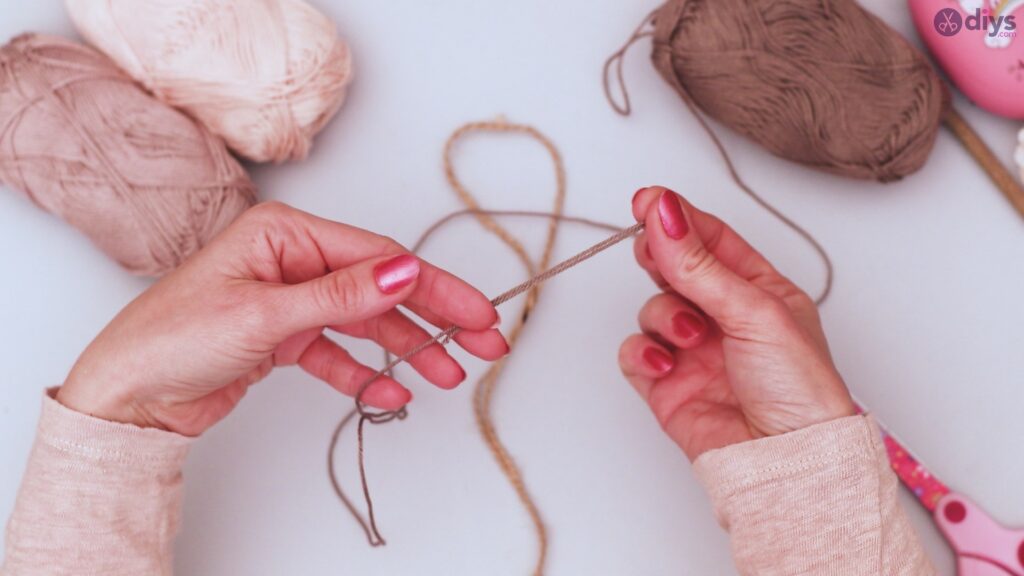
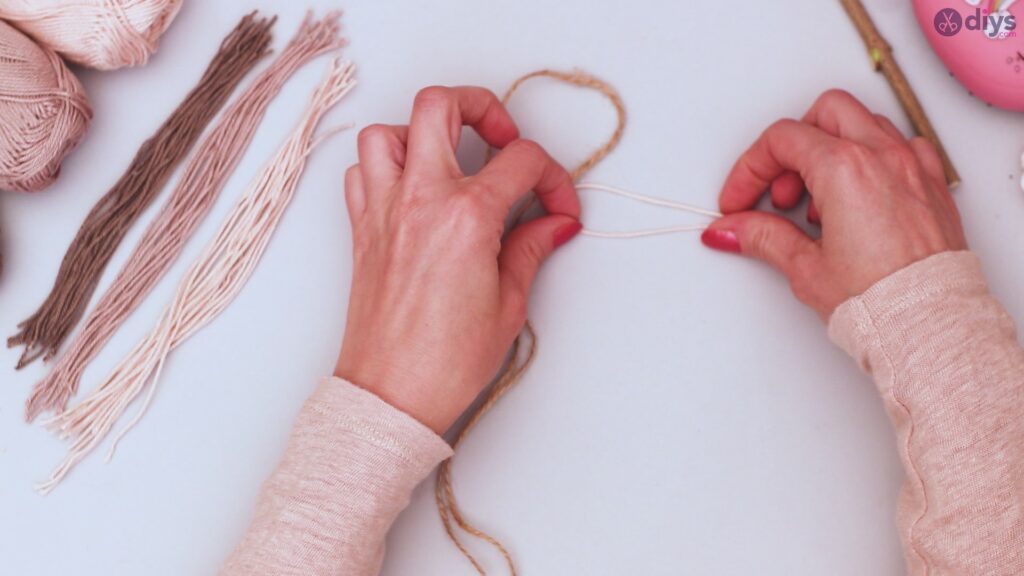
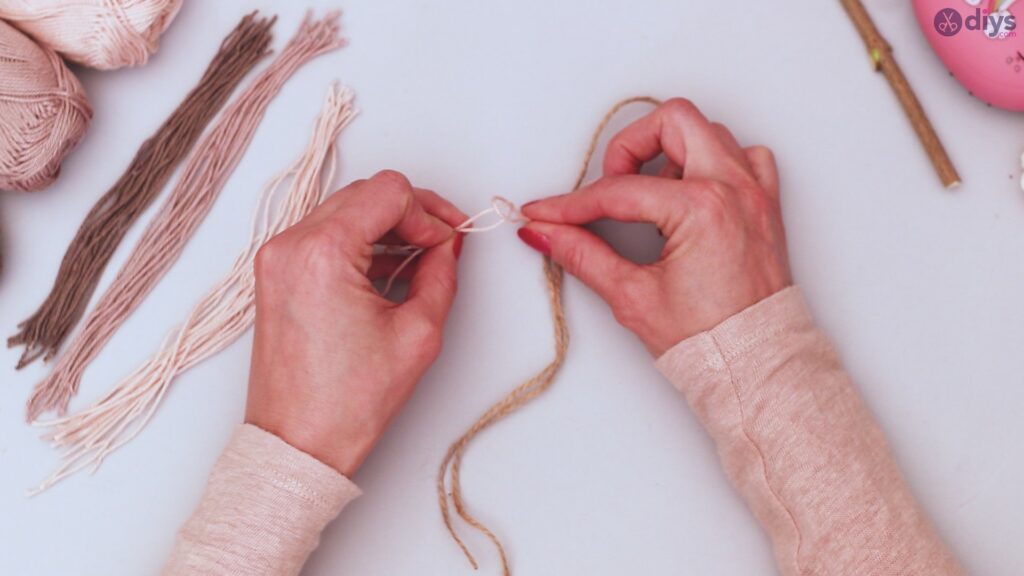
From one of your colors of yarn, take two of your cut lengths. Fold them both so they are doubled, creating a loop at the end of each.
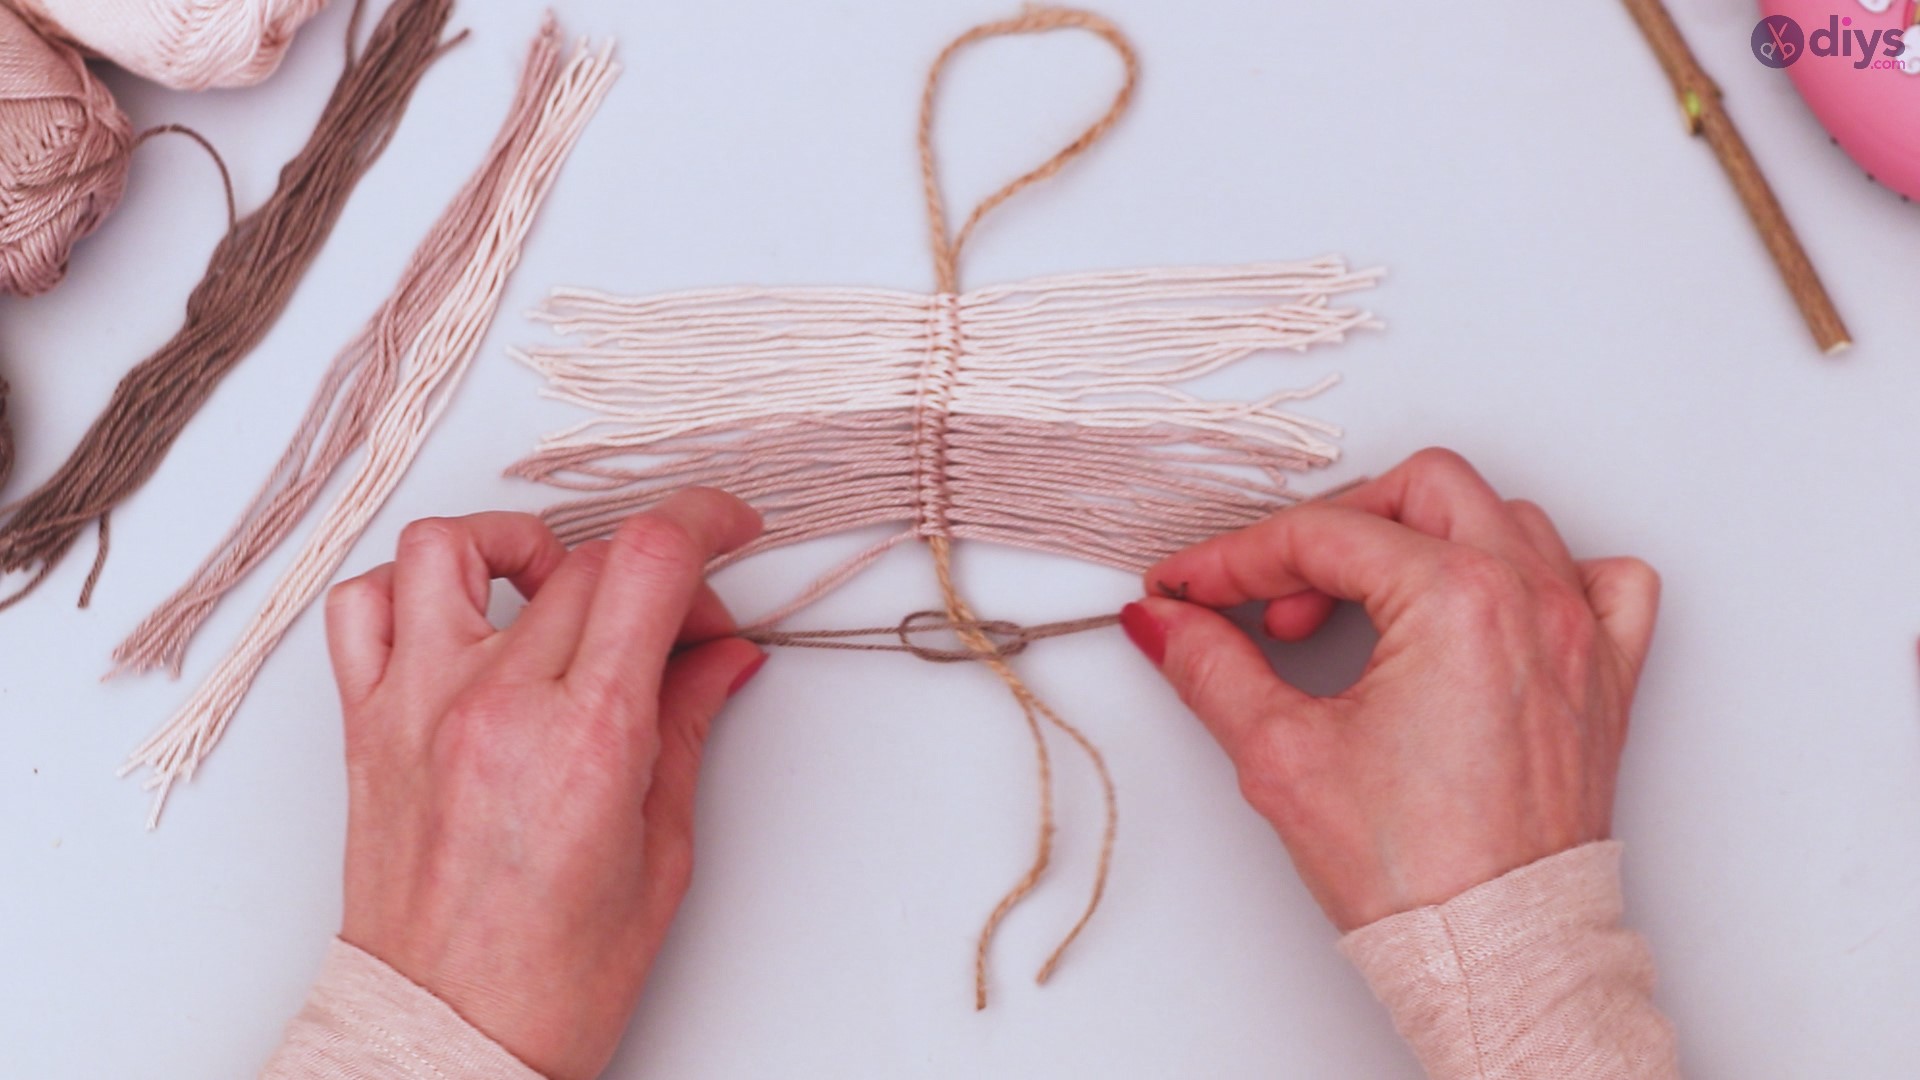
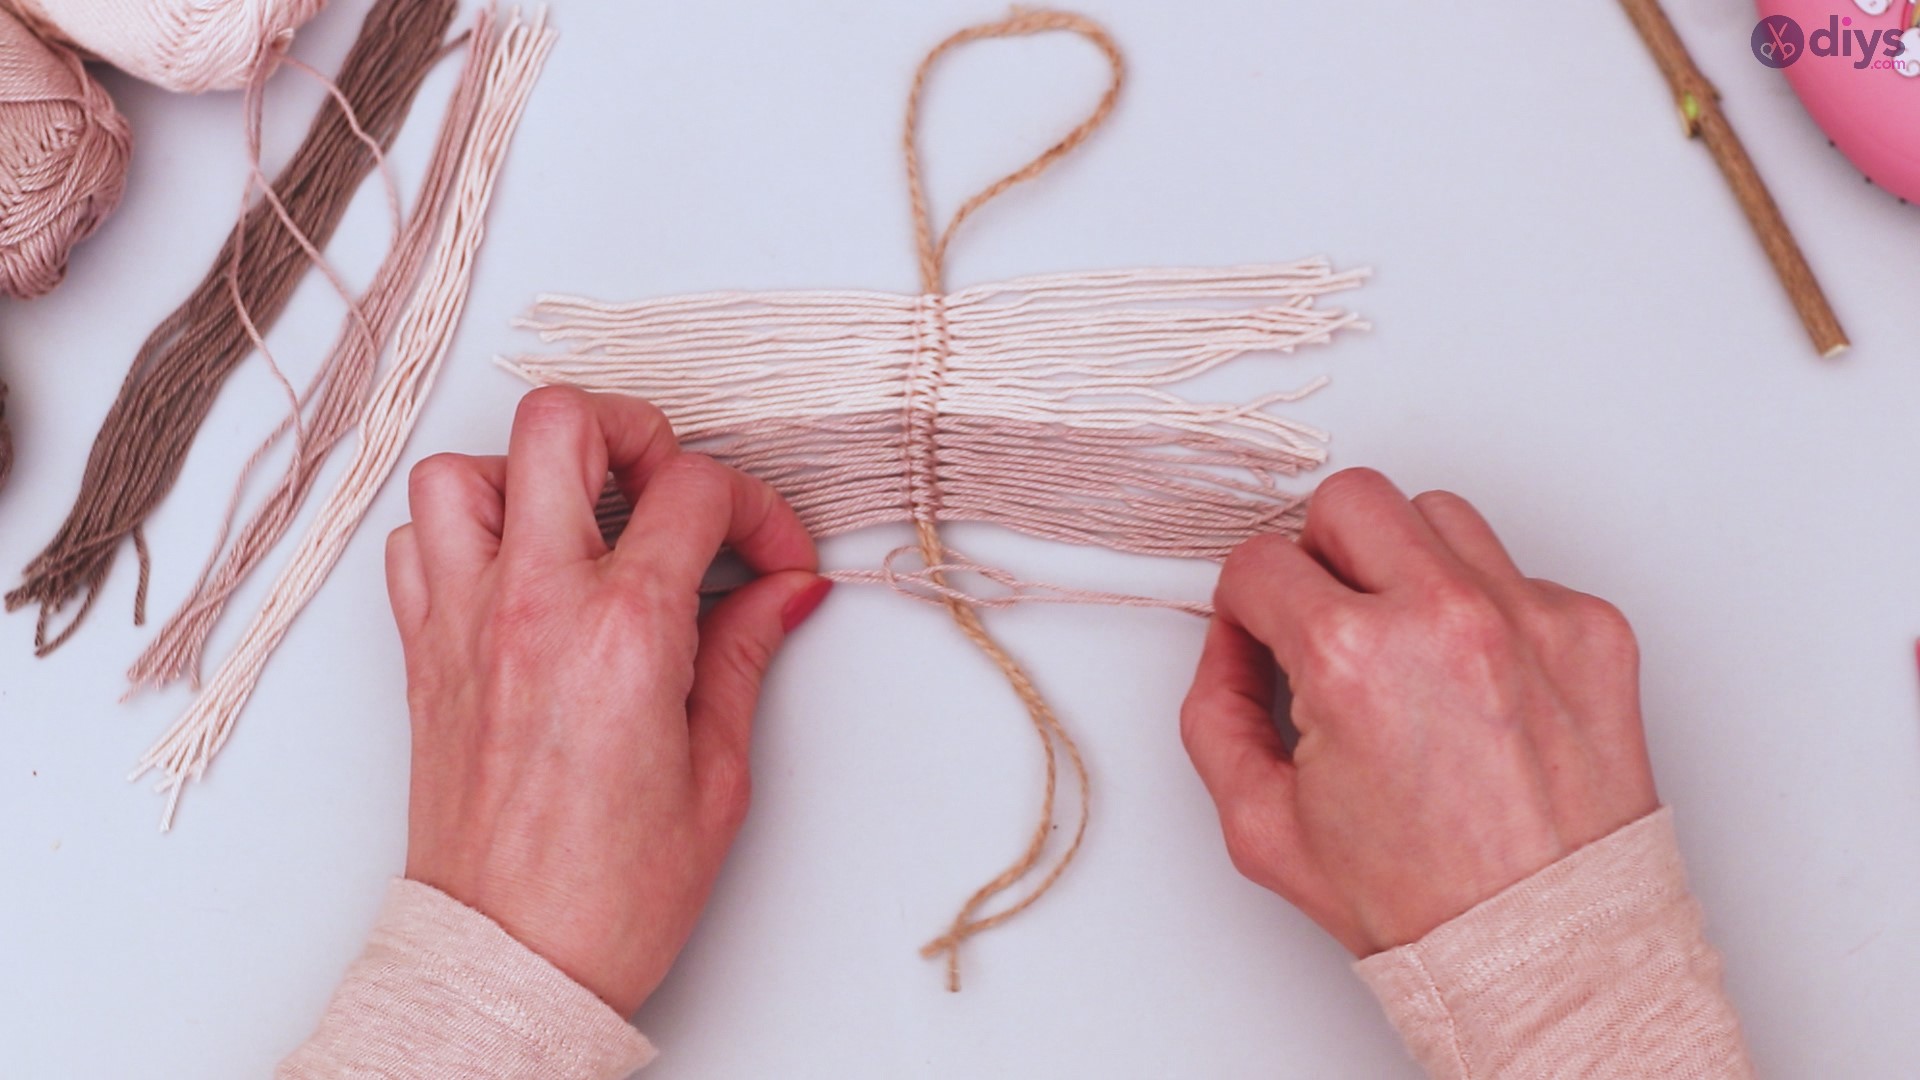
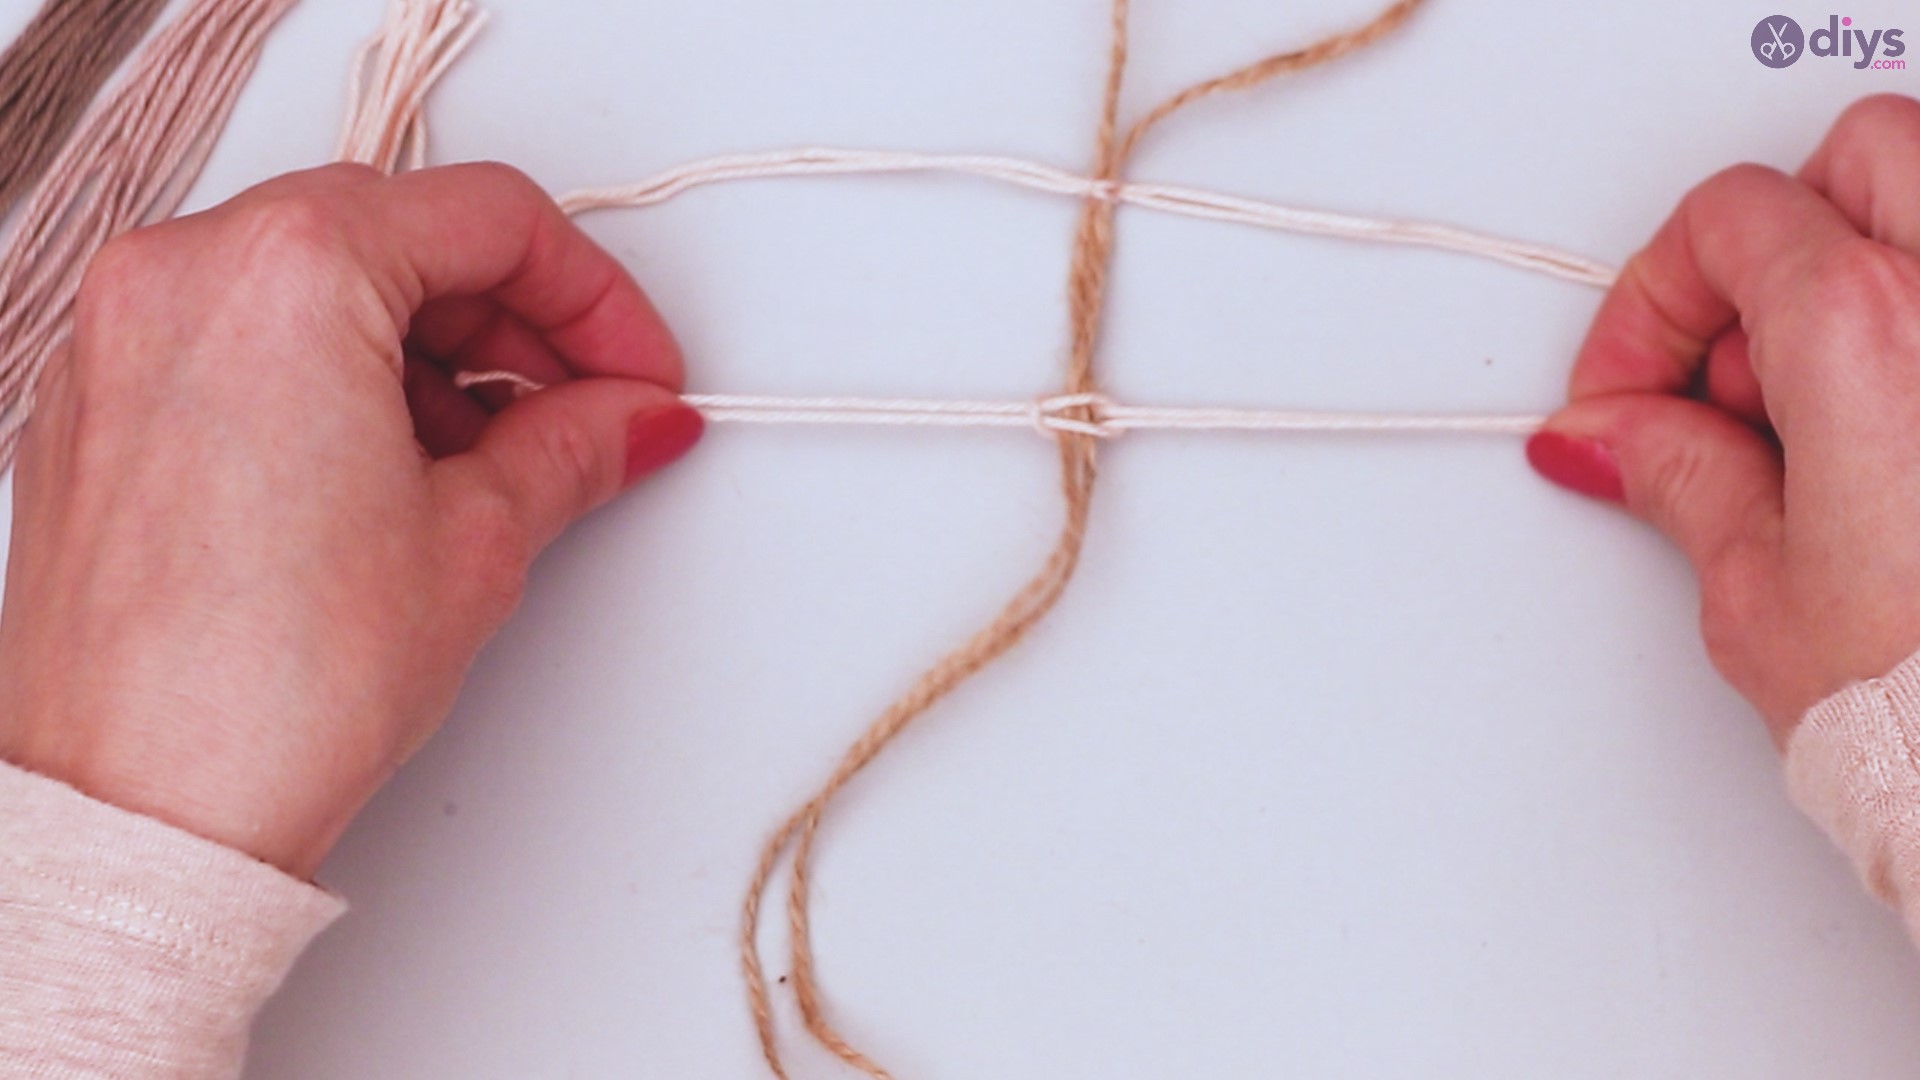
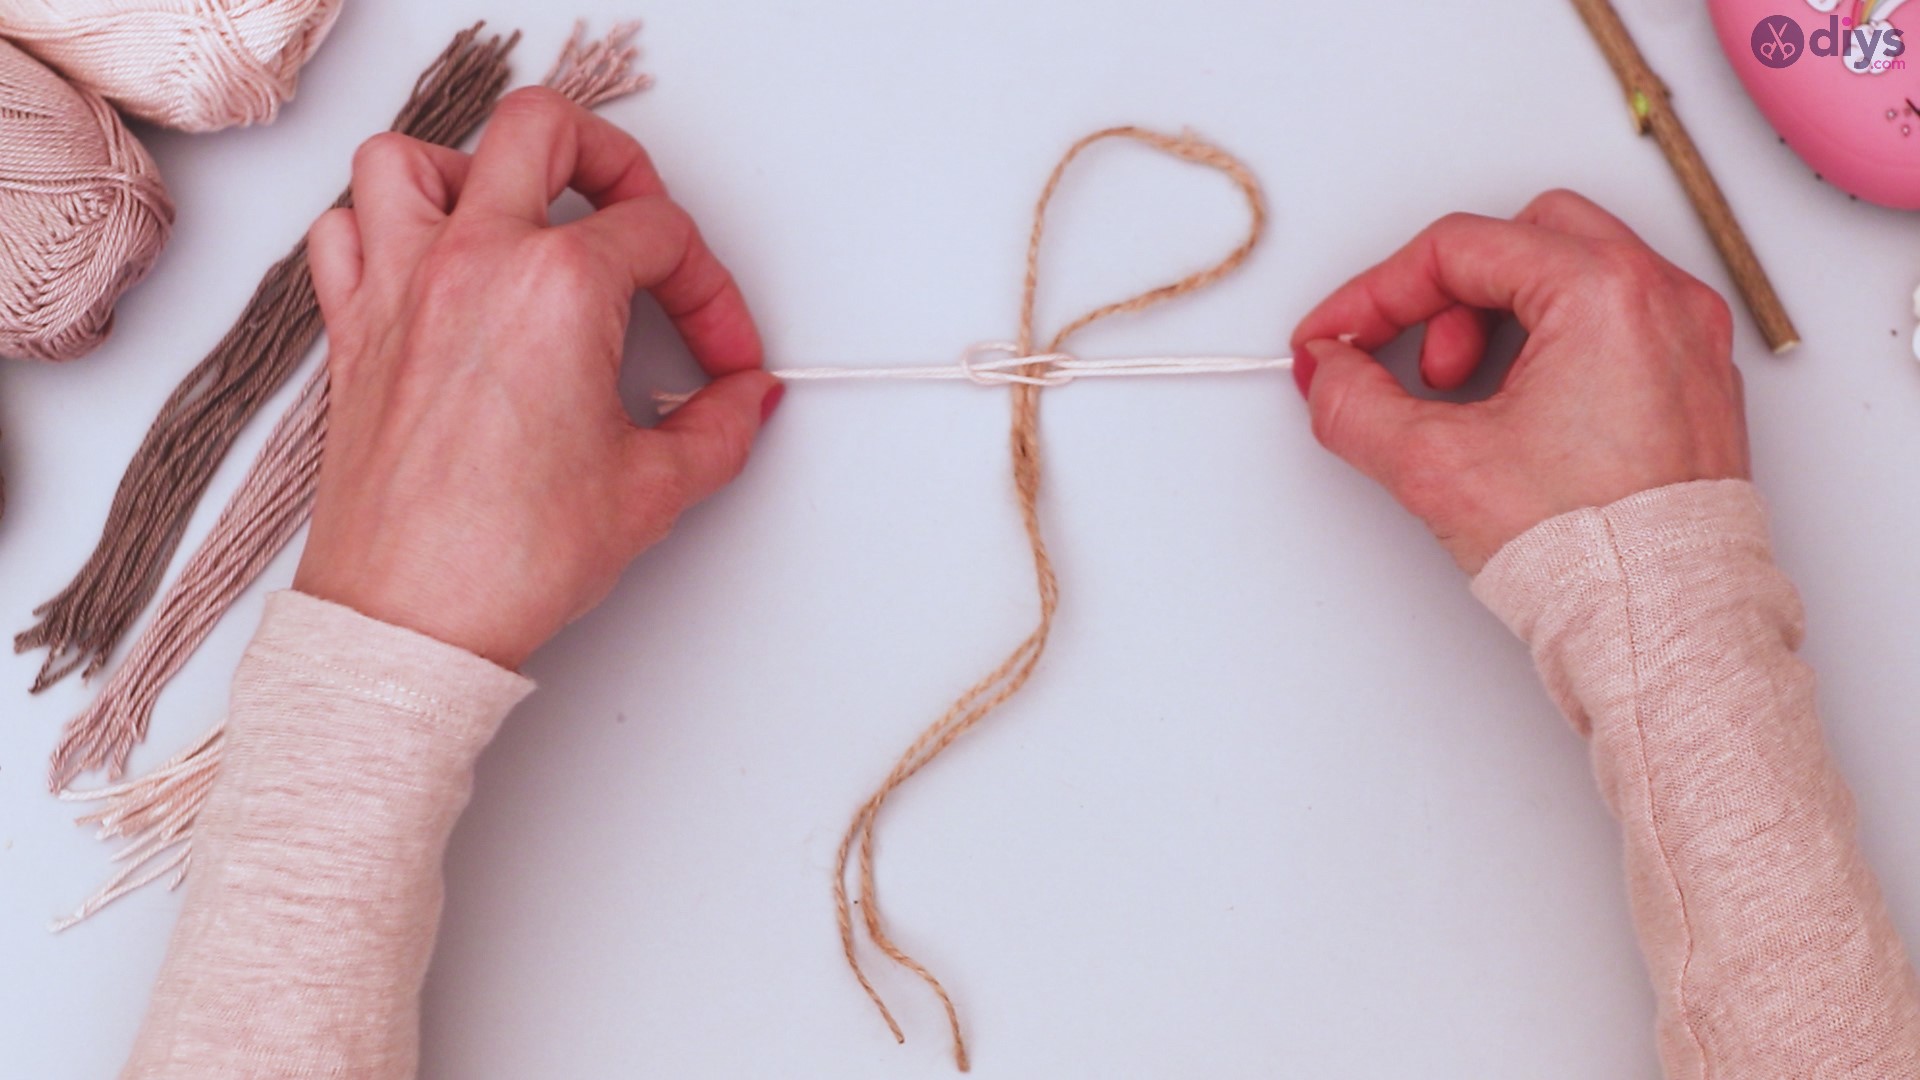
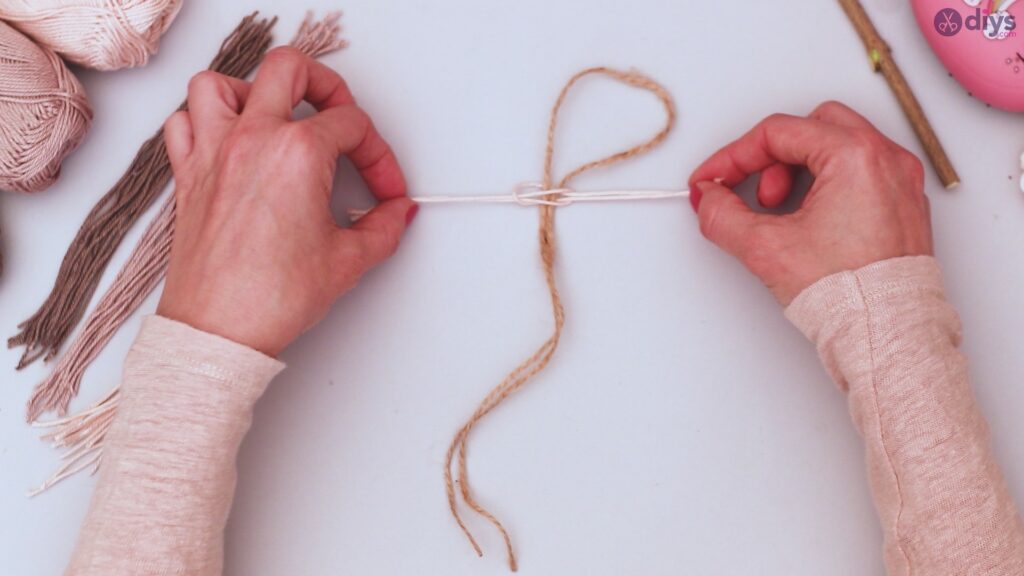
Feed one loop through the other, then back through. This will create a single loop.
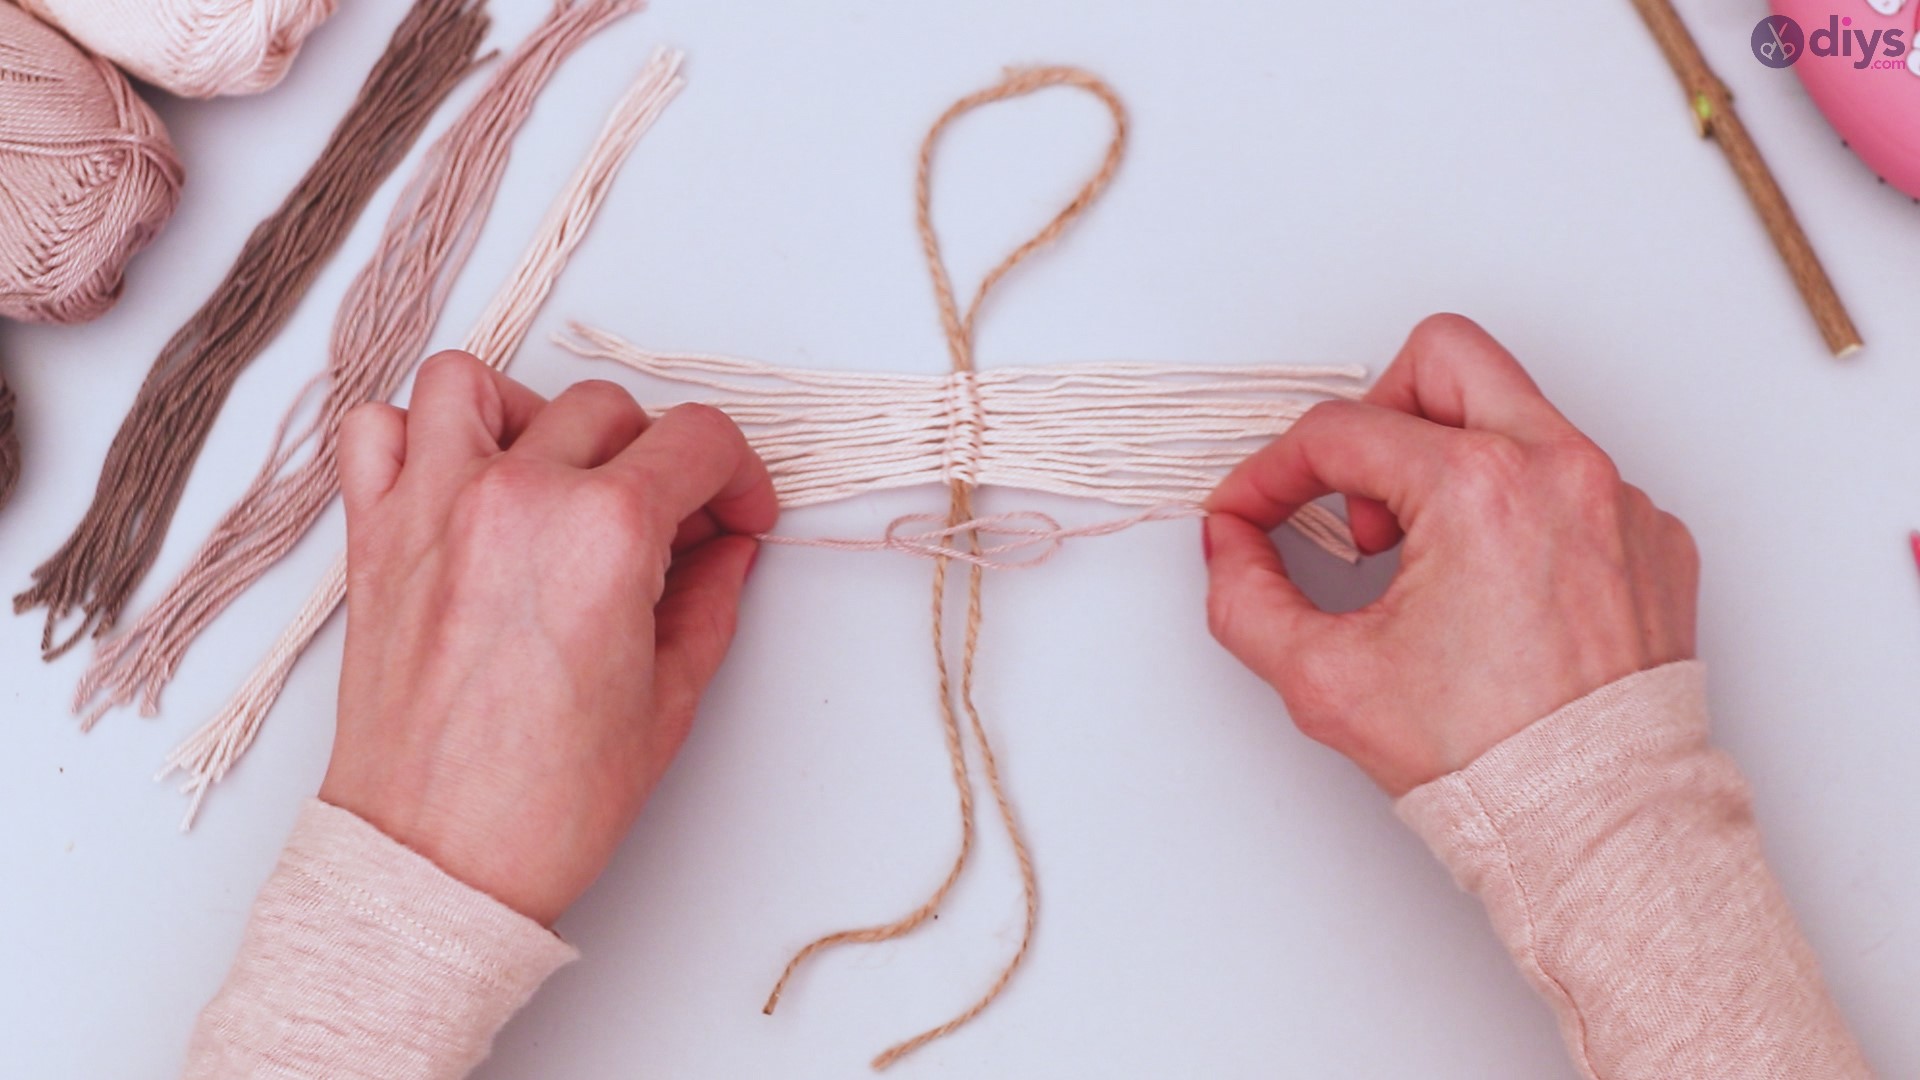
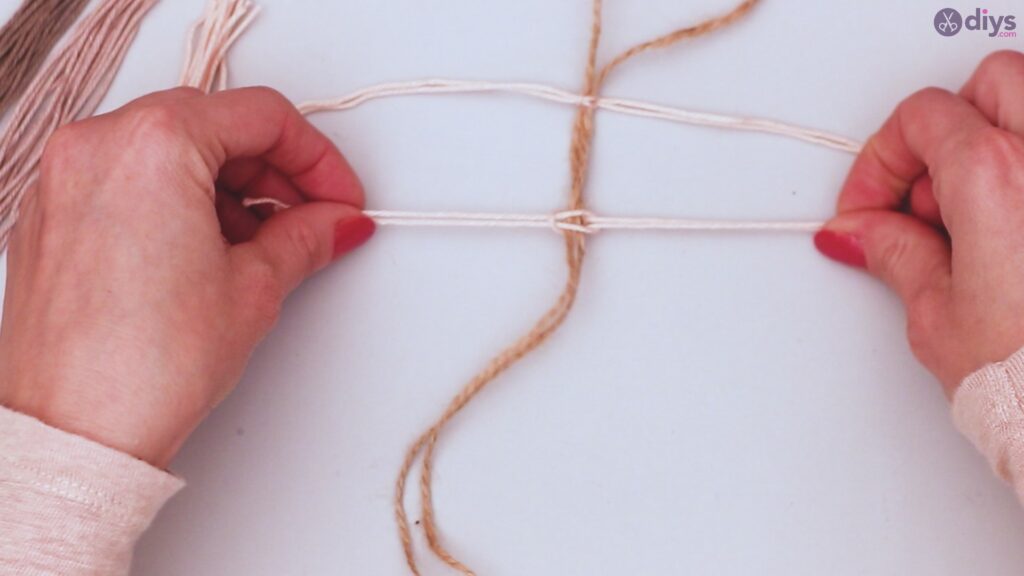
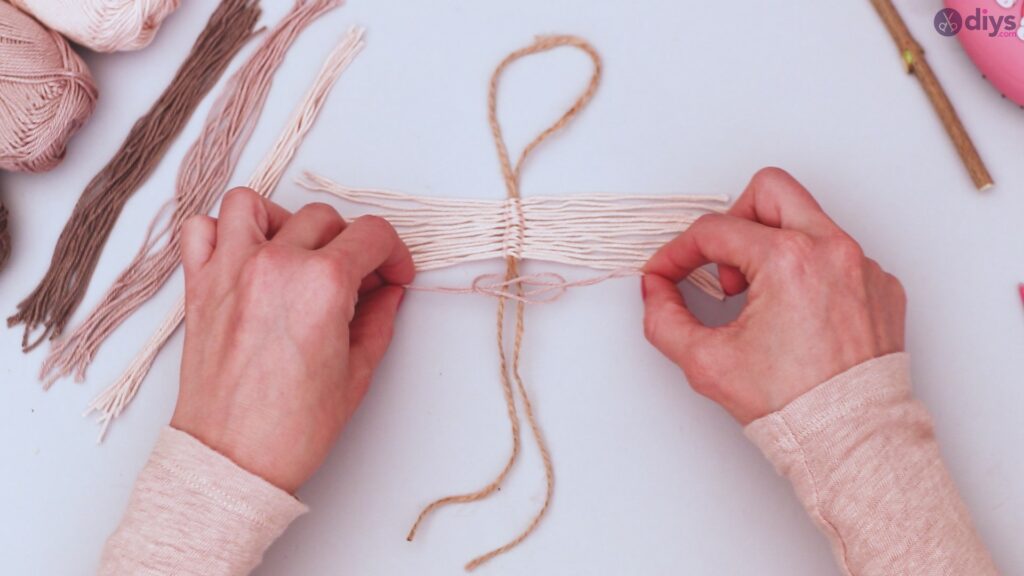
Thread your hemp twine through this loop, leaving space between your yarn and the bottom of the loop, and then pull the ends of your yarn tight so that the loop hugs the twine. Make sure the looped end of your twine will remain as the part of the stem that attaches to your branch.
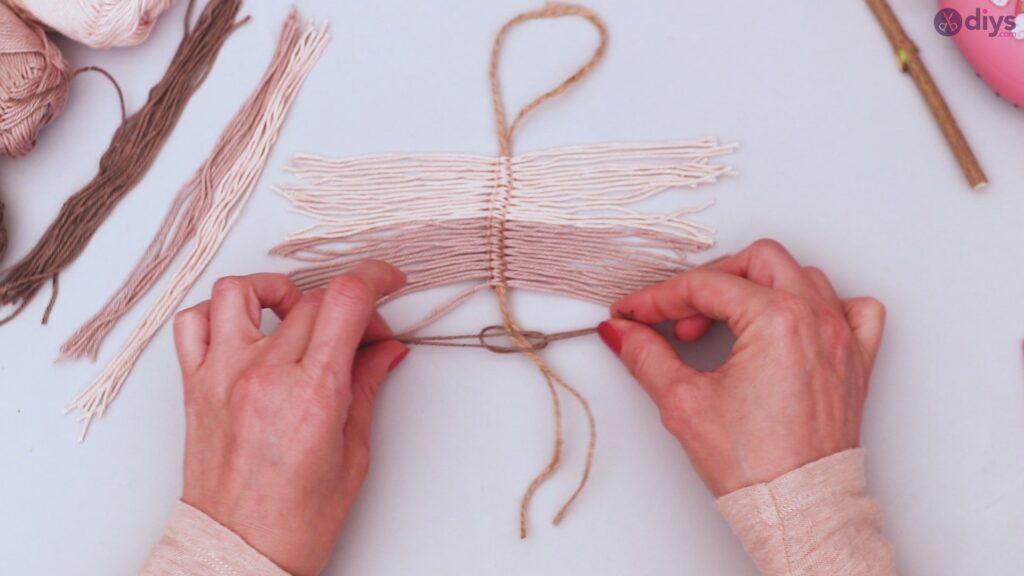
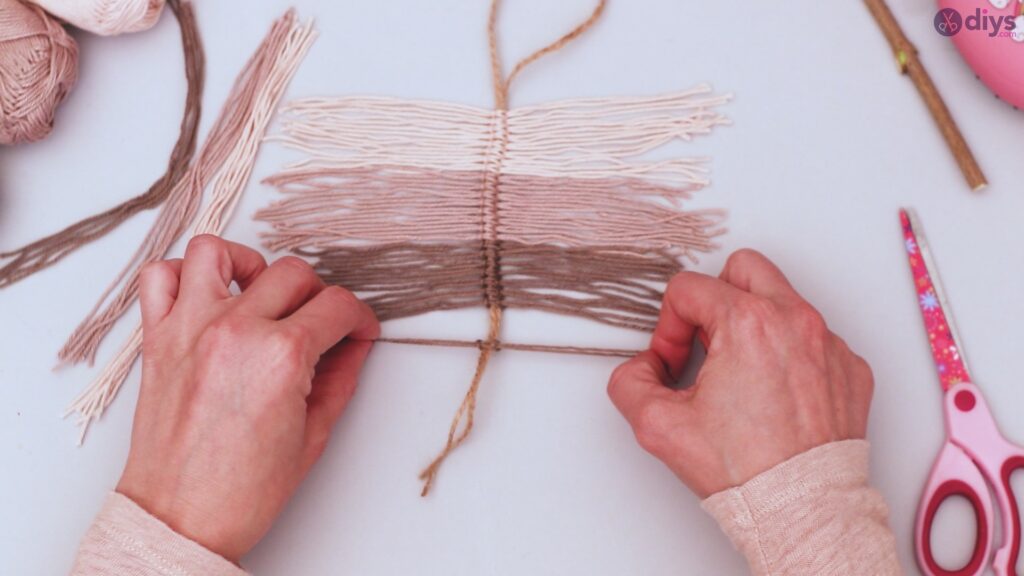
Repeat this process with two more lengths of yarn looped together. Slide the two completed lengths so they are right next to each other on the twine. Don’t tighten the loop of your linked yarn until it’s in the proper position.
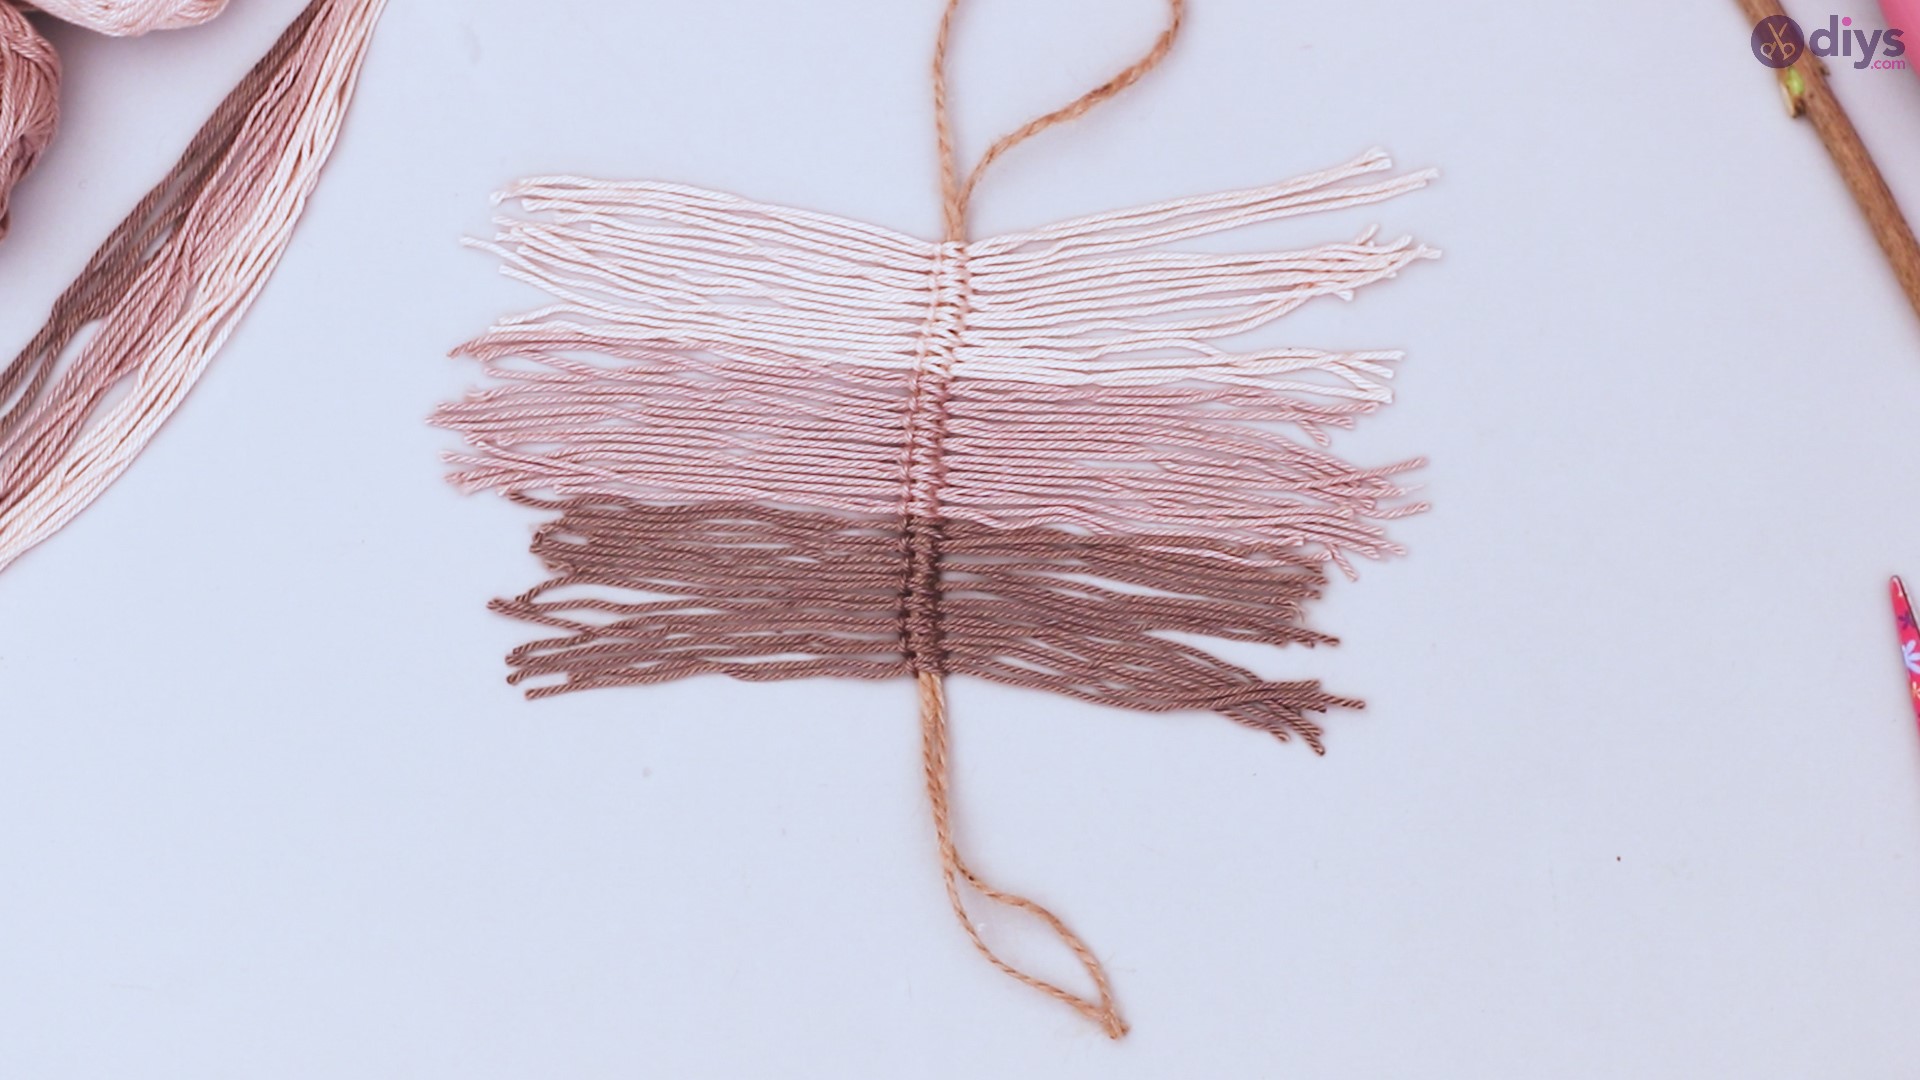
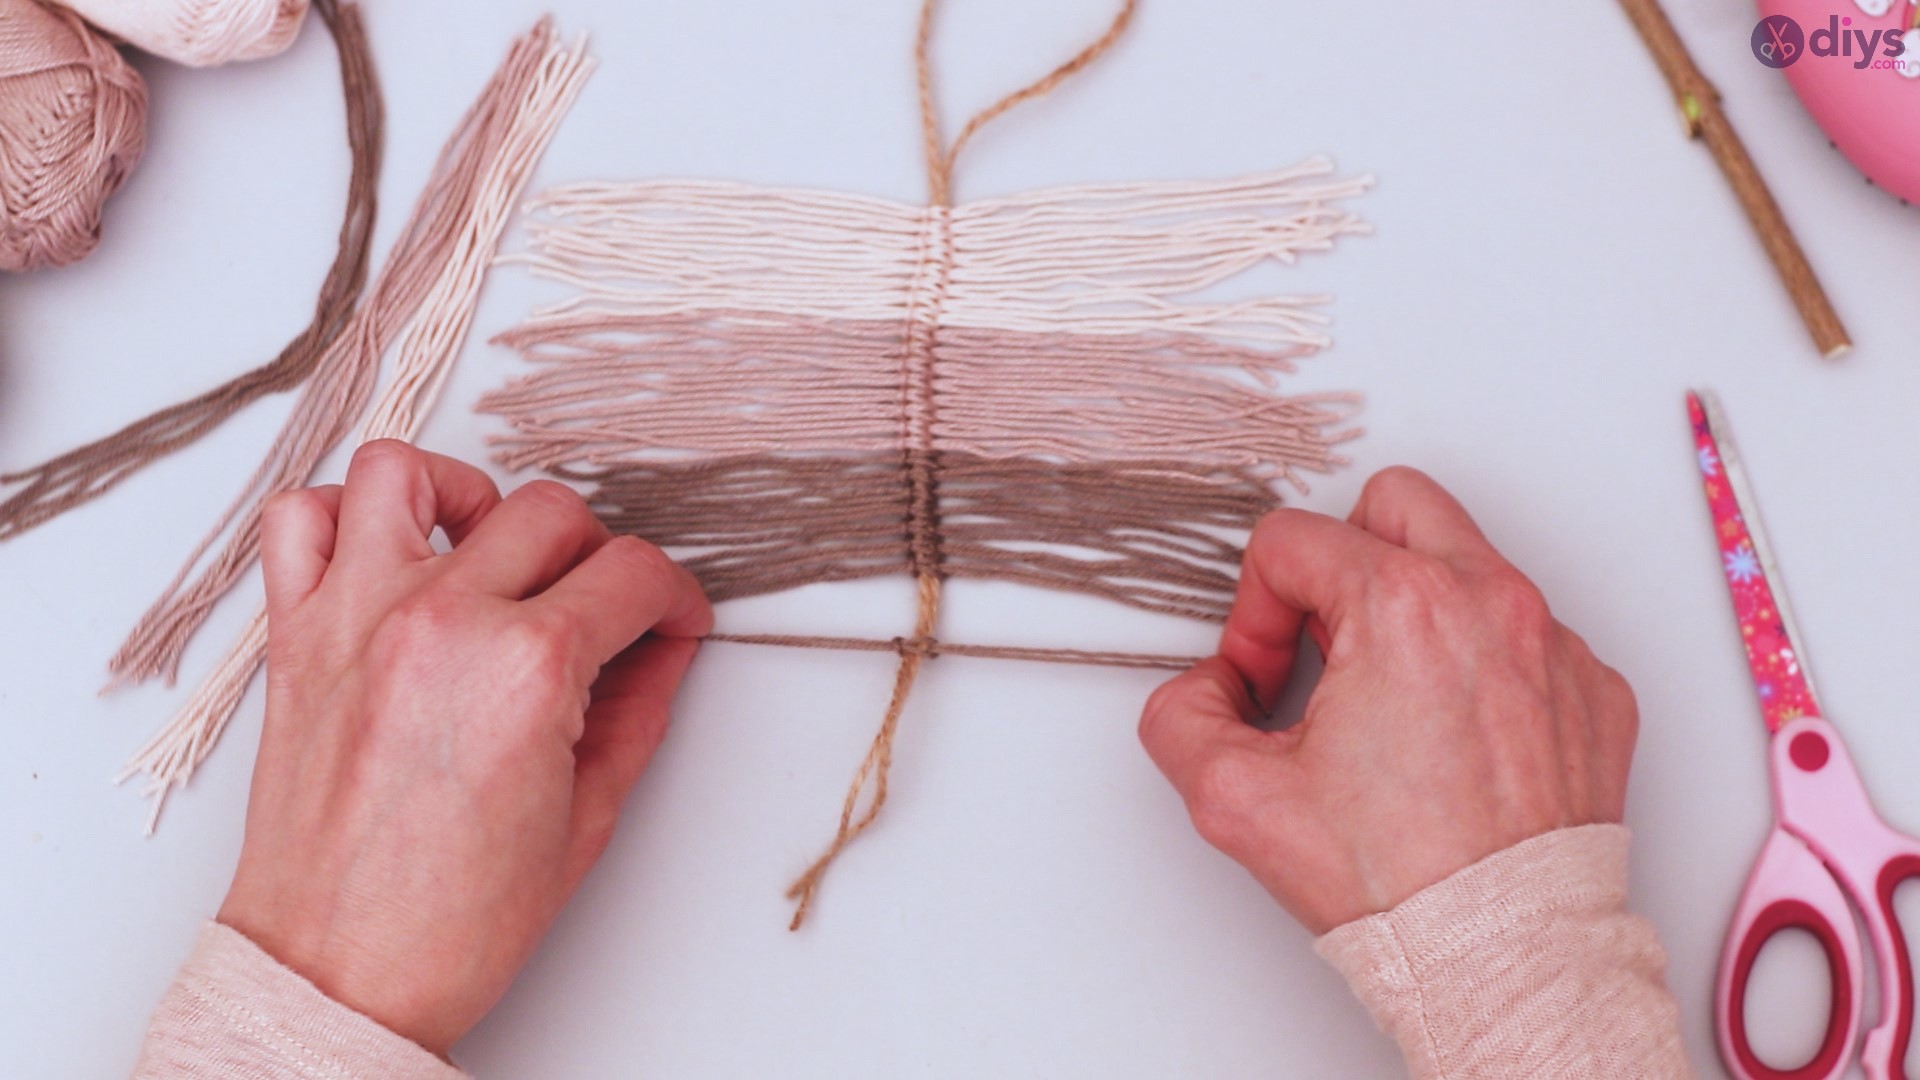
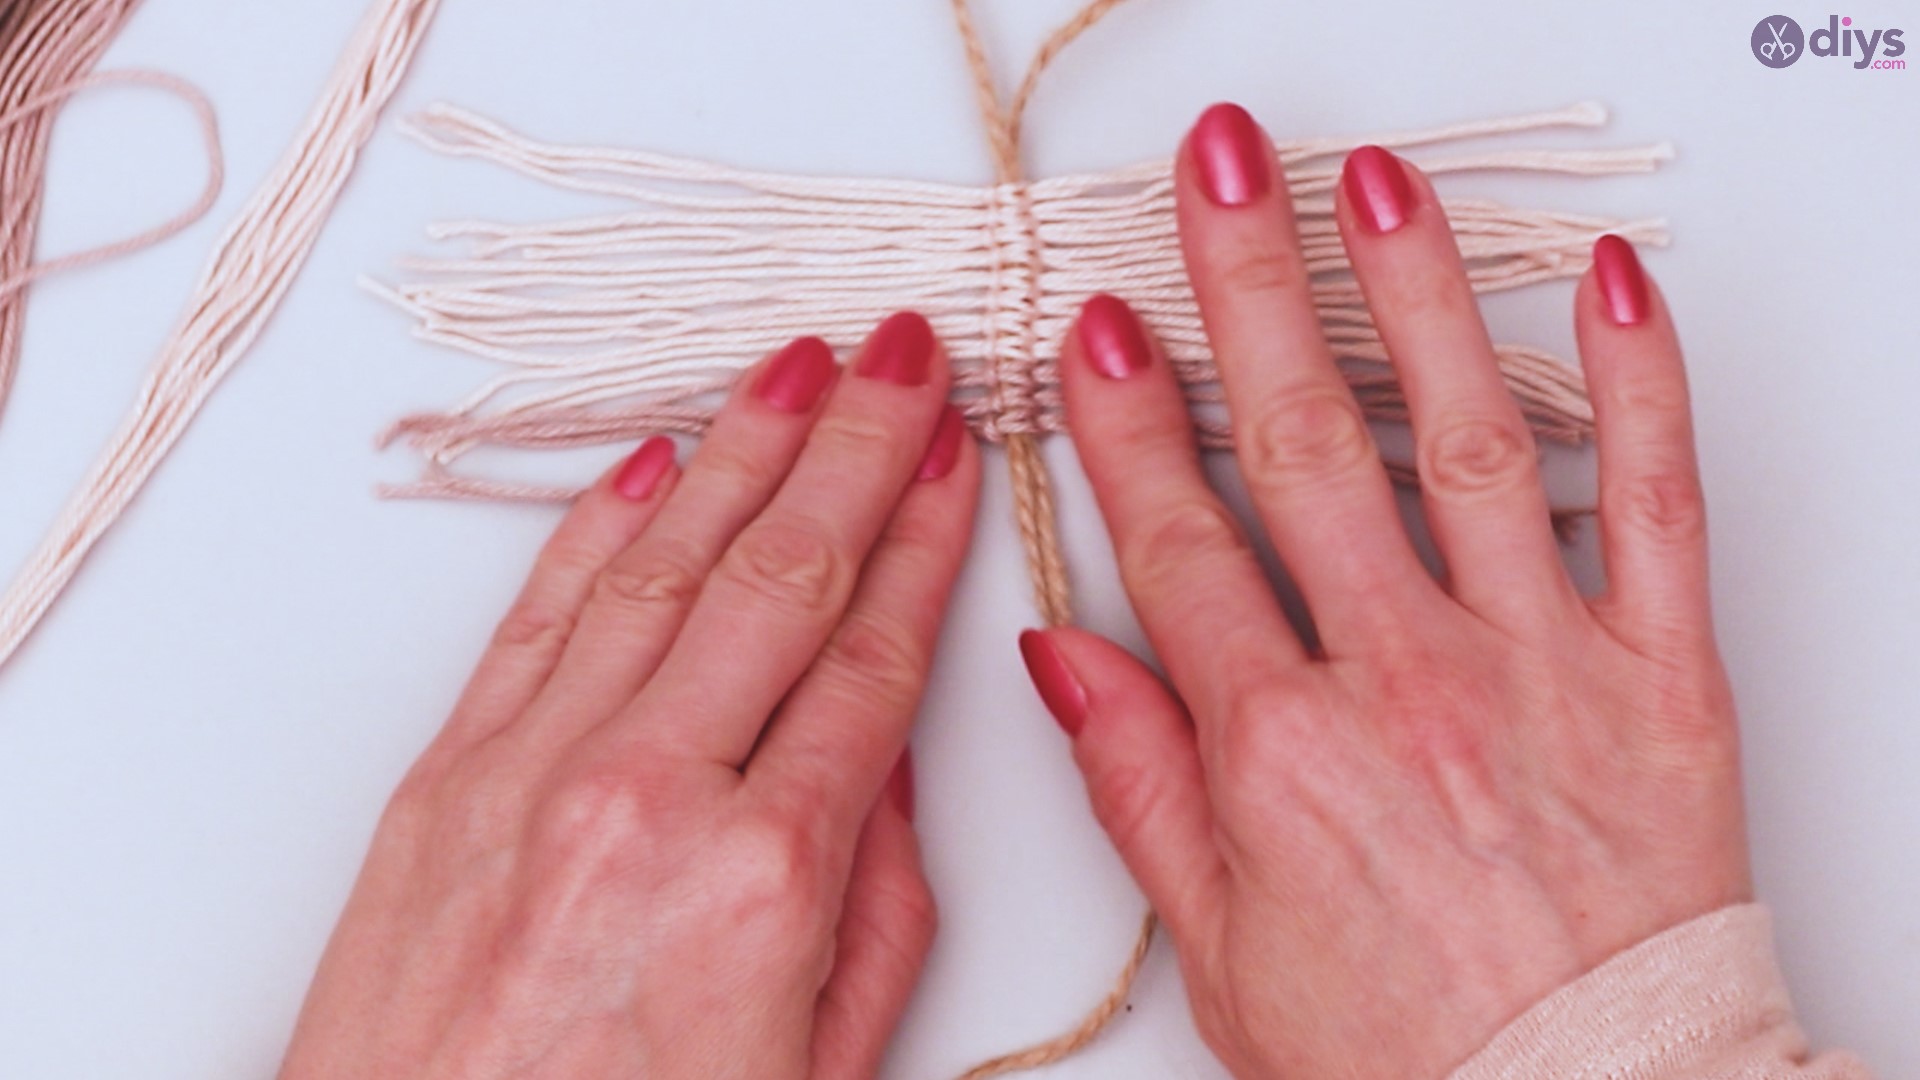
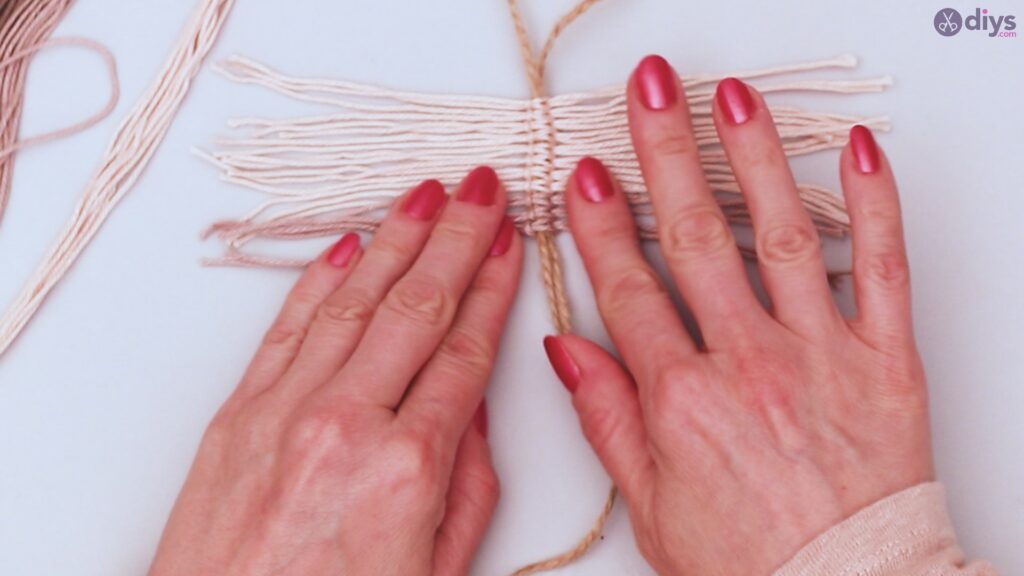
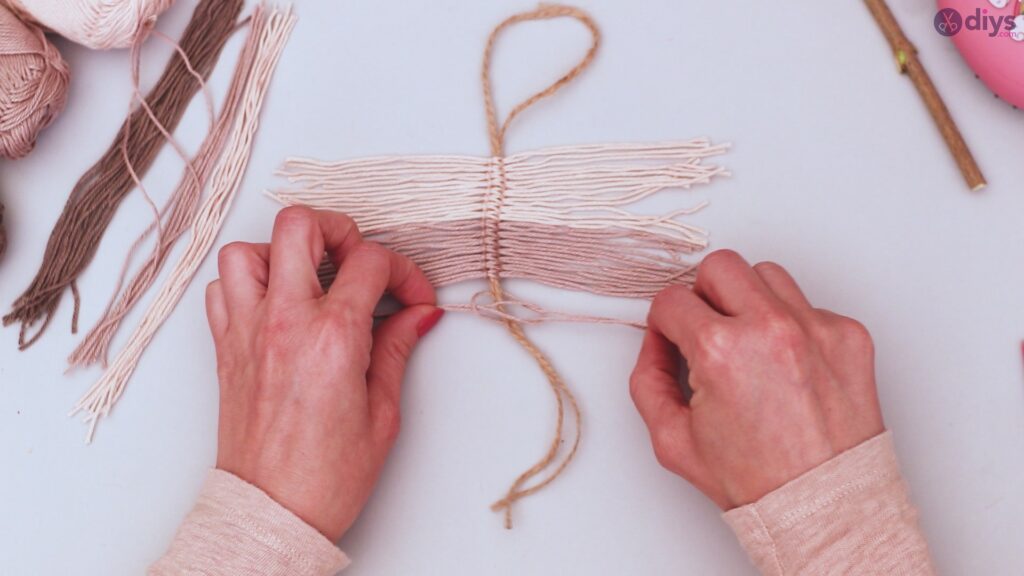
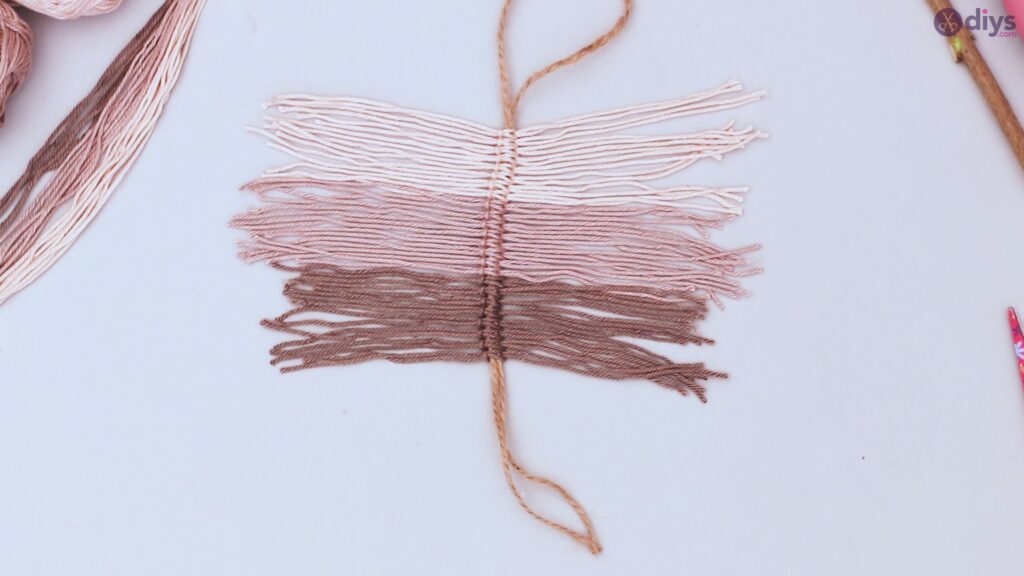
Continue the process with a single color until you’ve used all of your yarn of that color. Slide each set of two down so they are next to each other, securing in place by tightening them when you’ve butted them up against the next one.
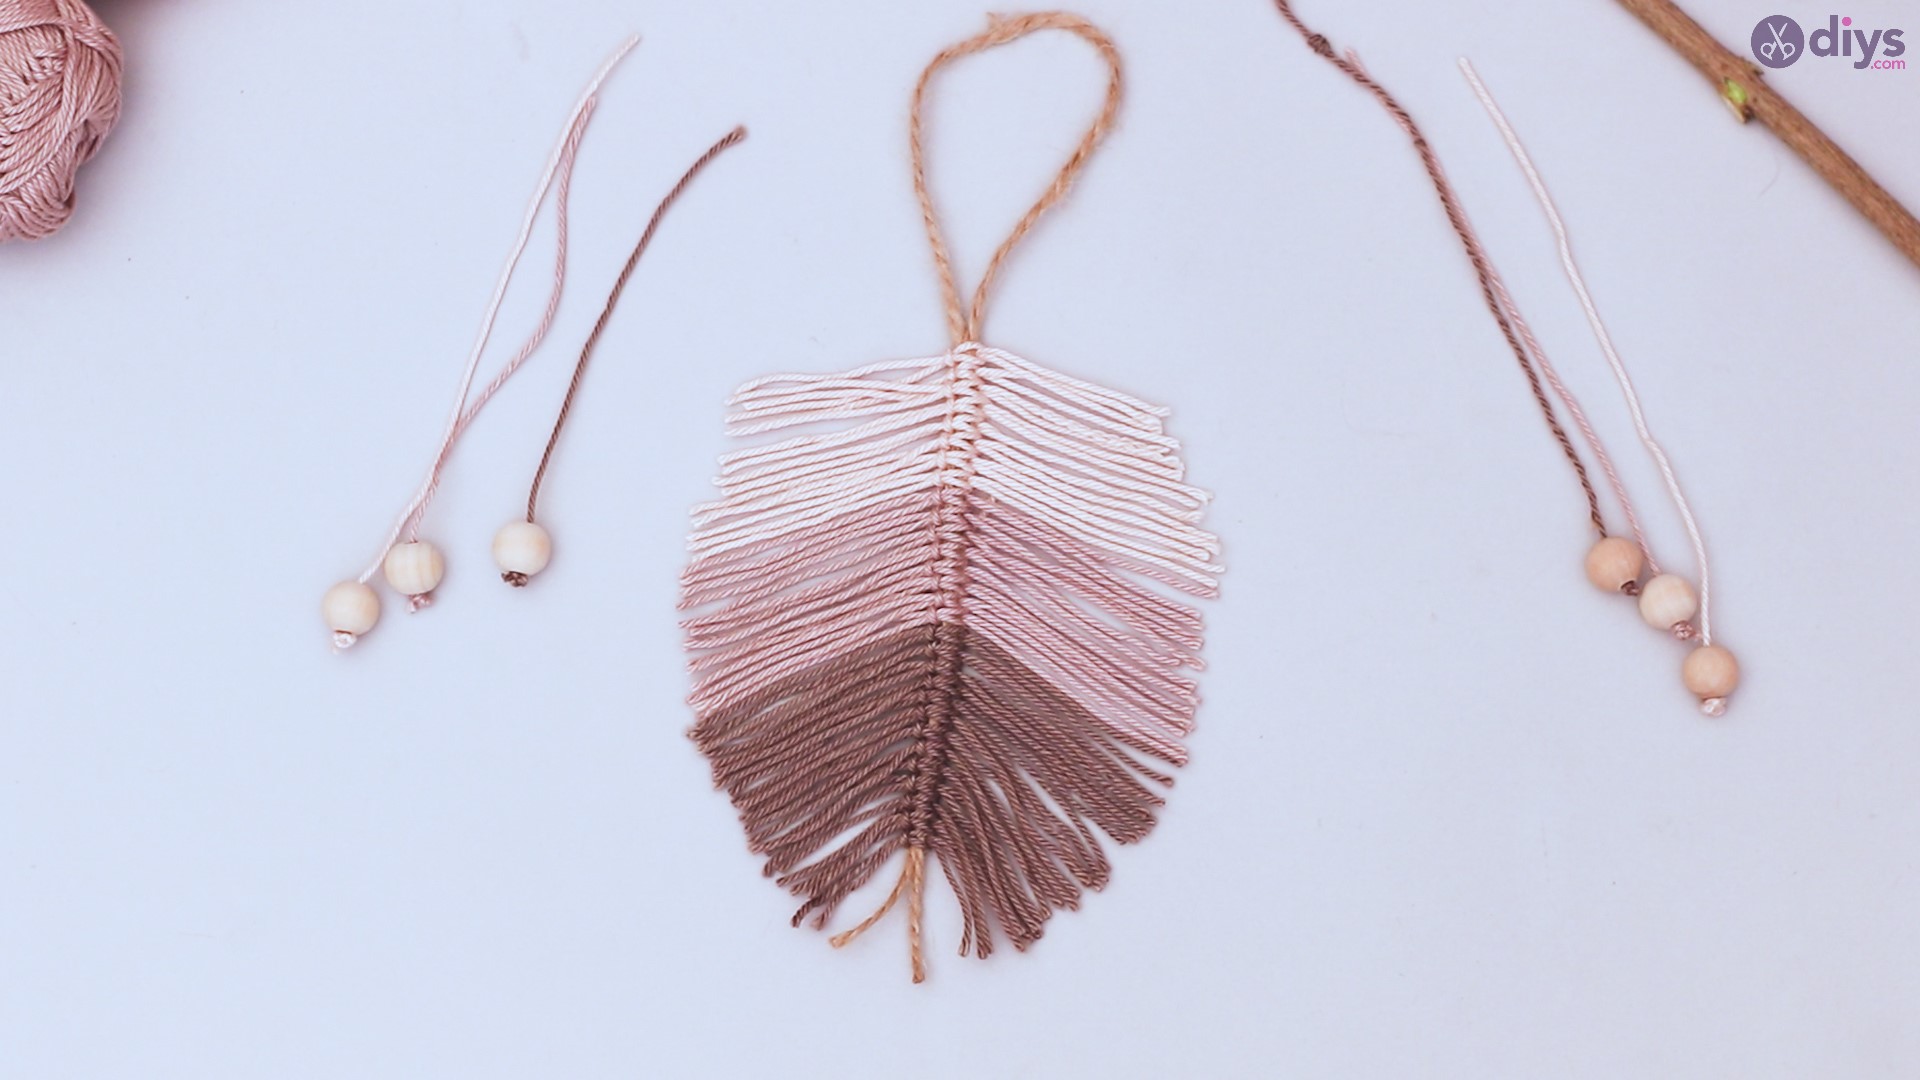
Repeat with your other two yarn colors, until the stem is covered from your starting point above the loop to cover most of the rest of the twine. You may have a little twine left. This is fine, and there’s no need to trim it.
Step 4: Shape your leaf
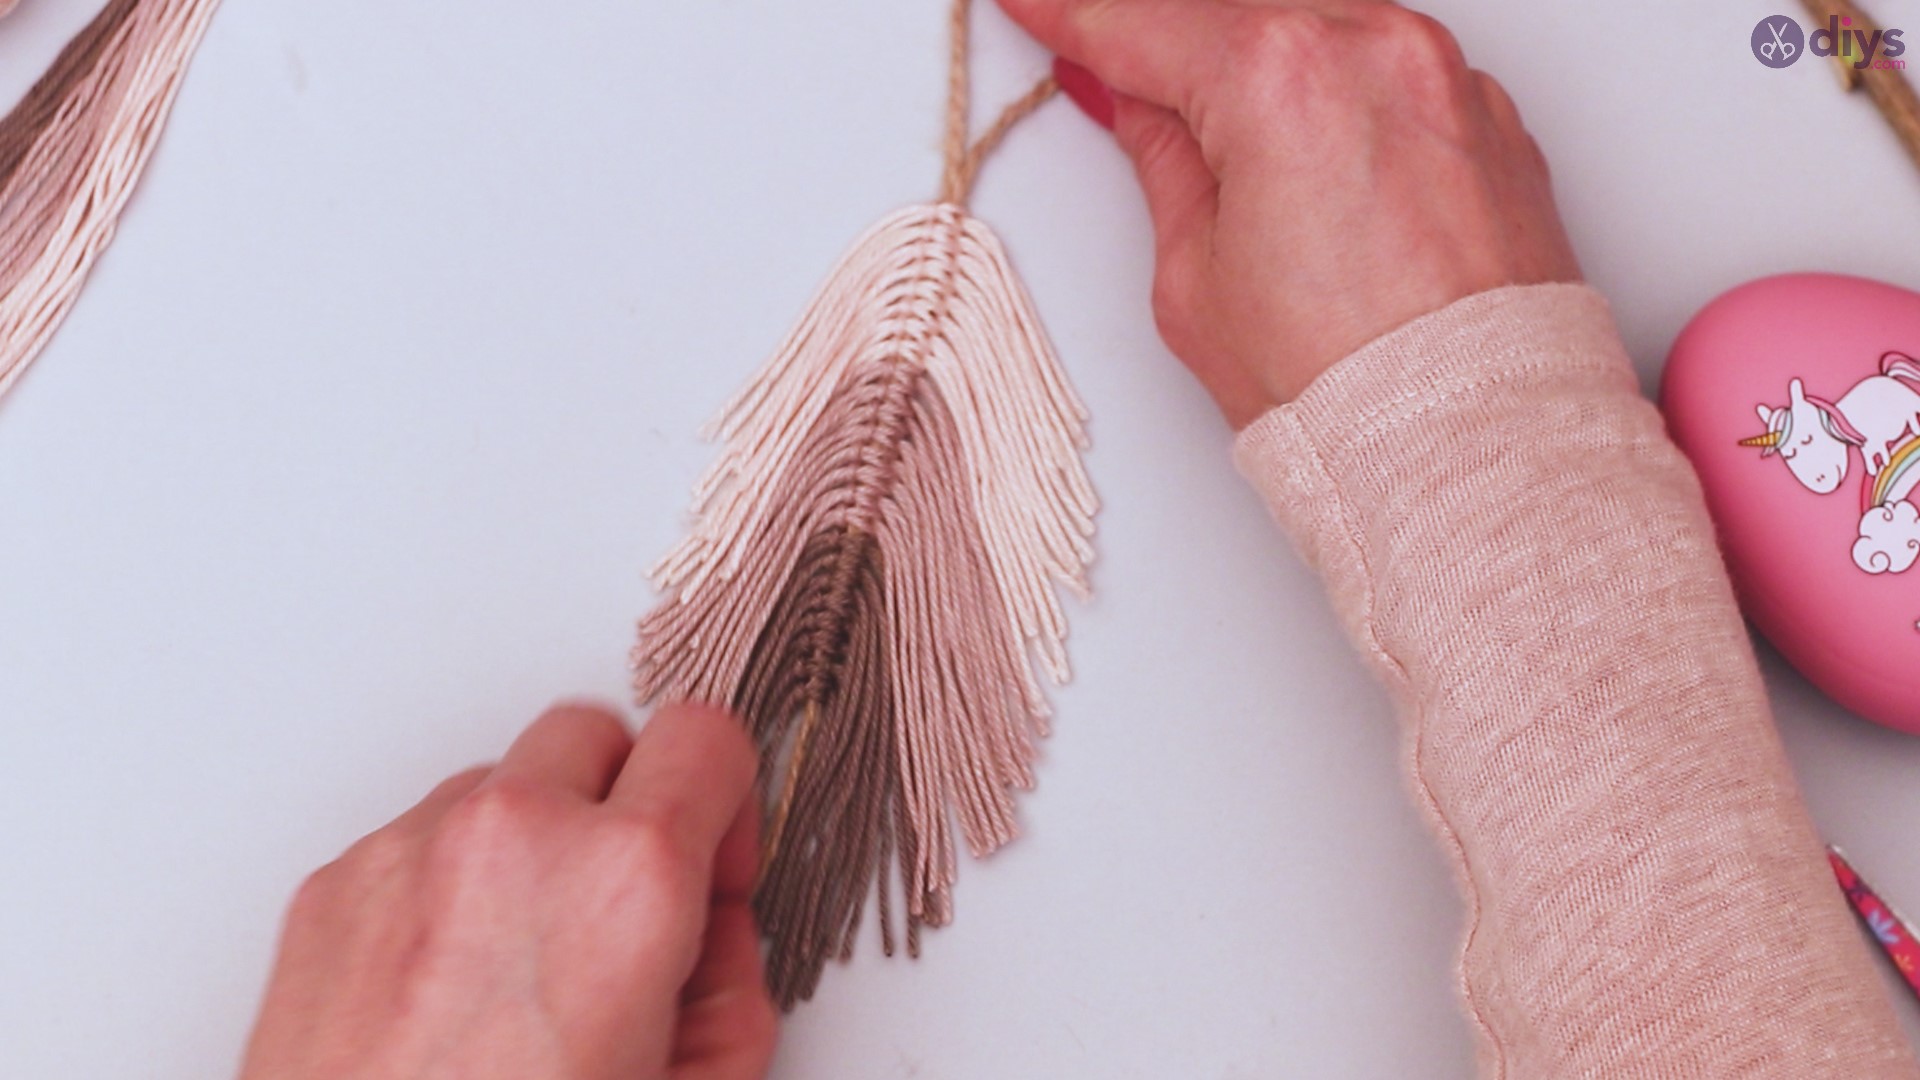
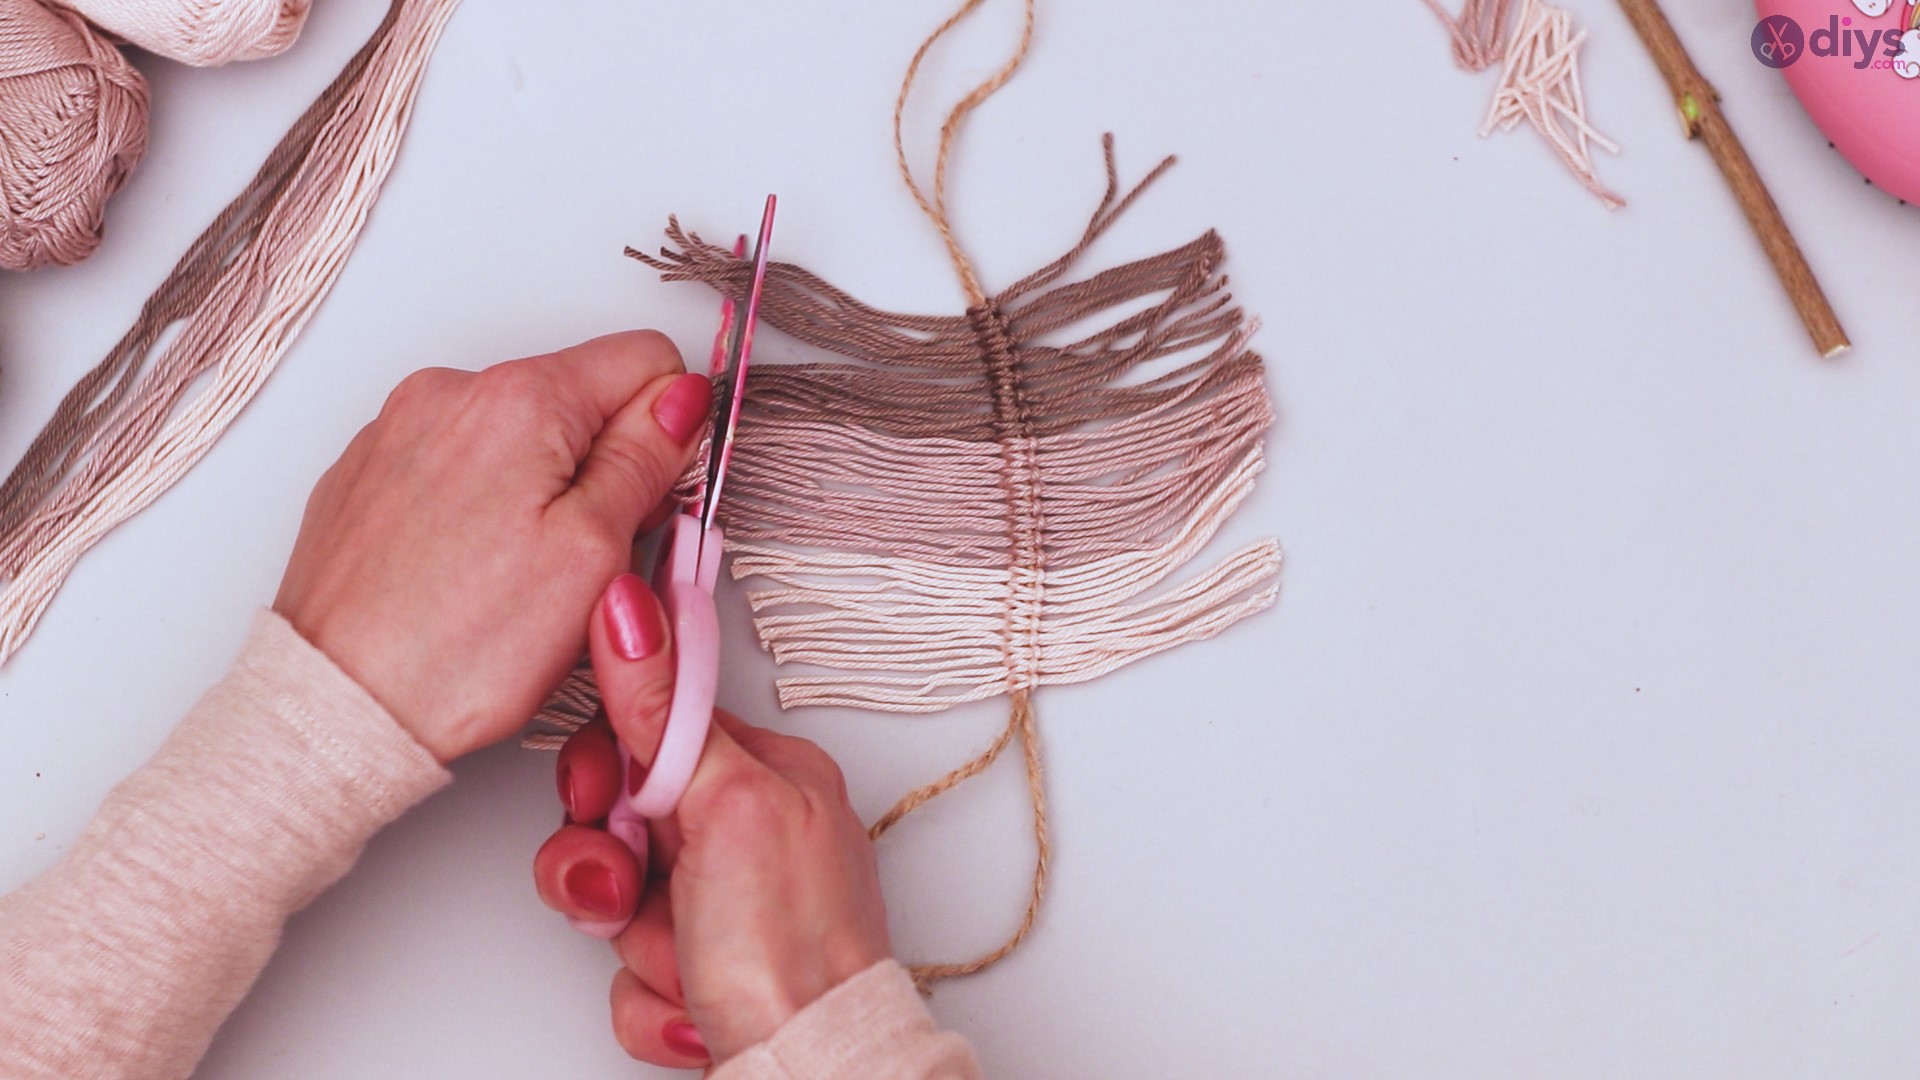
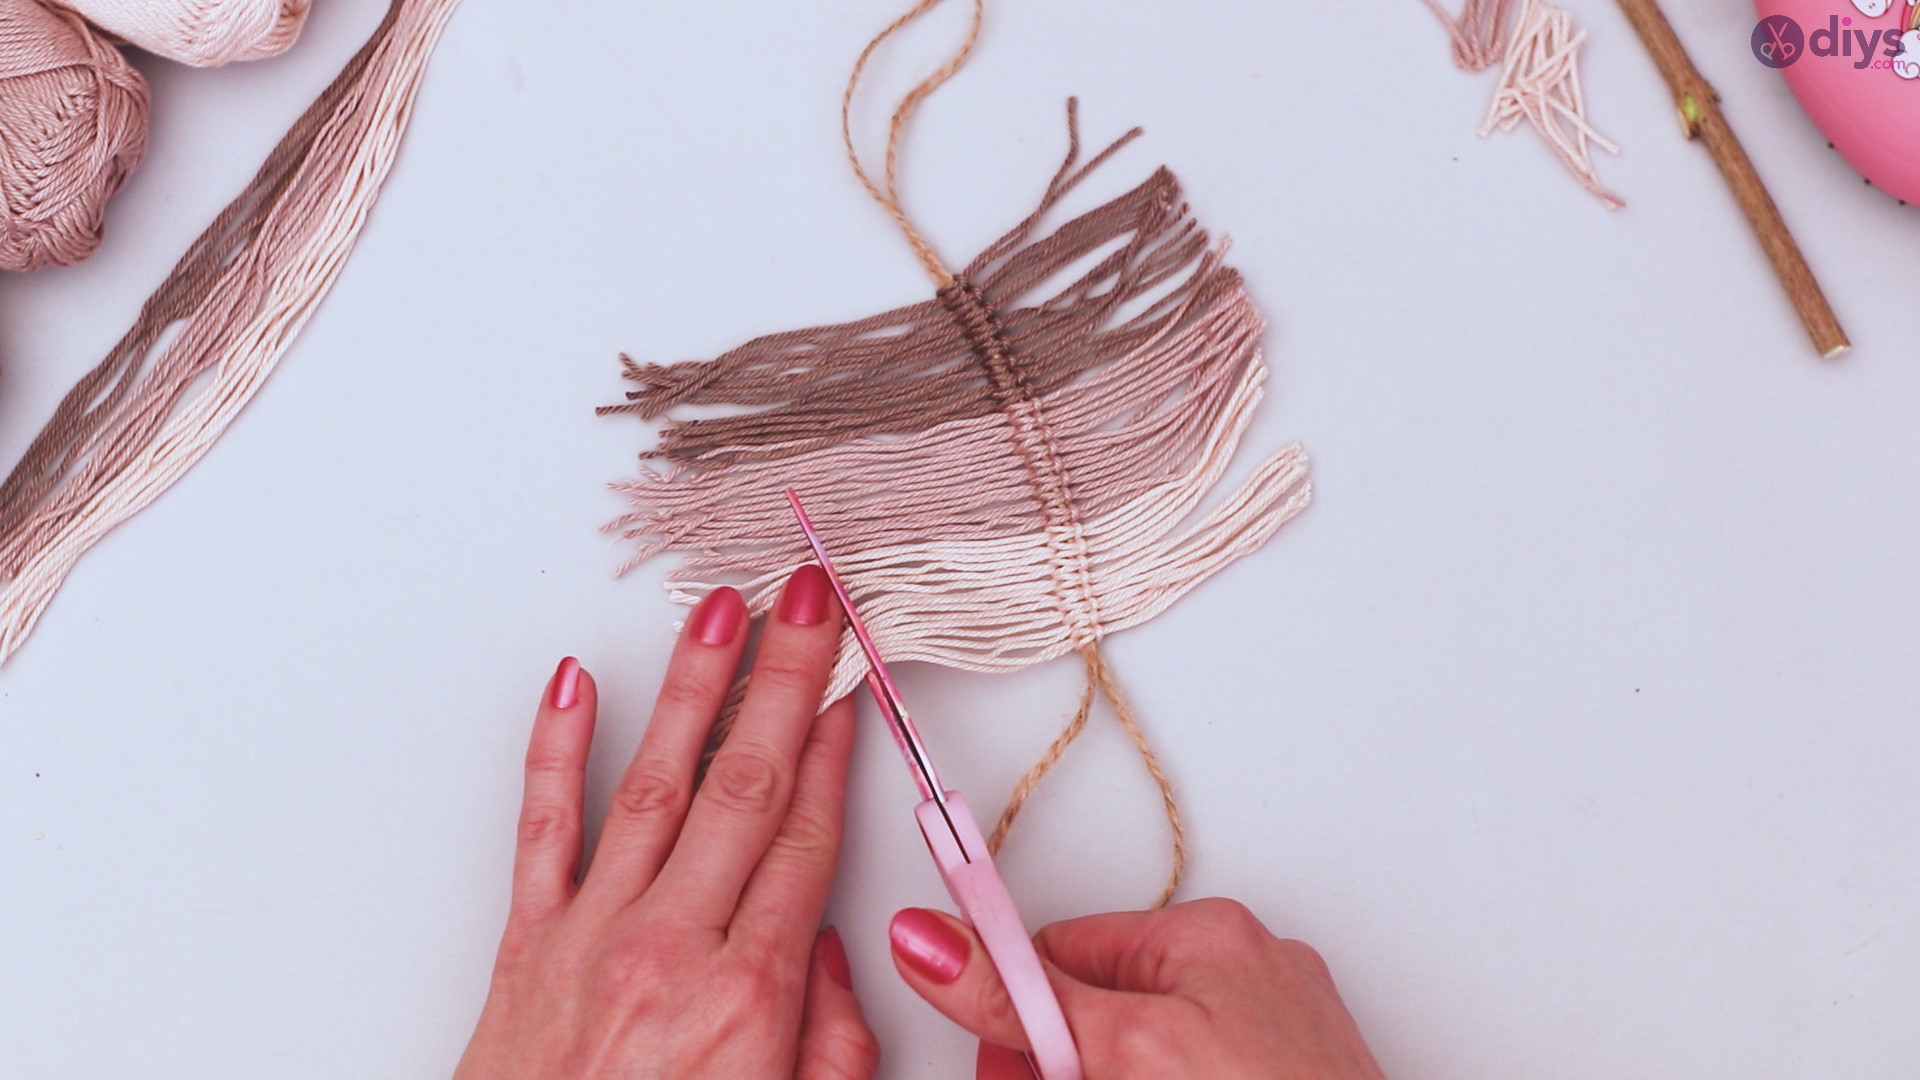
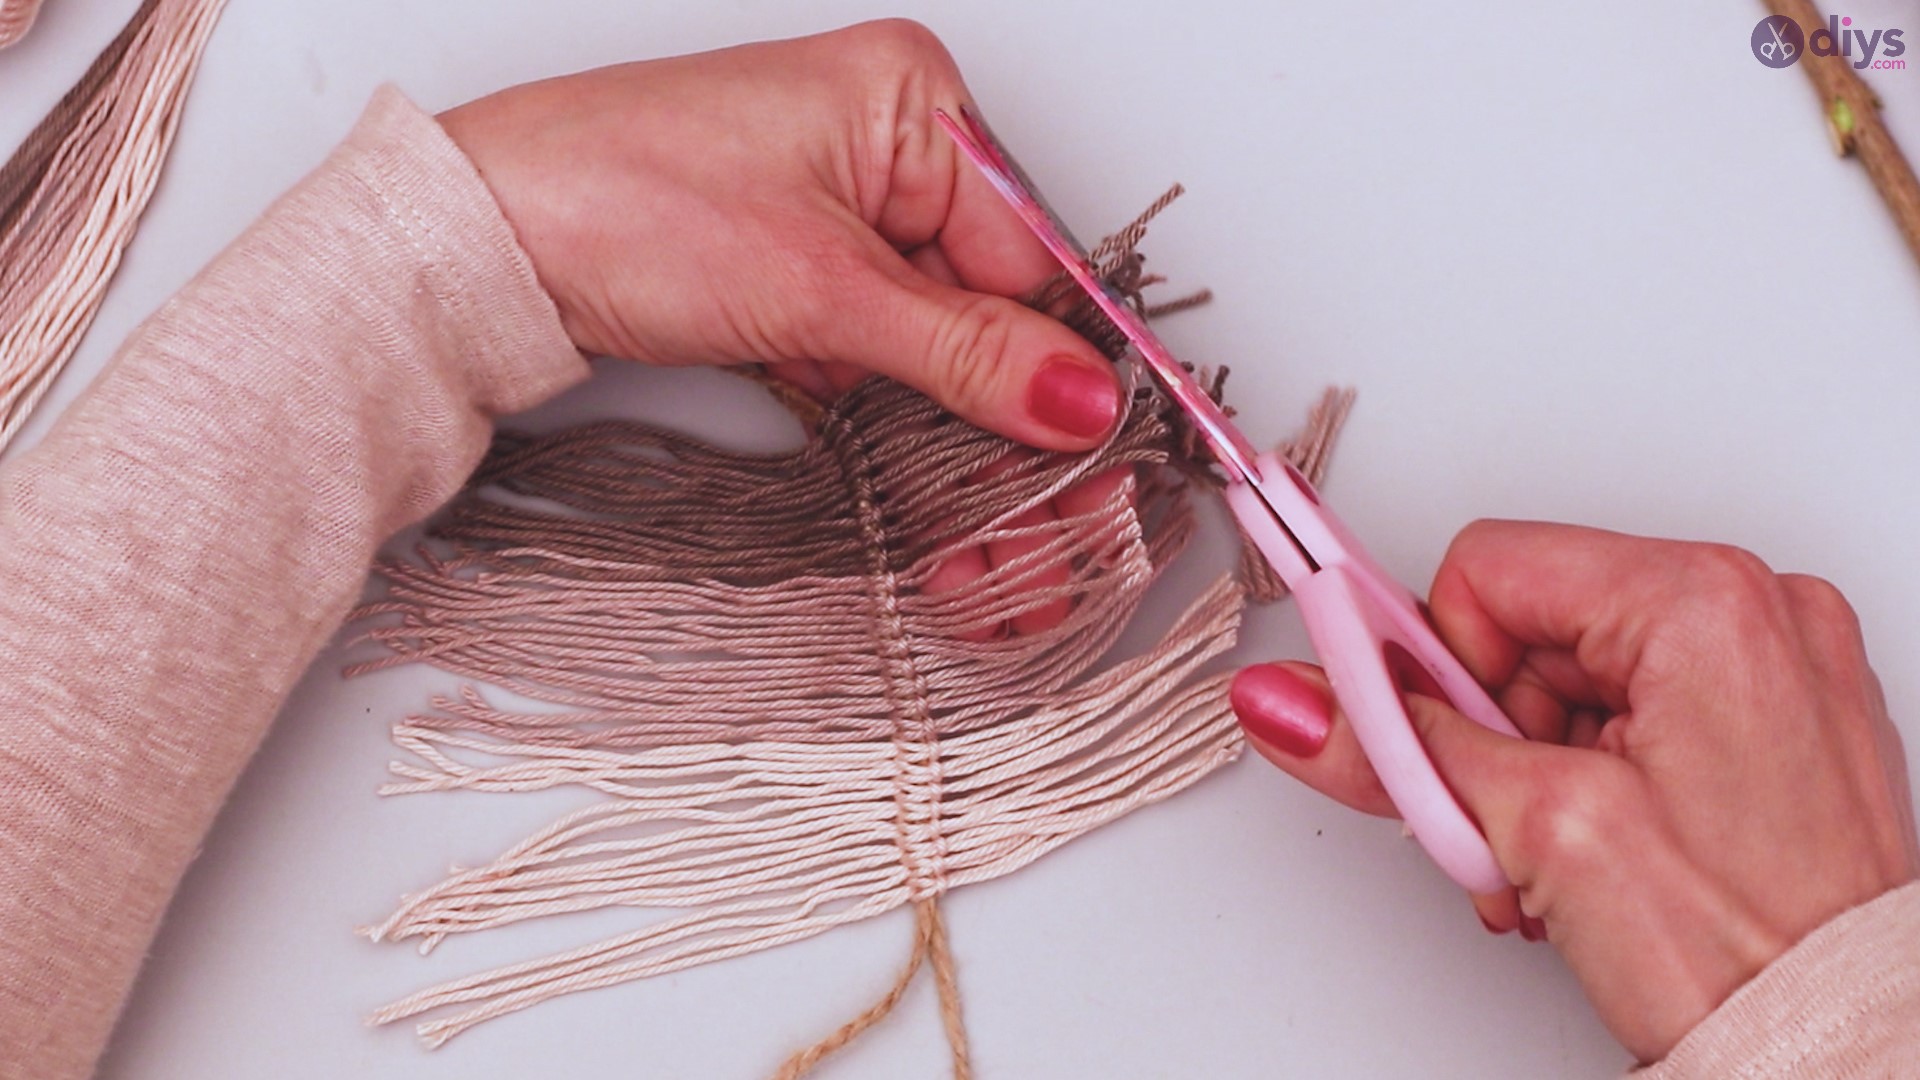
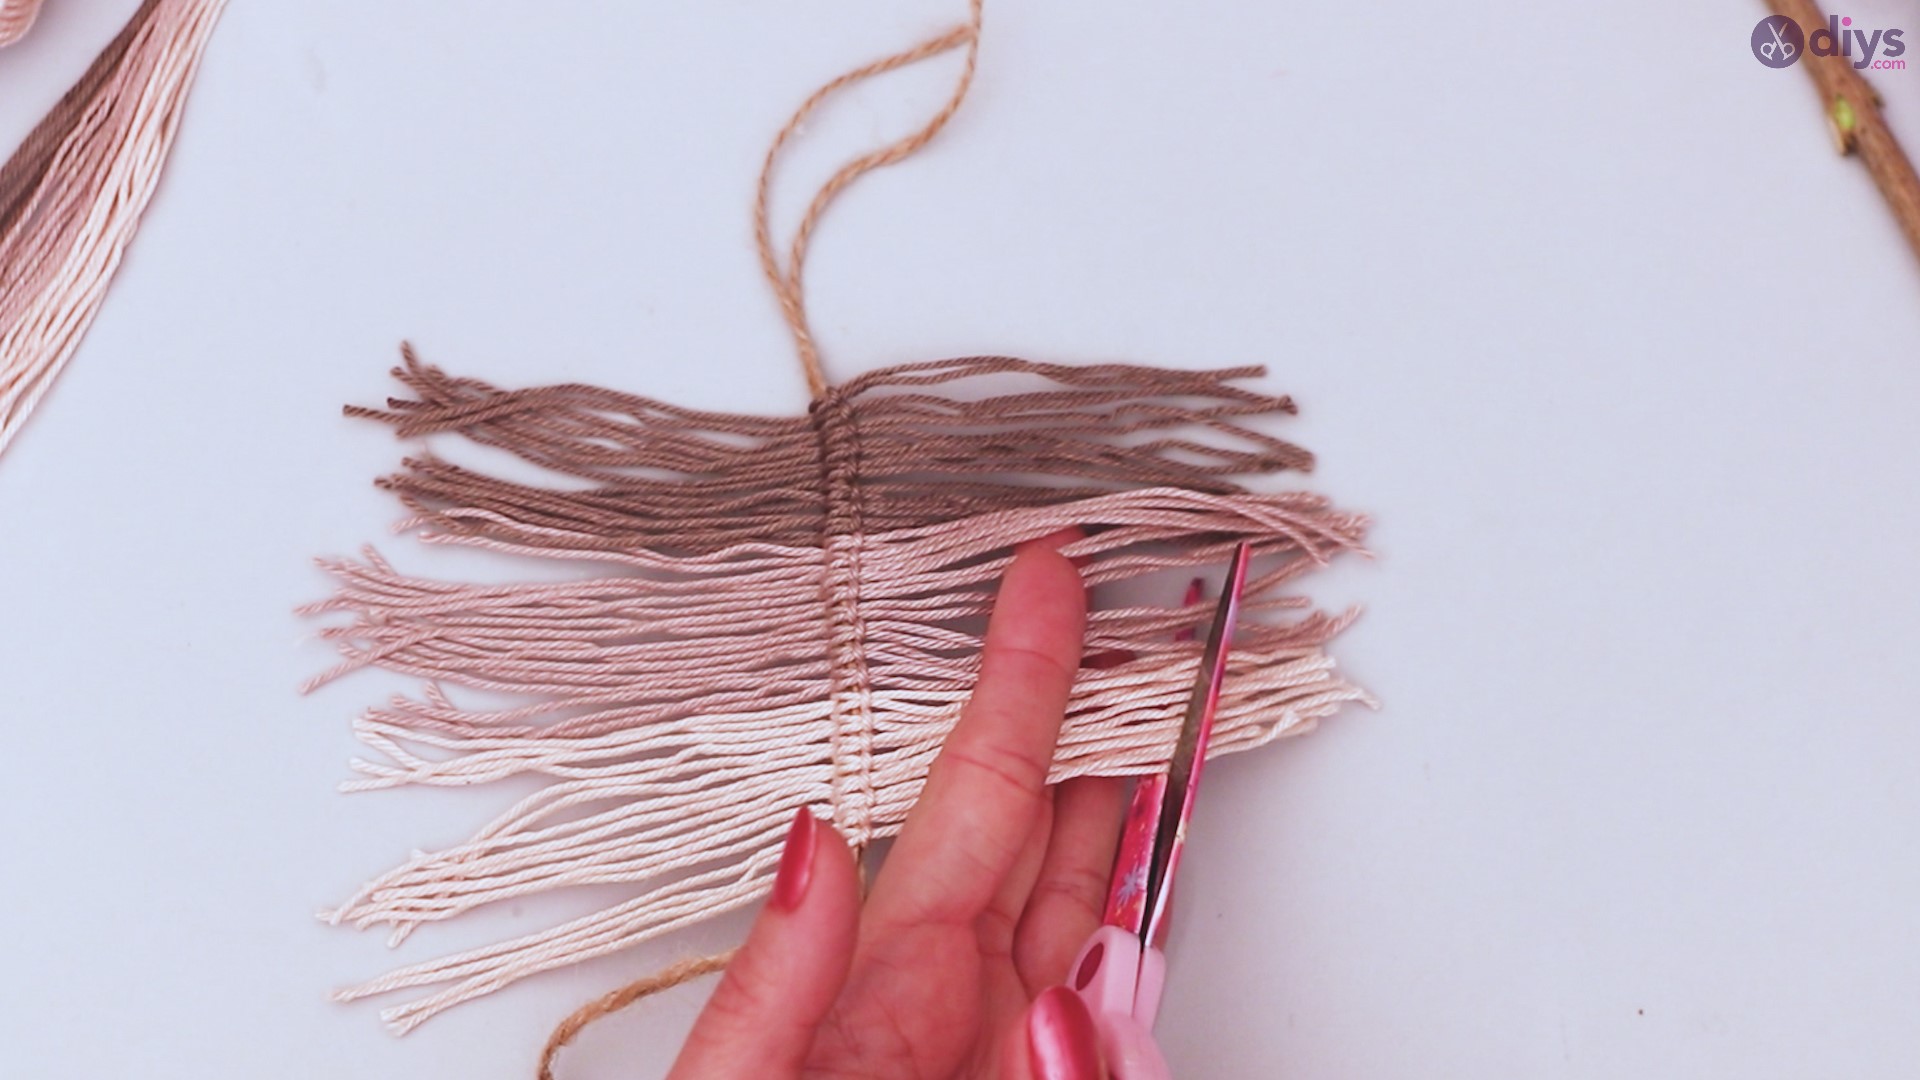
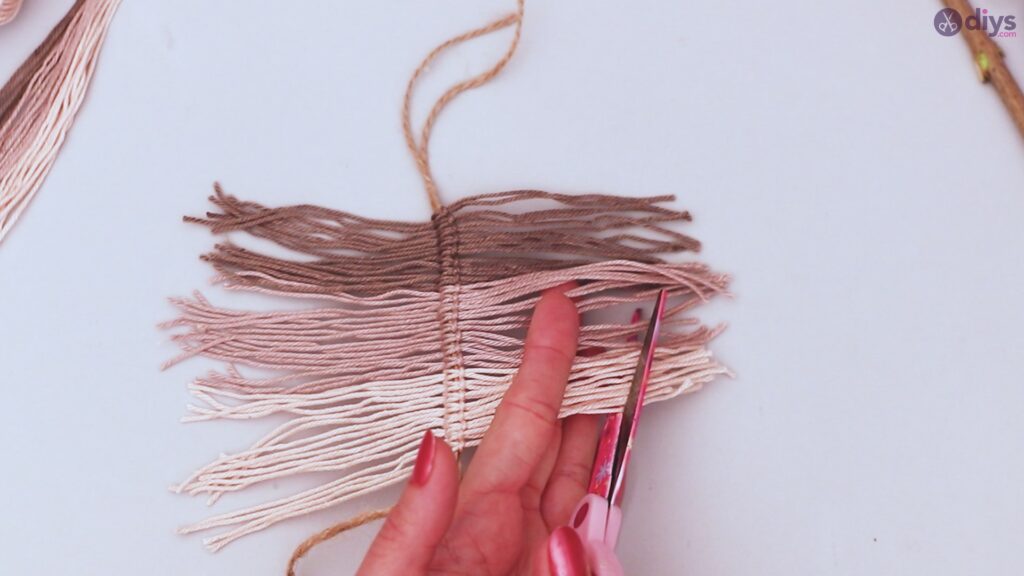
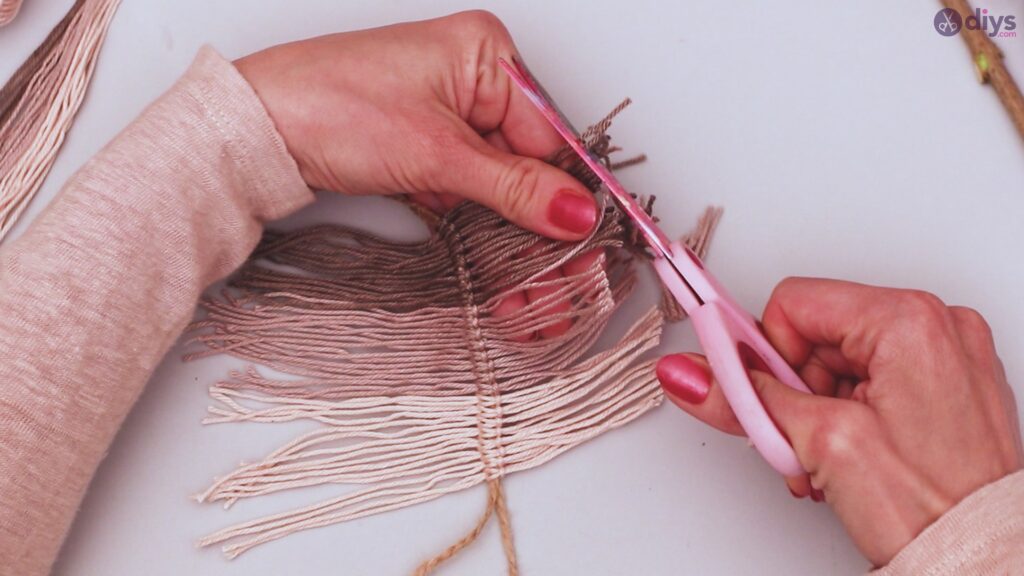
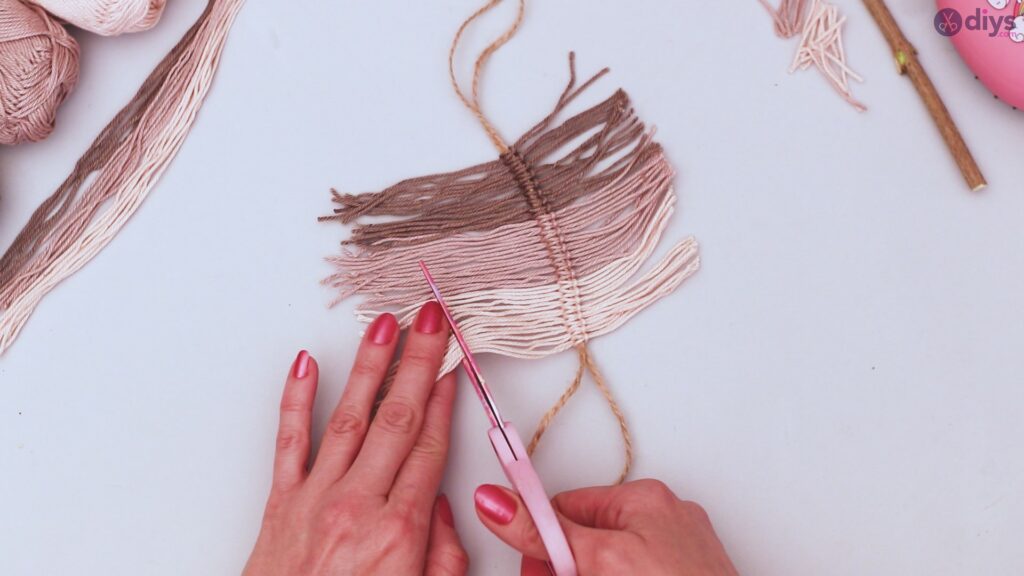
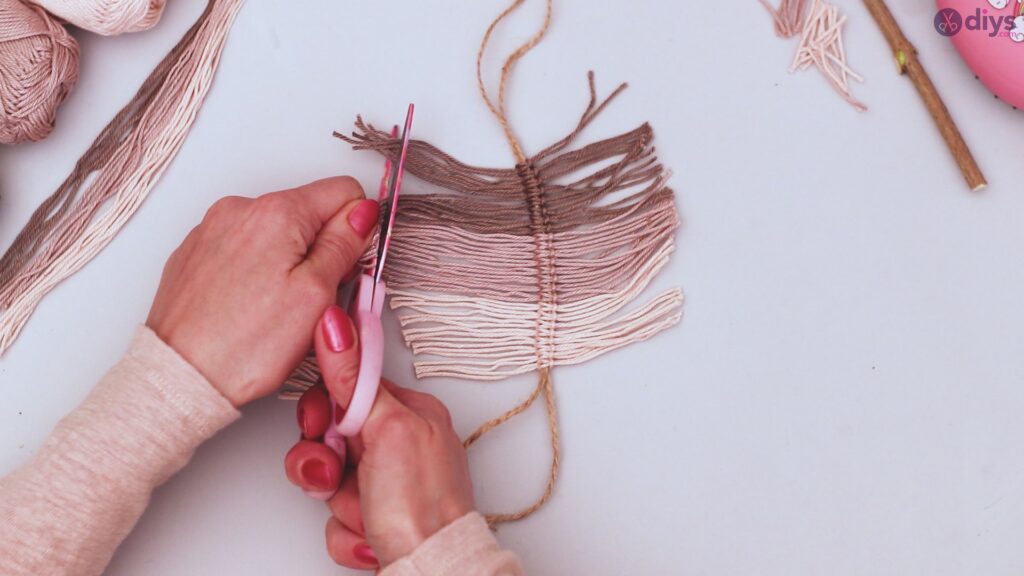
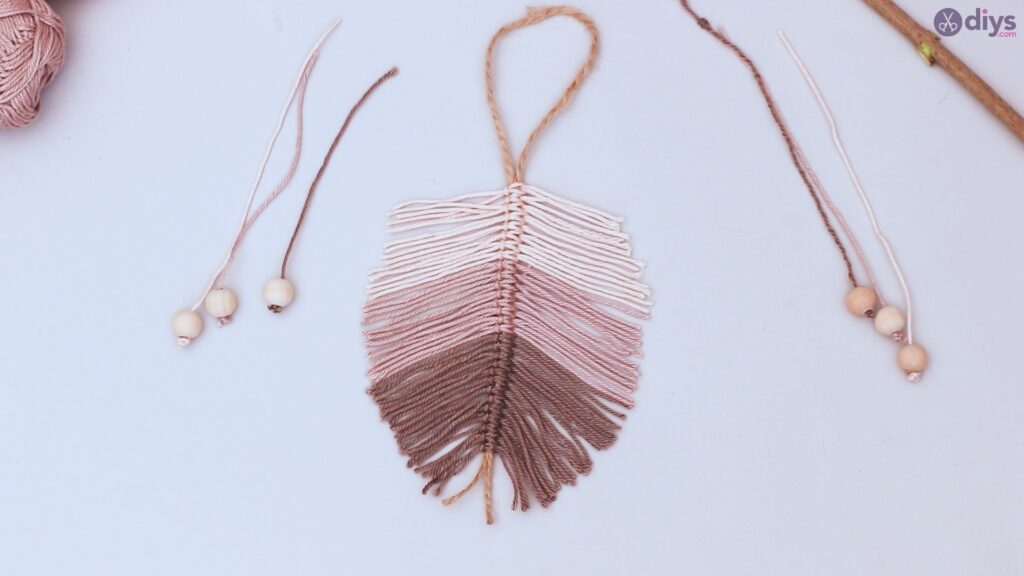
Lay your yarn out flat, and decide the shape you want your leaf to be. Using your scissors, trim the yarn lengths to create the rounded, tapered look of a leaf. Remember that the loop will attach to your branch, which means your leaf should taper in the opposite direction. Set your leaf aside for now.
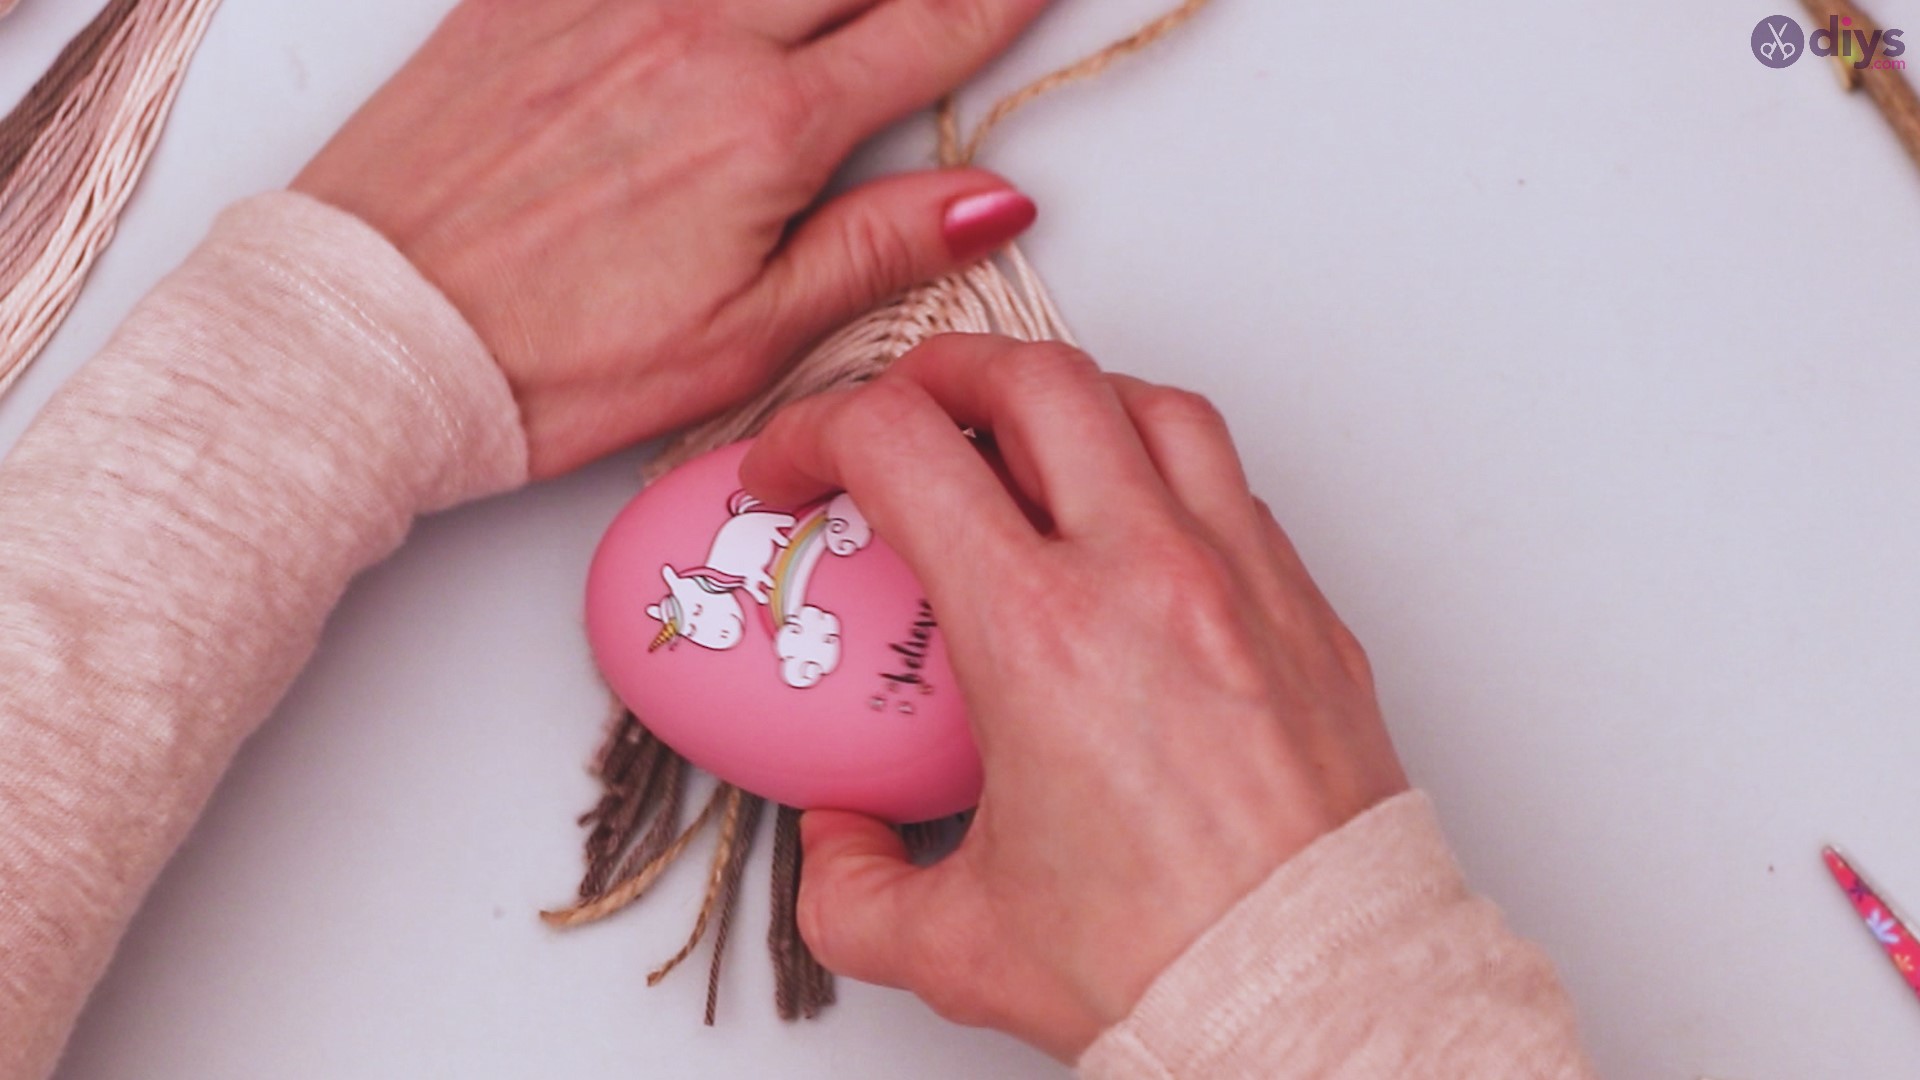
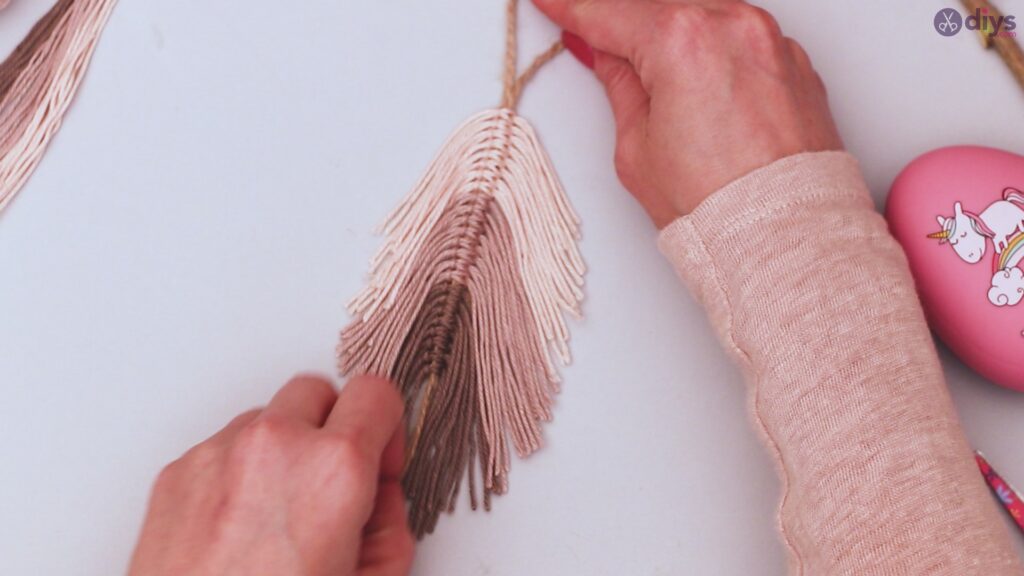
Comb your yarn in the direction you want it to fall, making sure it is all straight and even. Trim as needed to assure the perfect shape.
Step 5: Hanging beads
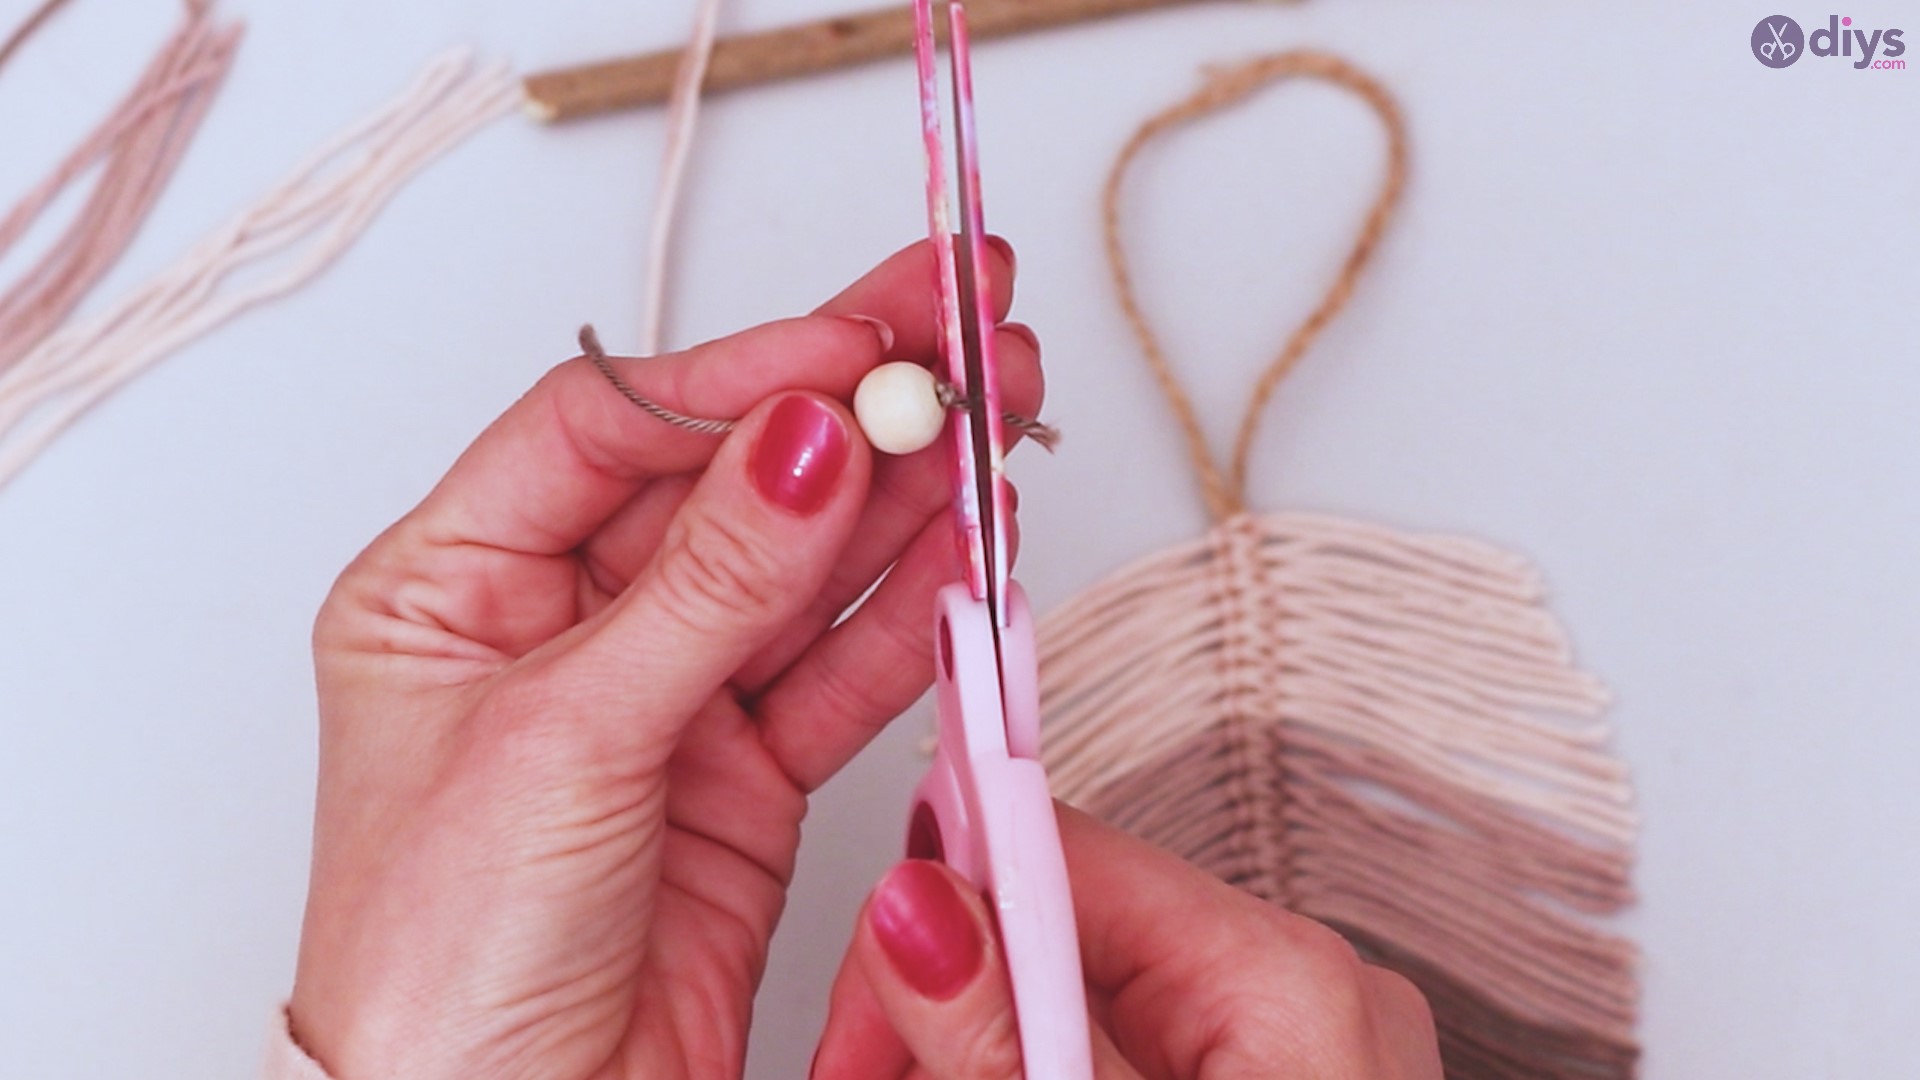
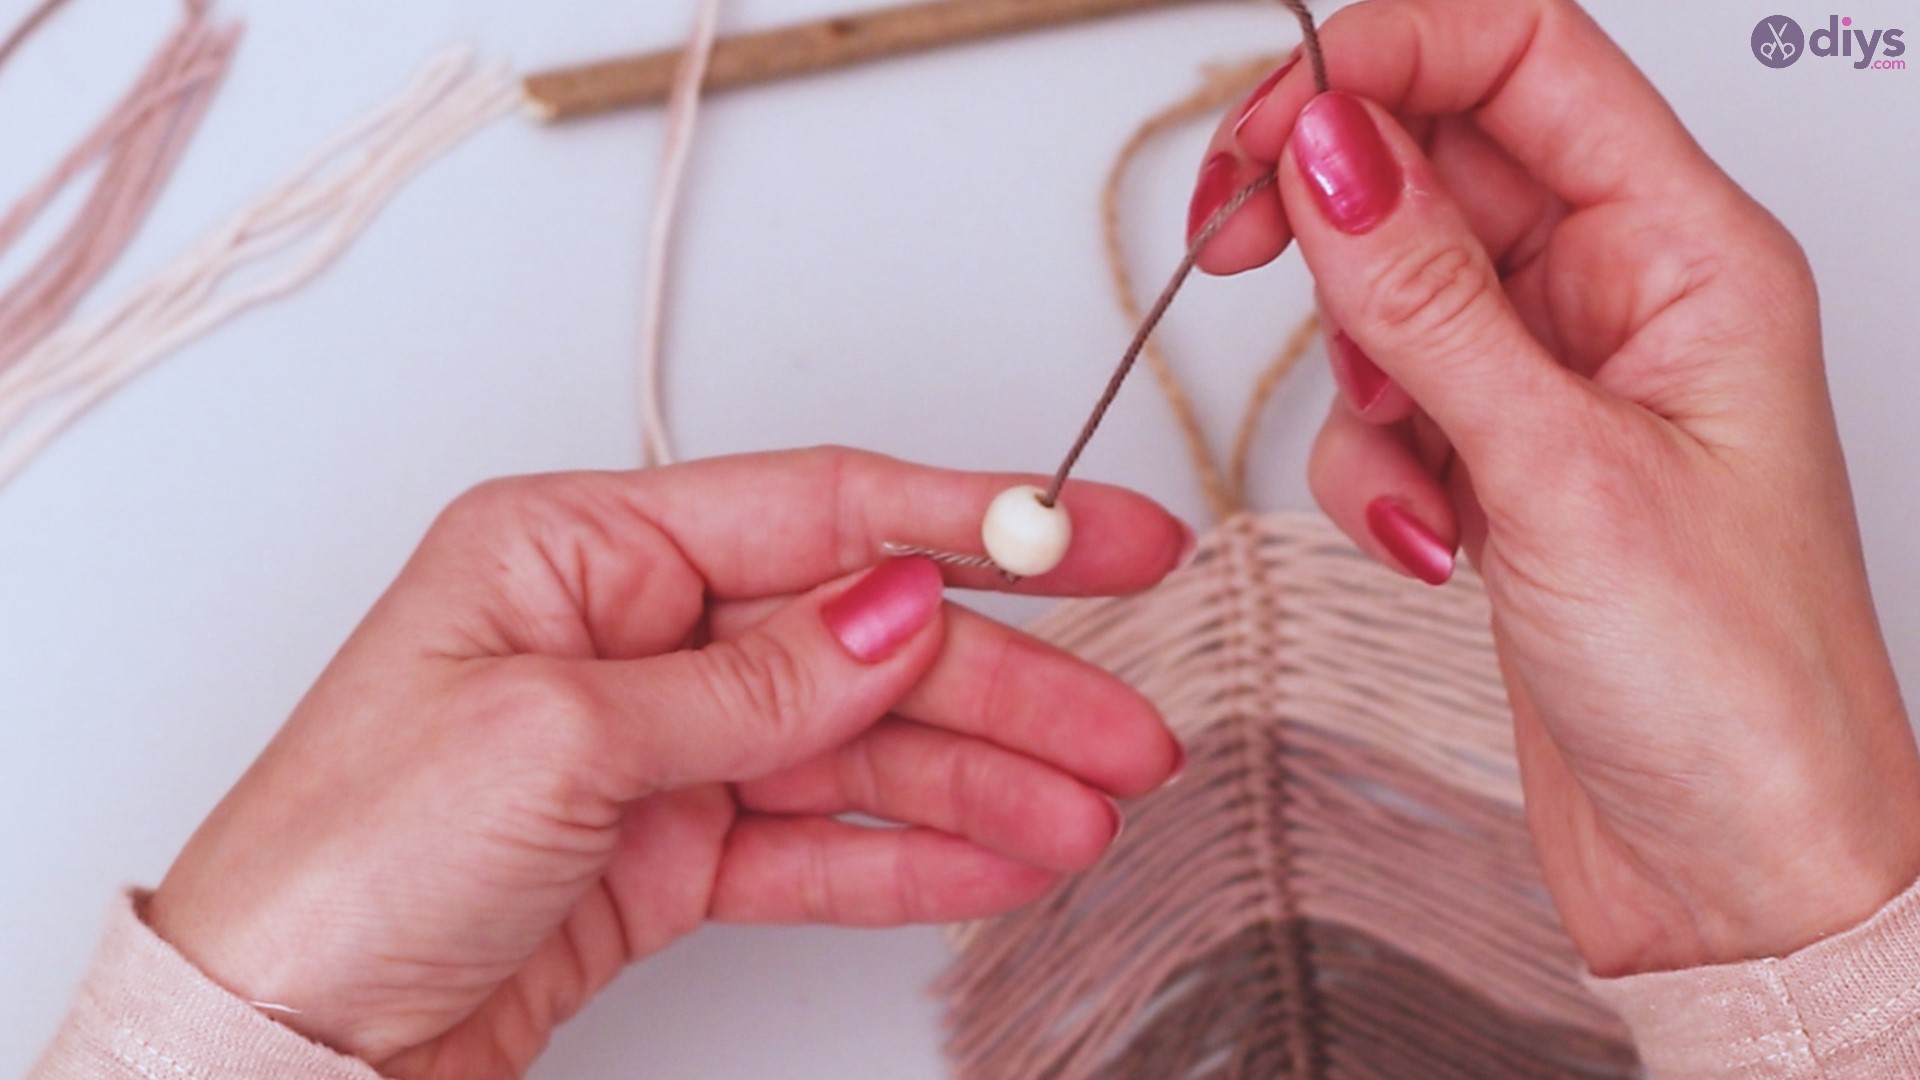
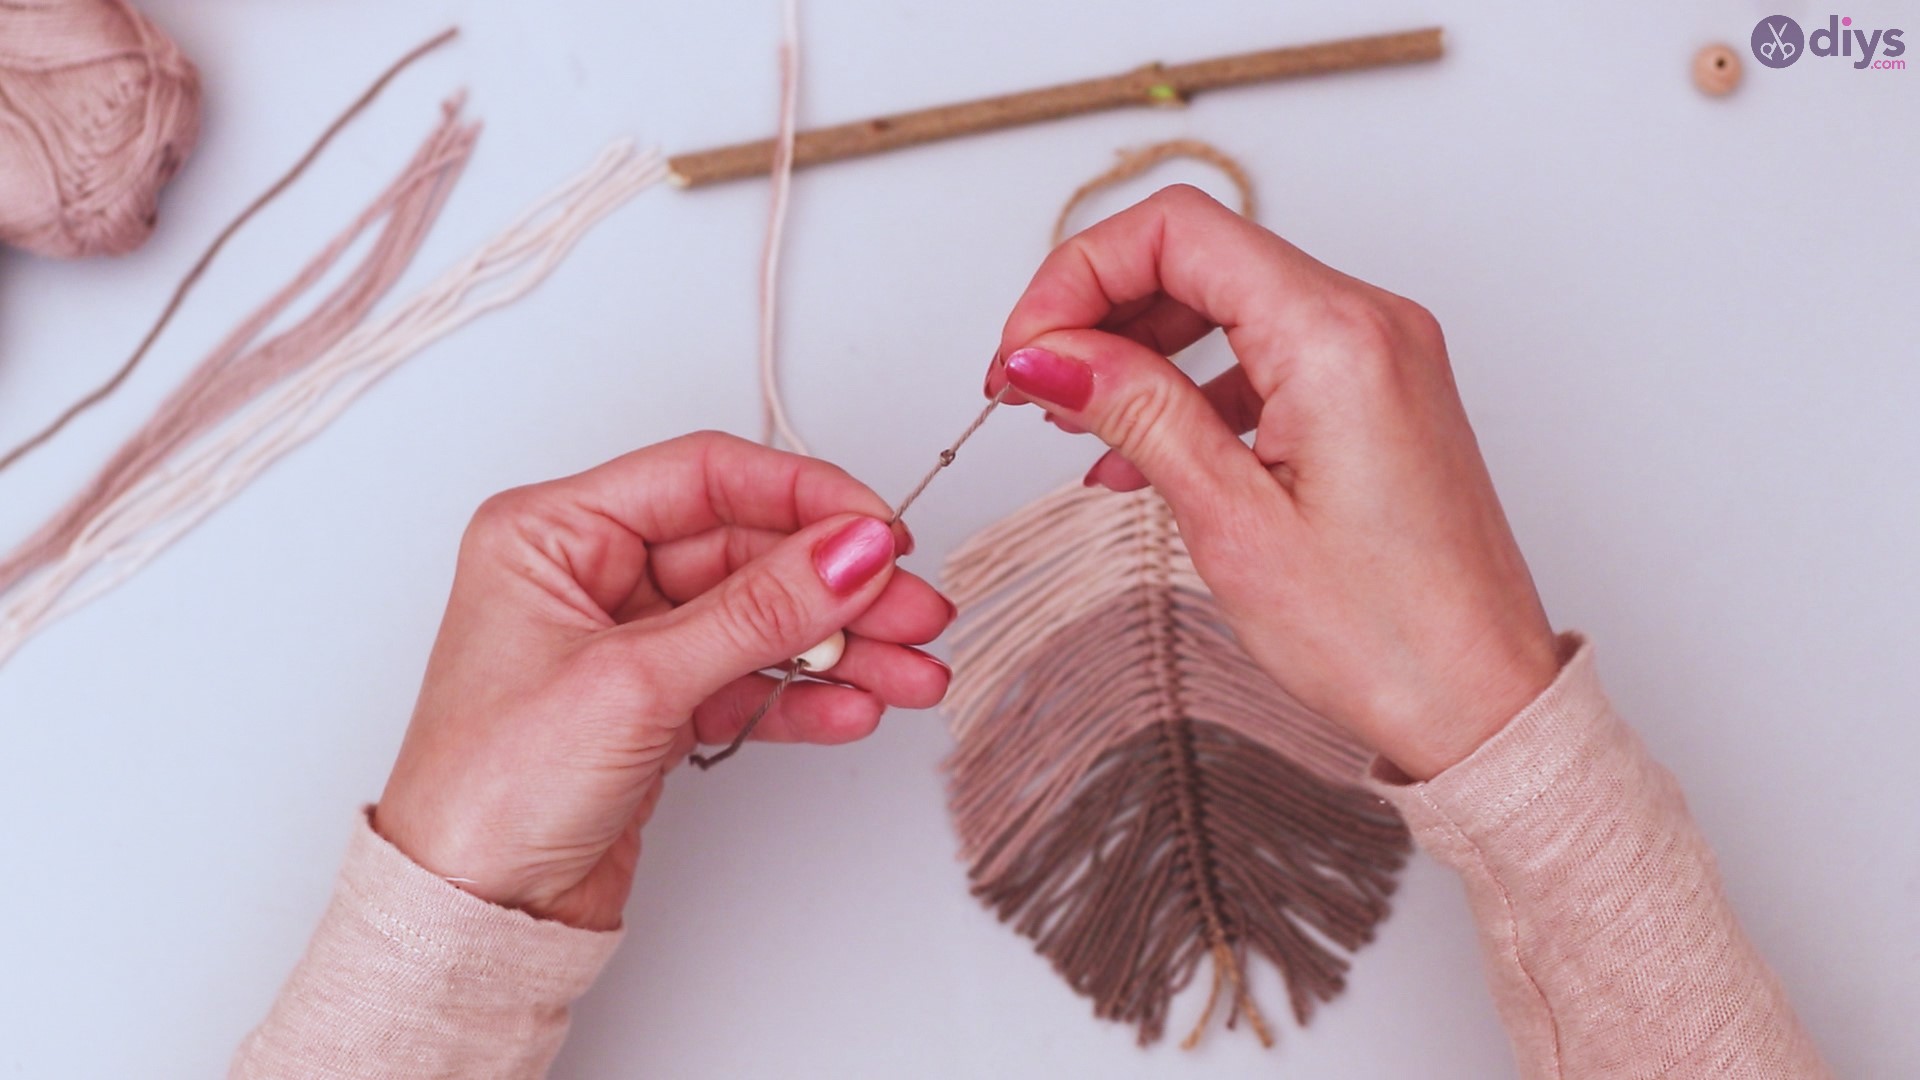
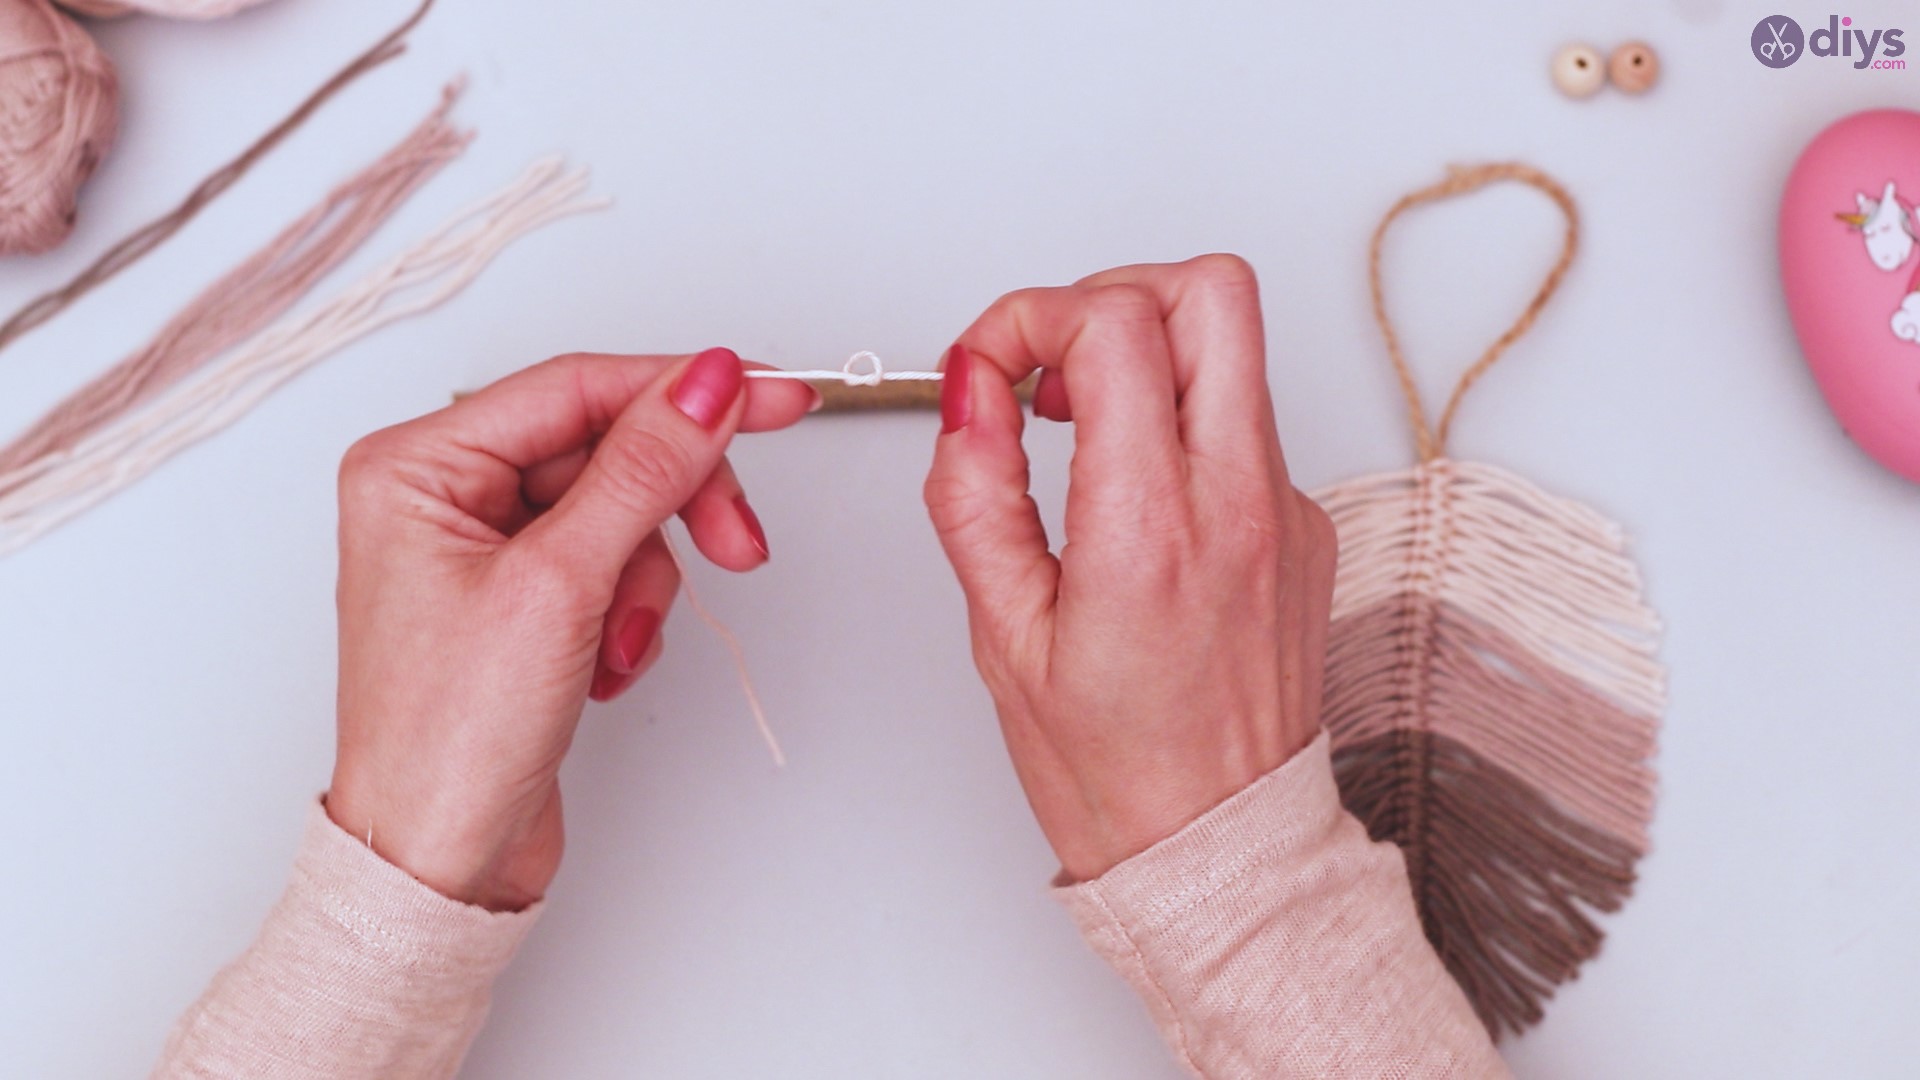
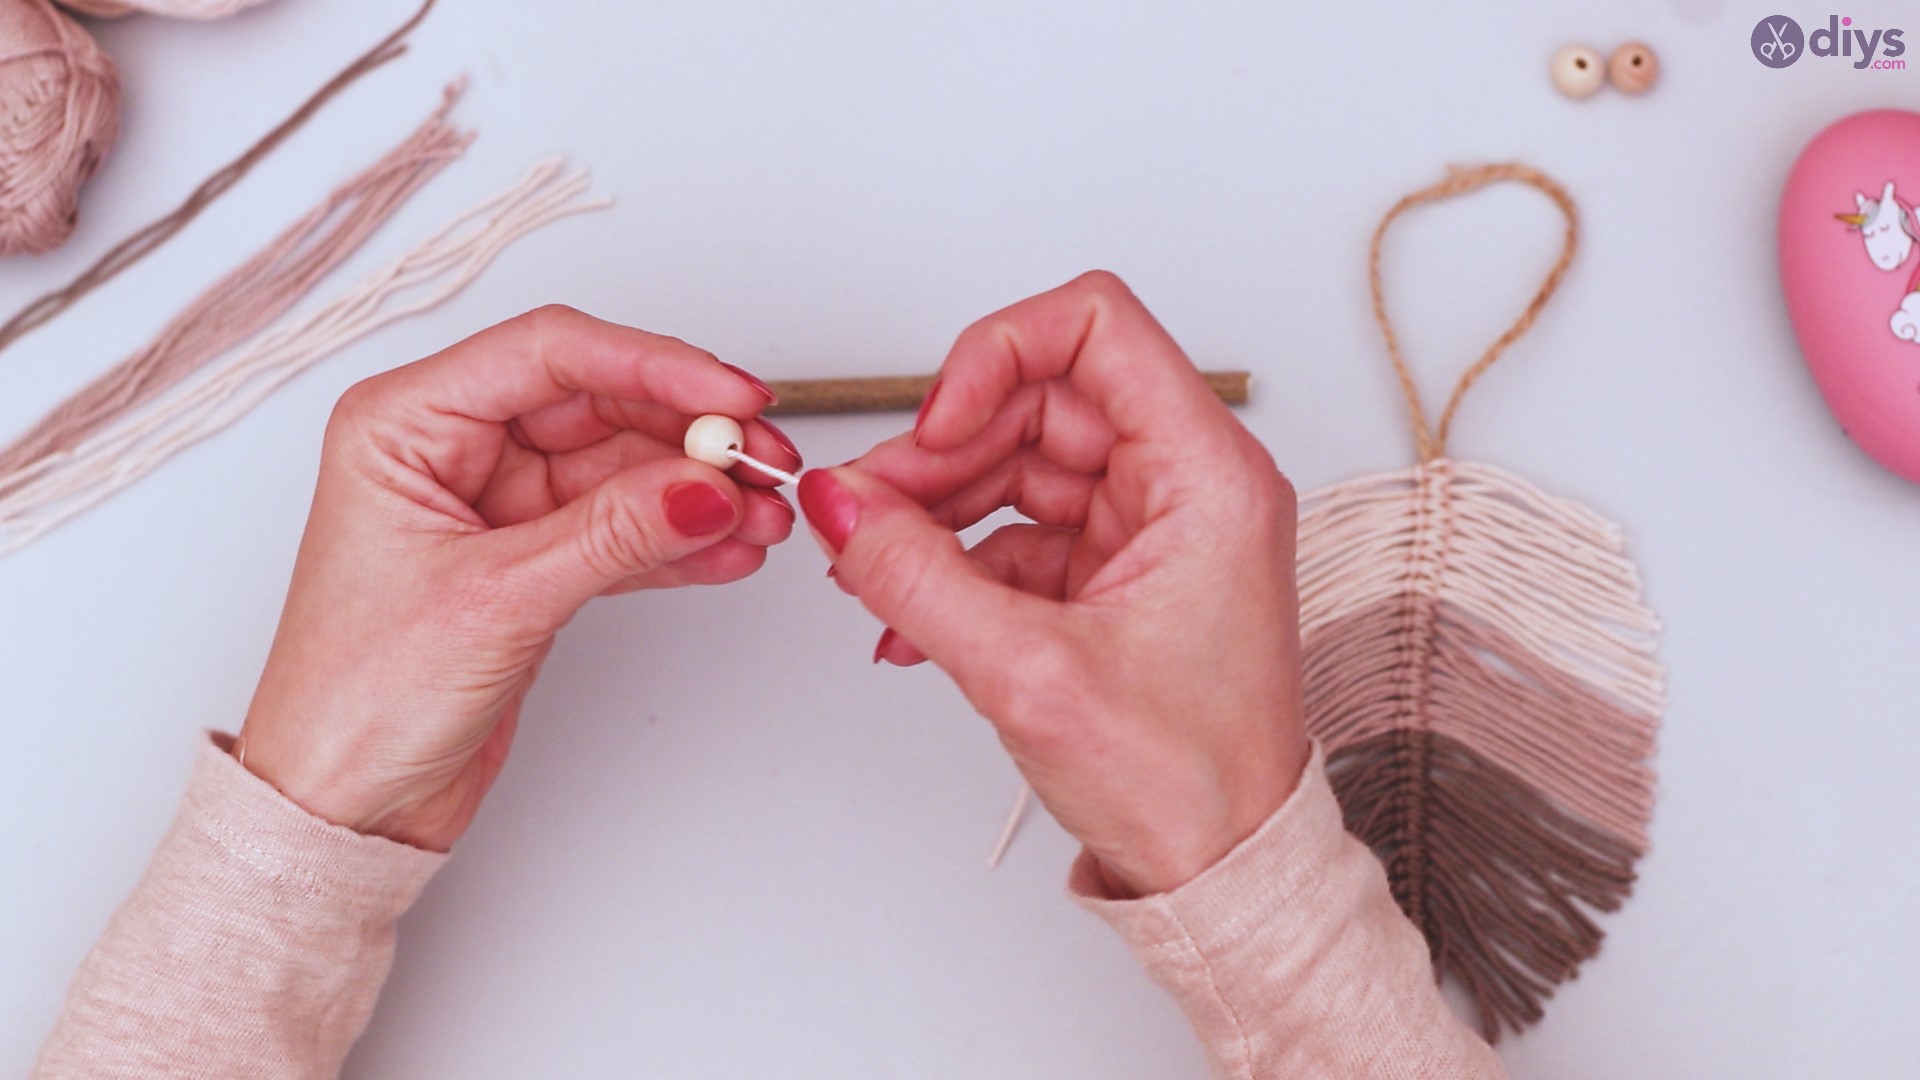
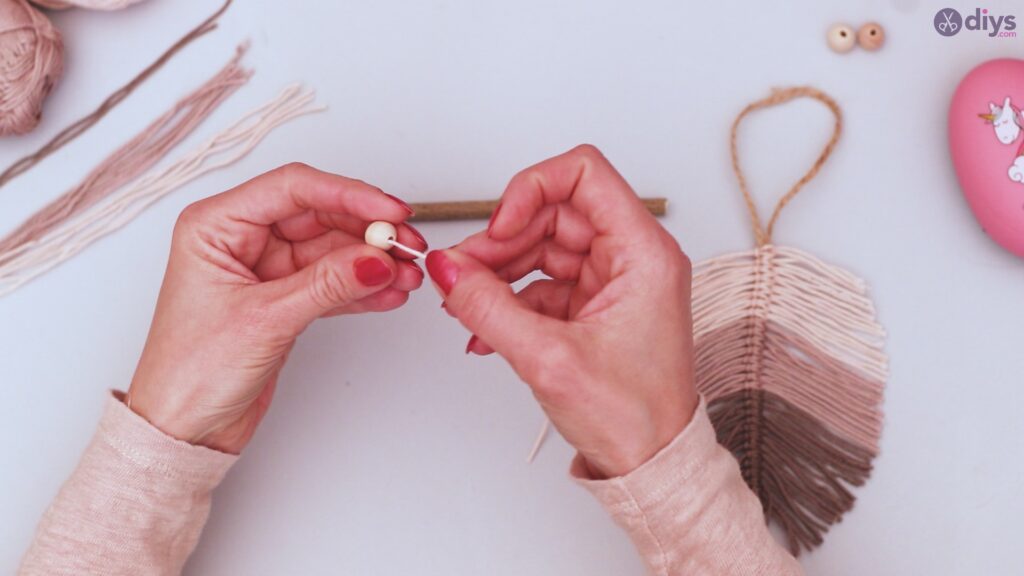
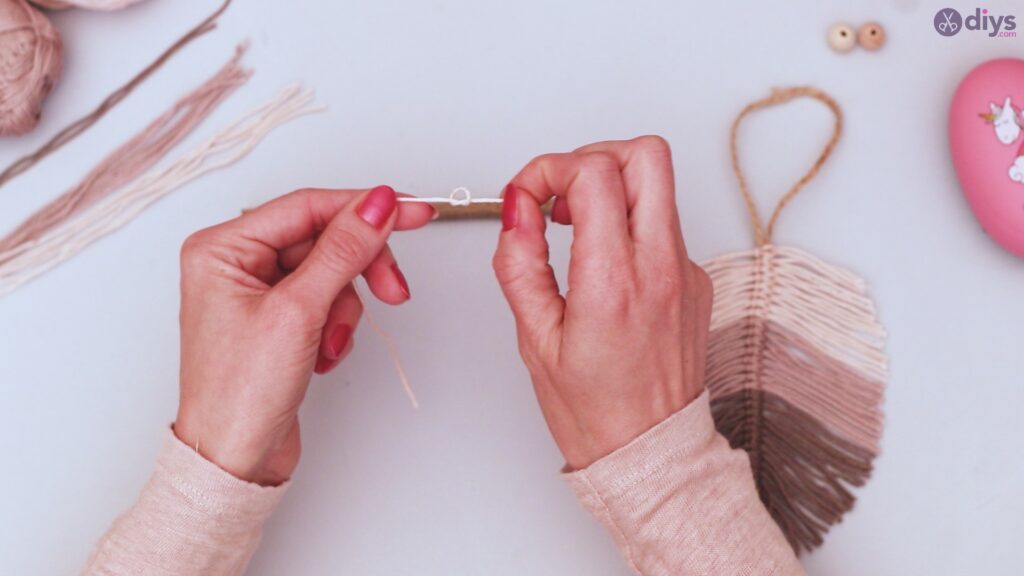
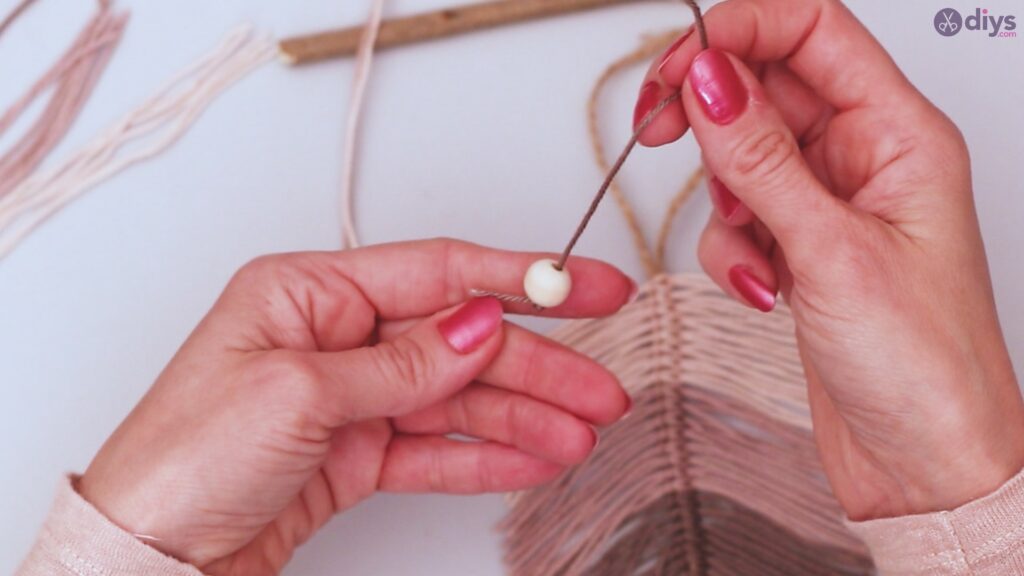
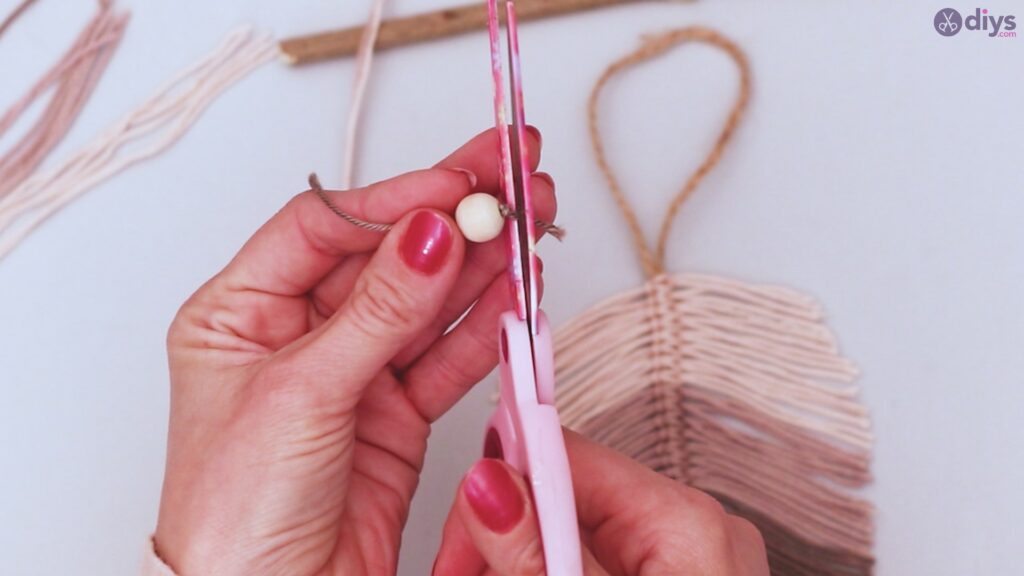
Cut another length of hemp twine, shorter than before. Tie a knot in it.
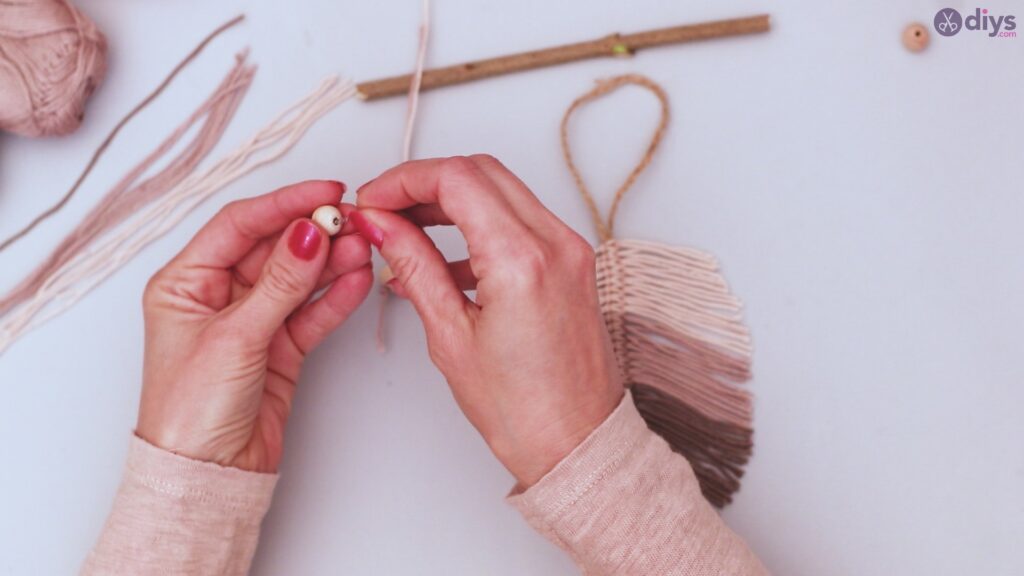
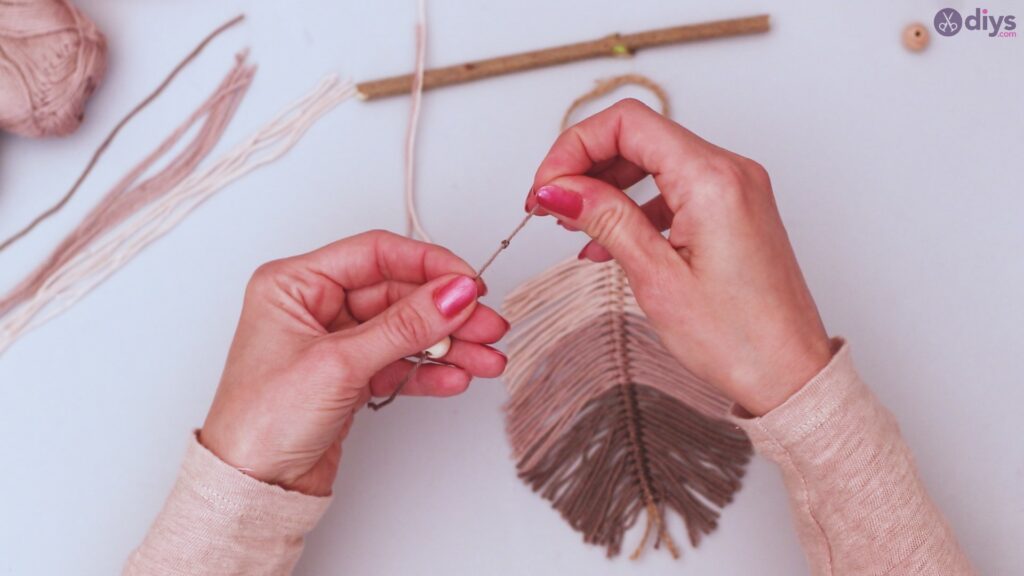
Thread a bead onto the twine, so that it rests against the knot. Trim the excess length hanging below the bead.
Repeat this process for all your beads.
Step 6: Hang your leaf
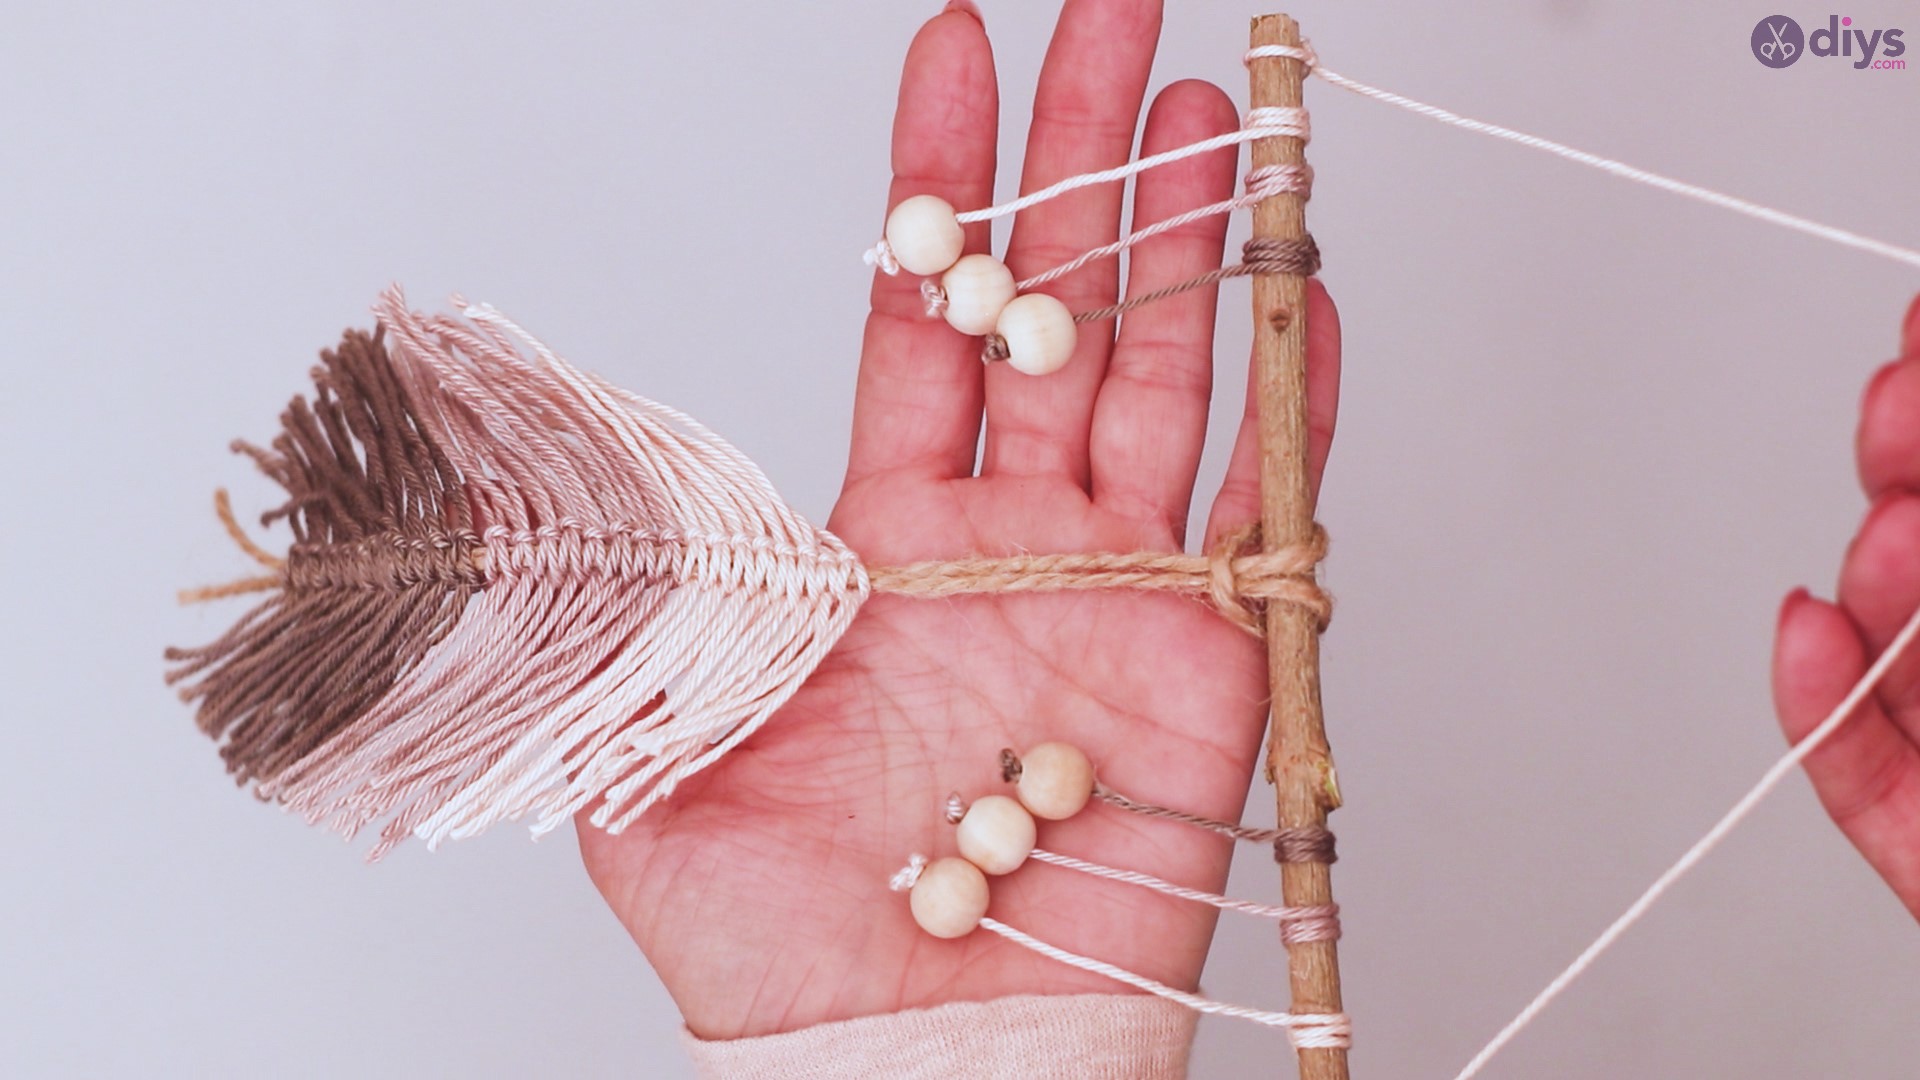
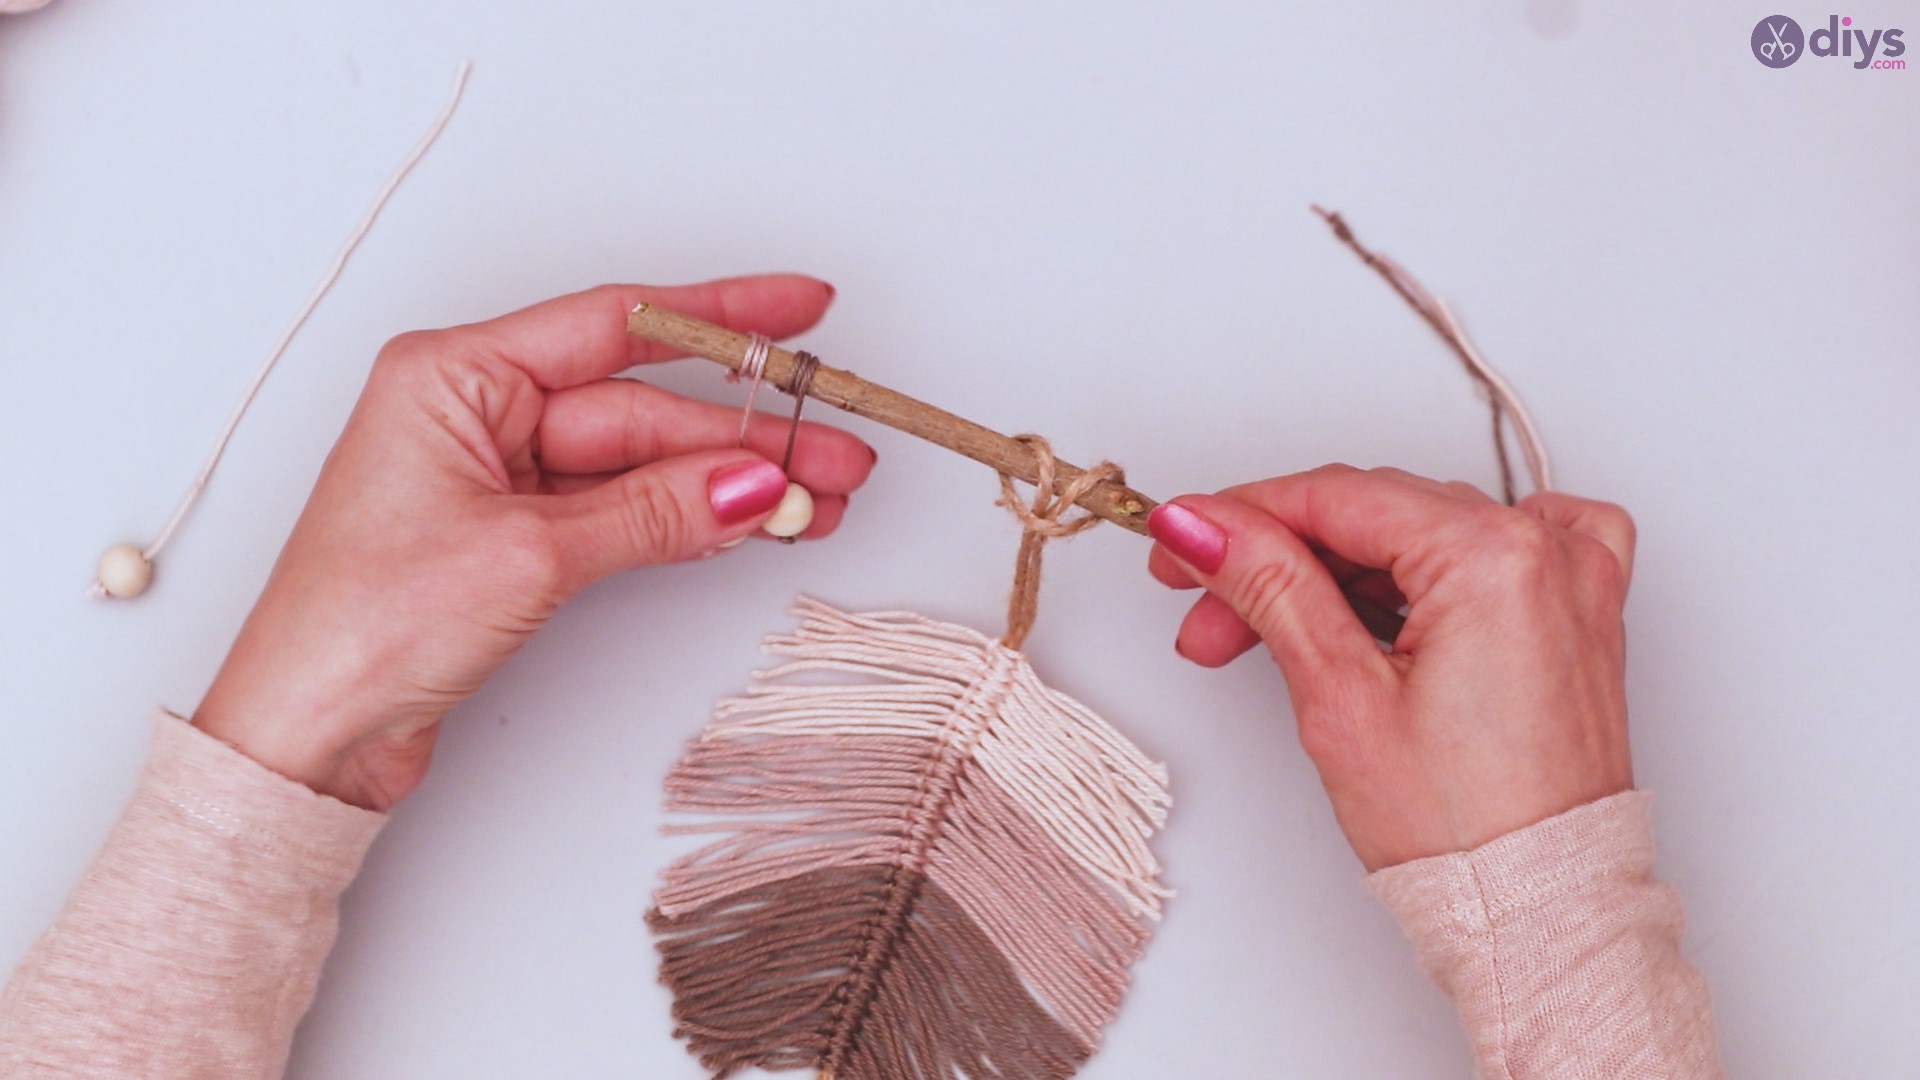
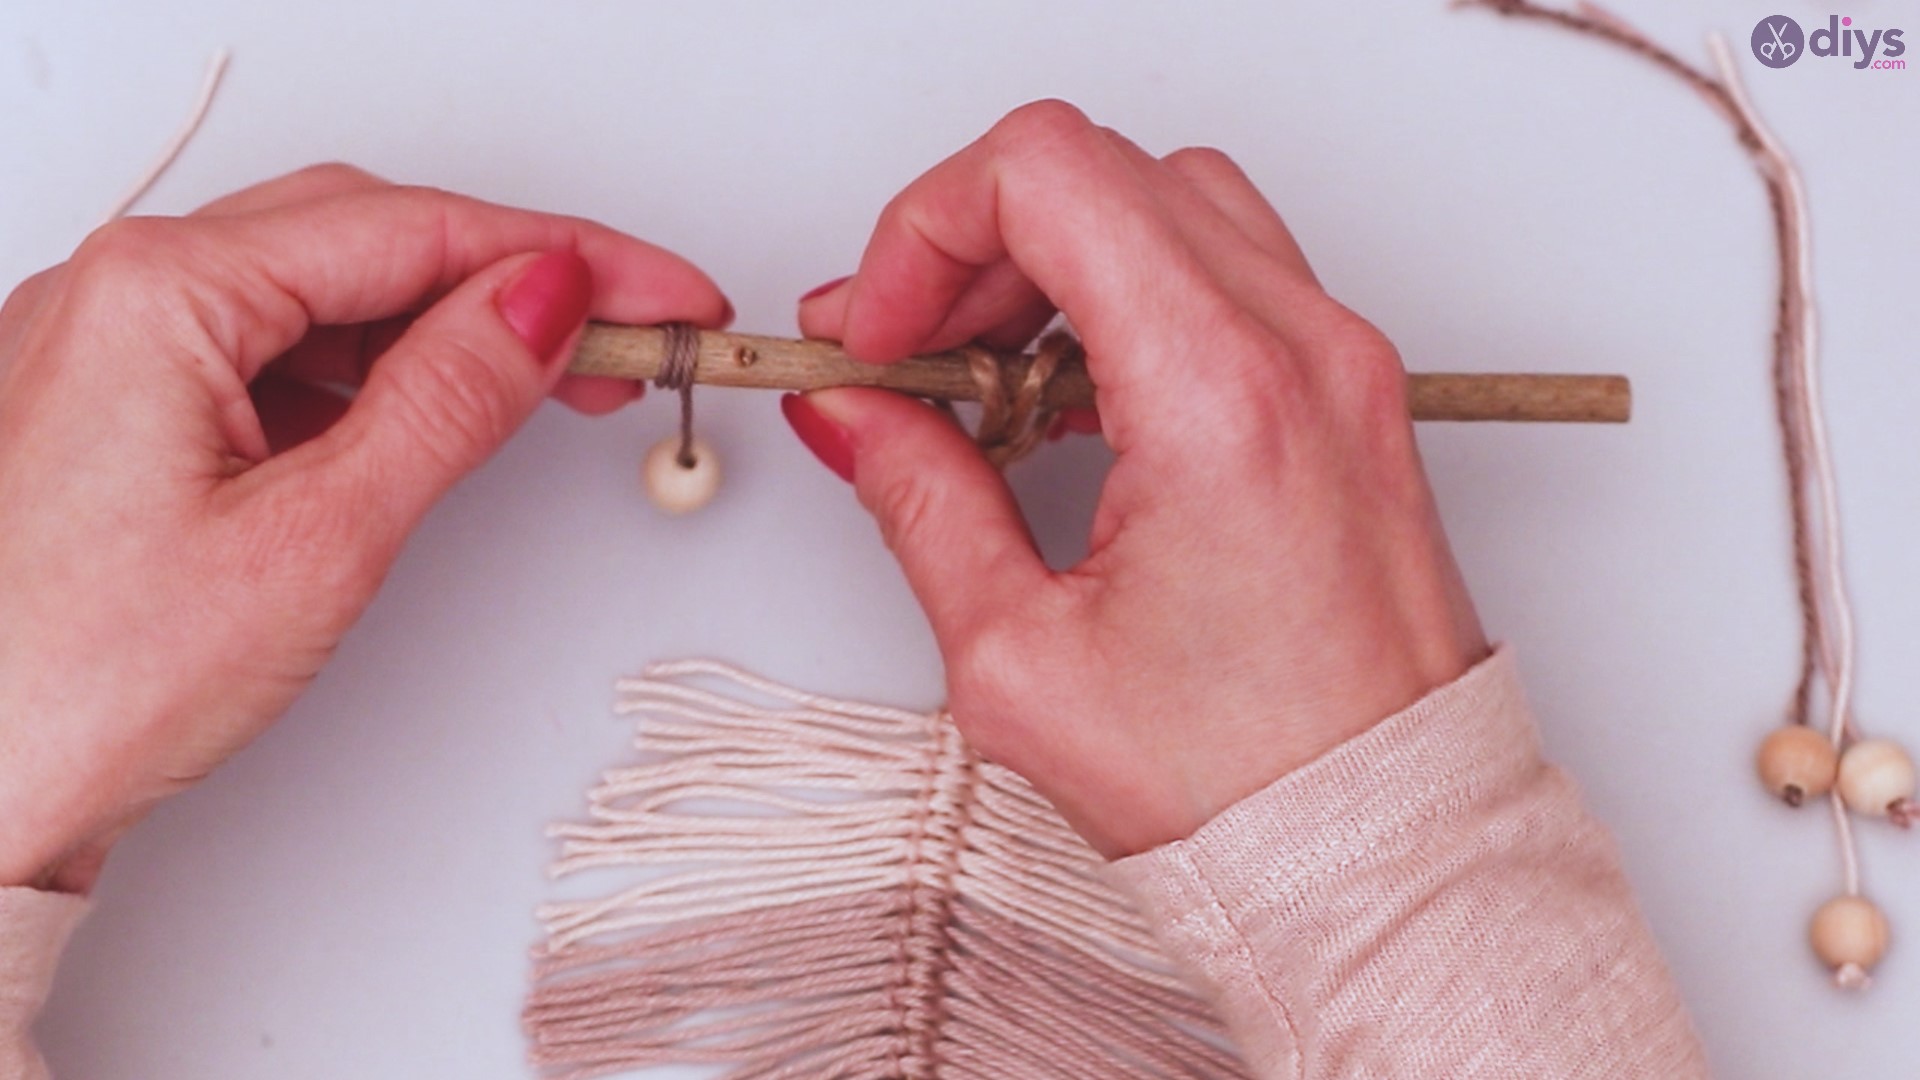
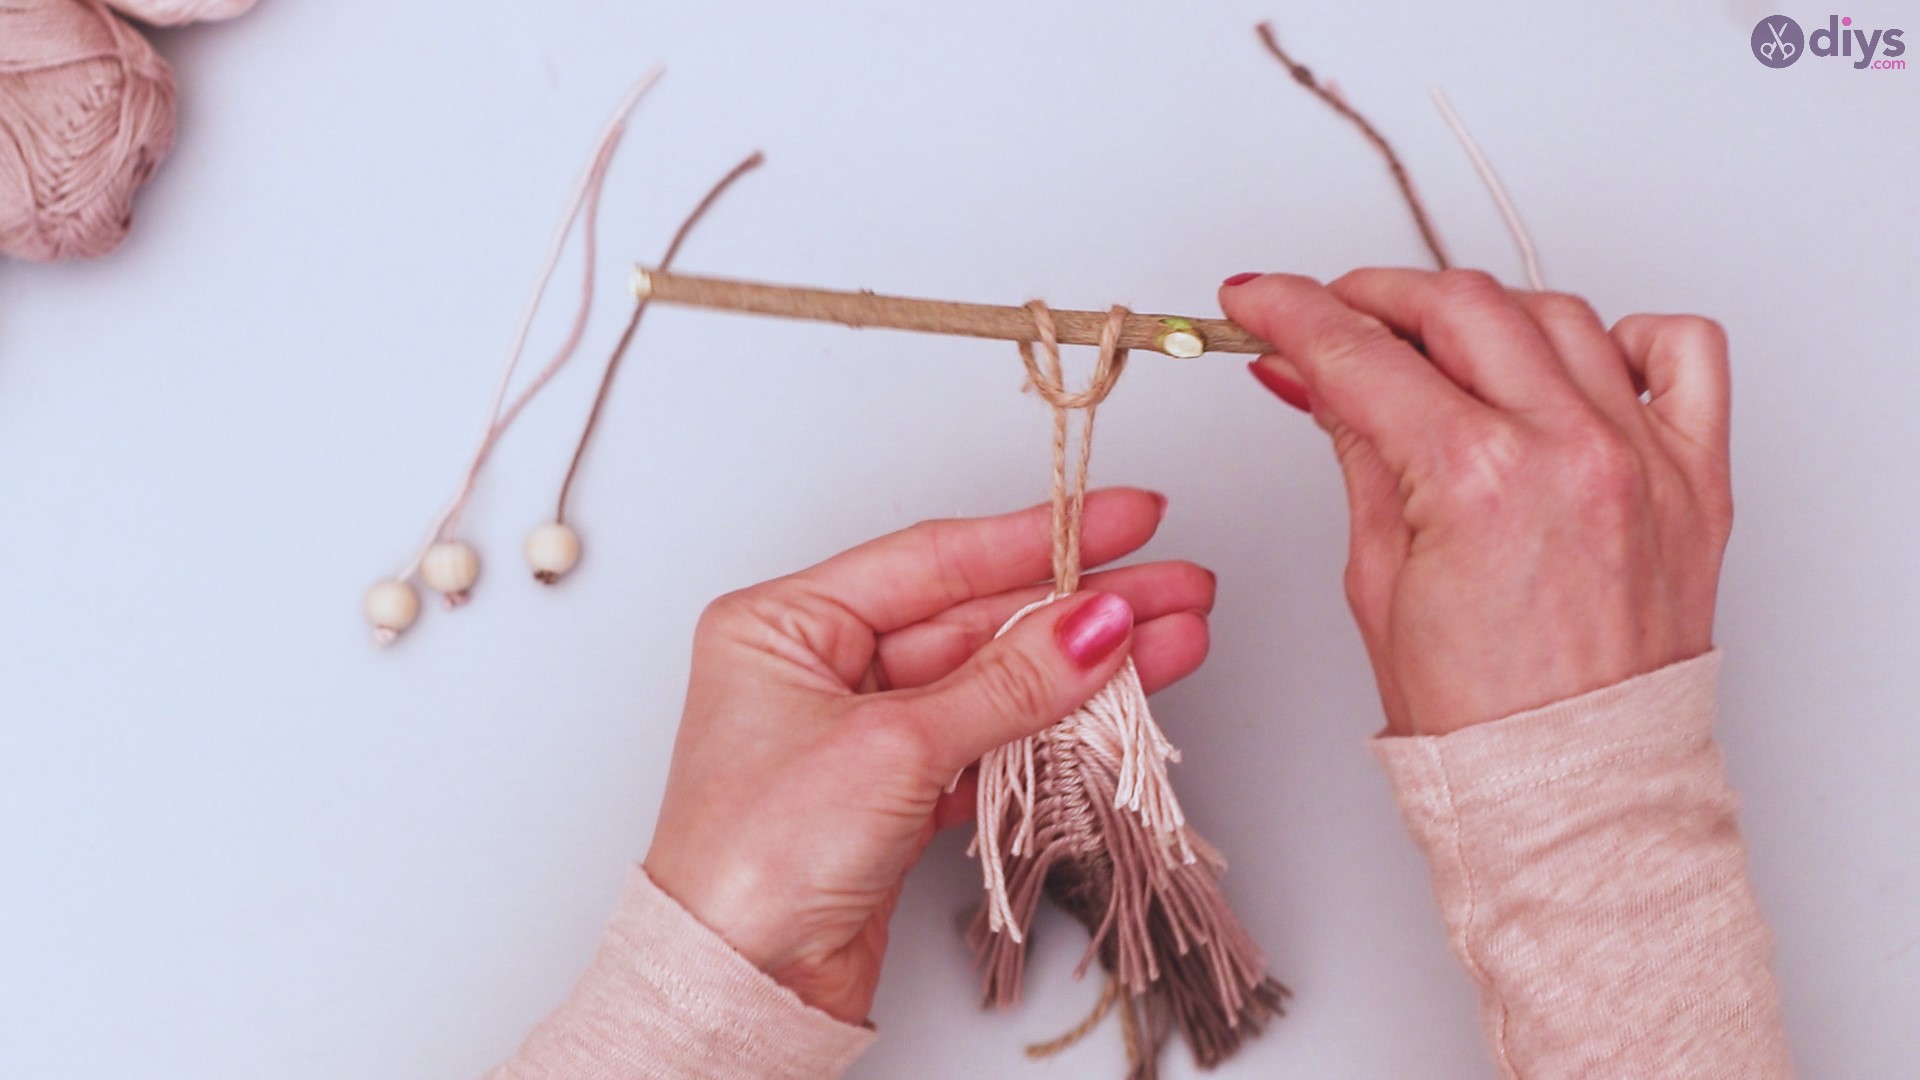
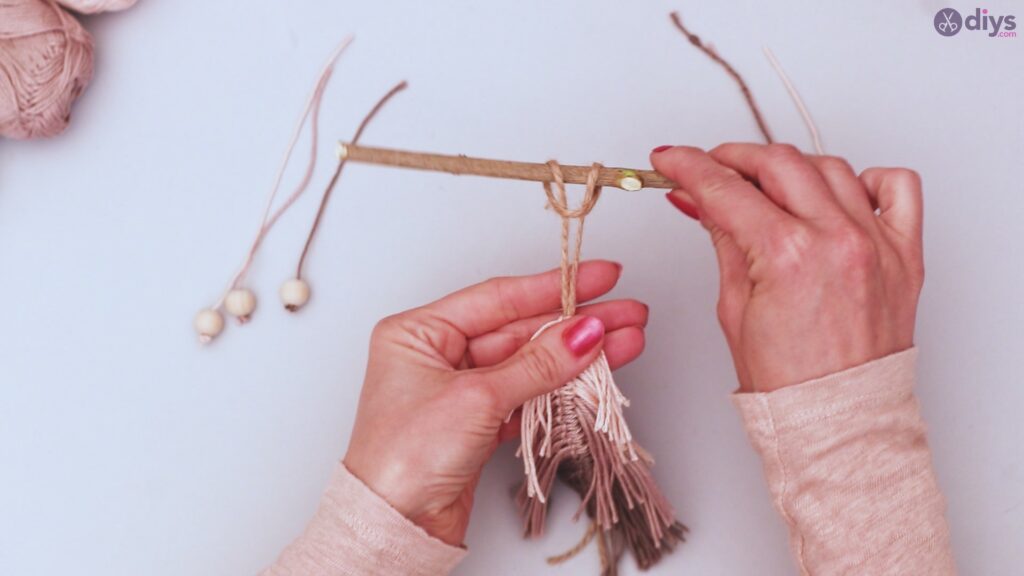
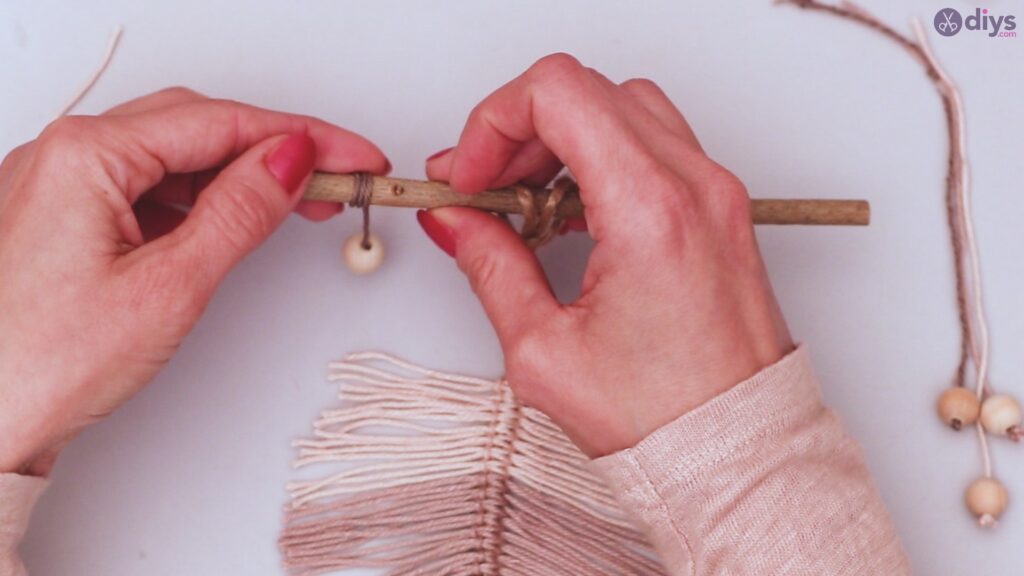
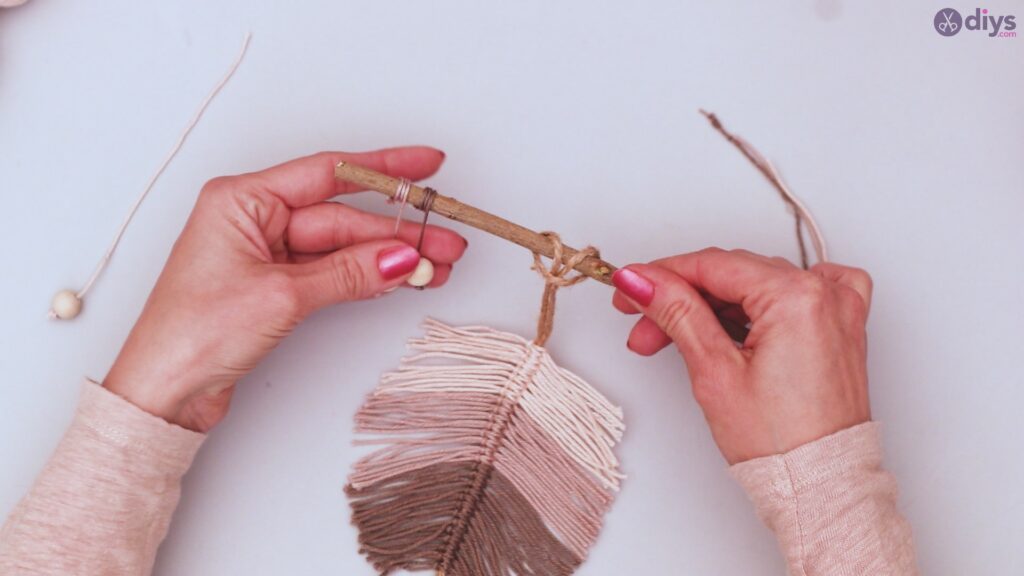
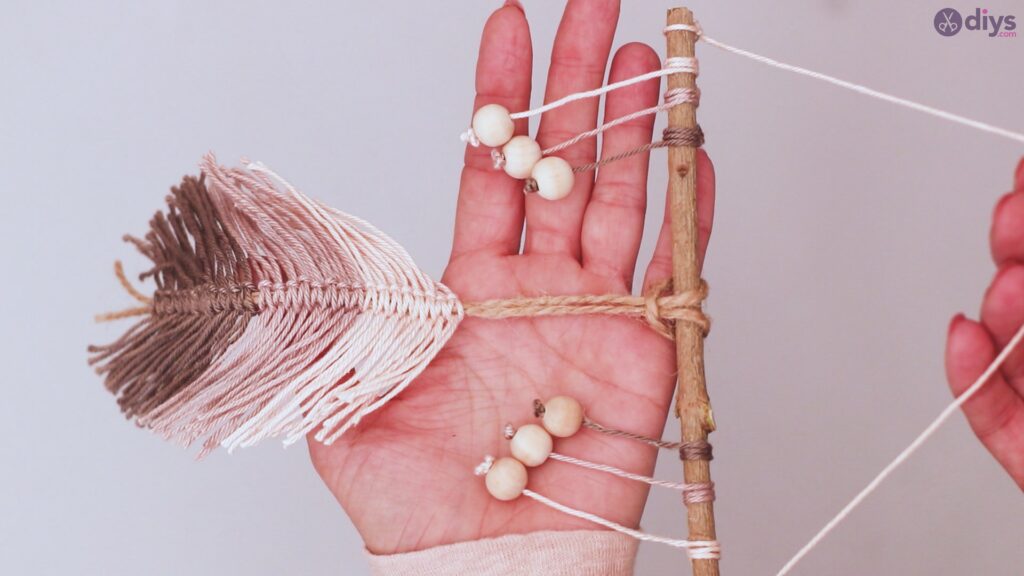
Take the end of your leaf that has the loop, and wrap the loop around your branch. Now, feed your leaf through the loop and tighten around the branch.
Step 7: Hang your beads
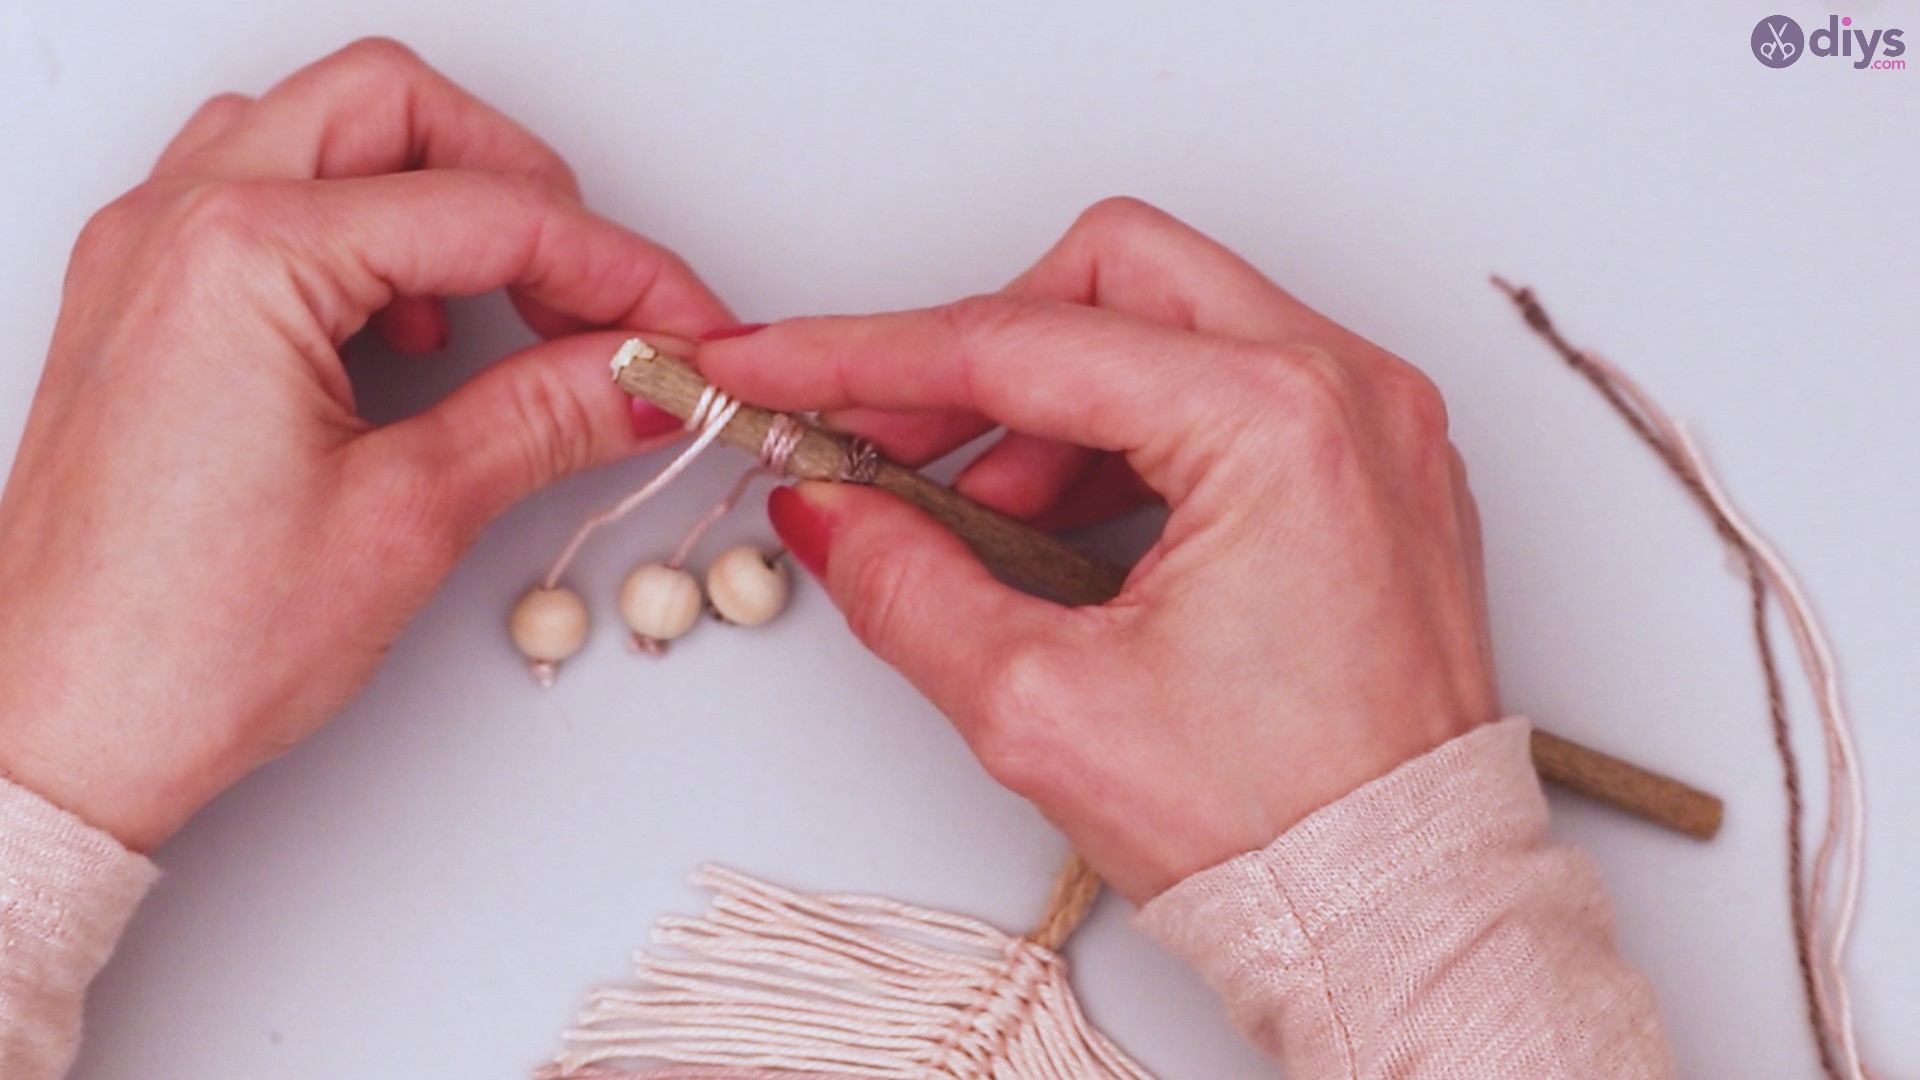
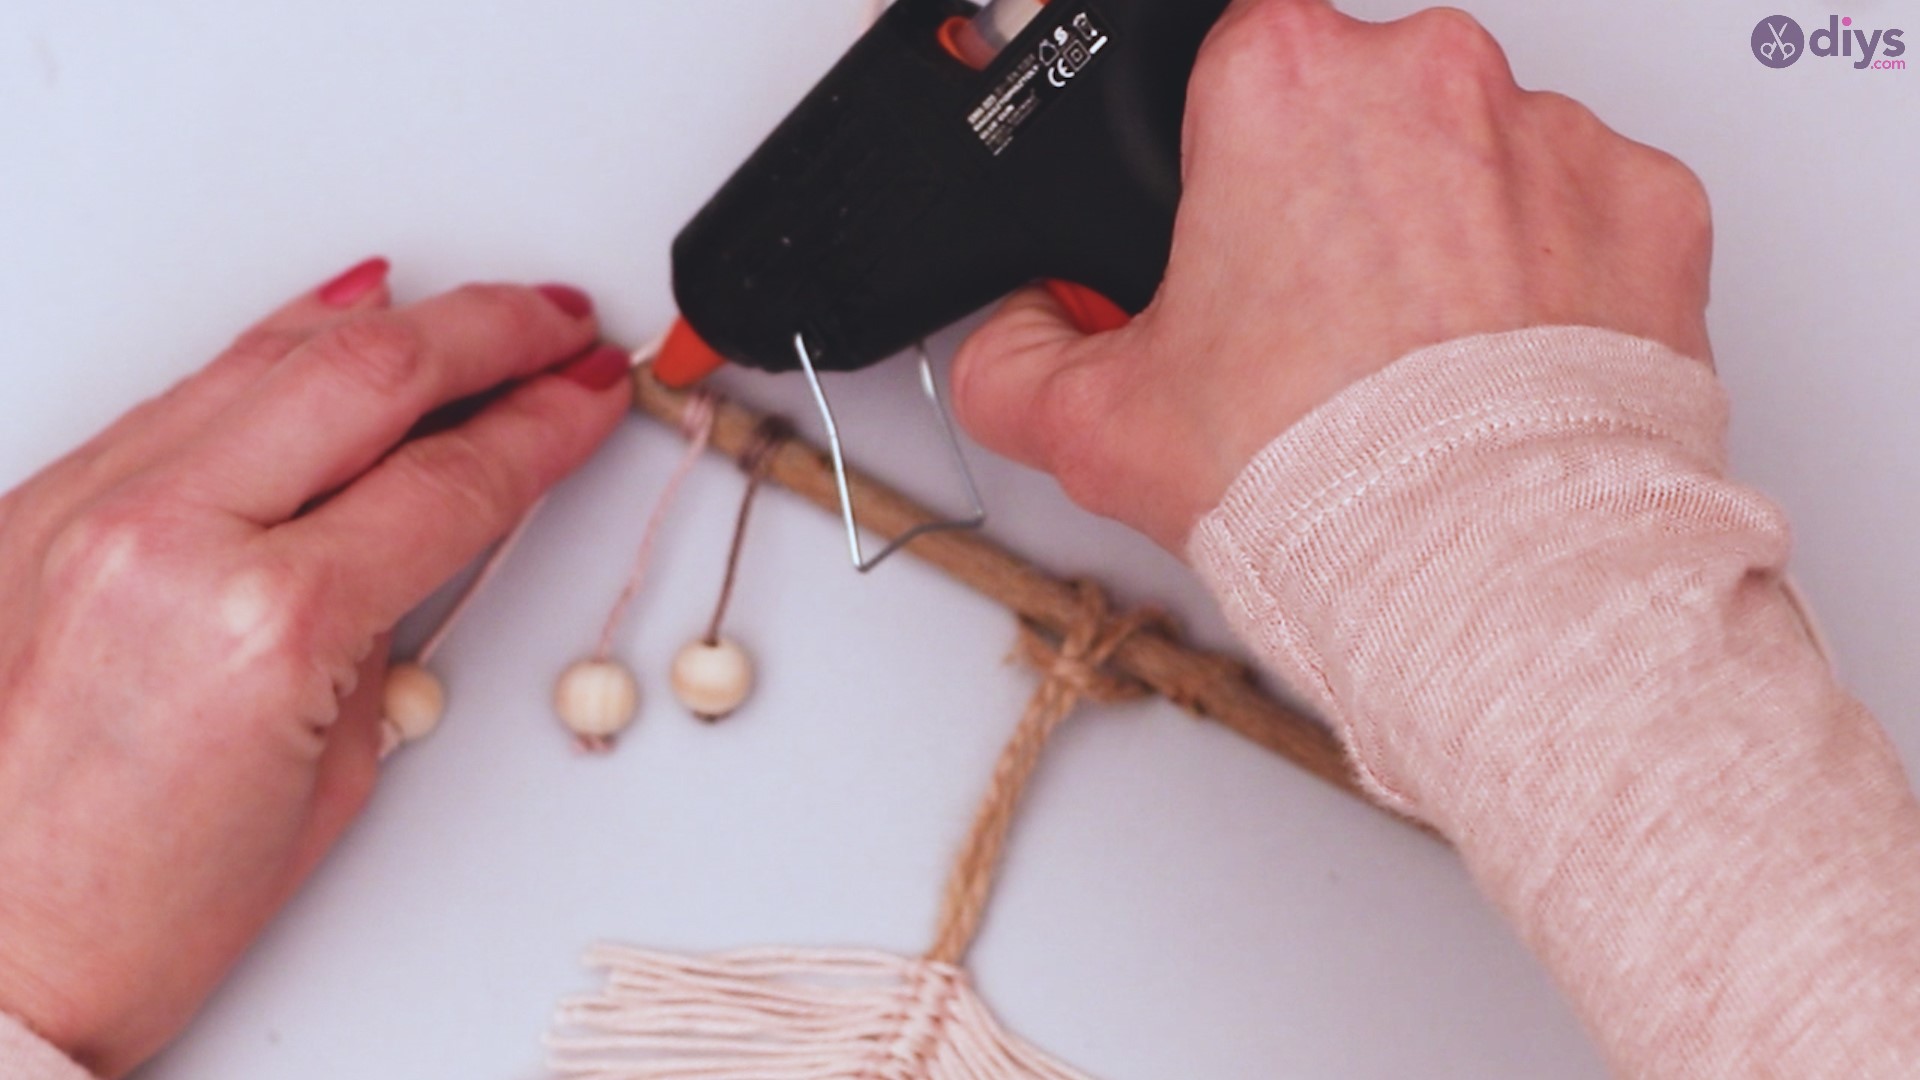
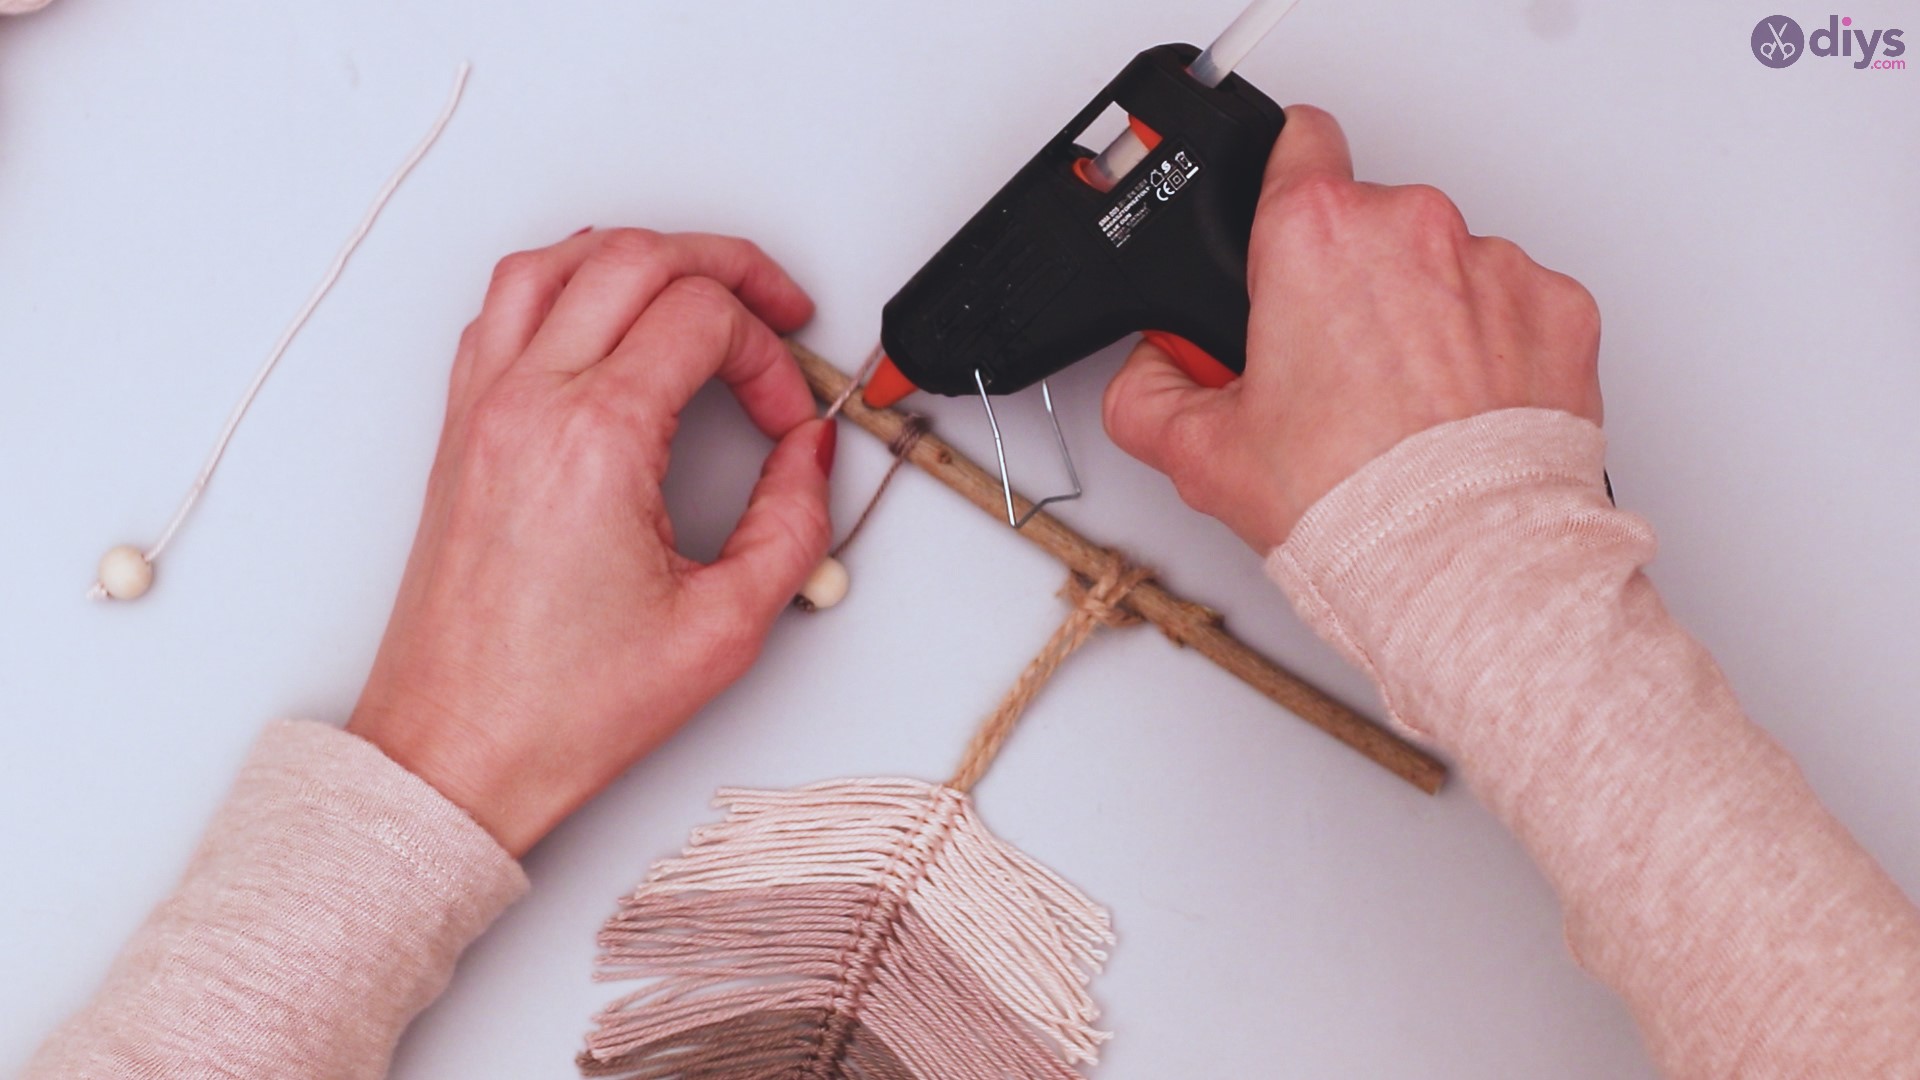
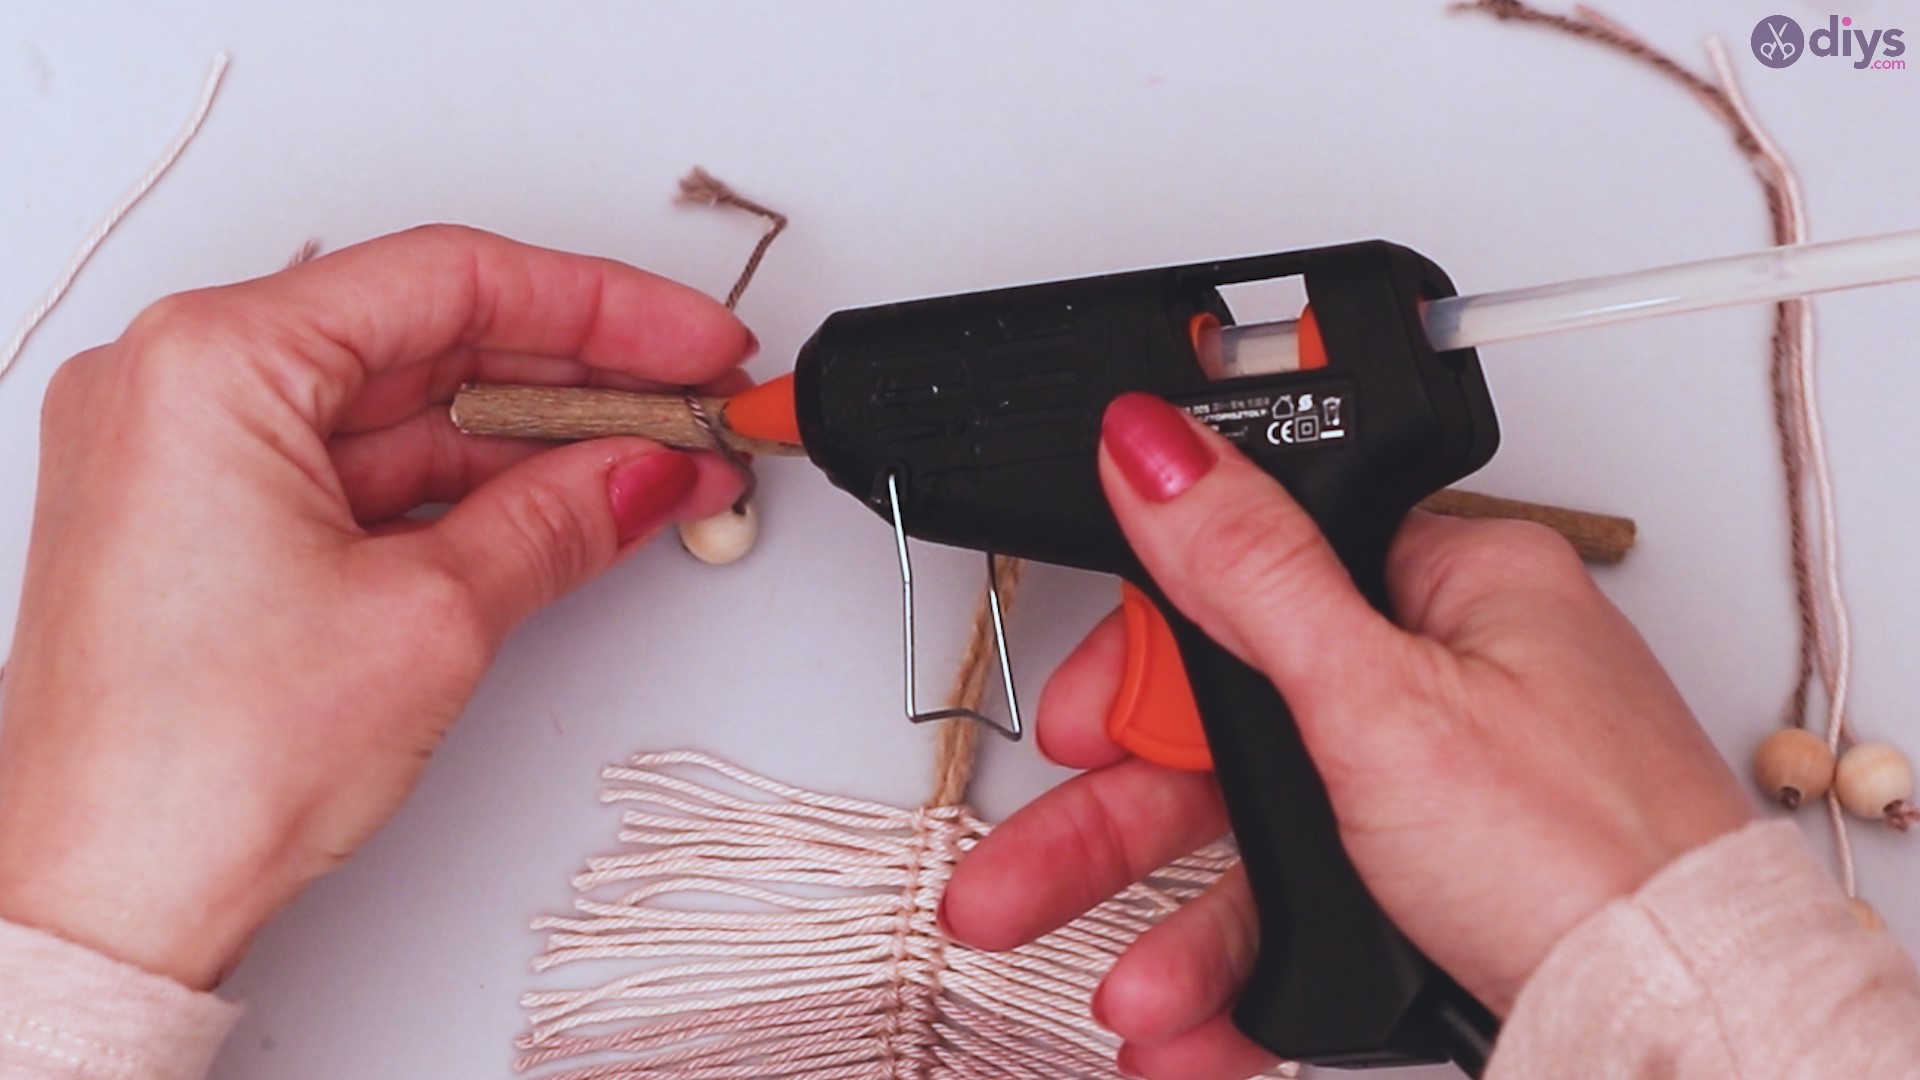
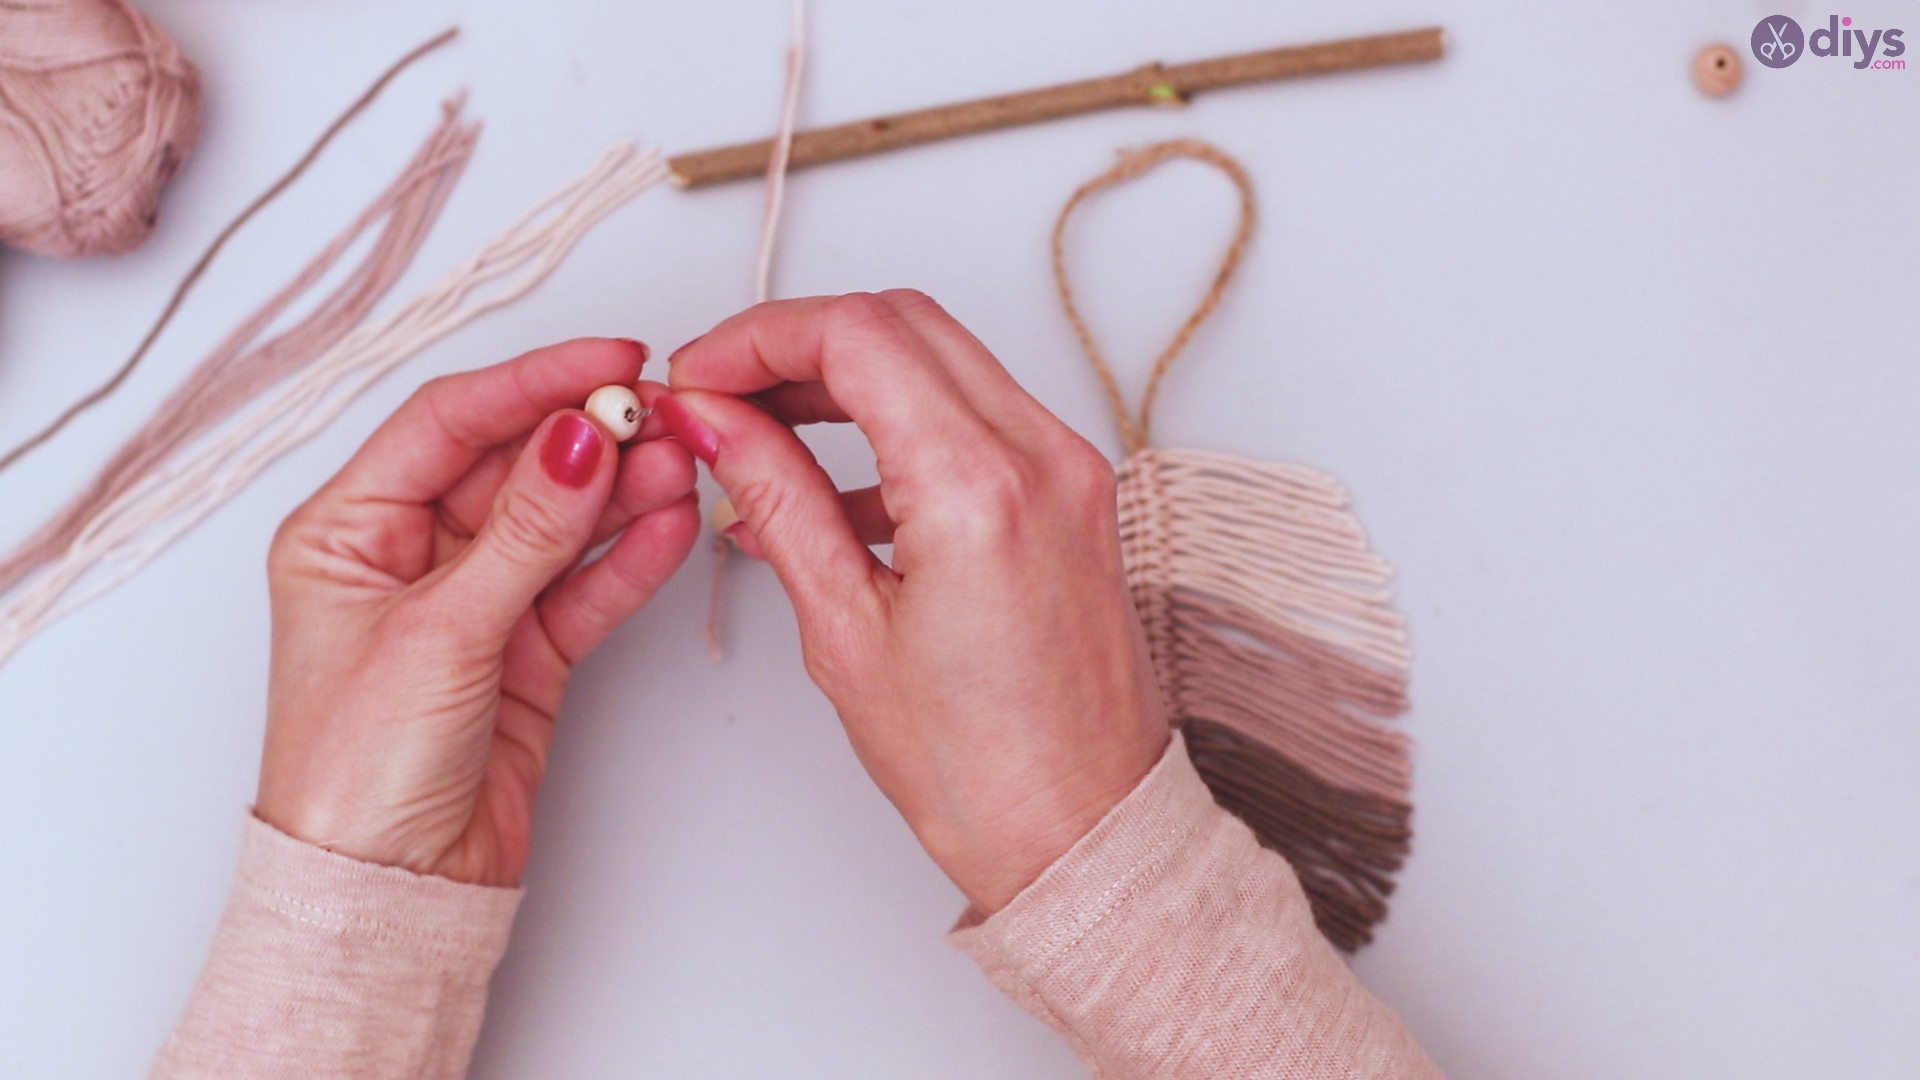
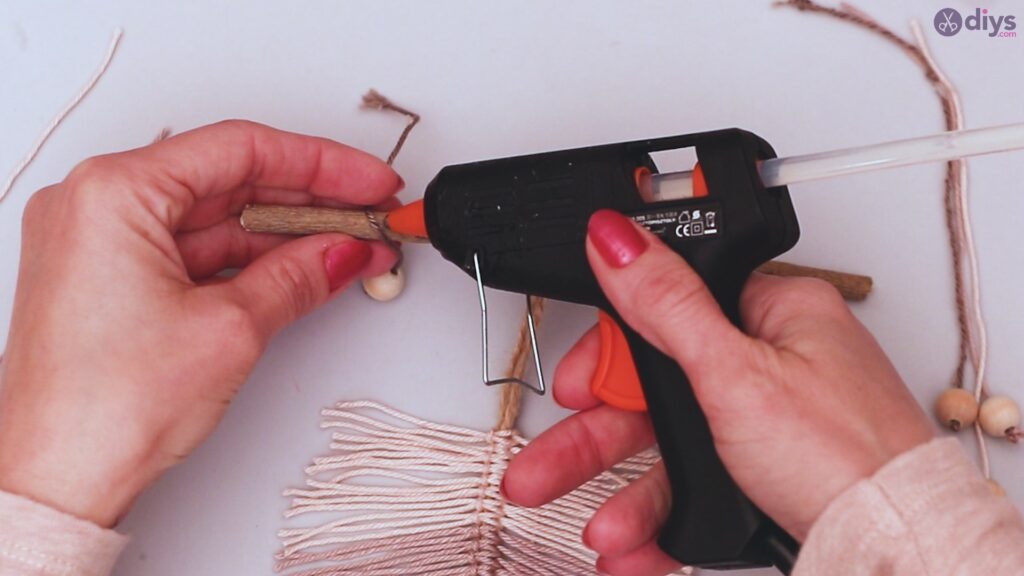
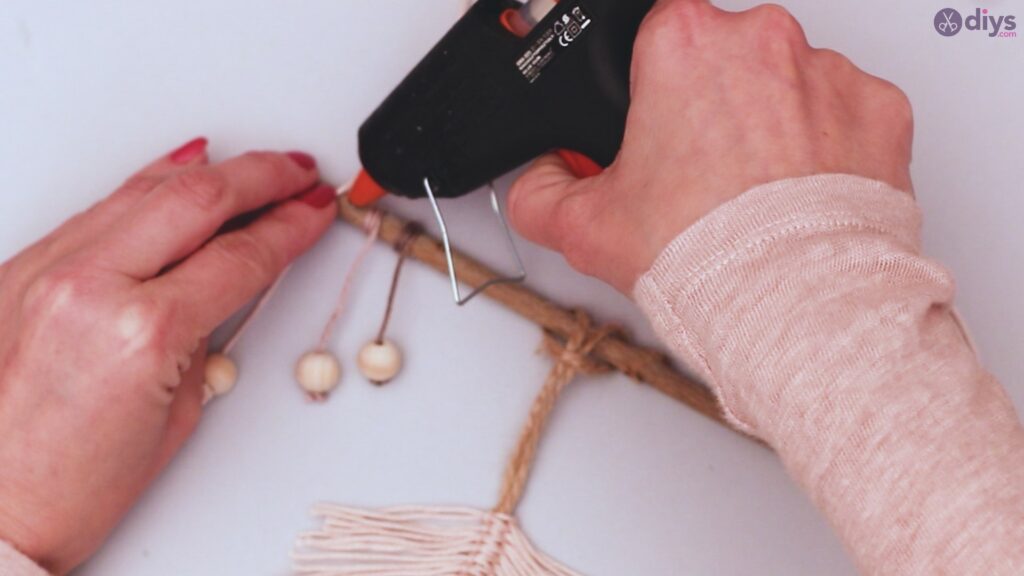
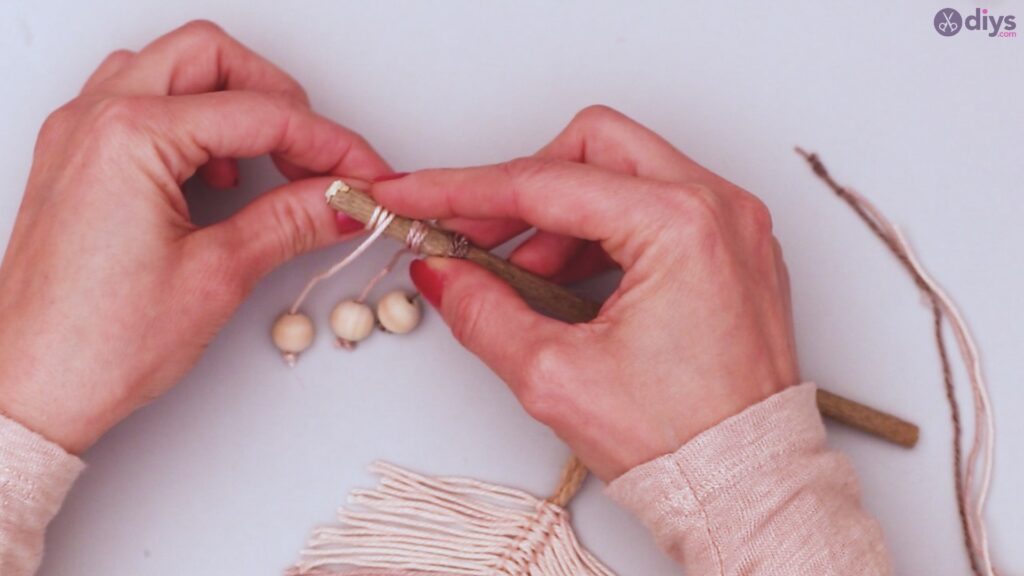
Use your glue gun to place a dot of glue on the branch. Wrap your twine around the bead, leaving just a little hanging with the bead below.
Repeat this process for all of your beads, leaving different lengths to hang the beads.
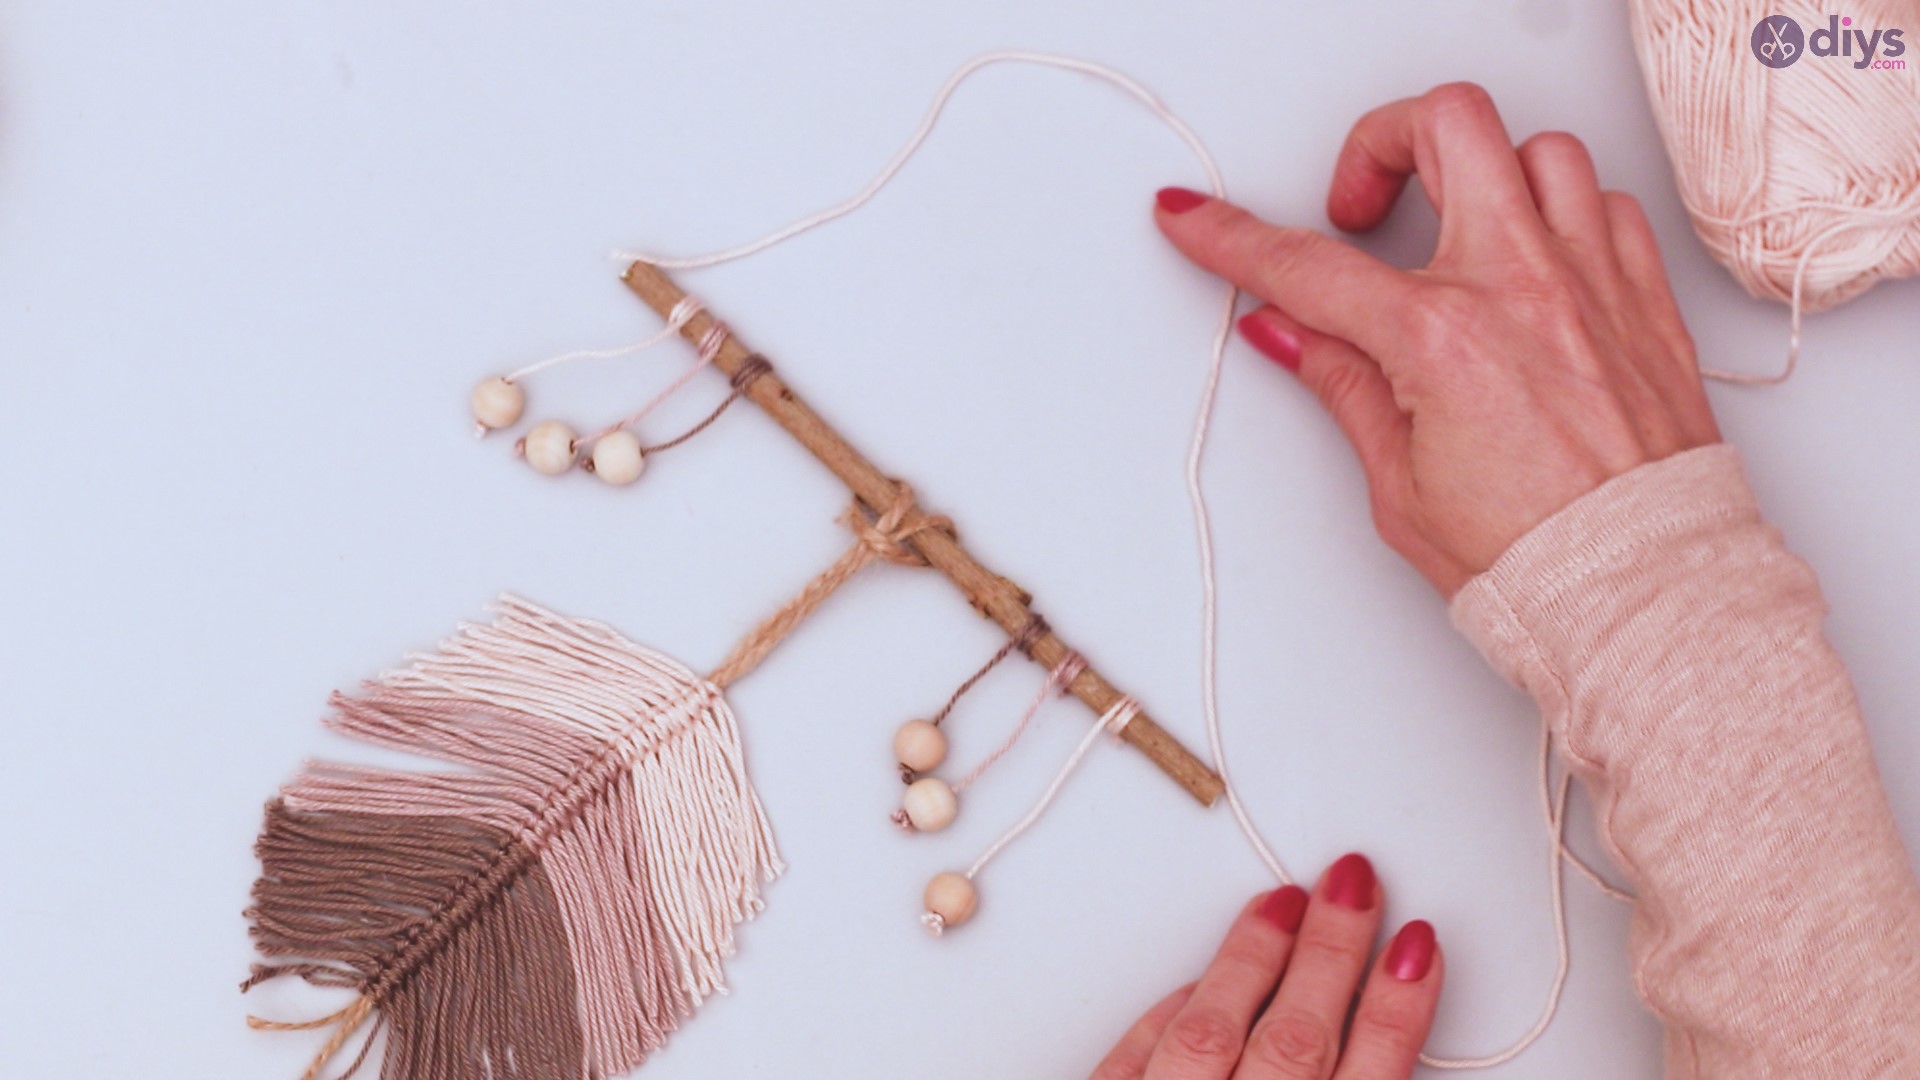
Step 8: Hang your branch
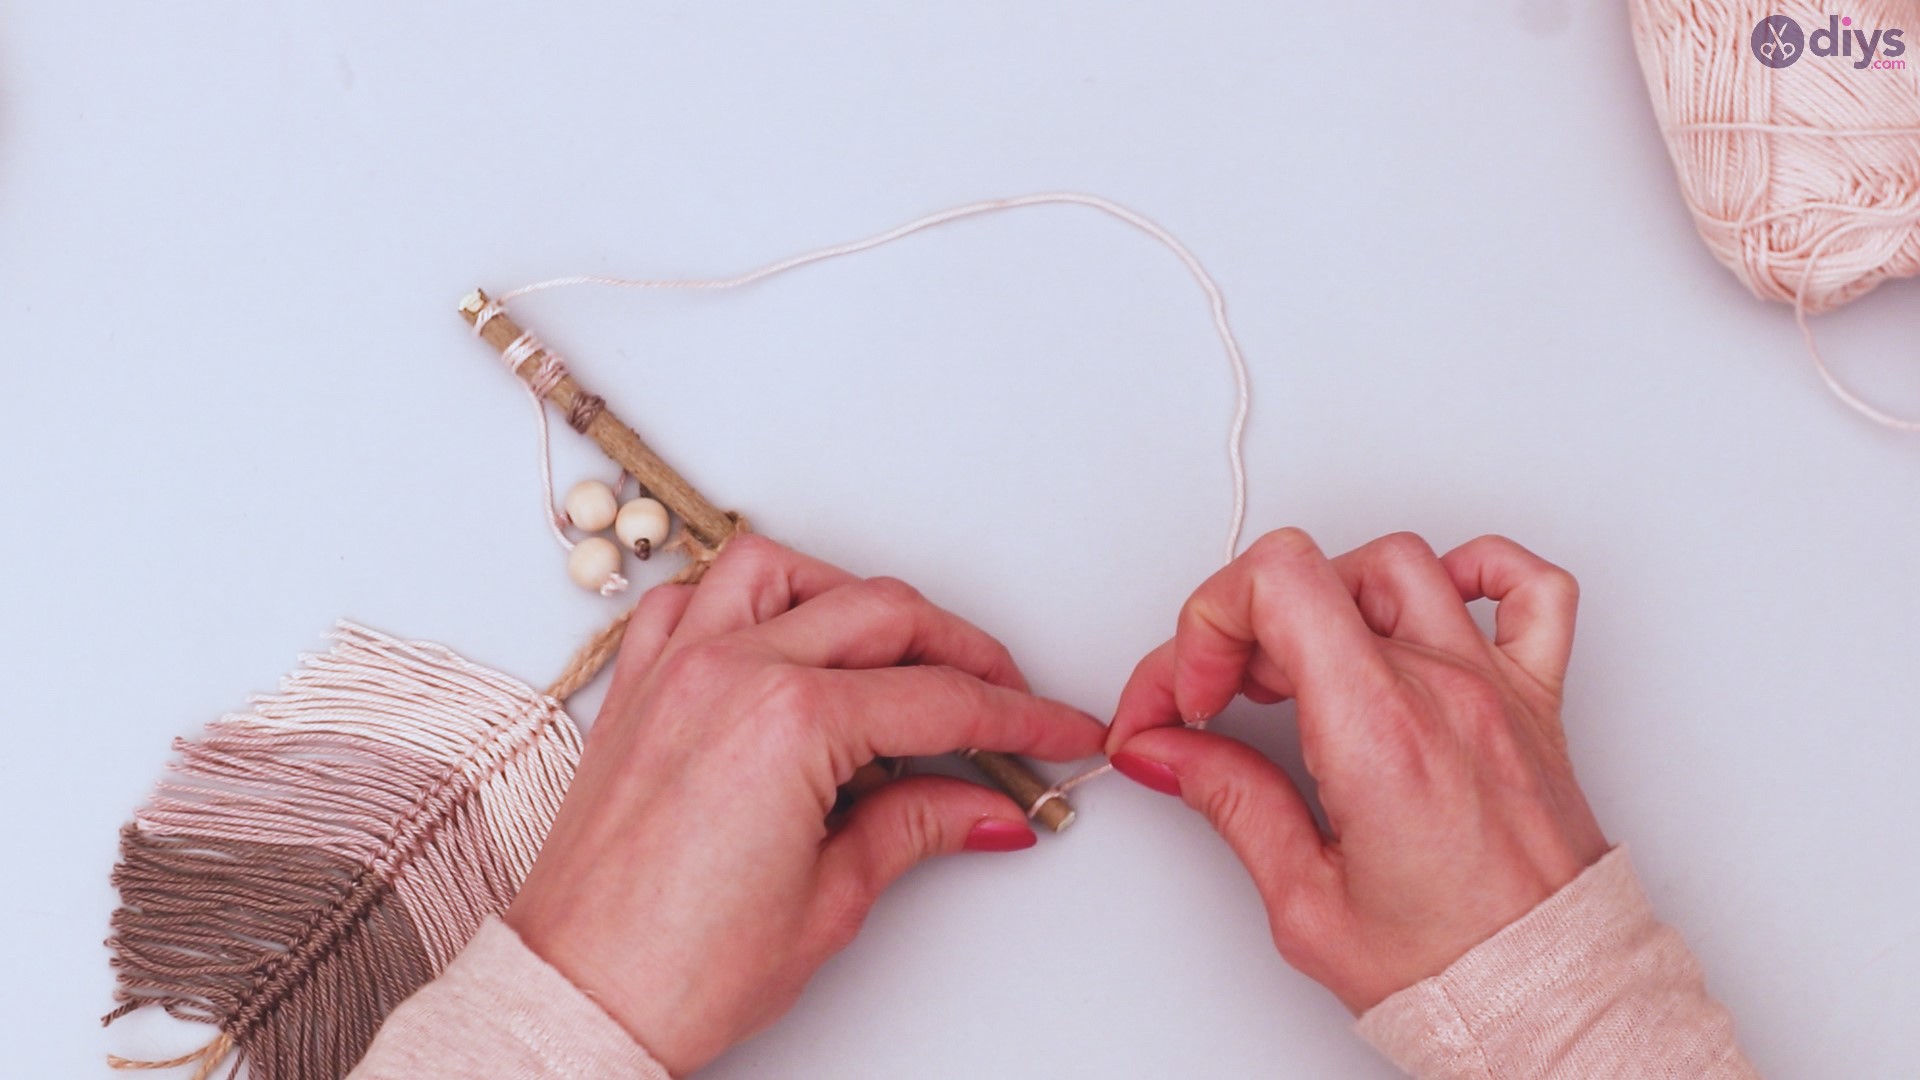
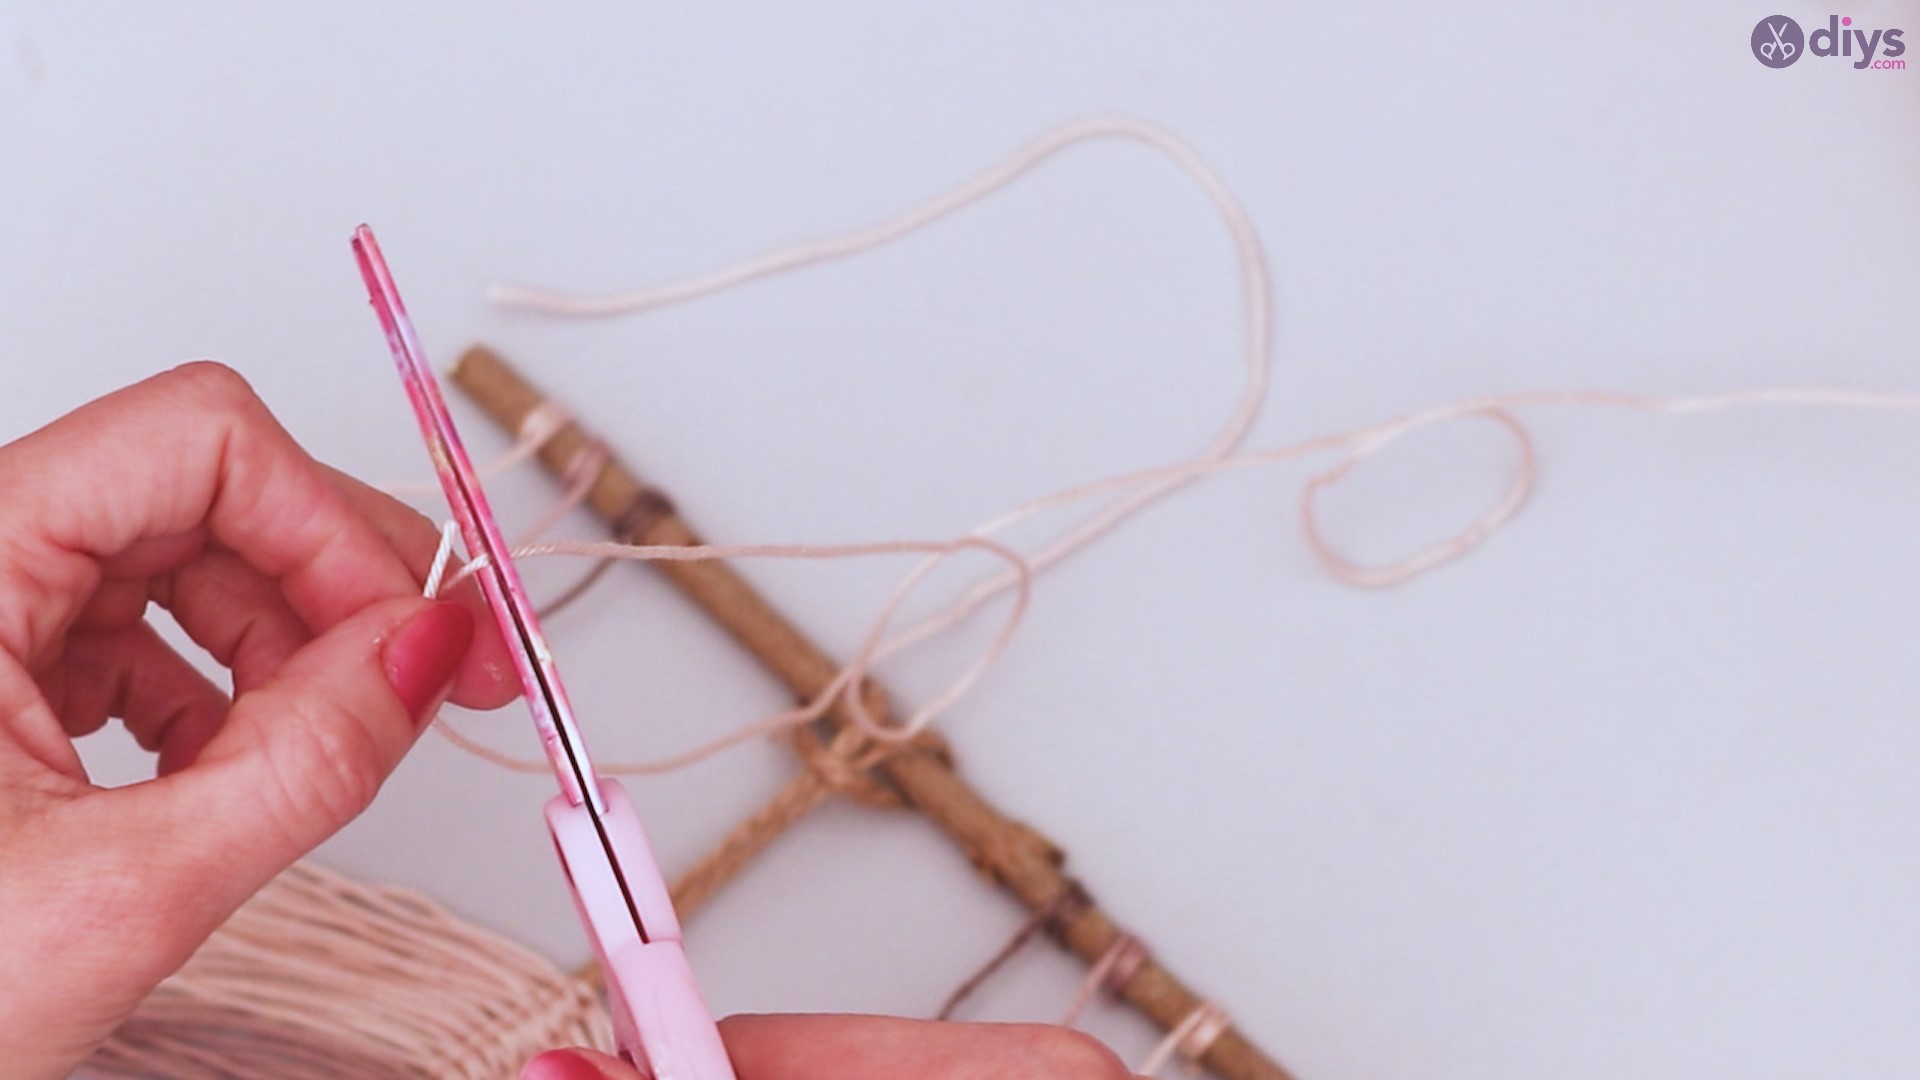
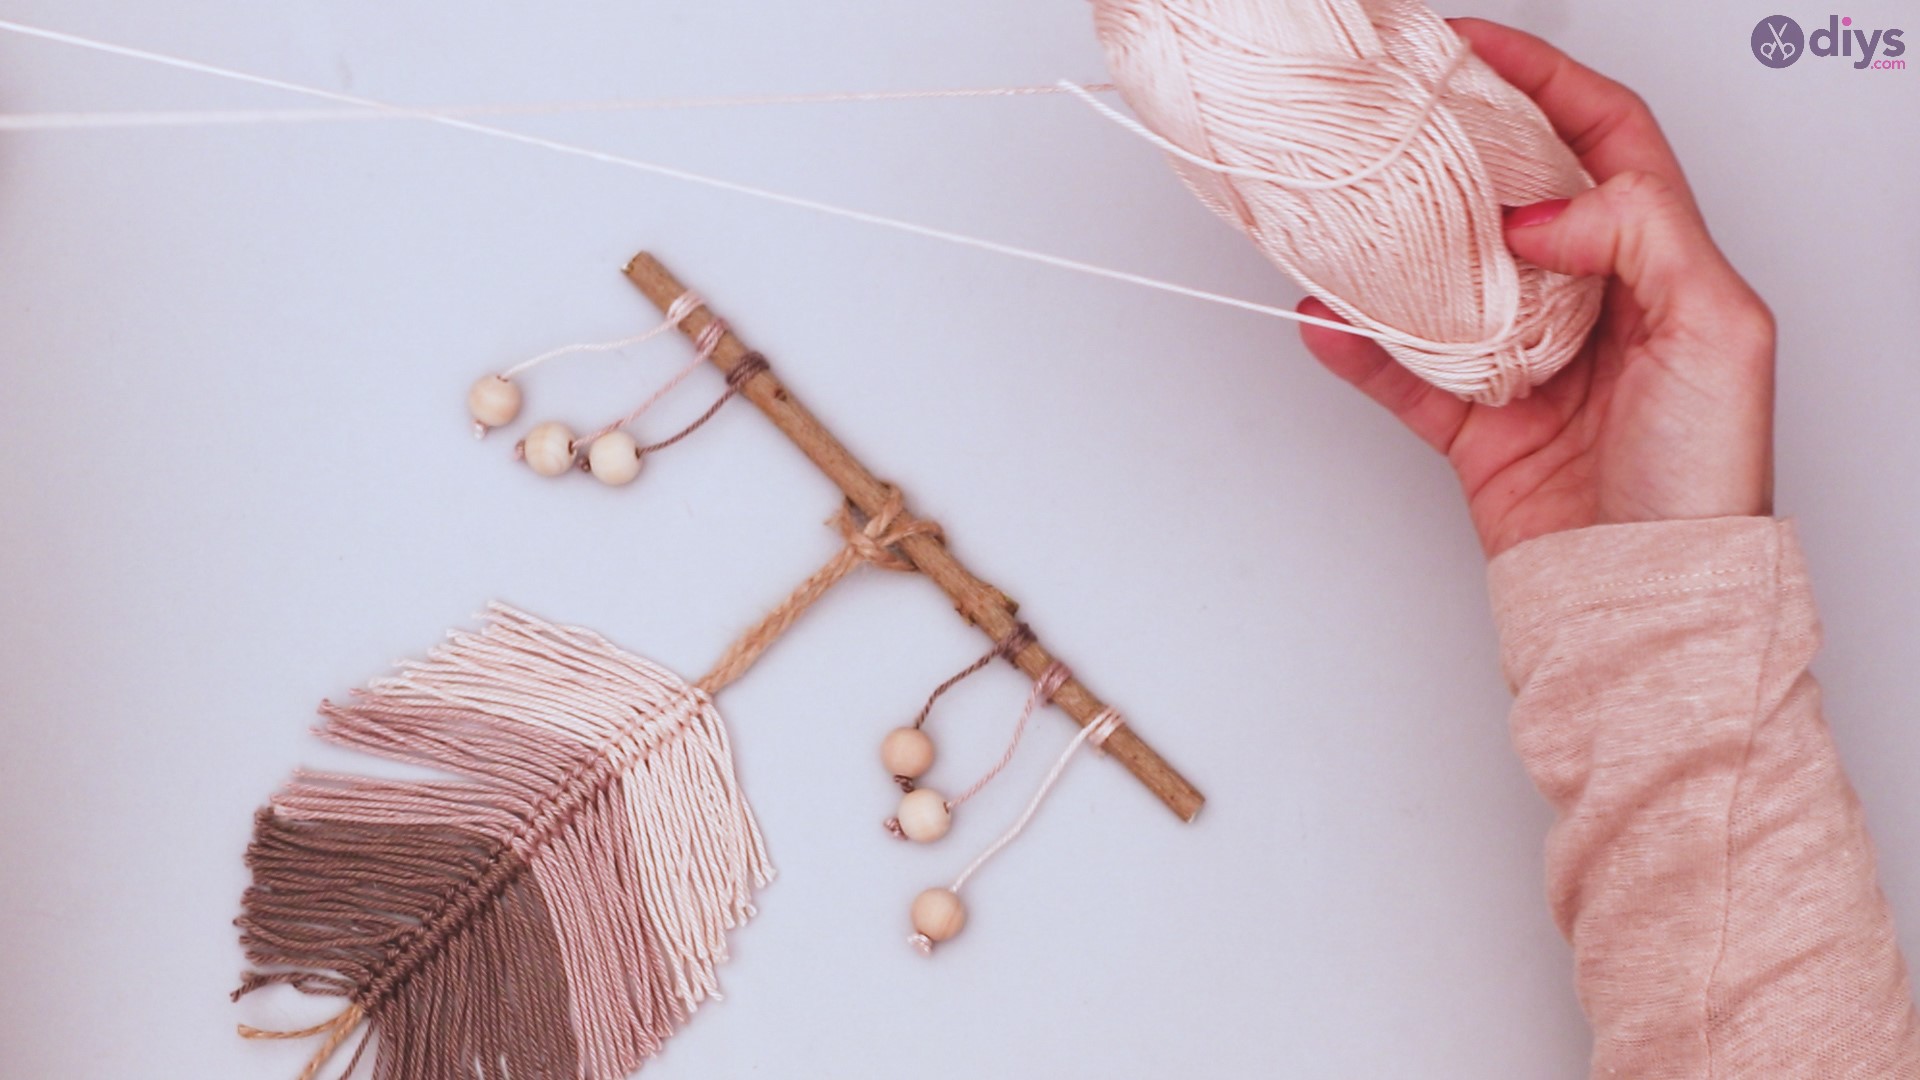
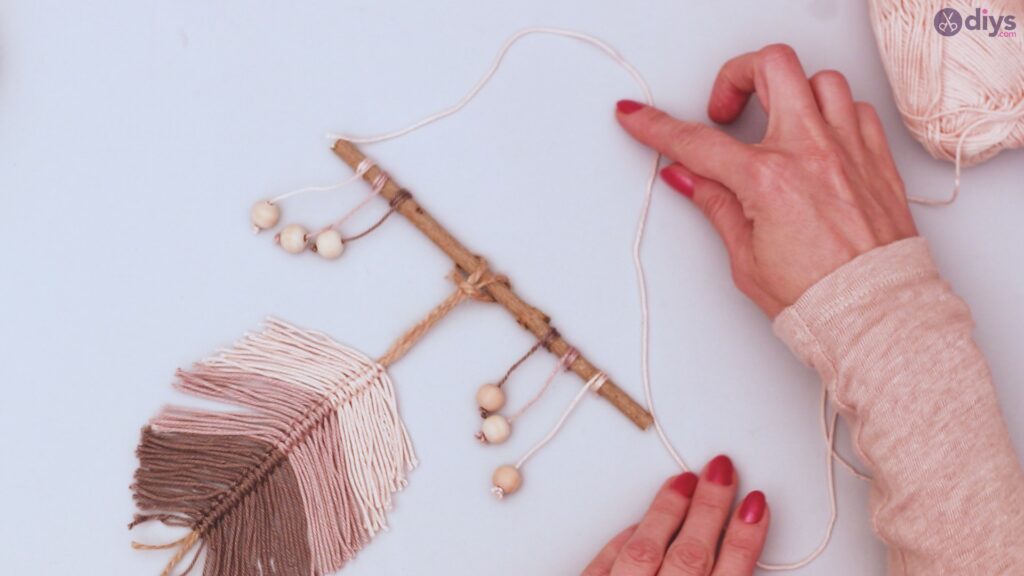
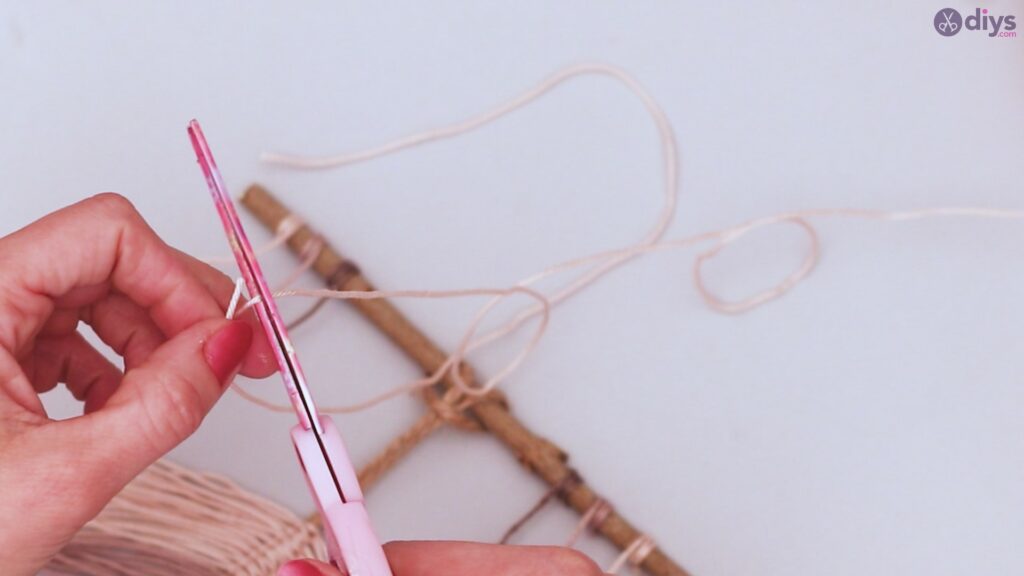
Cut a long length of one color yarn. This should be about twice the length of your branch.
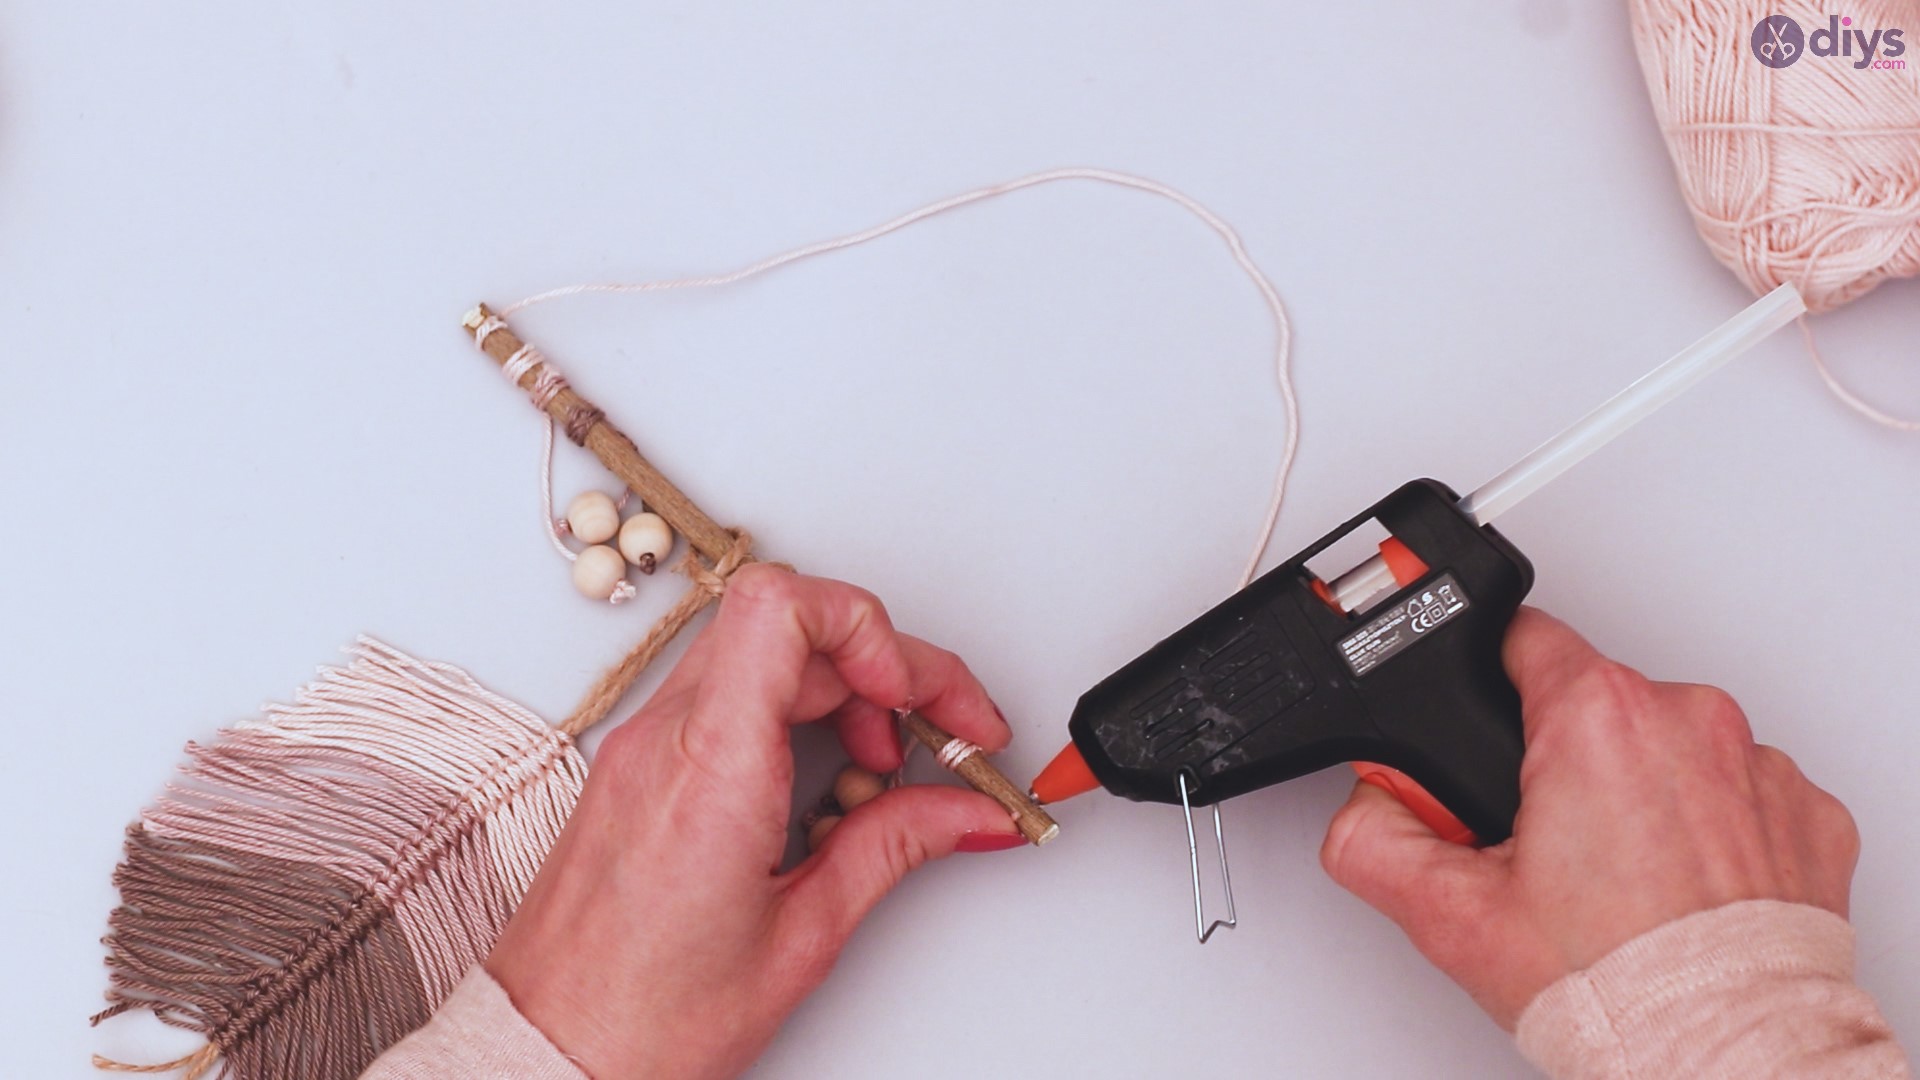
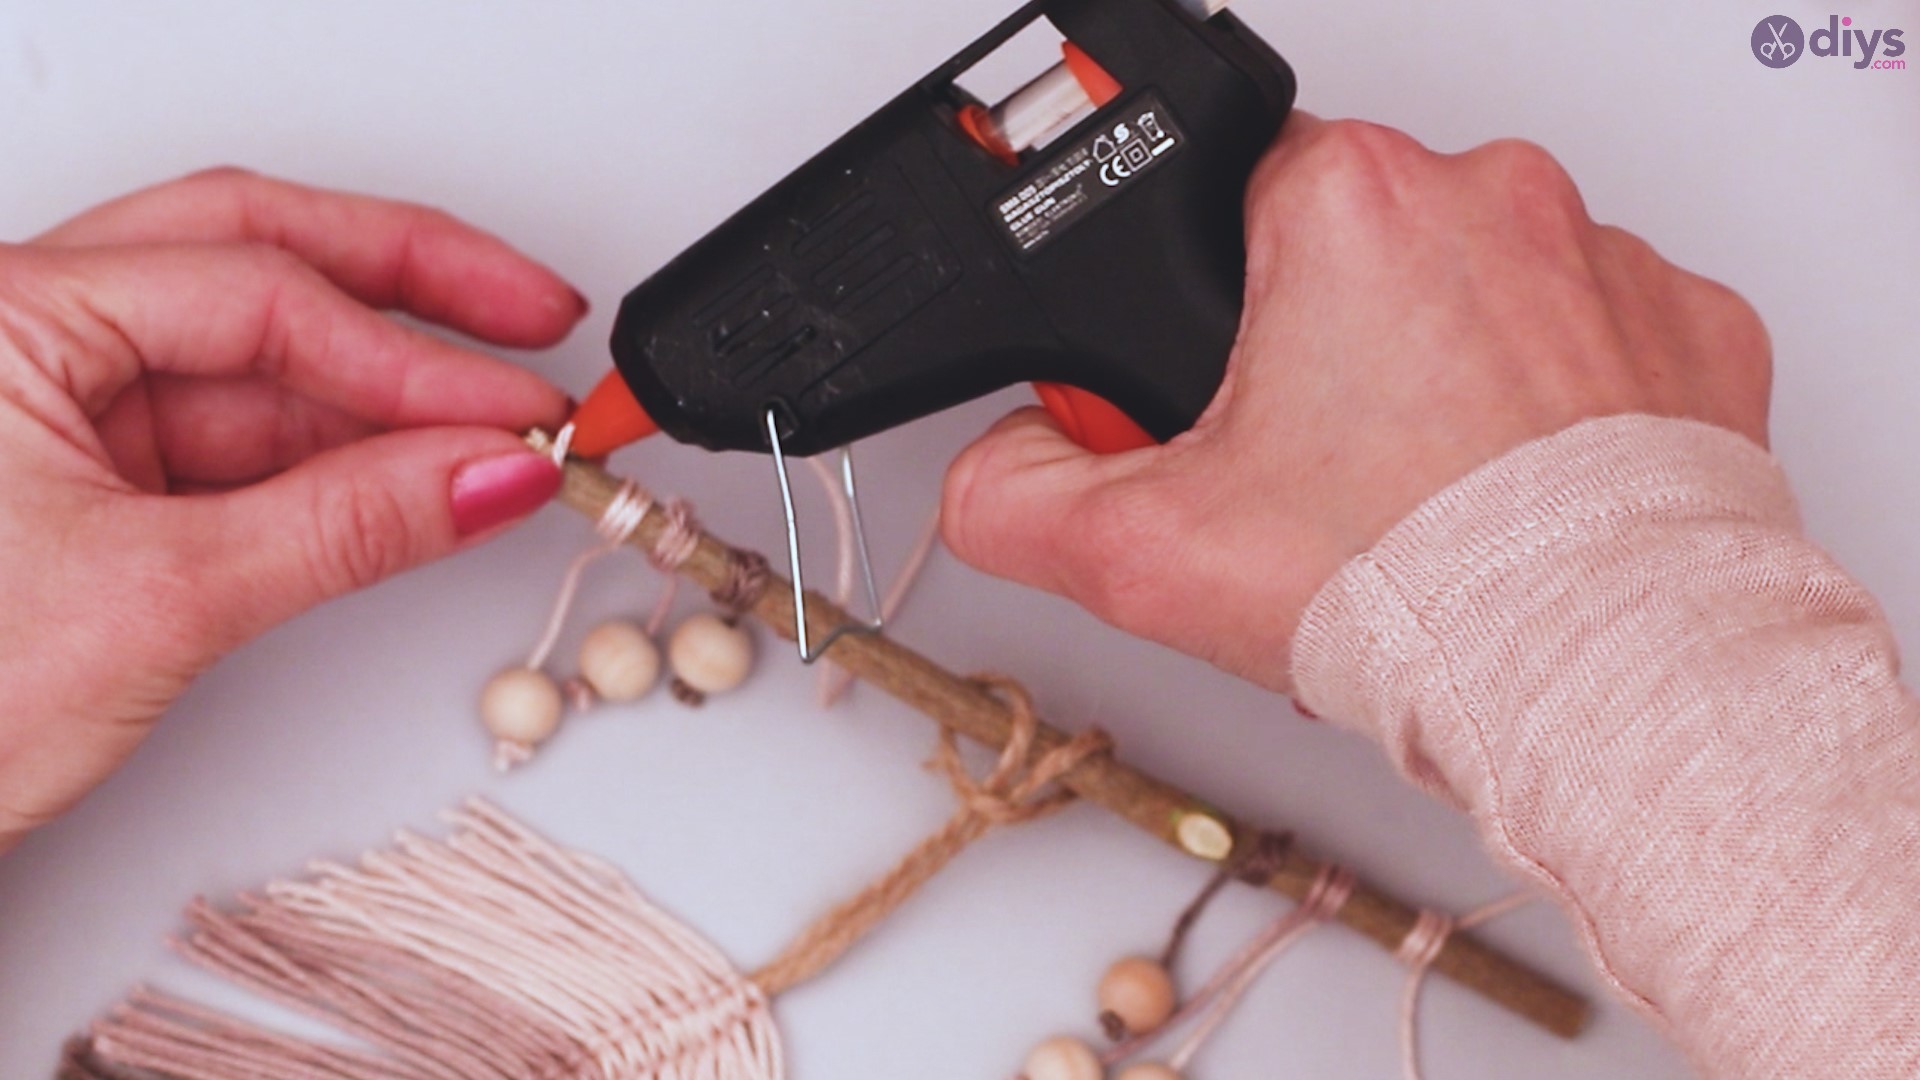
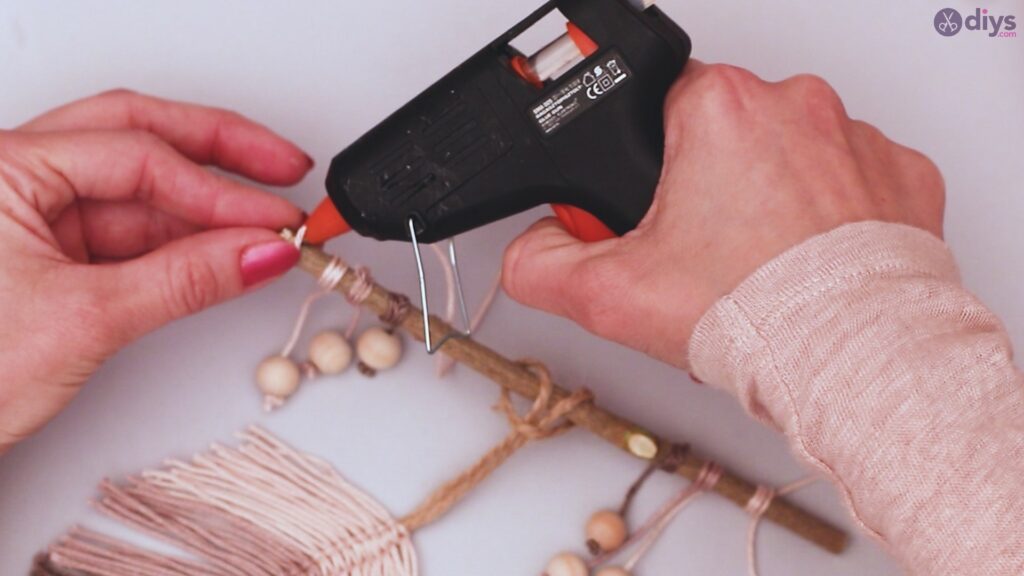
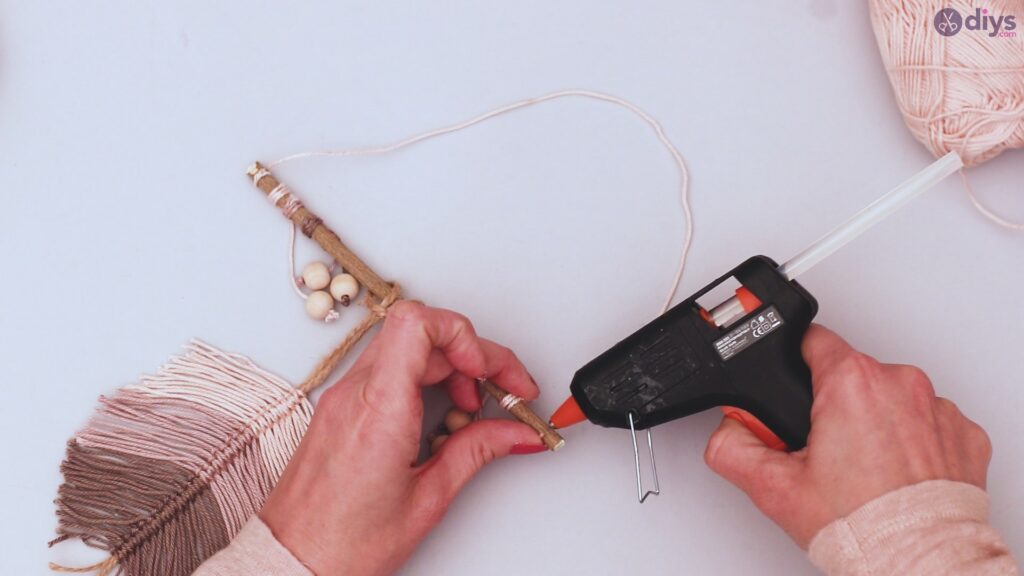
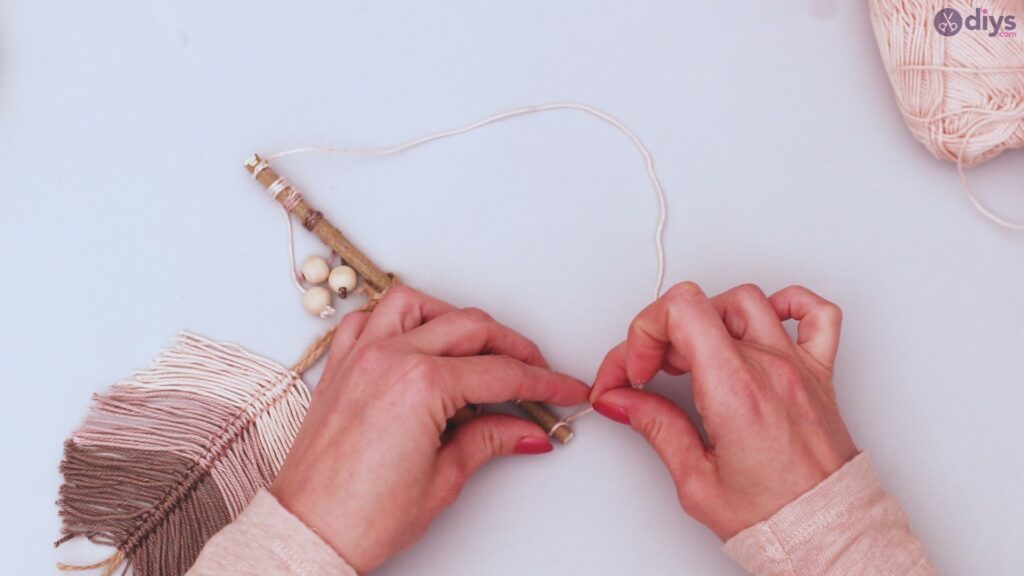
Apply a bead of glue with your glue gun to one end of the branch. Wrap the yarn around the beam and the branch two to three times.
Do the same thing on the other end of the branch, wrapping the free end of the yarn around it.
Parting words
Your completed project will add character to your décor for the fall season and can be part of any theme you like, using a variety of colors for different seasons and holidays.
The creation of your unique yarn leaf wall décor isn’t difficult, and you have lots of ways to get creative in the overall design.
Take the time to try it out, even if you’re not particularly crafty, and see how easily you can get your creative juices flowing and exercise a little design work with just a few supplies and a little bit of time.
