DIY Wooden Necklace With Tiny Cubes
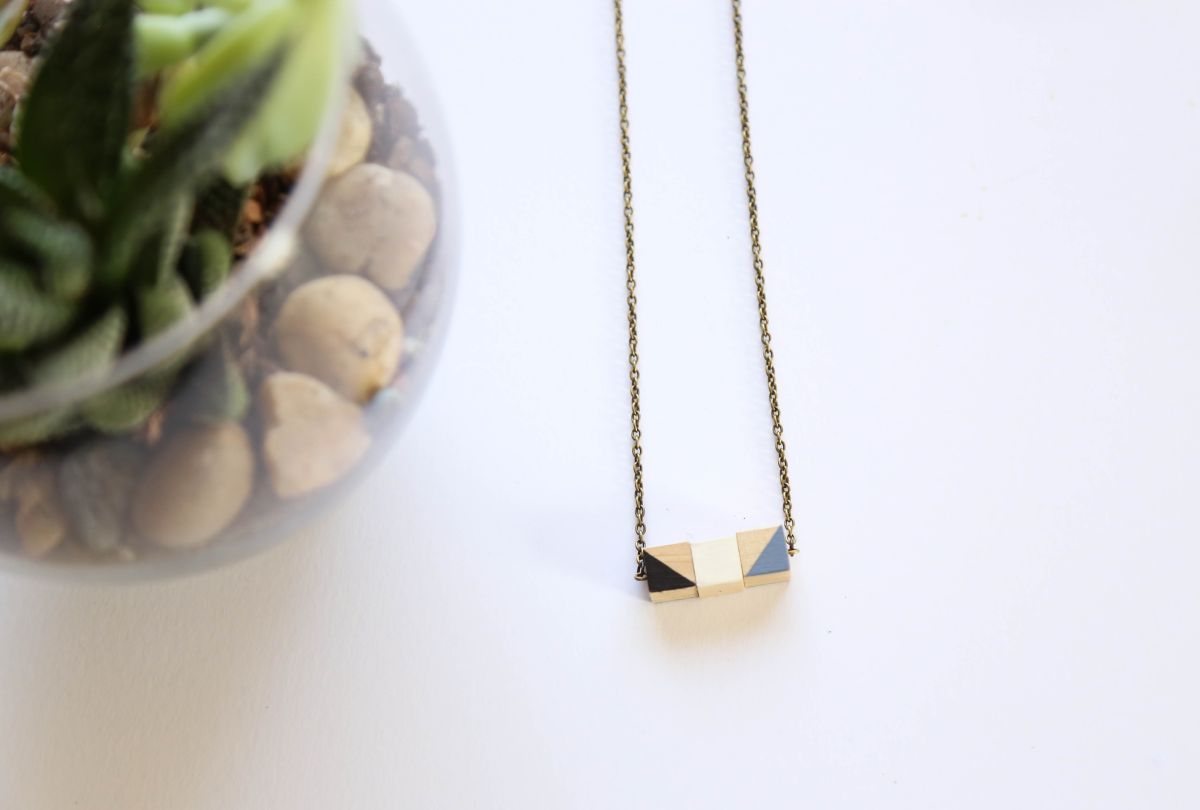
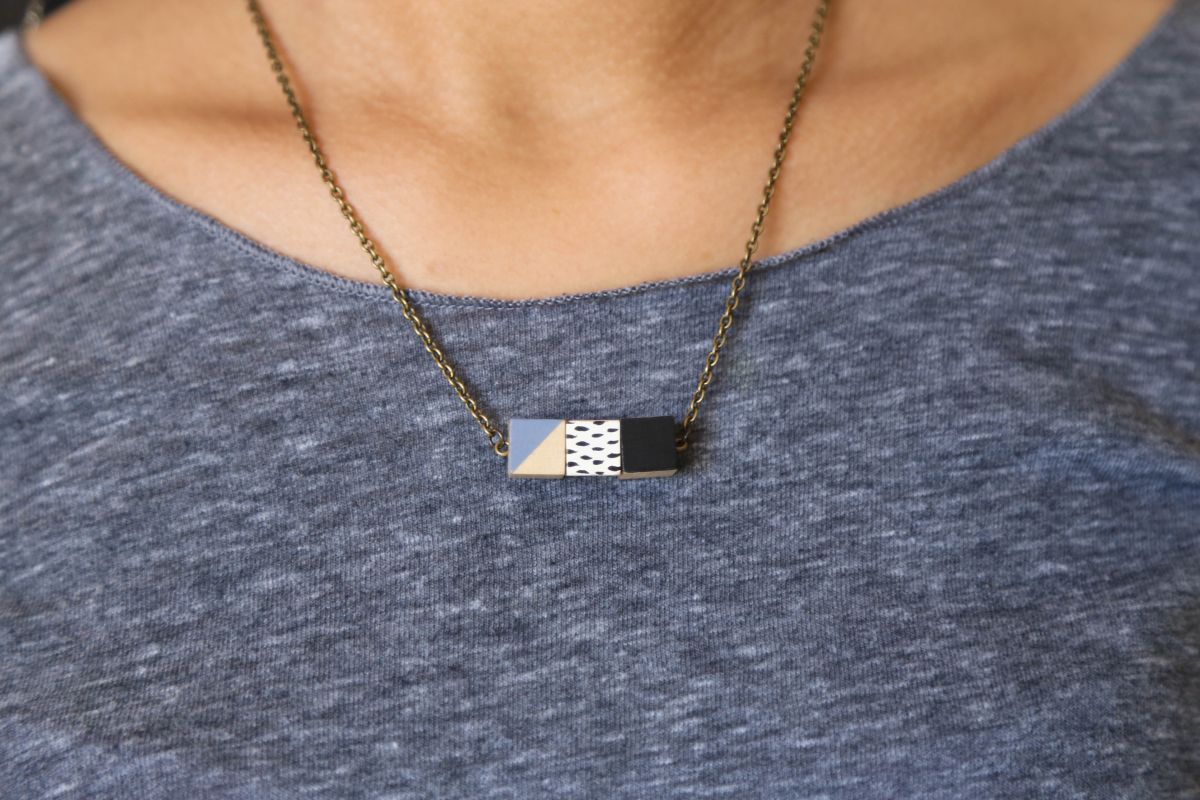
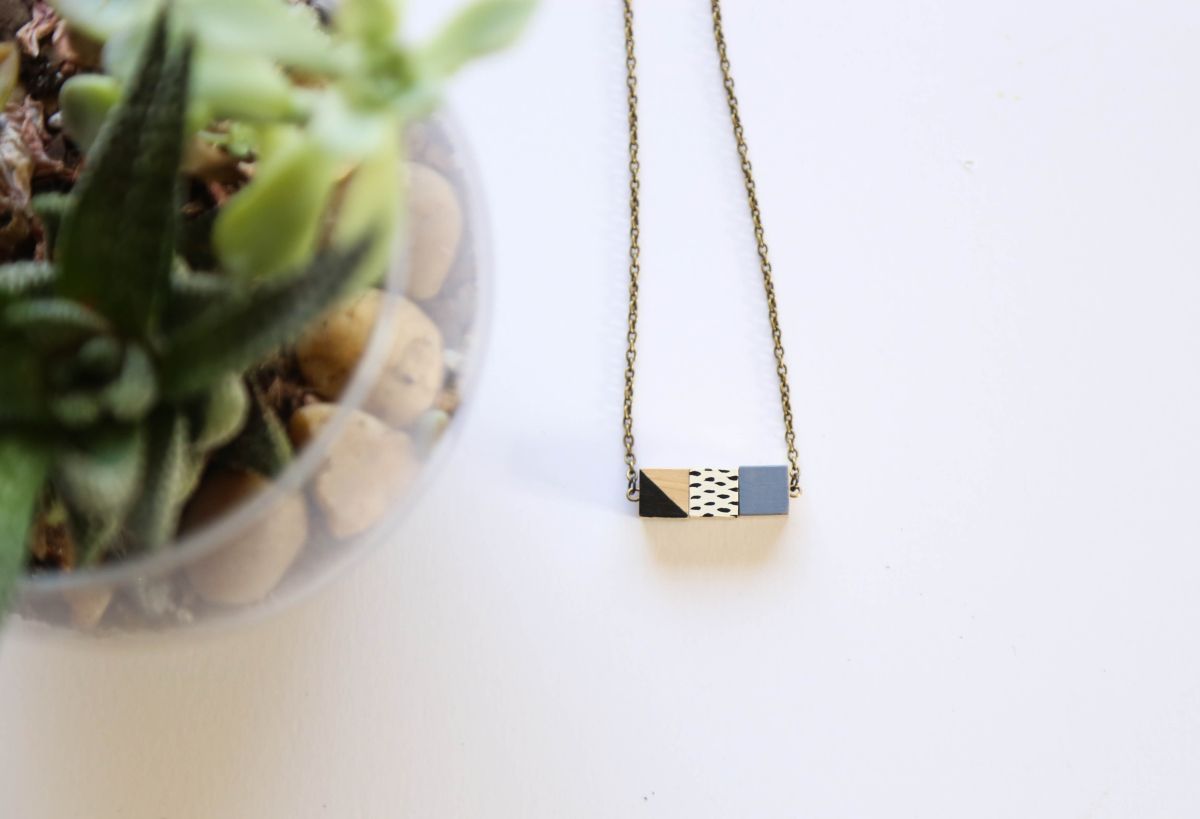
Here is a DIY project easy to put together, not to mention the supplies are pretty cheap. This wooden necklace is truly one of a kind and its a jewelry piece that anyone would love to rock around their neck. It’s a minimal style necklace consisted of tiny wooden cubes that are hand-painted, which allows versatility. You can get really creative with this project and add designs that fit your style, the possibilities are essentially endless.
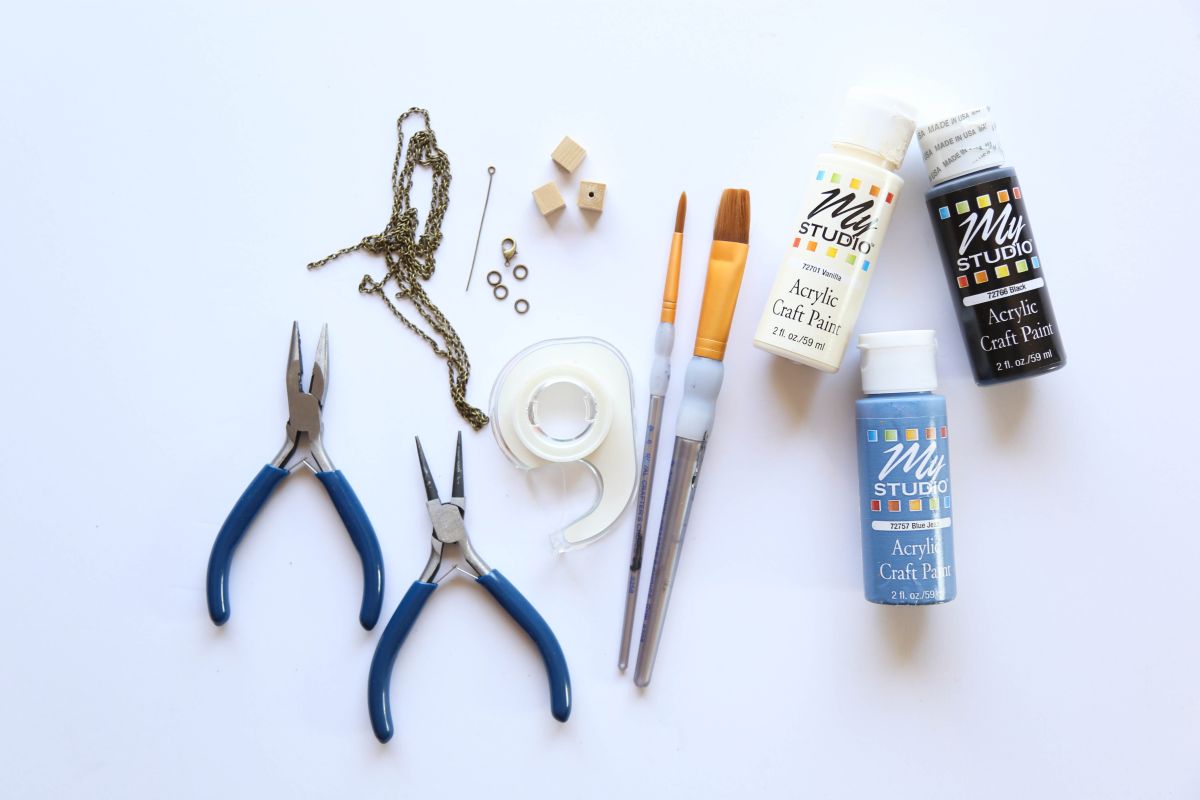
Materials you need to craft the wooden necklace:
- 18″ Jewelry Chain
- Jewelry Pliers
- Tape
- 5 Jump Rings
- Jewelry Eye Pin
- Lobster Clasp
- 3 Wooden Cube Beads
- Paint Brush
- Acrylic Paint
- Finishing Spray
Step 1: wooden cubes painting process
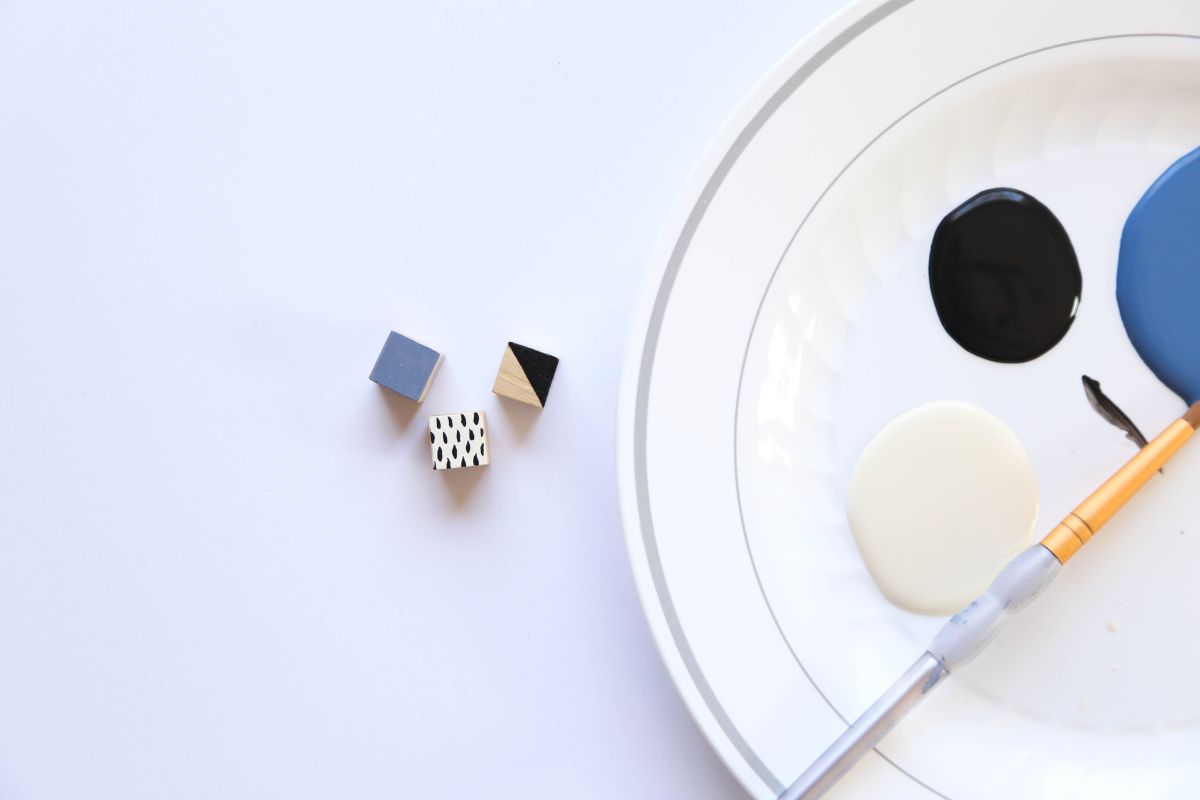
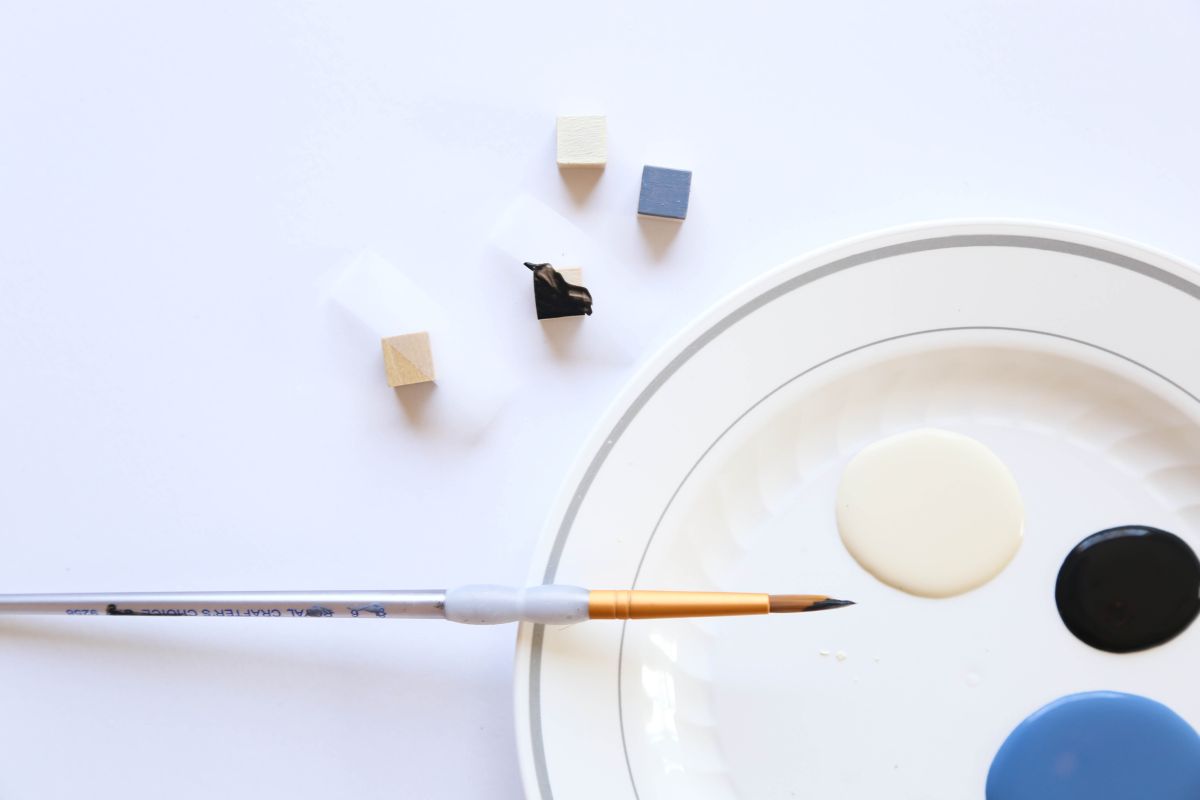
Take a wooden cube and place a strip of tape across the cube at a diagonal. Take your paintbrush and paint the empty space. You probably need to go over with the paint 2-3 times in order to get a nice coat. Wait about 10 minutes for the paint to fully dry and once it has dried peel off the tape. Take another cube and paint one side any color of your choice.
Step 2: add patterns
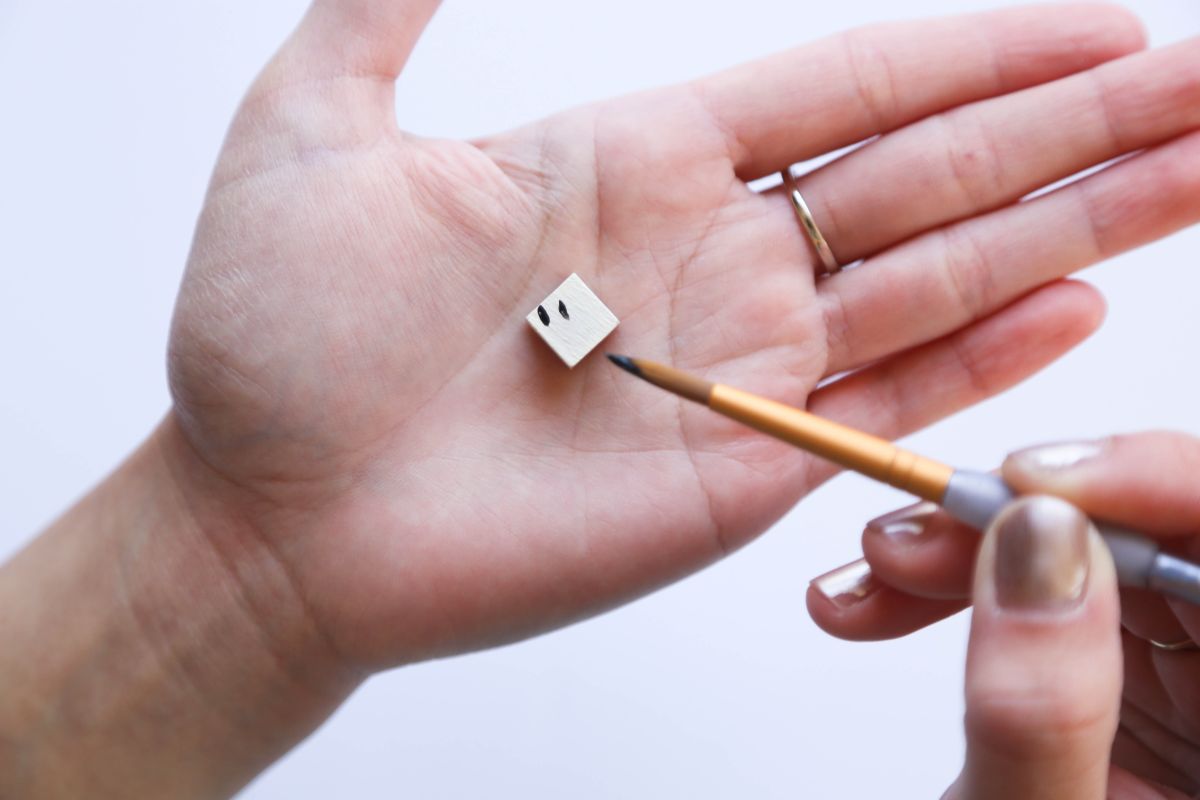
Pick one of the cubes to create a design on and take a thin paint brush and carefully use the tip of the brush to create a dash pattern. You can also paint the opposite side of the cube if you prefer to have a necklace with versatile pendant.
Step 3: spray paint protection
Once the paint has fully dried, take the finished spray and spray a nice layer to protect the paint.
Step 4: arrange the cubes
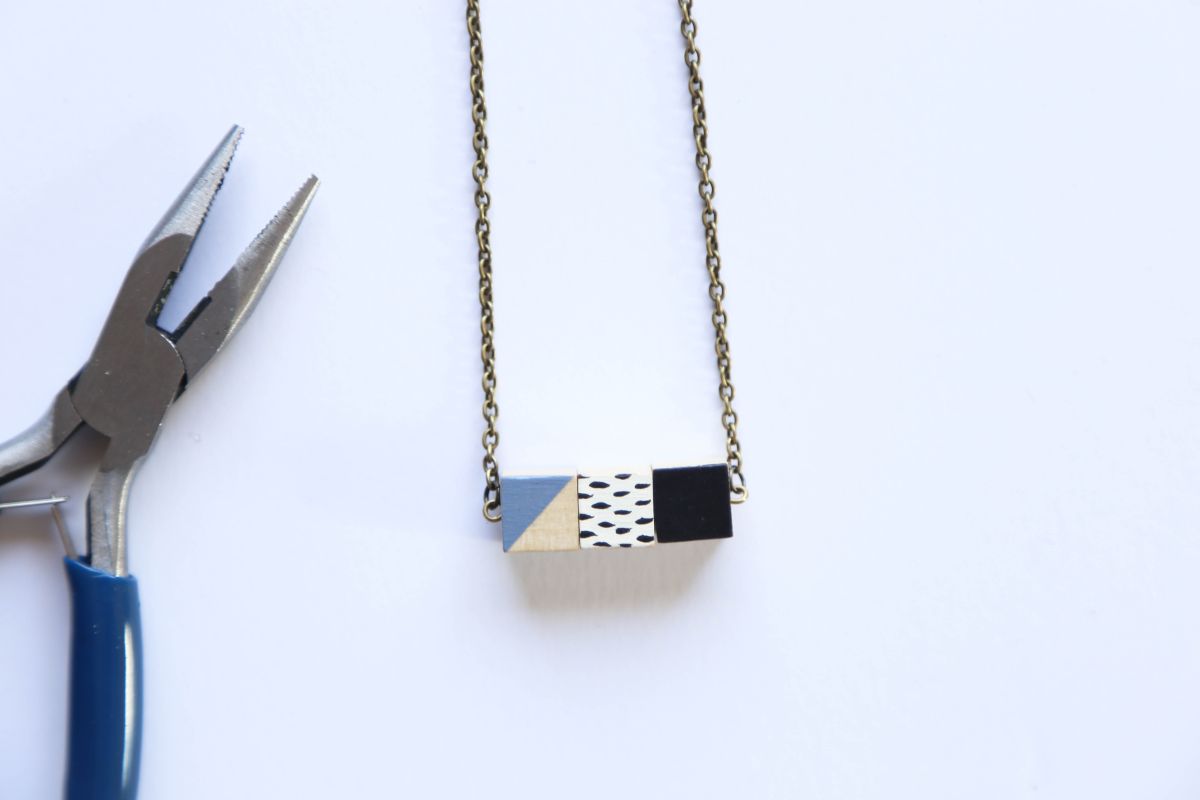
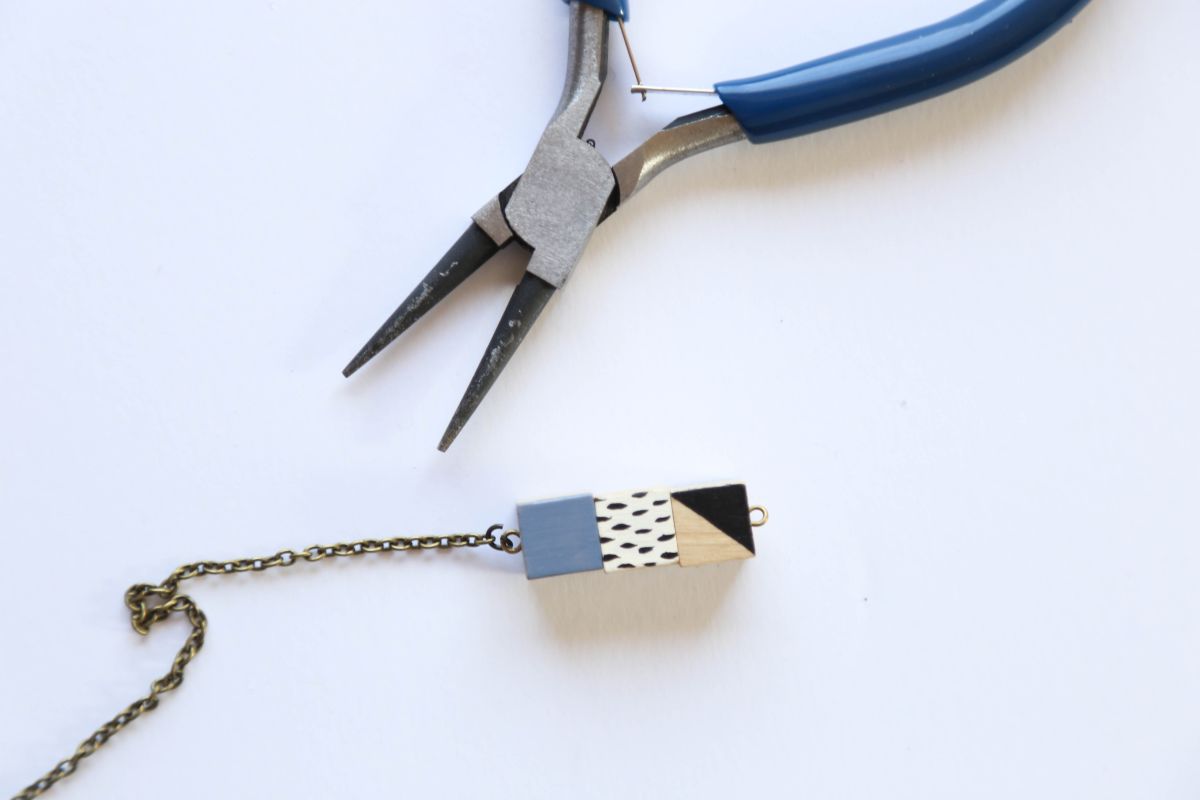
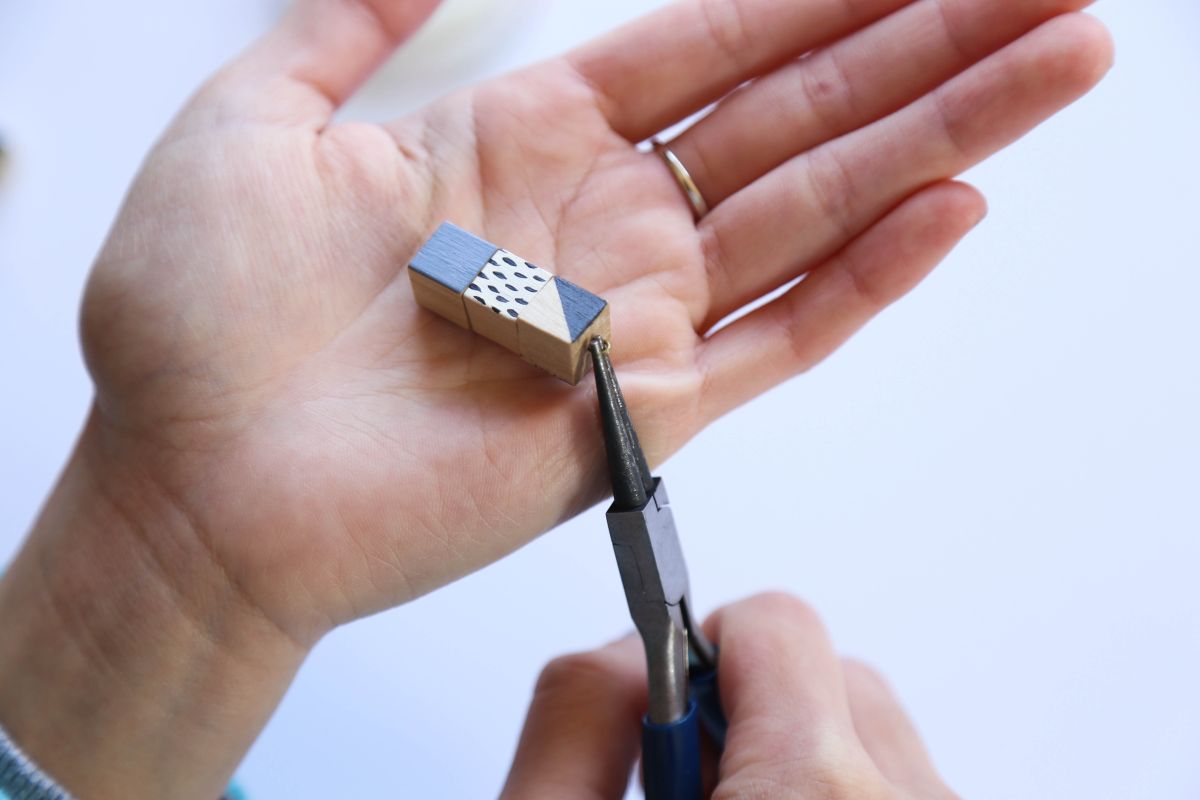
Take the eye pin and arrange the wooden cubes. Trim off the extra wire and create a round loop with your round-nose pliers.
Step 5: add rings
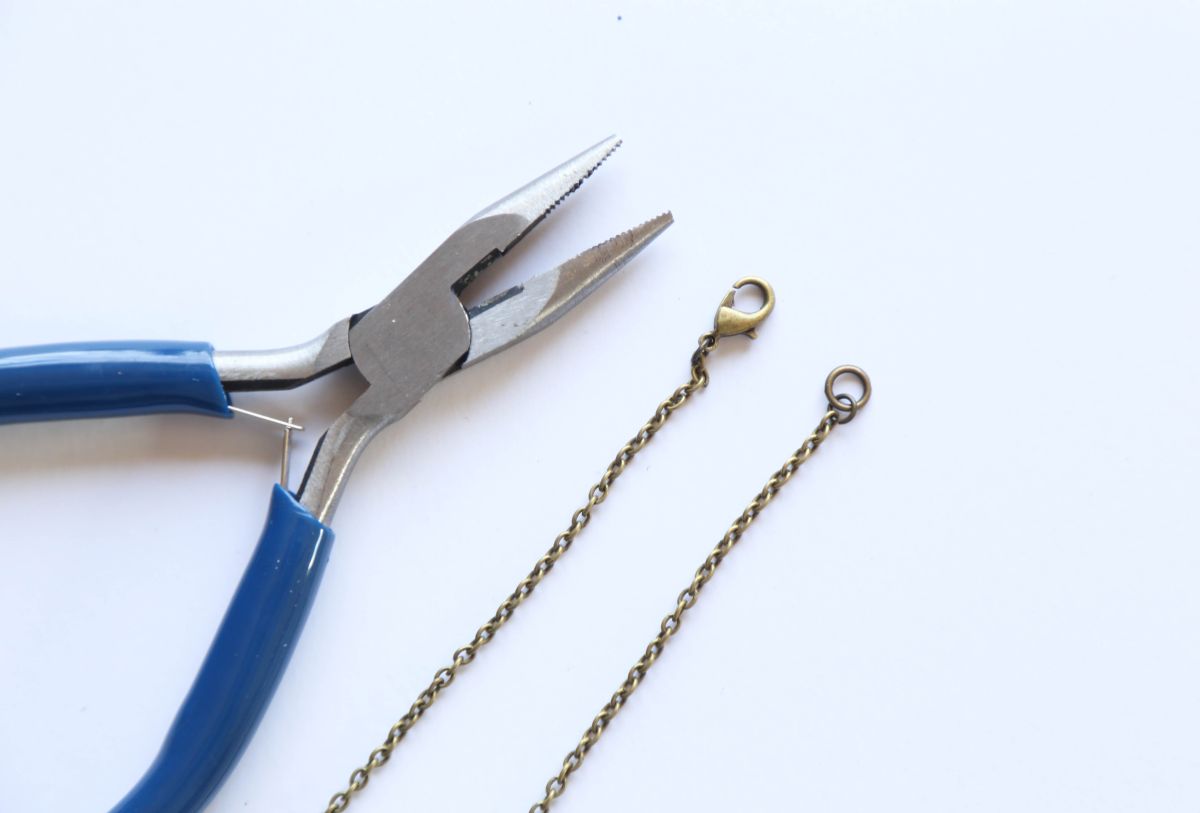
Split the necklace chain right in the middle. Using the flat-nose plier attach the chain to both sides of the pendant with the jump rings.
Step 6: attach lobster clasp
Attach the lobster clasp and ring to the end of the chain with the jump rings.
Conclusion
Your cube necklace is all ready to wear! If you want to wear something simple you can turn the cubes facing solid colors, or if you want a pop of design you can flip it around. Hope you enjoy this tutorial as much as I did putting it together.
