Wood Burning Art – How To Wood Burn Kitchen Utensils
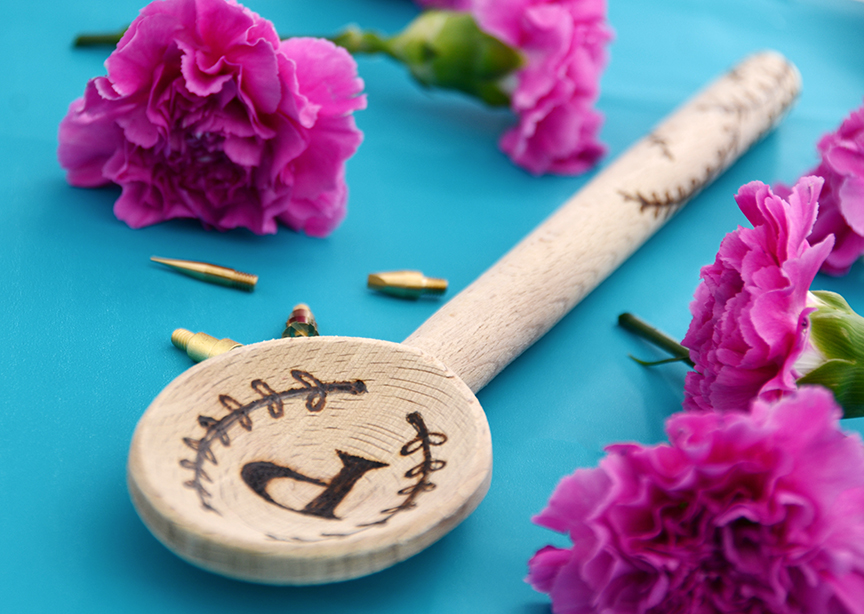
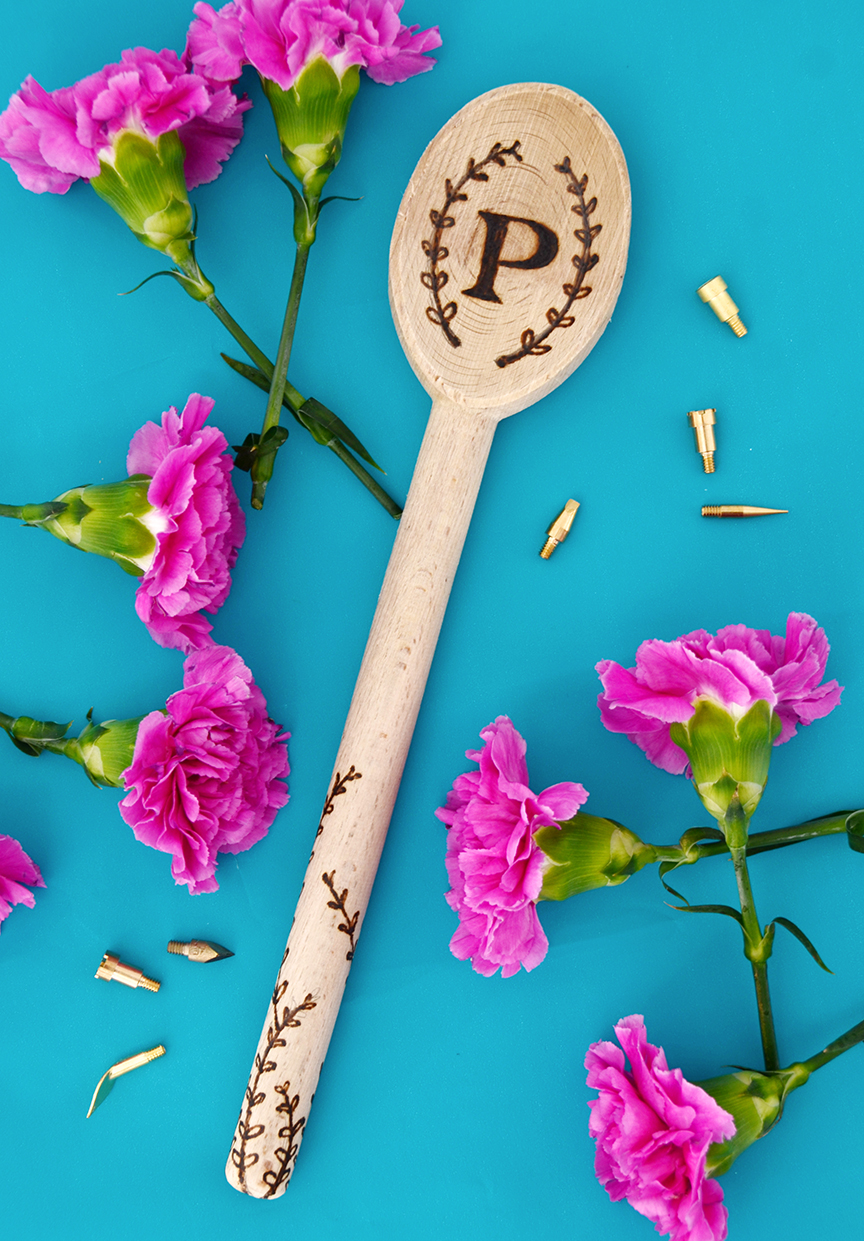
In case you haven’t heard, wood burning is easier than you might think… and it’s a great way to customize virtually anything that’s made out of wood! So today we’re showing you how to turn a plain old wooden spoon into a personalized piece of functional art. Keep reading to check out the simple instructions.
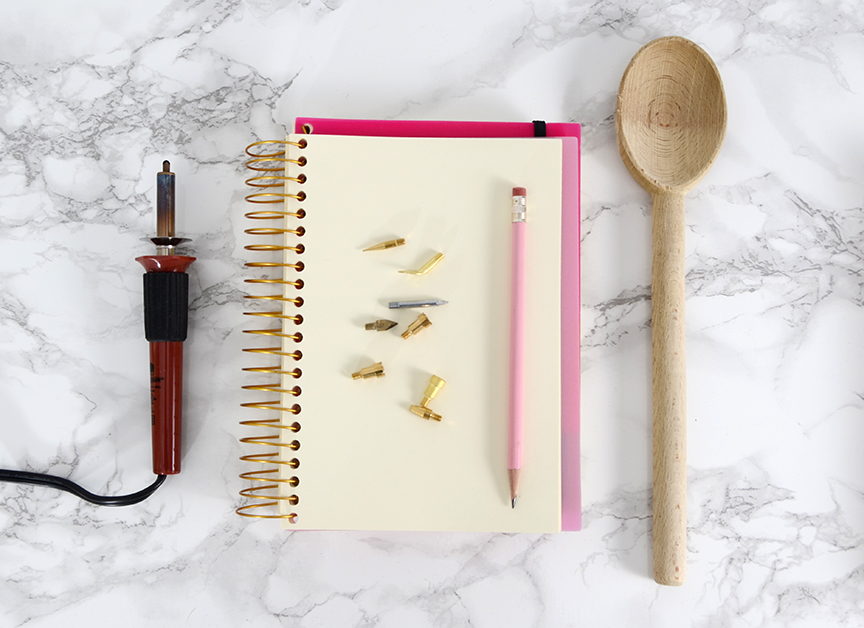
Here’s what you’ll need for this project:
- Wooden spoon
- Wood burning tool
- Assorted wood burning tips
- Notebook
- Pencil
Step by step instructions project:
Step 1: drawing the design
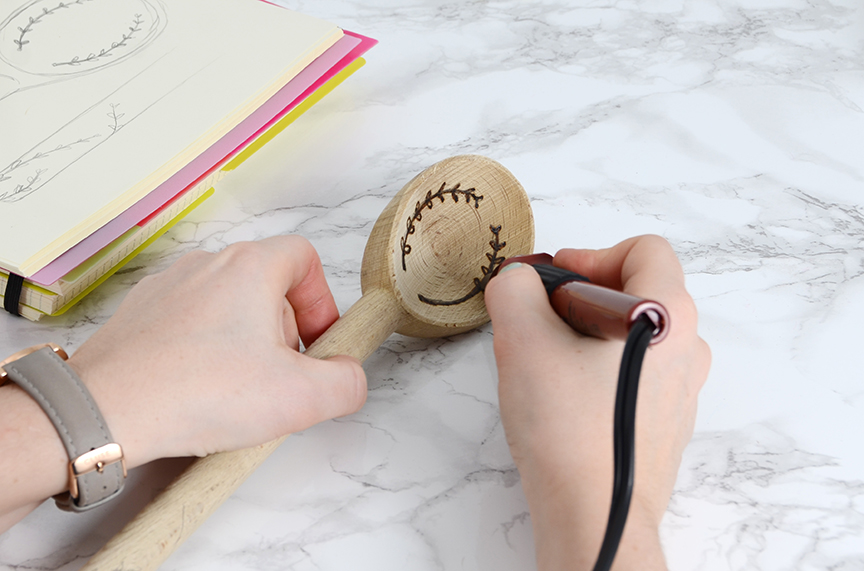
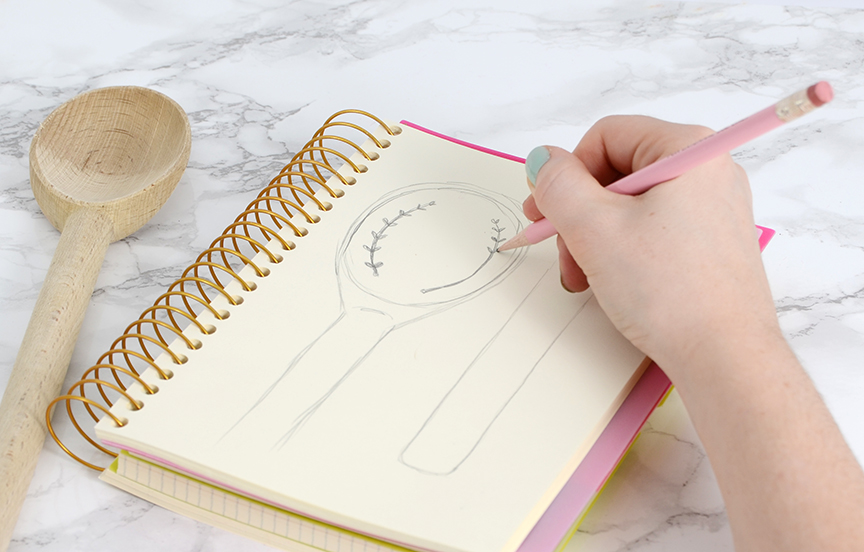
Begin by drawing out a sketch of the design you’d like to add to your spoon. I went with a botanical style patternwith leaves and a monogram which I added at the very end.
Step 2: draw on spoon
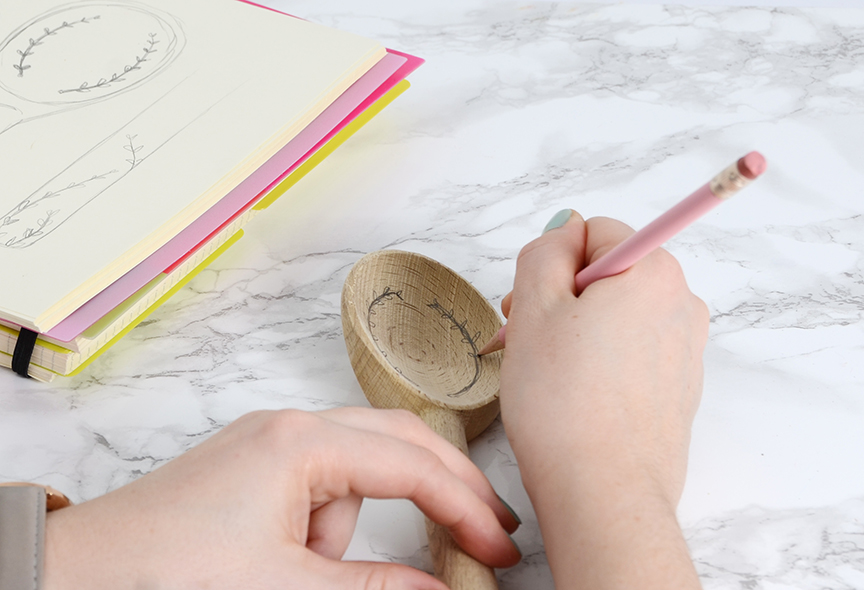
Next, recreate your pattern on the spoon with a pencil. While you are doing this, plug in your wood burning tool to let it heat up. Be sure to insertthe tip you want to use before you plug it in, otherwise you’ll have to wait for it to cool down to remove it and insert a different one. I used the rounded tip.
Step 3: begin burning wood
At this point, you may want to play around with the tool on a piece of scrap wood to get the hang of it before you start your design on the wooden spoon. Also be sure to work in a well ventilated area. Once you’re ready, begin burning the wood over the pencil marks that you created as guides.
Step 4: attention on the handle
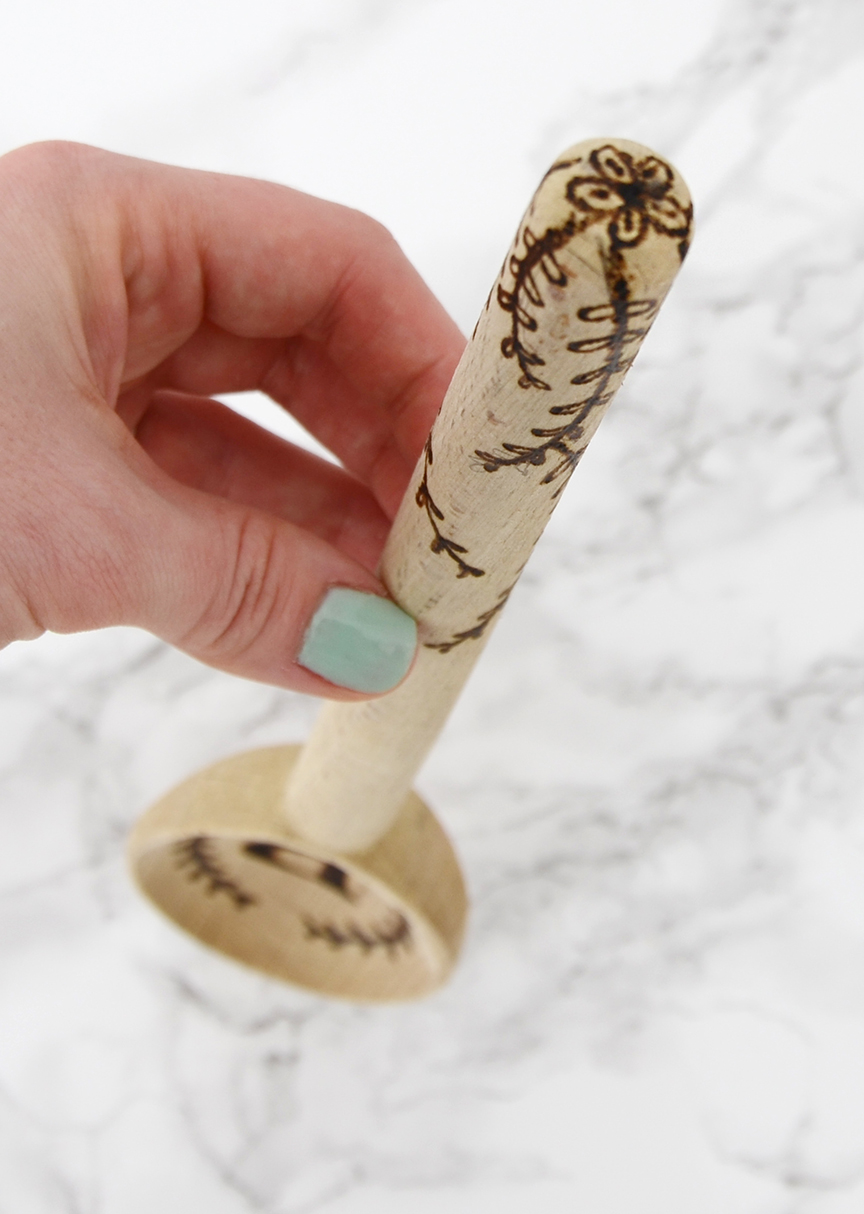
Be sure to pay attention to the top of the handle, since you will see that even more than you will see the other end. The last step is to erase any rogue pencil marks that you may not have burned over. Wash the spoon, and it’s ready to go!
Conclusion
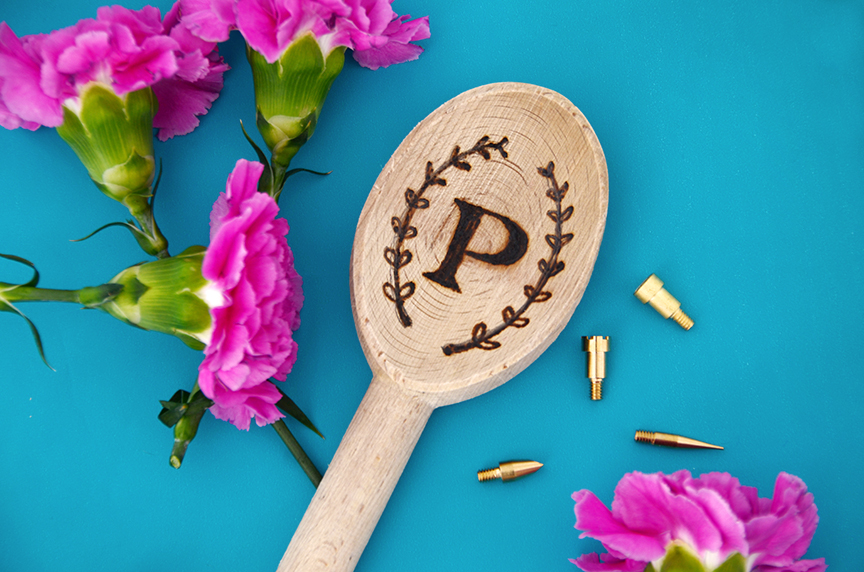
The final piece is so much prettier than it was before, and the monogram gives it a custom feel. It would make a great gift. And if botanical prints aren’t for you, there are so many other options… geometric shapes, stripes, written phrases, etc. The sky’s the limit!
