DIY Wine Cork Wine Glasses – How to Make a Couple of Wine Glasses for Your Wall?
We all like a glass of wine every now and then, right? Well, those who favor wine over other beverages can go one step further in their passion and create a cute wine cork wine glass decor to hang on their wall.
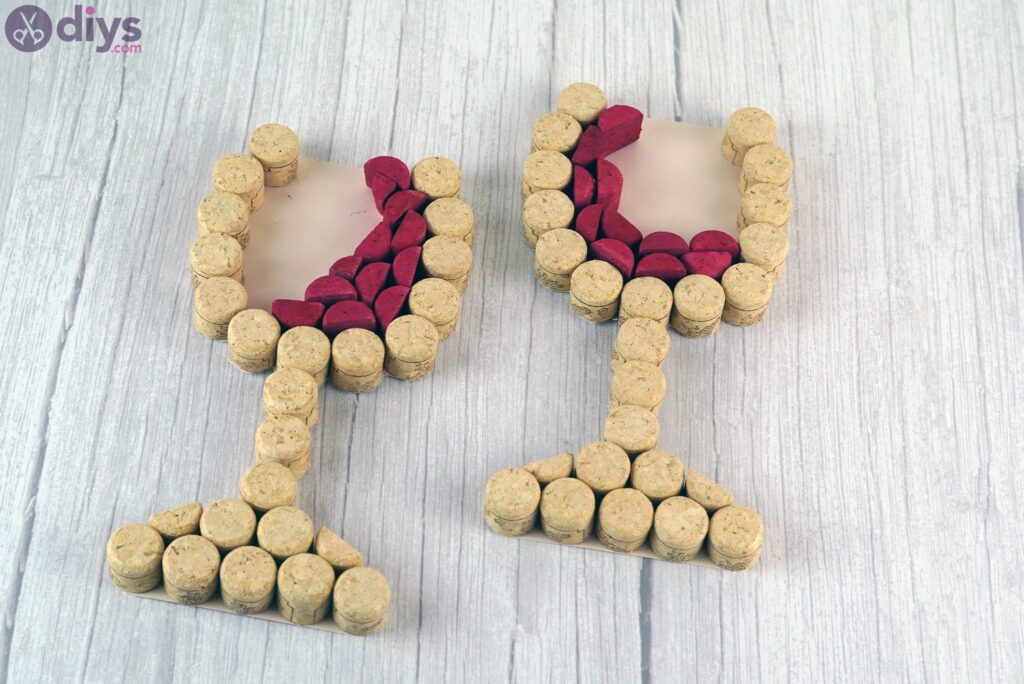
Not only does this decor piece look great, but it’s also a fun way to bring homage to wine, especially since we’ll be using wine corks as the main craft material.
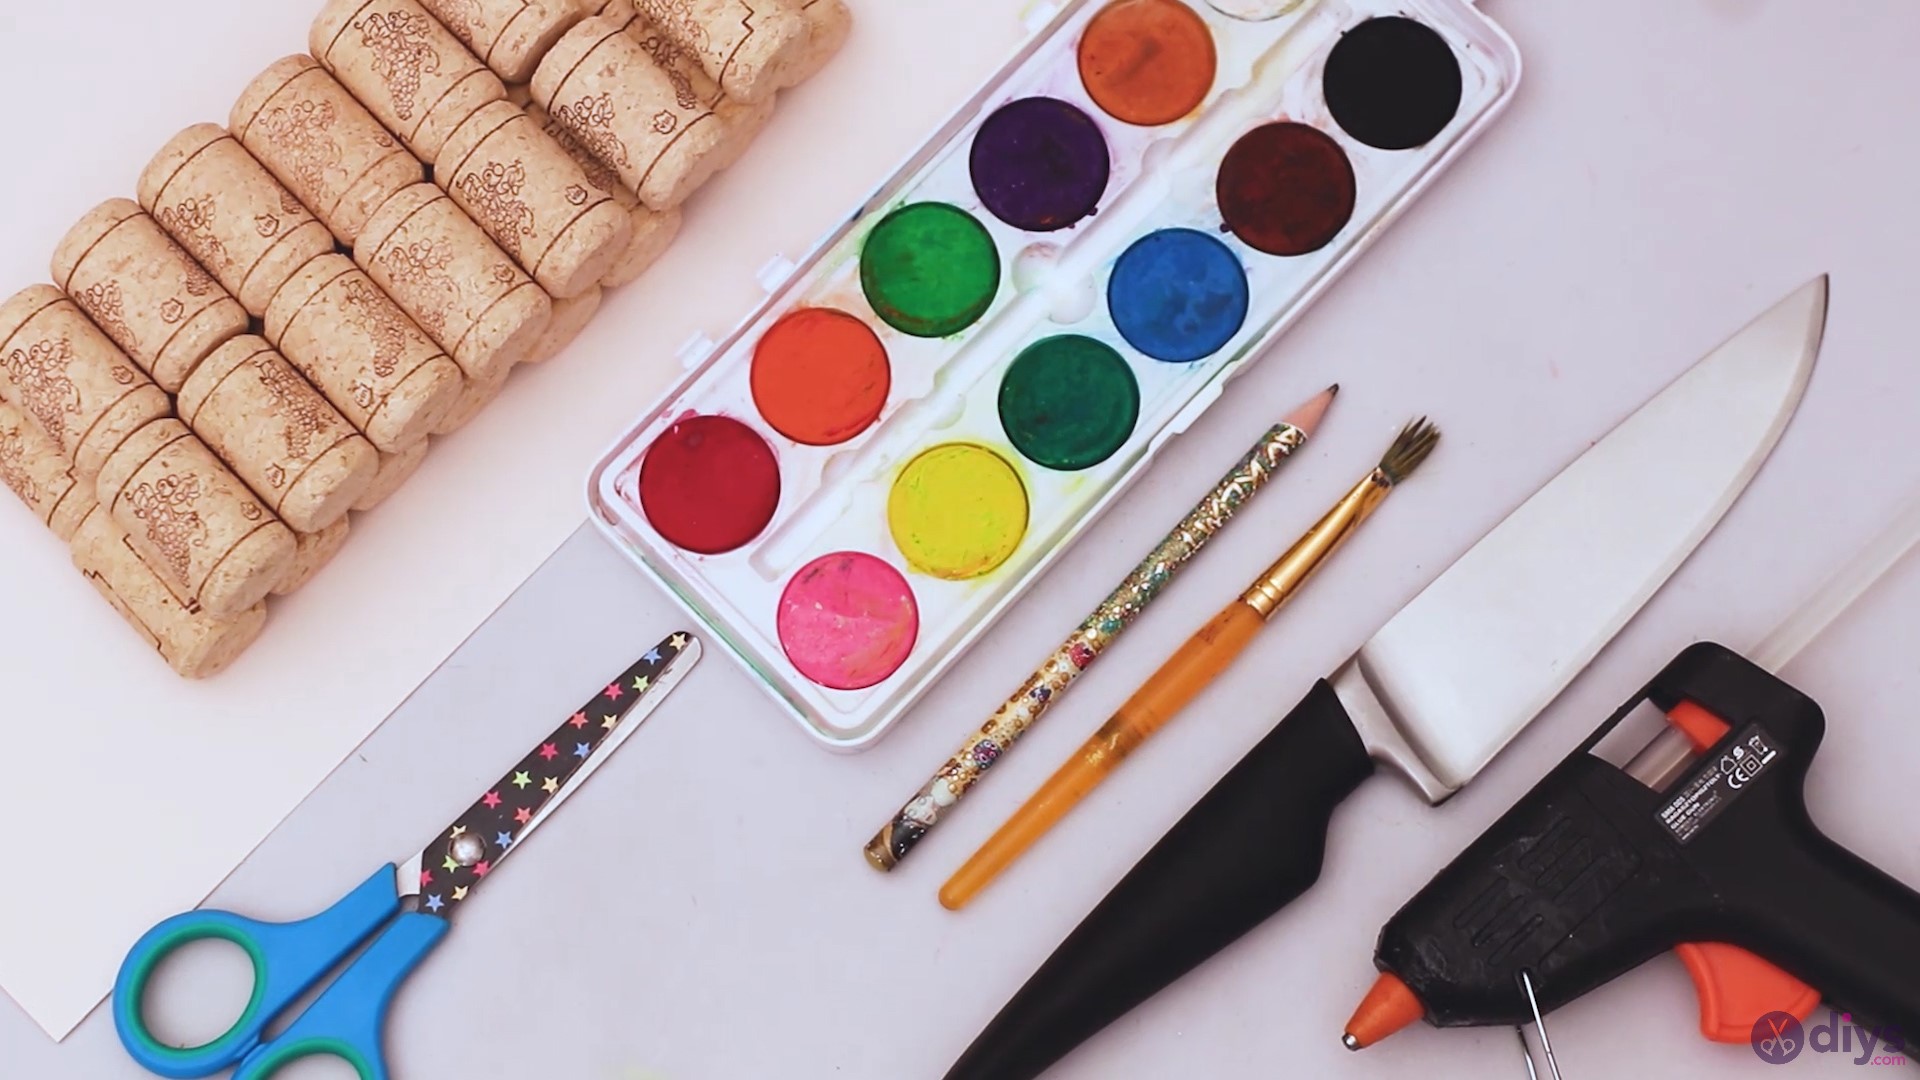
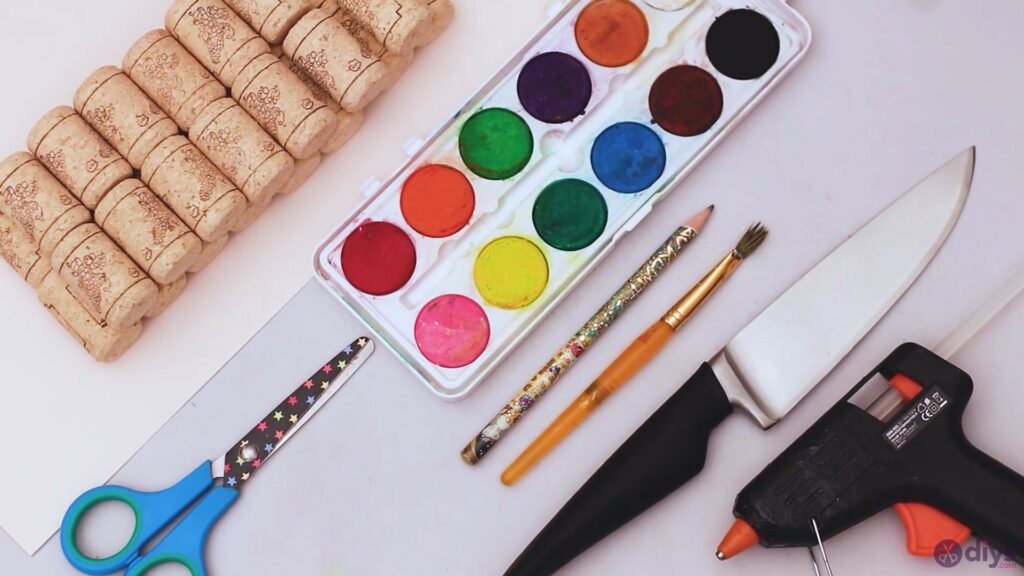
Materials for wine cork wine glass decor
- wine corks
- beige cardboard
- pencil
- scissors
- glue gun
- paintbrush
- watercolor paint
- knife
How to make wine cork wine glass decor
We’re going to start making a really cute decor piece in just a moment, but we want to make sure we have all the materials gathered up before we do. It’s always best to have all your materials on hand before you start, so you don’t struggle to find something right when you need it for the craft.
Are you ready to get started? Let’s go!
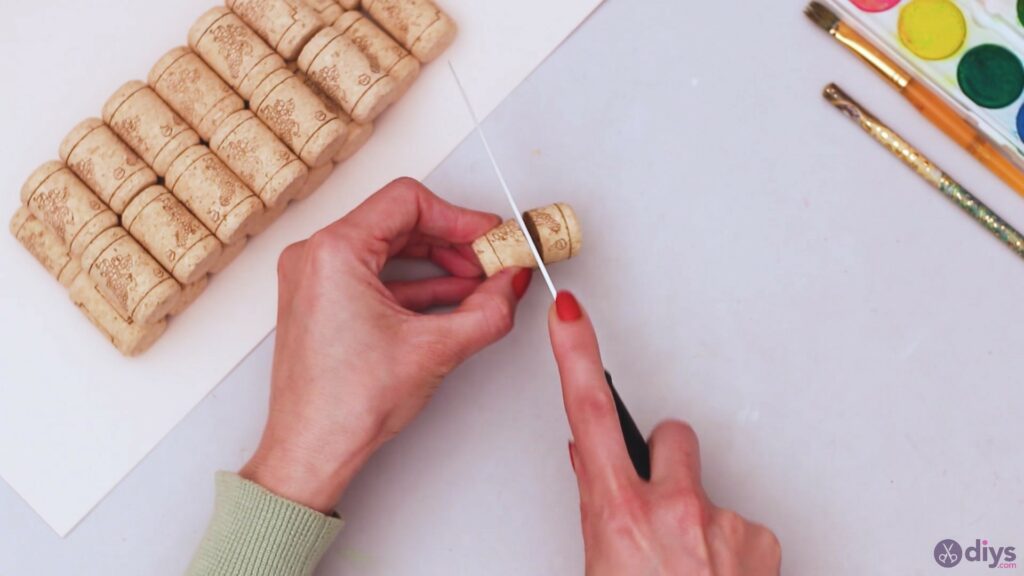
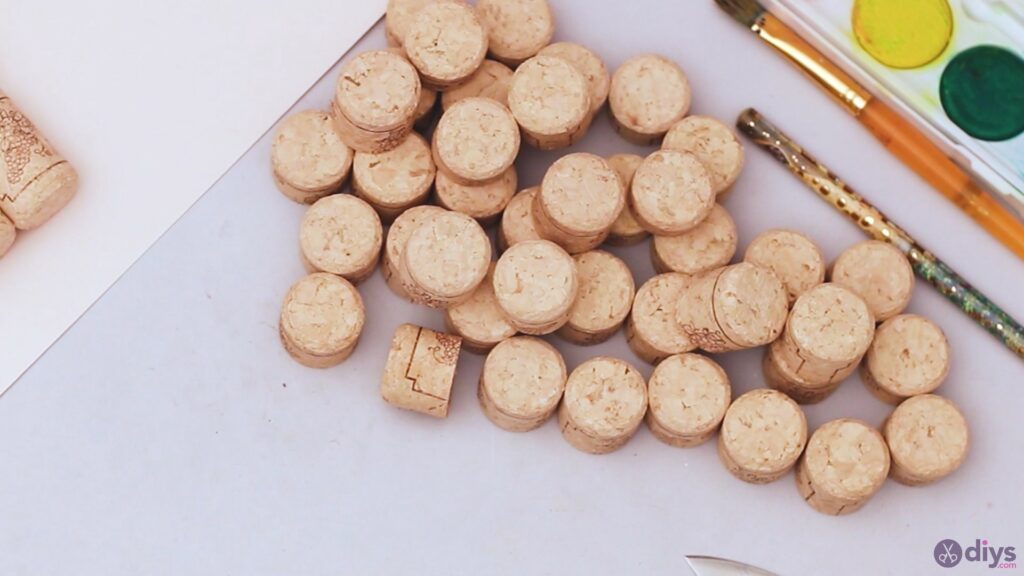
Step 1: Cut the wine corks
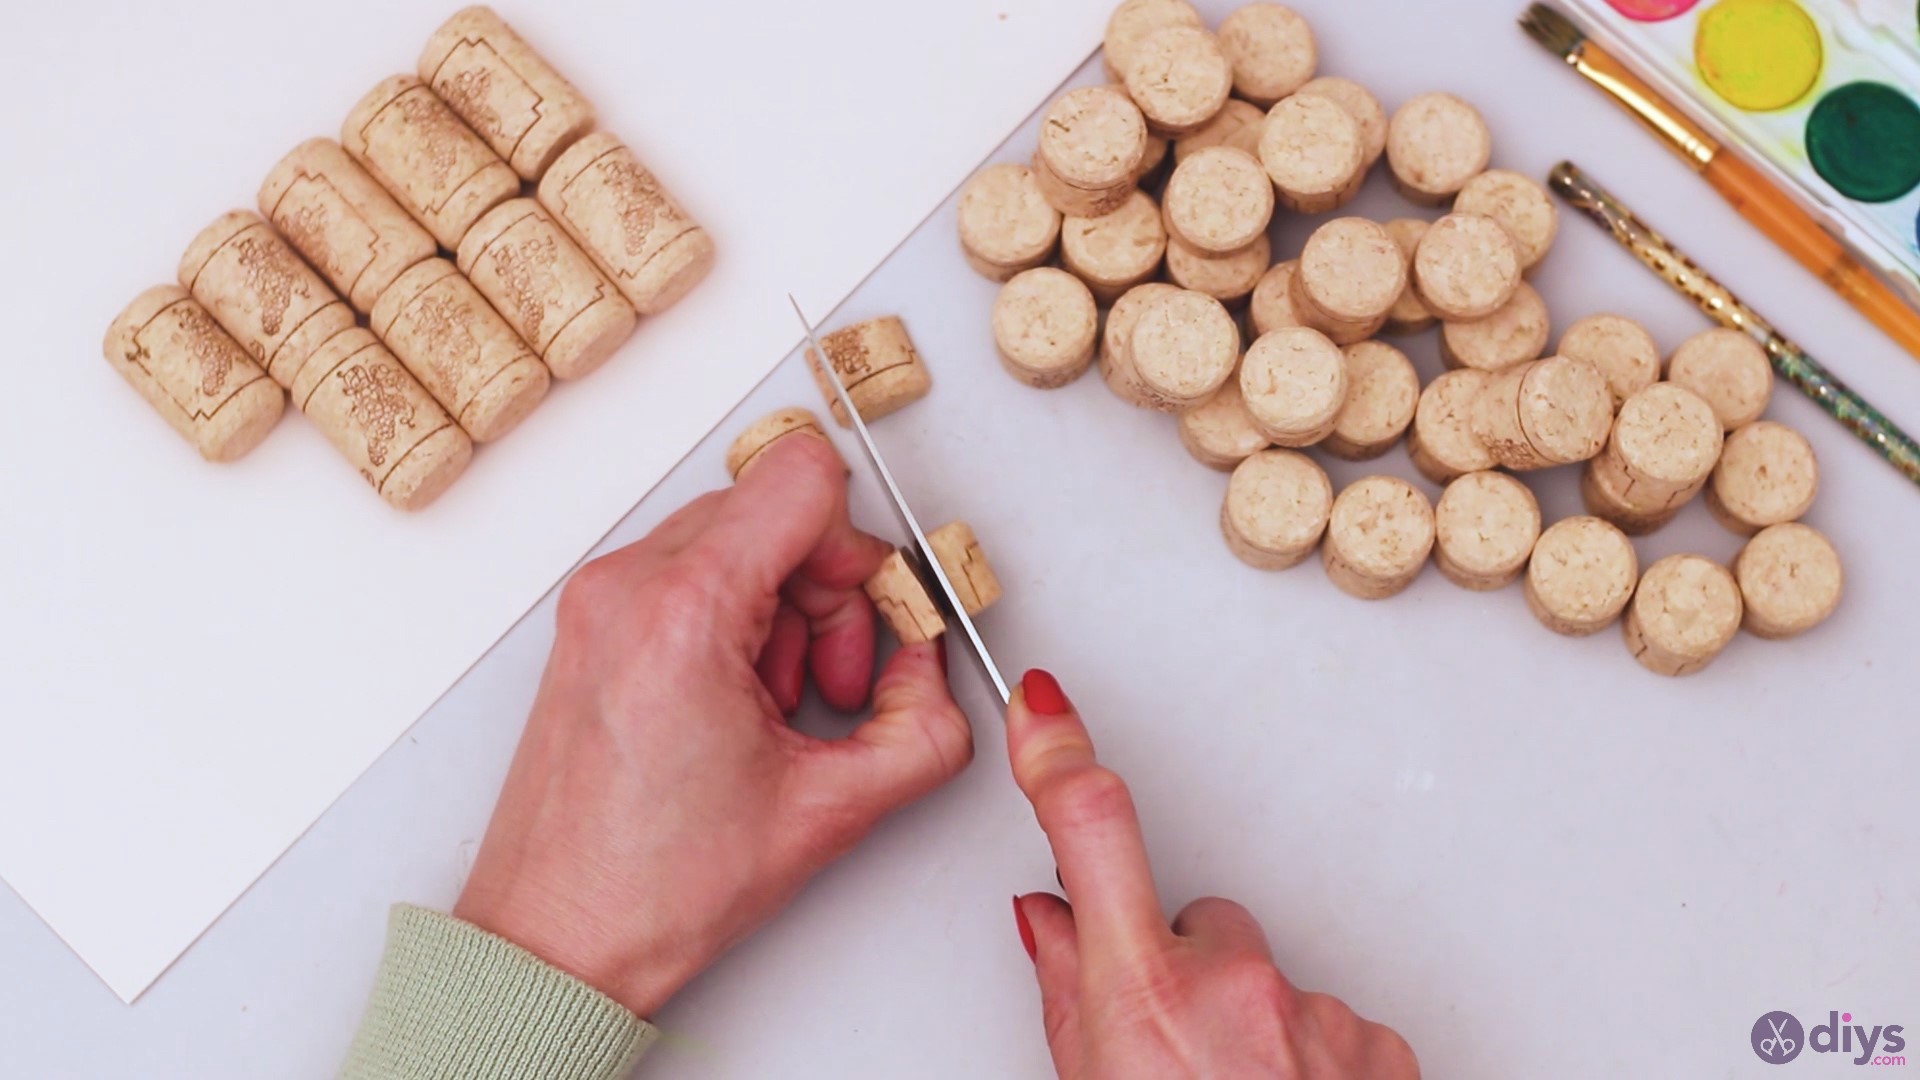
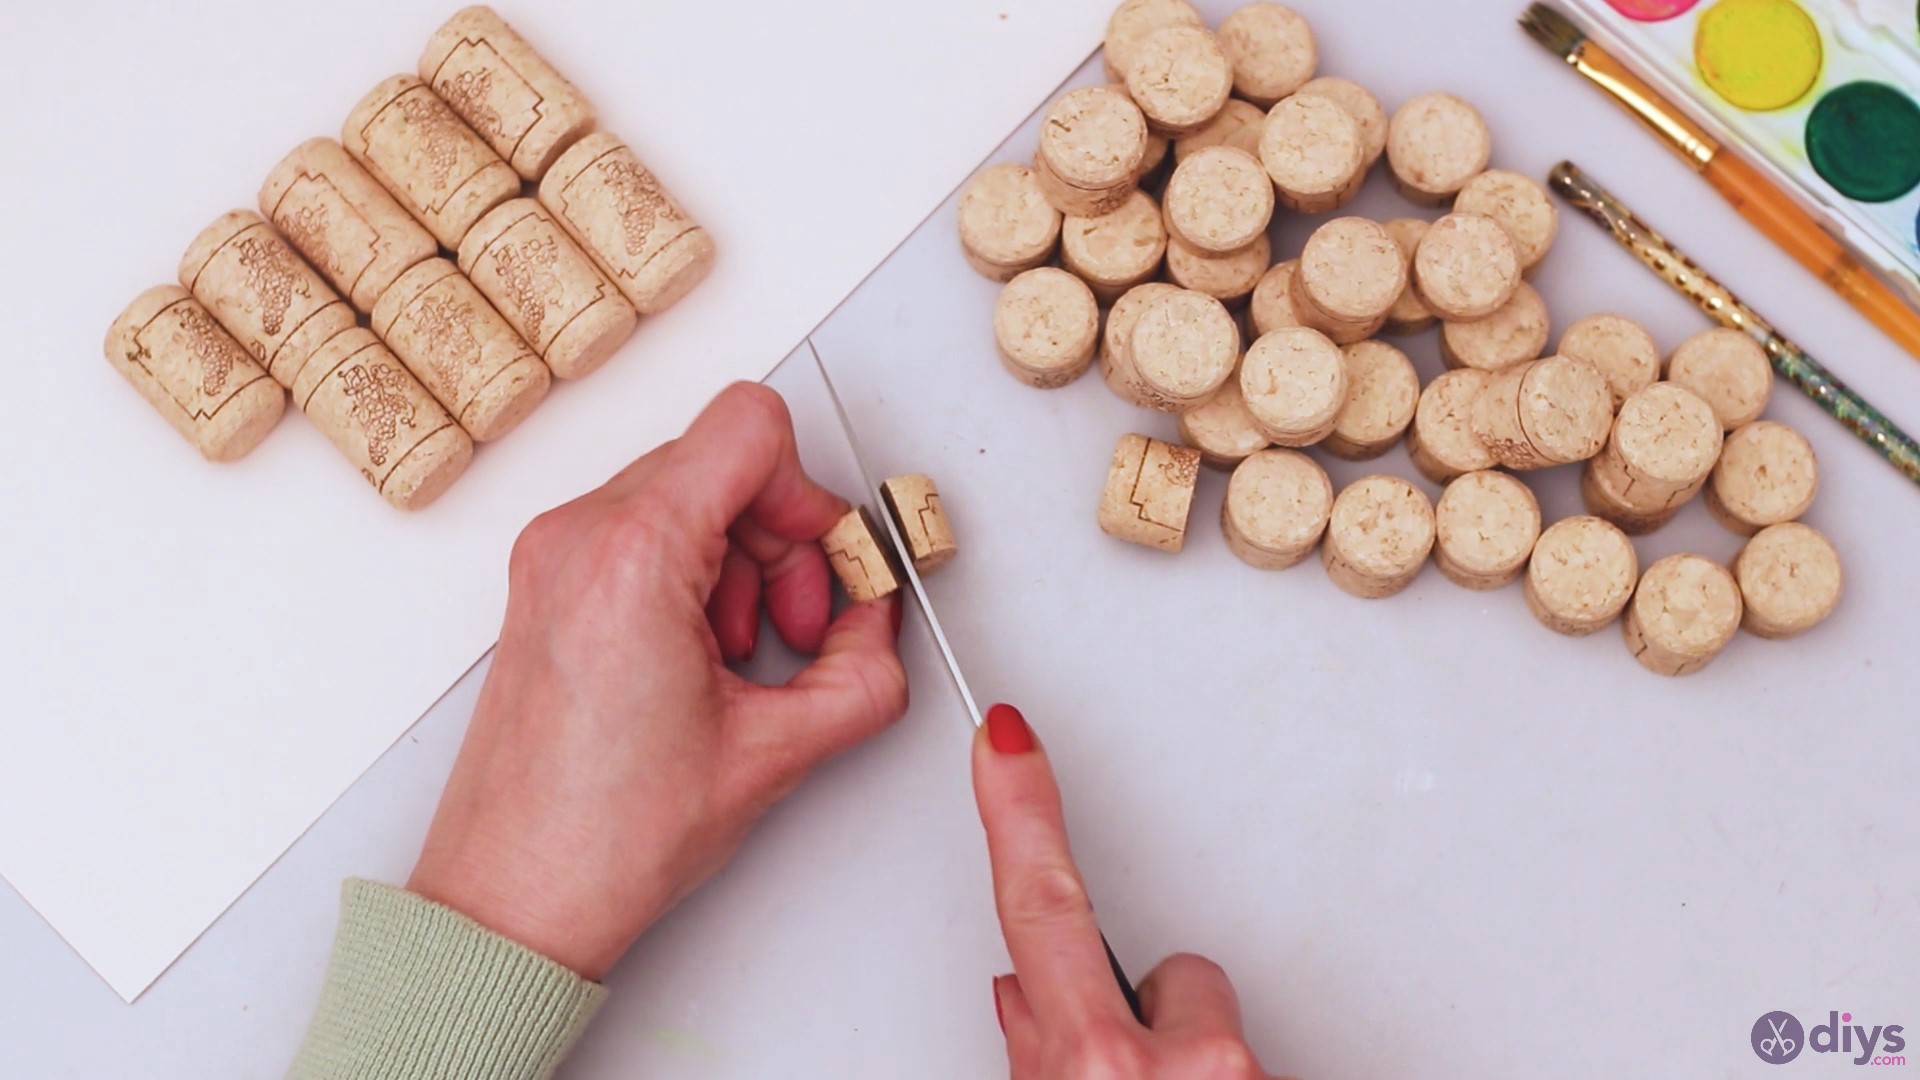
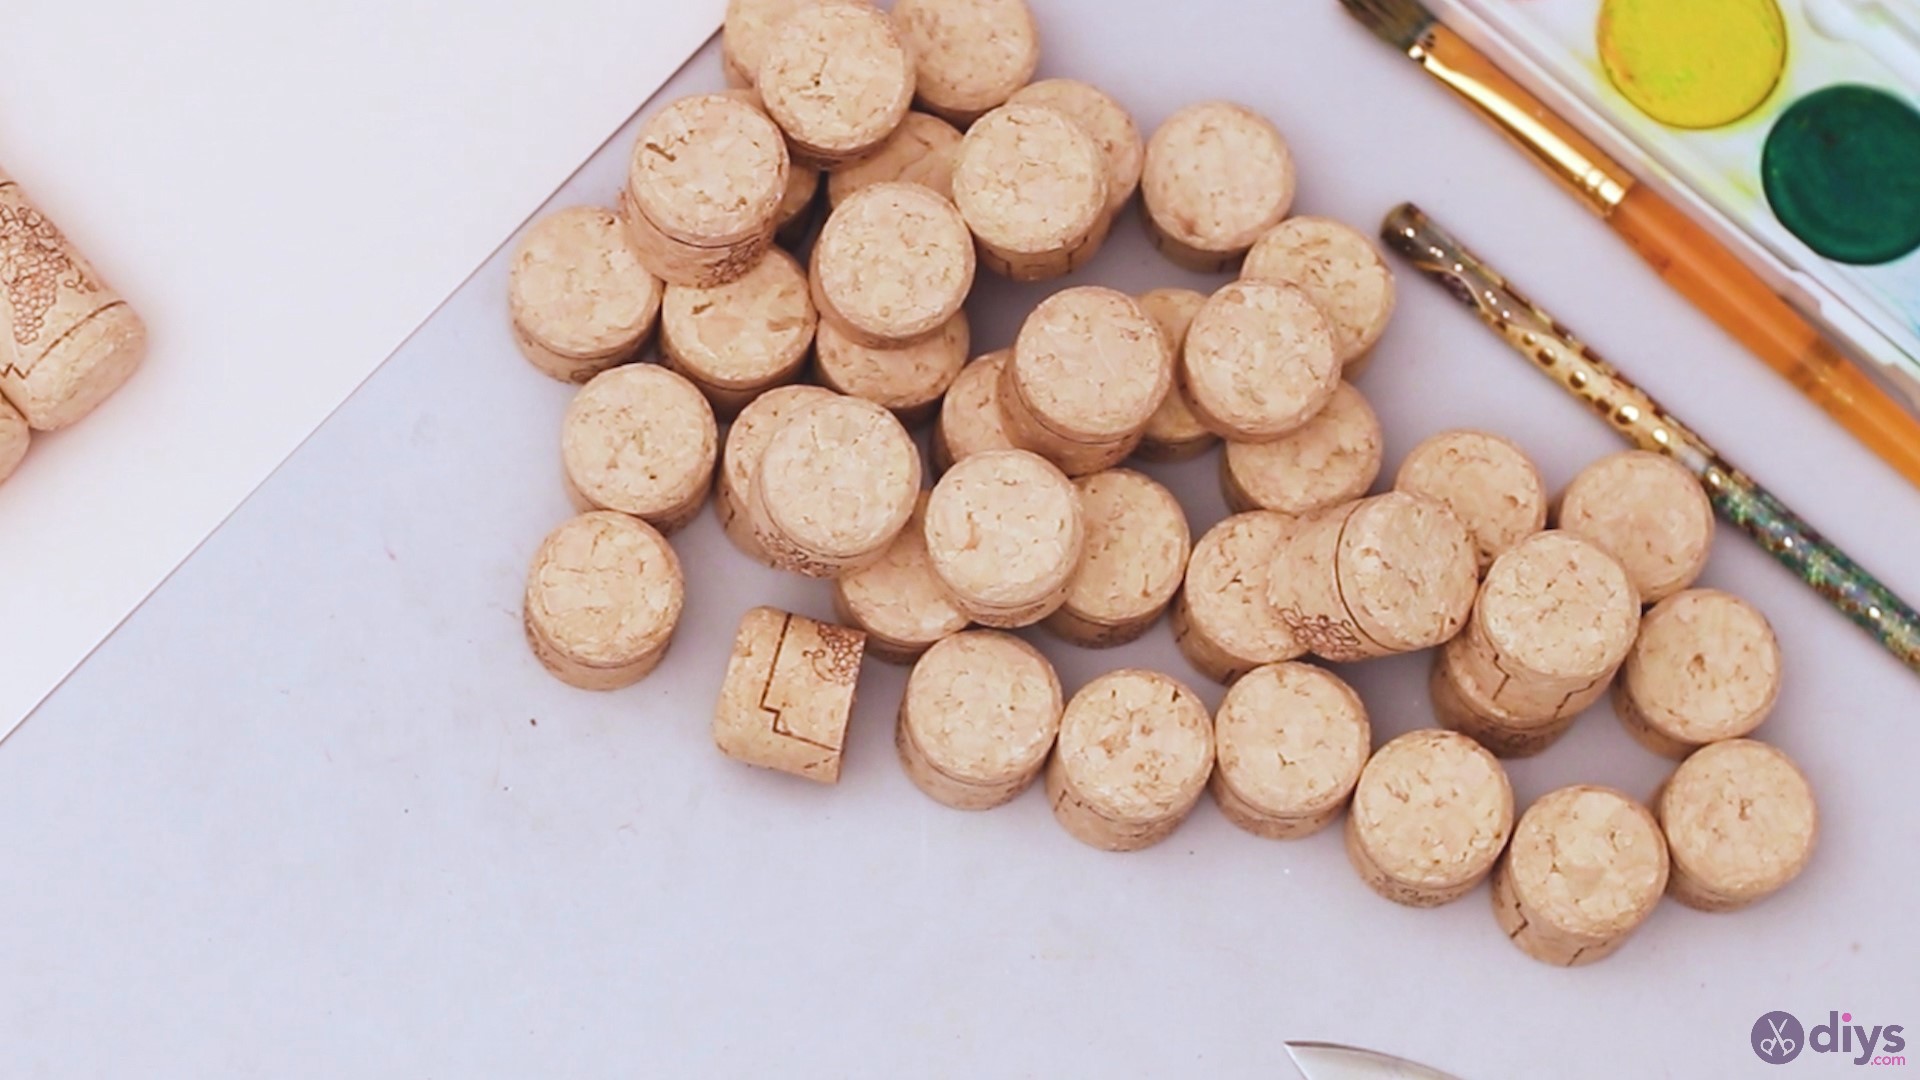
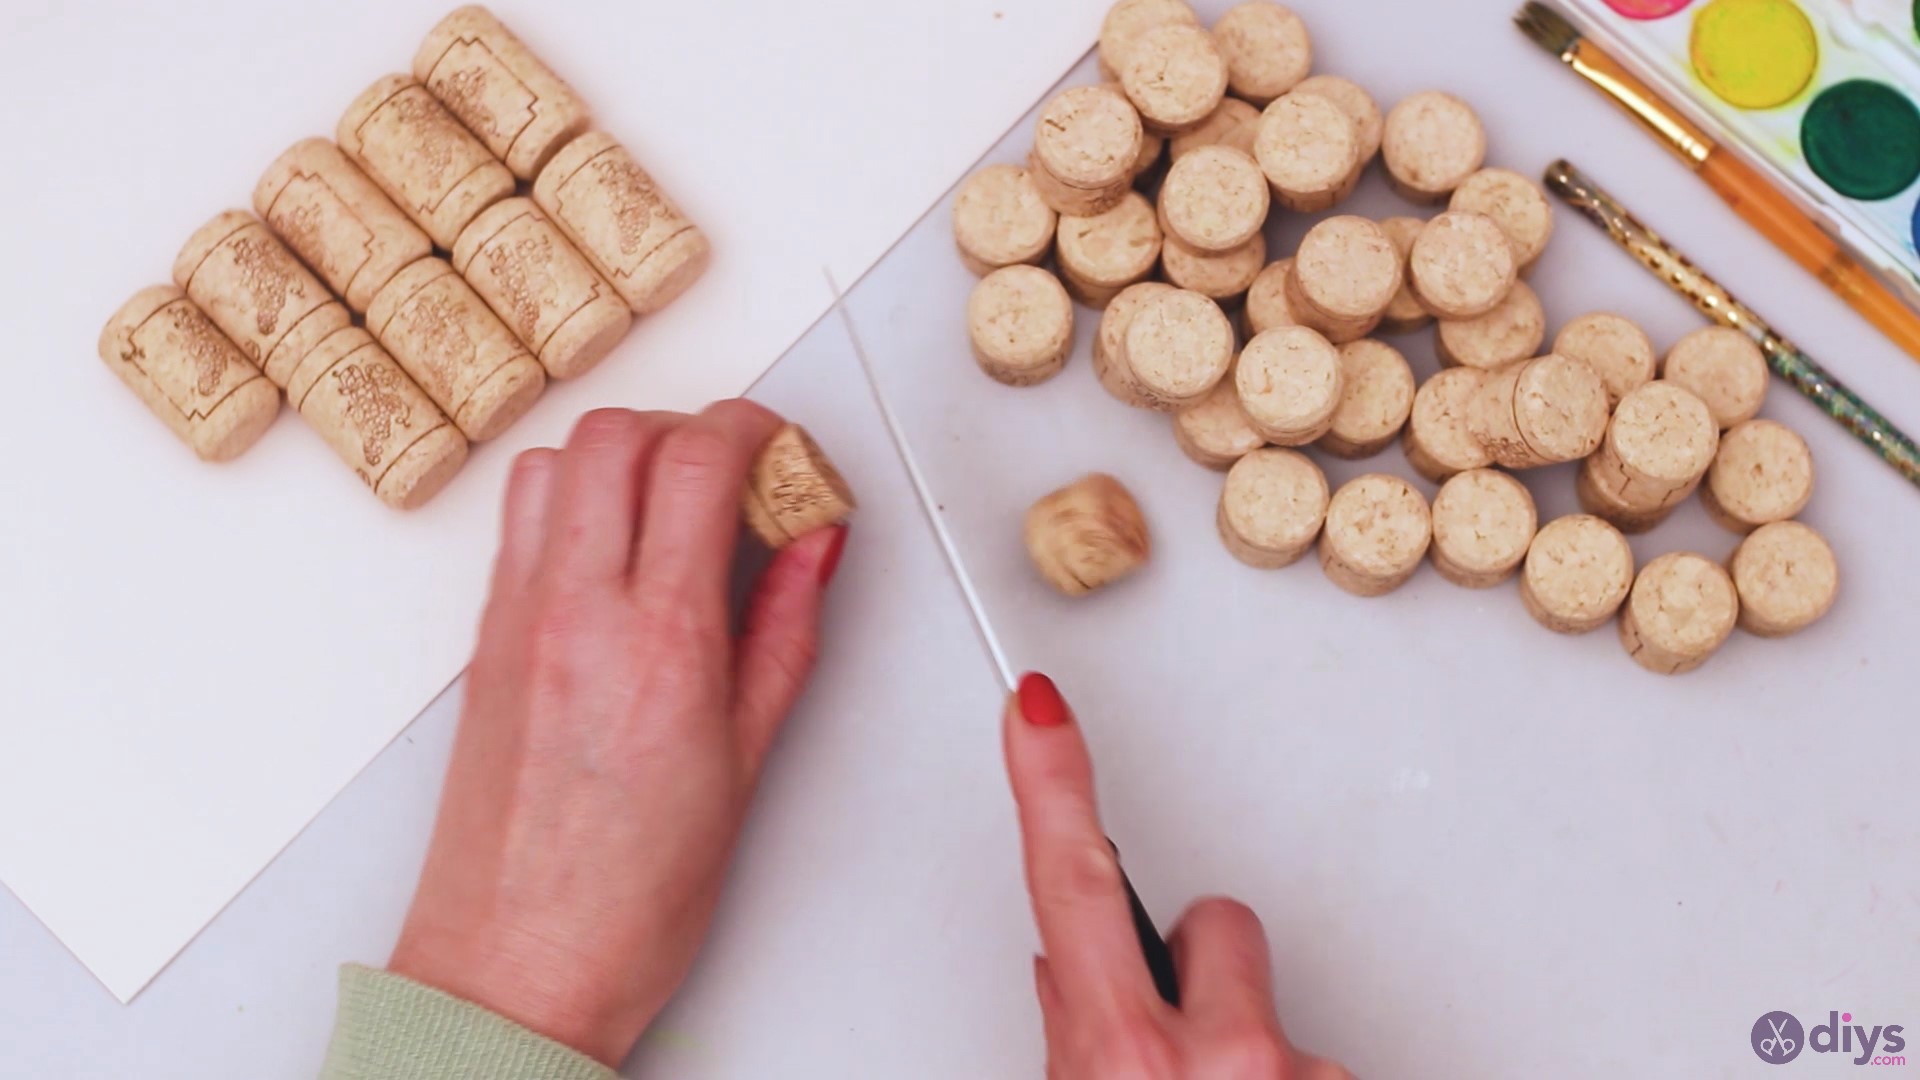
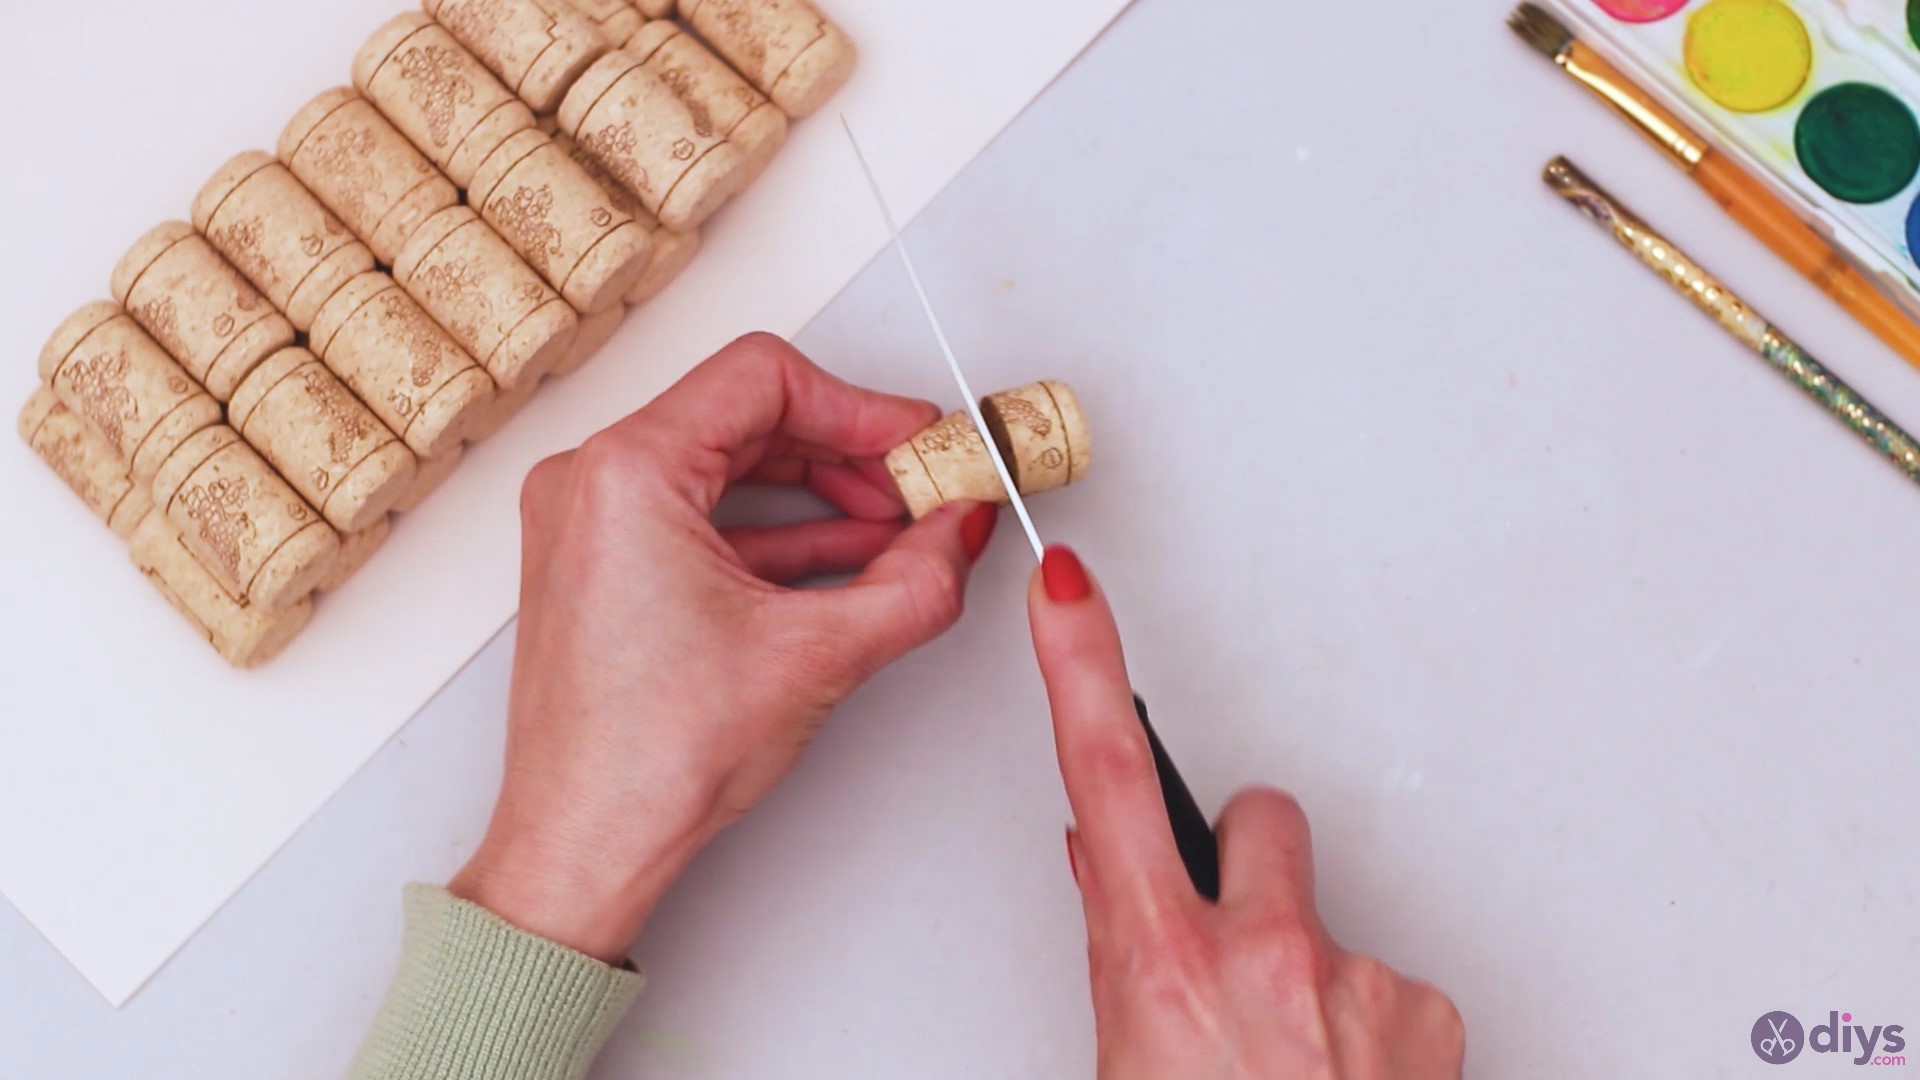
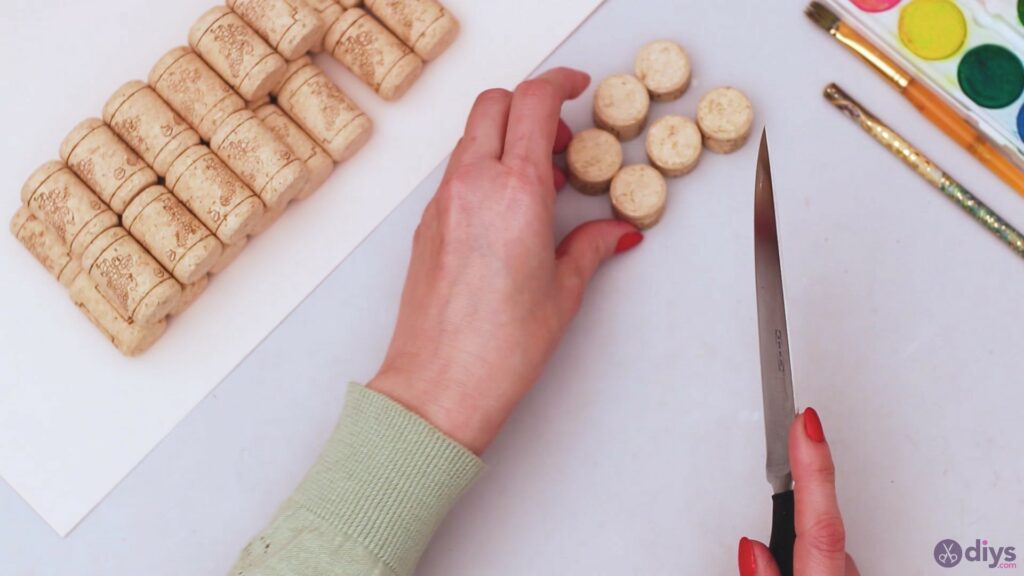
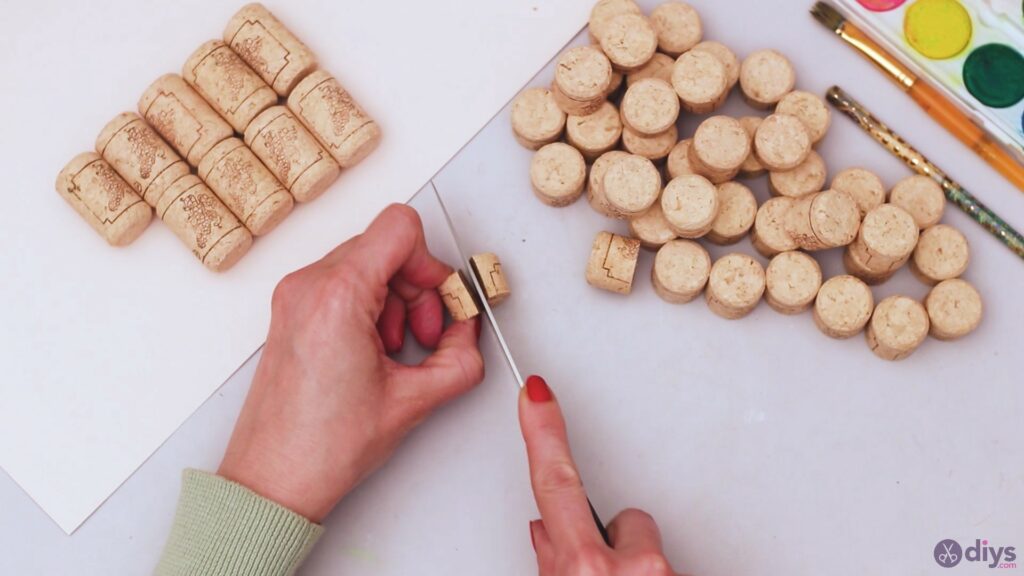
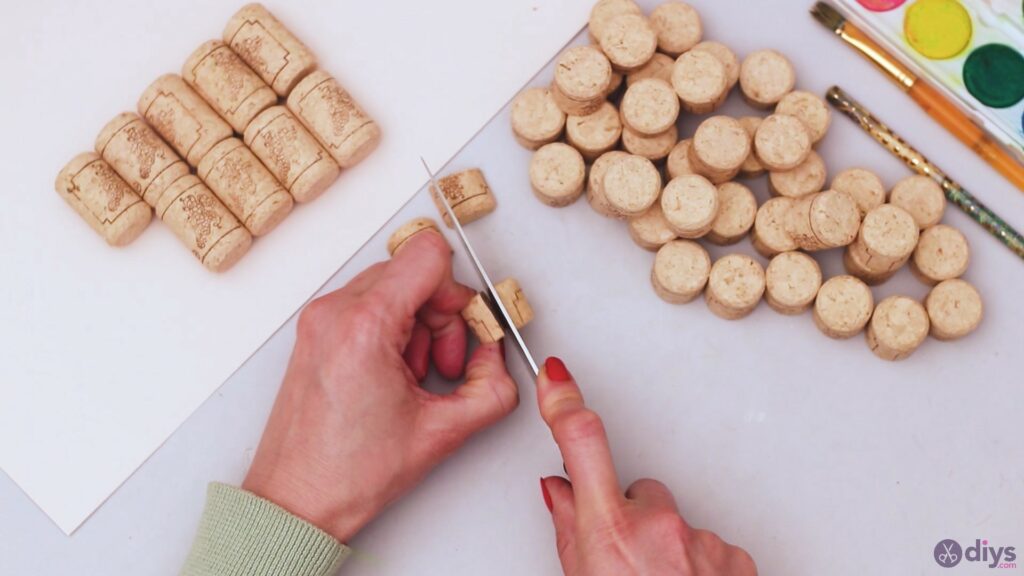
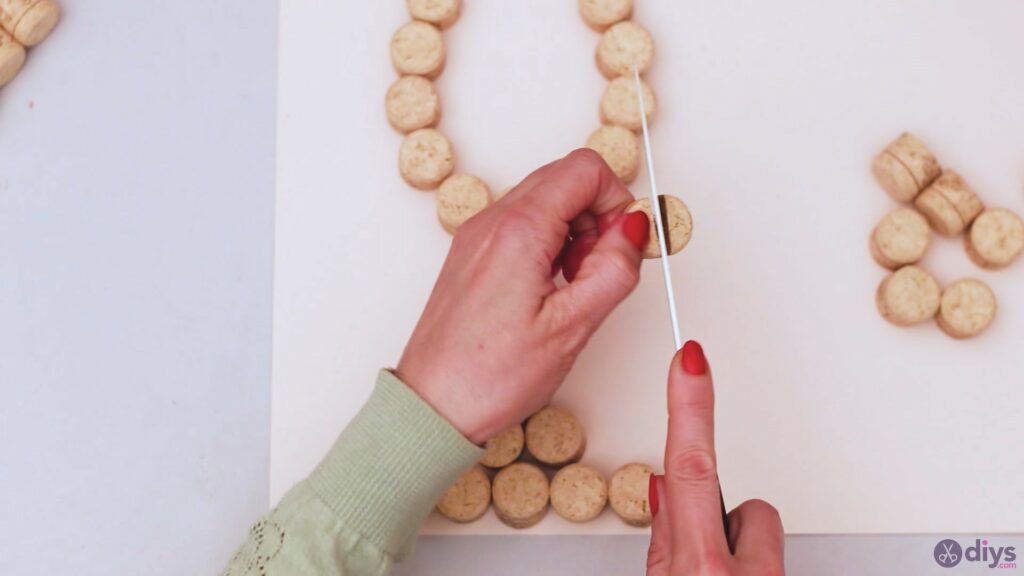
We’re going to start things up by cutting thewine corks.Grab your knife and cut them horizontally. Make sure your knife is sharp and can cut right through the cork so you can make a clean cut, without it being too jagged.
Keep going! We know there’s a lot of them to cut, but you’ll manage just fine! You may want to leave some of the corks uncut in case you’ve already done too many. Plus, you can always cut some more later on if need be.
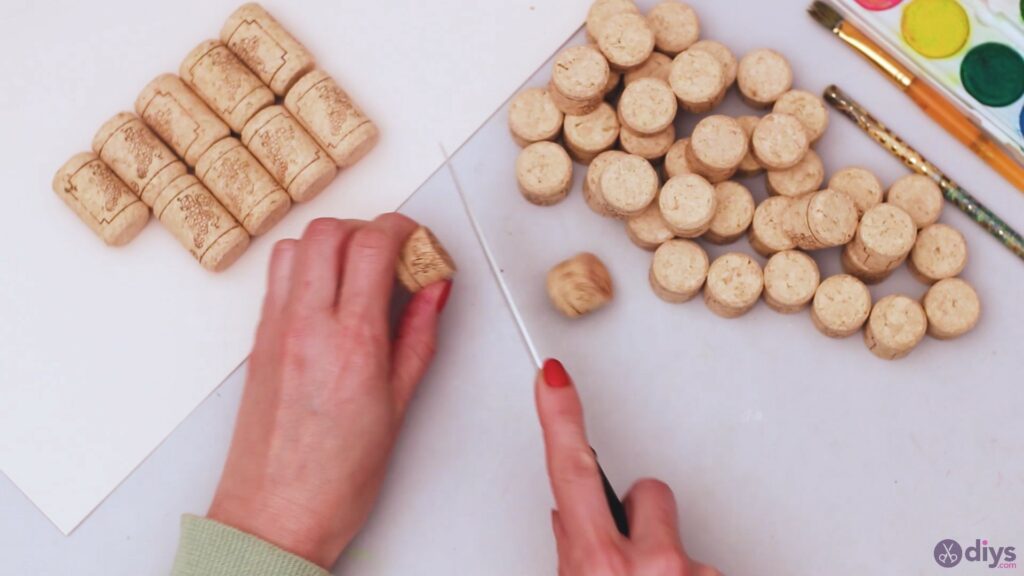
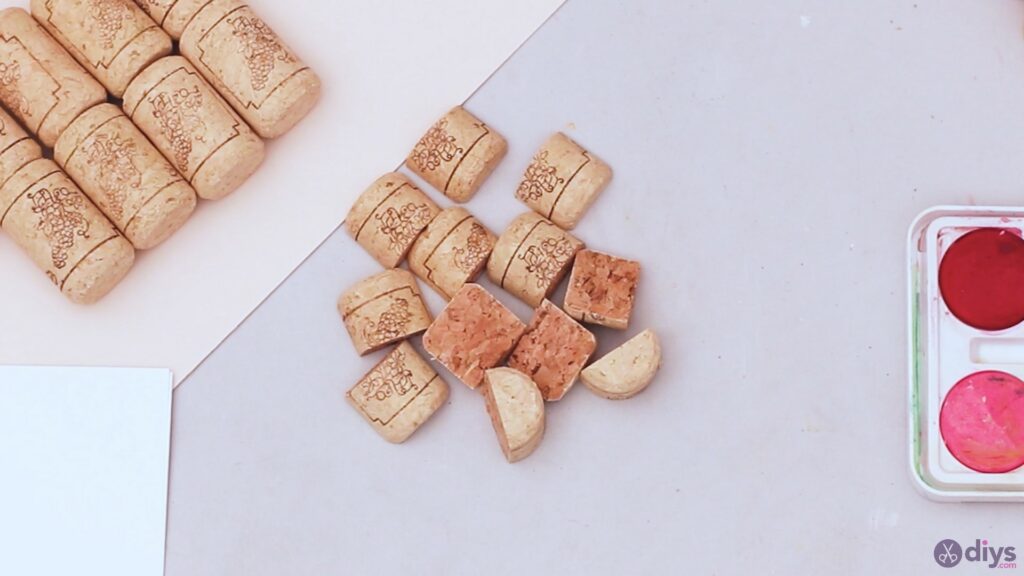
Step 2: Split some corks
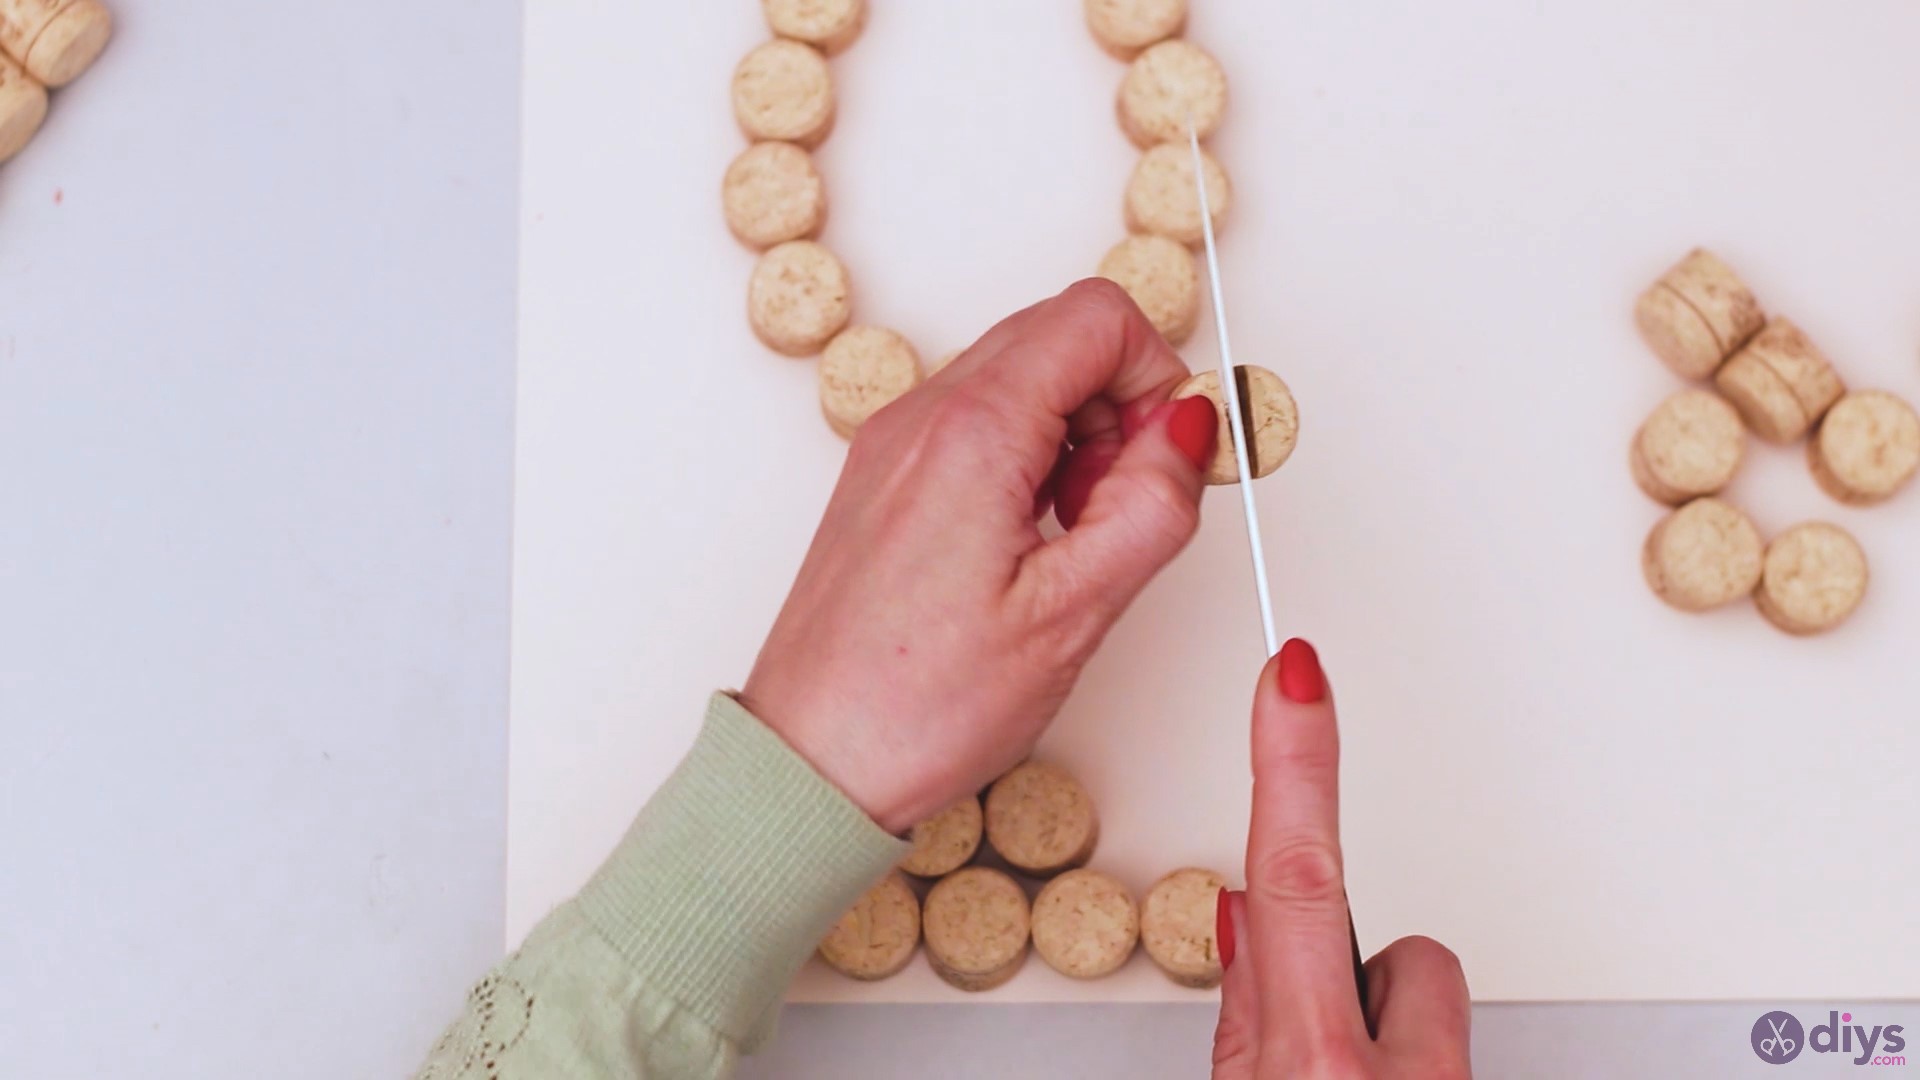
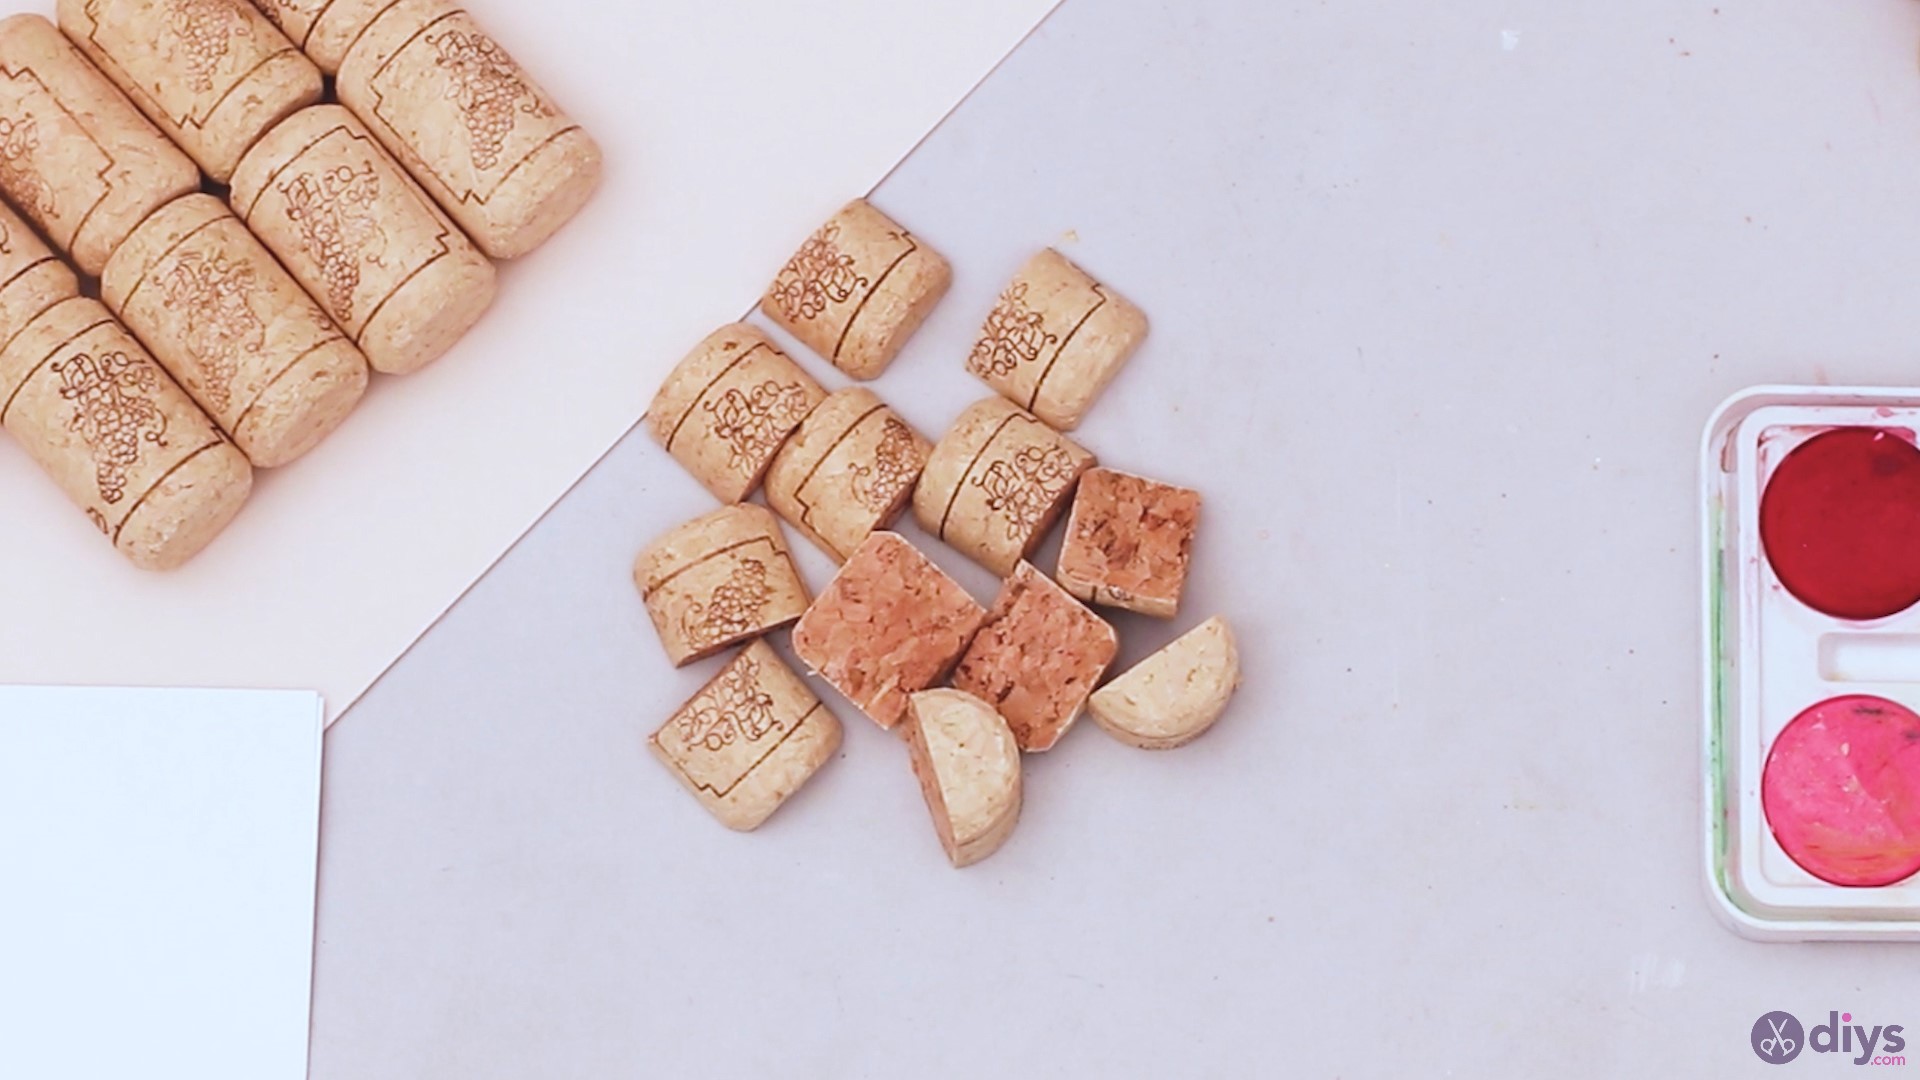
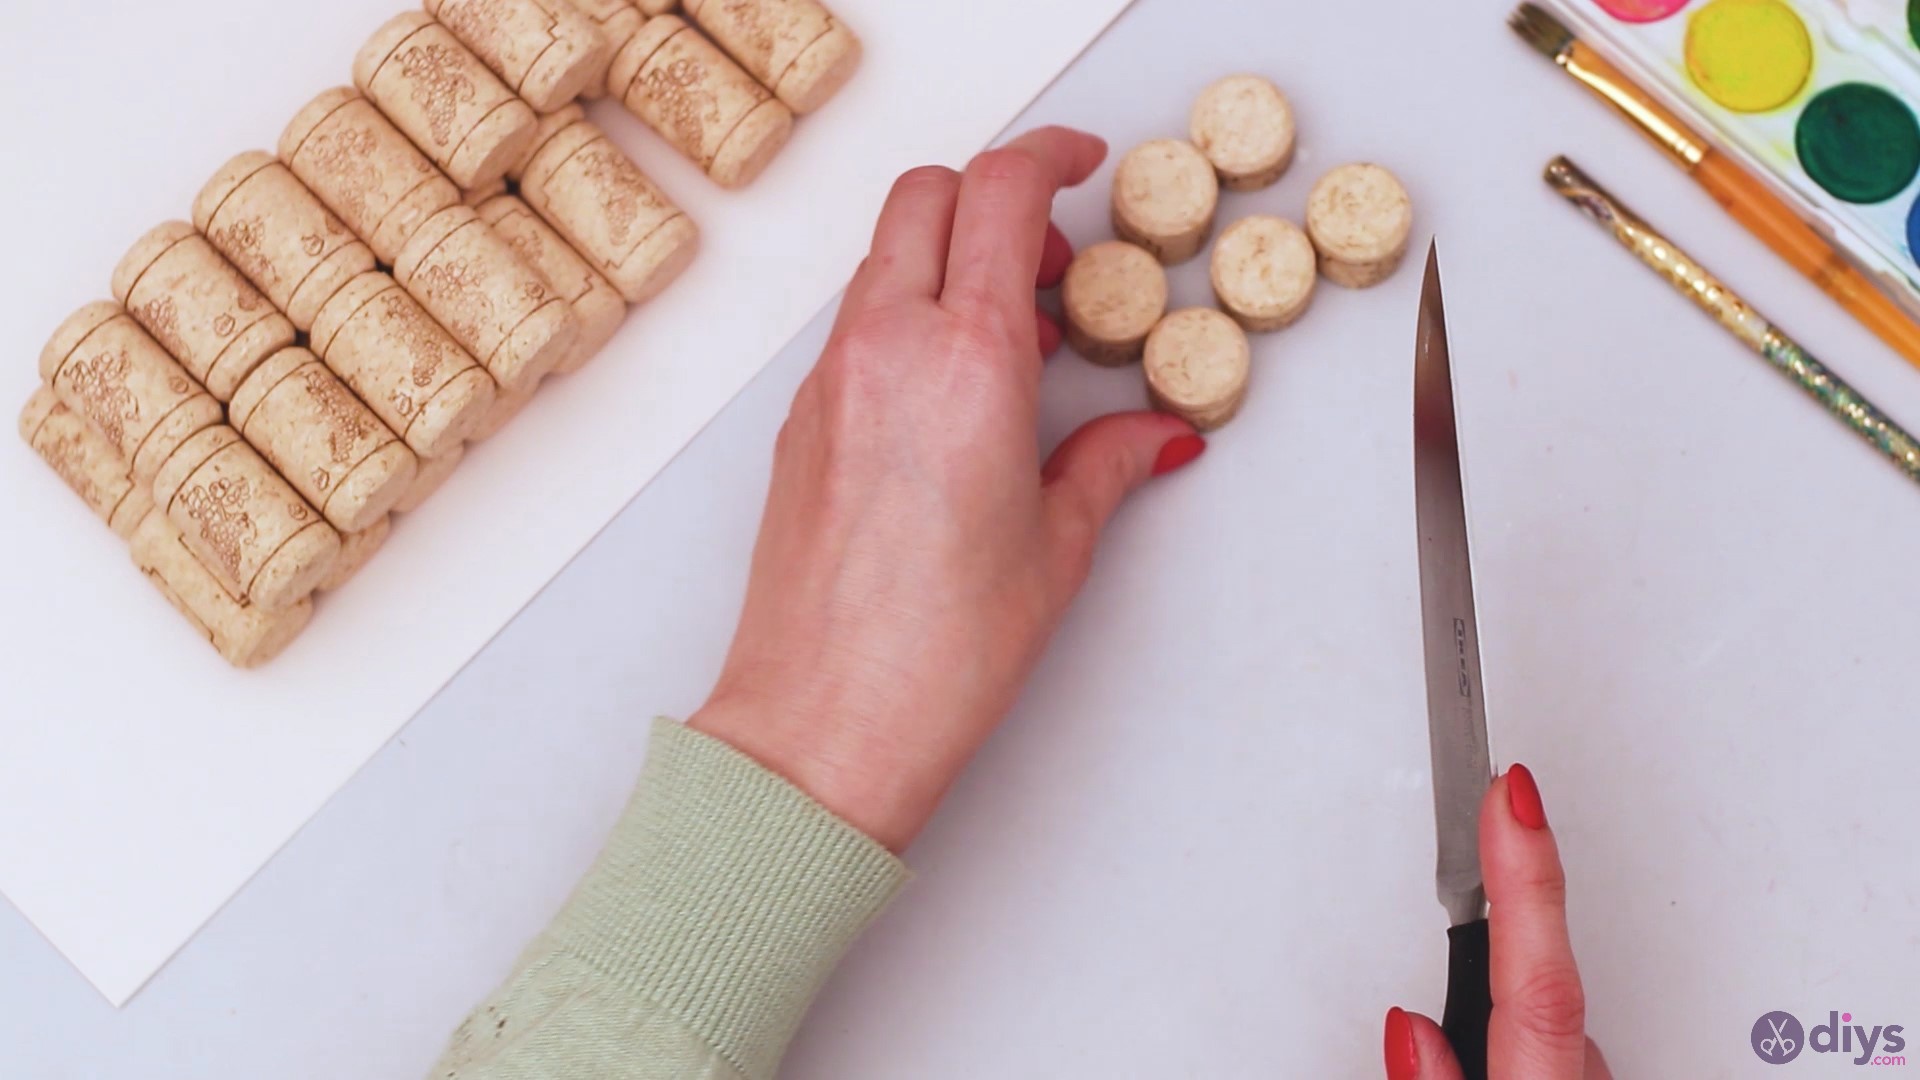
We know we just cut a bunch of wine corks in half, but we’ll also need smaller pieces, so let’s split some of these. Grab the halves of the wine corks and cut them in two.
There you go – split down the middle! These will be quite useful in our design!
Step 3: Paint the small pieces
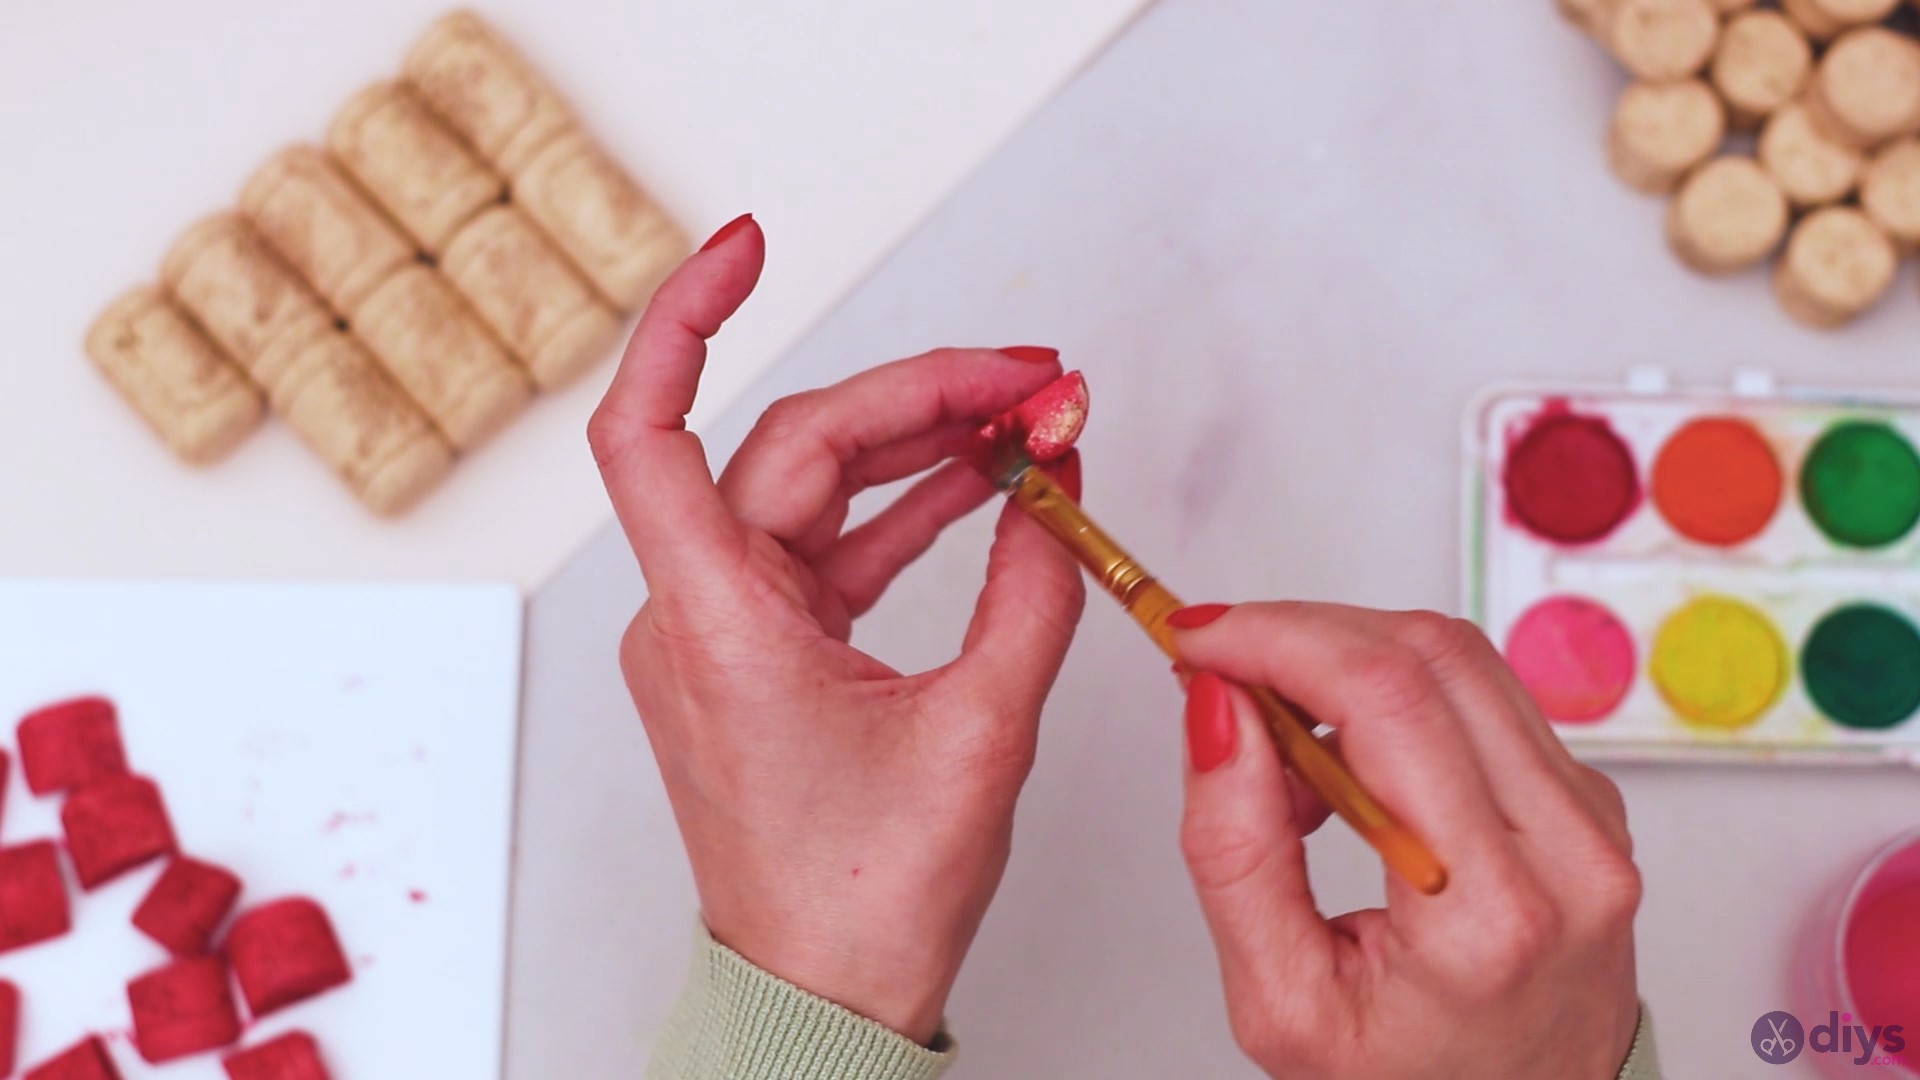
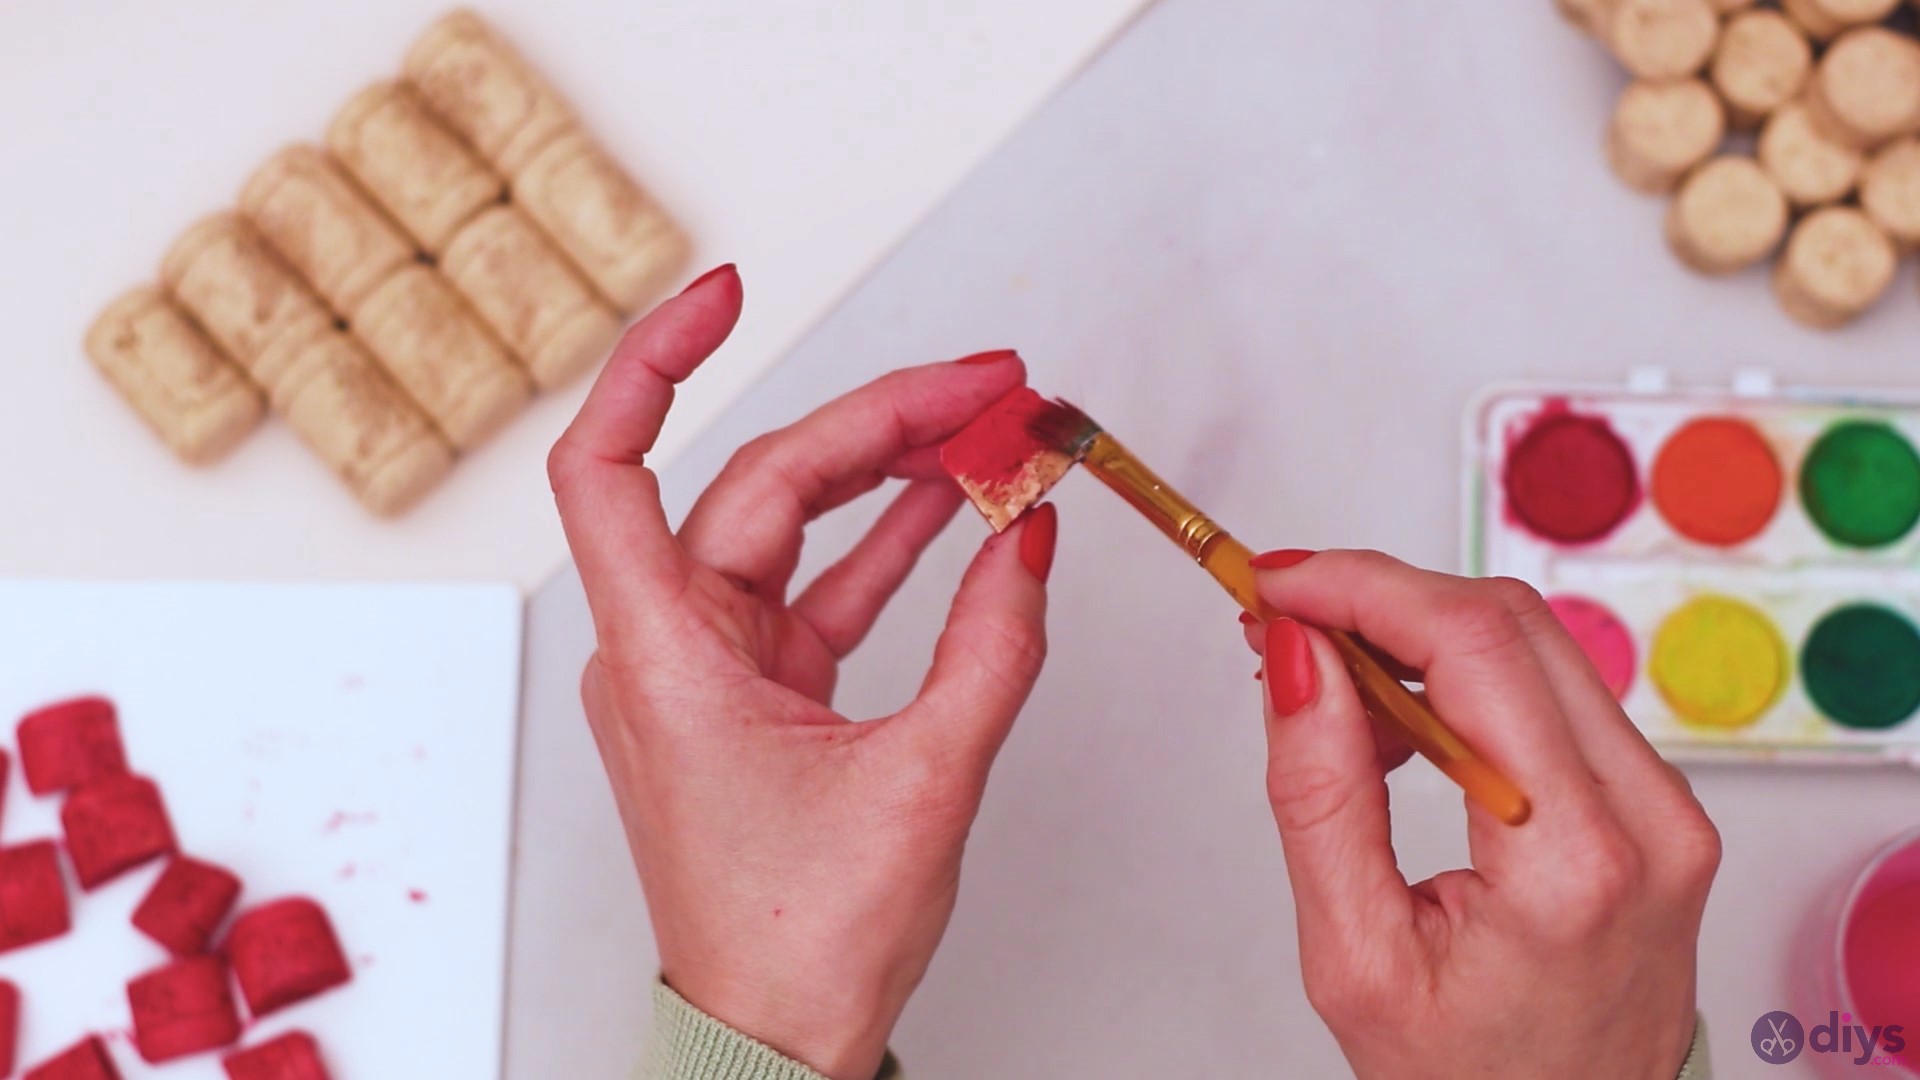
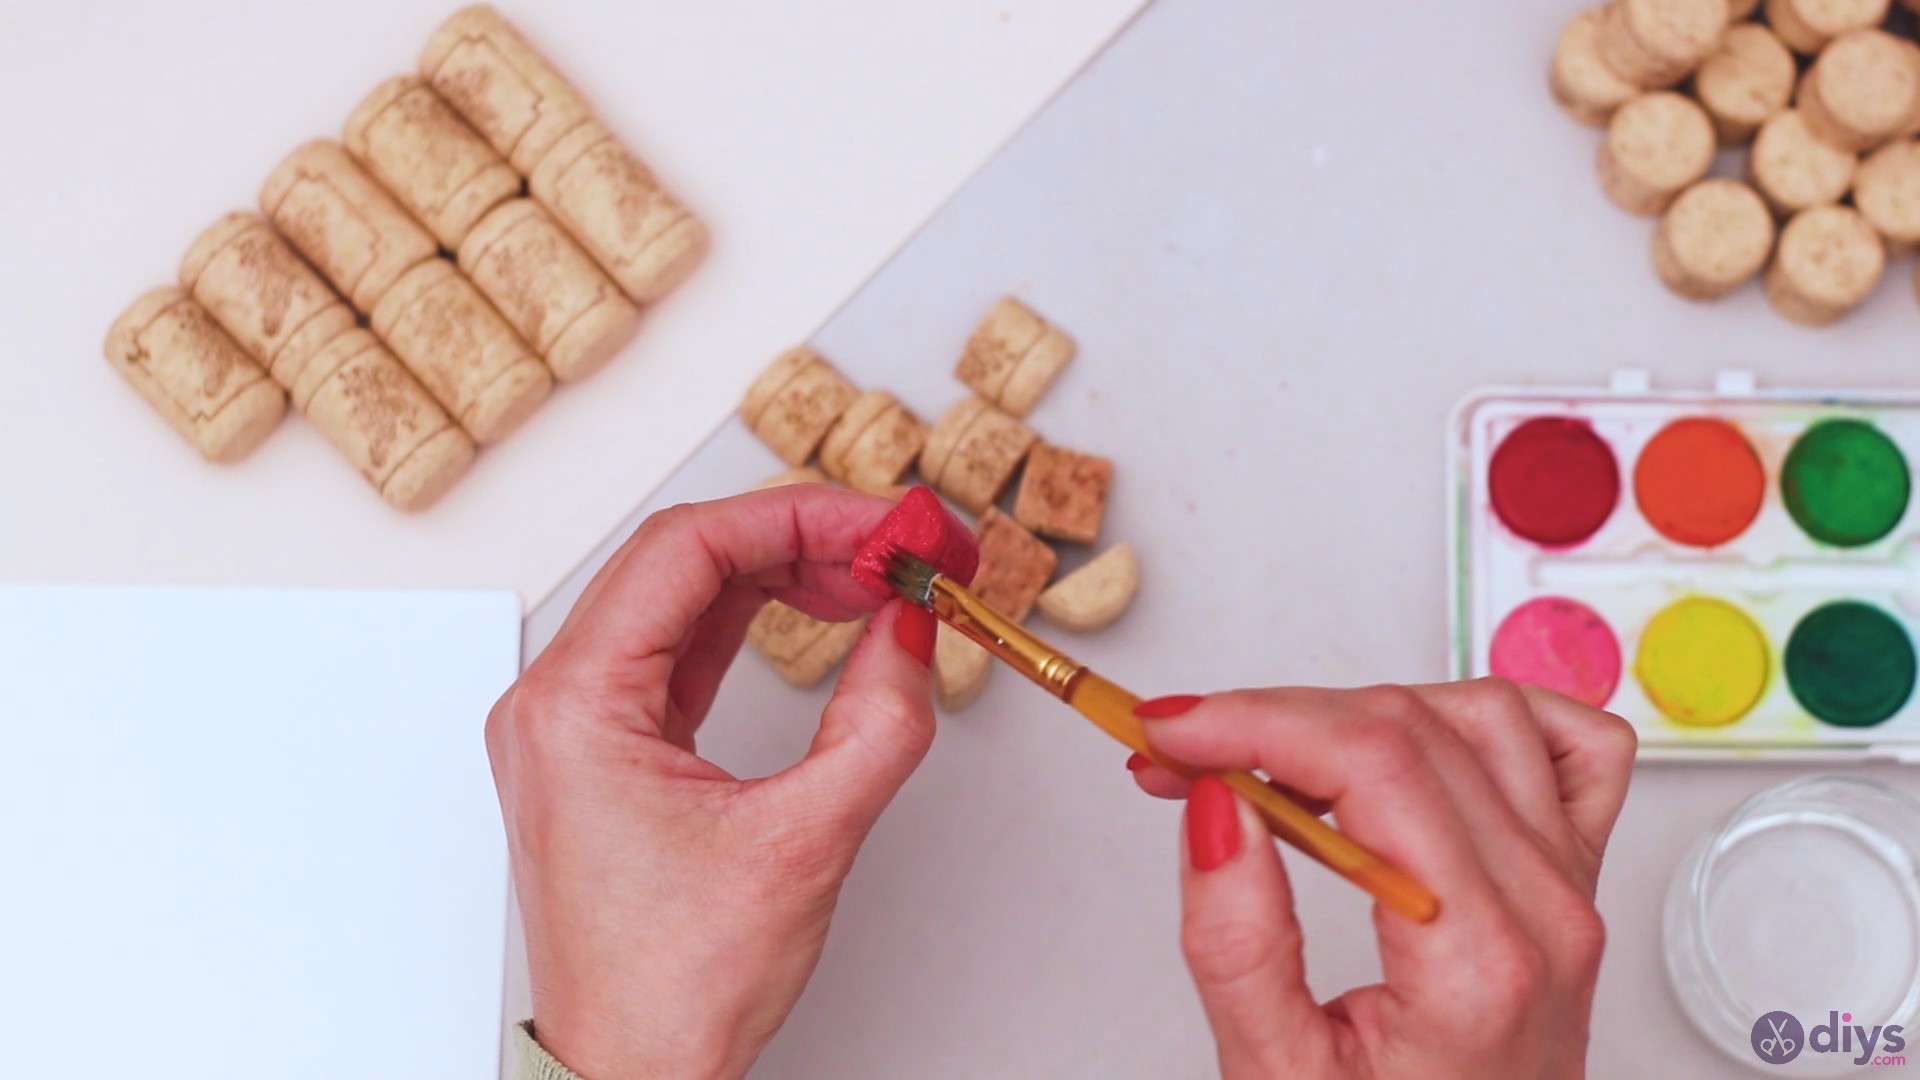
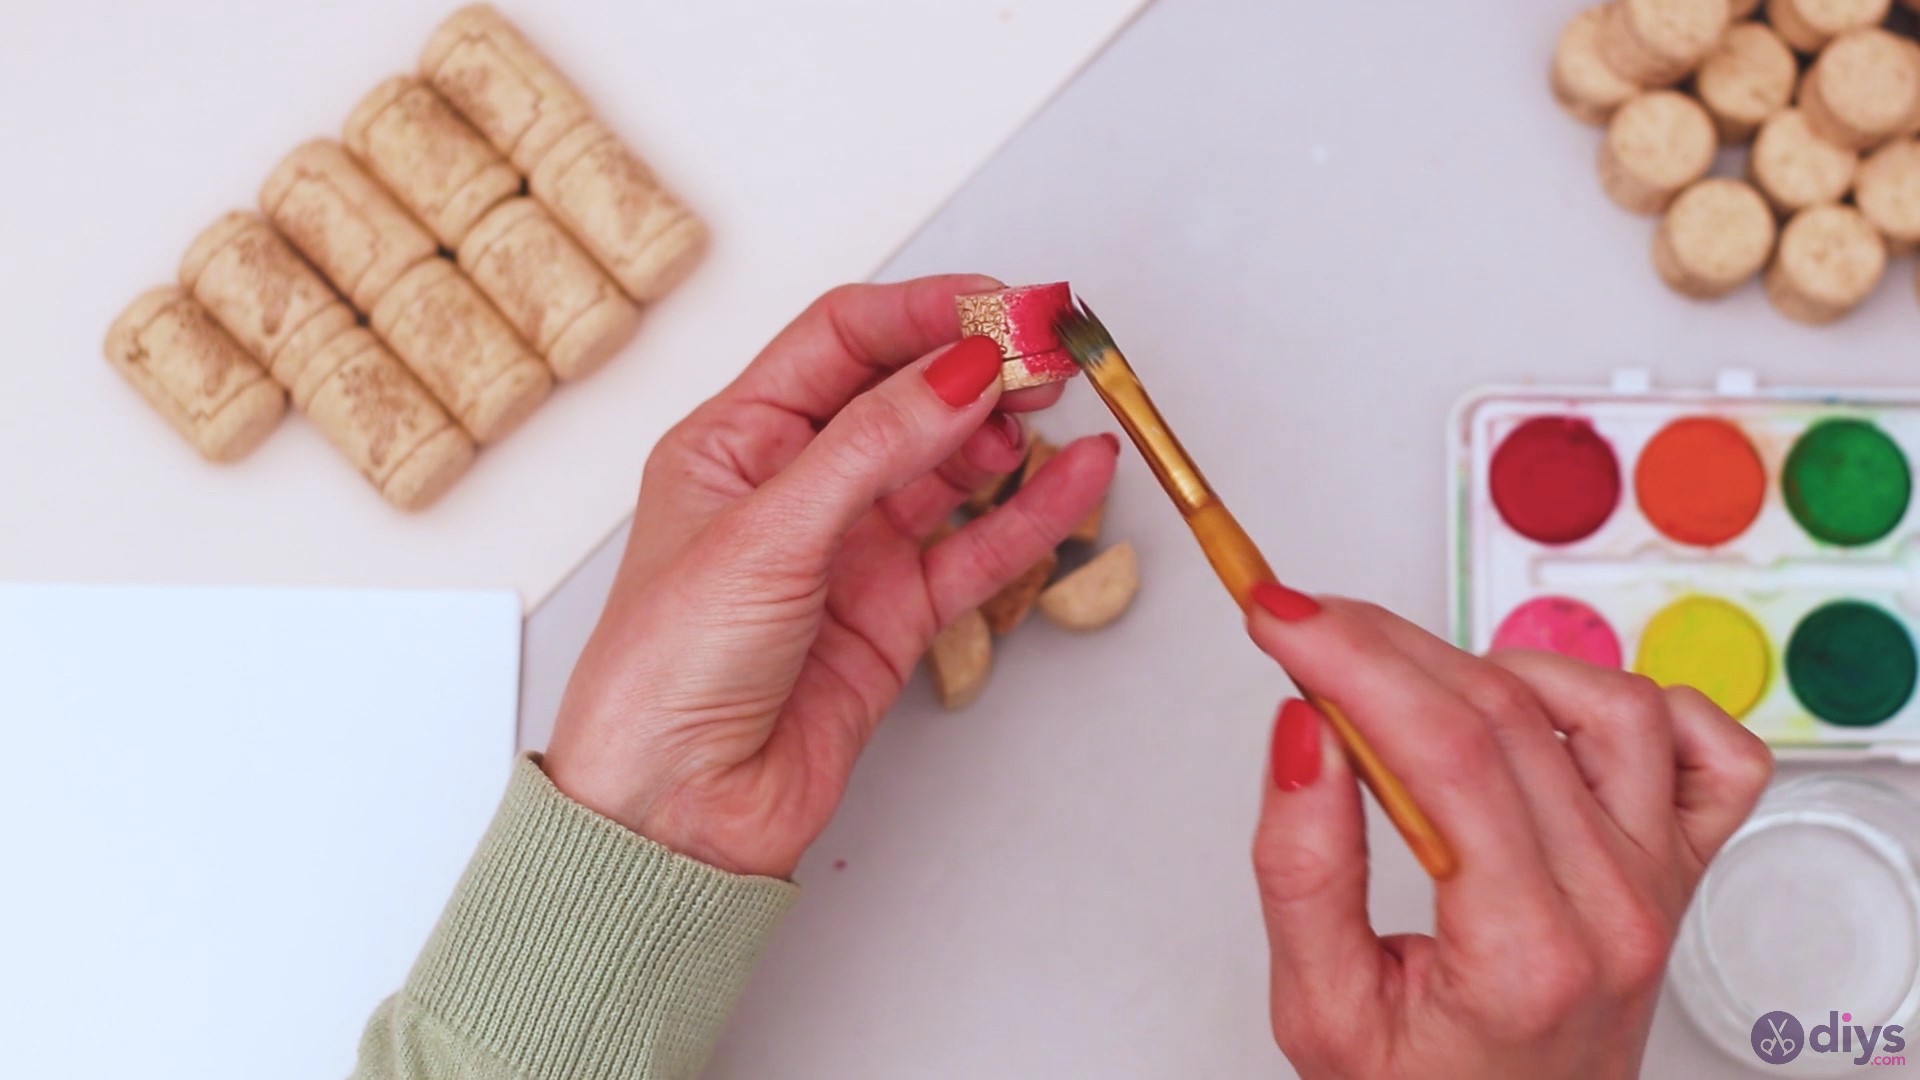
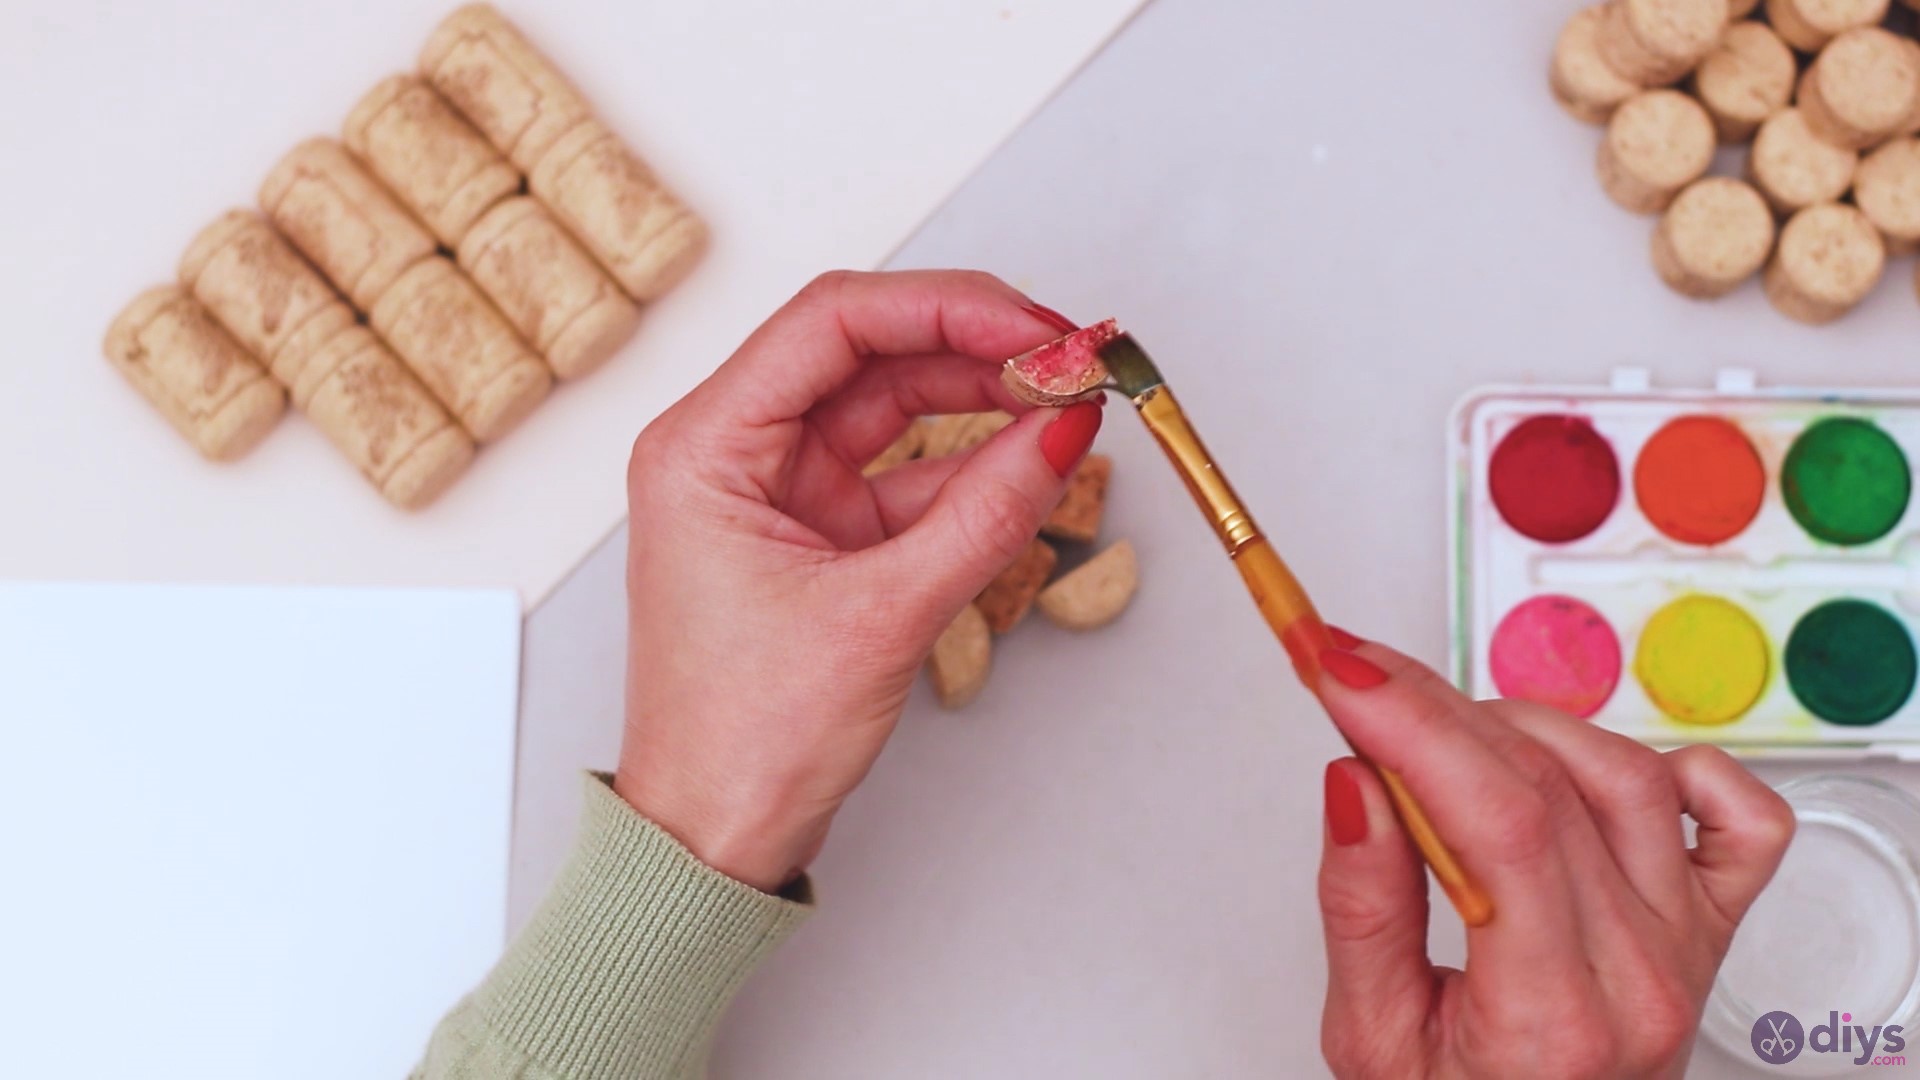
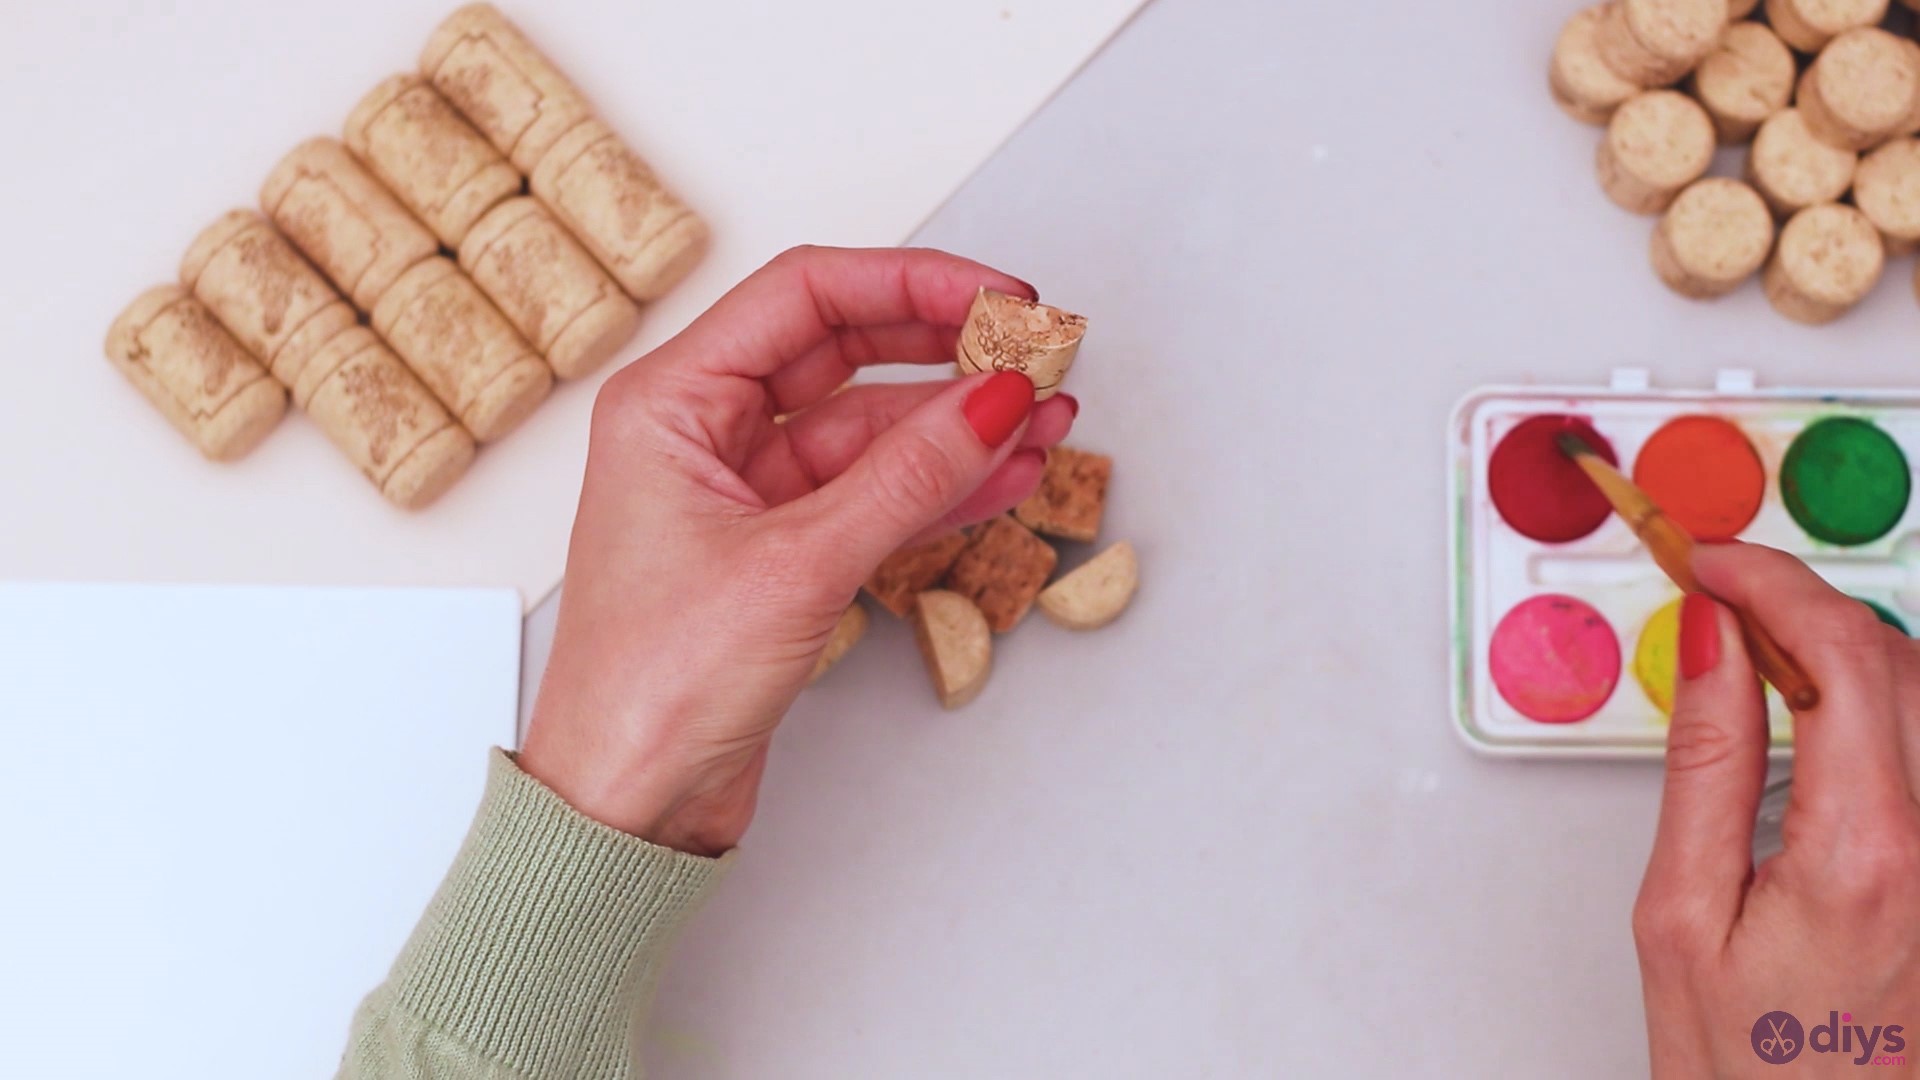
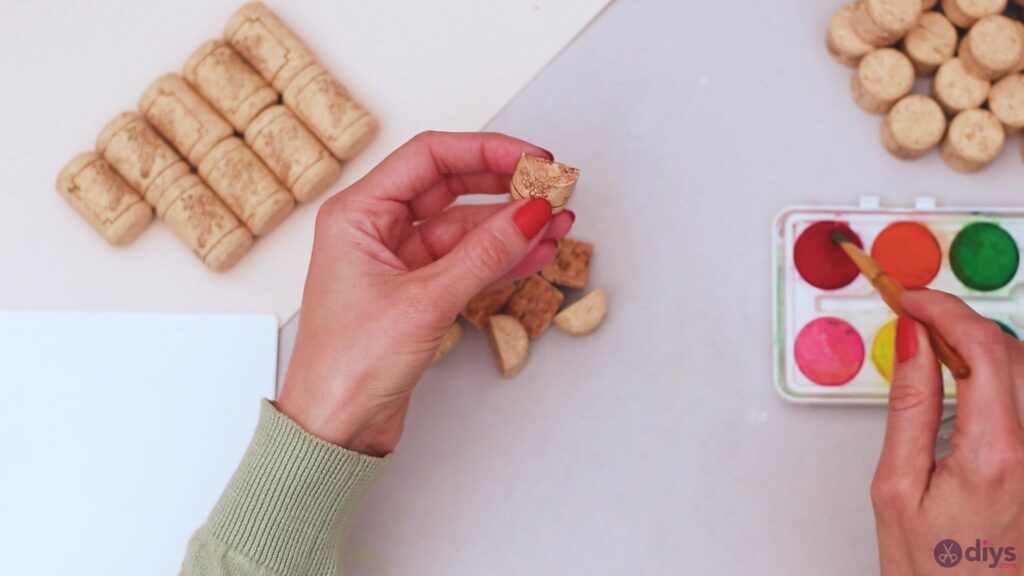
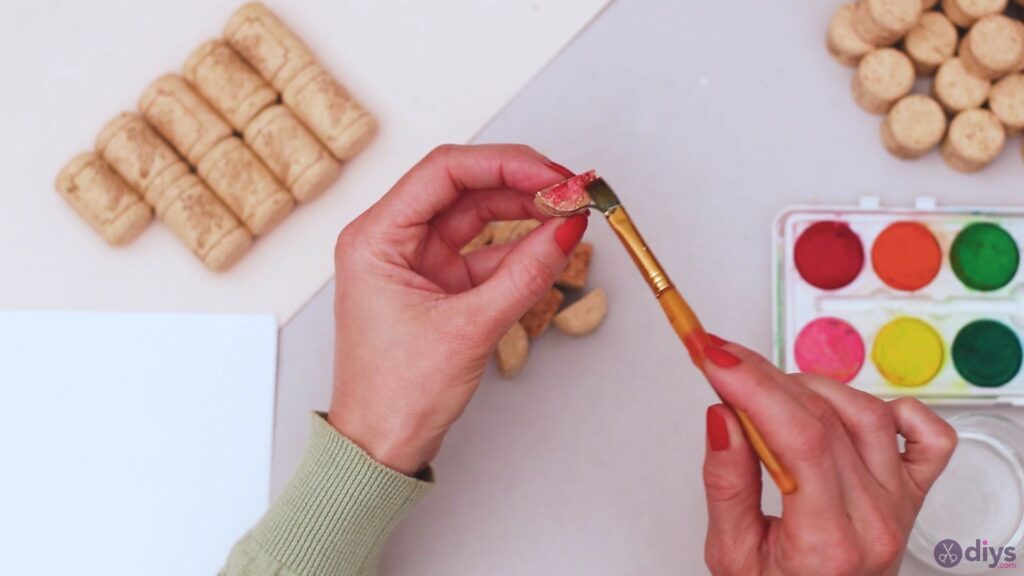
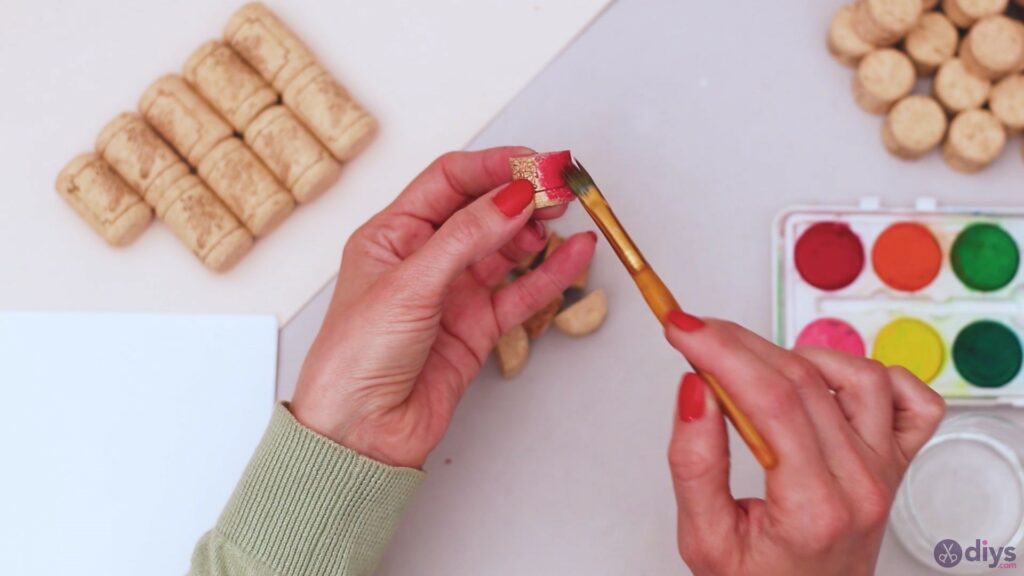
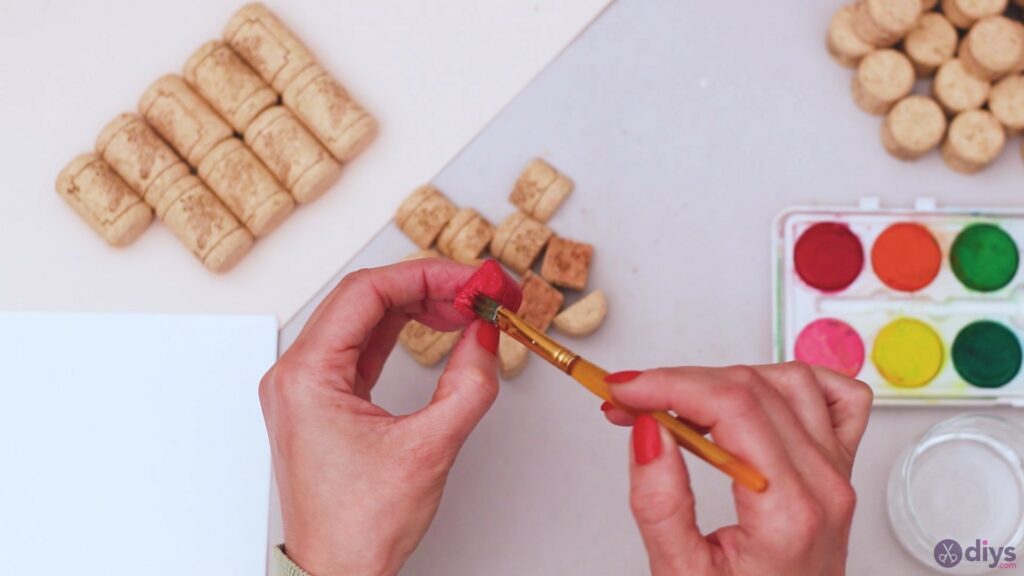
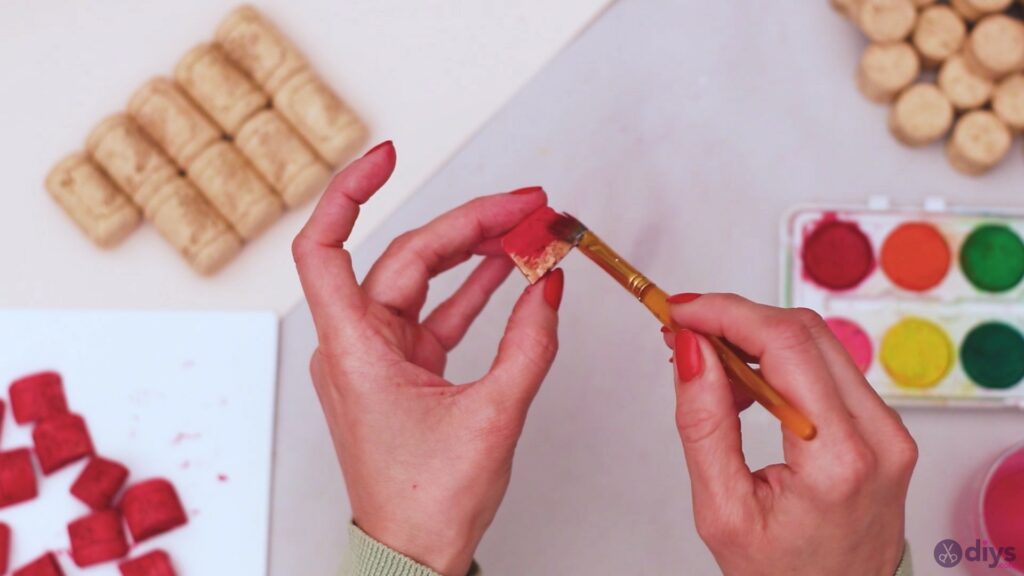
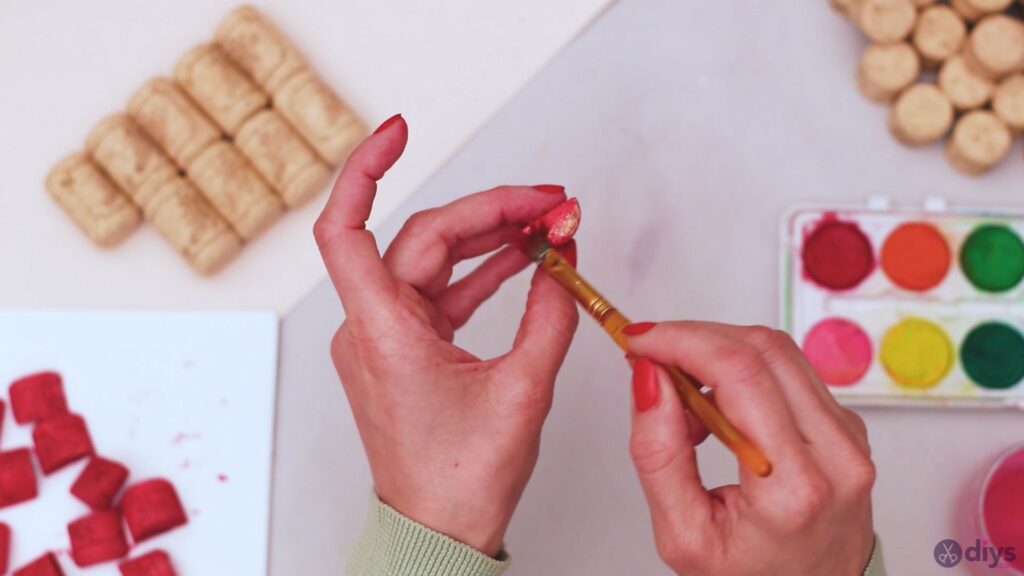
Now that we have all these cute small pieces, it’s time we paint them. Open up yourwatercolor paints,grab yourpaintbrushand dip it in water. Get some of the deep red color on your paintbrush and apply it on the wine cork.
You’ll want to apply the paint on all sides and edges of the wine cork.
Turn it over as necessary and apply more color as you go.
Watercolor paints dry up pretty fast, so it shouldn’t be an issue for too long. Leave them off to dry on a piece of paper anyway, as you won’t need them for a minute.
Step 4: Build your design
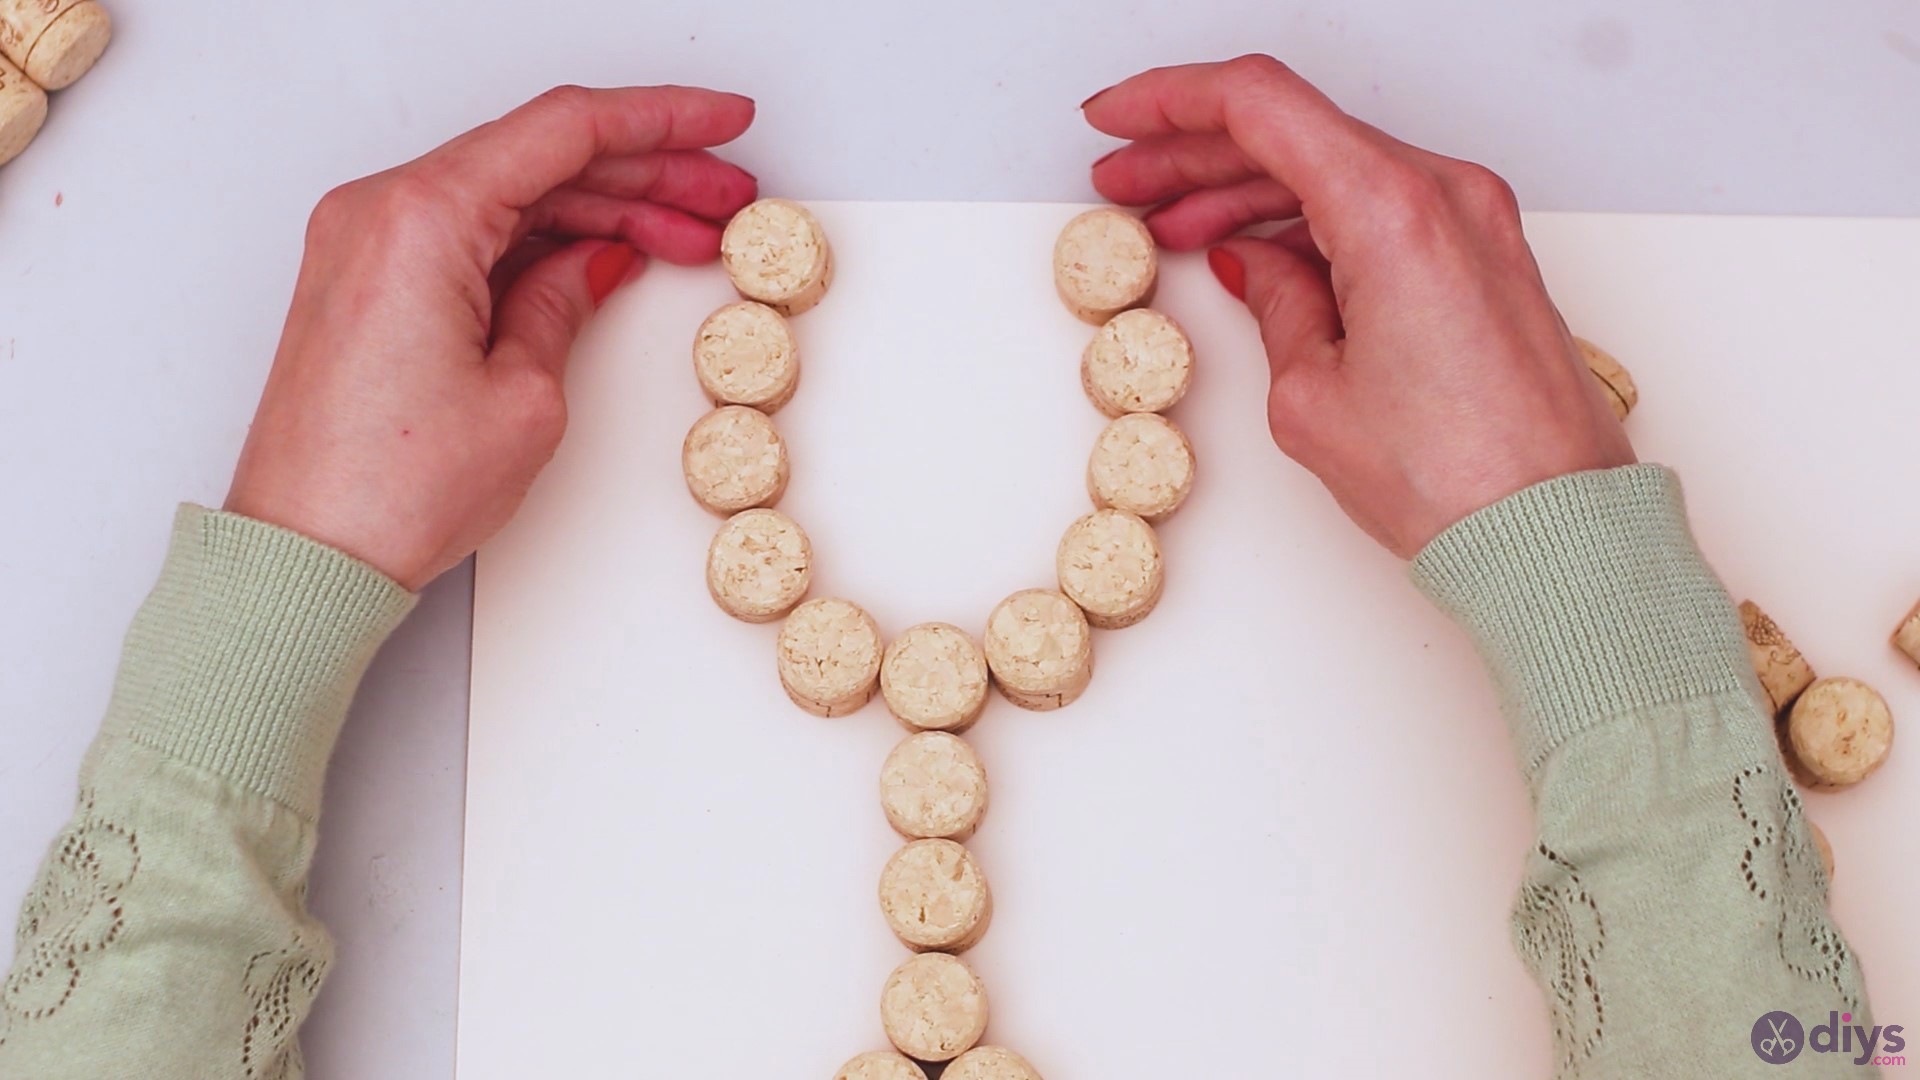
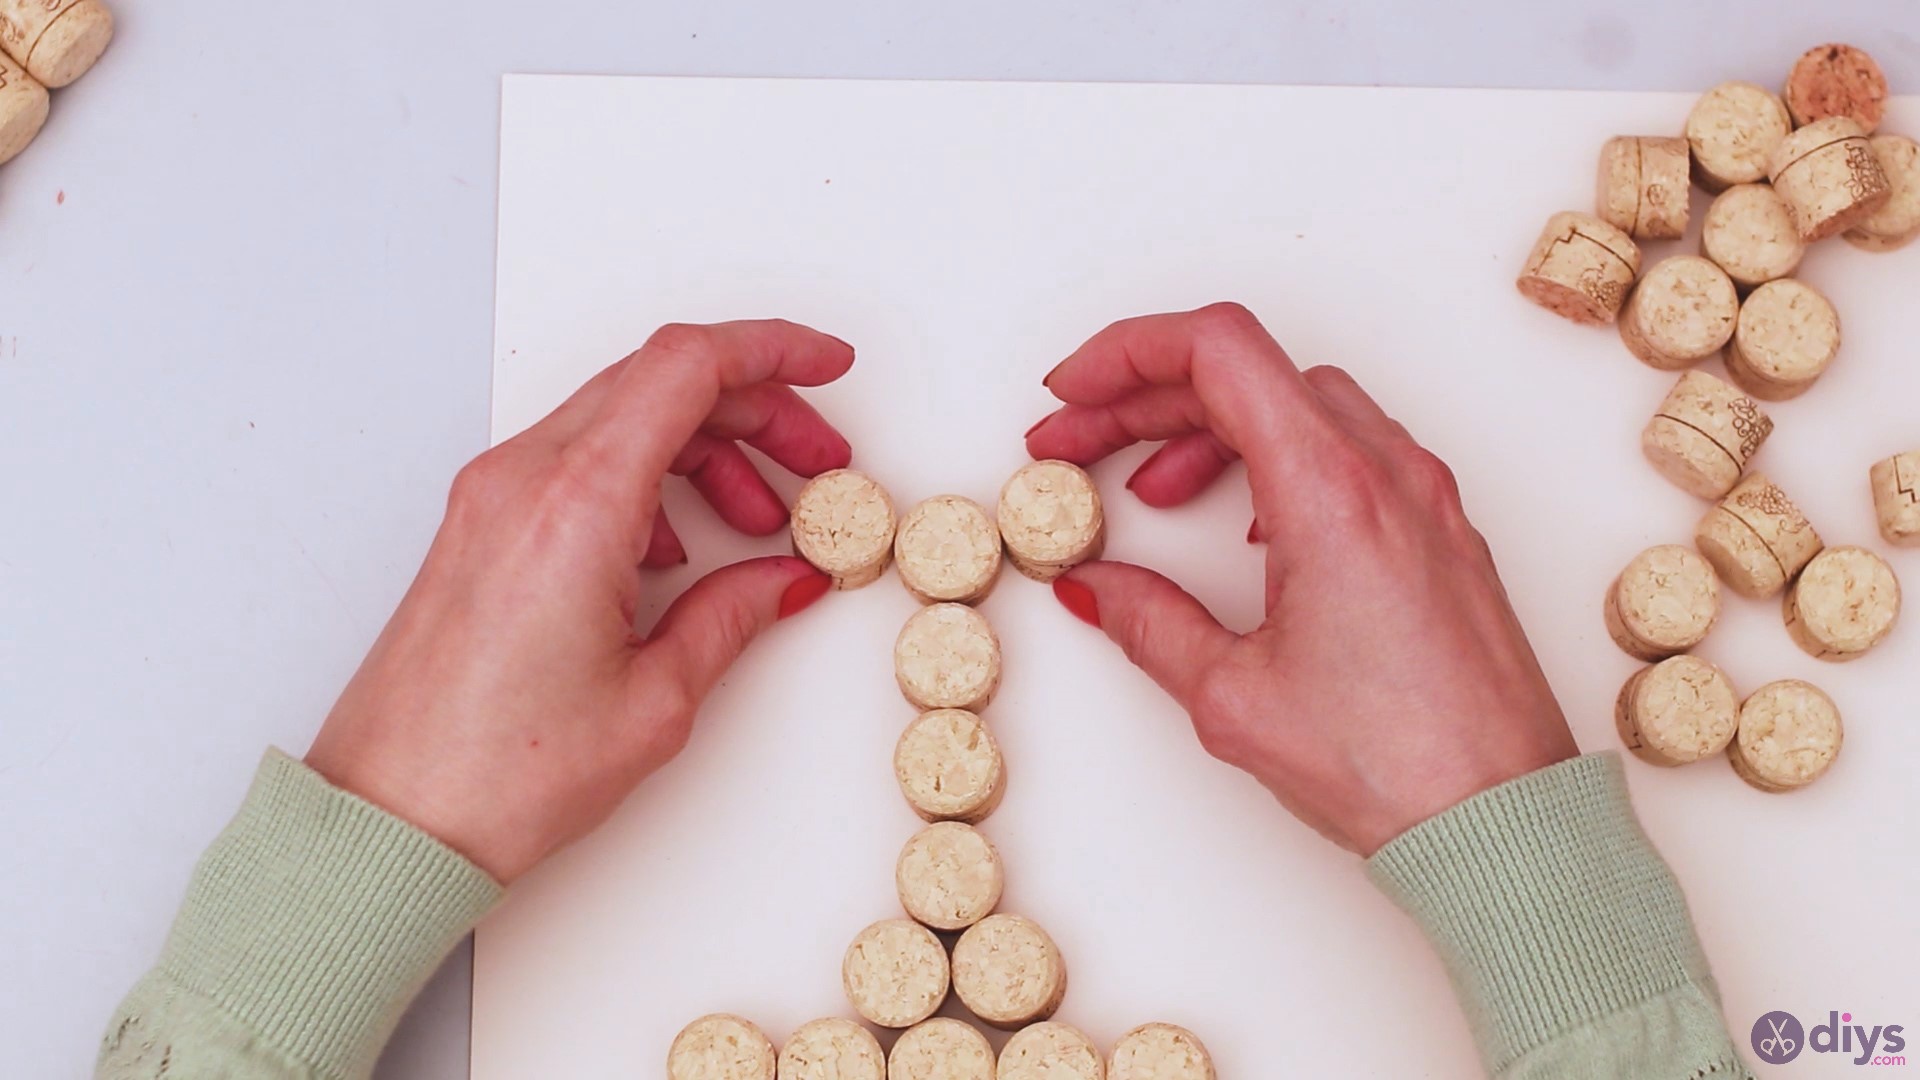
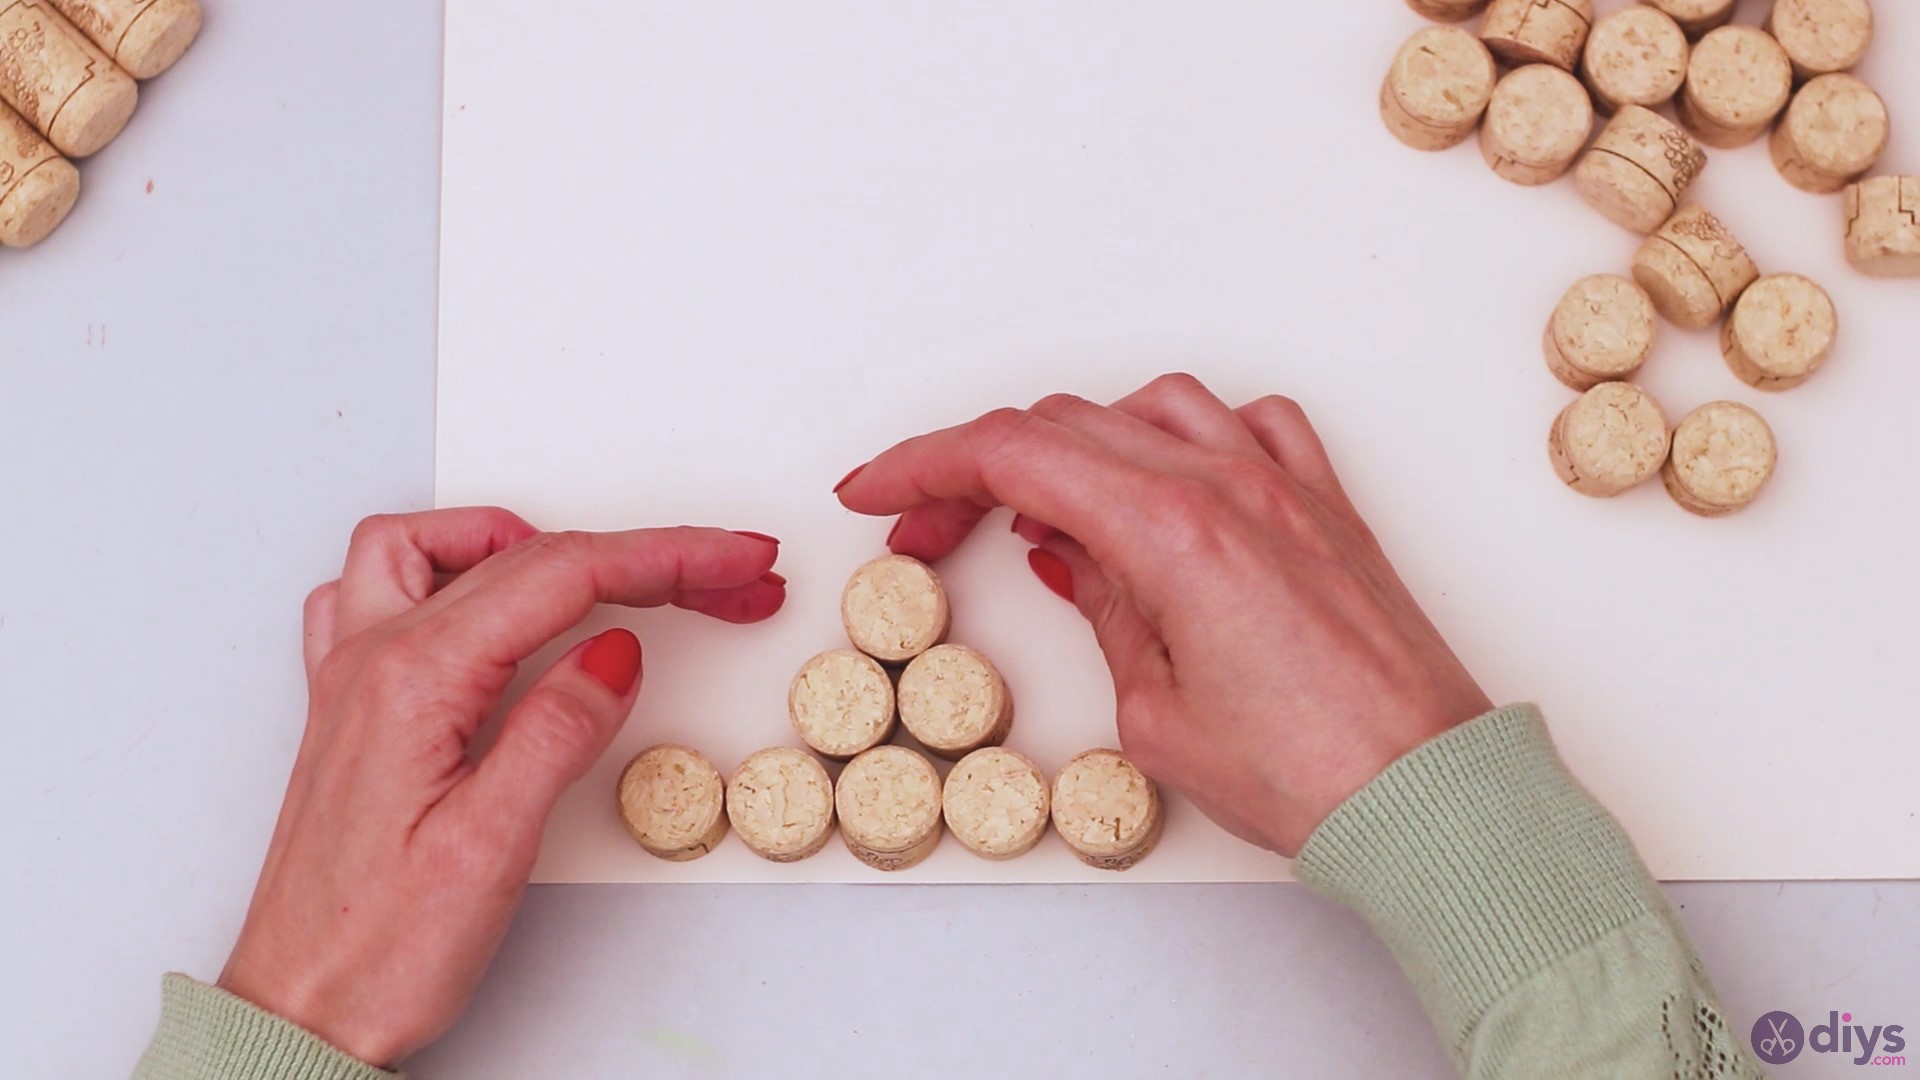
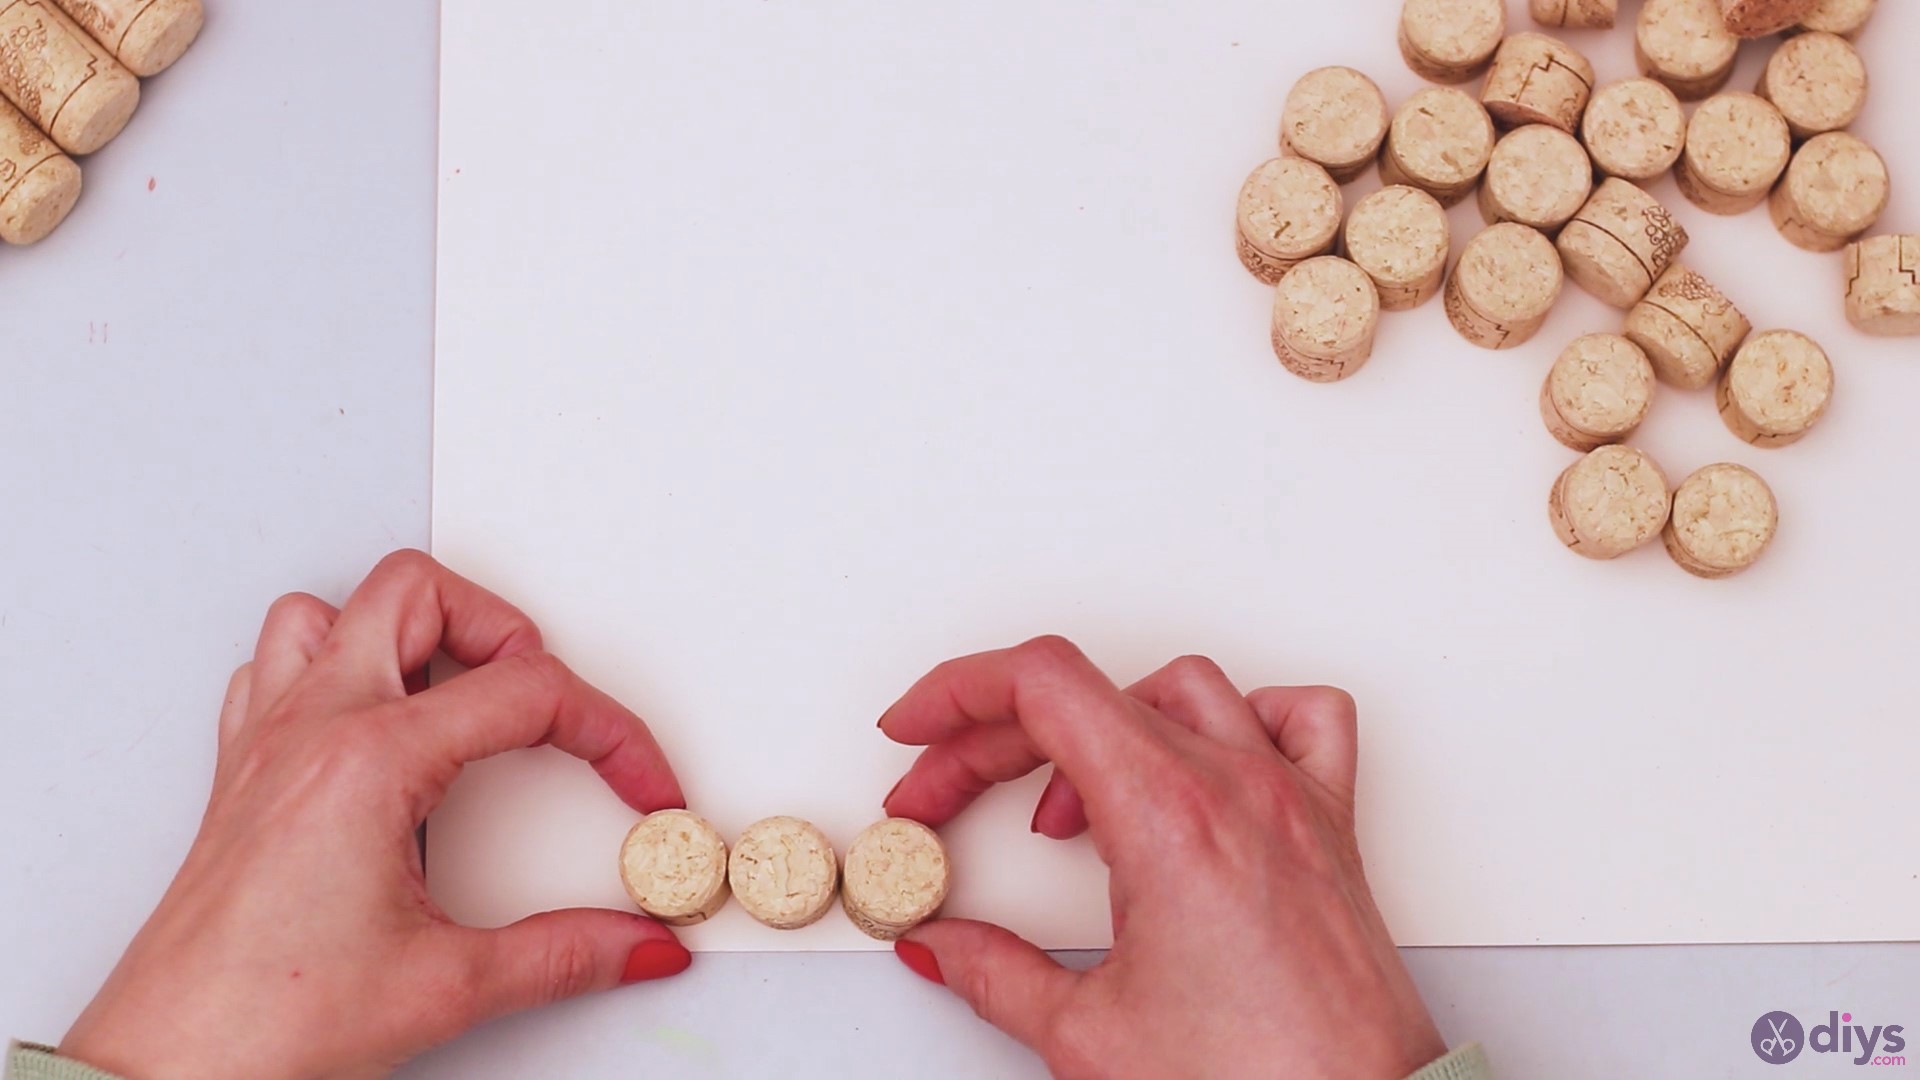
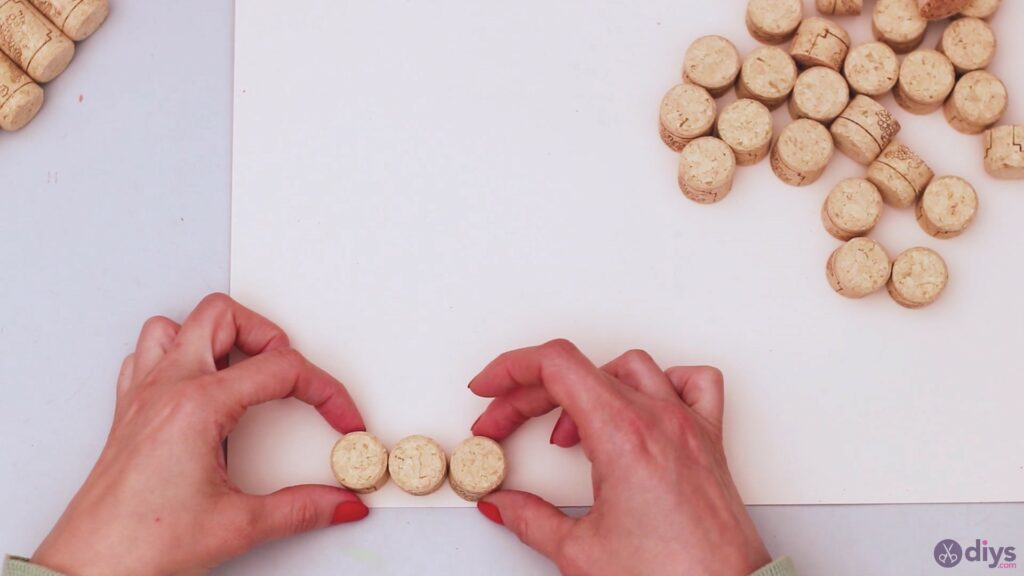
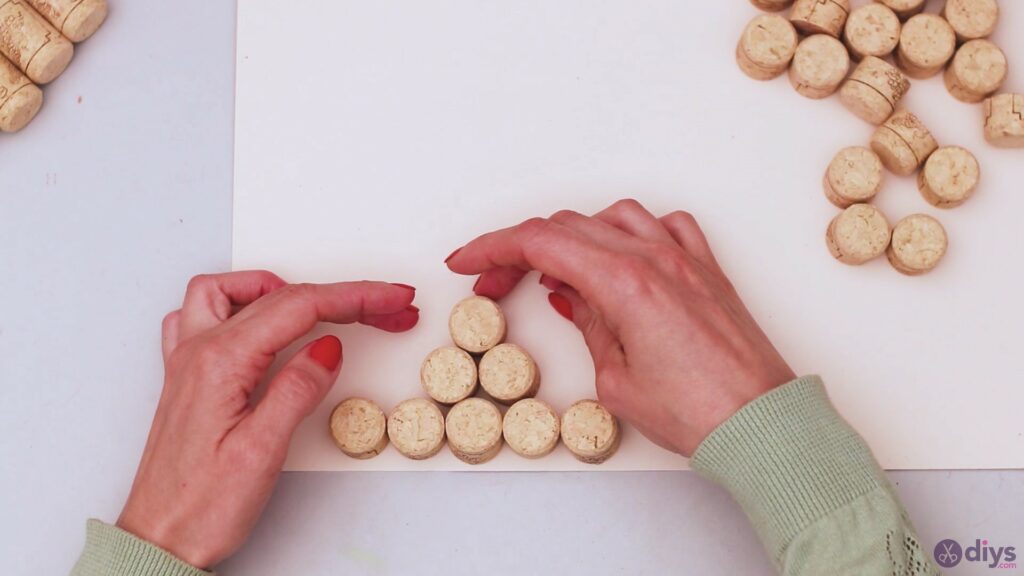
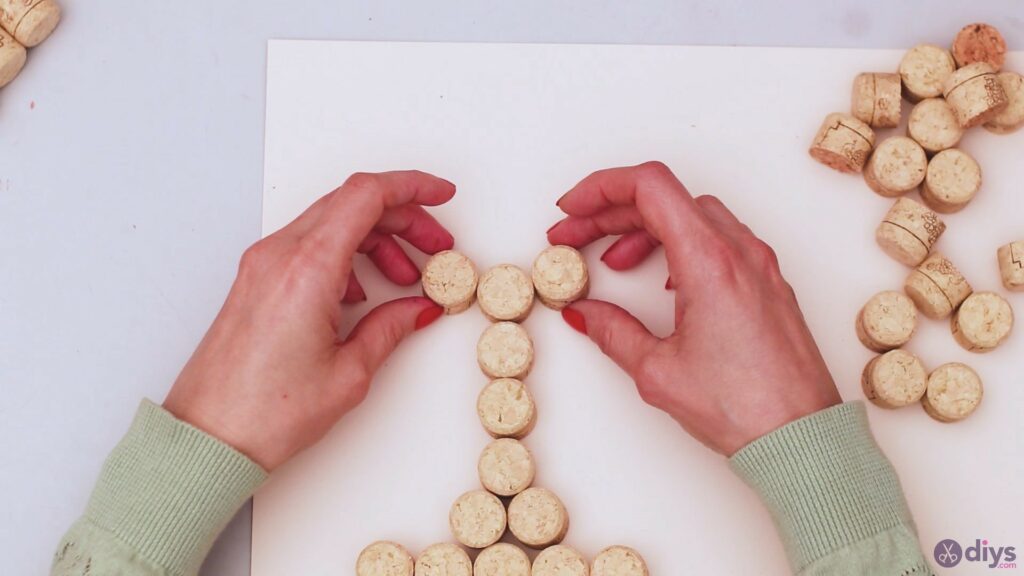
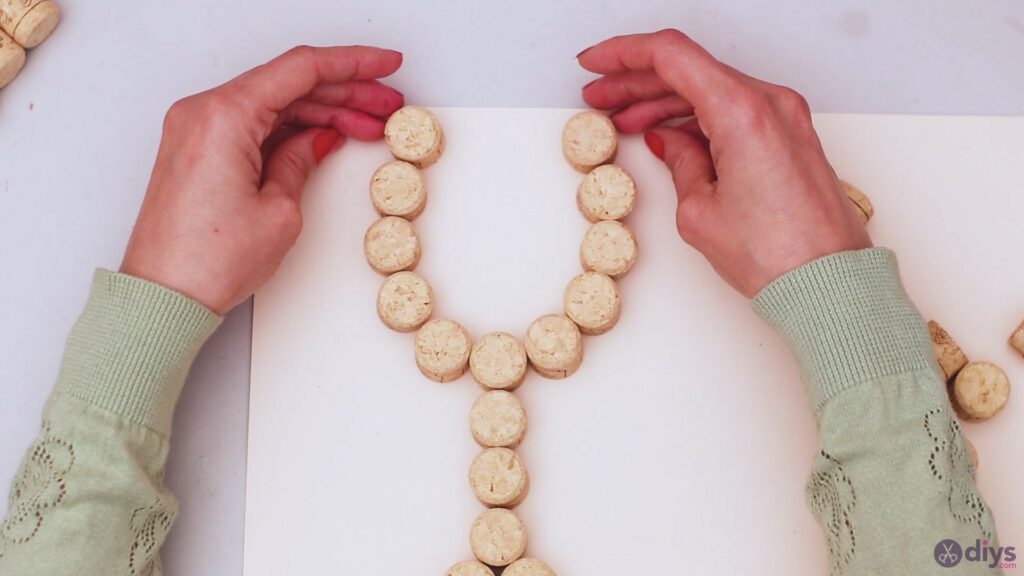
Before you wine corks together, you want to start creating your design. Get the wine corks and start arranging them in the shape of a wine glass.
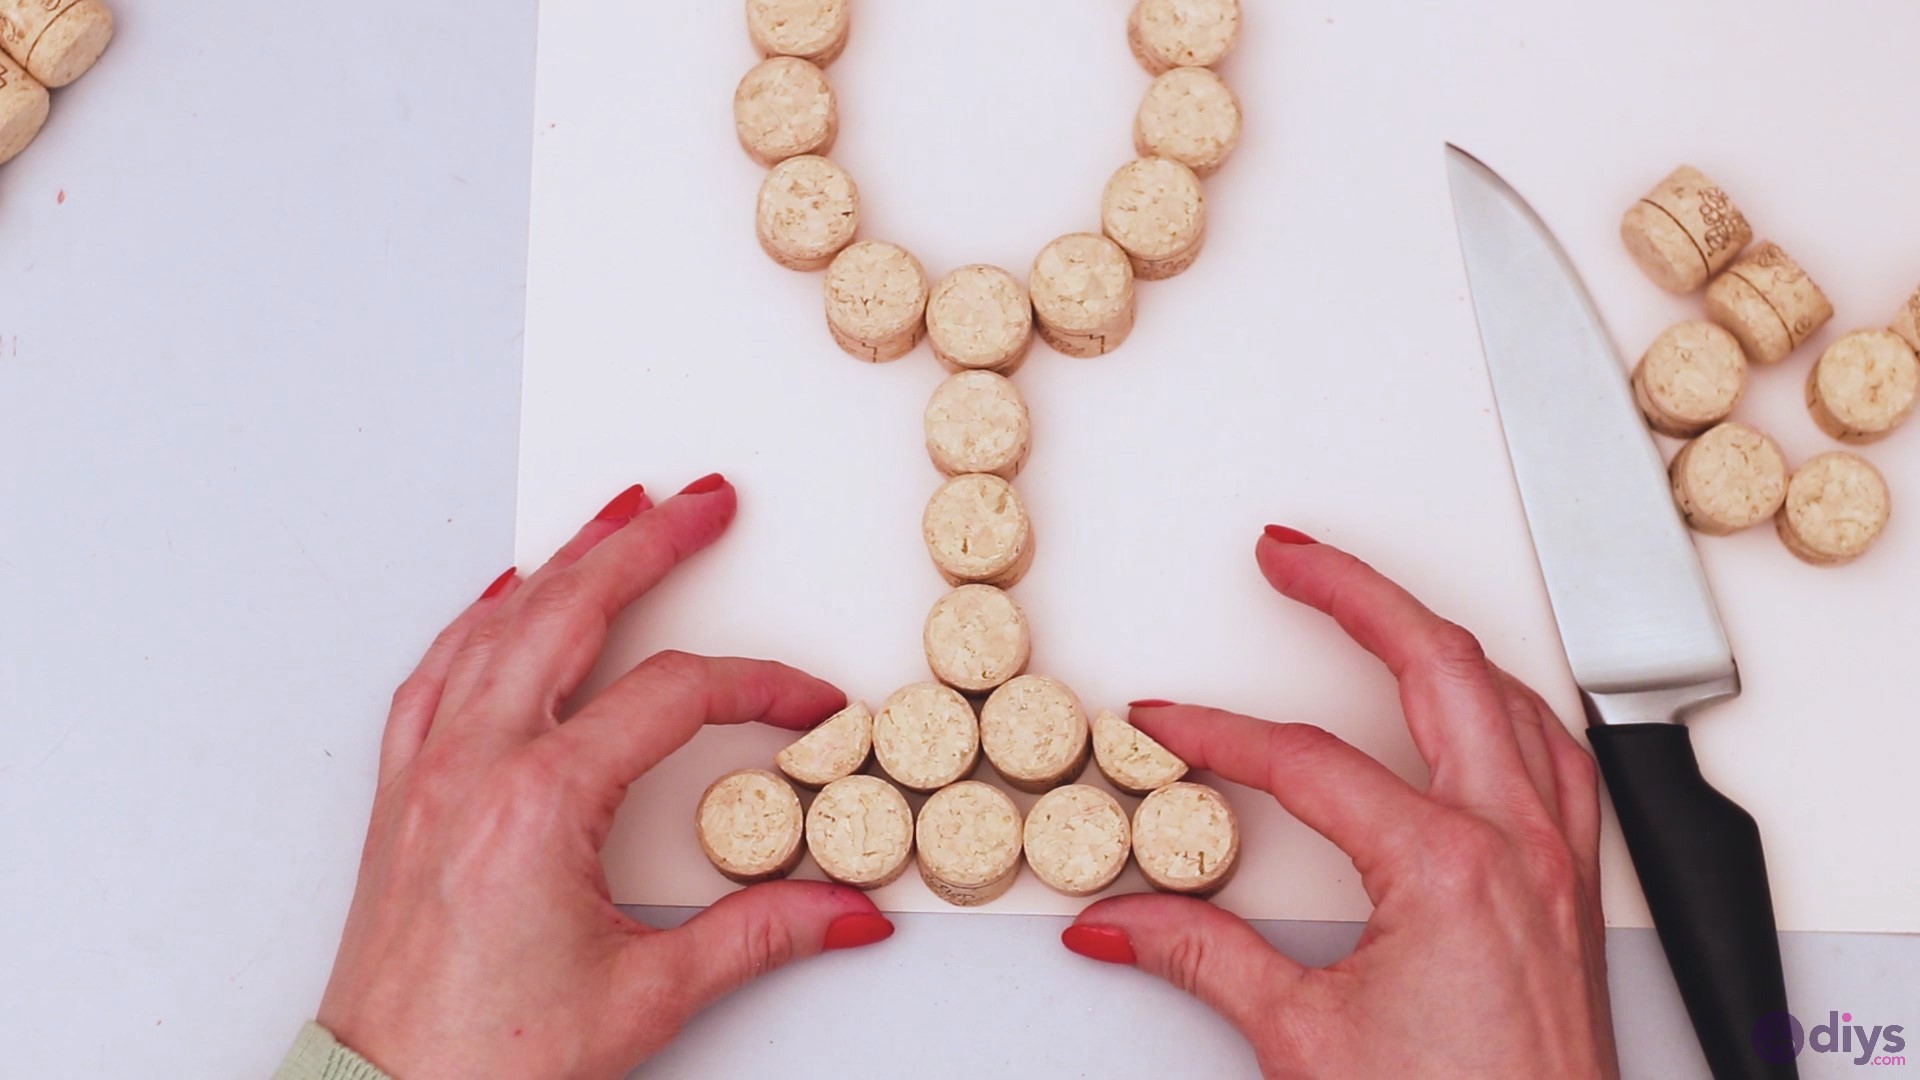
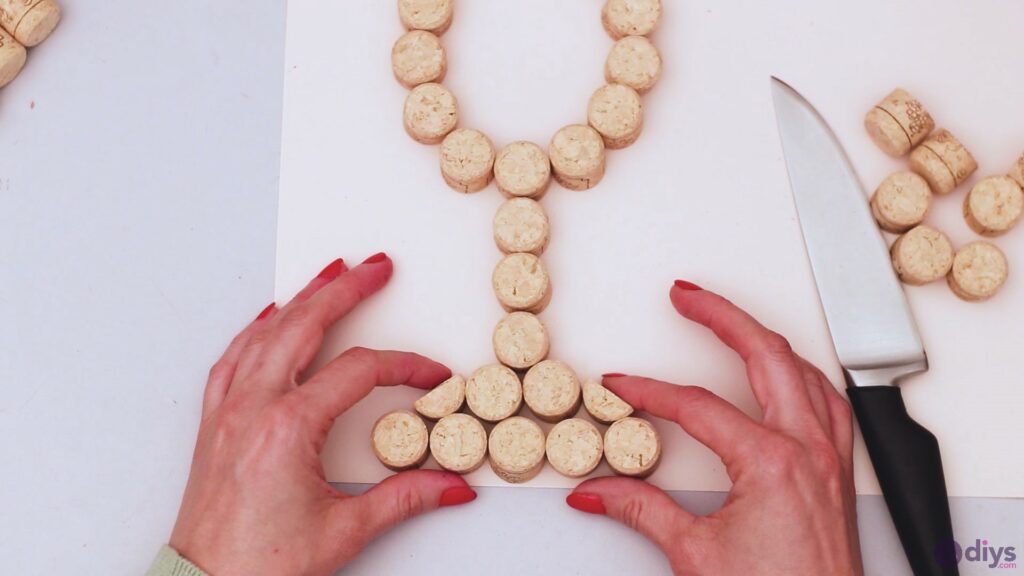
Build up the base of the wine glass and go up, creating the stem. We went with five corks, then two to mark the base, then went up another three corks before actually building the glass shape.
Create the wine glass symmetrically, adding the same number of corks both left and right.
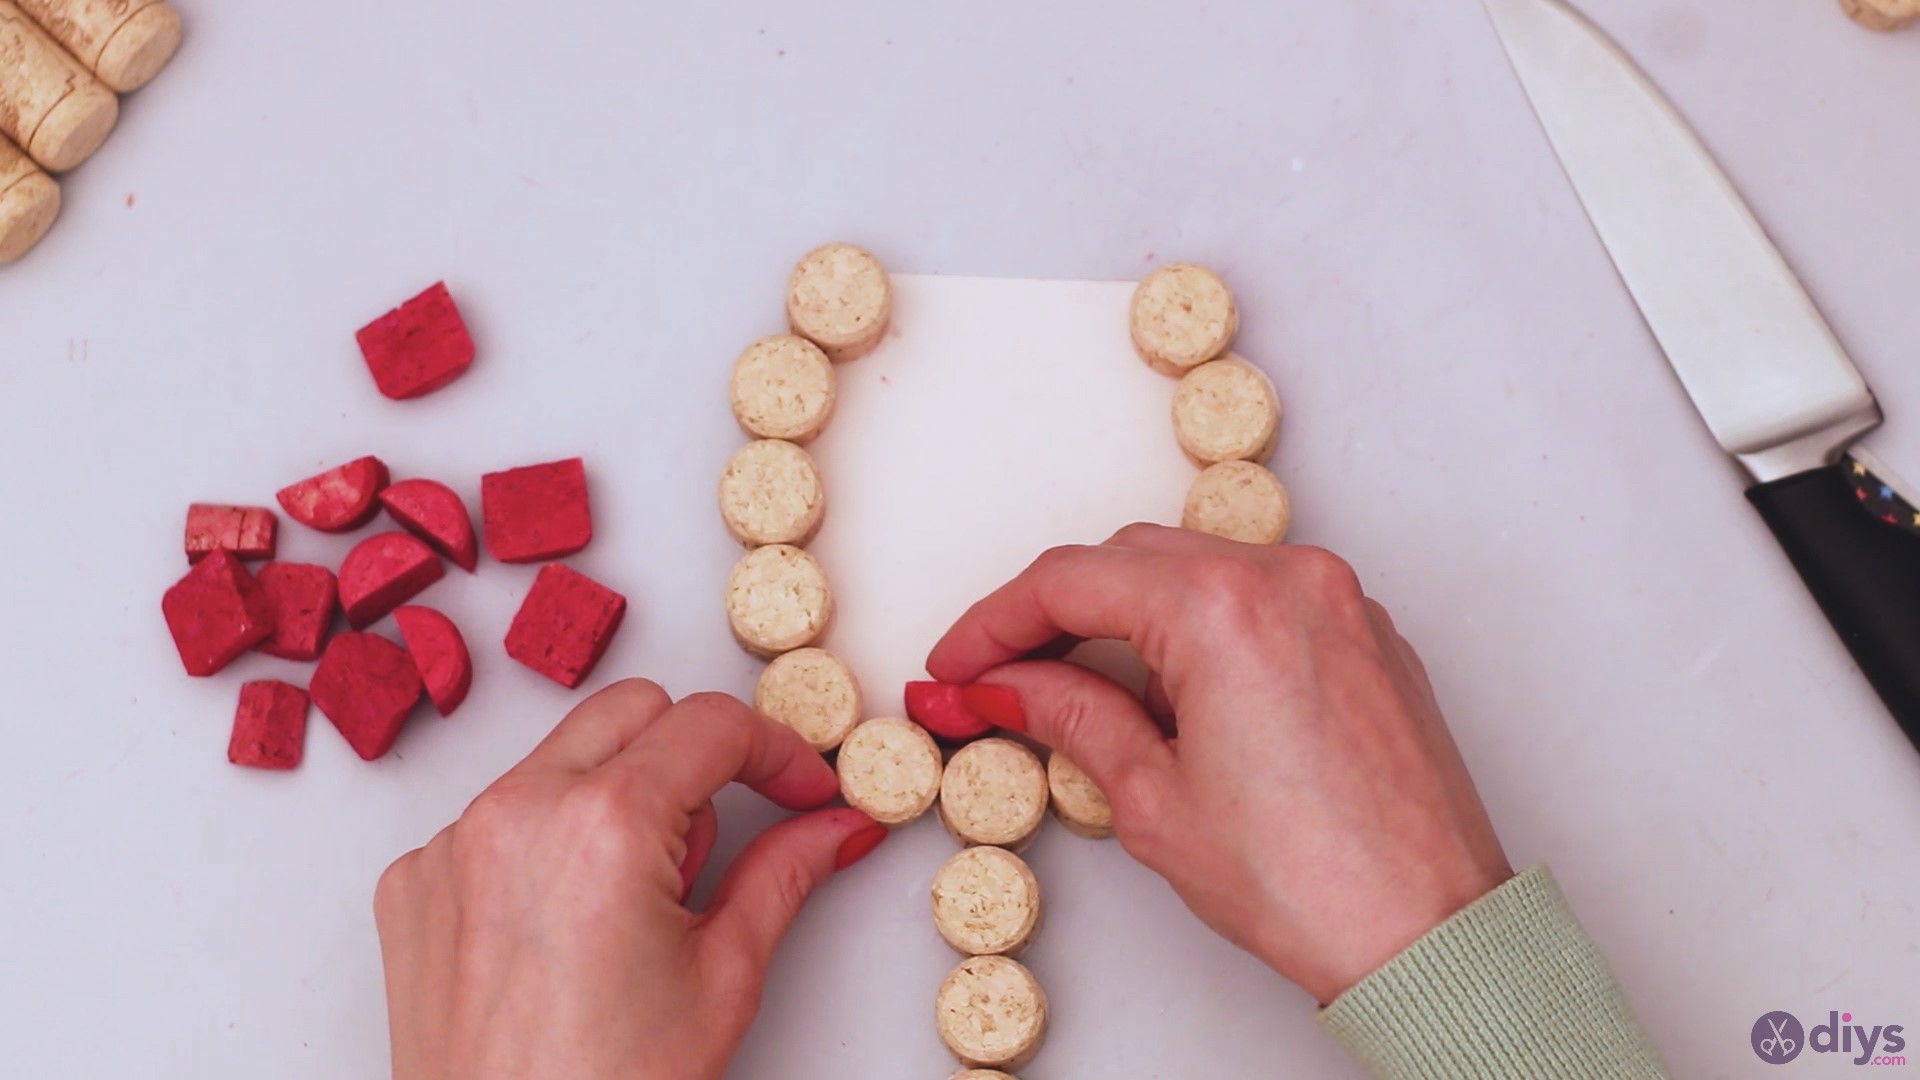
Cut another cork in half and add the pieces to the base of the glass with the cut outwards, to give it a better flow.
Step 5: Contour the glass
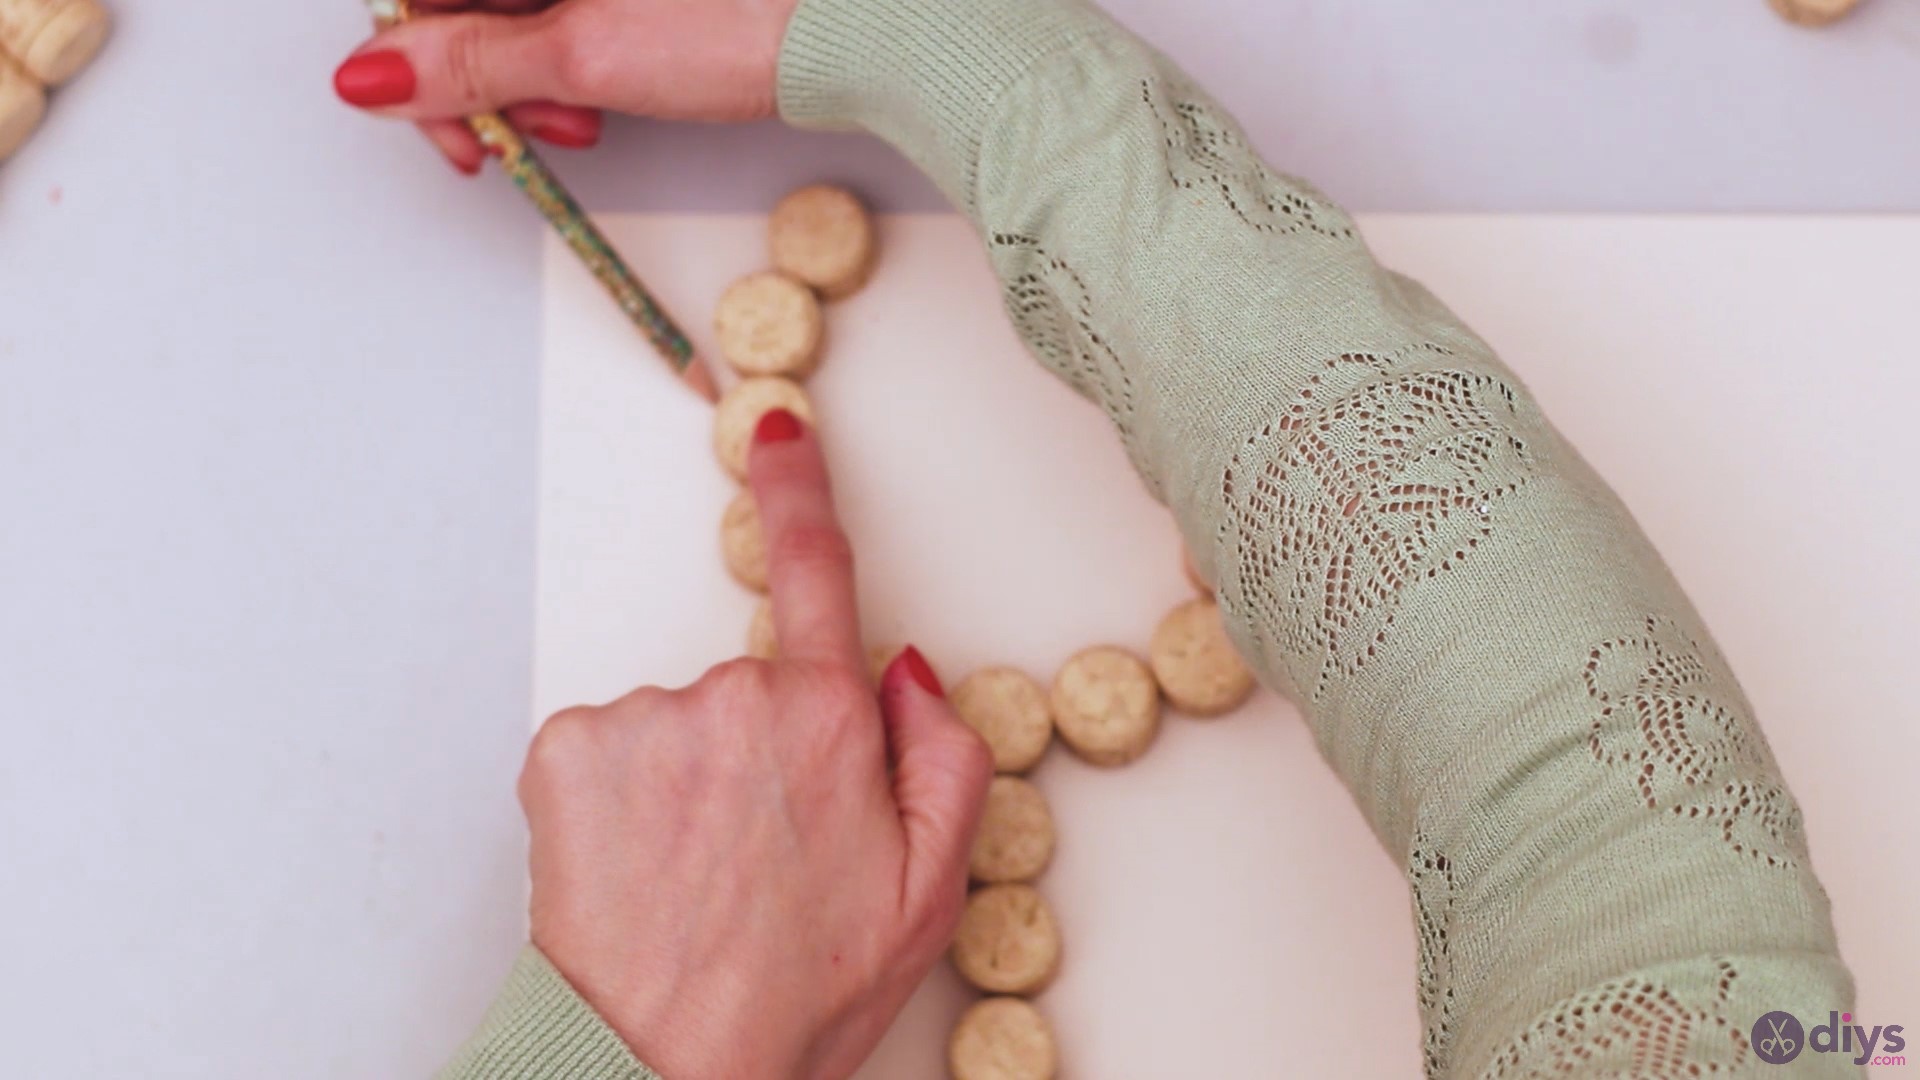
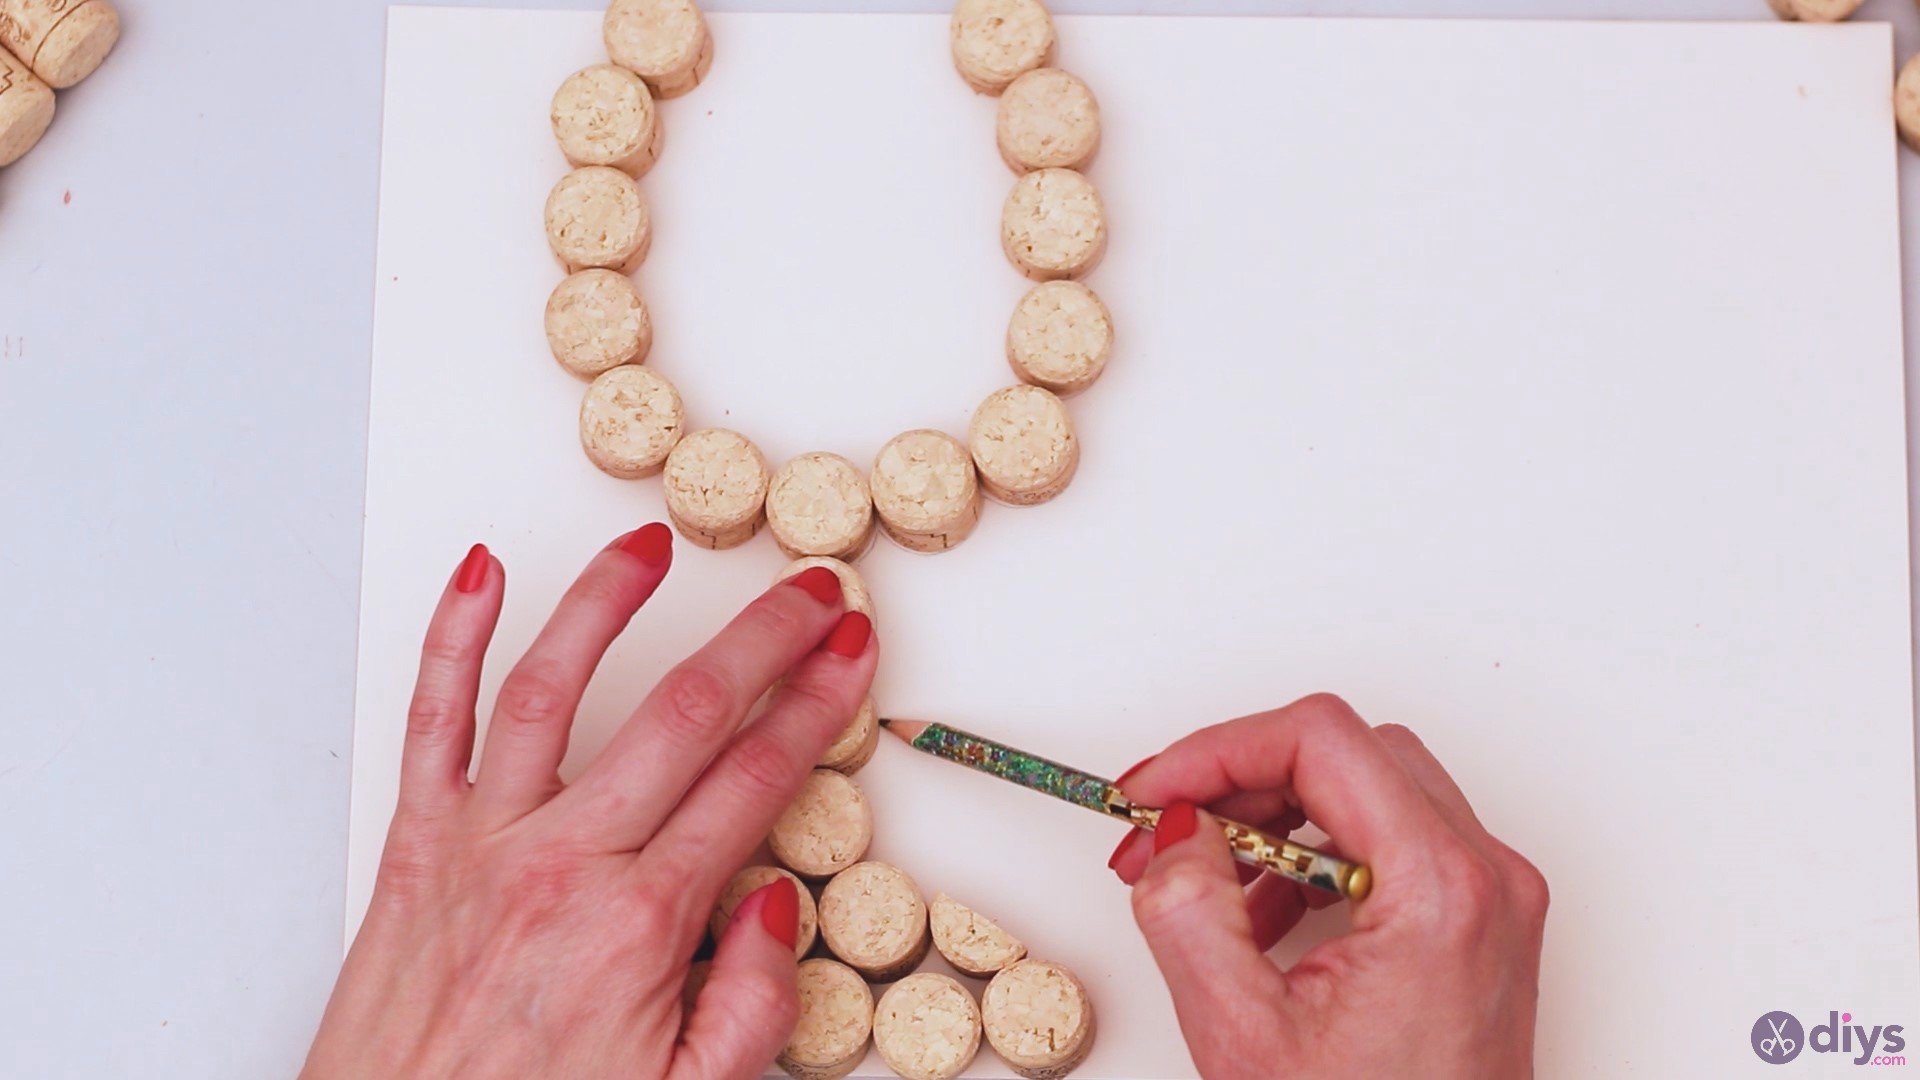
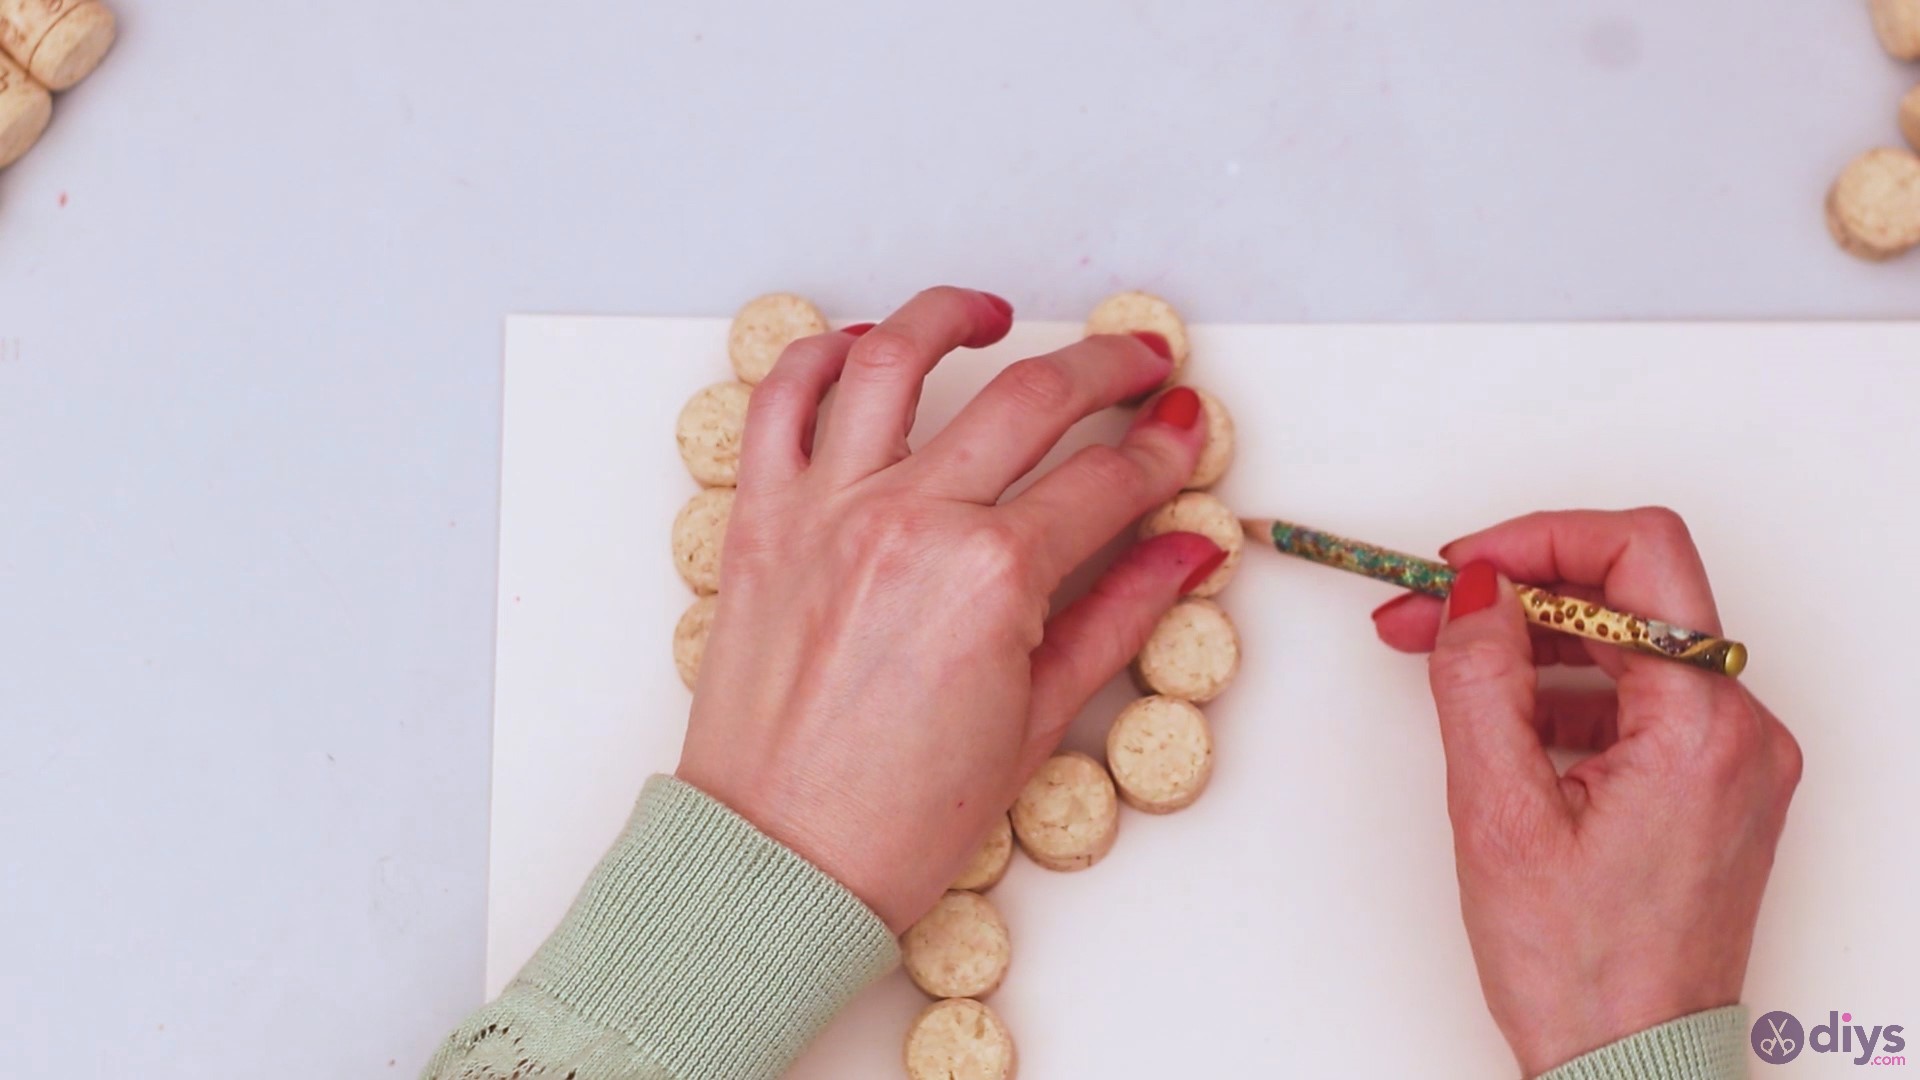
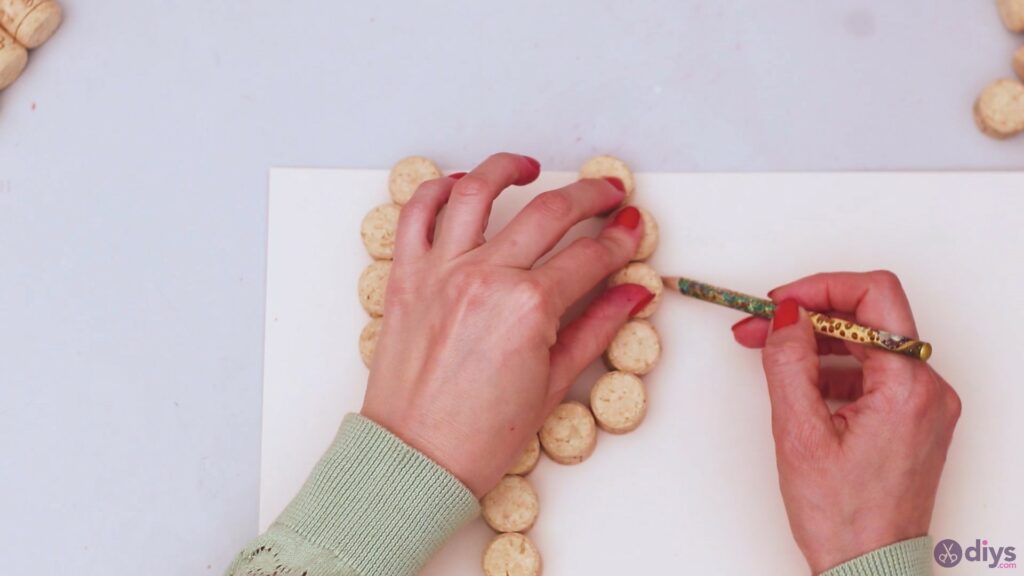
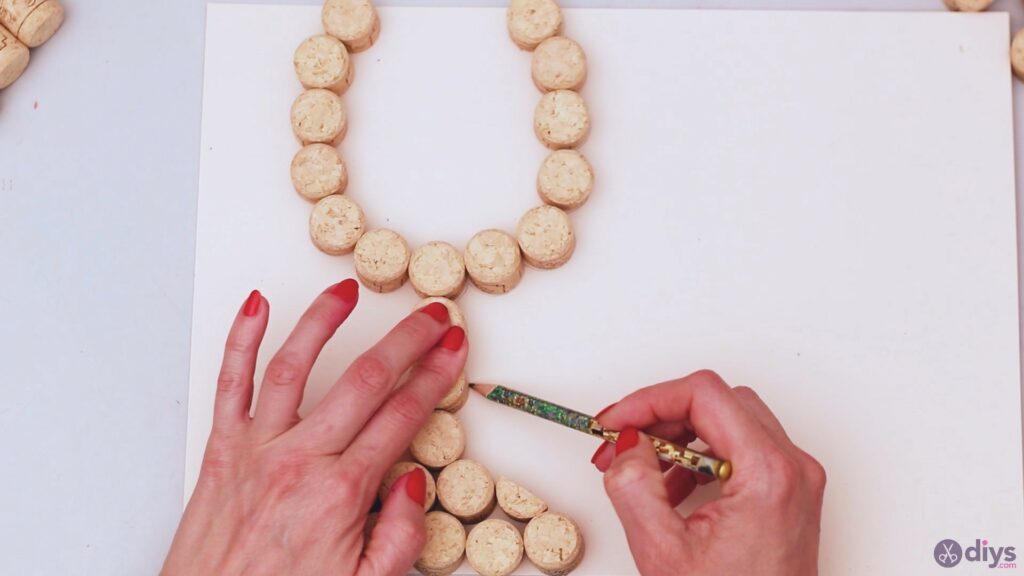
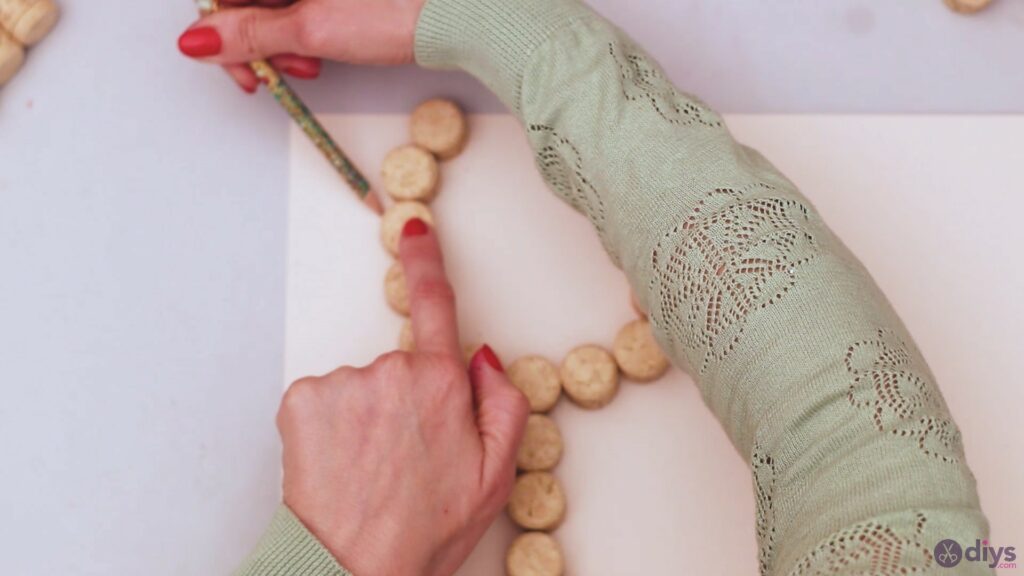
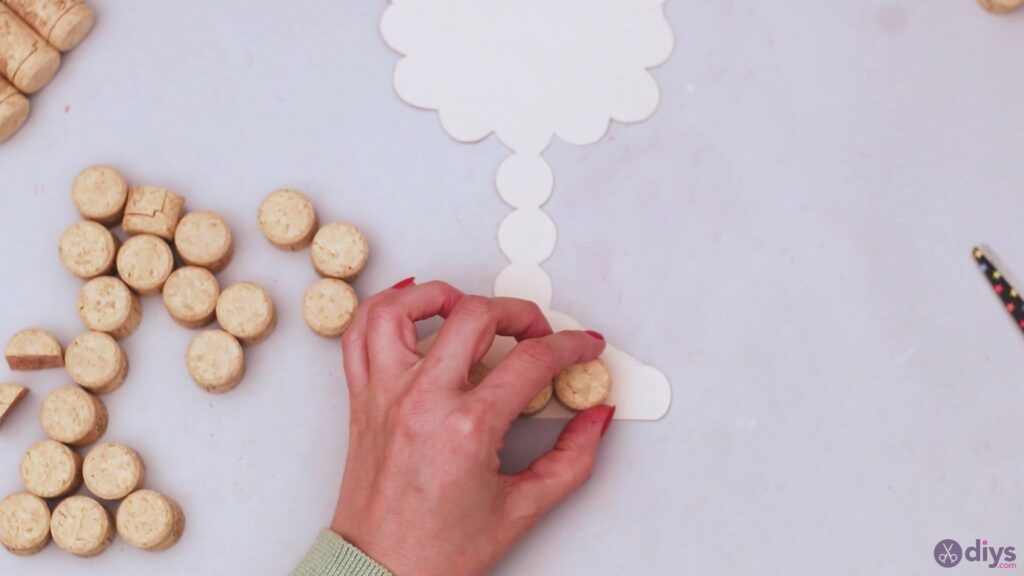
Now that you have the design of the glass all done, it’s time you draw the contour on the cardboard. Pick up yourpencil, hold on to the wine corks, and start drawing the contour.
Try to follow the outline as best you can here. Trace each of the corks carefully and don’t hurry through the process.
Step 6: Cut the cardboard
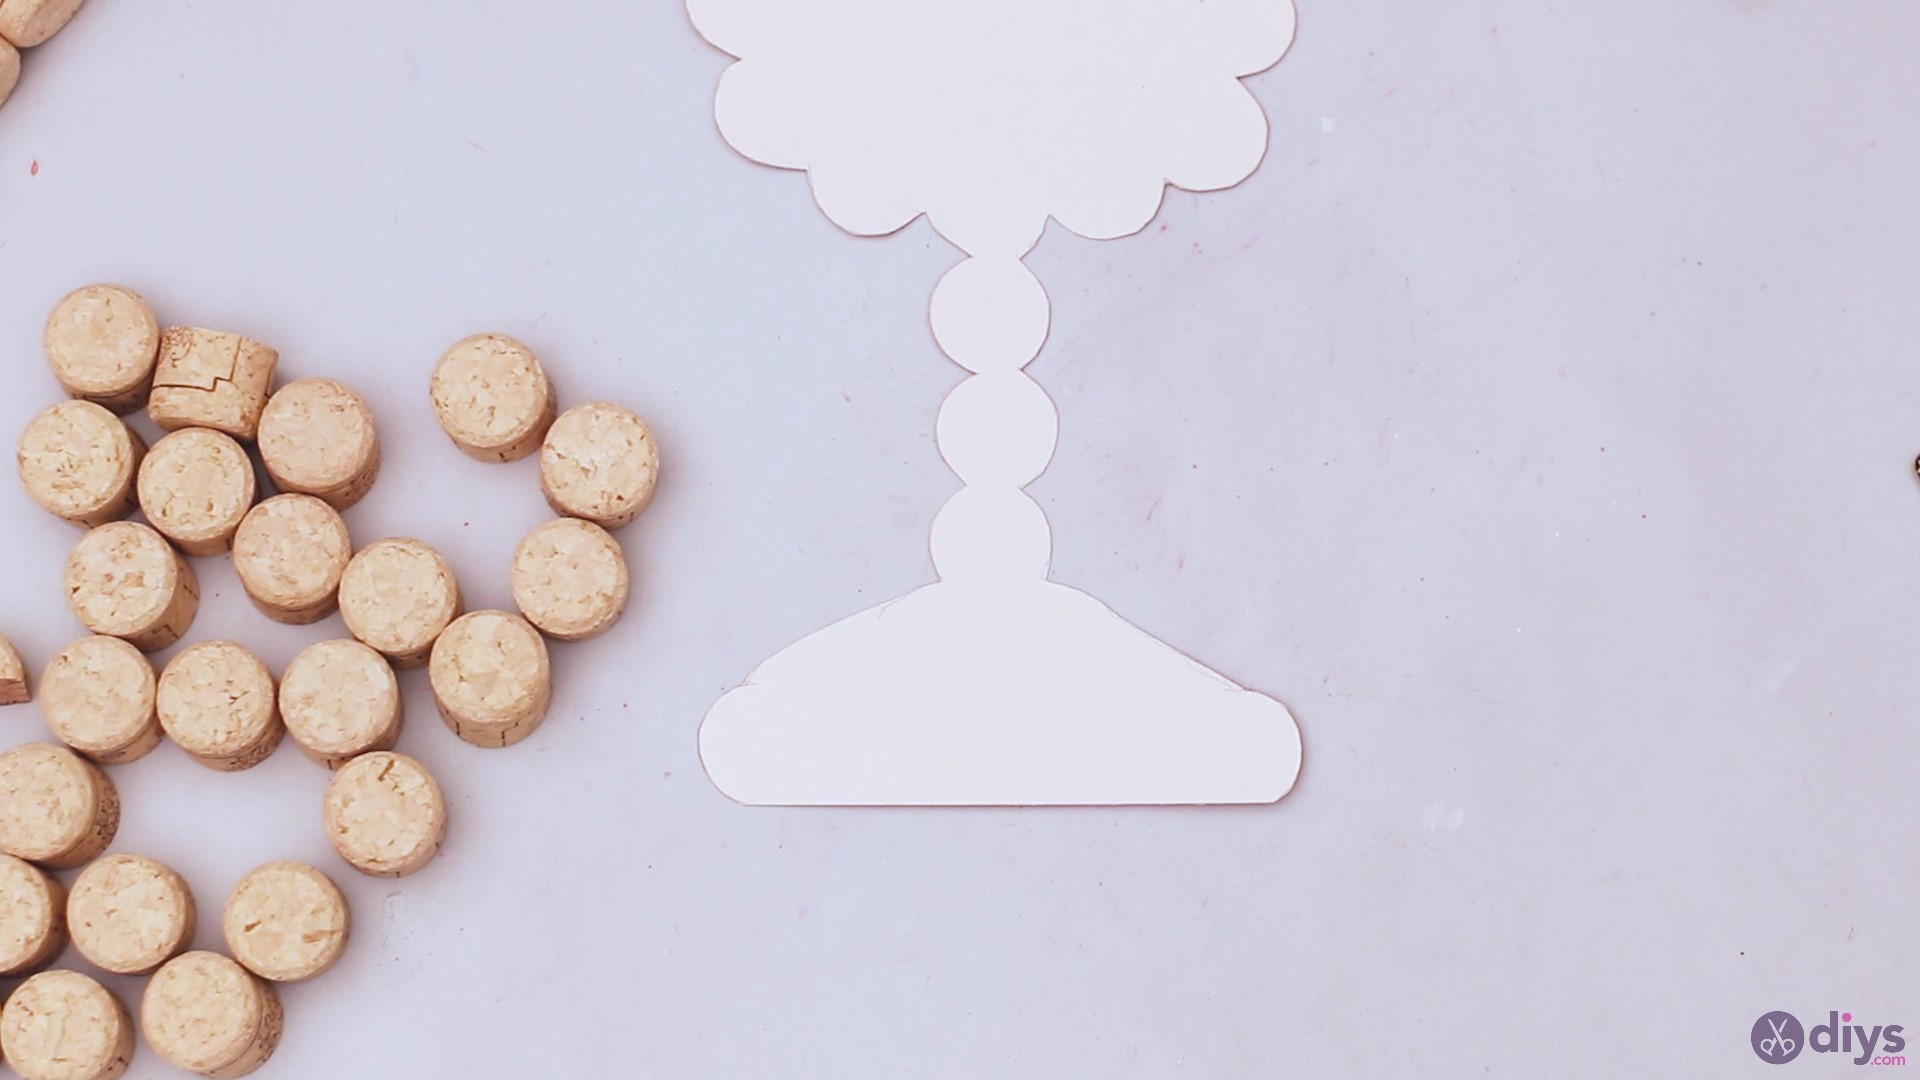
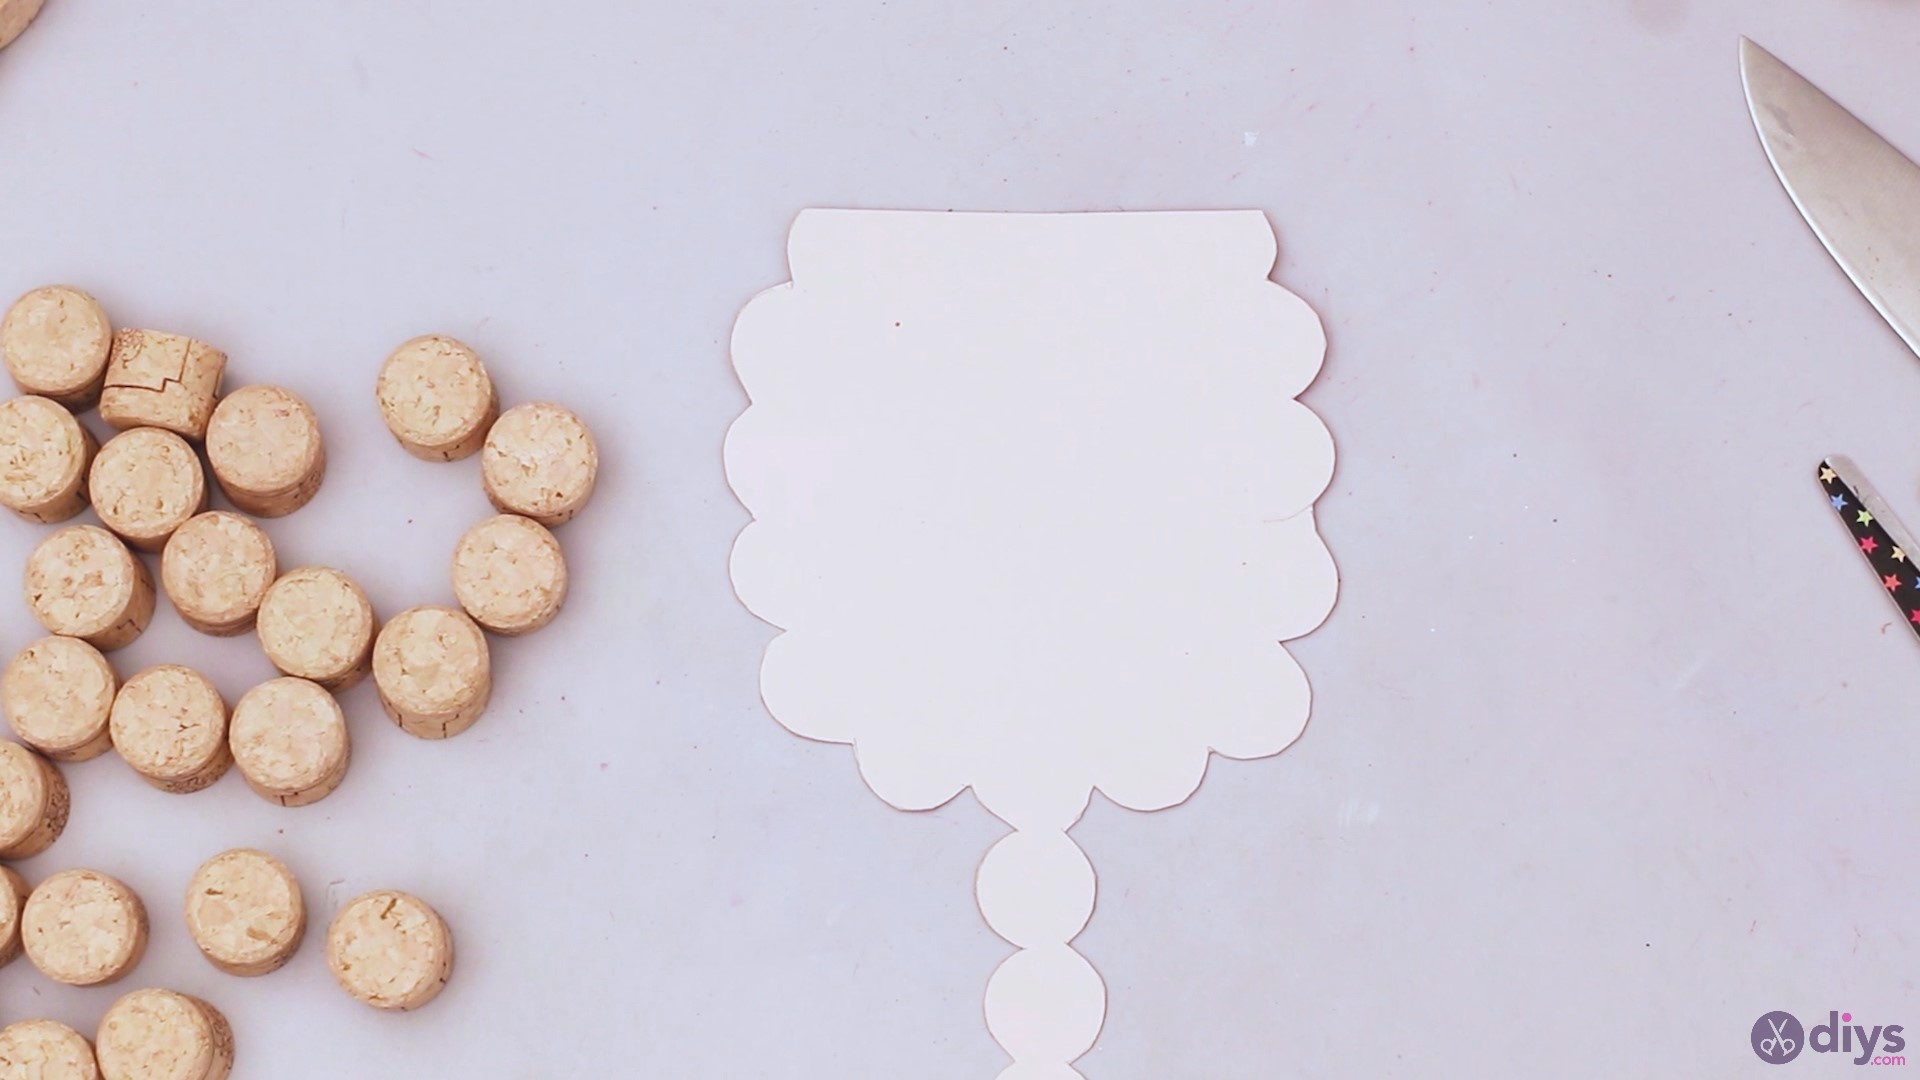
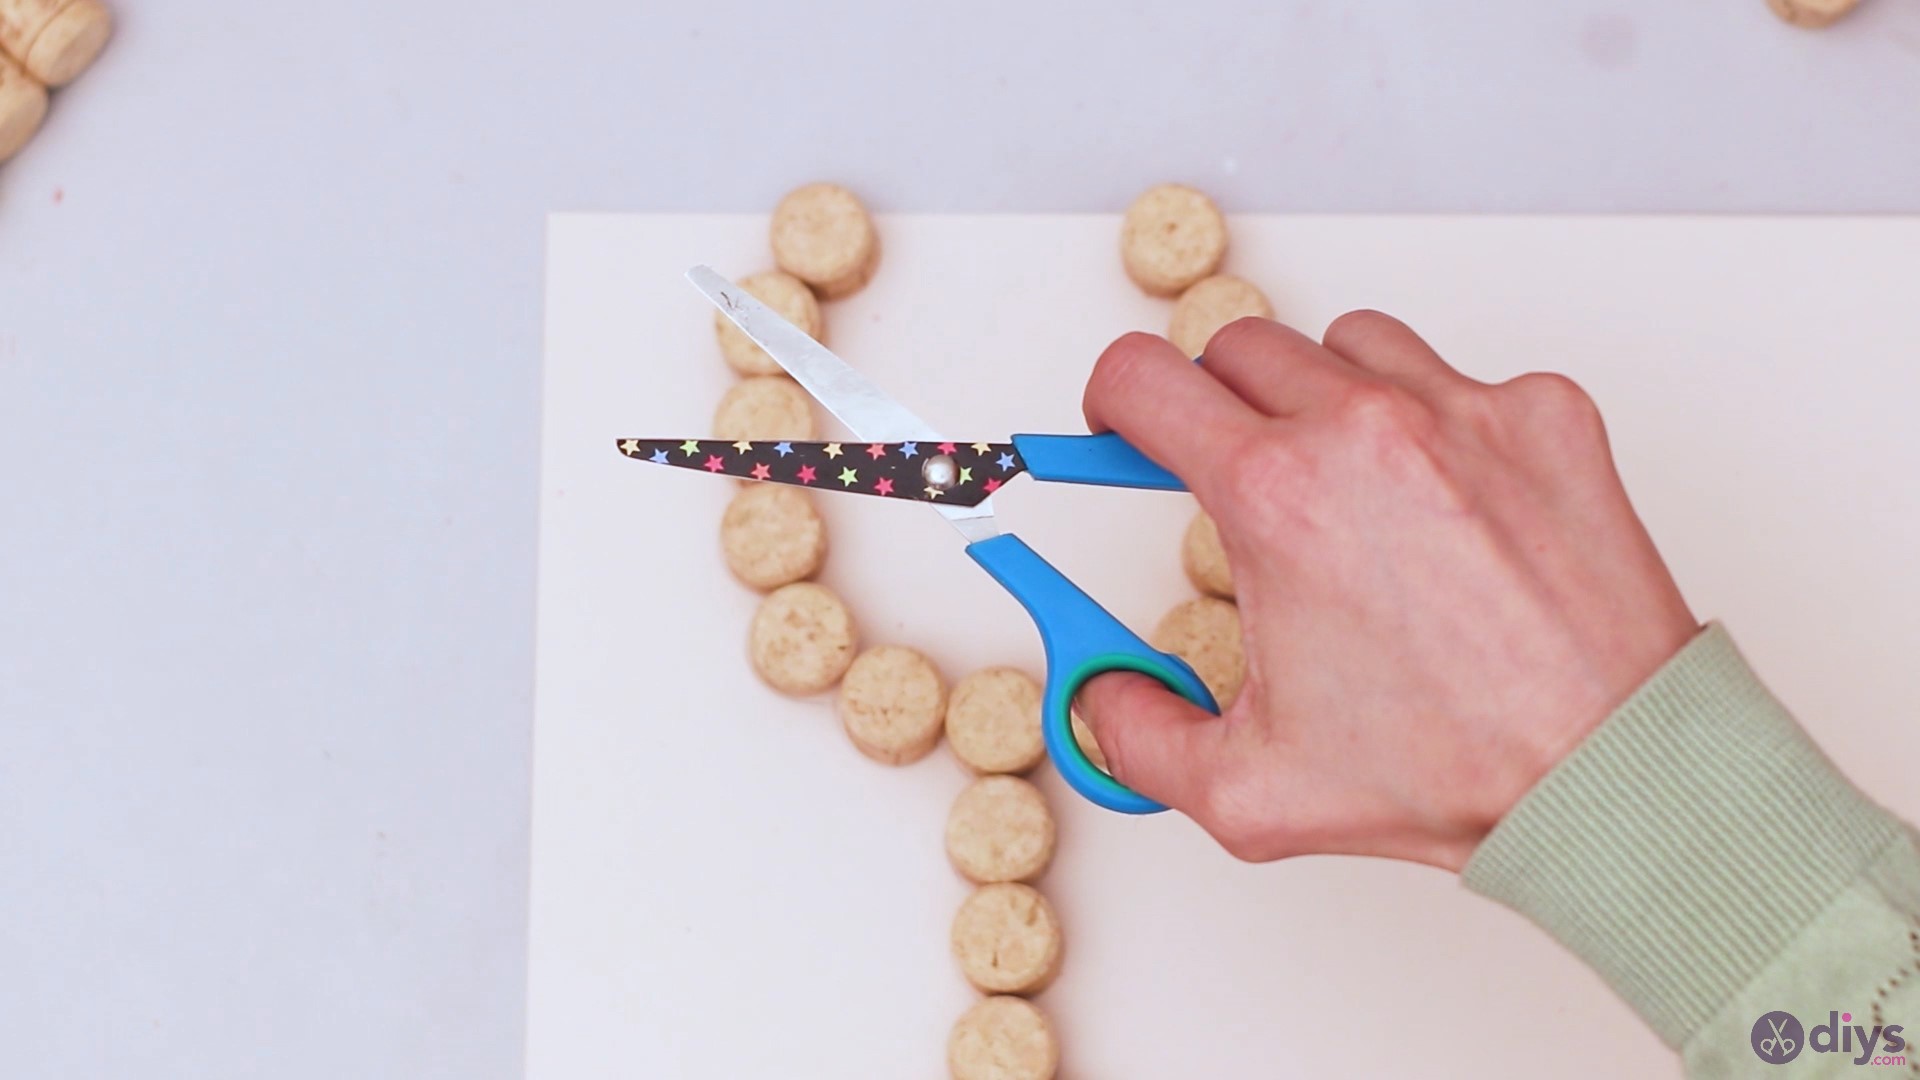
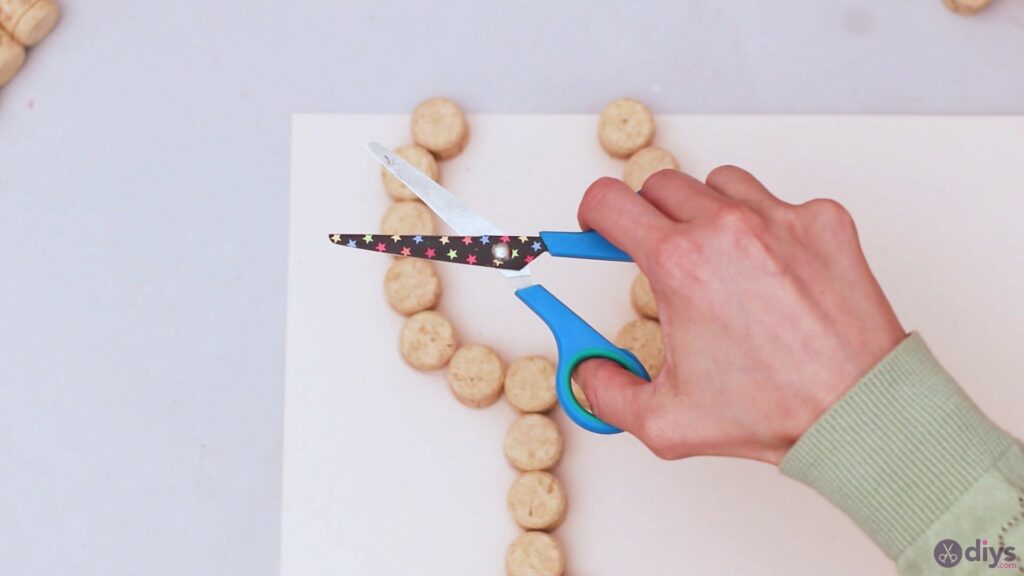
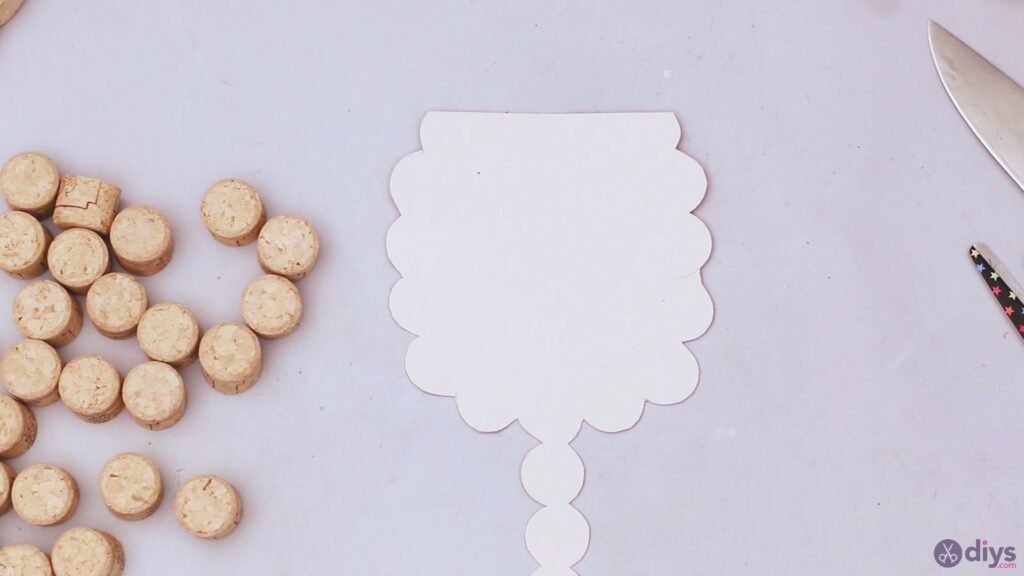
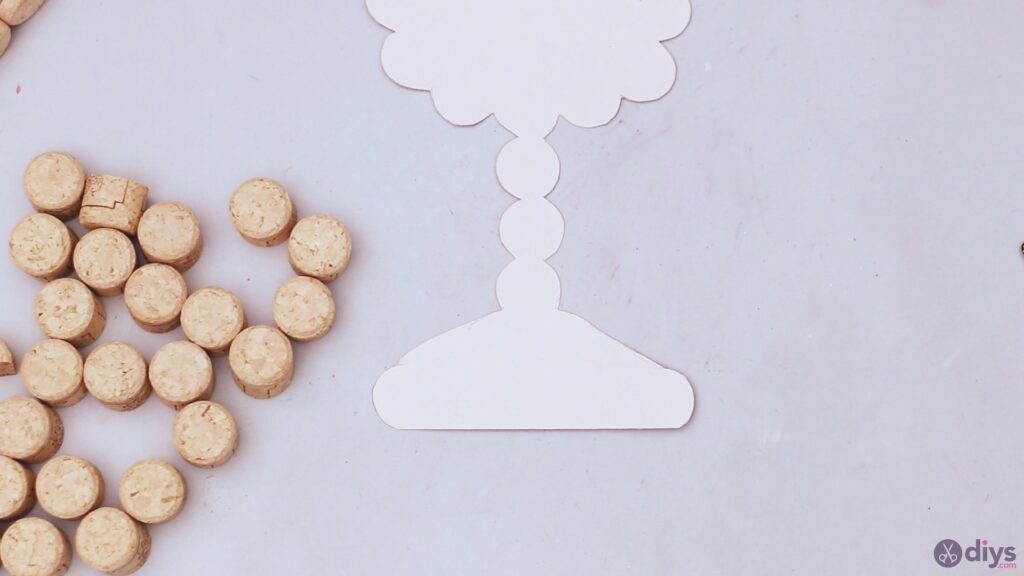
Get yourscissorsnow and cut the cardboard as close to the outline you drew as possible
Here’s how your cardboard should look like when you’re done.
Step 7: Glue the wine corks
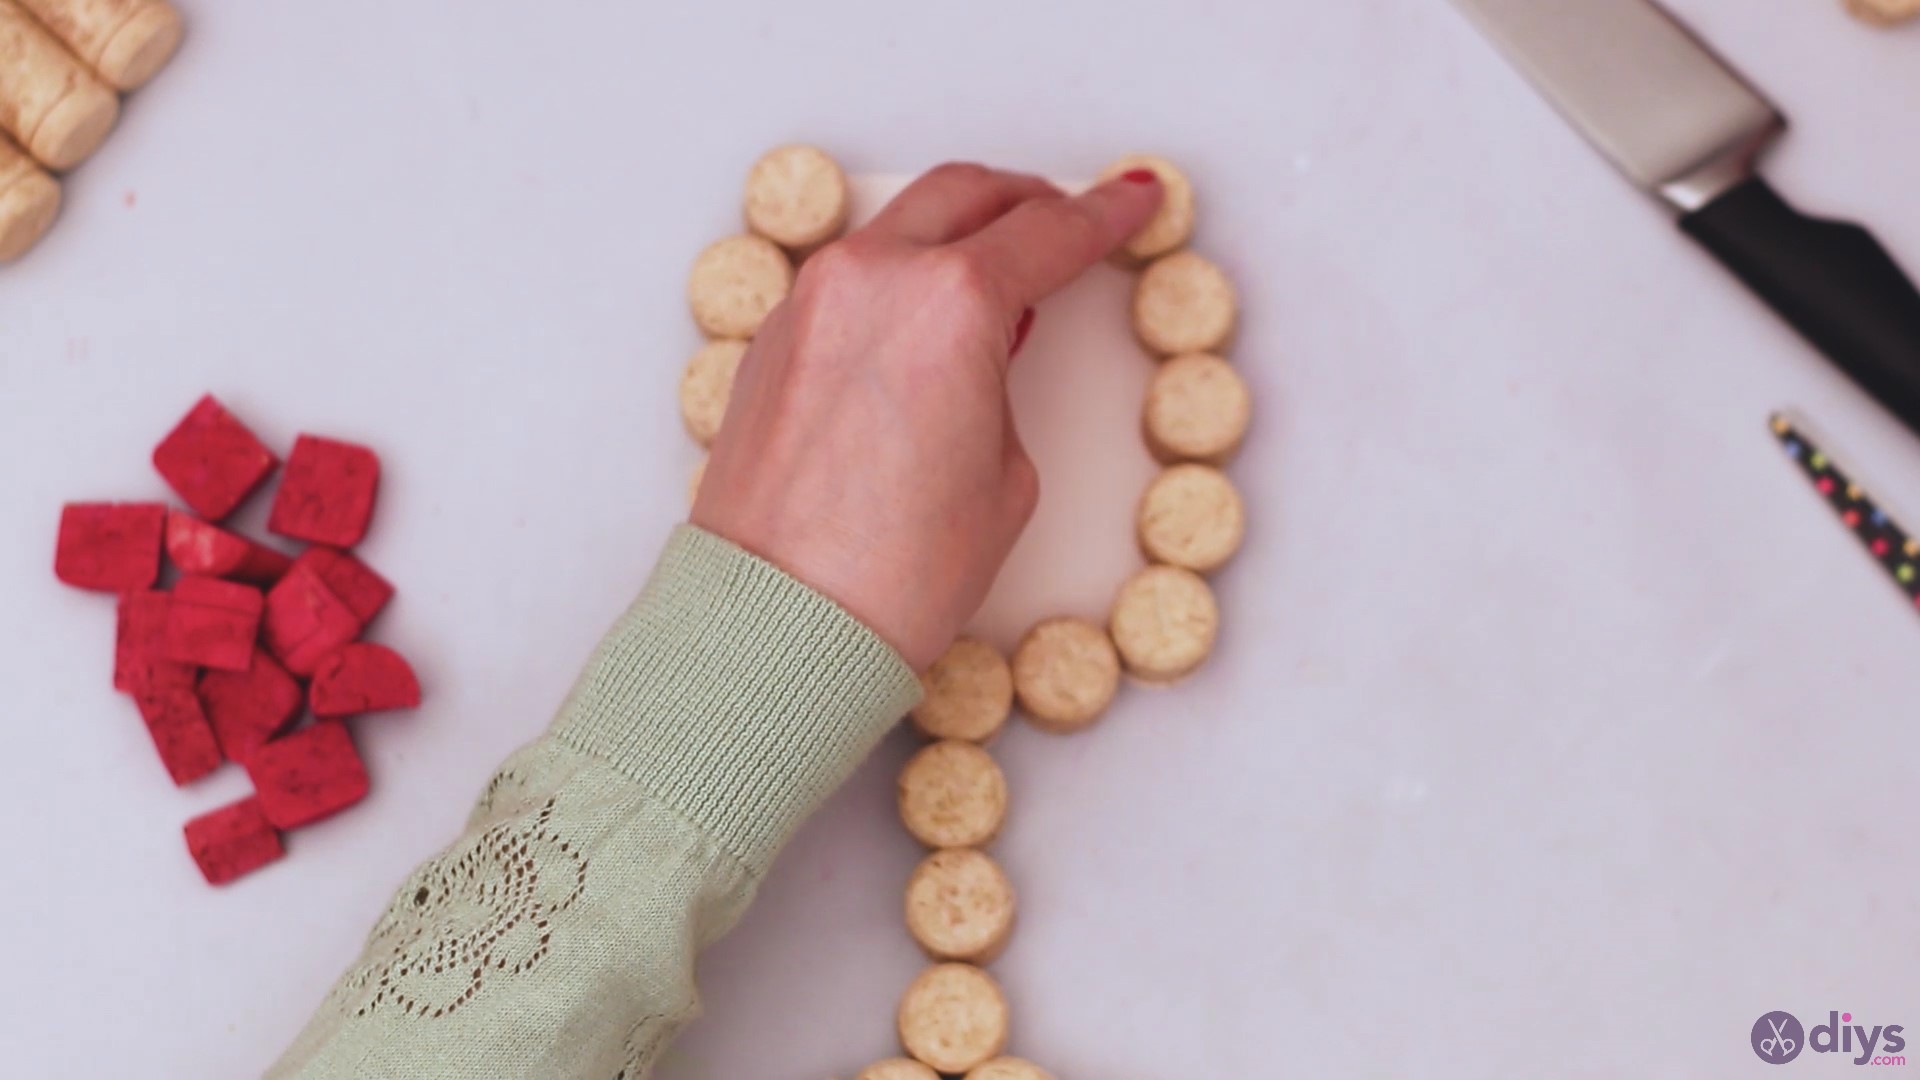
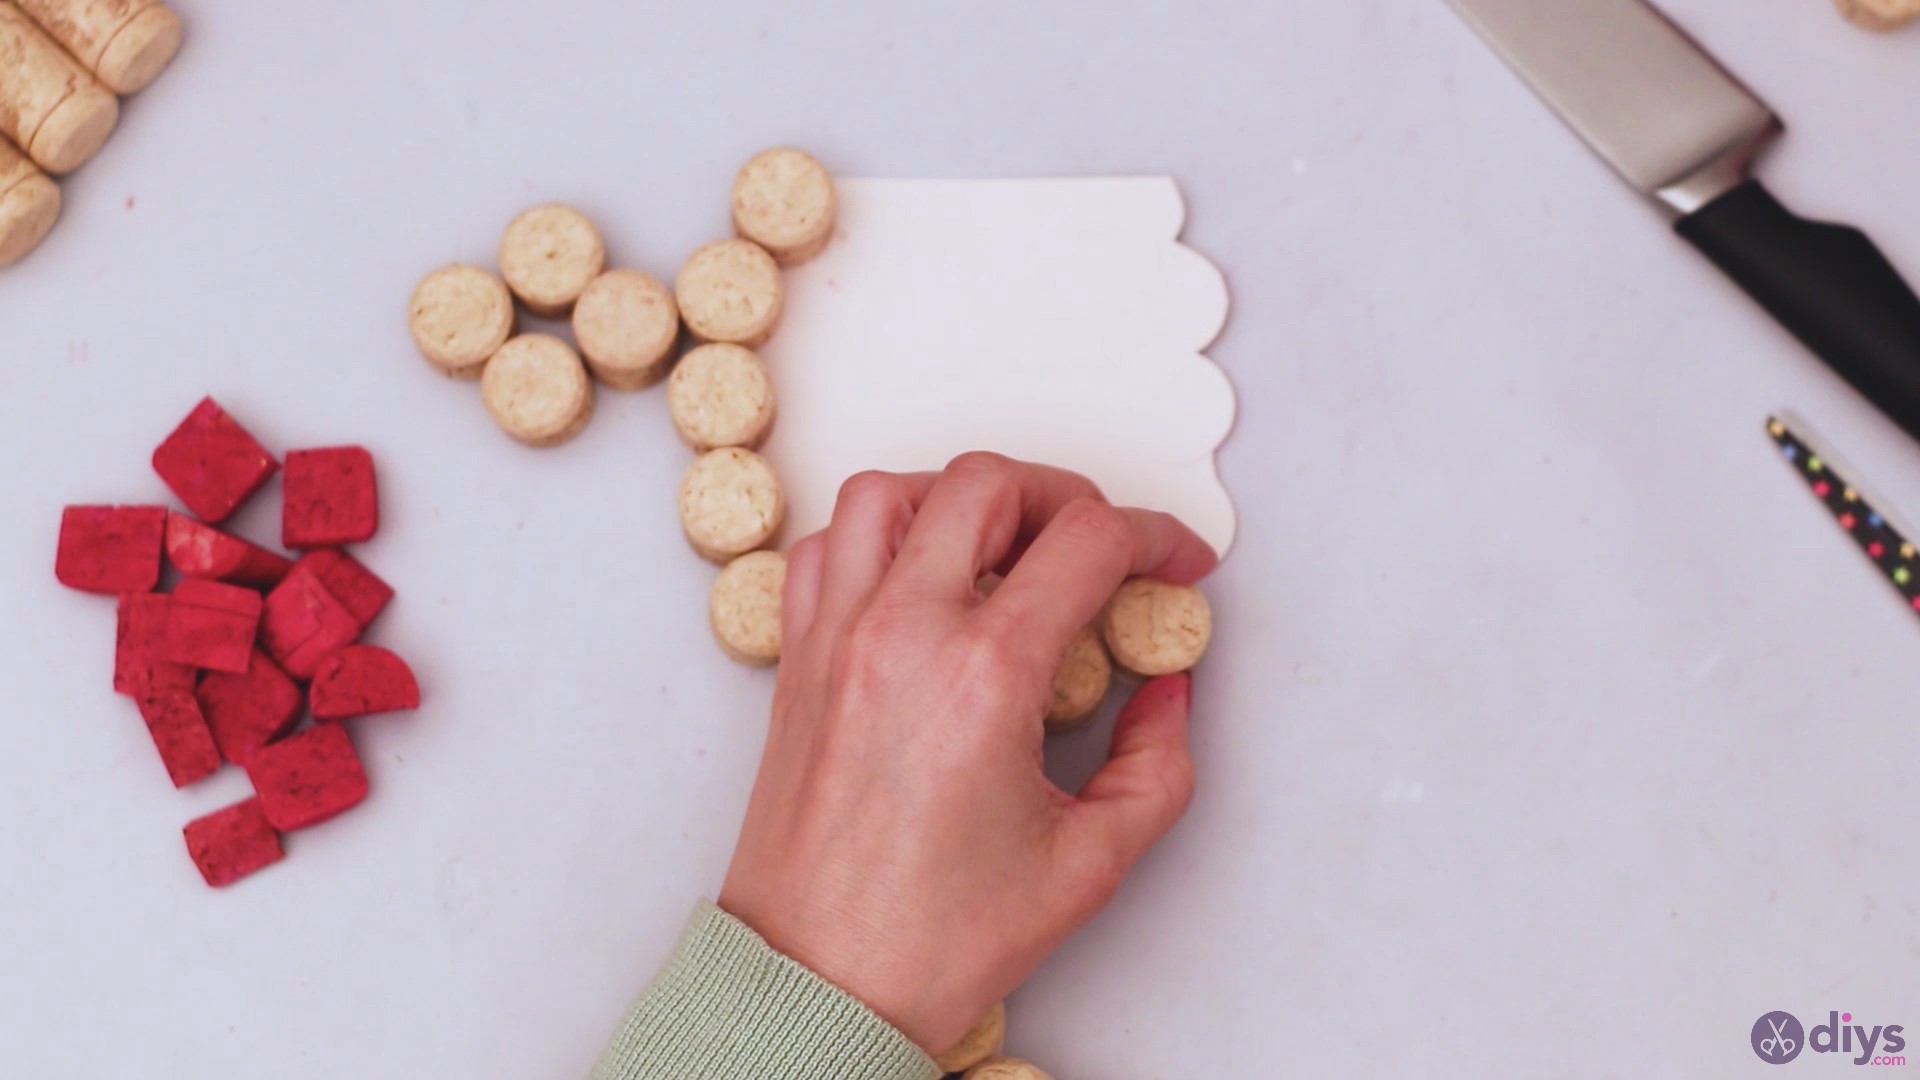
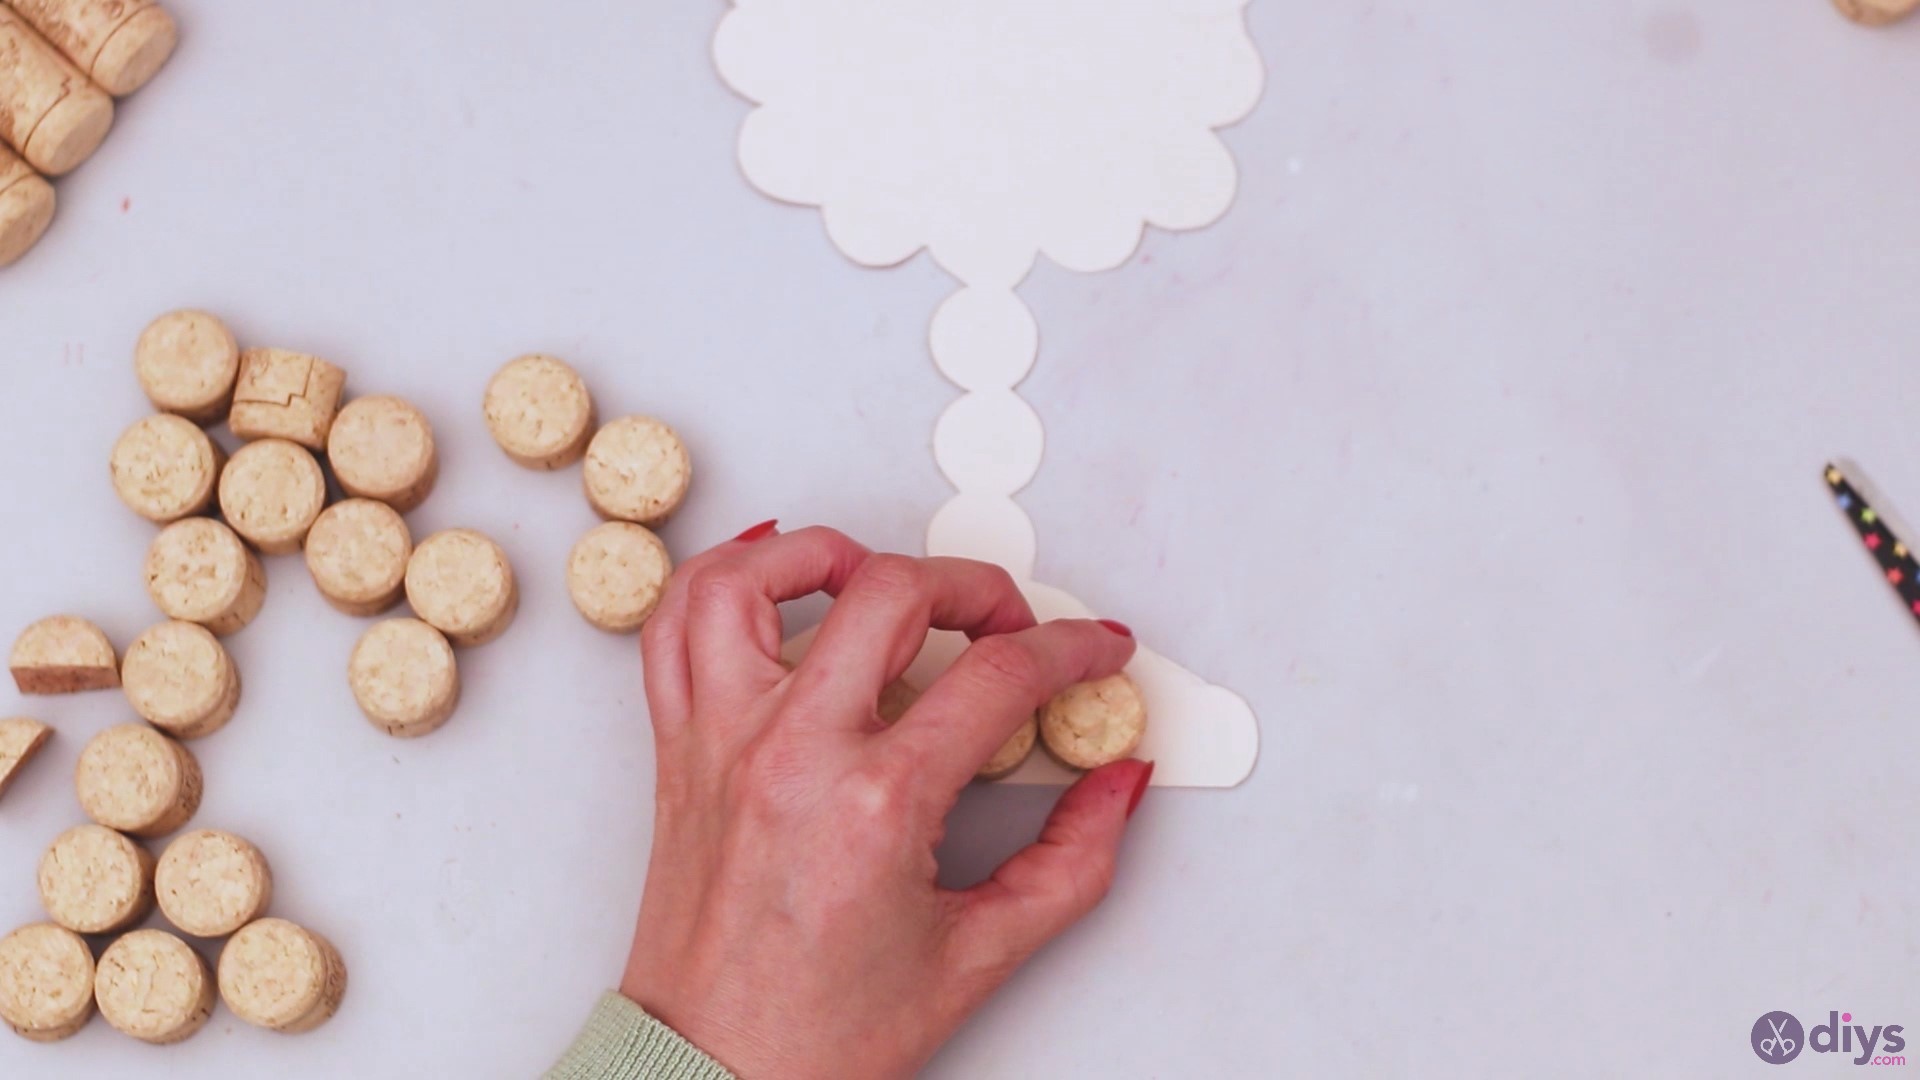
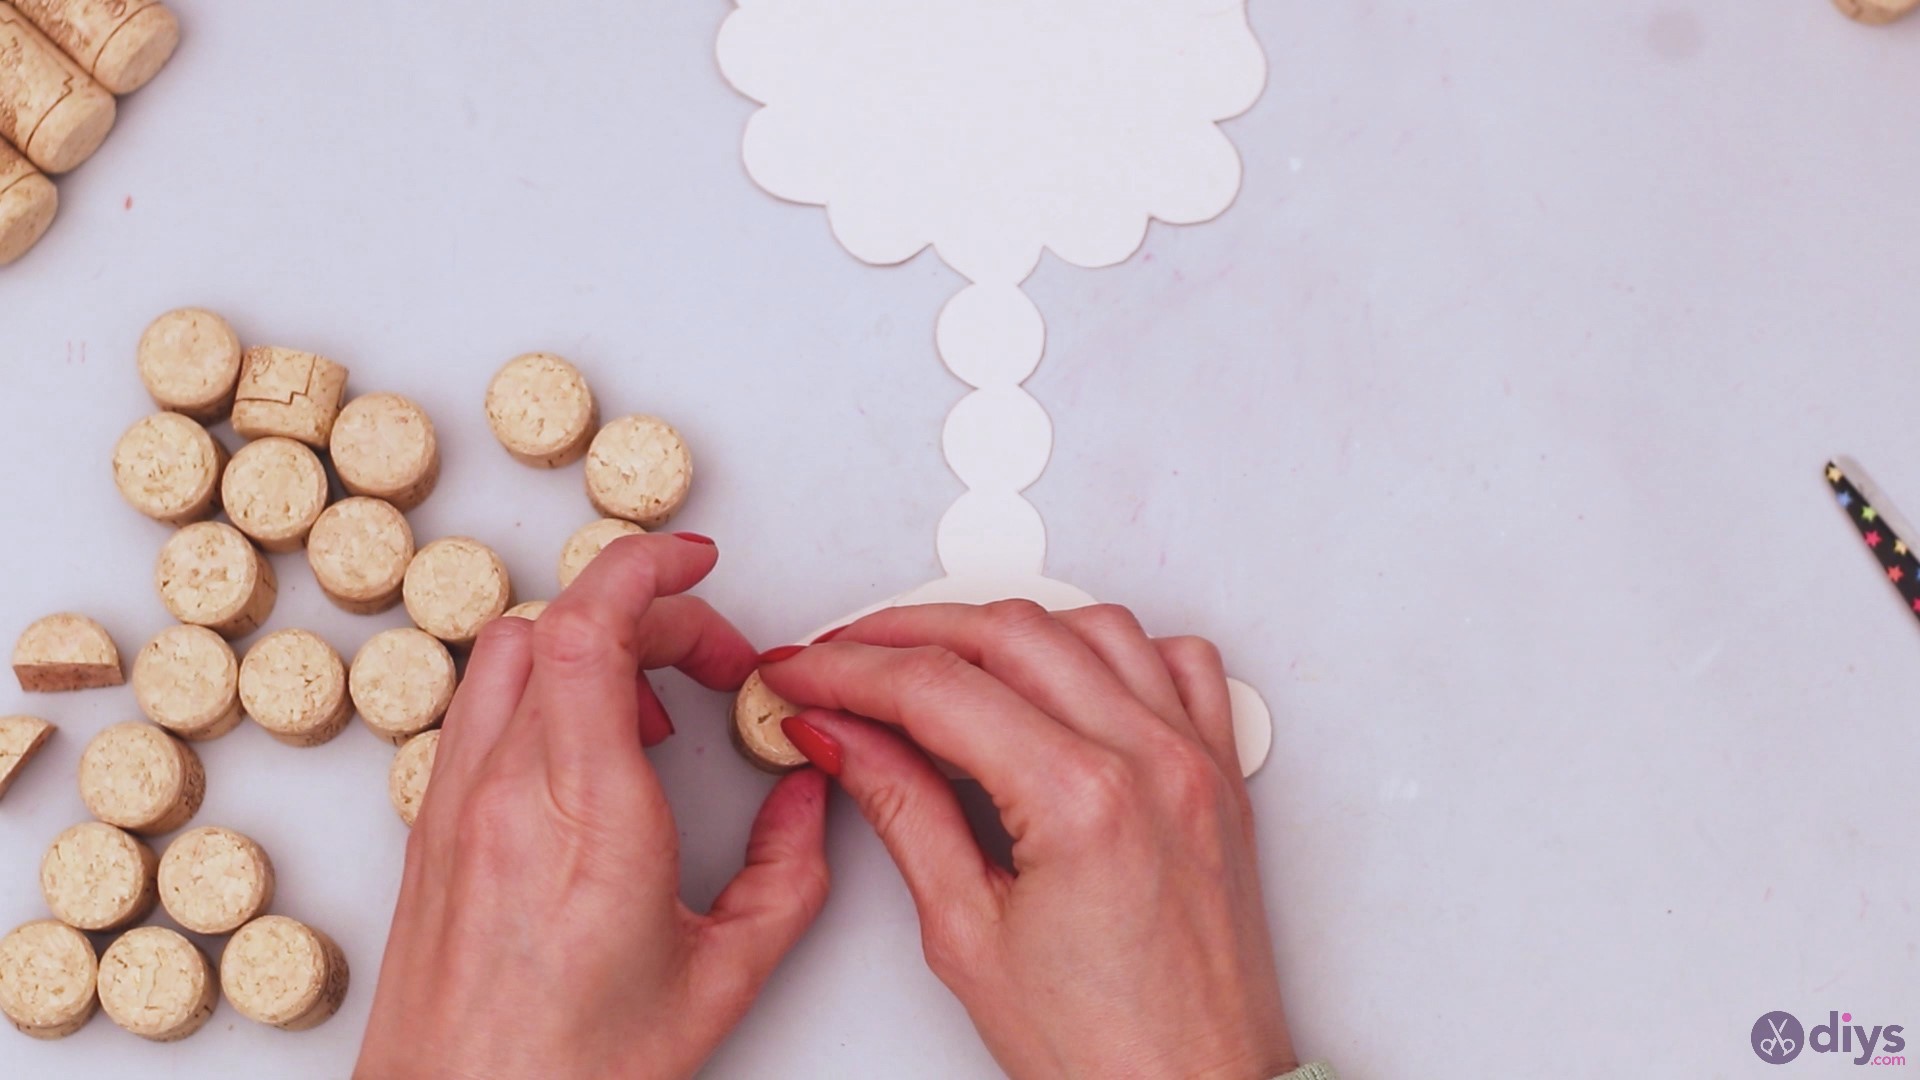
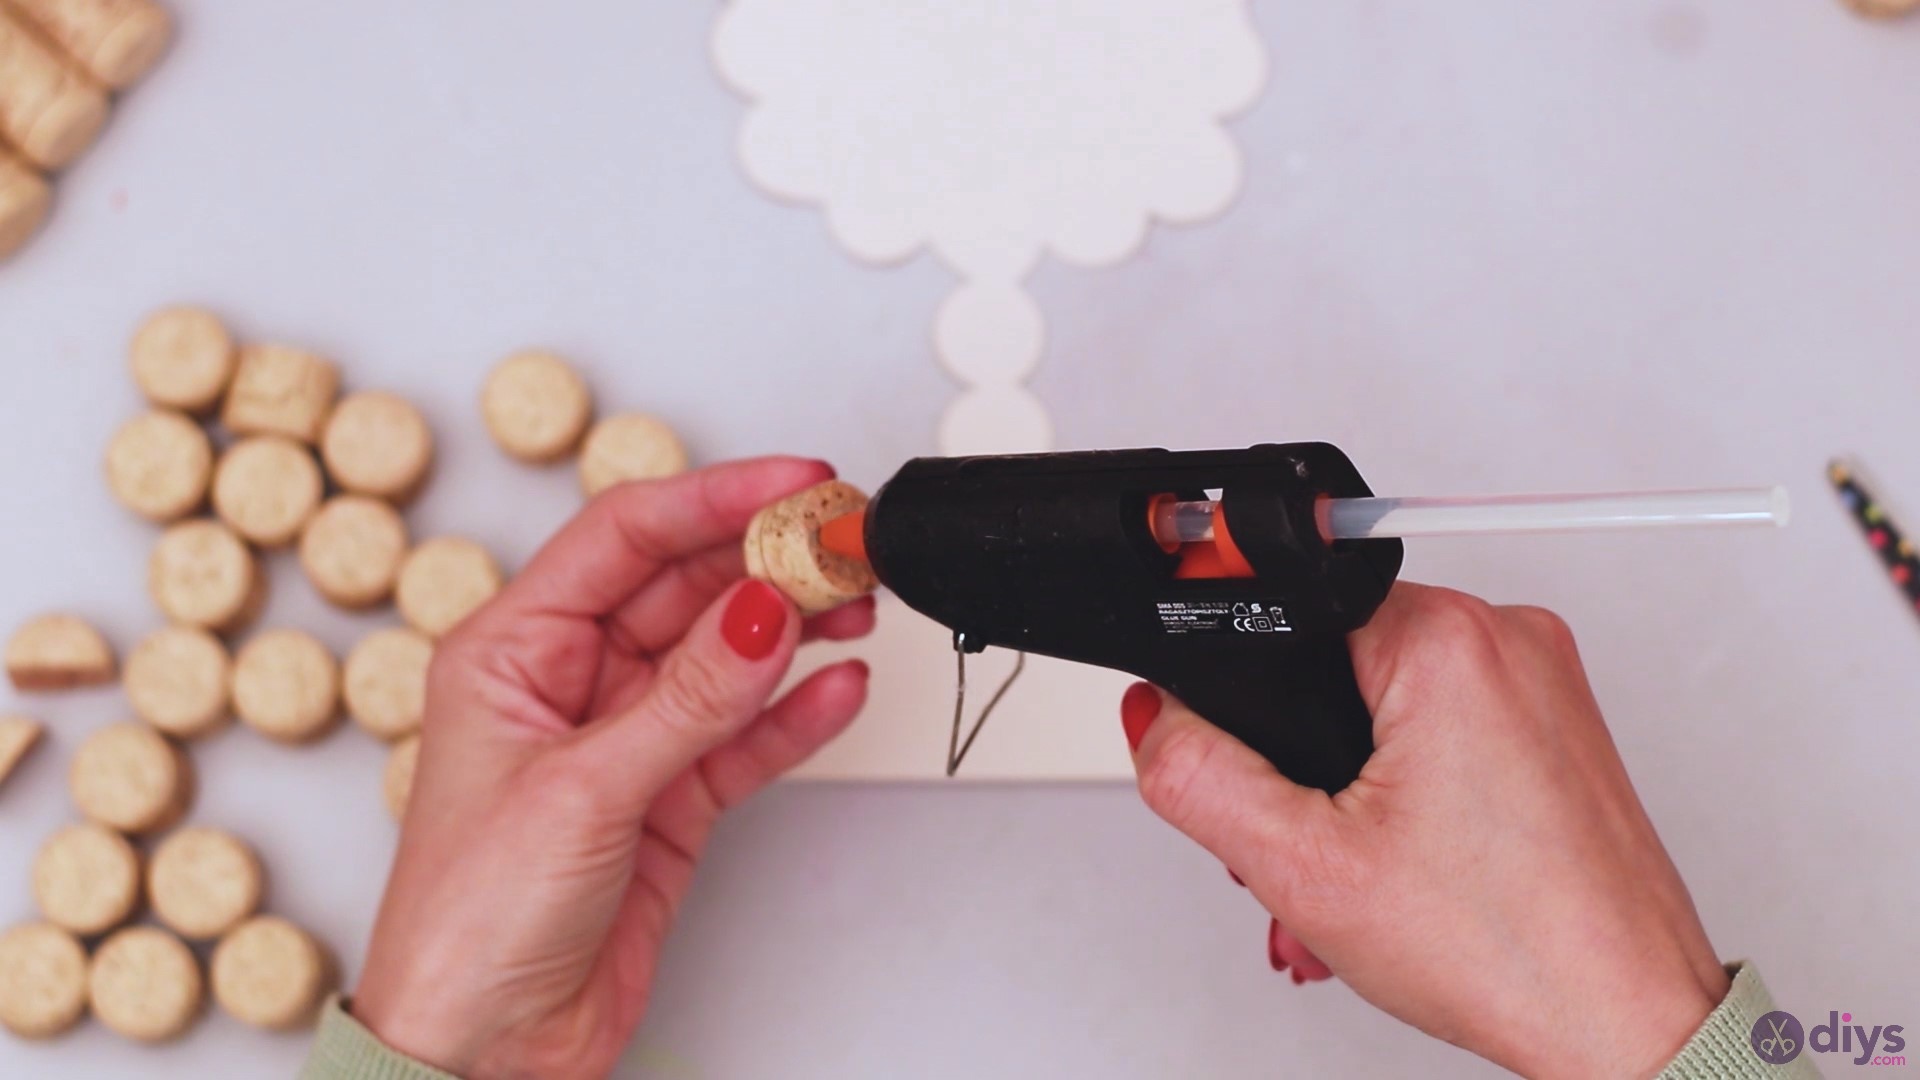
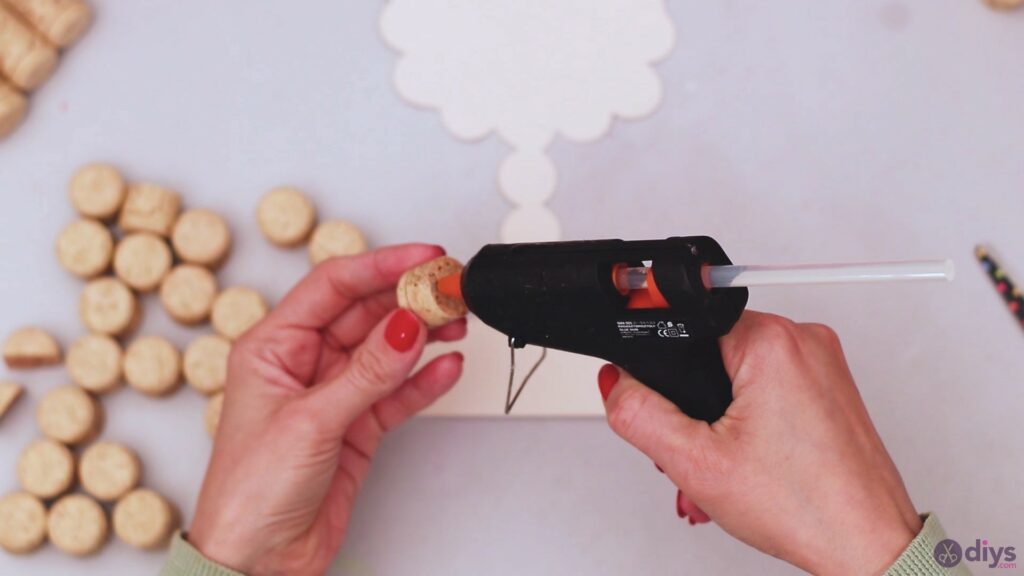
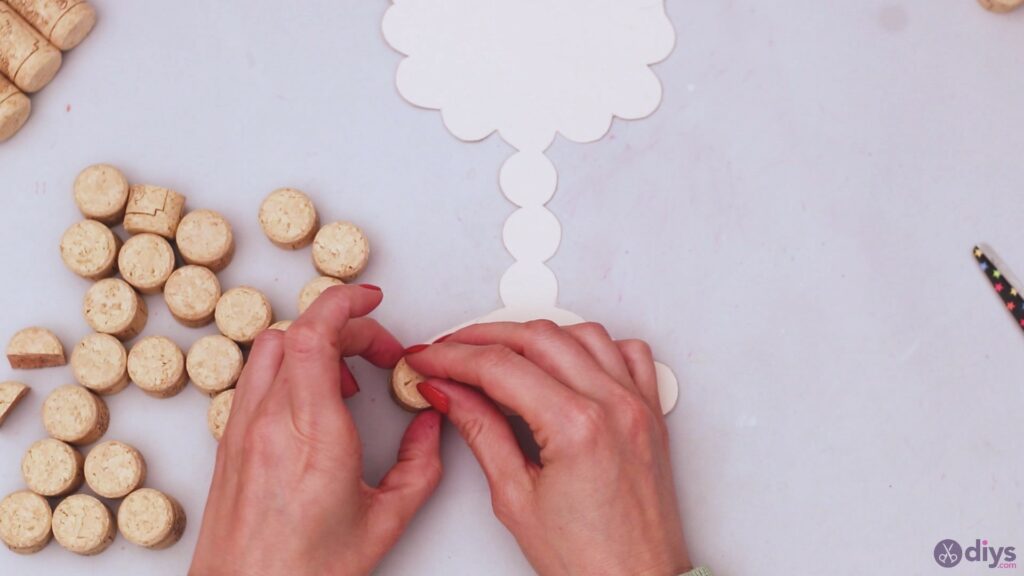
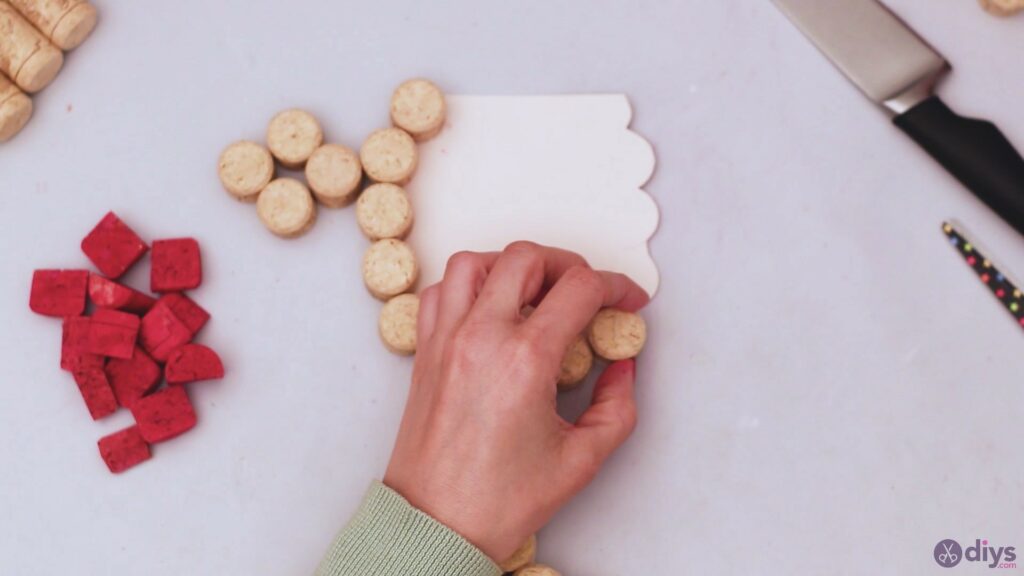
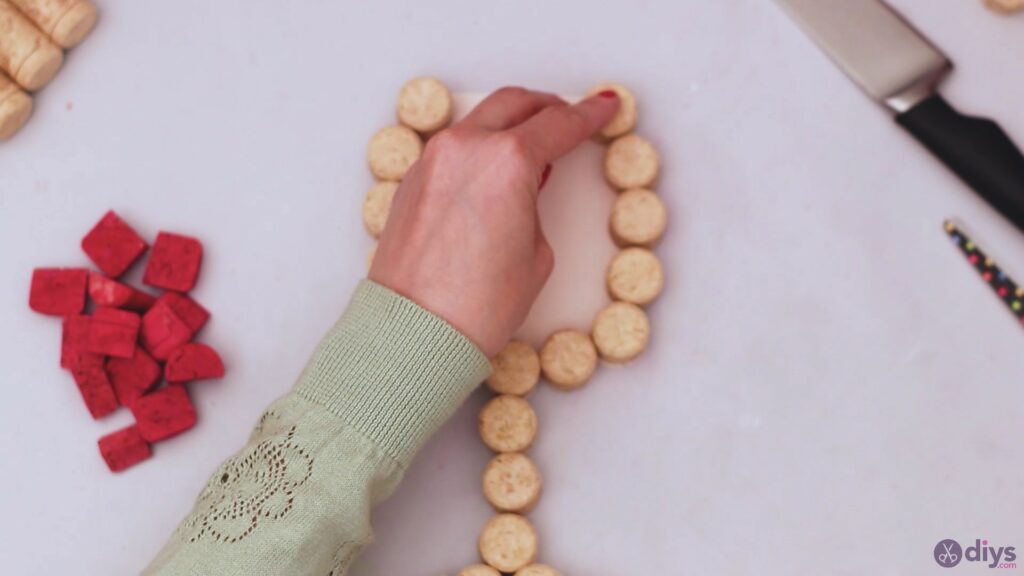
Now’s the time to start gluing the wine corks. So, get theglue gun and start applying hot glue to the back of the corks and applying them back on the cardboard.
Start out methodically and the corks in the same order as you did when you arranged them the first time.
Build up the design and bring the corks up until you create the wine glass shape.
Step 8: Add the wine
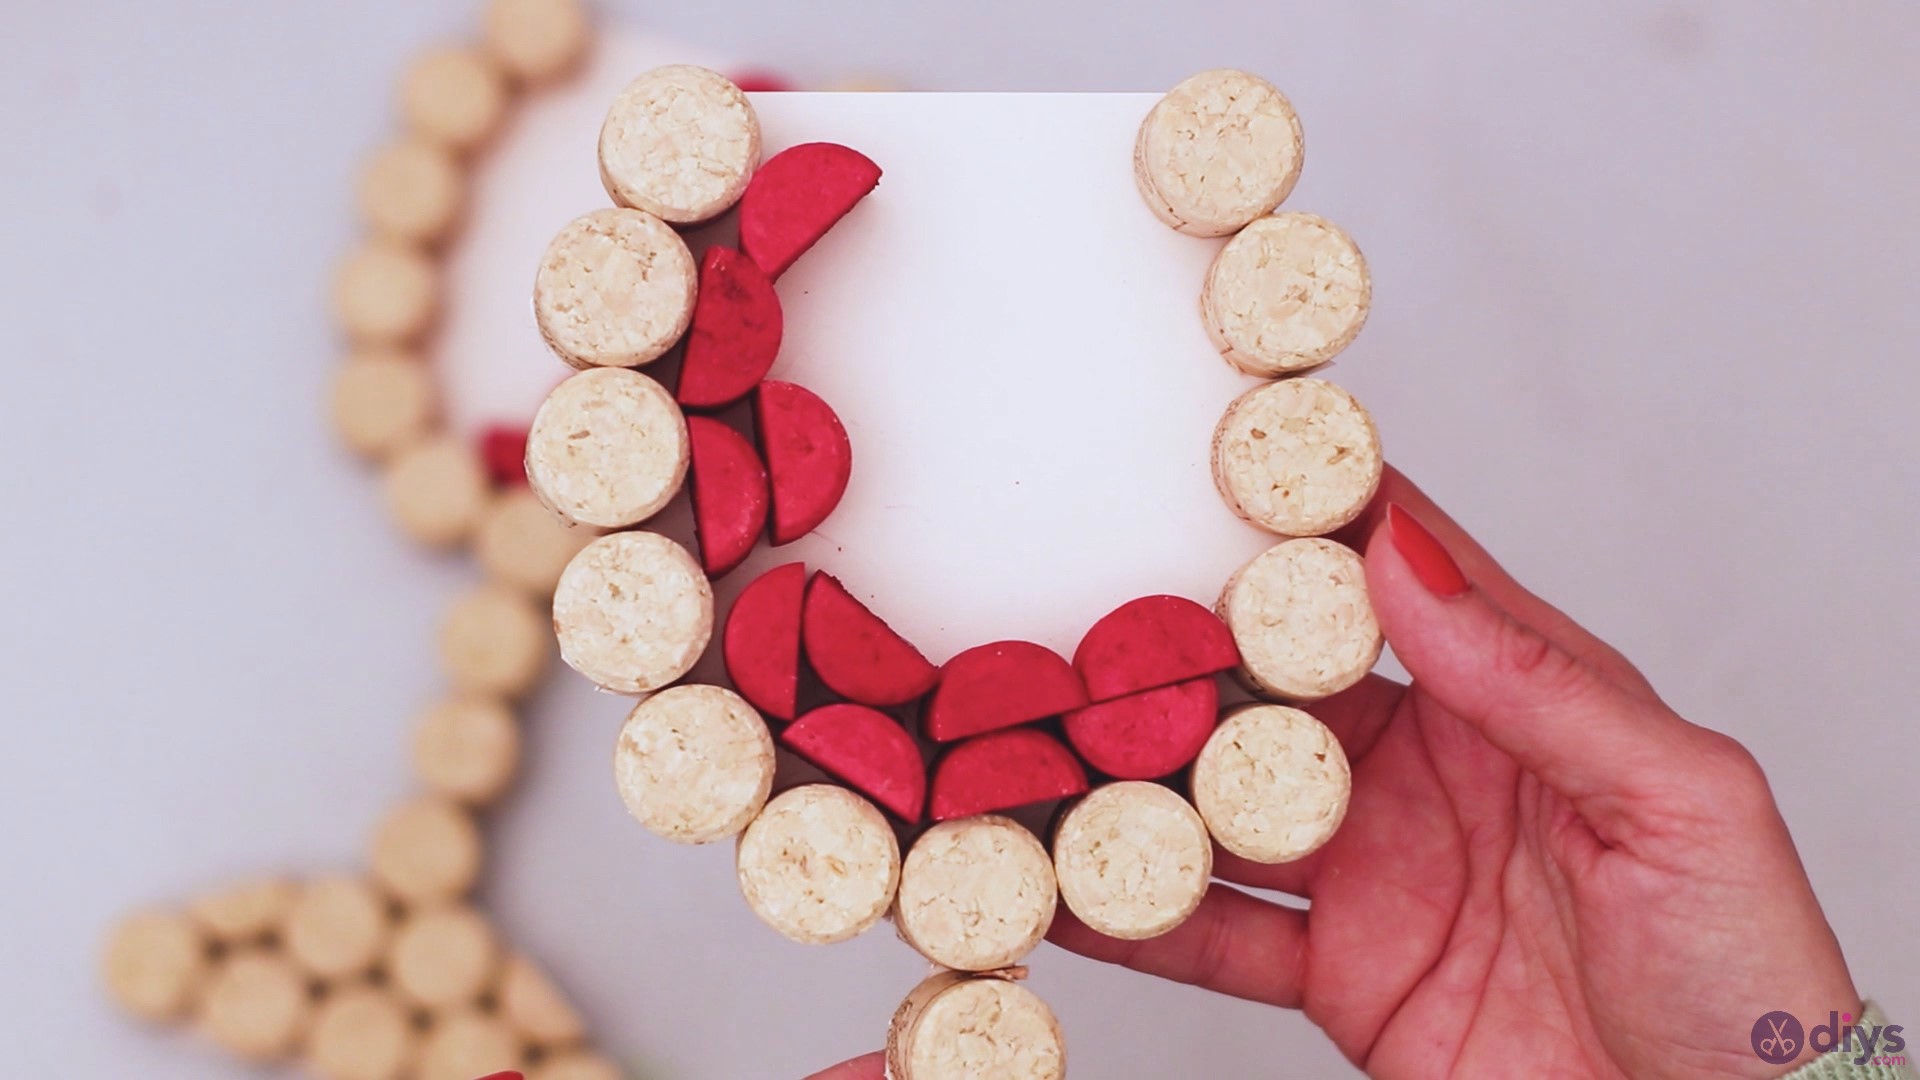
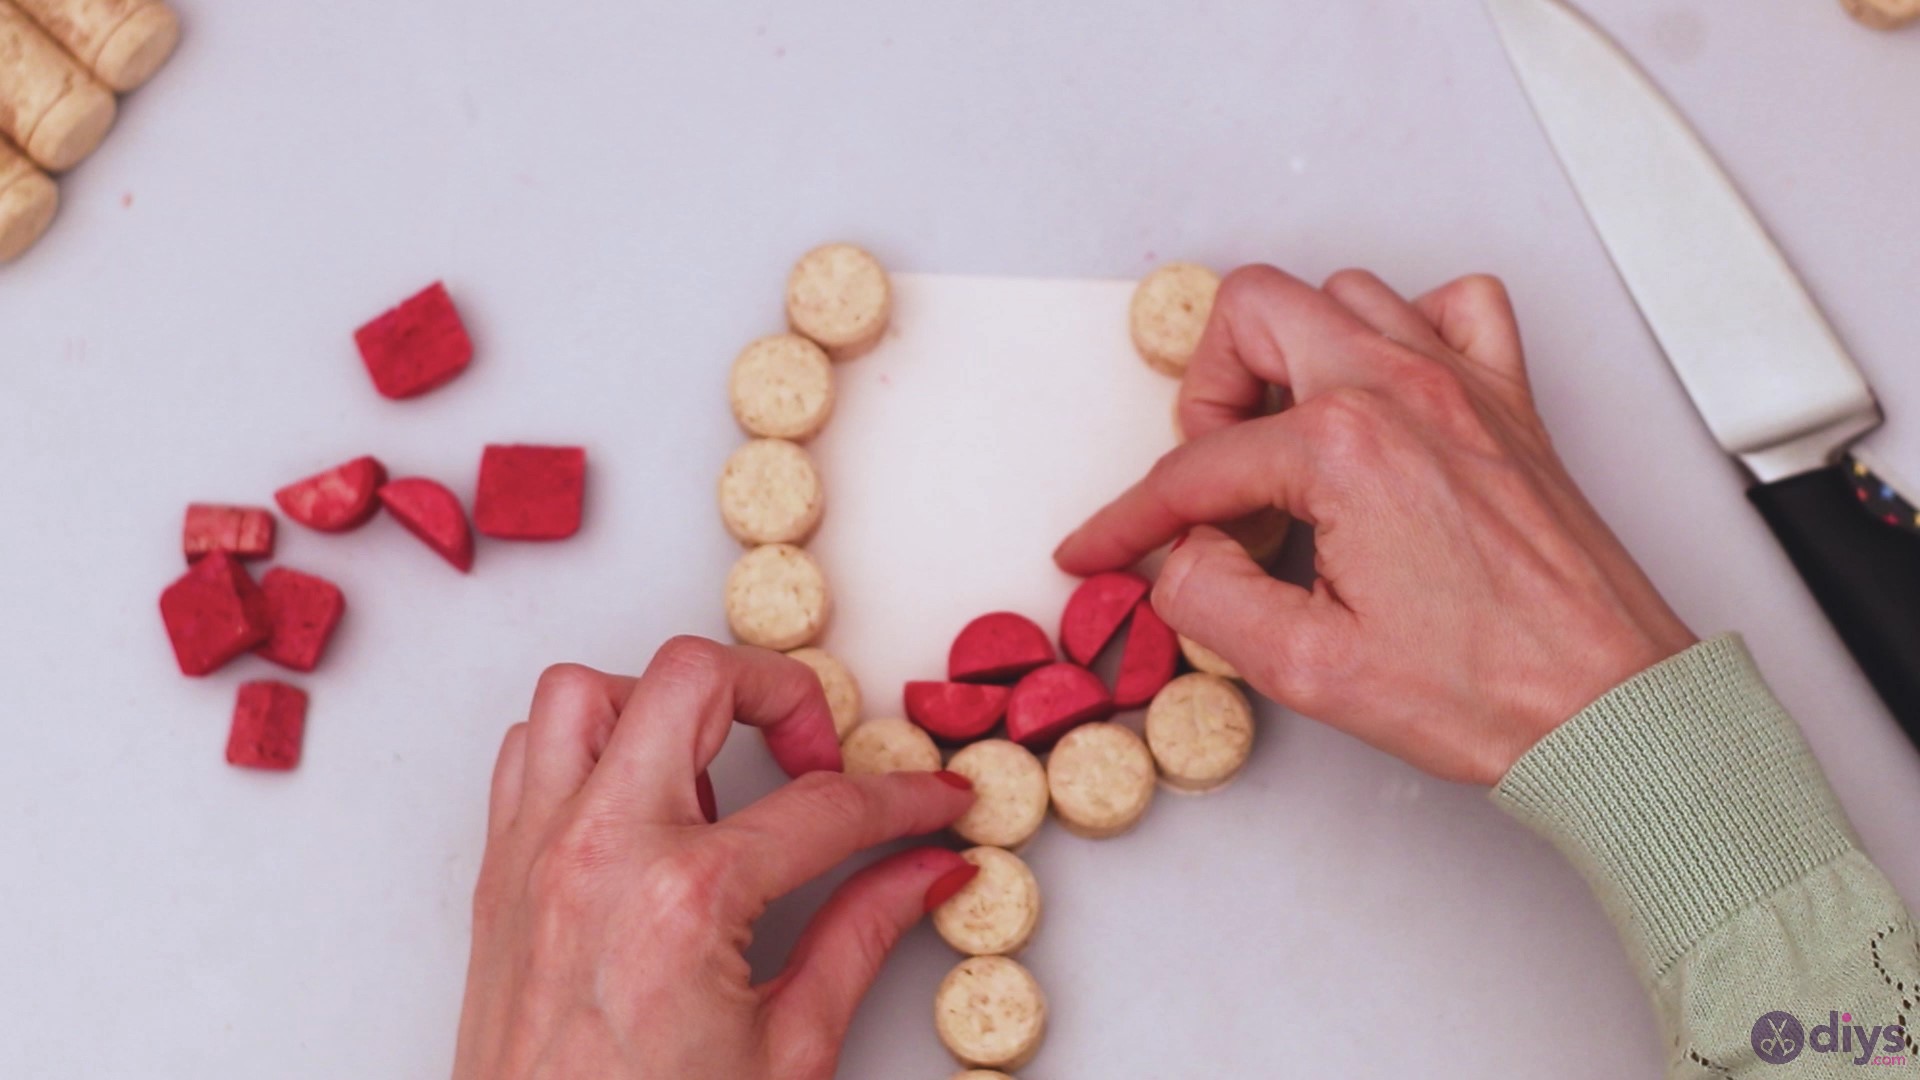
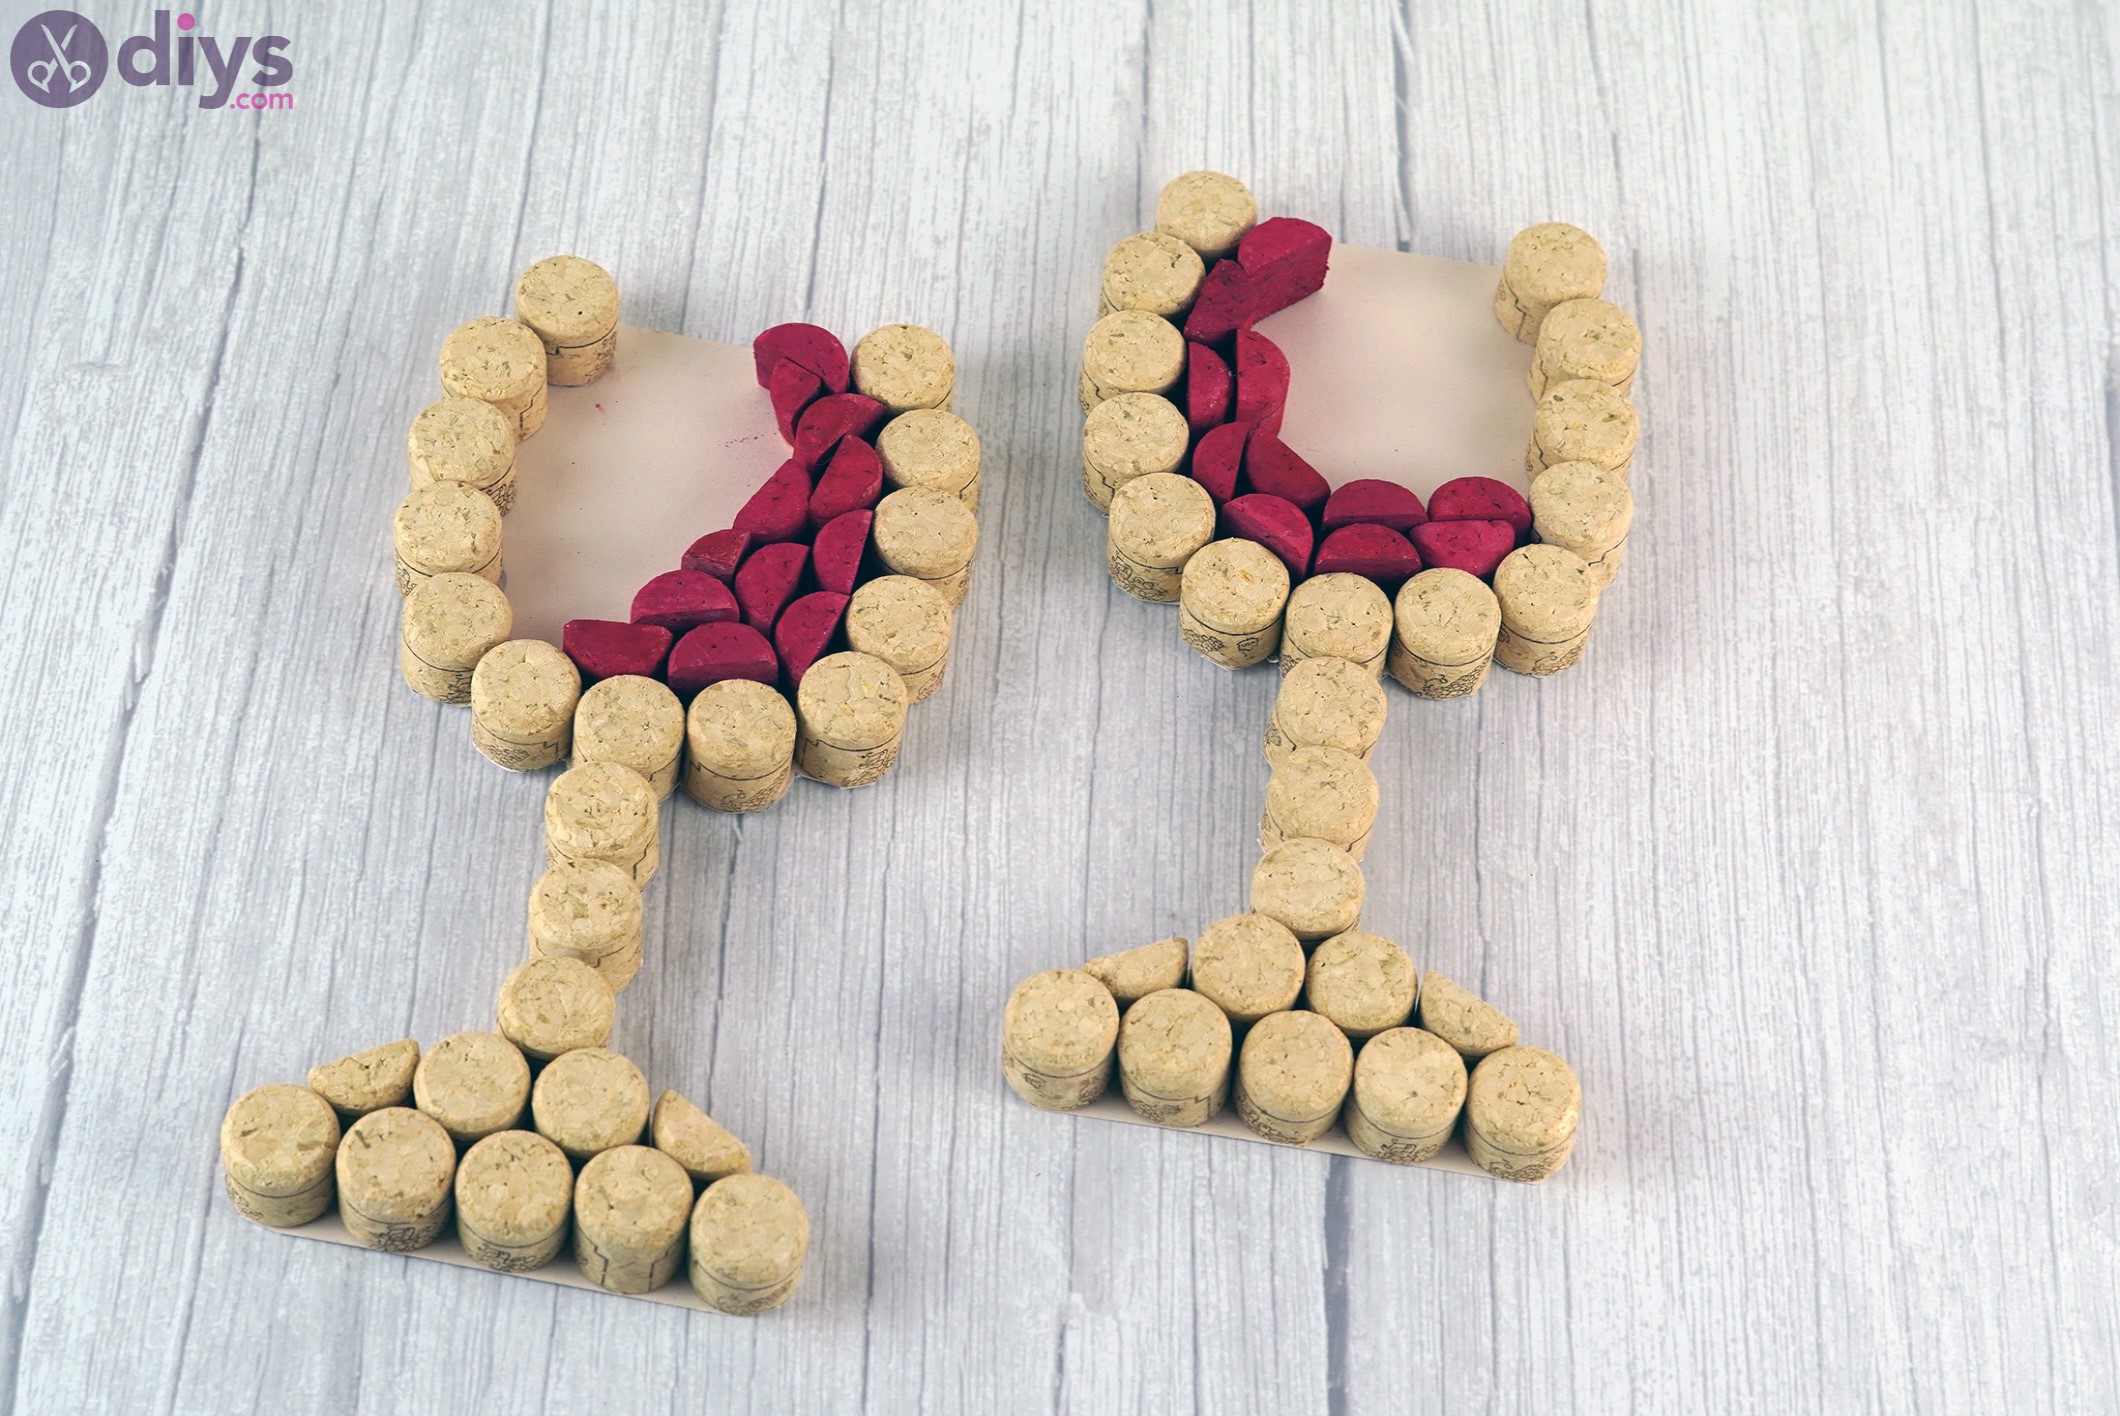
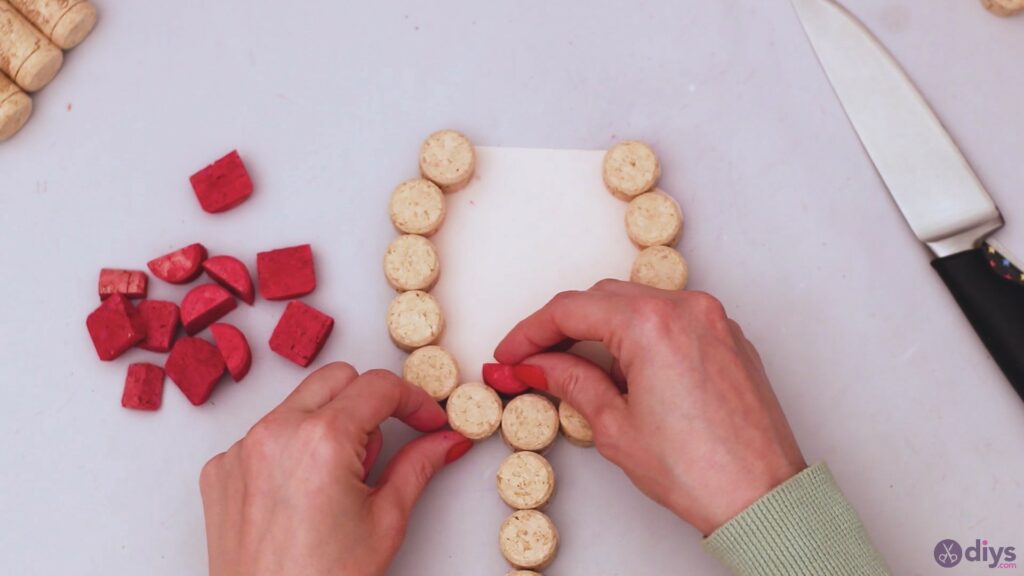
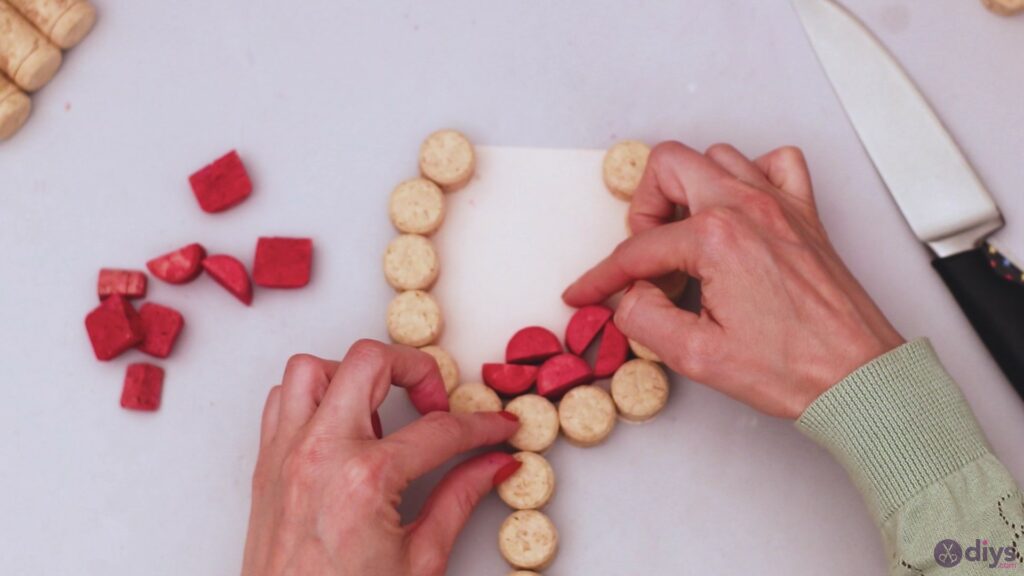
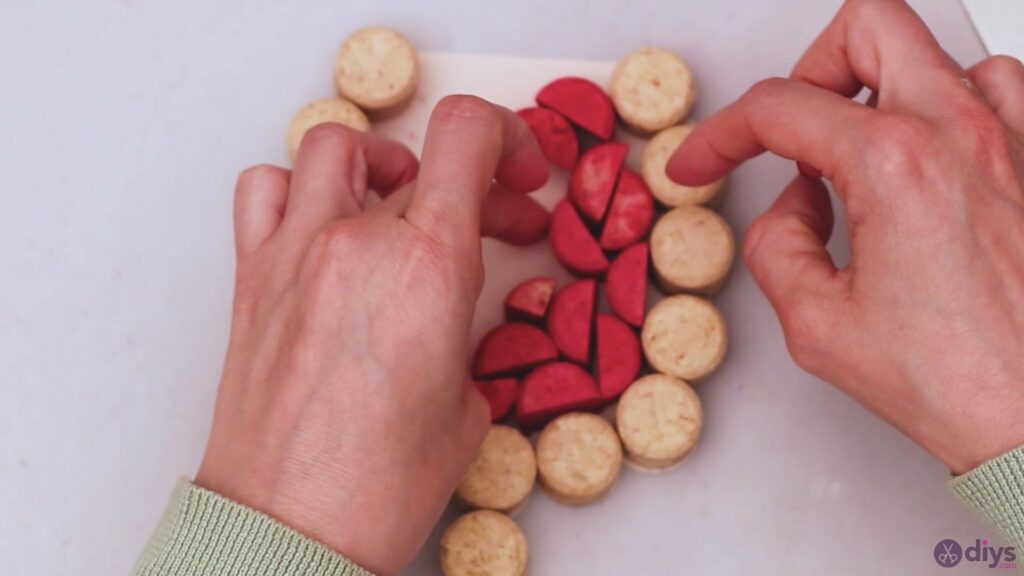
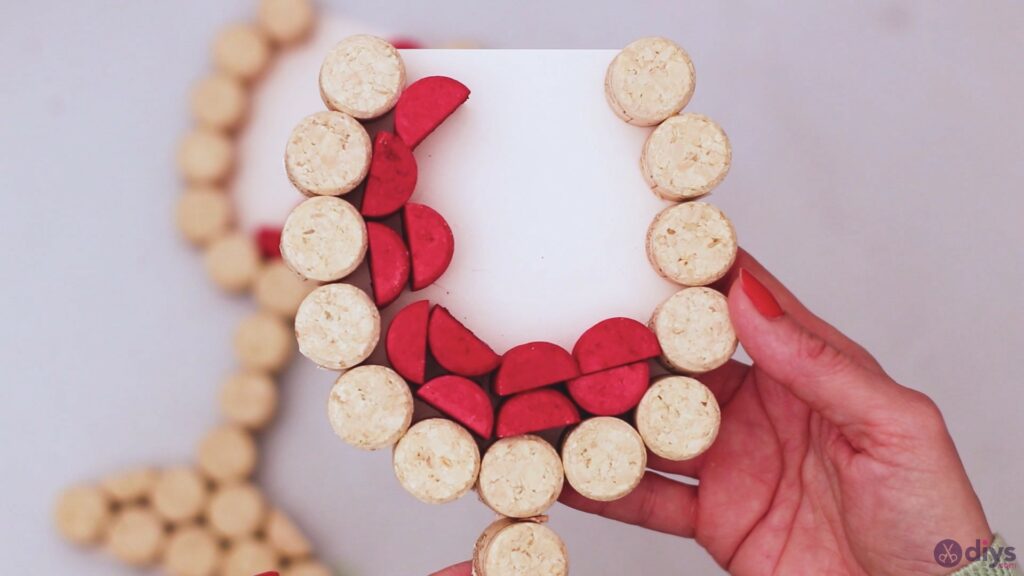
When the glass is done, start adding the “wine.” All those painted wine cork slices will work great here, acting as the wine inside the glass.
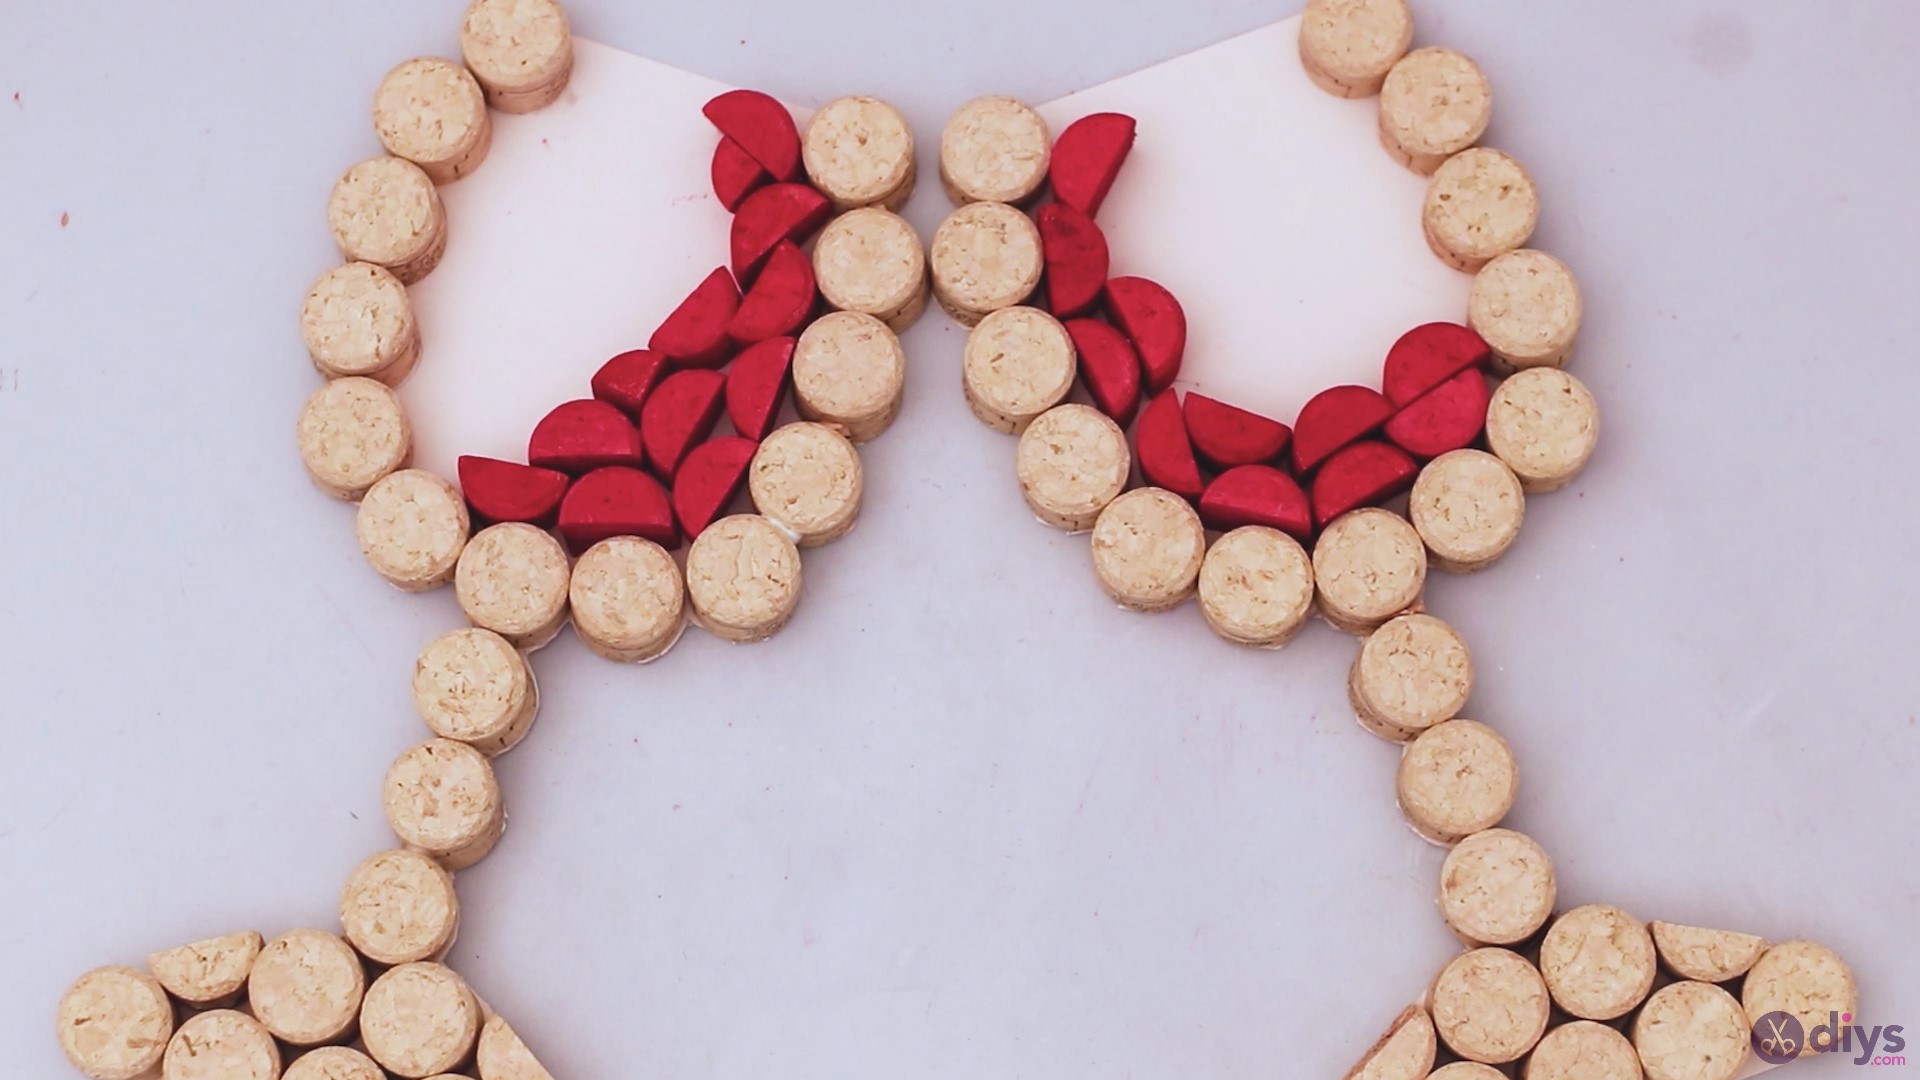
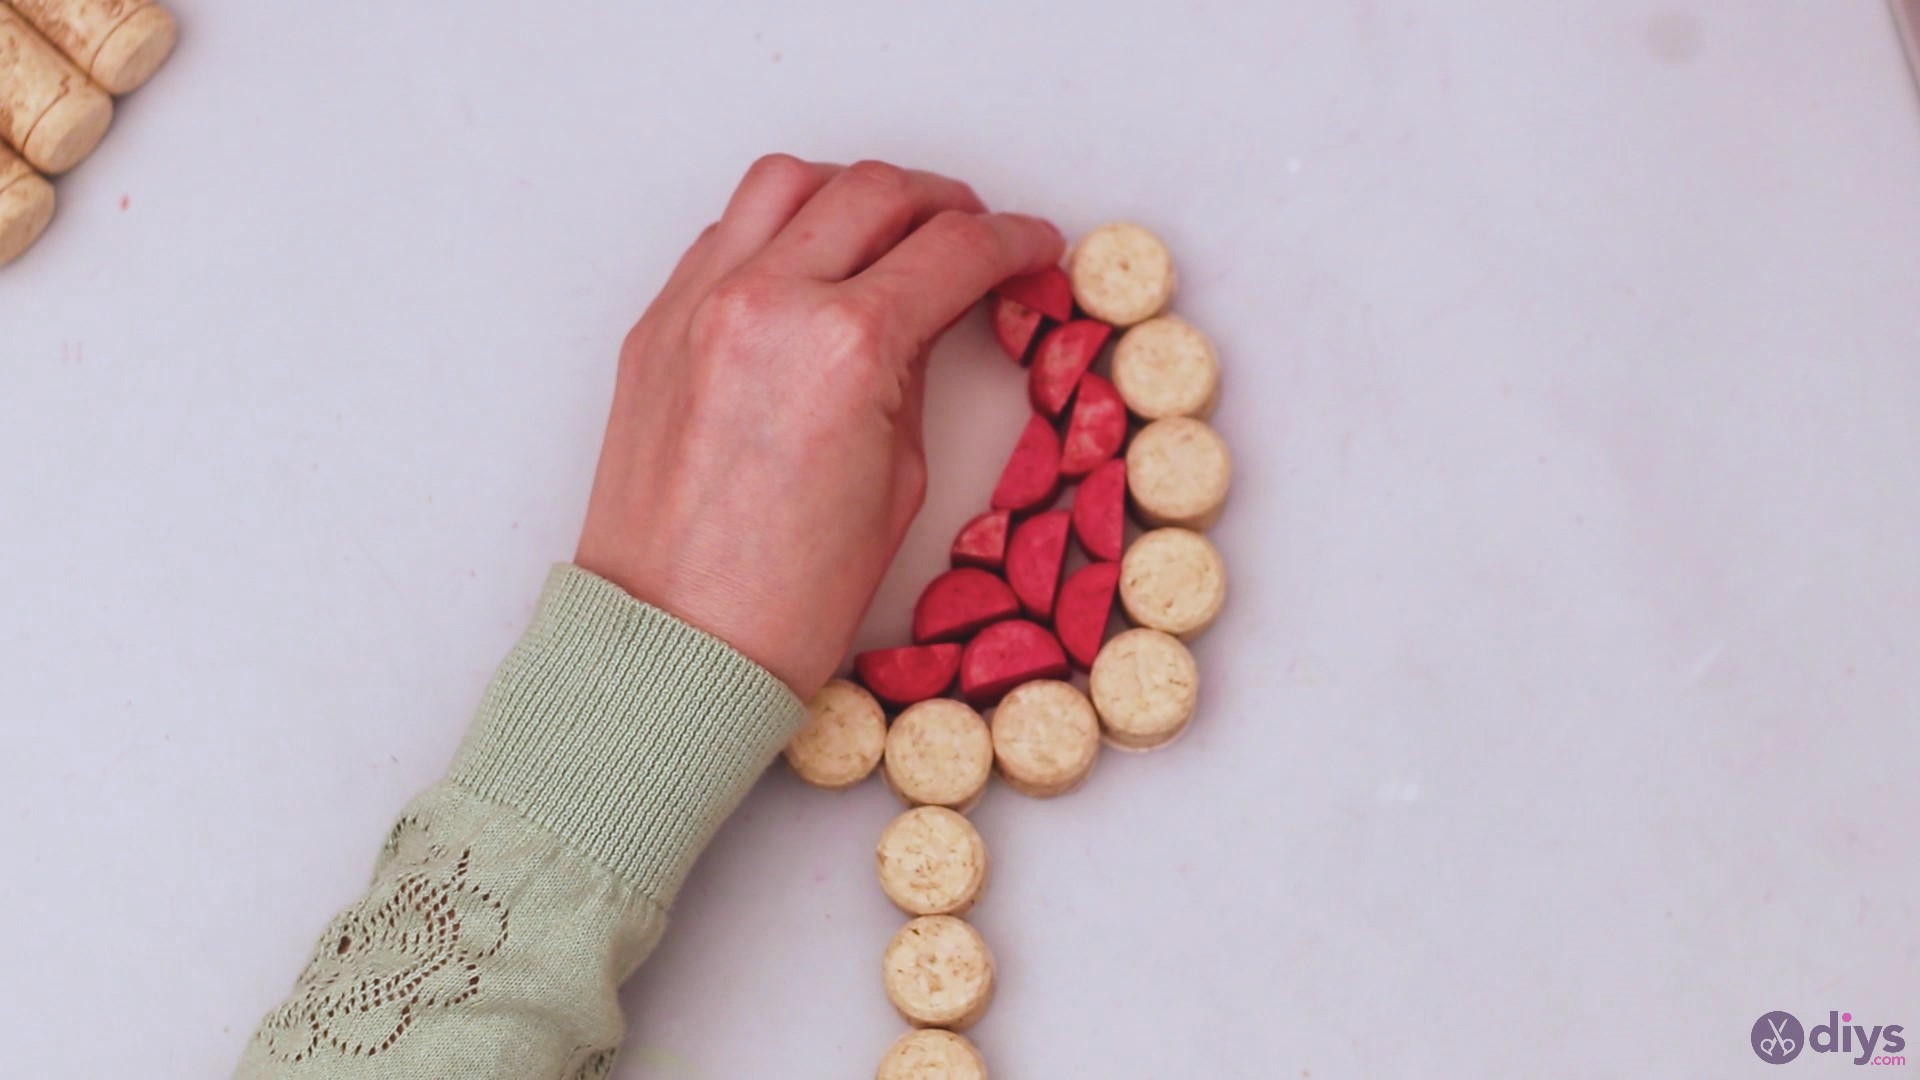
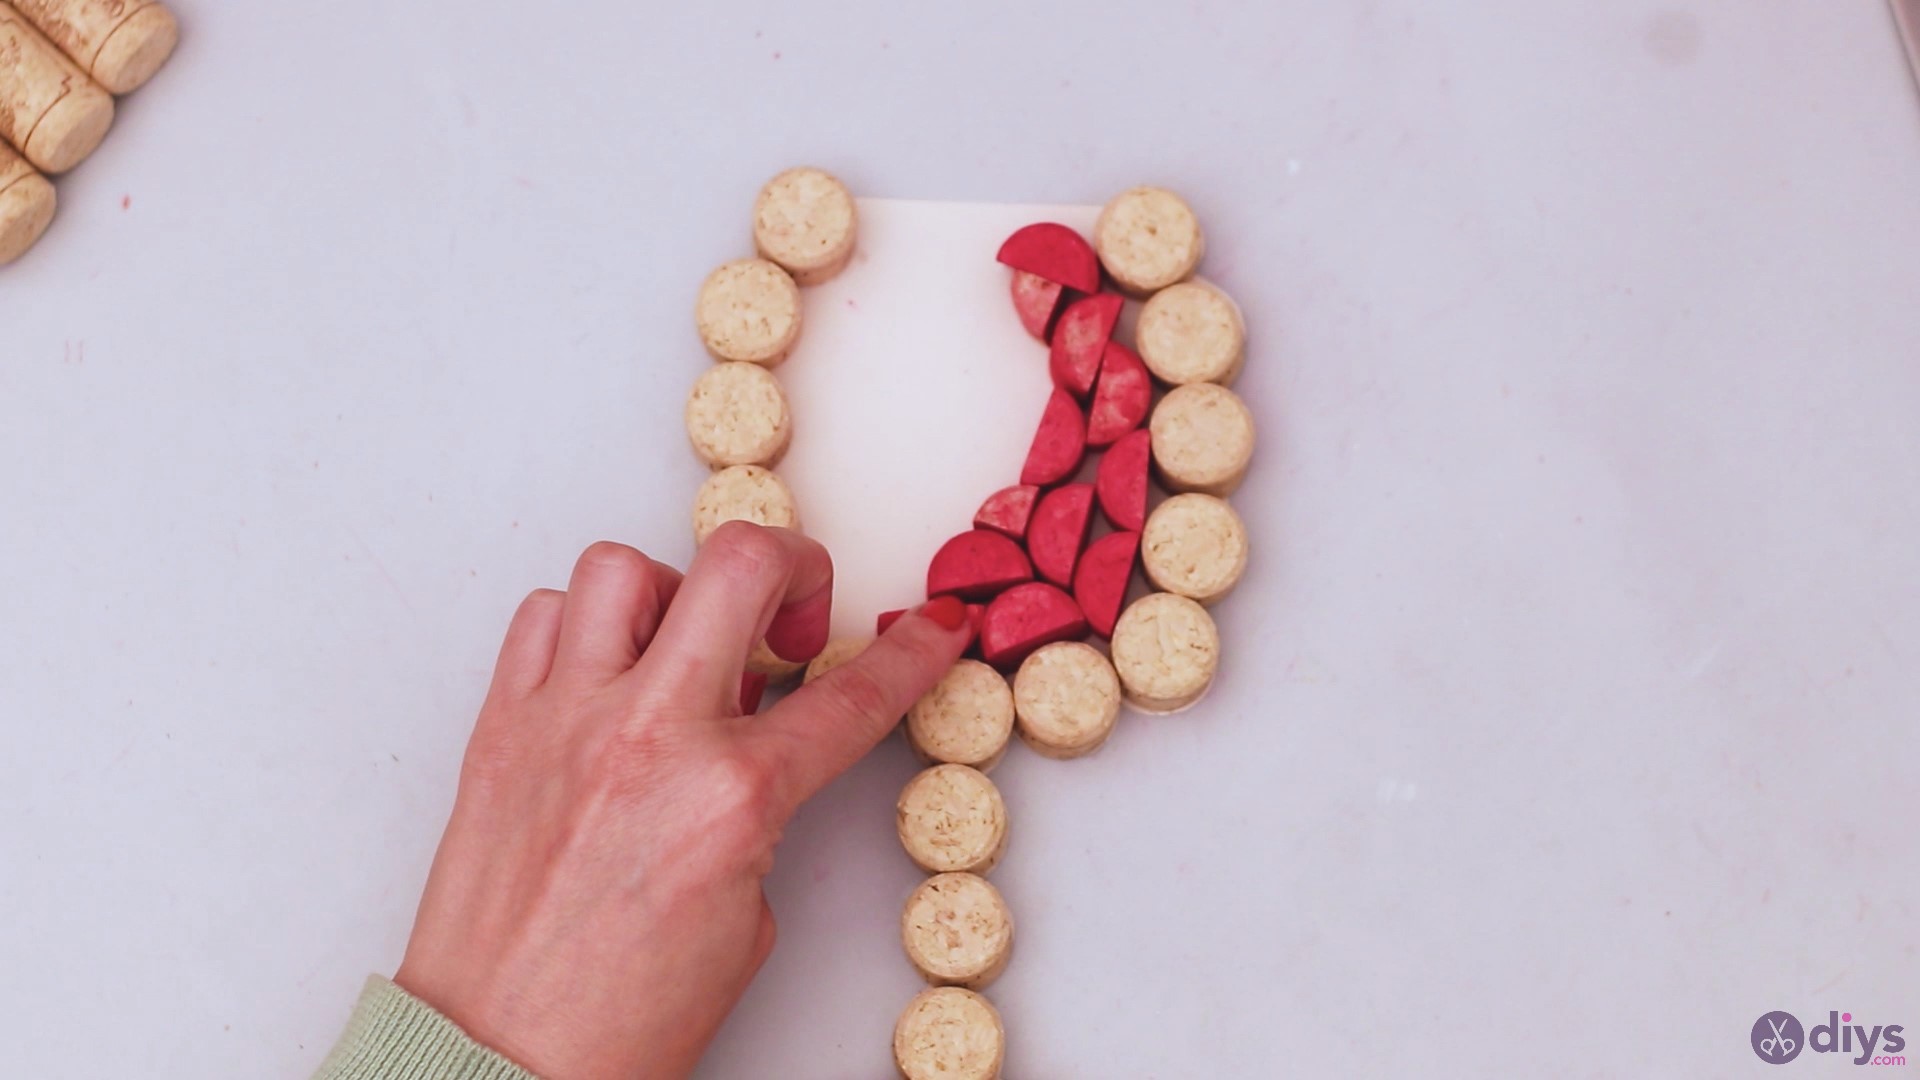
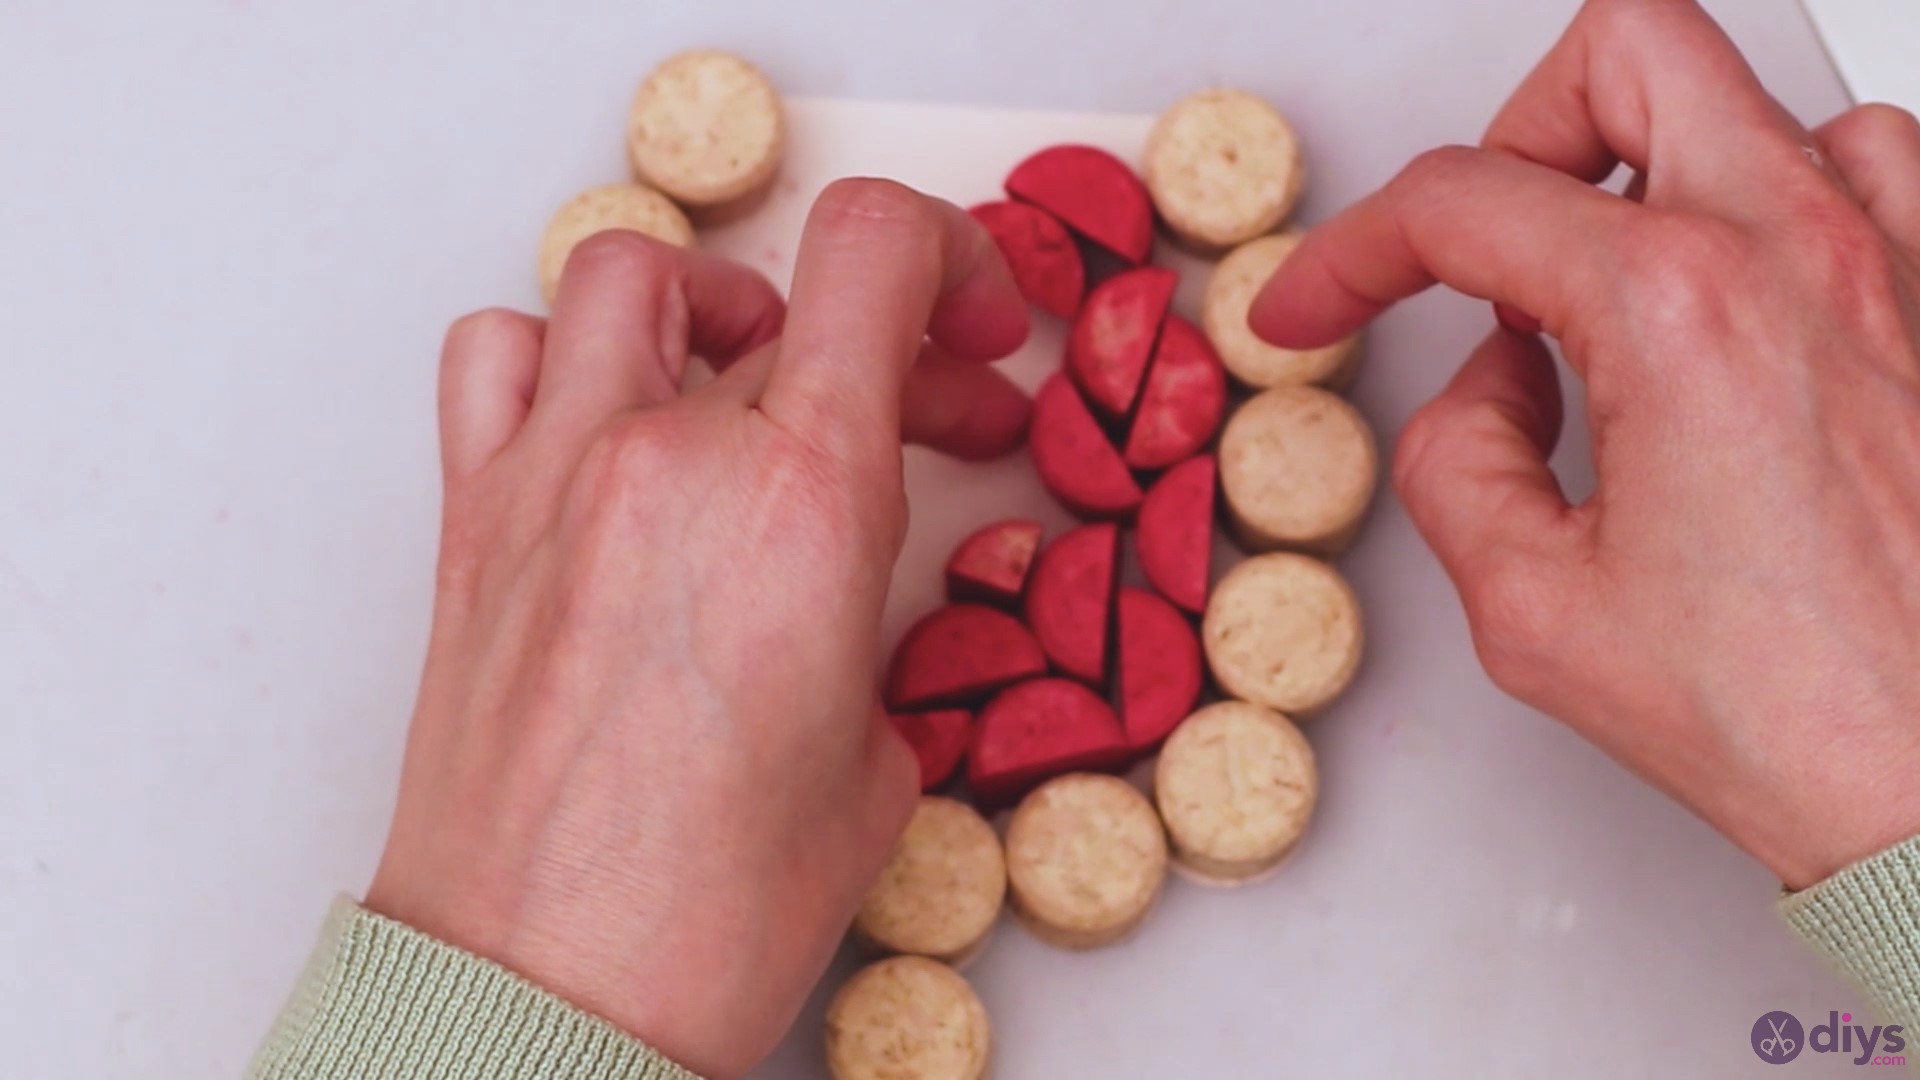
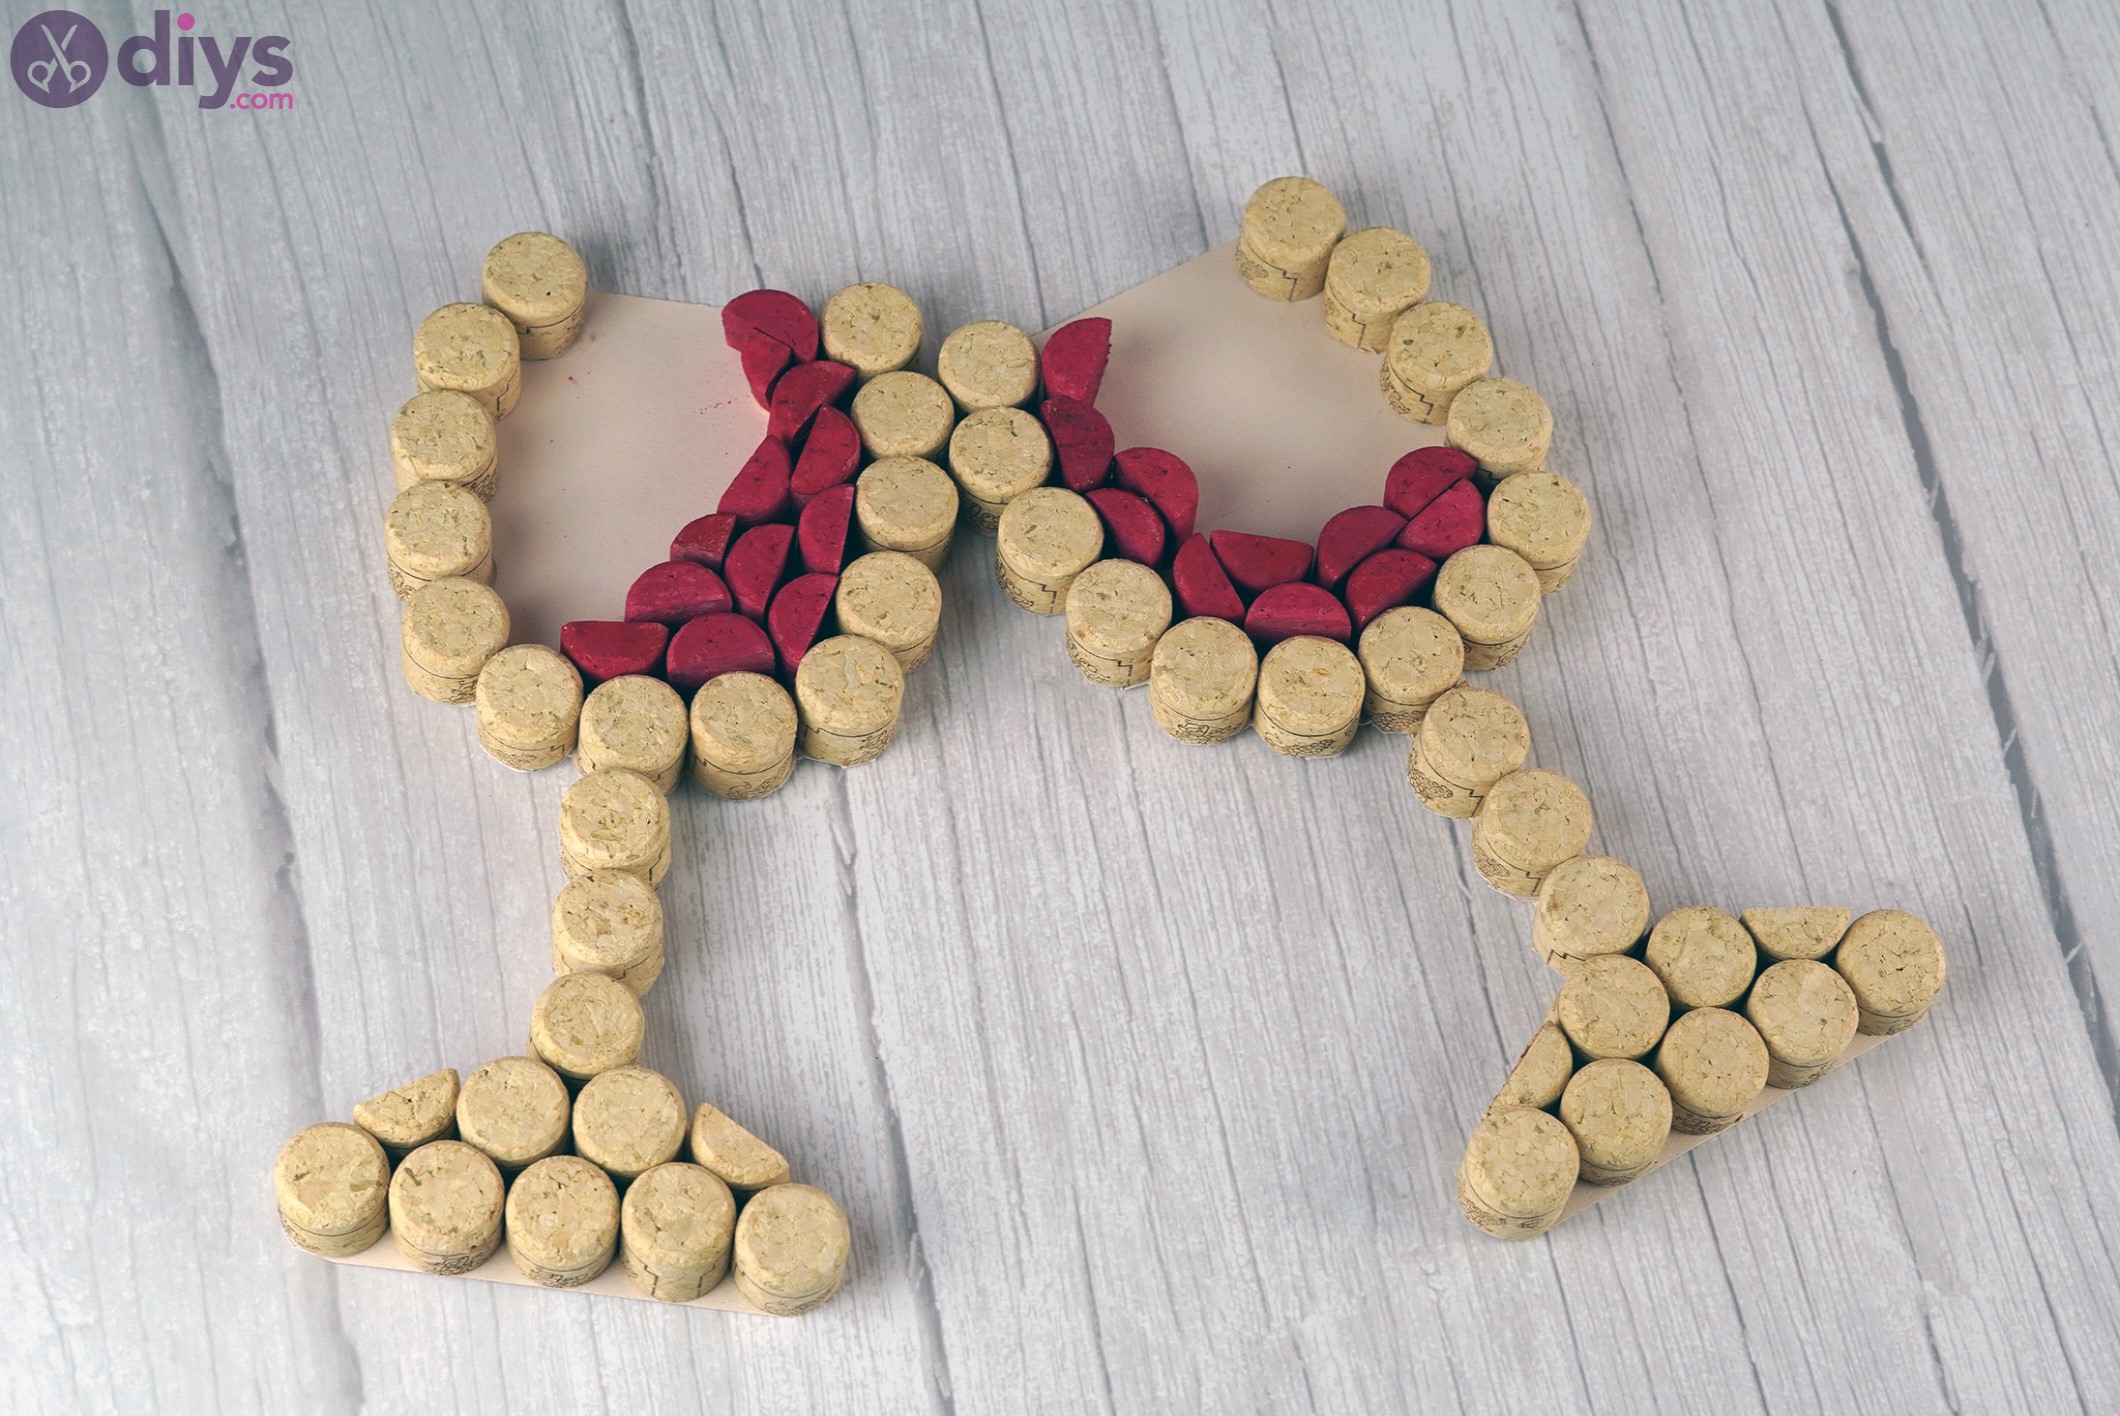
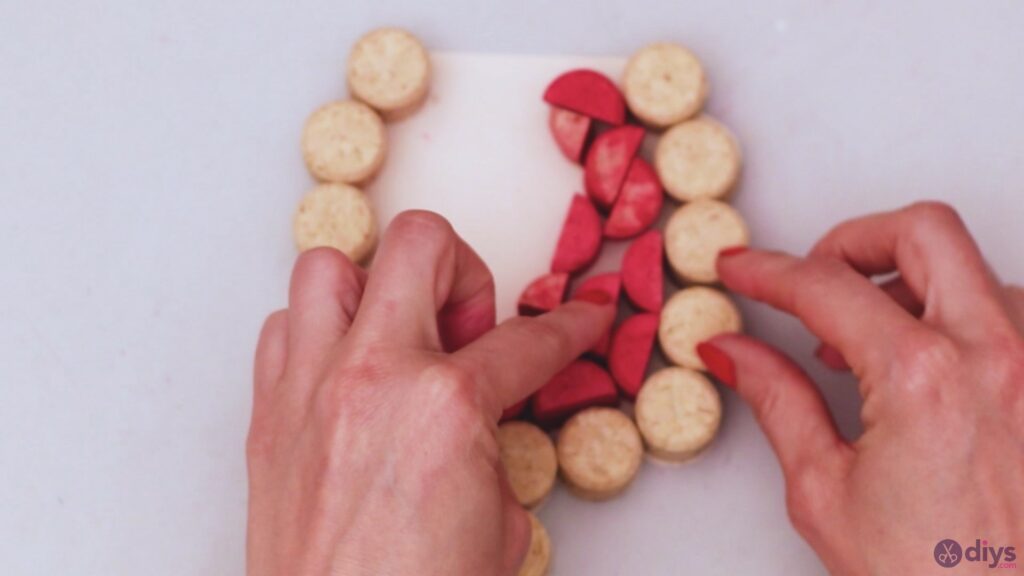
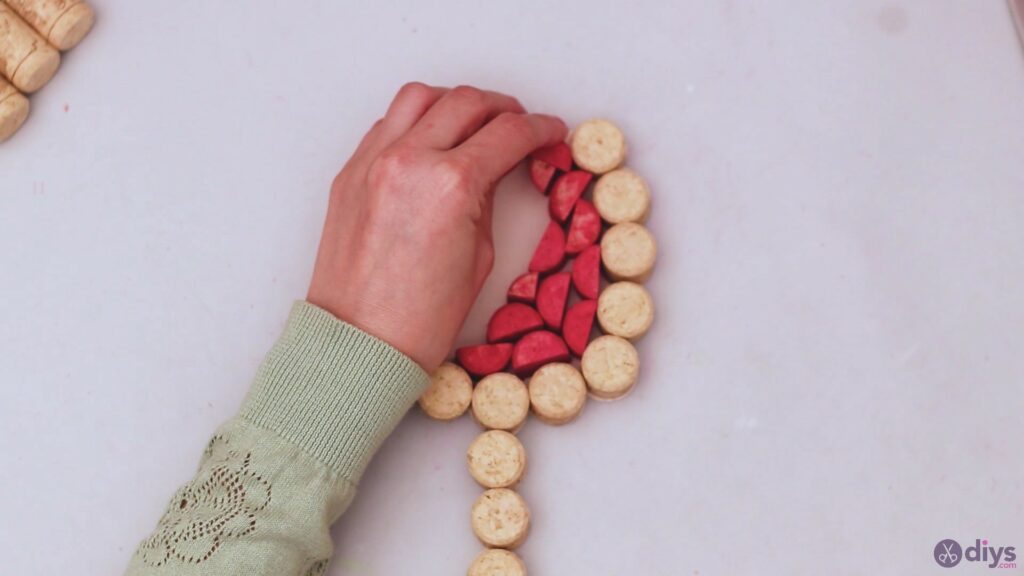
First, arrange the pieces to give them a natural shape. We thought about this design with the glasses somewhat inclined as if they’re about to clink. Ultimately, it depends on whether you want to create a single wine glass or two.
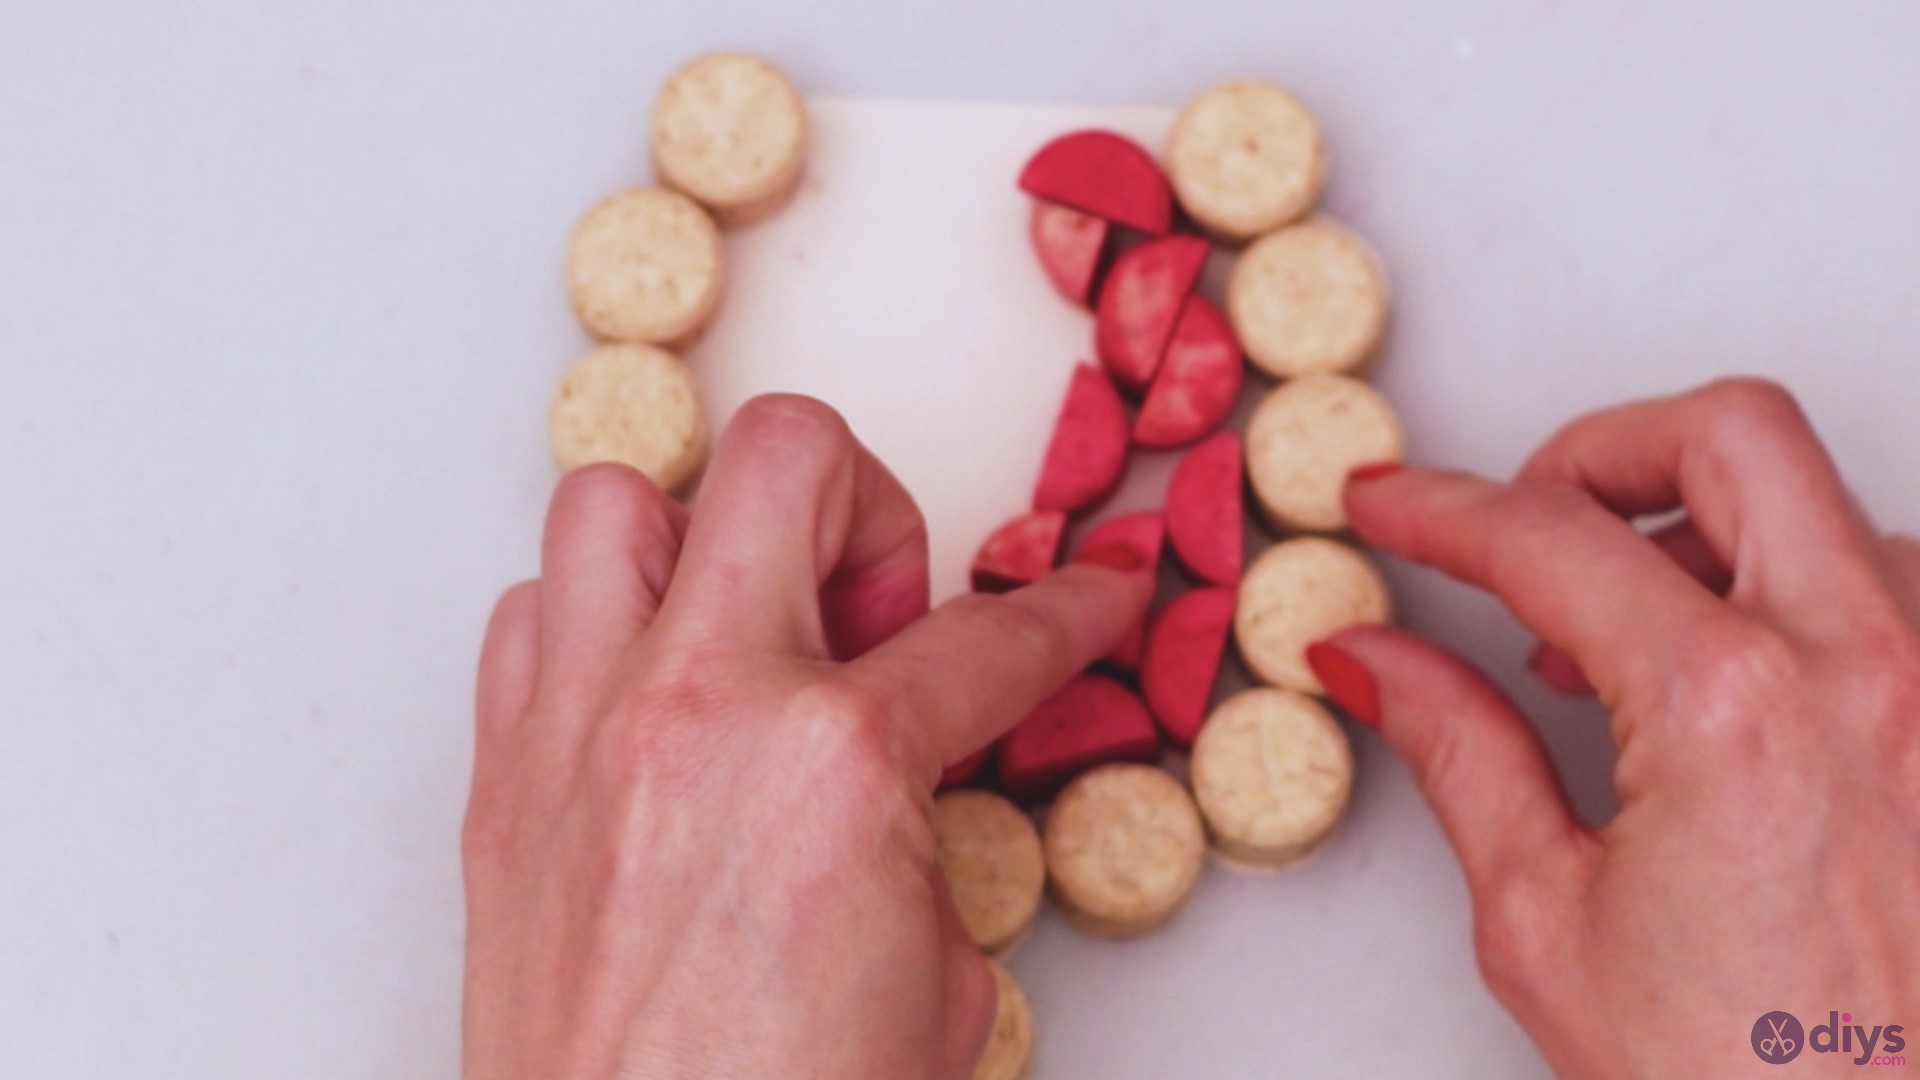
Find the right spot for each wine cork before fixing them in place.
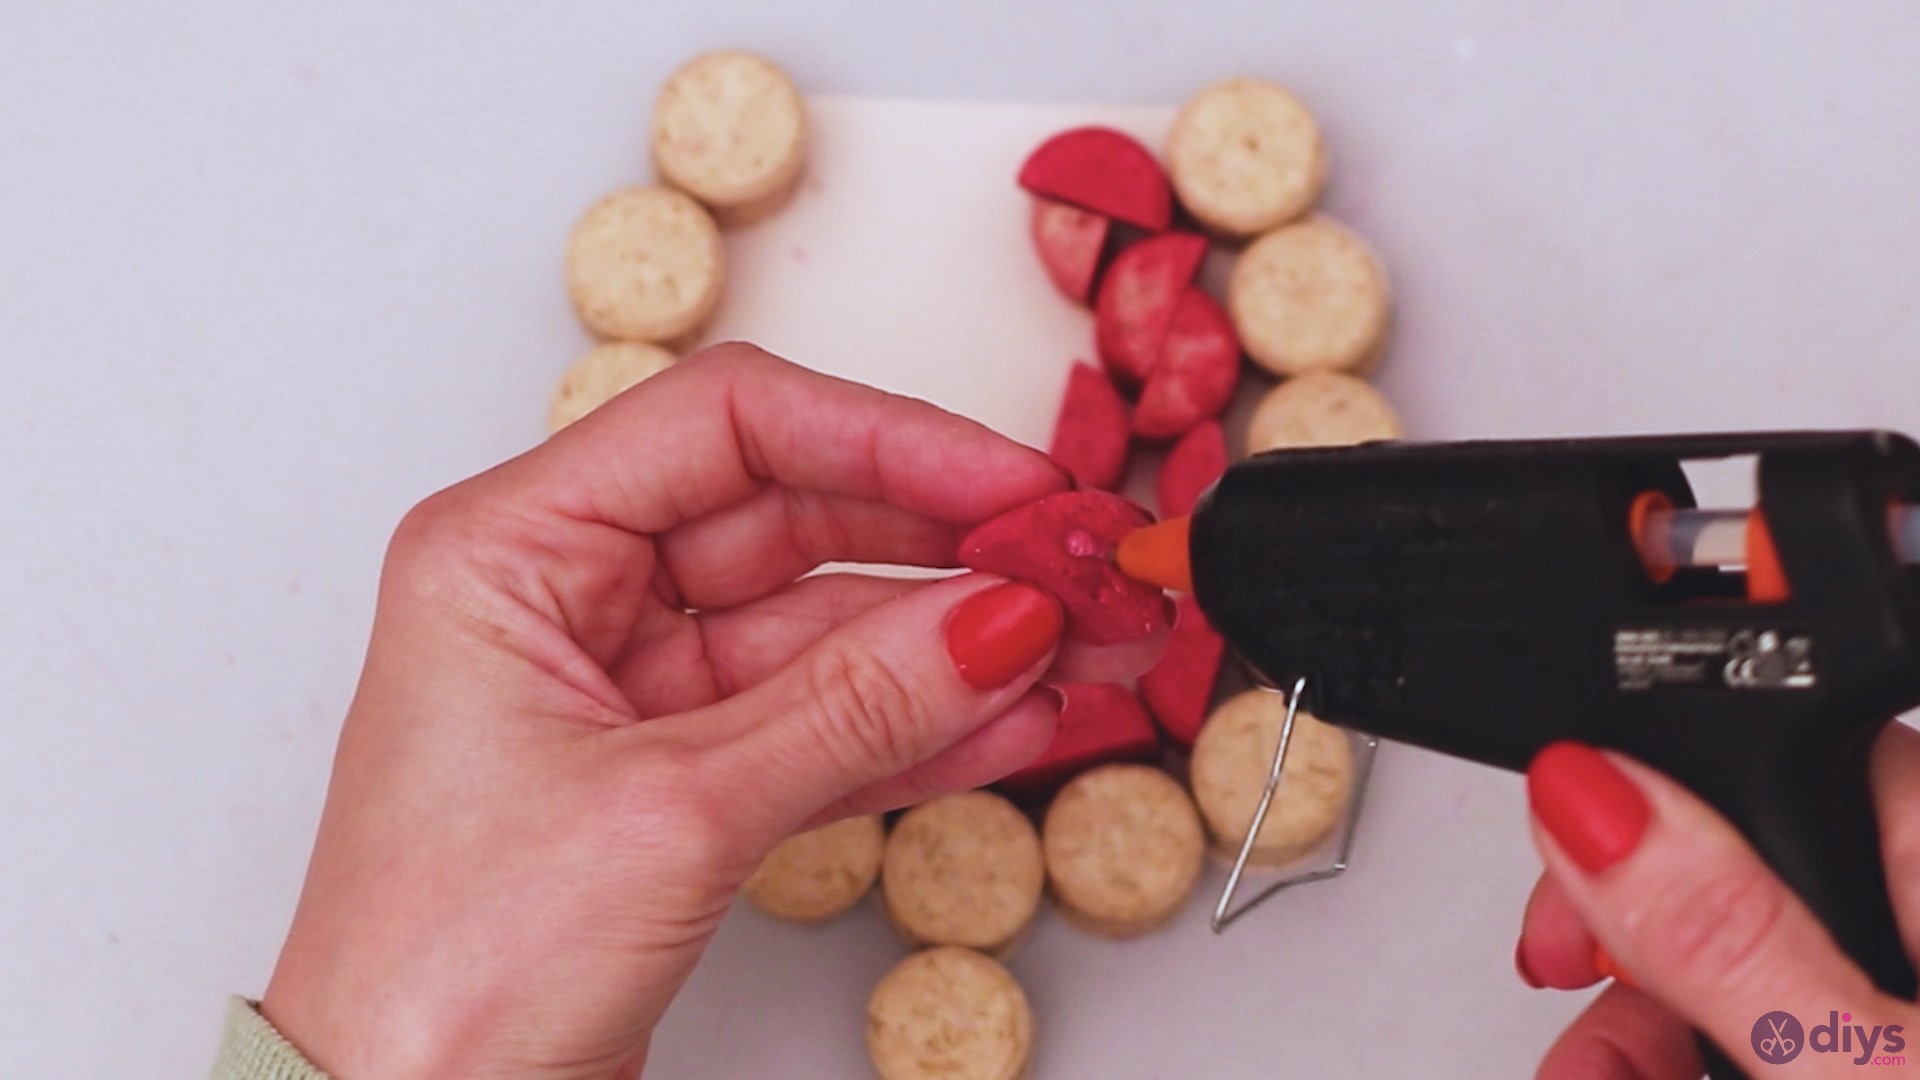
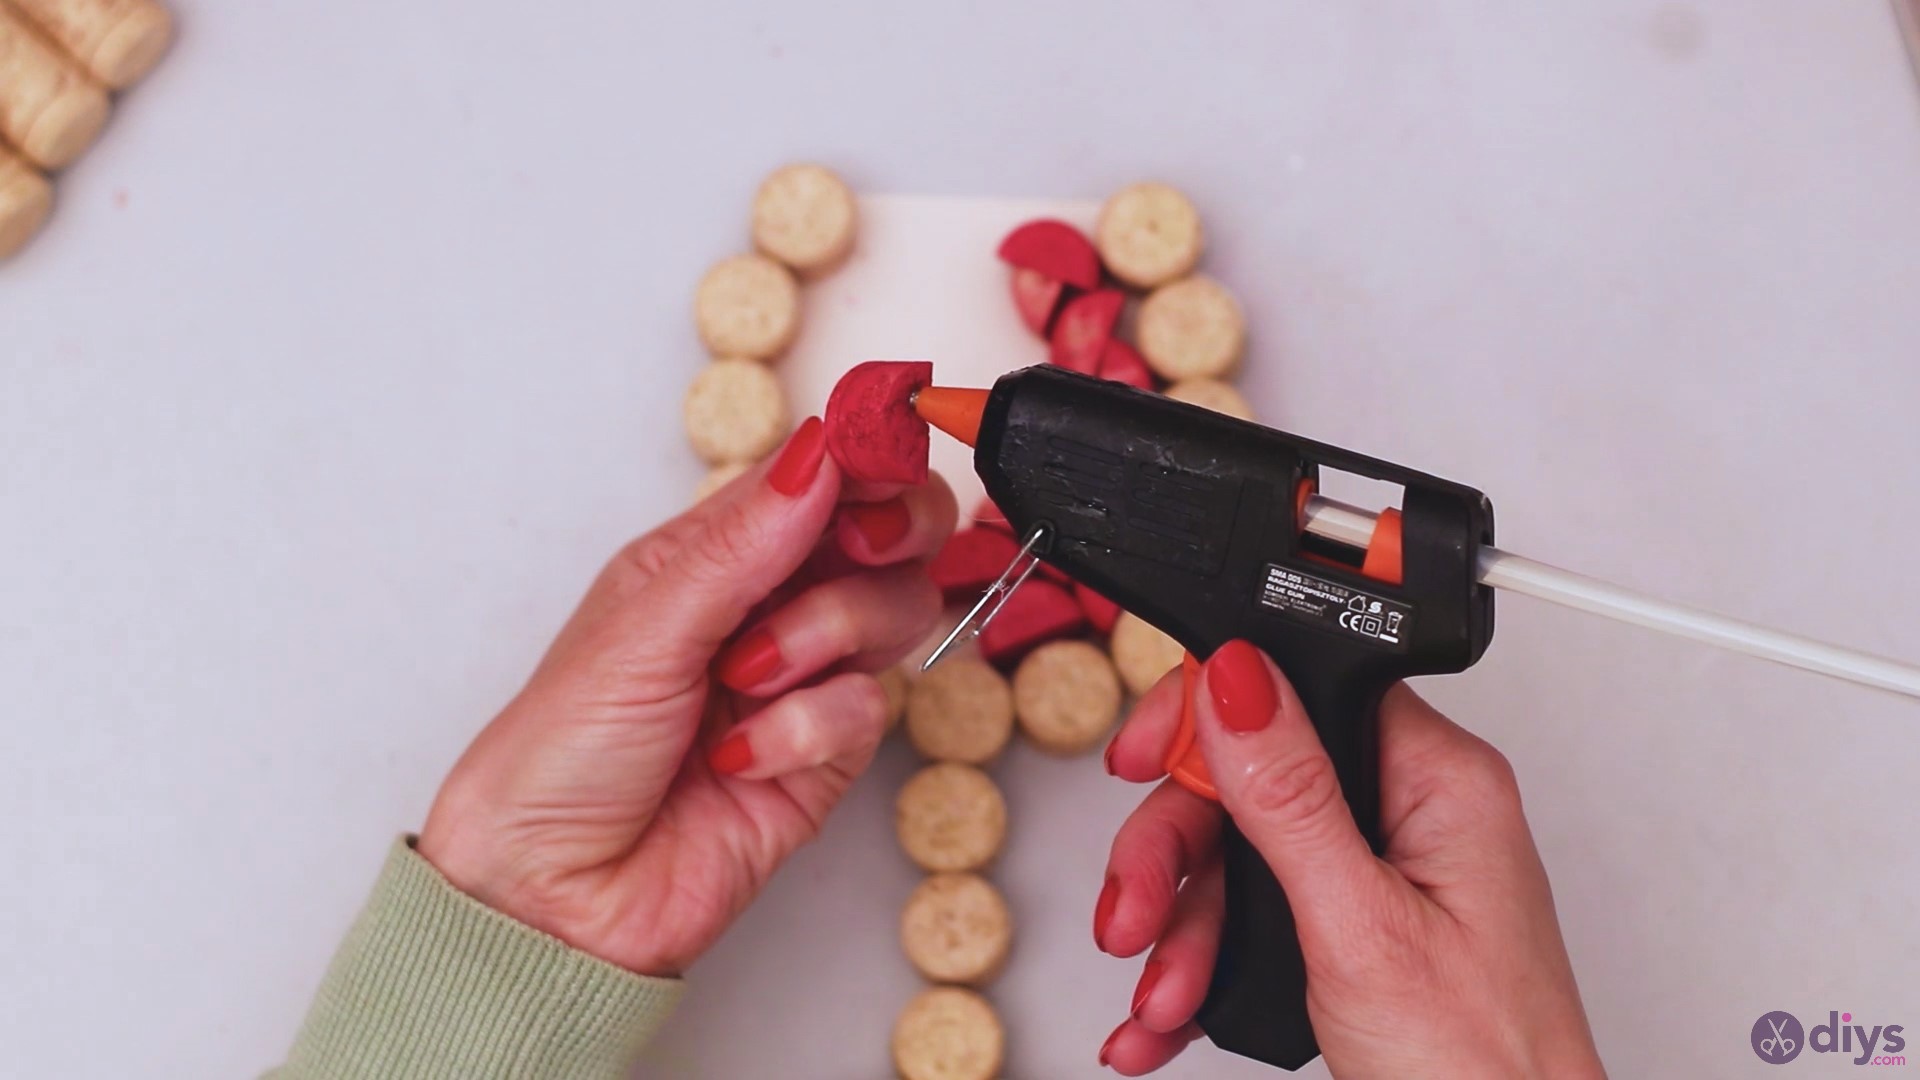
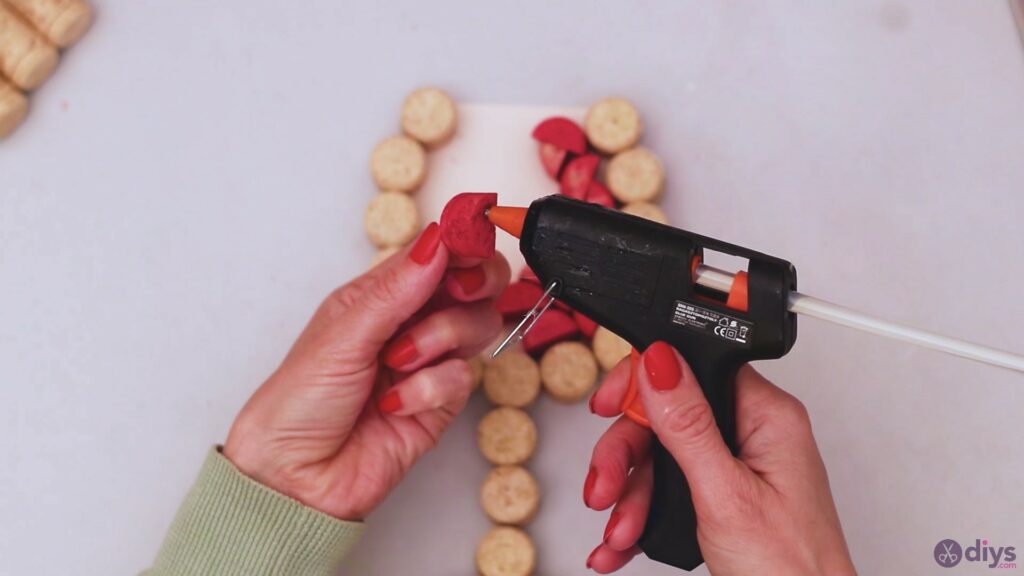
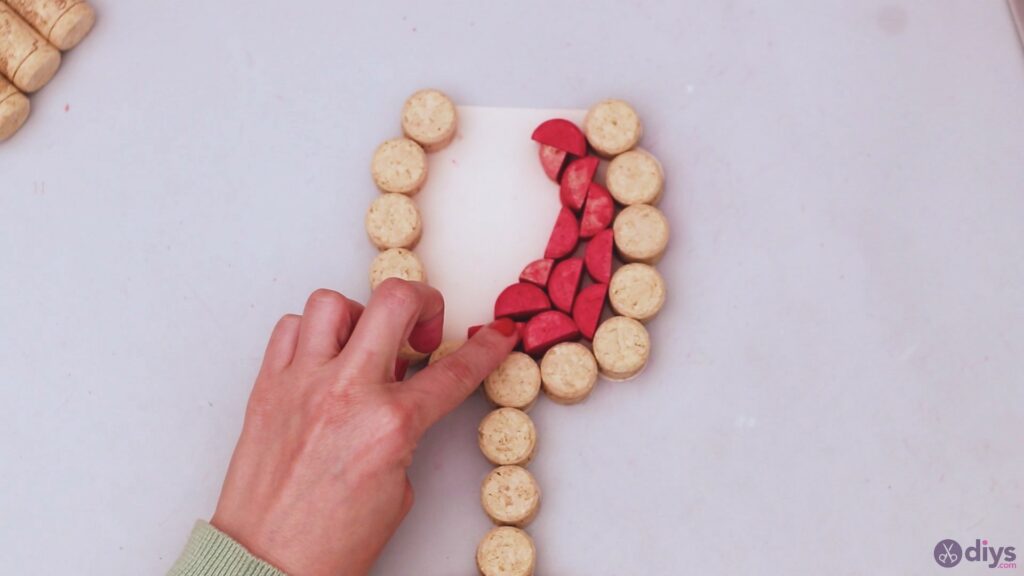
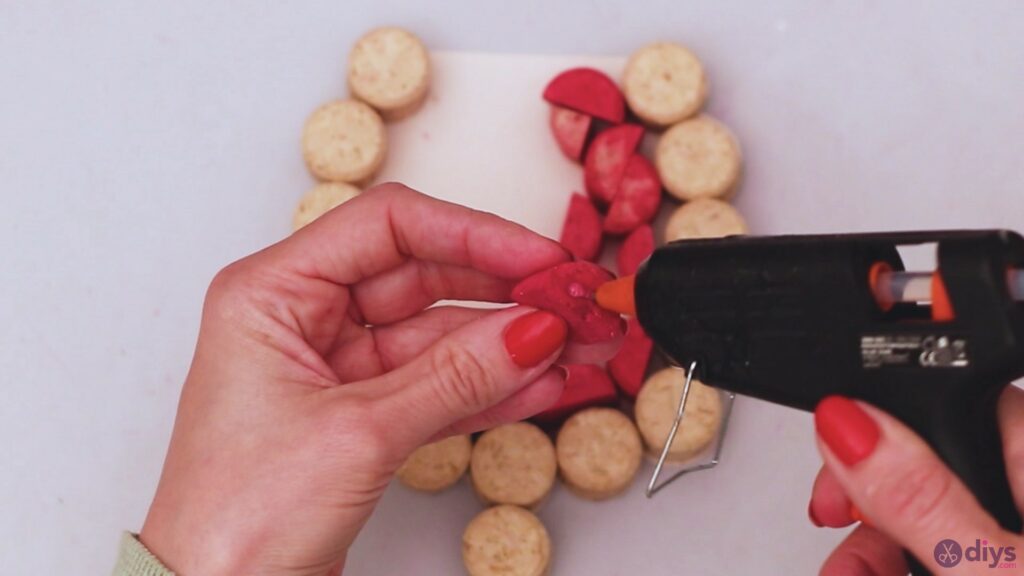
When you’re satisfied with the shape, go ahead and get theglue gun once more and add hot glue to the back of the pieces. Place them back on the cardboard.
Keep going through the pieces systematically. Add hot glue to their back and place them back on the cardboard, making sure not to mess up your design. Sure, you can always adjust it, but it’s always better when you don’t make too many changes once you start using the hot glue and finding their permanent places.
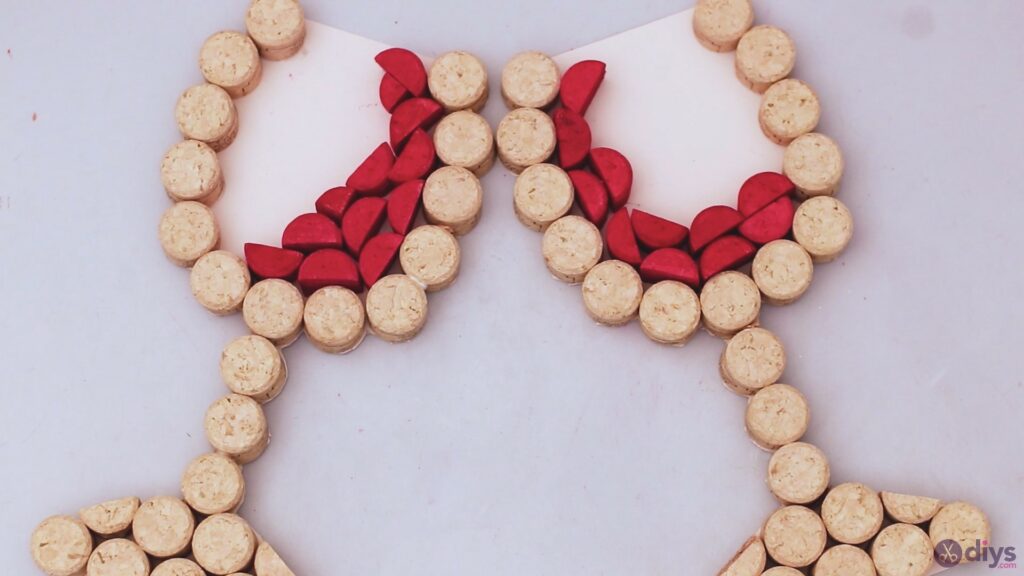
There you go! The final pieces! It all looks so nice!
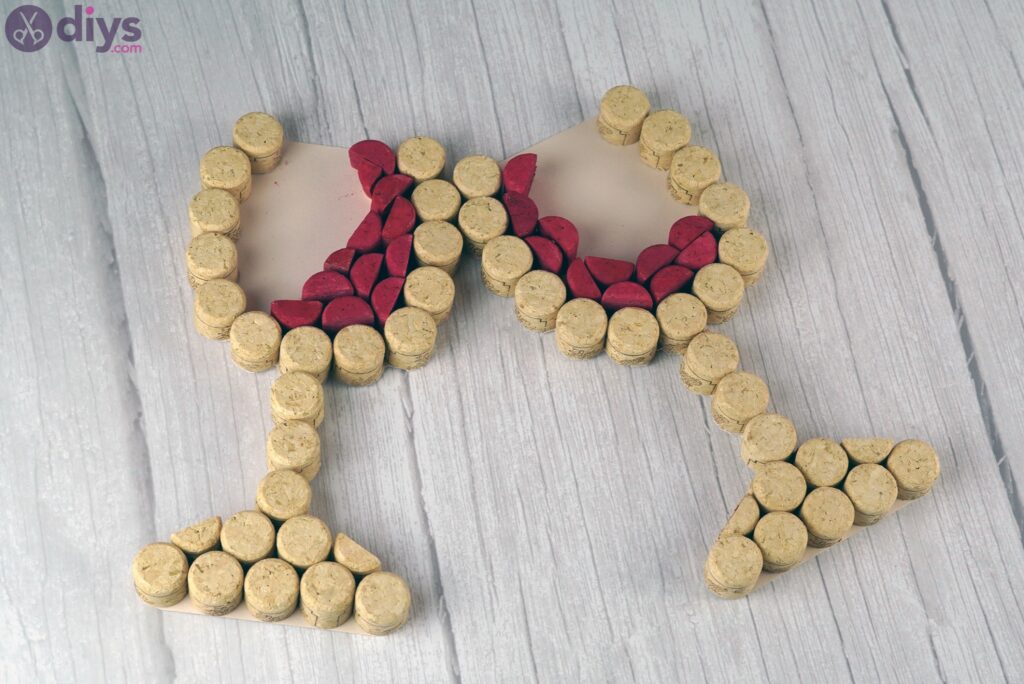
We went with two of these glass wines and they look like they’re clinking in a cheers sign. You can hang these up in an angle as we did, or make a single one instead, in which case you can arrange the “wine” differently.
Do you love these as much as we do?! They look great! They can make a cute decoration for your walls or a perfect gift for someone!
