DIY Wine Cork Wine Bottle Stopper – Make It Sparkle
Sometimes, everyday objects aren’t all that glamorous, but we can certainly try to make them look better. This time, we’re going to bedazzled some wine corks and create some pretty bottle stoppers. Let’s see what we need to do.
Wine corks, in general, are not really pretty, but we can certainly transform them and make a show-stopping piece with a bit of ingenuity.
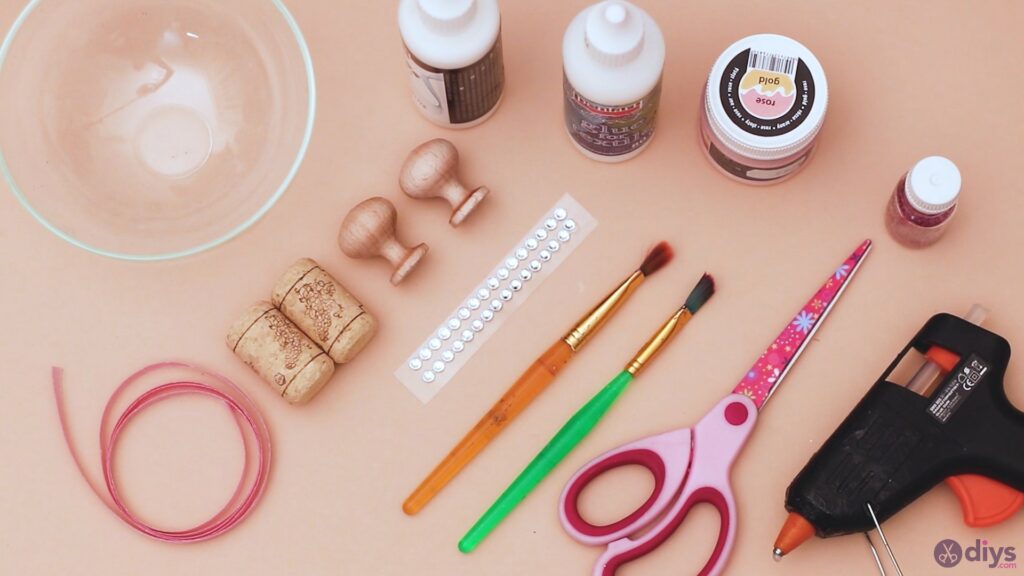
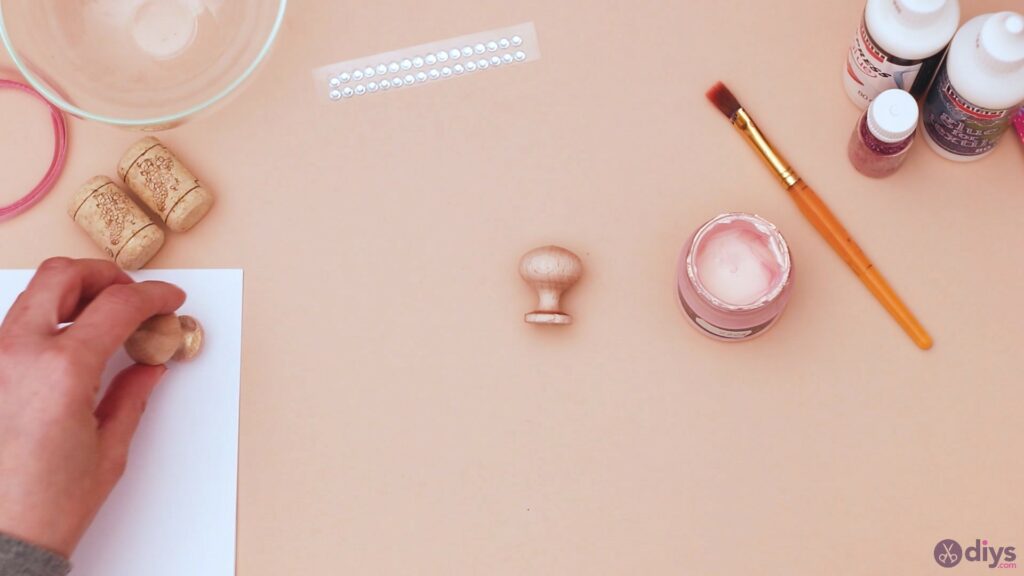
Materials for wine cork wine bottle stopper
- wine corks
- silk ribbon
- 2 furniture knobs
- rhinestones
- paintbrush
- rose gold acrylic paint
- rose glitter
- textile glue
- wood glue
- scissors
- glue gun
How to make wine cork bottle stoppers
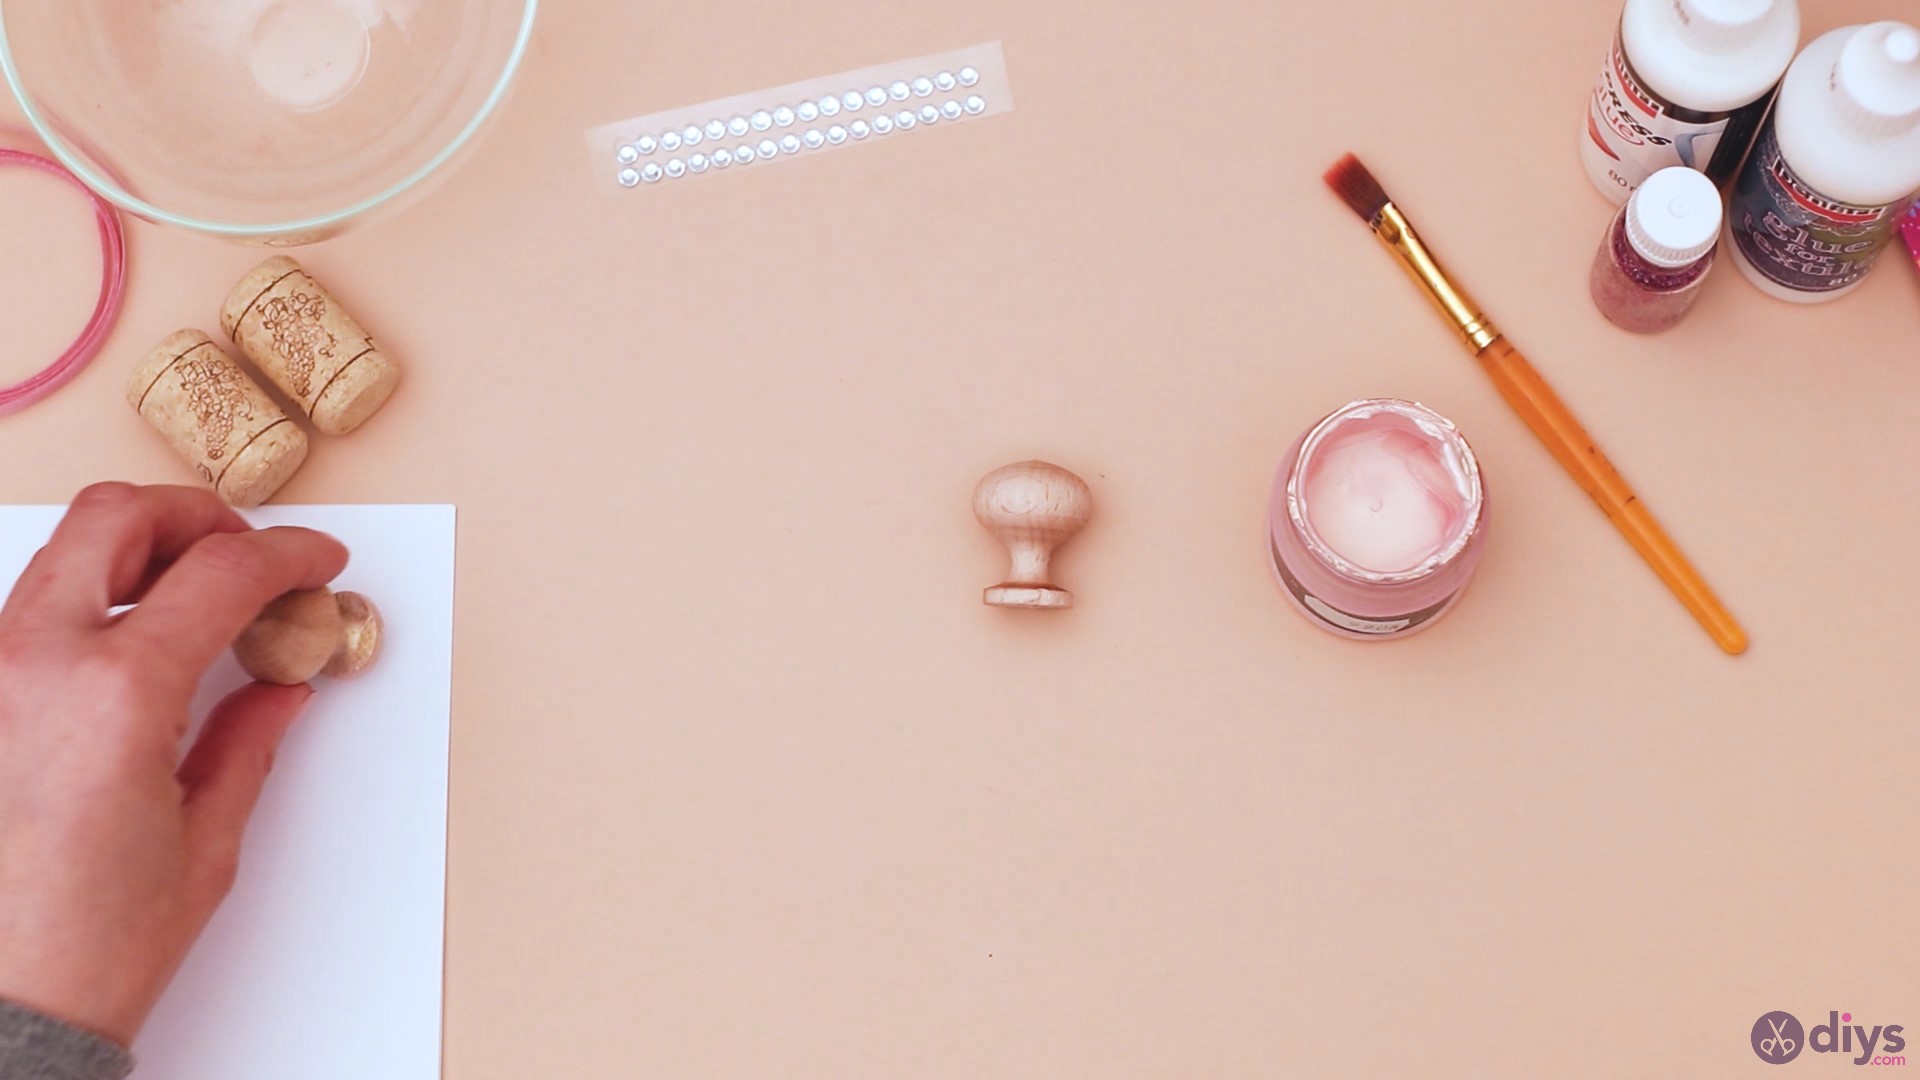
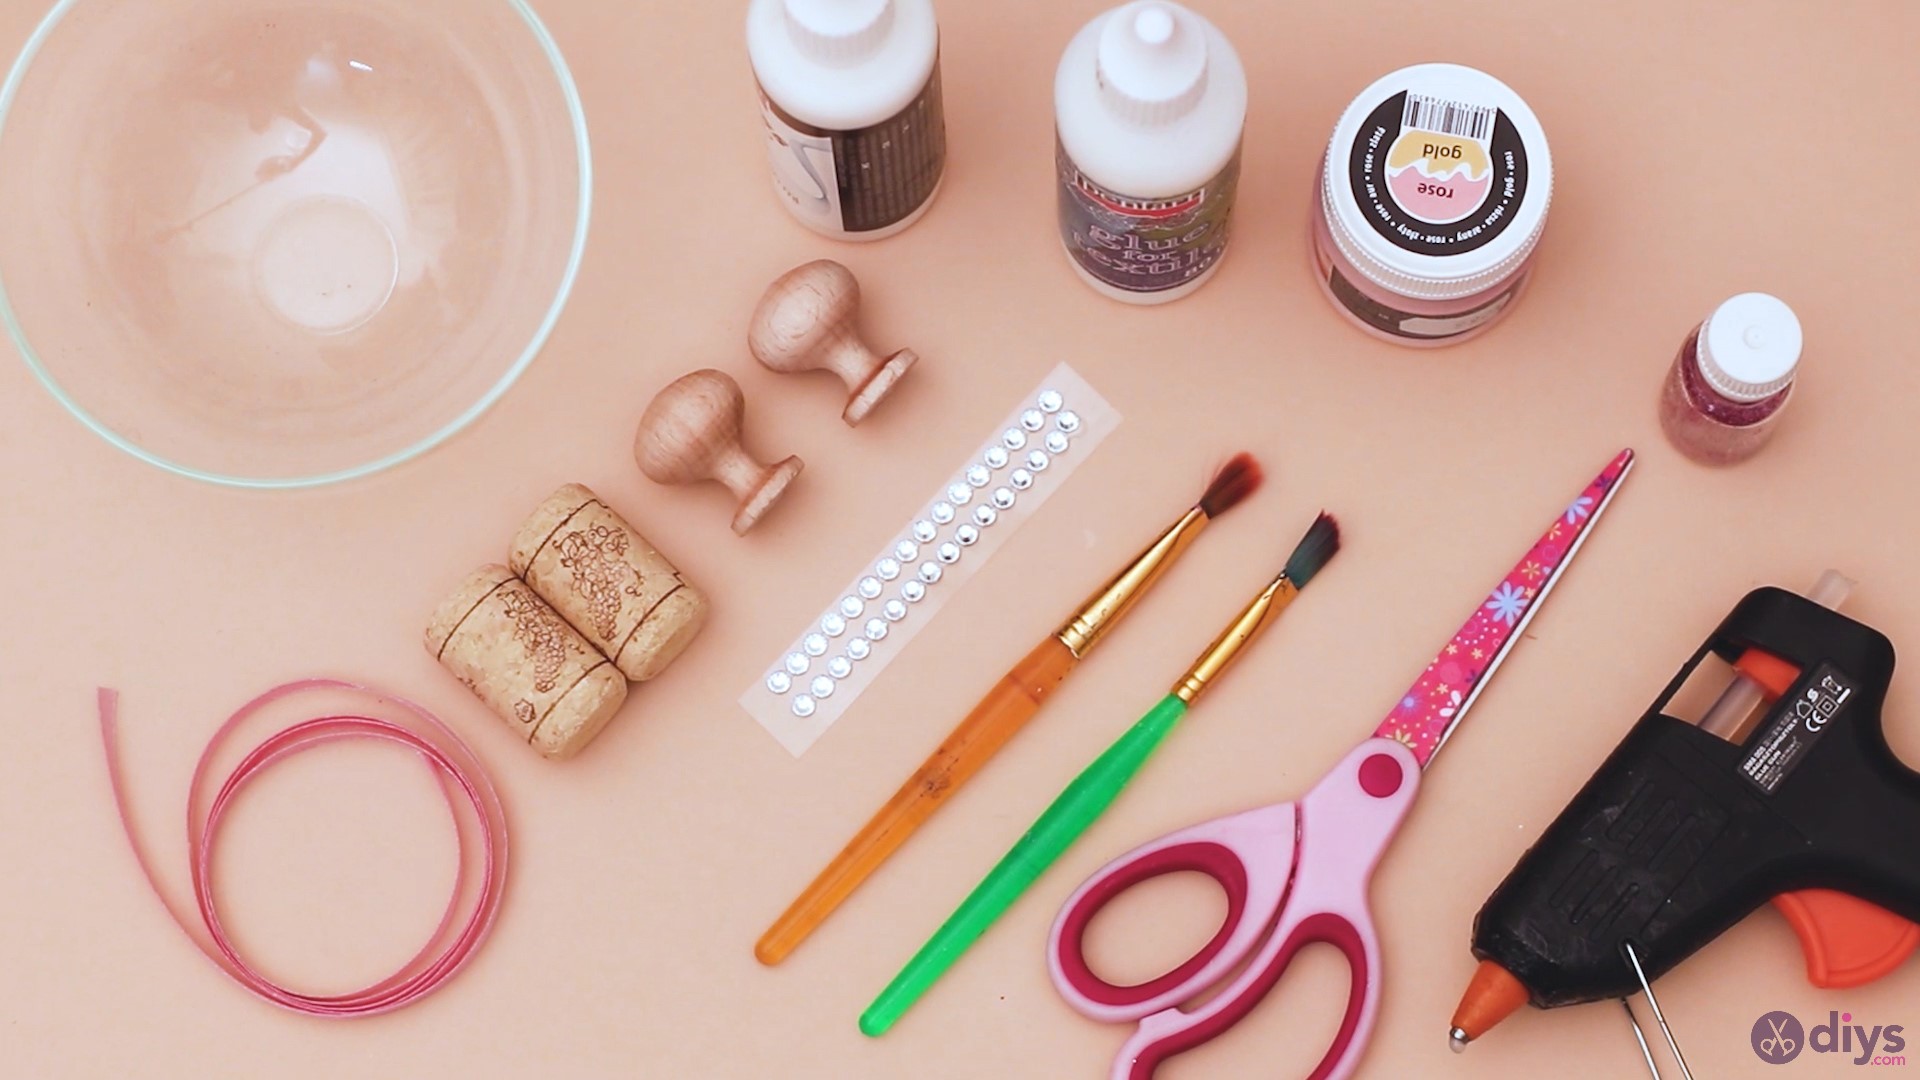
As we prepare to get started in making these really cute wine cork bottle stoppers, we’re going to gather up all our materials. We really don’t want to go running around after one thing or another right when we’re in the middle of creating something cute.
Step 1: Paint the doorknobs
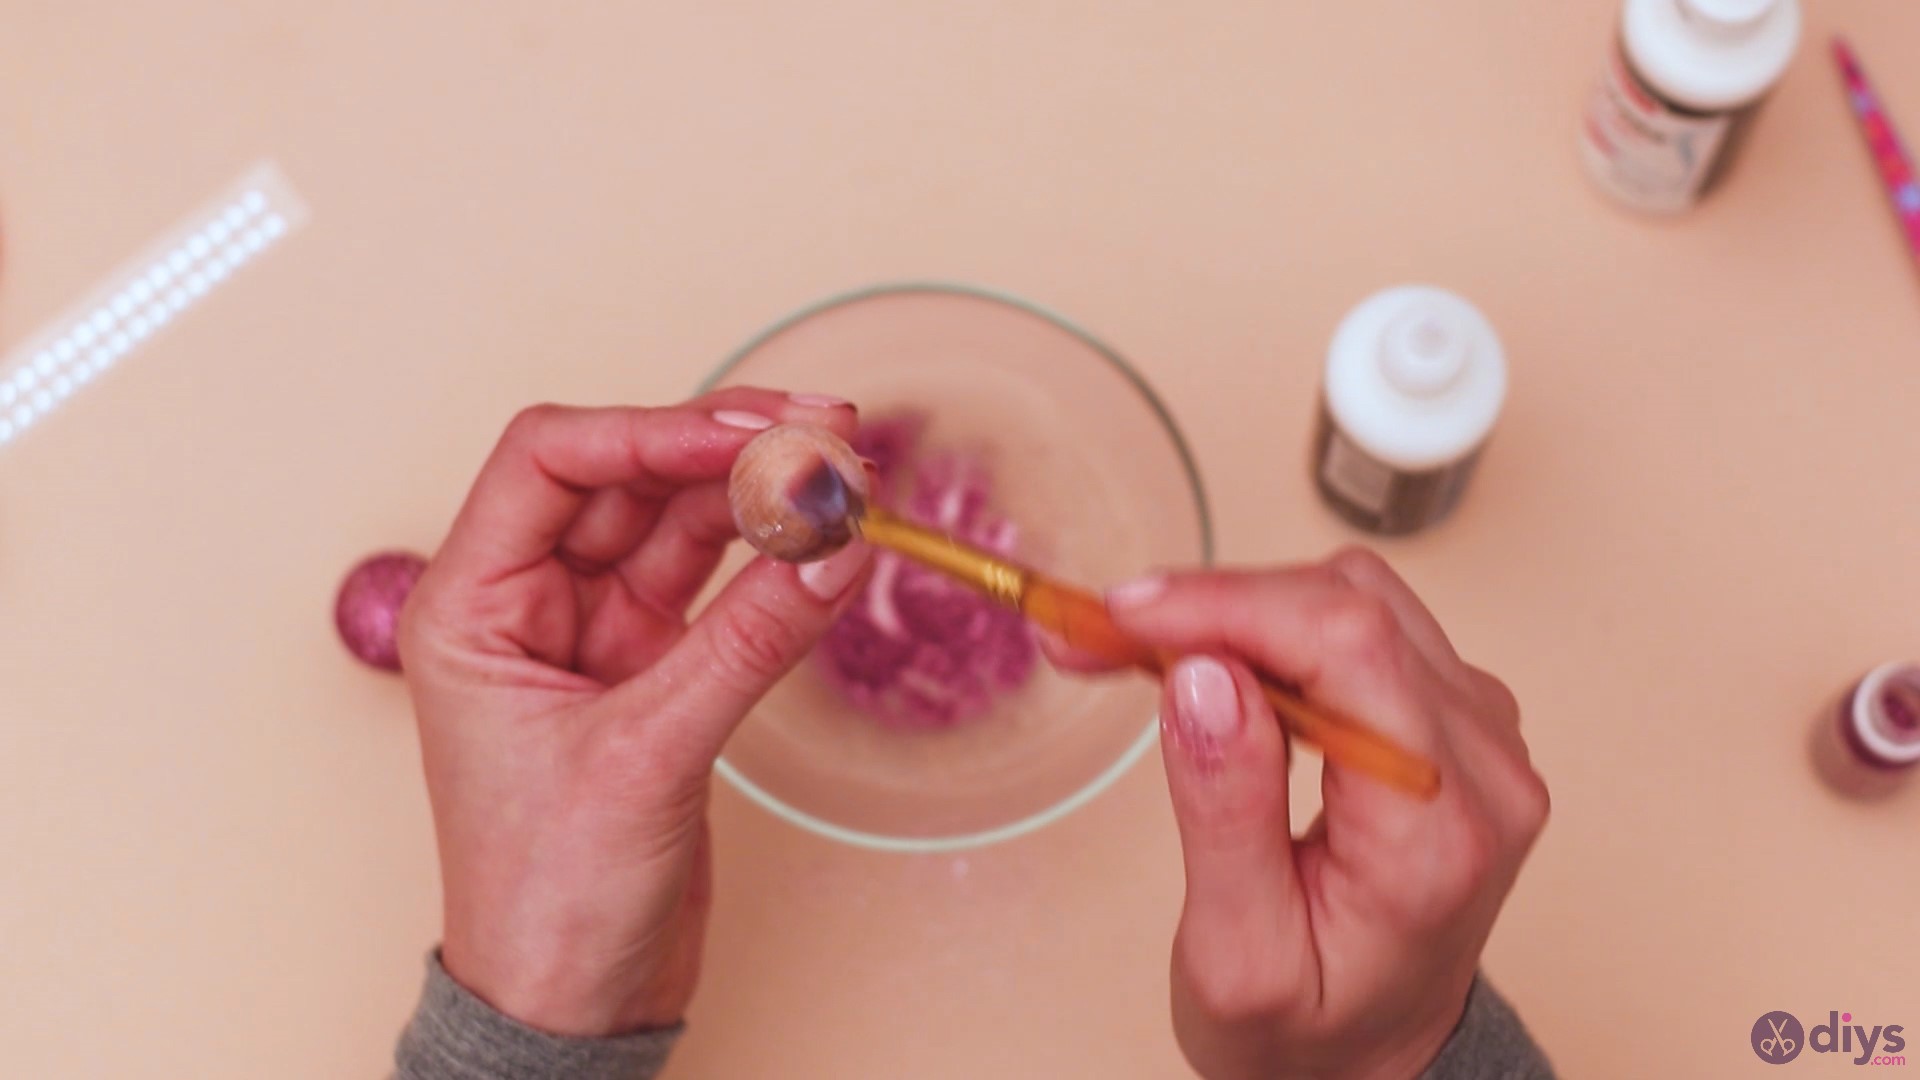
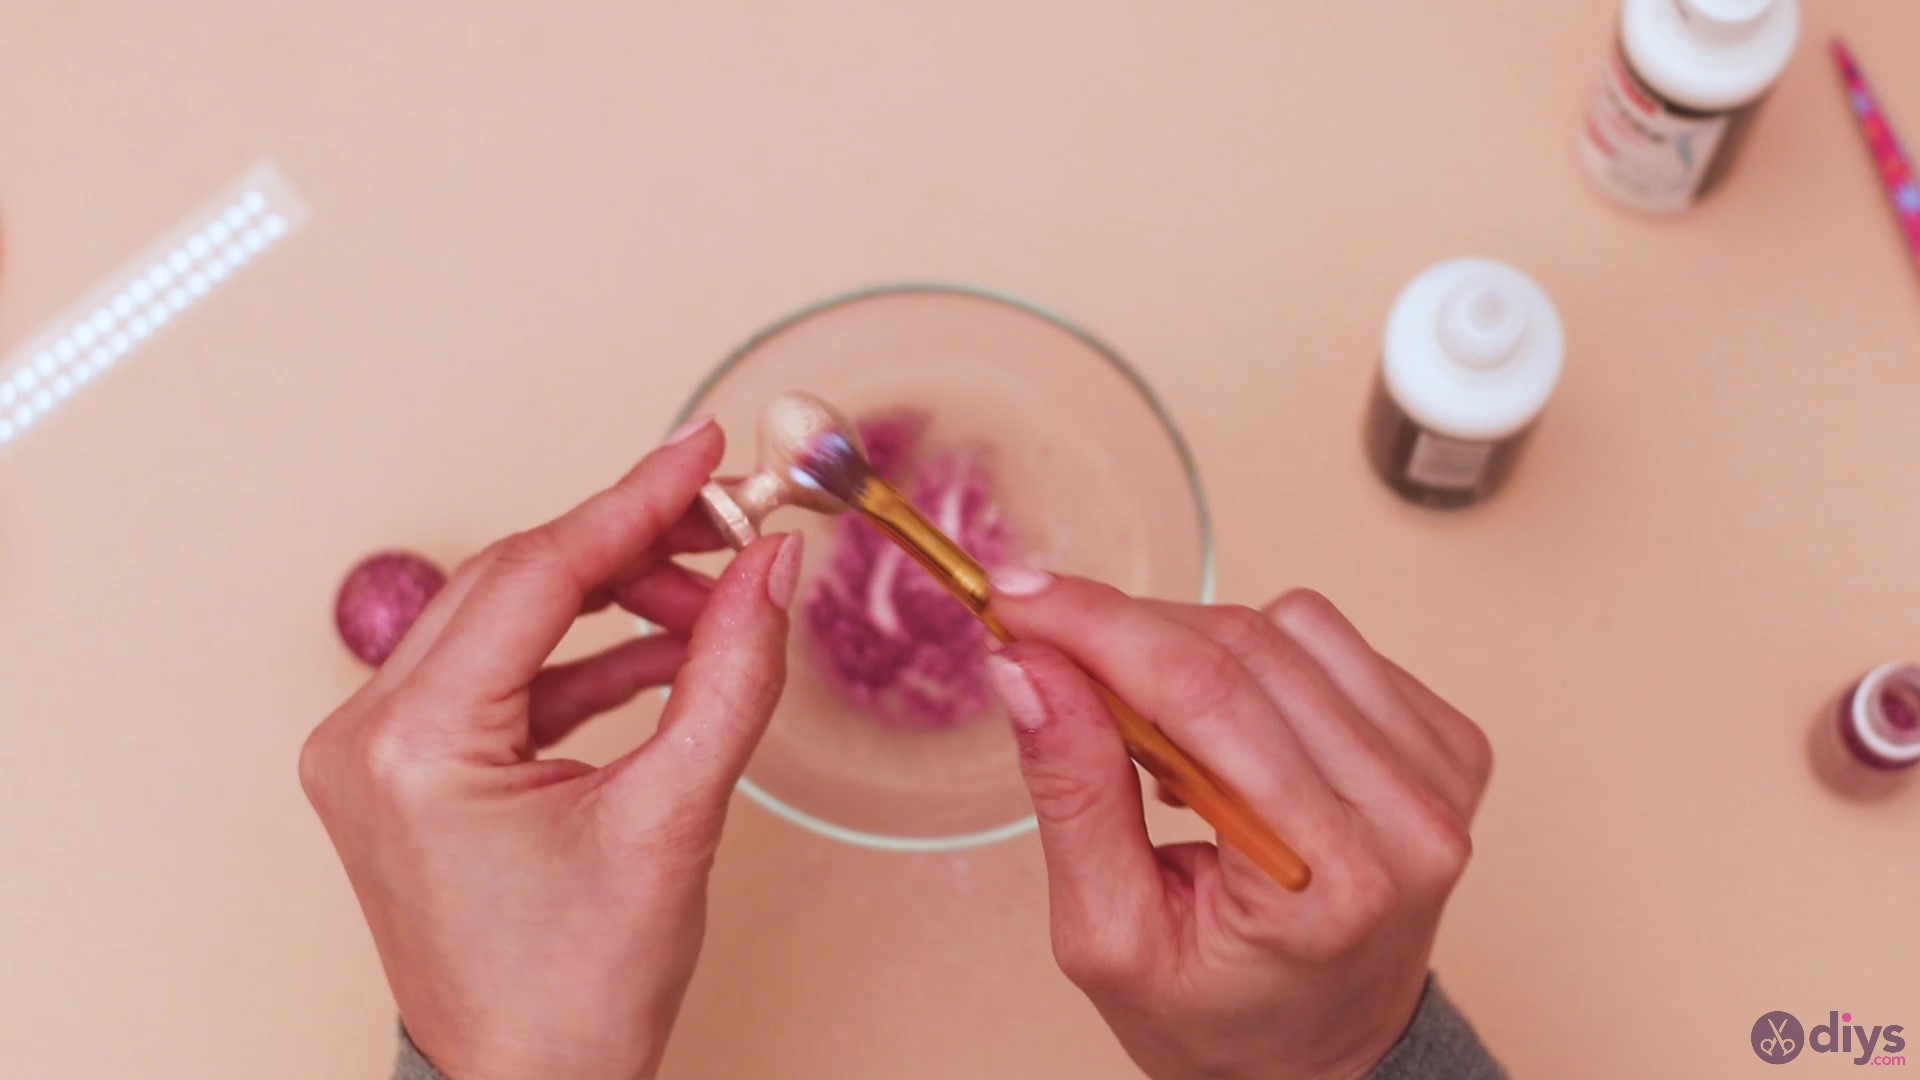
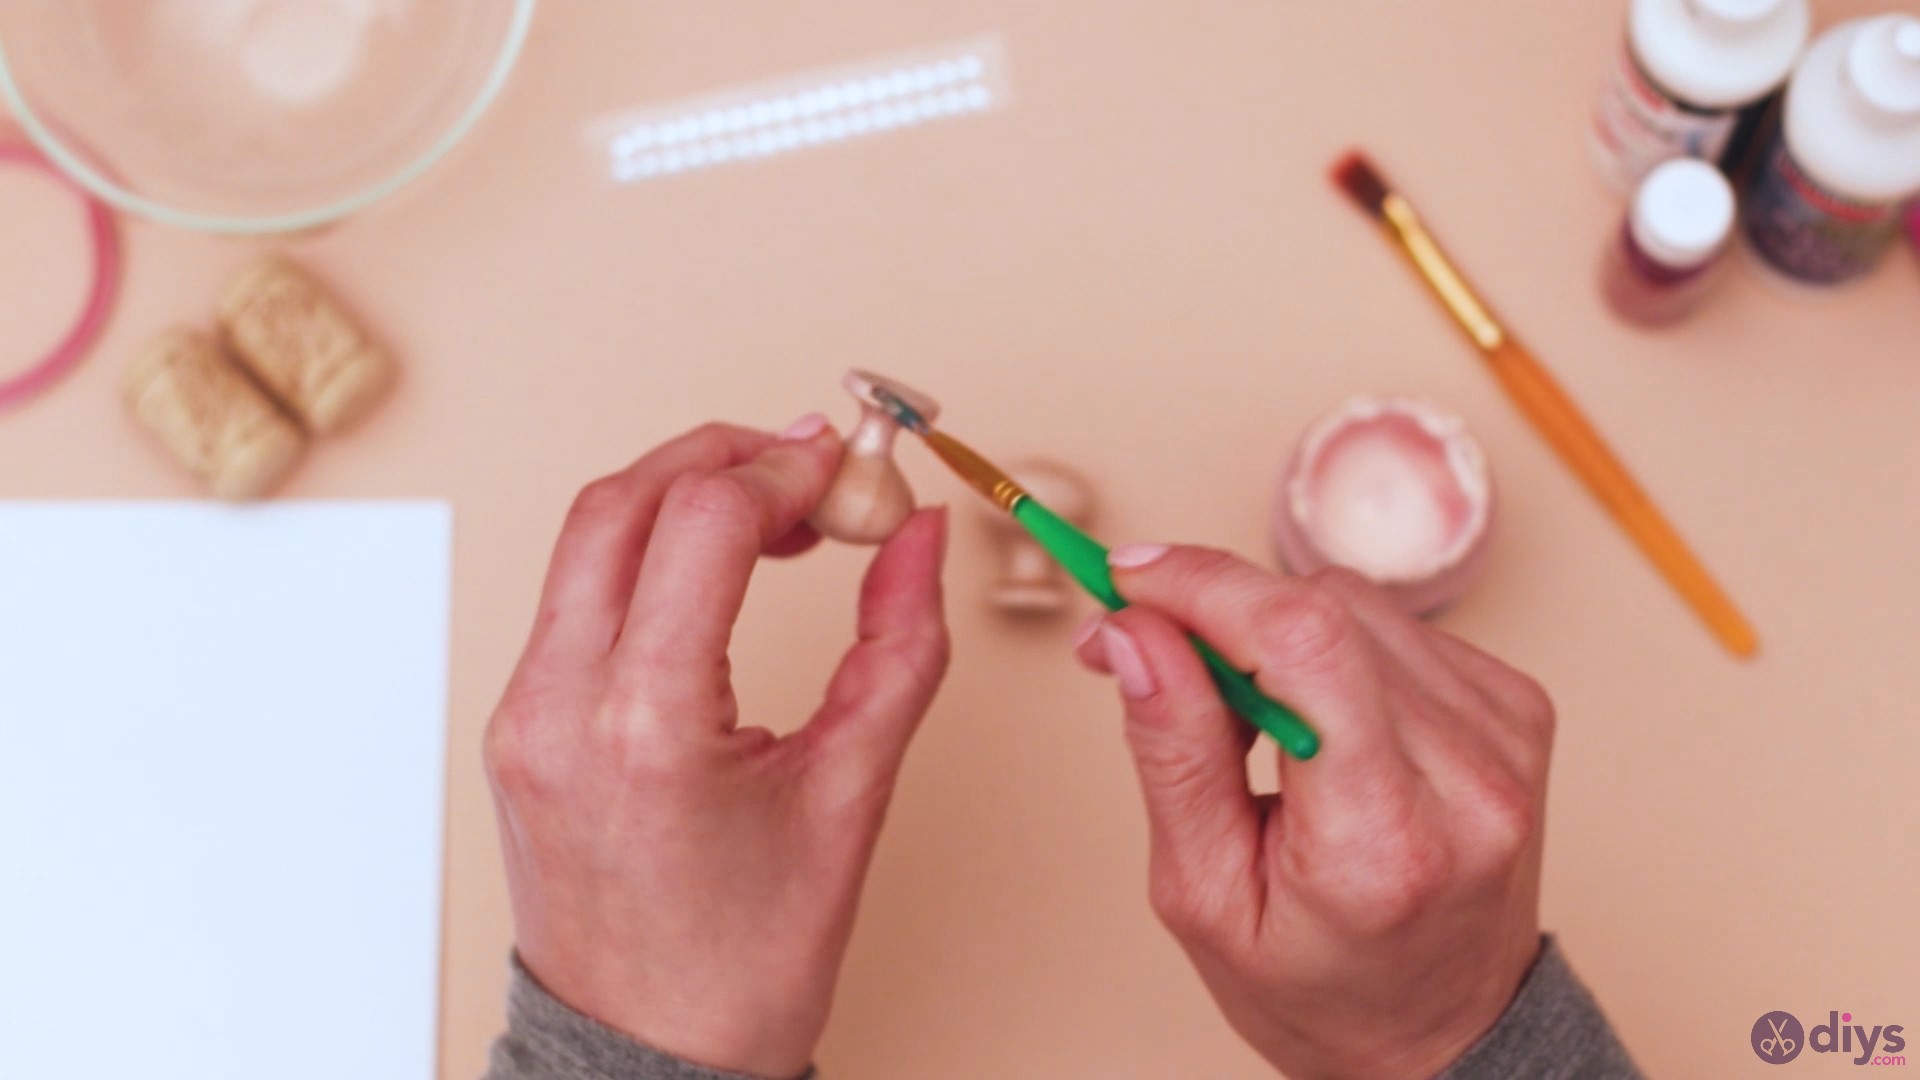
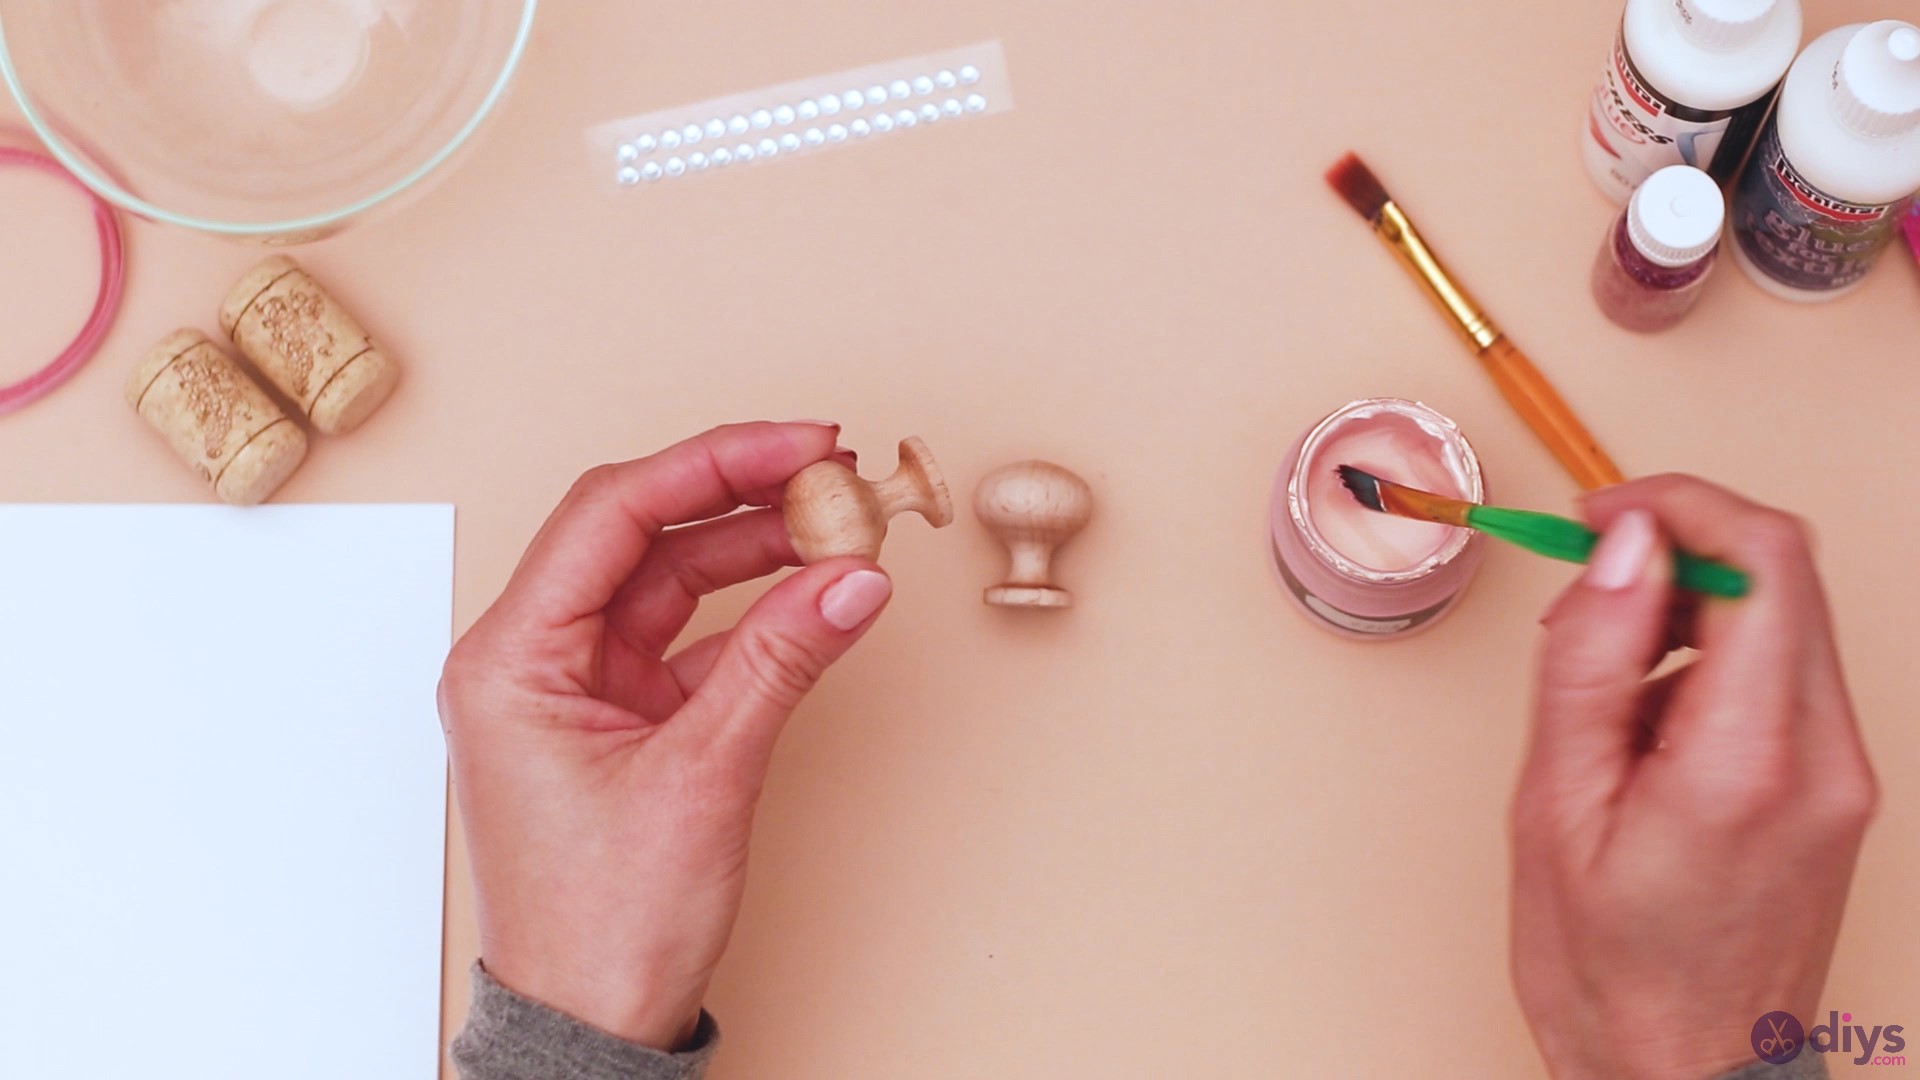
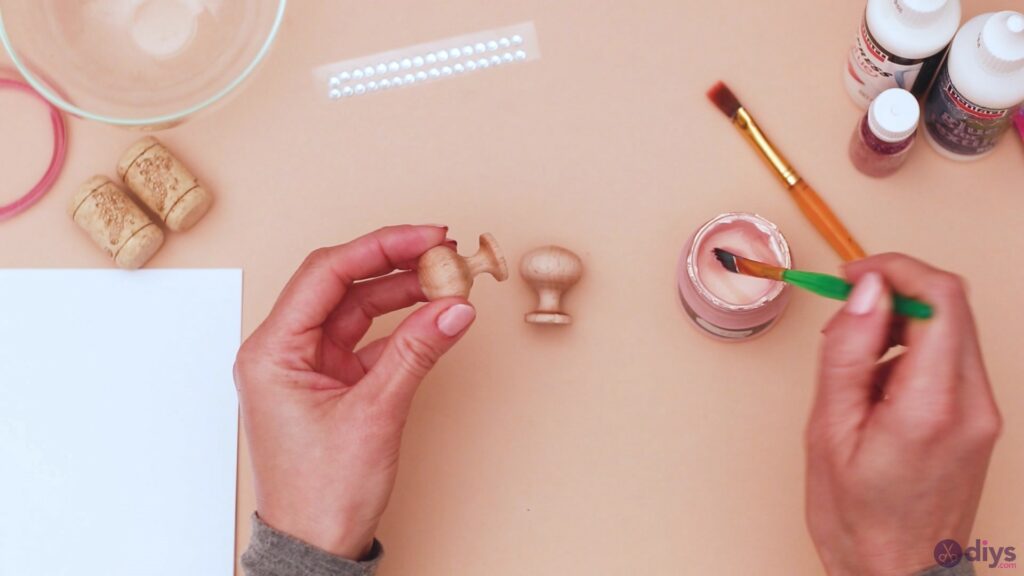
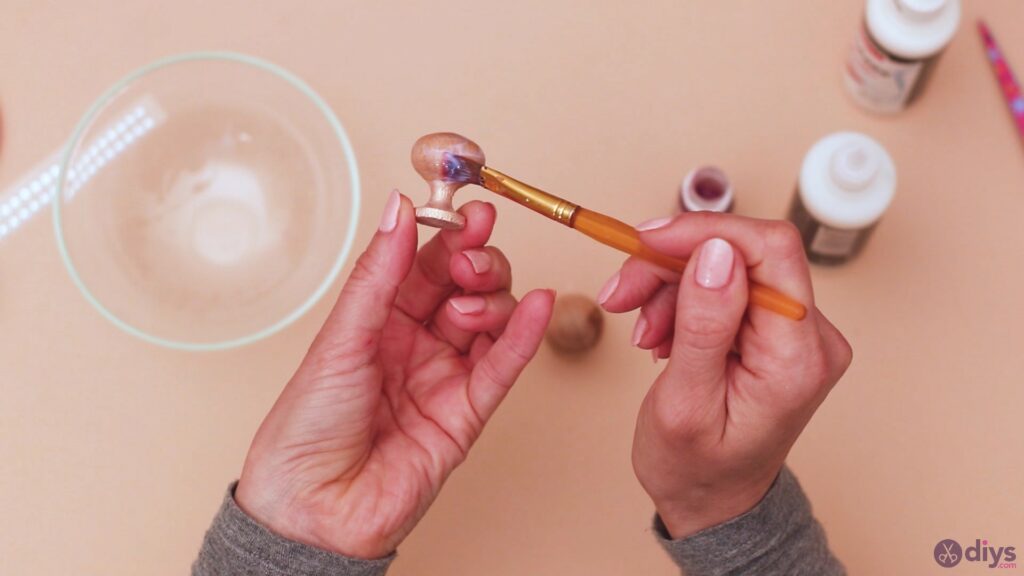
Let’s get started. We’re going to get thewood doorknobs, the rose acrylic paint, and thepaintbrush.Pick up one of the doorknobs and start painting it.
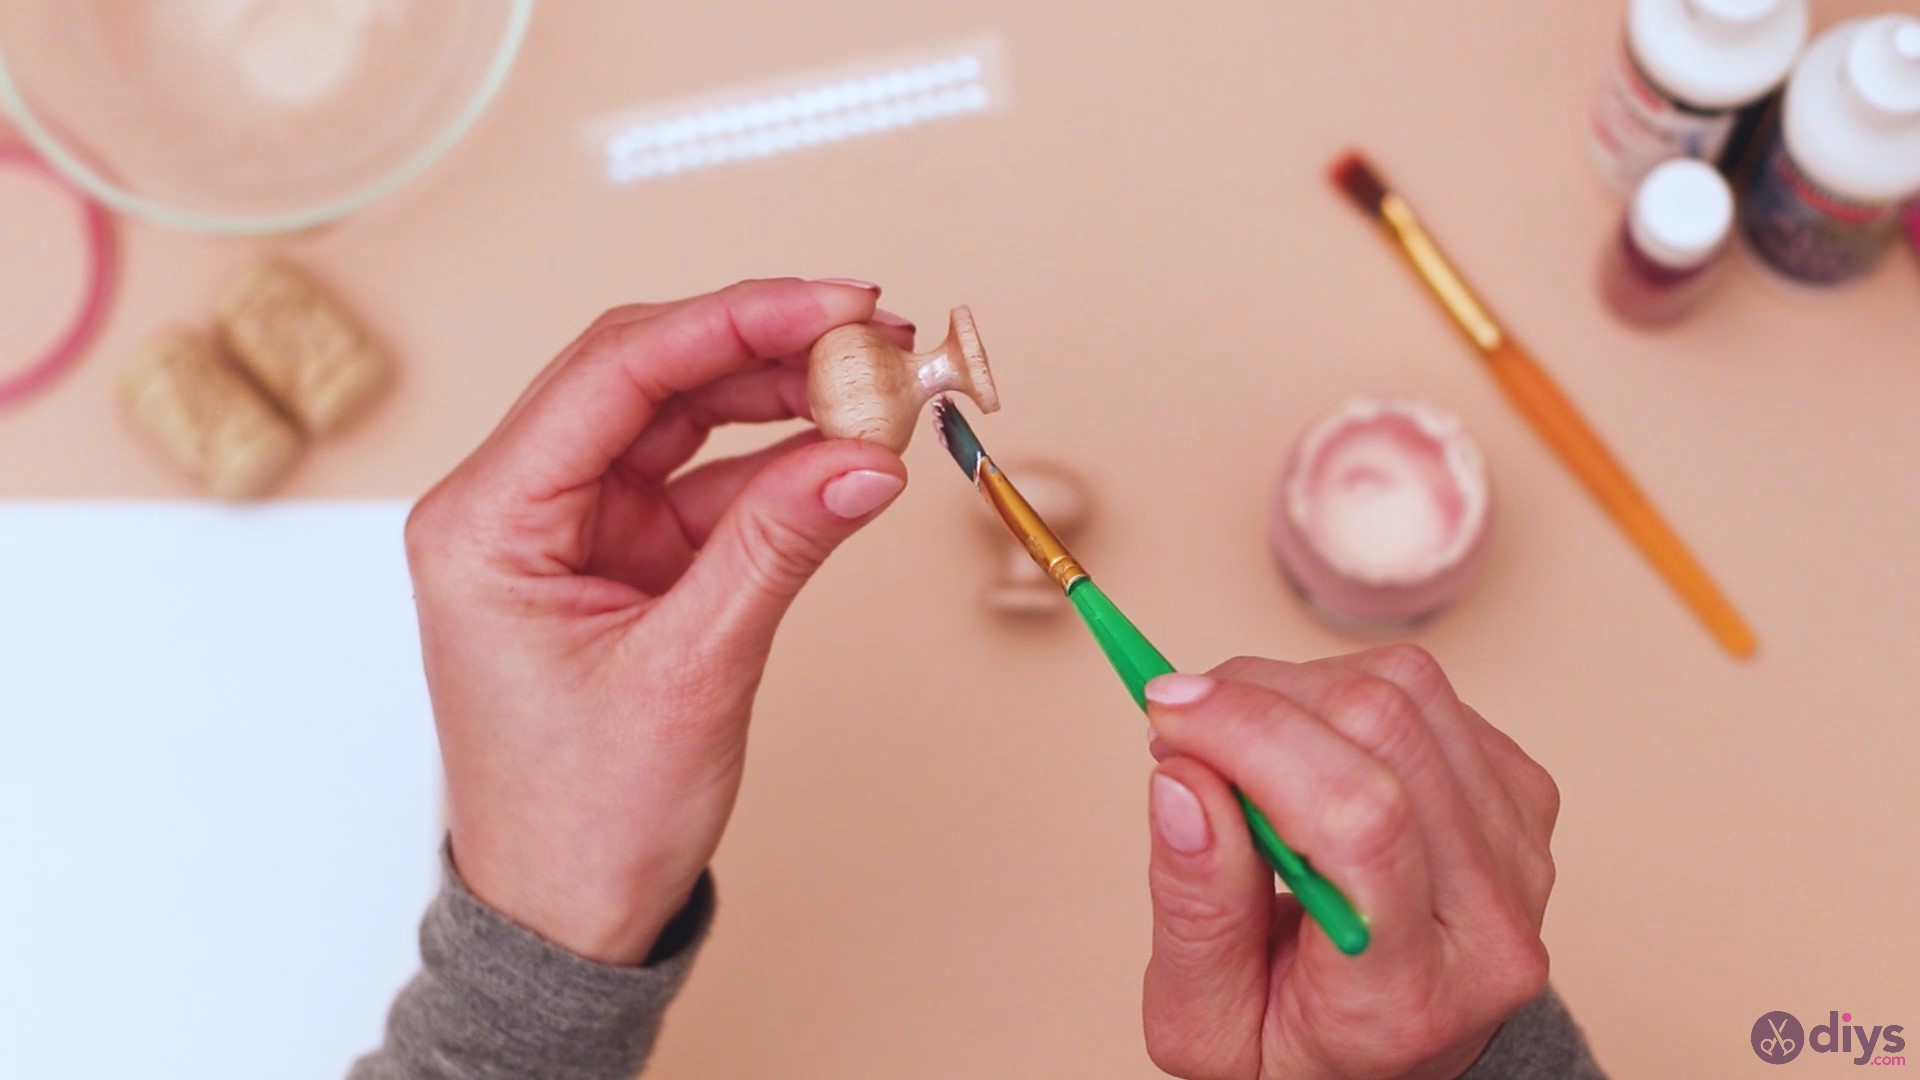
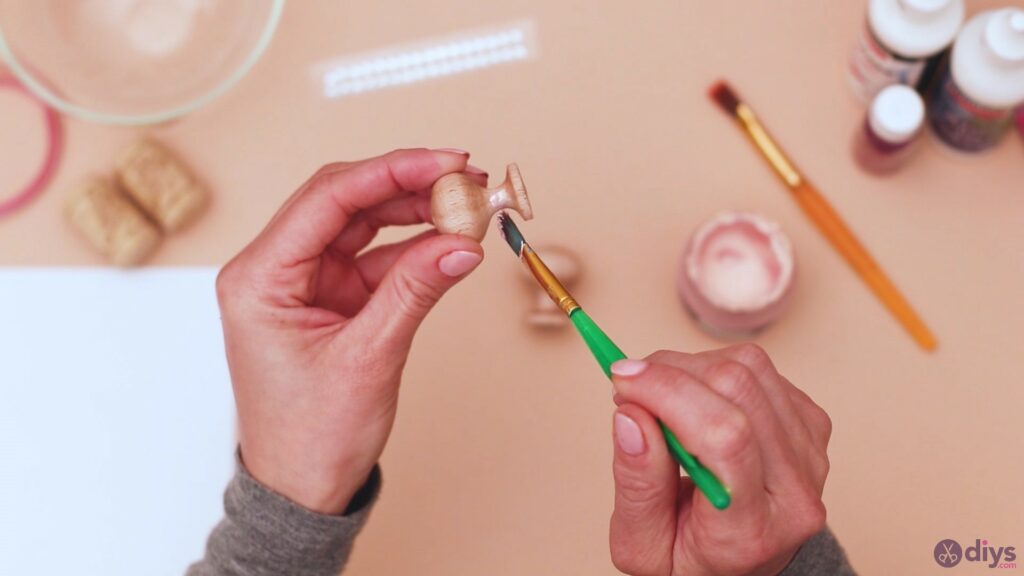
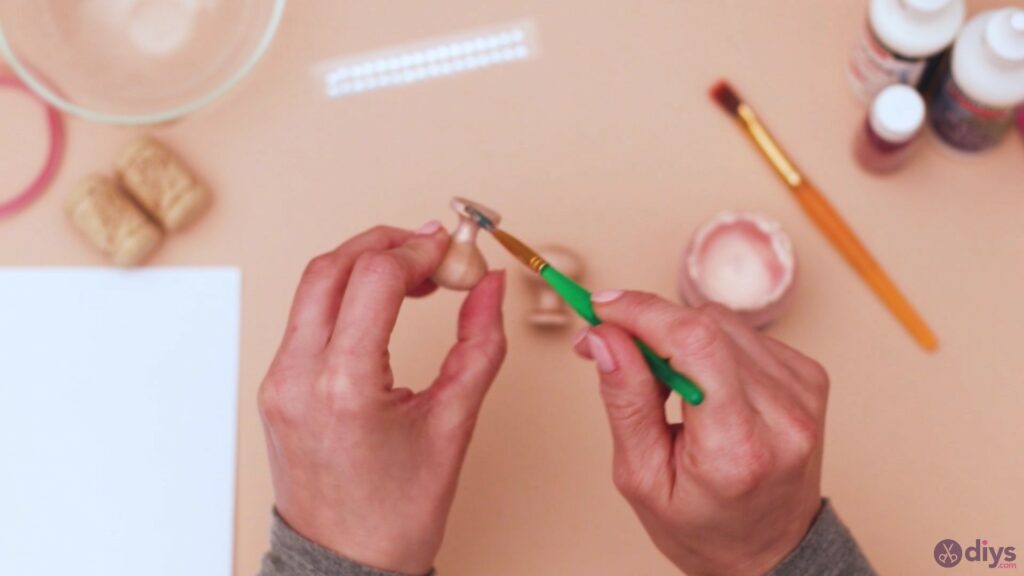
You want to make sure you cover the entire base of the doorknob, including the edges.
You can leave the top of the knob unpainted as we’ll need it for something else. Allow them to dry a bit. Since this is acrylic paint we’re using, it’s going to dry fairly quickly.
Step 2: Decorate the top of the doorknob
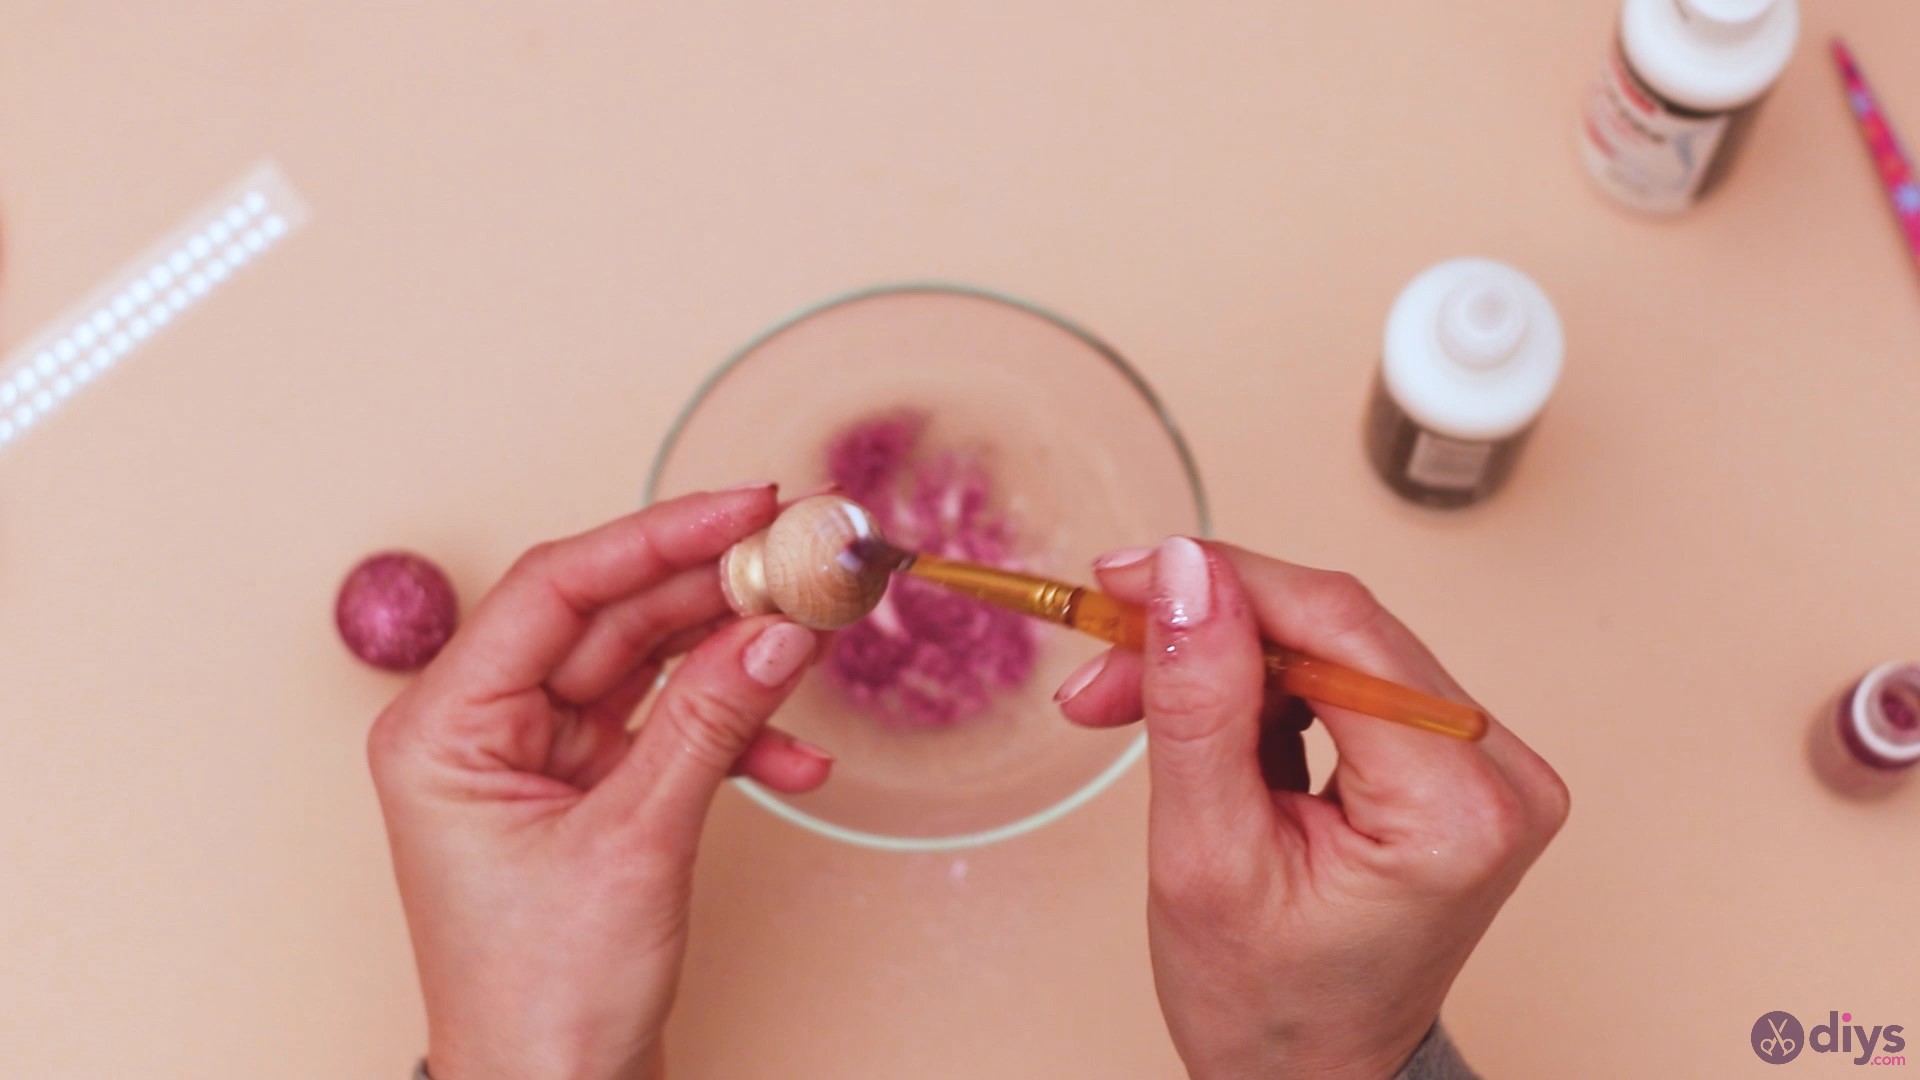
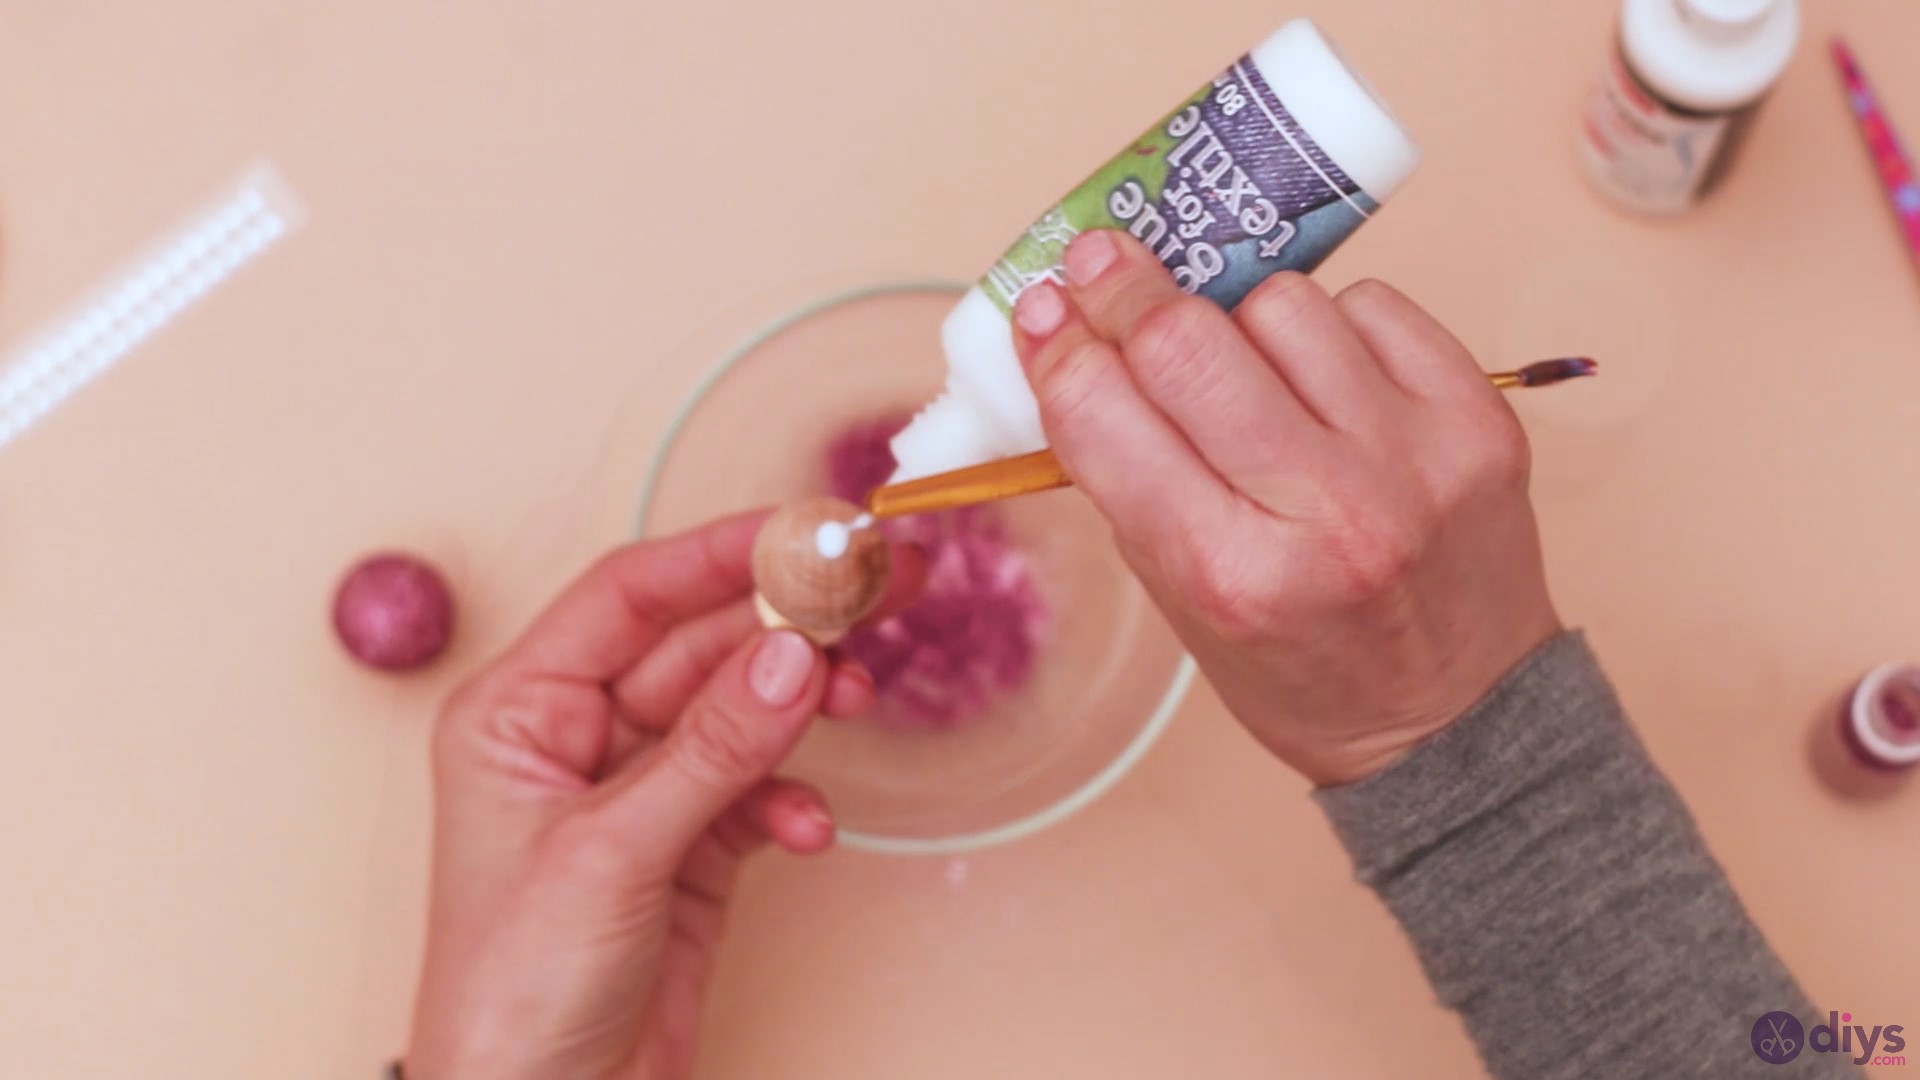
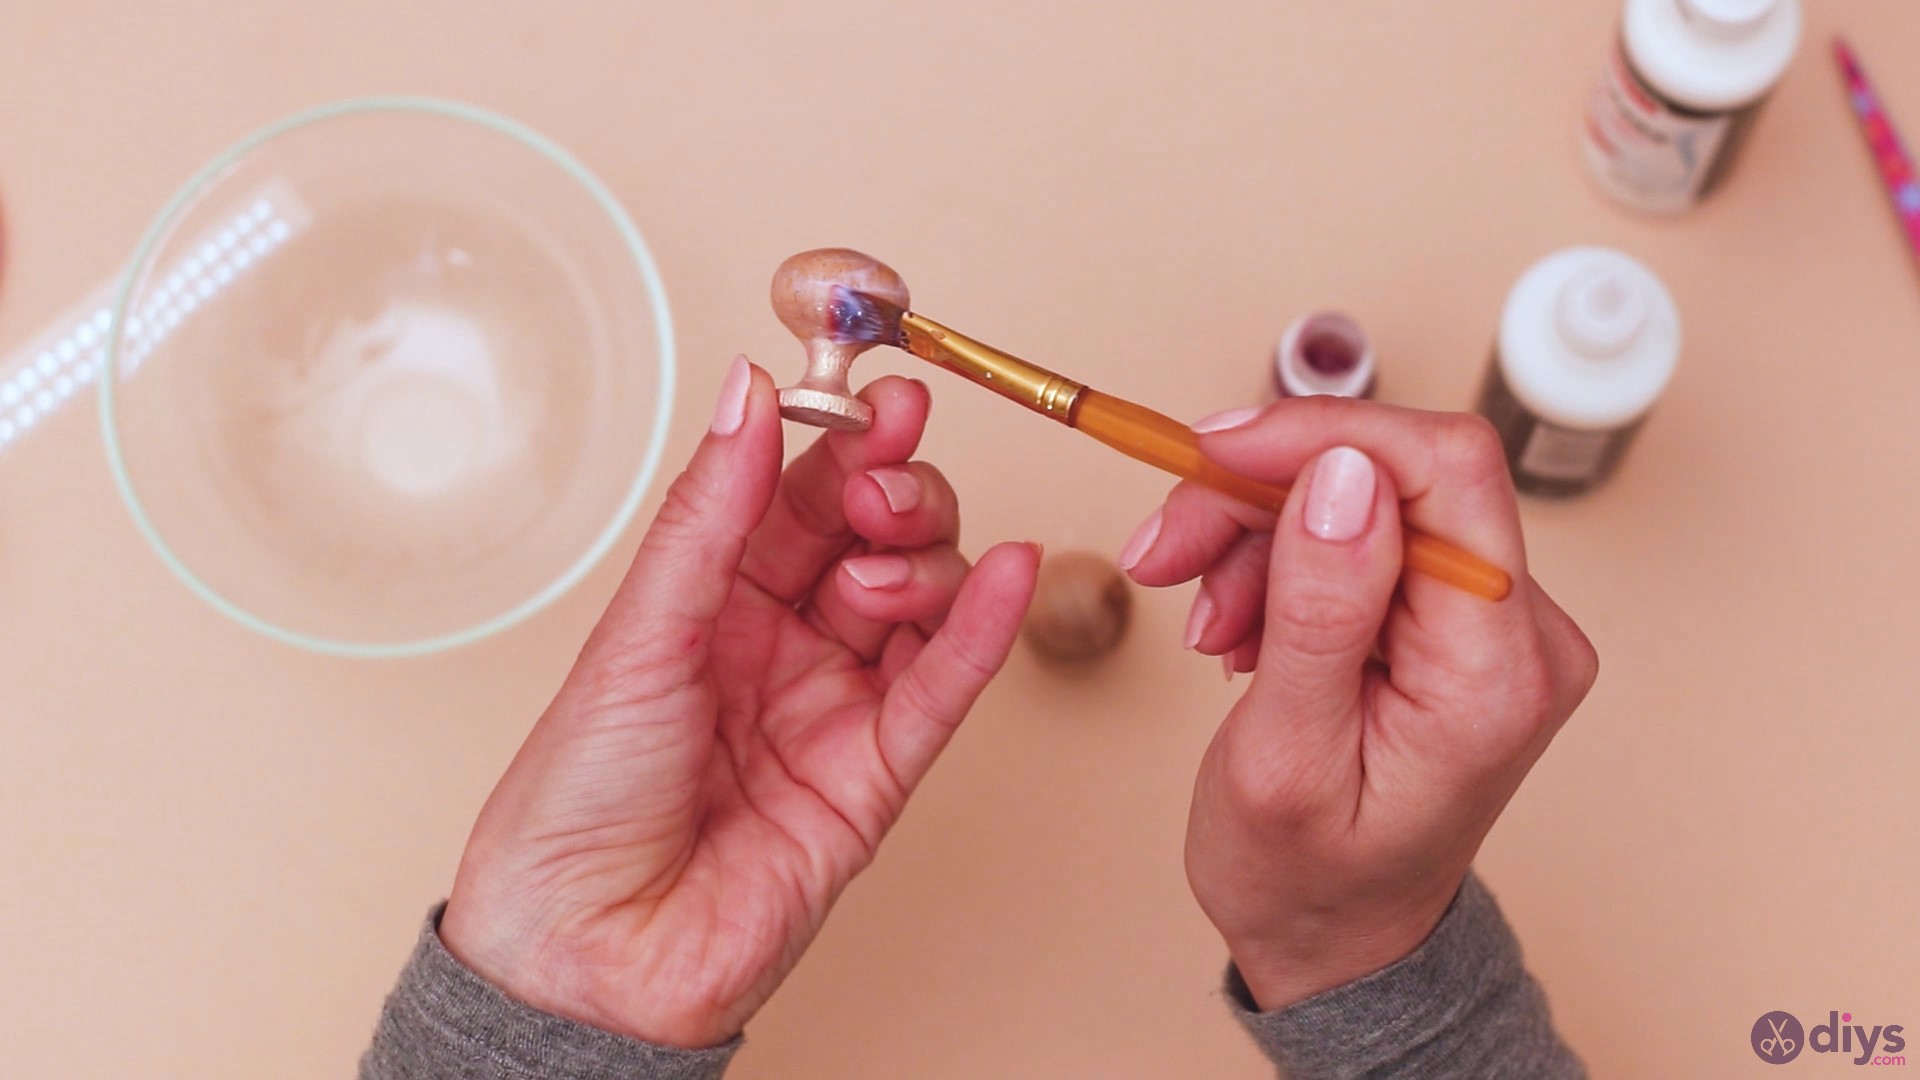
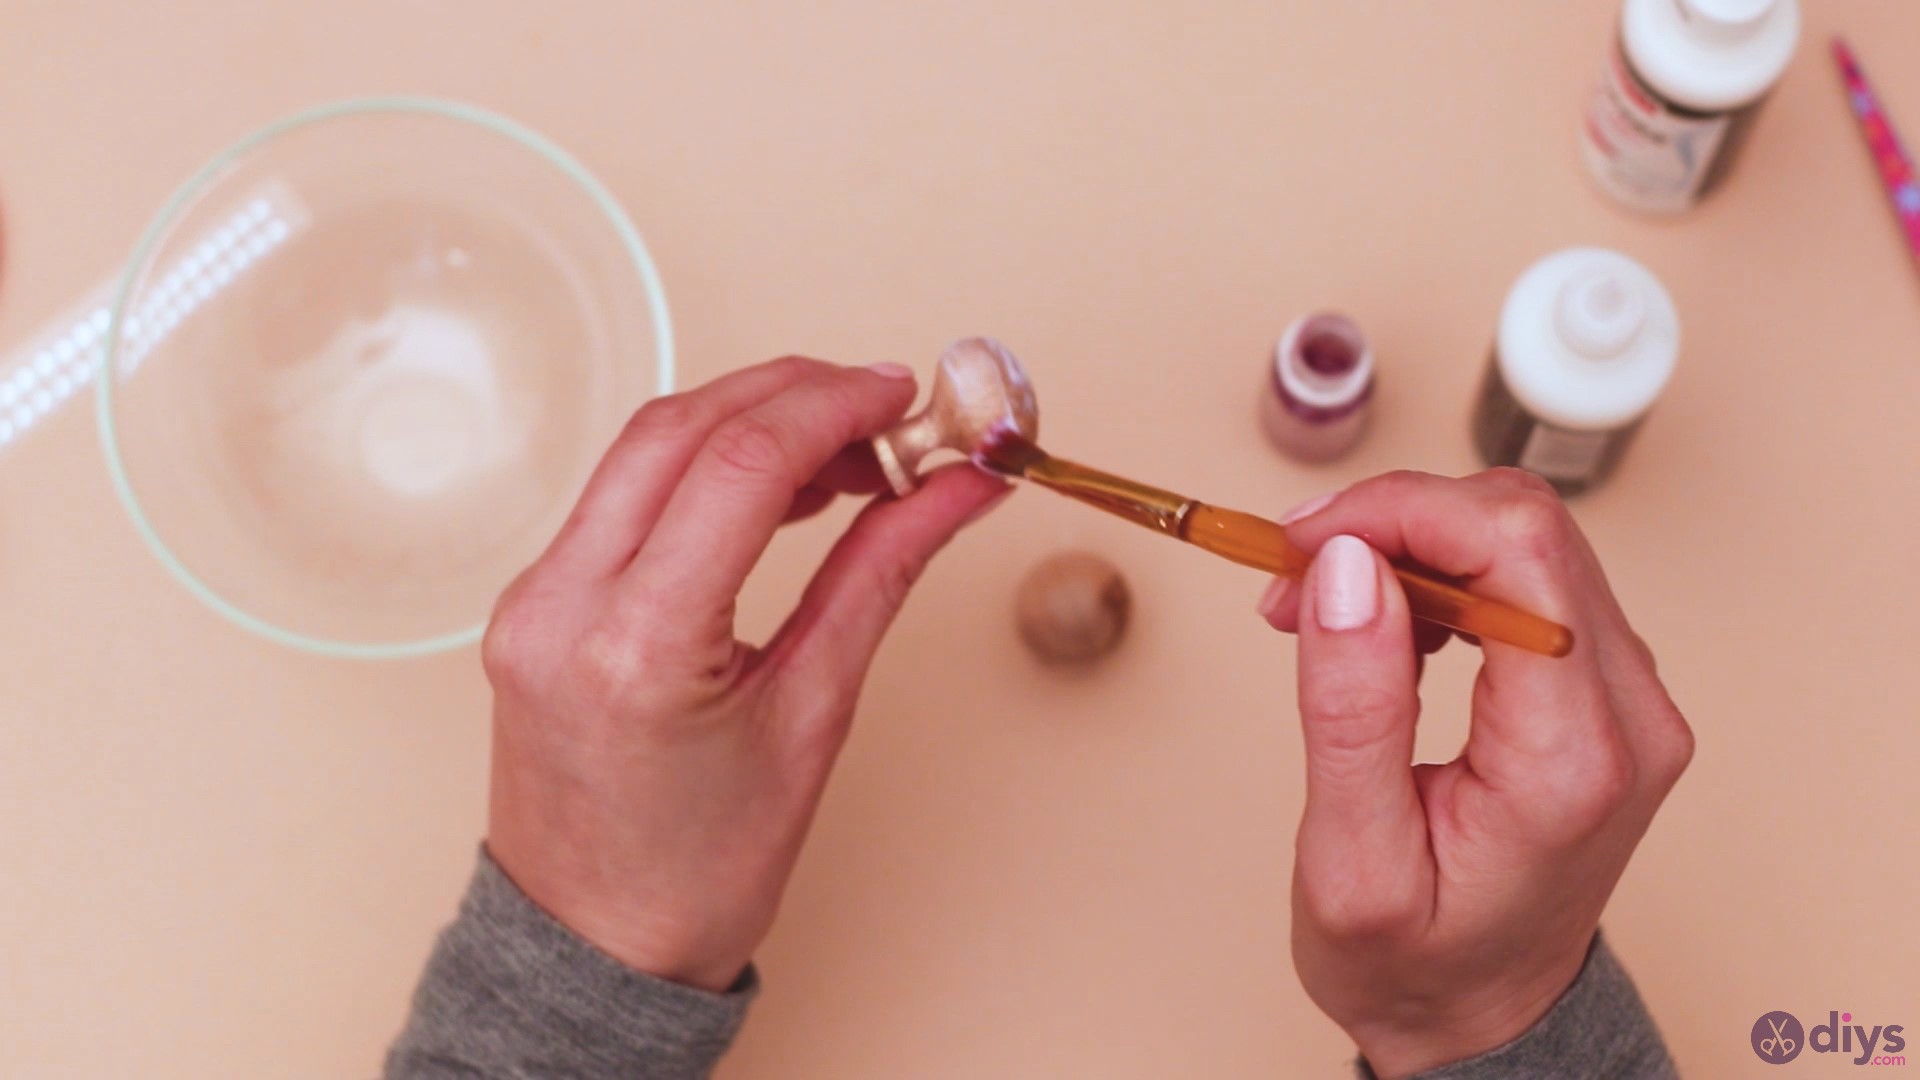
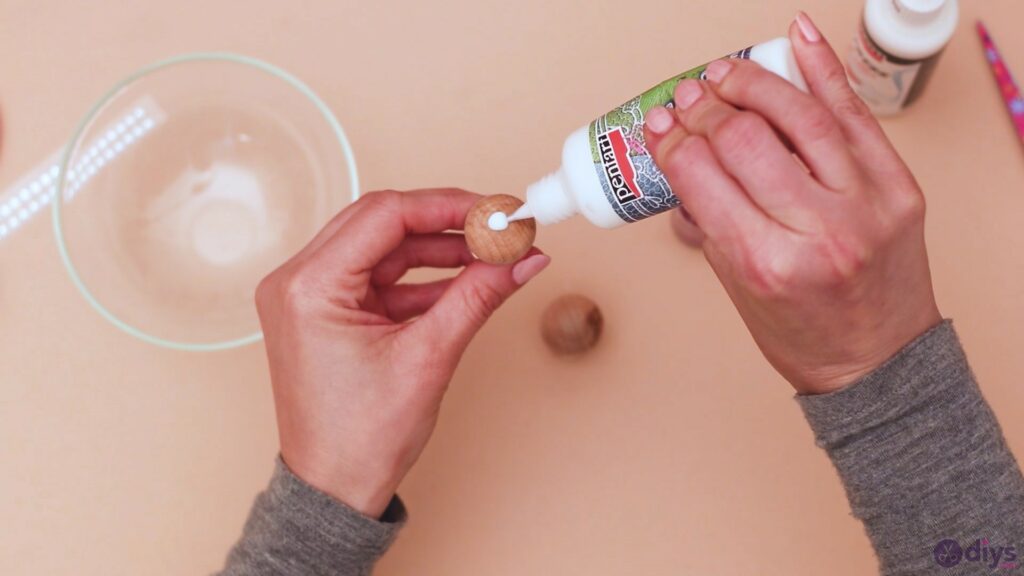
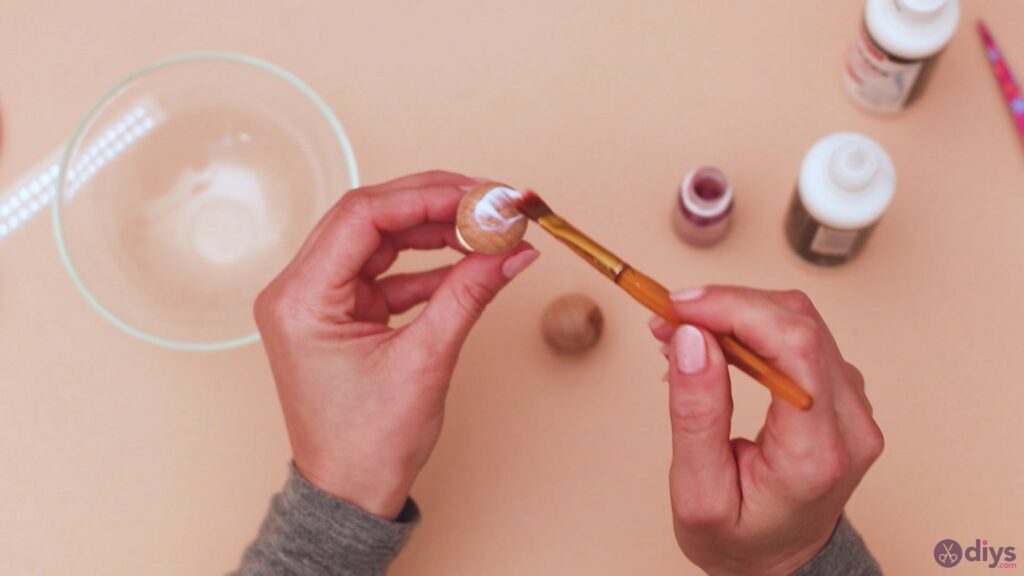
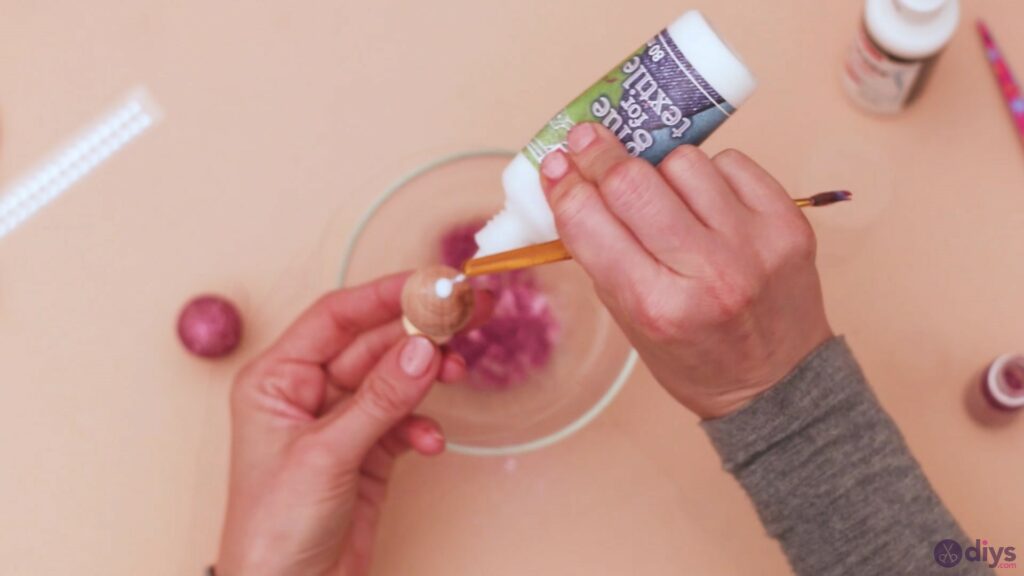
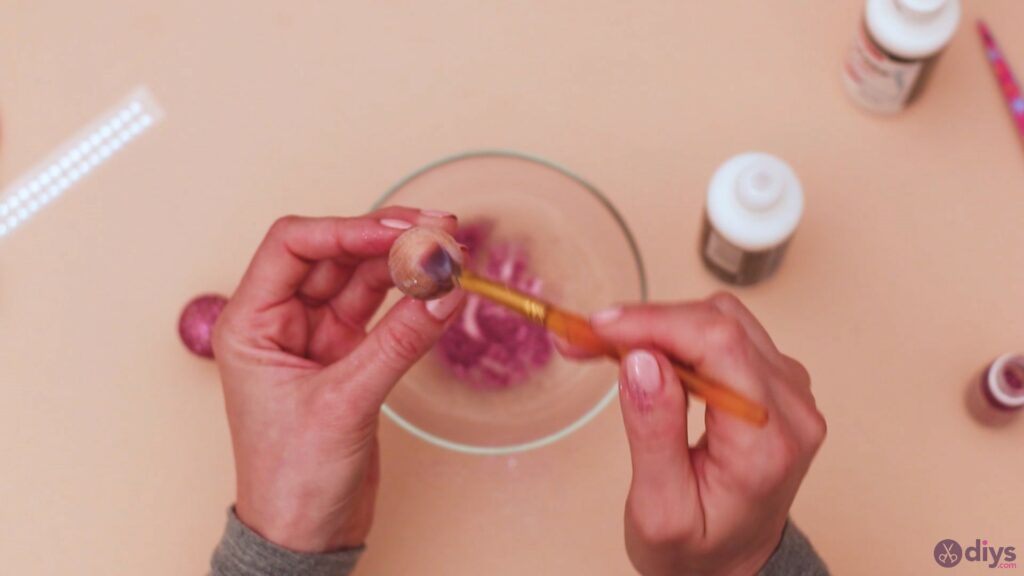
Once the paint has dried on the base of the doorknobs, we’re going to get the textile glueand add some on top of the knob.
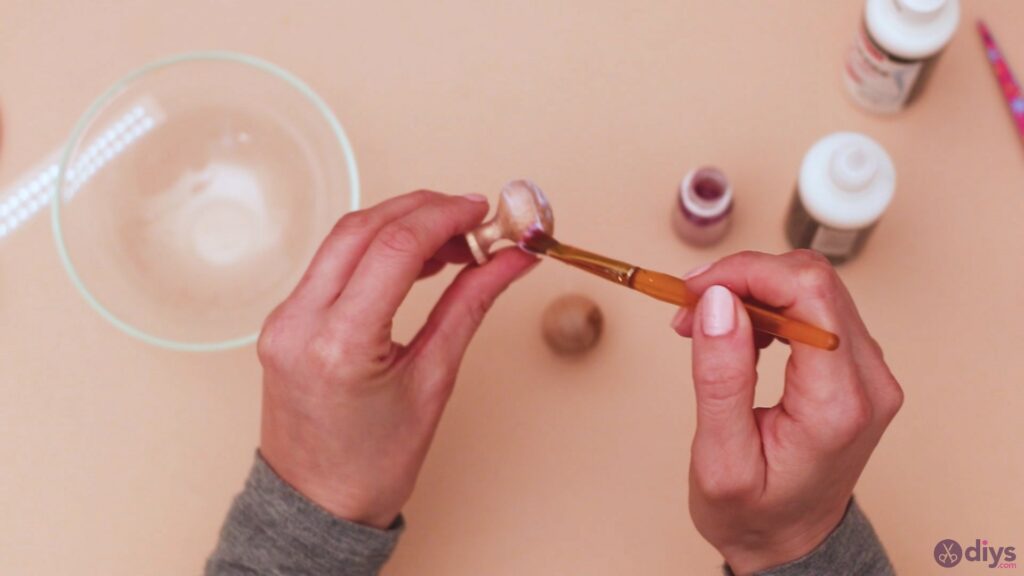
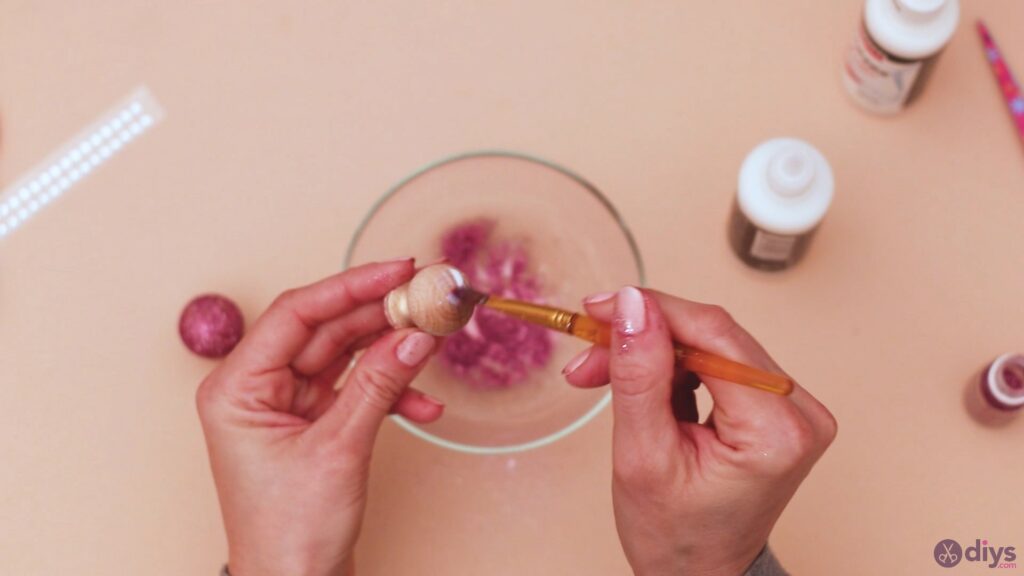
Spread the glue with the other paintbrush and cover as much of the top as possible.
Make sure you cover the area under the bulb too.
Step 3: Add the glitter
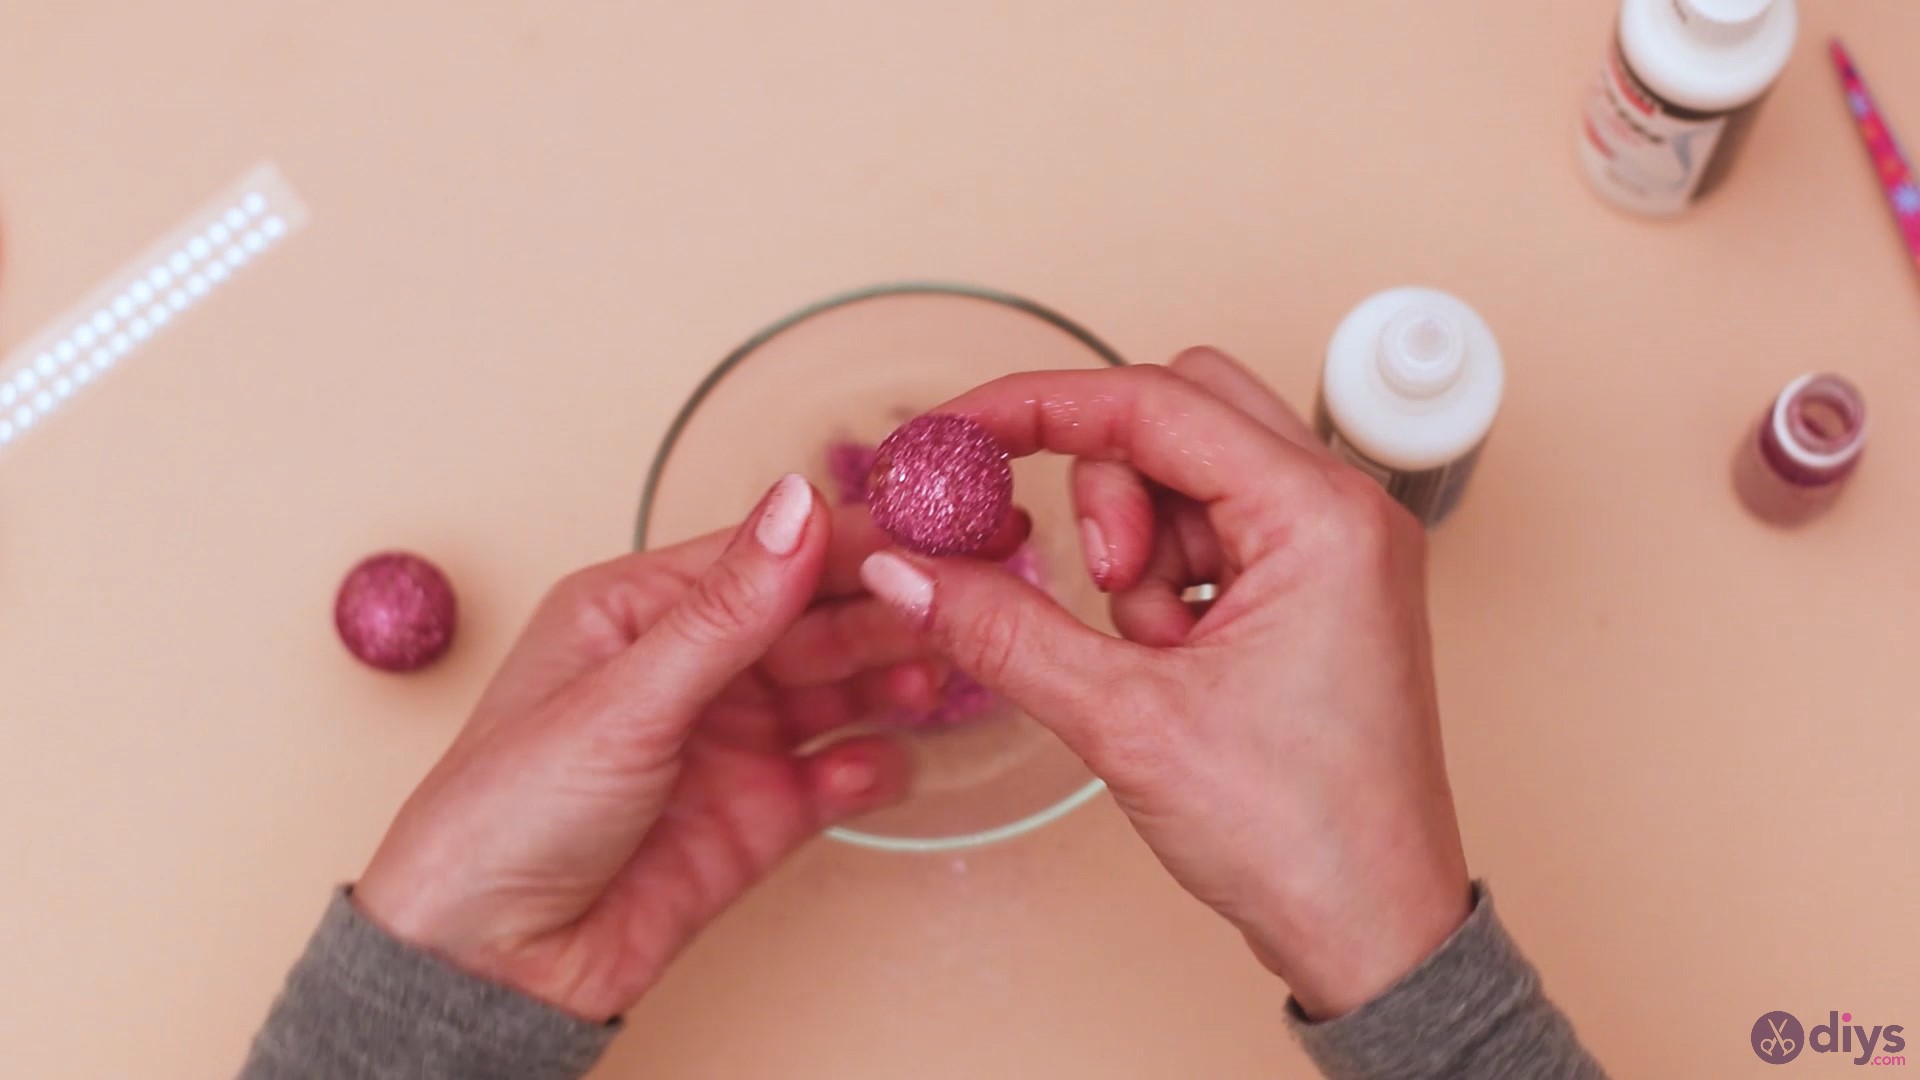
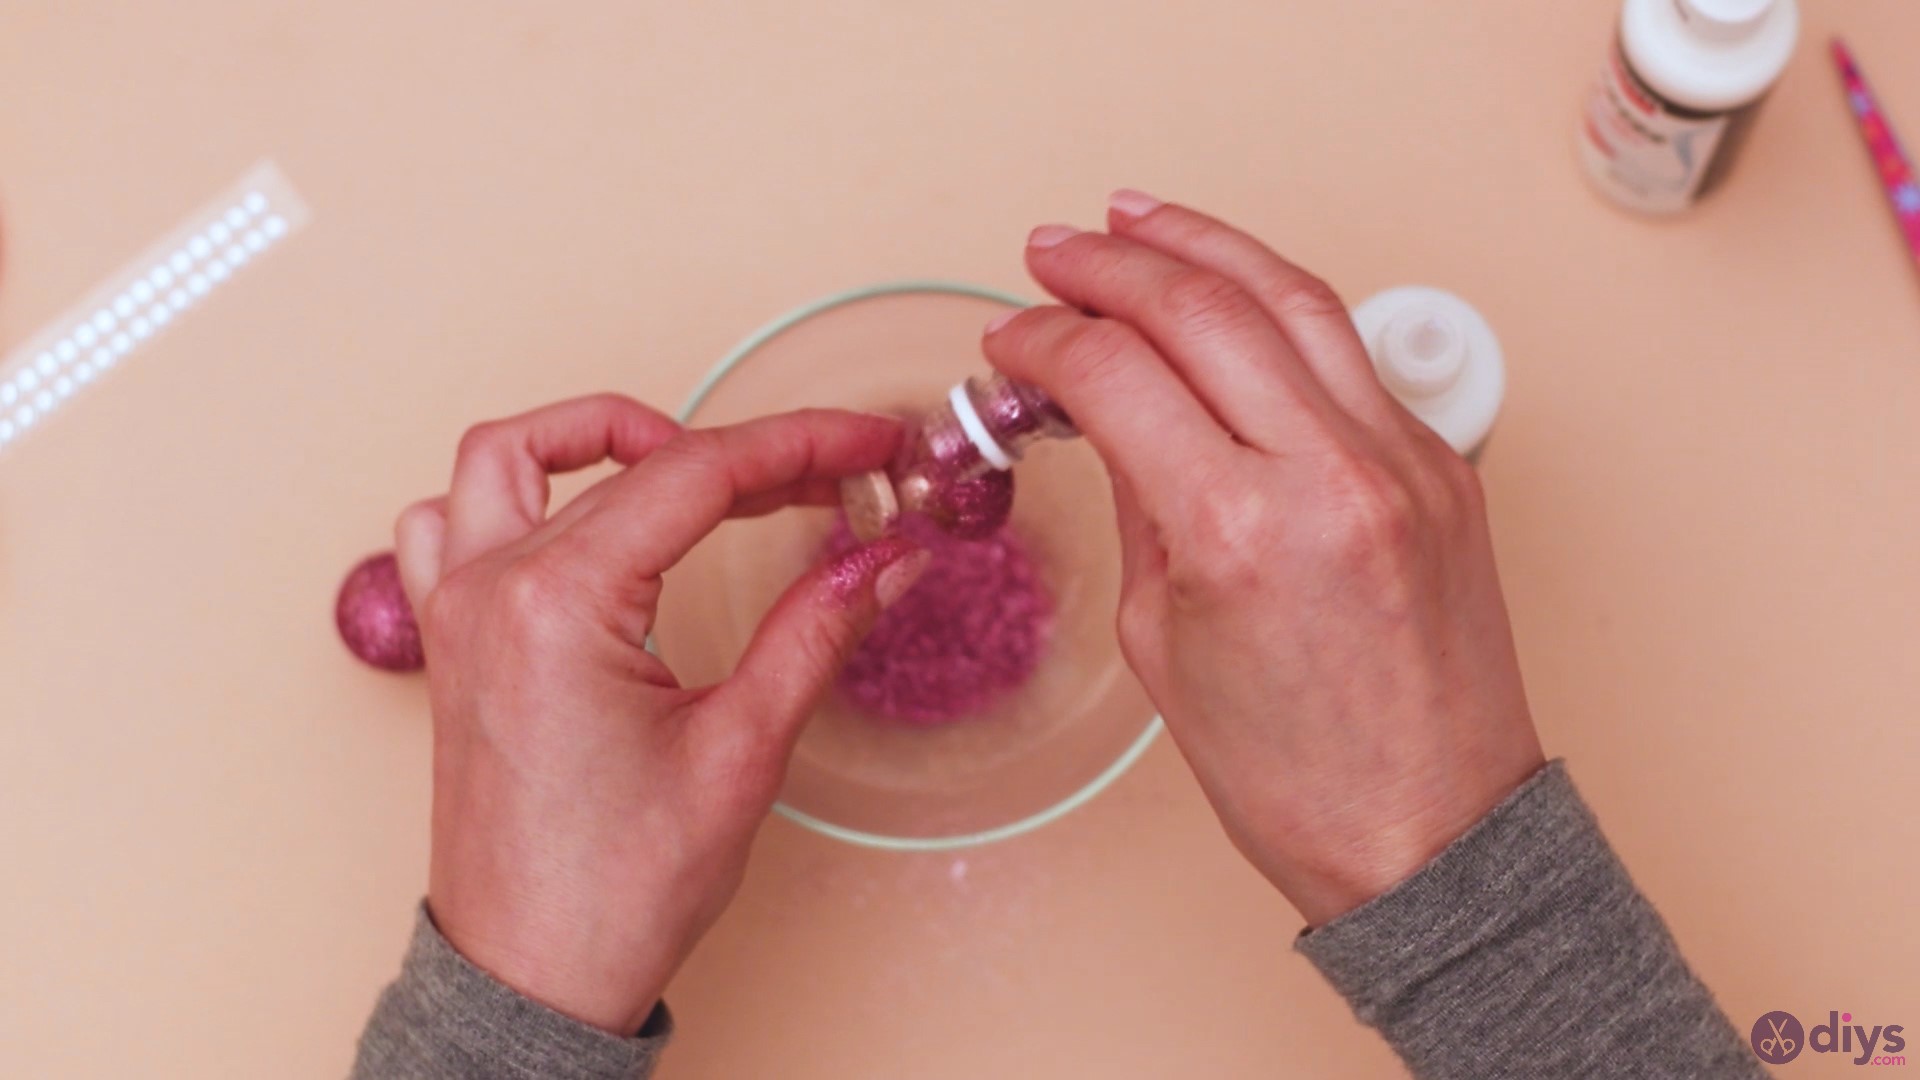
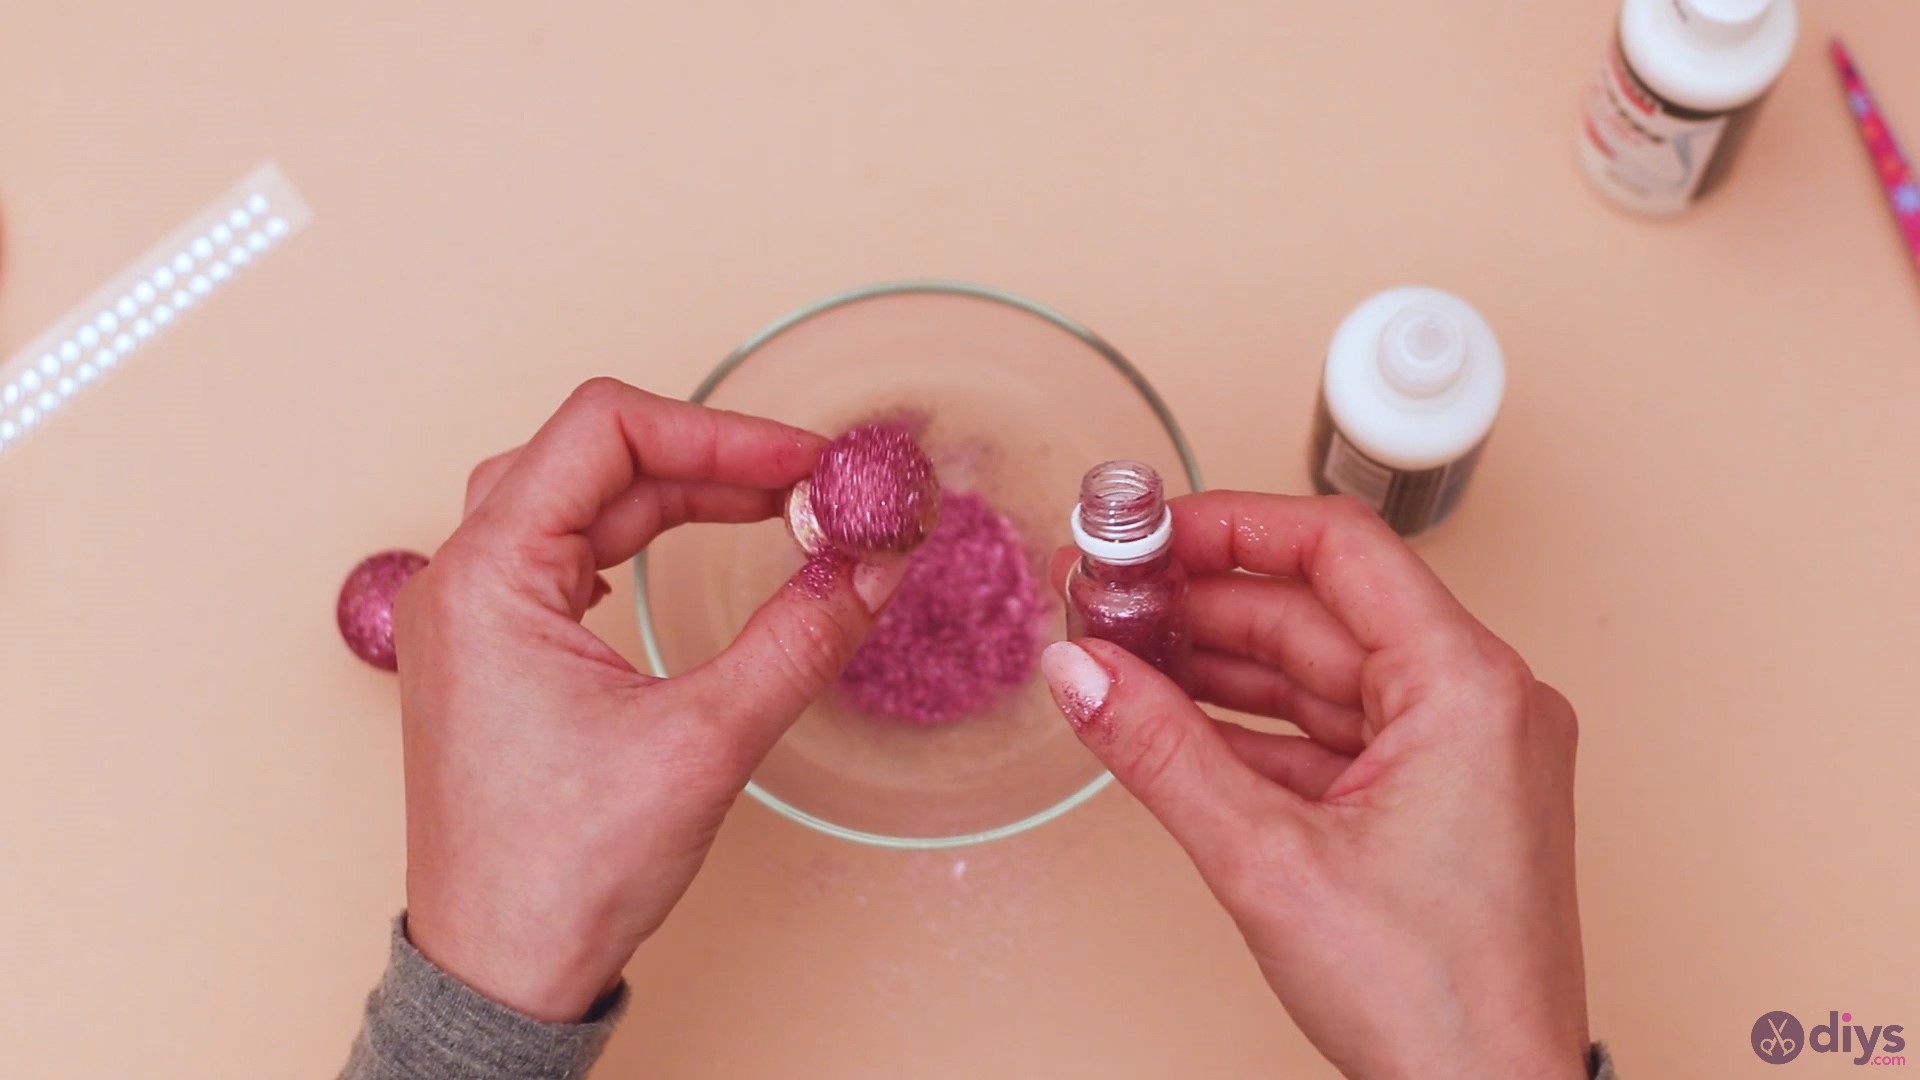
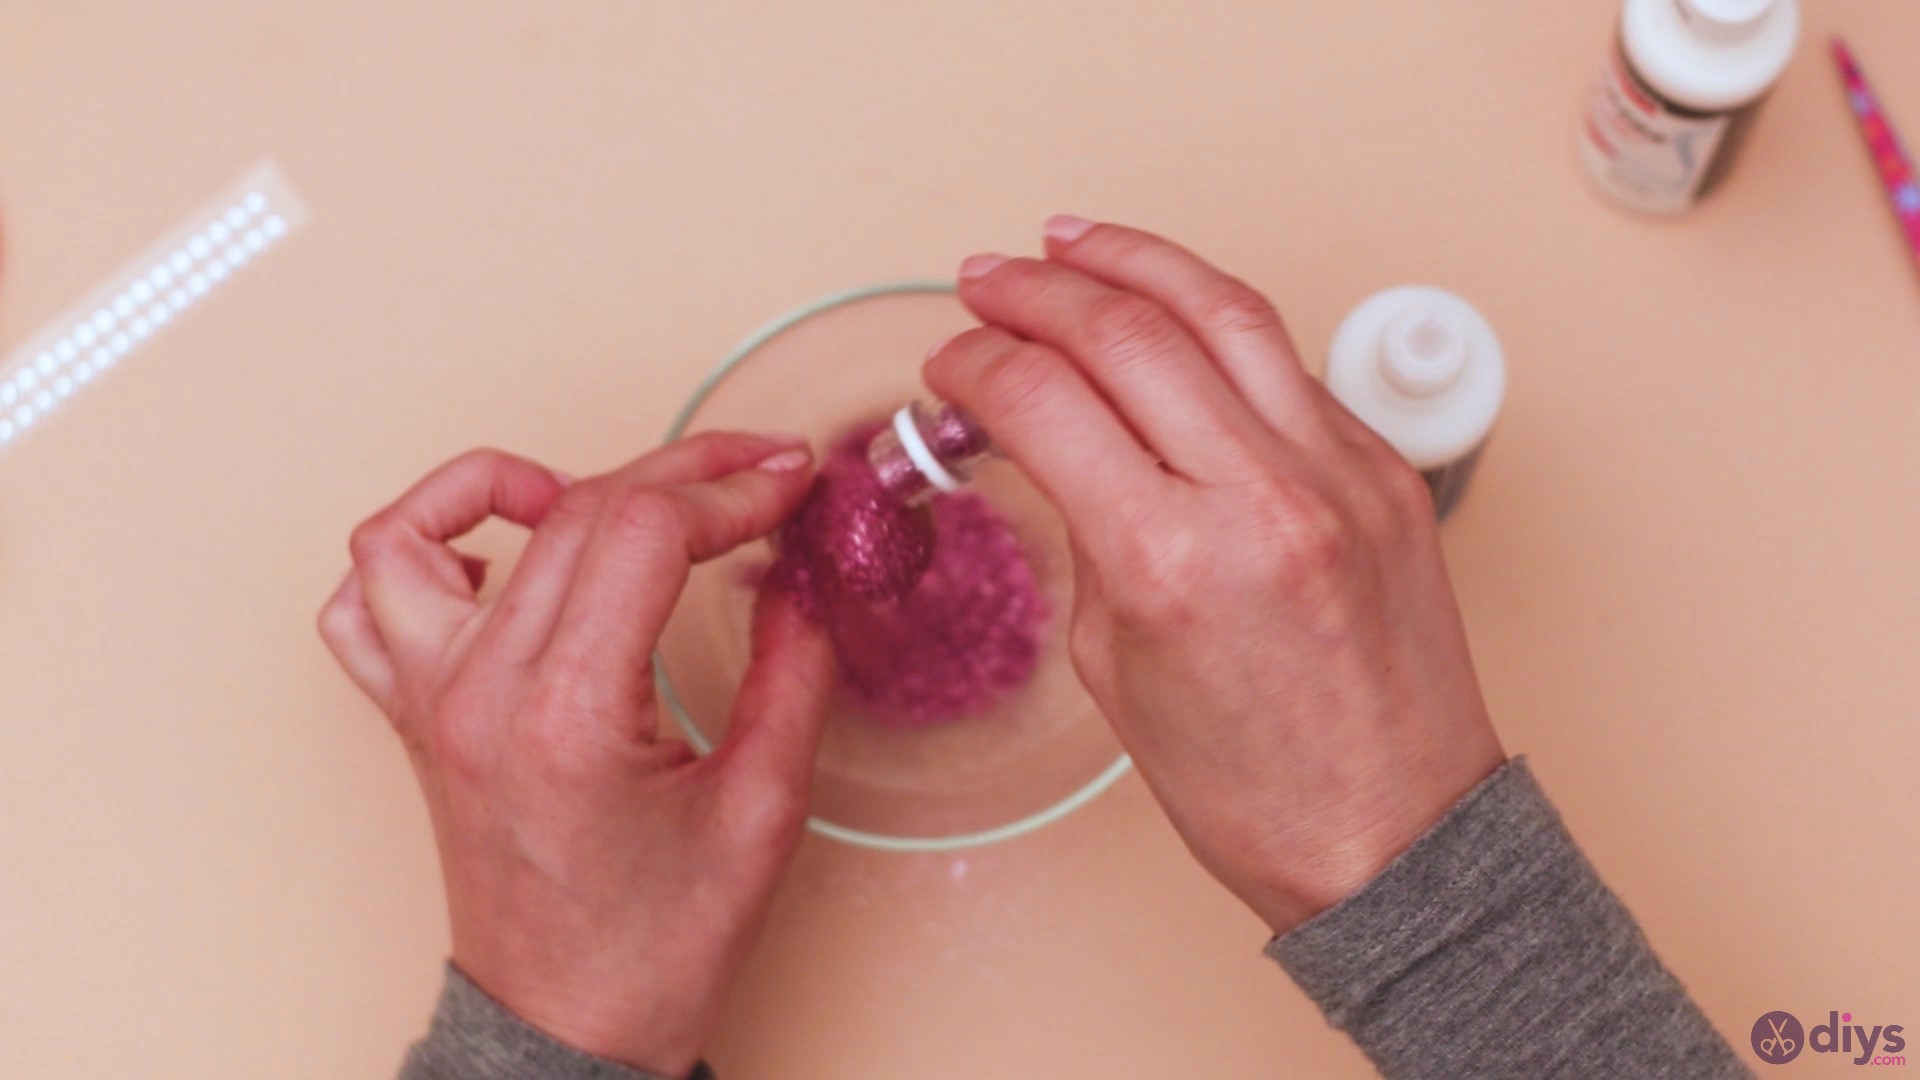
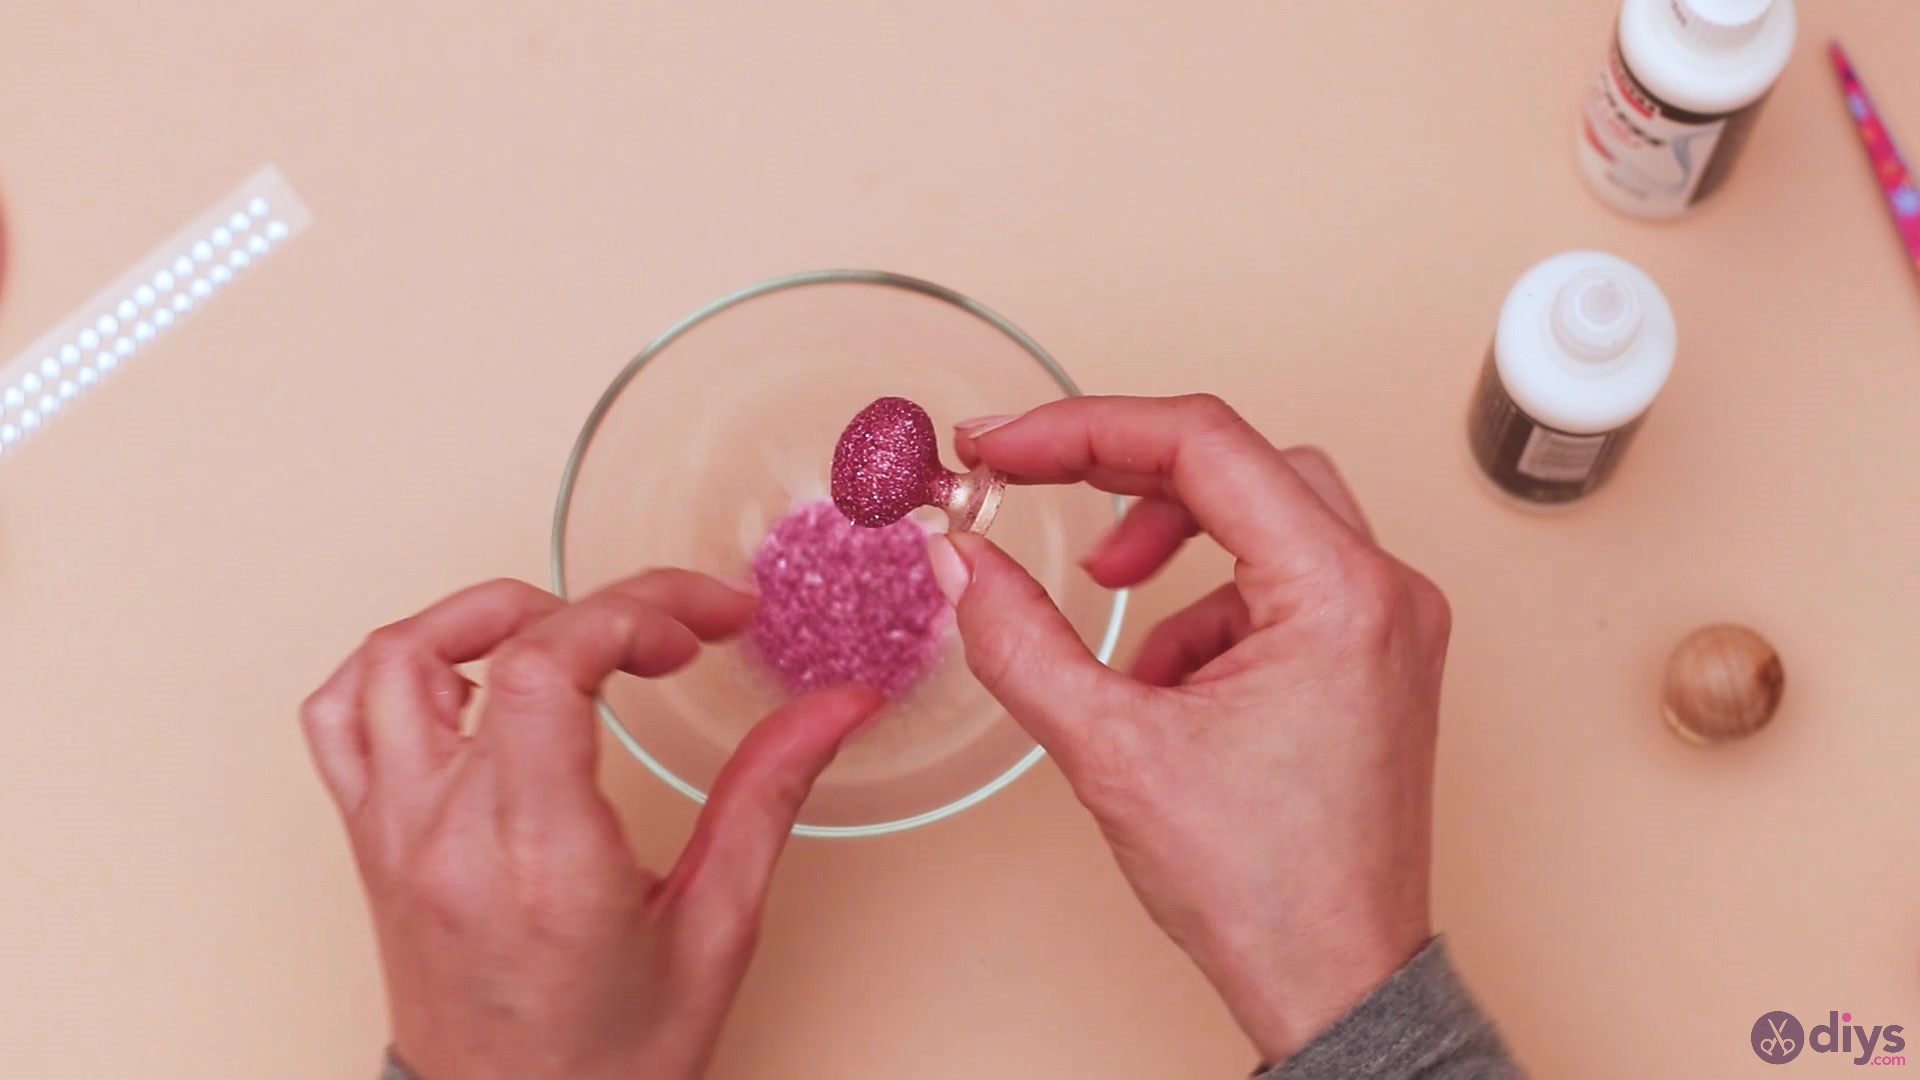
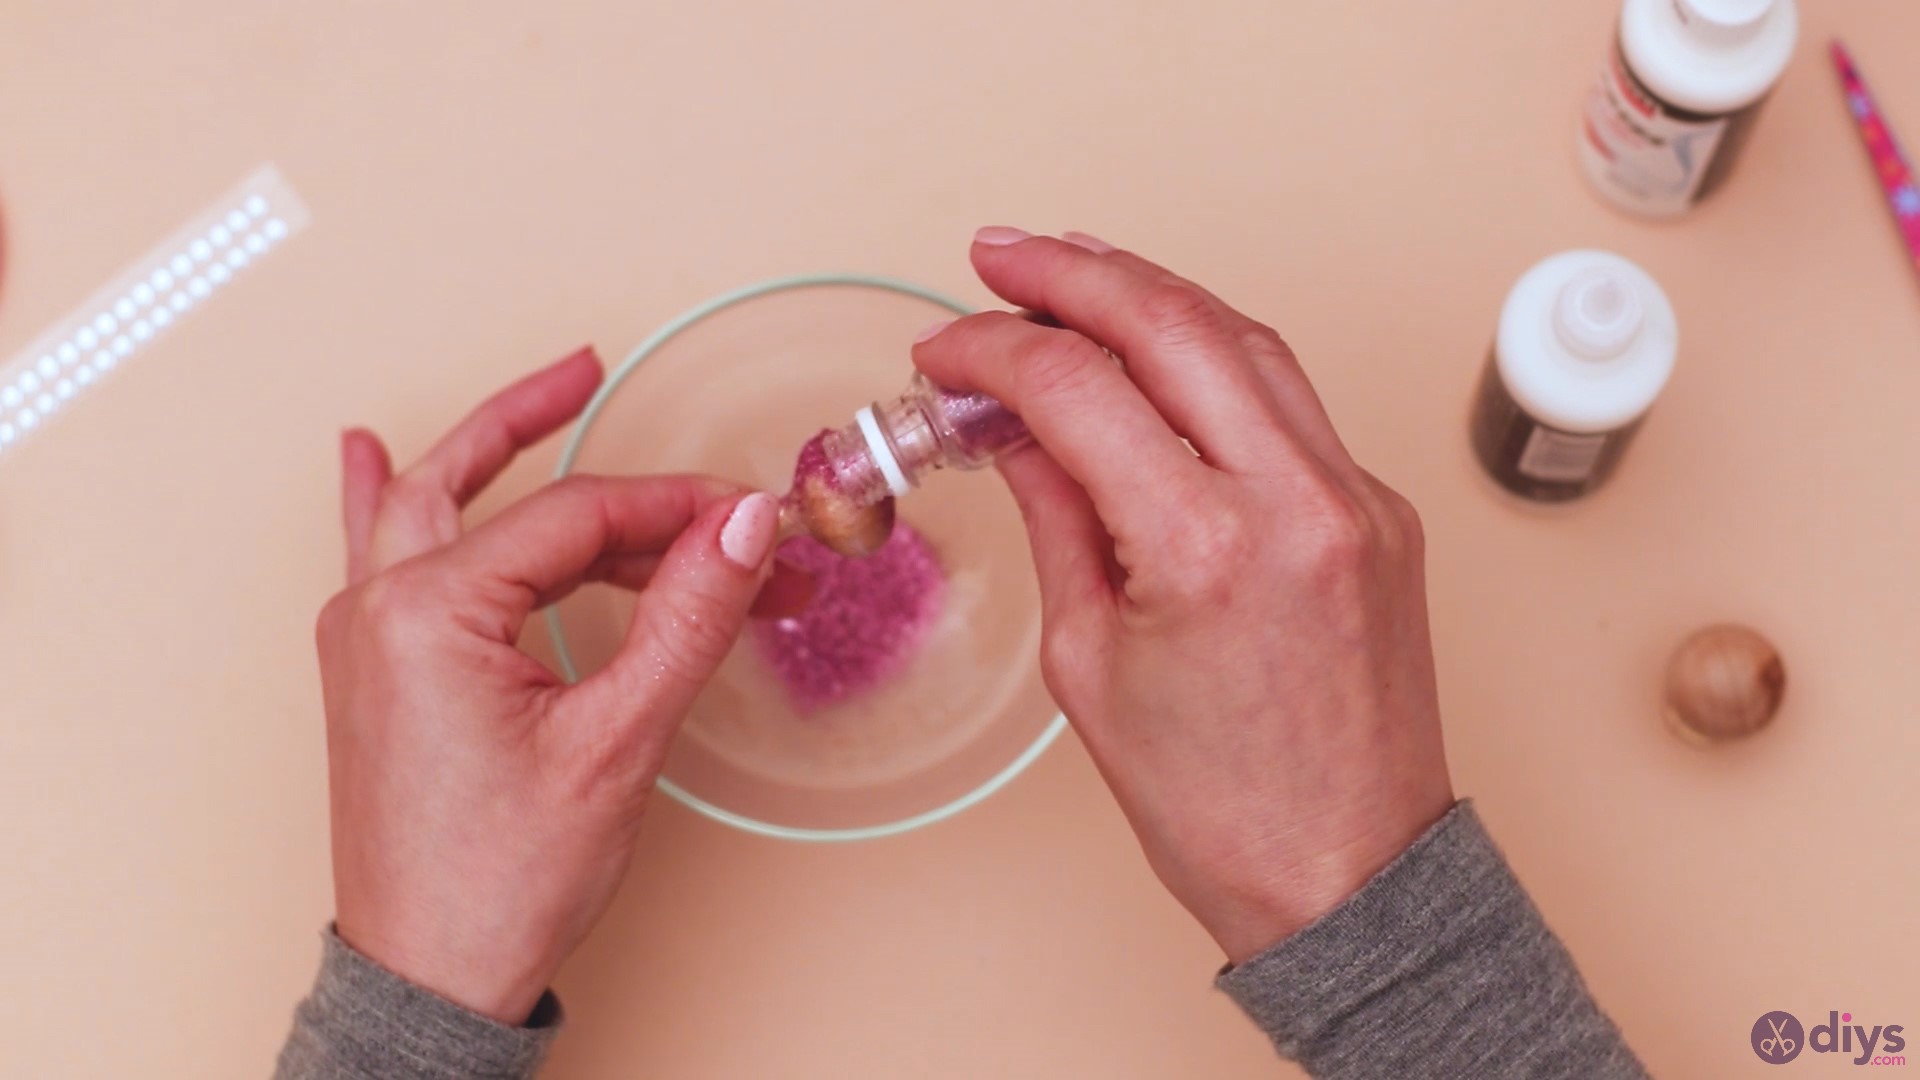
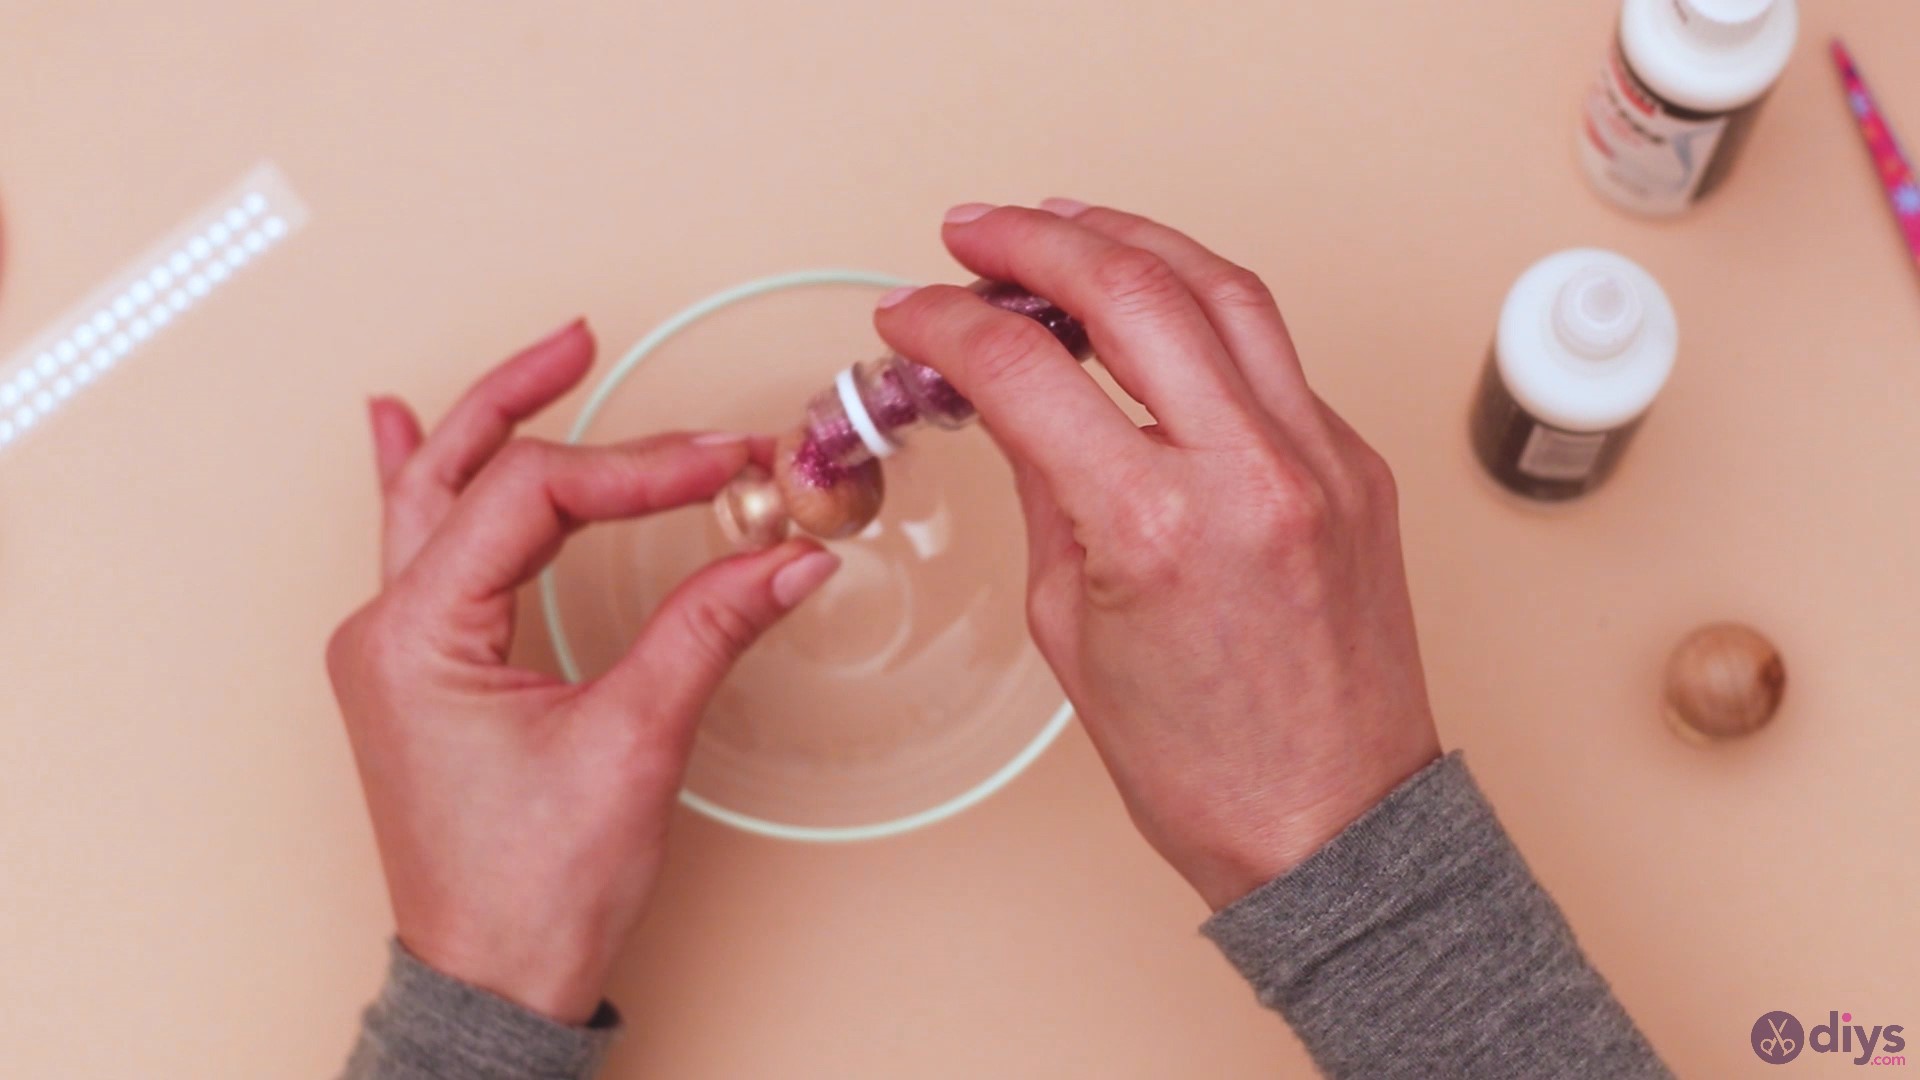
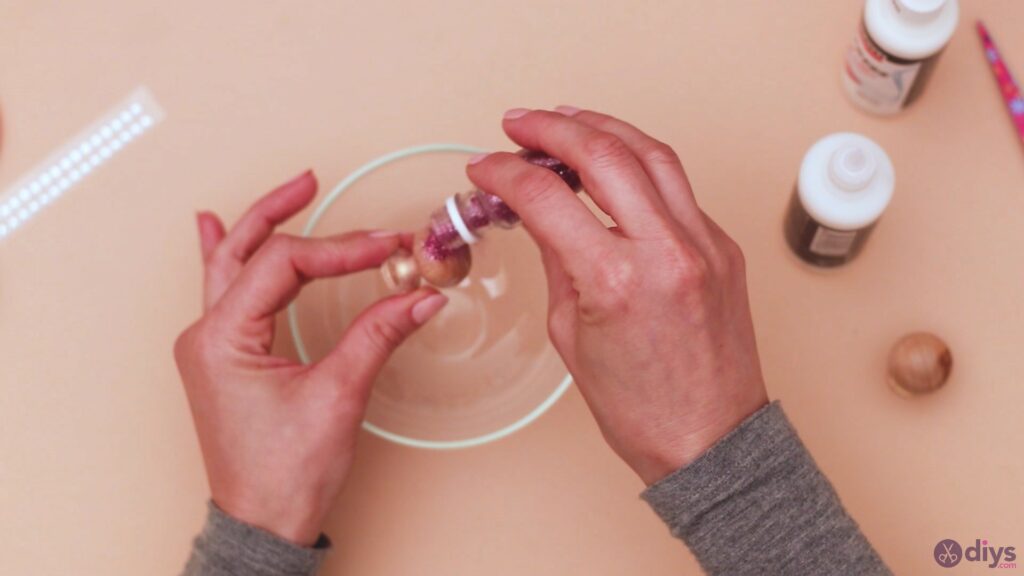
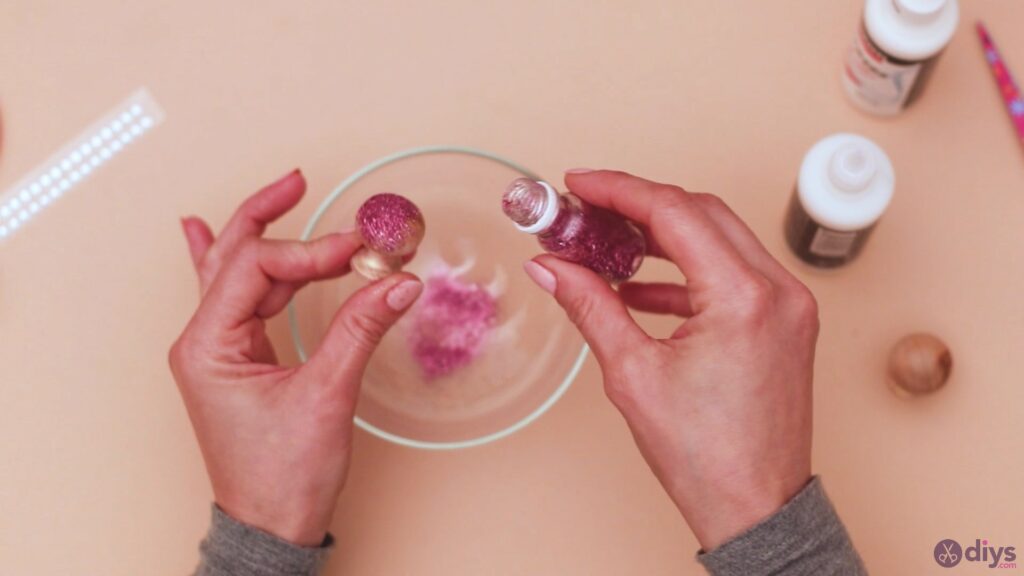
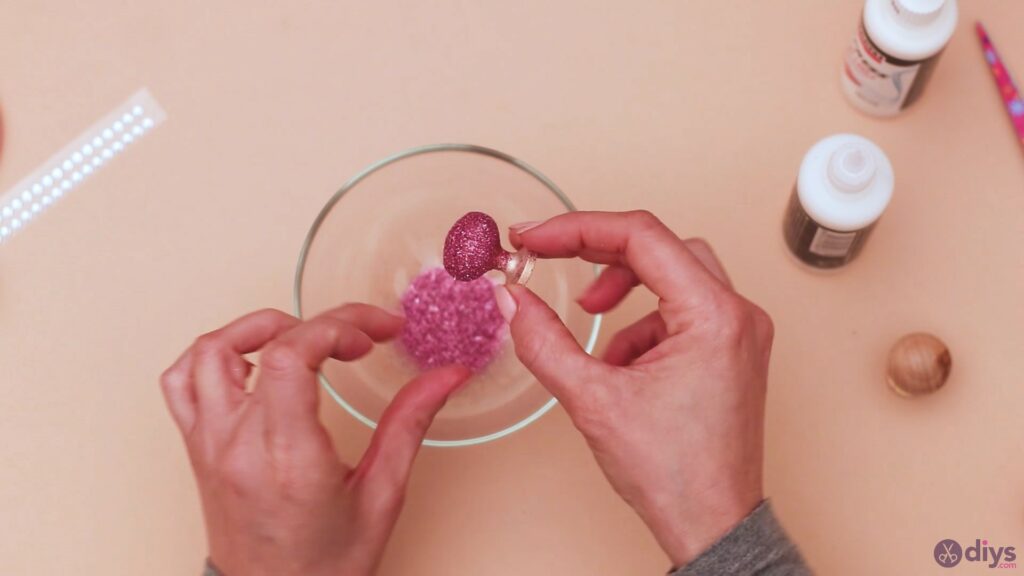
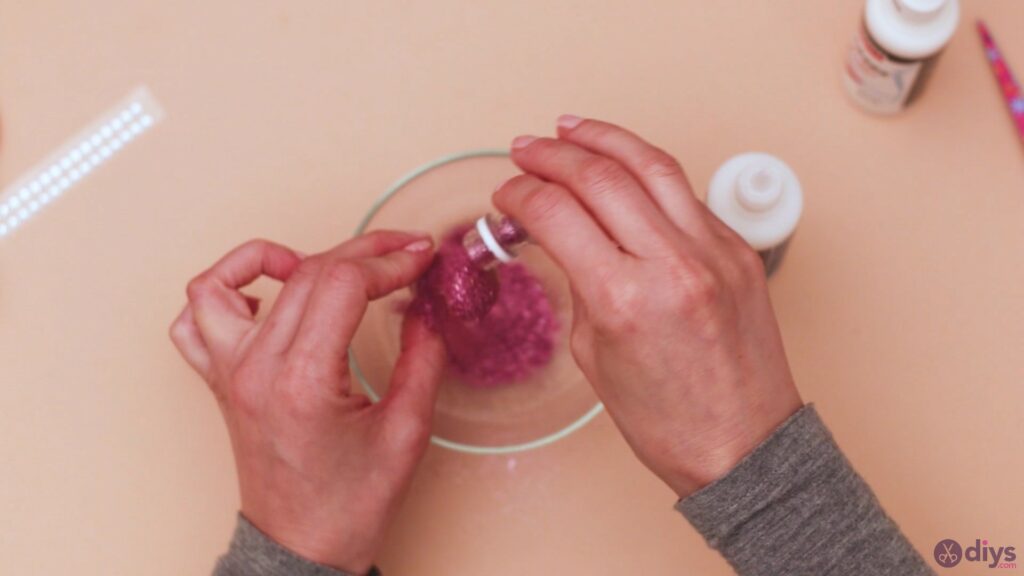
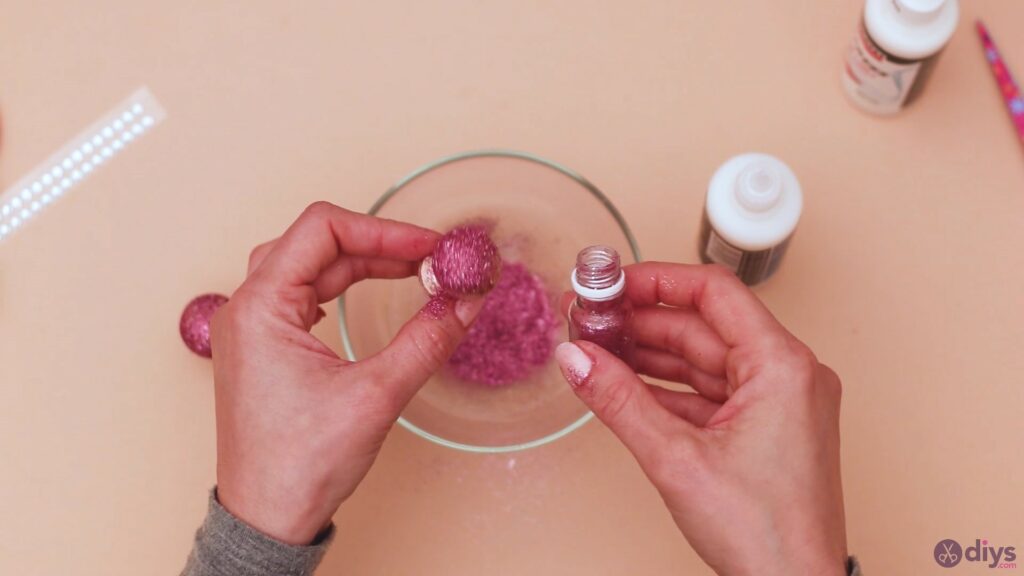
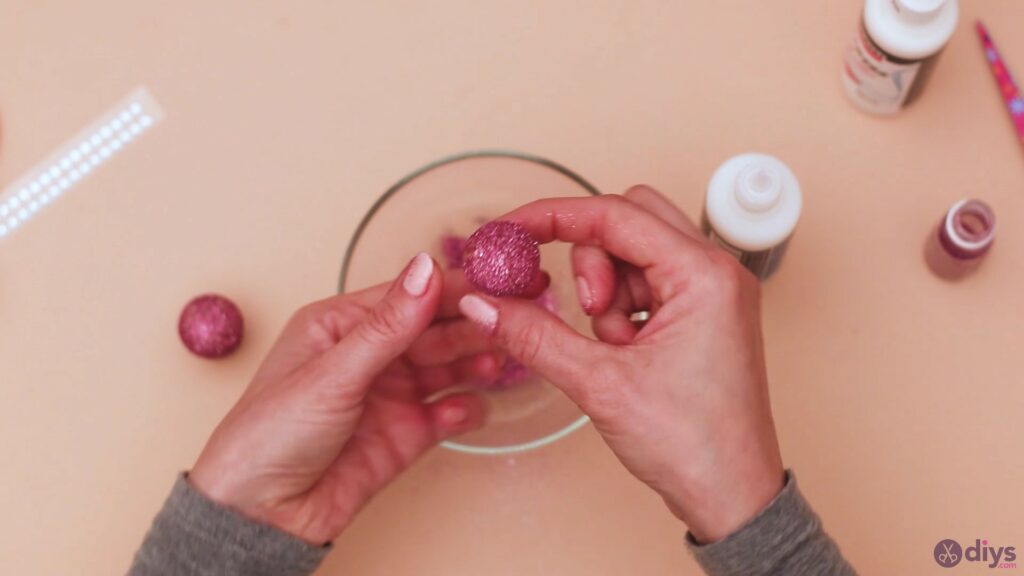
Now that the glue is applied, you need to work fast. Place the glue-covered-doorknob over a bowl (you really don’t want glitter everywhere) and start pouring down the glitter over the knob.
Make sure you turn the knob on all sides so the glitter gets all over it, on all areas that you’ve covered with glue.
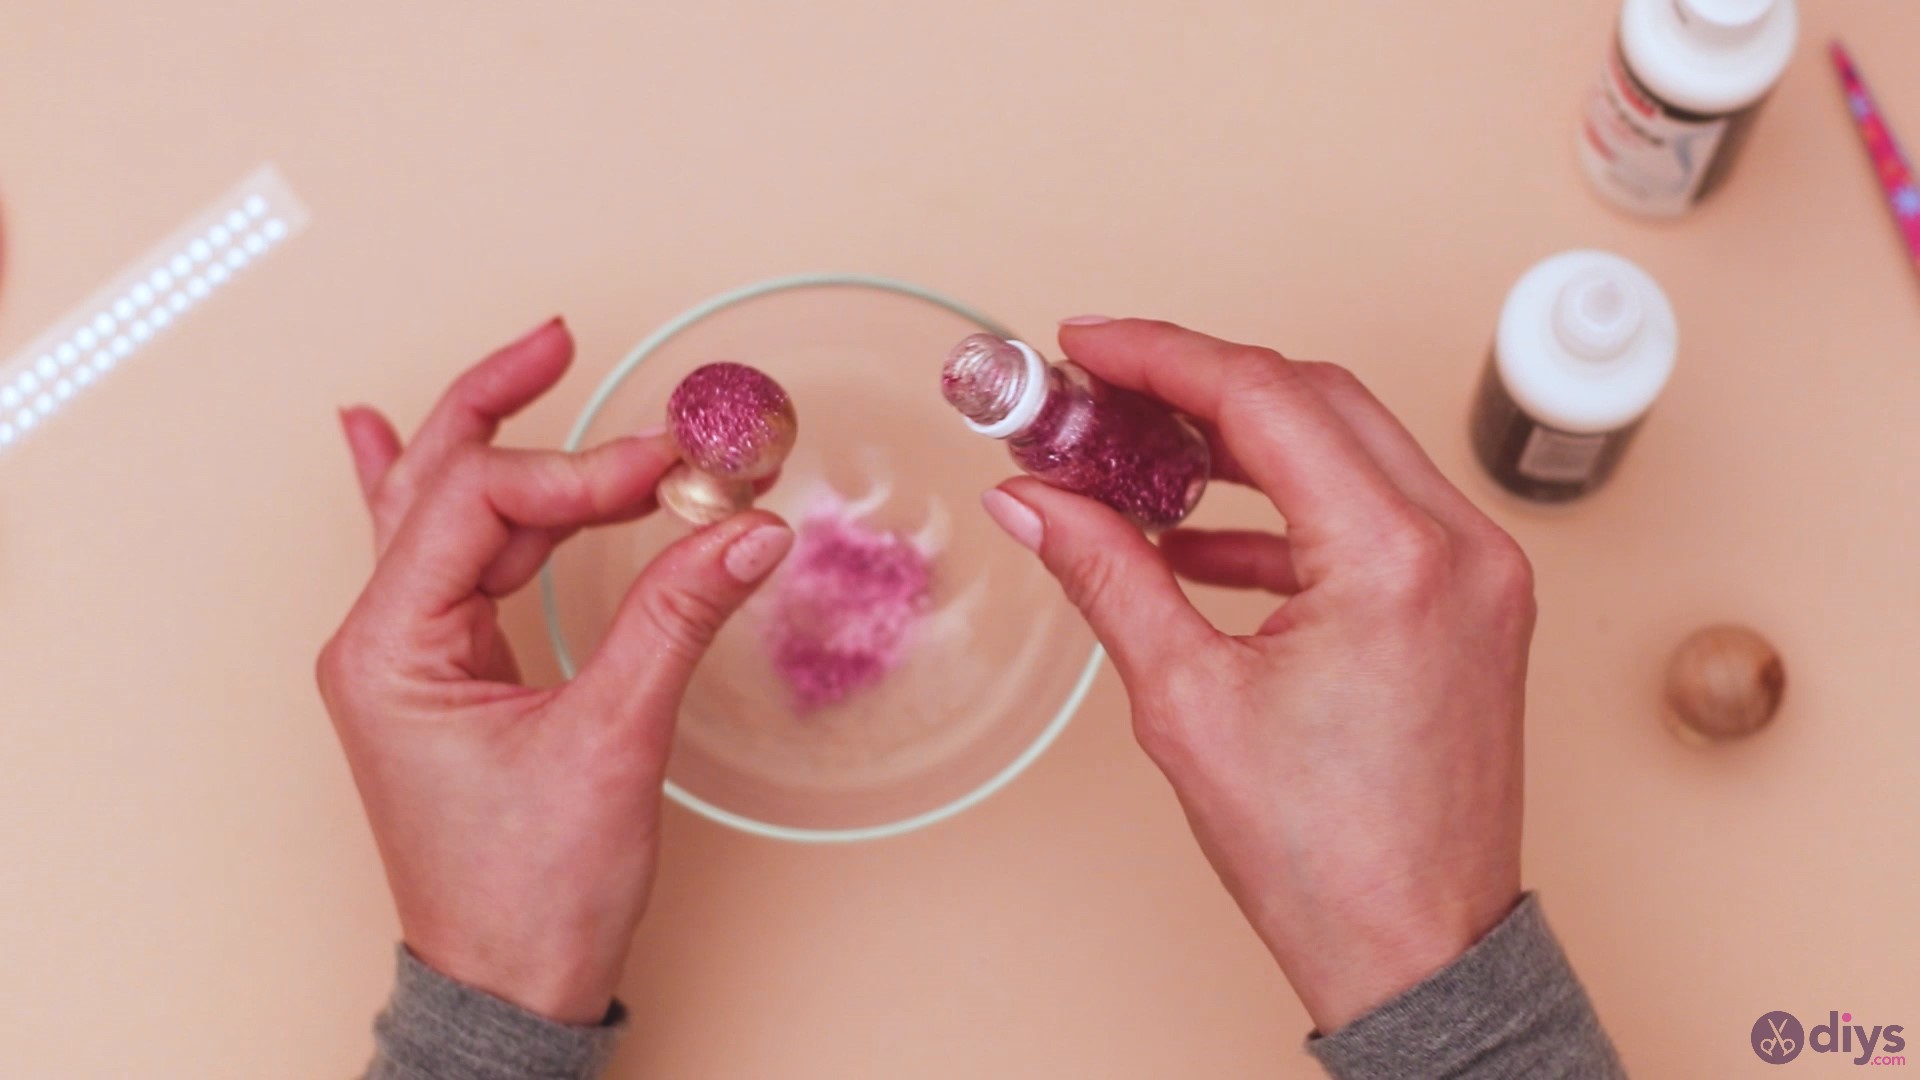
Try to measure out the glitter you’re pouring, getting more of it on the knob than in the bowl. So, don’t drop it all at once, go little by little.
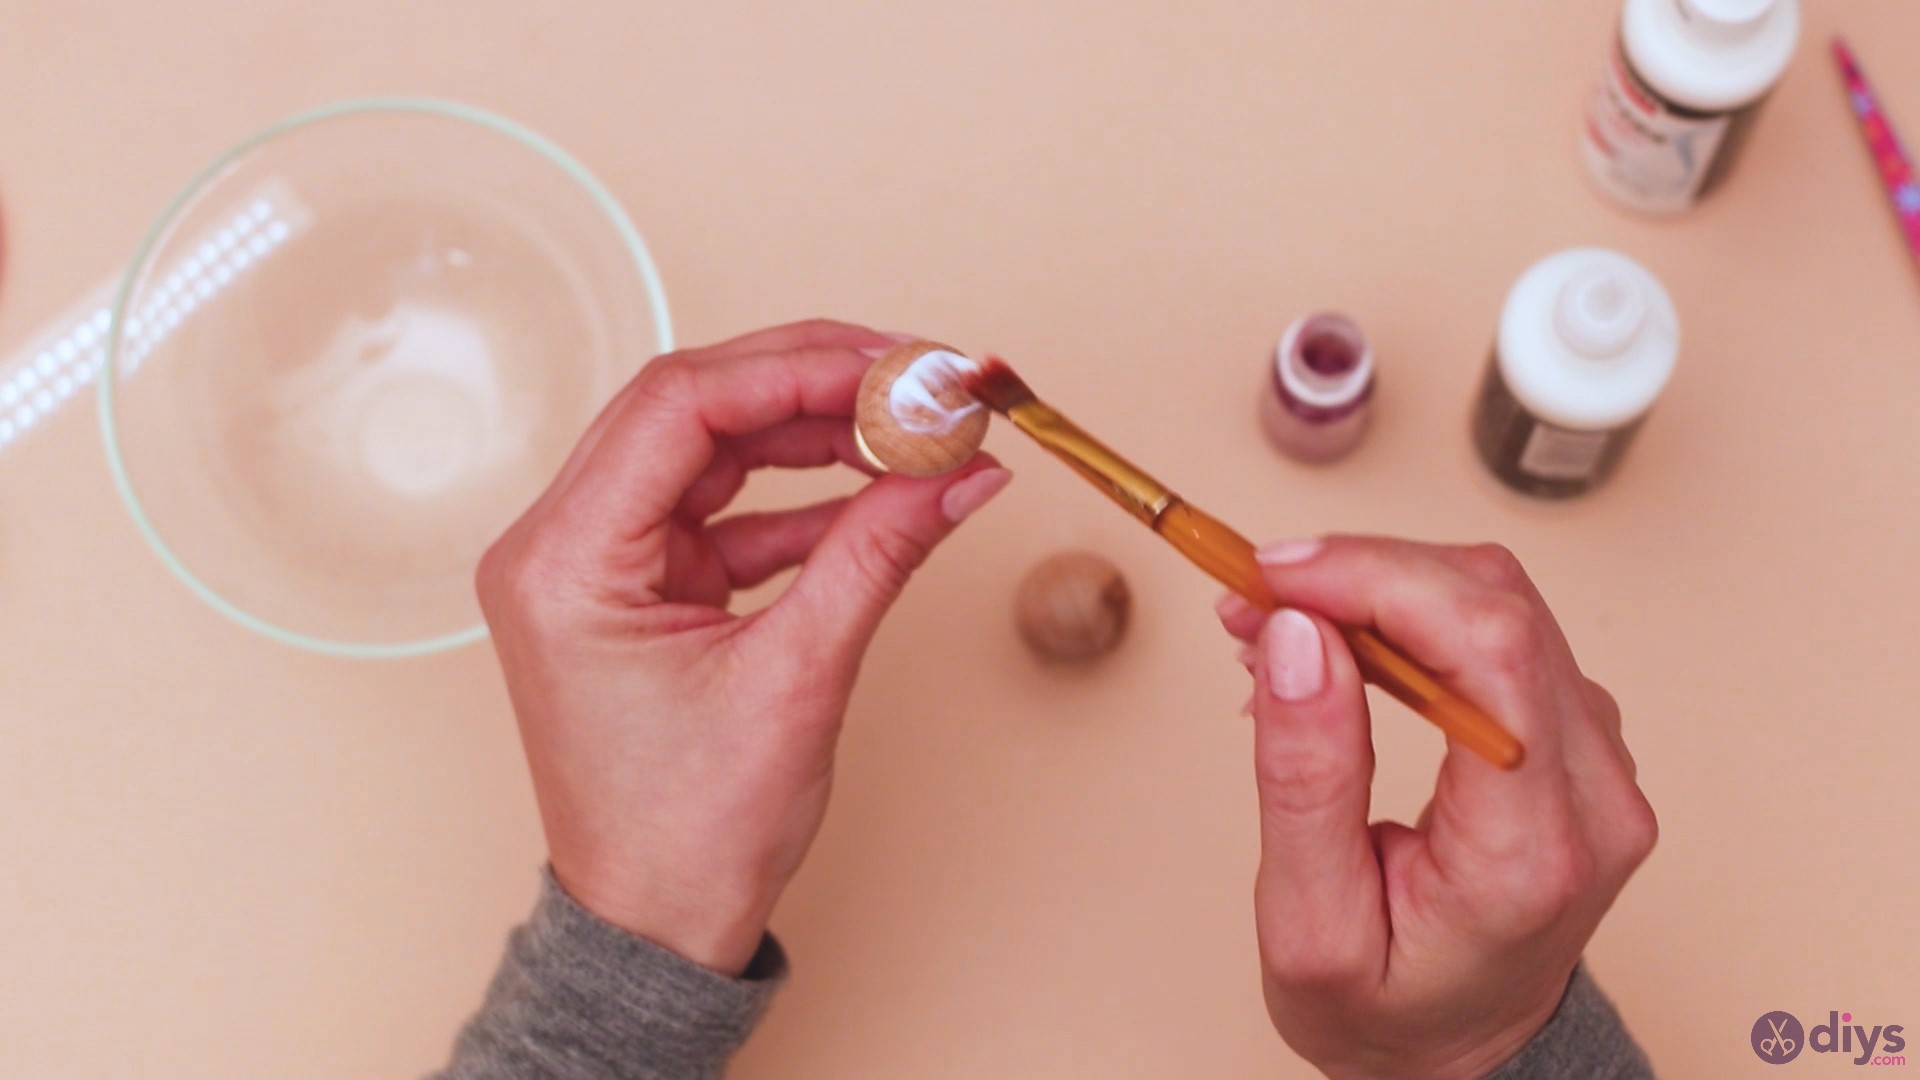
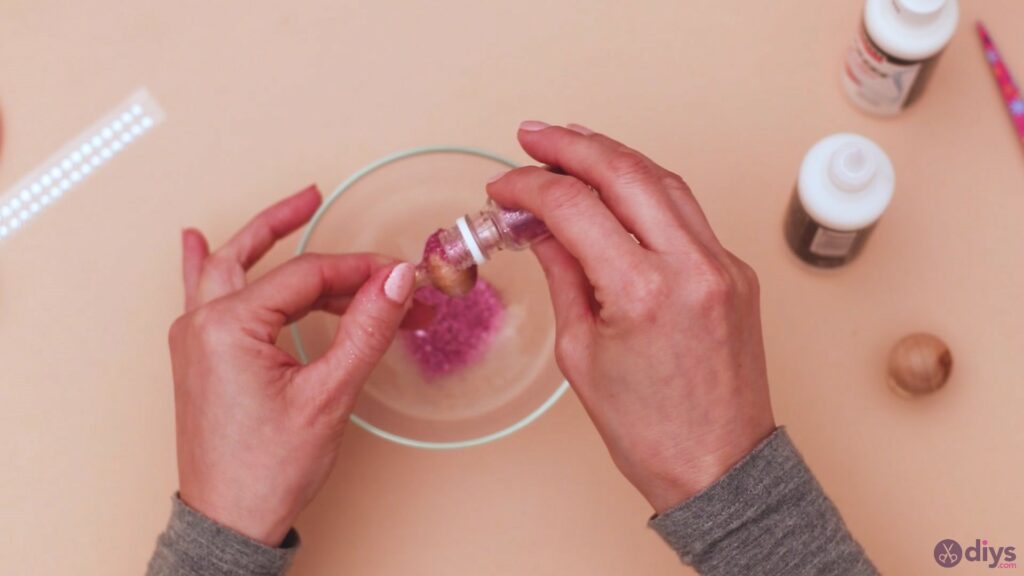
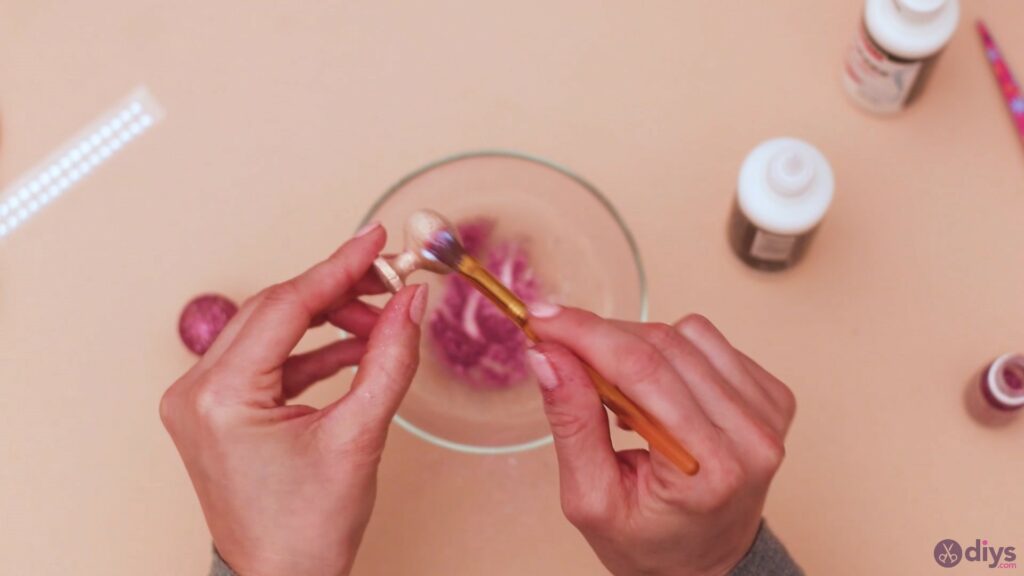
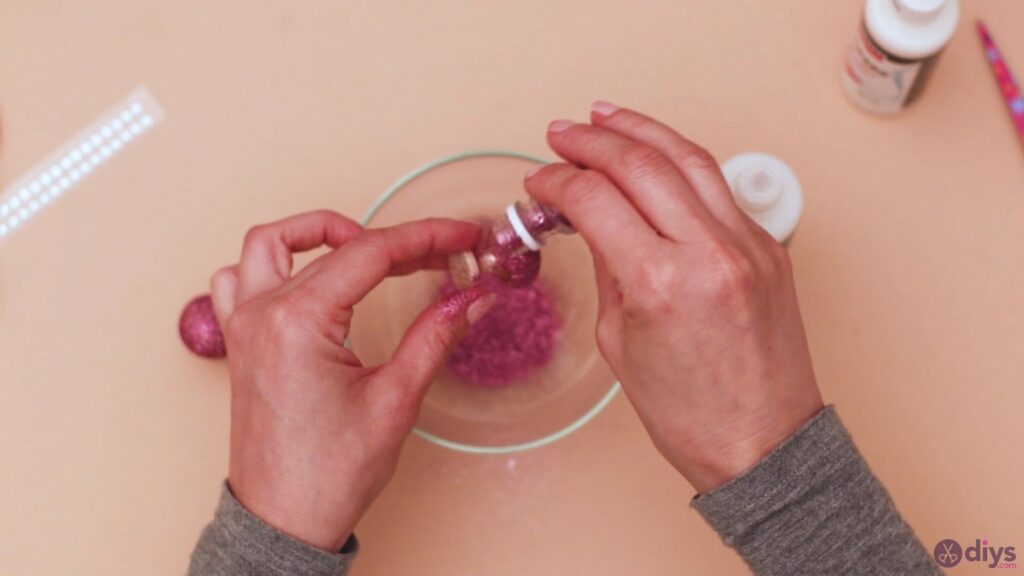
Once one doorknob is done, you can go to the next one too. Spread the glue over the top of the knob with the paintbrush.
Make sure you spread it evenly everywhere.
Add glue over the knob just like you did with the first one.
Add more glitter so it covers all areas. You’ll want to do this again over the same bowl.
Step 3: Add the ribbon
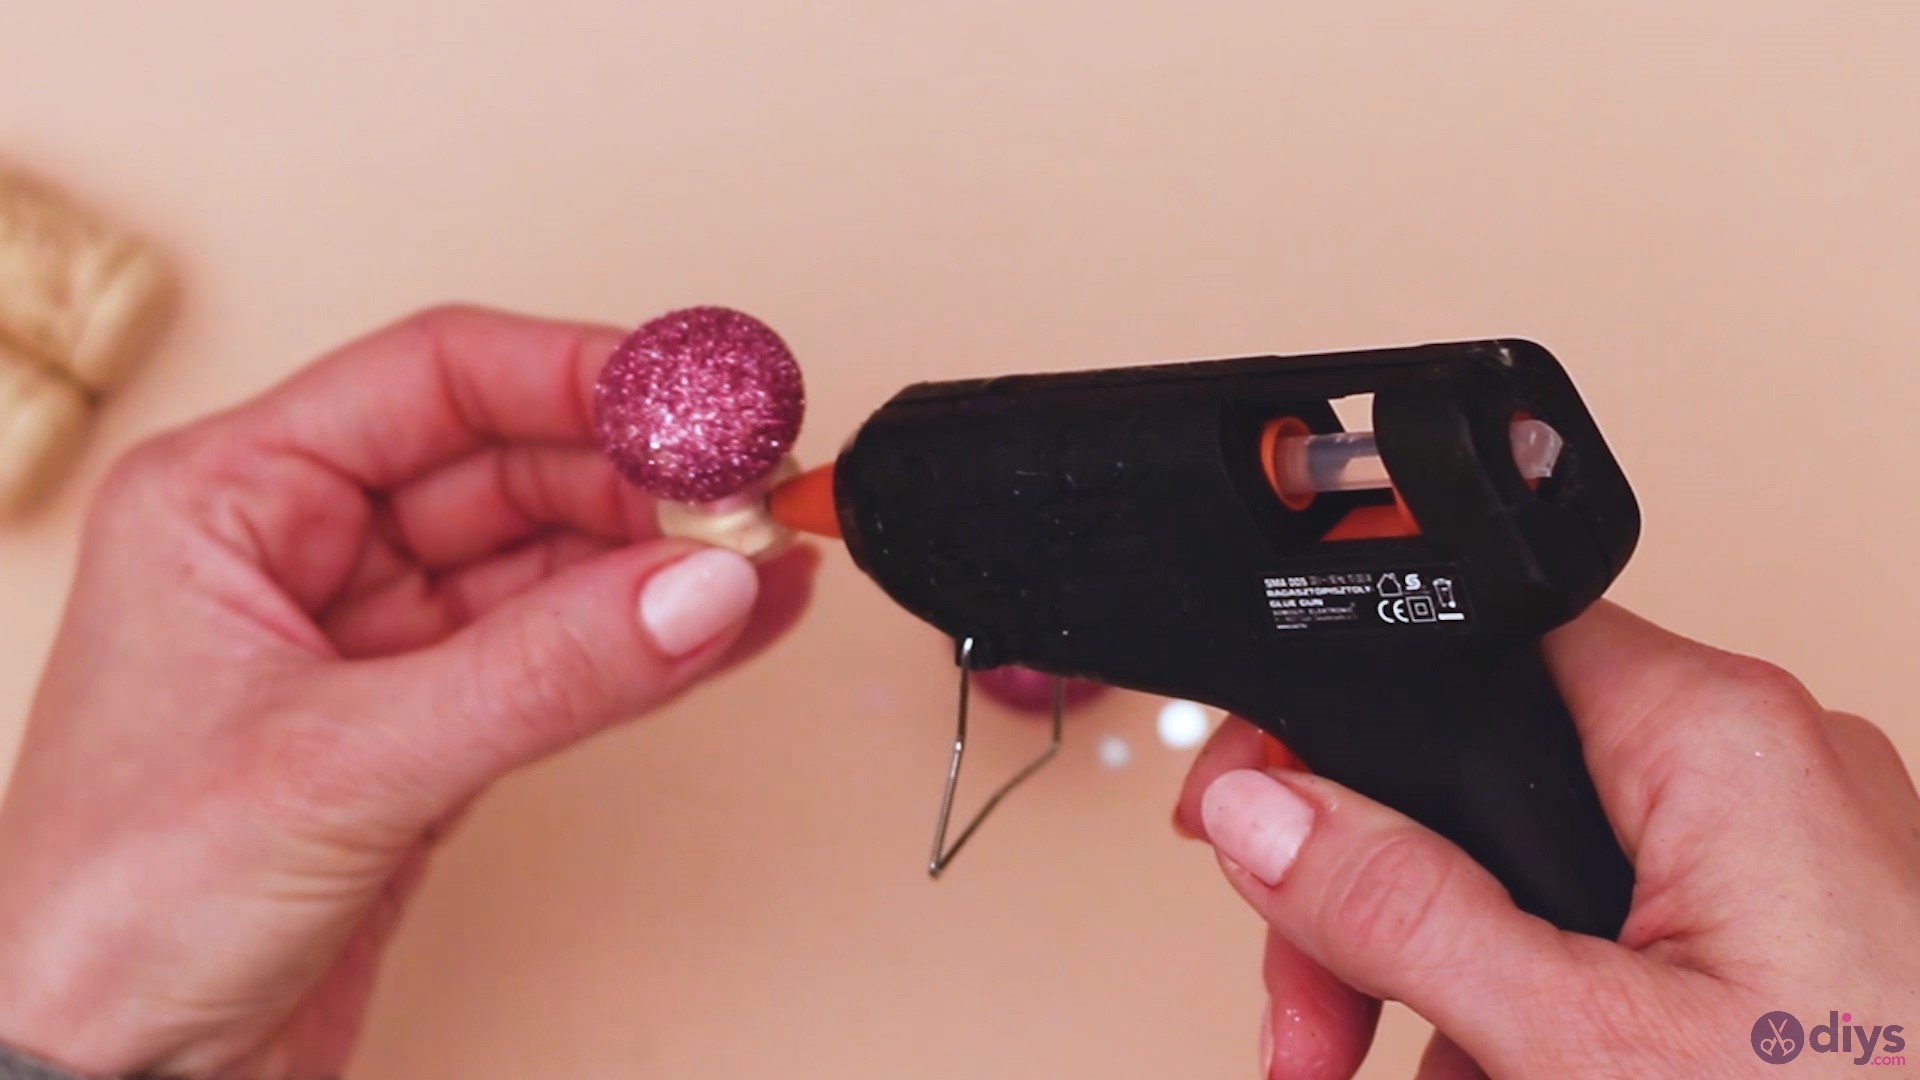
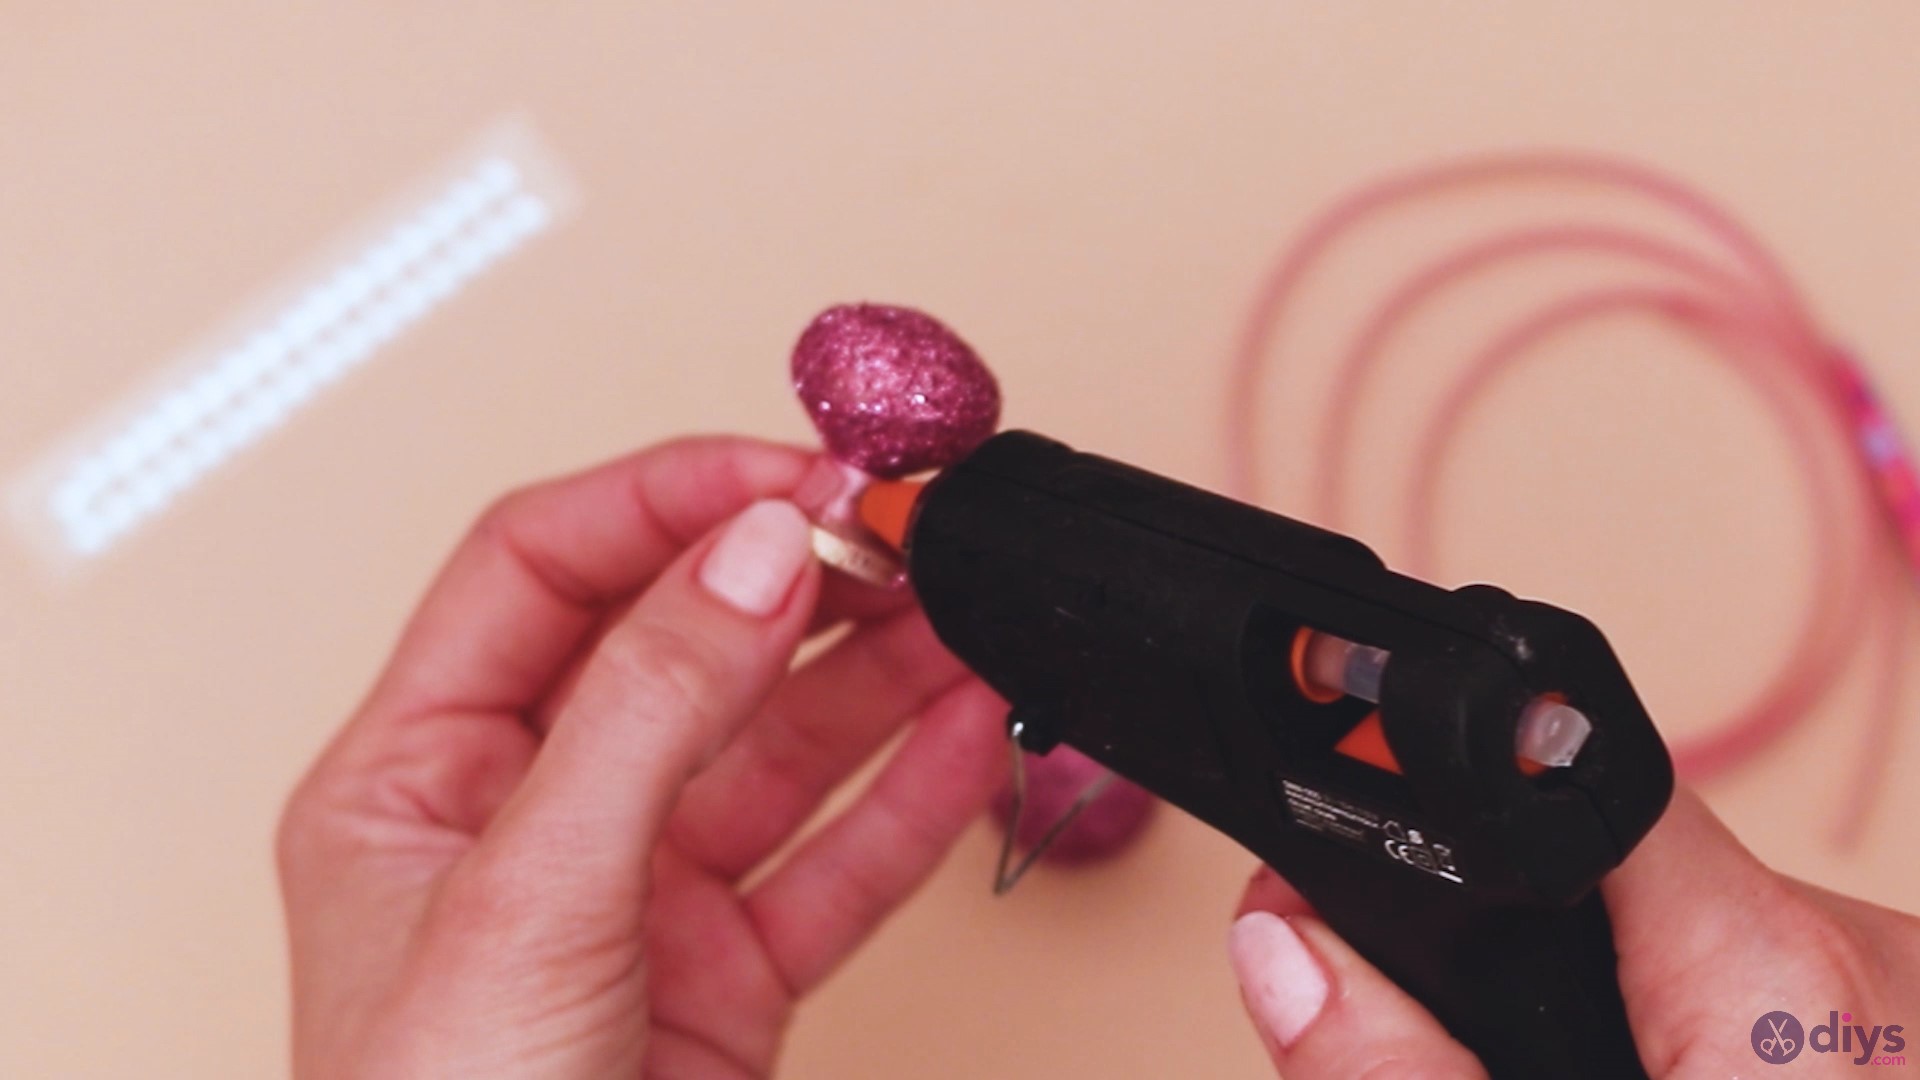
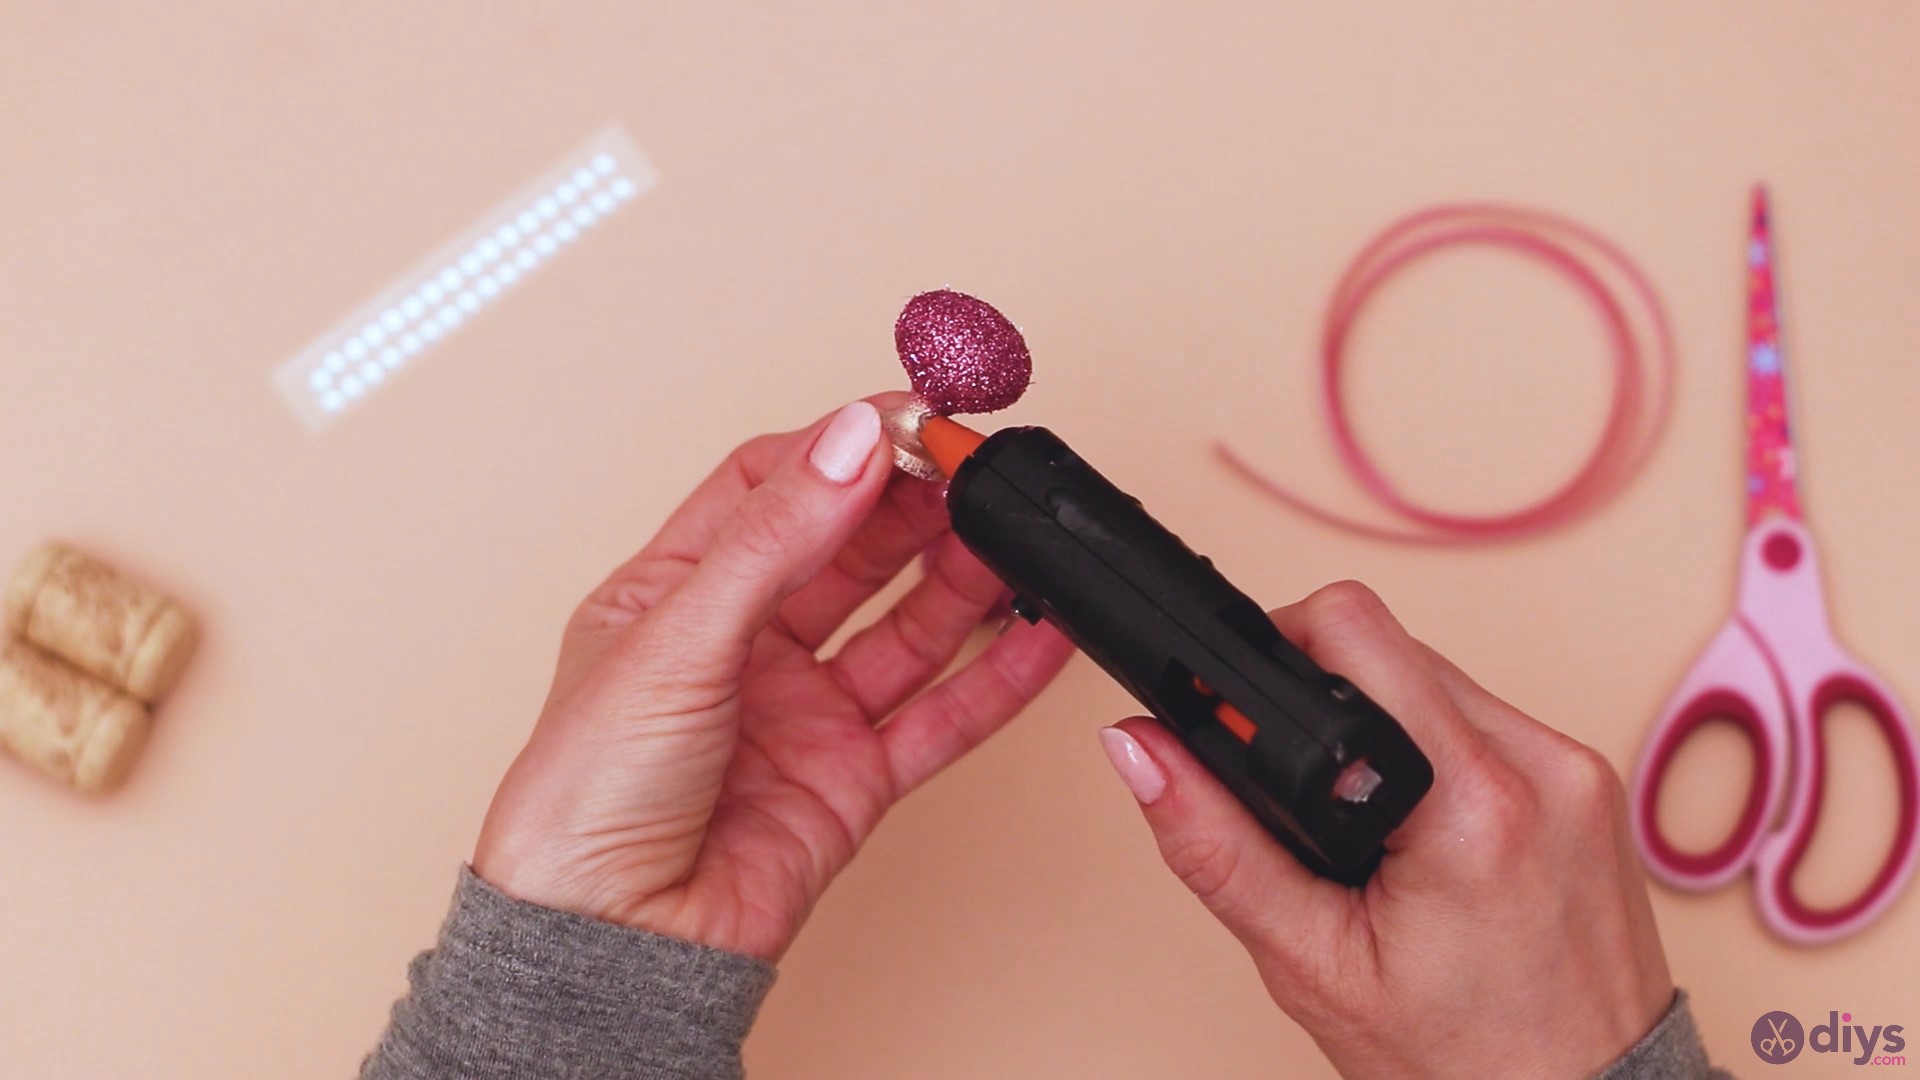
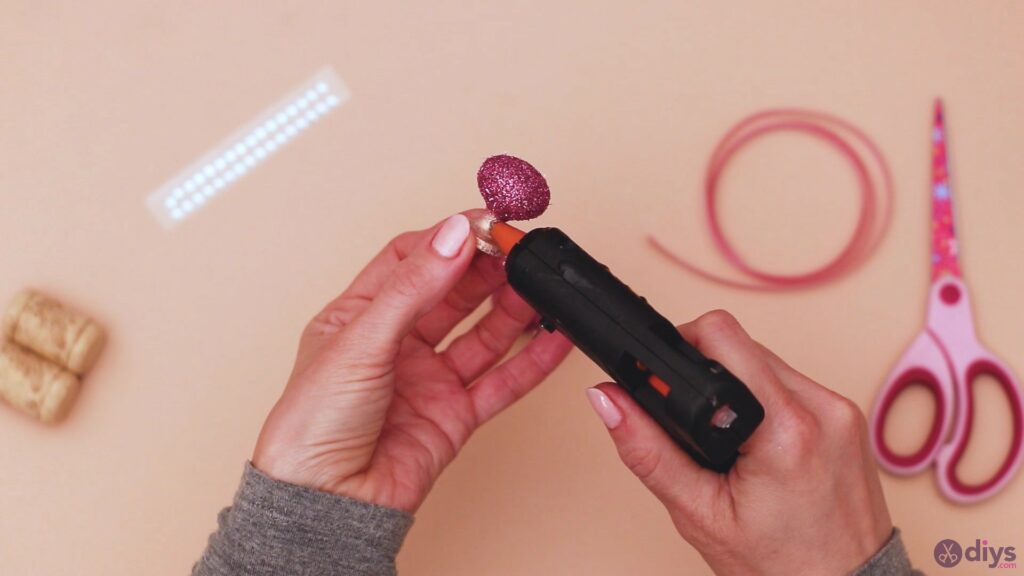
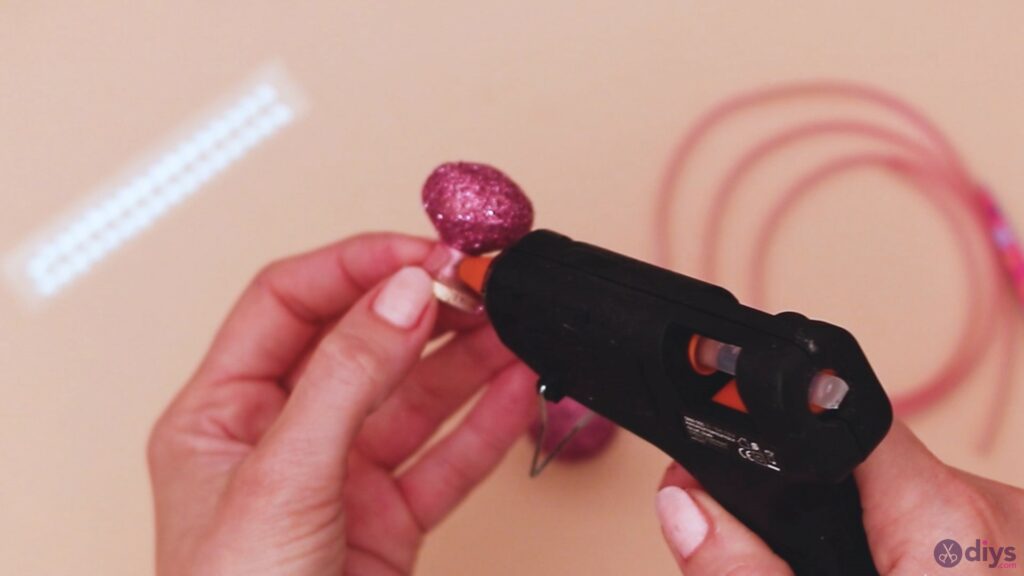
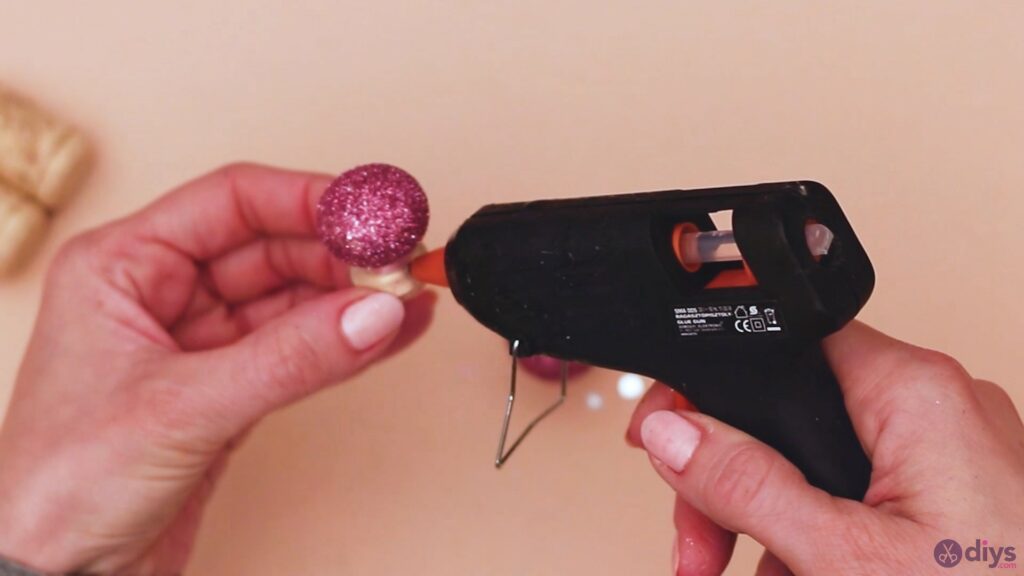
Next, we’re going to decorate the doorknob. Get theglue gunand add some hot glue over the base of the knob.
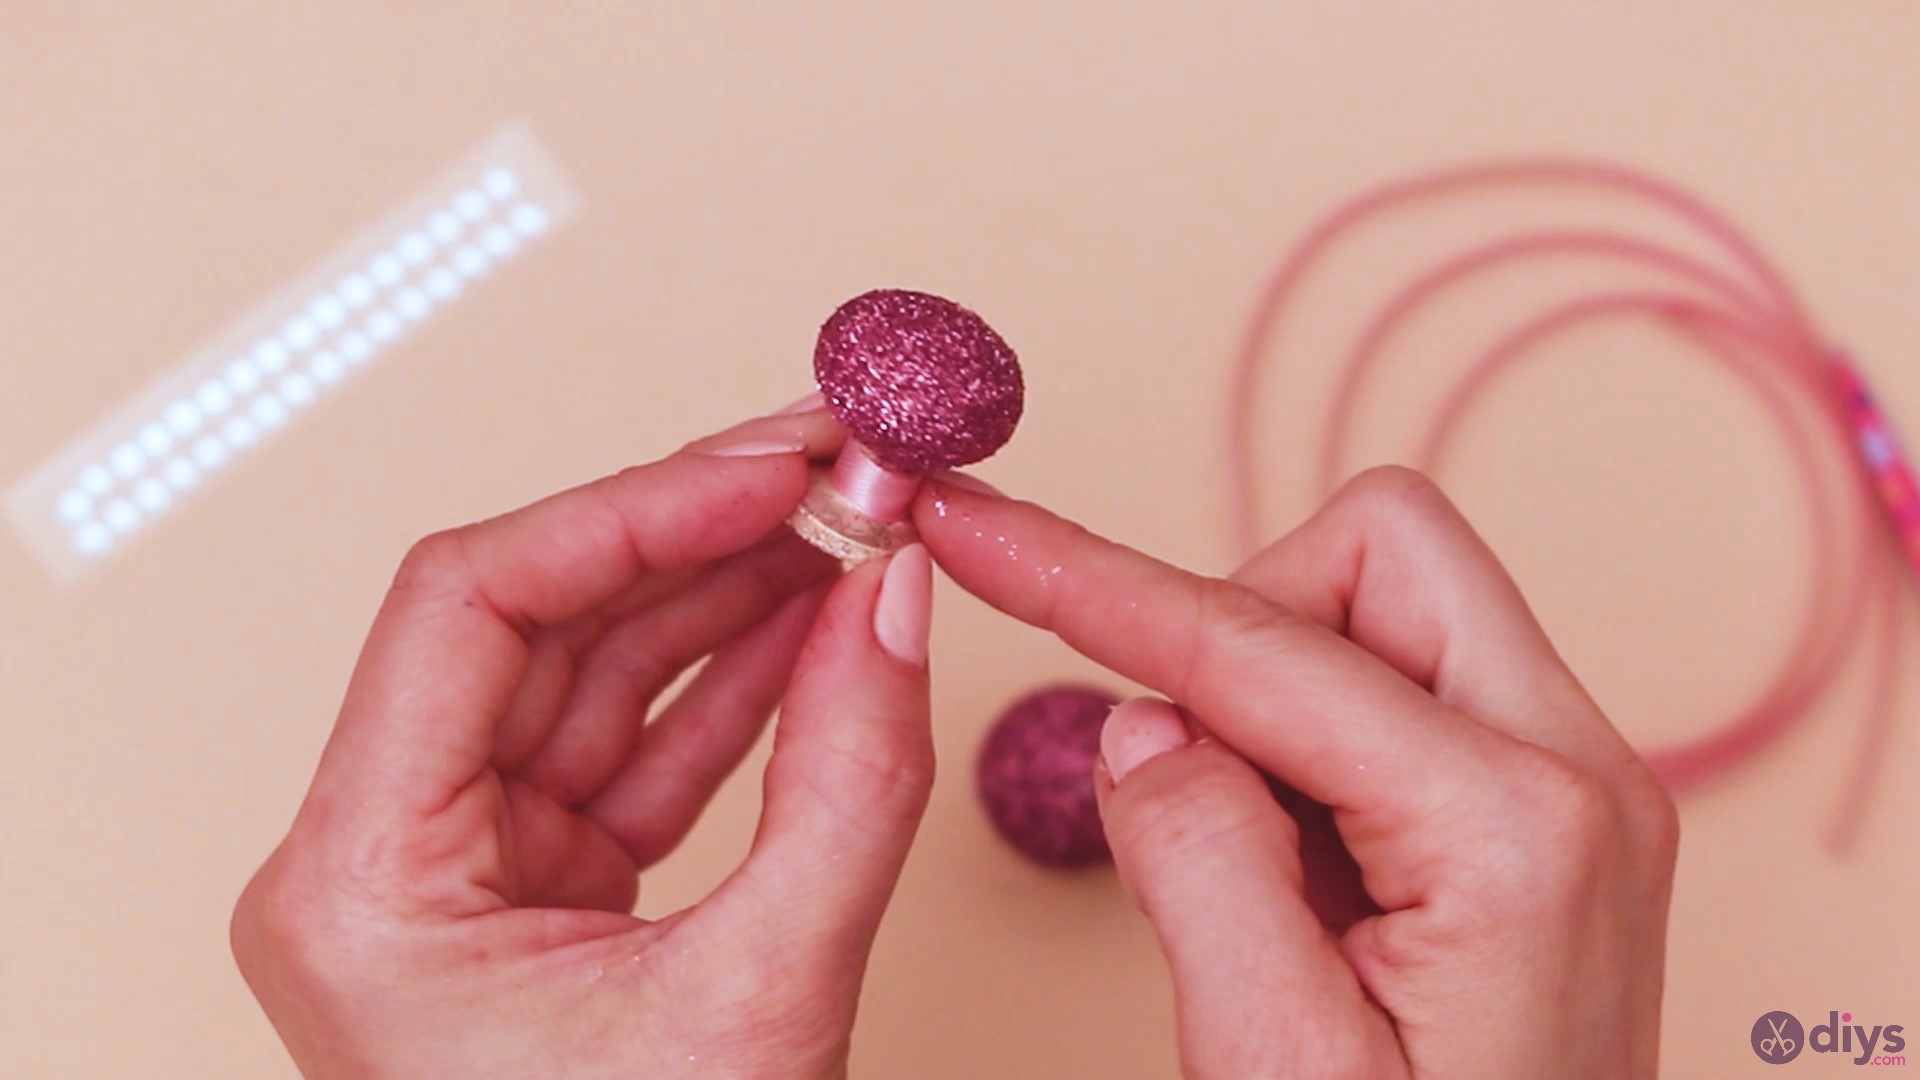
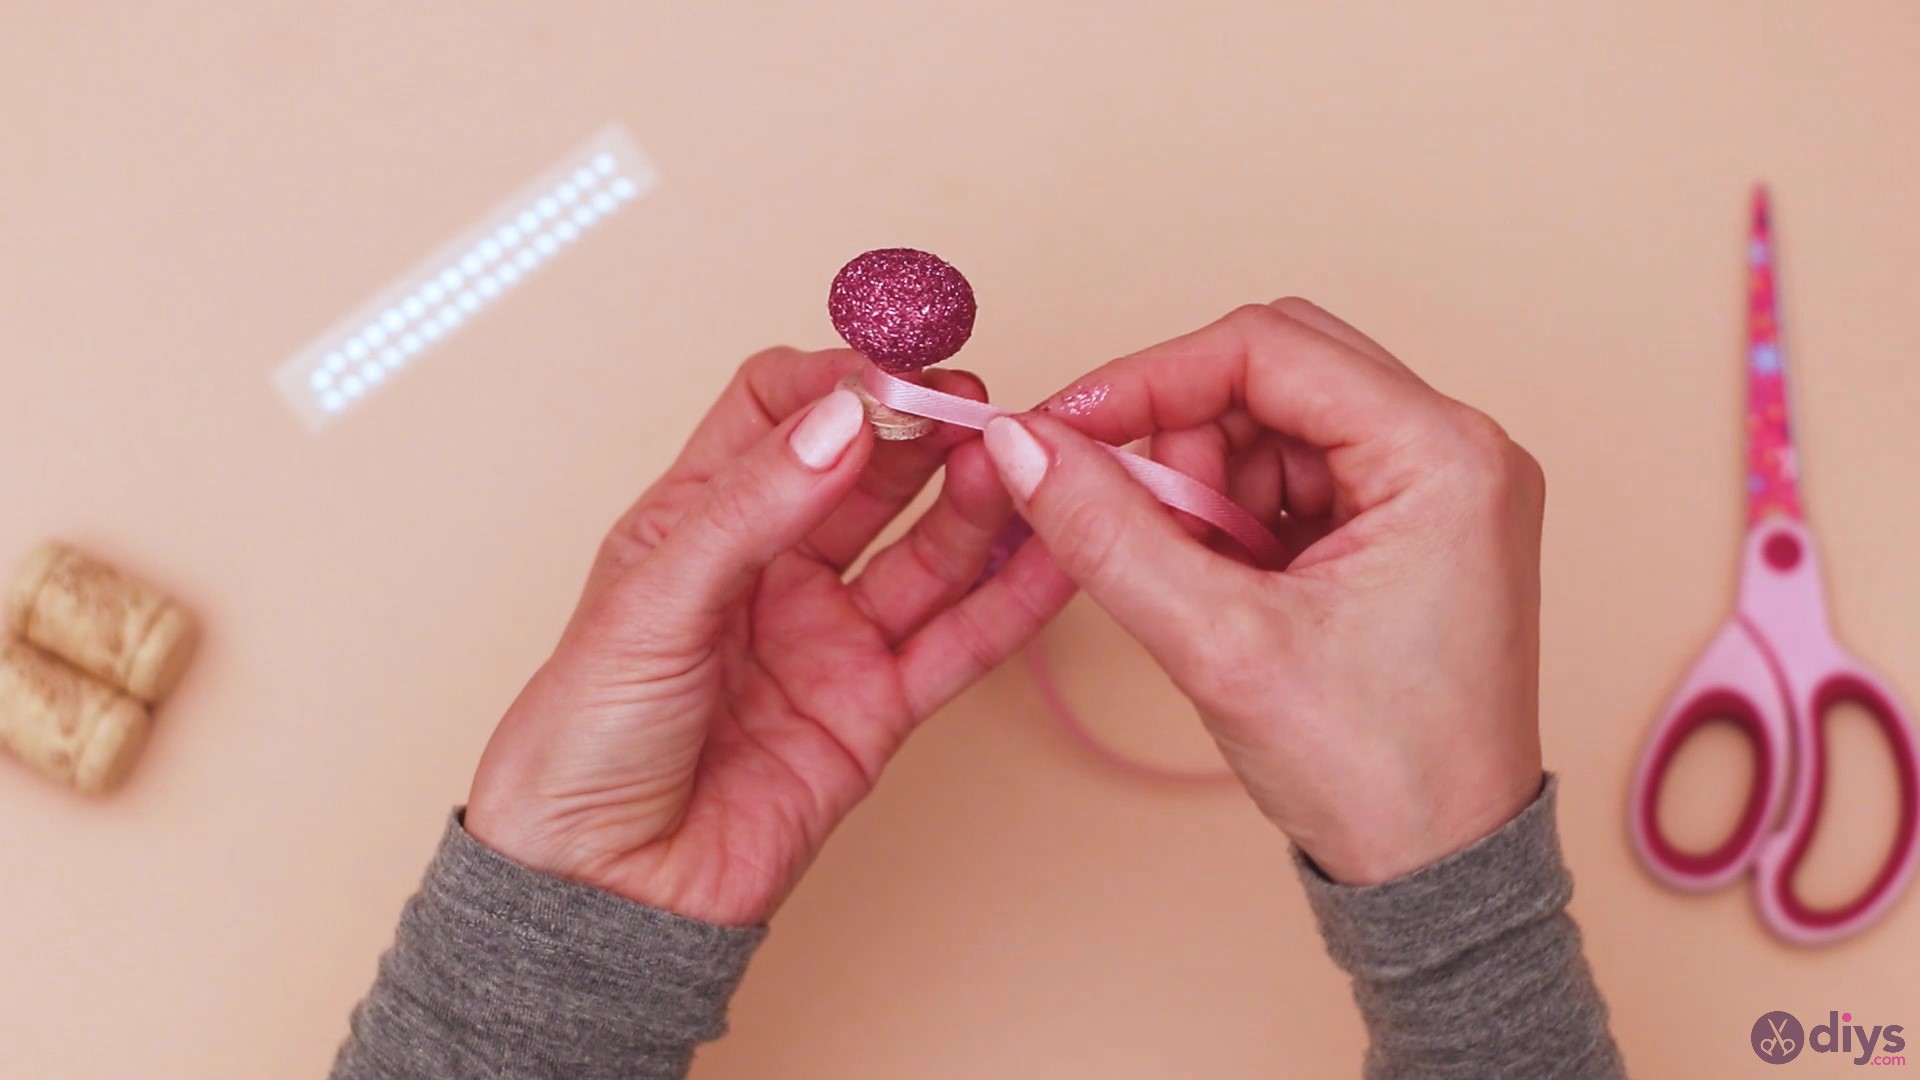
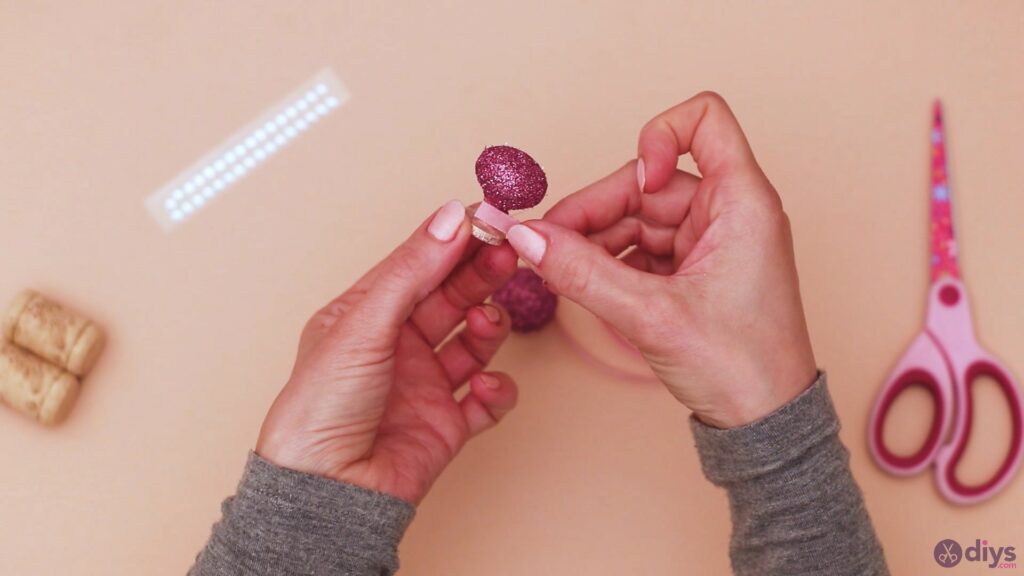
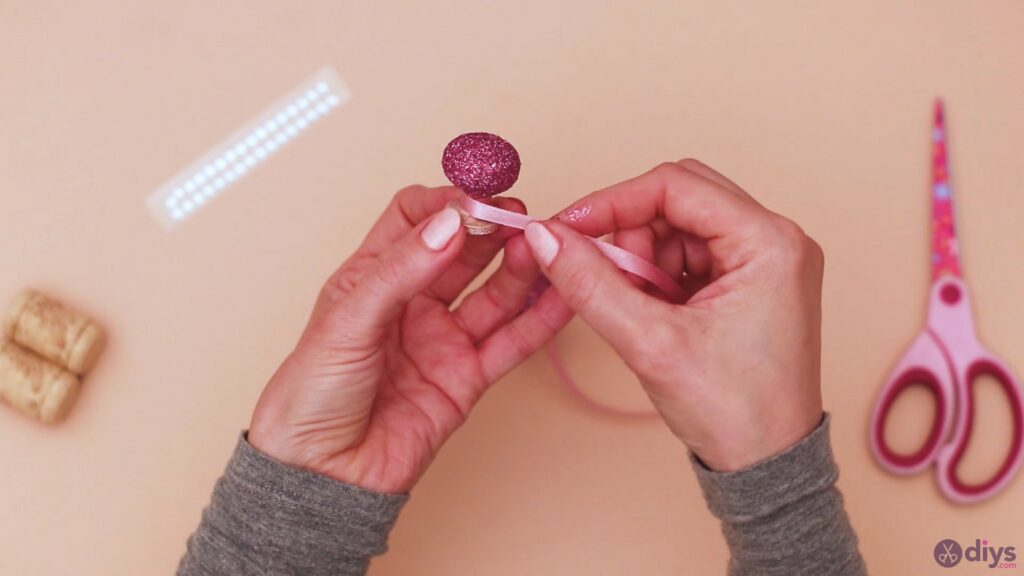
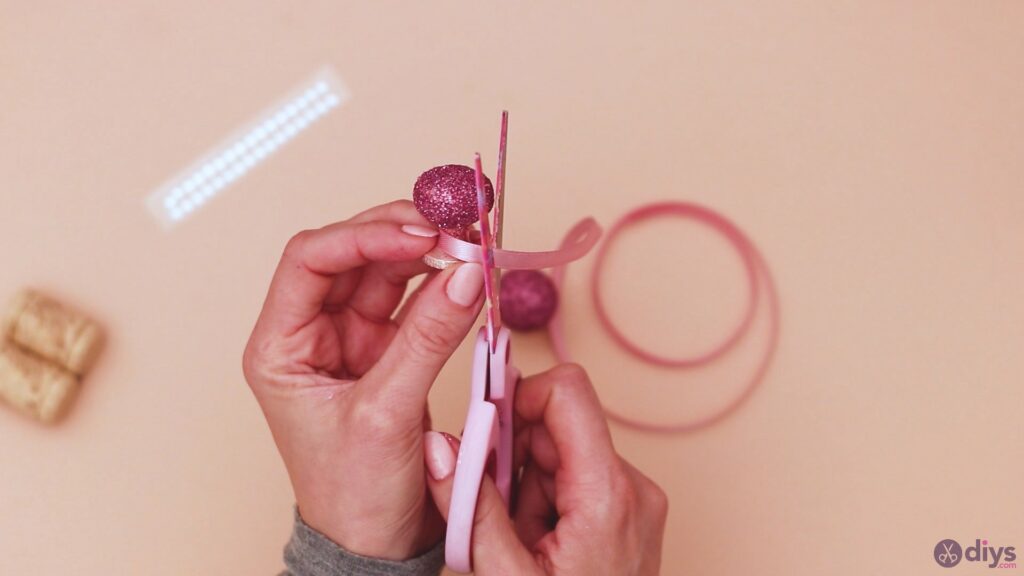
Get a length of ribbon and place it over the hot glue. Get the ribbon around the door knob.
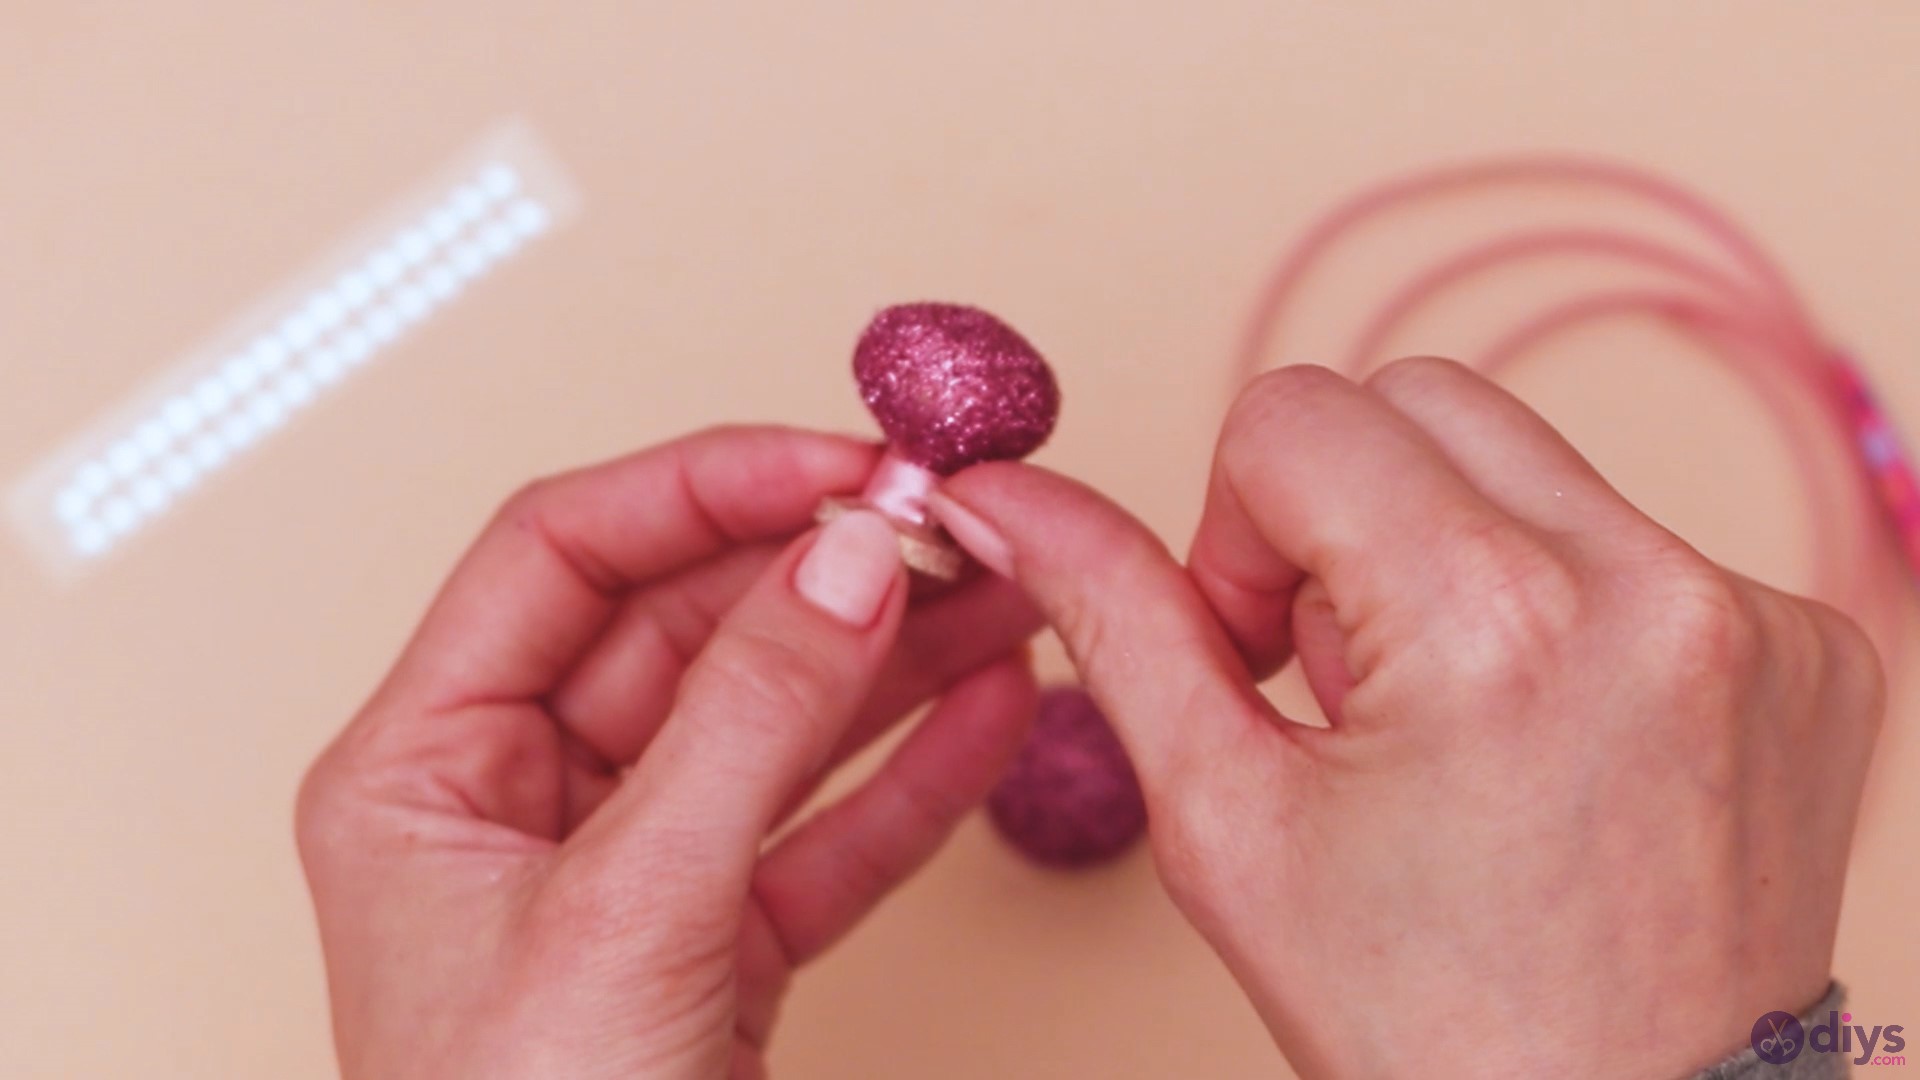
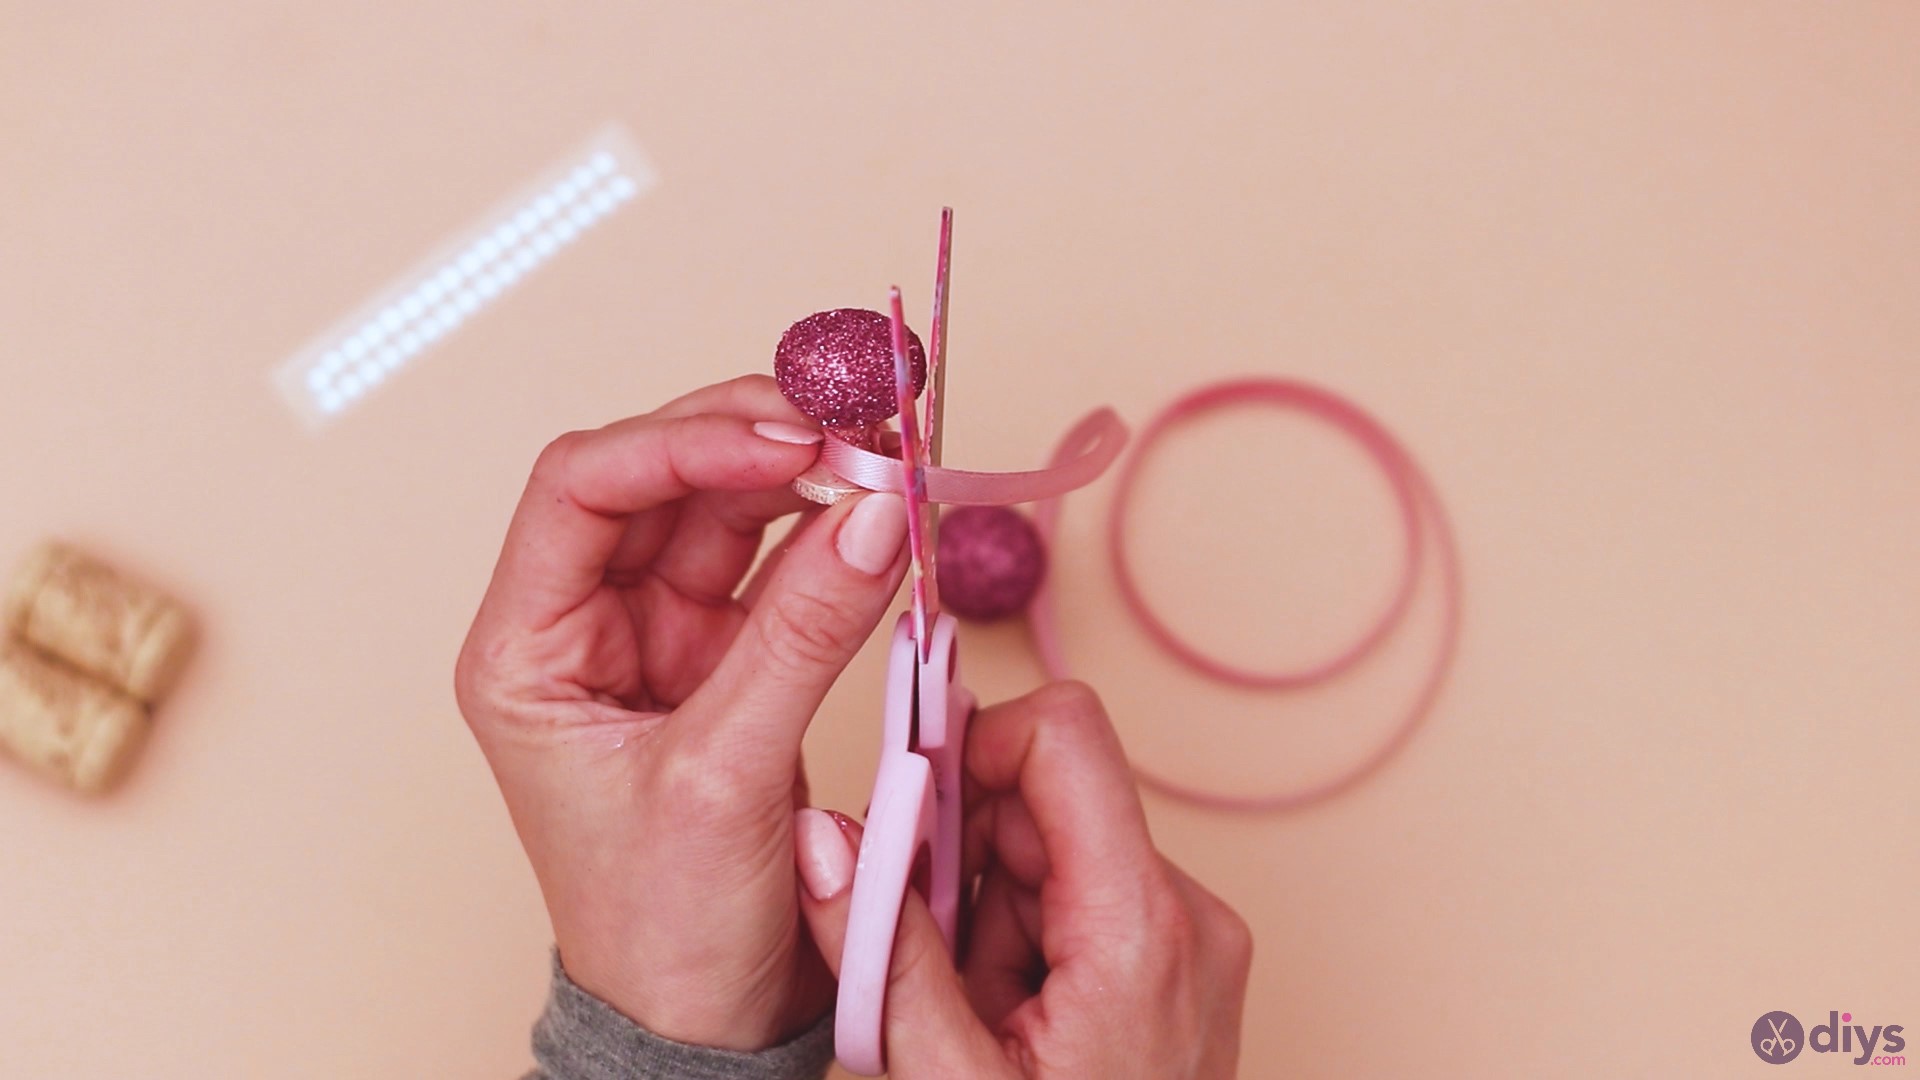
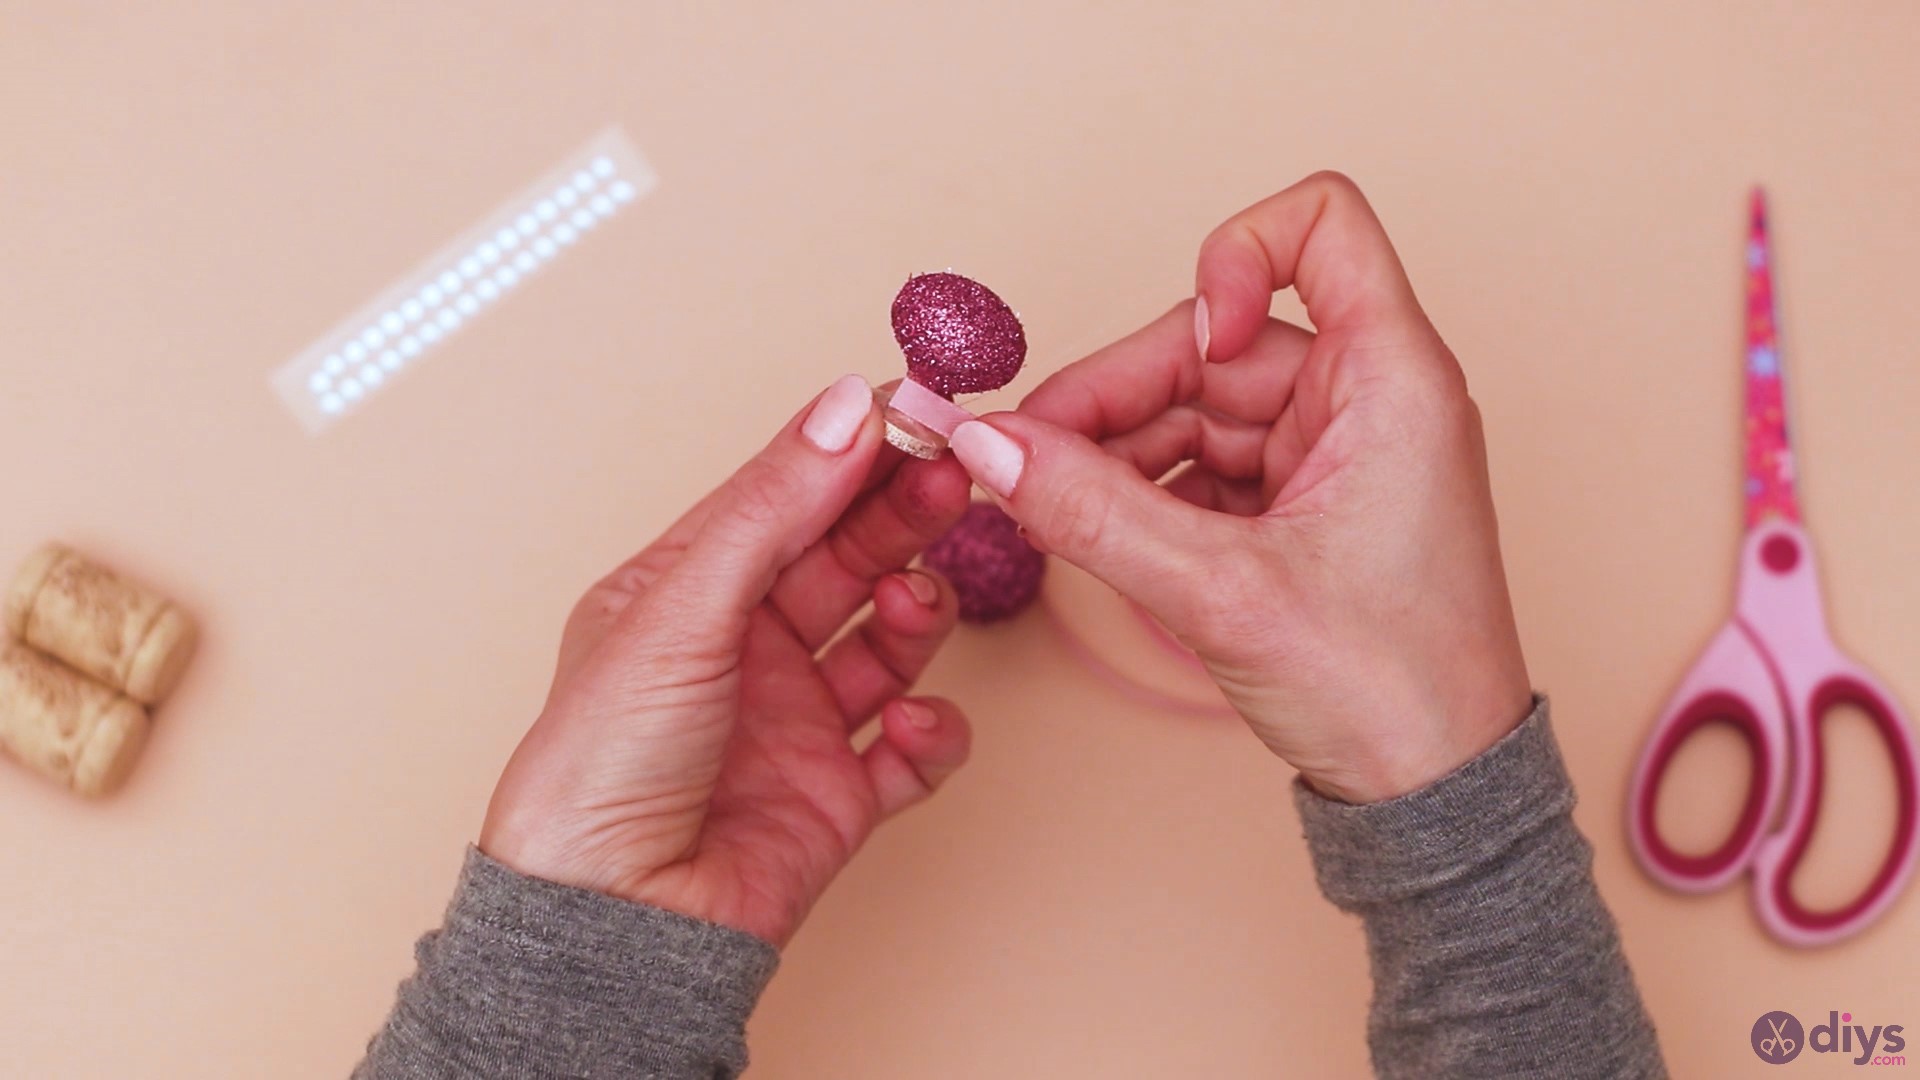
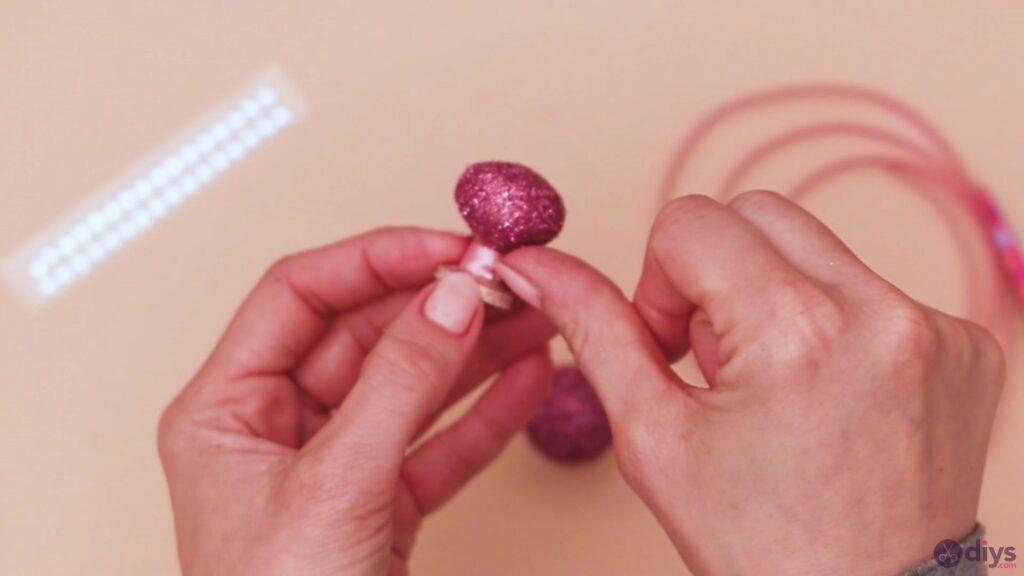
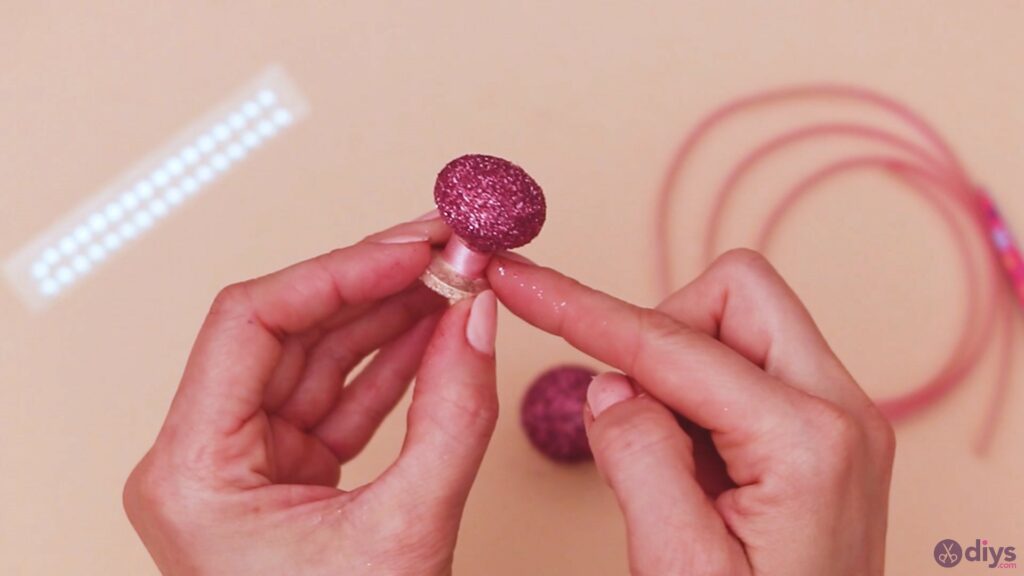
Measure it out and cut the excess ribbon. Wrap the material over the base, and even add some hot glue so the ribbon overlaps.
Try to glue the whole ribbon so none of it flaps out.
Step 4: Add some rhinestones
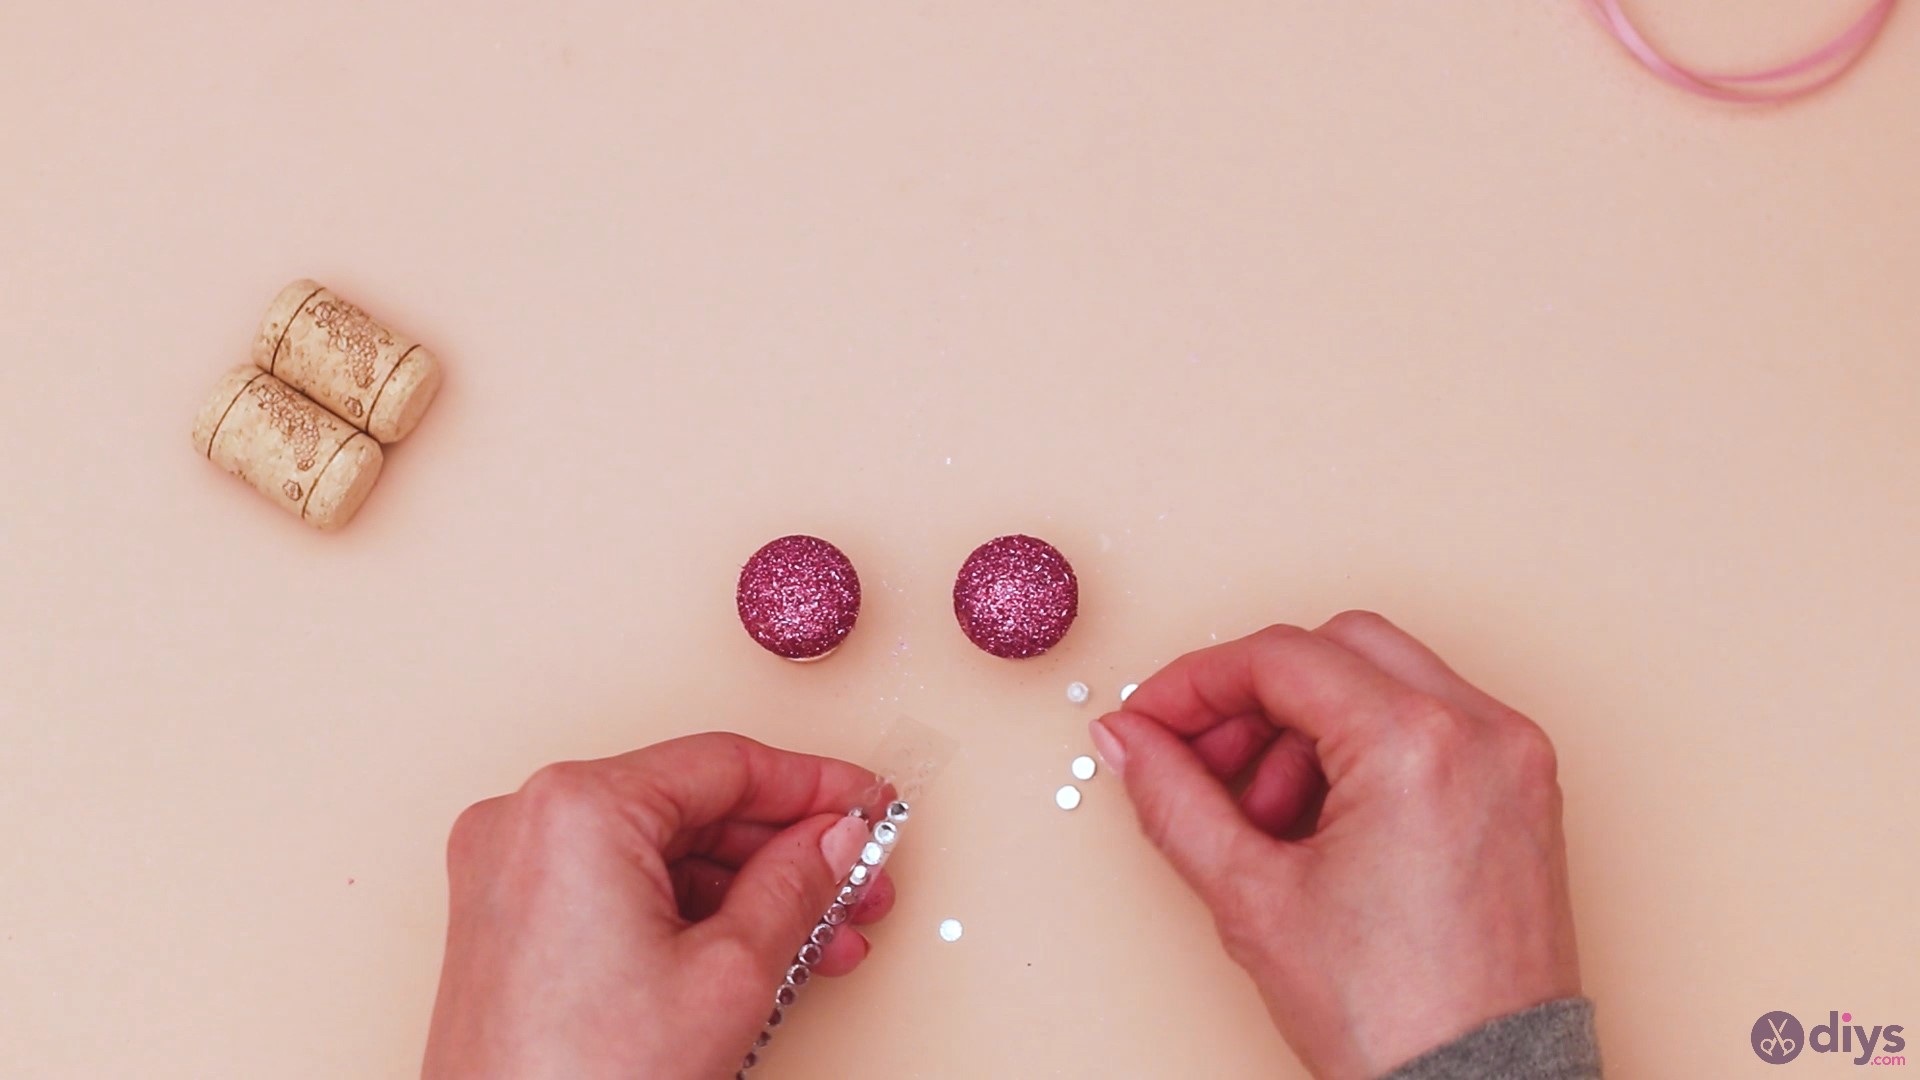
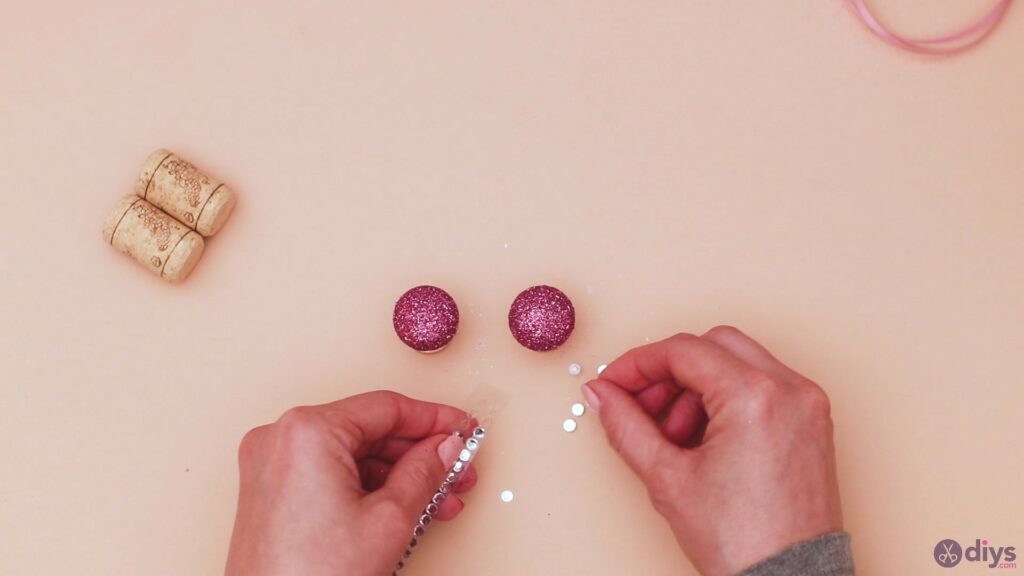
Next, we’re going to get the rhinestones. Take them off the plastic ribbon and prepare them so you can later place them on the knob.
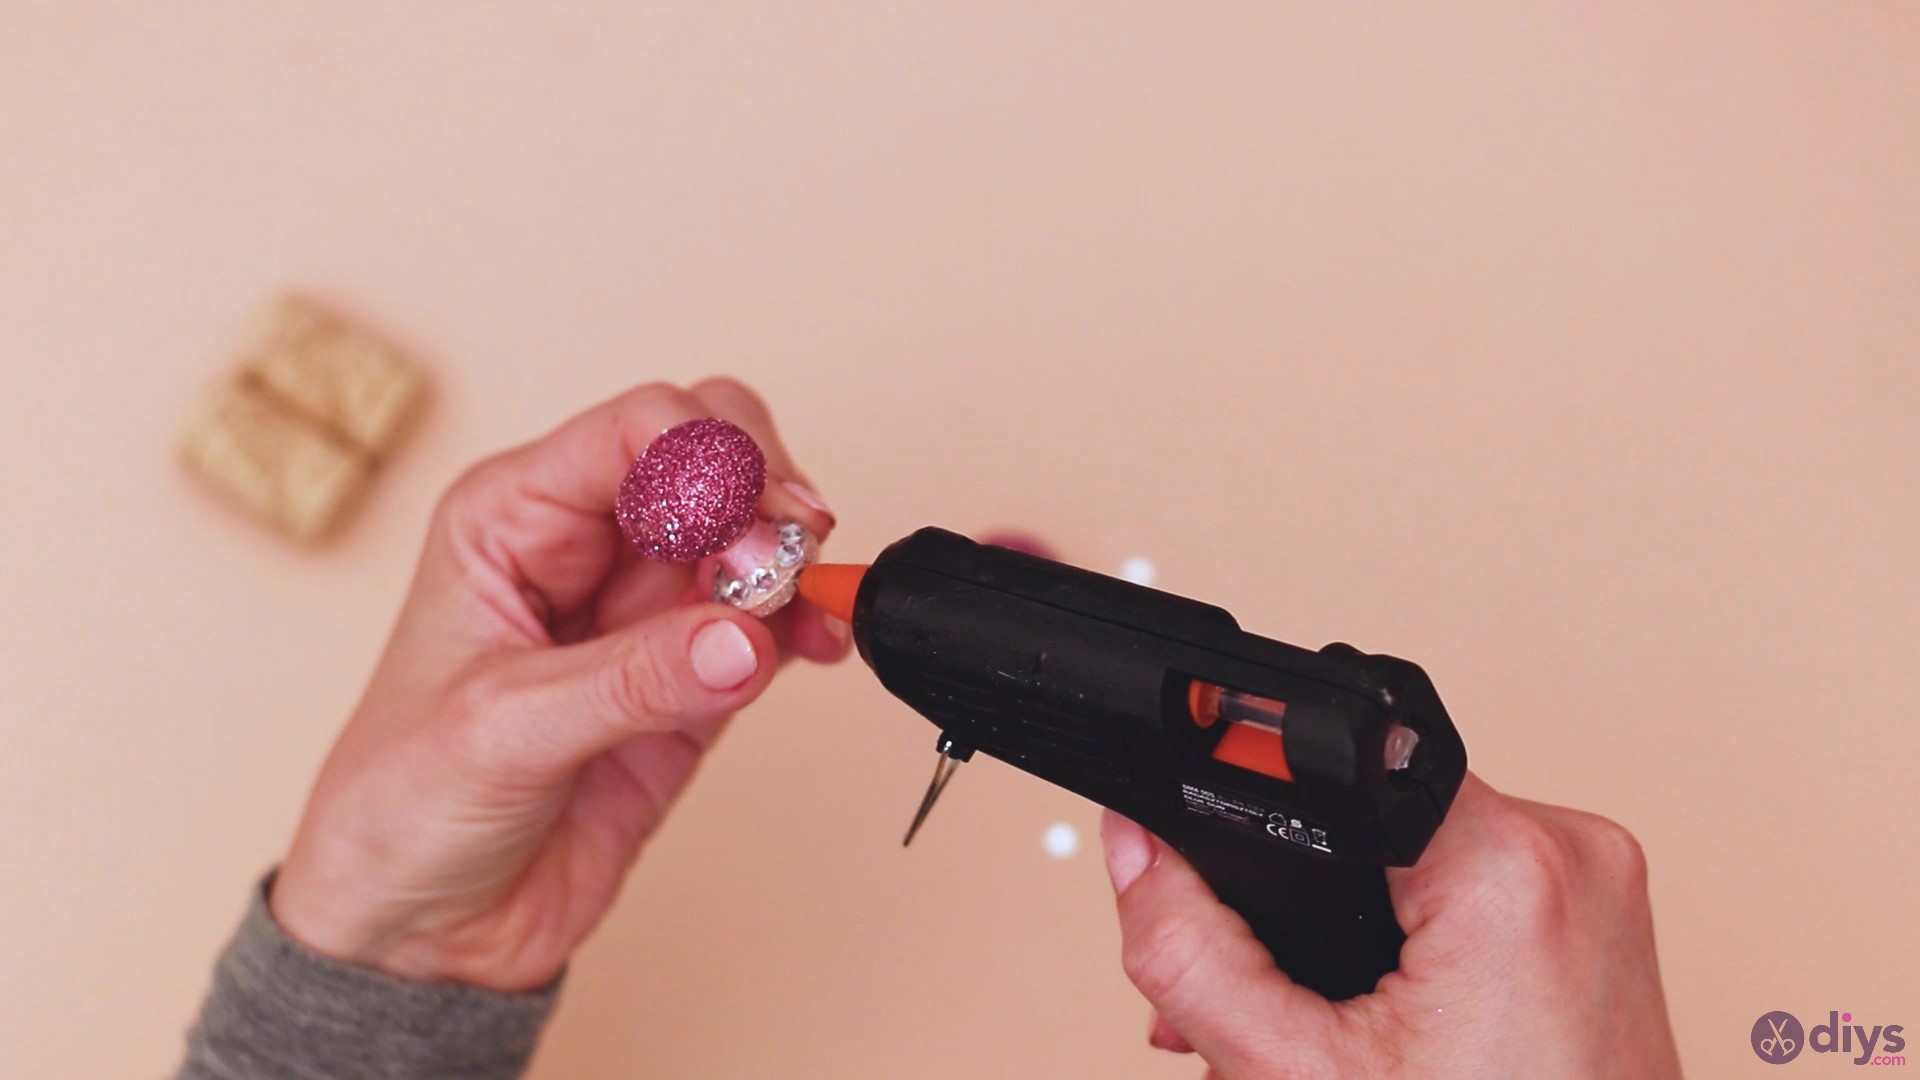
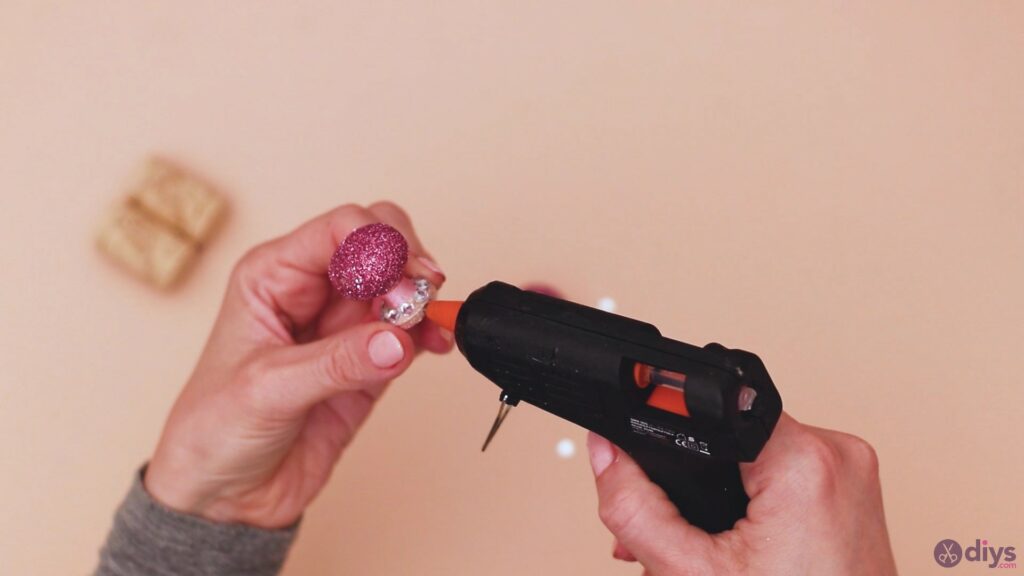
Add hot glue to the flatter area of the doorknob. You don’t want to add too much of it since it will spread out when you press the rhinestones in there.
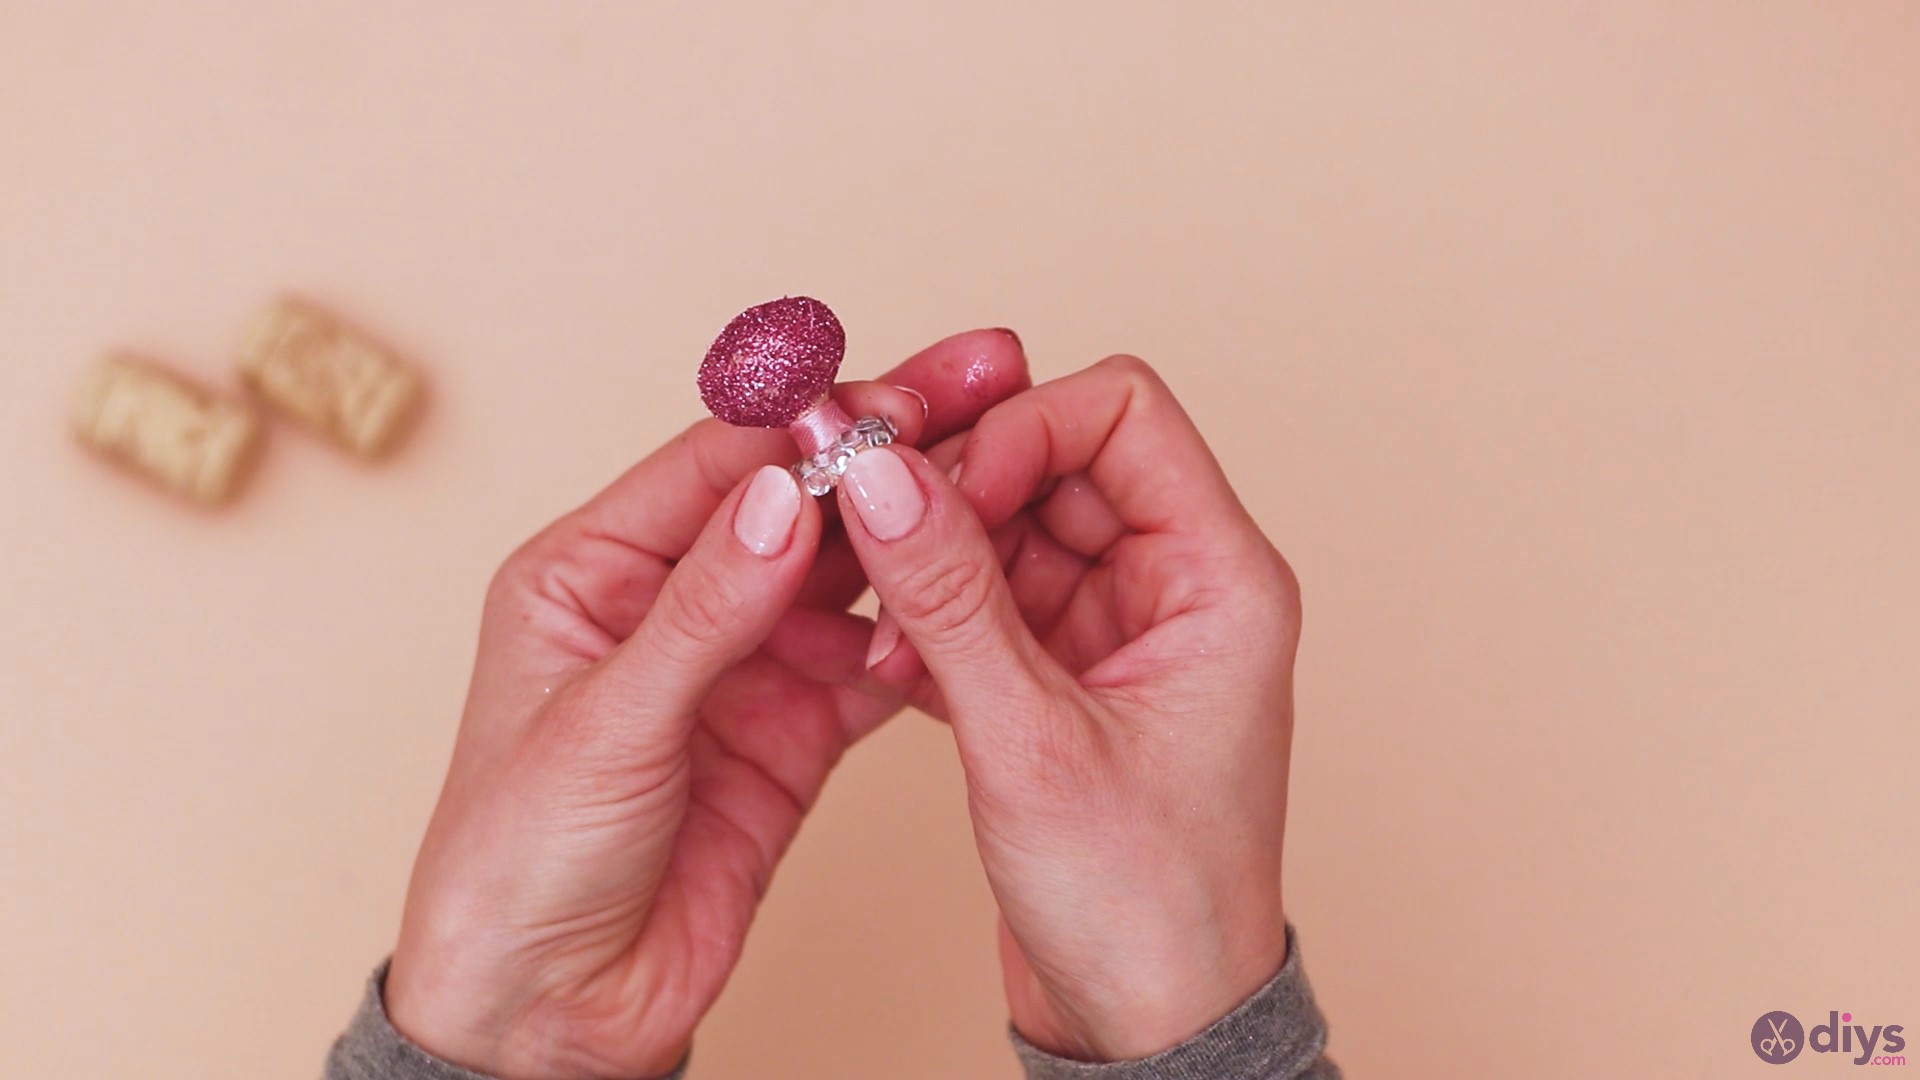
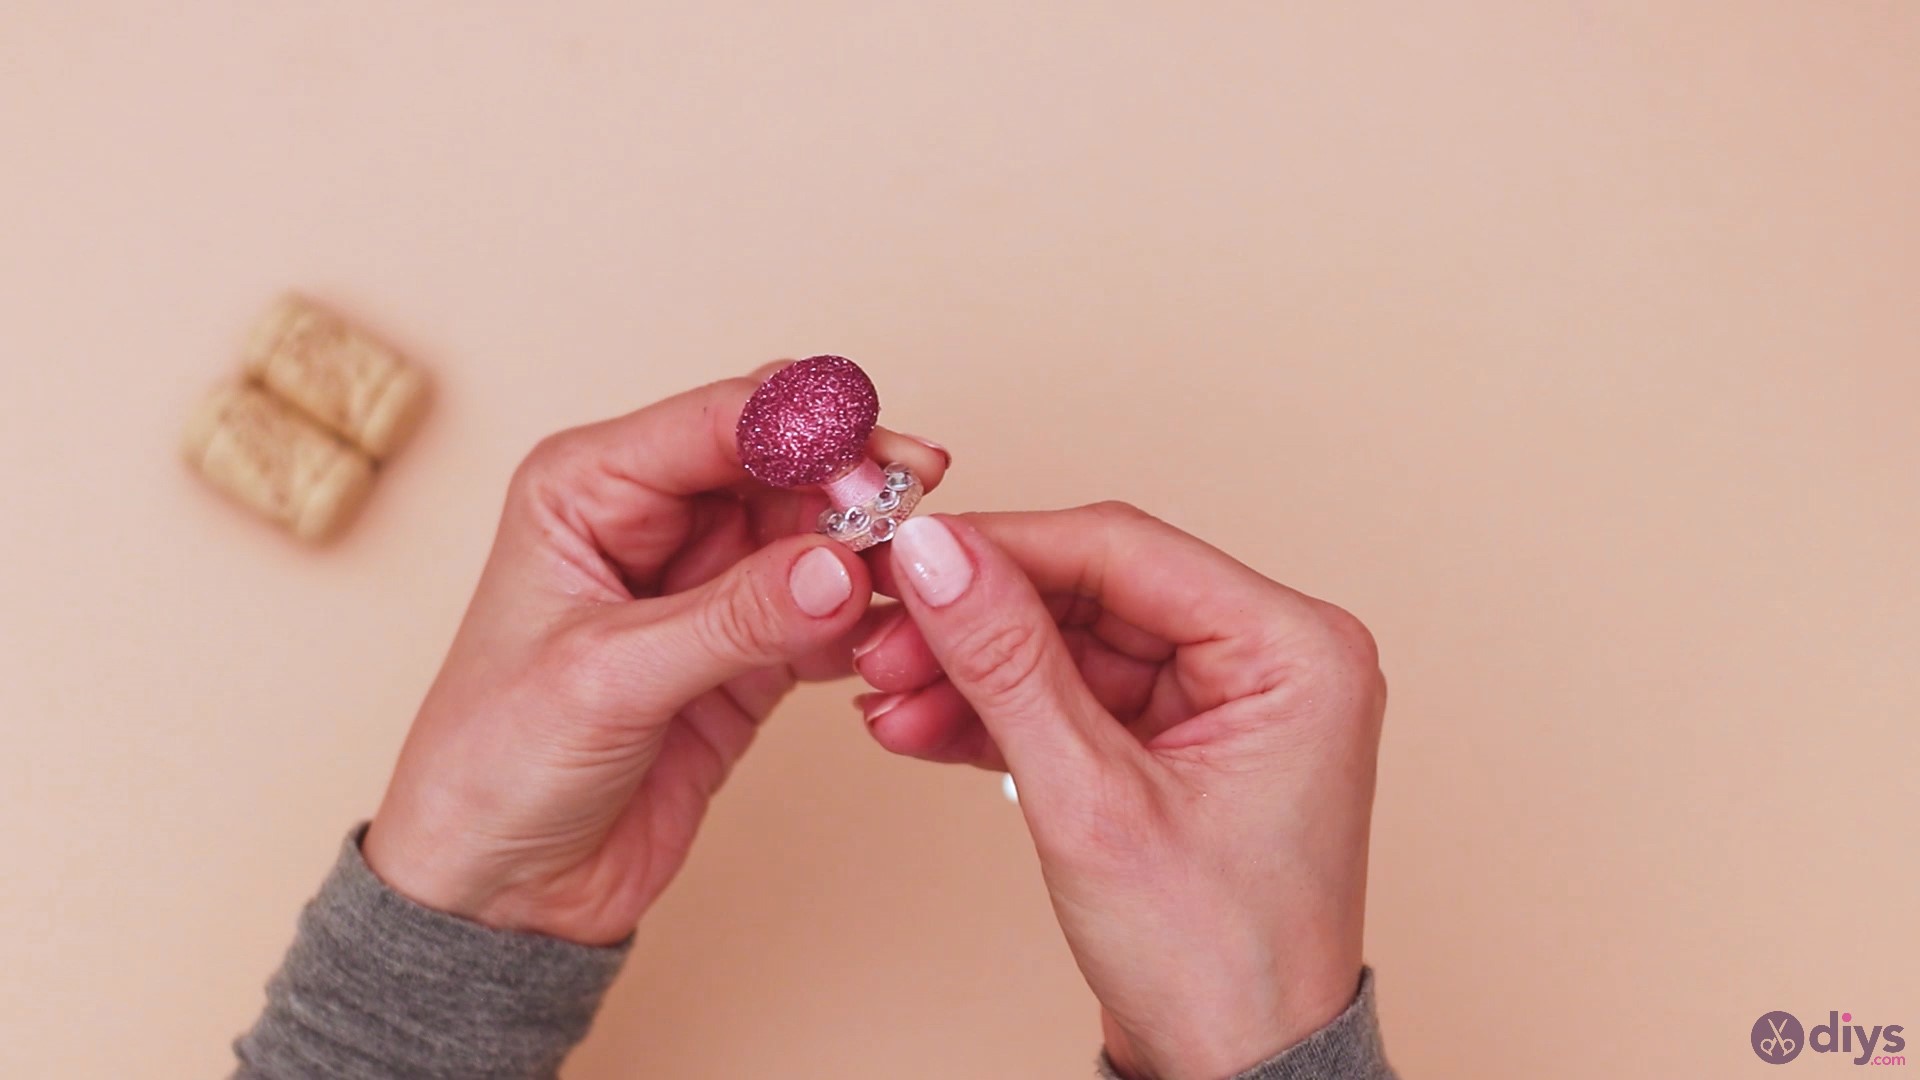
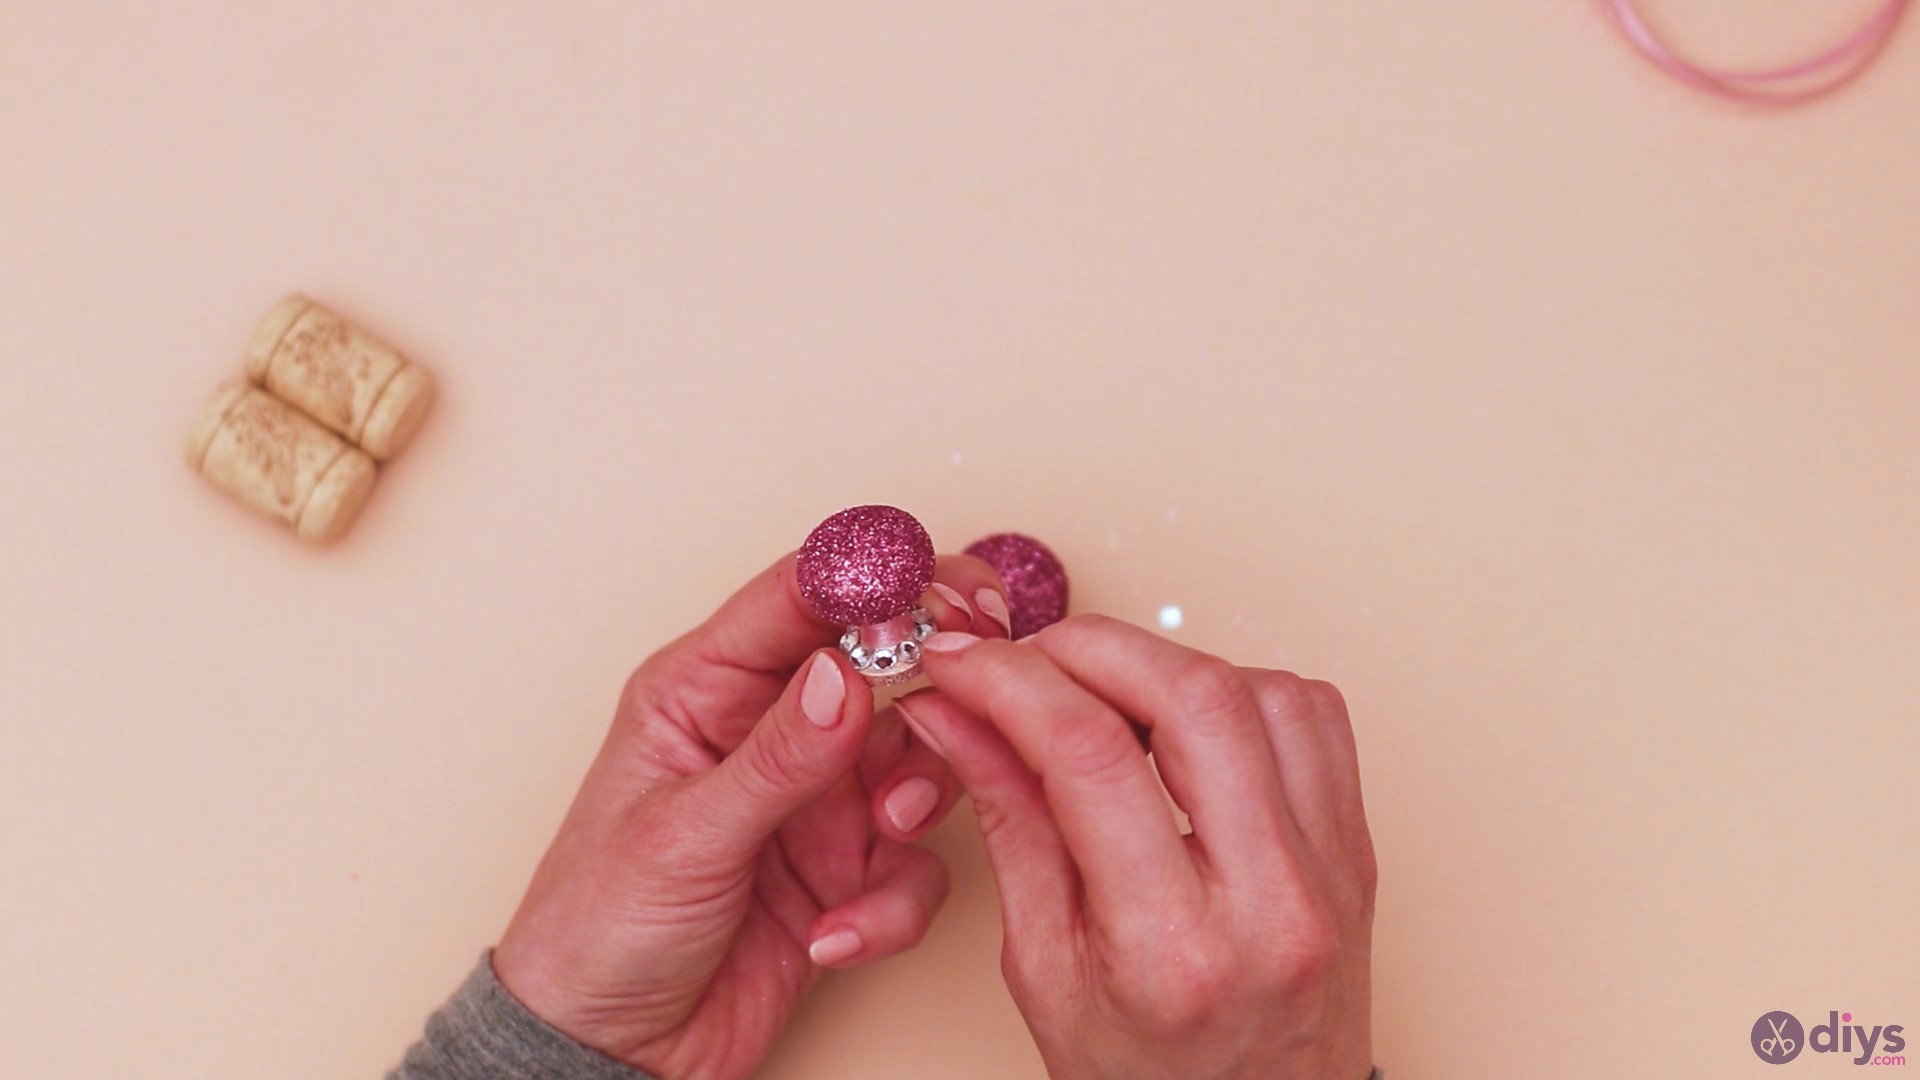
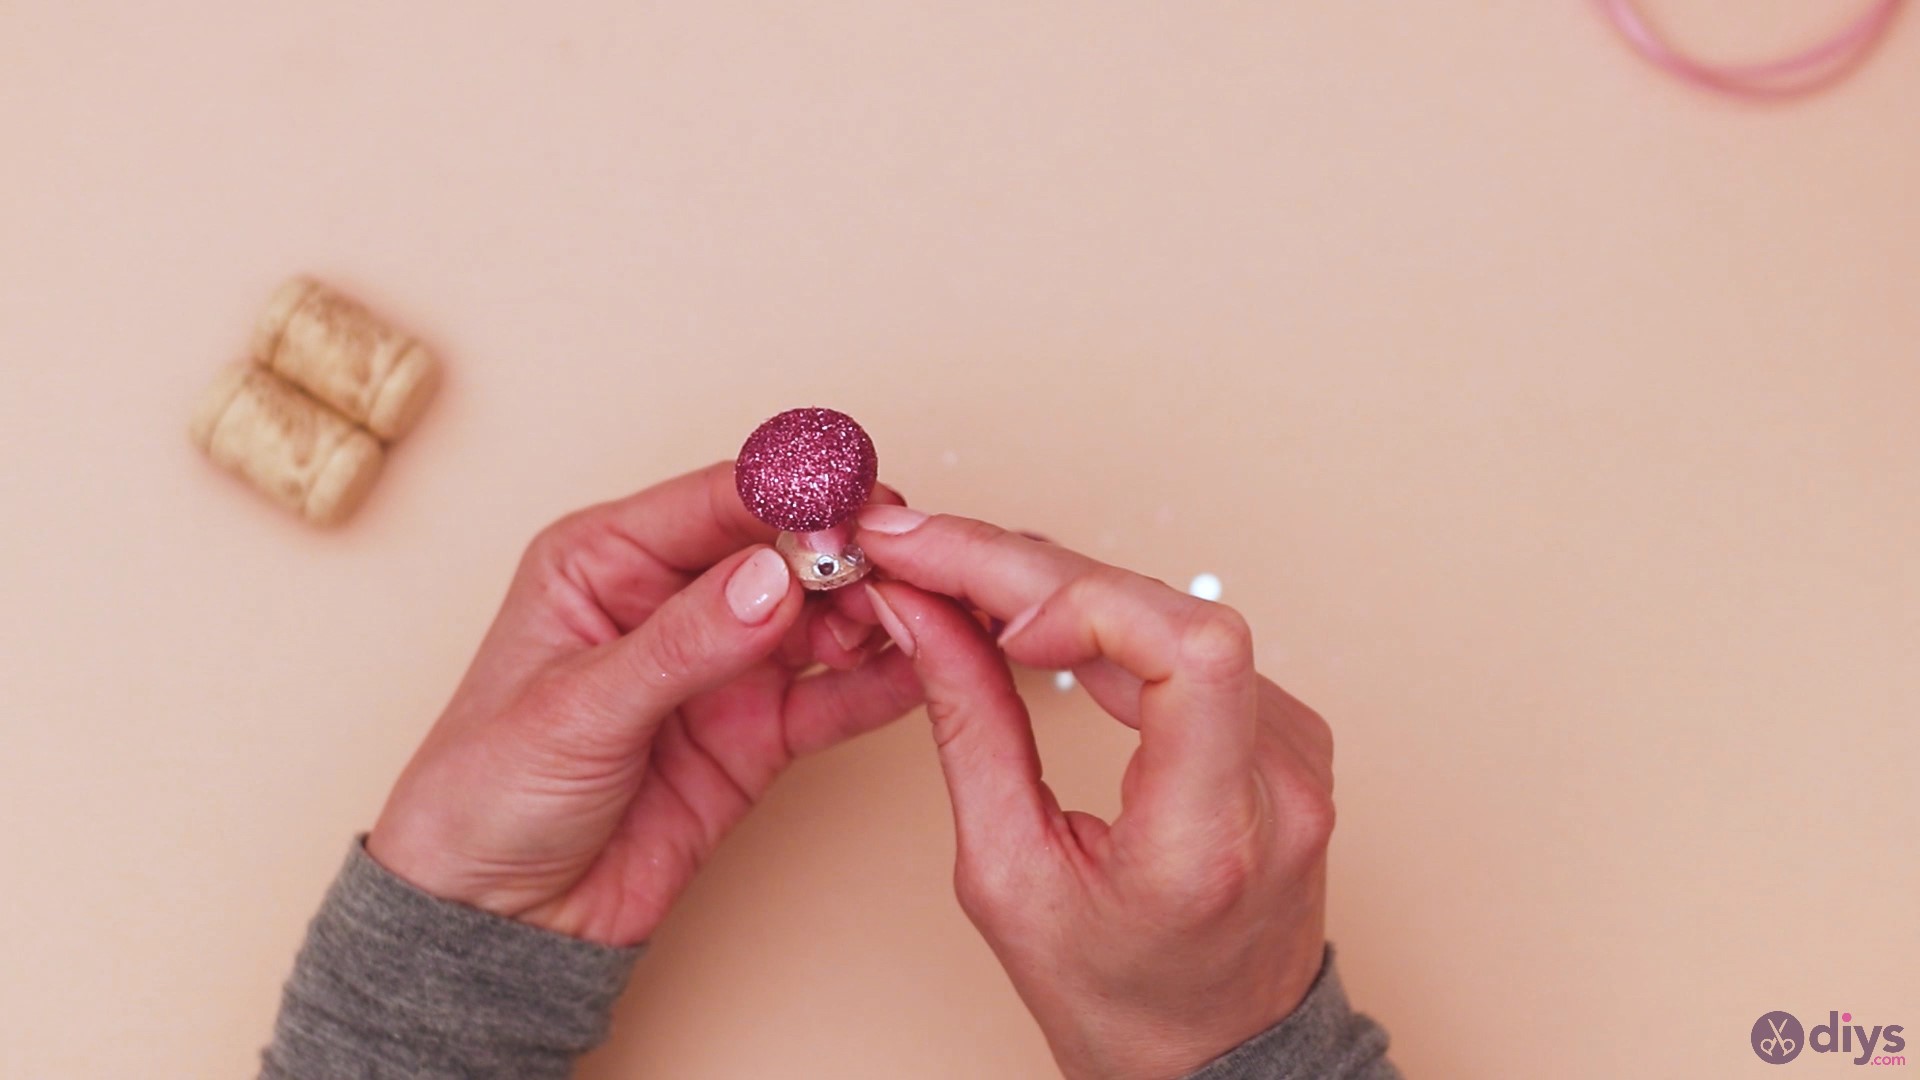
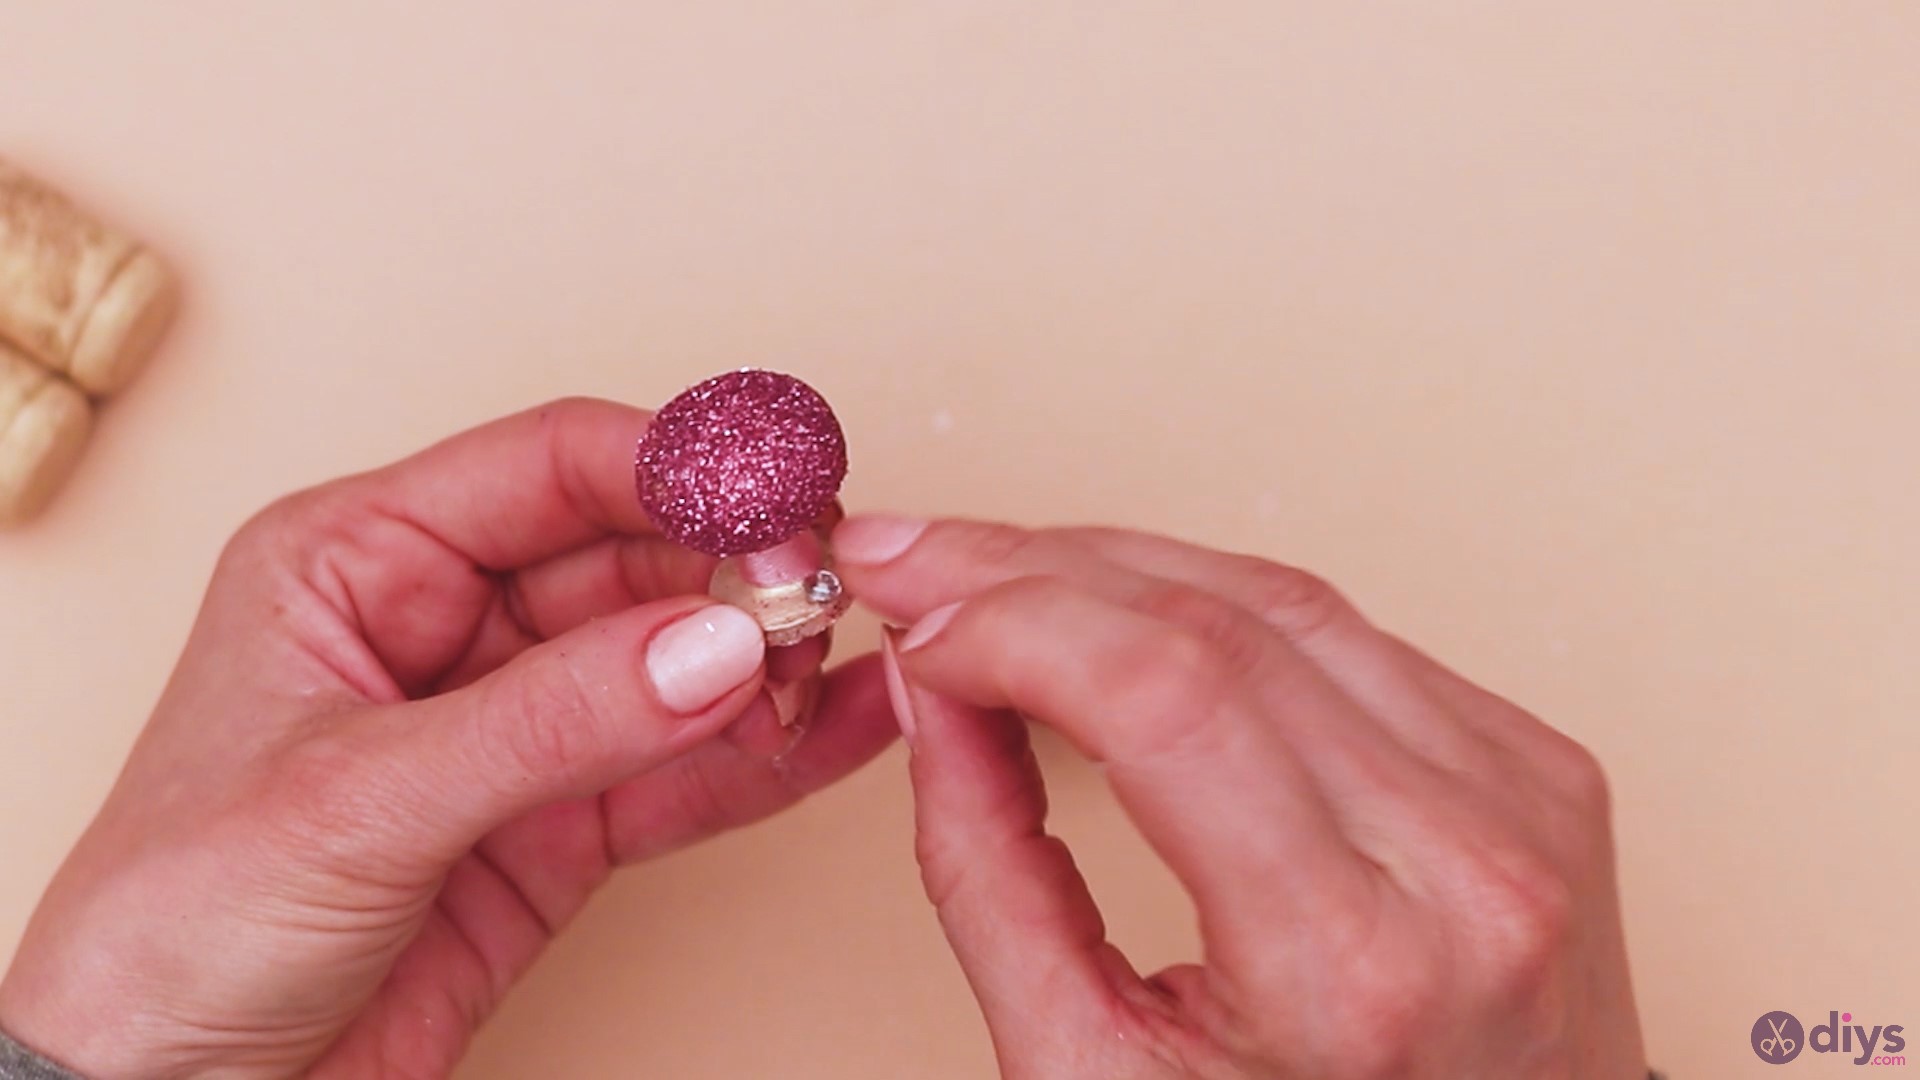
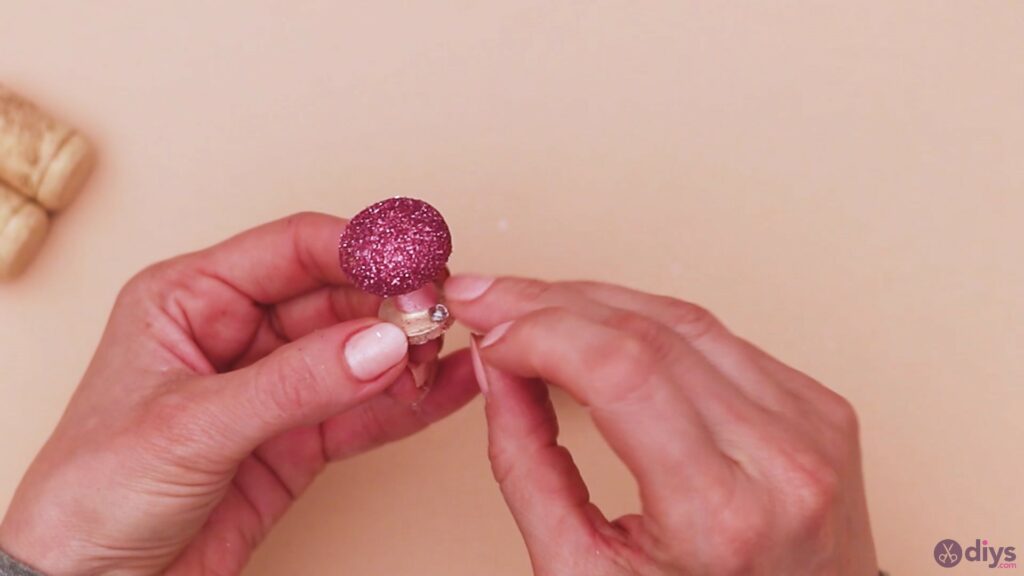
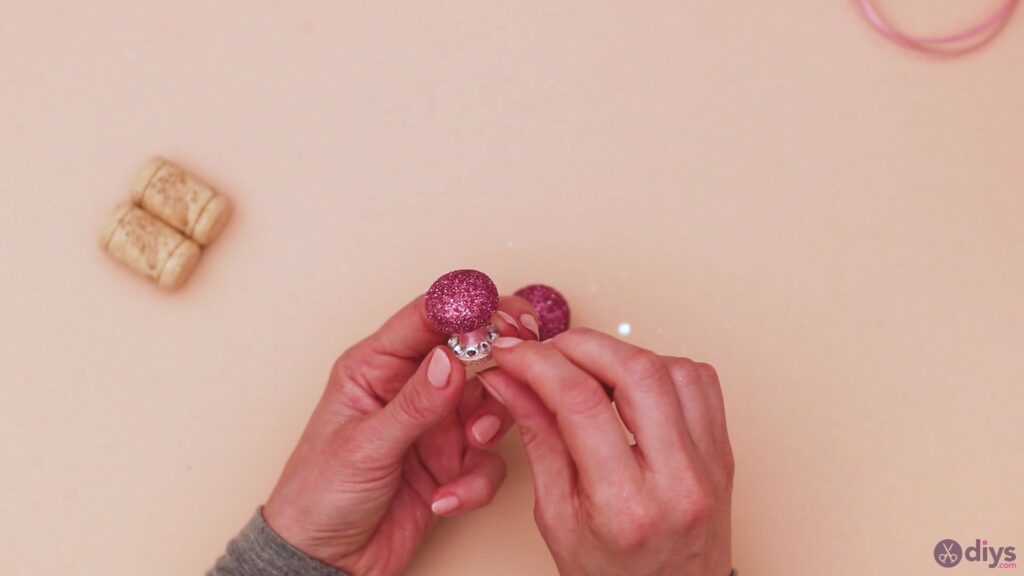
Add the rhinestones to the hot glue on the base. Add more and more rhinestones to the base, trying to give them a bit of space. You want them to fit well on the base, so try to fit them in well.
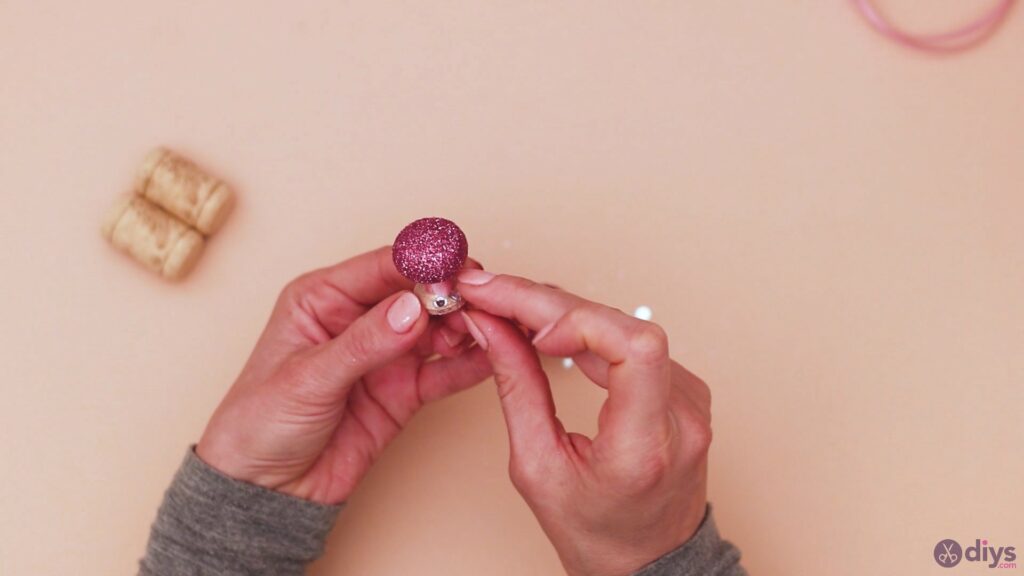
Now, you can go ahead and add some hot glue to the edge of the base of the doorknob too. Place some rhinestones over those areas too.
Step 5: Finish off the bottle stoppers
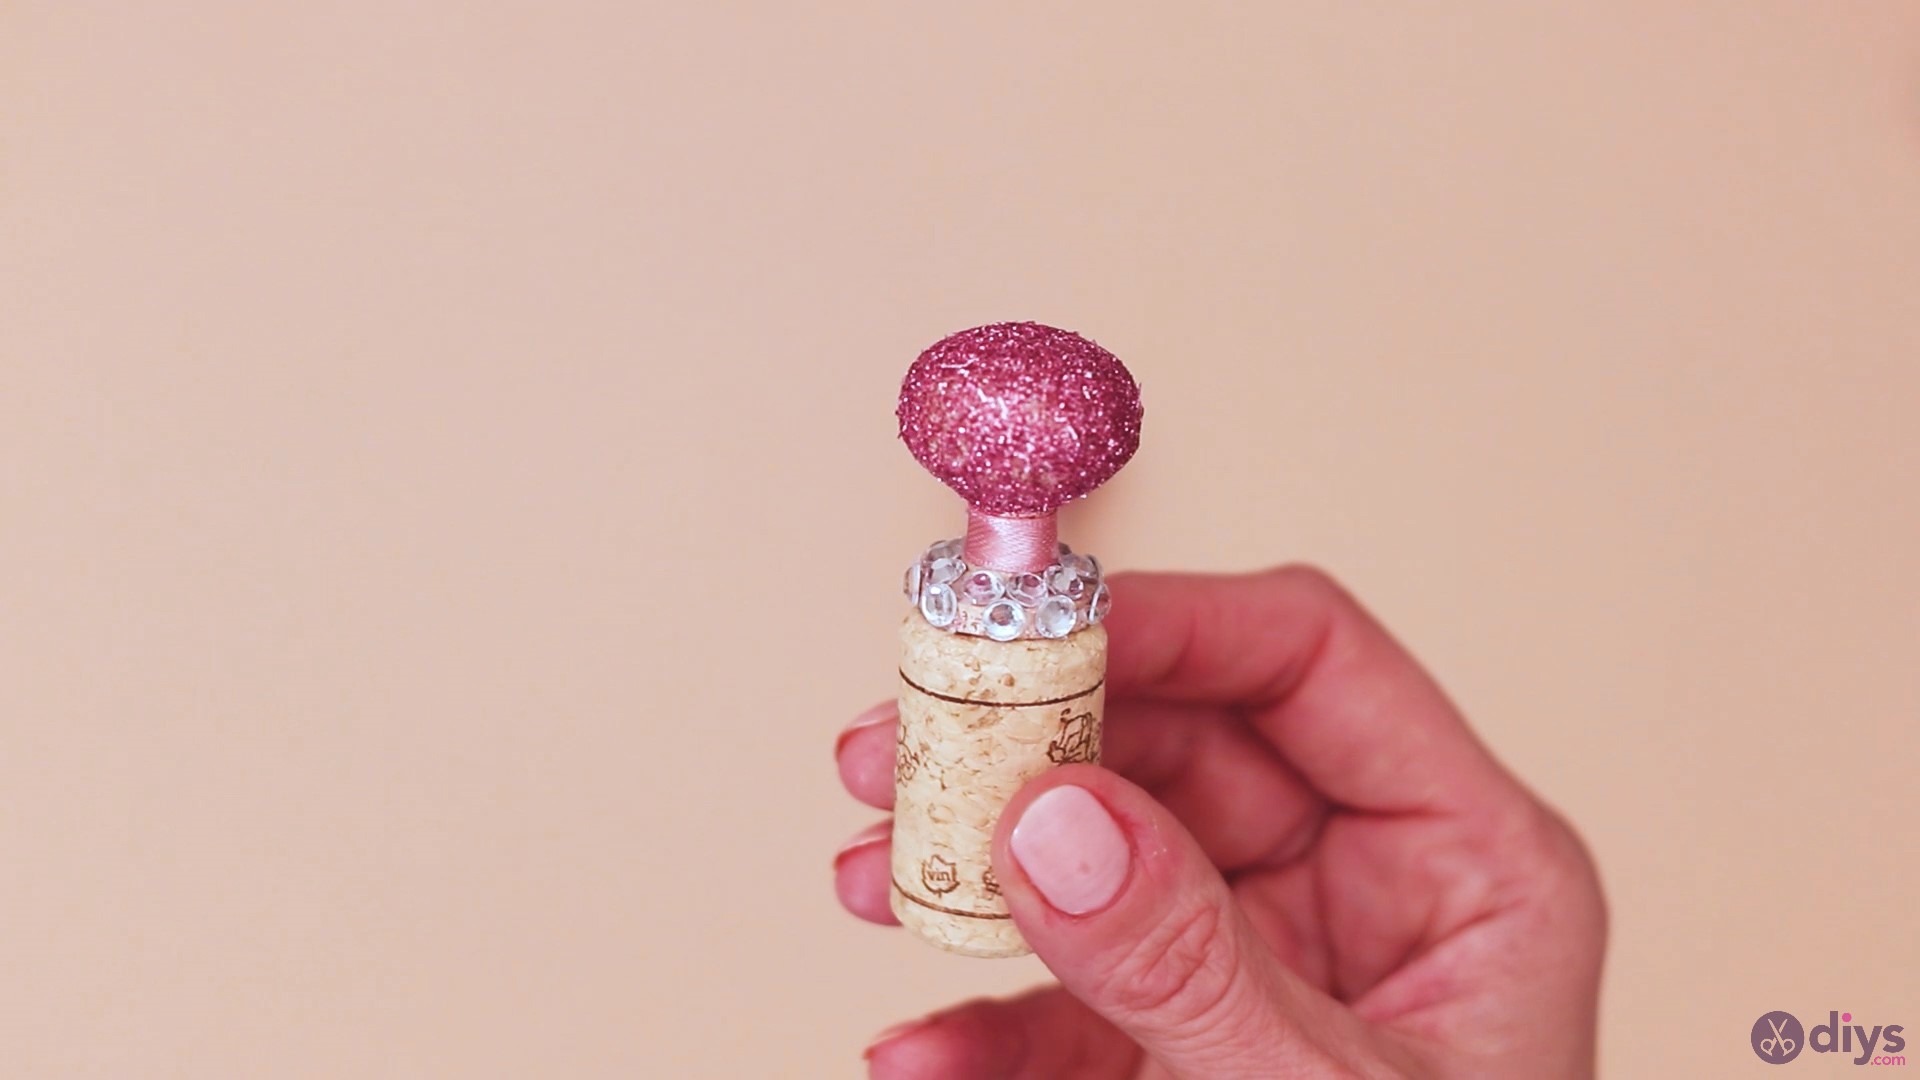
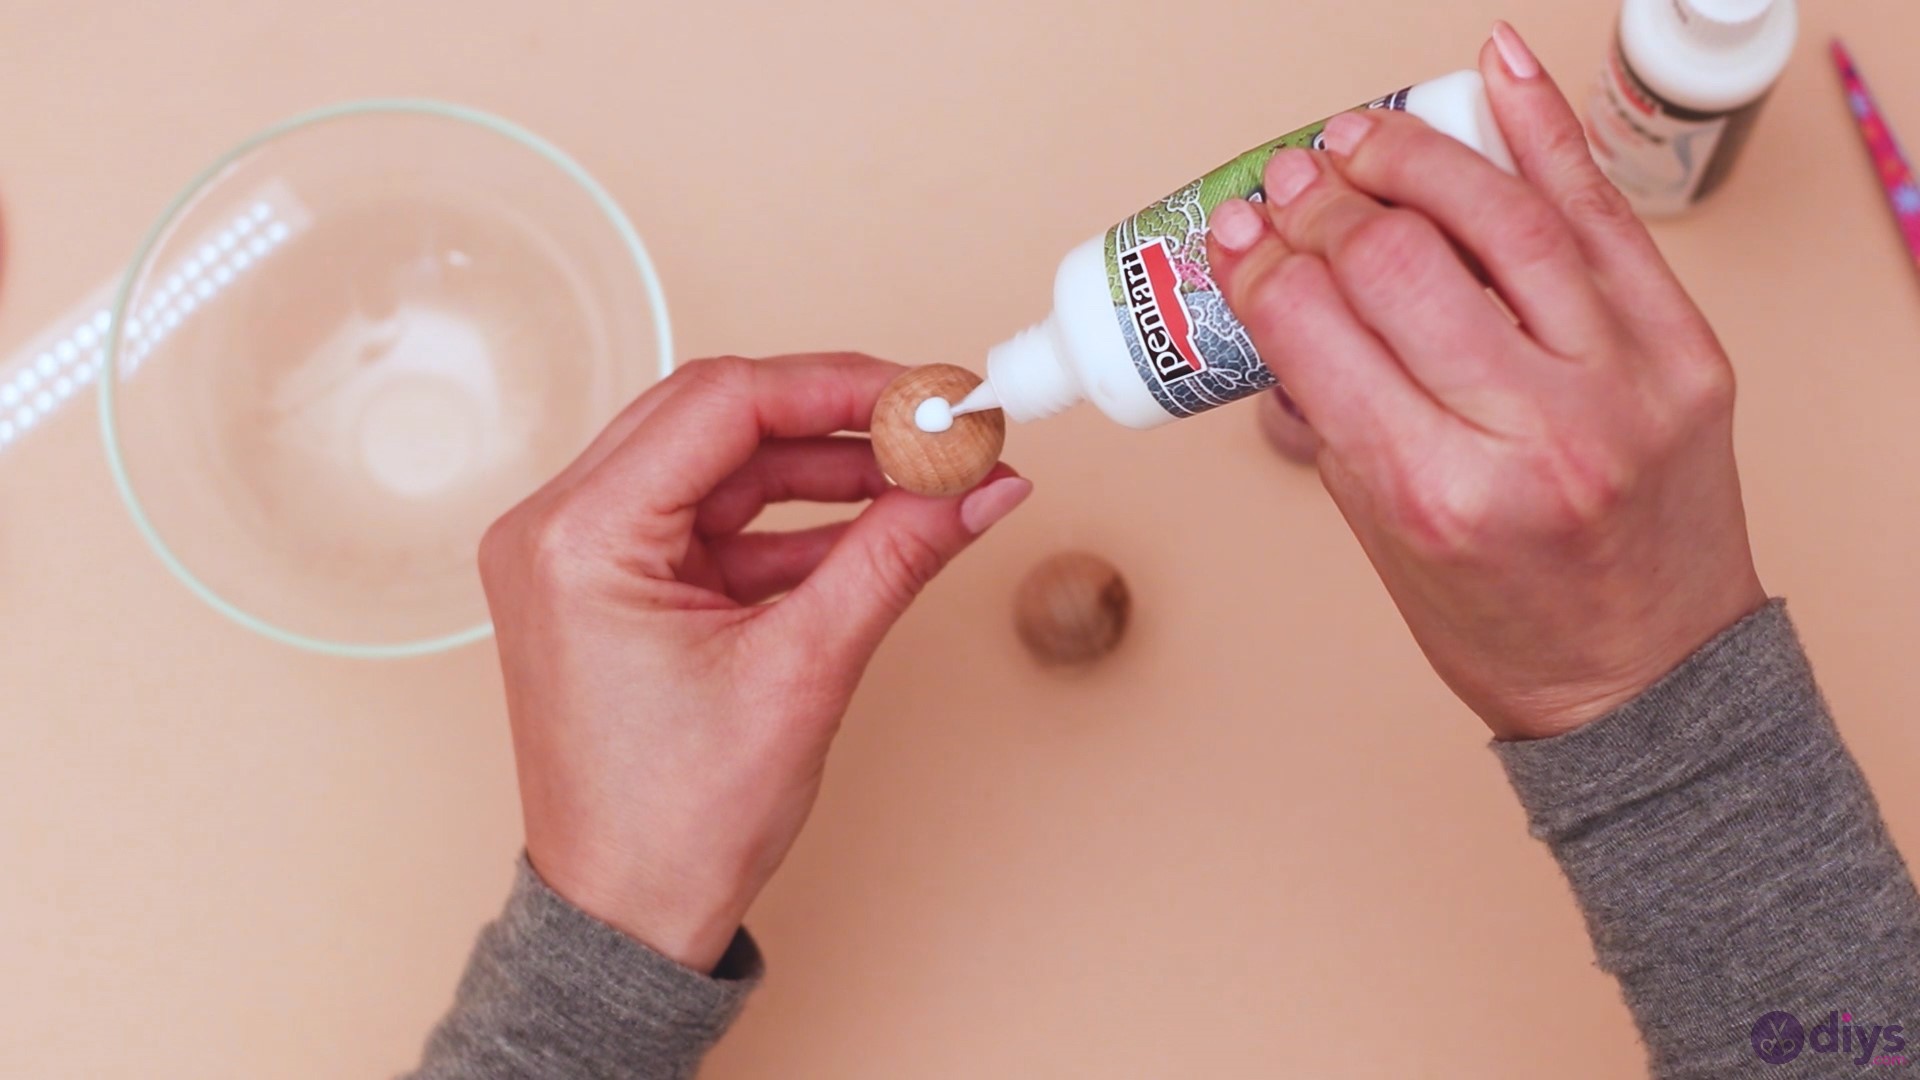
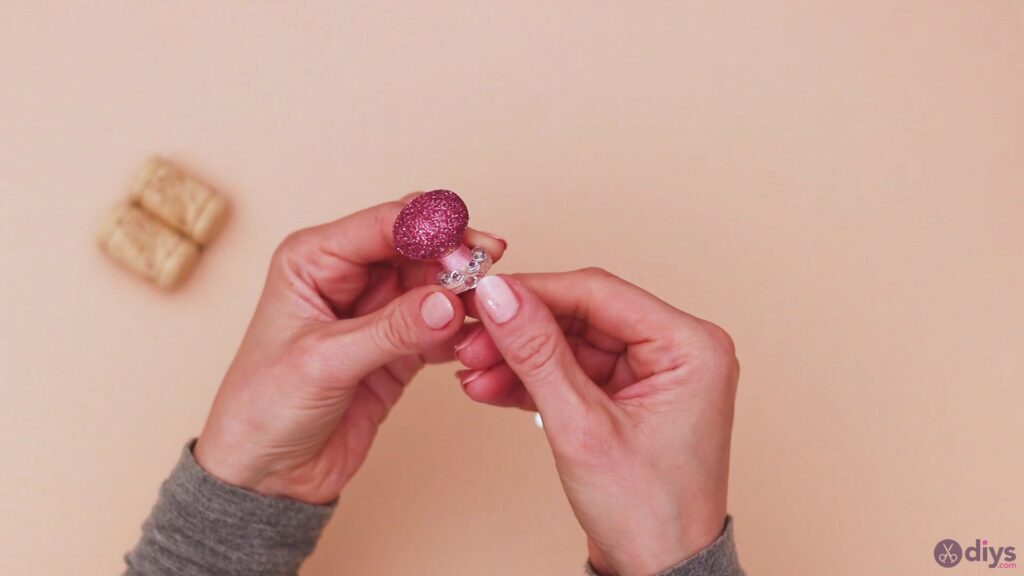
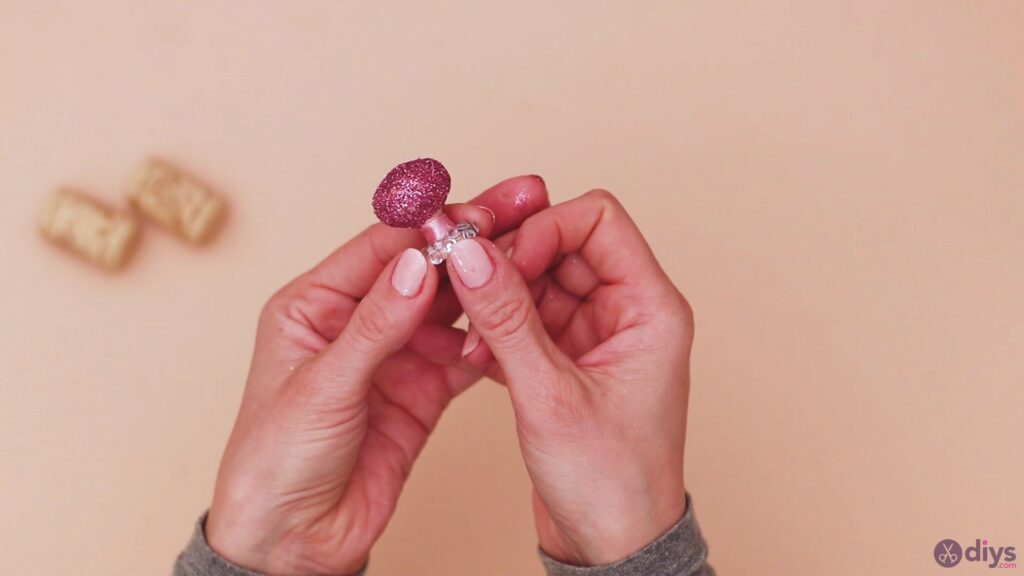
Now, we need to glue the doorknobs to the wine corks. Use the wood glue and add some to the base of the doorknobs. Then, place the wine cork over the base and press them together slightly until the hot glue sets.
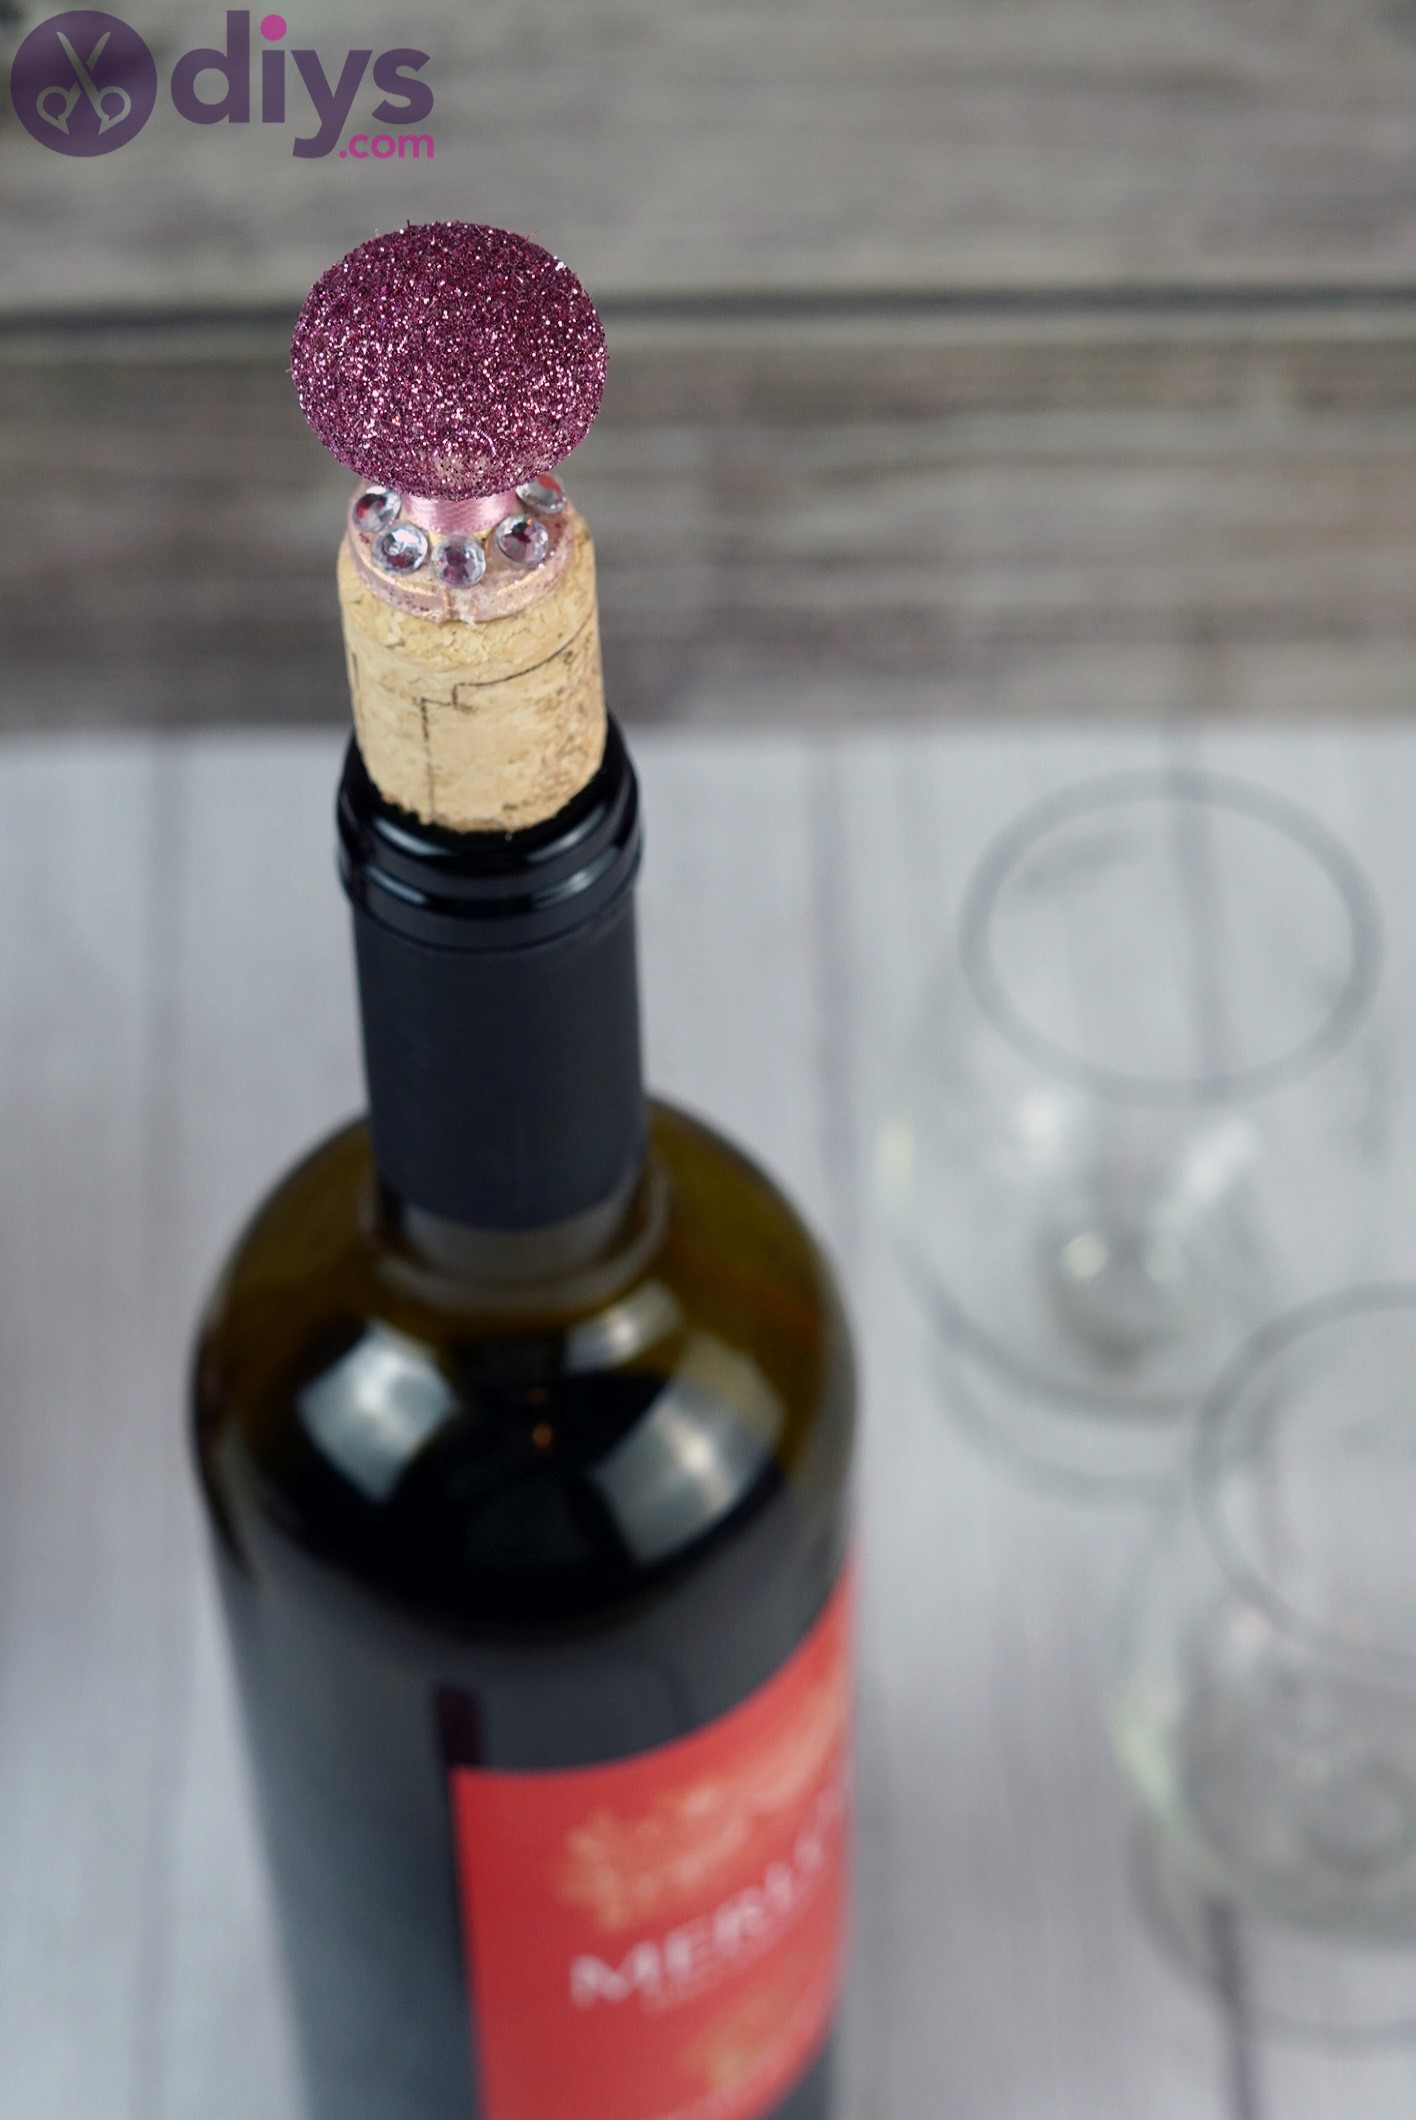
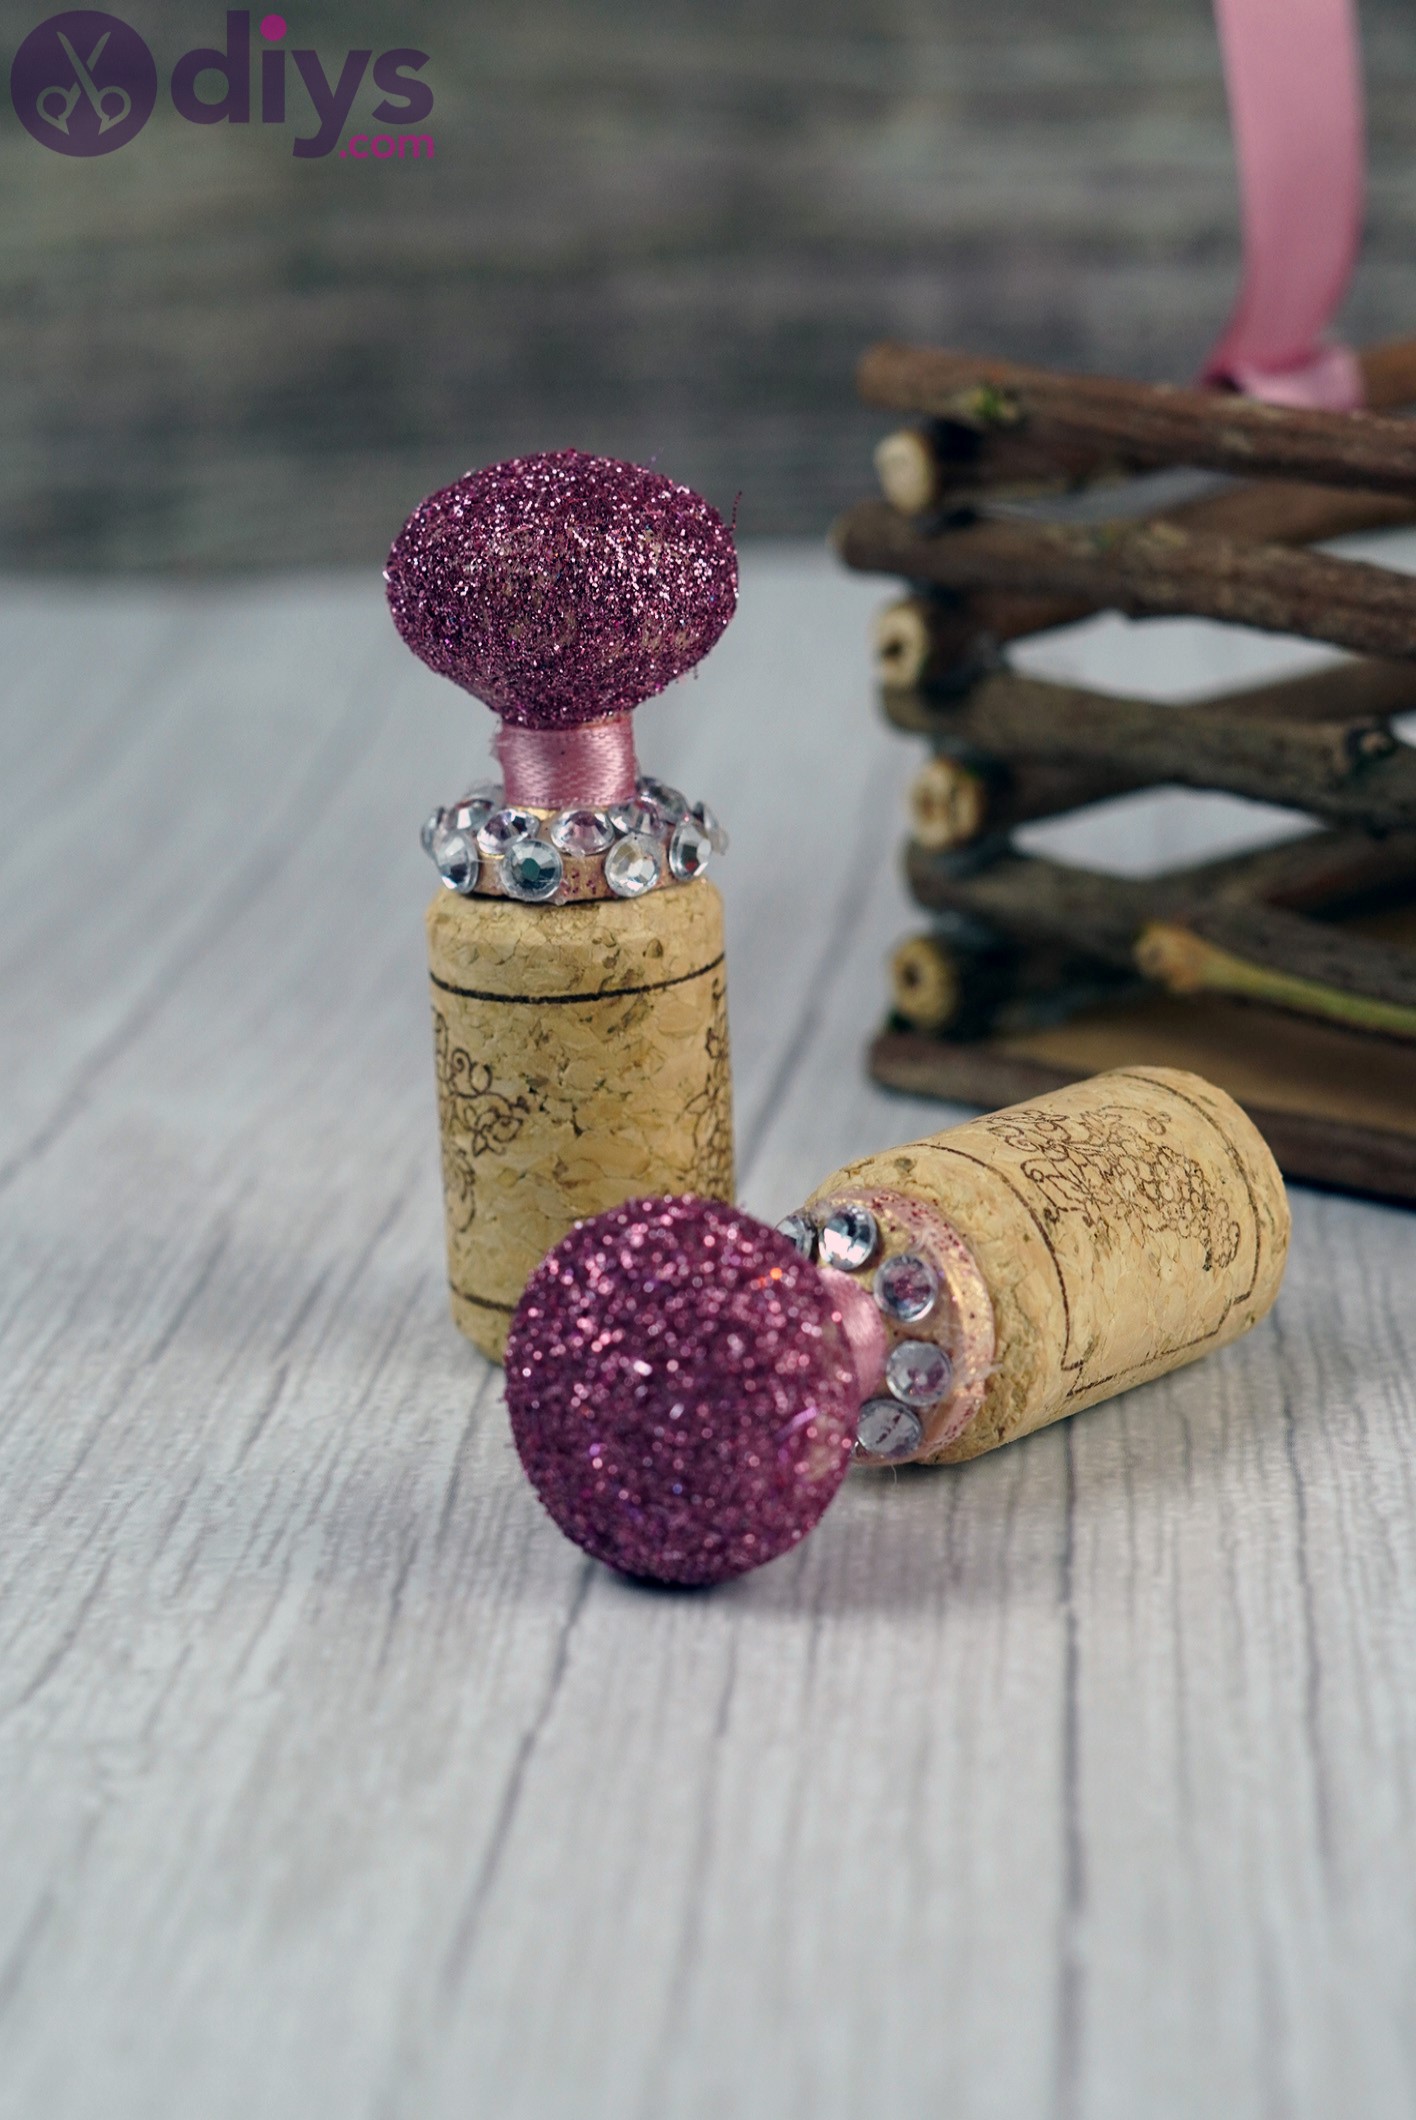
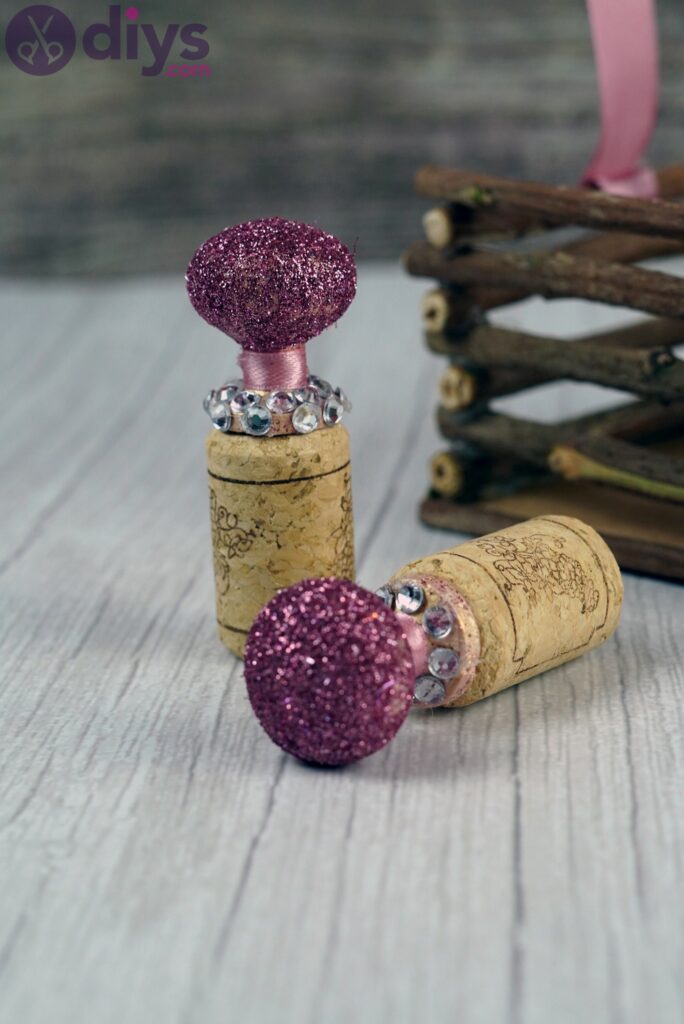
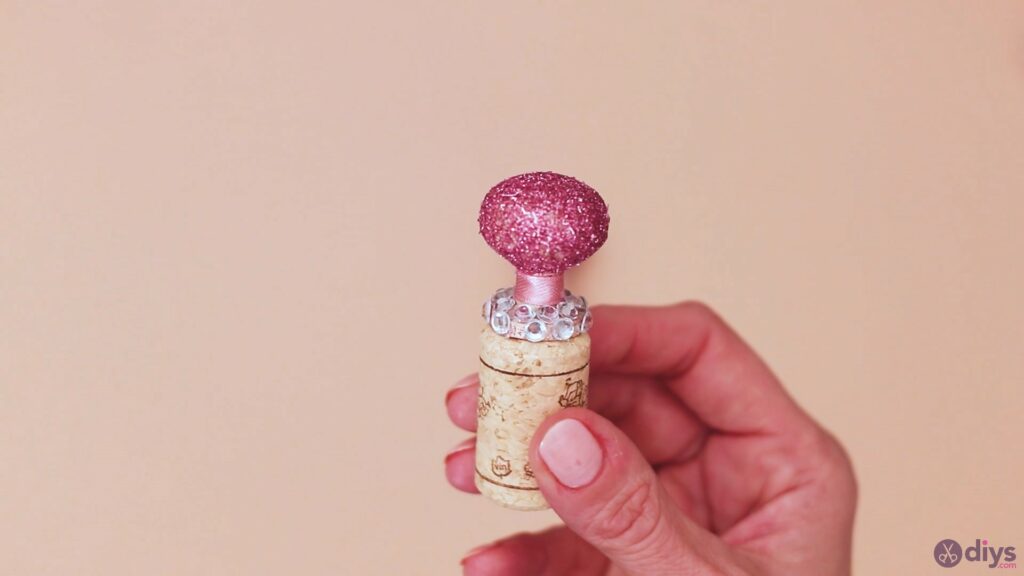
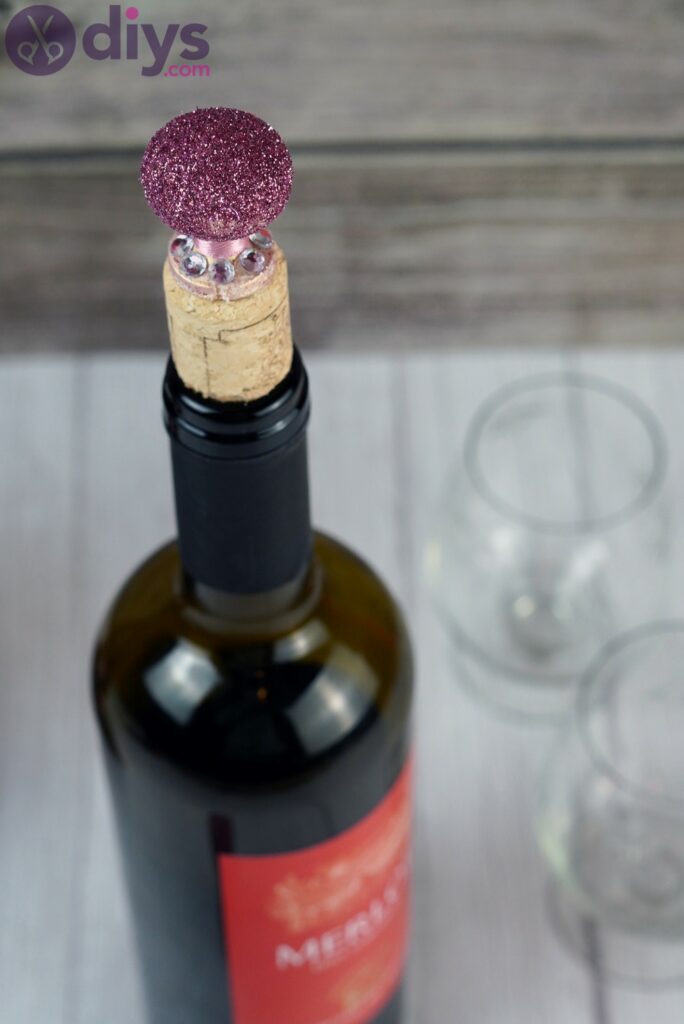
Ta da! Look how cute the wine cork bottle stopper is and how much a little color has changed it. You can customize the doorknobs however you want, using different shades for the glitter and the ribbon, and different rhinestones too.
We would love to see your creations, so drop us a message on social media. Also, let us know what you liked most about this design and what you’d do differently for yours.
