Wine Cork Mobile Phone Holder
Mobile phone holders a huge convenience when it comes to keeping your phone properly protected and out of the way. Whether you like to use your mobile phone holder while charging your phone, or you’d just like a clean, dry place to keep it while working or doing other projects, everyone can find use out of these nifty holders. Even better, instead of buying a mobile phone holder, why not make one yourself?
You’ll be saving a ton of money and you can easily personalize these items through color and design. Plus, reusing old materials, such as wine corks, is a great way to keep green and help the planet. Anyone you gift this item to is sure to love it because it is thoughtful and handmade.
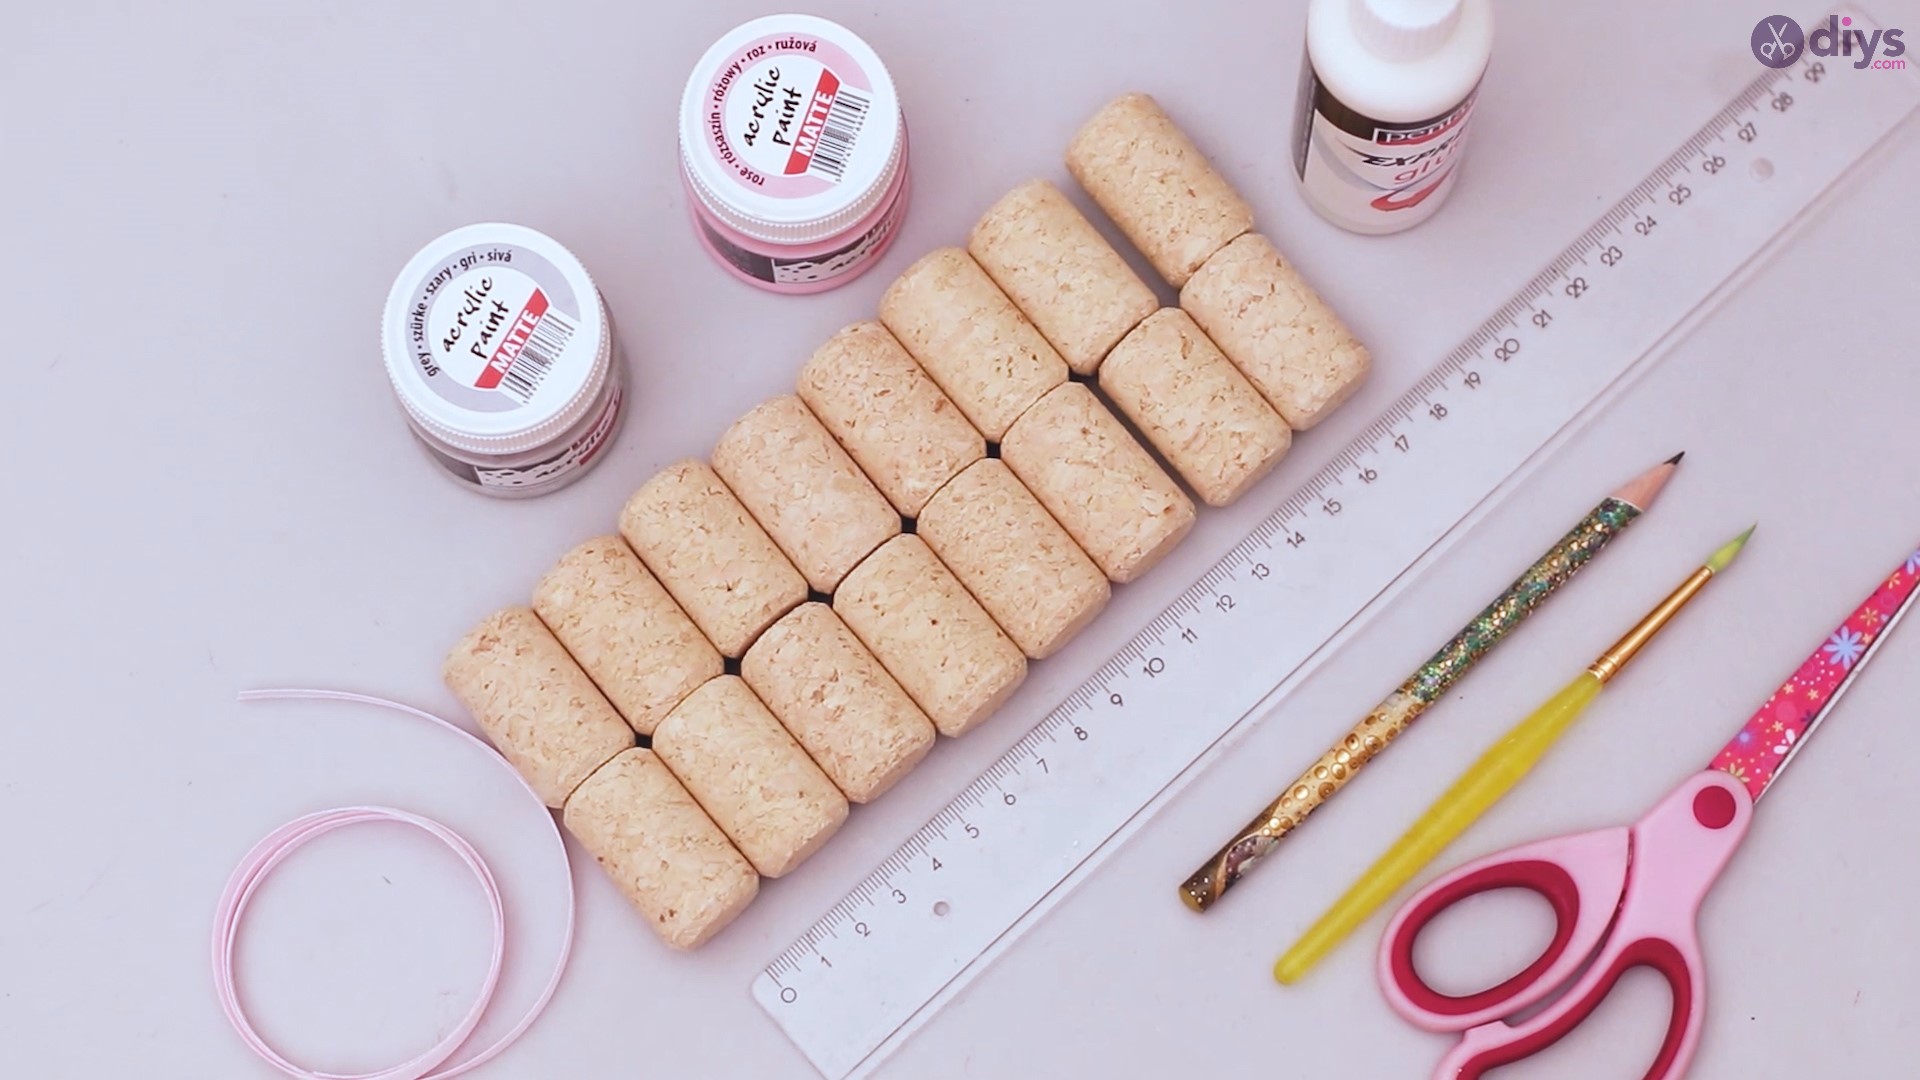
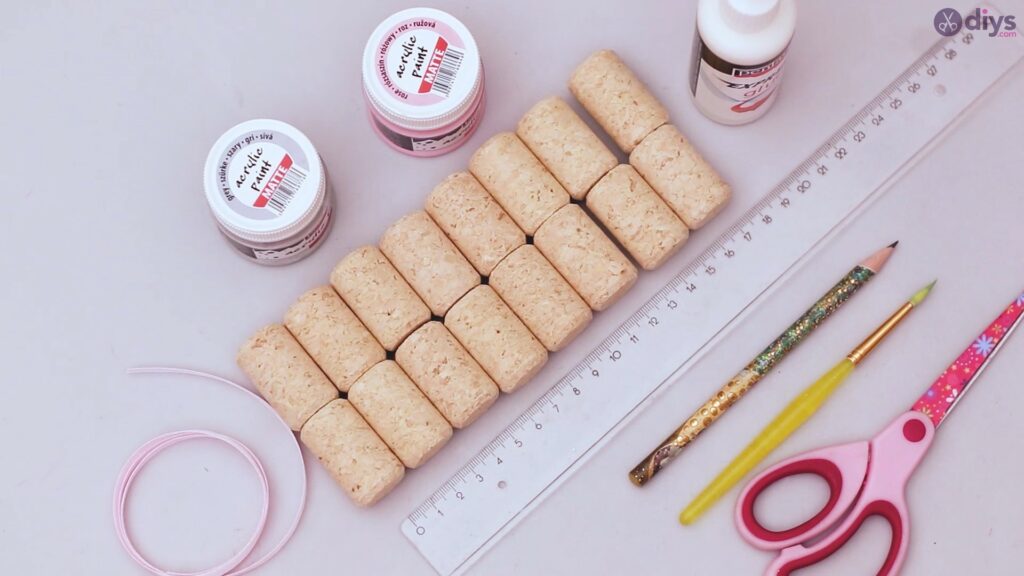
Materials for Wine Cork Mobile Phone Holder:
- Light rose and grey acrylic paint
- wine corks
- silk ribbon
- wood glue
- scissors
- ruler
- pencil
- paint brush
How to build the Wine Cork Mobile Phone Holder:
Step 1: Preparing Your Corks
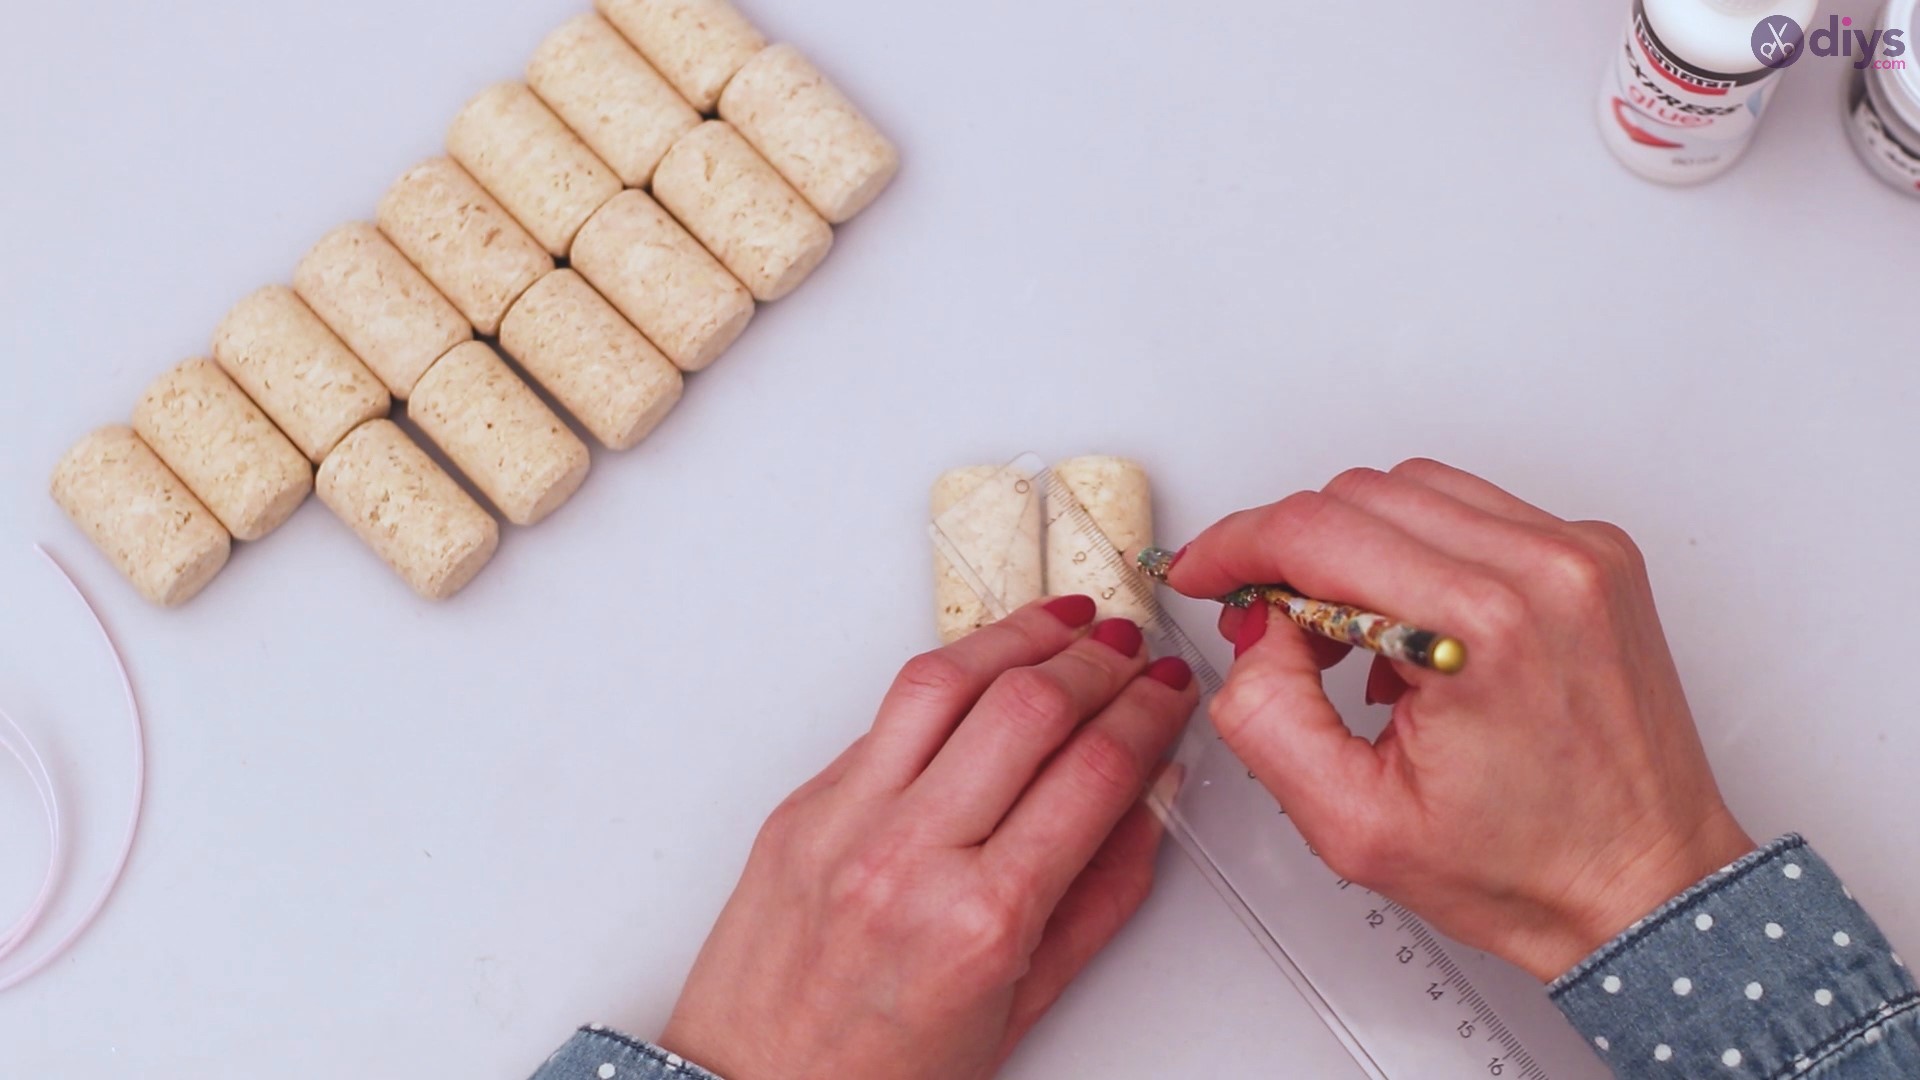
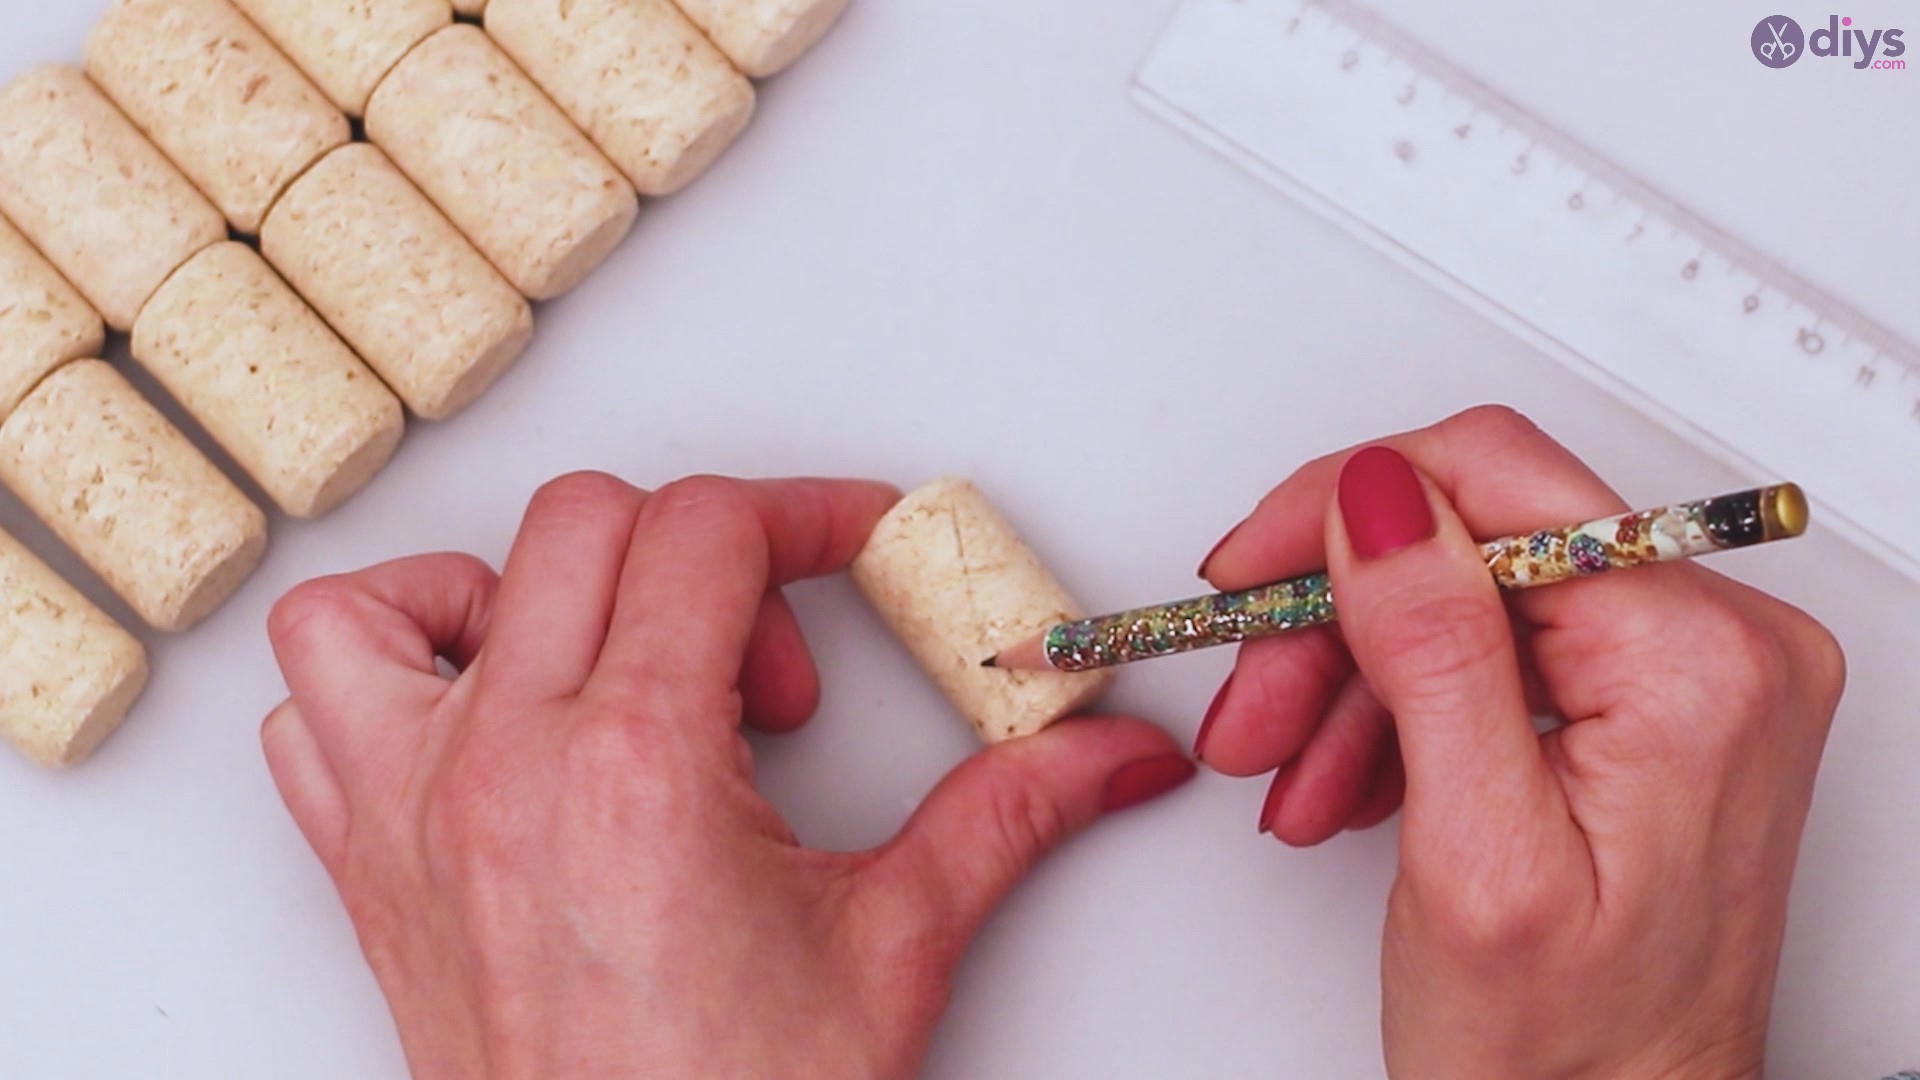
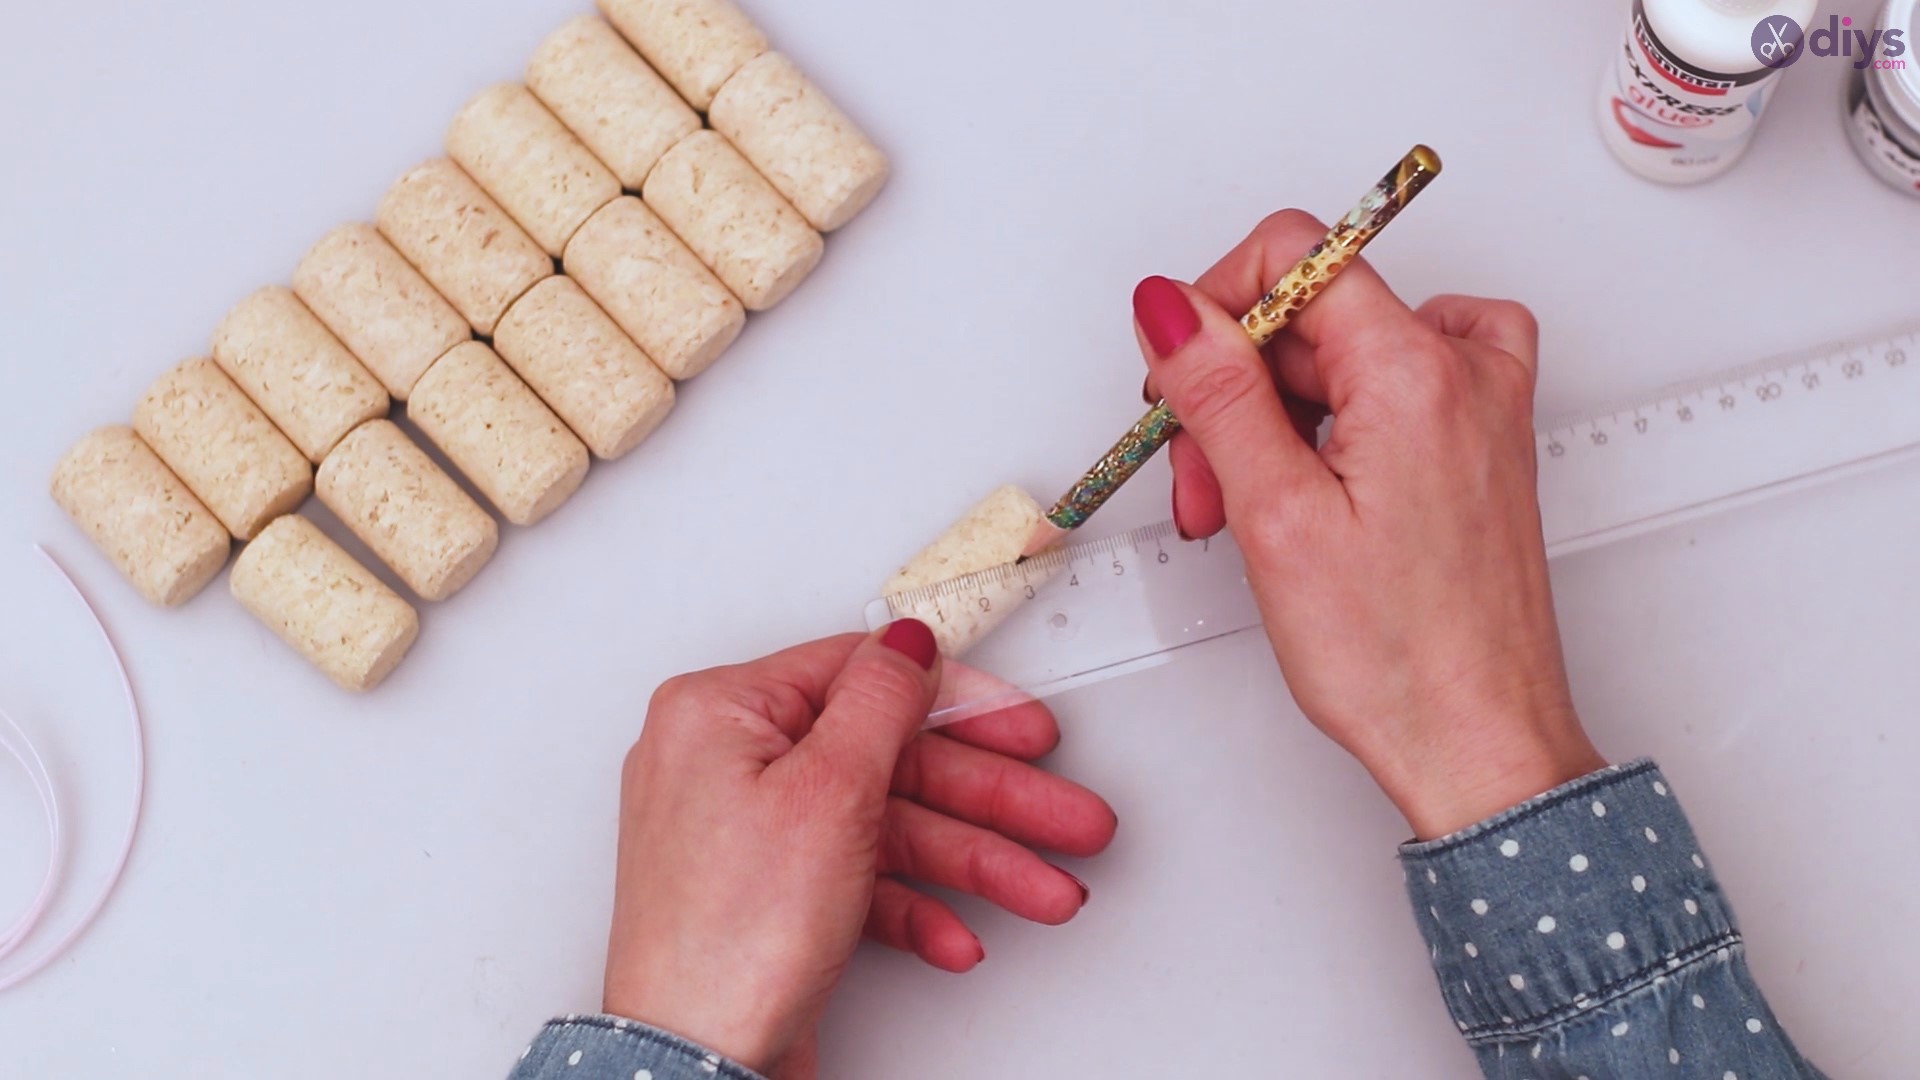
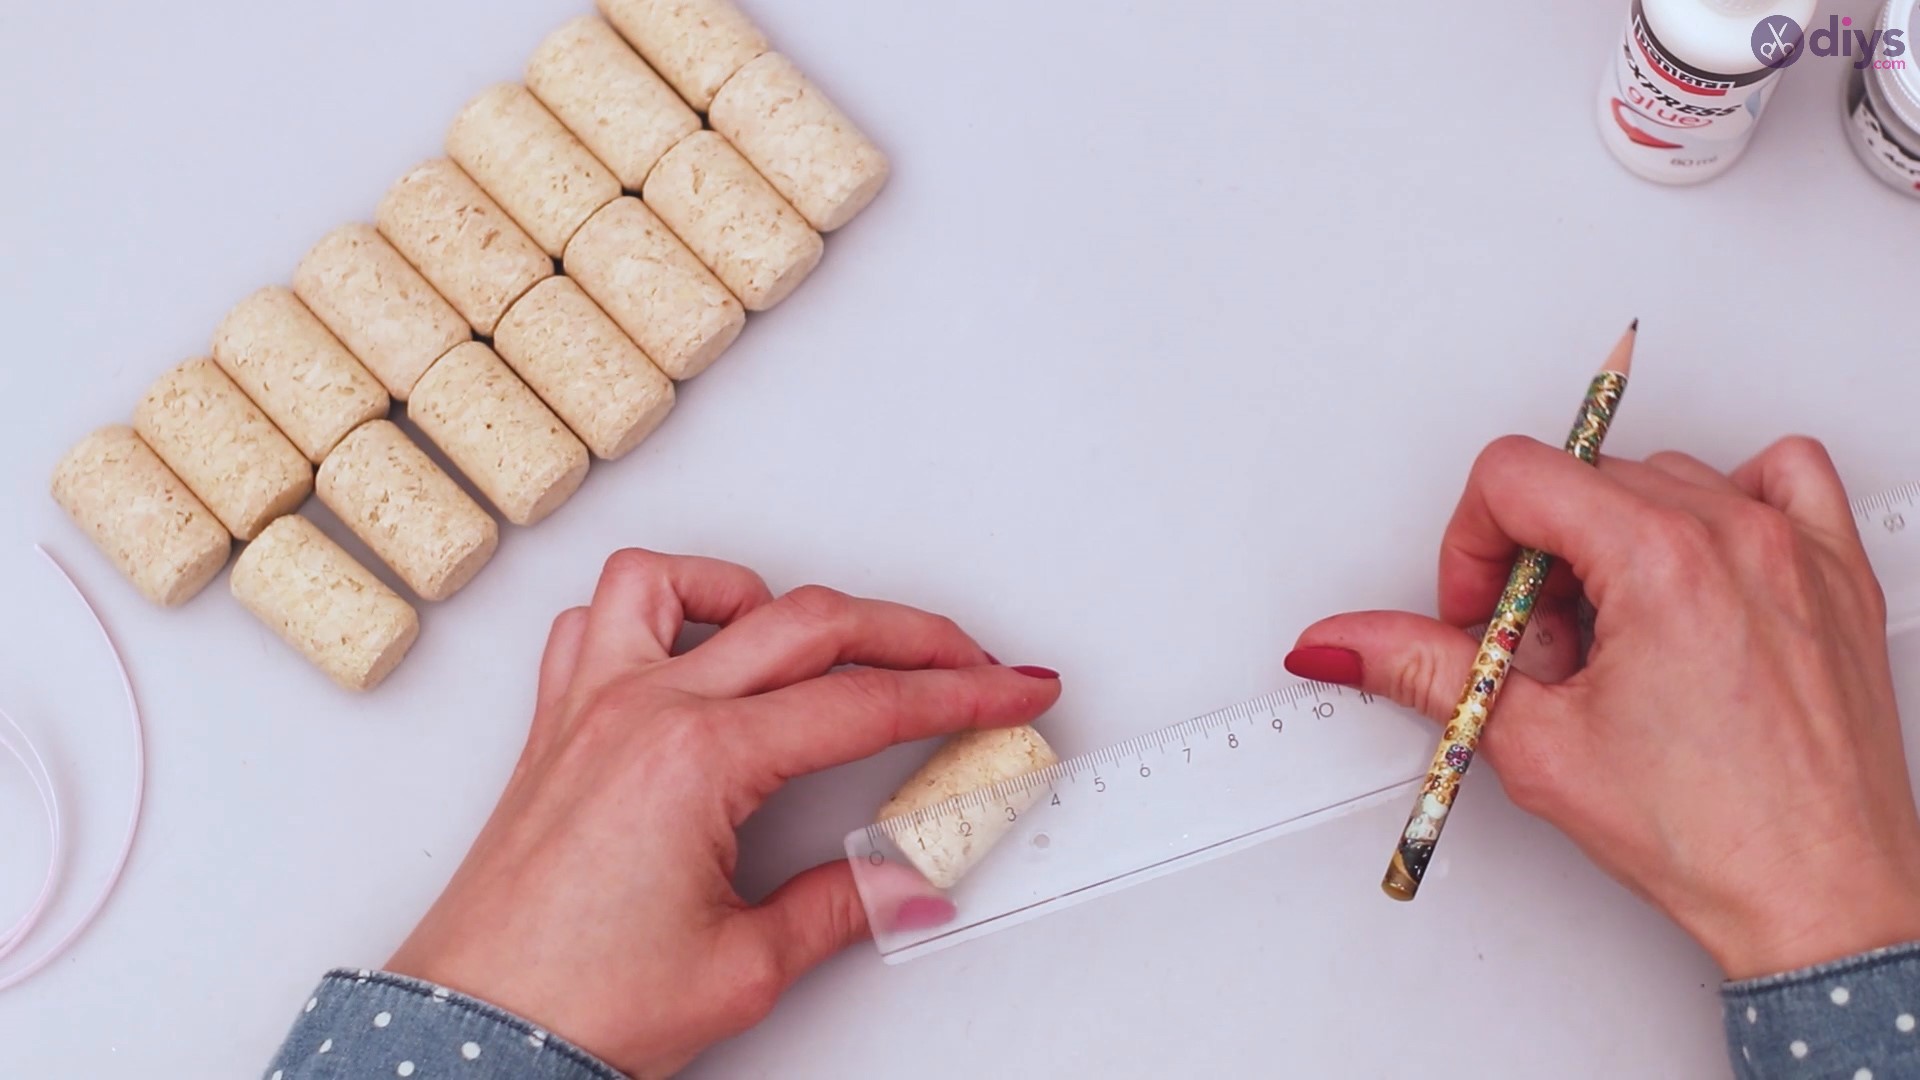
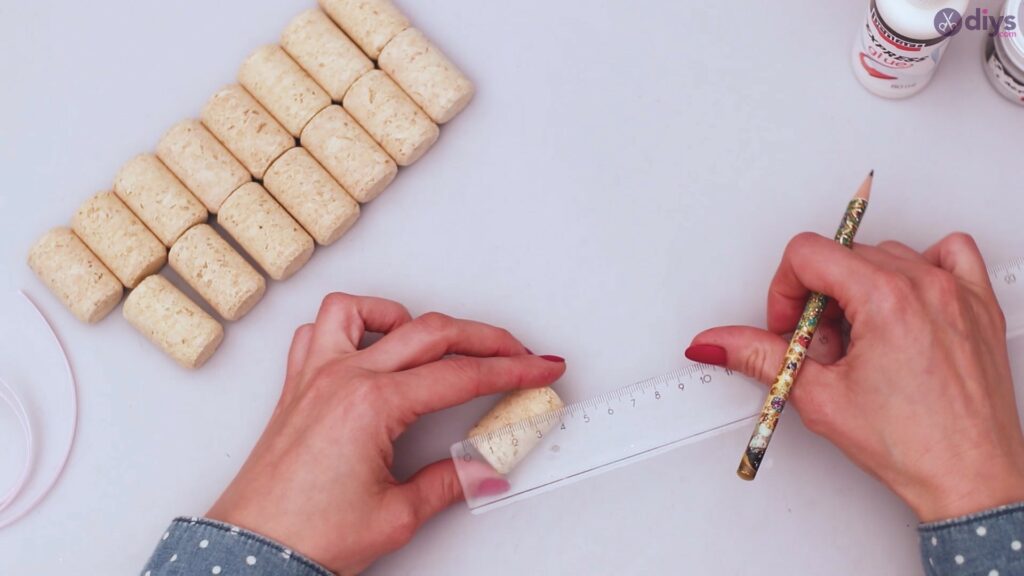
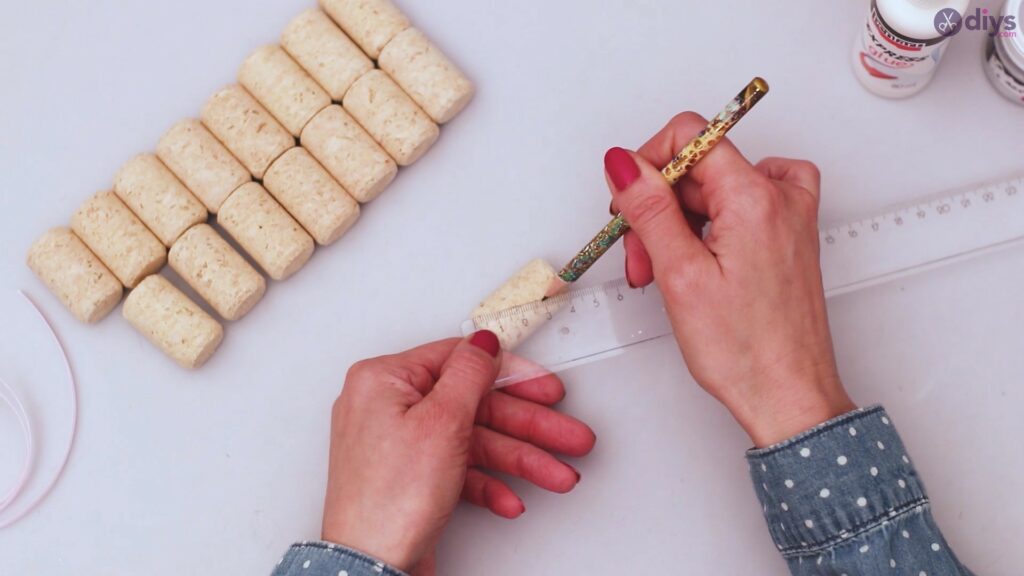
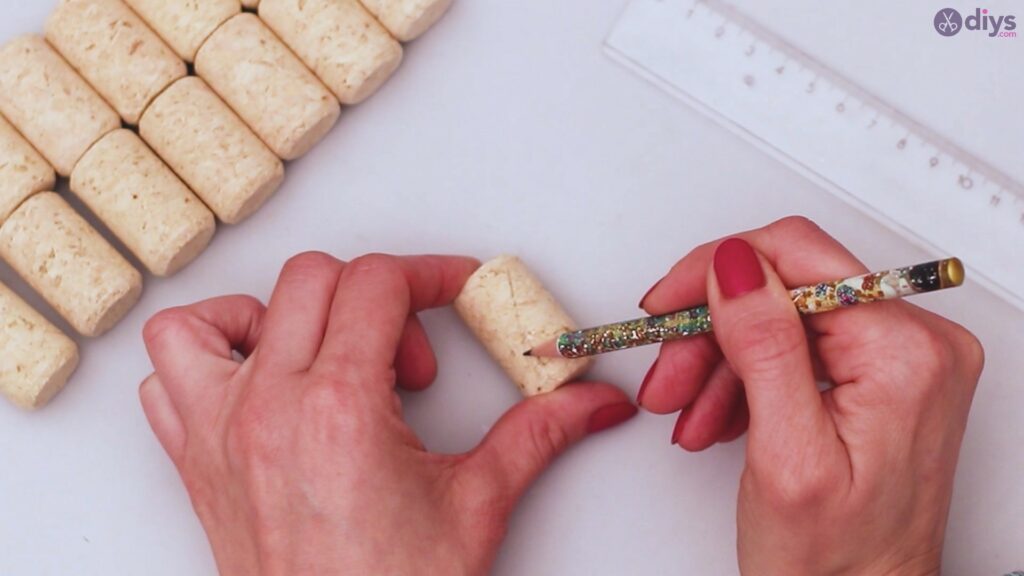
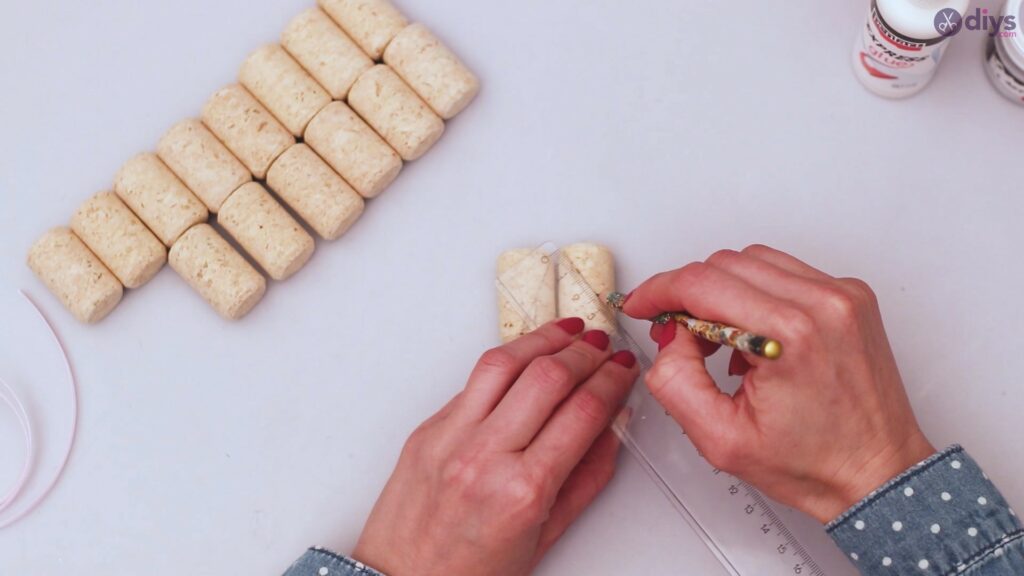
In order to make this project positively pop, you’re going to want to color your corks in varying patterns or designs with plenty of color. With this project, we are using rose and grey acrylic paint to make this a softer, pastel looking phone holder. You’re going to want to start the project by taking a ruler and making sharp, straight diagonal lines diagonally across each cork.
The straighter the lines, the easier it will be to apply your paint perfectly.
Step 2: Paint
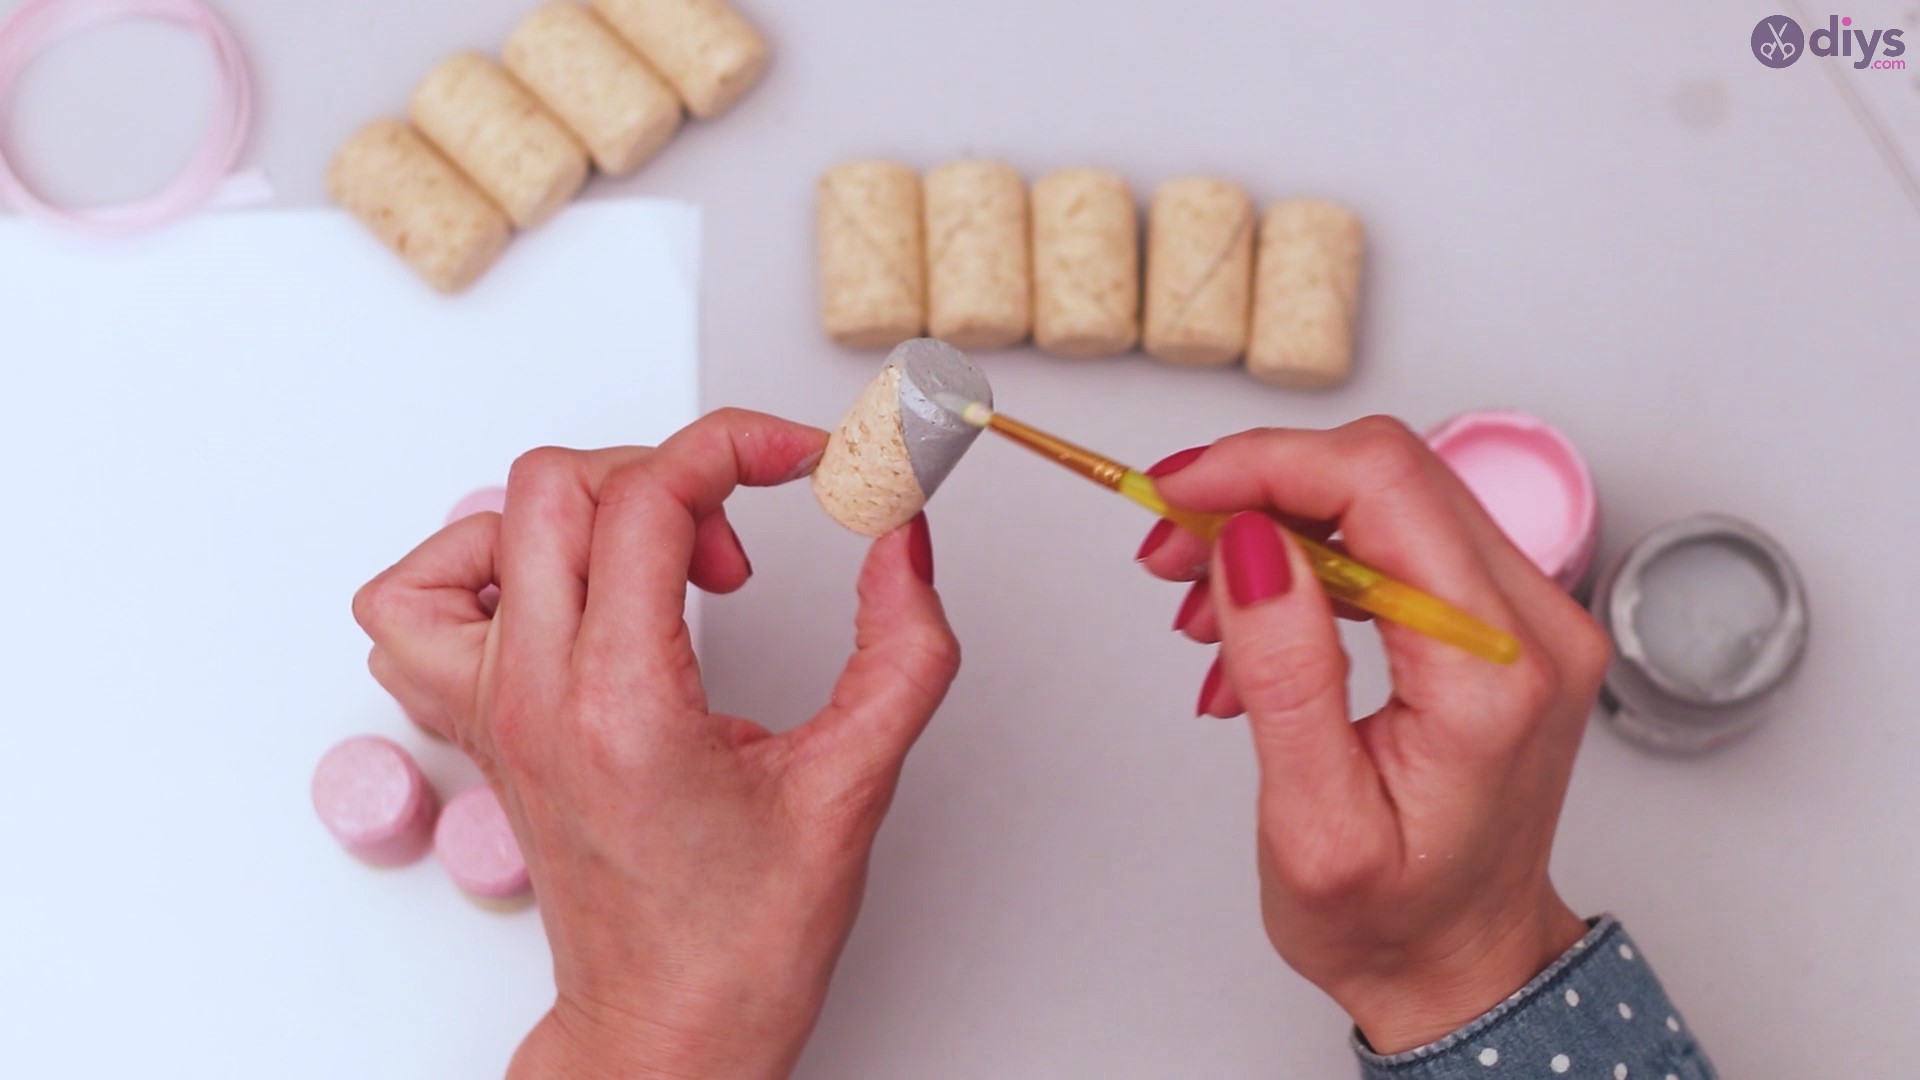
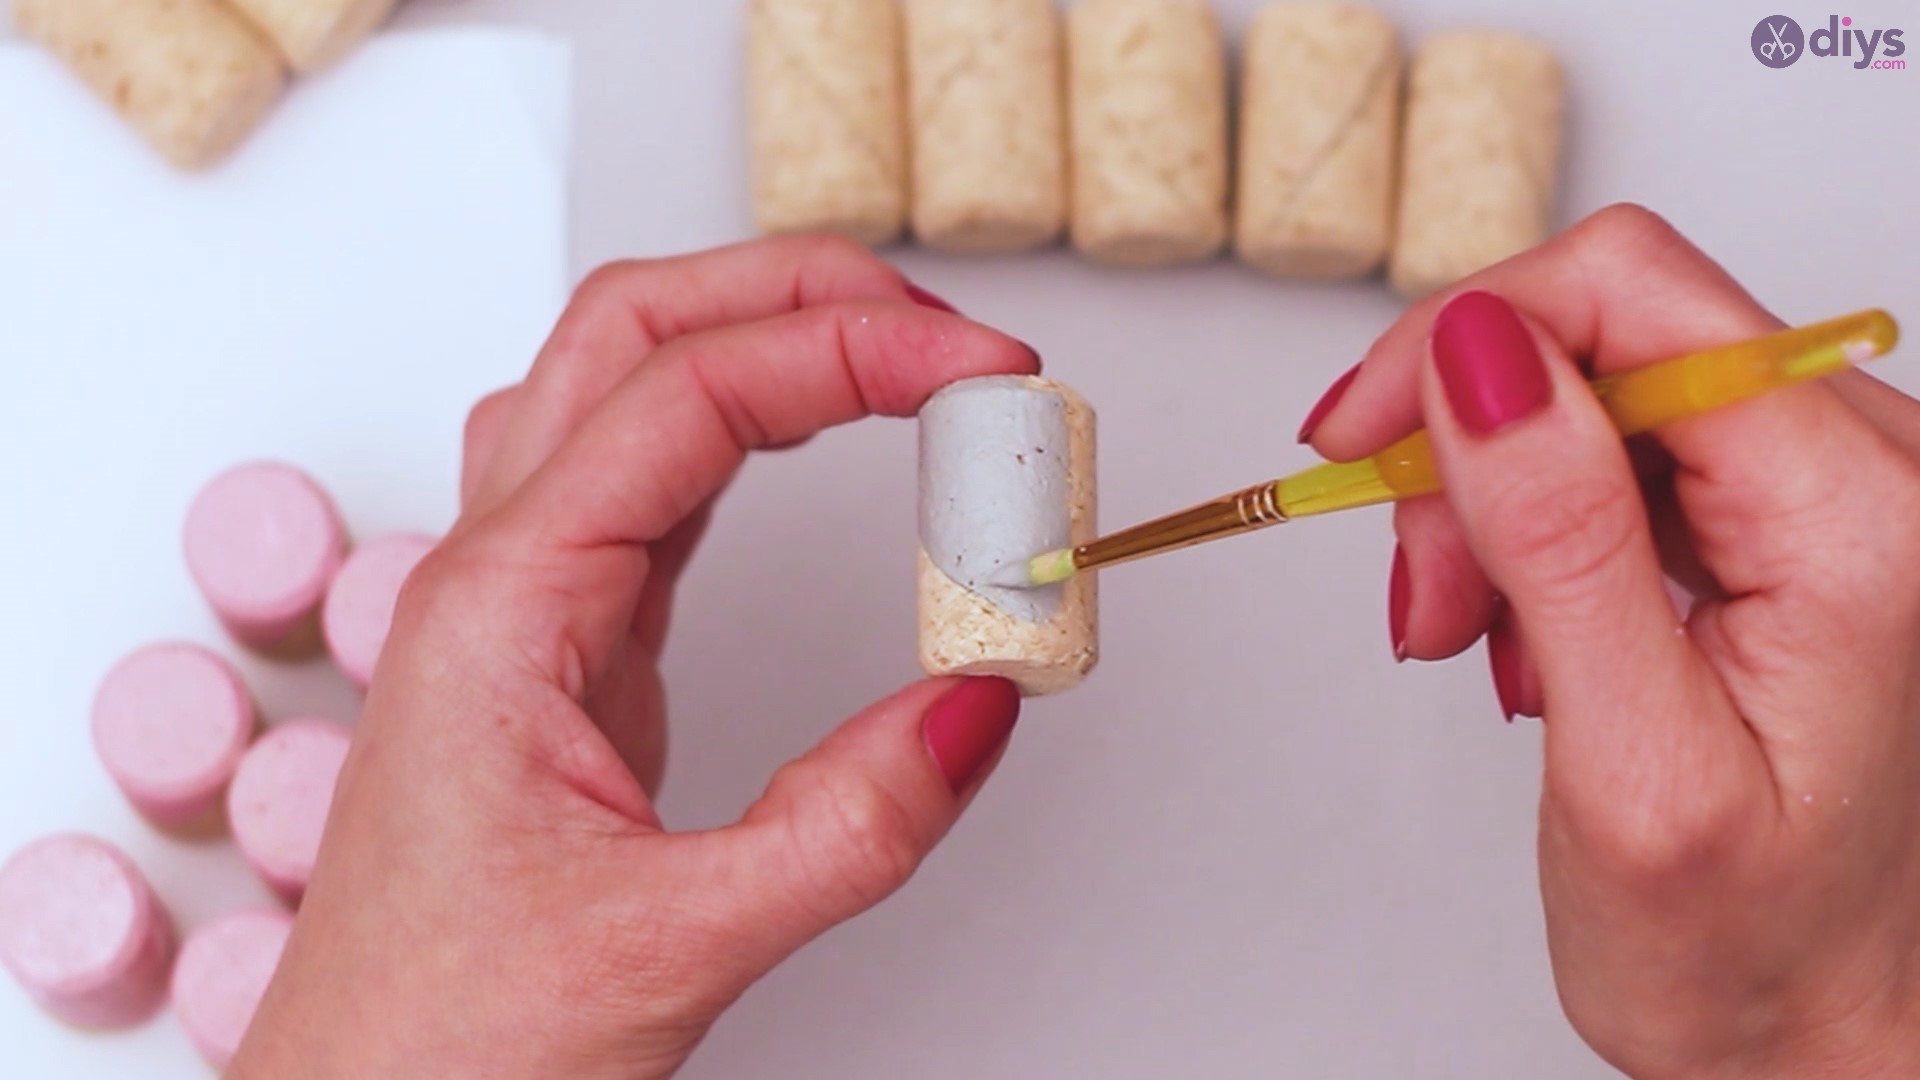
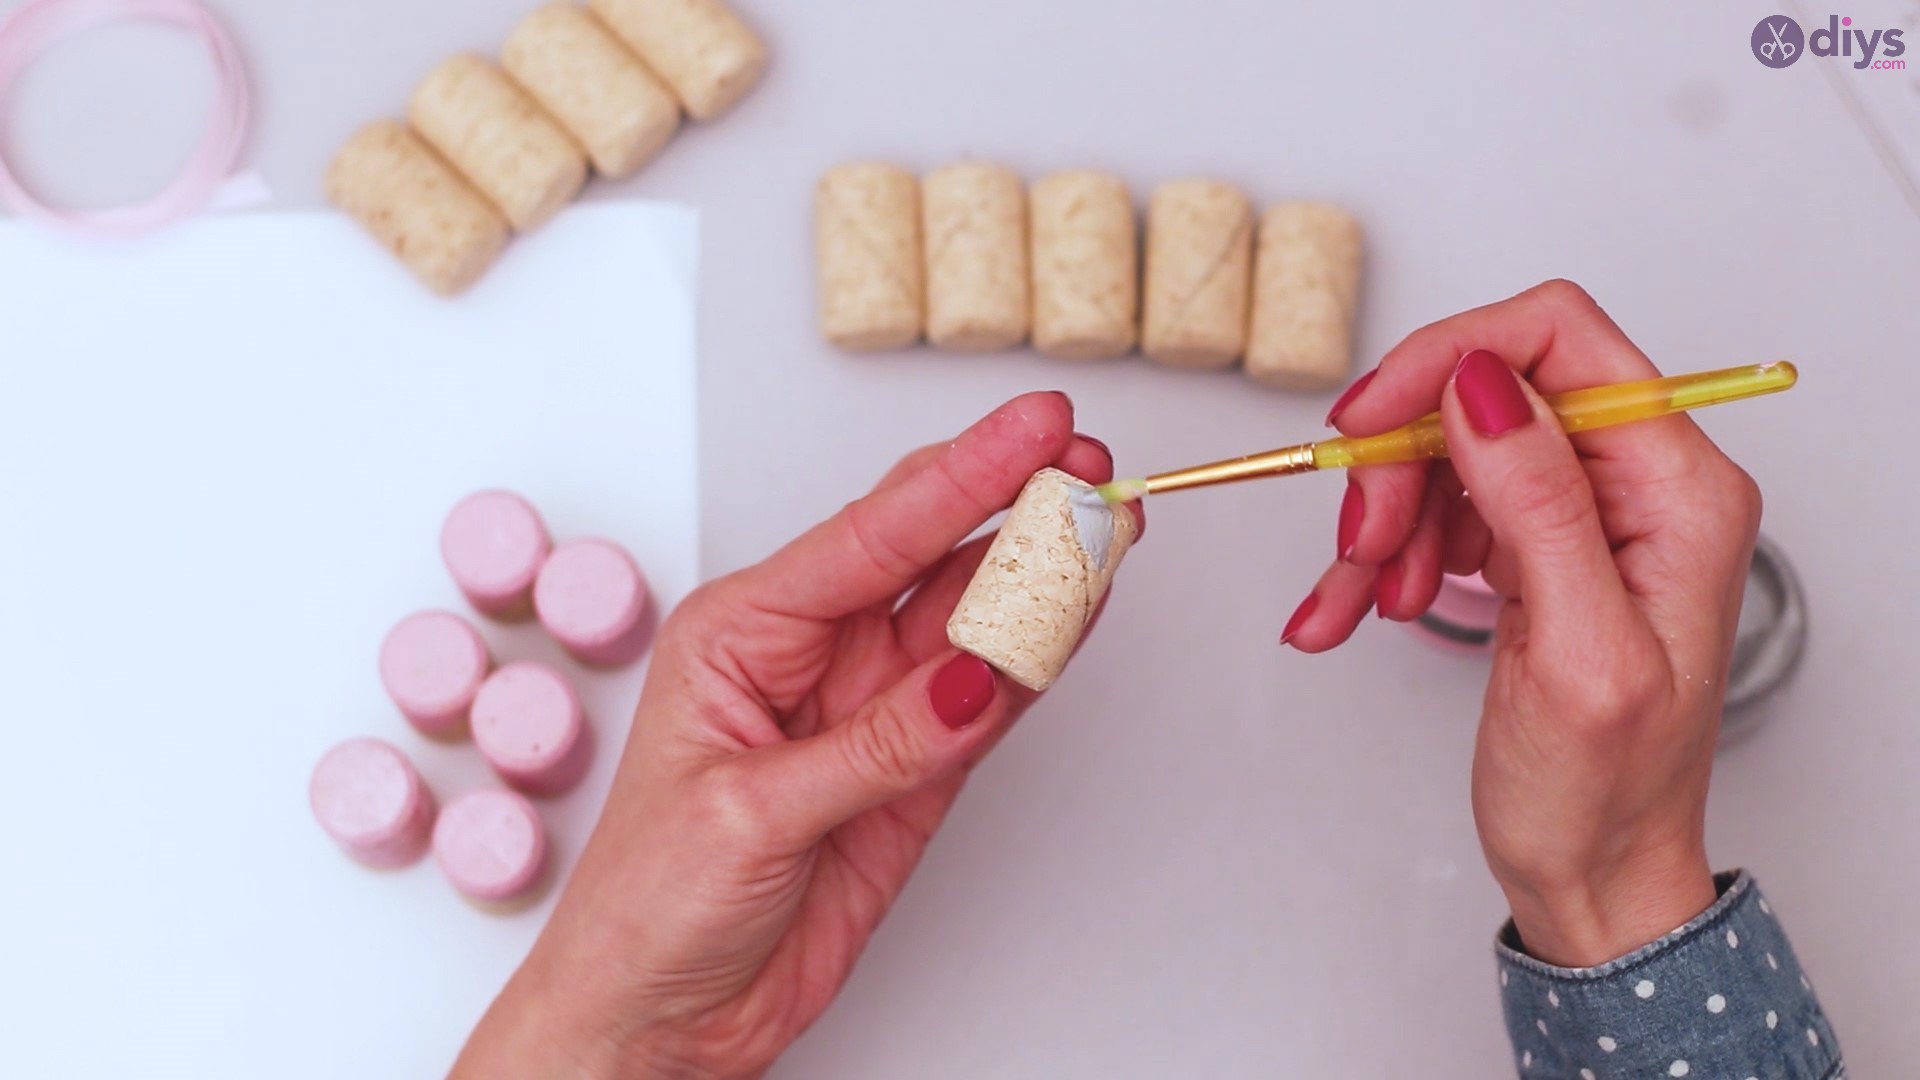
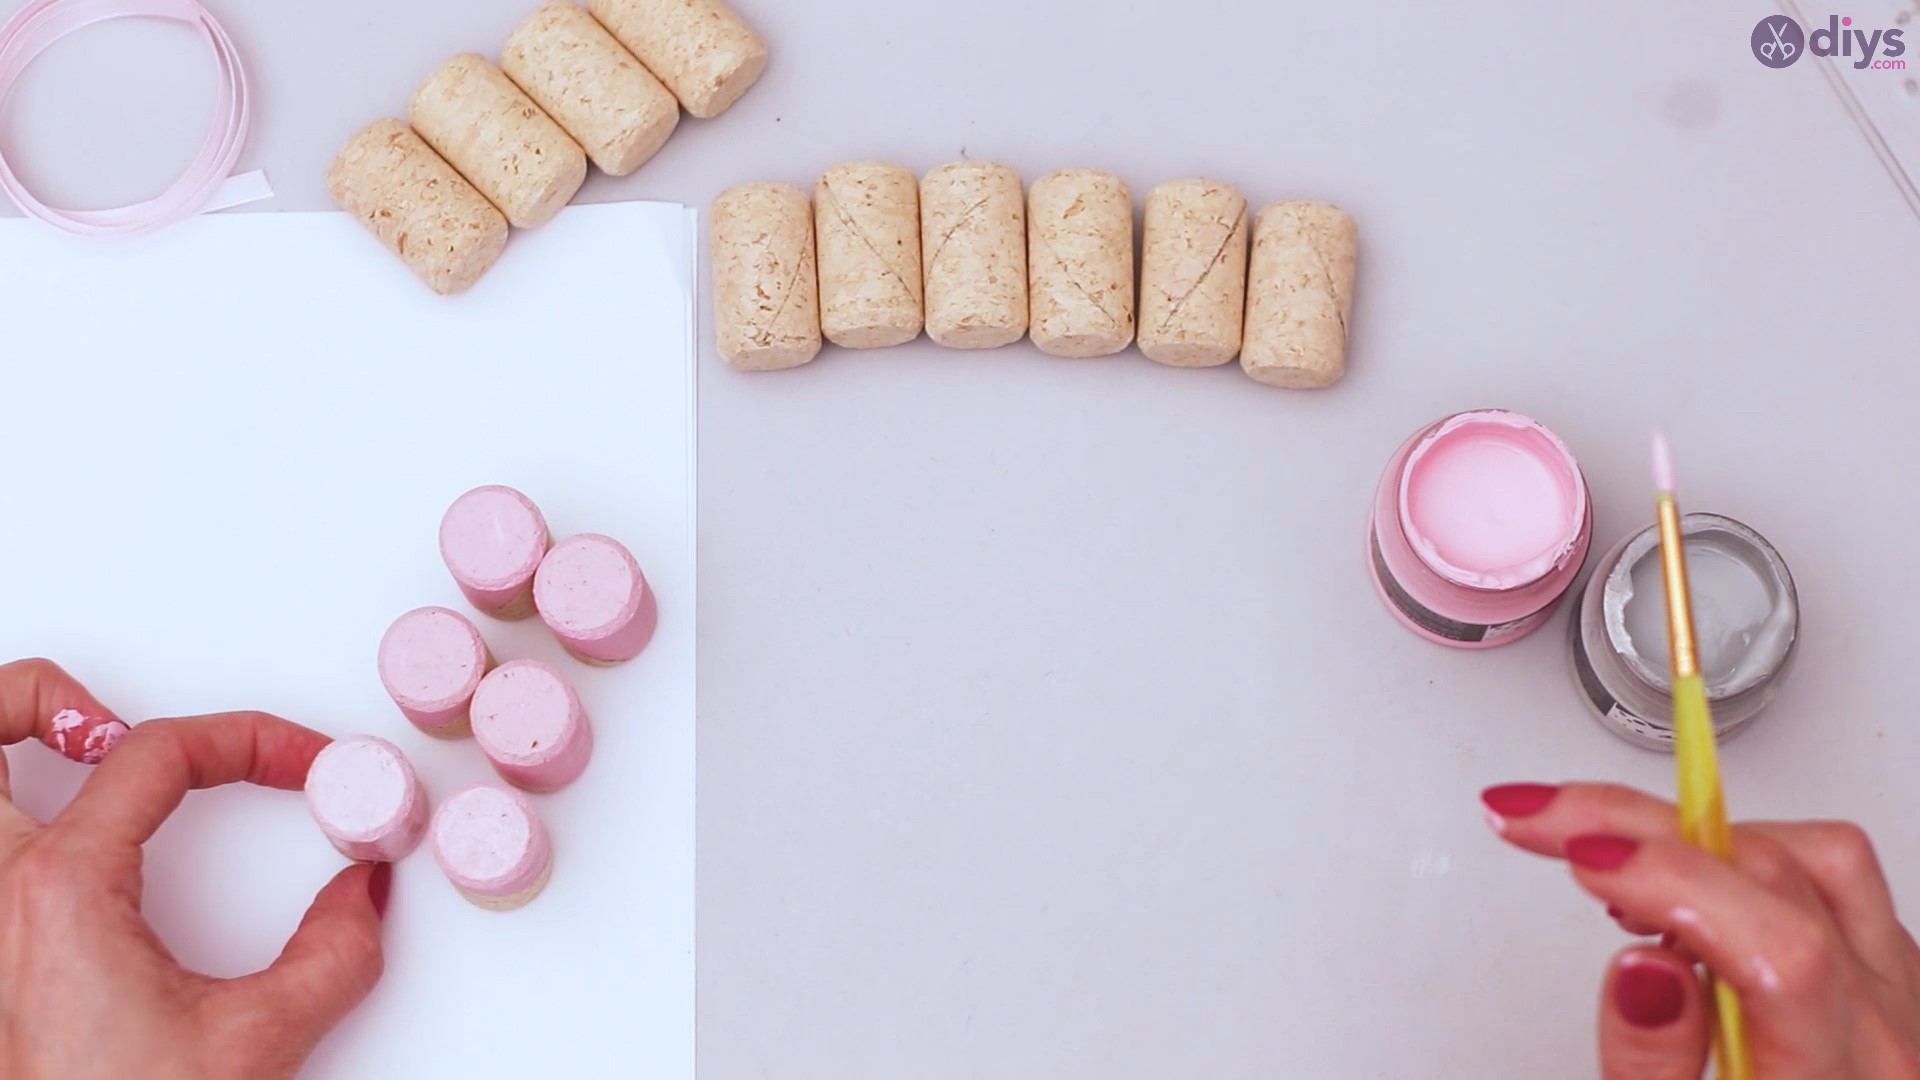
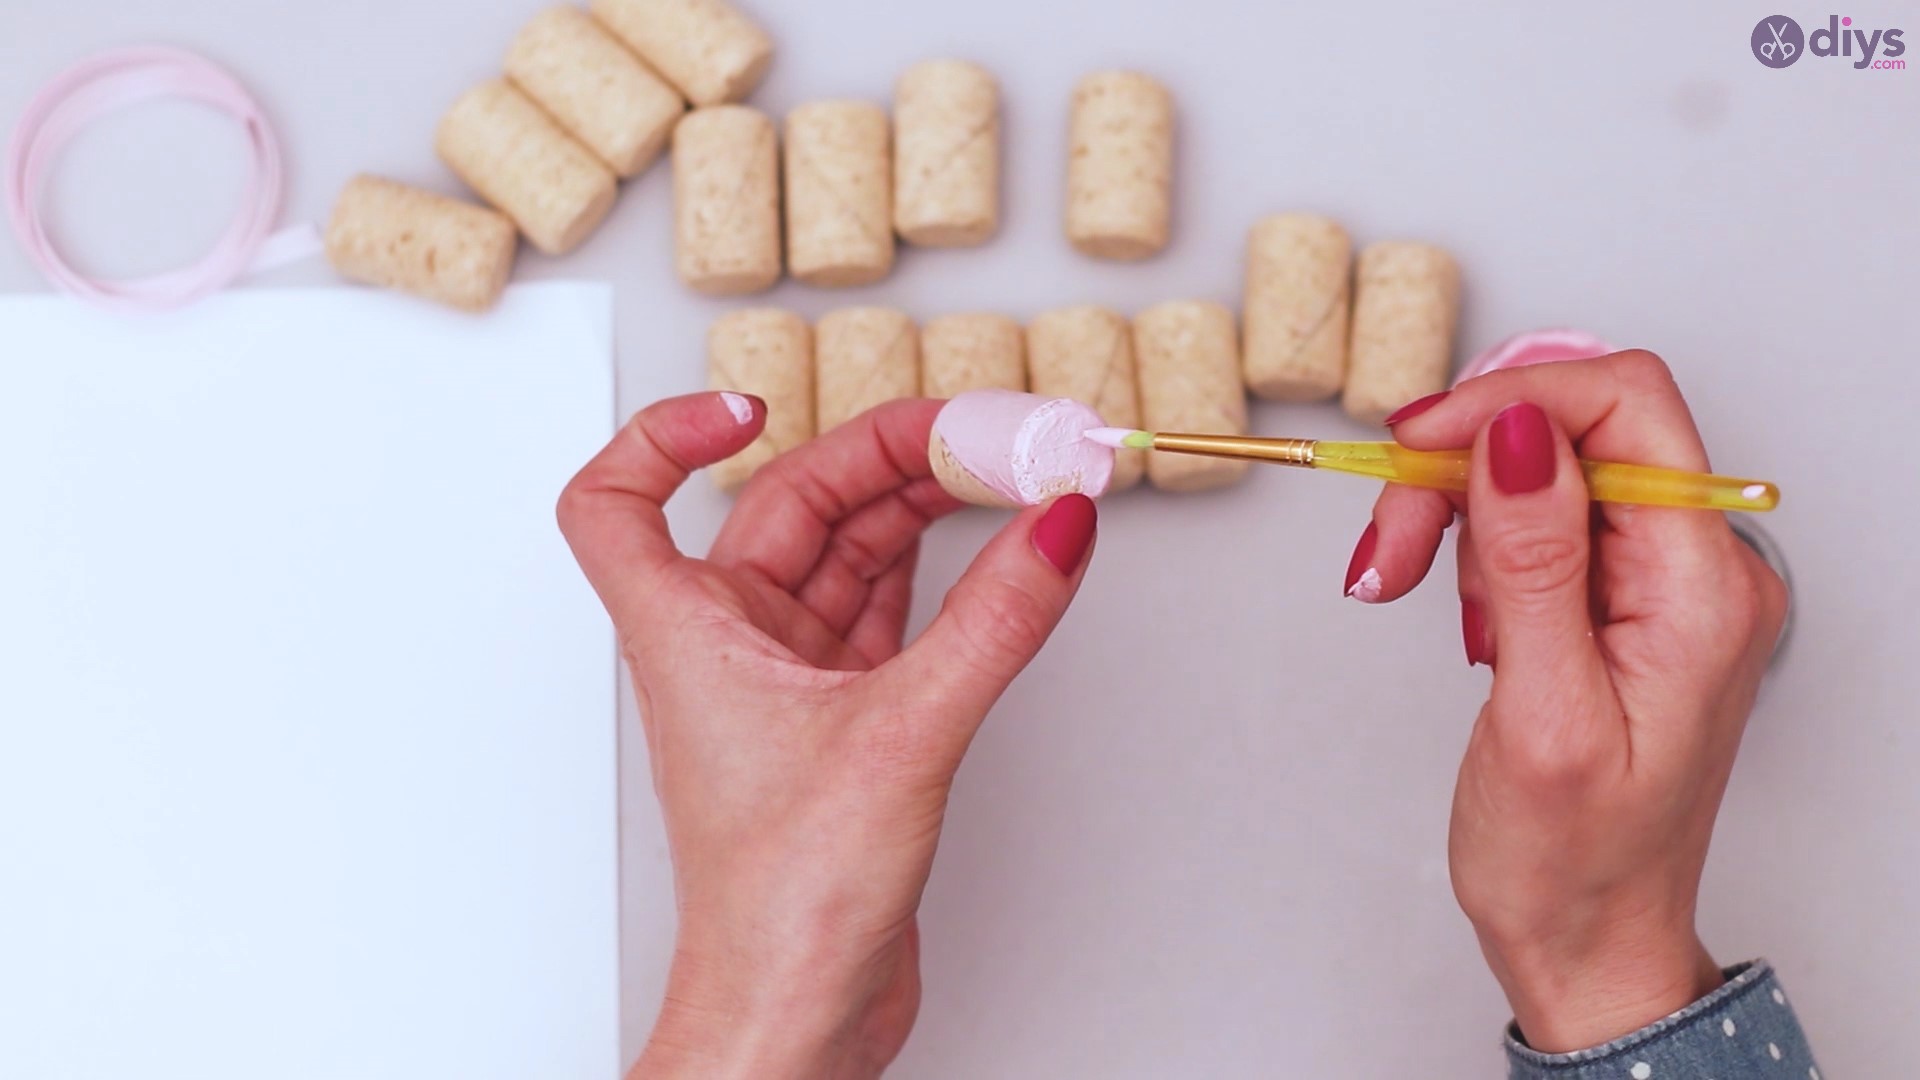
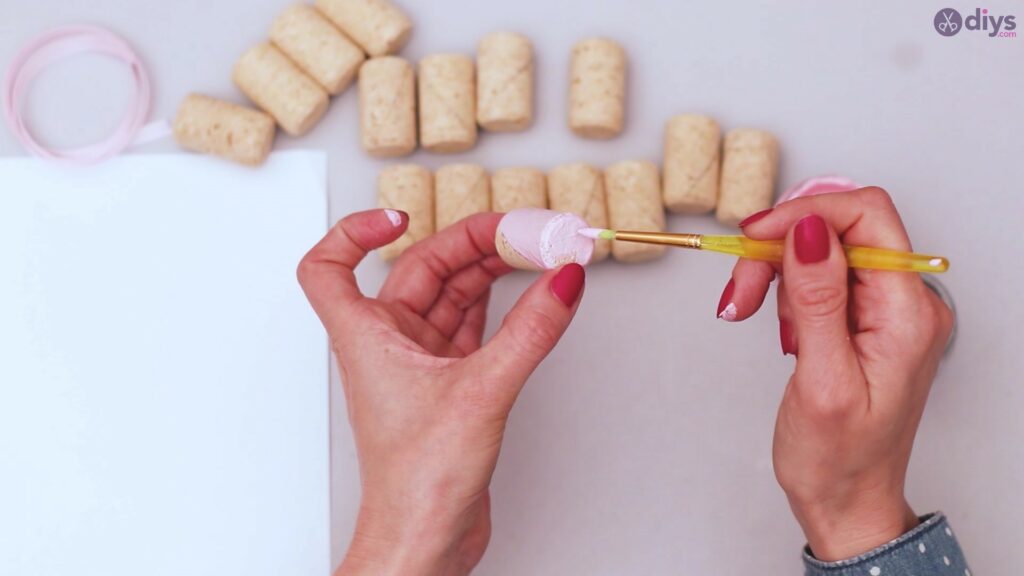
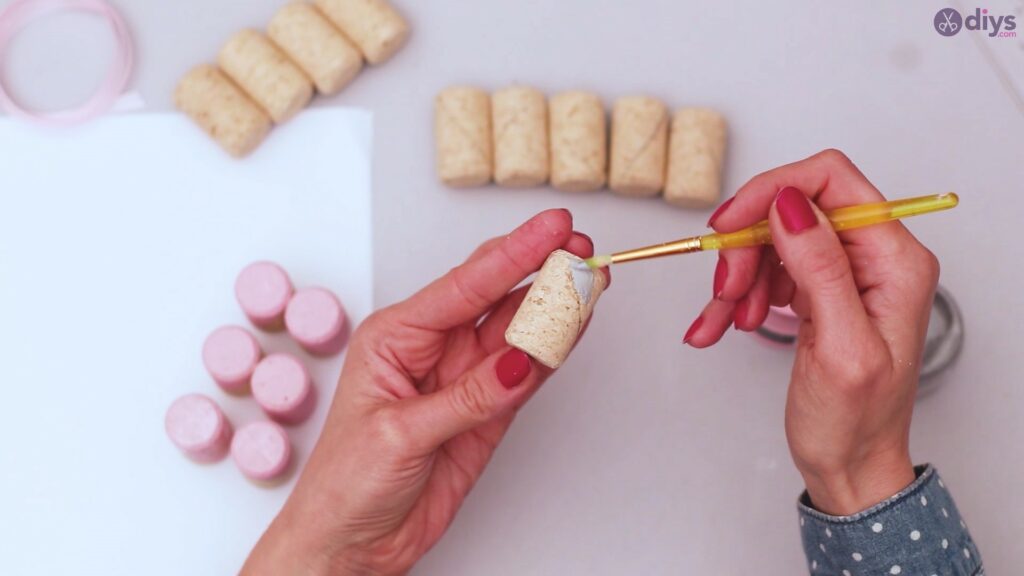
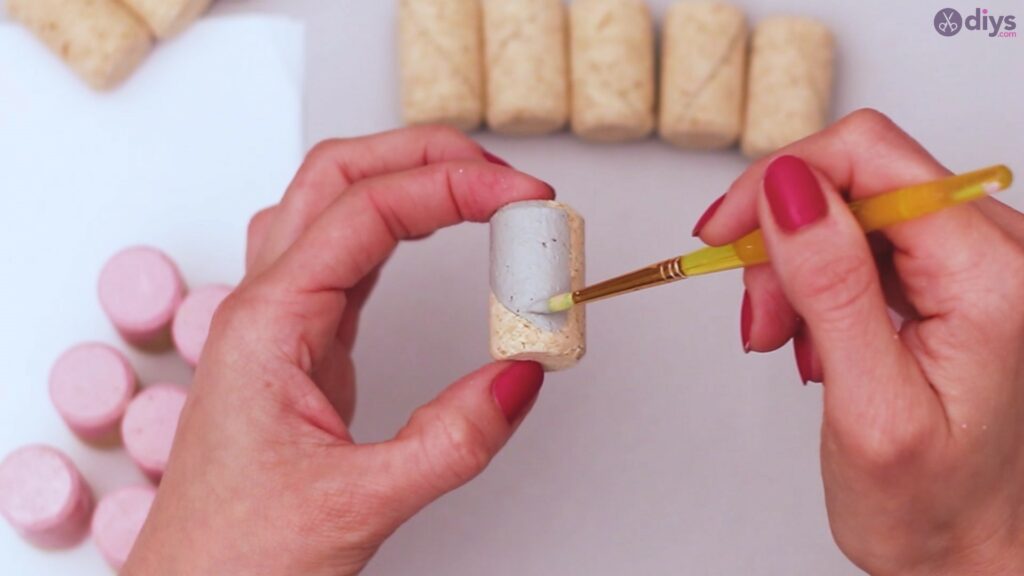
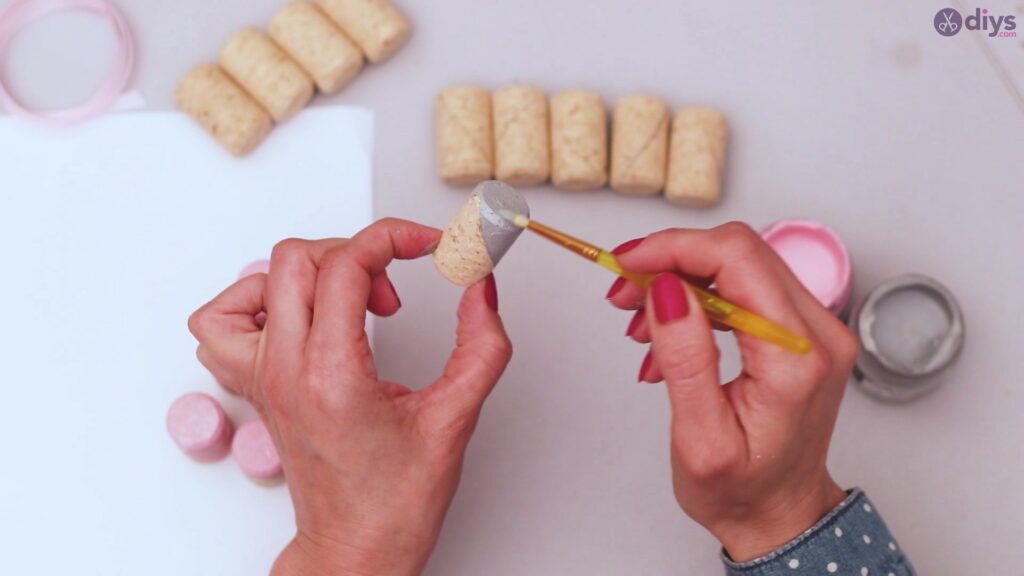
Now that all of your lines are set up, you an begin to paint your corks. One side should be that gorgeous rose pink and the other should be that muted smoky grey. Be careful to stay in the lines and apply short thin strokes across the cork.
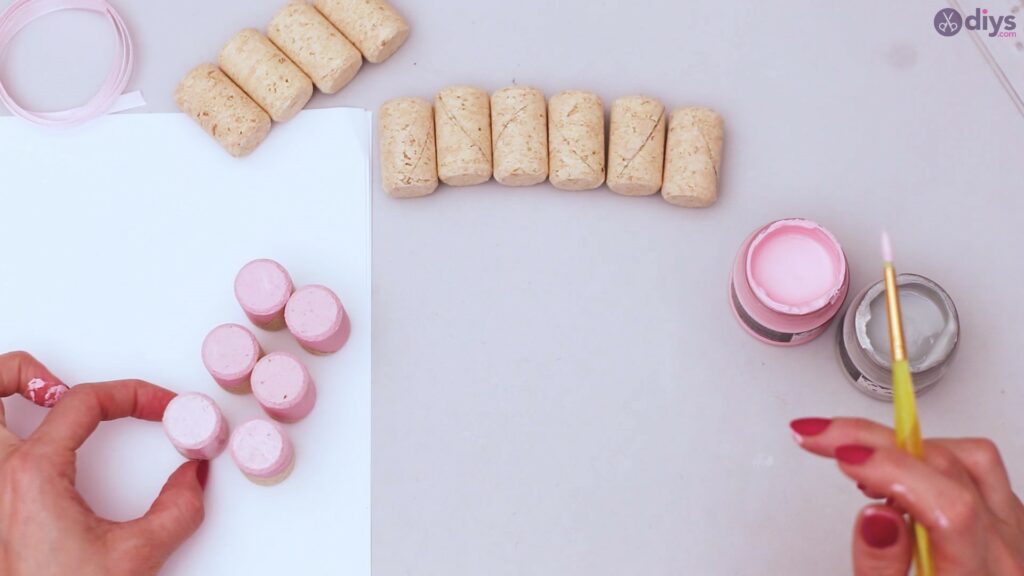
Once you paint one side of your cork, let it sit for a while to dry before painting the other side, or you can leave that side bare, like in this tutorial. This way you won’t get painted fingerprints all over your corks.
When the pink side is done and dry you can start on the grey side following the same format.
Step 3: Arranging the Corks
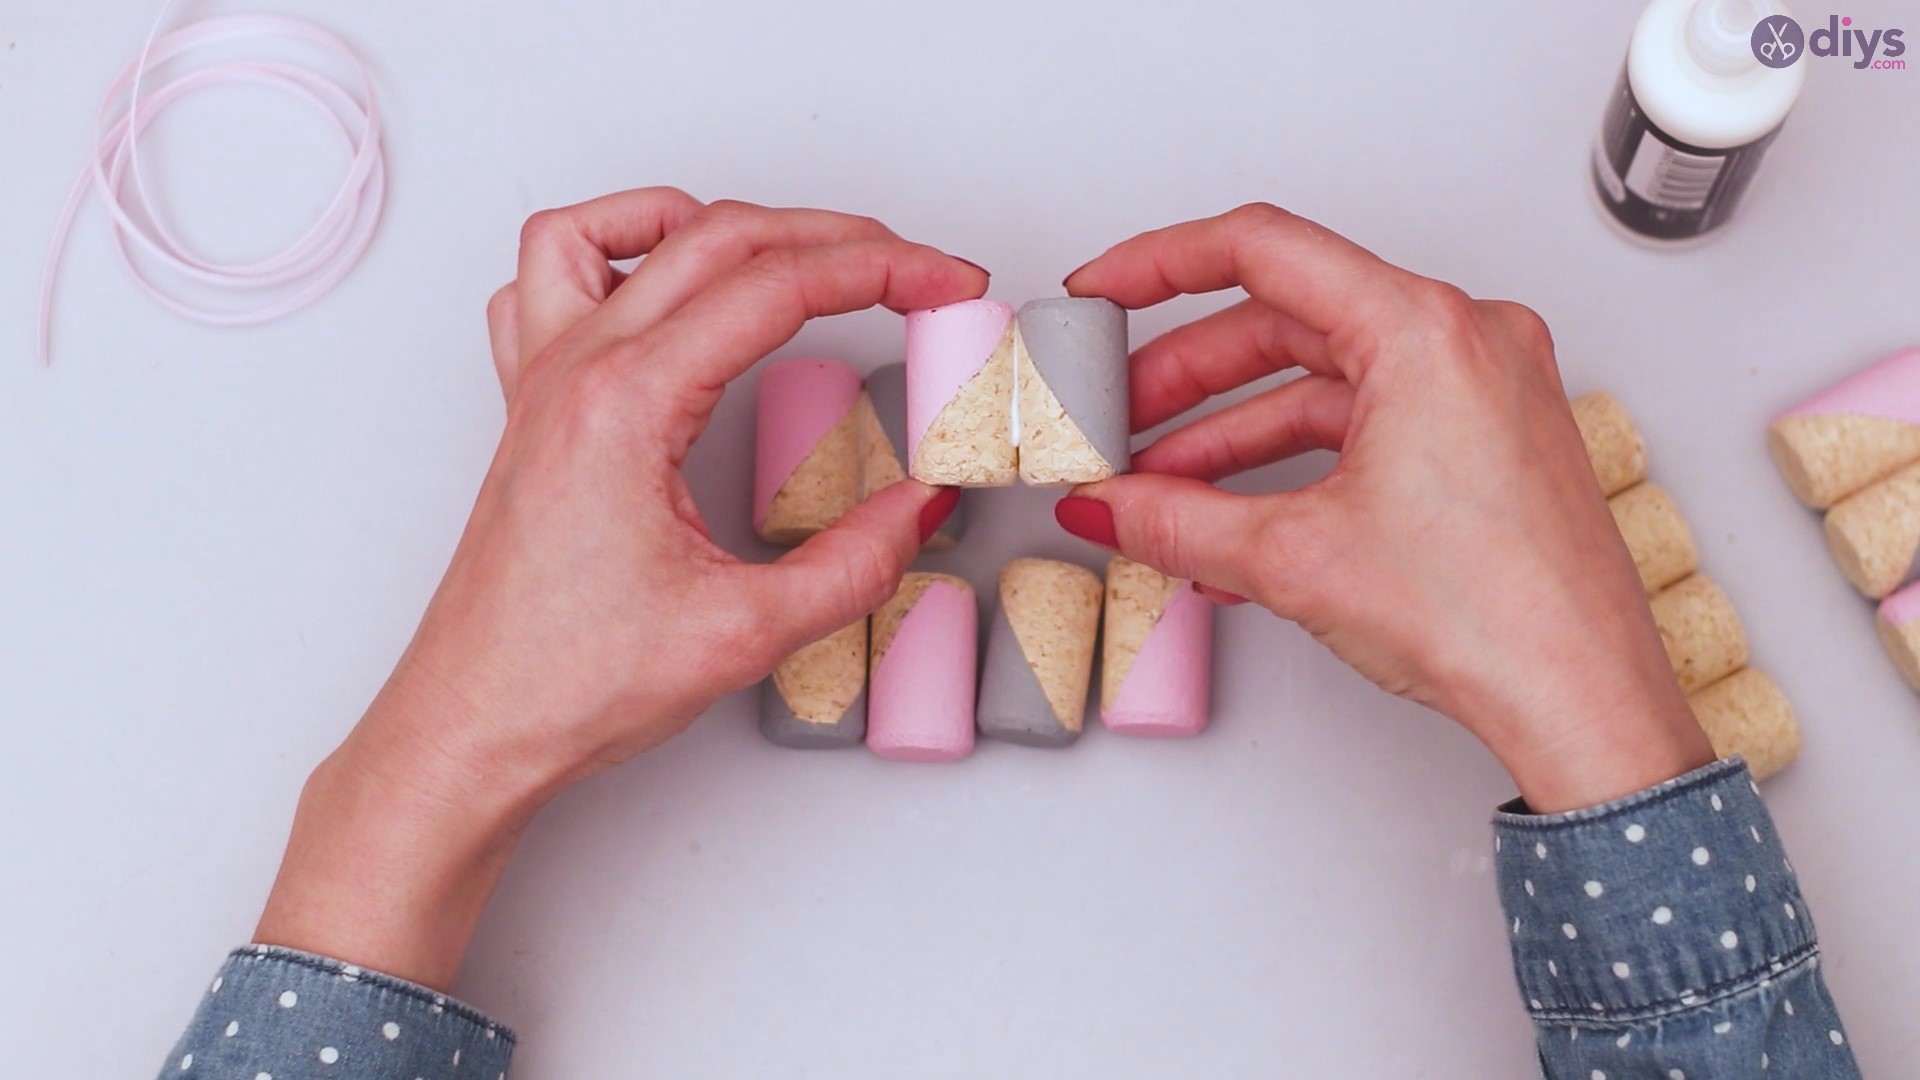
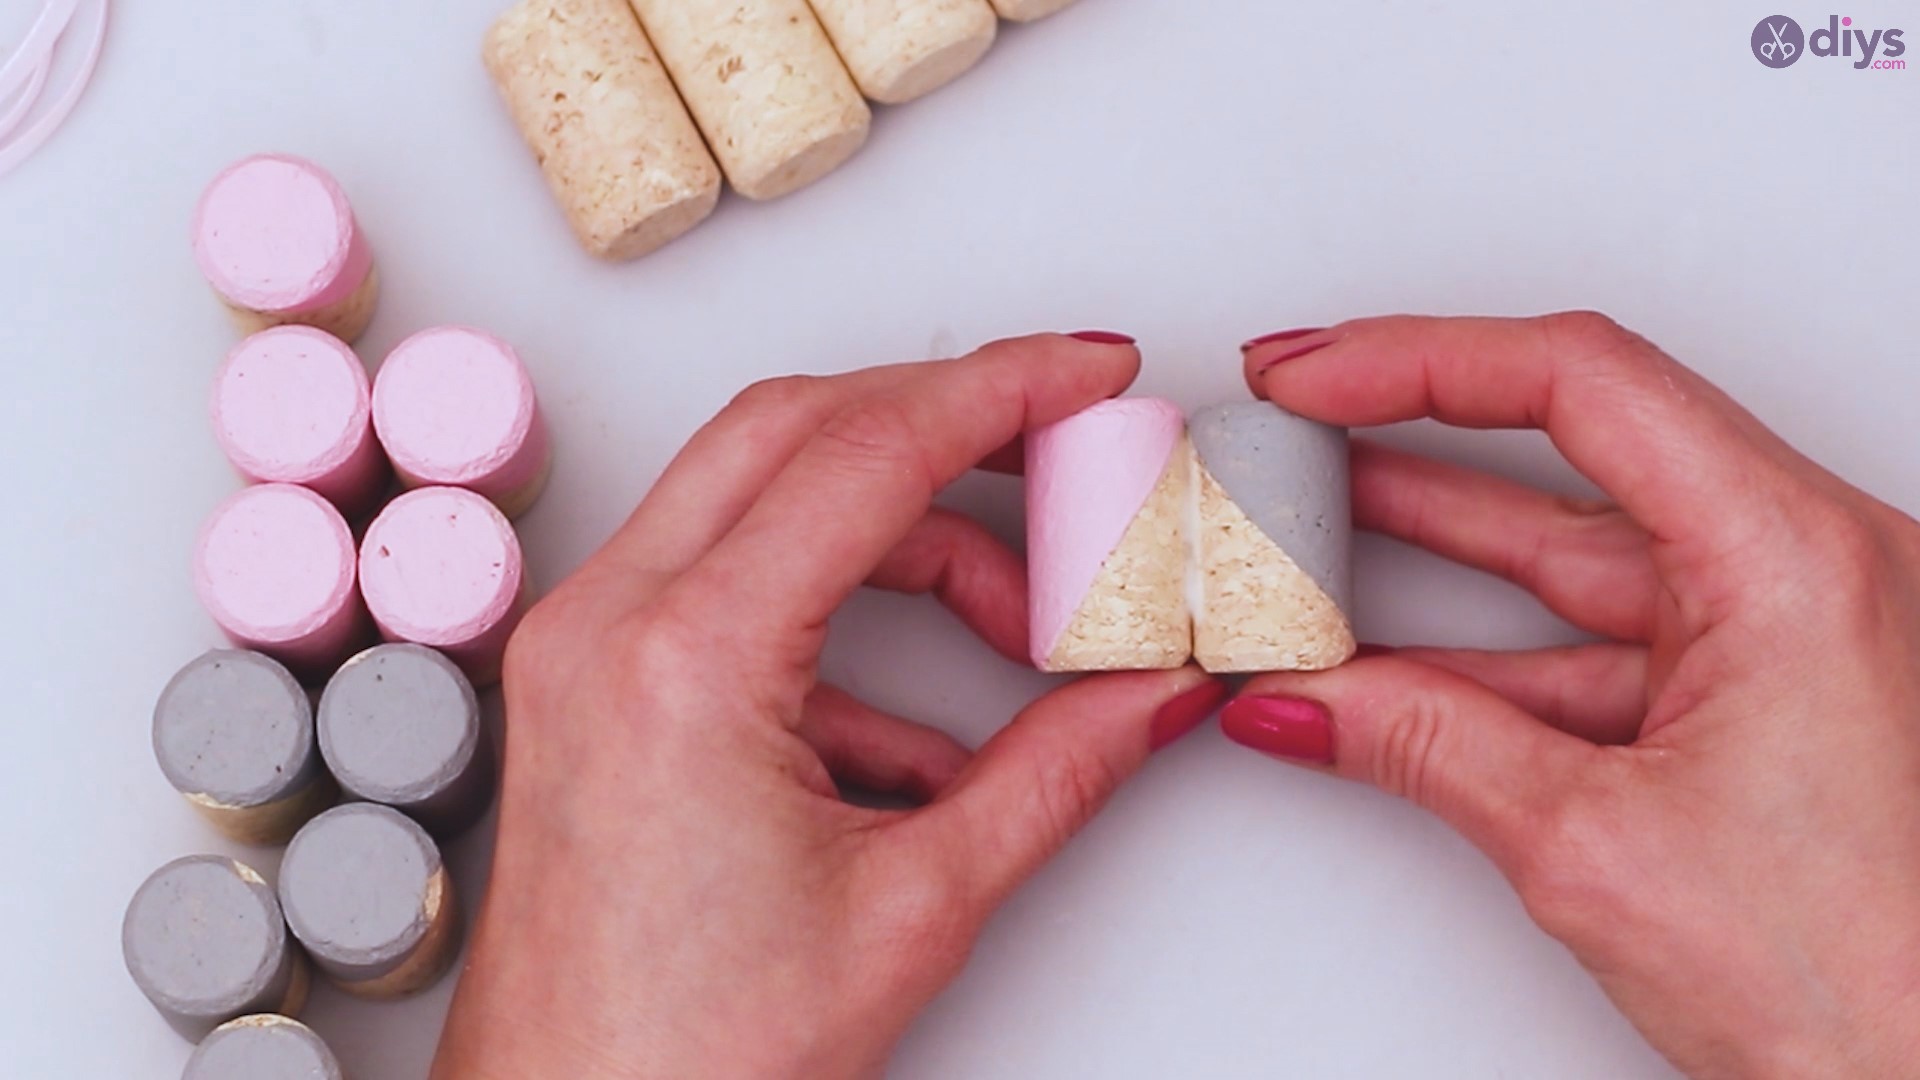
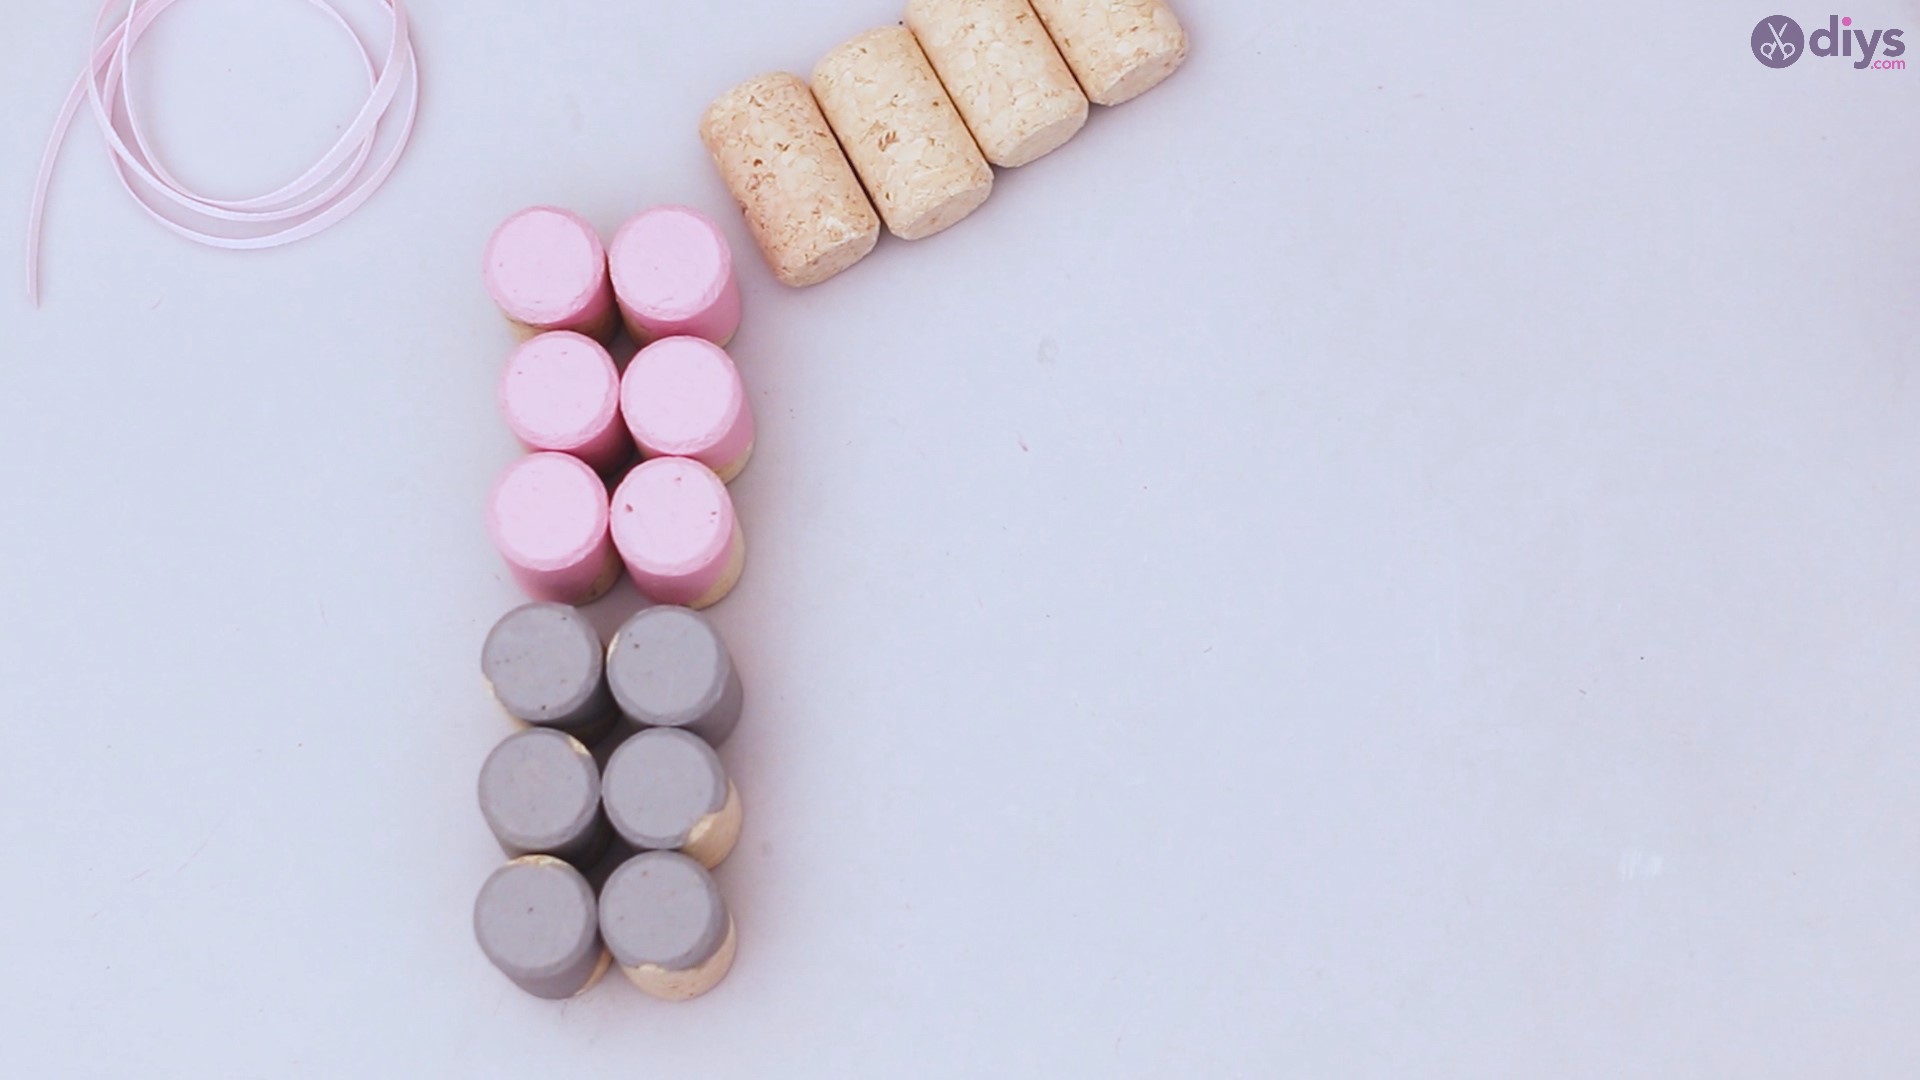
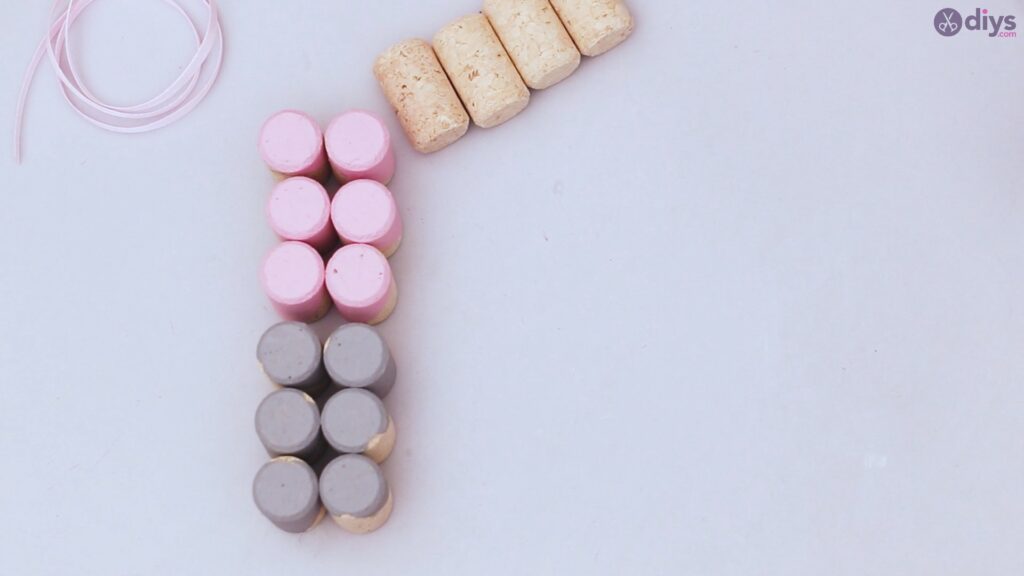
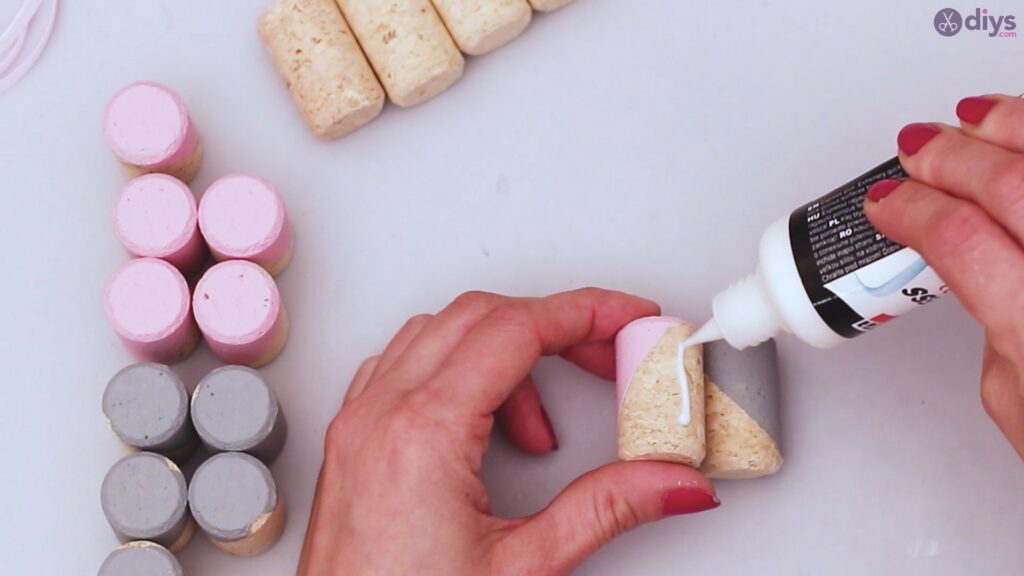
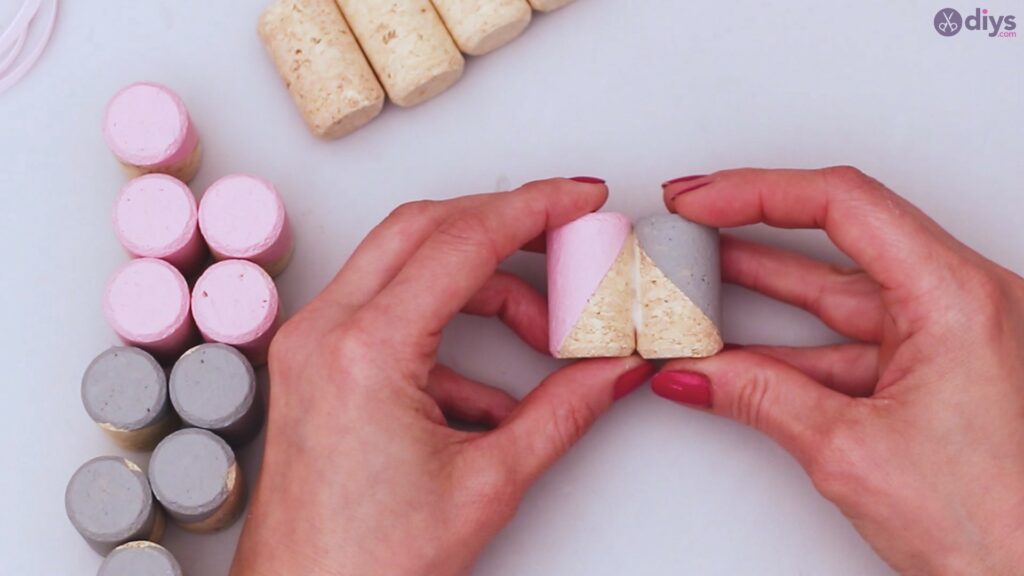
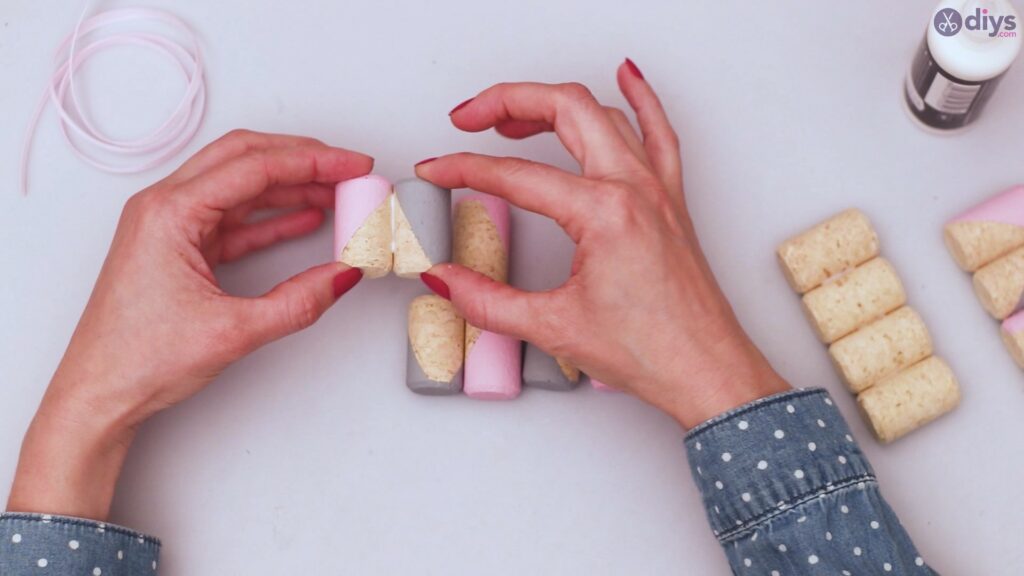
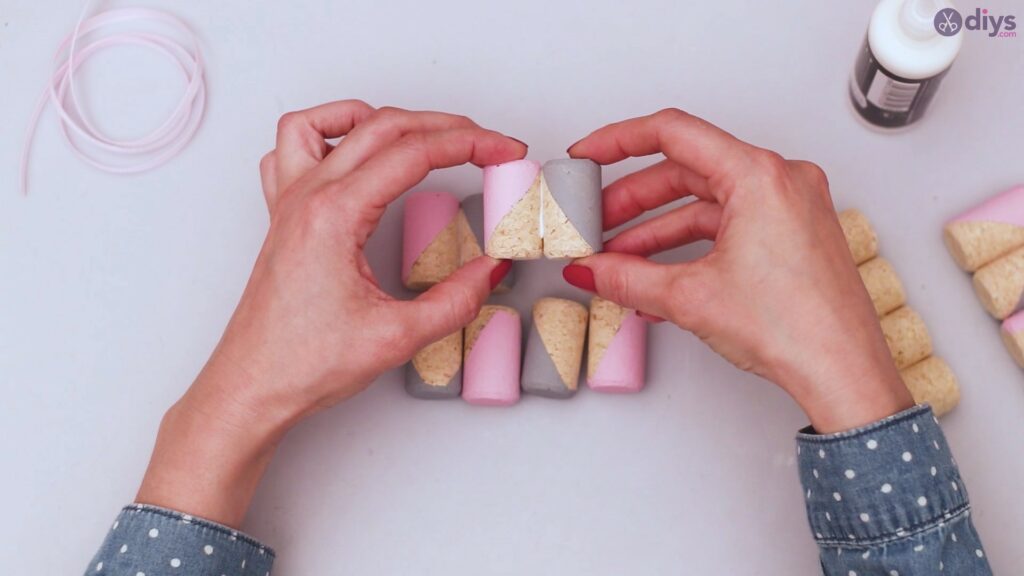
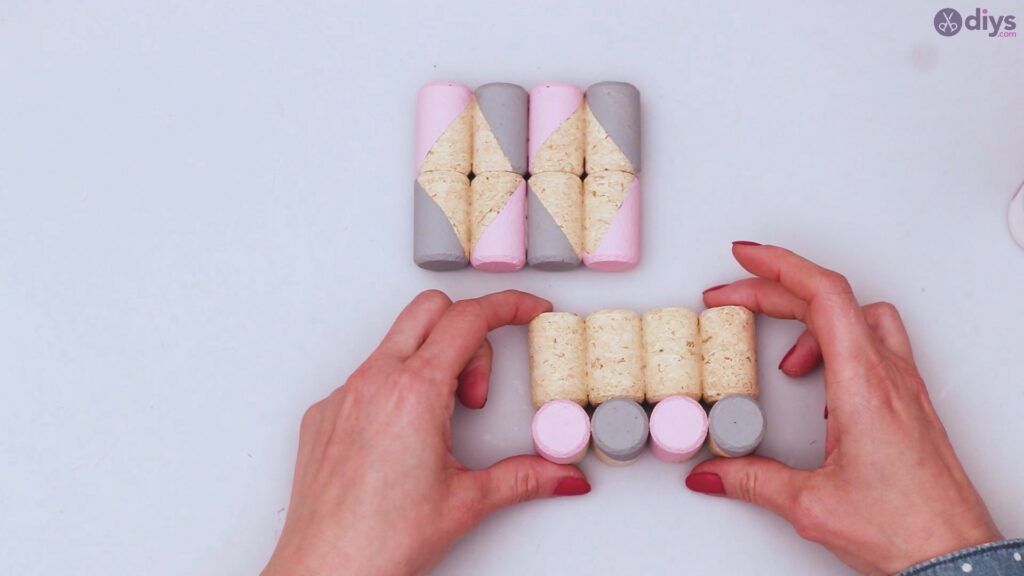
Once you have all your corks painted, you can start to think about how you want them arranged. In this tutorial, we are arranging them by fusing the pink and grey sides together at the top to create a bare cork bottom. All you need to do is make sure the pink and grey angles are touching, and glue them in place.
Step 4: Gluing
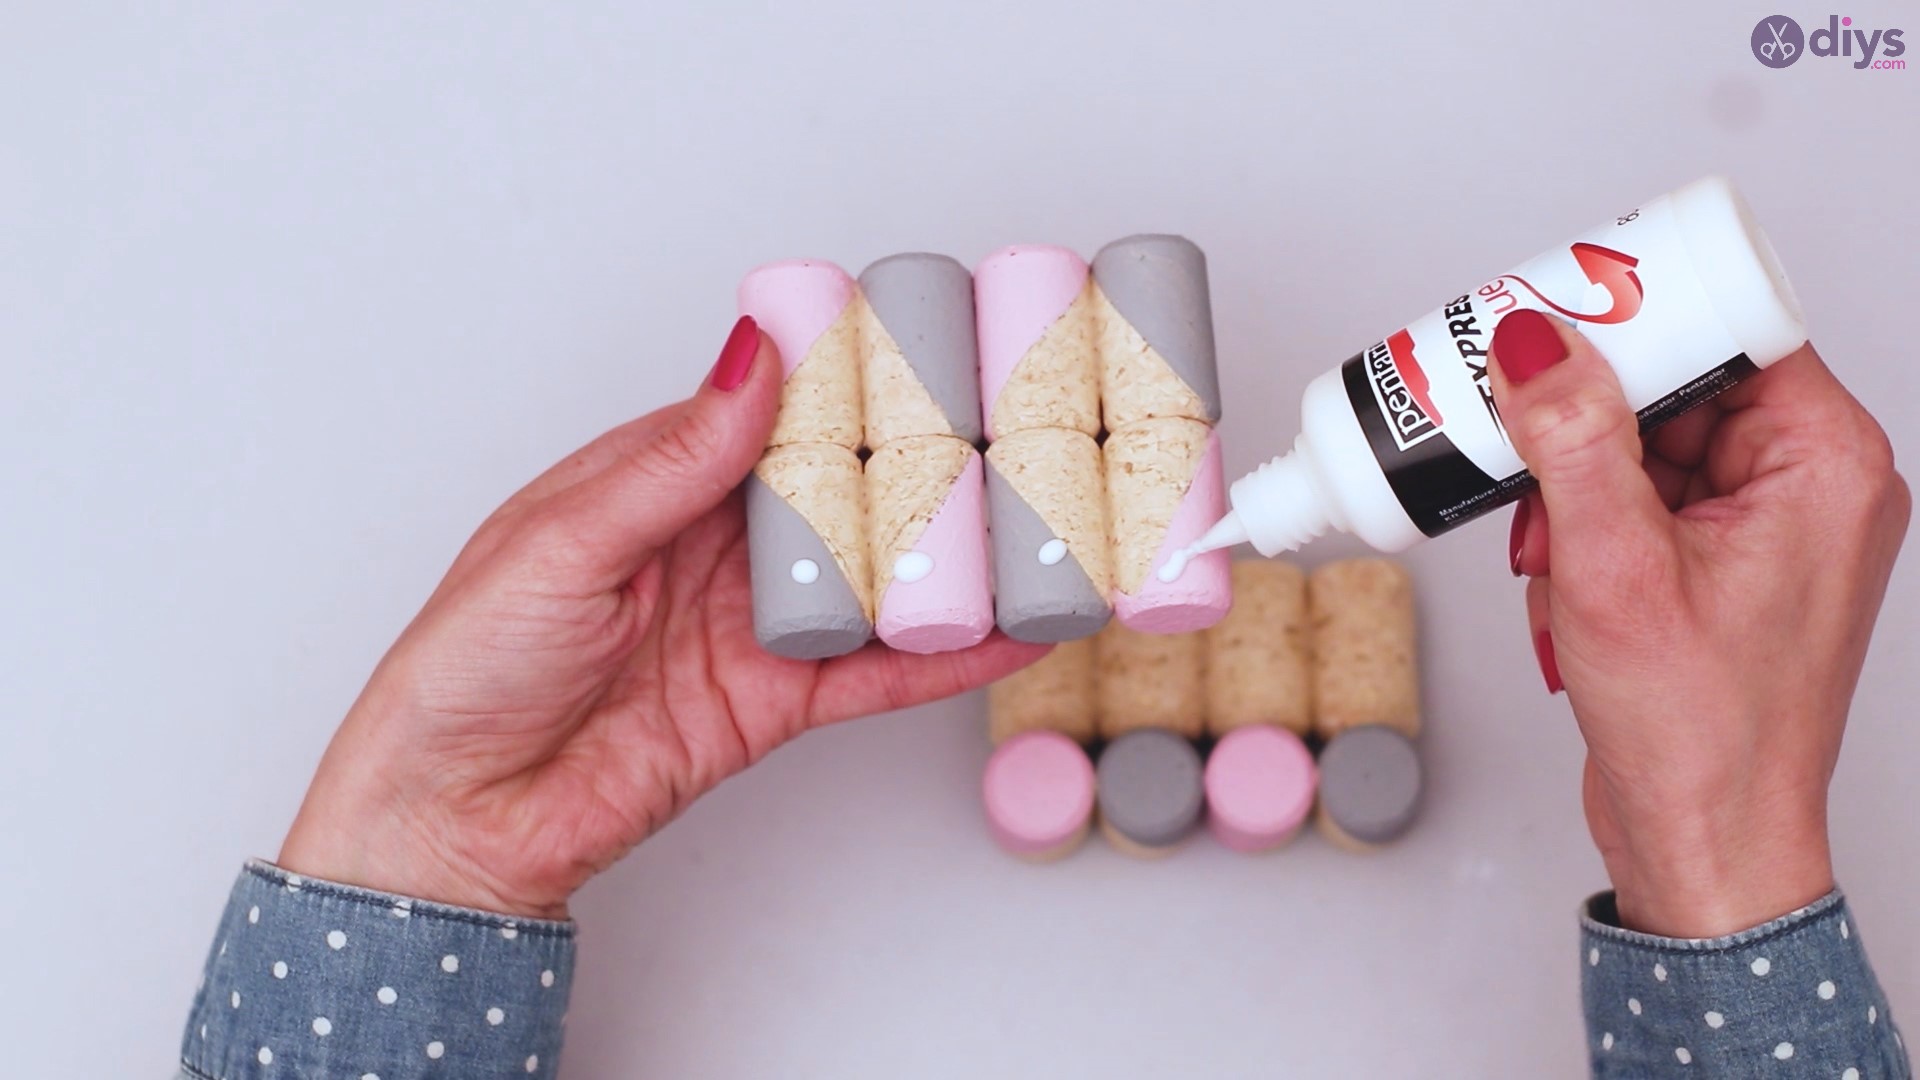
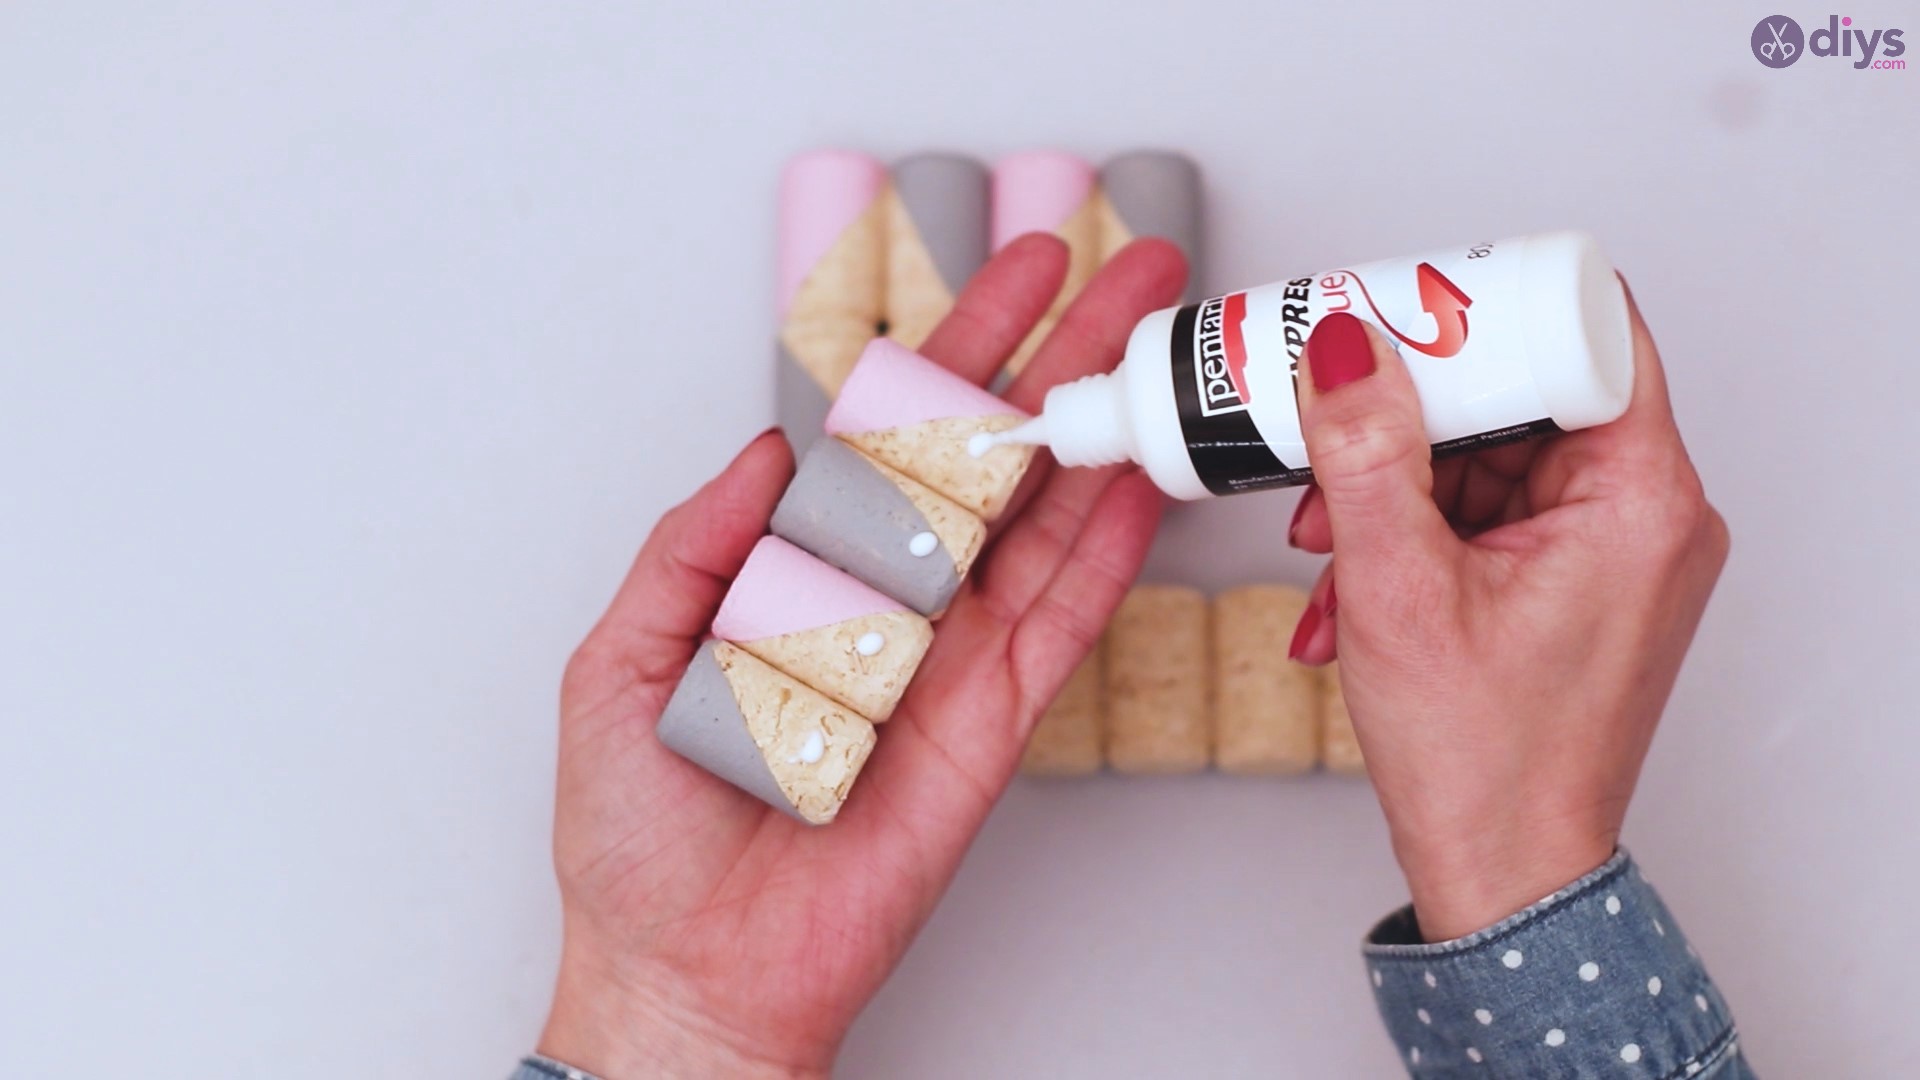
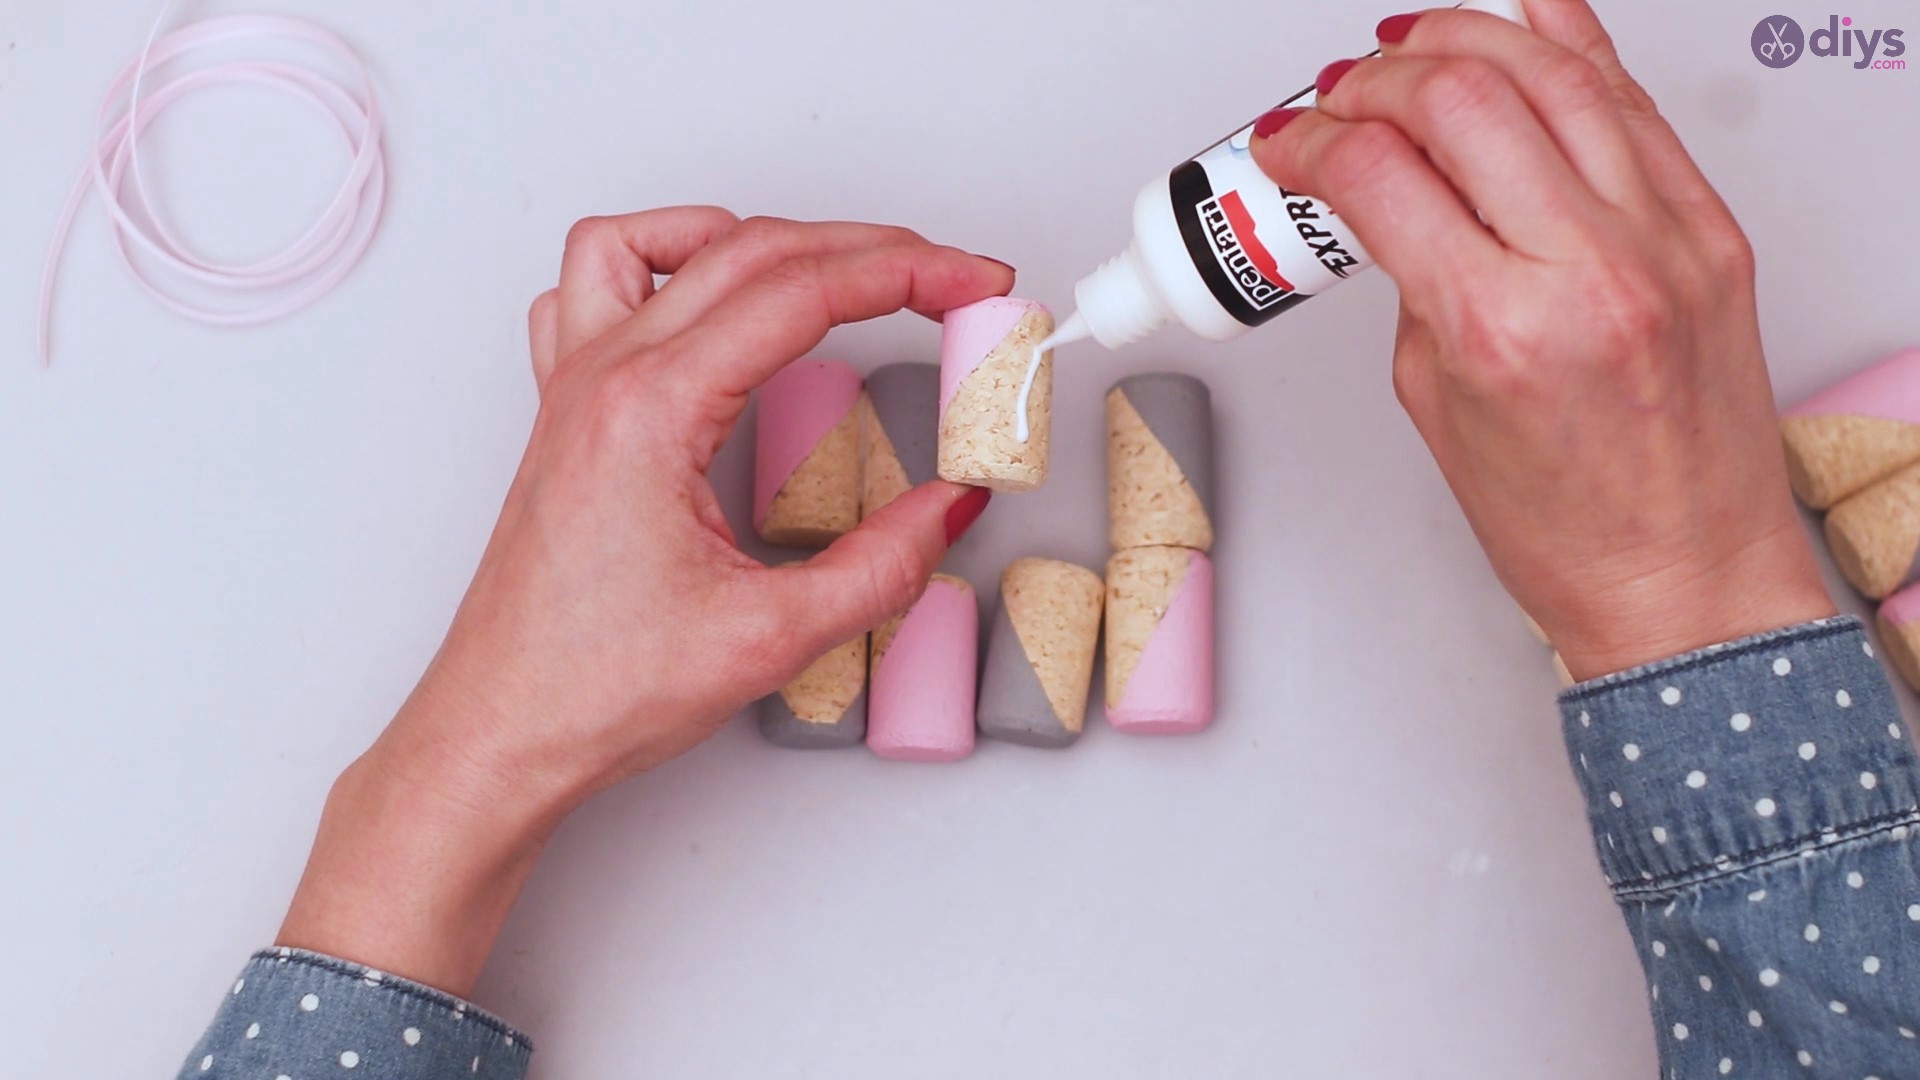
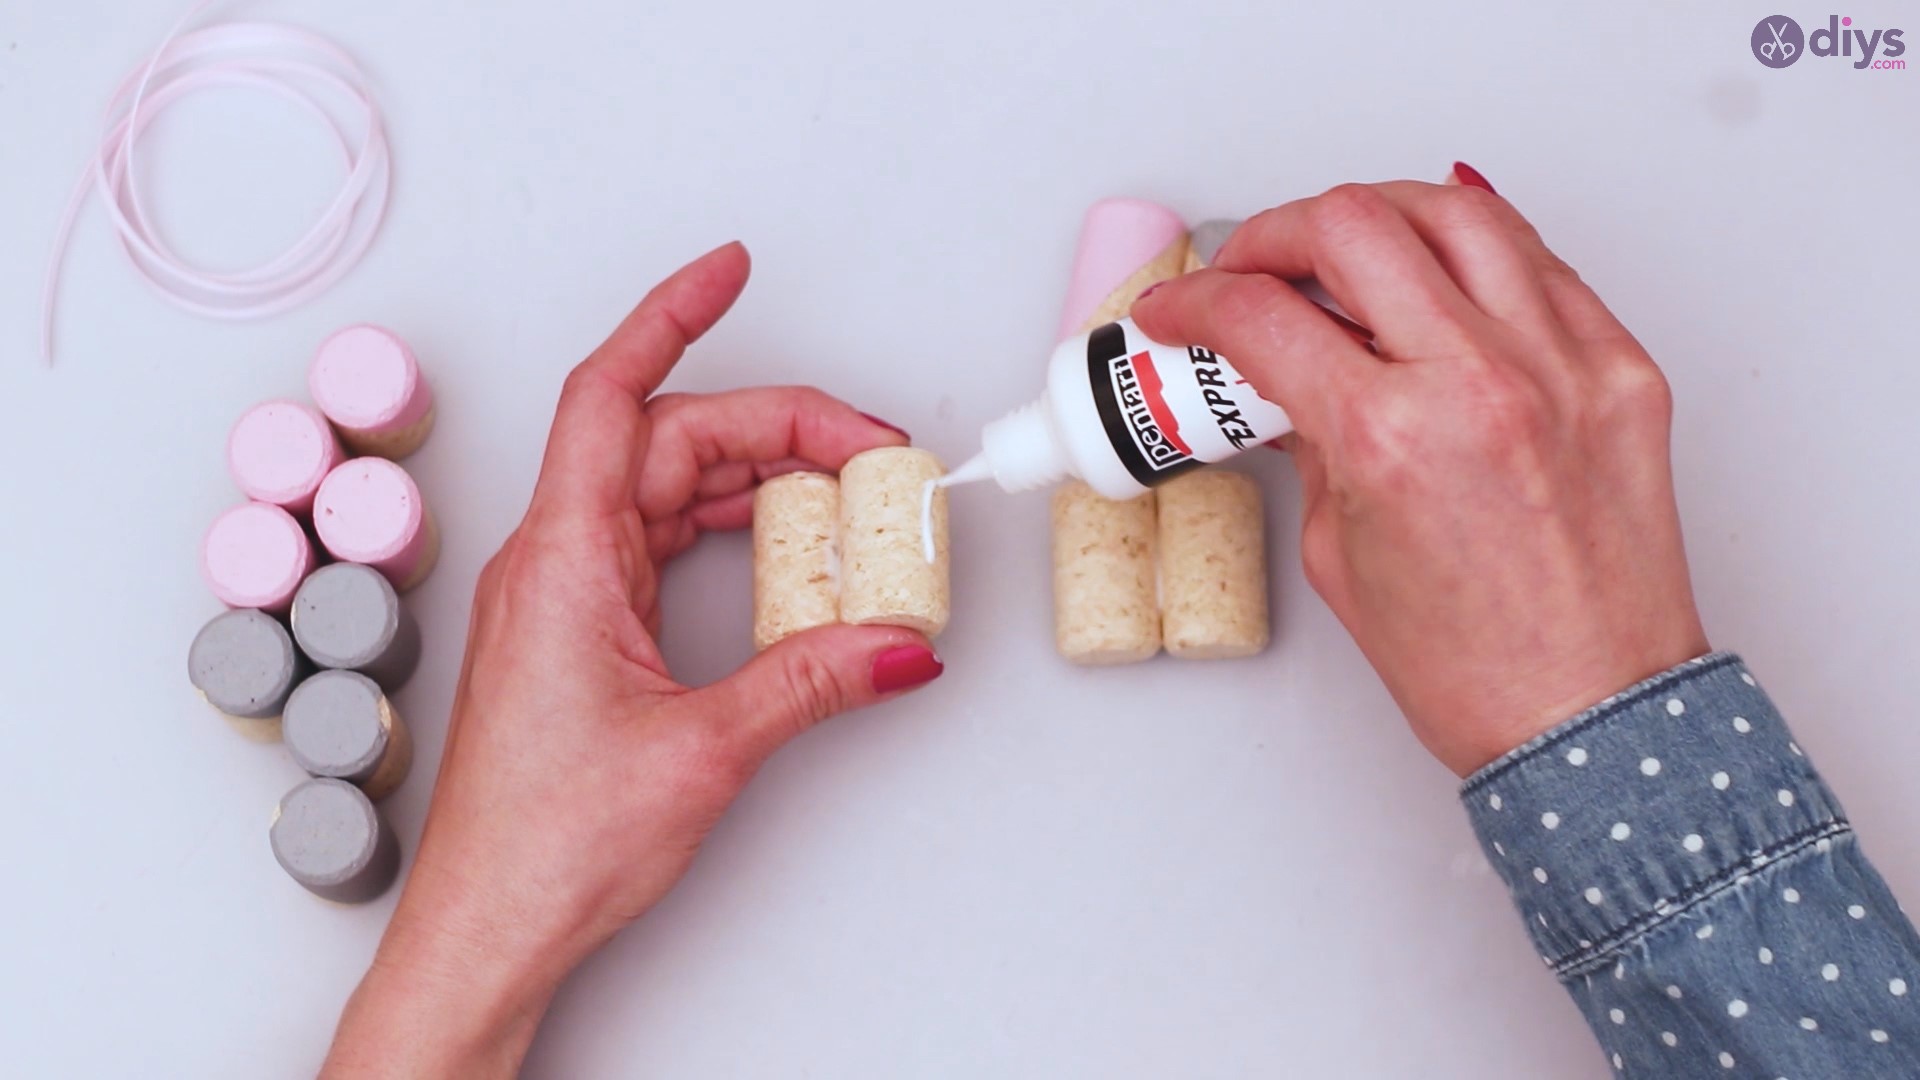
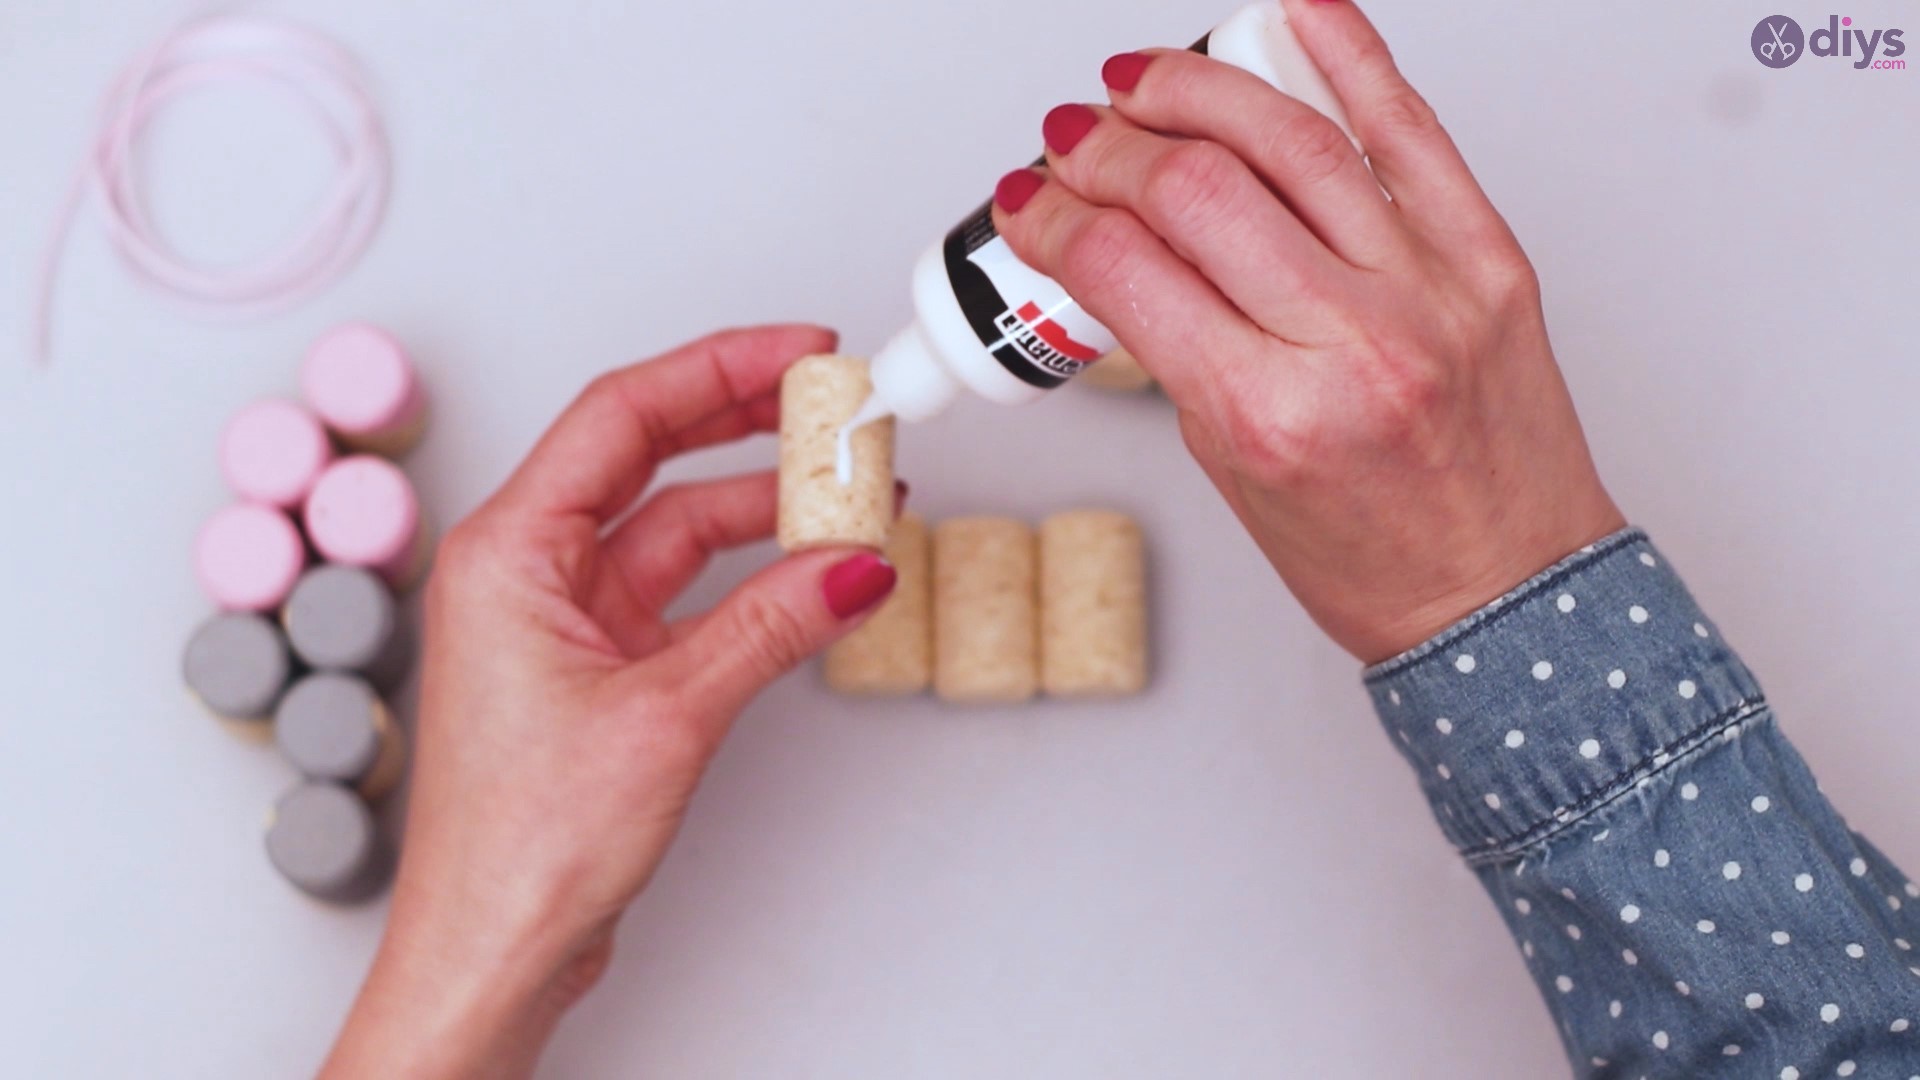
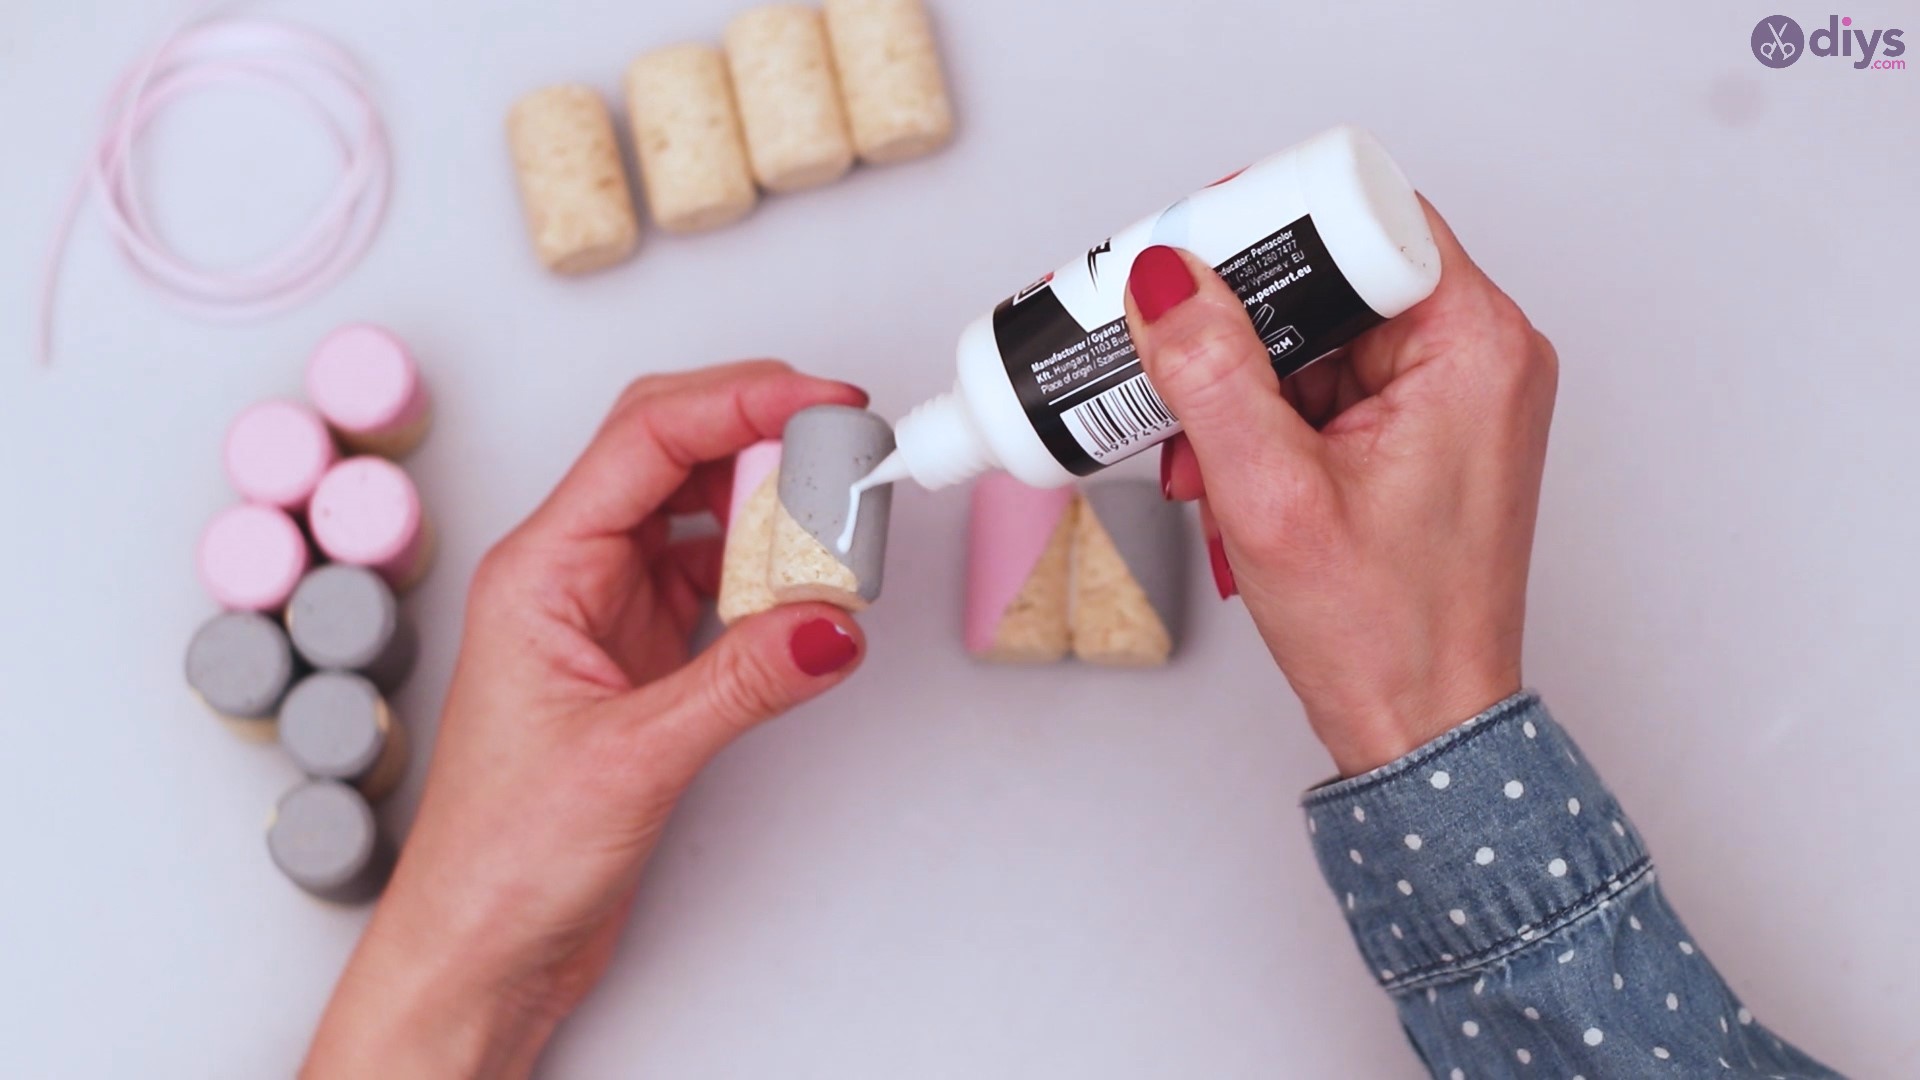
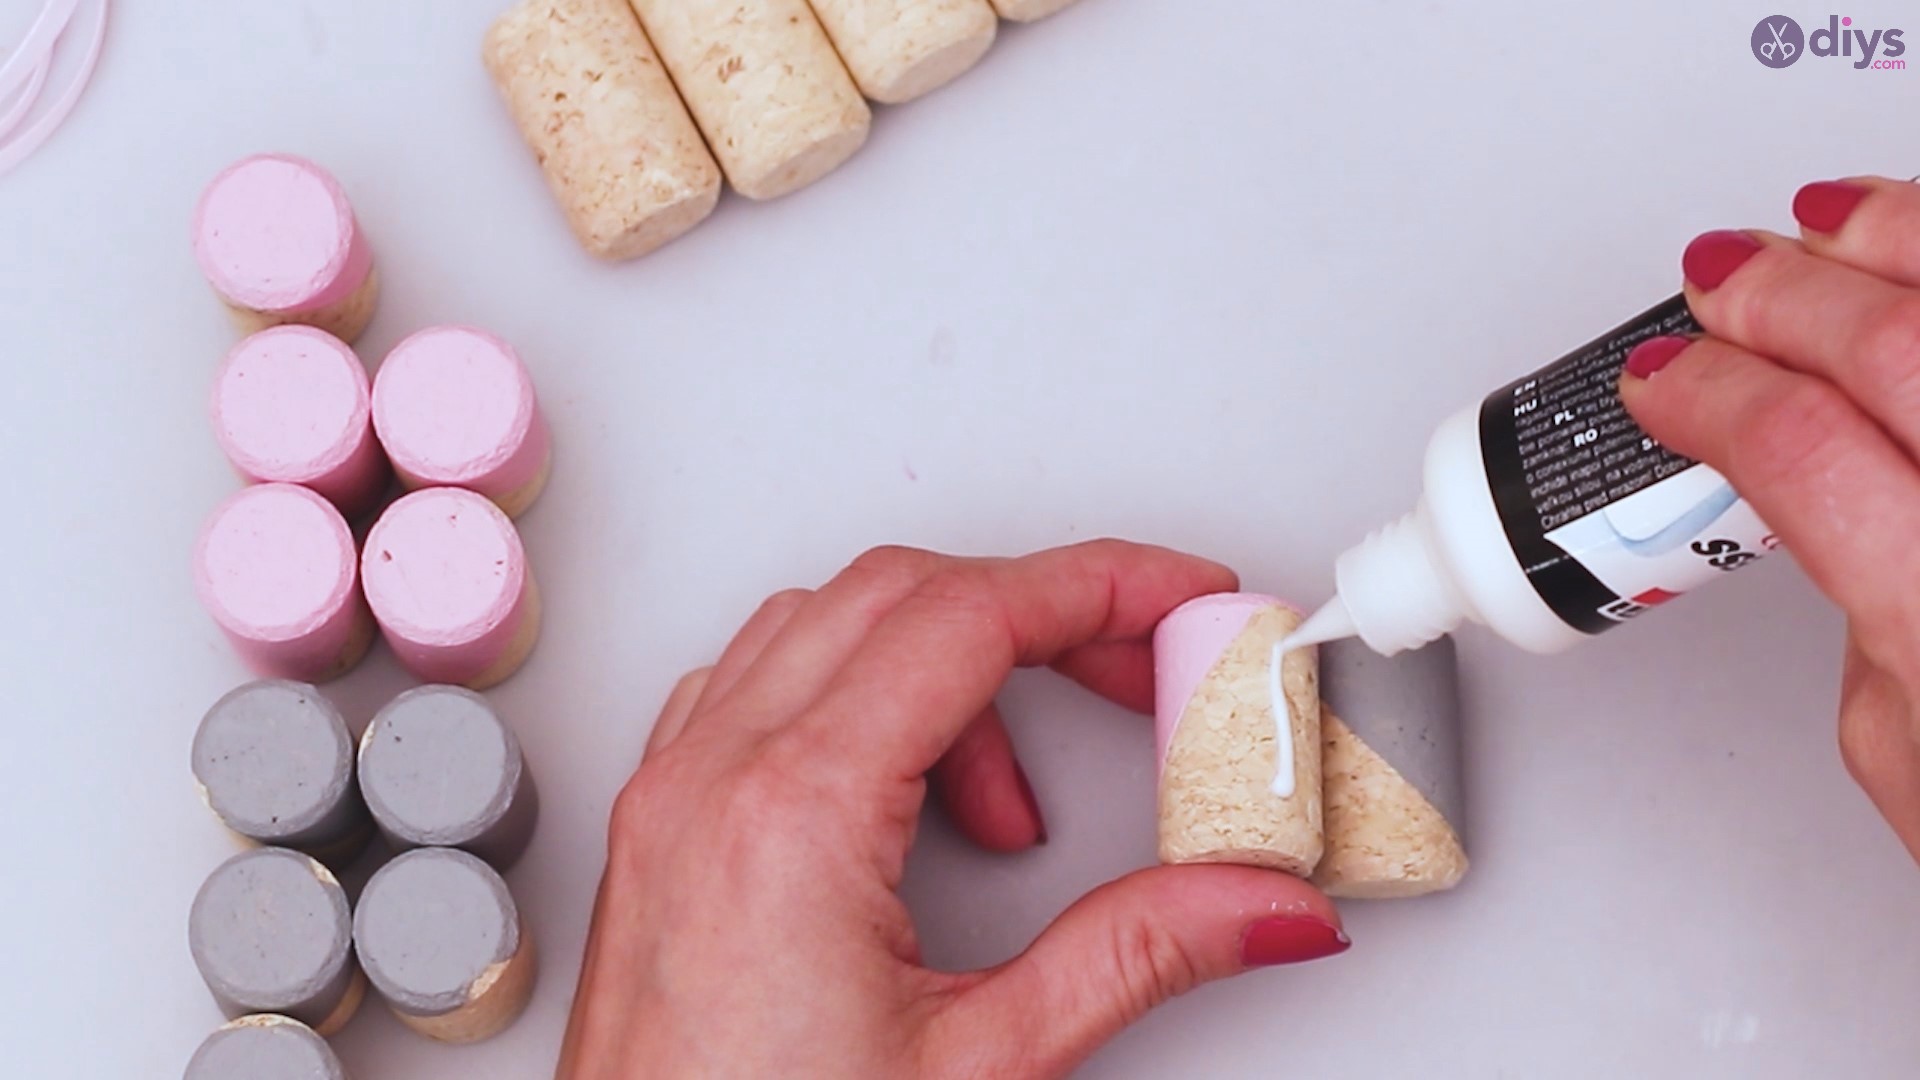
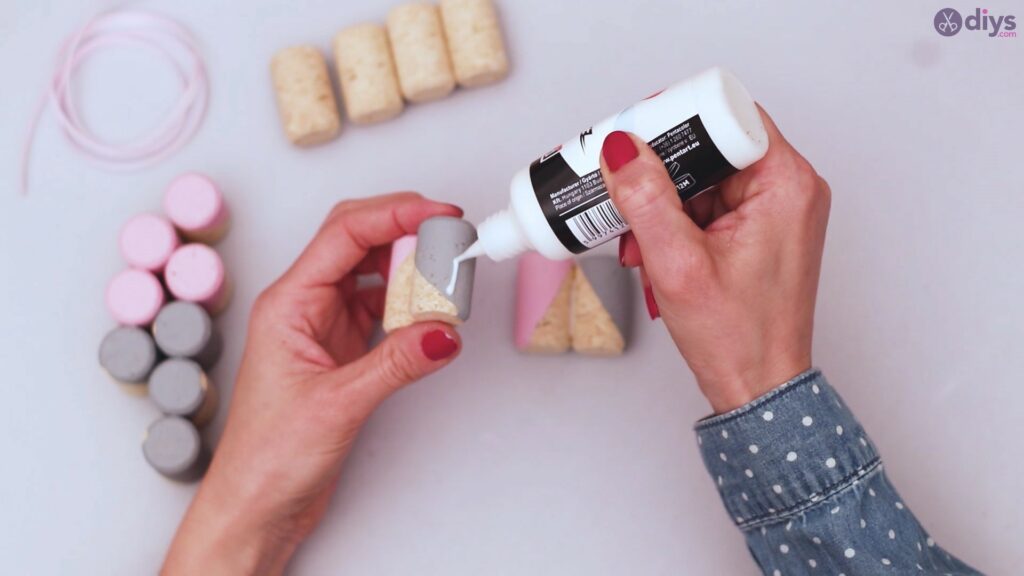
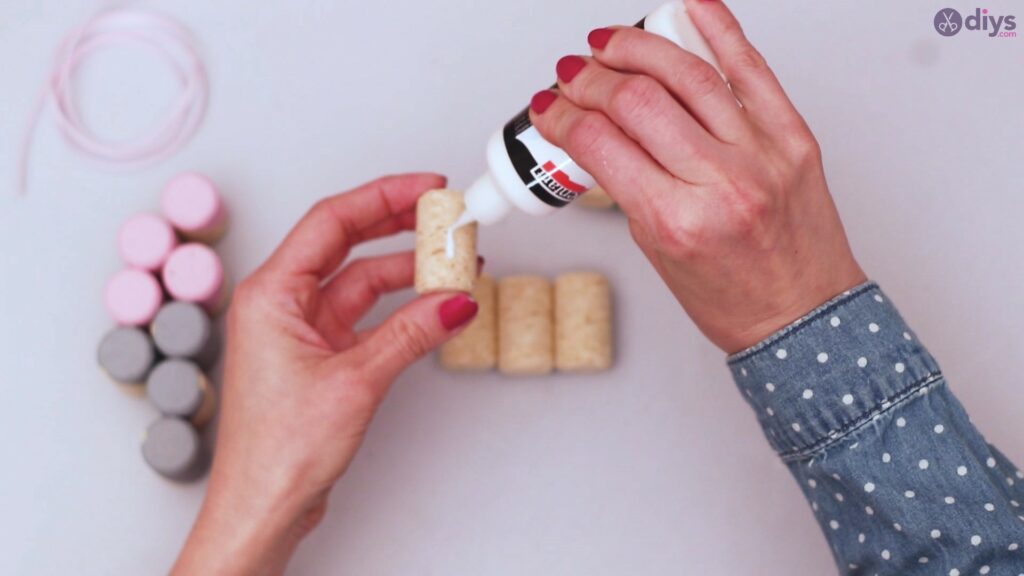
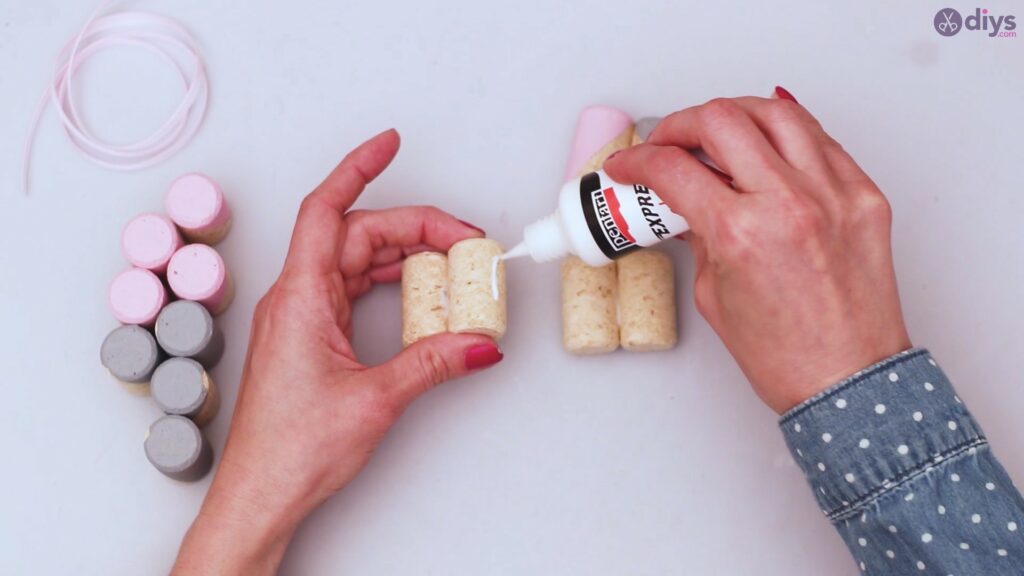
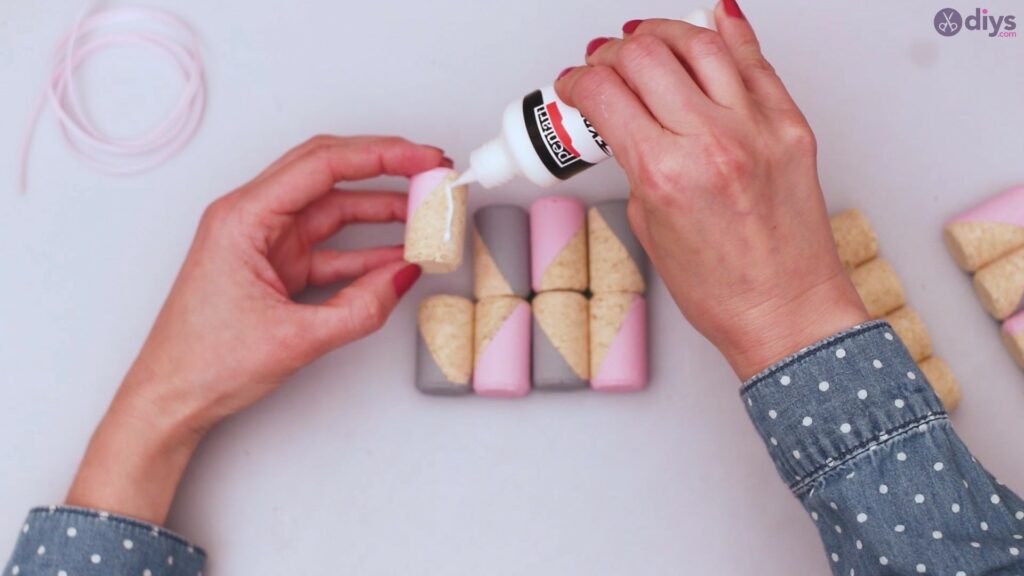
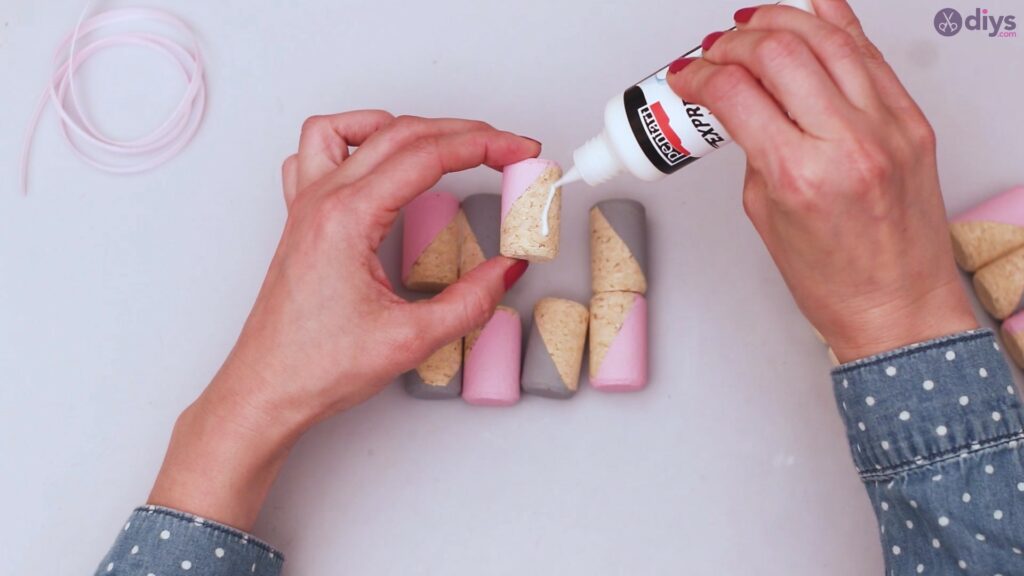
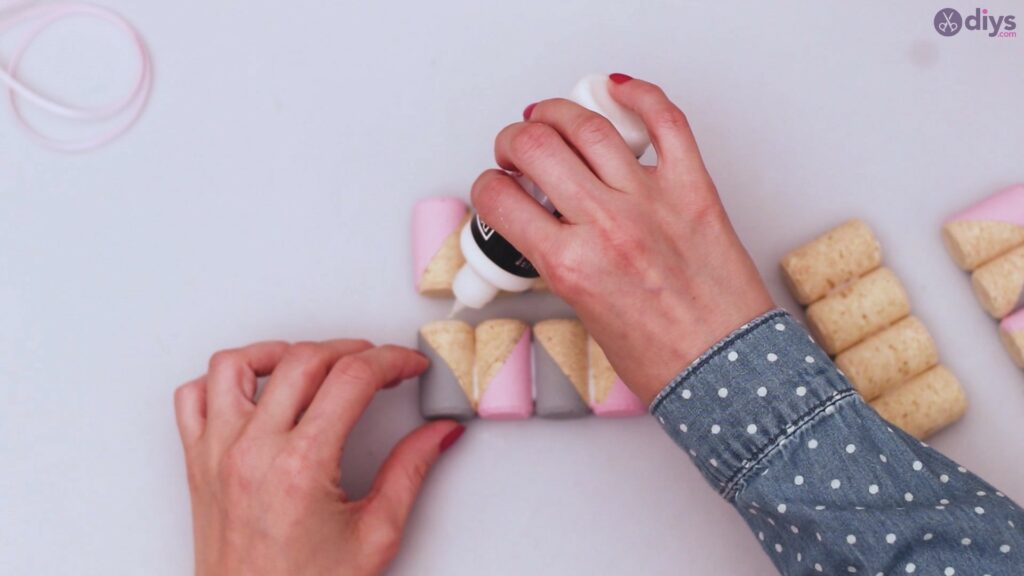
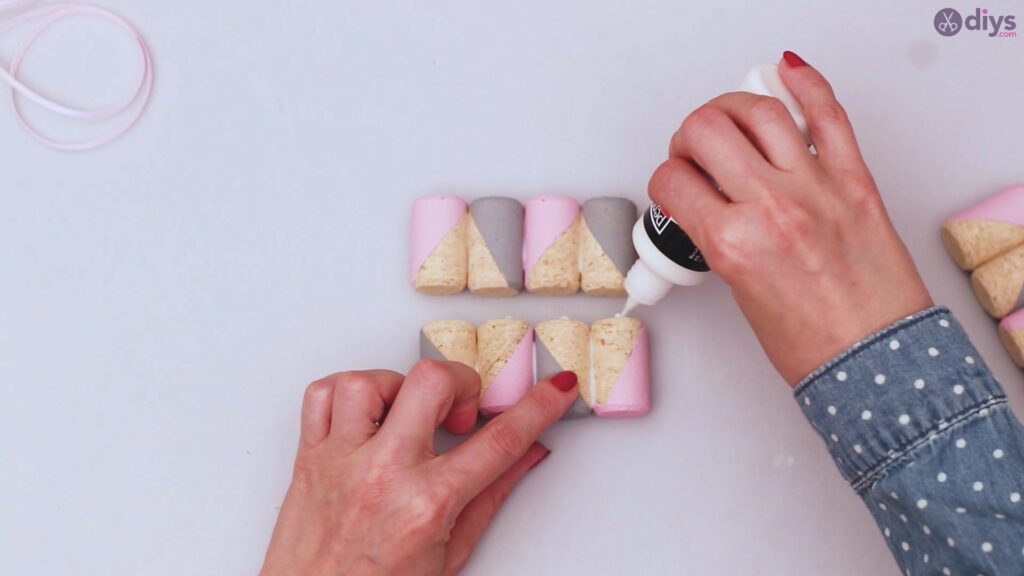
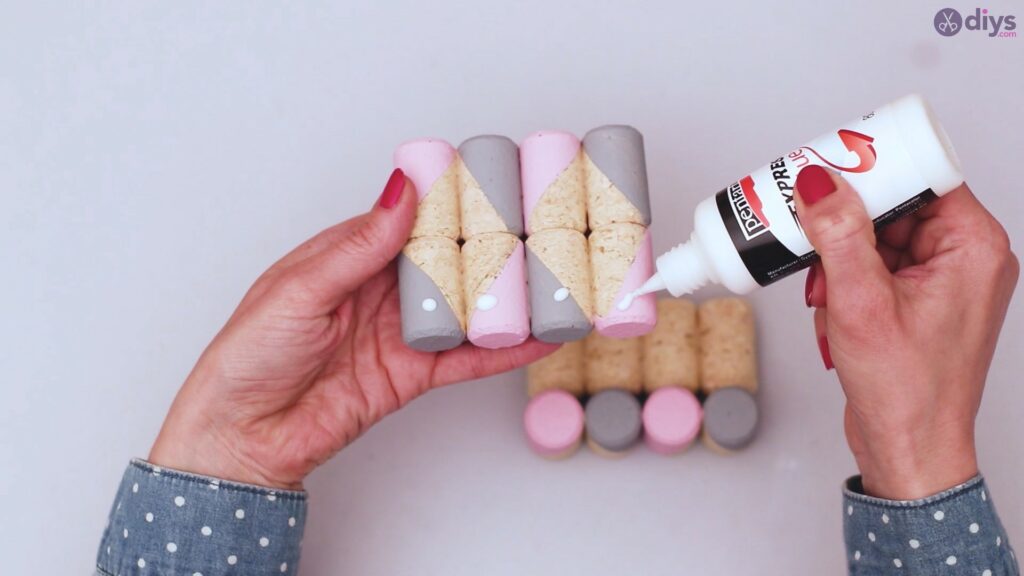
Once you know exactly how you want to arrange your corks, you can start the gluing process. It’s best to glue them with adjoining colors so that they make an interesting pattern or design. Glue them firmly side by side with craft glue in order to shape your phone holder.
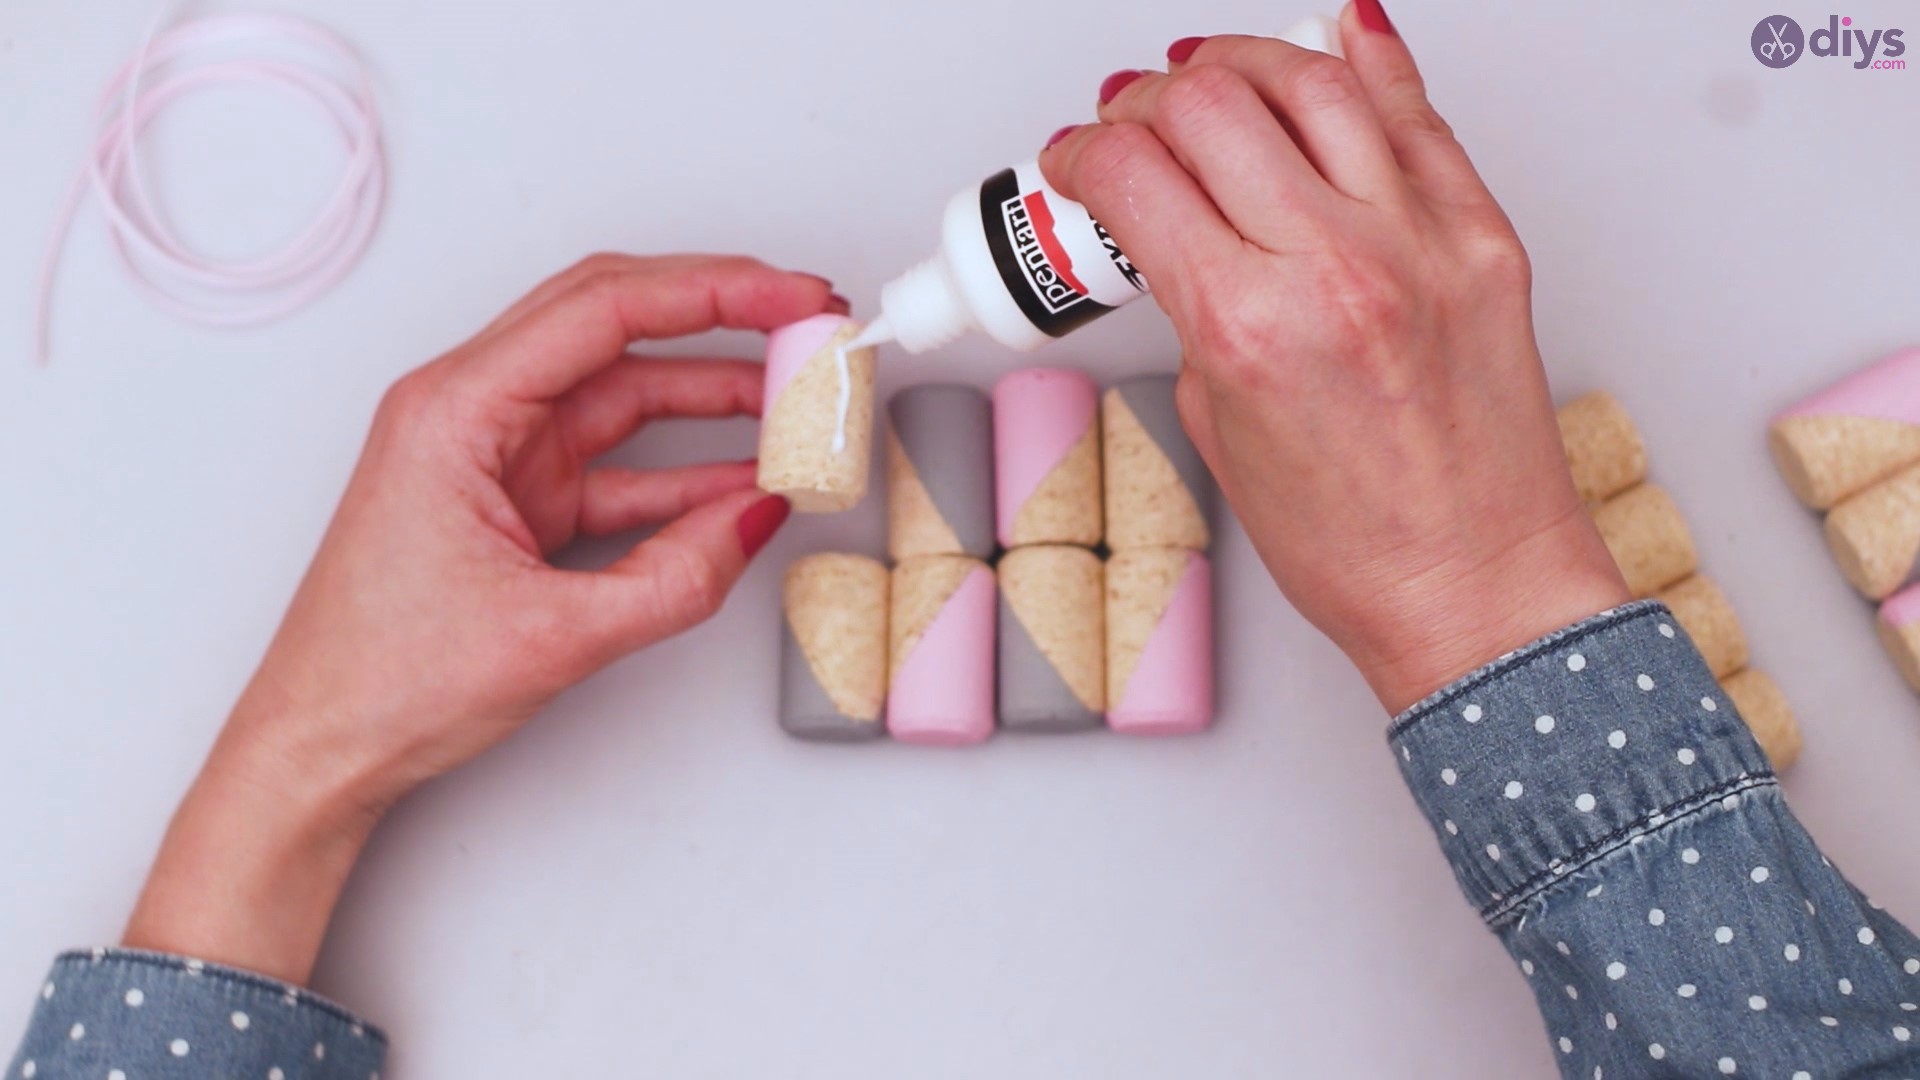
Make sure to only use a small amount of glue in order to prevent glue spillover that causes lumps. You should use a fine long line of glue, just enough to secure the piece in place.
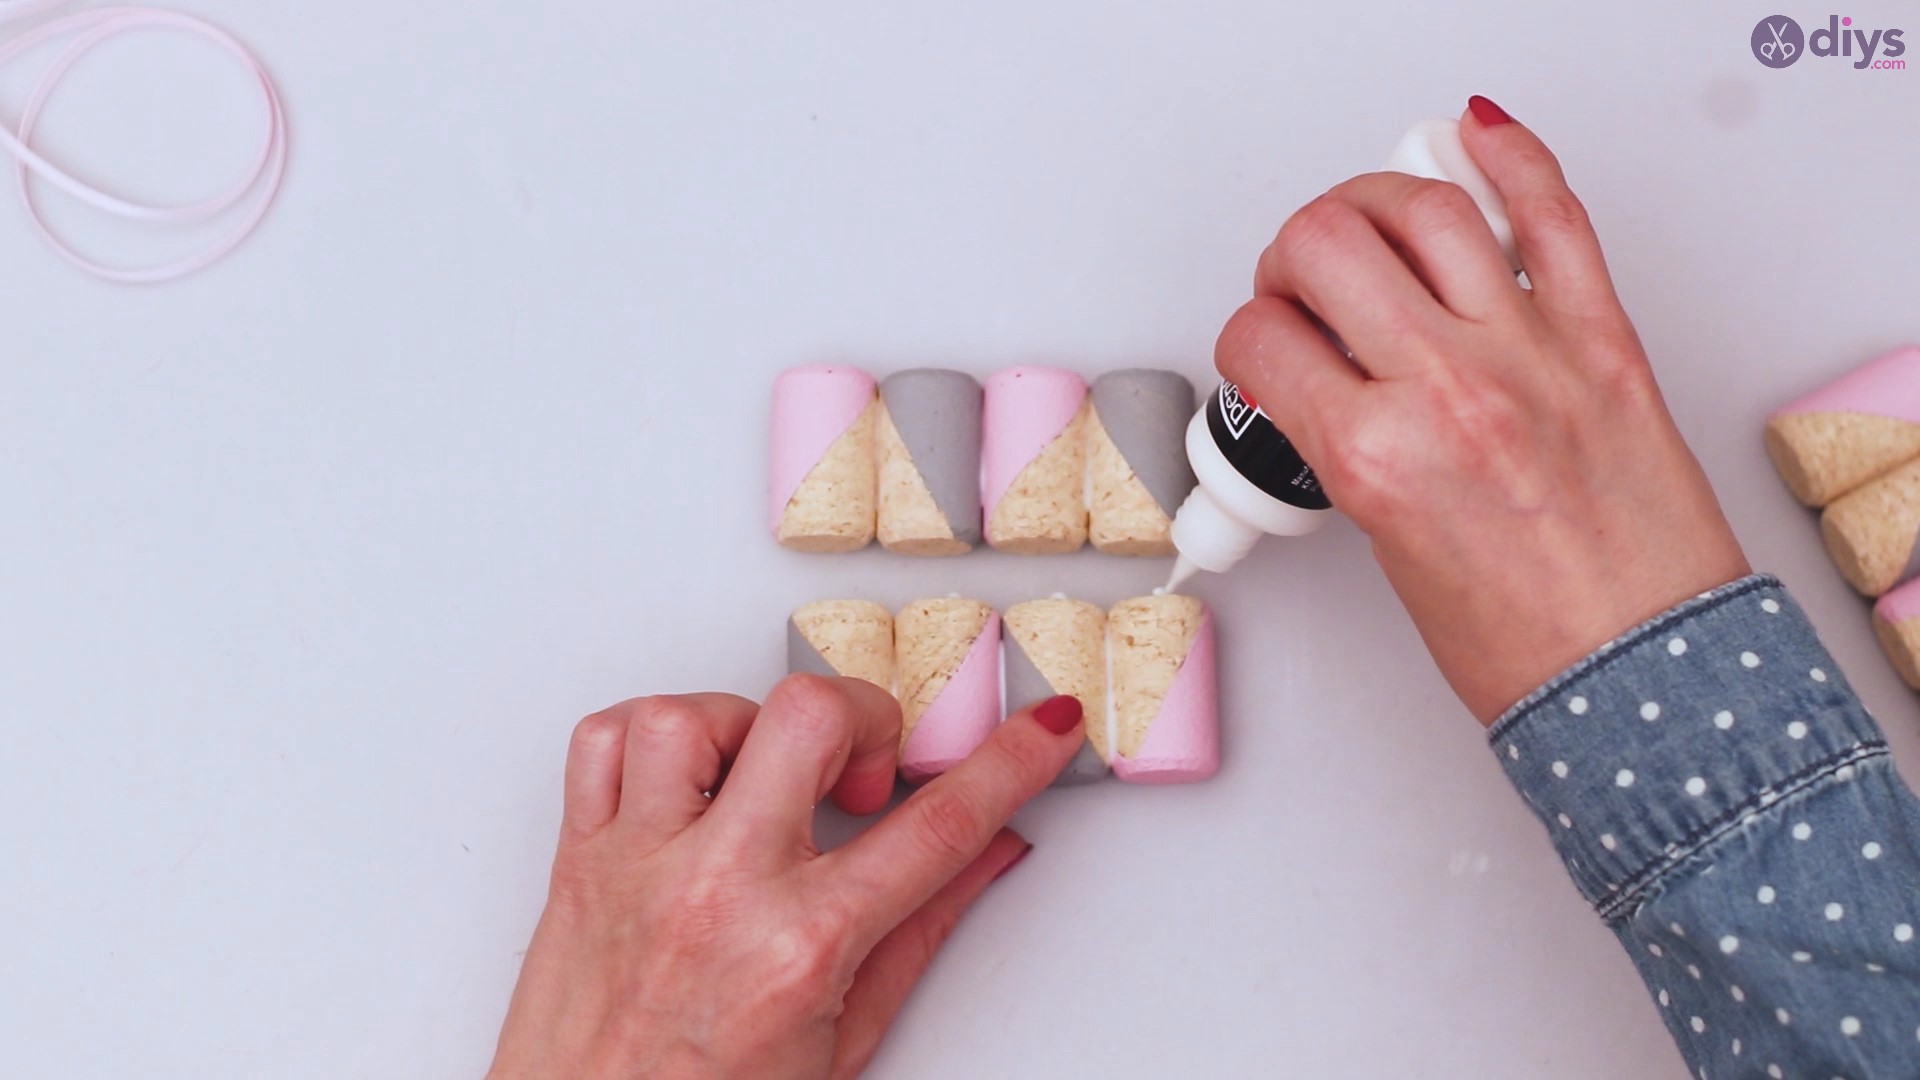
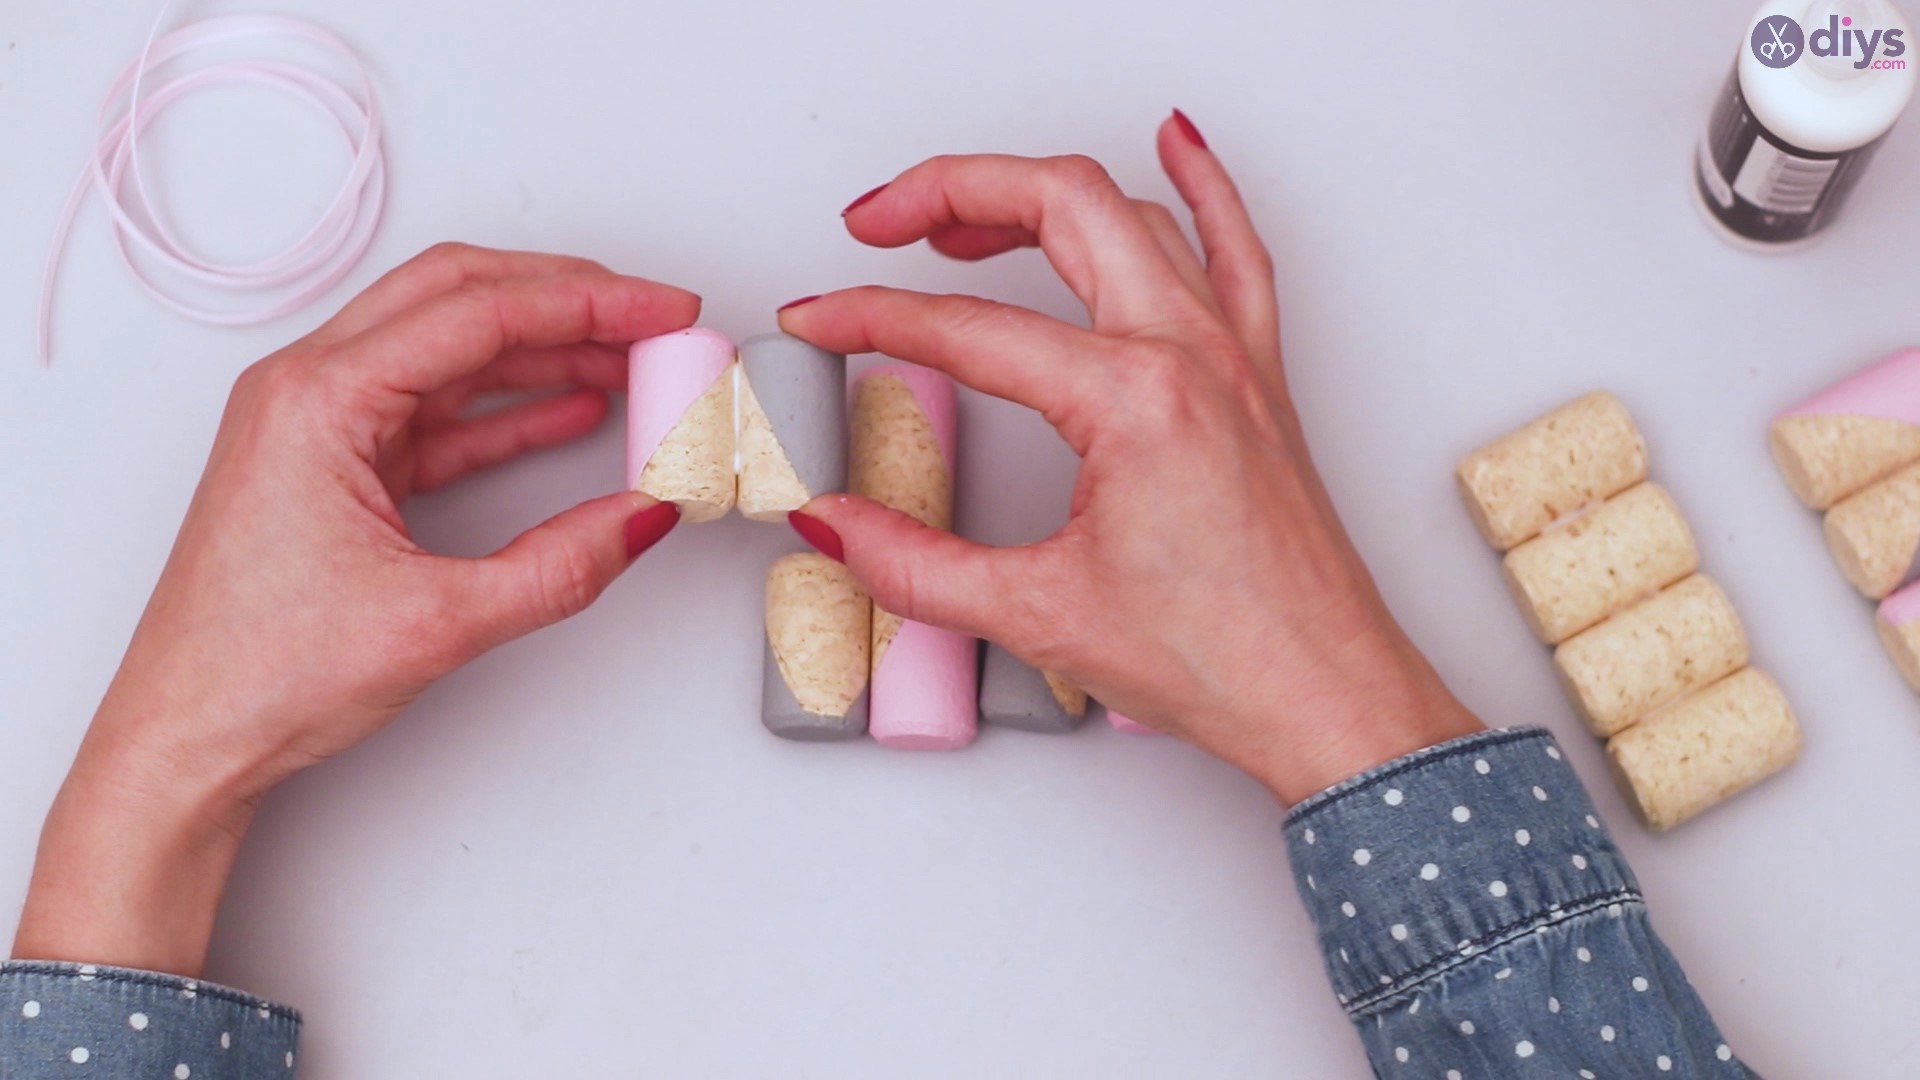
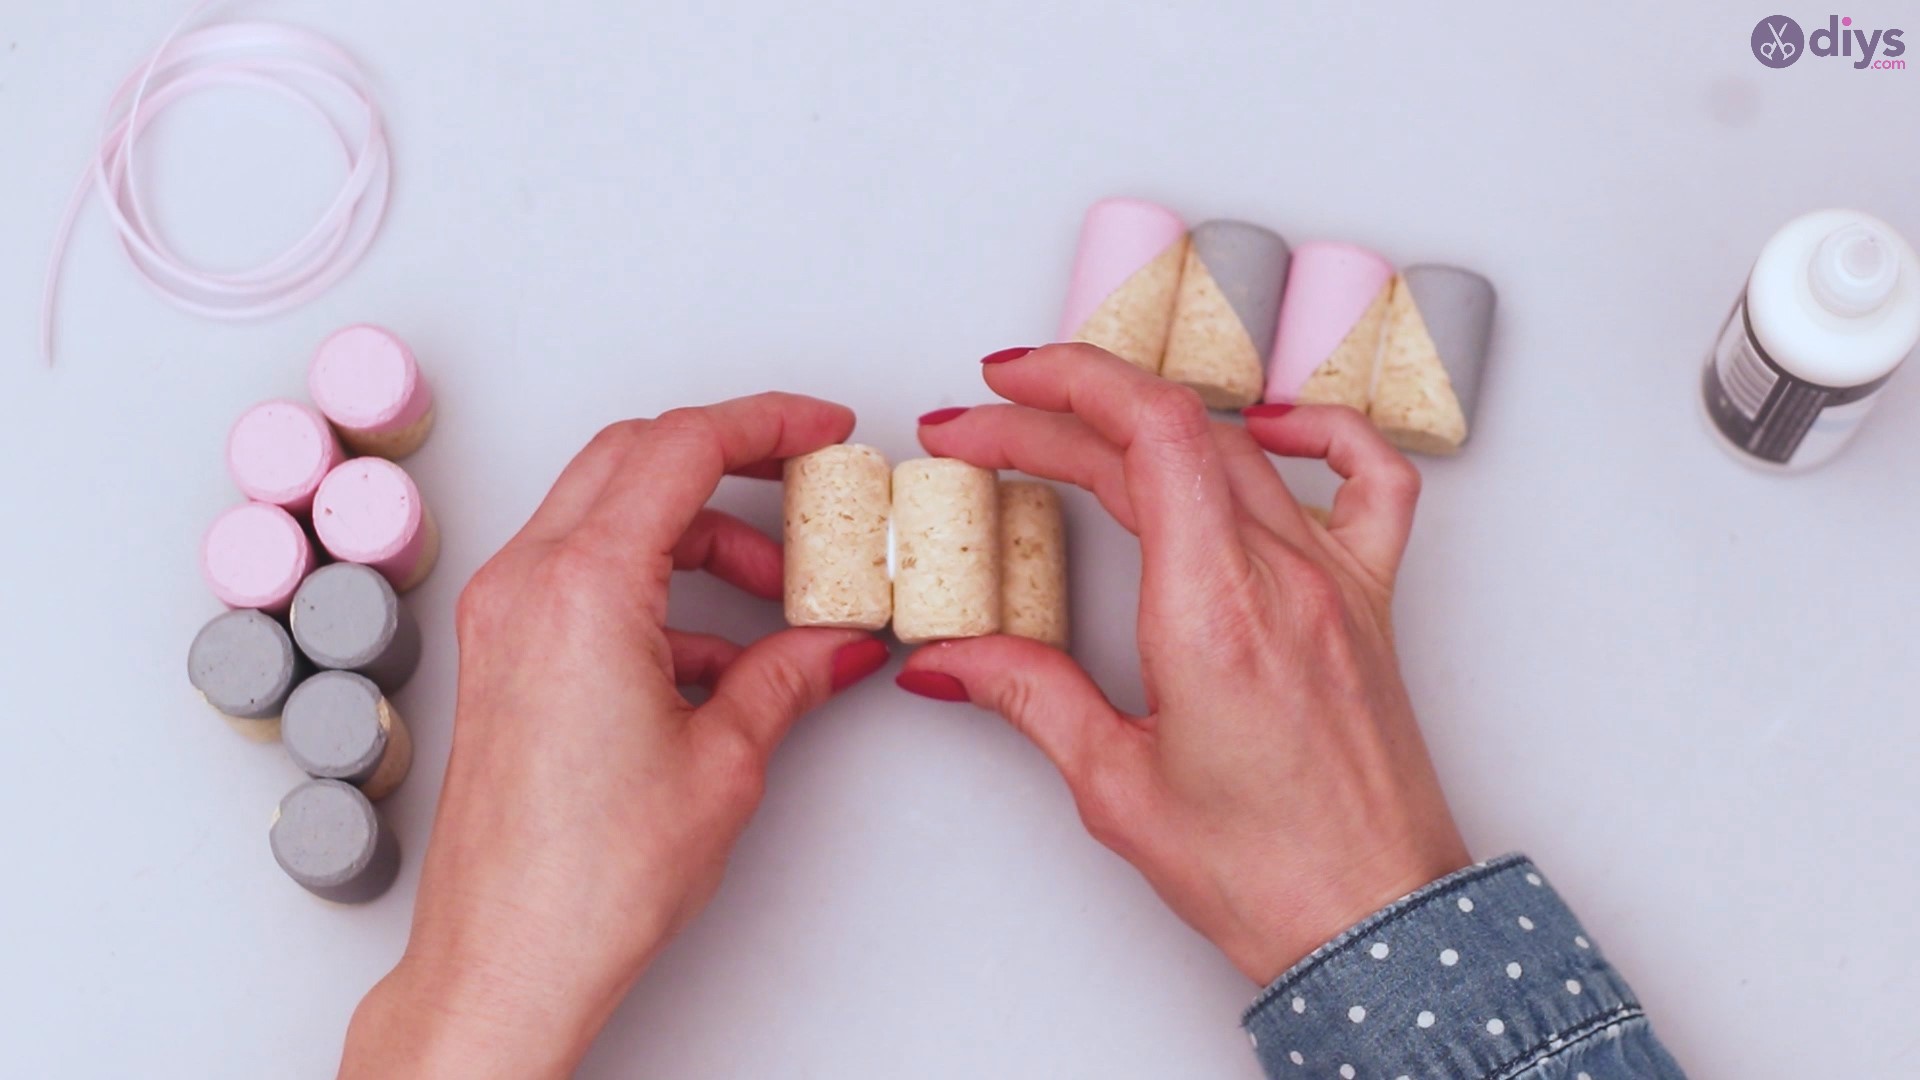
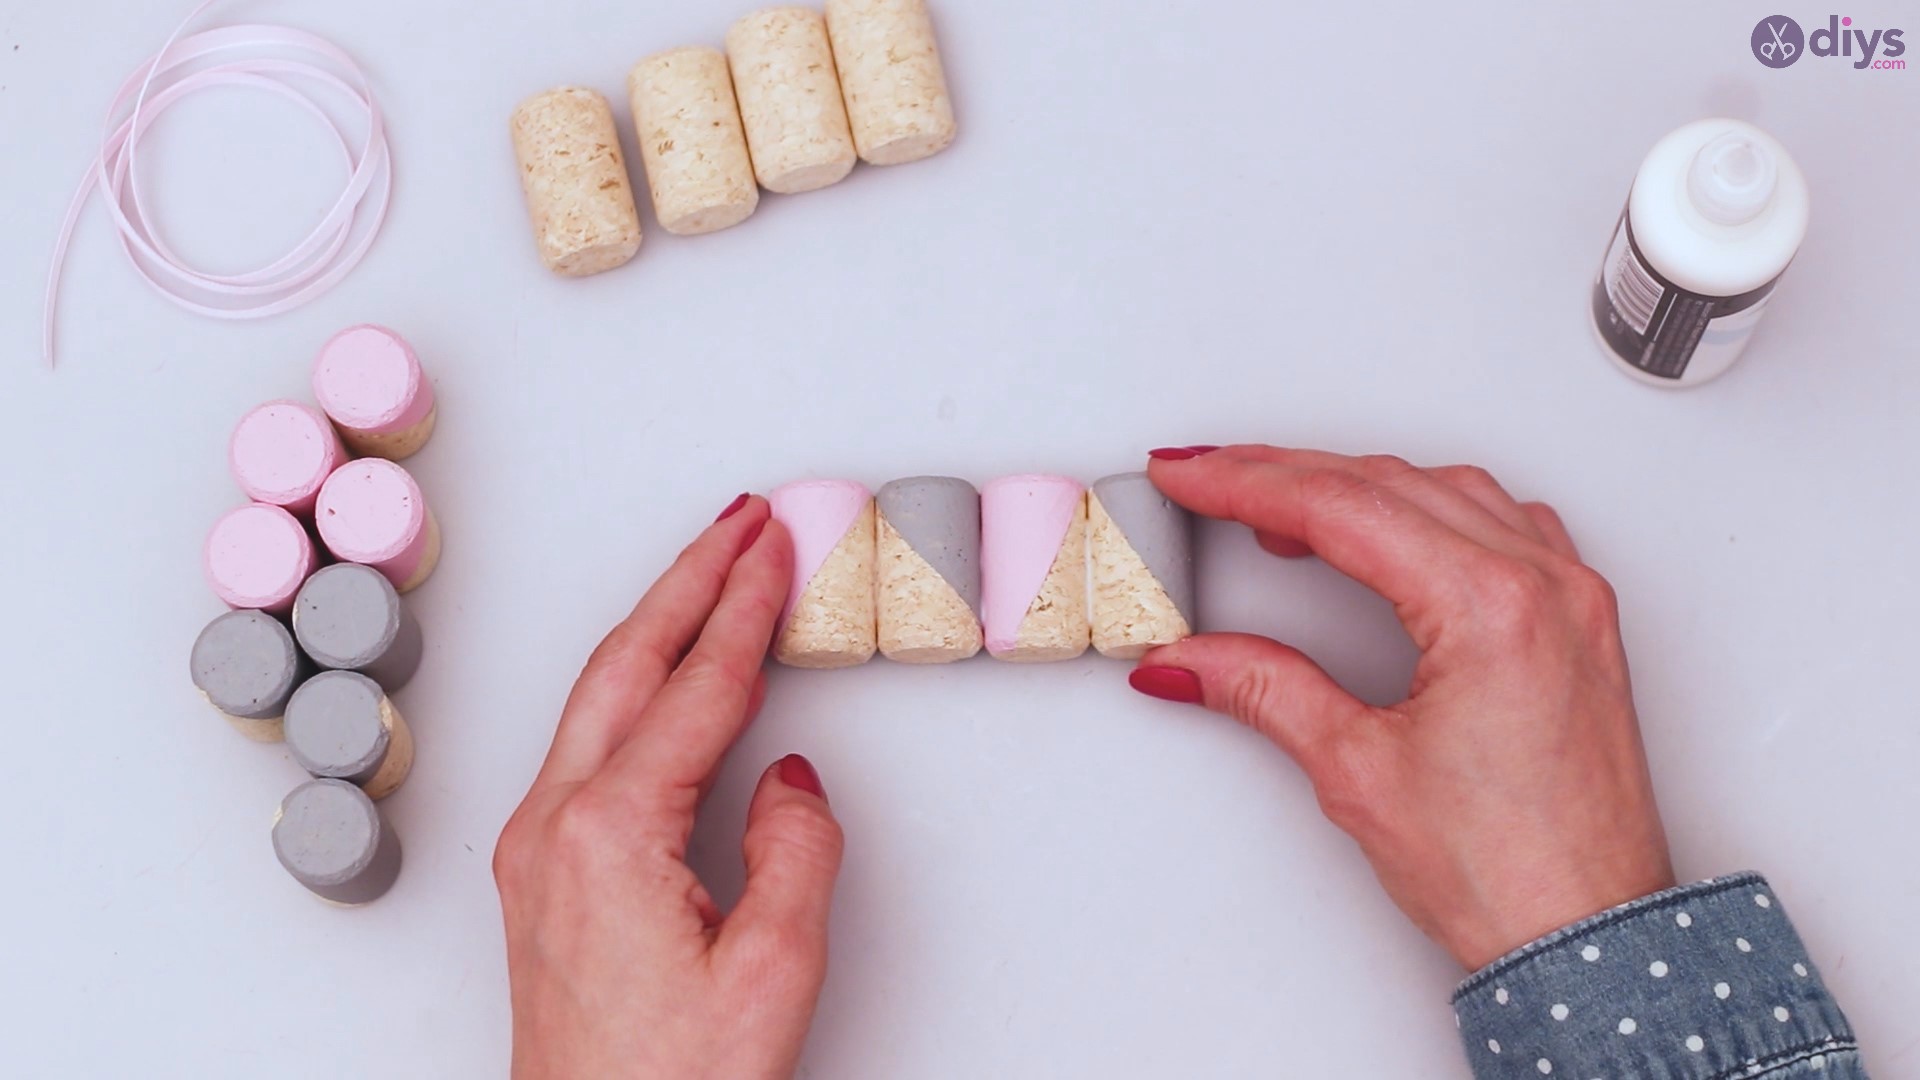
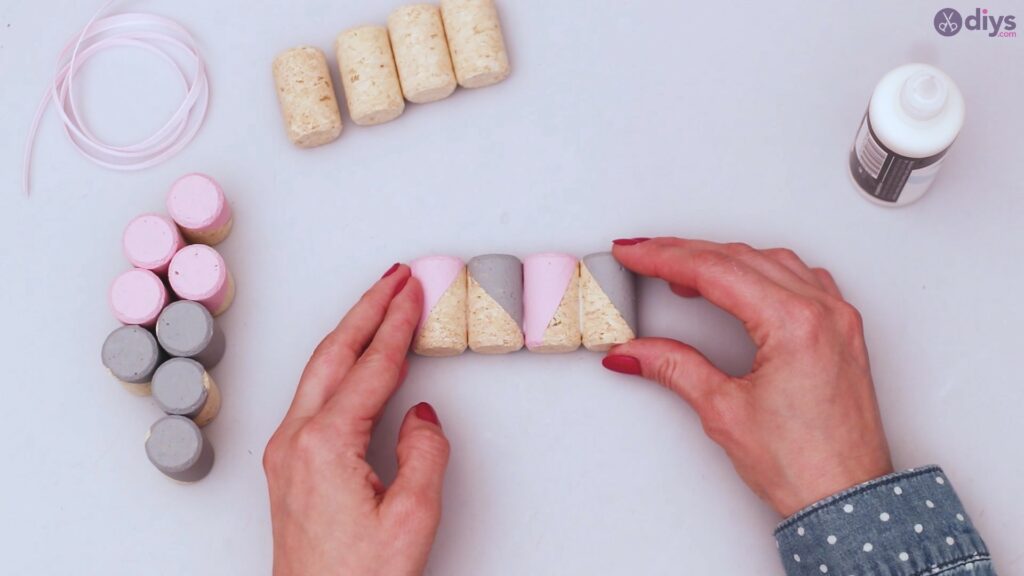
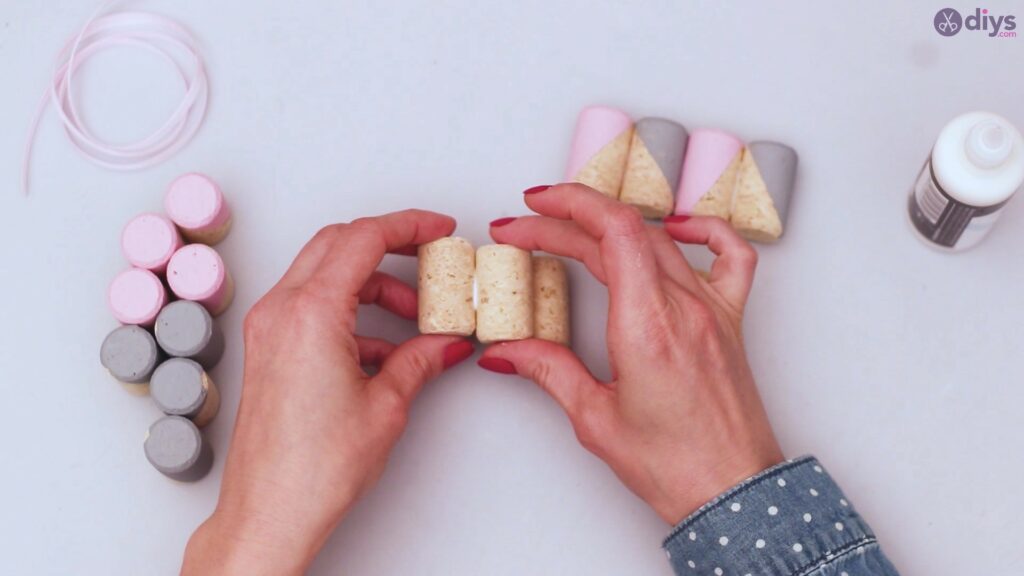
This is how it should look when you are assembling your base piece. This is the bottom part of the phone holder that the two walls will be glued to.
Step 5: Assembling
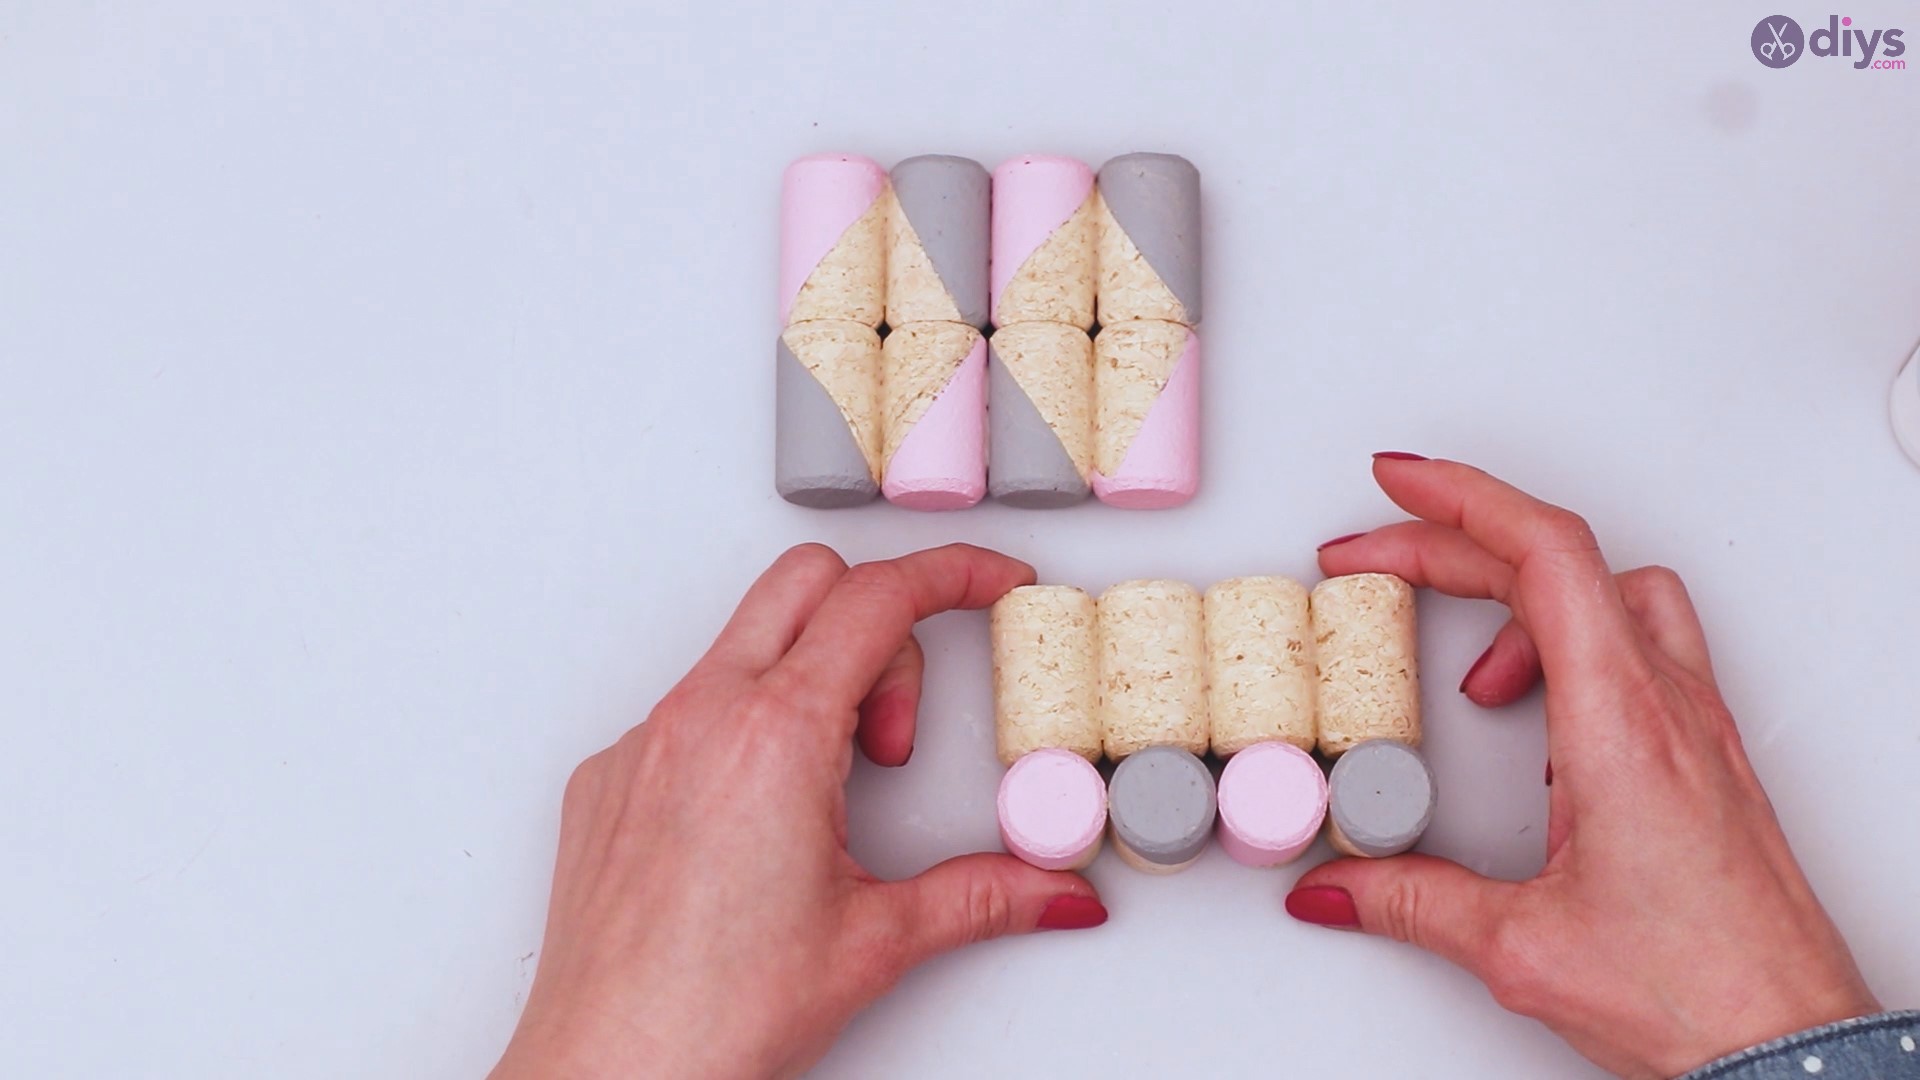
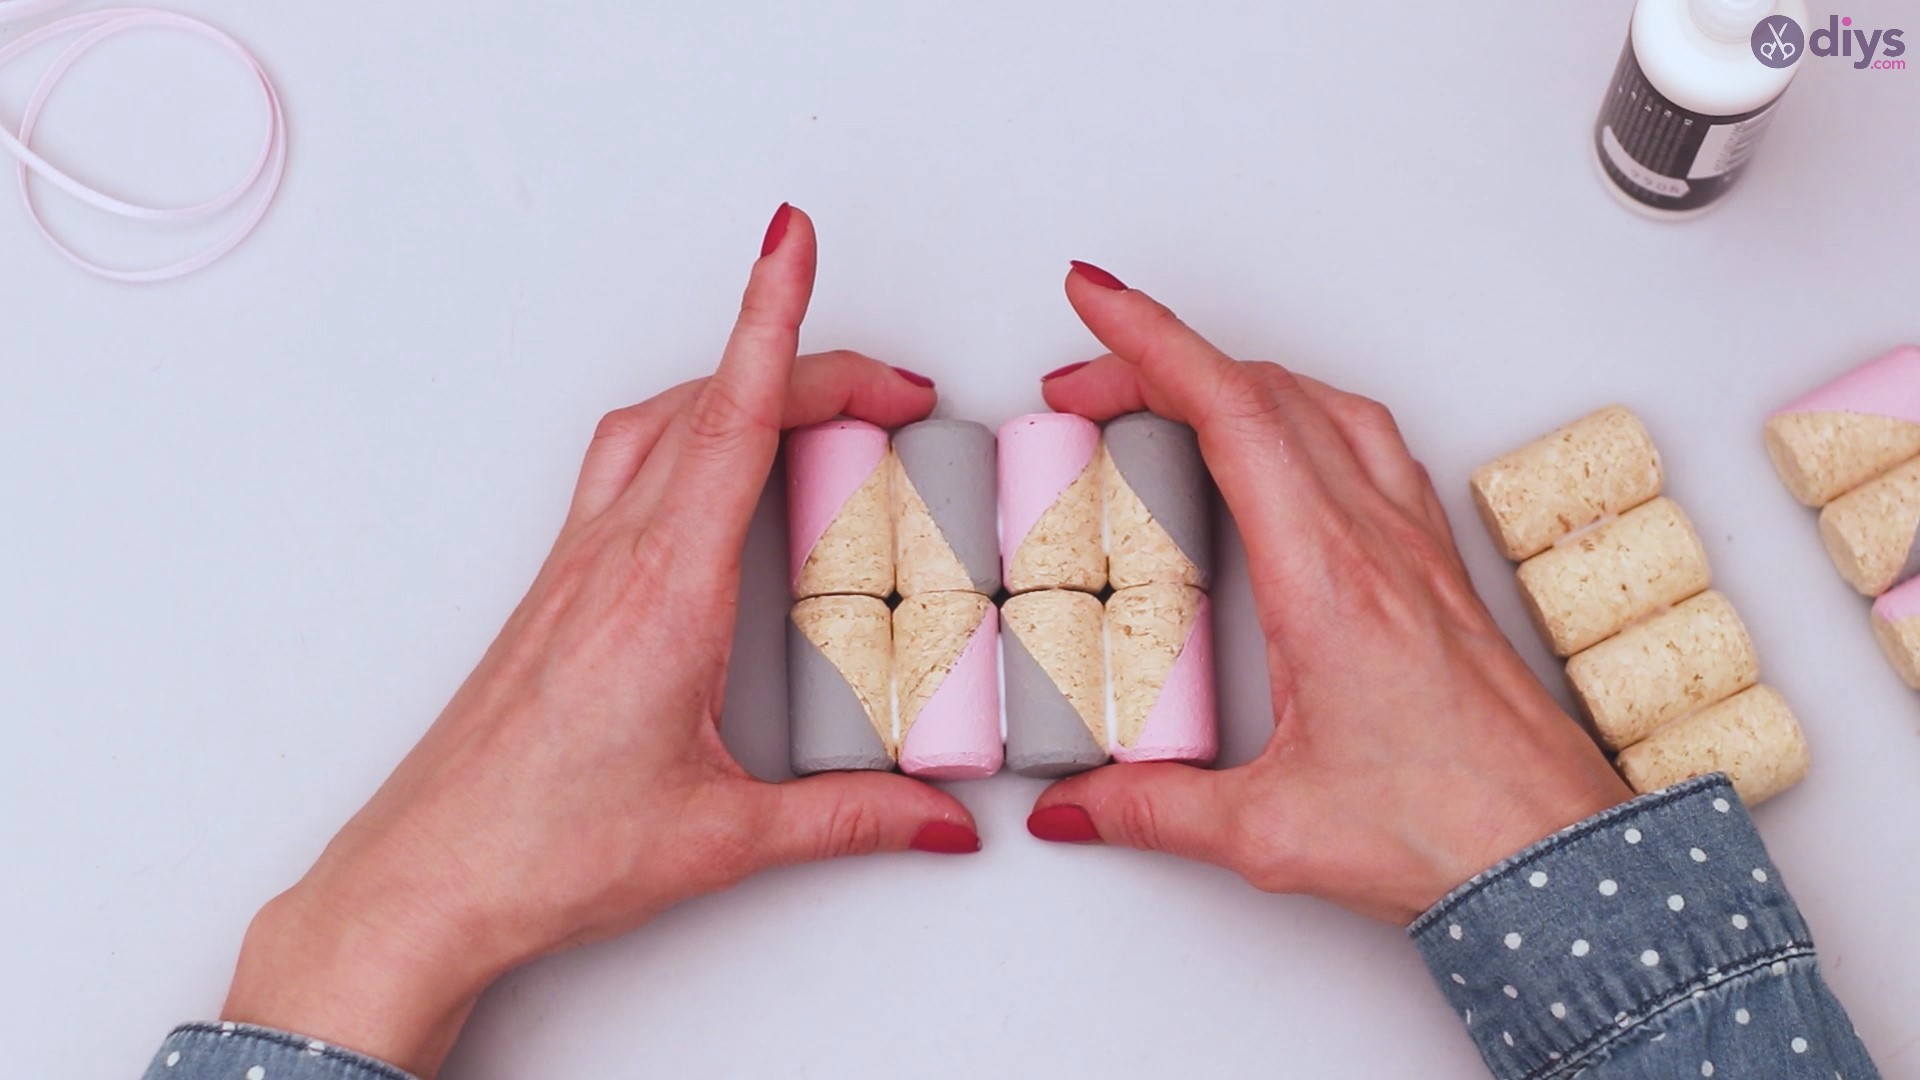
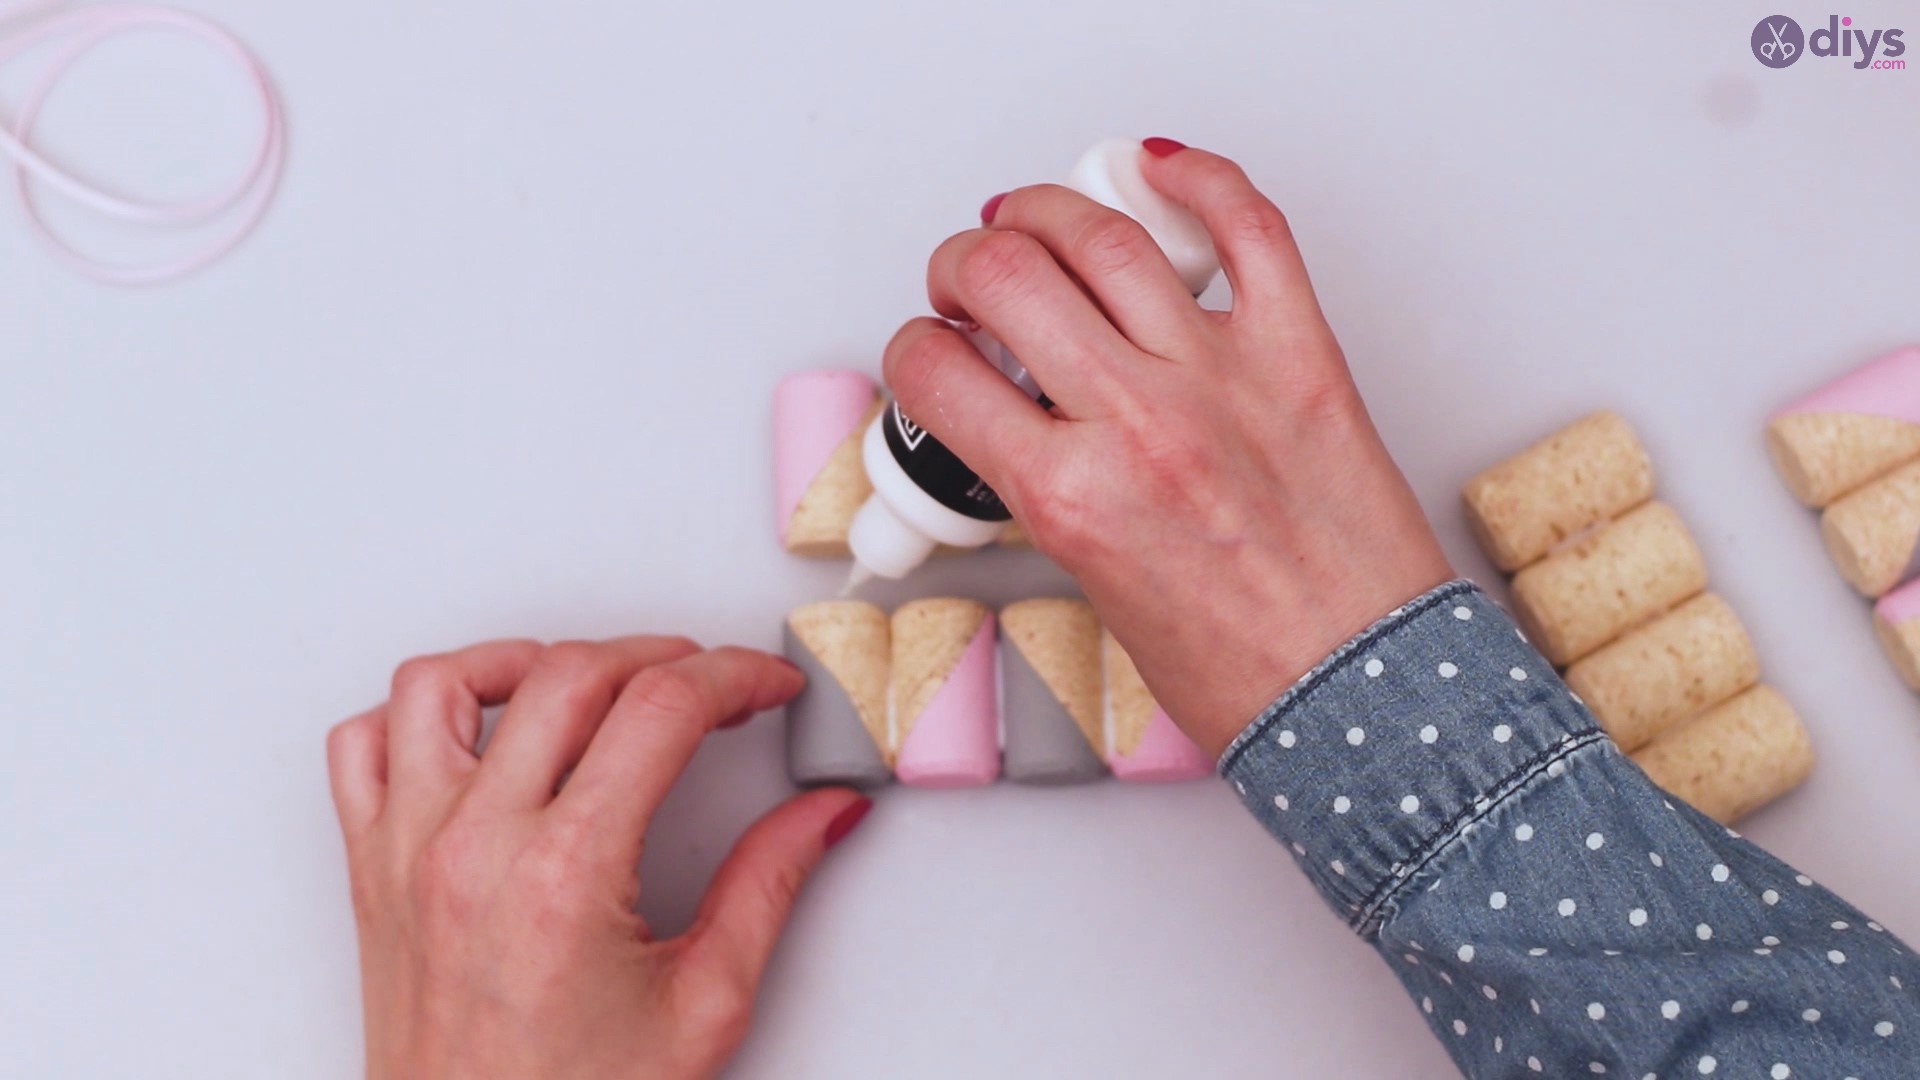
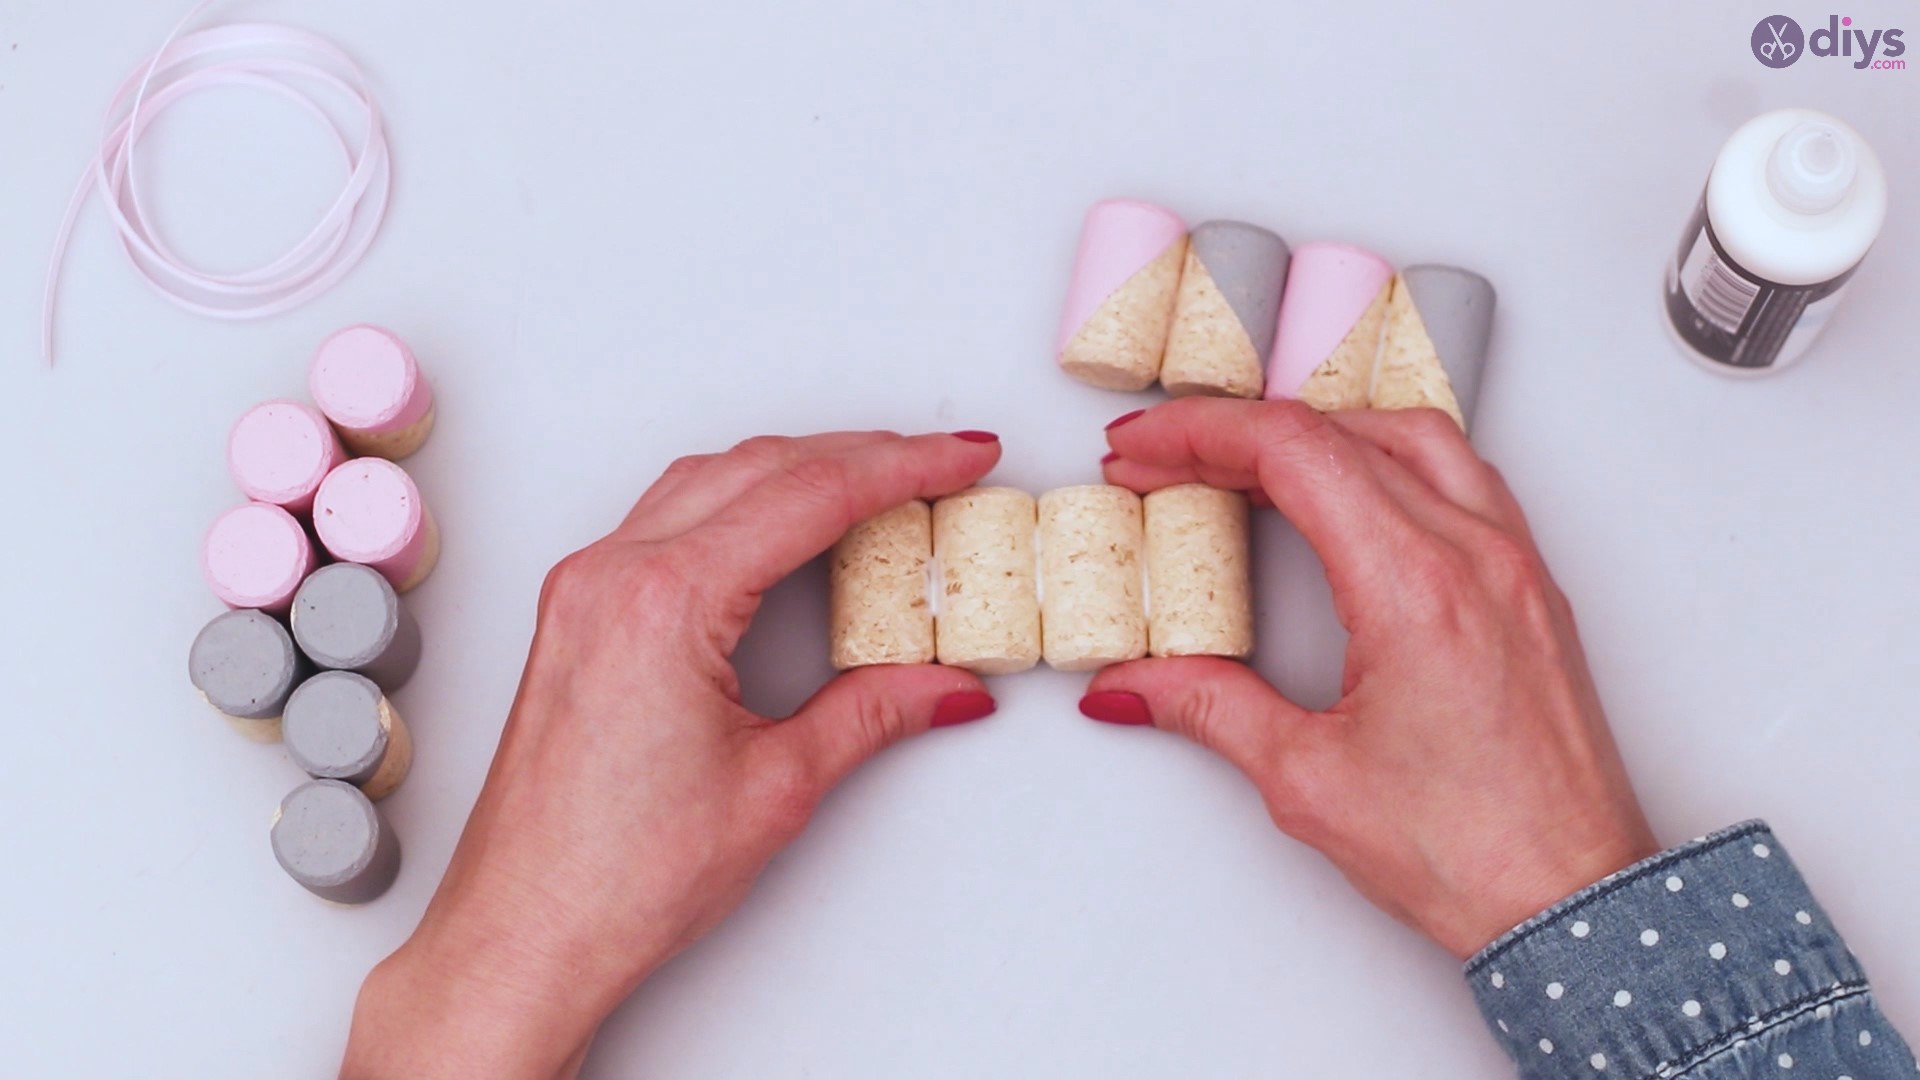
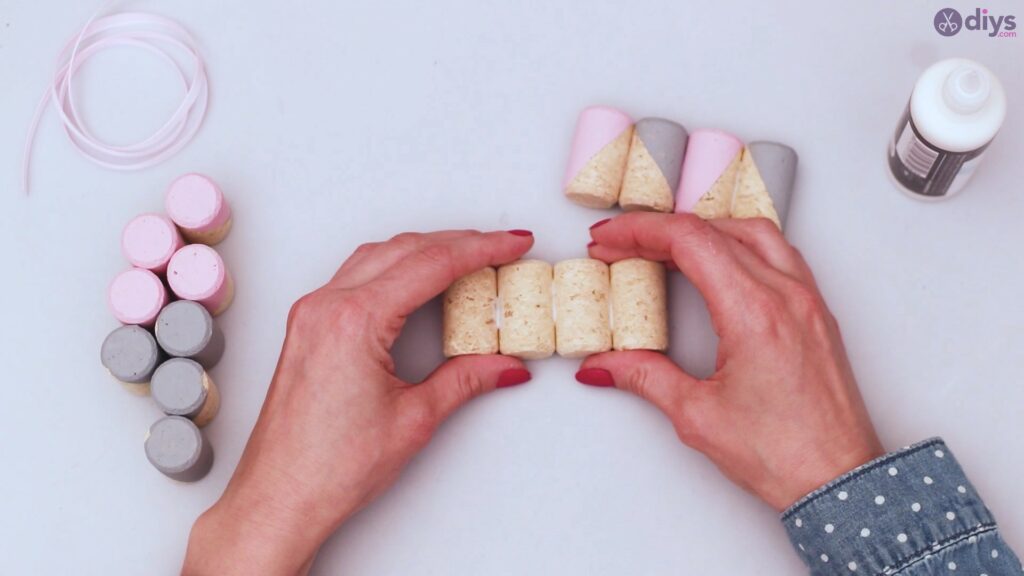
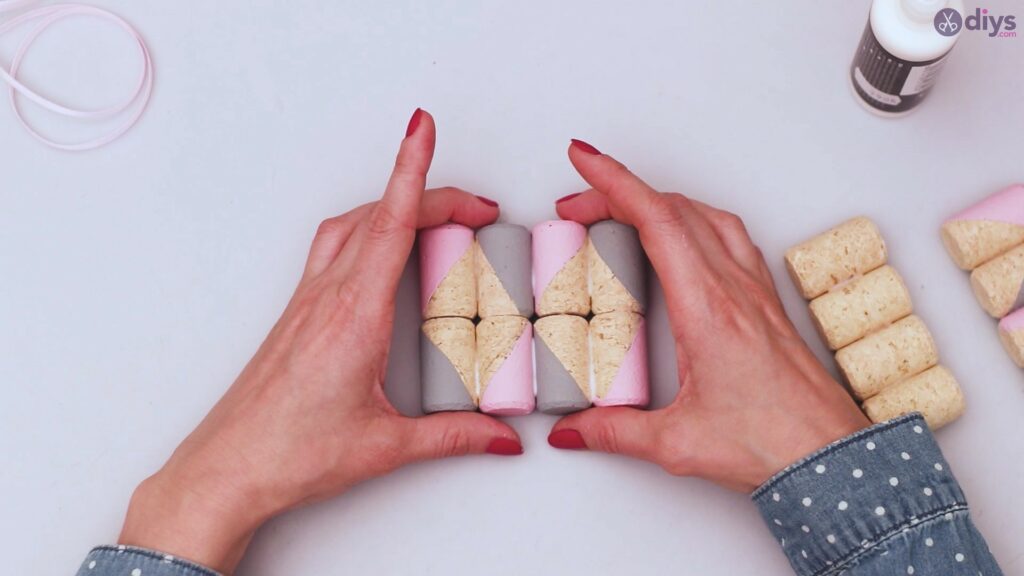
As you are gluing your corks together, you are going to want to start assembling your base piece to your mobile phone holder. This is simple in that you only need four corks to make this row happen. For the side wall pieces, make sure that you are assembling two rows of corks that lay flat with no bumps or uneven rows.
Make two rows in order to create a sturdy phone holder base and adjoining wall pieces.
The finished wall piece should look like this.
Step 6: Creating the Walls
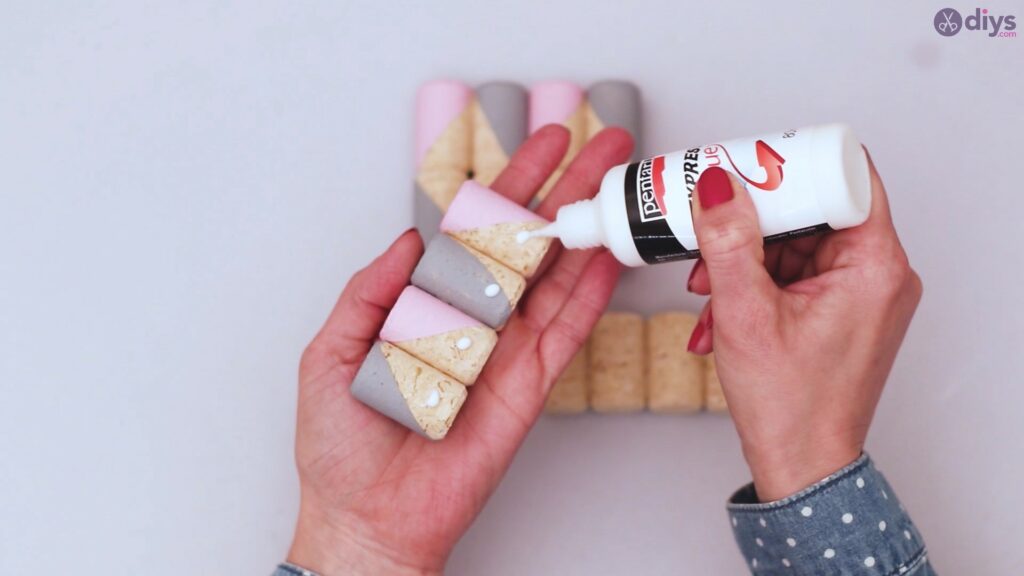
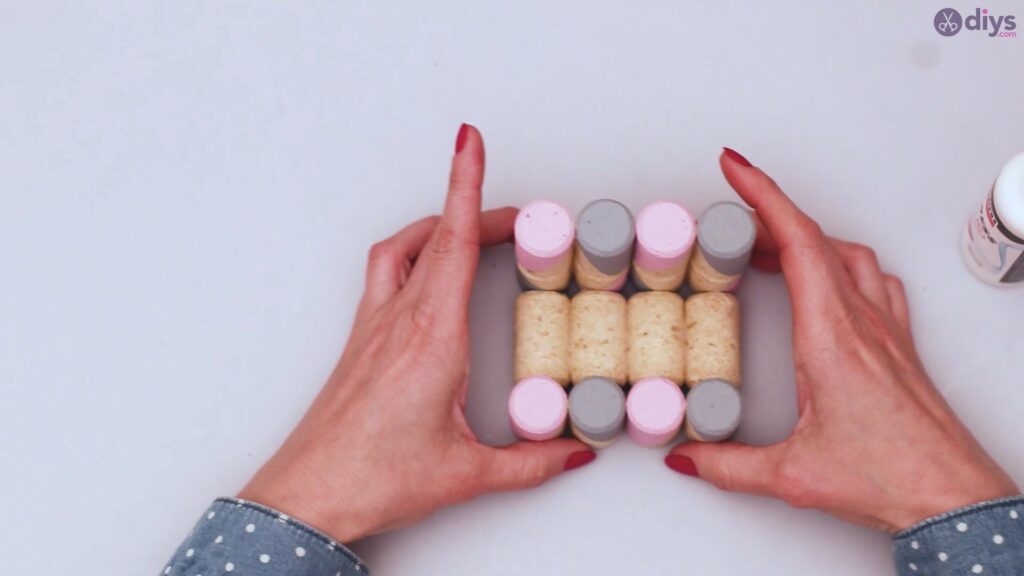
The walls to your phone holder are meant to keep your phone securely in place and prevent it from sliding around or tipping over. These walls can be built the same way you did the phone holder base, but they will be glued upright instead of laying flat. Make sure use the same method as you di with the base in gluing the pieces, but add dots of glue at the bottom so these sides stand up.
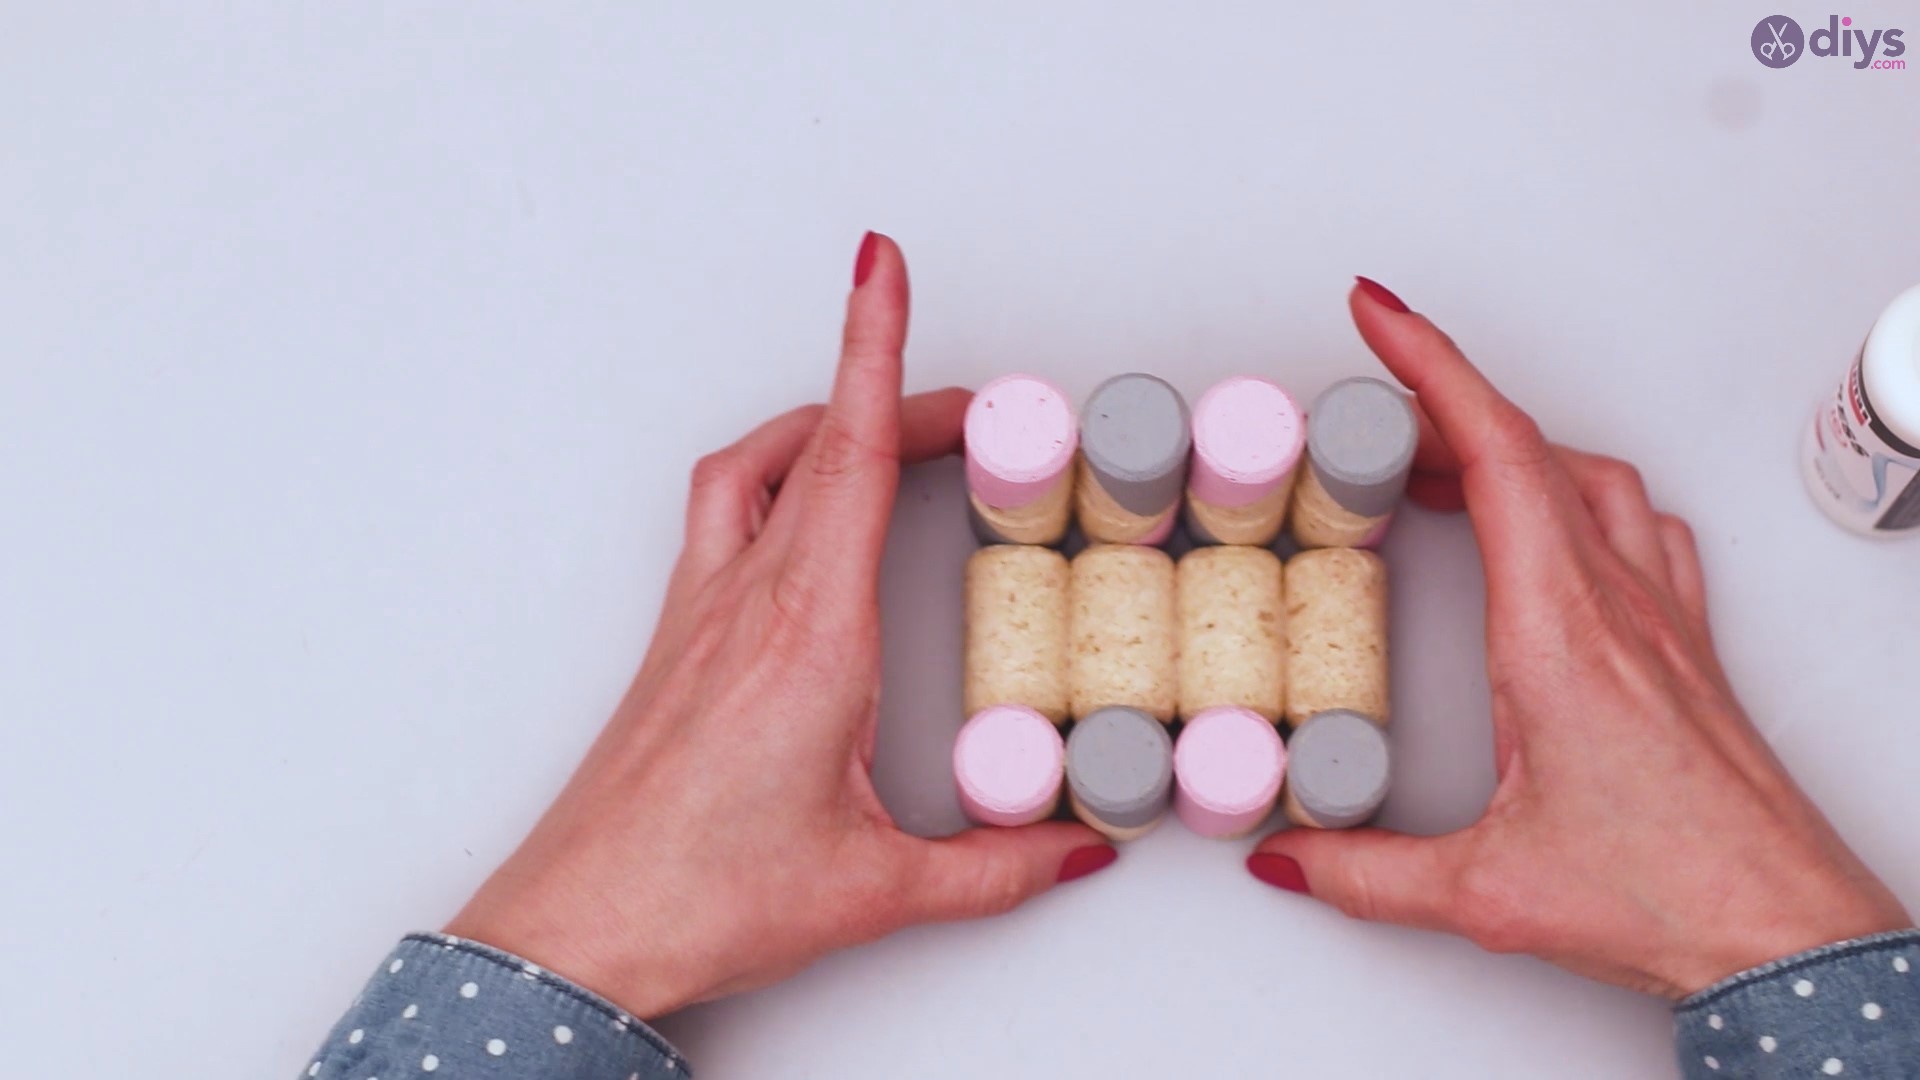
Make sure your lines are straight and that the walls to this phone holder match up evenly with the base piece.
Take the wall pieces and glue one to the front of the base and to the back of the base.
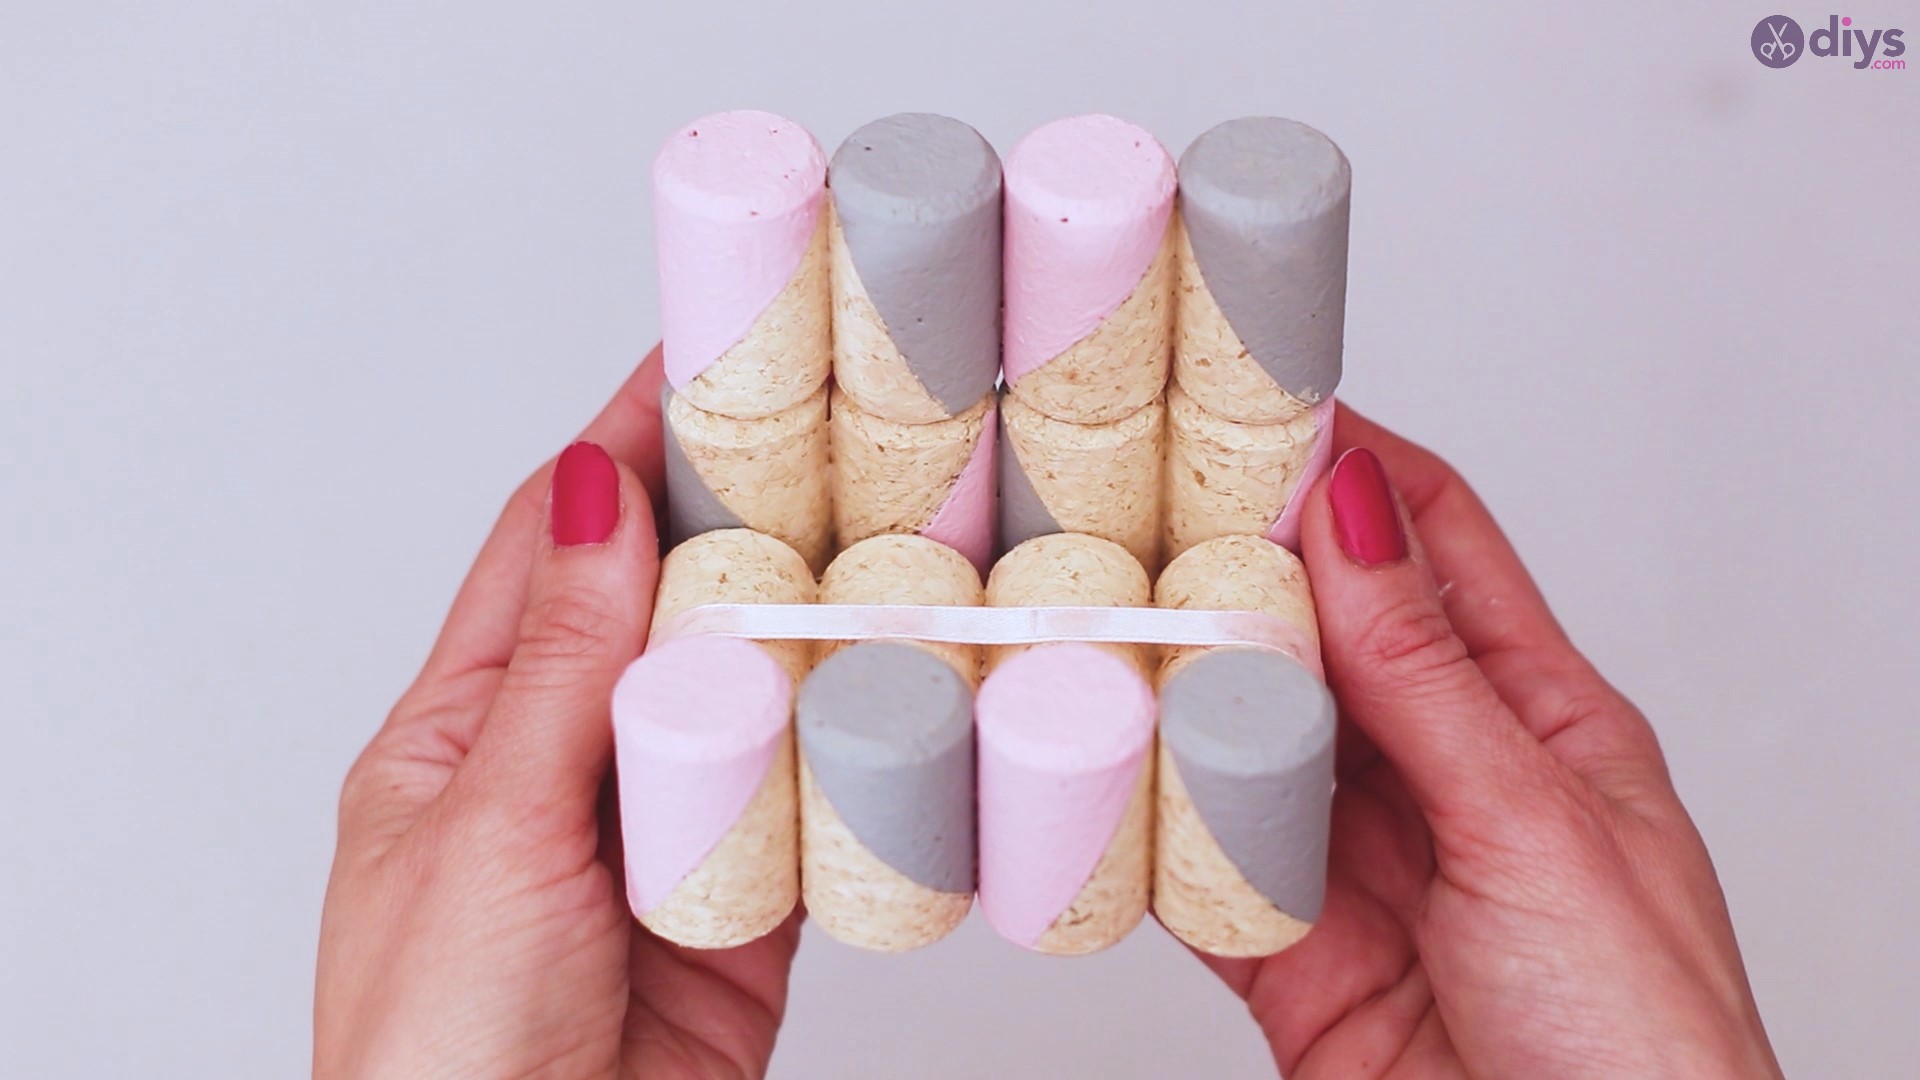
Step 7: Decorative Ribbon
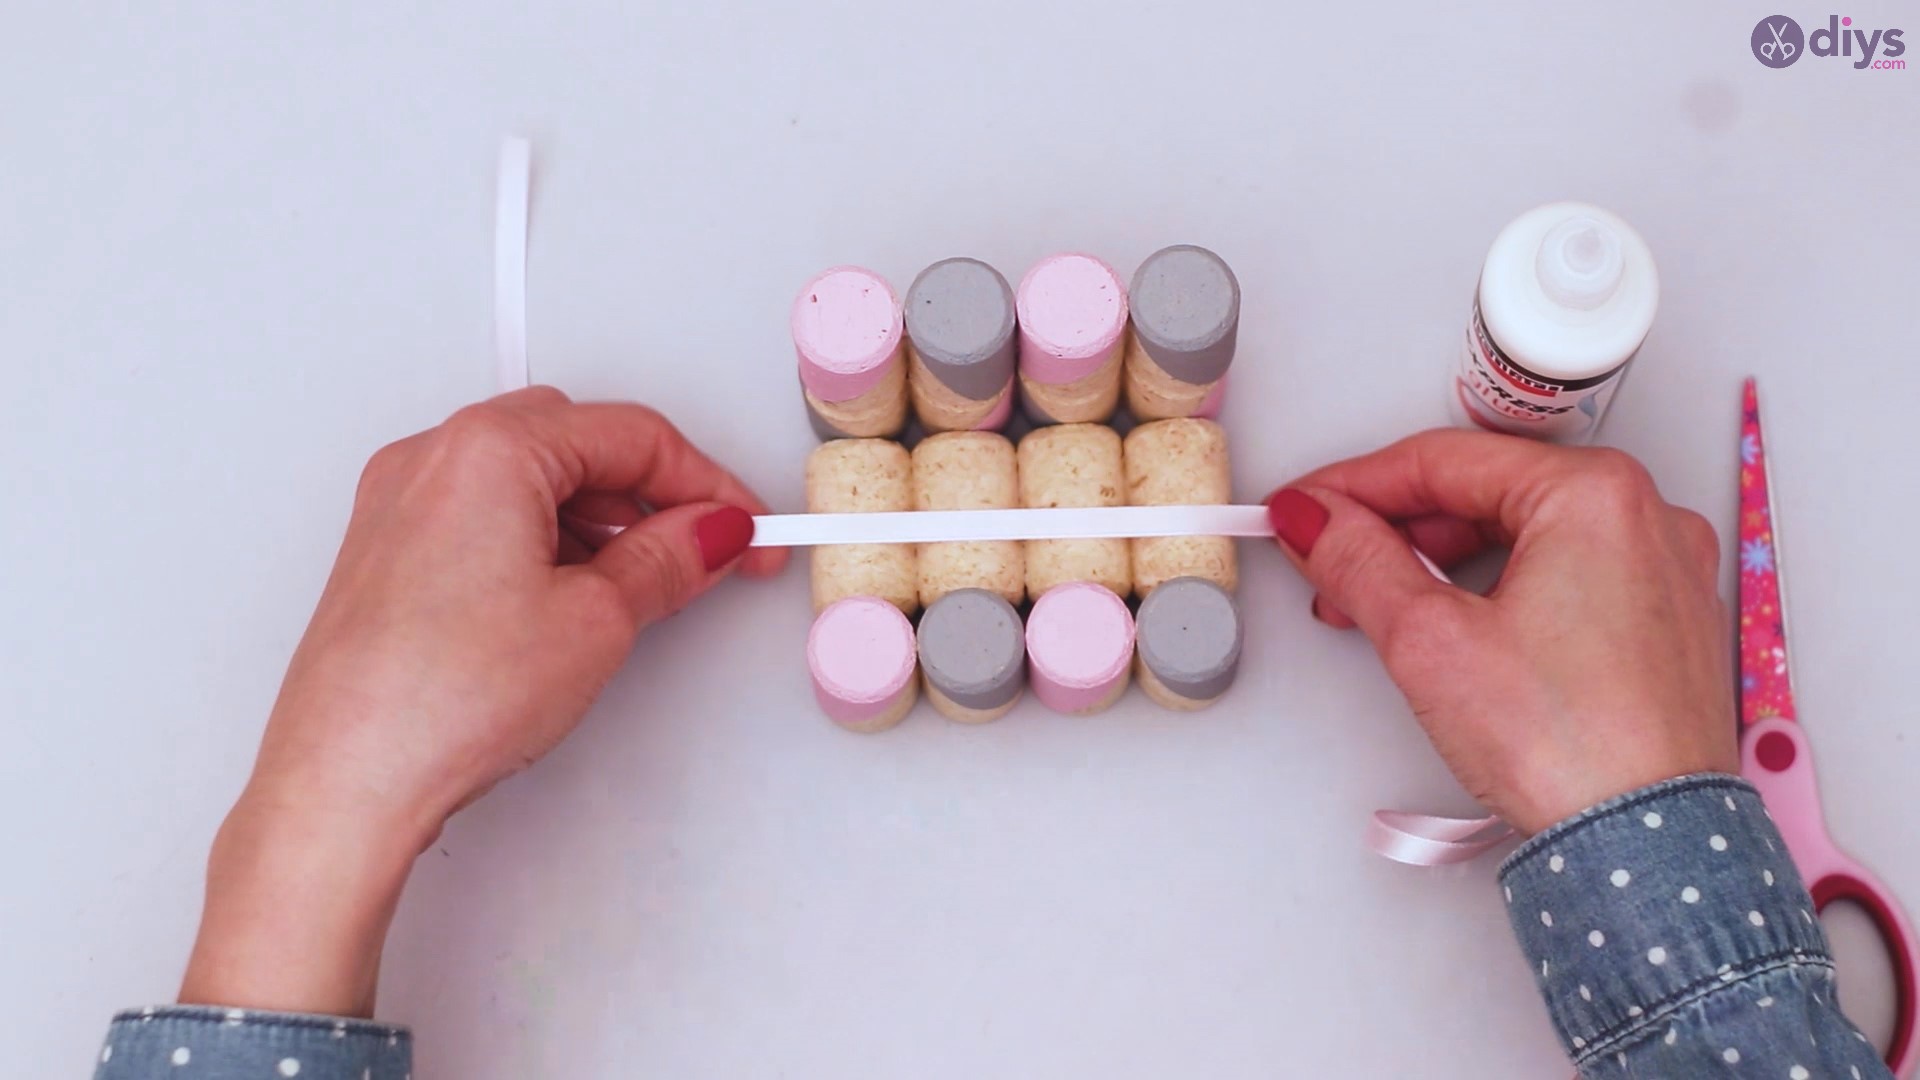
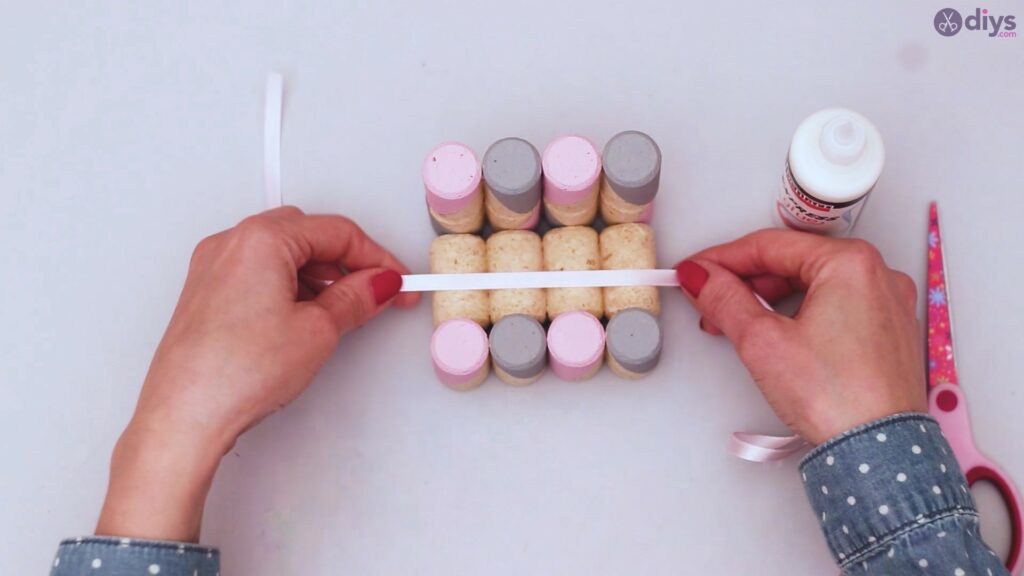
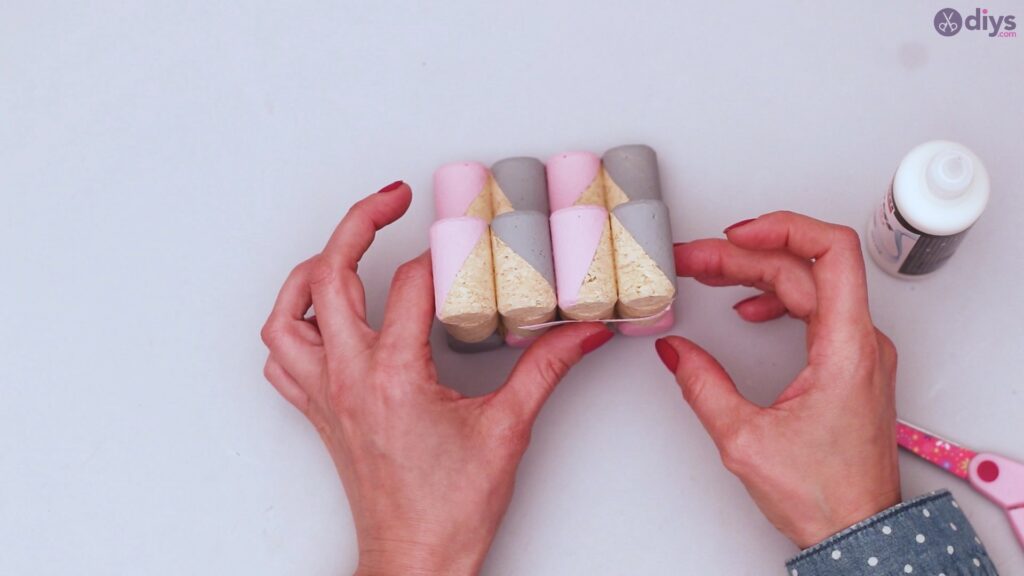
Once your sides are all glued on, you are ready to add some accenting ribbon to make your phone holder more artistic.
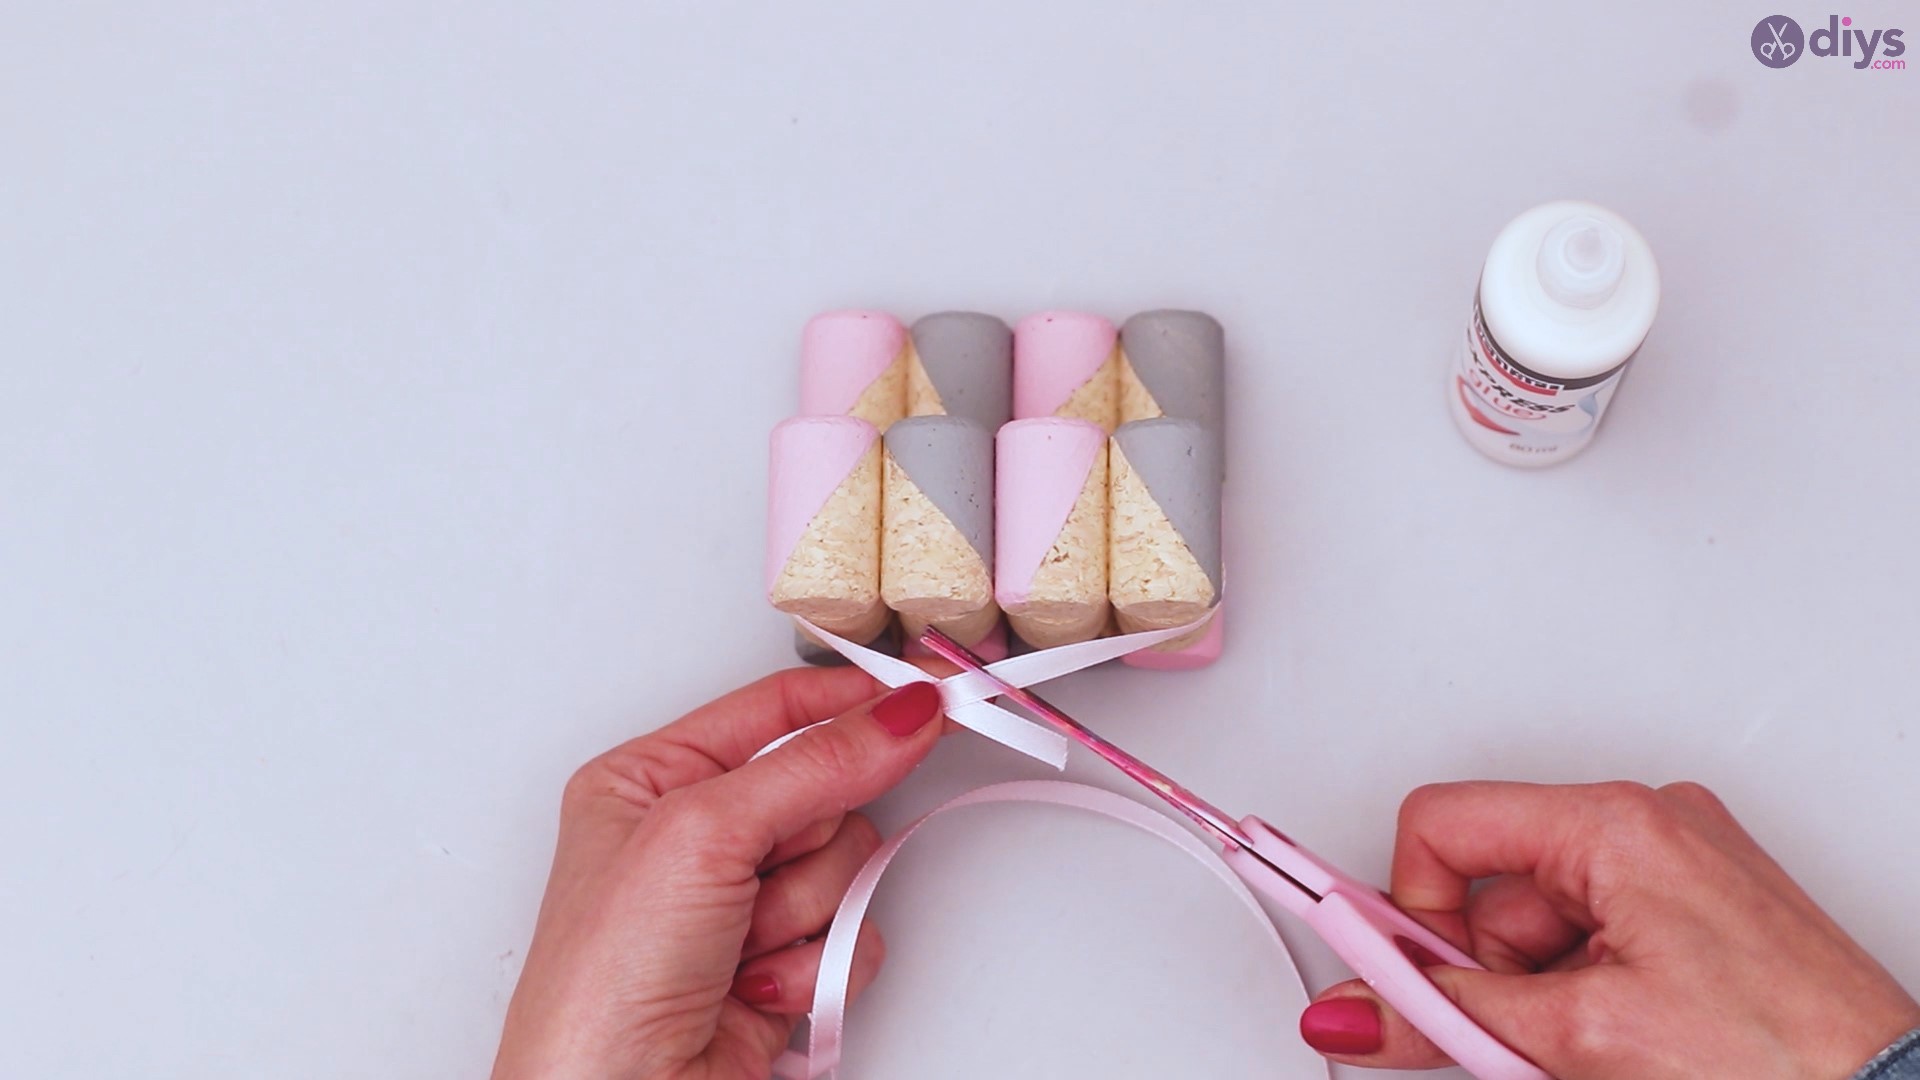
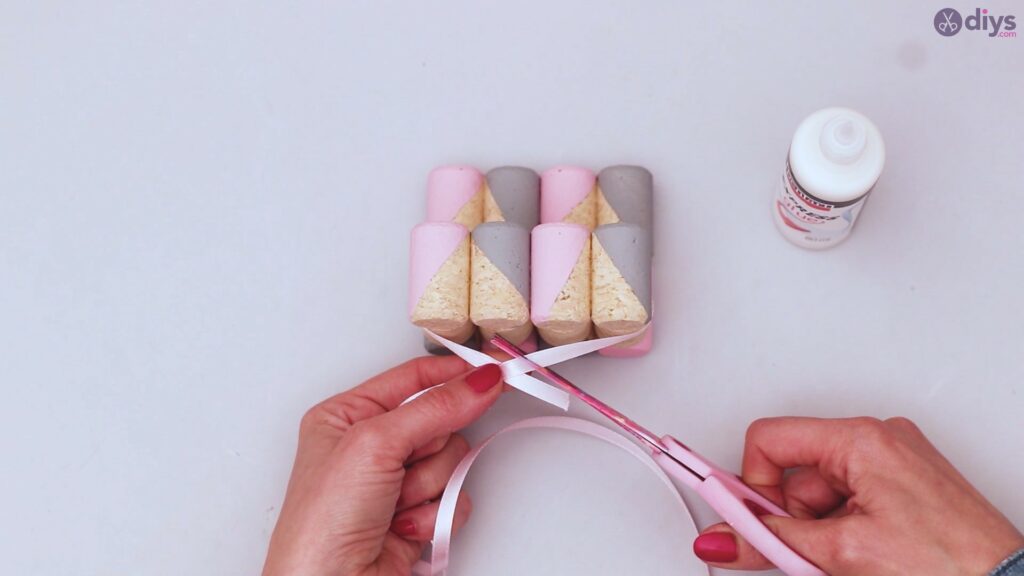
All you need to do is carefully measure out your piece of ribbon and cut it to the appropriate length.
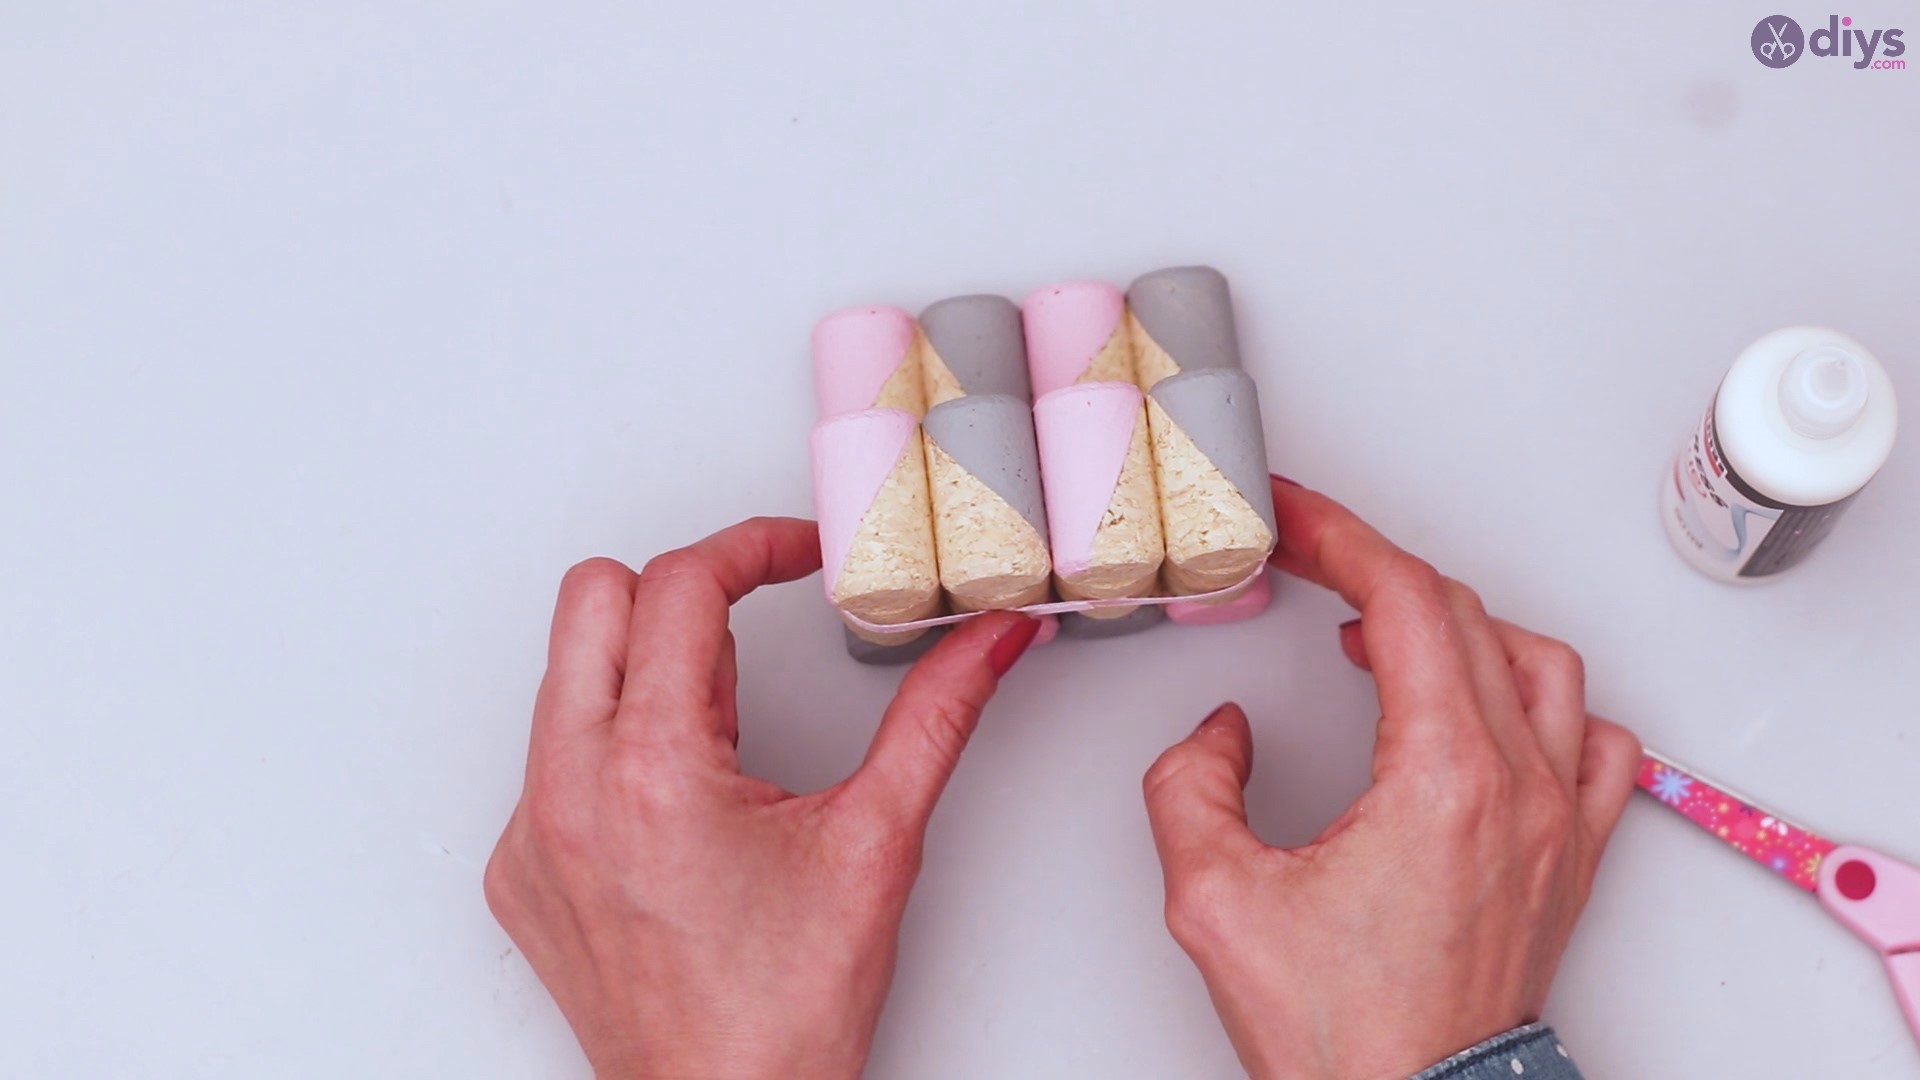
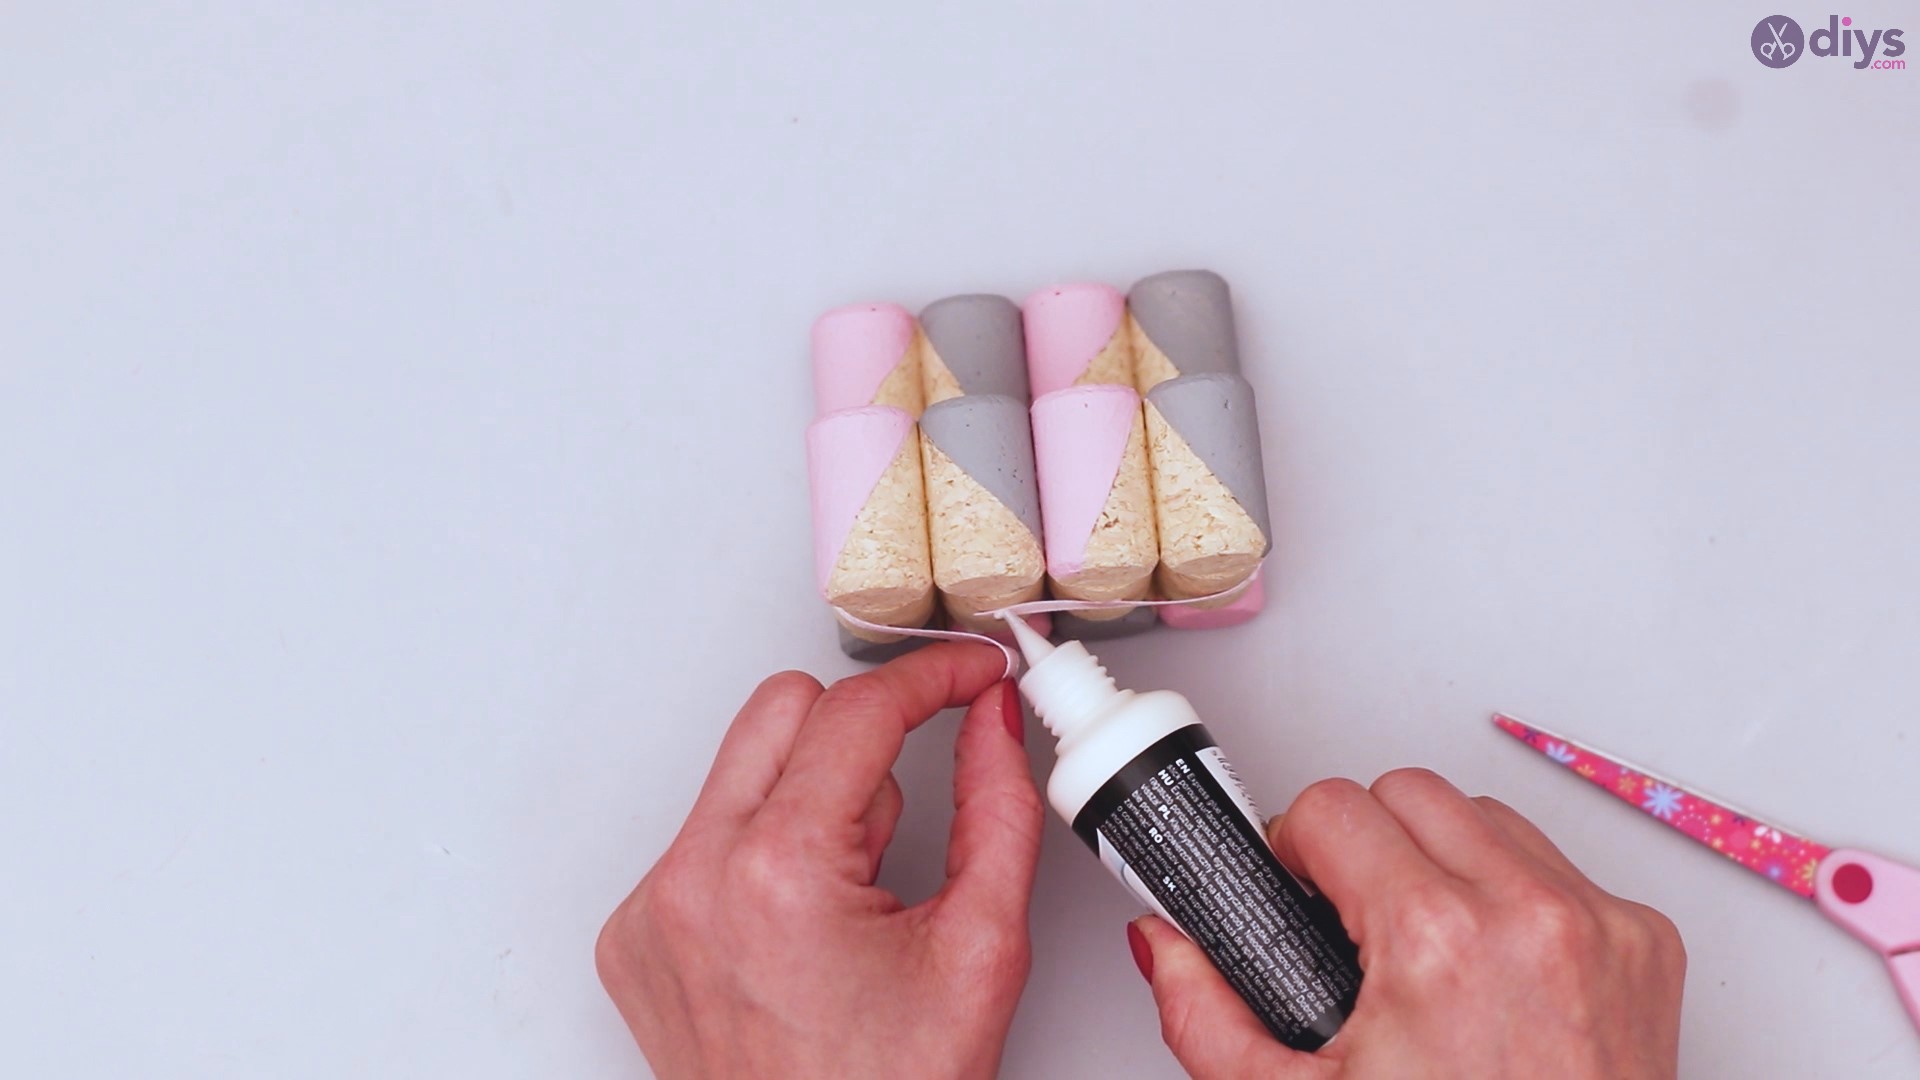
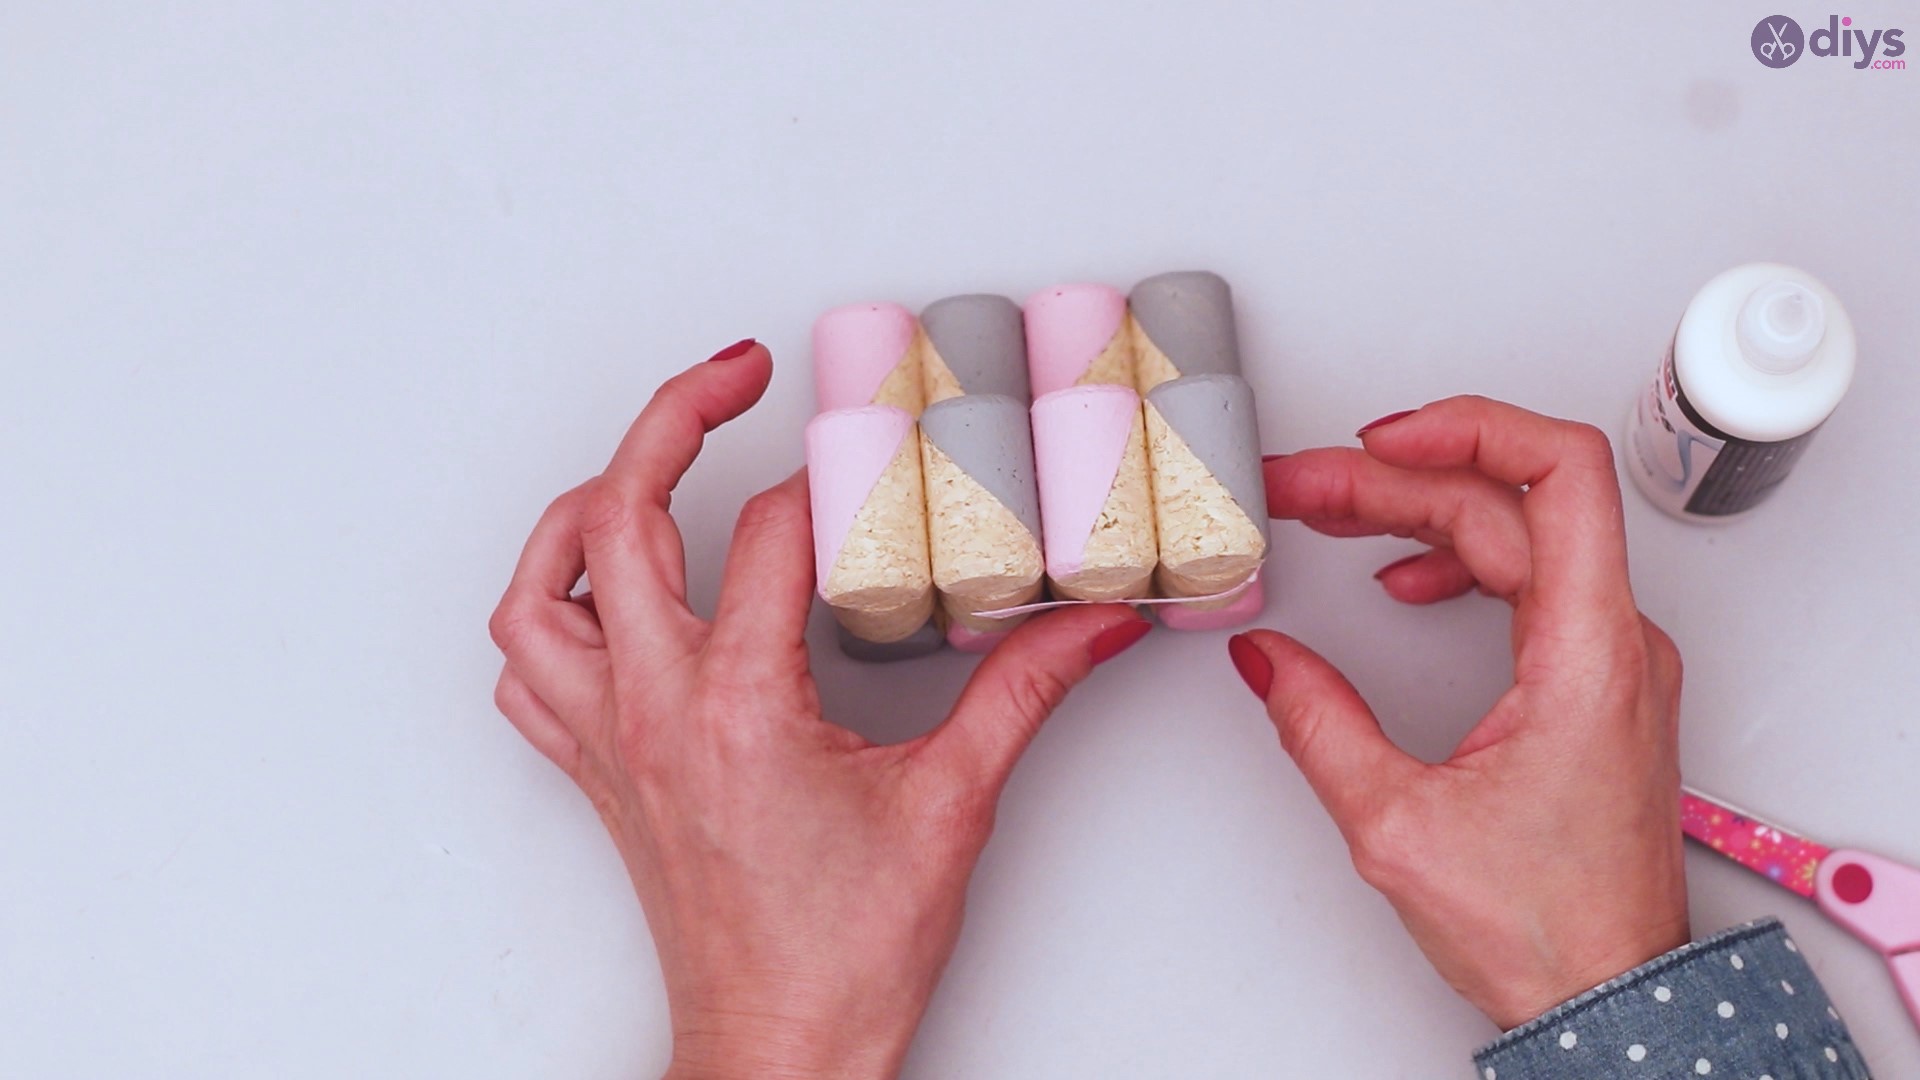
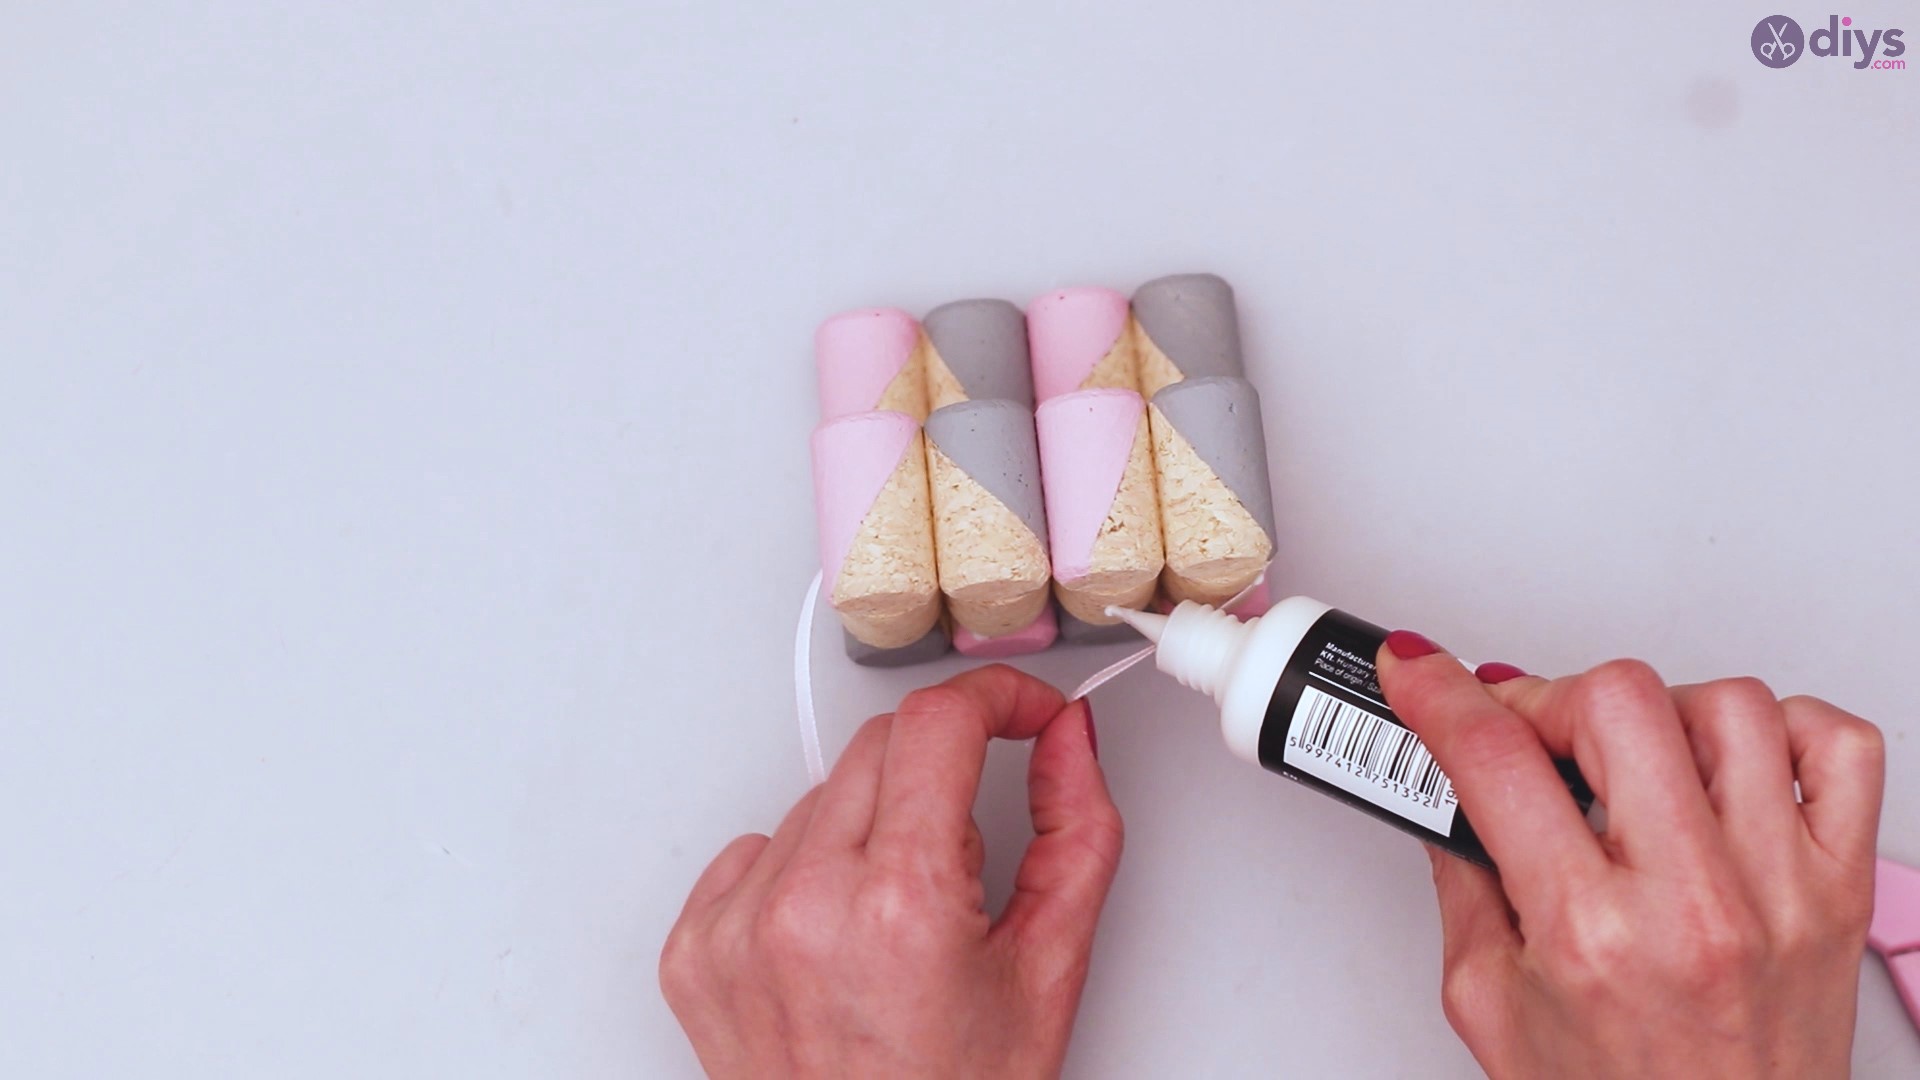
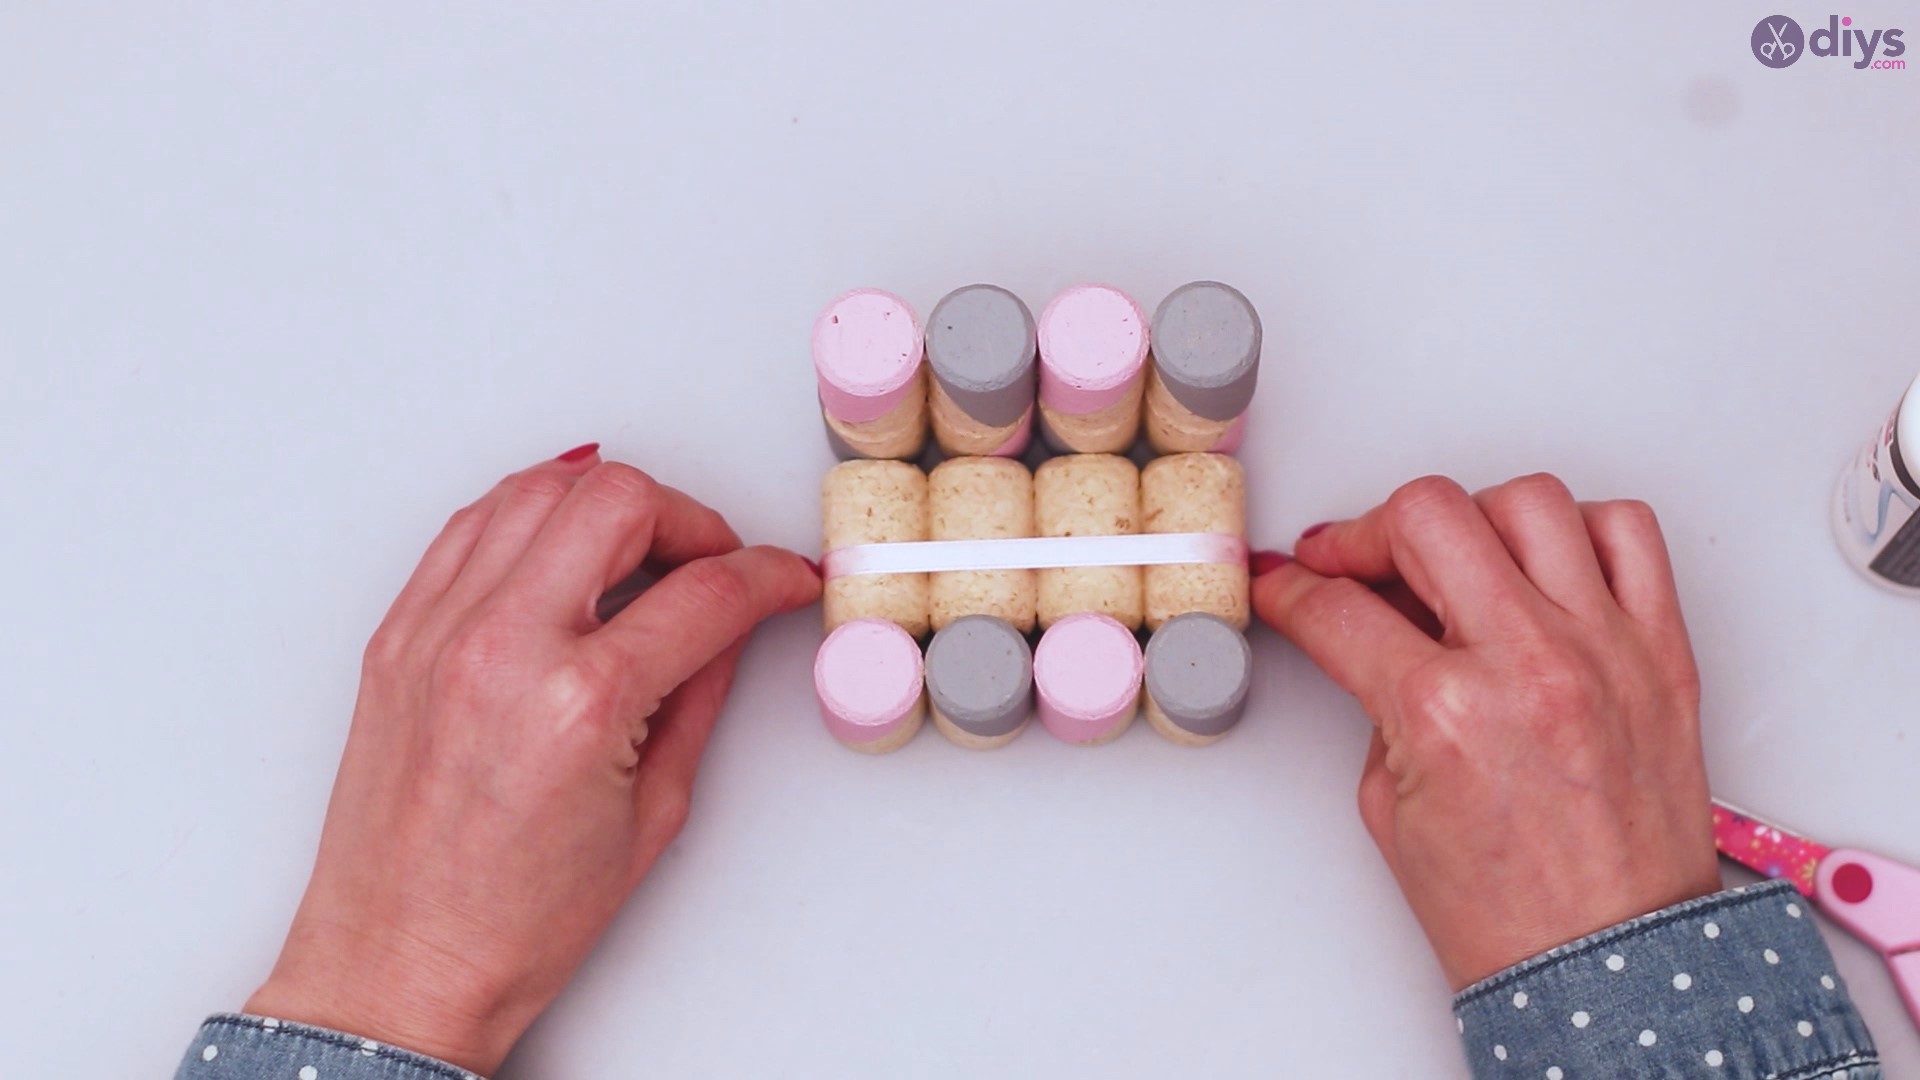
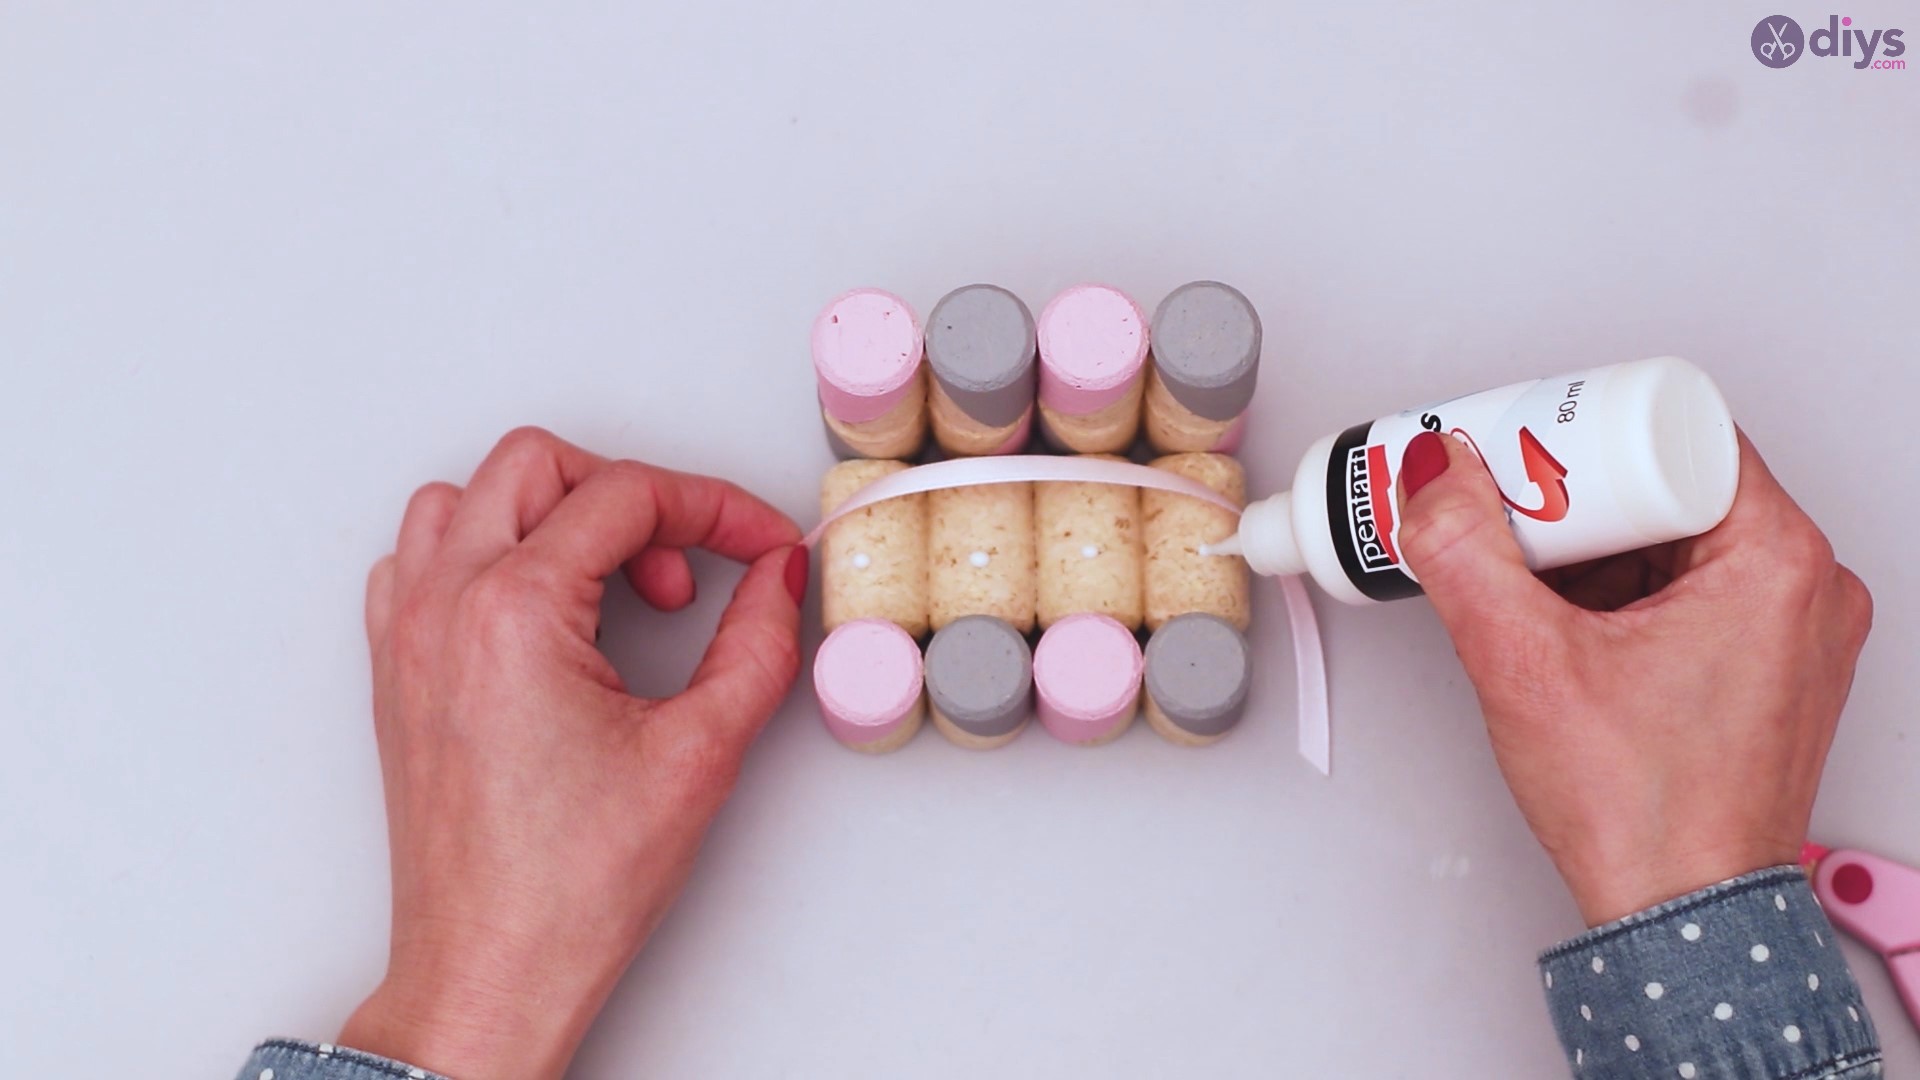
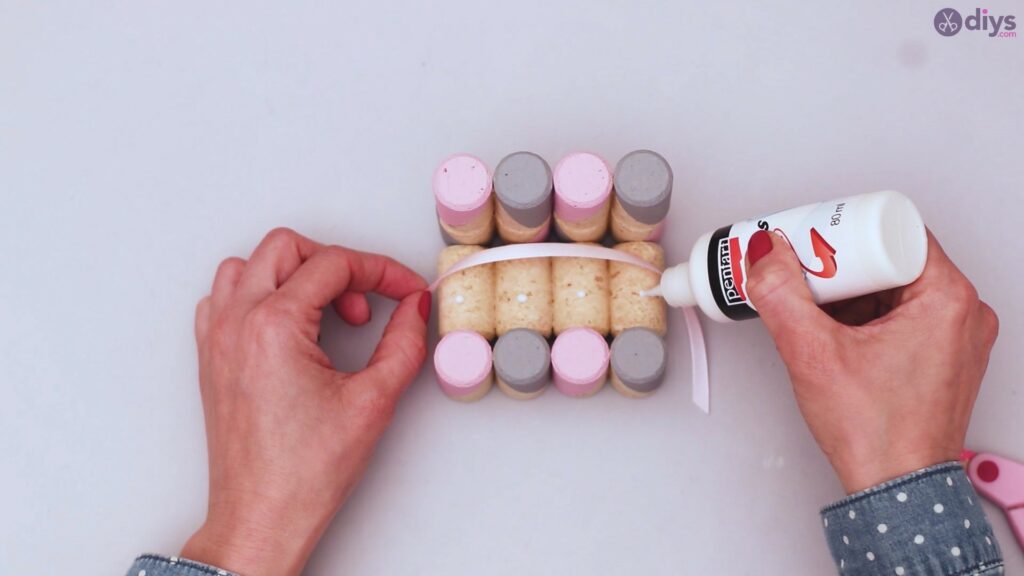
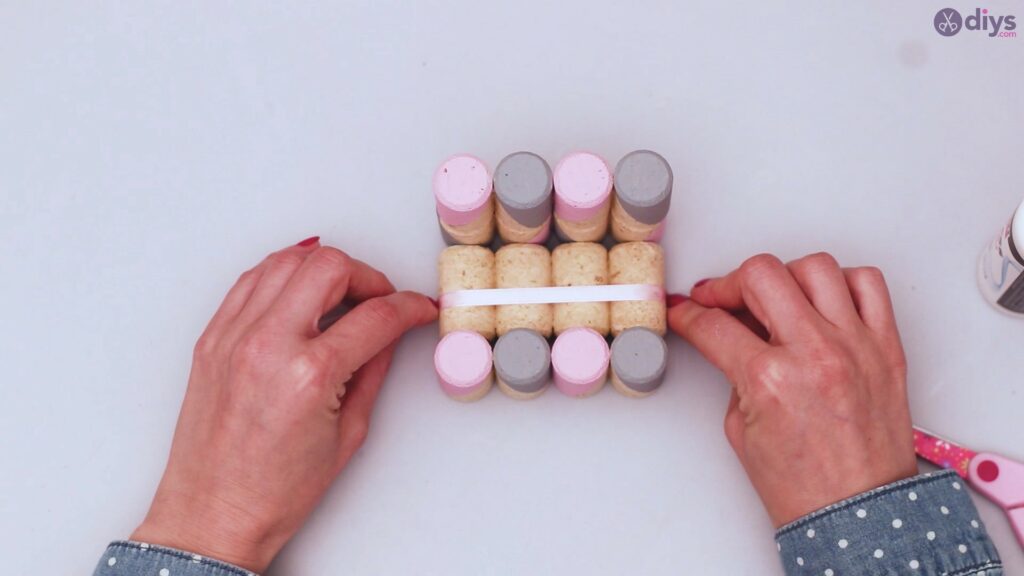
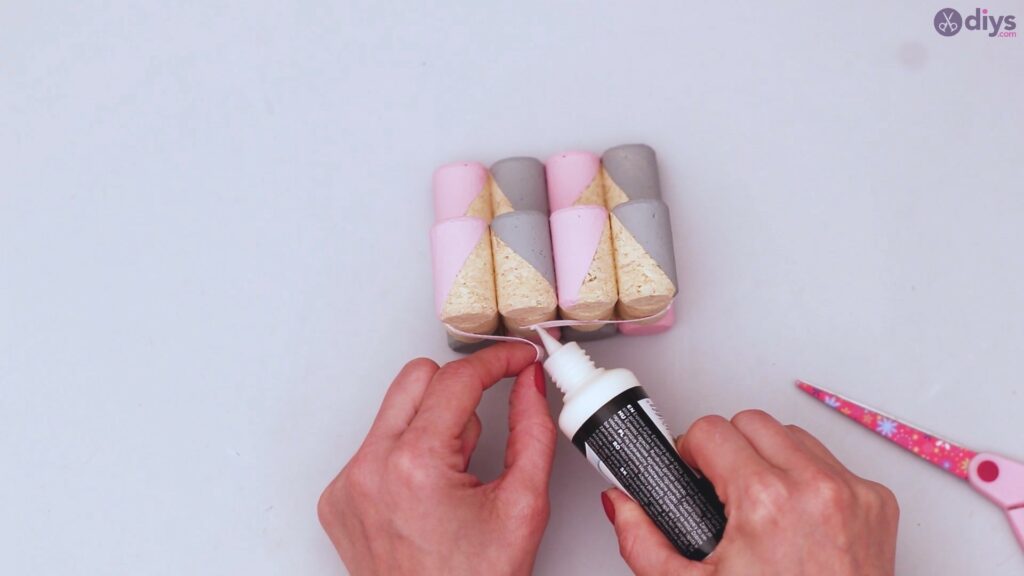
Once you have your length you can glue your ribbon across the bottom of the phone holder.
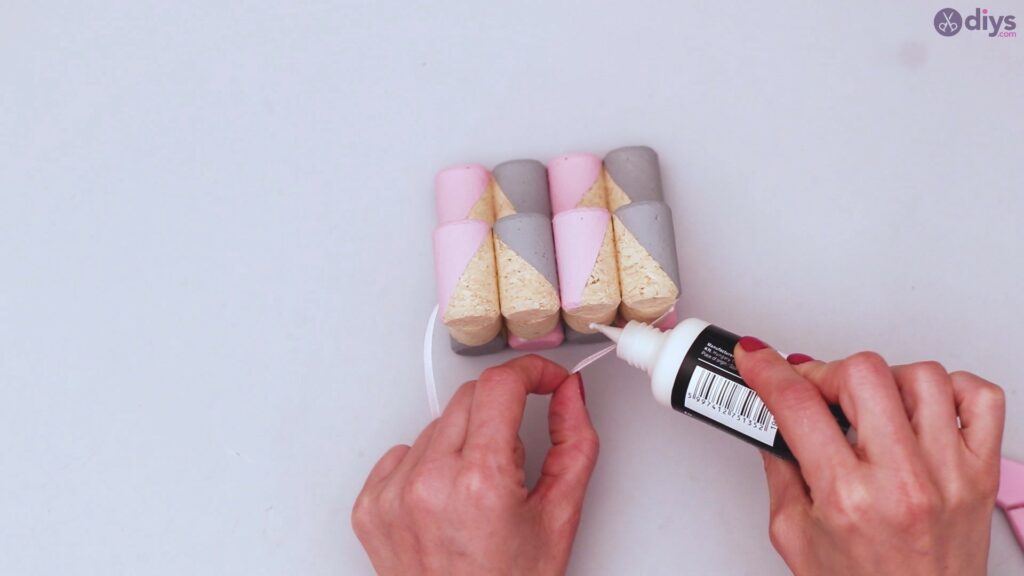
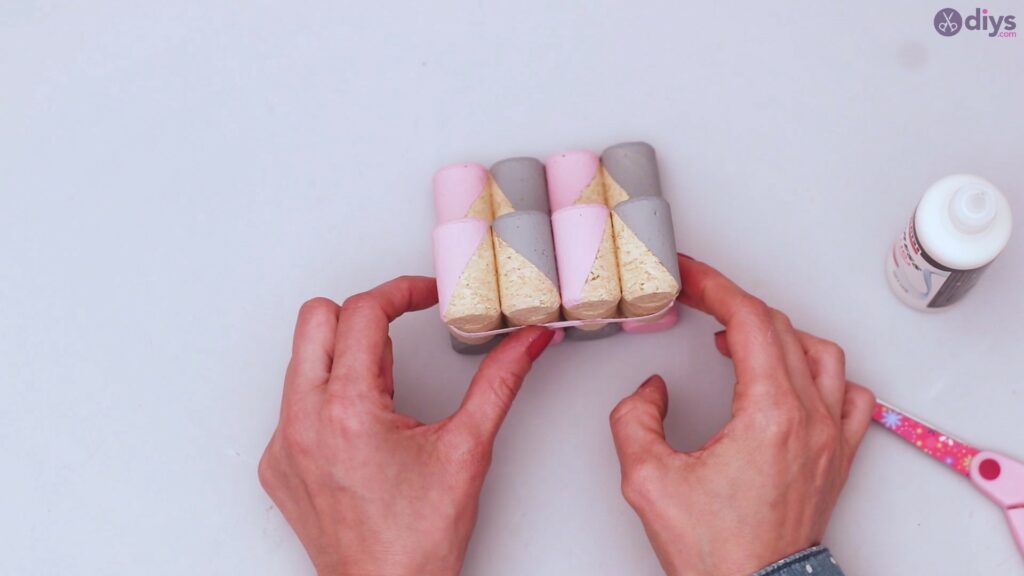
Glue your ribbon all the way around your holder.
Make sure to secure your ribbon tightly but not too tight to where the glue could potentially spill out.
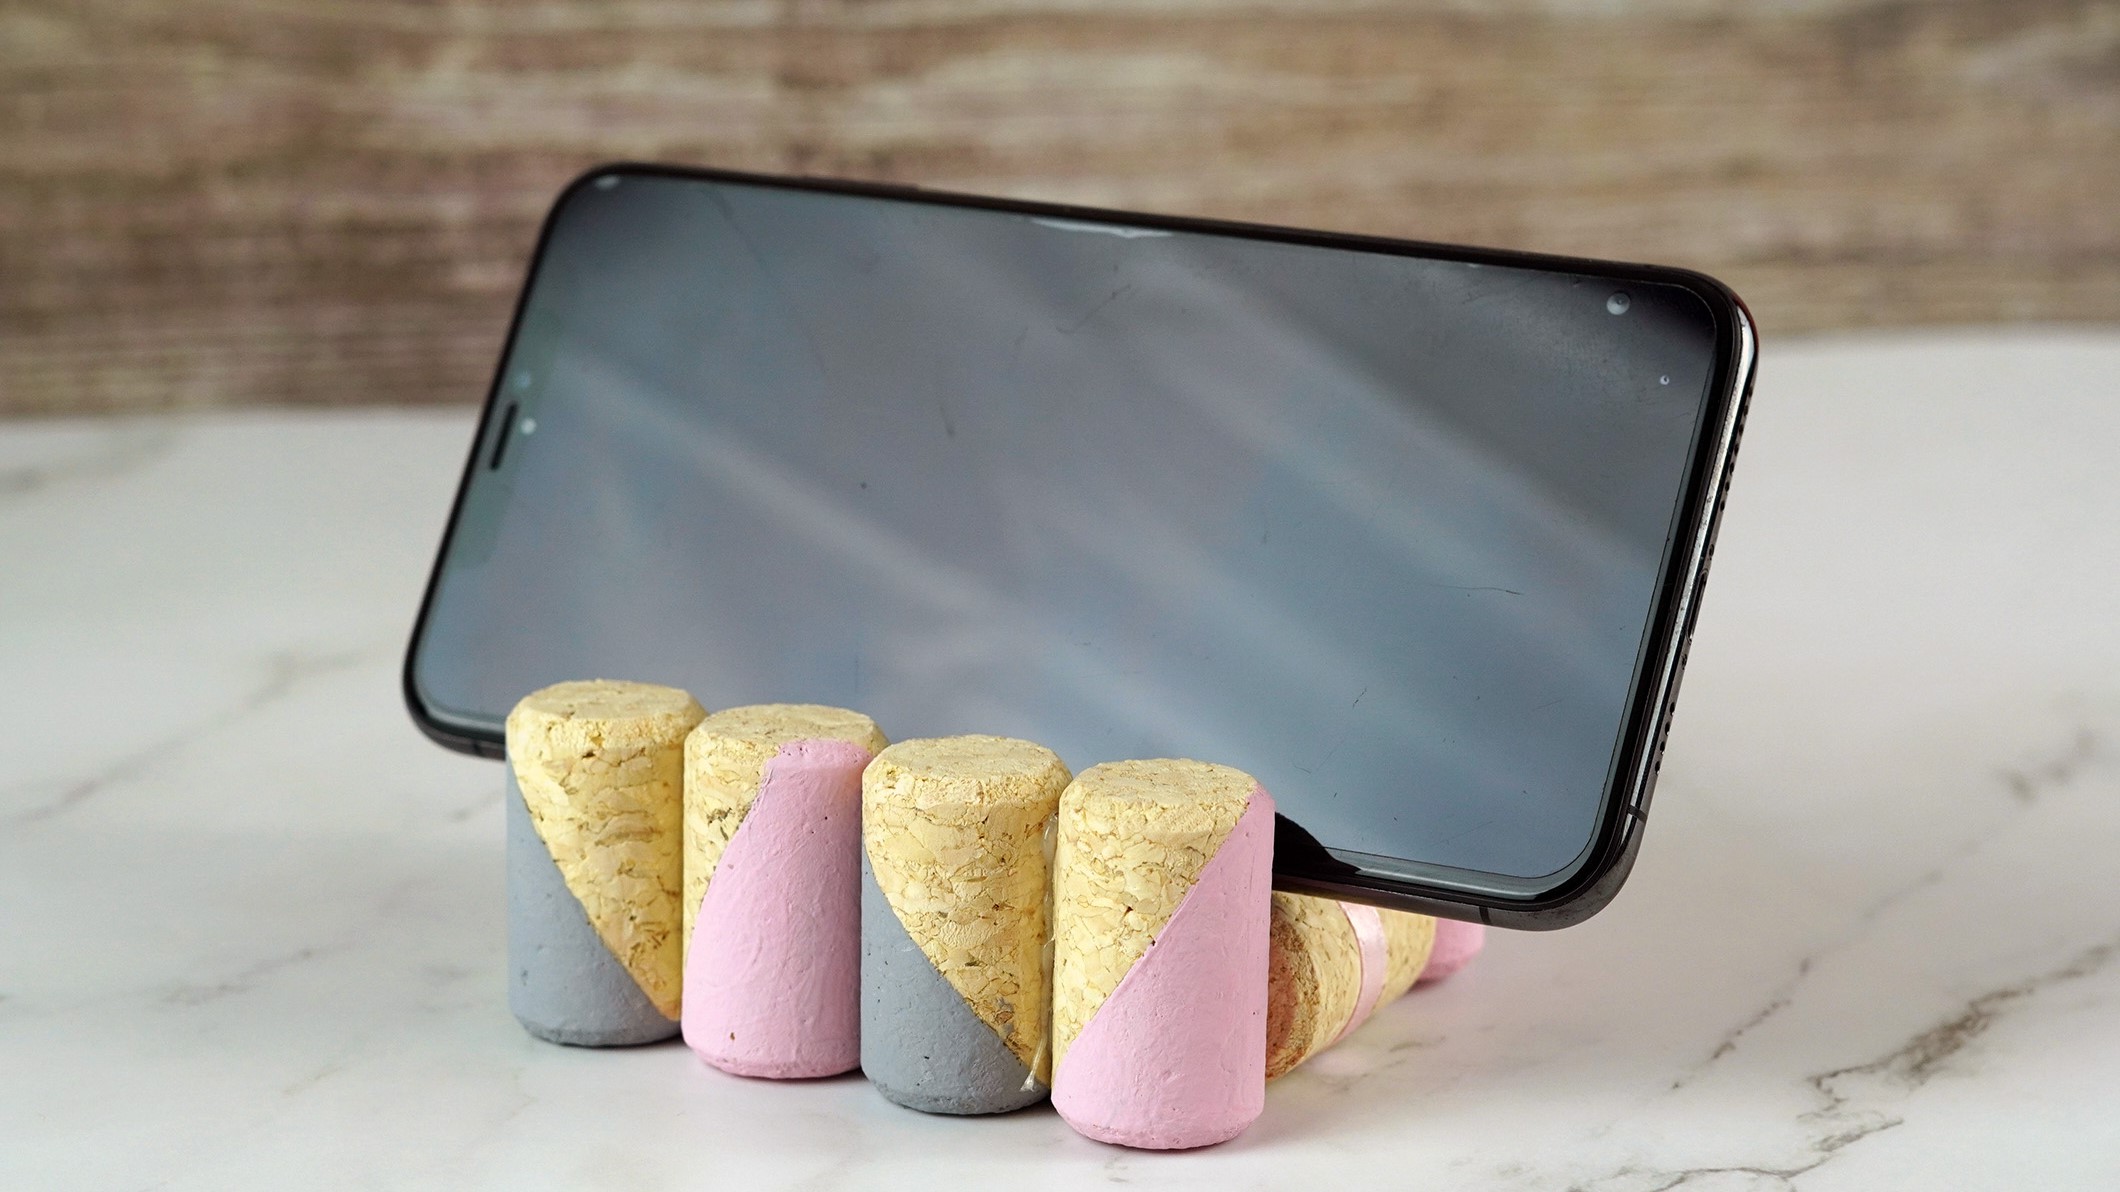
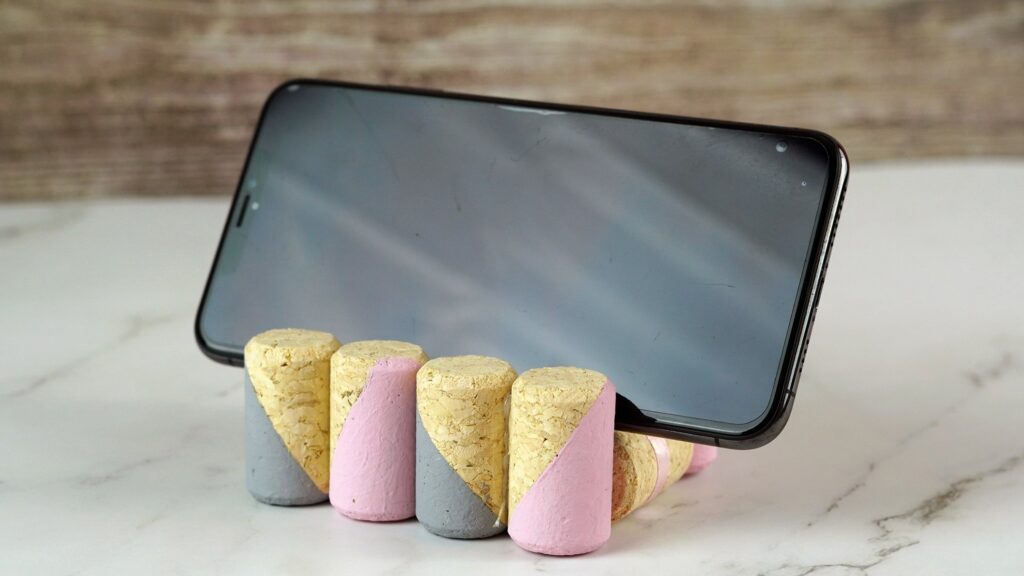
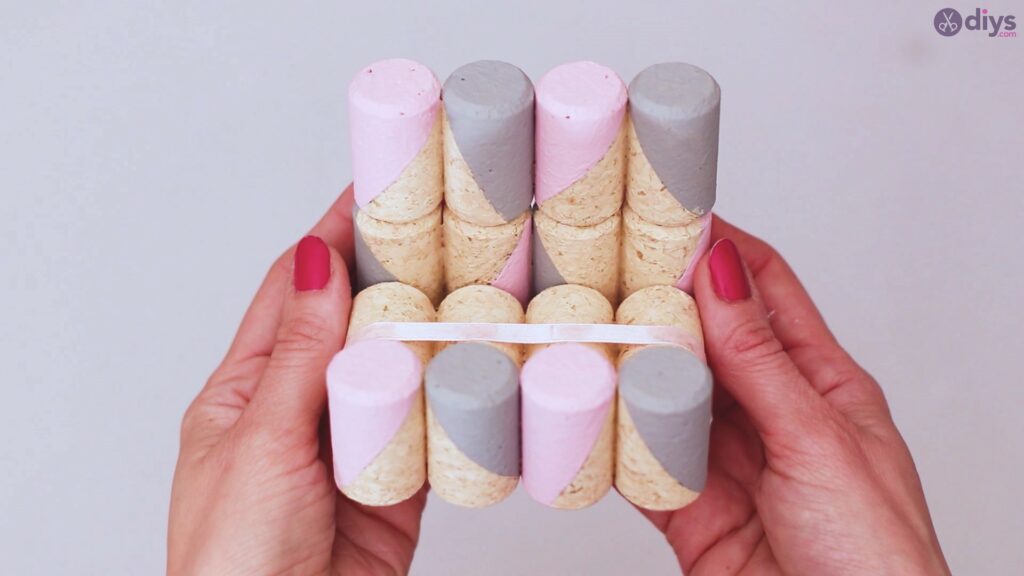
The finished product should look like this.
And there you have it! A gorgeous handmade wine cork phone holder that will make a perfect gift or a great way to reuse some old items like wine corks. This project takes very little time, yet the finished project is super cute and will save your phone from being jostled around on a desk or table. This is also a great way to keep your mobile phone within your eye line if you are waiting for a call or are finishing up a project and still want to keep tabs on incoming texts. Whether you keep this item for yourself or gift it to someone, it’s a fun project that can be done in very little time. Bonus is that you are using materials you have around your house, so you are also able to be green with this fun project.
