DIY Wine Cork Floral Wreath – How to Make a Floral Wreath Out of Wine Corks
Floral wreaths are a wonderful addition to your home at any time during the year and creating one yourself, one that never dies, will cheer you up quite a bit. Not only can you make a few of these to decorate your home, but you can also gift them to friends and family.
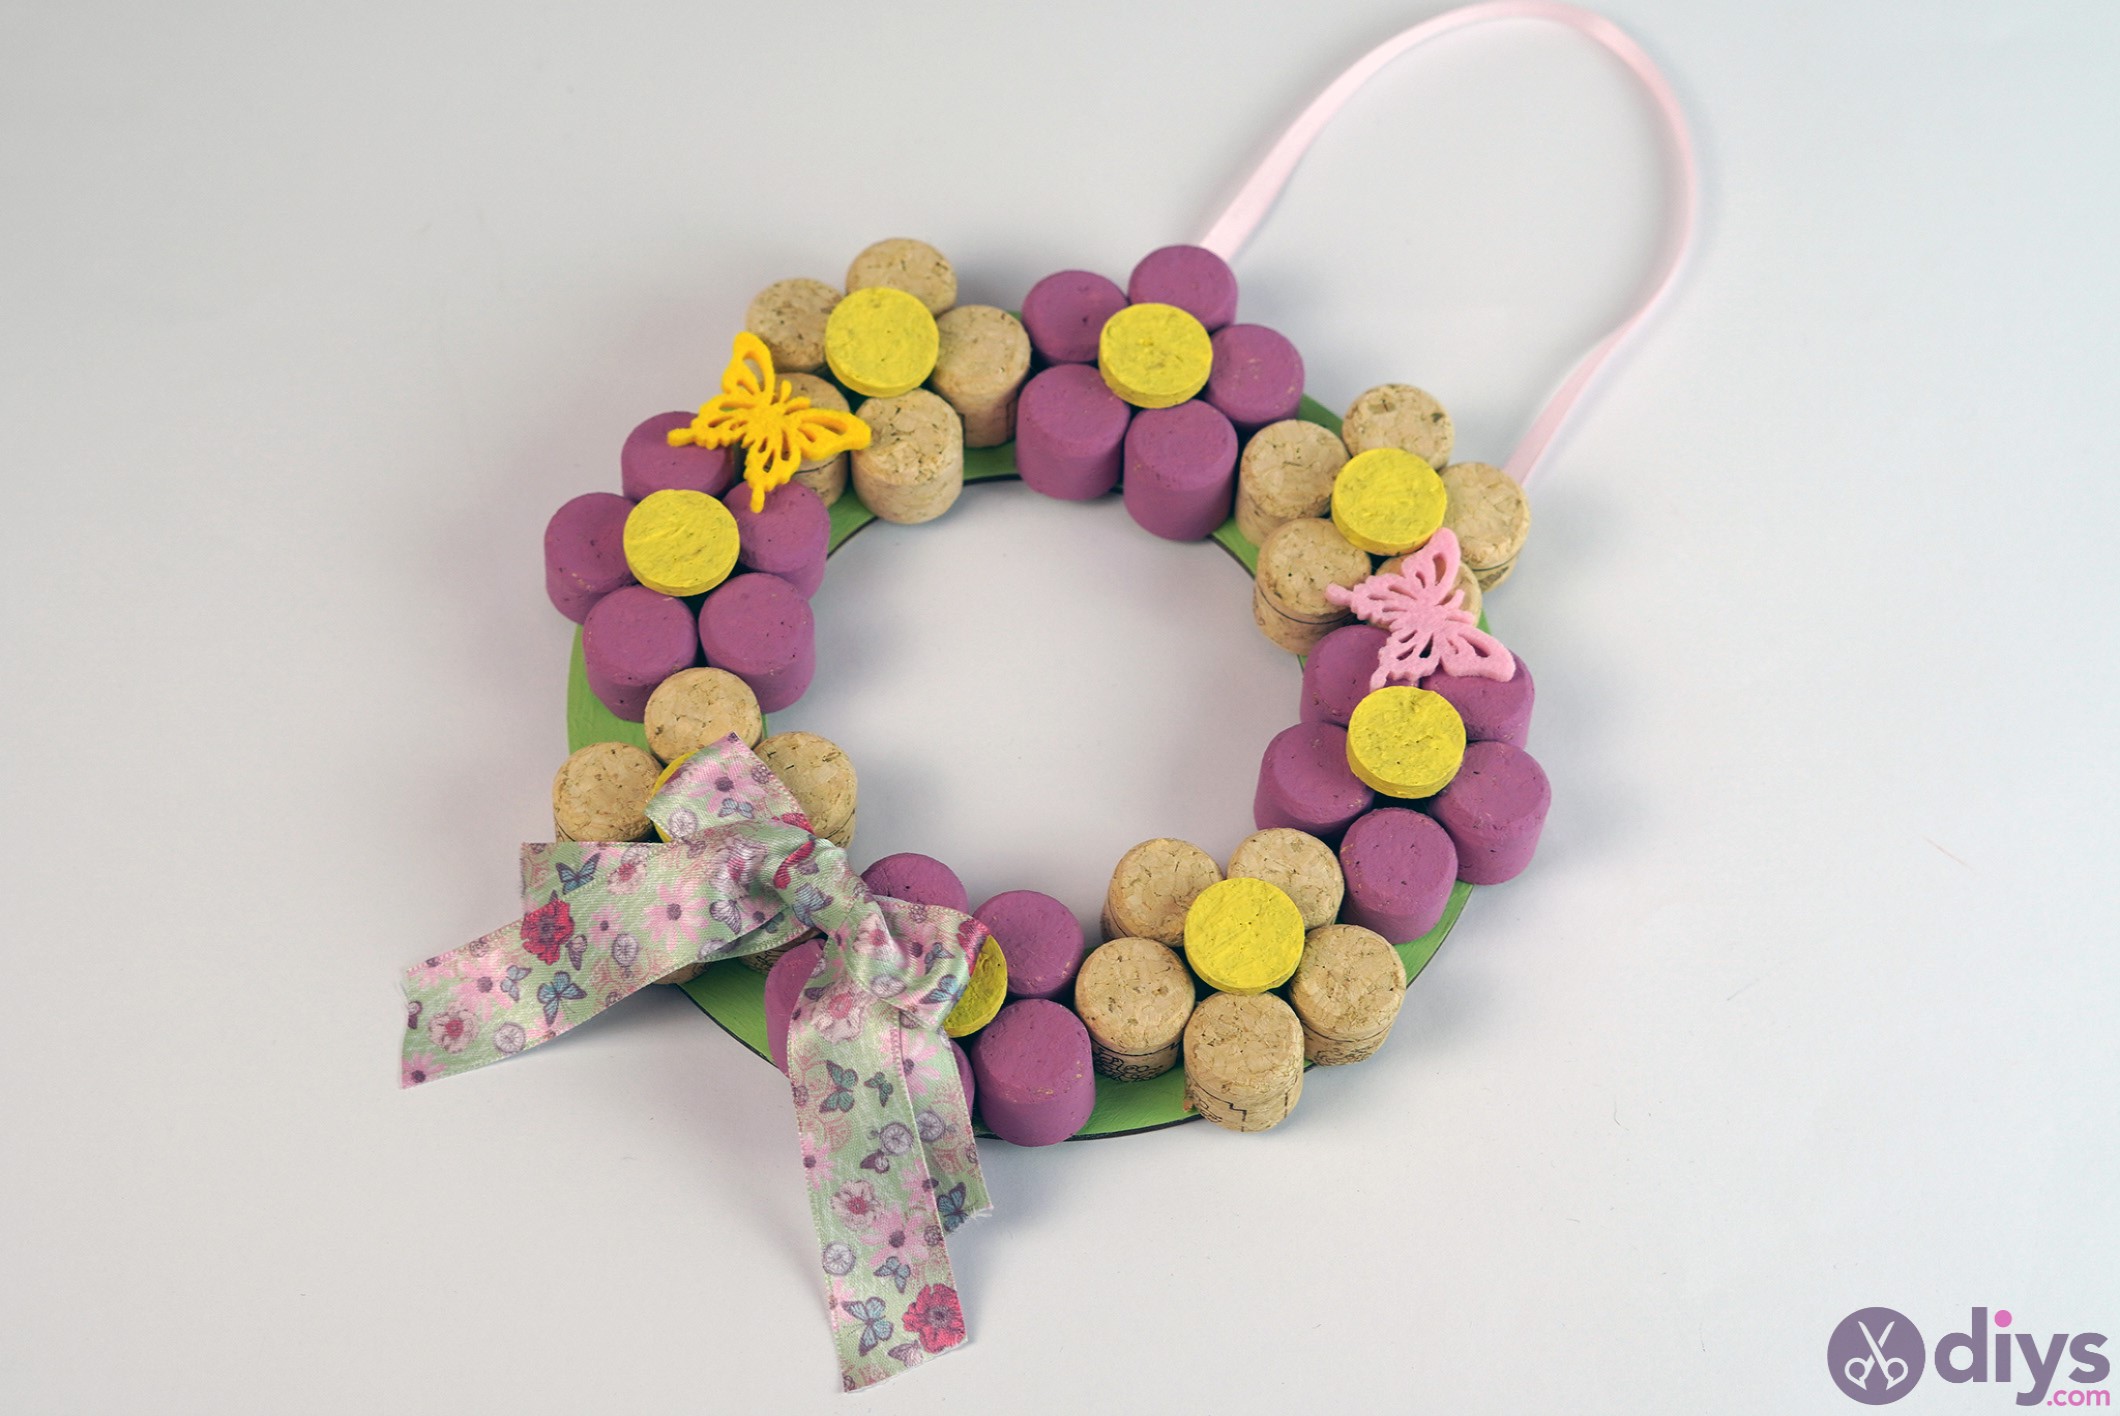
Whether you choose to hang it on the outside of your door or somewhere in the home it remains up to you, but we think it would suit either location. Then, anytime you see it, you’ll be reminded of the leisure time you spent making it.
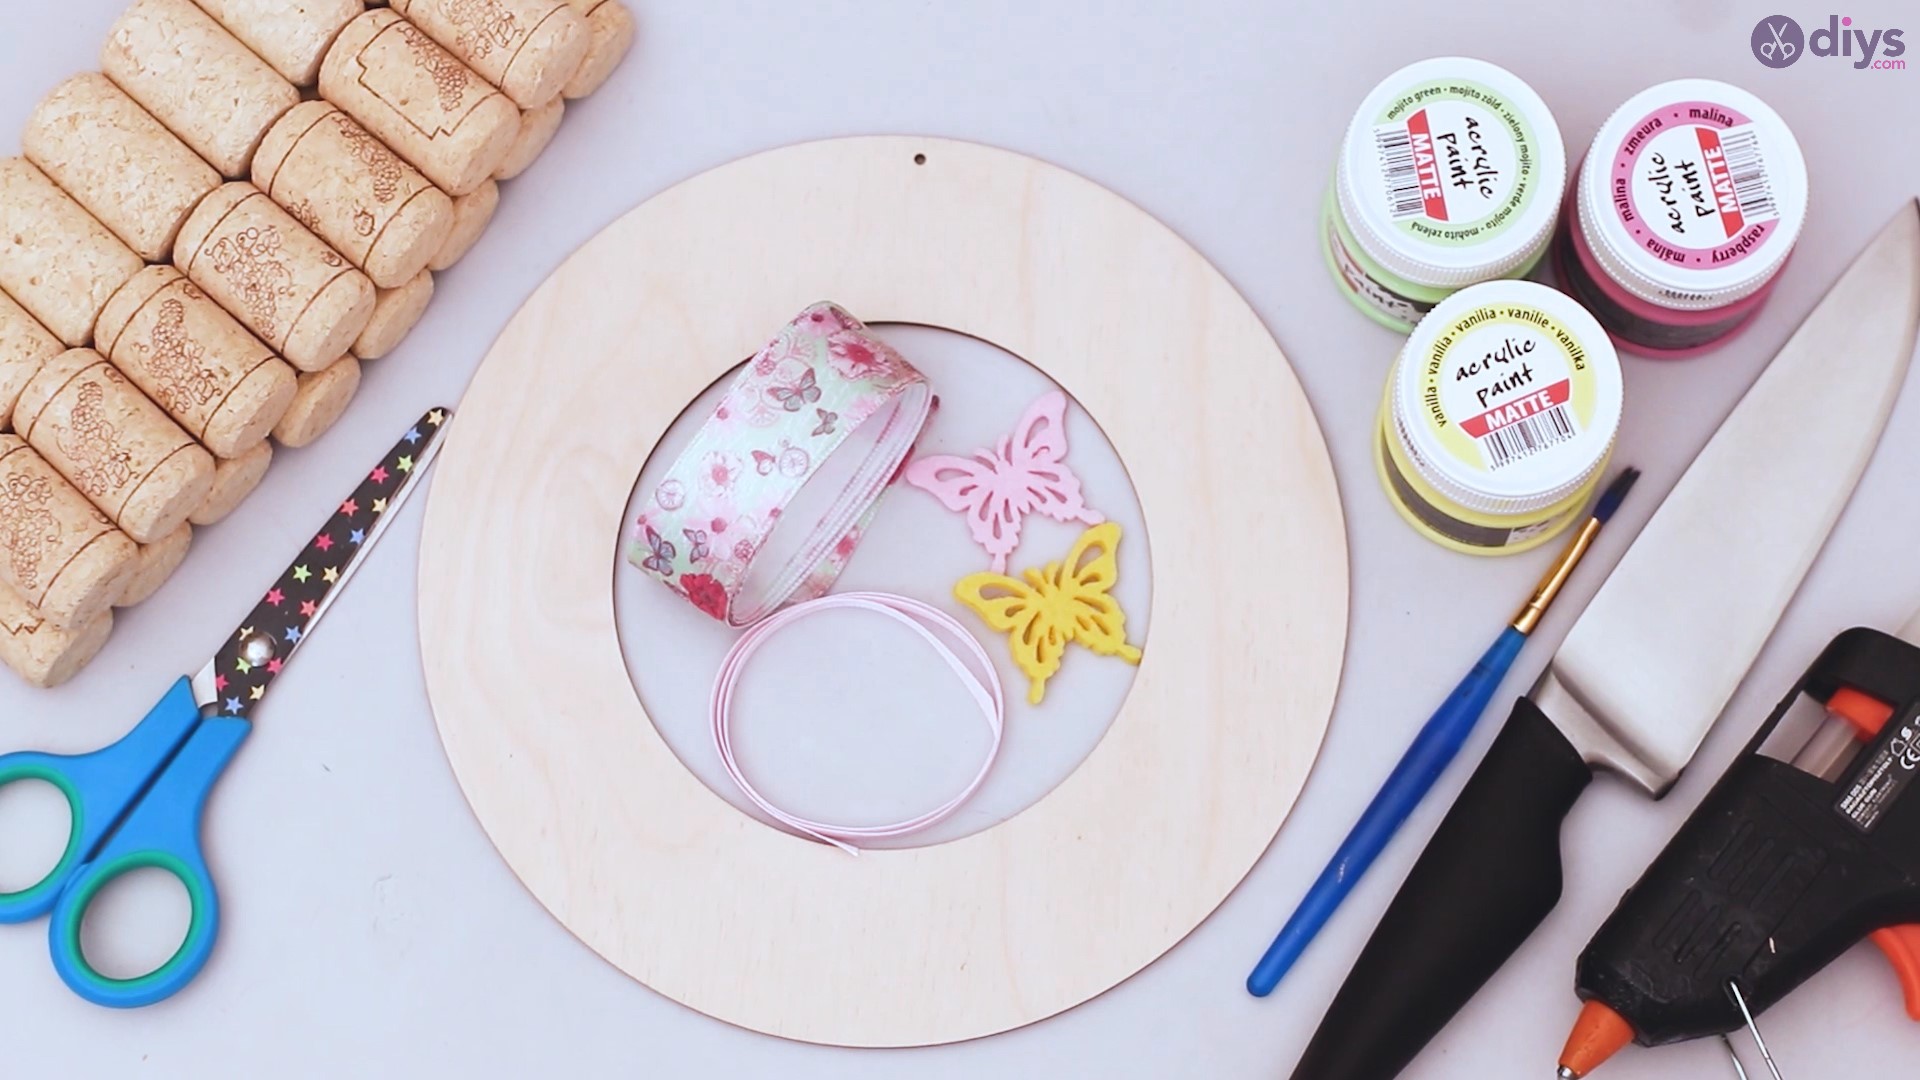
Materials for wine cork floral wreath
- wine corks
- round wood board
- knife
- yellow
- pink, green, and yellow acrylic paint
- paintbrush
- scissors
- silk ribbon
- felt butterfly
- glue gun
How to make a wine cork floral wreath
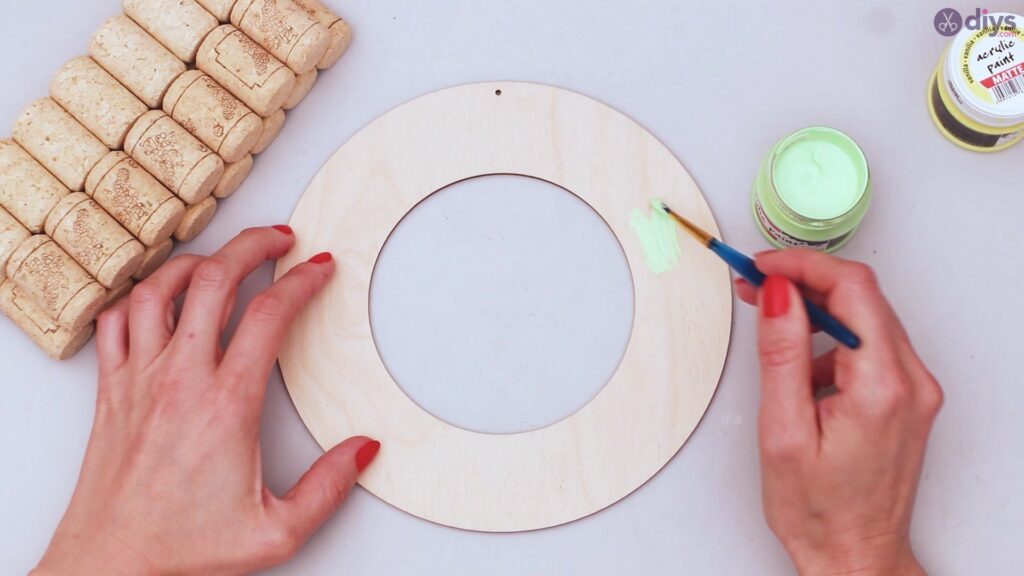
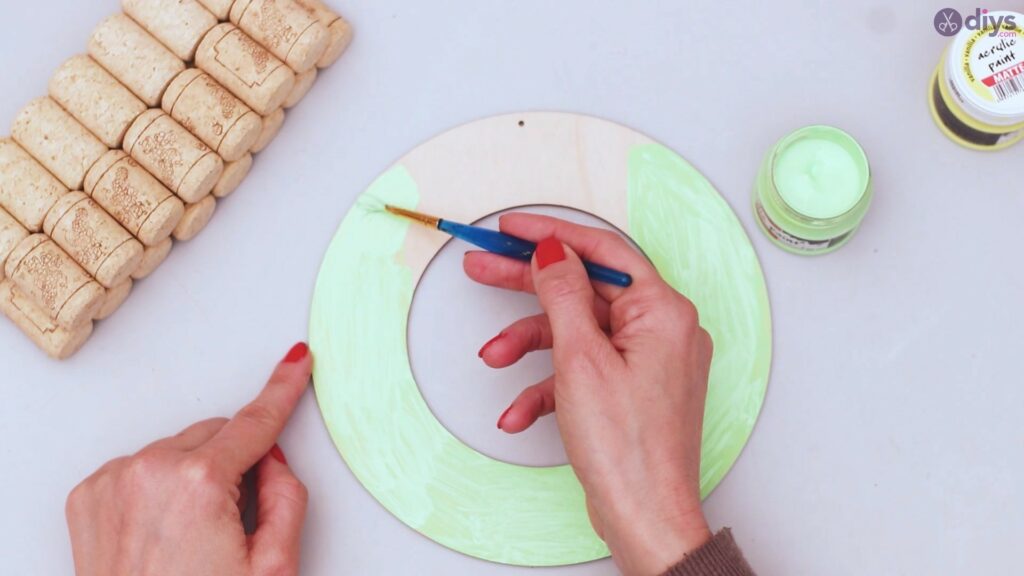
Step 1: Paint the round wood board
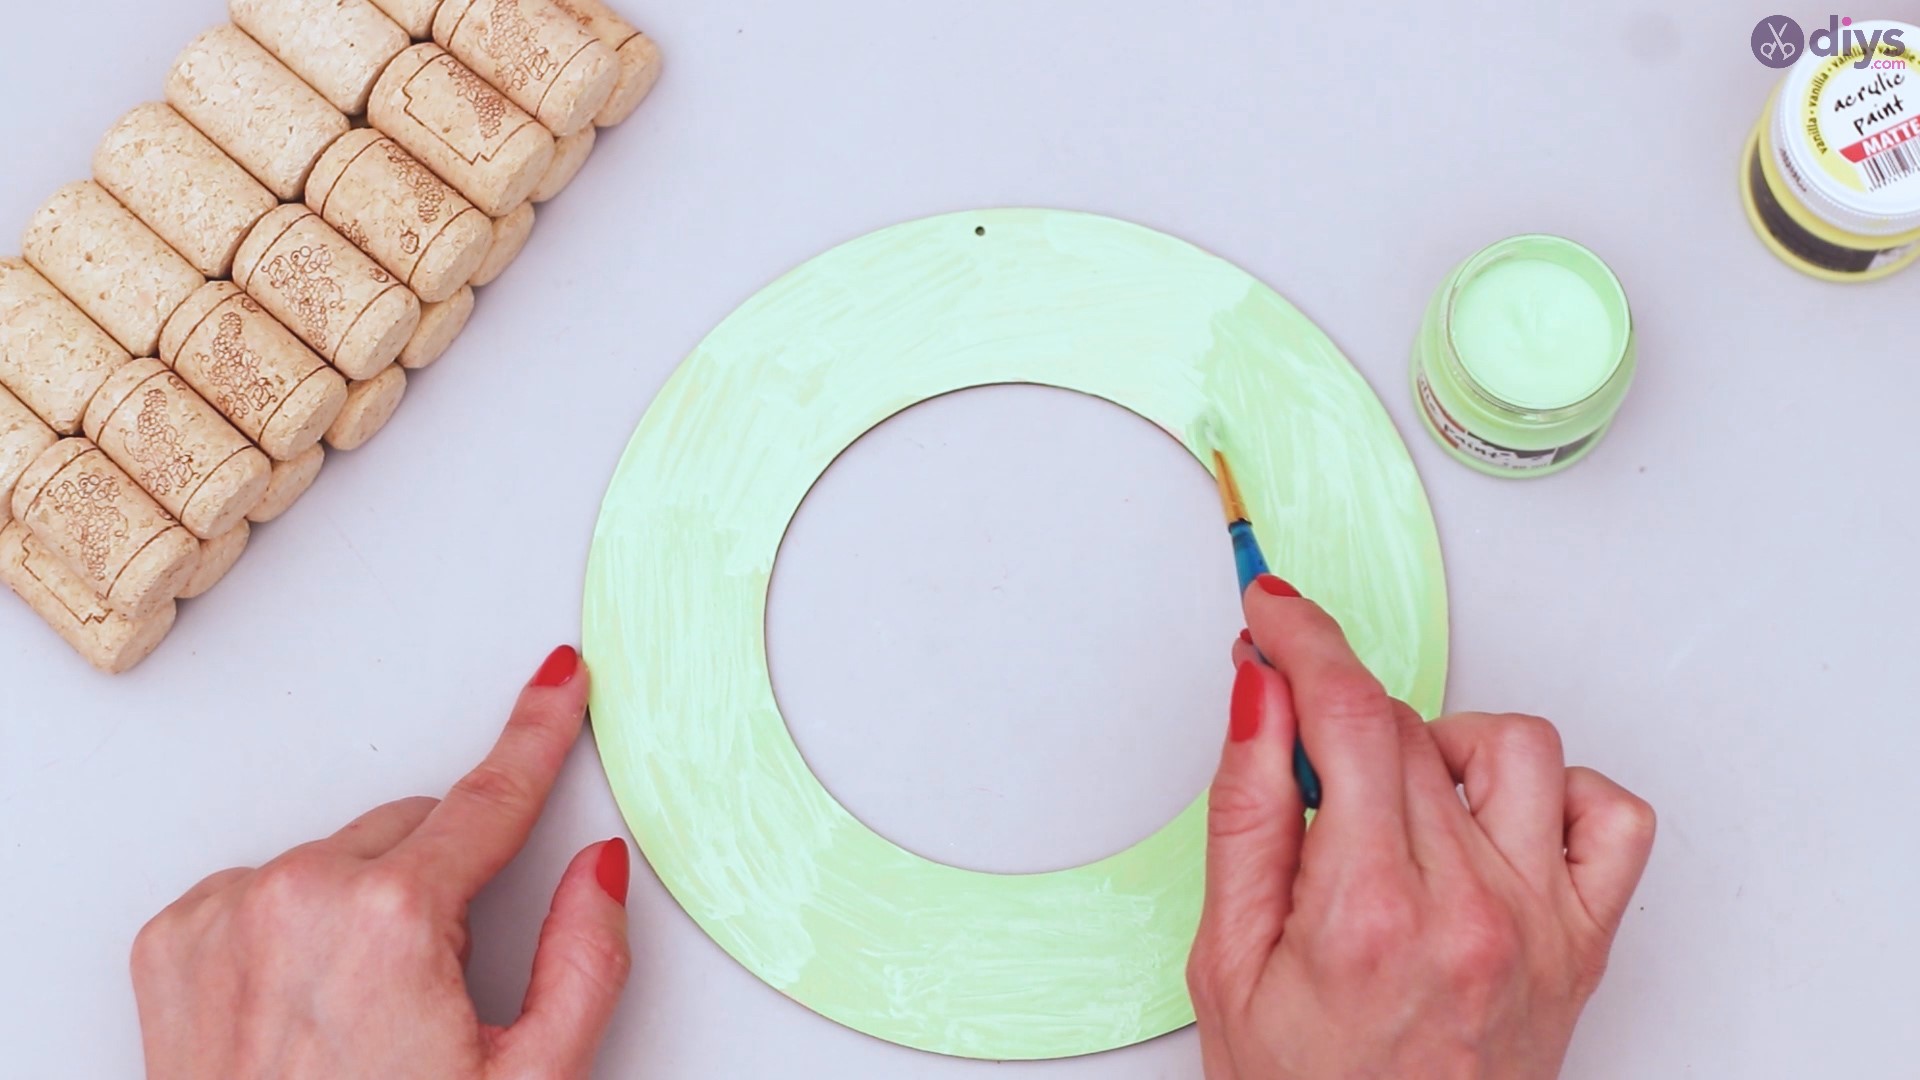
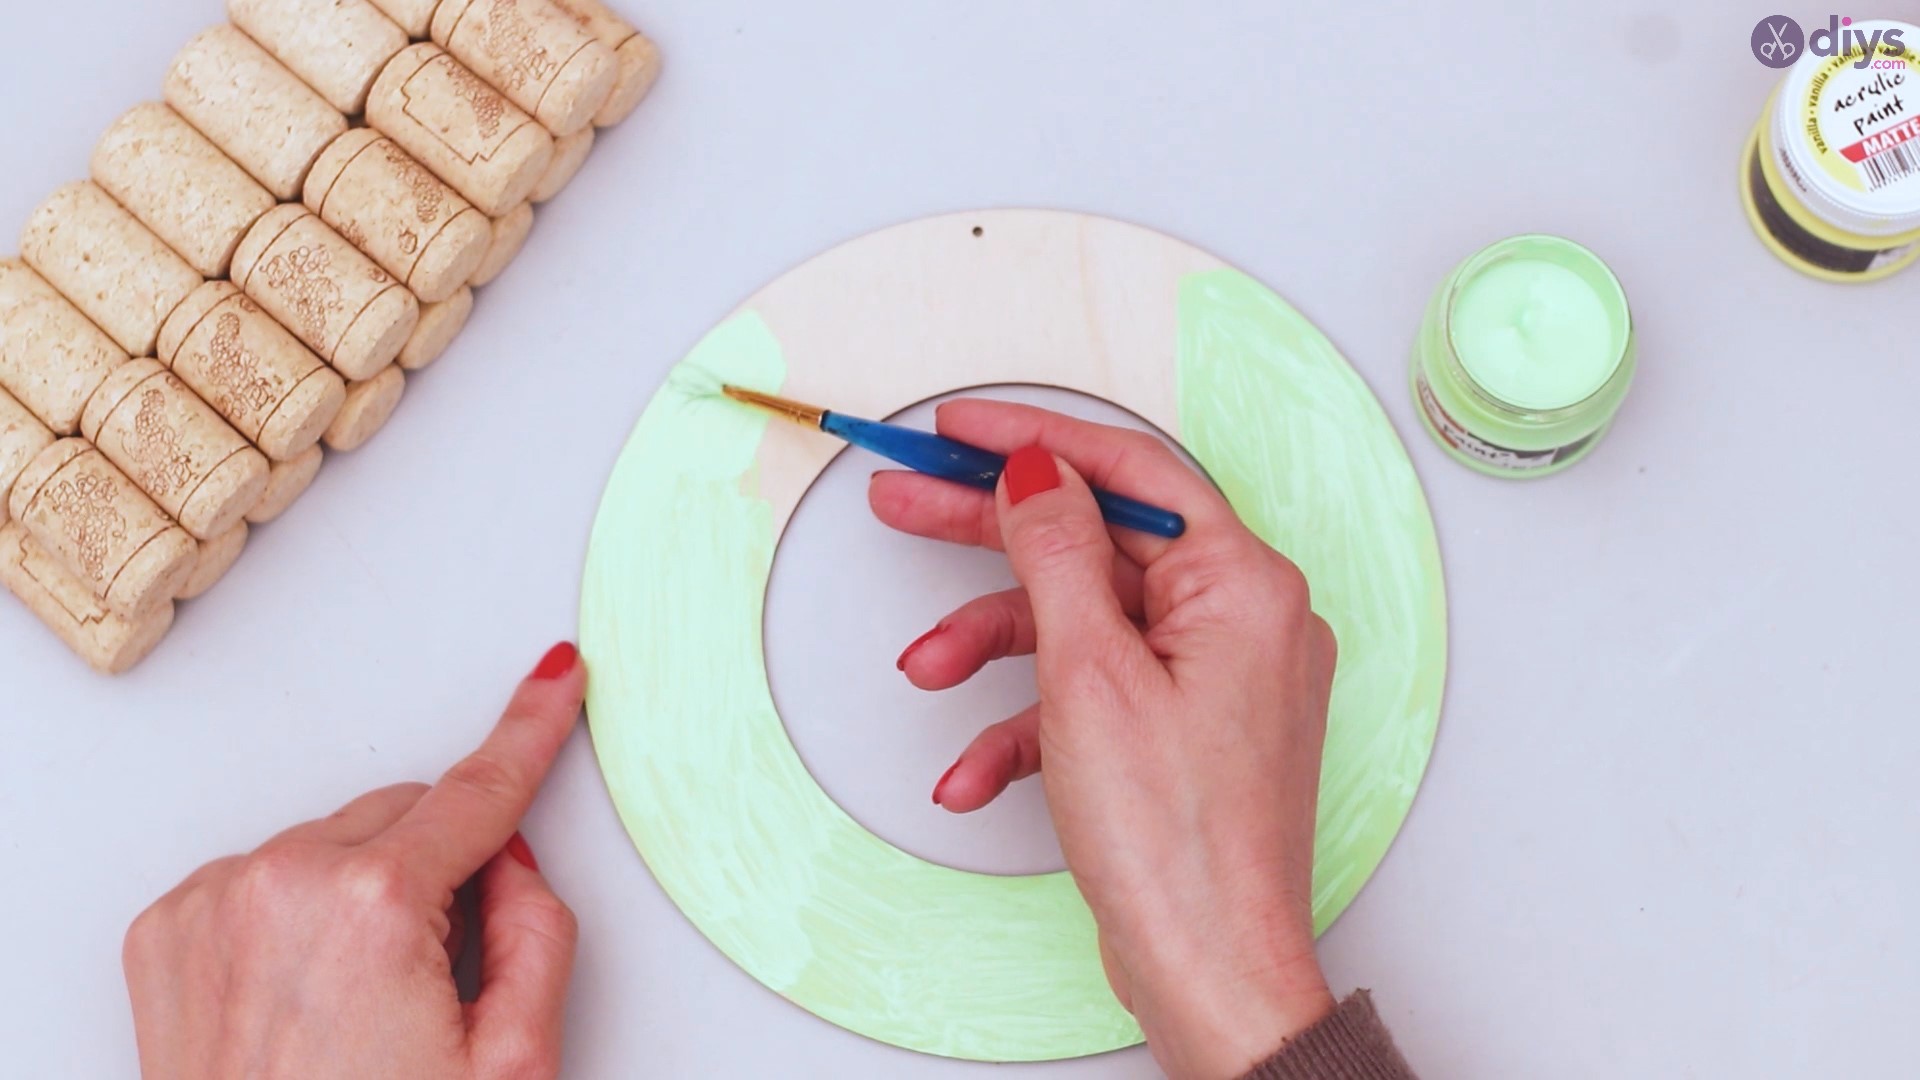
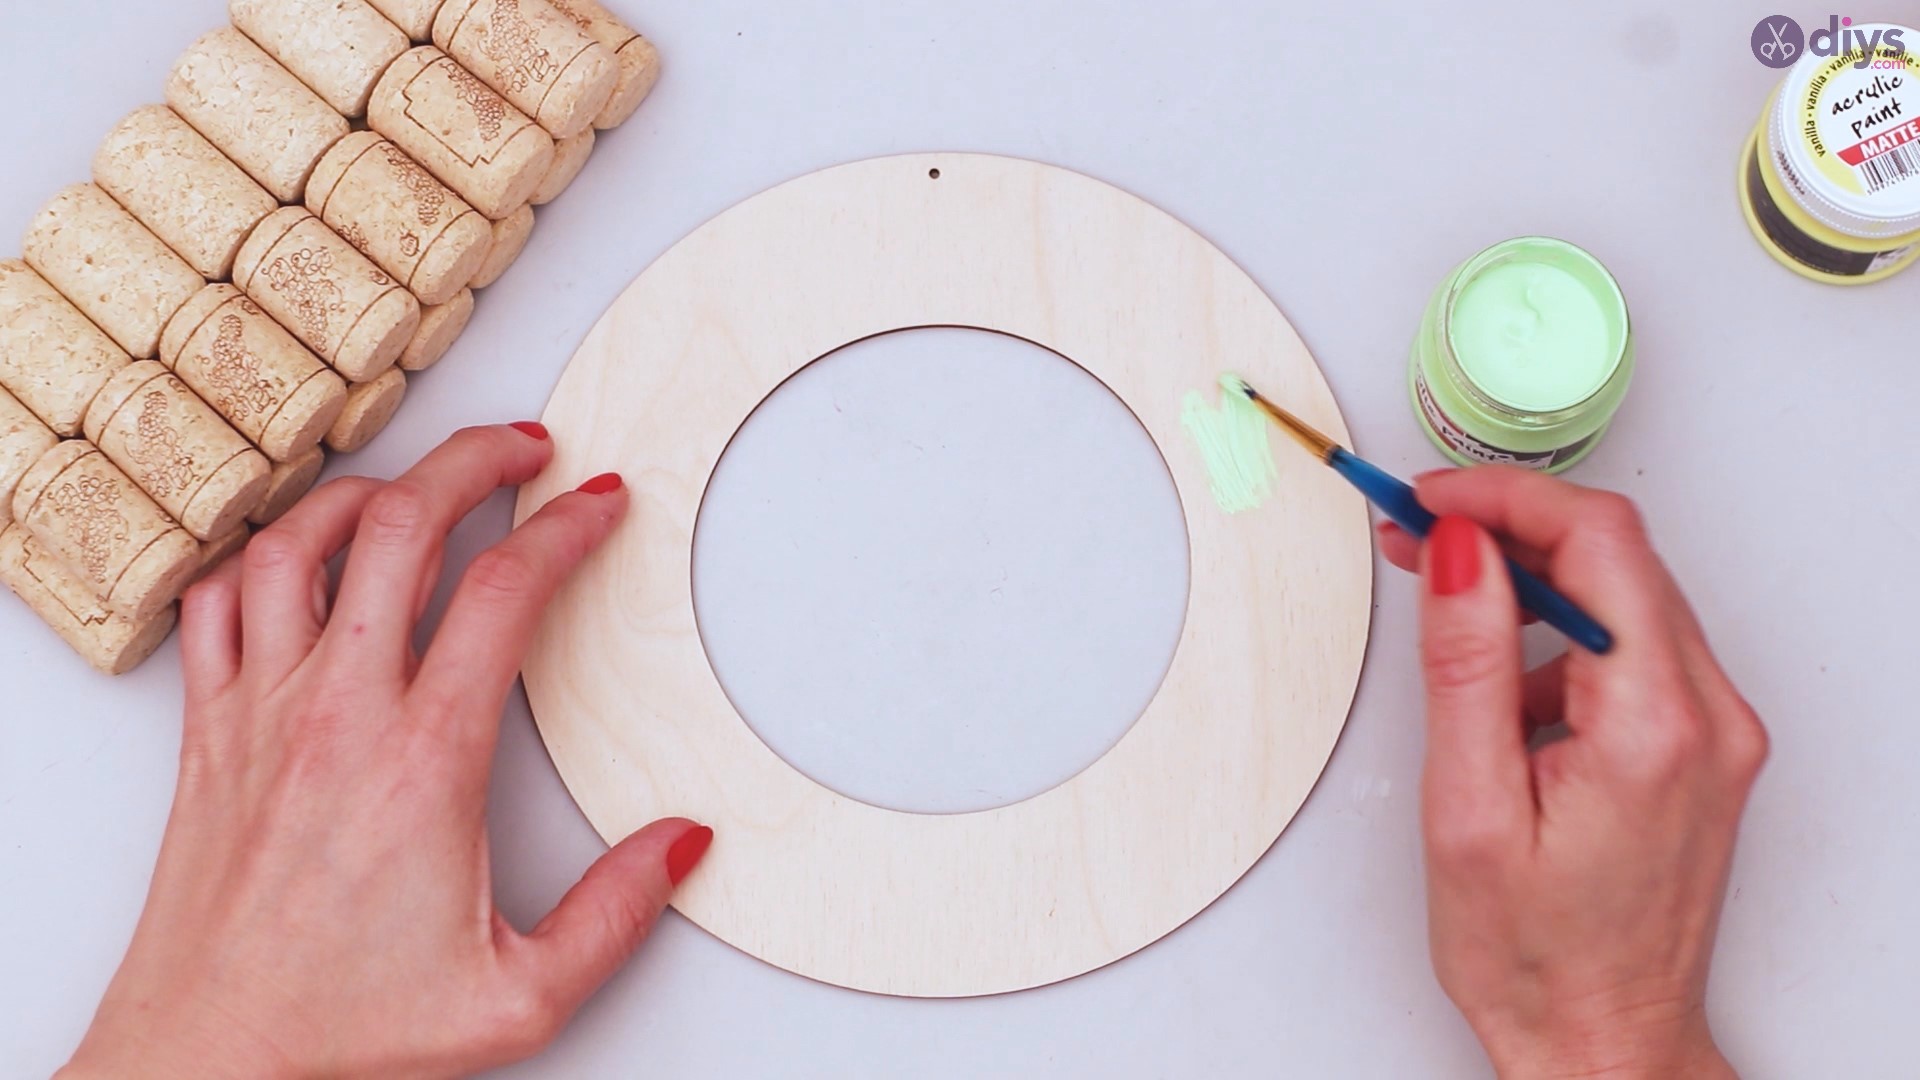
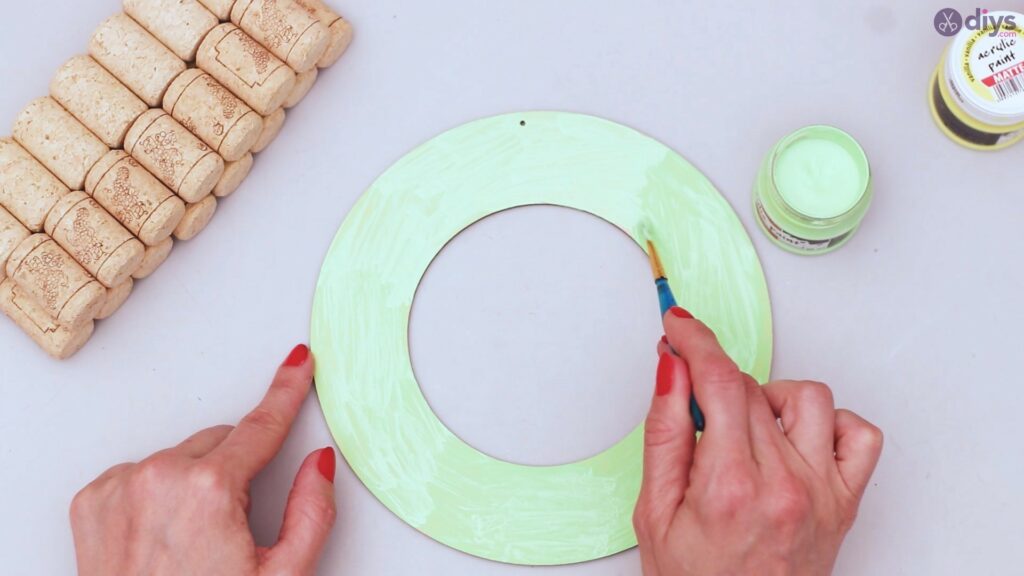
Theround wood board will serve as the base for your floral wreath. Before you start creating the actual wreath, you should paint it so it looks pretty and cheerful. We chose to usegreen acrylic paint for the job.
Acrylic paint dries up pretty fast, especially when applied to wood. Make sure you don’t use any water with your paint or, if you need any, use just a tiny bit to make the paint spread easier. Keep in mind that you may want to add more layers of color to the wood base, so leave it out to dry between layers.
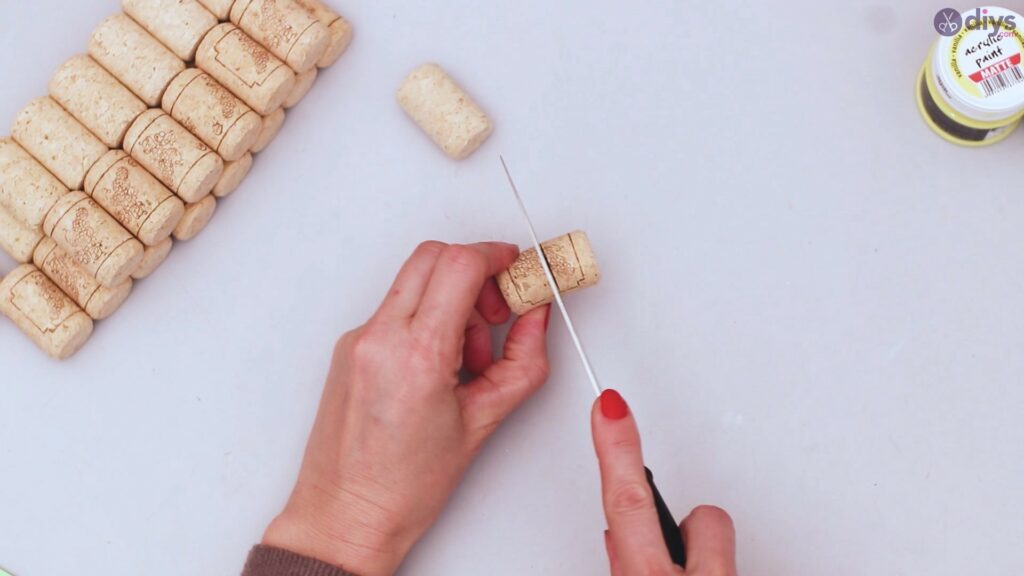
Step 2: Cut the wine corks in half
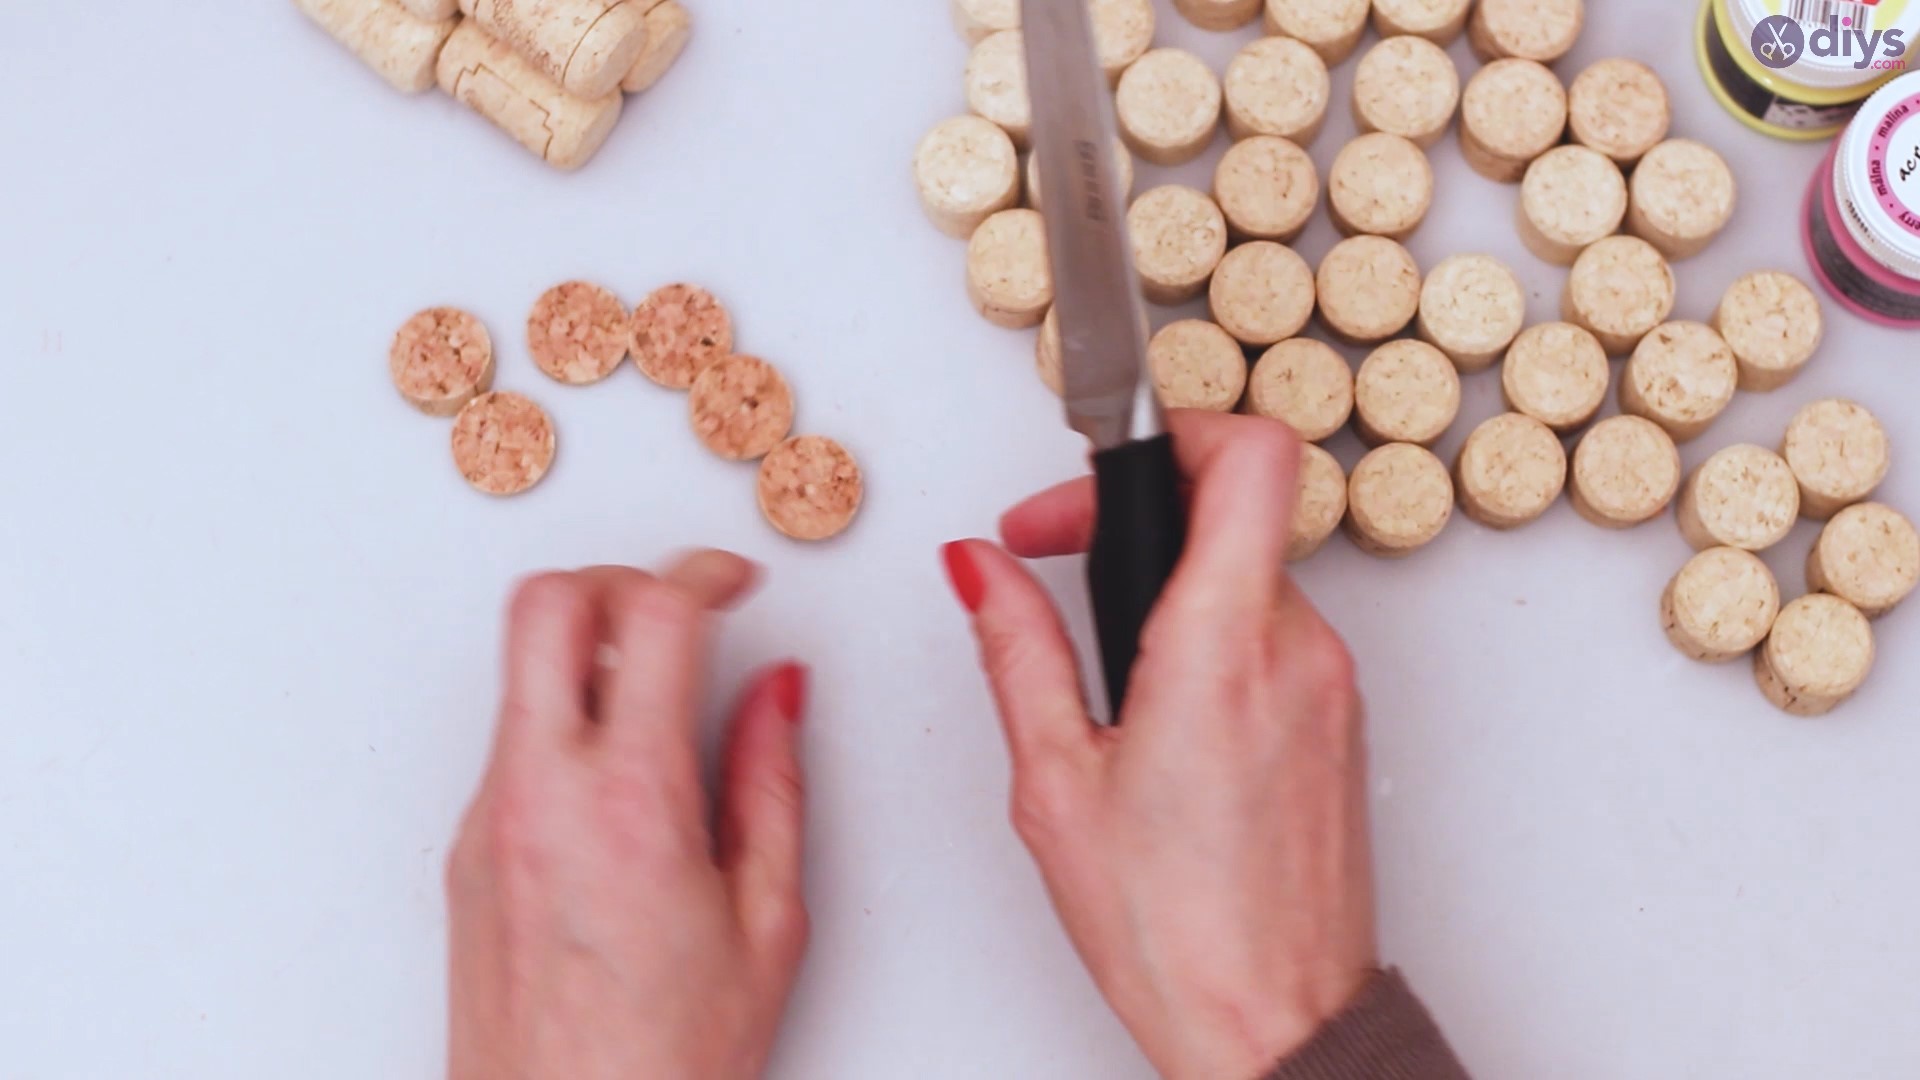
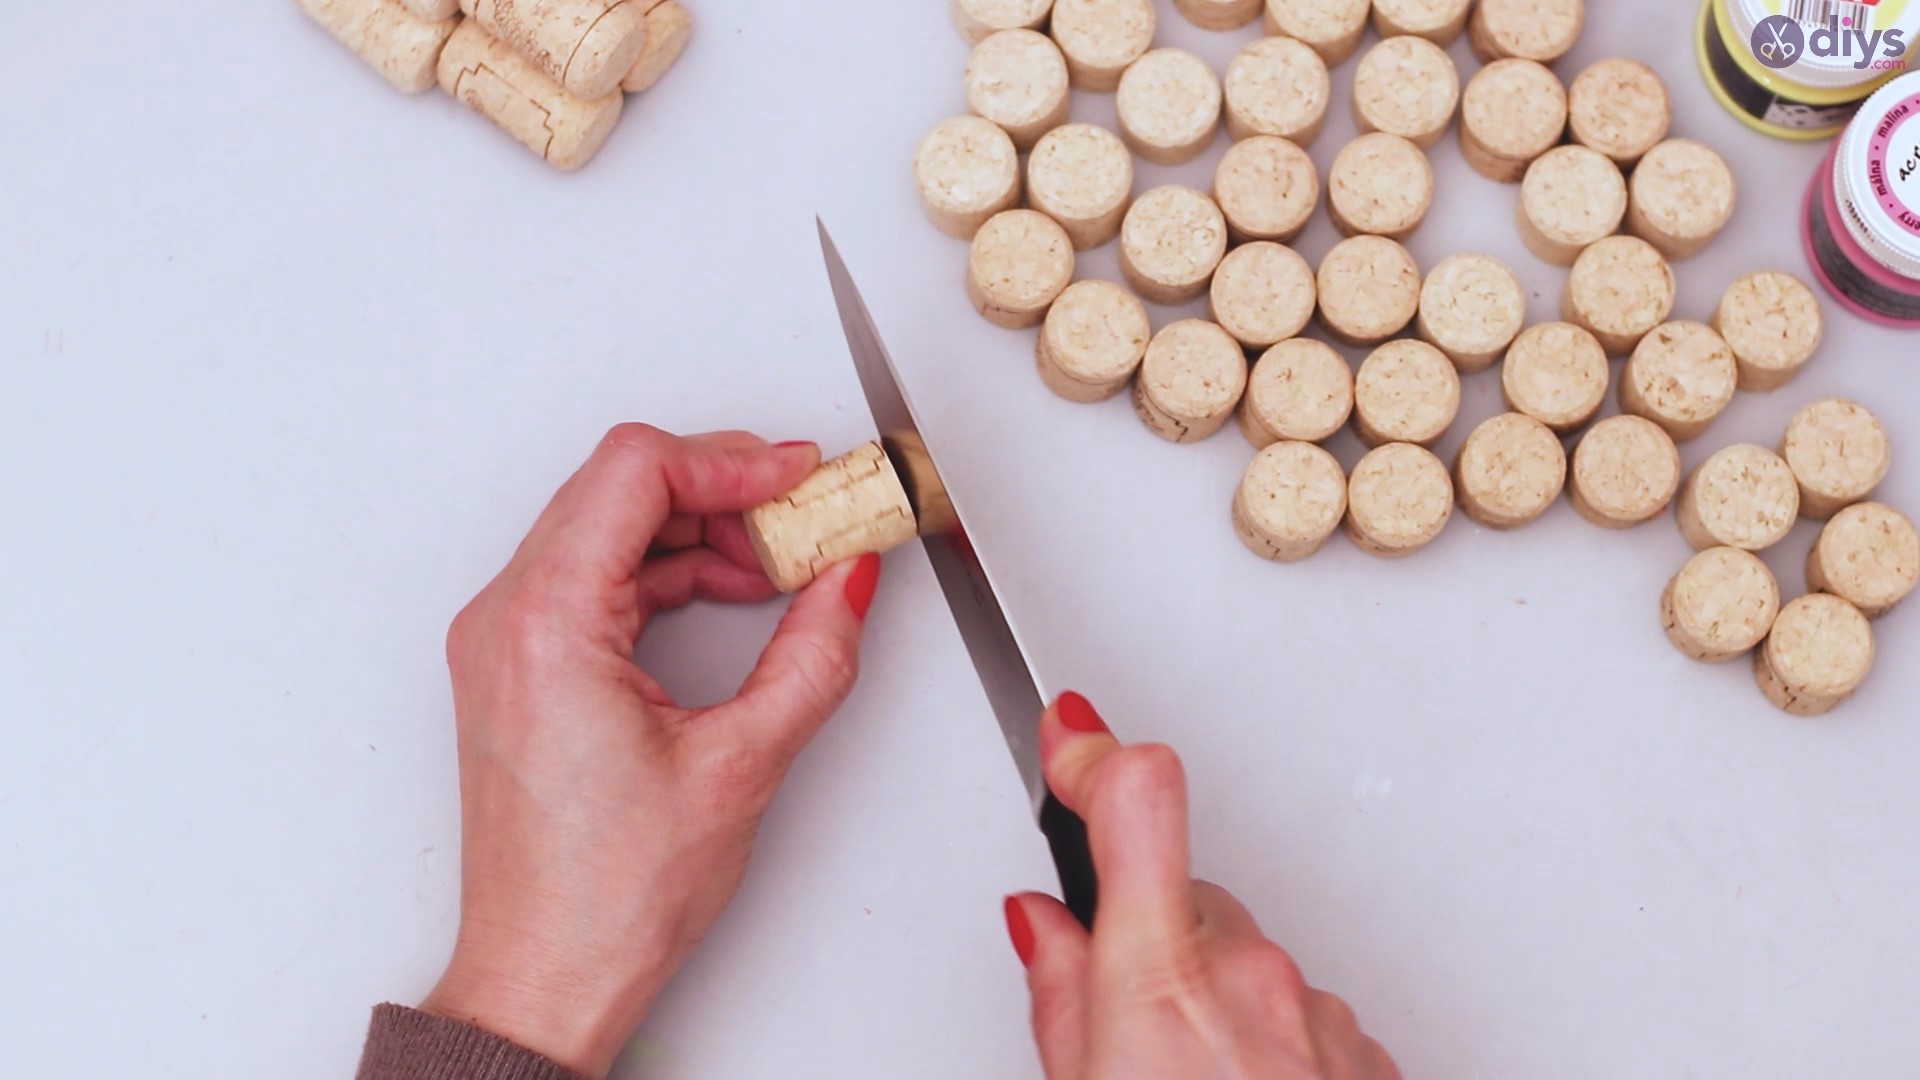
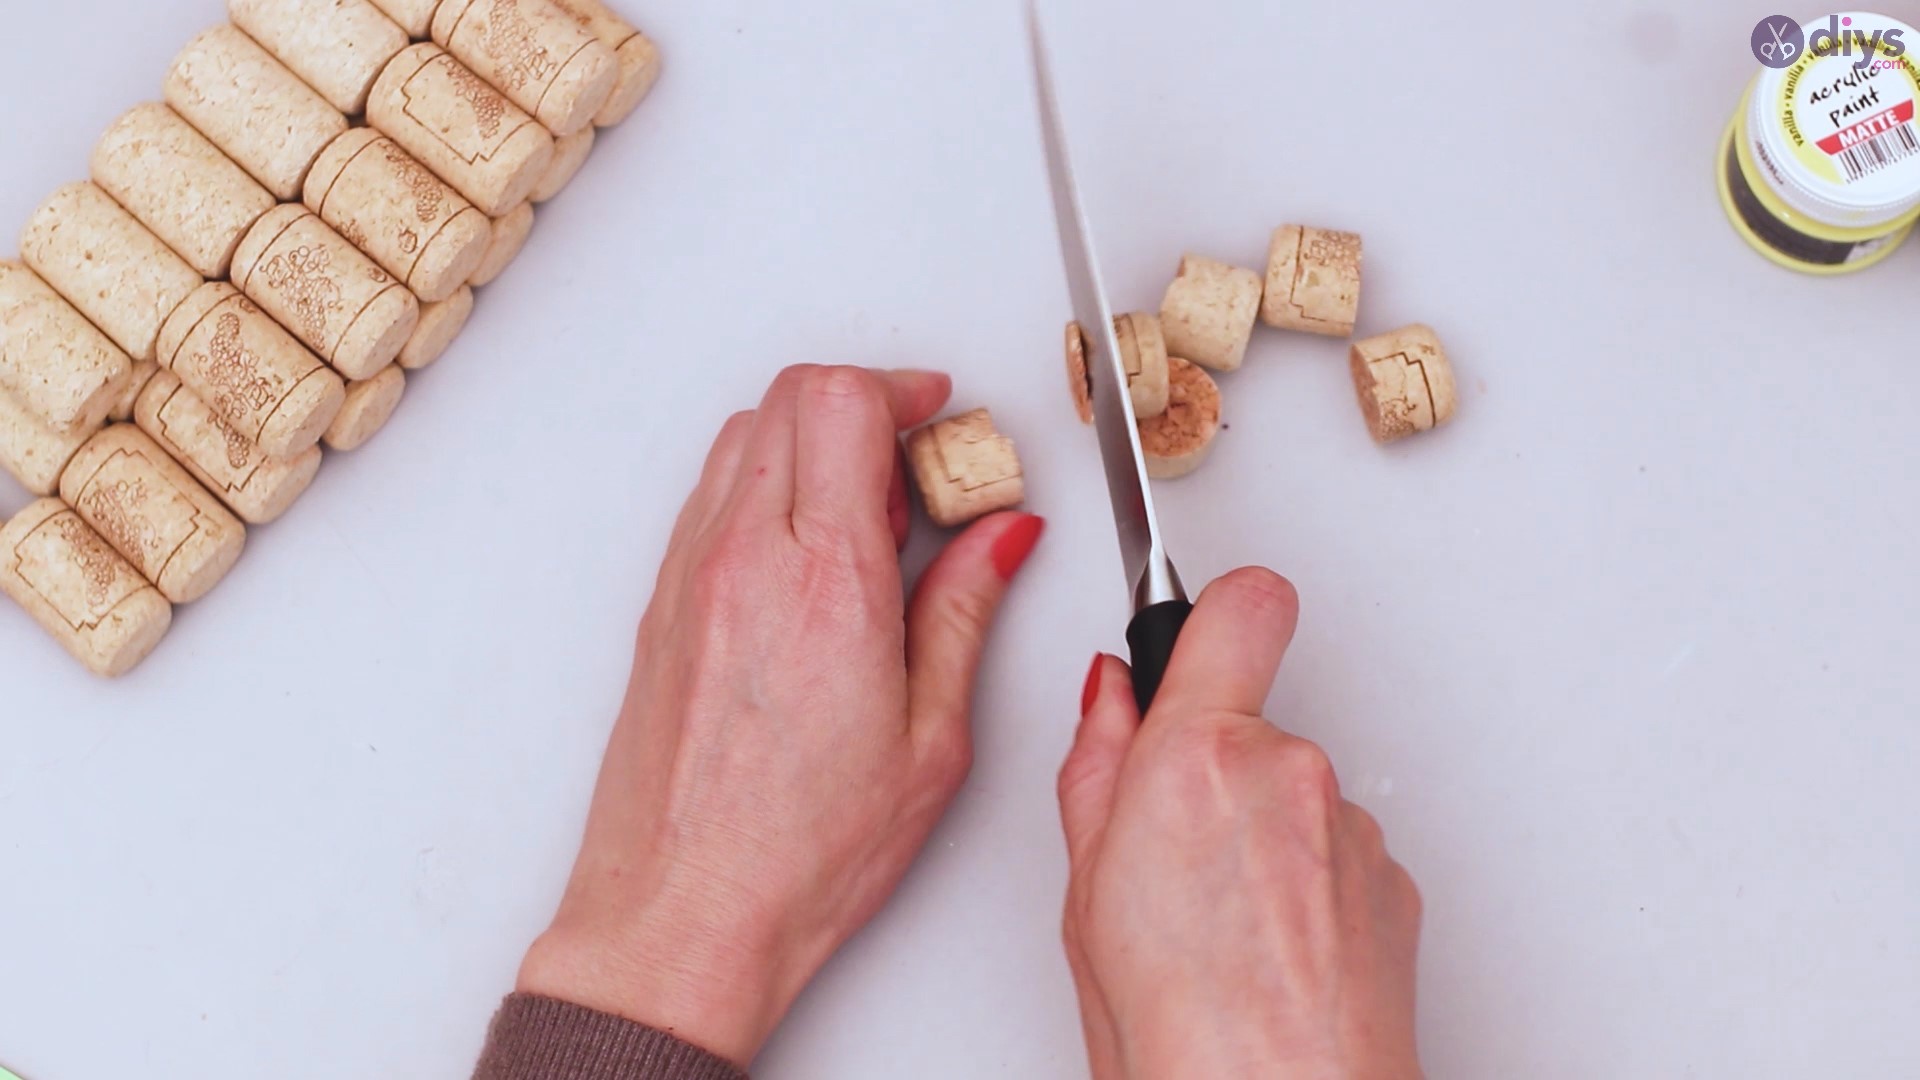
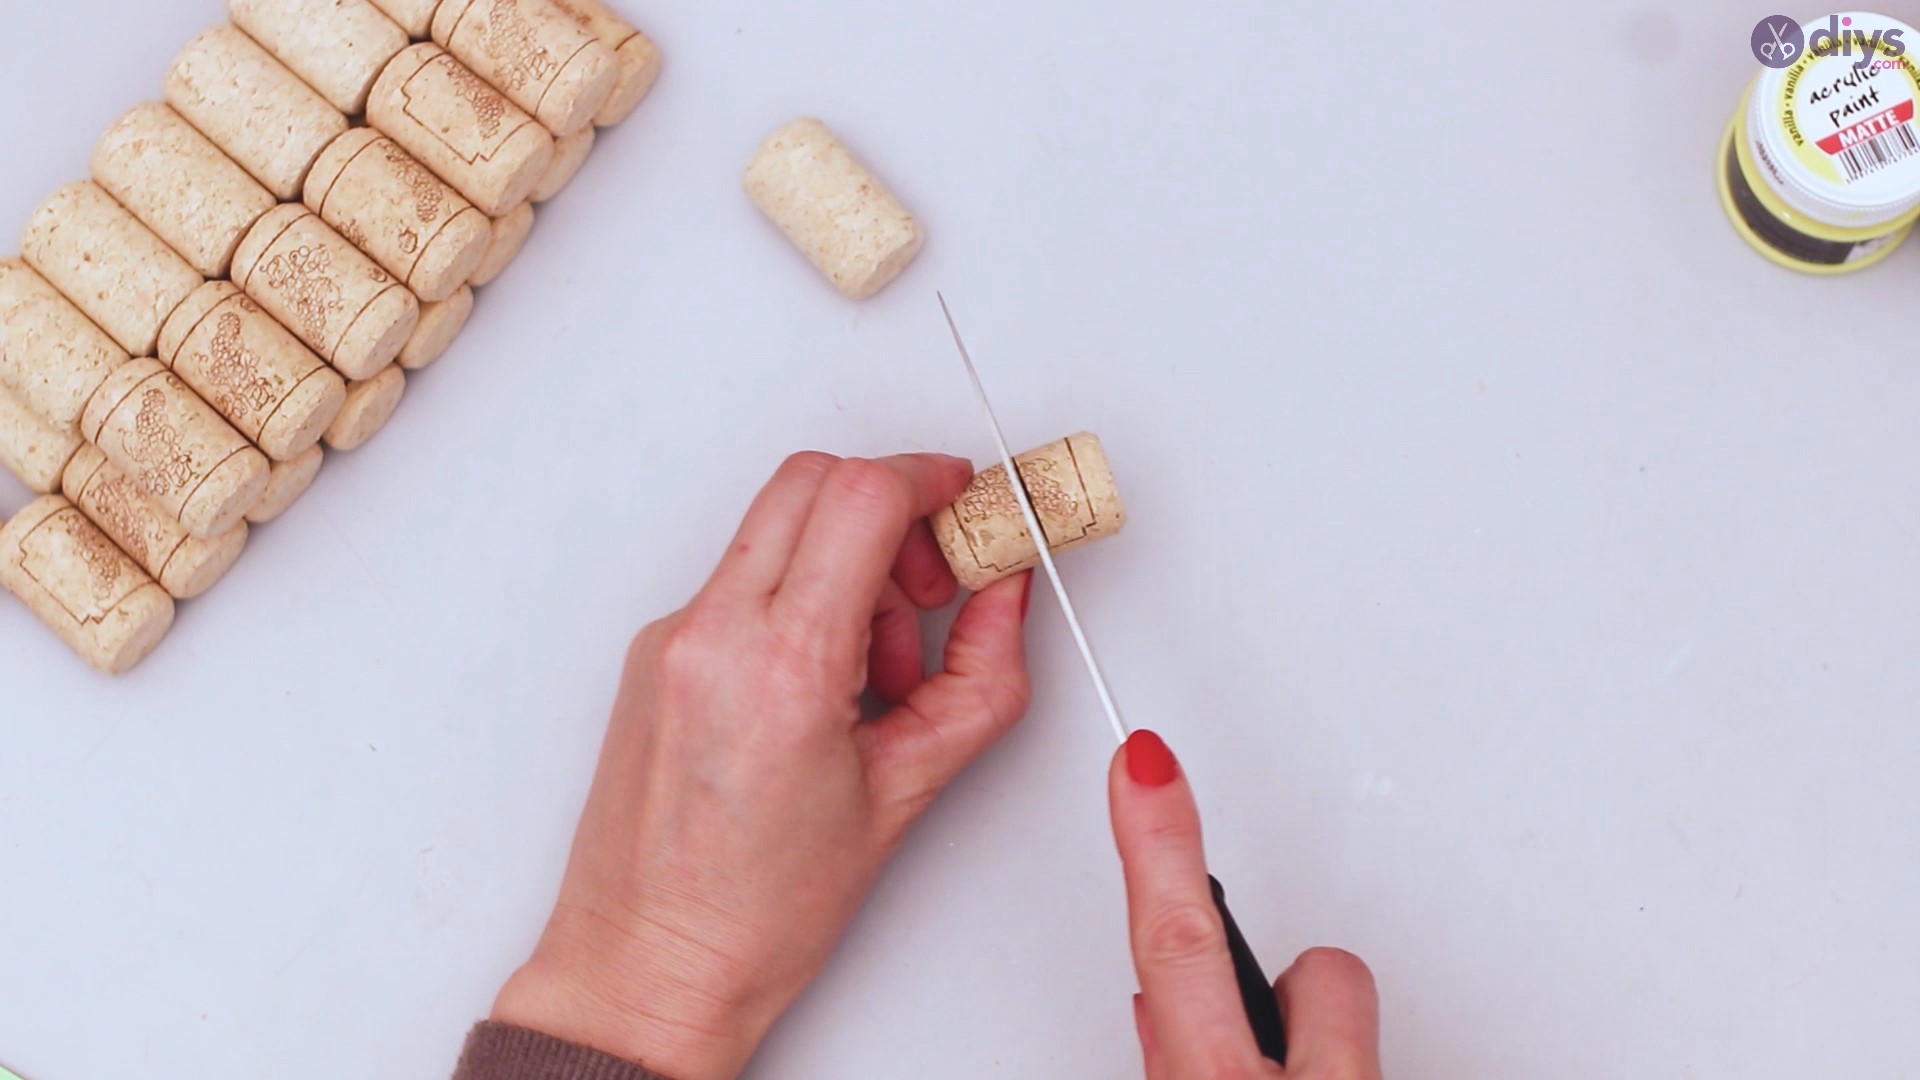
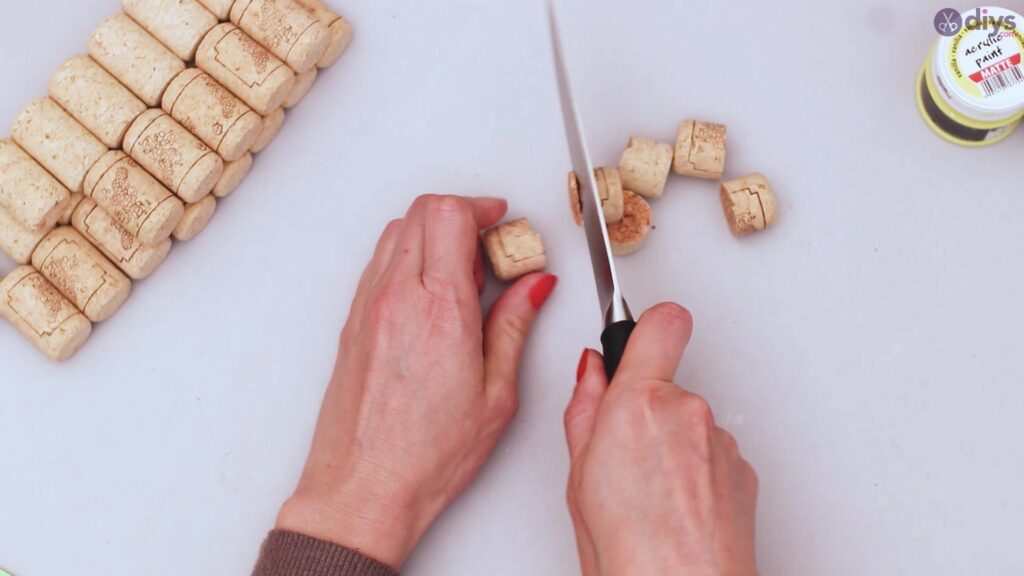
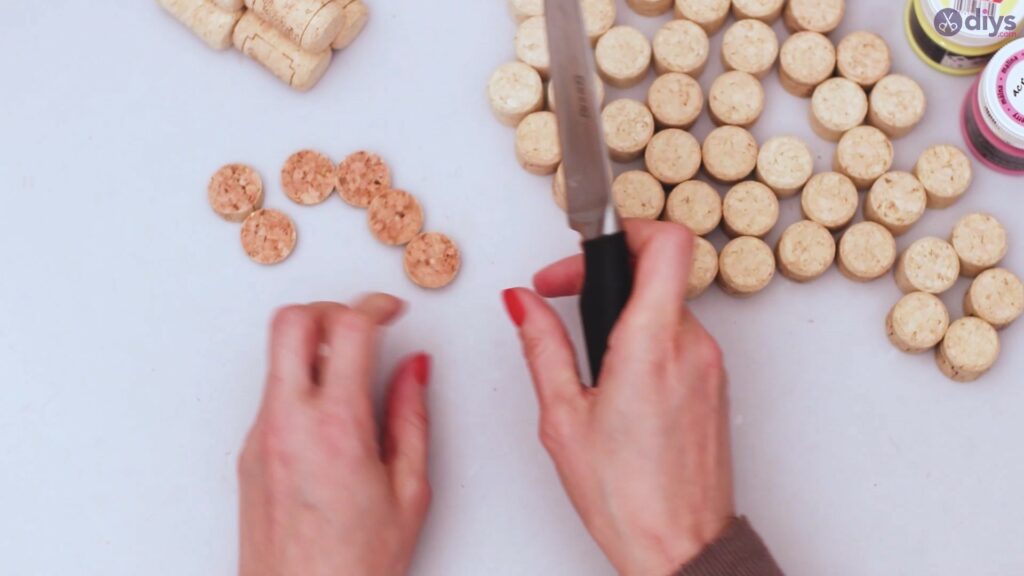
For the next step, you’ll want to take your wine corks and theknifeand to start cutting them in half. Please make sure that you’re cutting them right down the middle, so they’re all roughly the same size. The bottom should also be pretty straight as you want the piece to sit straight on the wood piece.
Step 3: Cut wood cork slices
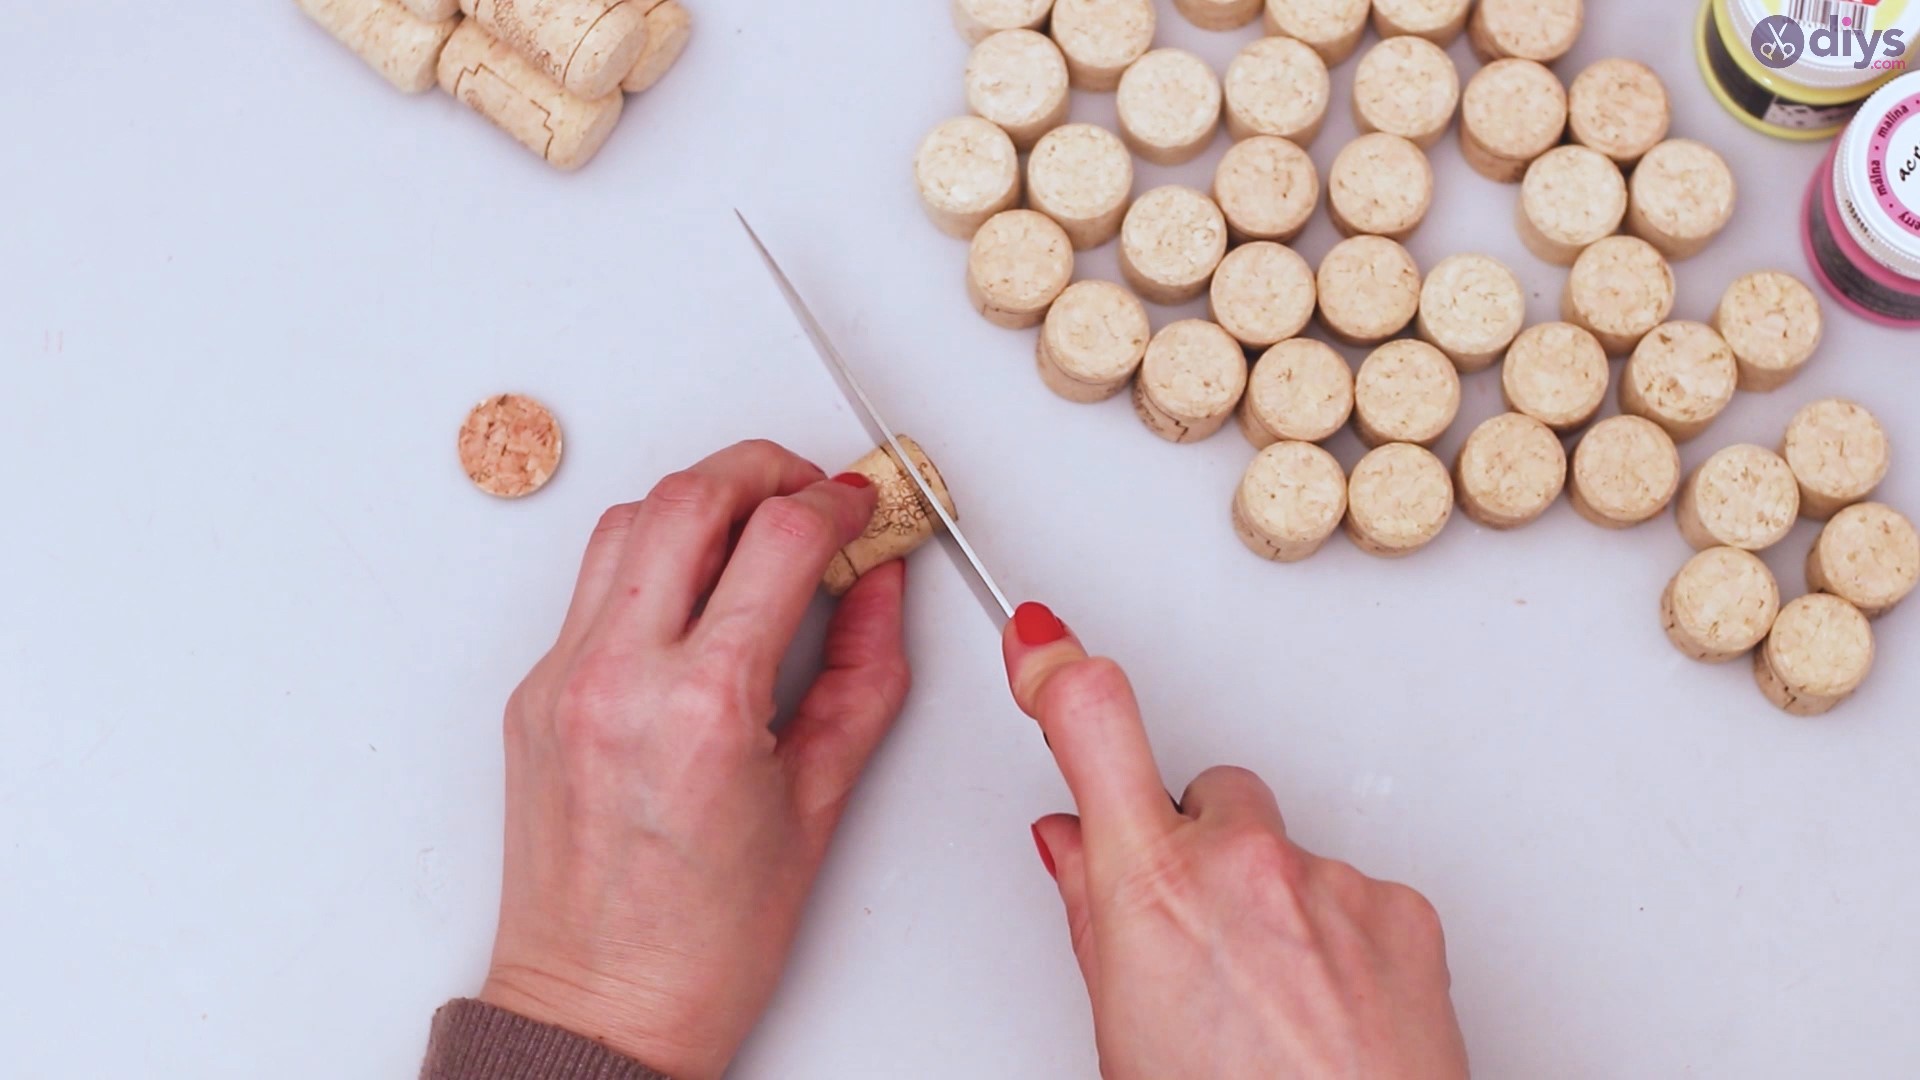
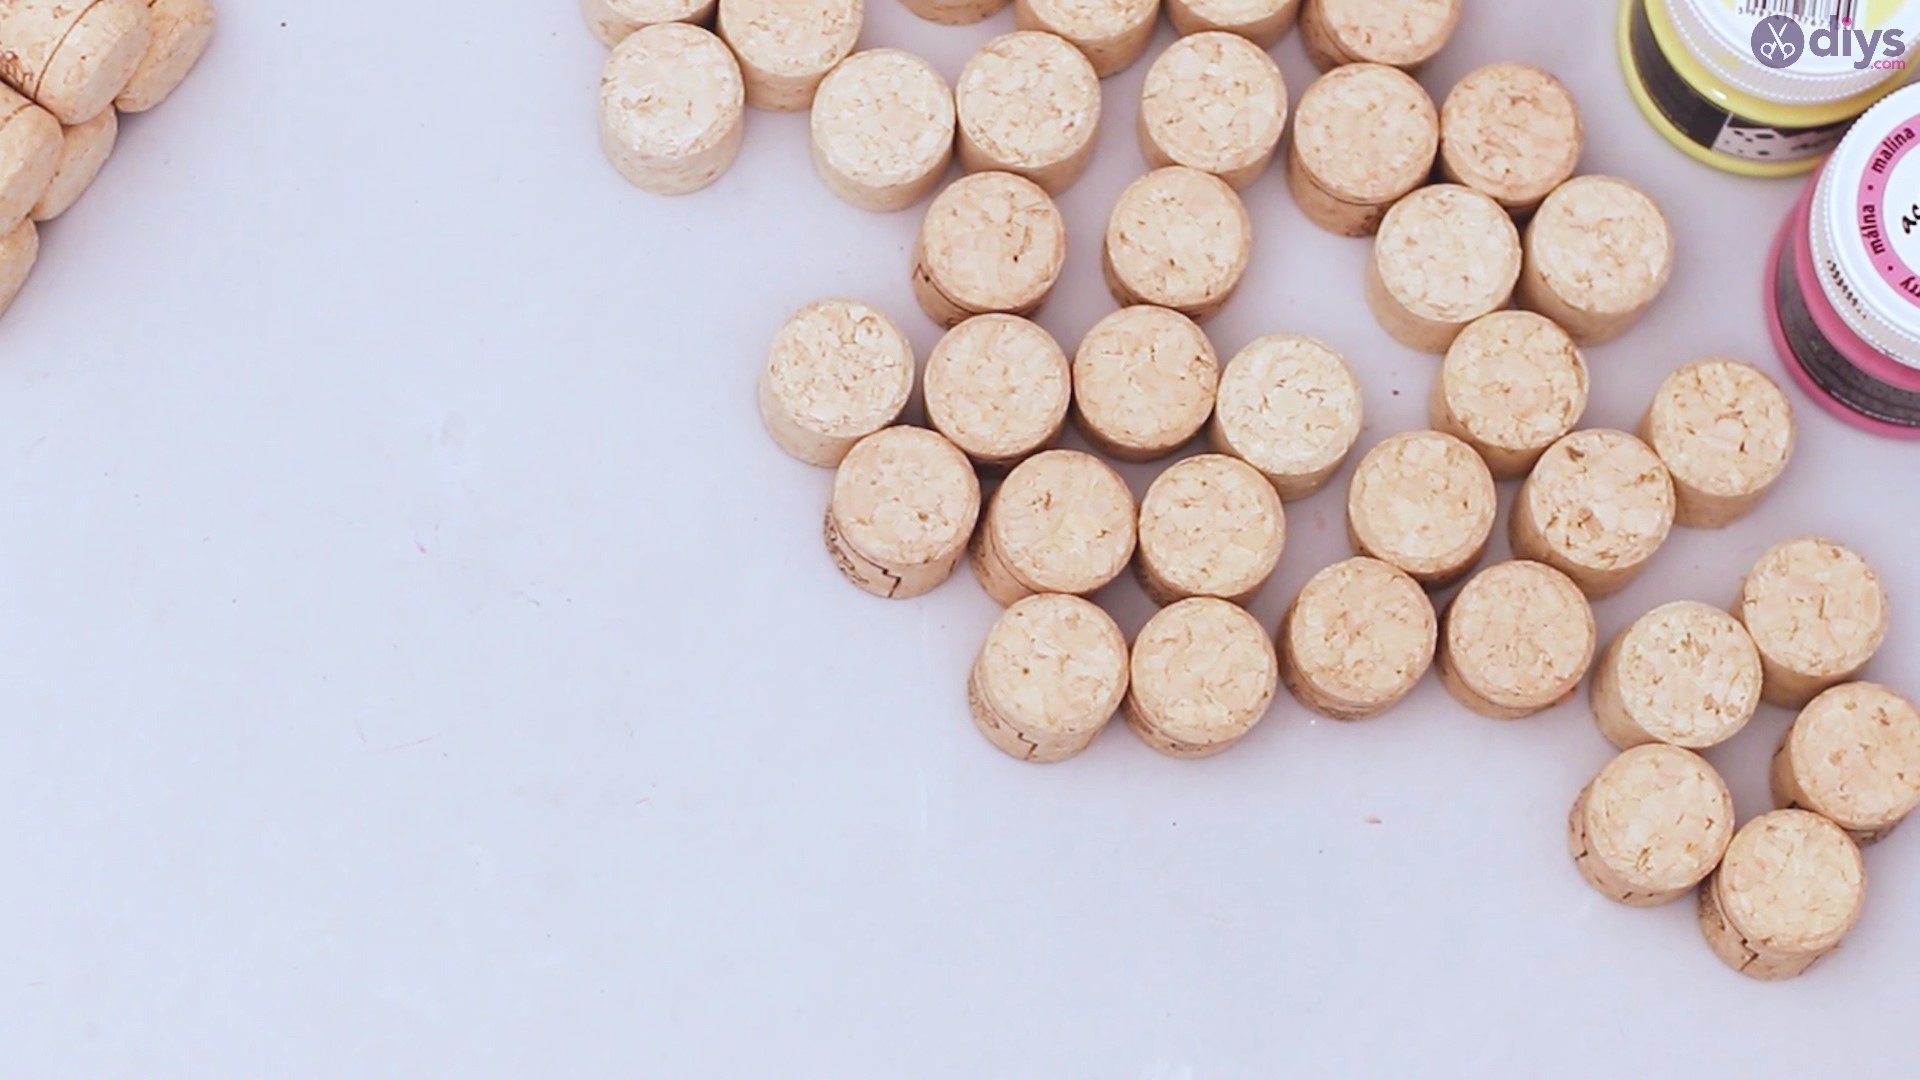
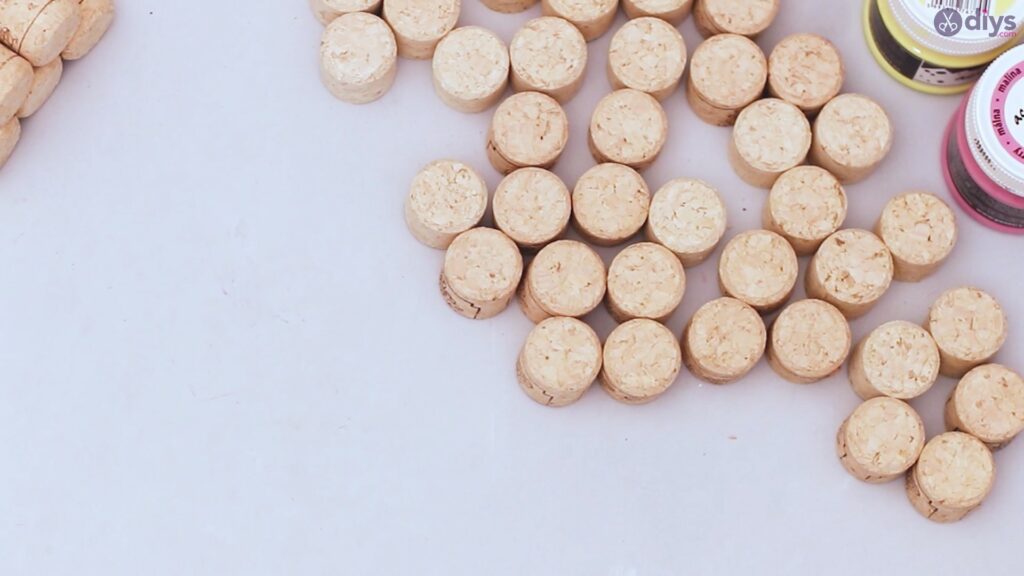
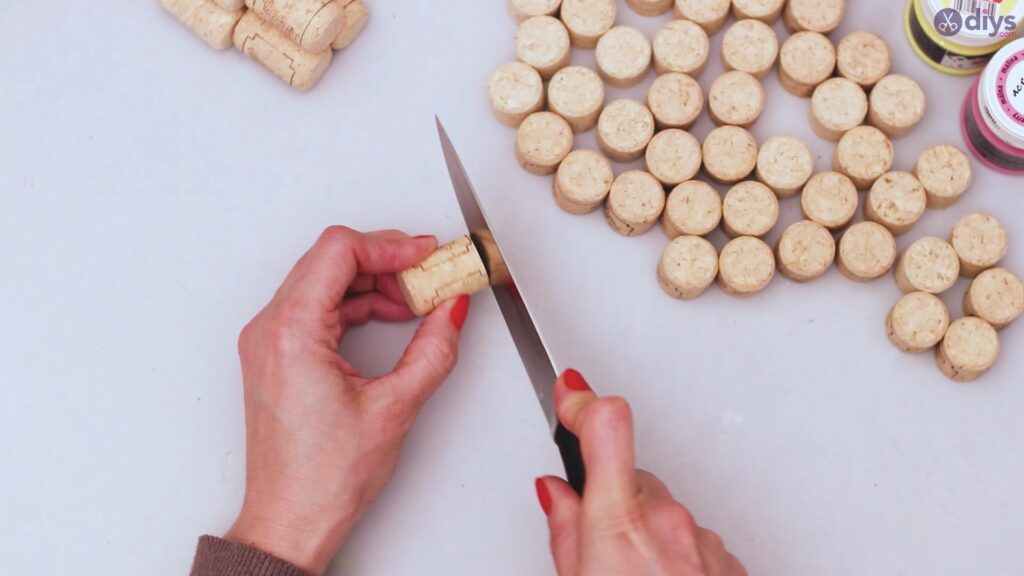
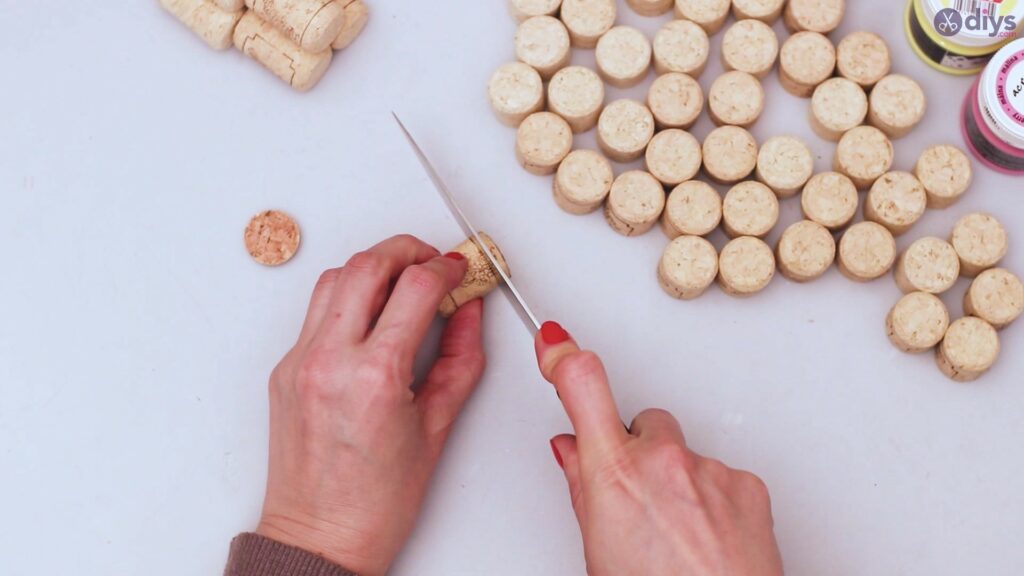
It’s not just wine cork halves that you’ll need, but also some slices. Make sure you use a couple of corks to create these slices. Use a sharp knife, protect your fingers, and cut slices as equal as you can and as straight as possible.
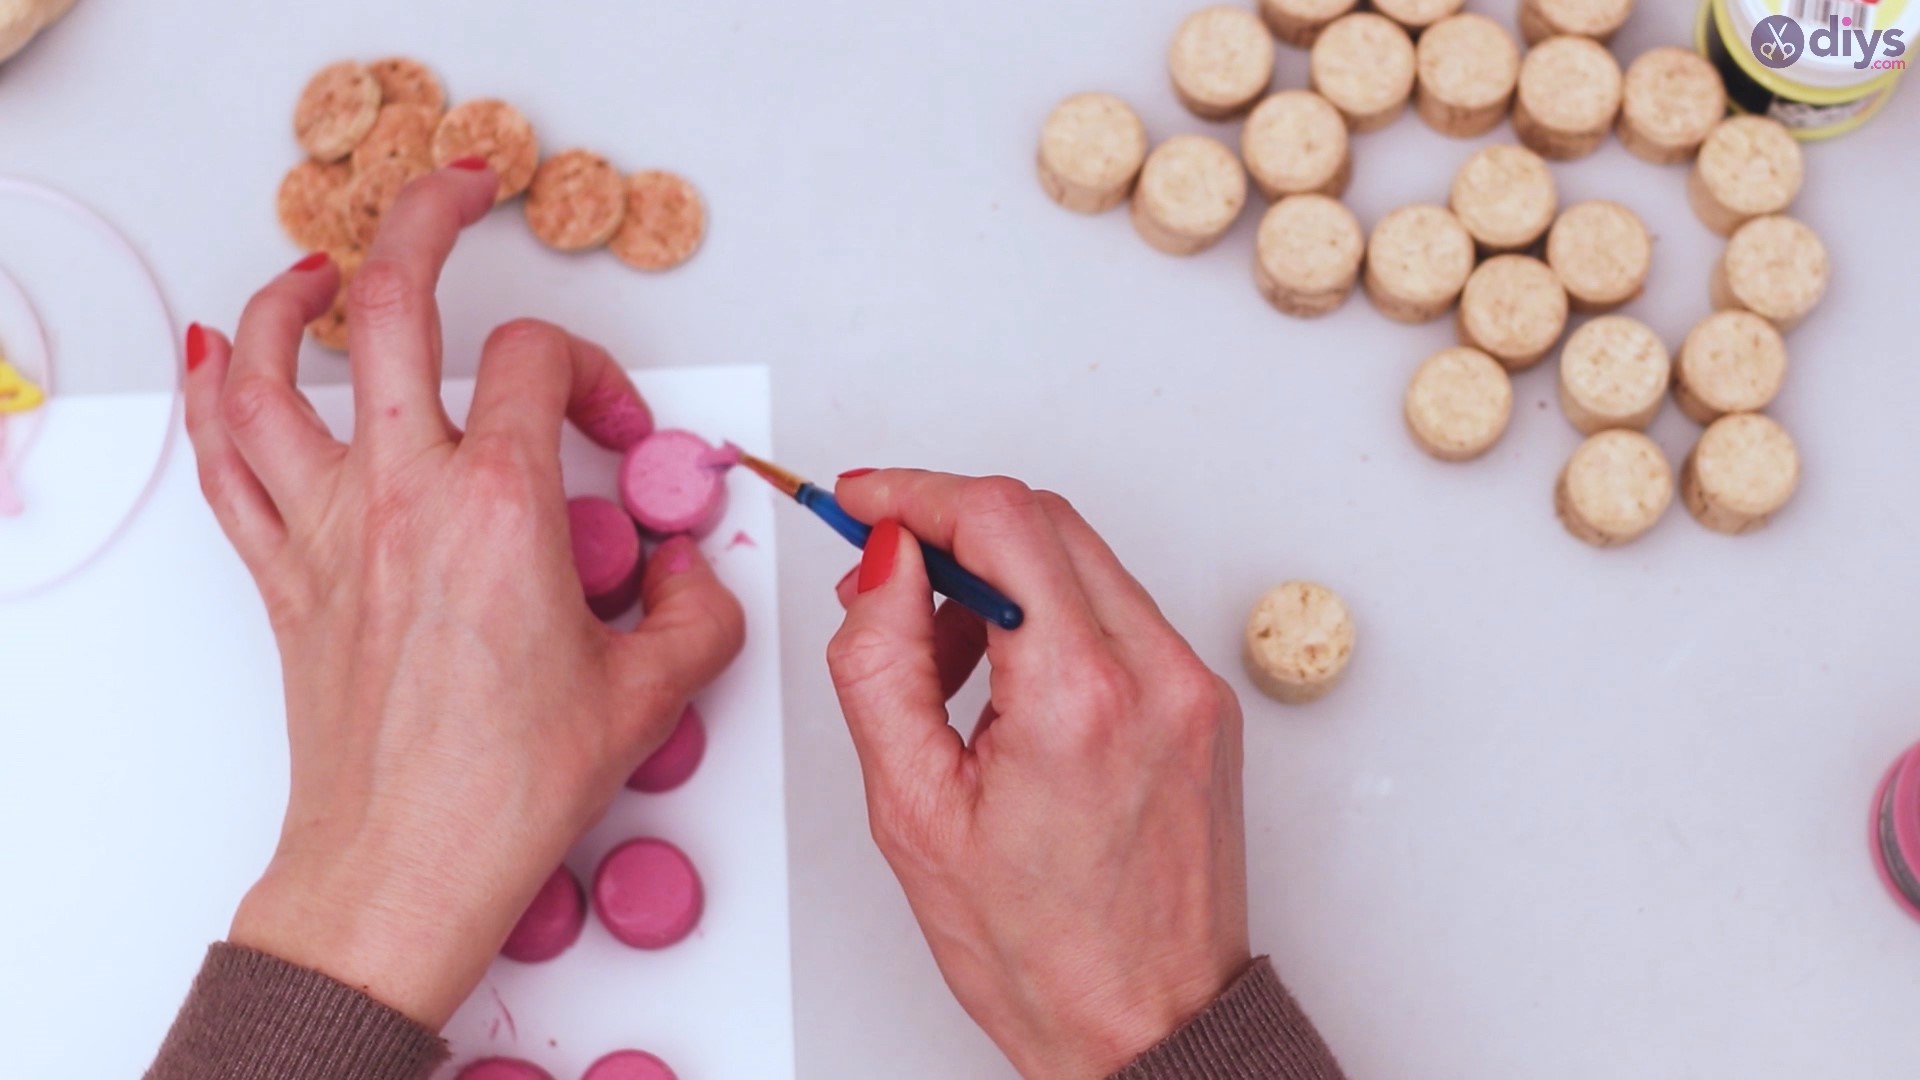
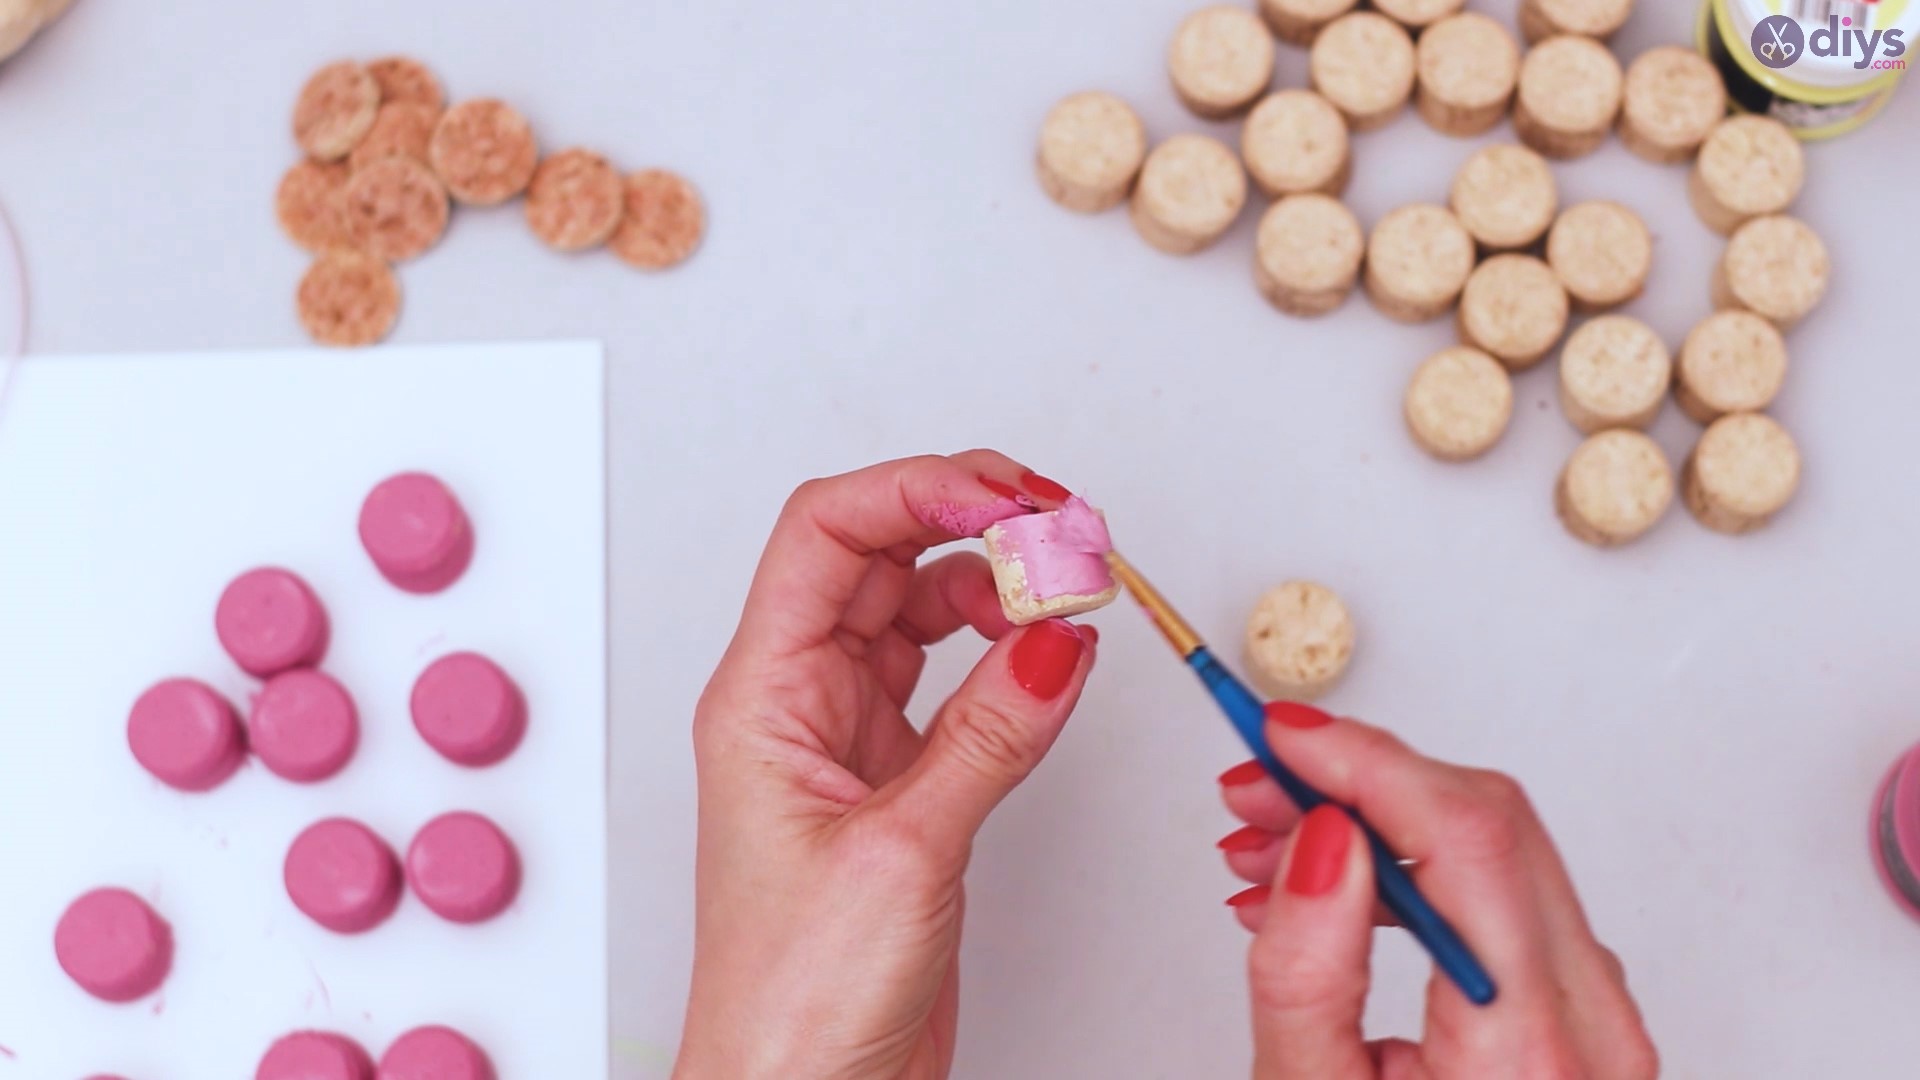
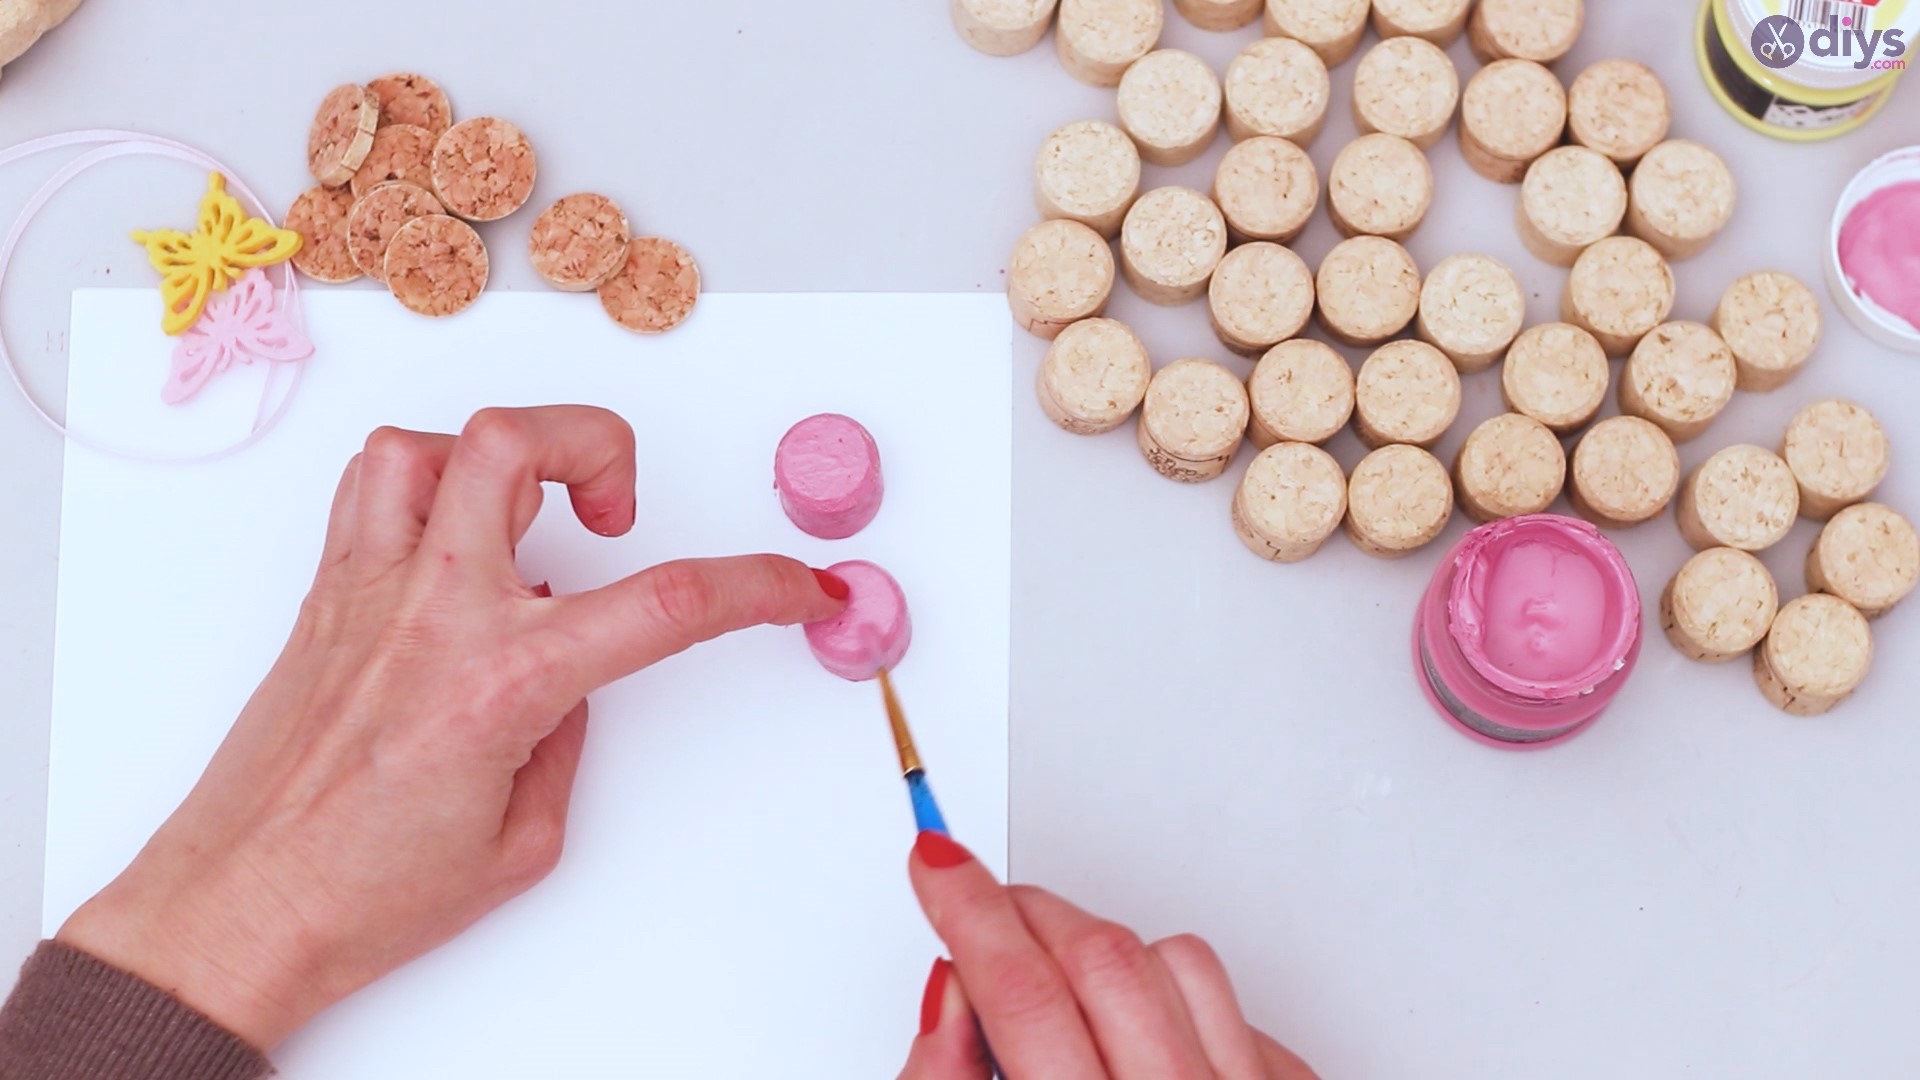
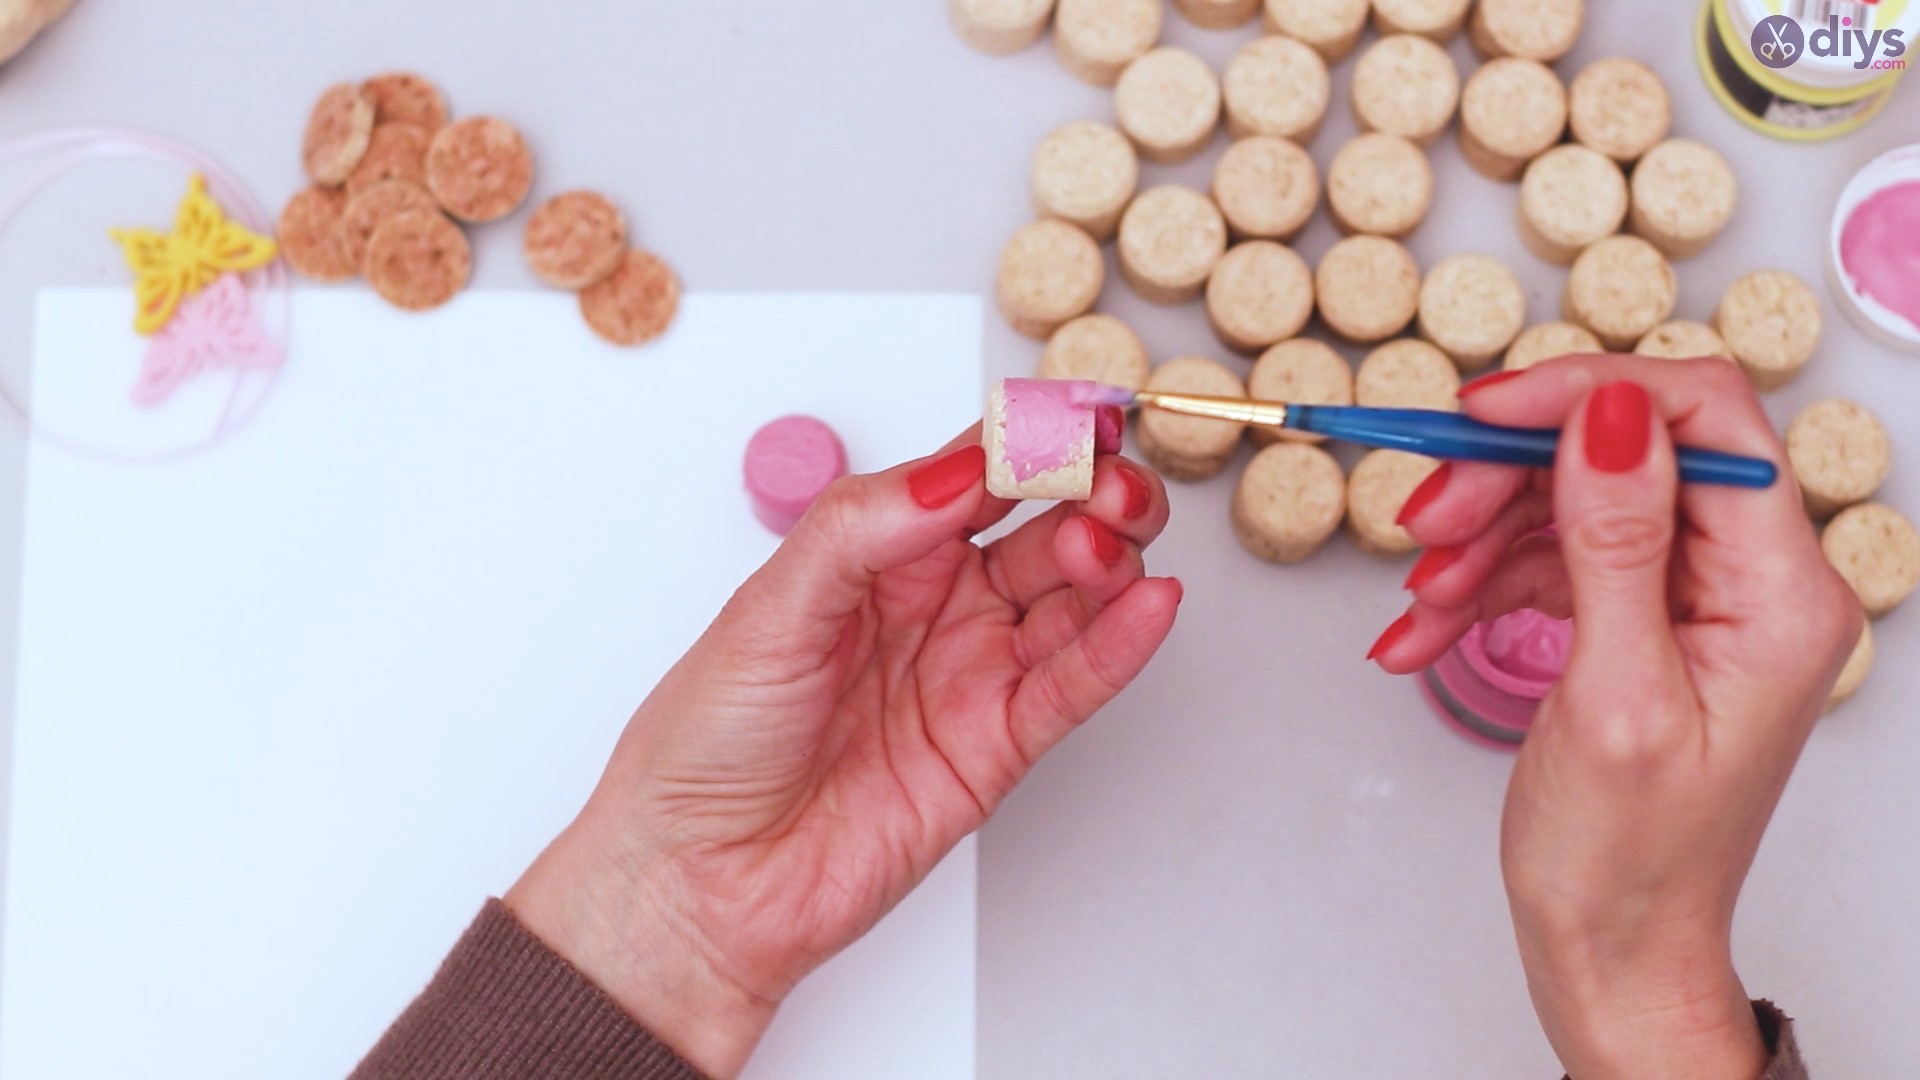
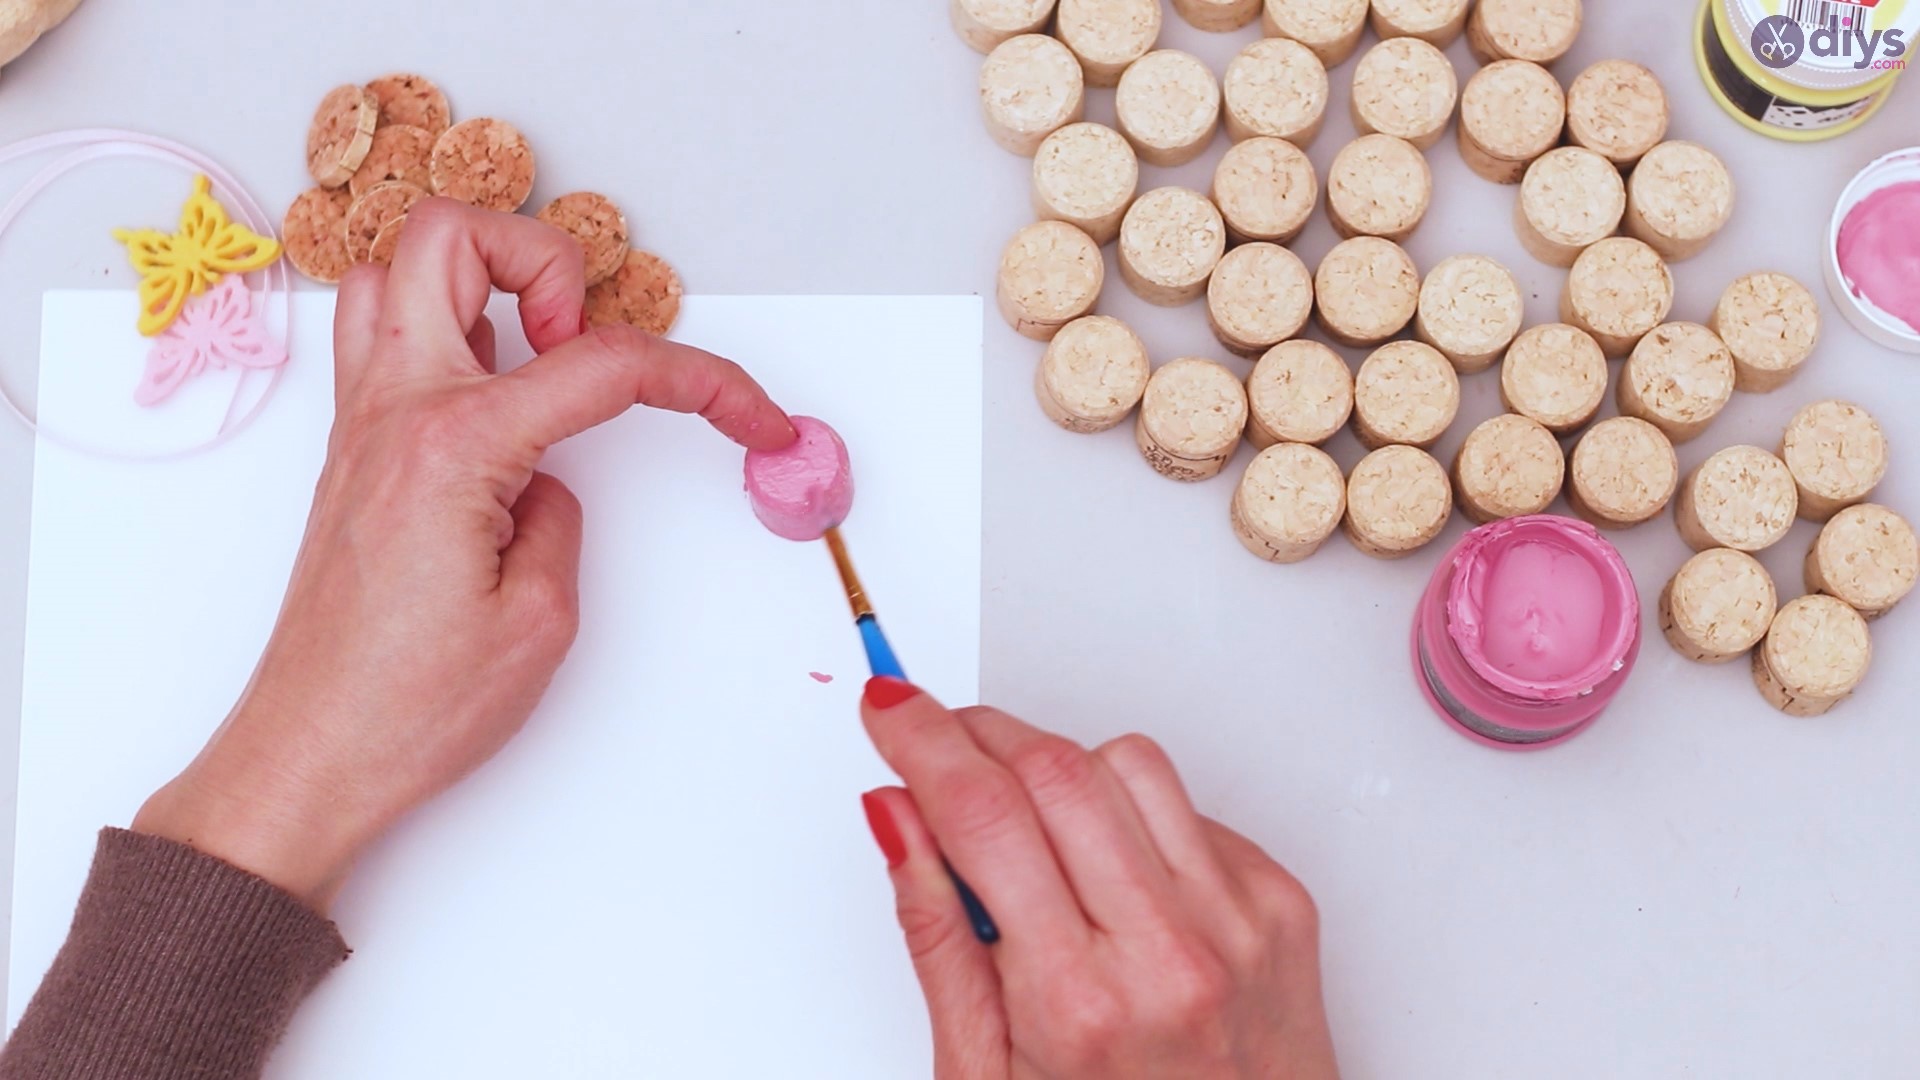
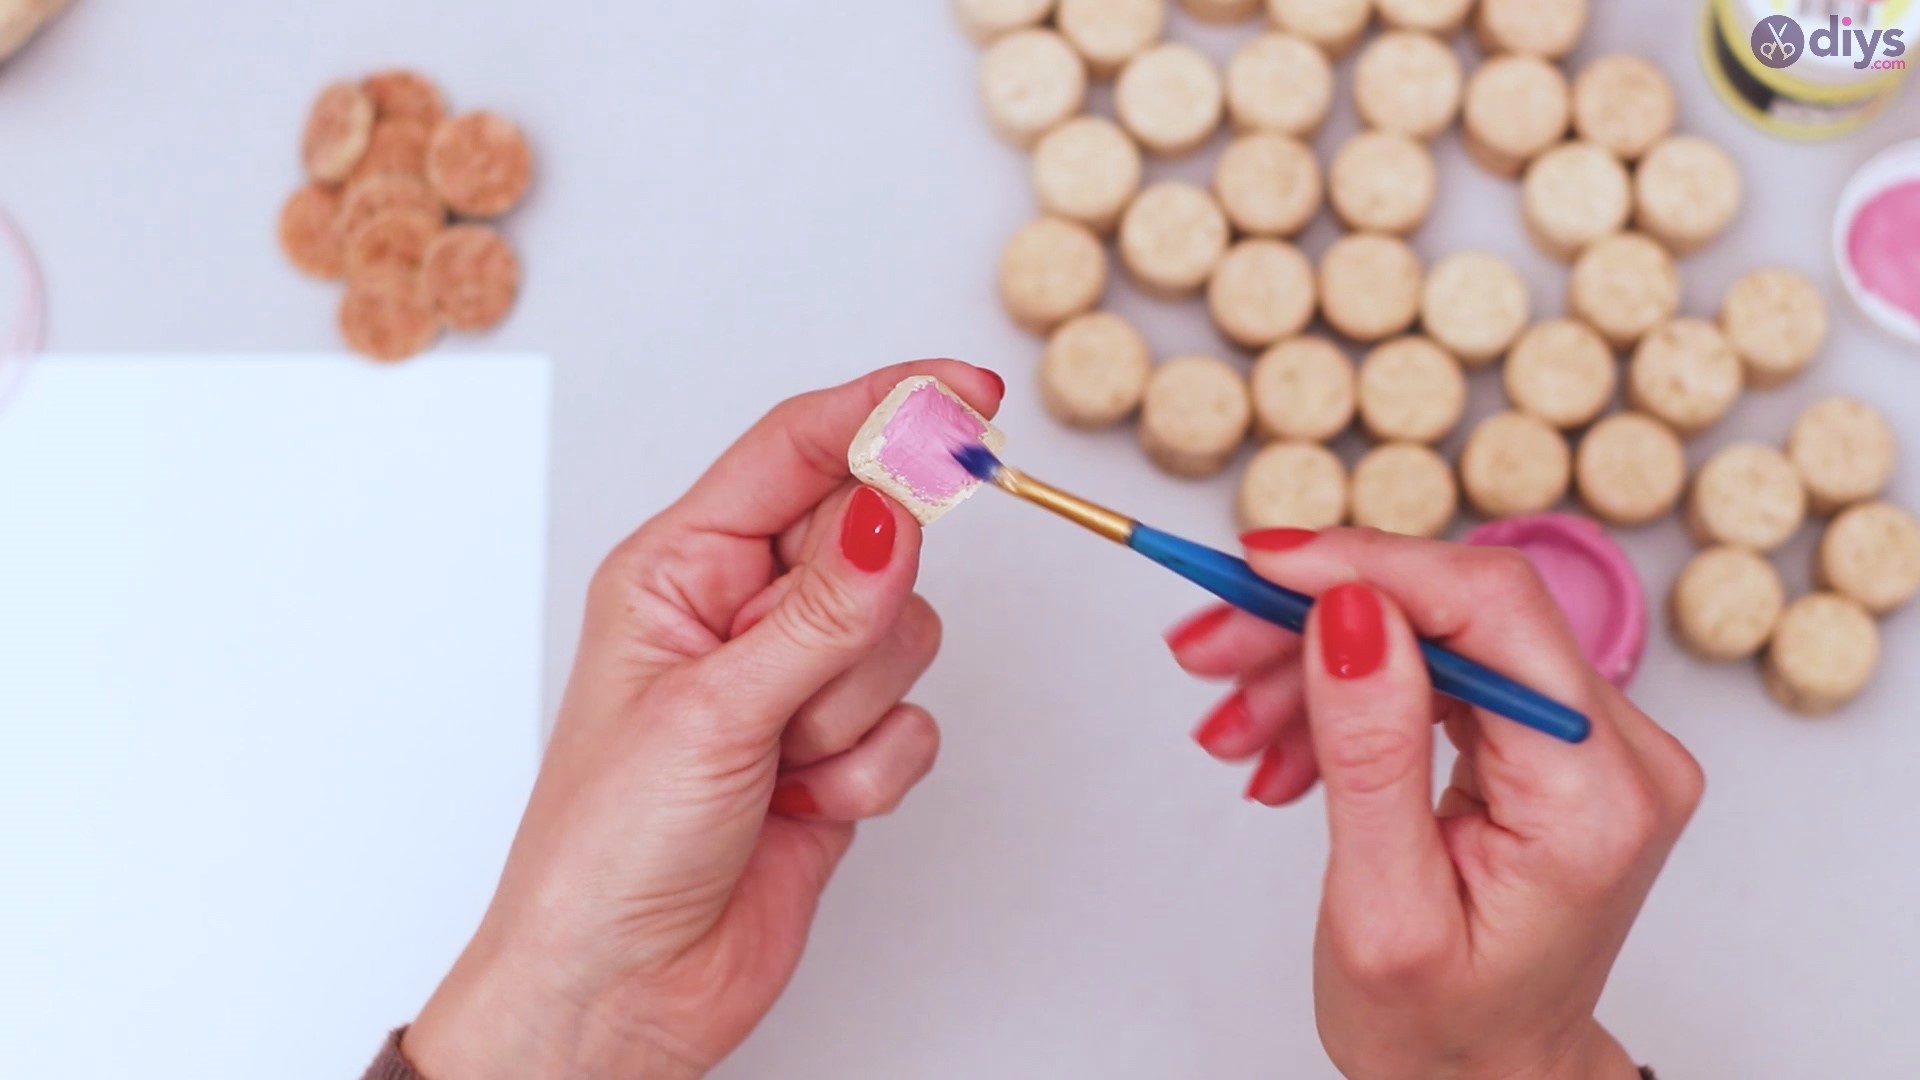
Step 4: Paint the wine cork halves pink
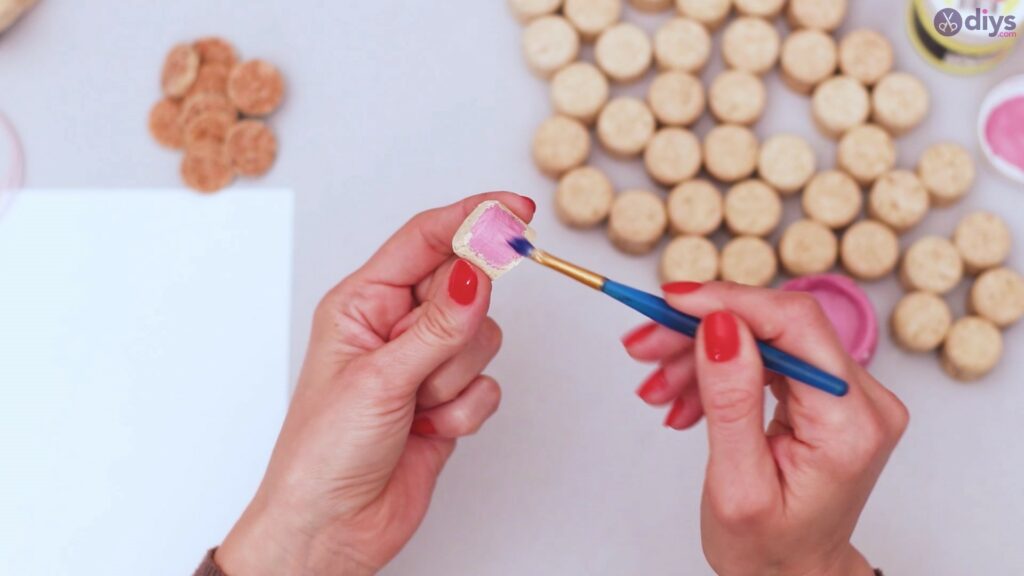
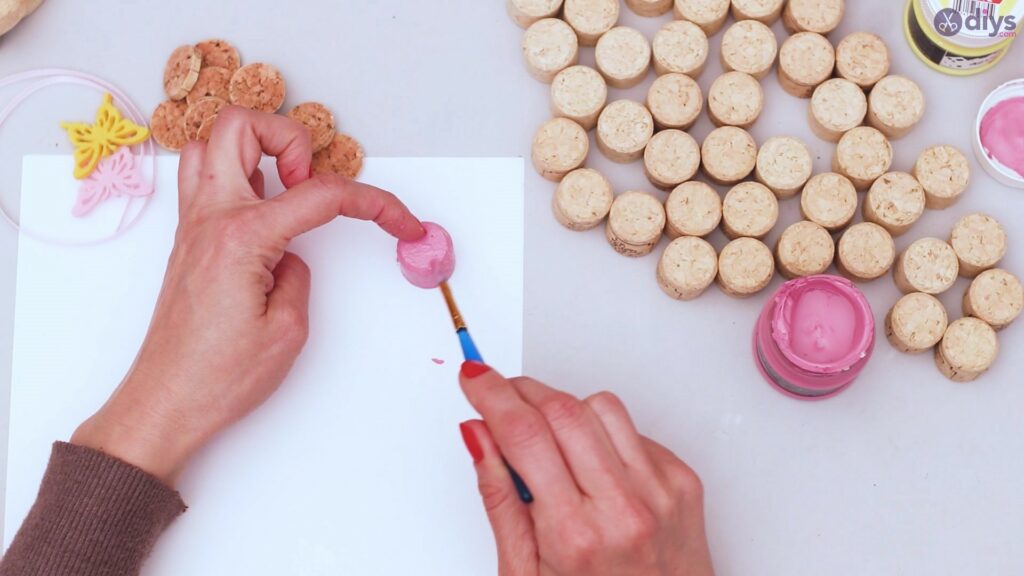
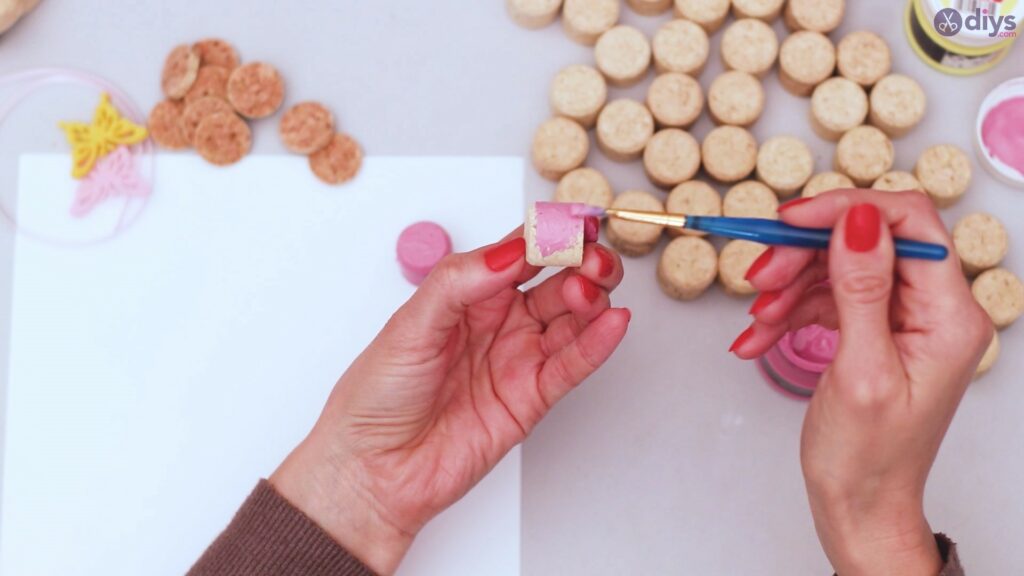
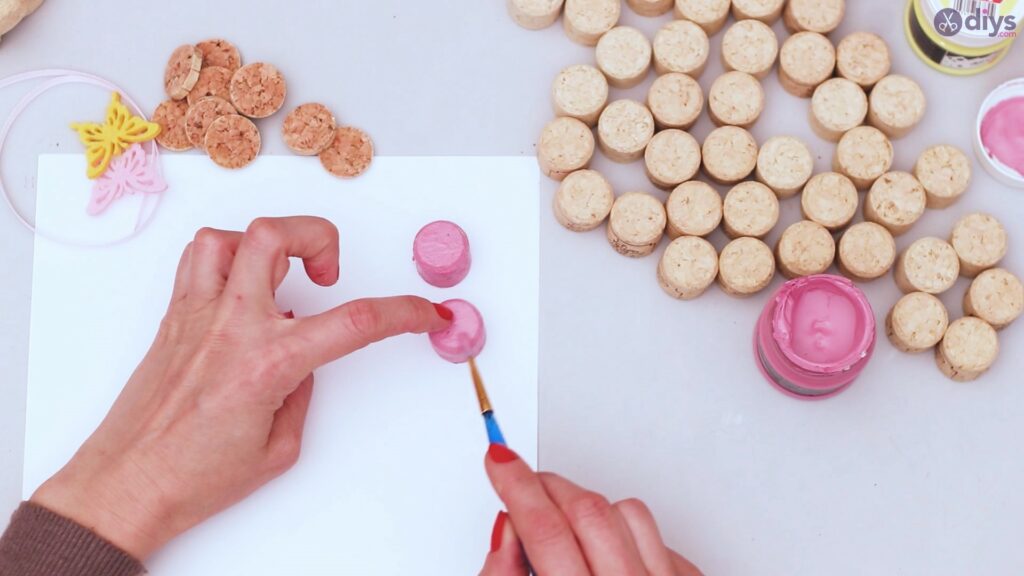
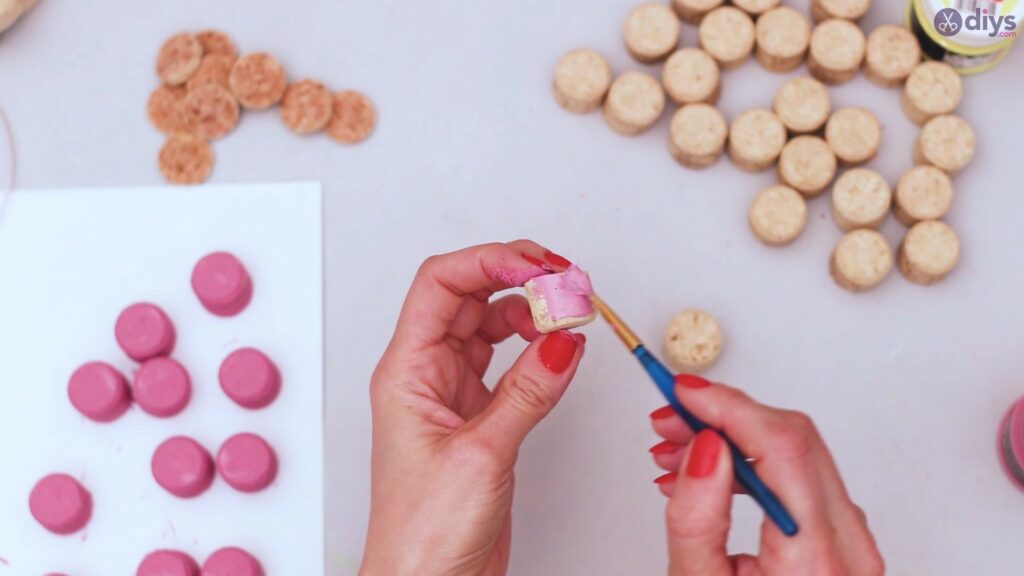
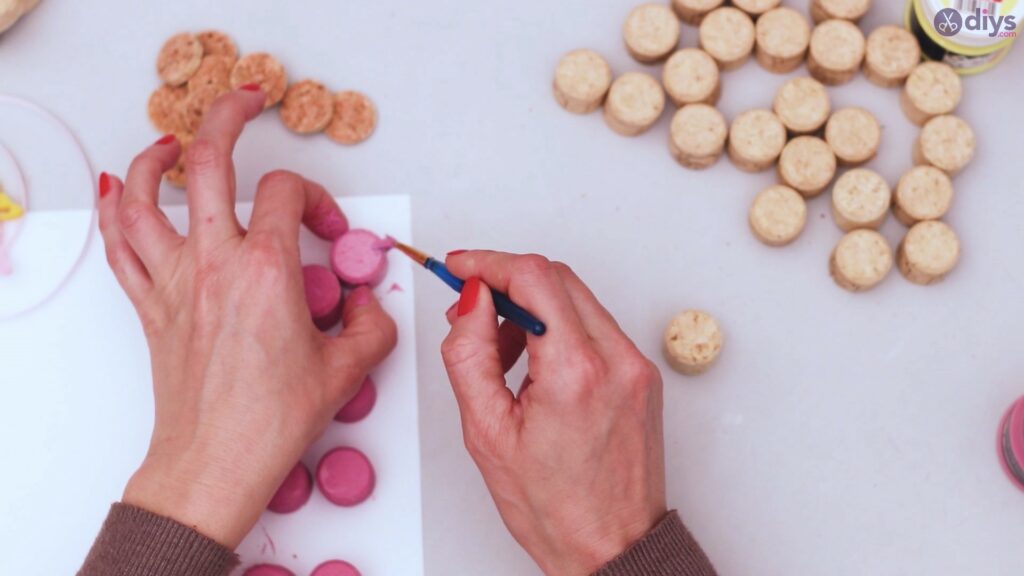
Now it’s time to get the pink acrylic paint and the paintbrush out. Paint about half the wine corks pink. Make sure the number of corks you paint pink is a multiple of 5 since that’s the number you’ll use for a single flower.
Make sure to also leave a bunch of corks unpainted, so you can create alternate wine cork flowers – some pink, some in the natural color of the wine cork.
Paint the wine corks on the top and the sides, but not the bottom. Place the wine cork halves on a piece of paper and leave them out to dry.
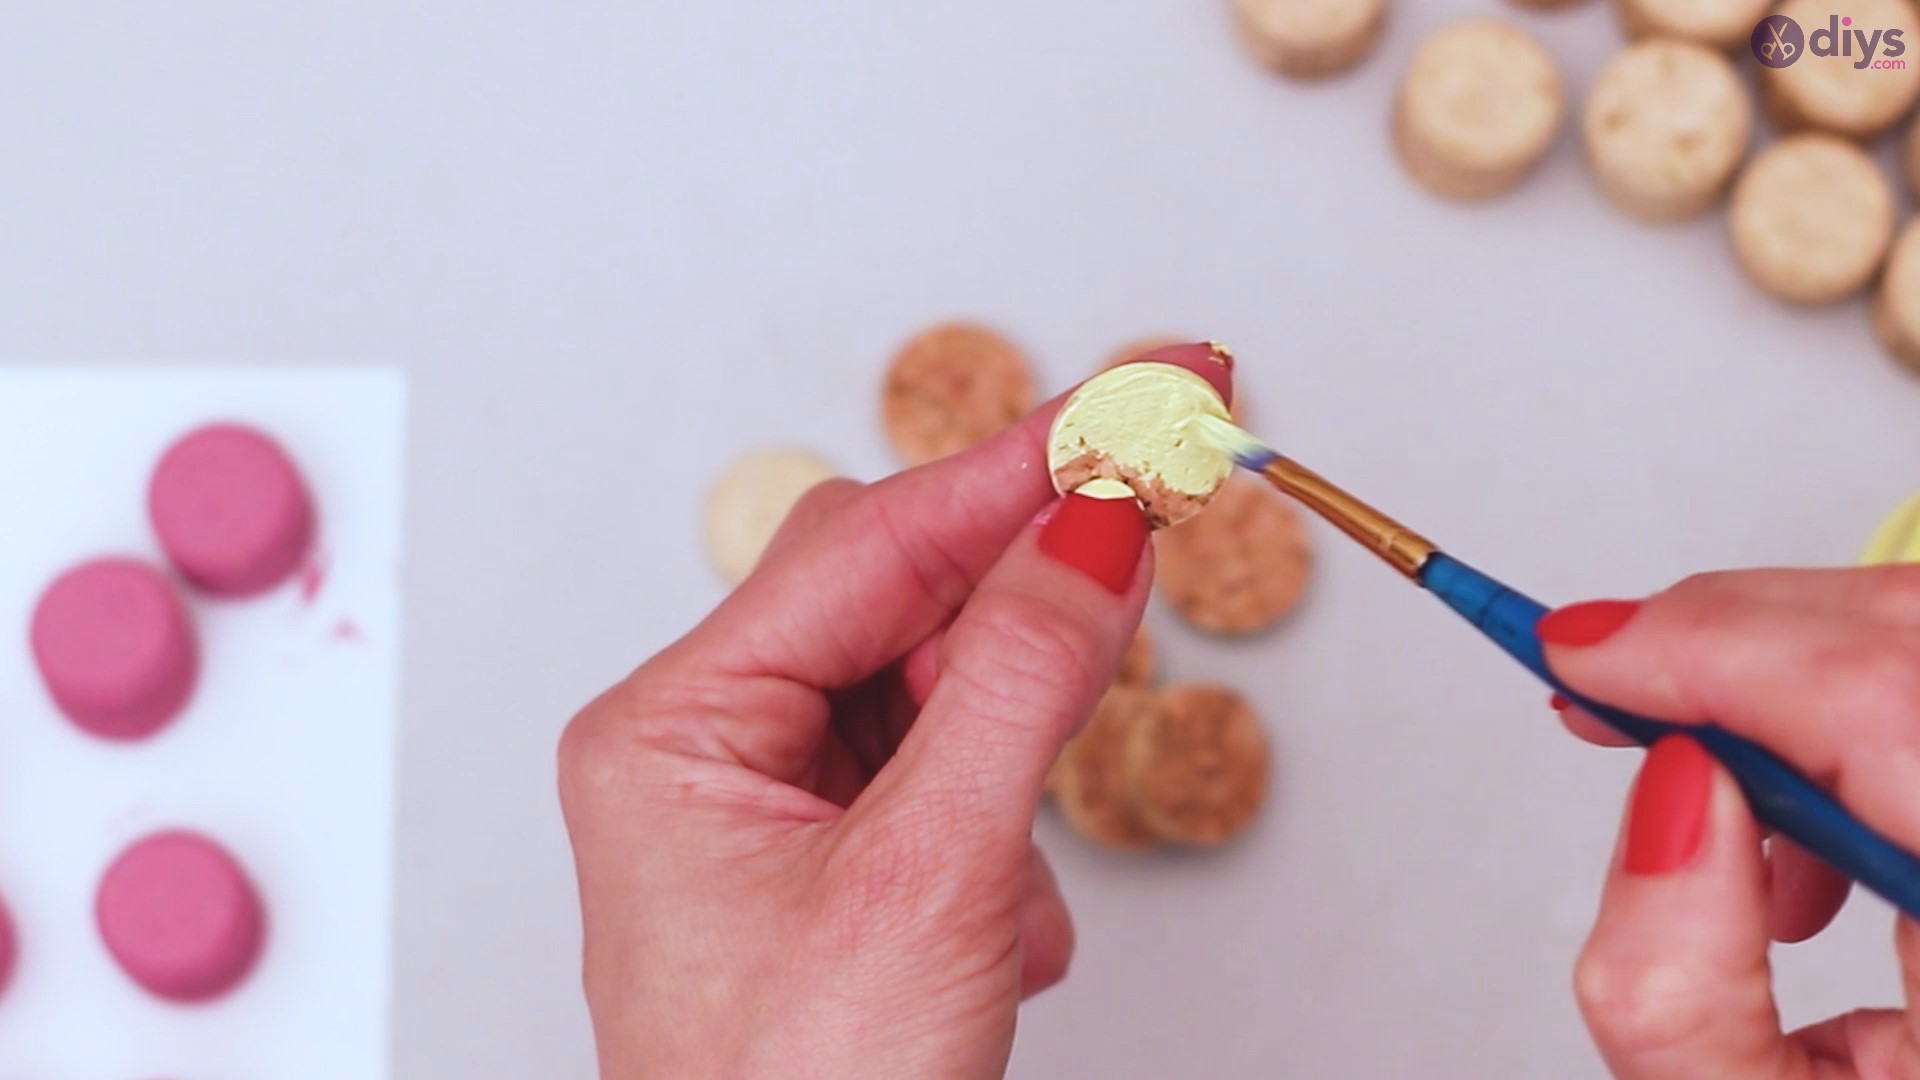
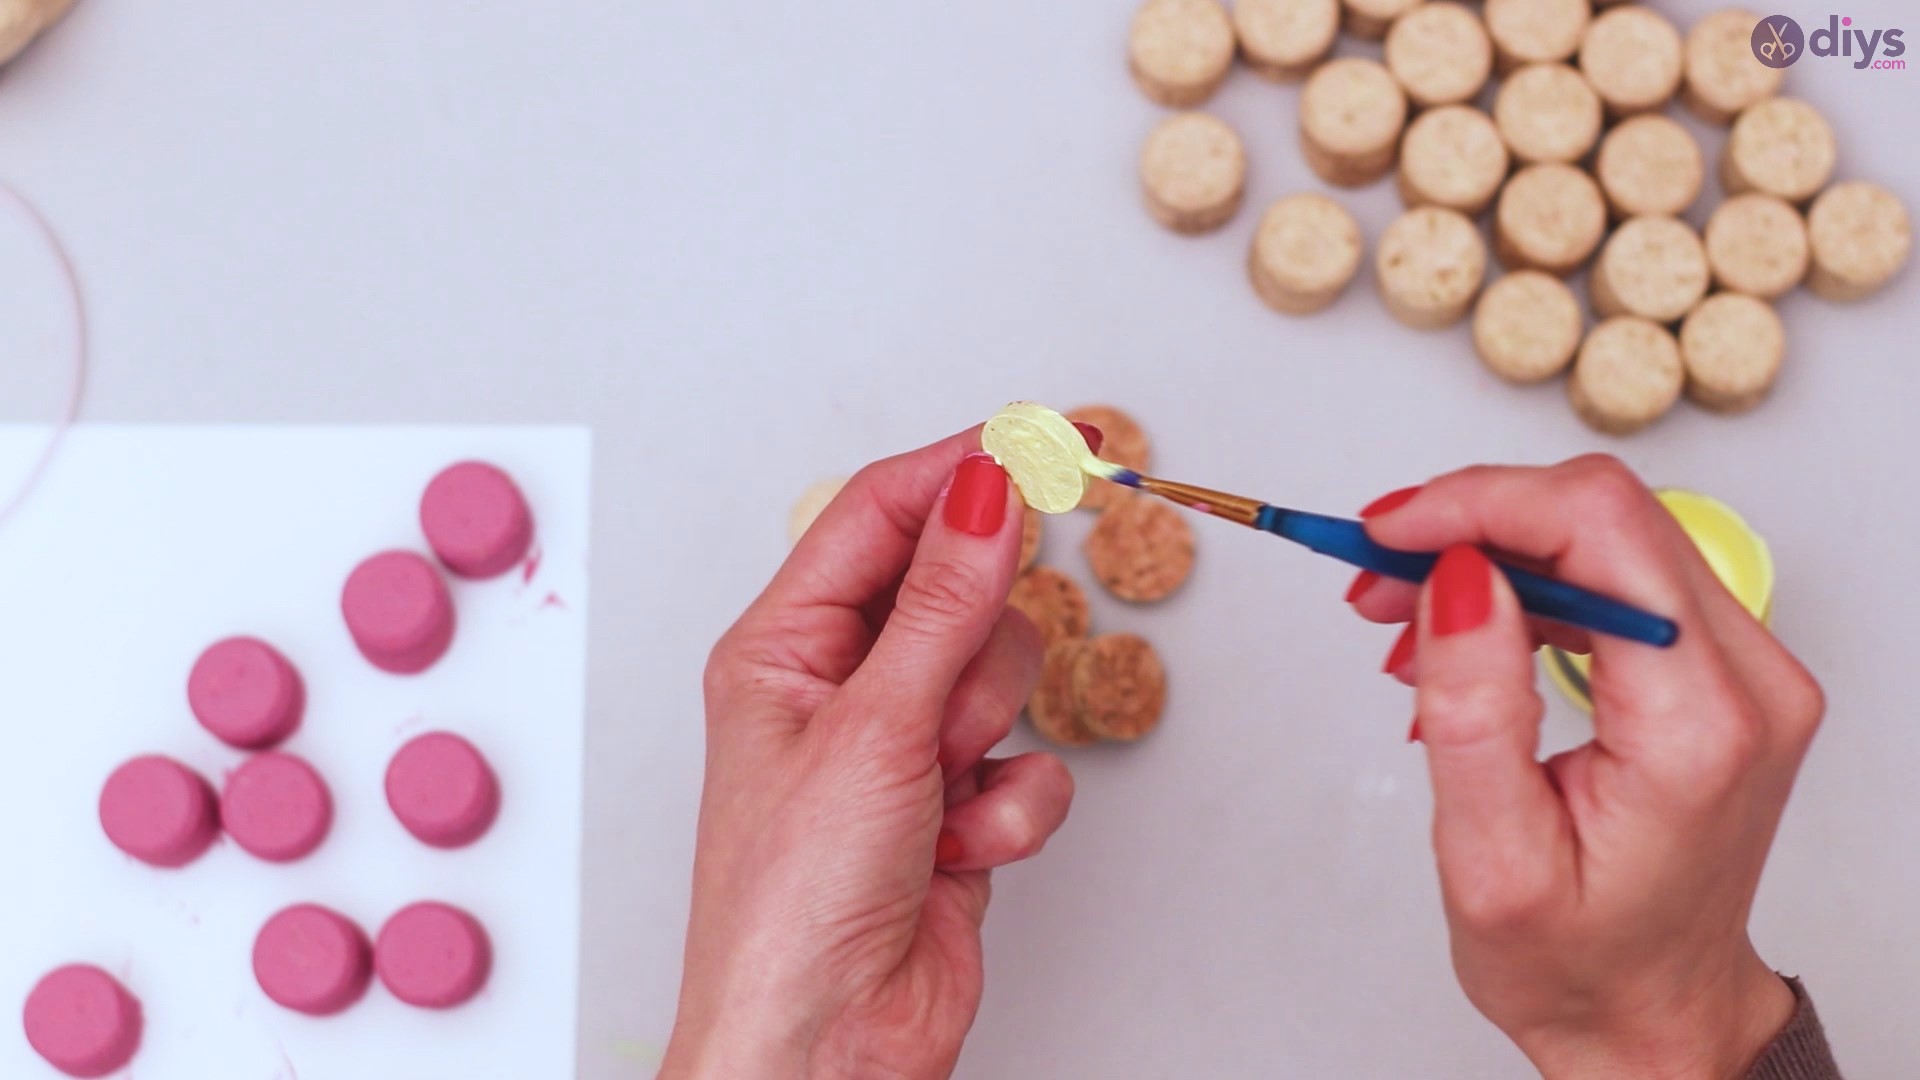
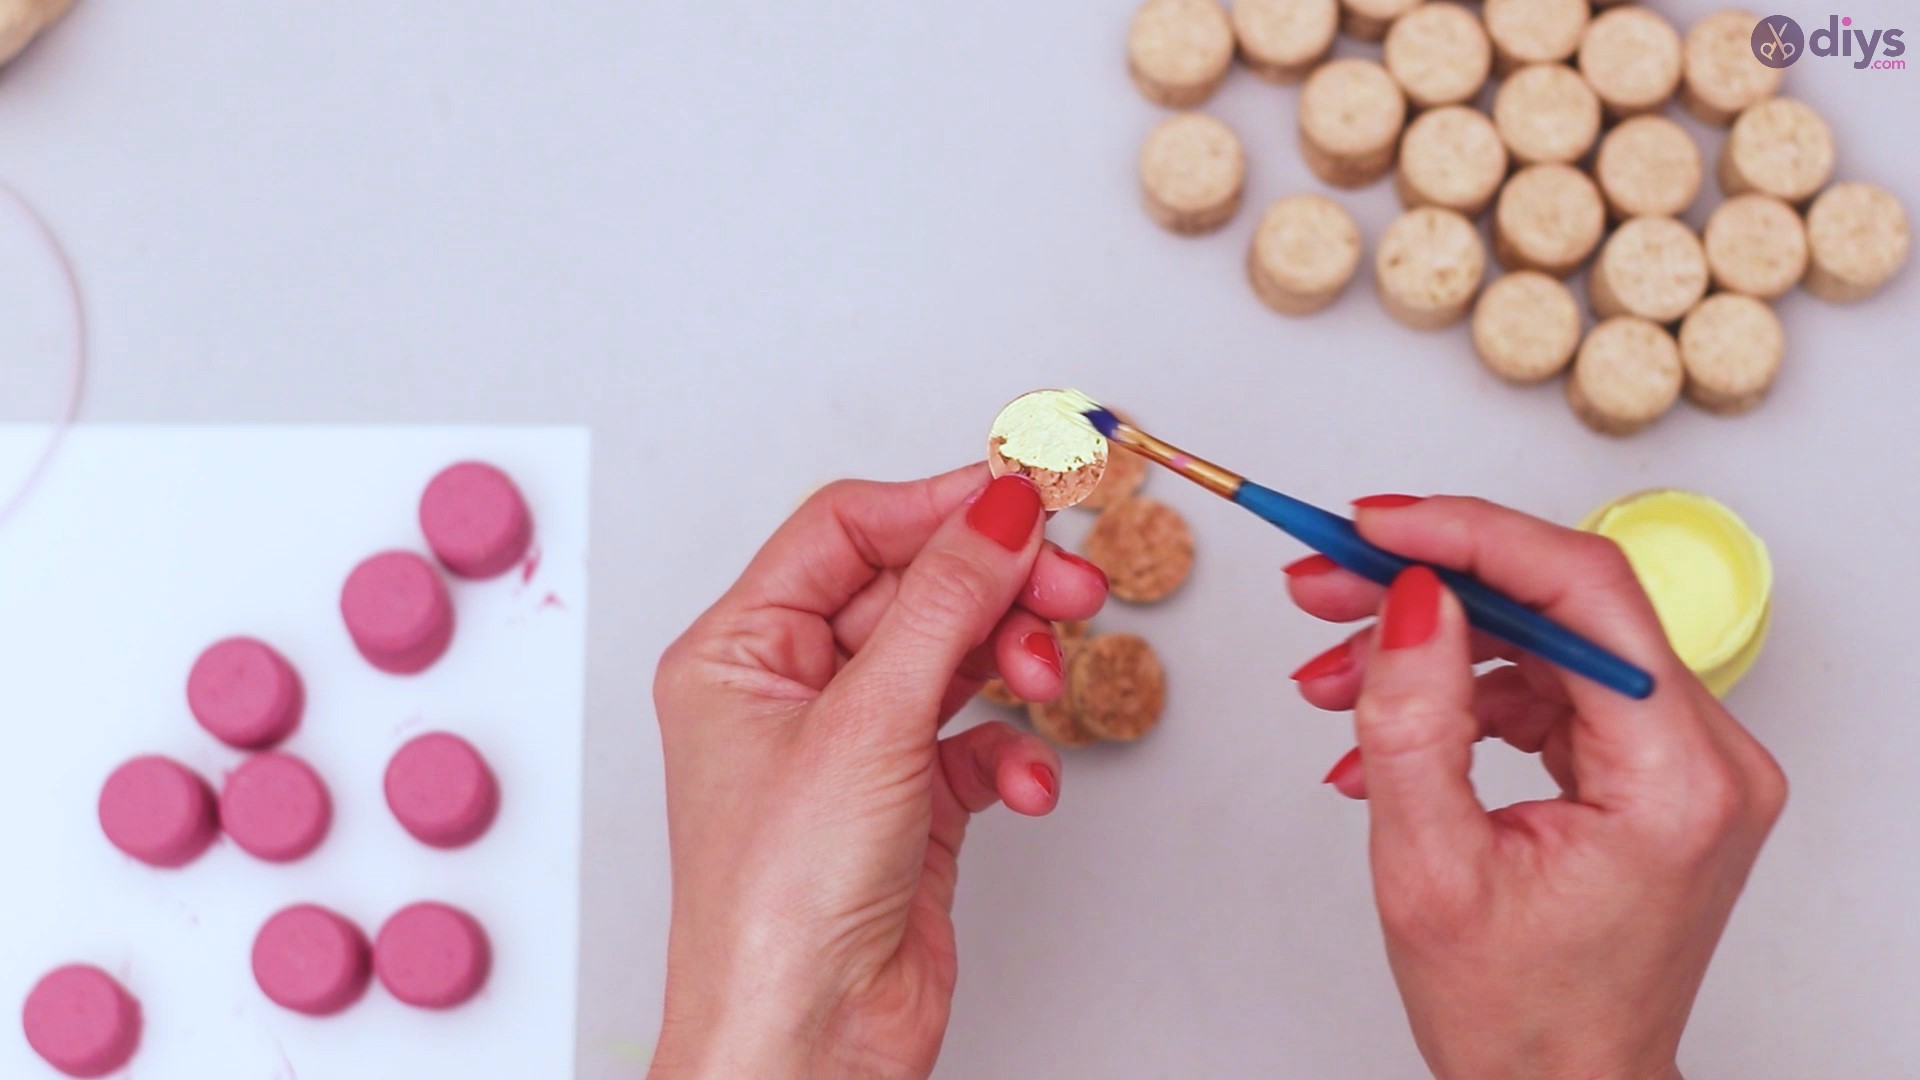
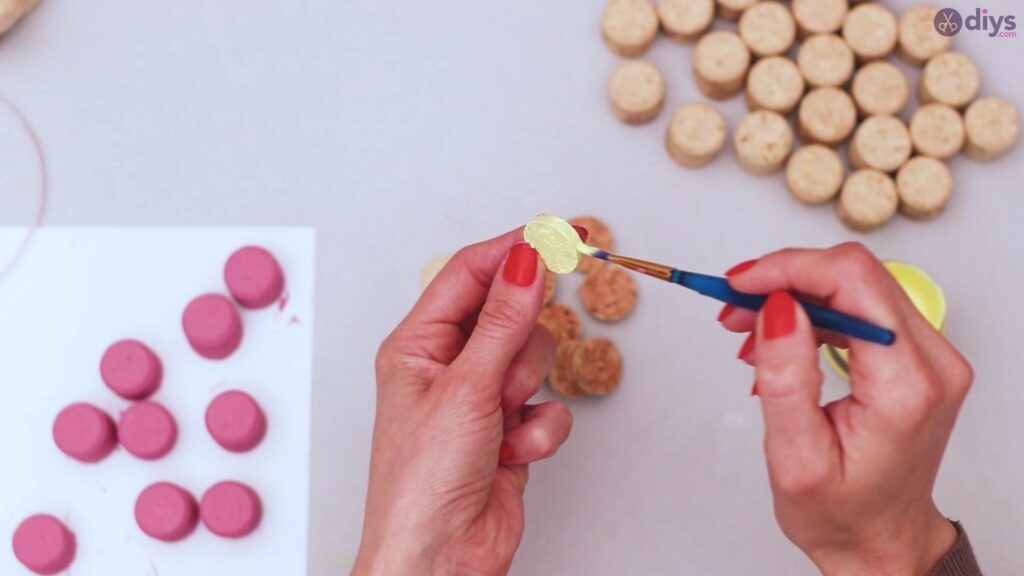
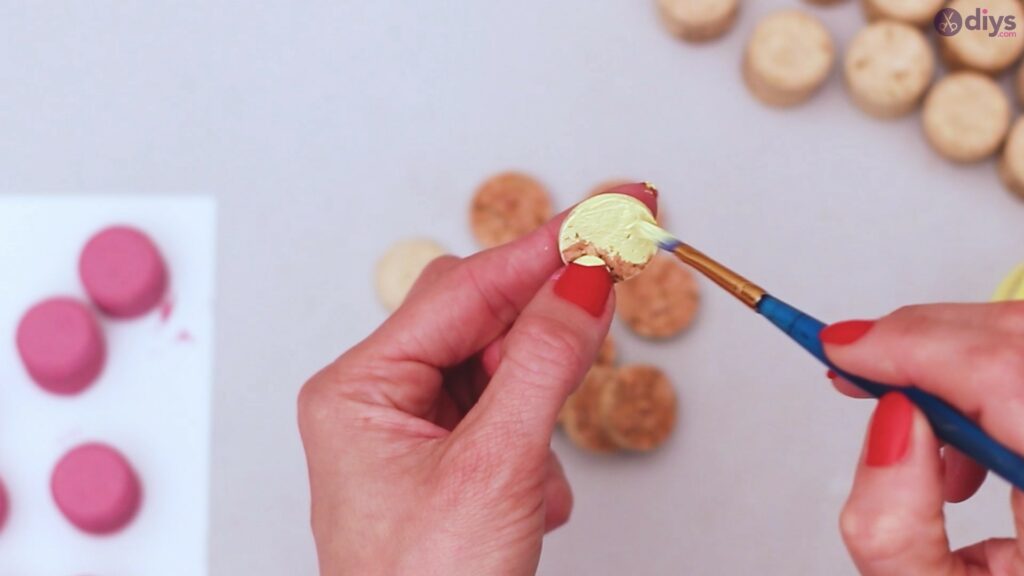
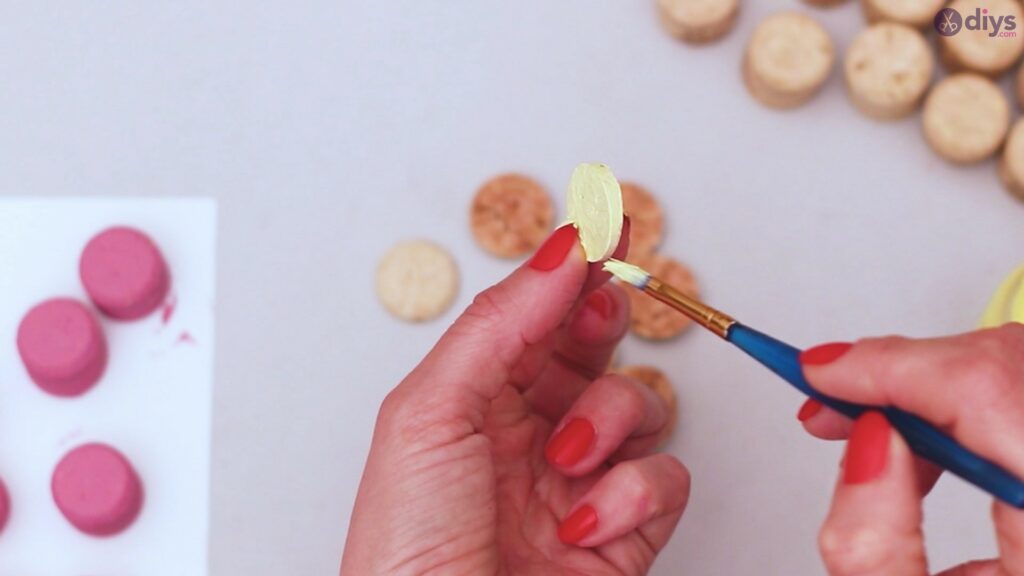
Step 6: Paint the wine cork slices yellow
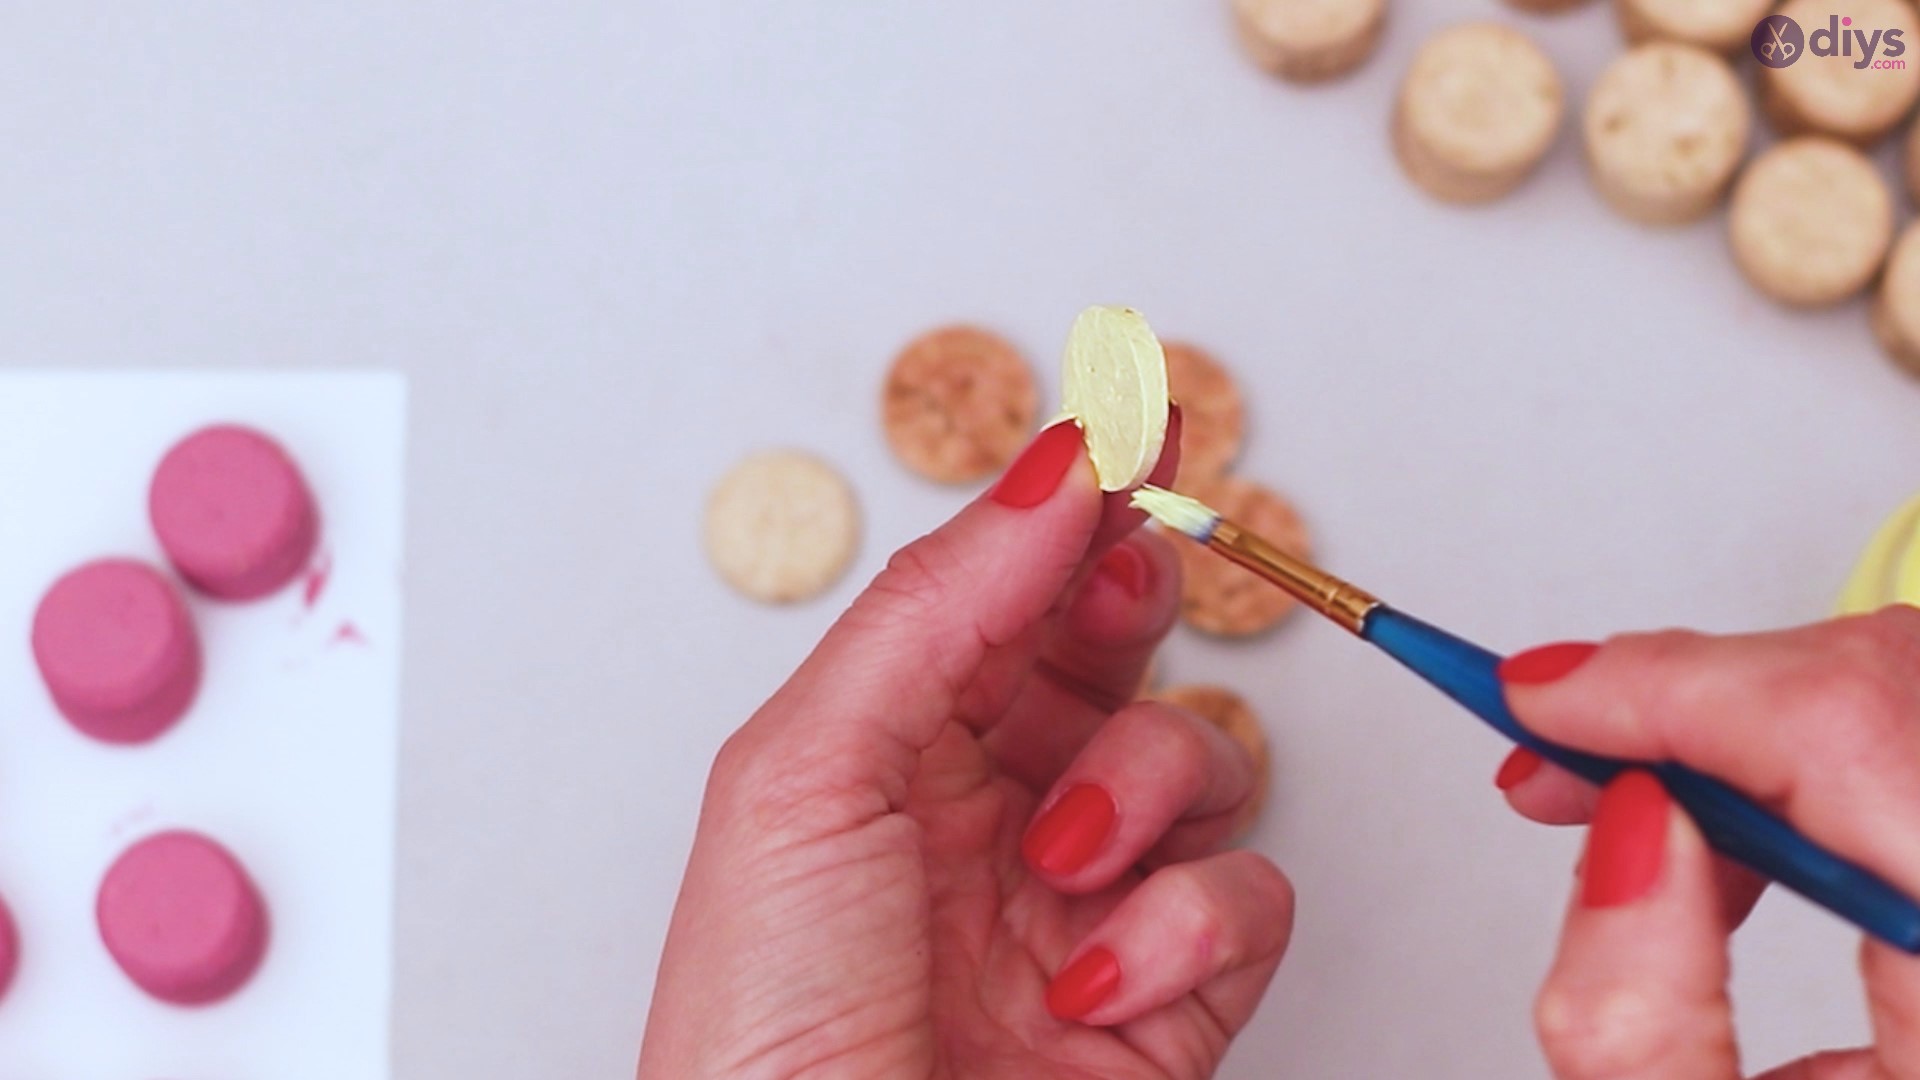
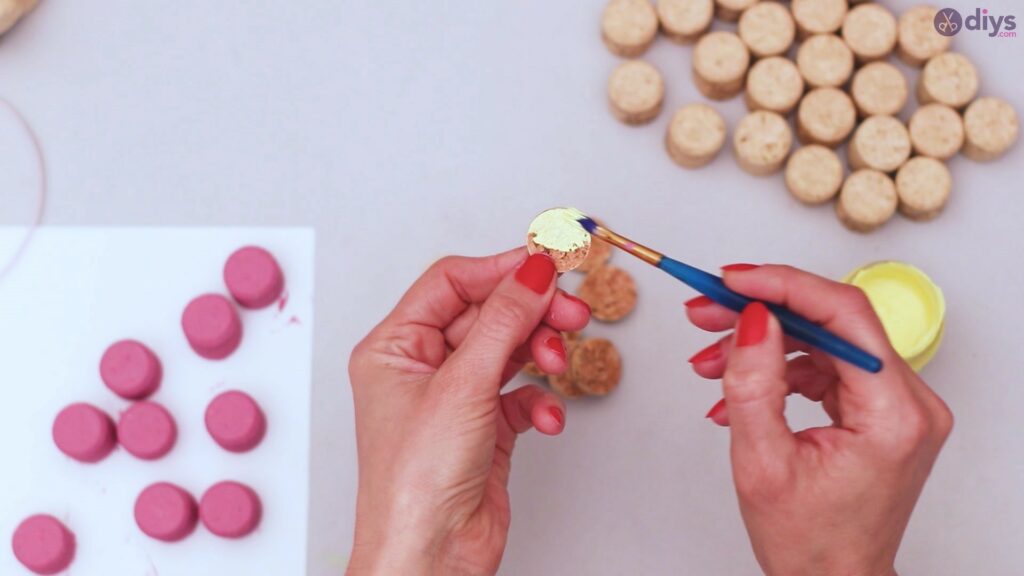
Next, you want to create the middle of the flowers. Usually, even when you color out a picture, that’s going to be yellow, so that’s what we’re going to use here.
Pick up the wine cork slices and start painting them yellow. Make sure you cover the top and the sides.
Leave them out to dry on a piece of paper. We’ll return to them later on.
Step 6: Create the flowers
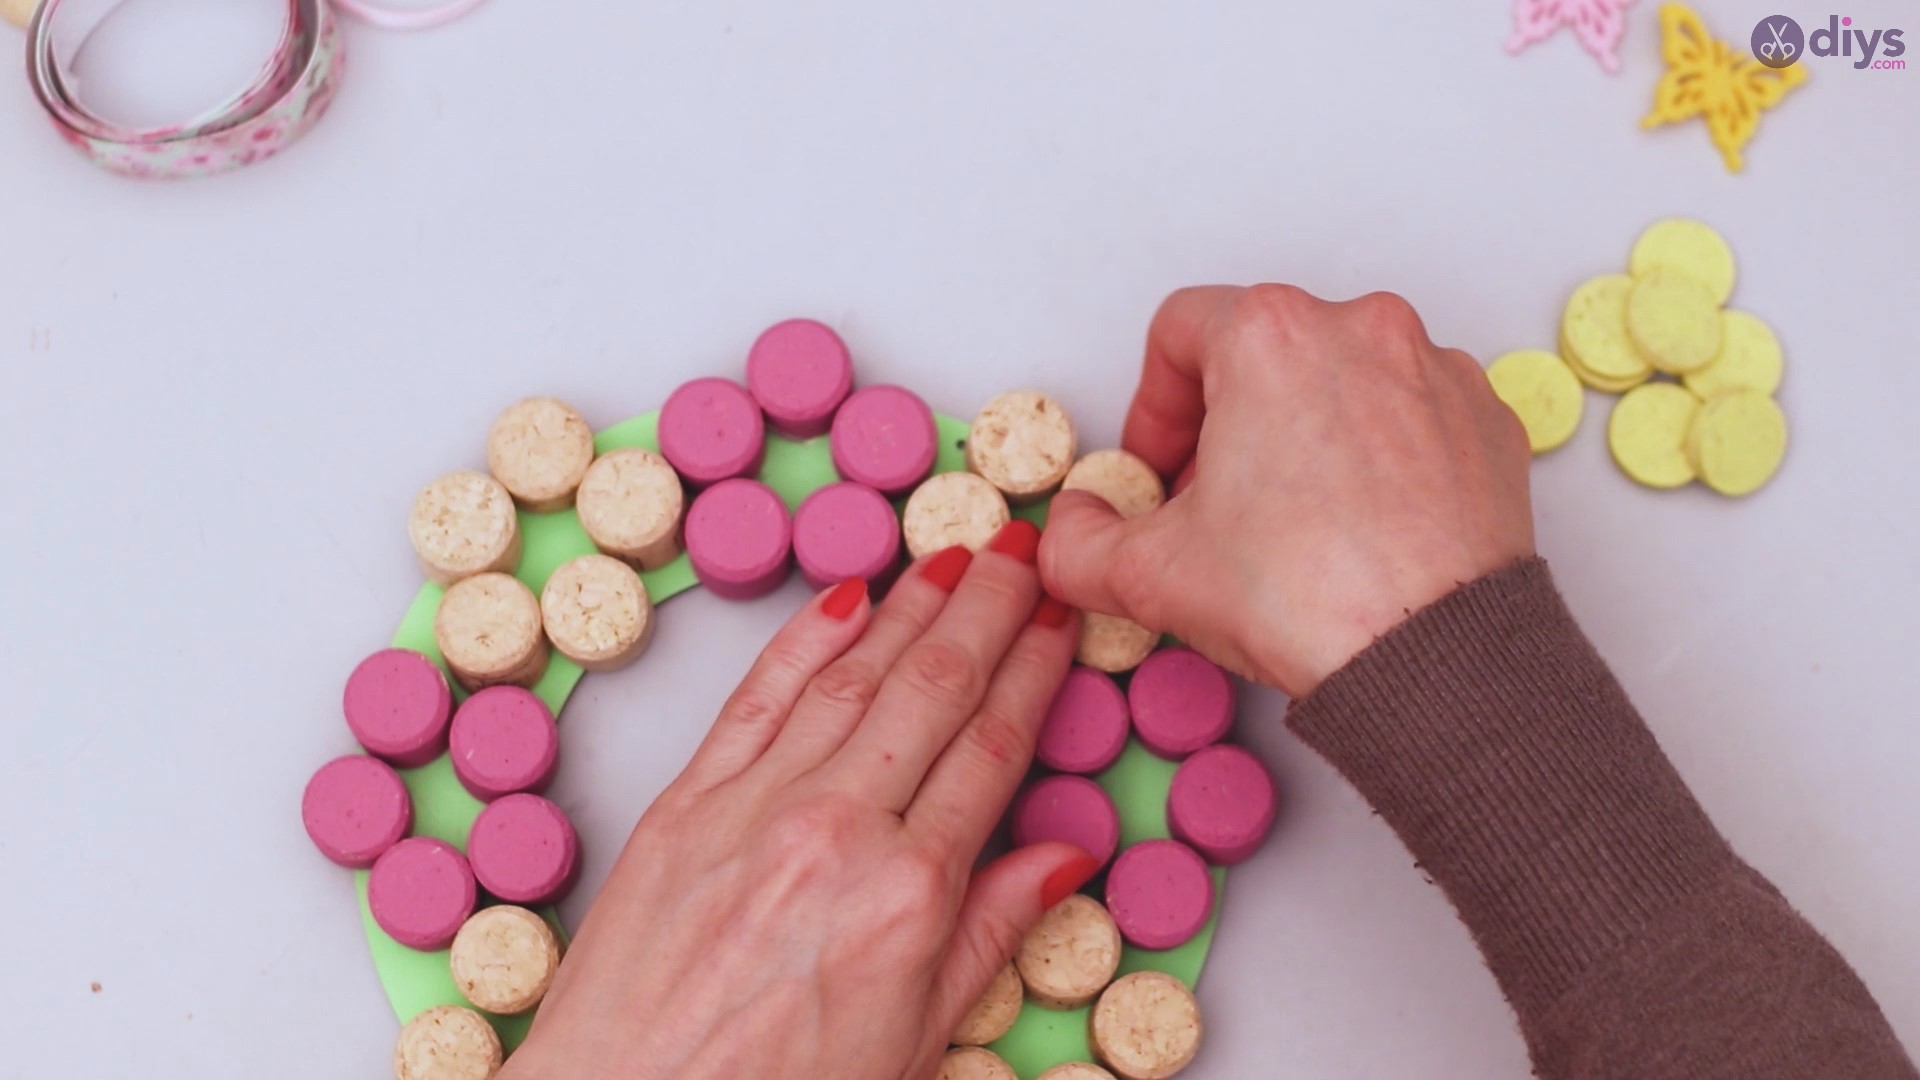
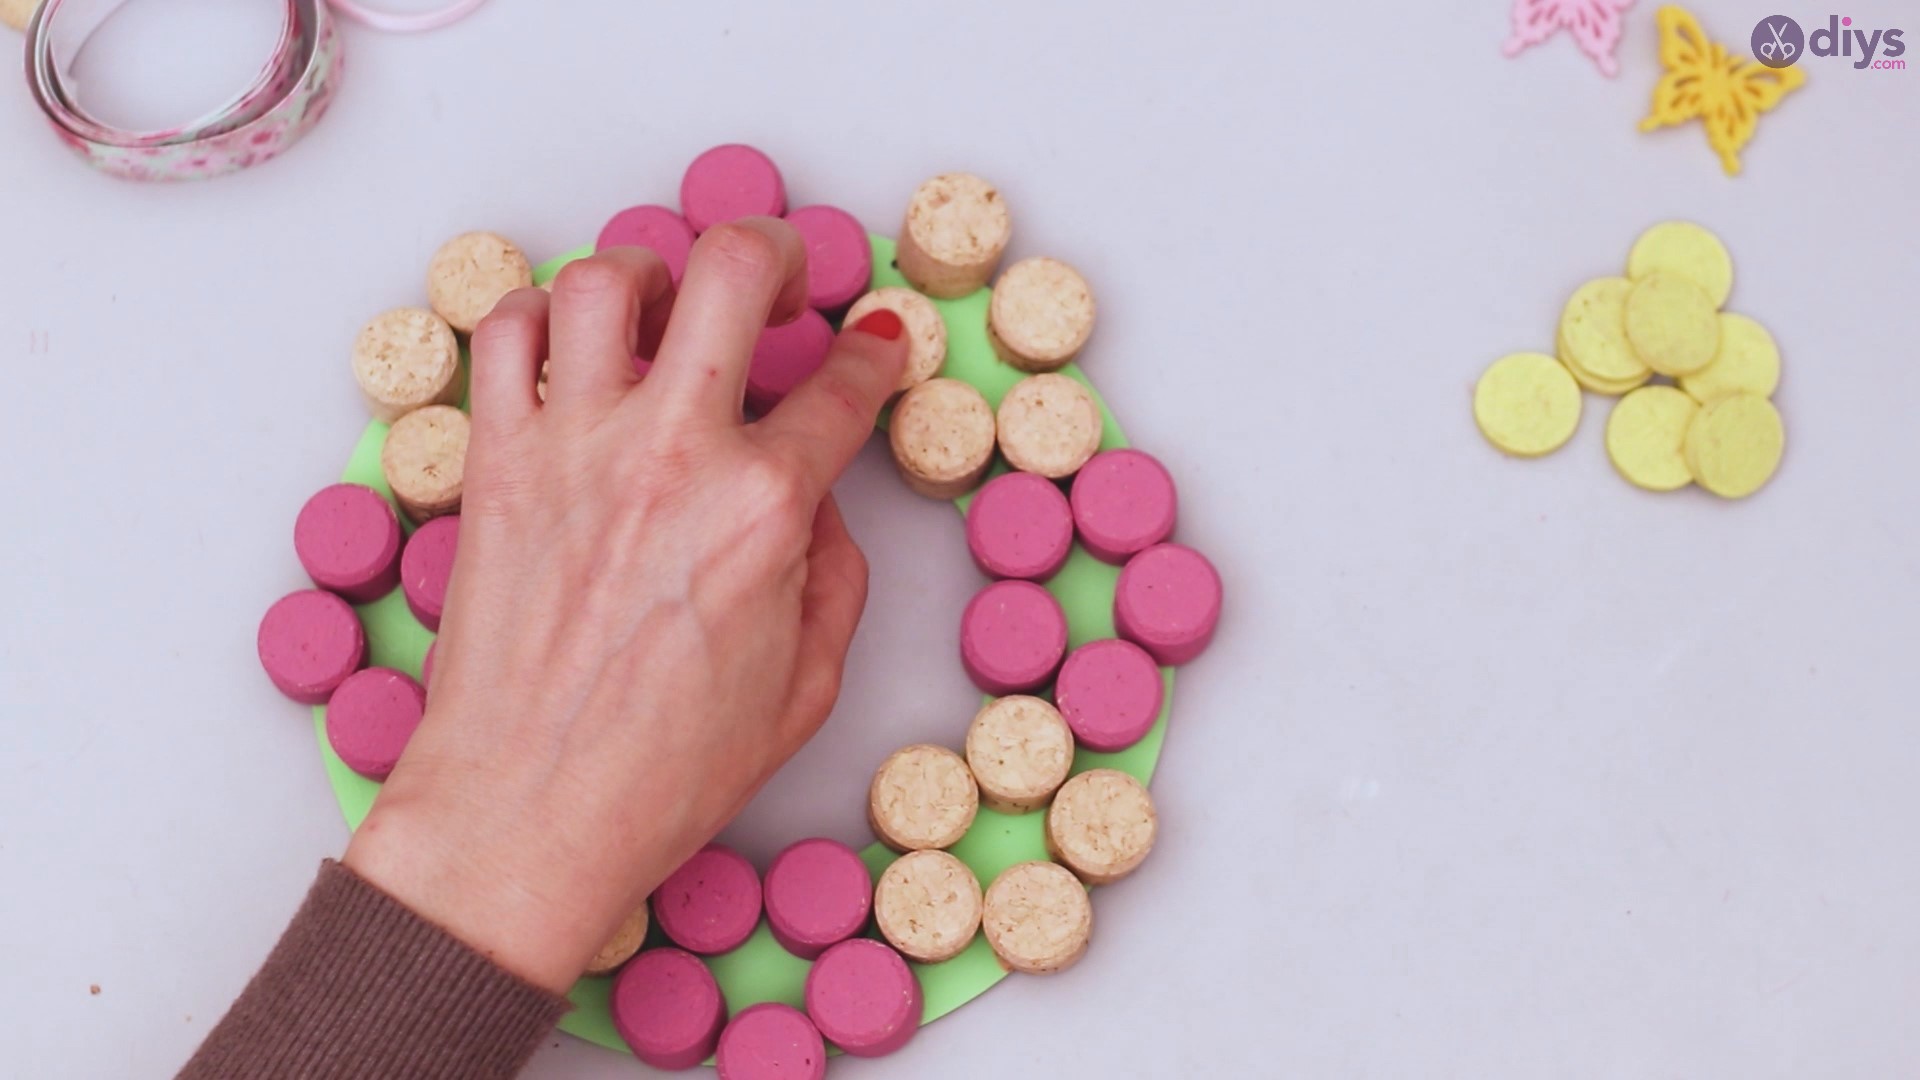
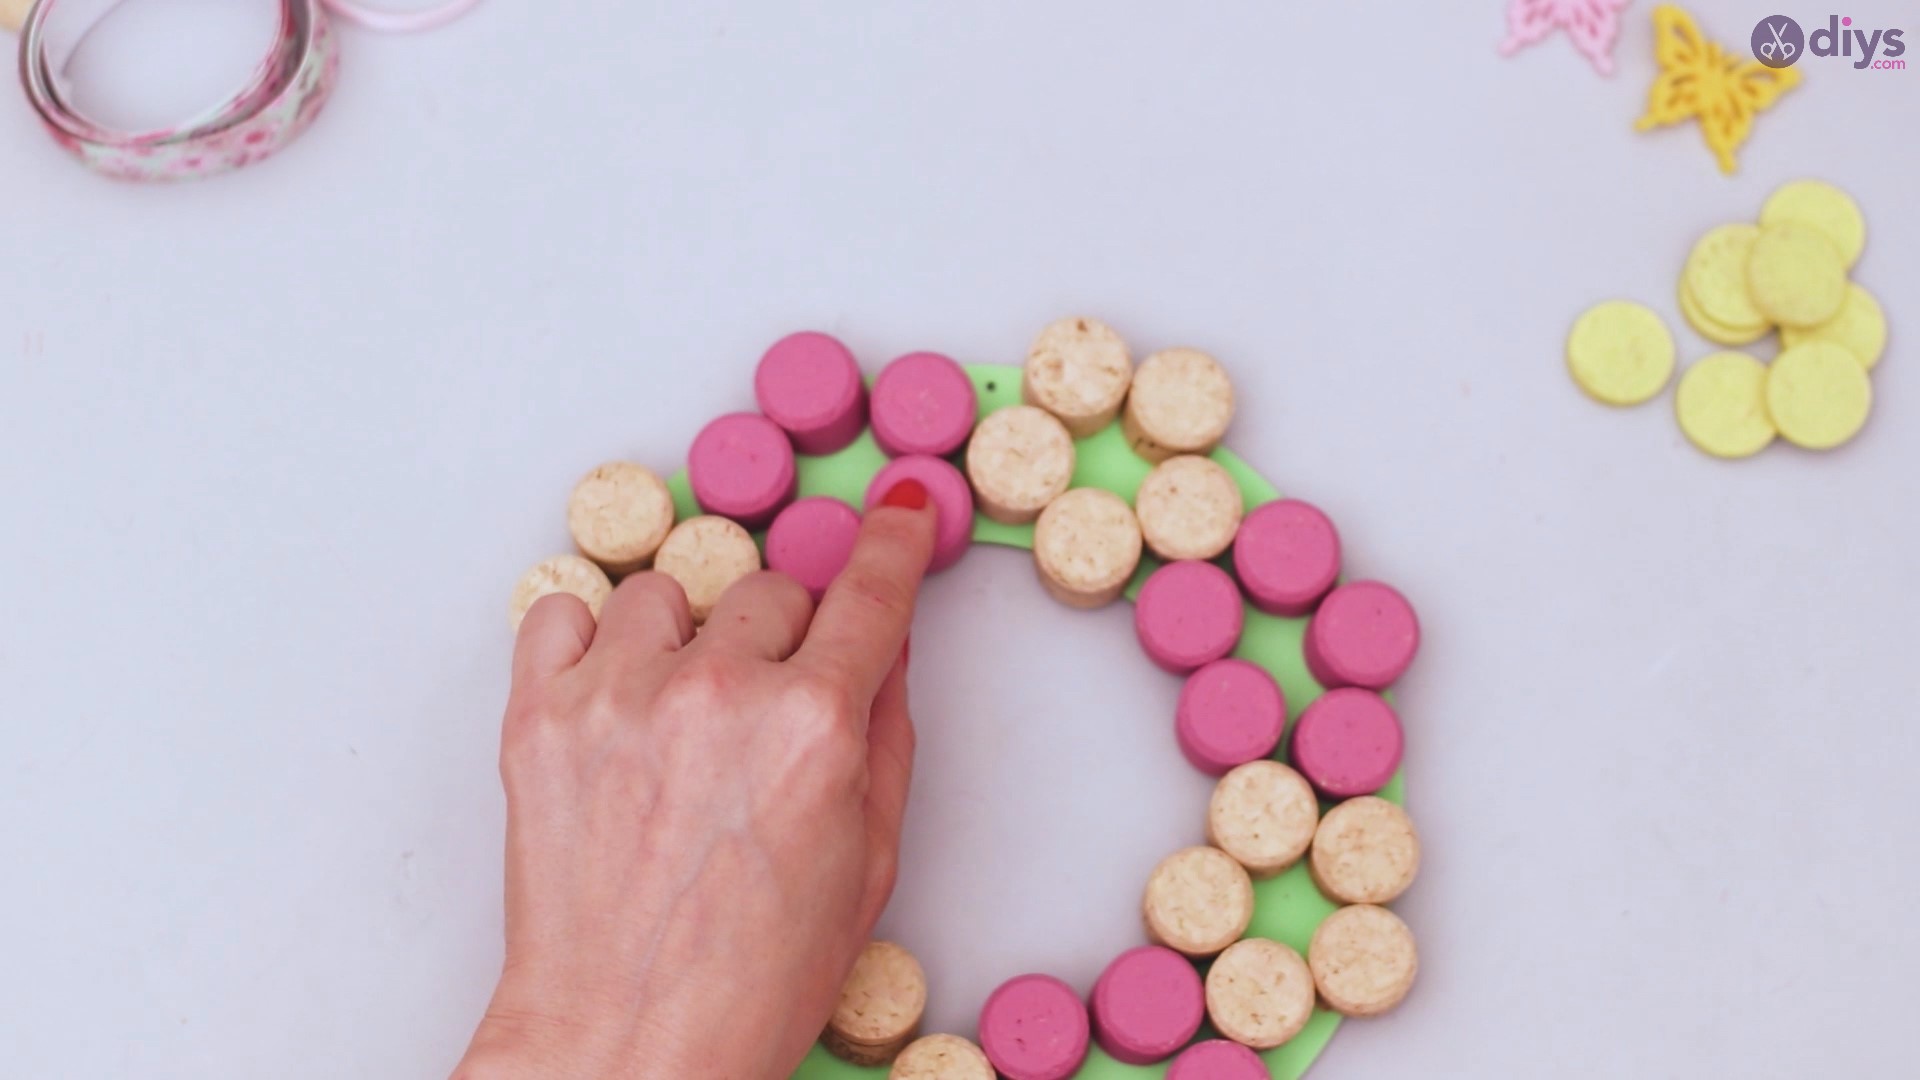
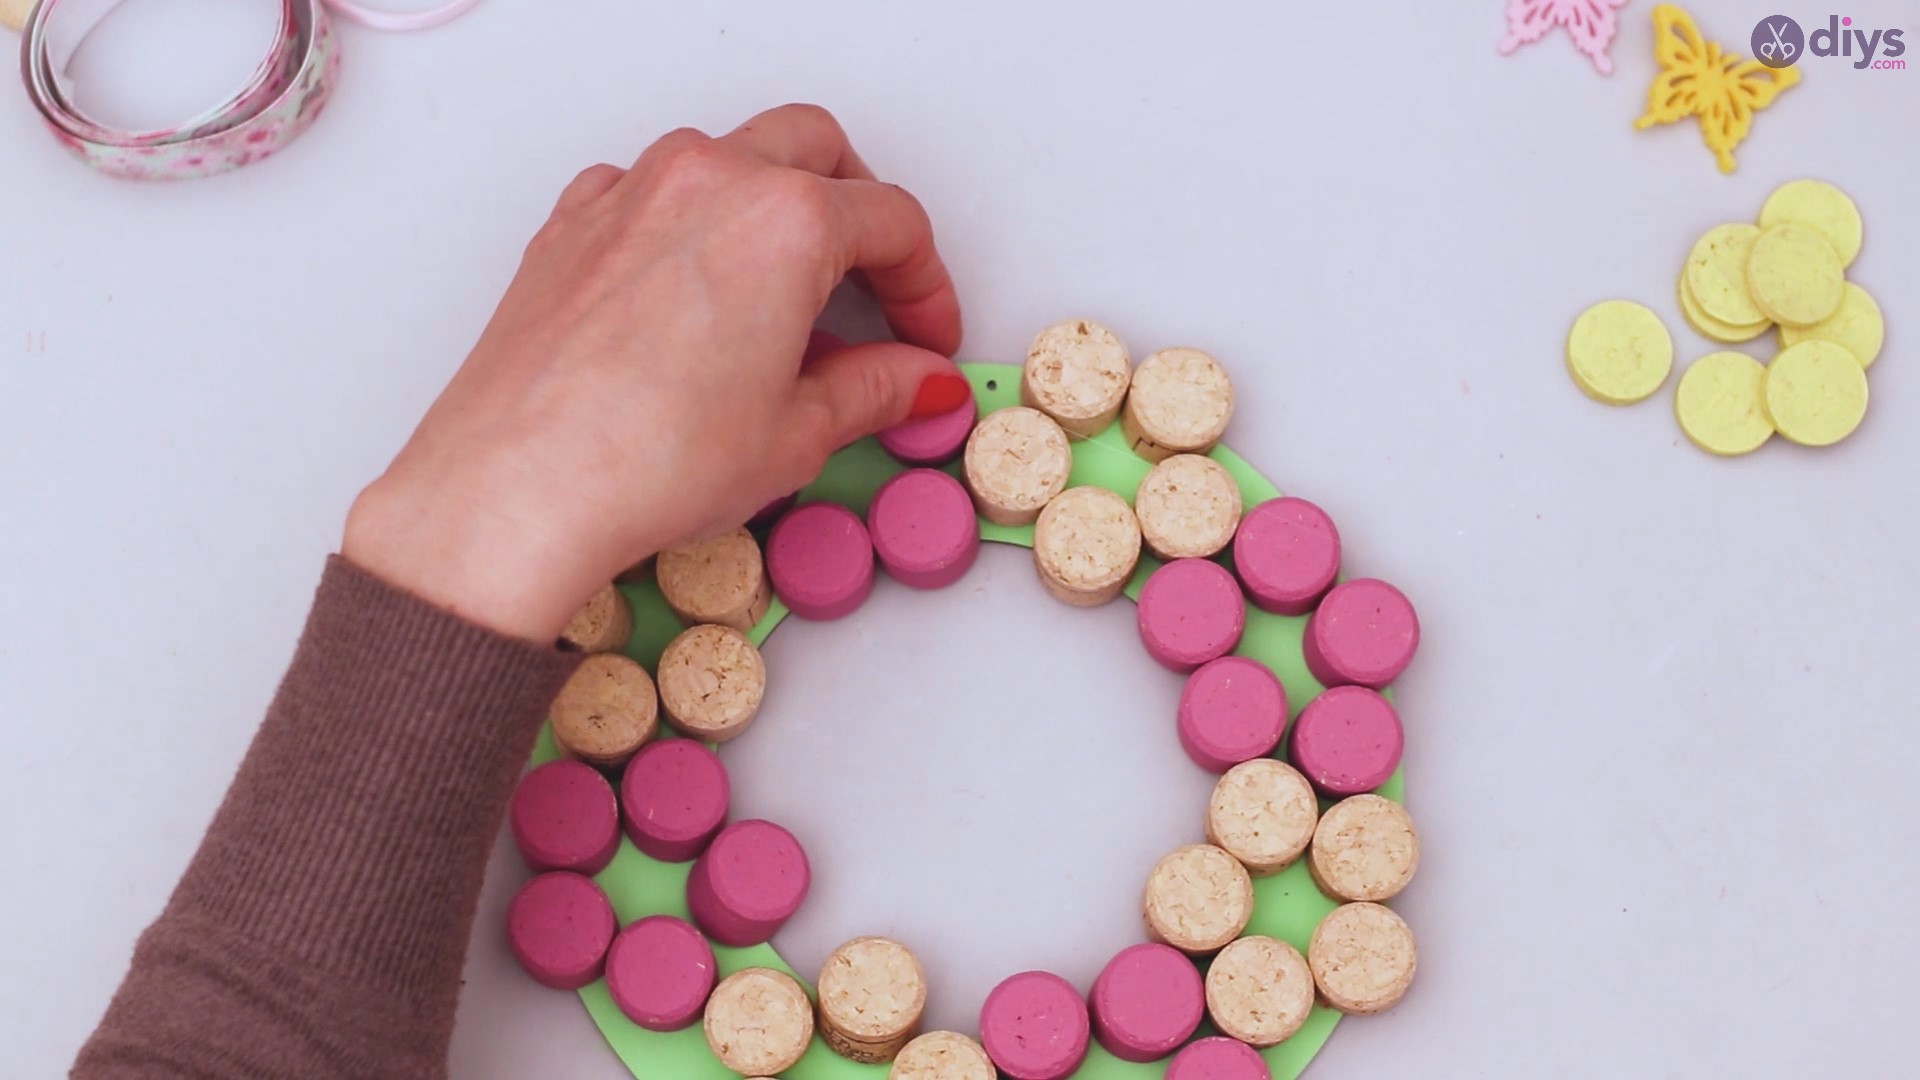
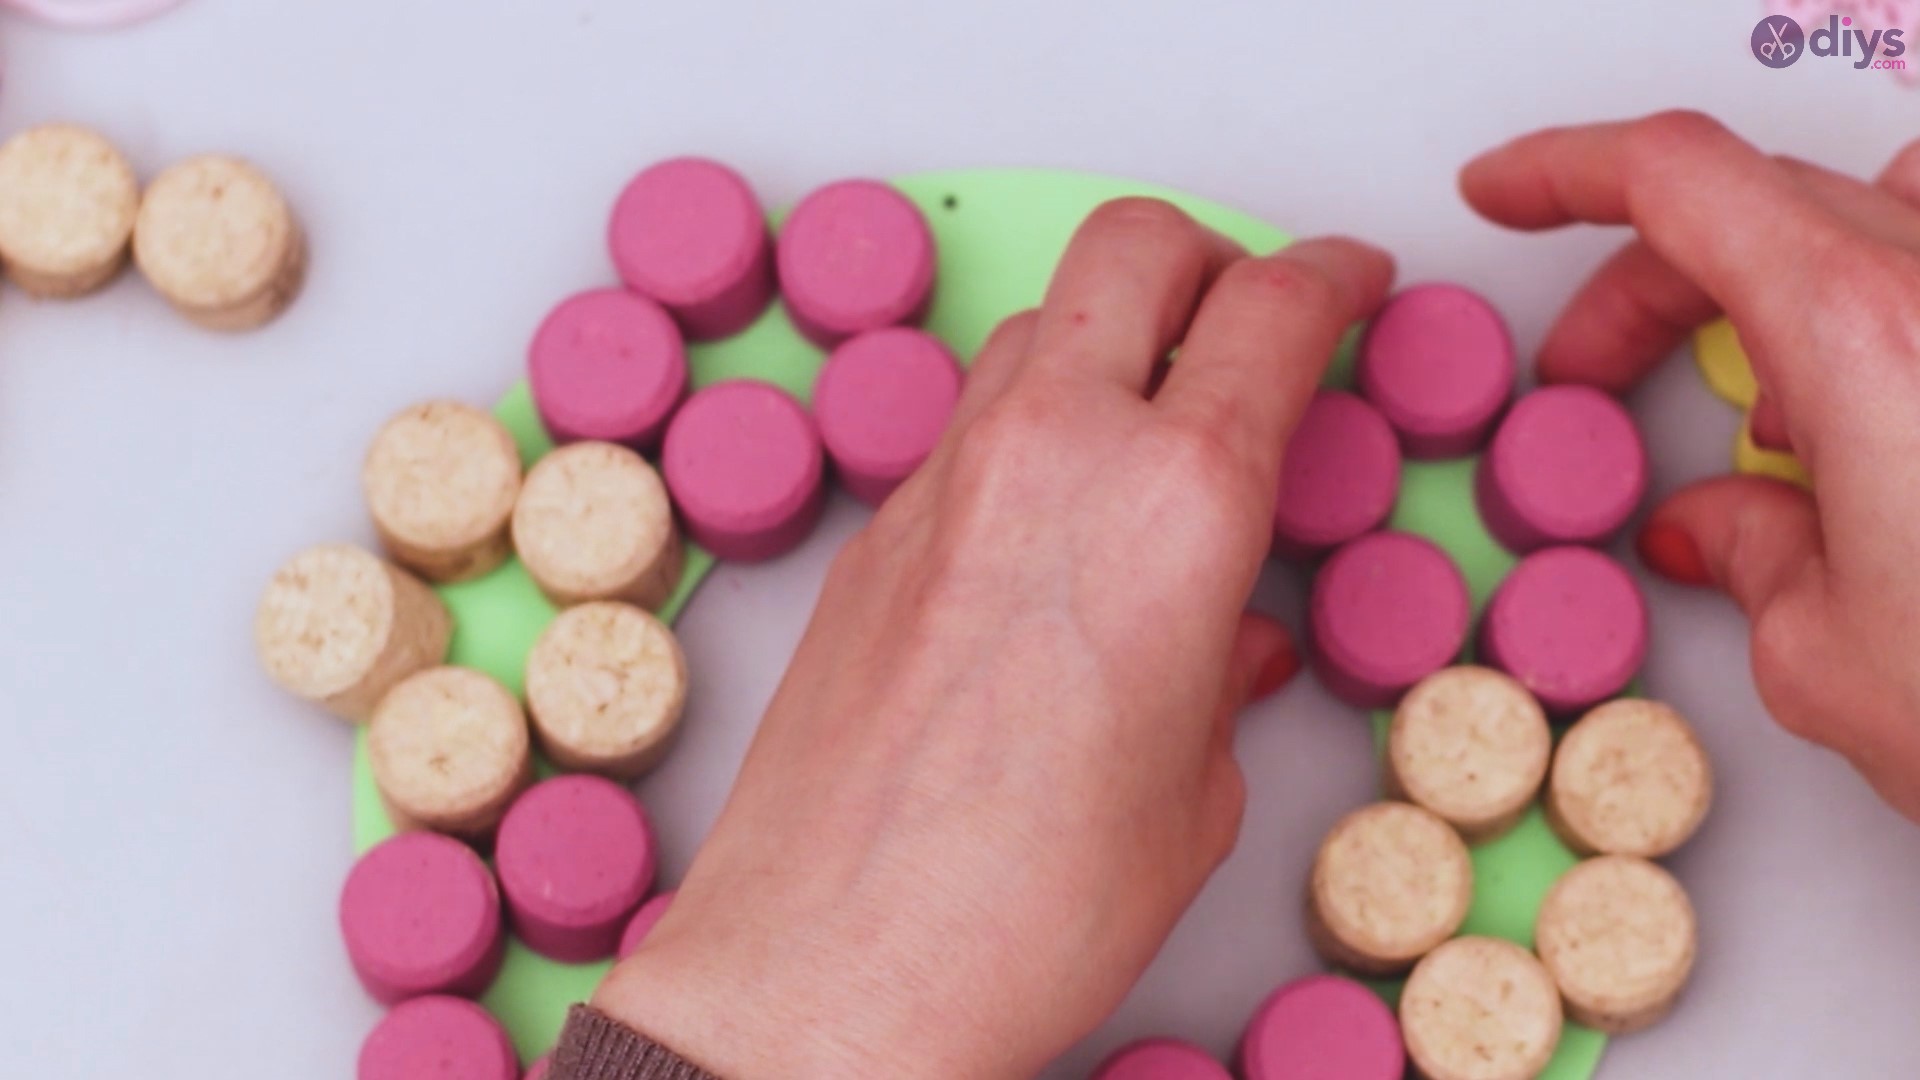
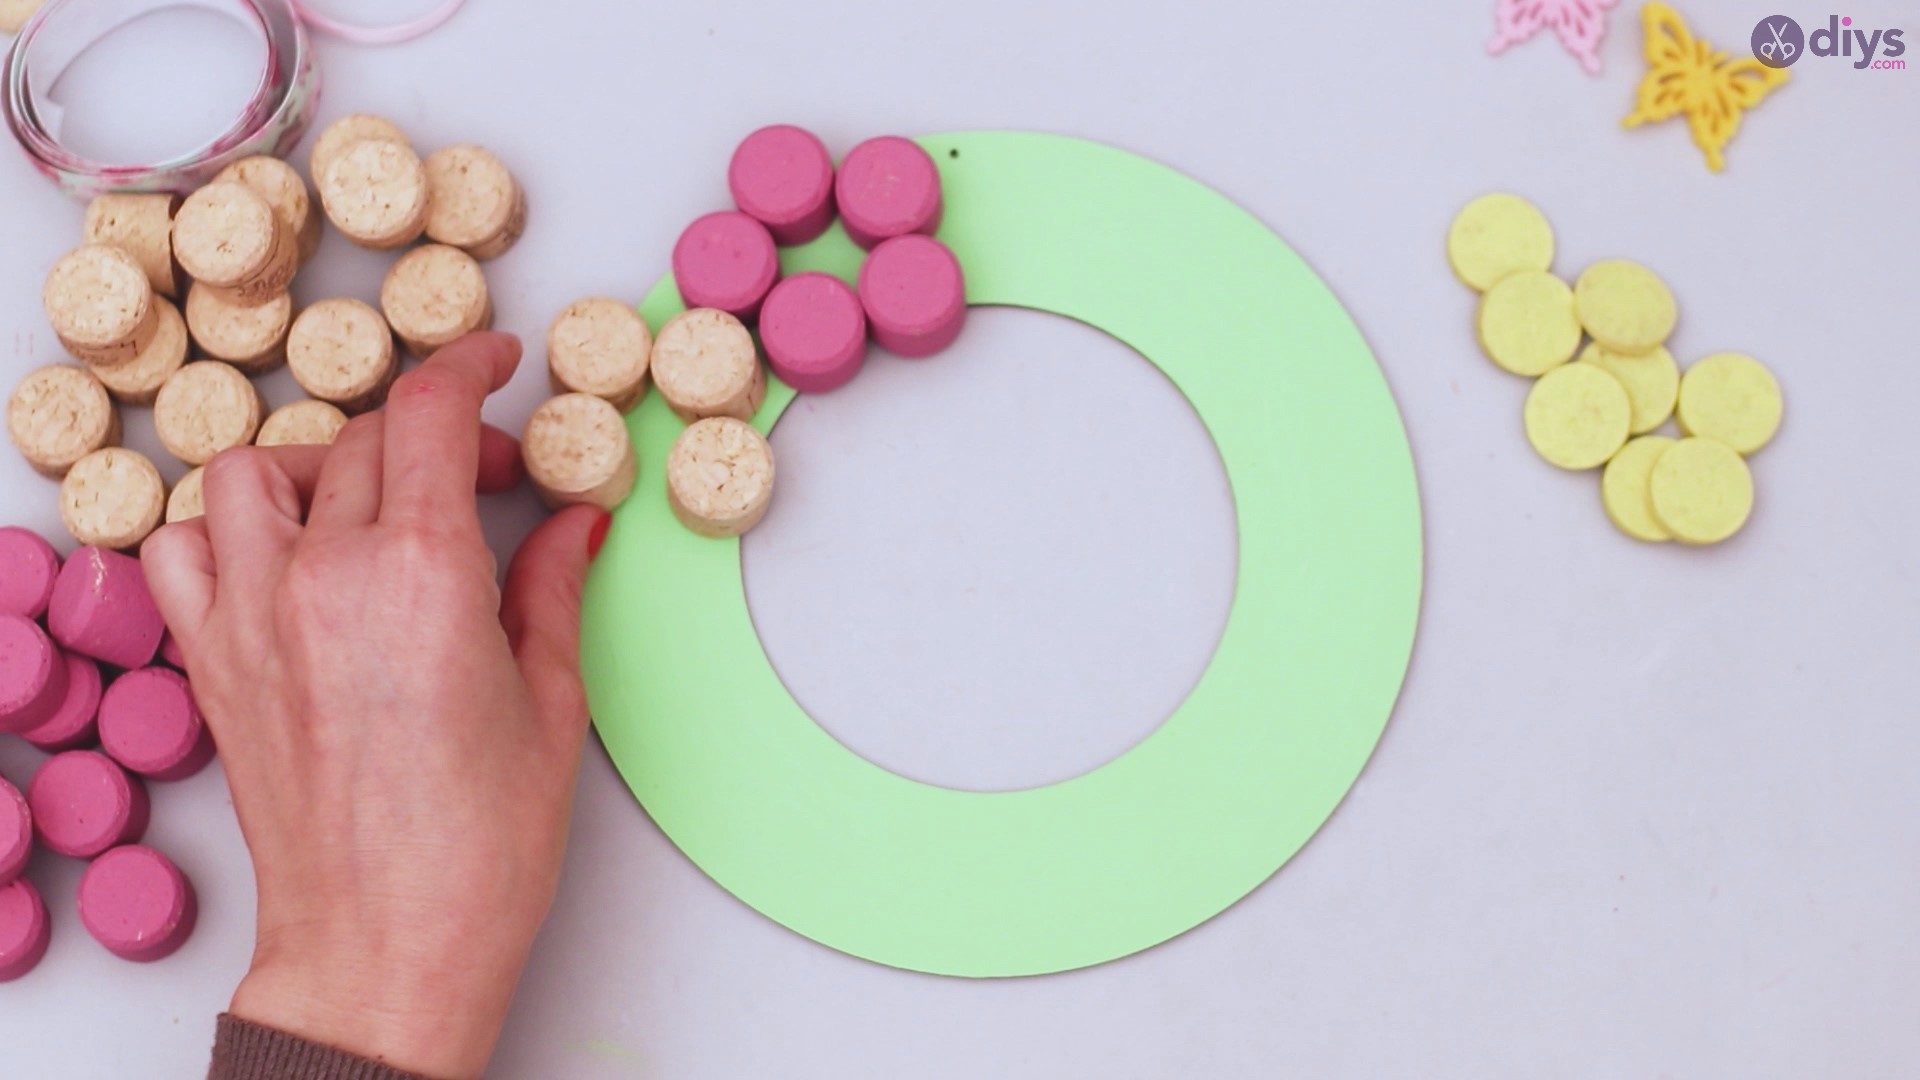
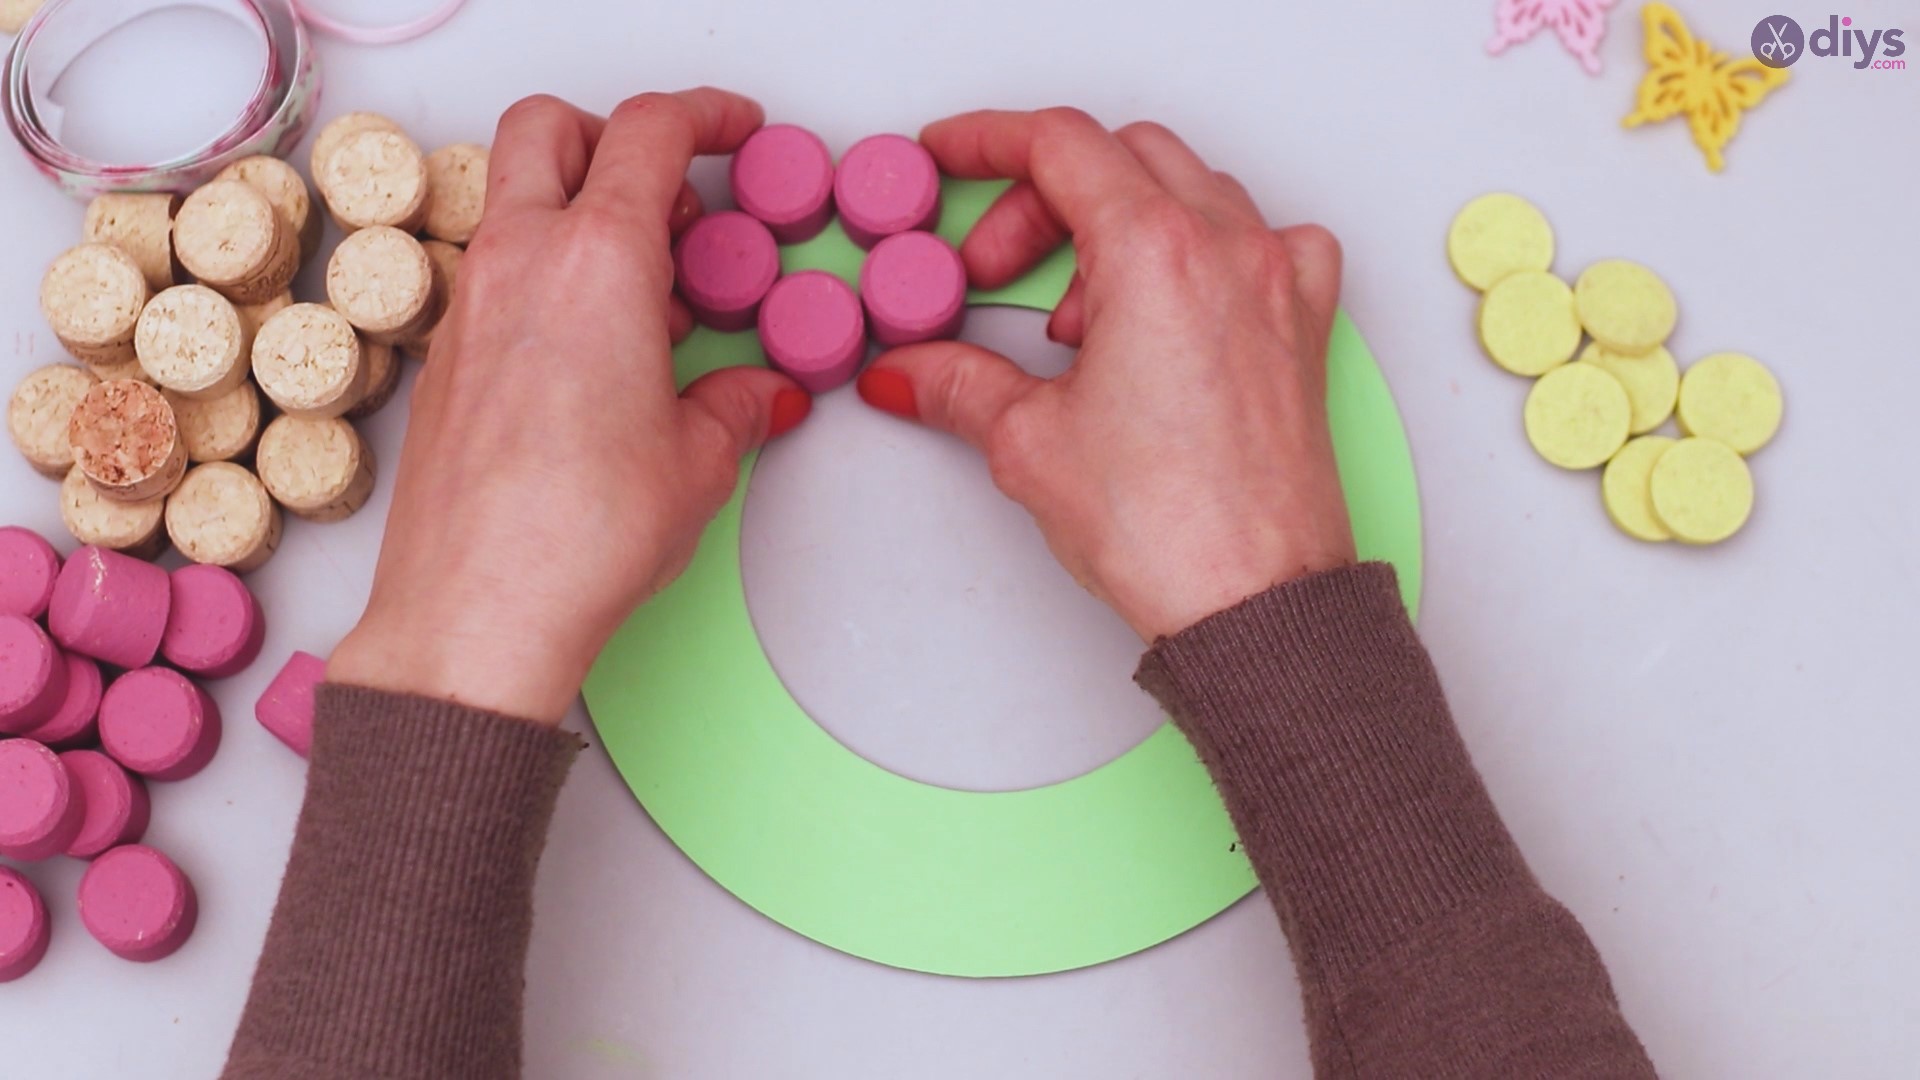
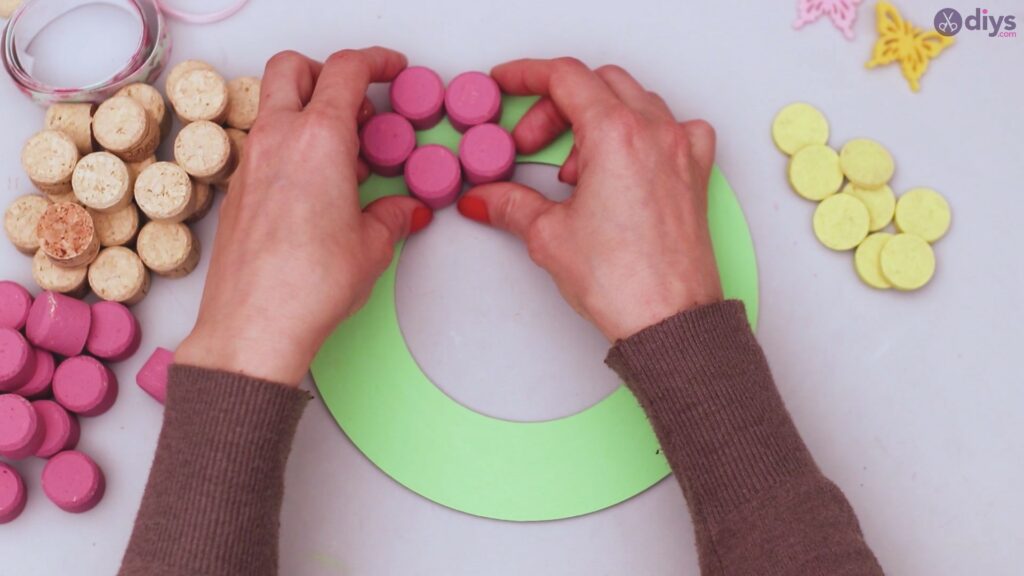
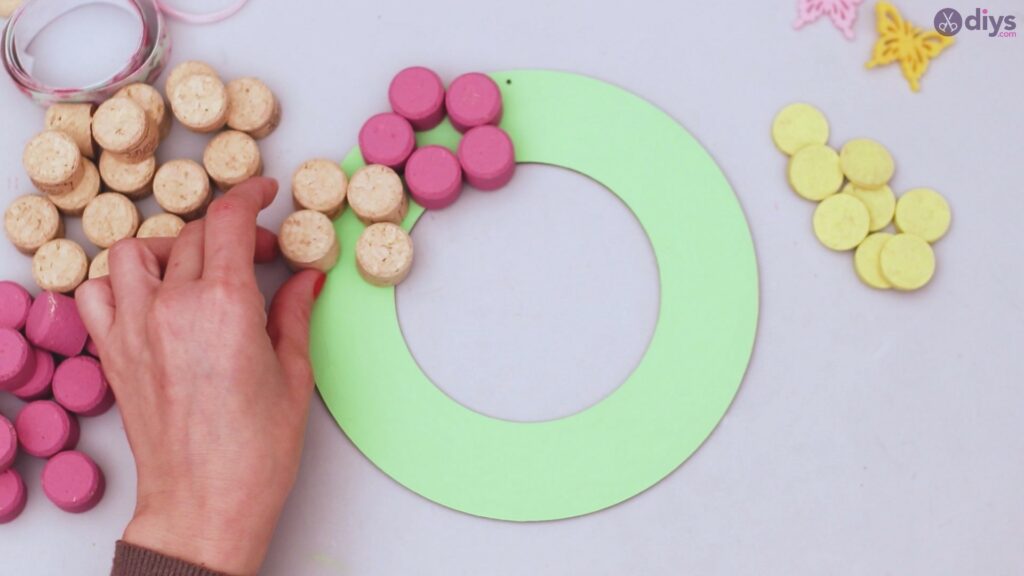
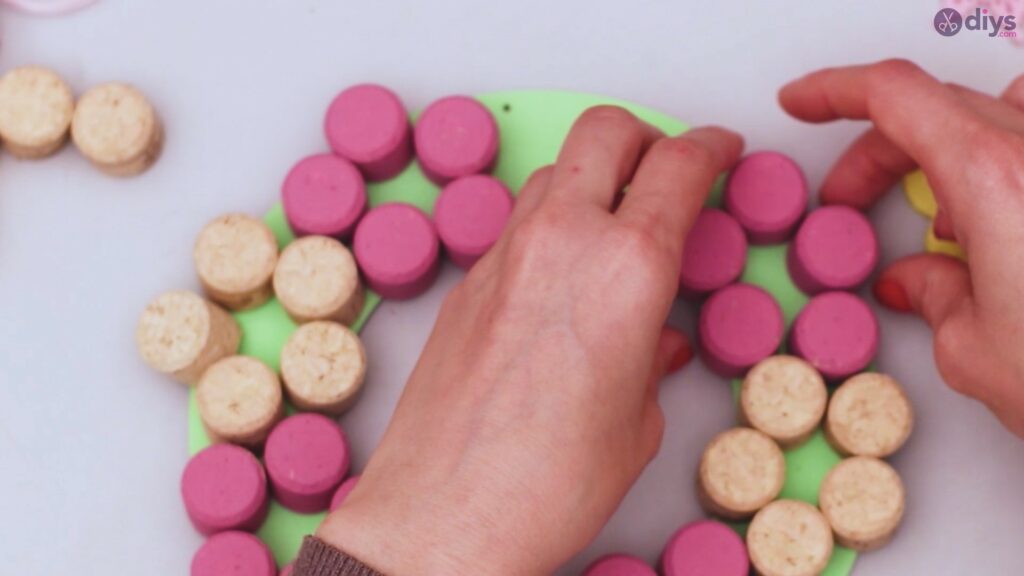
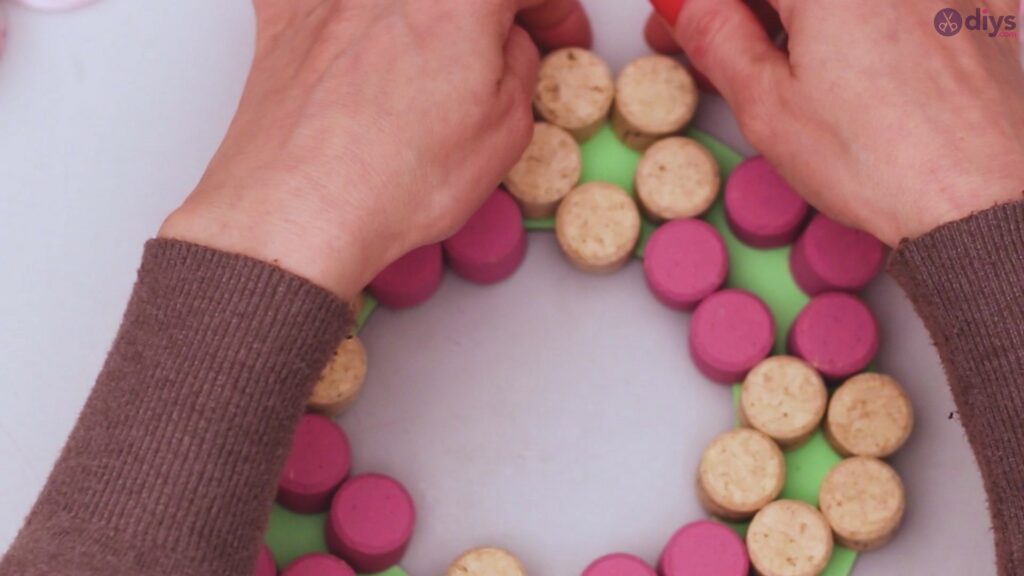
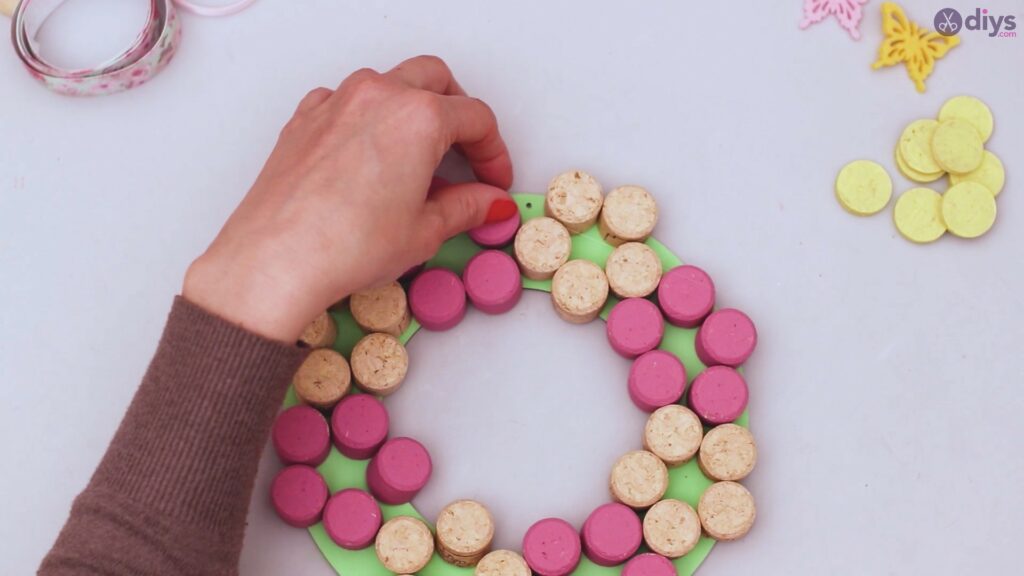
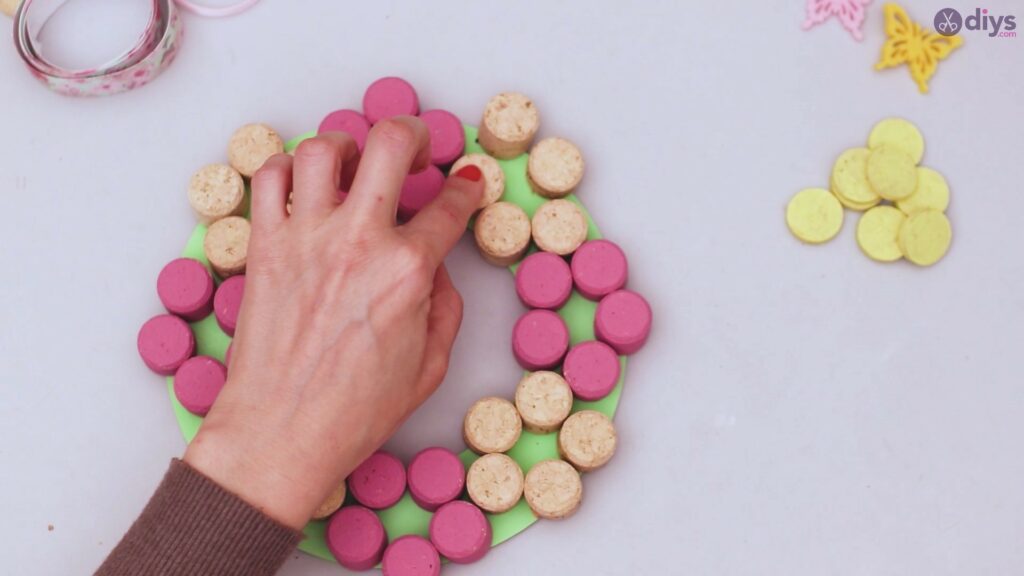
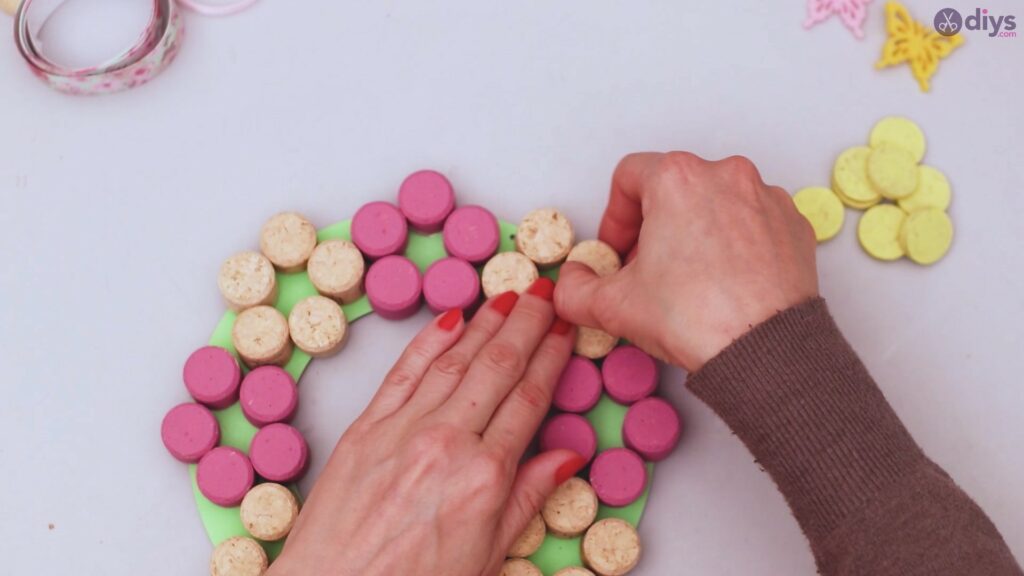
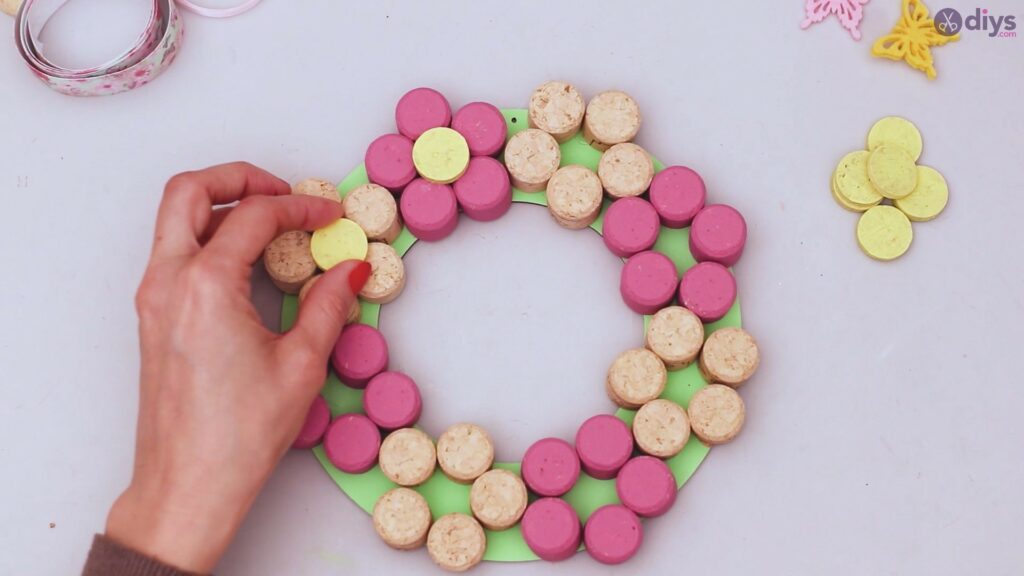
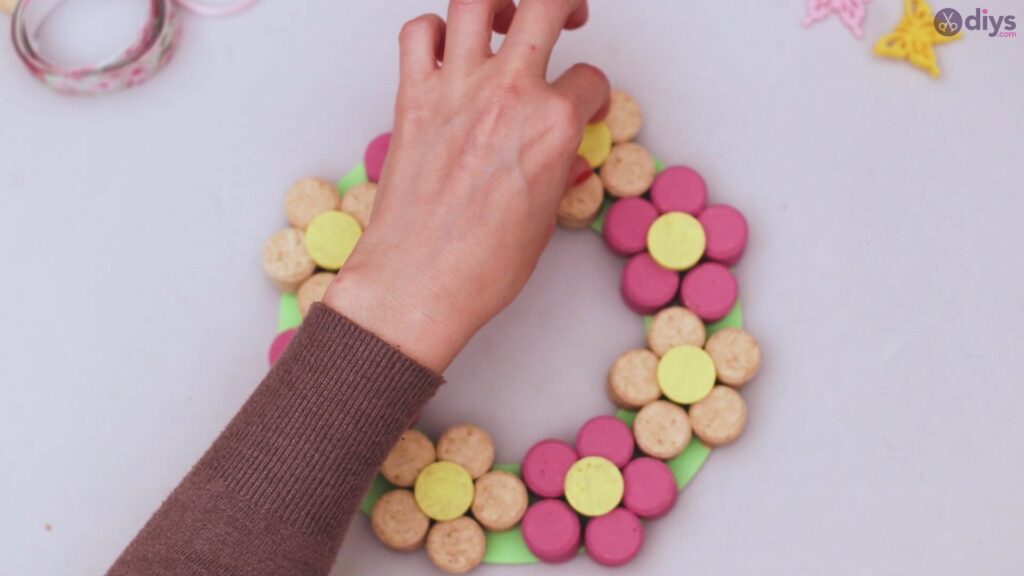
The next step is to create the flowers. you want to take the wine corks and place them in the shape of a flower over the wood circle. We alternated the colors of our flowers.
Before you do anything final, it’s always best to arrange the wine corks so you can see exactly how they fit on the wood circle and you can adjust the spacing if necessary, make the flowers smaller or bigger, leave more room between flowers or push them closer.
We’ve arranged the flowers in such a way that for some of the petals, half the wine cork goes beyond the margins of the “wreath.” This will give the piece more dimension.
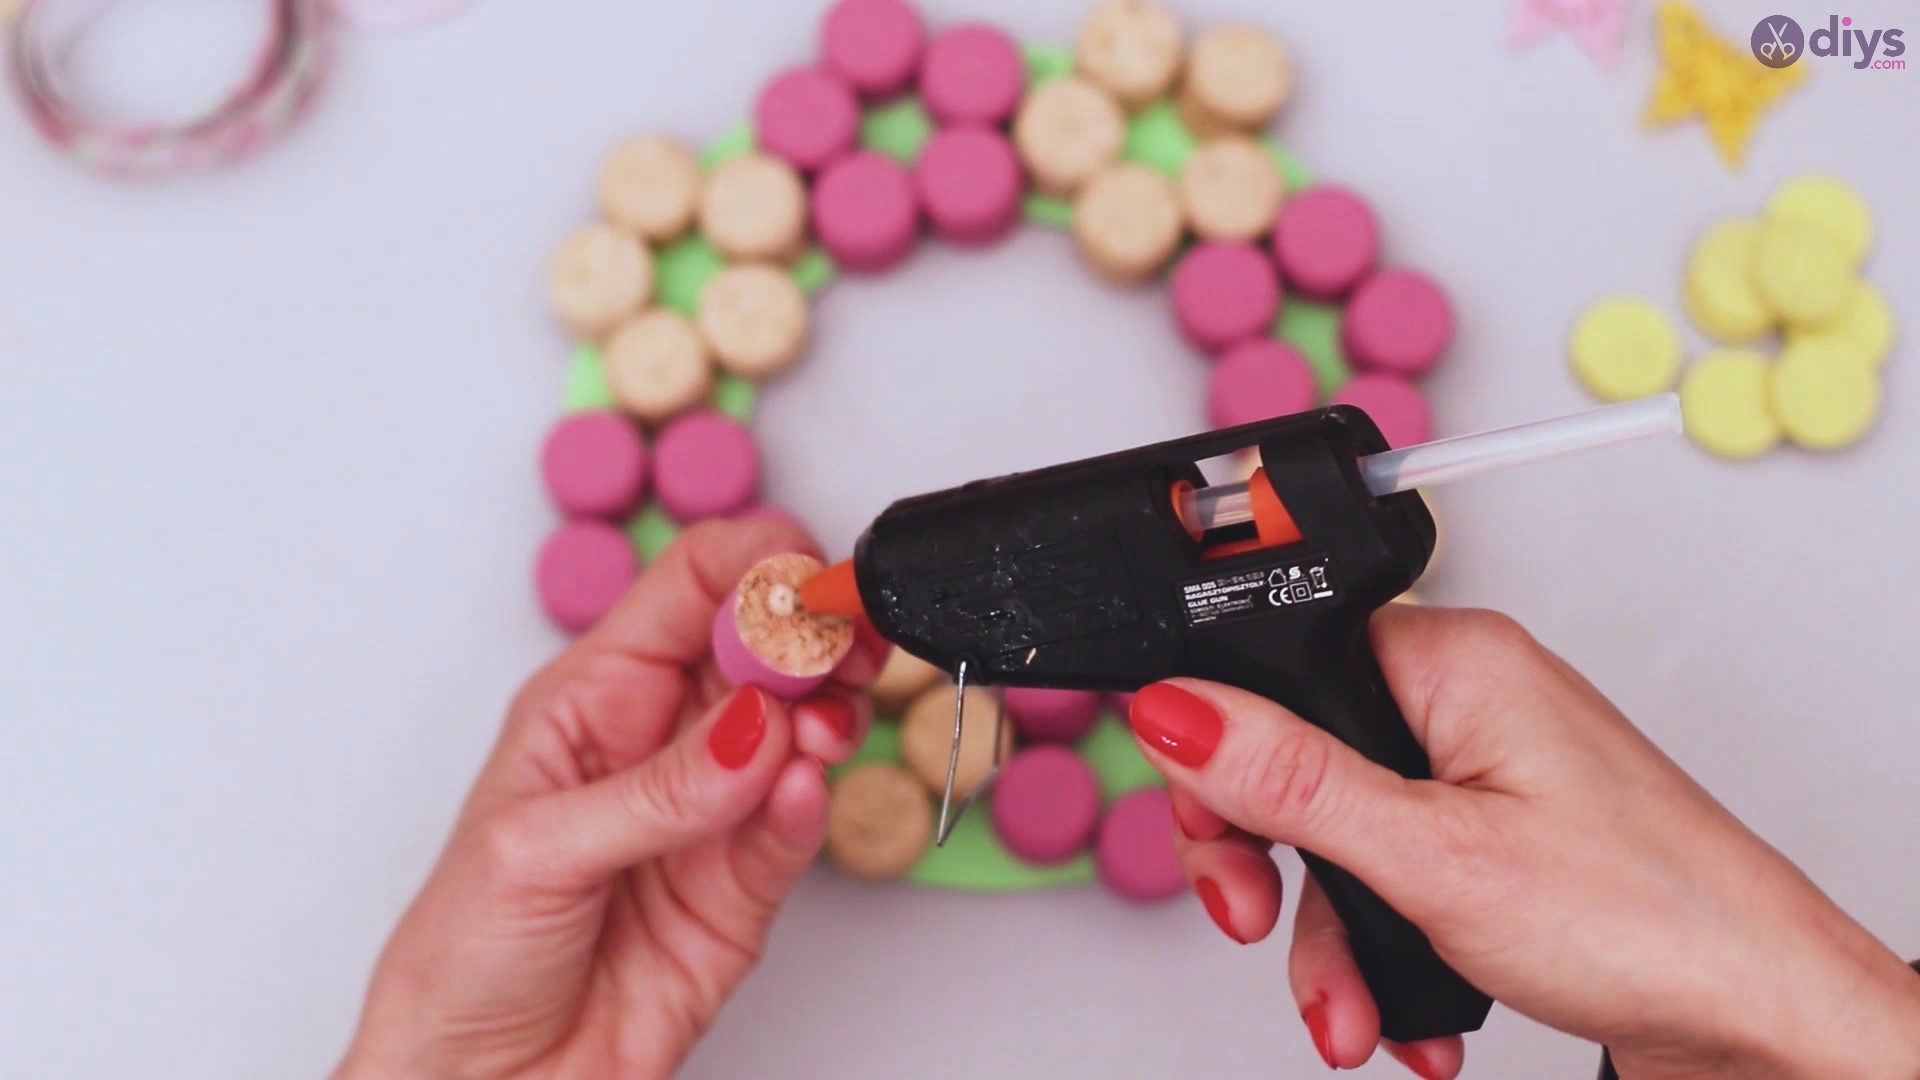
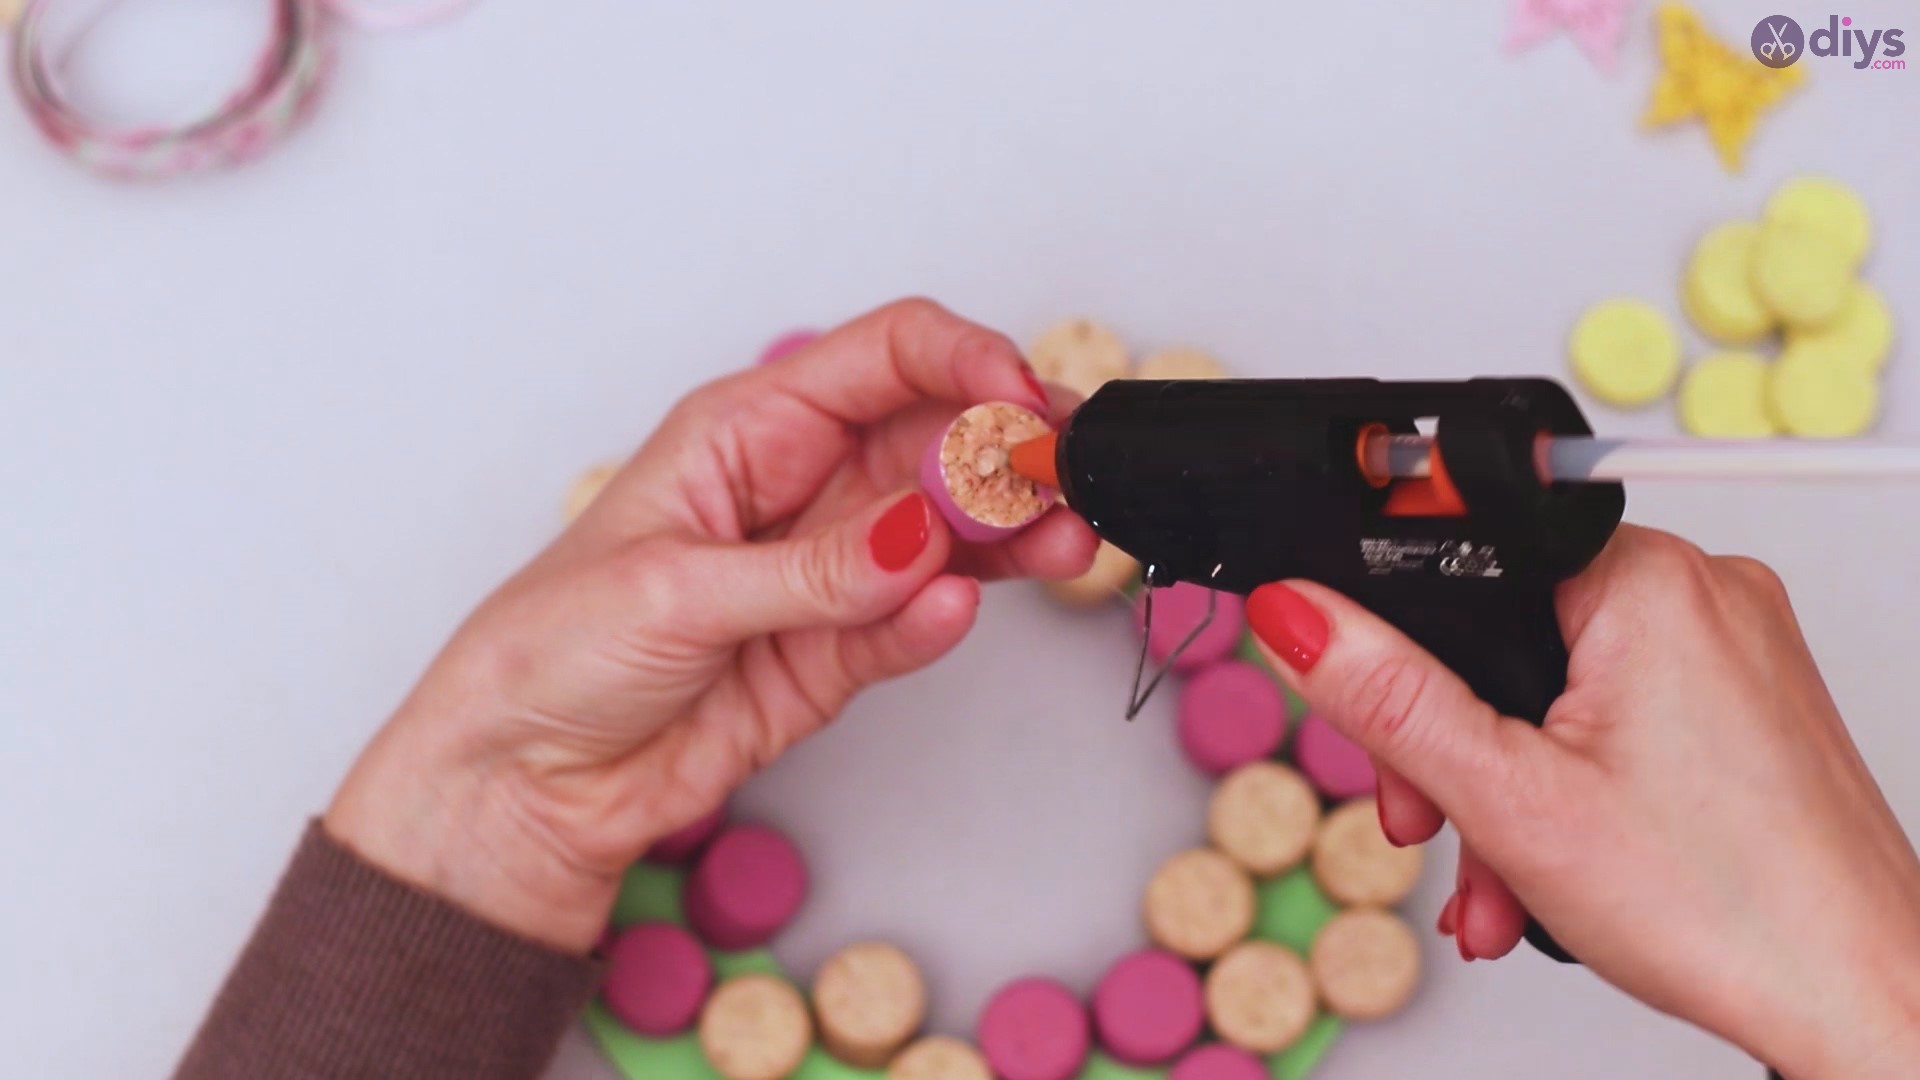
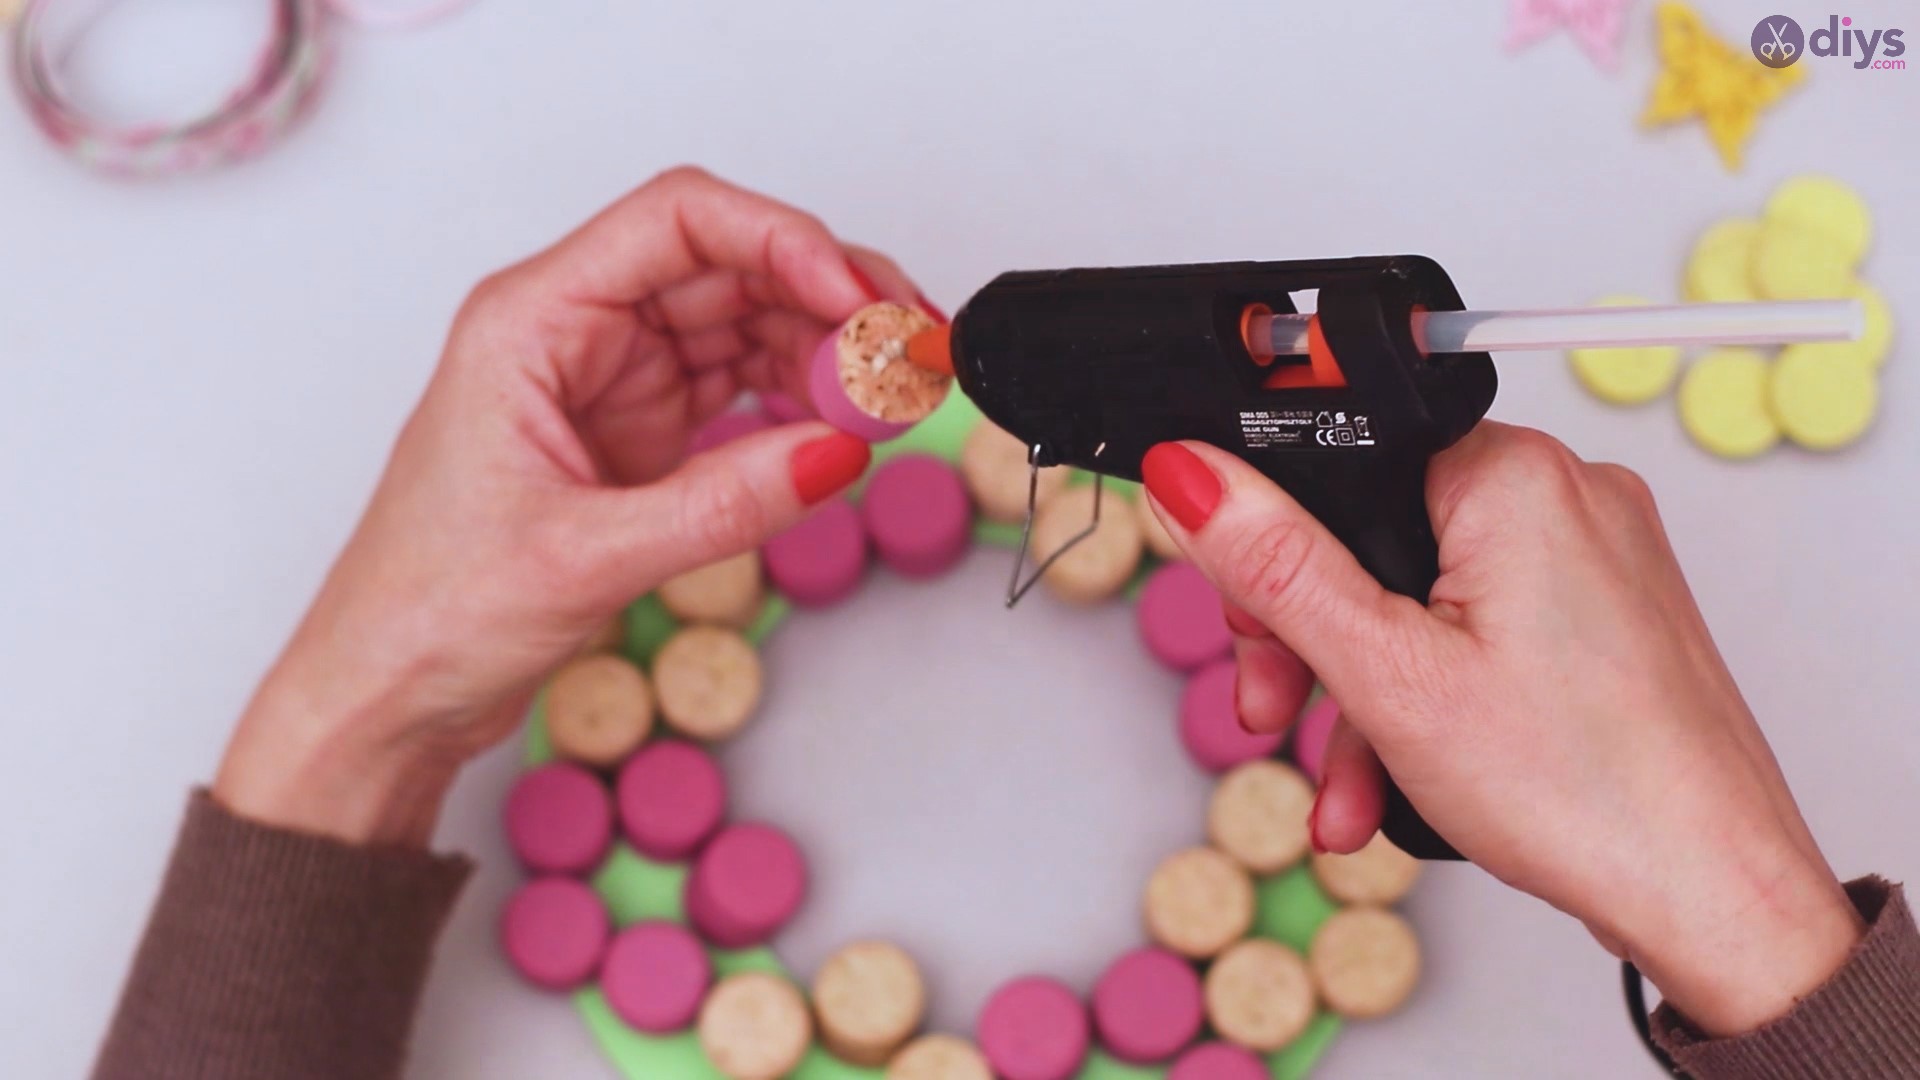
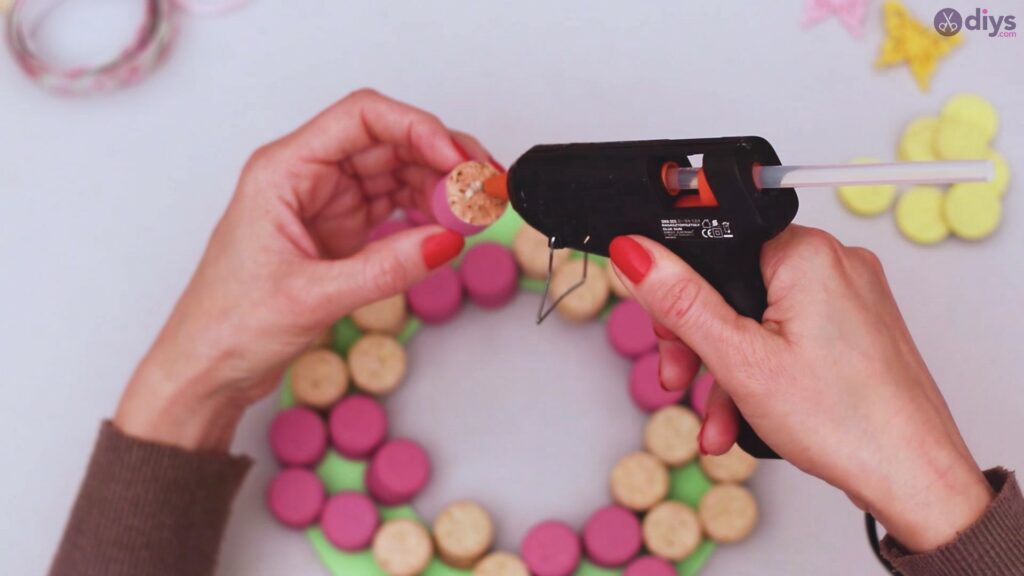
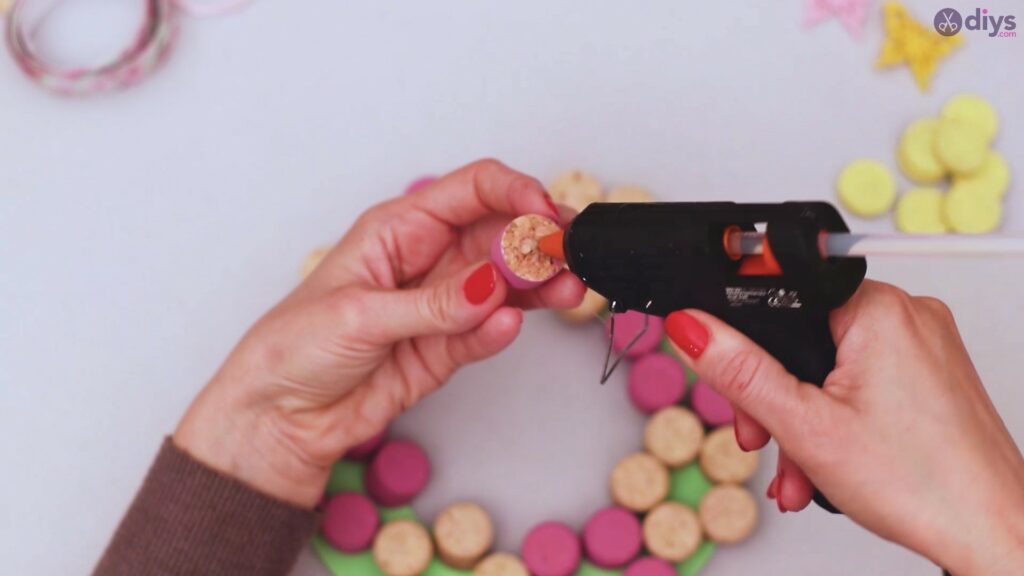
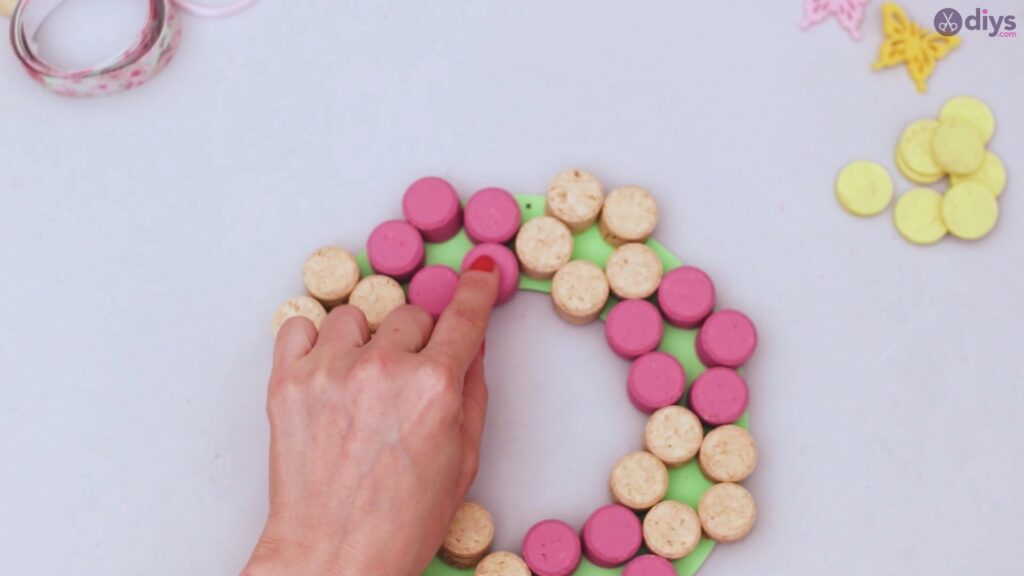
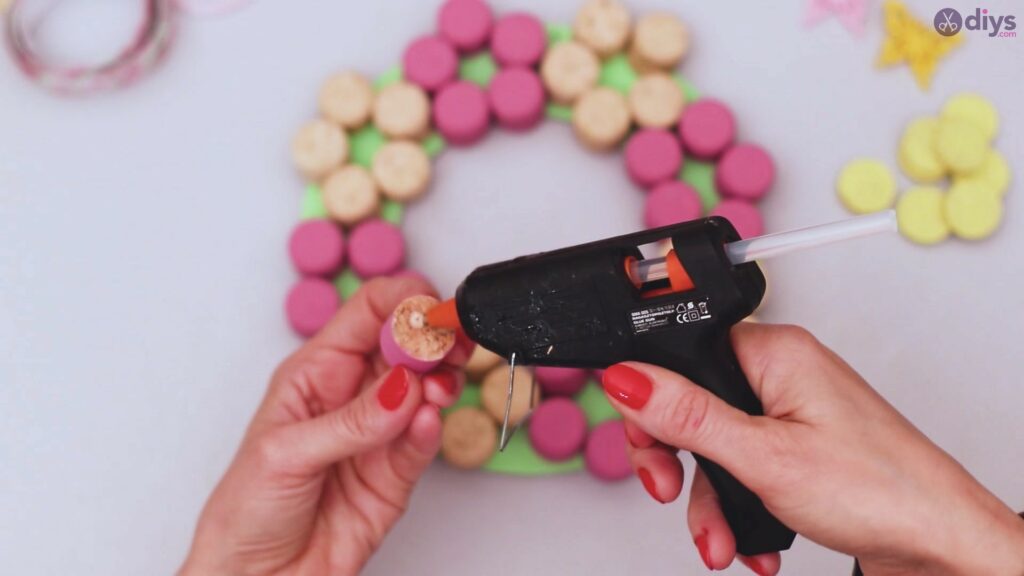
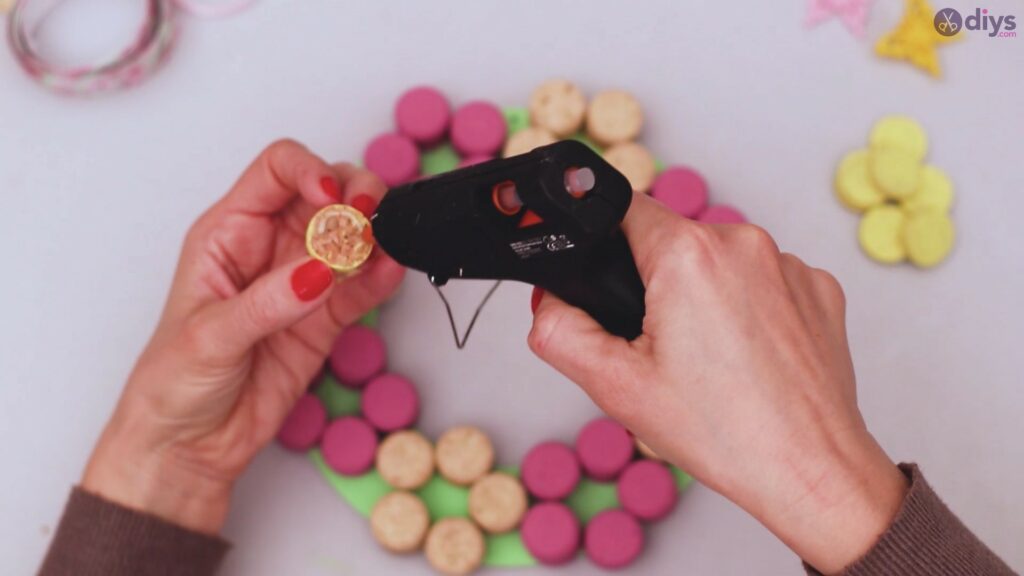
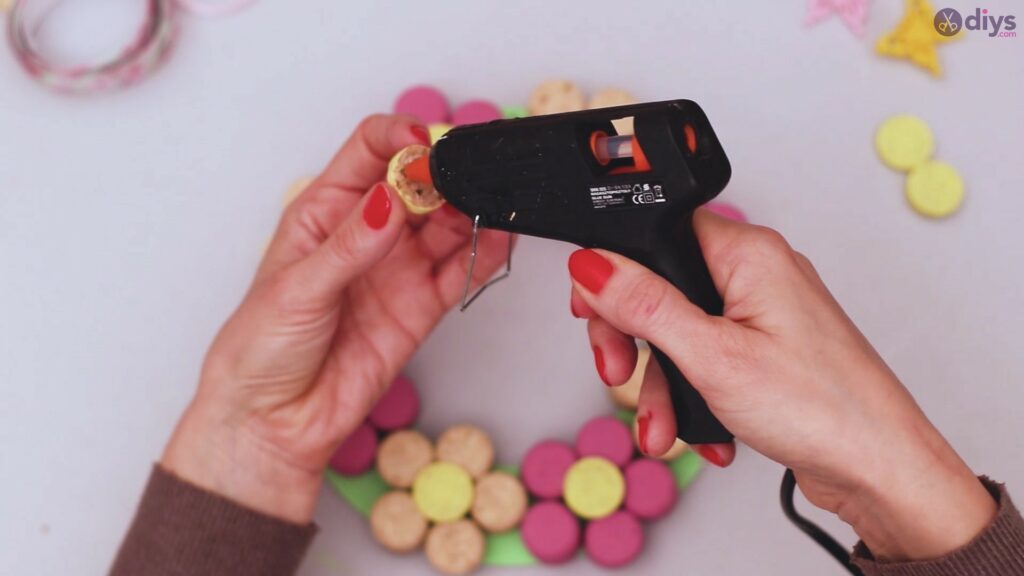
When you’re happy with the layout, you can finally pull out theglue gun. Pick up one of the flower petals and add glue to the bottom of it before placing it back down. Press the wine cork down for a few seconds so you’re sure the glue sets.
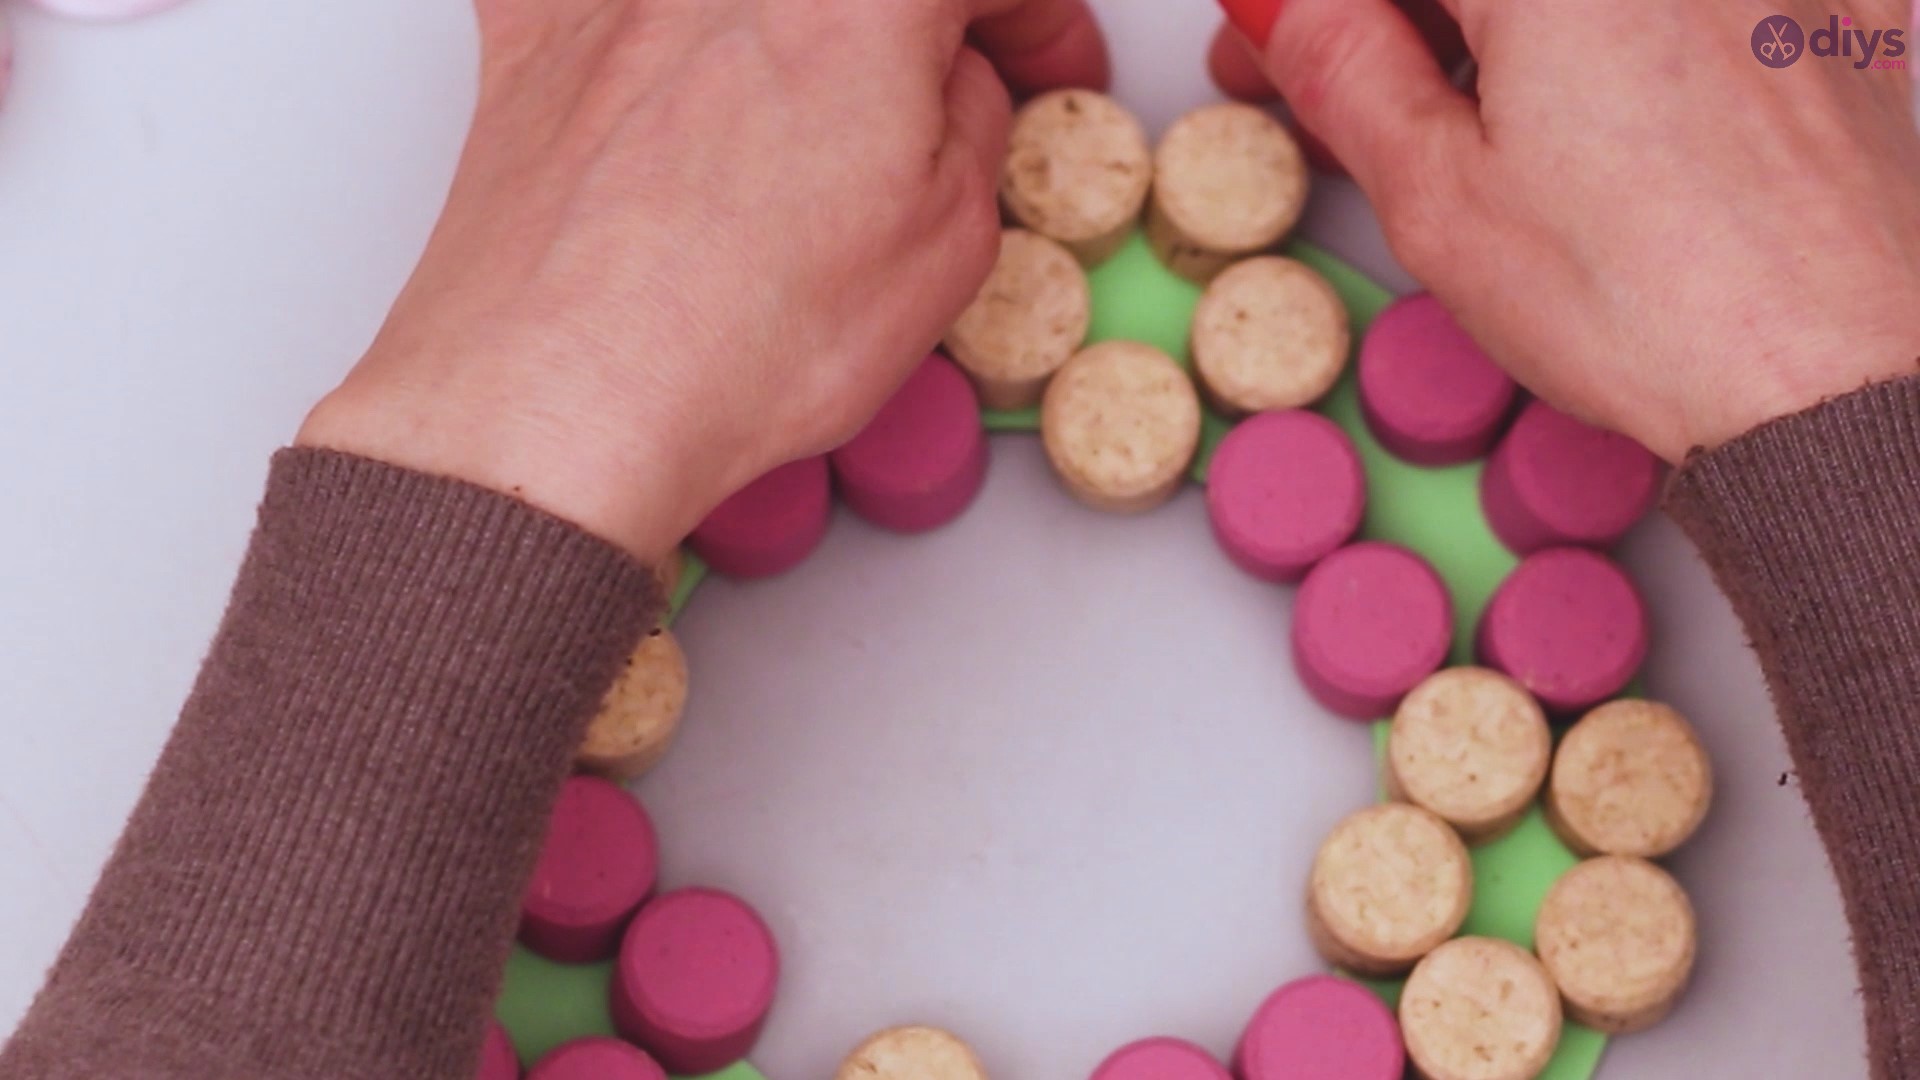
Keep going as you move through each flower, gluing petal after petal. Since some of the petals are only partially on the wood board, you’ll want to pay attention to which area is on the wreath and only add glue to that part.
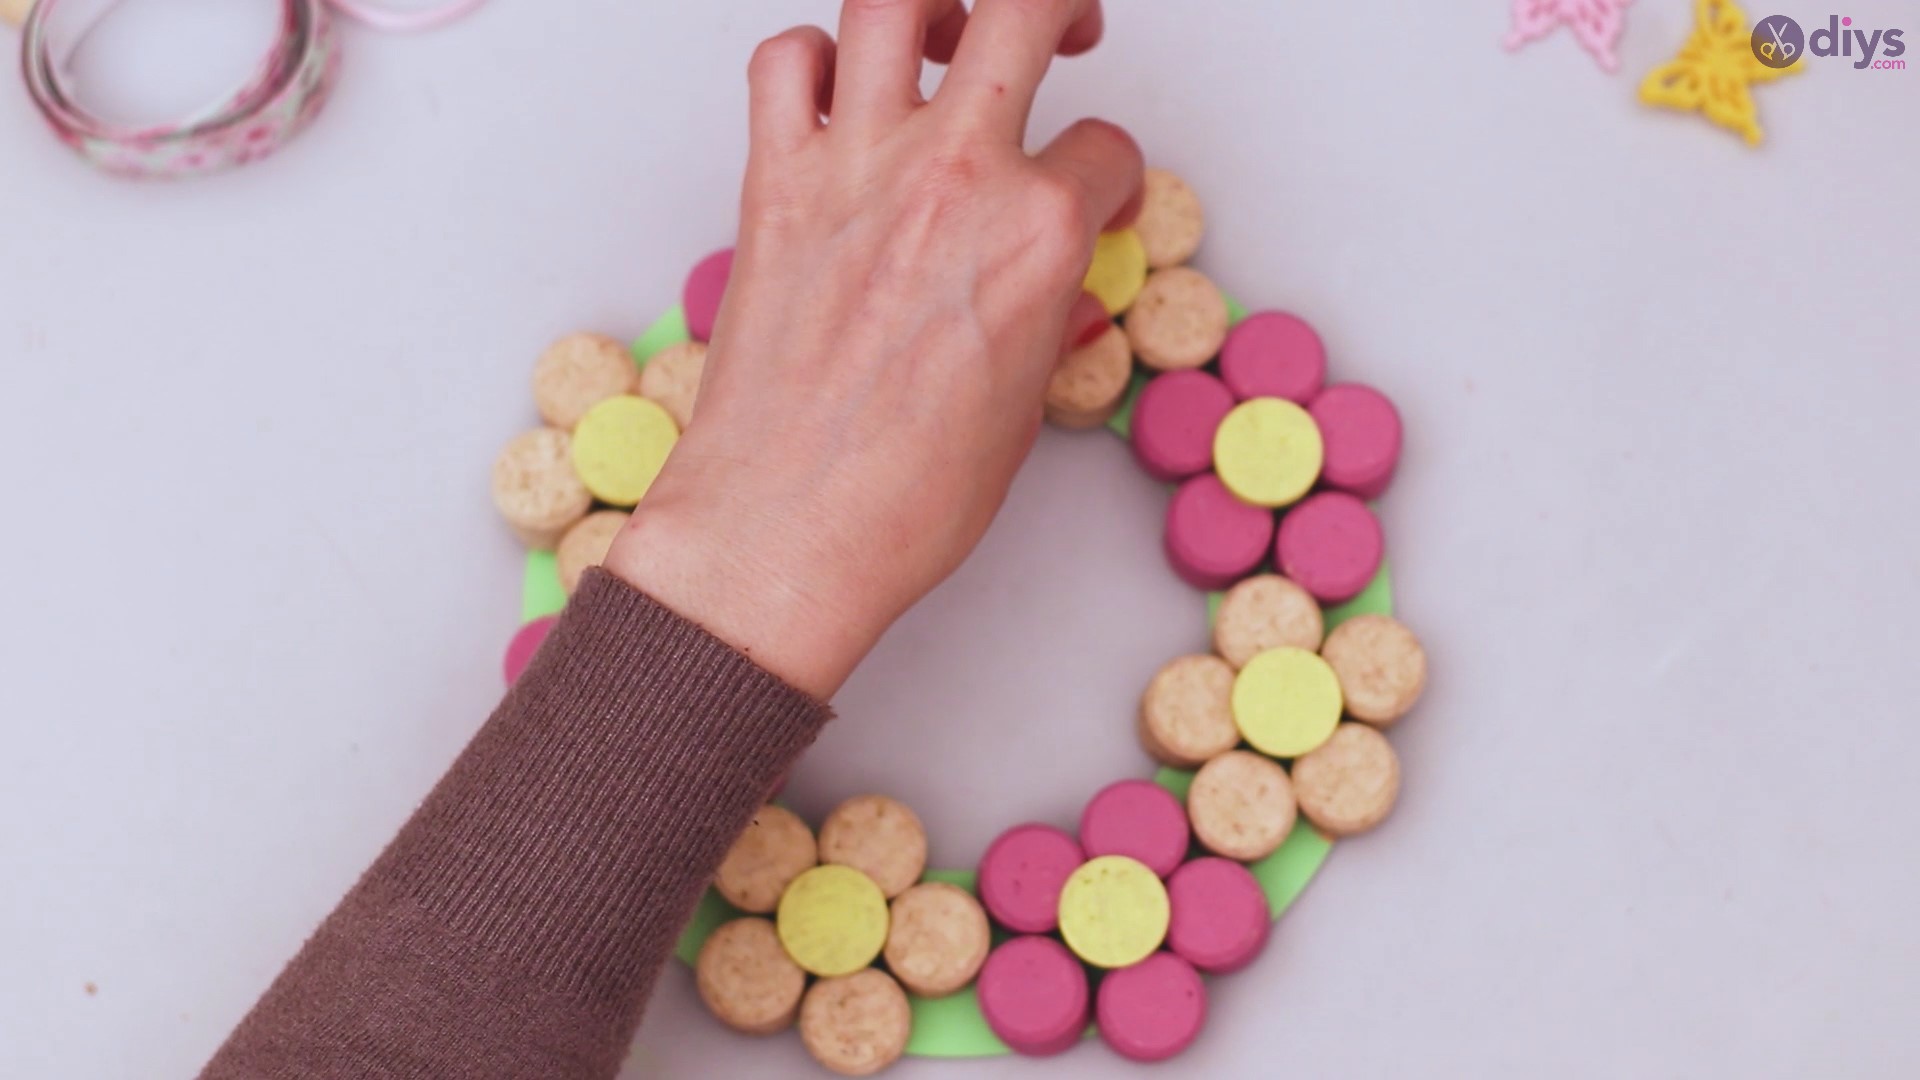
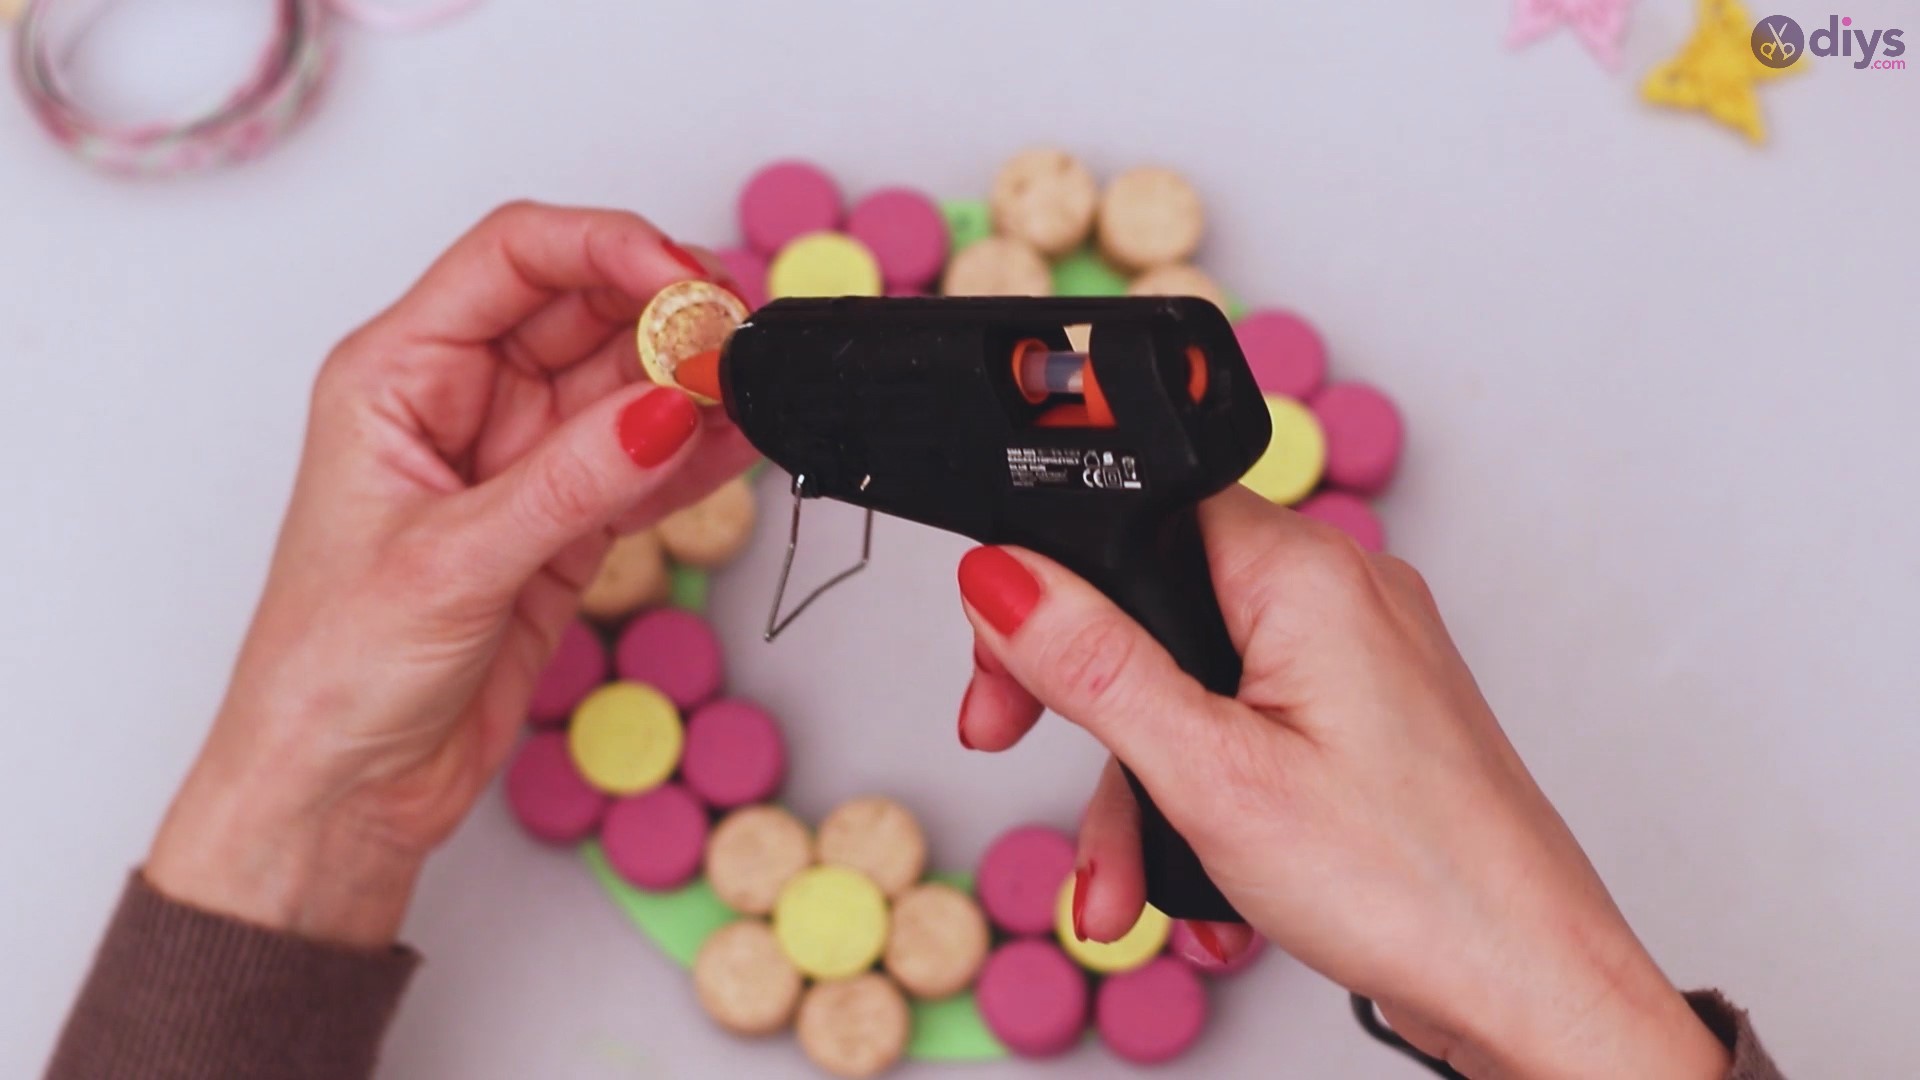
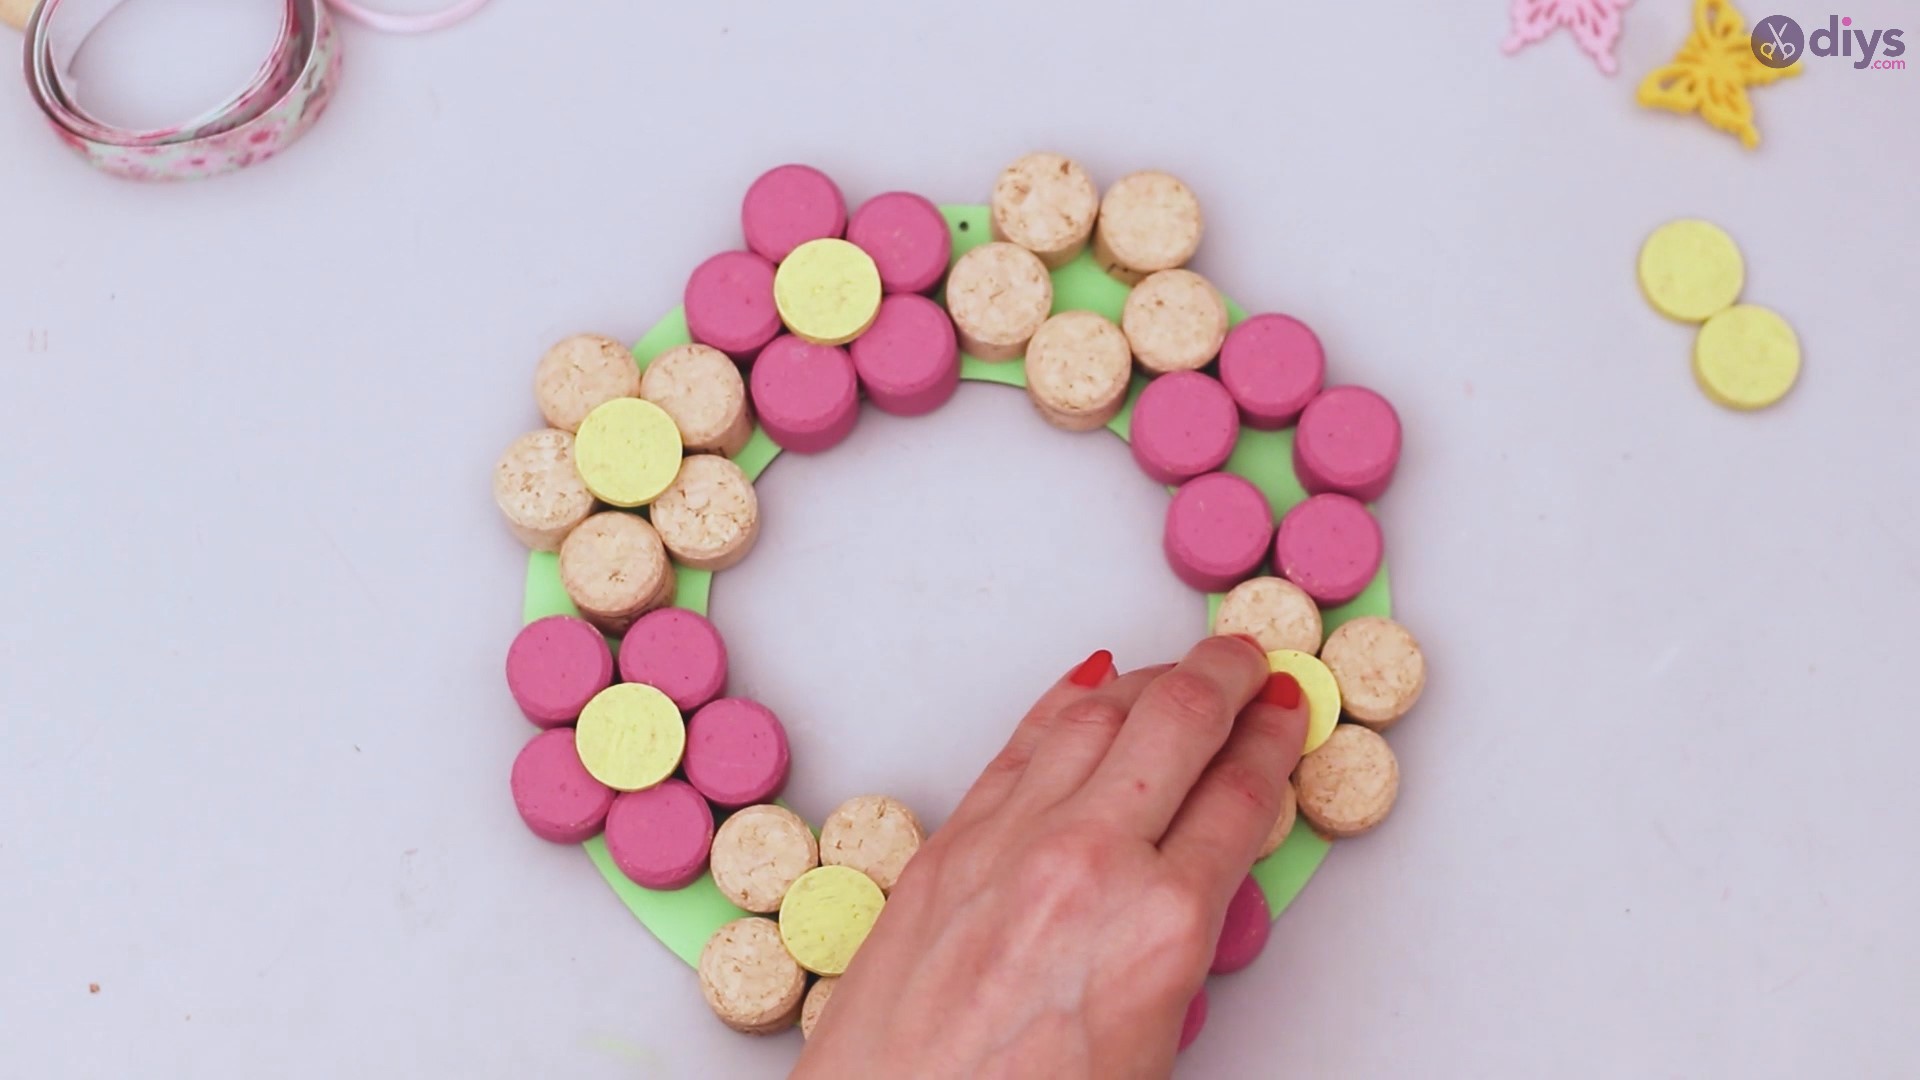
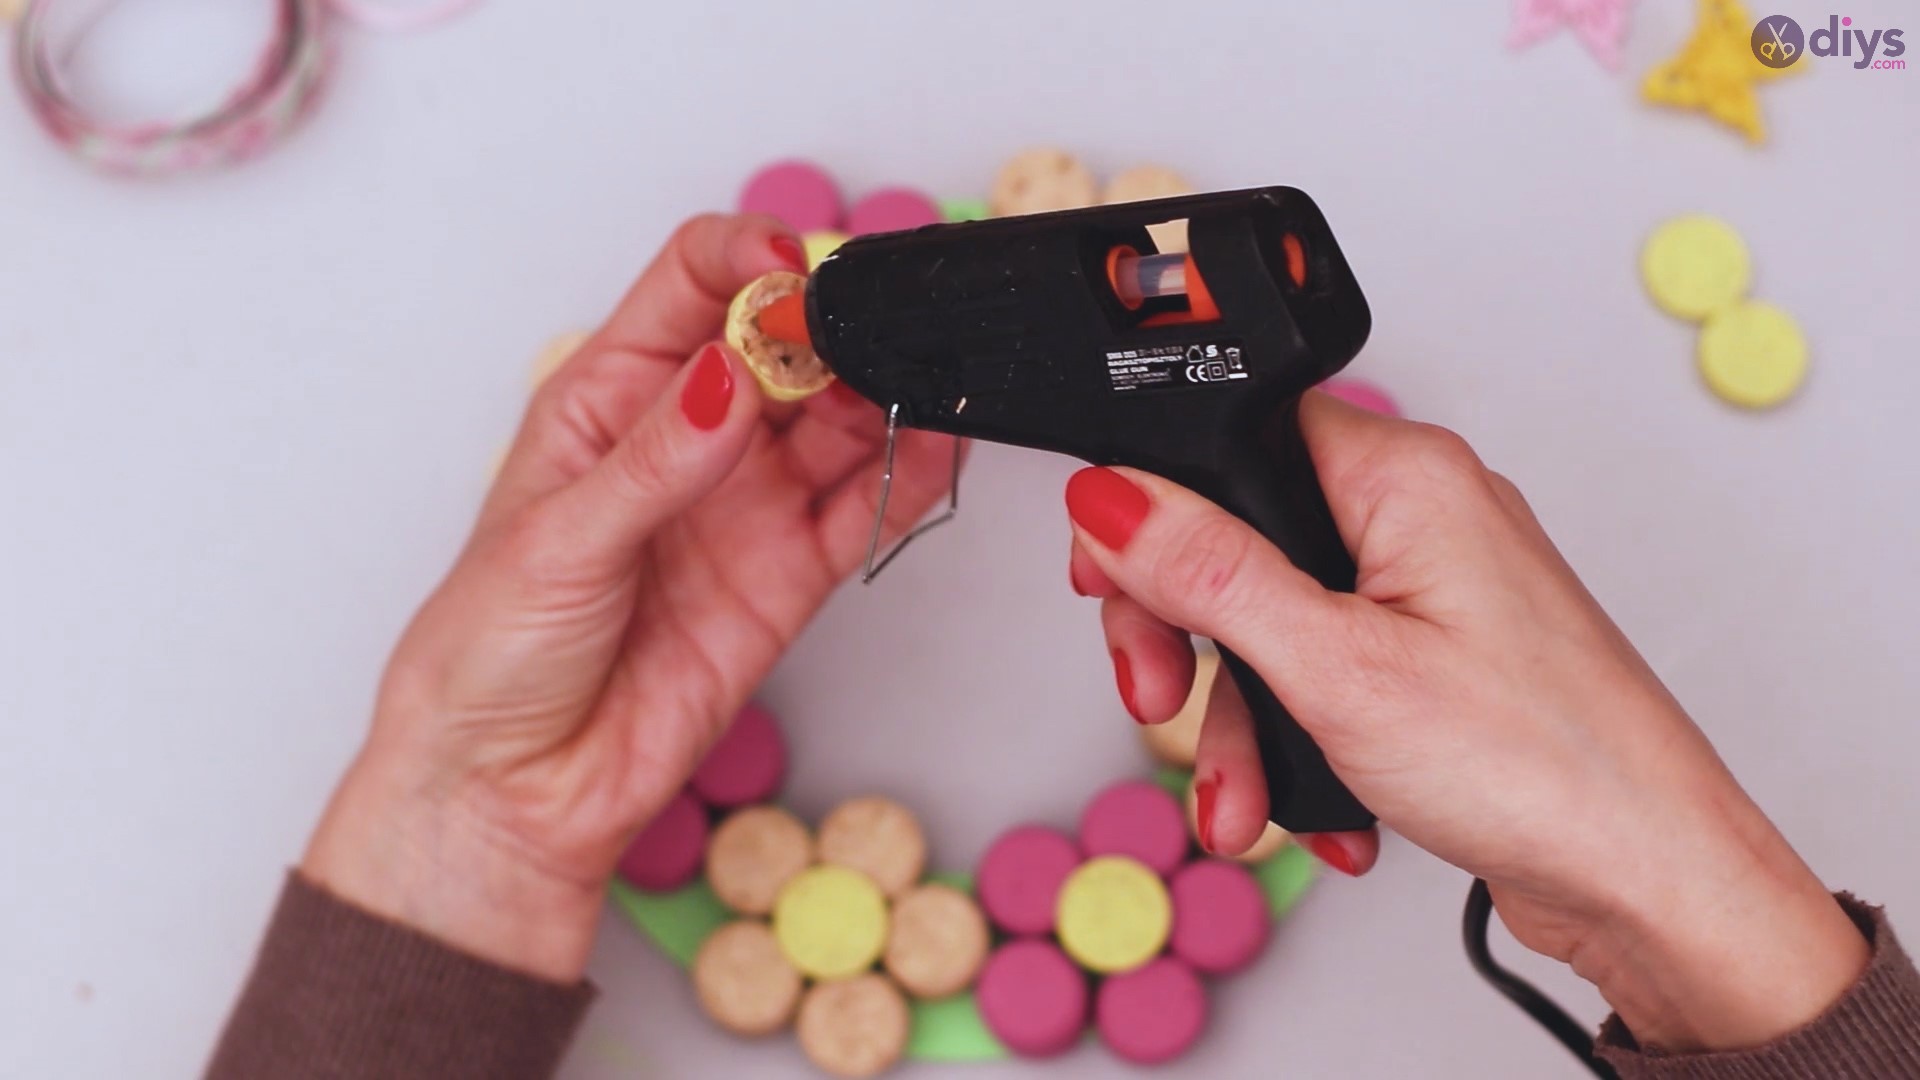
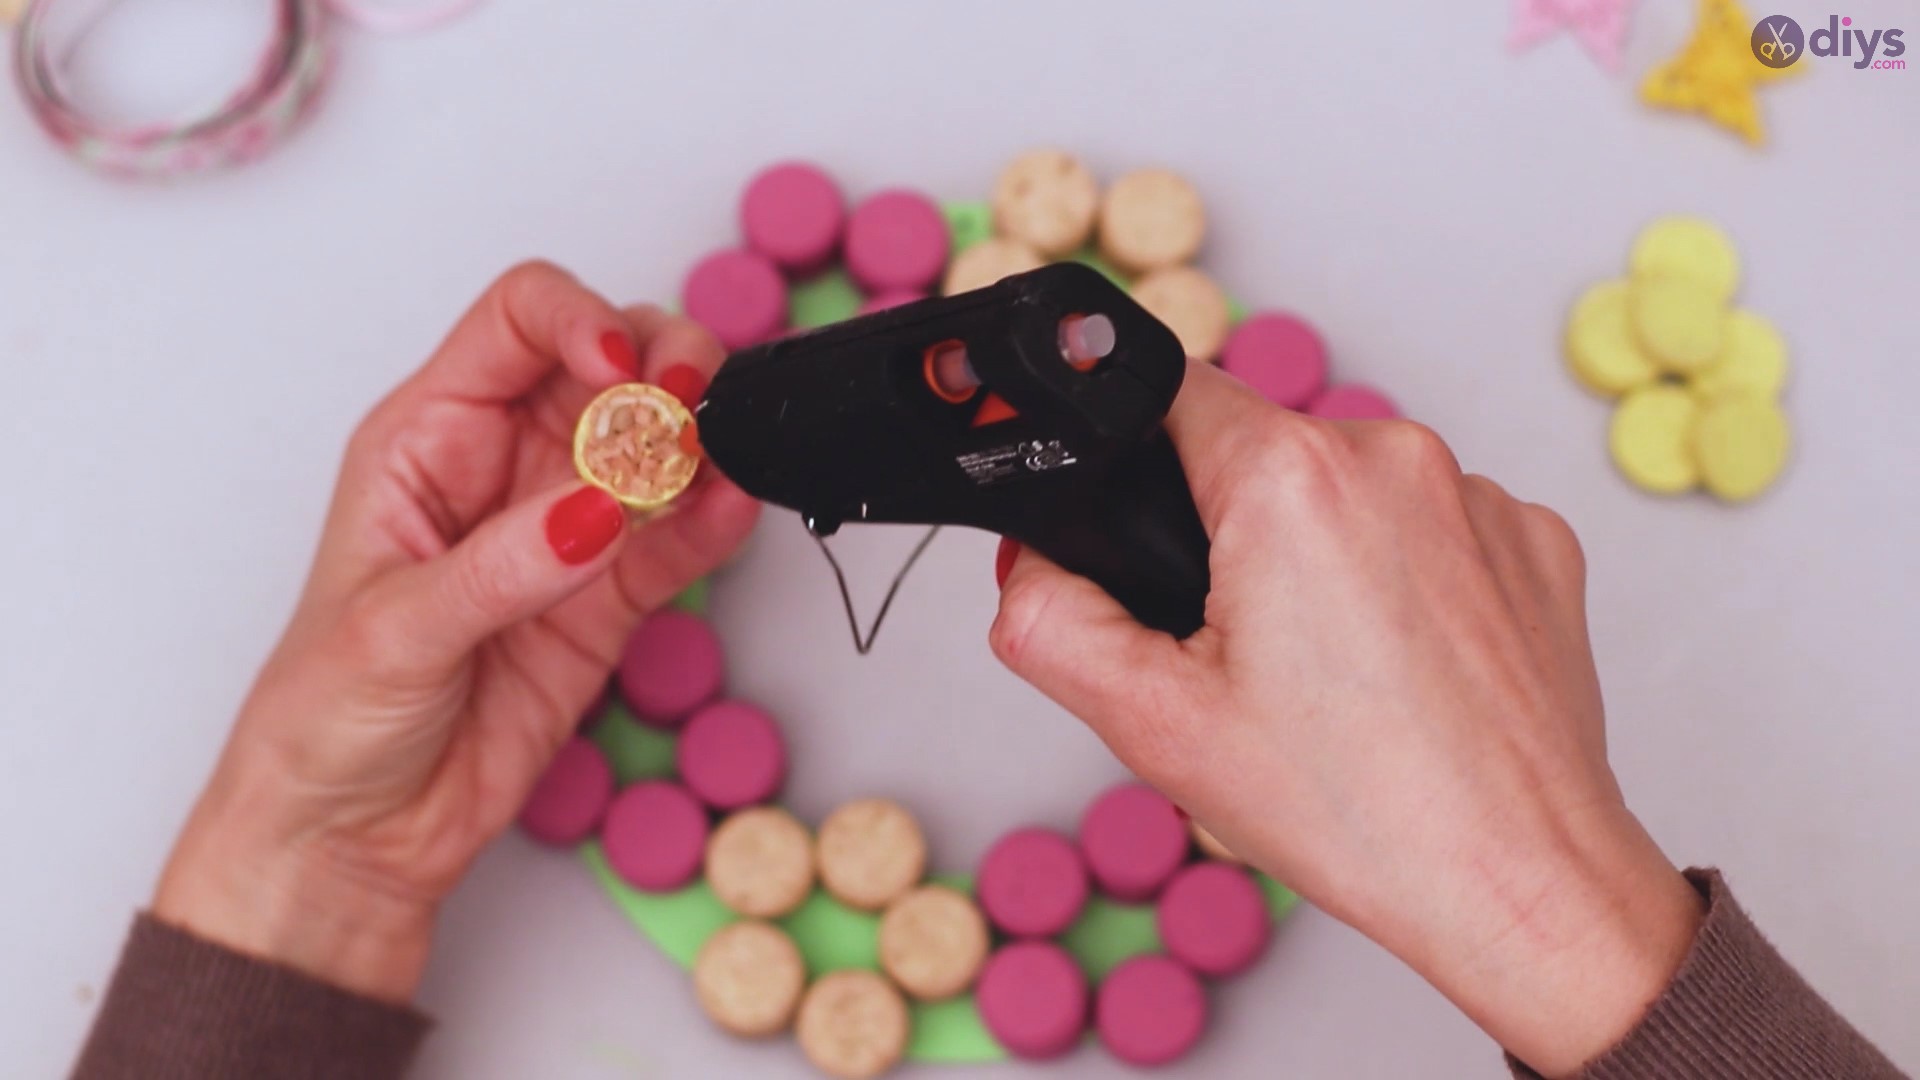
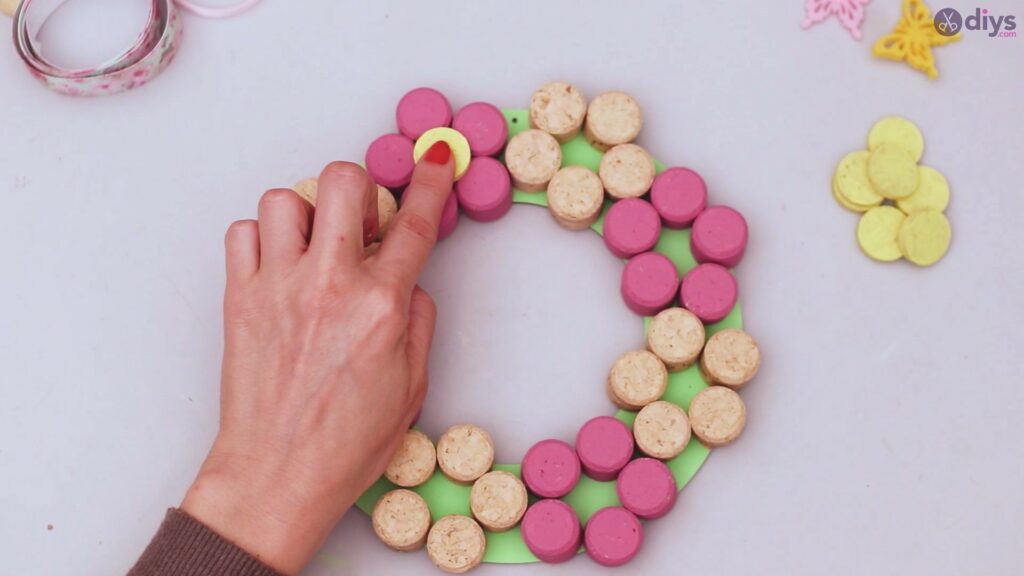
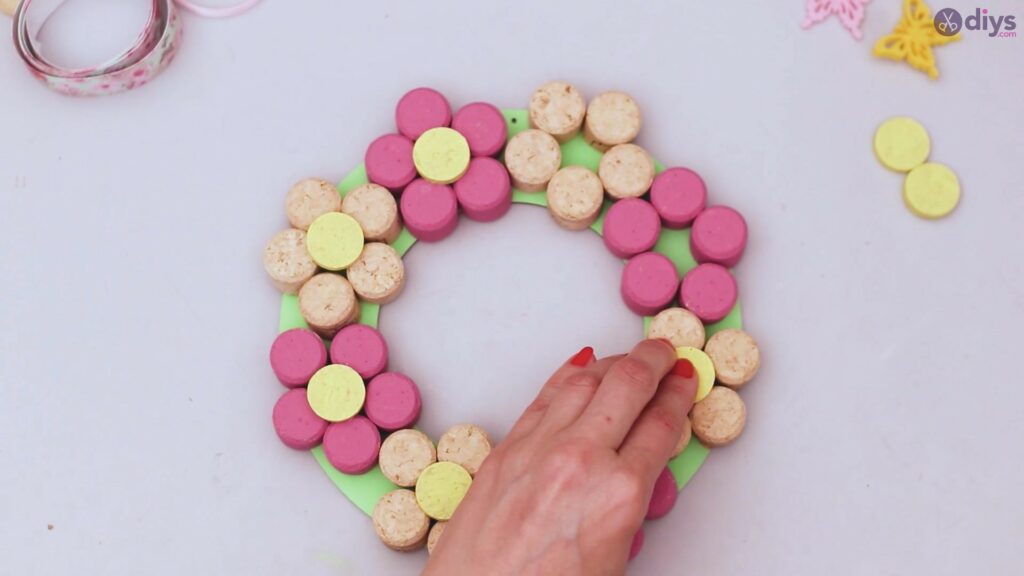
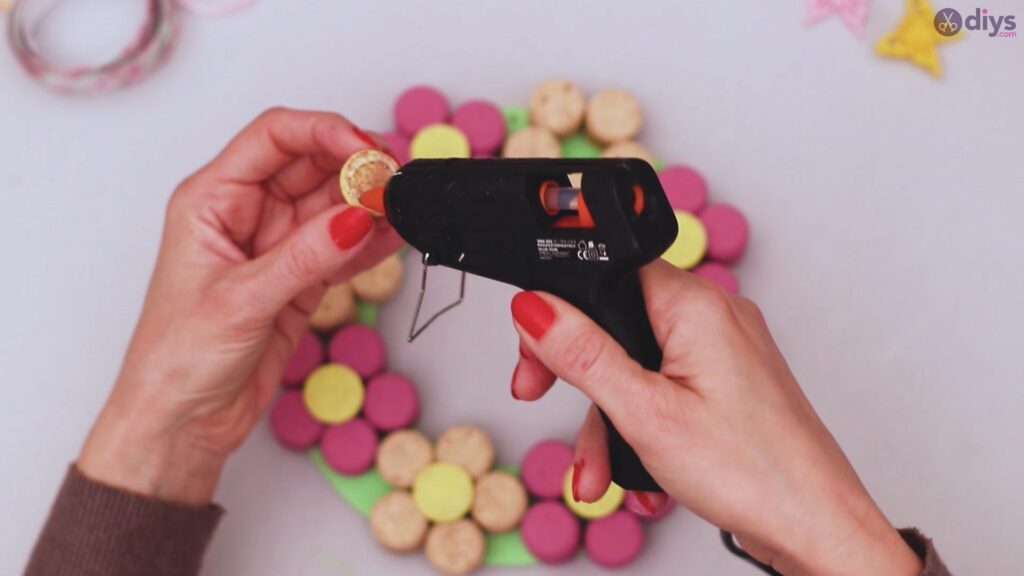
Now that your flowers are all glued to the board, you want to add the finishing touches by picking up the yellow wine cork slices. Get the glue gun and put hot glue to the back of the slices, making sure you’re as close to the edge as possible.
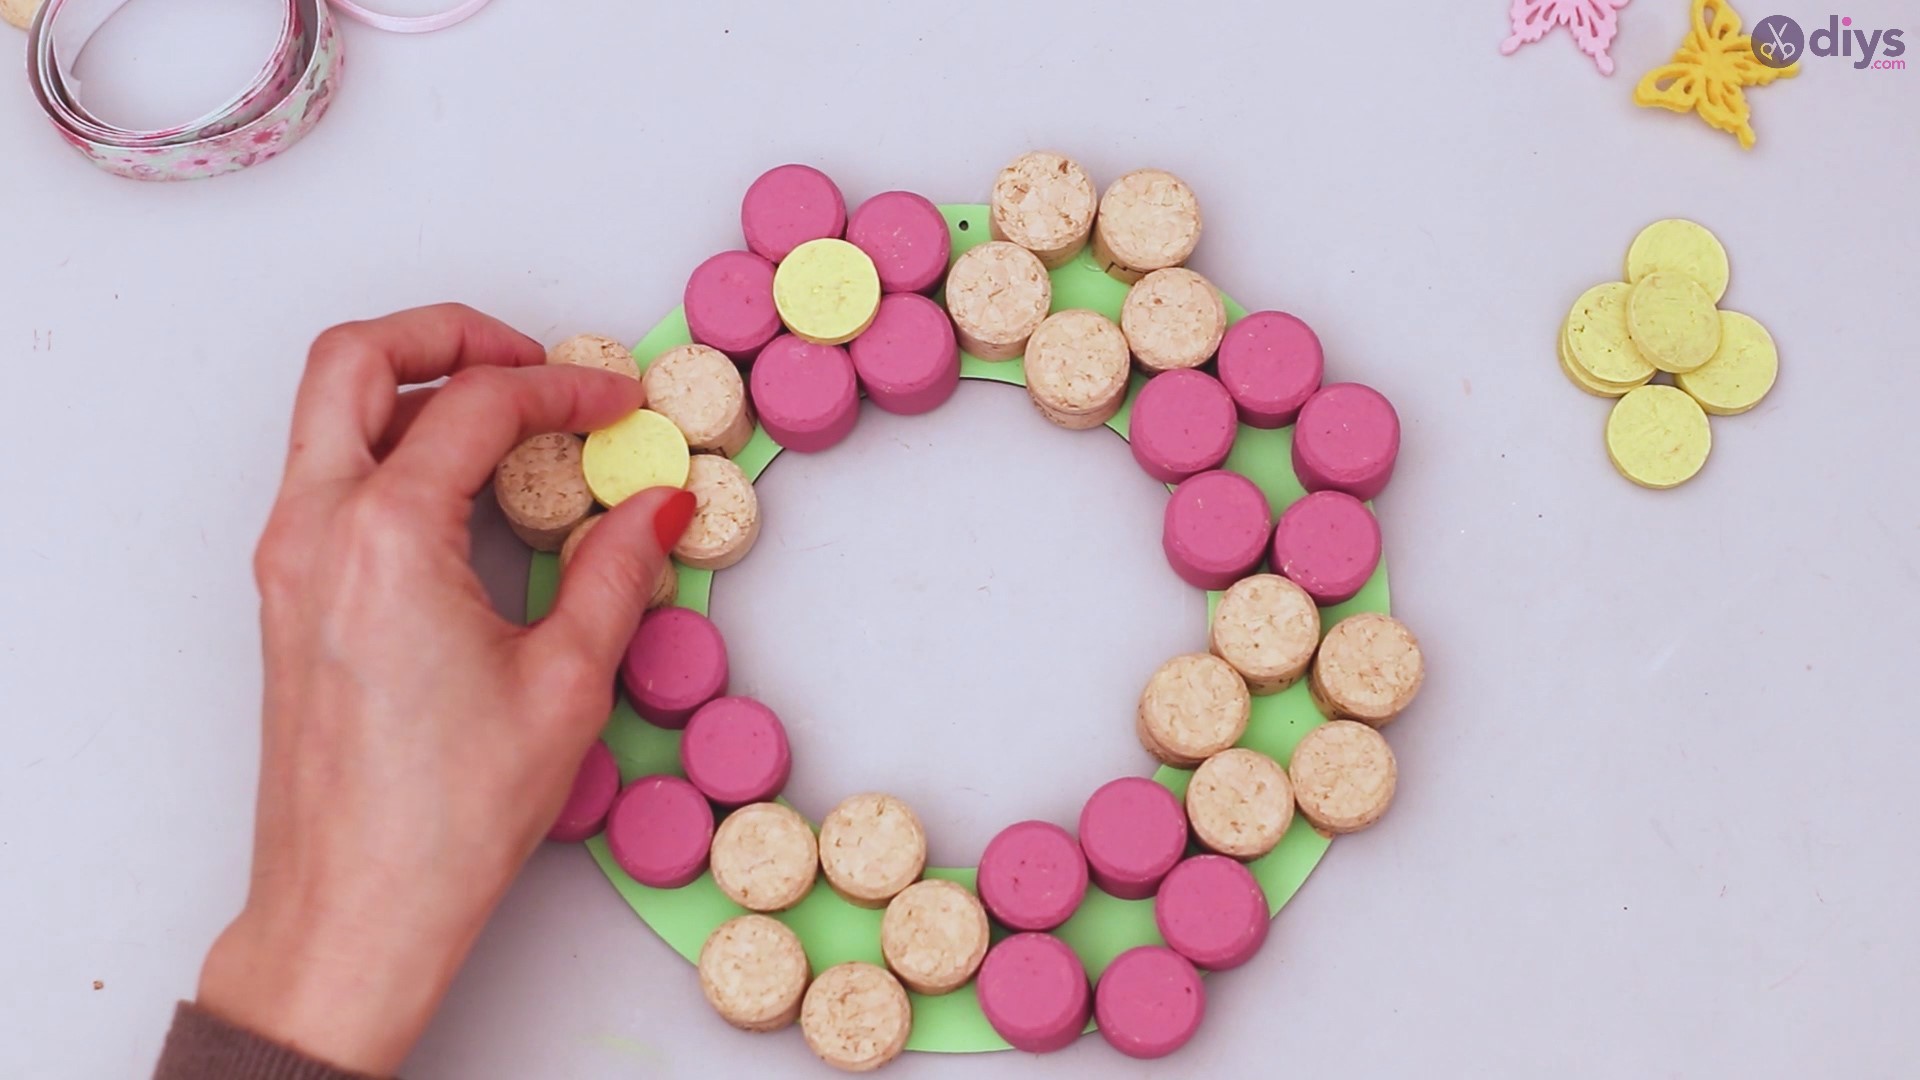
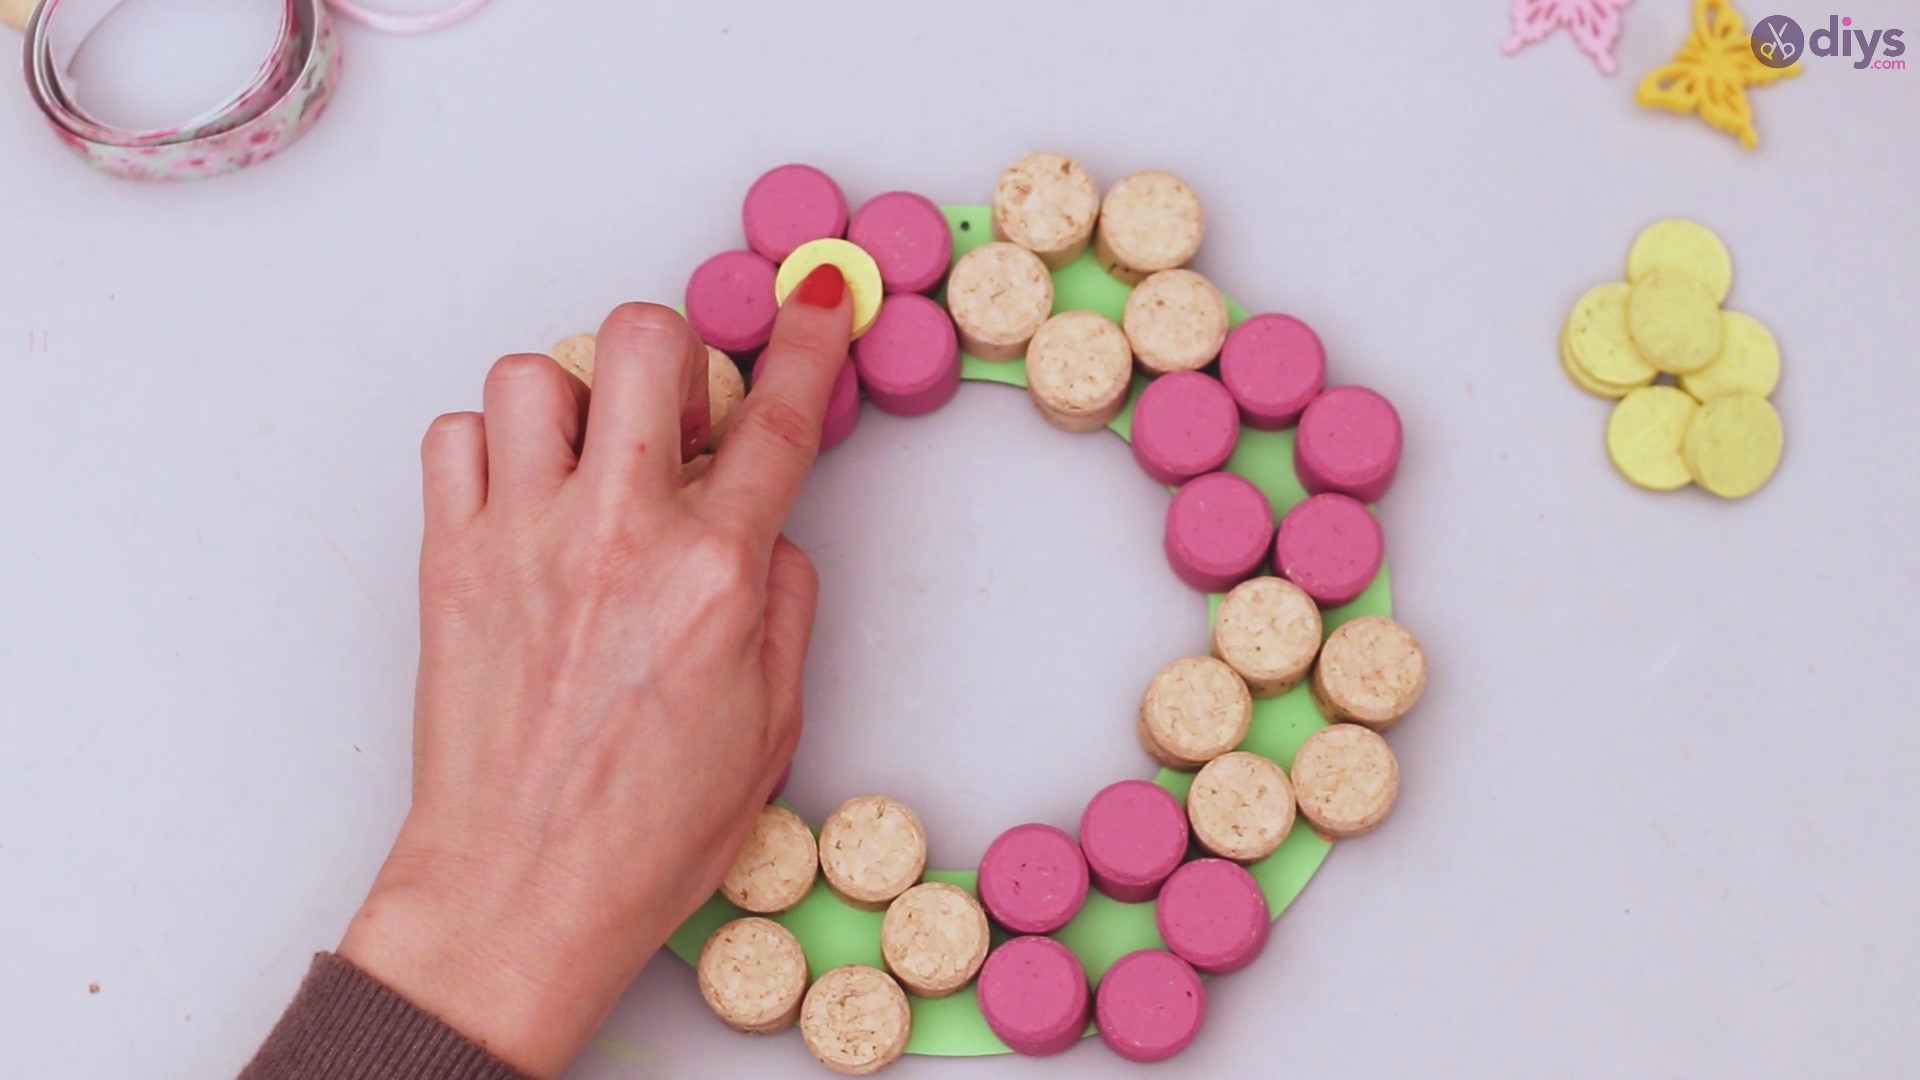
Place the yellow wine cork slices in the middle of the flowers and press them slightly. You want the slice to stick to as many “petals” as possible.
Continue until all your flowers are complete. Our wreath has eight flowers, so it’s a bit of work to get them all finished.
Step 7: Add the ribbon
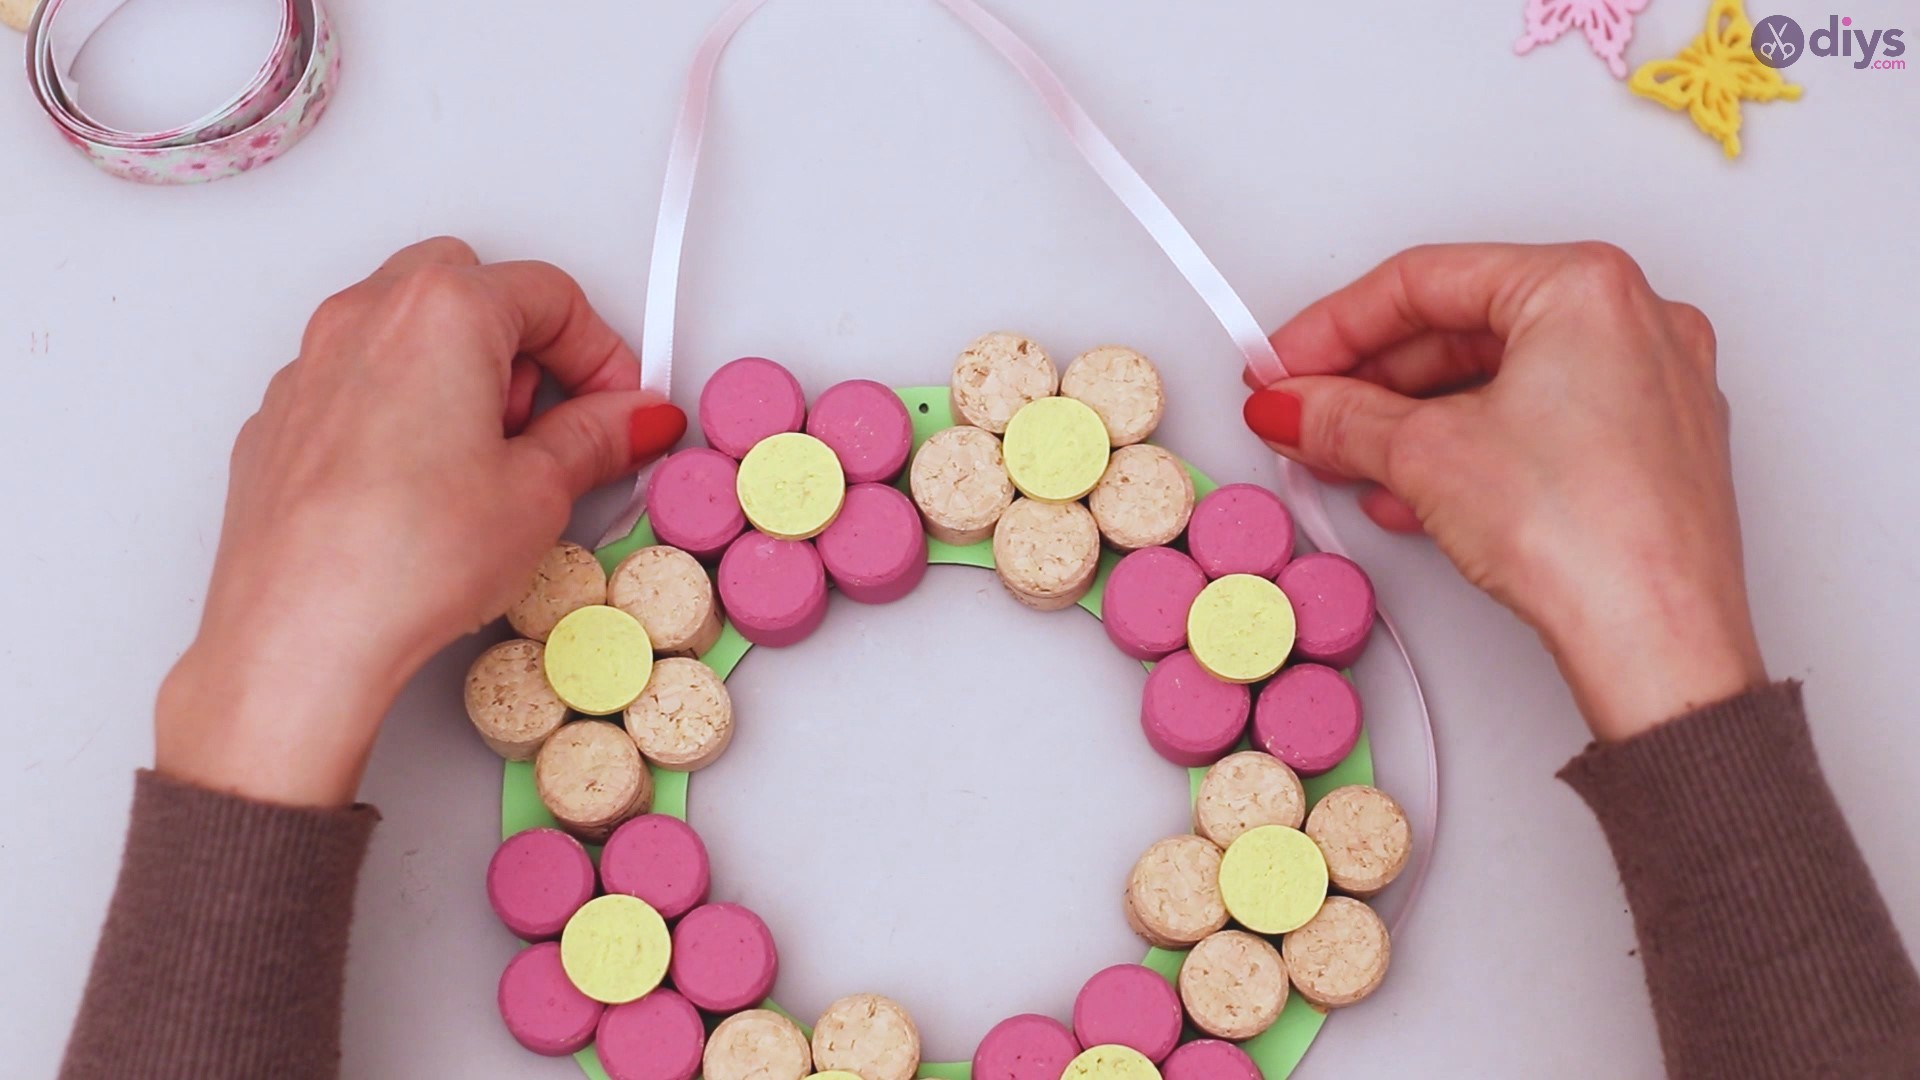
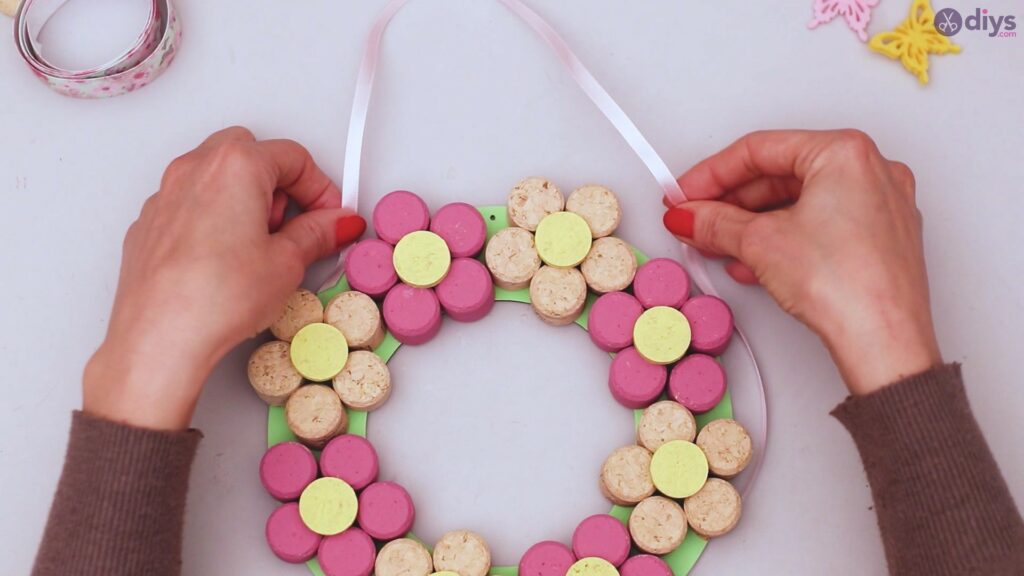
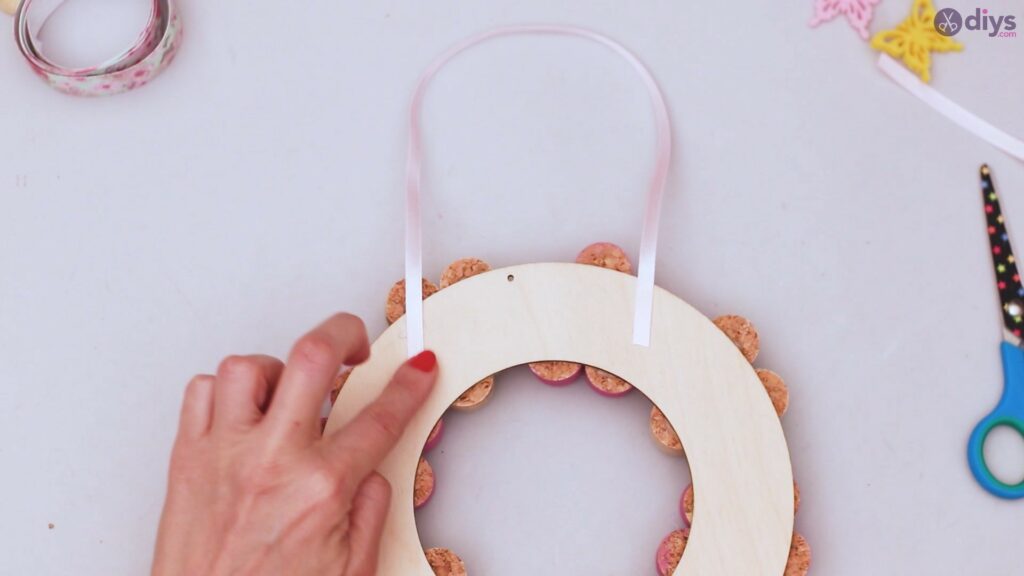
Now that the wreath is pretty much complete, it’s time we make it possible to actually hang it on your door or your wall. Unless you plan on putting it on a table, you’ll now need that silk ribbon.
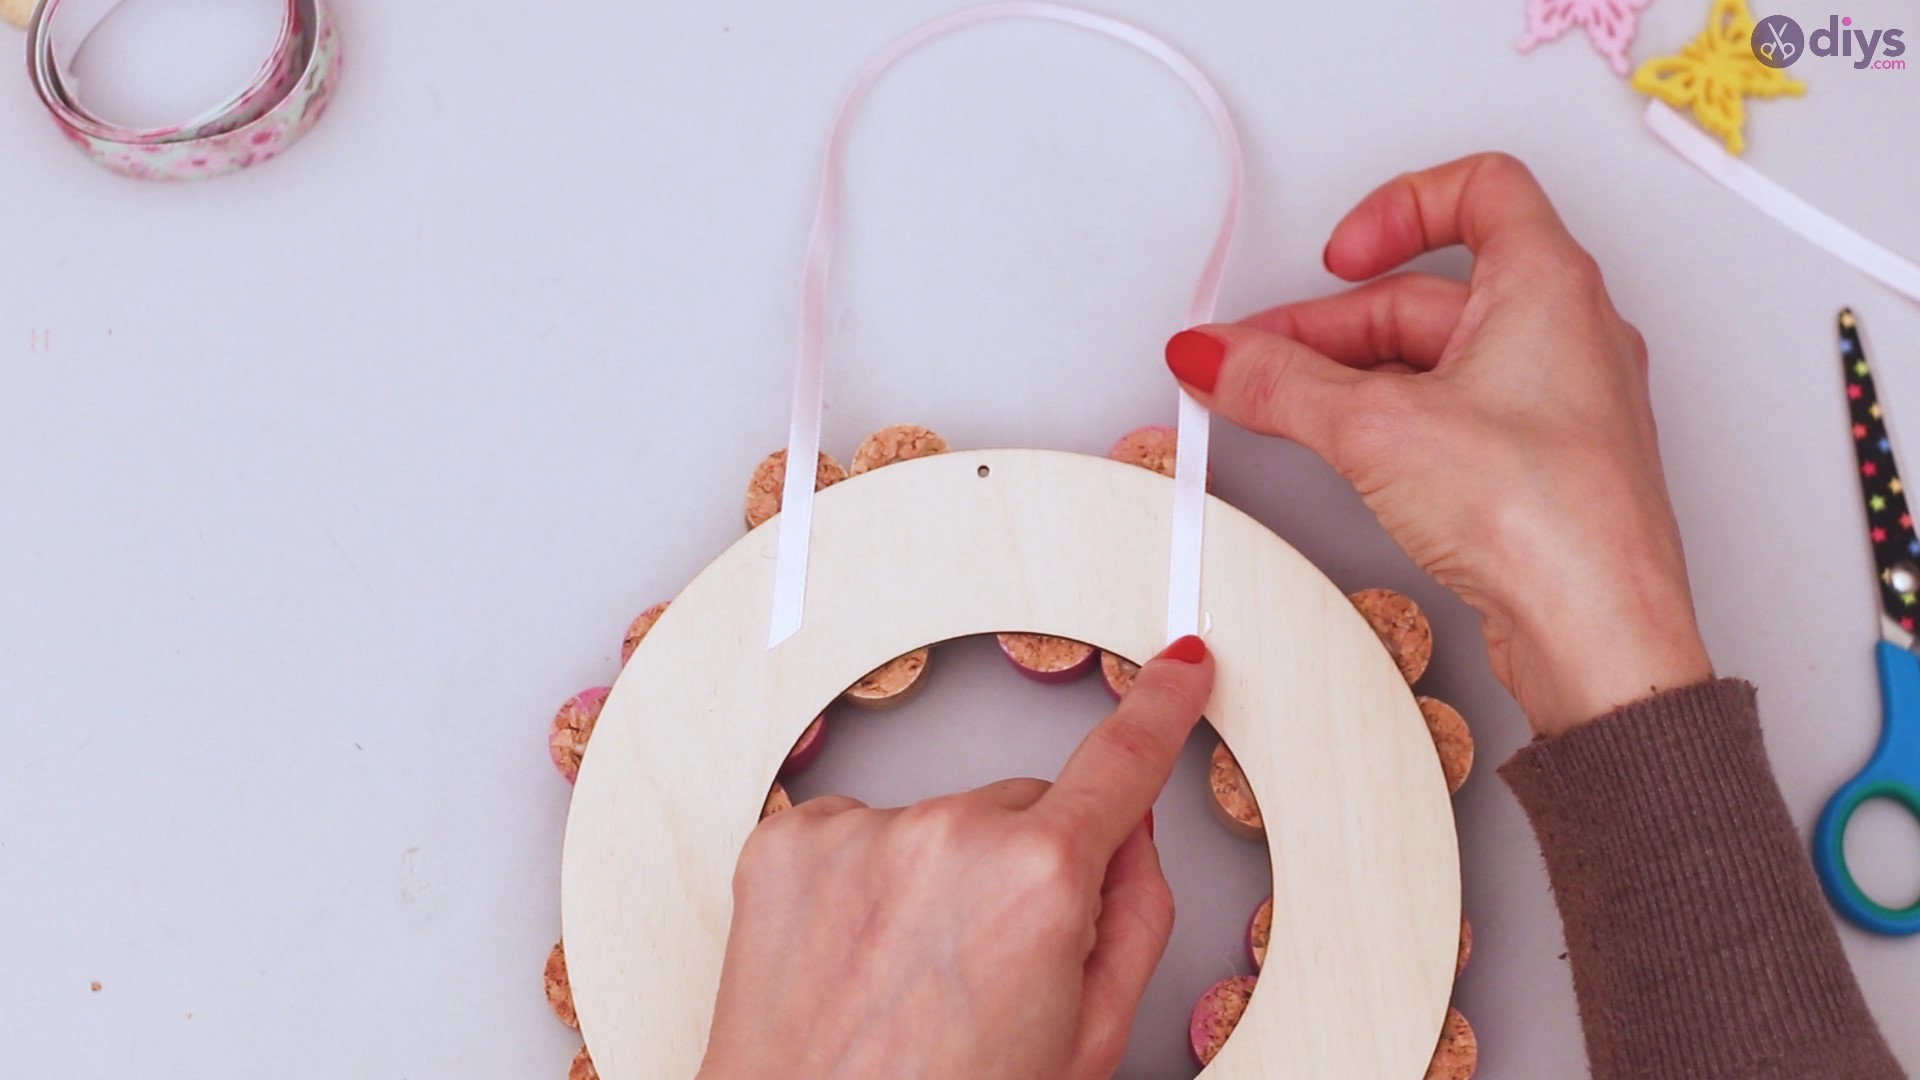
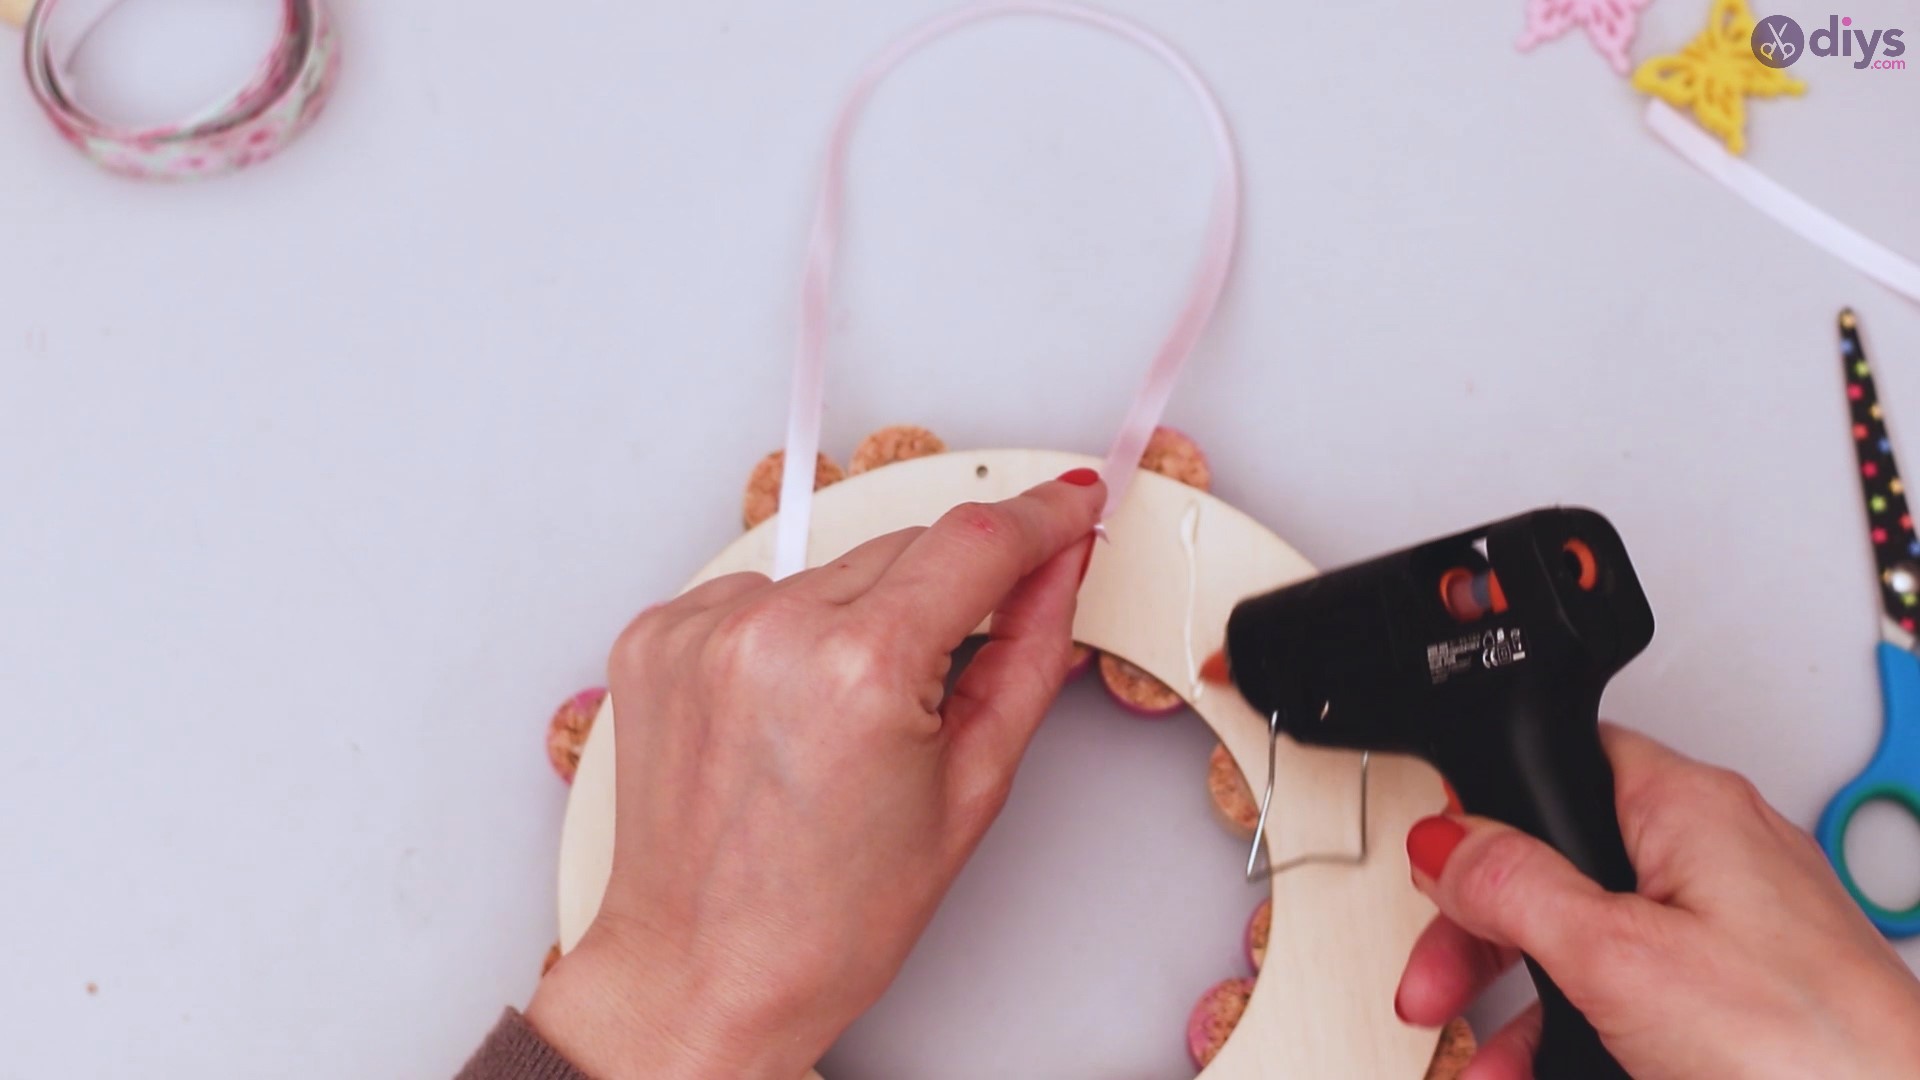
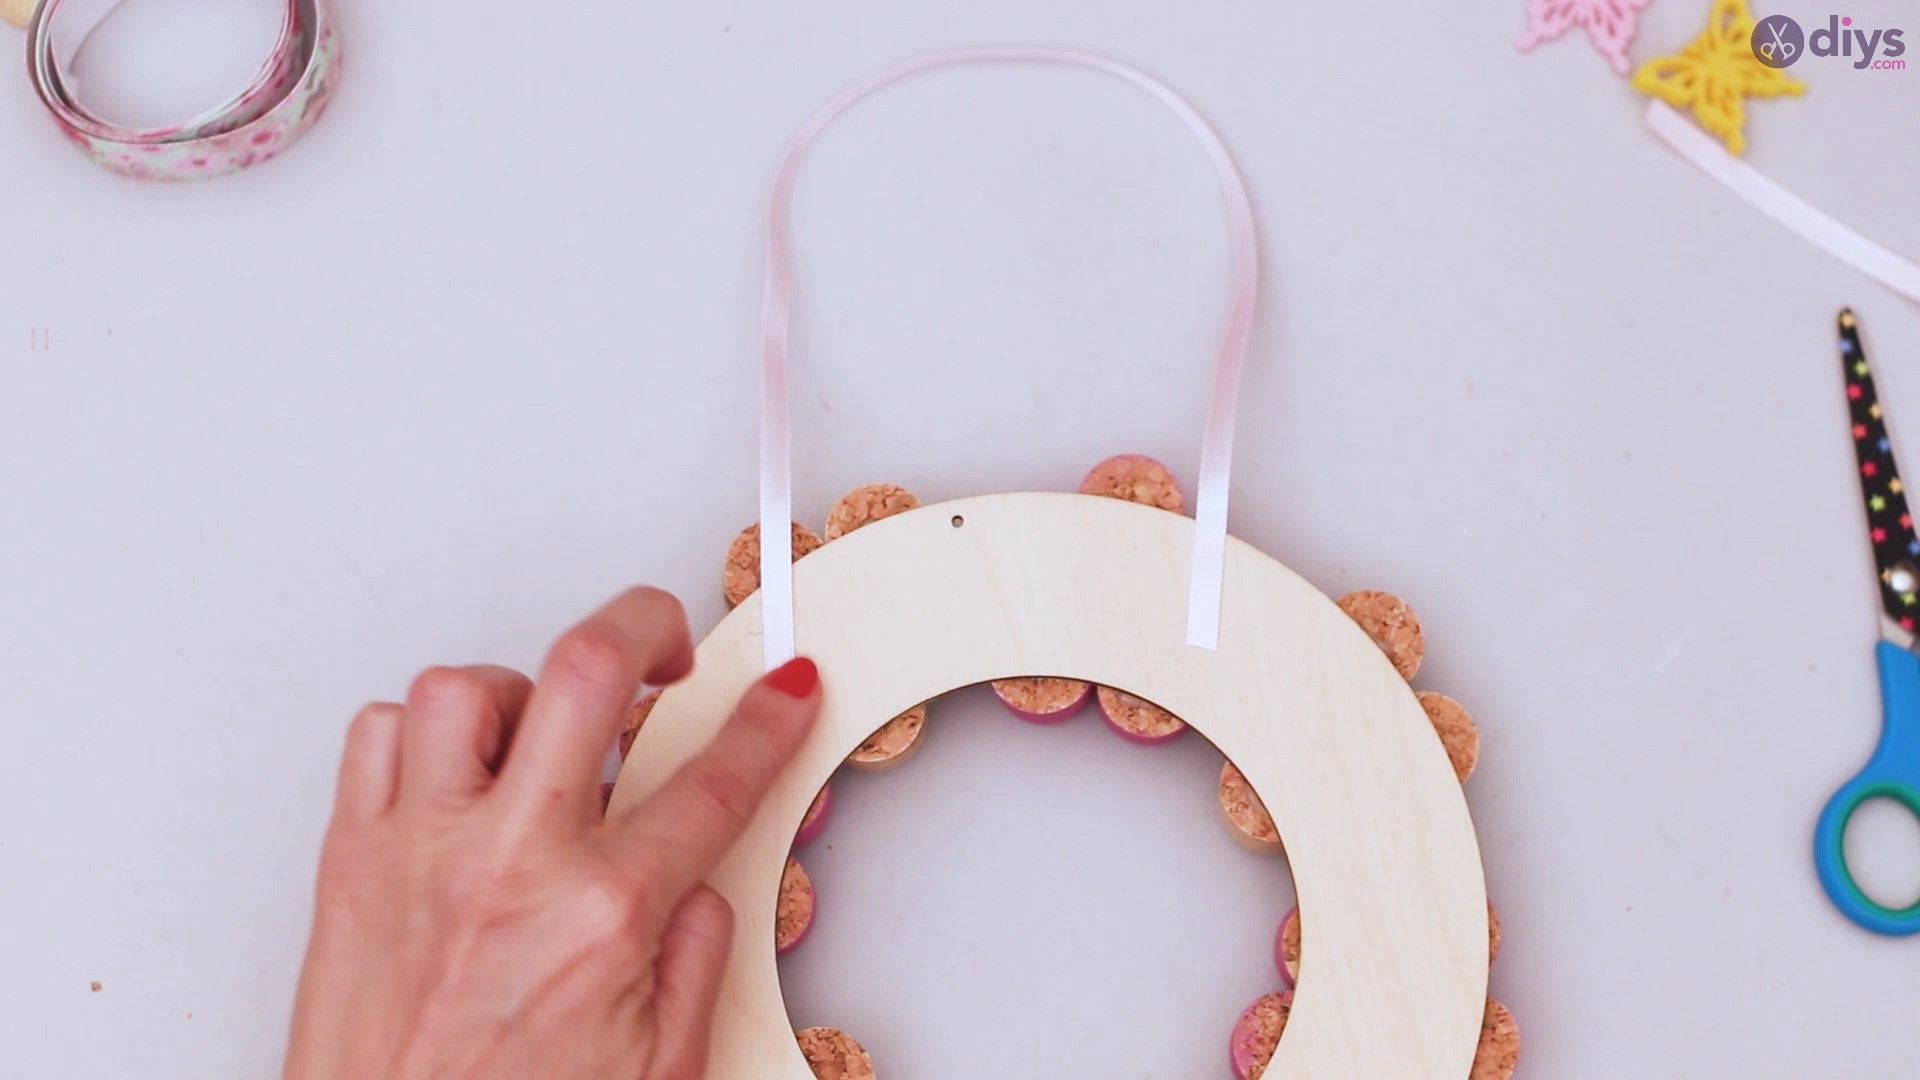
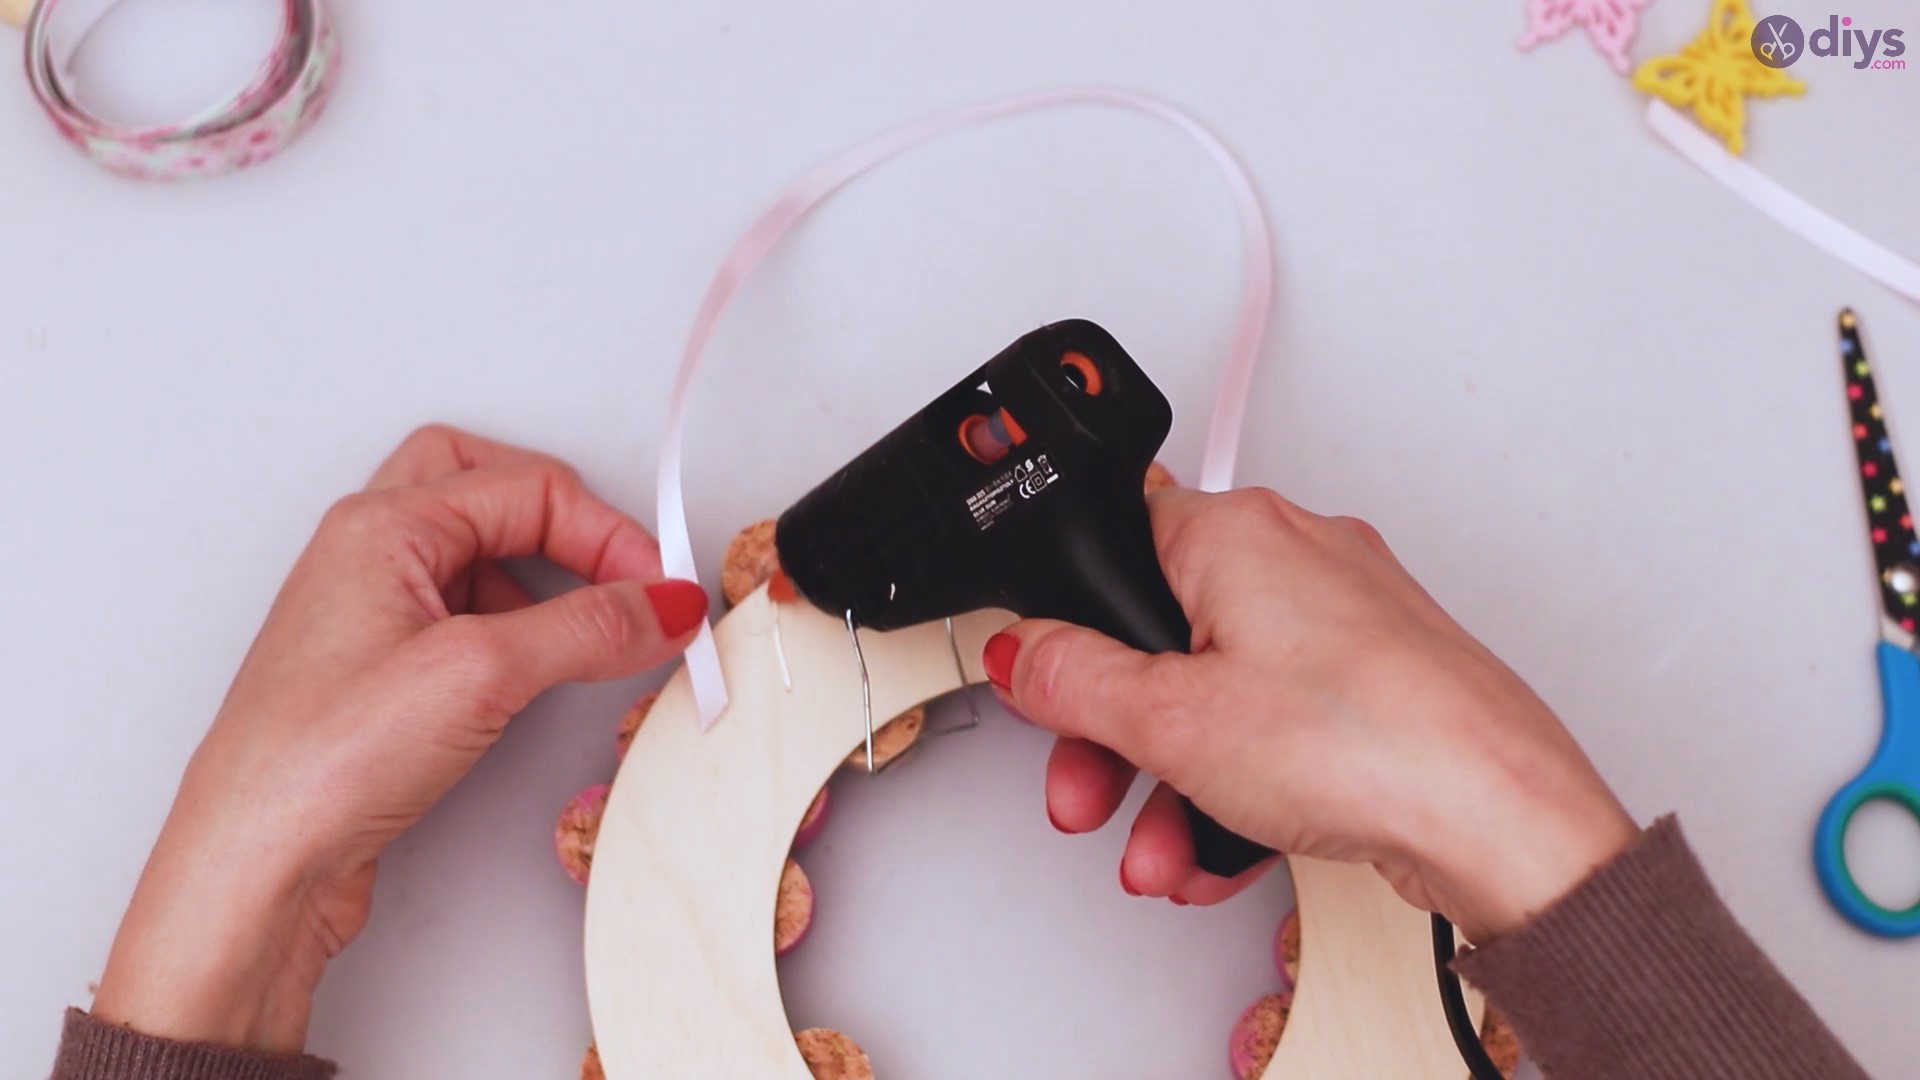
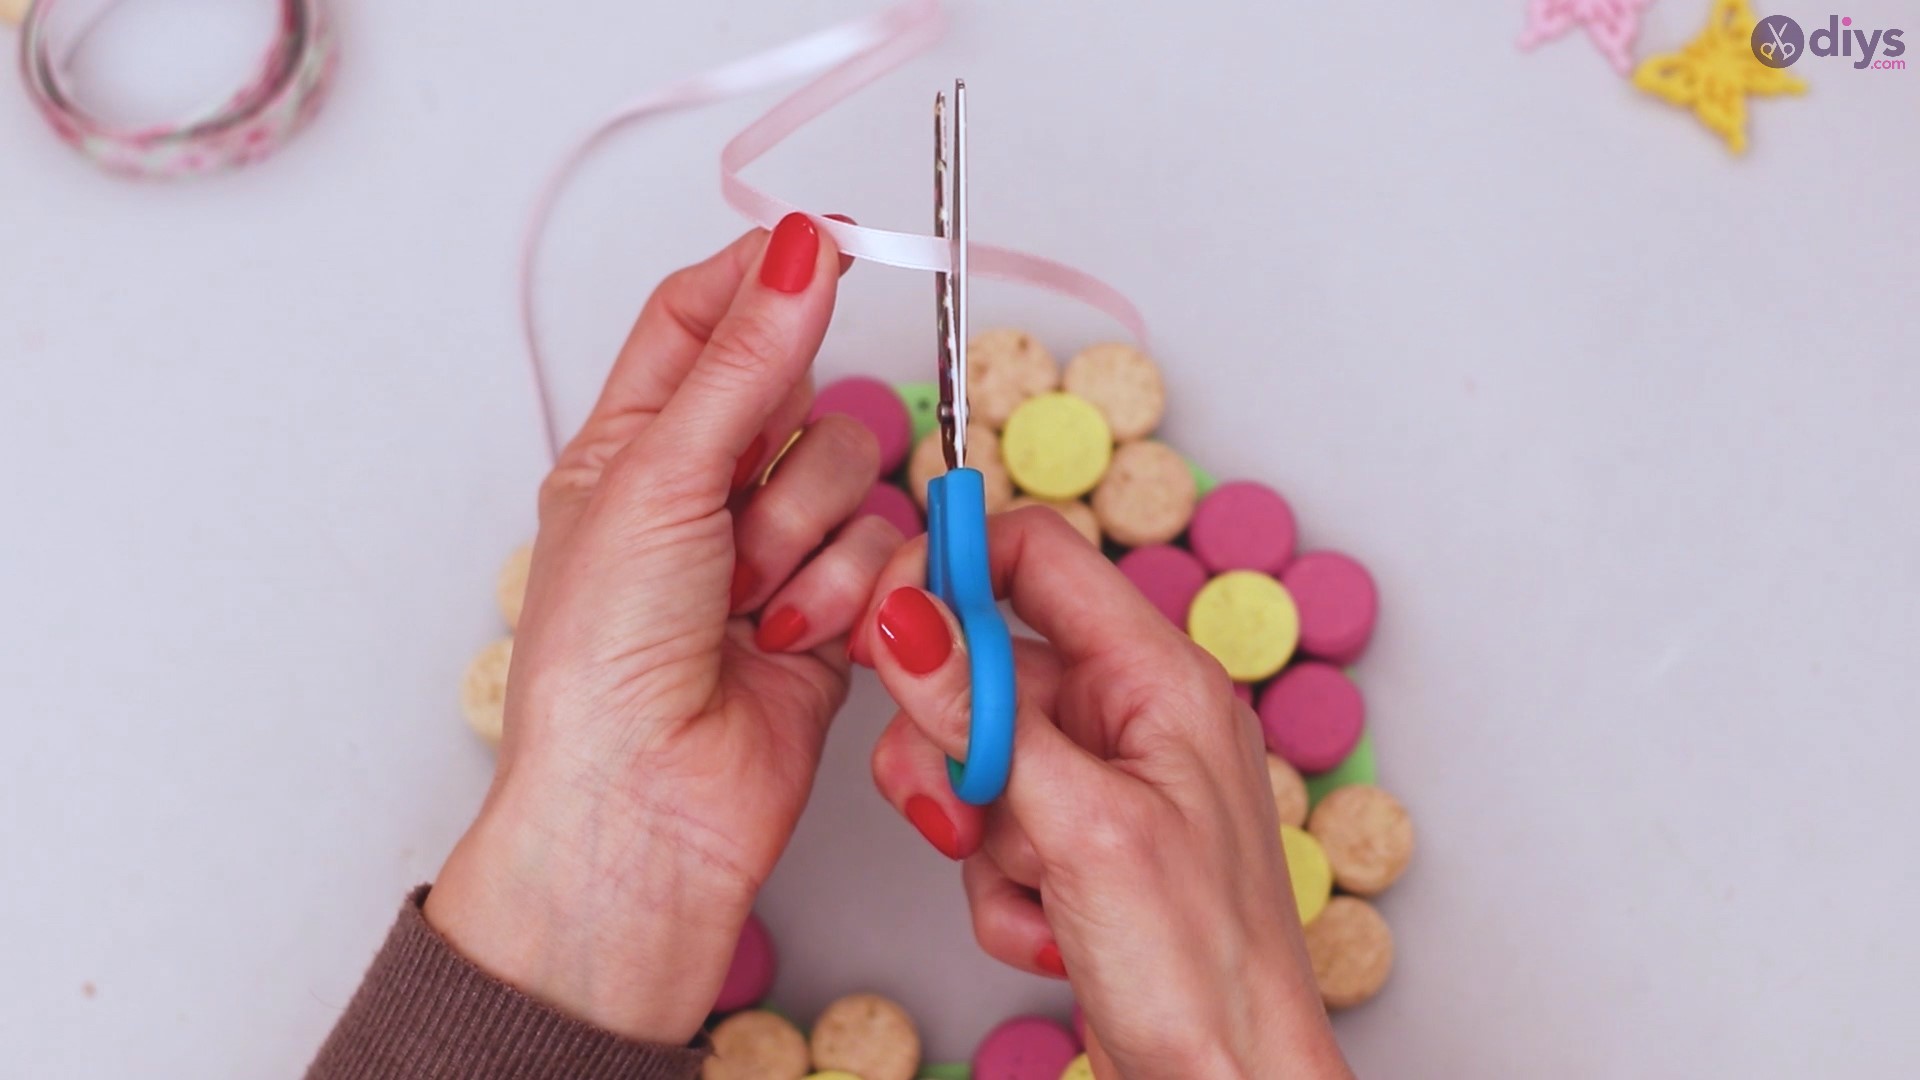
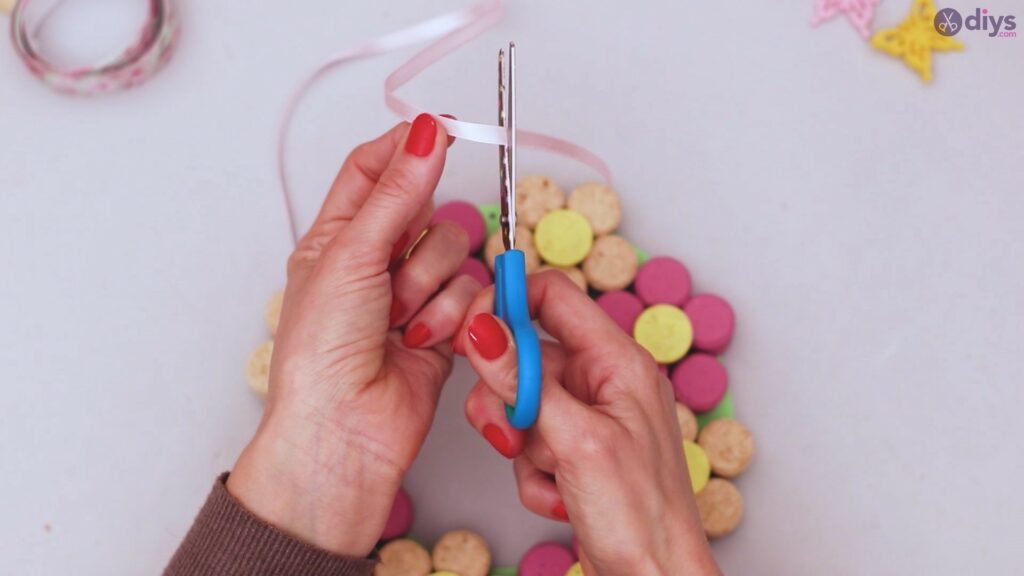
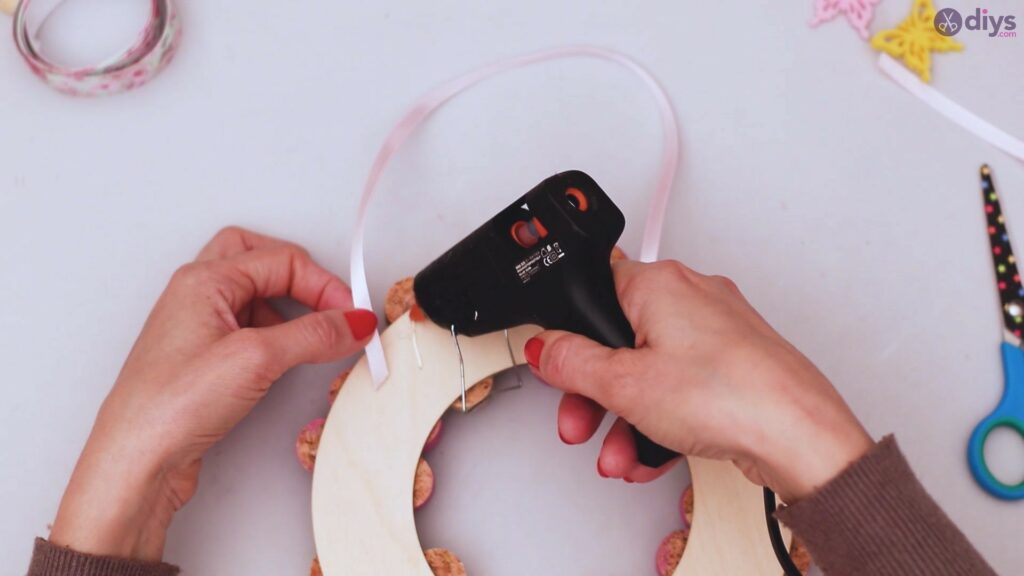
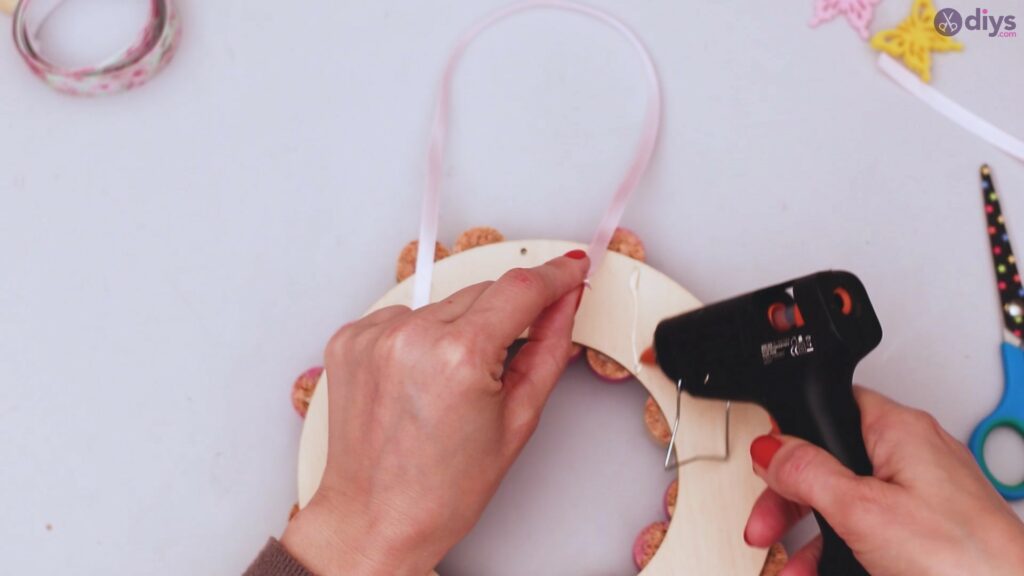
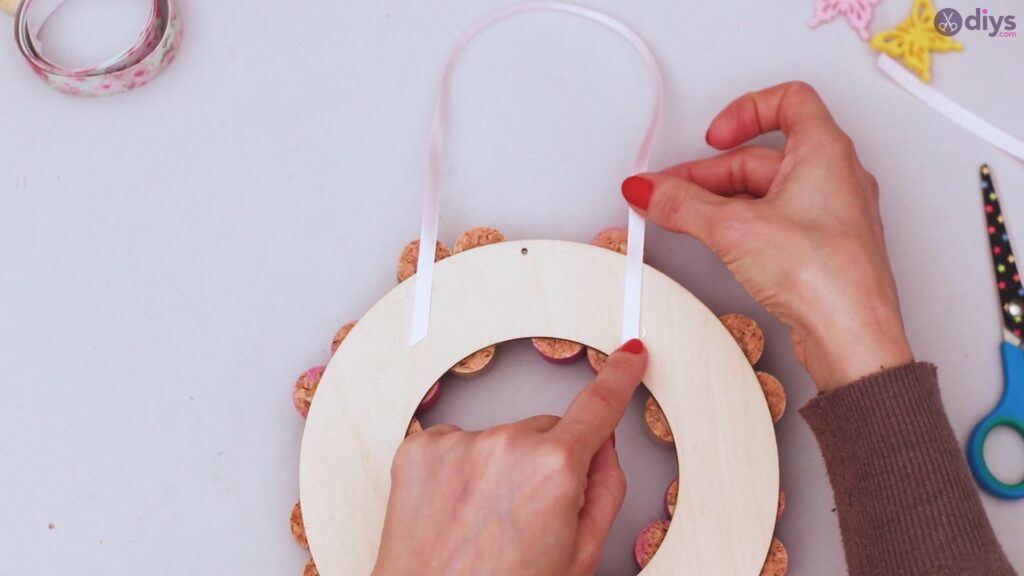
Measure out how long you want the ribbon loop to be and then cut a piece that will suffice. Turn the wreath over and get the glue gun again. Figure out exactly where you want the center of the wreath to be and mark equal-distance spots on either side of that.Add a long thick line of hot glue to the wood circle and press the silk ribbon into it.
Do the same on the other side. Press the ribbon into the glue until it sets completely. The wreath will be a bit heavy and you don’t want the ribbon to unglue itself and the whole thing to end up on the floor.
Step 8: Add a bow
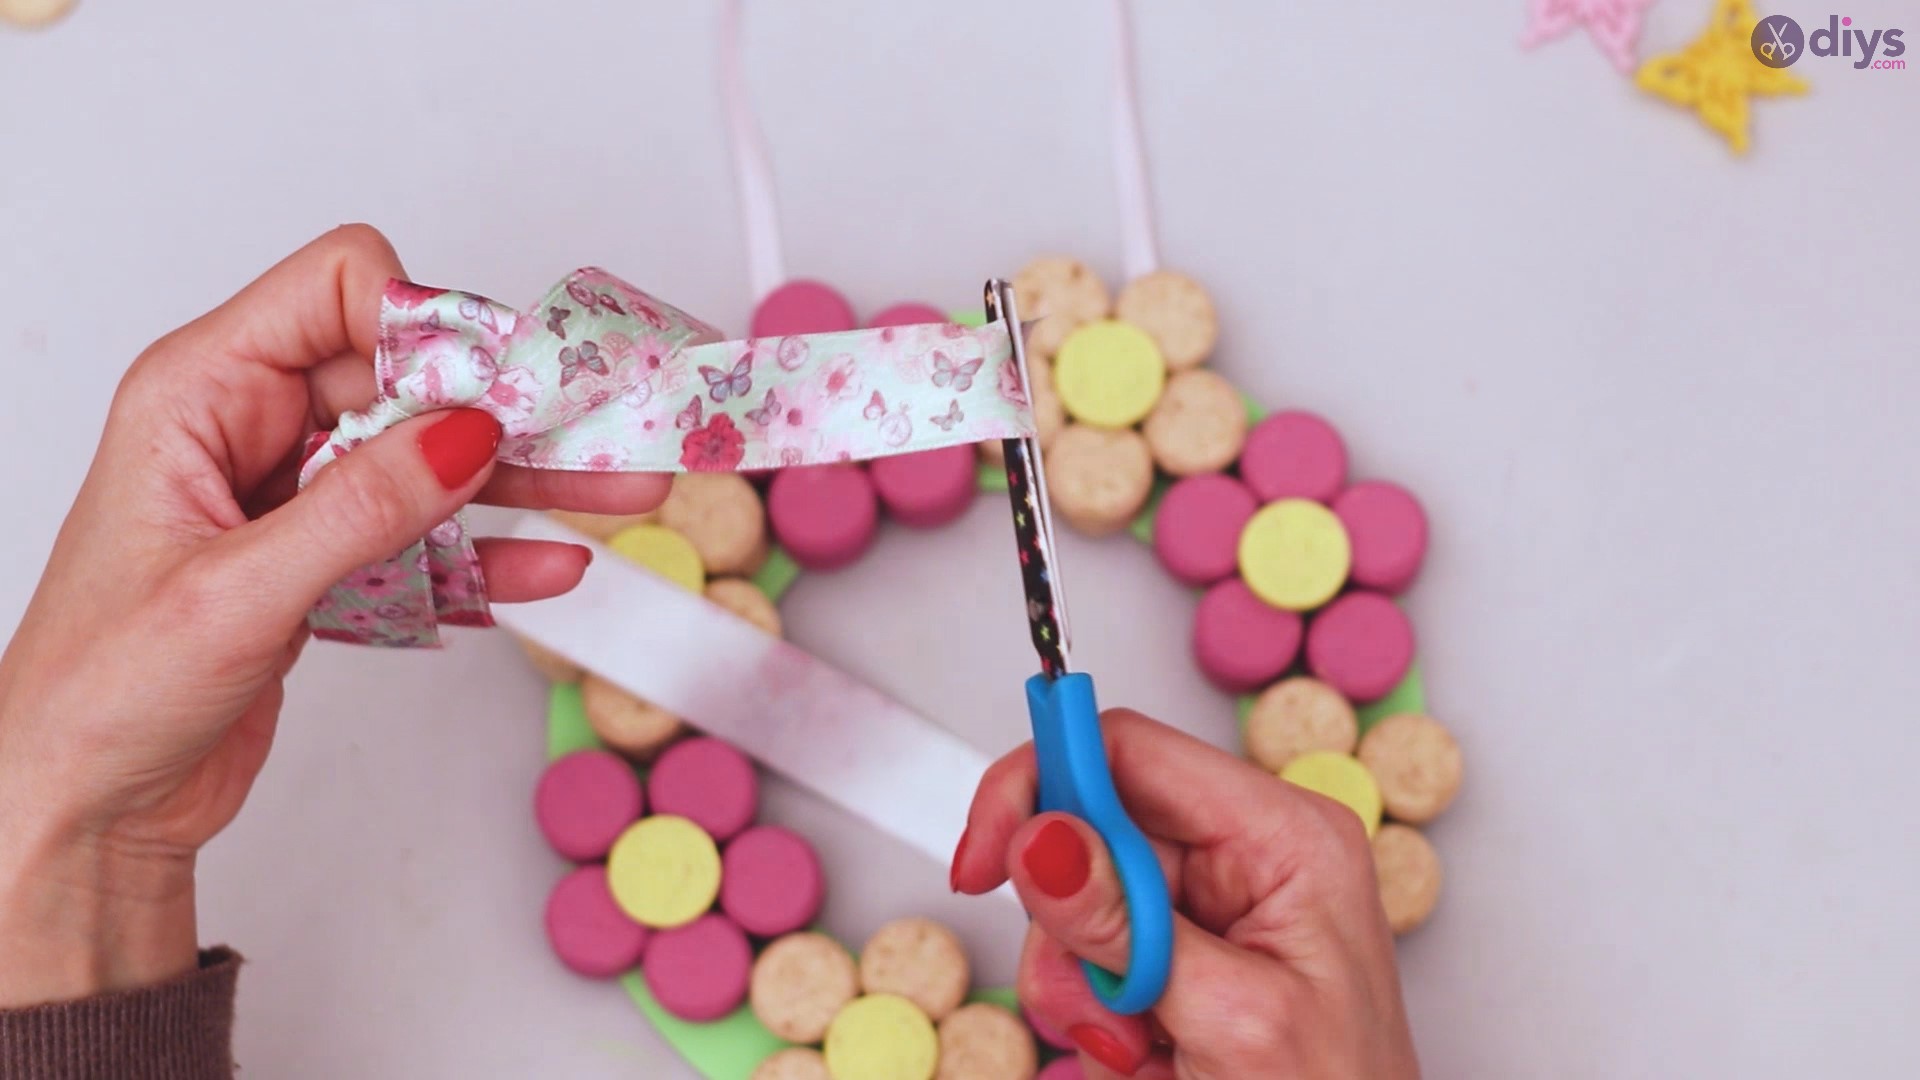
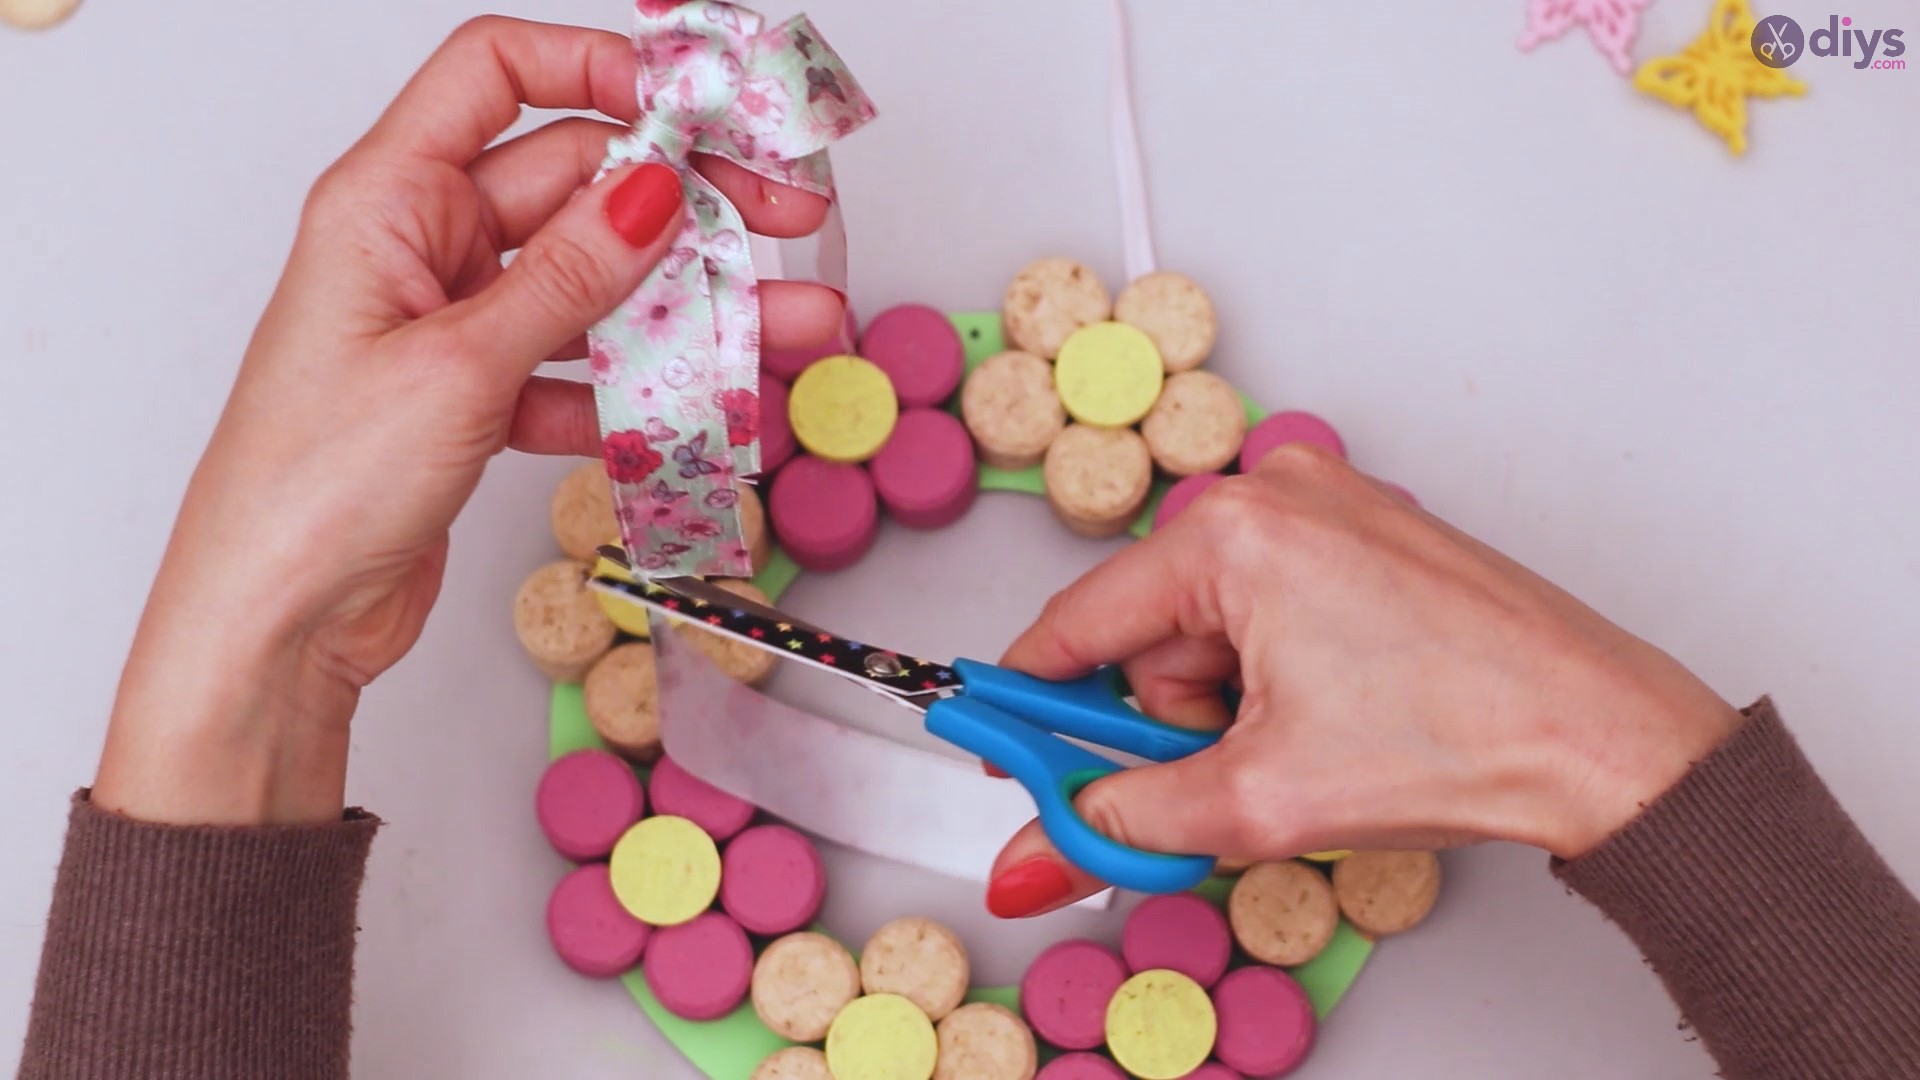
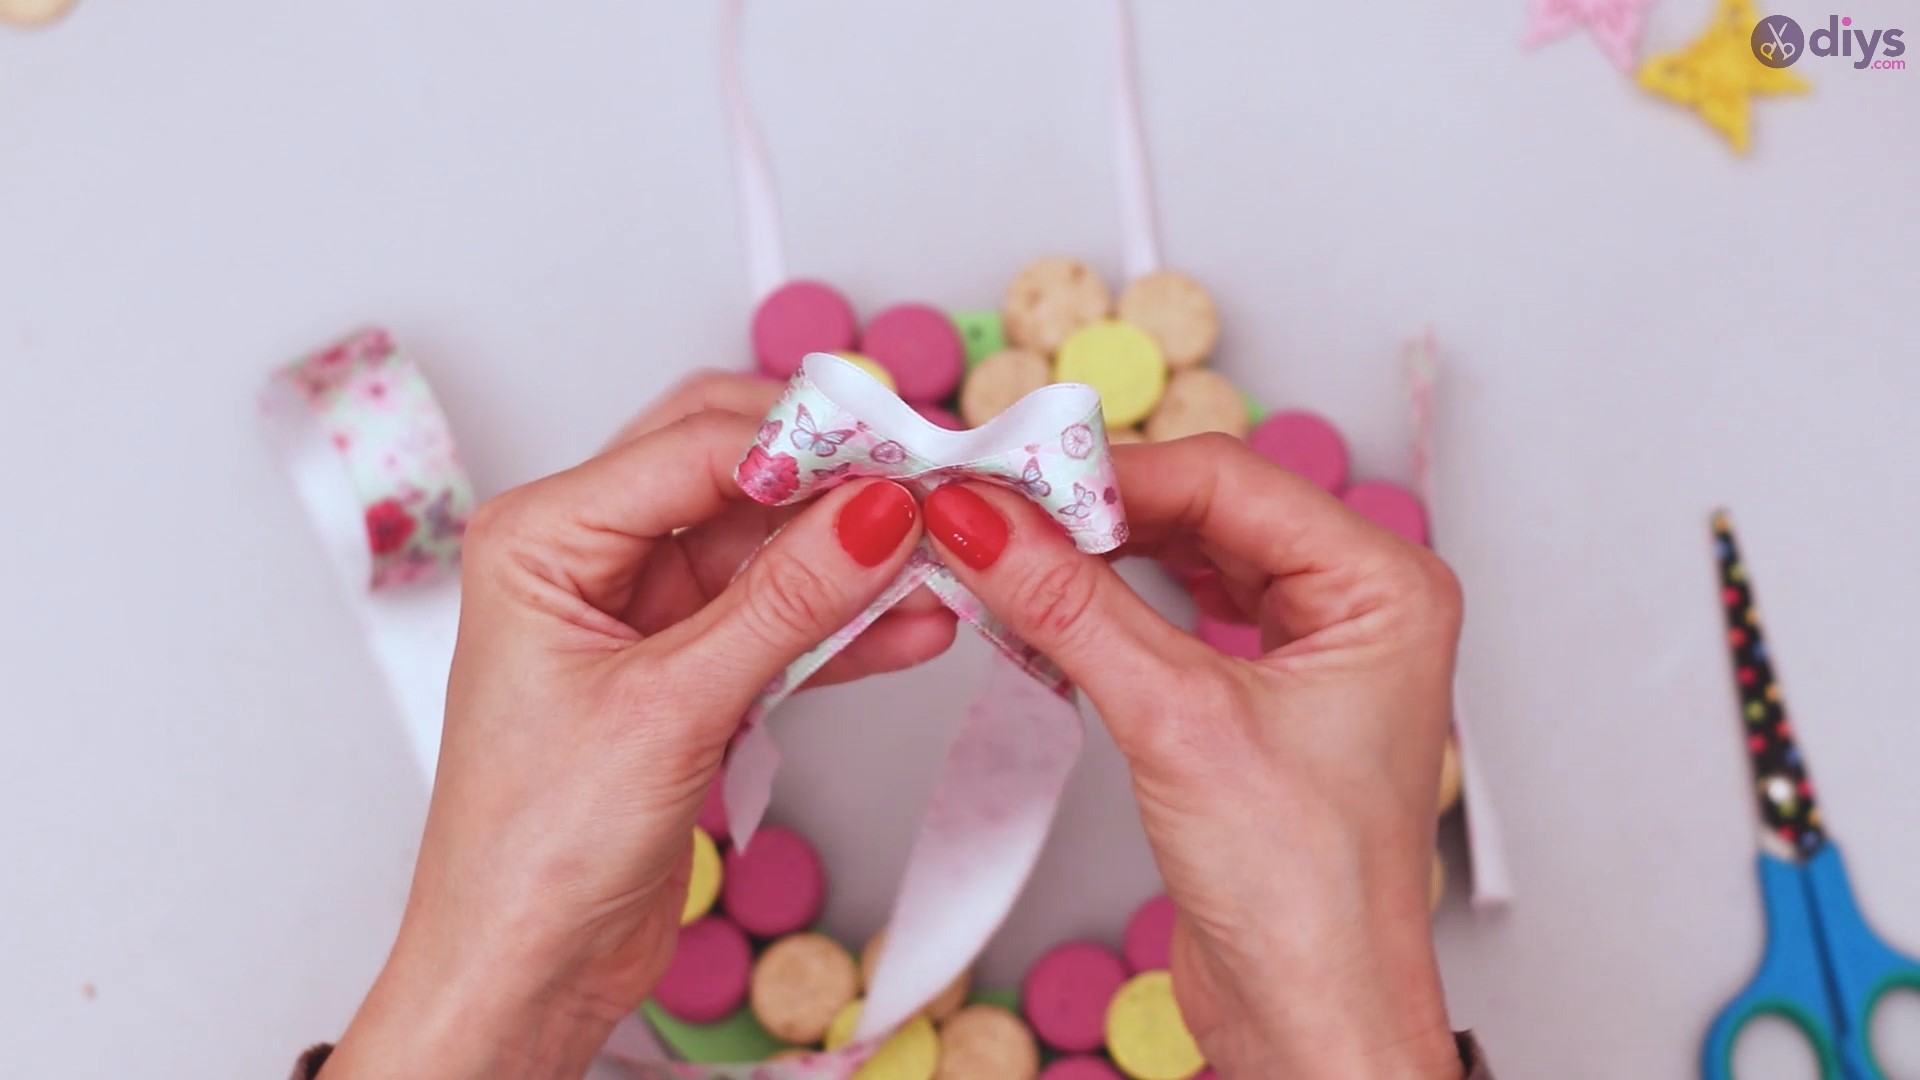
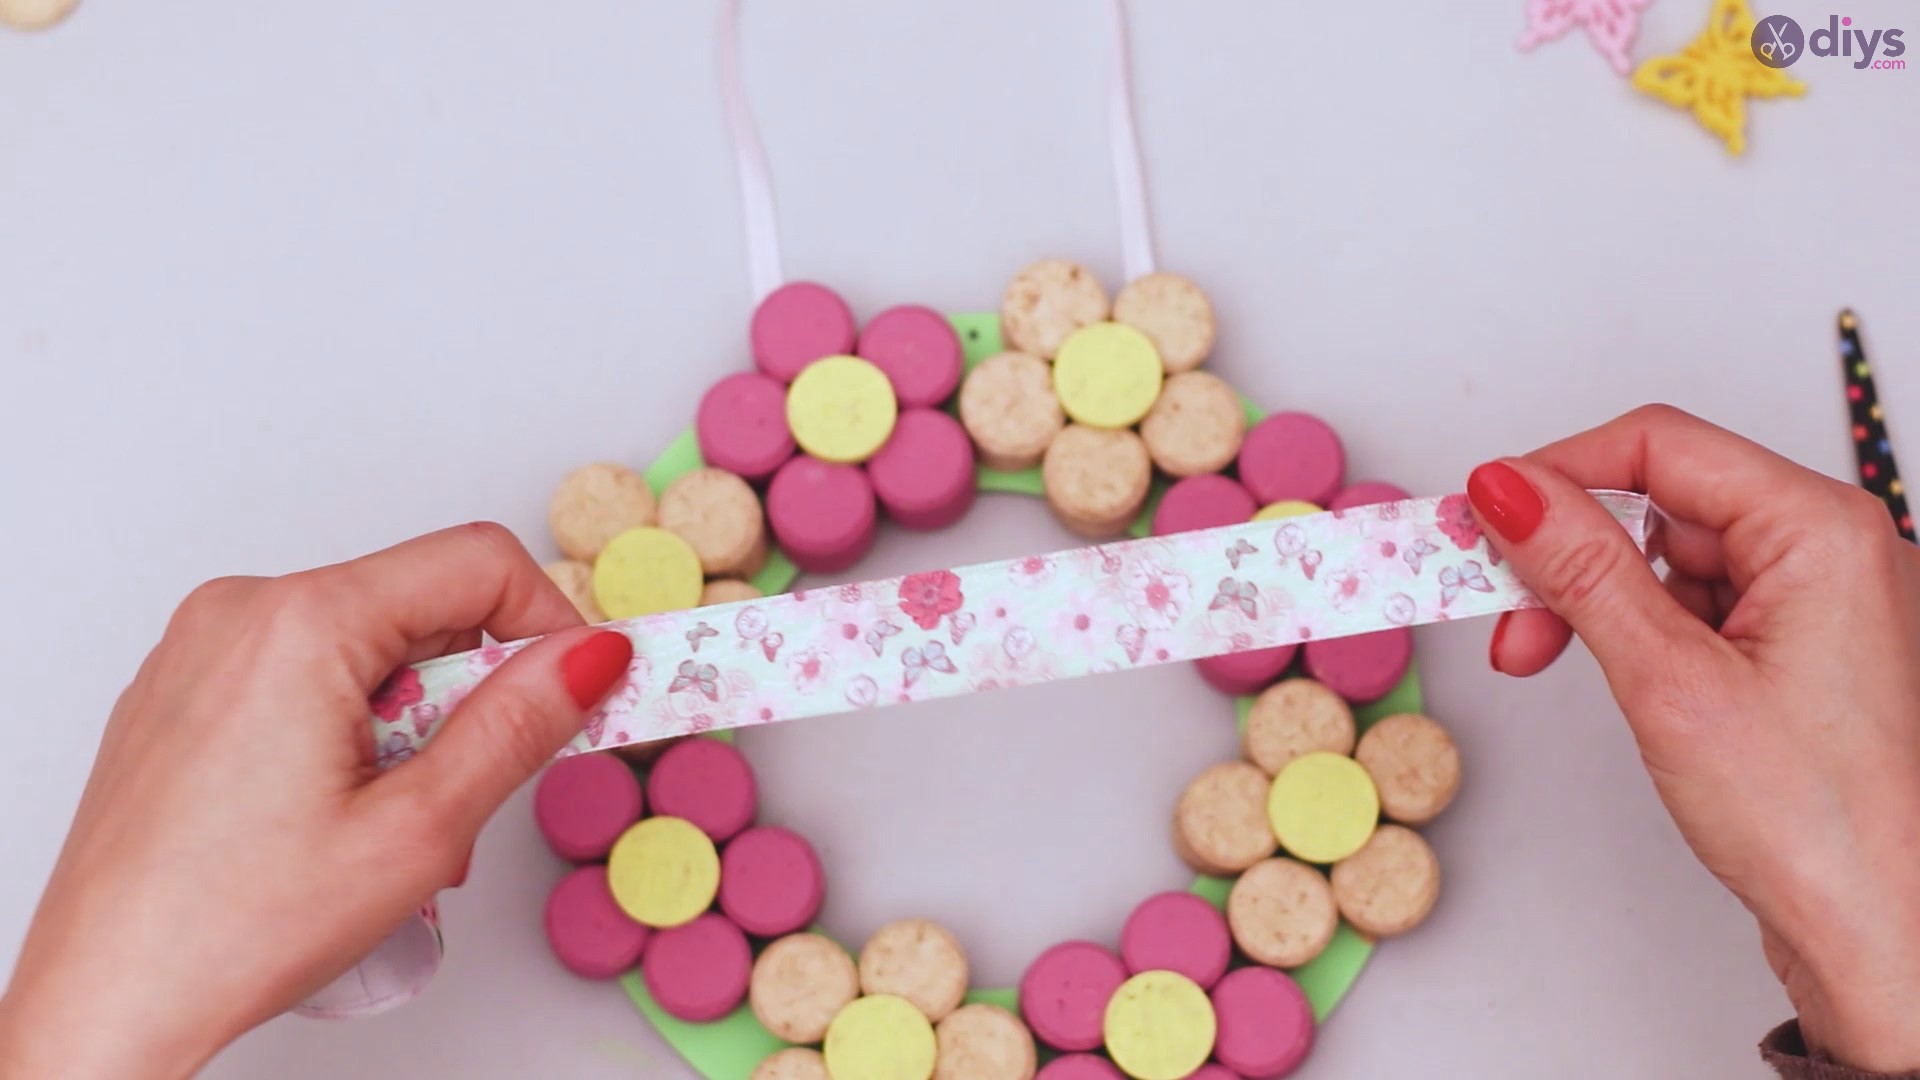
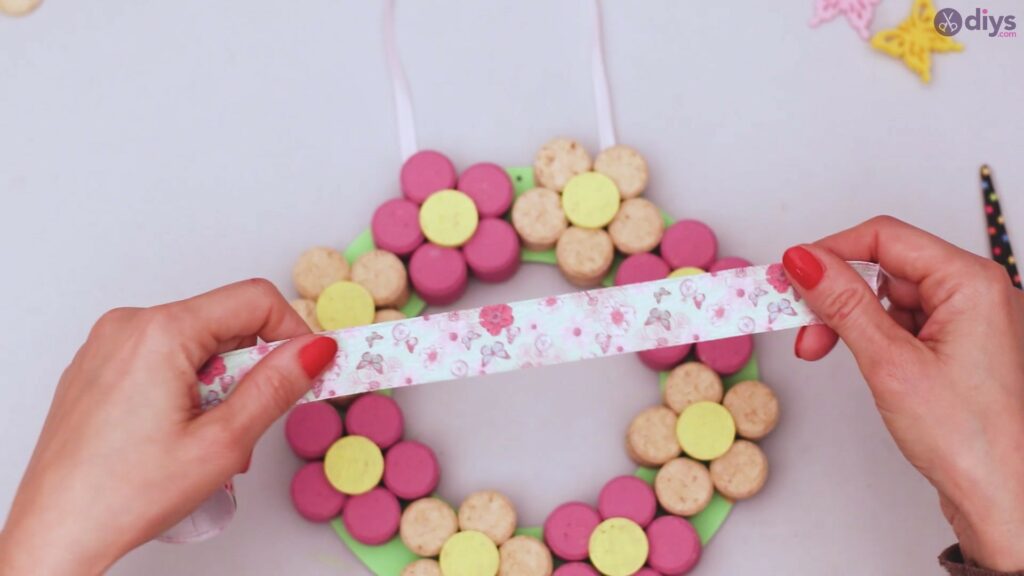
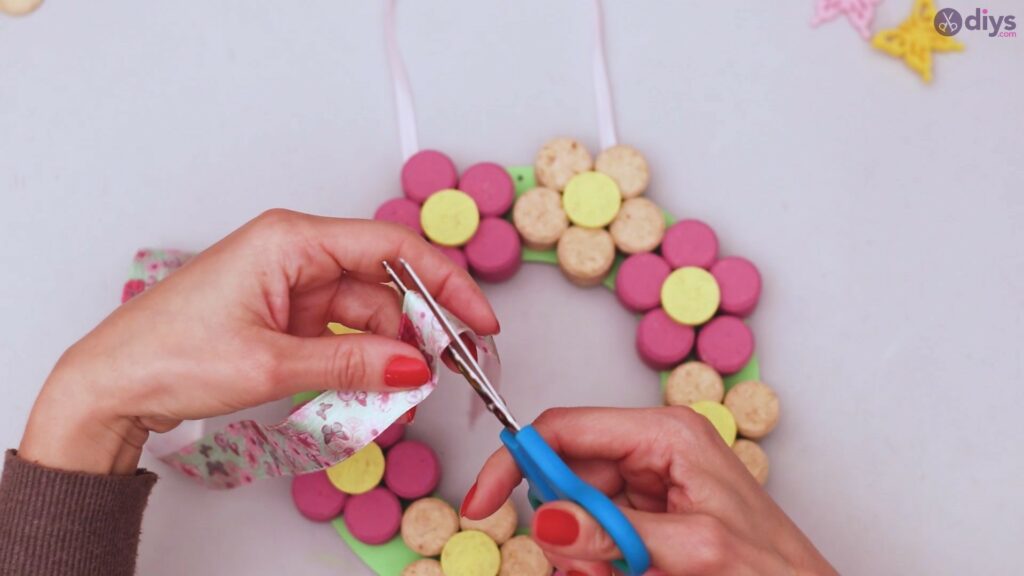
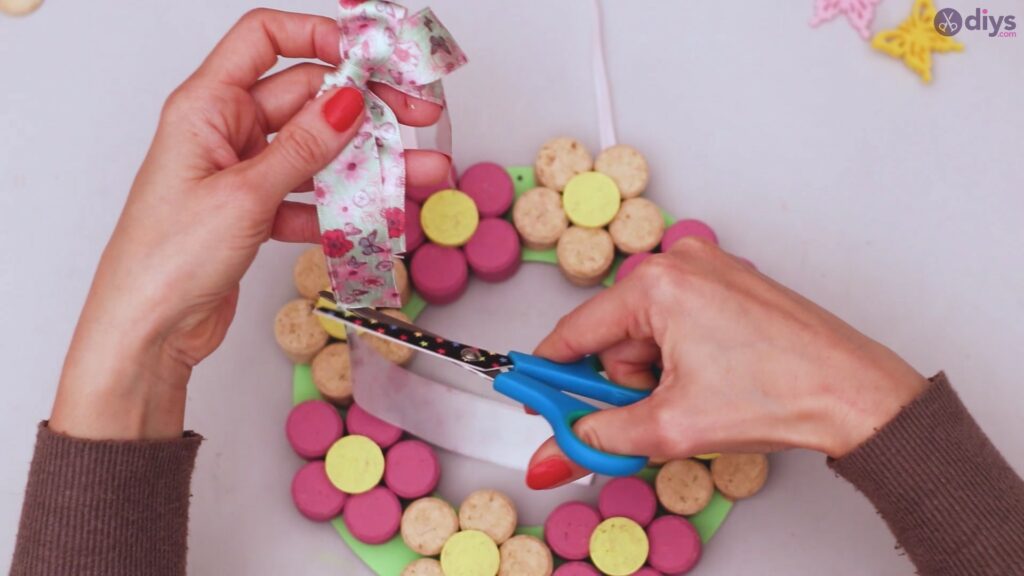
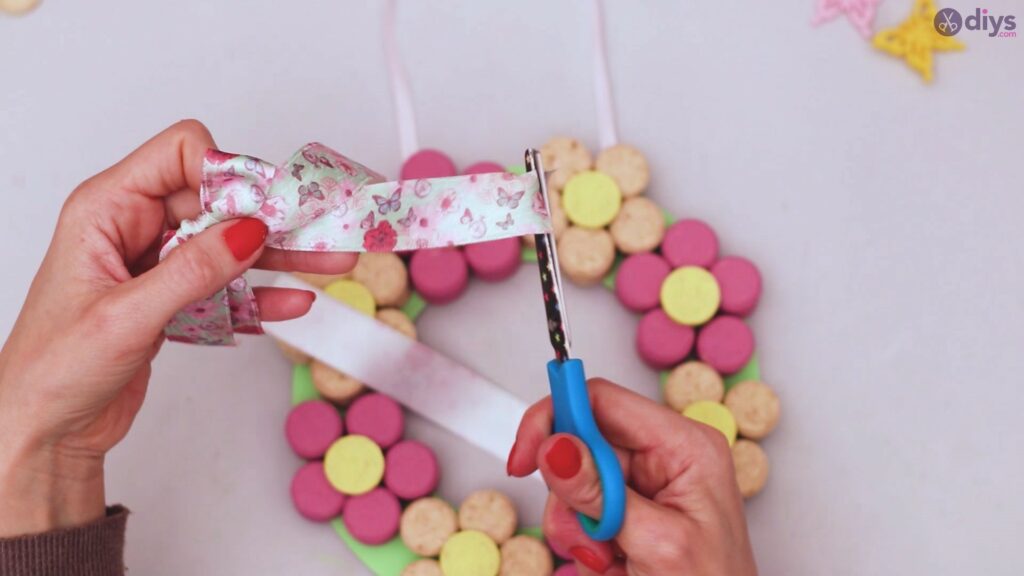
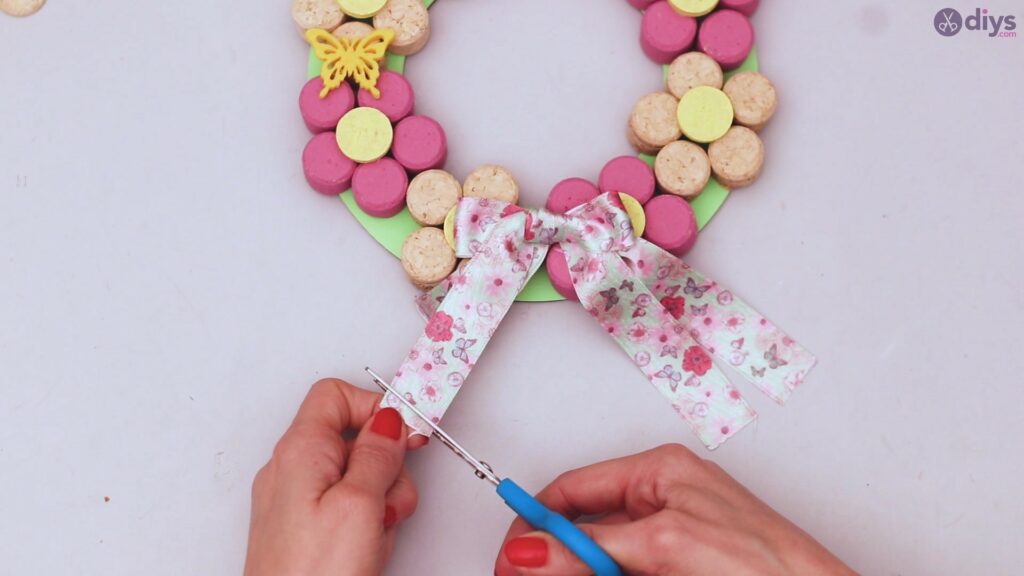
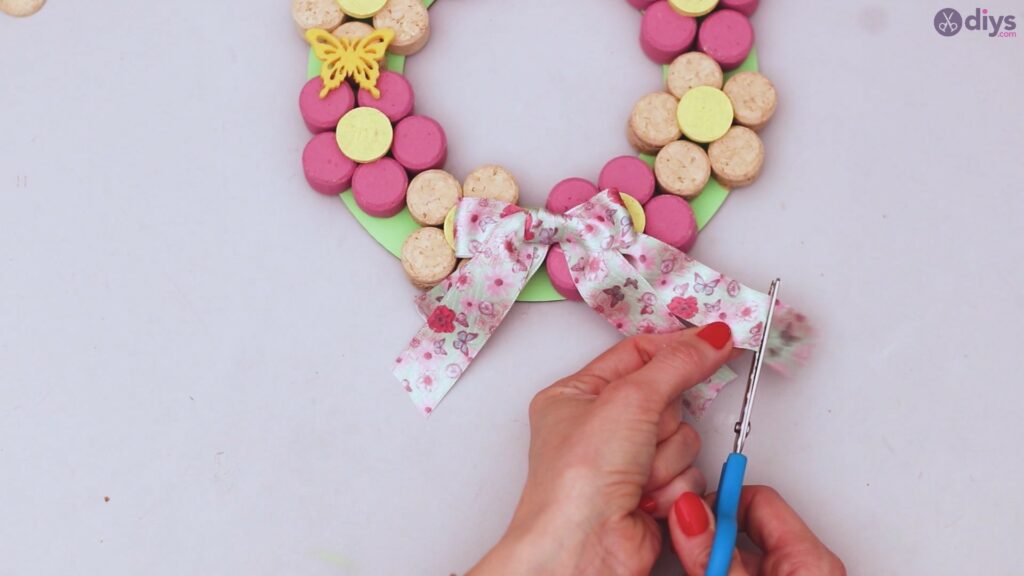
Next, you want to take the thicker silk ribbon which we’ll use to create a bow. Measure out the ribbon (ours has butterflies!) and cut it as straight as possible. Cut another smaller piece and set it aside.
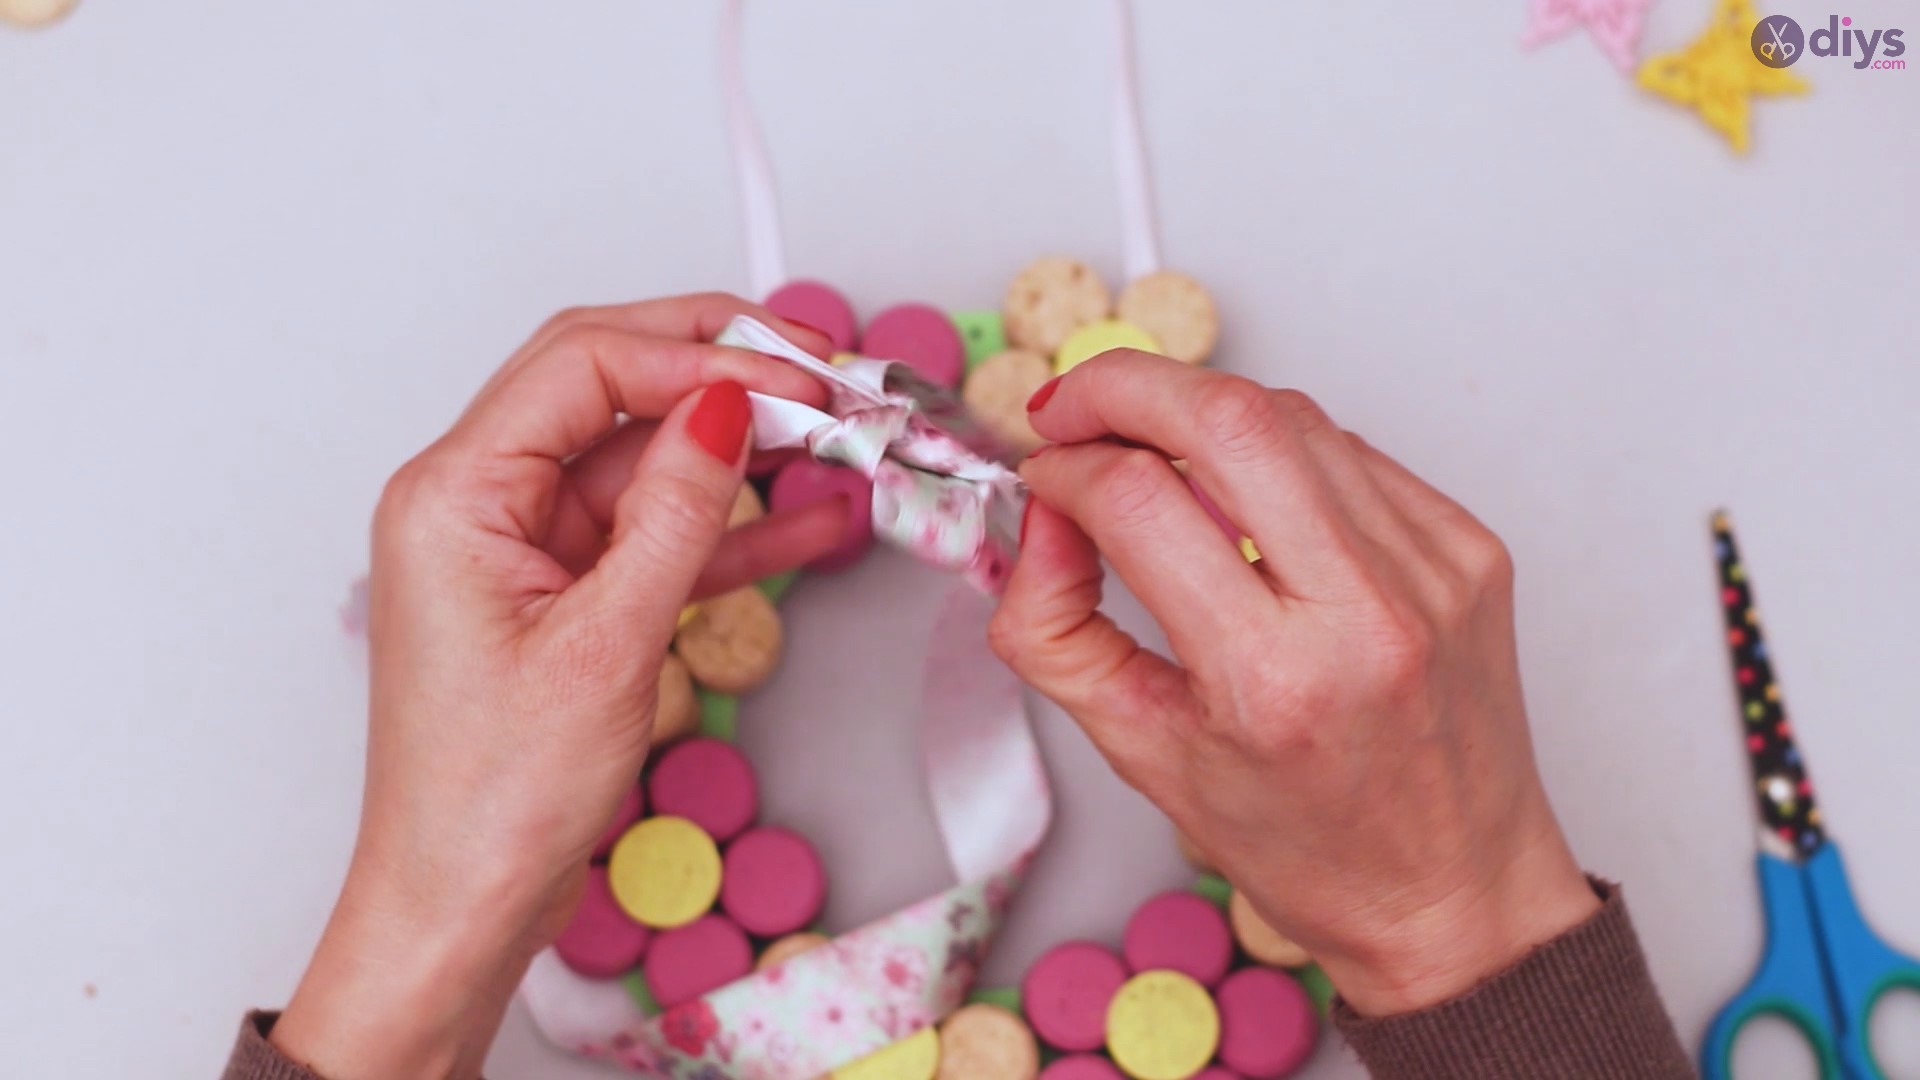
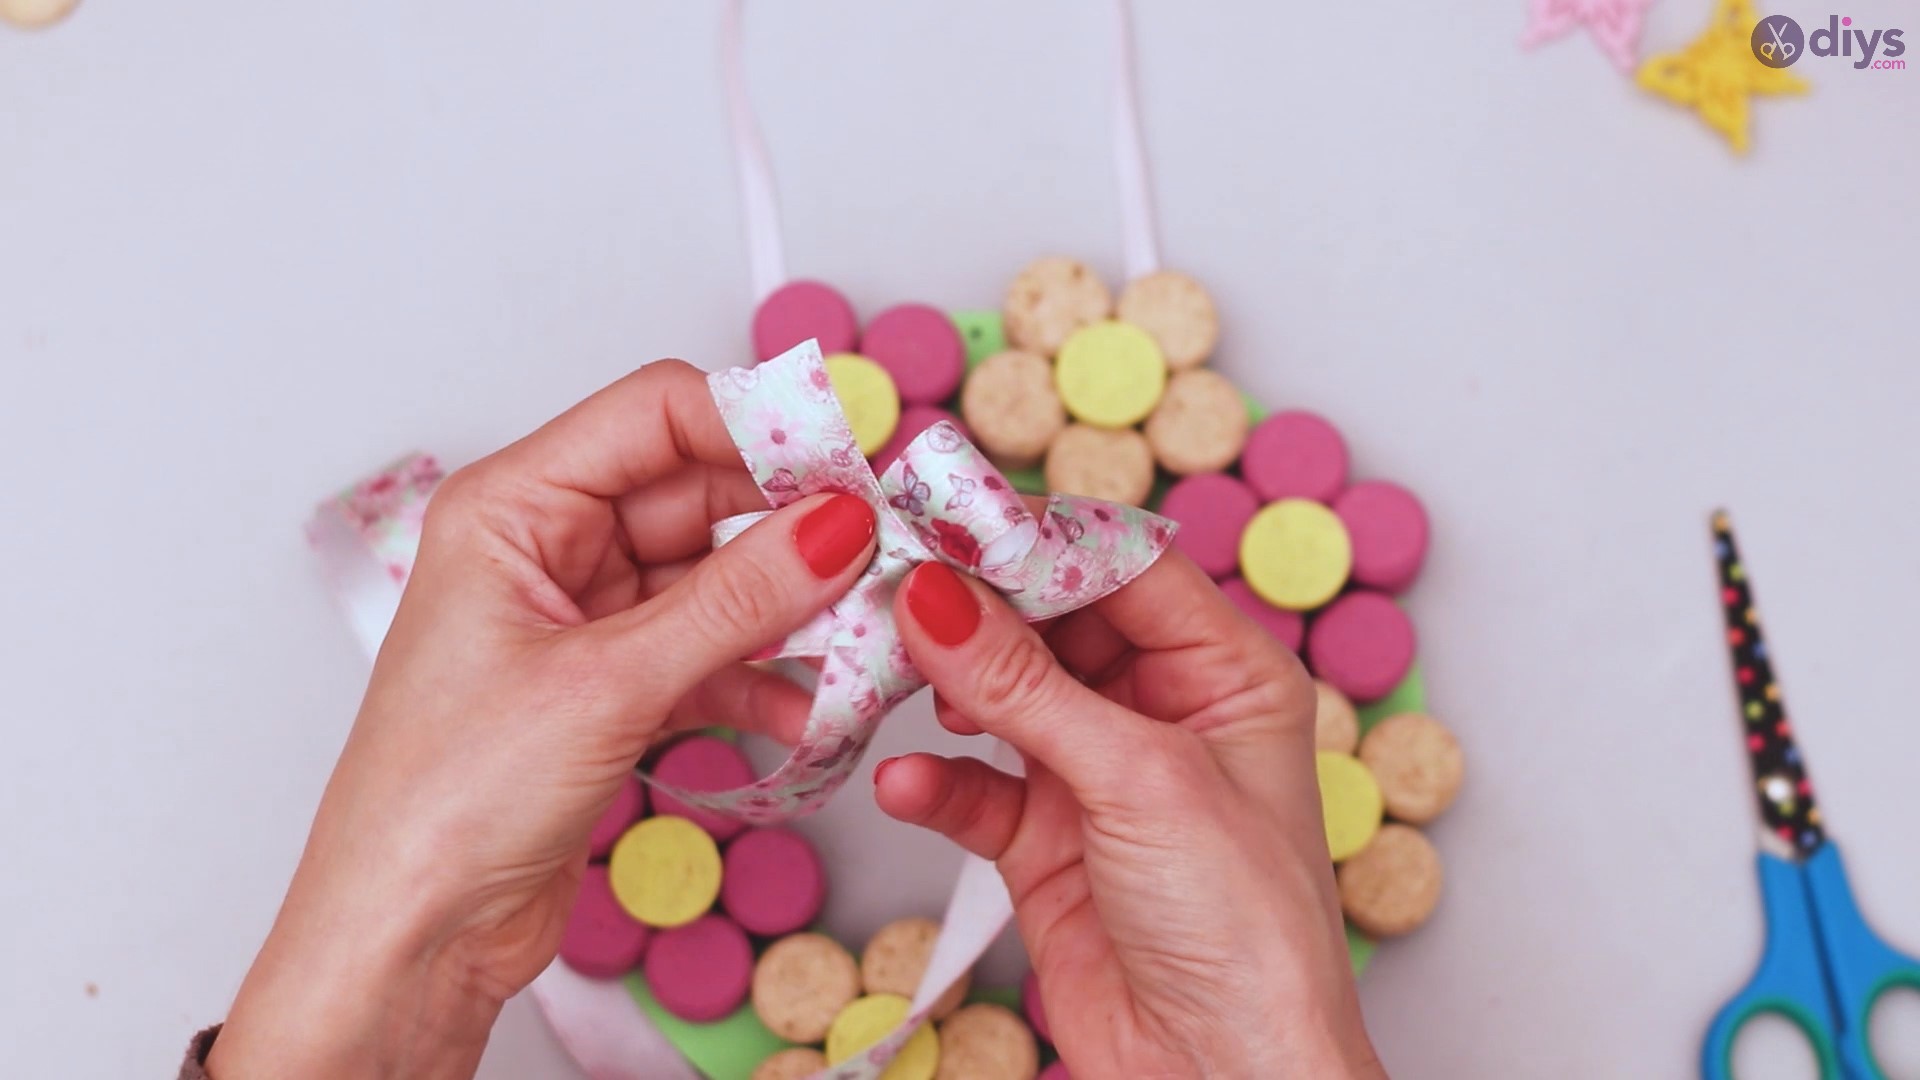
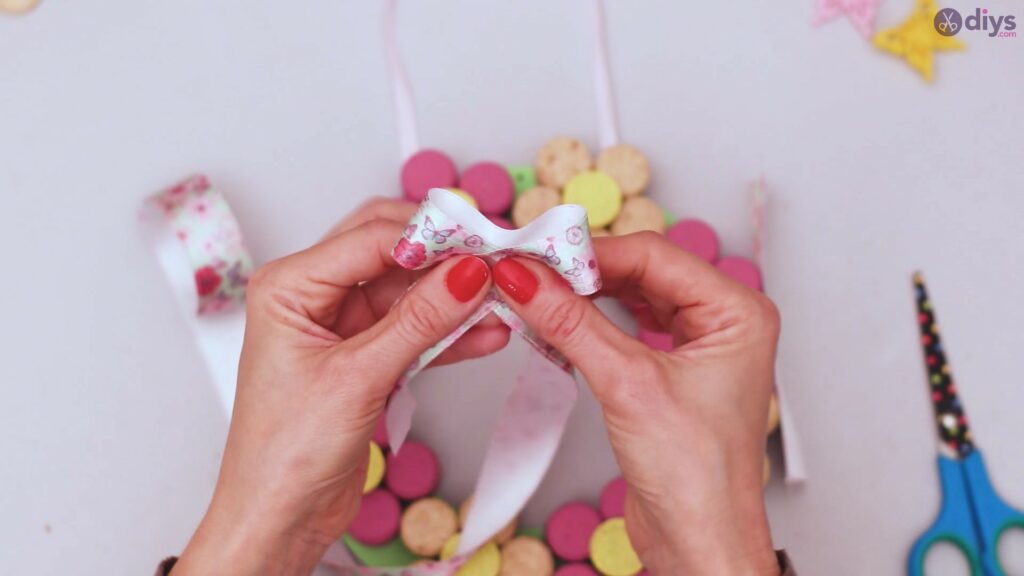
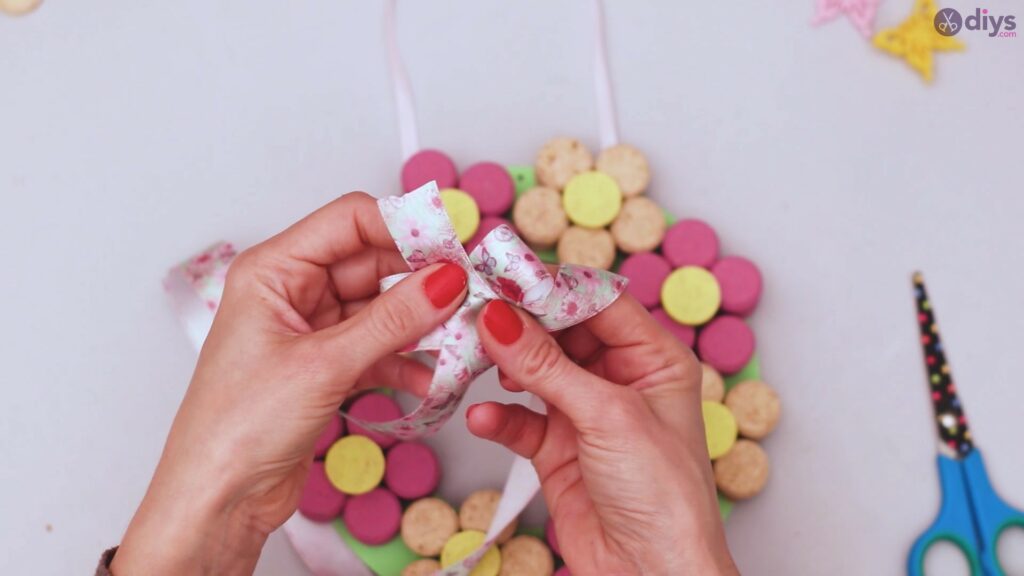
Grab the larger piece of ribbon and fold the material to the size of the bow you want to create. Then, take the smaller piece of ribbon we mentioned and tie it over the middle of the bow you created.
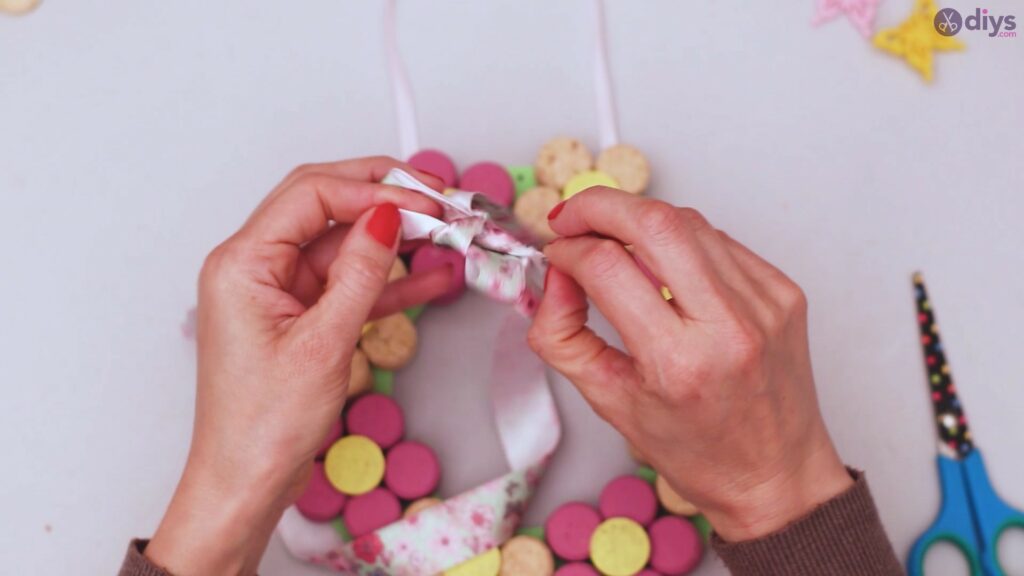
Make sure you make the knot on the backside of the bow, which won’t be visible.
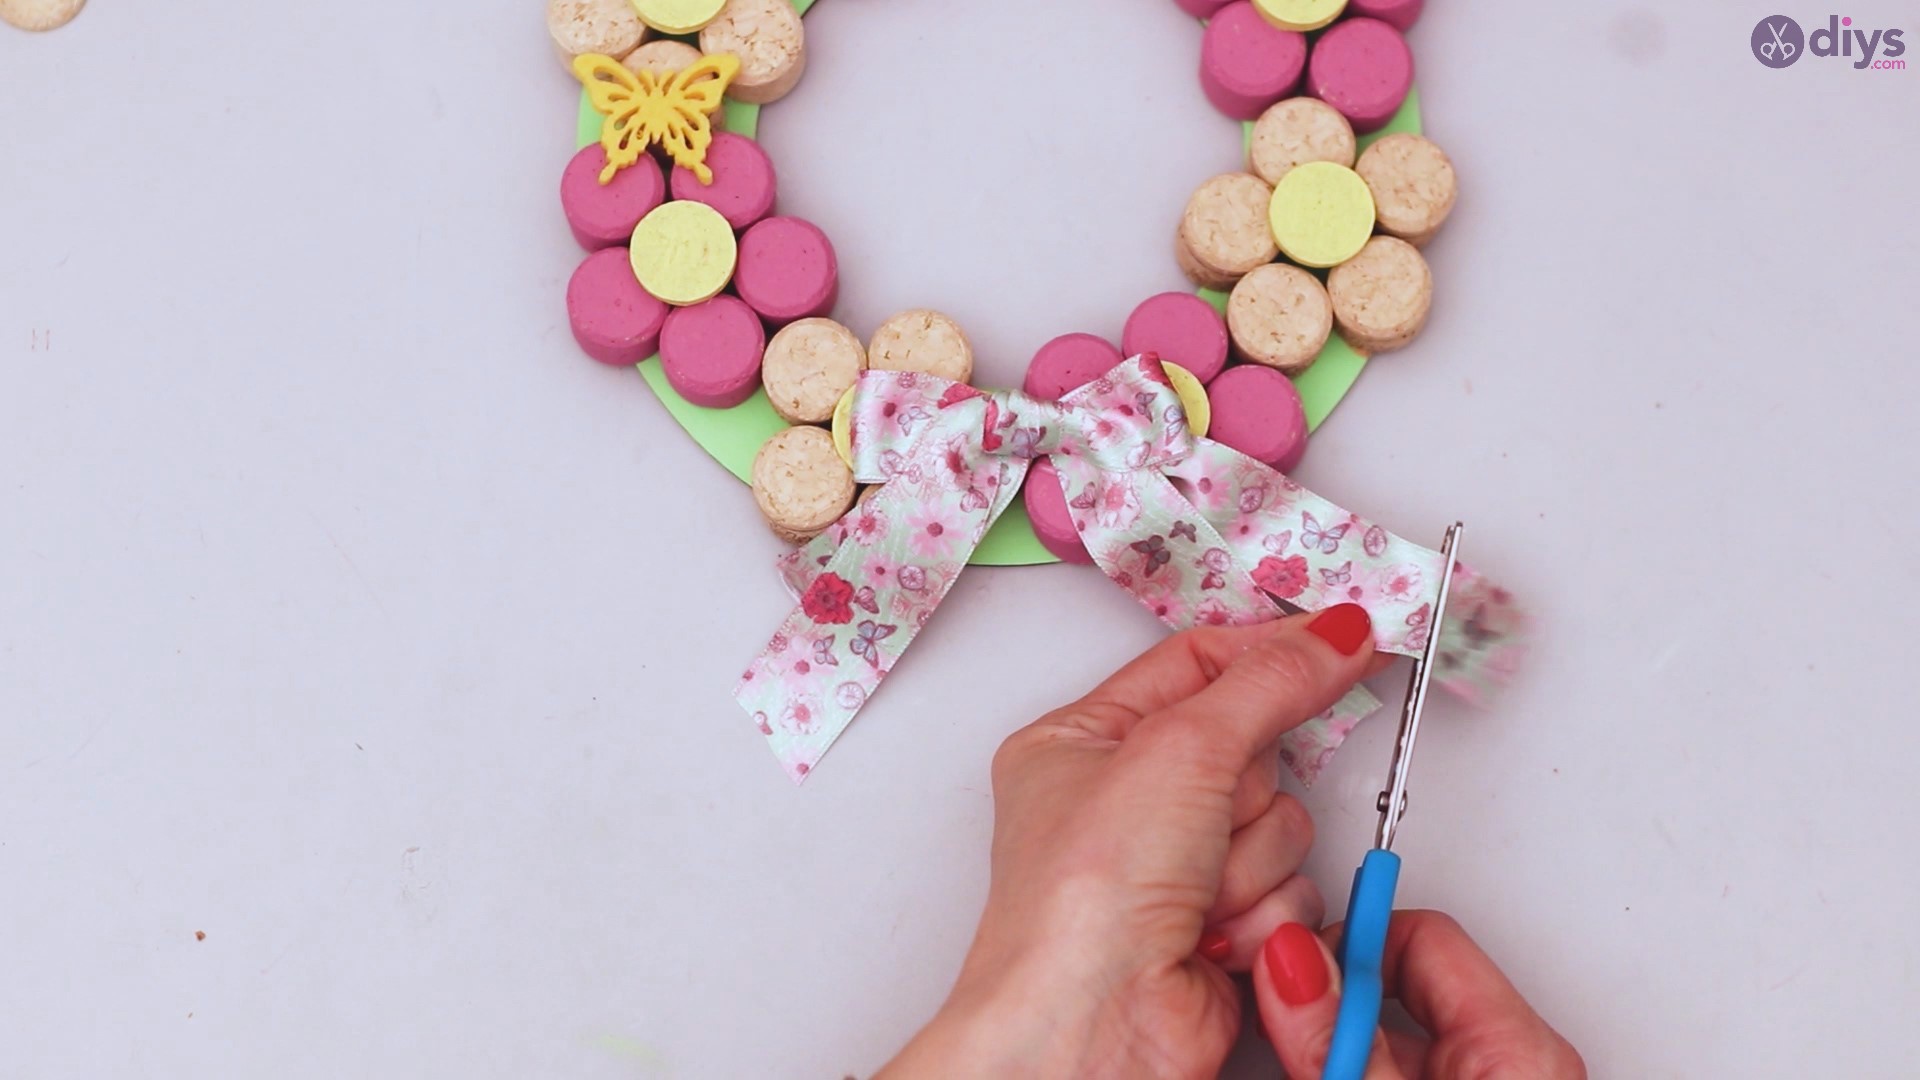
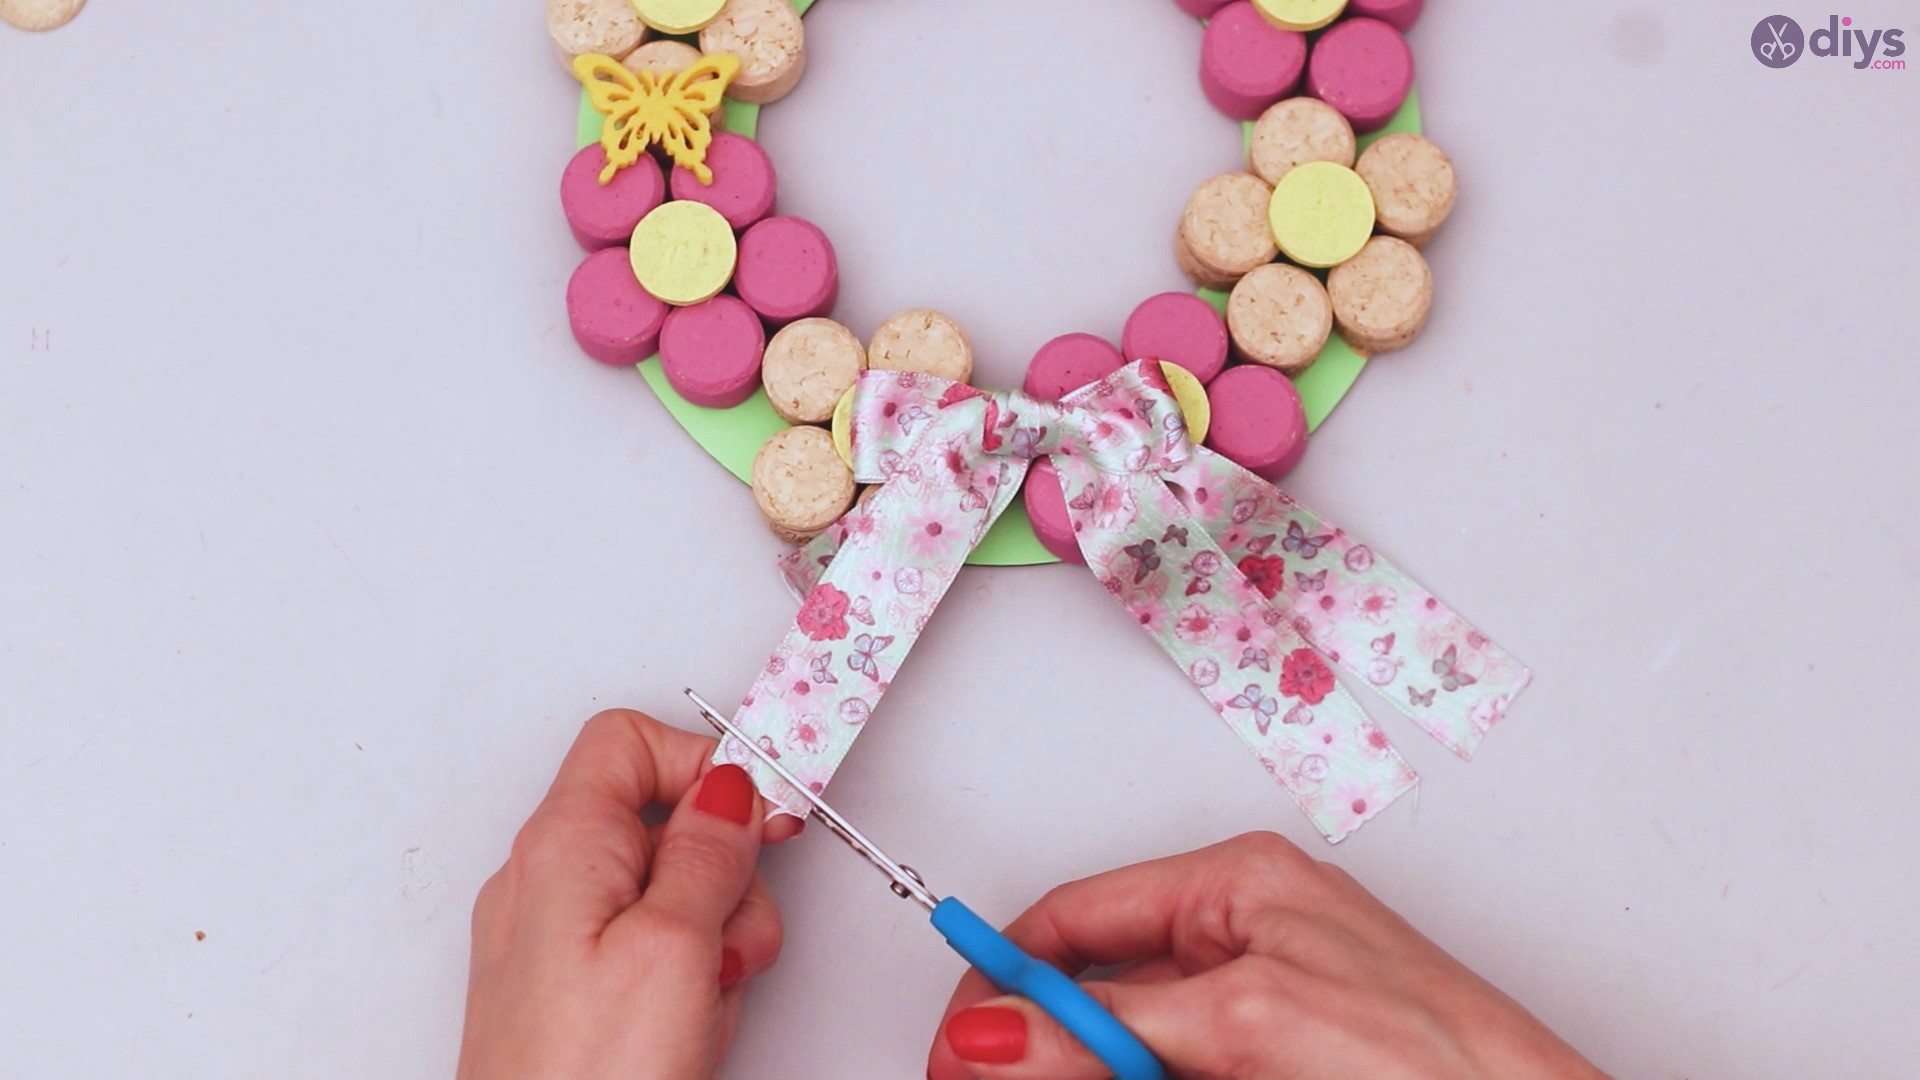
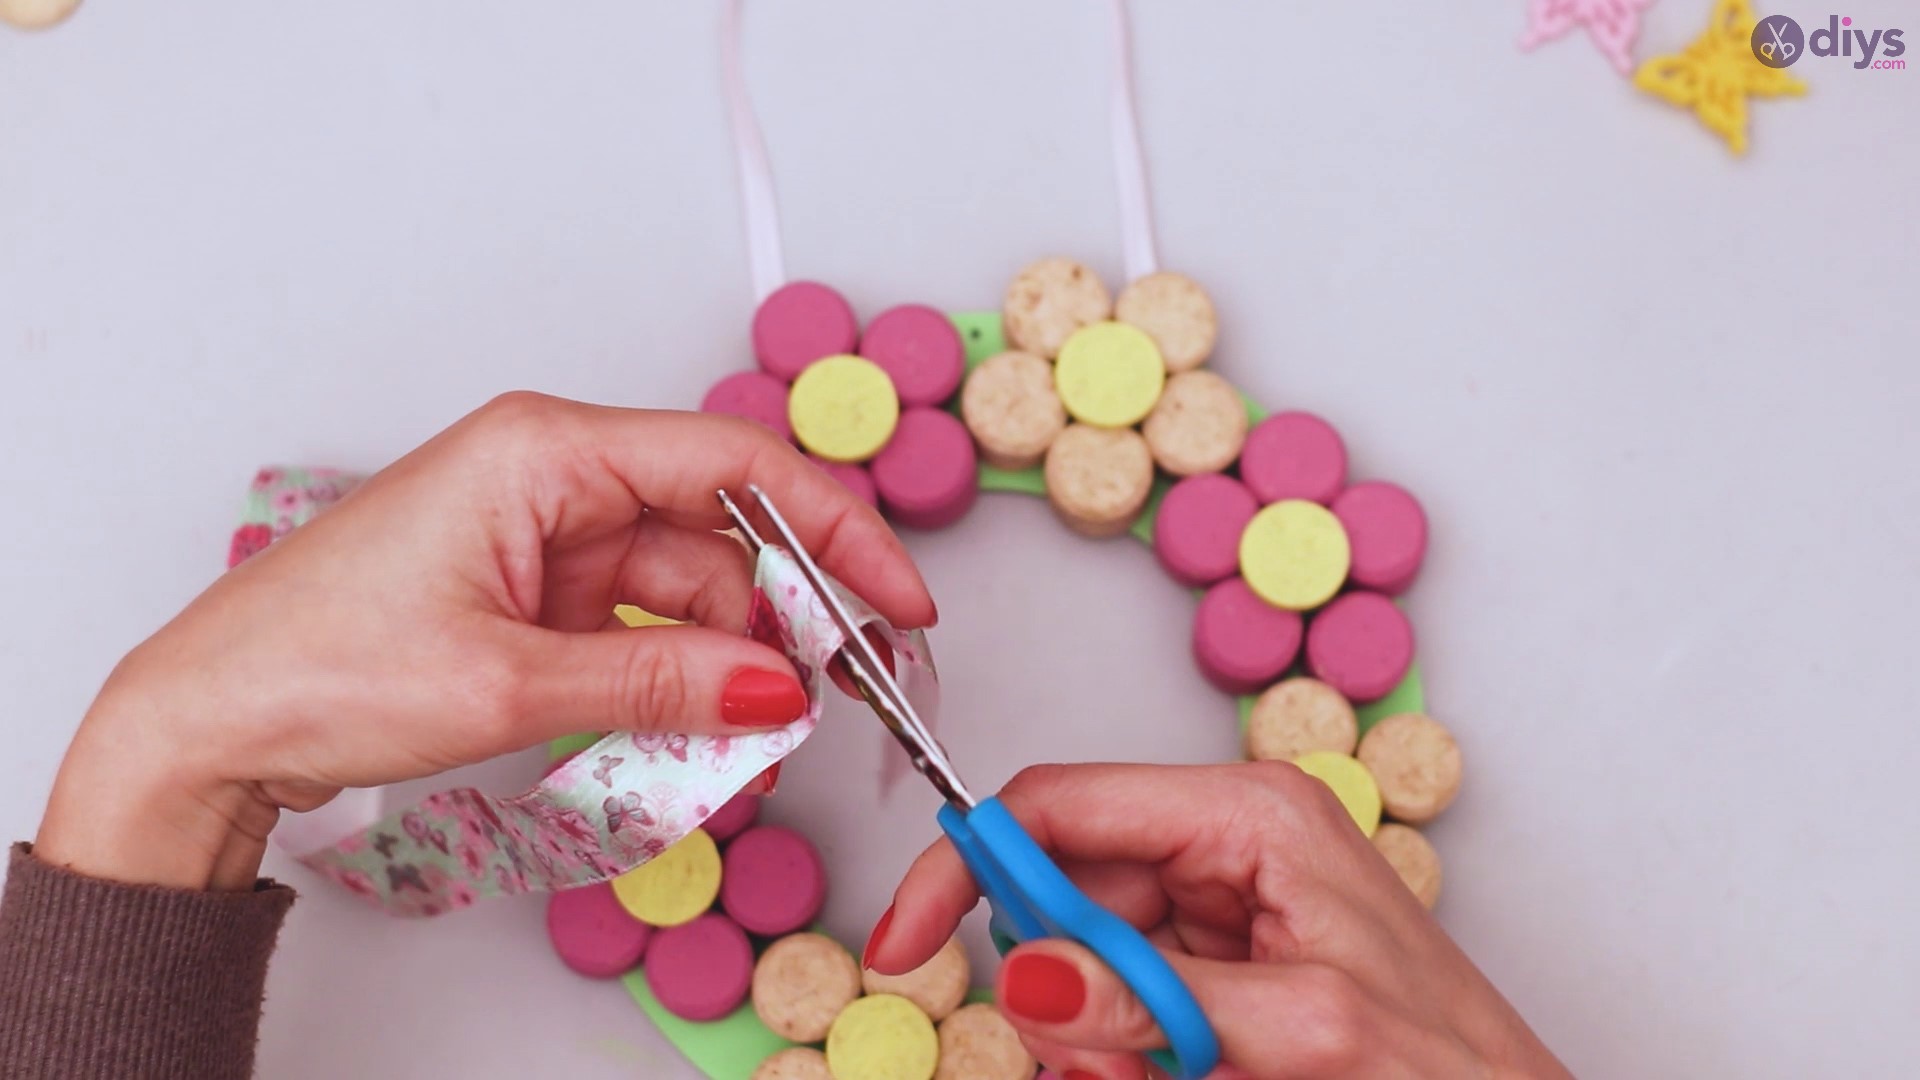
When the bow is done, trim the ends at an angle so it looks nice when hanging.
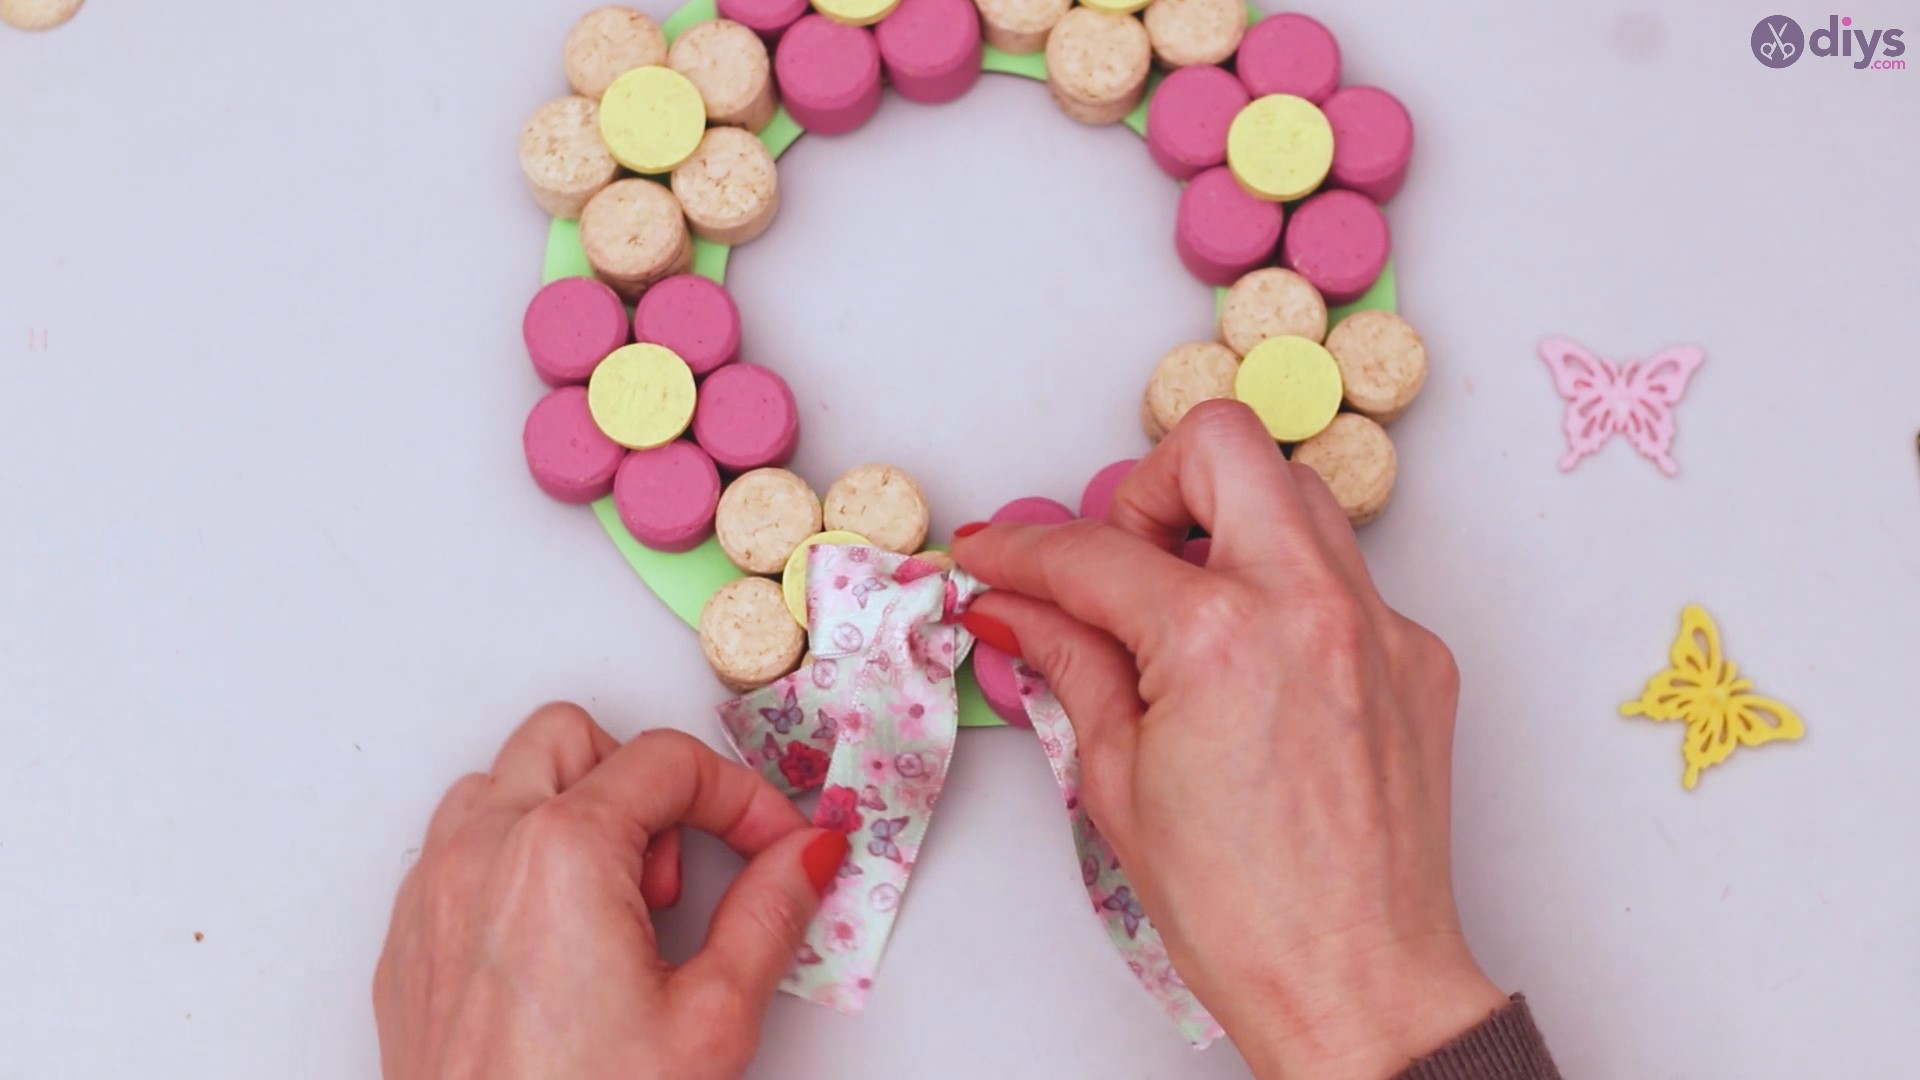
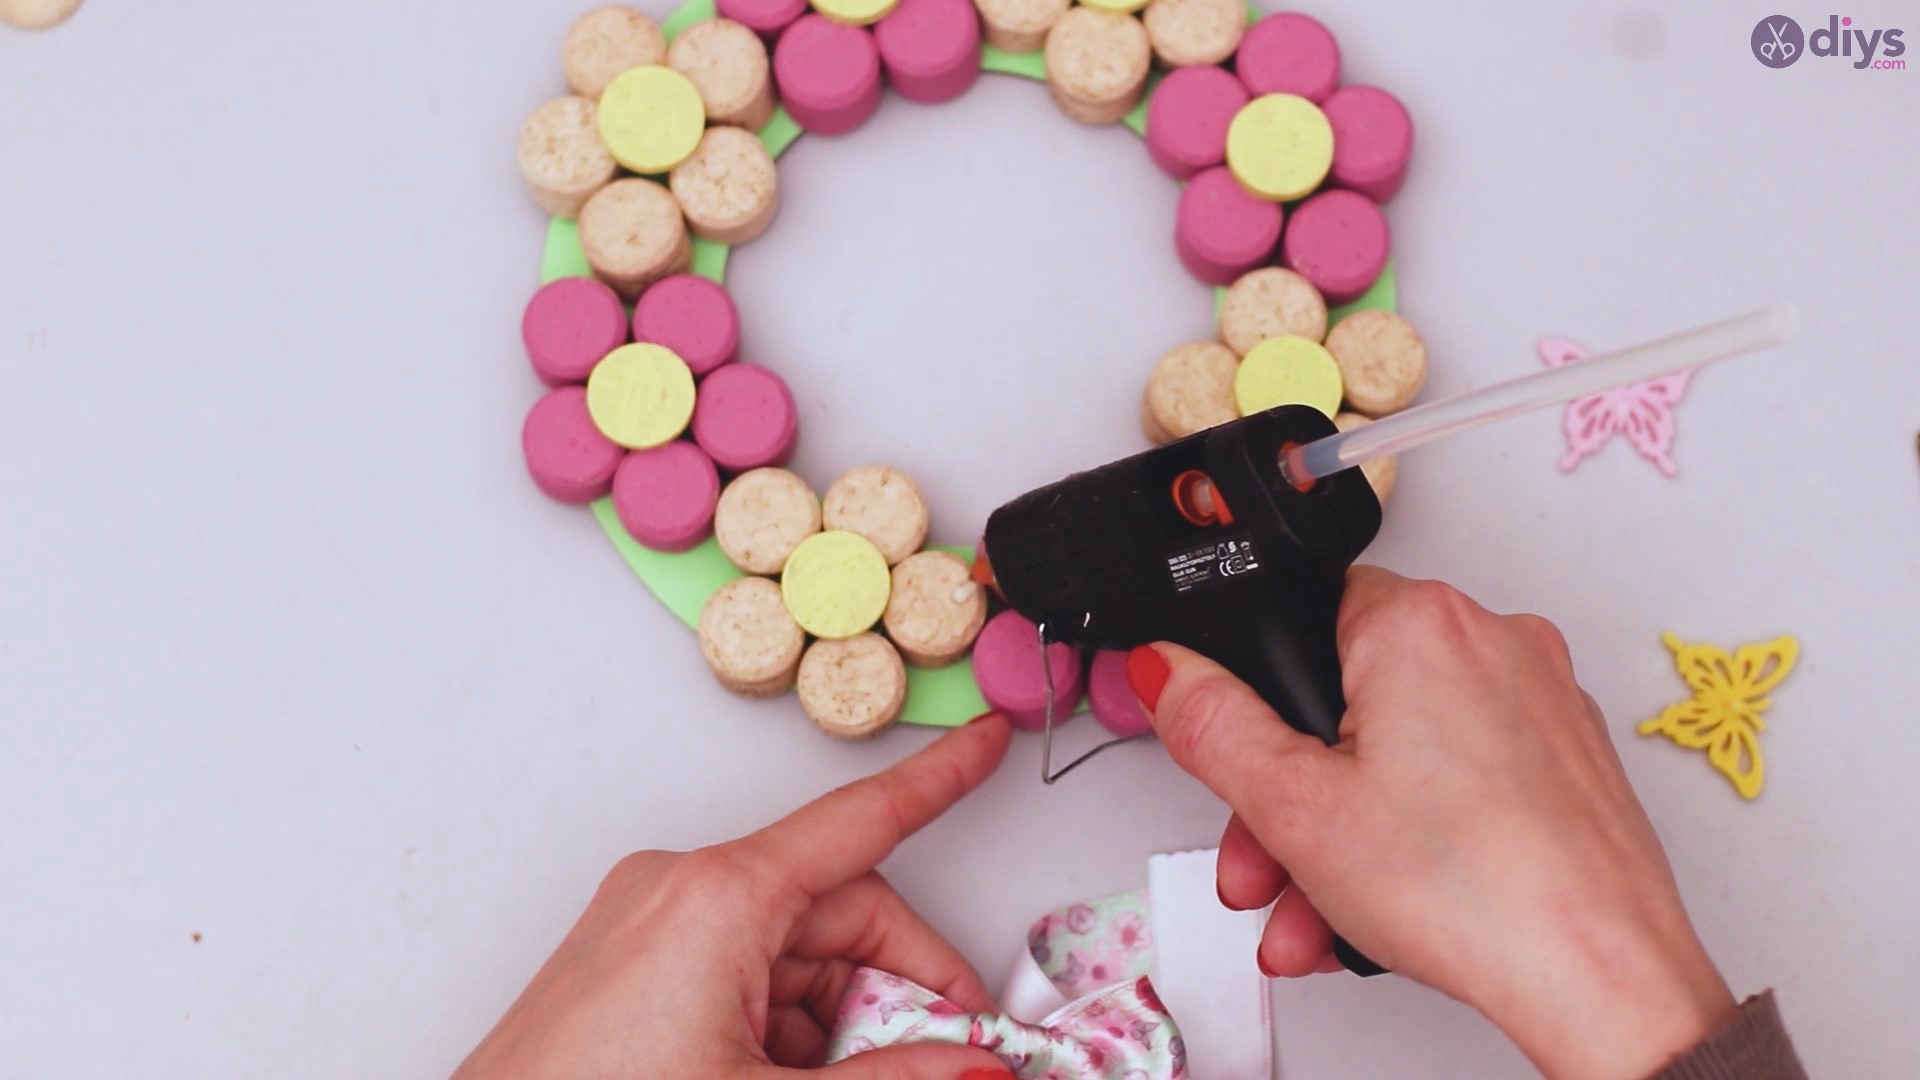
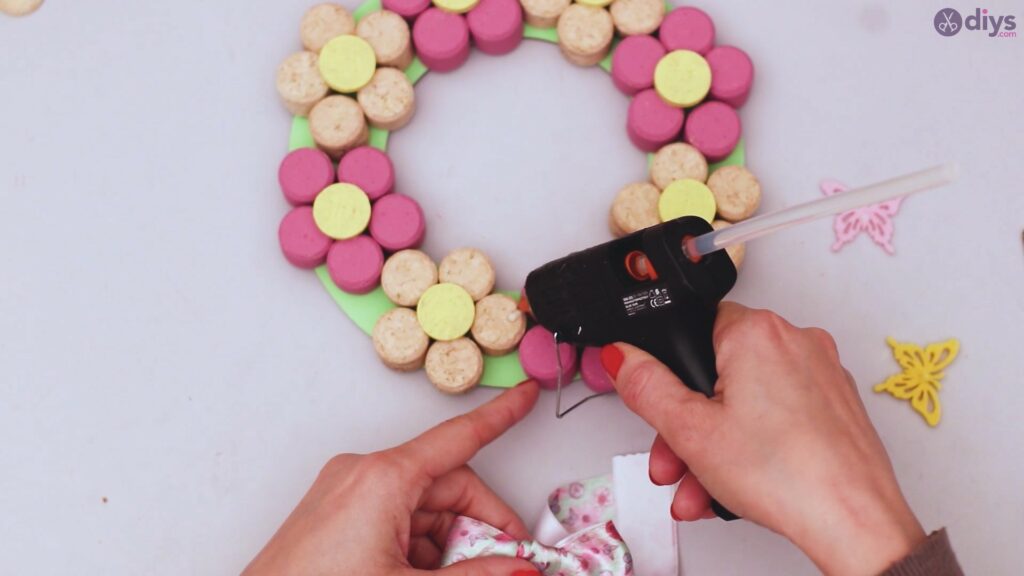
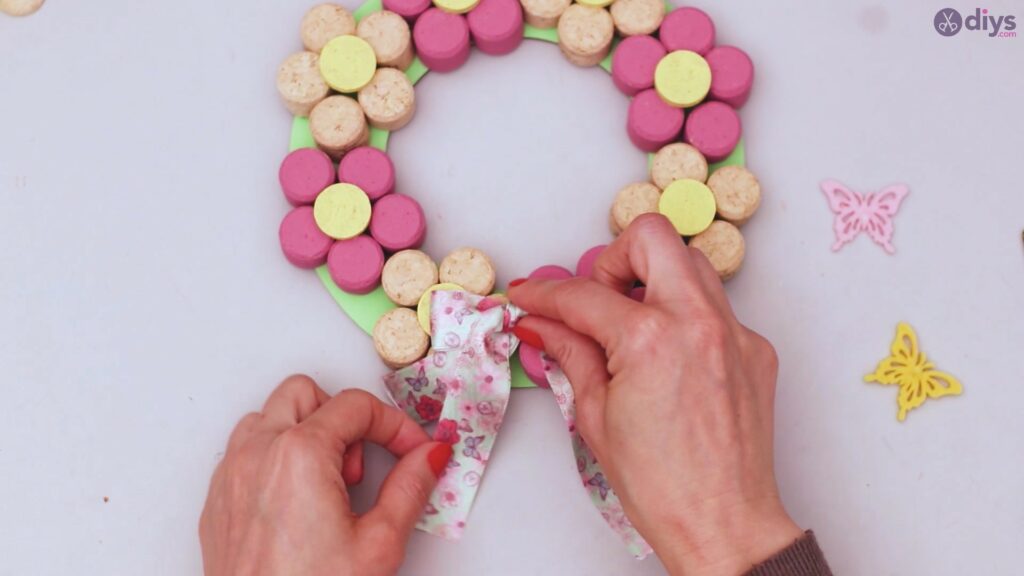
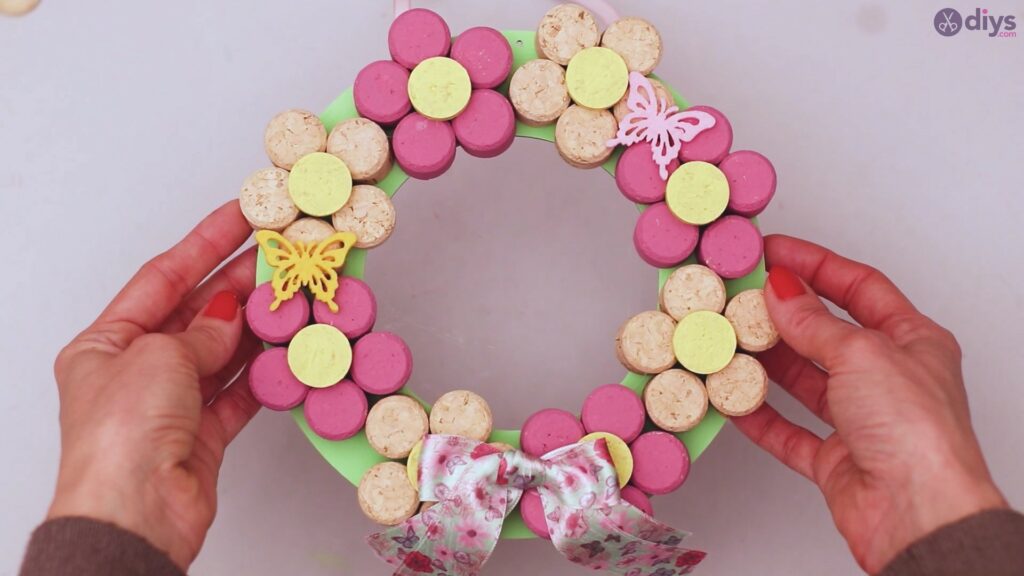
Get the glue gun and place a generous amount on the bottom of the wreath. Place the cute bow you created over the hot glue and press it slightly.
Step 9: Decorate with butterflies
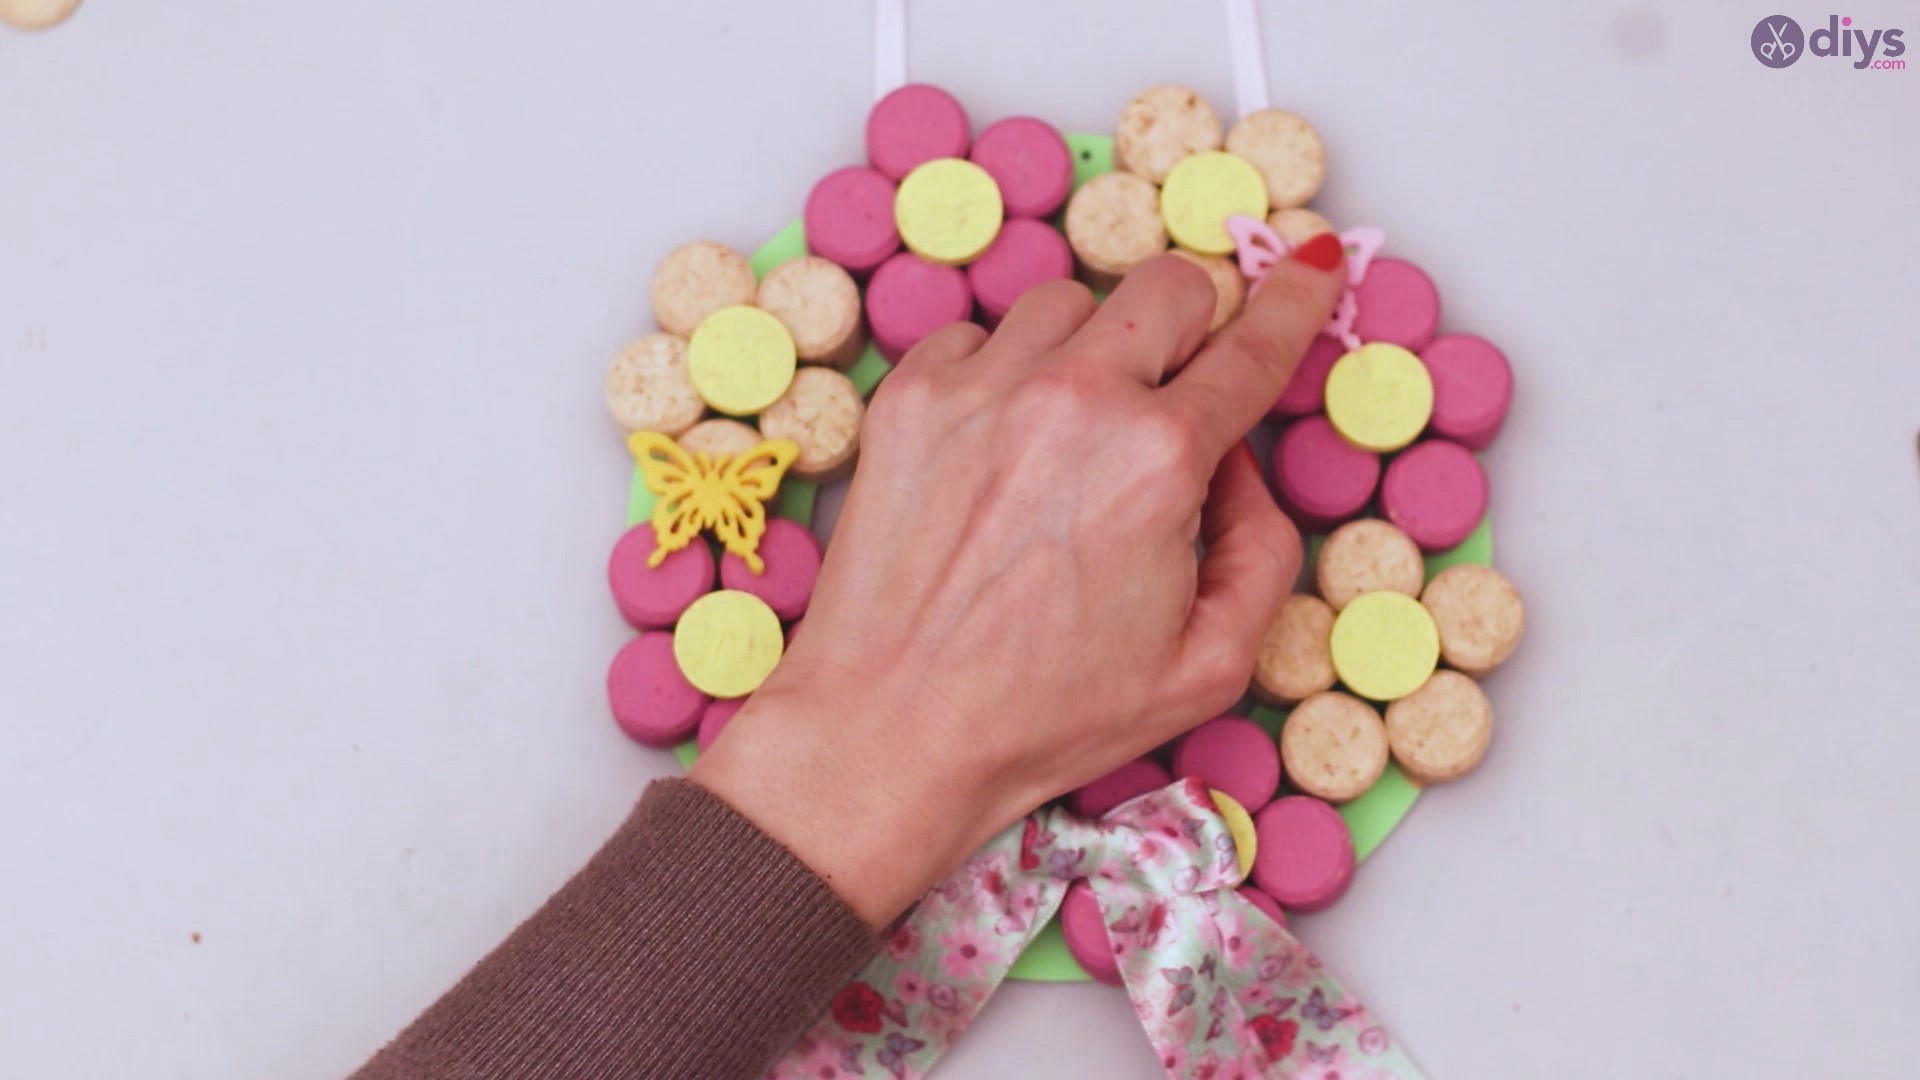
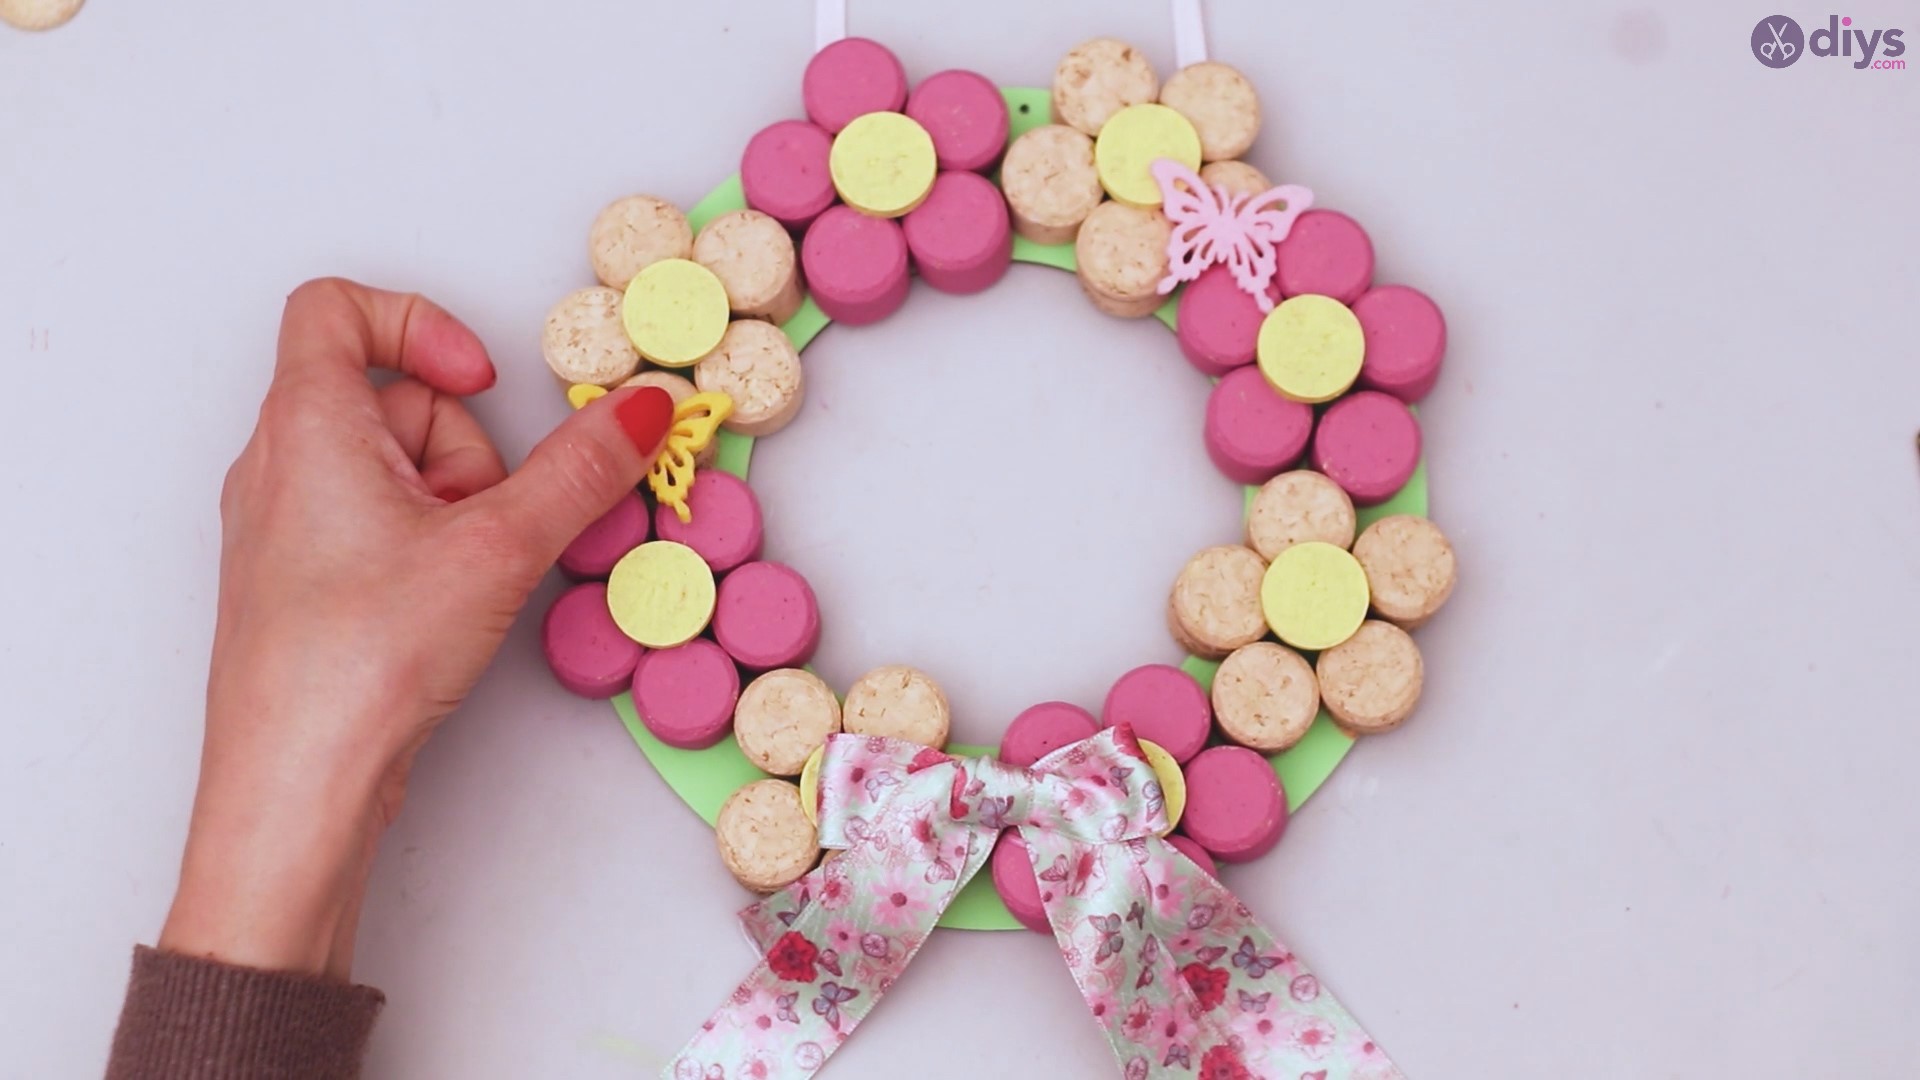
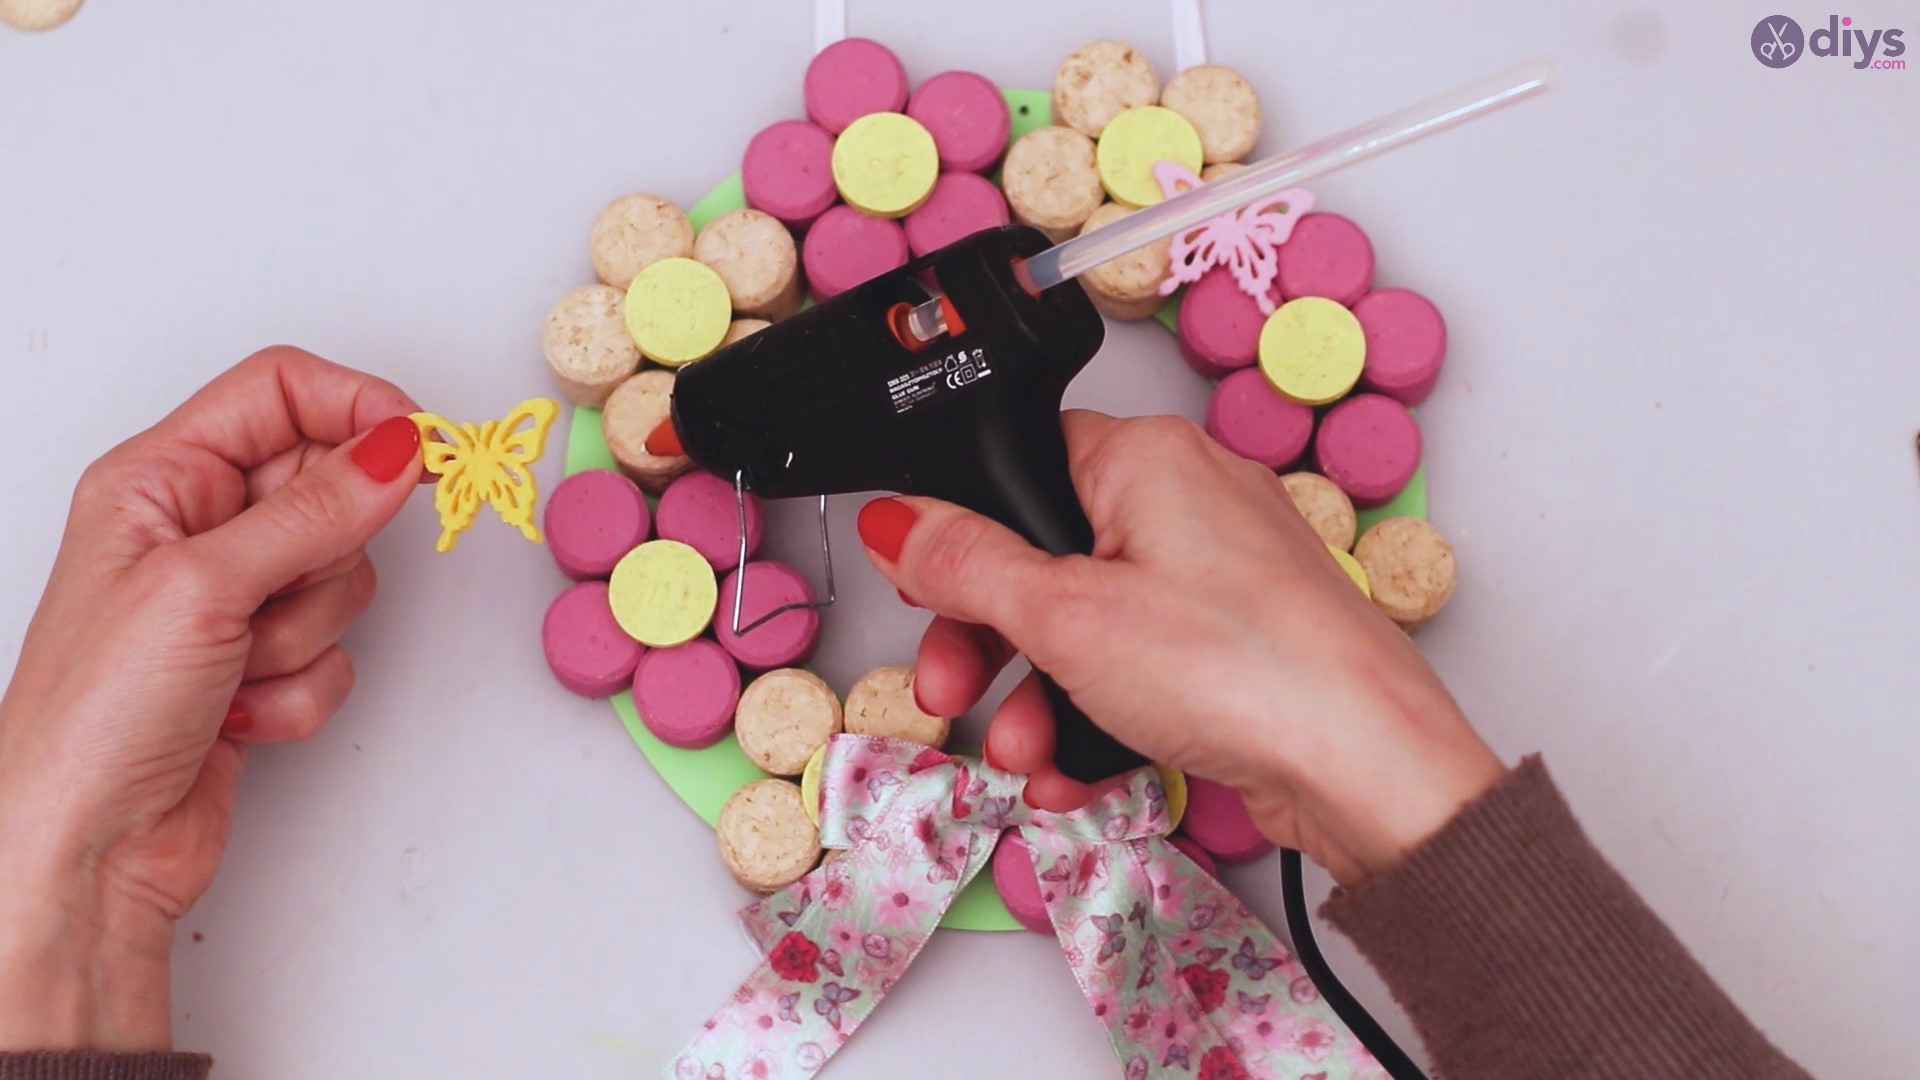
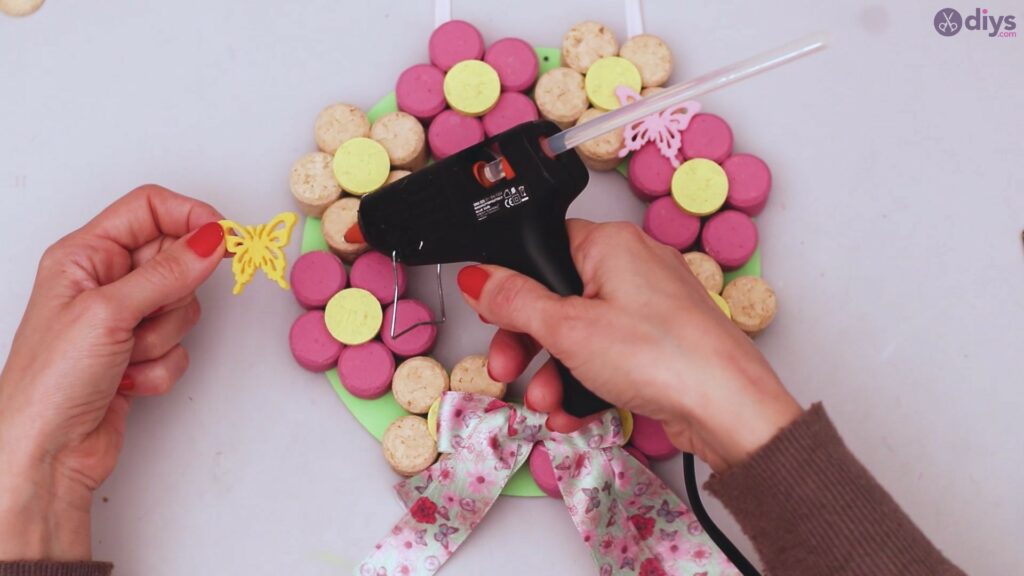
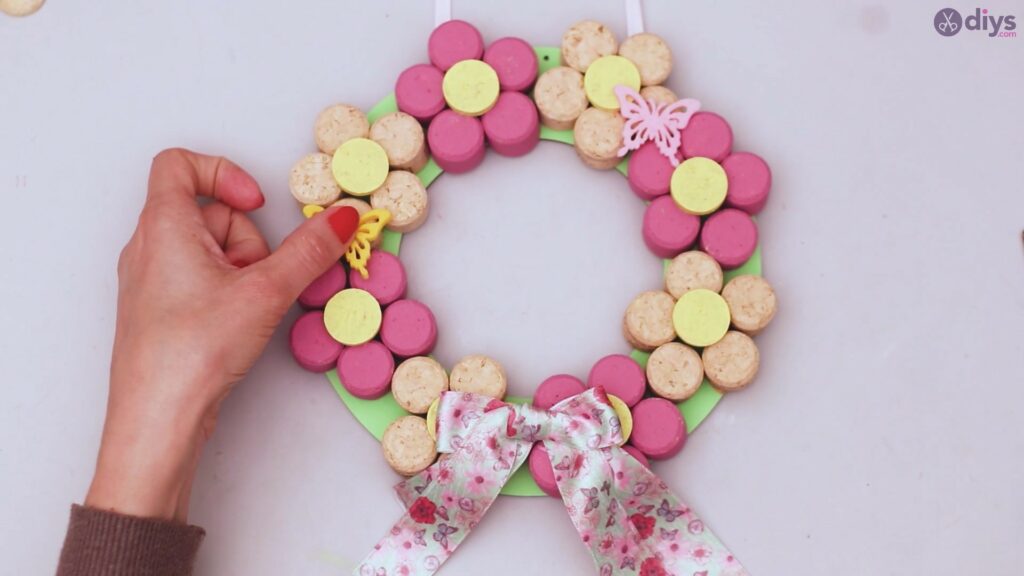
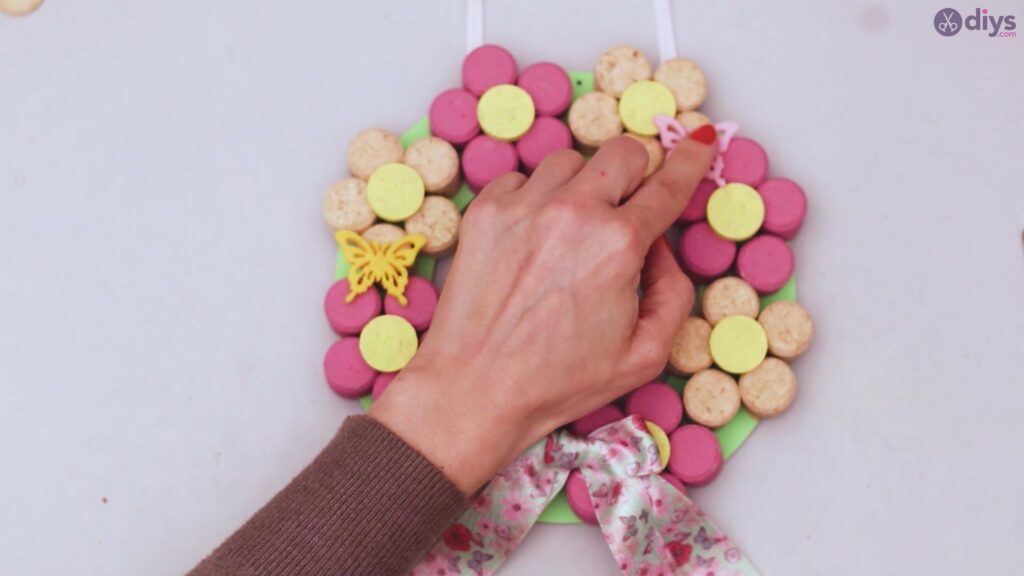
Now, we’re going to add the finishing touches to the wreath. To make it look even cuter, we’re going to use a couple of felt butterflies we have. We added hot glue to two of the wine corks forming the flowers and placed the butterflies over them.
As always, make sure you press the butterflies into the glue to make sure they are set perfectly.
Make any extra adjustments you want to make so the wreath looks perfect.
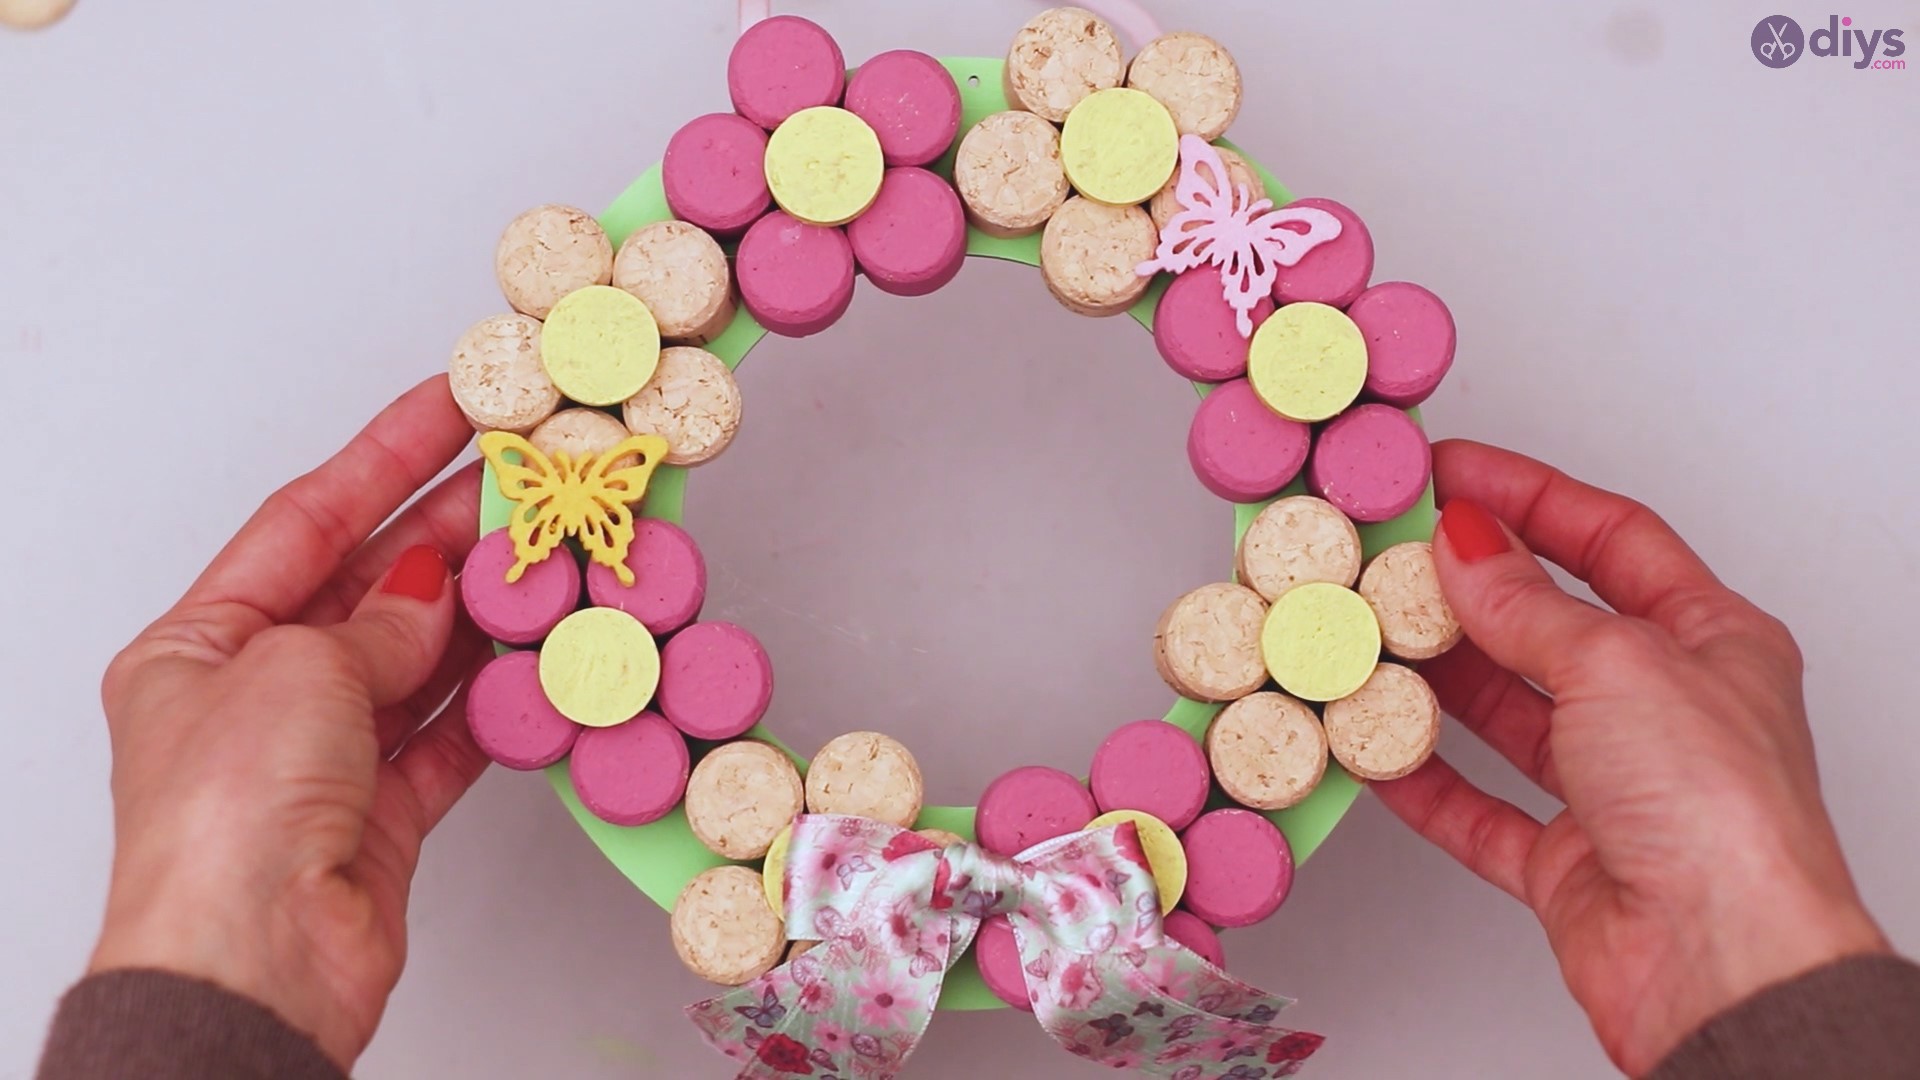
That’s it! What a beautiful creation to brighten up your home no matter the season!
While it’s perfectly true that this wreath screams spring, it may very well fit your home anytime during the year. After all, who doesn’t need something to cheer them up during gloomy days?
We love this design because it’s so versatile and you can put your own touches to it. If you wanted to paint the flowers in different colors, you could do that. If you wanted to add even more butterflies, you could also do that. If you wanted a different kind of flow, that’s also something you could do.
We would love to see your creations, so share them with us! Your wine cork floral wreaths are sure to look just as nice as ours came out!
