DIY Wine Cork Christmas Tree – Your New Favorite Decoration
Regardless of the time of the year, those who love Christmas start preparing for the season, looking for cool new ideas to put into practice. This time around, we propose a Christmas tree made from wine corks! It’s so fun and we’re sure you’ll now have a fun way to use all those wine corks you’ve been keeping!
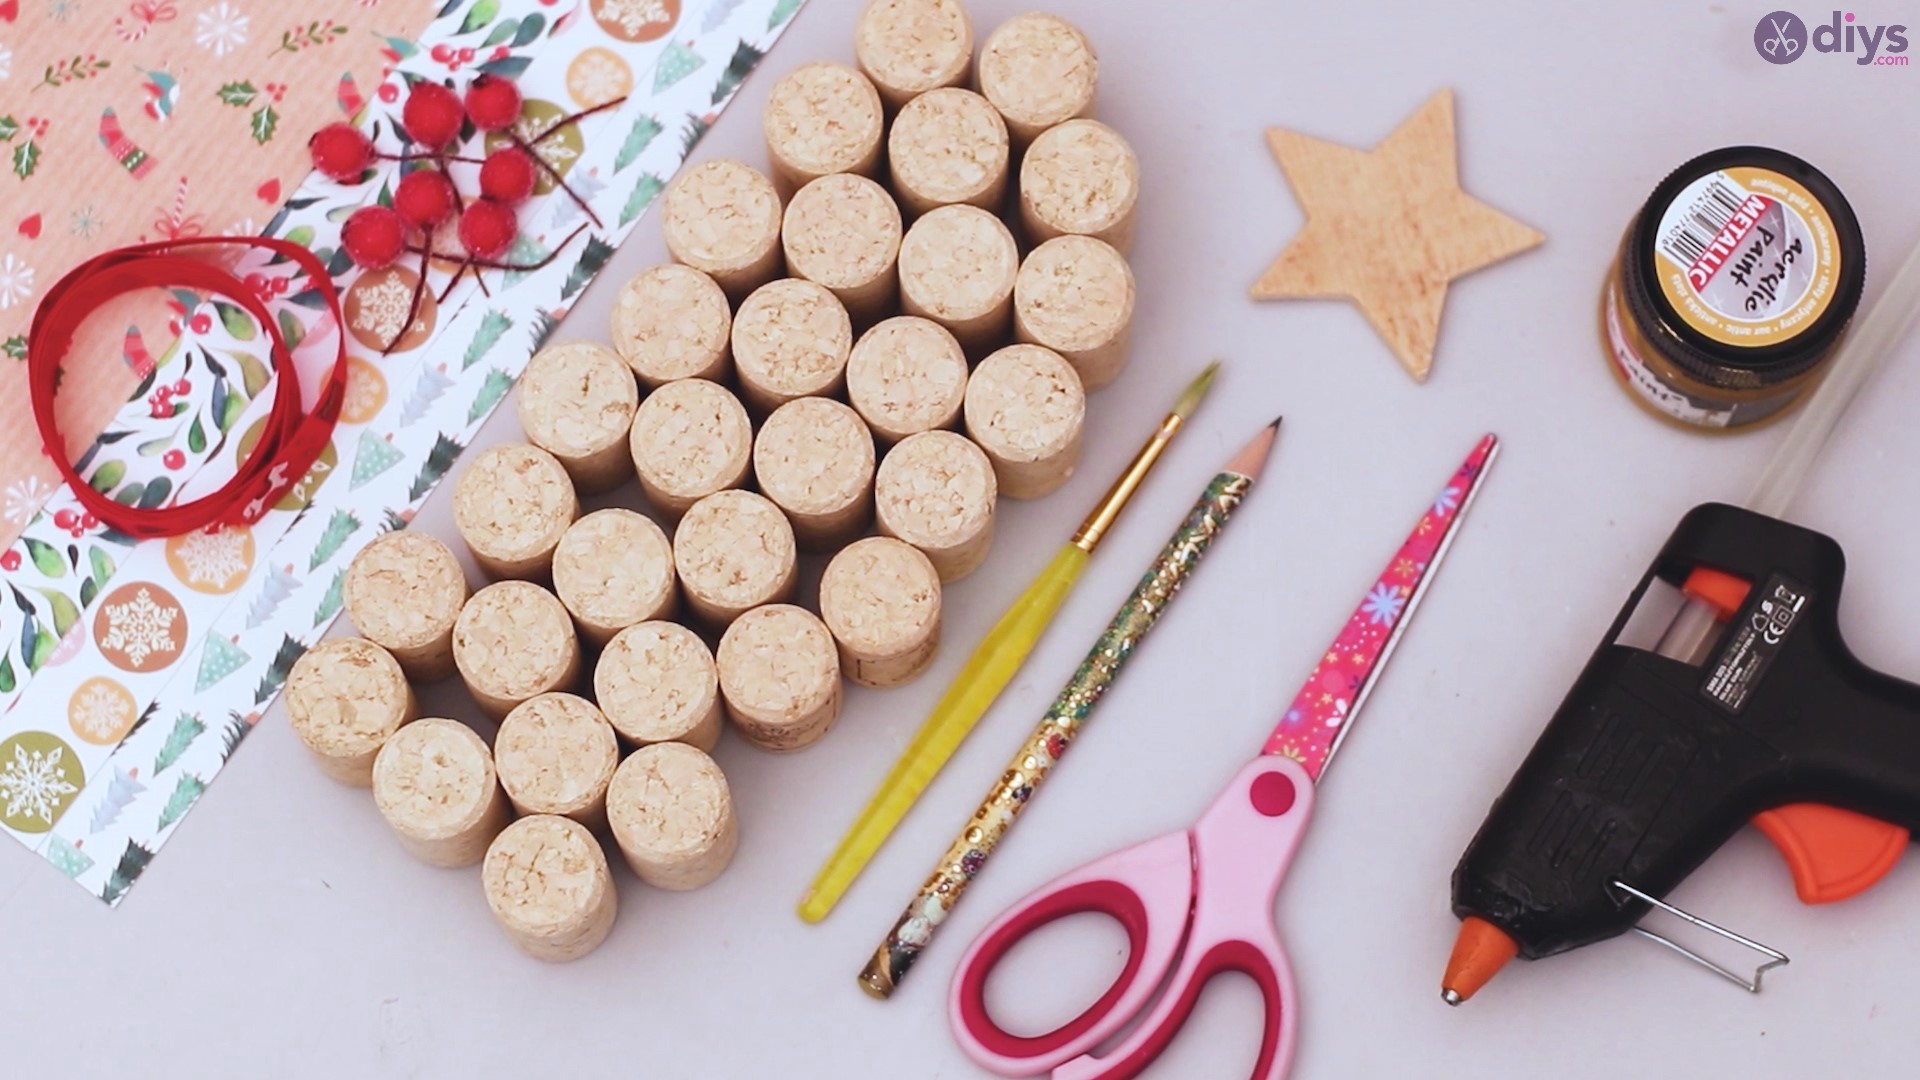
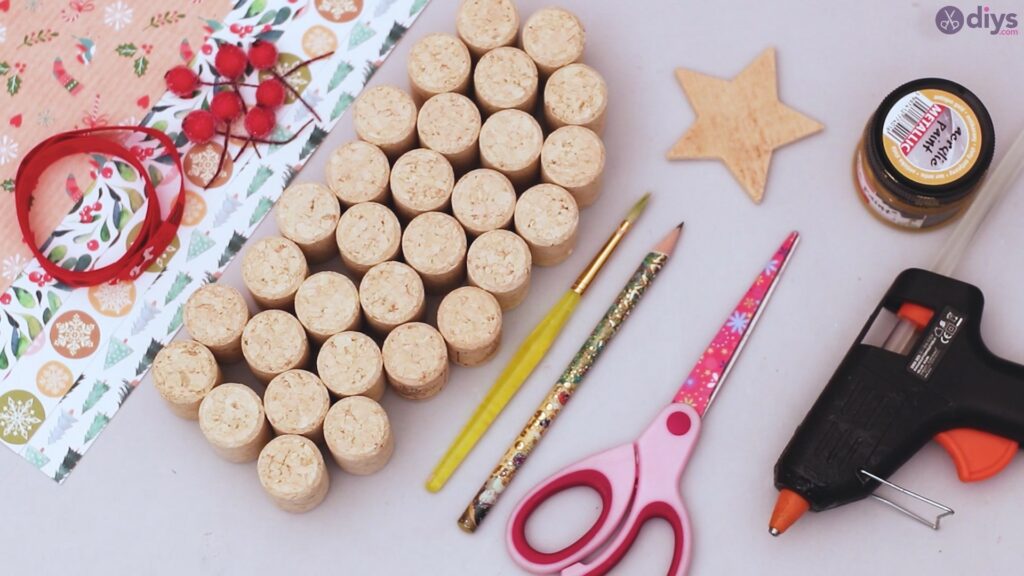
Materials for DIY Wine Cork Christmas Tree:
- Wine corks
- Christmas patterned papers
- Wood star
- Silk ribbon
- Scissors
- Glue gun
- Artificial berries
- Pencil
- Gold acrylic paint
- Paintbrush
DIY Wine Cork Christmas Tree – Step by Step
You should always gather up all your materials before starting so you won’t waste time running around trying to find something you forgot. Do you have them all?! Good! Let’s start!
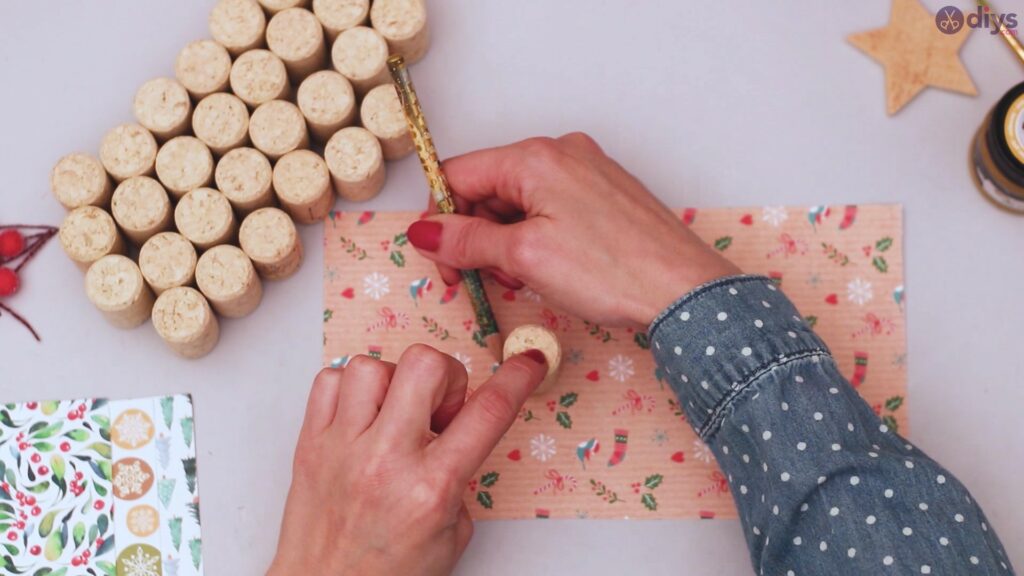
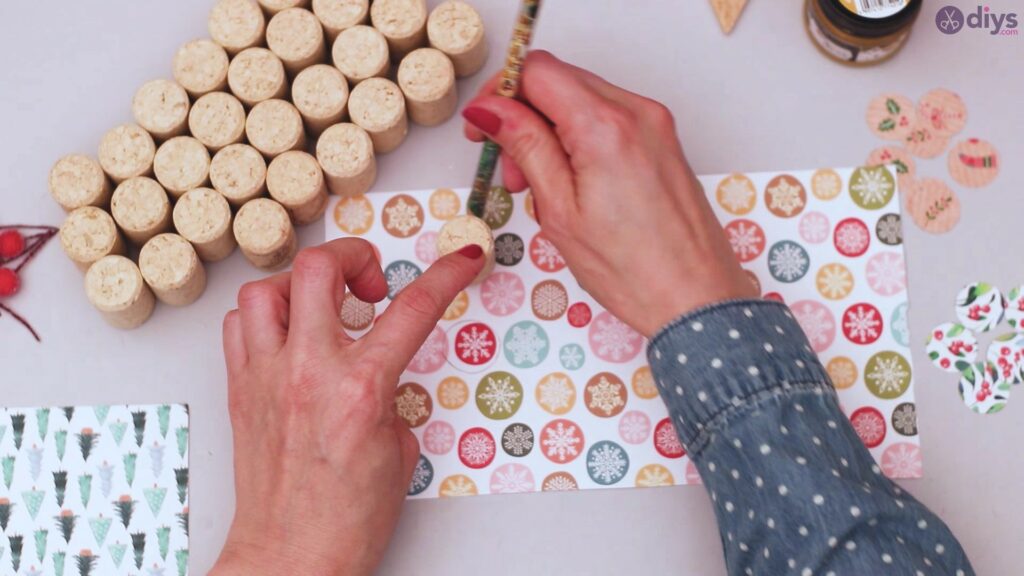
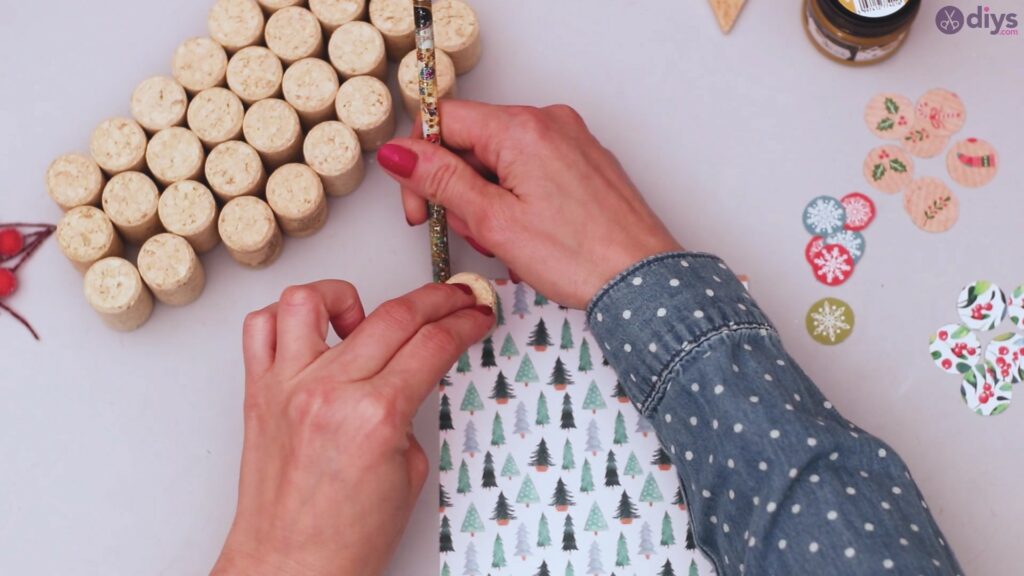
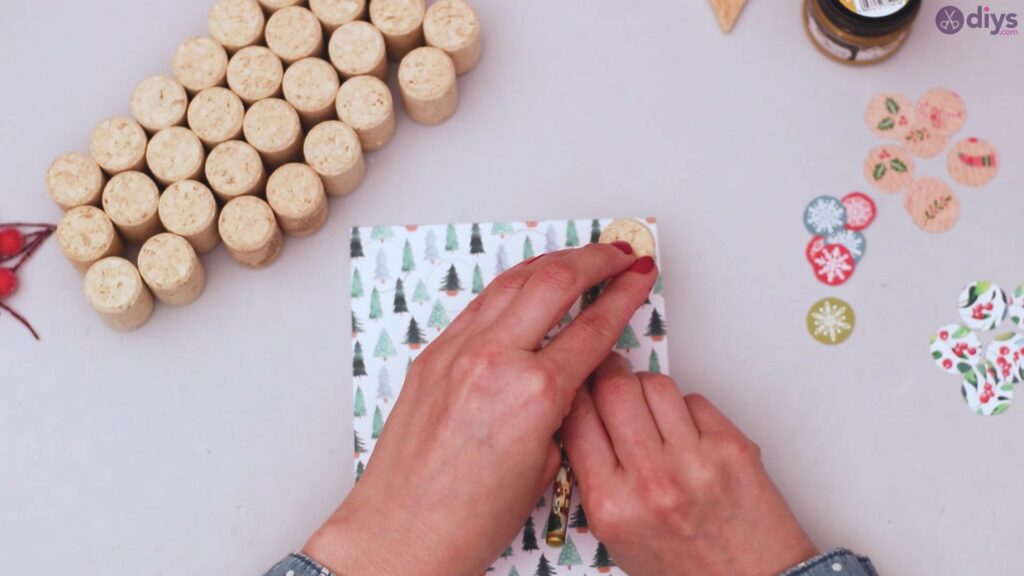
Step 1: Draw circles on the Christmas patterned papers
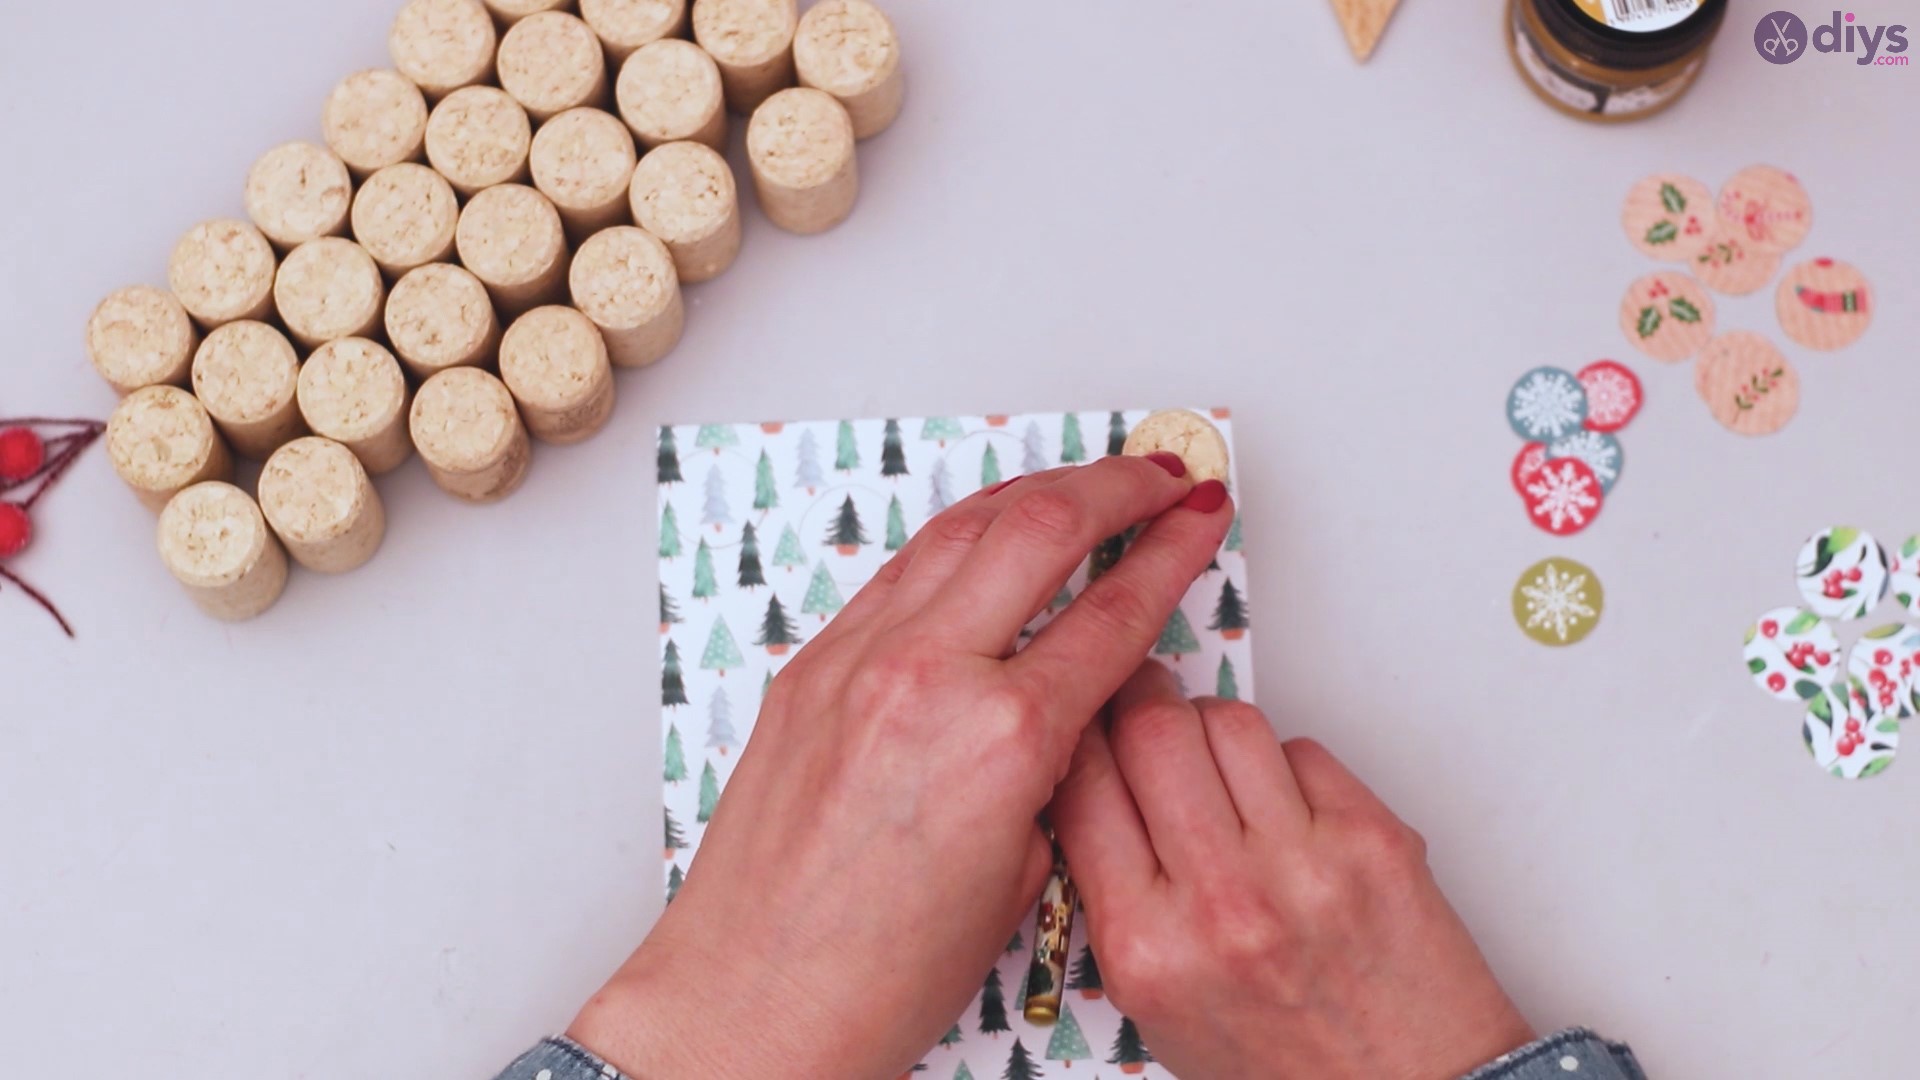
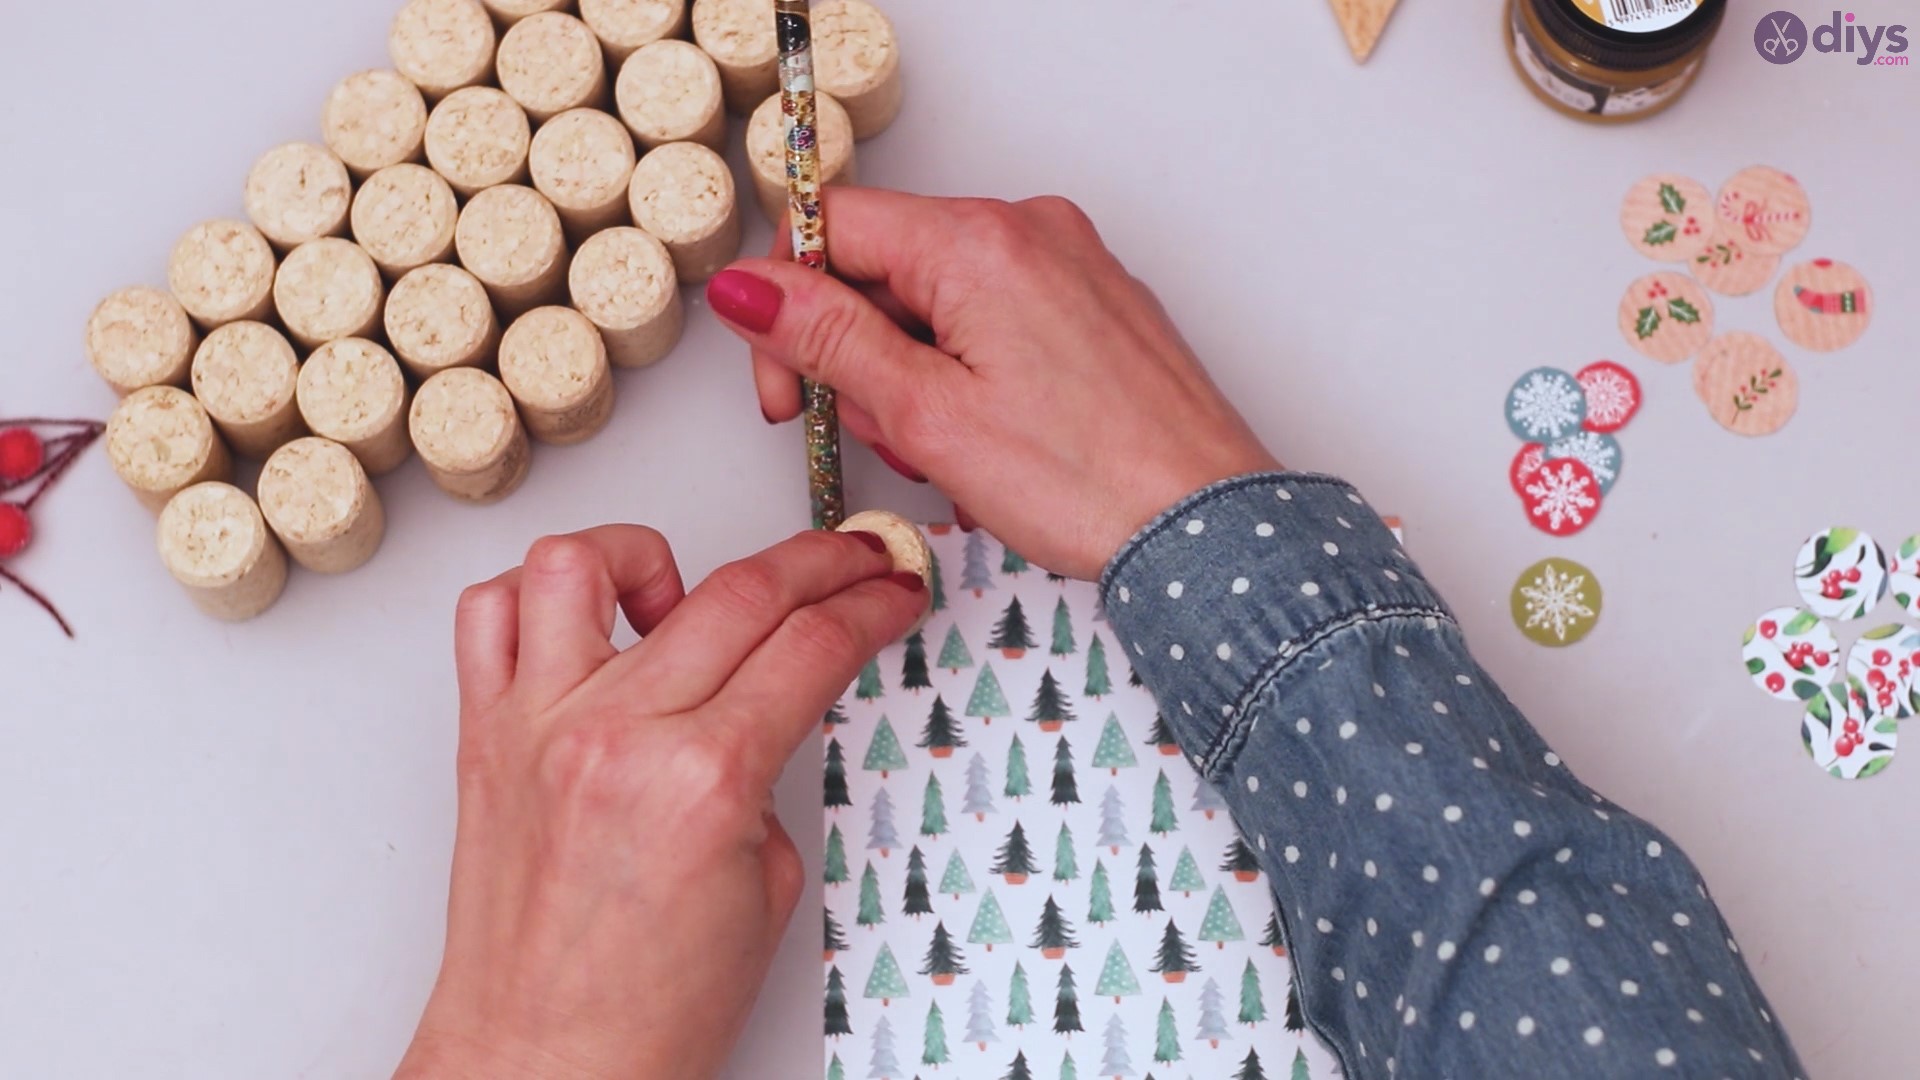
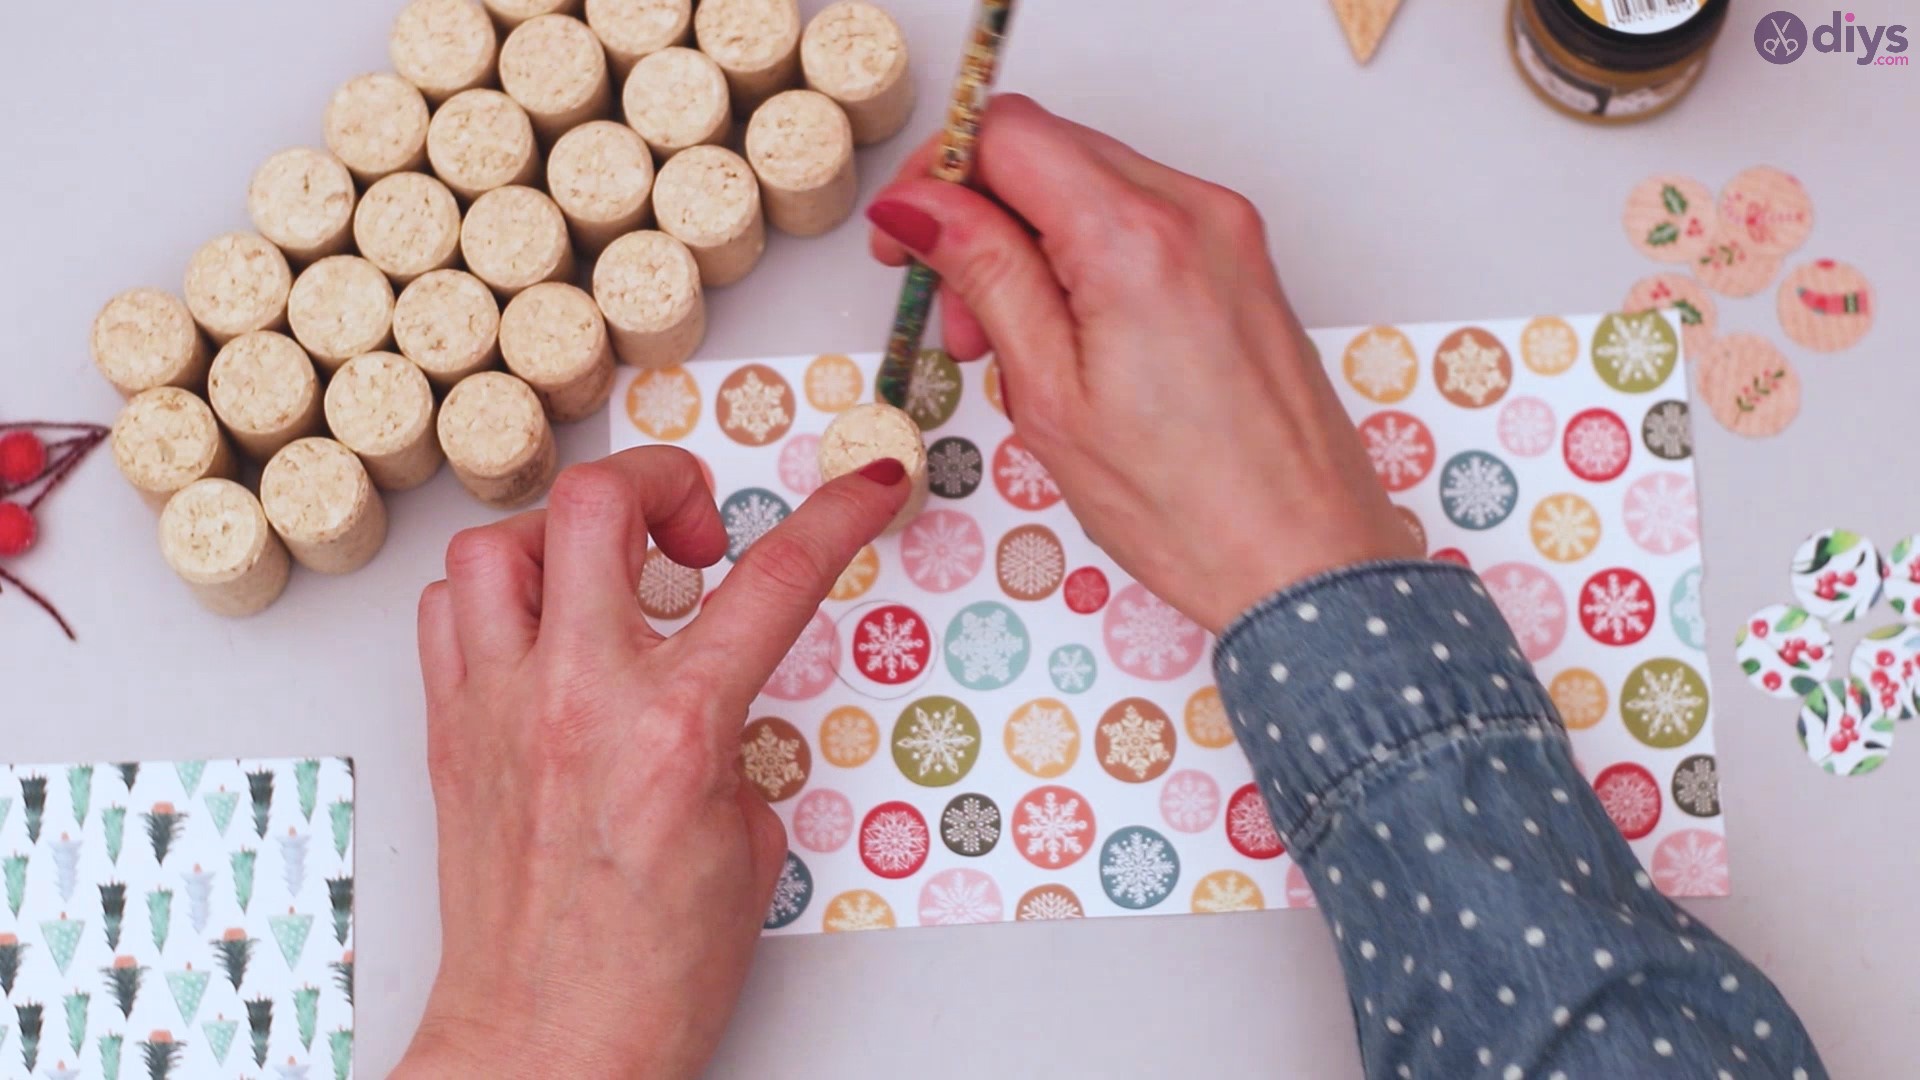
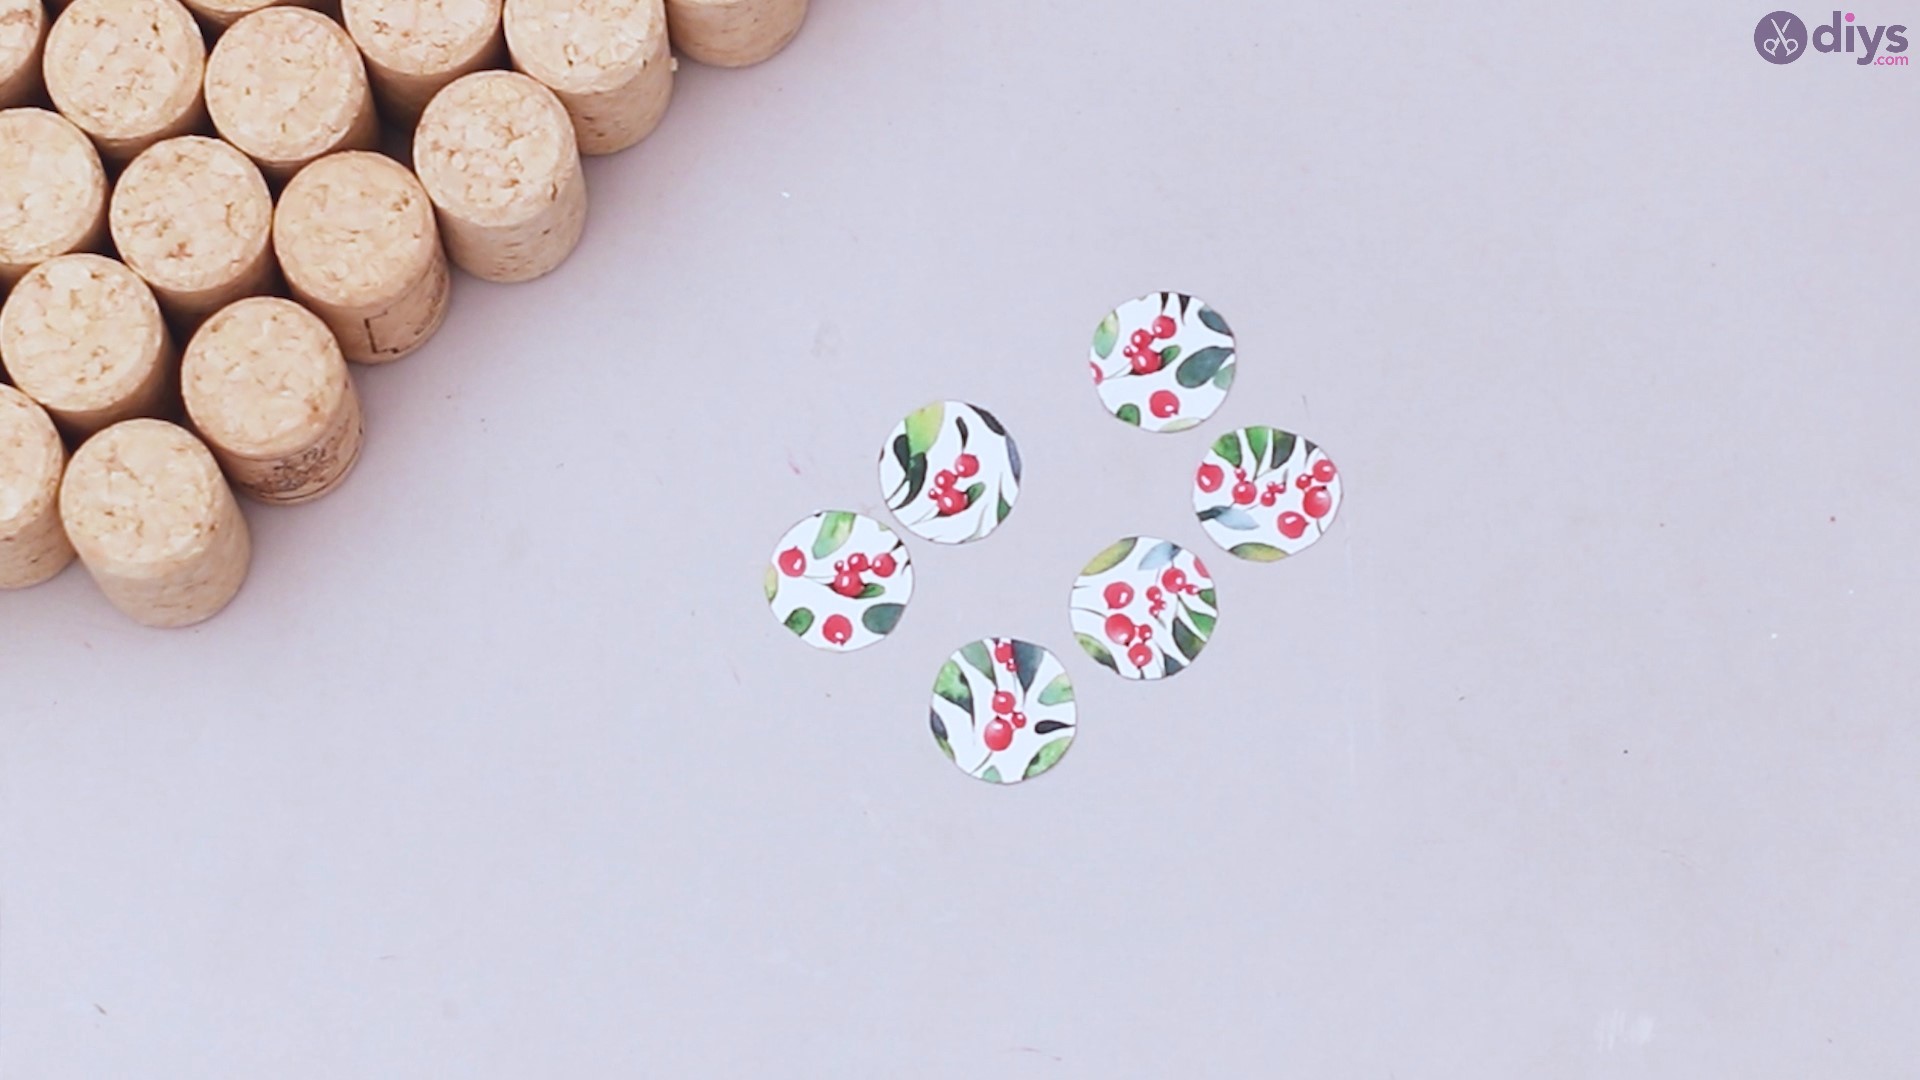
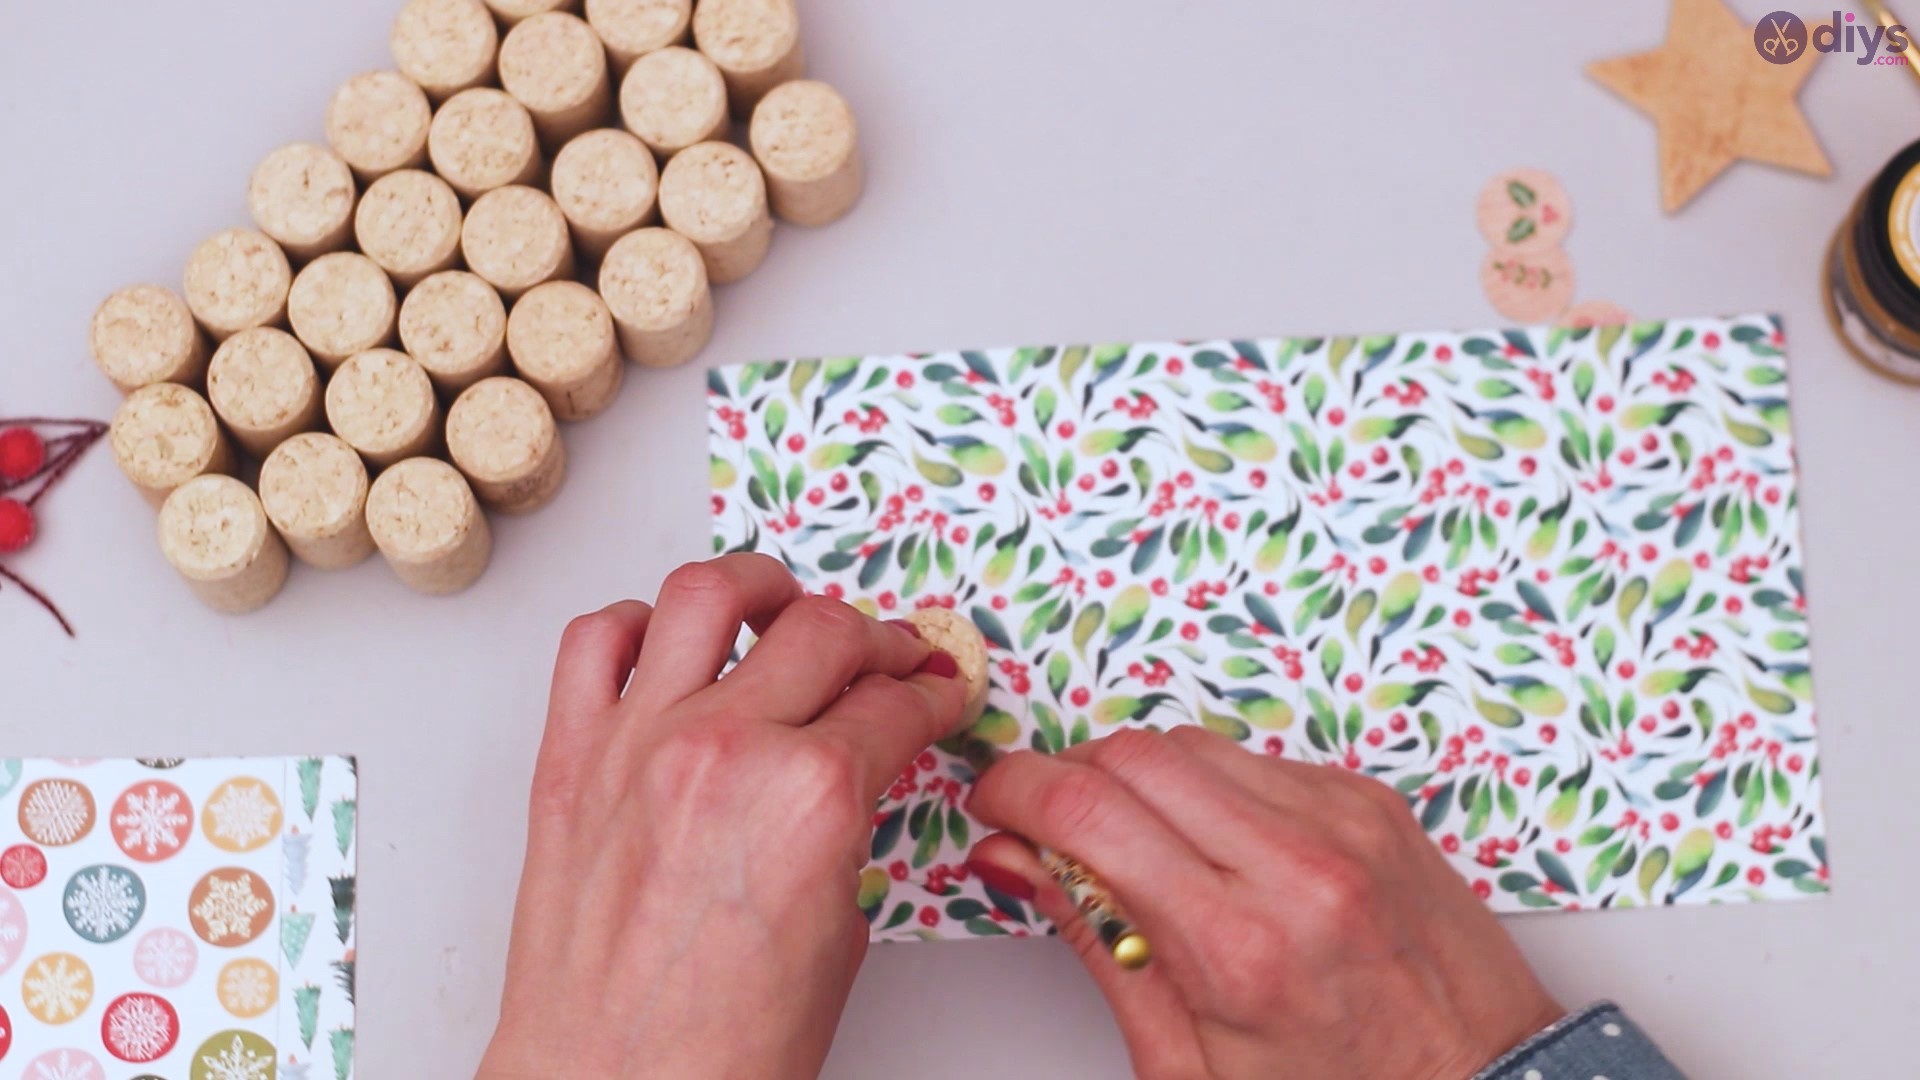
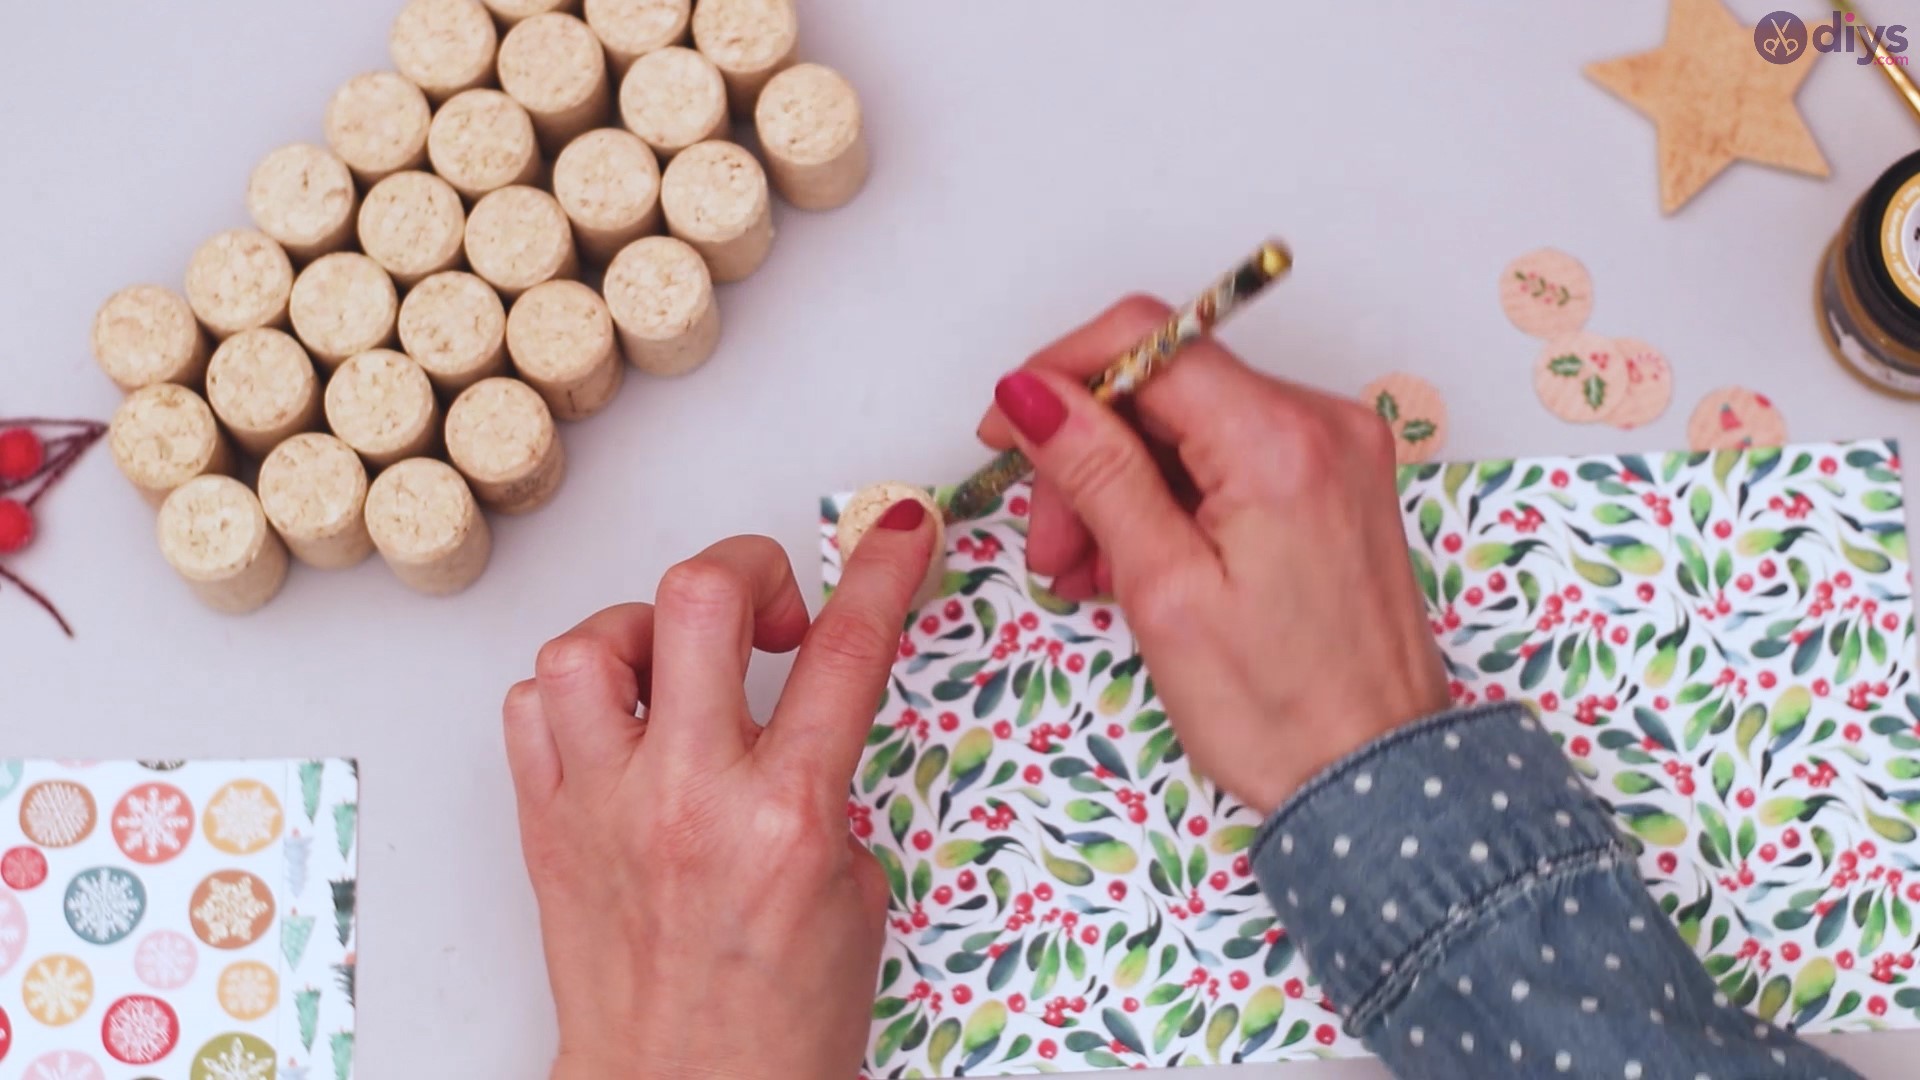
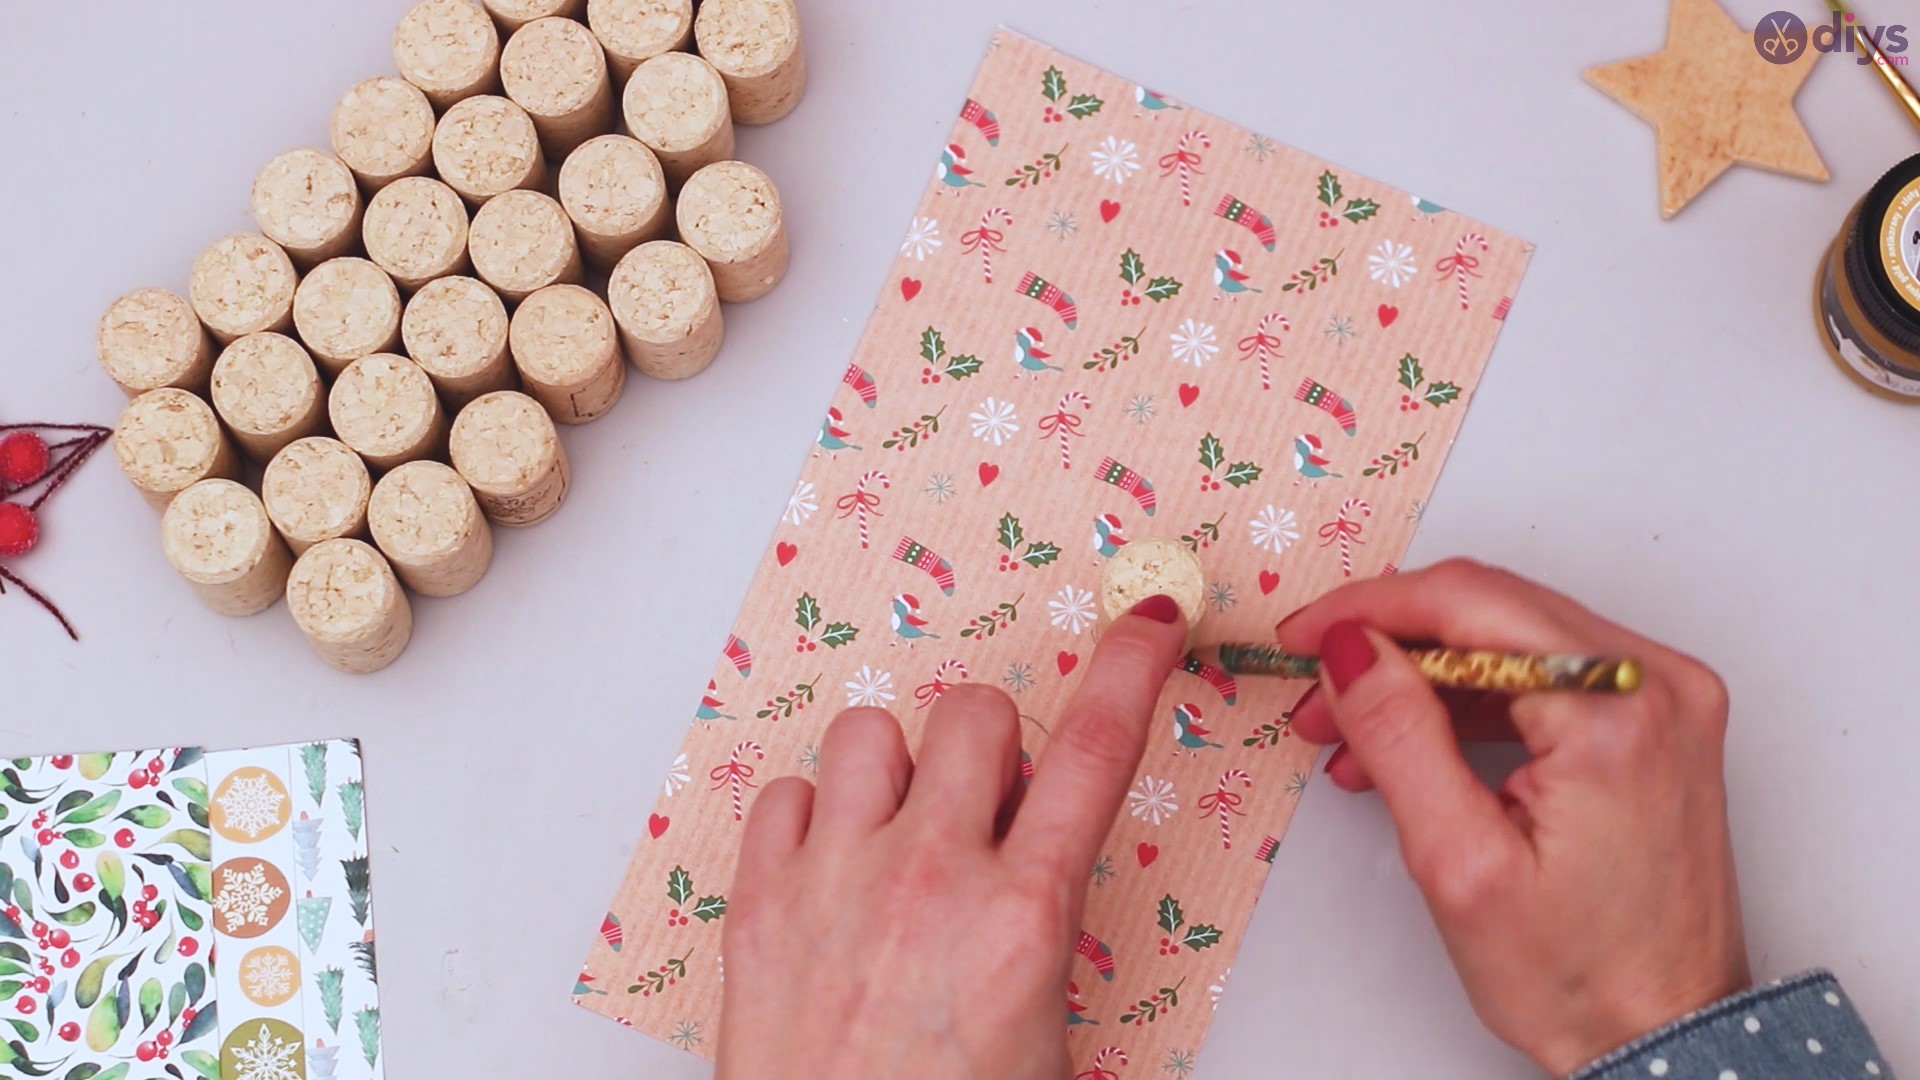
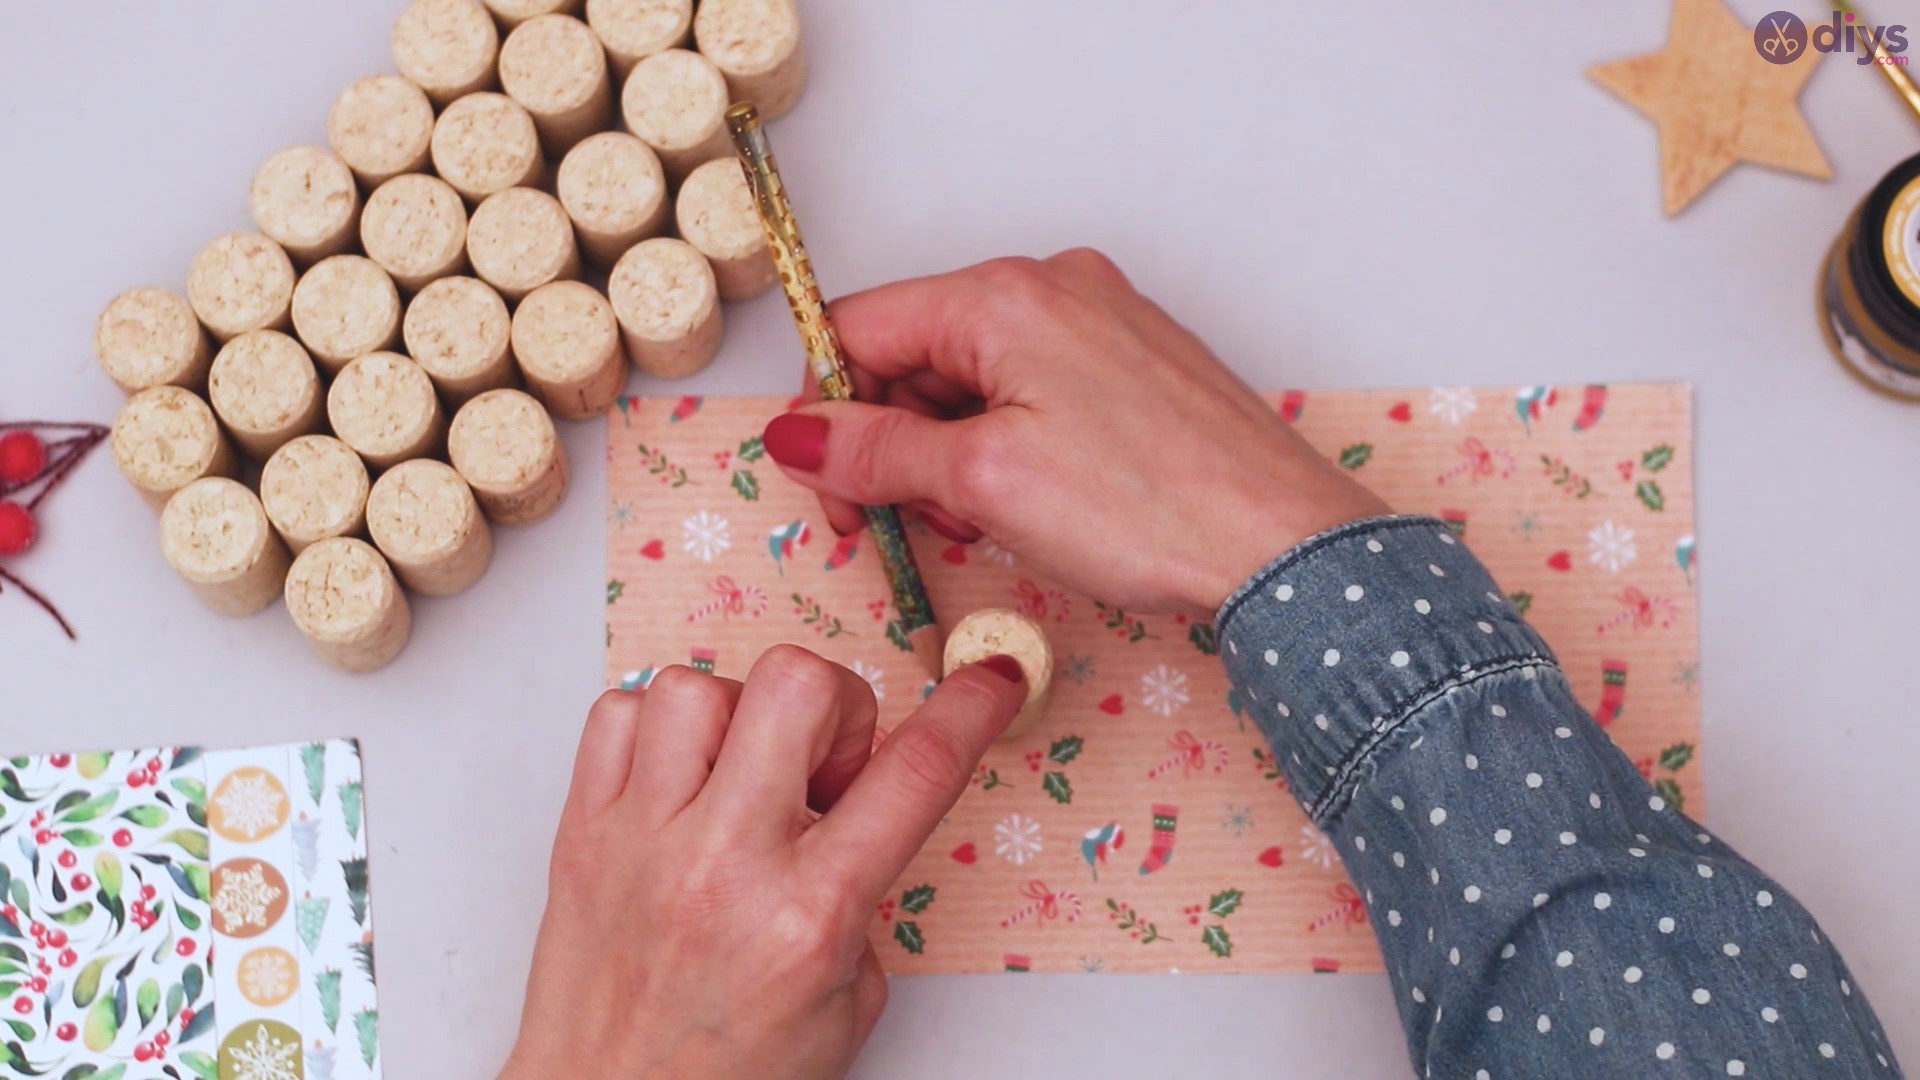
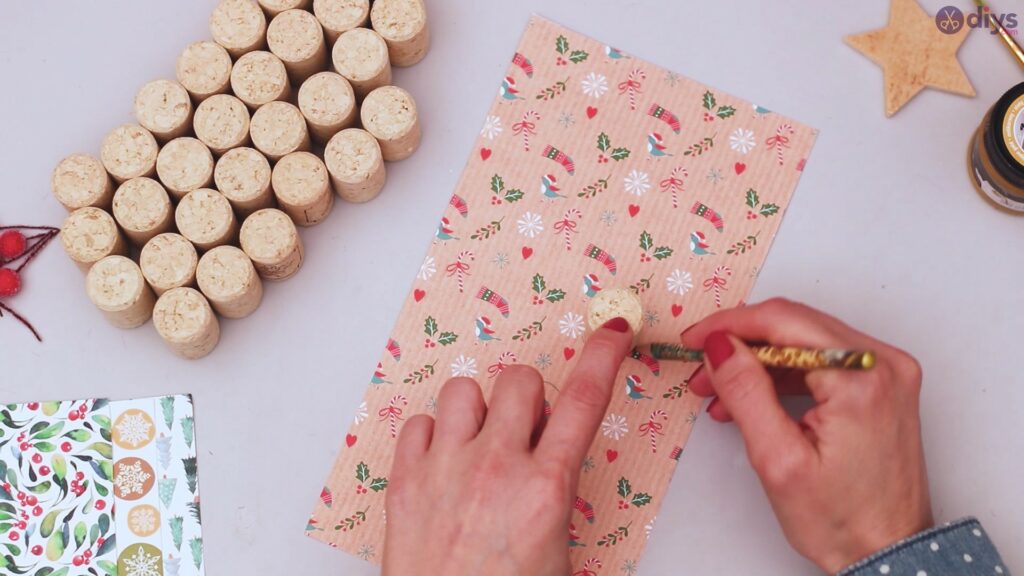
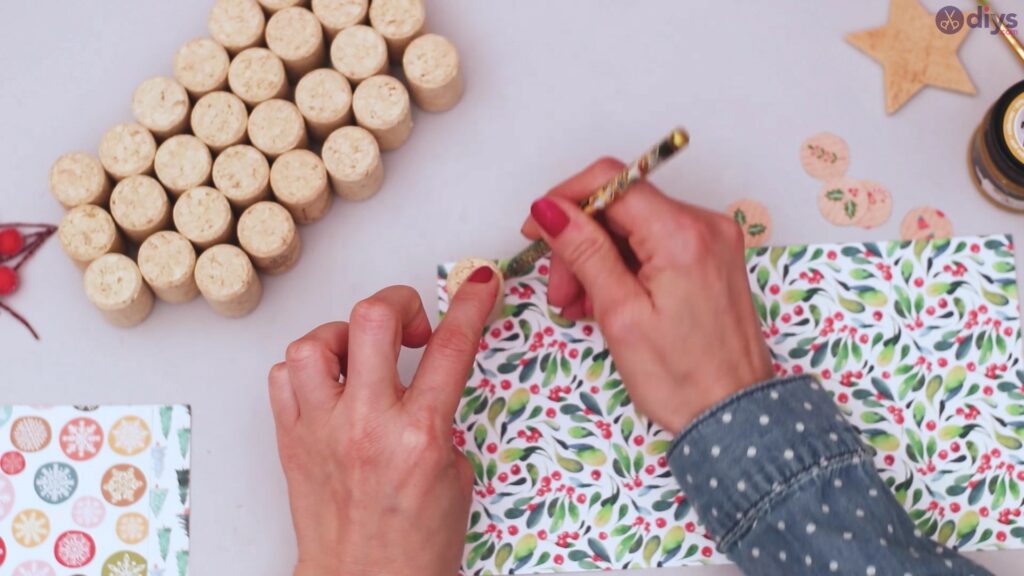
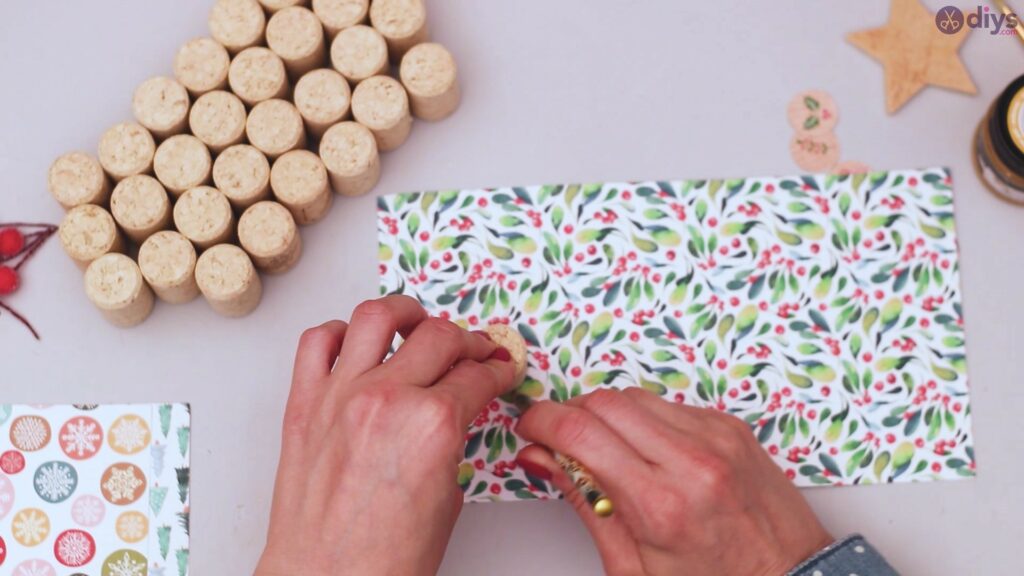
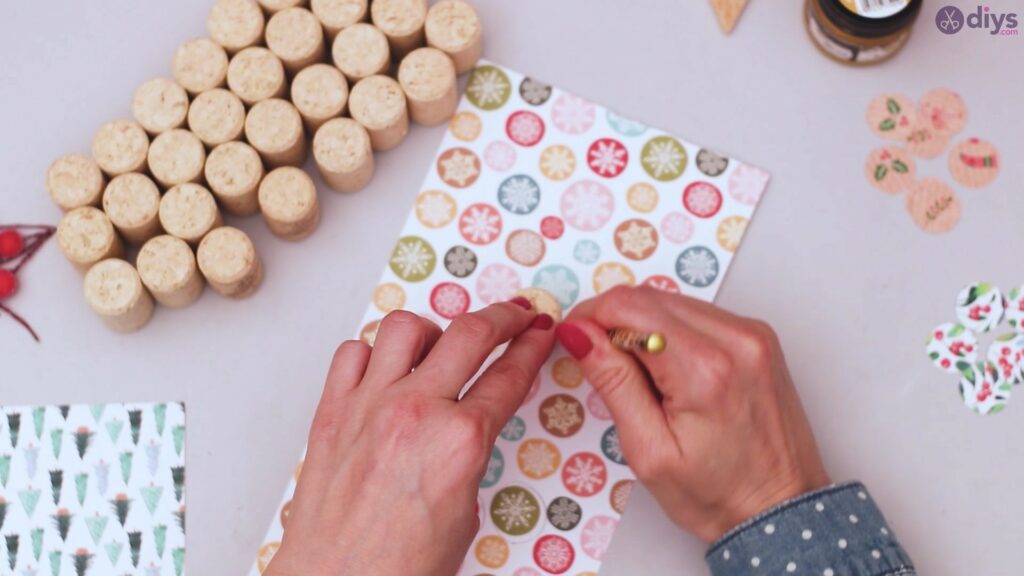
You need to start by taking one of the wine corks and placing it on top of the jolly-patterned papers. Get your pencil and draw the contour as close to the size of the cork as possible. Draw six of these!
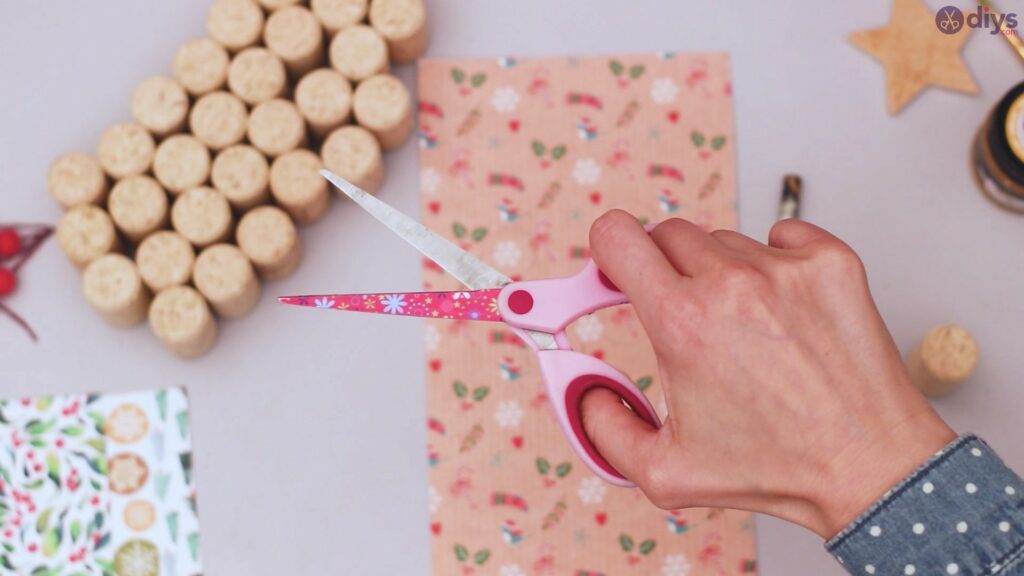
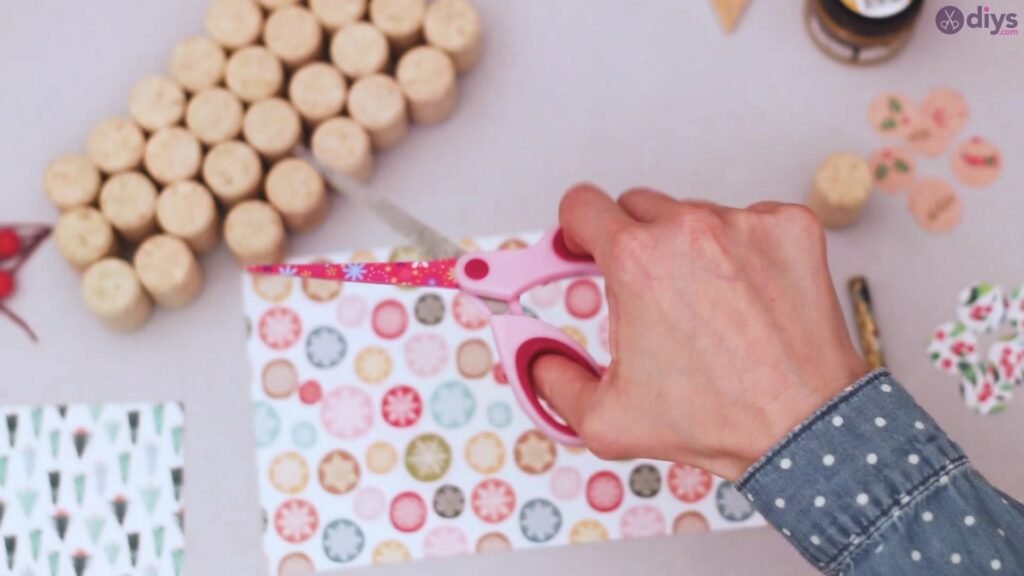
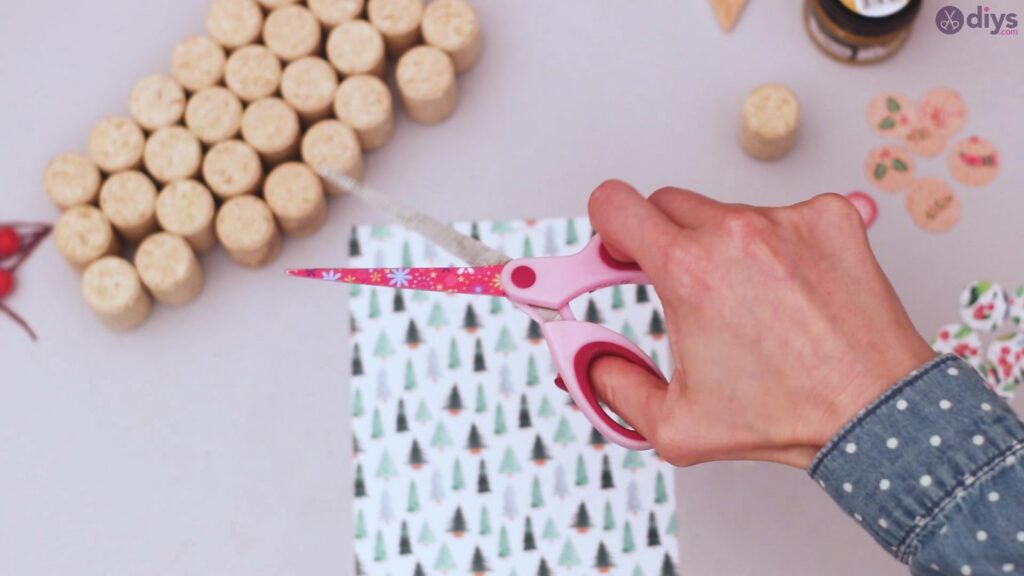
Step 2: Cut the circles
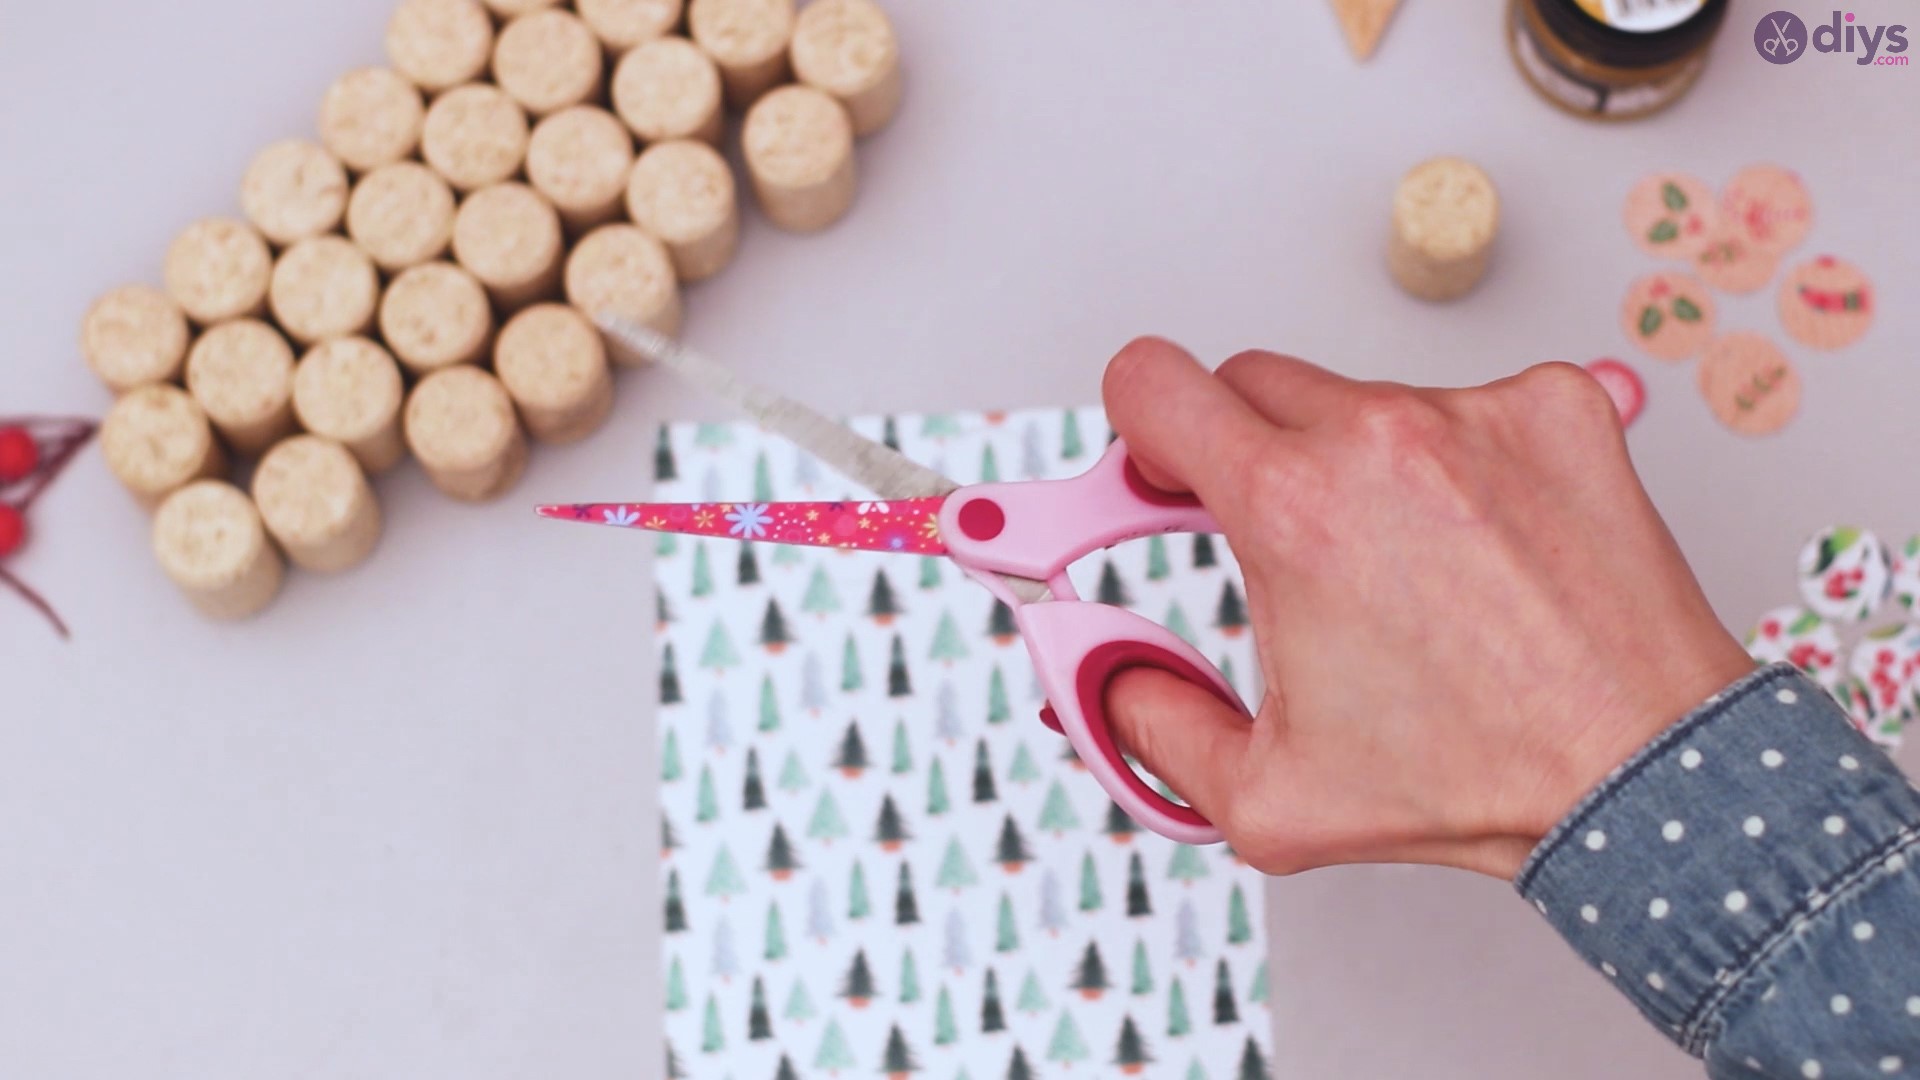
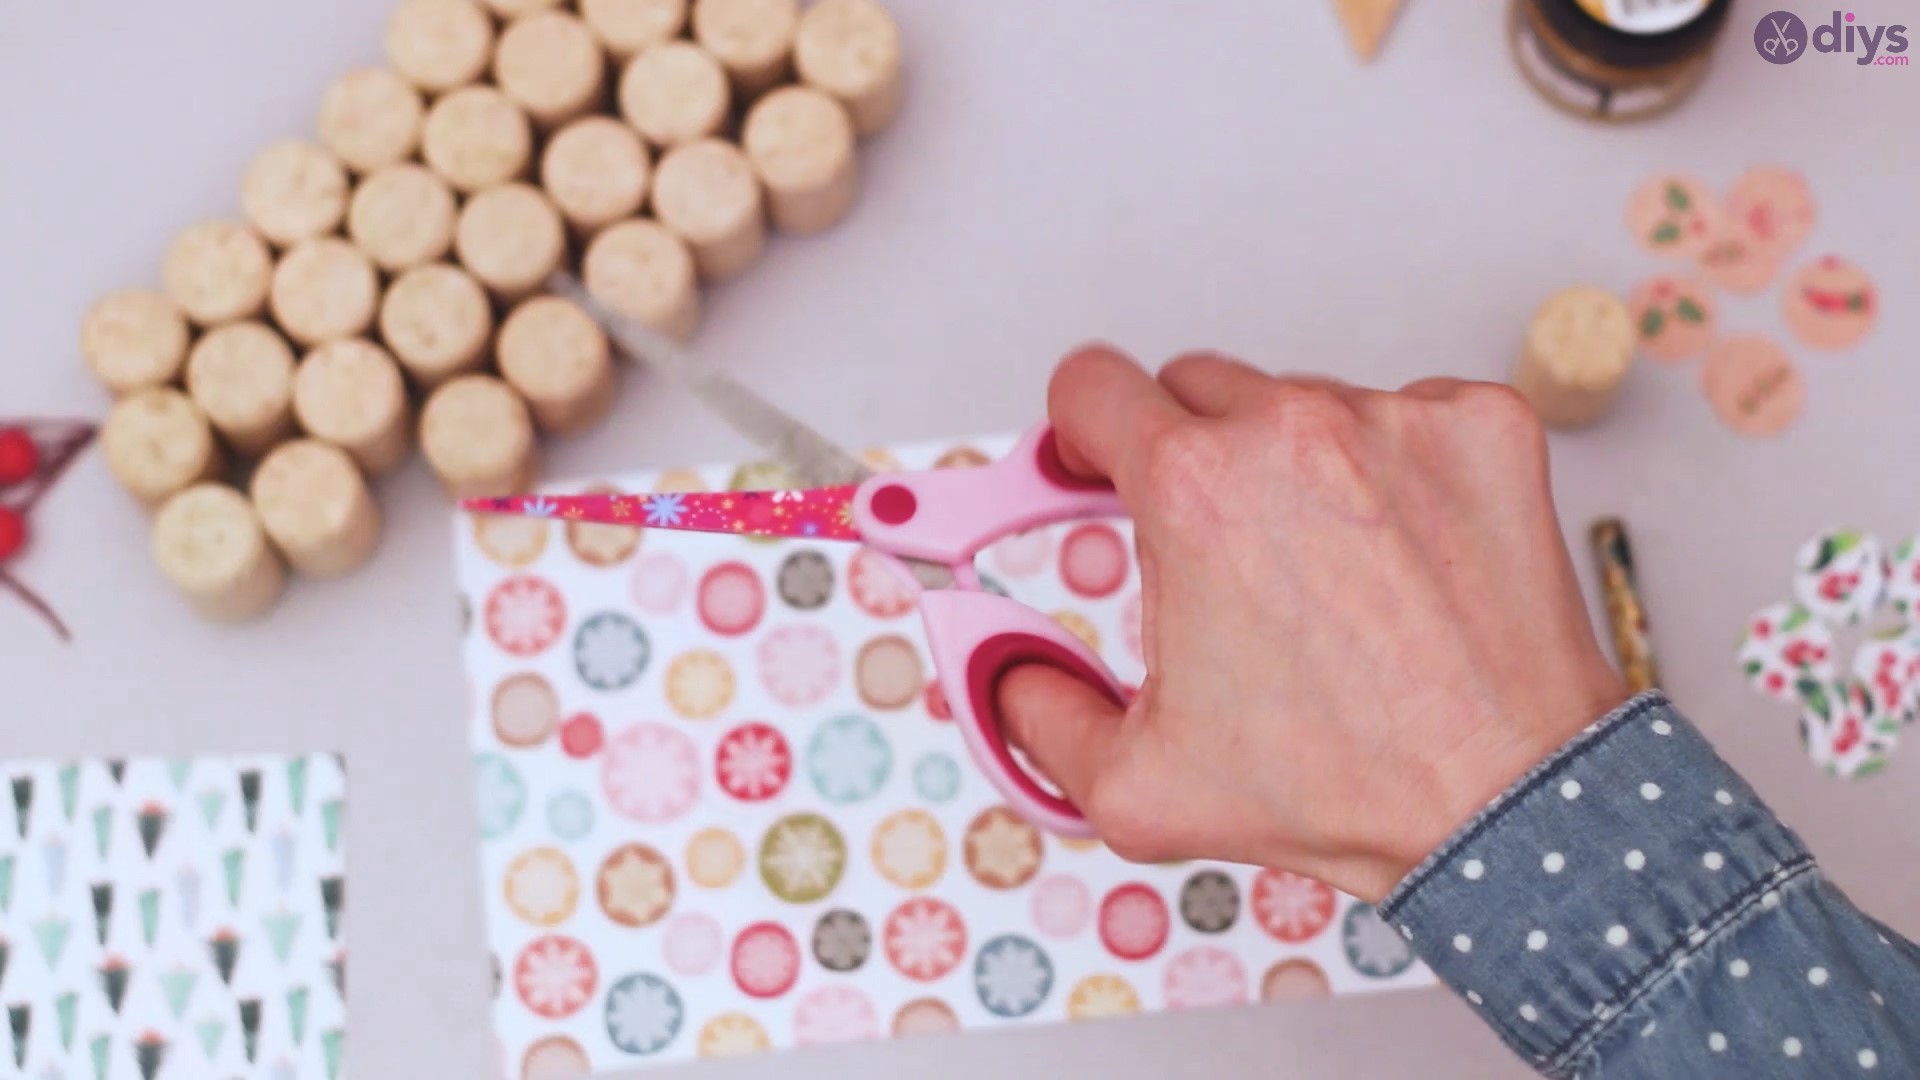
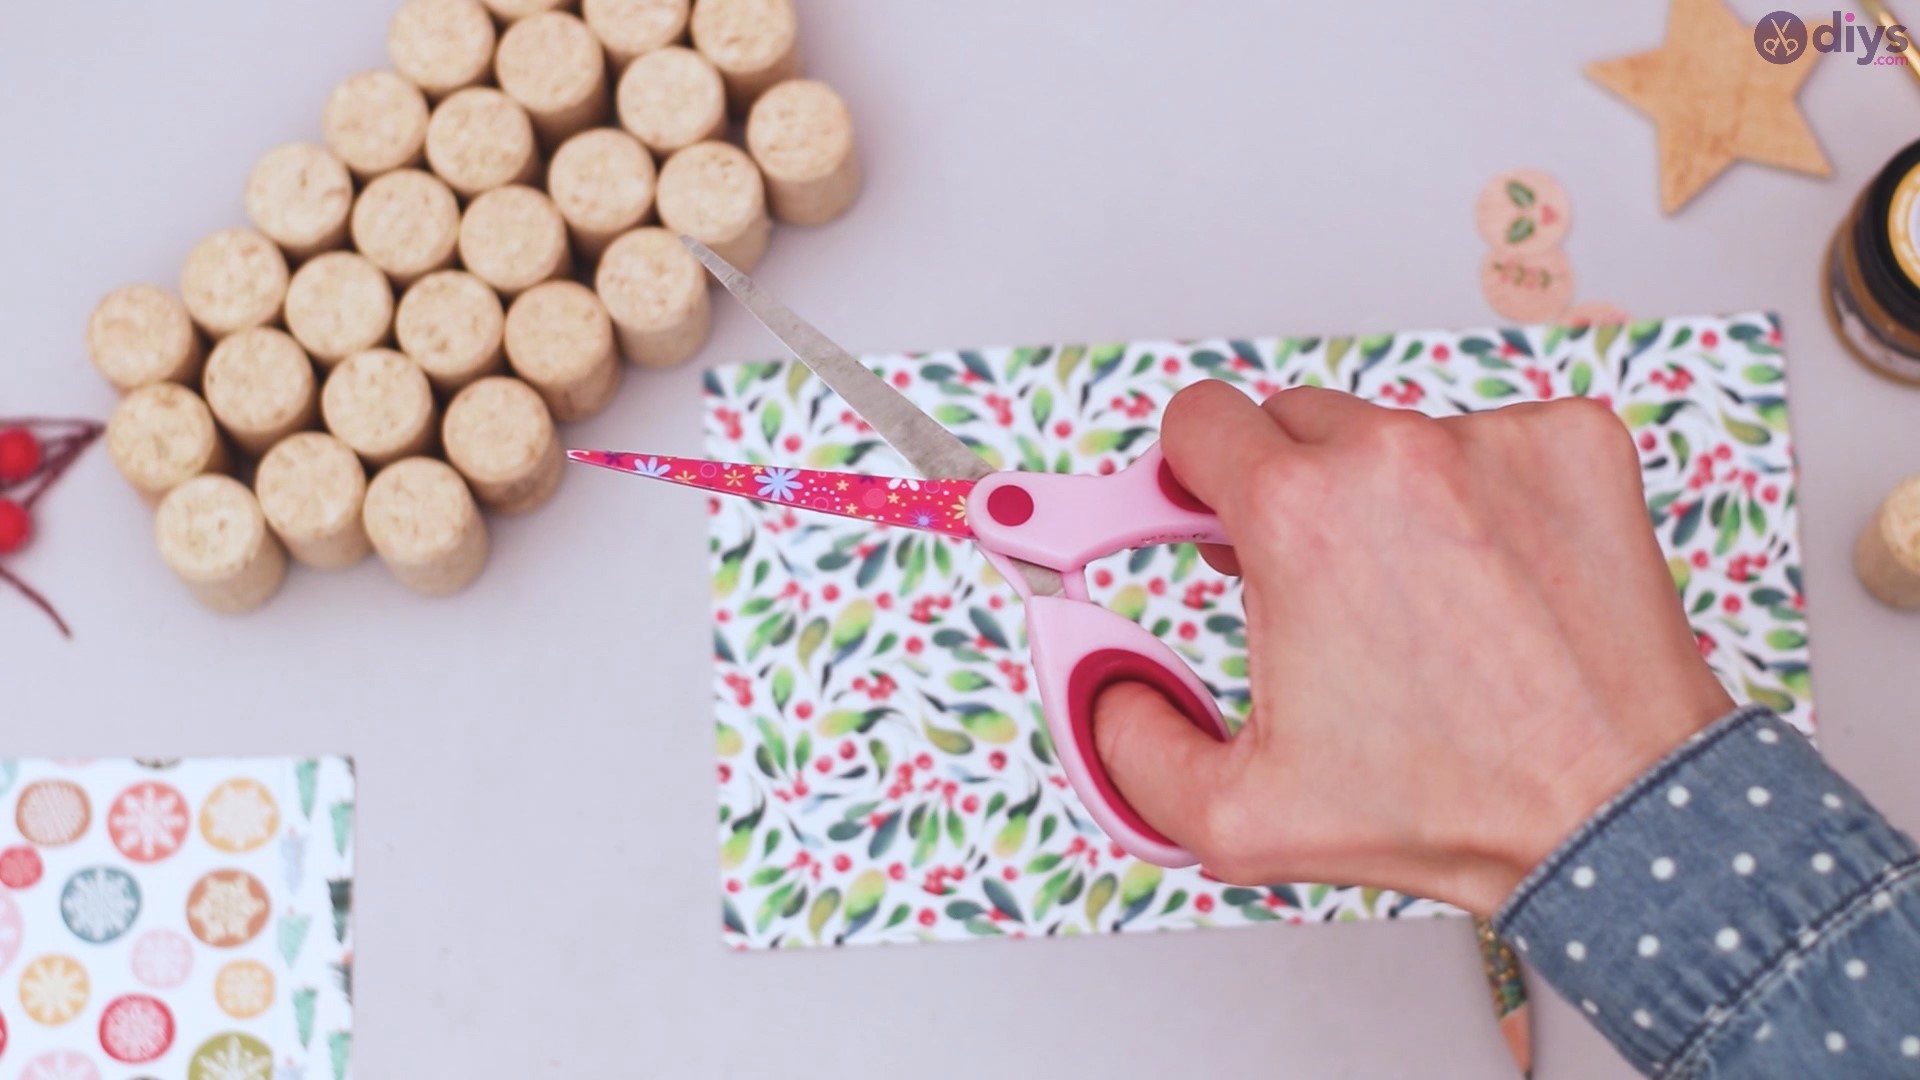
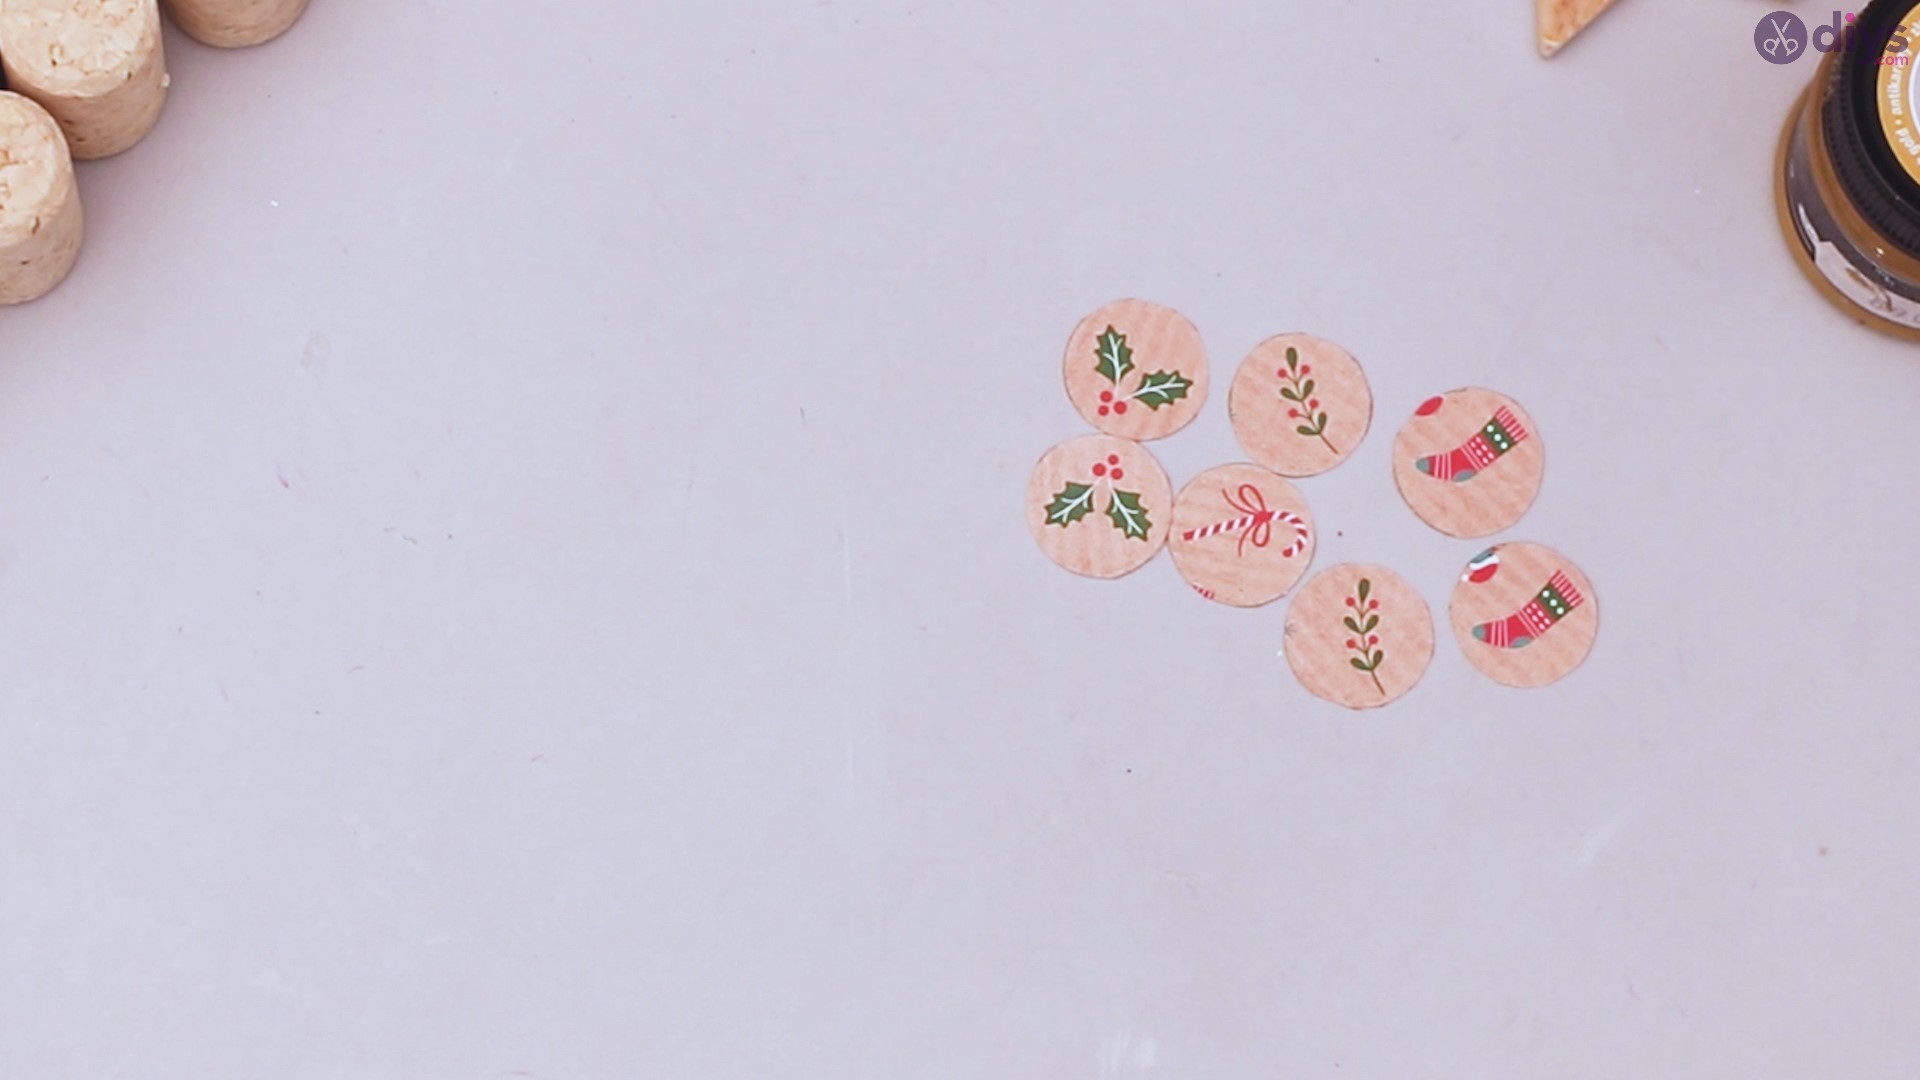
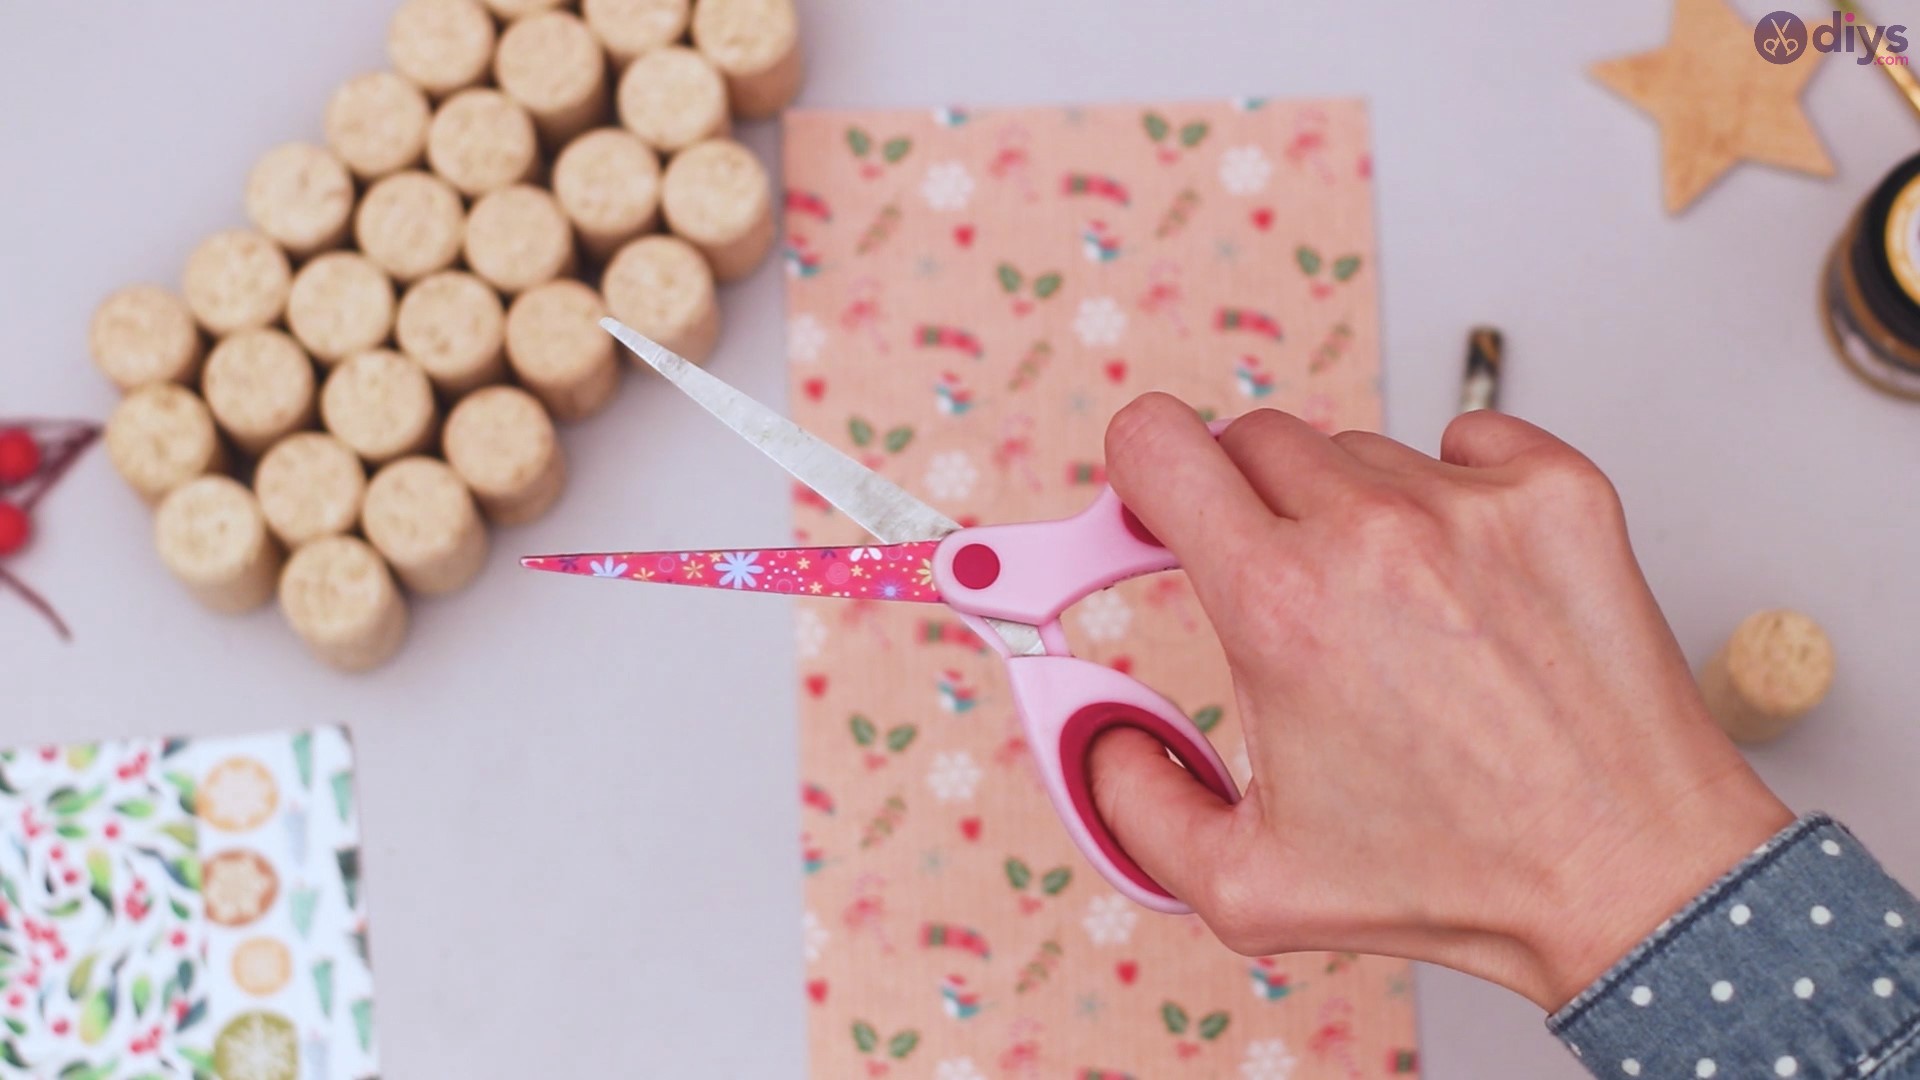
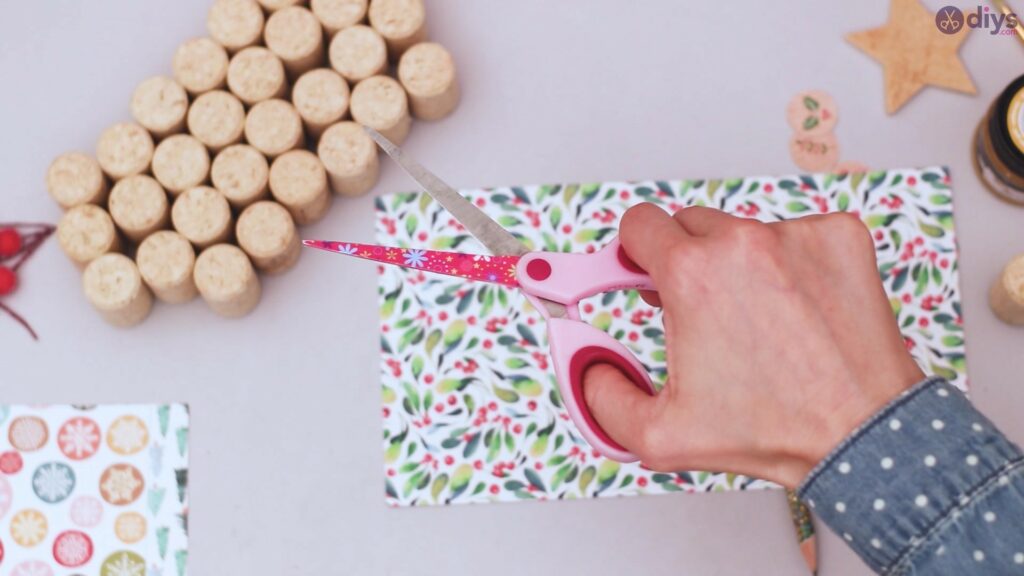
Now it’s time to get your scissors out and start cutting out the circles made out of Christmas paper.
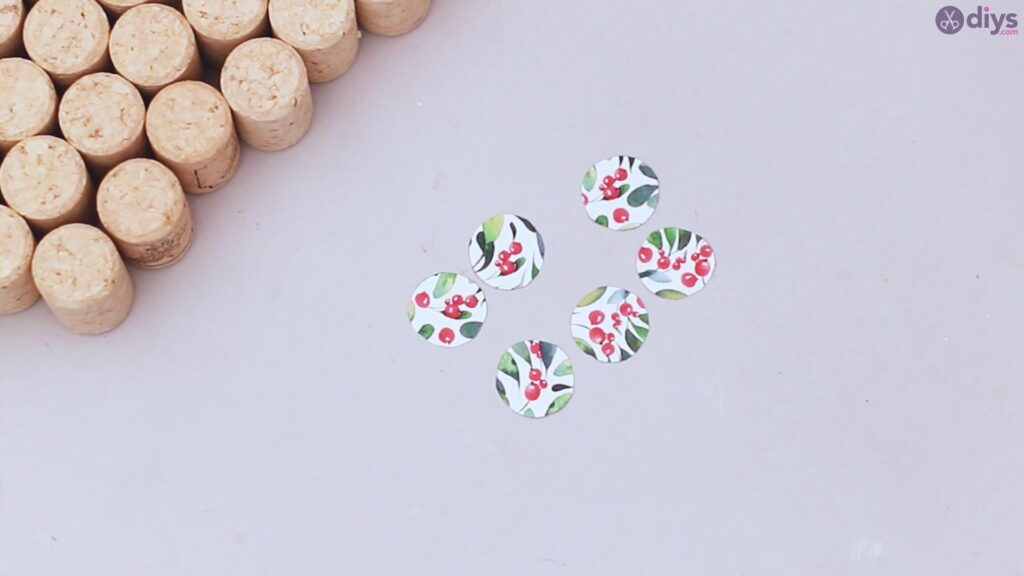
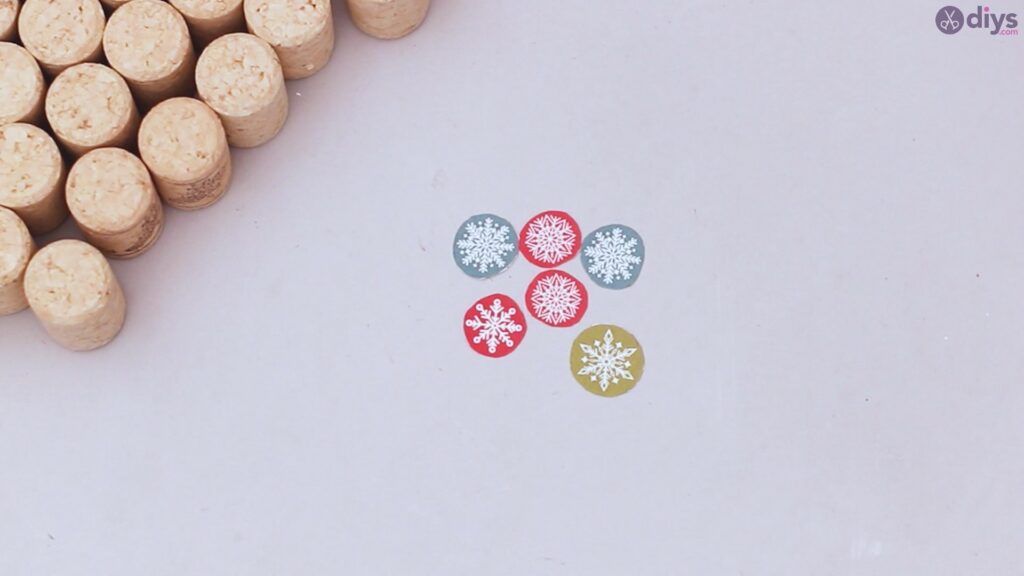
Step 3: Use multiple Christmas-decorate papers for more patterns
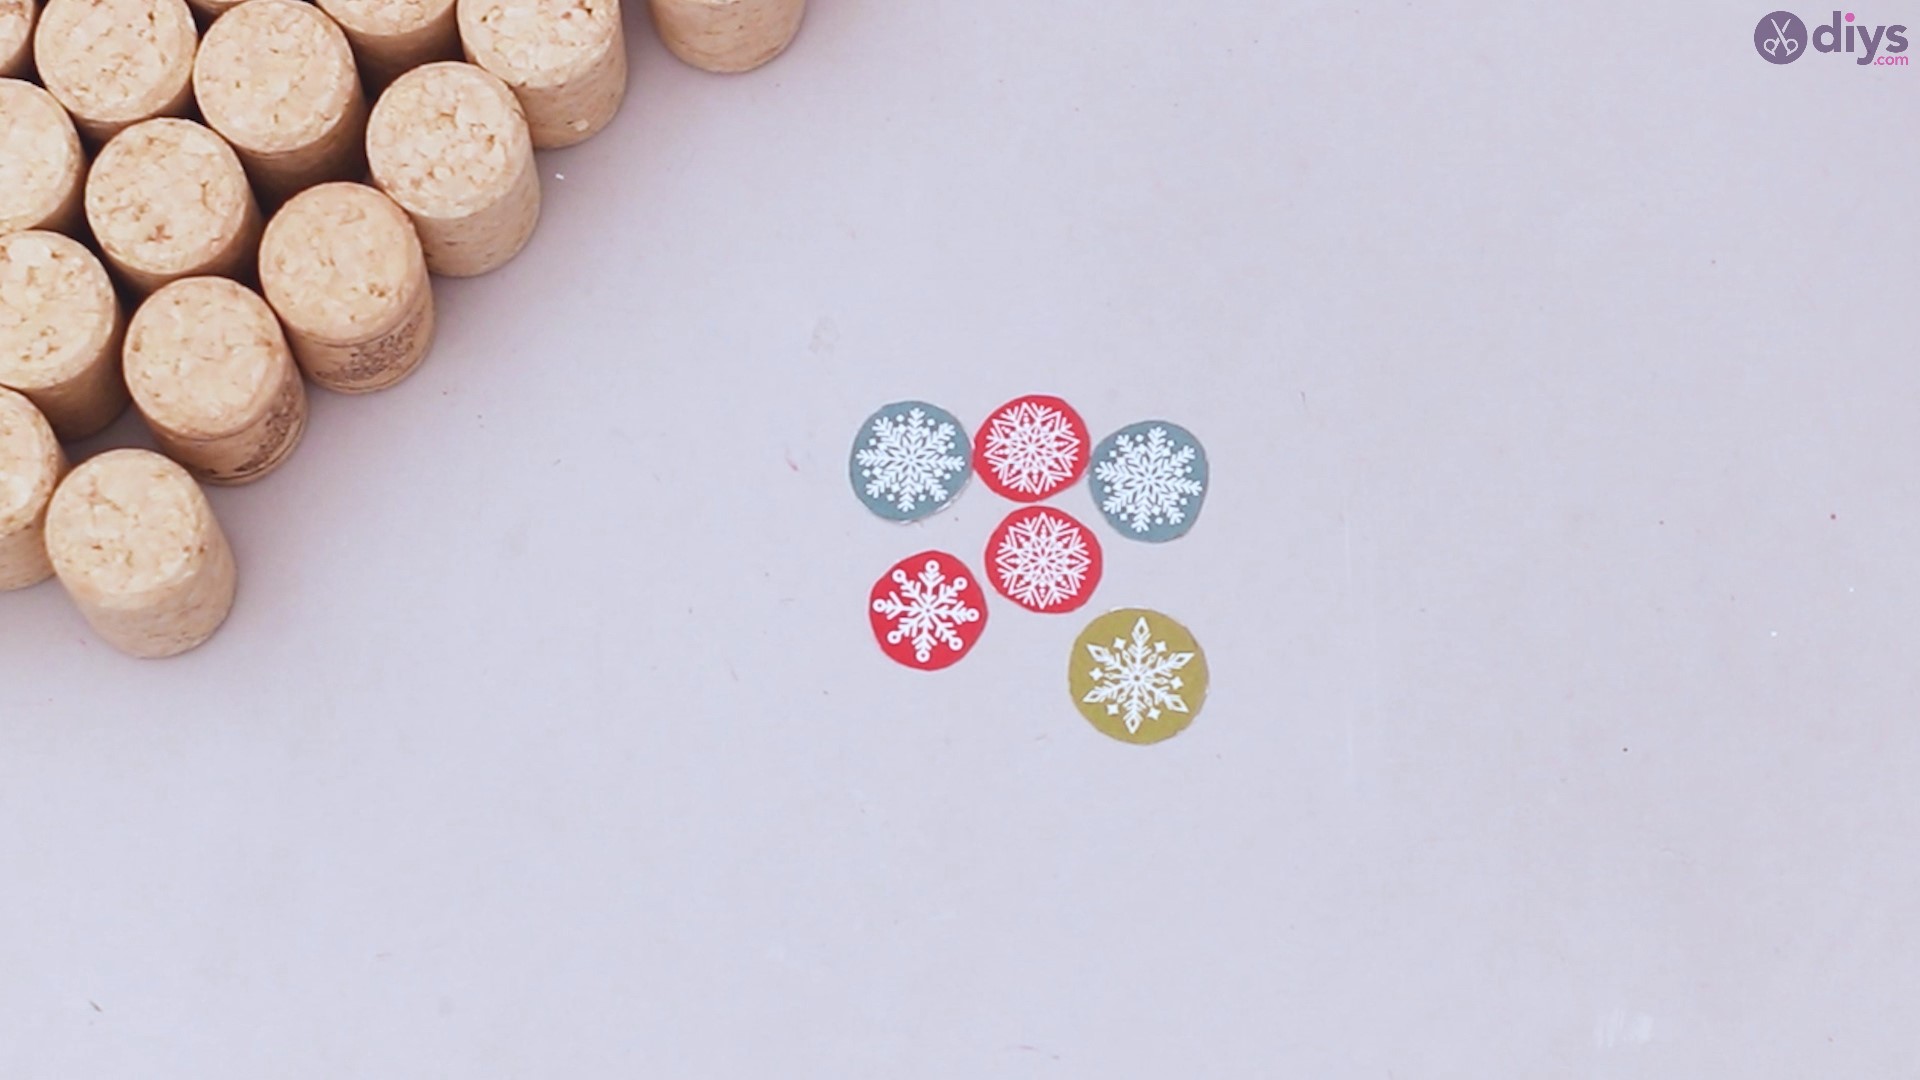
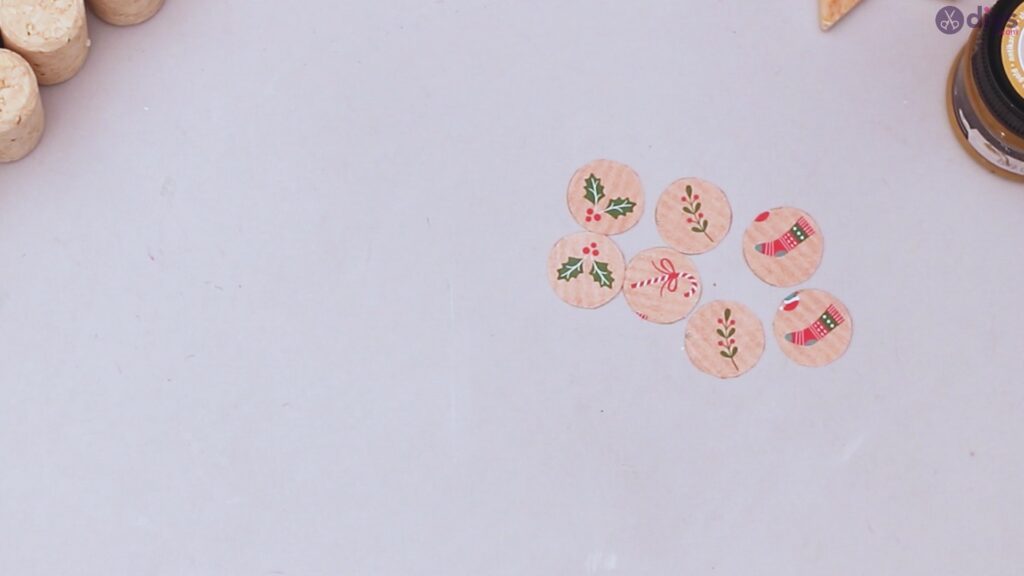
If you have multiple Christmas papers, you should use as many of them as you have available, drawing circles on the paper and then cutting them out. Make sure you draw and cut six circles on this paper.
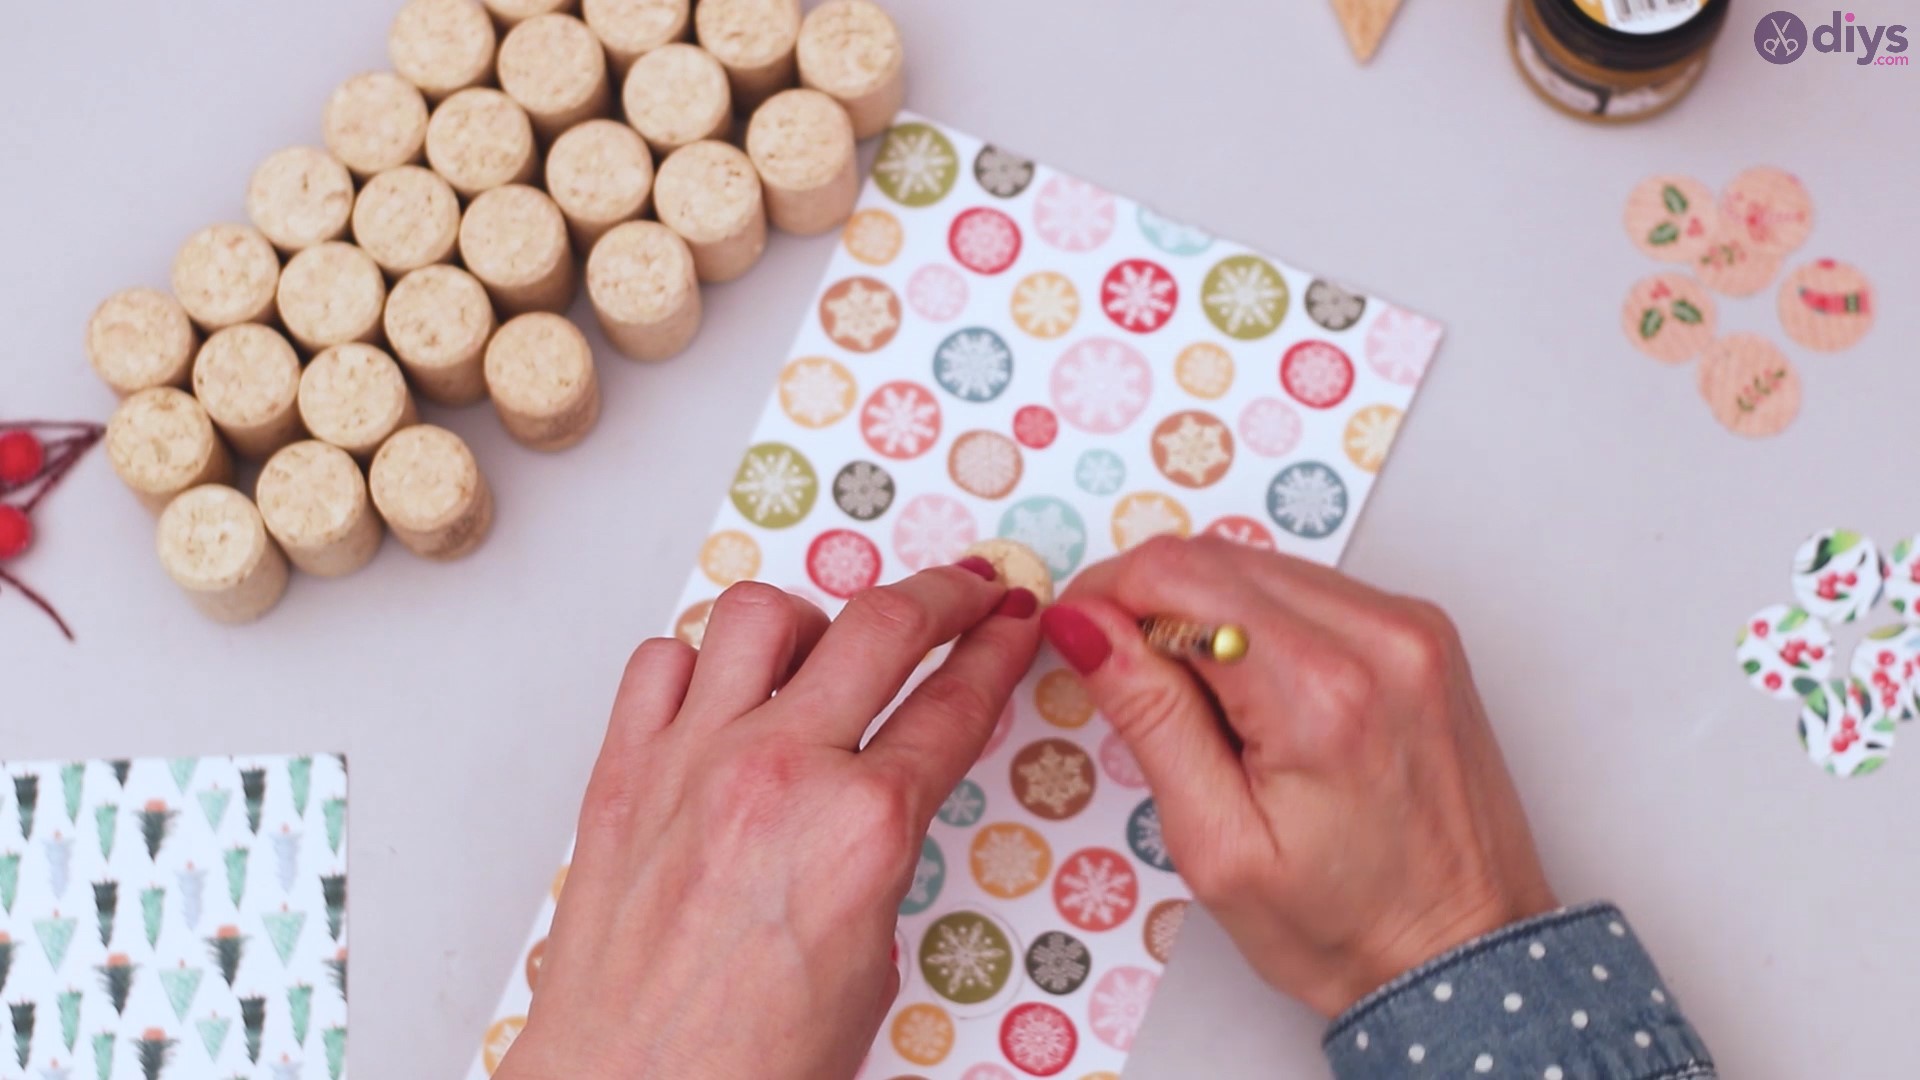
If you have any papers with round shapes, they’ll look even better when you cut them out and resemble little baubles. You may even end up hoping to find similarly-looking normal-sized ornaments to go into the big tree too. We drew and cut six of these circles.
We loved using this Christmas tree-adorned paper as we found it to be so festive. We drew a few circles on this paper too and cut them out so we have even more little papers to decorate. We chose to cut out six of them.
Step 4: Arrange the wine corks to form a tree:
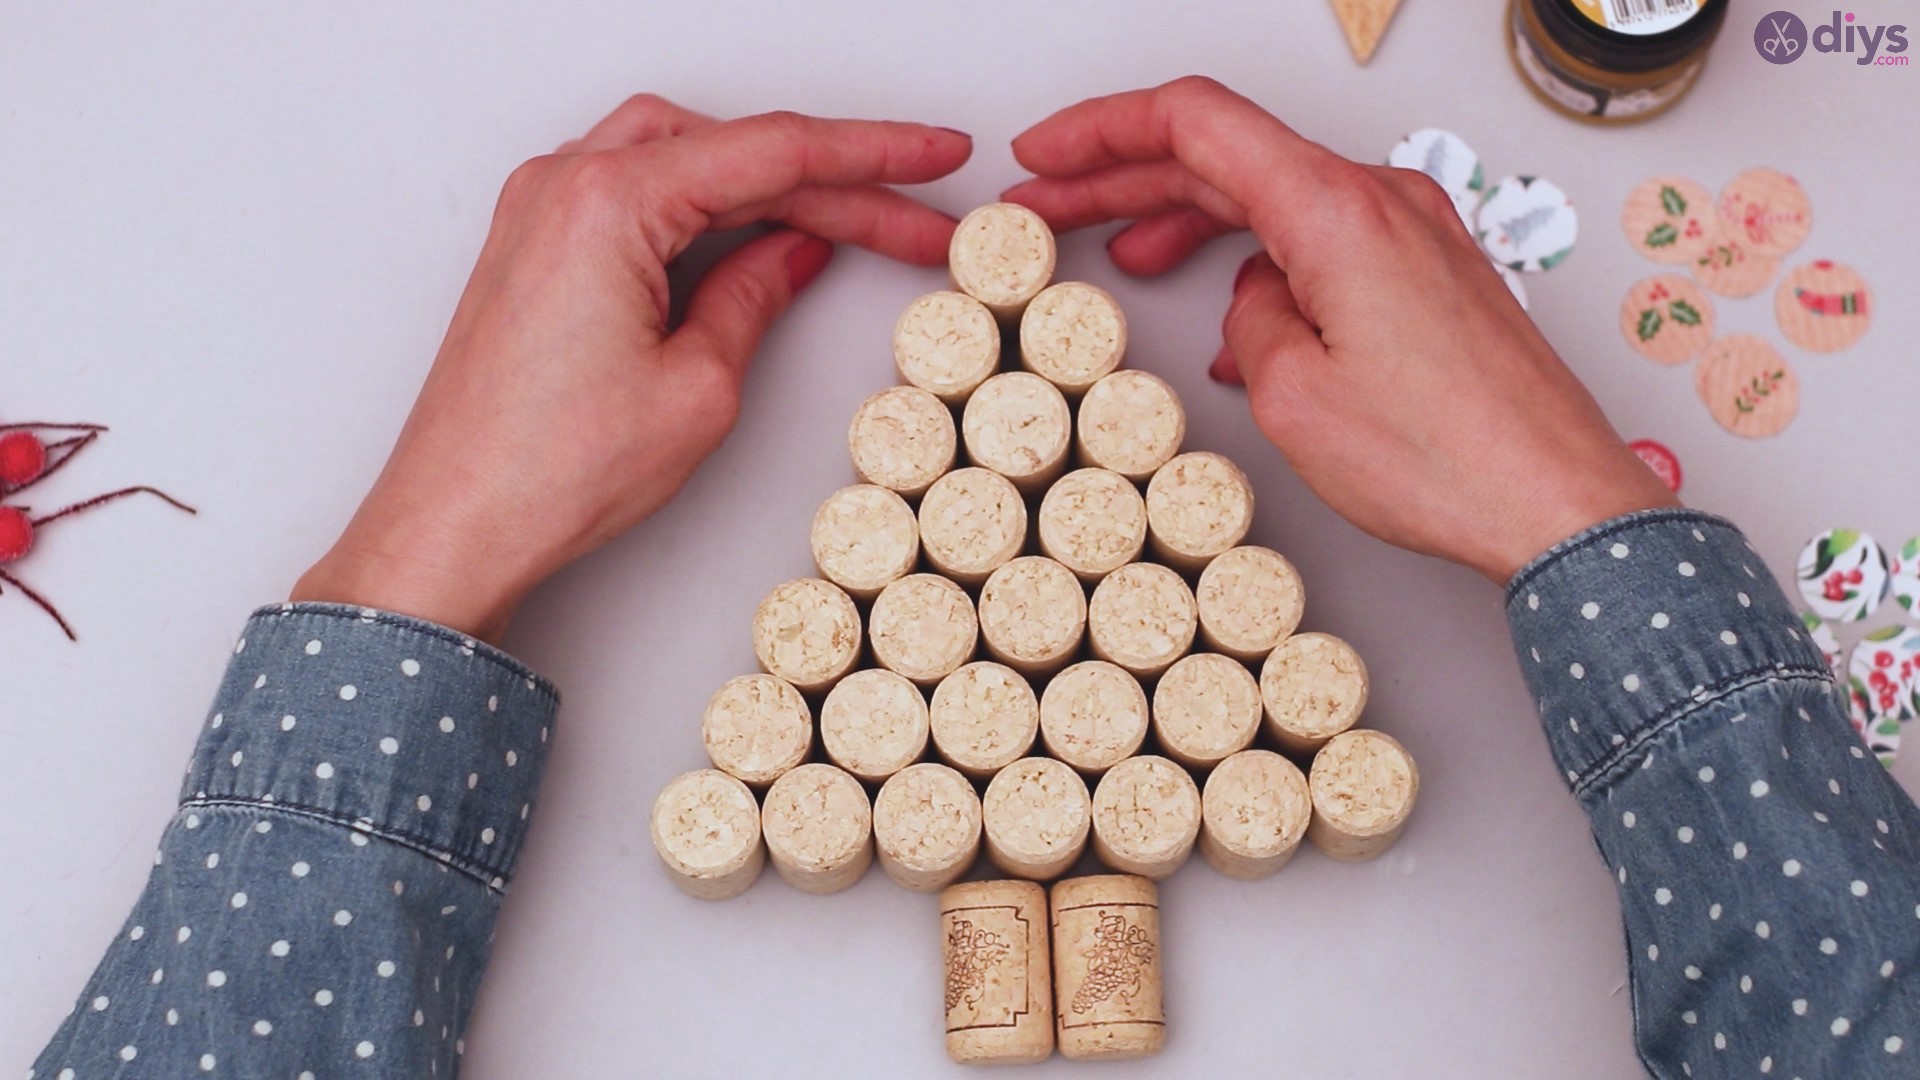
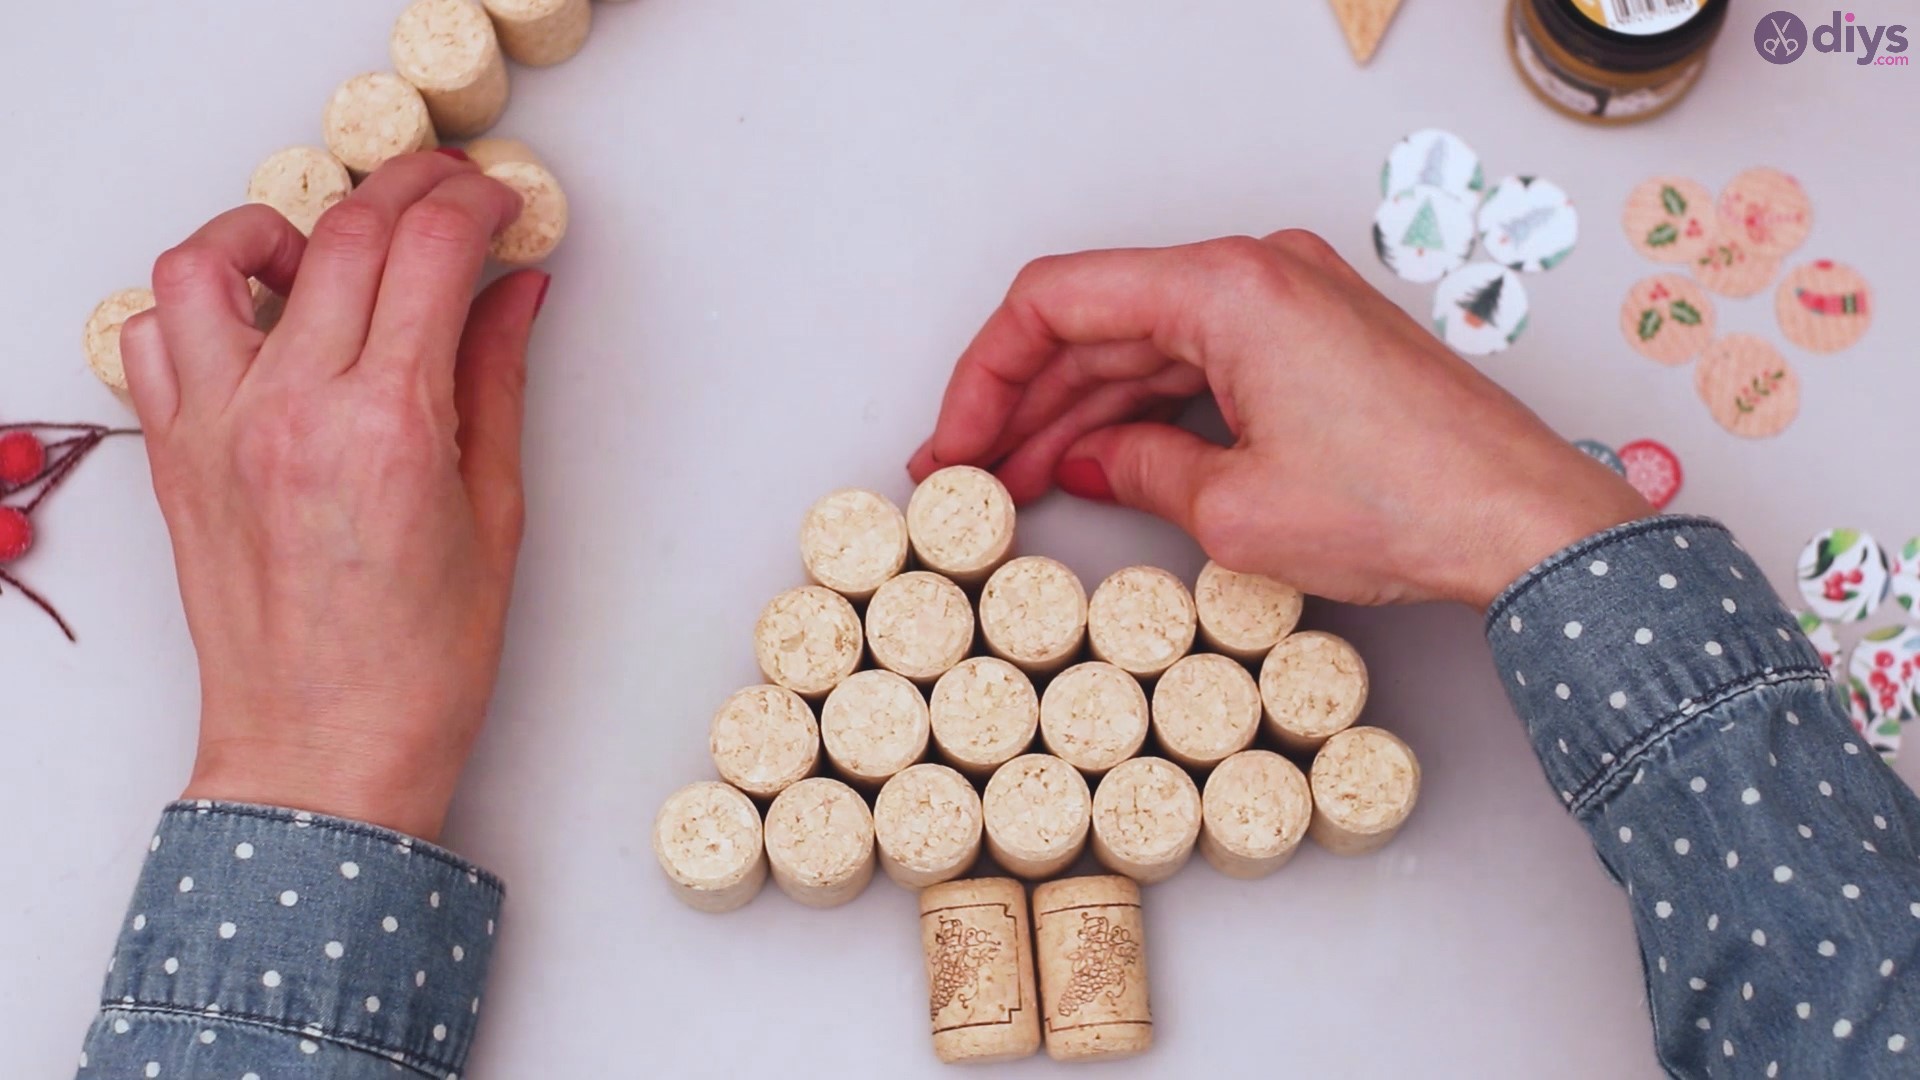
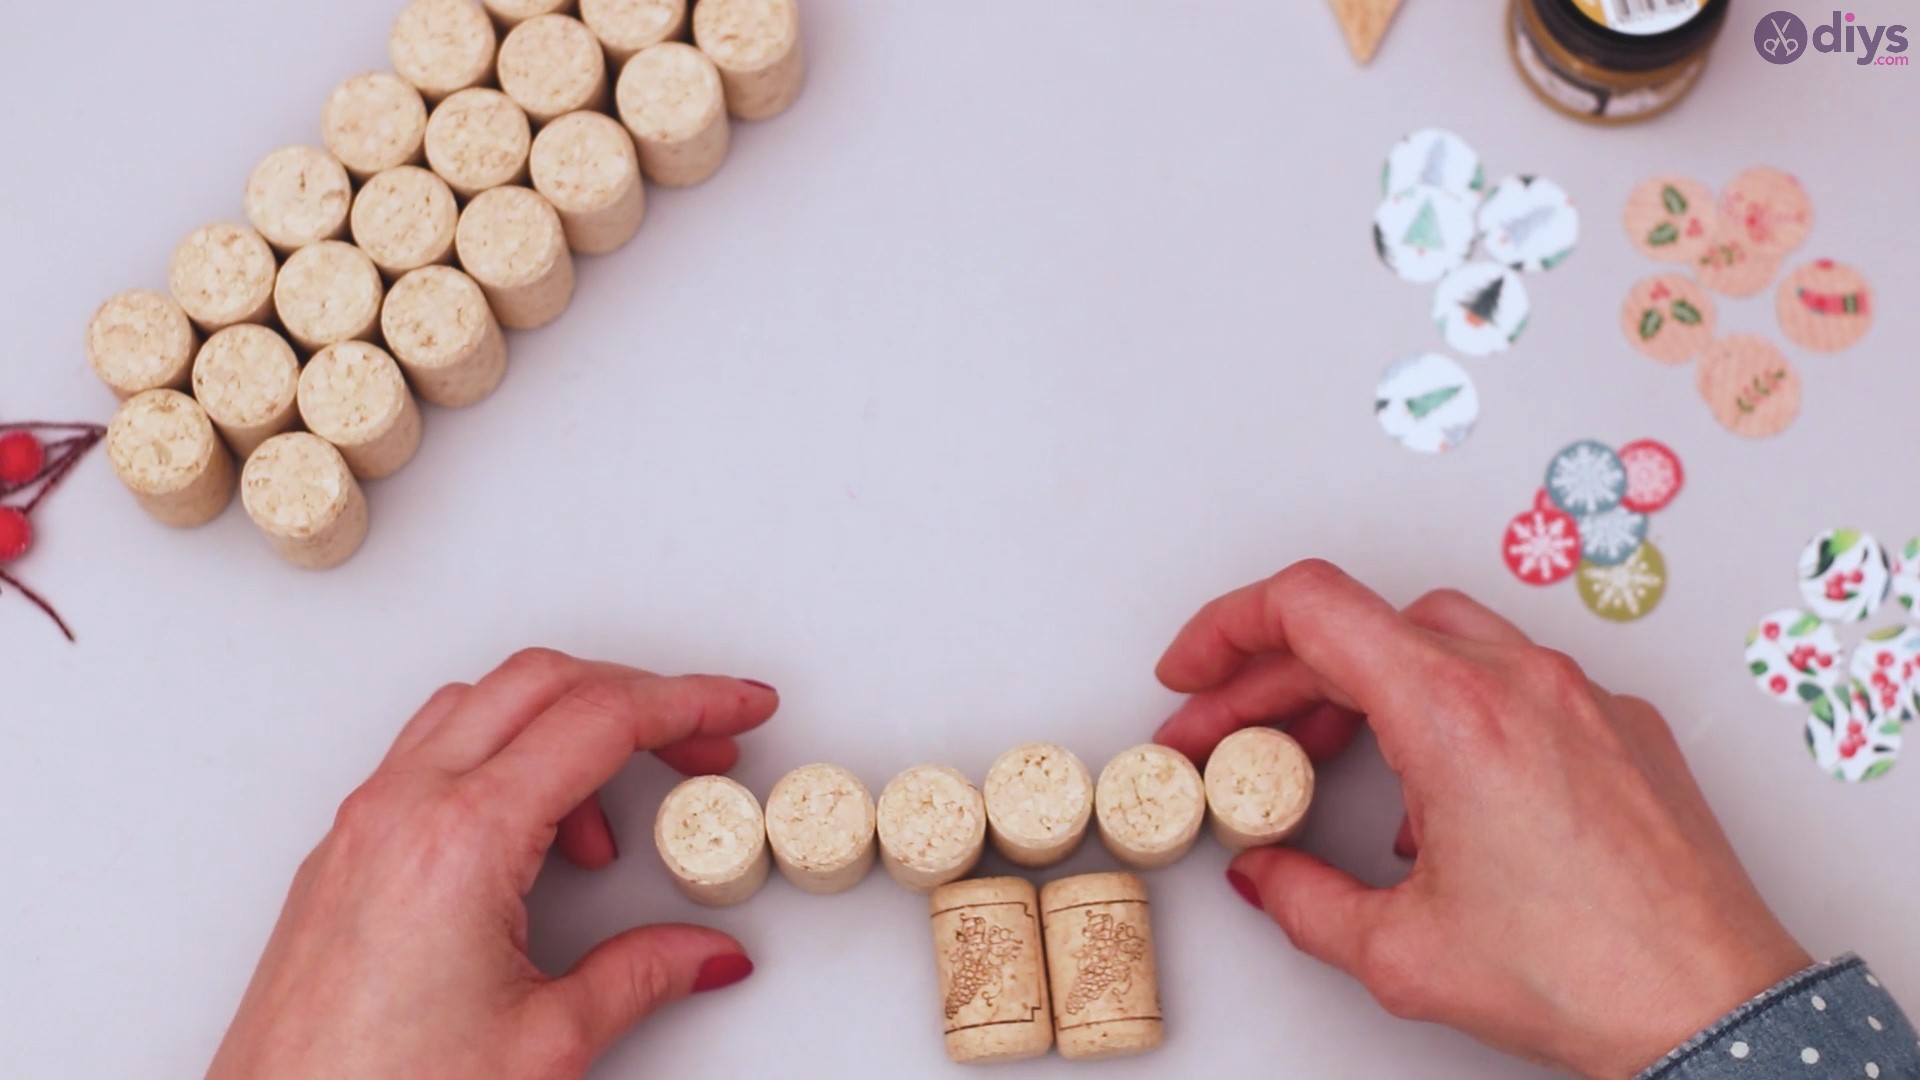
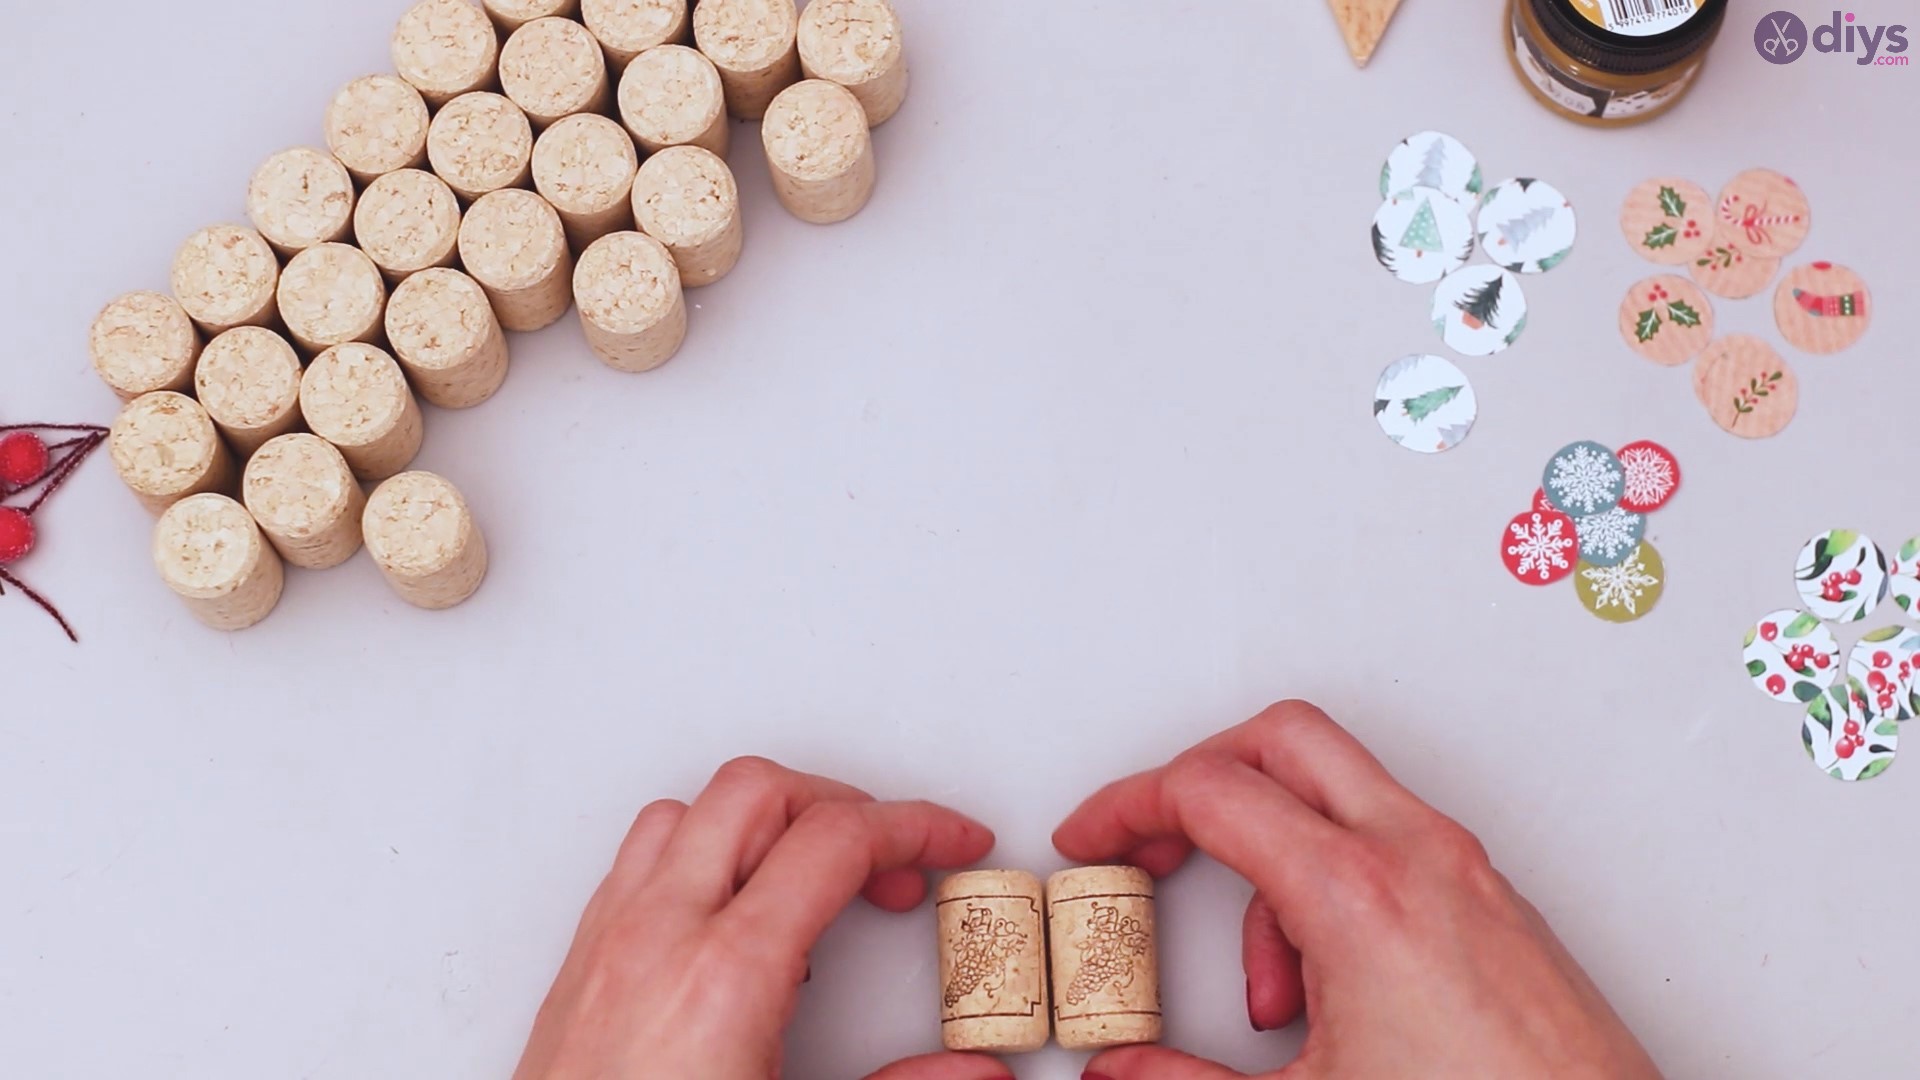
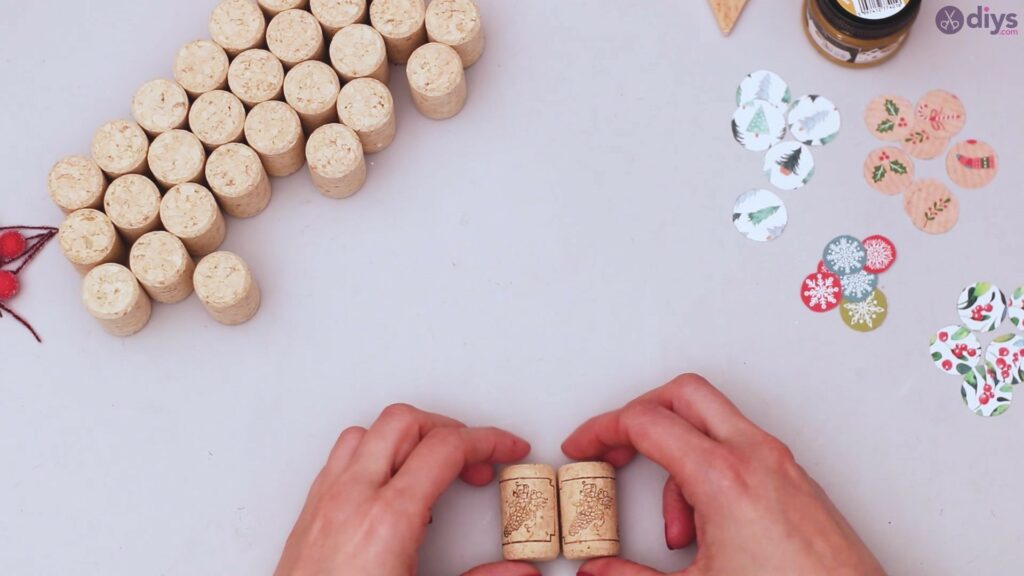
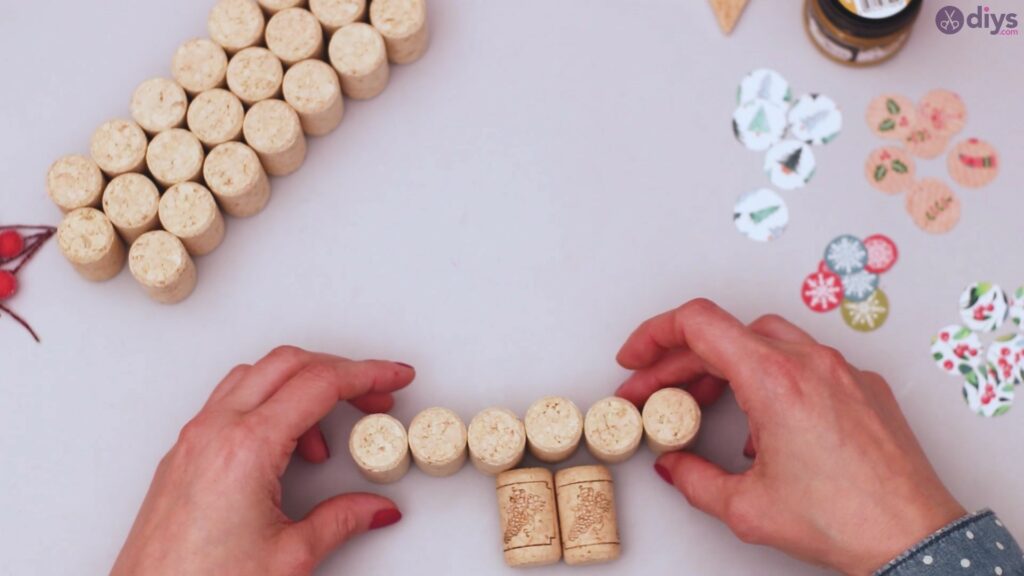
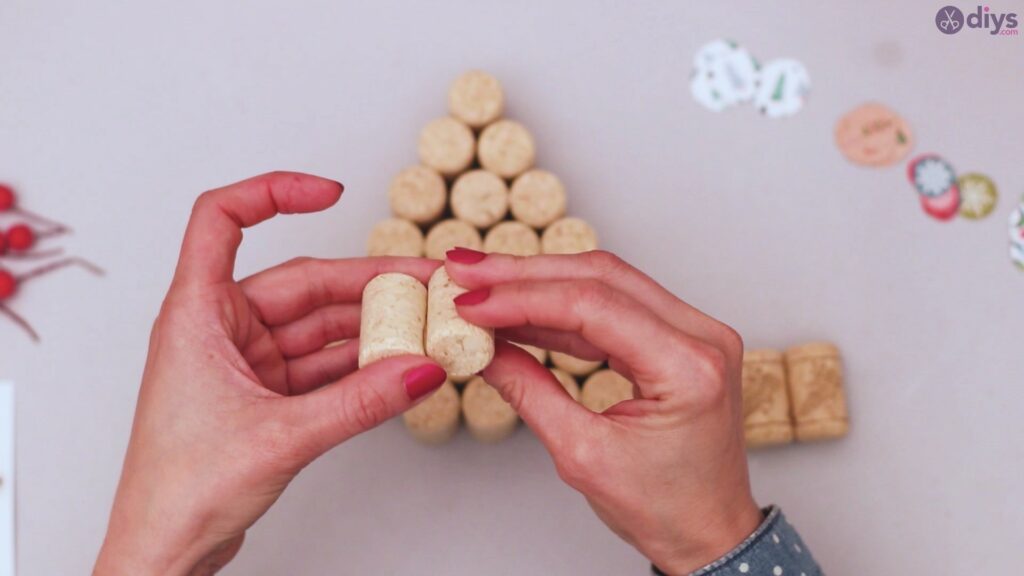
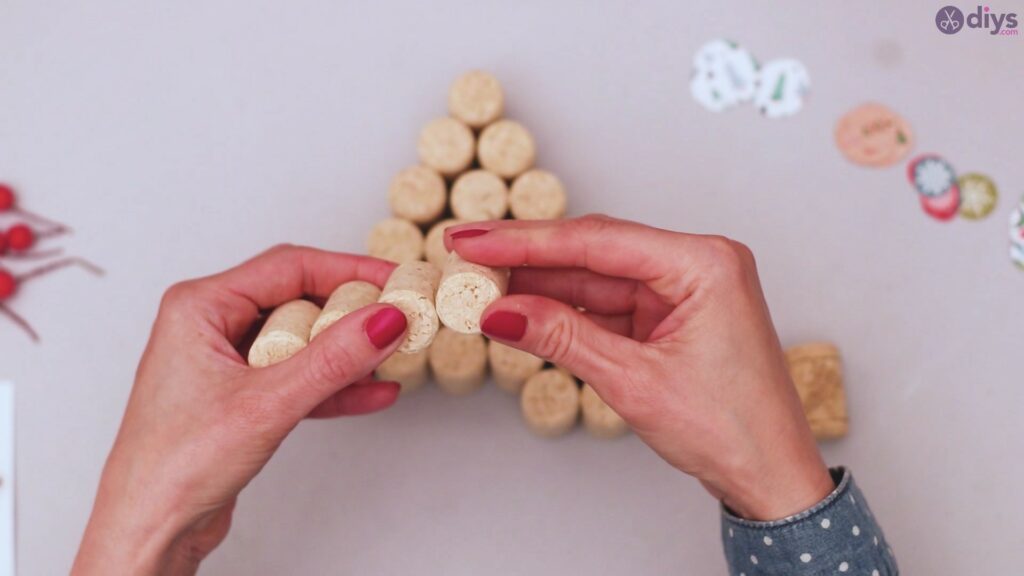
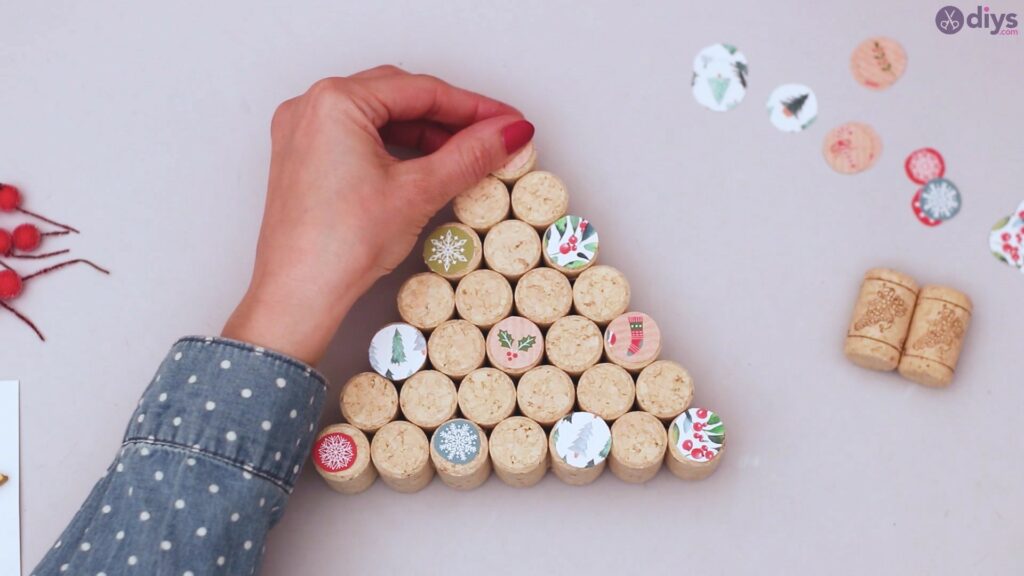
You can now start arranging the wine corks in the form of a Christmas tree. You can use two of them as the base of the tree.
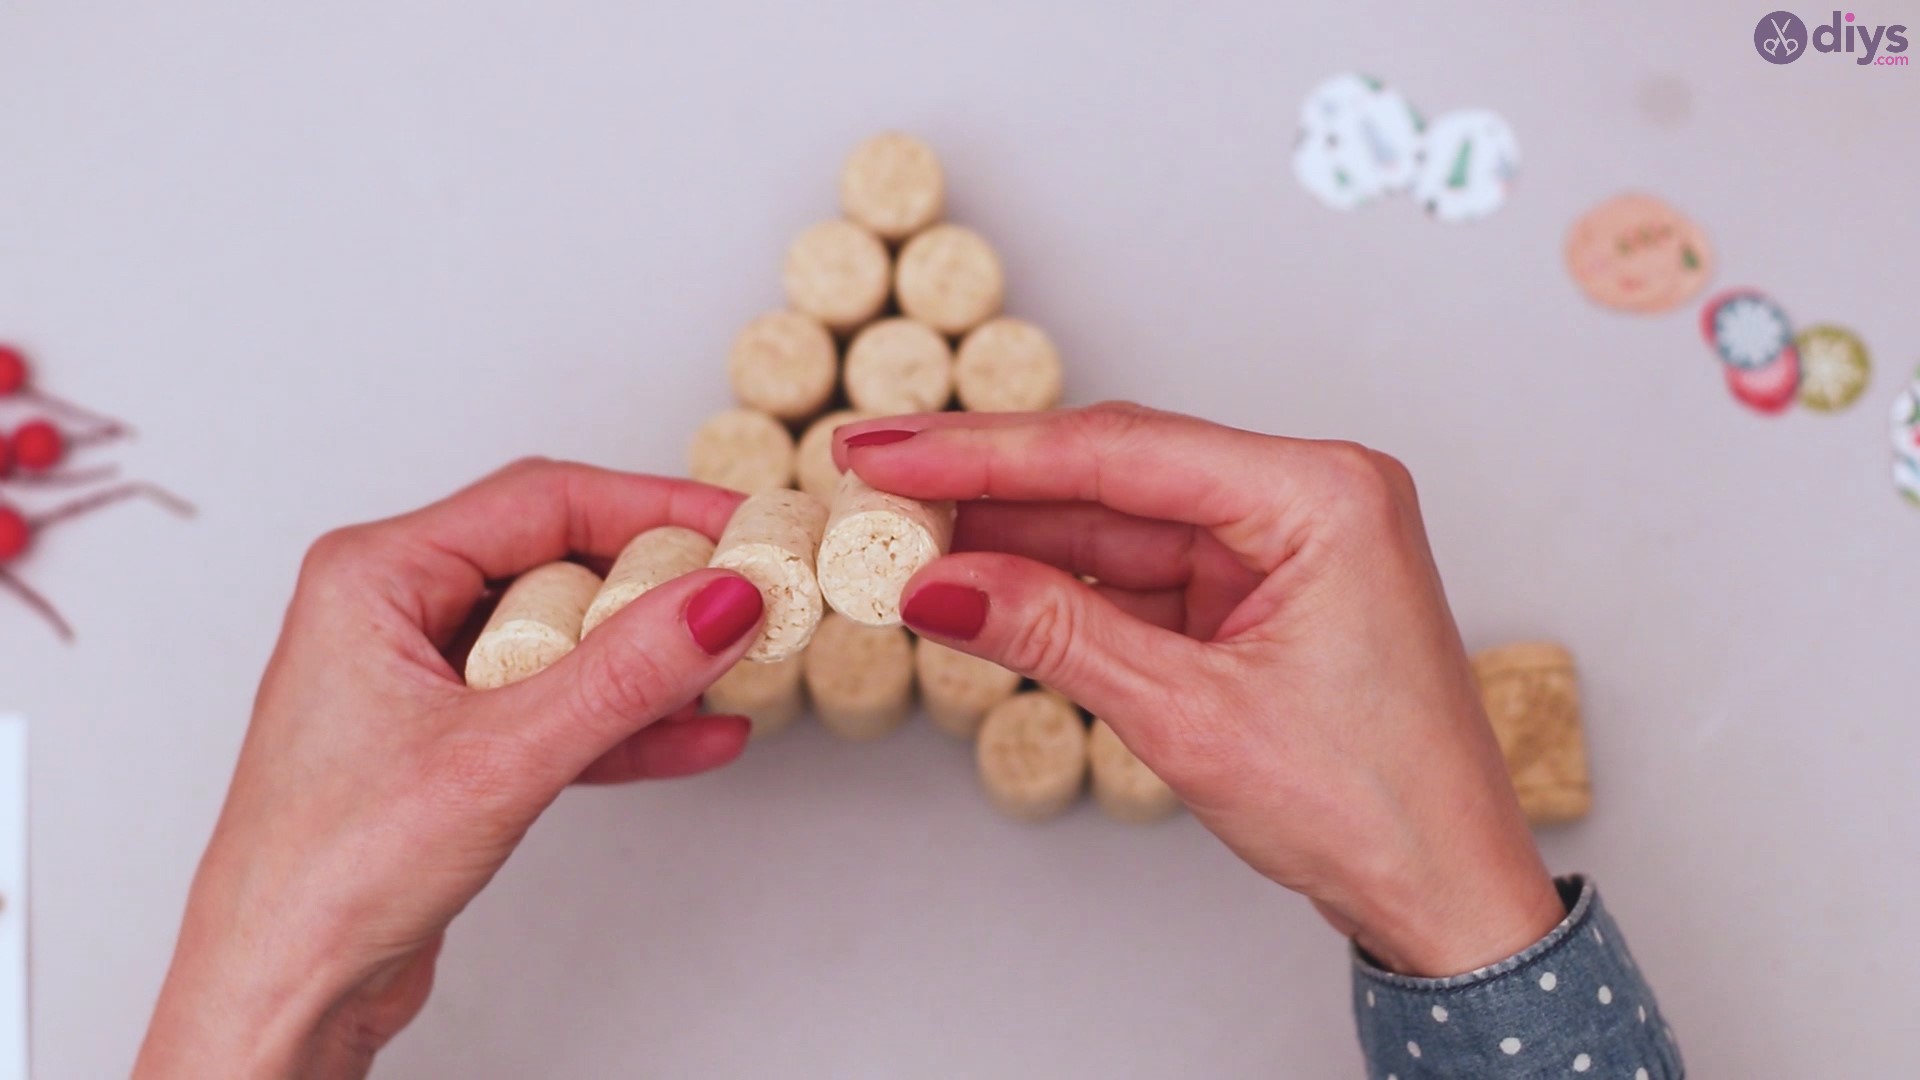
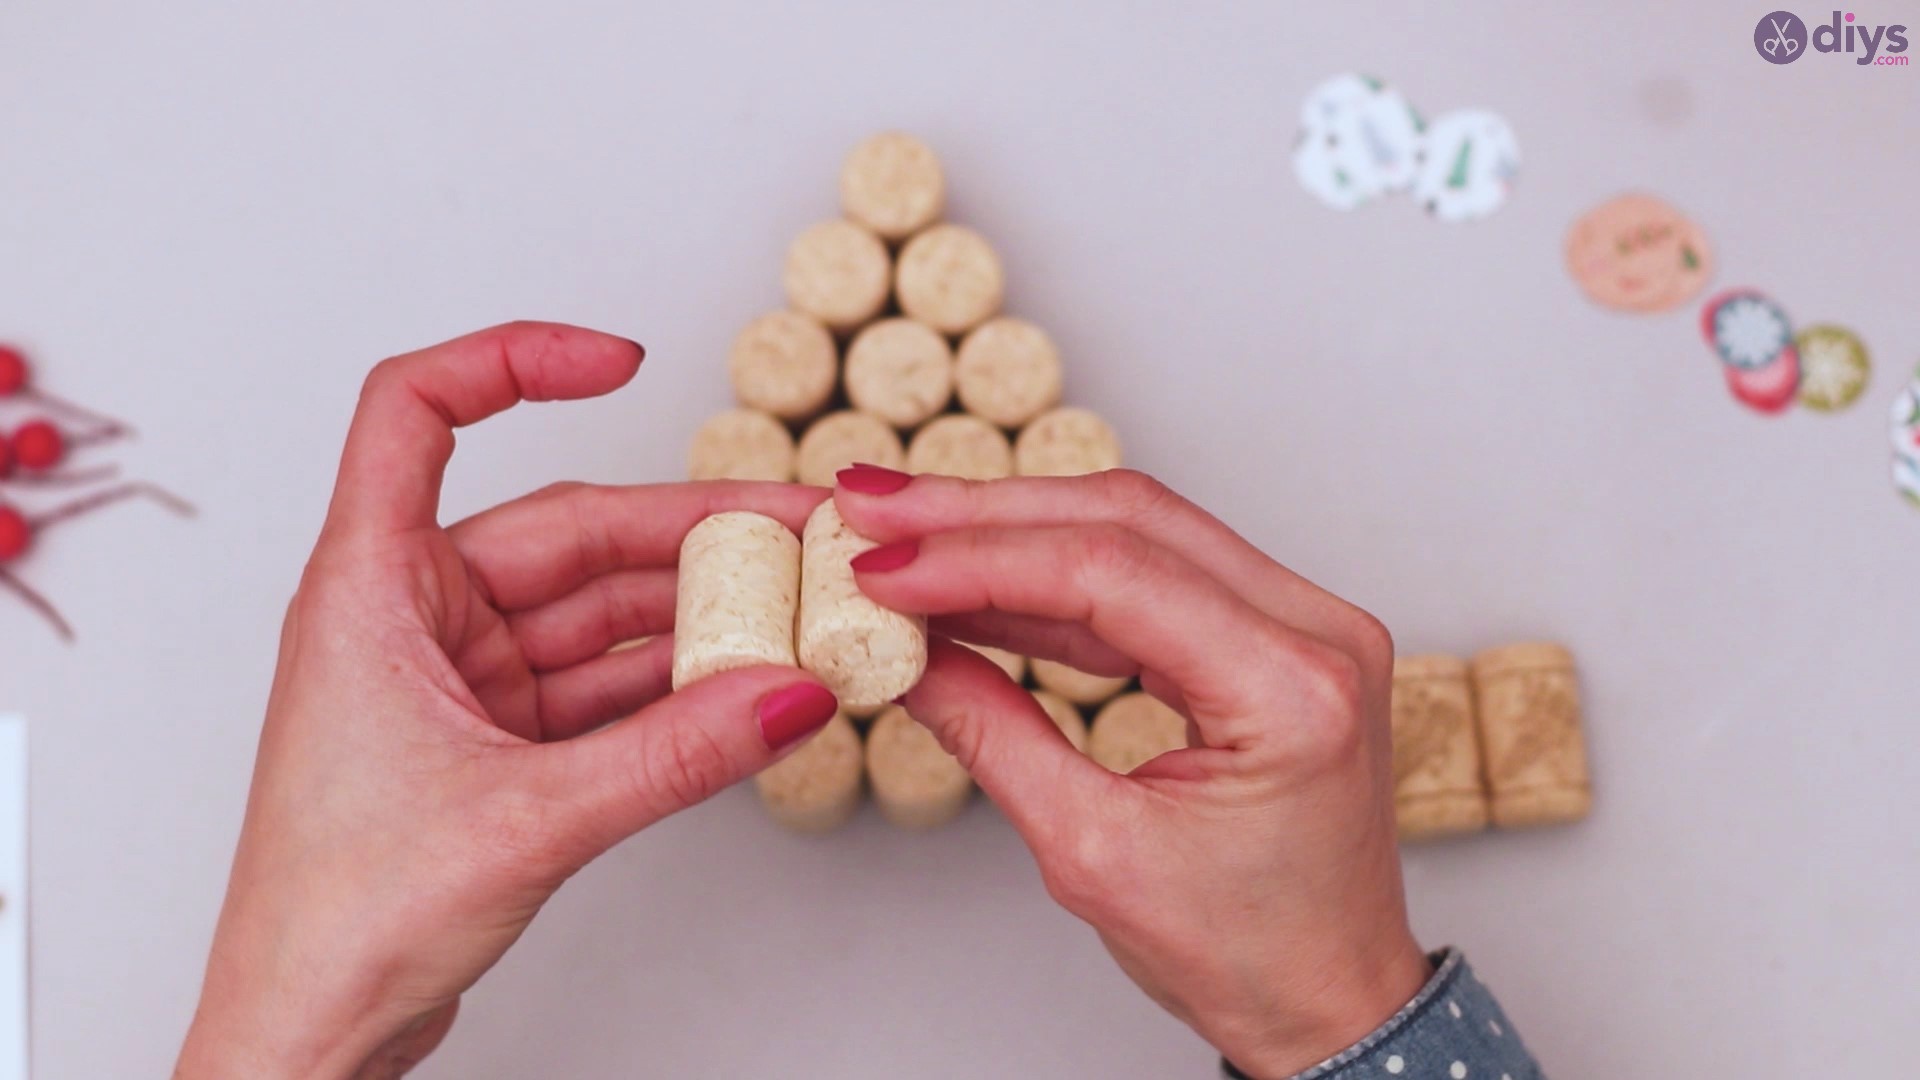
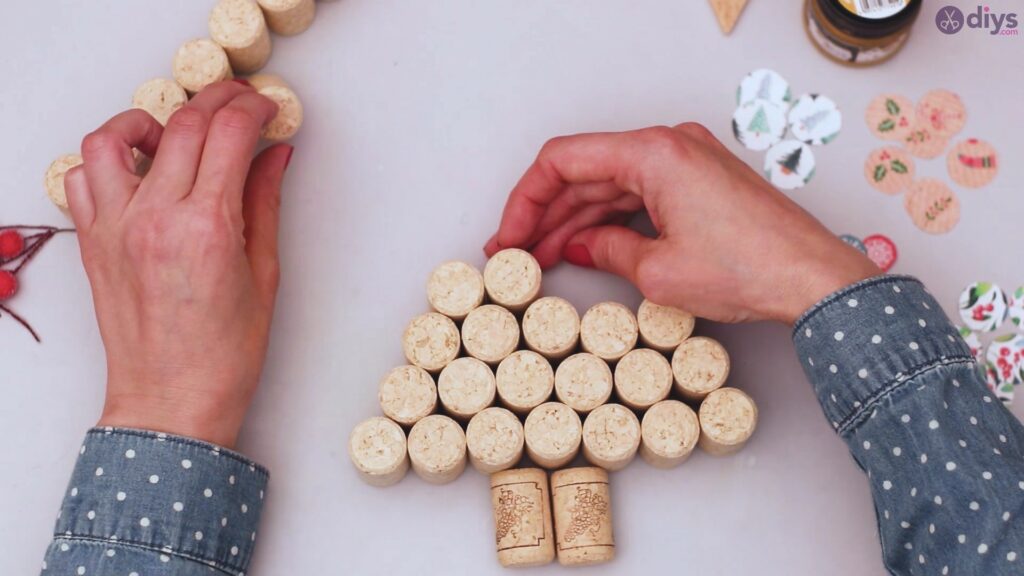
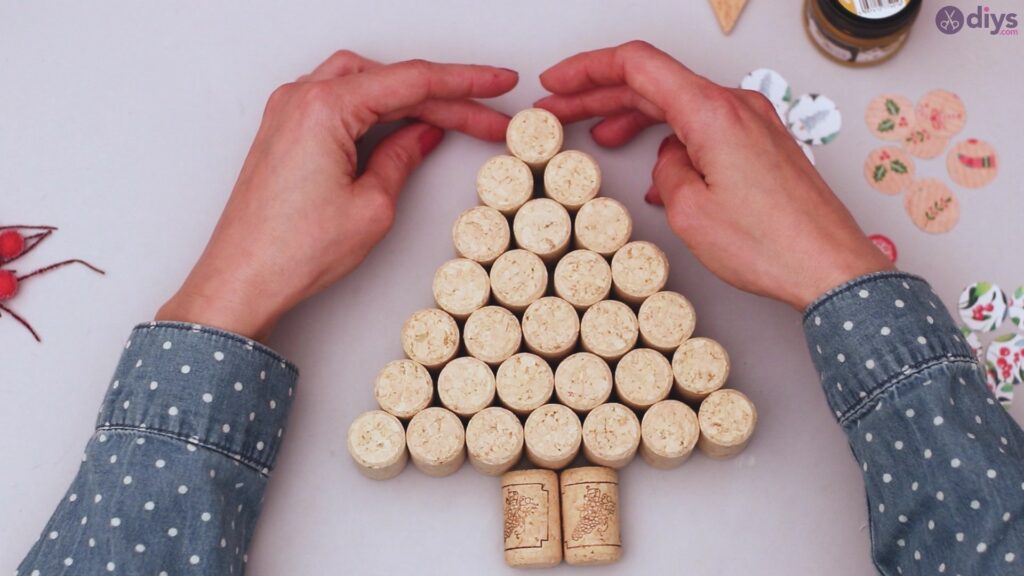
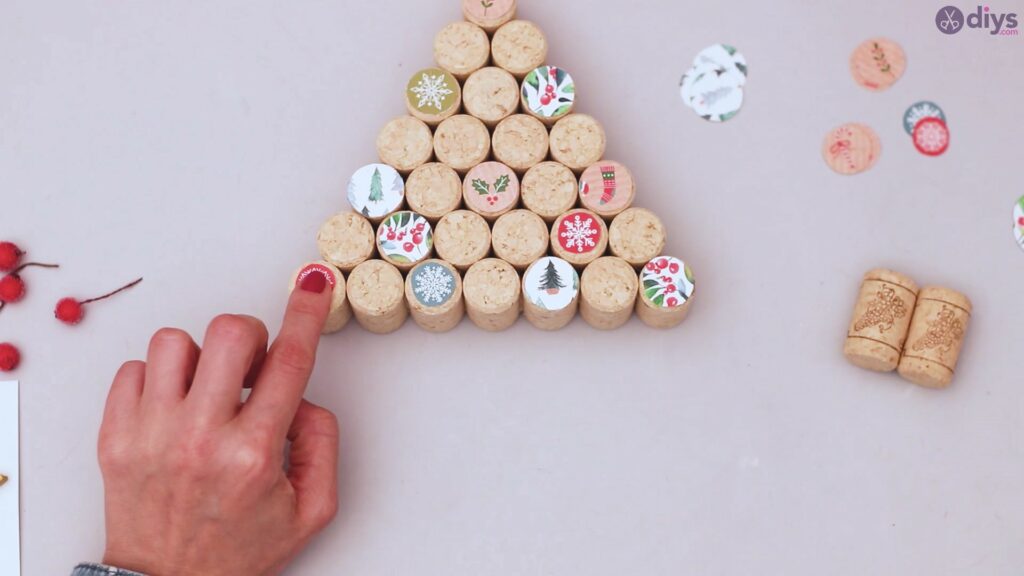
Then, we used seven corks to create the base of the Christmas tree, building up from there. We added one less wine cork with each layer we climbed.
There you have it! The final shape of the Christmas tree! Of course, just because we went with this size, it doesn’t mean you can’t go bigger or smaller, depending on how many wine corks you have.
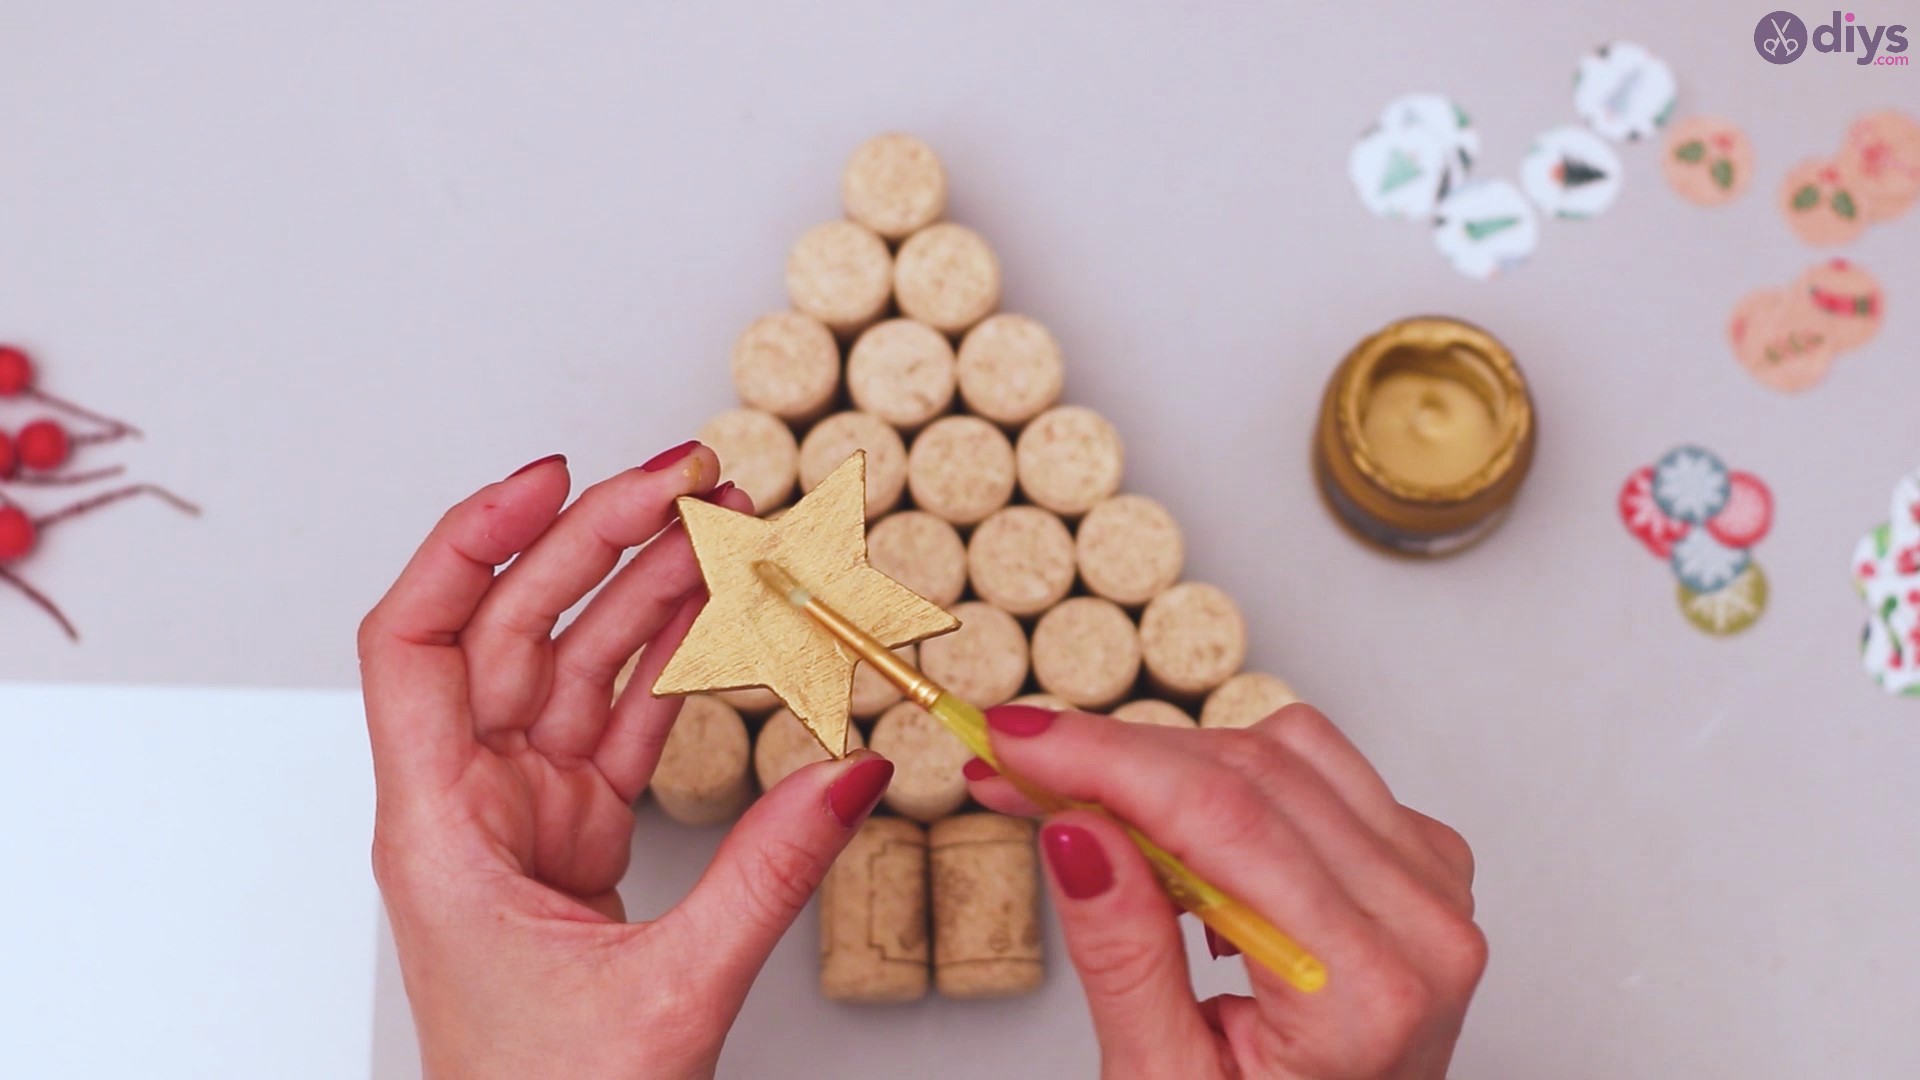
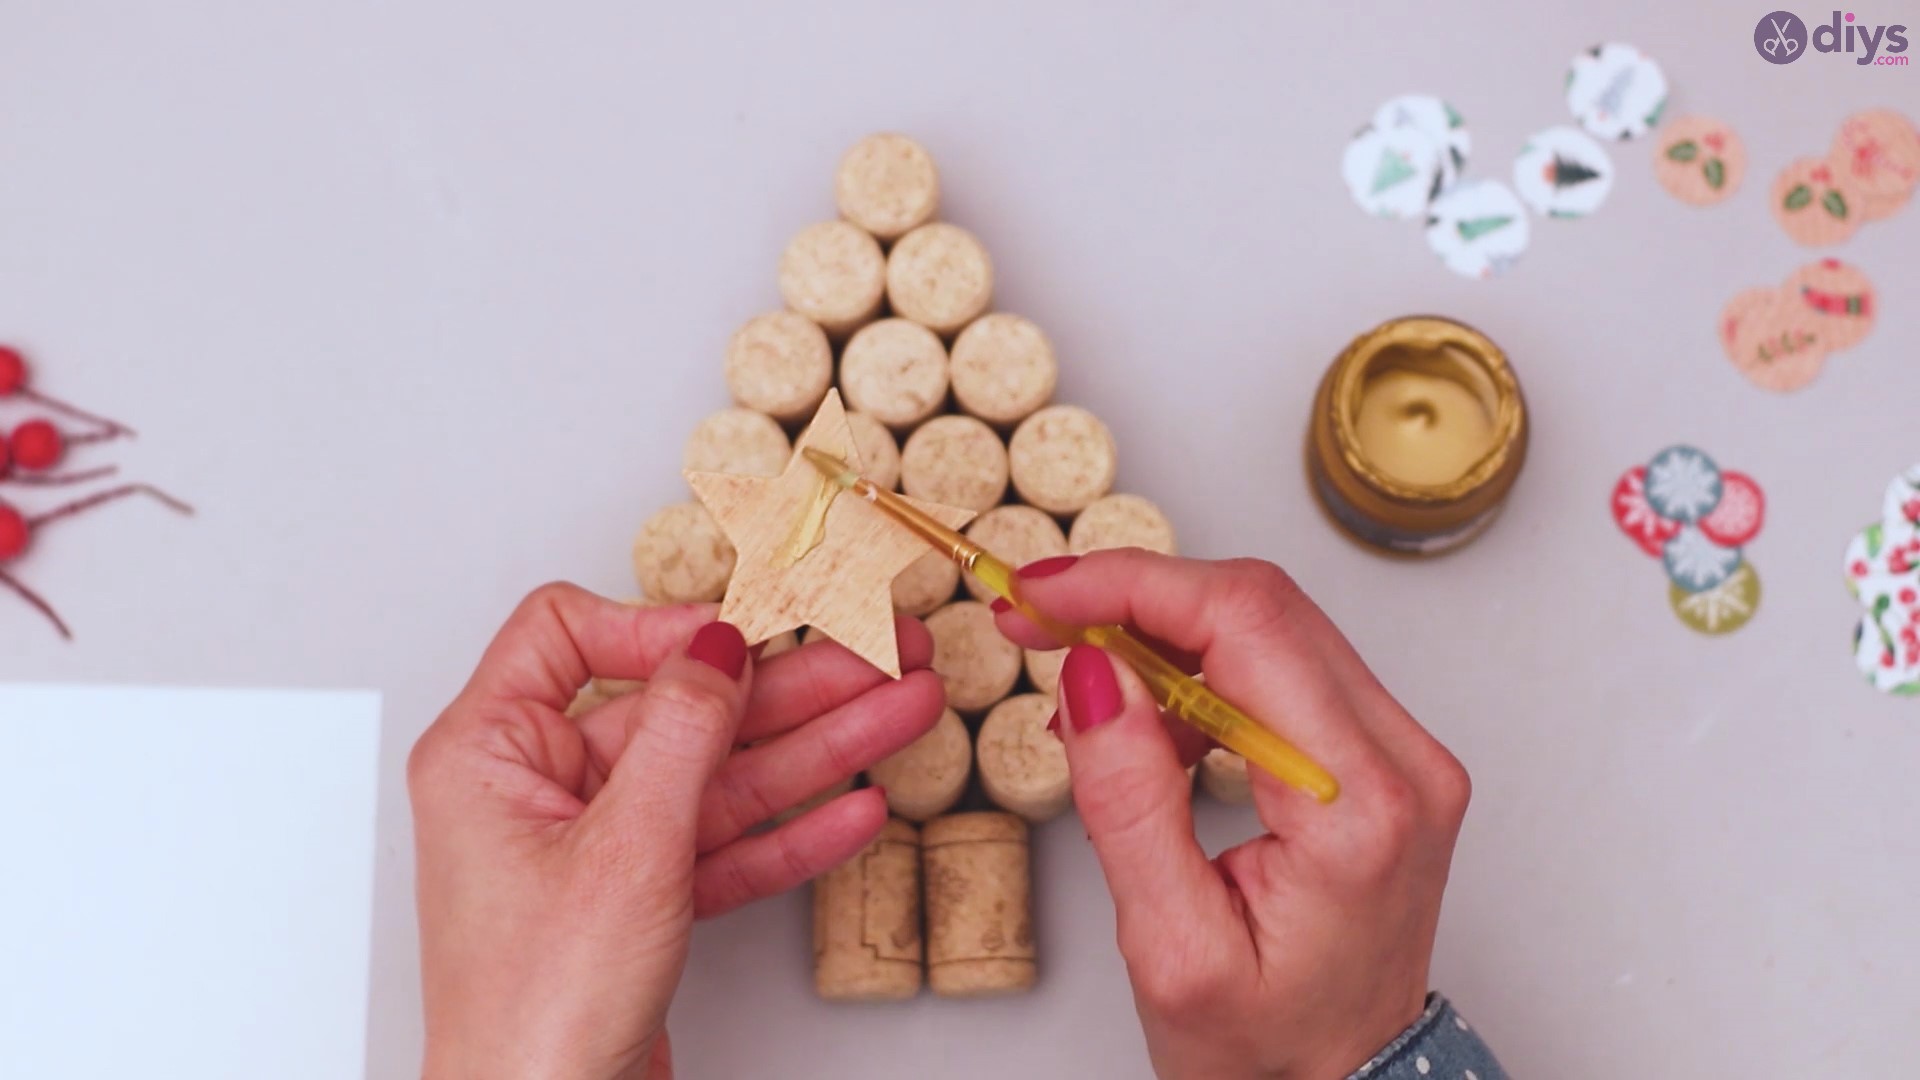
Step 5: Paint the wooden star:
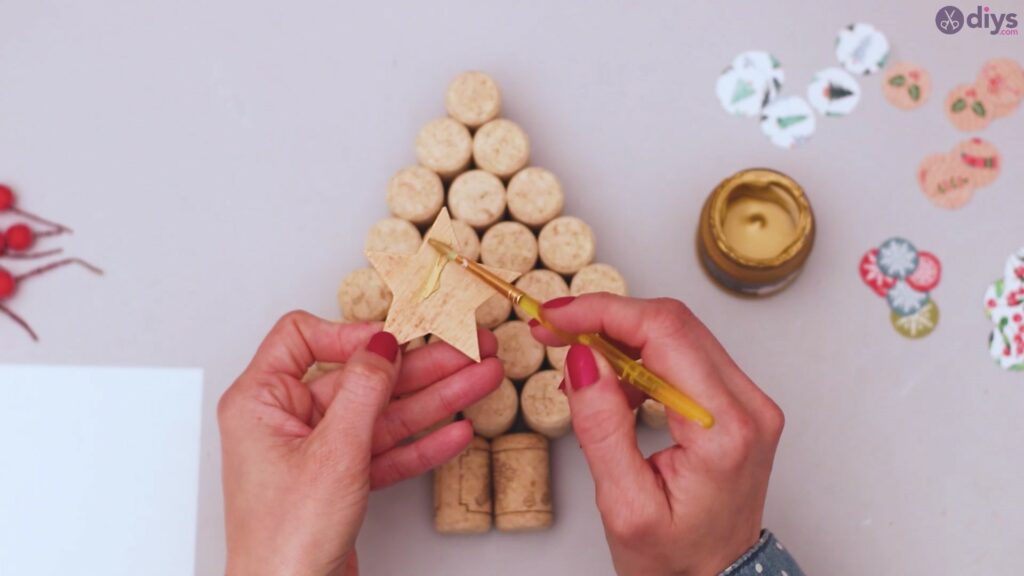
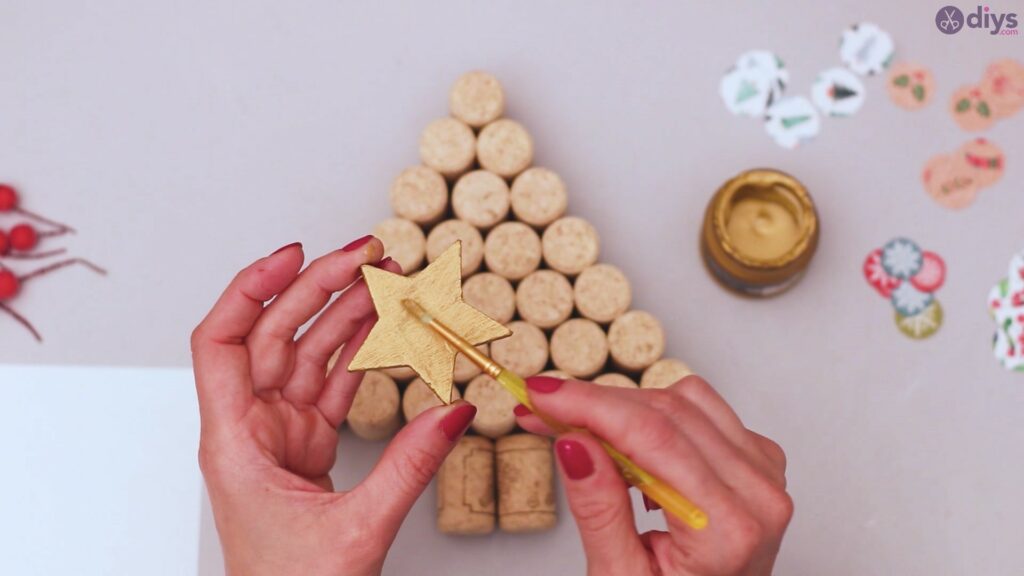
One of the key elements to our Christmas tree is the star we place at the top of the tree, of course. So, by using the gold acrylic paint and the paintbrush, we started layering paint on the wood star. Acrylic paint dries up pretty fast, as long as you keep the layers thin. If you use too much paint, it’s going to take a long time to dry and you’ll get an uneven look. The best way to go about painting this wood star is to add the color in layers. Paint, then wait for it to dry a little, paint a second layer. Don’t forget to paint the sides of the star too! Thanks to the color of the wood, the gold paint should look nice and even.
Step 6: Start gluing the wine corks together
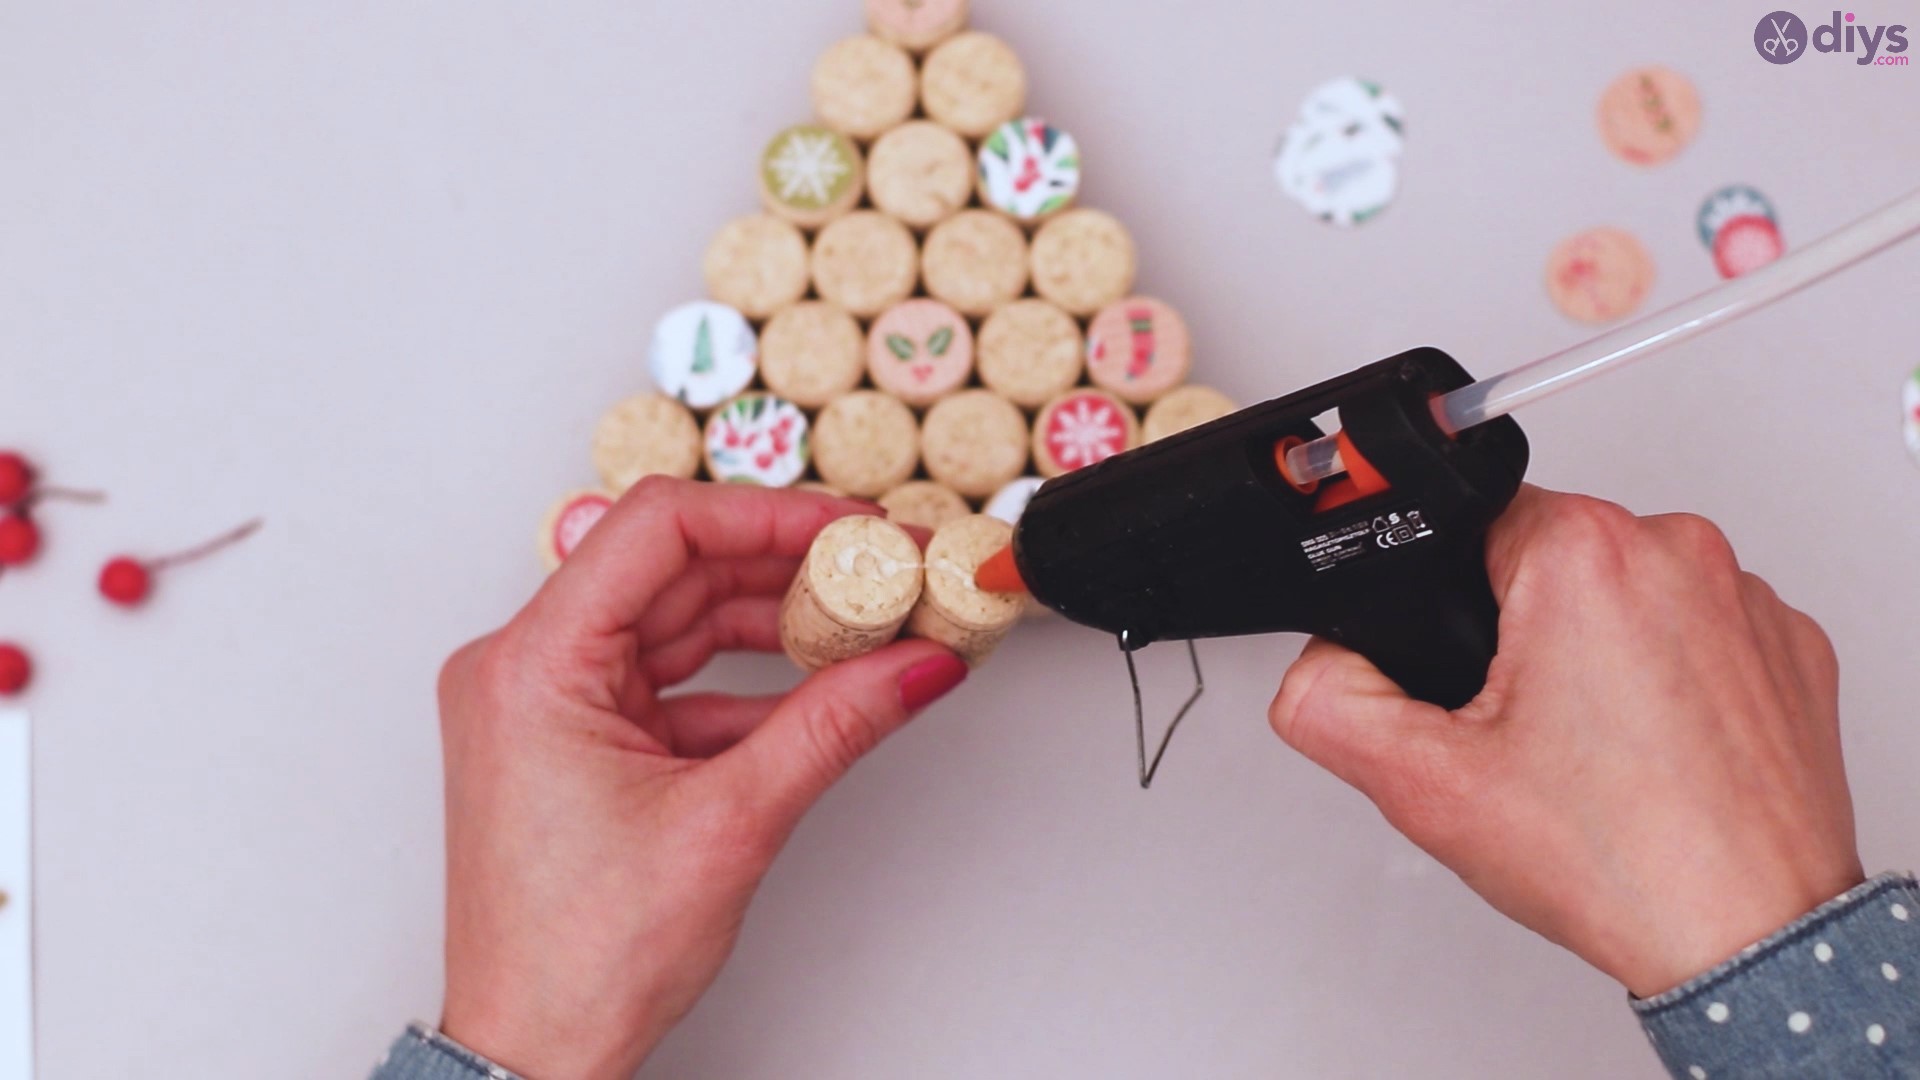
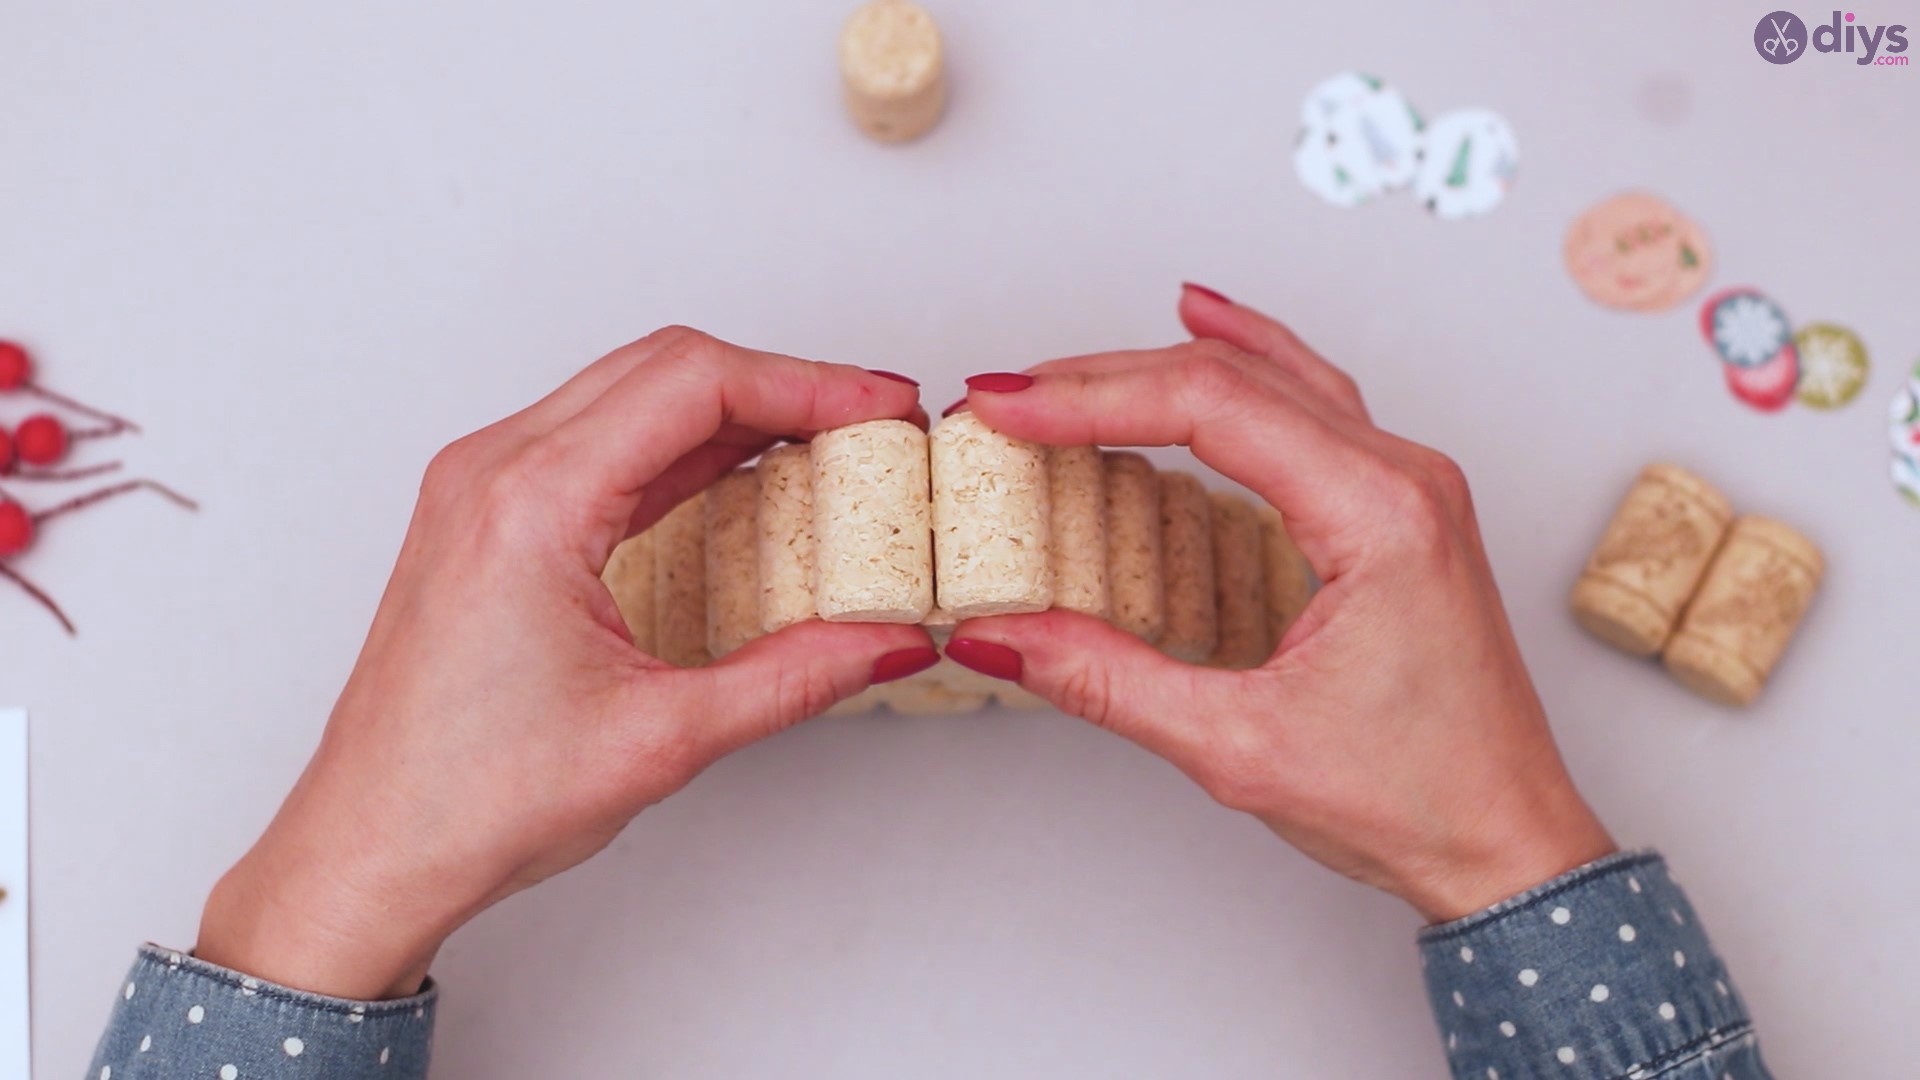
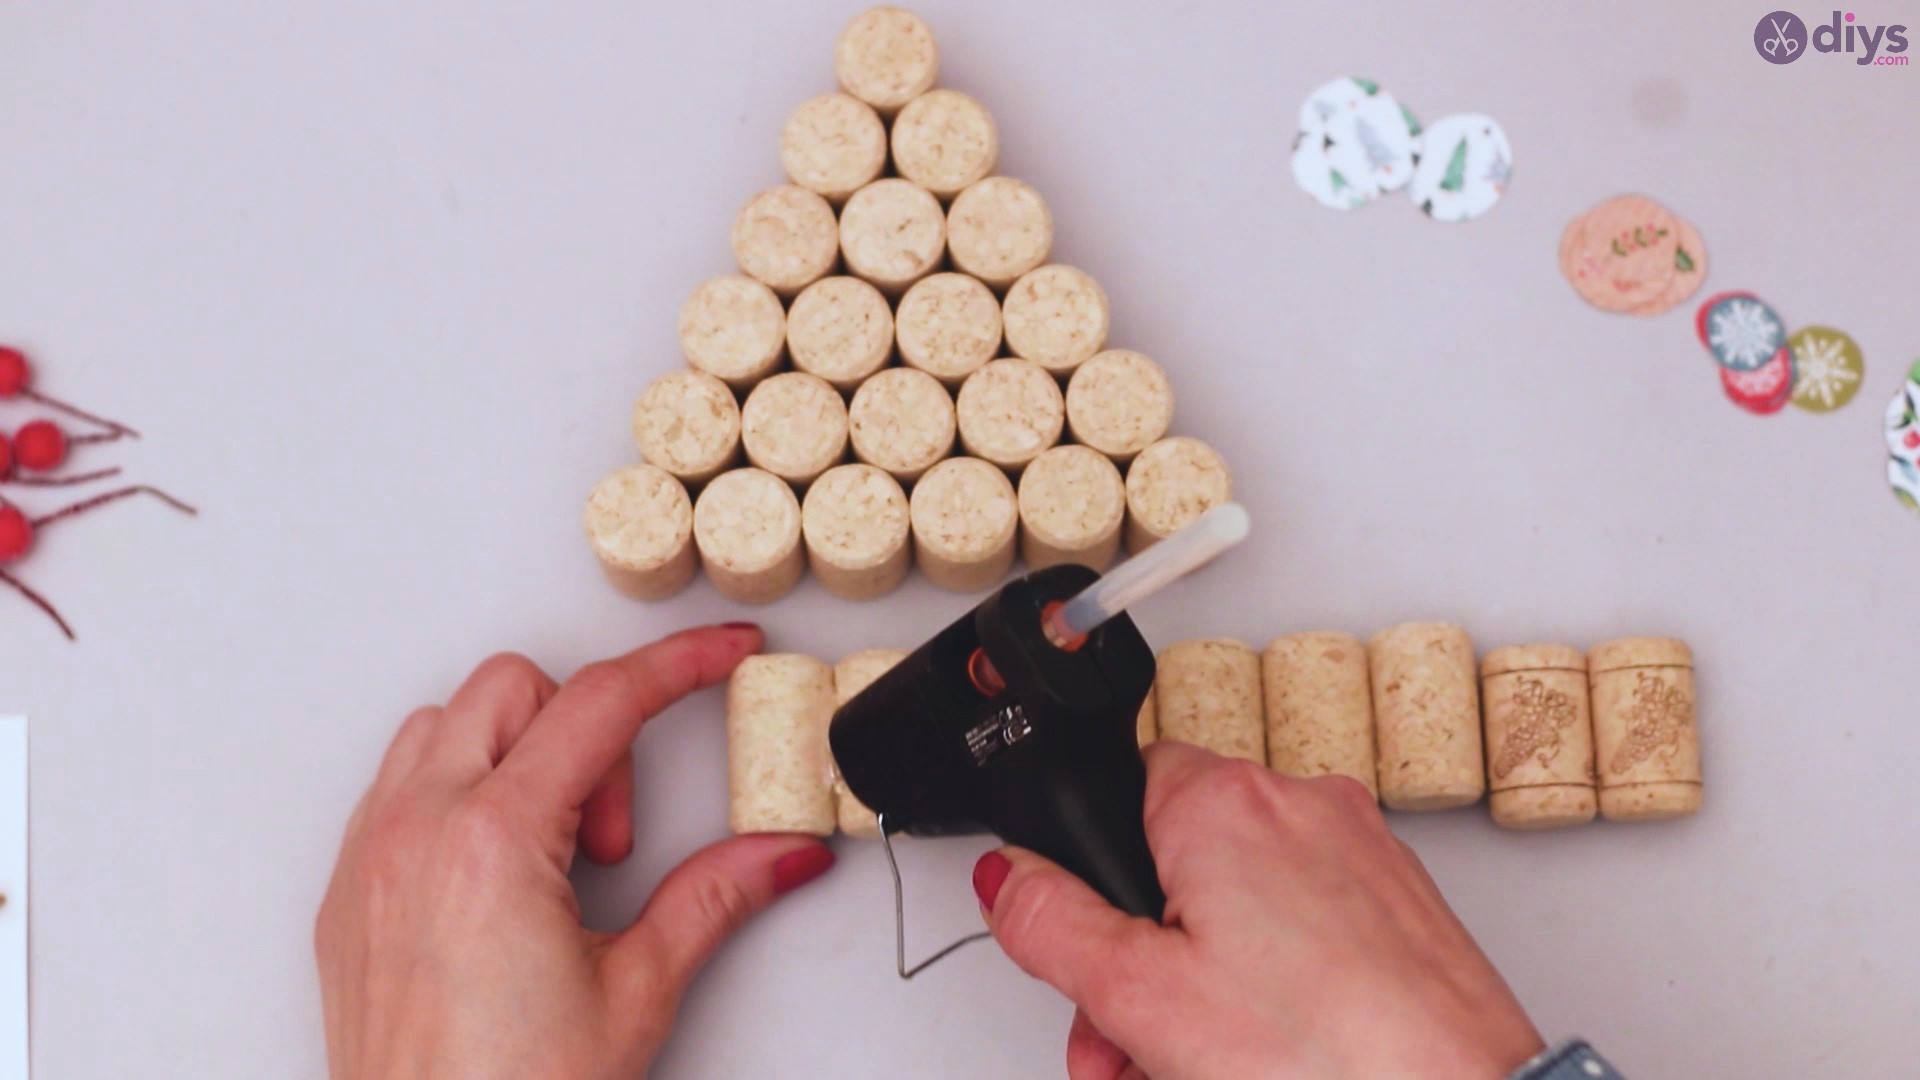
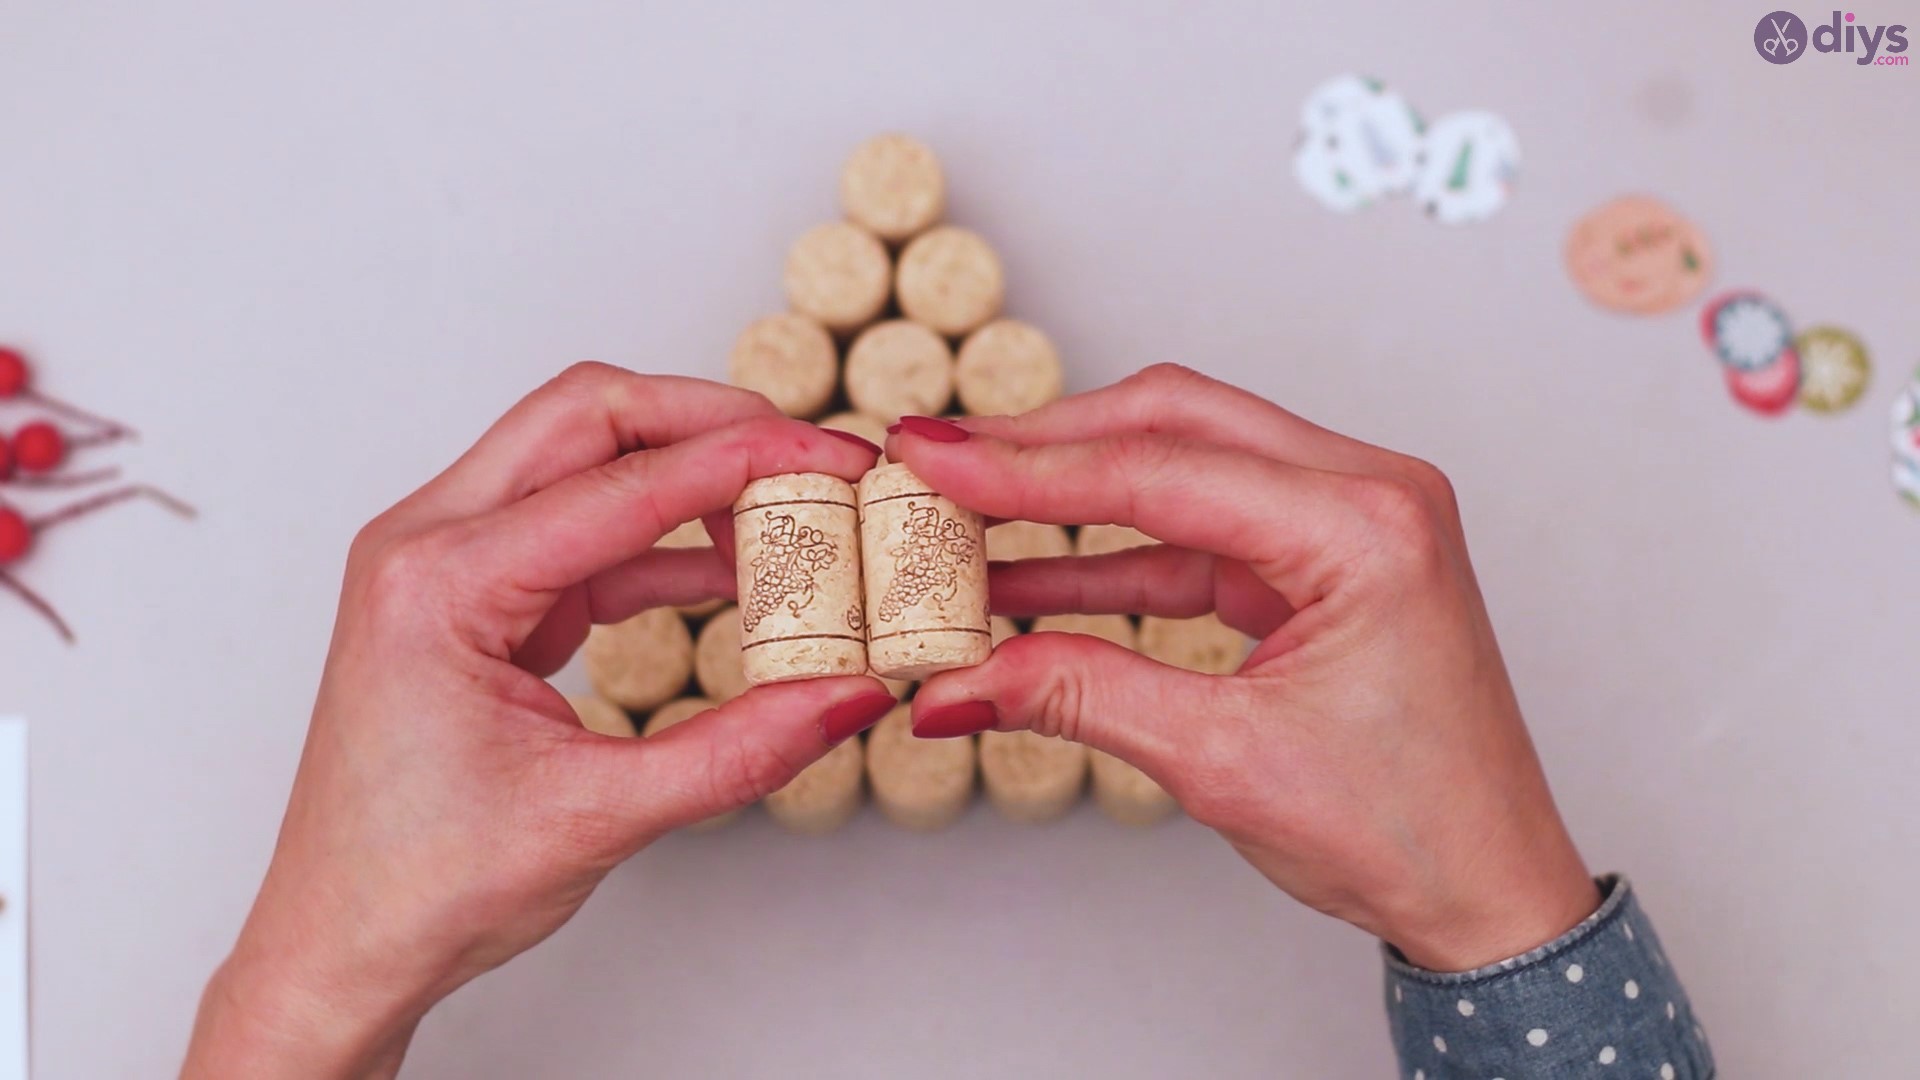
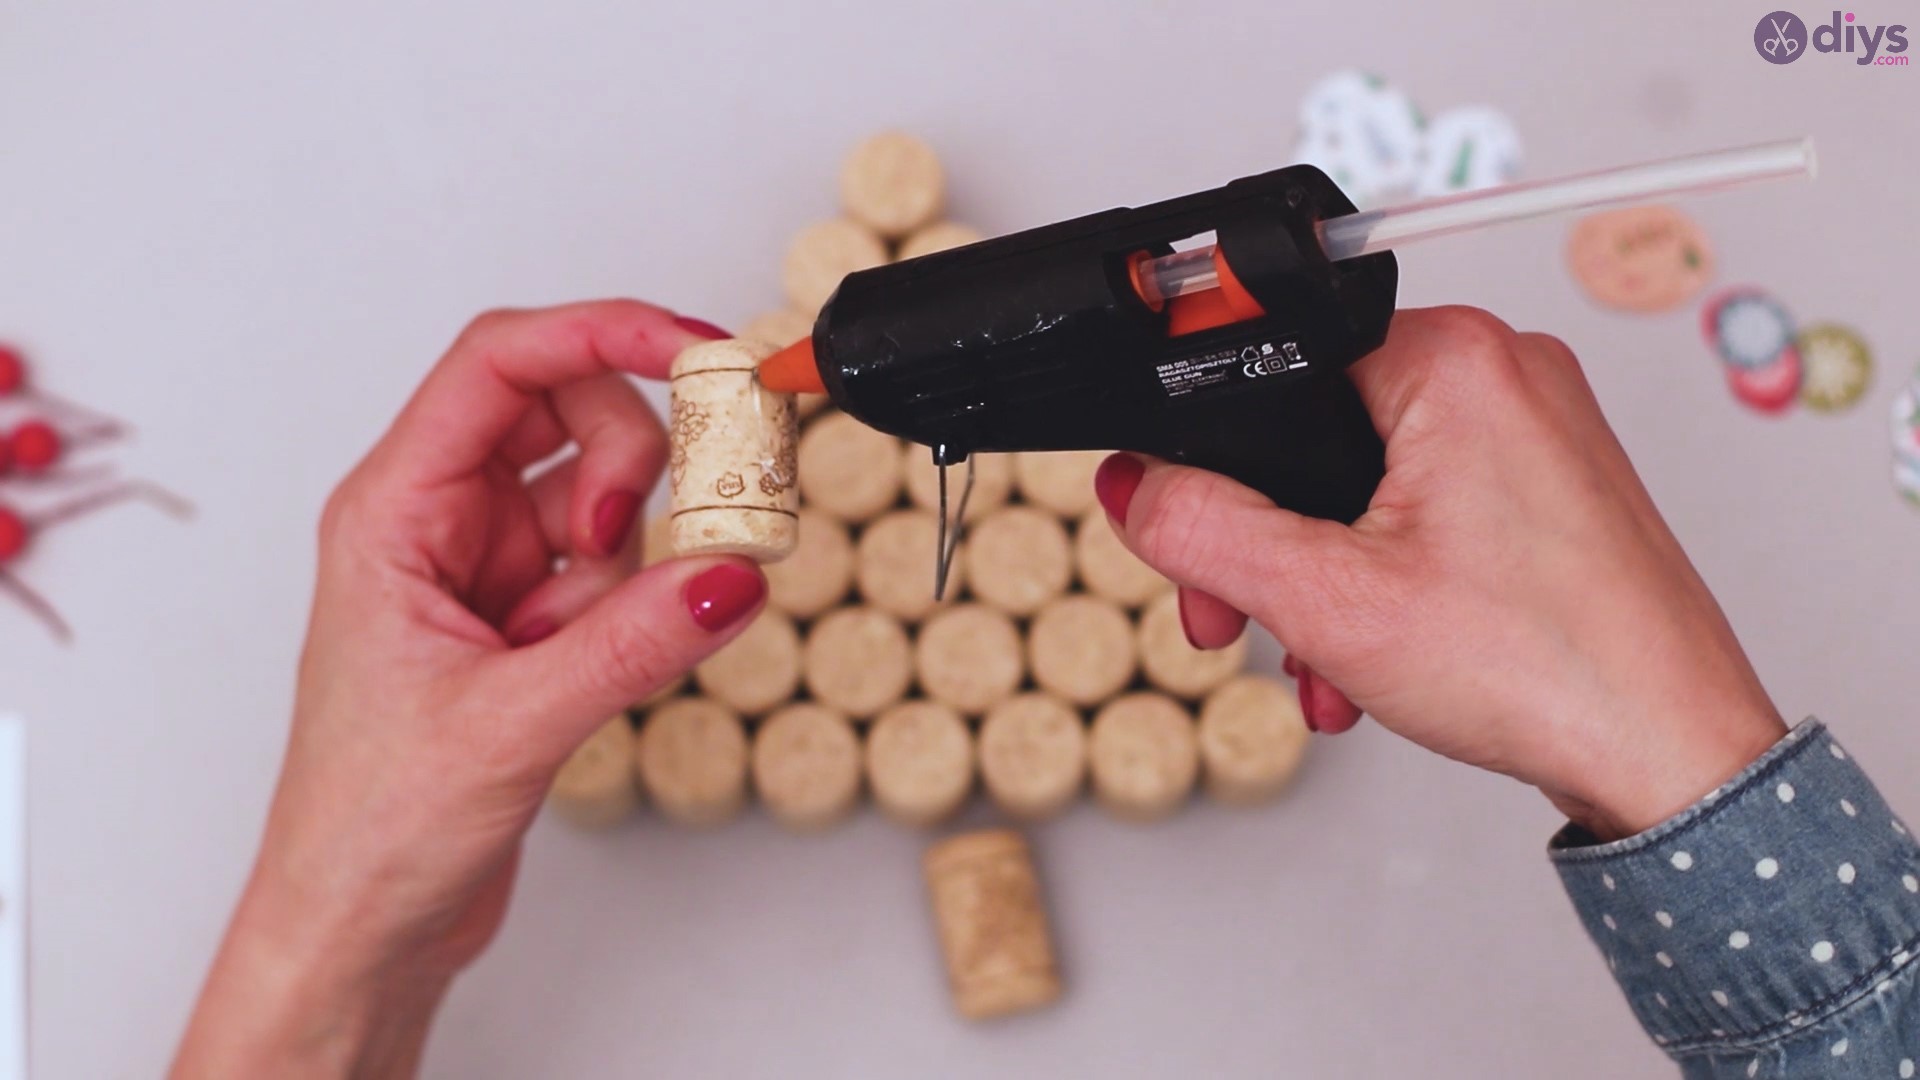
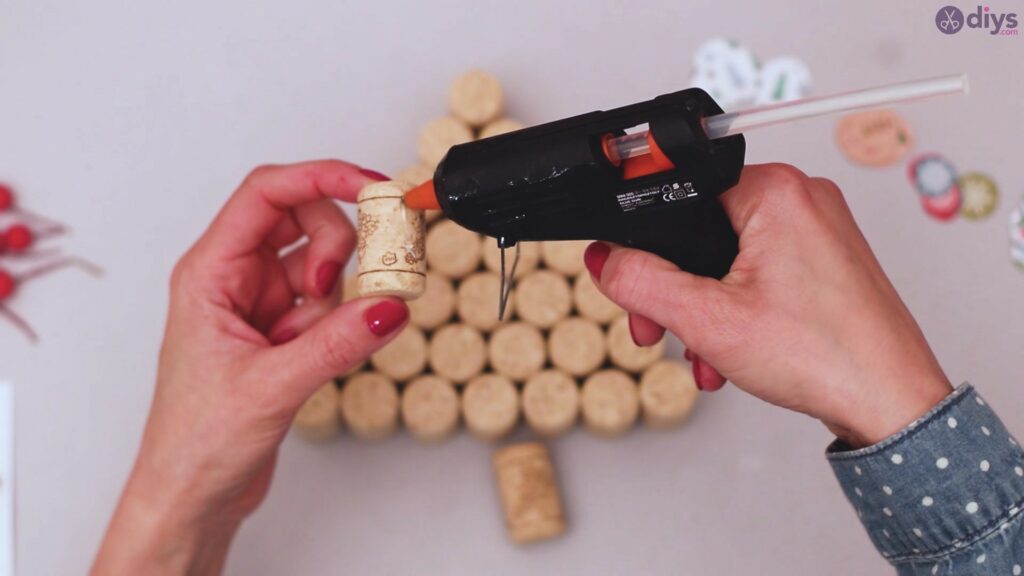
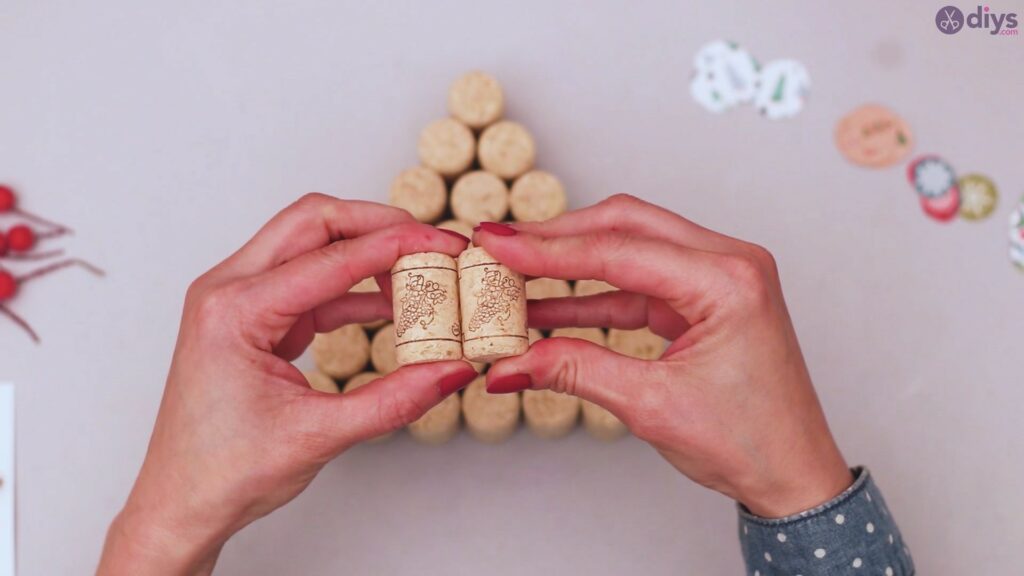
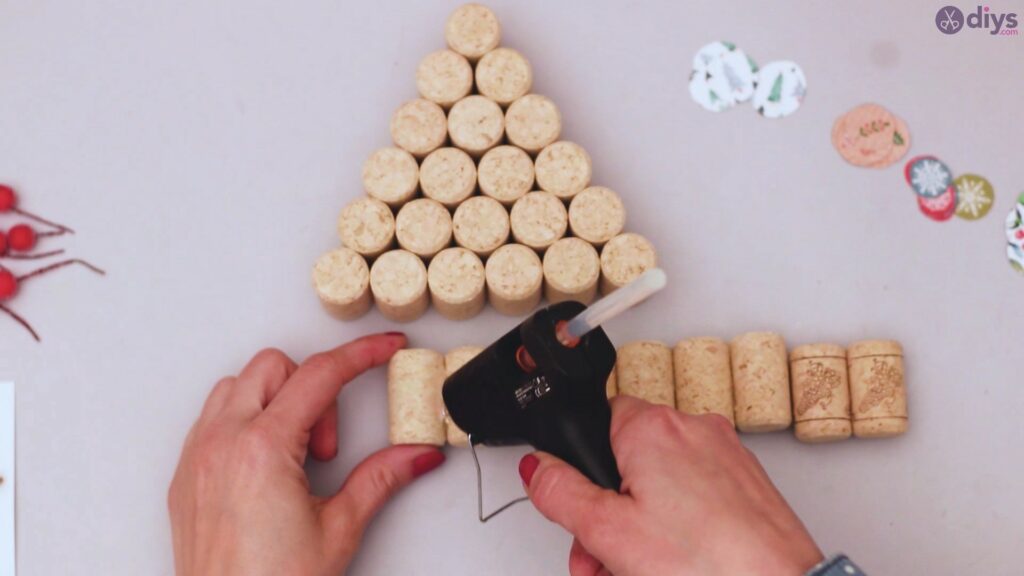
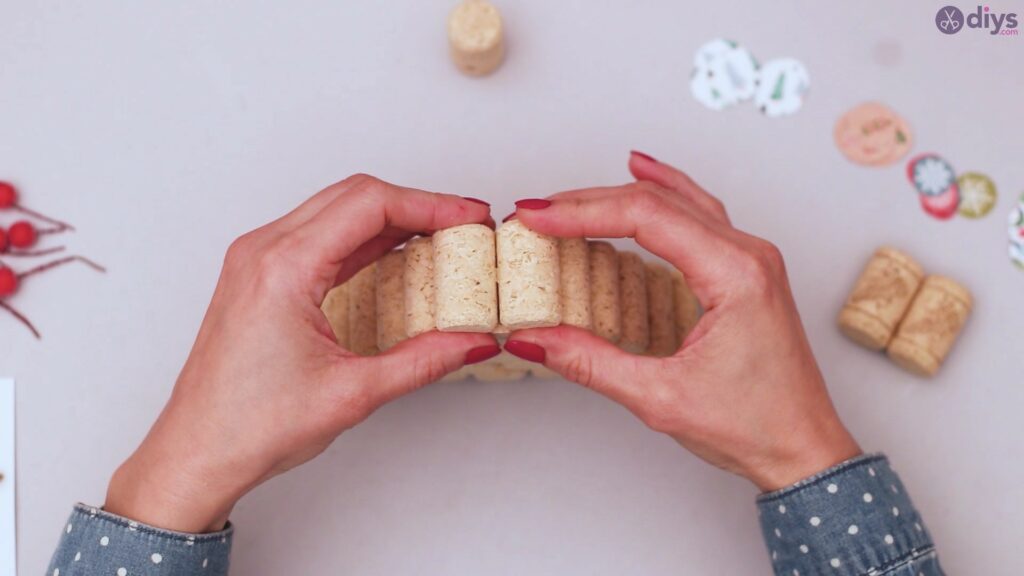
It is finally time to get the glue gun out! Start by adding a thick layer of glue to the bottom two corks and stick them together until they are tightly glued. These two will serve as the base of the tree.
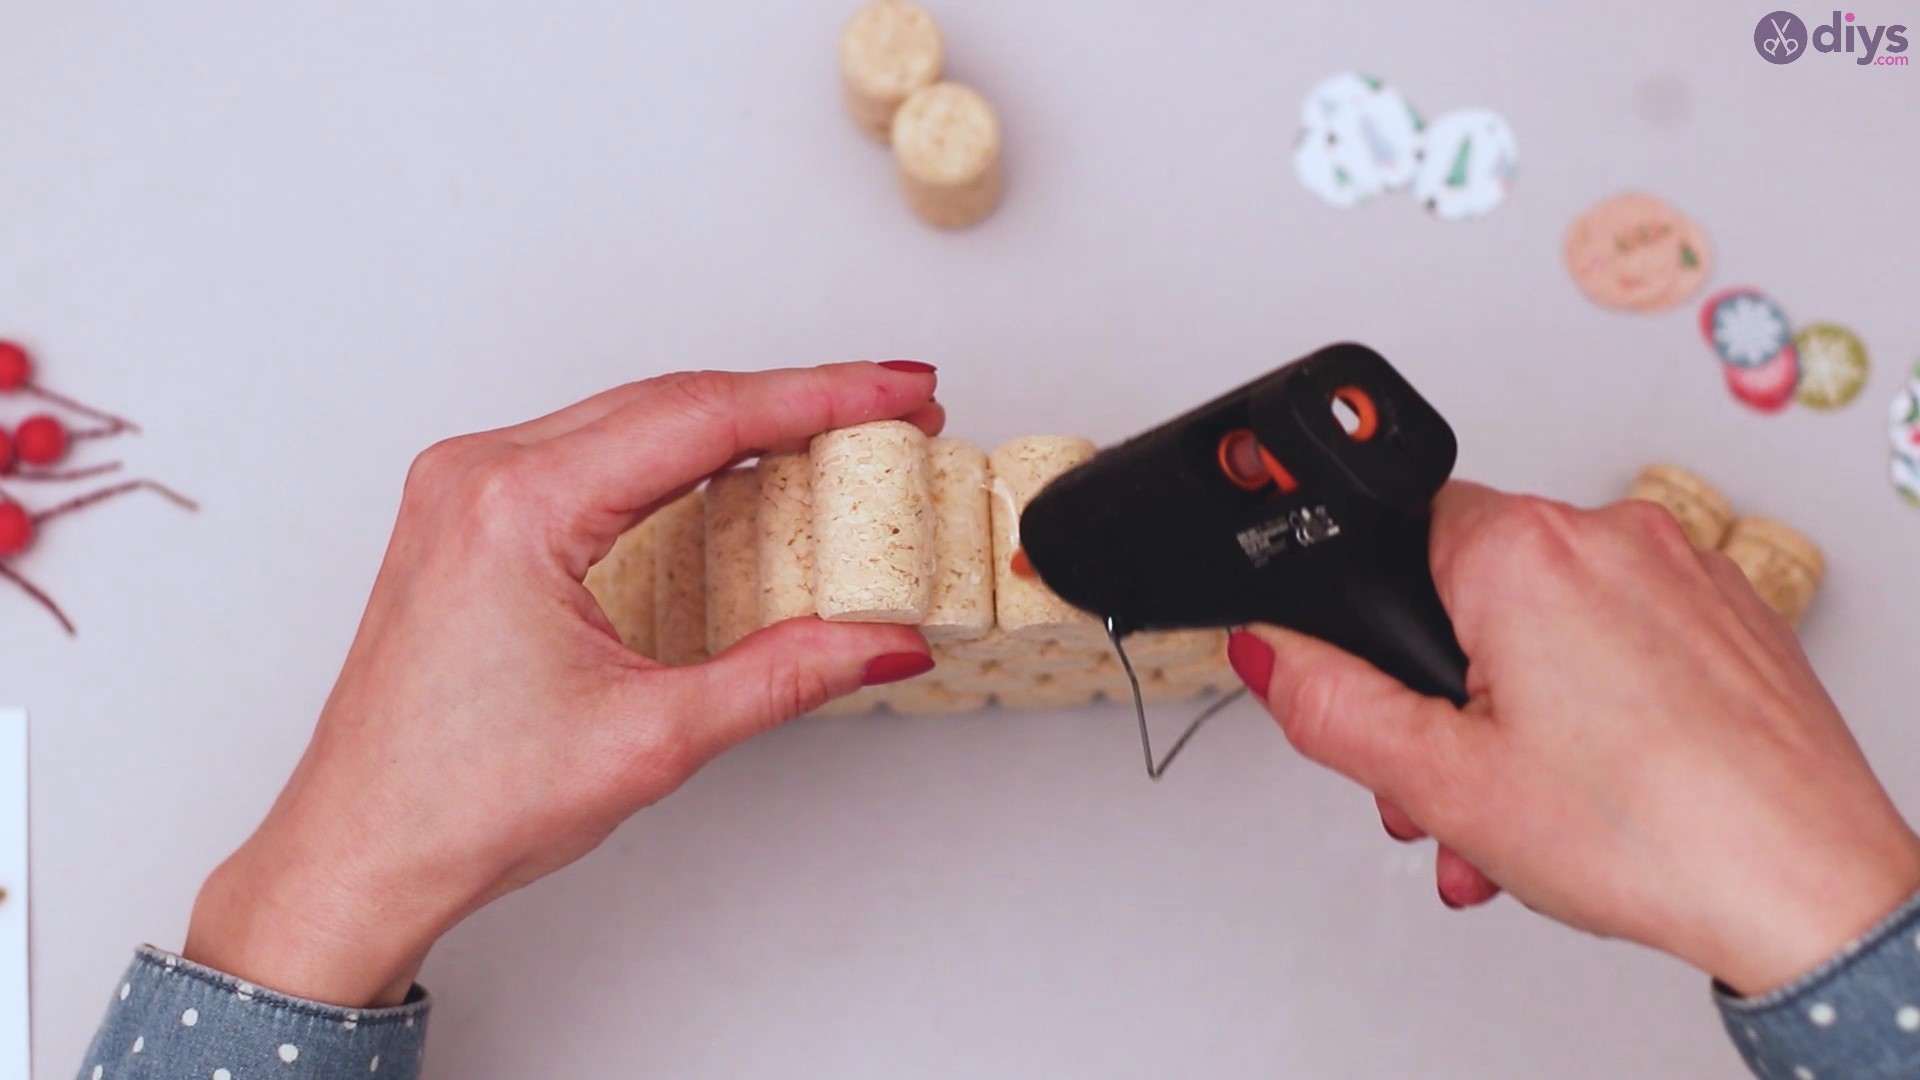
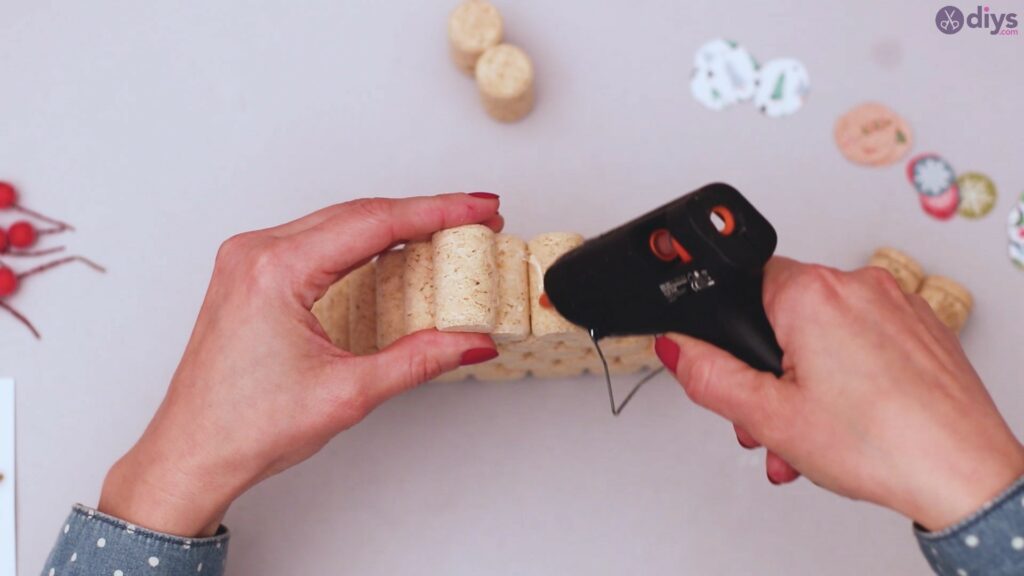
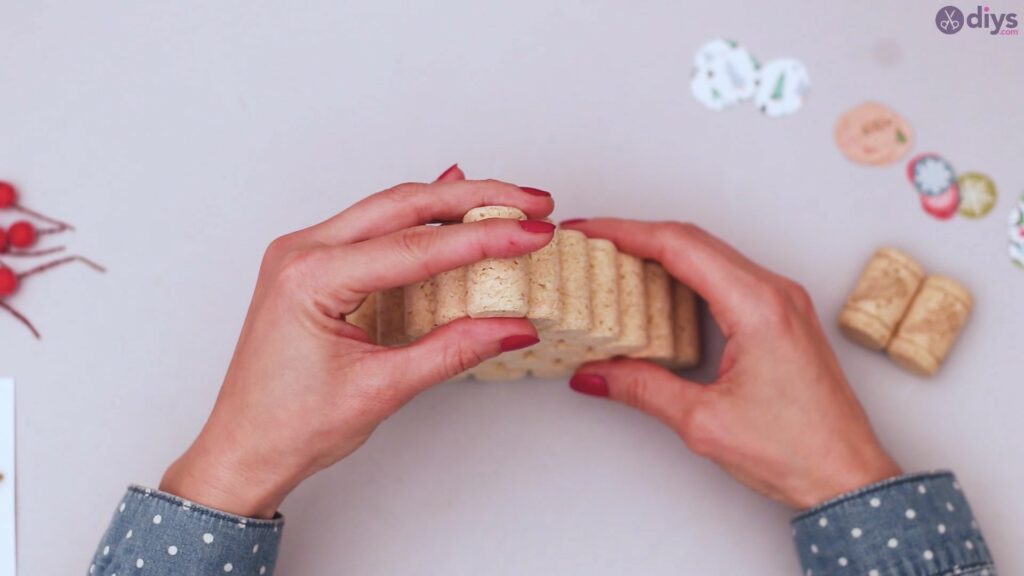
Now you have to start using the glue gun to fix together the wine corks for the first Christmas tree level. You’ll want to make sure you glue them in straight. Add them in one by one and hold them pressed for a few seconds until you’re sure the corks are bound together.
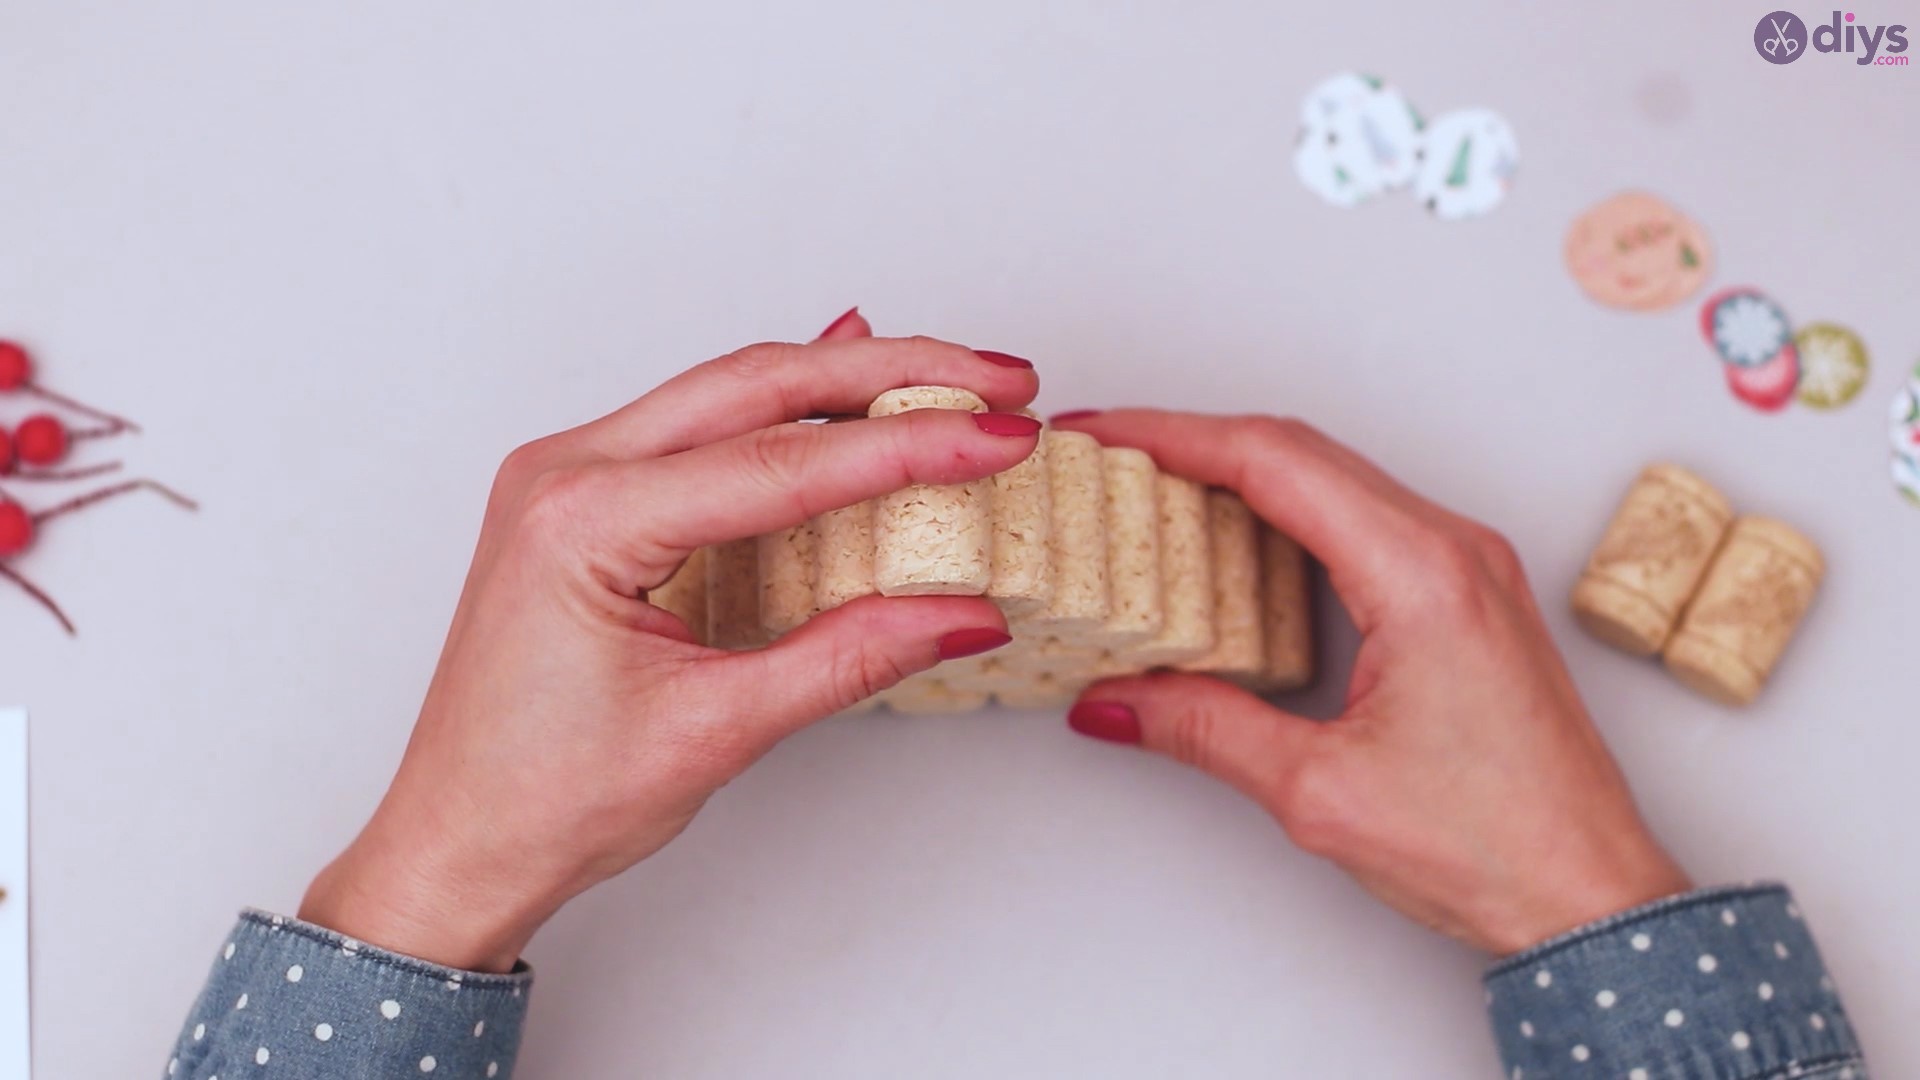
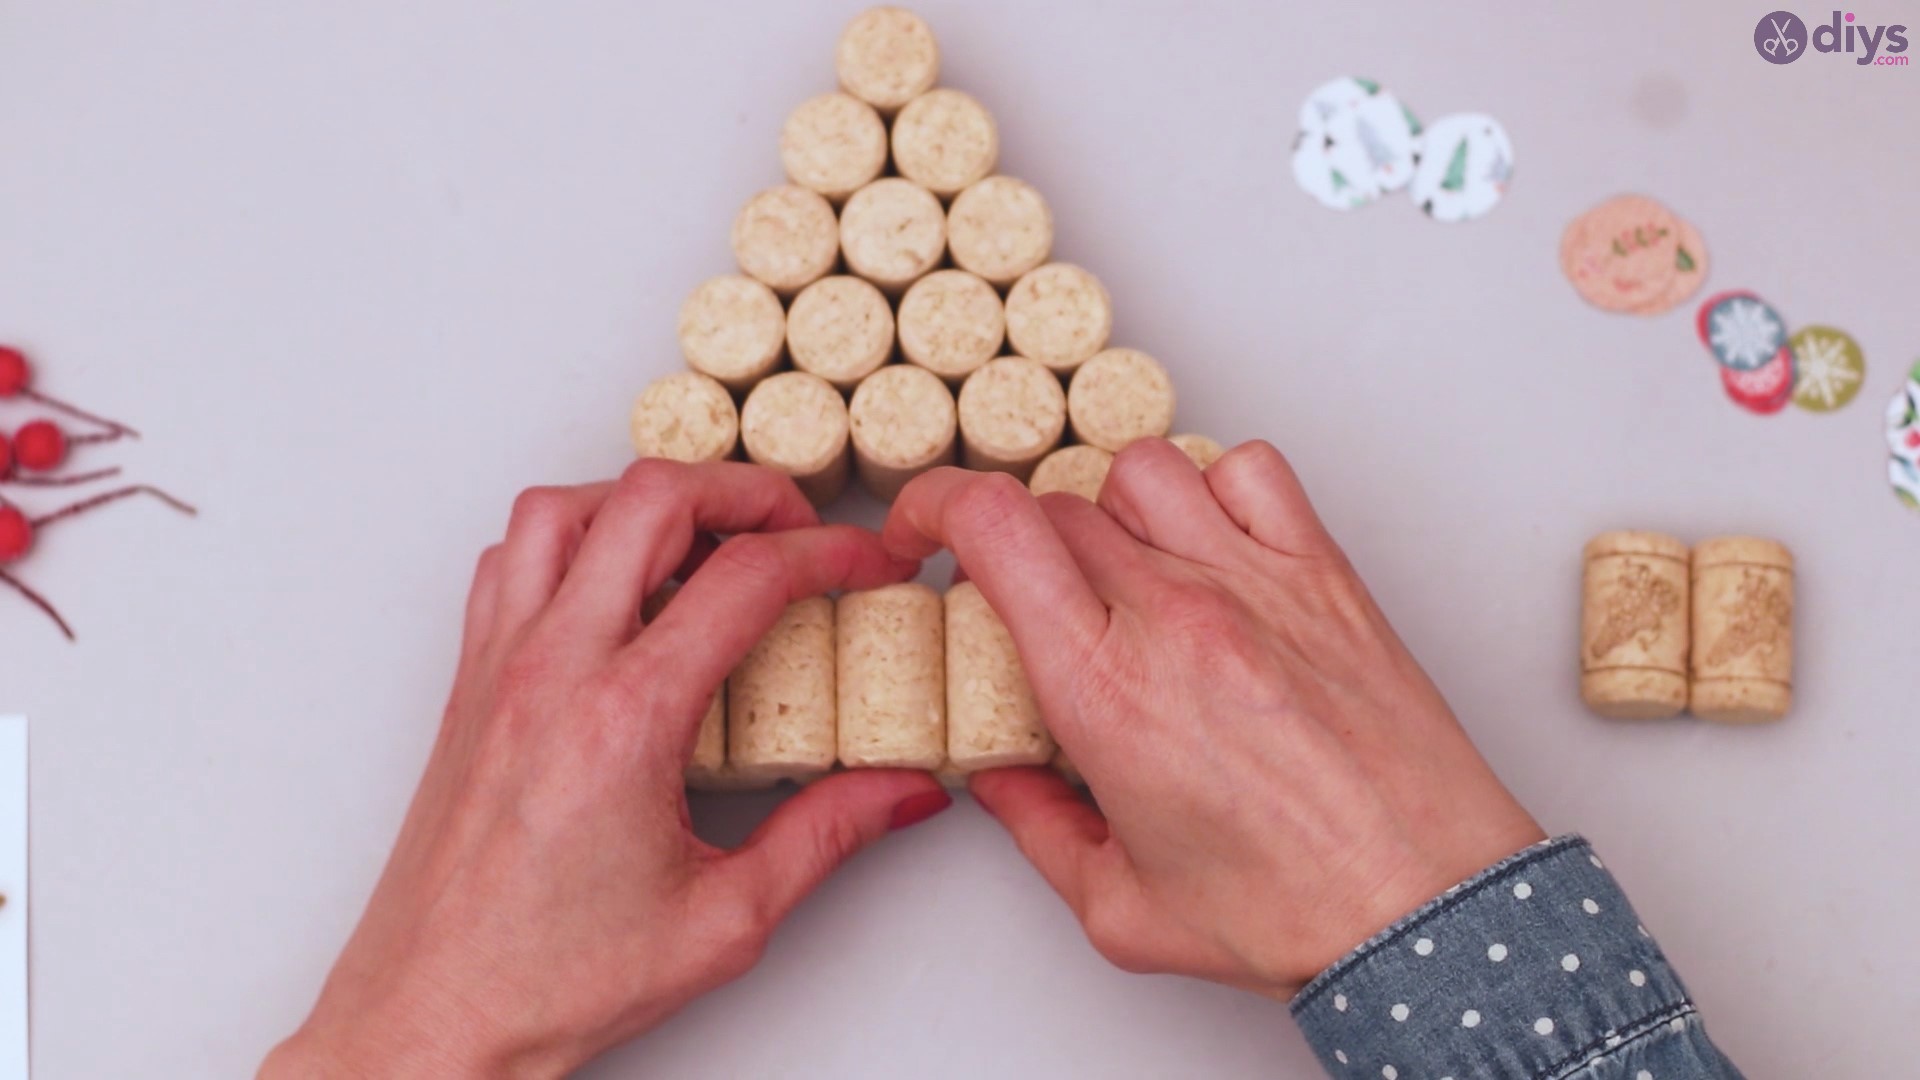
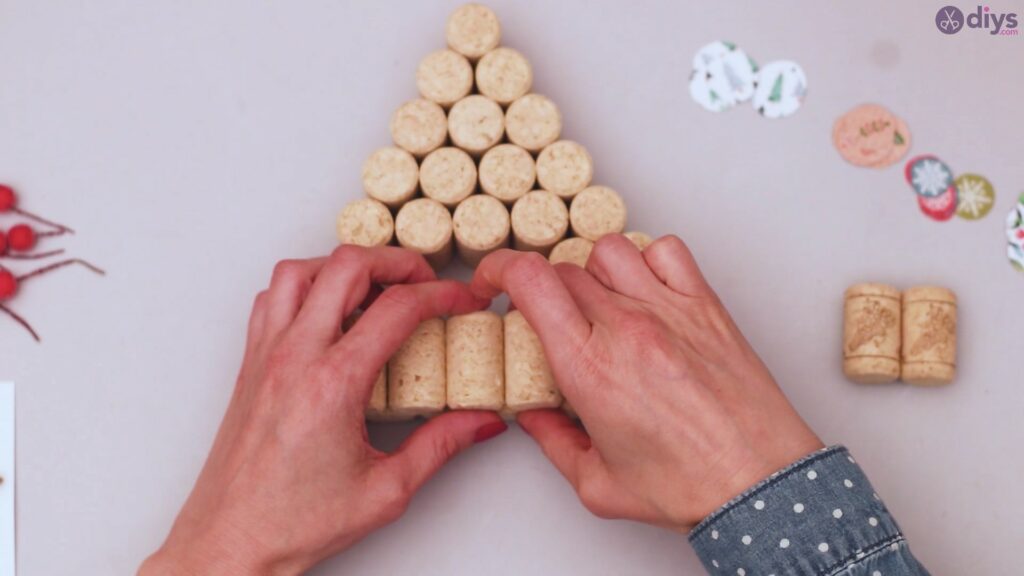
Once you’re done with the base layer, things are going to be a lot easier. Put the corks down horizontally and add a layer of glue in the nook where every two corks are joined. Add another cork to that area and press lightly.
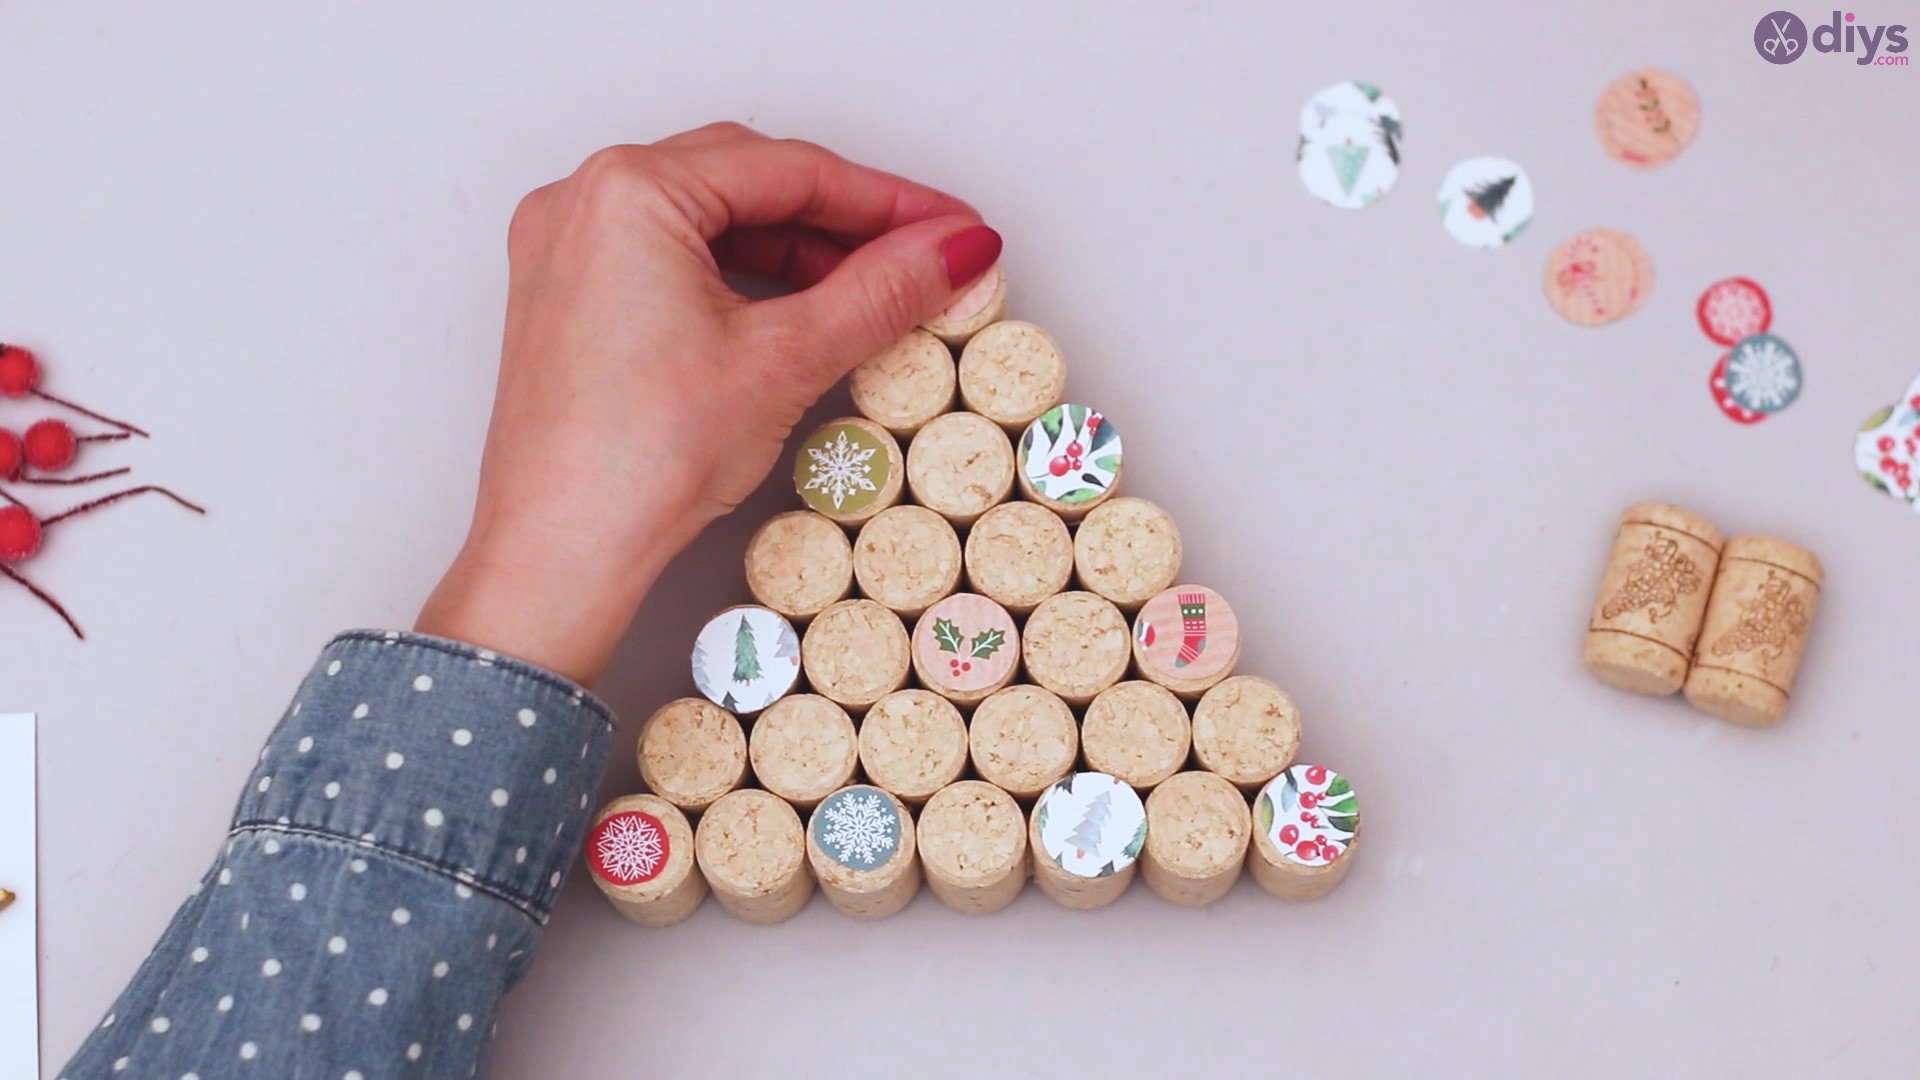
Continue adding the wine corks until you’ve used all of them. You’ll now have a pyramid of wine corks.
Finally, add the cork that marks the top of the Christmas wine cork tree.
Step 7: Decorate the corks with Christmas paper
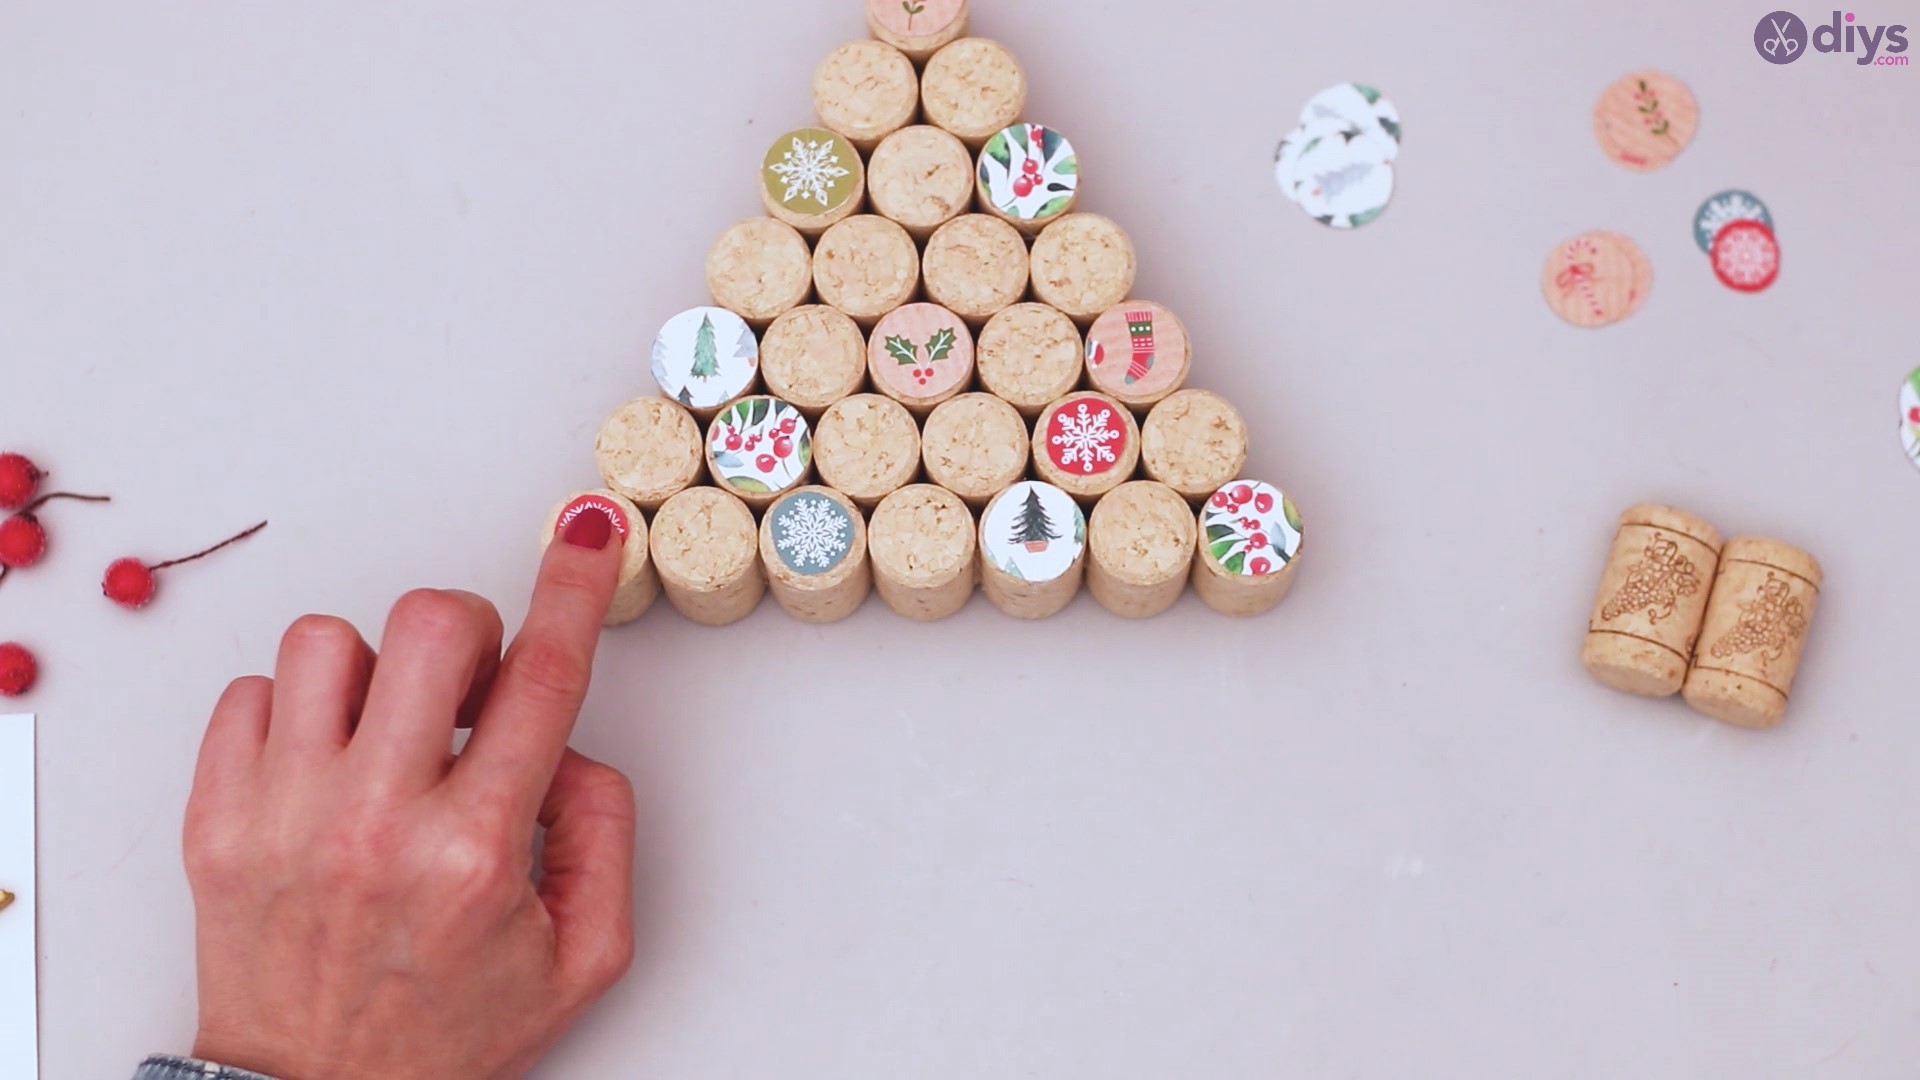
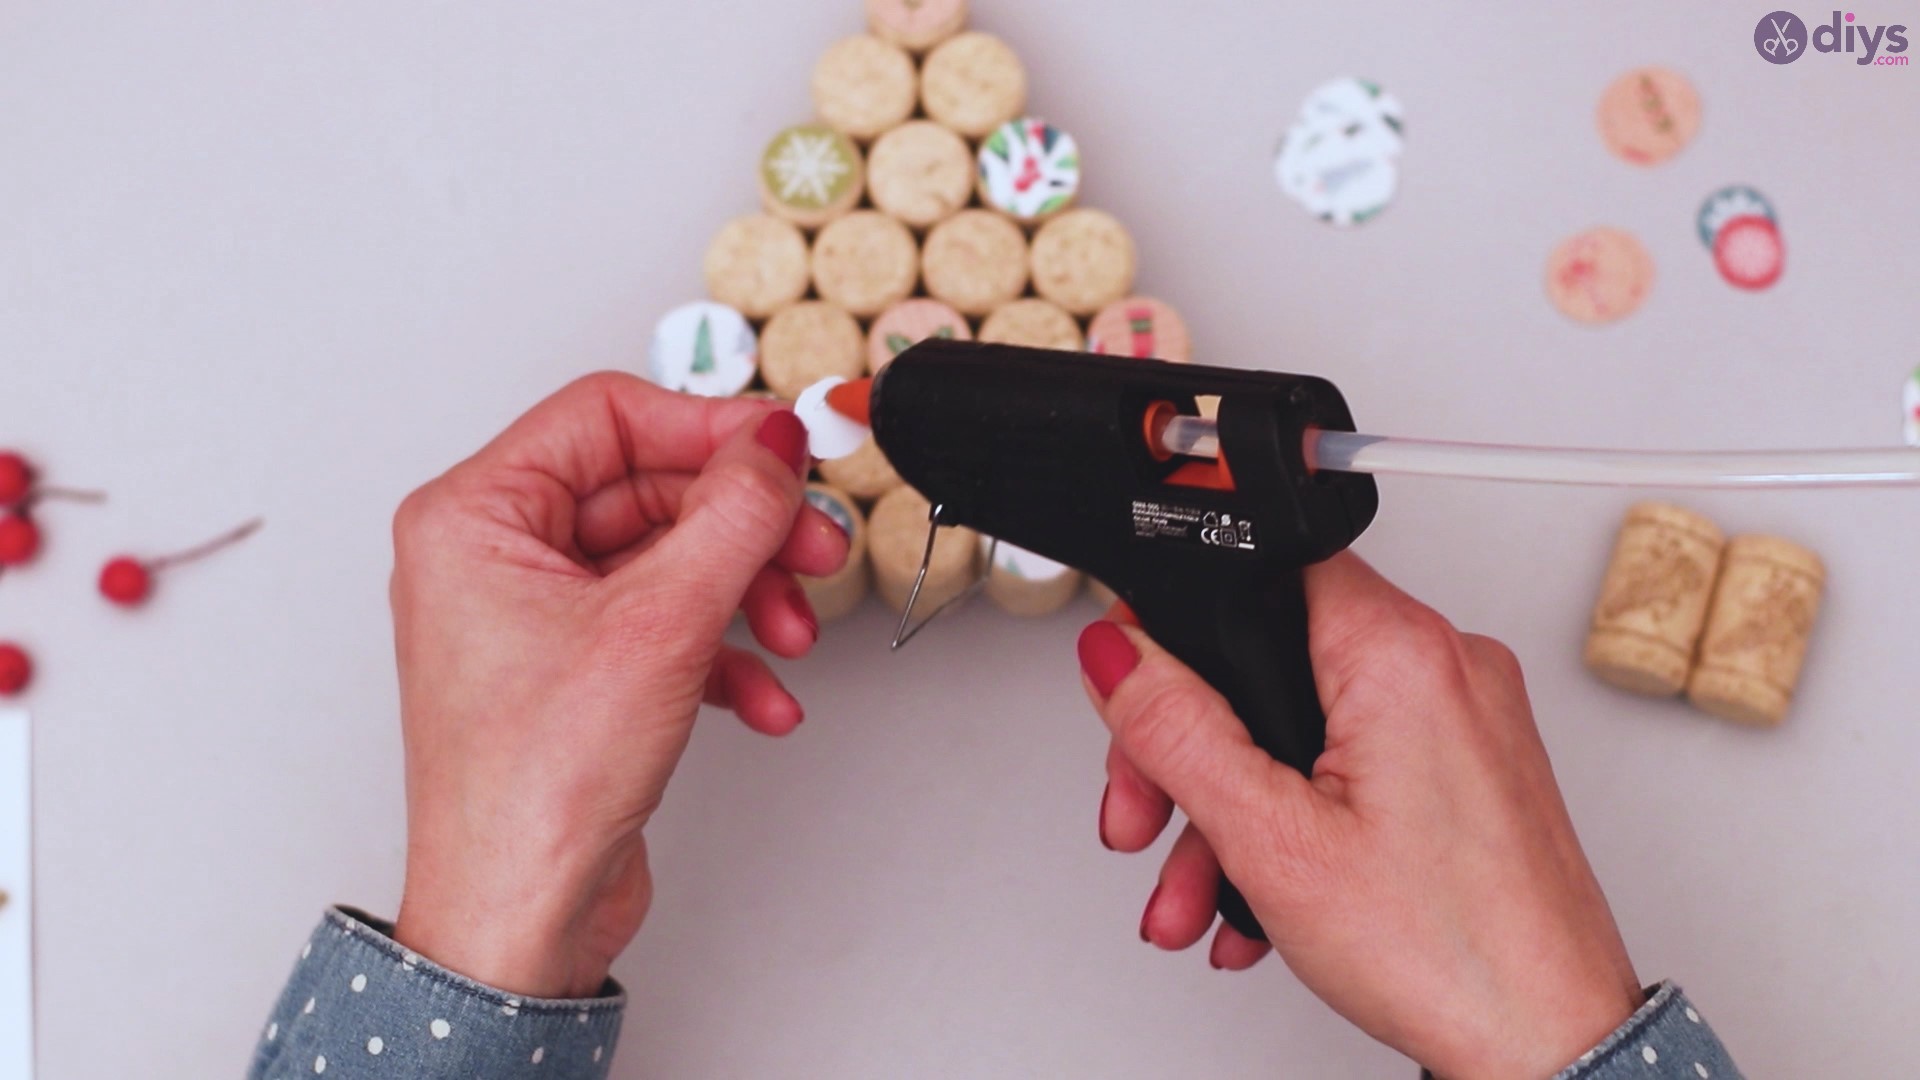
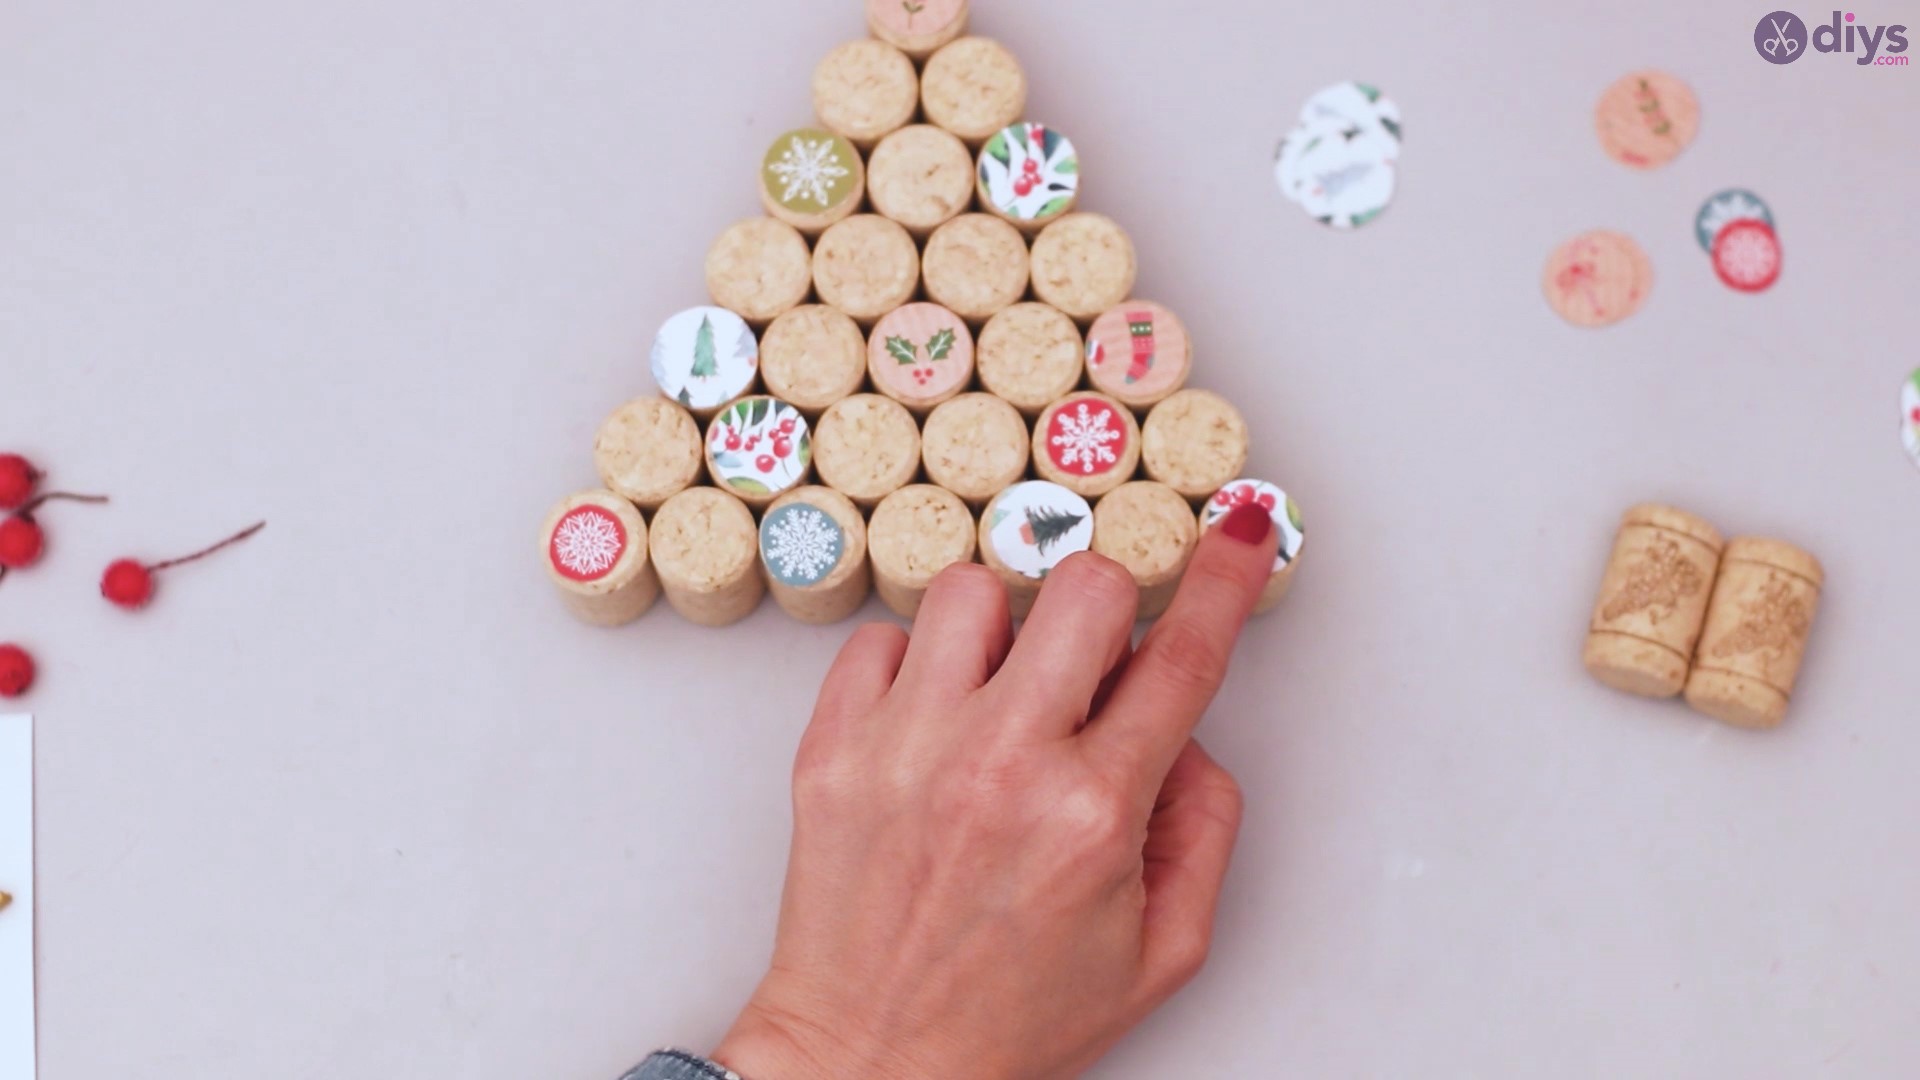
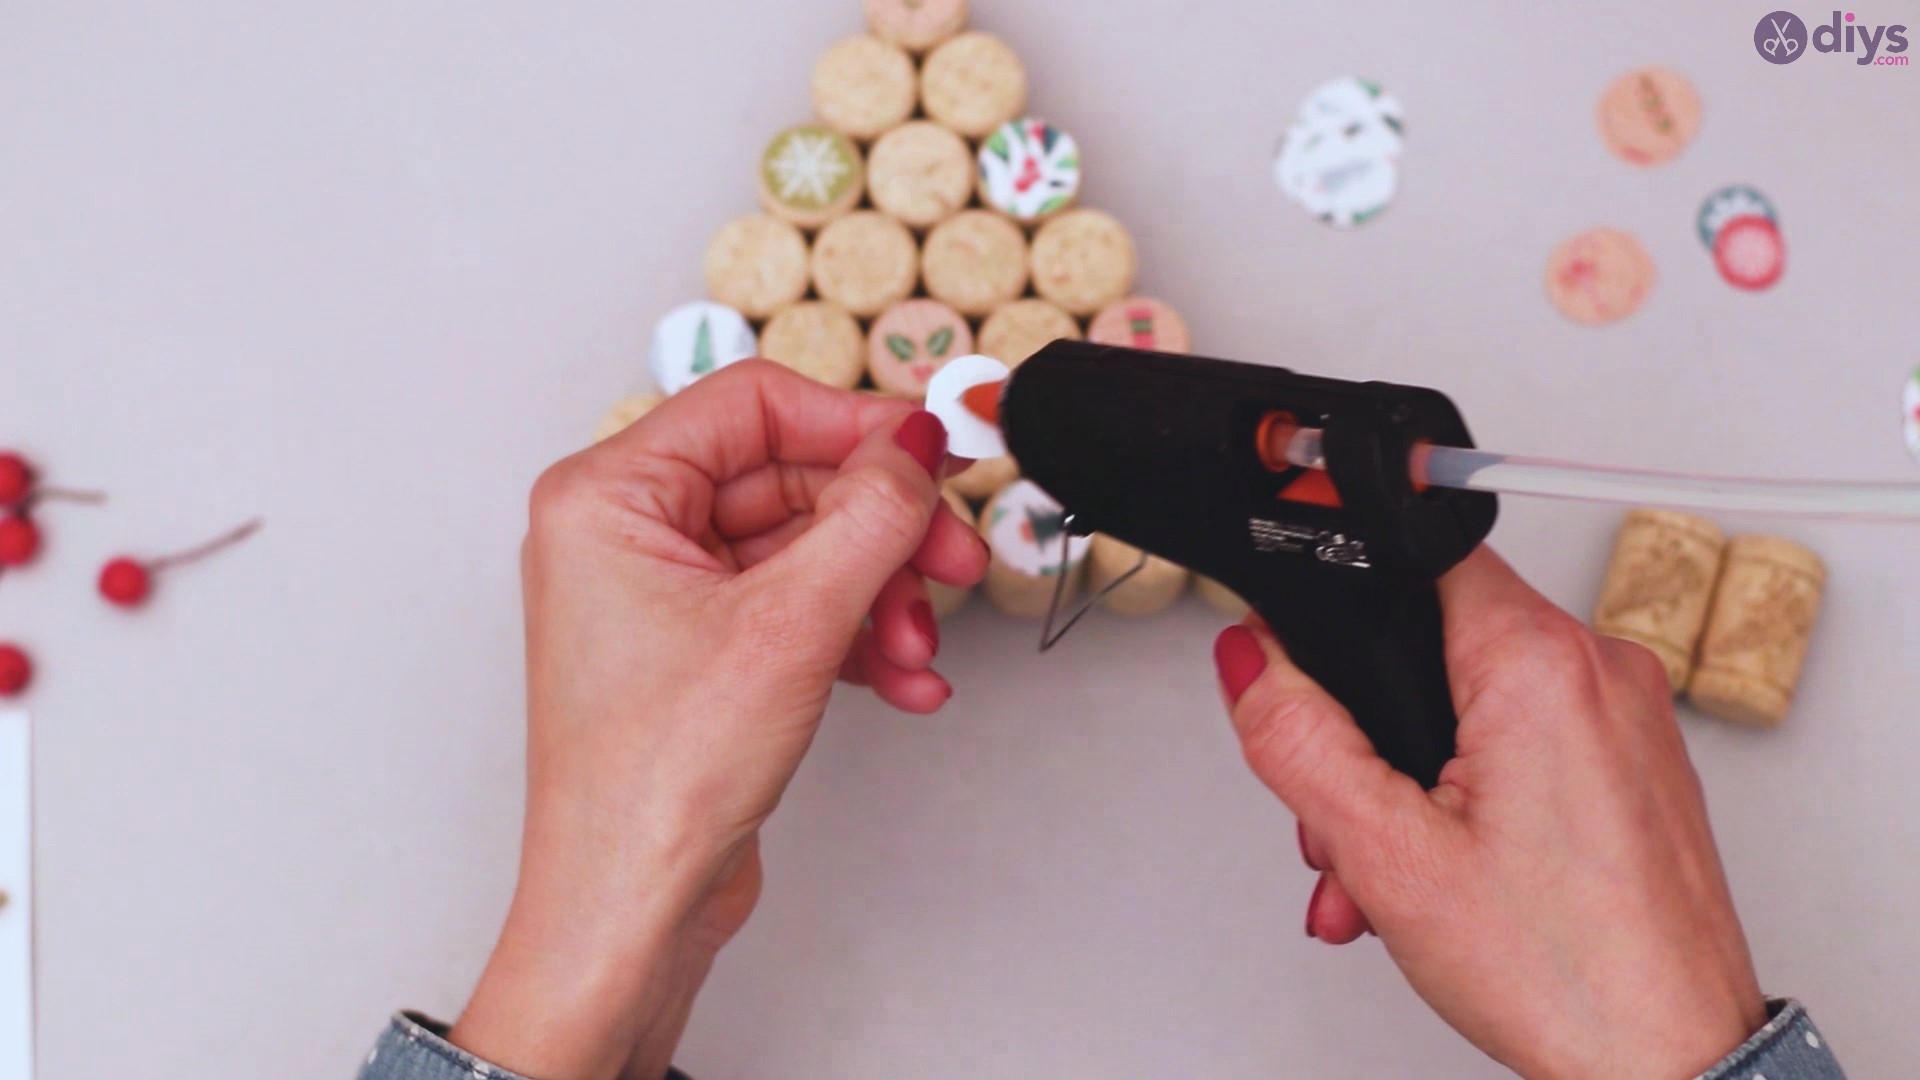
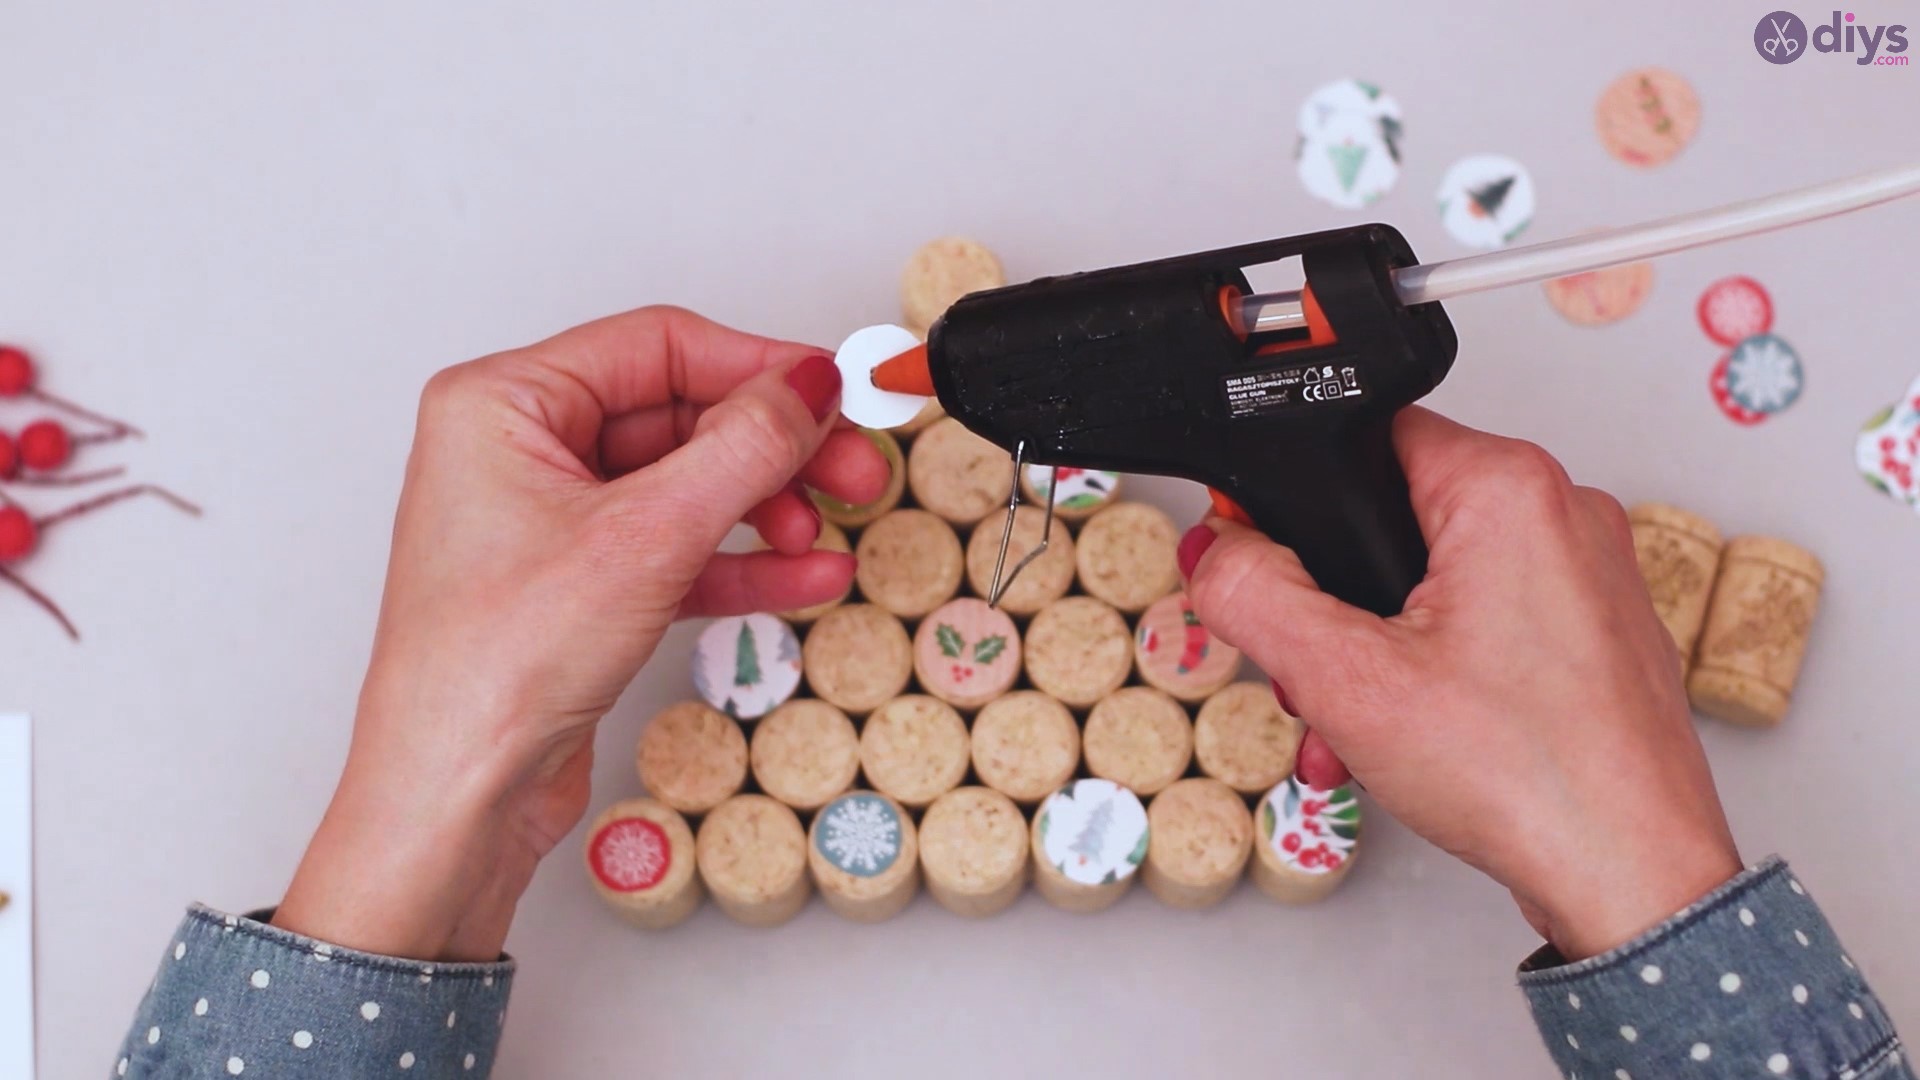
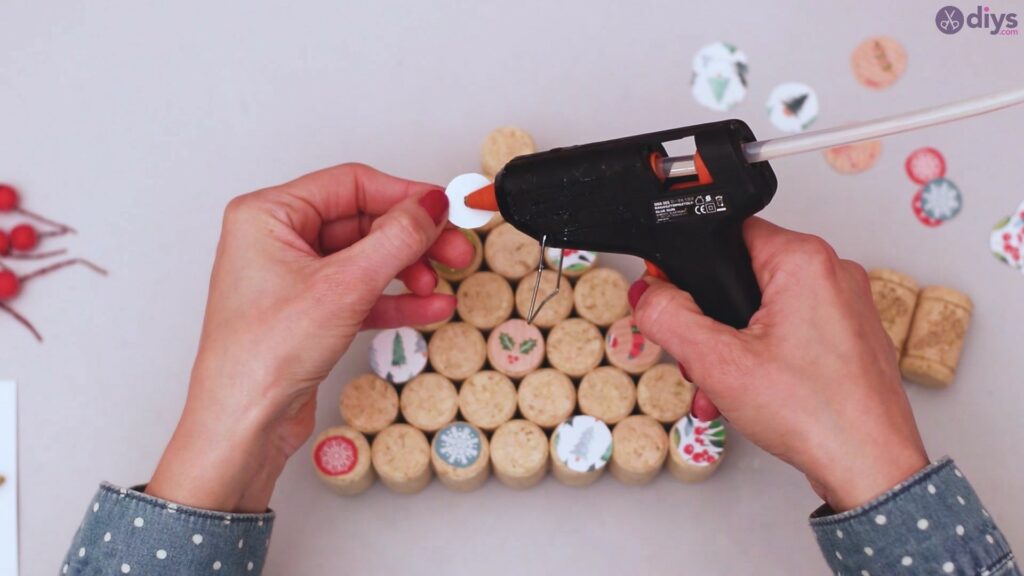
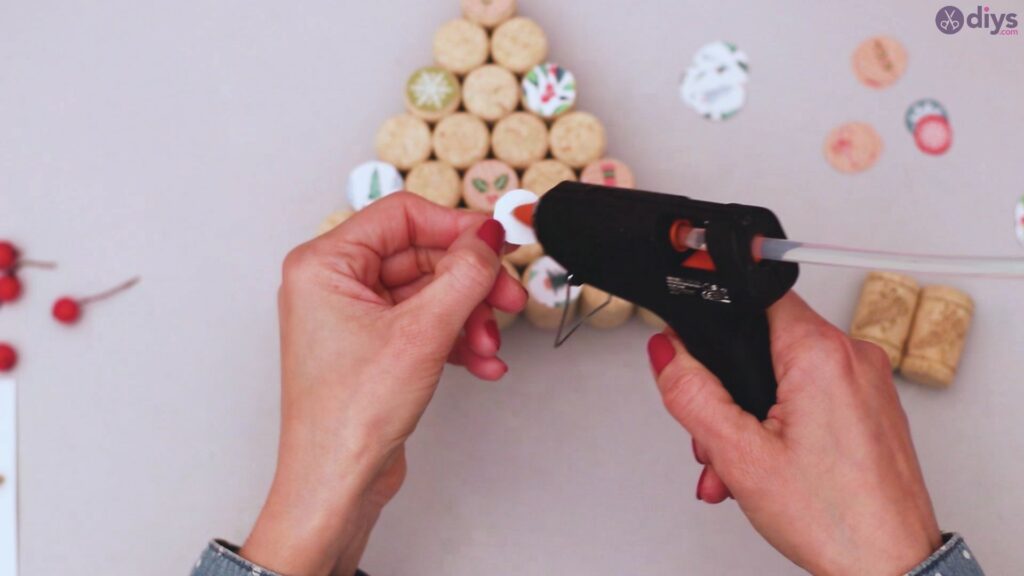
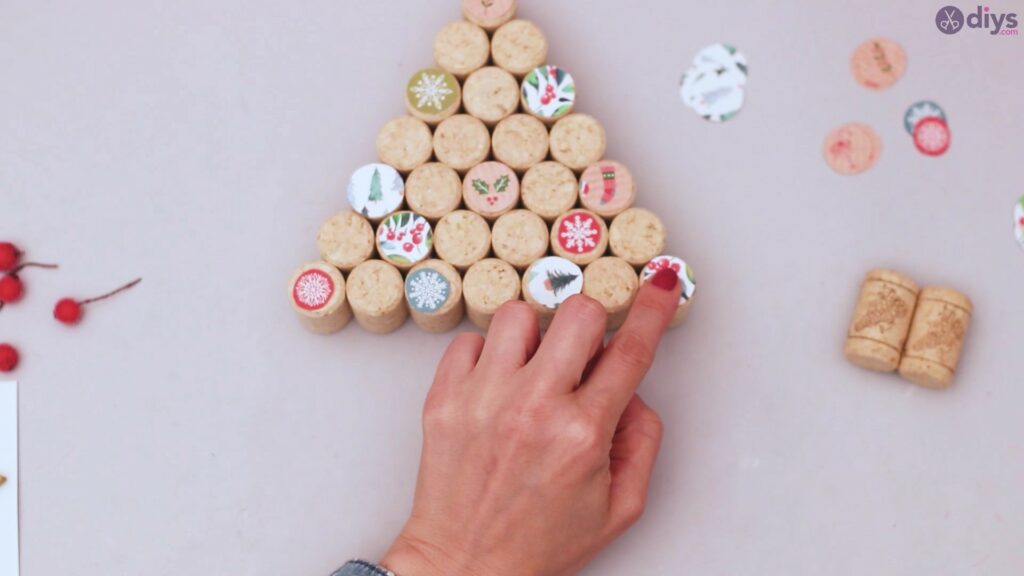
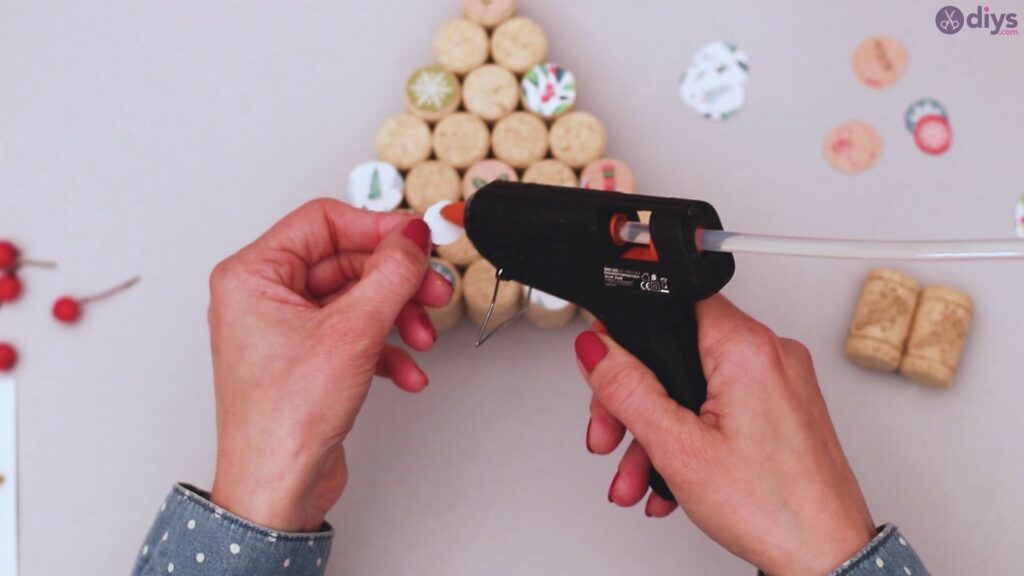
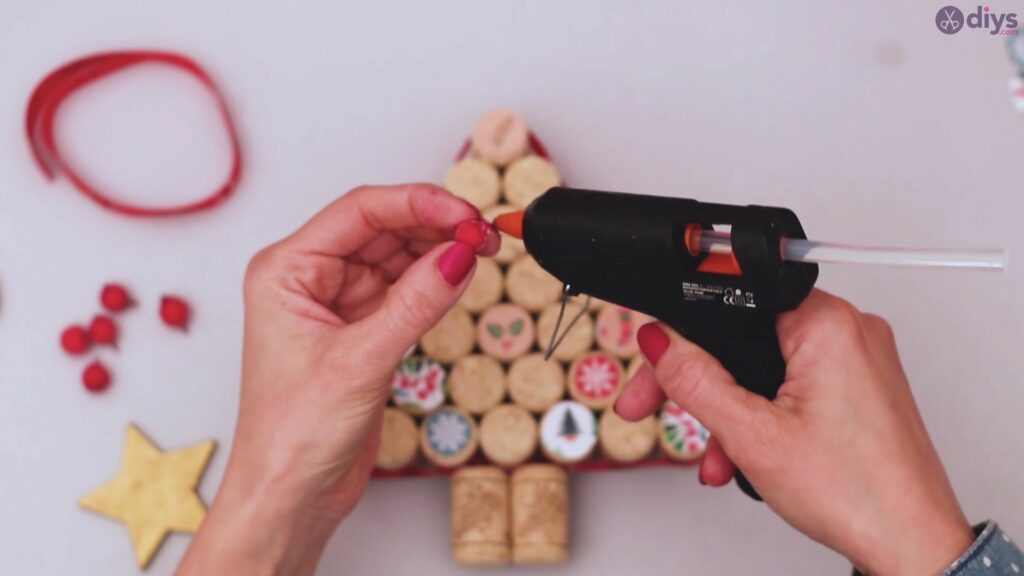
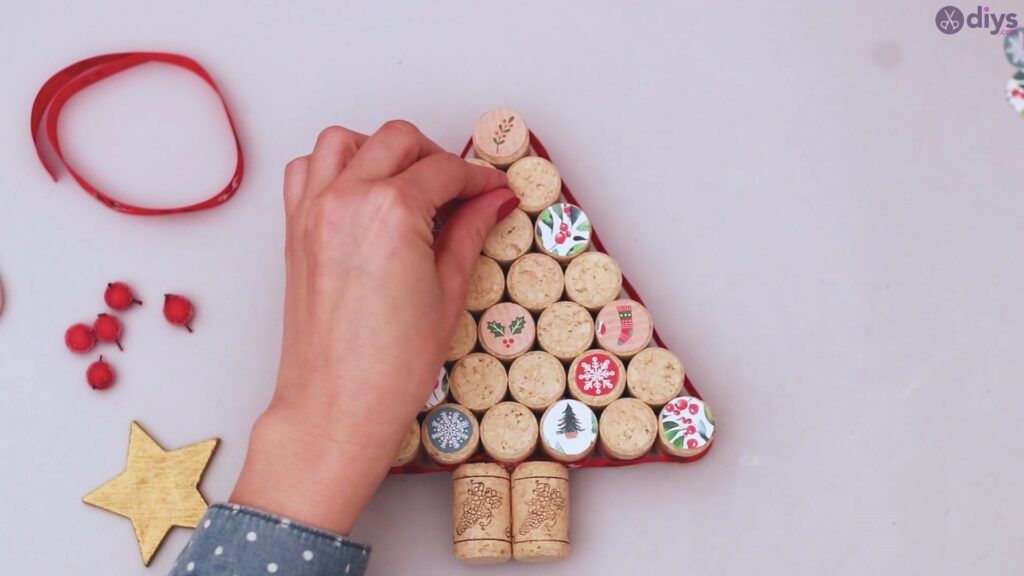
All those colorful Christmas paper circles will now come in handy as you start to glue them to the front of the wine corks. Mix the papers so you get a more diverse look on your tree. Place a little bit of hot glue on the back of the paper and place it on the cork.
Make sure you press the paper lightly to the cork and allow it a few seconds for the glue to dry.
Keep adding the circles on however many corks you think looks nice. We chose to leave a lot of the corks free, but you can go whatever route you like best.
Step 8: Add the silk ribbon
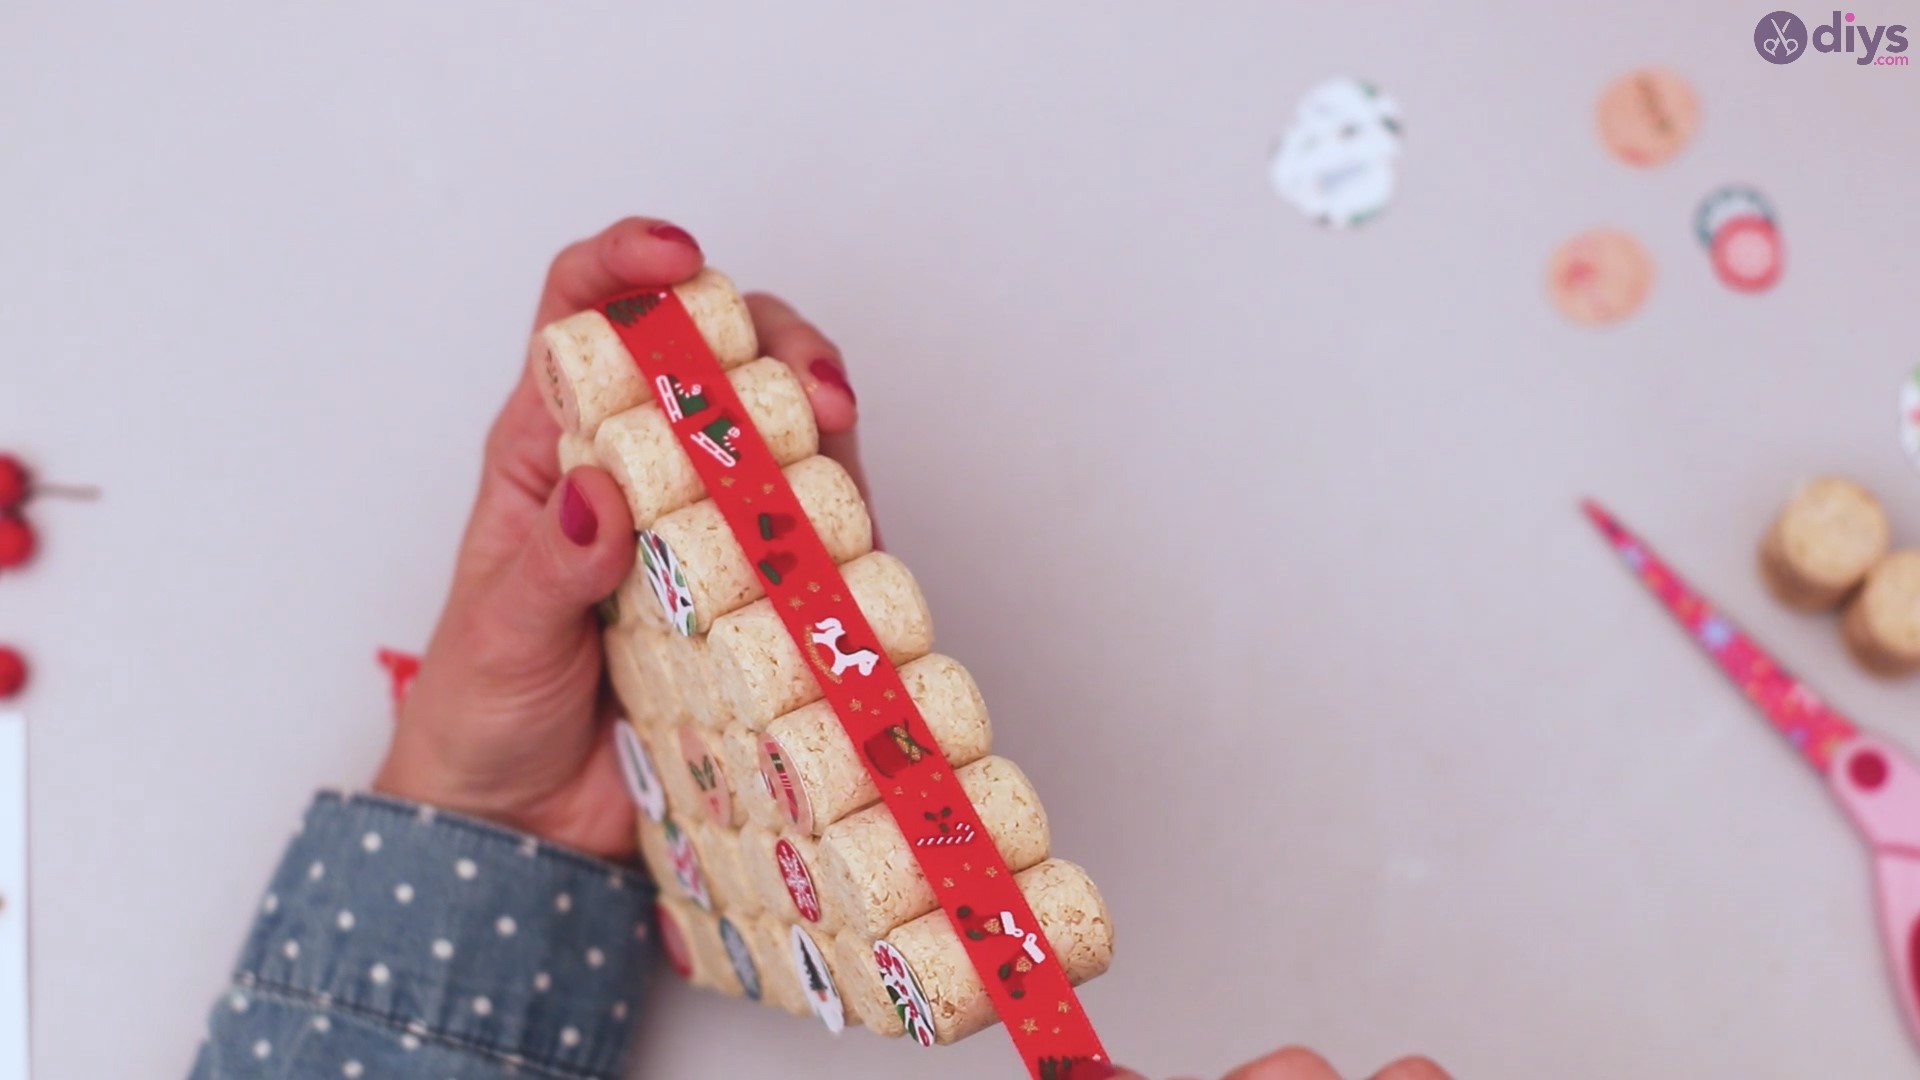
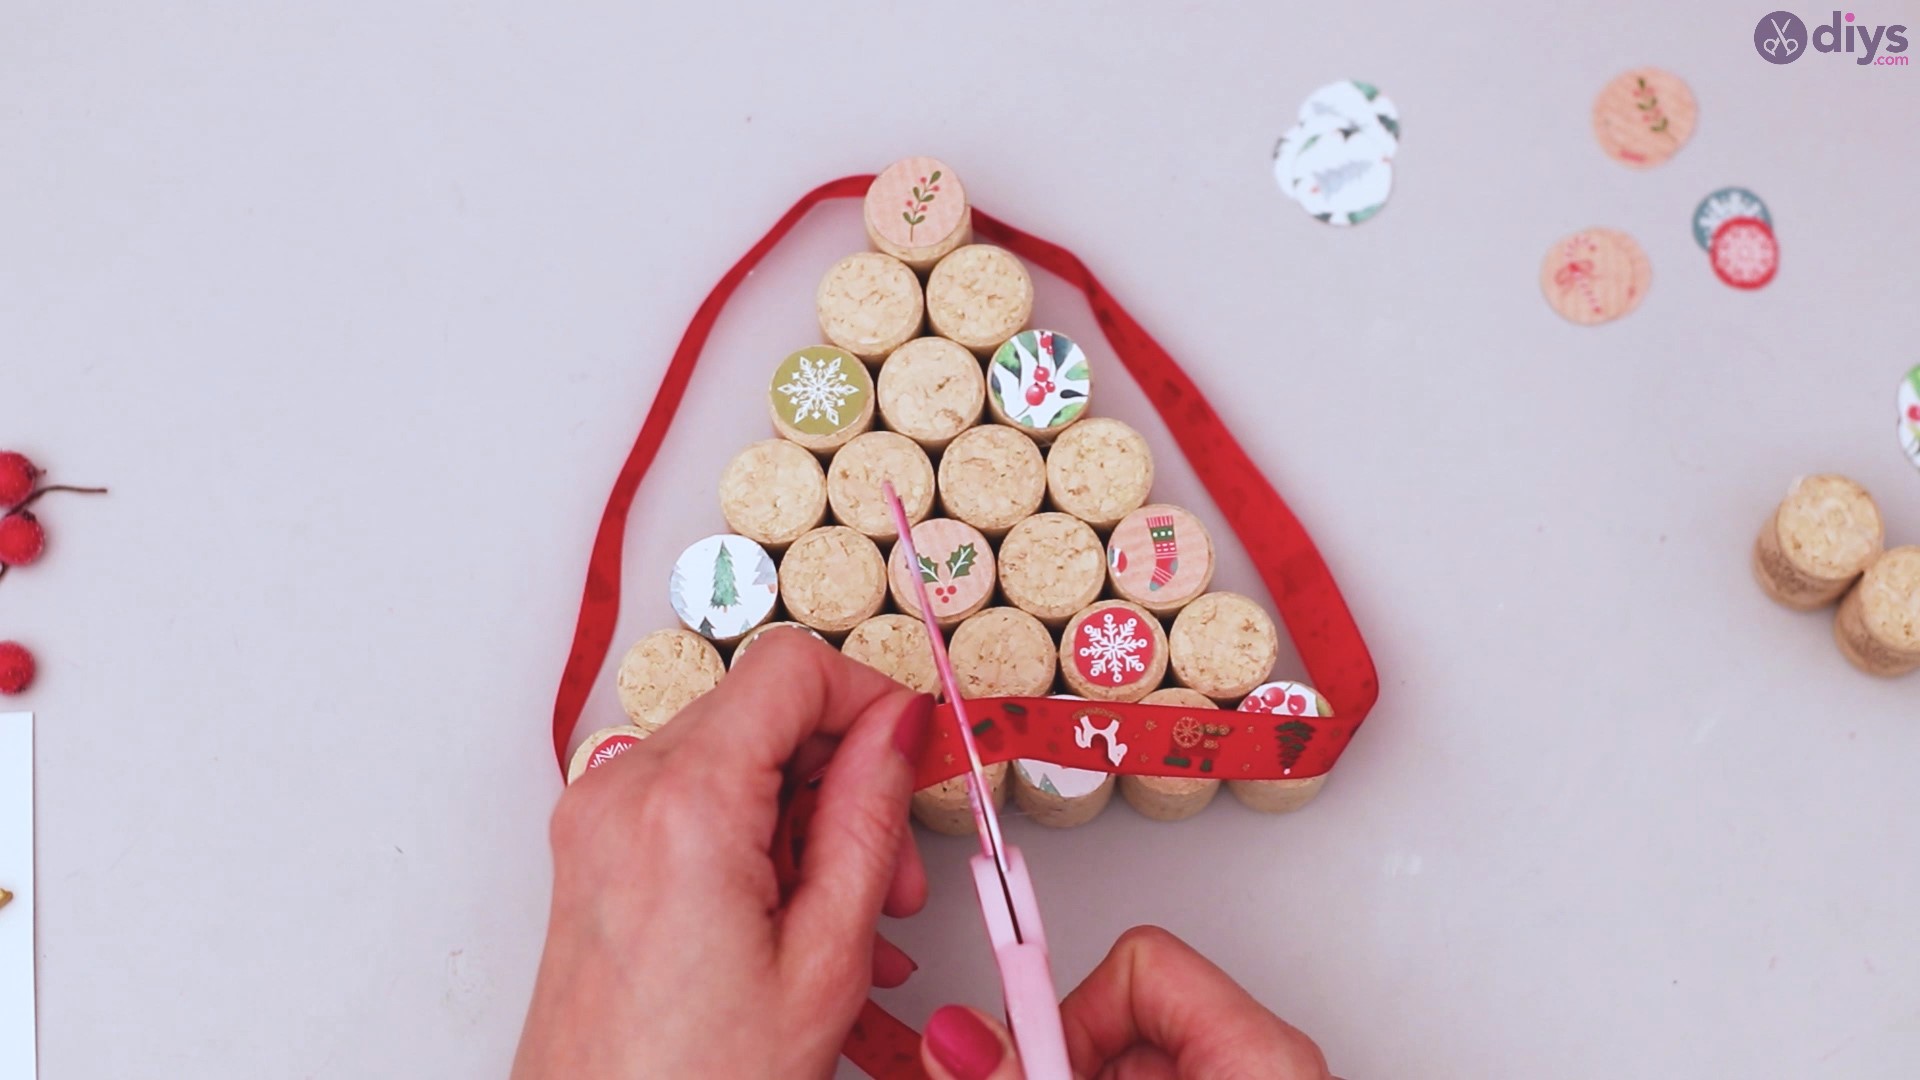
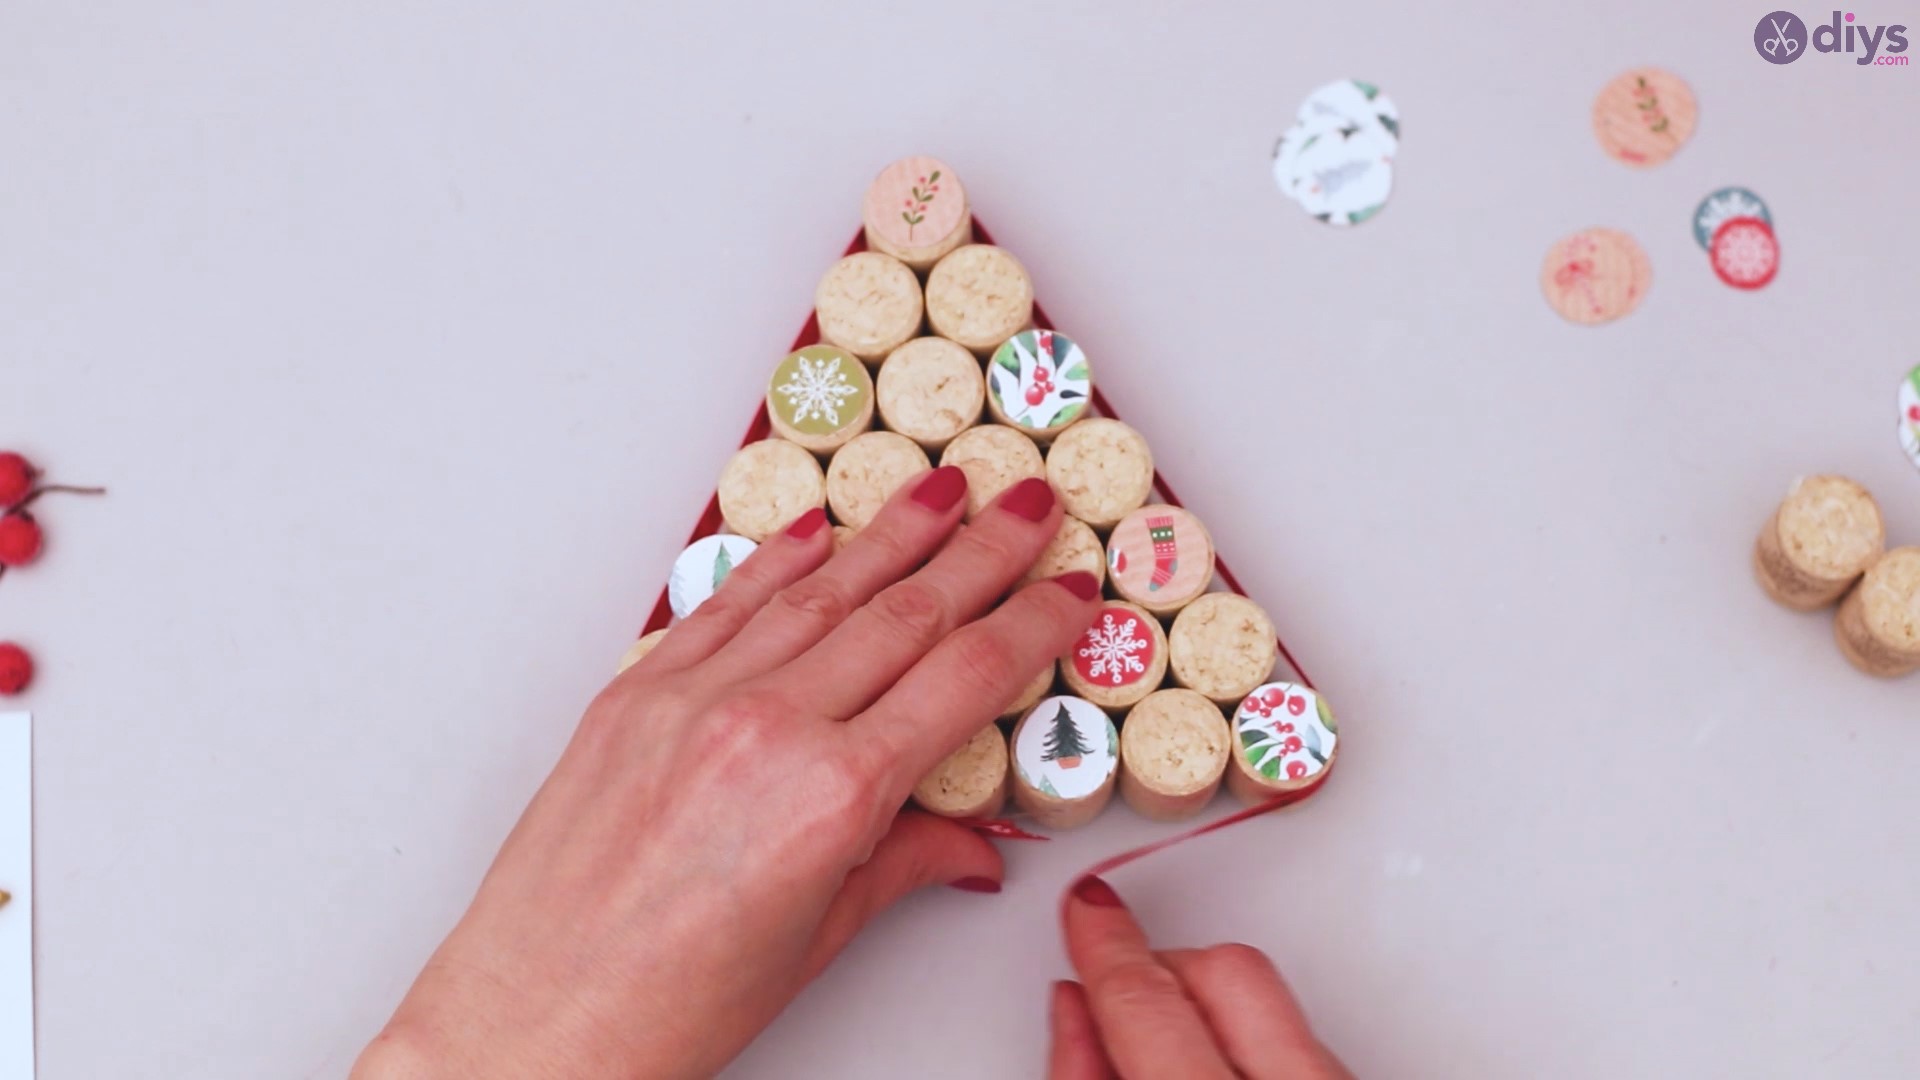
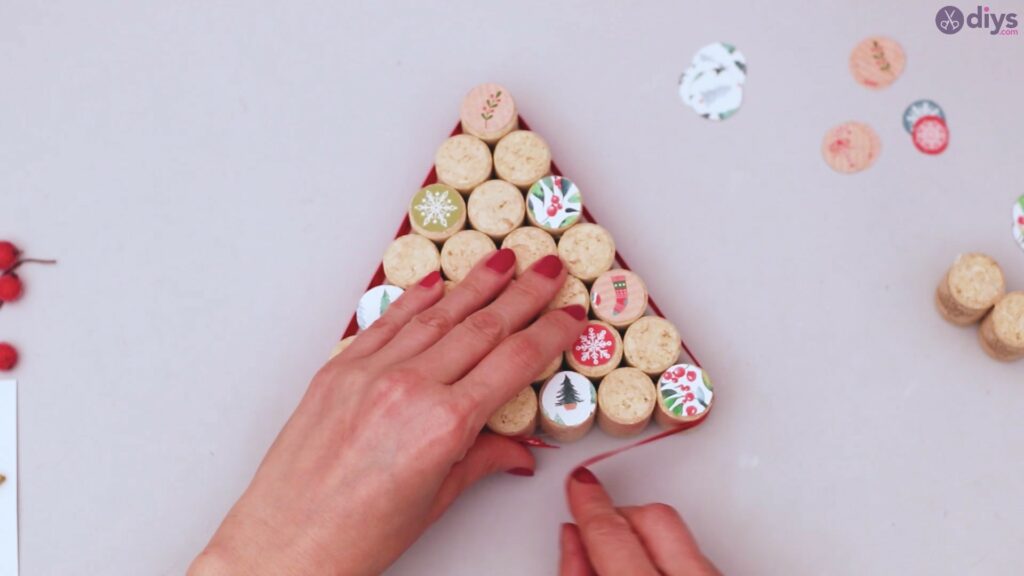
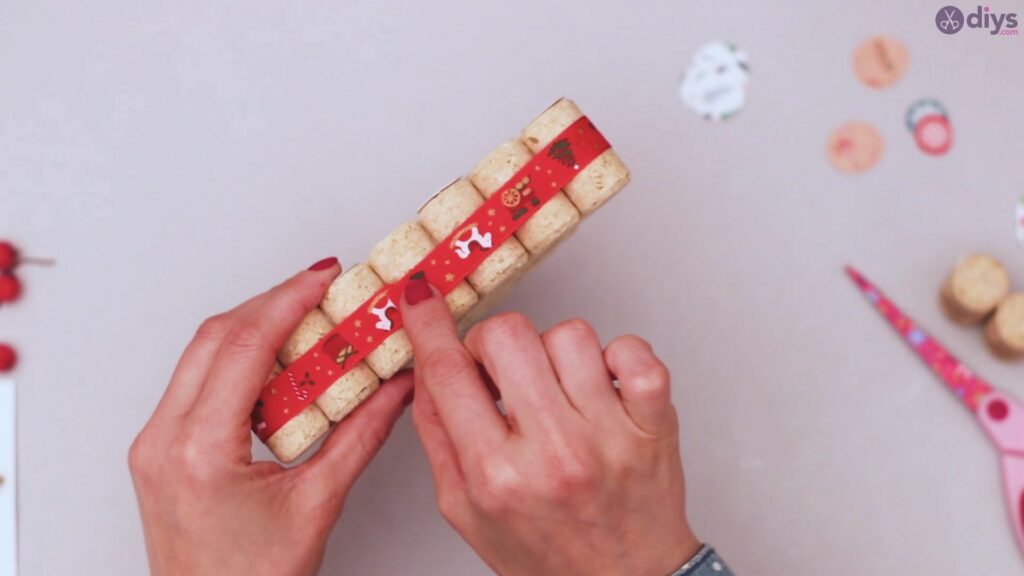
Our list of materials also included a silk ribbon. We used a red one with Christmas motifs. Depending on what you have laying around or what you managed to purchase, it could also be gold, green, or even silver. Place the silk ribbon around the Christmas tree and mark the spot where they overlap, leaving a little bit of extra lenght.
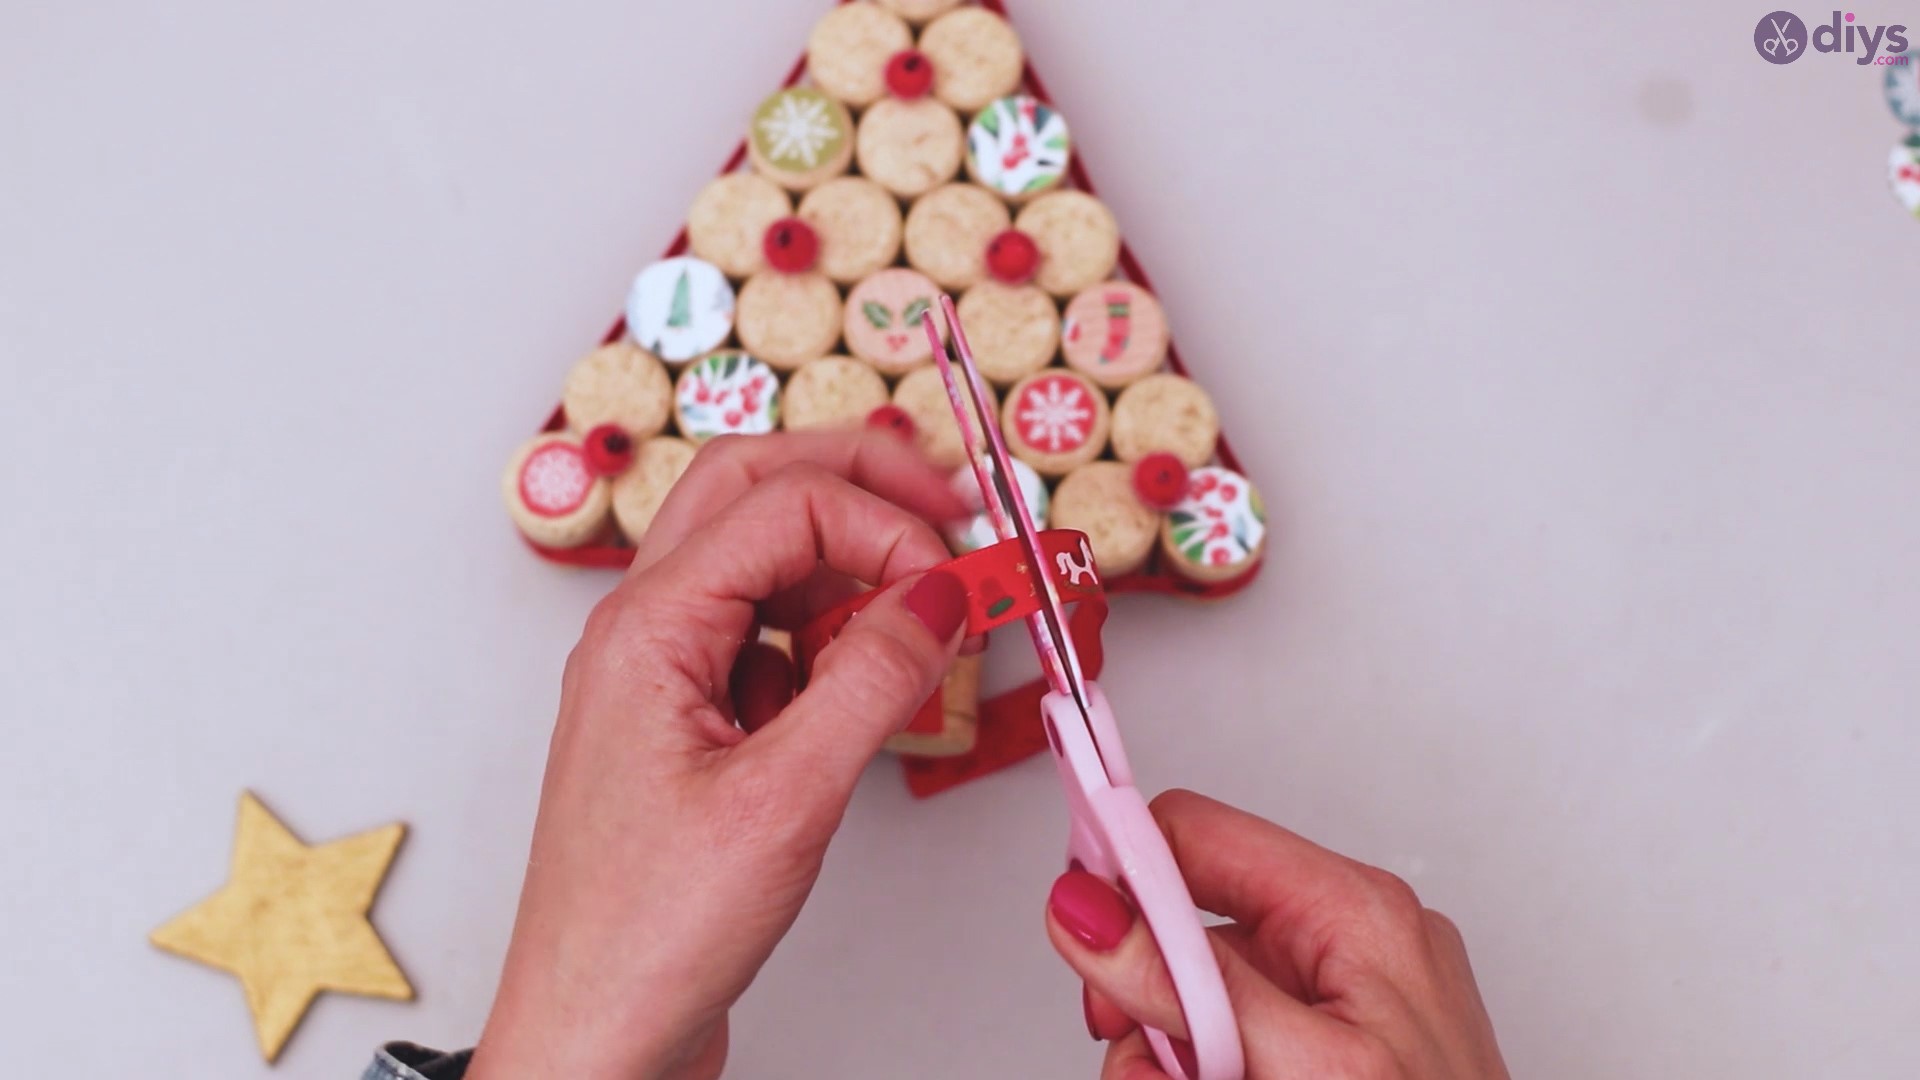
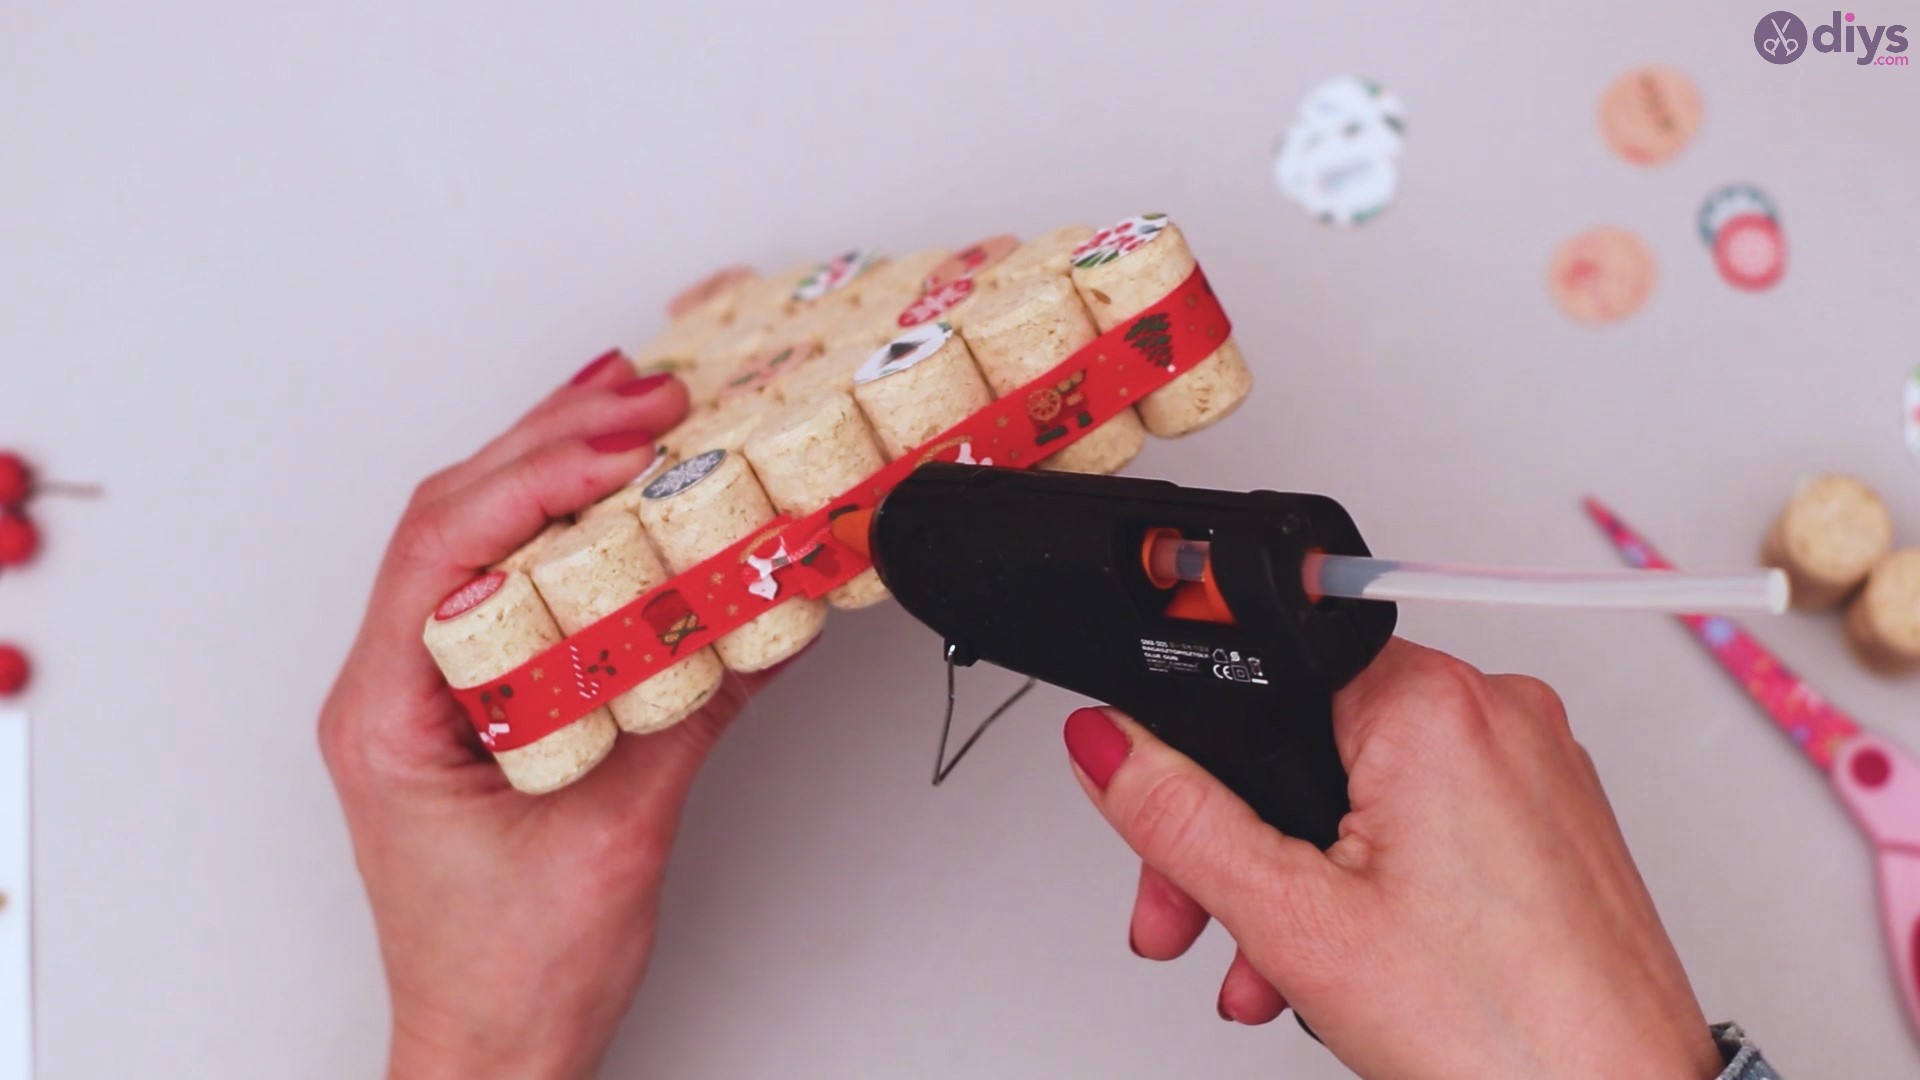
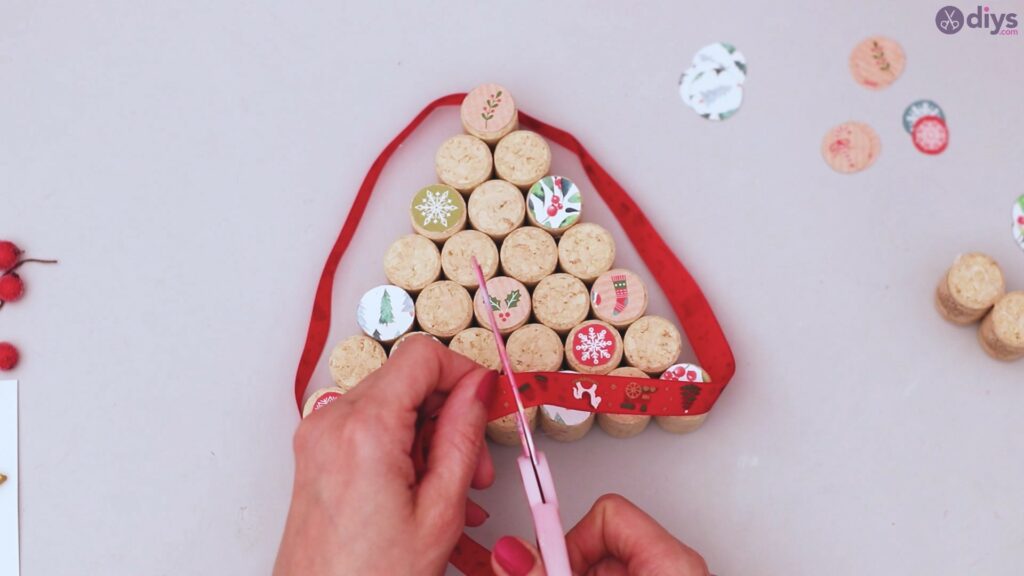
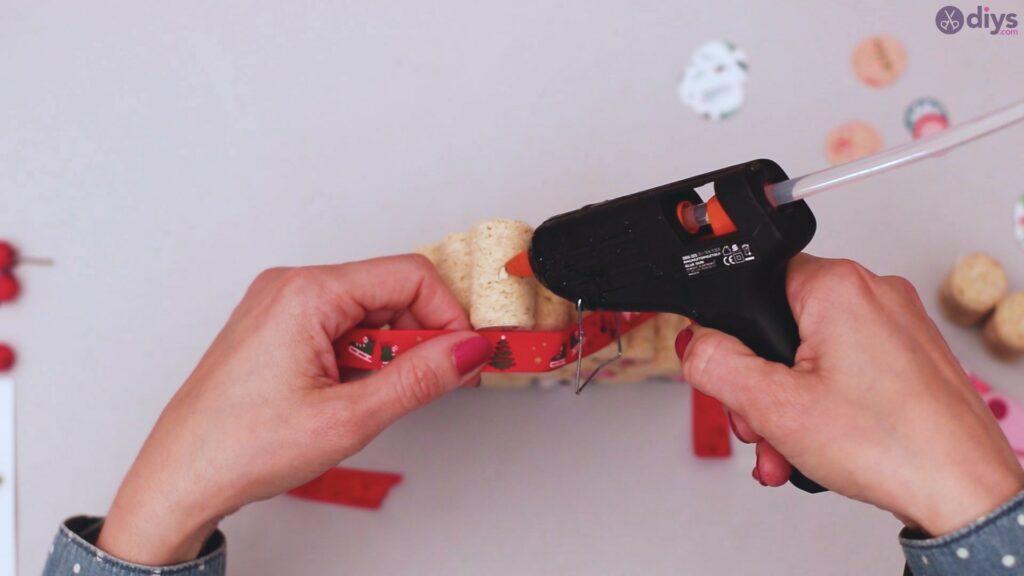
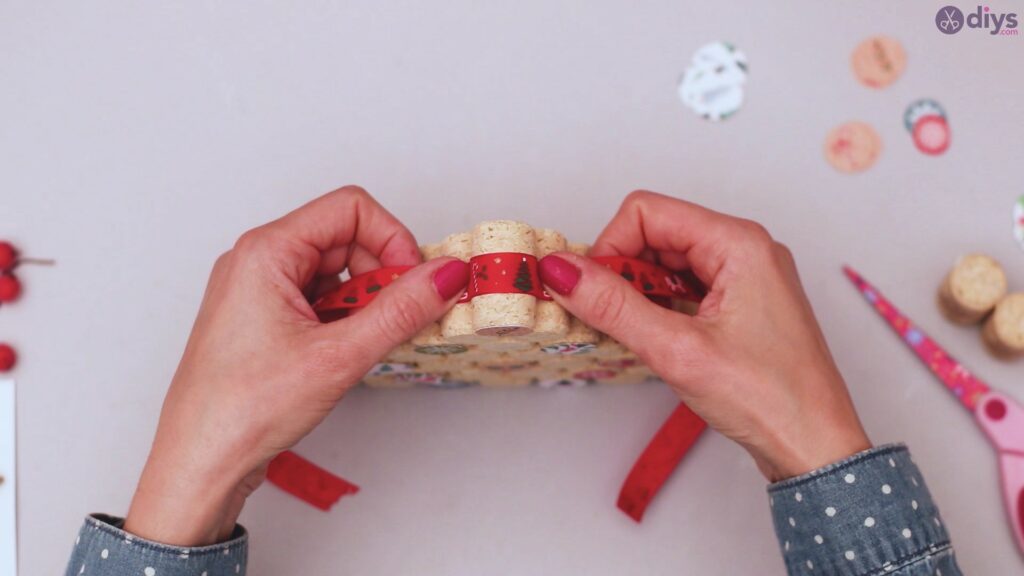
Get your scissors again and cut the ribbon so you only have as much as you need to go around the wine cork Christmas tree. Place your Christmas tree the right side up and place some hot glue in the middle of the top cork. Measure out the middle of the ribbon and place it over the glue as straight as you can.
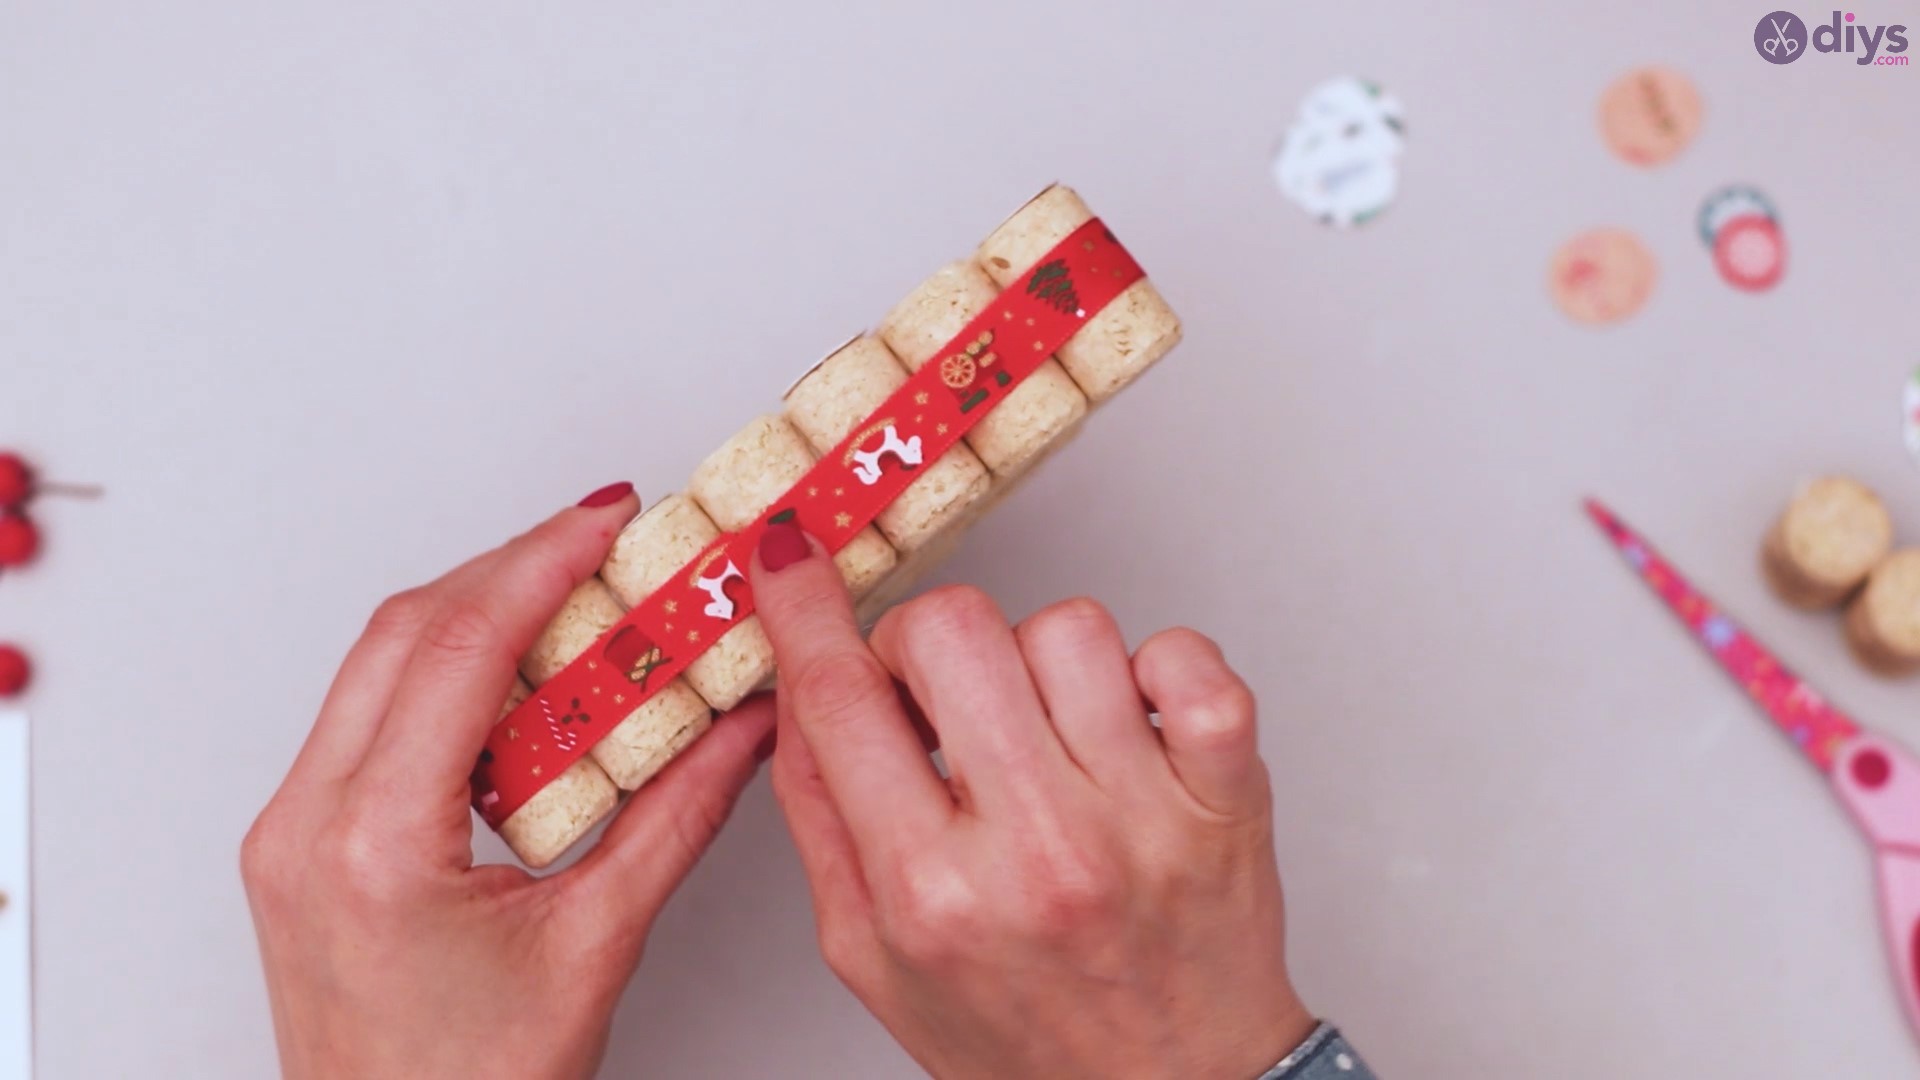
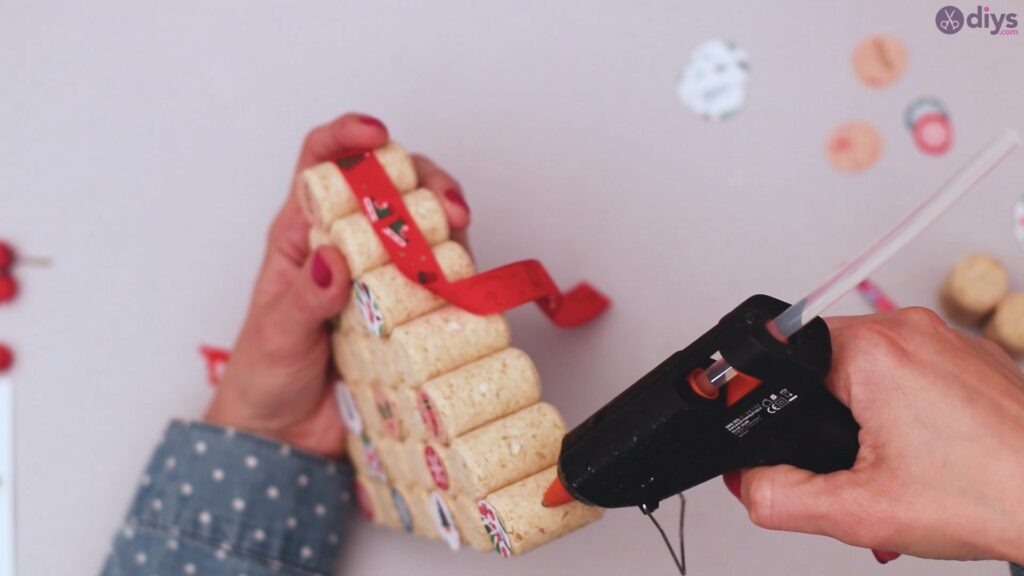
Add more hot glue to each of the corks. Make sure you place the dots of glue in the middle of each cork so the ribbon goes straight down.
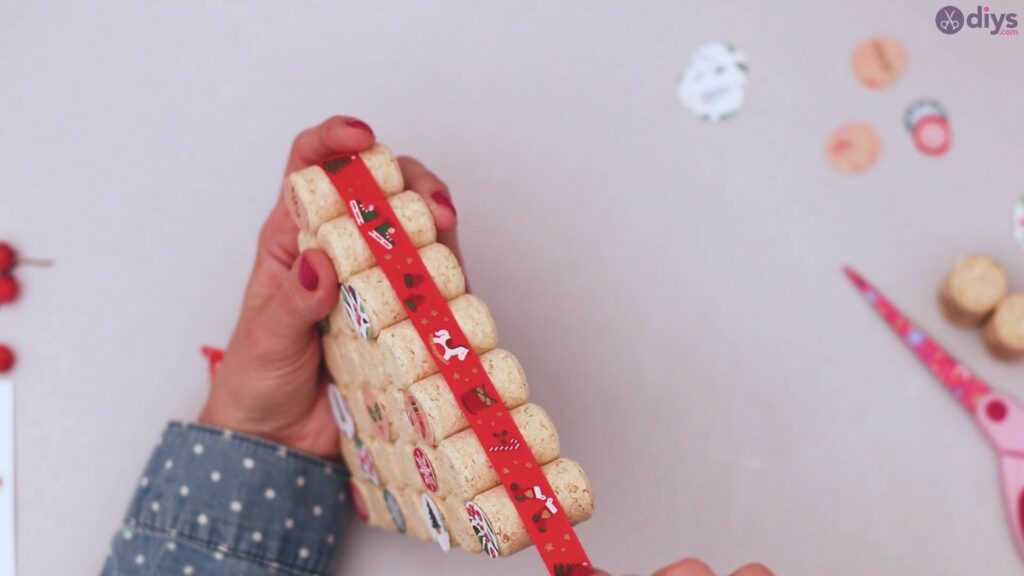
Neatly press the silk ribbon over the glue dots. Make sure you don’t use too much glue as that will make the ribbon look bumpy.
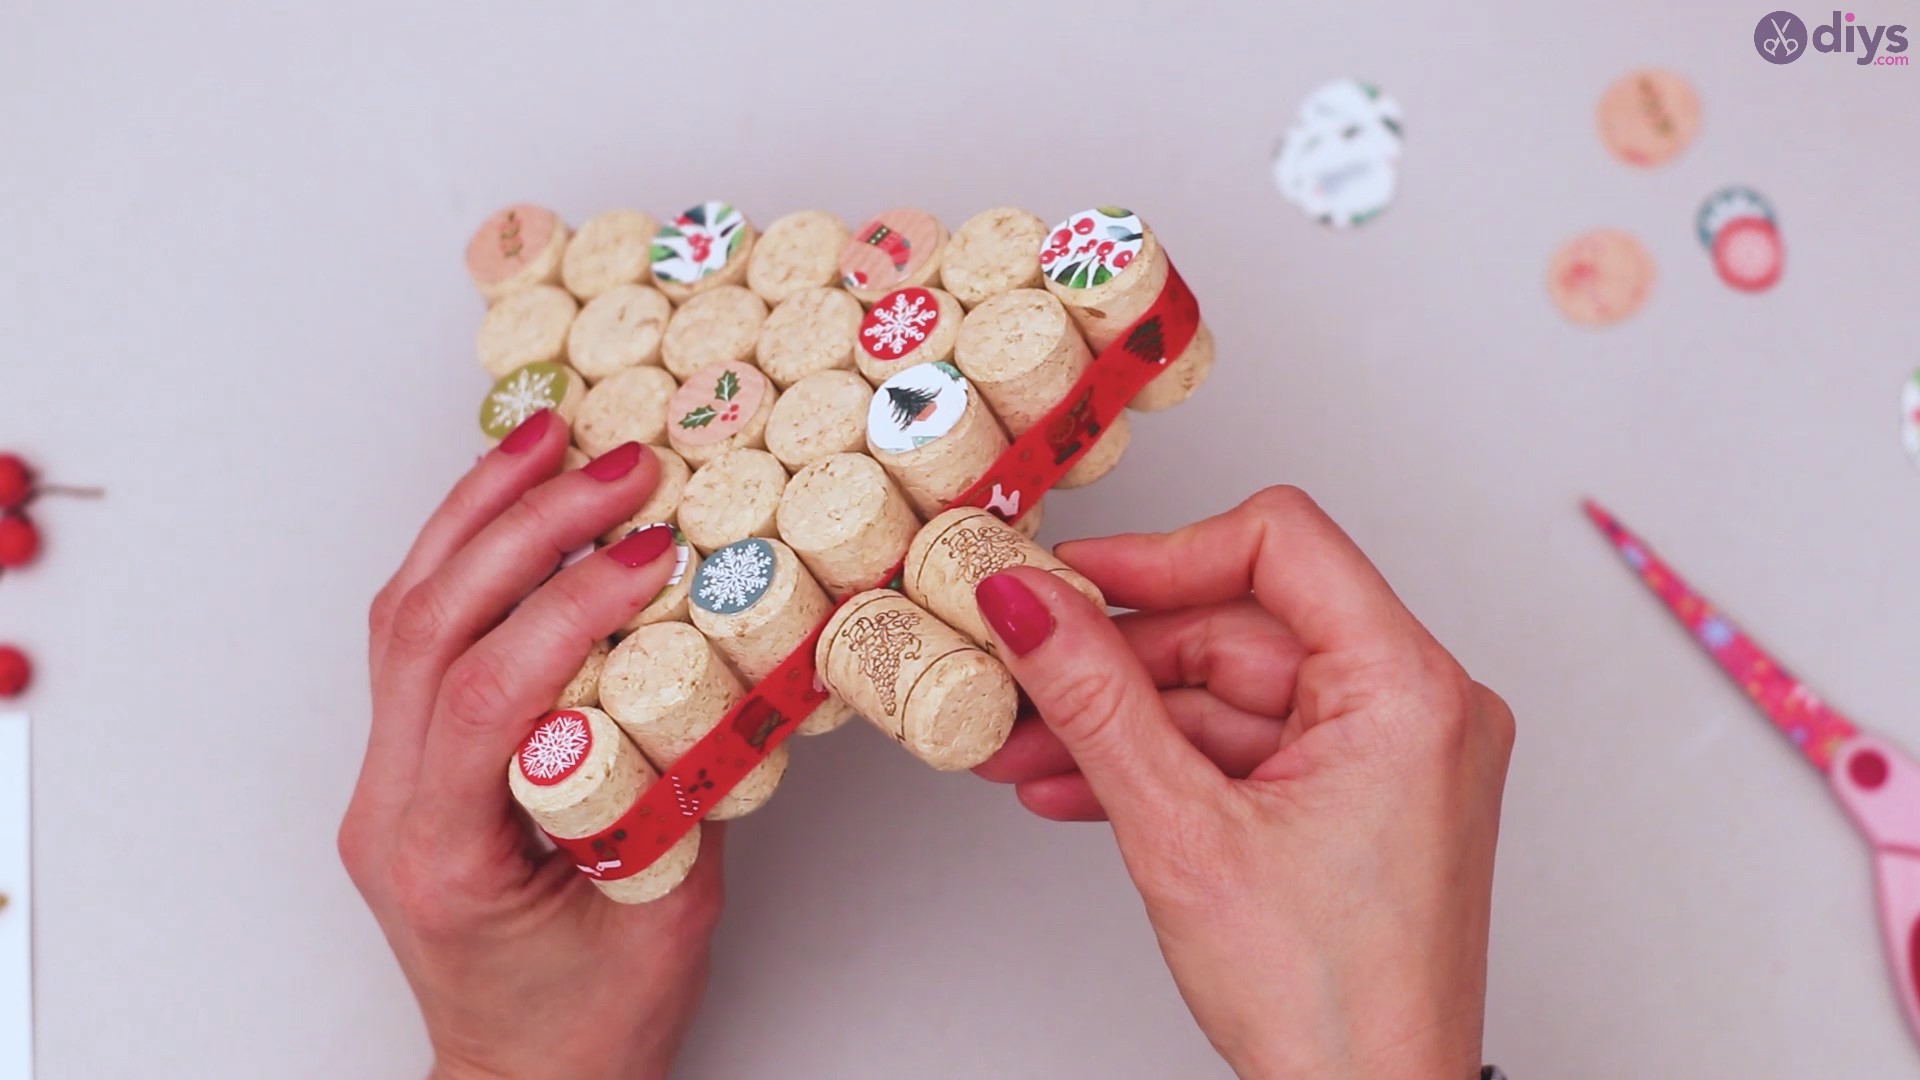
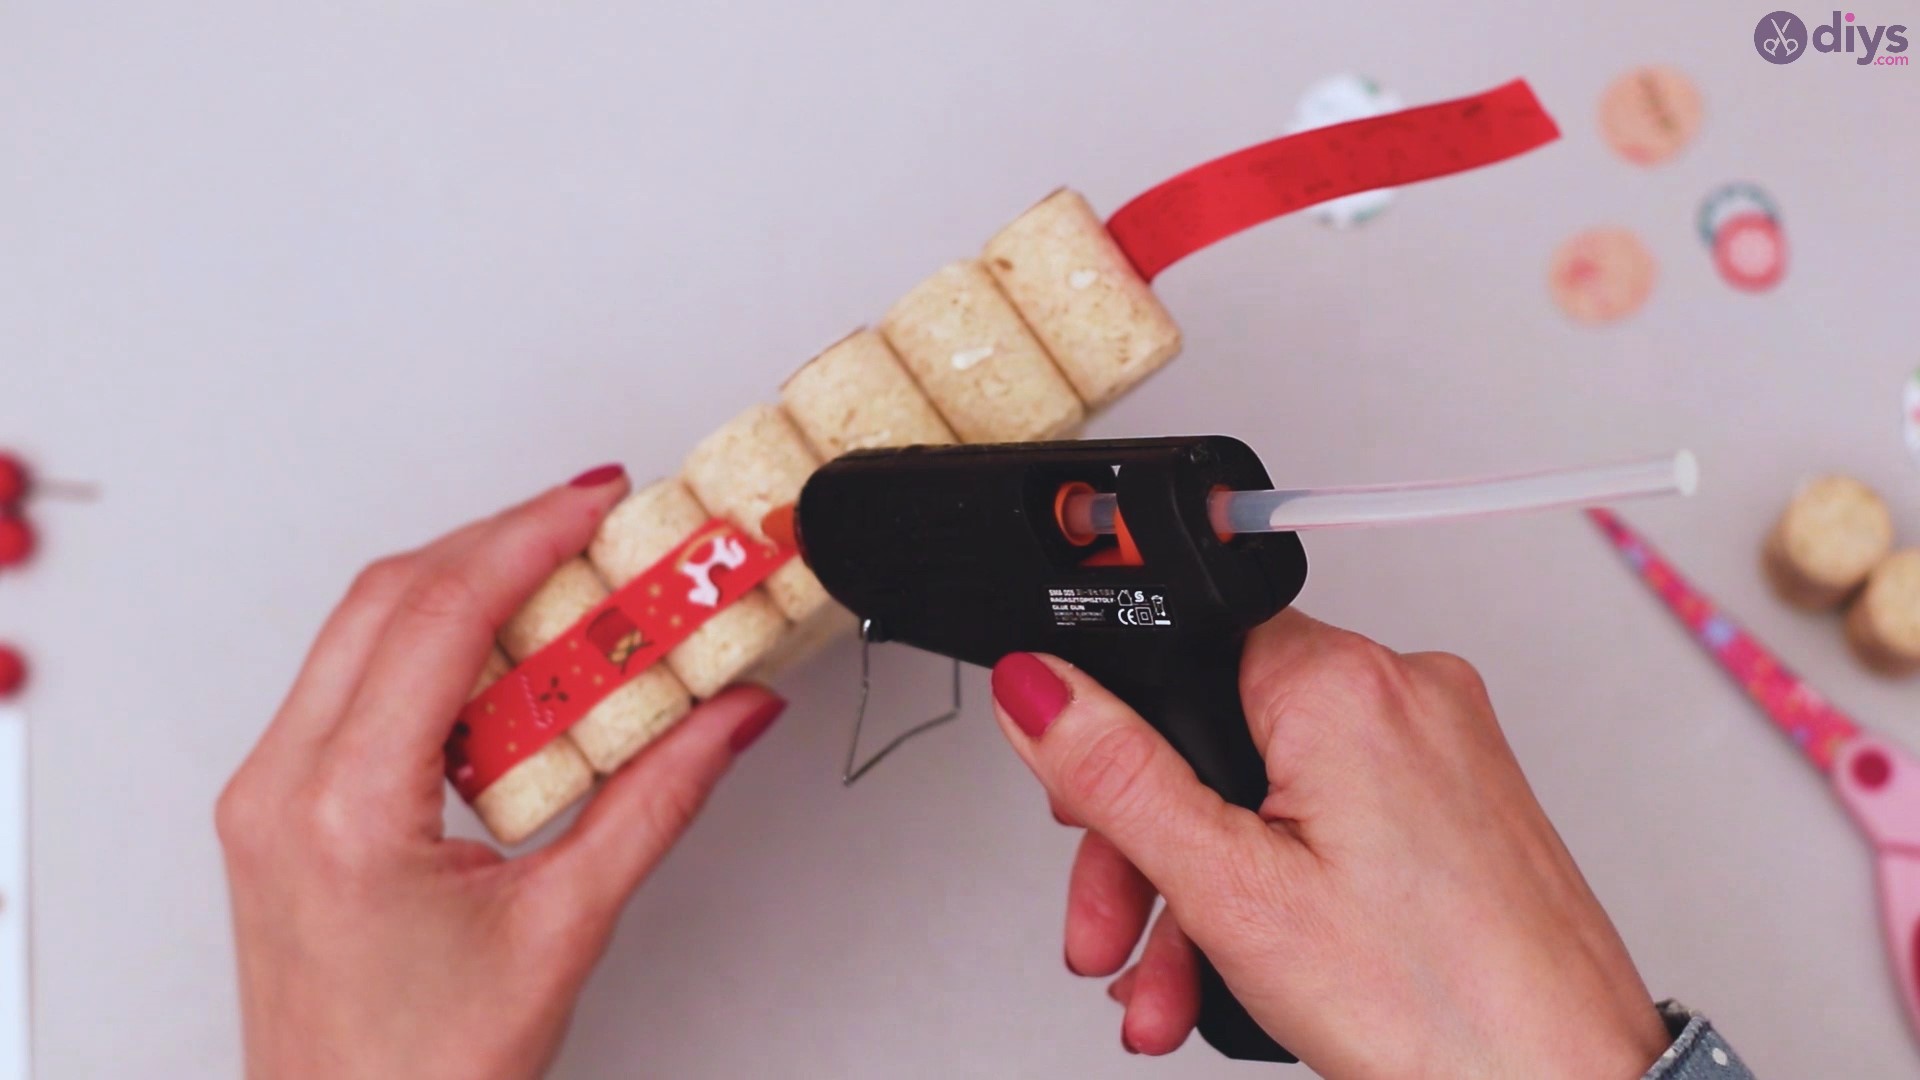
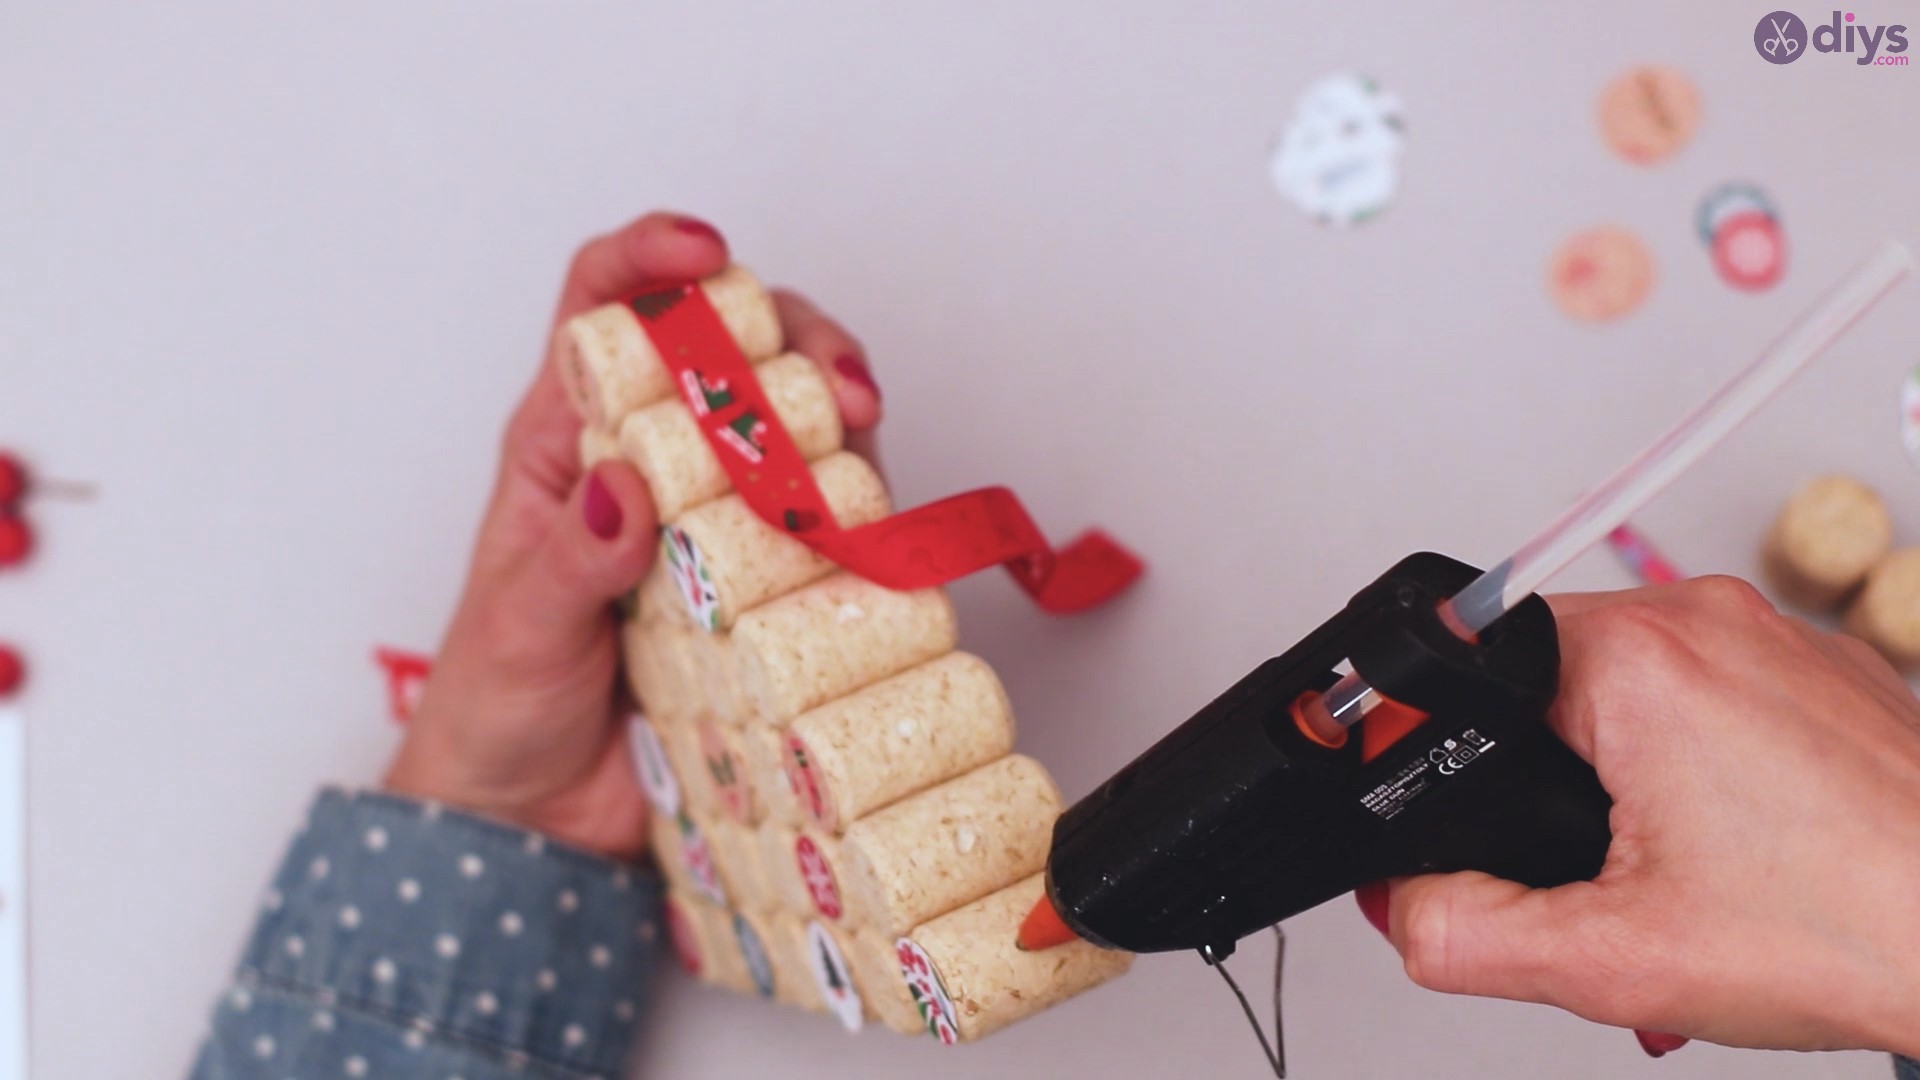
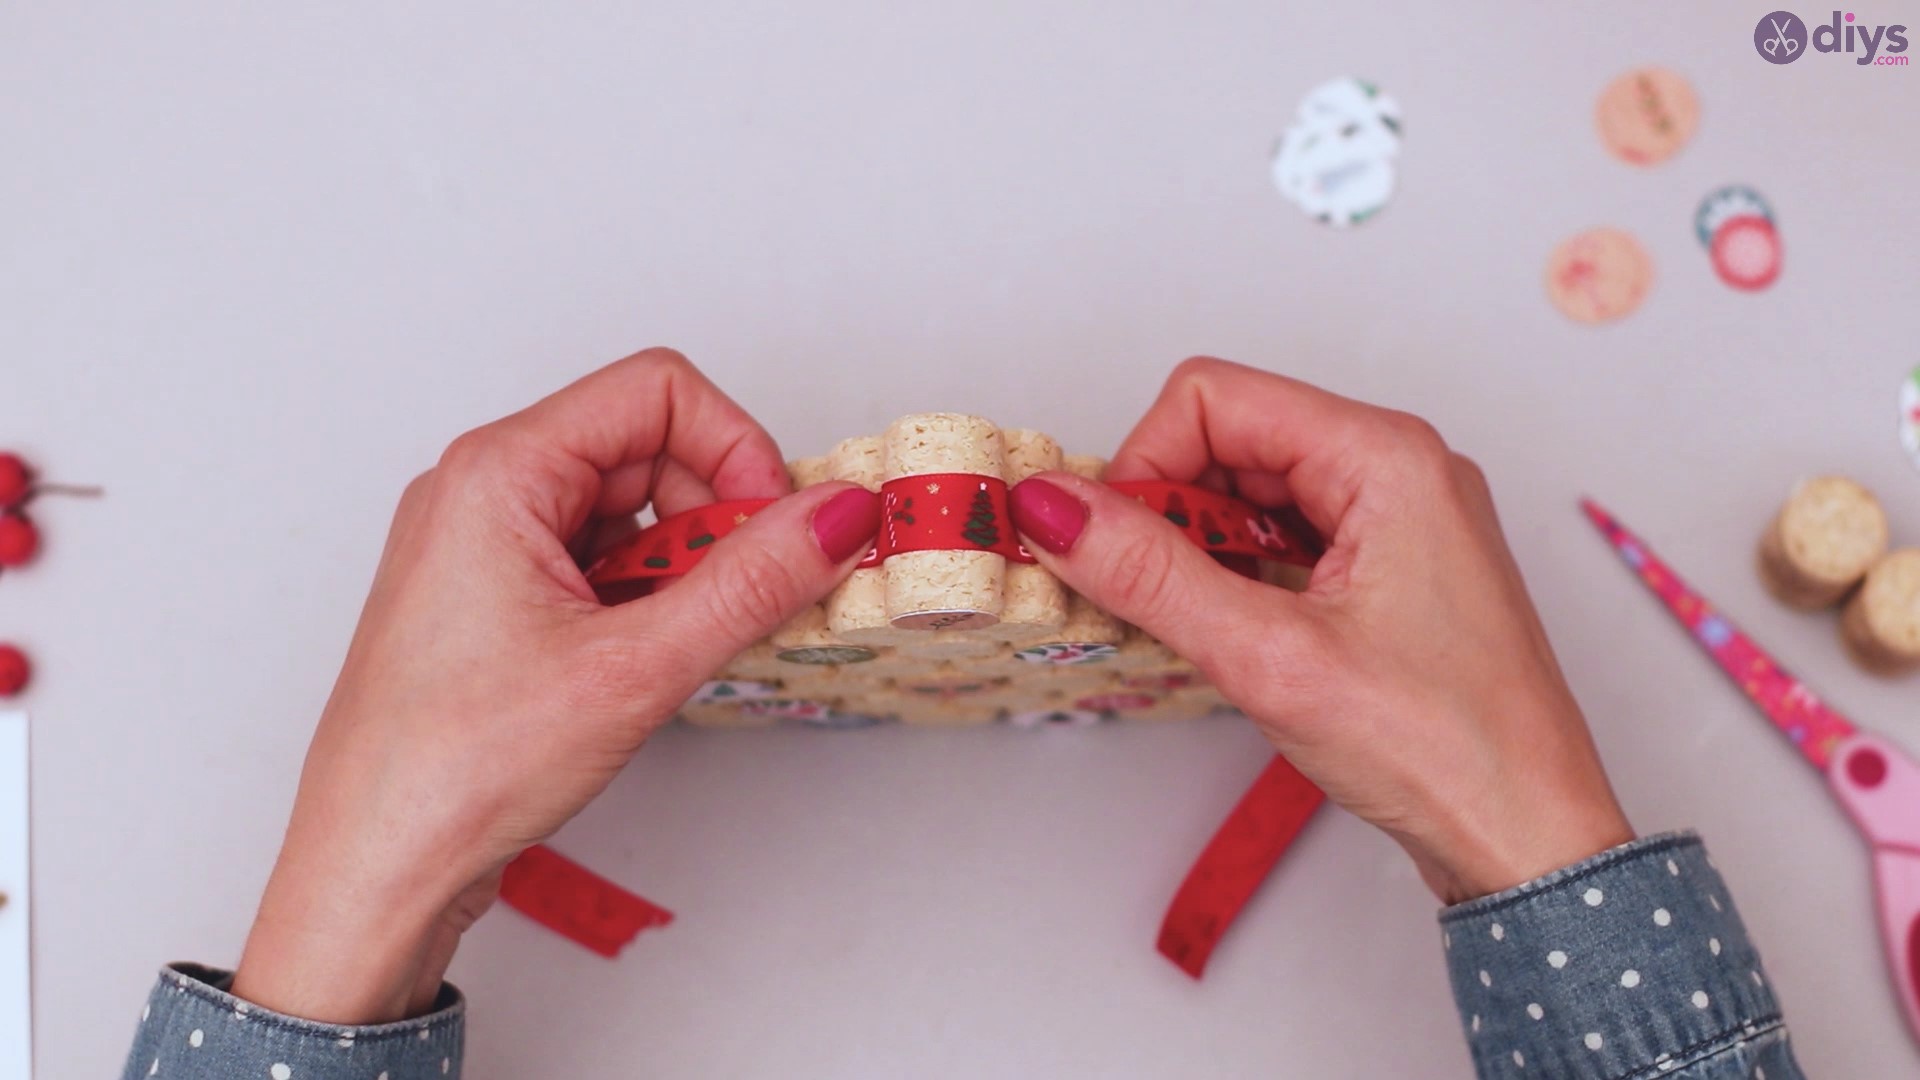
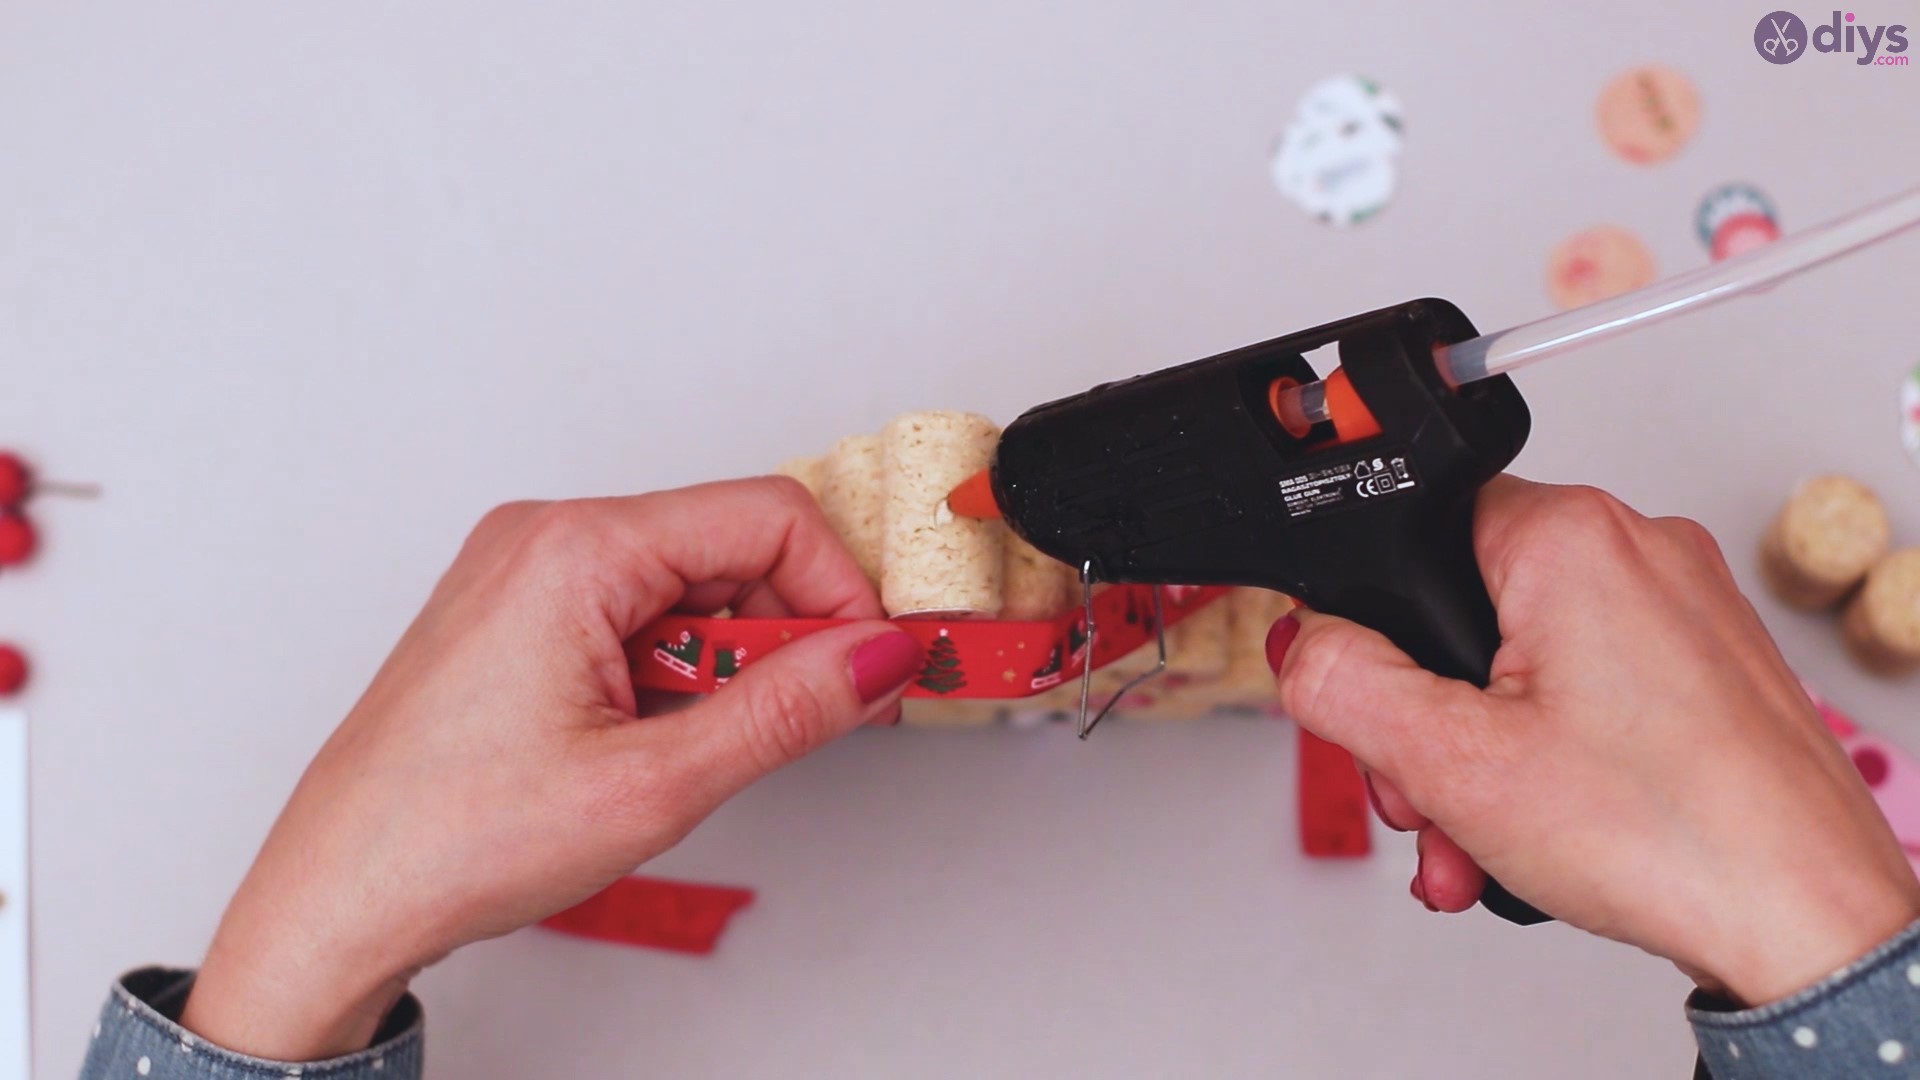
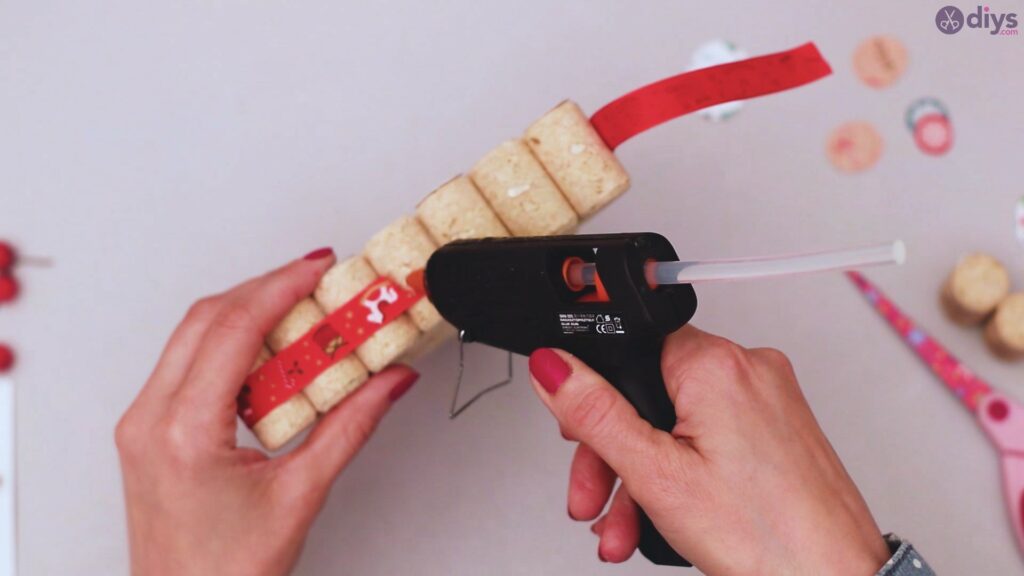
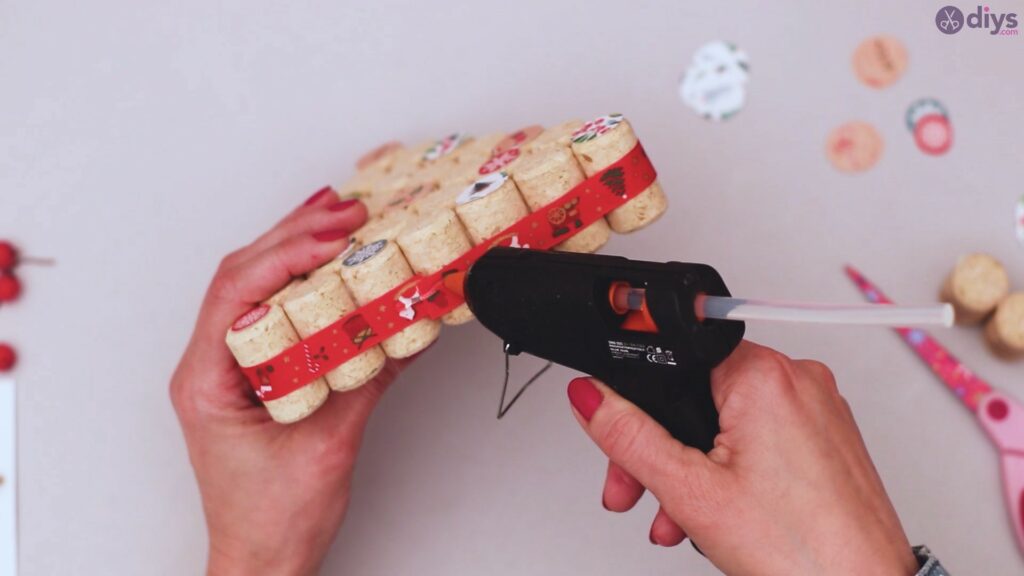
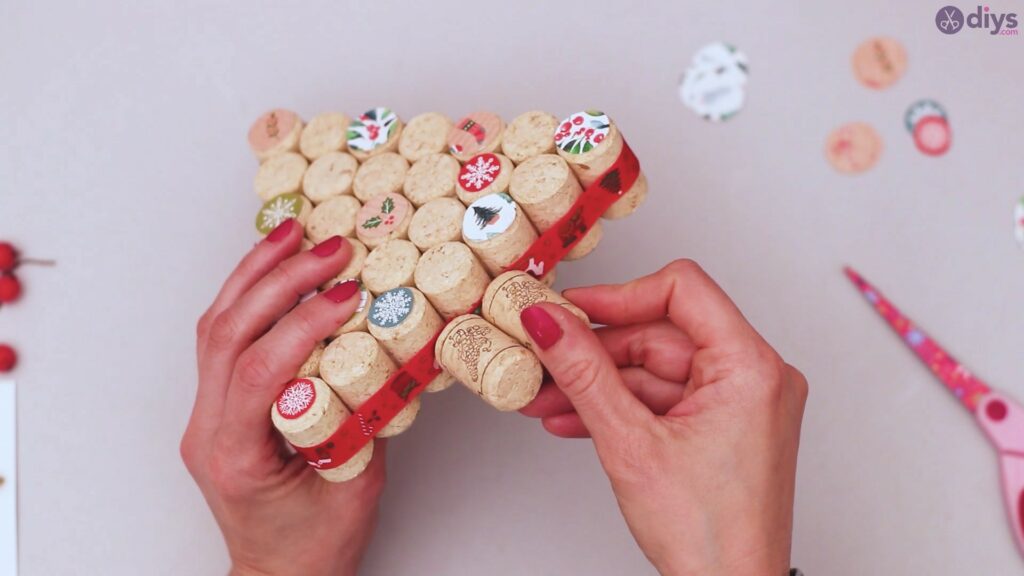
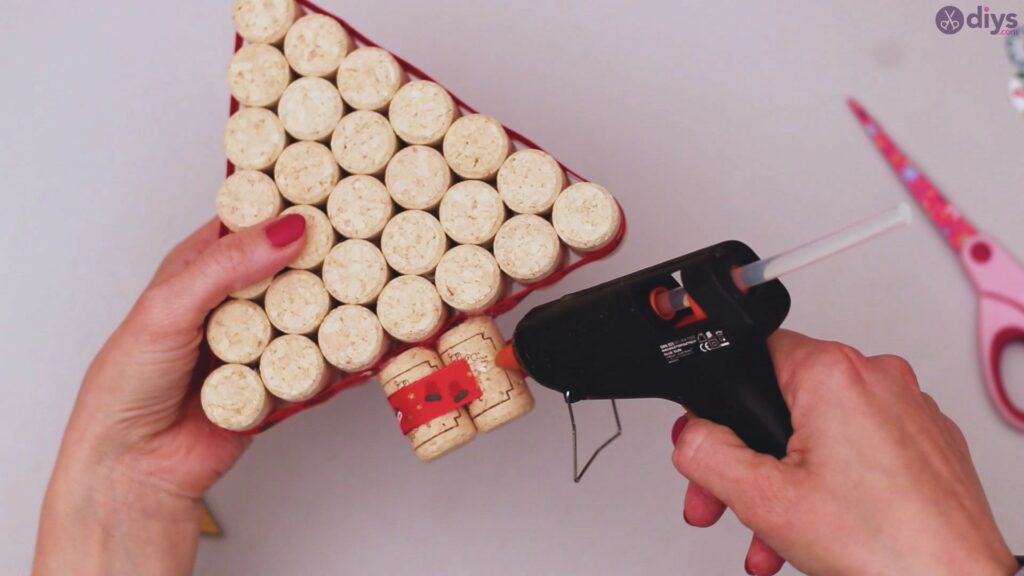
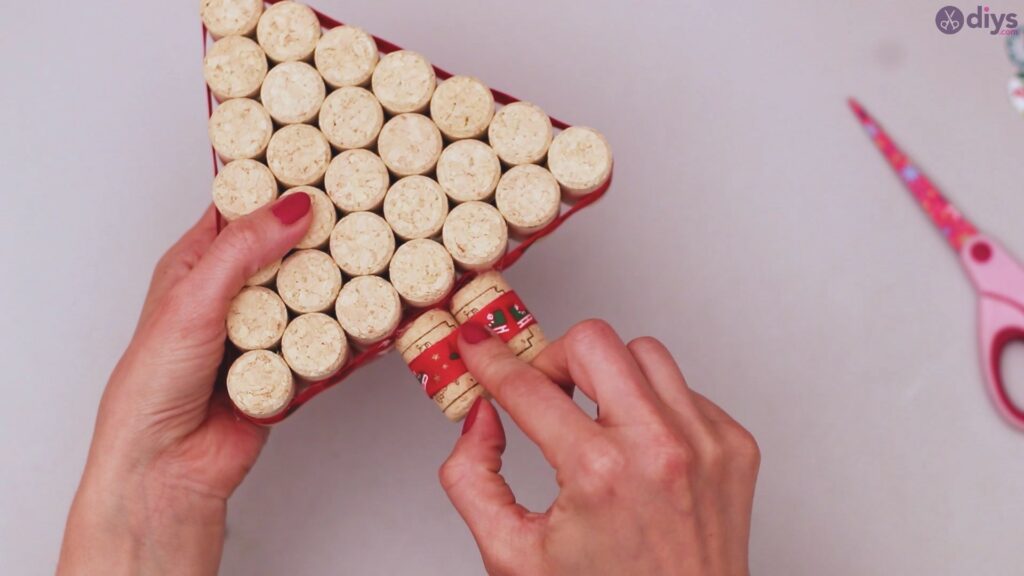
Turn the tree upside down and use the glue gun to finish adding the silk ribbon. Once you’ve glued in one of the ends of the ribbon, make sure you add a little bit of glue on top of the very end.
Get the other end of the ribbon and neatly place it over the glue dots. Make sure the ends of the ribbon neatly overlap.
Add more glue over the ribbon at the base and quickly move on to the next step.
Step 9: Glue the base of the tree
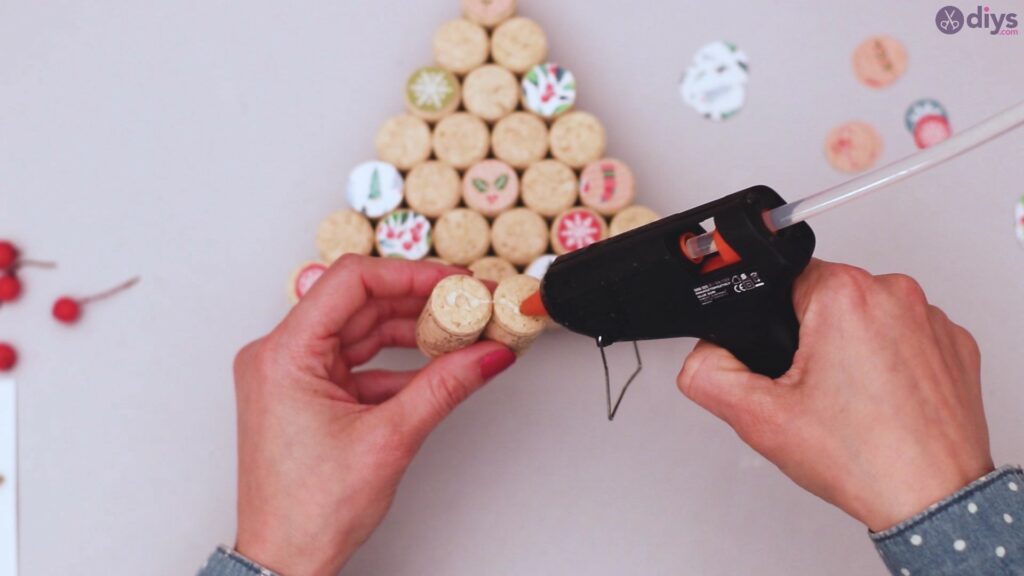
Every tree has a base and ours will have one too! Take the two wine corks we glued together earlier and add some hot glue to the top of the corks. Make sure you lather in quite a bit of glue to make sure it sticks to the base. Press the corks to the first layer of the tree. Please make sure that the base of the tree is as centered as possible as you won’t want it to wobble.
Press the corks to the base gently and keep them pressed for a few seconds to make sure the glue is set.
Step 10: Decorate the tree with artificial berries
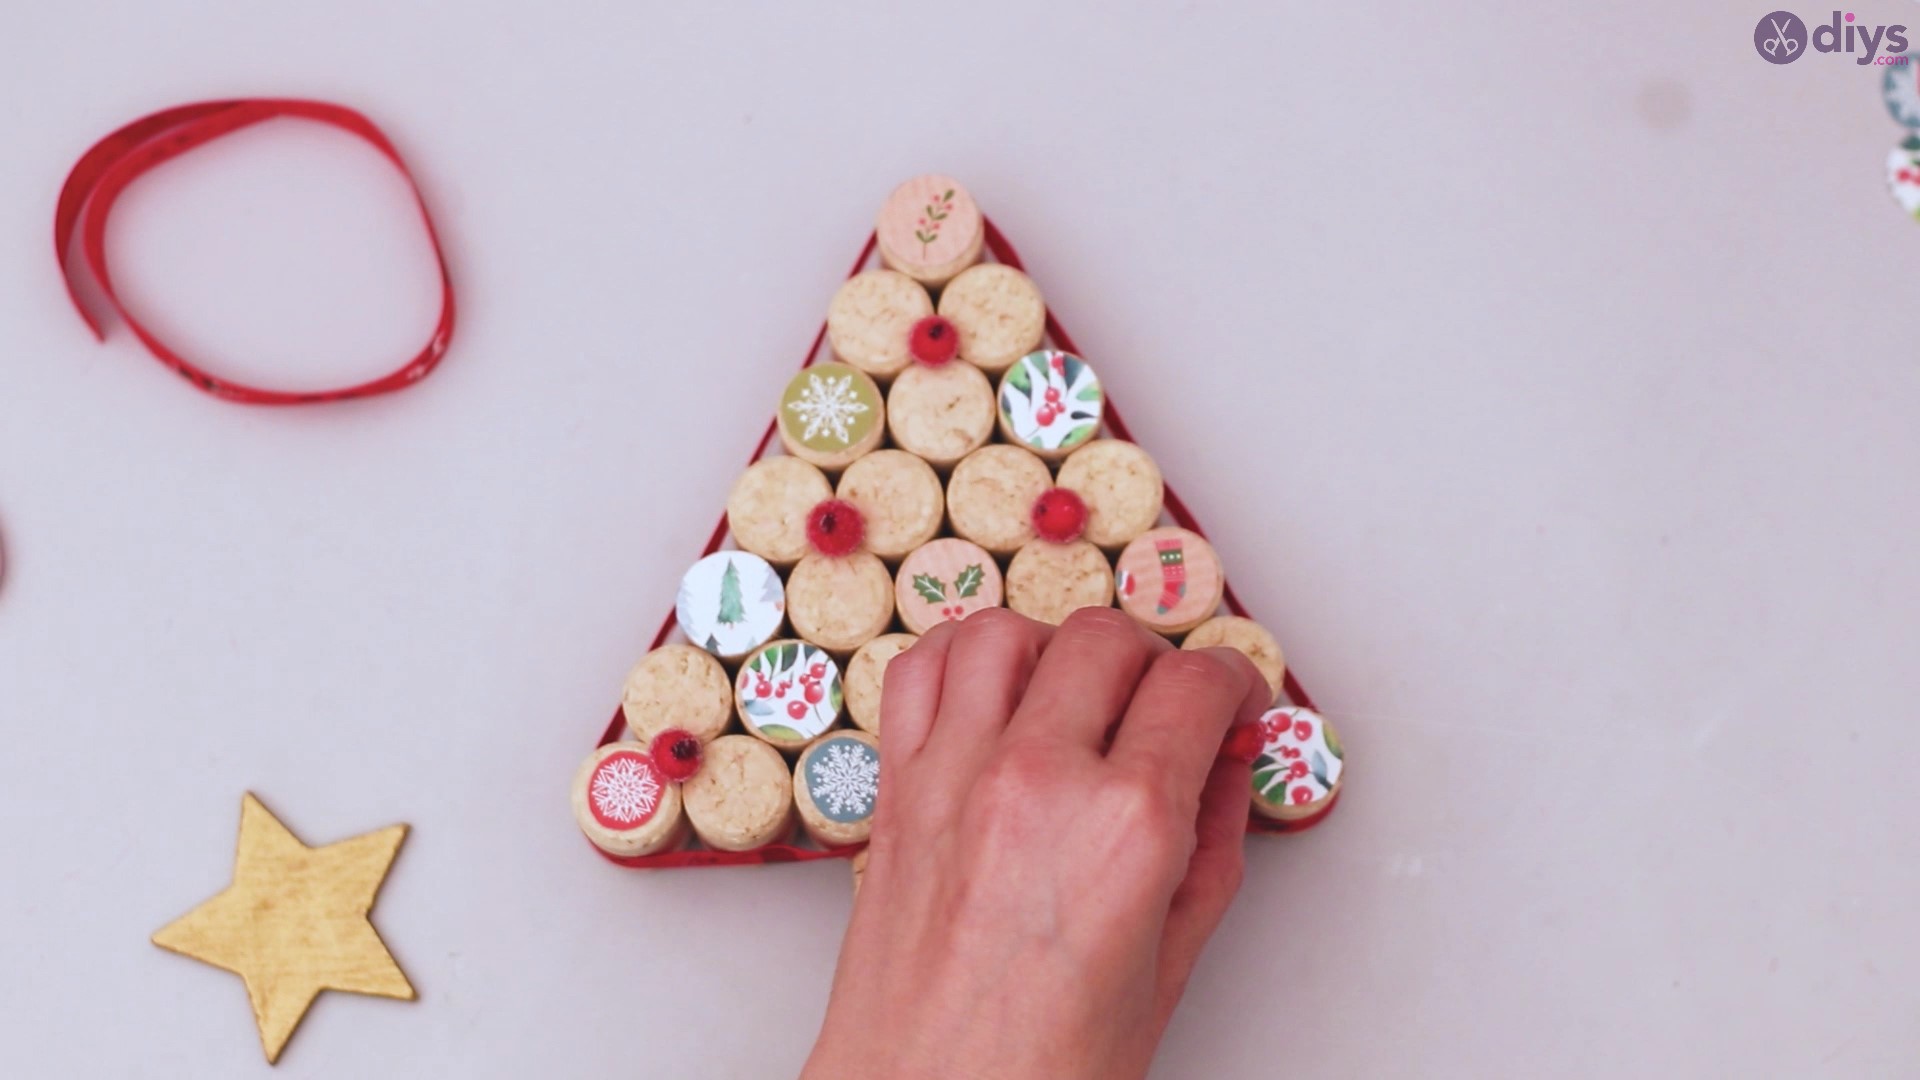
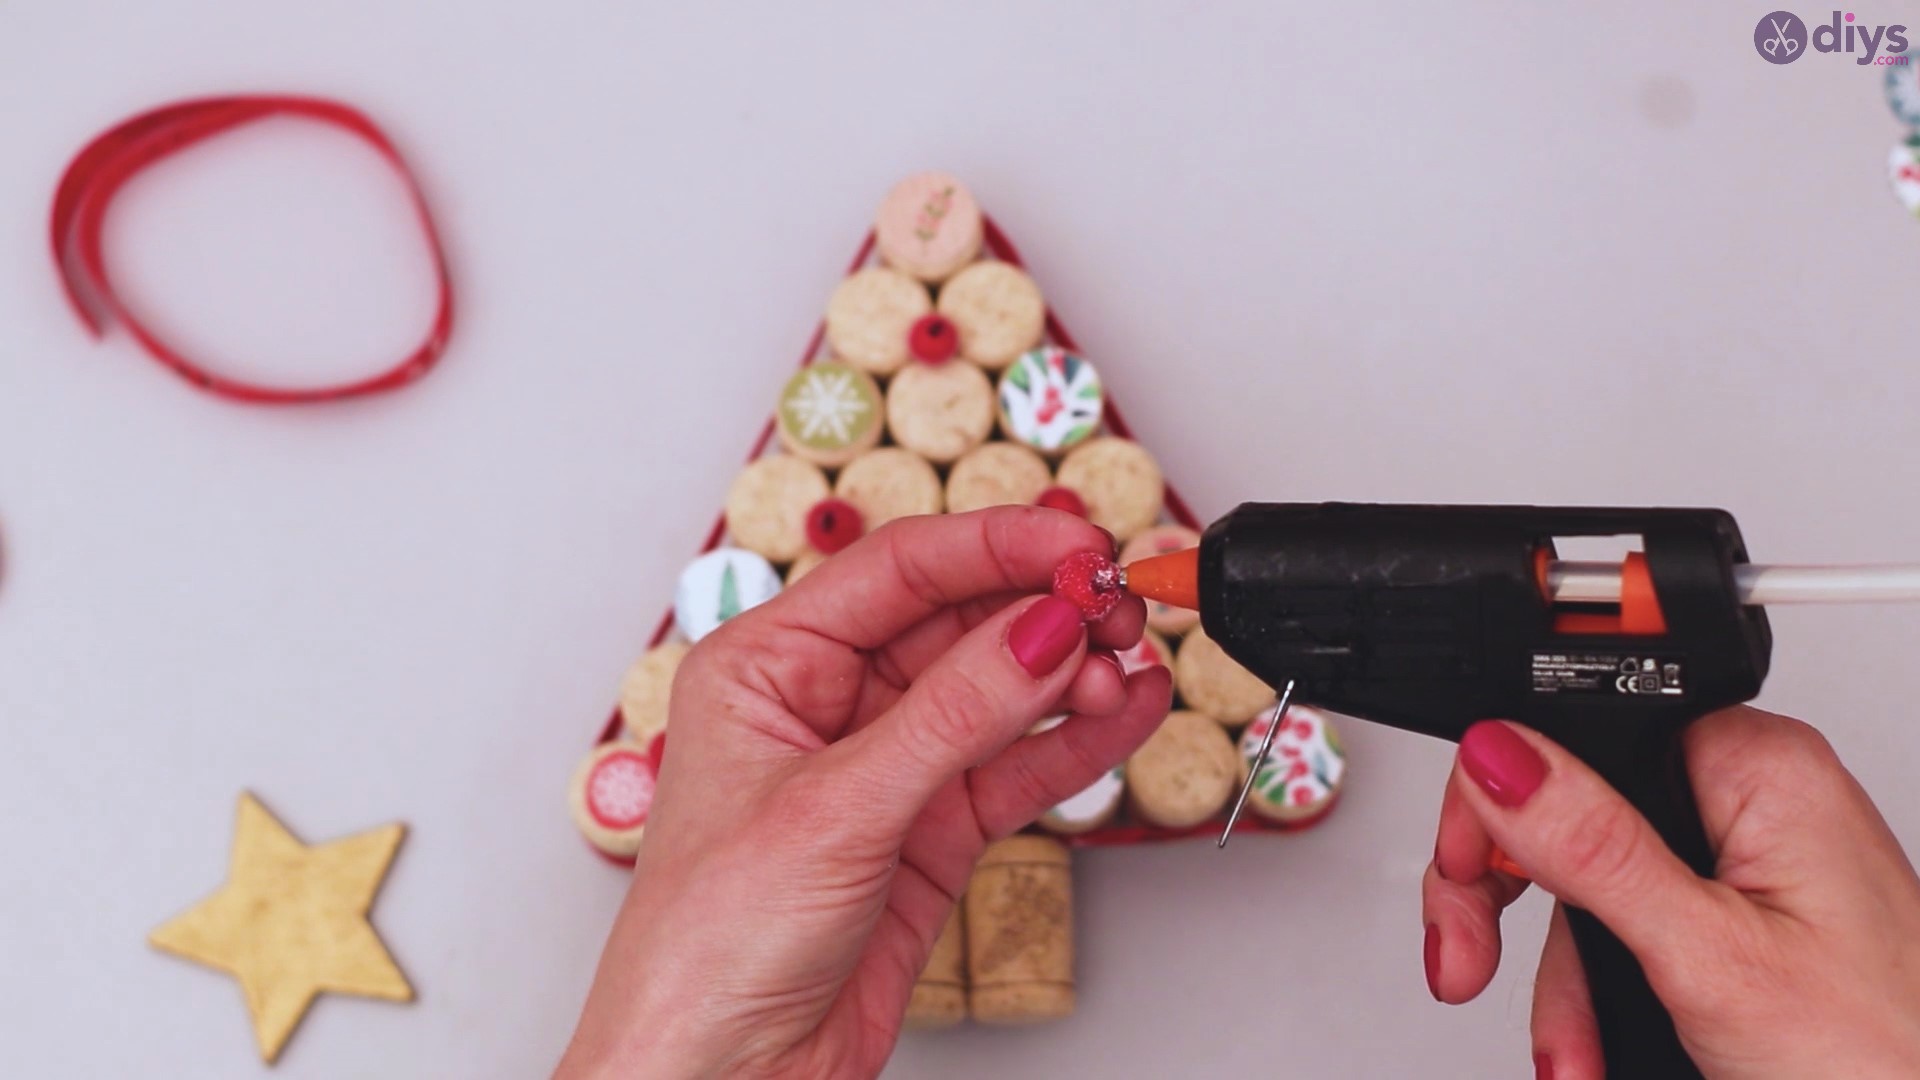
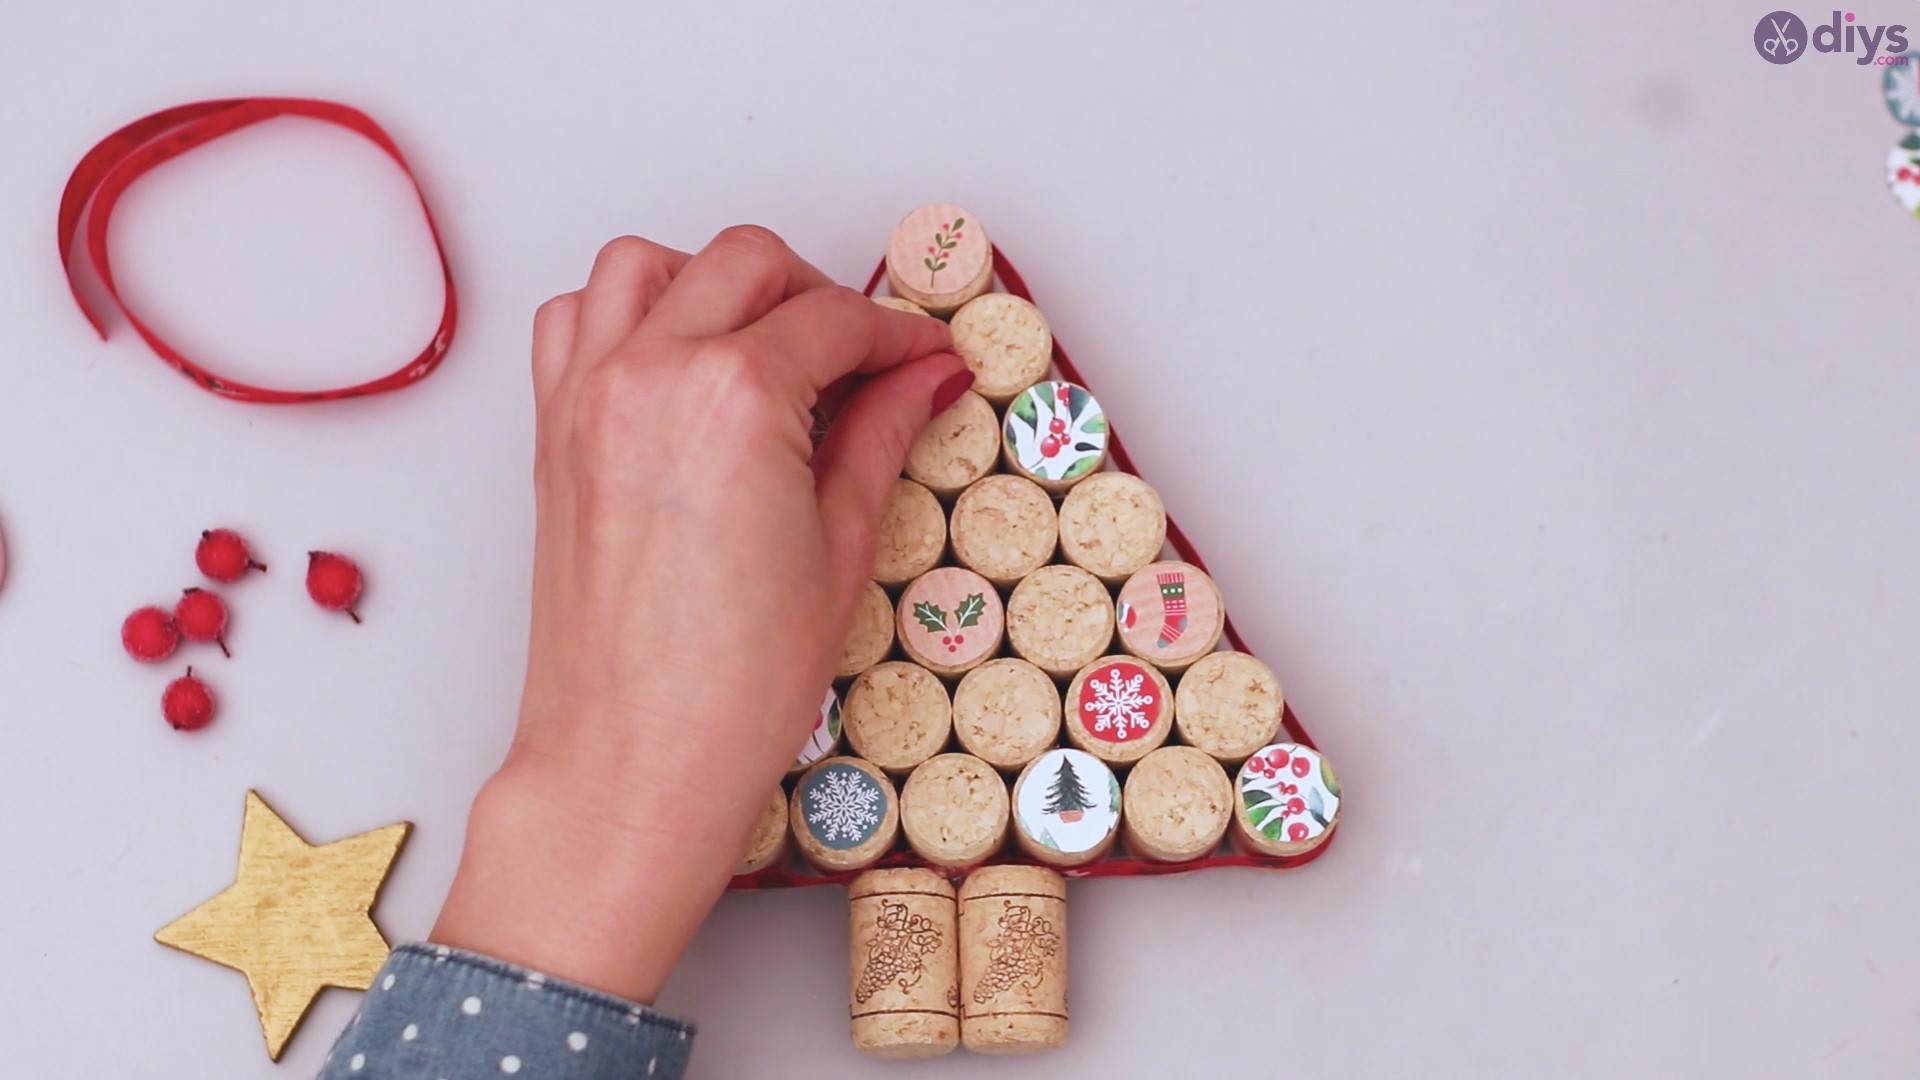
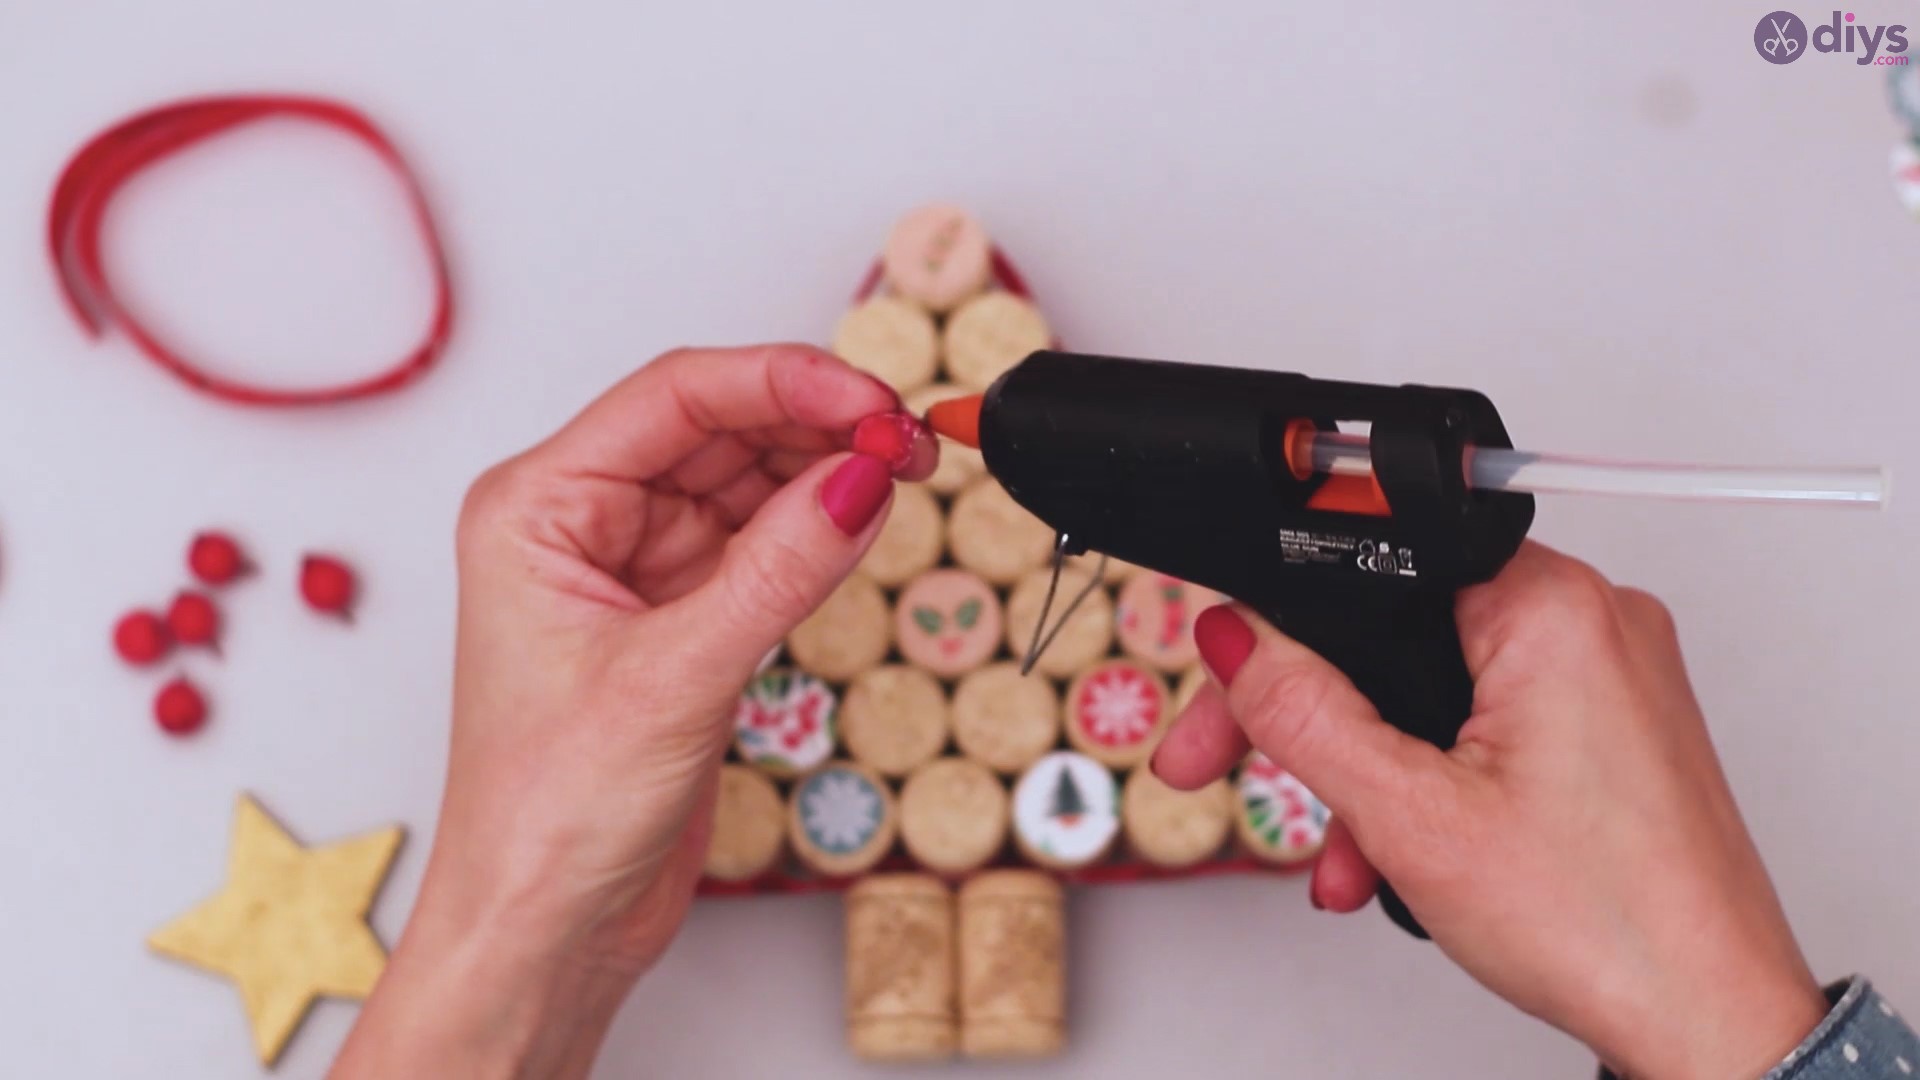
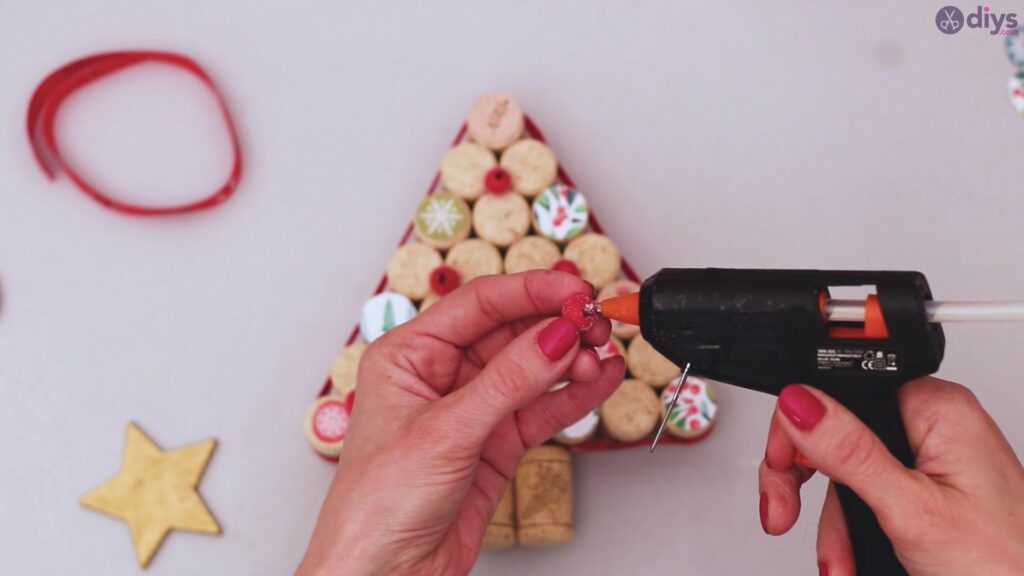
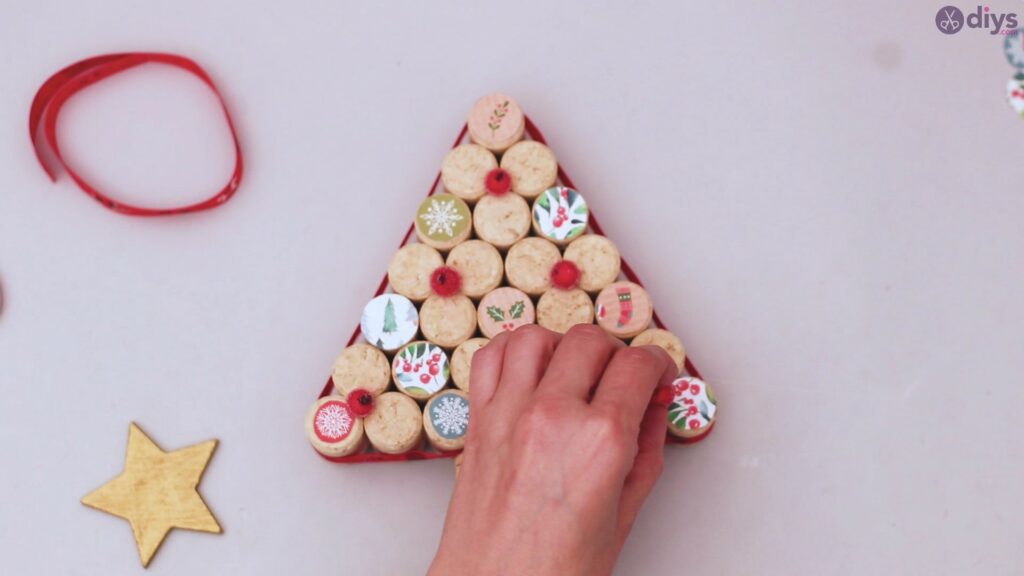
Make sure you cut off the stems to the berries and pick them one by one, add a bit of hot glue to them, and stick them to the tree. We chose to cover a few of the junction points to “hide” a bit the area between the corks.
Keep adding the artificial berries as you go. You could also use small colored pompons if you can’t find artificial berries.
Step 11: Decorate the base of the tree
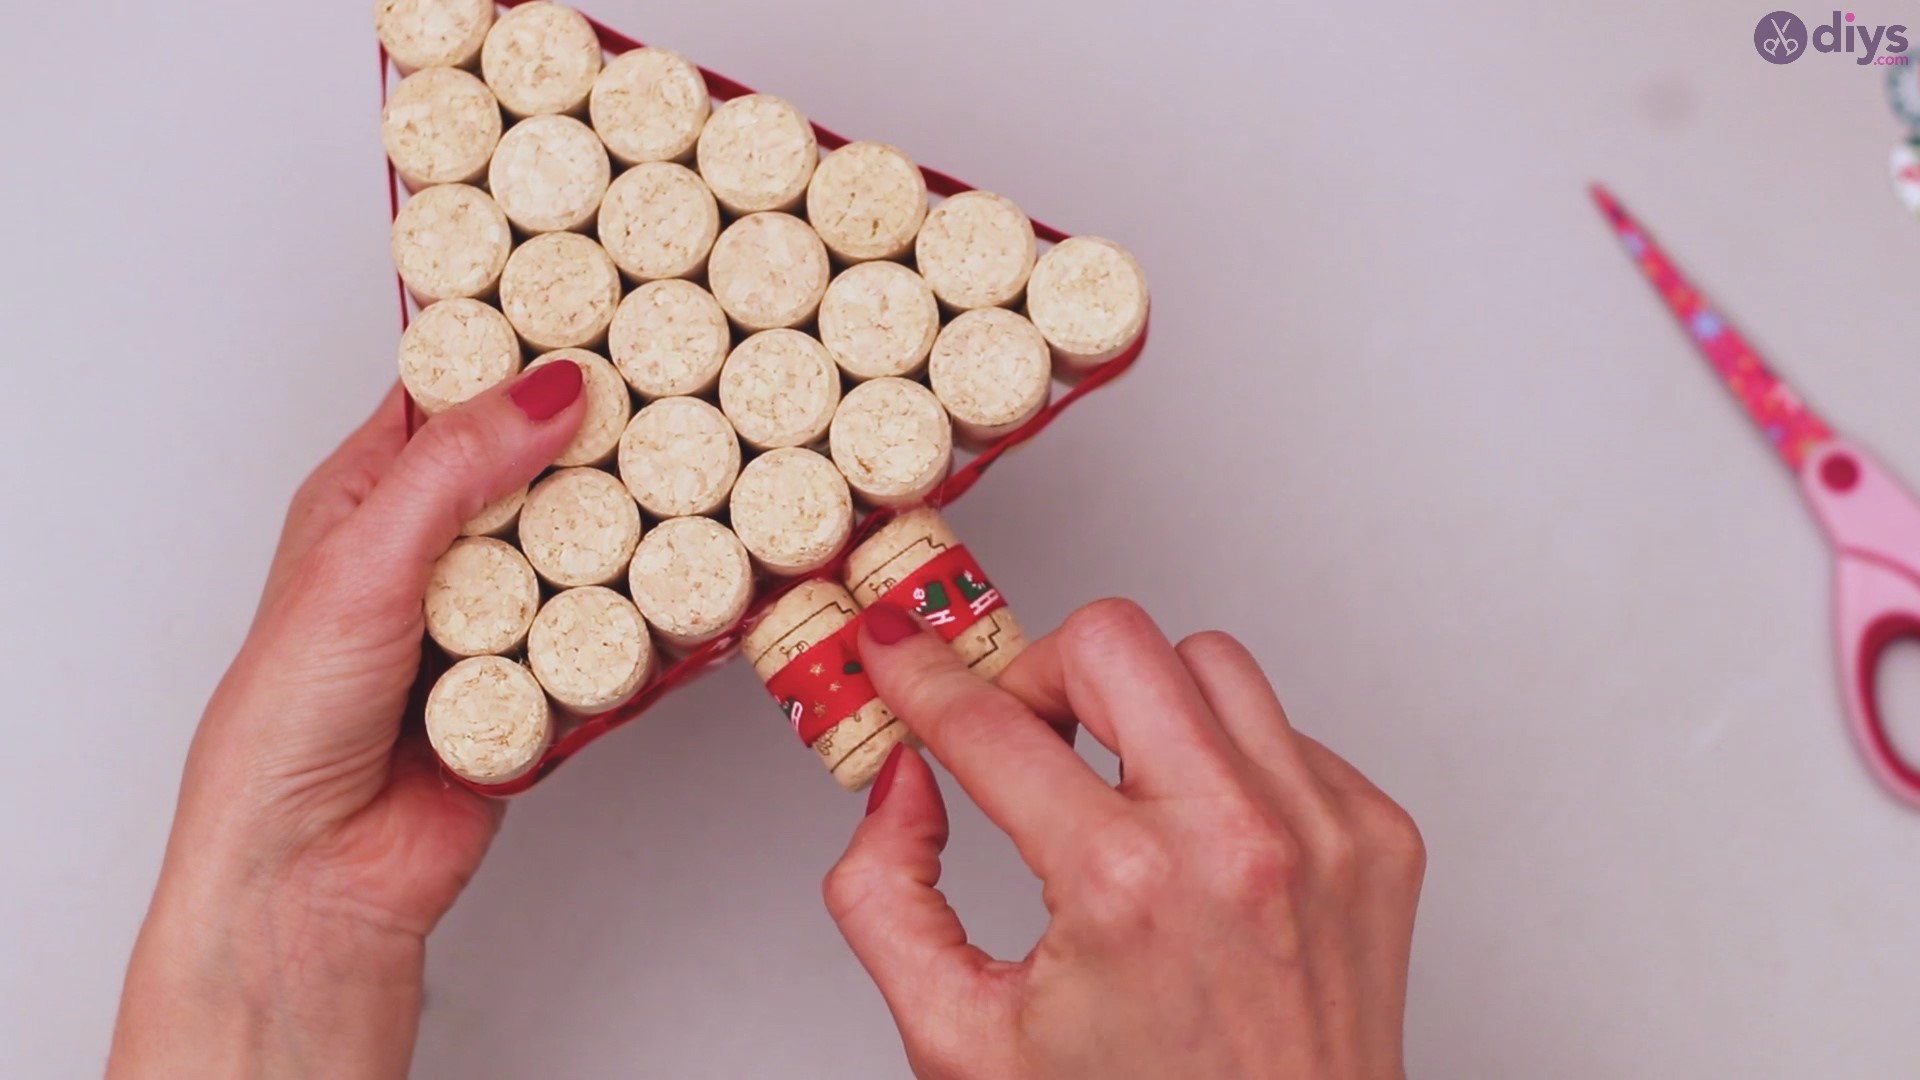
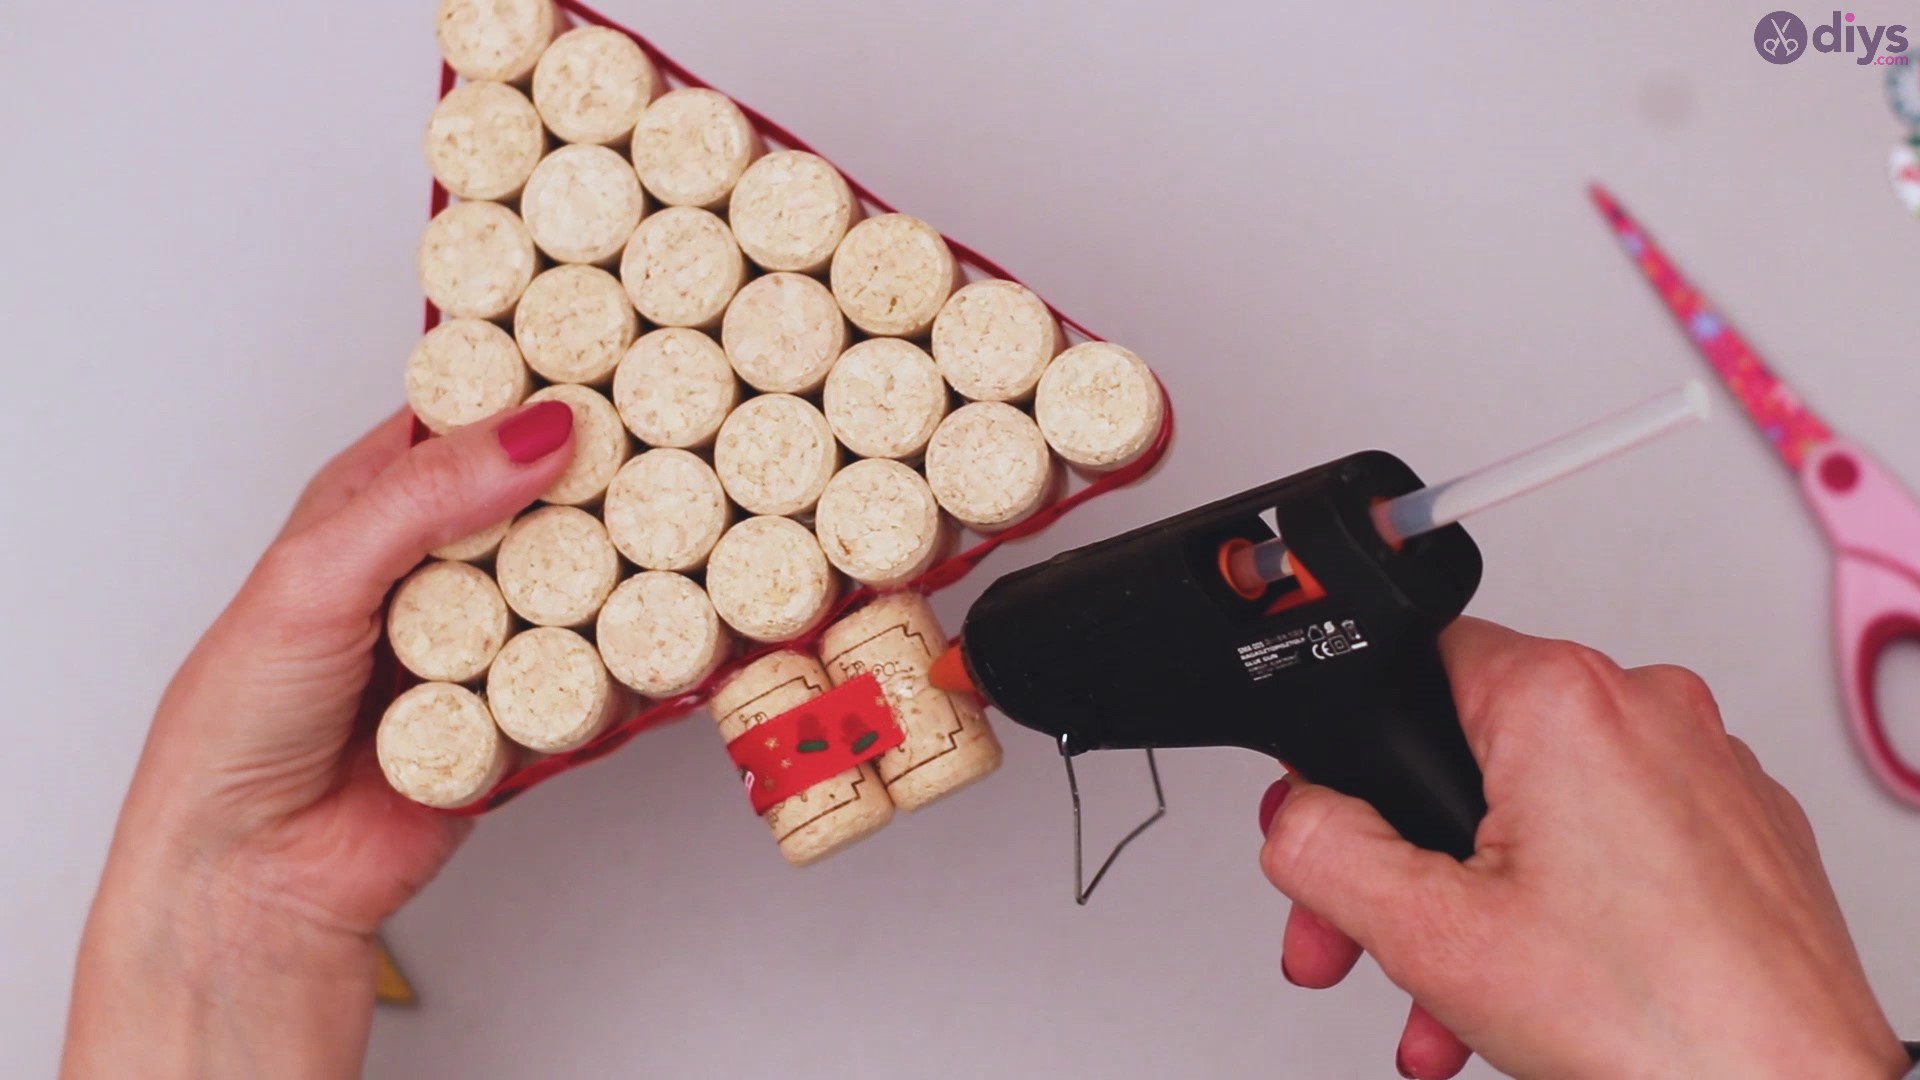
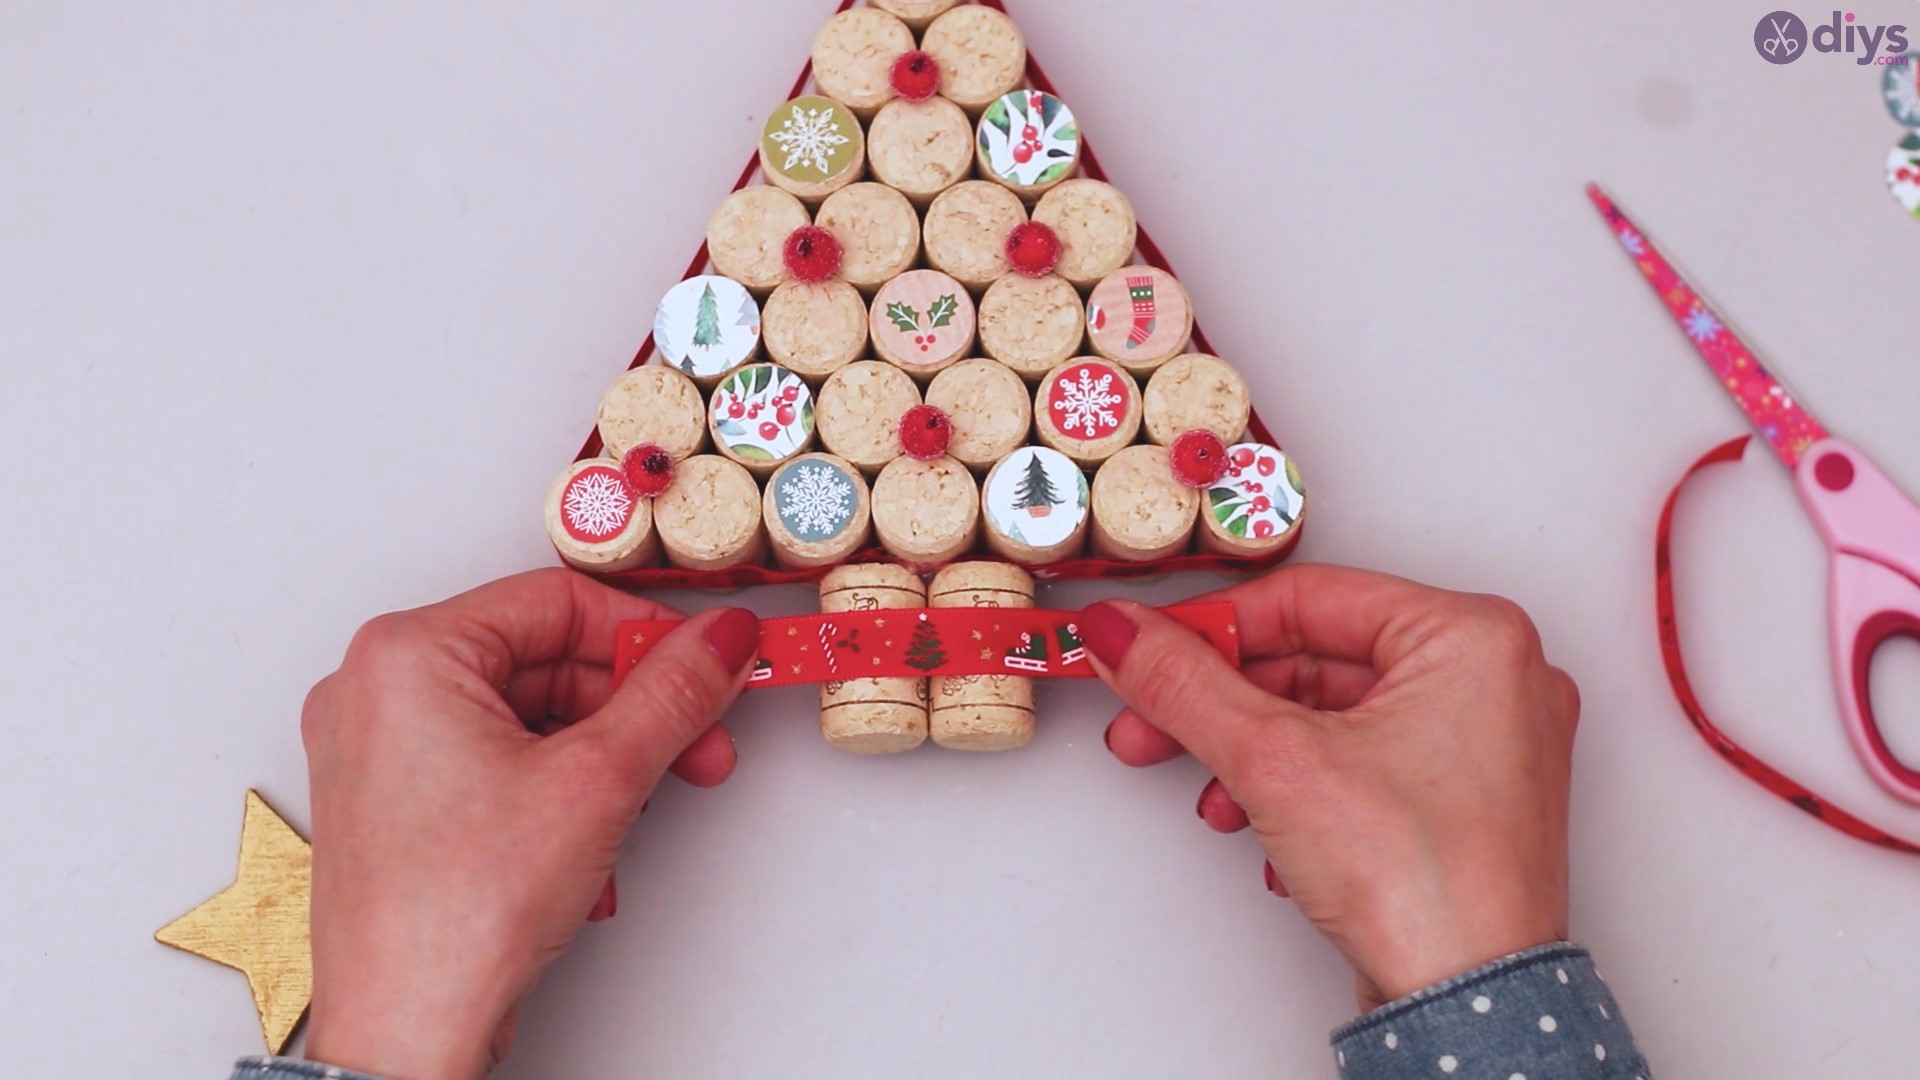
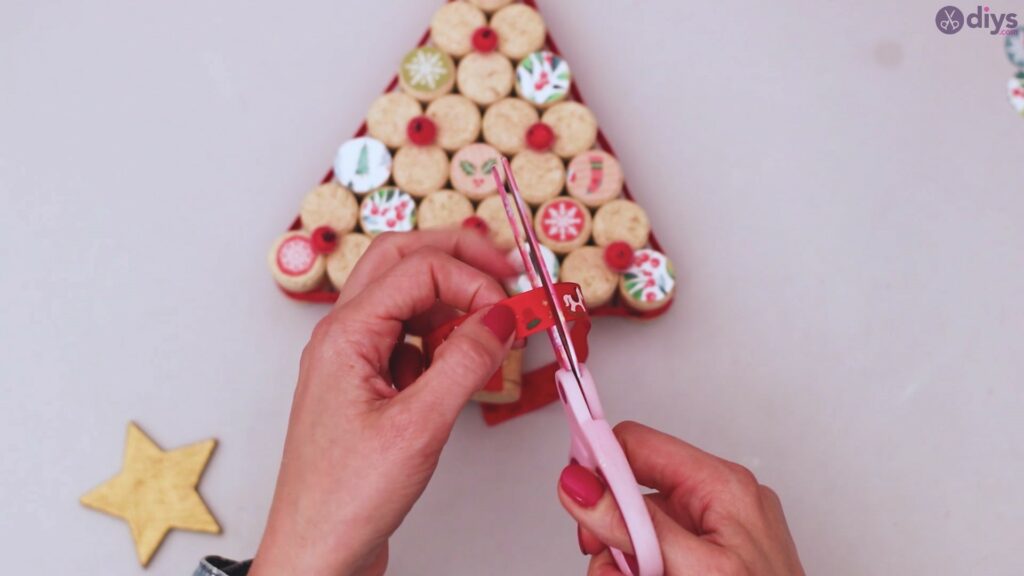
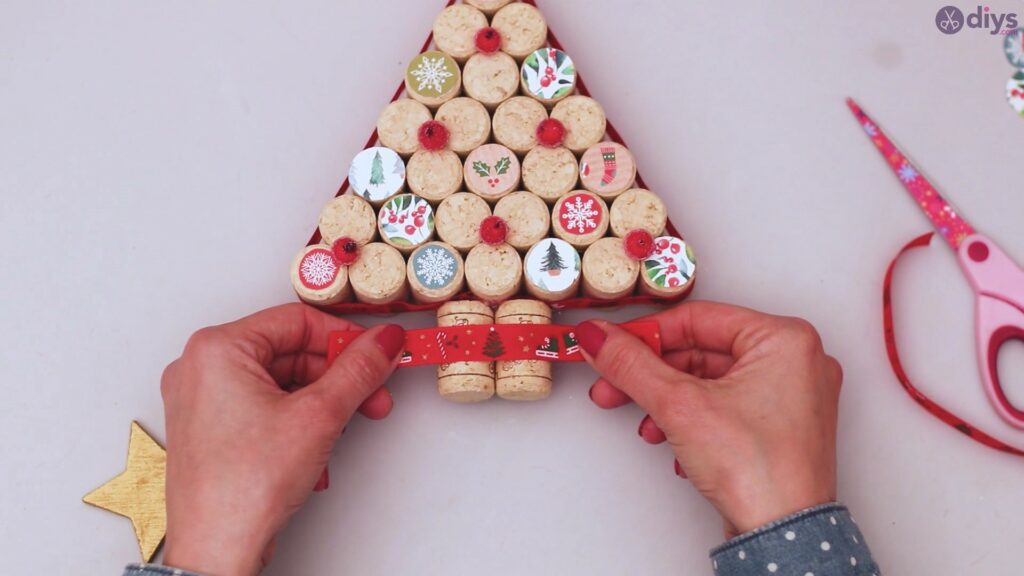
Cut out some of the extra silk ribbon you have left and glue it to the base of the tree. We chose to add it right on the middle of the corks, but you can go whatever creative way you see fit. We think it looks quite nicely centered like this.
Much like you did with the ribbon encircling the wine cork Christmas tree, make sure you add some hot glue over the first end of the ribbon so you can overlap them.
Step 12: Add the golden star
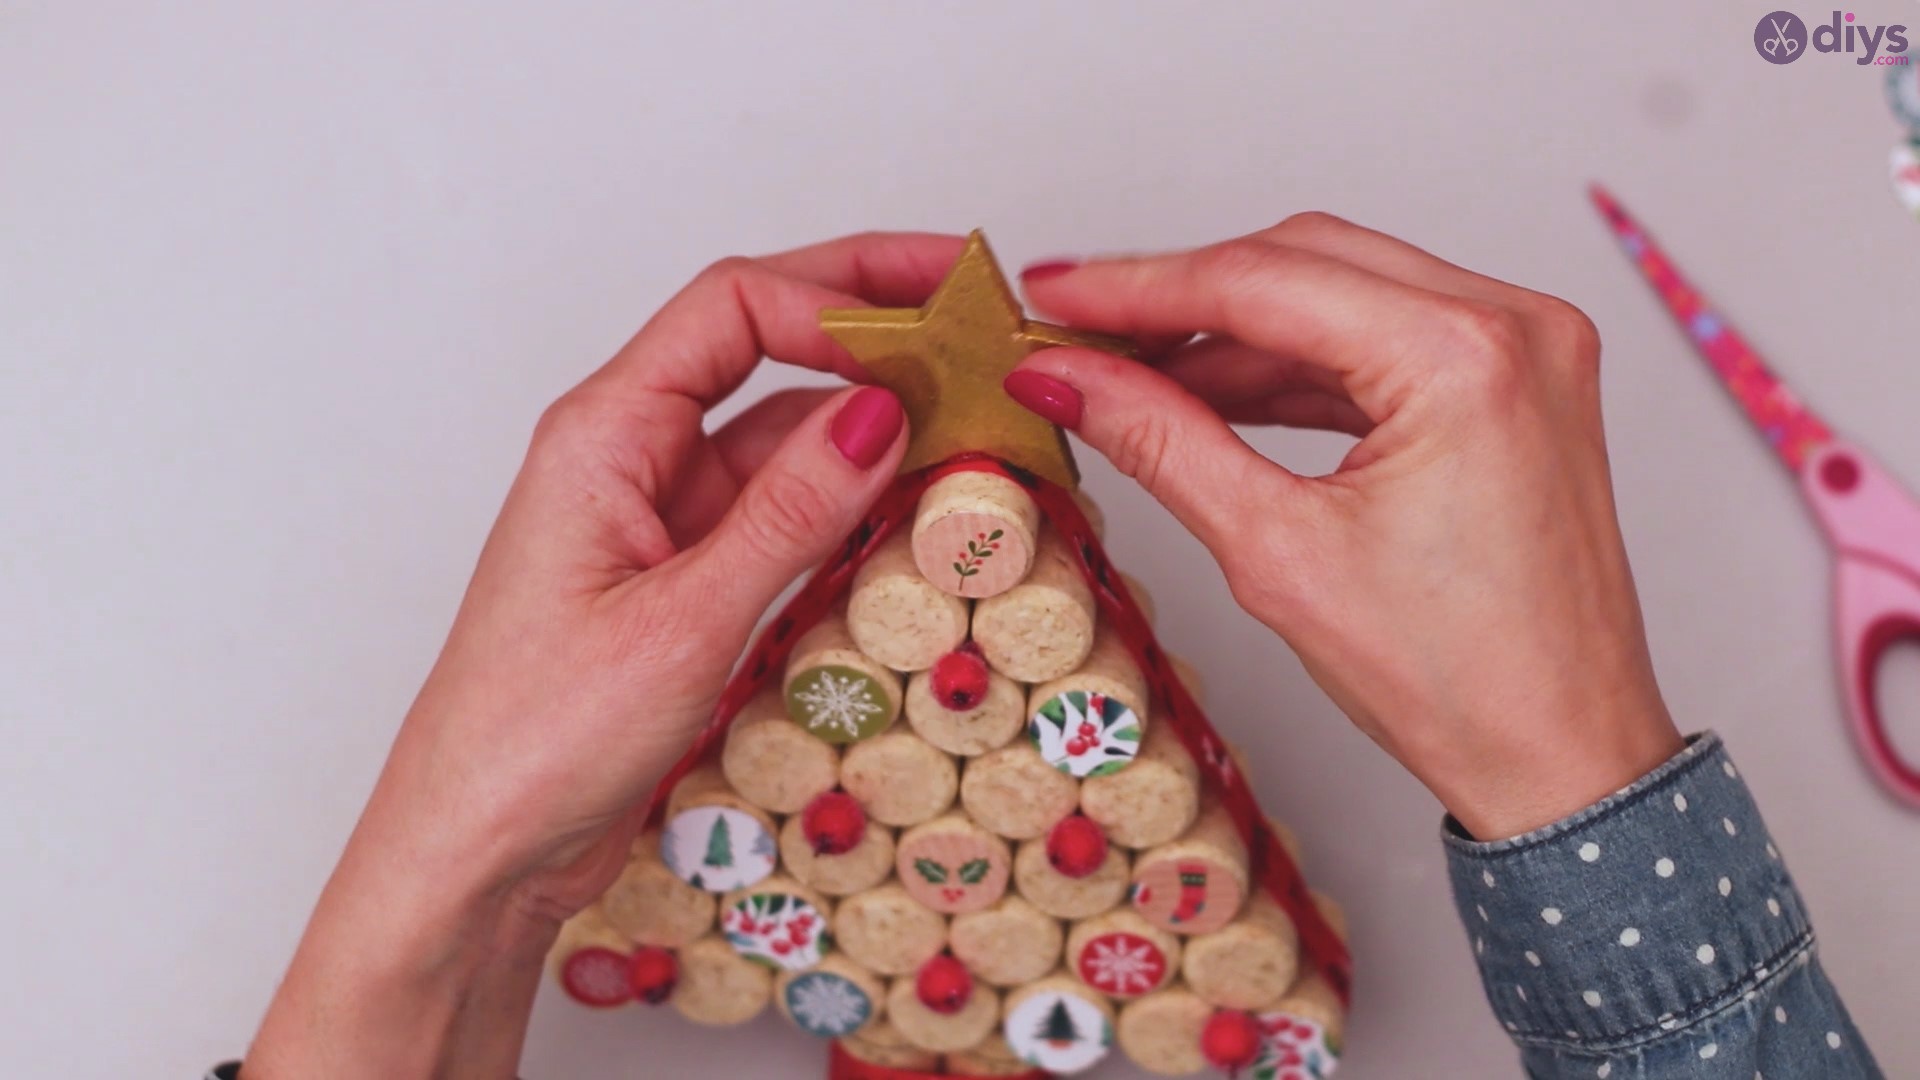
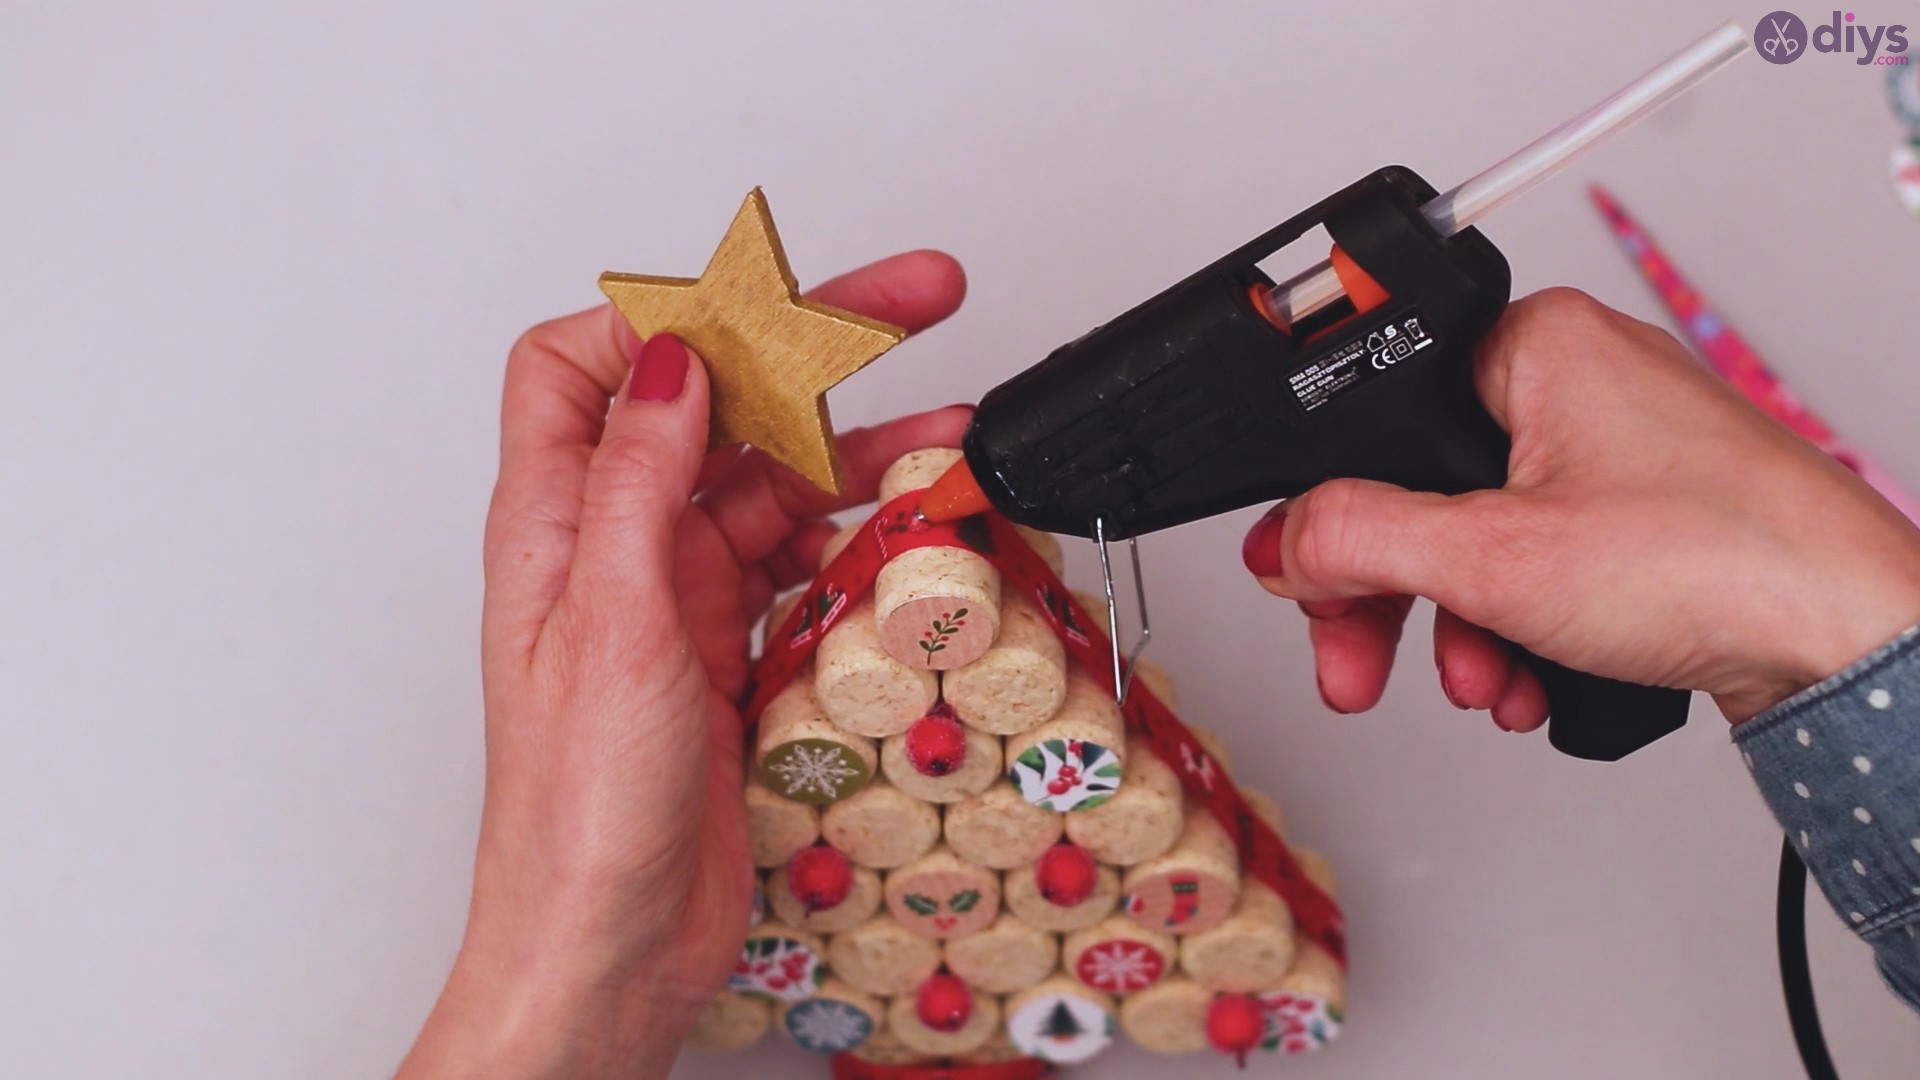
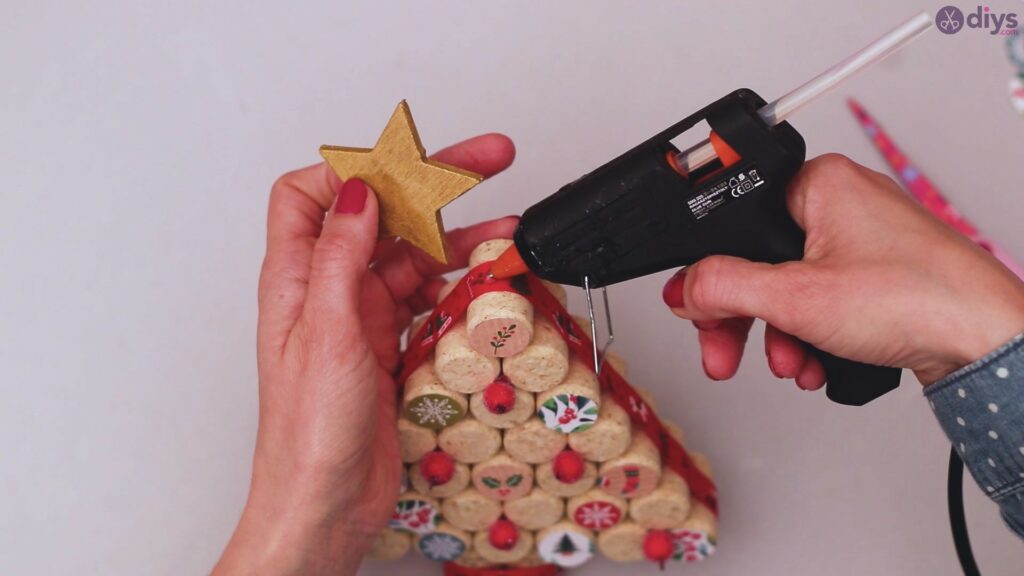
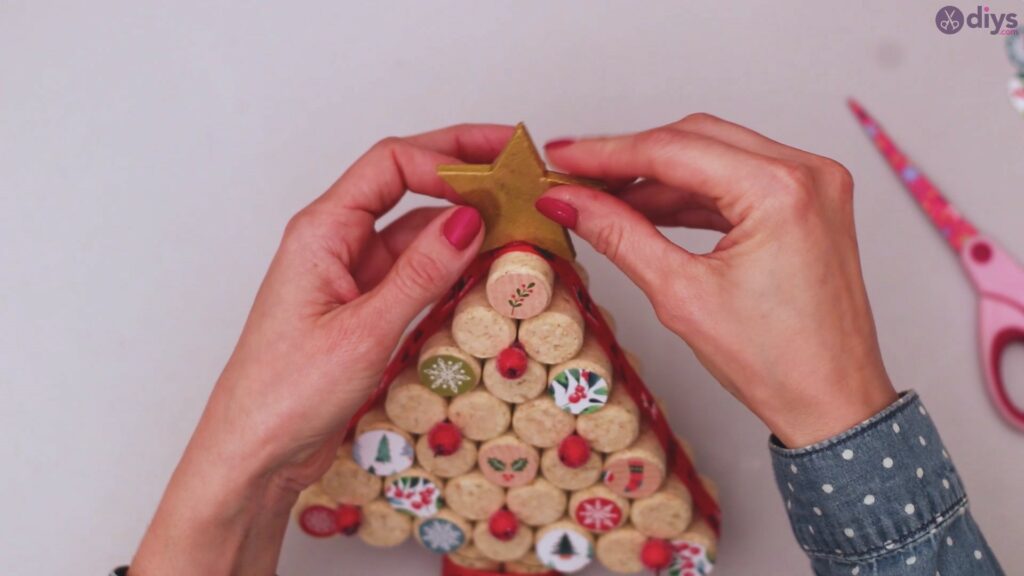
Now that the gold star is finally dry, it’s time to add it to the wine cork tree. Get your glue gun again and add some glue to the top of the tree. Make sure you add some over the whole center of the top cork so the star sticks better and is more stable.
Fix the star neatly on the top. Make sure it’s straight and keep it pressed for a few seconds until the glue sets.
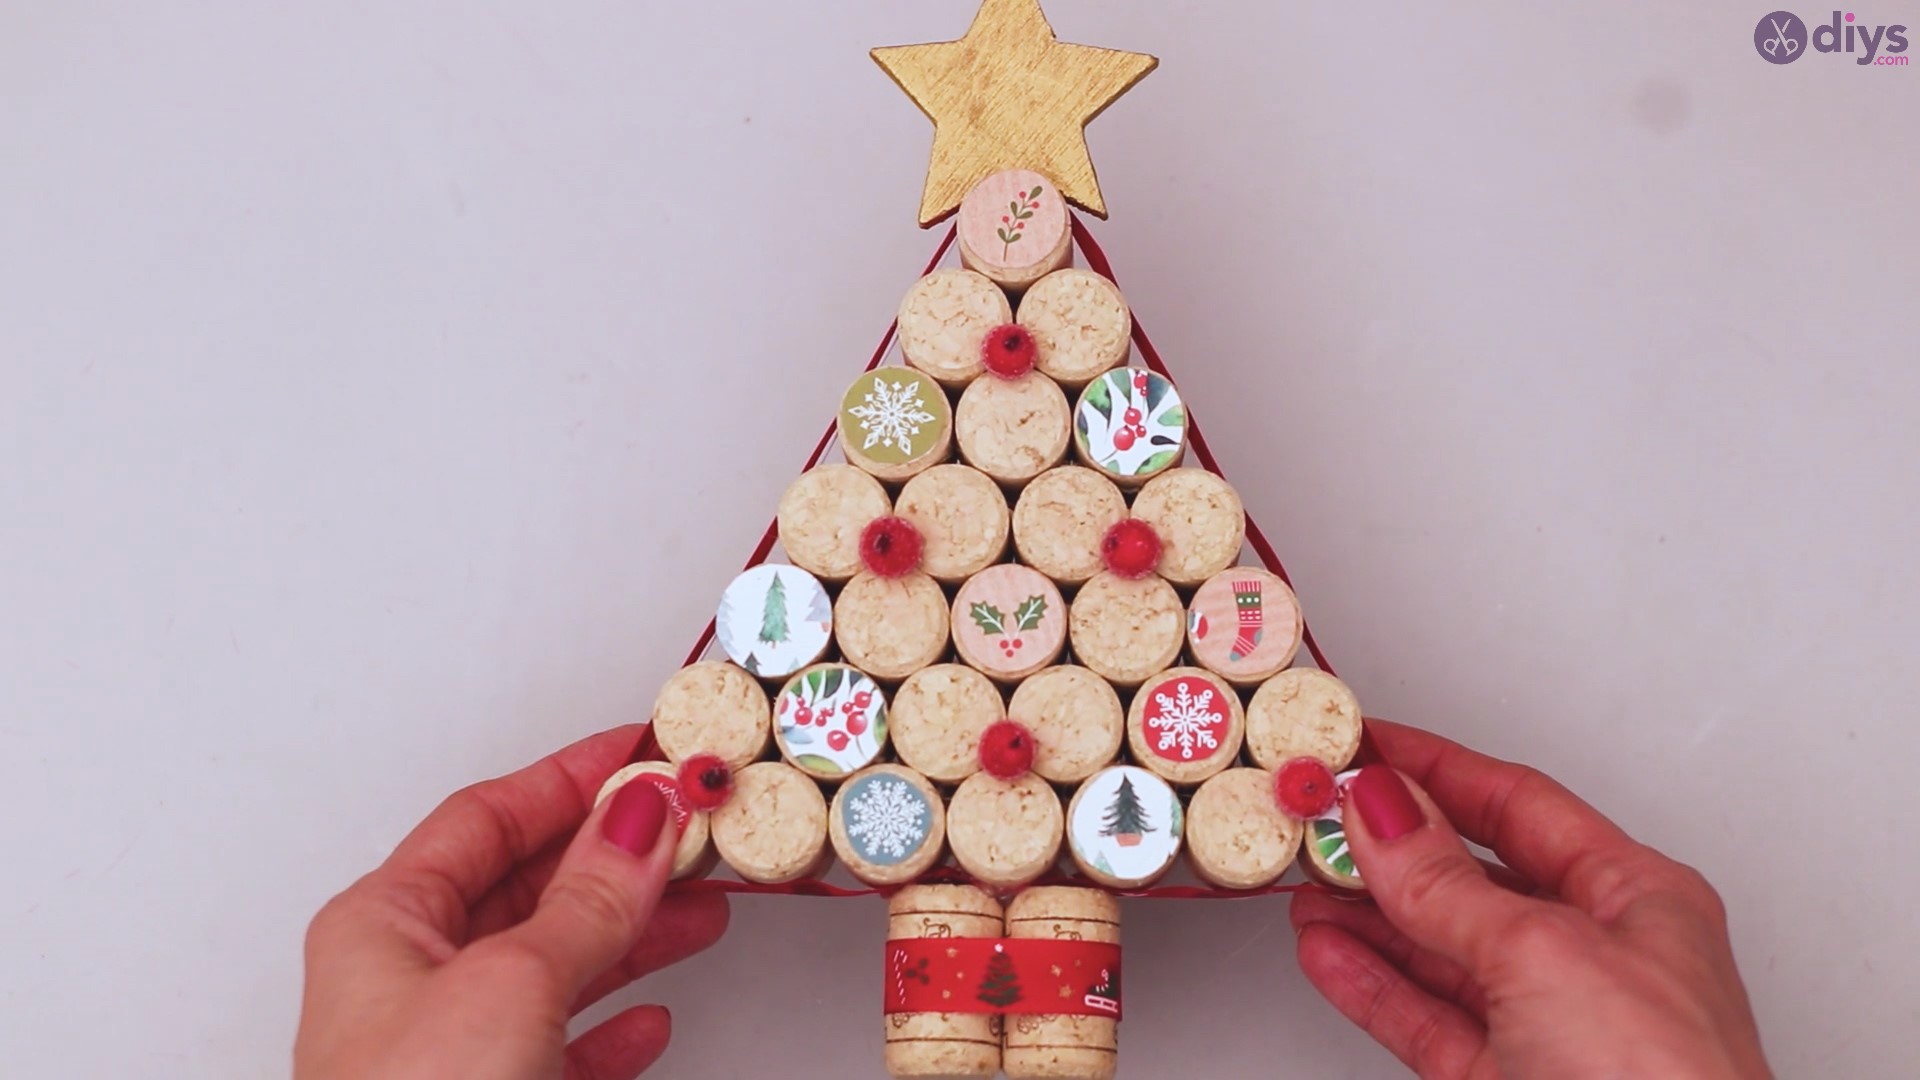
You’re done! Here’s our finished product! It looks so festive and we’re sure yours is just as nice.
This is a wonderful addition to any home and we’re sure it will look nice wherever you choose to place it. It will also make a thoughtful handmade gift to your friends and family, so if you have more corks, go ahead and make some more now that you know how! We absolutely love ours and we know it’s going to come out of the decorations box every year for a long time.
