DIY Wine Cork Candle Holder
Whether you need to add some last-minute table décor to your dinner party happening soon or you just want to give a unique gift, this DIY wine cork candle holder is a great way to incorporate your craftiness with plenty of charm. The best thing about this candle holder, aside from it being adorable, is that you probably have all the materials laying around the house already.
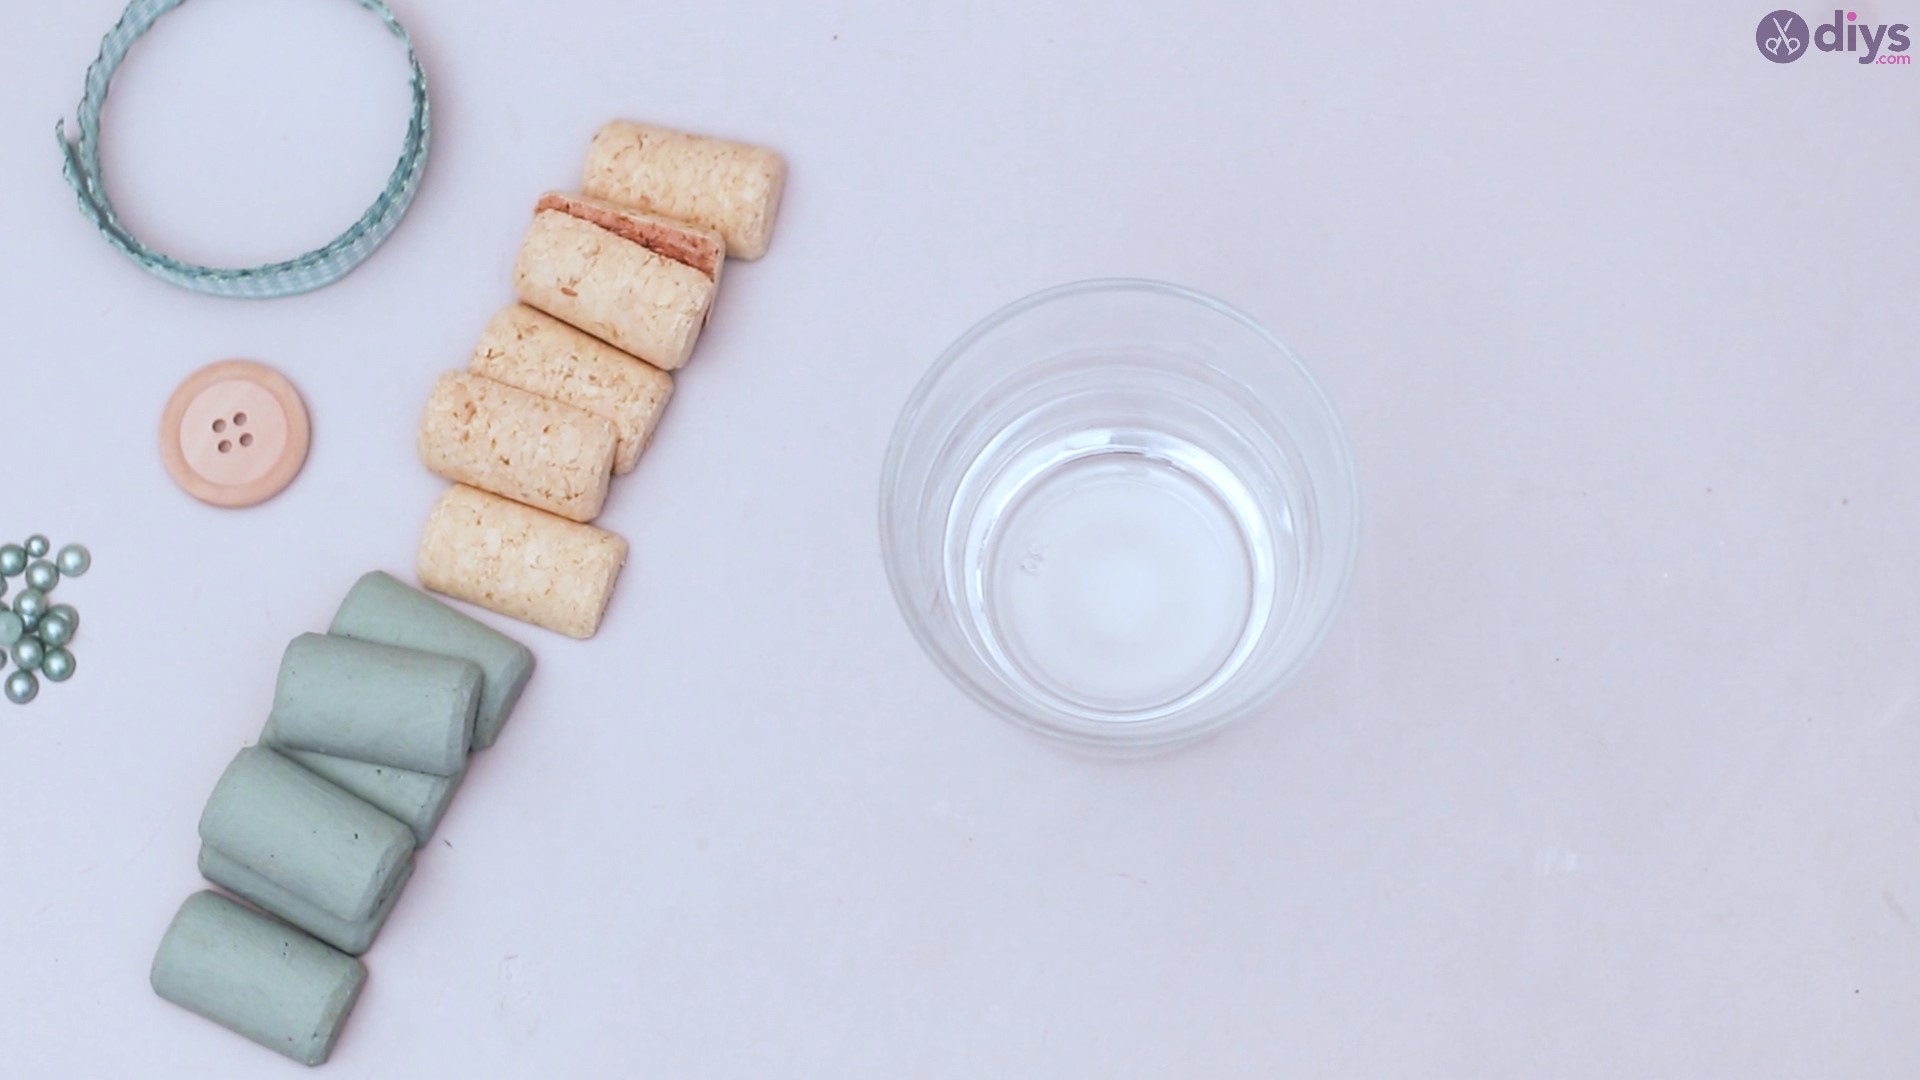
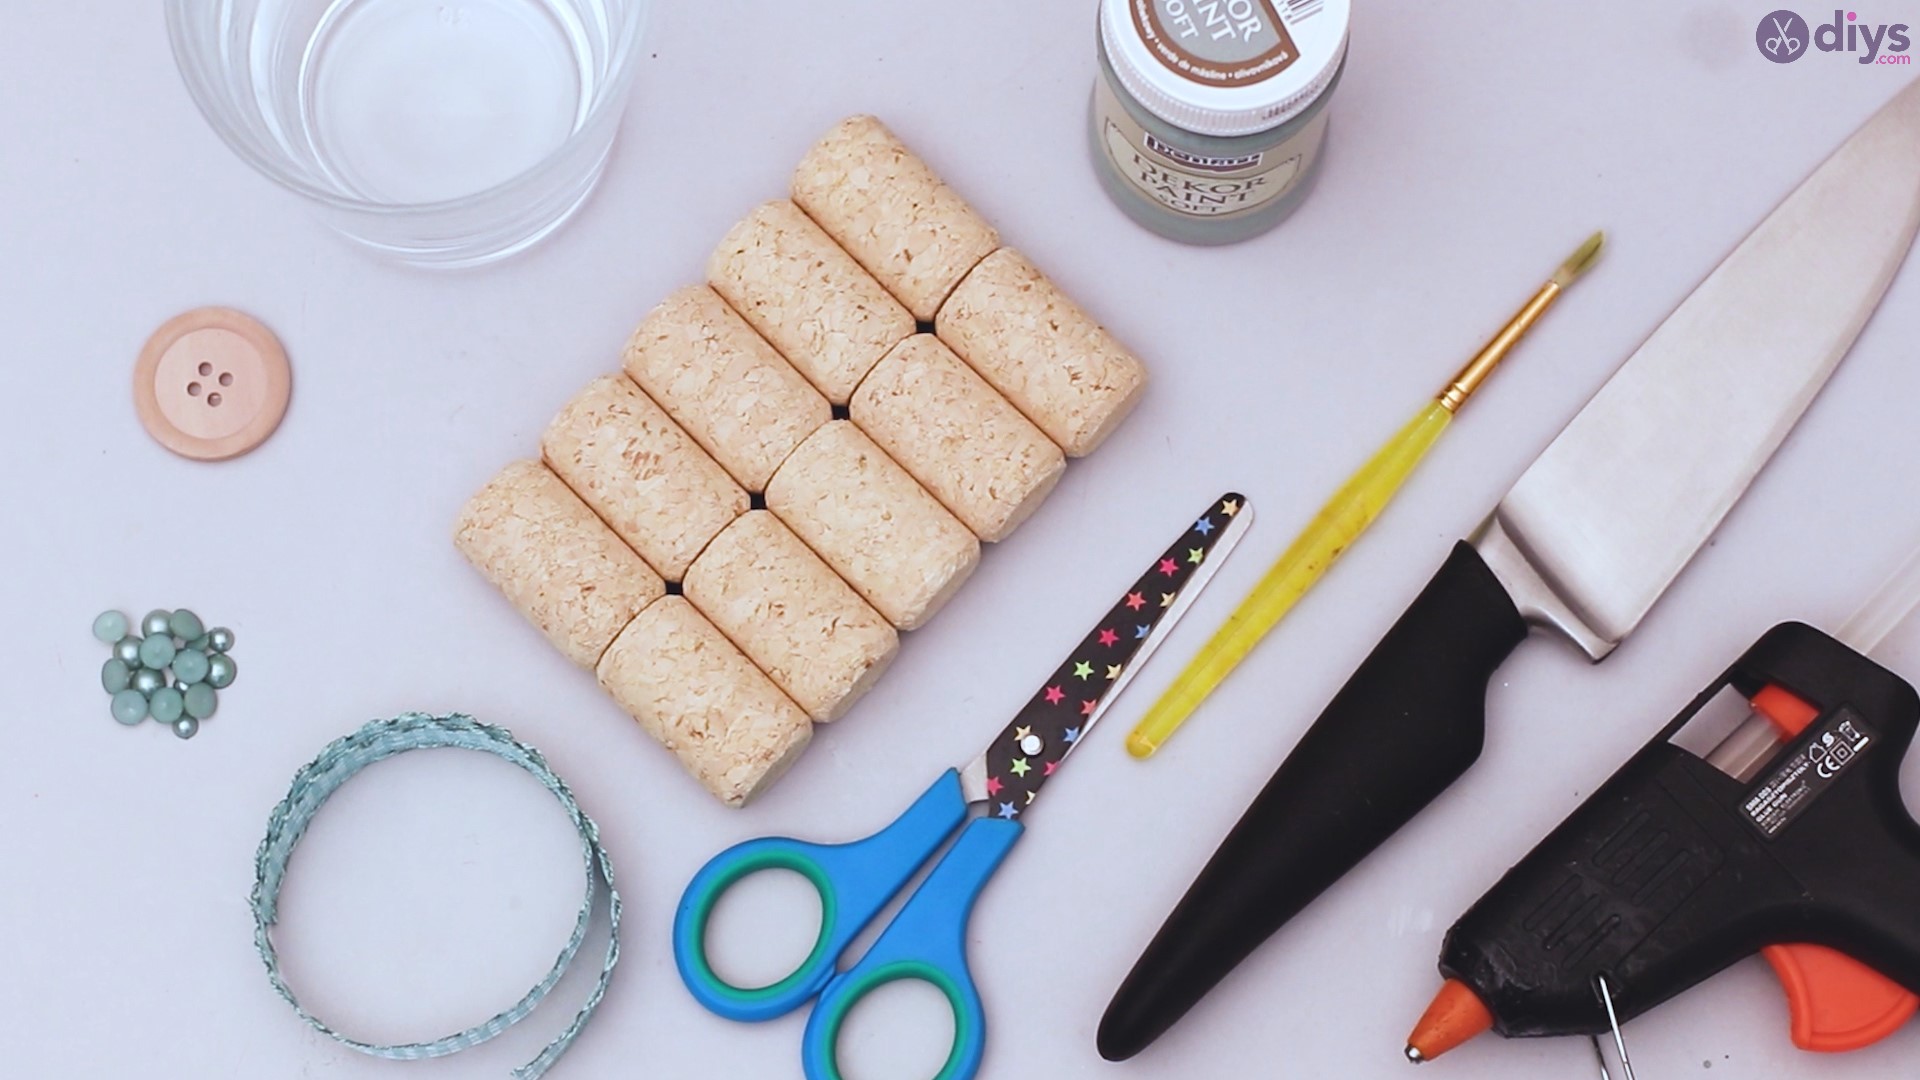
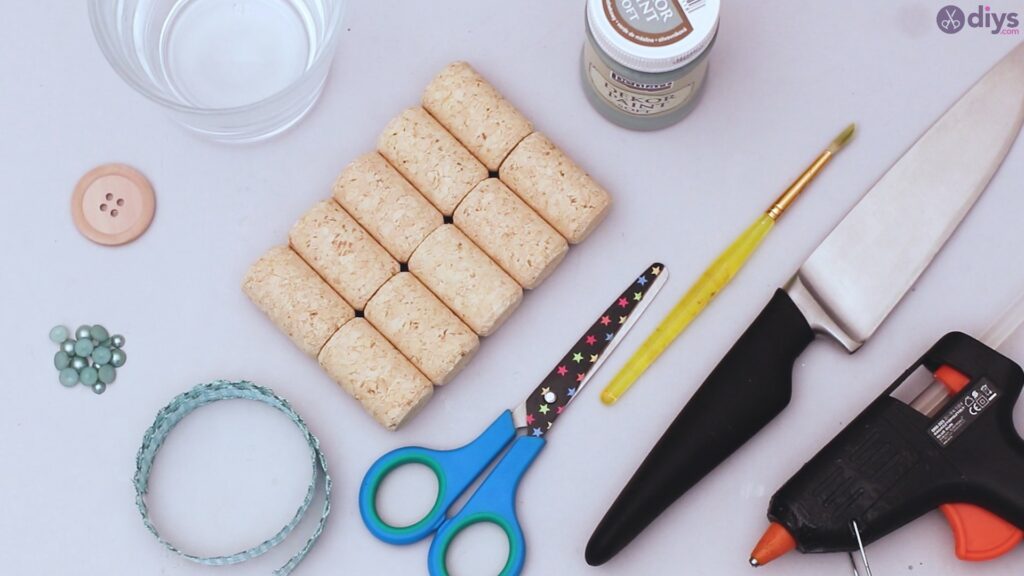
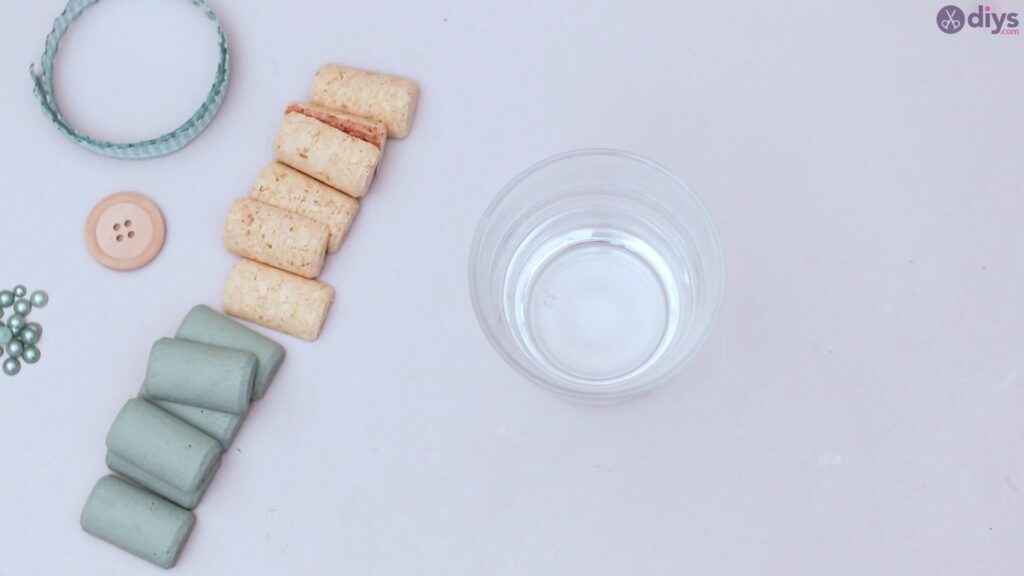
The one thing you may need to buy is the glass candle holder, but if you have a wide mouthed jar, that could also work. Just make sure whatever kind of jar you use is flame retardant and won’t break under heat. With that being said, let’s get started on this super cute wine cork candle holder. First, make sure you gather all the essential materials.
Materials:
- Candle holder
- wine corks
- glue gun
- knife
- green acrylic paint
- paint brush
- silk ribbon
- scissors
- wood button
- decor half bead
Step One: Cutting the Corks
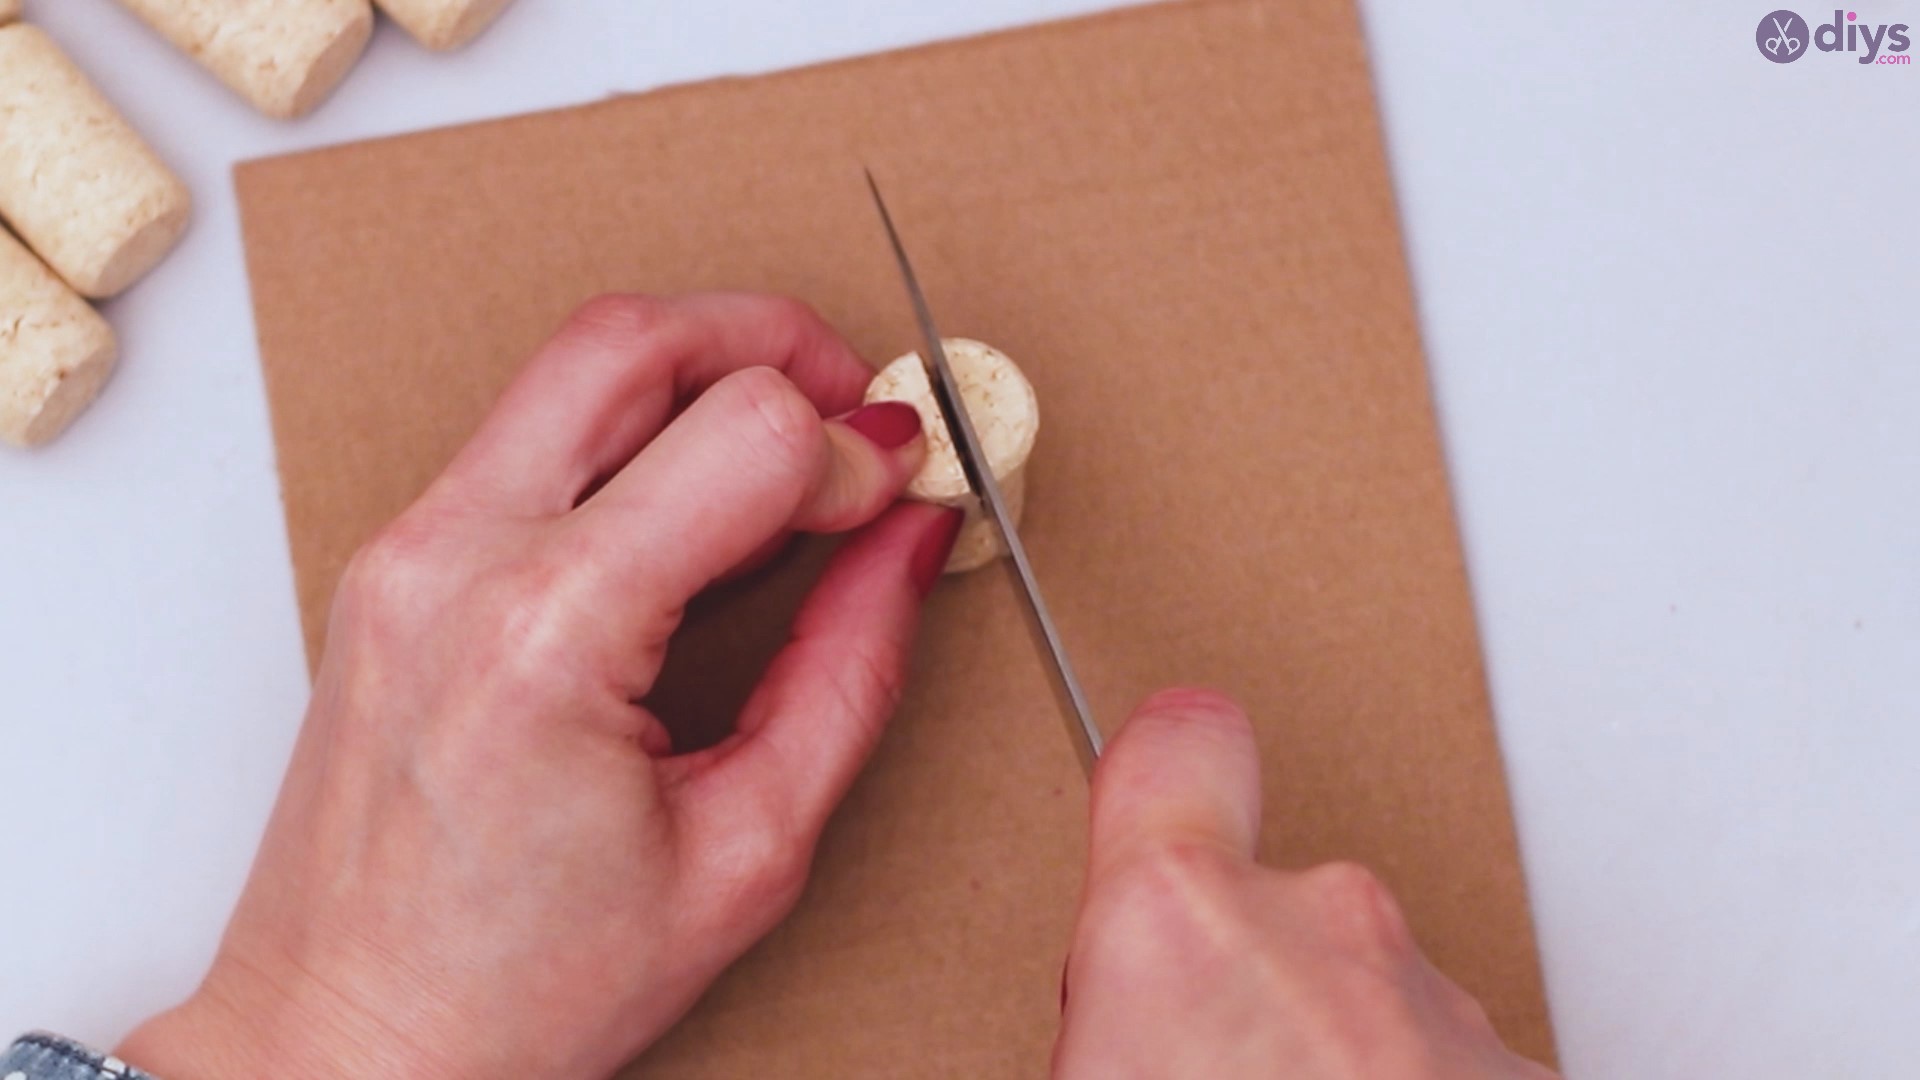
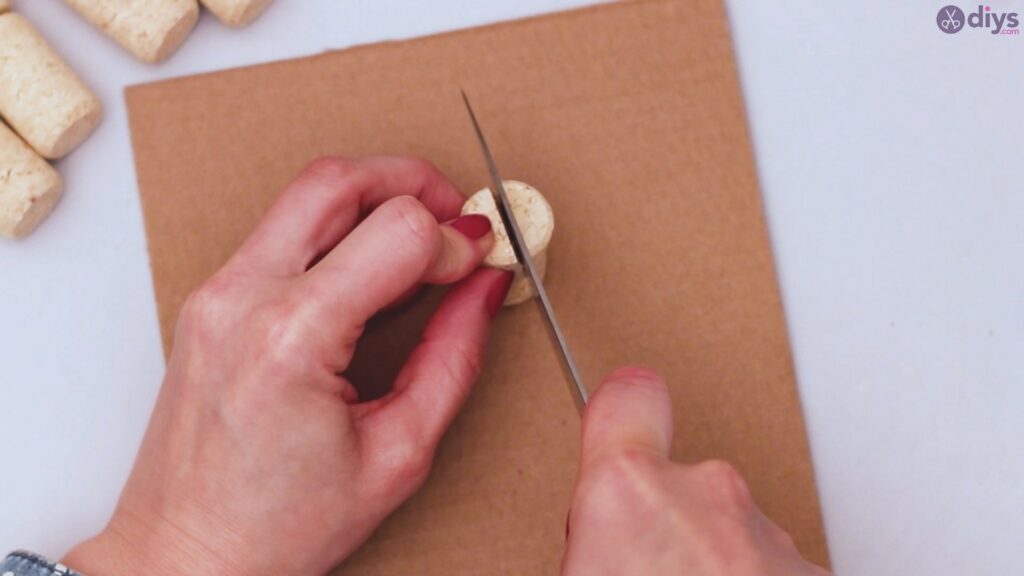
It may not seem like a super hard step, but it’s important to make sure to cut your corks with a swift, firm motions as corks have a tendency to crumble under too much pressure. Always make sure you have a super sharp knife and a safe place to cut the corks, such as a cardboard mat or even a standard cutting board.
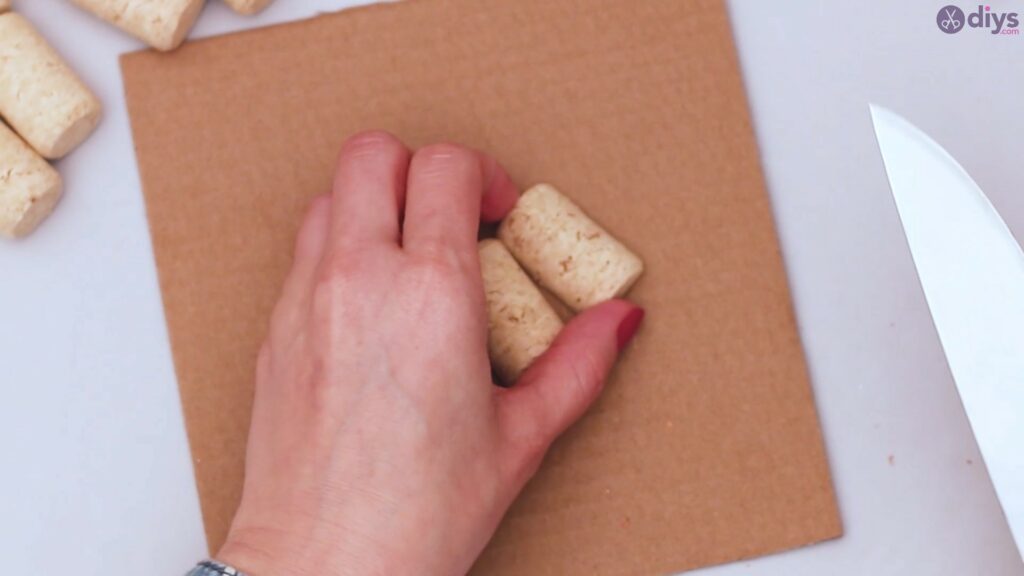
You’re going to want to cut your corks lengthwise so that each cork piece is relatively the same thickness and size. Make sure to get rid of any extra cork residue the cut may leave behind so that your pieces each have a pretty flat edge. Make sure you are using a super sharp knife when it comes to cutting your corks. And along those lines, always use caution when cutting!
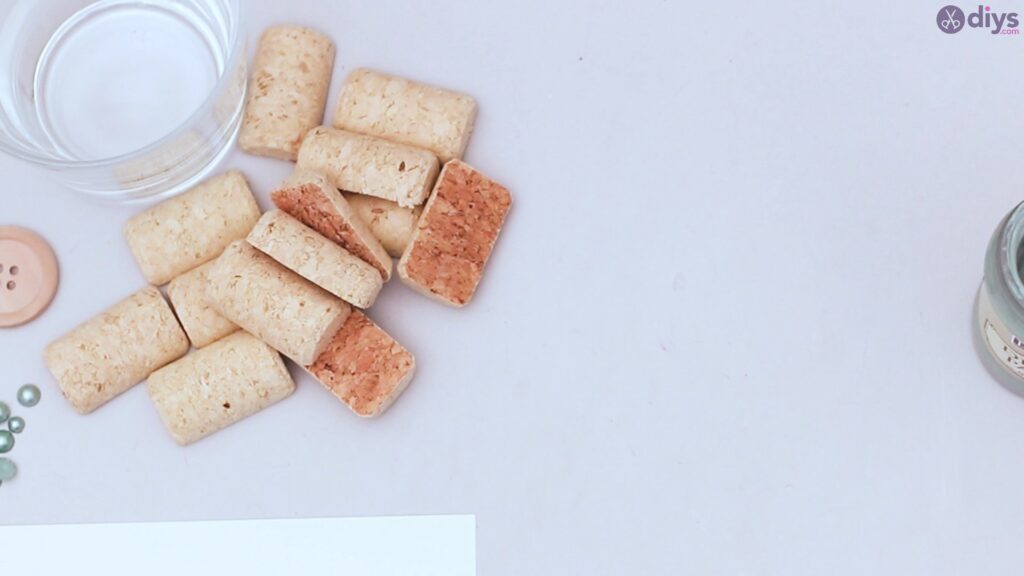
Once you have all your corks cut, you’re ready for the next step!
Step Two: Painting the Corks
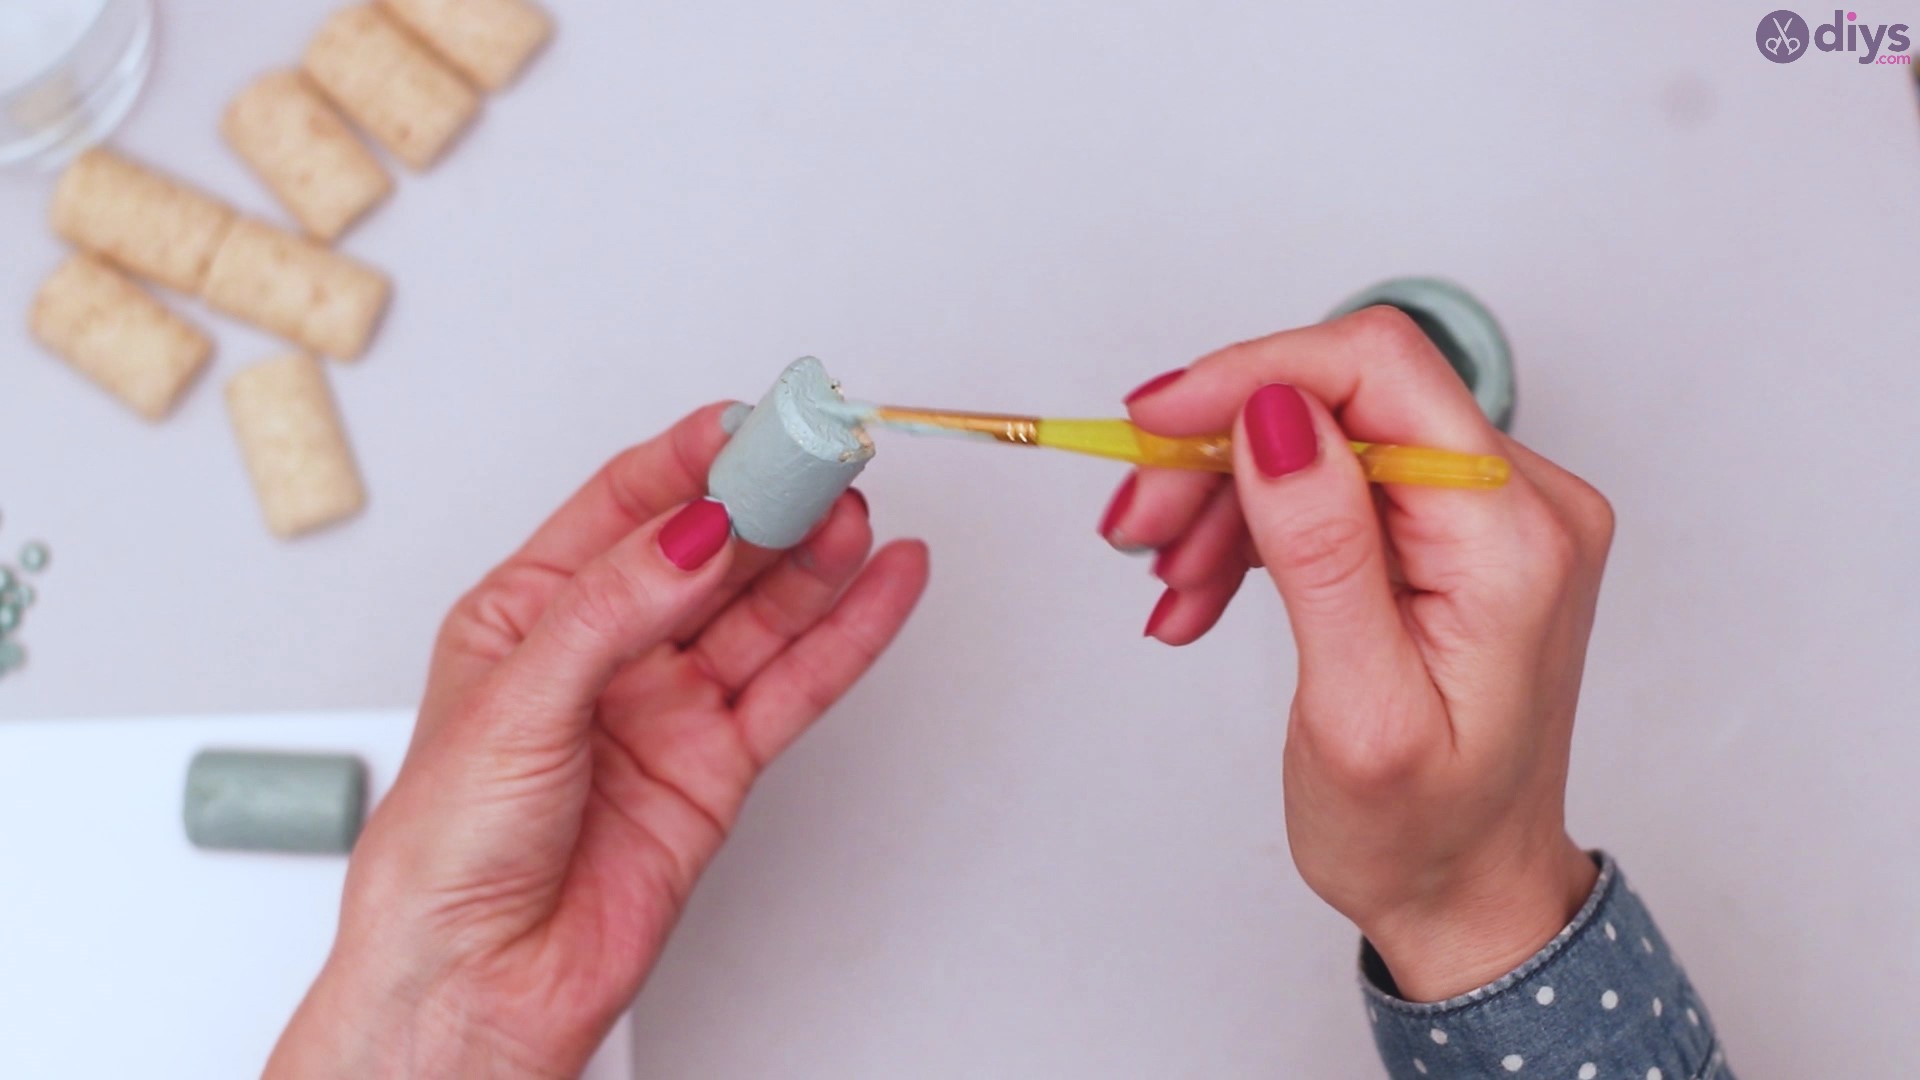
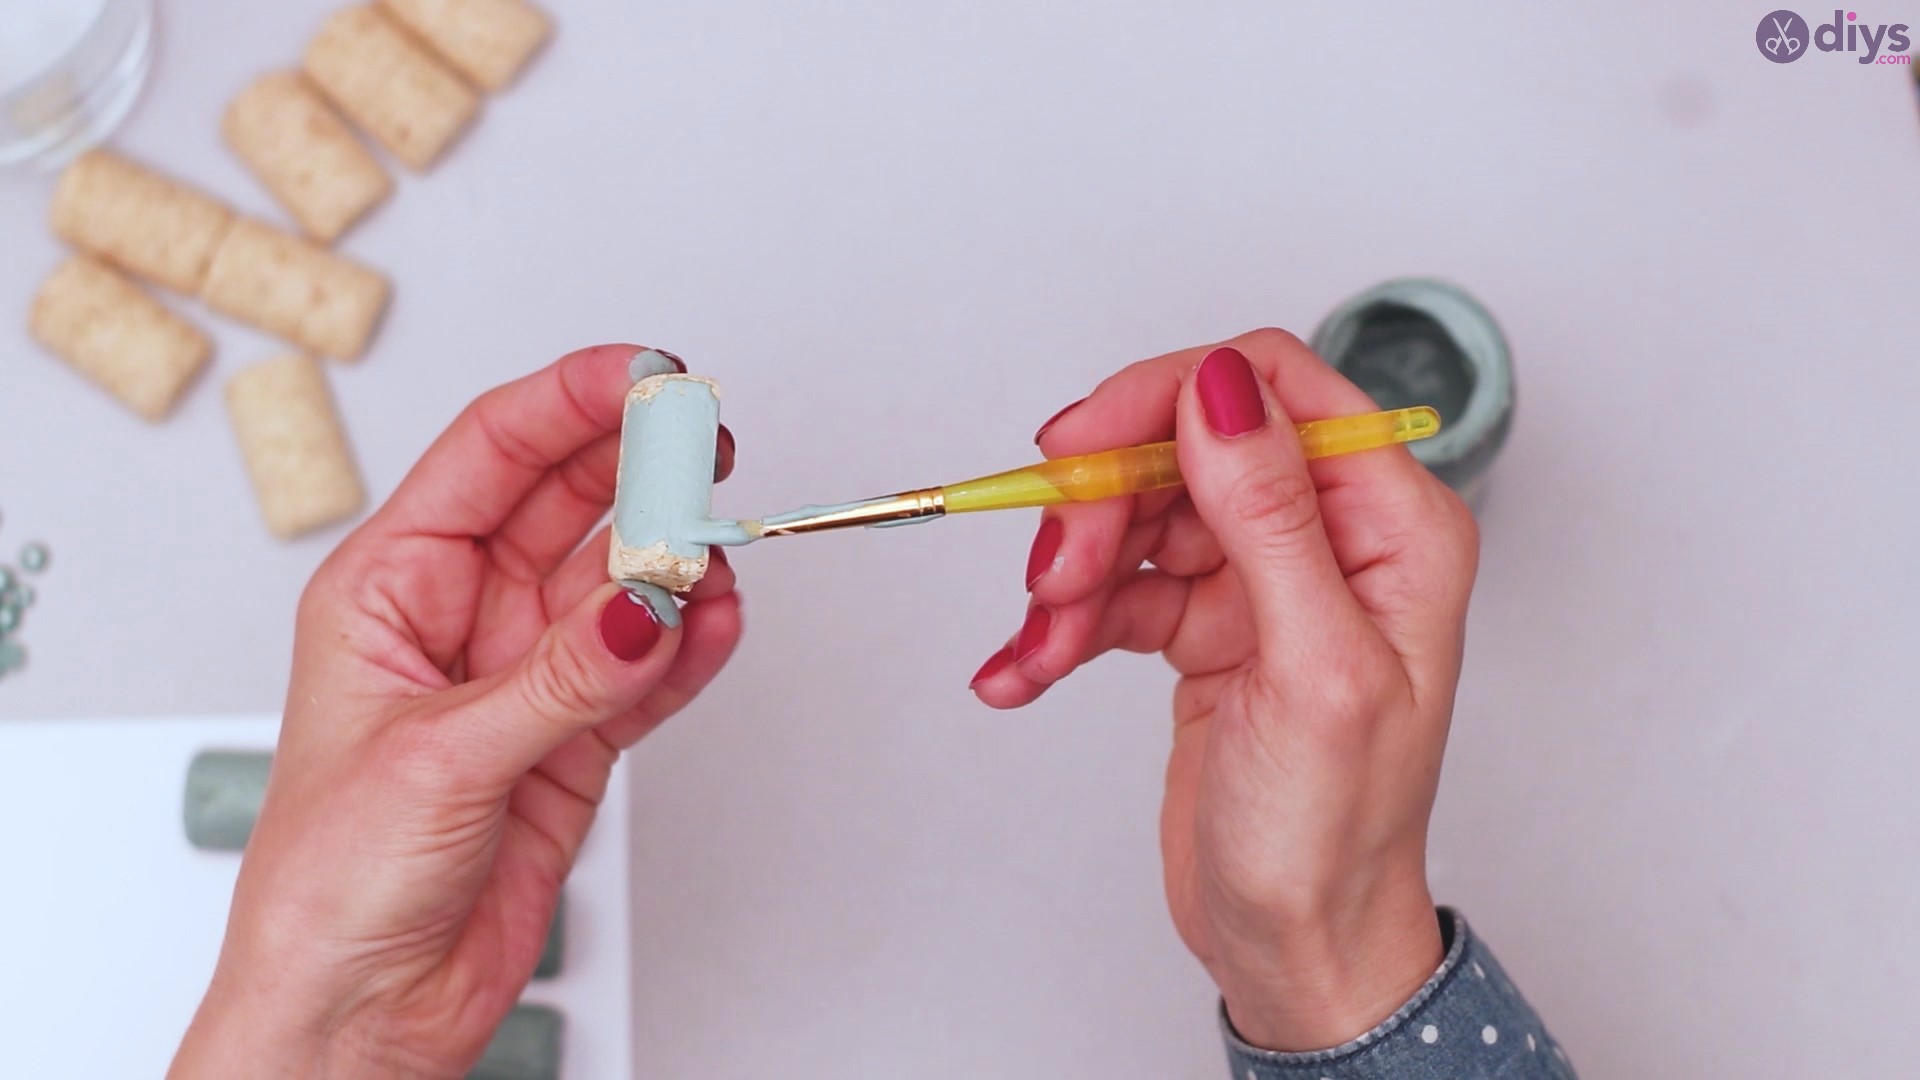
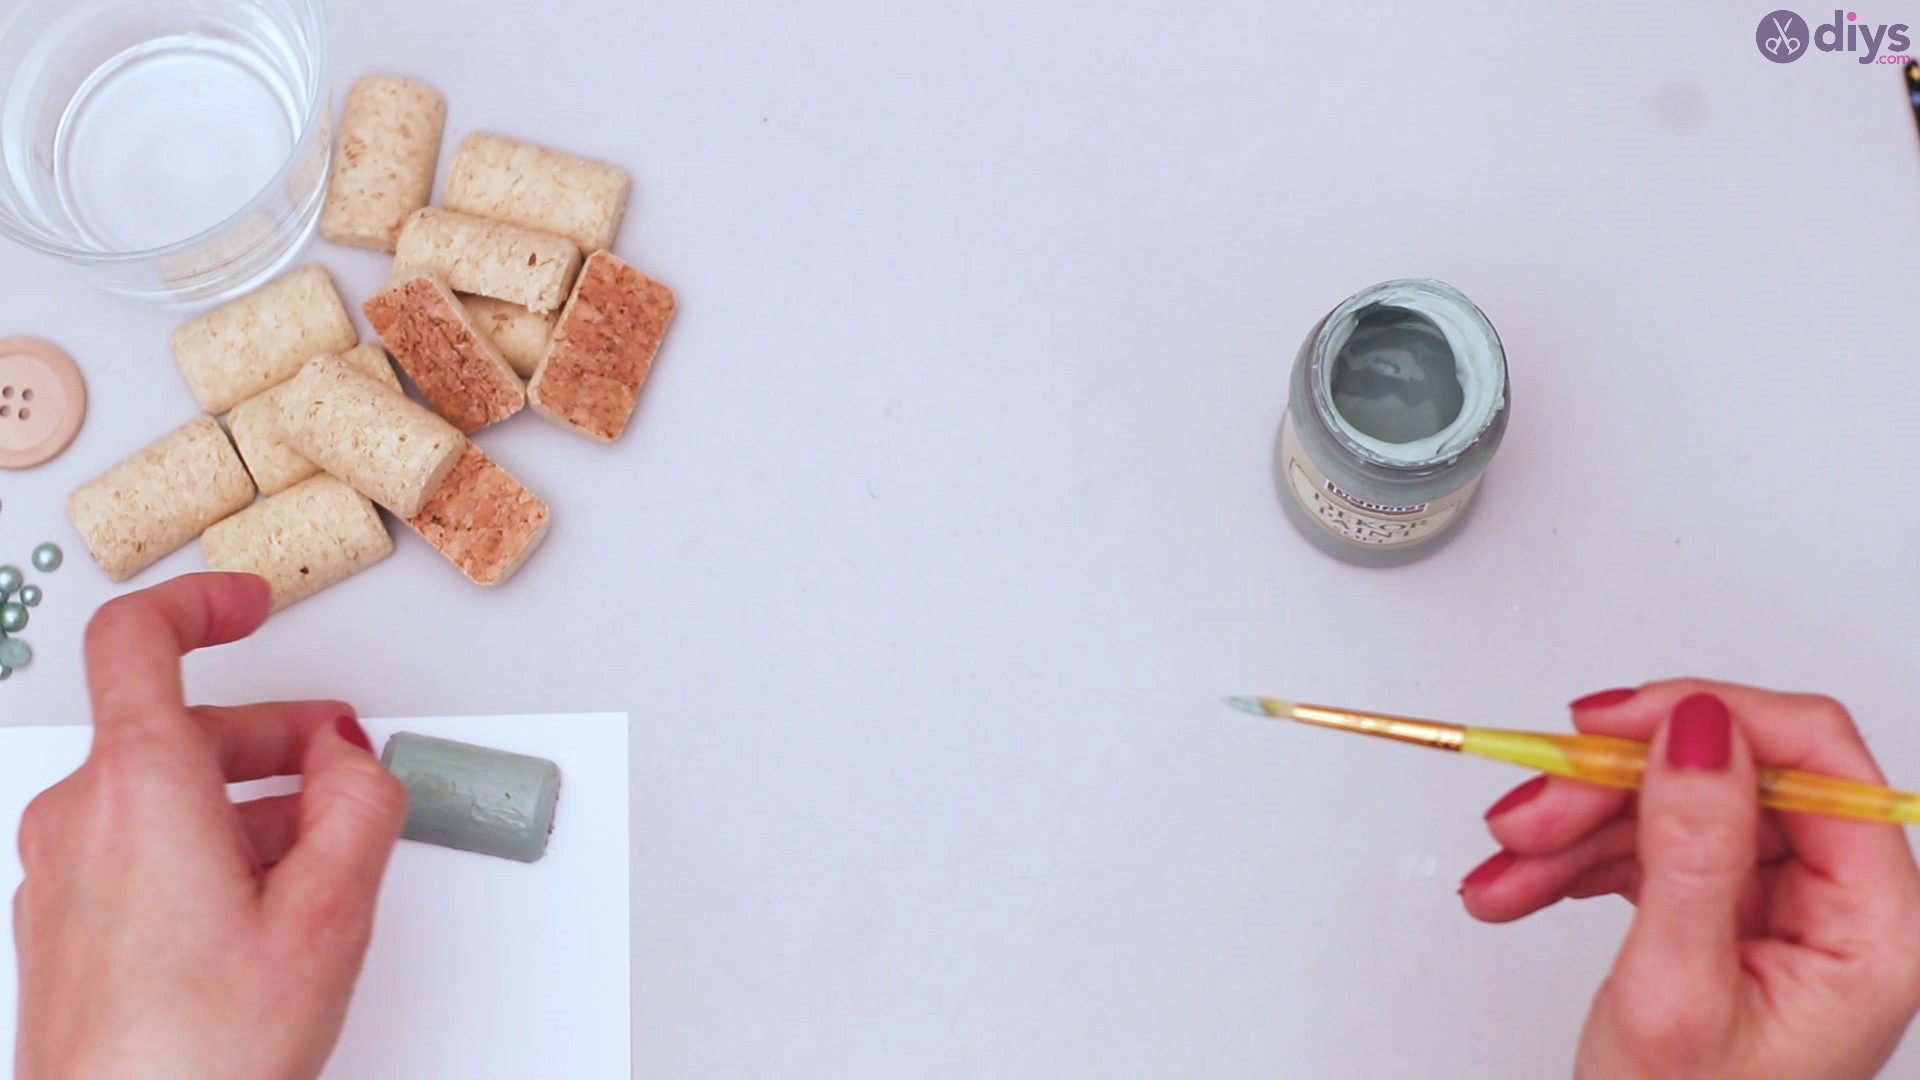
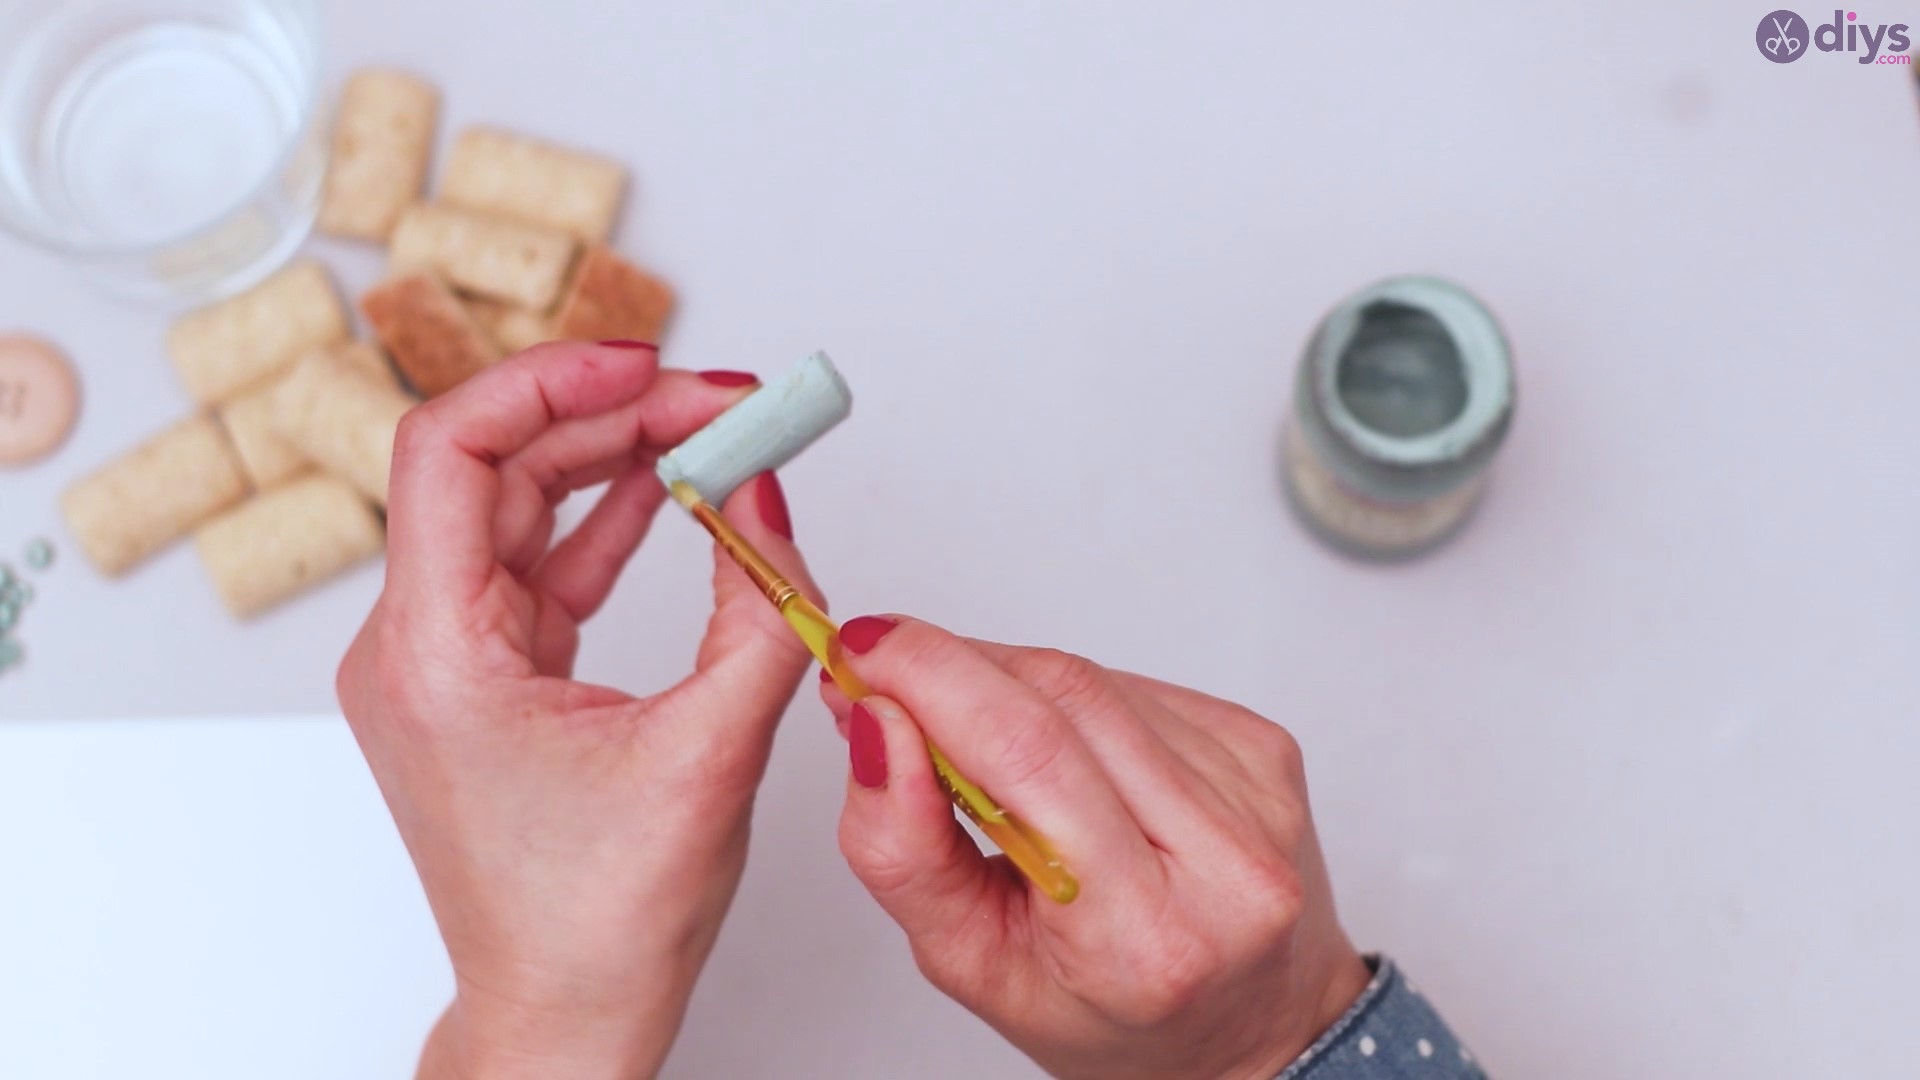
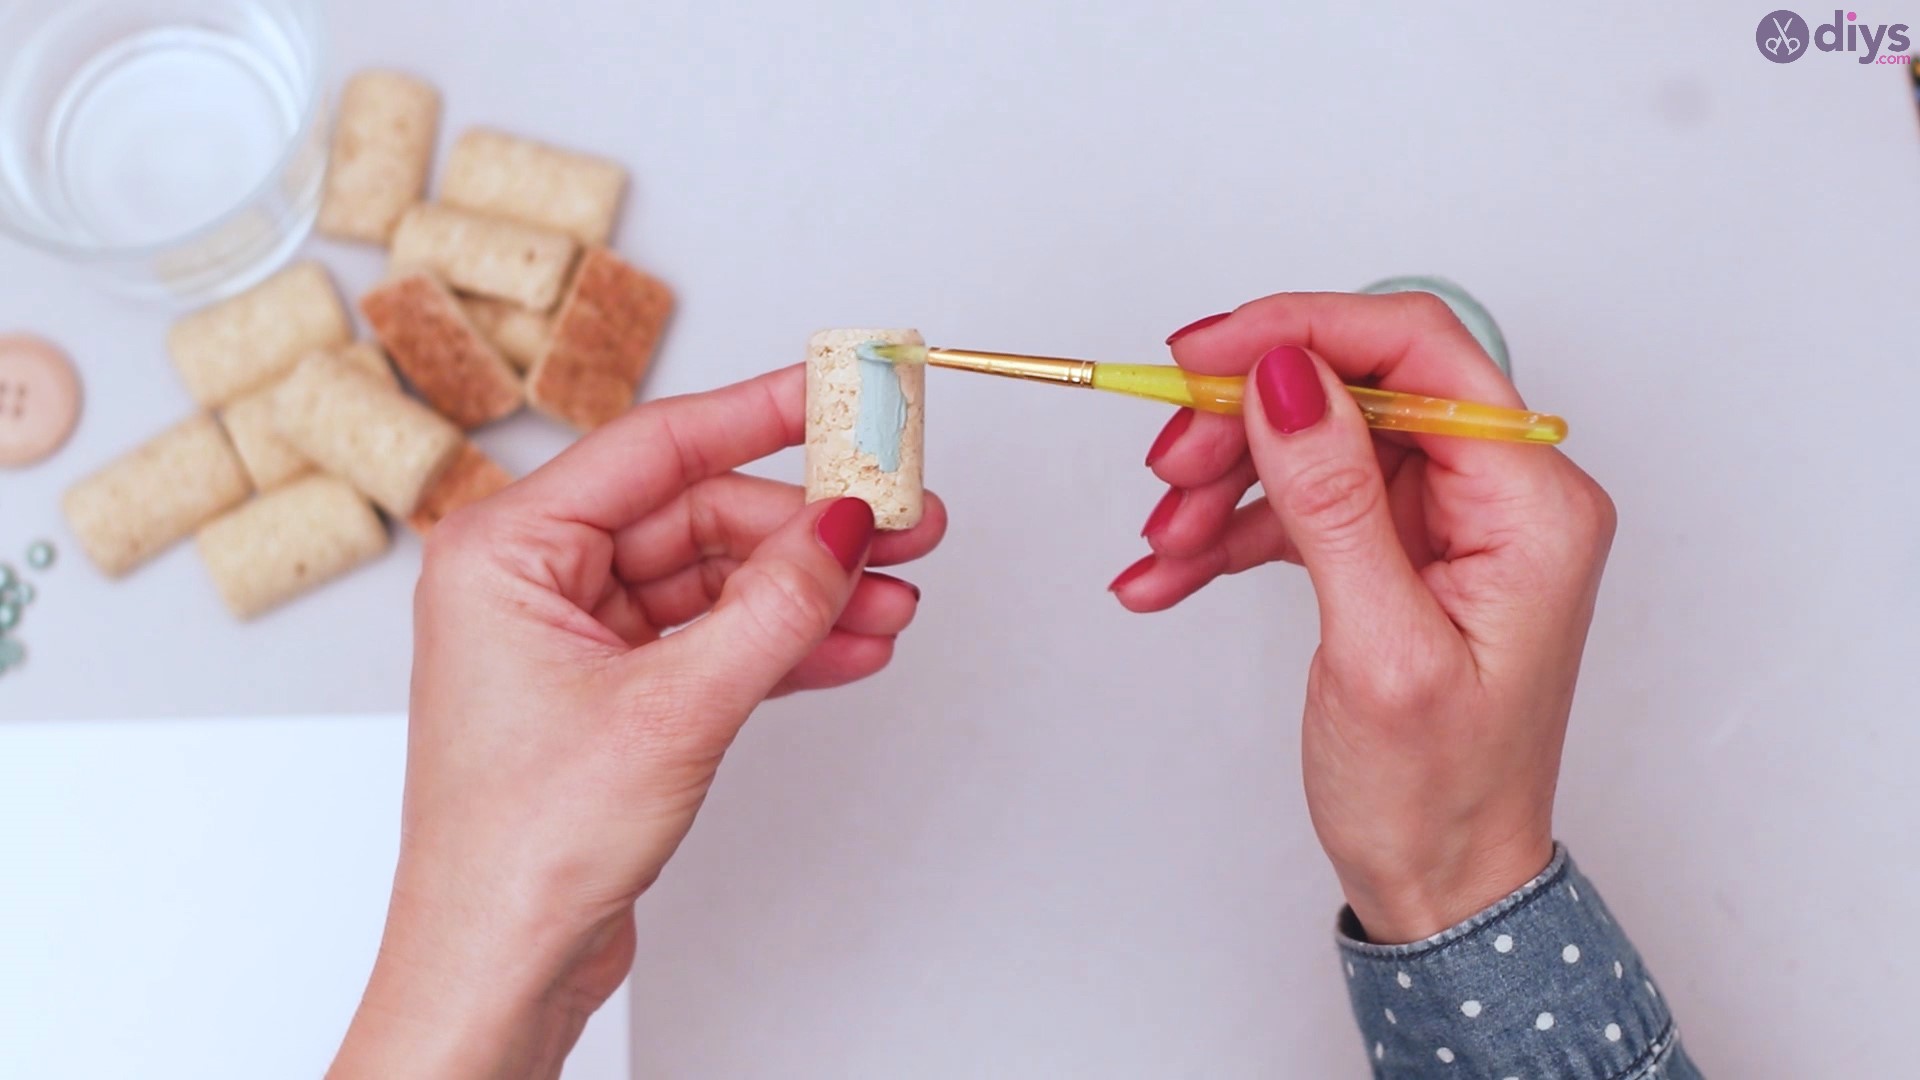
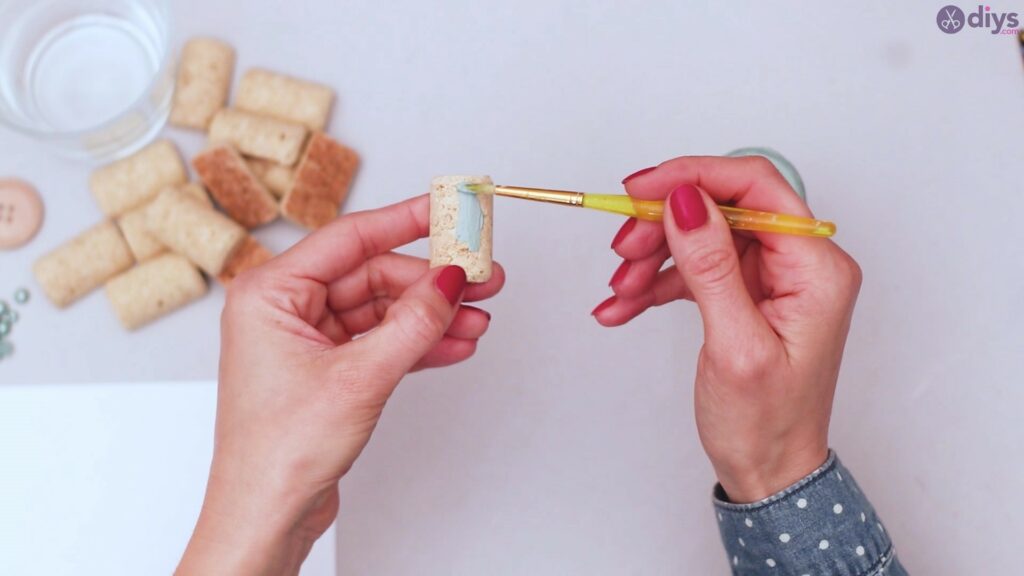
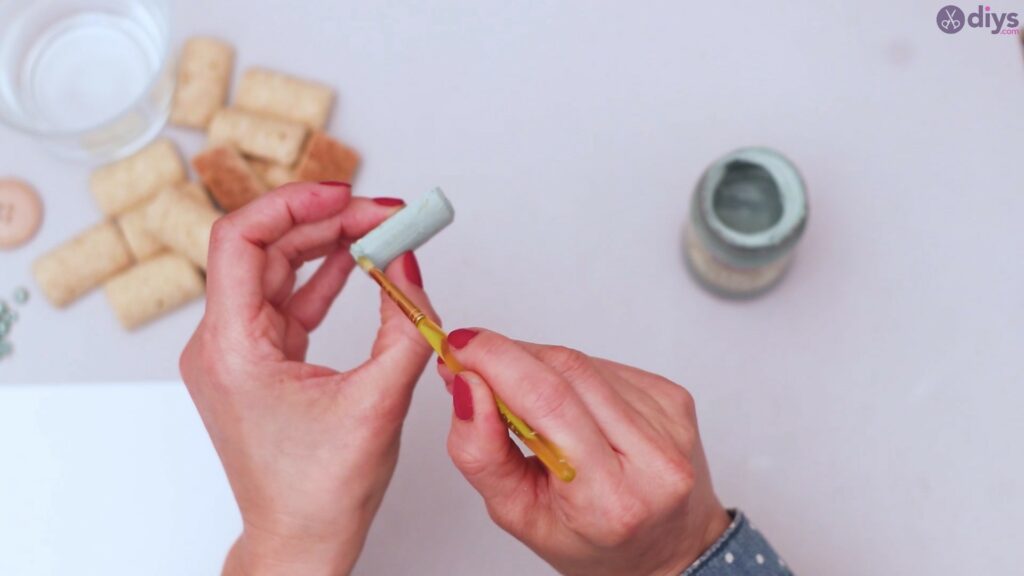
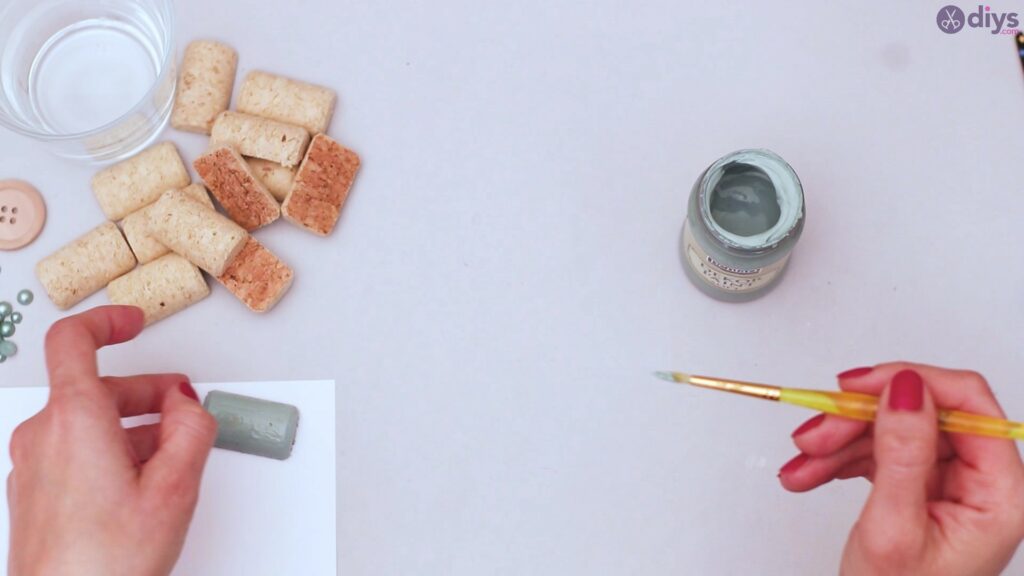
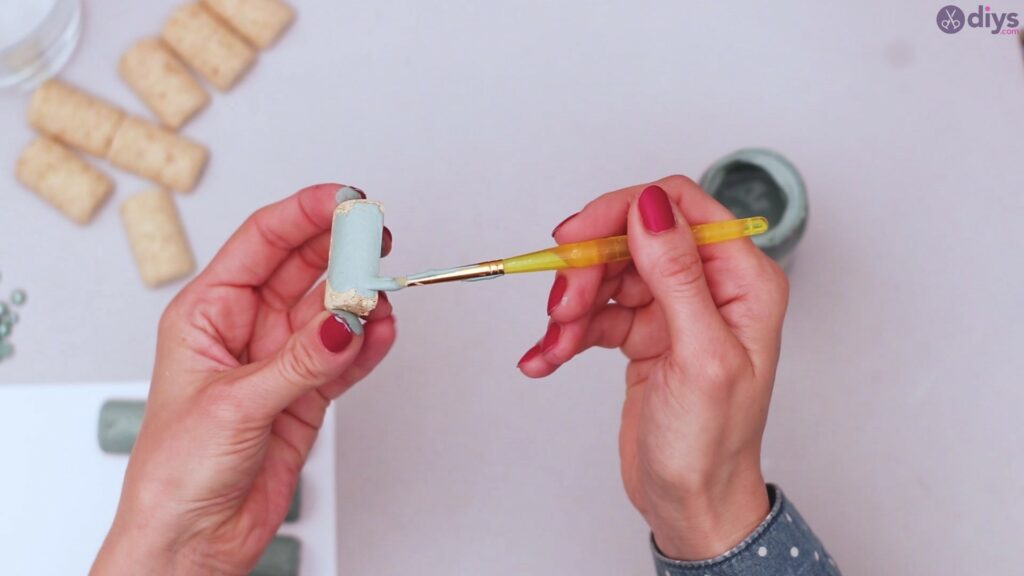
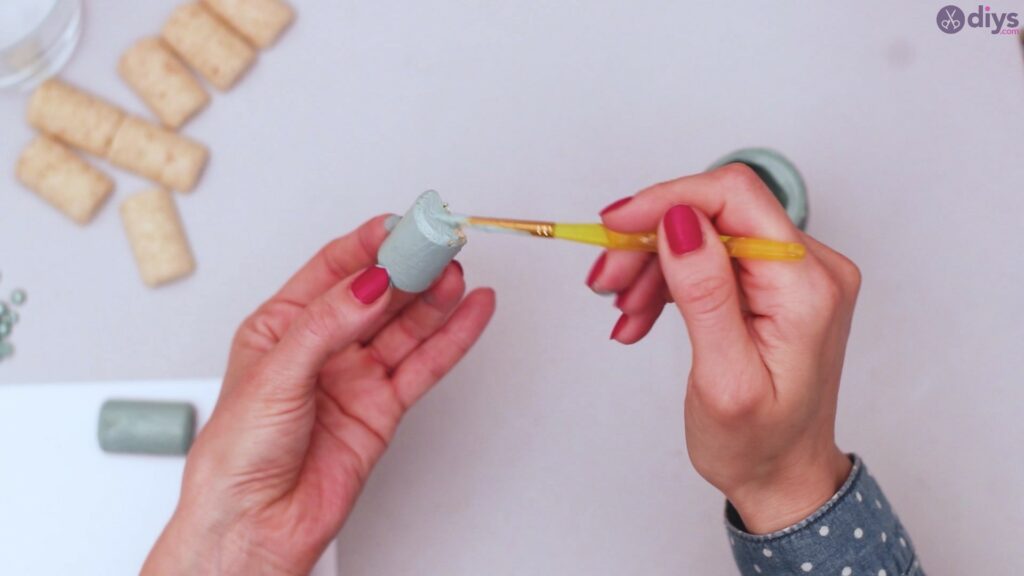
With your green acrylic paint, start to paint the cork pieces all the way around the cork. Make sure you also get the bottom of the cork pieces and the sides as well. All areas of your cork should be covered in that green glorious paint.
Use long strides to prevent any paint from doubling up and bulking up. You should also paint quickly so that no paint dries, causing more paint to build up on the already painted part. This would cause a bulky looking cork piece, and you don’t want that in your project. The sleeker the paint, the better when it comes to this project.
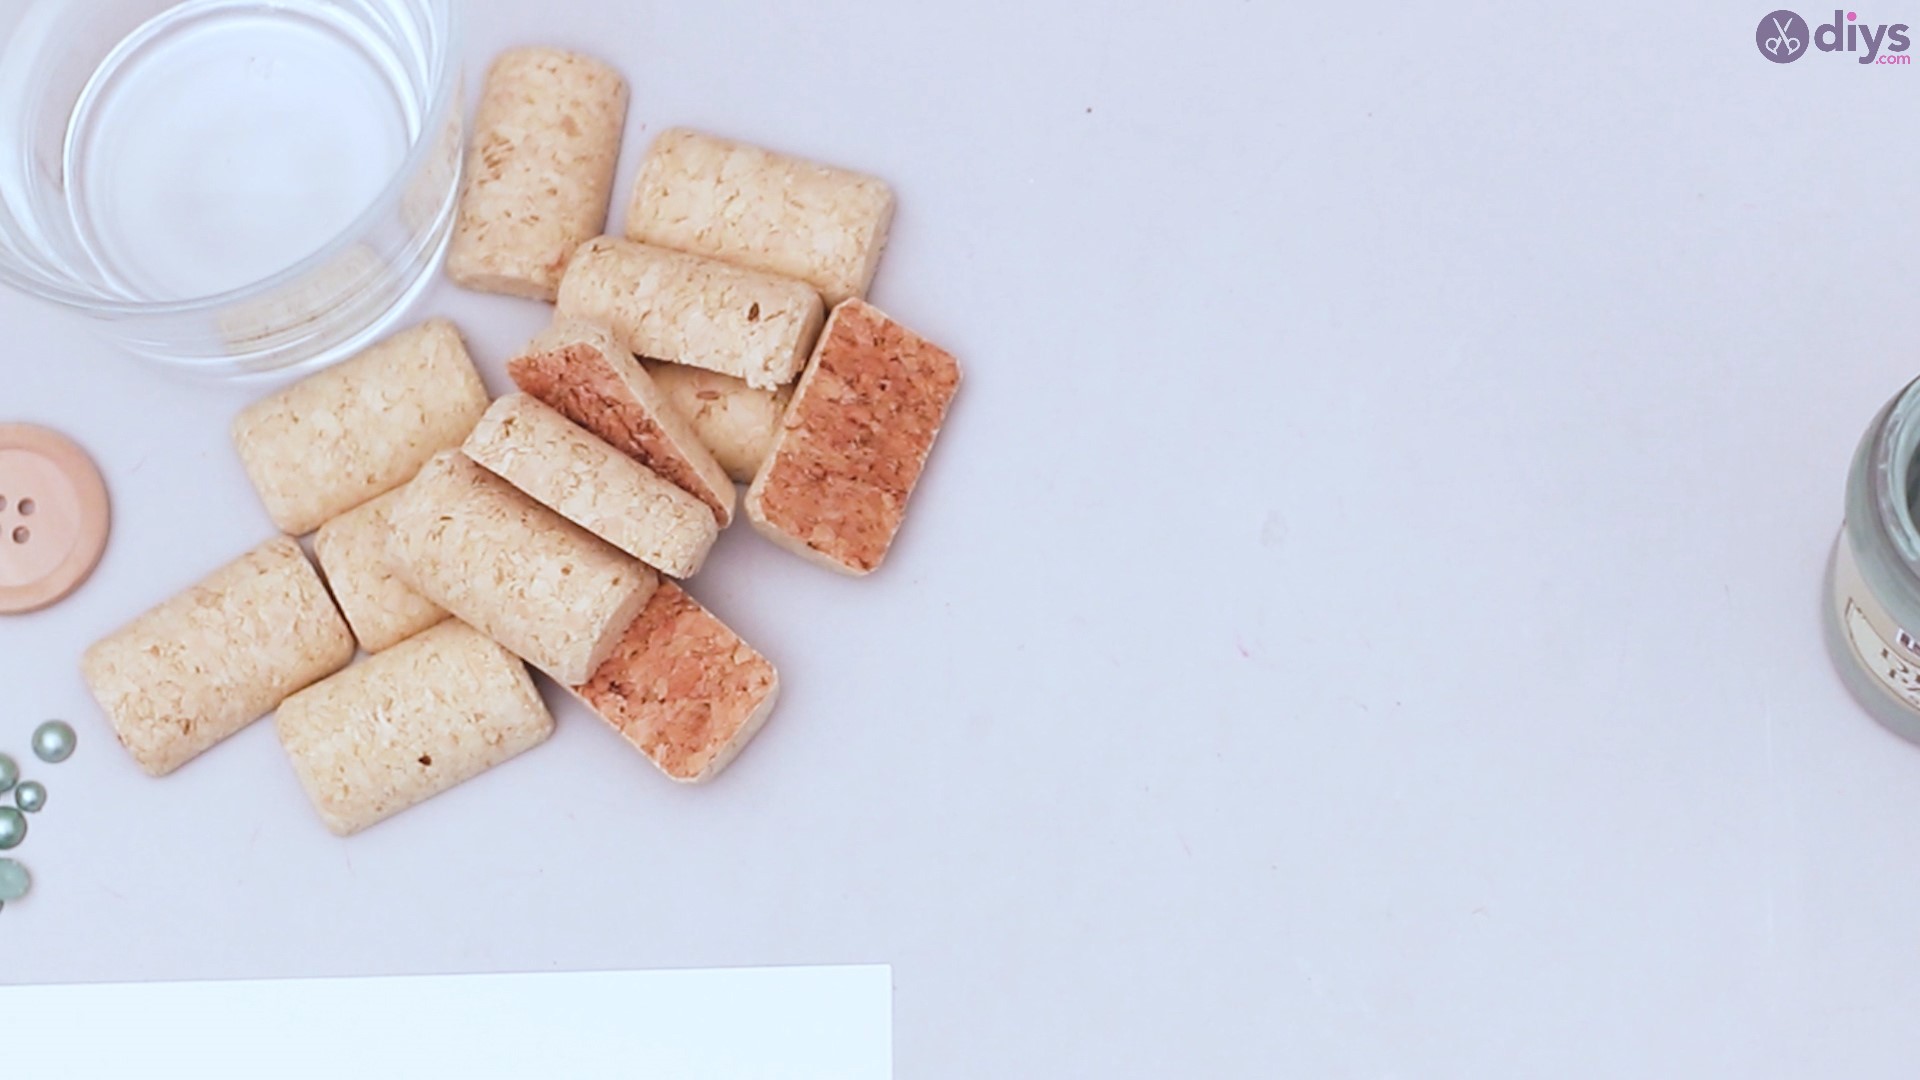
You’re going to want to paint half your corks with the green acrylic paint, and half of them just leave in their natural raw cork color. The coinciding colors will add some color pop to your candle holder and is just interesting to look at.
Make sure to set your painted cork pieces aside to dry fully before moving on to the next step.
Before step three, you should have an equal amount of both green painted corks and raw cork pieces. All perfectly cut and as even as possible.
Step Three: Glue Away!
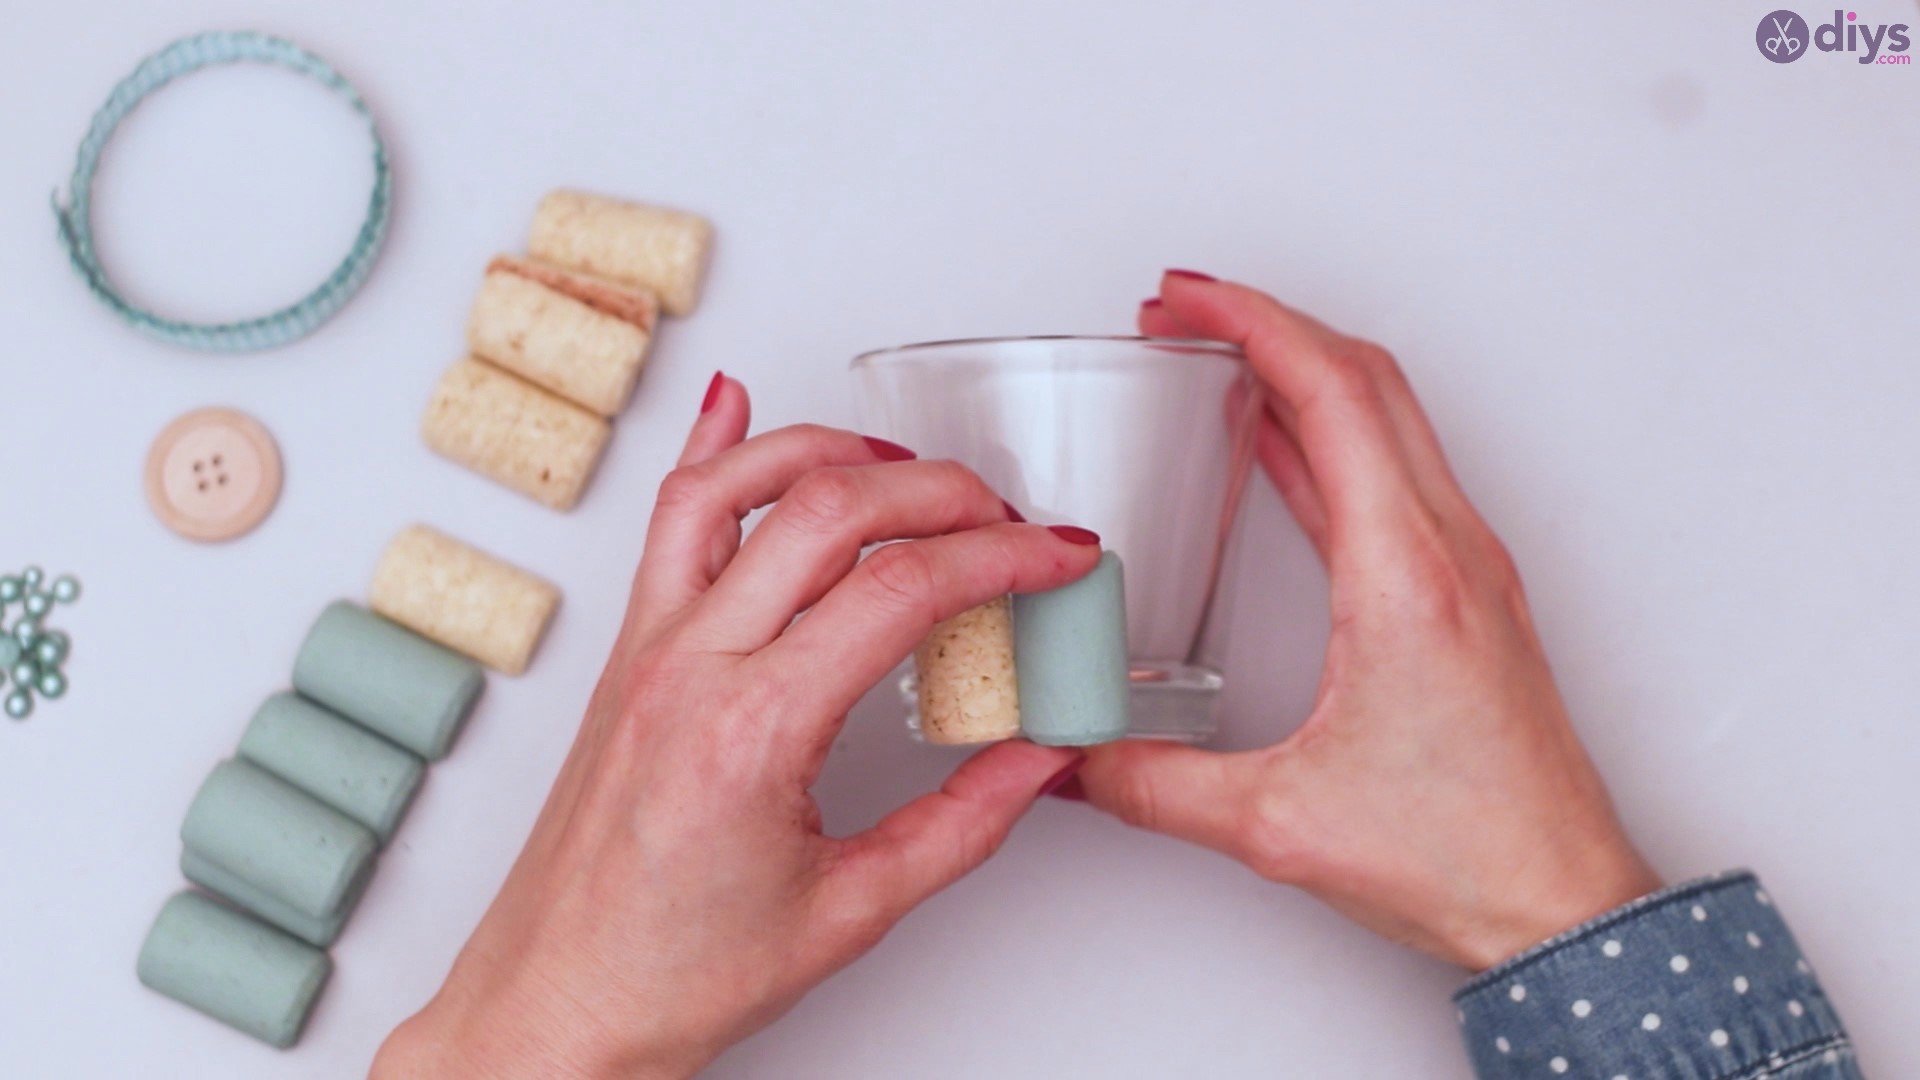
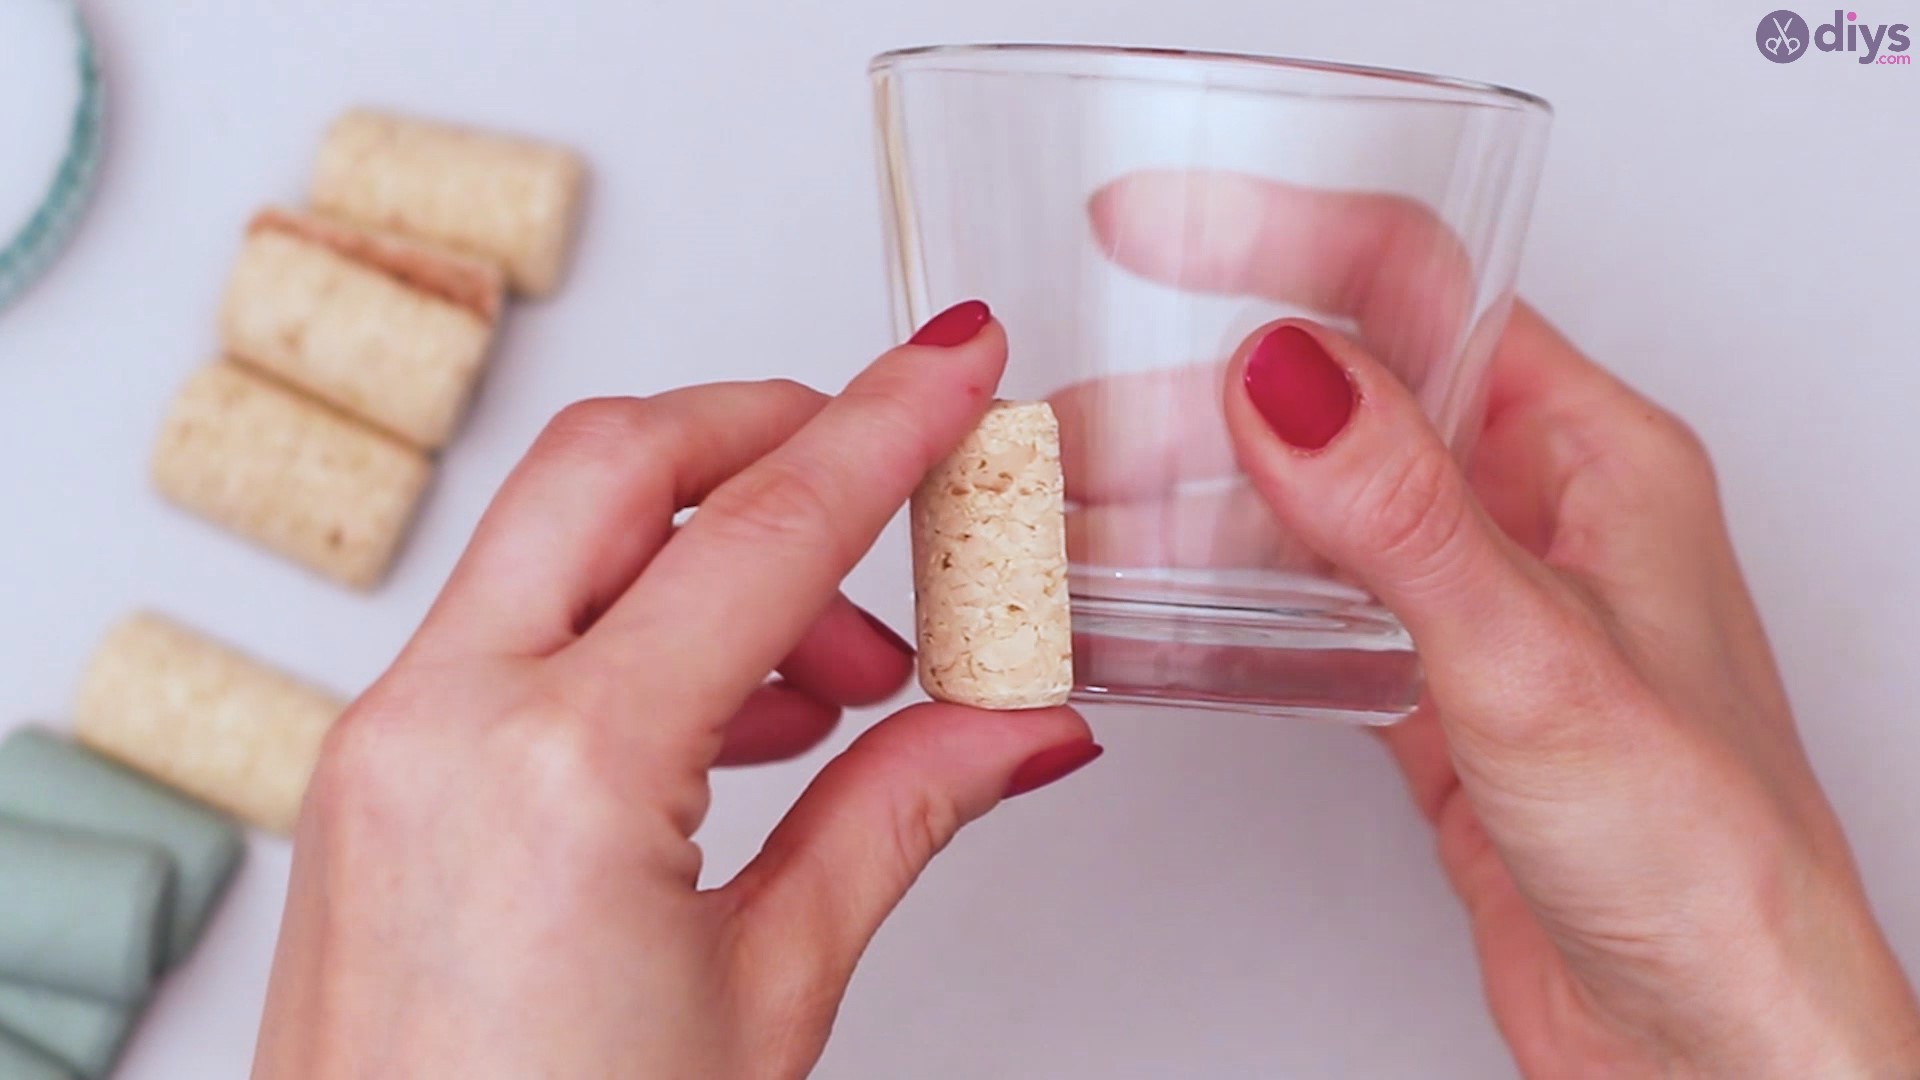
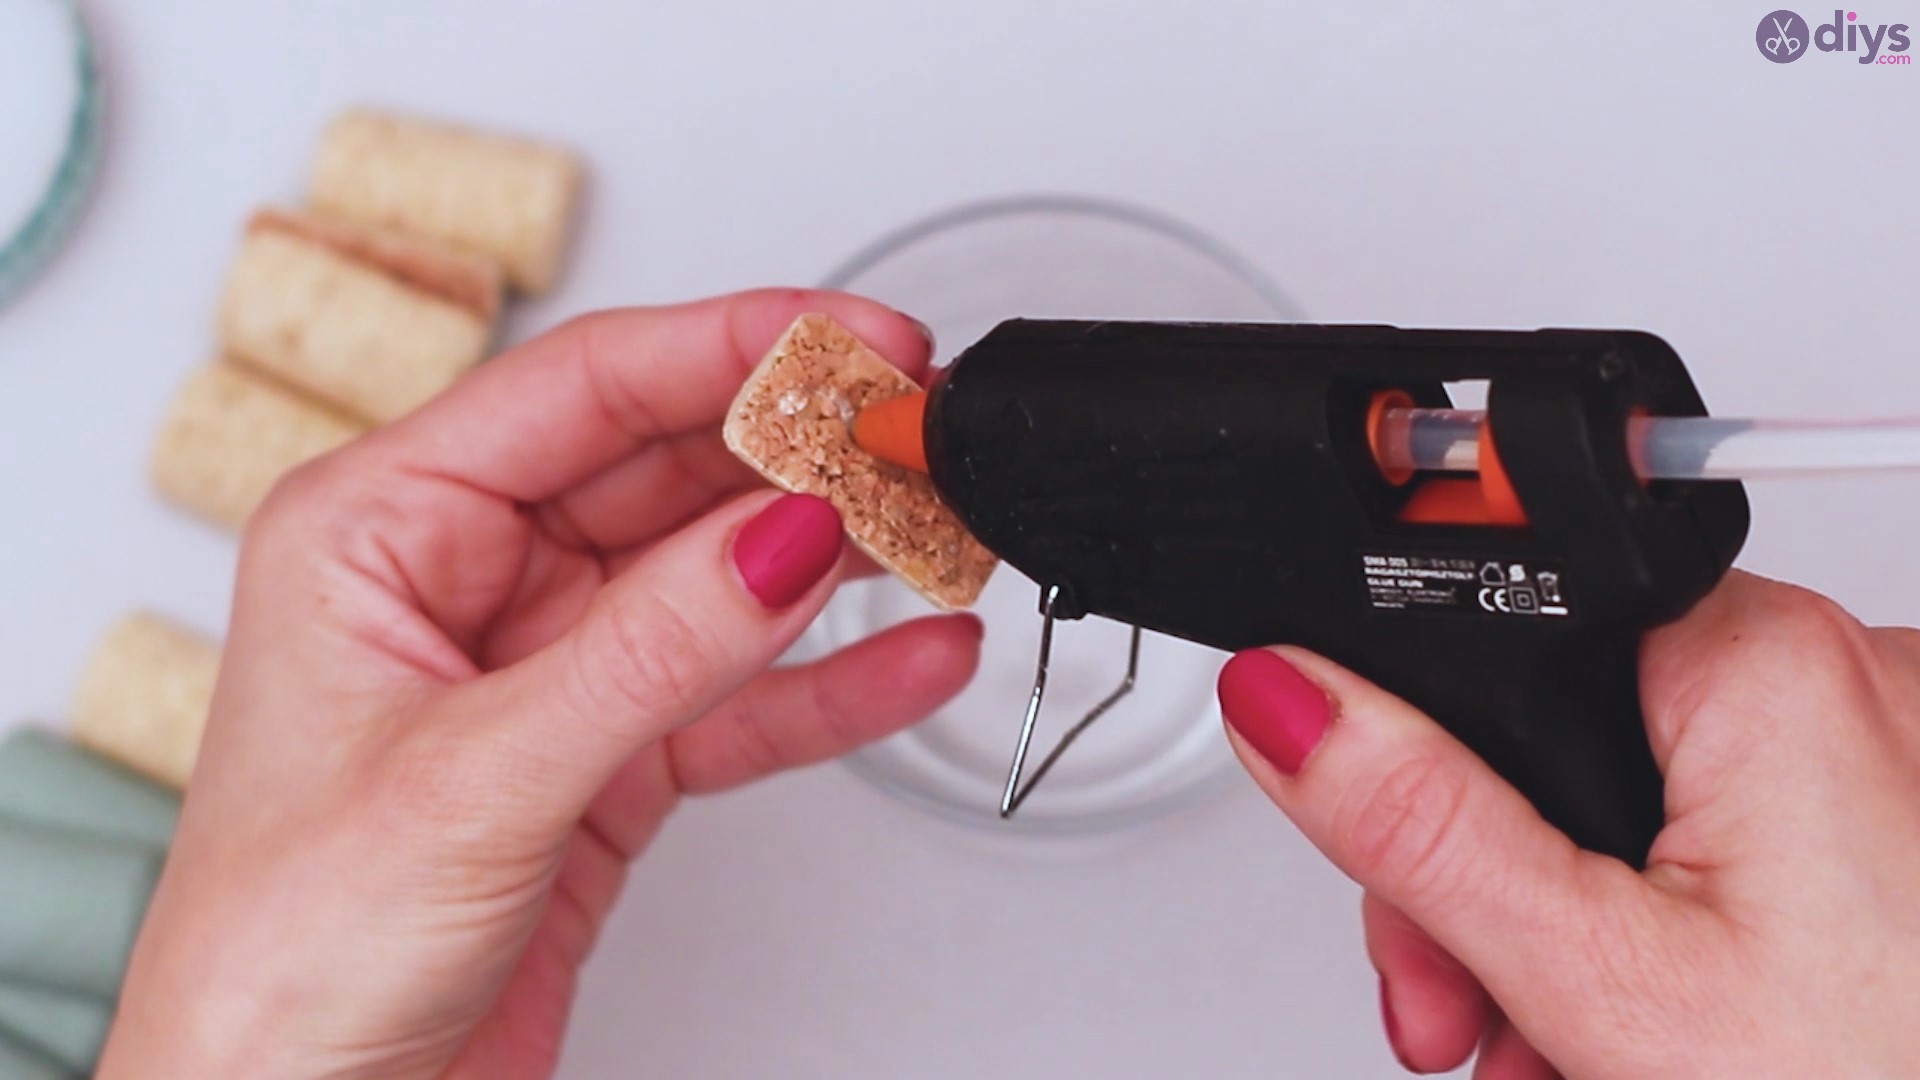
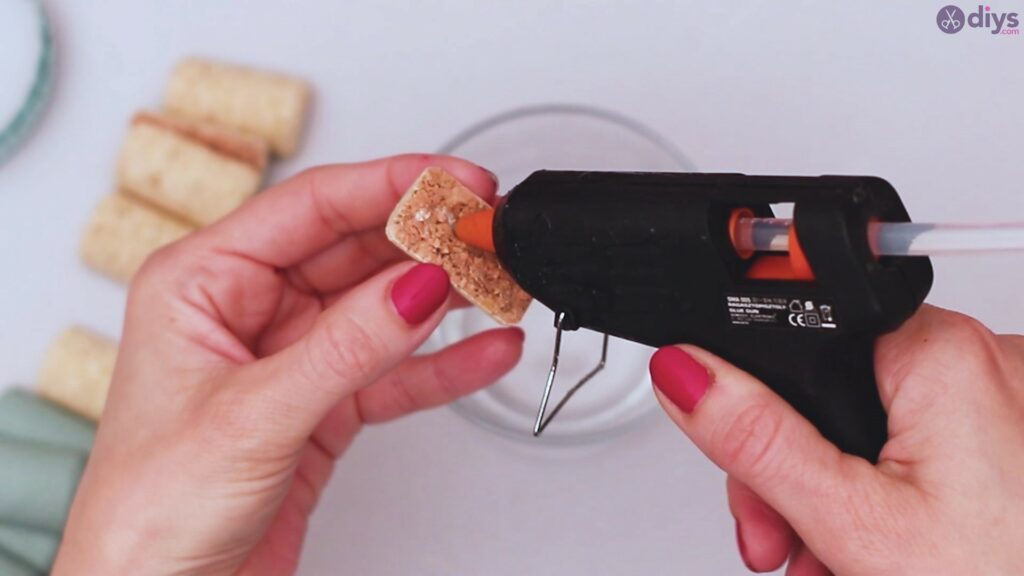
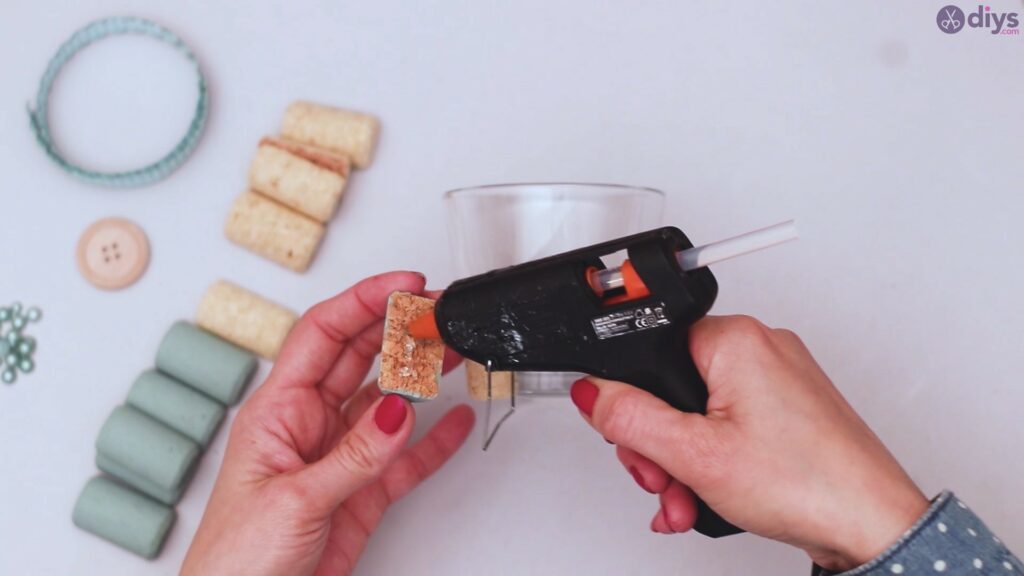
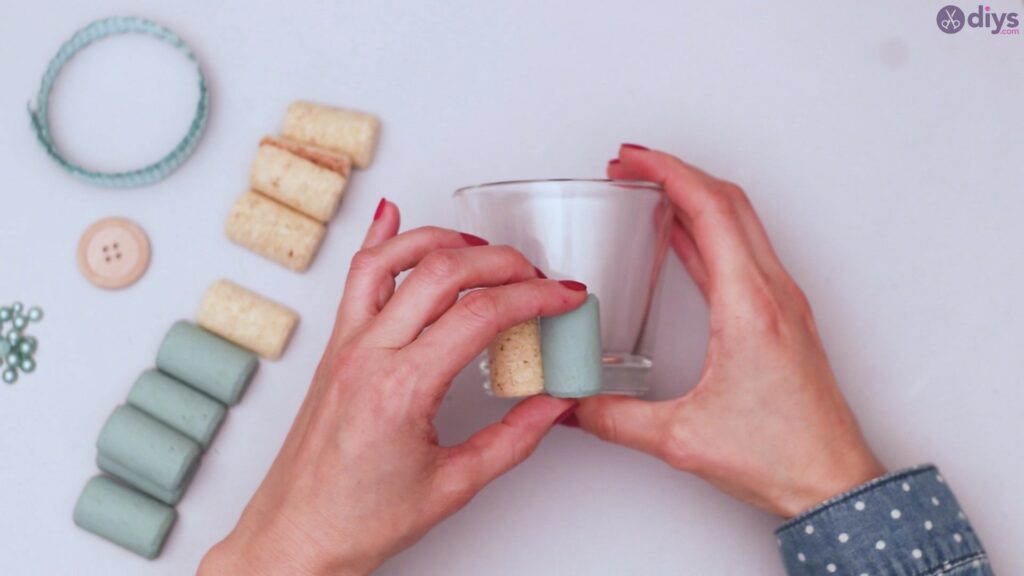
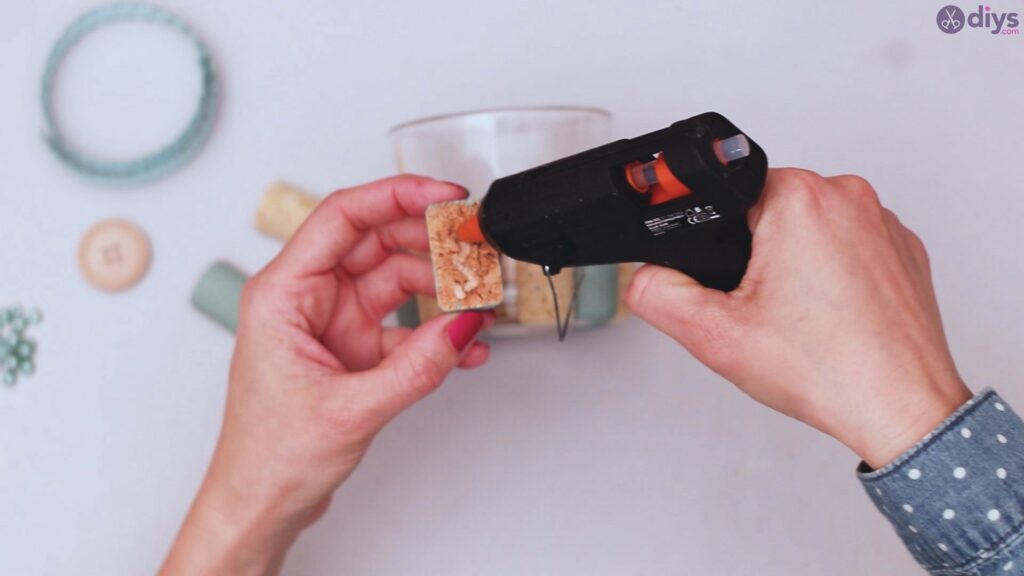
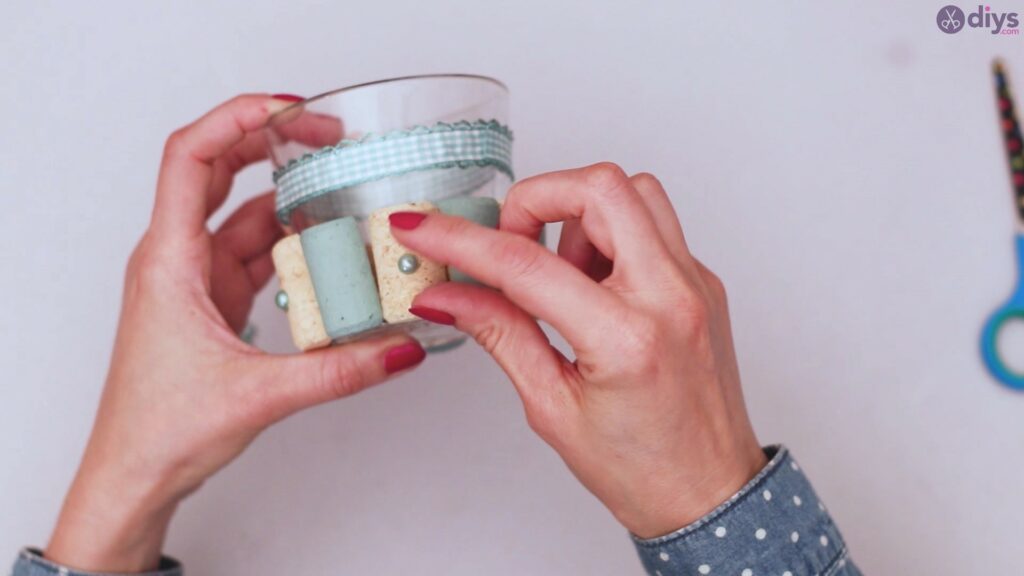
Once your green cork pieces are all dried and ready to be handled, start gluing your cork pieces on to your glass candle holder. Make sure you use a good amount of glue to cover your cut side, but not too much as this will cause the glue to spill over and create unsightly glue globs all over your candle holder masterpiece.
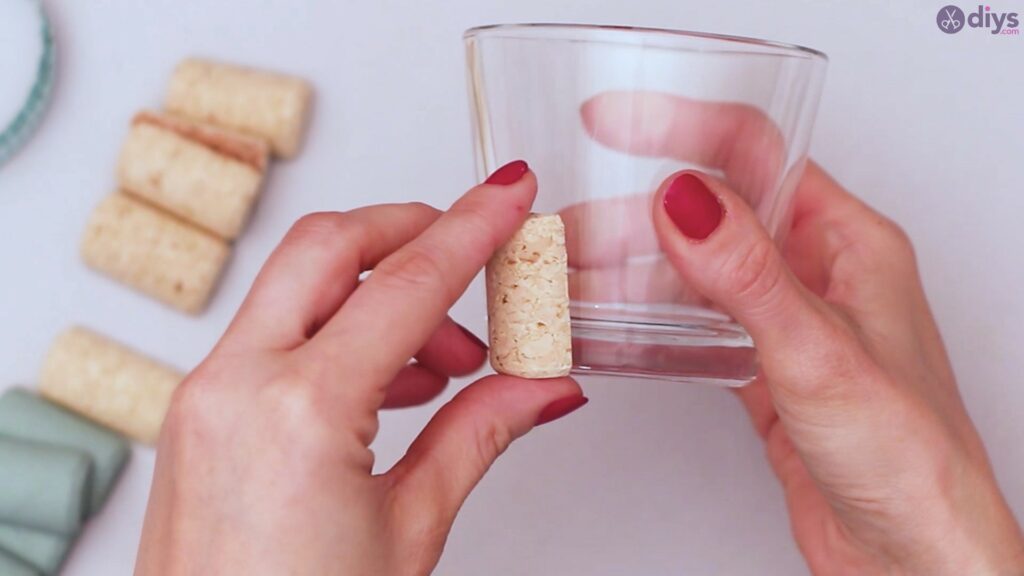
Press the cork firmly against the glass to adhere, then move on to the next cork piece.
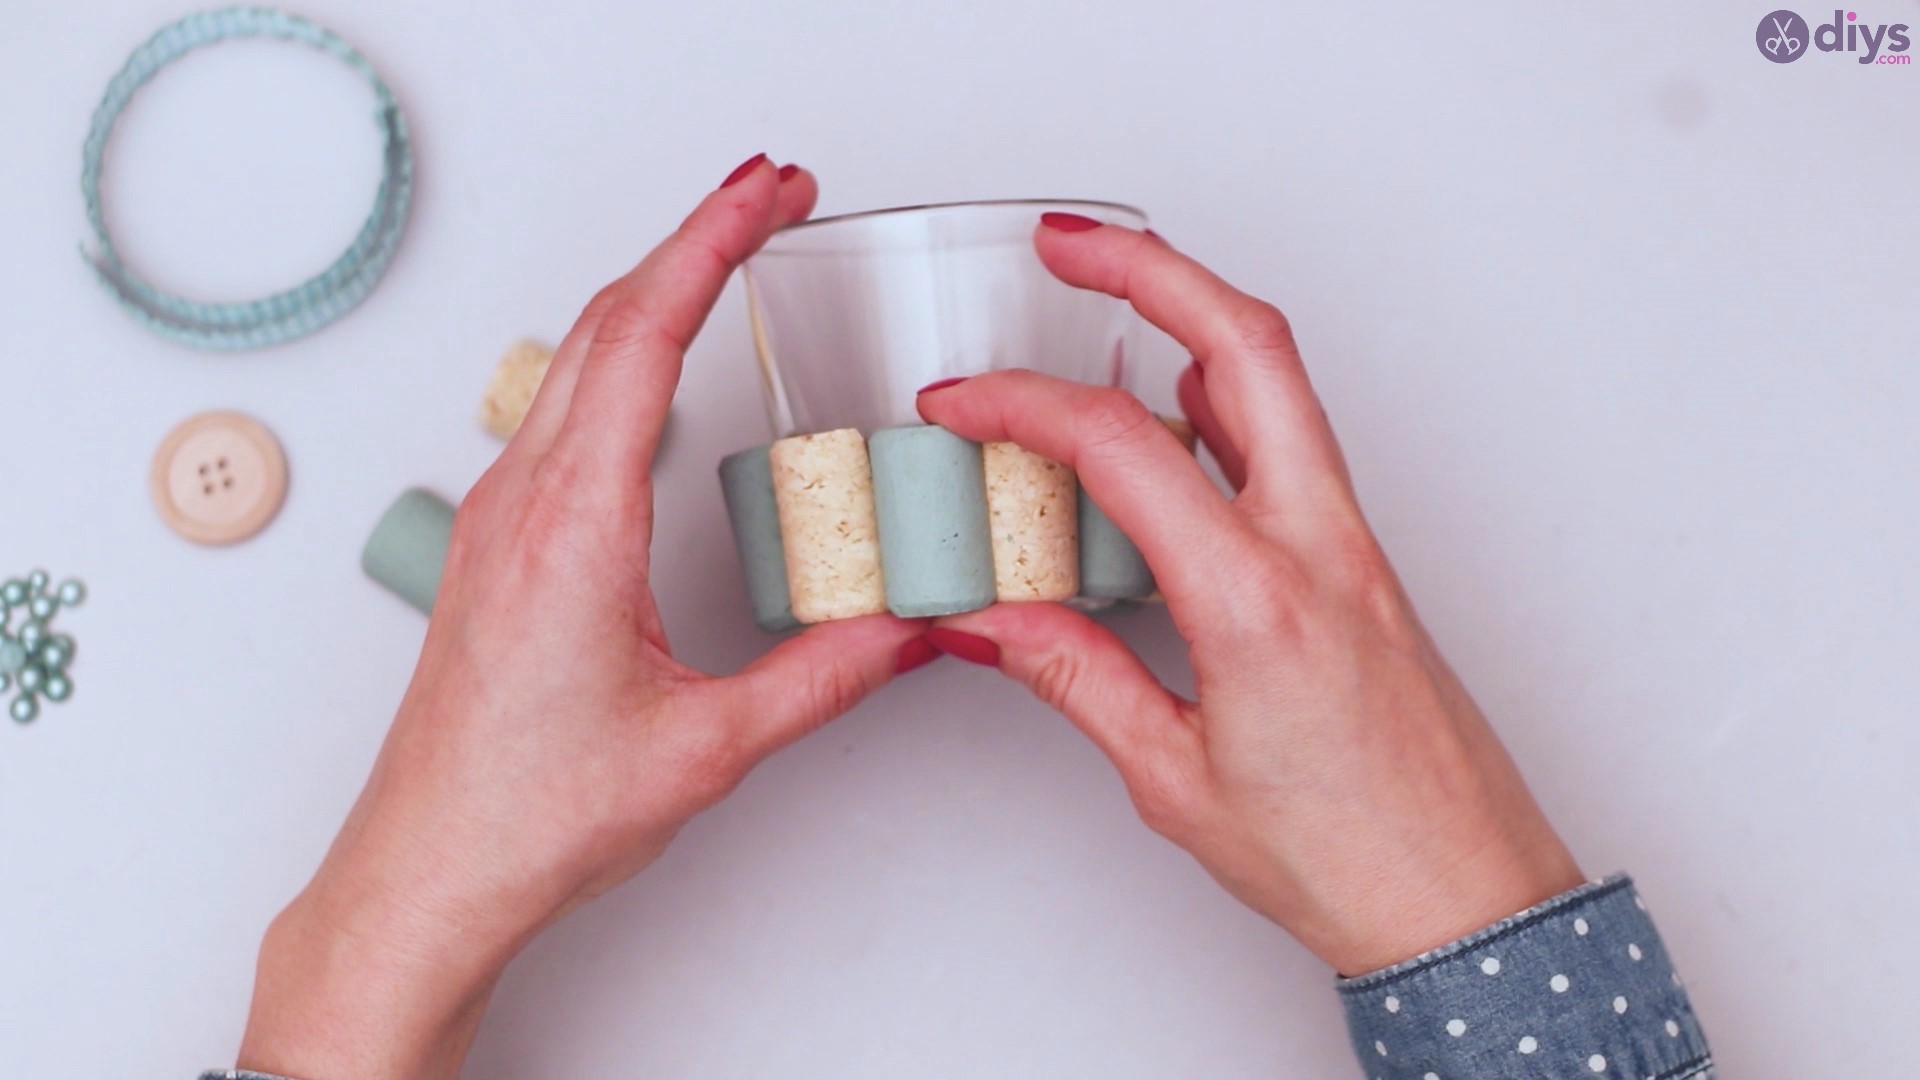
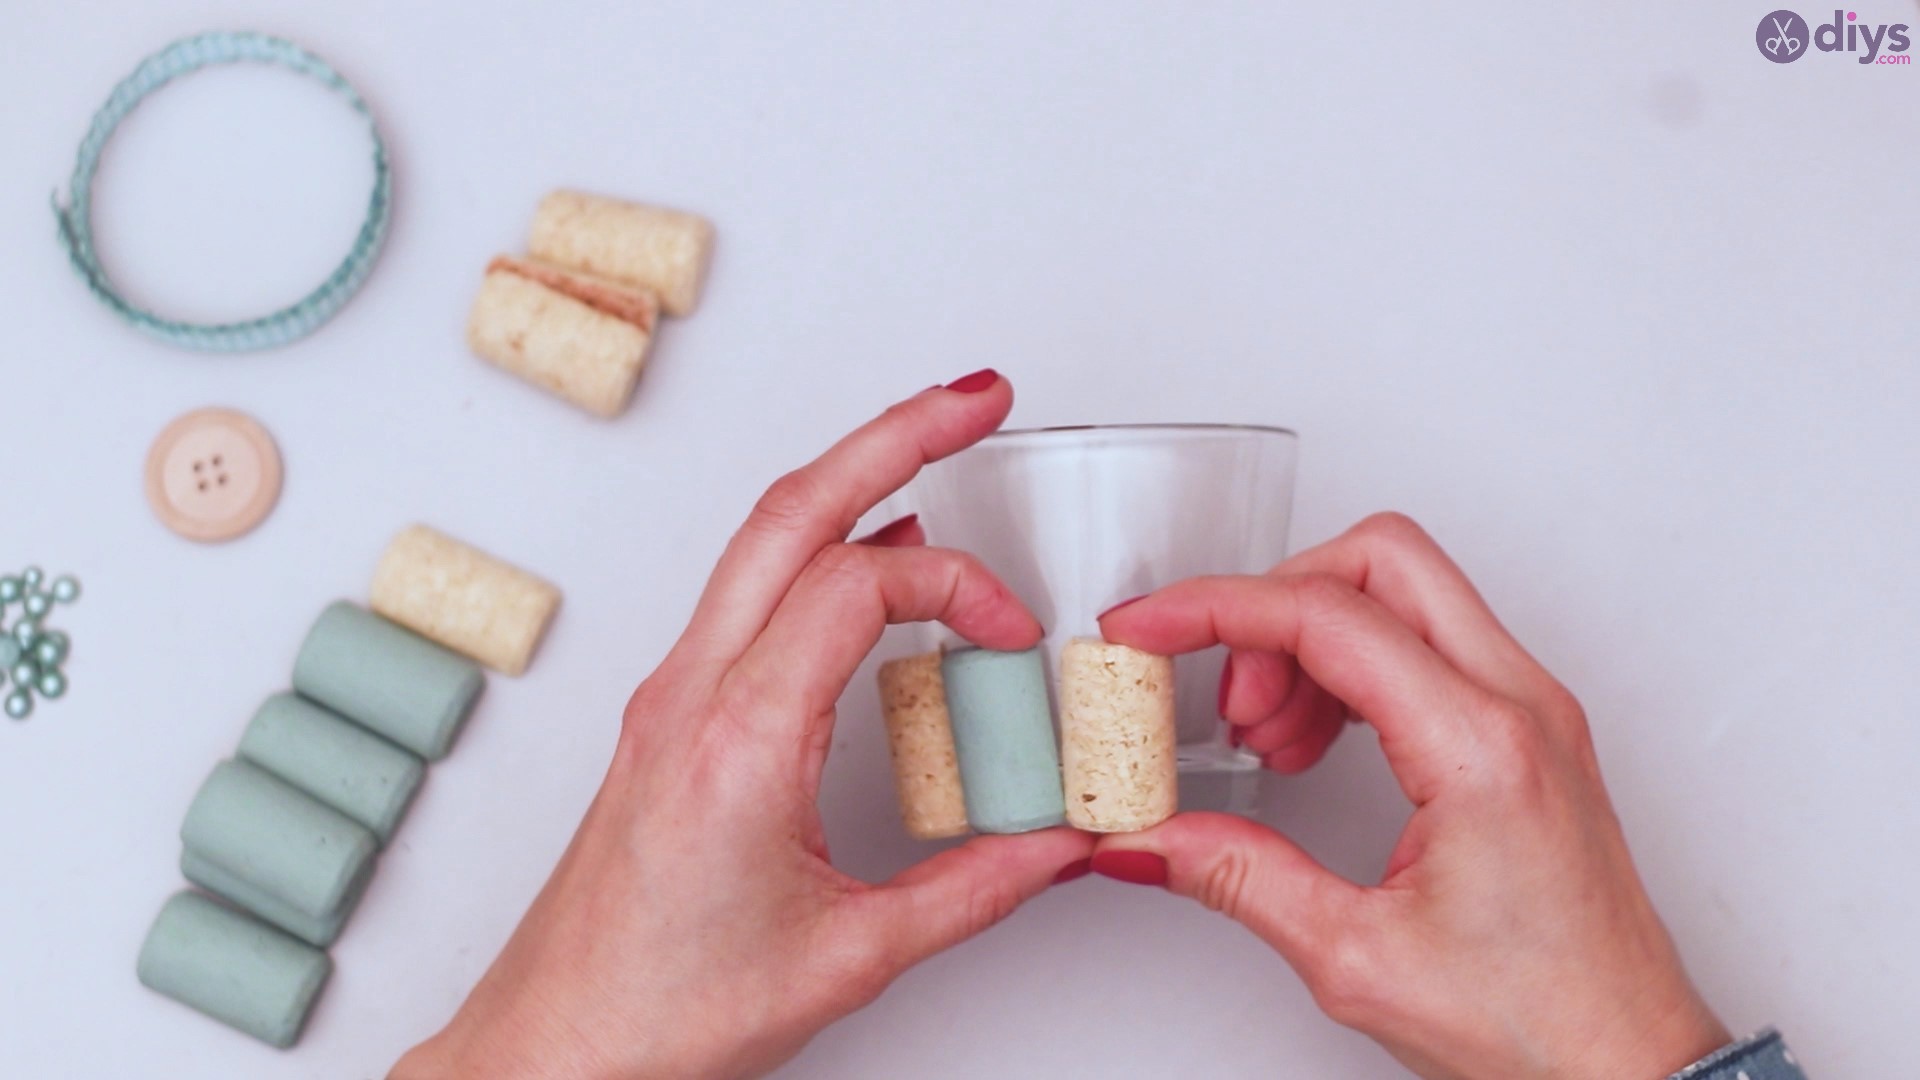
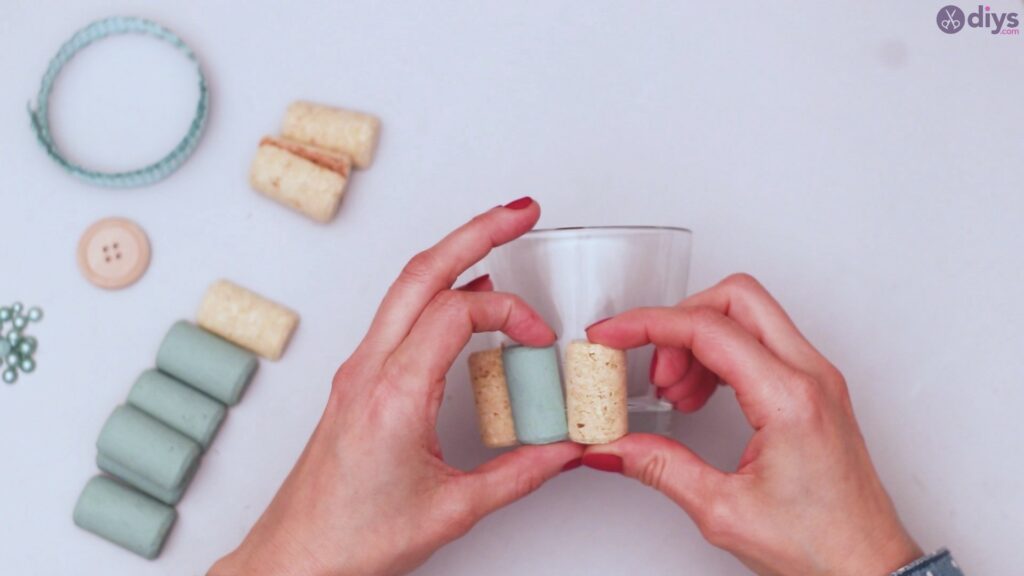
Use rows of coinciding colors, so if you glue down a raw colored cork piece first, then glue a green painted cork piece right next to it.
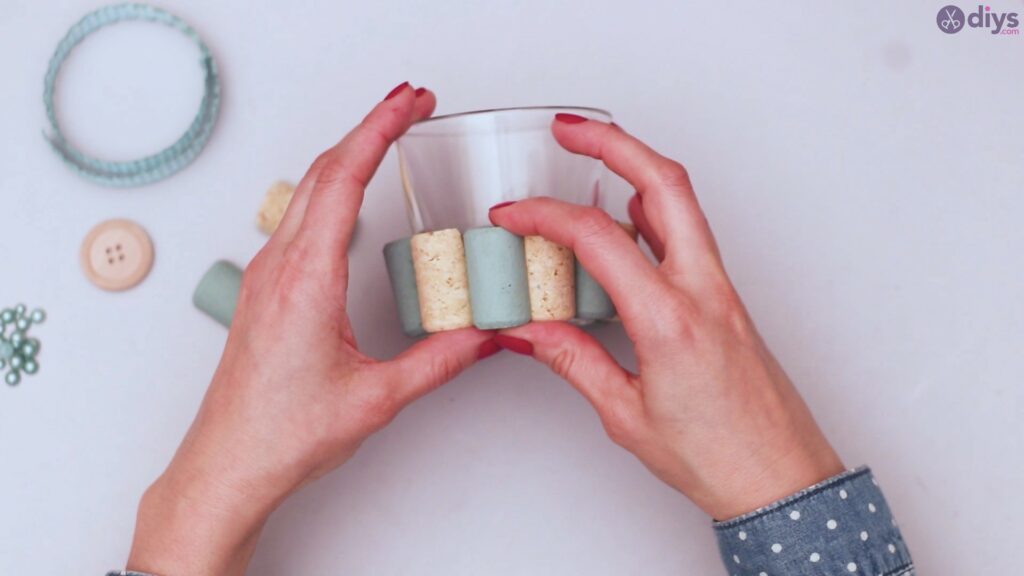
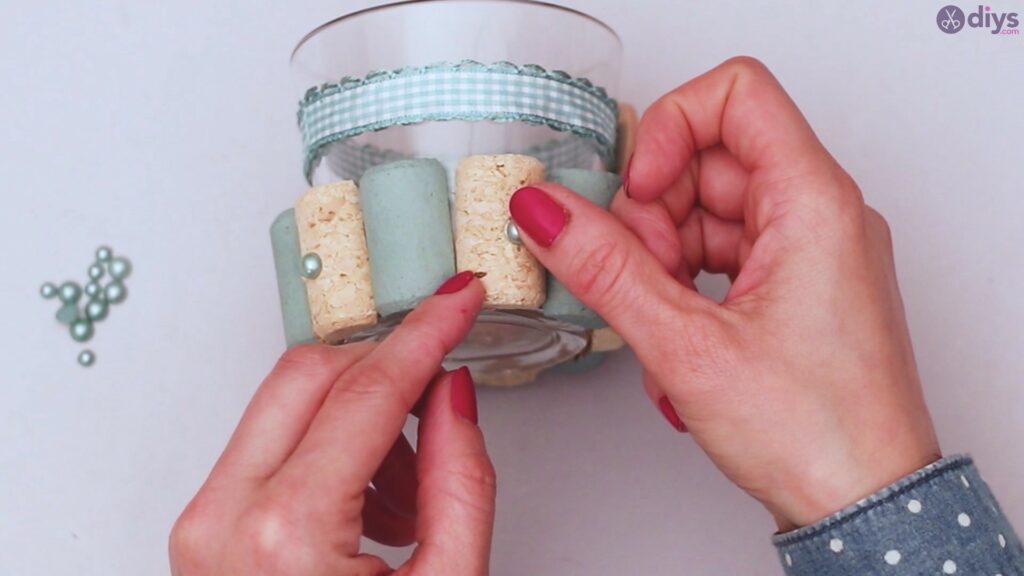
You see? One raw colored cork piece, followed by a green acrylic paint colored cork piece, and so on and so forth.
Look how great this bottom row looks! By this time, you are for sure getting the hang of this gluing step.
Step Four: Gluing on the Ribbon
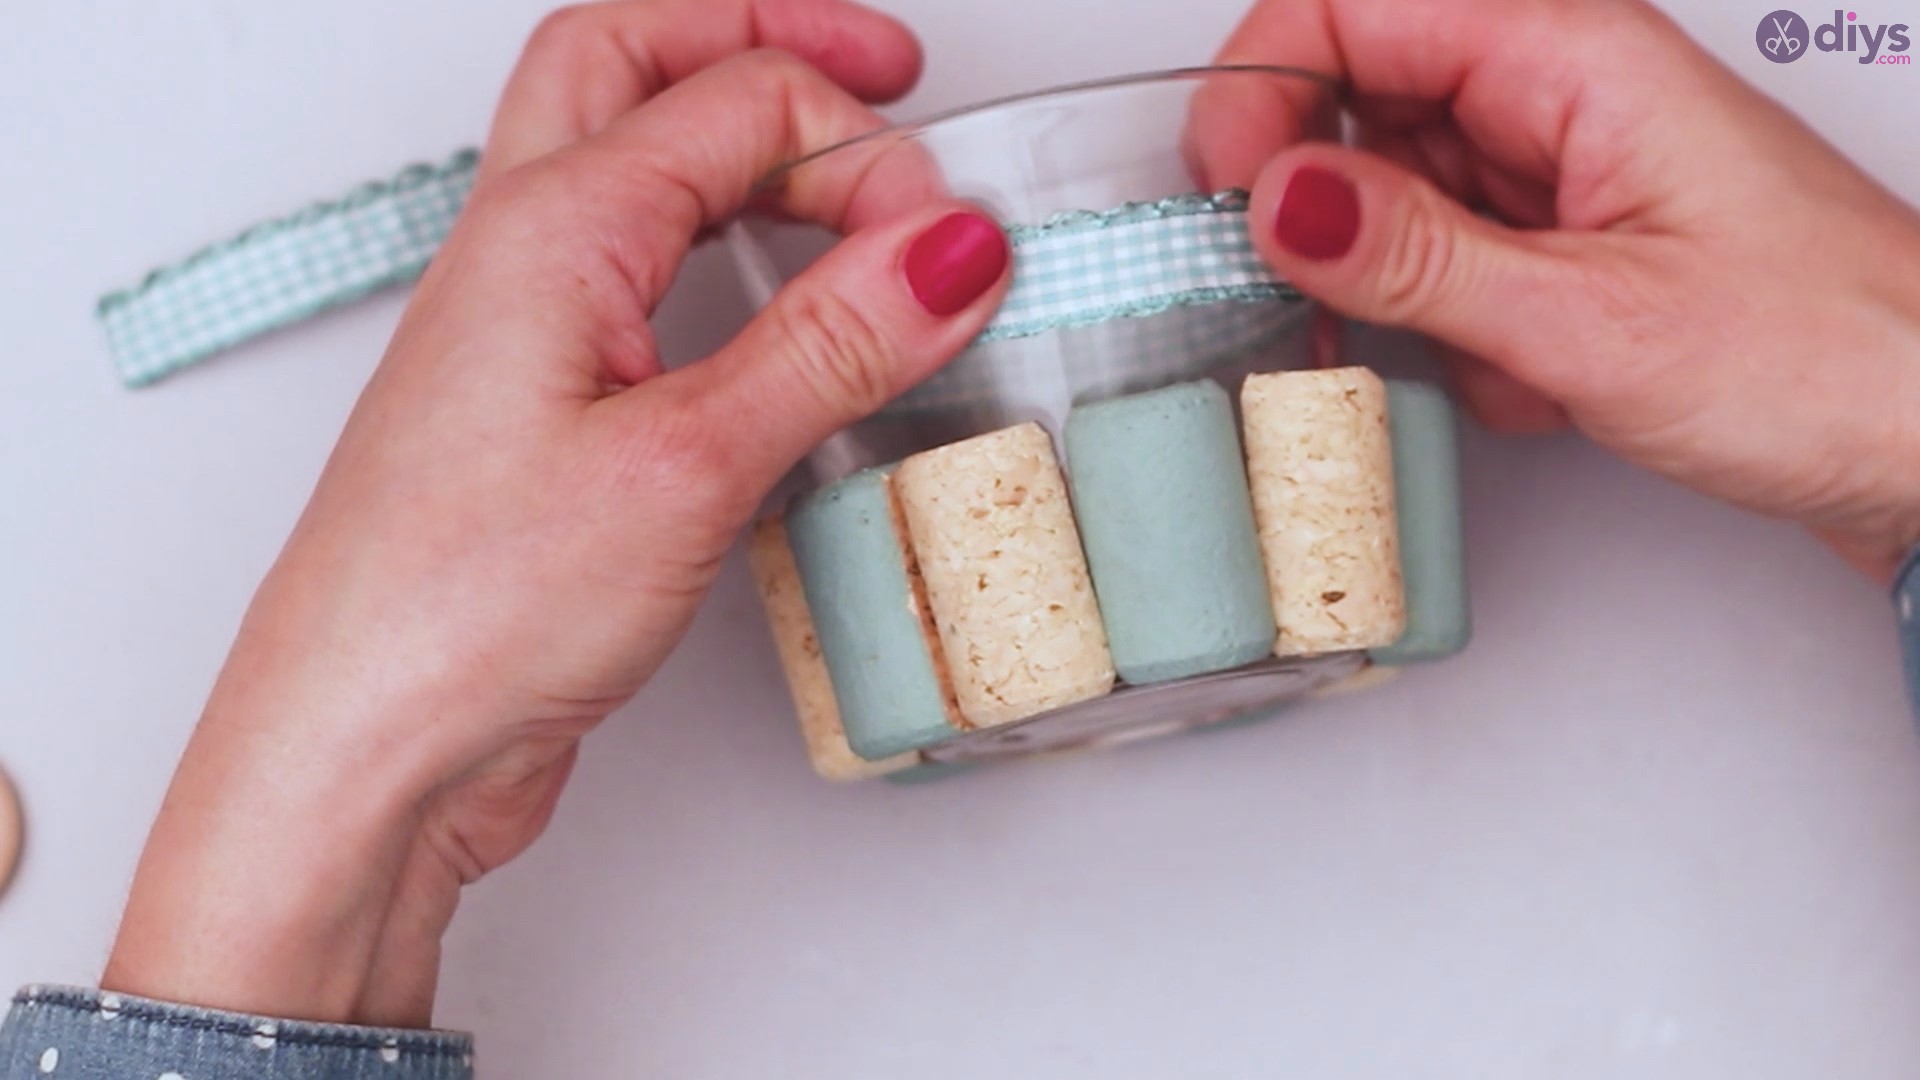
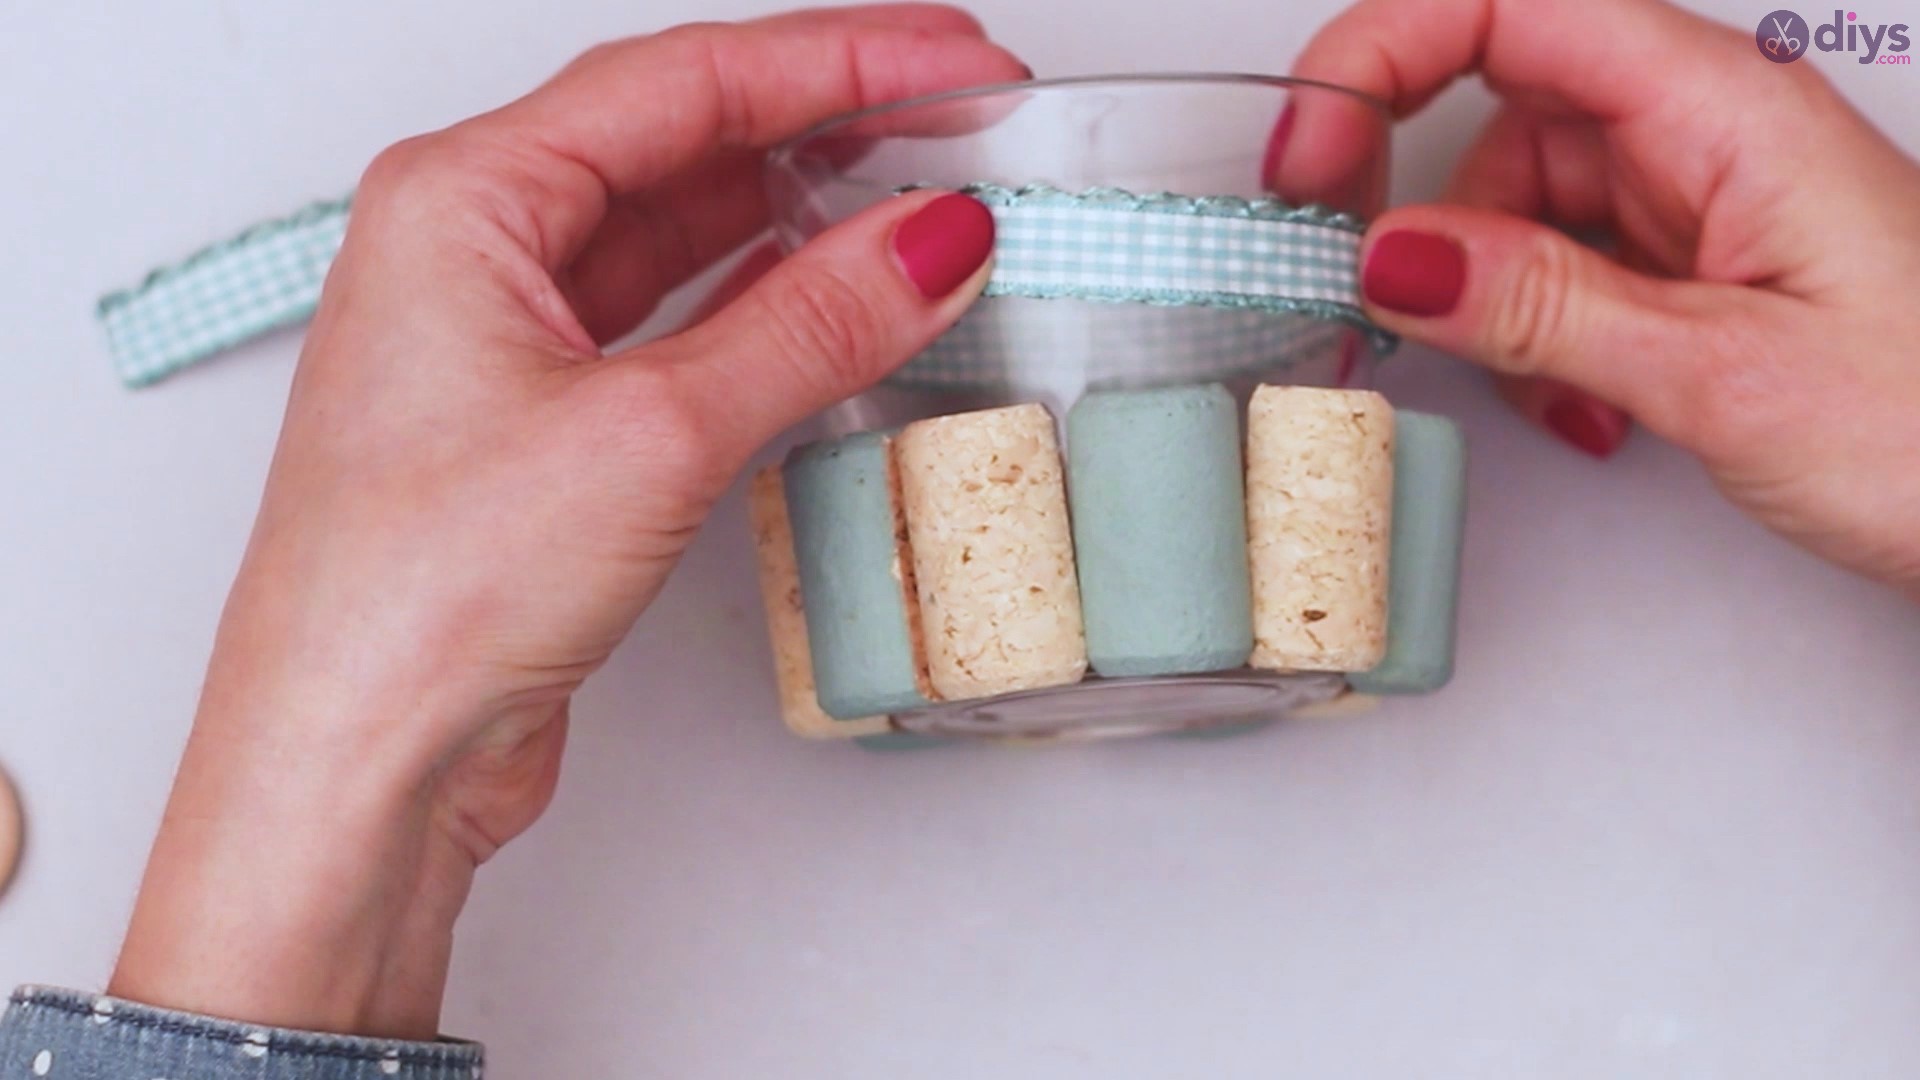
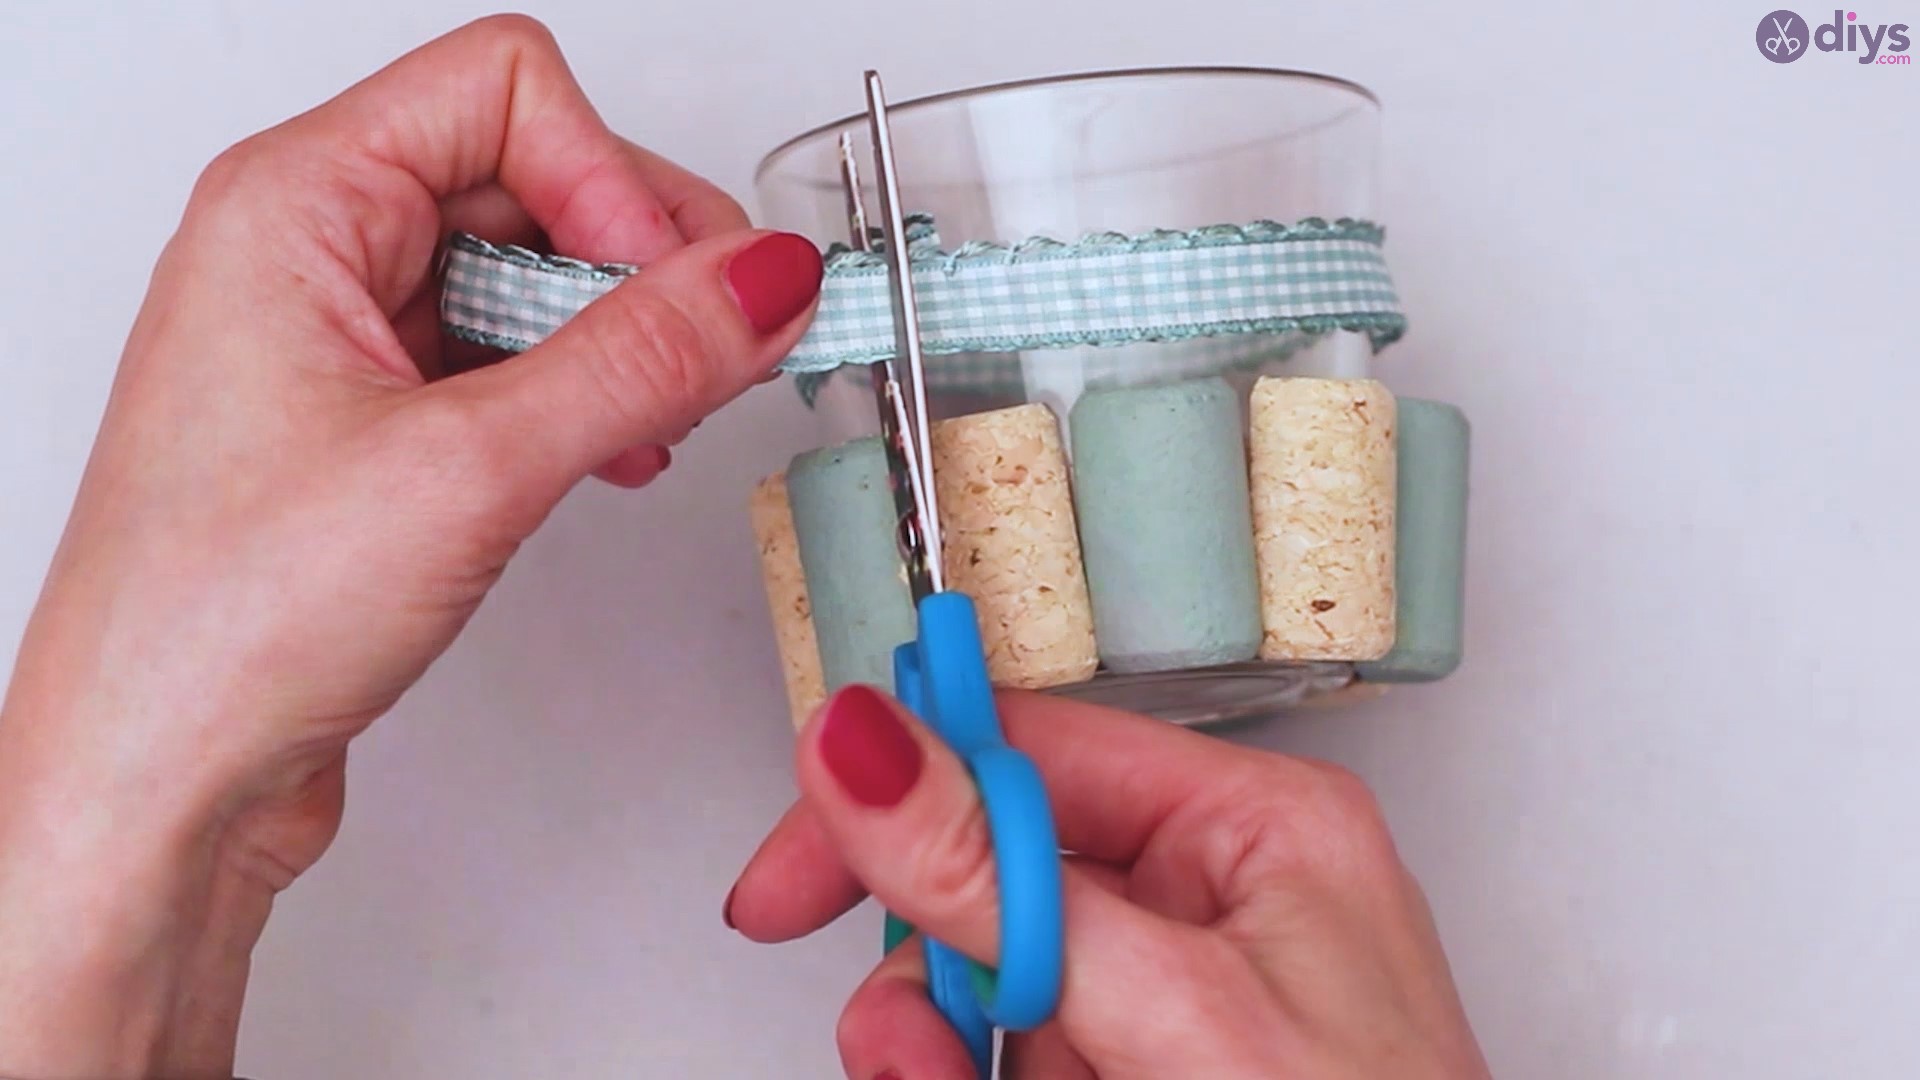
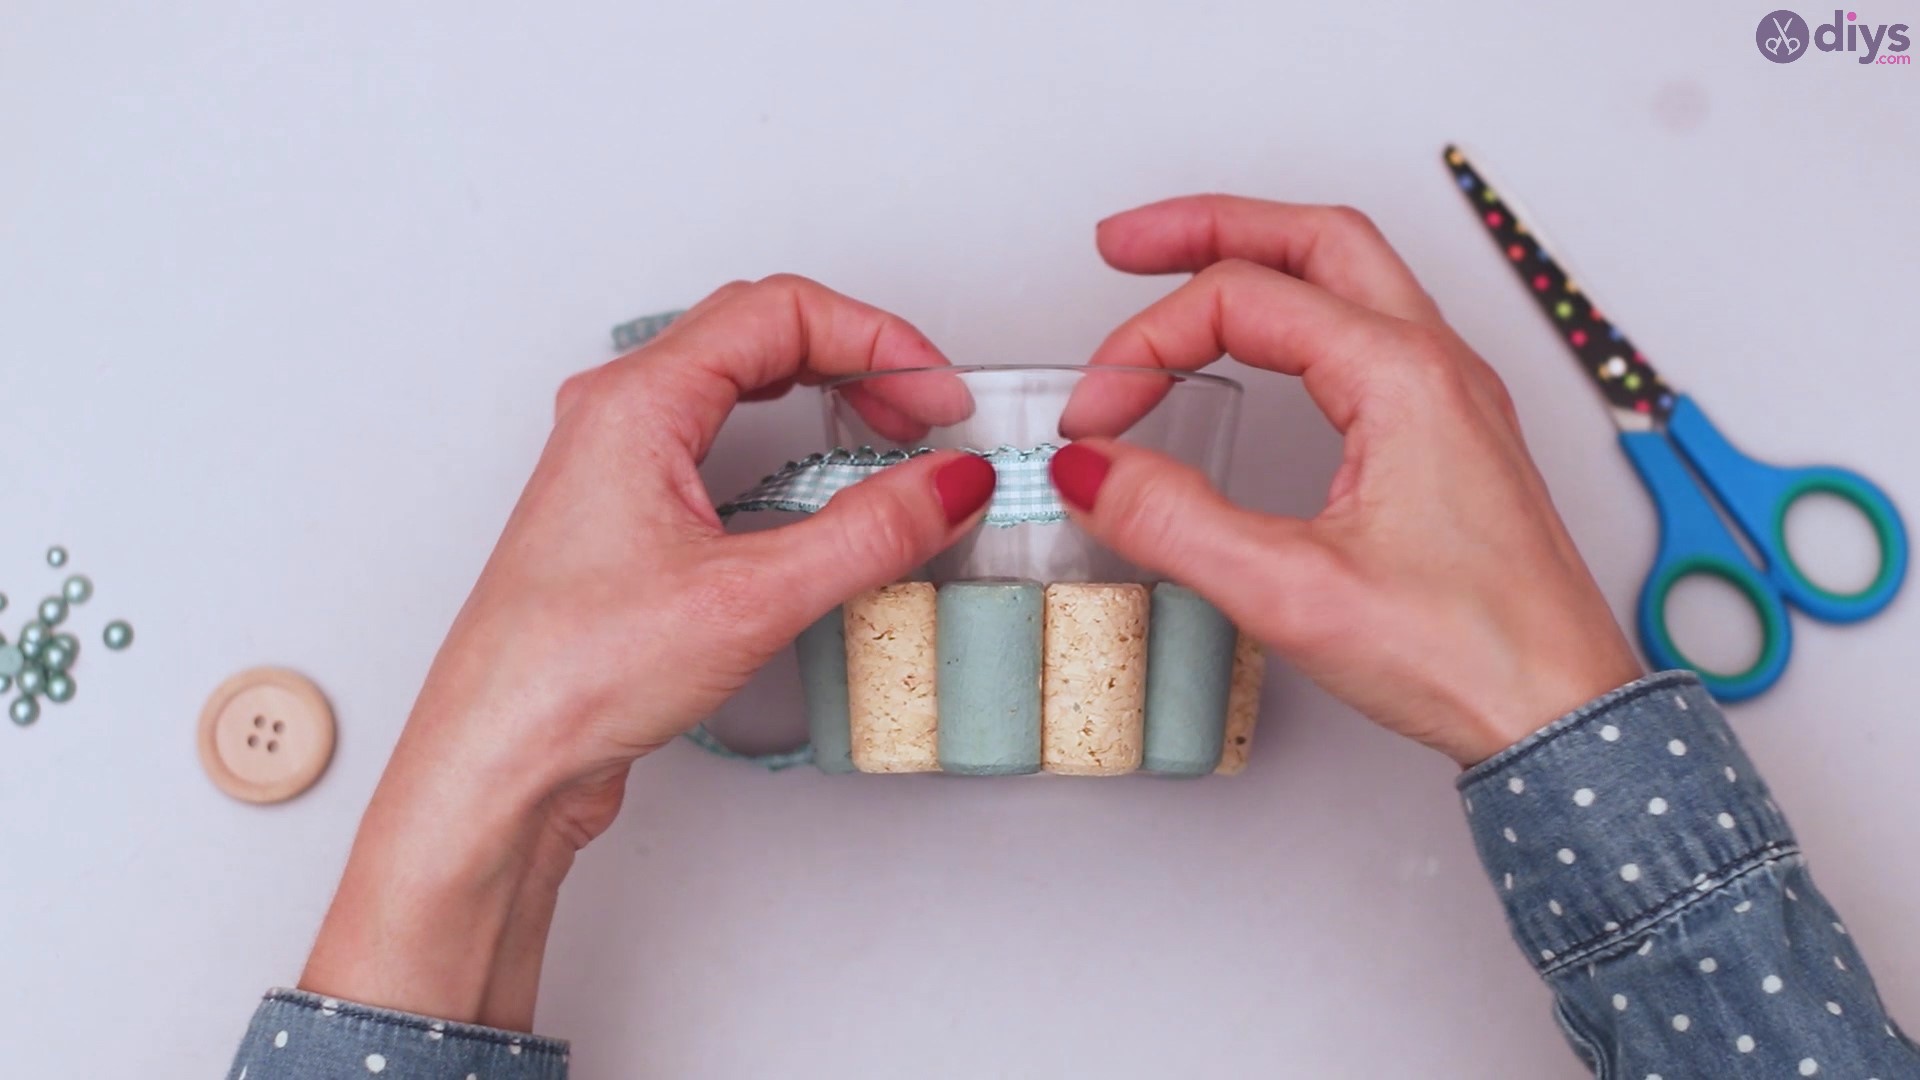
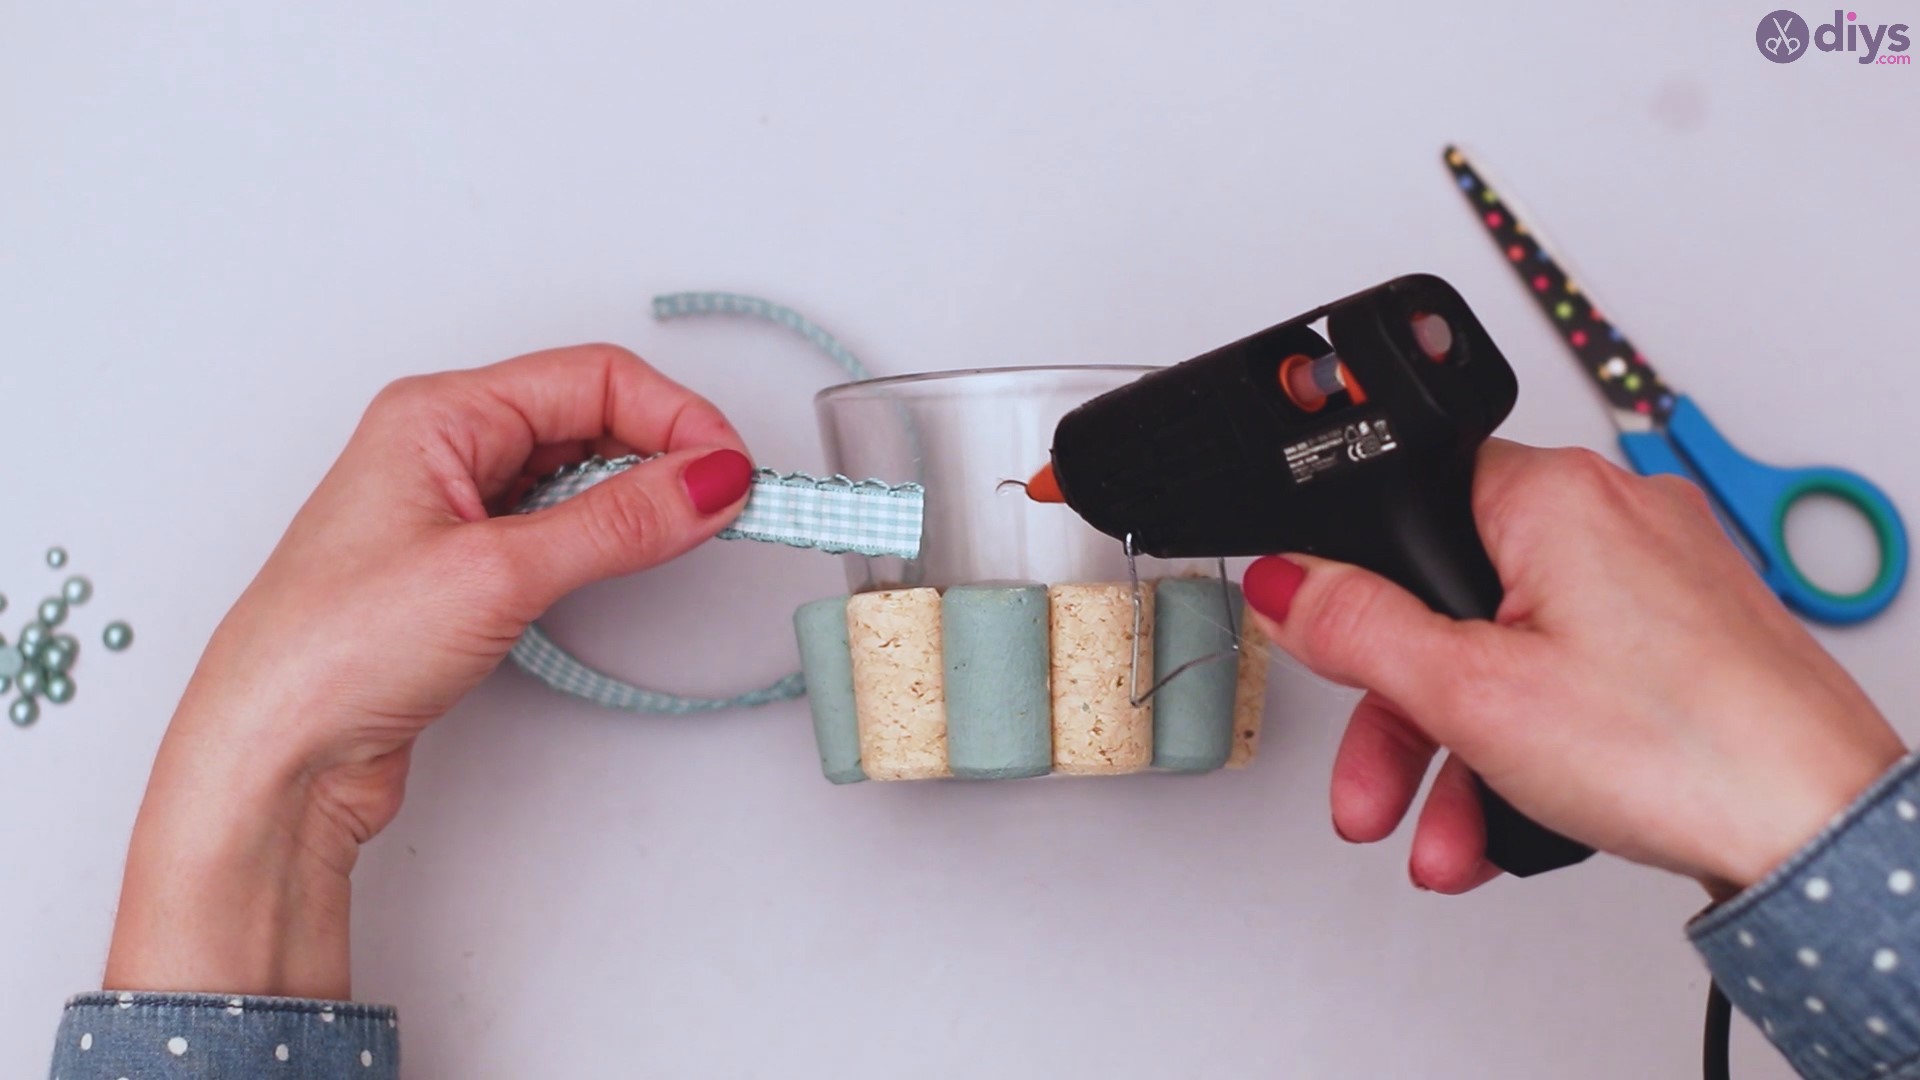
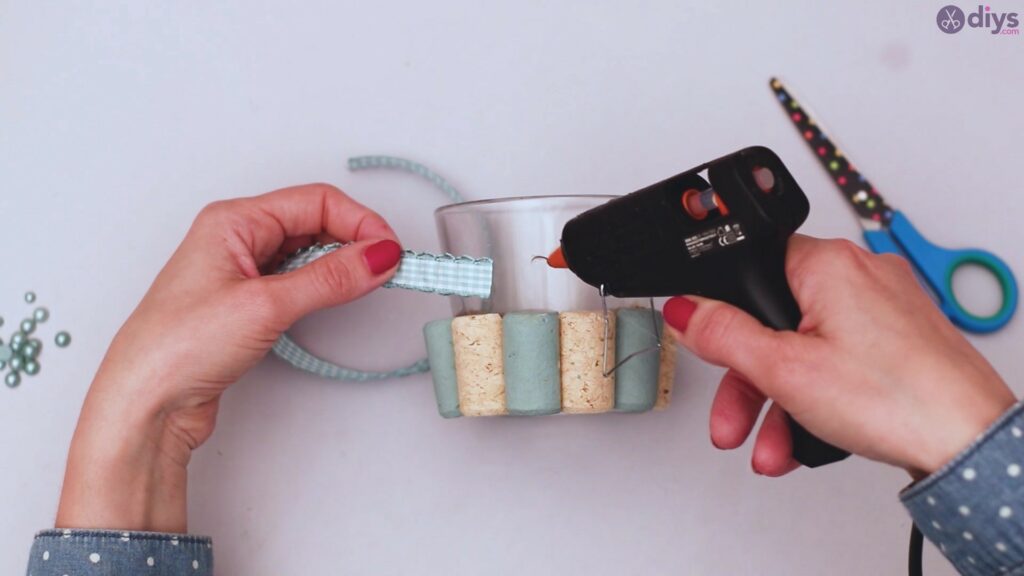
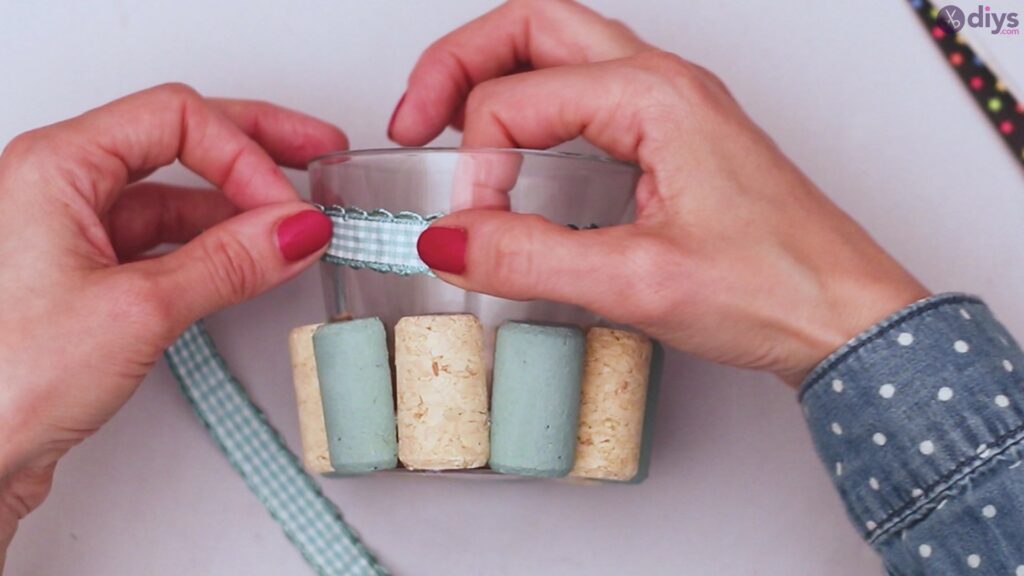
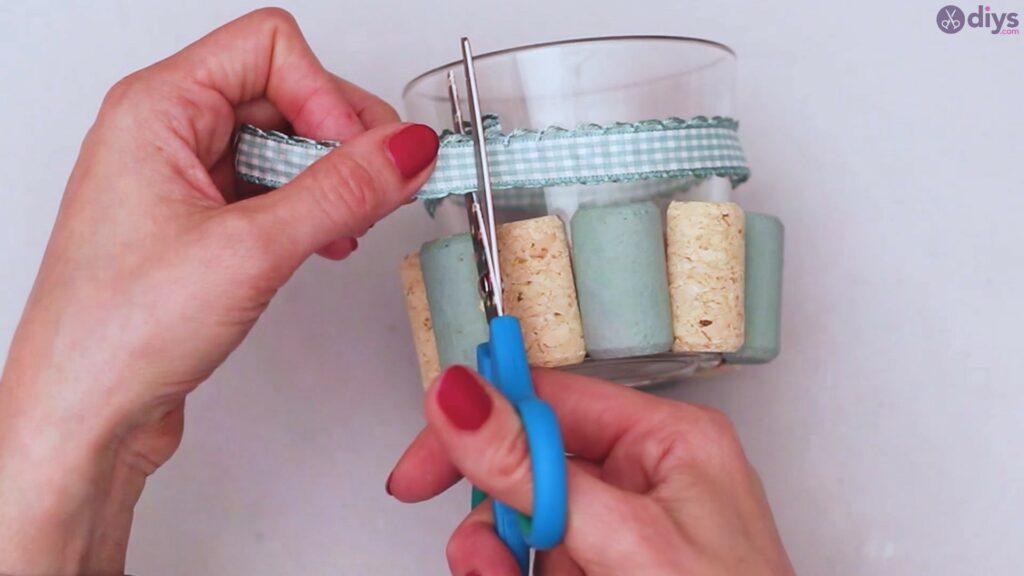
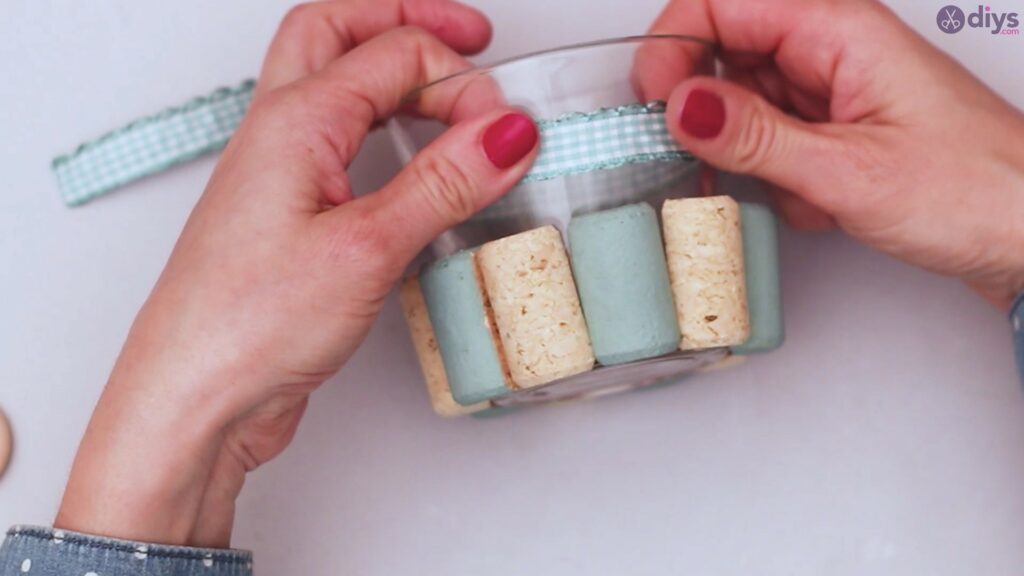
Now for the ribbon embellishment. This step will add some cute focal points to your wine cork candle holder and it’s super easy to do. You can either measure your ribbon out to match the circumference of your candle holder beforehand, or you can glue while you wrap it around the candle holder and cut it at the end. Whichever method works best for you is the way to go!
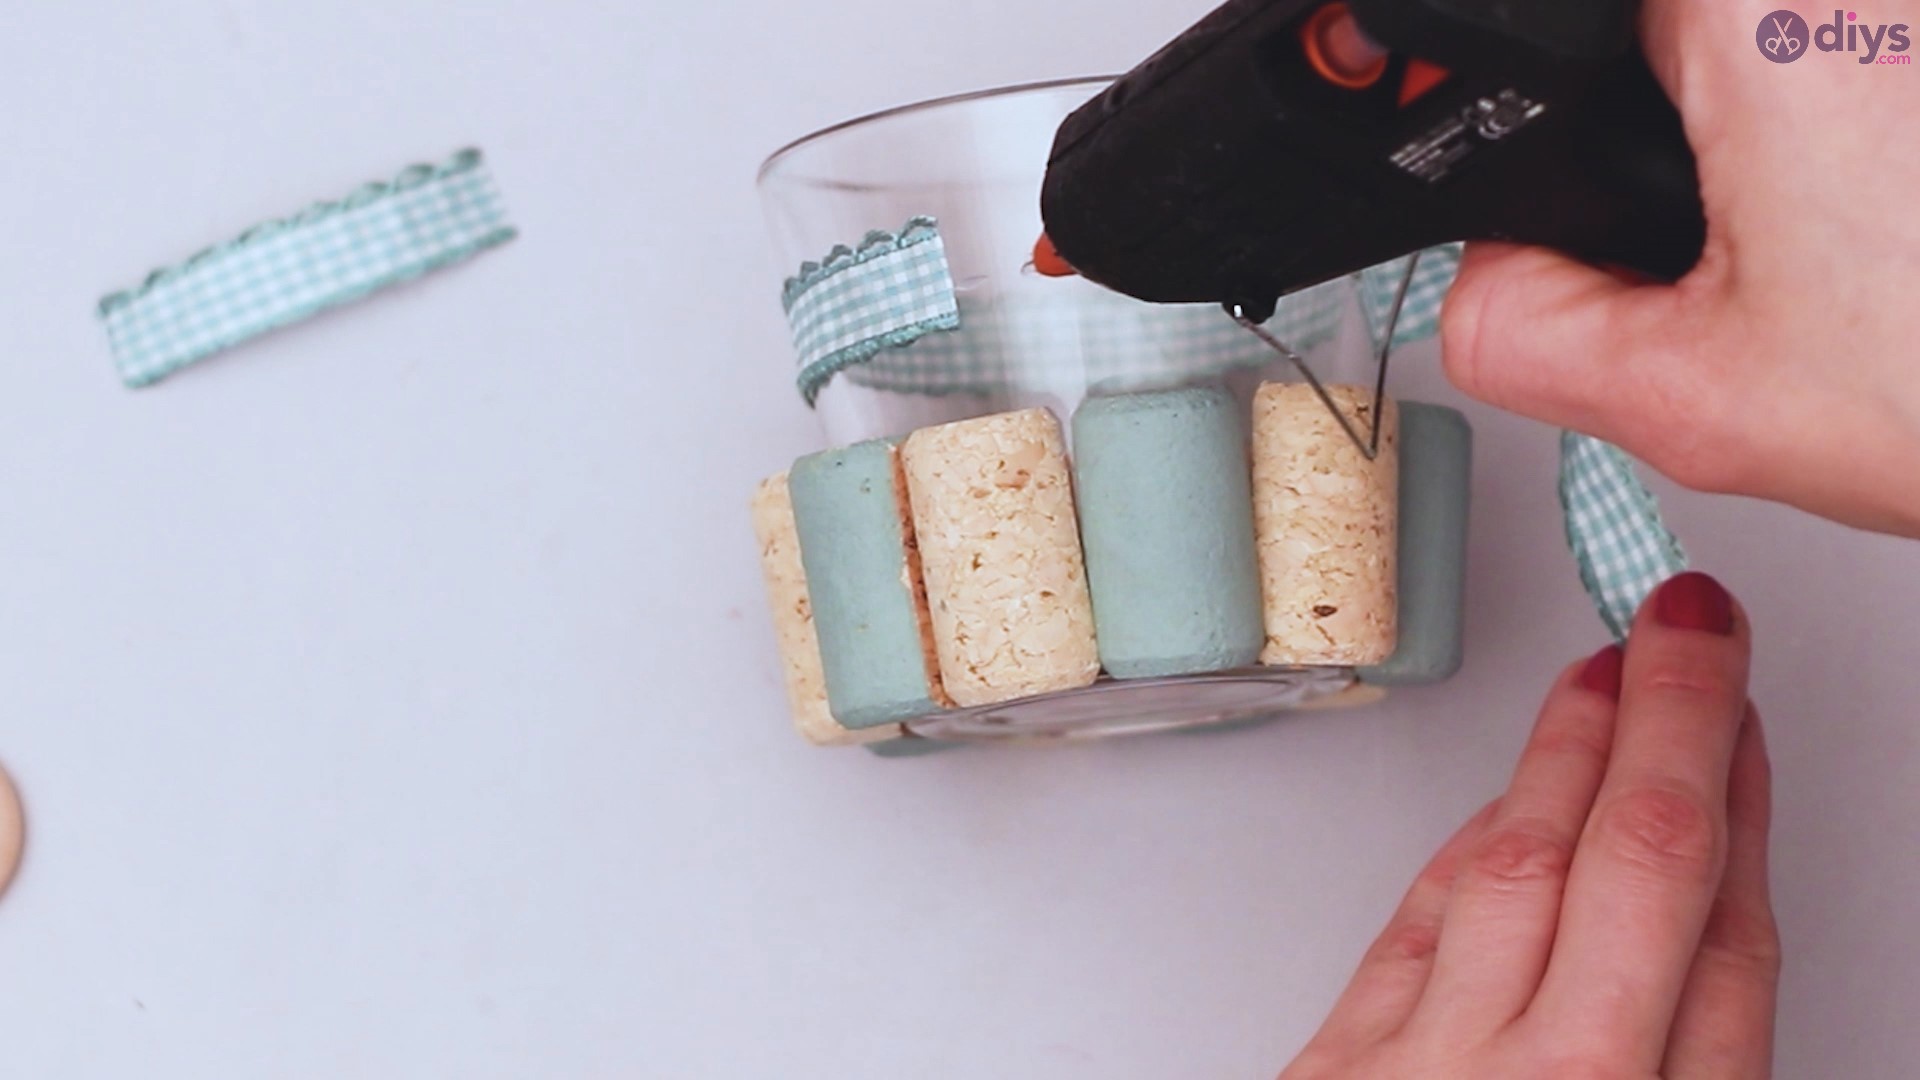
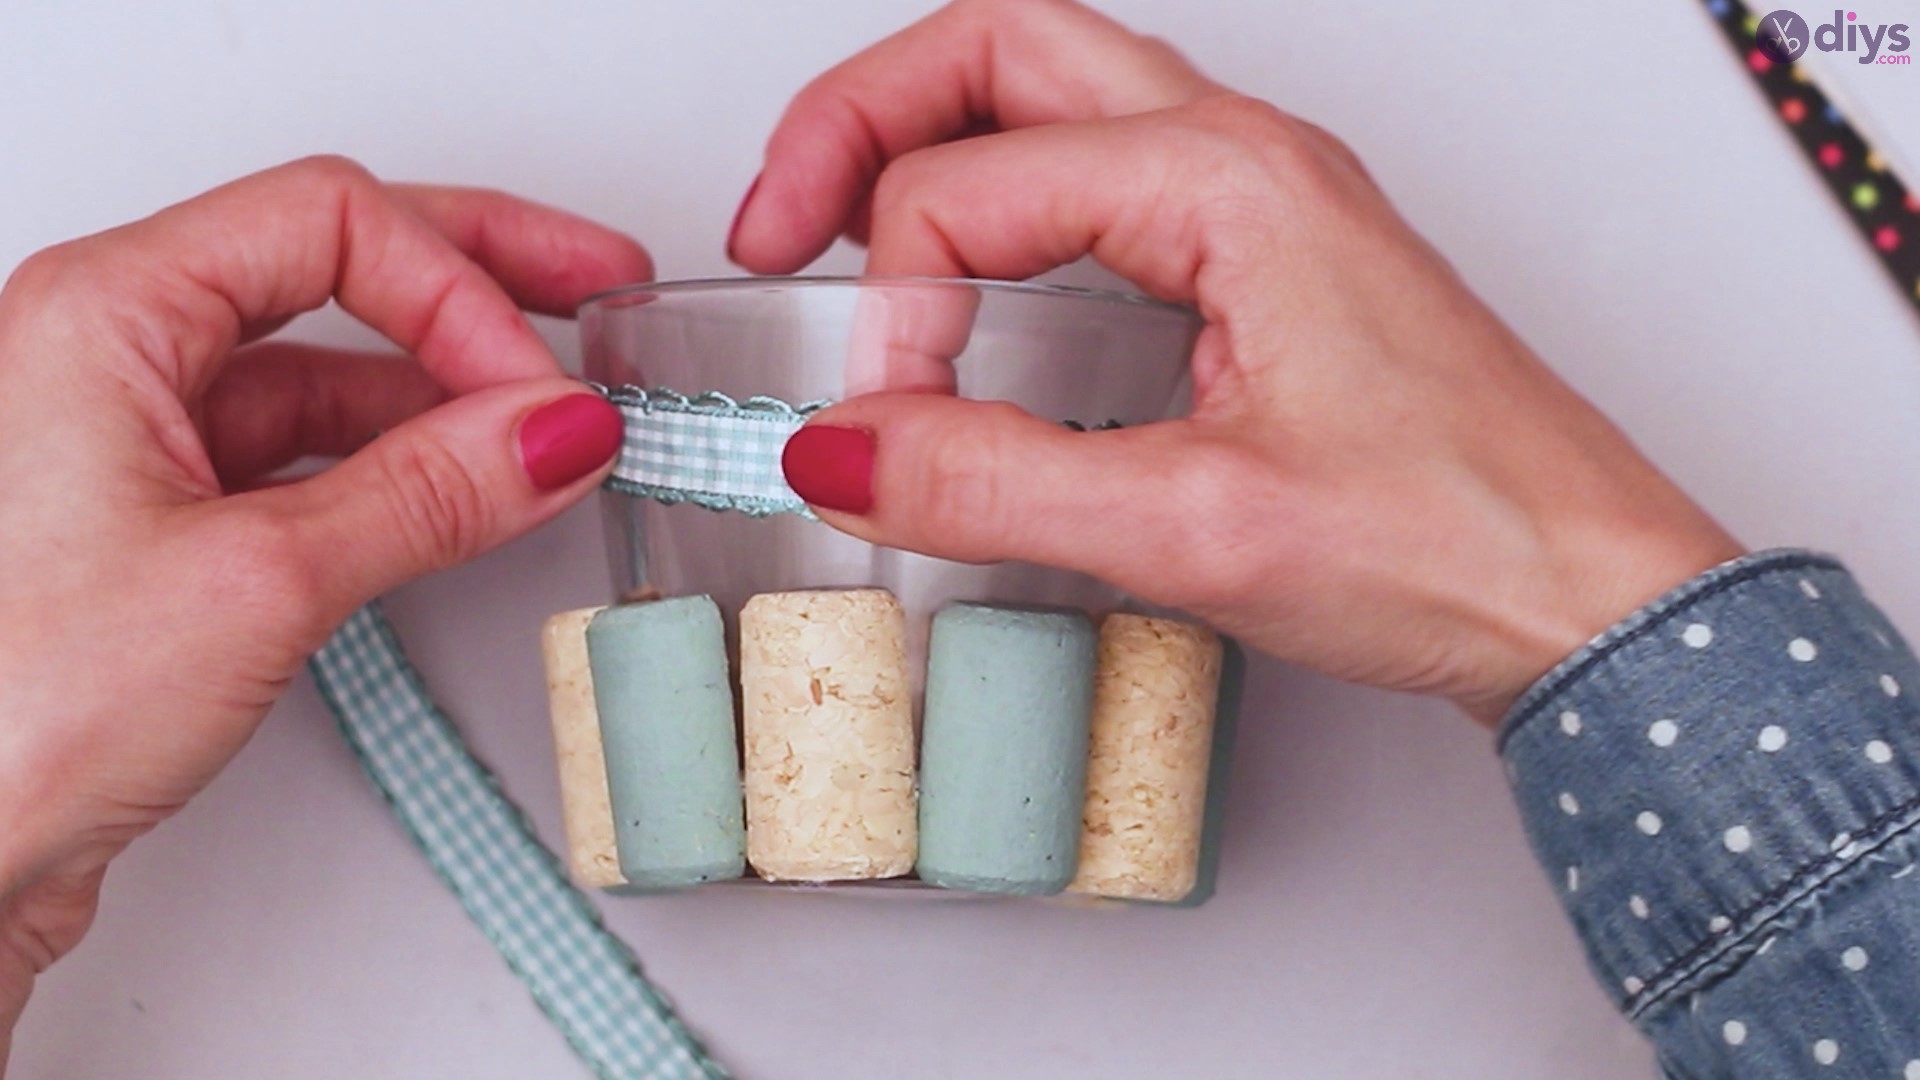
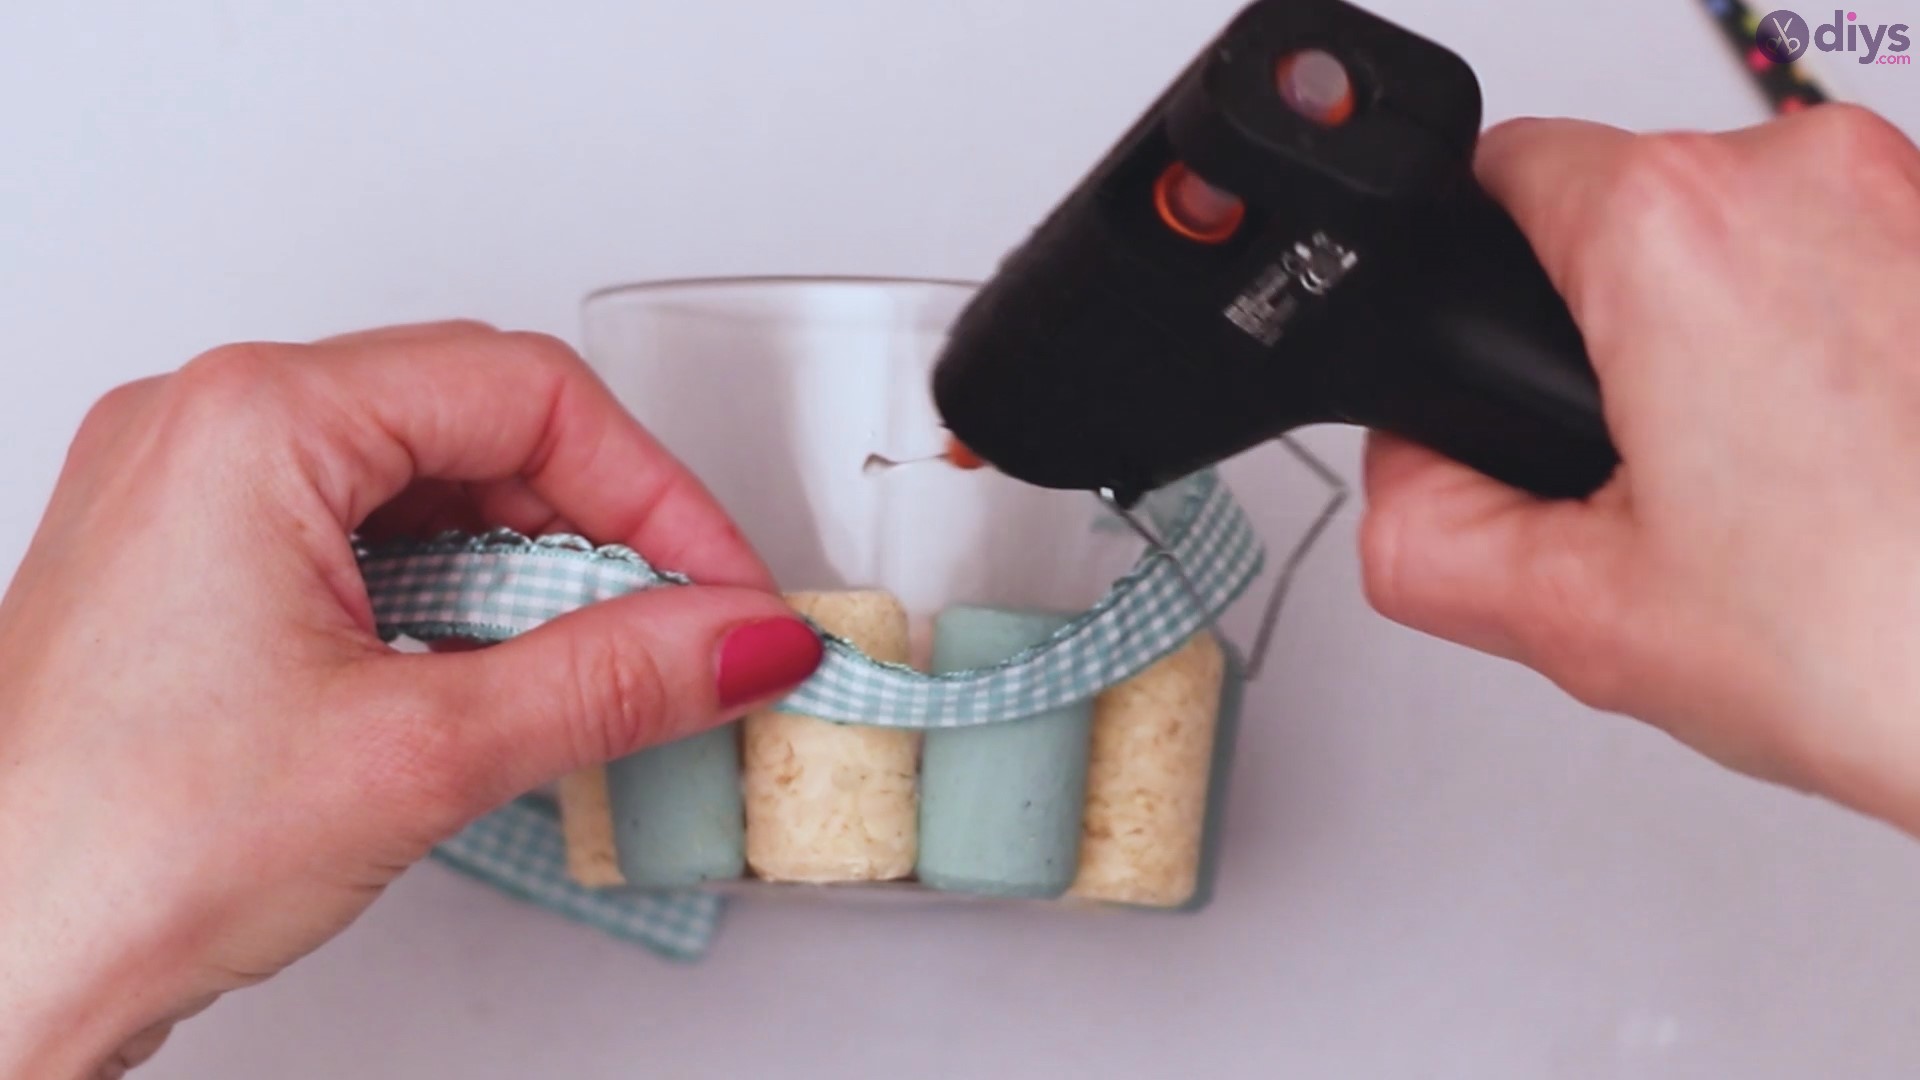
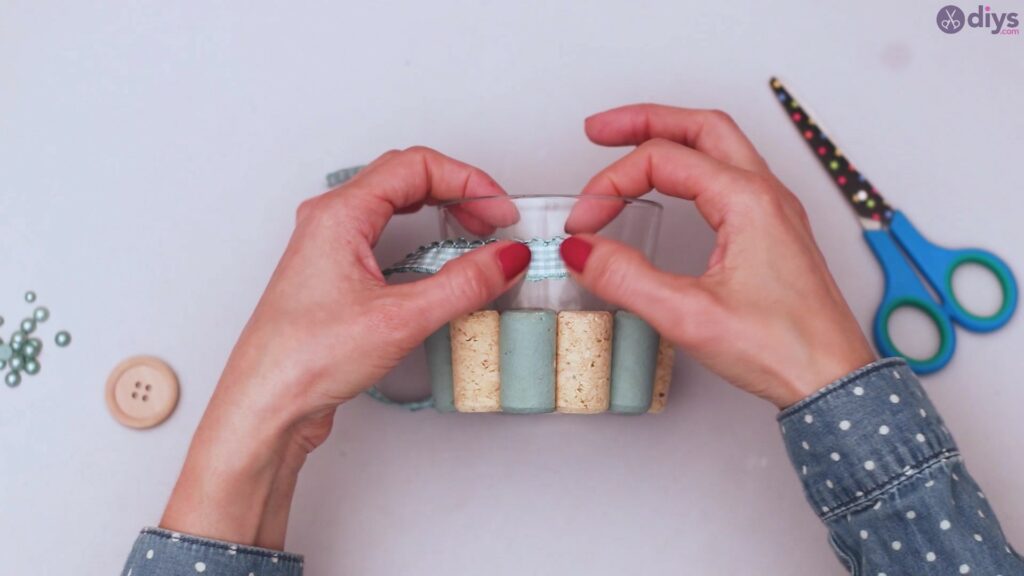
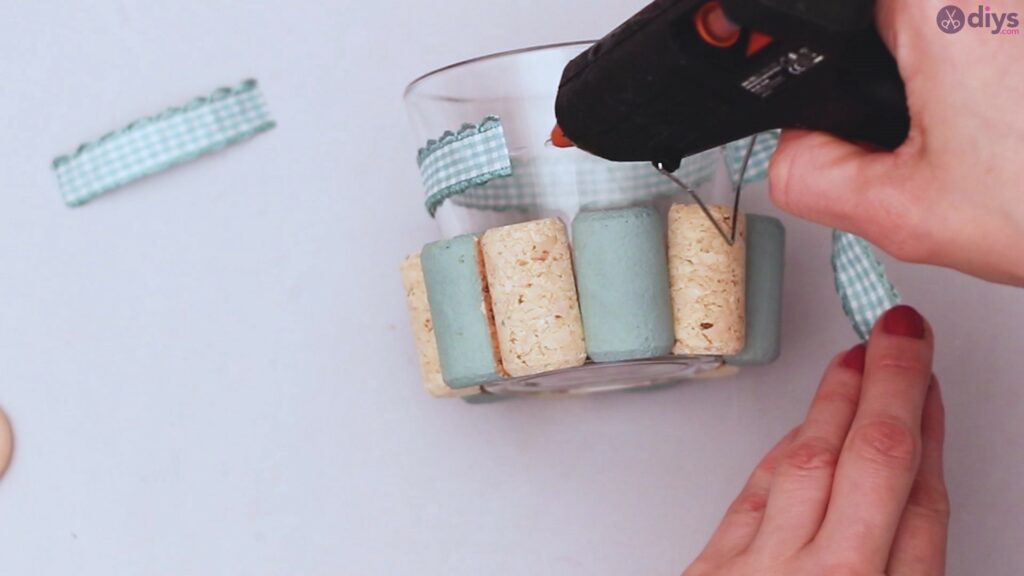
To start, add a small dab of hot glue at the start of the ribbon and glue on slowly from there. This will promote a straighter line and you won’t worry about wrinkles as you can smooth them out as you go.
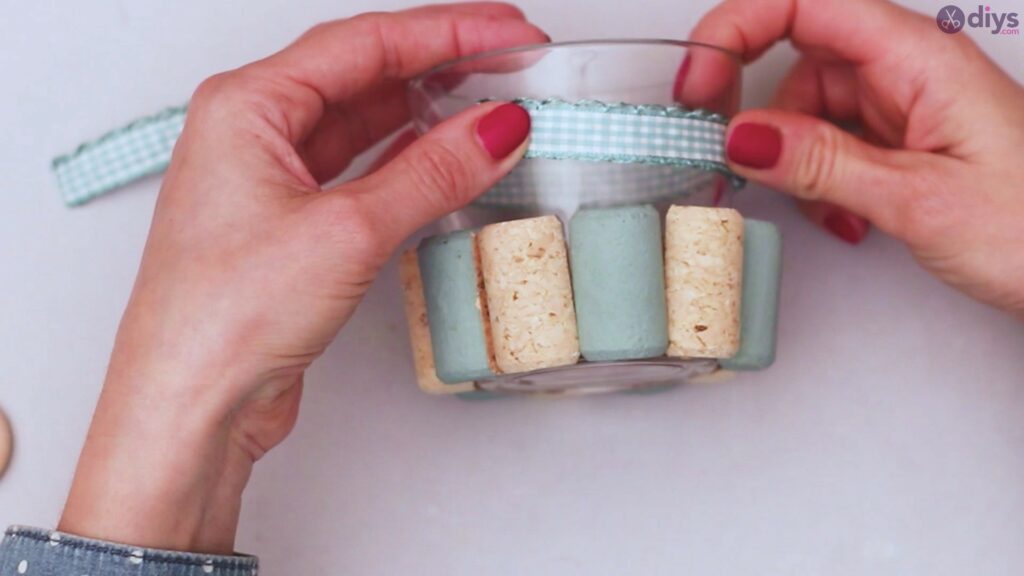
Just keep the process going until your entire ribbon is glued on and there are no wrinkles or bumps in the ribbon itself.
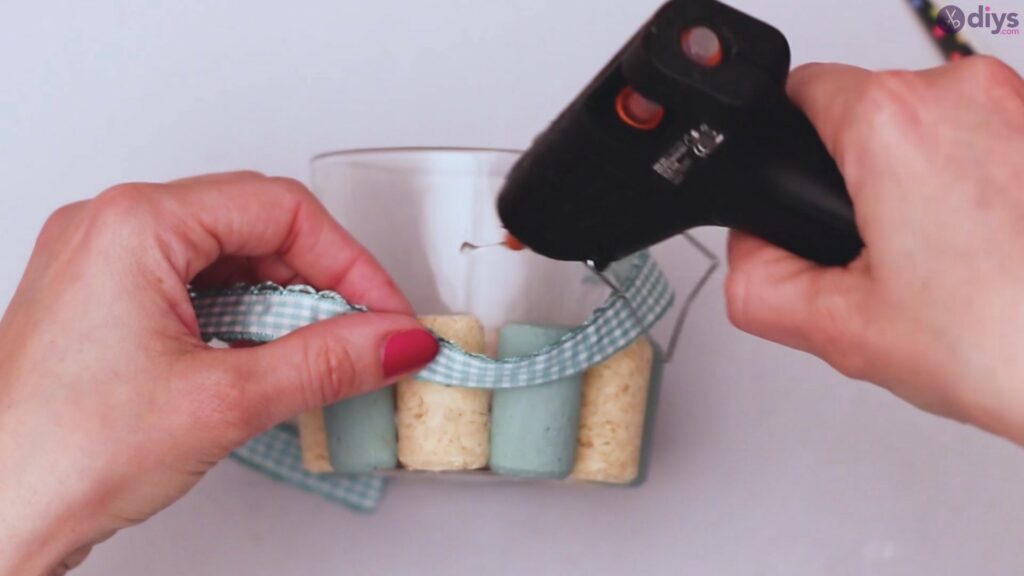
If you prefer to add on the glue first, you can for sure do that, just add small dabs here and there and then wrap your ribbon around to make sure the lines are straight. There really is no wrong way to glue on your ribbon as long as the ribbon is toward the top of the candle holder and your ribbon is straight all the way around it.
Slow and steady wins the race! But this isn’t a race, so take your time to make sure your ribbon is all straight!
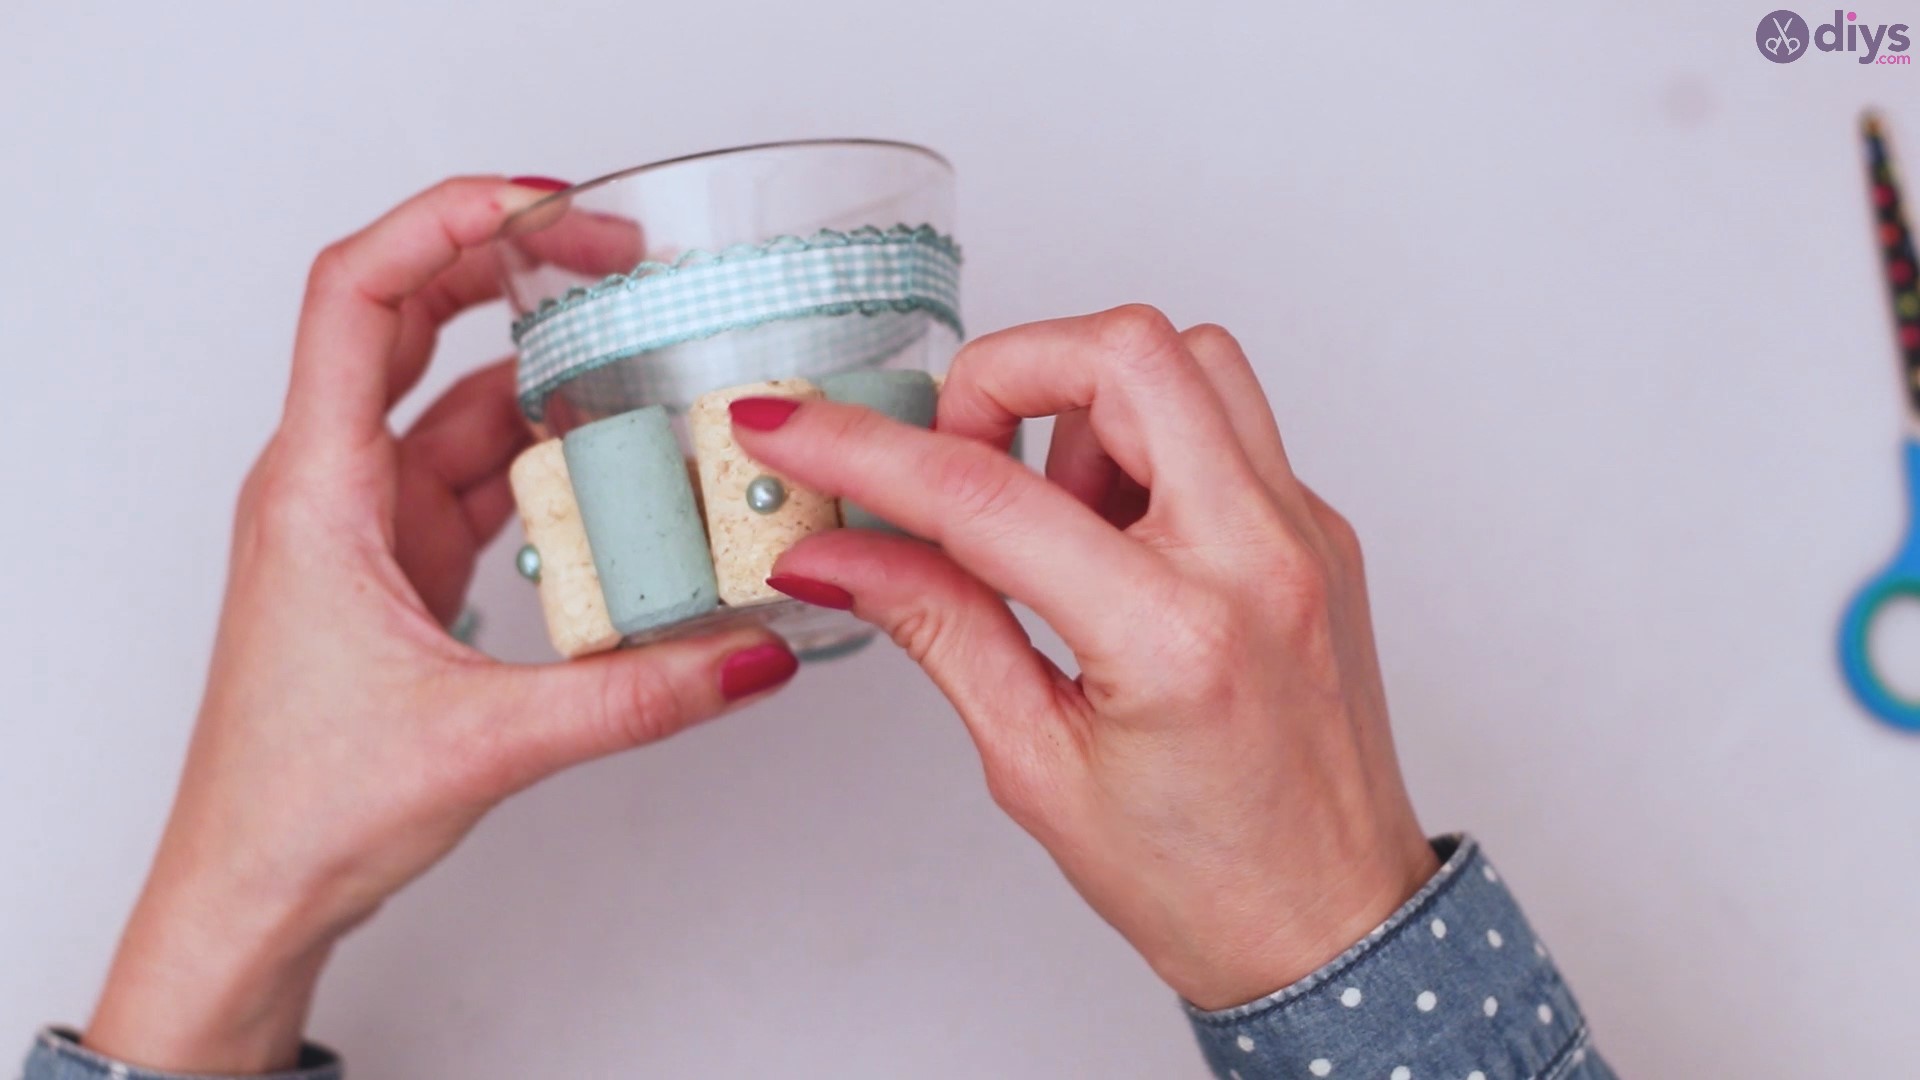
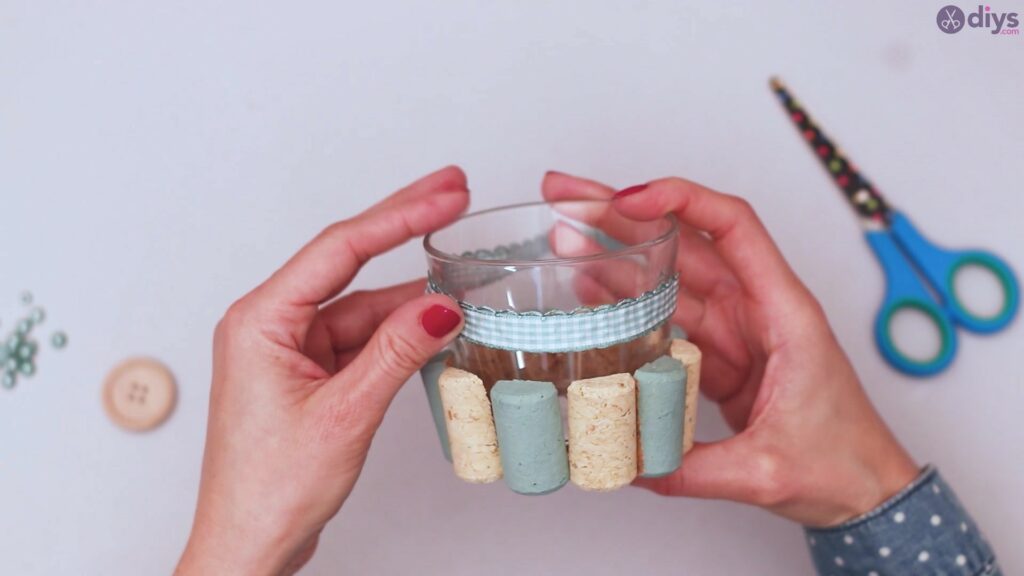
Once you get at the end, cut your ribbon if it’s not cut already and then add another small dab of glue to make sure the end of the ribbon piece is adhered onto the already glued down ribbon end. This way there is nothing overlapping and you have a uniformed, straight ribbon line.
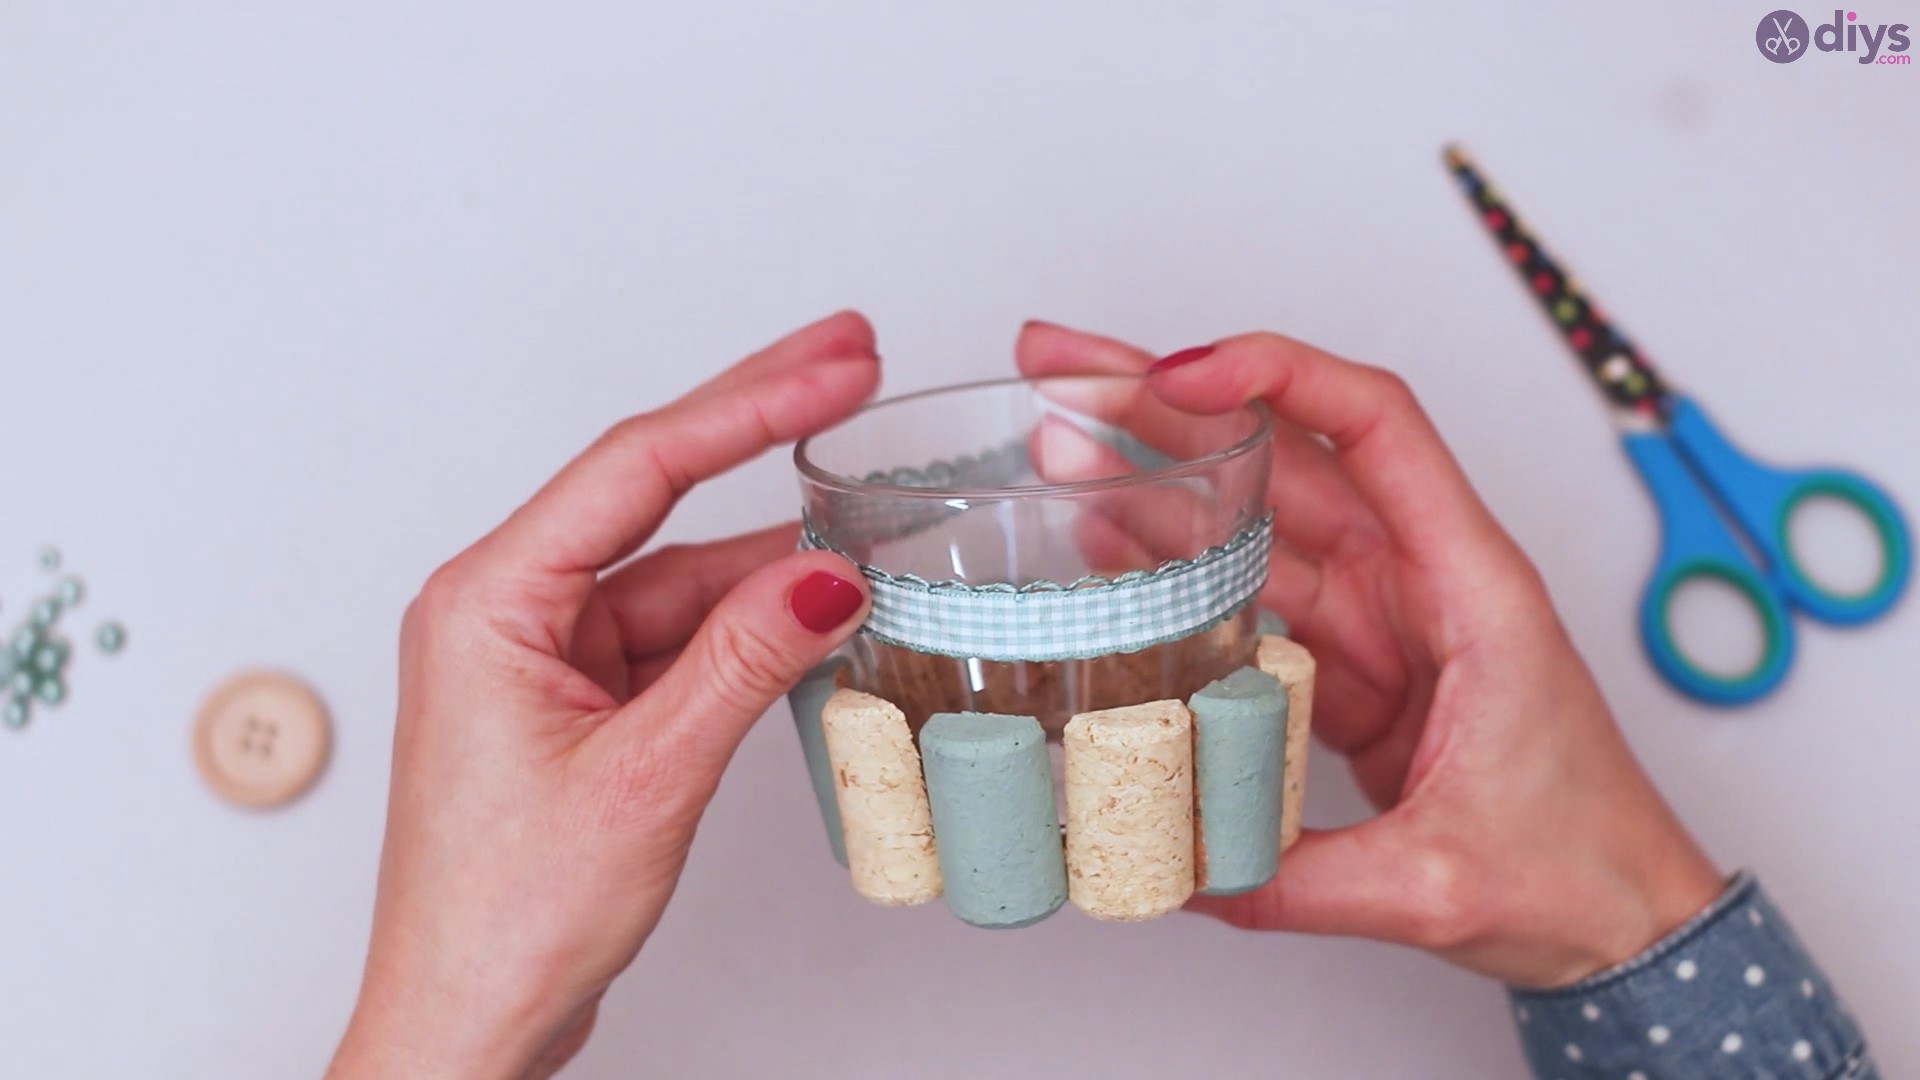
Once your ribbon is all dried and straight, you are ready to move on to your next fun step!
Step Five: Embellishments
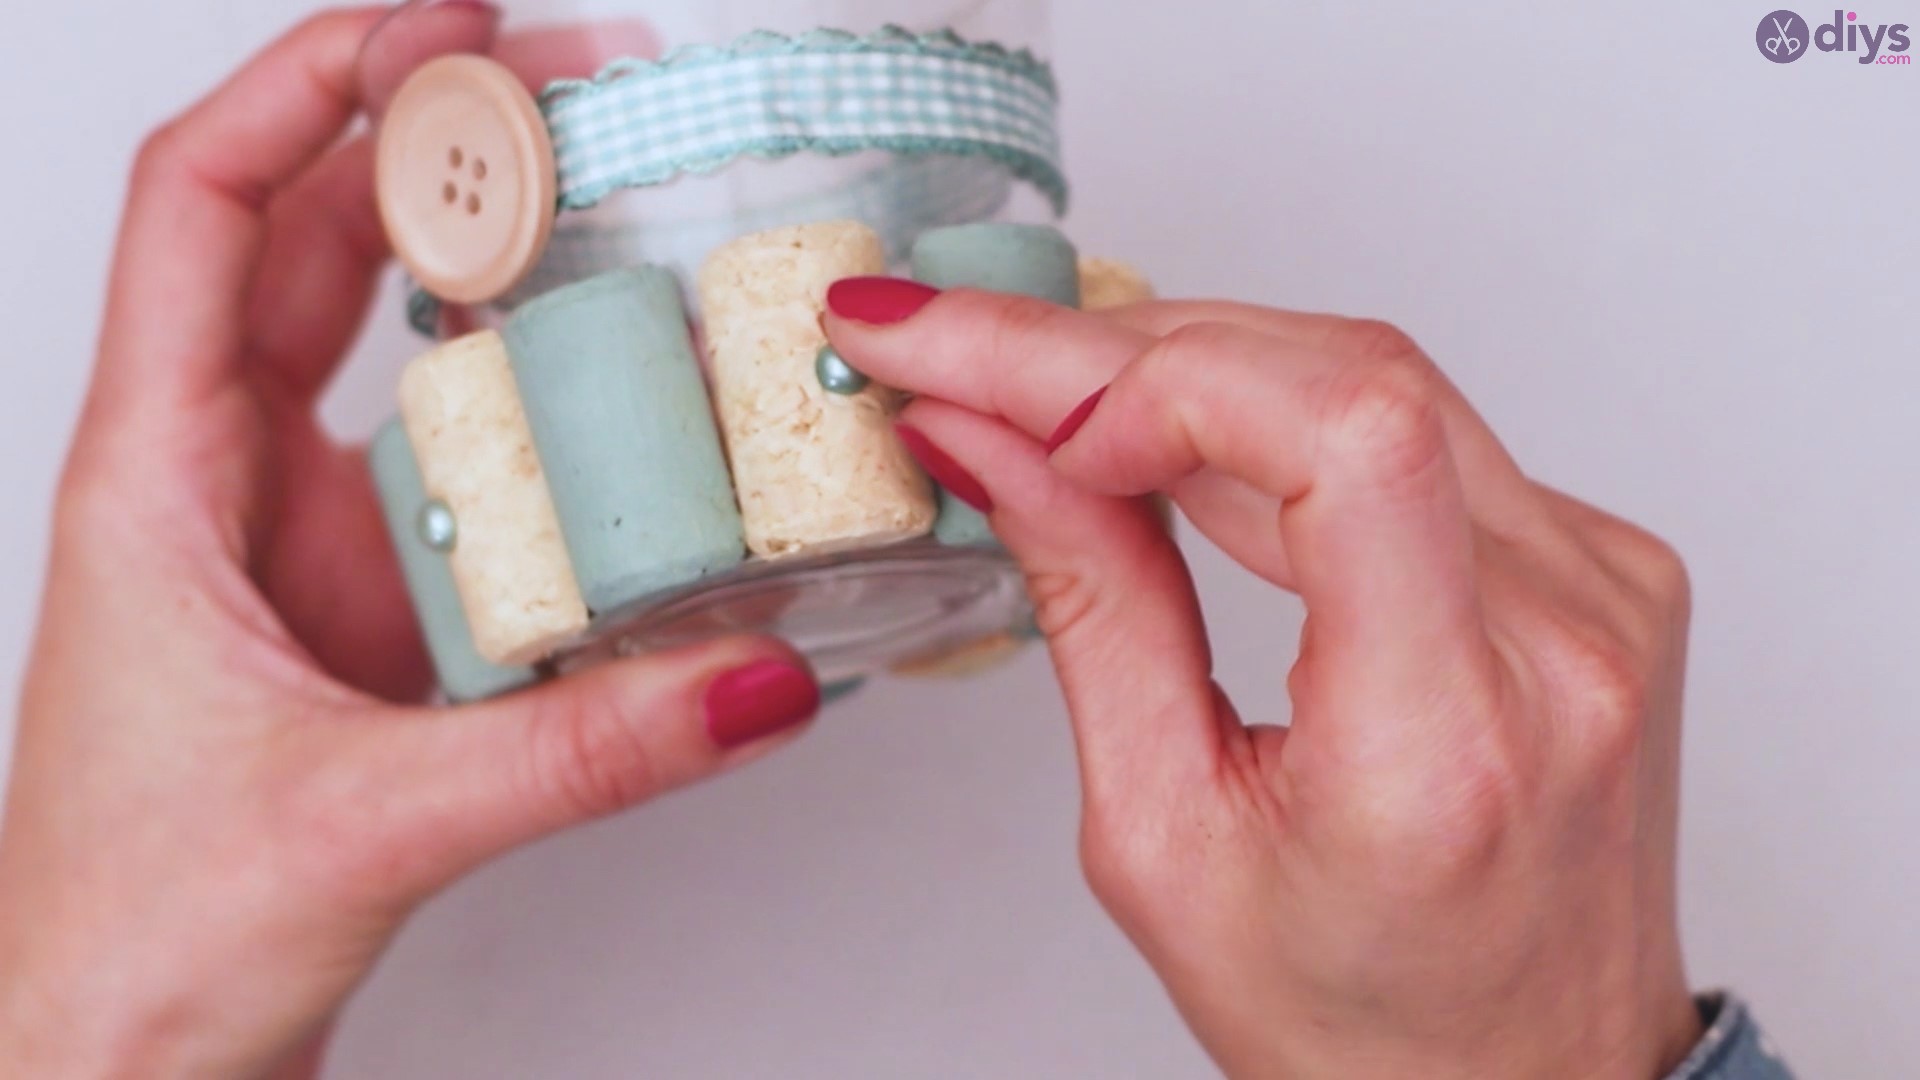
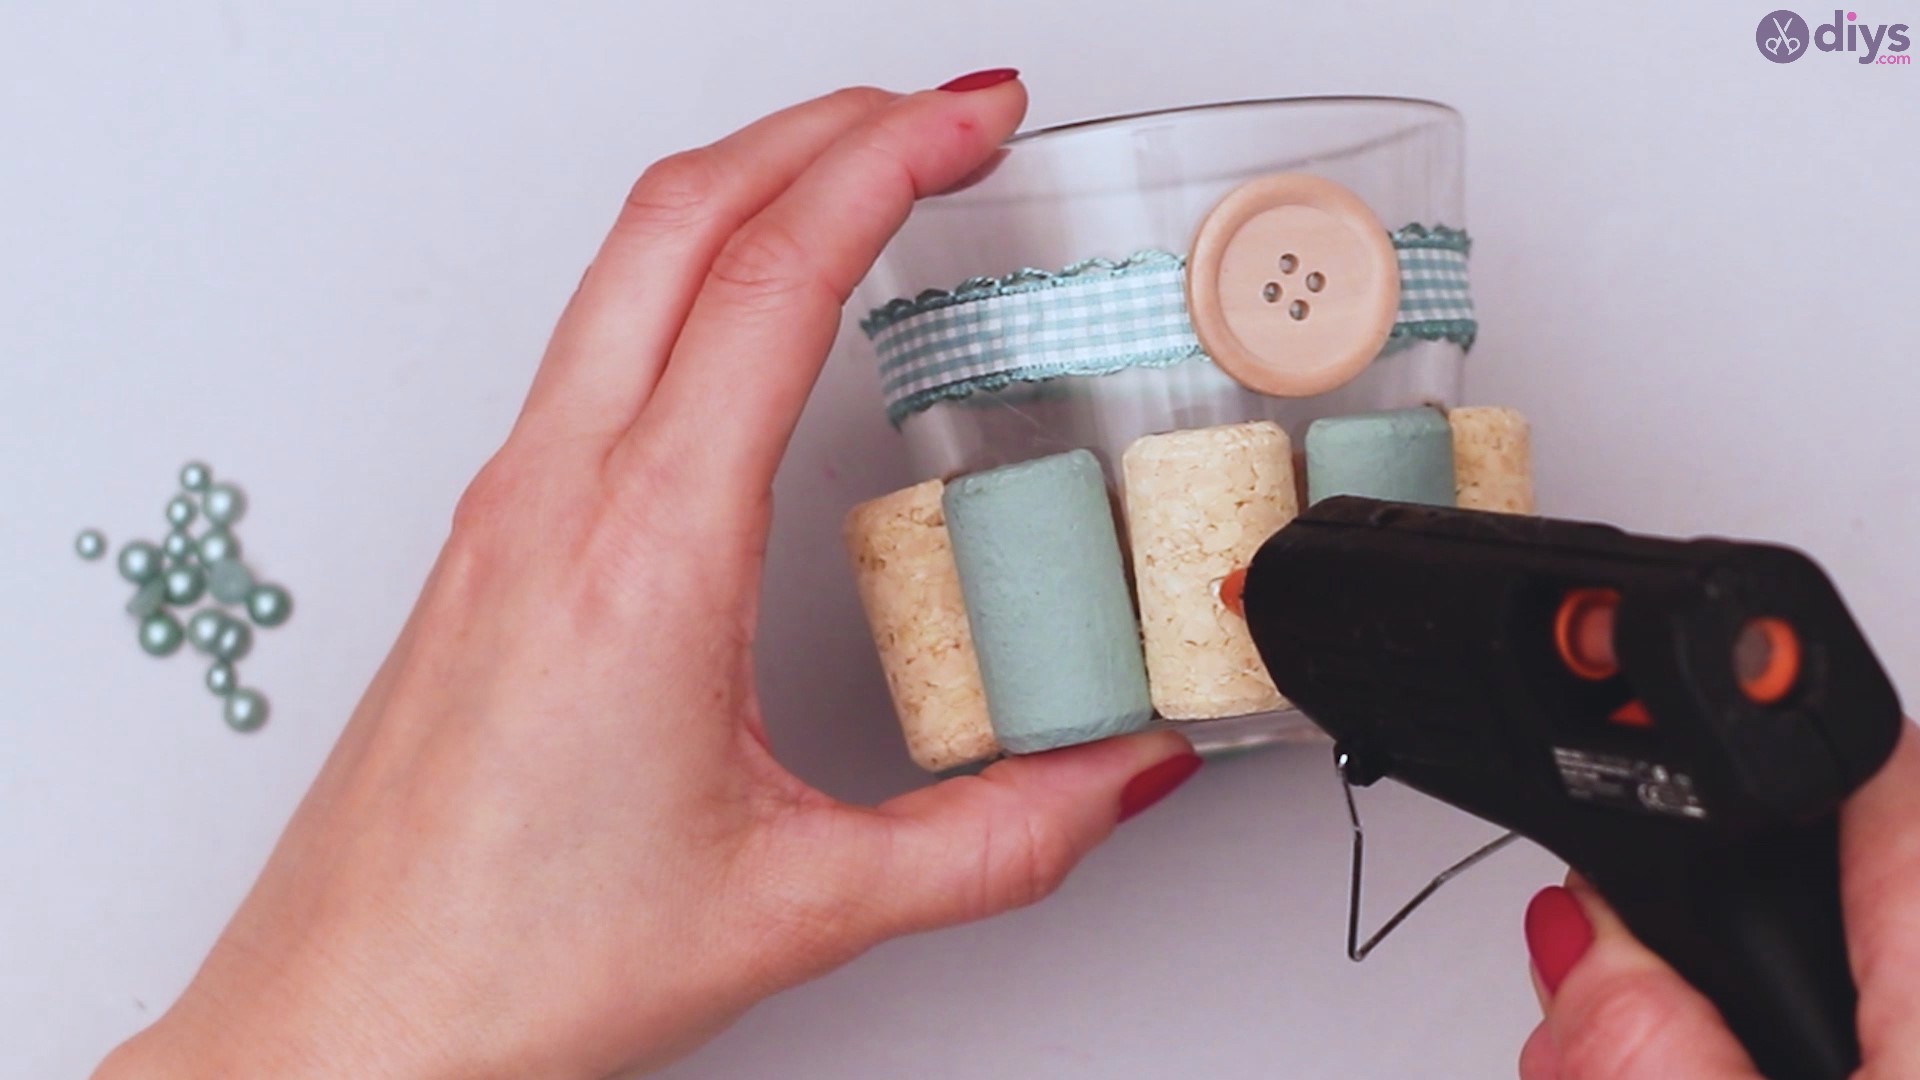
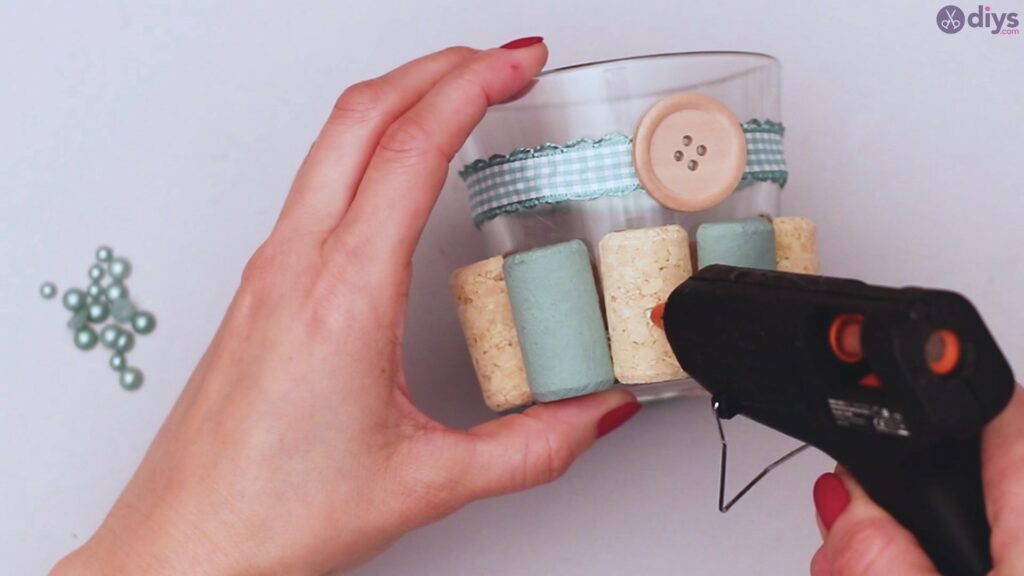
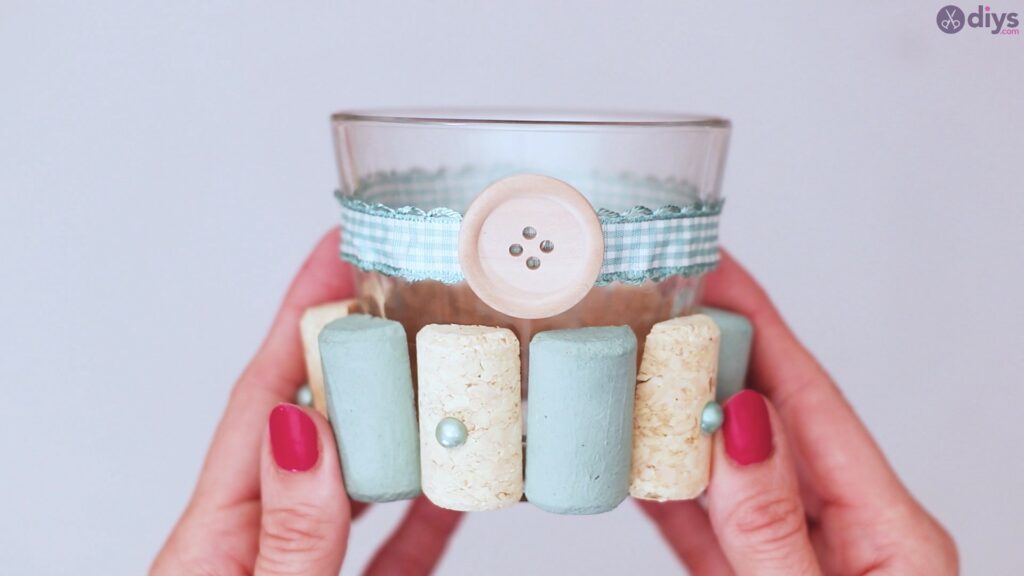
Once your ribbon is all dried and looks perfect, you are ready to add on the finishing touches to your wine cork candle holder. First step is to take your cute button and glue it to what will be the front of your candle holder. You only really need a little bit of glue for this part and it should dry relatively quickly. Just make sure it’s centered on the ribbon.
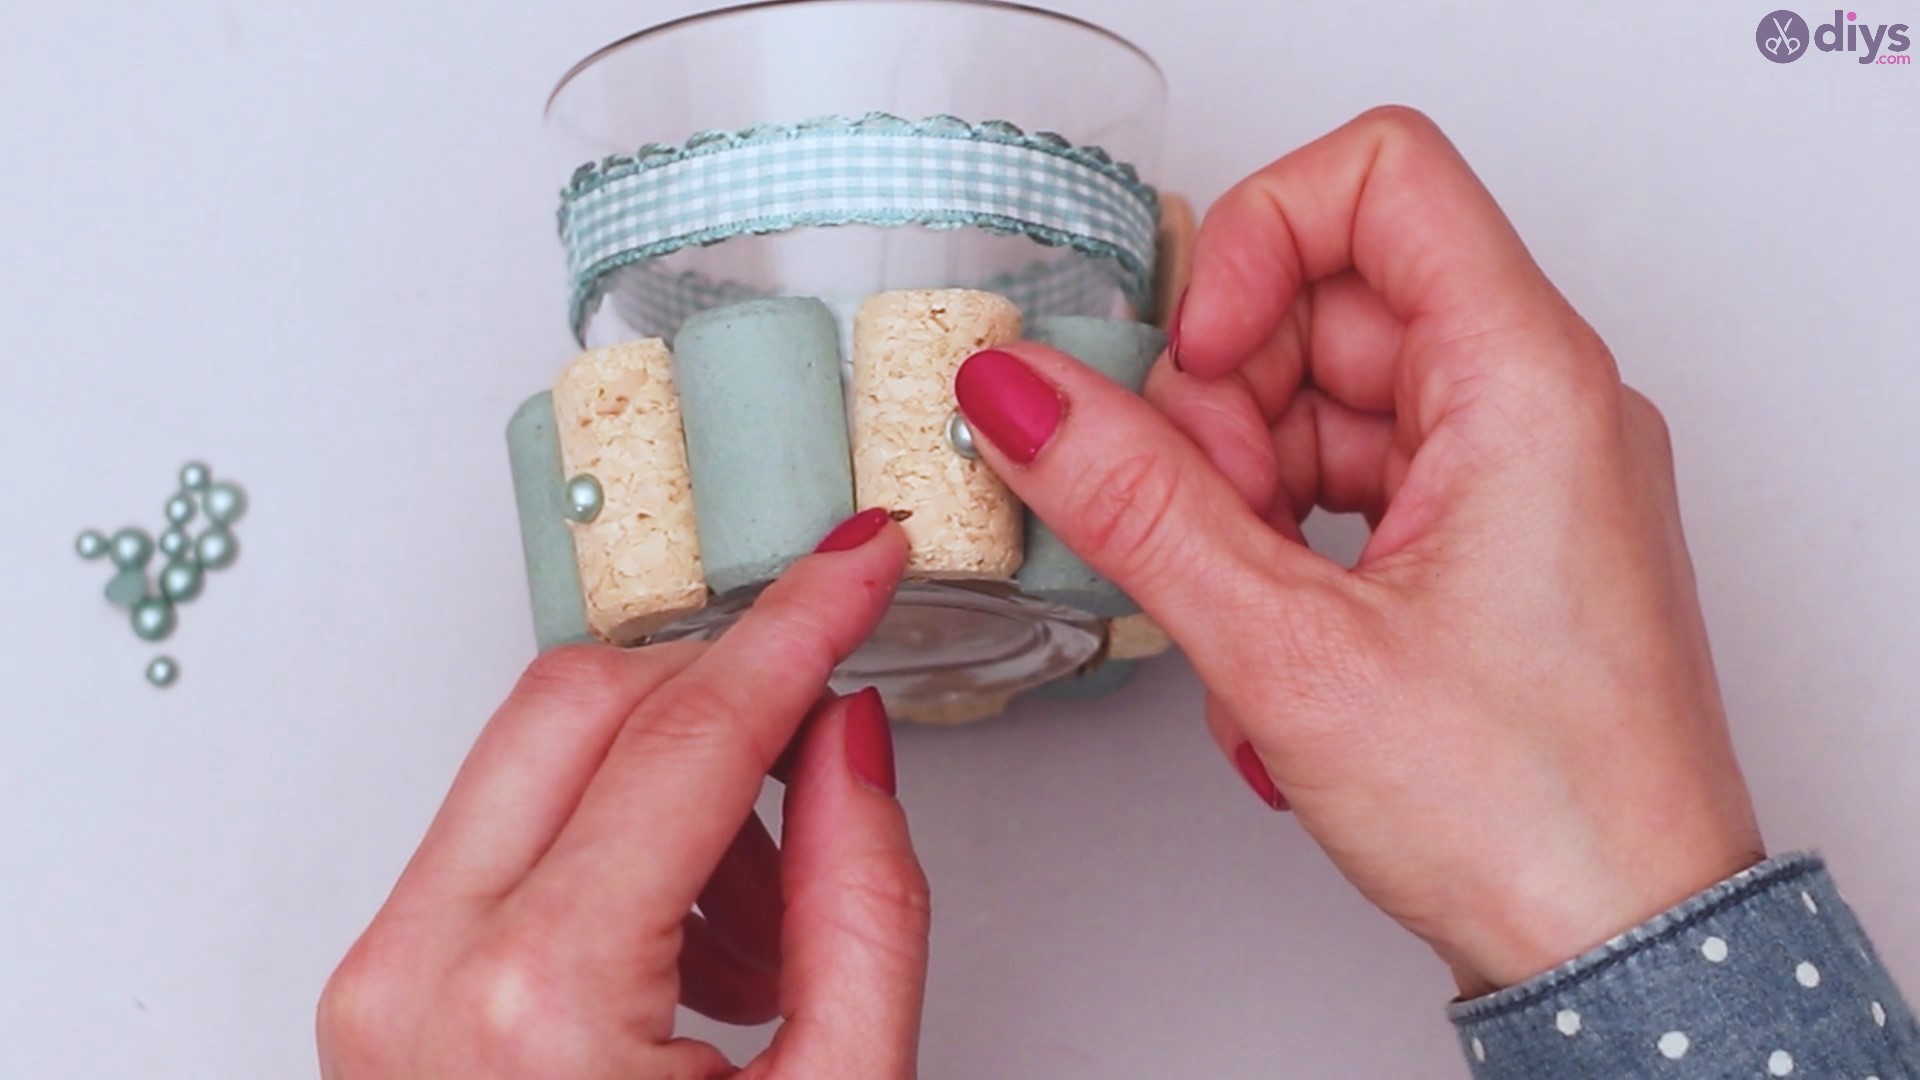
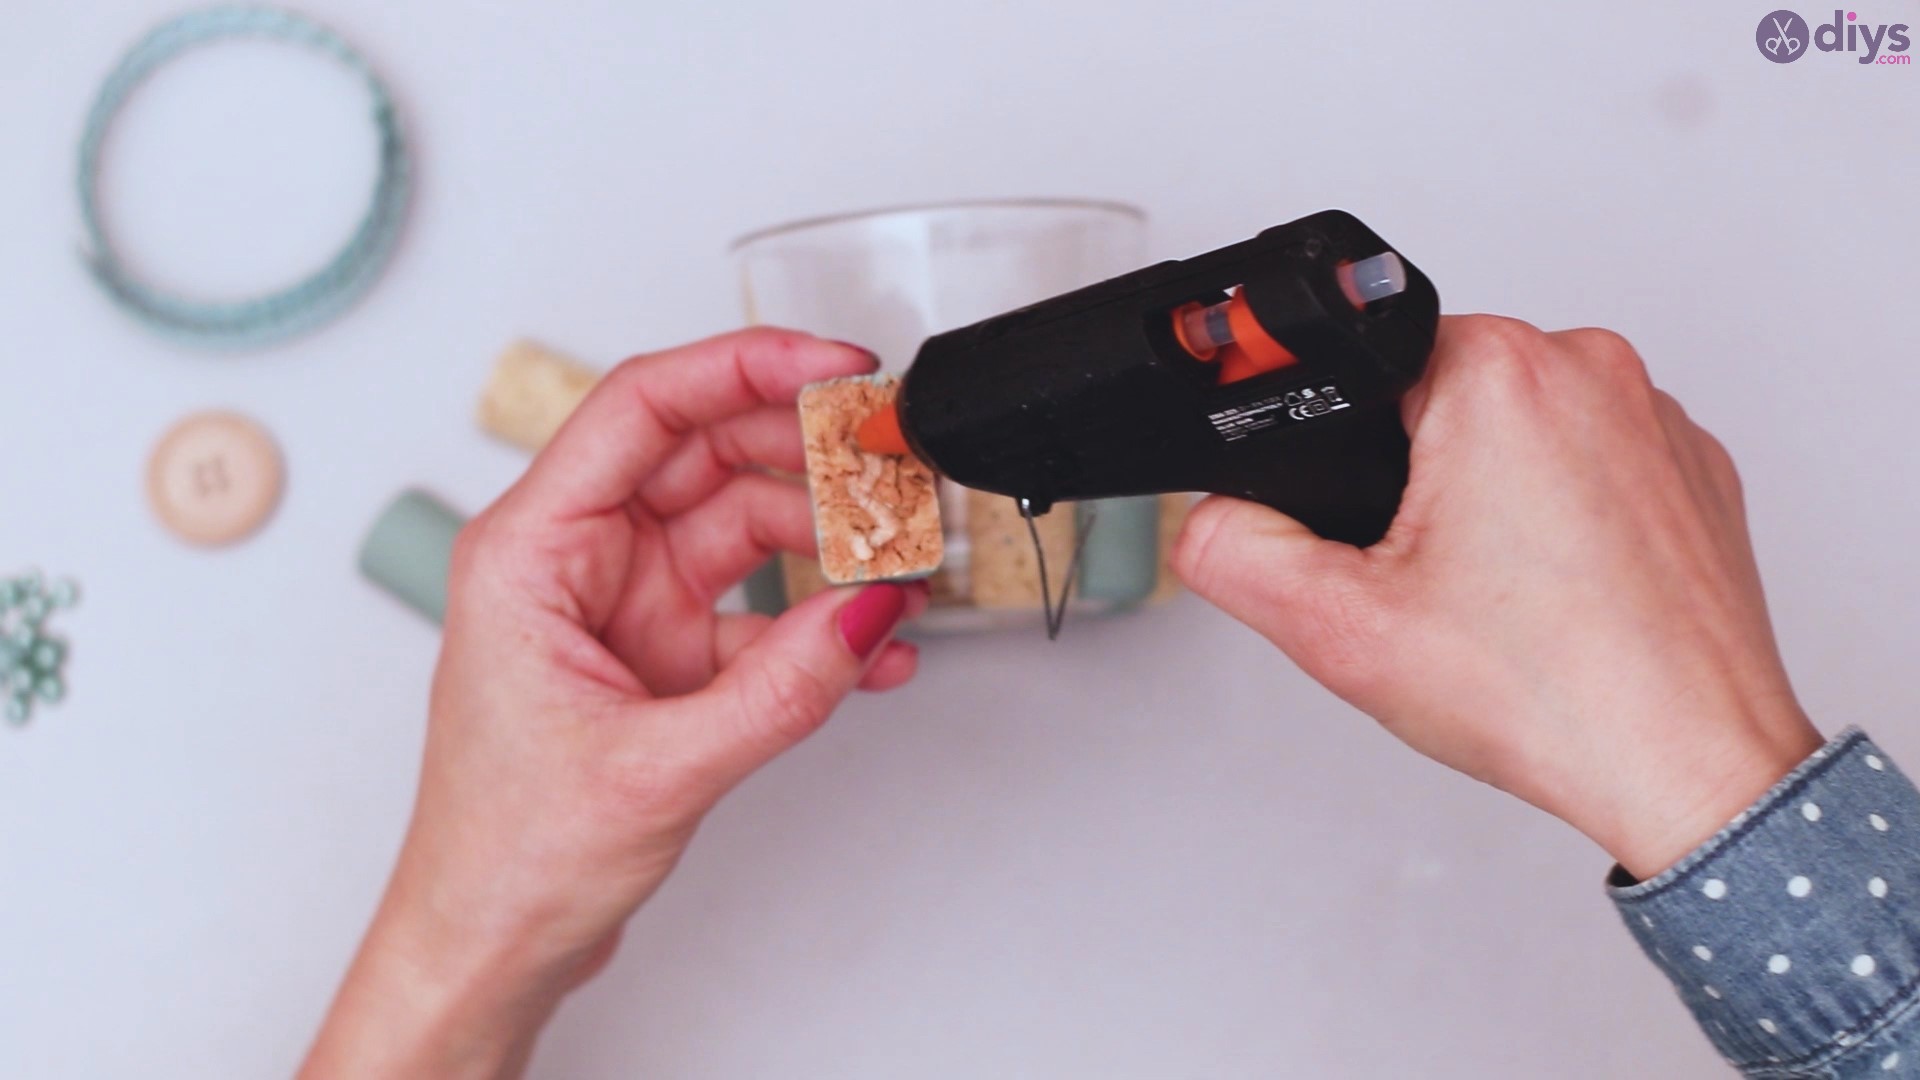
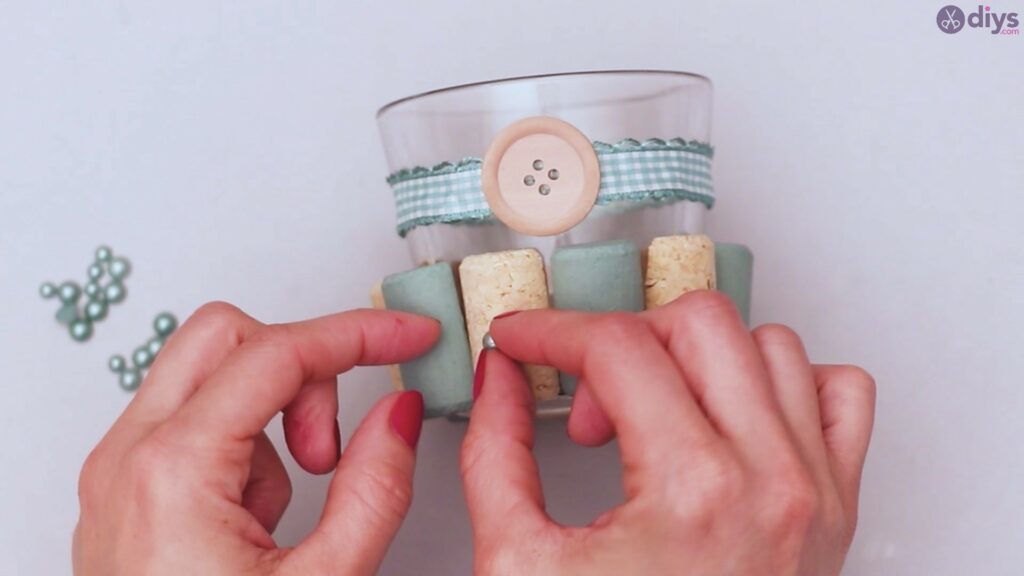
Next, you’re going to want to take your decorative half bead and adhere them onto the raw colored corks. You only need a tiny amount of hot glue for this step, and since your green colored corks are already a similar shade, the green half bead embellishment will really stand out against these raw corks.
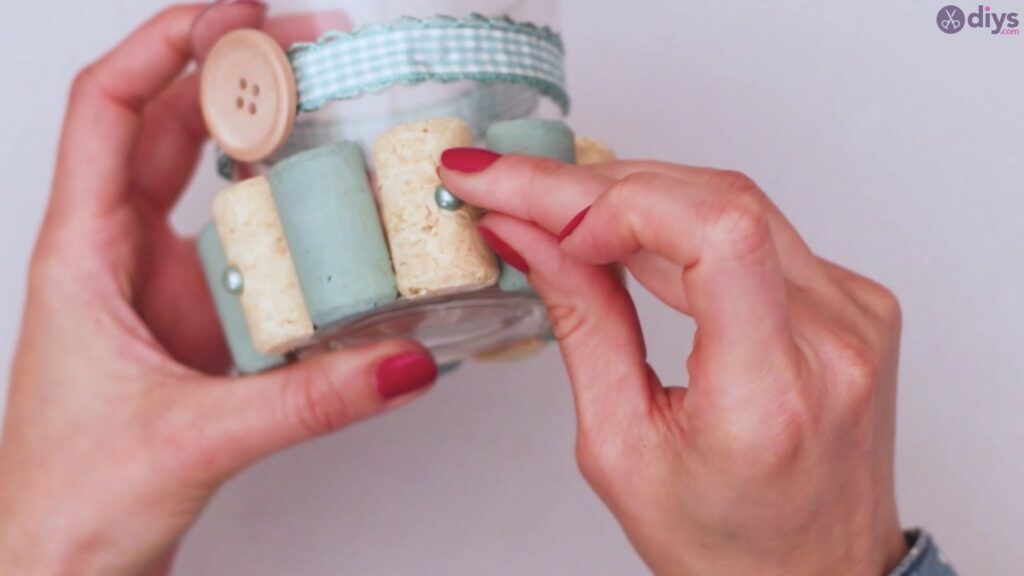
Continue to move around your base row of corks, slowly dabbing on some hot glue to the raw colored corks in order to make sure each raw cork has a cute little embellishing half bead on it. Again, only use a tiny amount of glue to prevent any unnecessary spillover.
It’s an easy process and it won’t take your long to finish at all. Once you’re done with this step, let it all dry completely, and you are done with your project!
See how cute these little beads look? They offer just enough color pop to make the whole project super charming. Less is more when it comes to this project.
Step Six: Admire Your Work!
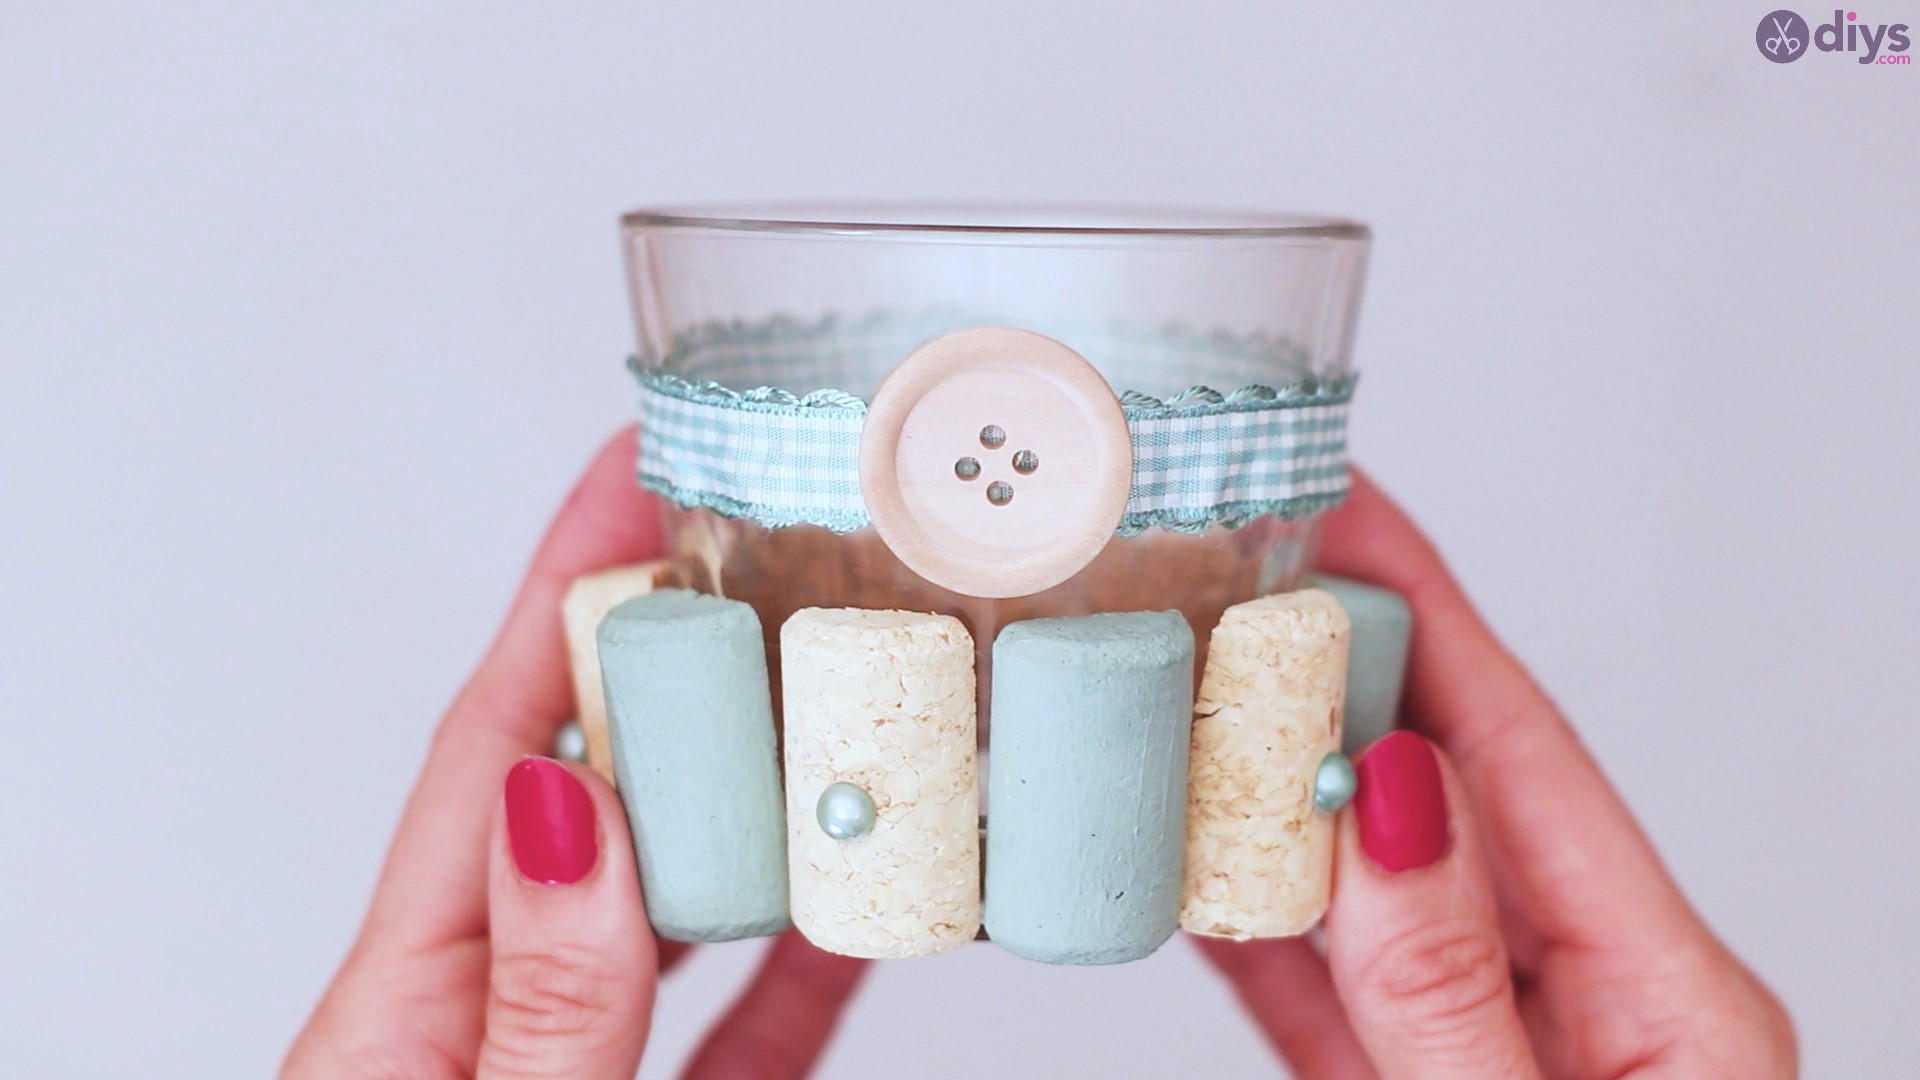
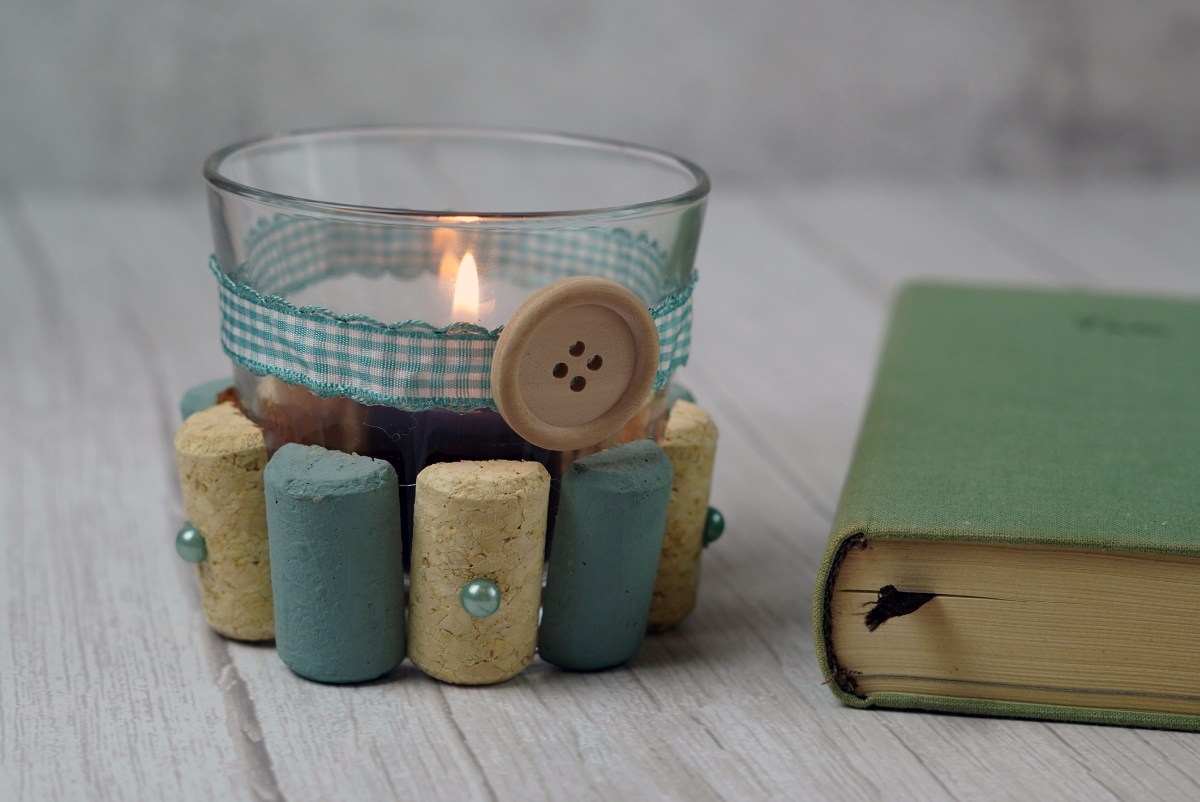
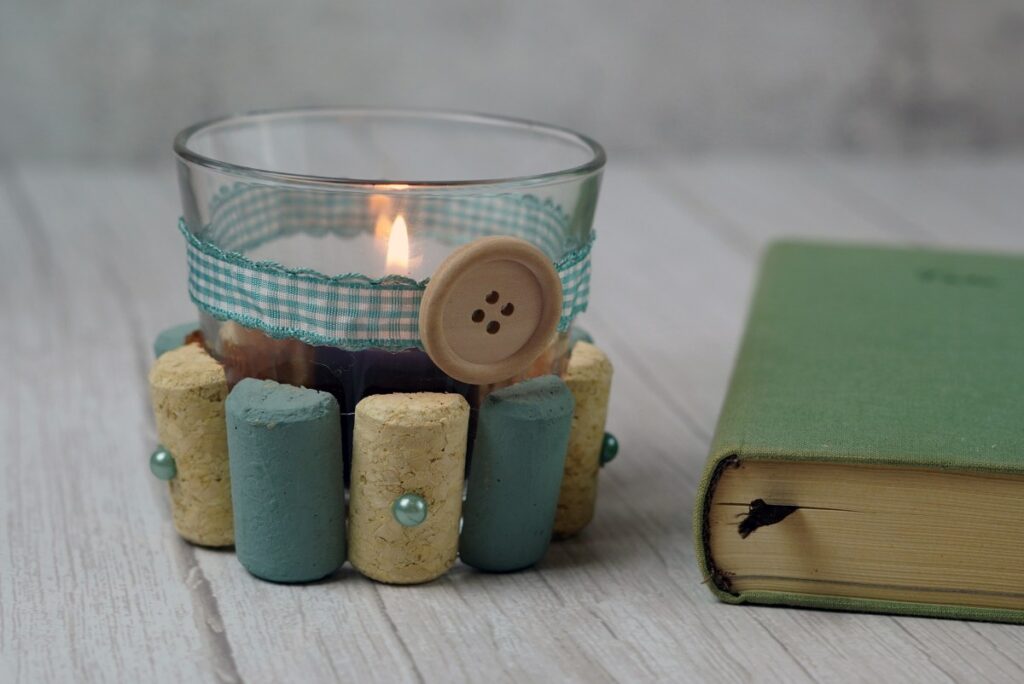
Tah dah! All done with your very own handcrafted wine cork candle holder. This is a super simple, super cute item to give out as a gift, or you could even use these holders as table décor for a party or even a wedding. You can make these as fancy as you’d like, but with this basic tutorial, you will easily handcraft a perfect candle holder that has so much charm and class. See what a little effort, creativity and time can do? The best part is you can upcycle old items around the house to create these, so you are helping recycle. However, you choose to decorate your wine cork candle holder, they are sure to spread plenty of happiness to those you gift them to and to whoever may see them.
