DIY Wooden Bead Keychain – Never Lose Your Keys Again
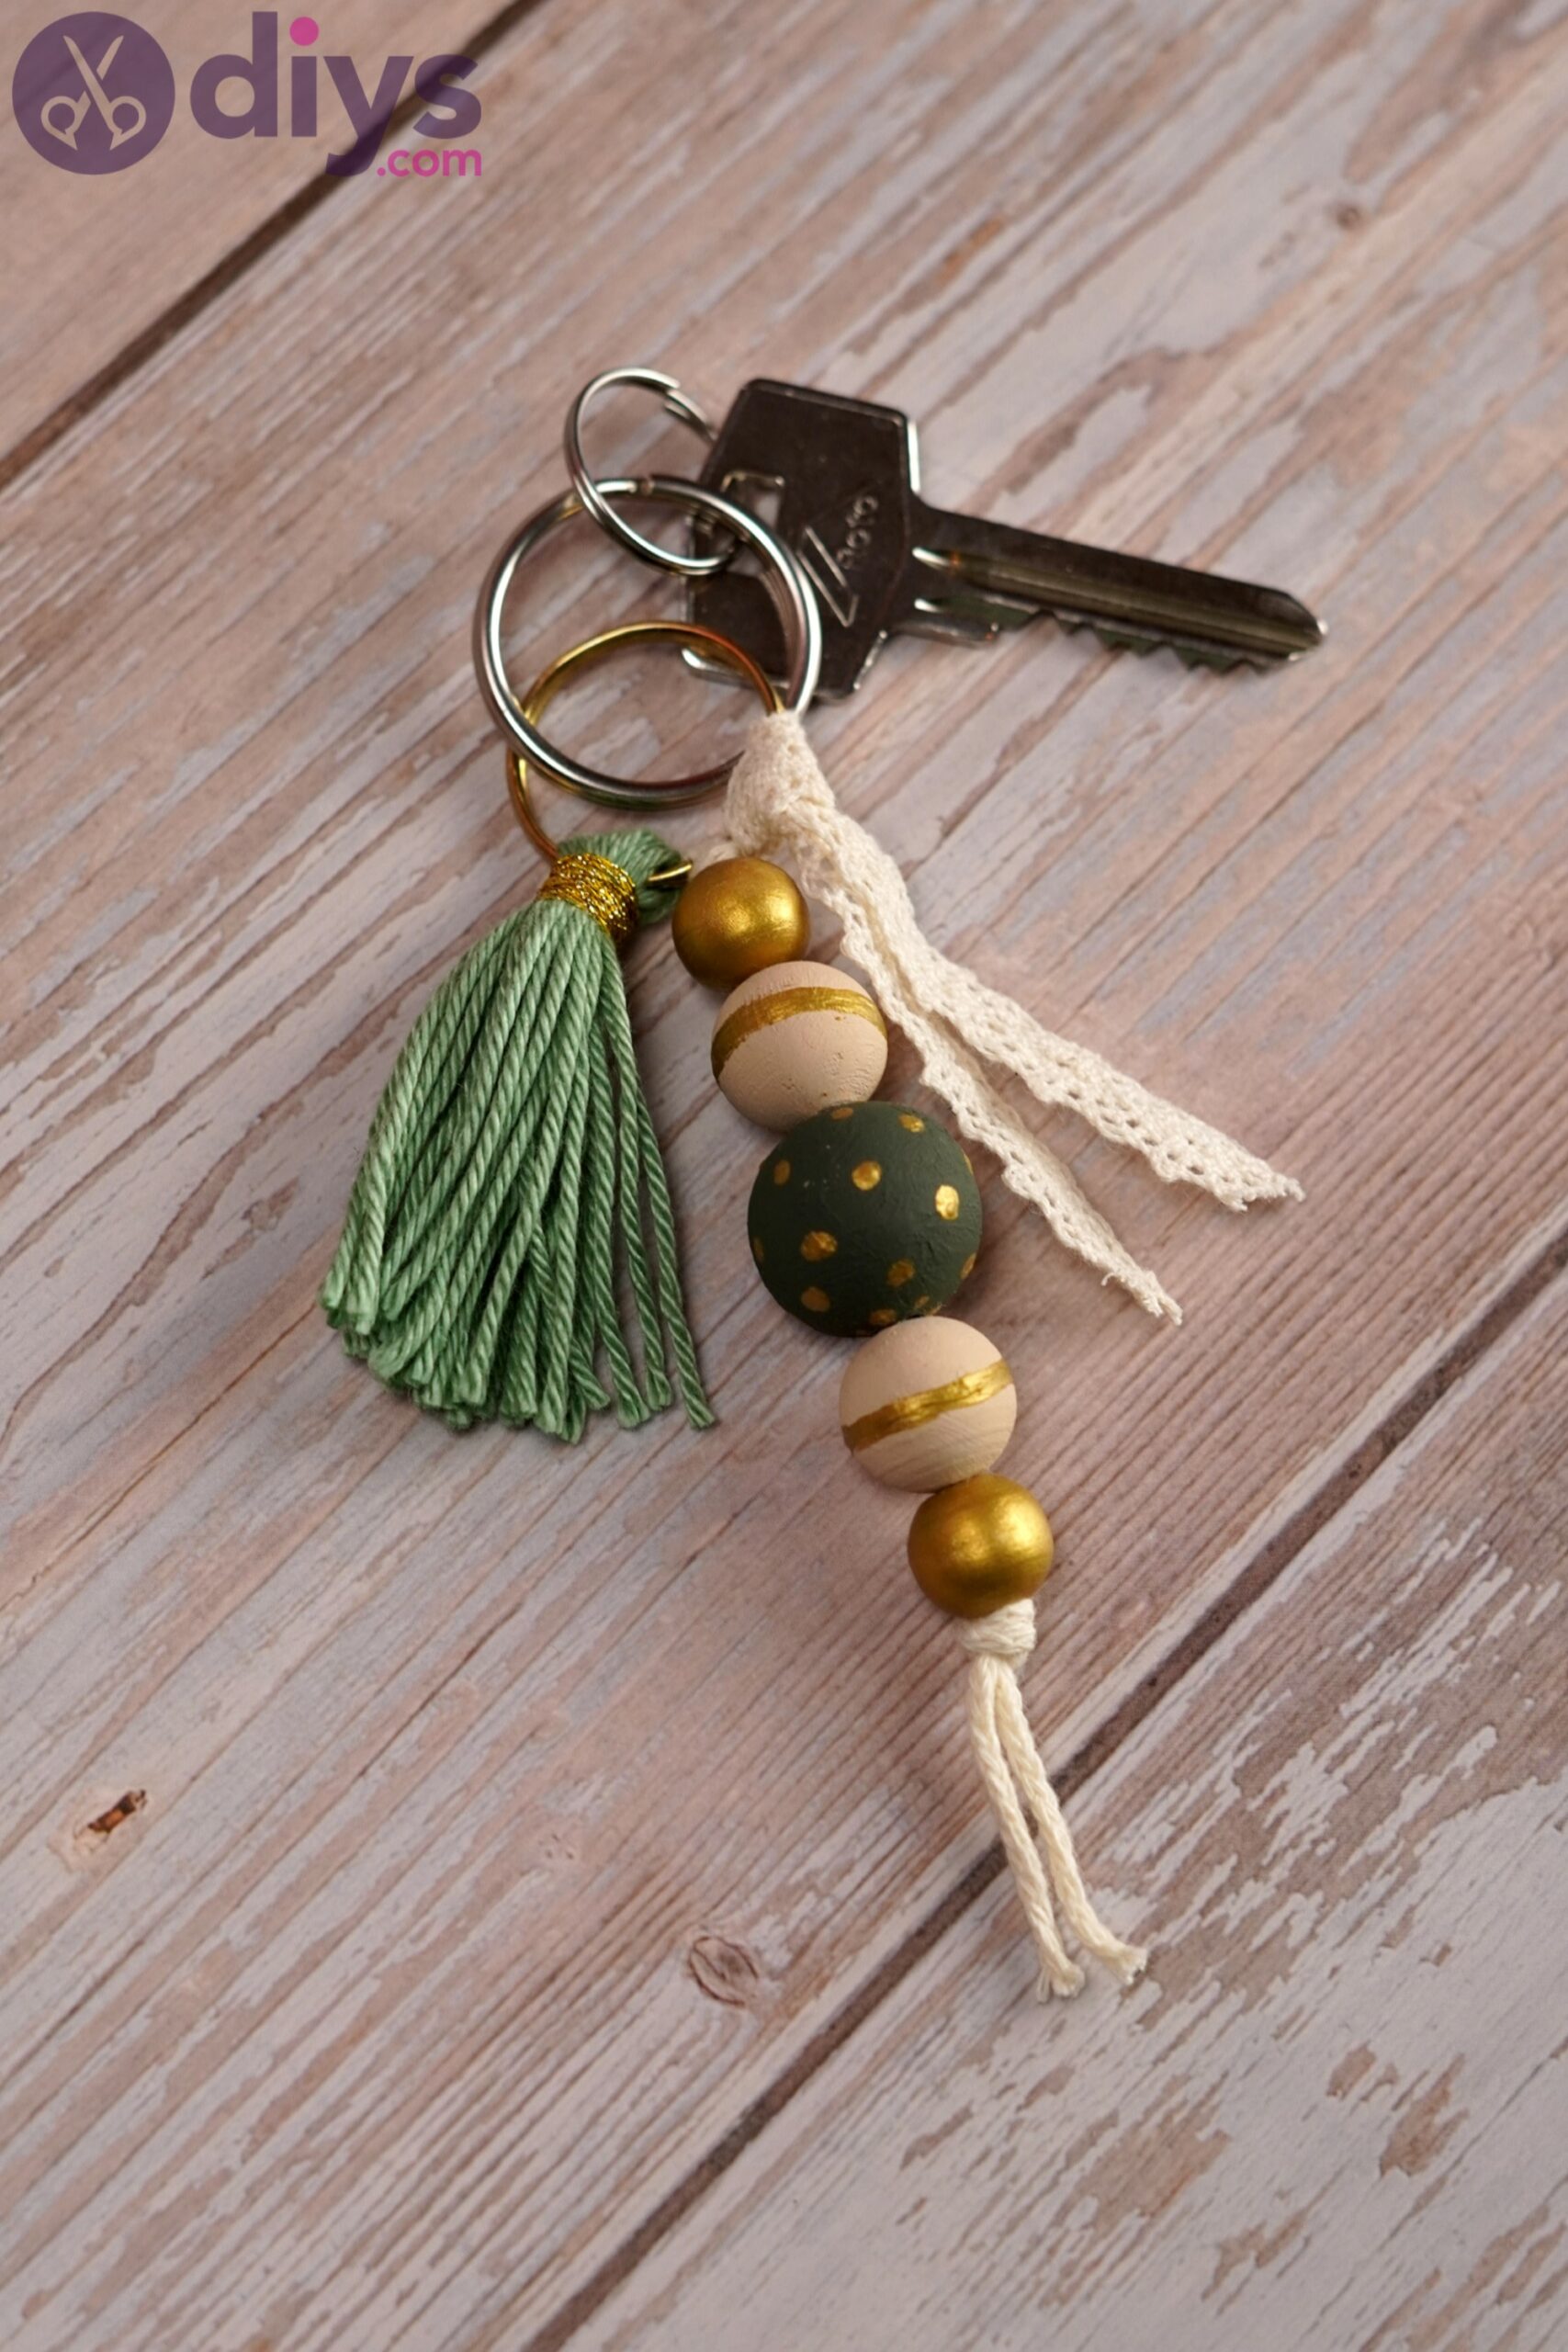
Keychains, or keyrings if you prefer, are essentials to many people as they struggle to keep track of their keys. No, we don’t always put our keys in the designated space either. So, a keychain can make your keys easier to spot. We have a really cool idea for a wooden bead keychain, so join us in making a really cute project!
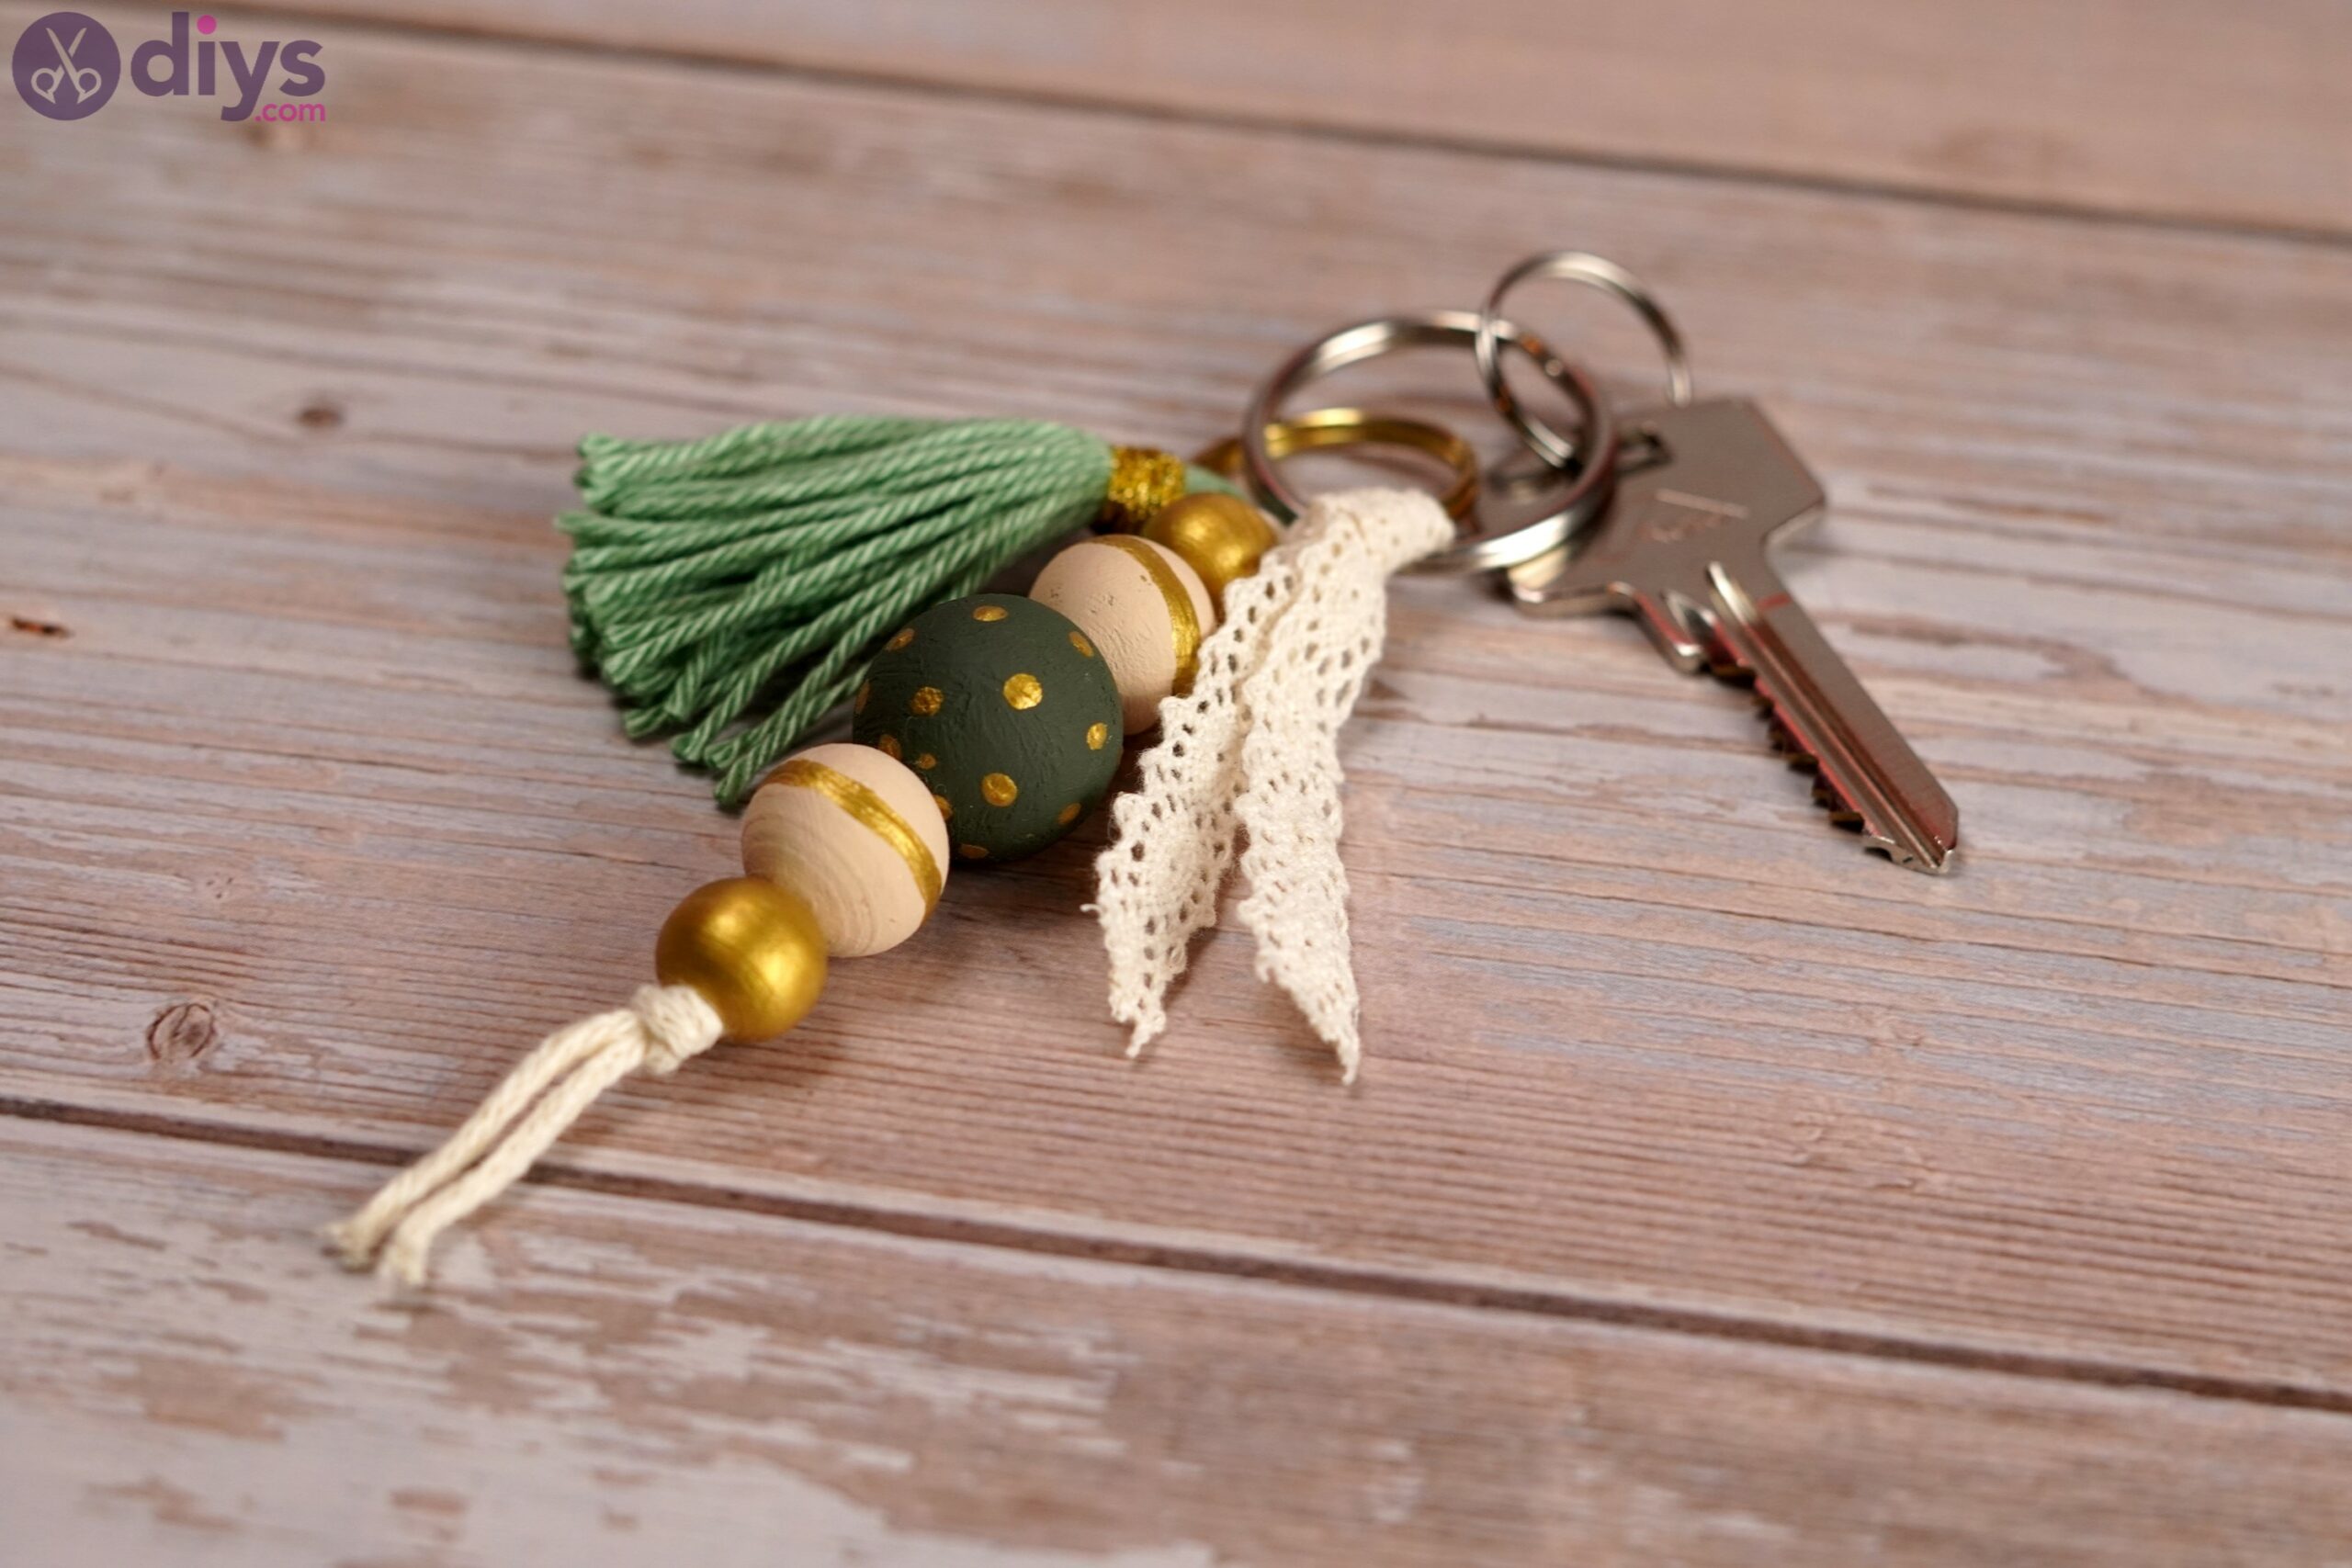
A wooden bead keychain will make your keys stand out, so they’ll be easier to locate. Even when they’re at the bottom of your bag, you’ll be able to get a hold of them and pull them out, which is an awesome bonus to spending time to create a cute project.
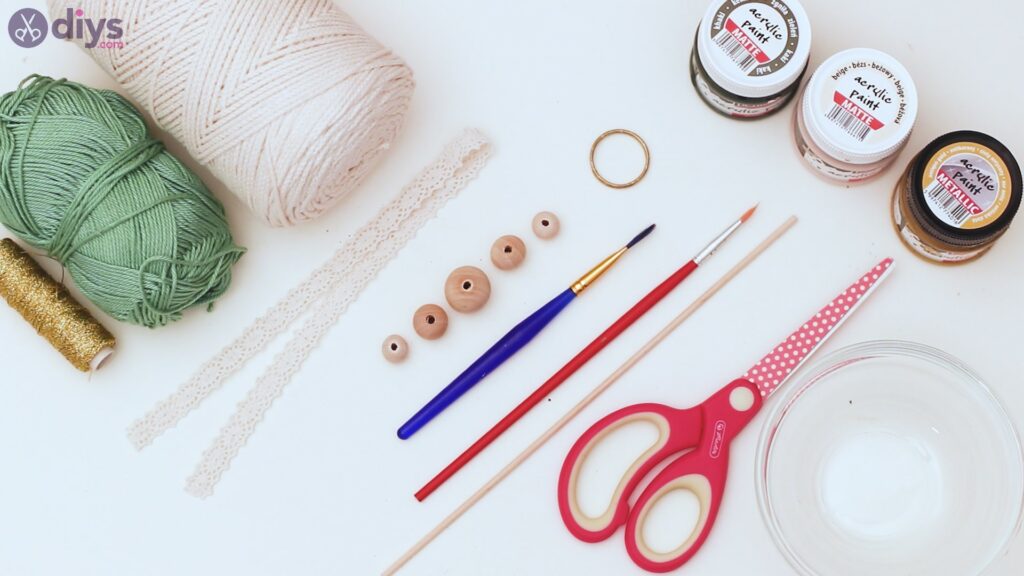
Materials for Wooden Bead Keychain
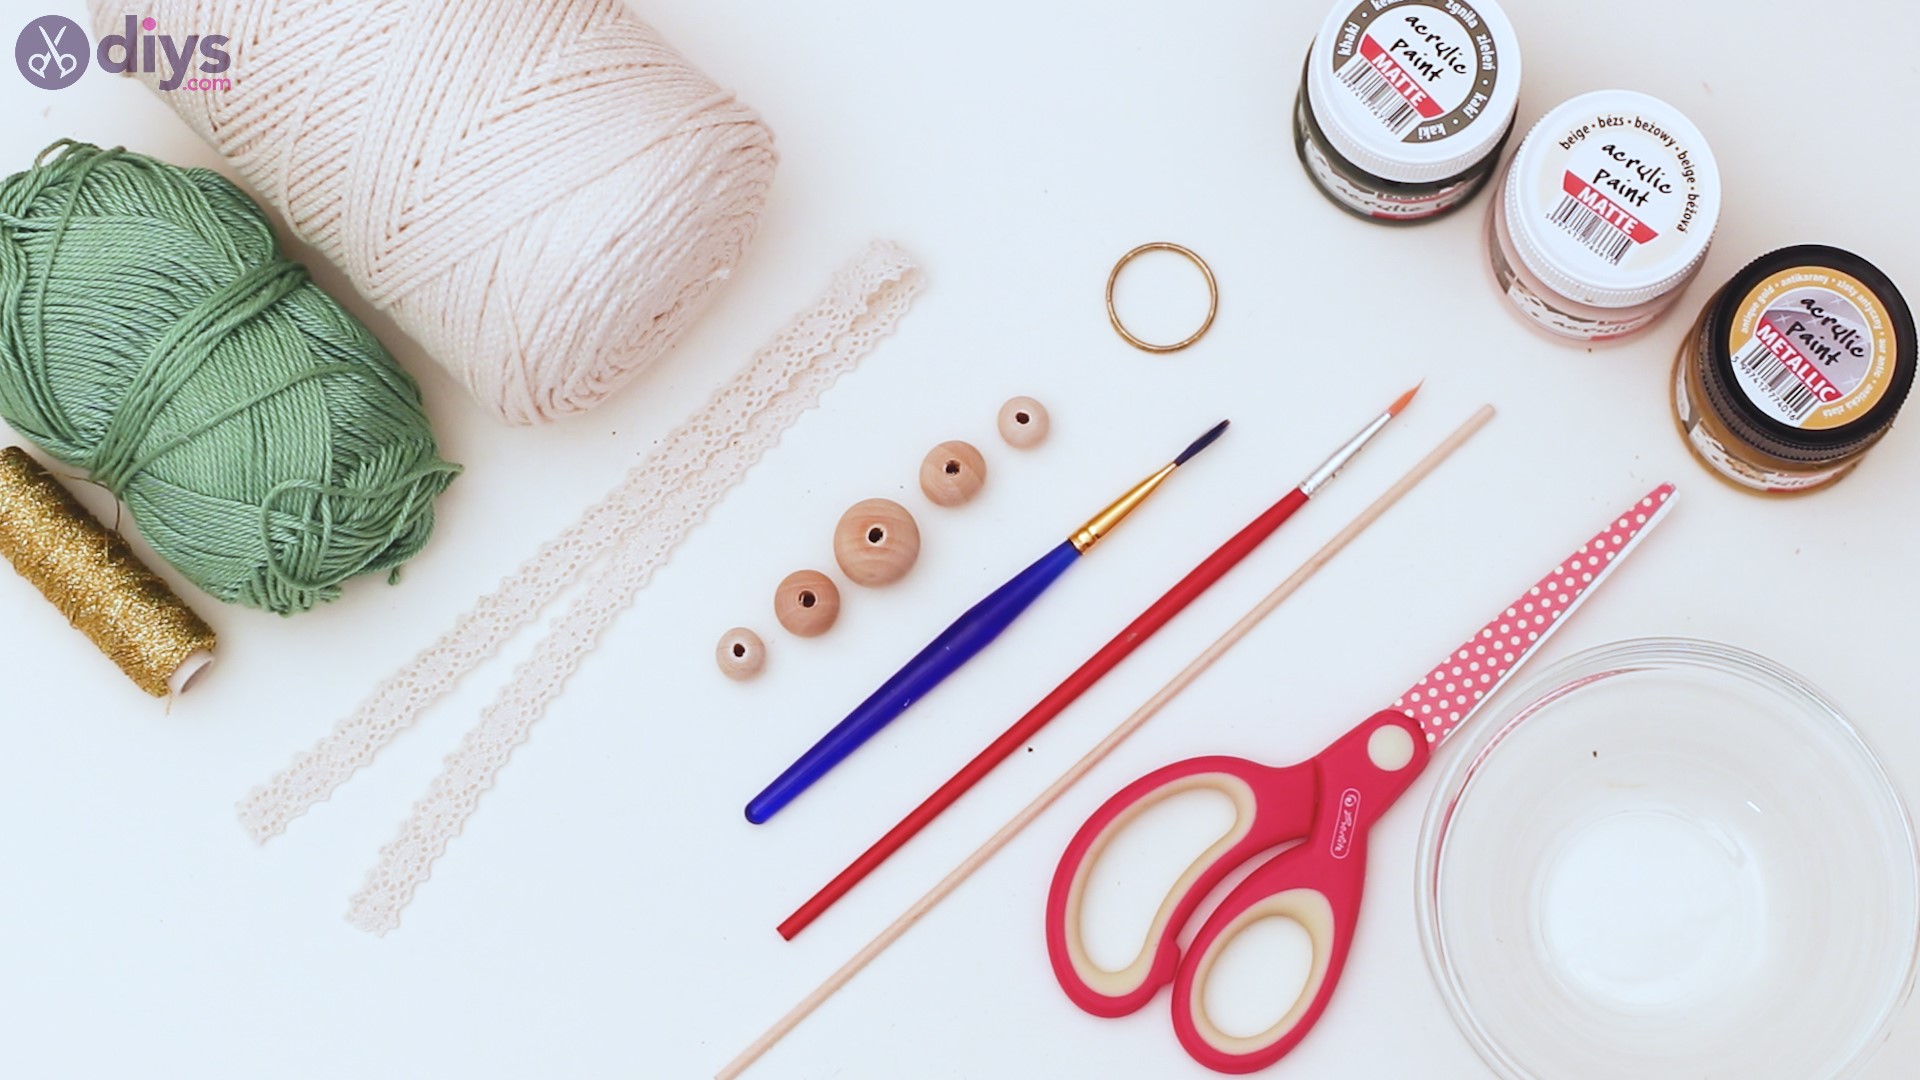
- wooden beads
- 2 small
- 2 medium
- 1 big
- white macrame yarn
- green yarn
- gold twisted yarn
- split keychain ring
- paintbrush
- lace ribbon
- wooden stick
- scissors
- acrylic paint
- gold
- beige
- olive green
How to Make a Wooden Bead Keychain?
Before you even start working on your project, we suggest you get everything you need and set it on the table in front of you. The last thing you need is to go running around and trying to find some extra material you forgot to get when you’re concentrated on making your keychain. So, if you have everything ready, let’s proceed.
Step 1. Paint the large bead
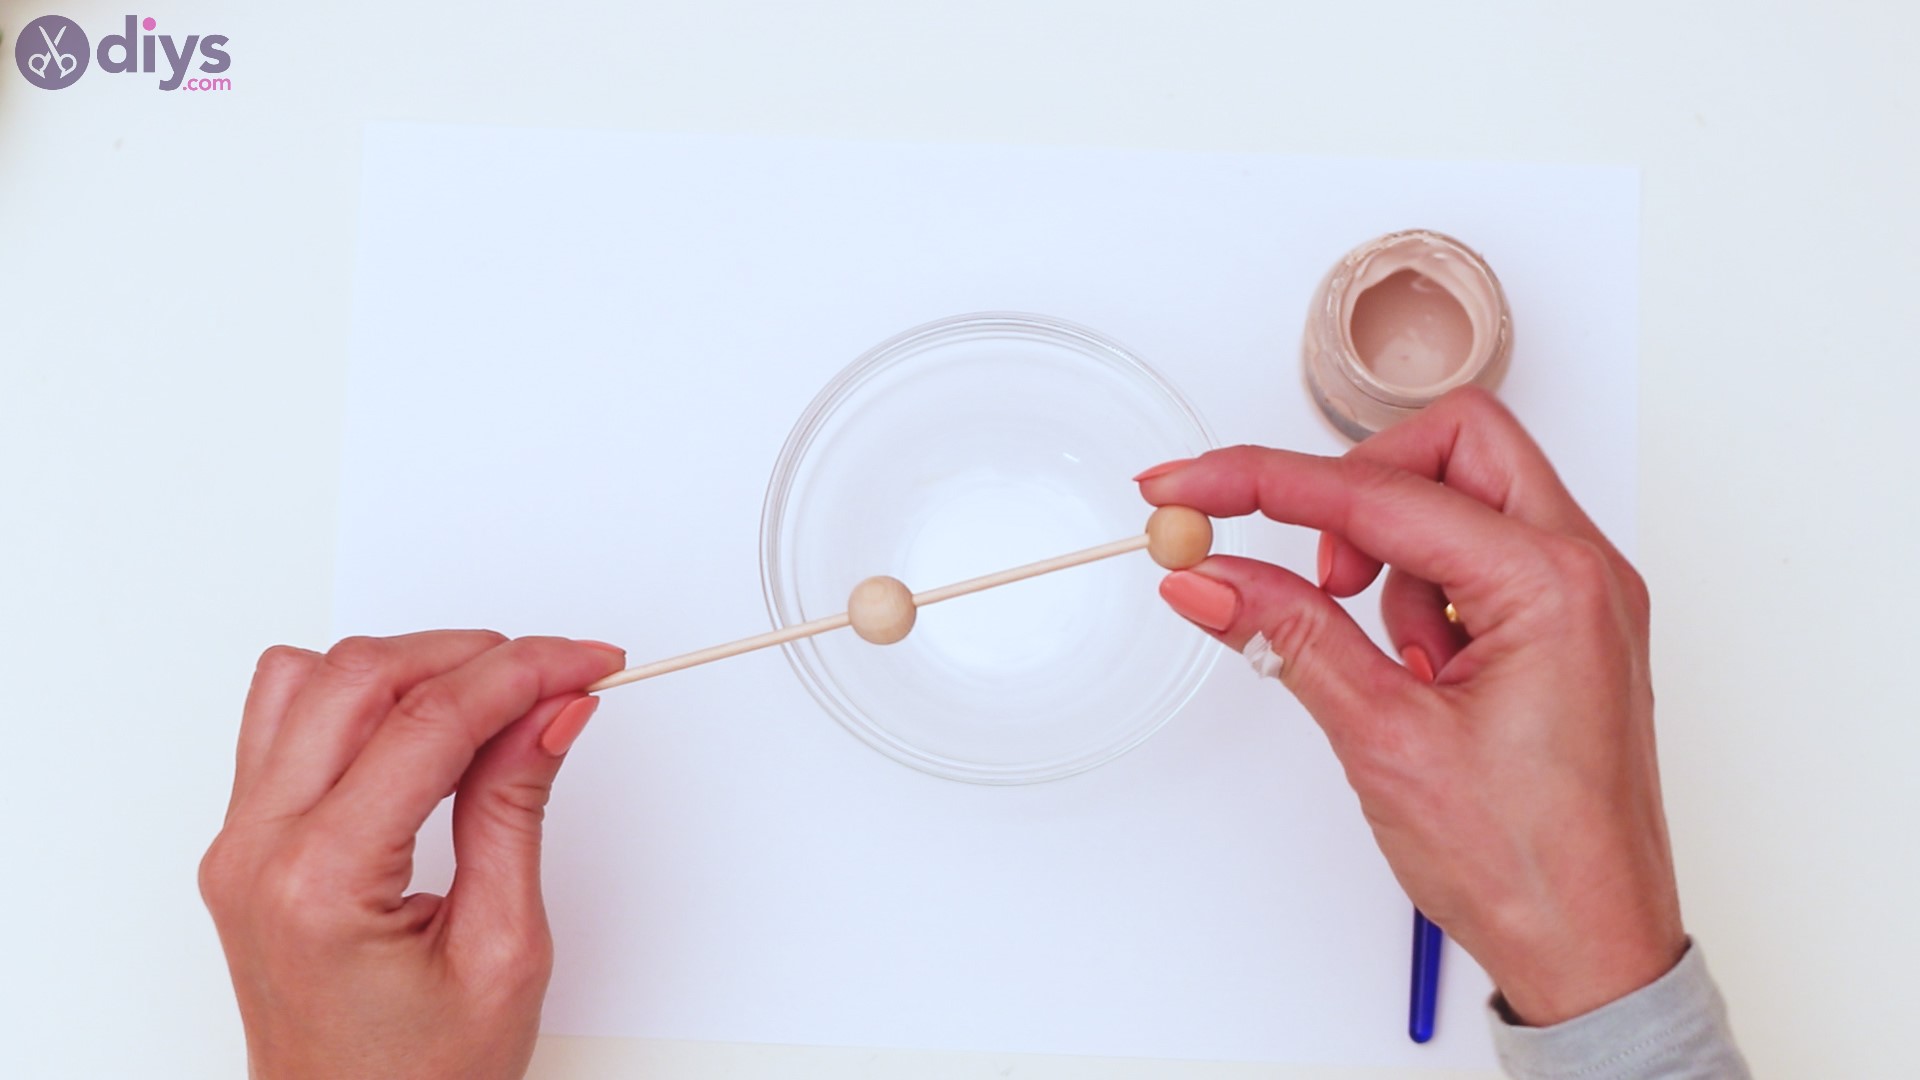
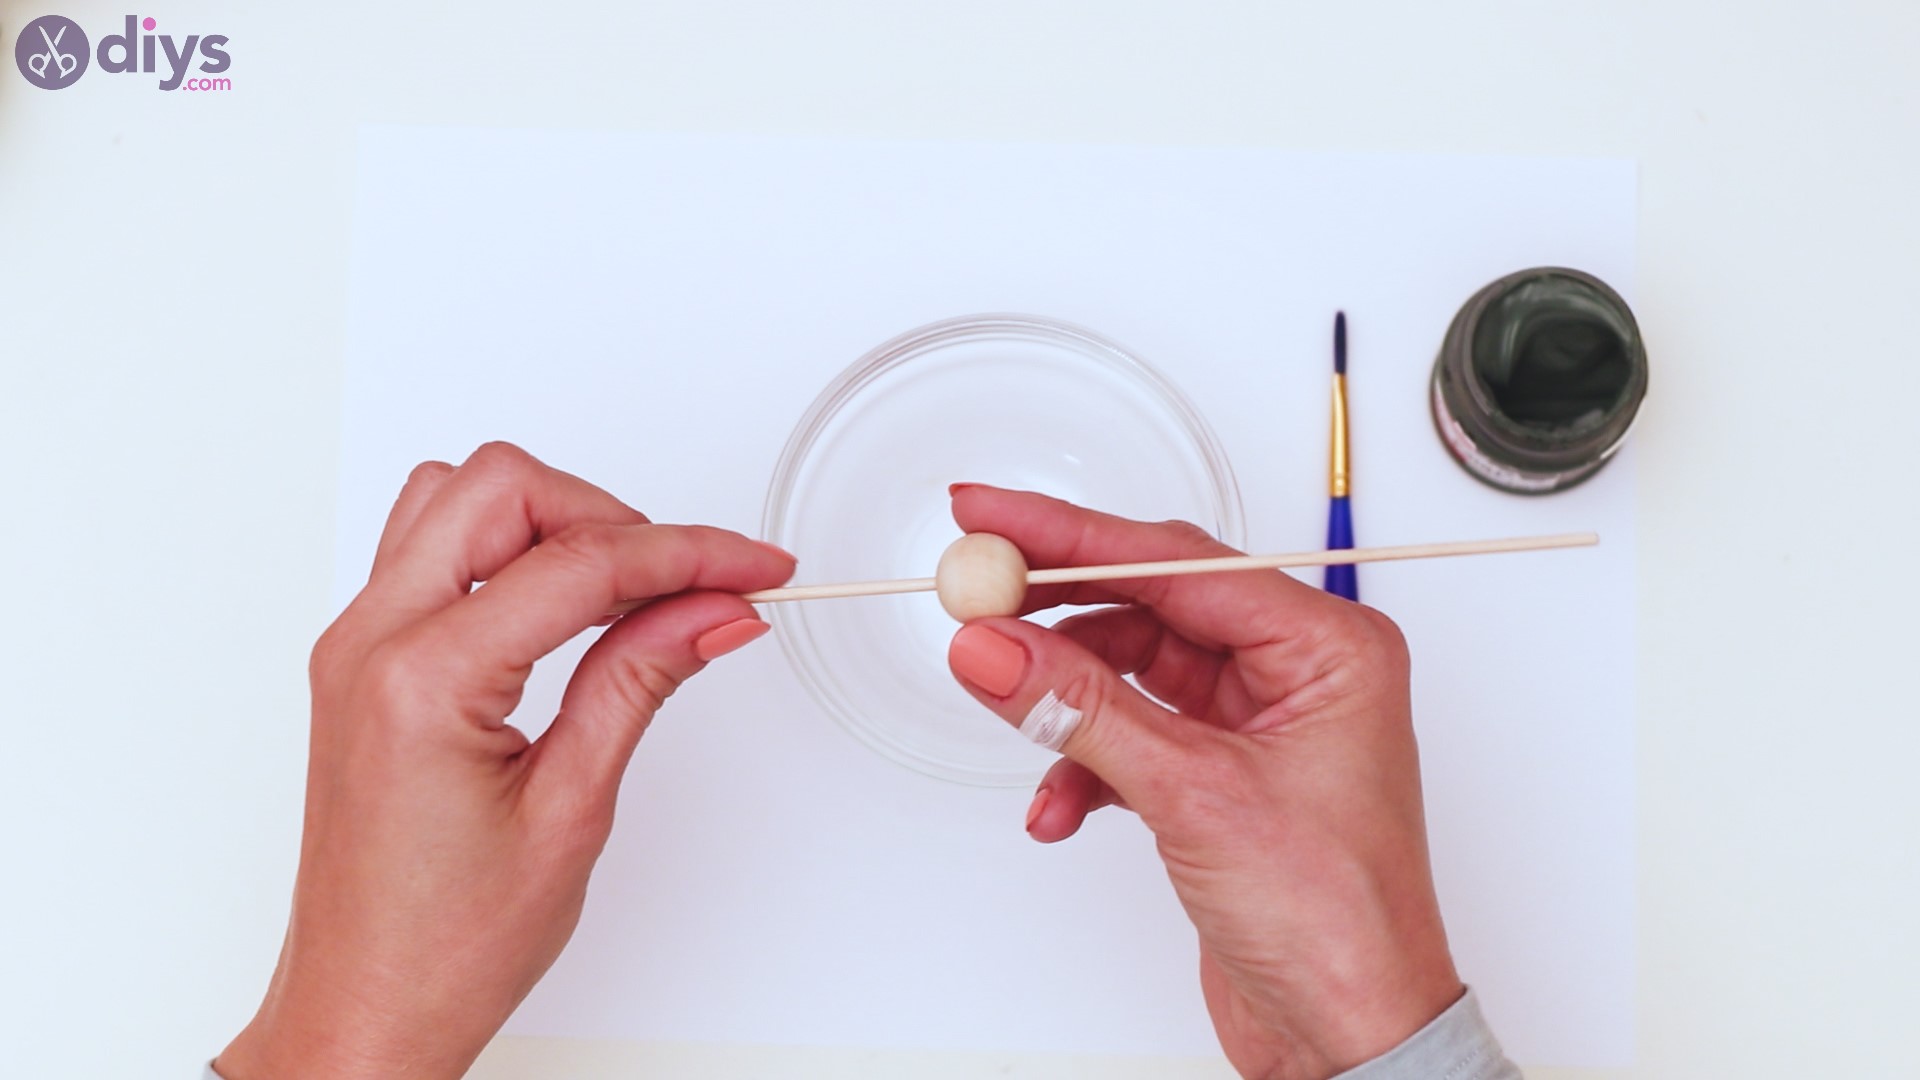
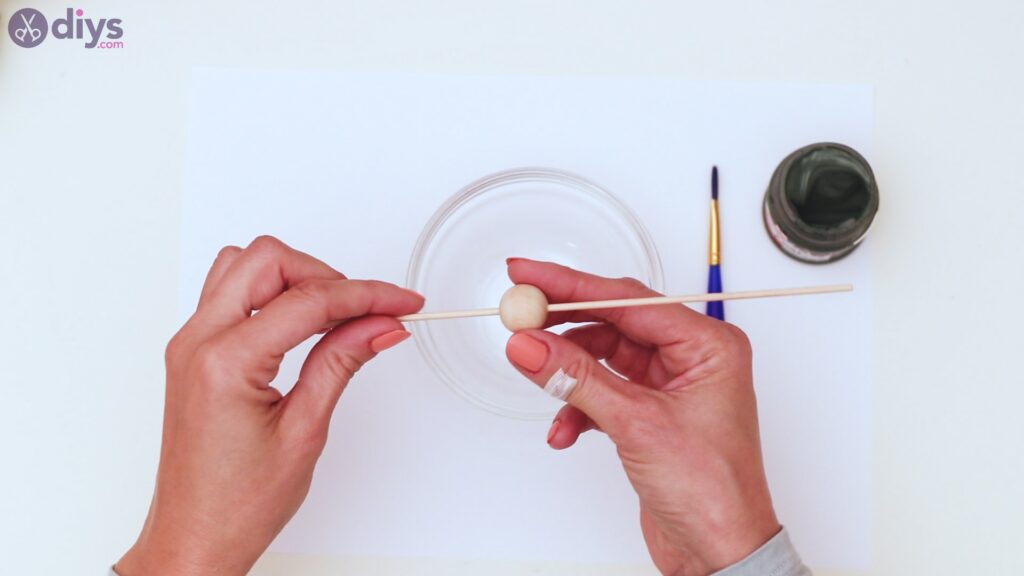
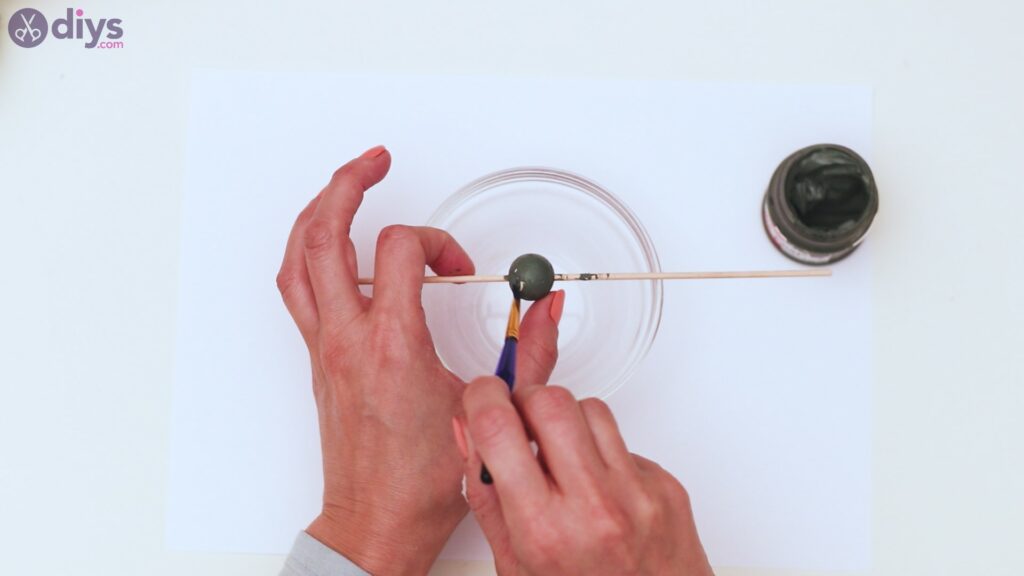
Our wooden beads are plain, so it’s time we start painting them. We don’t want to get too much paint on our fingers or our fingerprints etched forever in the paint on the beads, so push the beads on the wood stick one by one. Start with the largest bead in your collection.
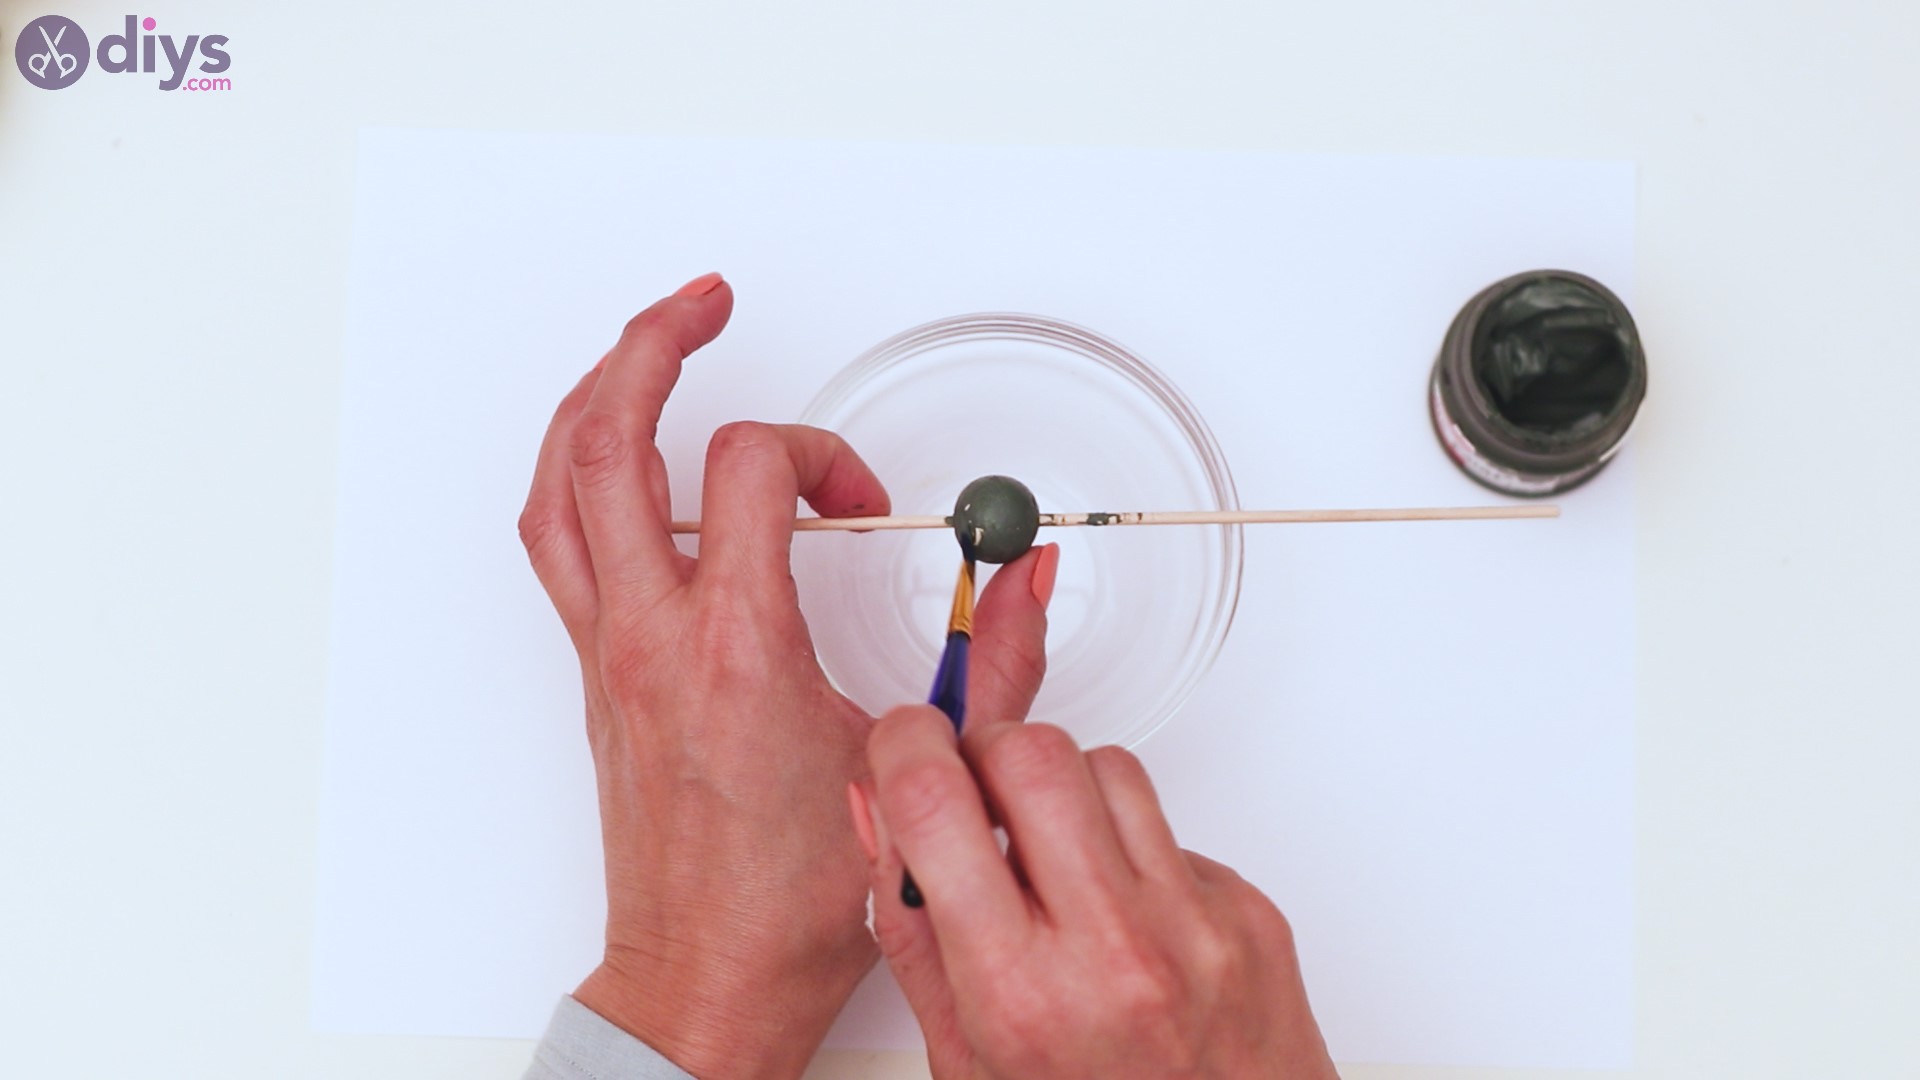
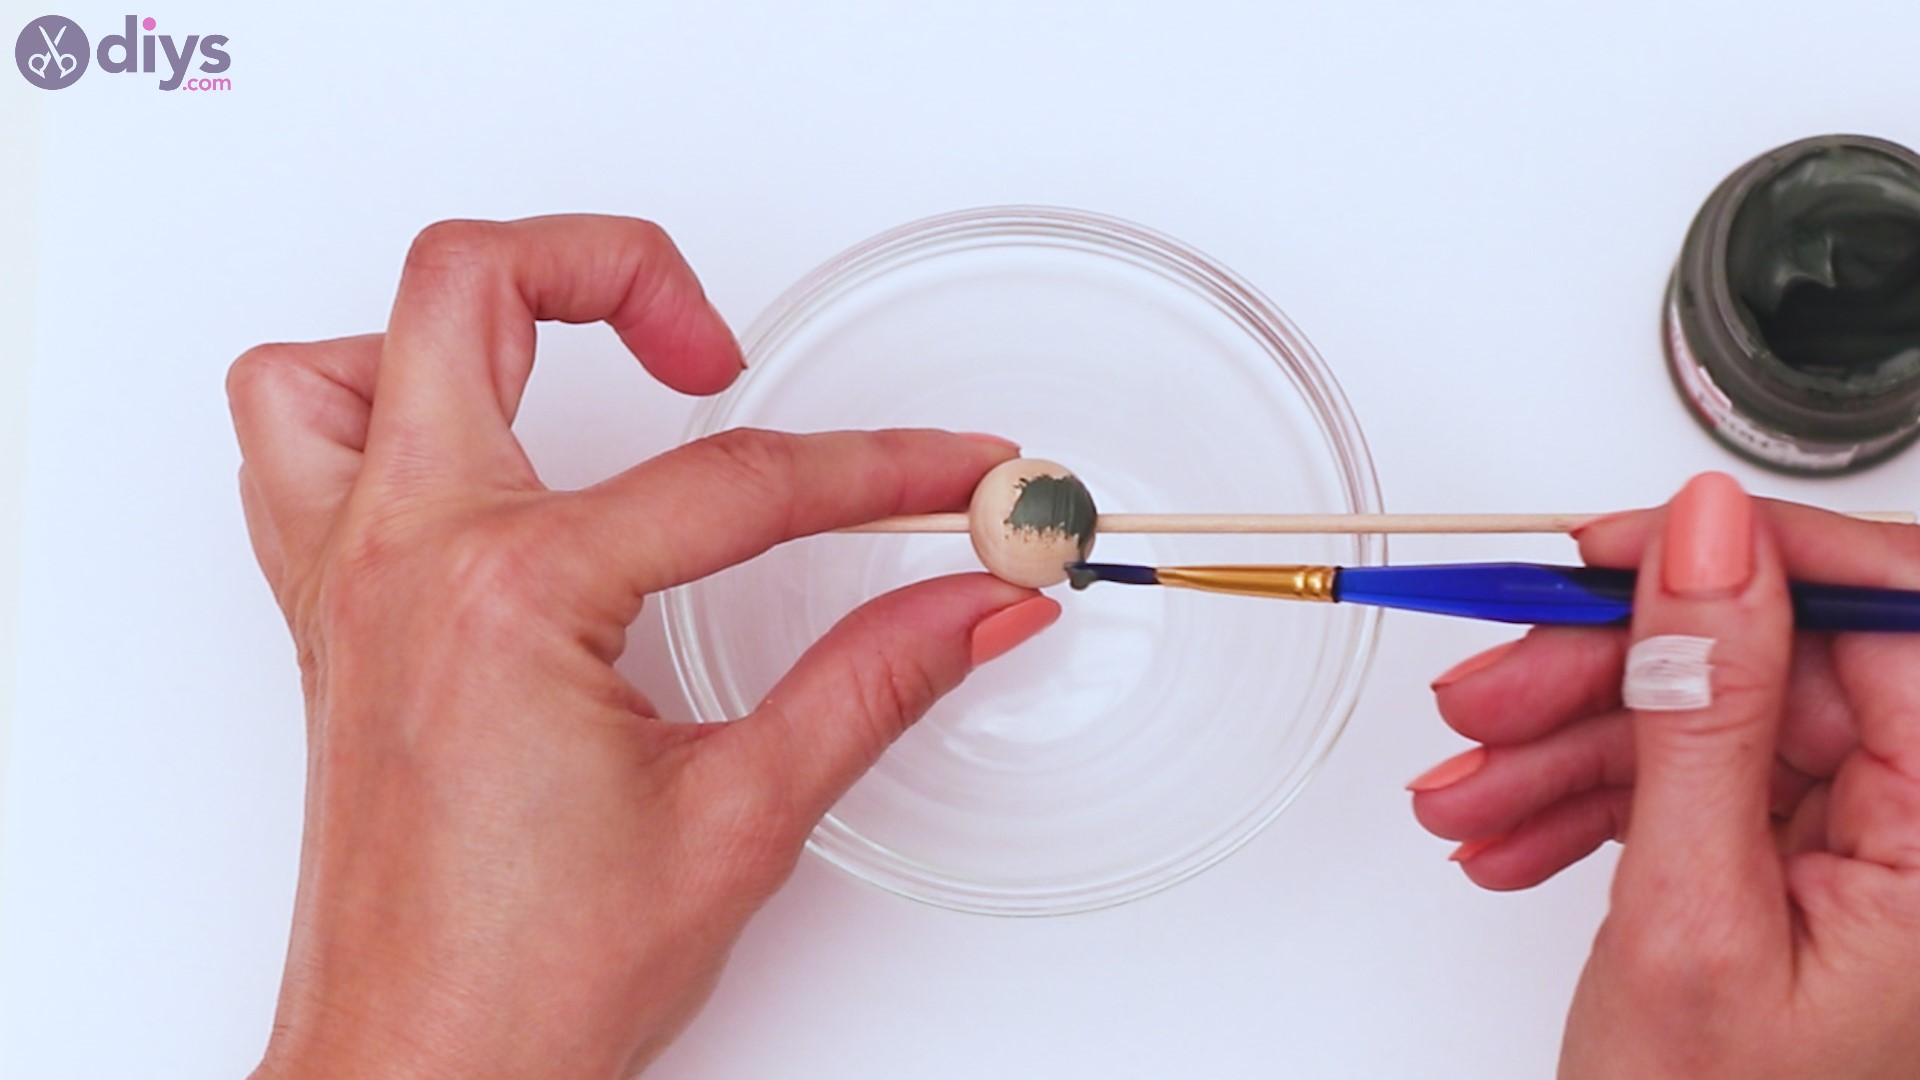
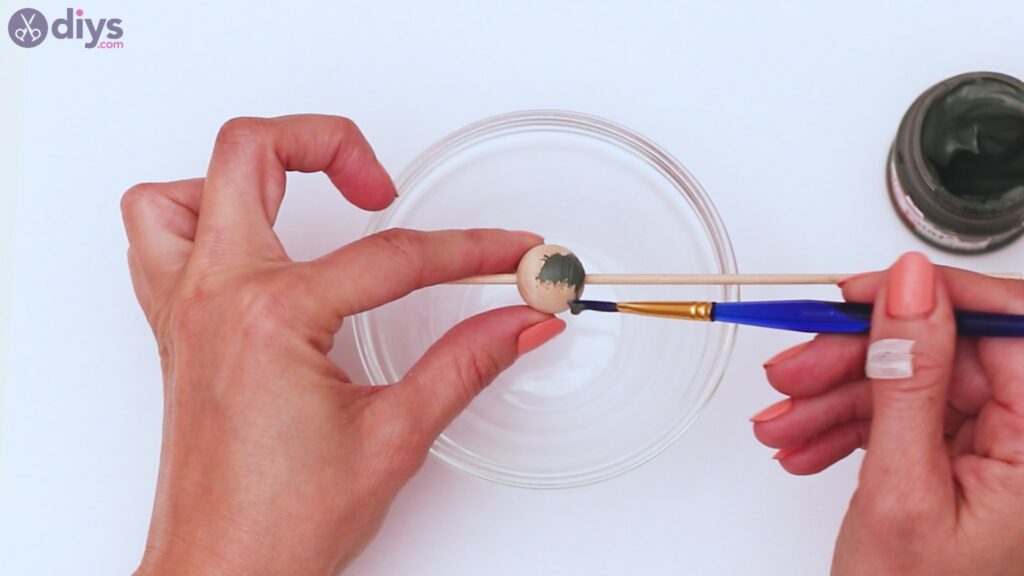
Get theolive green acrylic paint and yourpaintbrushand start coloring the wooden bead. You want to make sure you cover all areas of the bead, even if that means painting the stick as well. We placed the wood stick over a bowl, so if any paint drops, it won’t splatter your table. Plus, you have more control over your bead in this way.
Use your finger to turn the bead a bit, so you can get paint all over its surface. When you’re done, pull the bead off and set it on a piece of paper to dry.
Step 2: Paint the medium beads
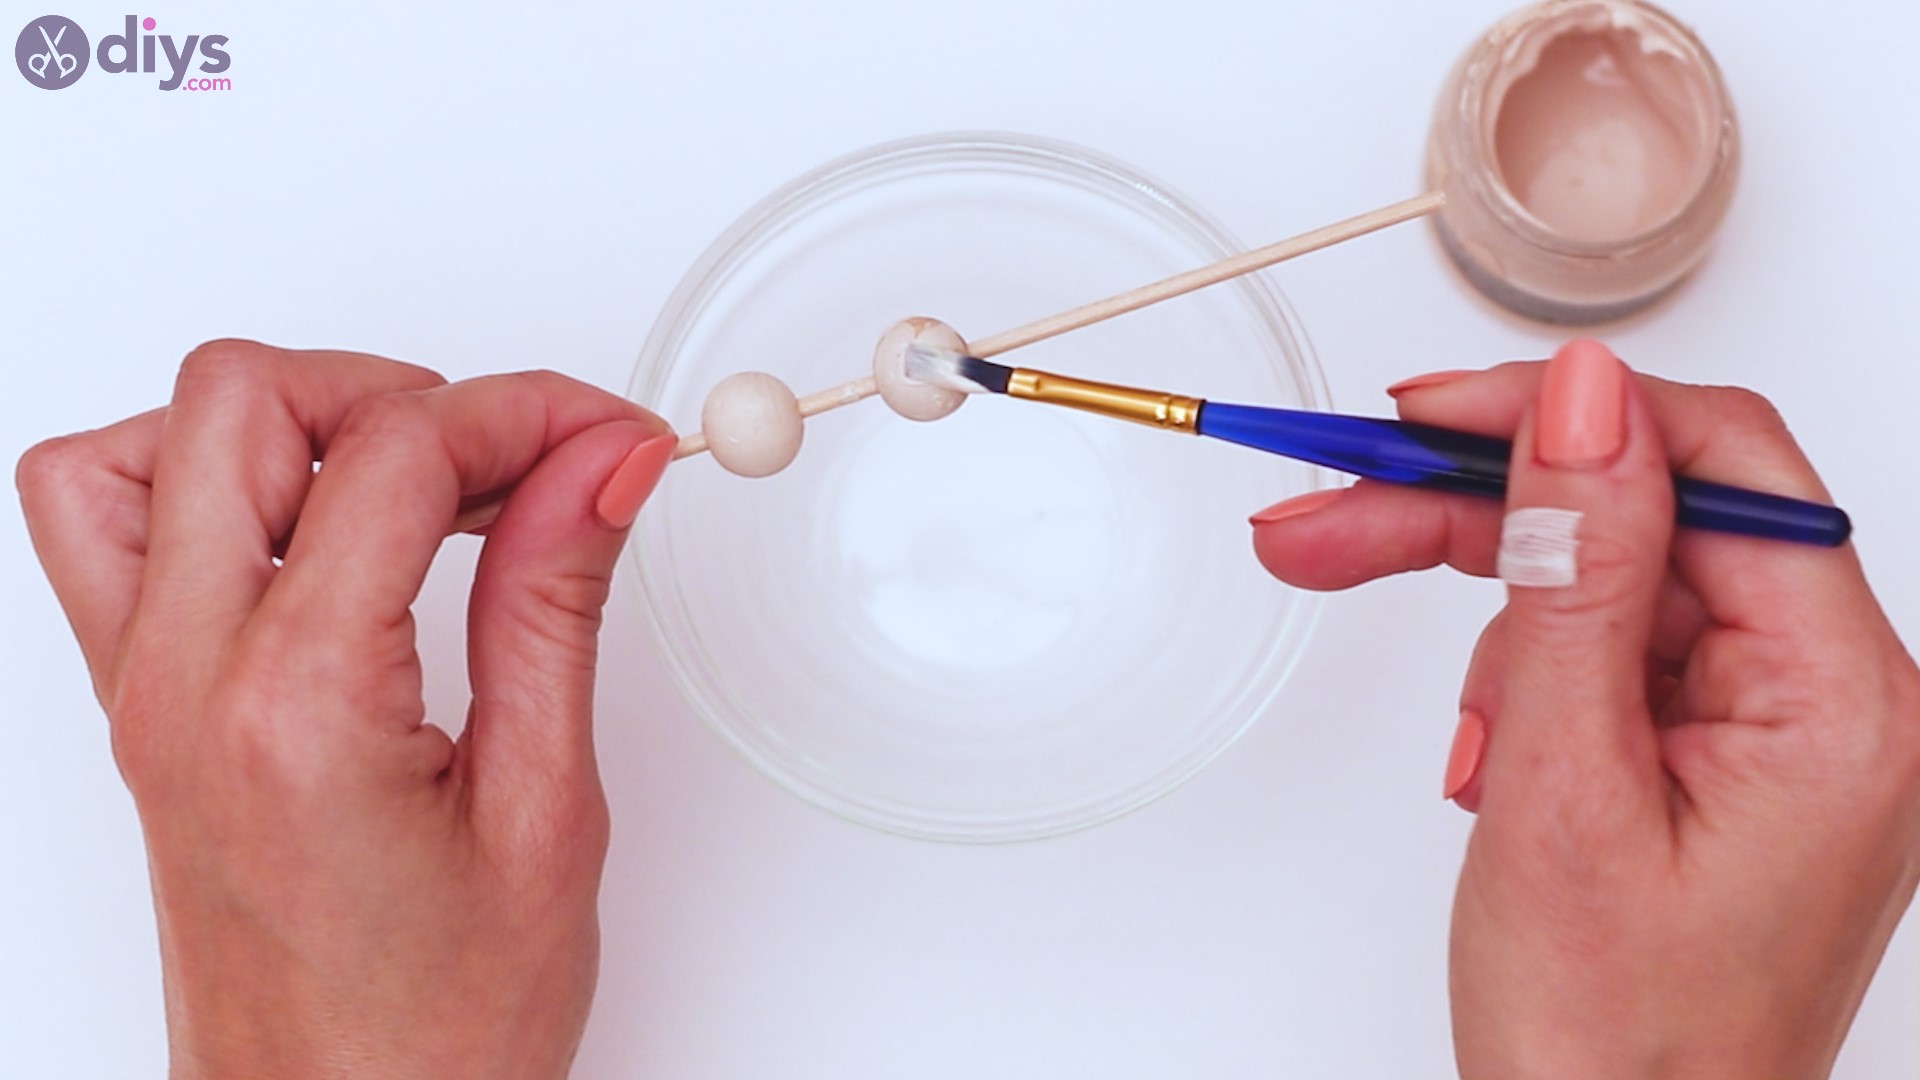
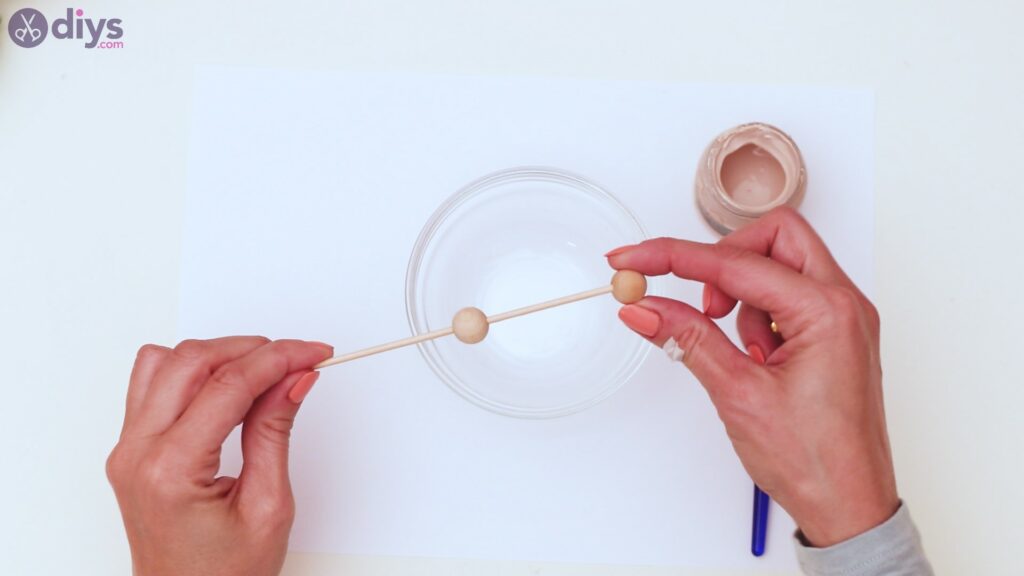
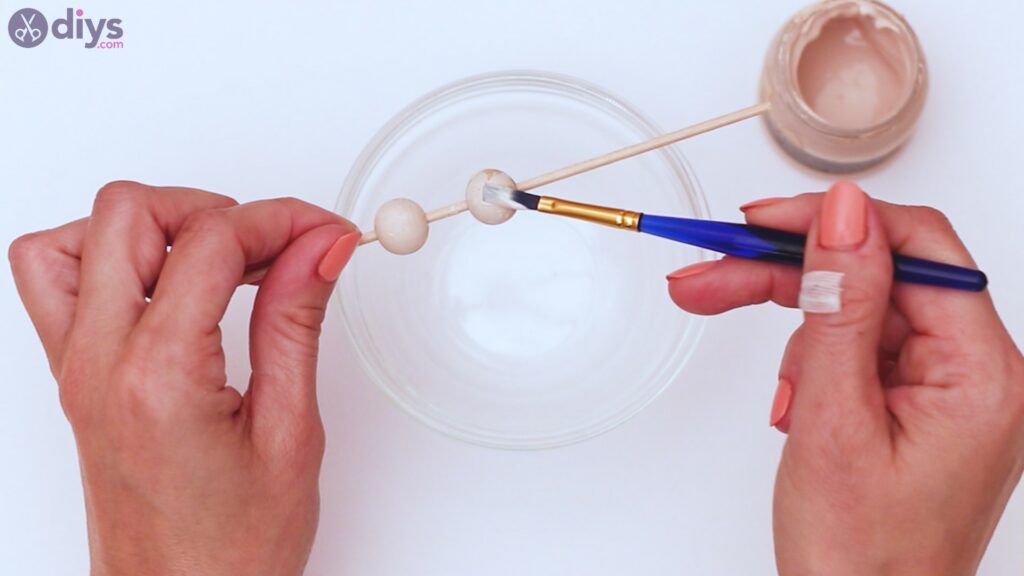
Next, you want to take the medium wooden beads and push them on the wooden stick. Take out the beige acrylic paint, too, as well as the clean paintbrush.
Paint the beads beige, and make sure you cover the entire area. Set them aside to dry.
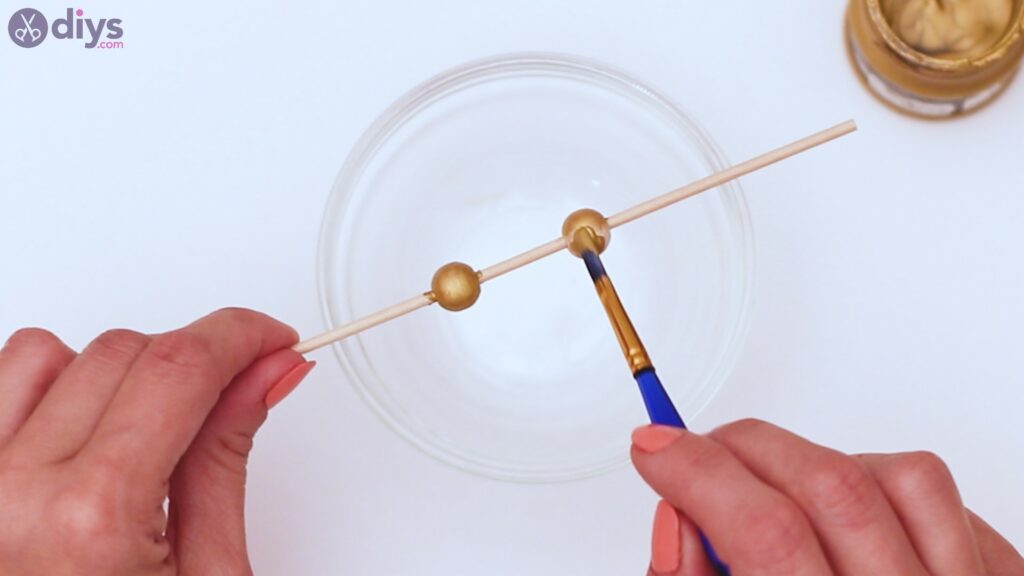
Step 3: Paint the small beads
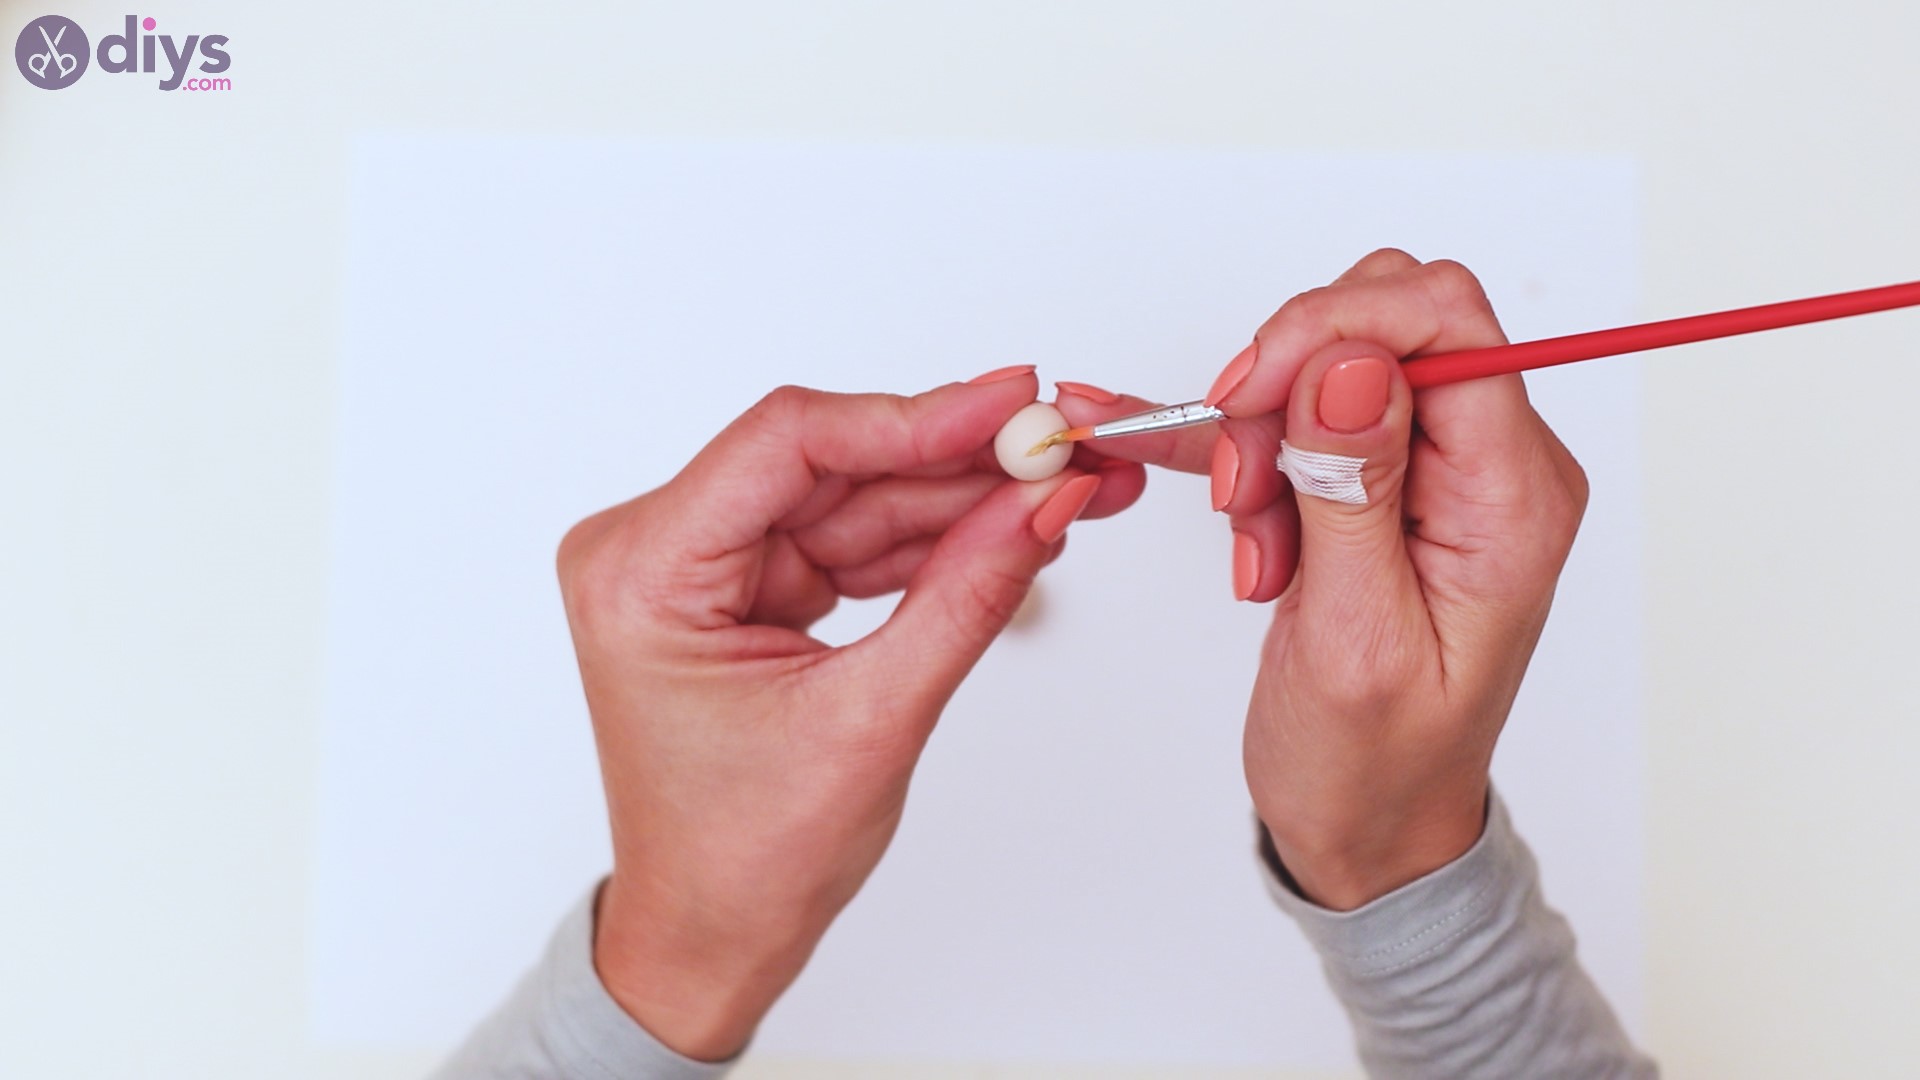
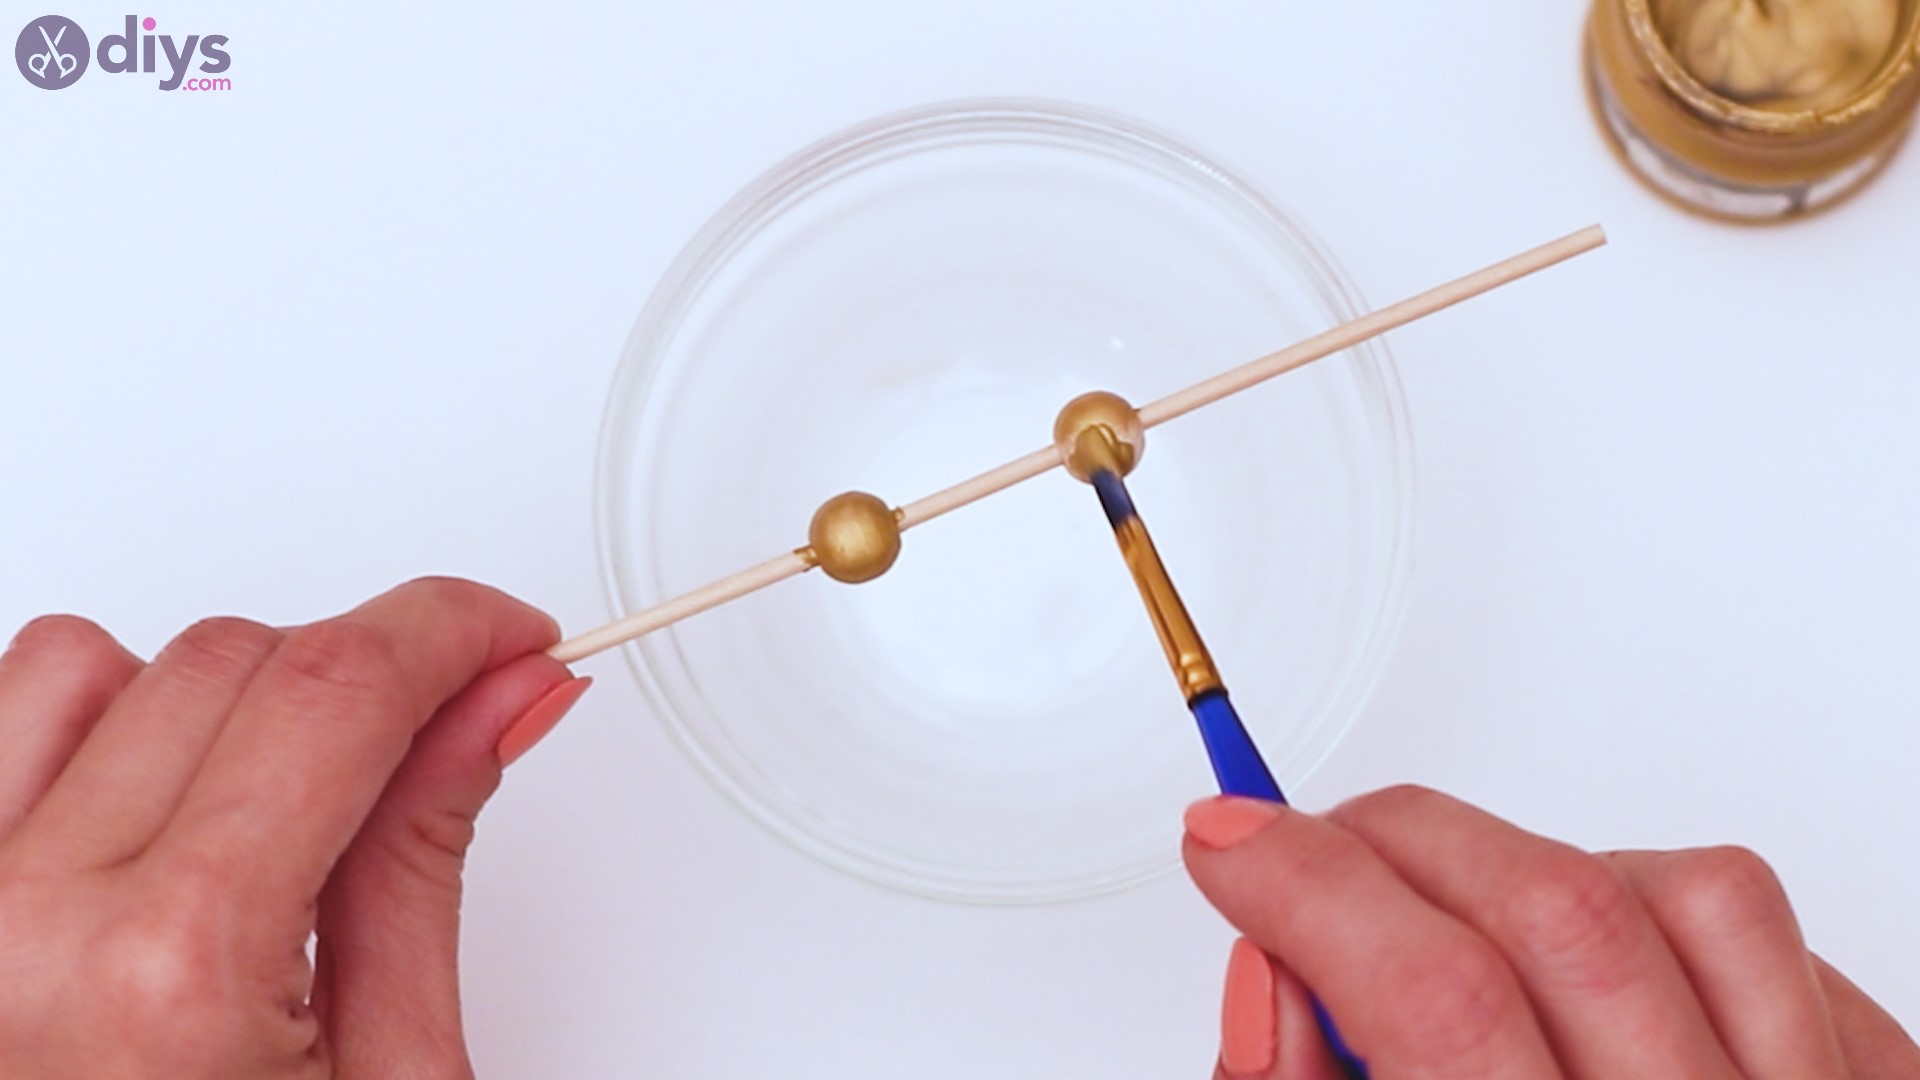
Next, it’s time to paint the smallest beads on your table. Push them on the wooden stick next, get thegold acrylic paint. Turn them on all sides and cover them with the paint before setting them on a piece of paper to dry.
Step 4: Decorate the beads
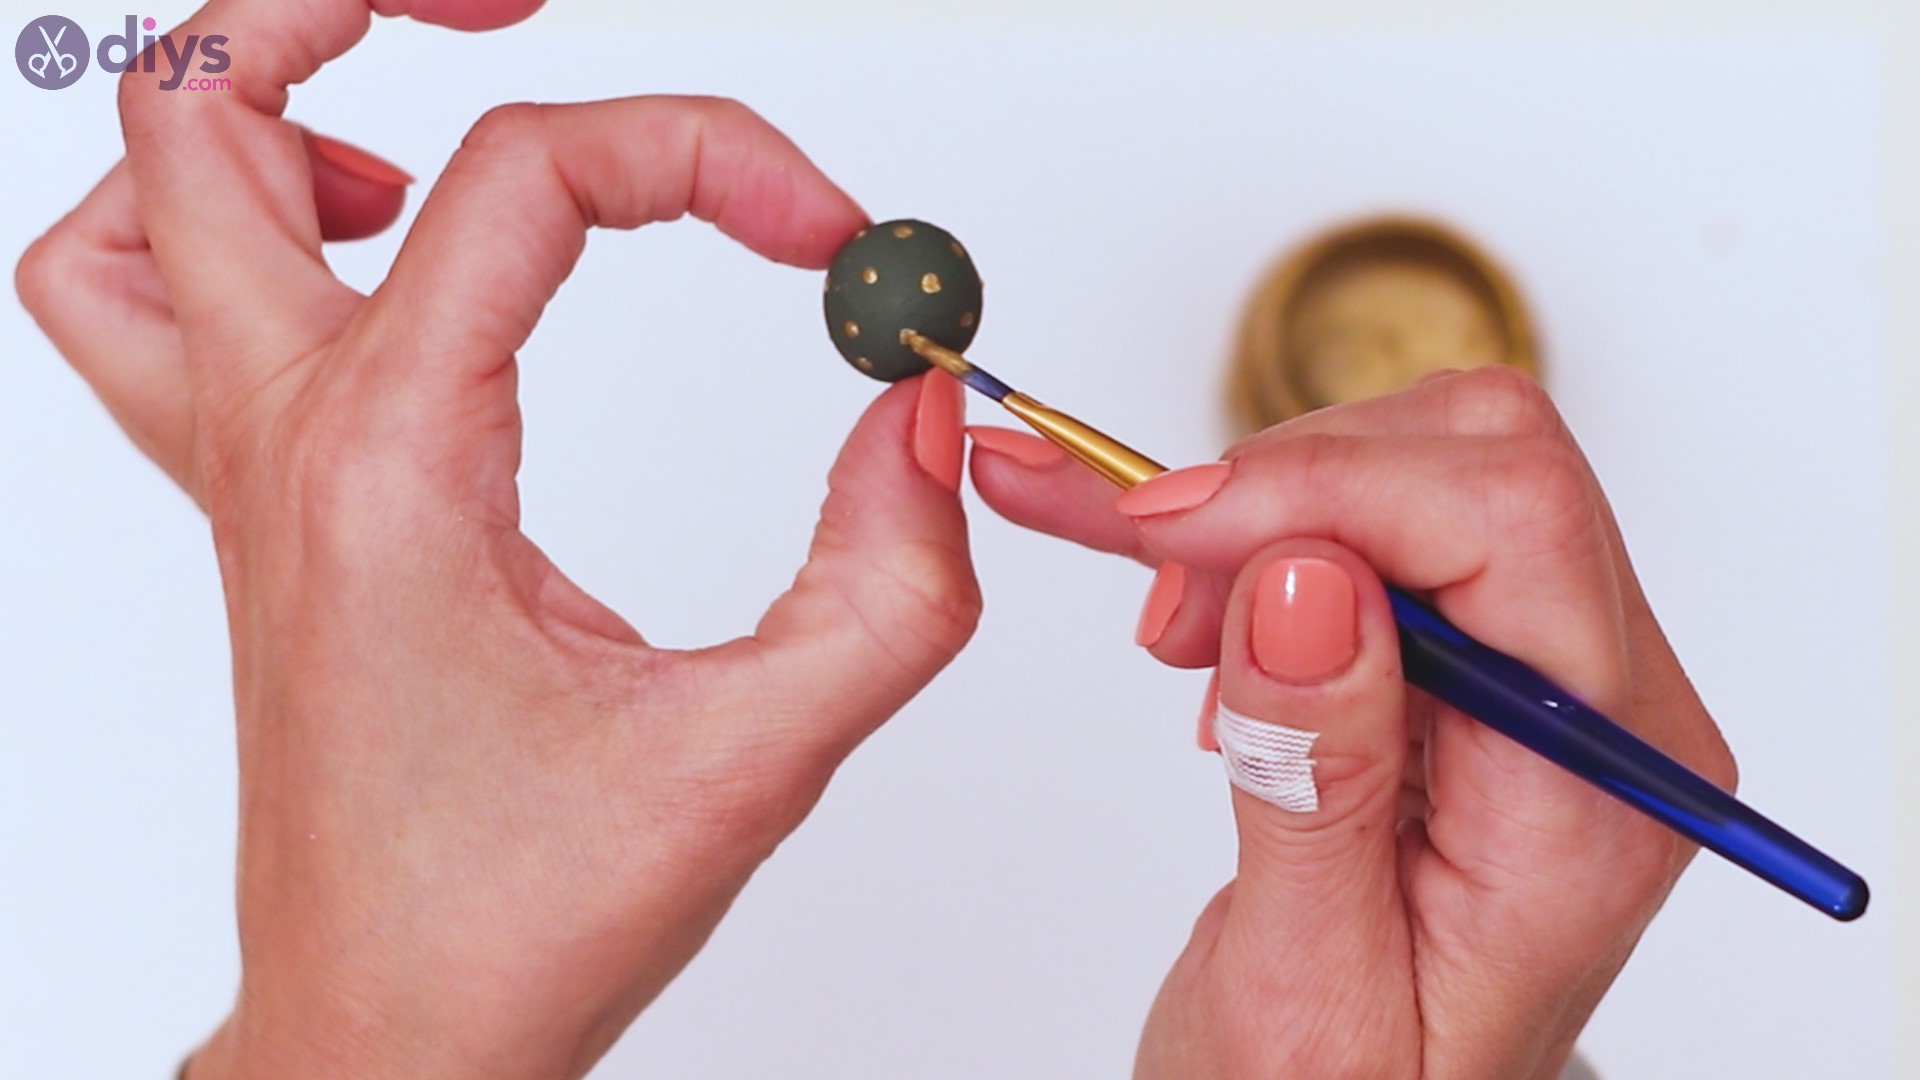
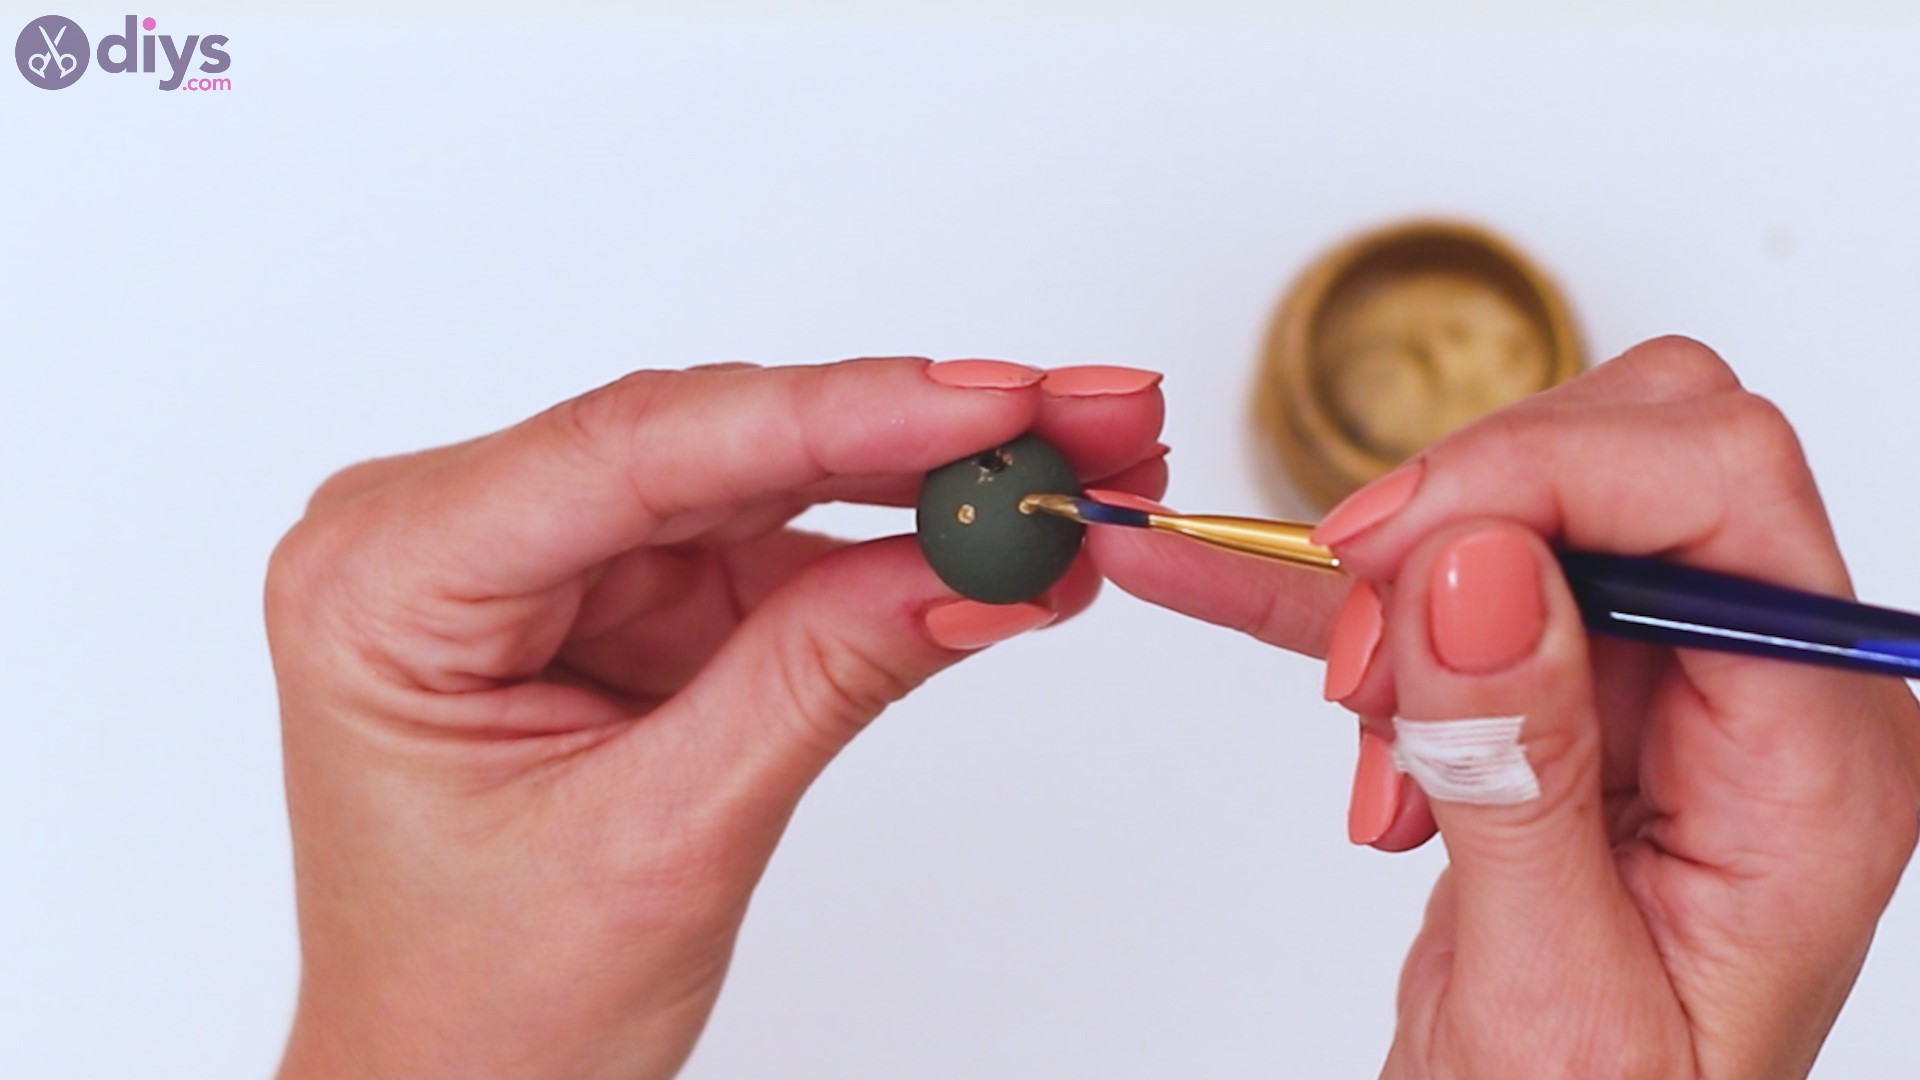
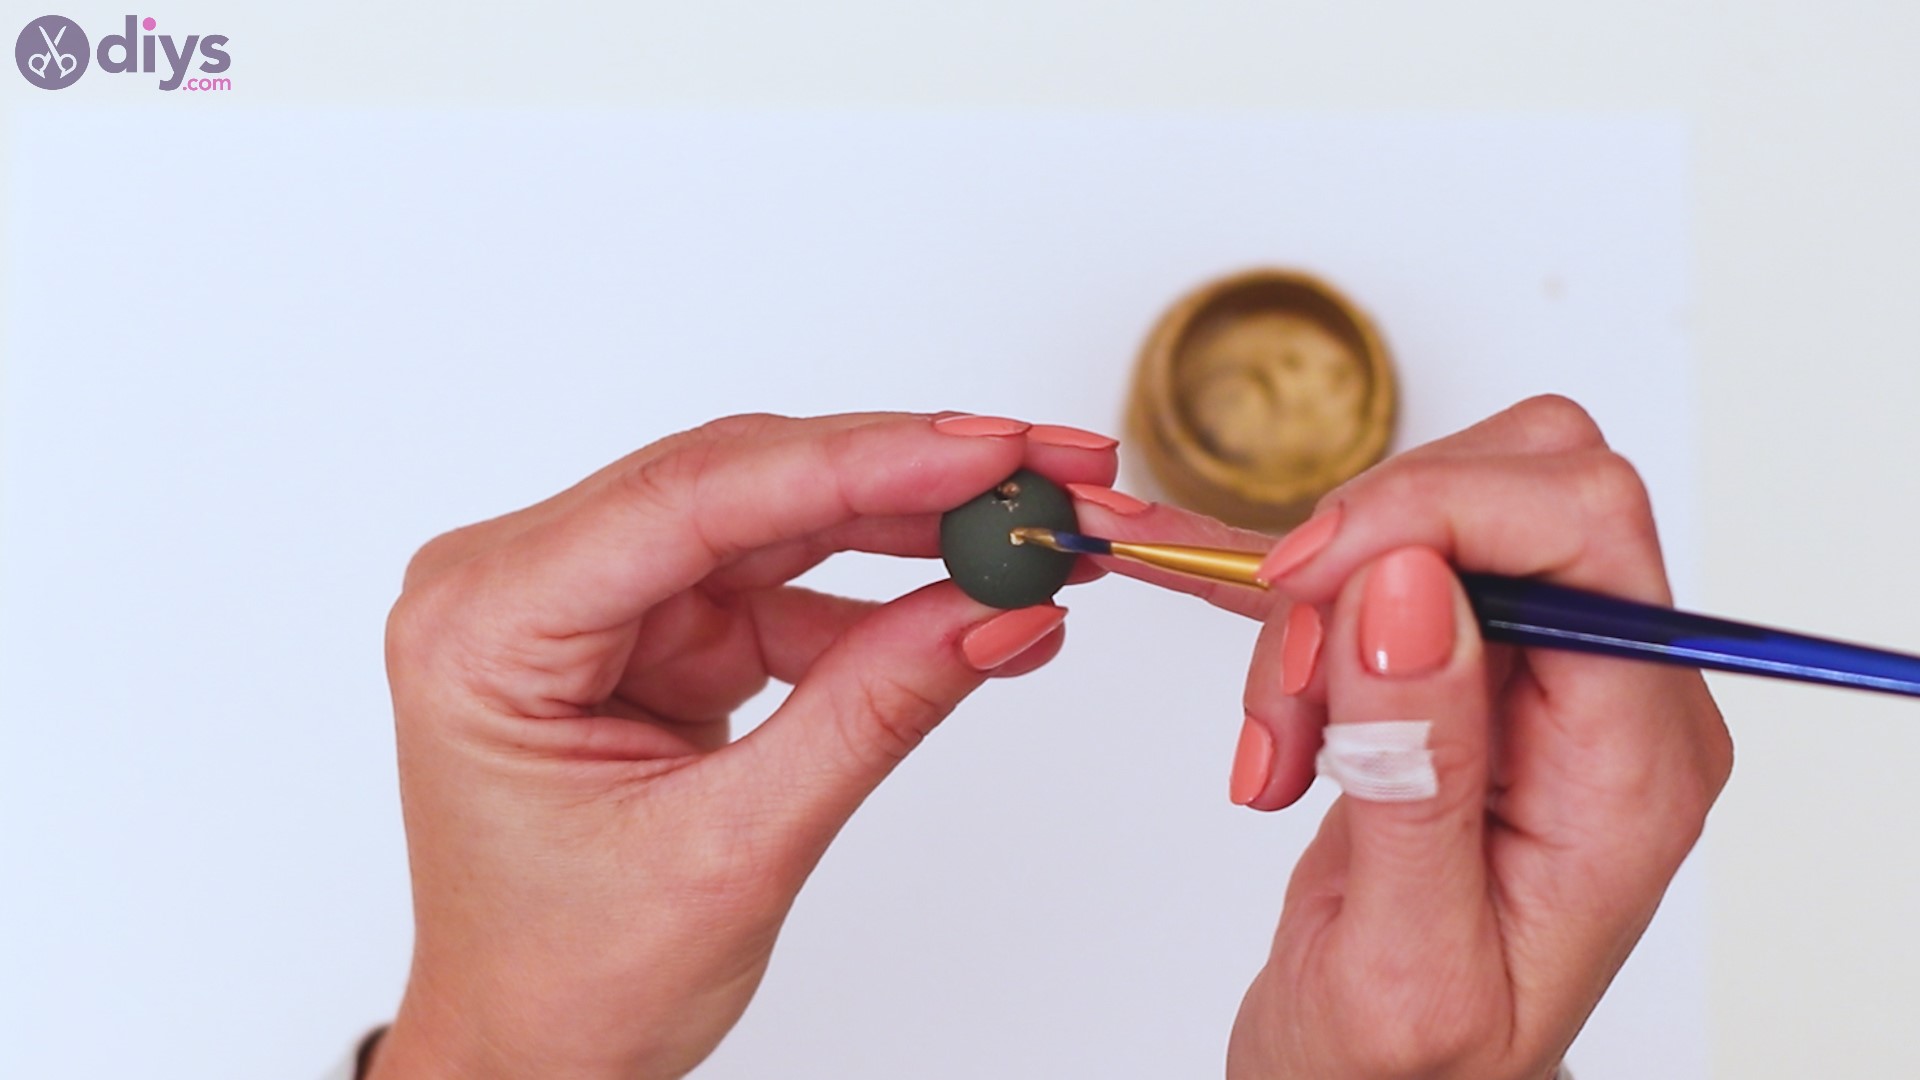
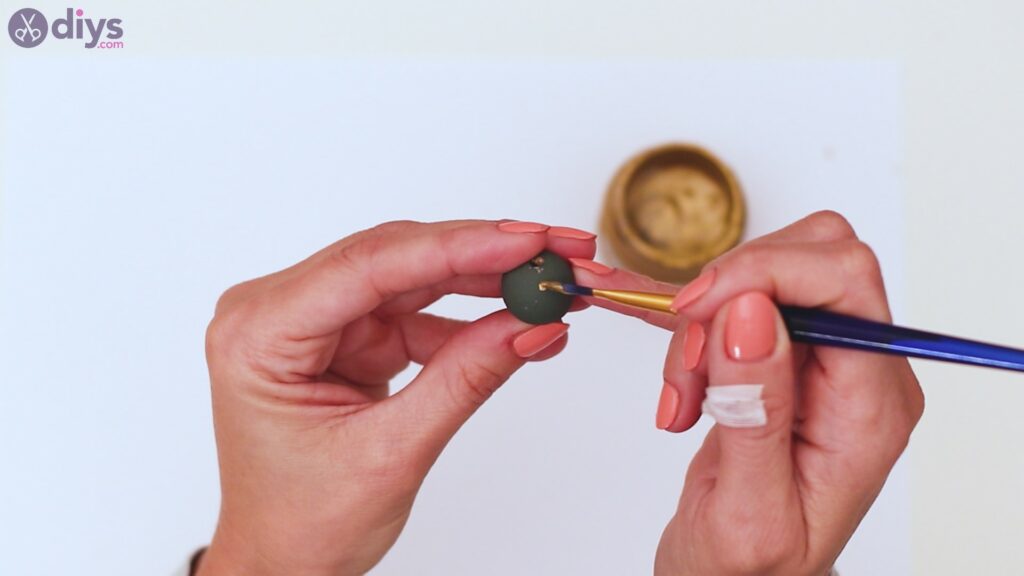
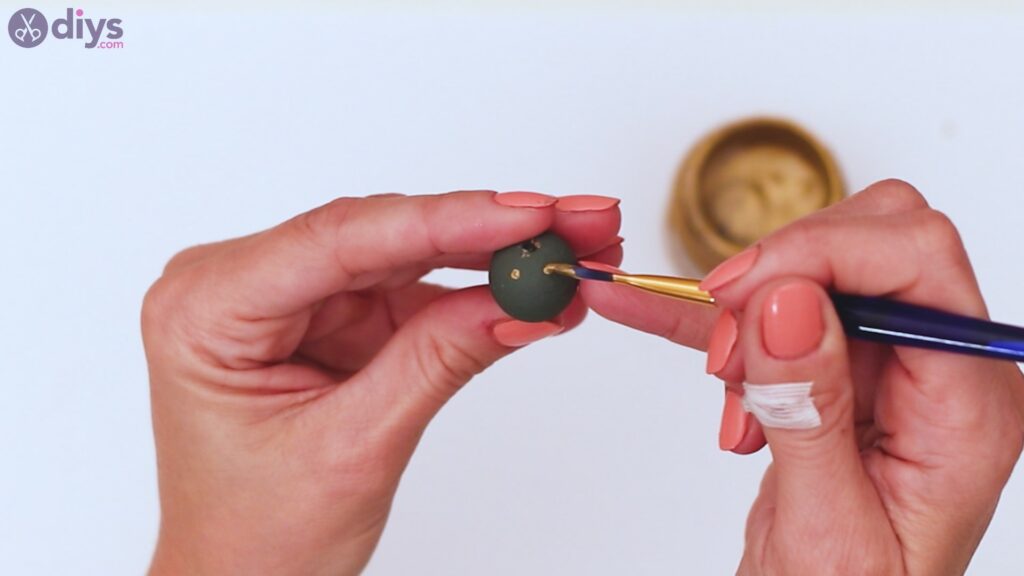
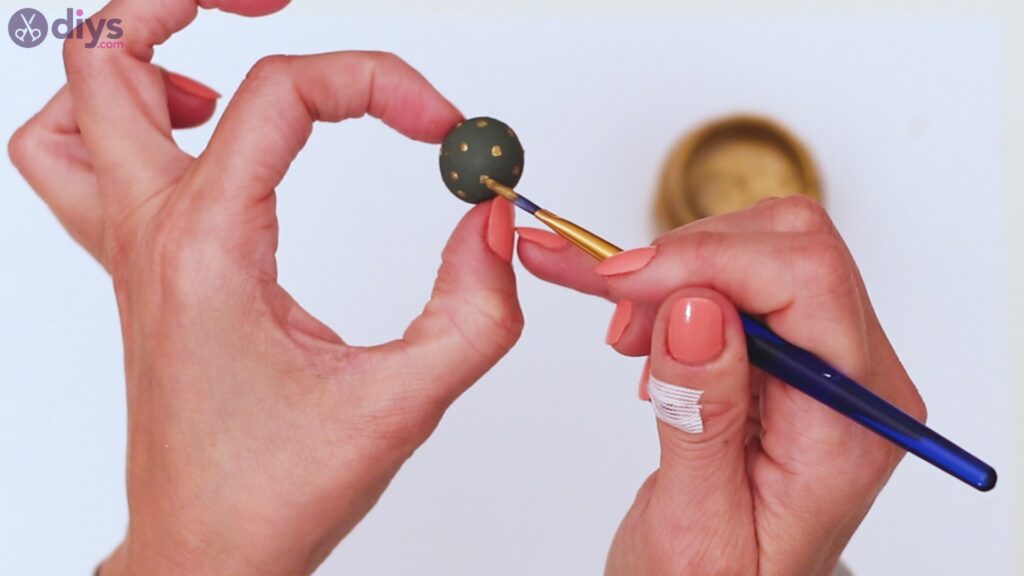
Once the beads have dried, it’s time we decorate them. Pick up the large wooden bead that you painted olive green, dip thepaintbrush in thegold acrylic paint and start forming little dots.
Try to make them as evenly as possible as you seek to create a pattern. We chose to create the top row of dots (nearest to the bead’s hole), then follow up with another row of dots a bit lower, placed in between the dots above.
The next layers follow the same logic. Paint dots until you’re done, and gently place the bead on a piece of paper.
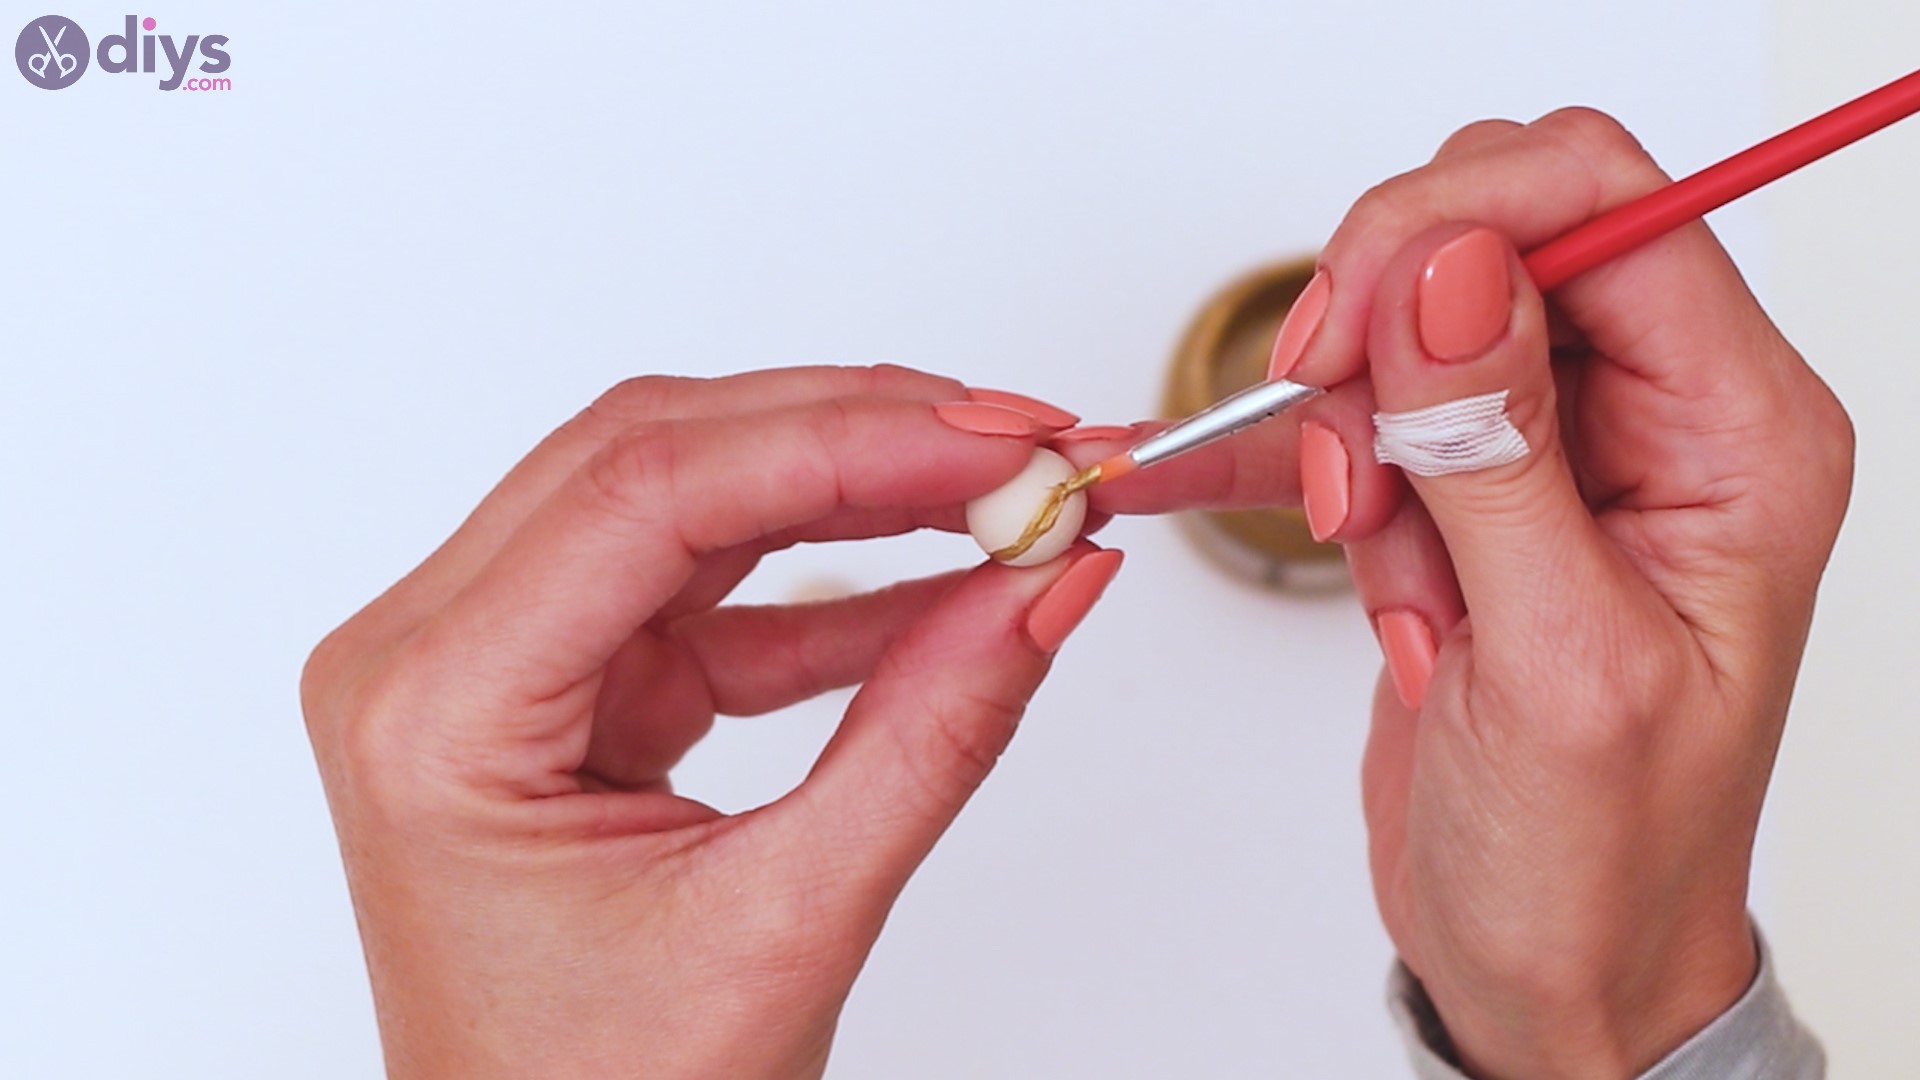
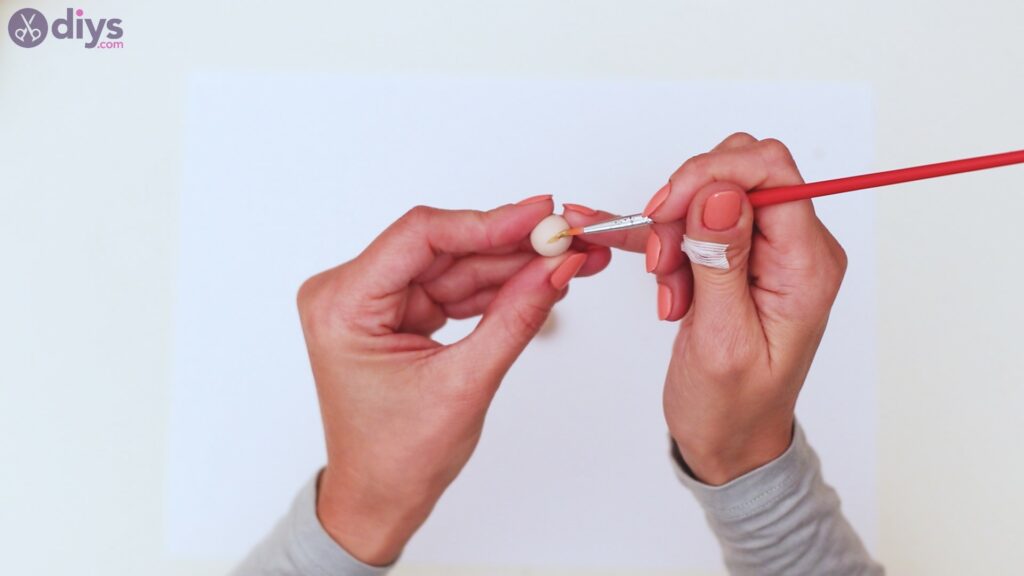
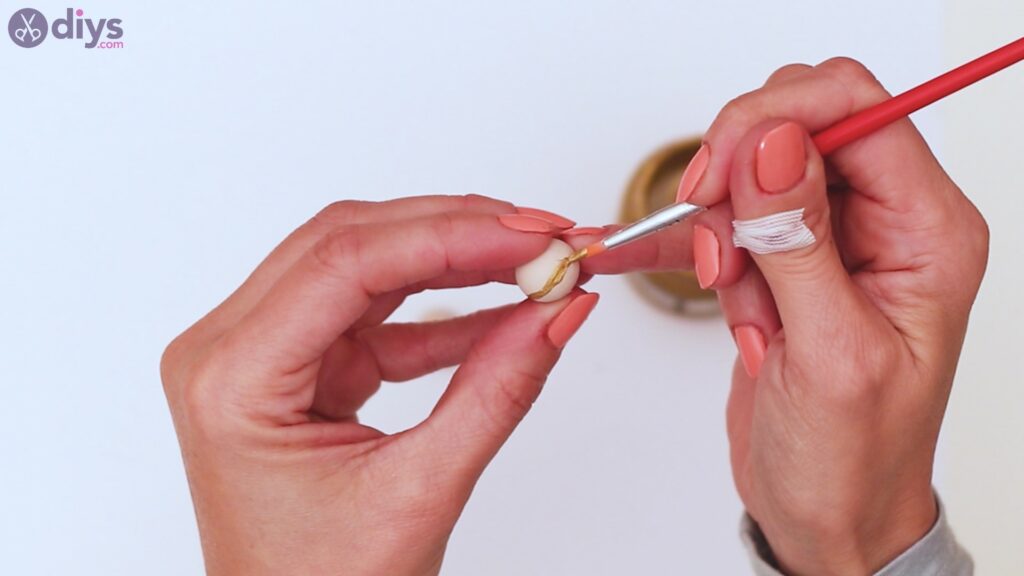
Then, get the beige beads, and once more, dip your paintbrush in the gold paint. Keep the bead as straight as possible and gently draw a line across the middle.
Try to keep your paintbrush steady as you slowly draw your line as straight as possible over the midsection of the bead.
Step 5: Let’s make a tassel
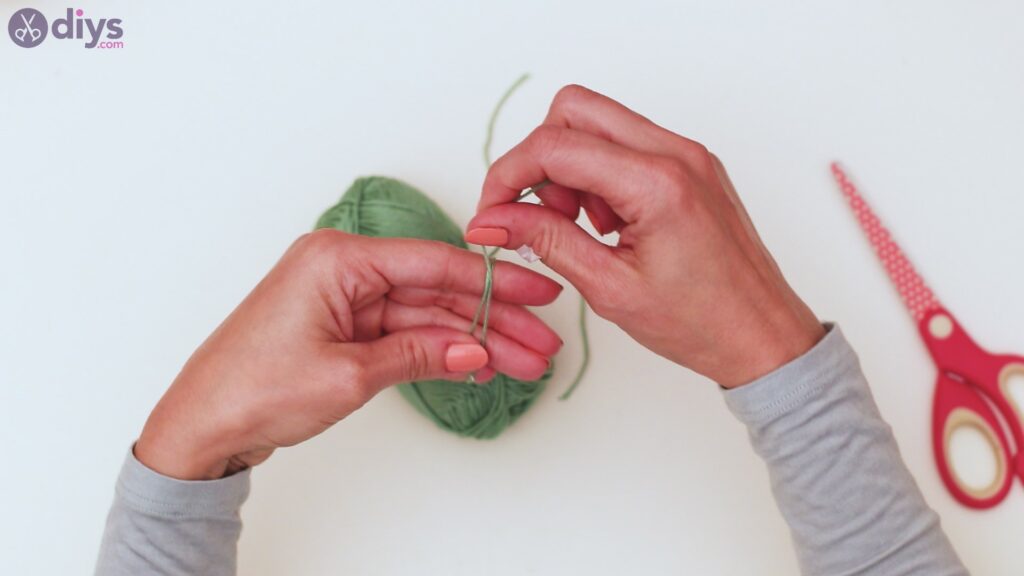
It’s time we made a cute tassel. Get the green yarn and start twisting the thread over four of your fingers. Keep going around your fingers until you have quite a bit of thread in there.
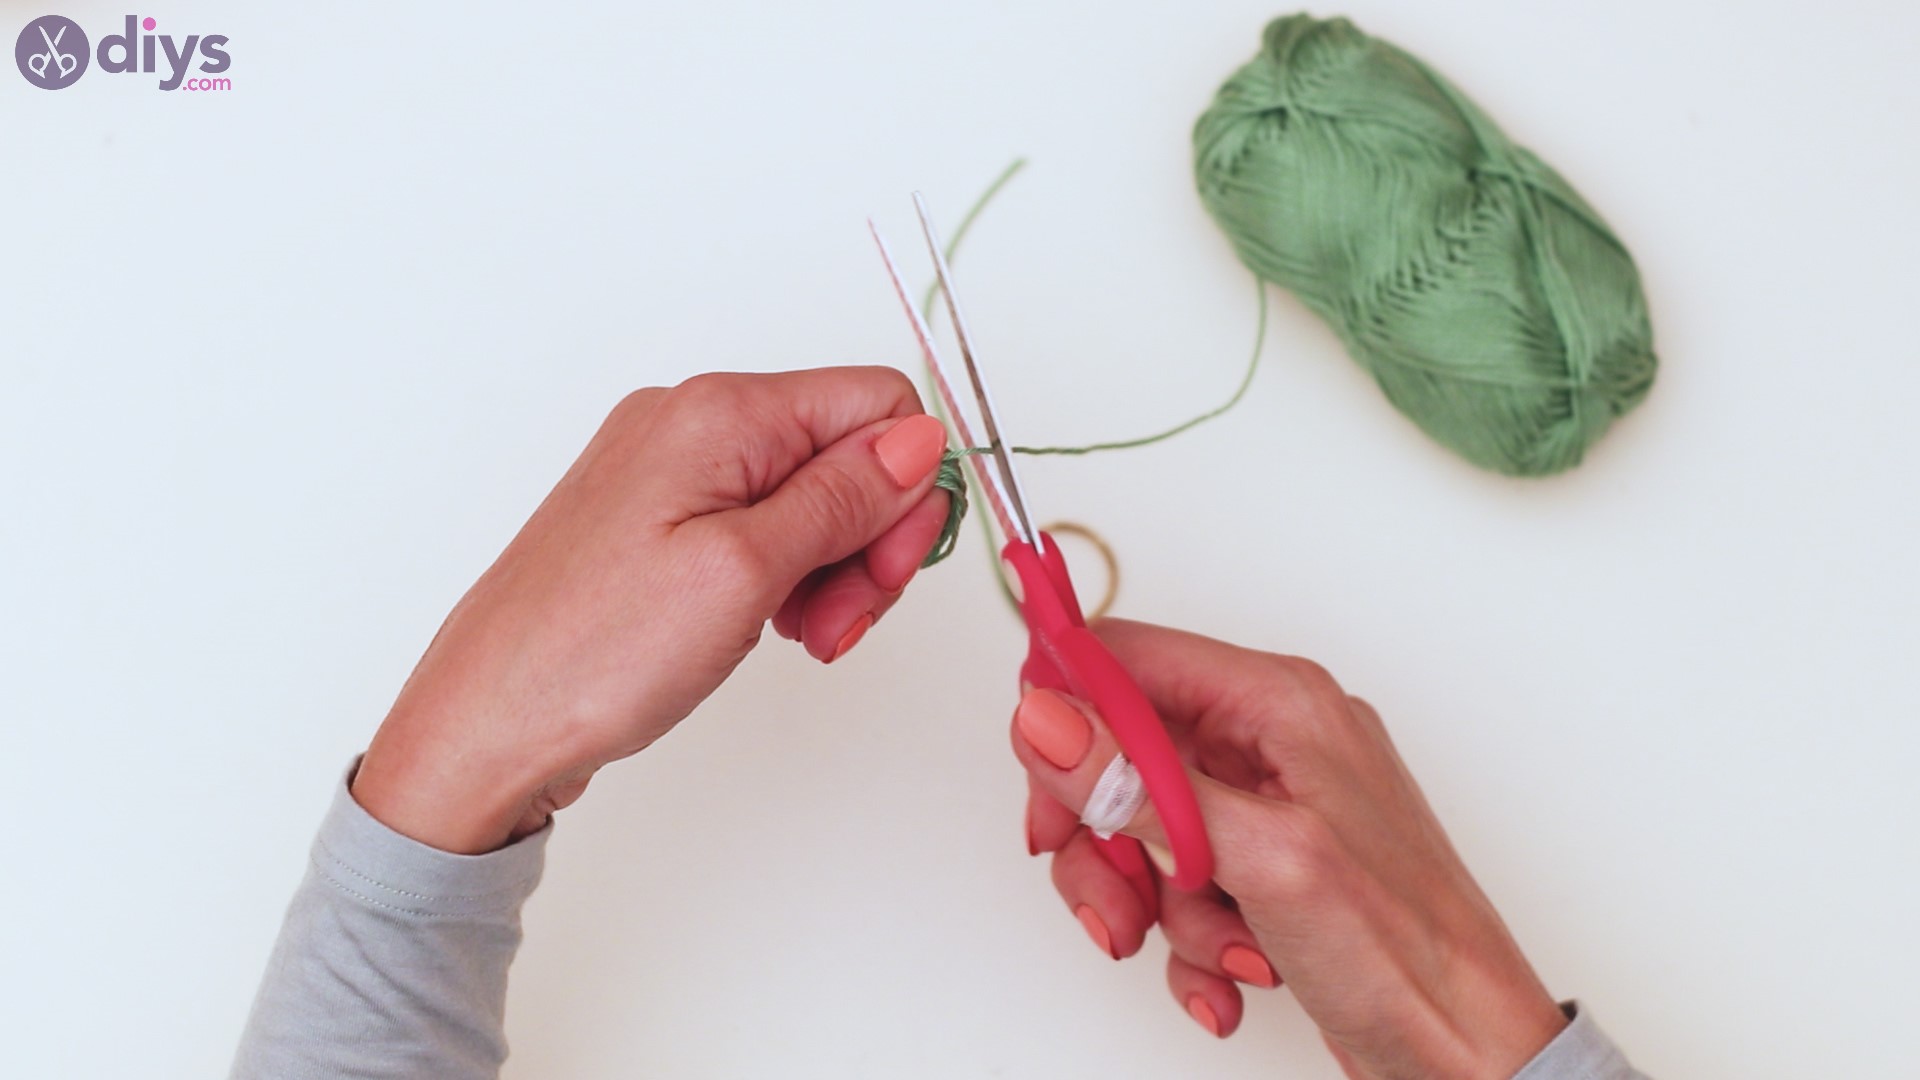
Cut the thread when you consider your tassel is thick enough.
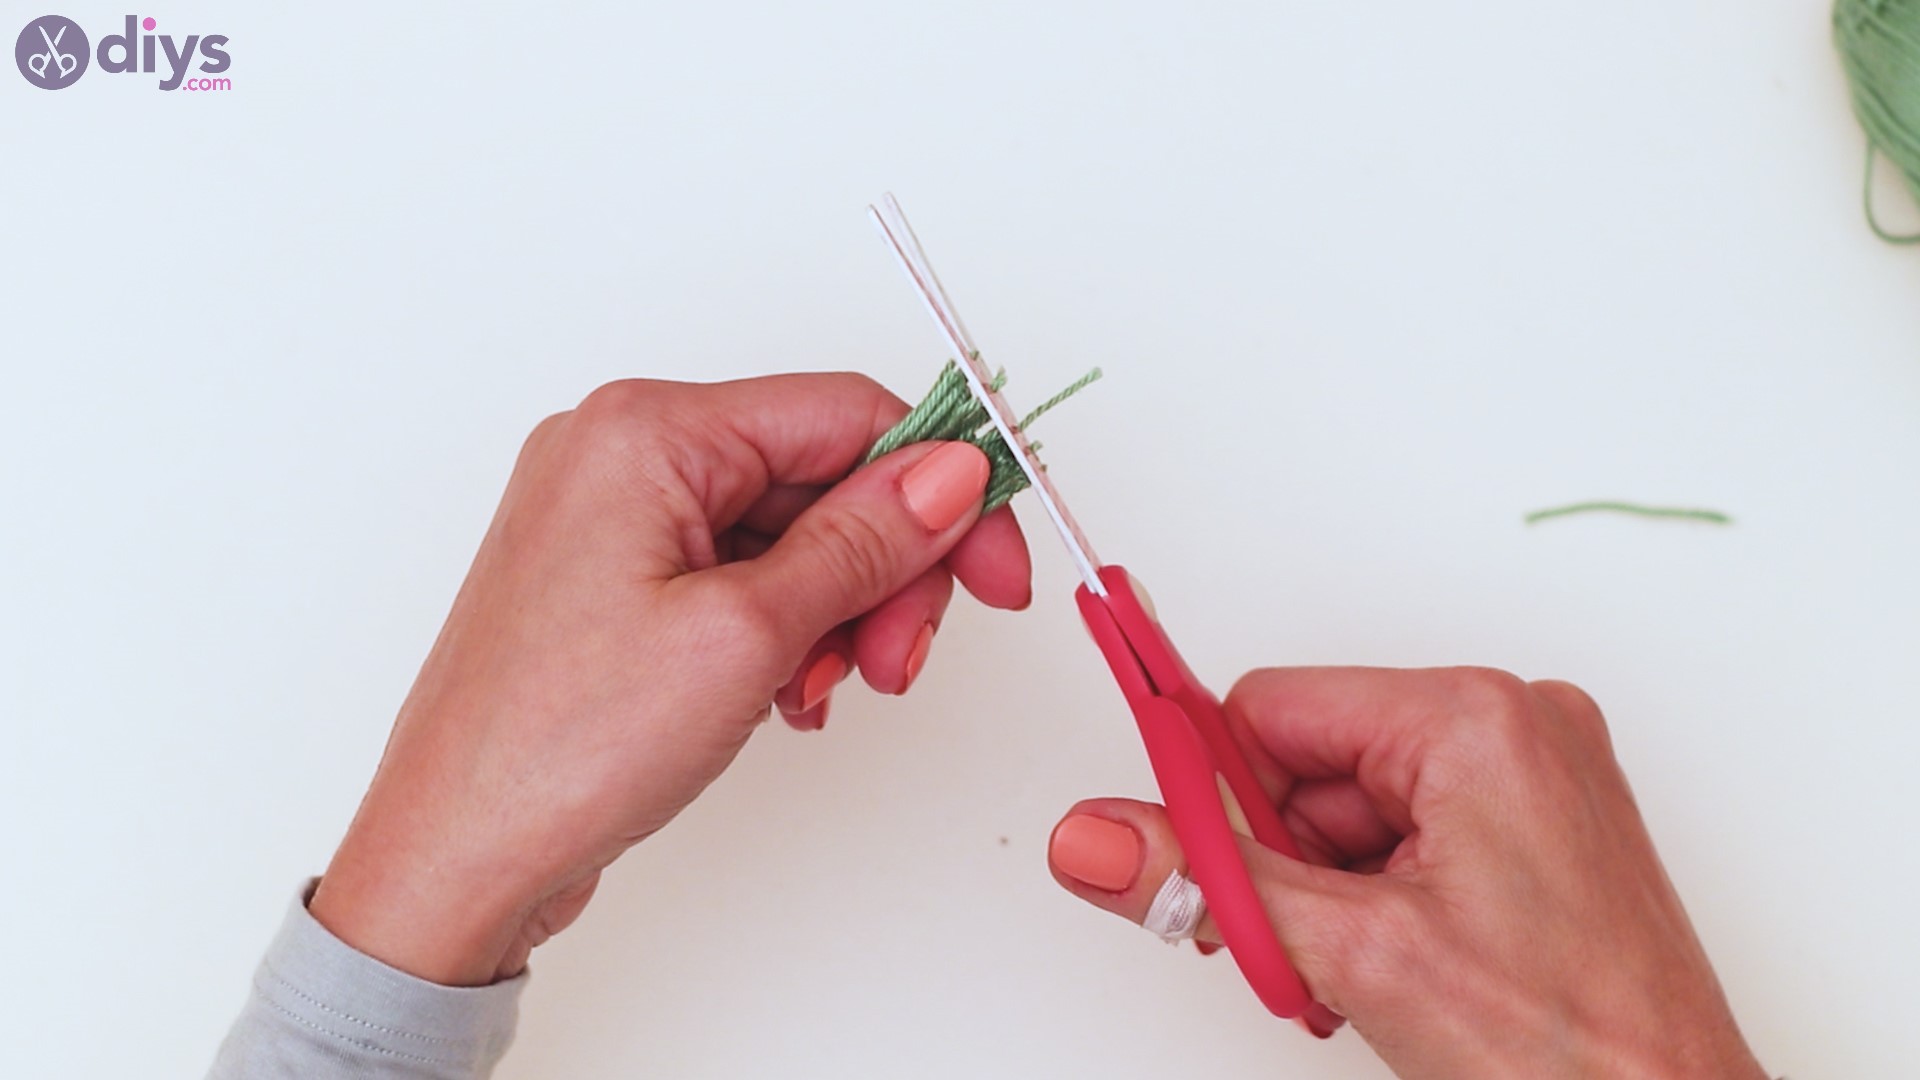
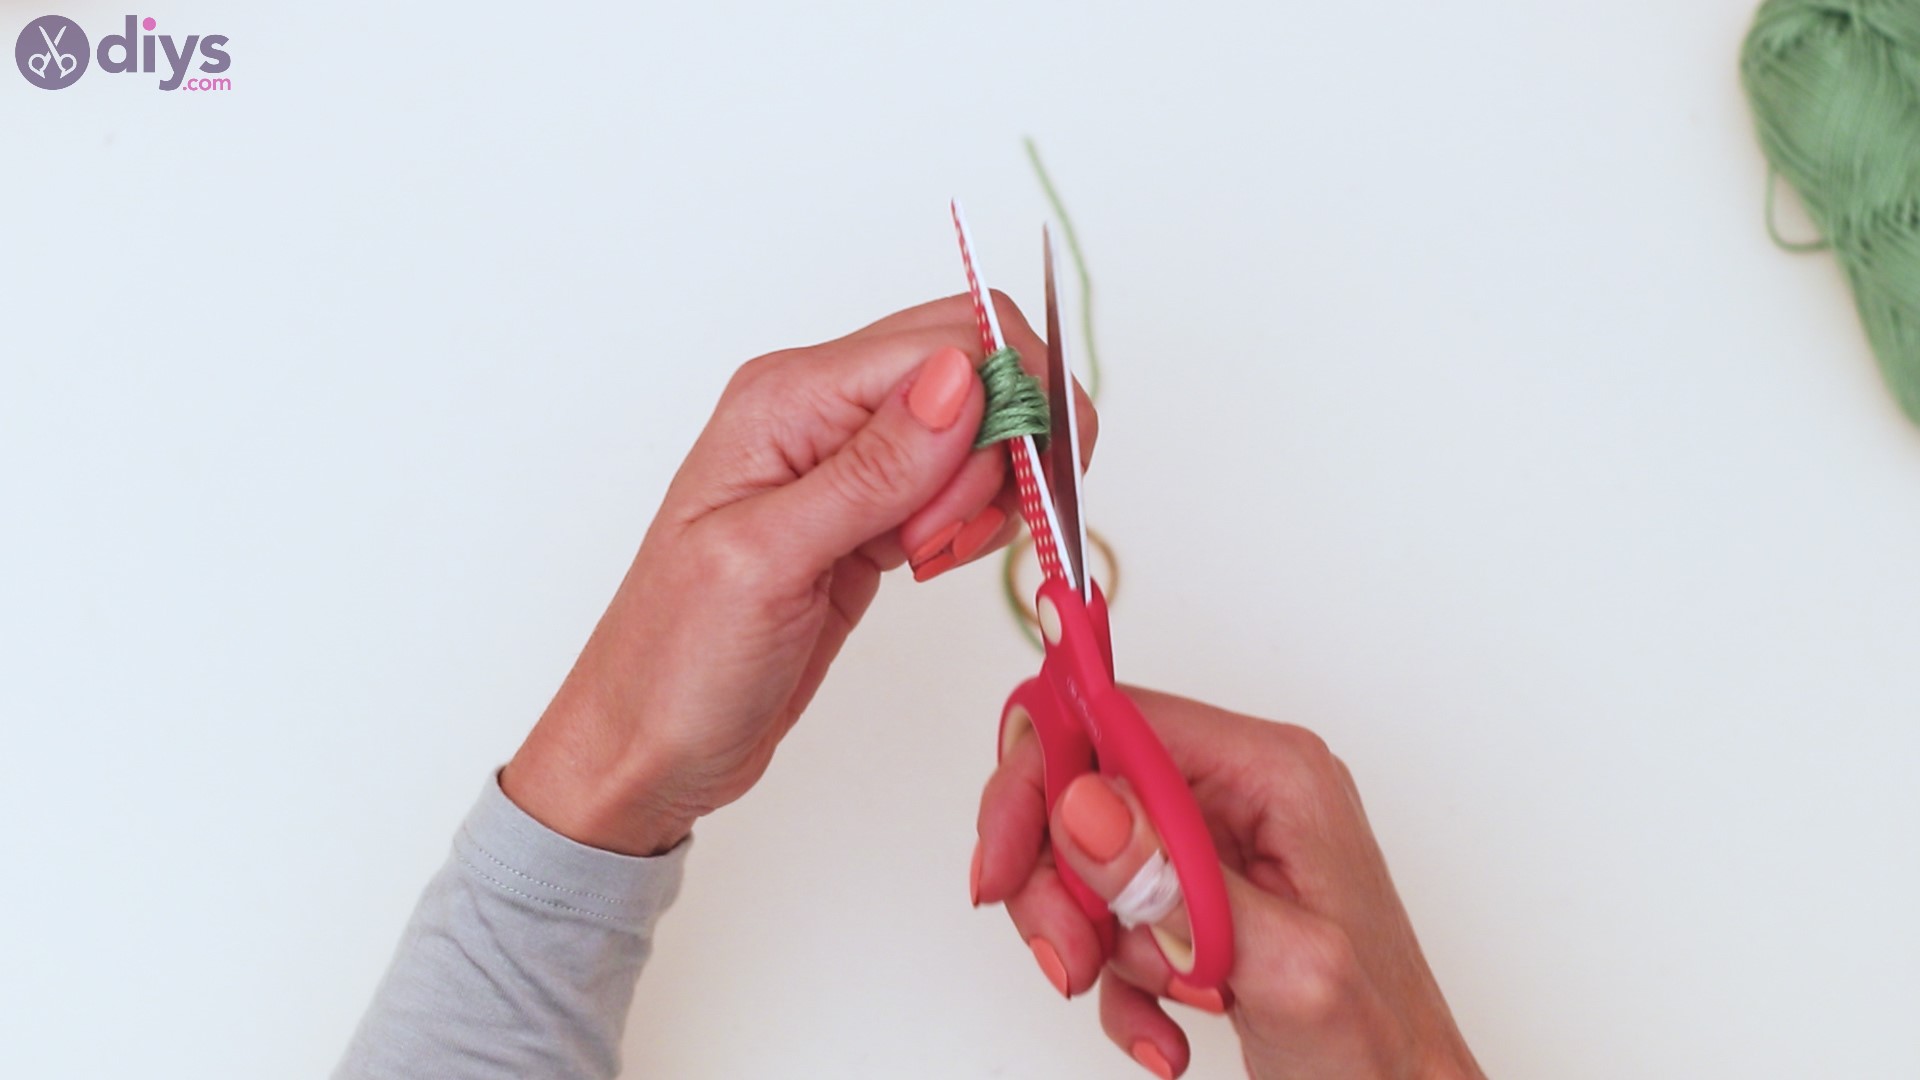
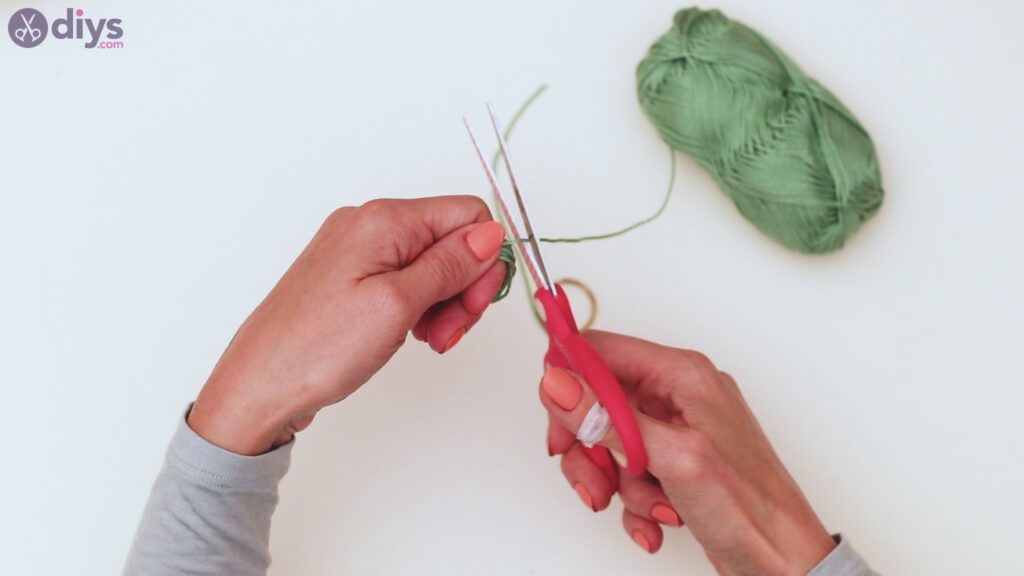
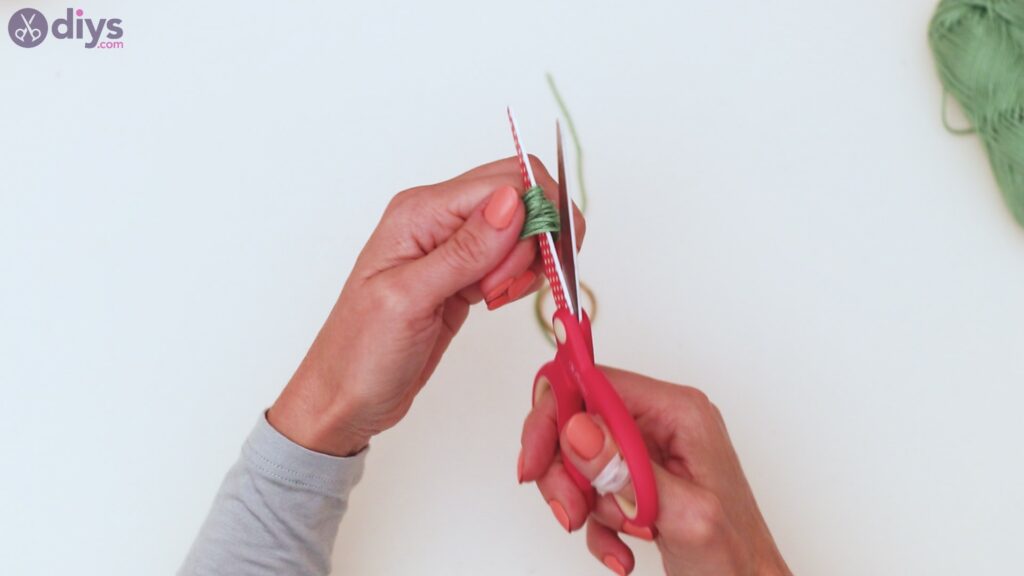
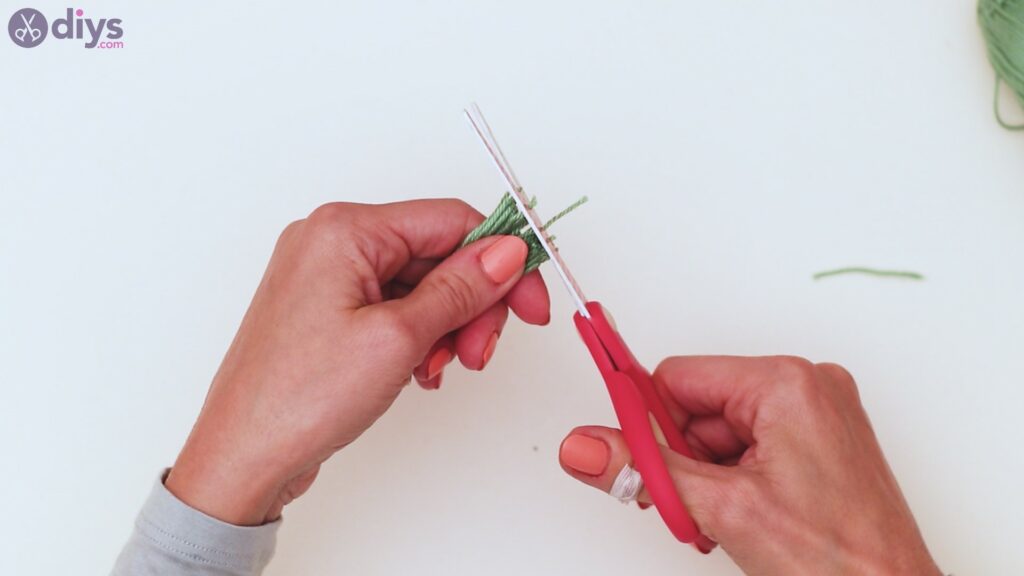
Still holding the yarns tightly, use the scissors to cut through the loop.
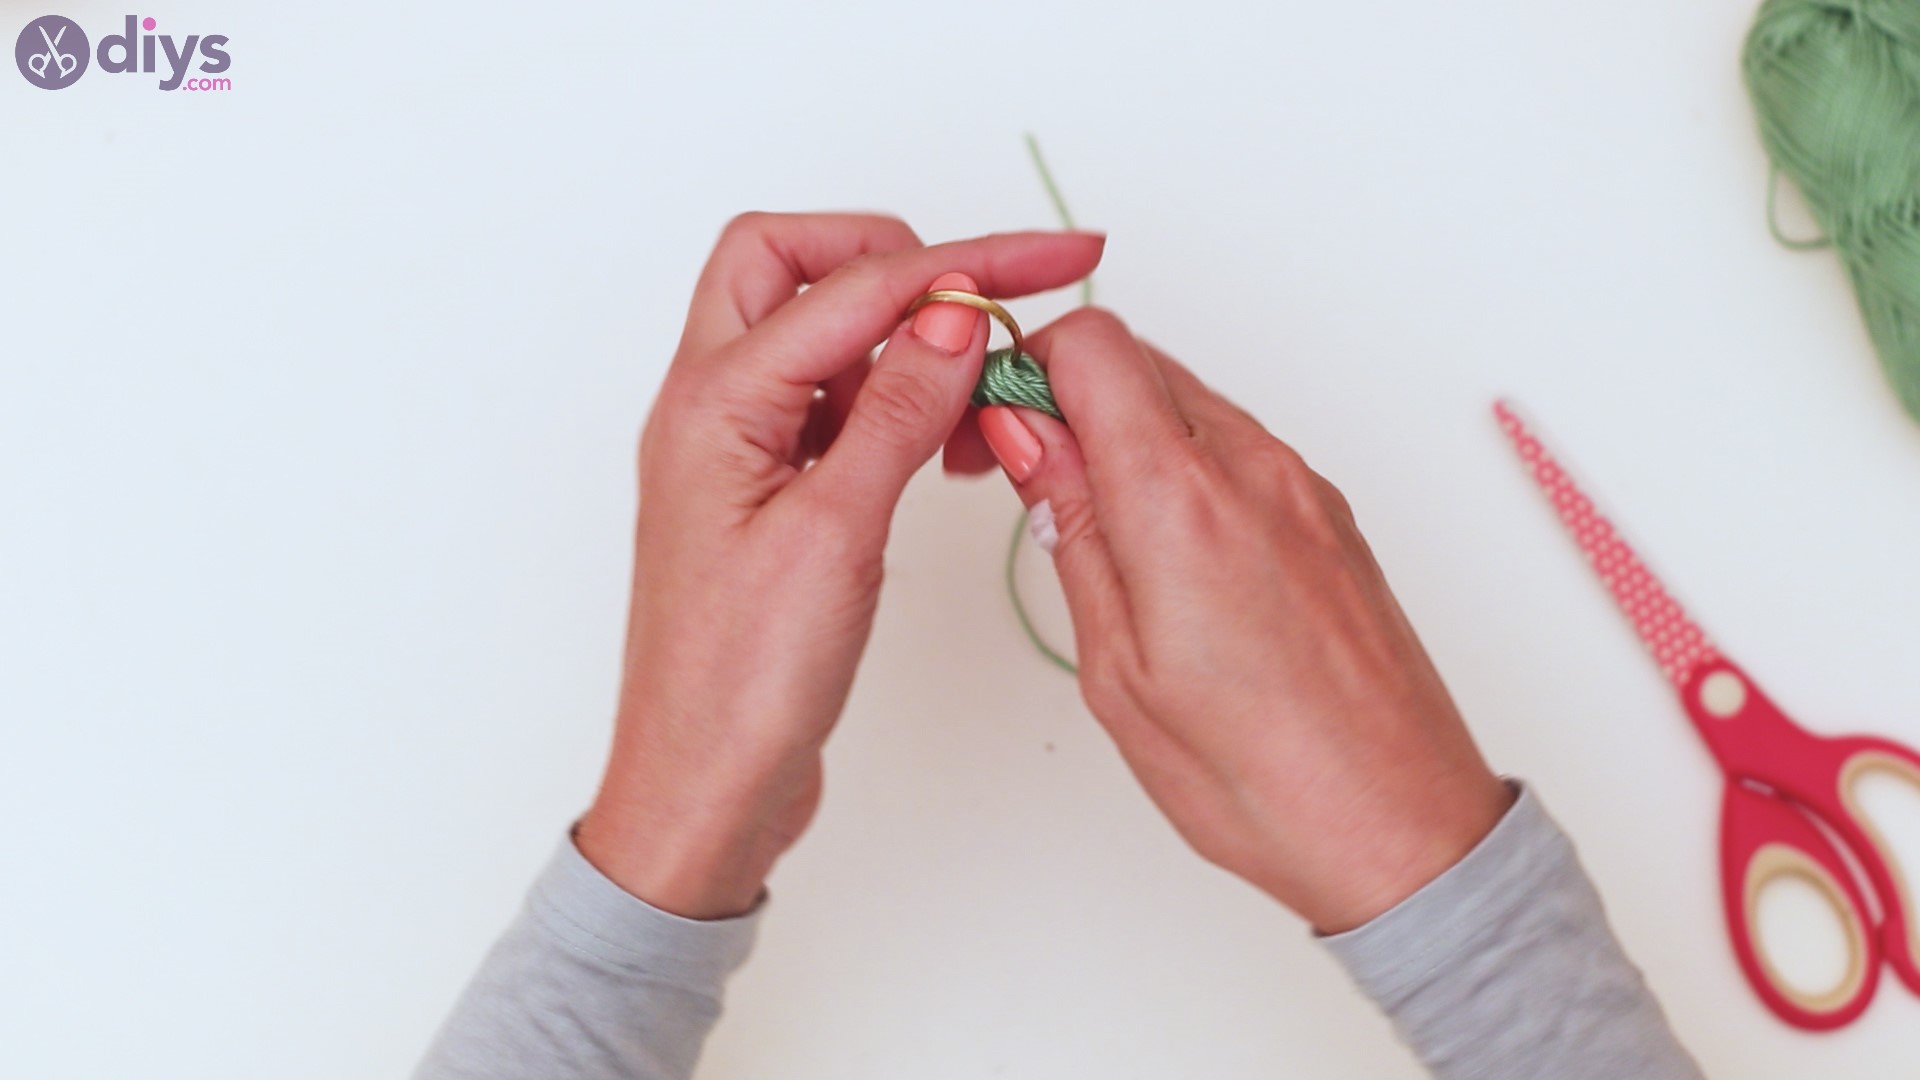
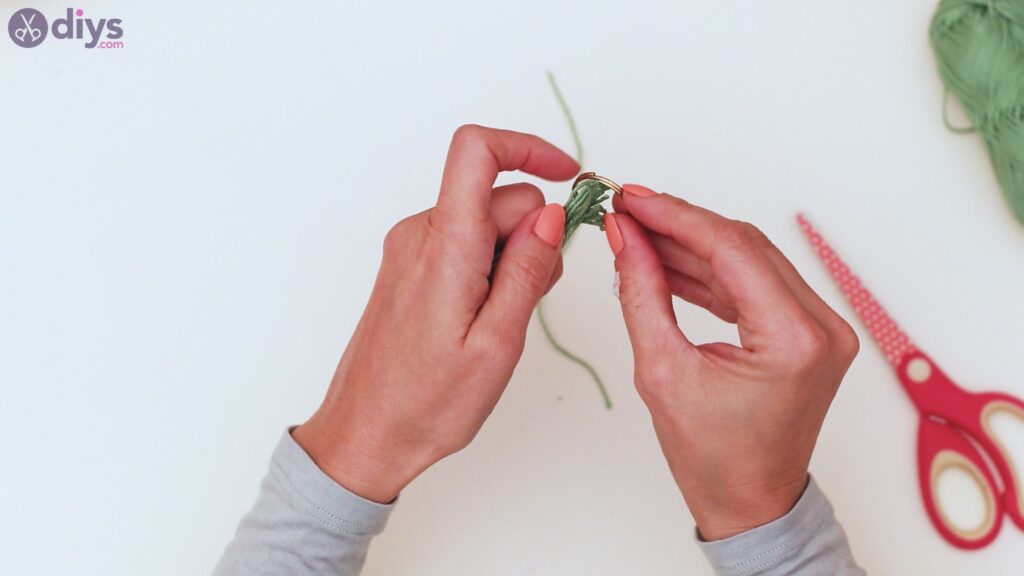
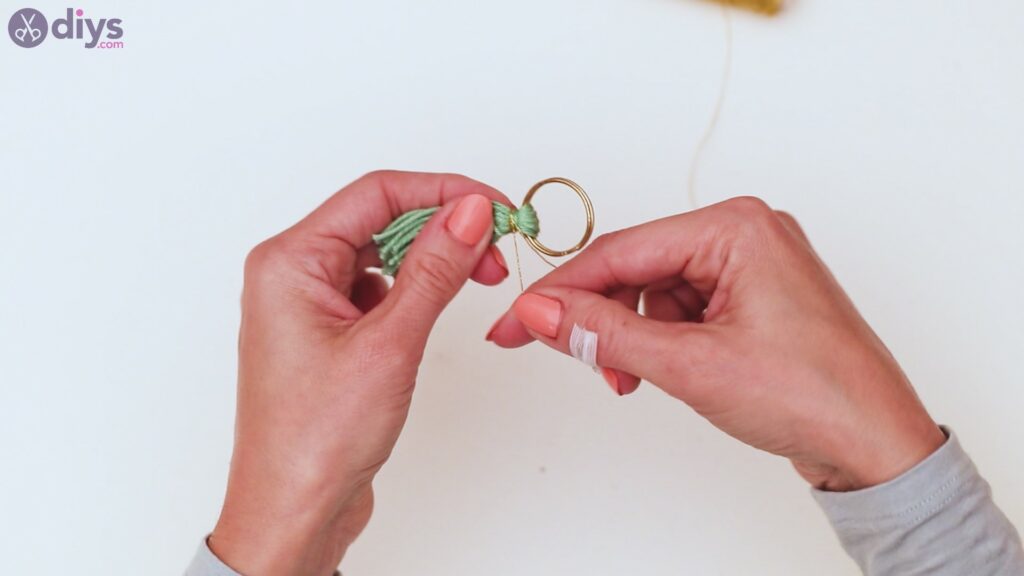
Get the split keychain ringand carefully bring it up the middle of the yarn loop.
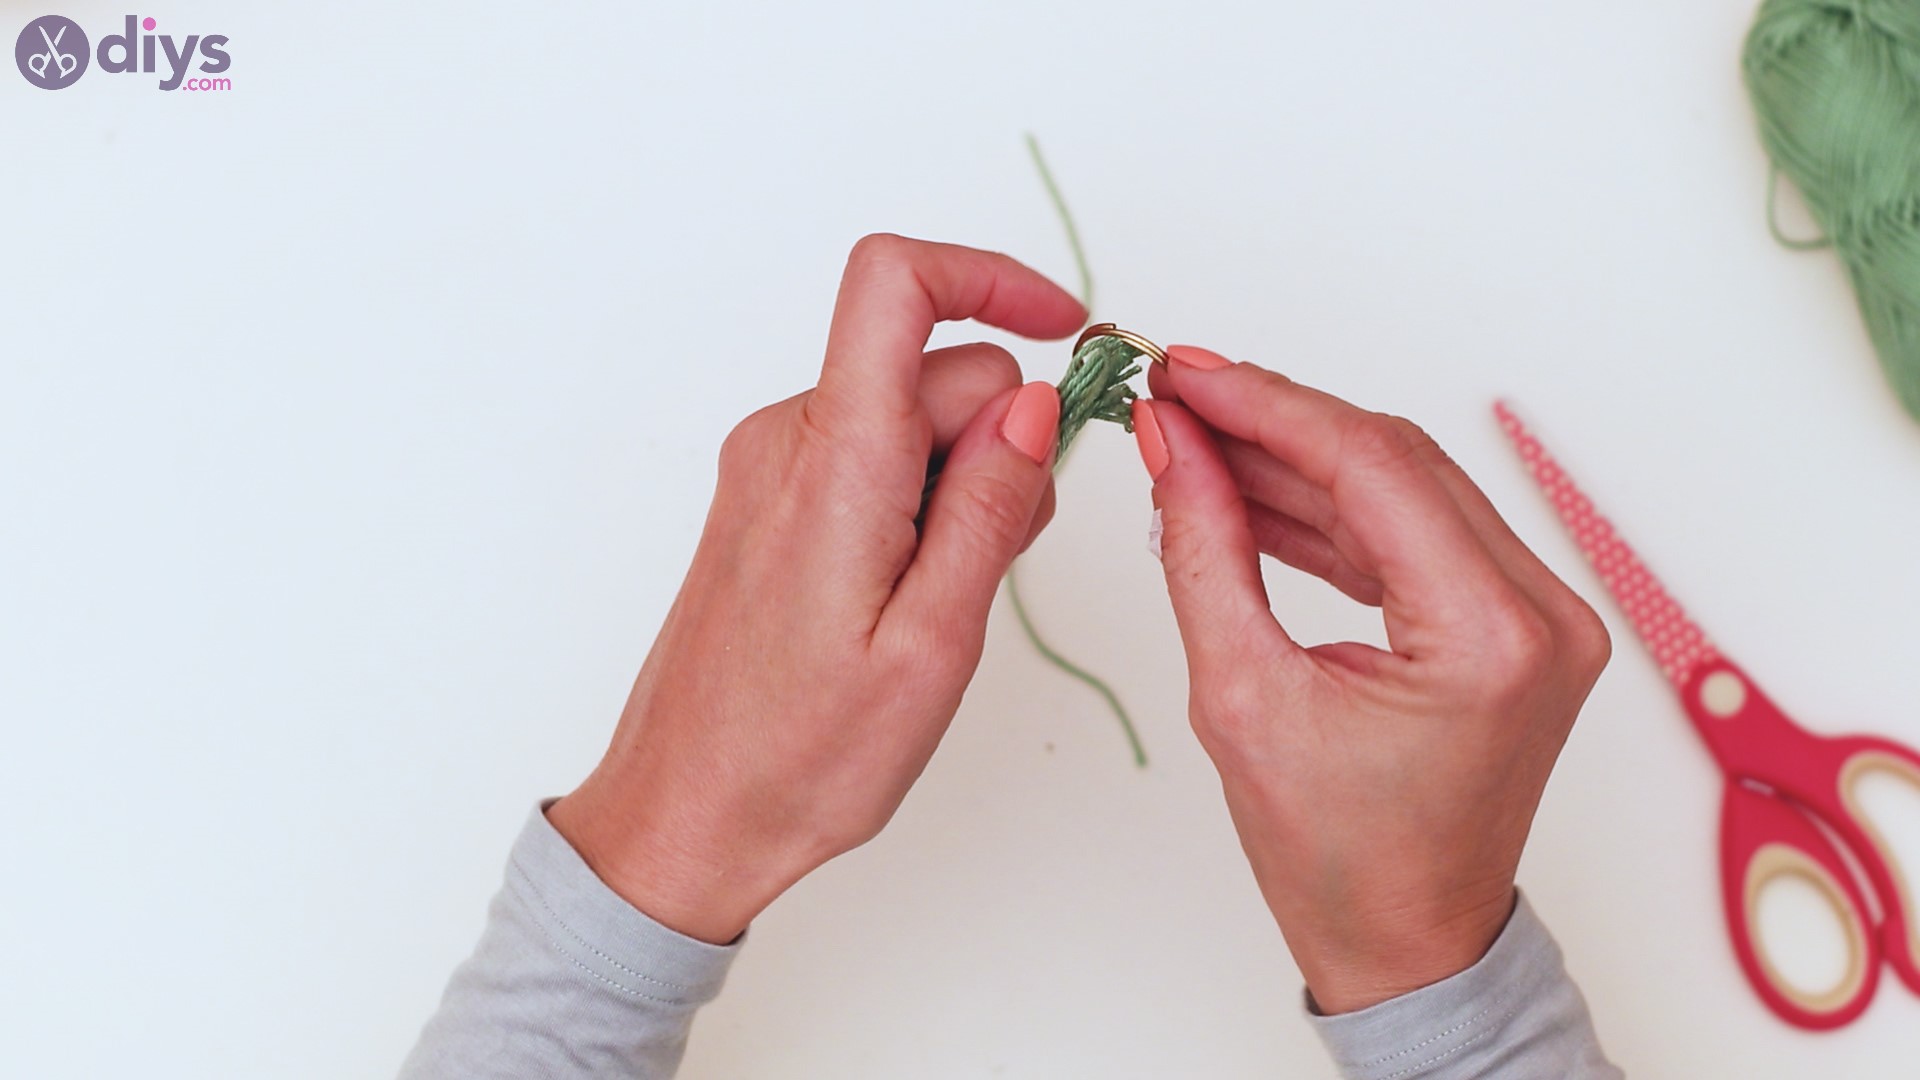
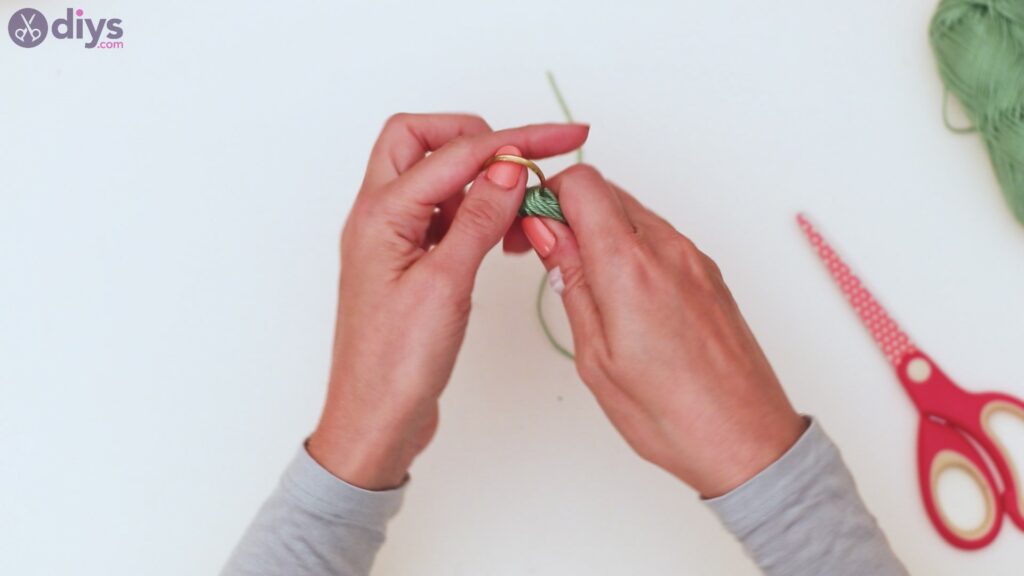
Once you’ve reached the top, carefully arrange the threads.
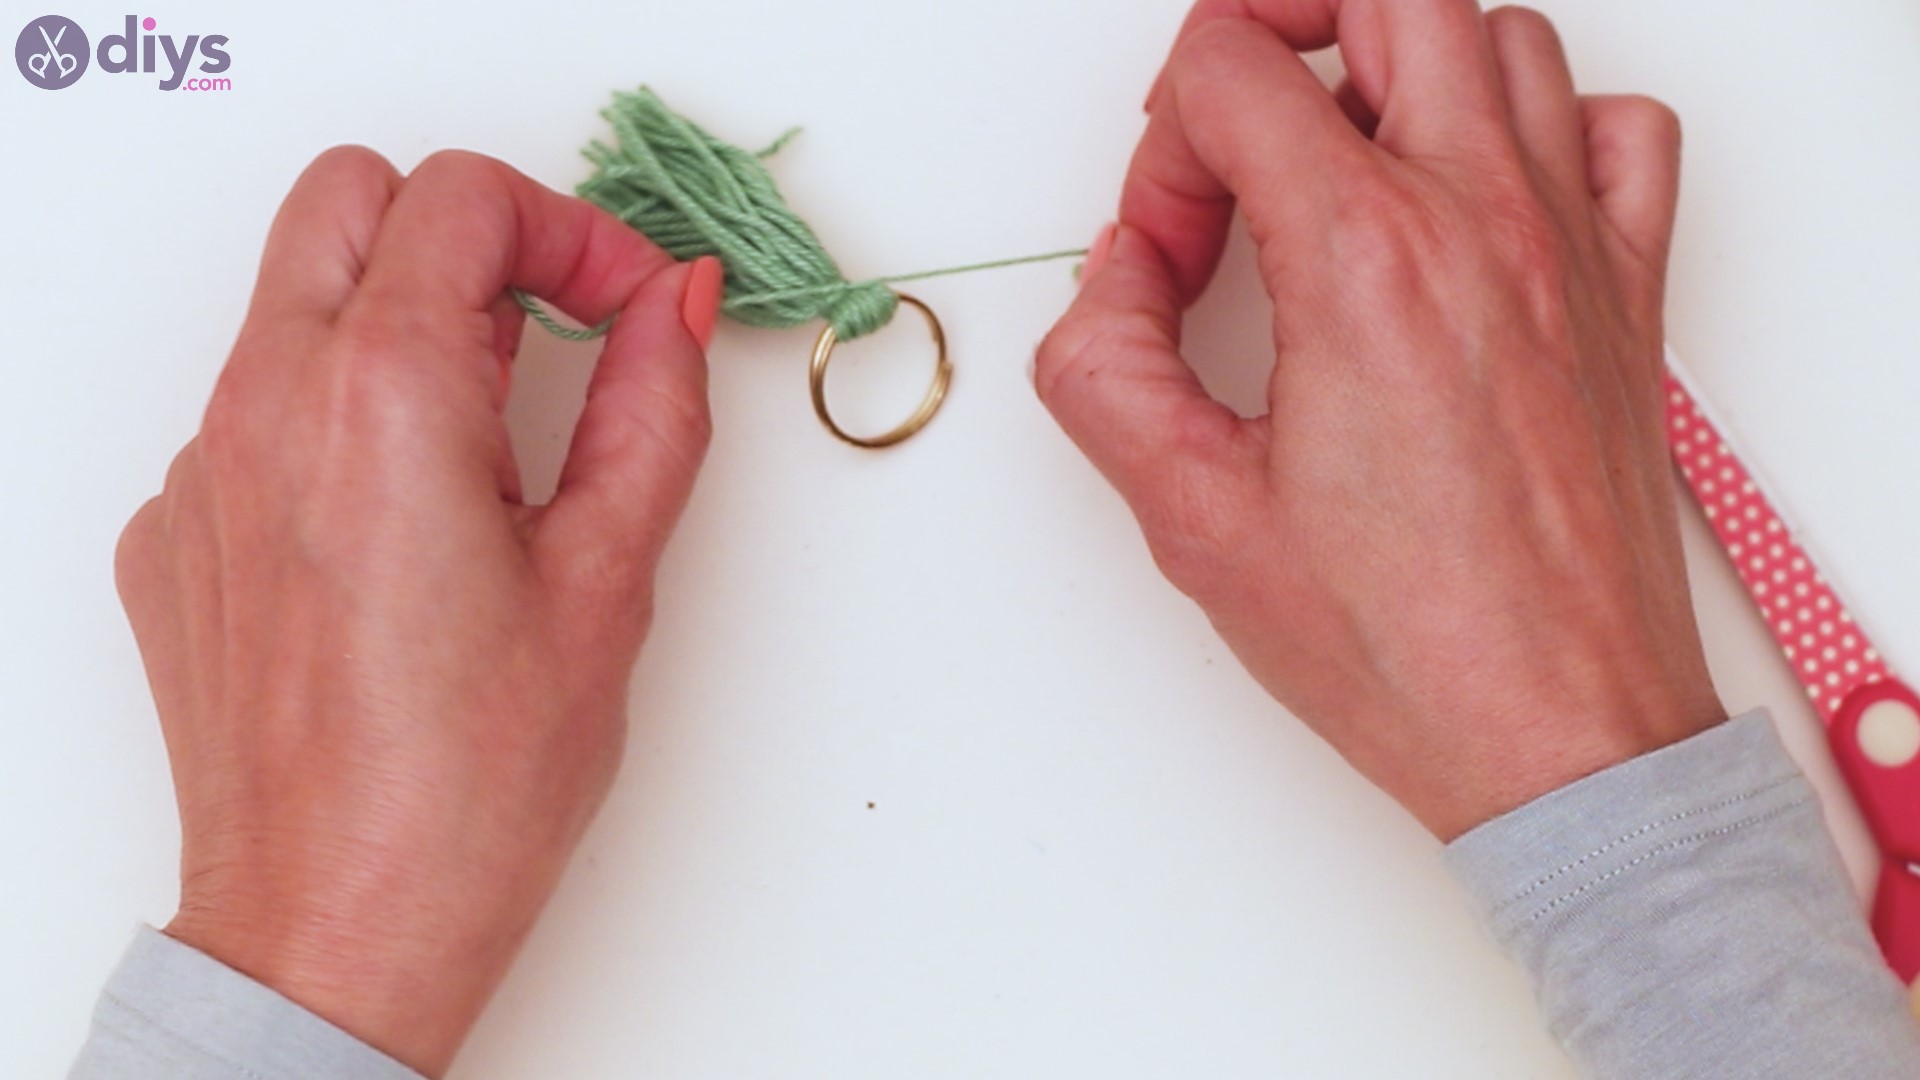
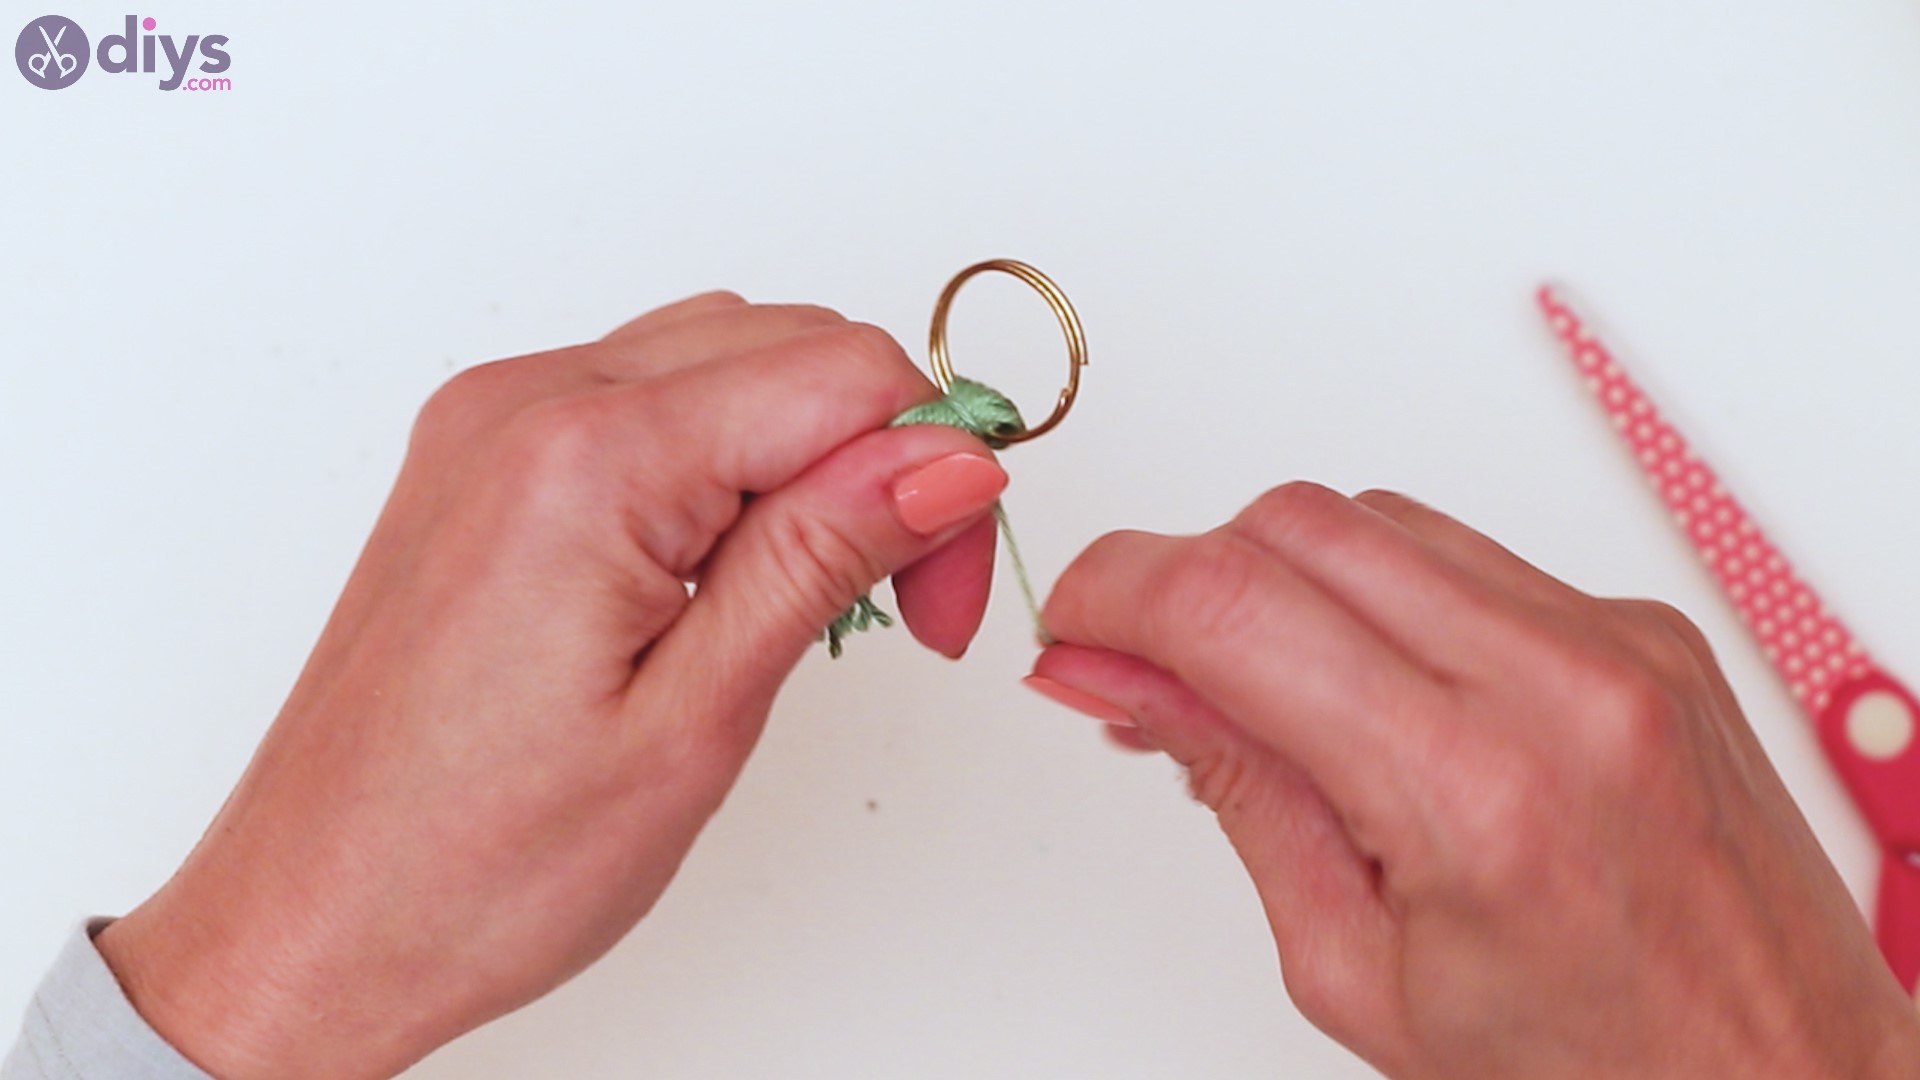
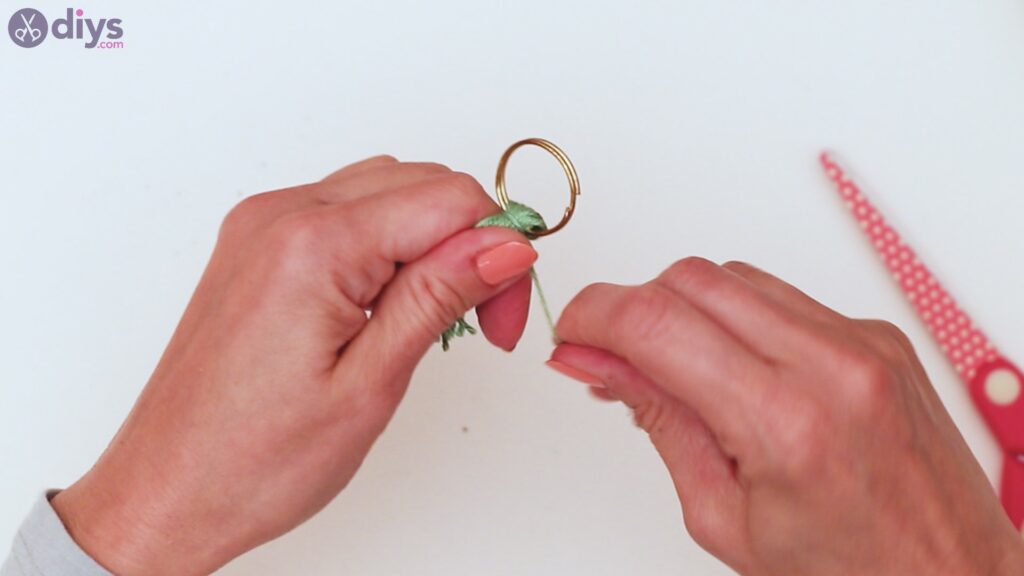
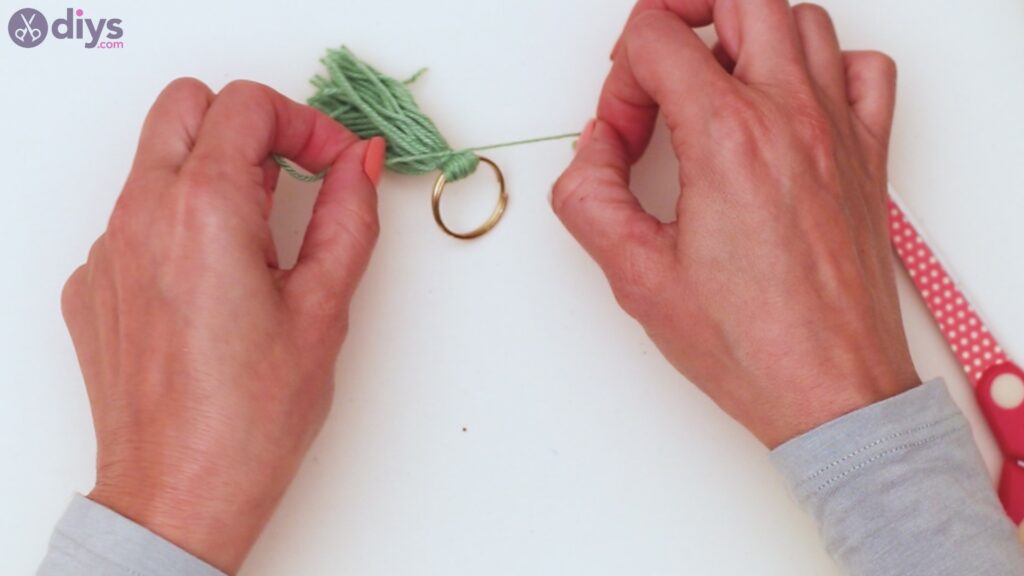
Get some extra green yarn and start going around the yarn tassel, just near the keyring. Make sure you loop it around quite a few times, before tying a knot and cutting off the excess thread.
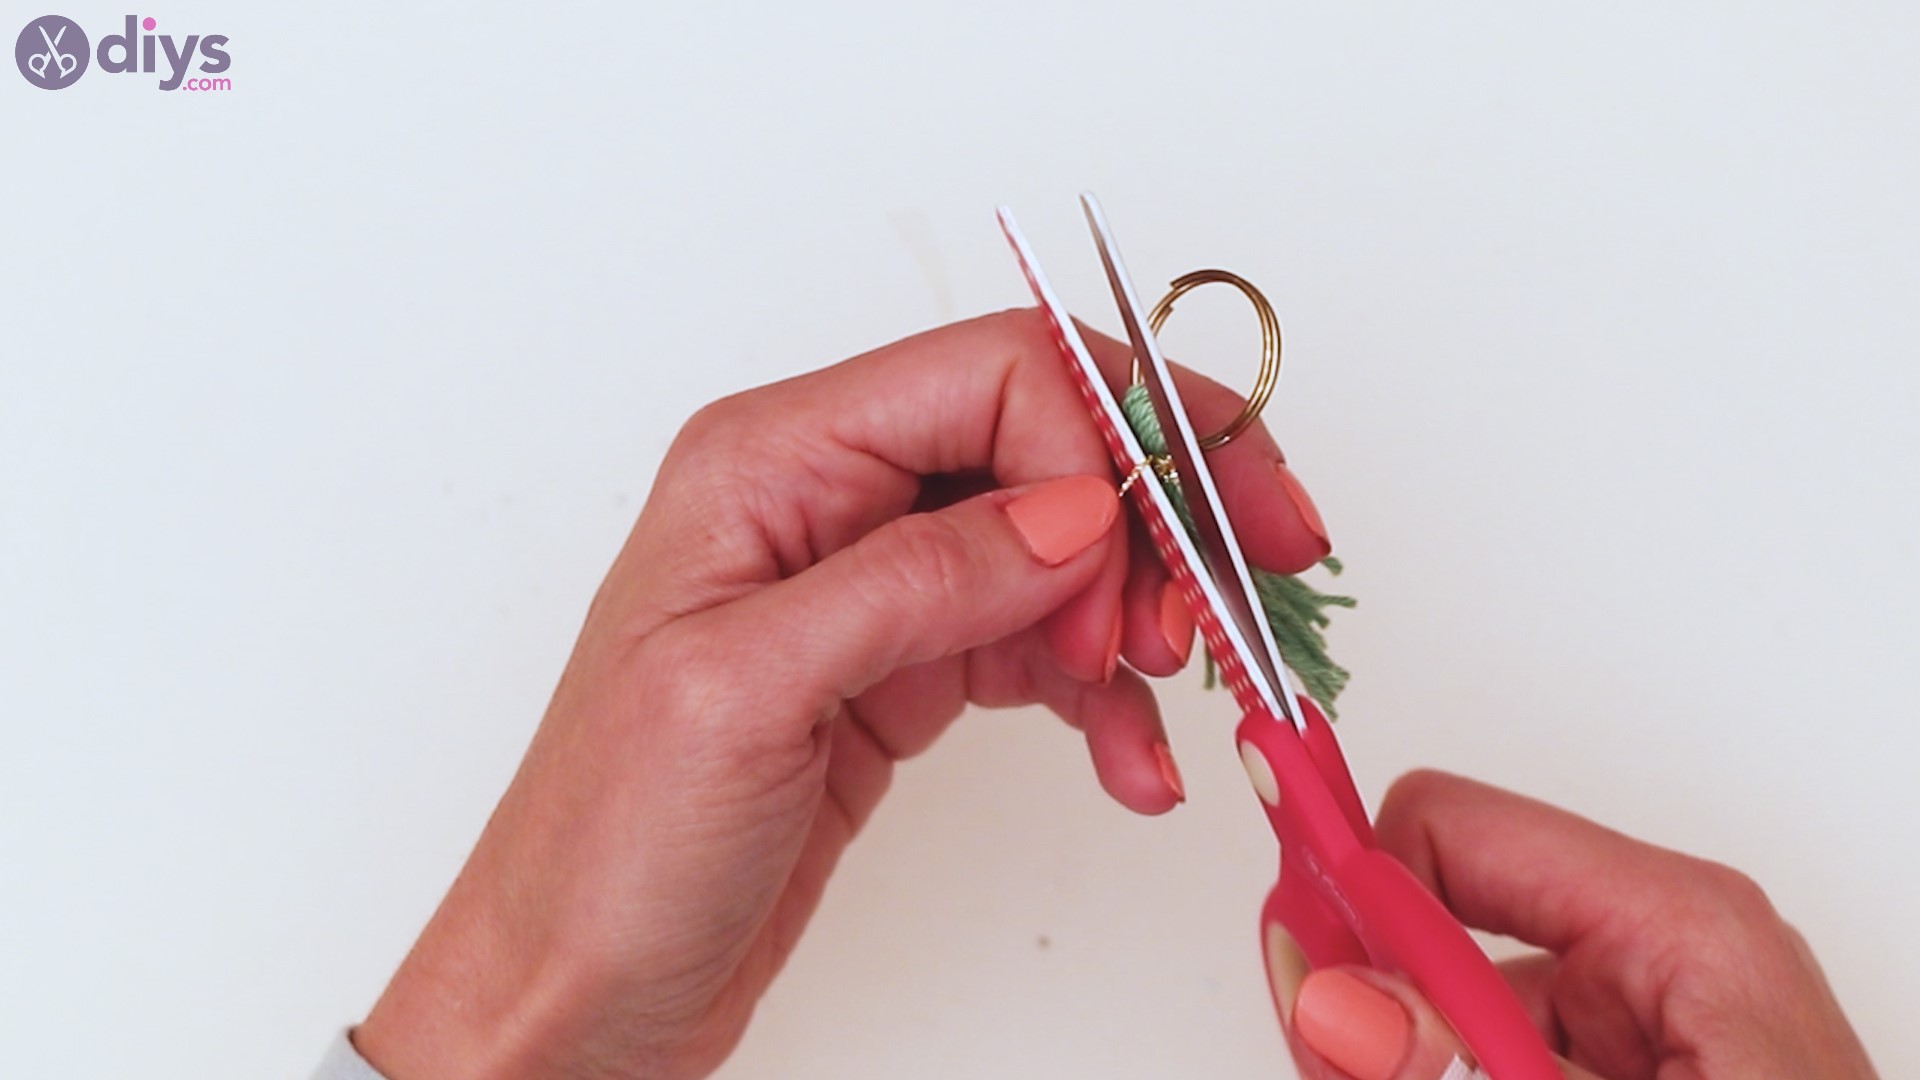
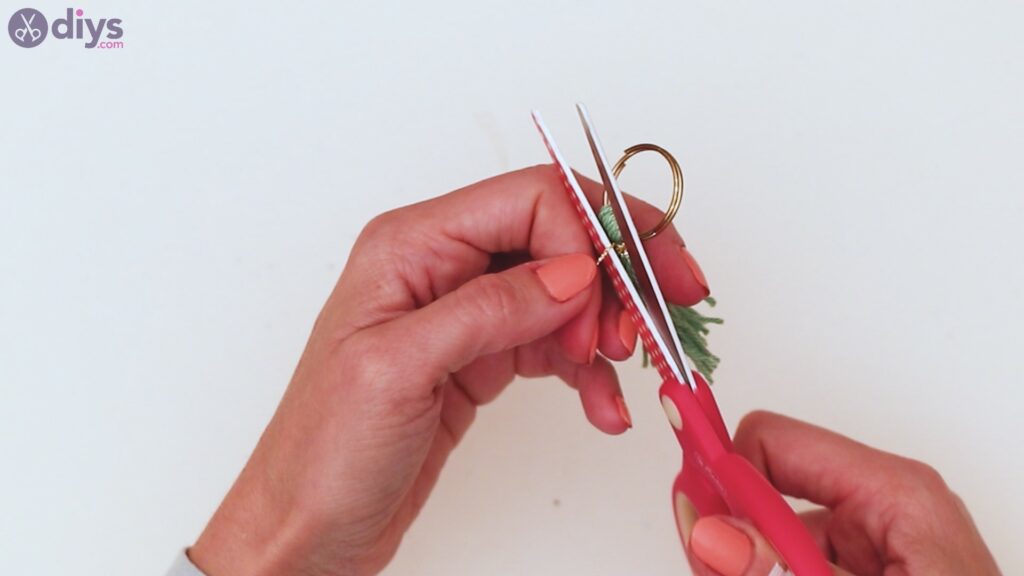
Get the scissors once more and trim the tassel threads, making sure they’re as equal as you can get them.
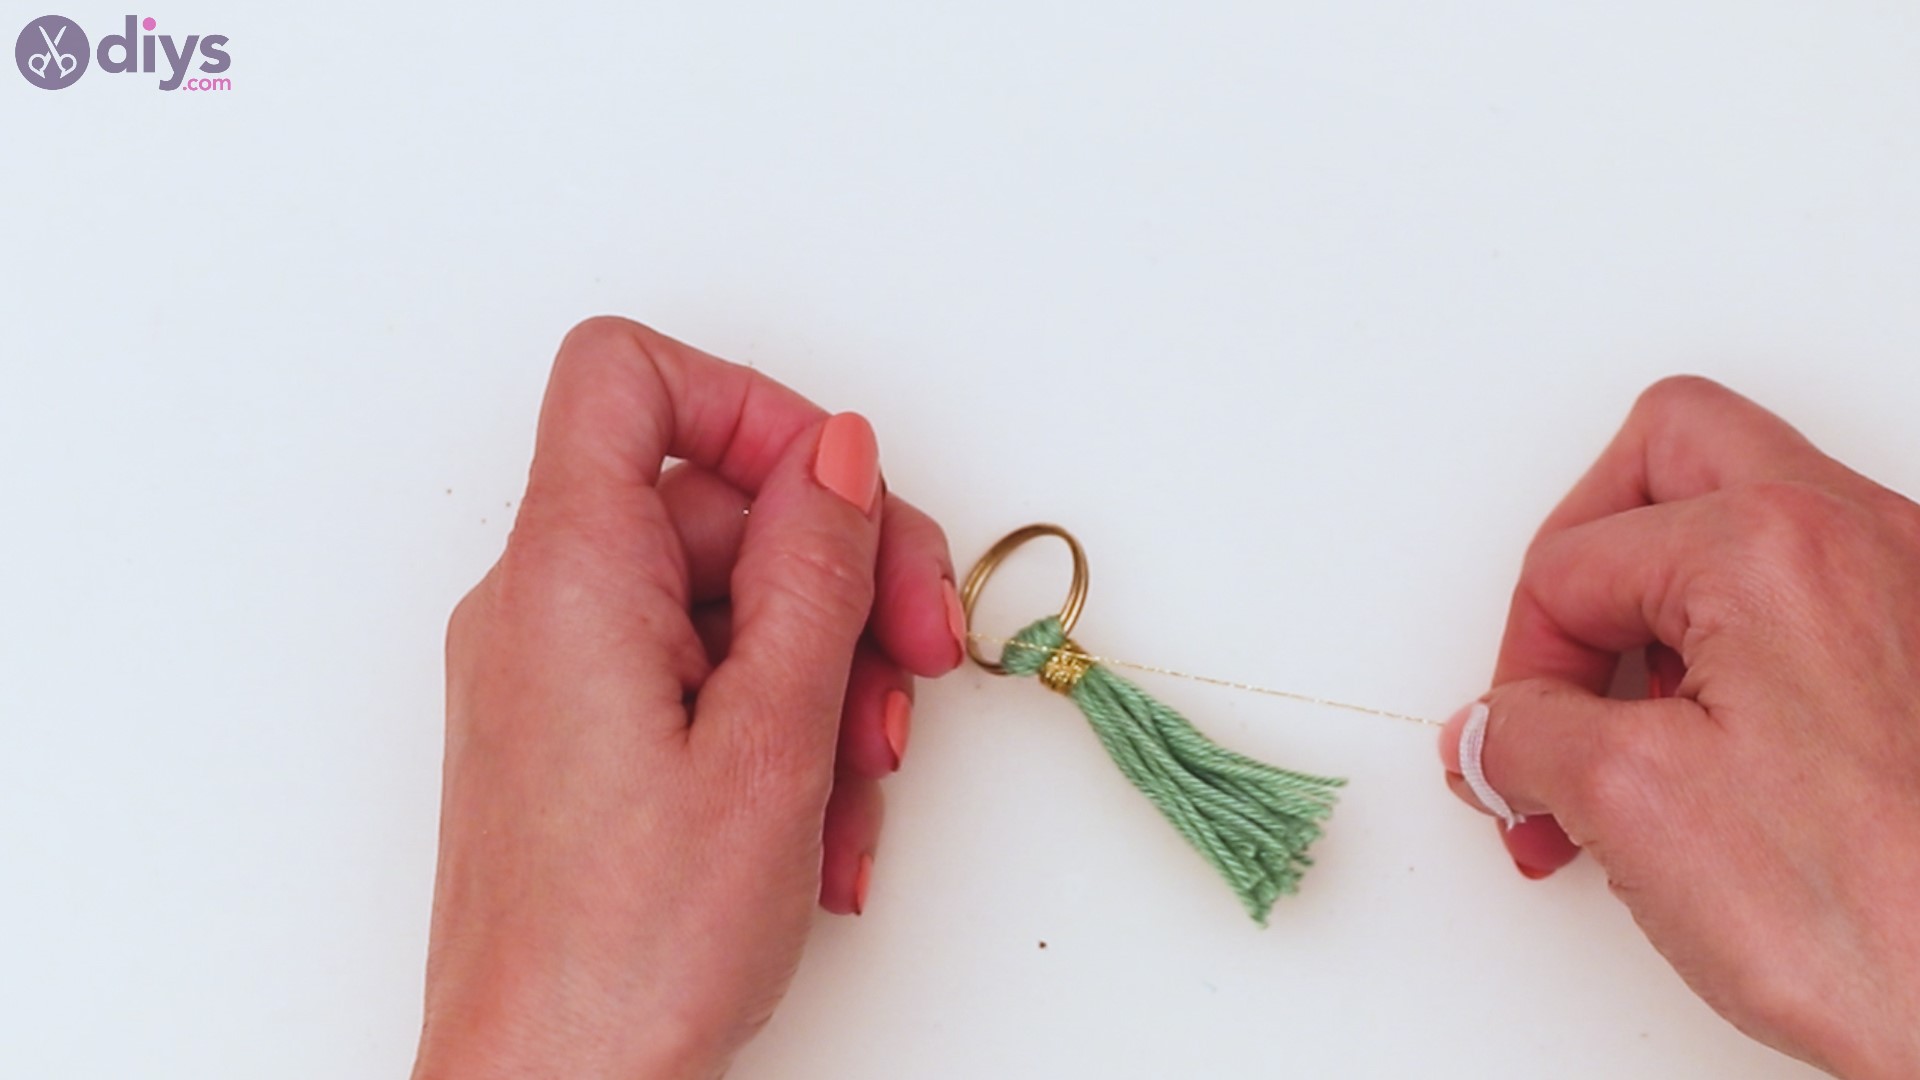
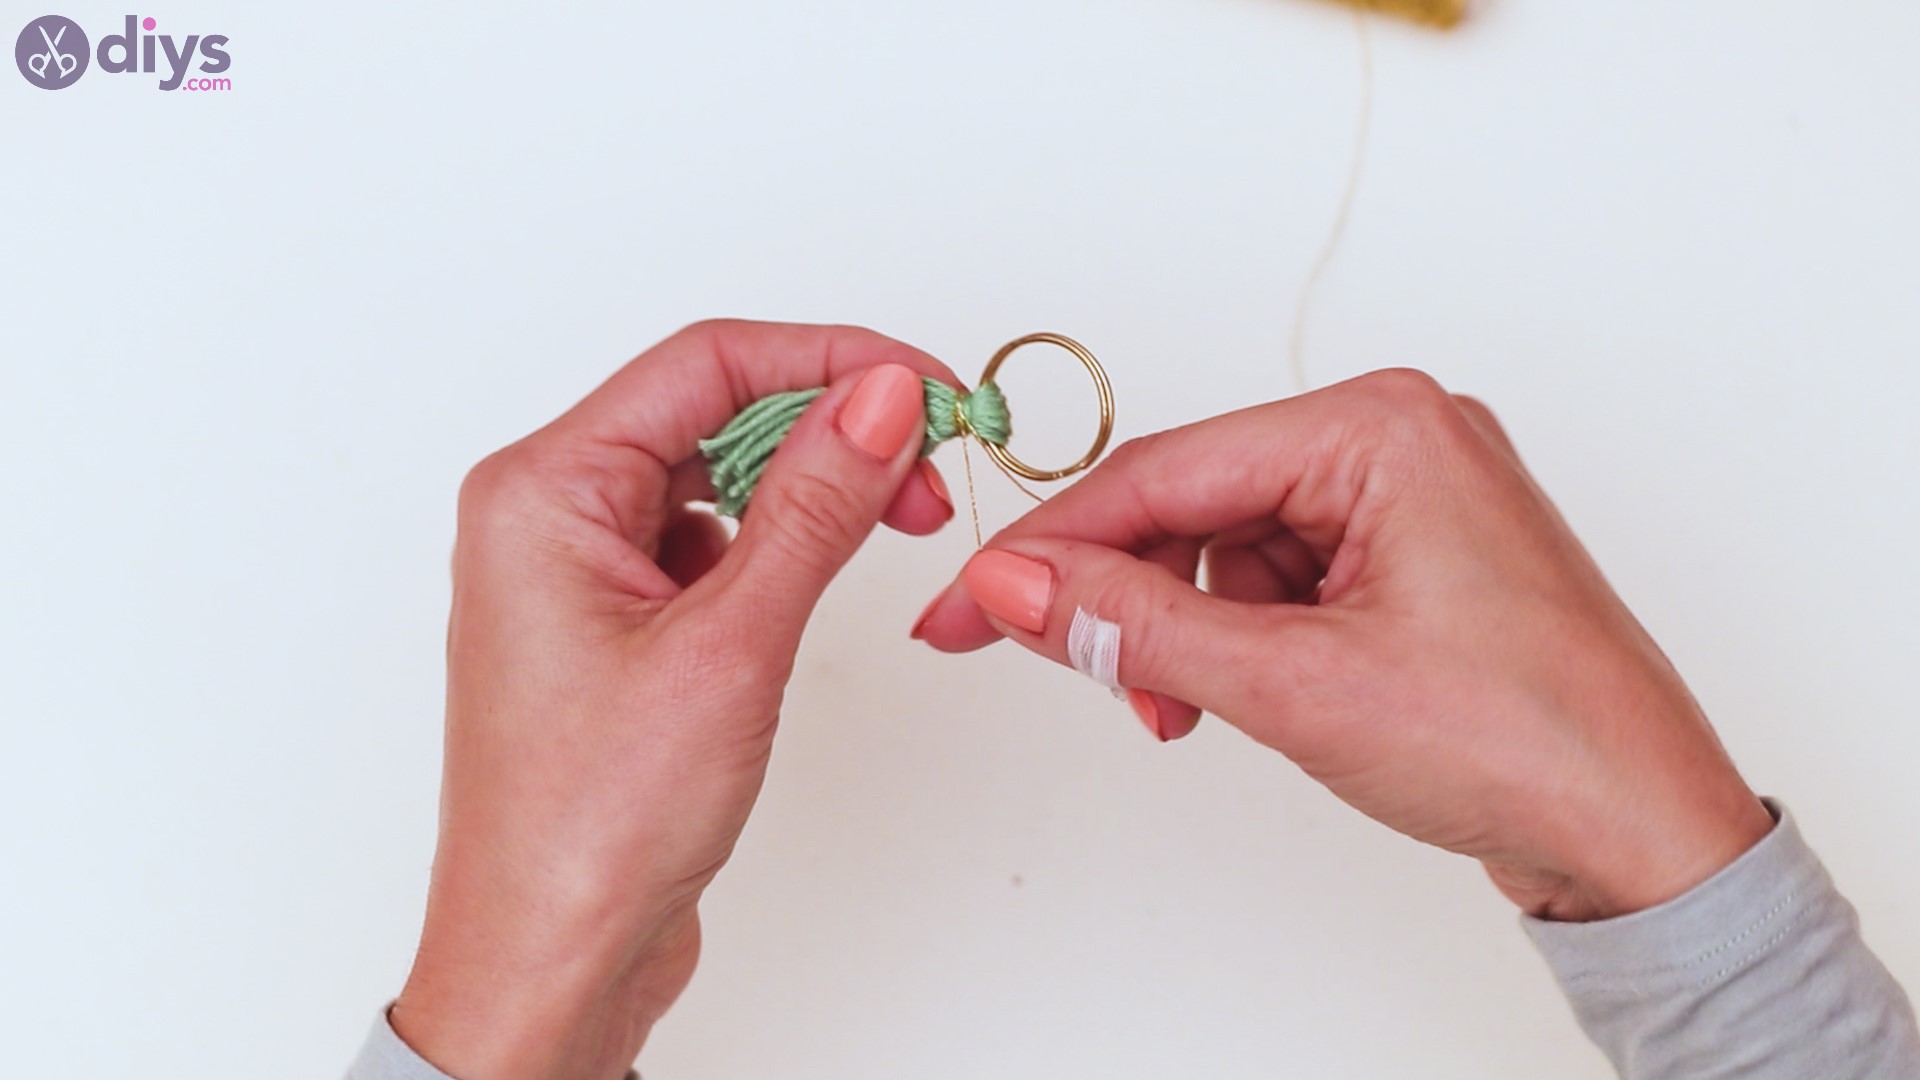
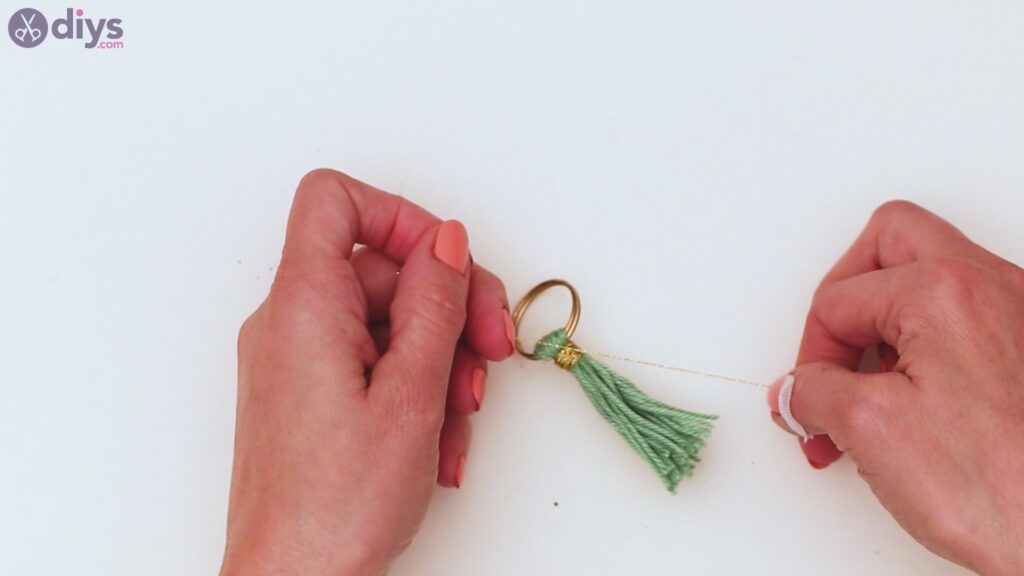
Add a bit of that gold thread now! This will give your tassel a little pop of color, and the gold looks great with the green shade of the yarn.
Once you’ve created a thick layer of gold thread, tie it off in a double knot. Cut the excess material.
Step 6: String the beads
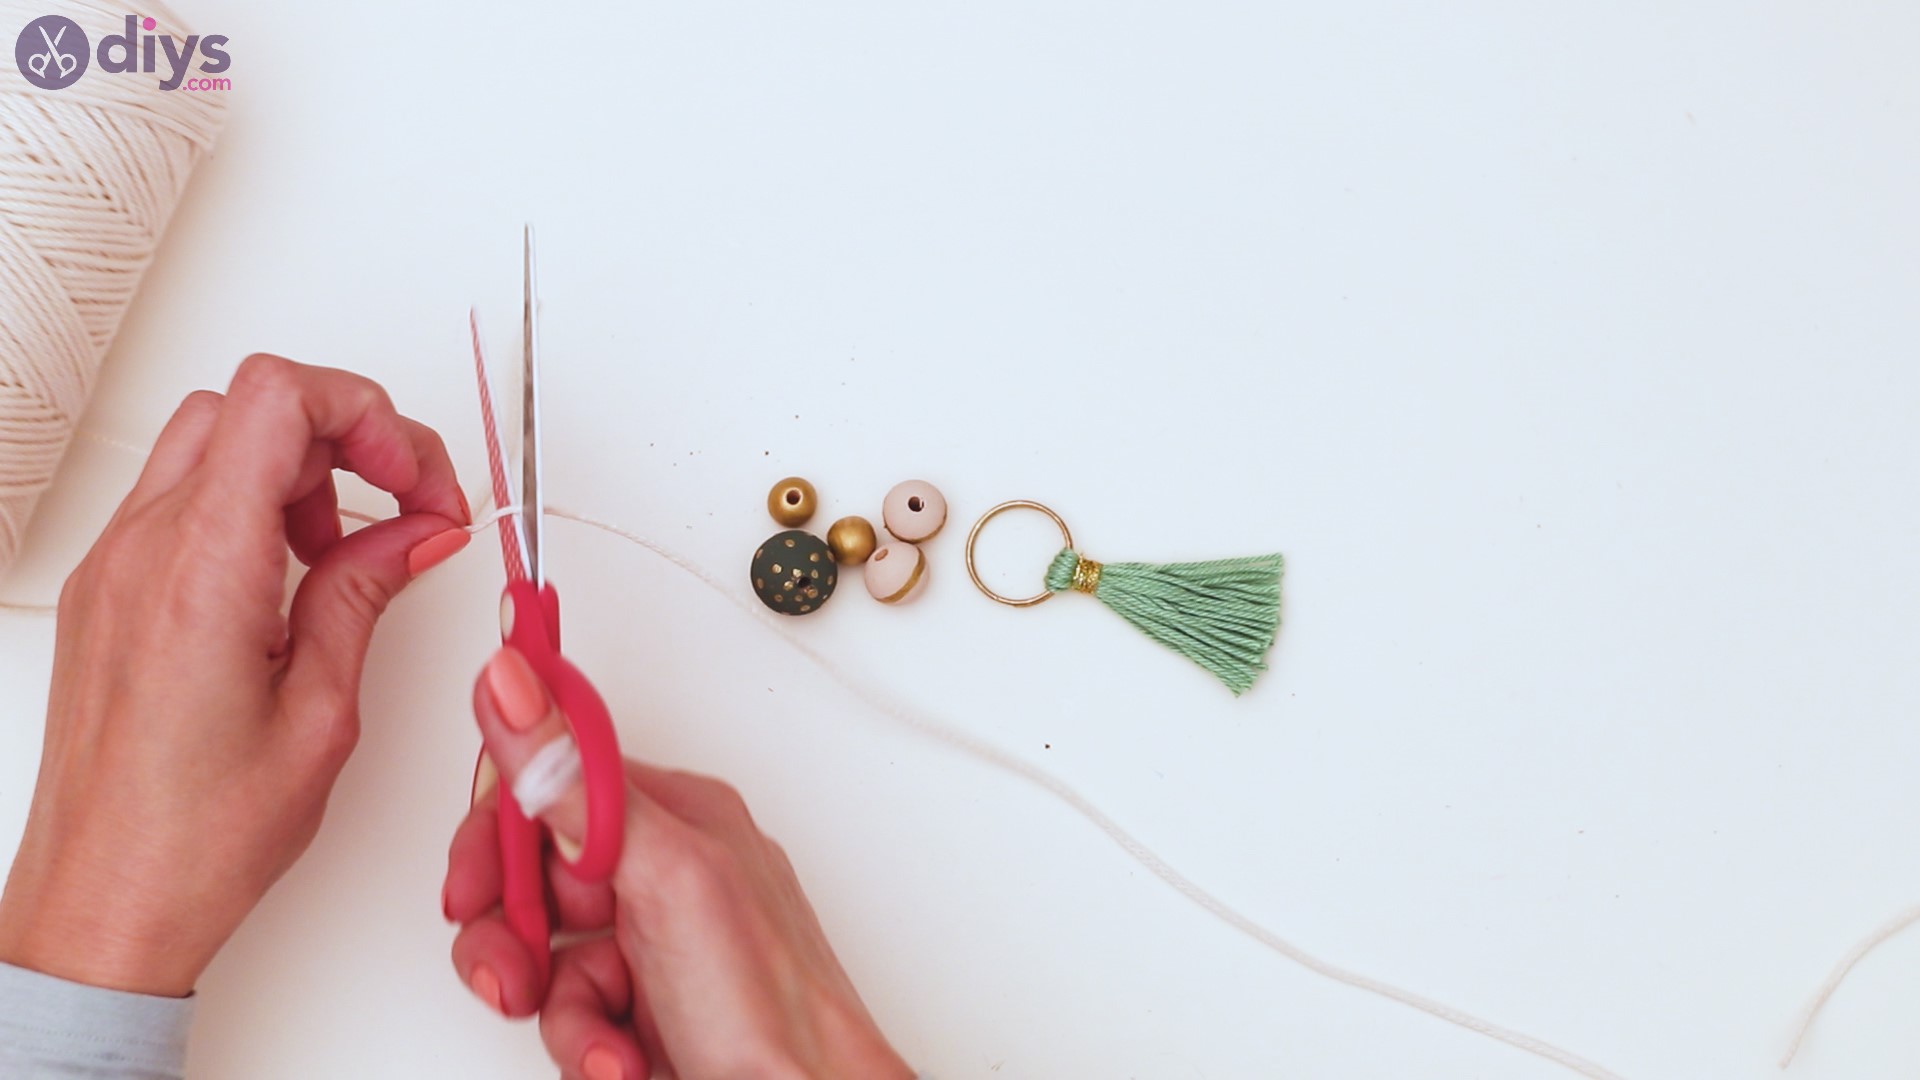
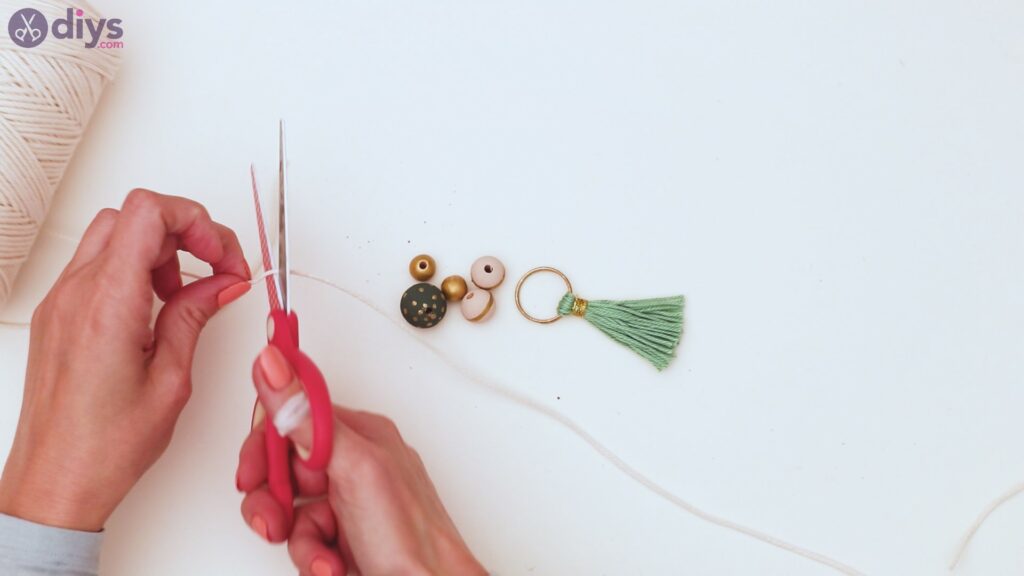
Next, we need a good length of the white macrame thread, so cut some out.
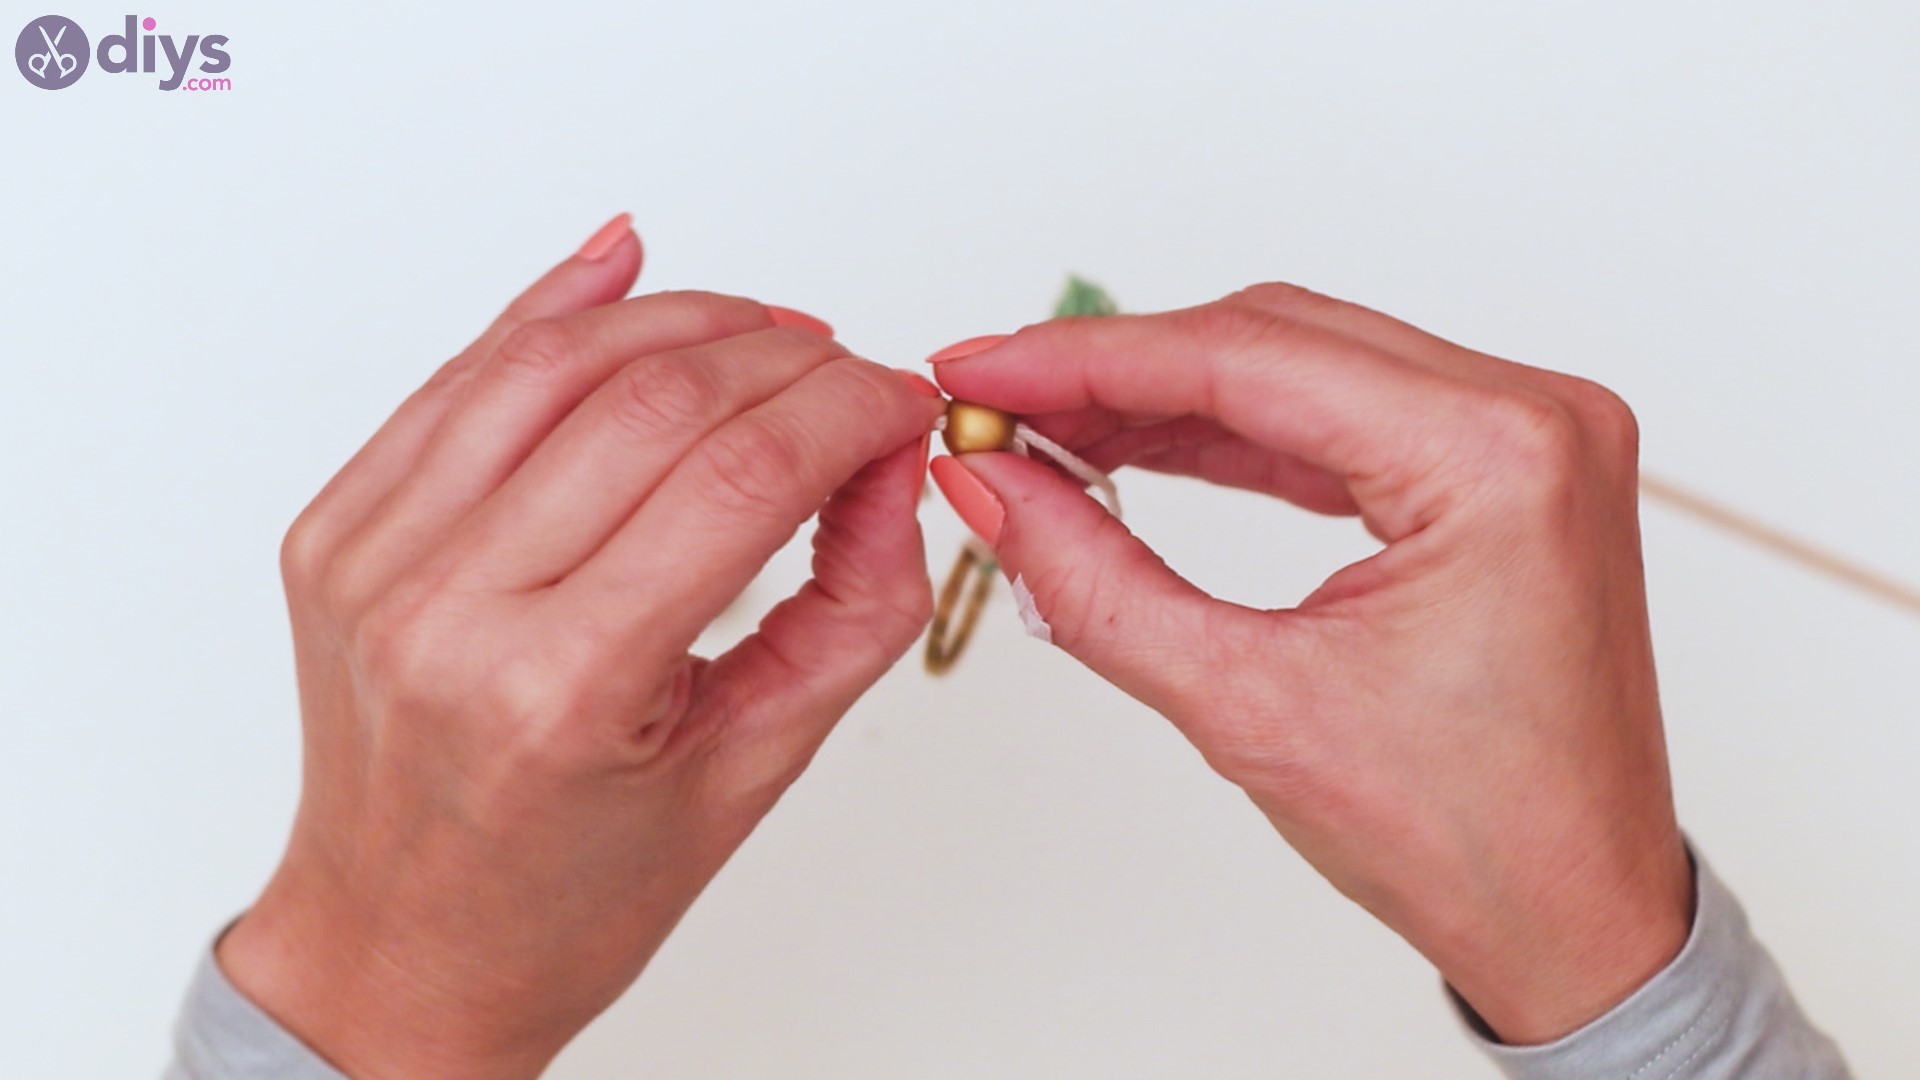
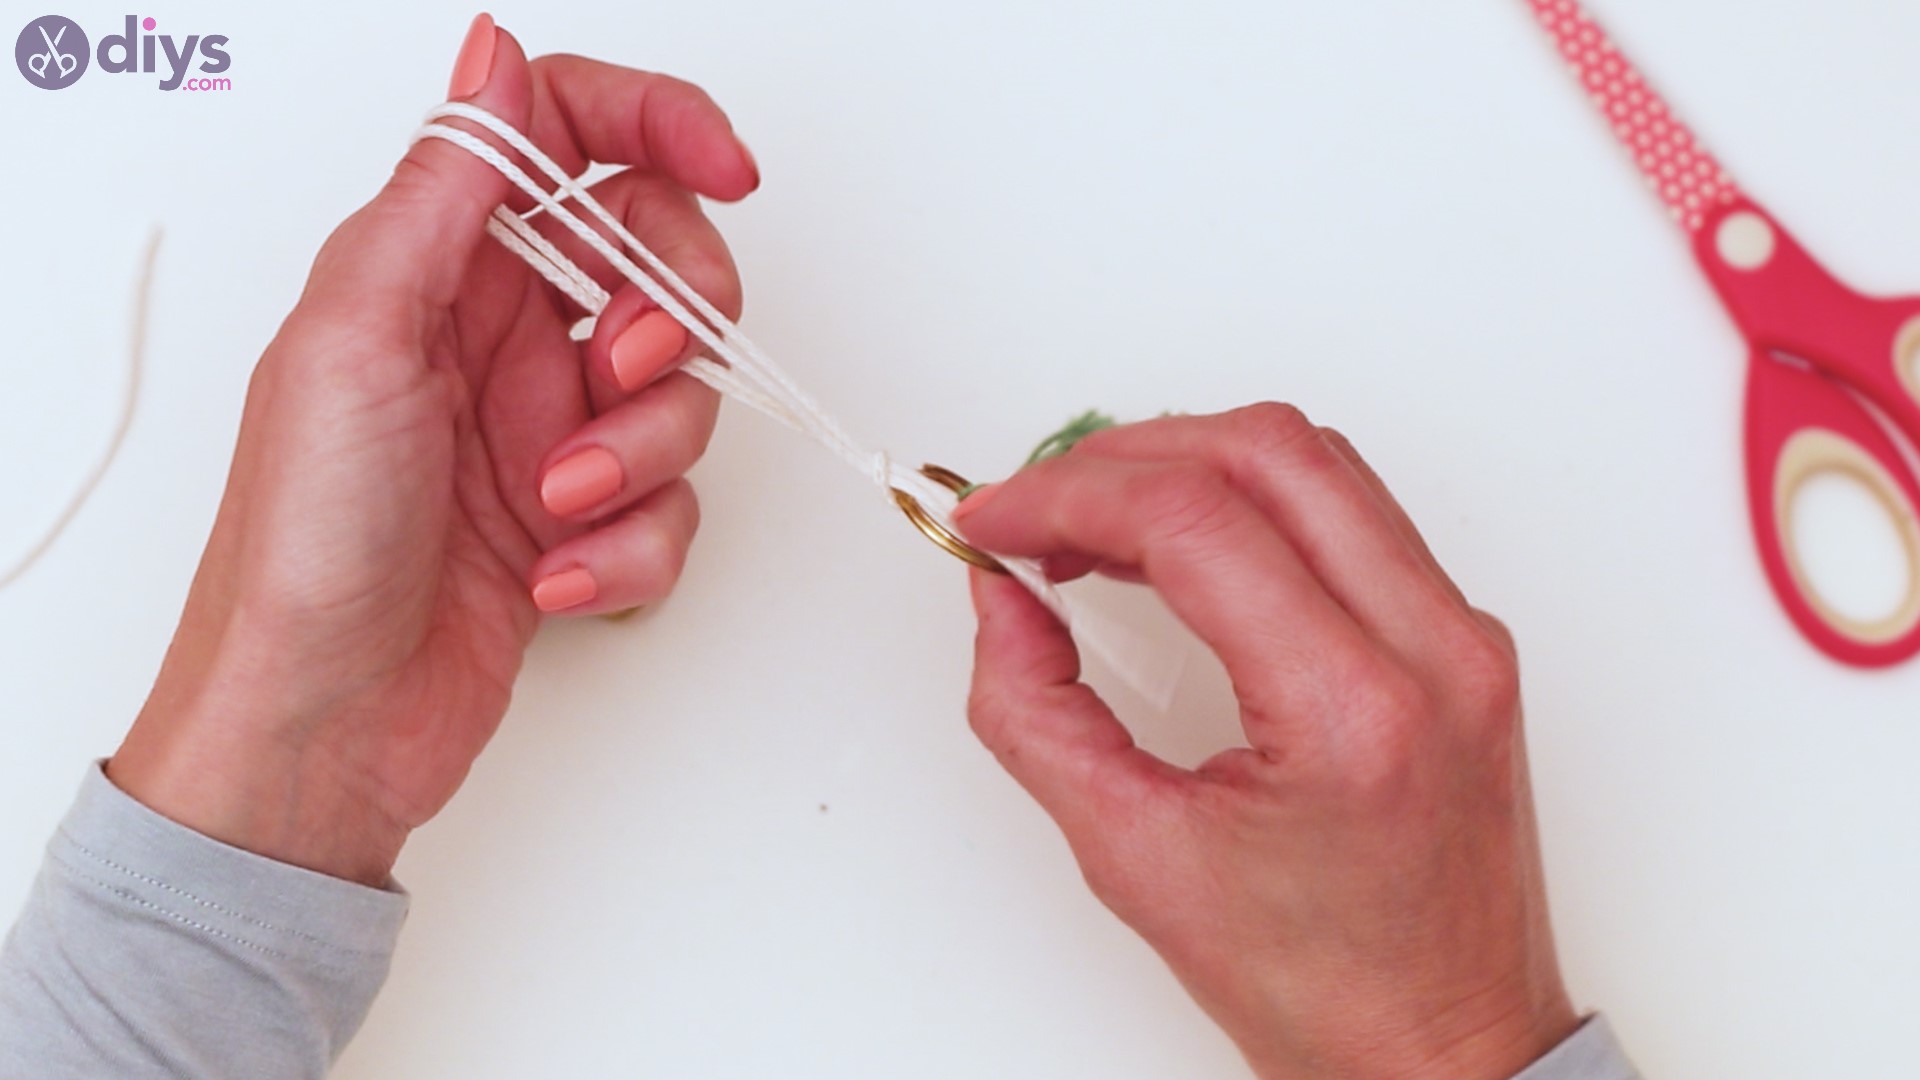
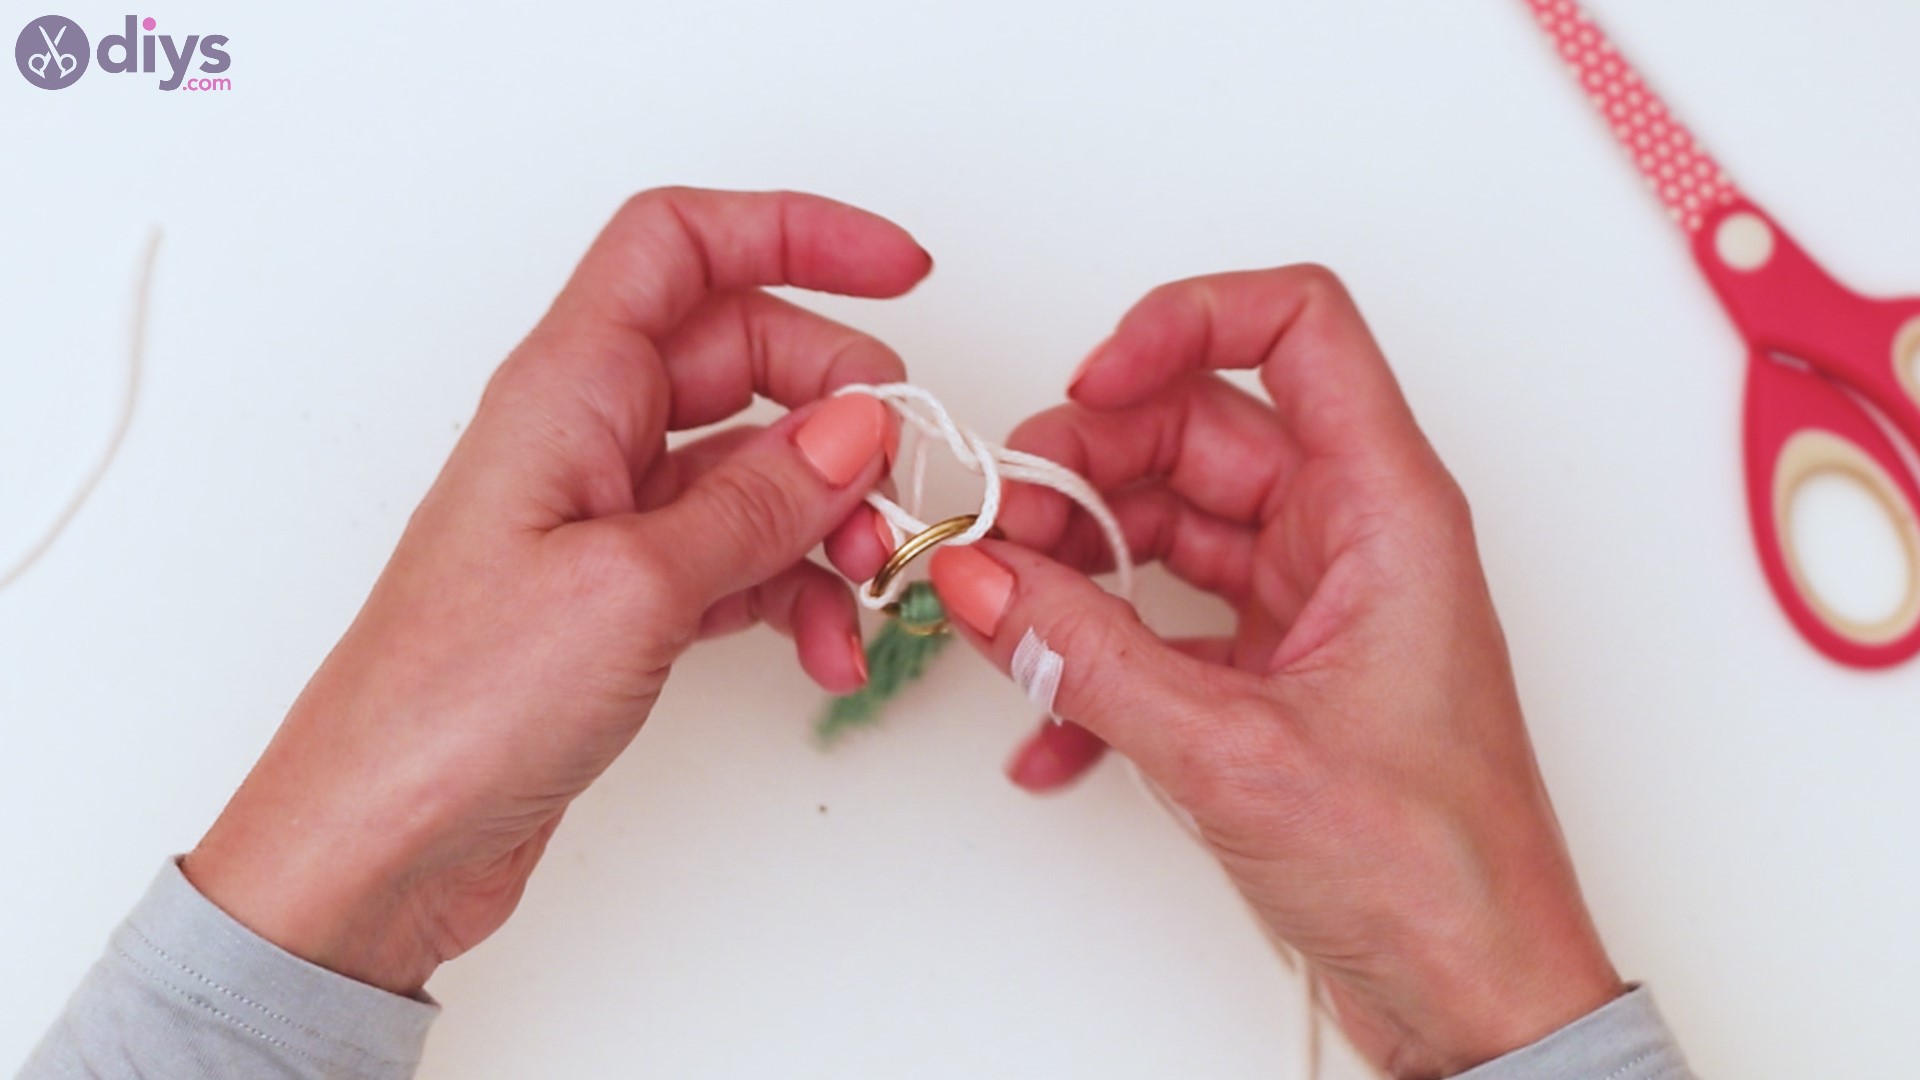
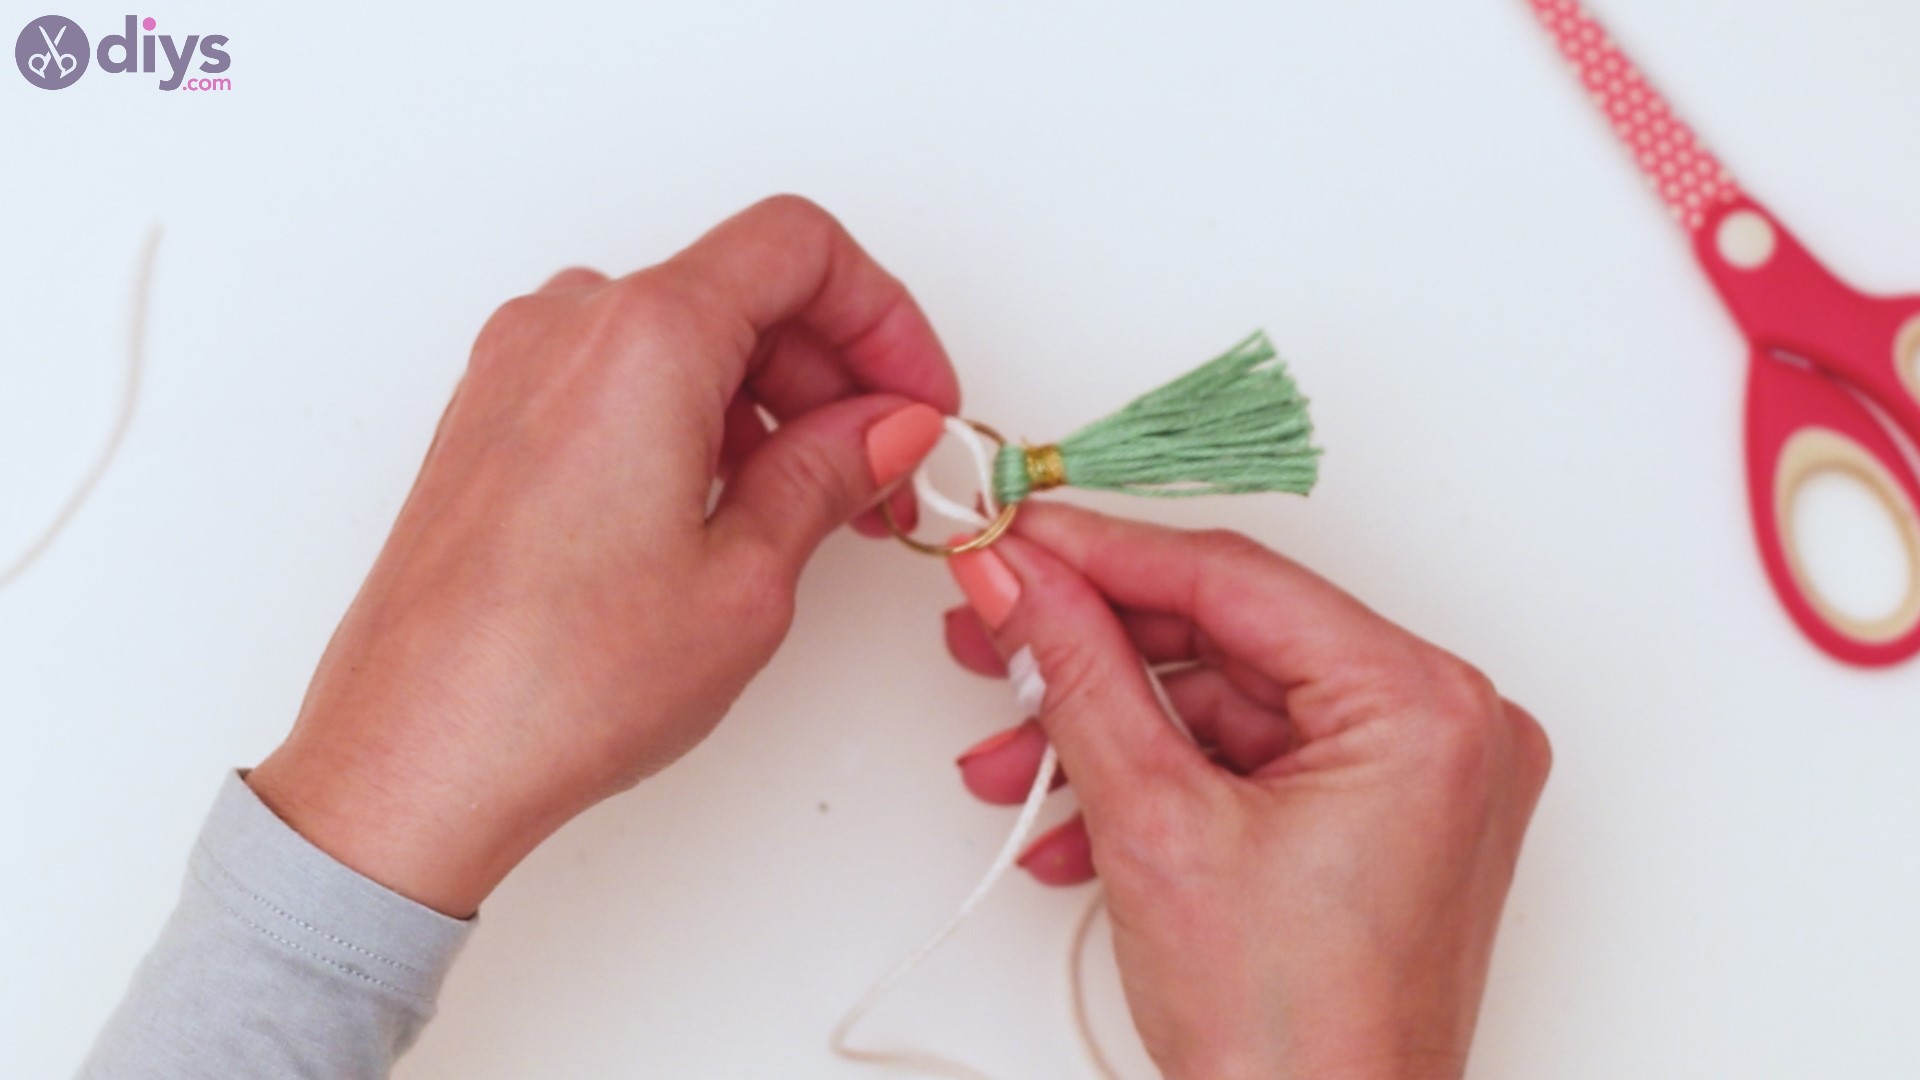
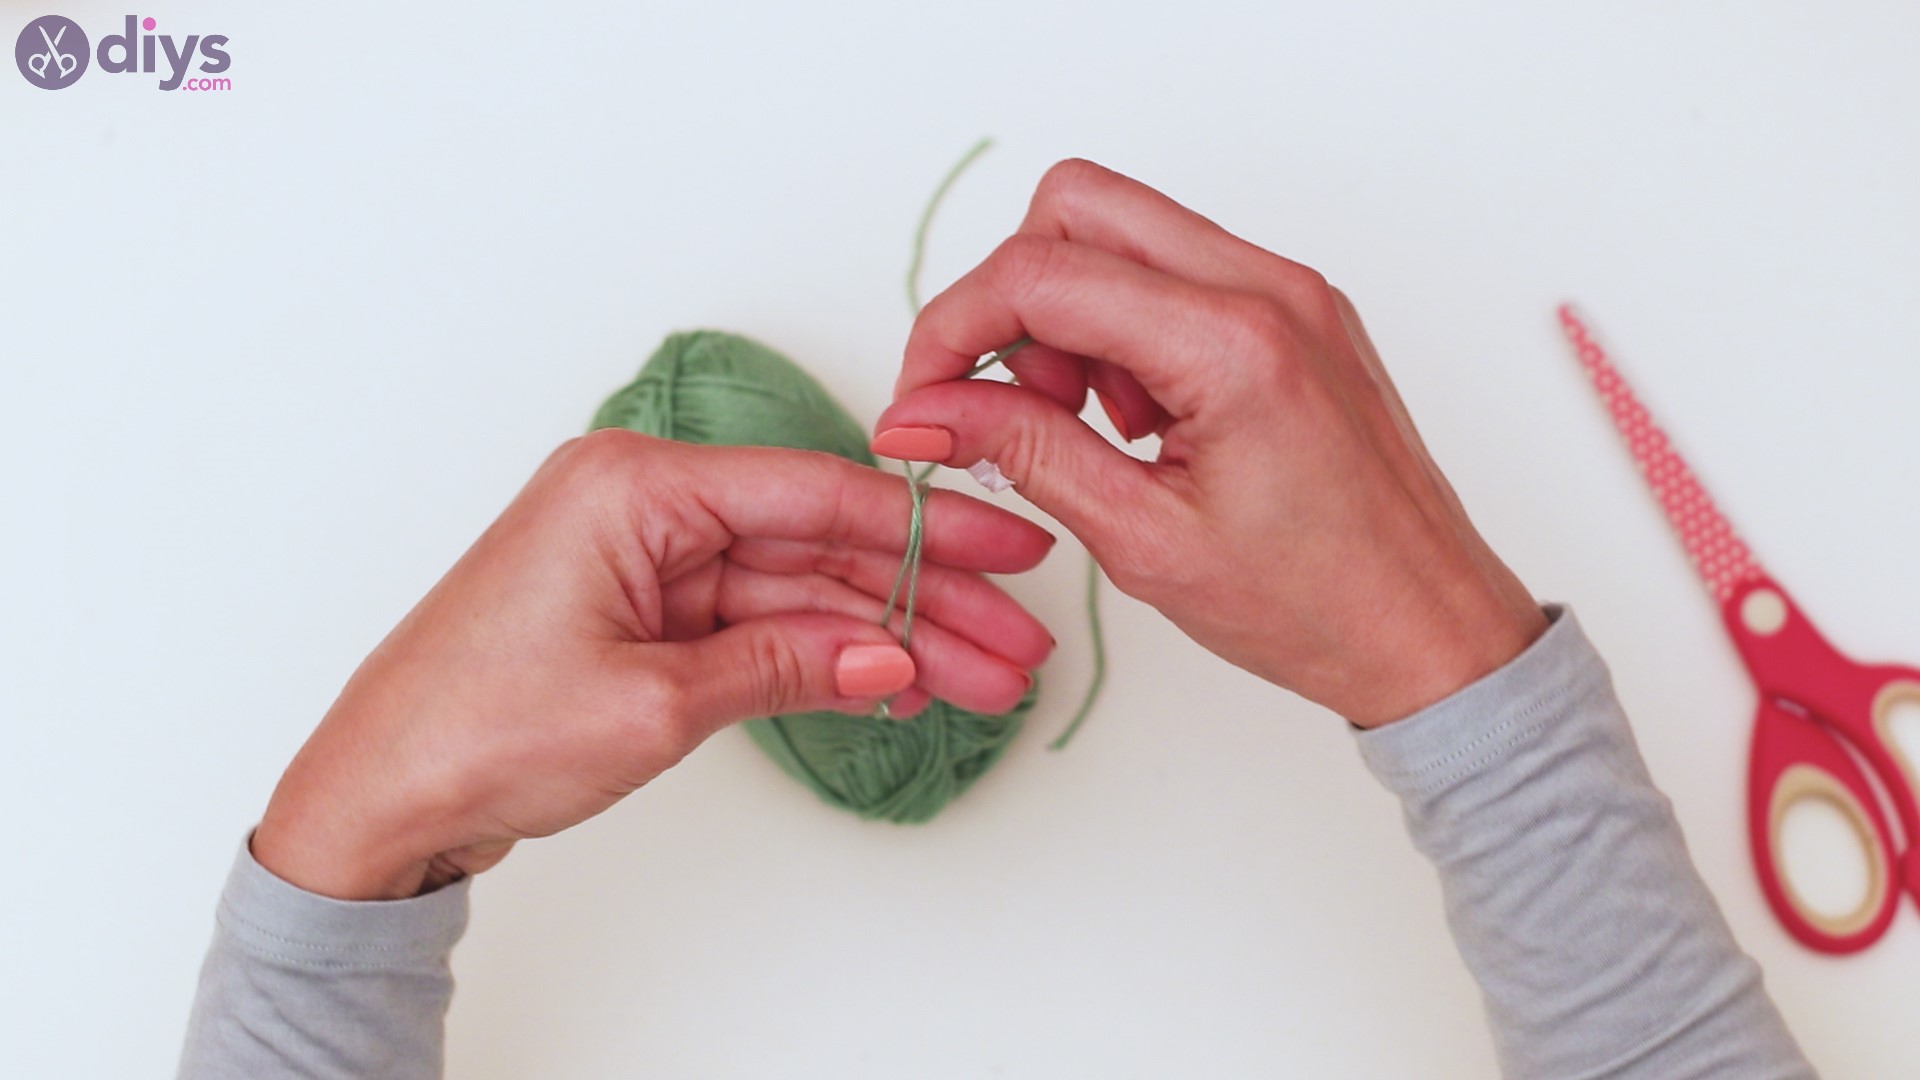
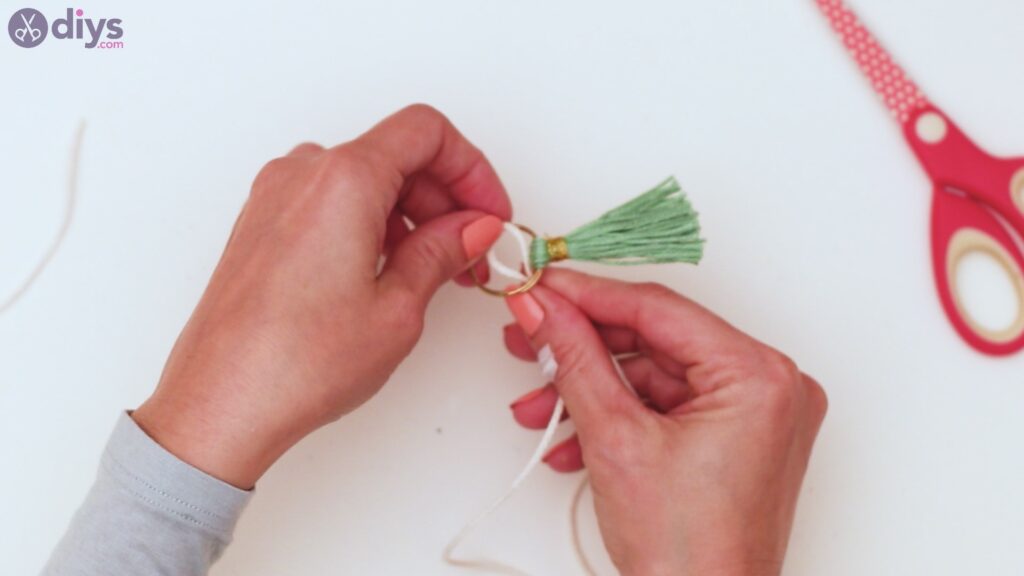
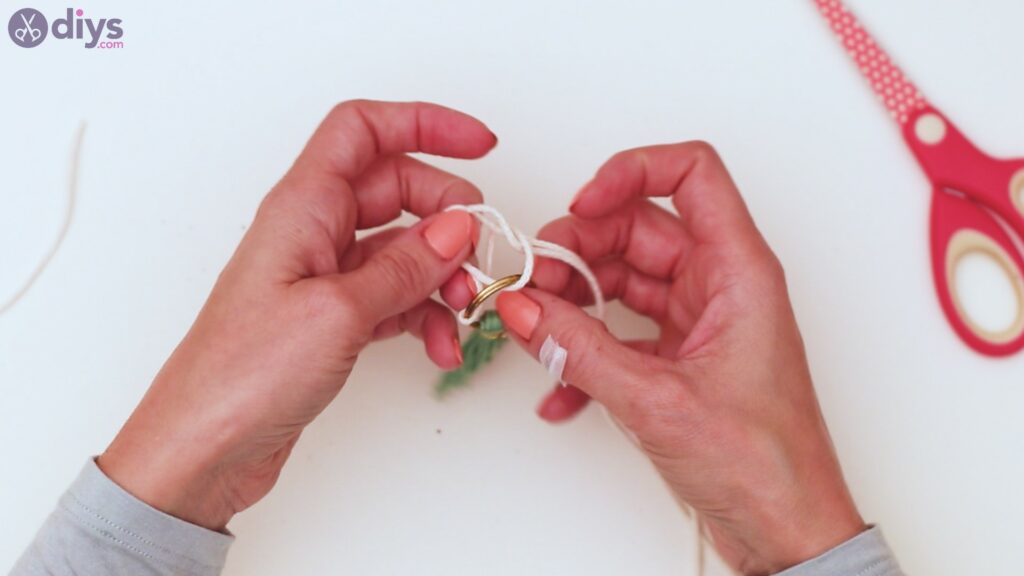
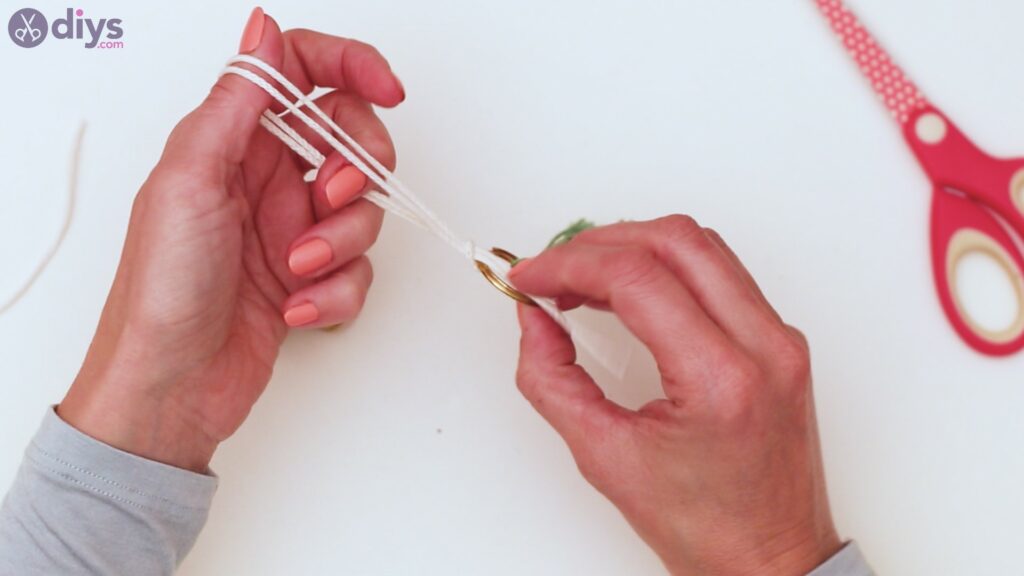
Fold the thread in two and push the loop through the keychain ring. Bring the tails through the loop over the keychain and pull.
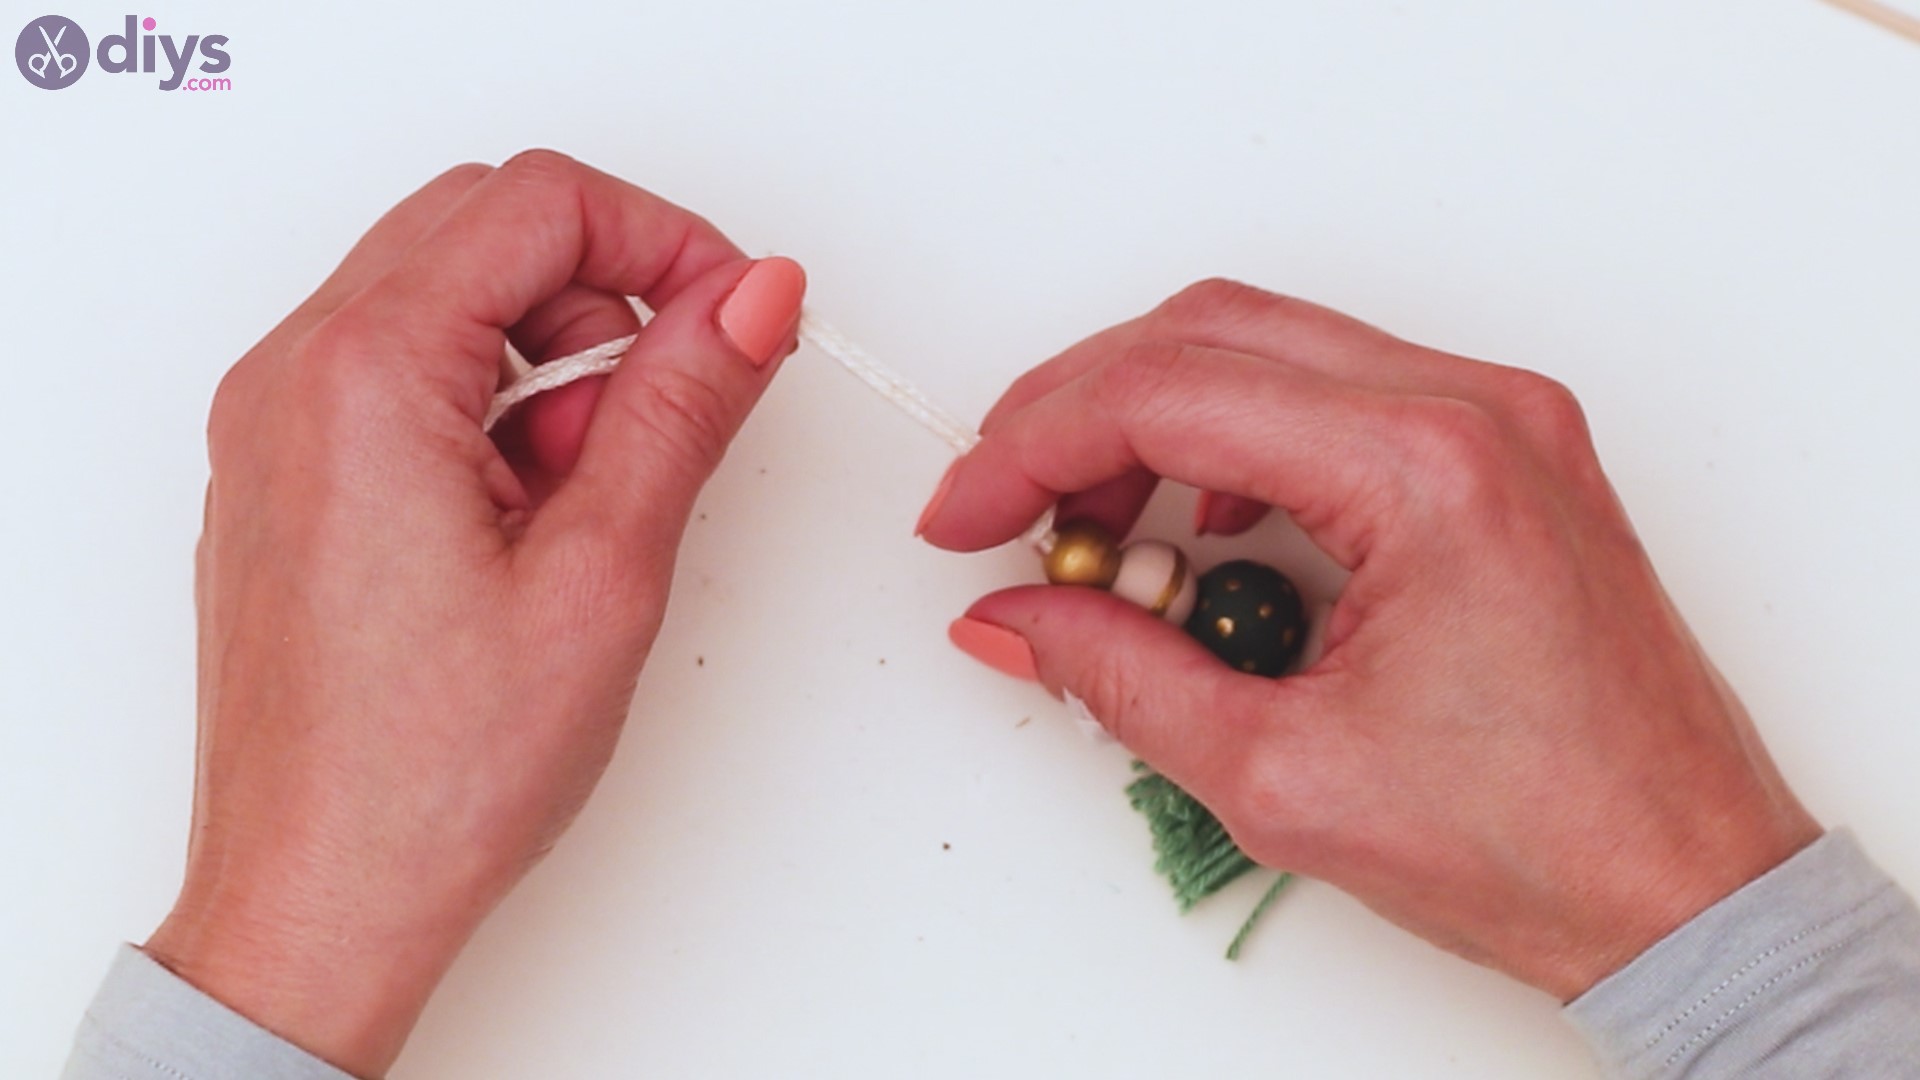
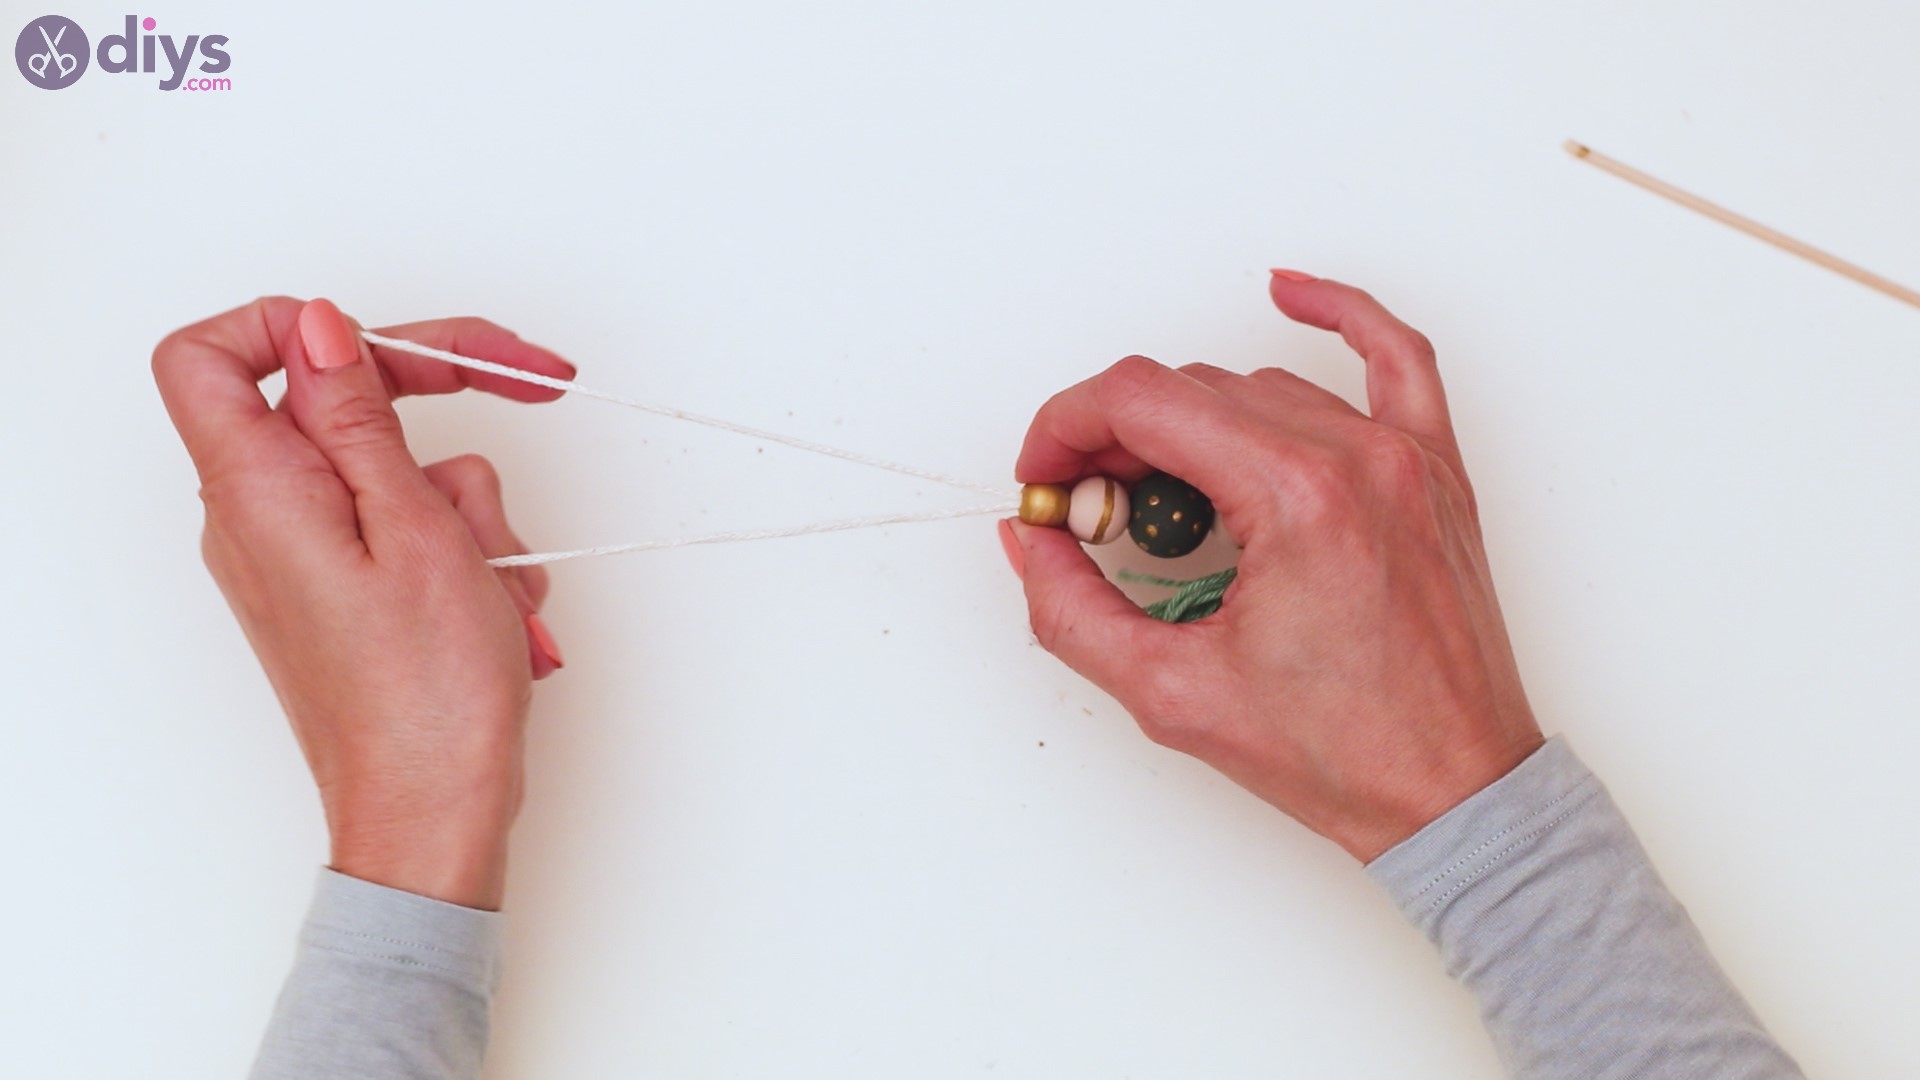
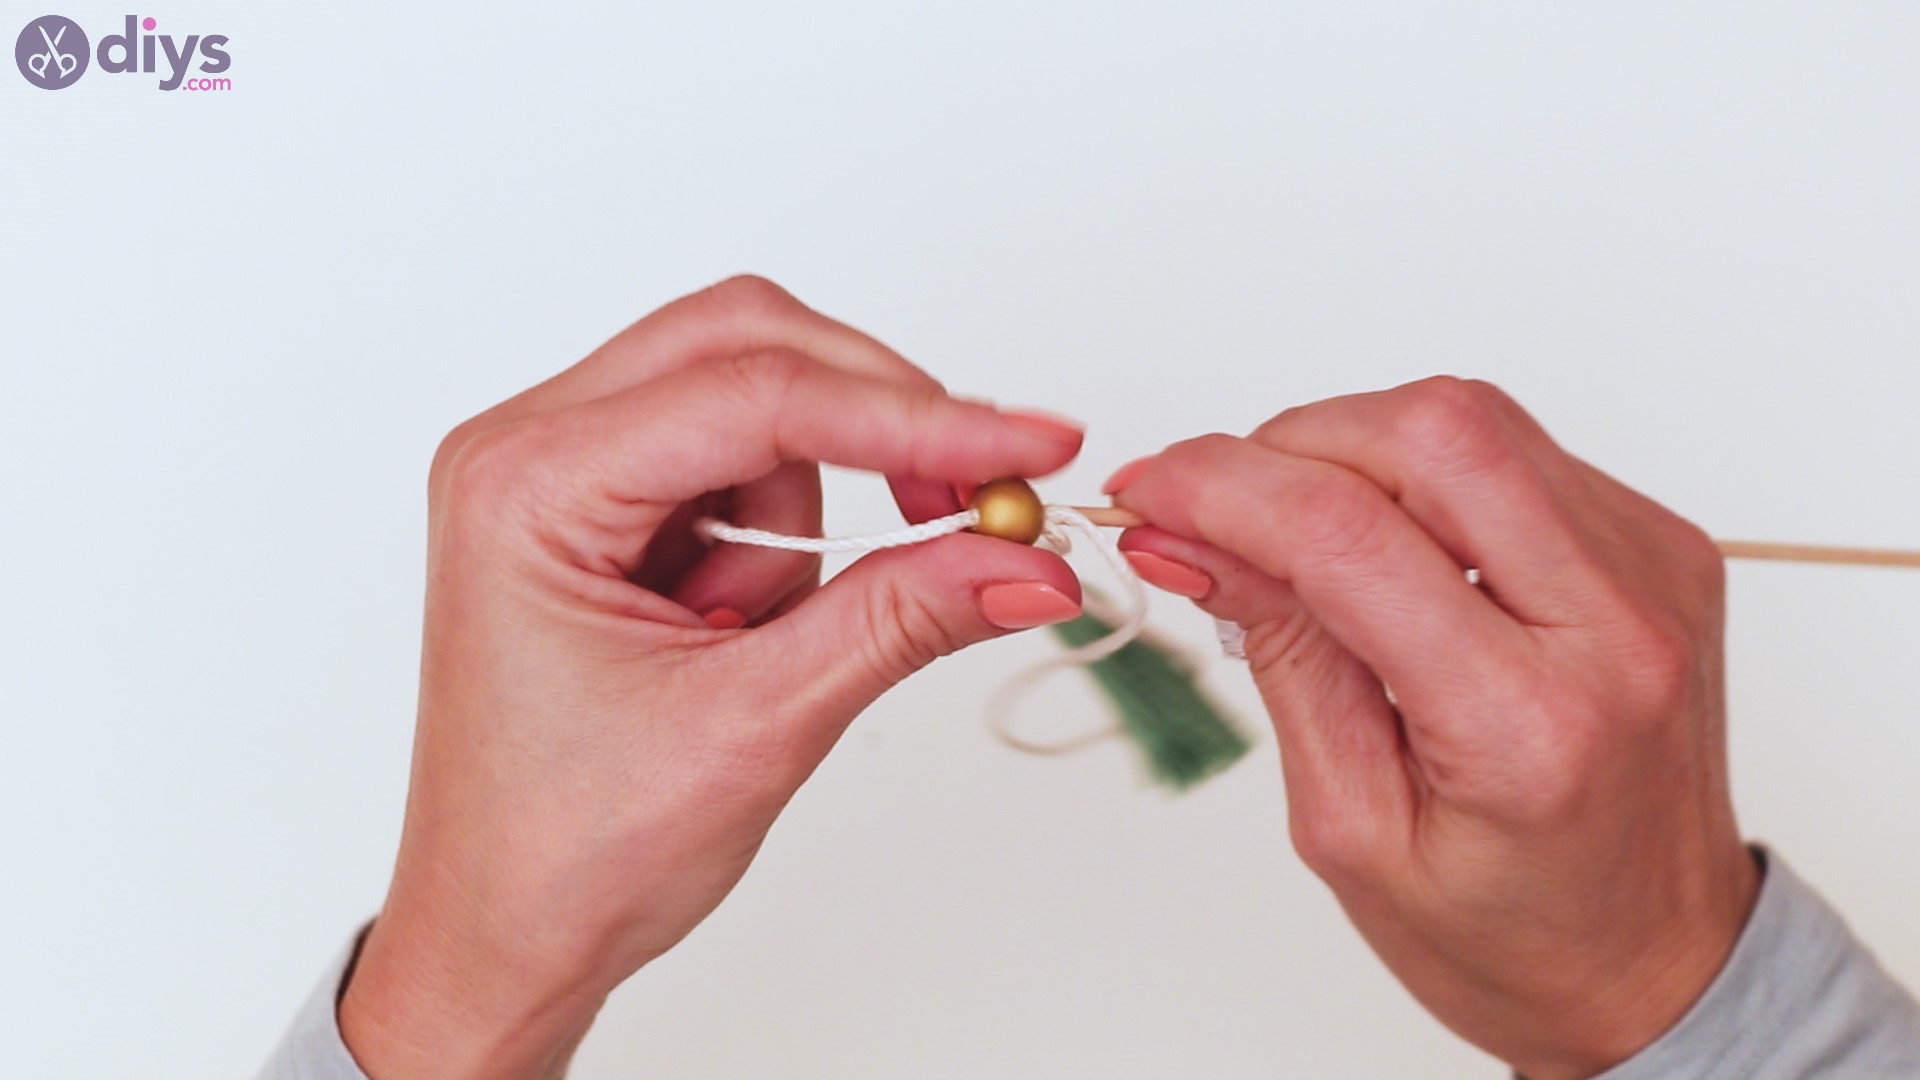
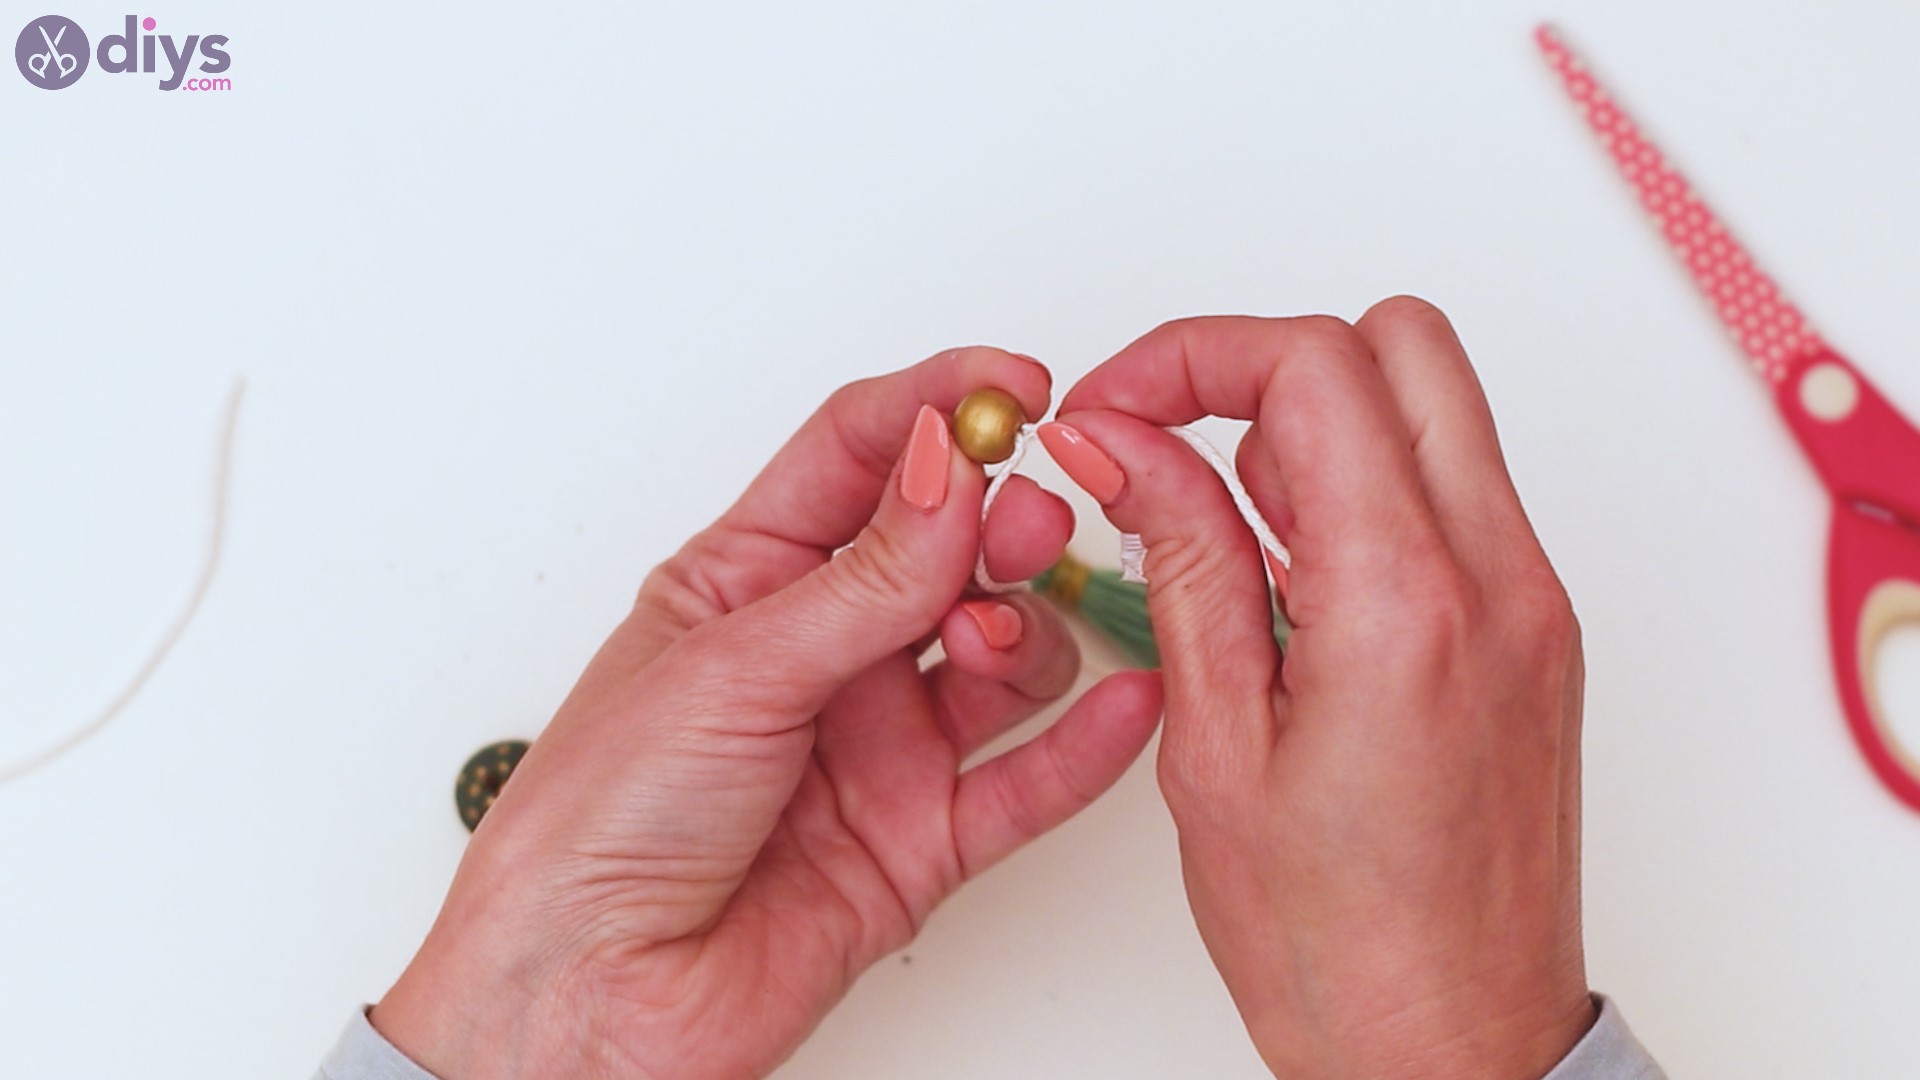
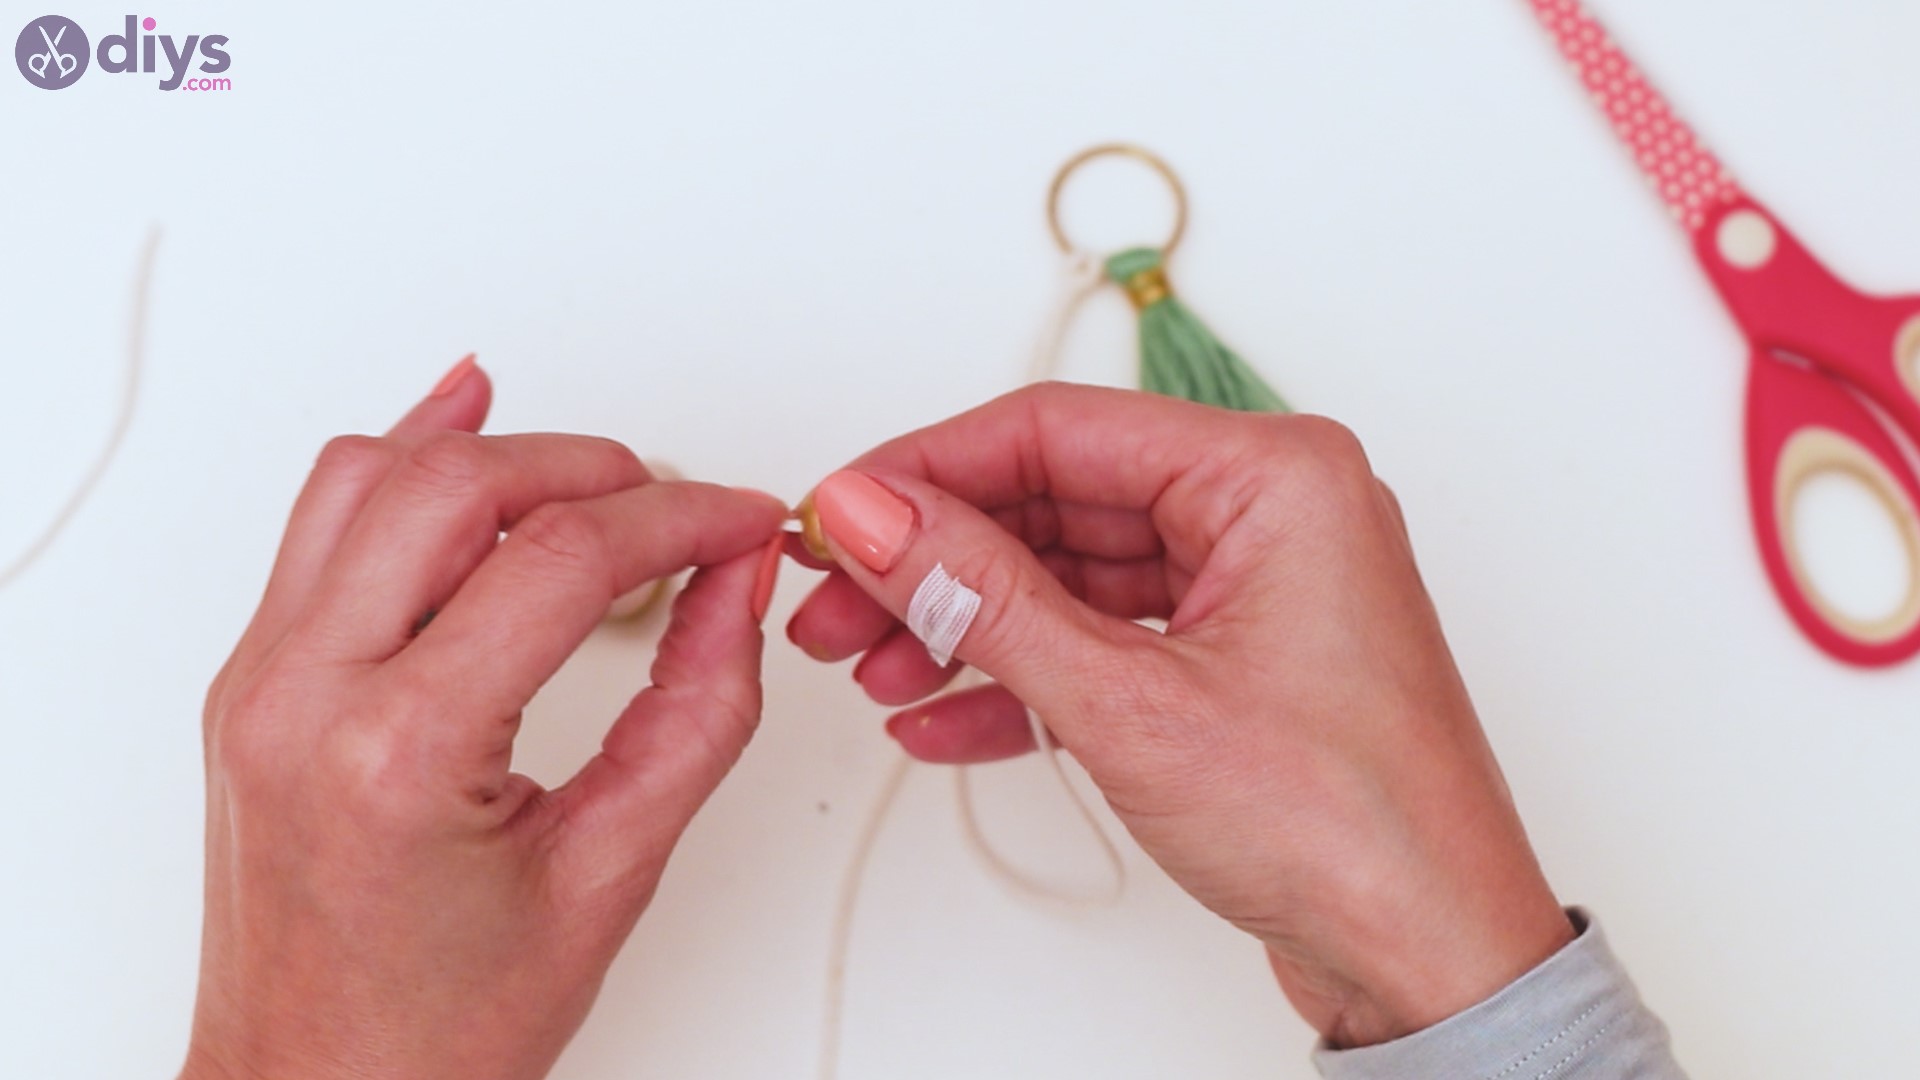
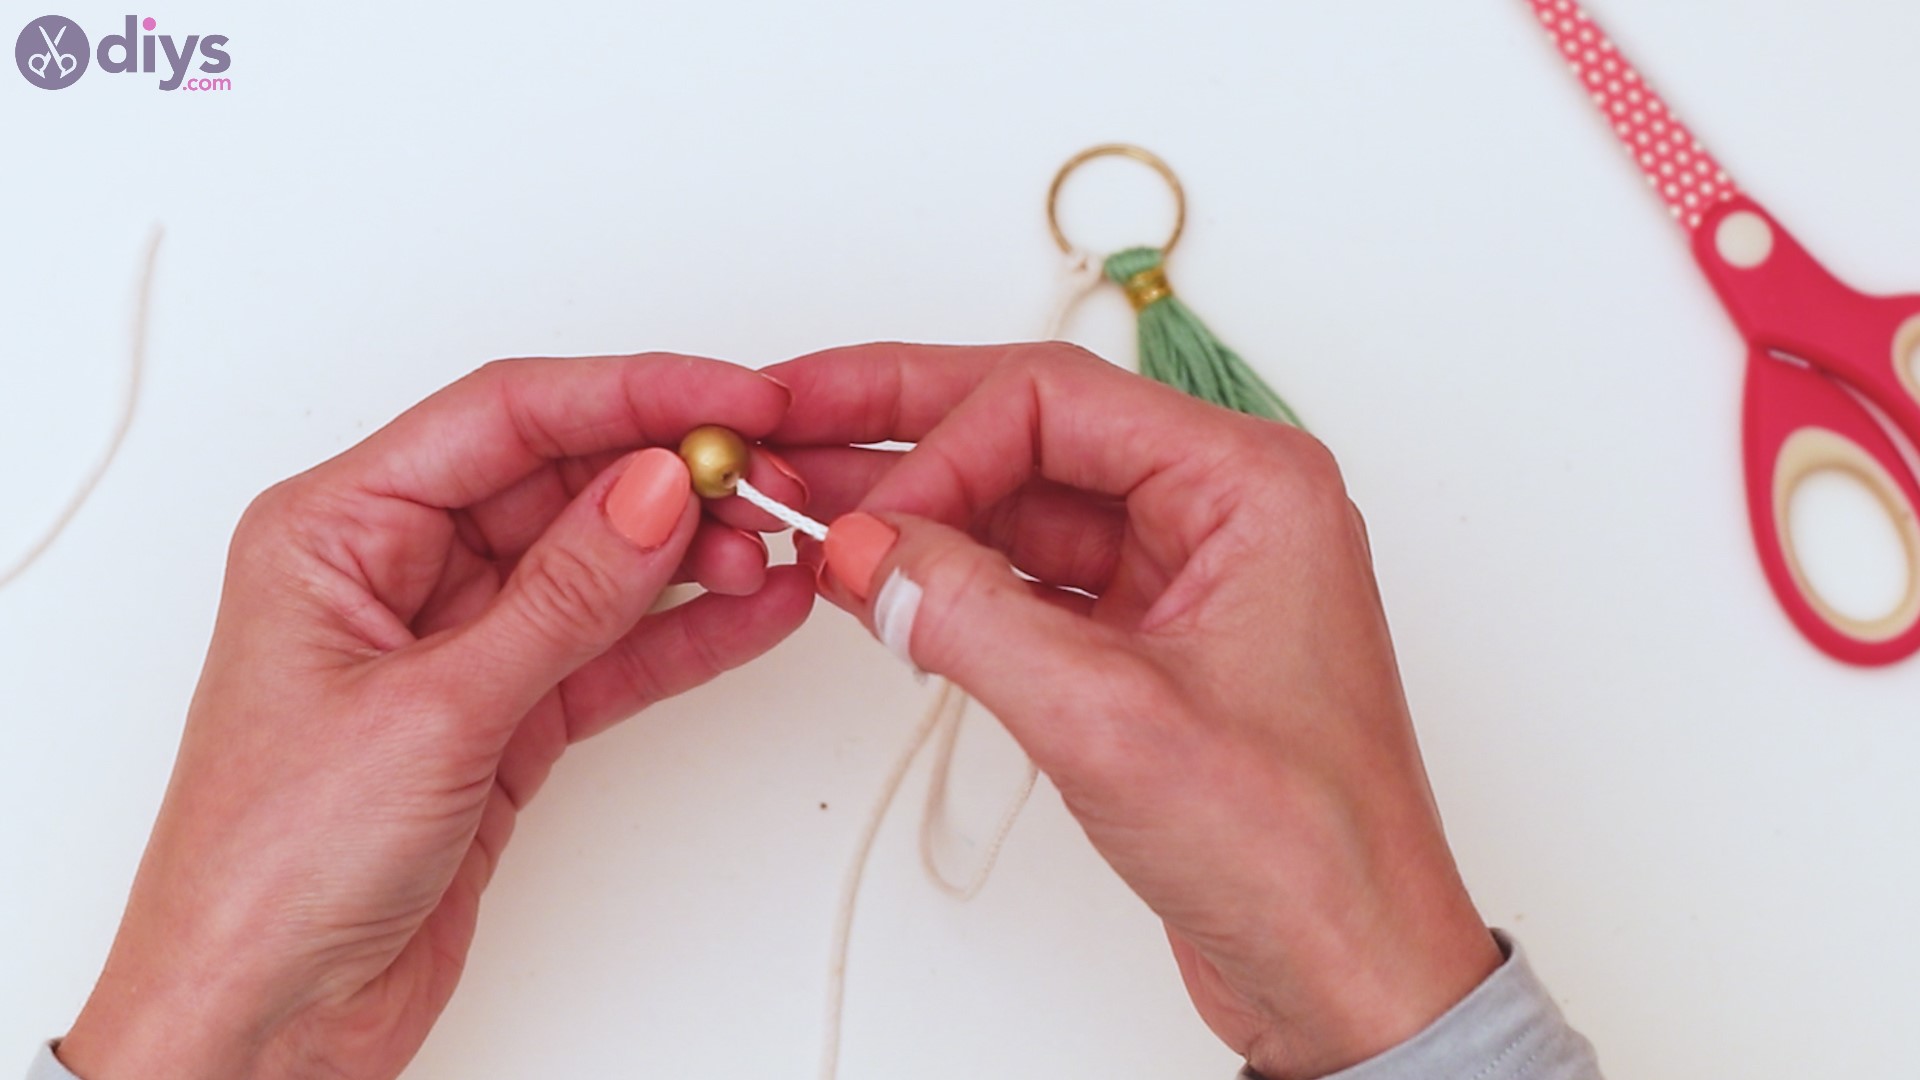
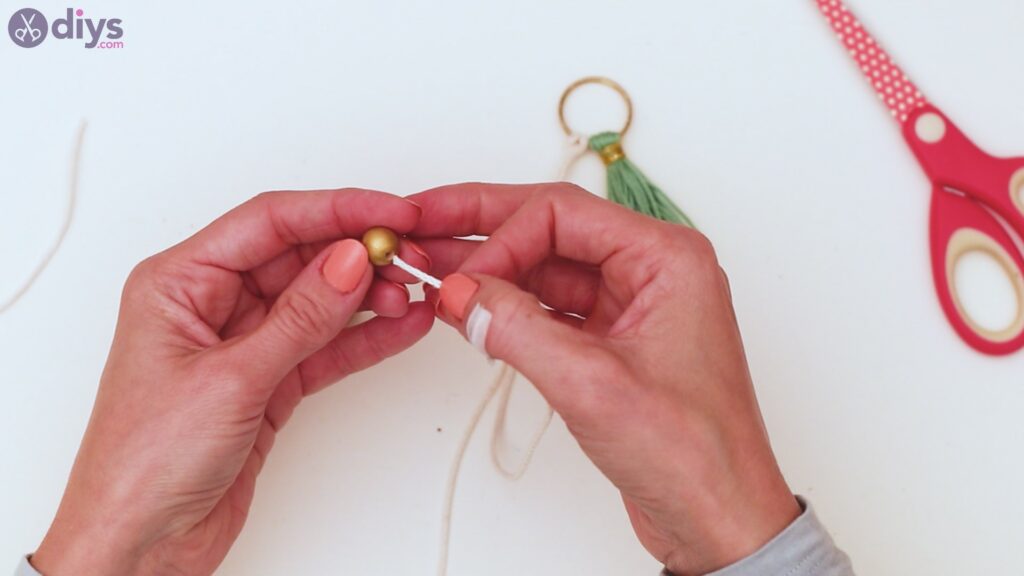
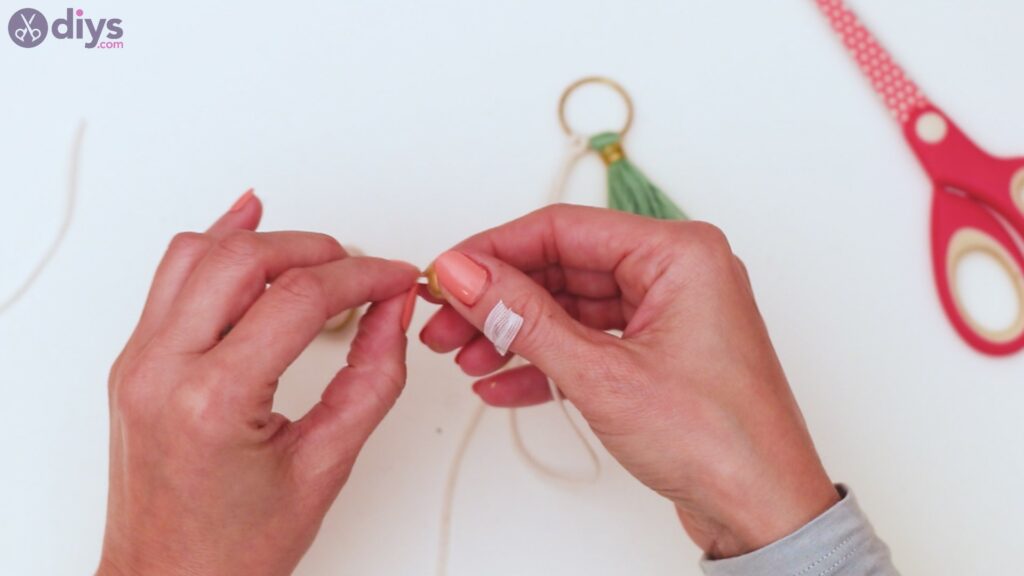
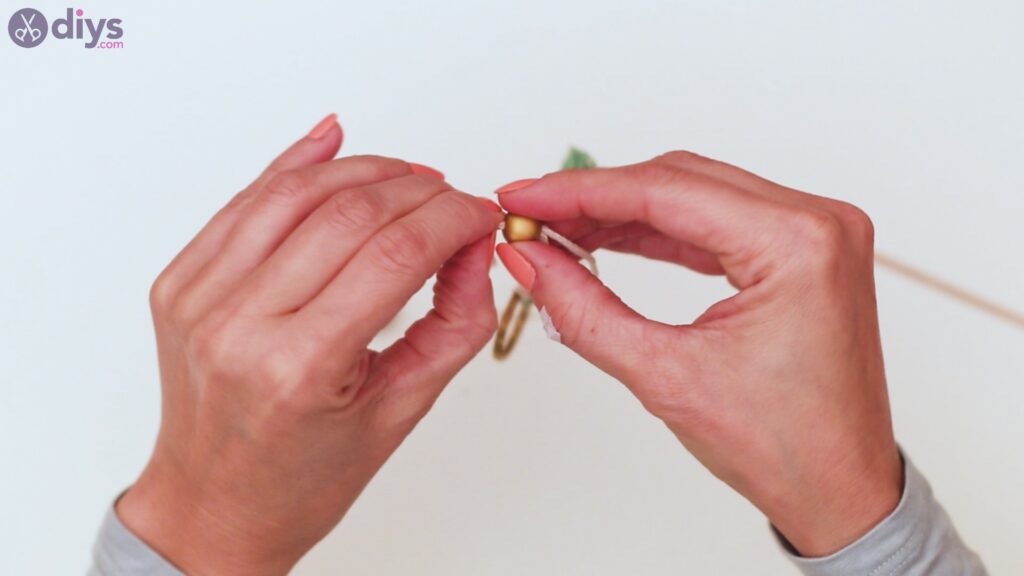
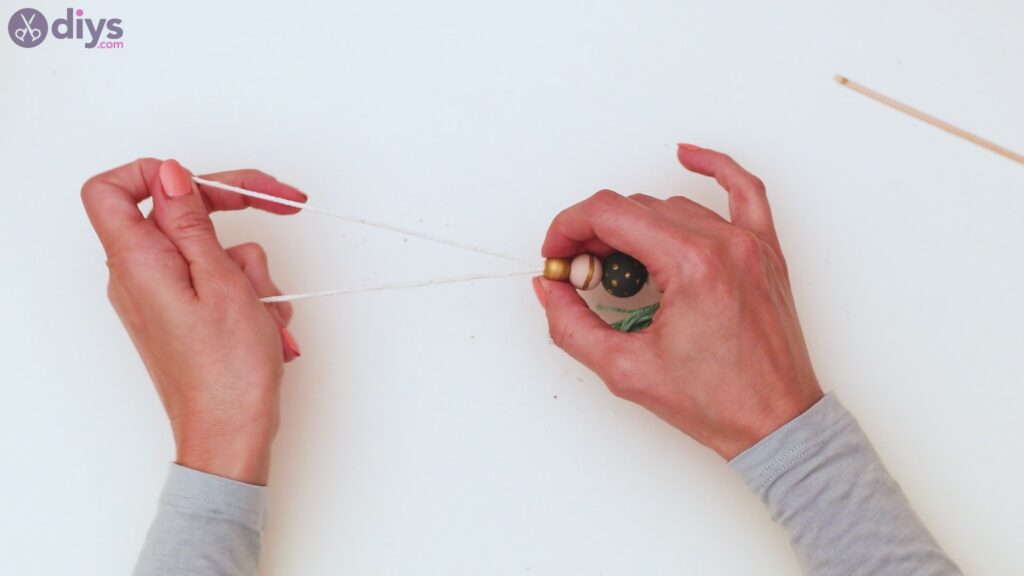
Pick up one of the two threads and start stringing the beads. First, push one of the small beads (painted gold) over the thread.
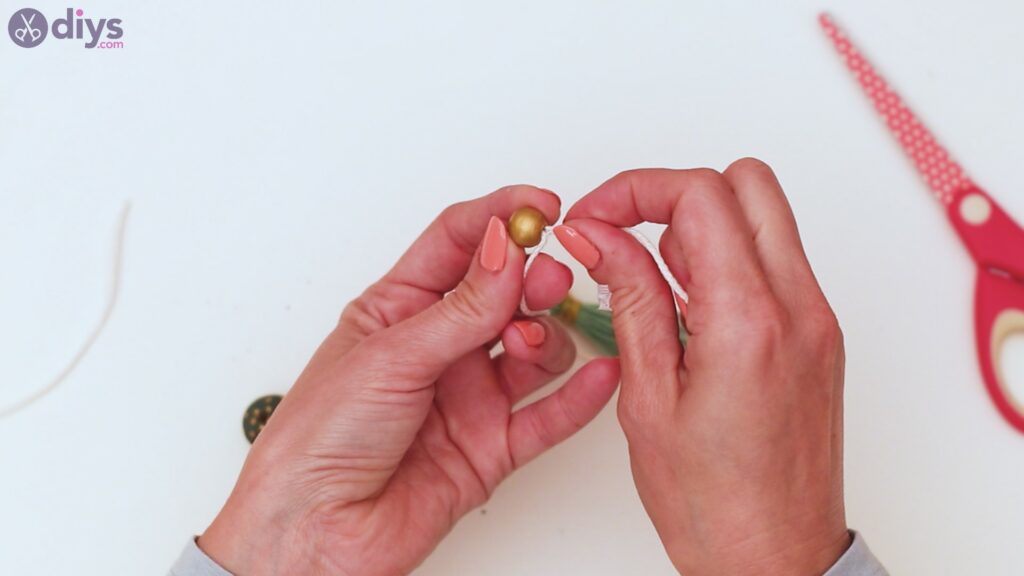
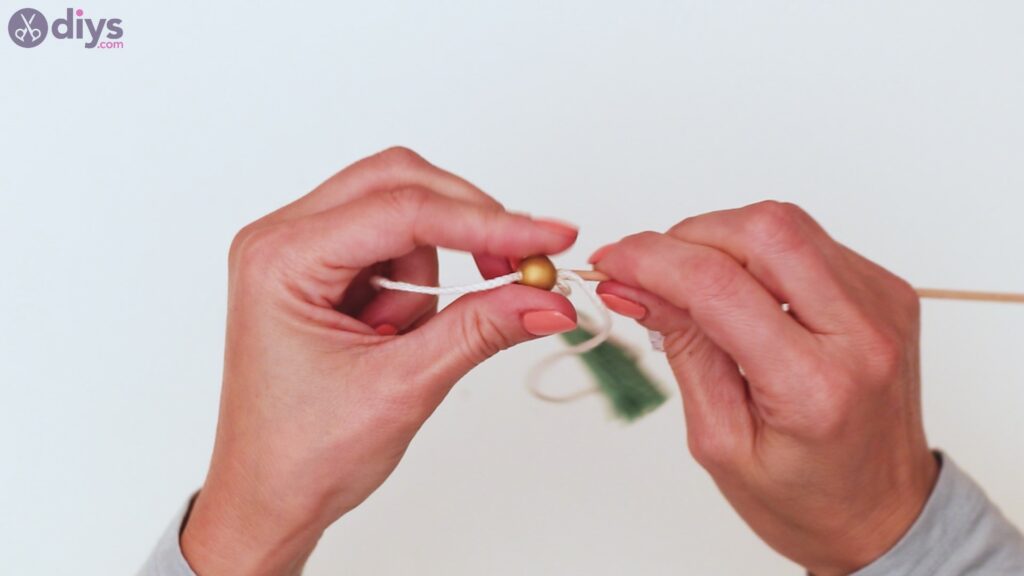
Next, you’ll have to push the second thread through the same bead. If you’re having trouble pushing the thread through the bead, you can use the same wooden stick you used earlier to help you out.
It really all depends on how big the wood beads you used are. Keep trying, and you’ll eventually manage.
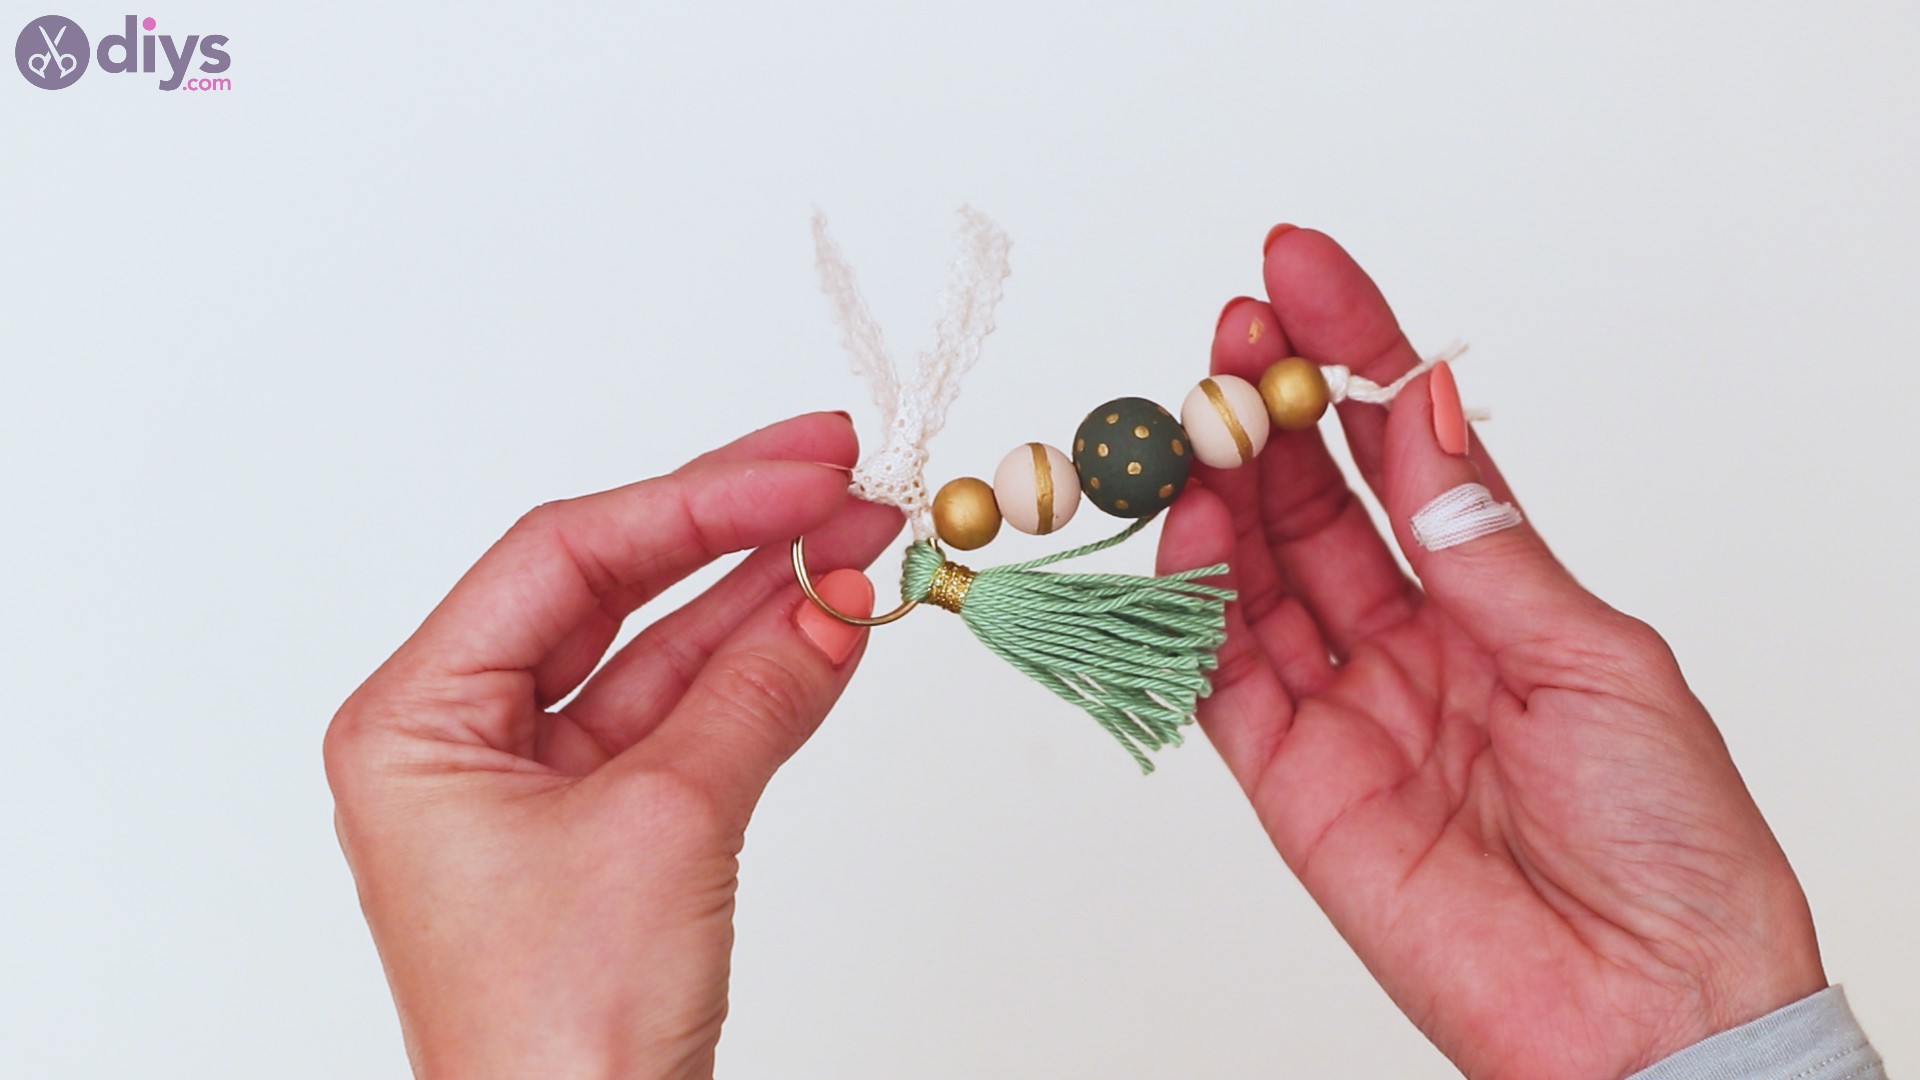
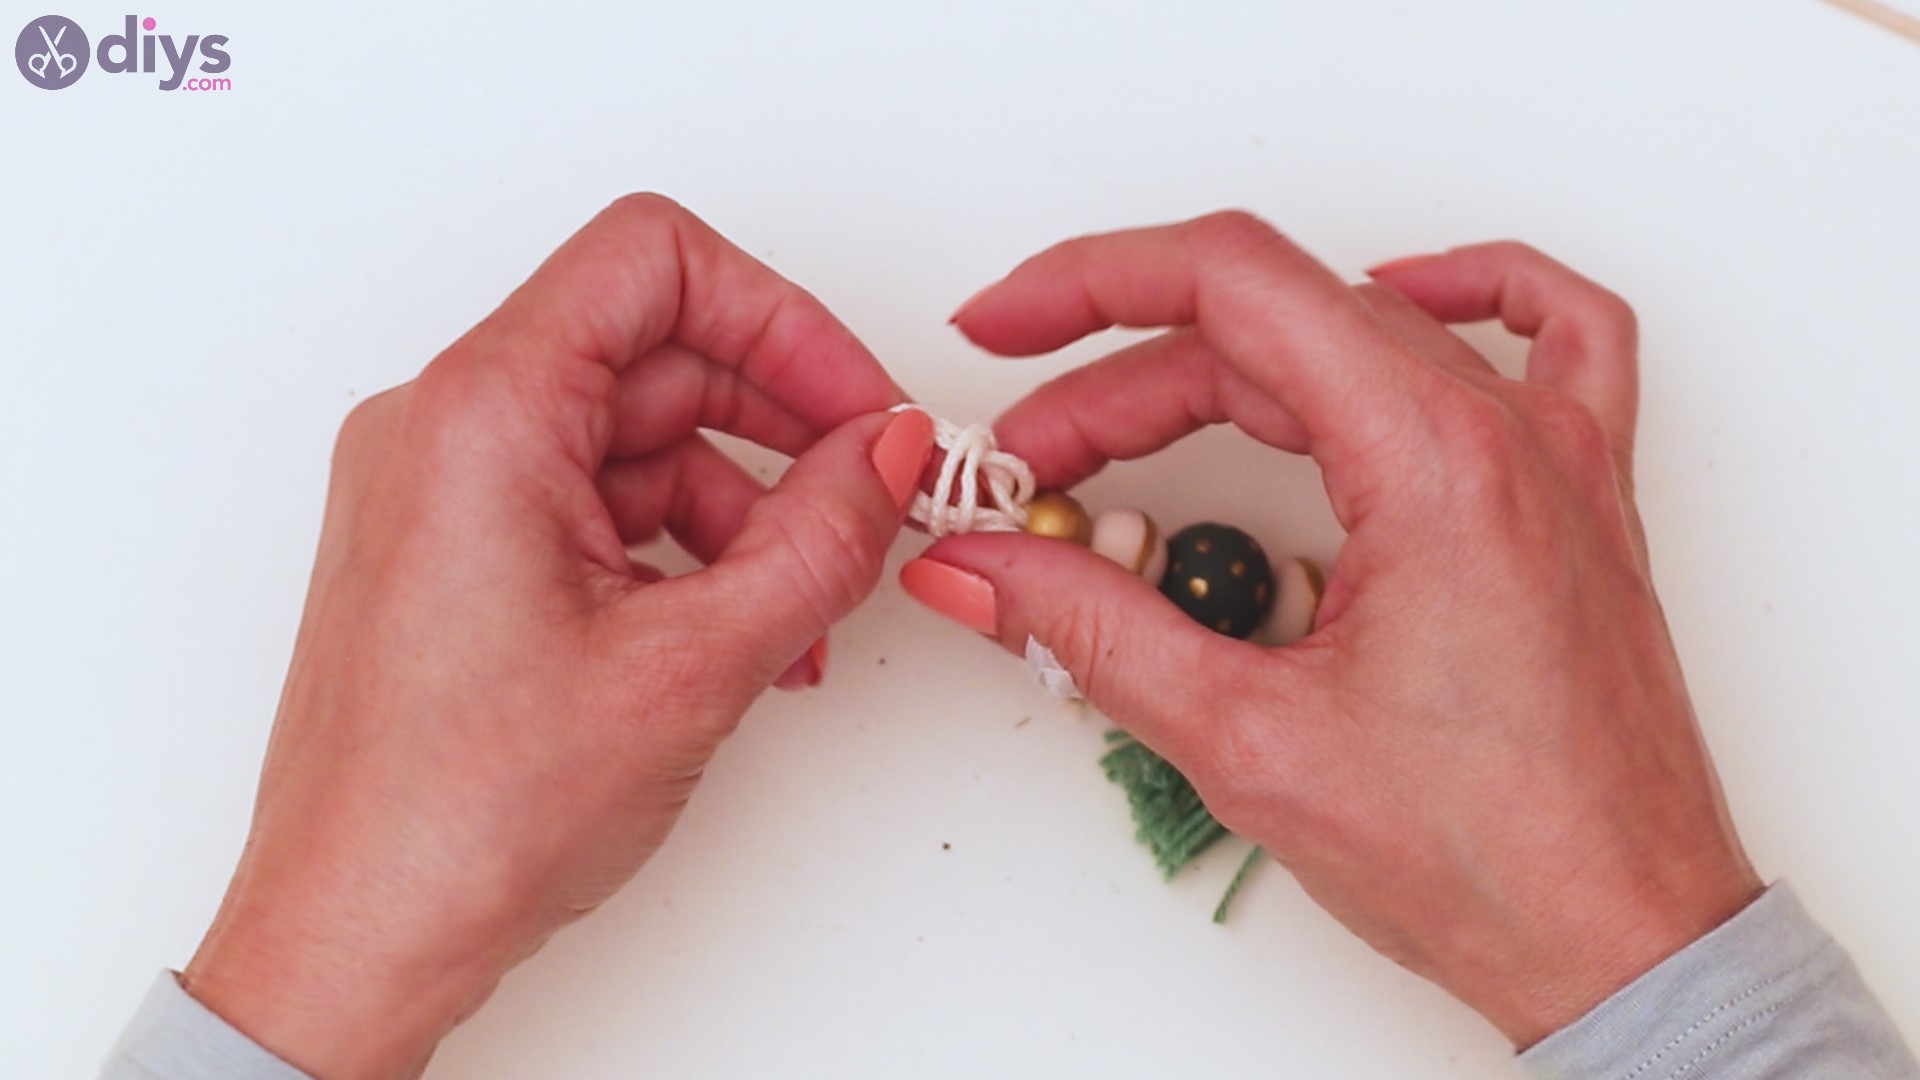
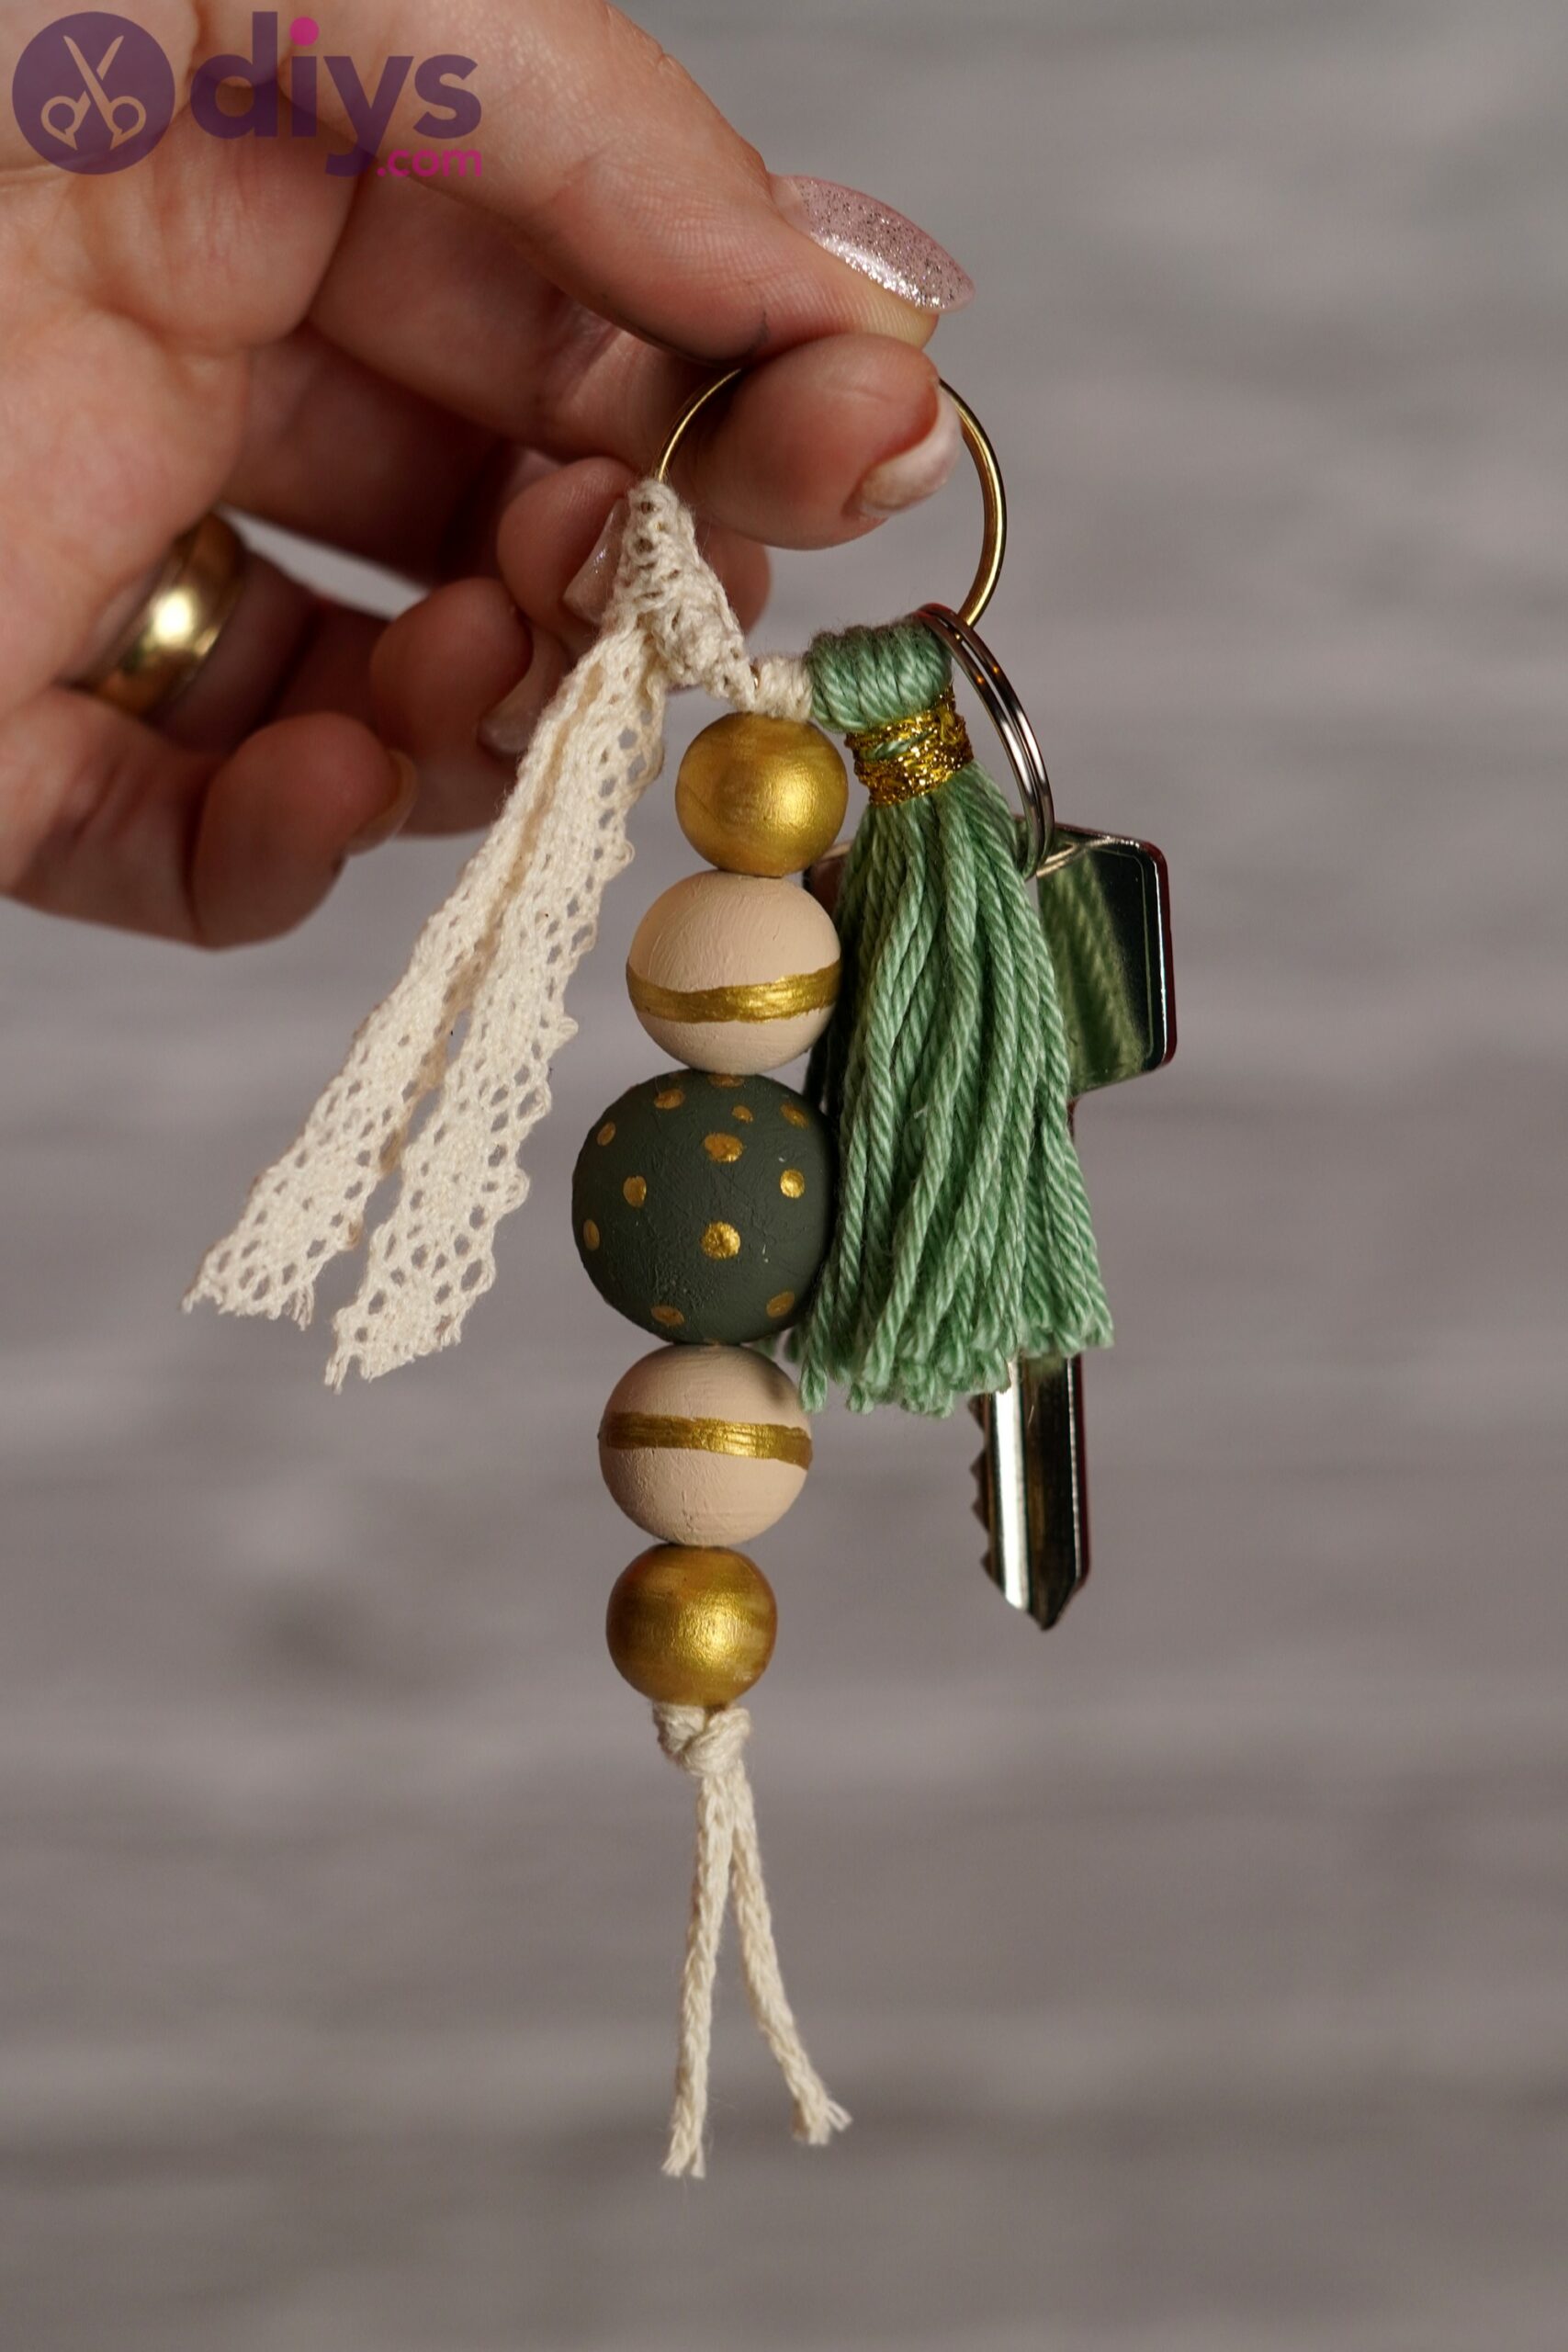
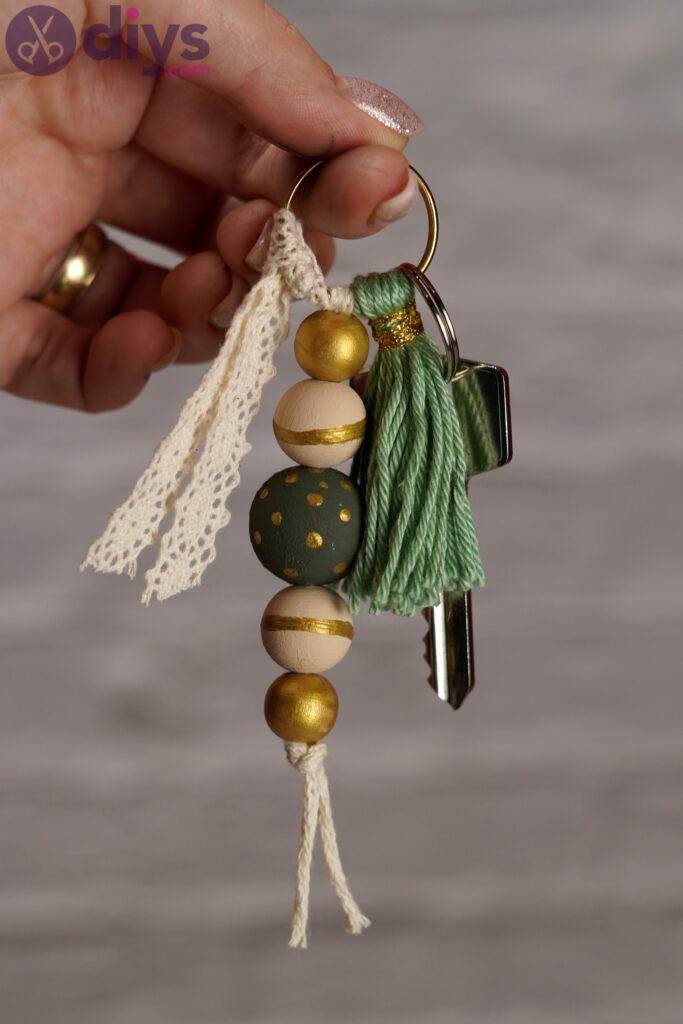
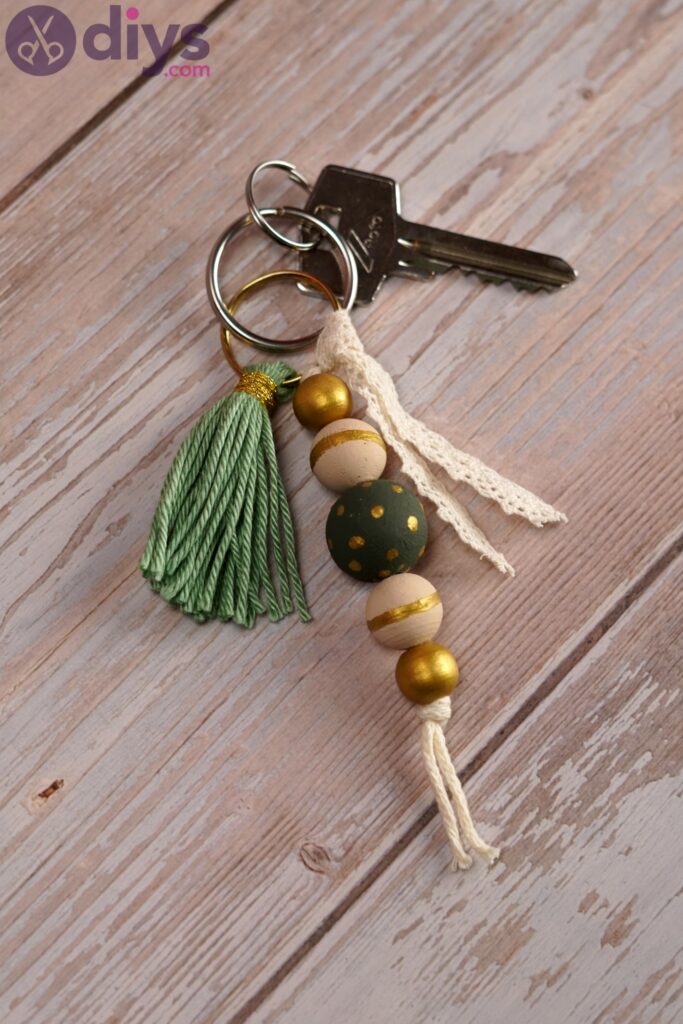
Keep adding the beads. You’ll do the same and push both threads through the pattern – small bead, medium bead, big bead, medium bead, small bead. So, basically – gold, beige, green, beige, gold.
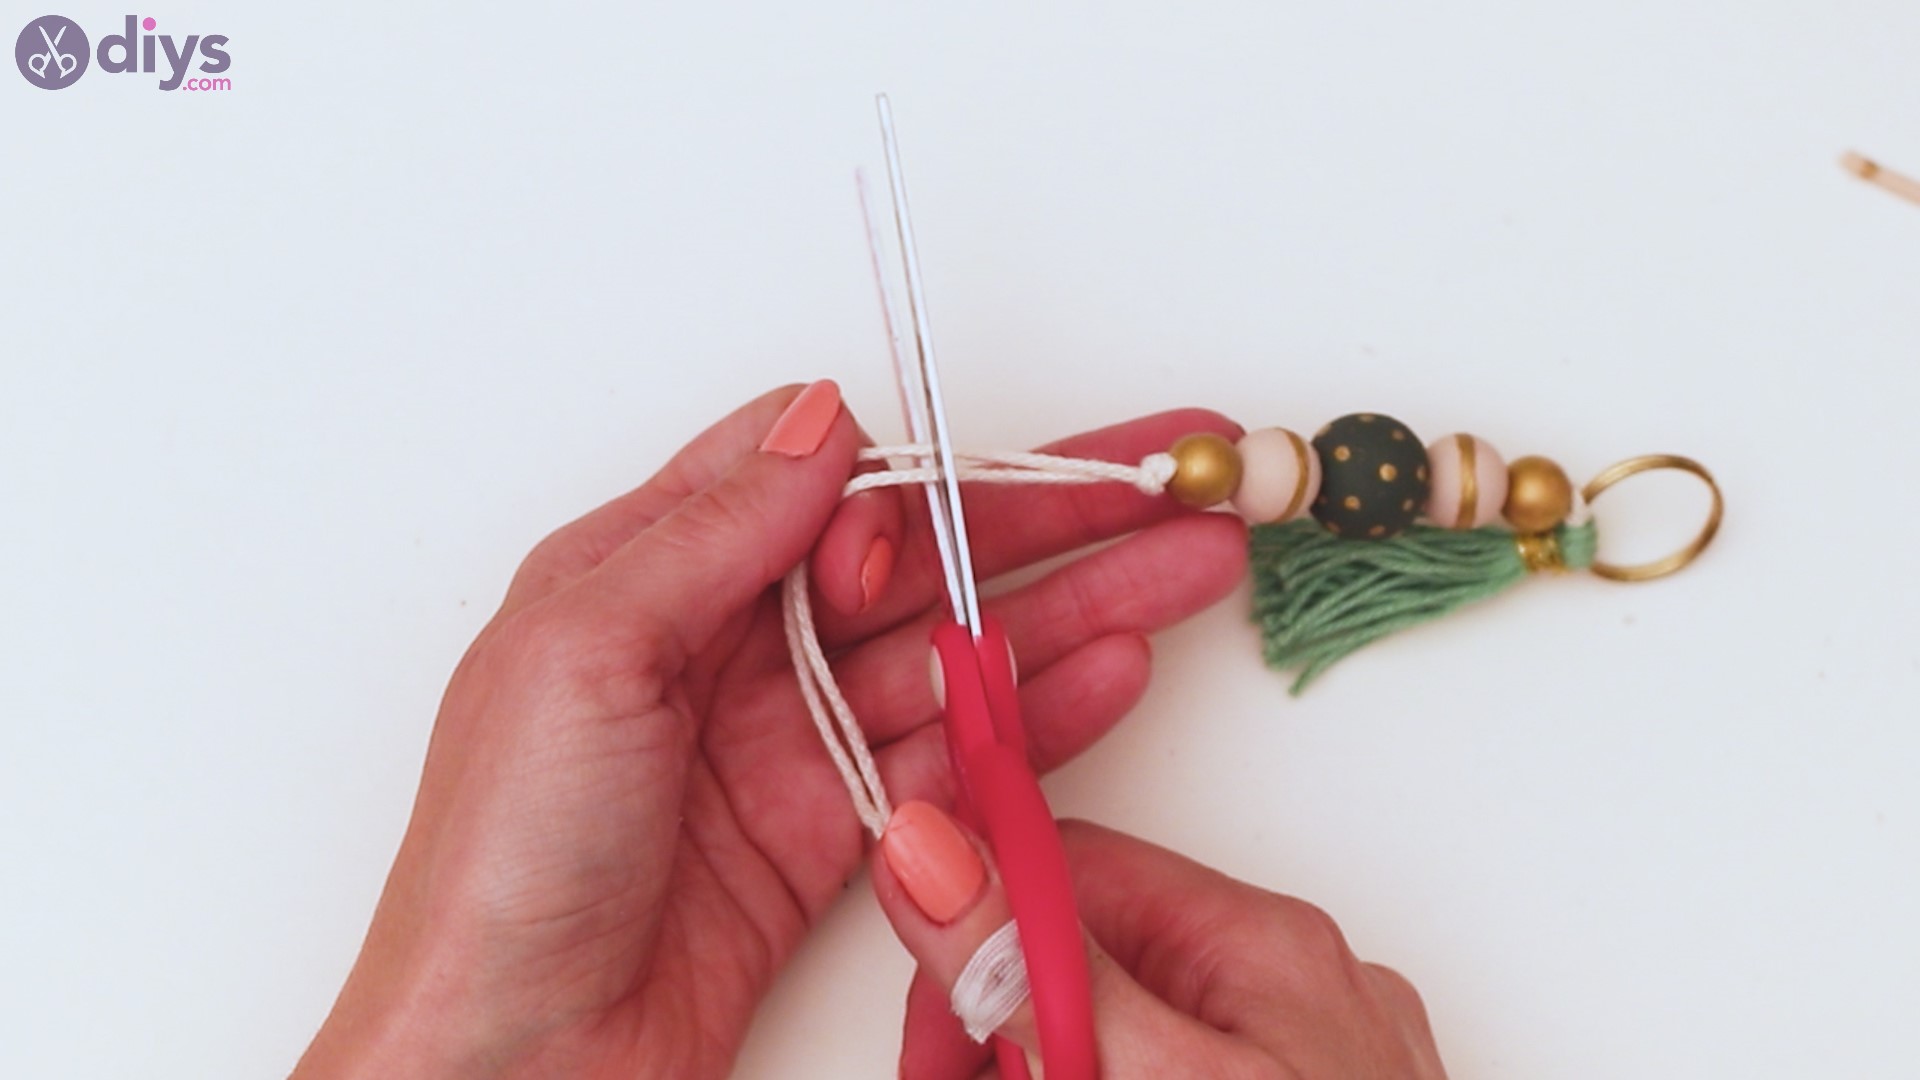
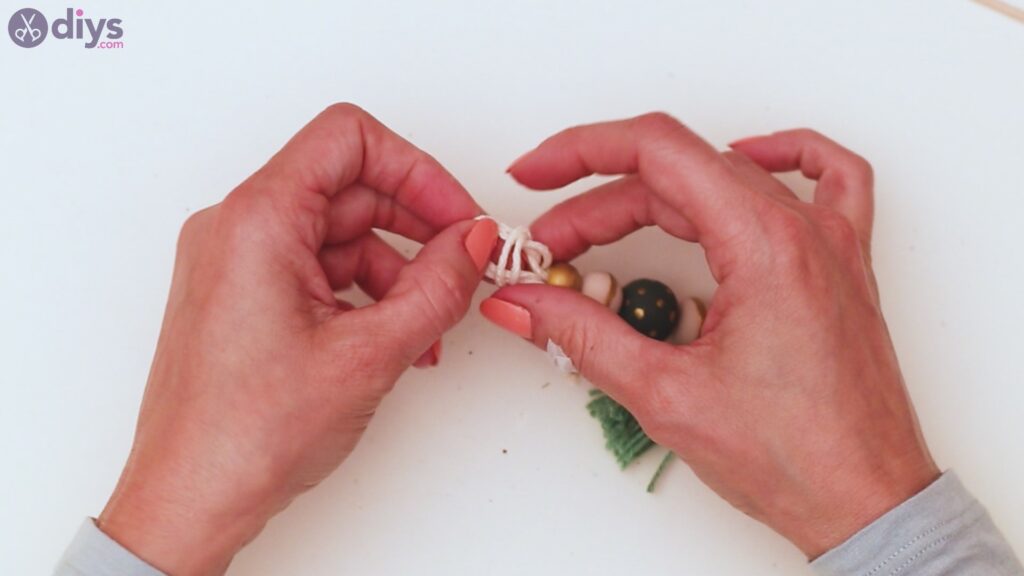
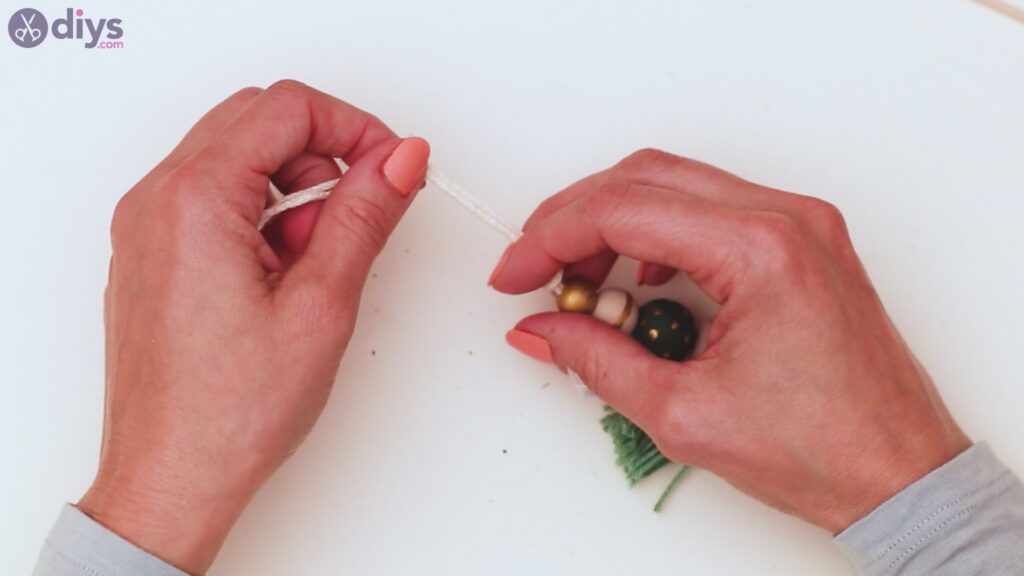
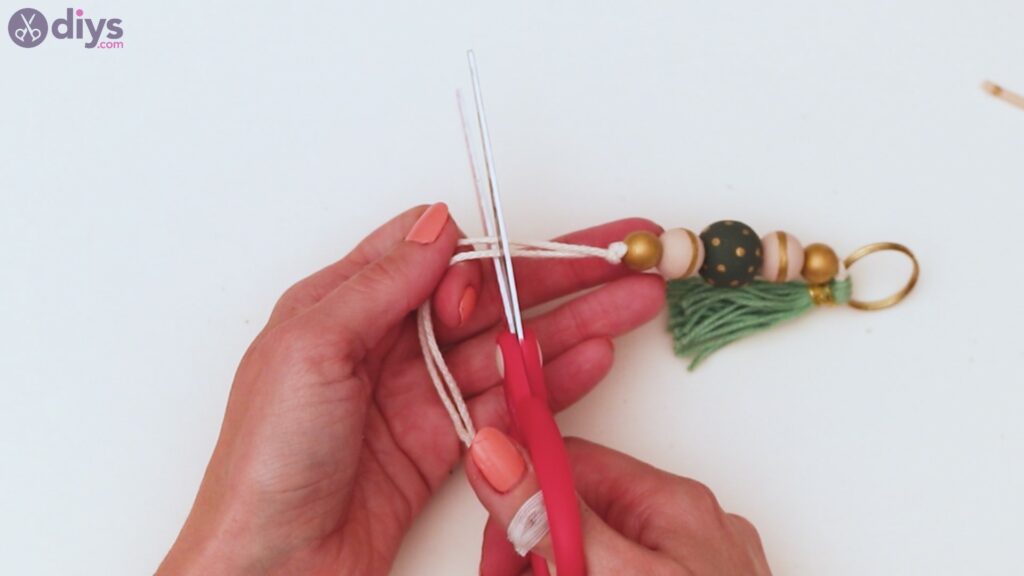
When you’re done, create a loop out of both threads and tie a knot, so the beads don’t escape your cute keyring.
Get the scissors and cut the macrame yarn, allowing just a couple of inches of thread after the last bead.
Step 7: Add the lace
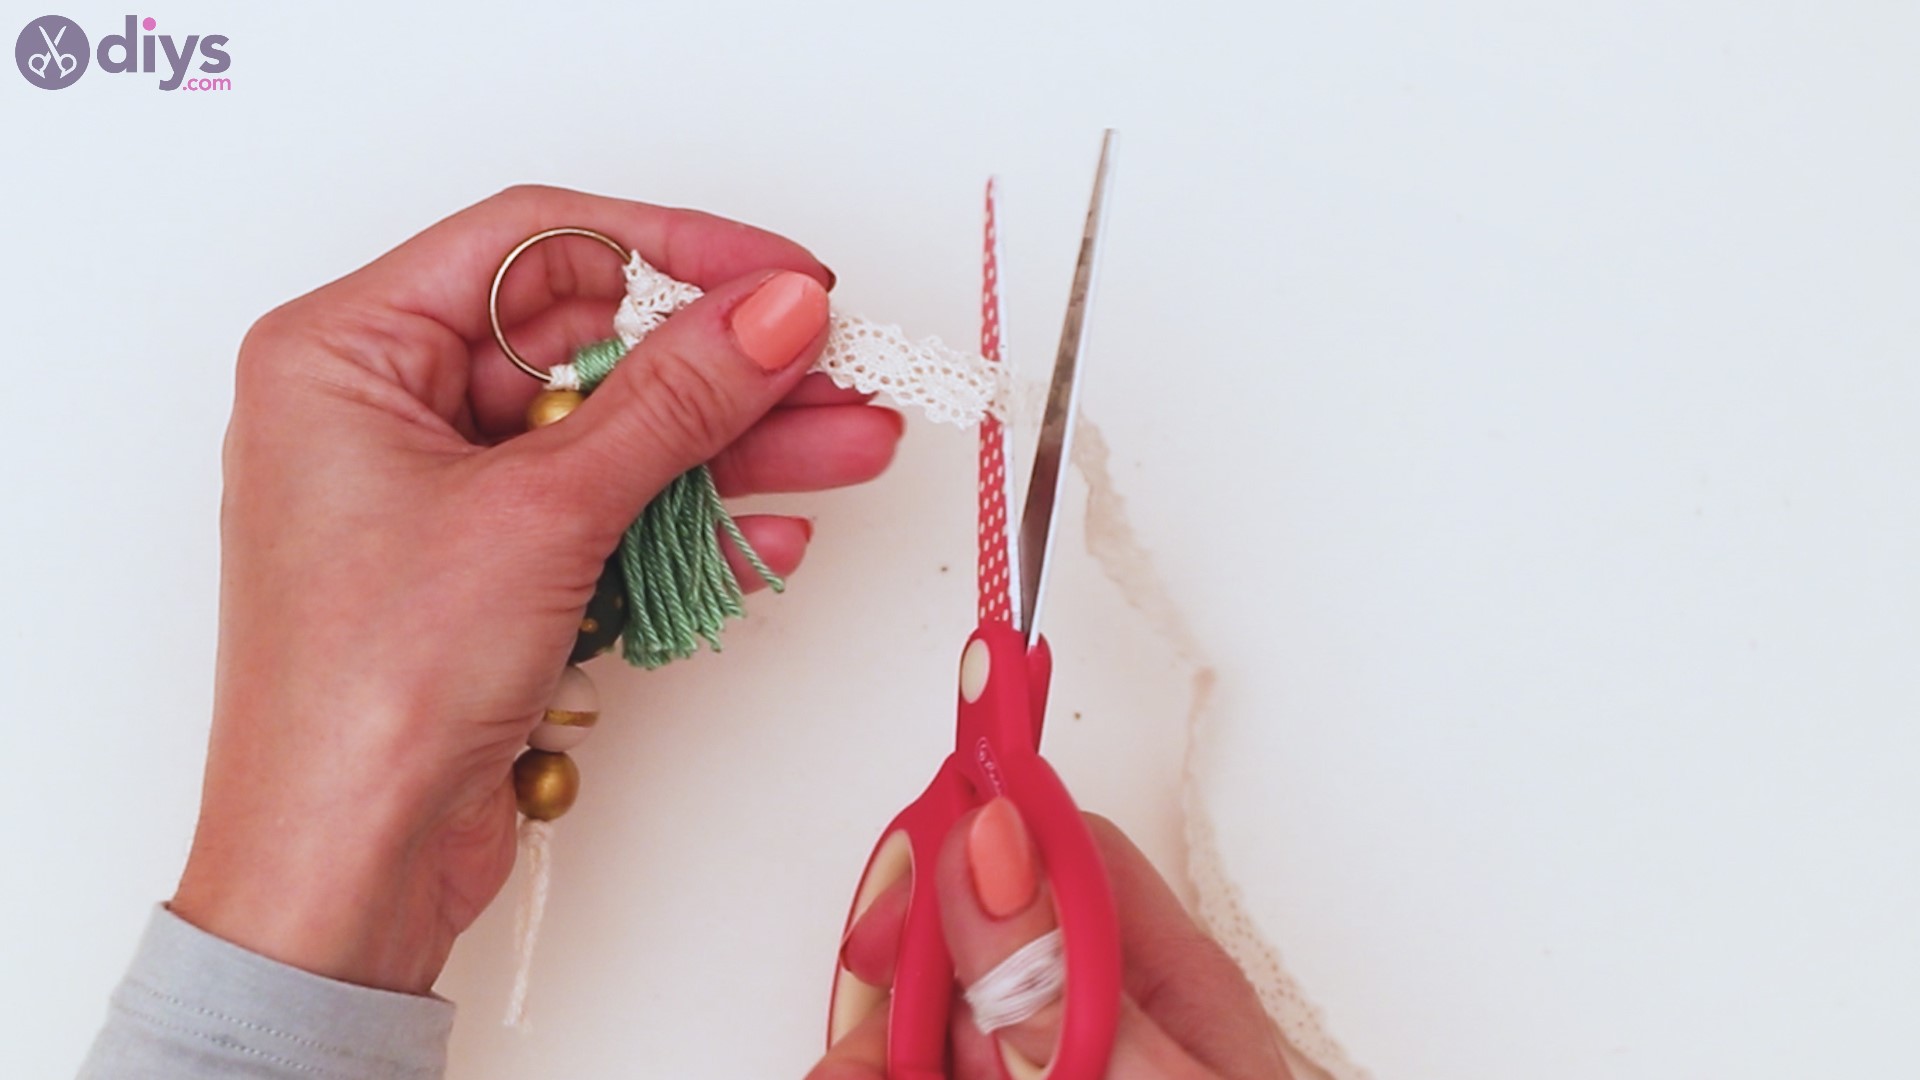
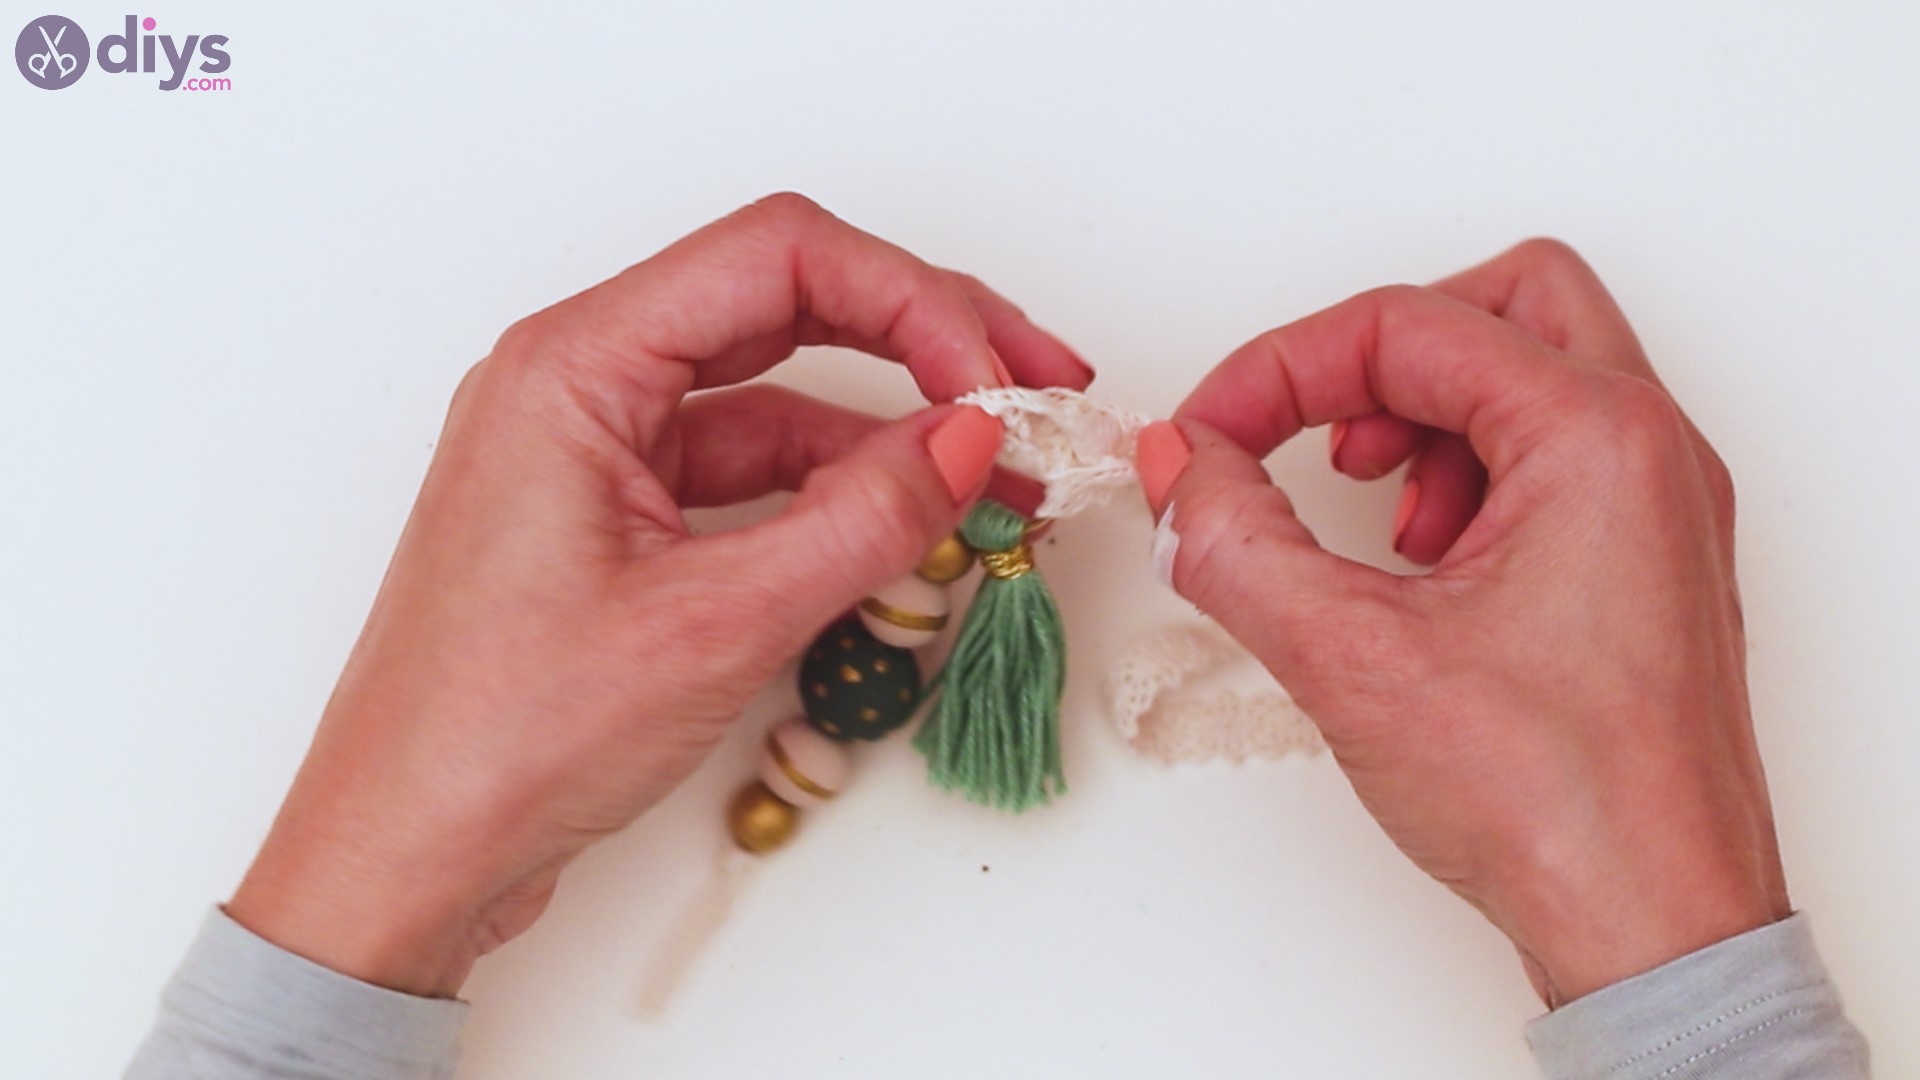
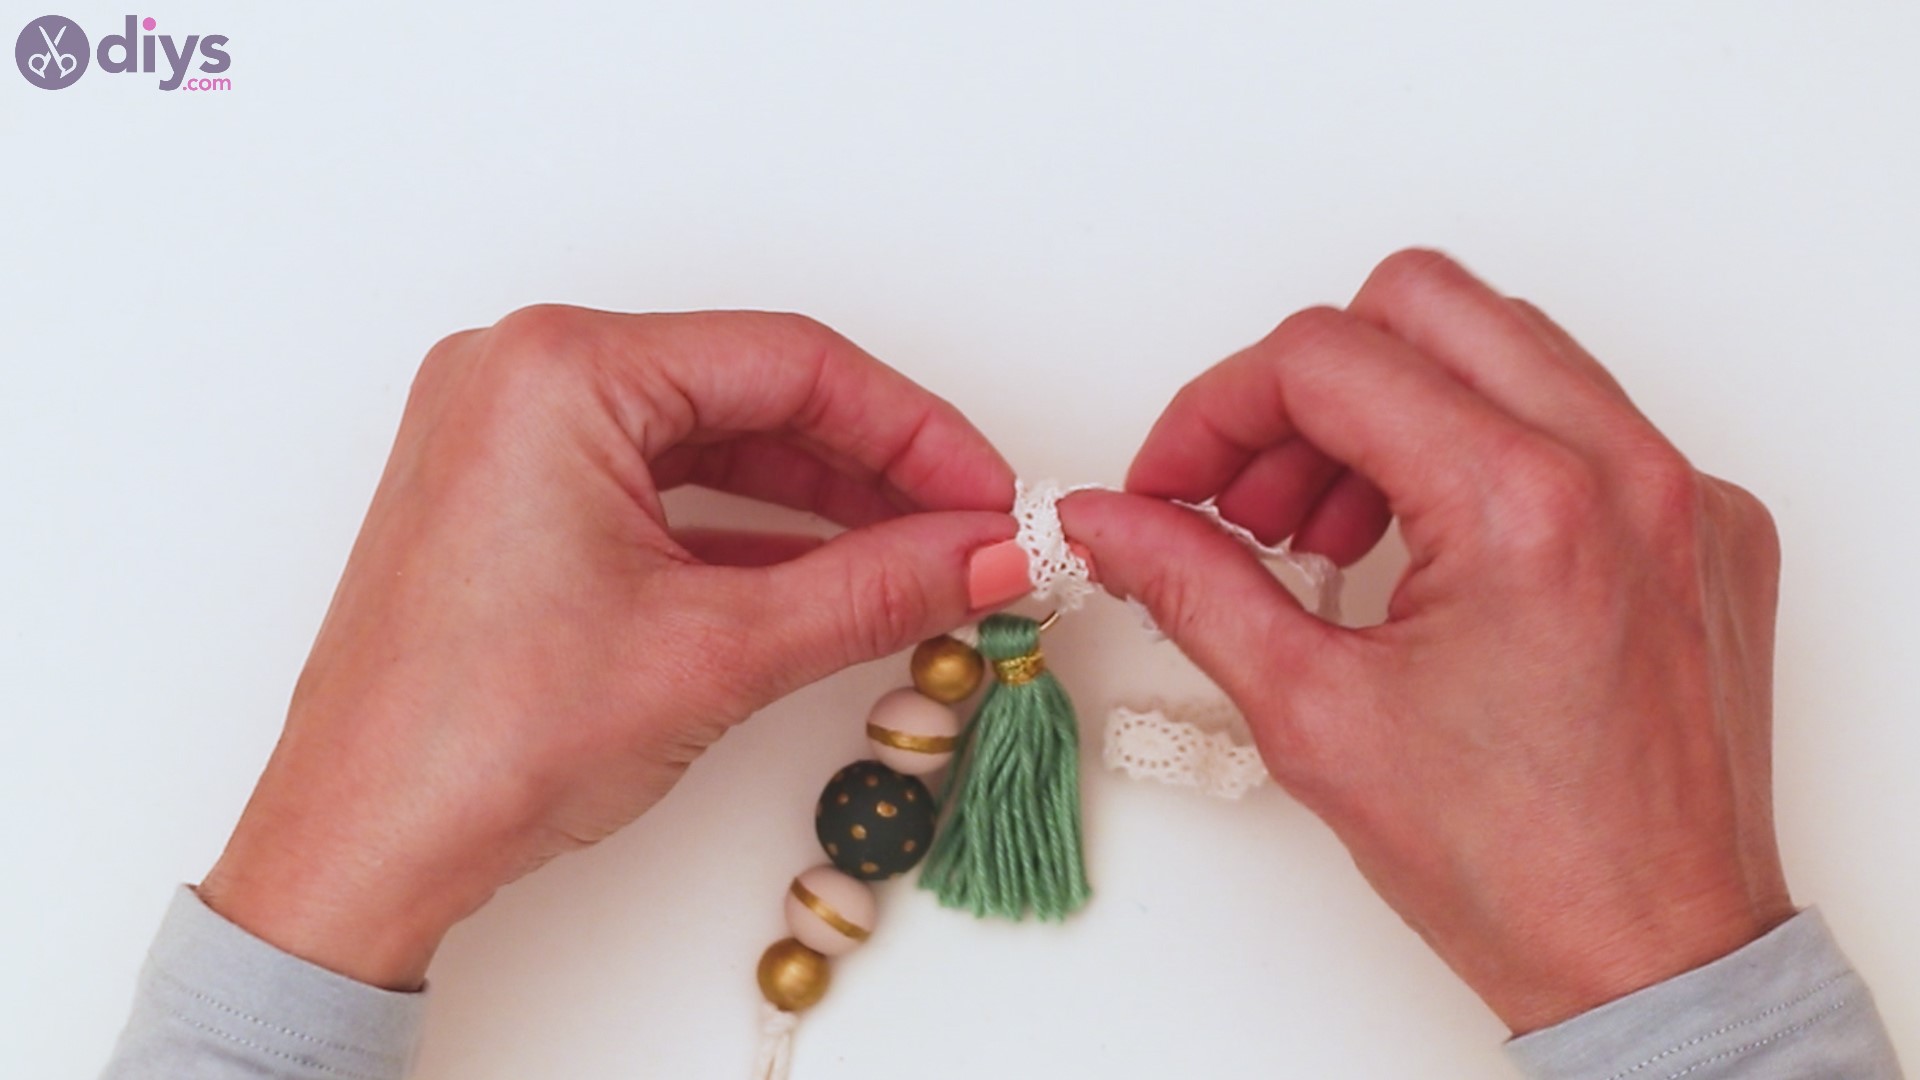
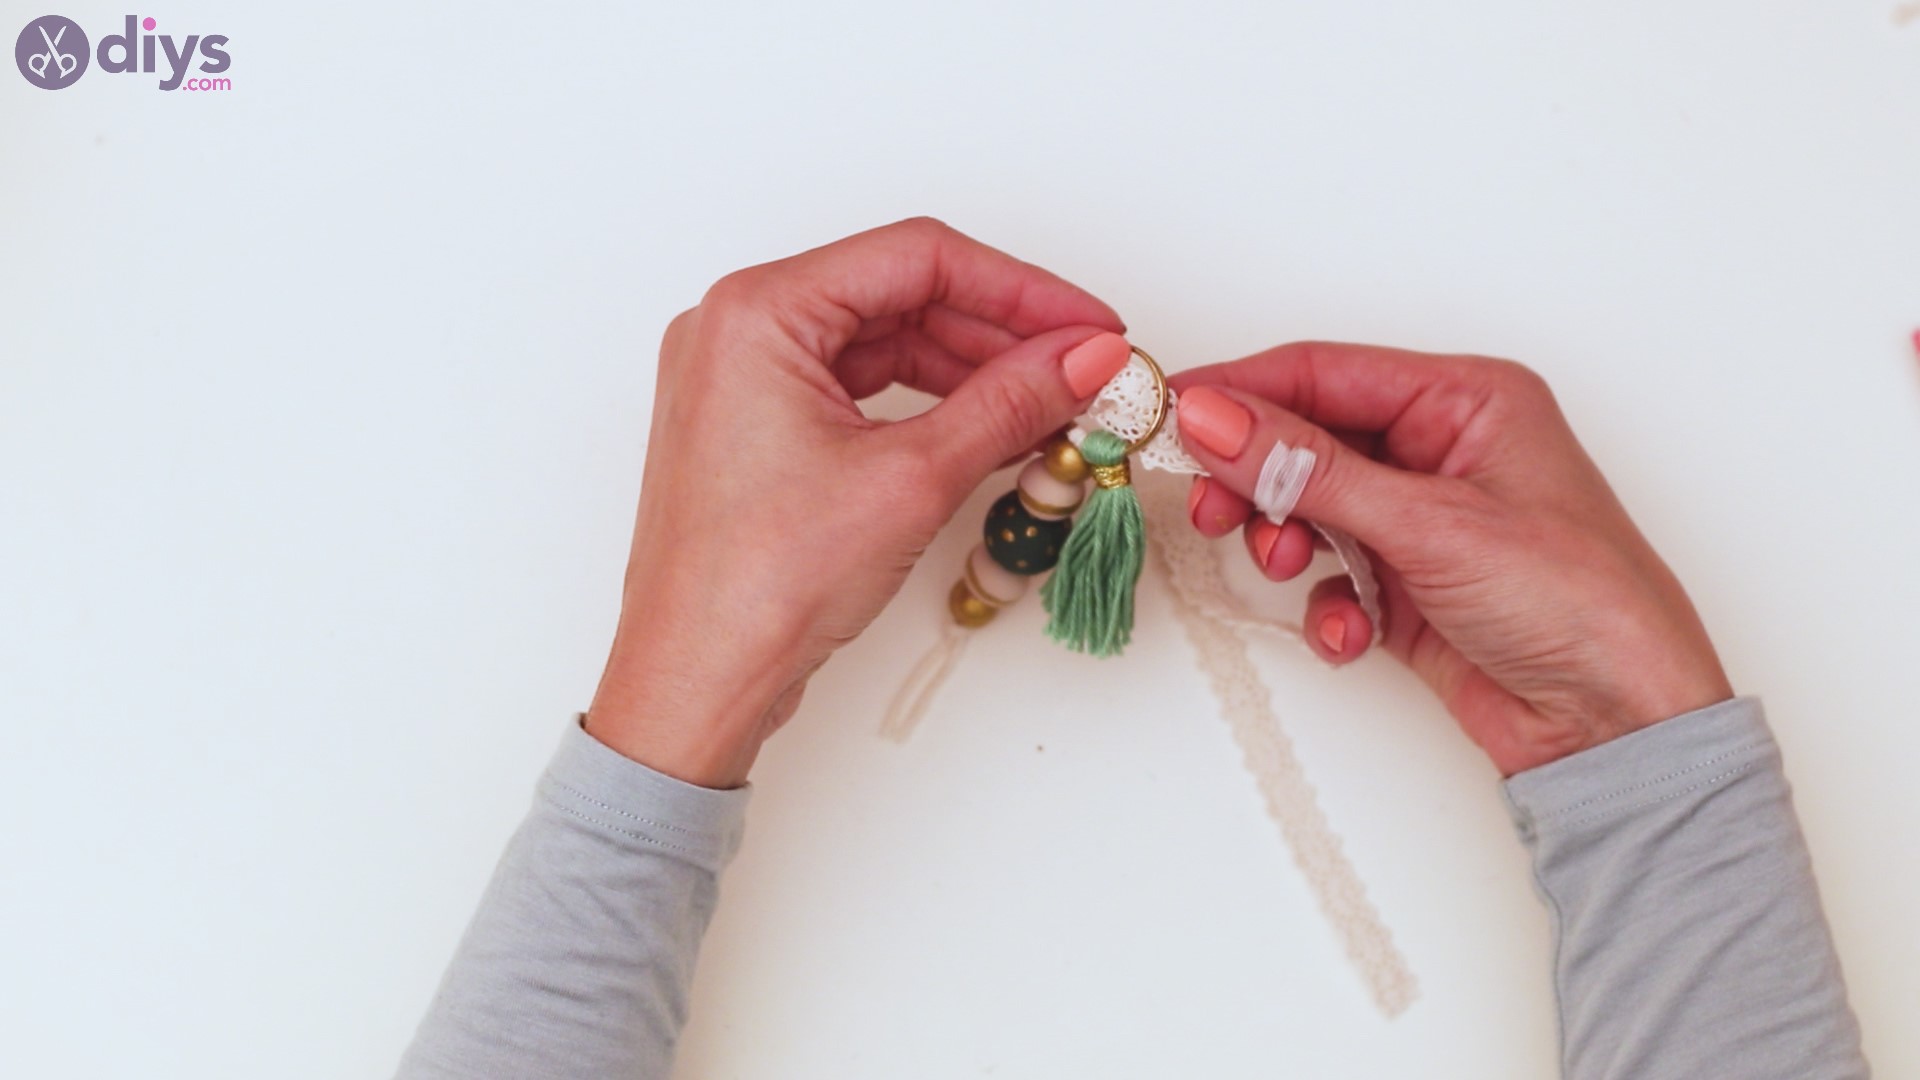
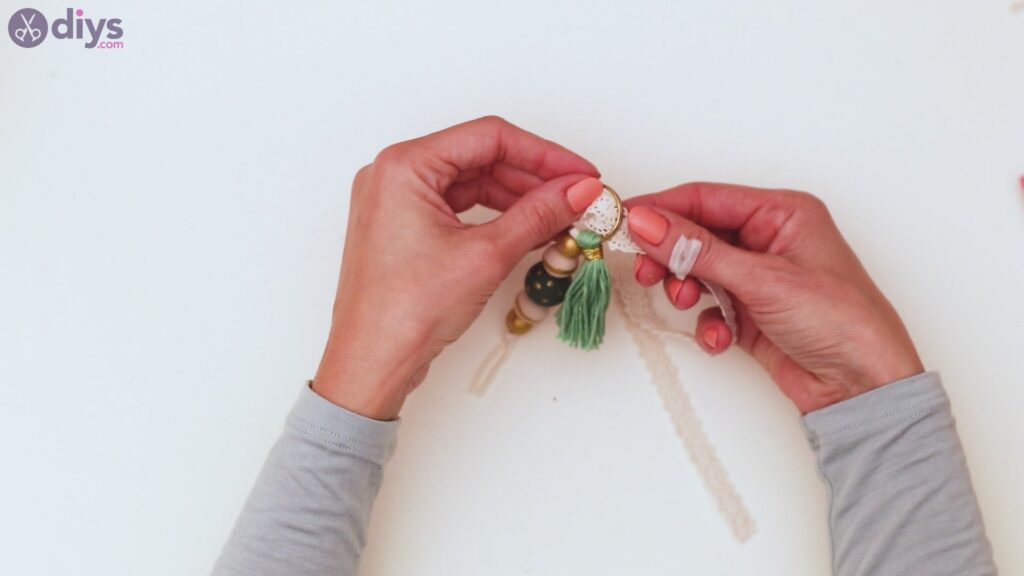
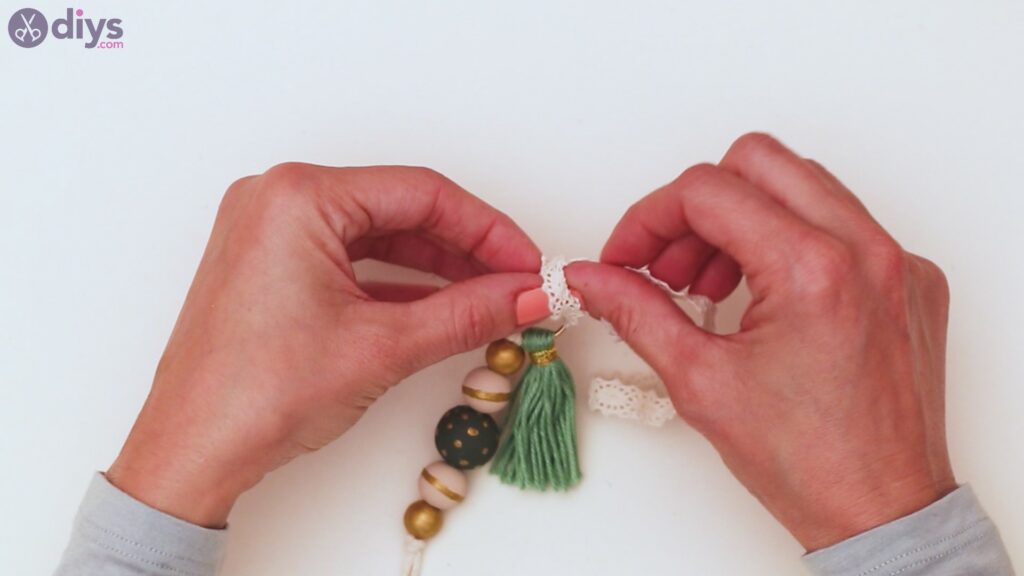
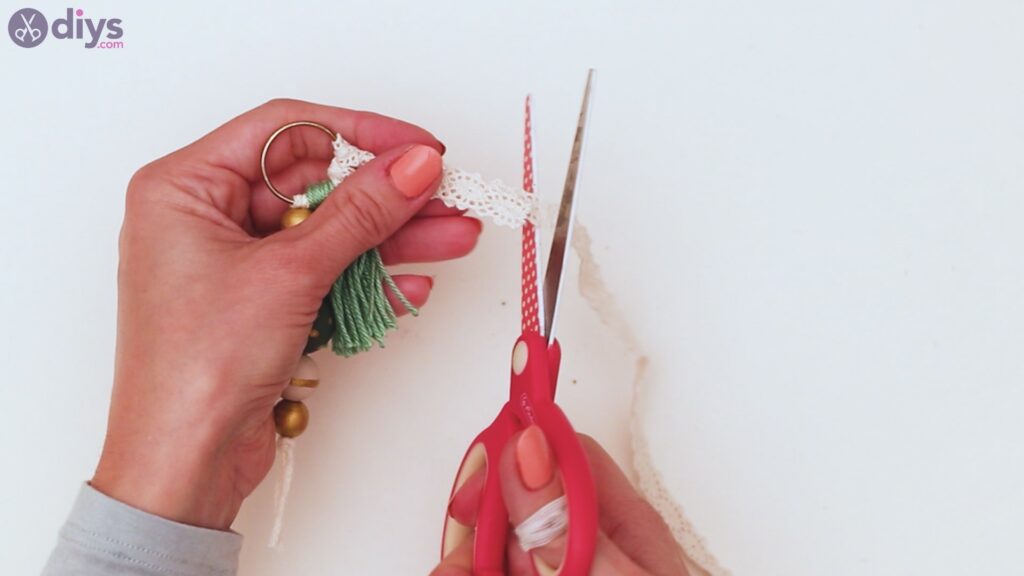
We still have the lace ribbon that’s been unused so far. Fold the ribbon a bit and push the material through the keychain ring.
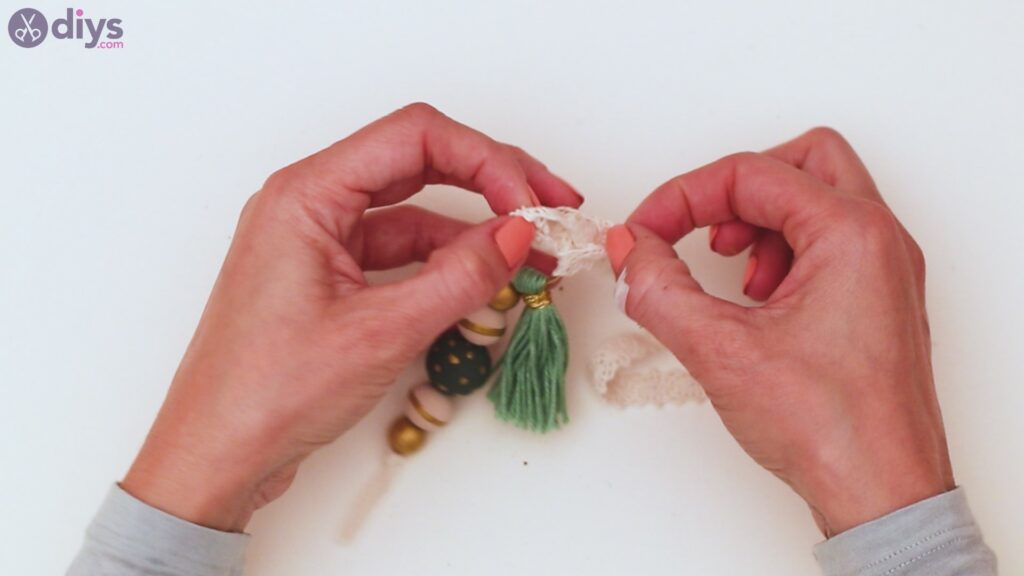
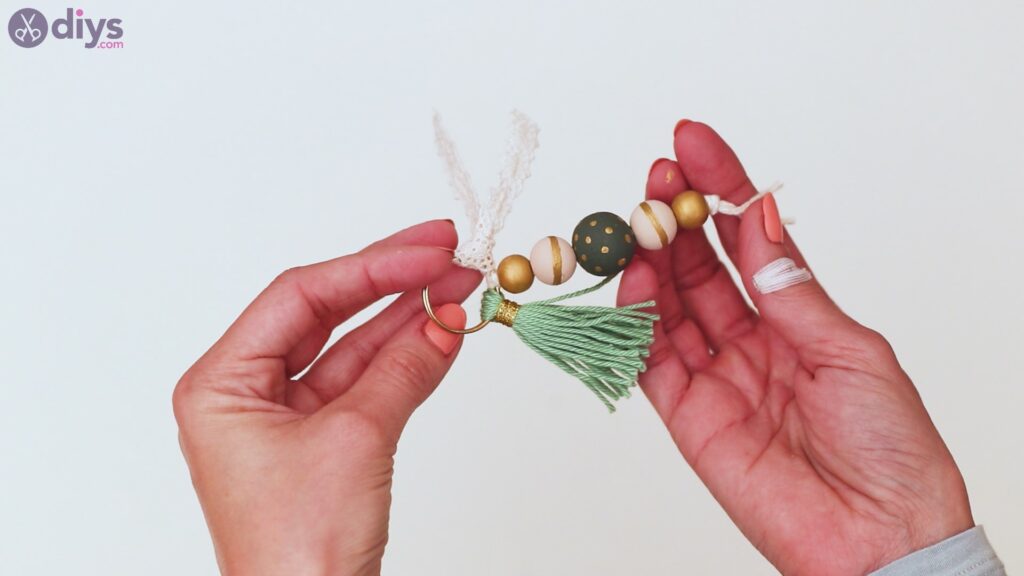
Bring the tails of the ribbon through the loop and create a knot.
Once the knot is done, trim the lace so the two tails match in length. We wanted the lace ribbon to match the tassel in length, but you can change that if you want.
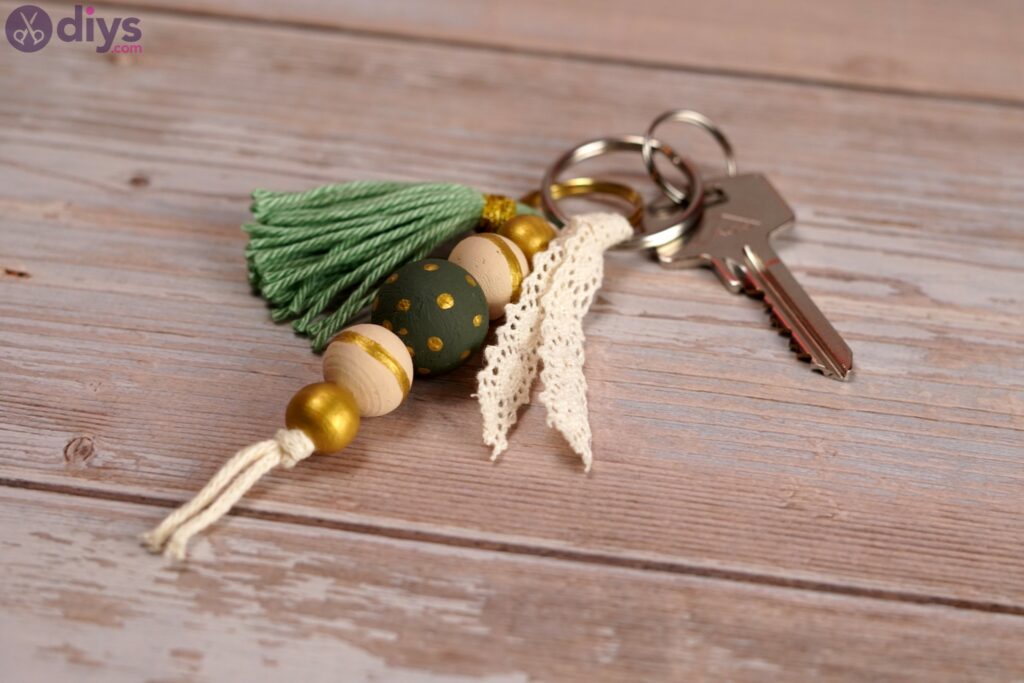
And there you have it! You now have a really cute keychain to add to your collection. Once you add in the keys, they’ll be so much easier to find in your bag or even on your countertop.
Obviously, the design can suffer some alterations if you so desire – you can paint the beads a different color, choose different colored yarn for the tassel, use fewer or more beads, and soon. Whatever changes you’ve made, we’d love to hear about it in the comments section below and we’d also love to see the pics over social media, so share them with us.
