DIY Rope Wrapped Vase – Make the Perfect Gift
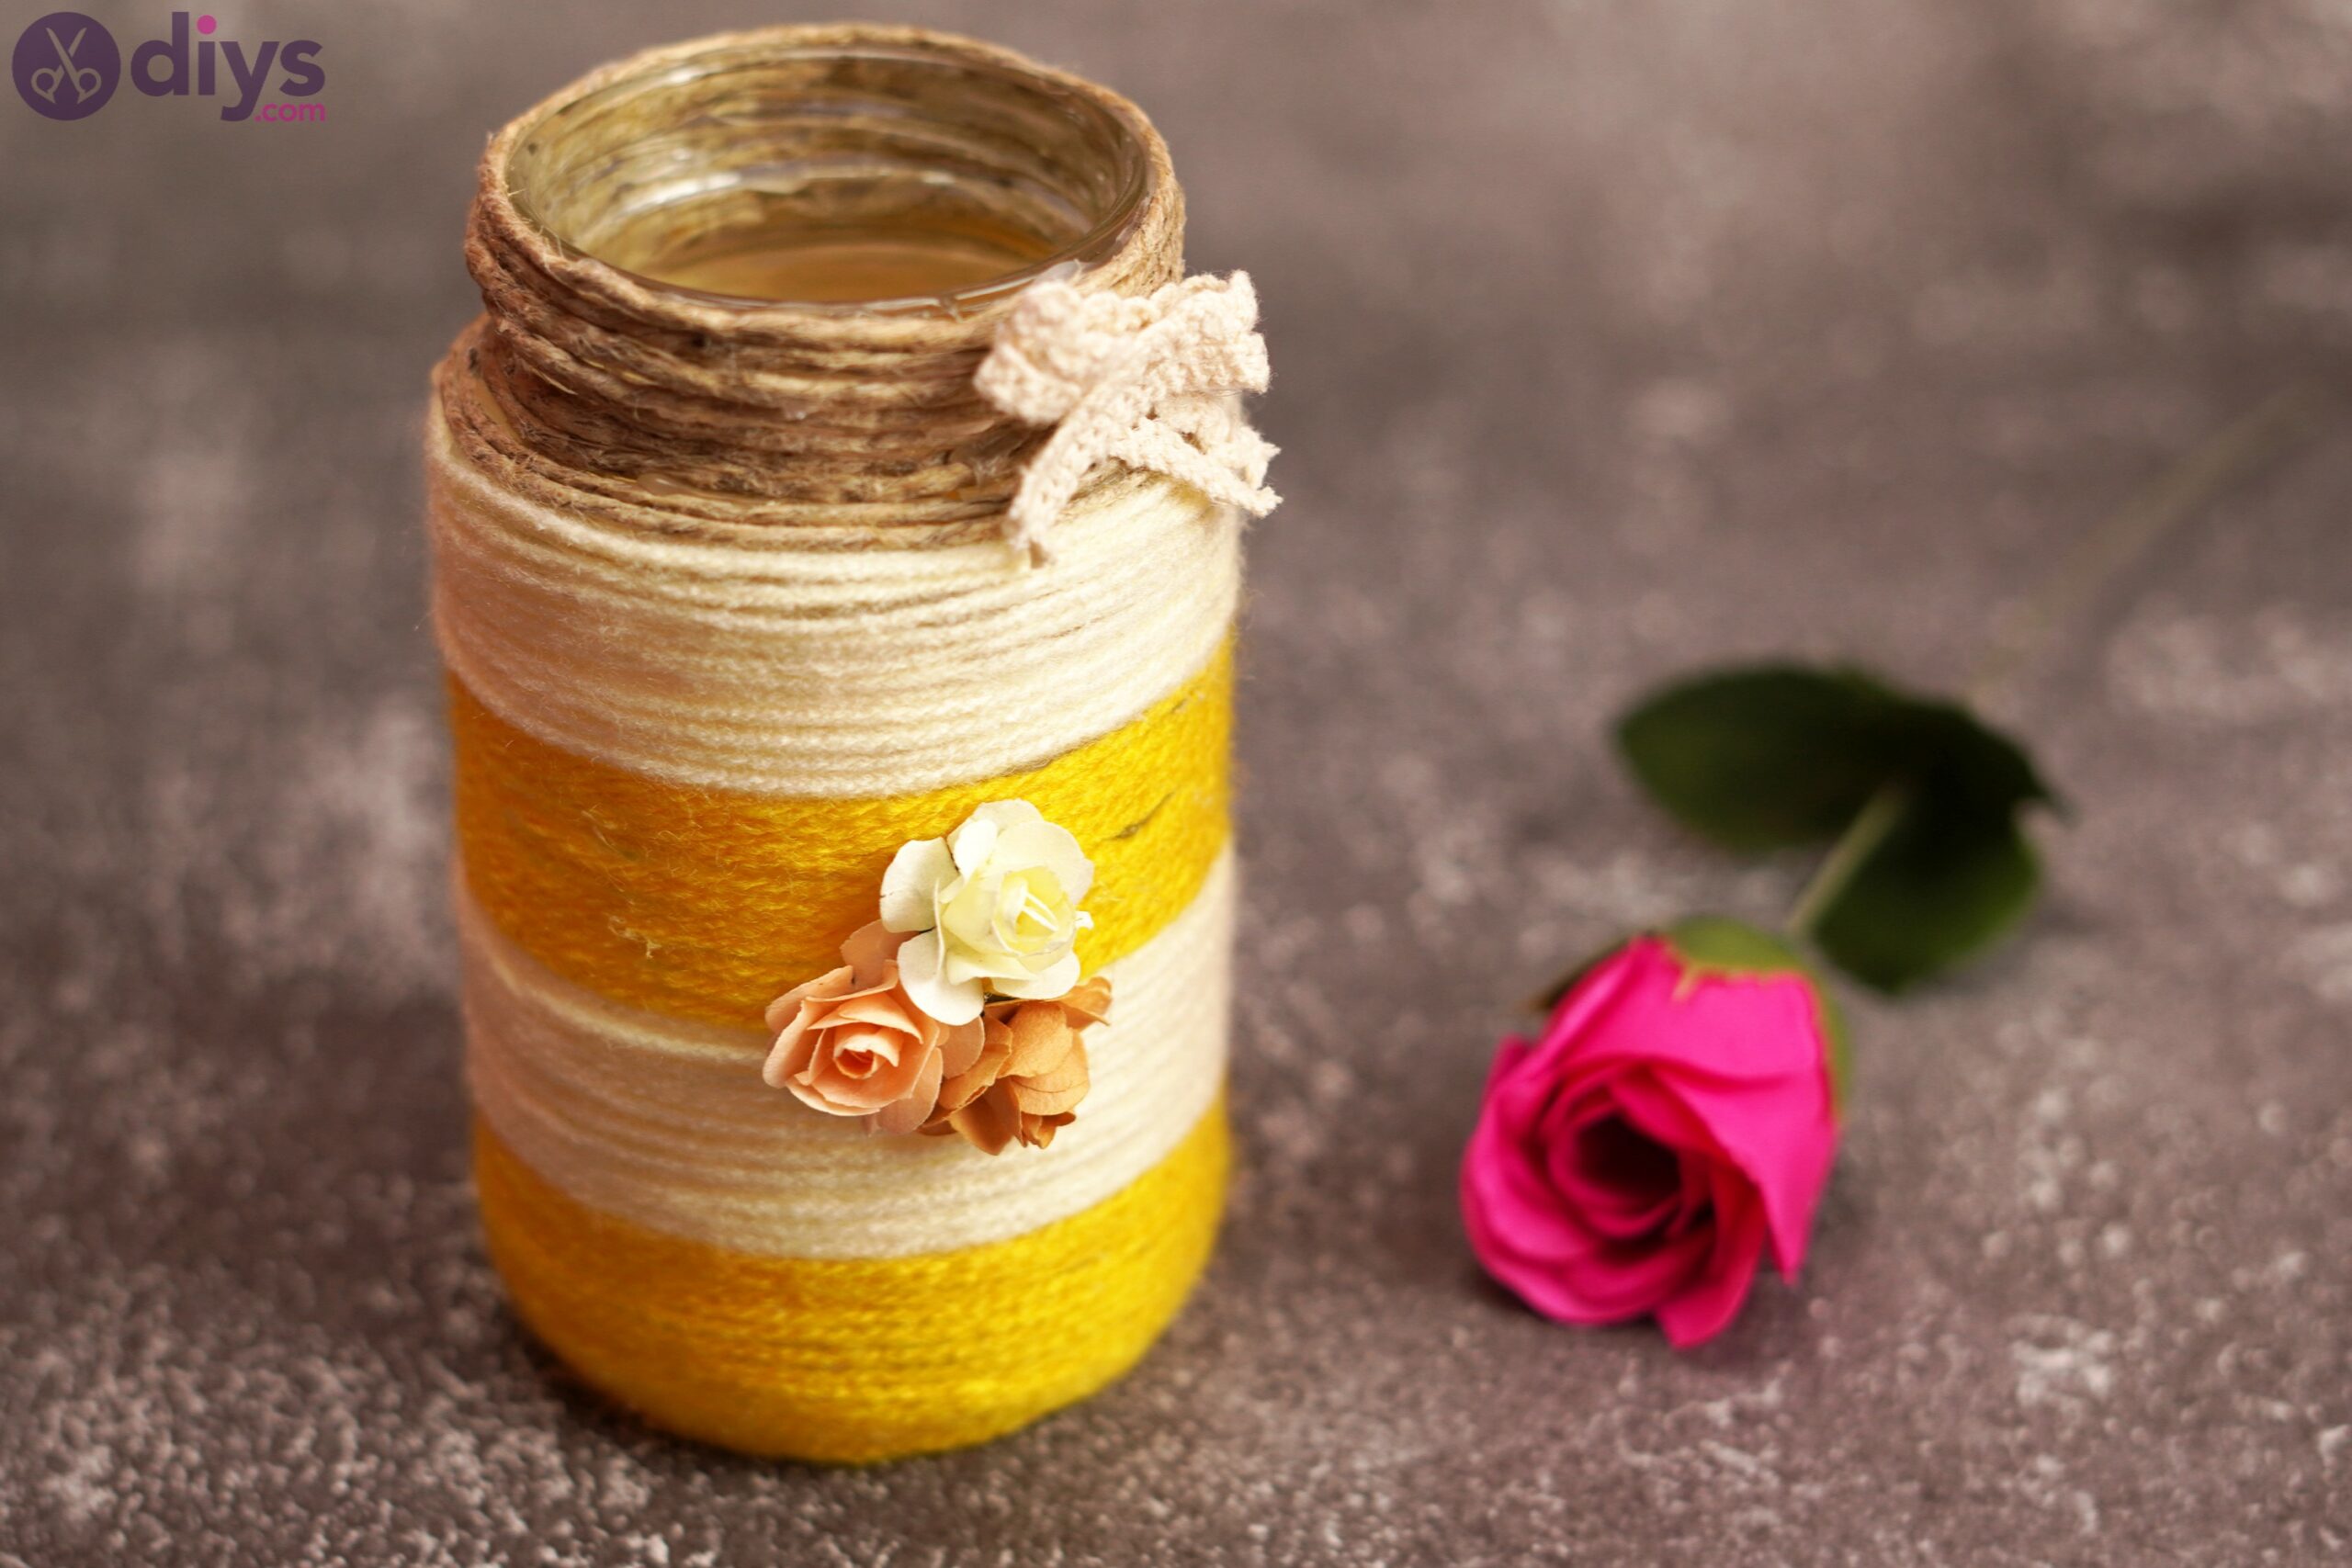
Vases come in many shapes and colors, but the prettiest ones are always those you make yourself. Whether you need an extra vase for yourself or you want to gift one to your best friend, sister, or mother, we have a cool craft project for you – a rope wrapped vase.
This will require things you likely already have in your home, which means you’ll have an easy time to get everything together and get started. Let’s see how we can create this cool project.
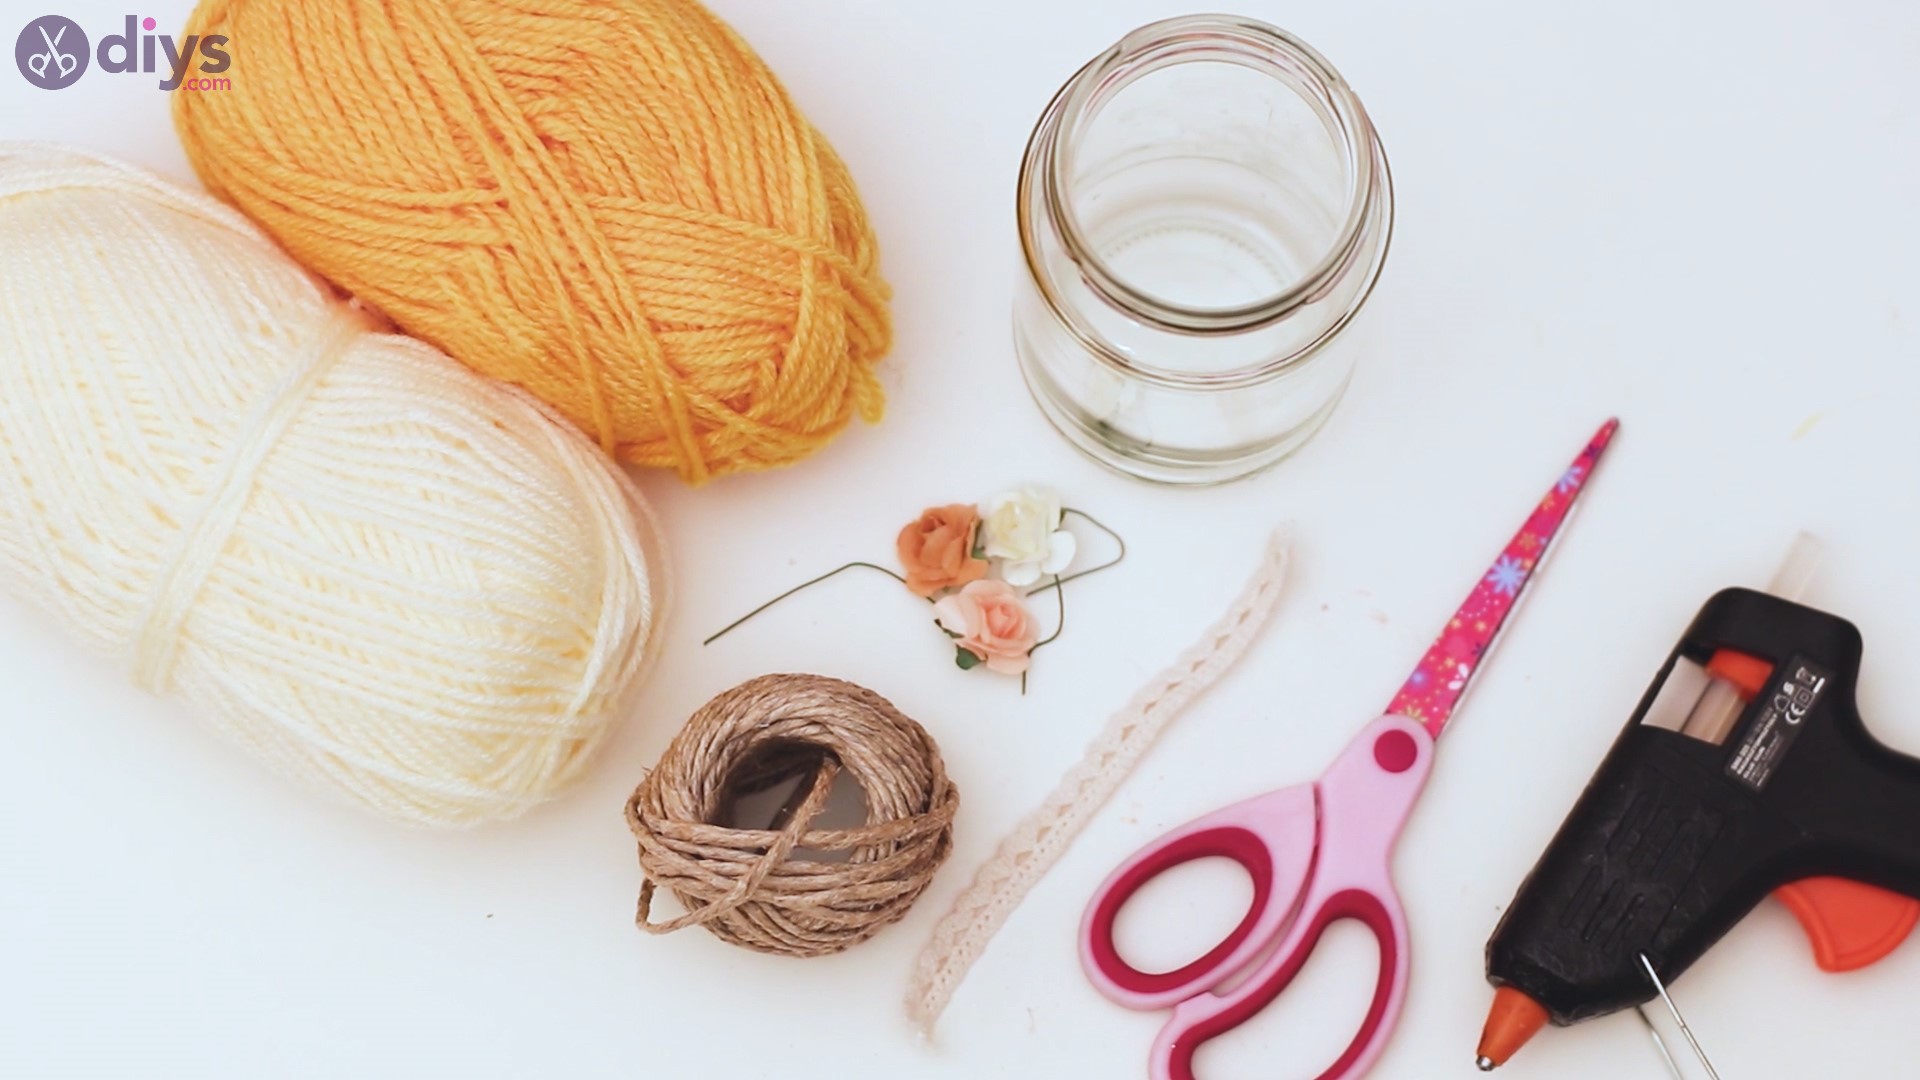
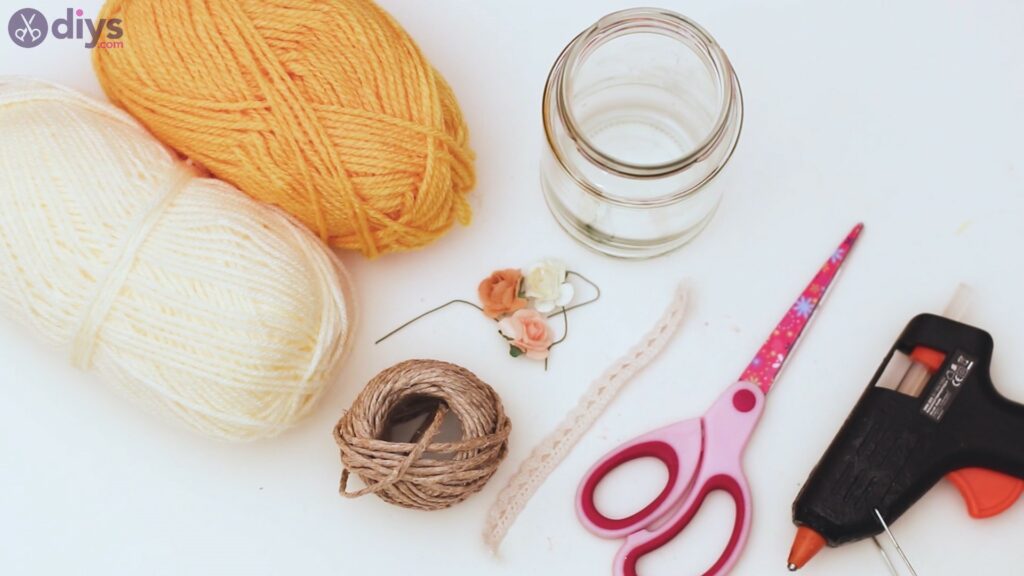
Materials for a rope wrapped vase
- yellow yarn
- beige yarn
- hemp twine
- artificial flowers
- lace ribbon
- jar
- scissors
- glue gun
How to make a rope wrapped vase
We’re going to start making our cute rope-wrapped vase in just a moment, but we want to make sure you have all the materials ready to go. Much like when you cook, it’s always best to have everything you need within reach so you don’t go running around trying to get something you forgot. Do you have everything you need? Let’s get started, then!
Step 1: Wrap the rope around the jar
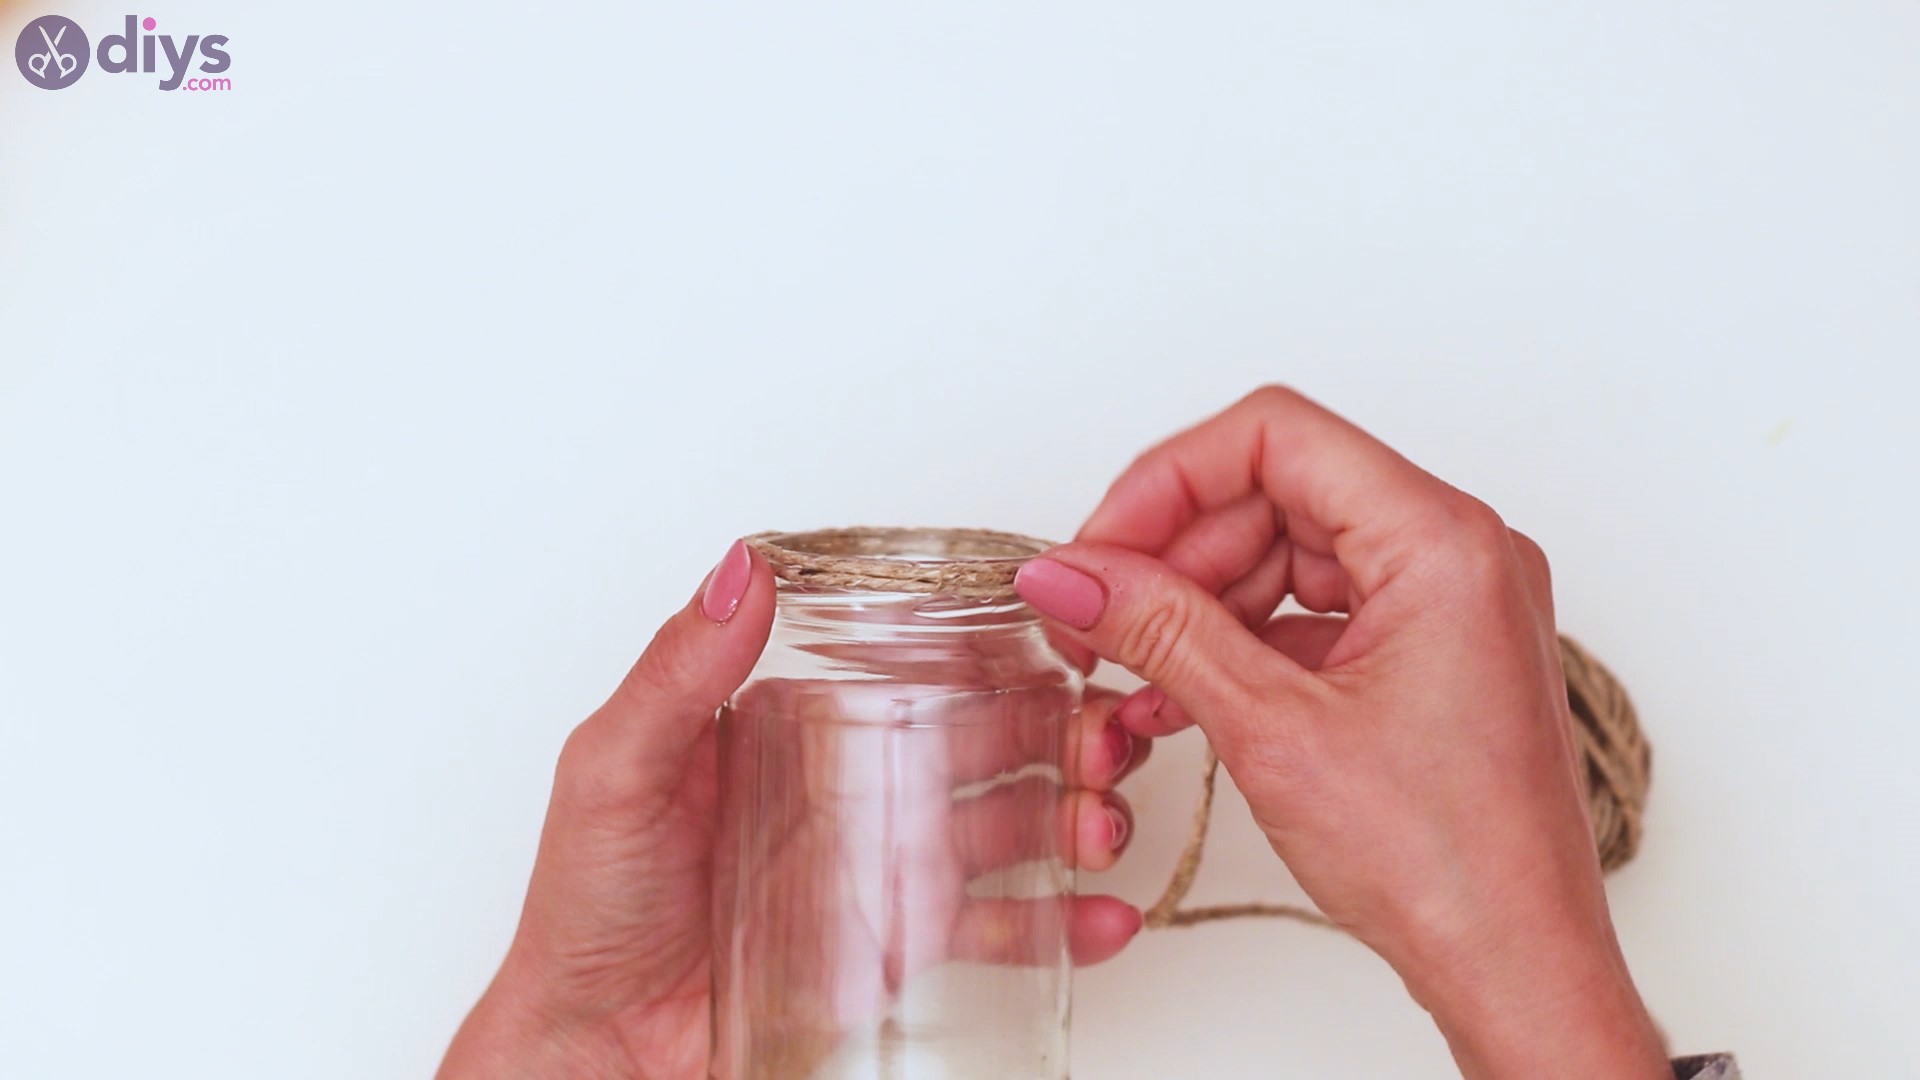
We’re going to start our project at the very top! First of all, you need to make sure you have the right-size jar for your needs. For this particular project we chose a smaller jar, but you can go a few sizes bigger, depending on how big the bouquets you have usually are.
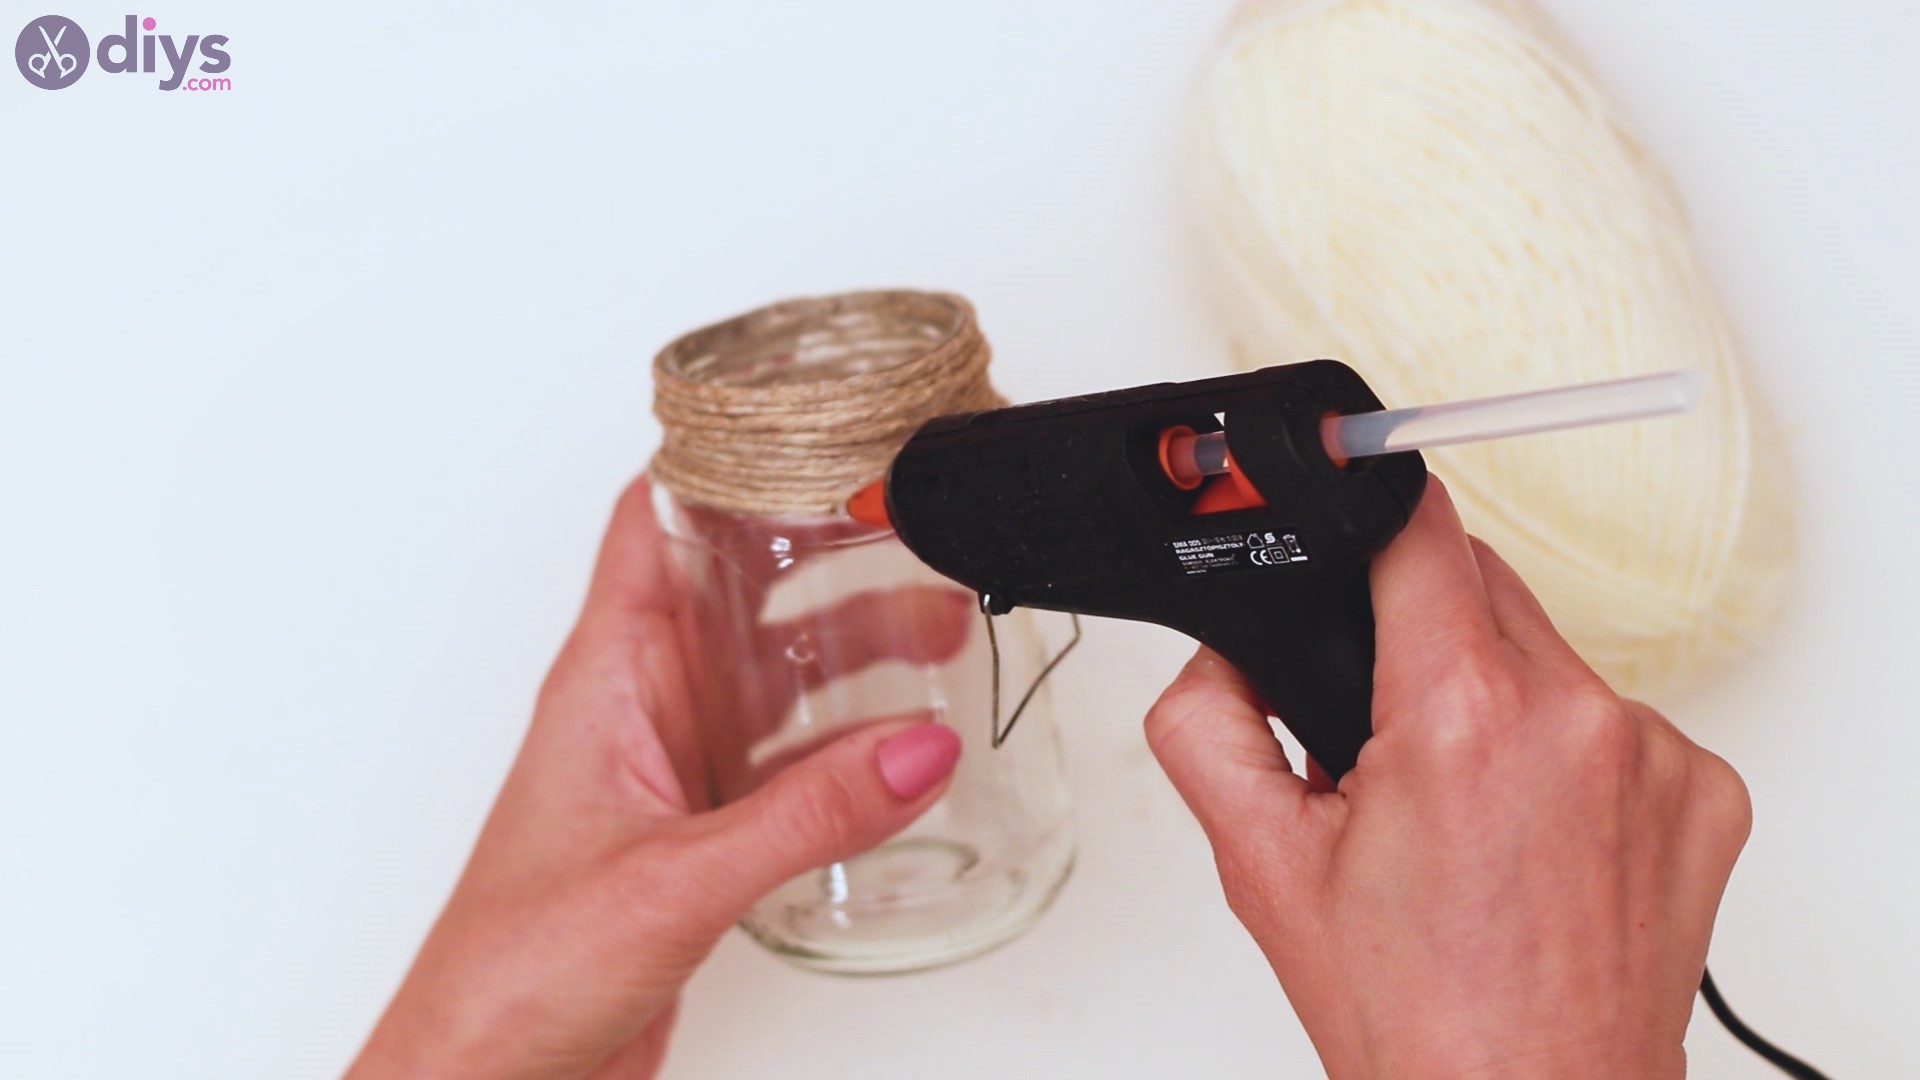
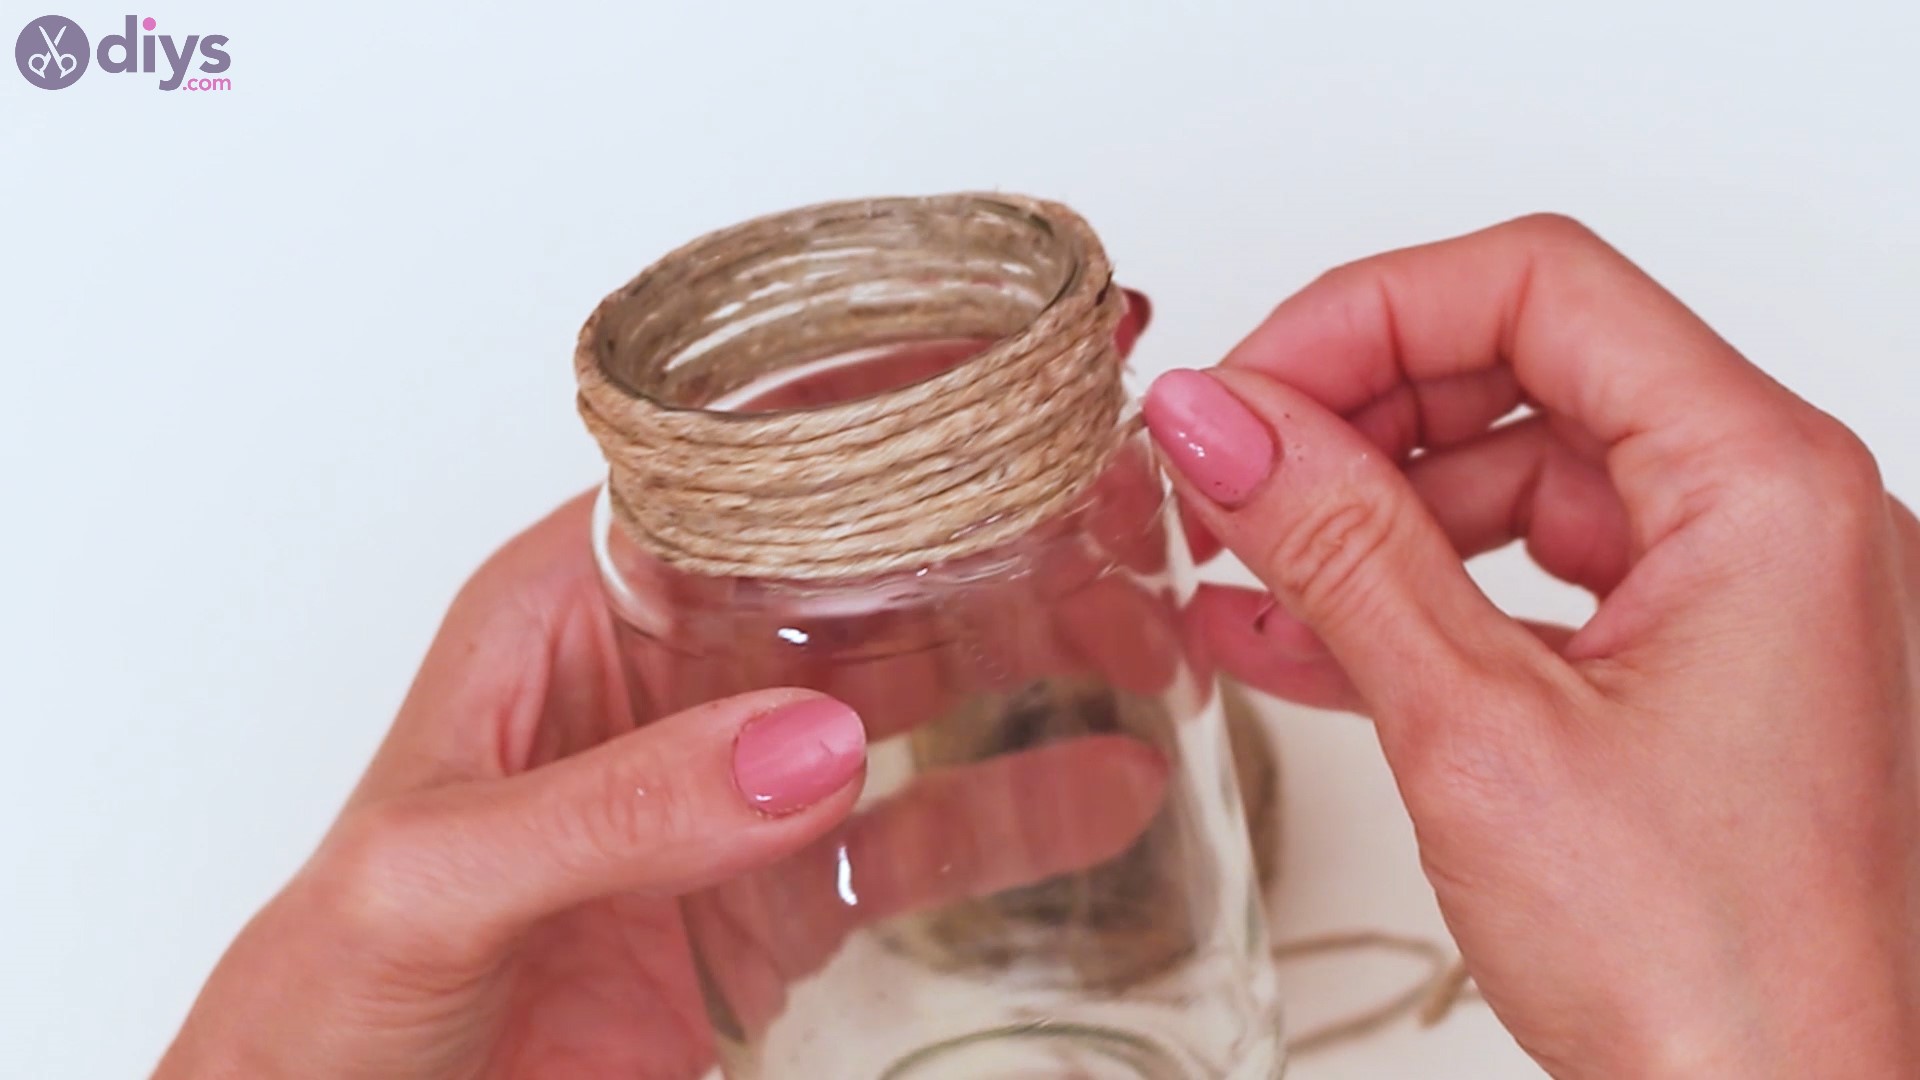
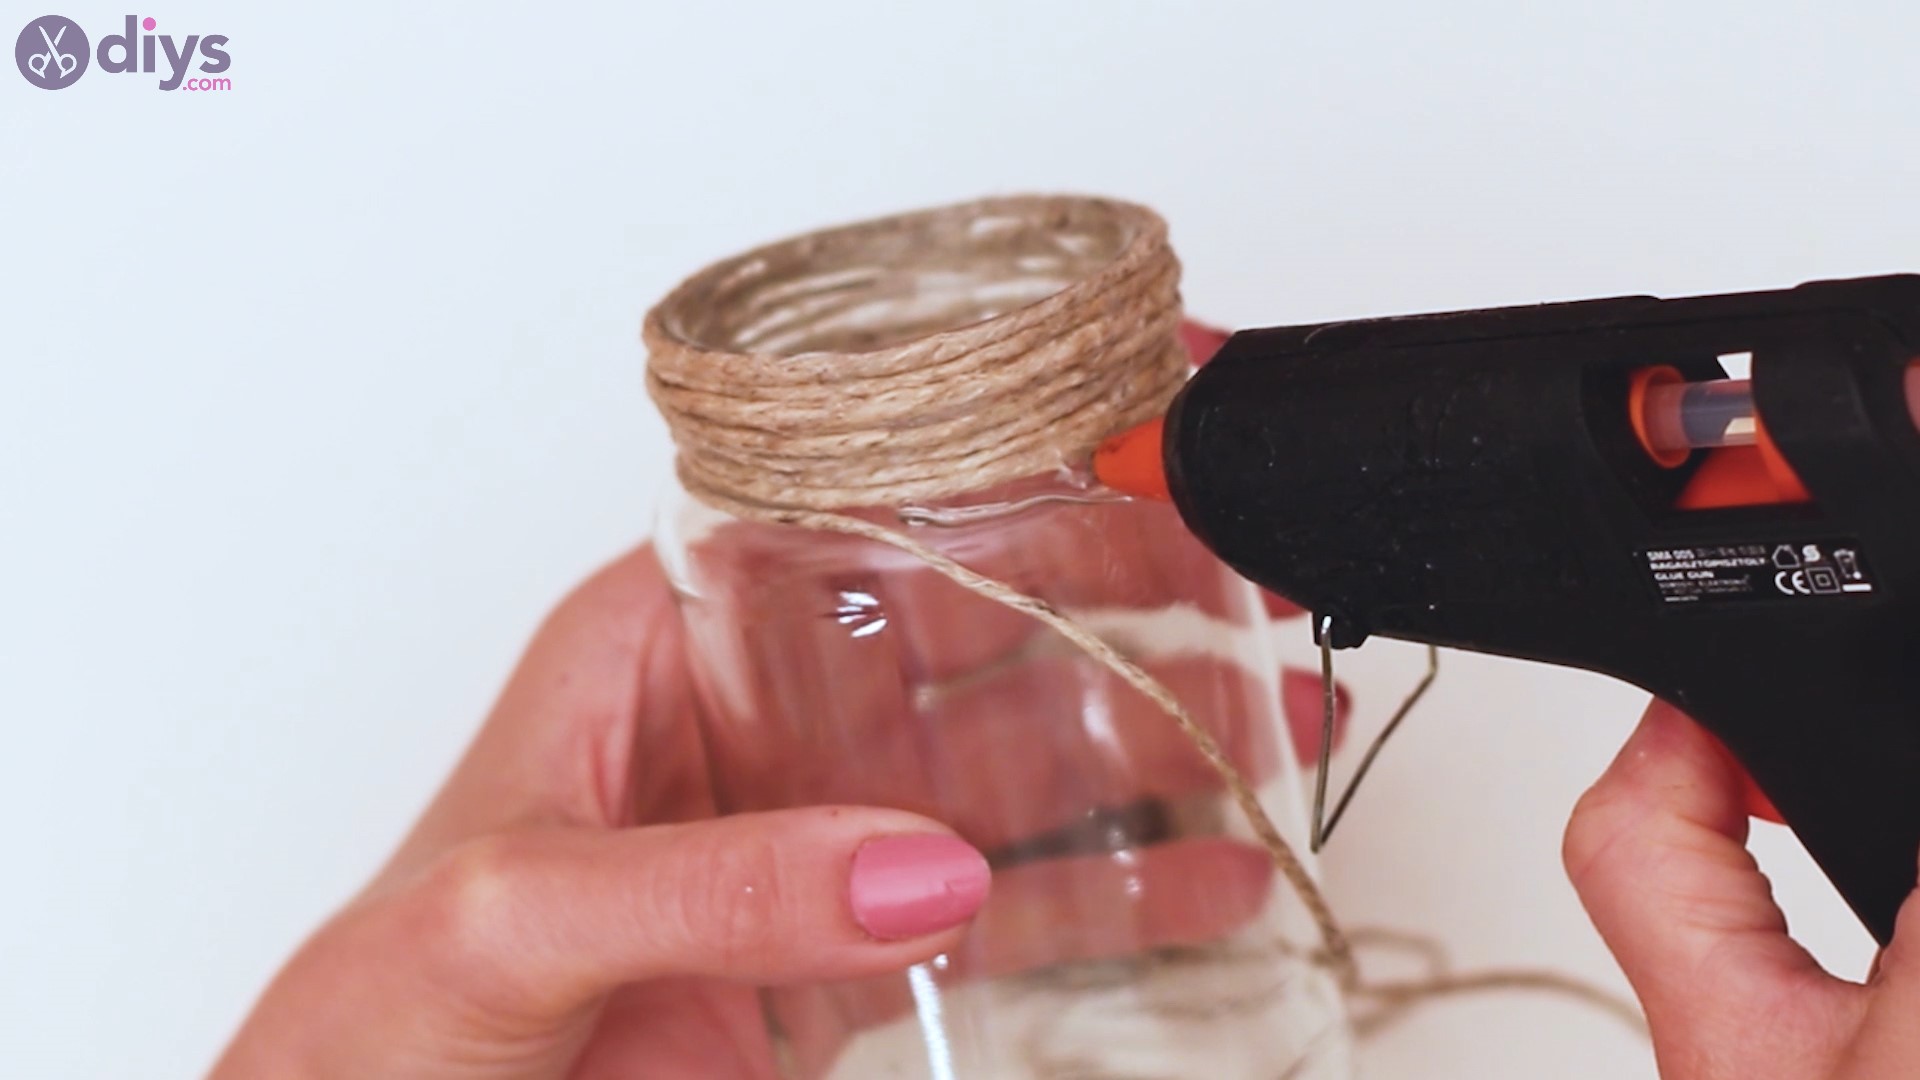
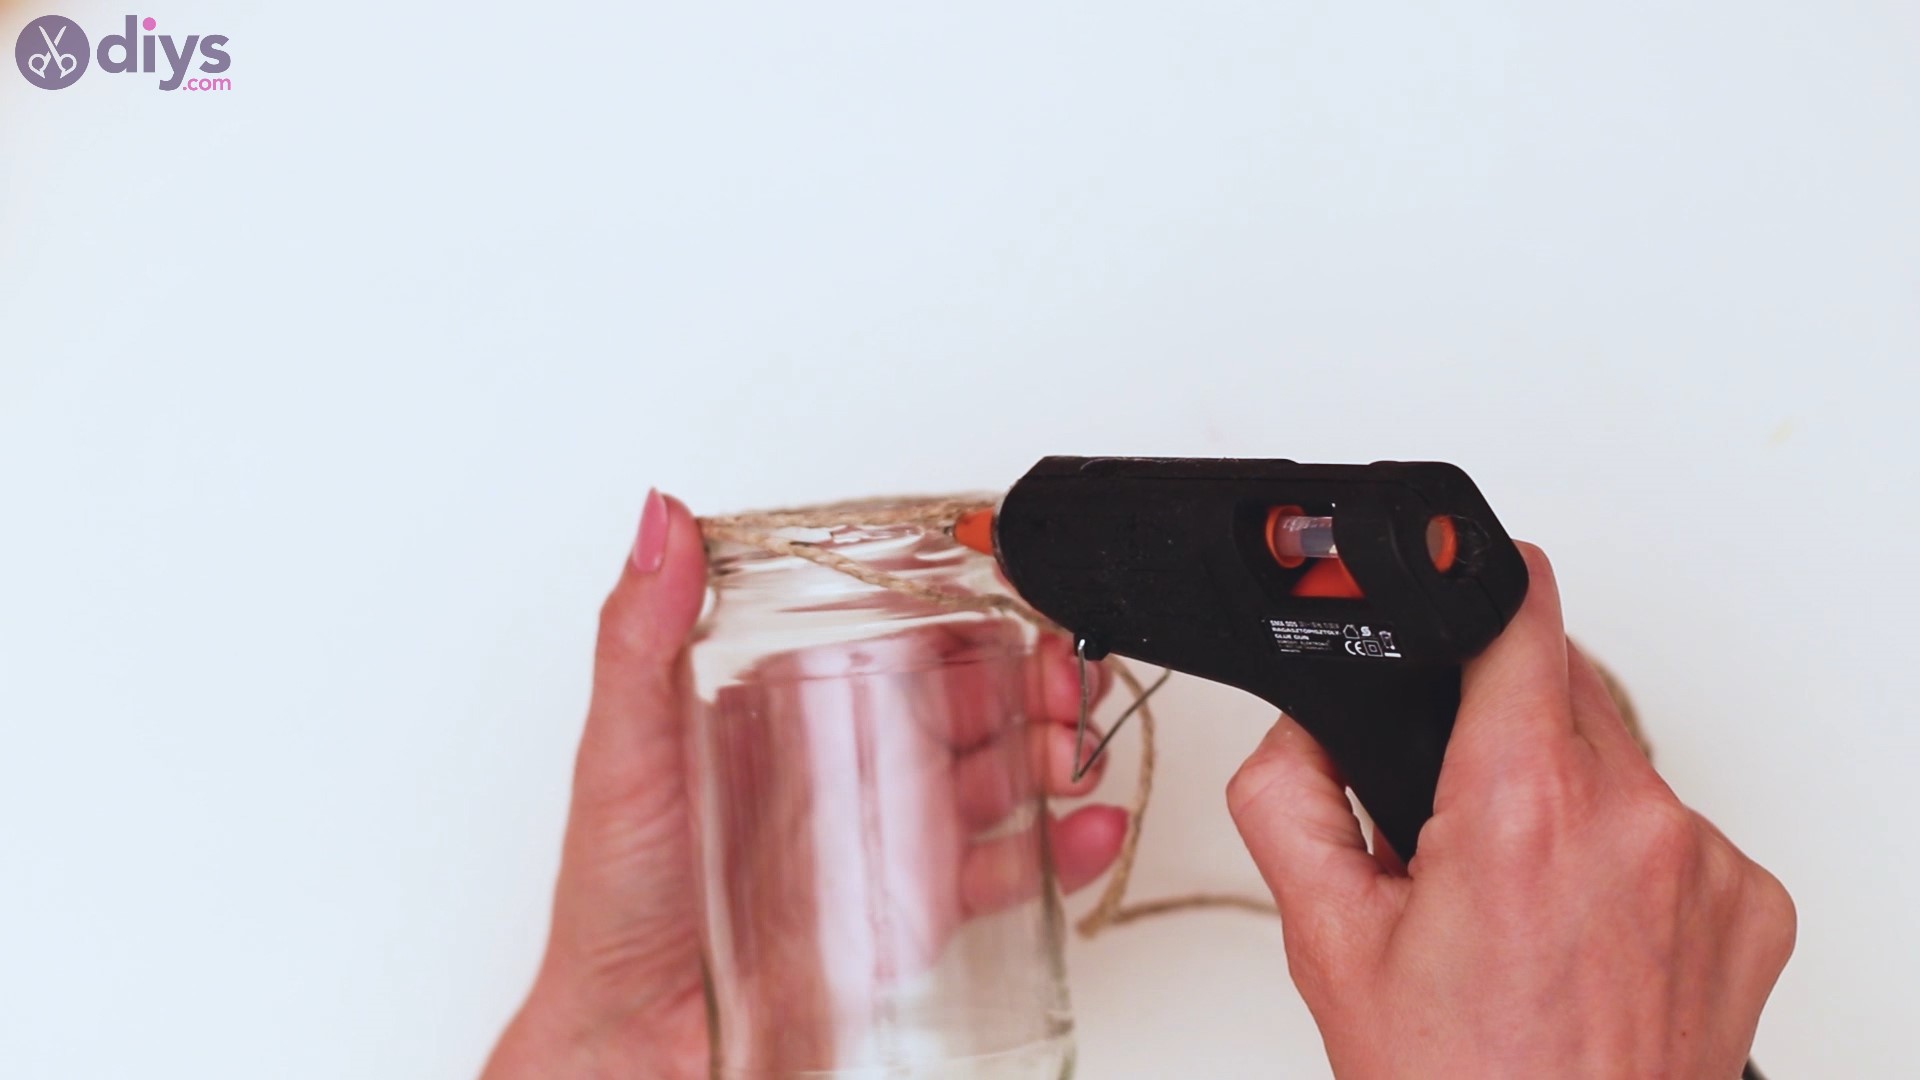
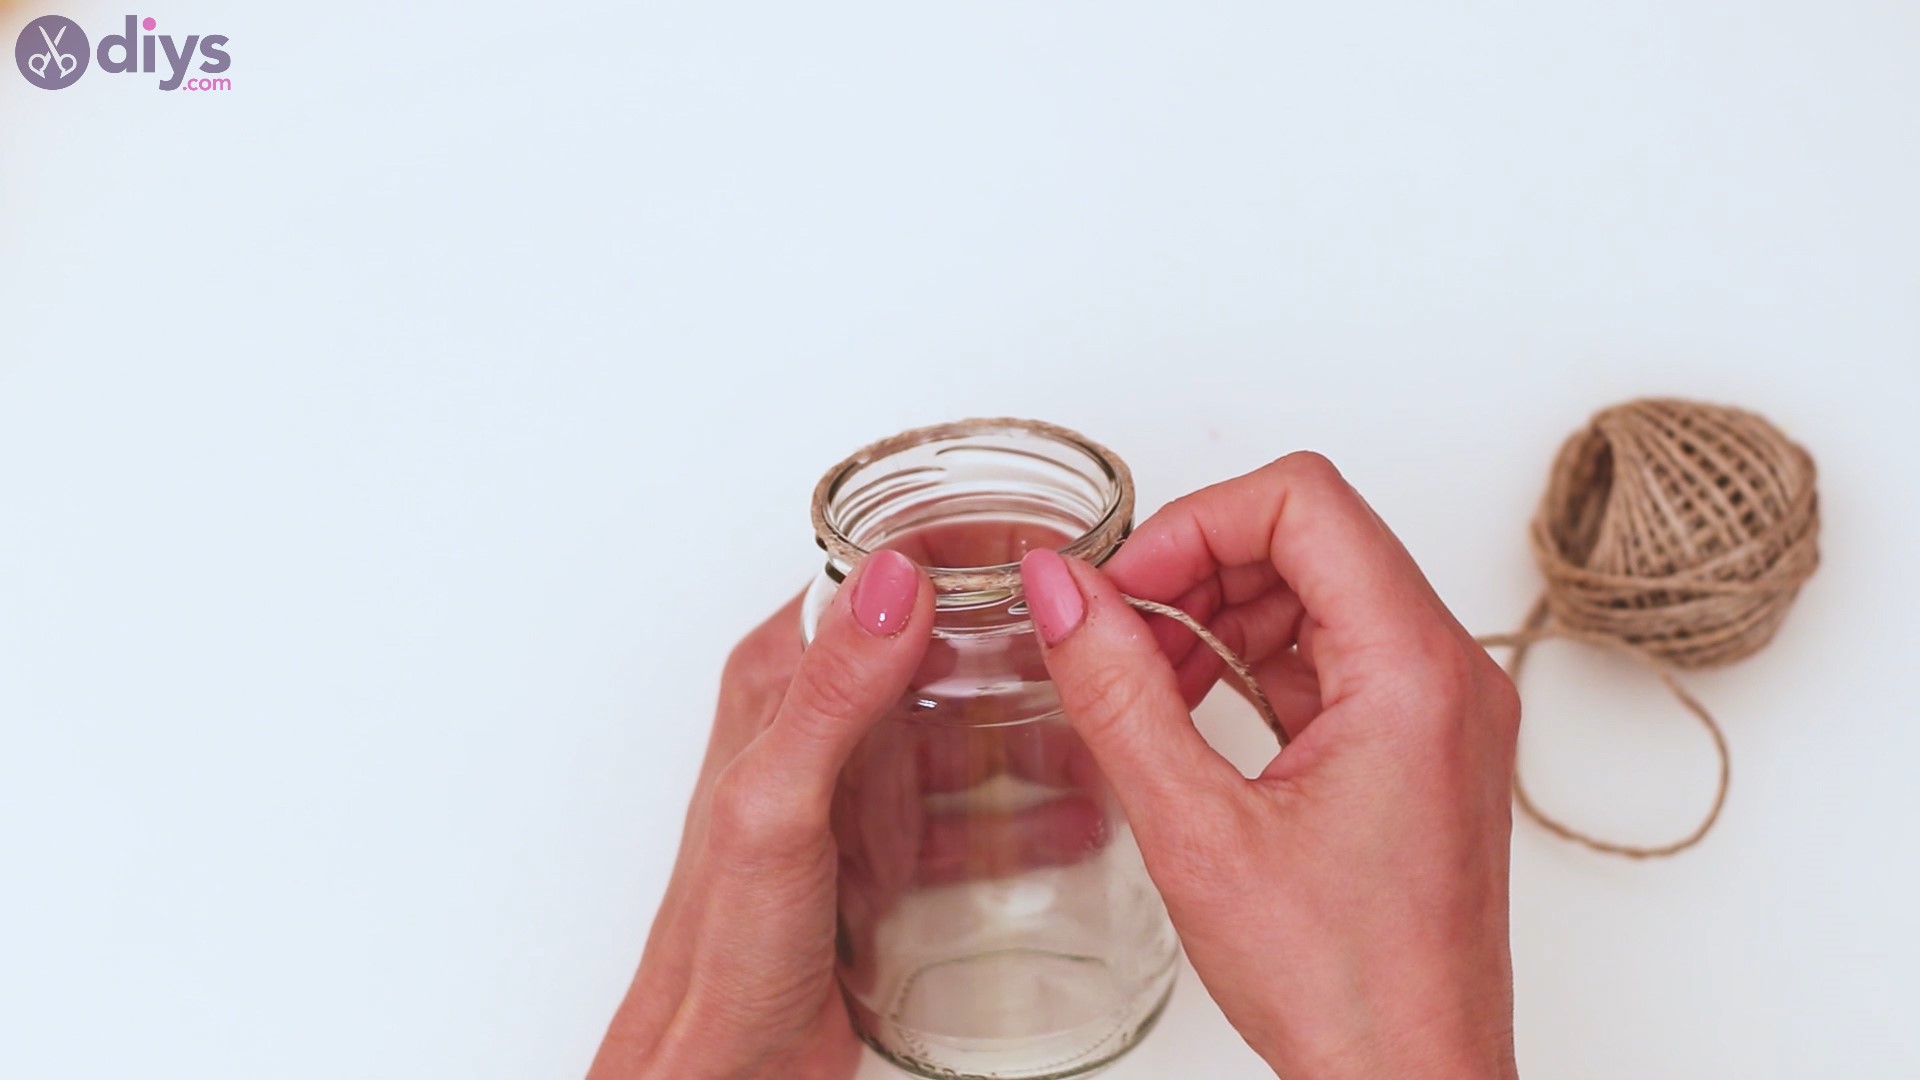
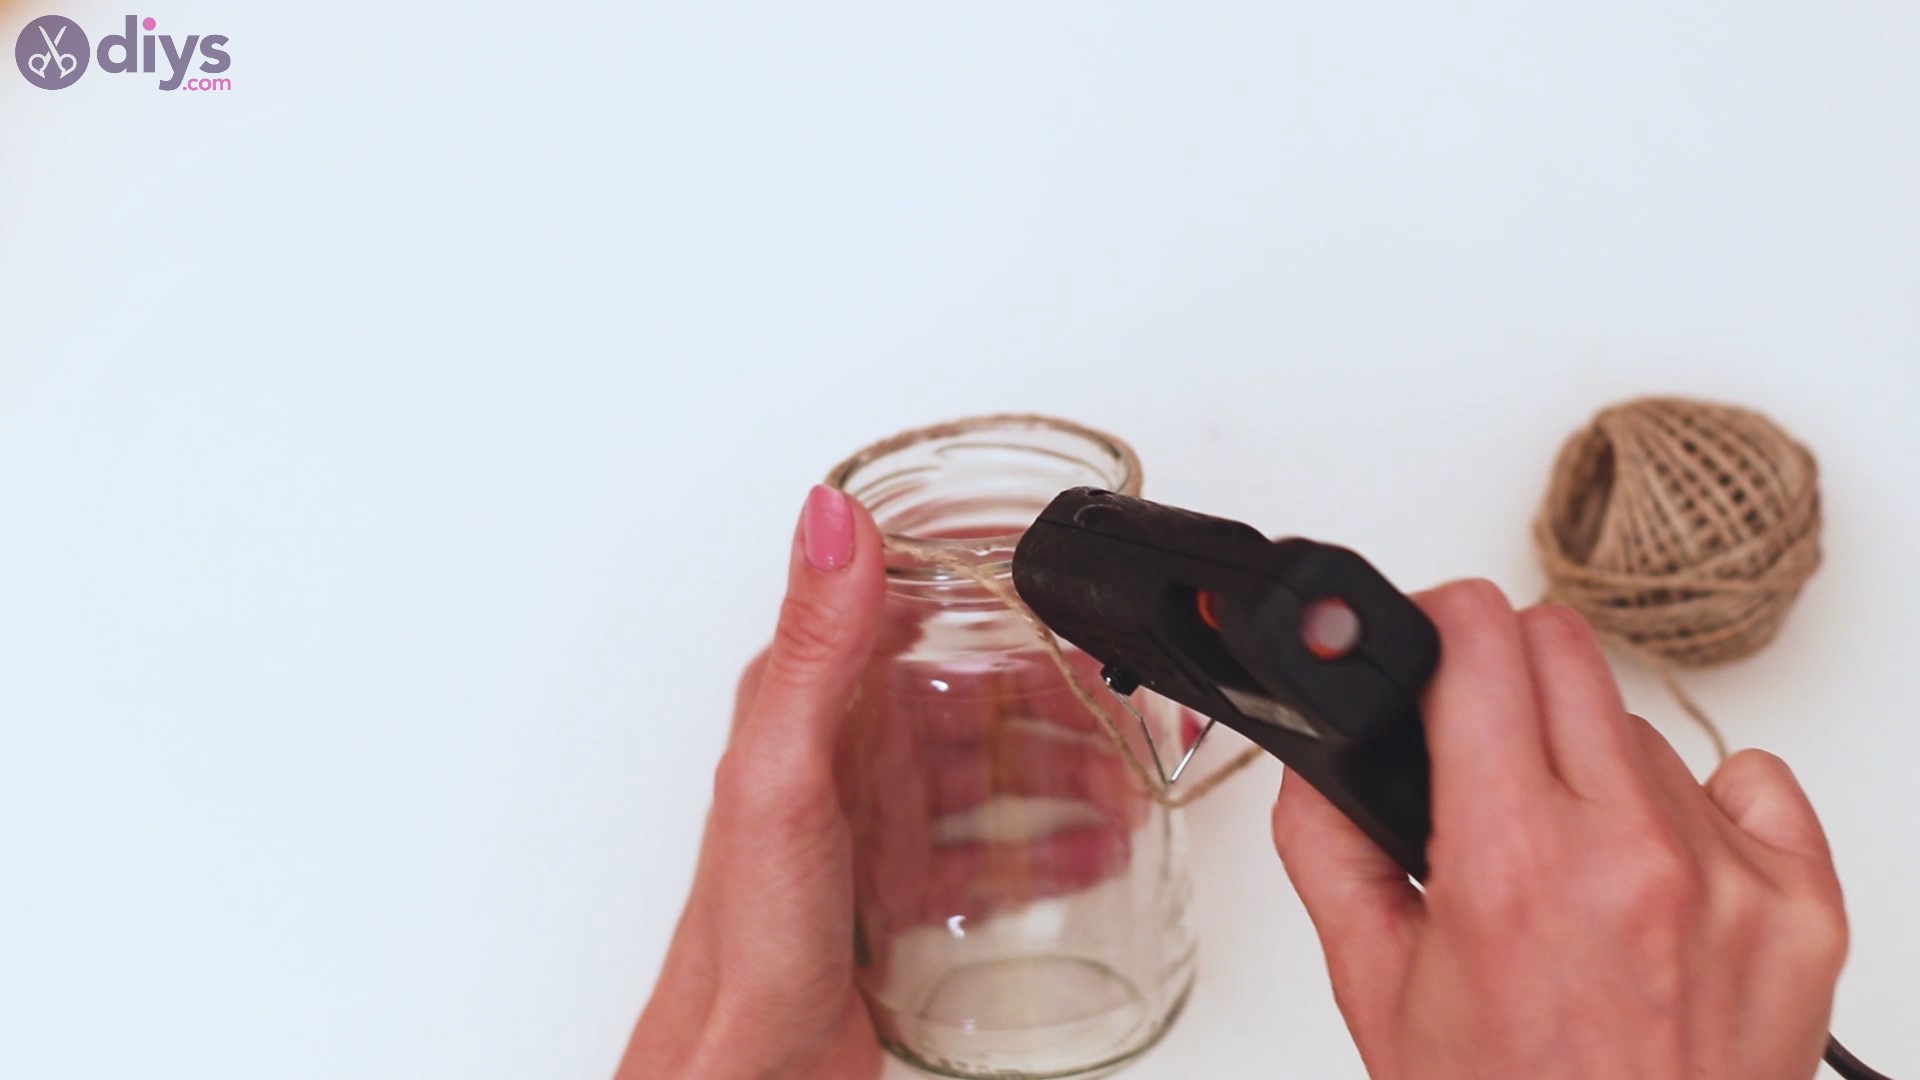
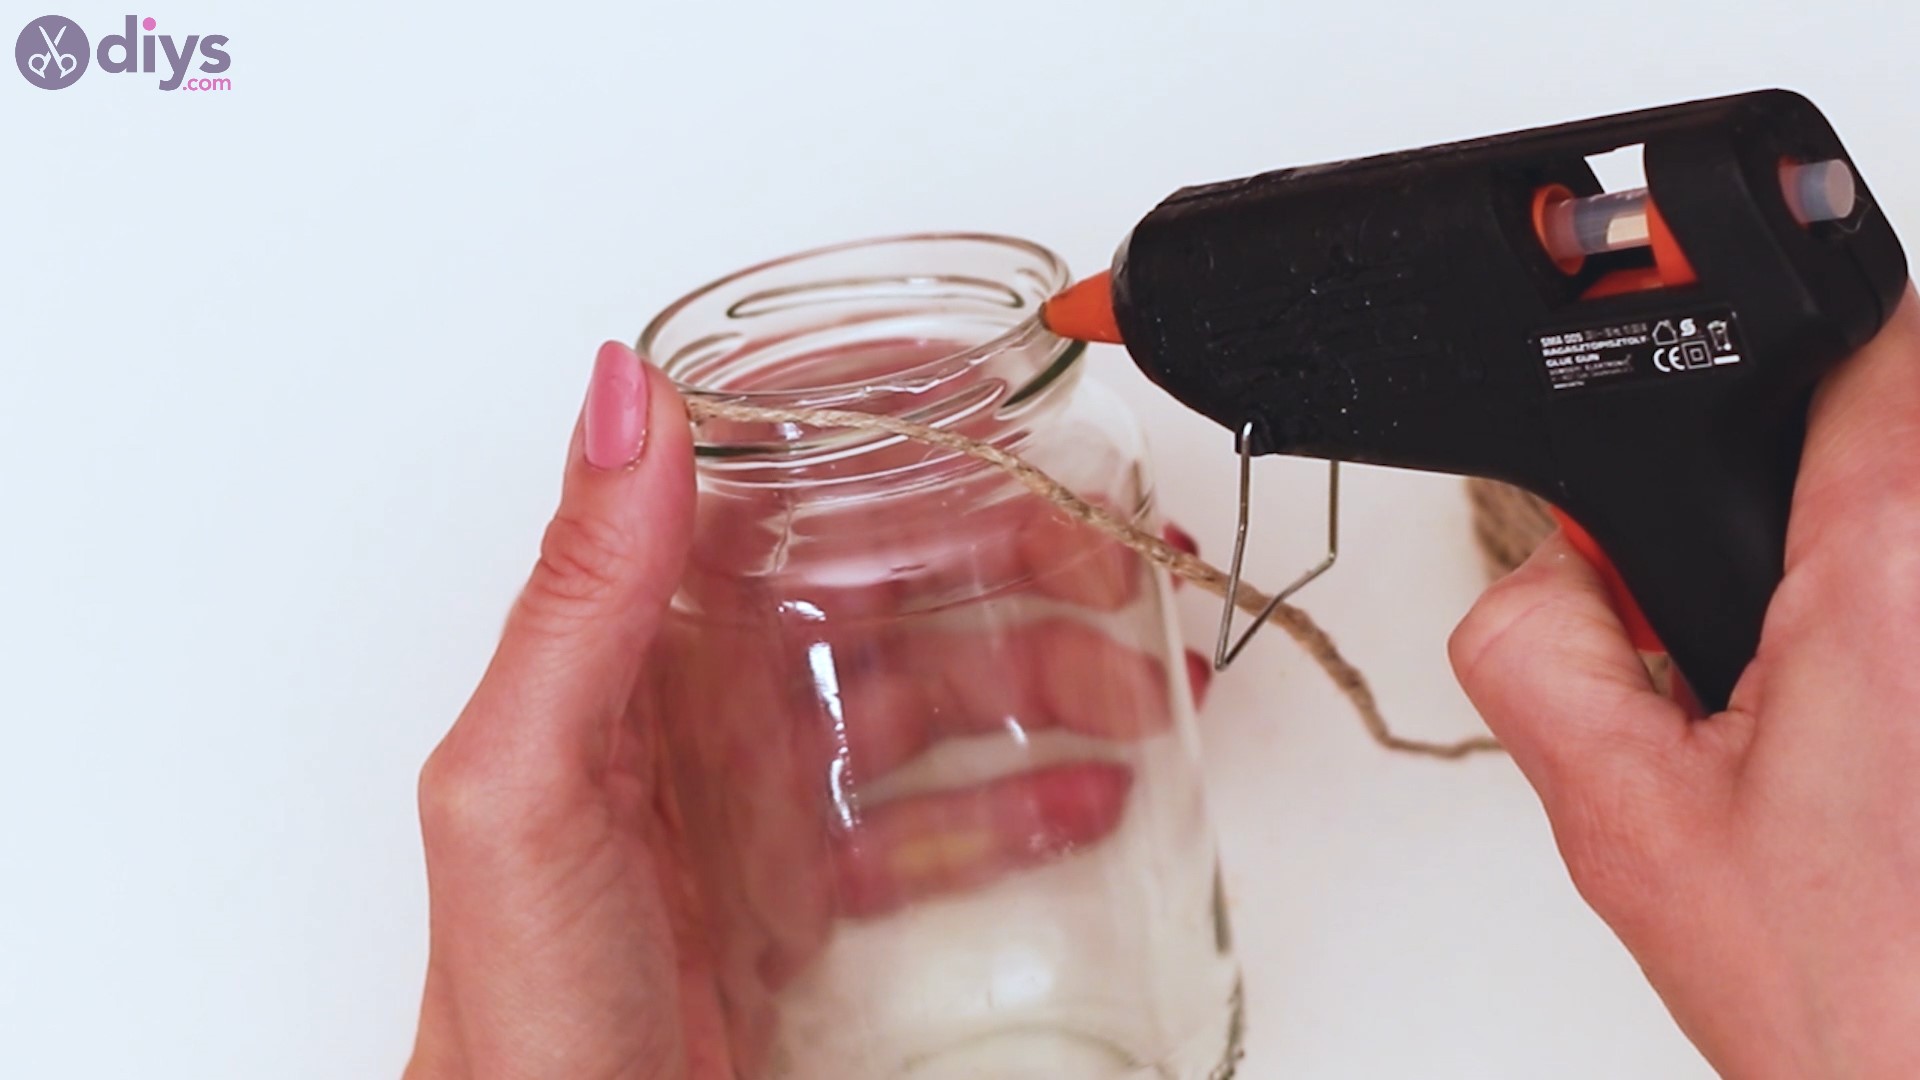
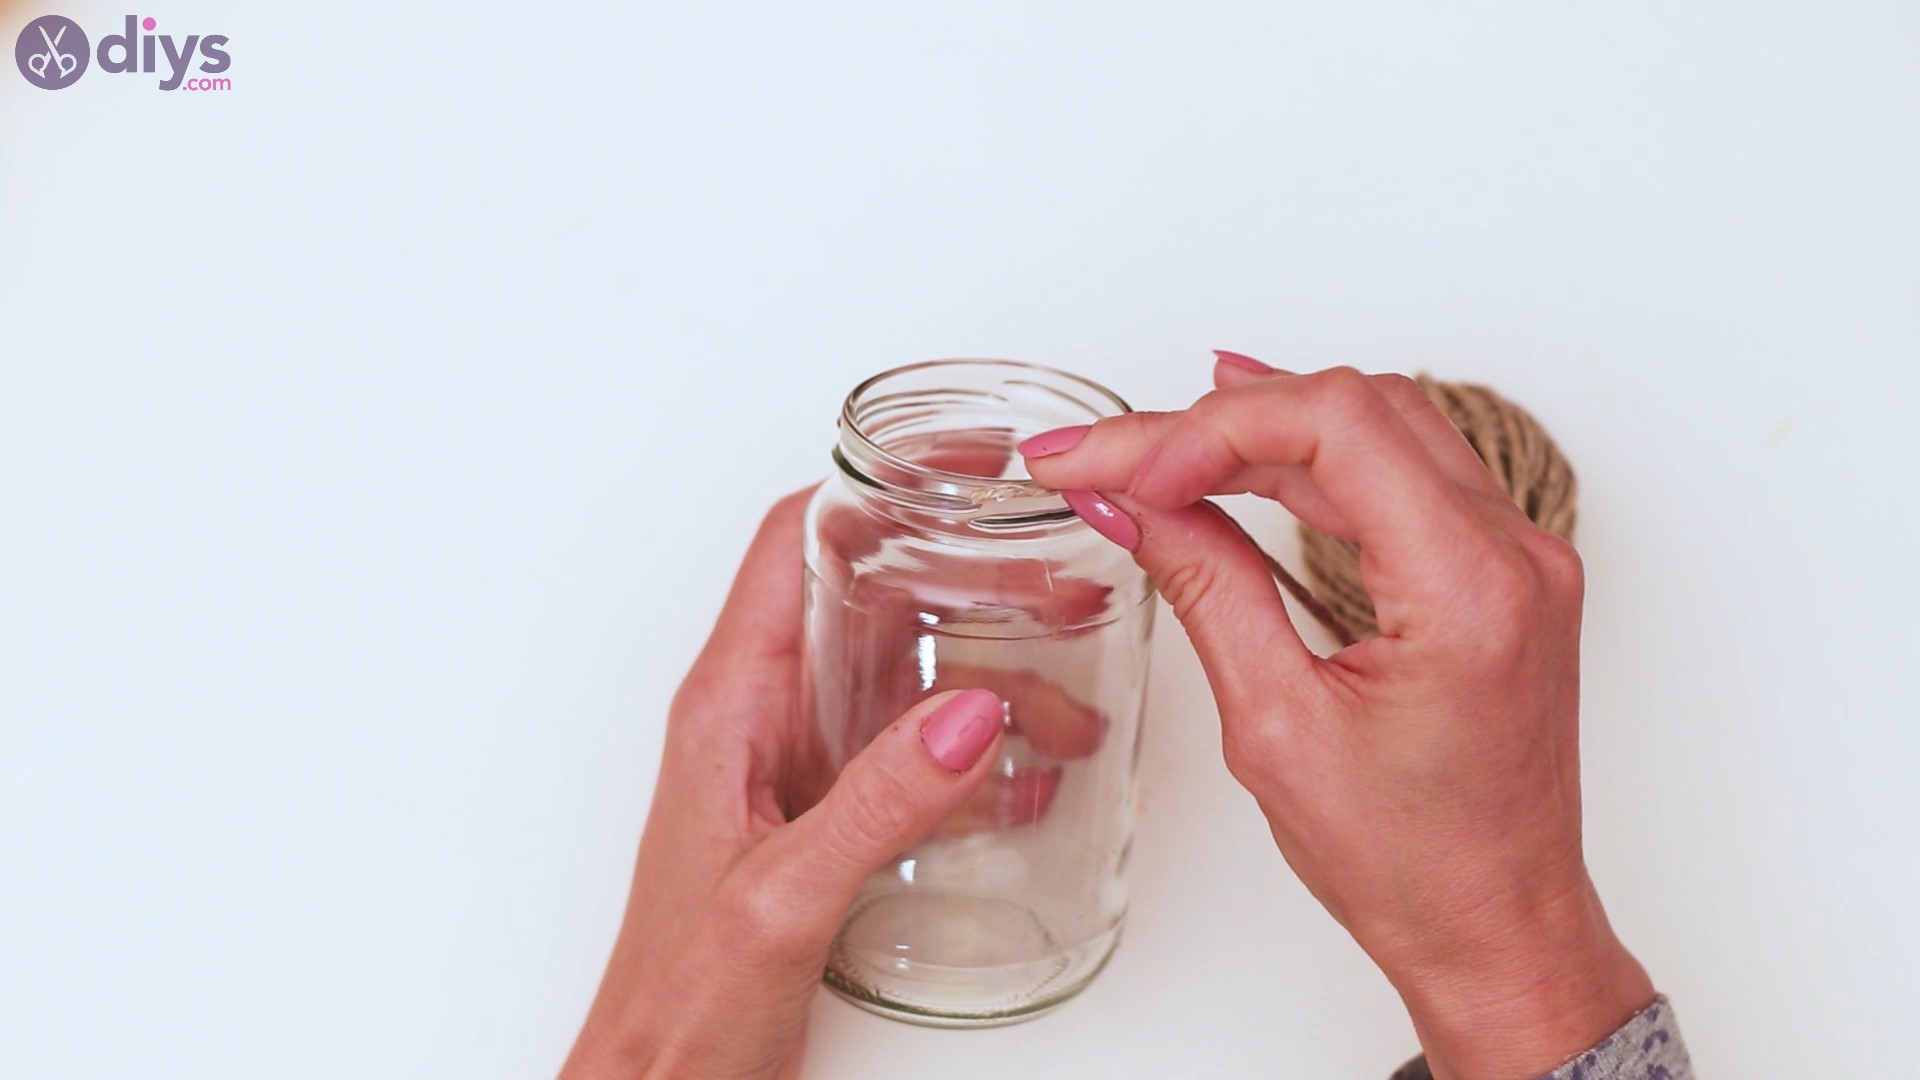
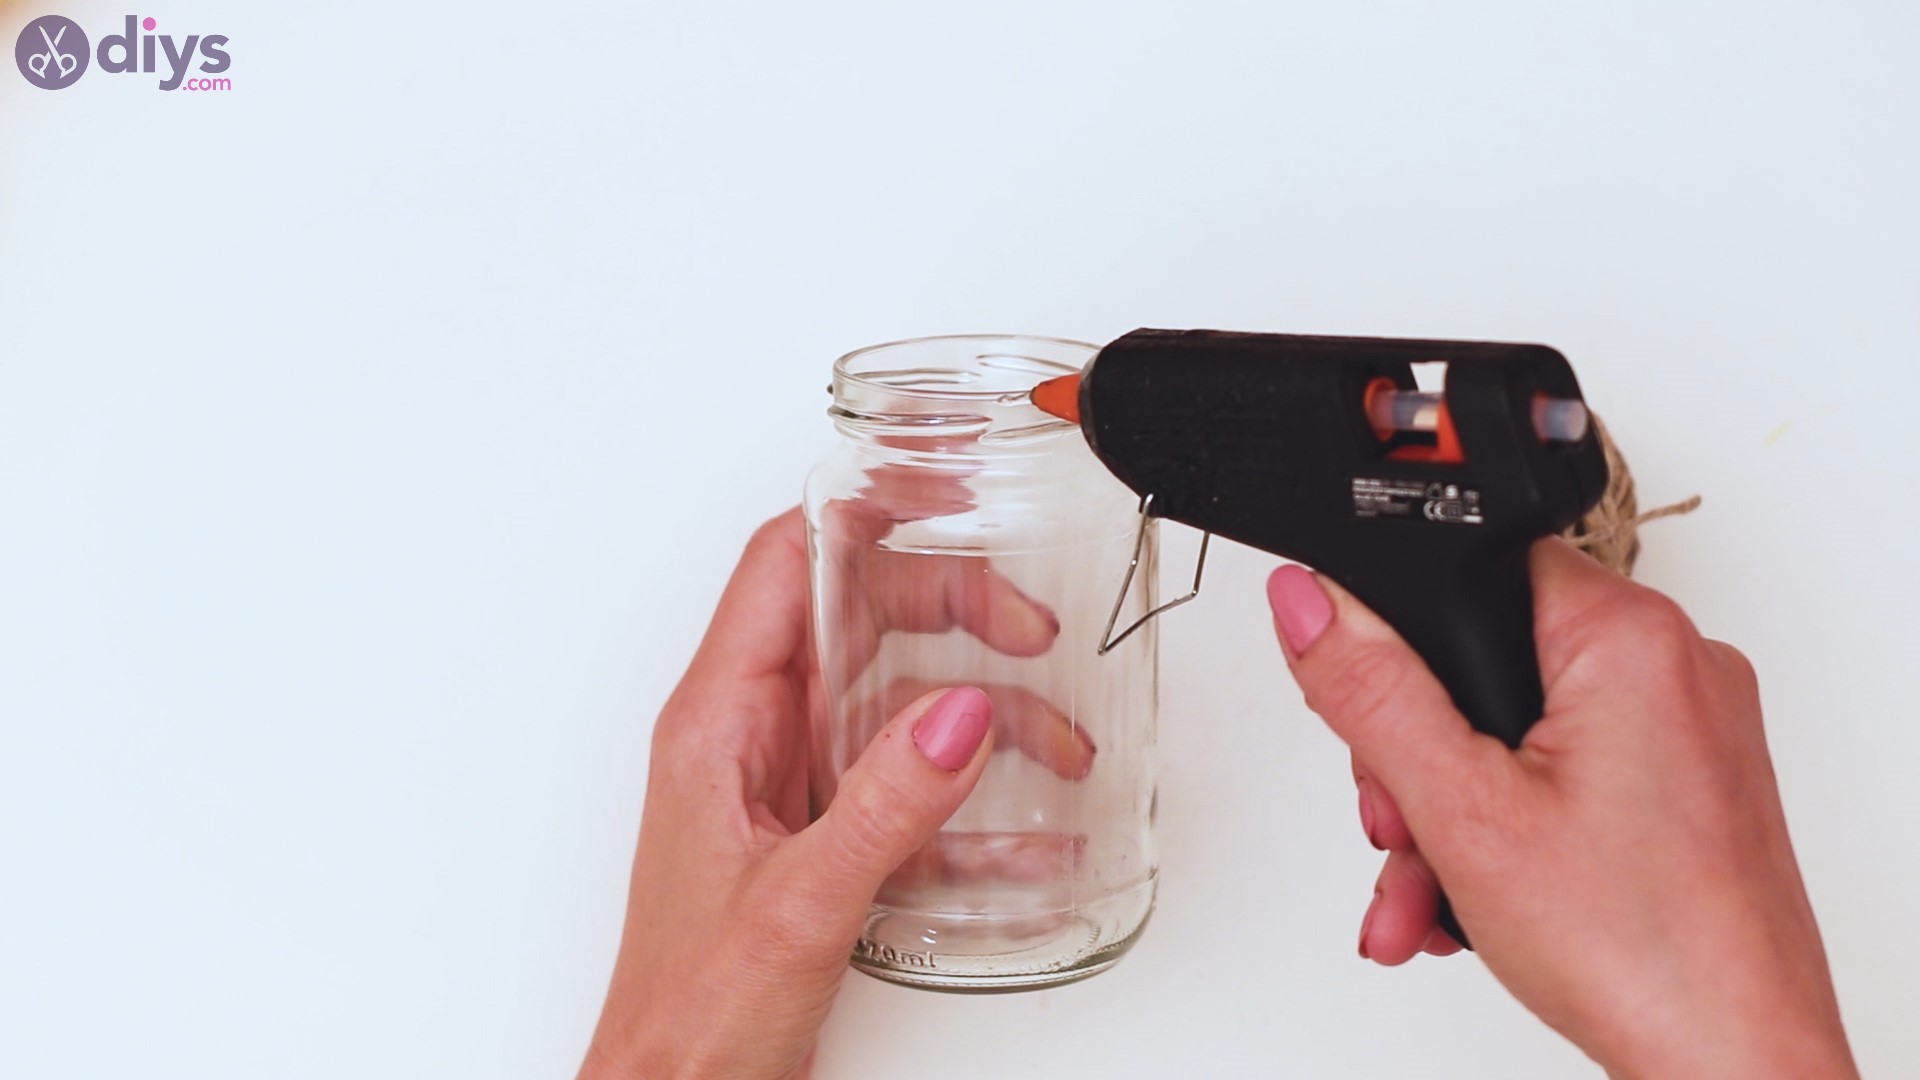
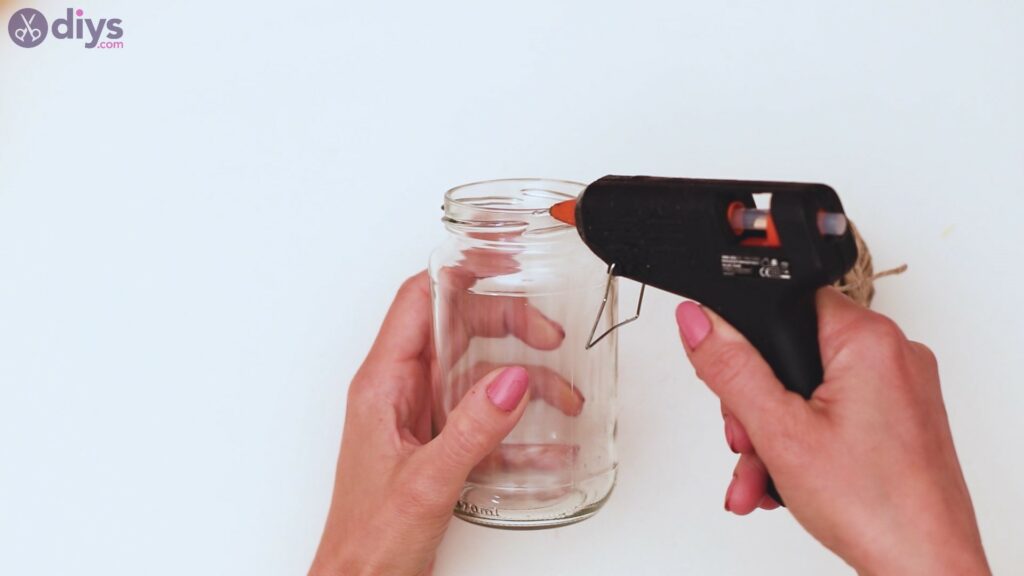
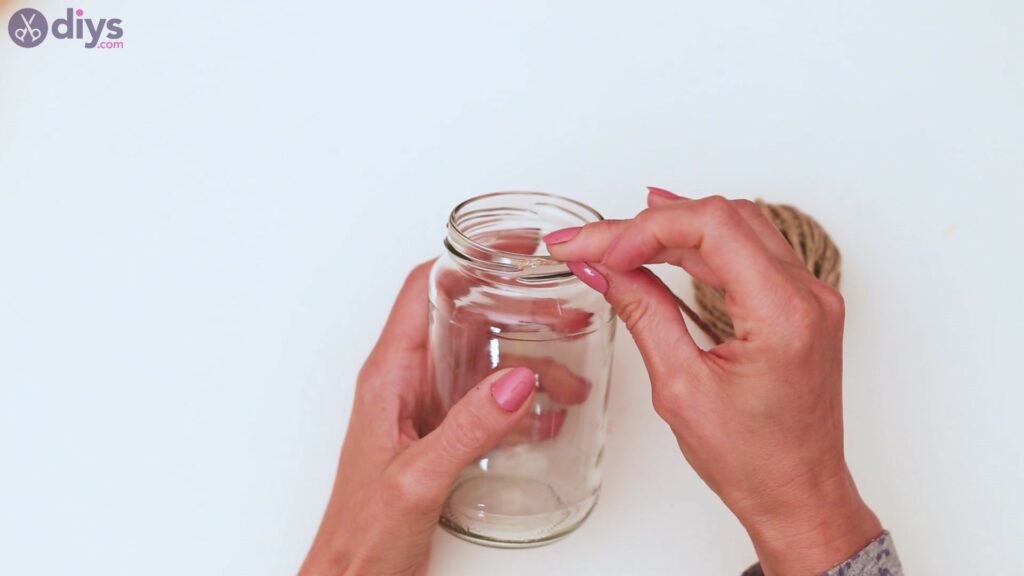
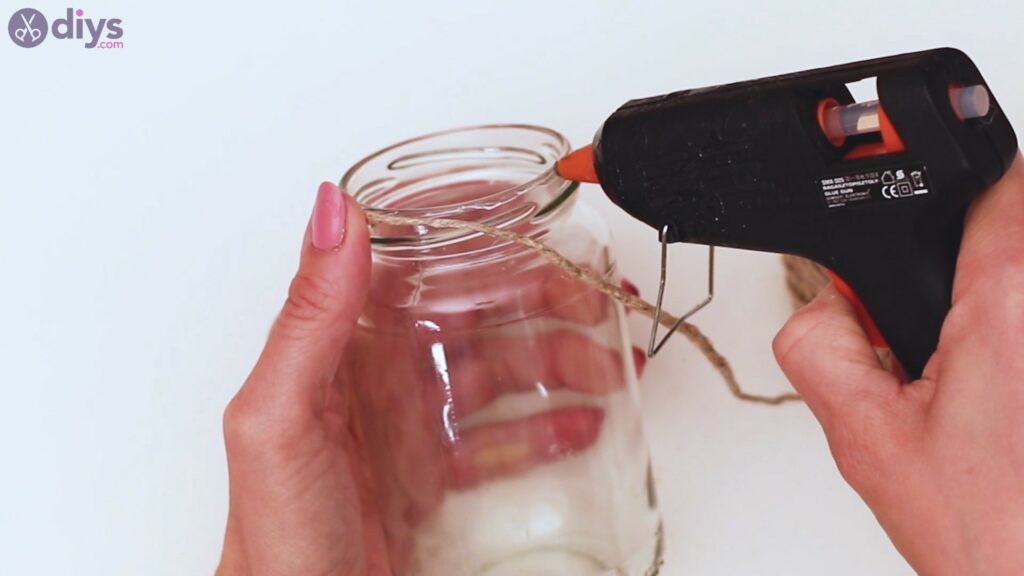
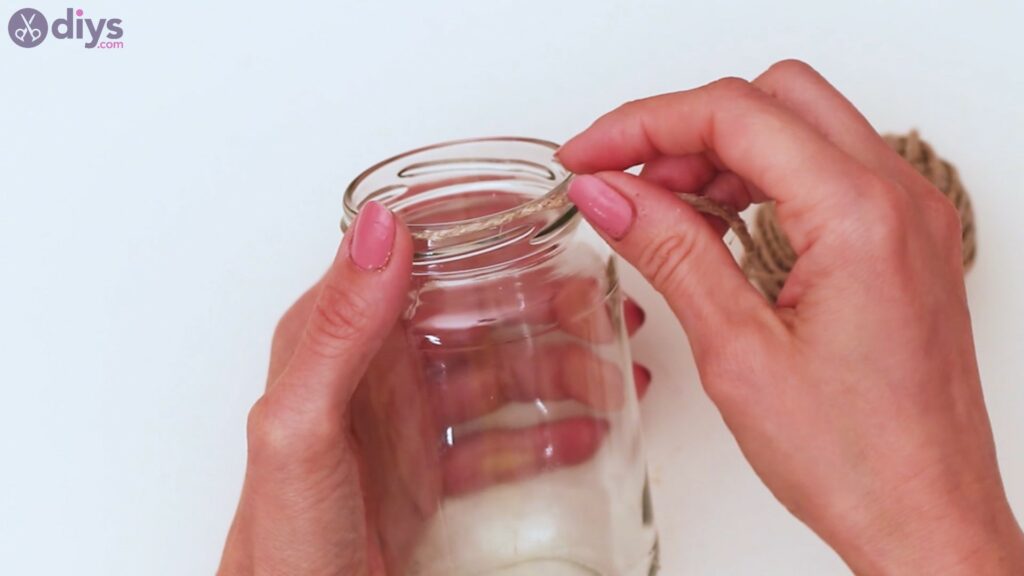
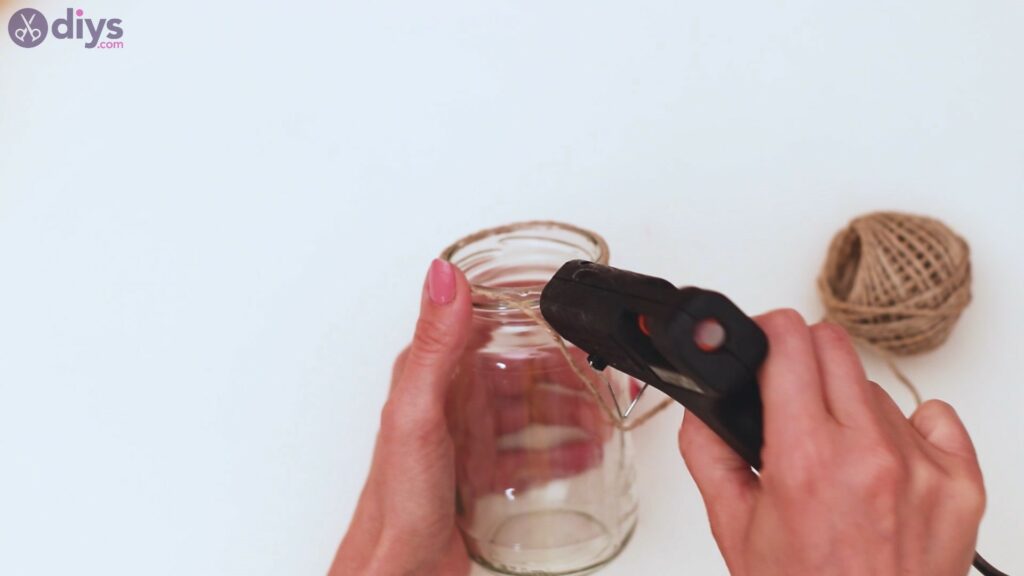
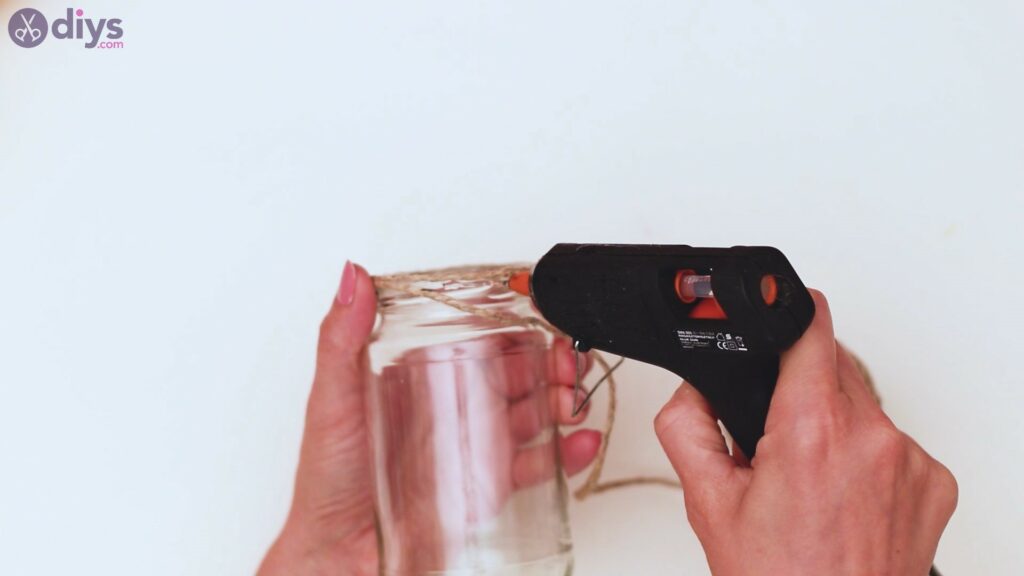
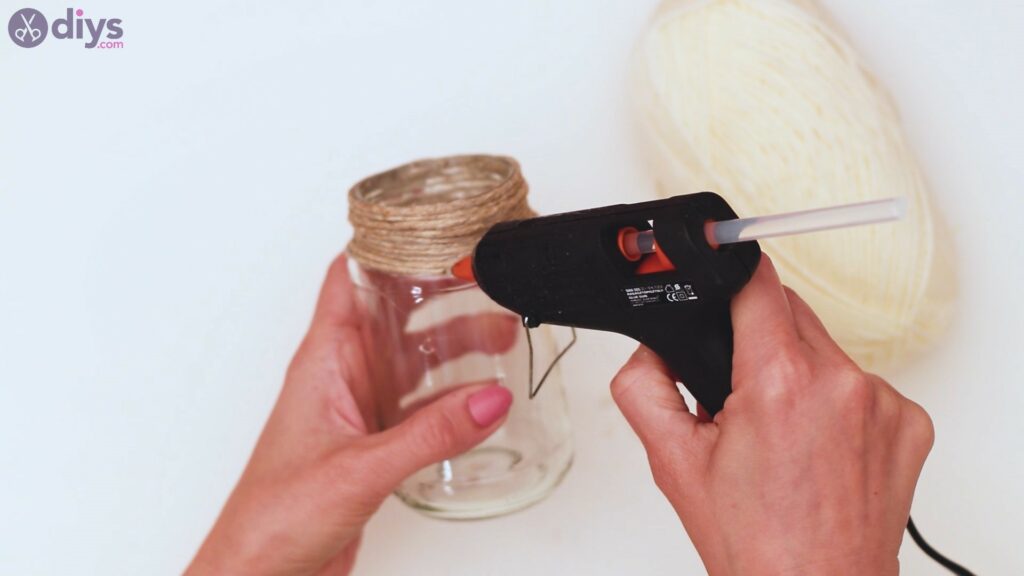
Now, get therope and theglue gunand start adding hot glue to the very lip of thejar. Go slowly, adding tiny strands of glue as you add in the rope.
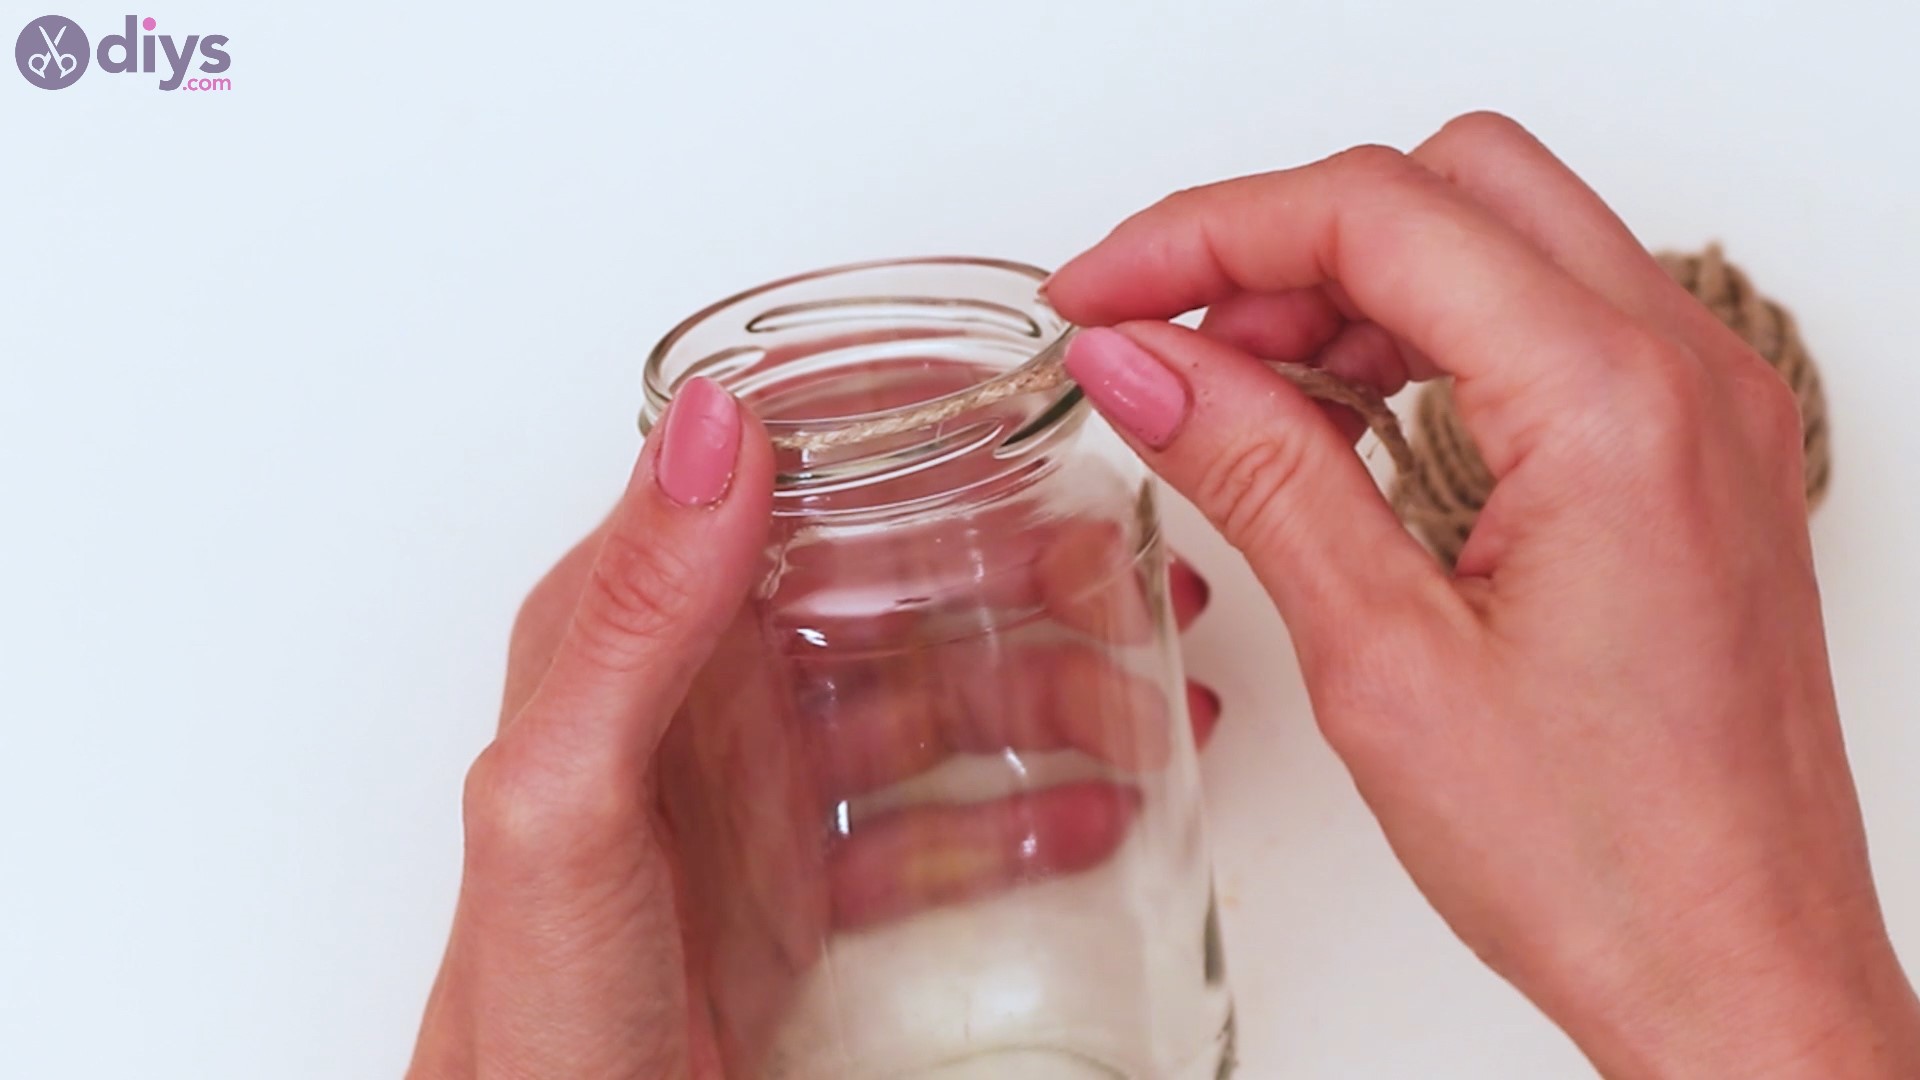
Follow the line of the jar with the glue and the rope, making sure you apply it straight.
The slower you go applying the rope, the straighter your lines will be, so do not hurry through this.
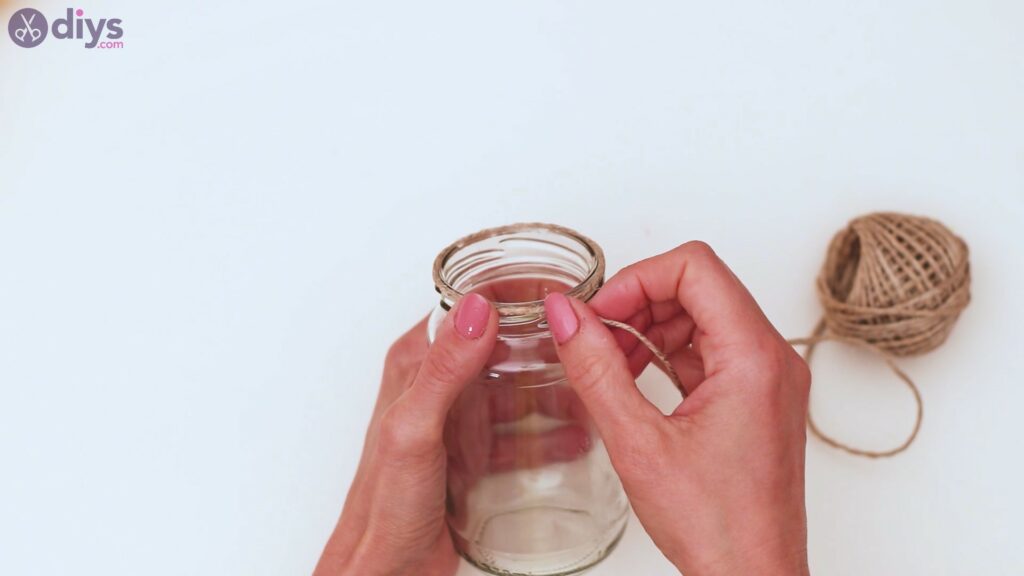
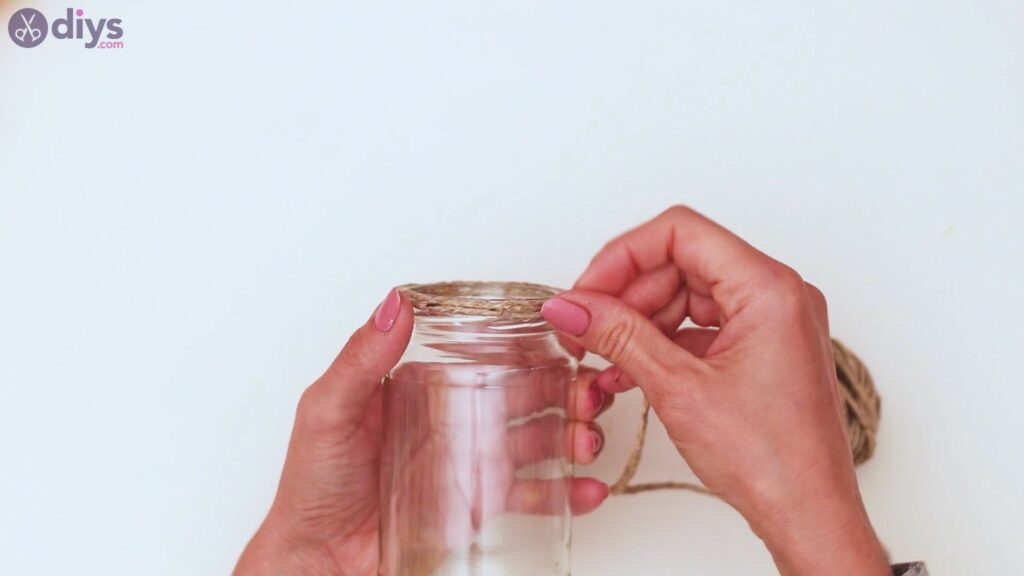
Keep going even after you’ve wrapped once around the jar.
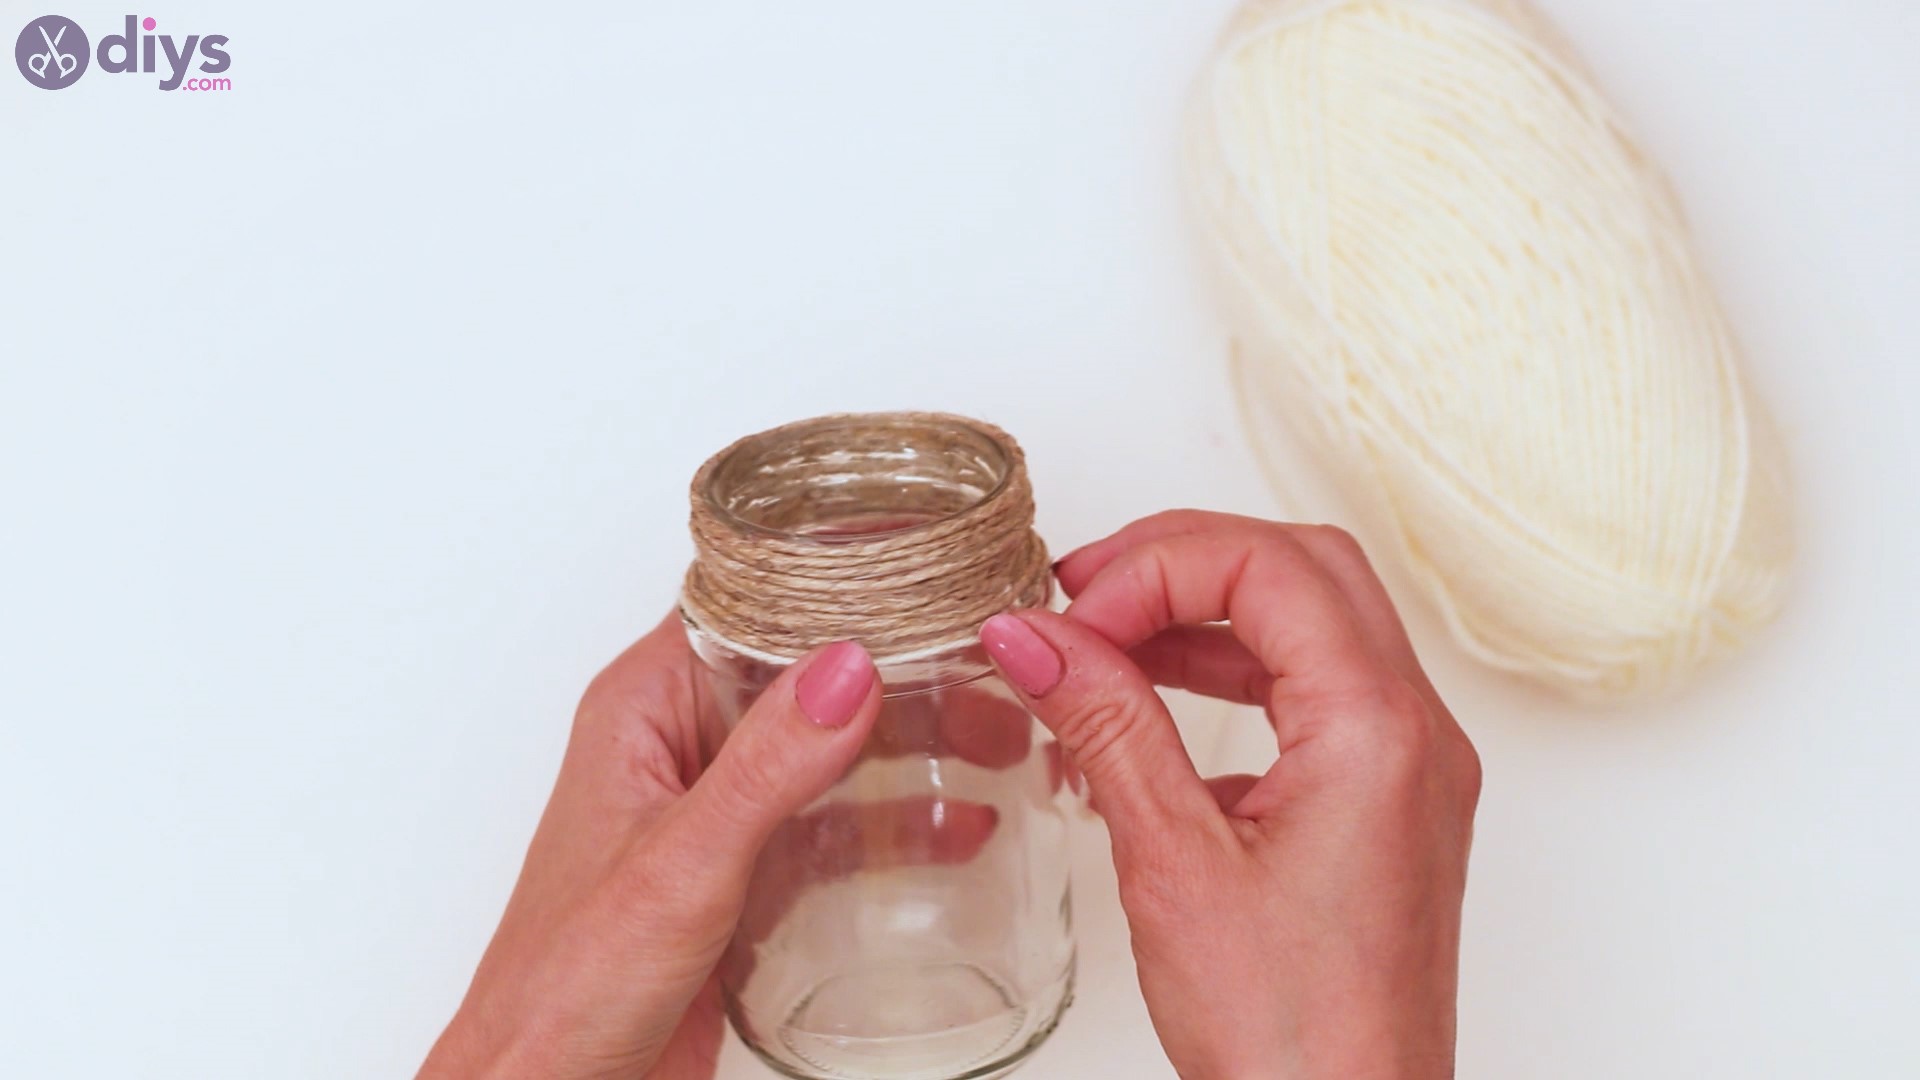
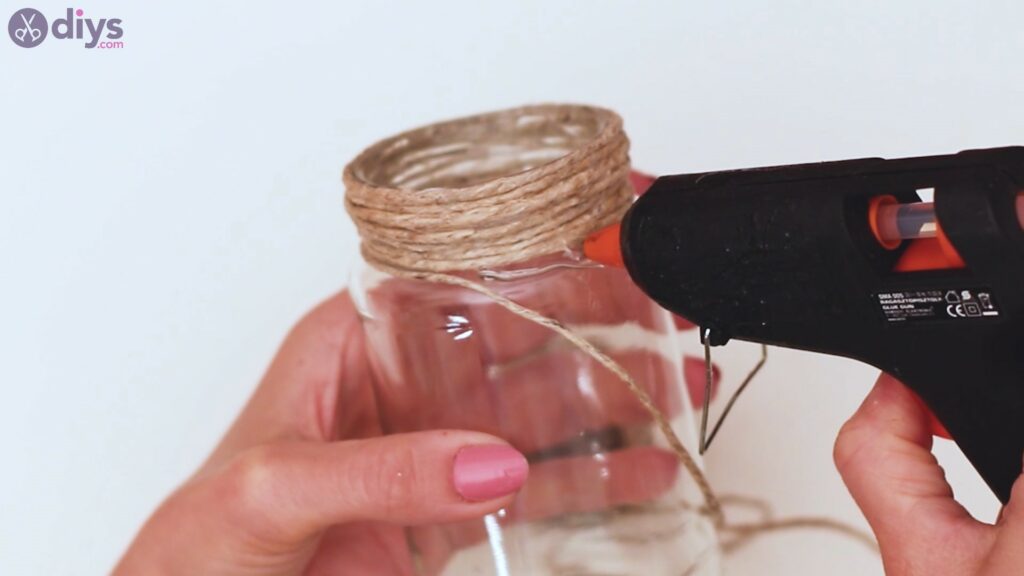
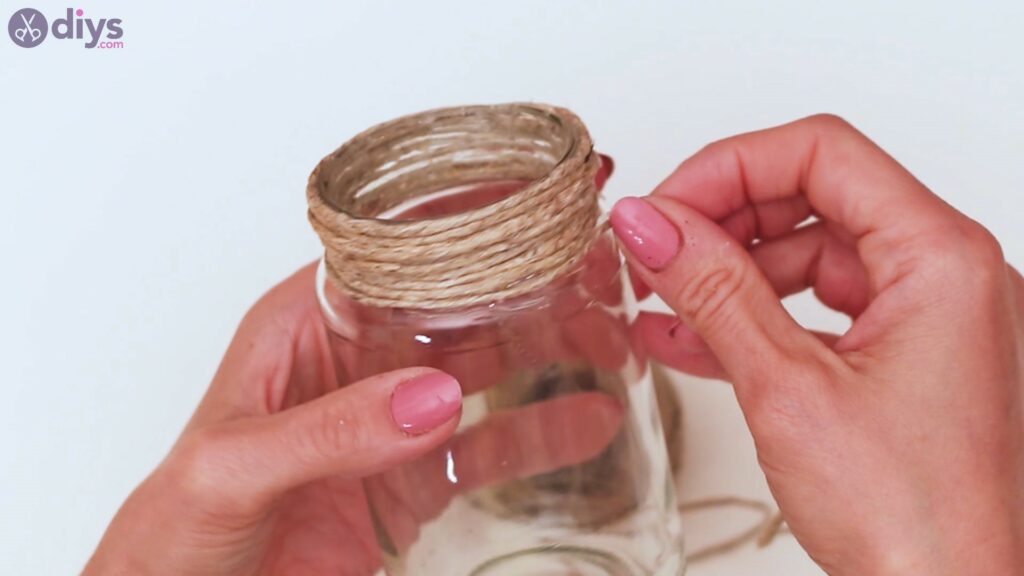
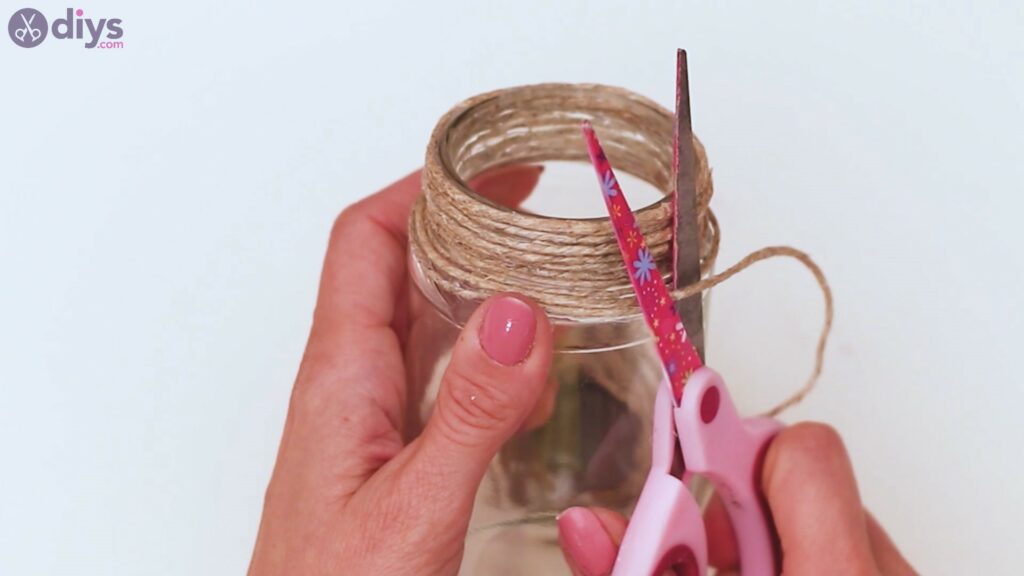
You want to cover the entire neck of the jar with rope, creating a solid wall there. As long as you applied them right, you’ll have a tight group of threads here. Keep in mind that when you apply them, they won’t go down straight due to the presence of the ridges for the lid.
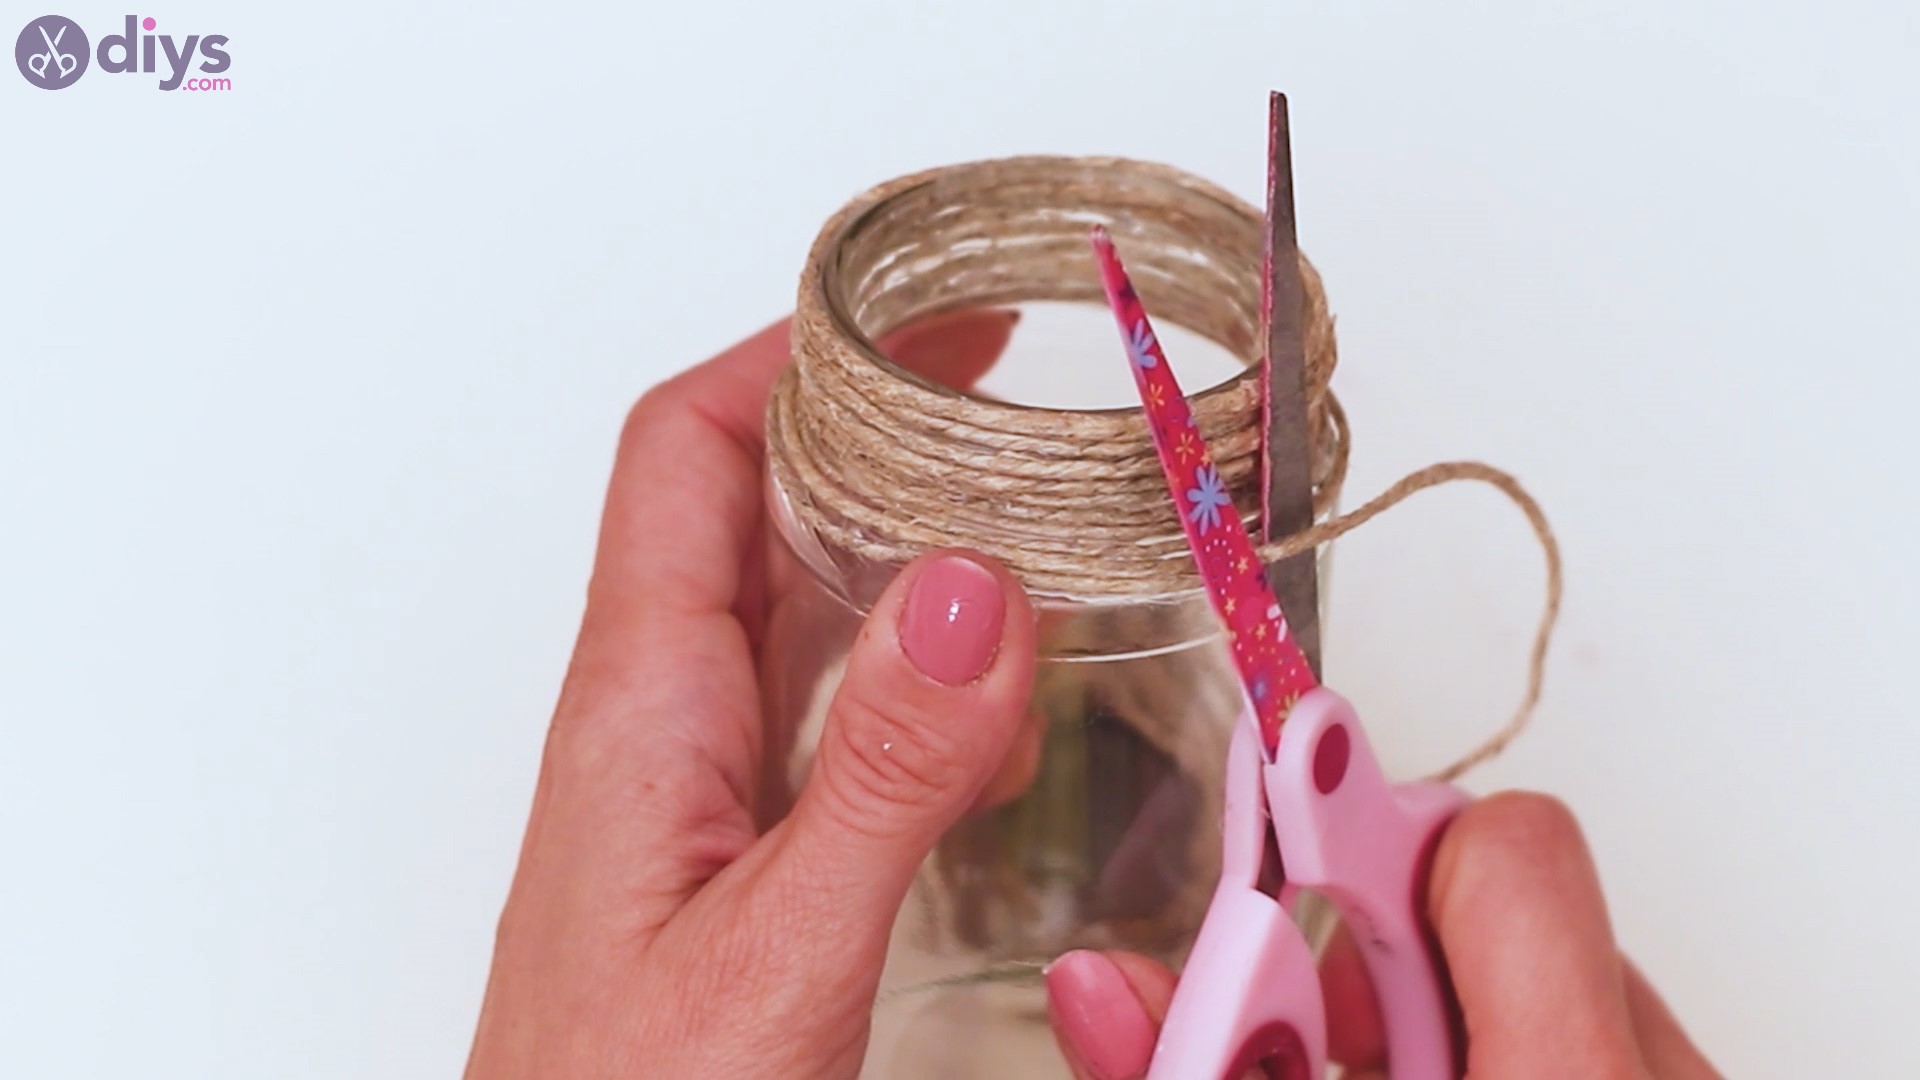
When you’ve covered the entire top part of the jar, get thescissorsand cut the excess thread.
Step 2: Add some beige yarn
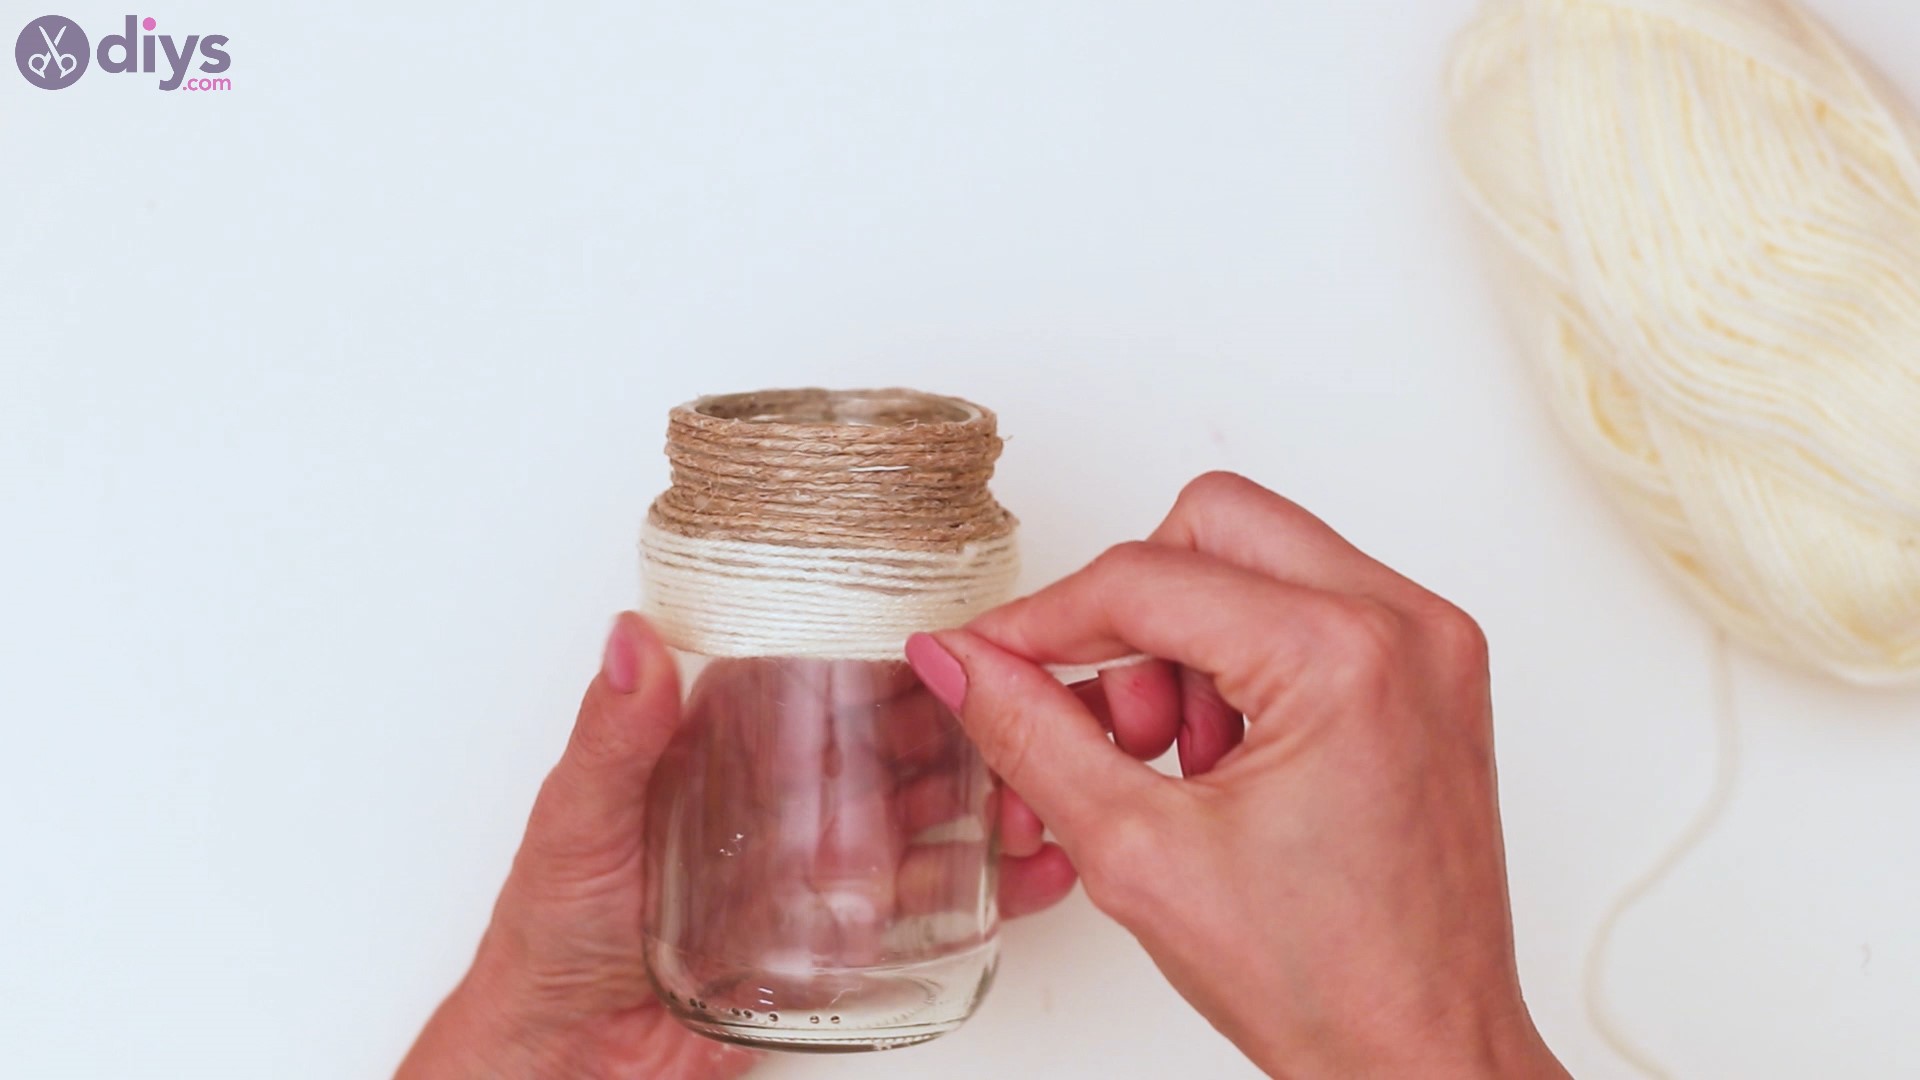
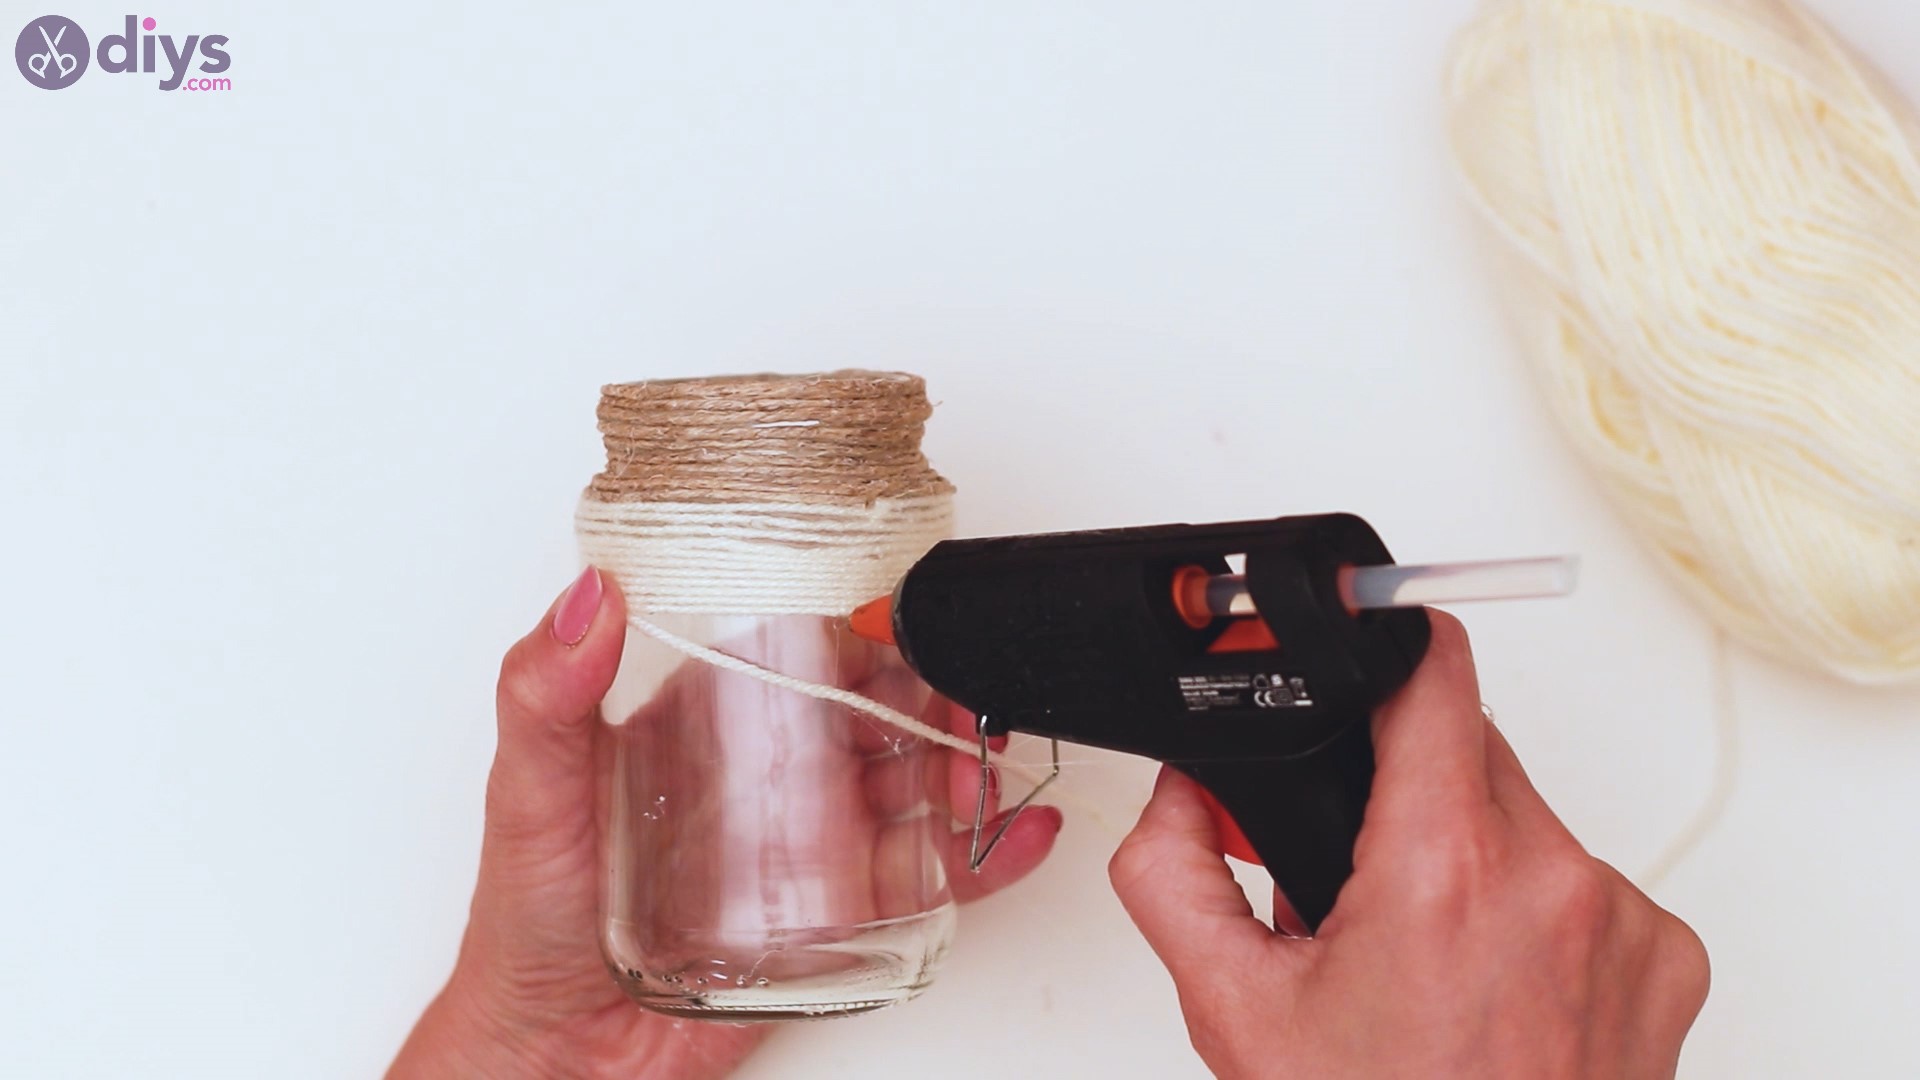
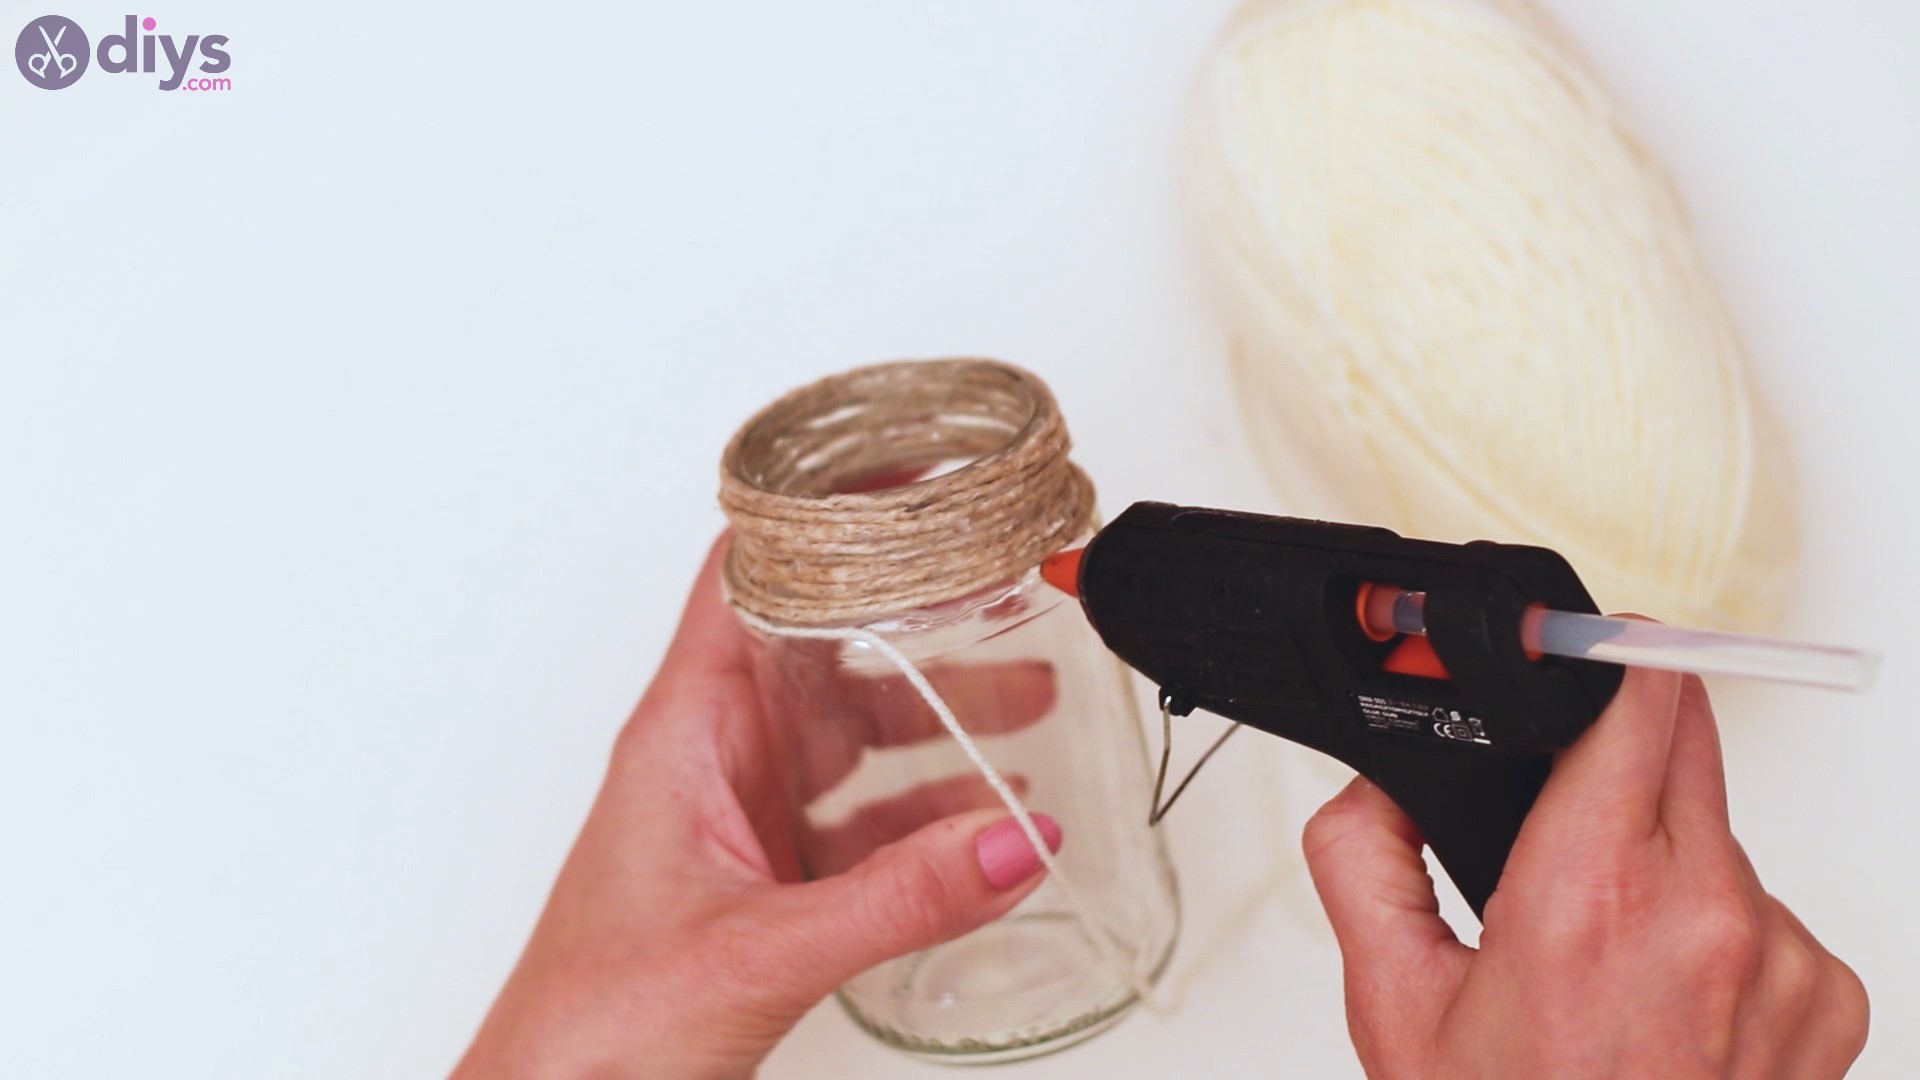
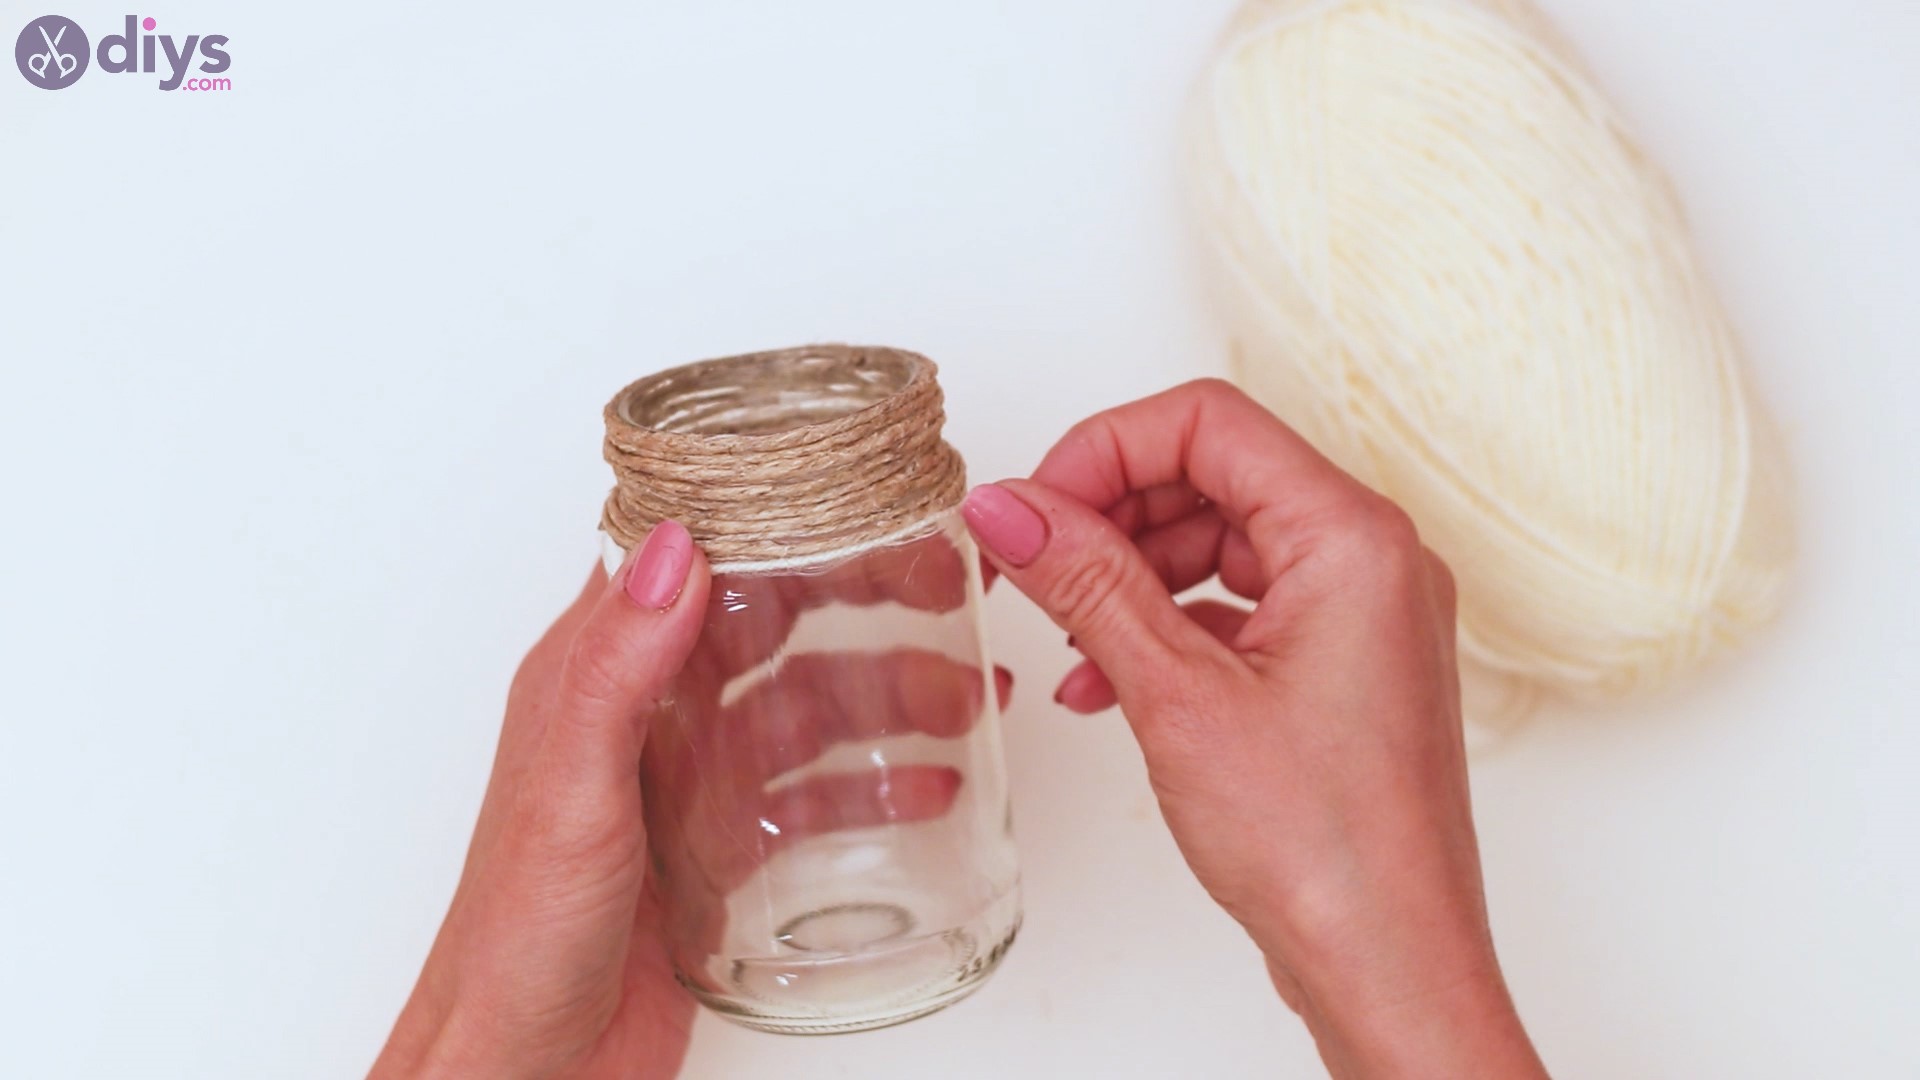
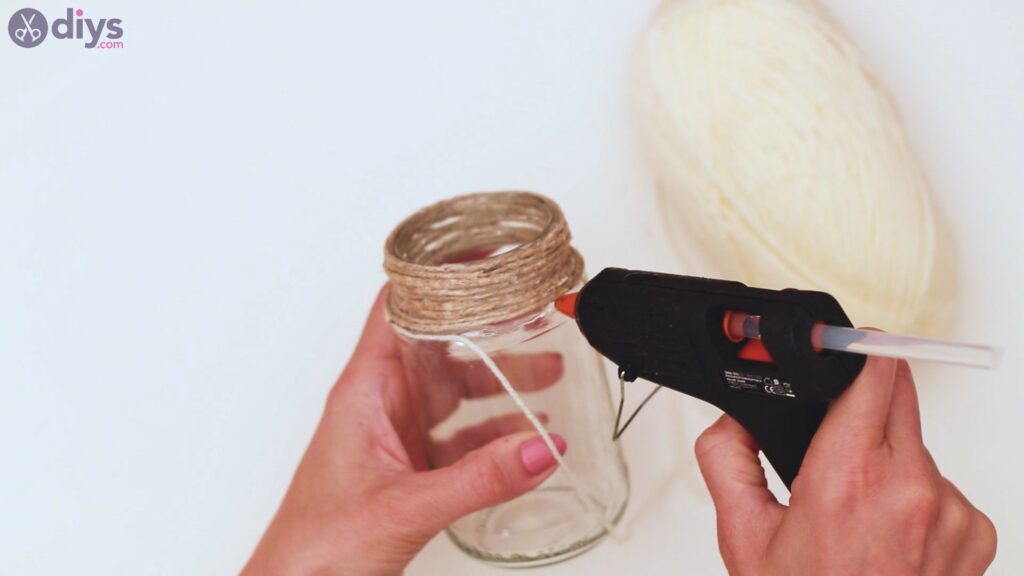
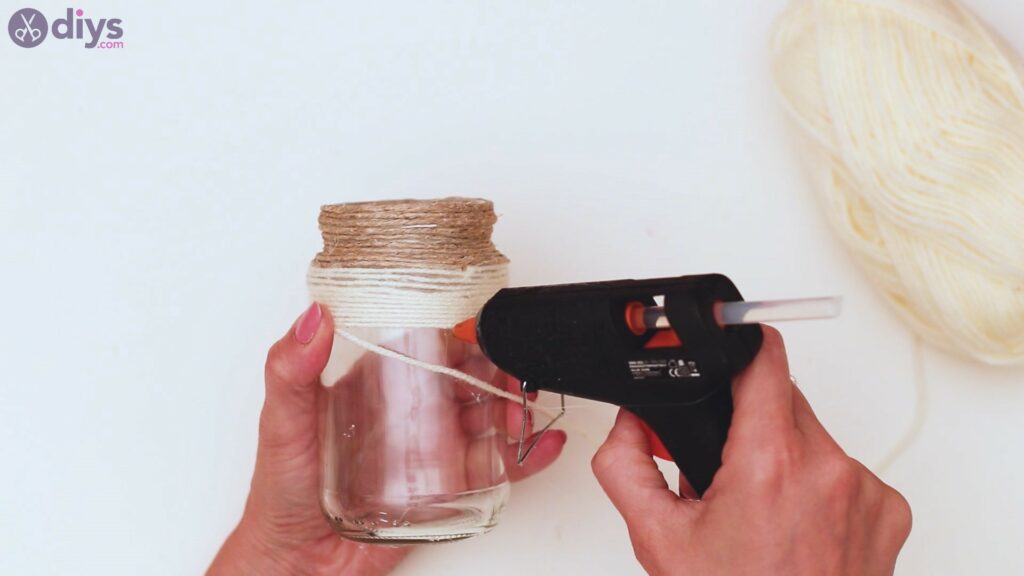
Next, it’s time we get the beige yarn out. Much like you’ve been doing until now, we need to continue wrapping the yarn around the jar. Add some hot glue and press the beige yarn into the glass.
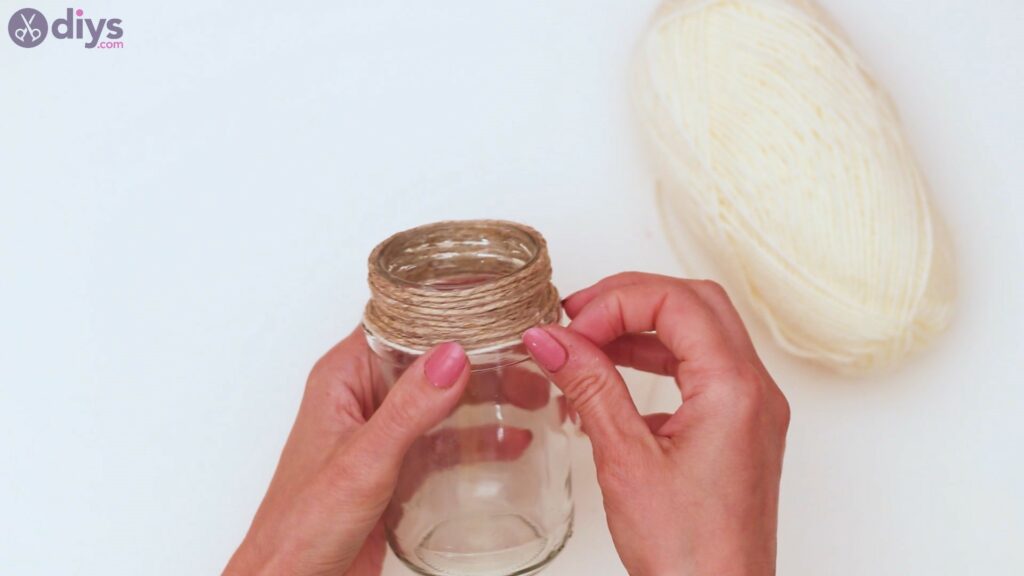
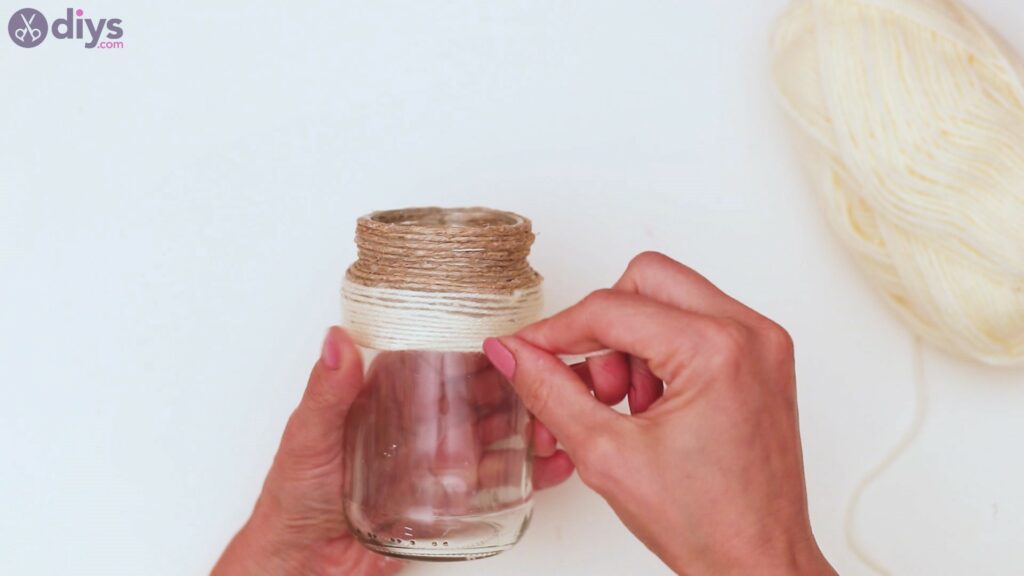
Slowly wrap around it the jar. Please be aware that this yarn is much thinner than the one you used for the first step and it is also a bit more … slippery. Make sure you move your thumb over the entire length as you glue it to the jar.
Keep going steadily around the jar, applying the pretty yarn. You’ll want to build up a few rows of yarn, about an inch thick. Of course, you’ll need to appreciate the size on your own, depending on how big your jar is.
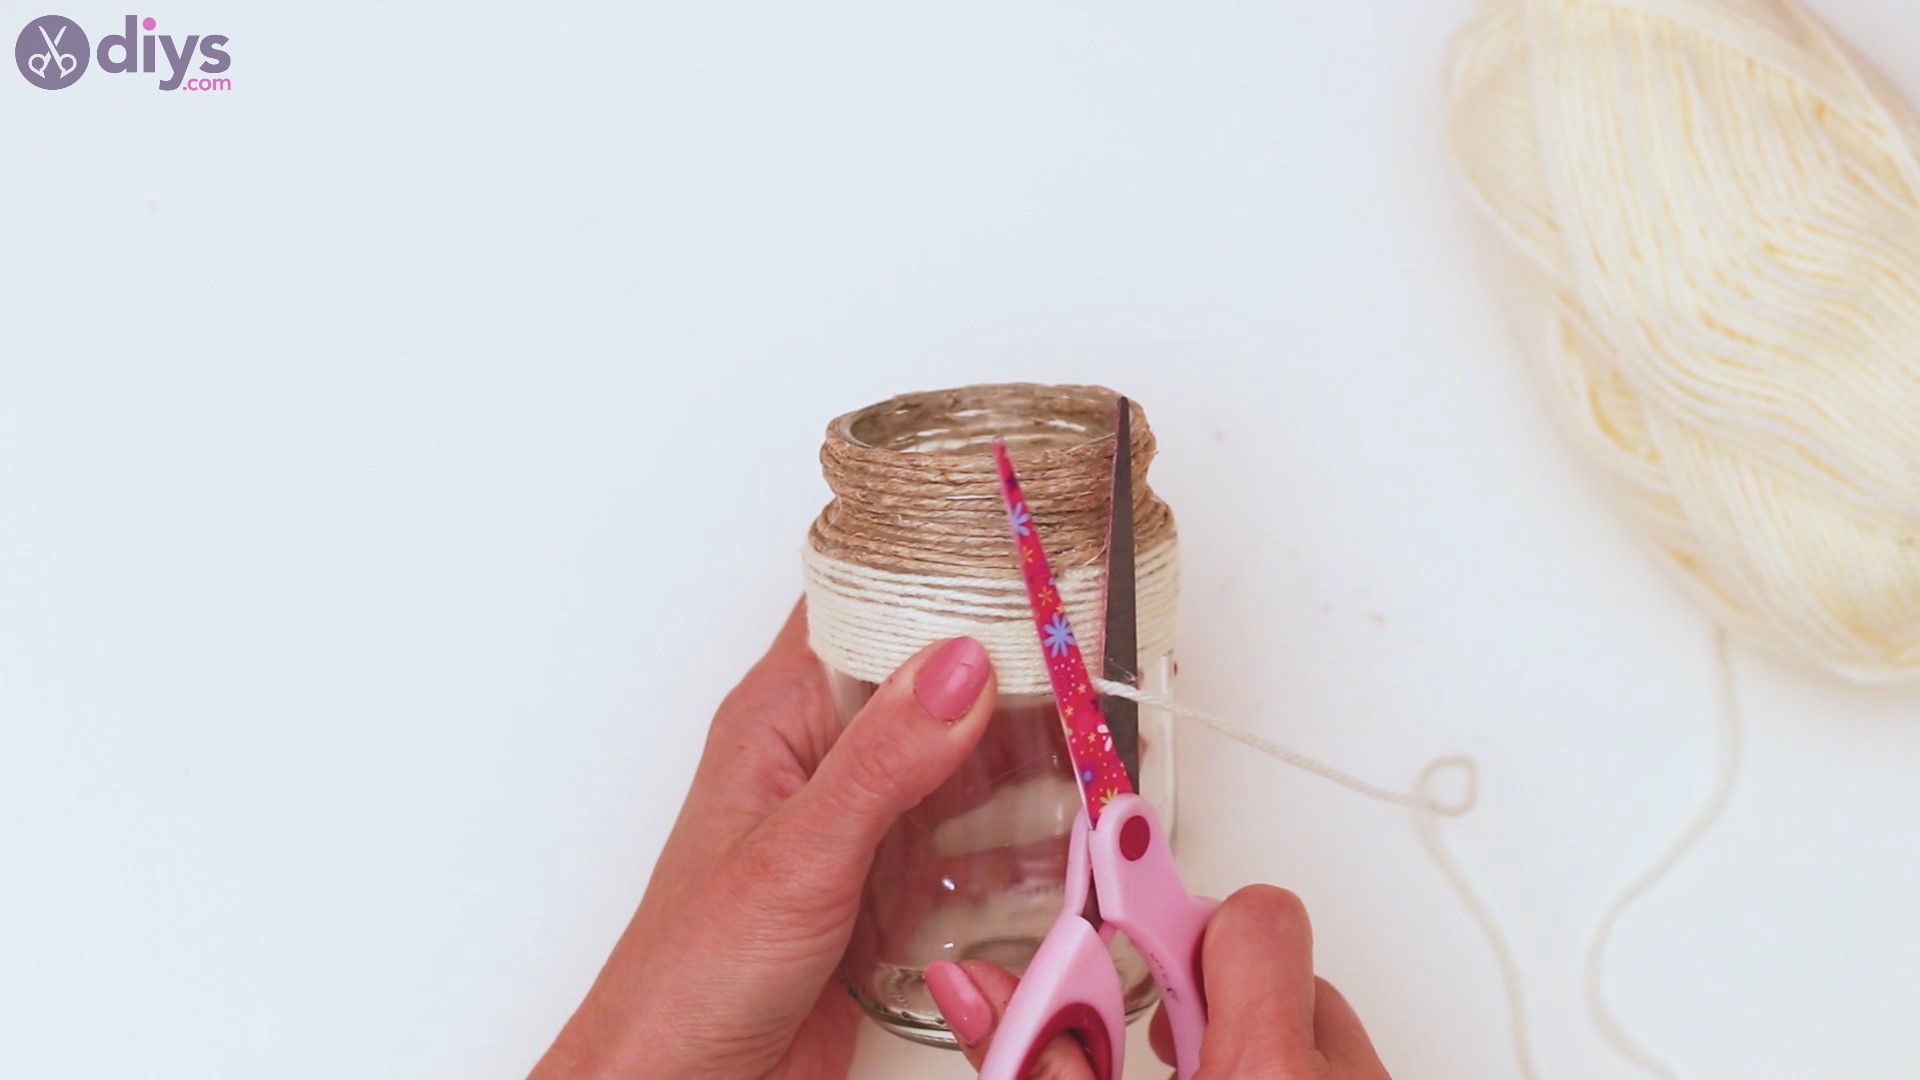
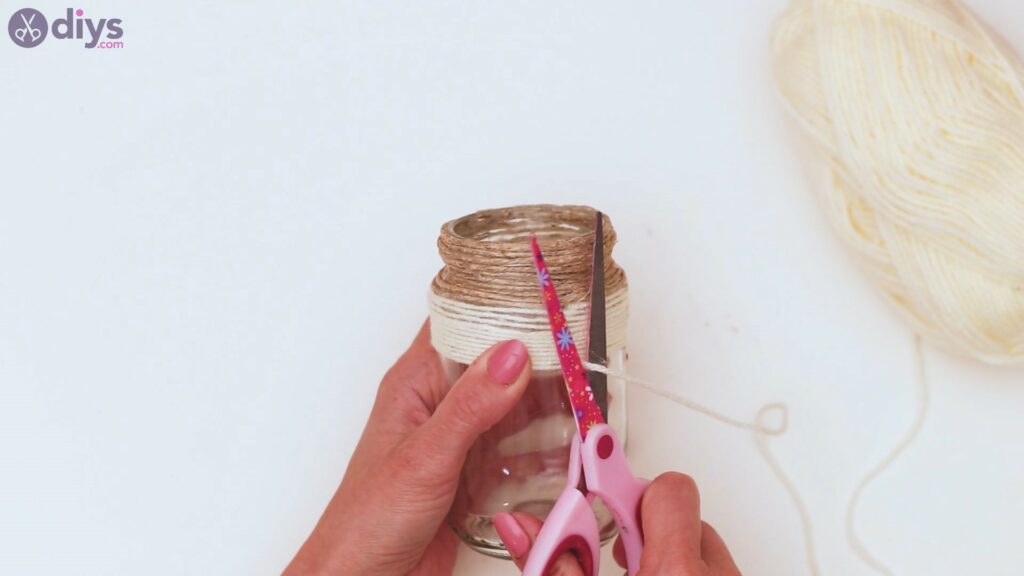
Cut the extra thread before moving forward.
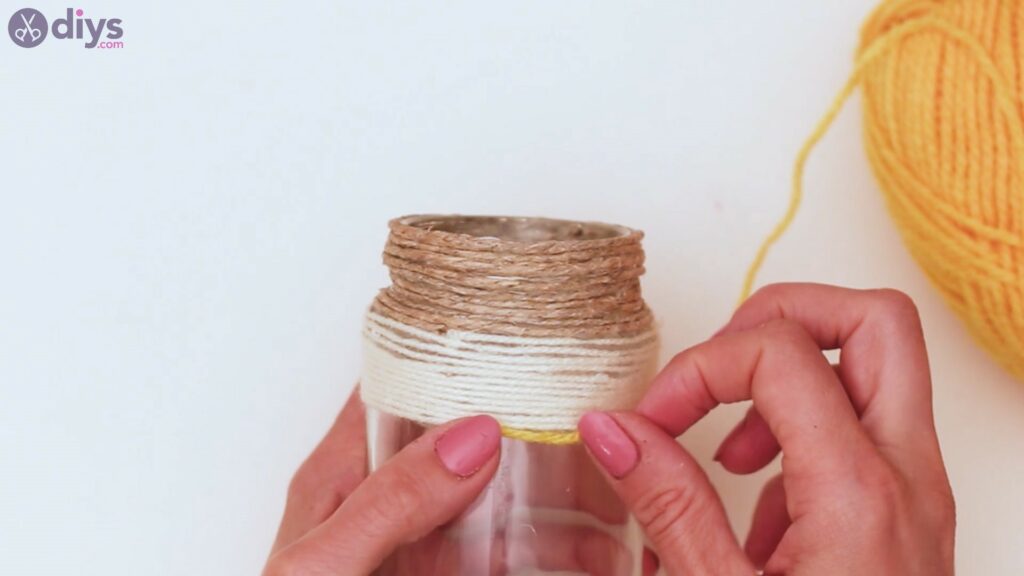
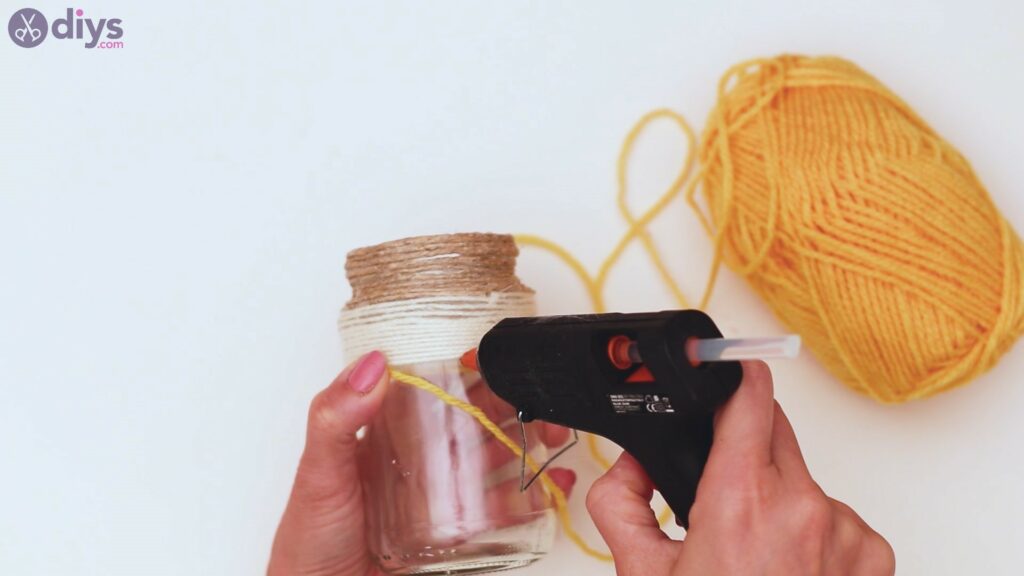
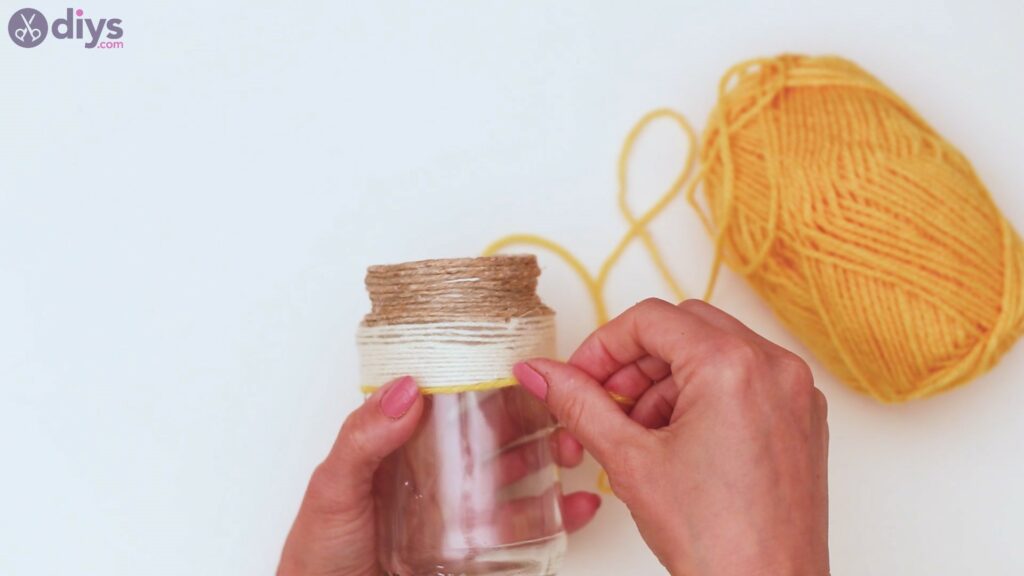
Step 3: Add yellow yarn
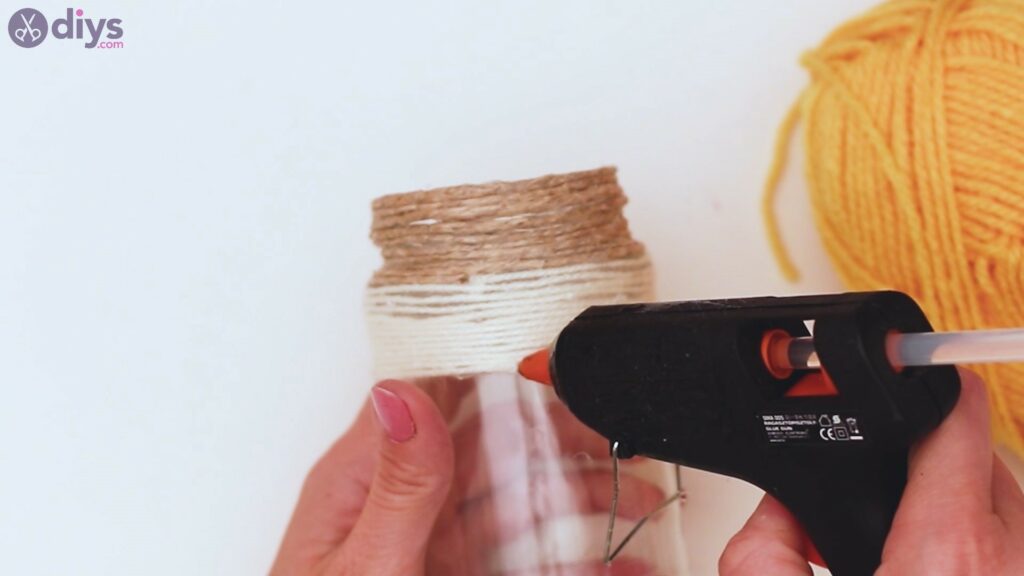
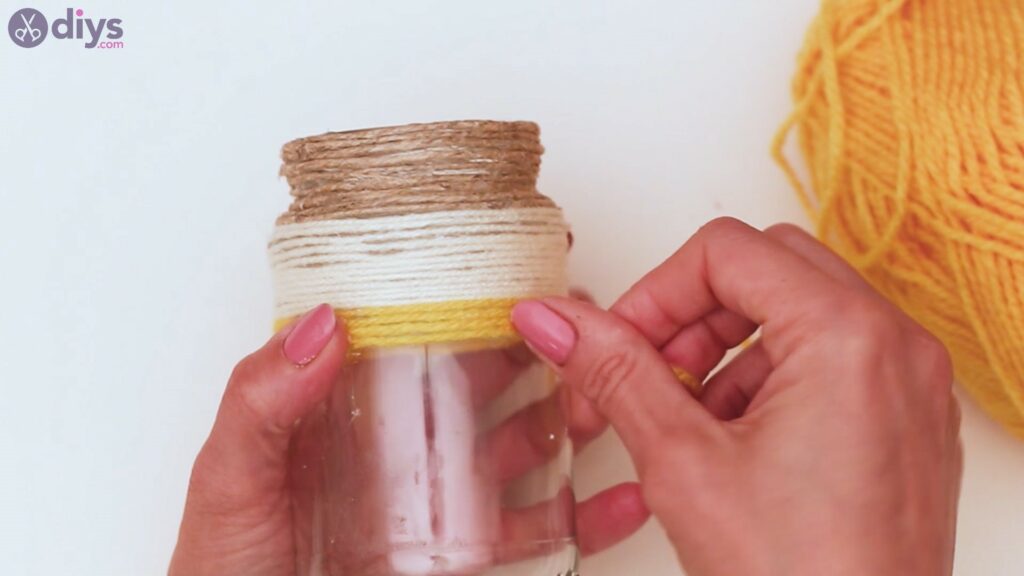
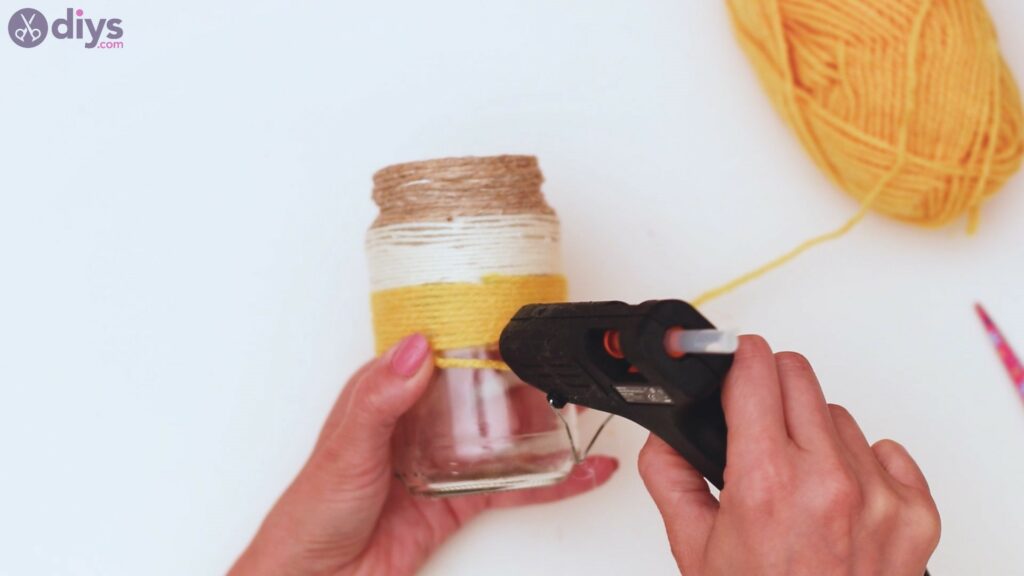
Now that you’ve completed the rows of beige yarn, it’s time we continue with some yellow yarn. Keep adding hot glue and pressing the thread into the glue.
Much like you did before, go slow as you circle the jar so the thread is neatly arranged.
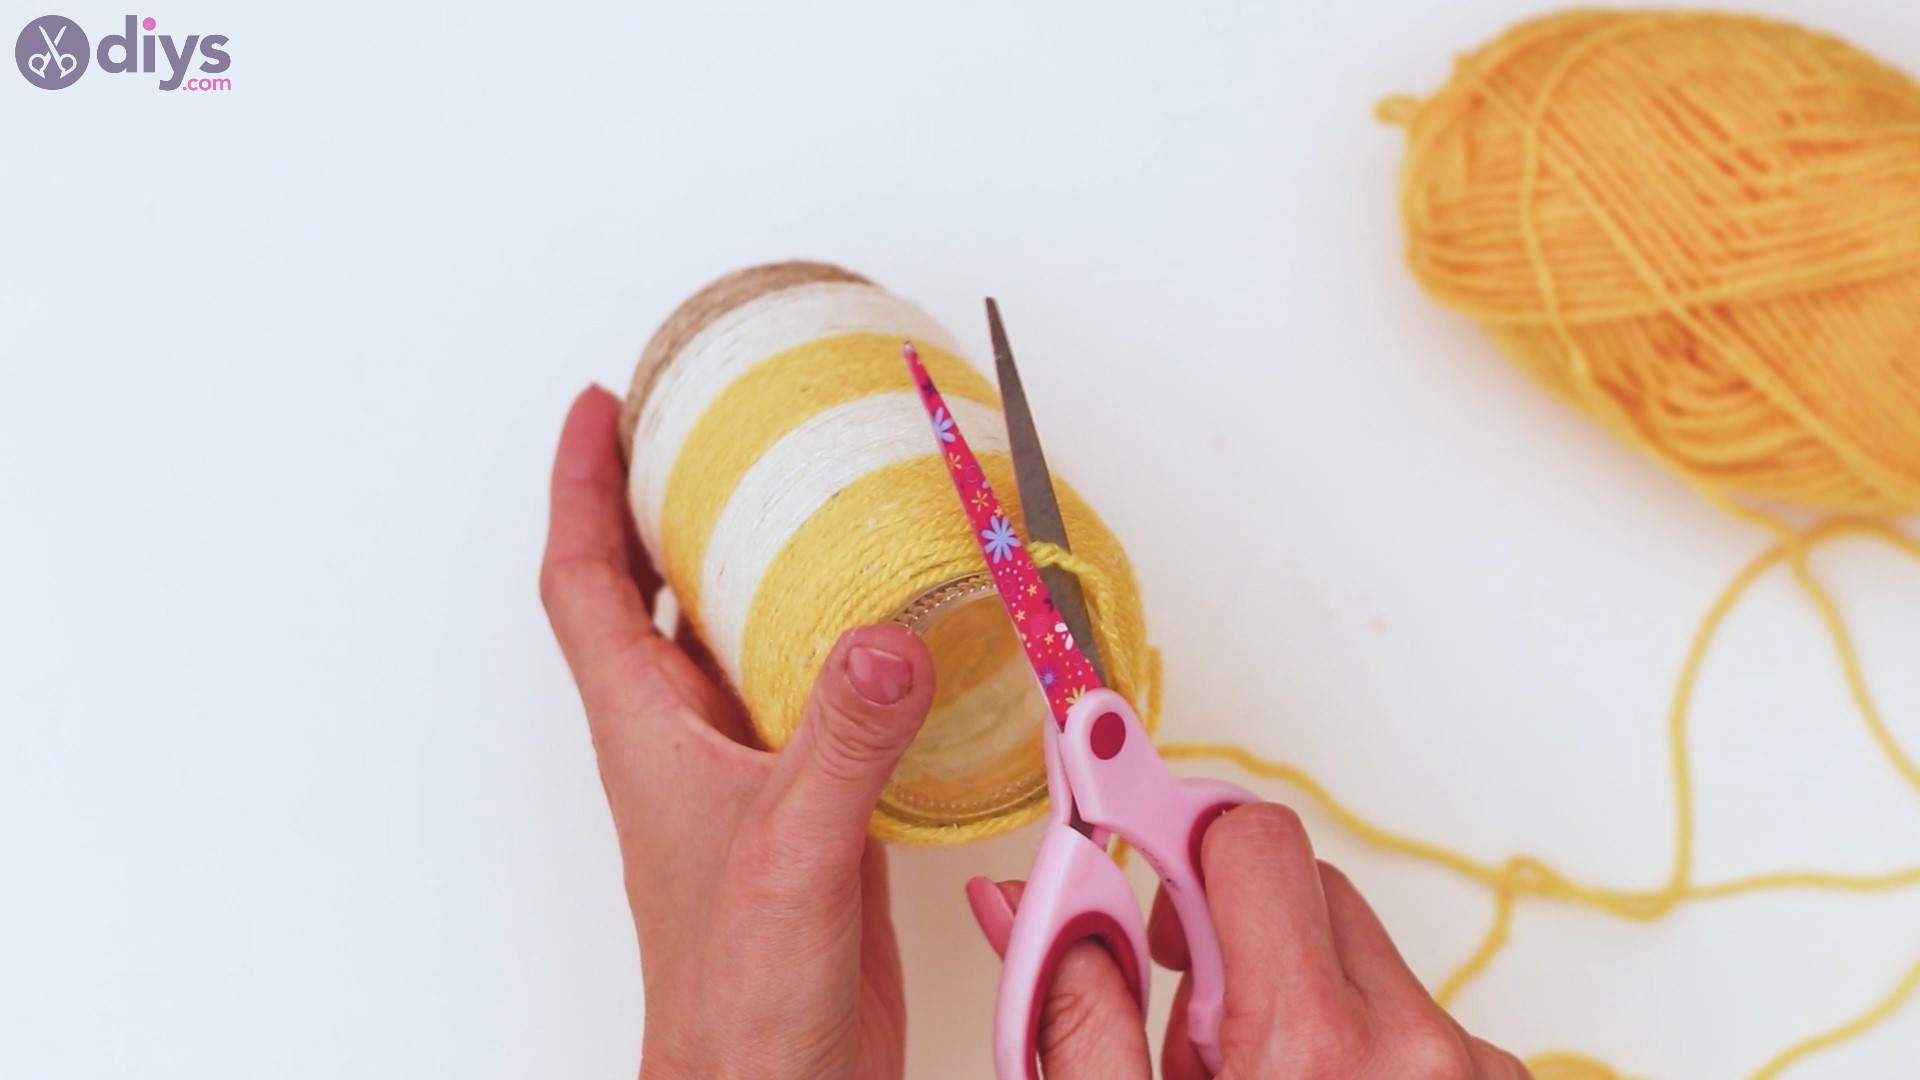
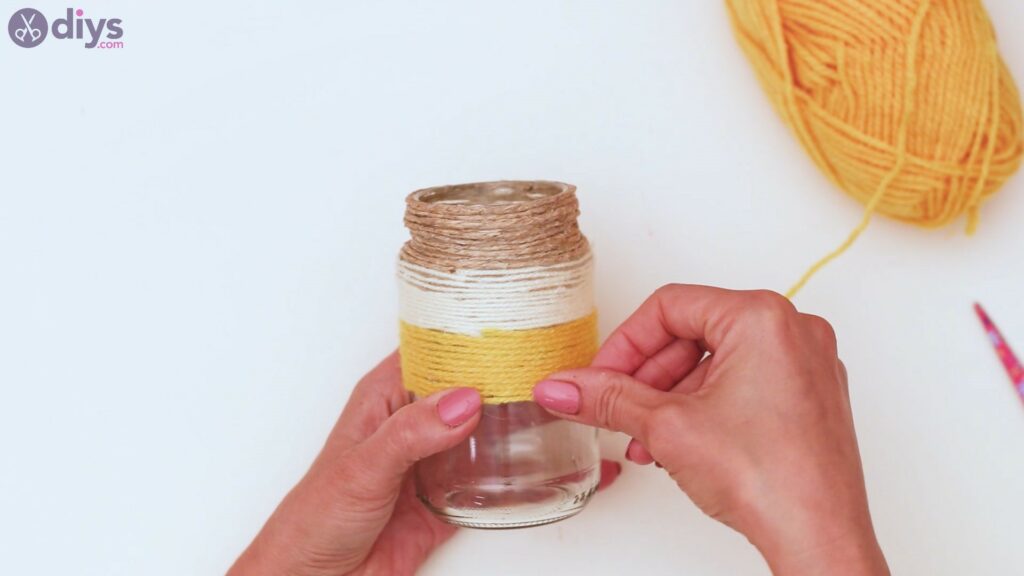
We’re going to try to apply about the same number of rows in yellow yarn here. If you don’t want to count or measure things exactly, eyeballing the size will work too.
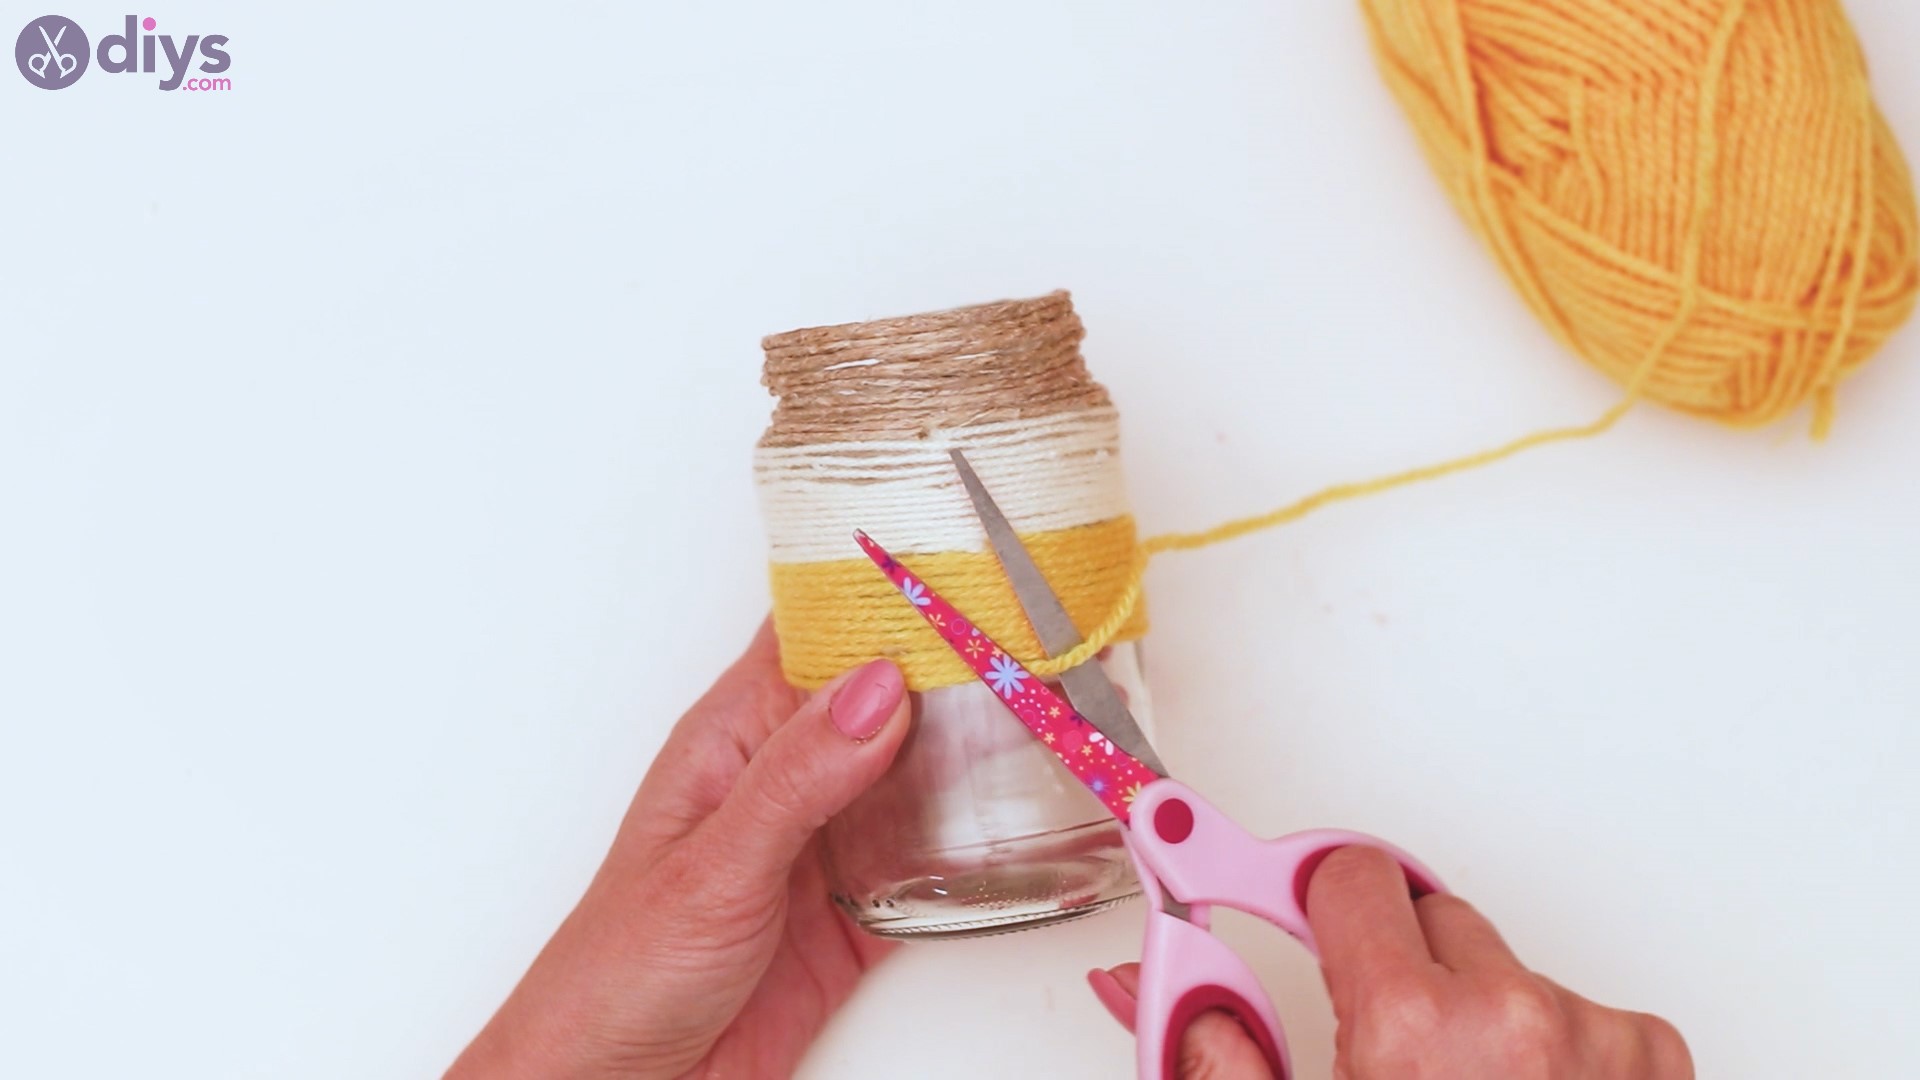
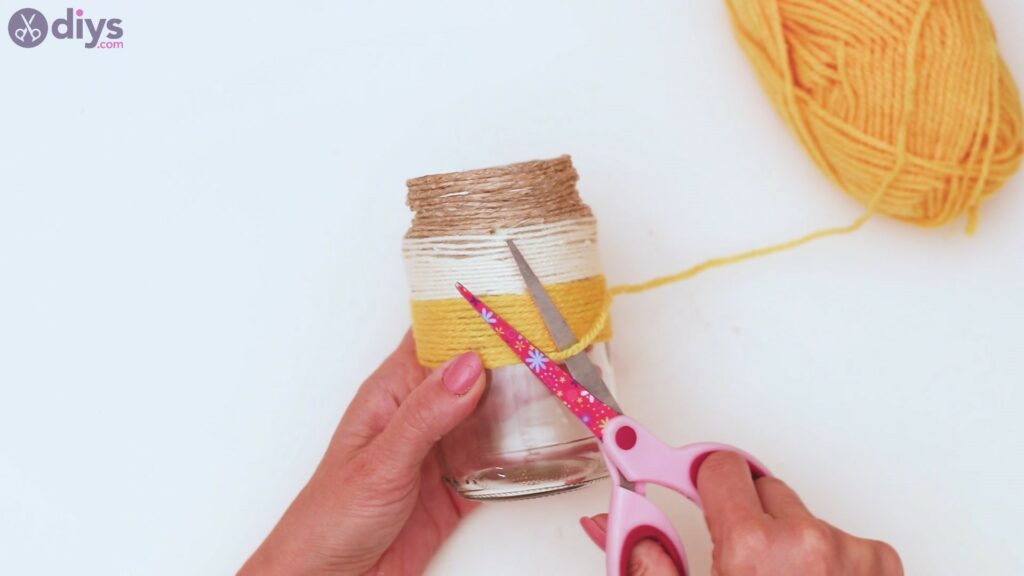
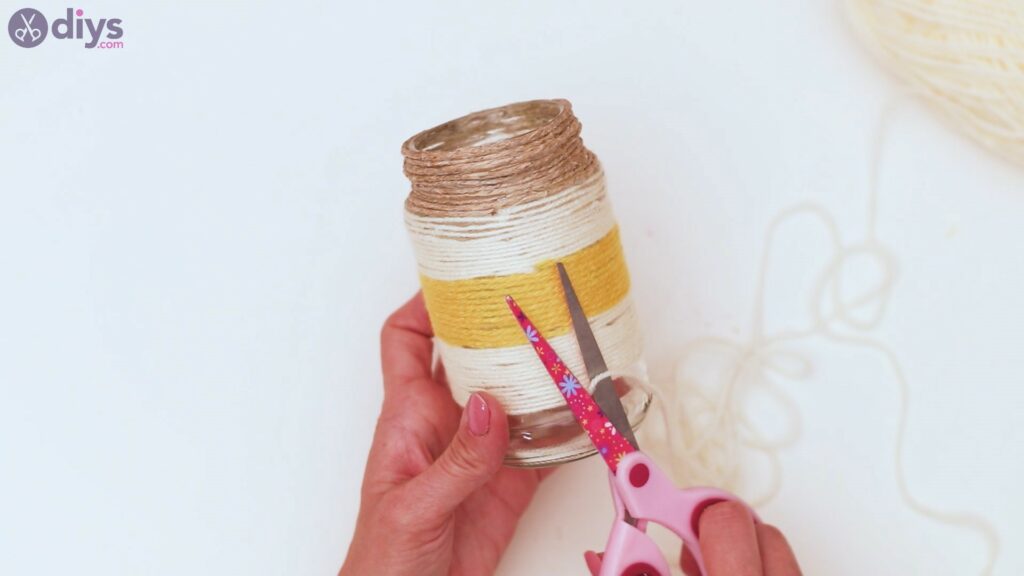
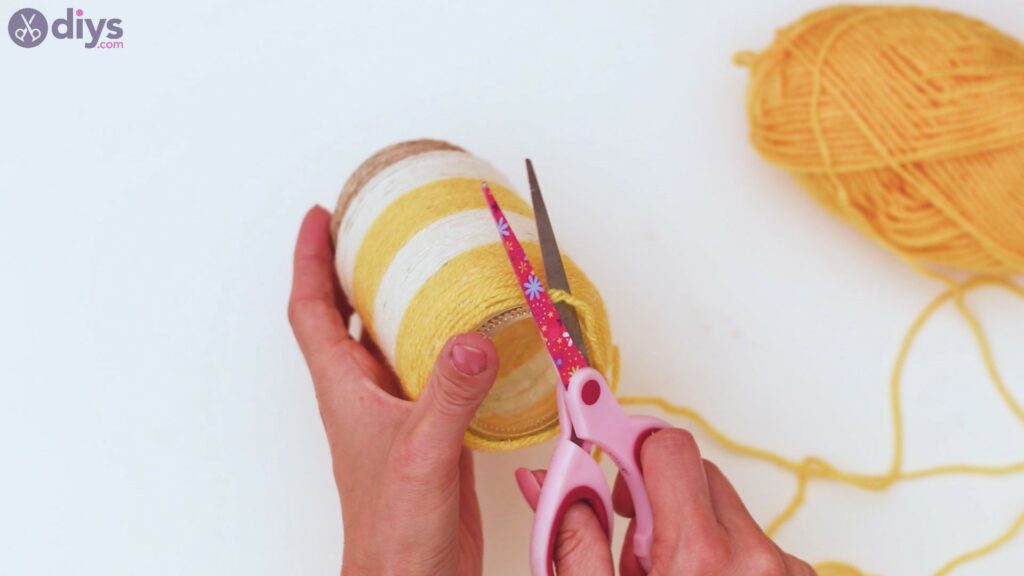
Cut the thread when you’ve completed the last round around the jar.
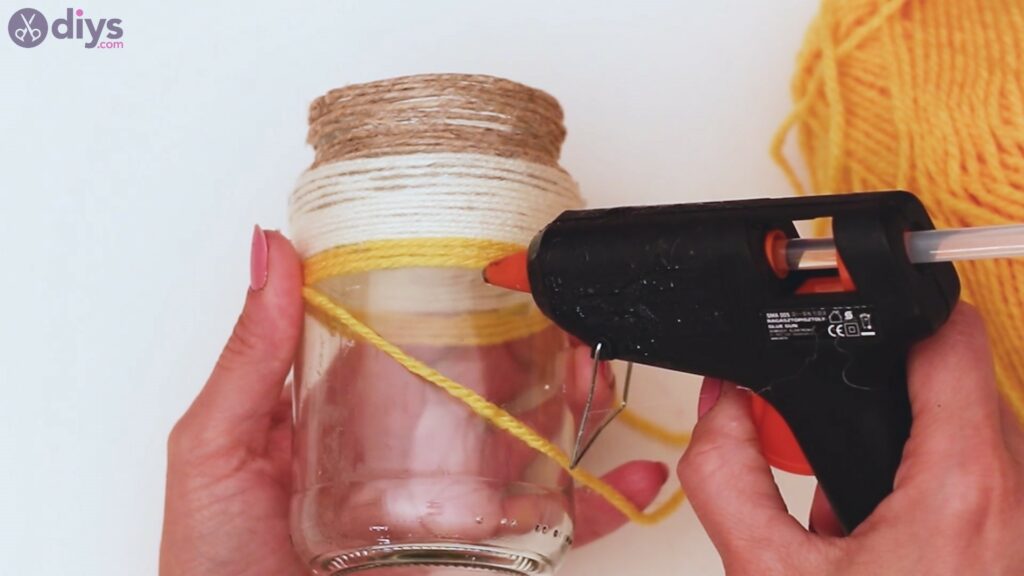
Step 4: Add more beige yarn
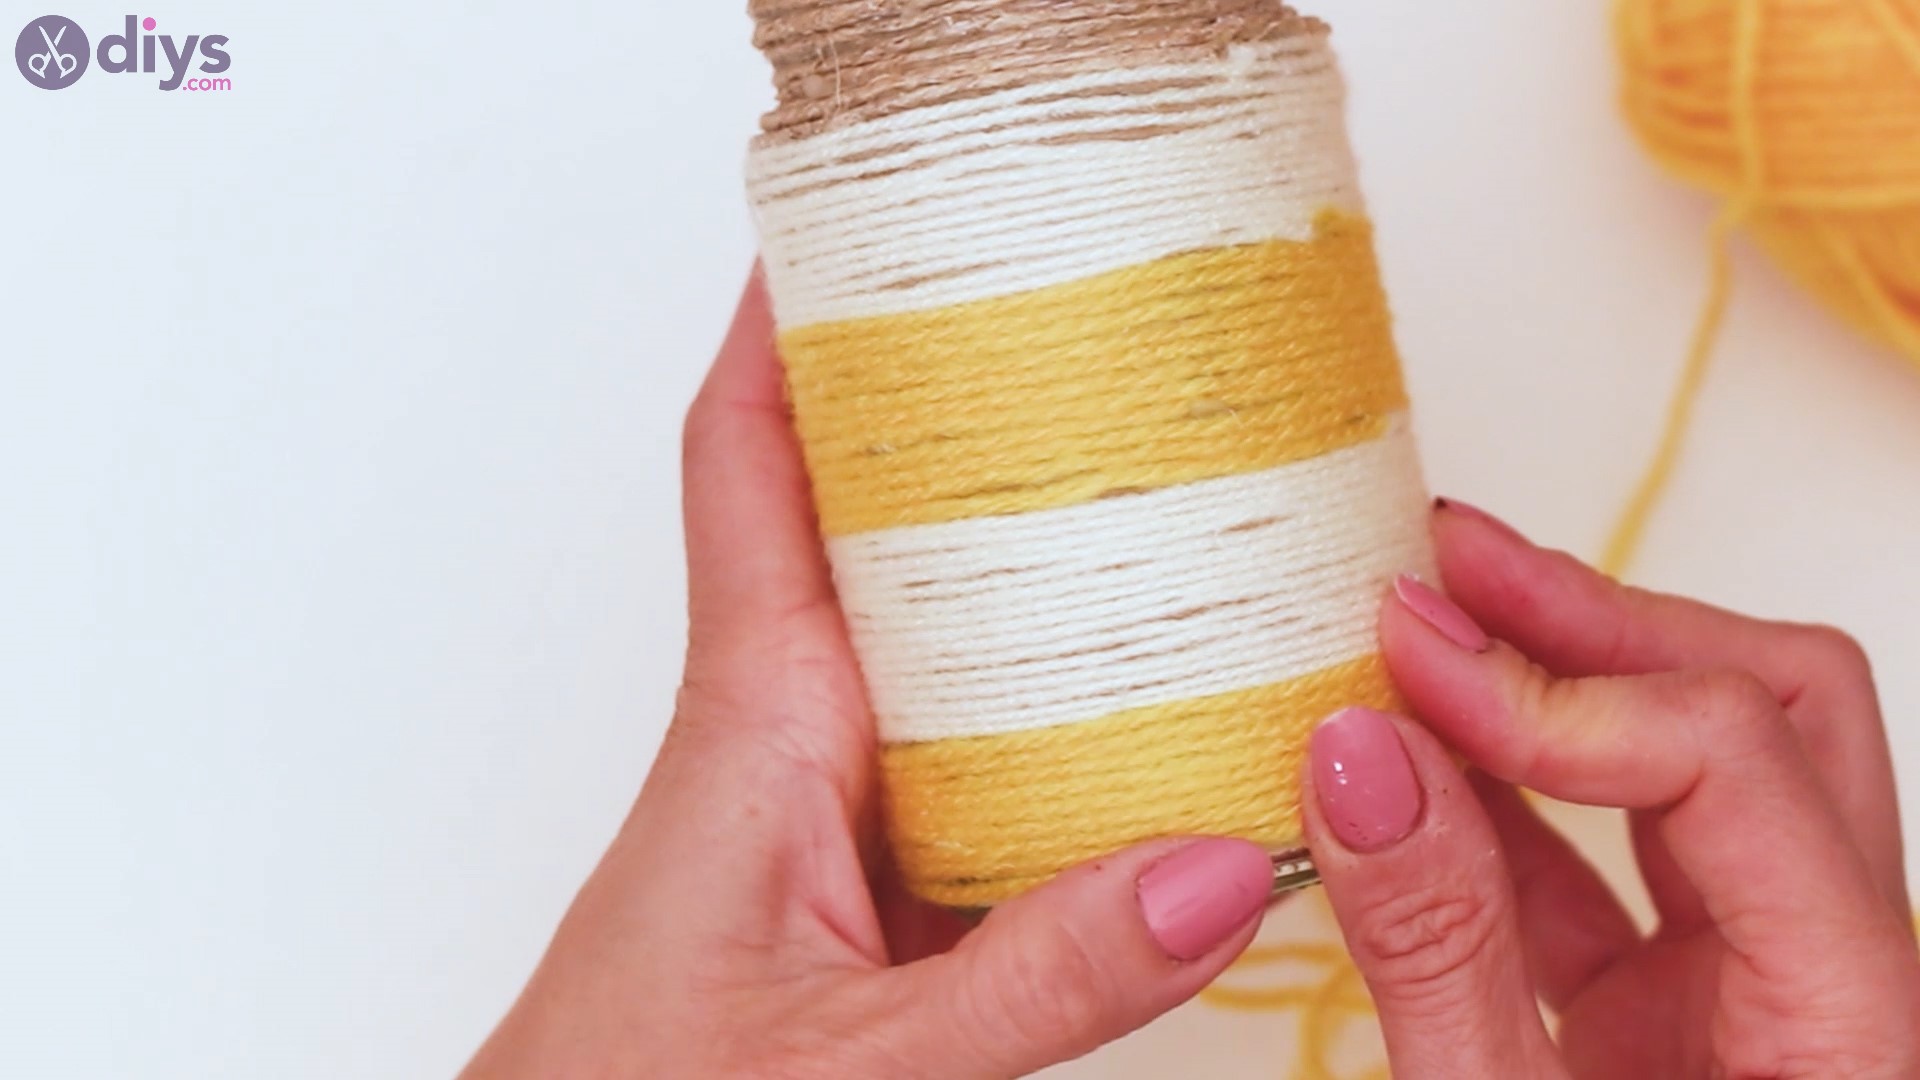
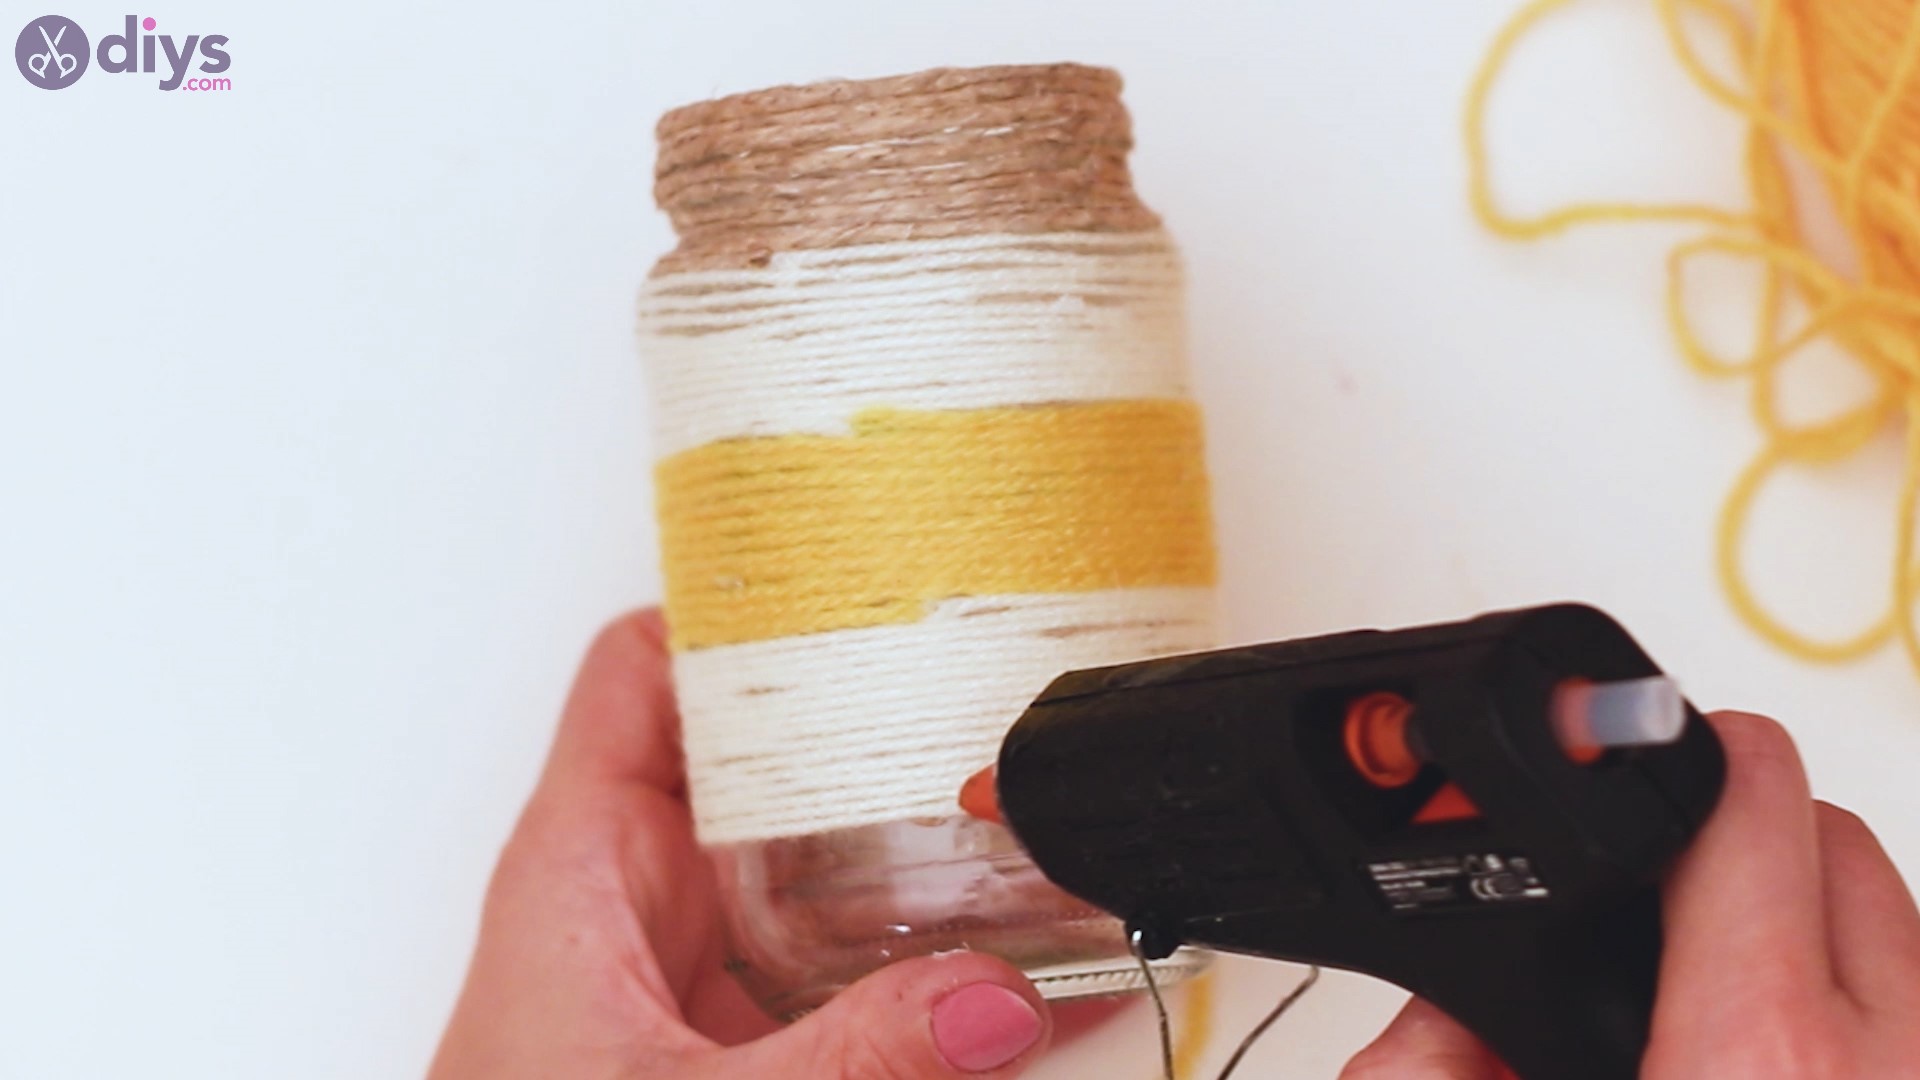
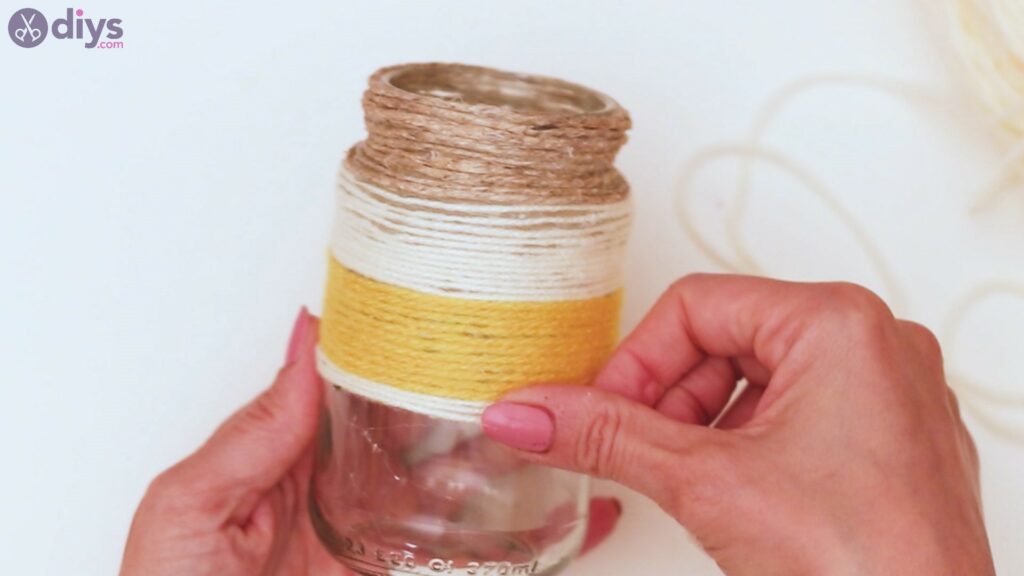
We’re not done with that beige yarn yet. We want to alternate colors, so let’s continue adding in the beige yarn by applying hot glue to the jar and pressing the yarn into it.
As always, remember to run your finger over the thread so it’s neatly arranged and perfectly pressed into the glue.
Once more, you want to stop when you have about the same height of color as you have in the previous color layers you’ve added.
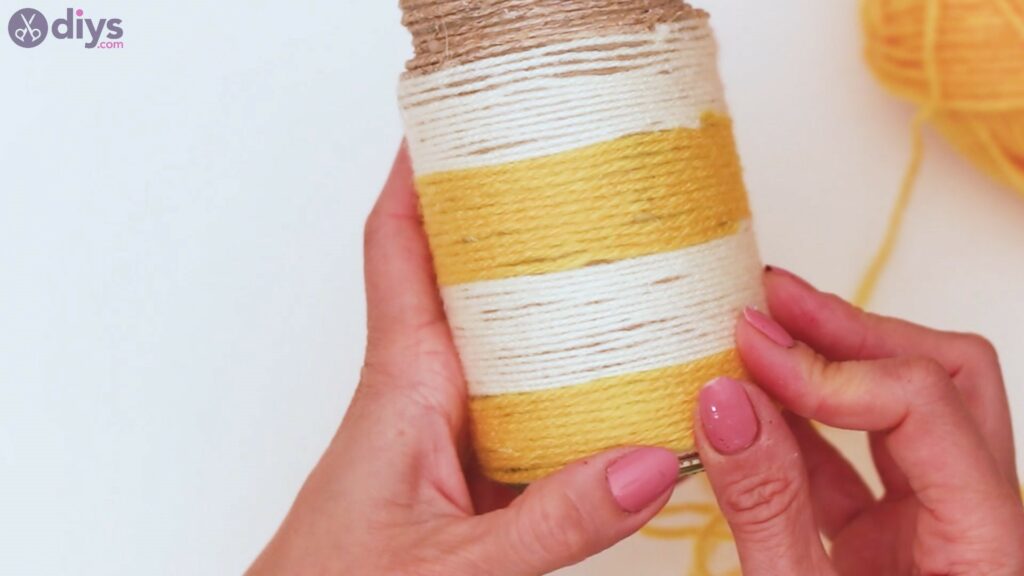
Step 5: Add the final yellow layer
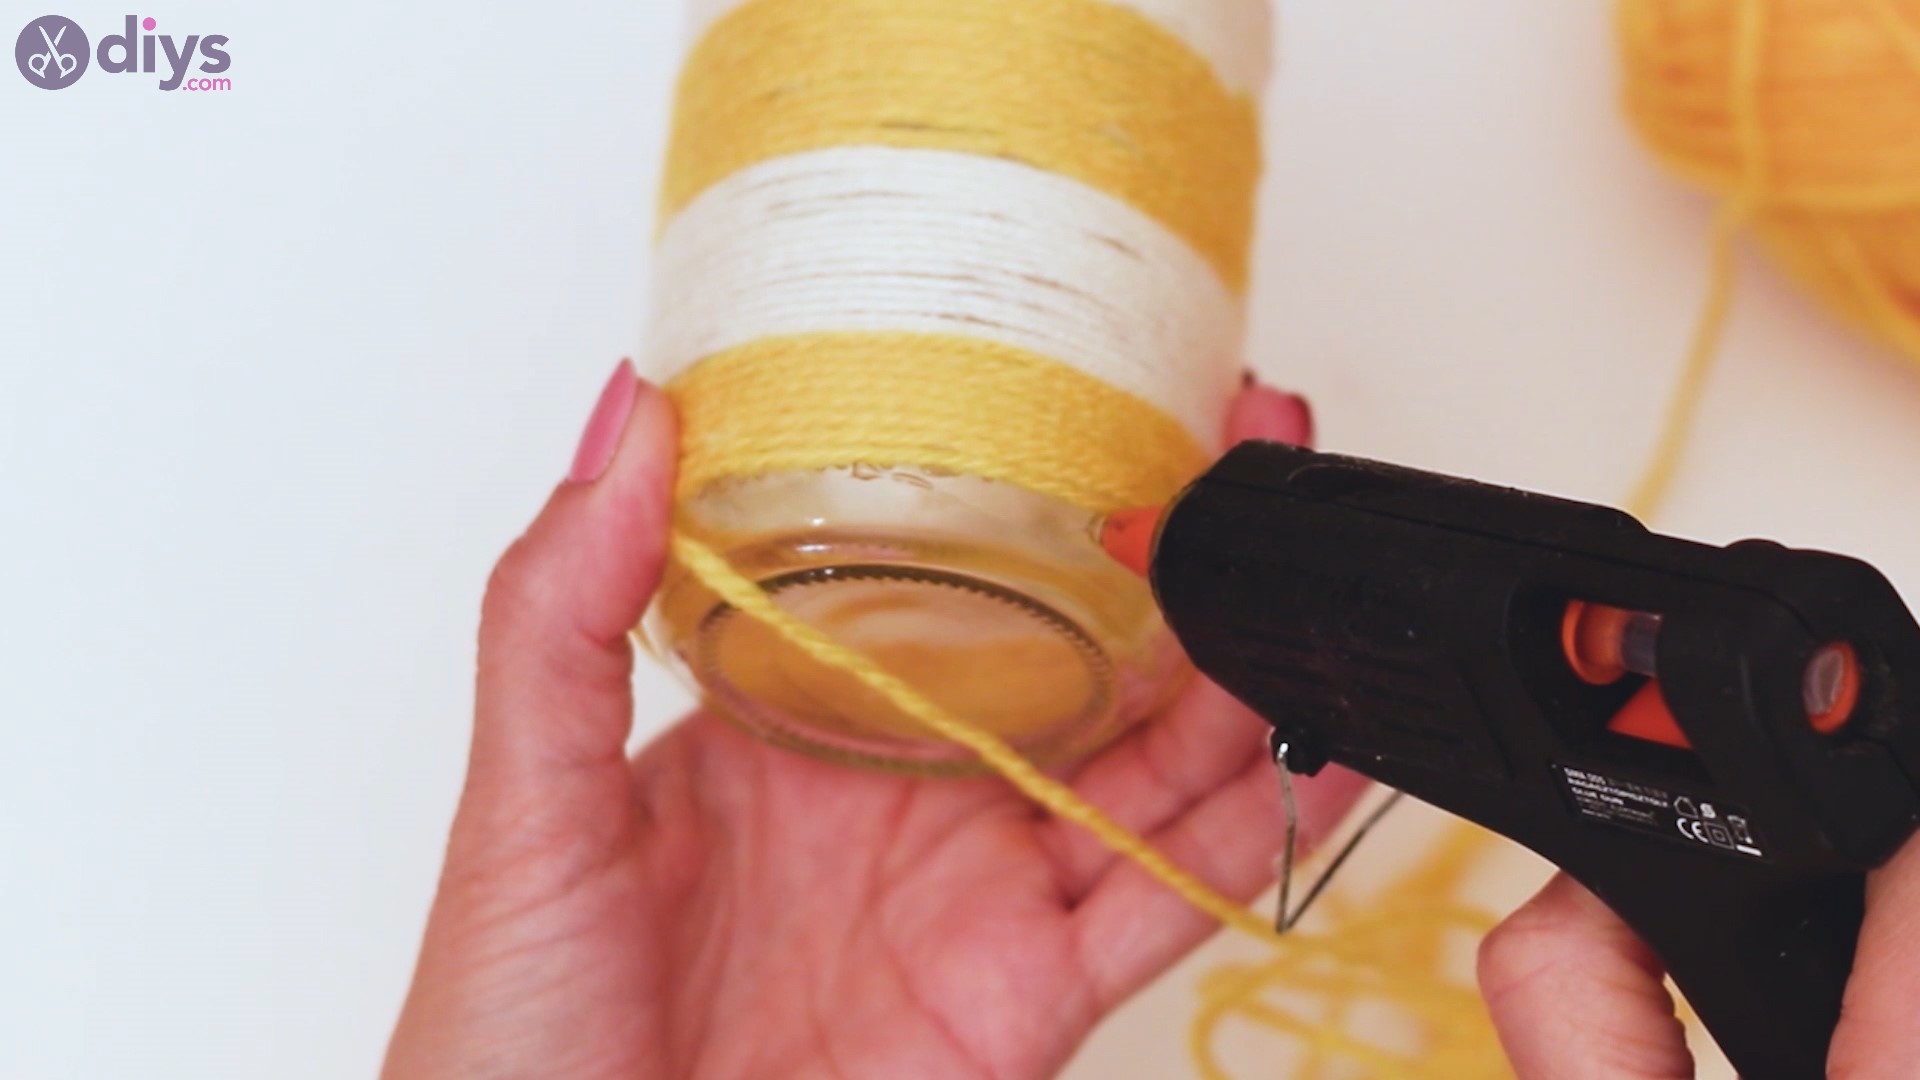
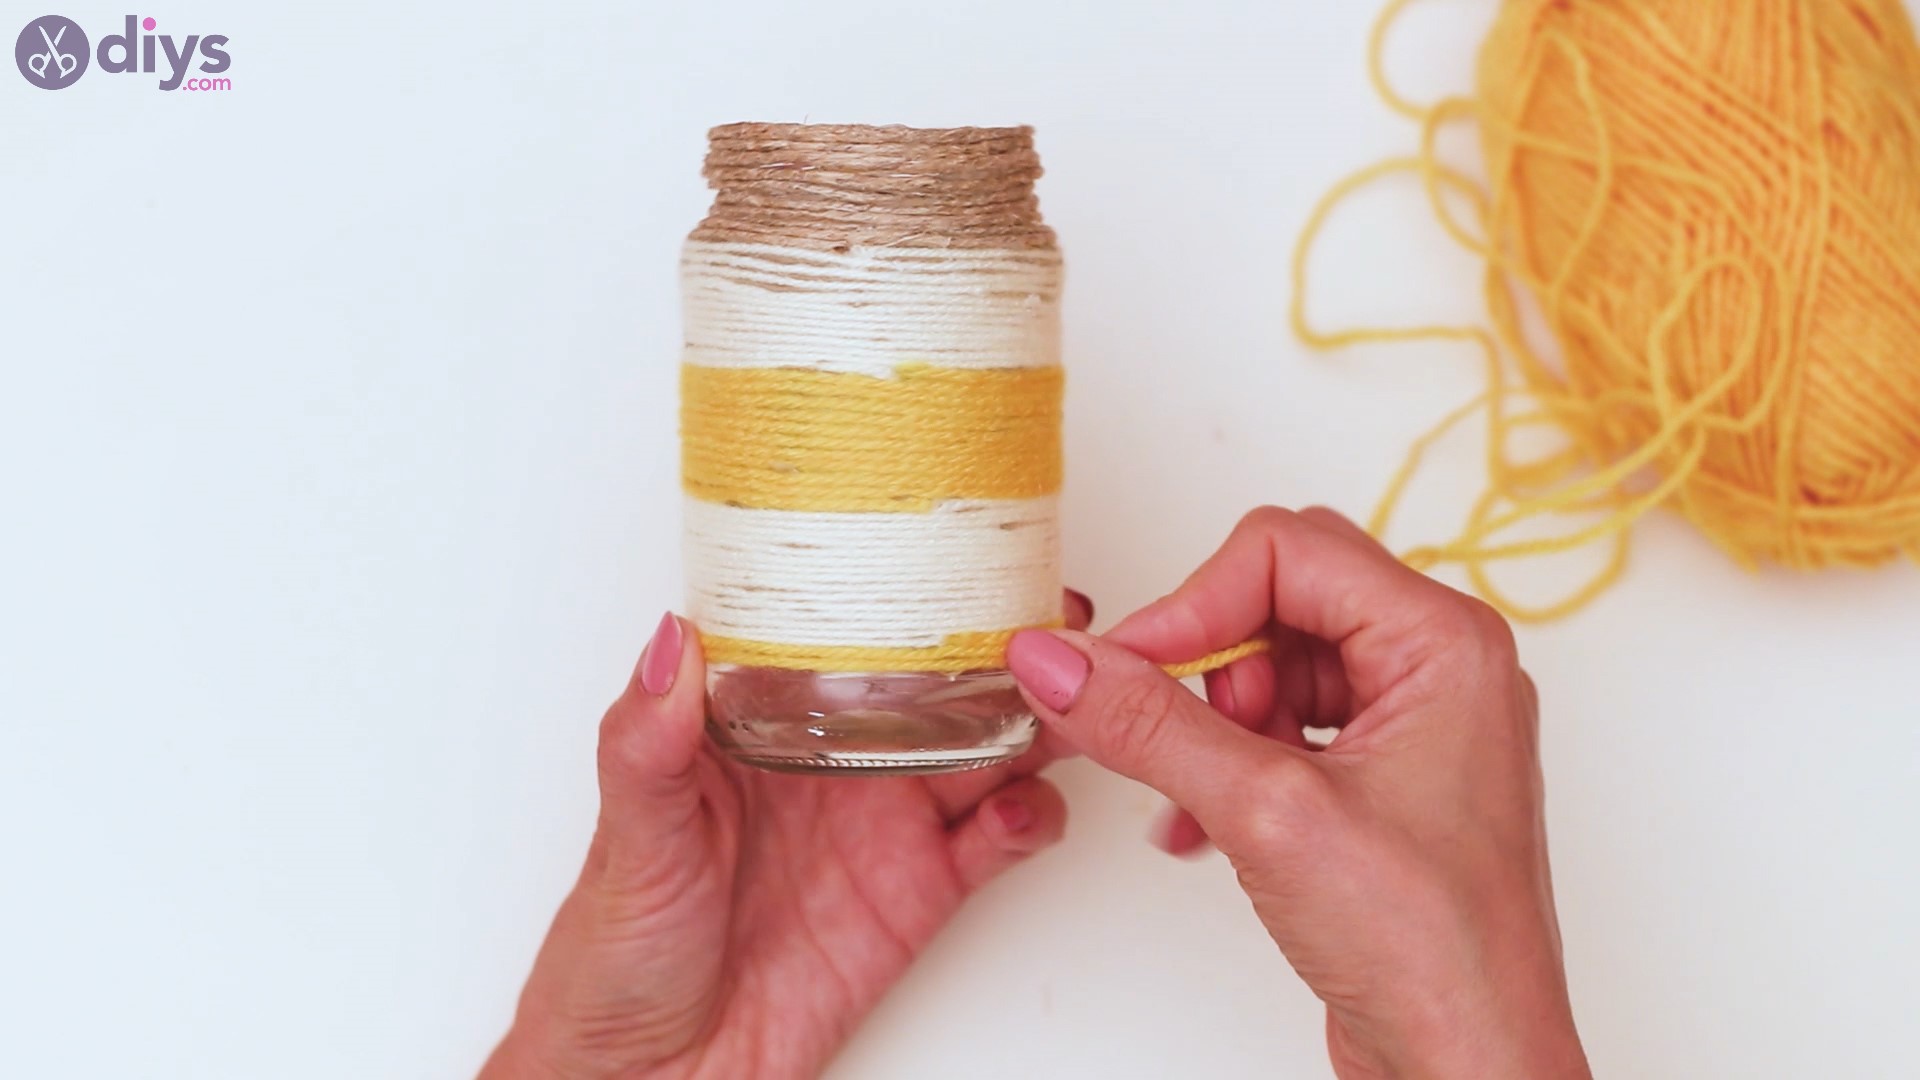
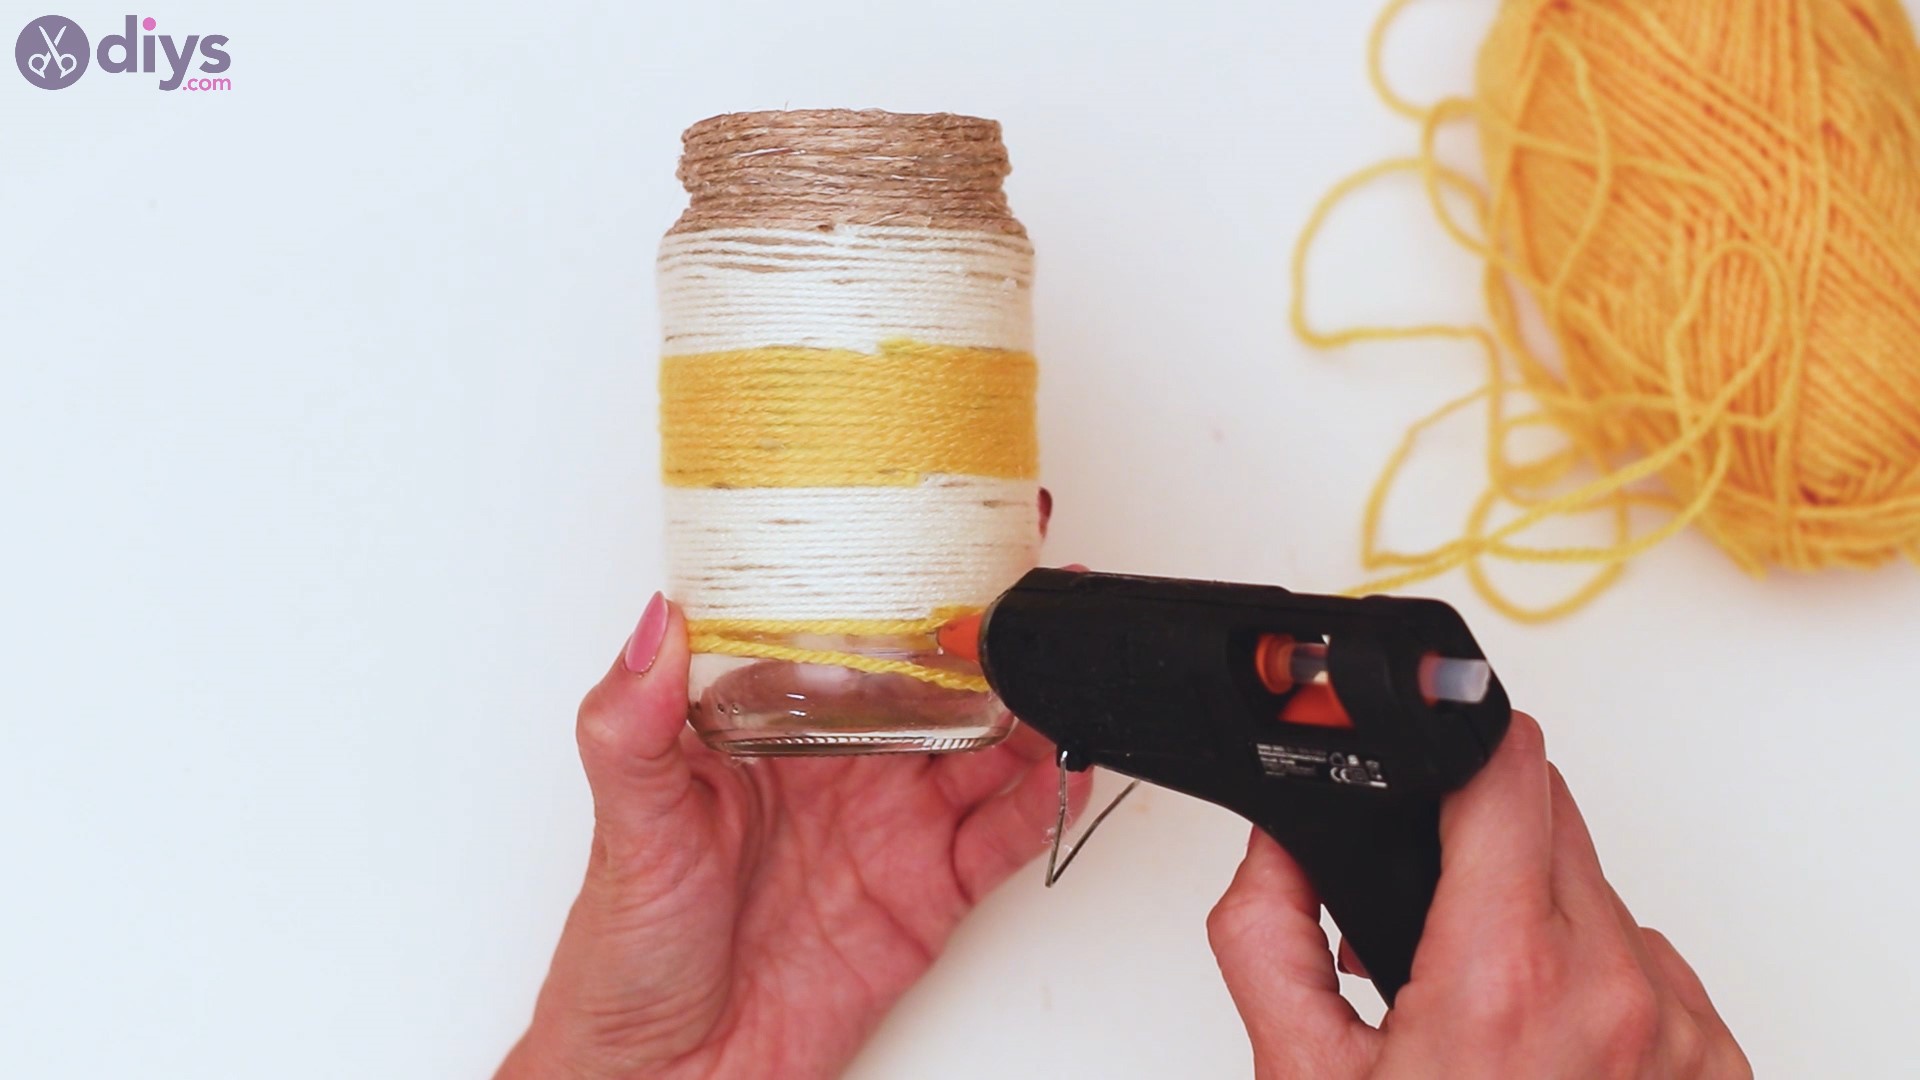
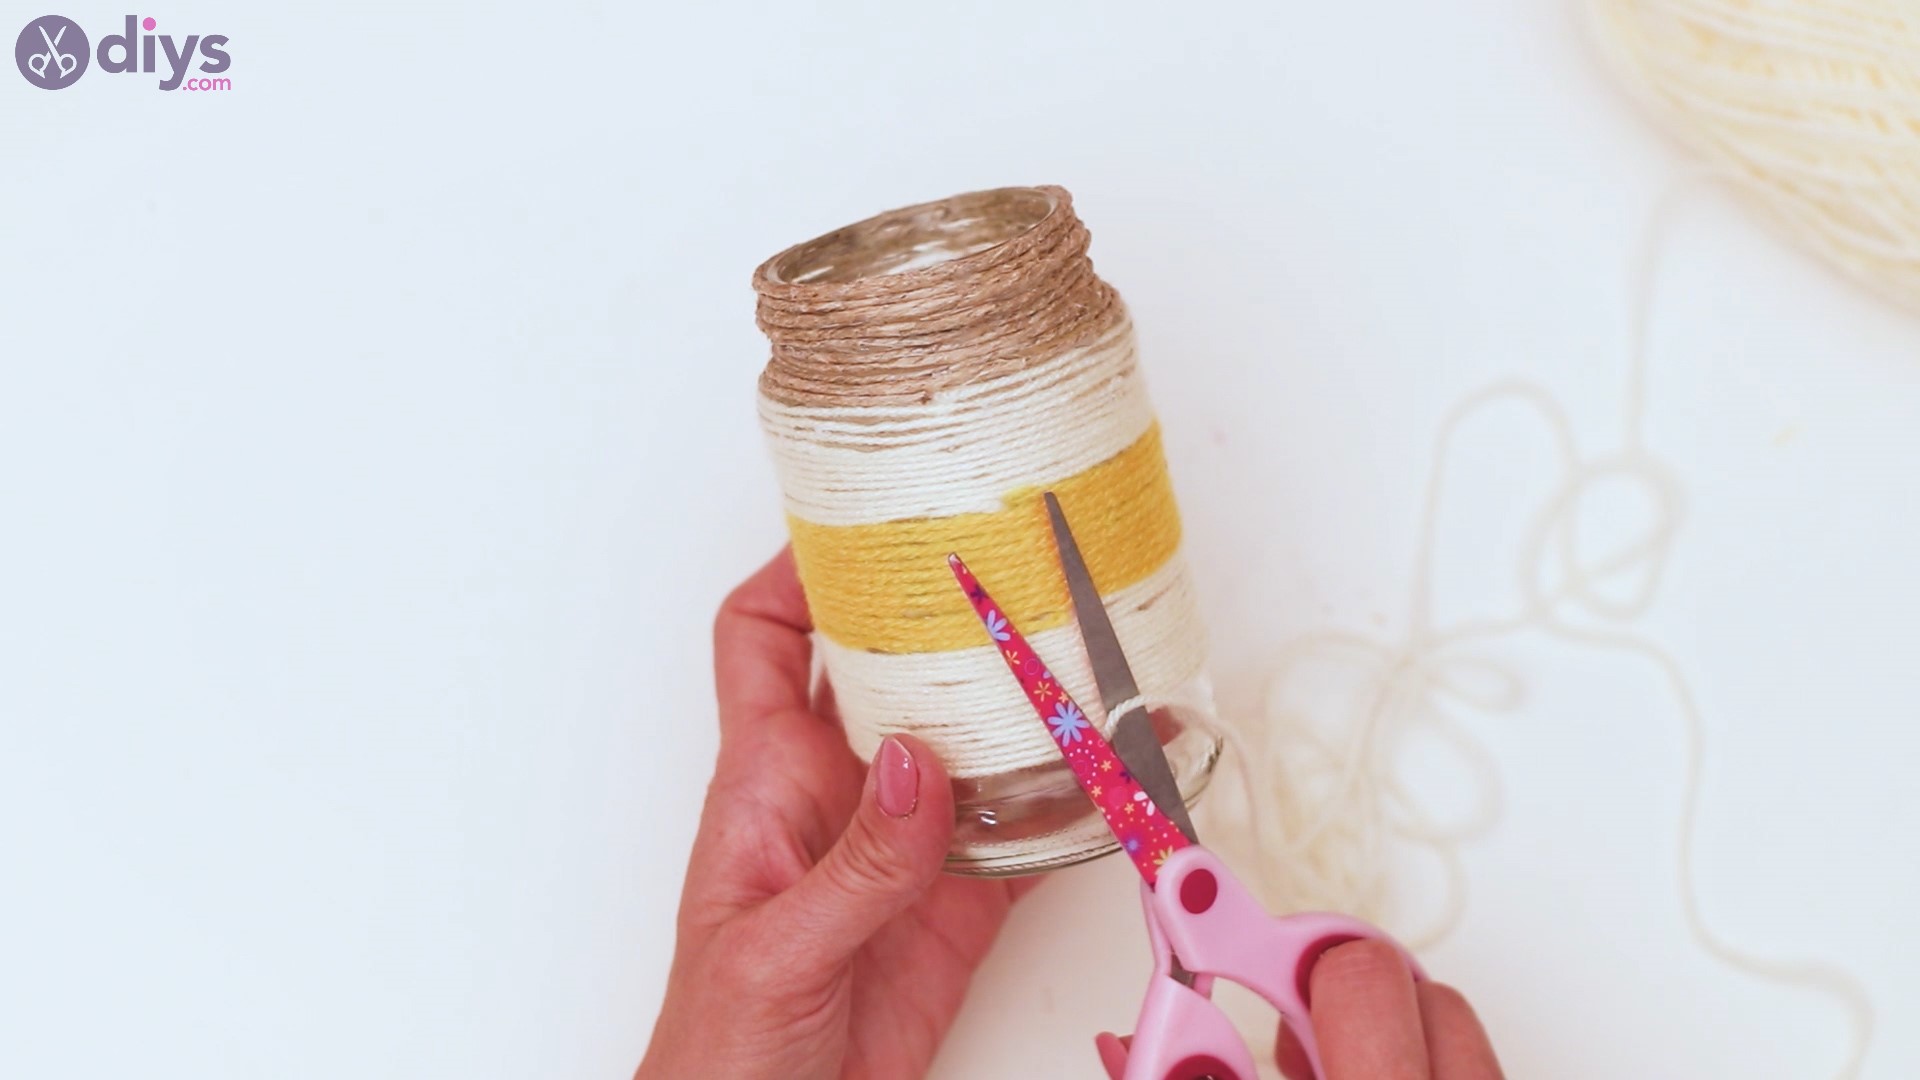
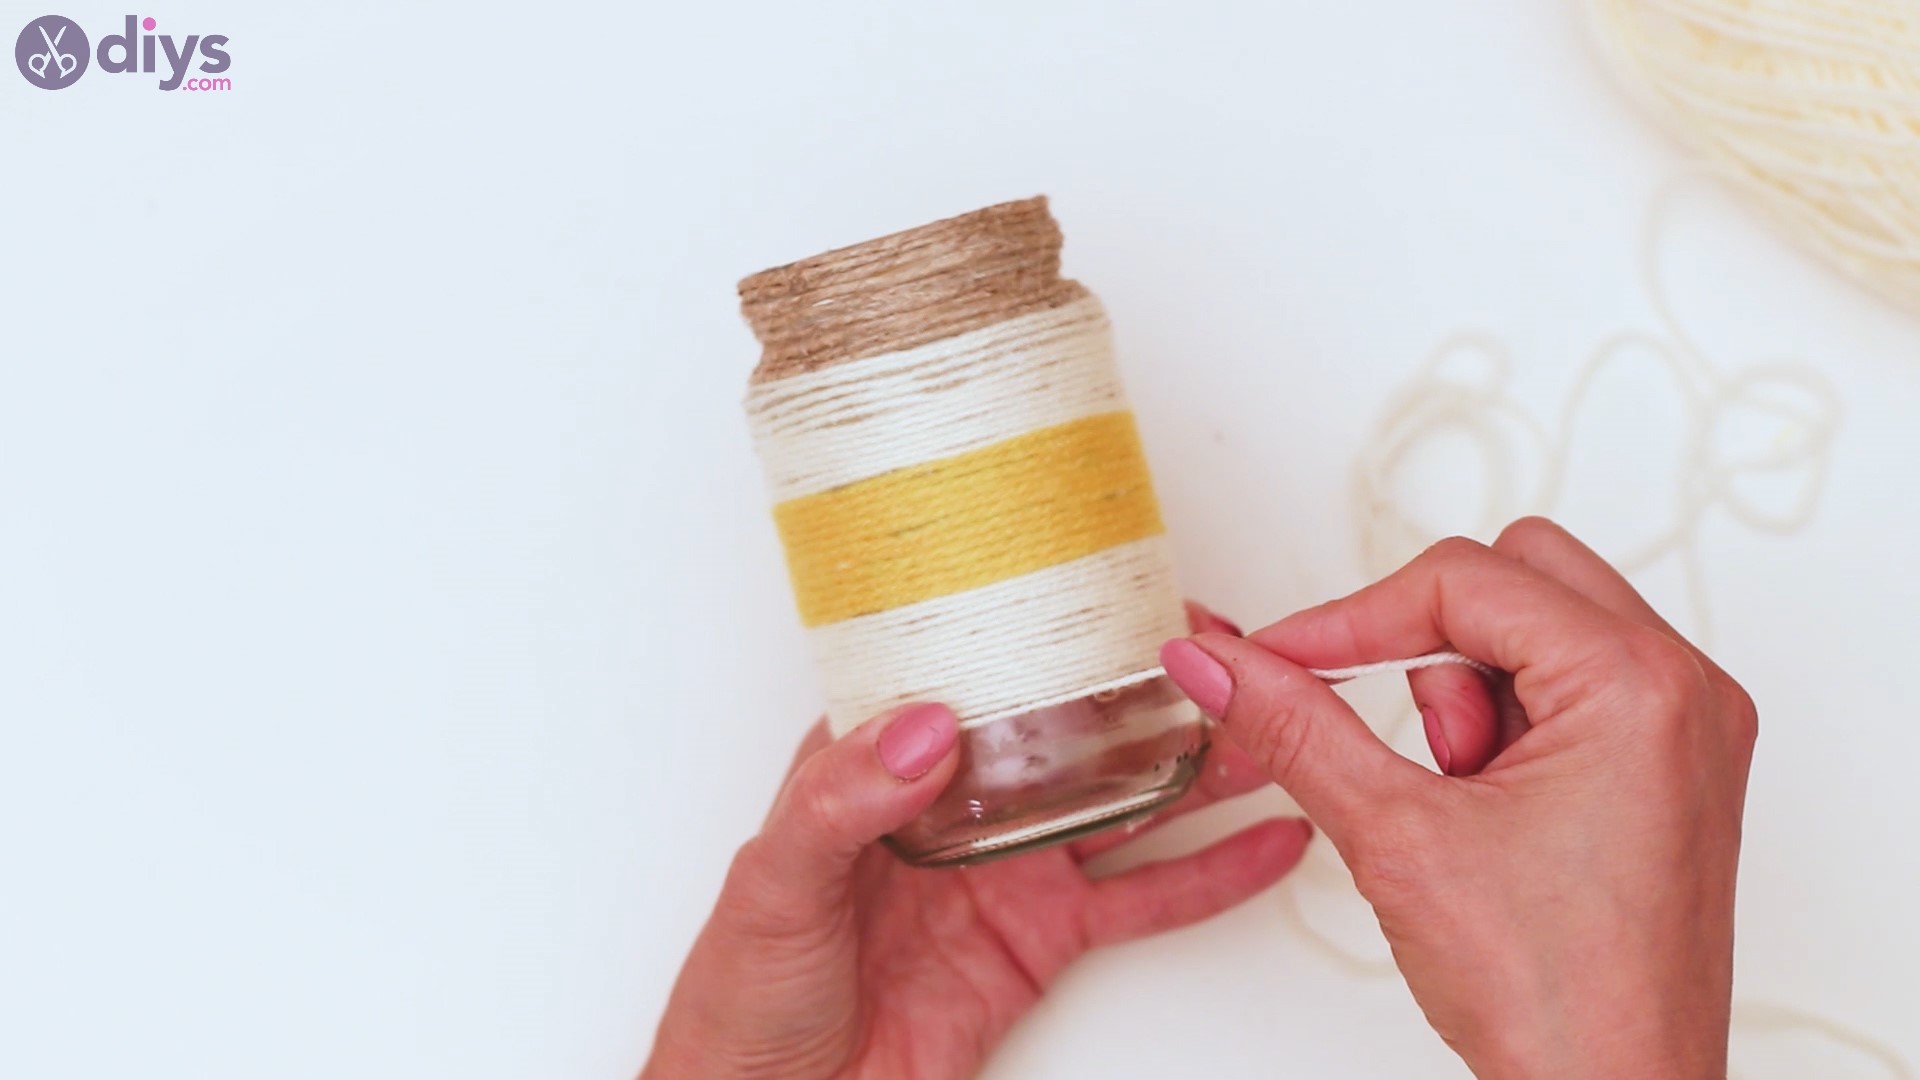
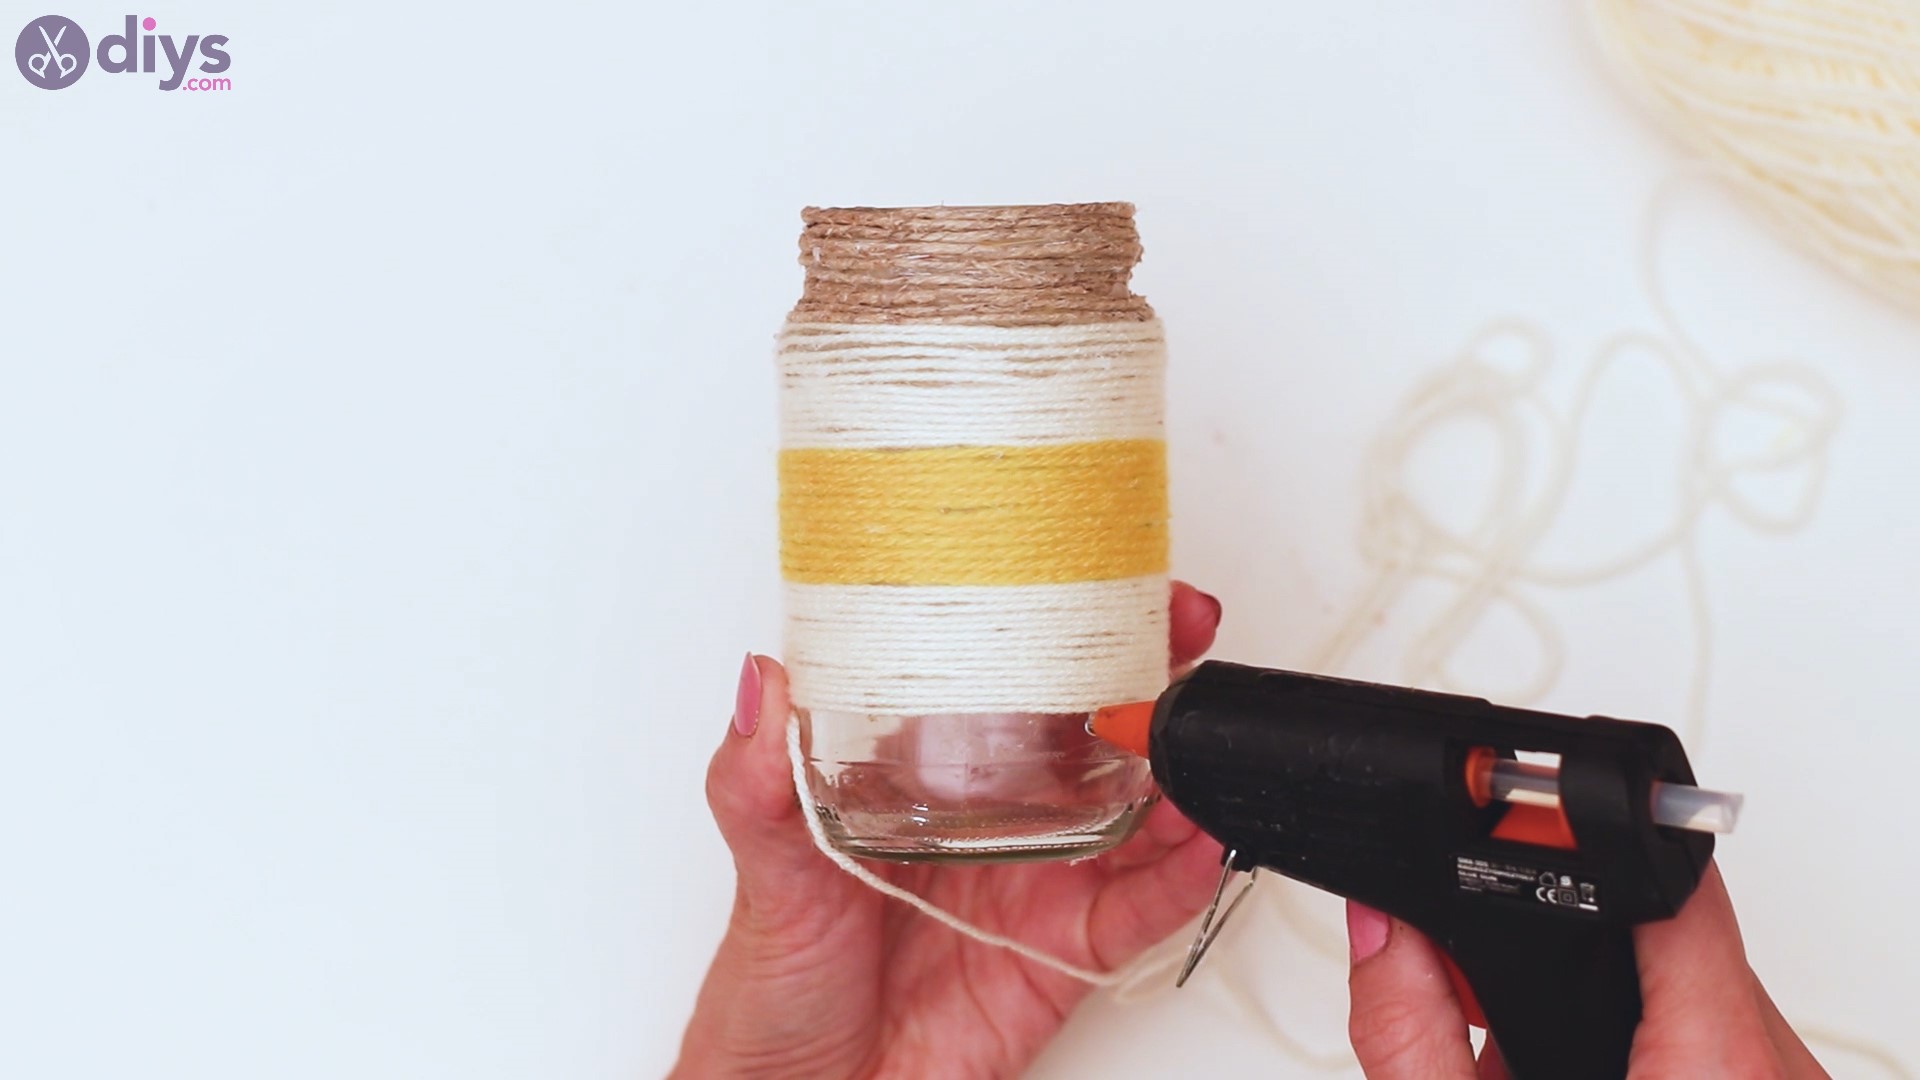
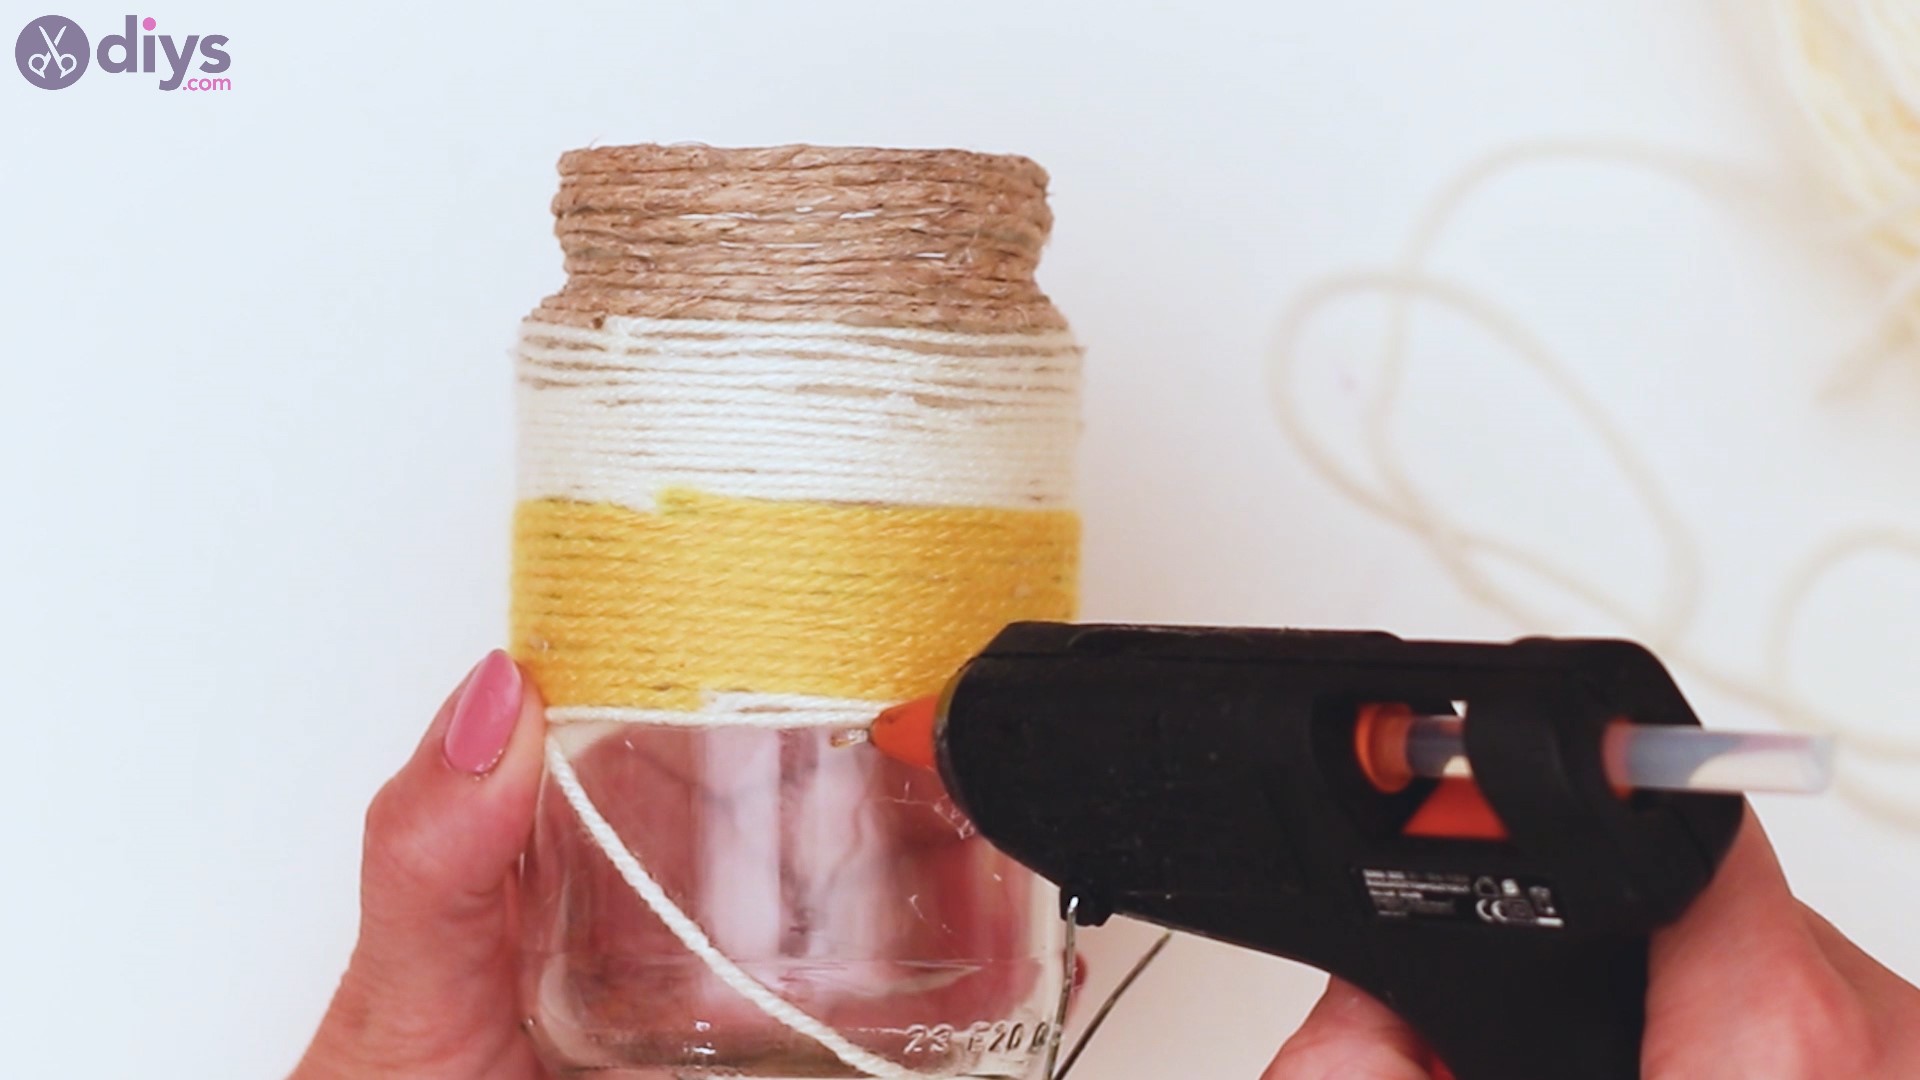
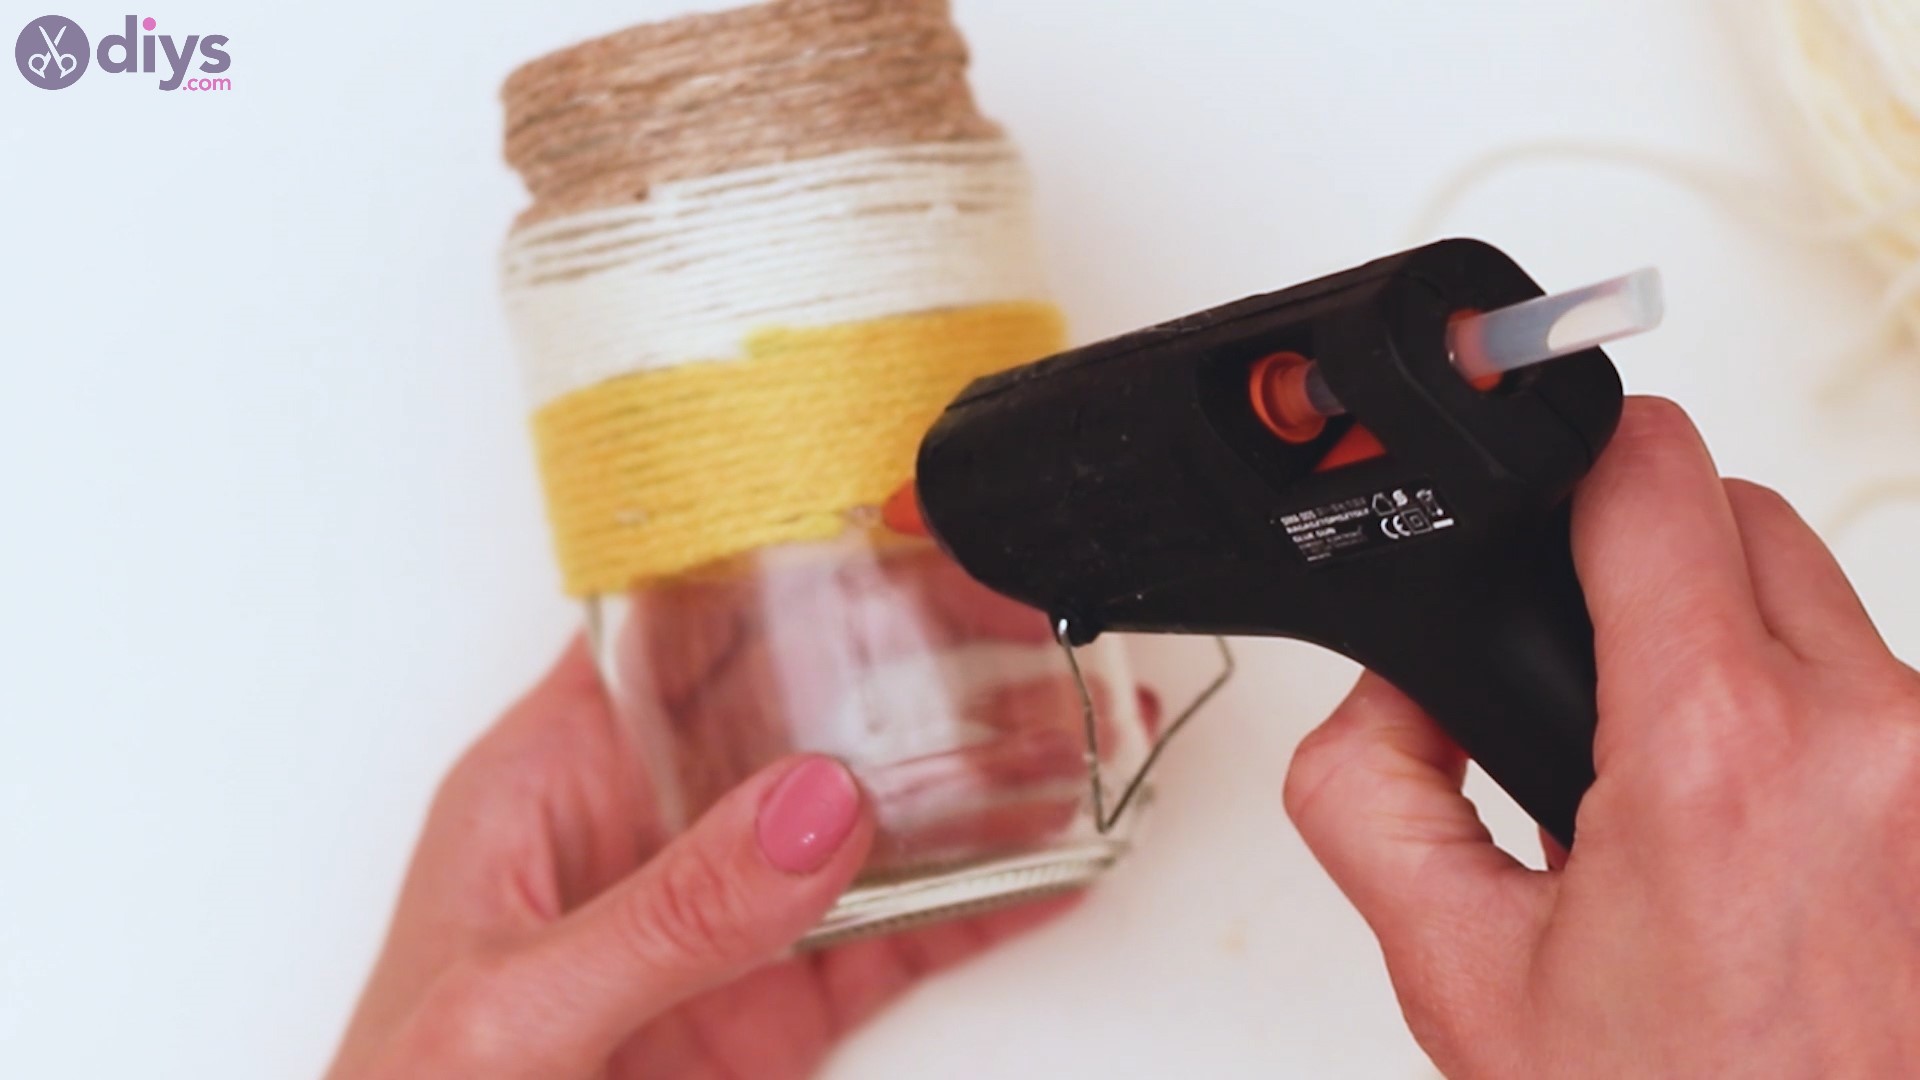
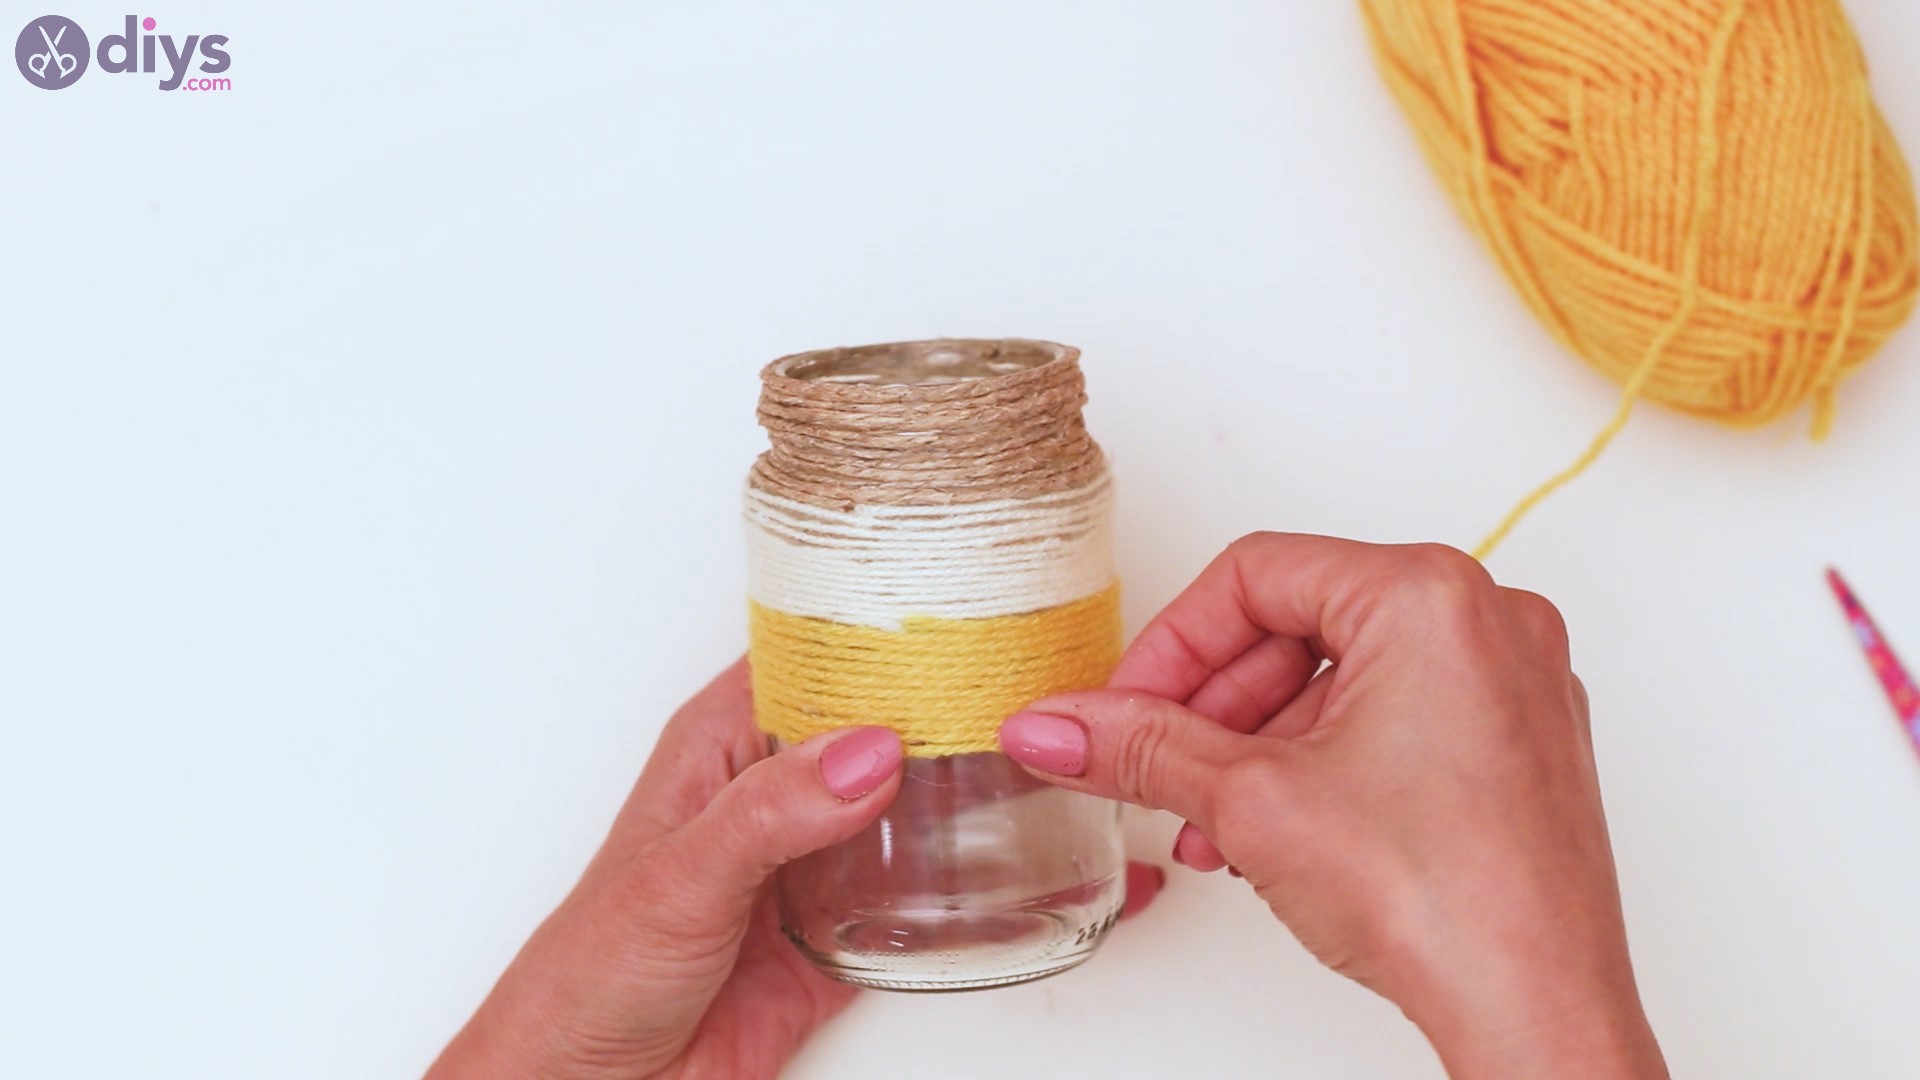
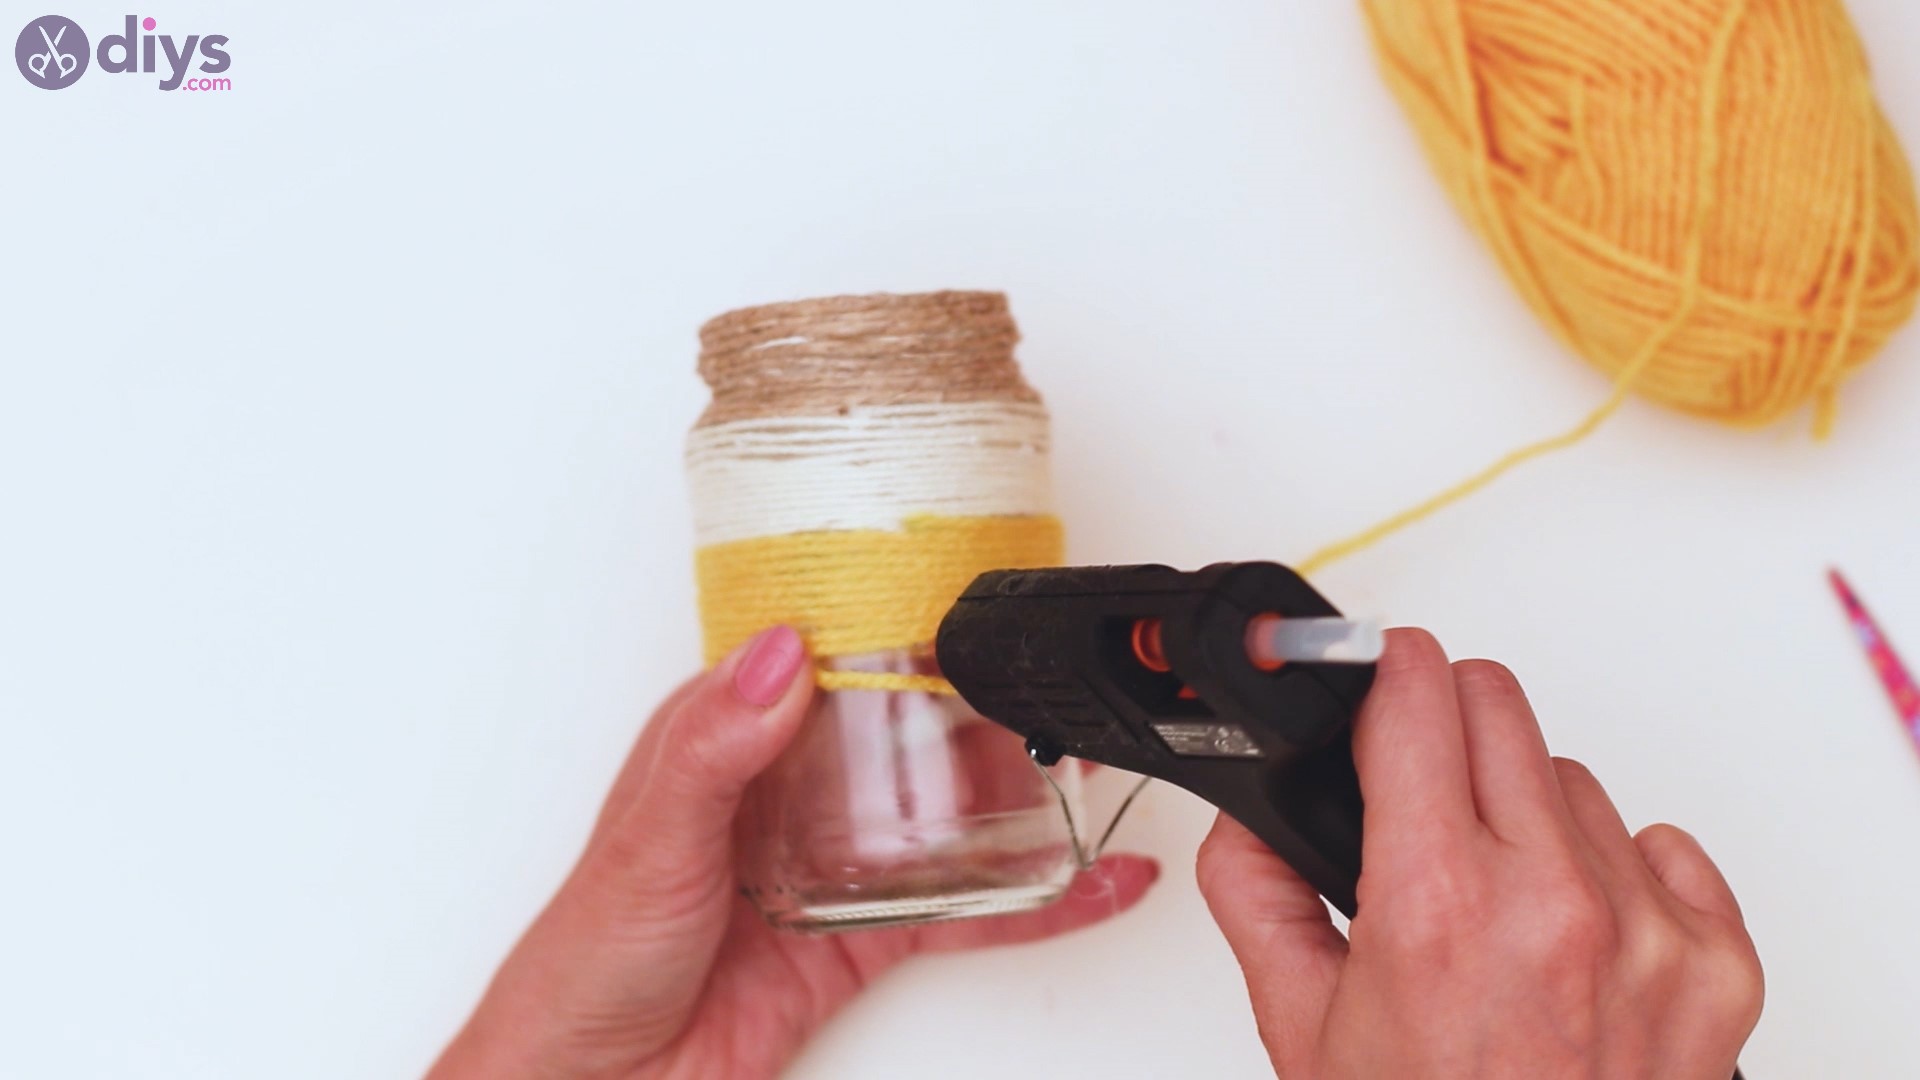
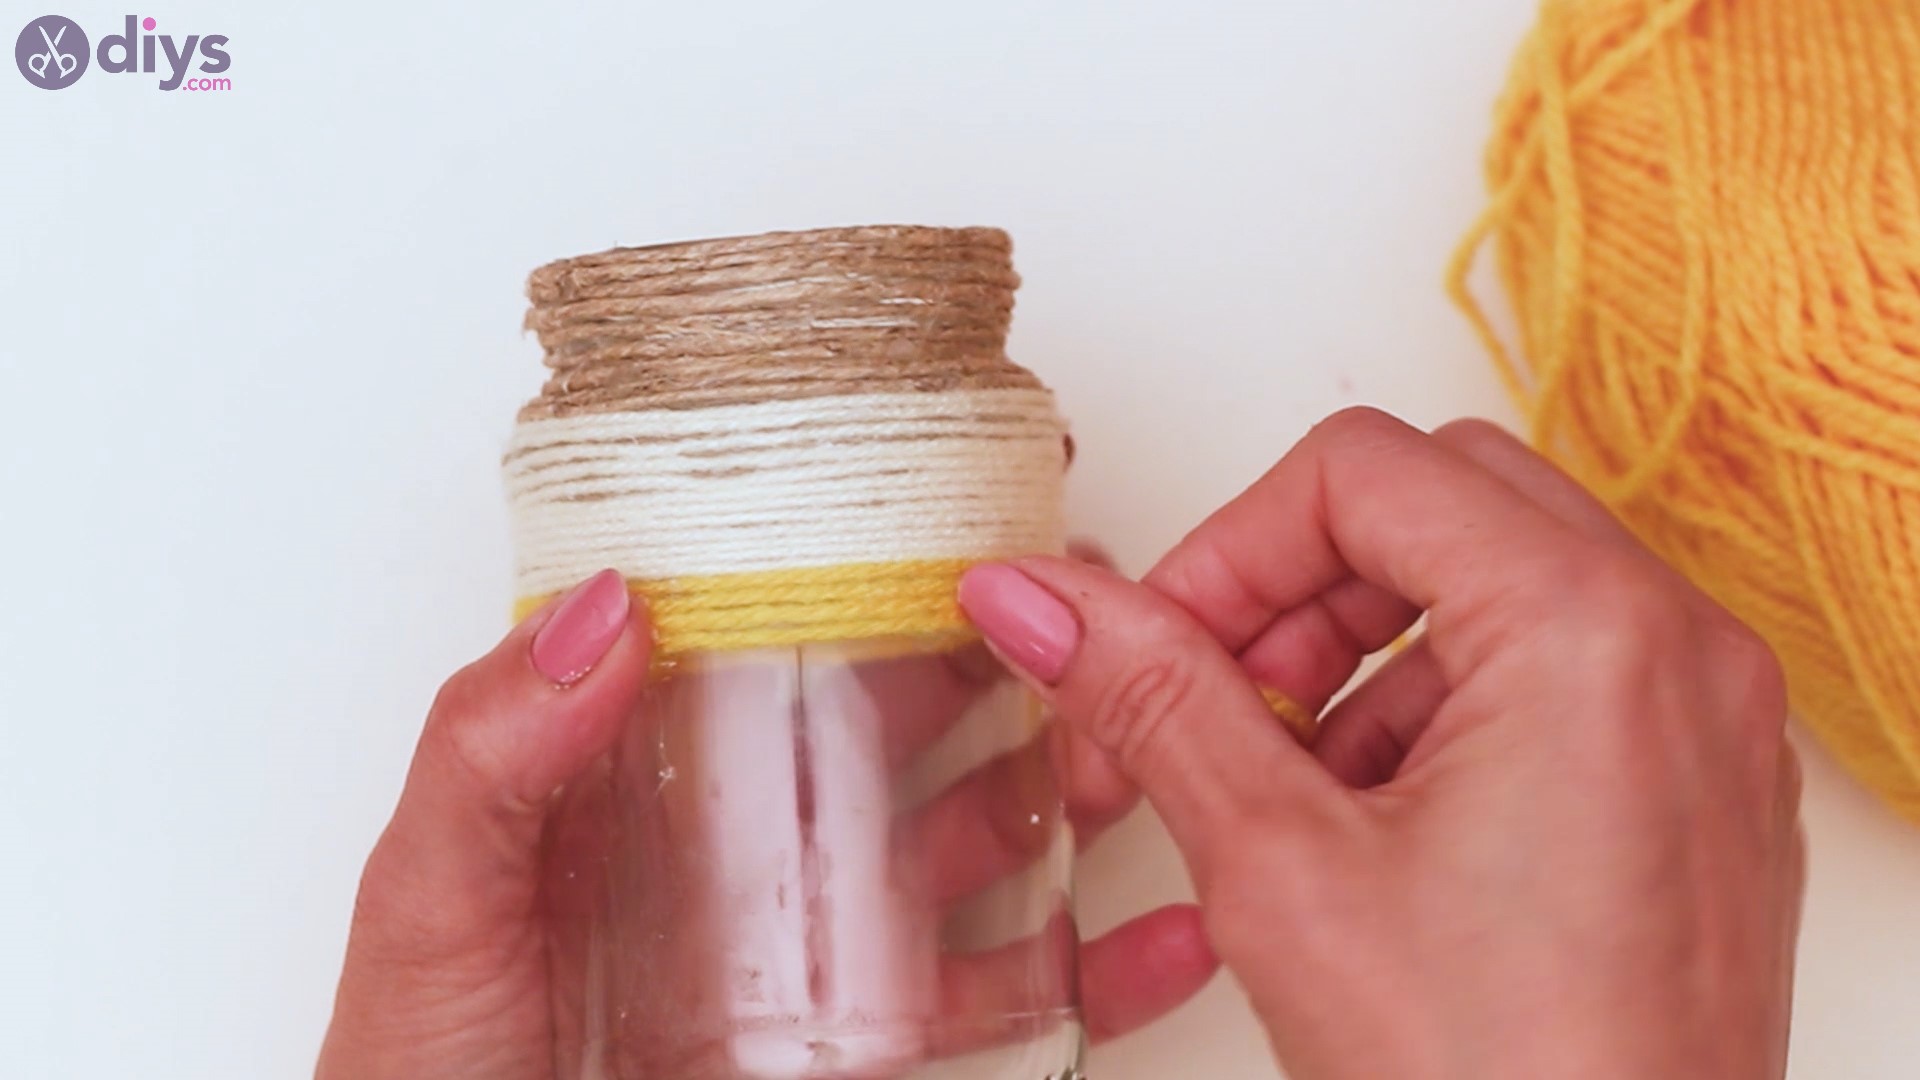
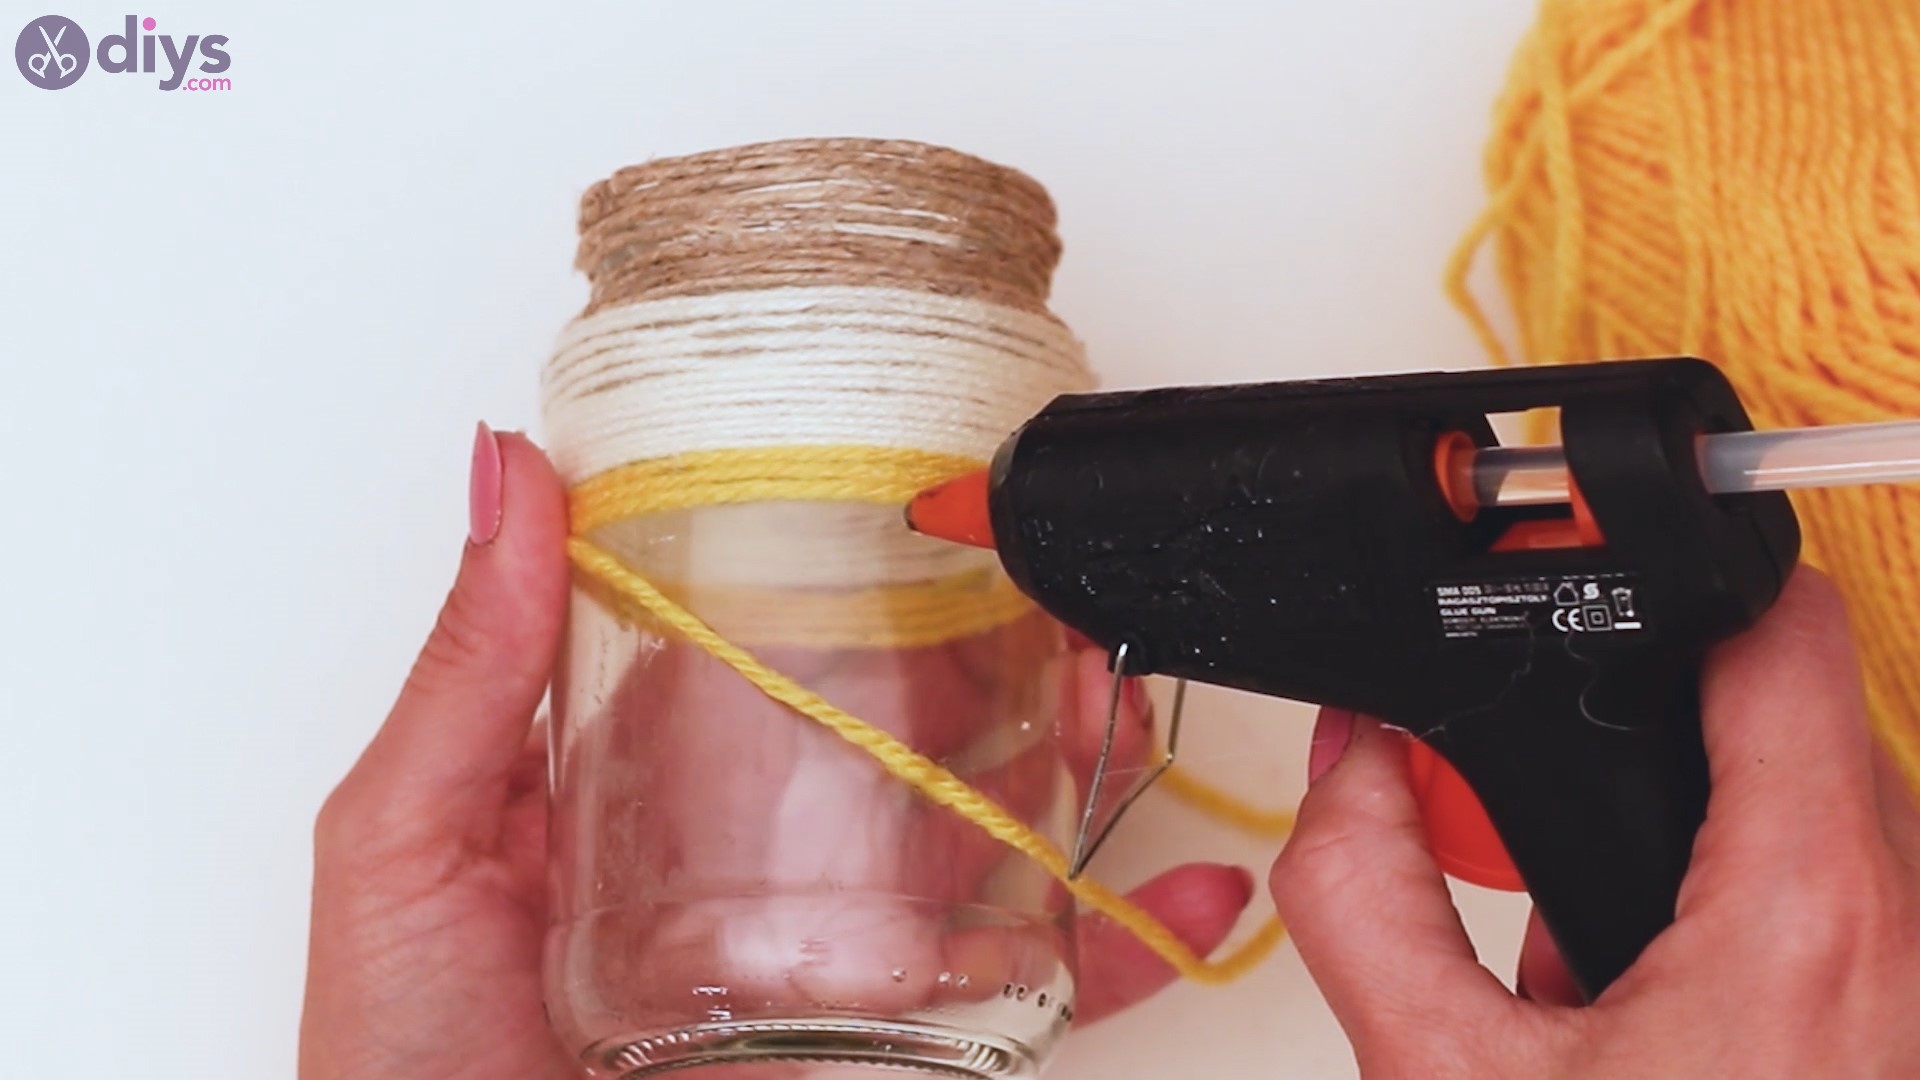
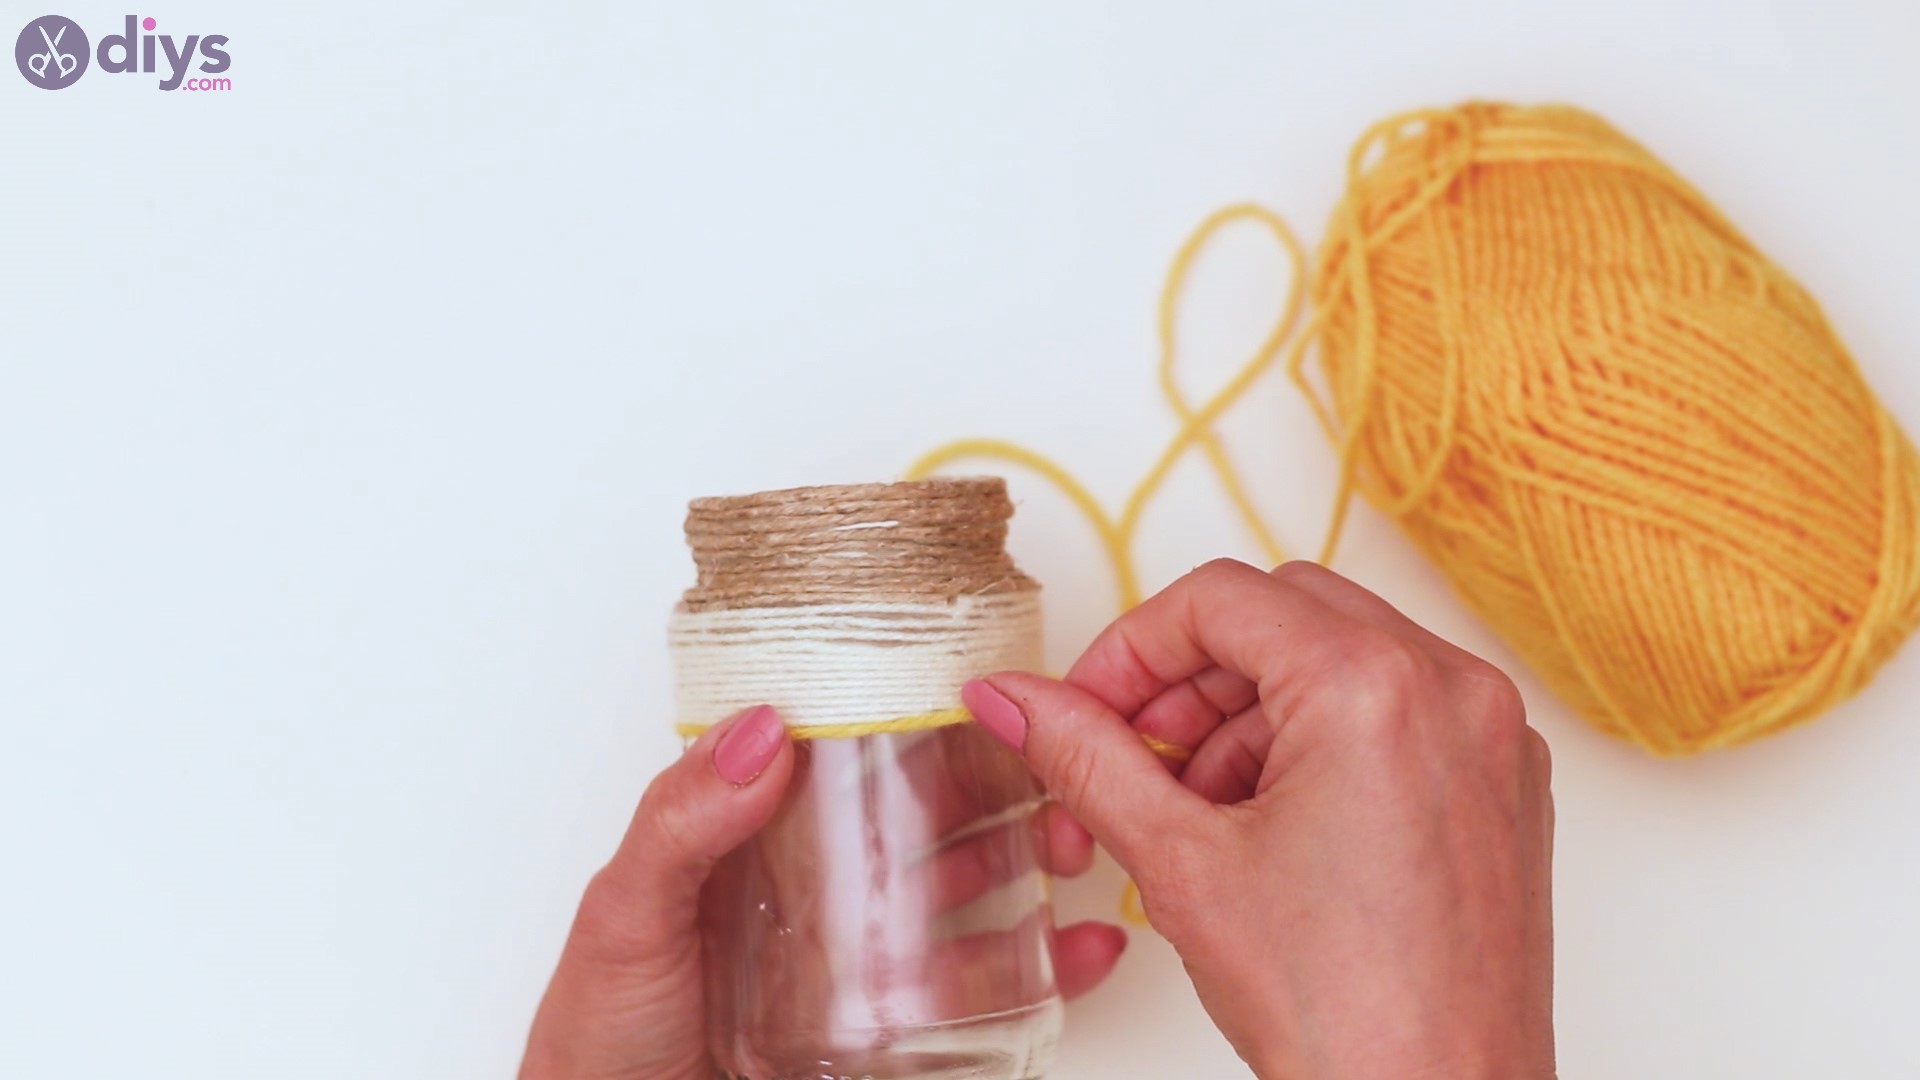
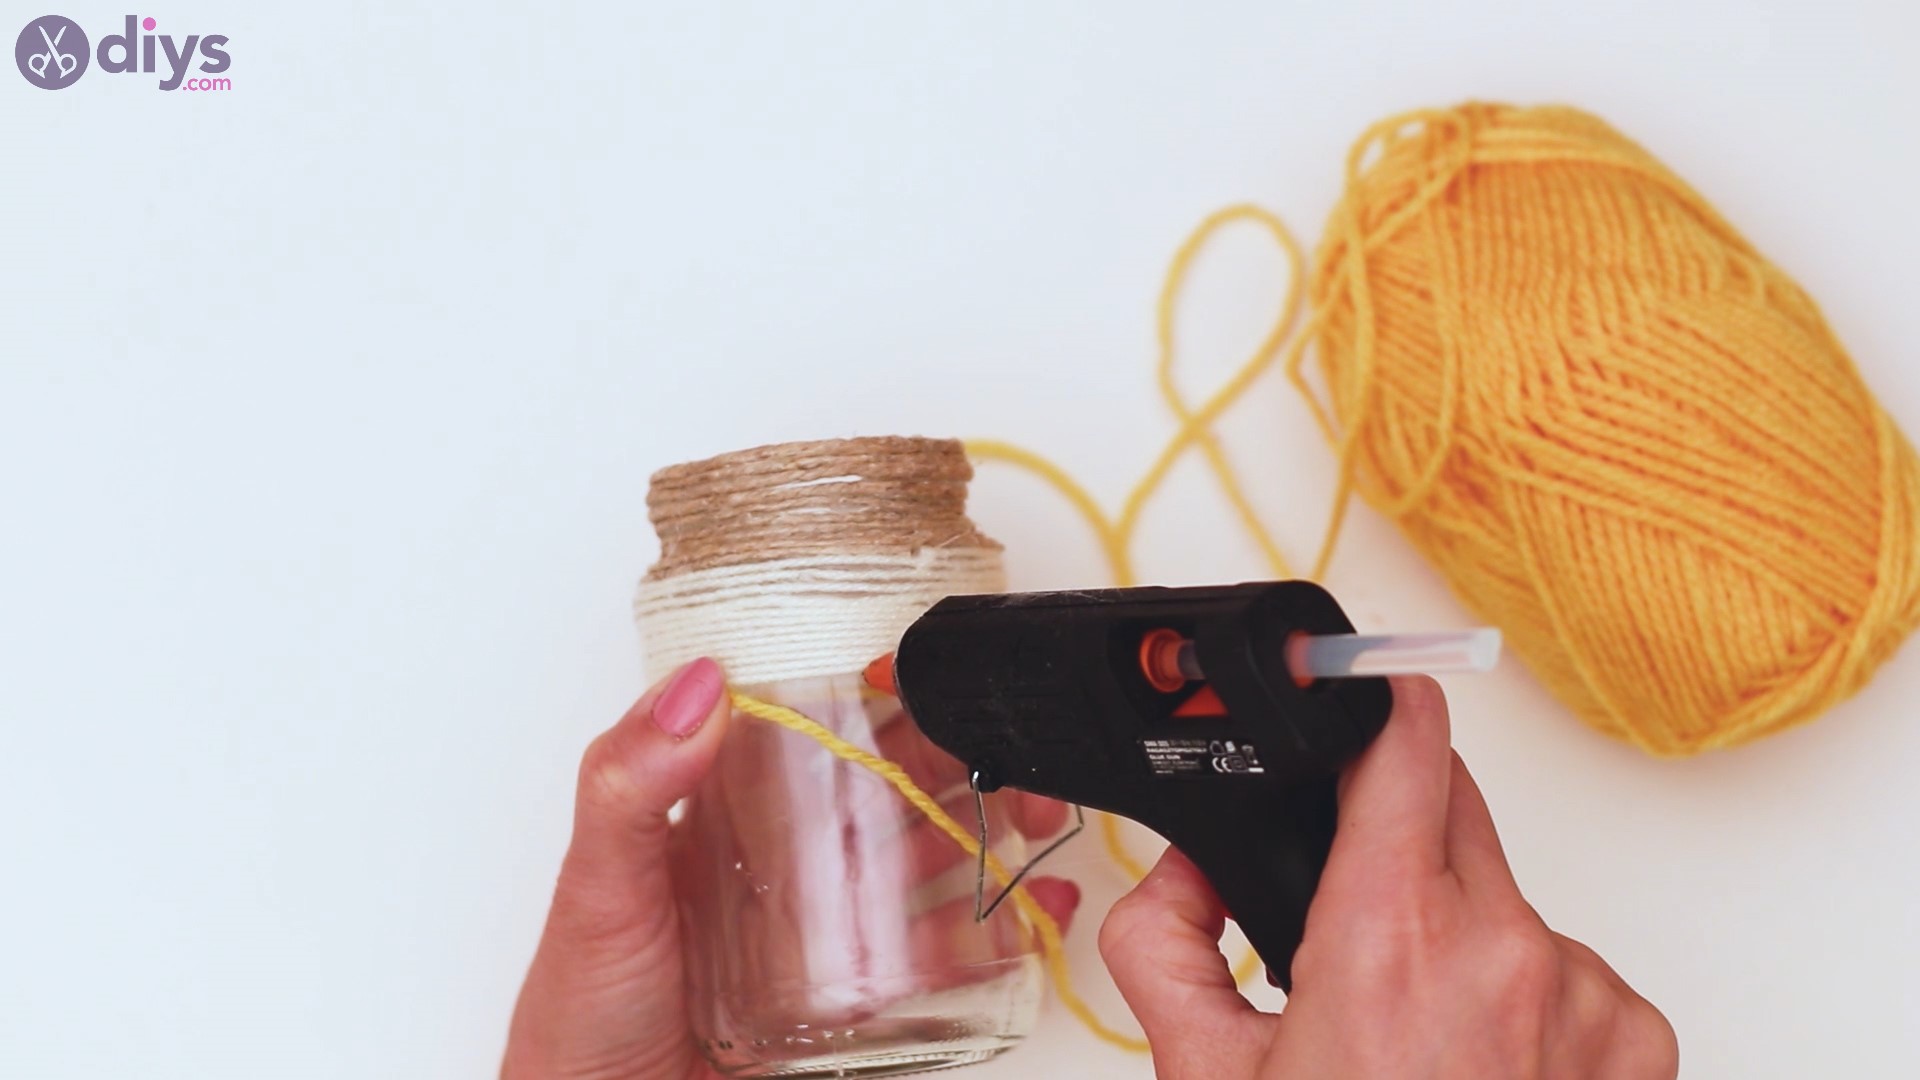
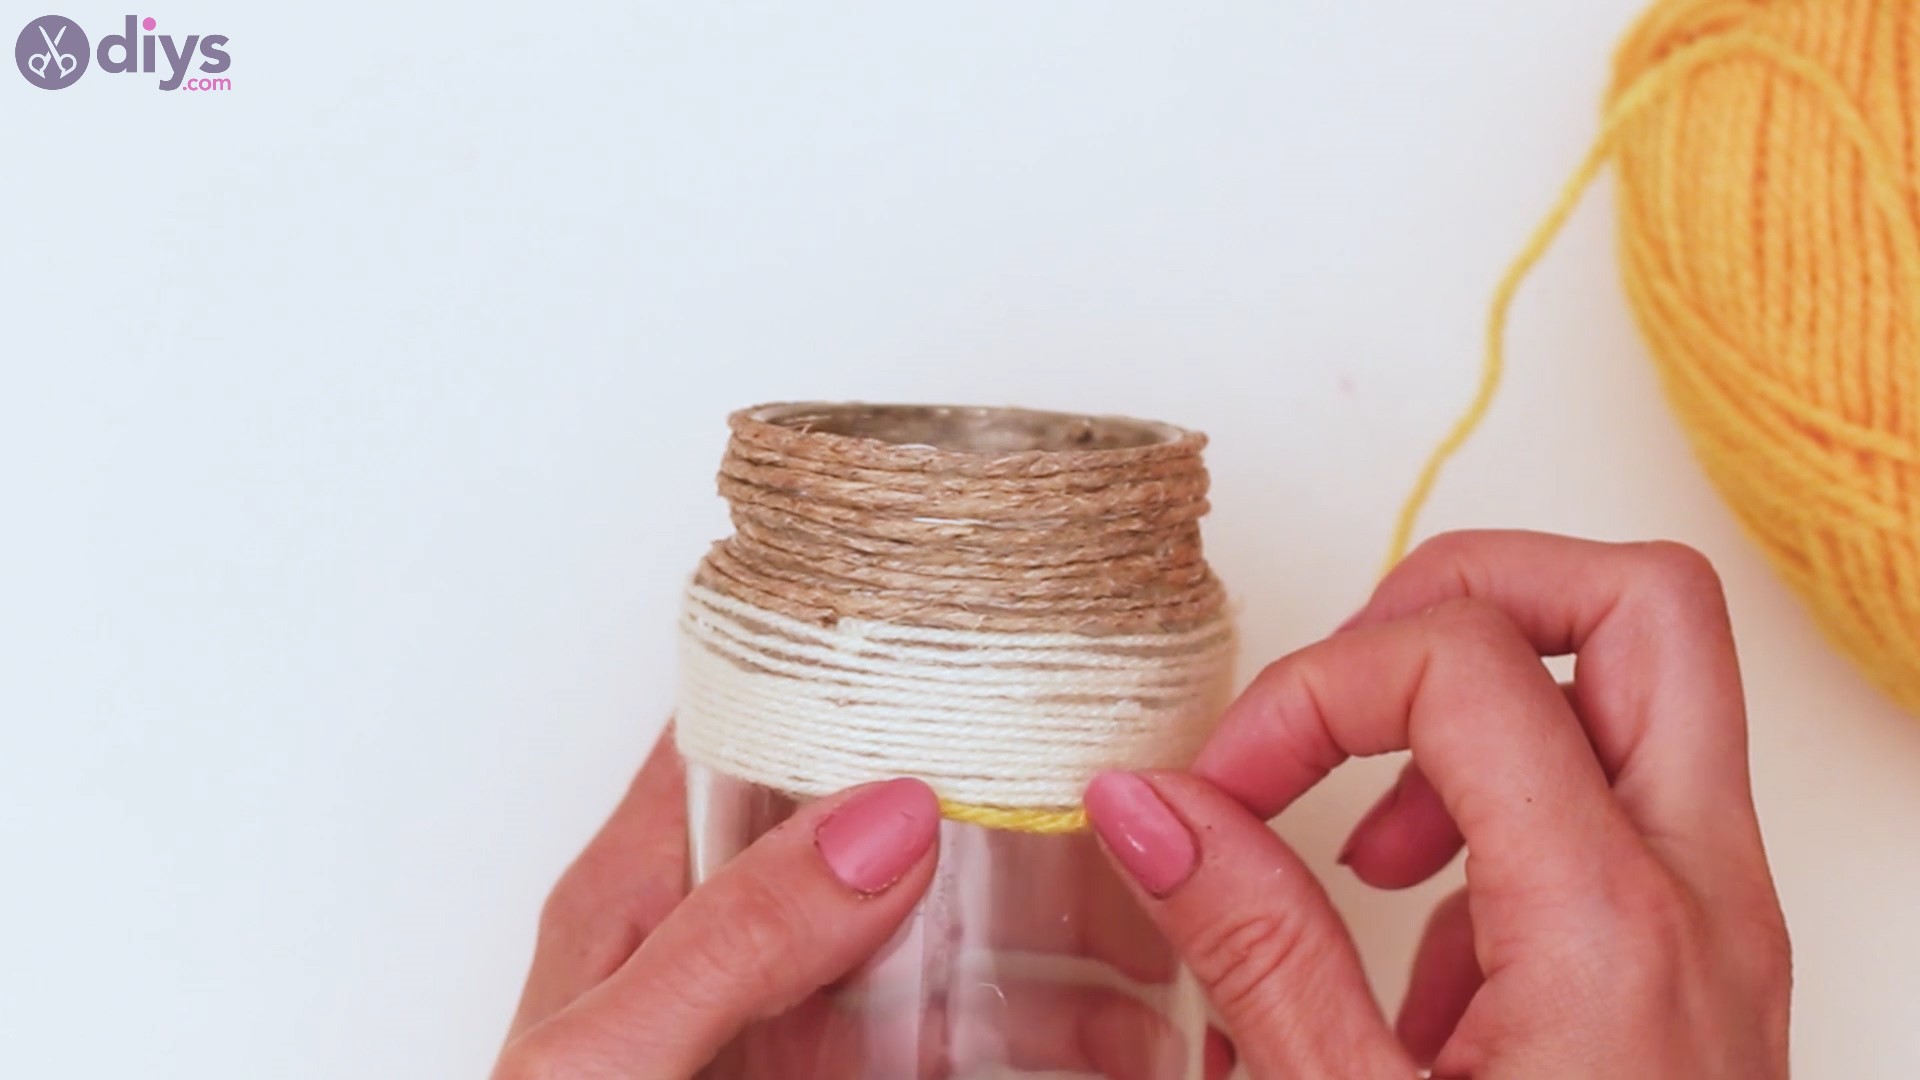
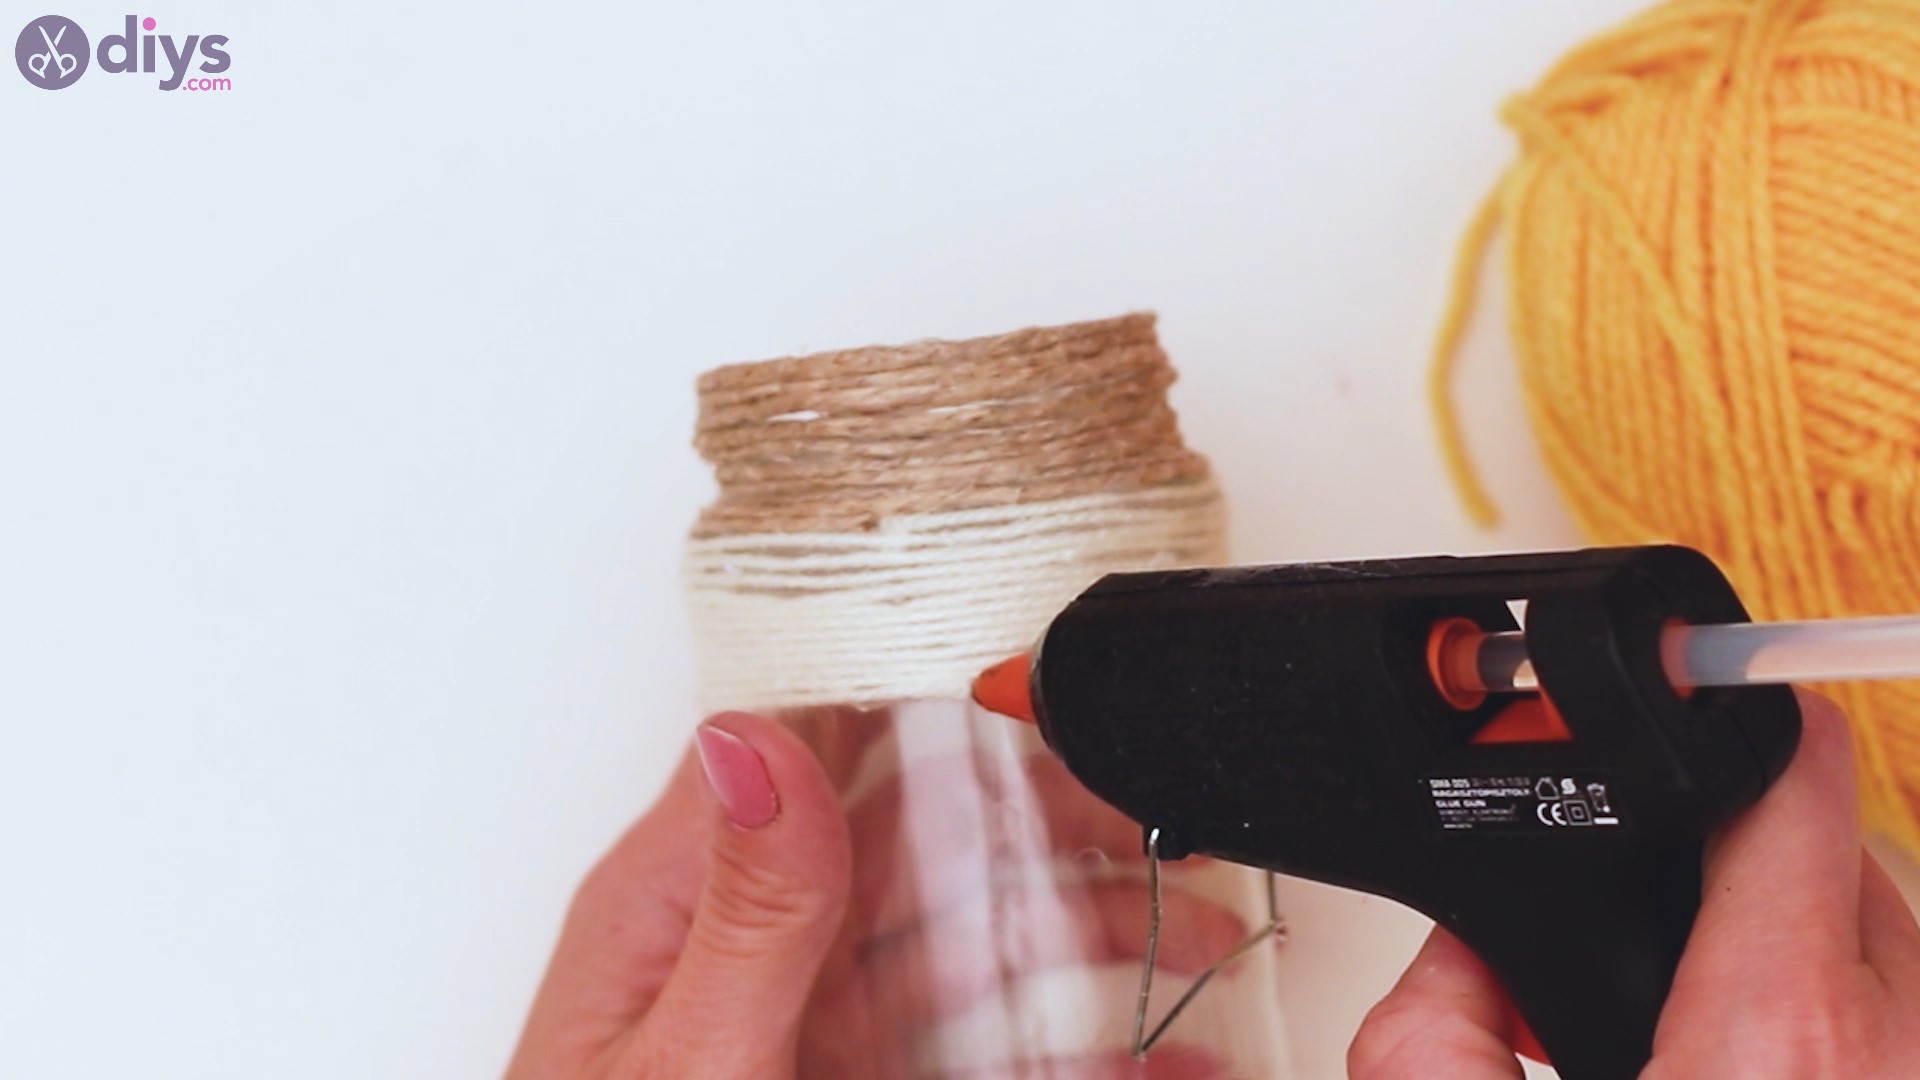
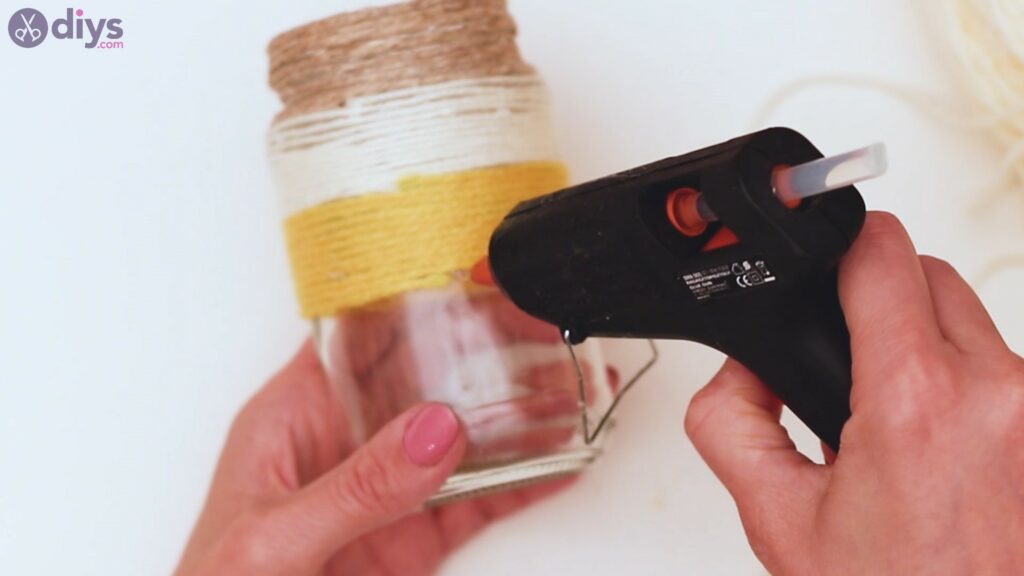
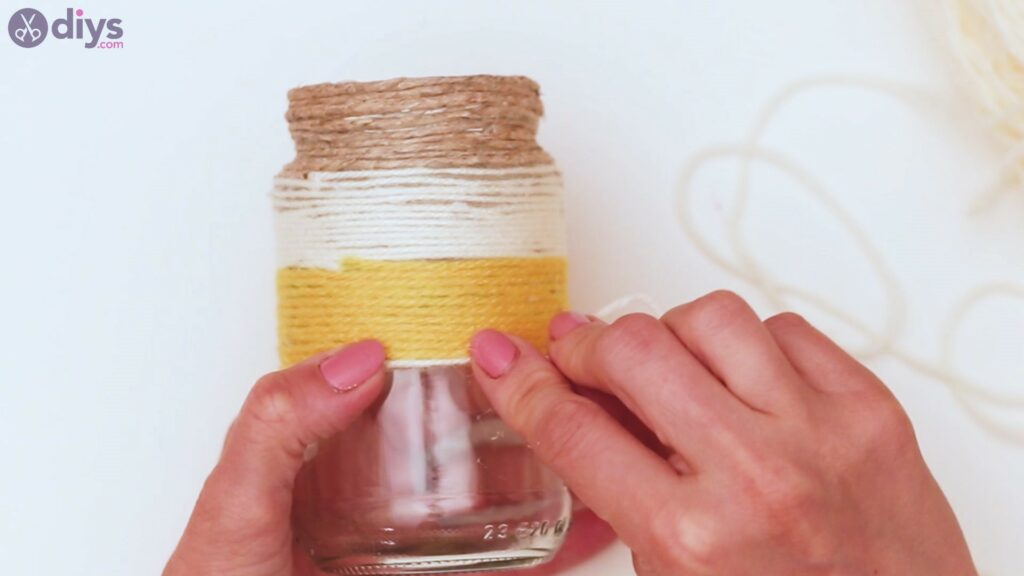
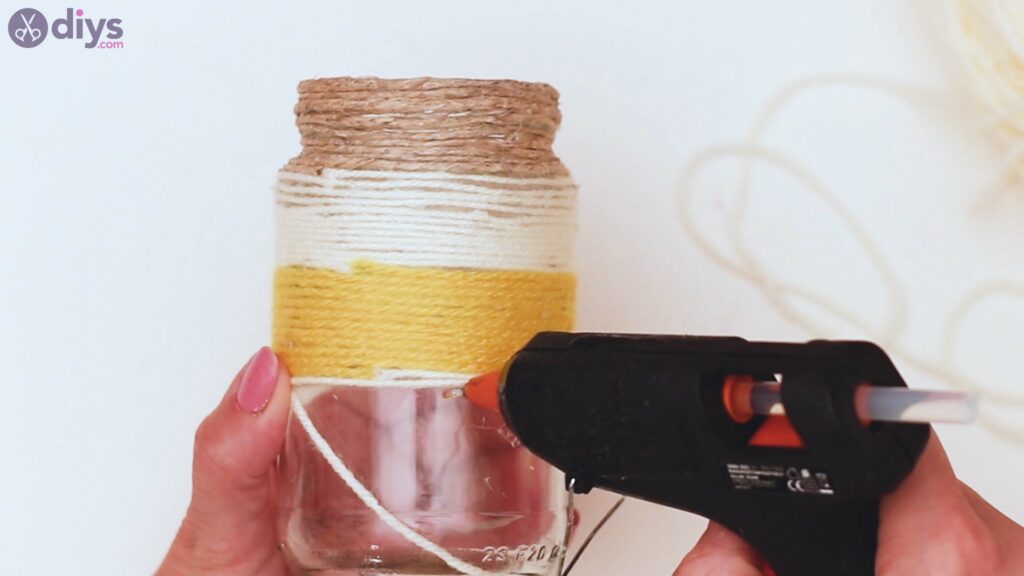
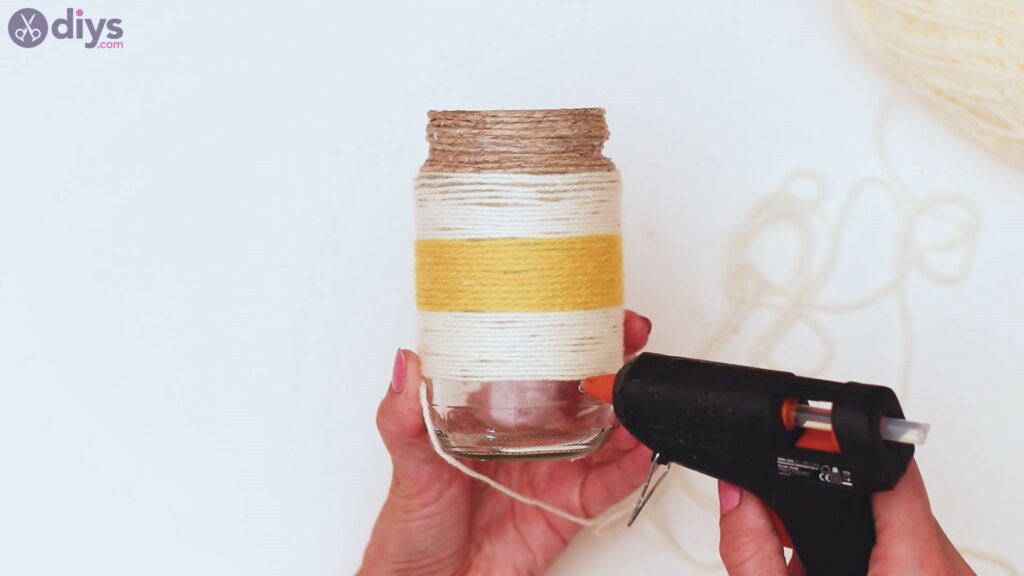
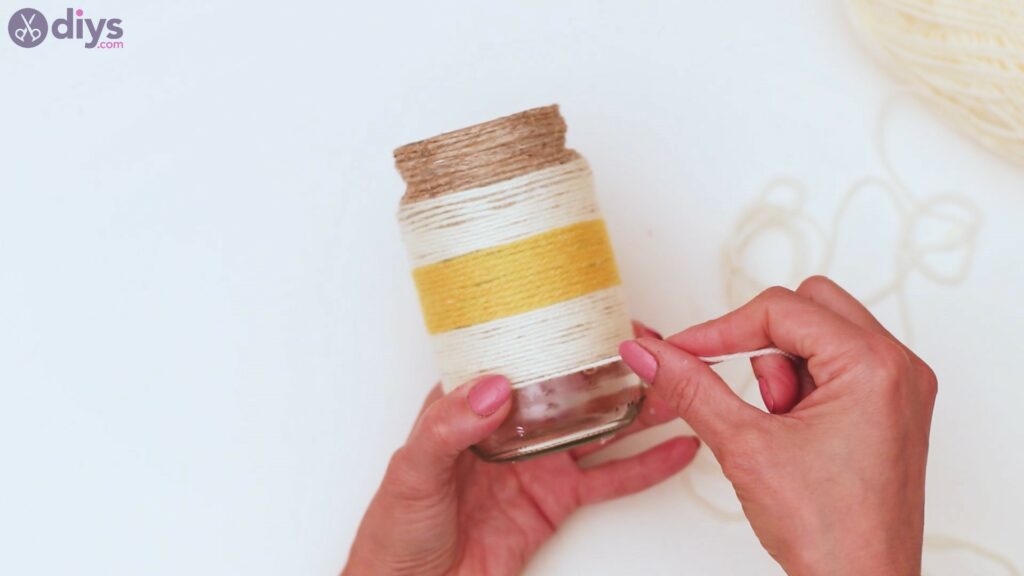
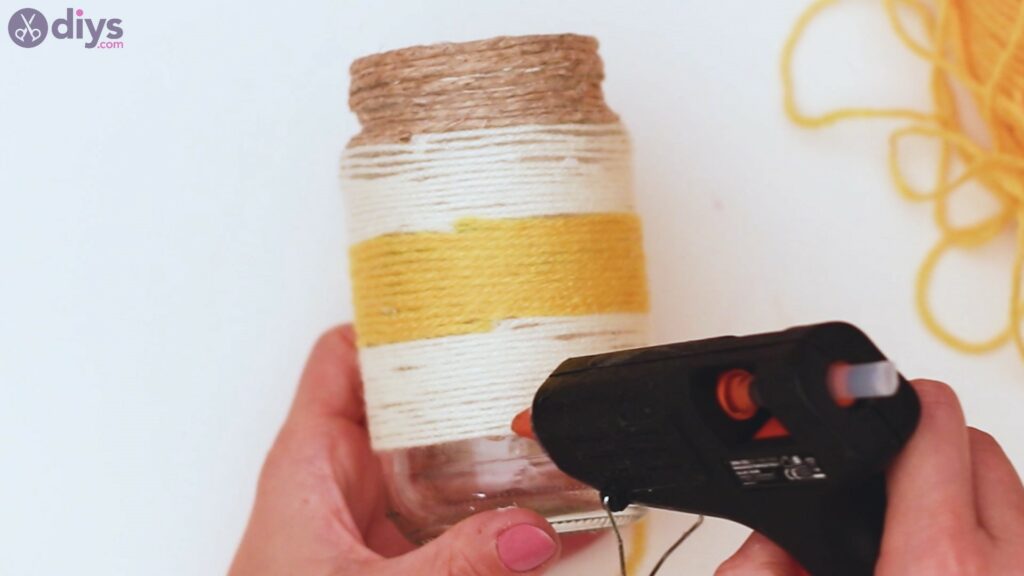
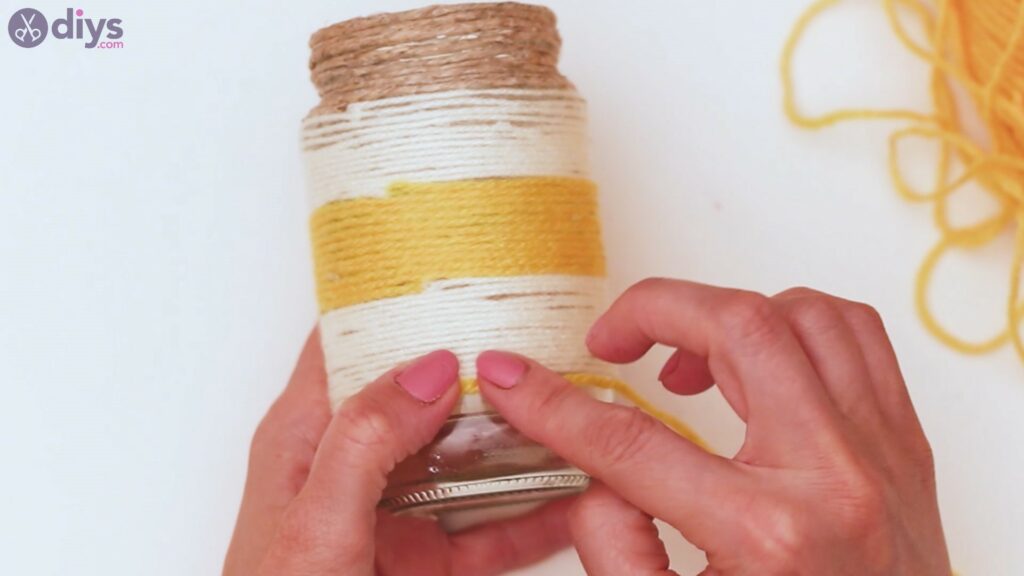
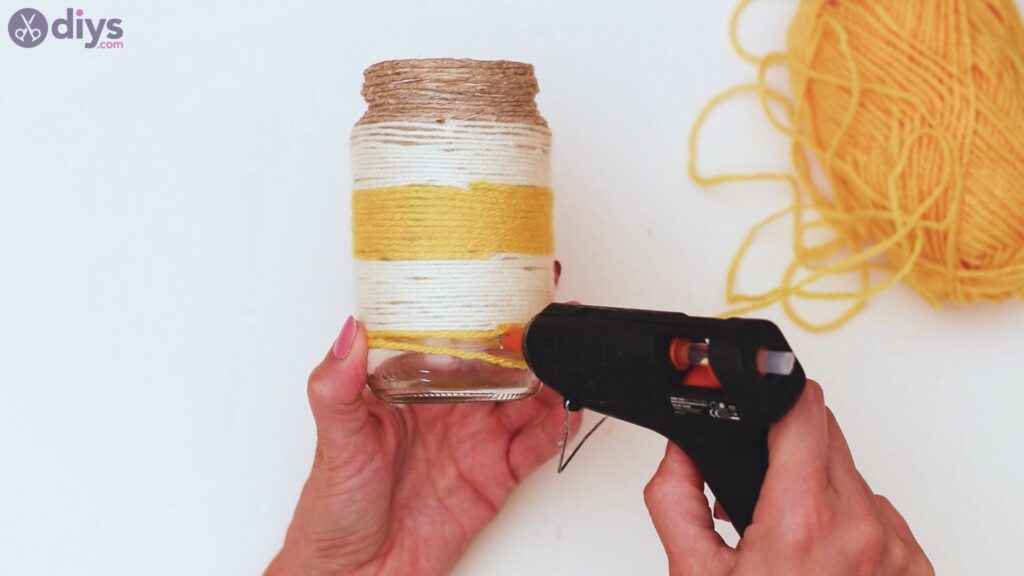
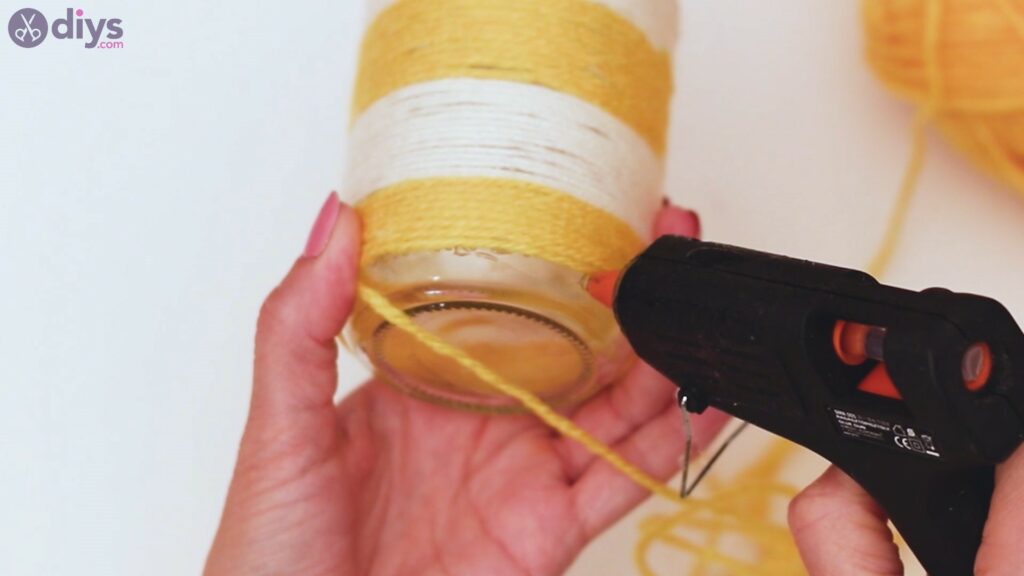
We’re nearly done with this jar. Let’s add some hot glue to the bottom area and continue applying some of the yellow yarn over it.
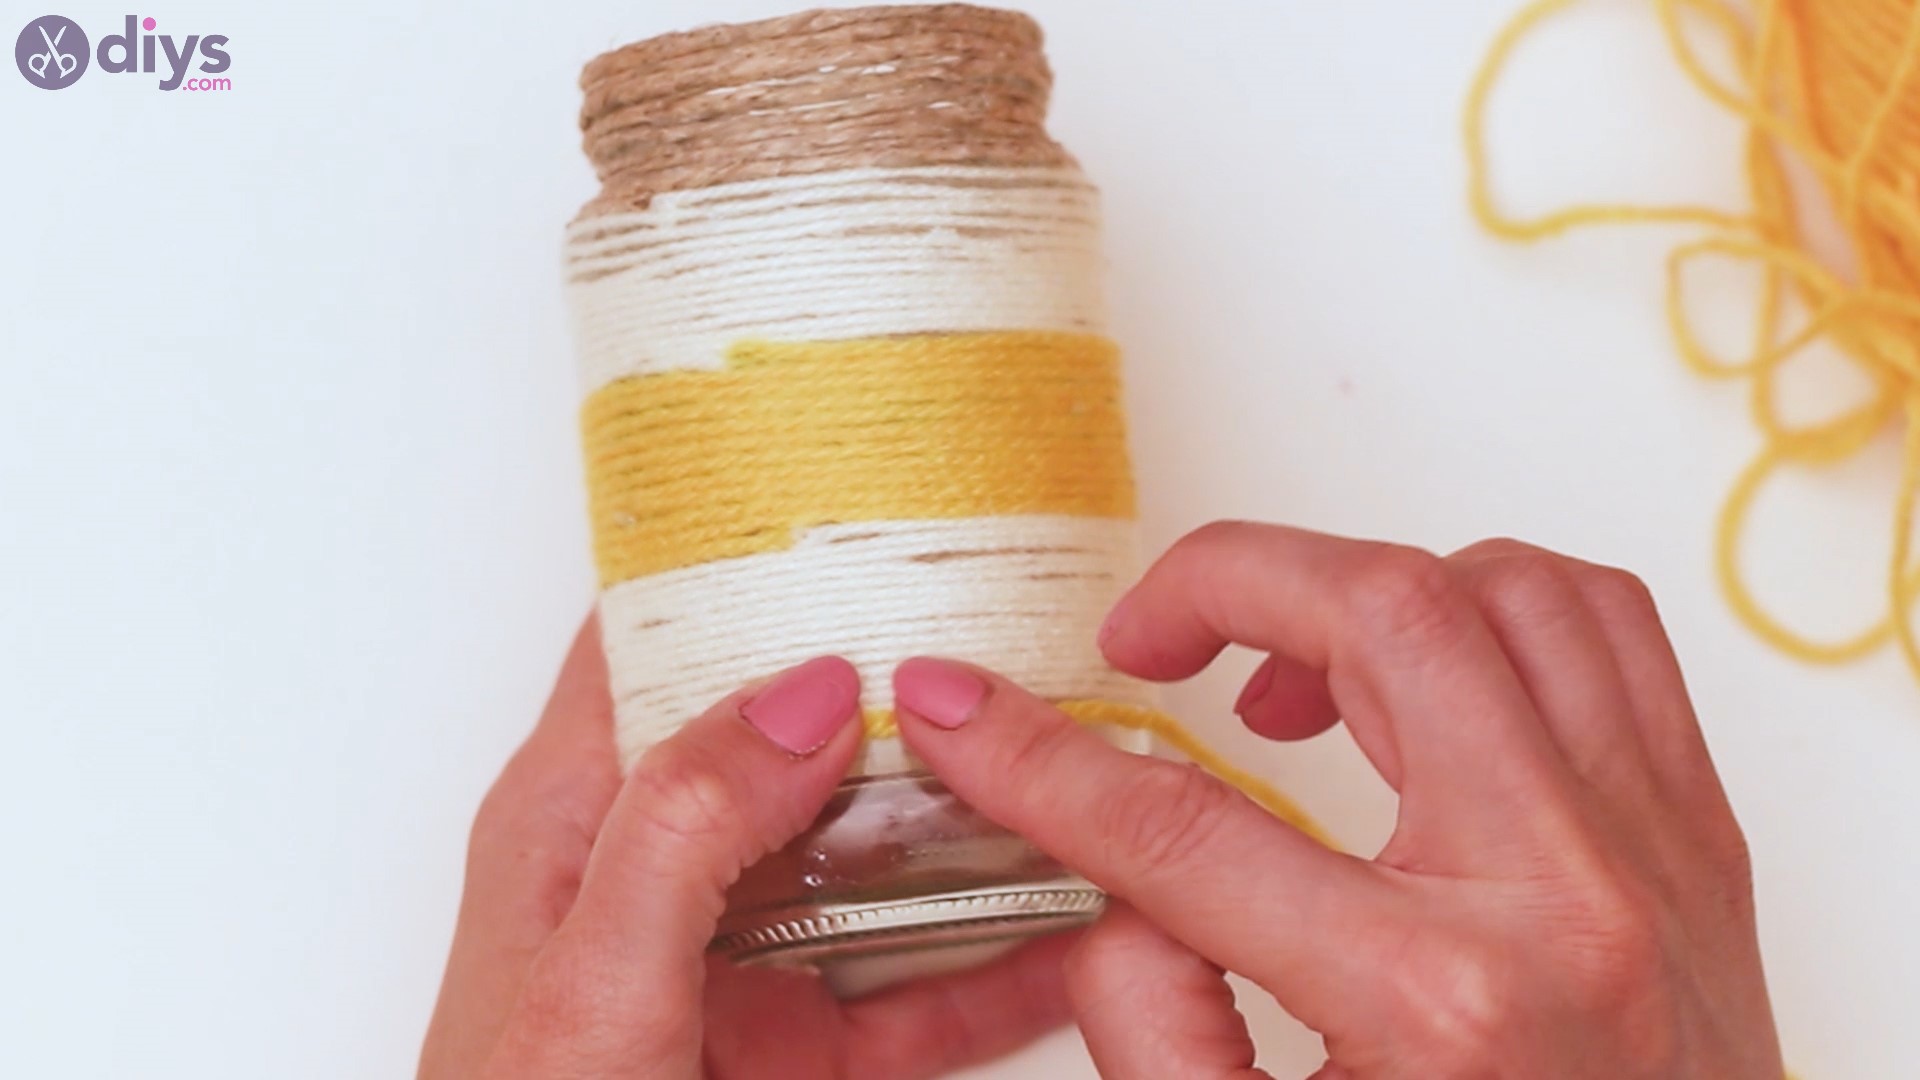
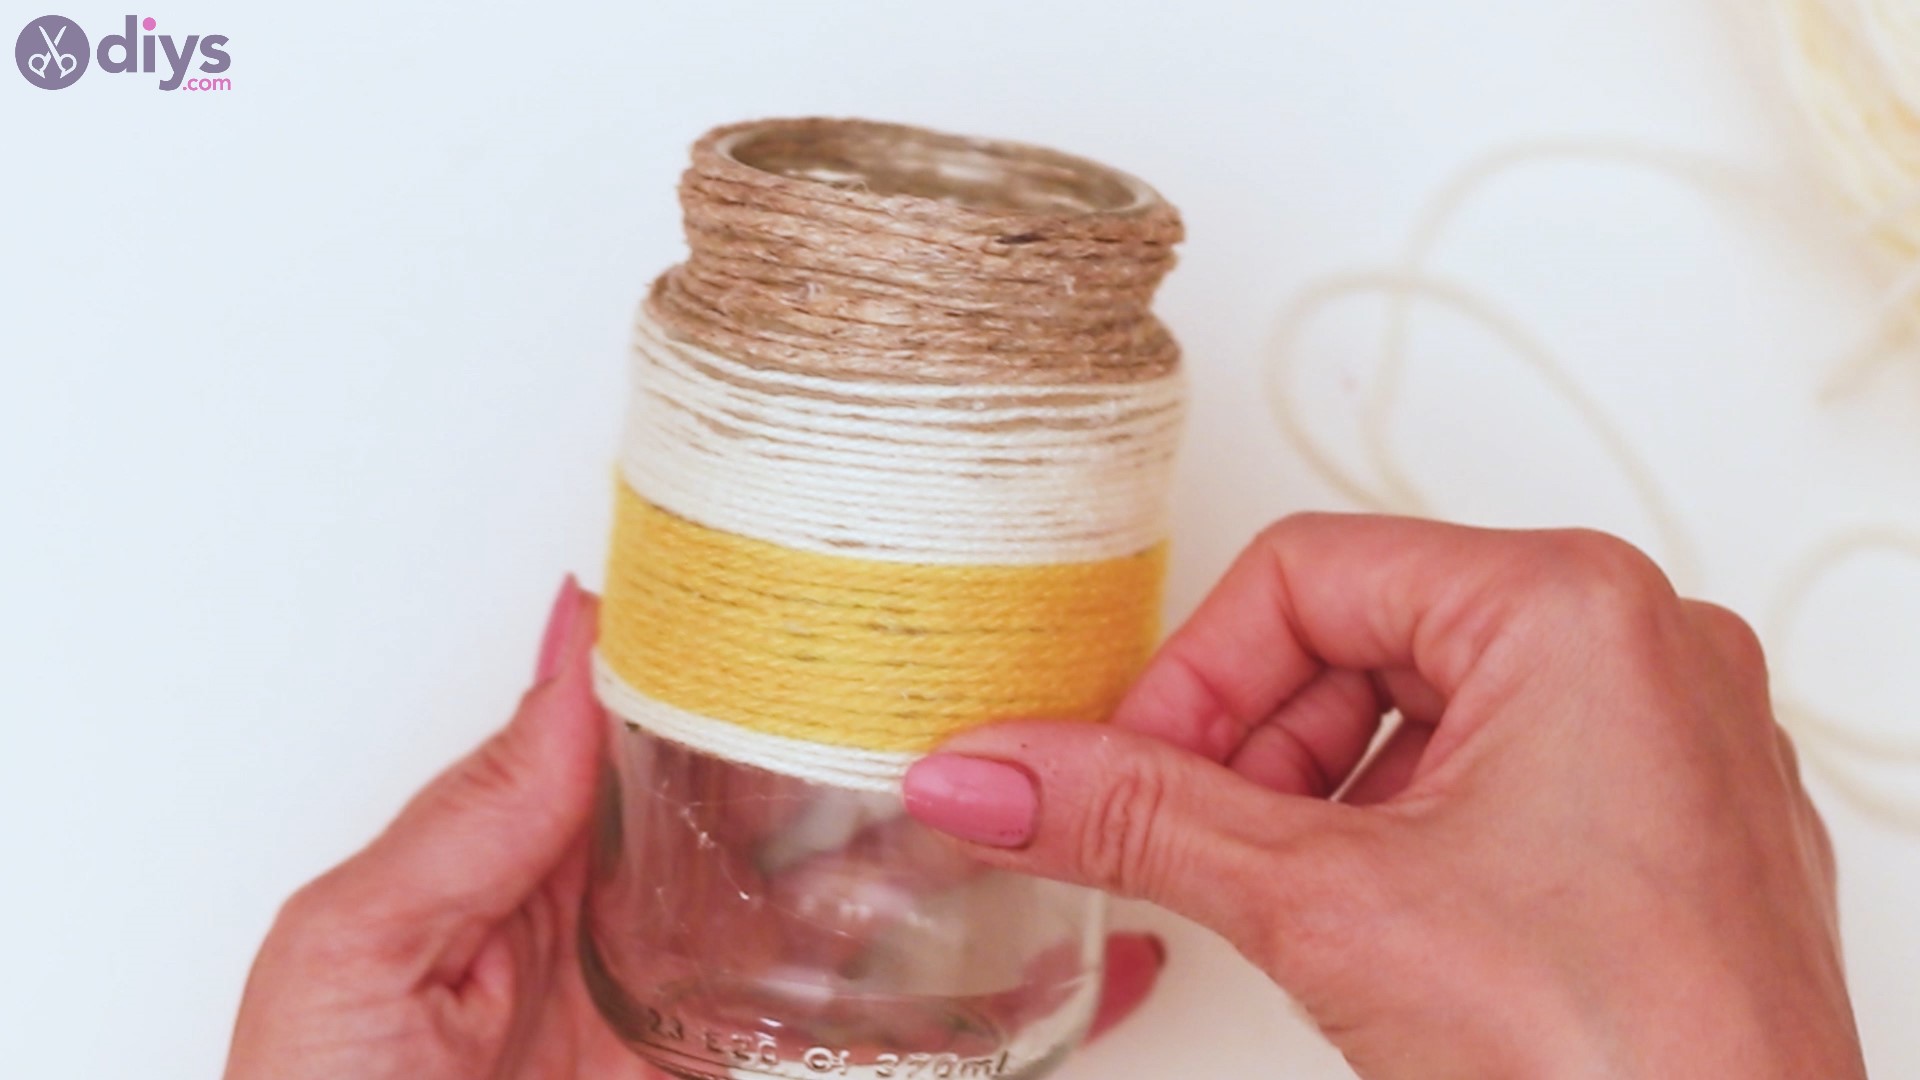
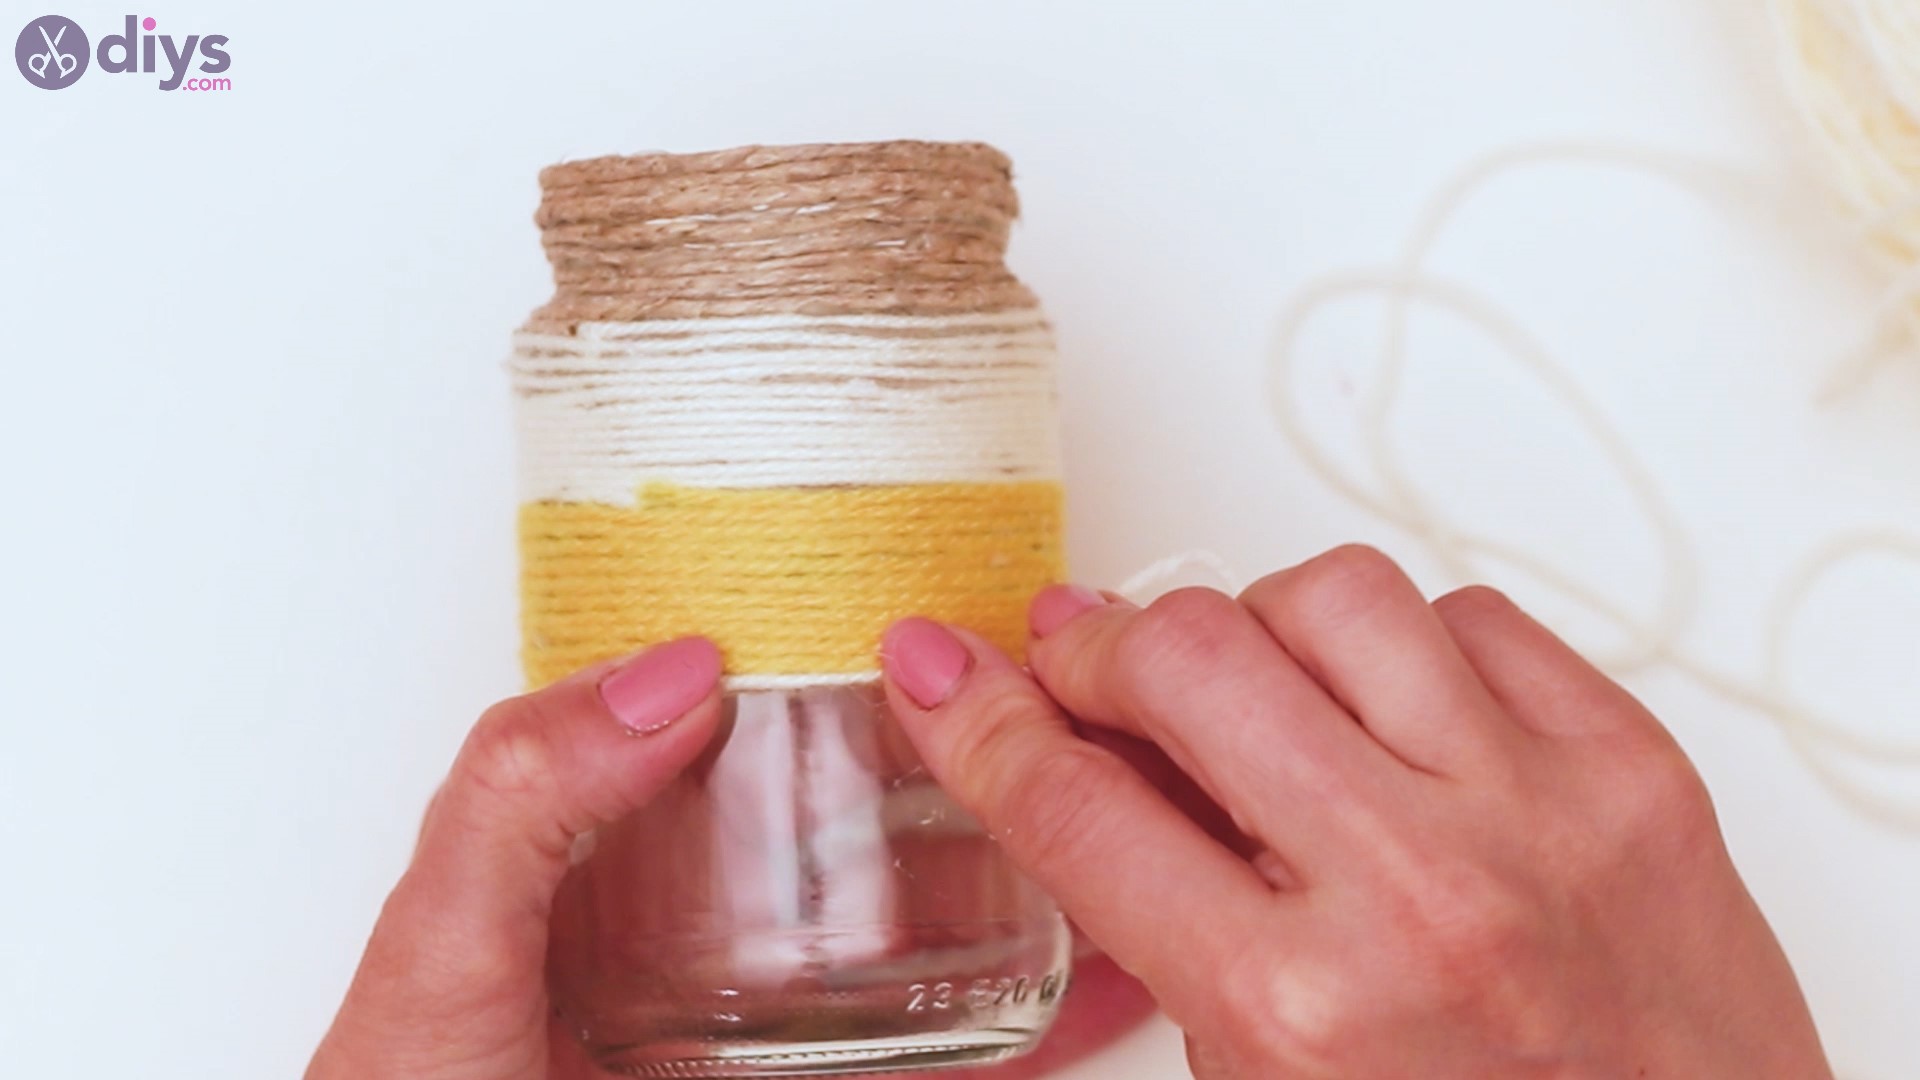
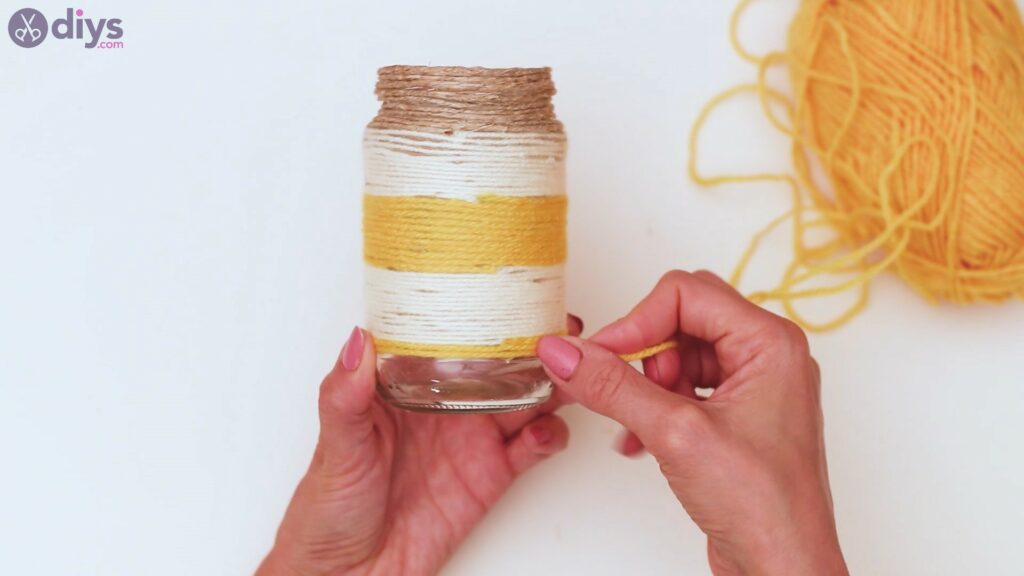
We know you’re probably already tired of turning the jar over and over in your hand, but we’re just a little ways away from finishing. Keep going with the yellow thread until you reach the bottom of the jar.
Hold the thread pressed into the glue every so often to make sure it’s neatly arranged and perfectly glued.
Step 6: Decorate the vase
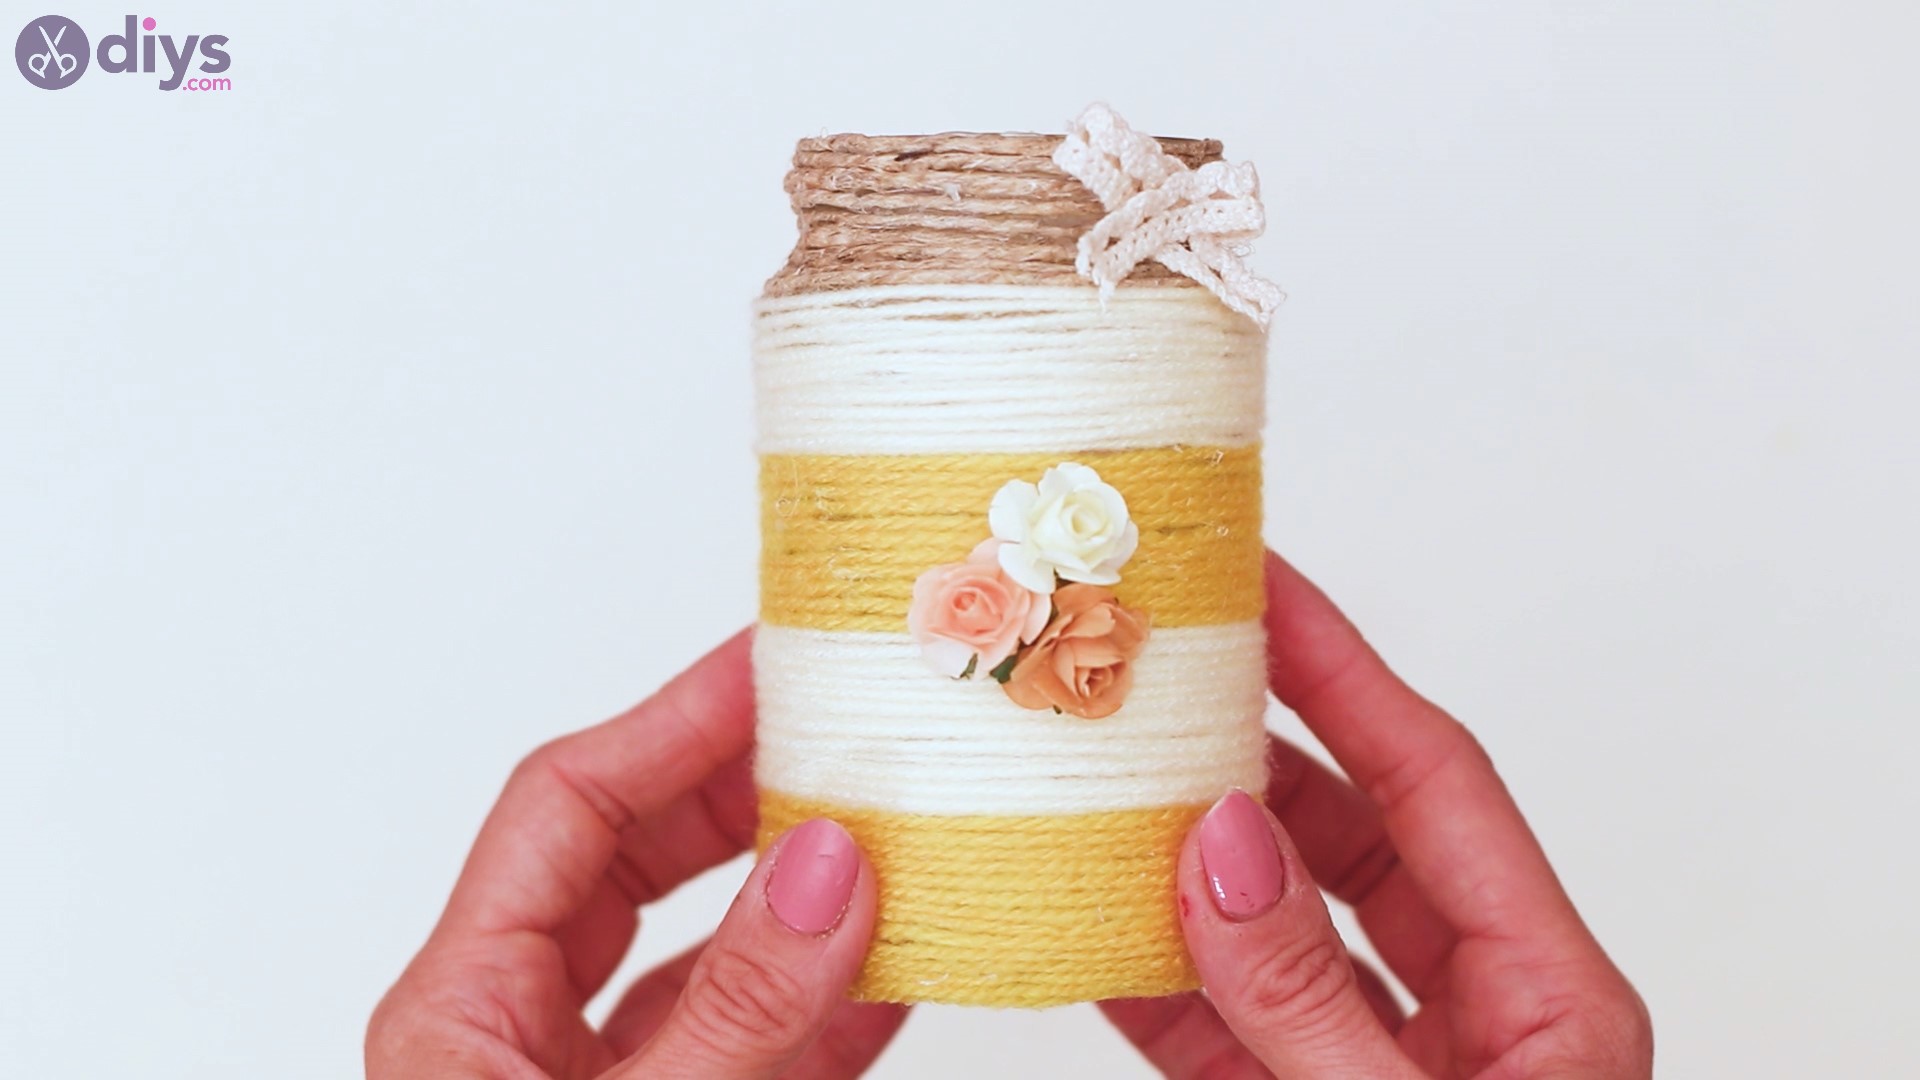
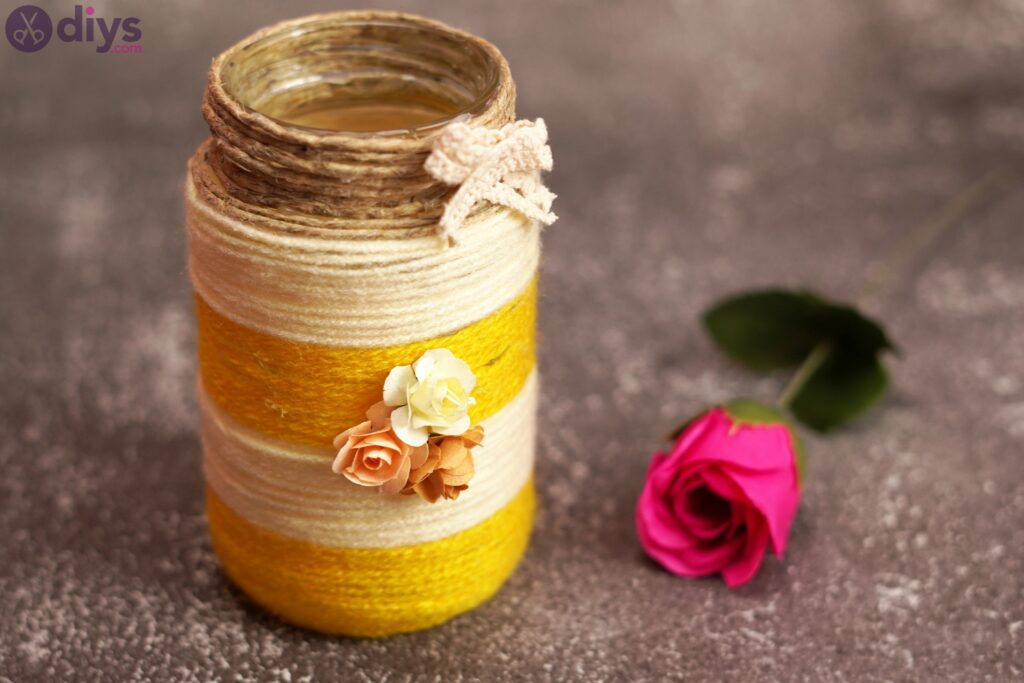
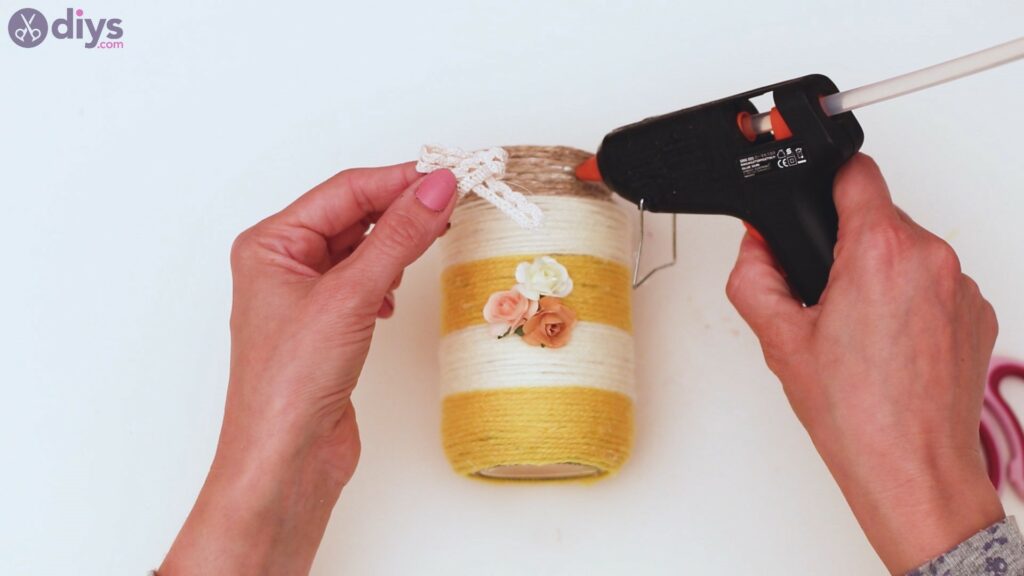
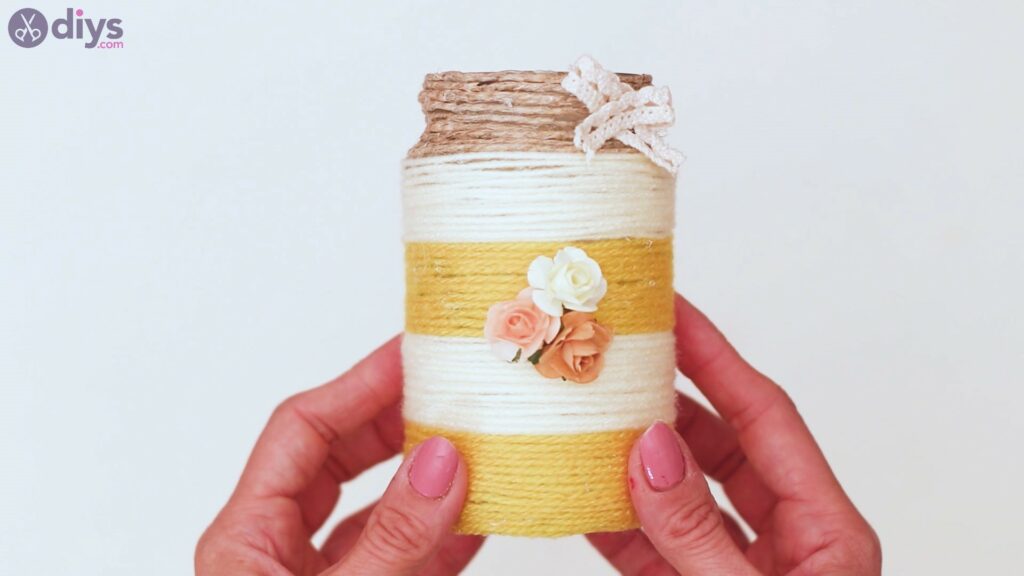
Now that you’re done wrapping rope and yarn around your future vase, it’s time we decorate it a bit. Get theartificial flowers and cut any stems they may have. Add some hot glue to their back and press them into a chosen spot on the vase. We went for the middle of the jar, adding in three flowers as a small bouquet.
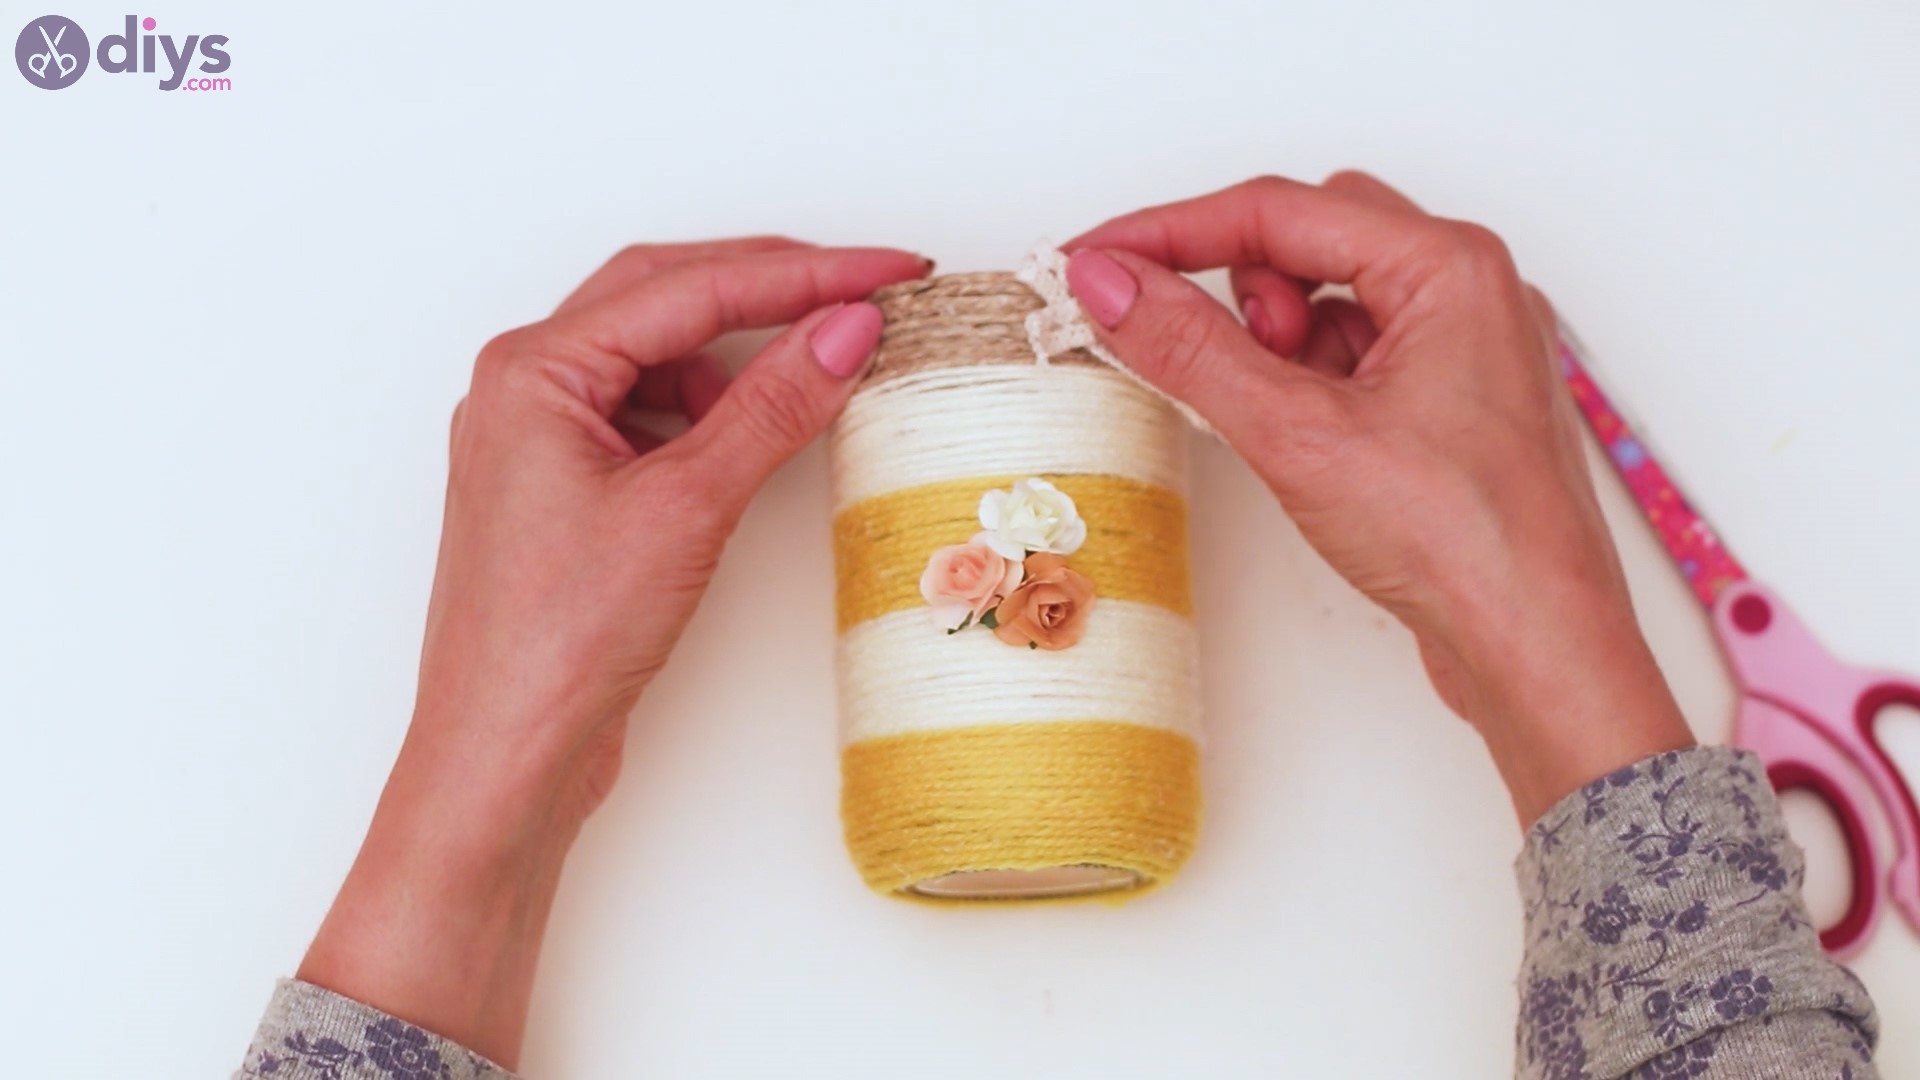
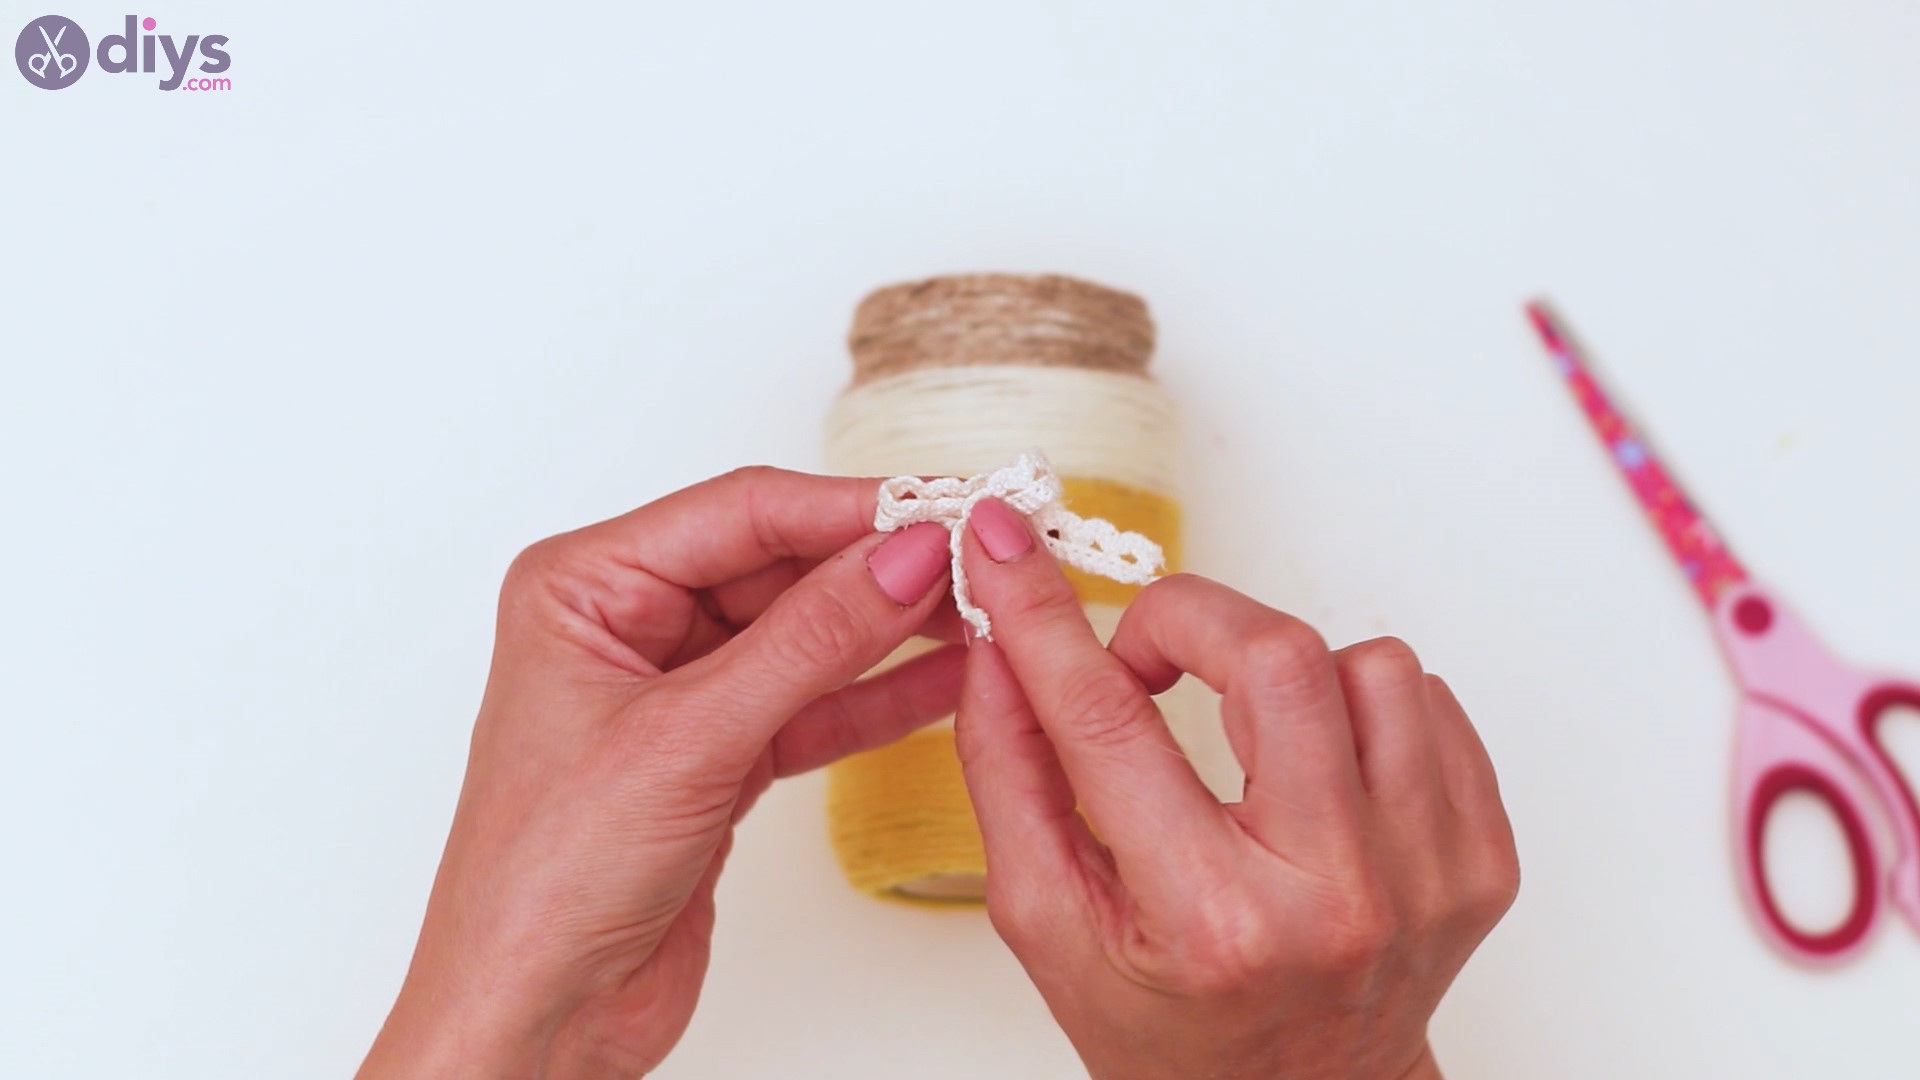
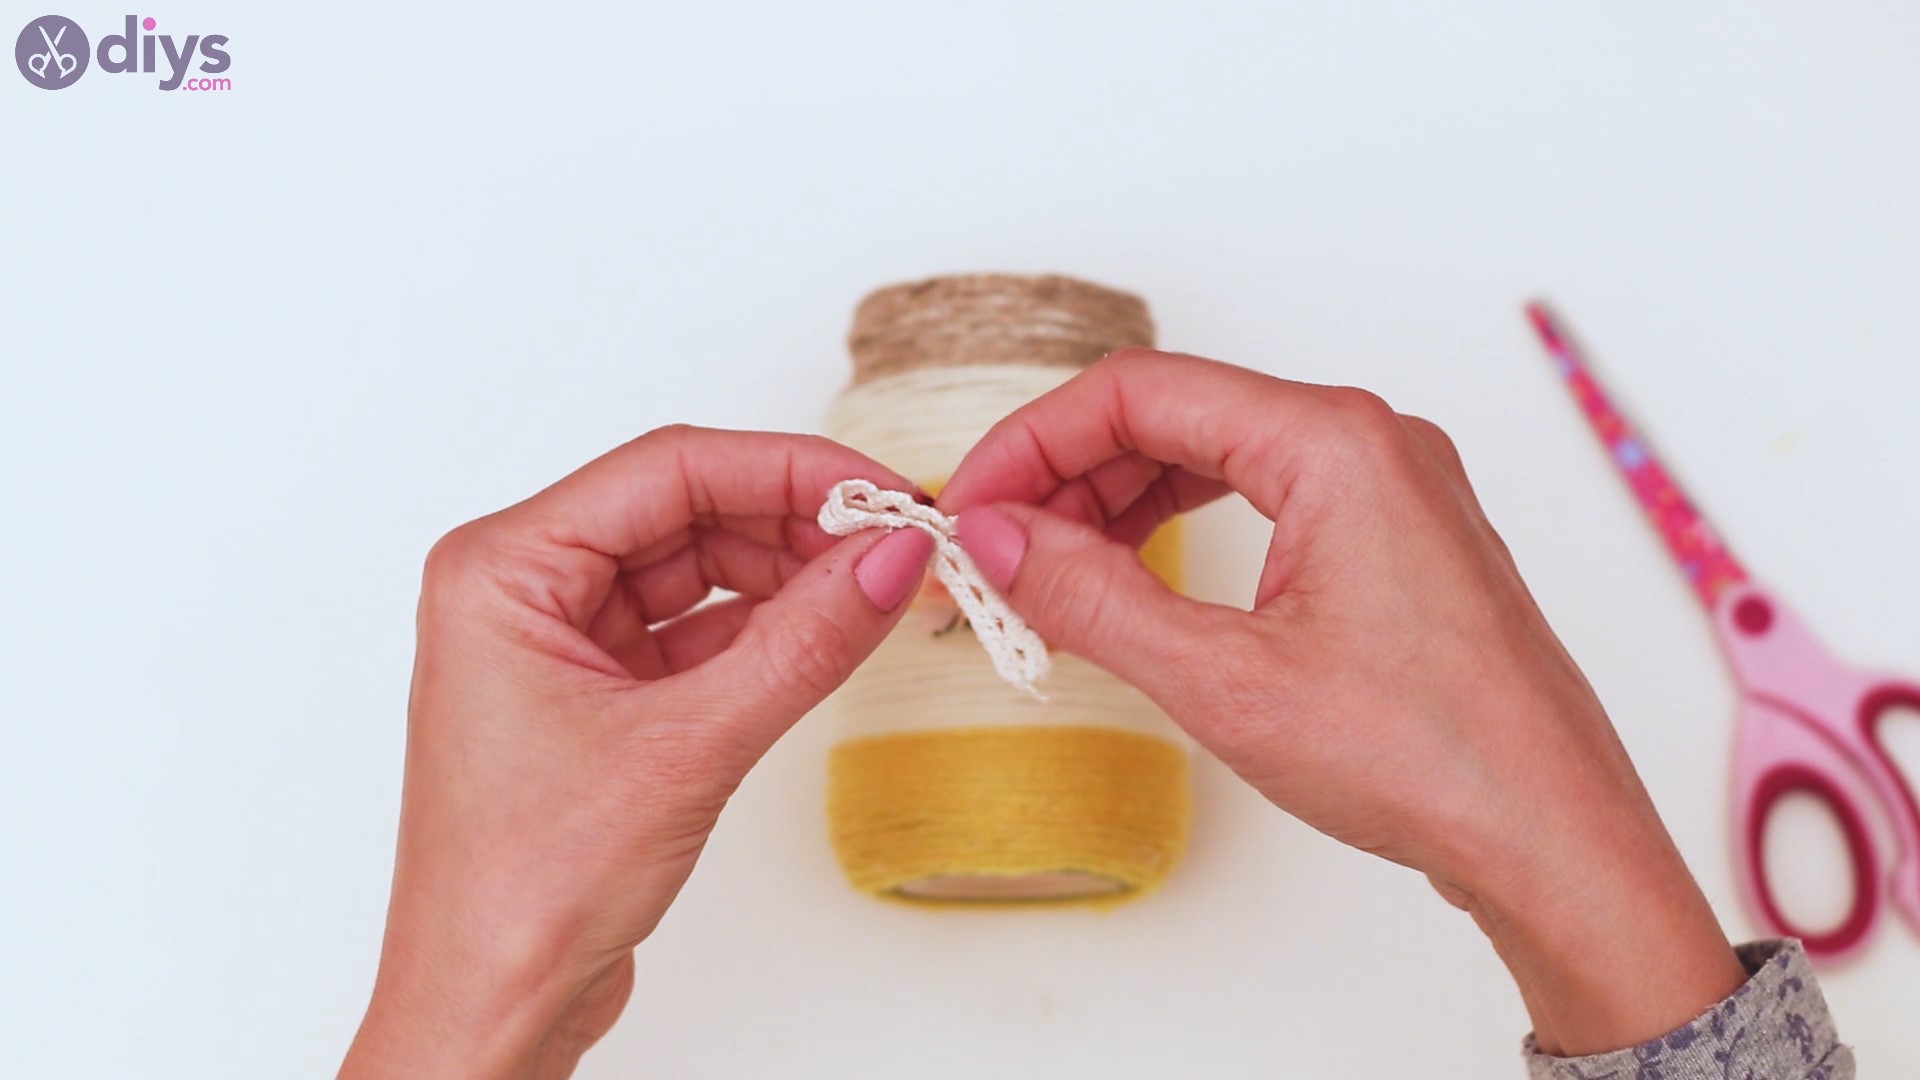
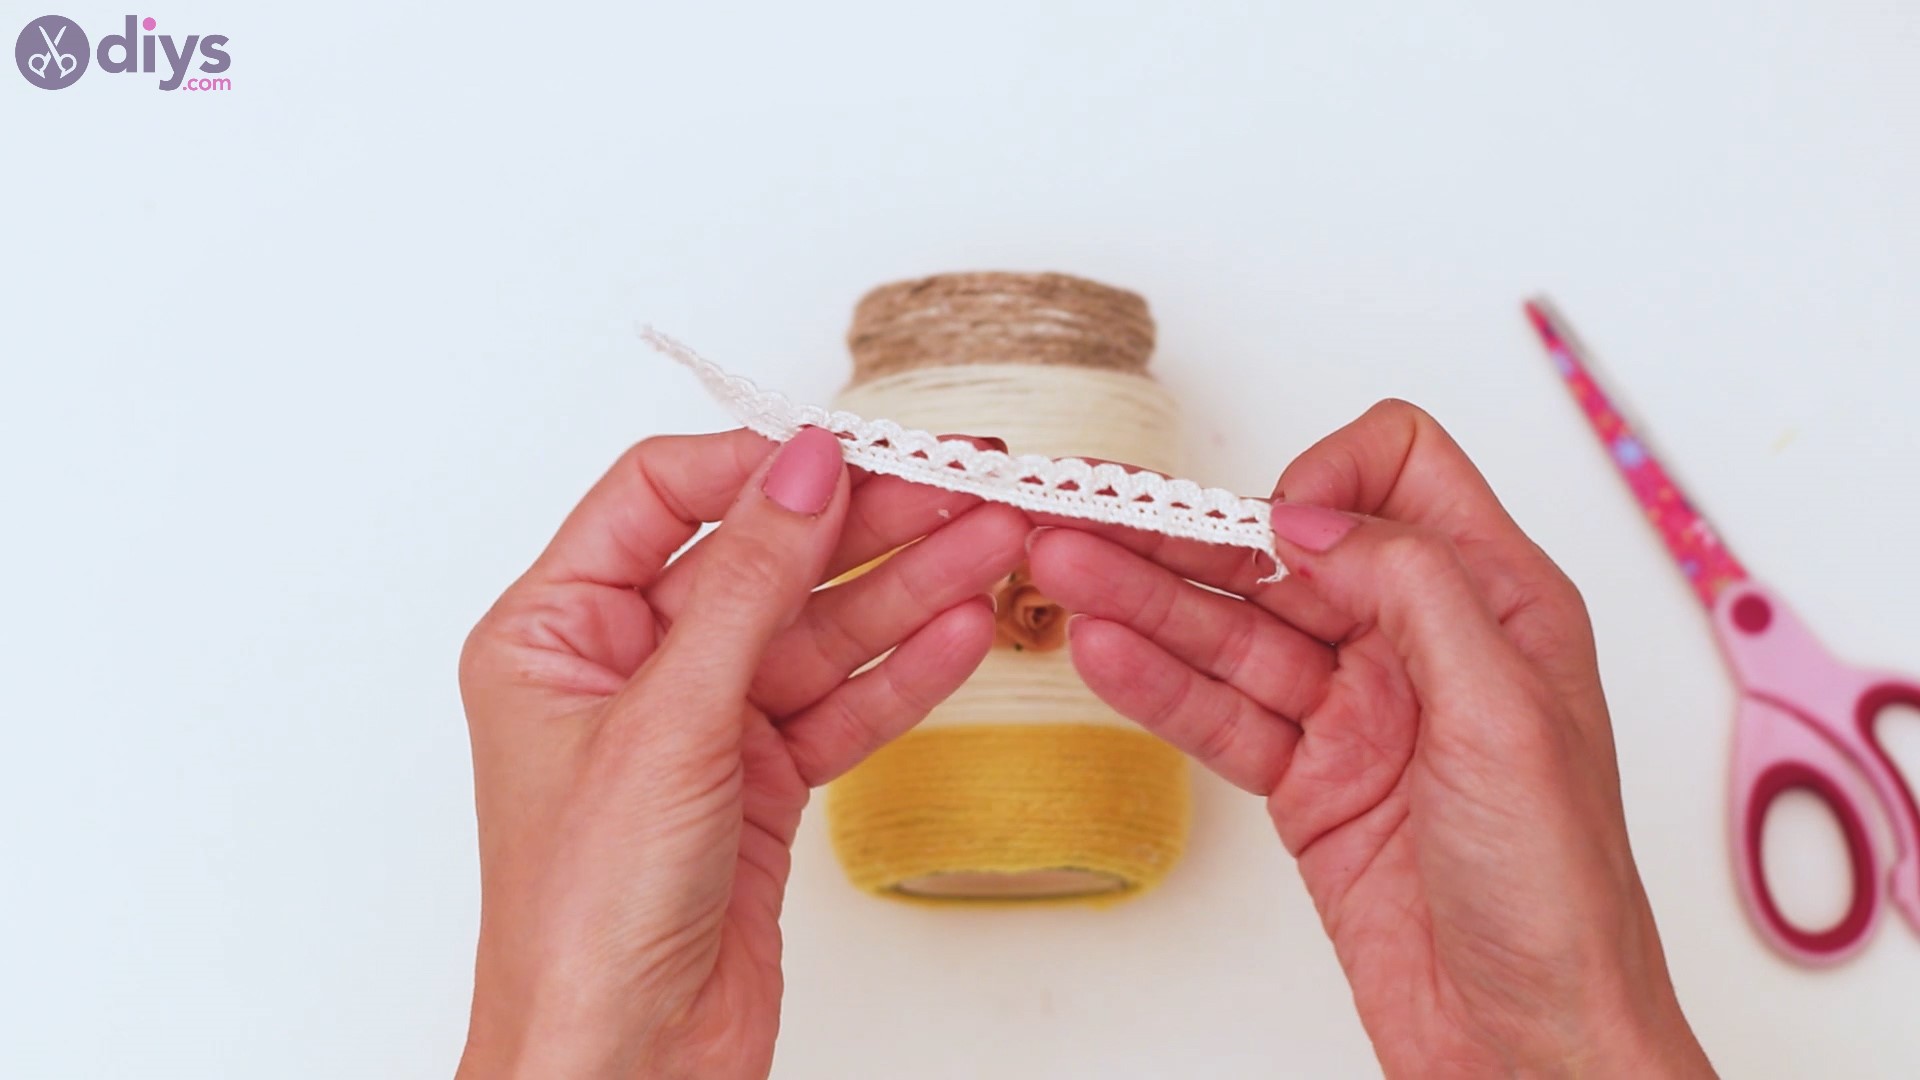
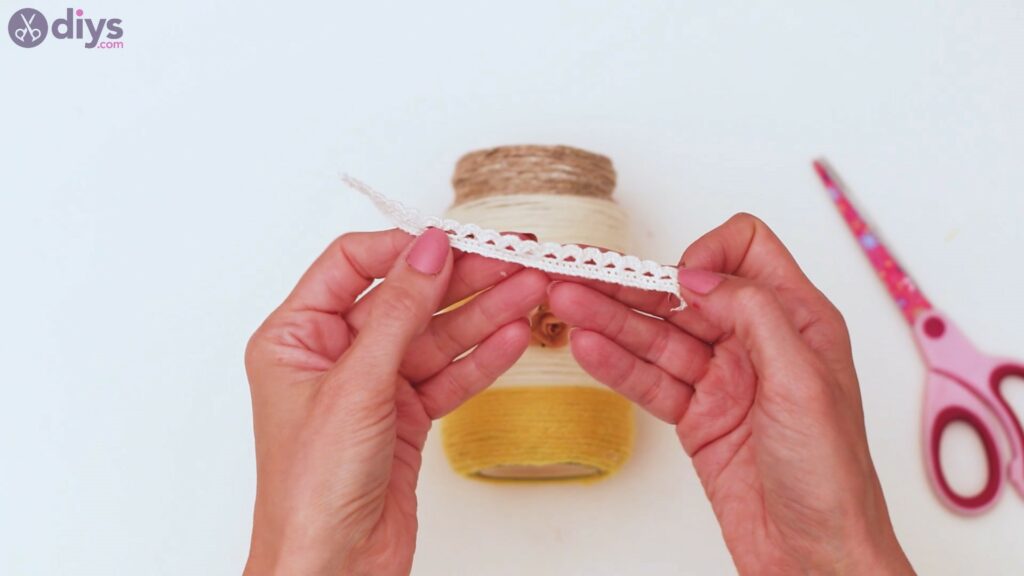
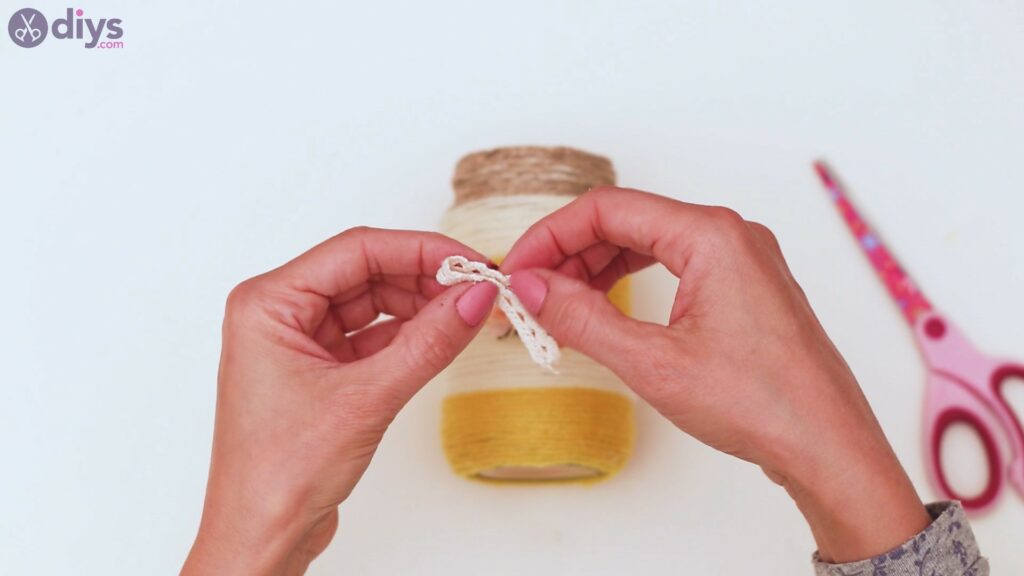
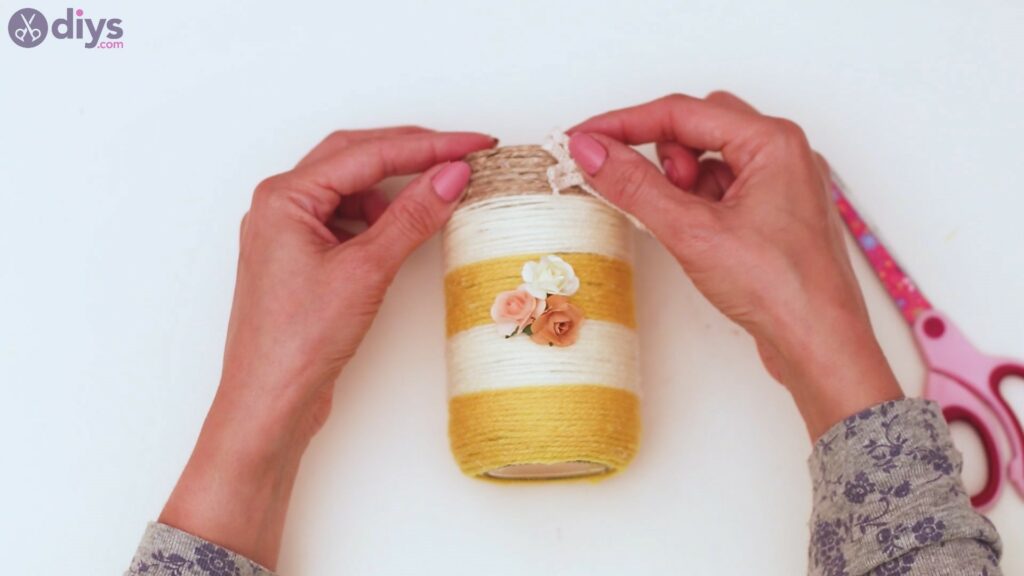
Then, get the lace ribbon and let’s form a bow!
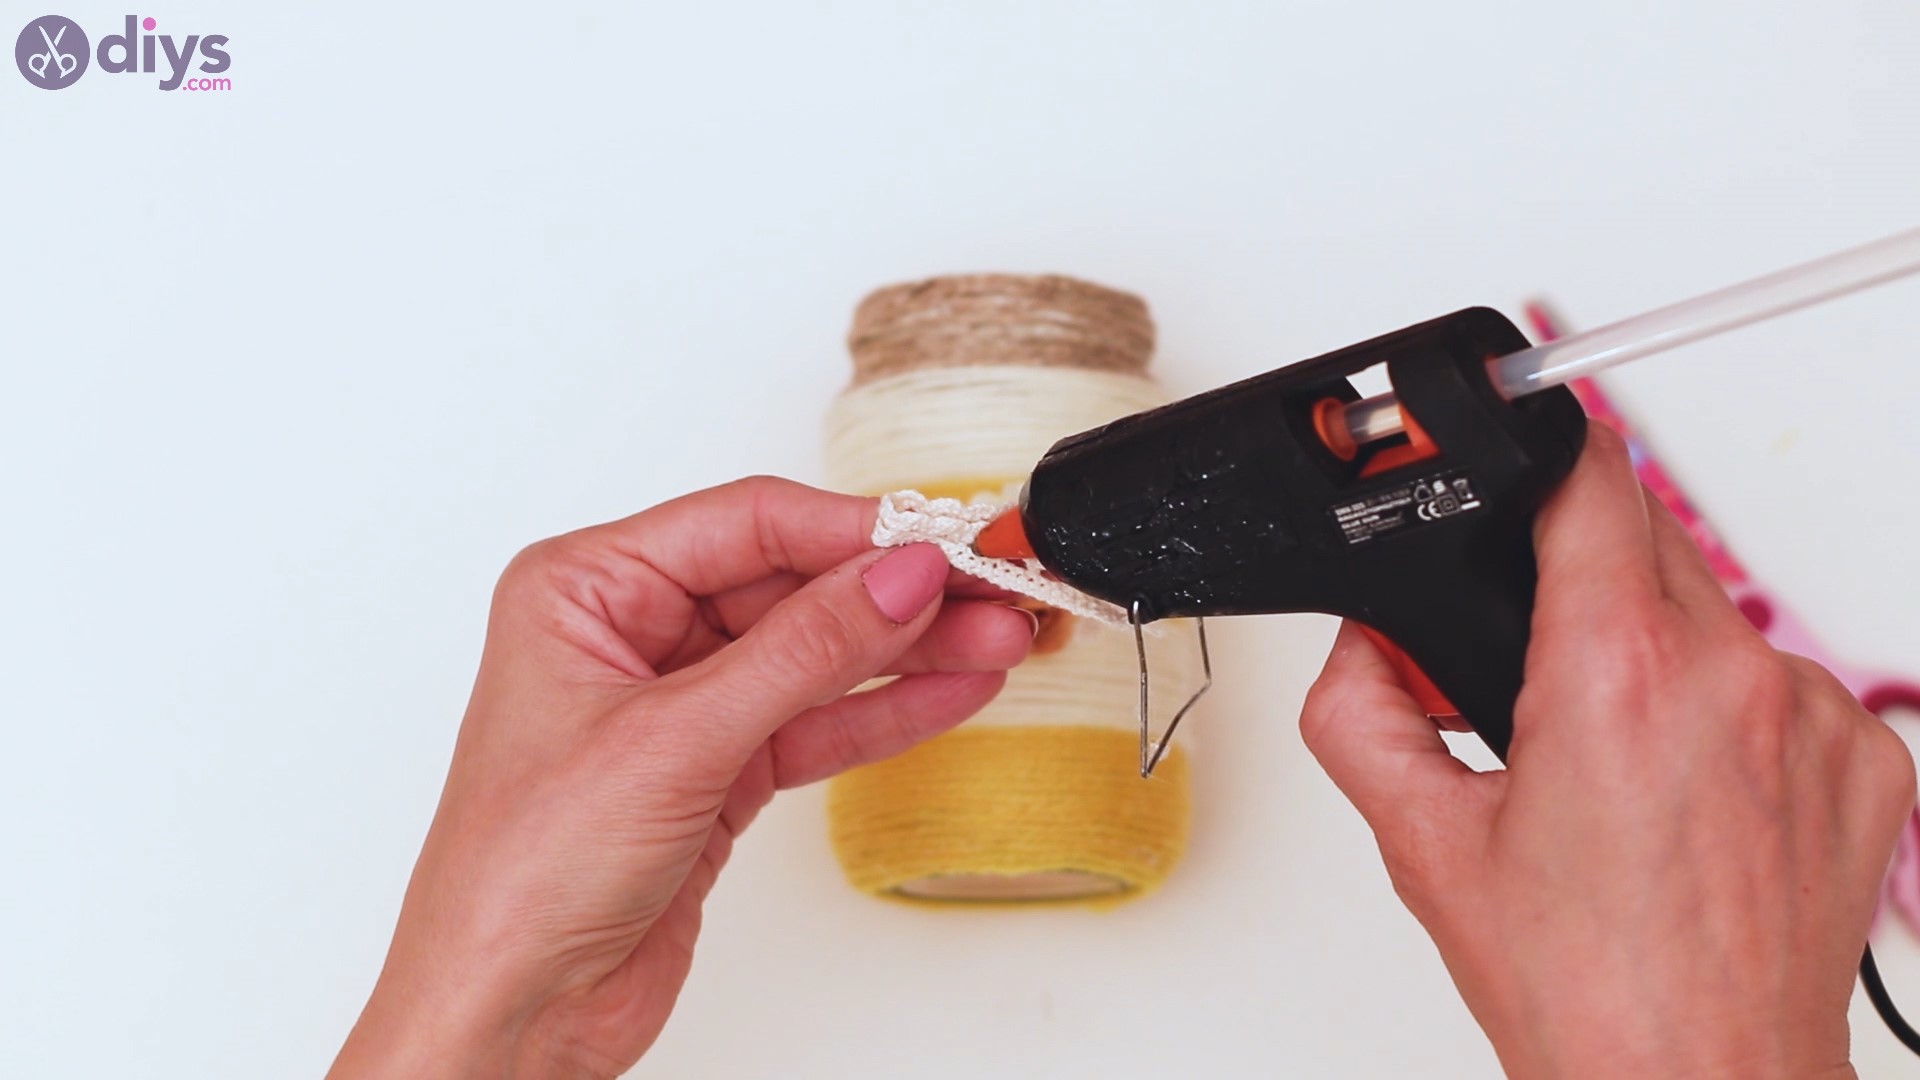
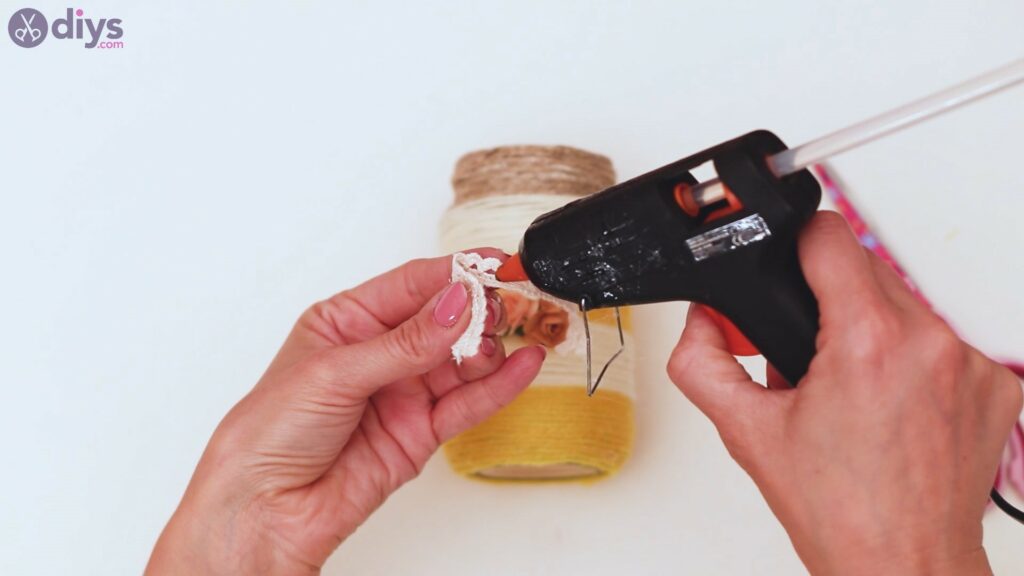
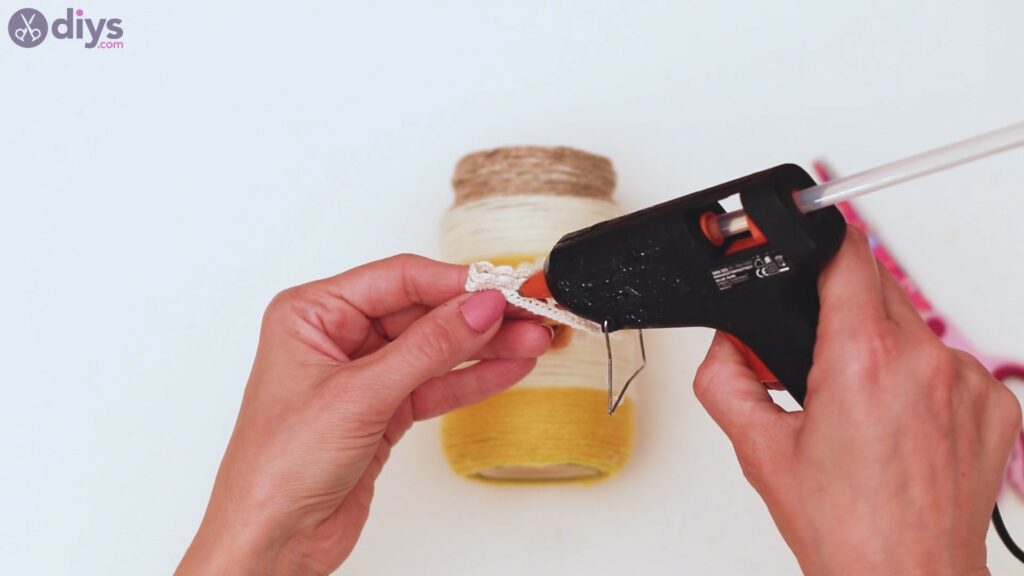
Fold the material a bit and apply some hot glue before joining the ribbon together to form one of the folds of the bow.
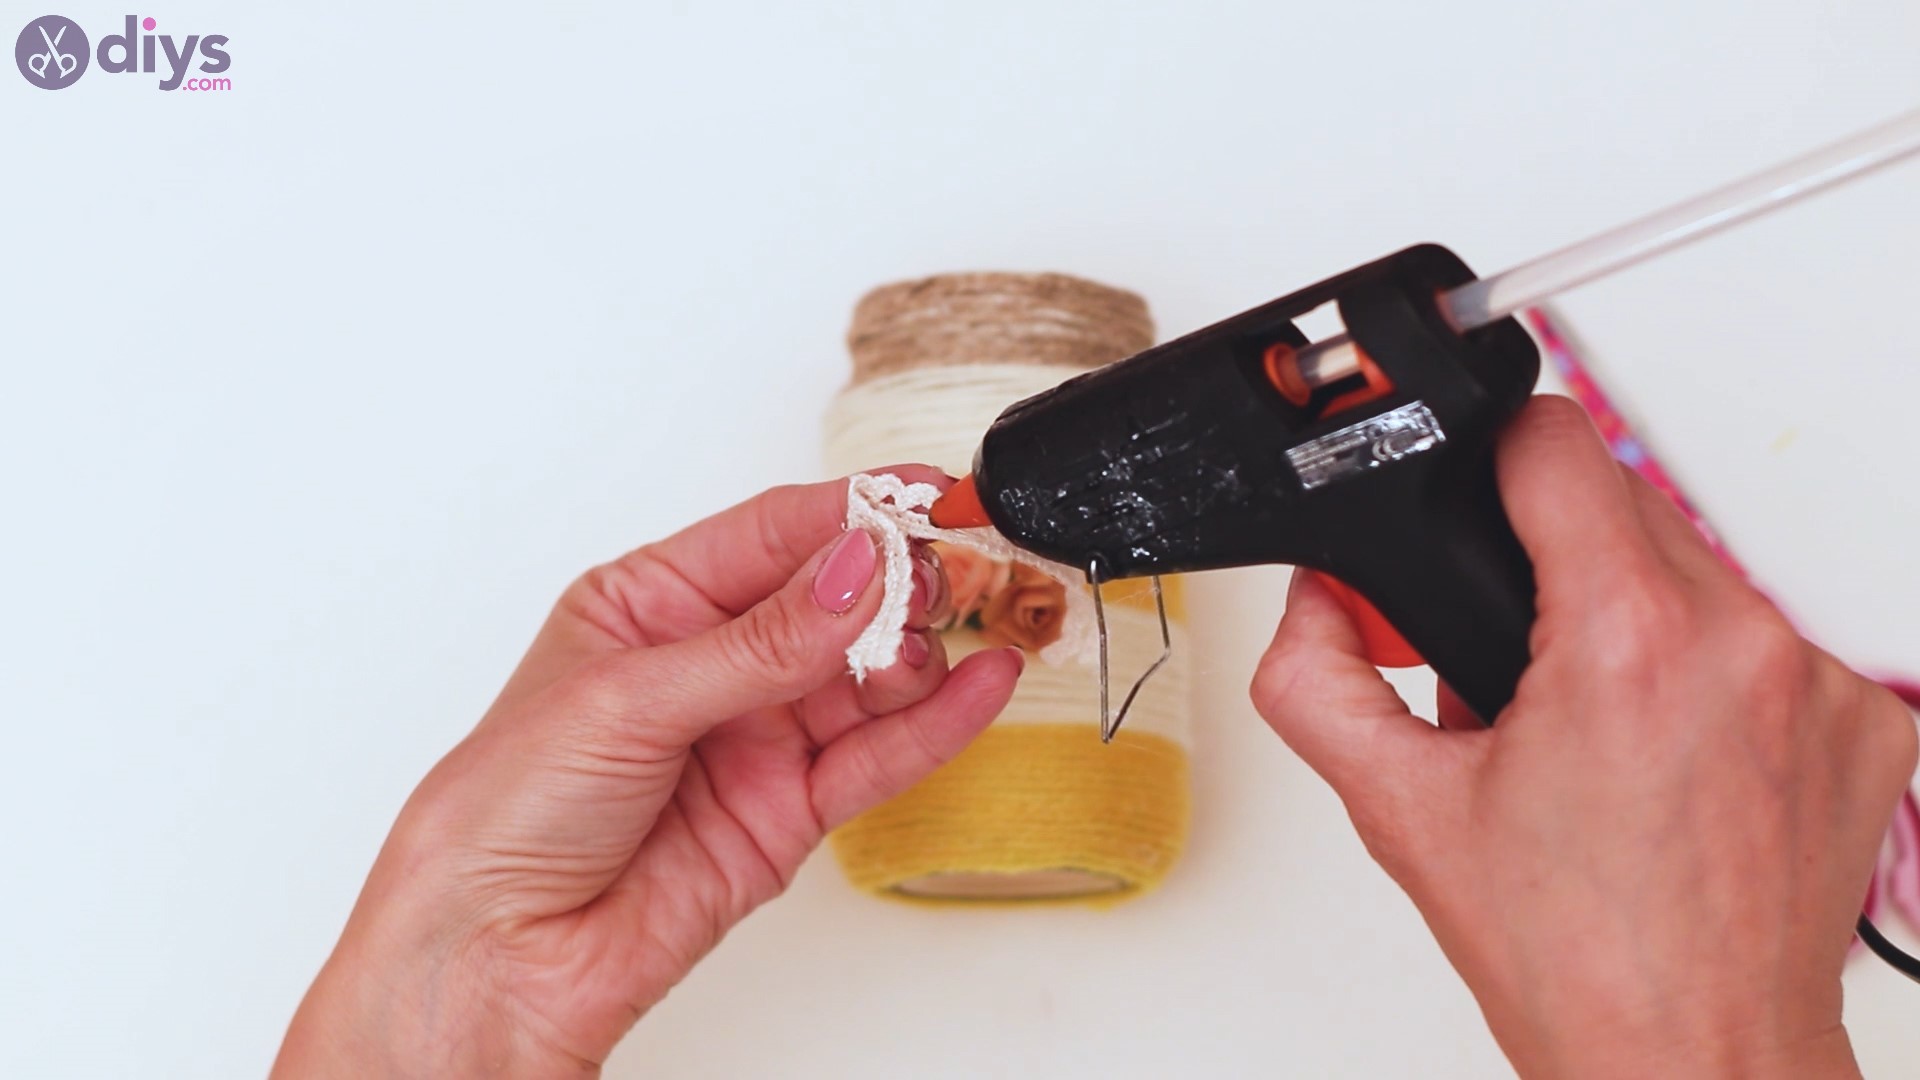
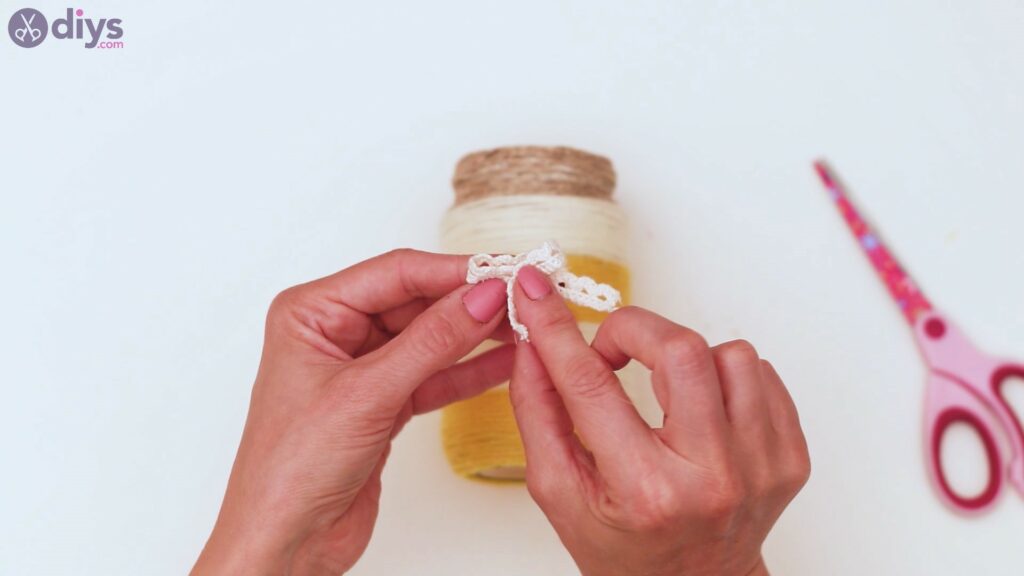
Add more hot glue over the same spot and bring in the second end of the ribbon to create another fold for the bow.
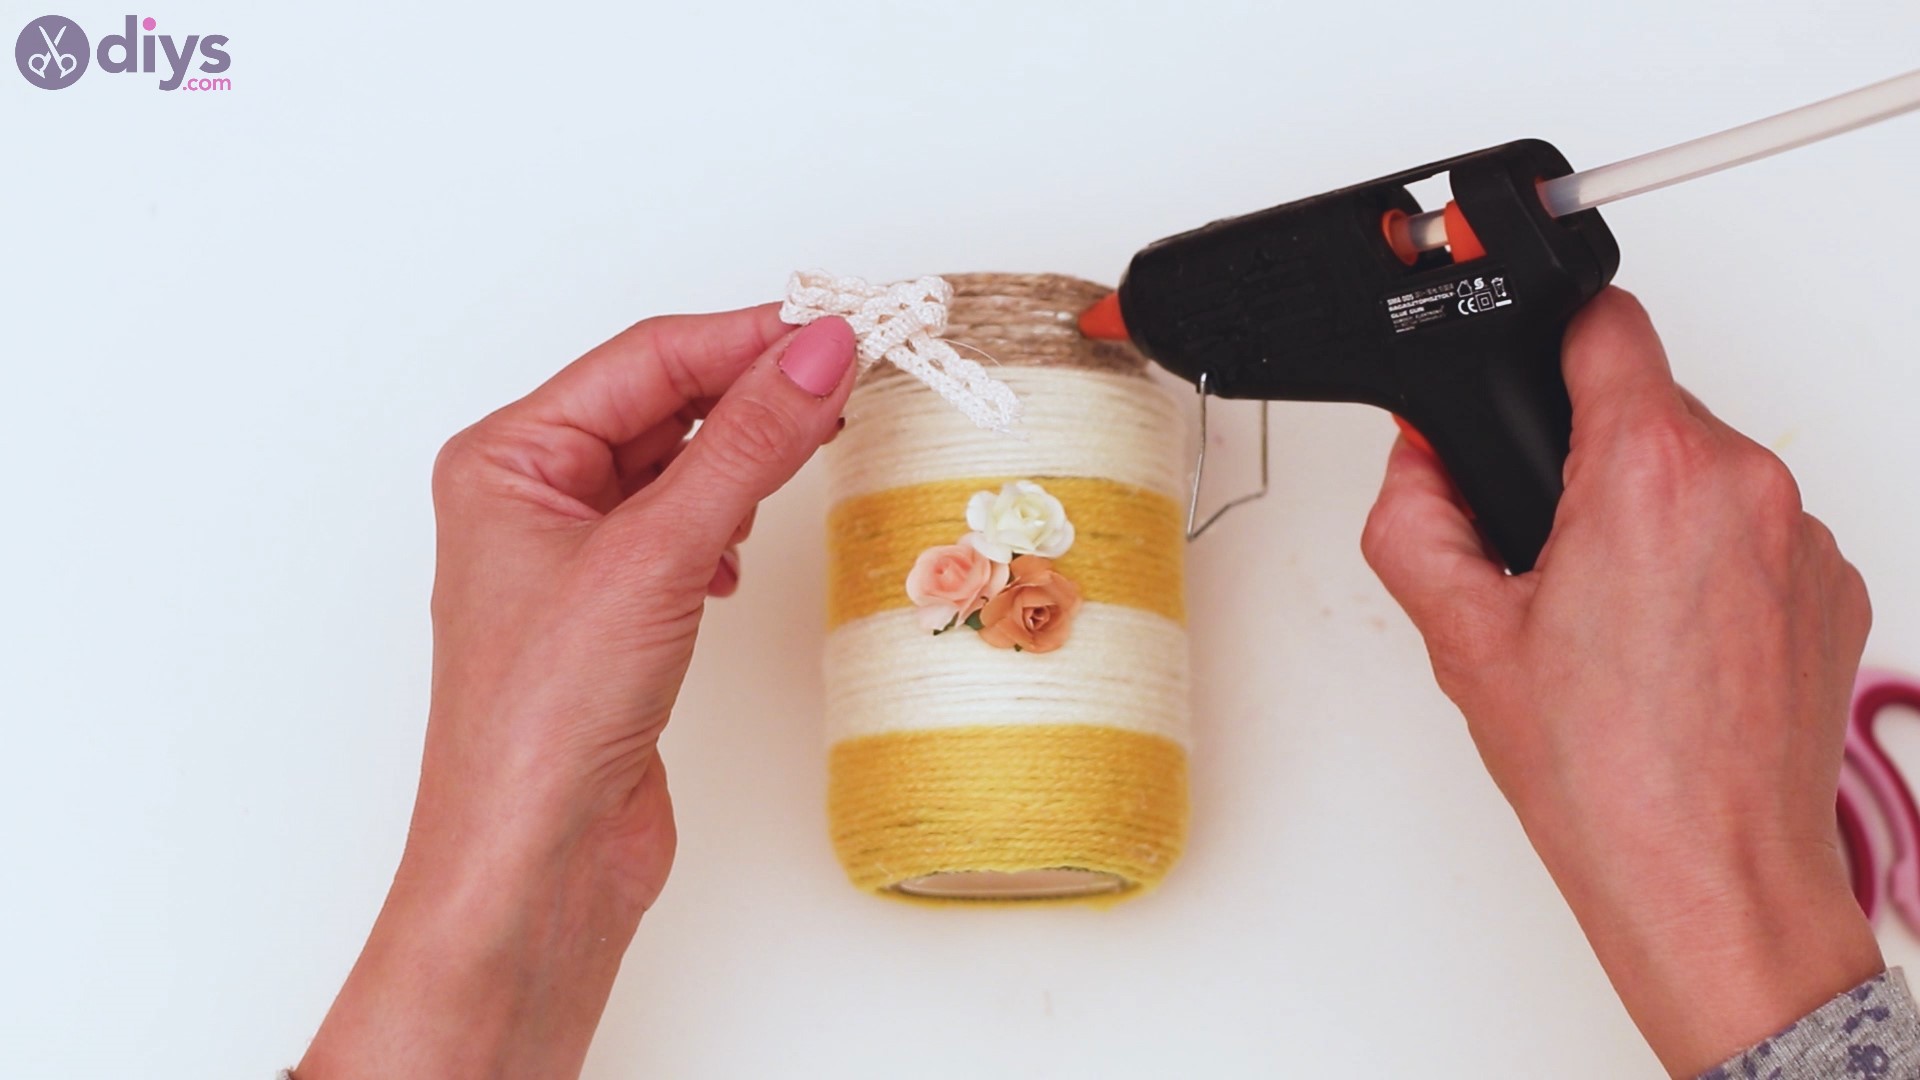
Once you’re done, add more hot glue to the lip of the jar, over the rope. Place the lace bow over the spot and hold it pressed for a few seconds.
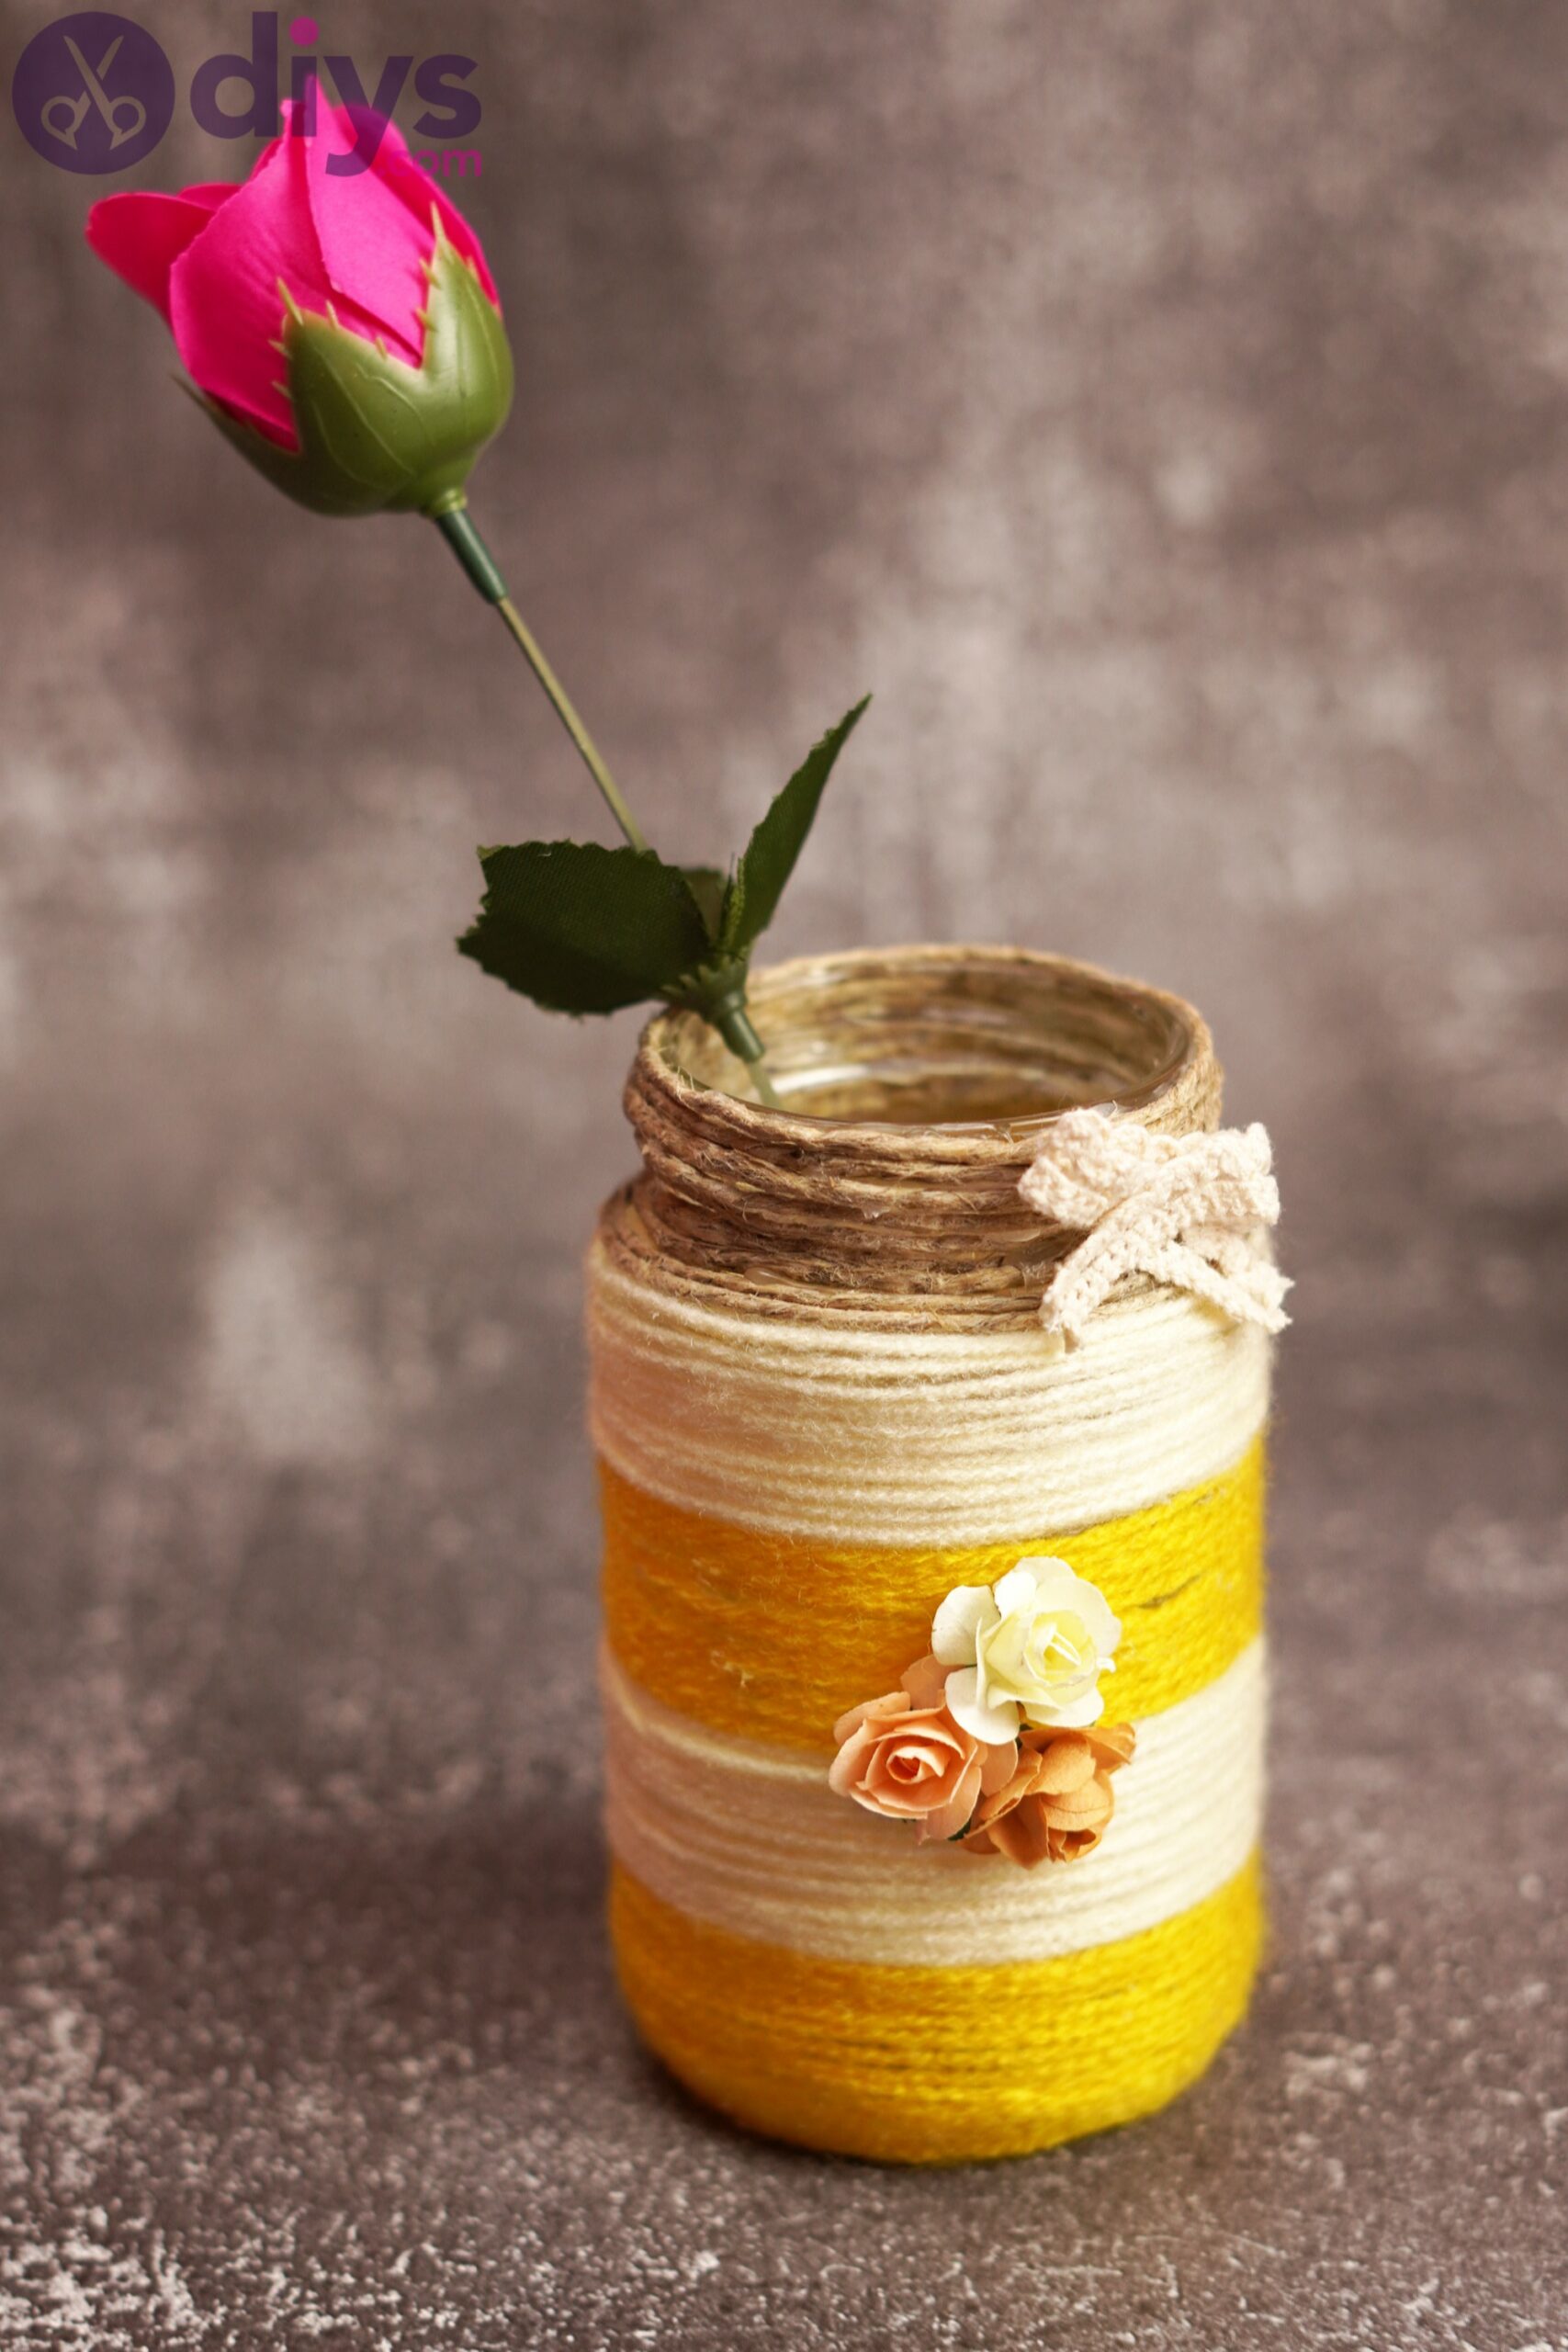
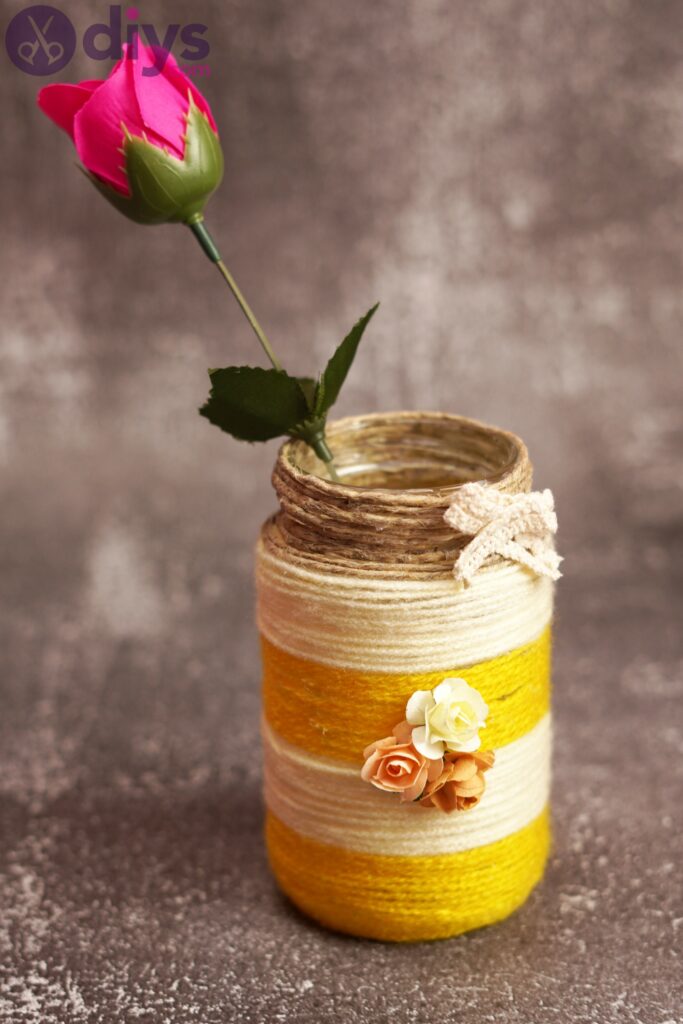
There you go! Now you have a brand new vase for your flowers! It’s a beautiful creation and it can also be a perfect gift for a special occasion. Whether we’re talking about Valentine’s Day, Mother’s Day, or an anniversary, it’s going to be a gift from the heart that people will proudly use.
This design is easily customizable, so you can always tweak our tutorial a bit. First of all, you can change the type of rope you’re using, go for a thicker thread, choose different colors, other decorations, and so on. The biggest change you can make is the size of the jar, of course, and this will affect the time you spend on this craft too.
Drop us a note and tell us what you think about this DIY project for a rope wrapped vase, and send us pictures of your results over social media.
