Glass Christmas Ornament – DIY Fast and Easy Holiday Project
Why buy the same Christmas ornaments that everybody else buys when you can create them yourself? That way you can customize them according to your decor. Check out my tutorial on how to make colorful Christmastree ornaments using just paint!
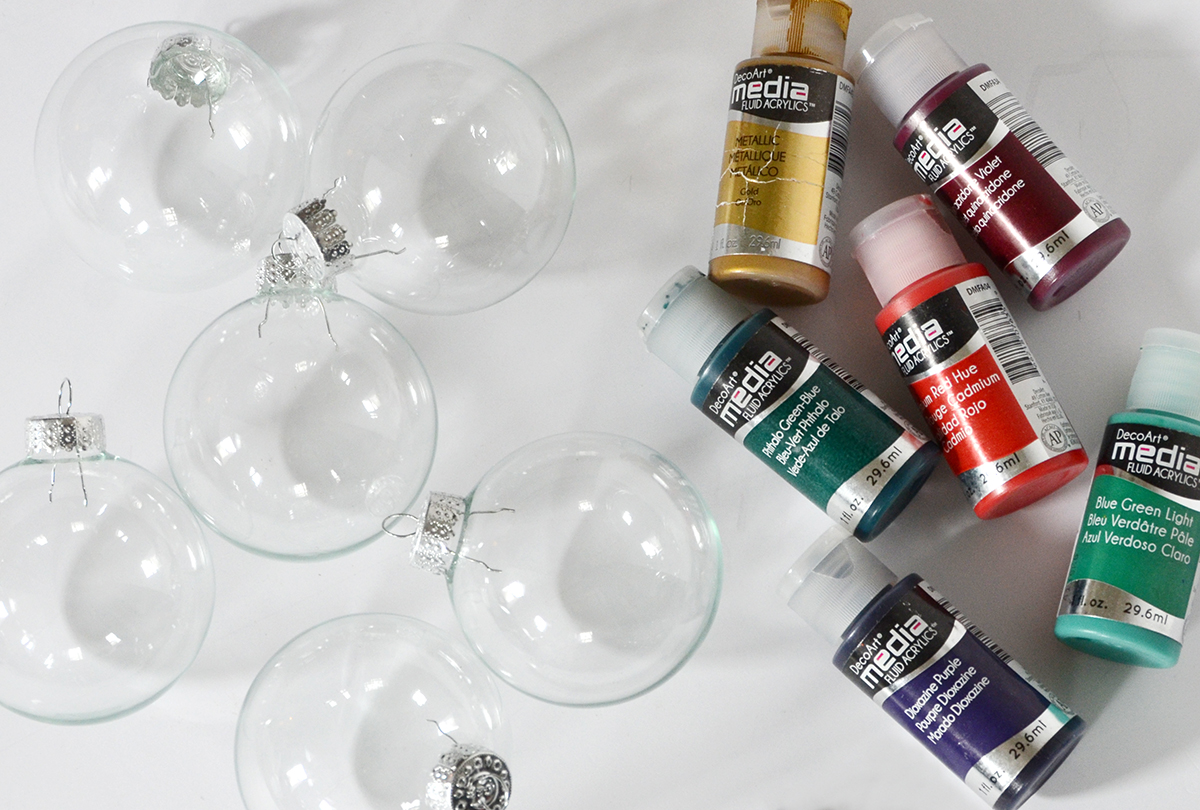
Here’s what you’ll need for your painted glass ornaments:
- Acrylic craft paint in a variety of colors
- Round glass ornaments from your local craft store
- Small paintbrush (not pictured)
Step by steps guide to craft the glass Christmas ornaments:
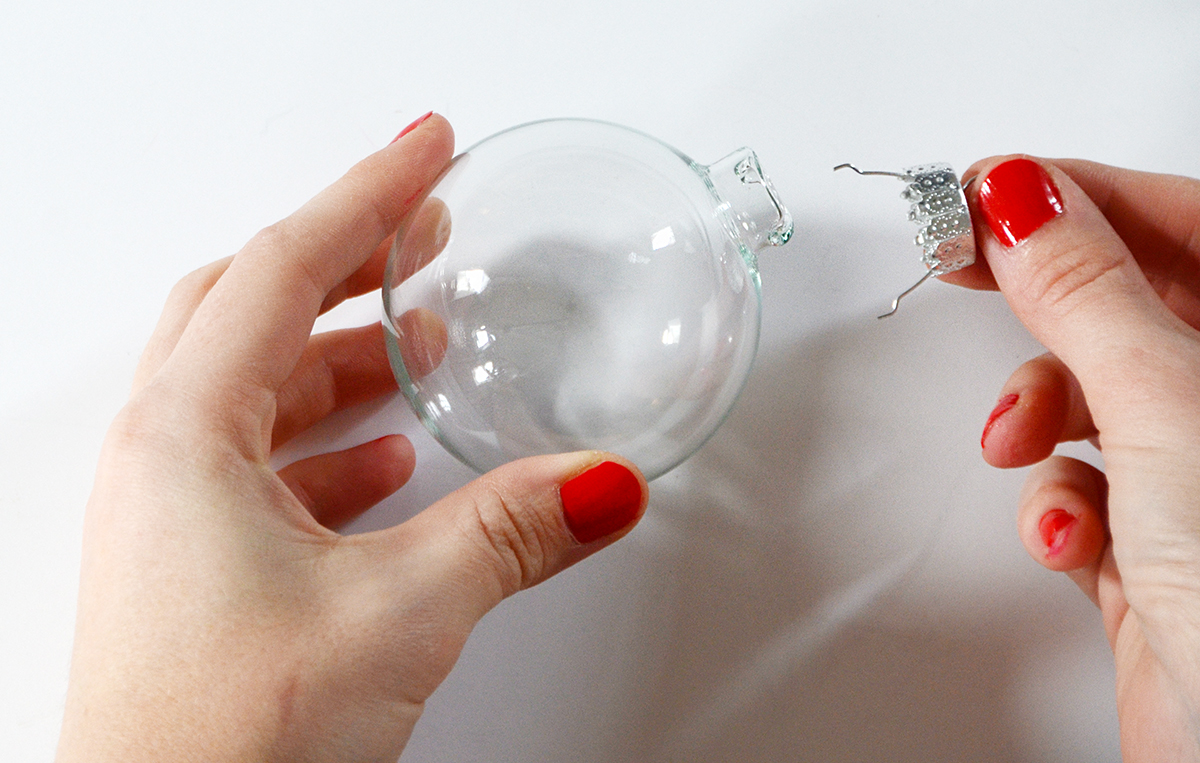
Begin by removing the metal cap… simply pull gently and set it aside for now.
Next, fill the ornament with the acrylic craft paint of your choice. If you decide to mix colors, do it beforehand in a cup and then pour it in – it will not mix completely if you just dump the two colors into the ornament together.
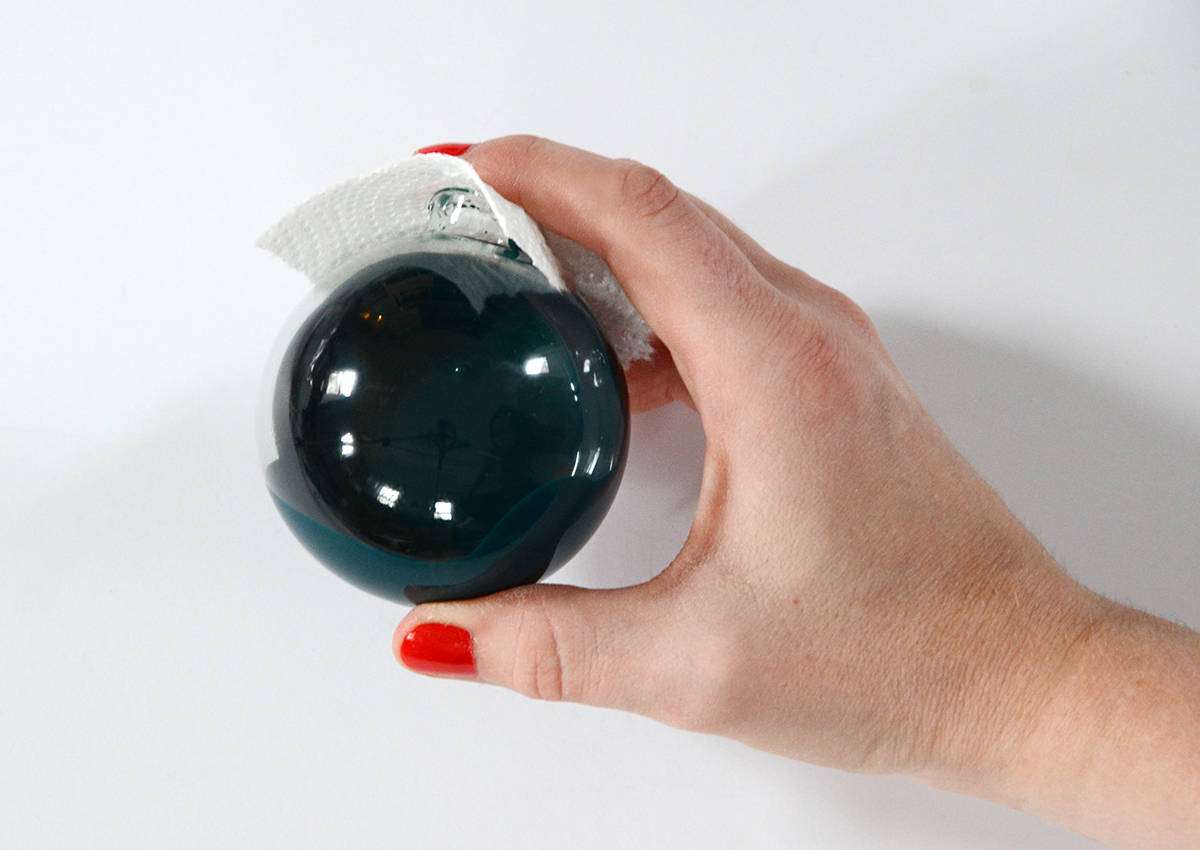
Rotate the paint around the ornament, keeping the top sealed with a piece of paper towel. Continue turning it around until the entire inside is completely coated with paint.
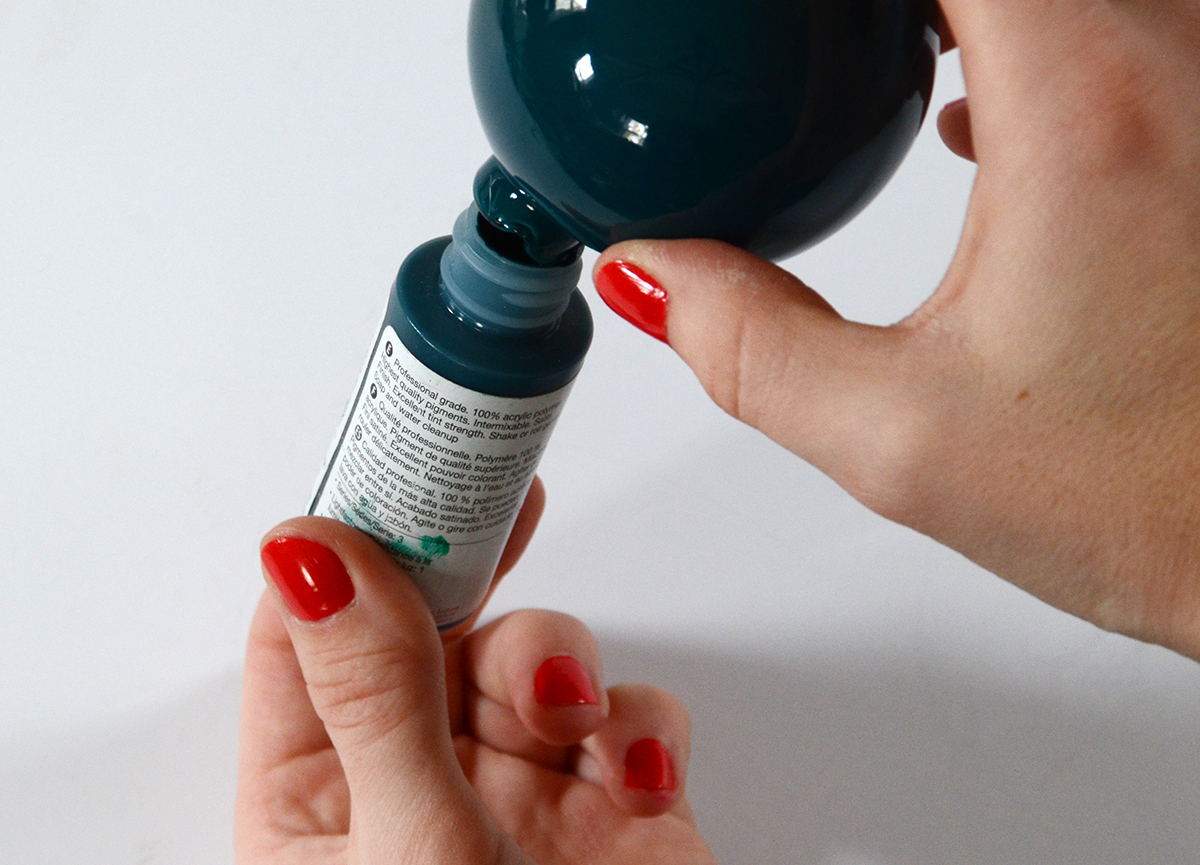
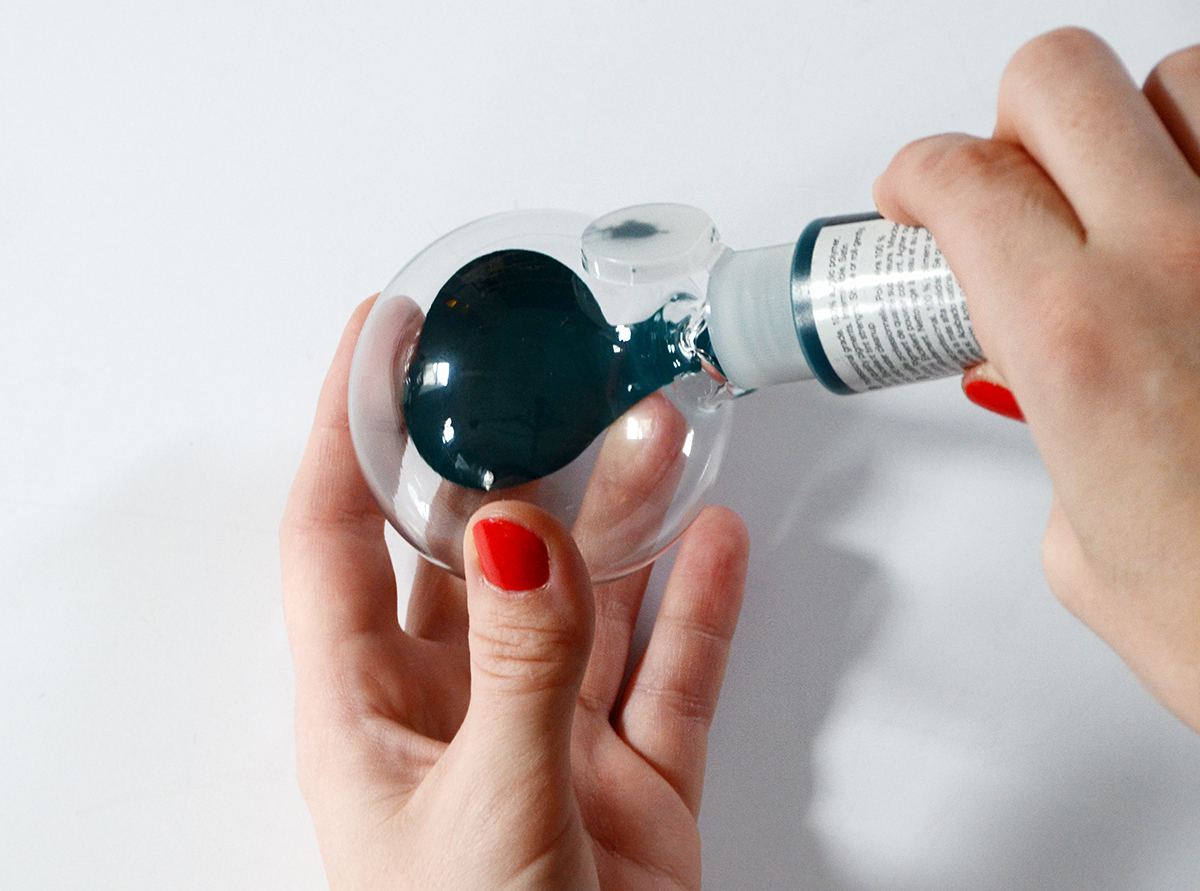
Now carefully pour the excess back into the bottle… this will help you save paint of course, but it will also prevent the inside of the ornament from being super thick with paint.
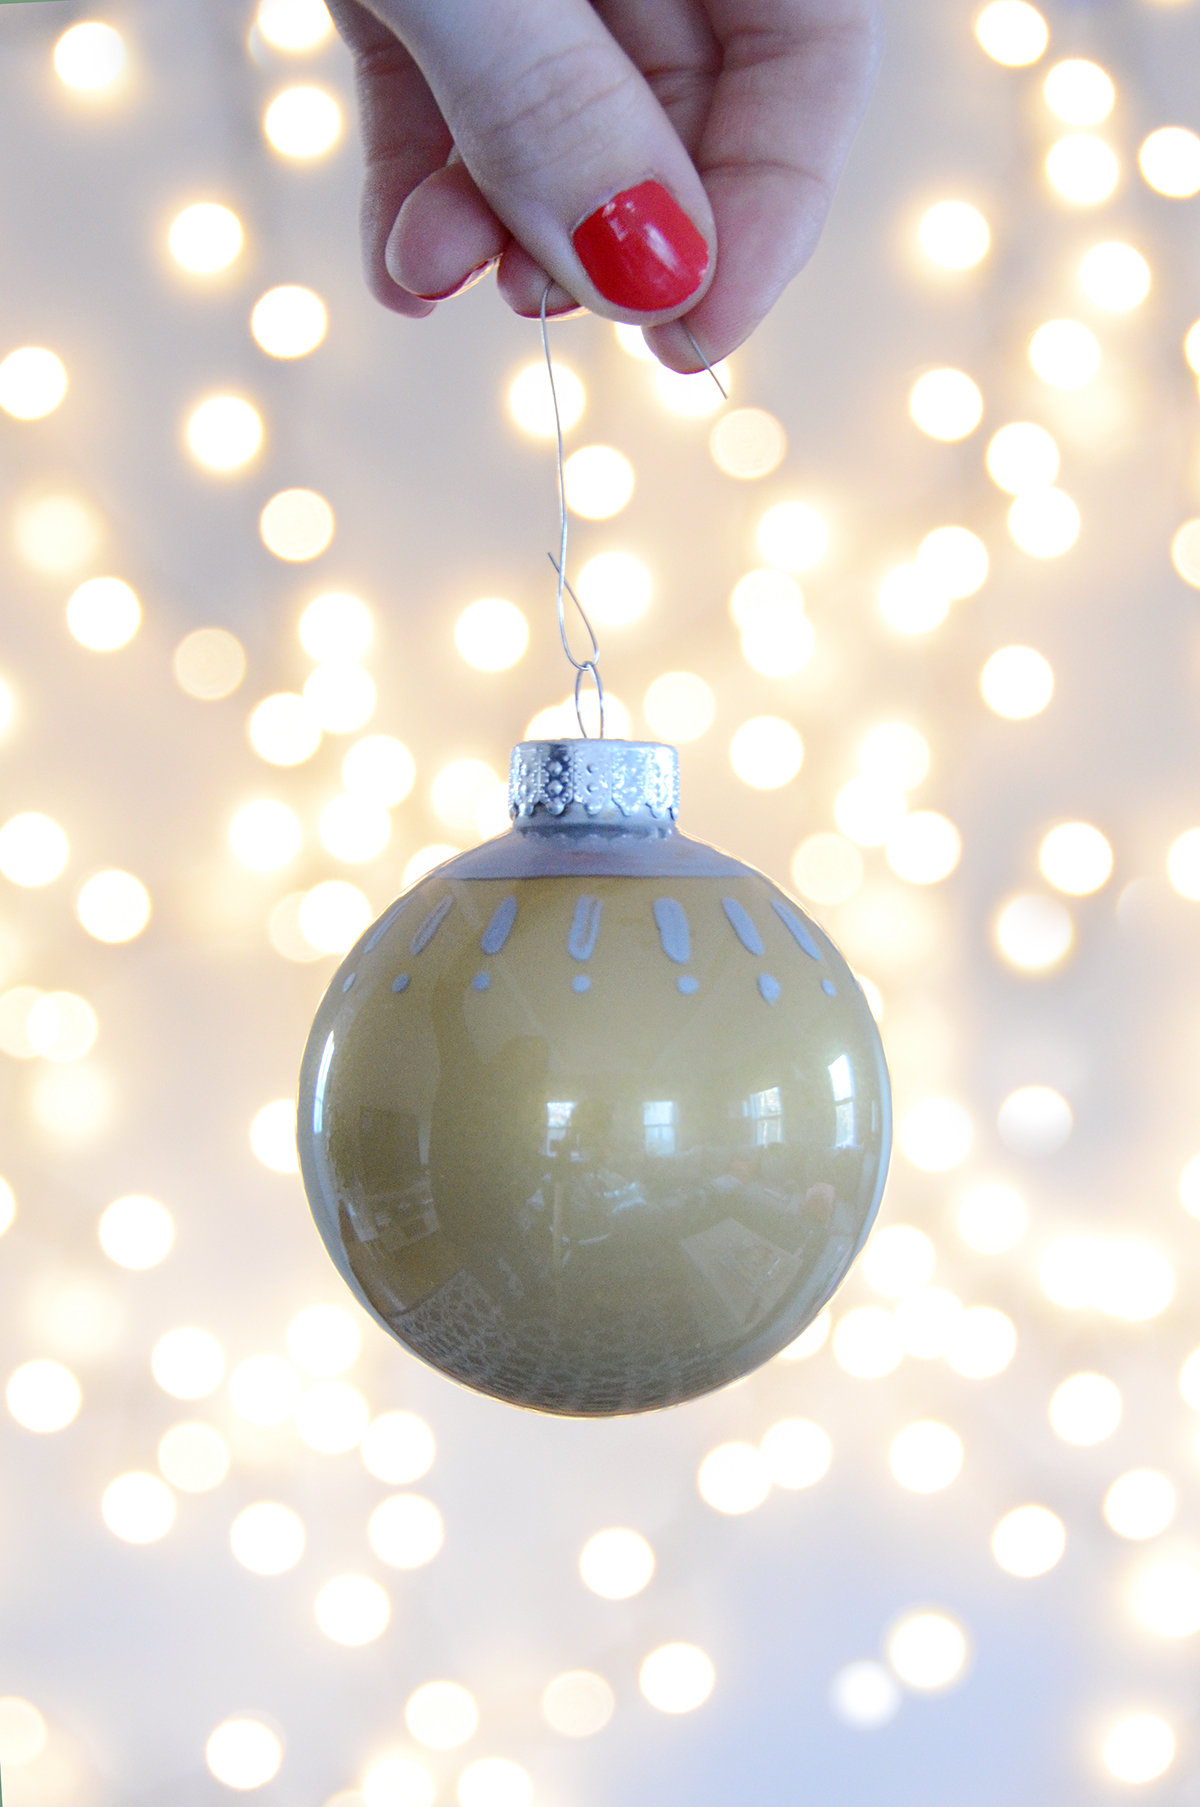
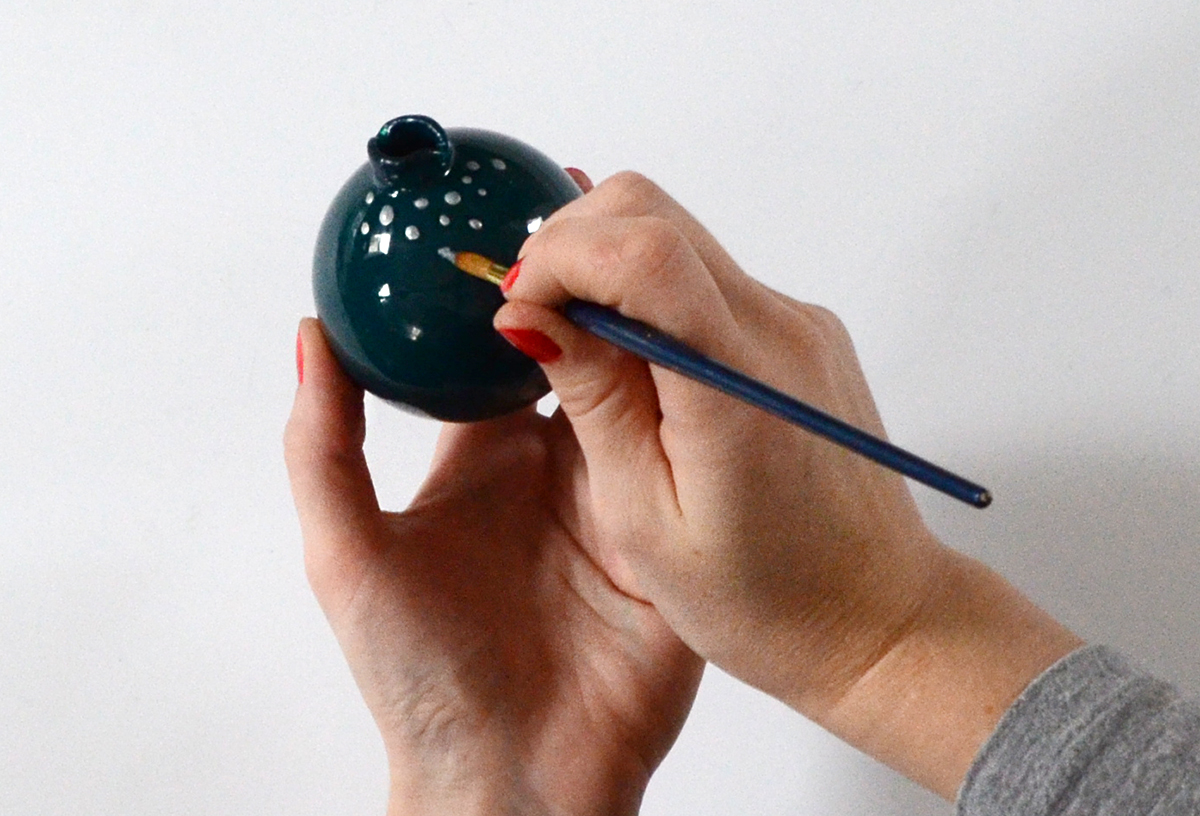
Last, paint your design on the exterior of the ornament. Here, I’ve used silver paintto create dots that get further apart as you look down the ornament. Let everything dry thoroughly and then re-attach the metal cap that you removed earlier.
Attach the hook, and there you have it! It’s easy, right?!
Don’t feel like you have to stick to dots, either… zig zag lines, triangles, stripes, etc. all all great options. As you can see above, I’ve done a few ornaments with different color schemes and patterns.
And these are so quick to make, that you could quite probably create a whole set in an hour or two!
