DIY Modern Cone Christmas Tree
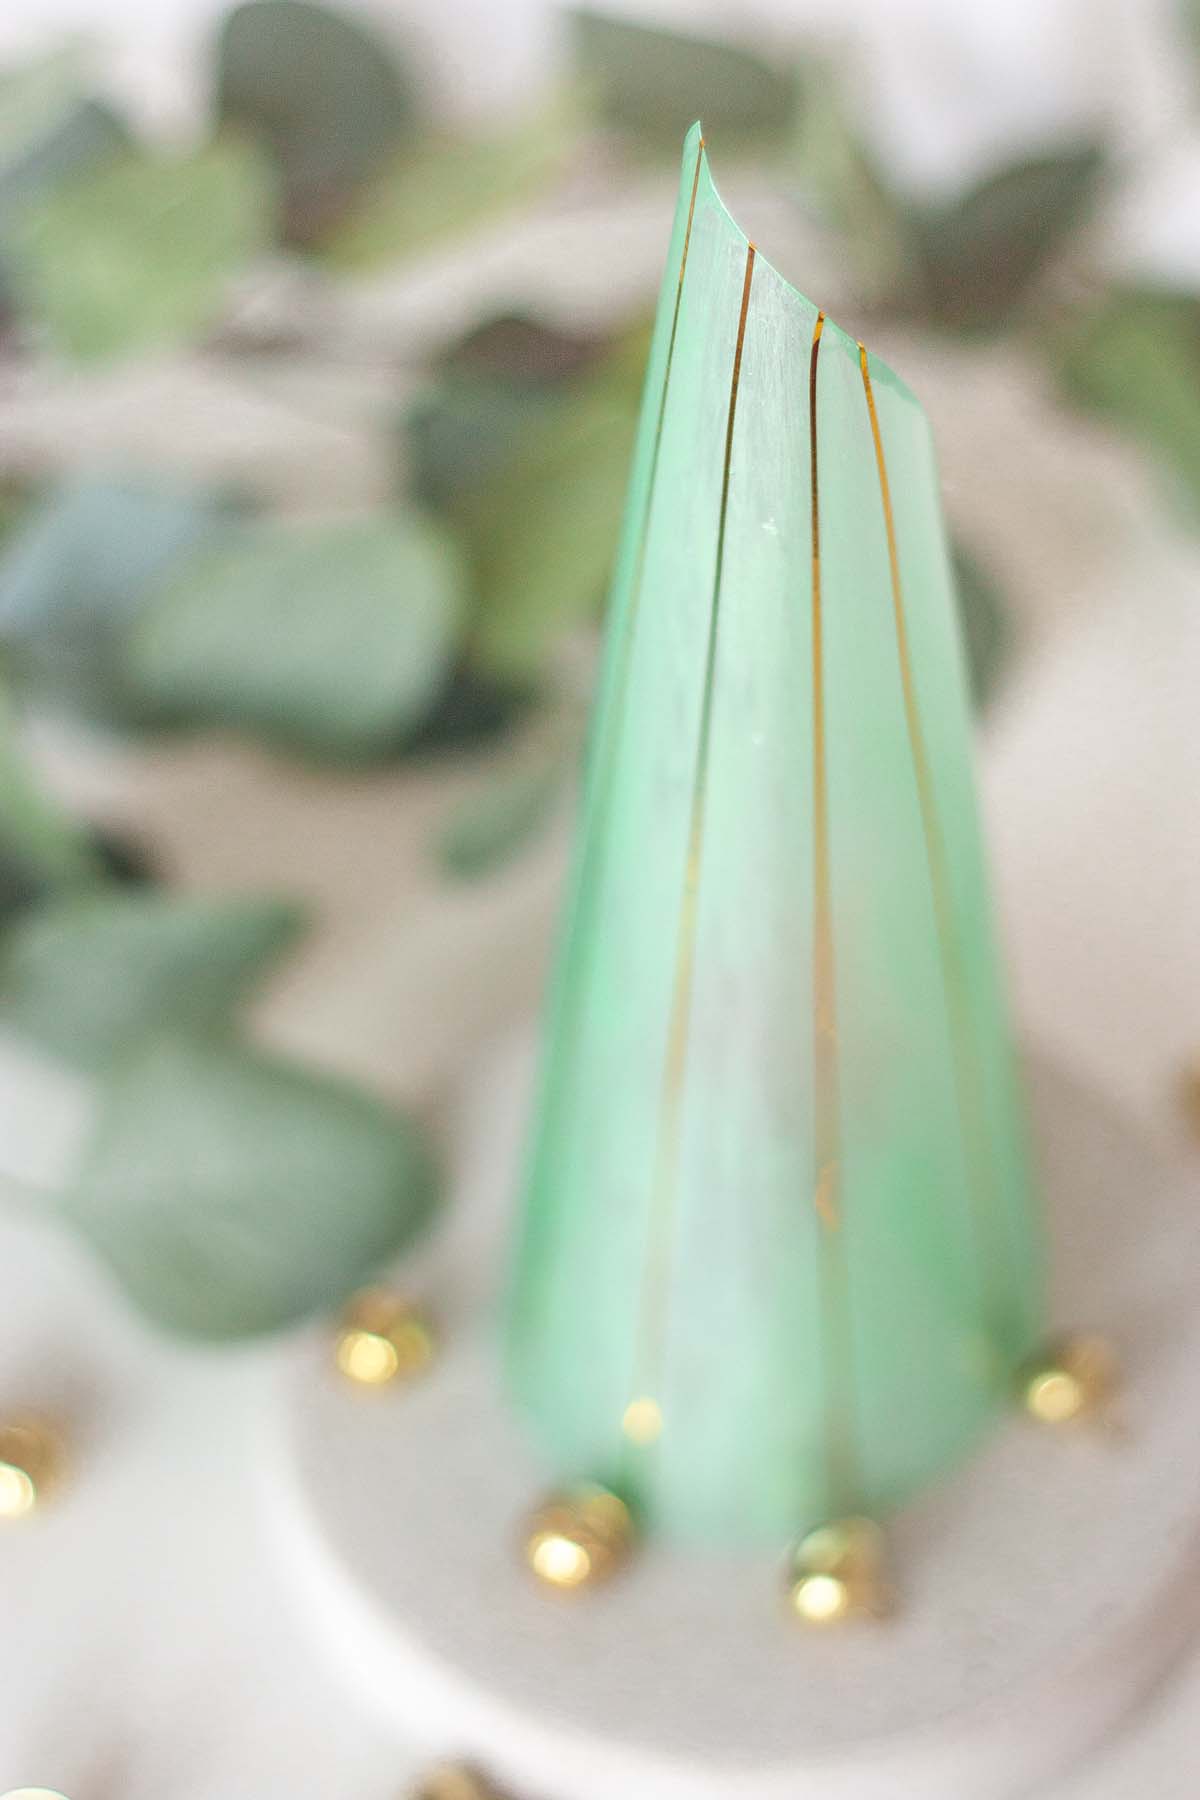
Today we’re making a different kind of Christmas tree, totally different from the traditional pine trees you’re used to, totally personalizable according to your tastes and needs and absolutely low cost. That’s a key point ladies, if you’re looking to not break the bank with this year’s Christmas decor, a cone tree with a modern twist and a few gold details will do perfectly the job.
Also, the versatility of this craft project is awesome, mainly due to very easy to find supplies and a full control over the final look. So let’s dig it, and make this modern Christmas tree ourselves!
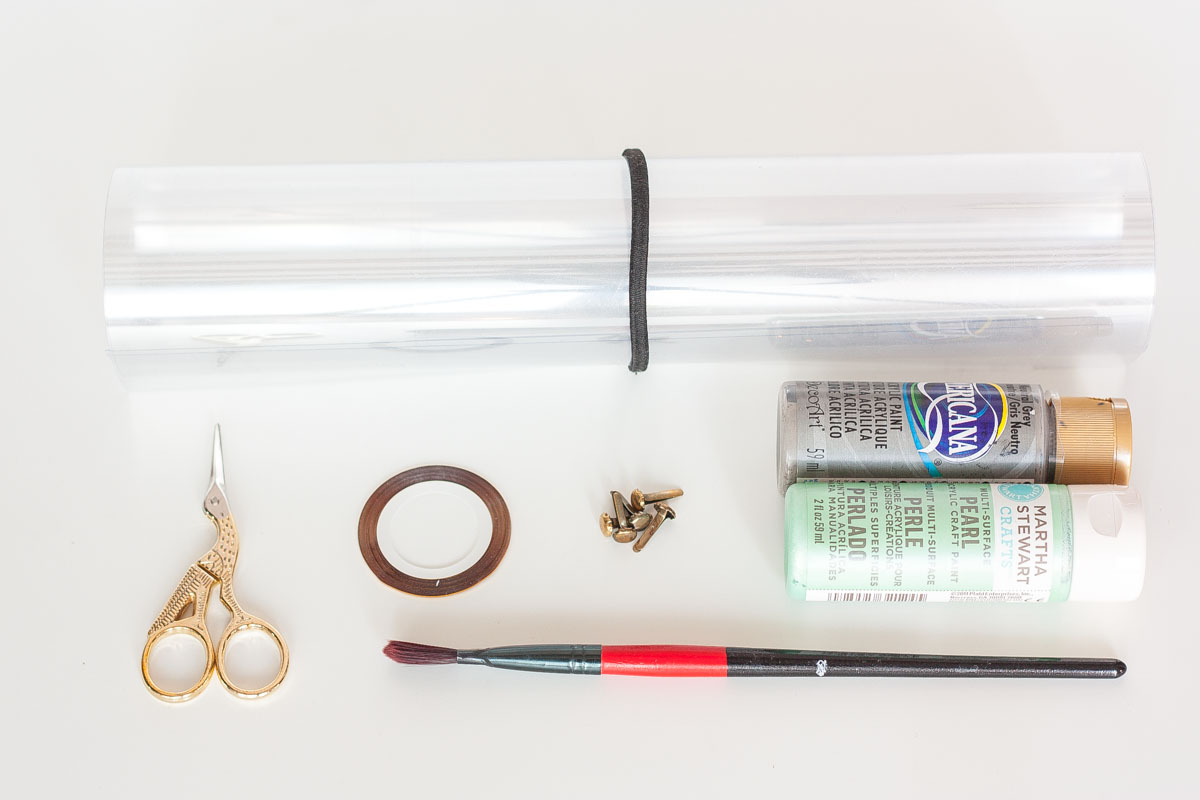
Here’s what you’ll need:
- A4 sheets of acetate paper
- acrylic color of your choice
- brush
- transparent adhesive tape
- gold thin nail adhesive tape
- scissors
1. Start by bending the acetate paper into a cone shape that looks good to you. When you’re happy with the cone obtained, secure it with some transparent adhesive tape on the inside (I’m using colored one so that you can see it better). Most likely you will need to cut off some exceeding parts to make it stand up straight and some other parts that will pop out from the side (the latter is only because the sheets aren’t square shaped). Go ahead and cut as many cones as you want!
2. Paint! Remember to keep the brush strokes vertical and gentile as the strokes will be very visible. Depending on your chosen paint you might need to make a second or third coat of color, but make sure the previous has well dried before. I chose this cool pearl mint that is a nice solution between traditional green and modern colors.
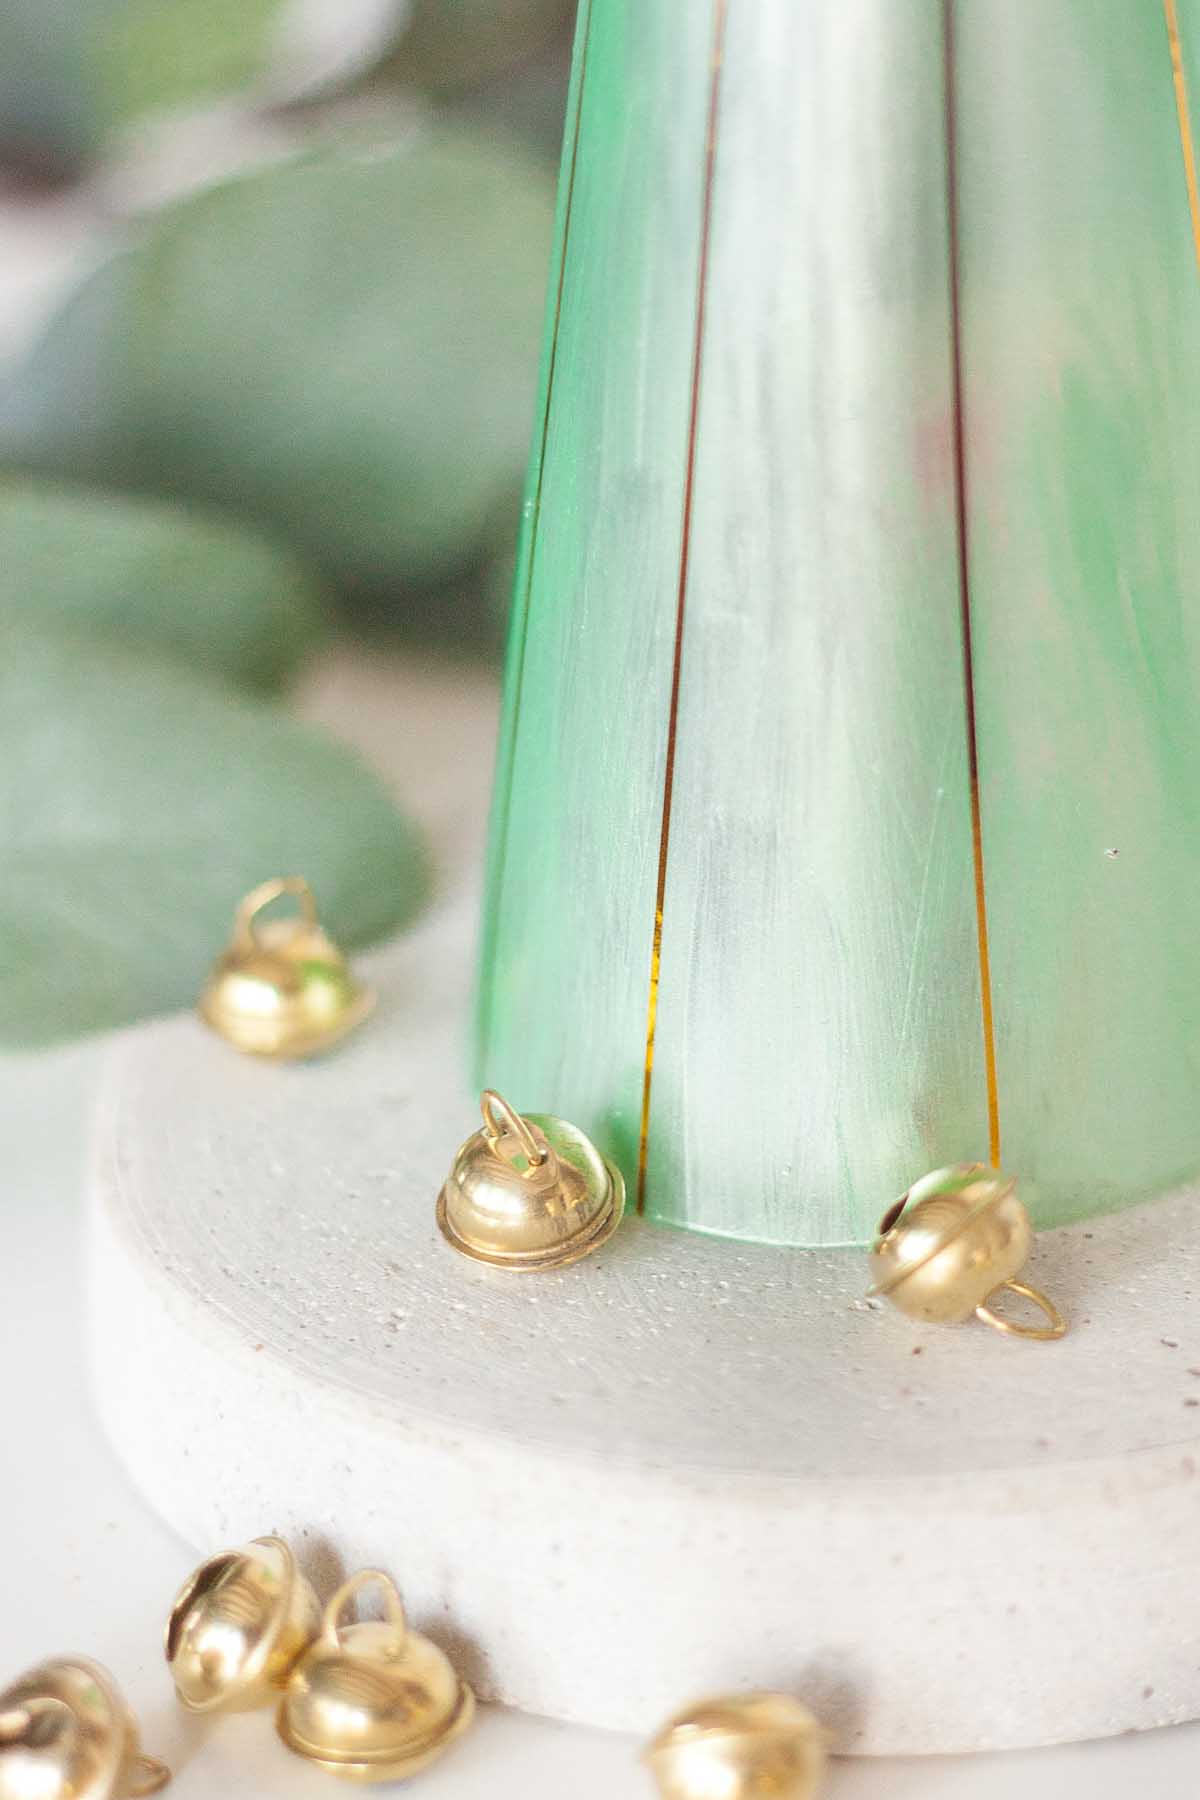
3. Decorate with gold to give the extra touch. I’m adding vertical stripes of this very thin and elegant adhesive tape, which is normally used to decorate nails. That’s what I call repurposing!
Have fun and add all the extra touches you need. For example, I found these gold Christmas bells and I think they complement very well with the overall look, adding a hint of traditional Christmas decor. Just a hint though, what were you thinking?
