DIY Wall Clock Restyling
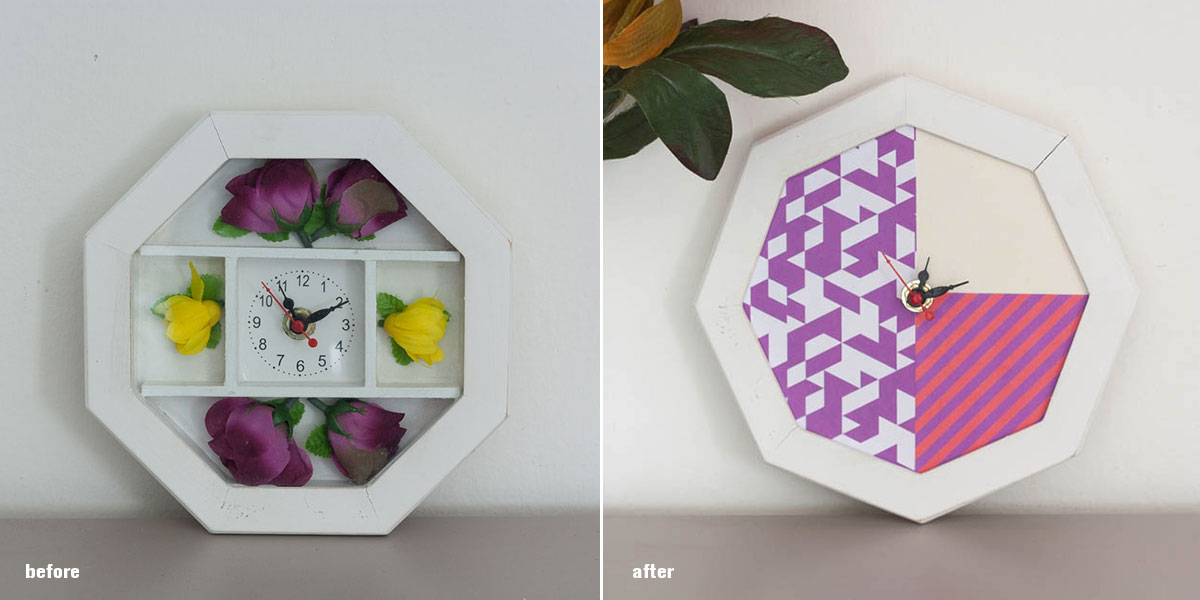
An interesting object came to my hands a few months ago: it’s a wall clock, and I’m in love with its octagonal shape. Who doesn’t love geometrical shaped things. But then my attention was drawn by those vintage visibly fake plastic flowers. I usually love flowers, in all forms, but that’s really not what I imagine when someone talks to me about a clock “adorned with flowers”. Such a shame a still working clock like this has this cheap look! So I decided to restyle it giving it some fresh new look. First thing I knew as soon as I saw it: that octagonal white frame must stay, it’s gorgeous. The clock’s hands aren’t as much pretty aswell, but since they’re black I decided to try and keep them original.
The big problems with makeovers is that you start with an idea of what you’ll do, then start unmounting pieces and new ideas pop to your mind; the idea of painting it all over turned into using already printed colorful paper. So yeah, the initial supplies photo is totally usueless.
Here’s what I (really) used:
- old clock to upcycle
- tweezers or clamps
- coloured paper
- scissors
- cardboard
- strong glue and paper glue
- pencil
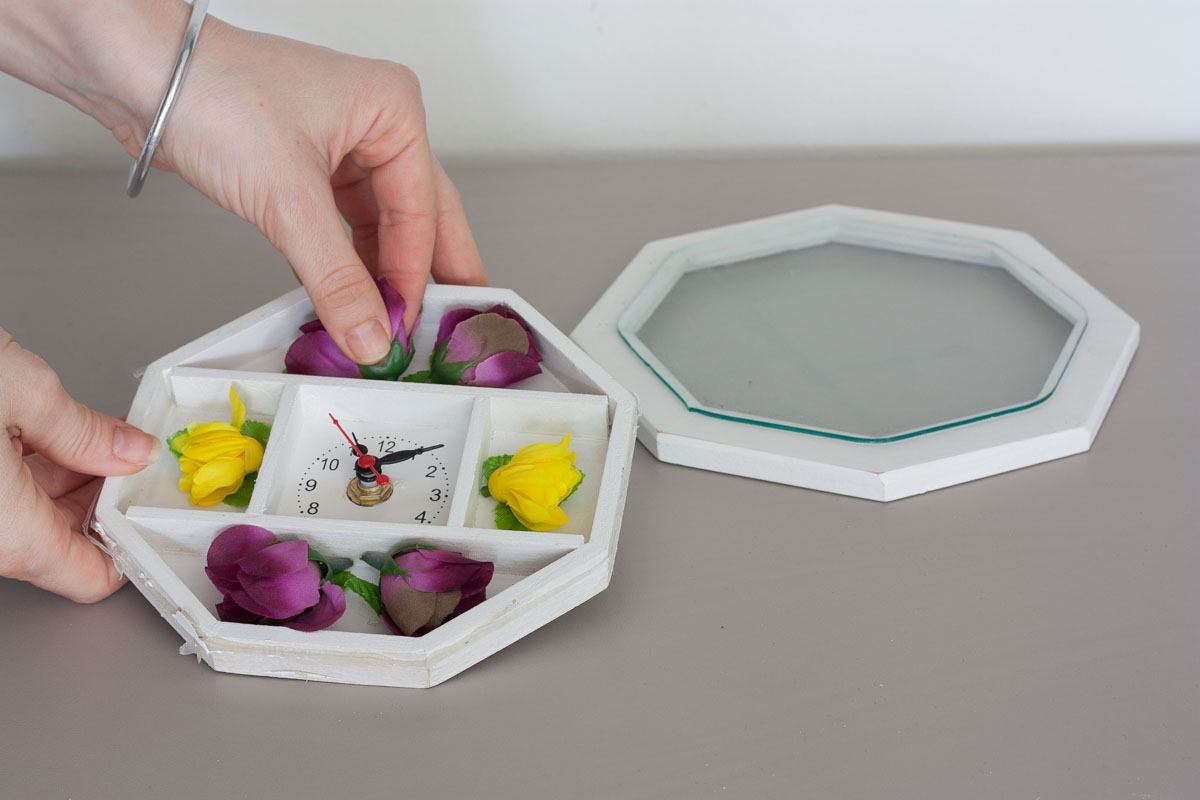
1. Start by unmounting the frame and the glass (I just pushed!) and rip off those horrible flowers.
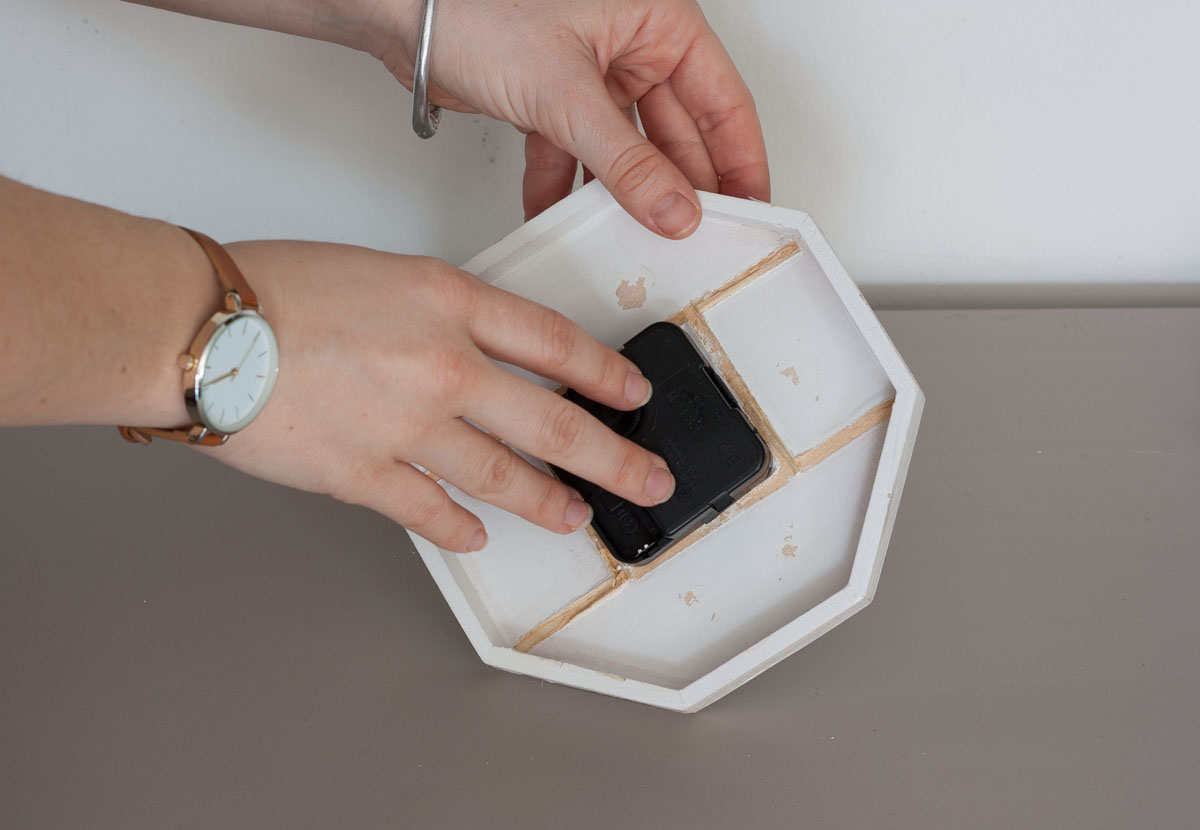
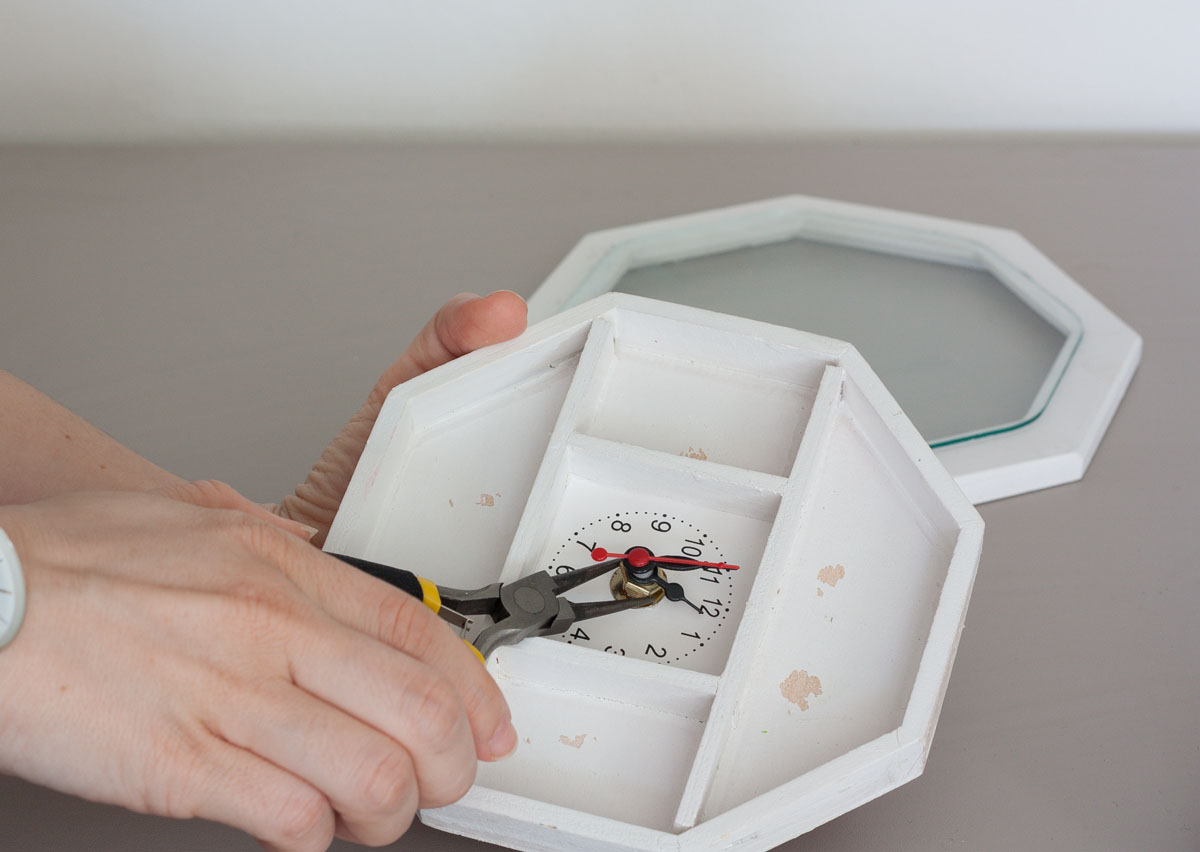
2. Unmount the clock mechanism. I just pulled out the hands and unscrewed the central nut.
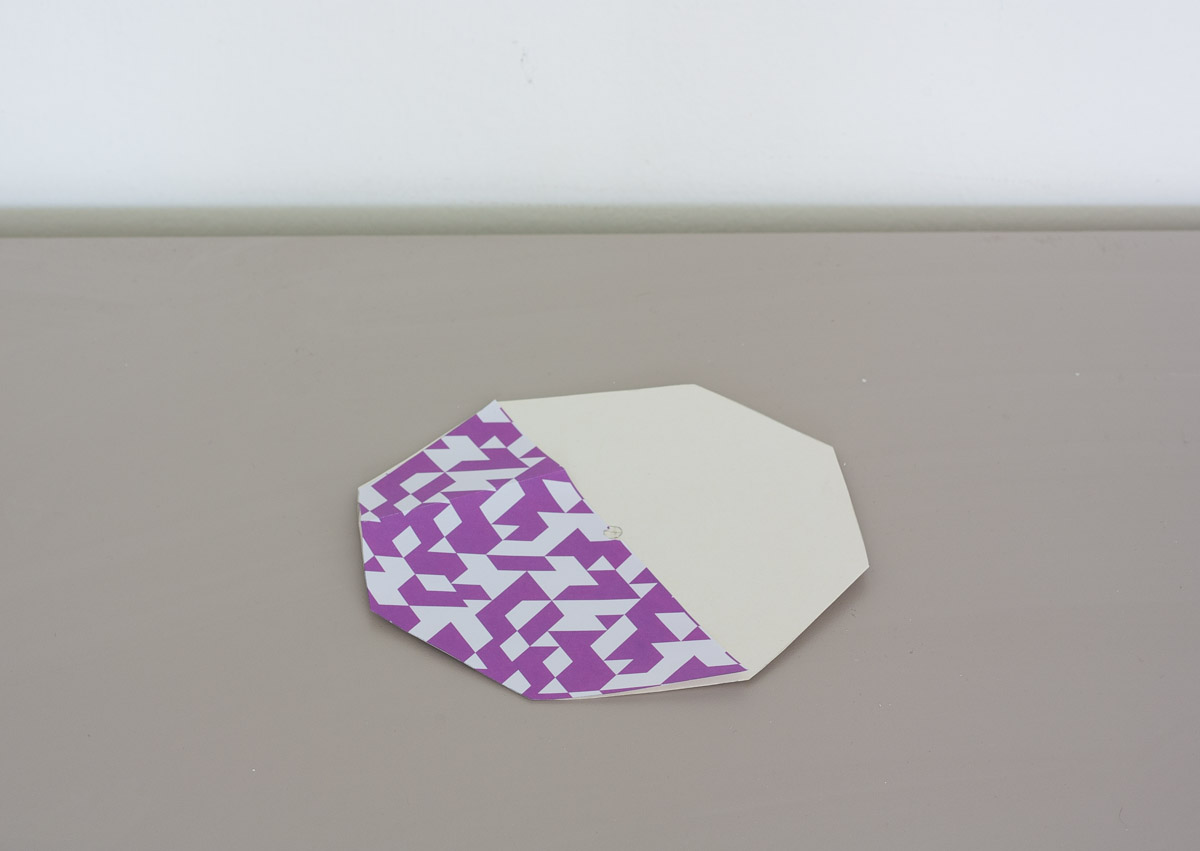
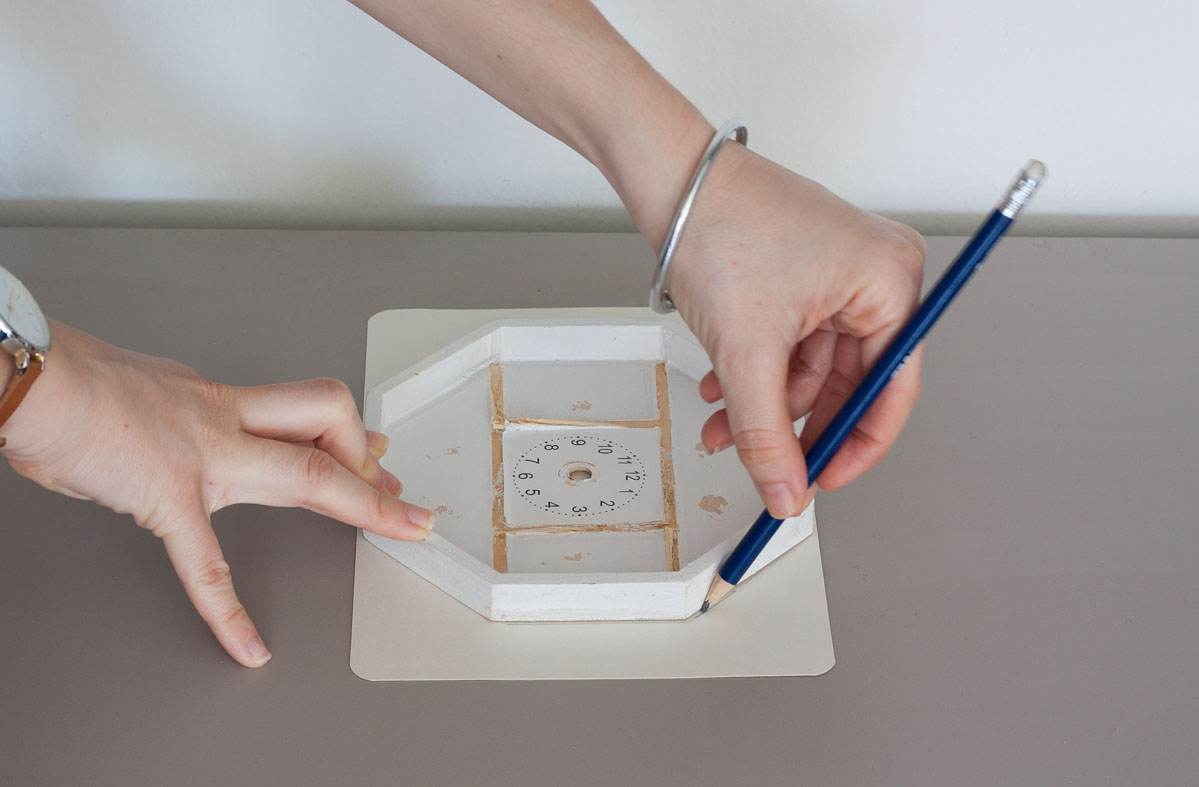
3. Draw the size of your clock on your cardboard and cut out. Remember to make the central hole also!
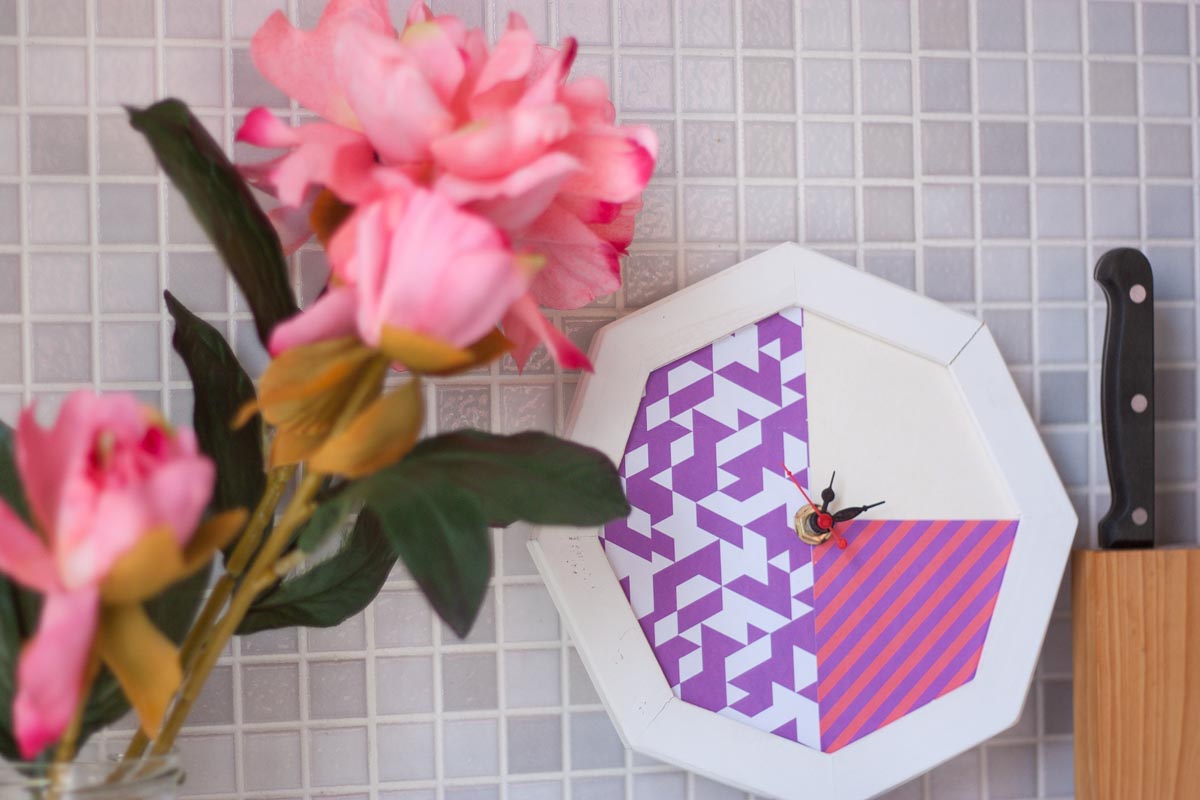
4. Decorate your cardboard as you wish! Possibilities are endless here! You can paint, you can draw, youa can stick, write, colour, stamp.. have fun! I cut out some patterned paper following the geometry of the hexagon shape. Geometry containing other geometry ^_^
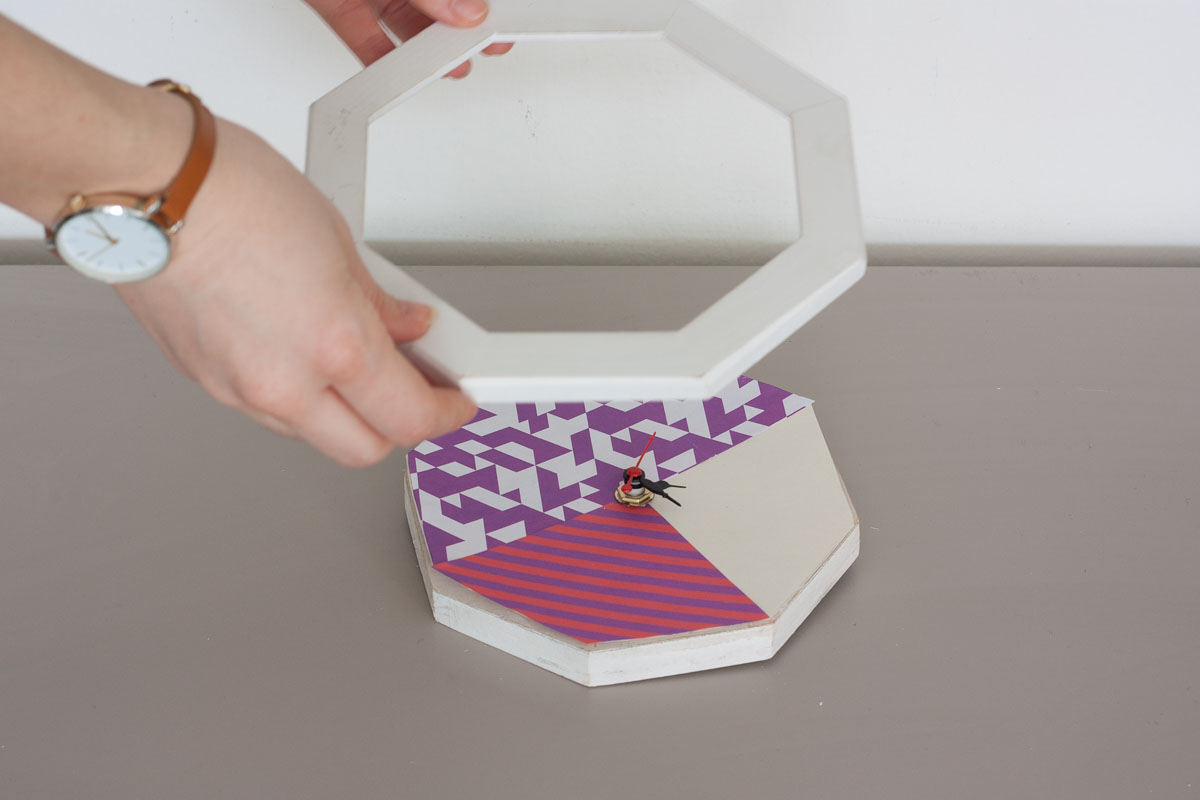
5. Put back on the mechanism, following exactly the same steps as taking it off but in reversed order. In my case, I decided to use the back of the clock as front, so that the hands popped out of the frame. Also because my old front is now all ruined by that ripped wood that wouldn’t come off. Remember to put the decorated cardboard onto the front of the clock before screwing back in the central nut and hands.
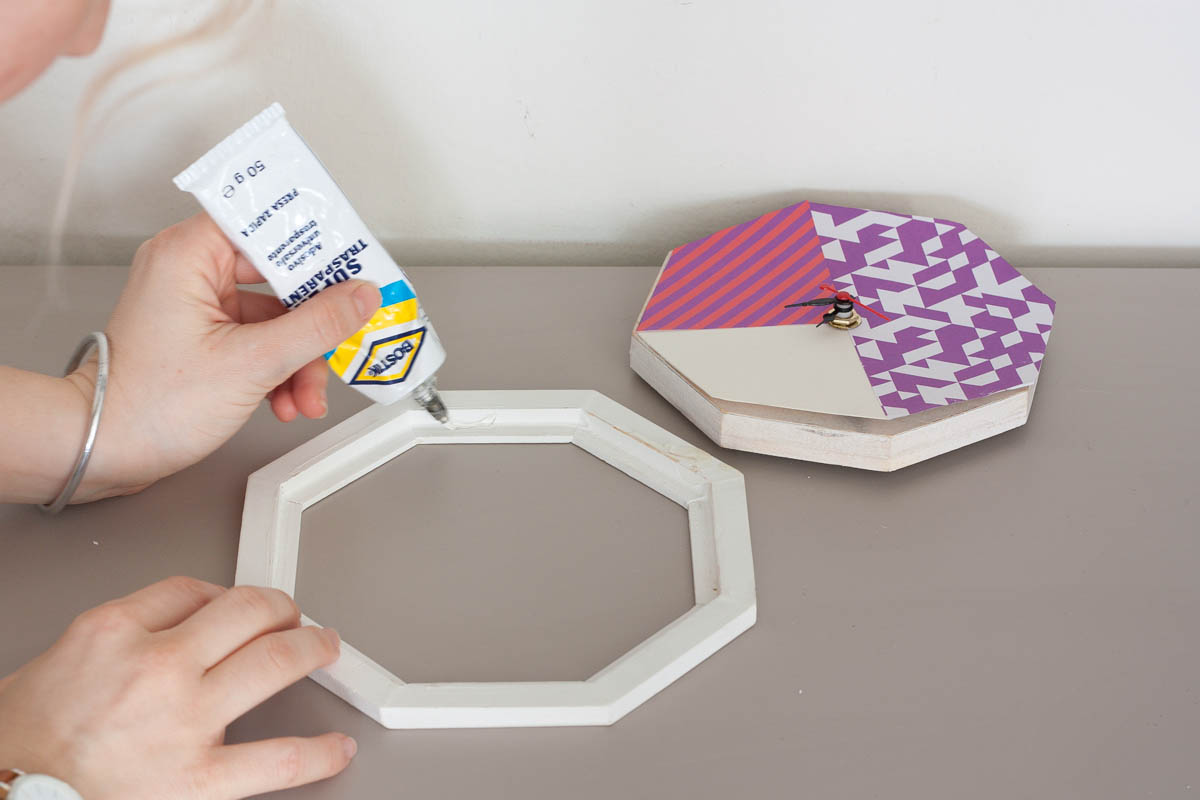
6. Add a tough glue to the internal edge of the frame. Here you can glimpse my panic face: glue is about to spill on the cupboard! Help! Press firmly the frame for a minute.
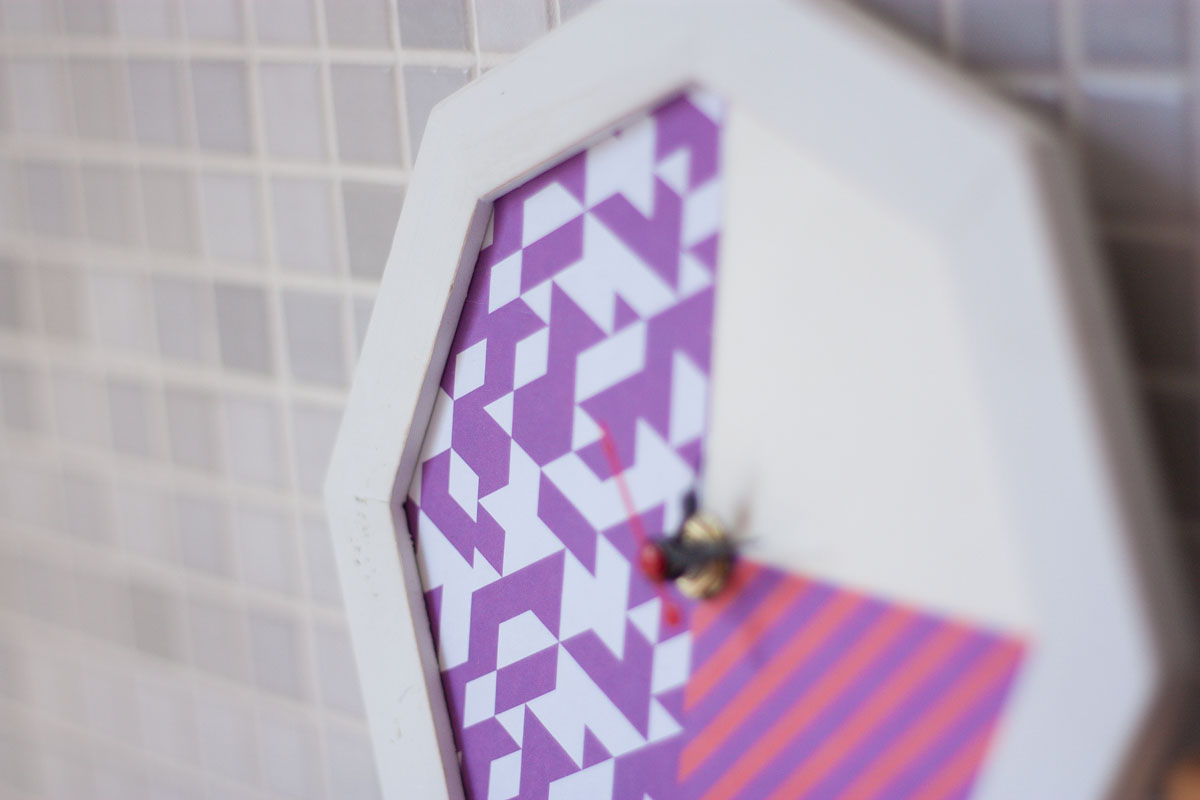
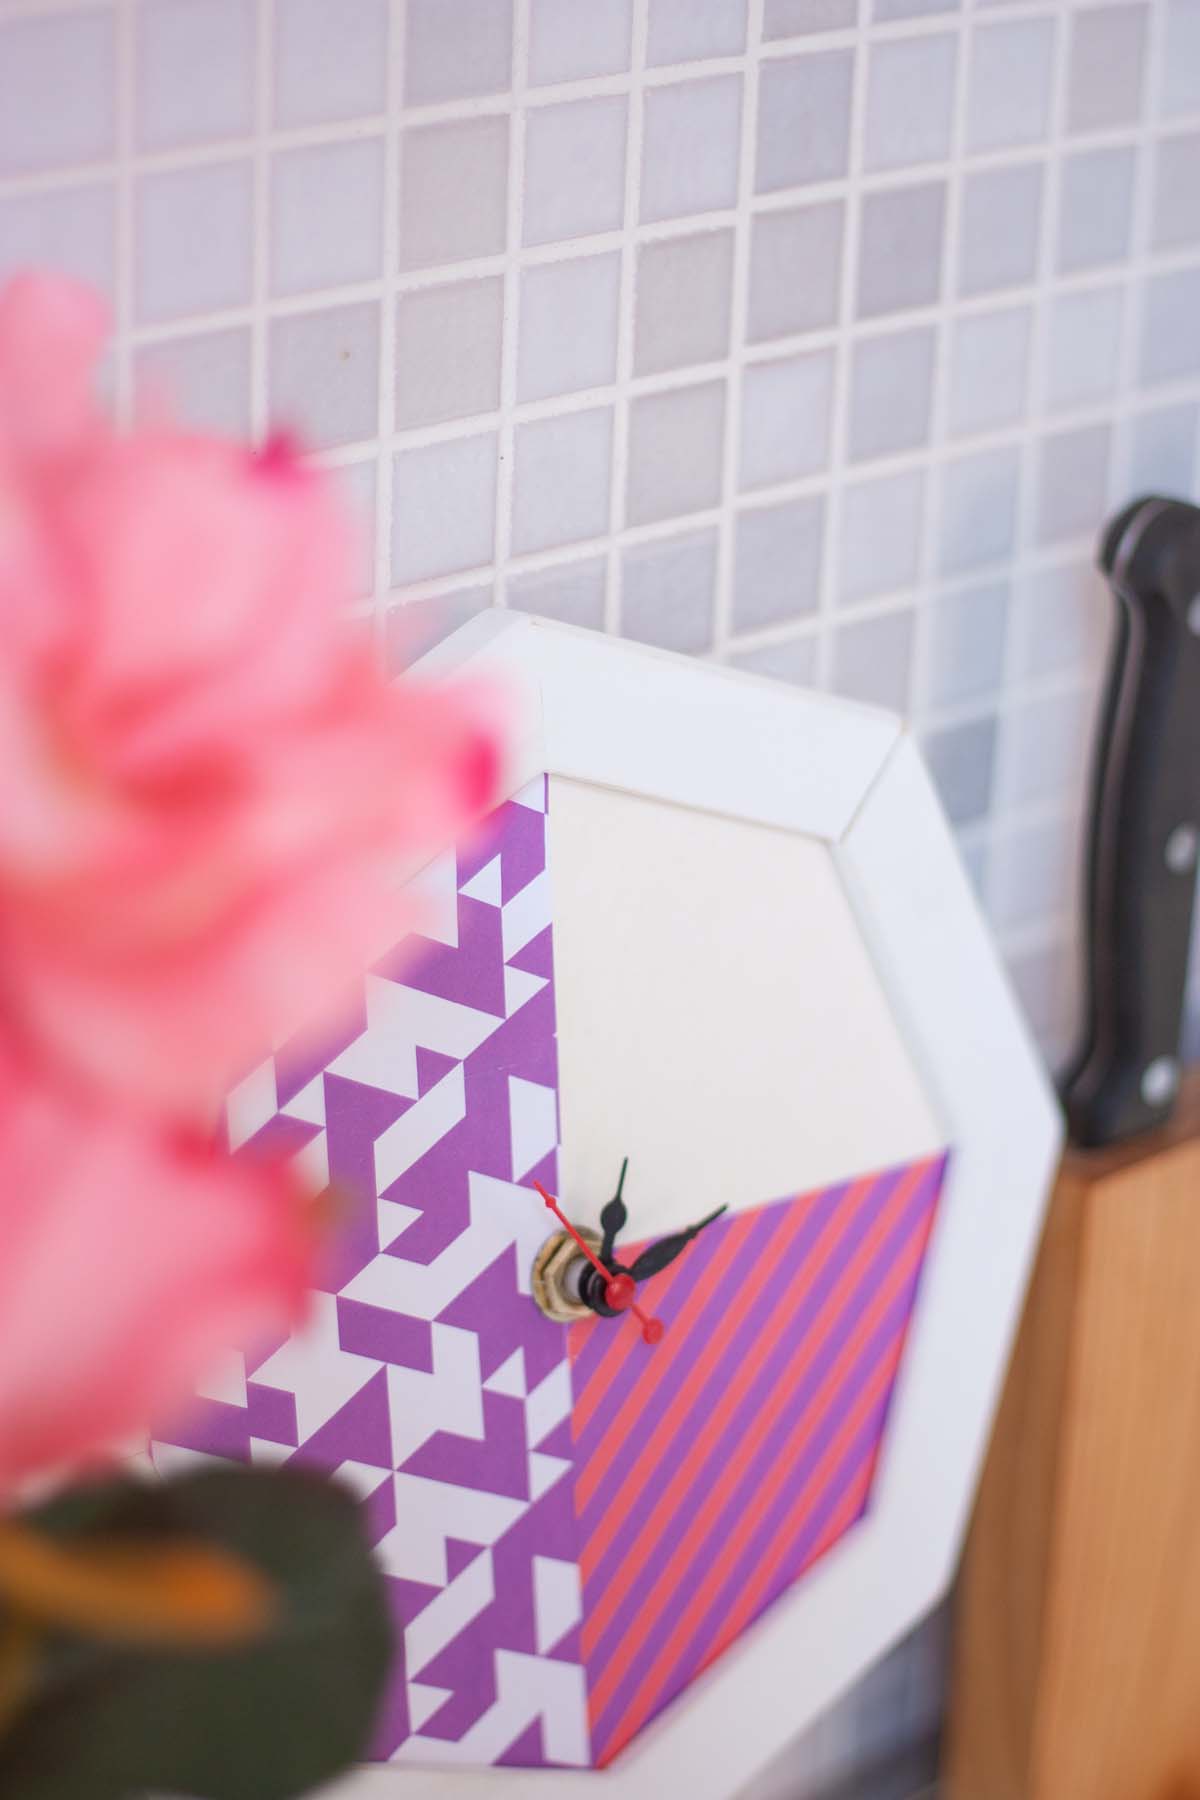
It’s pretty much finished! Do you like my restyling? I decided not to put any sign for the numbers, giving it a more minimal – modern touch. The clock can also easily be hung because it has protrusion on the back, but this depends on the type of clock you’re upcycling. Astonishing!
