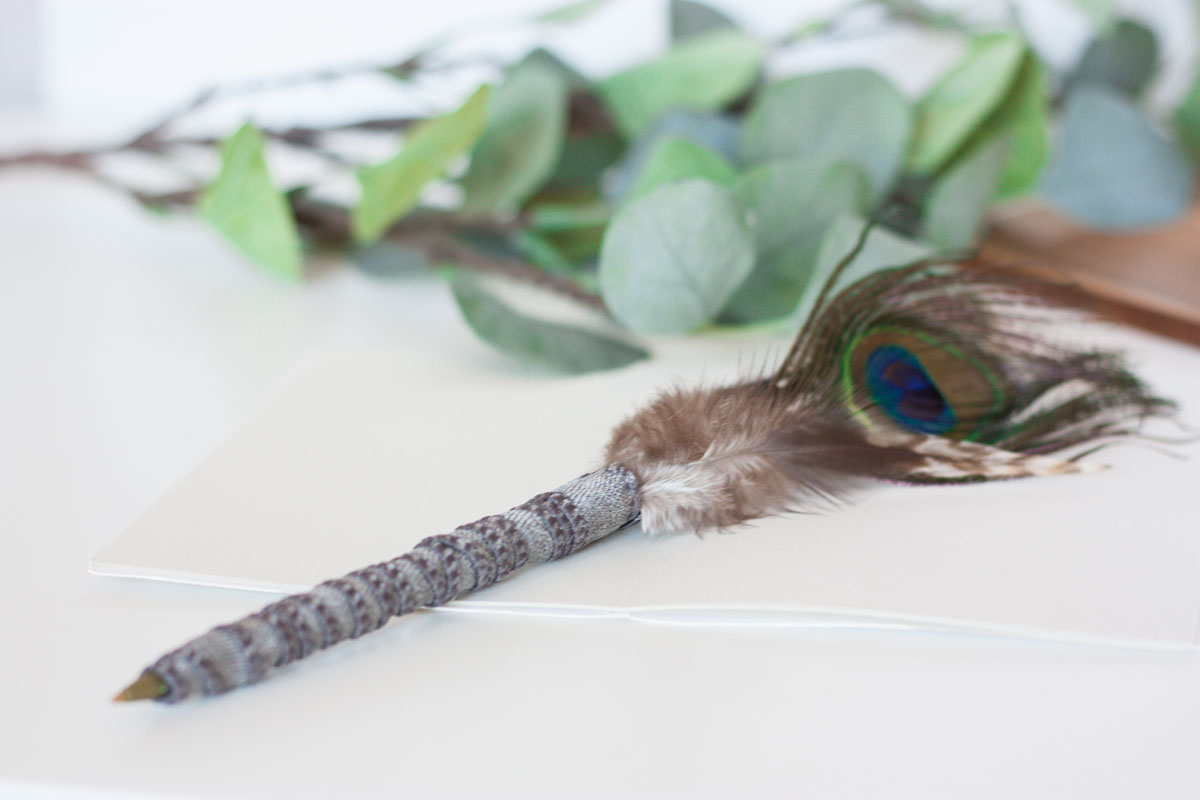
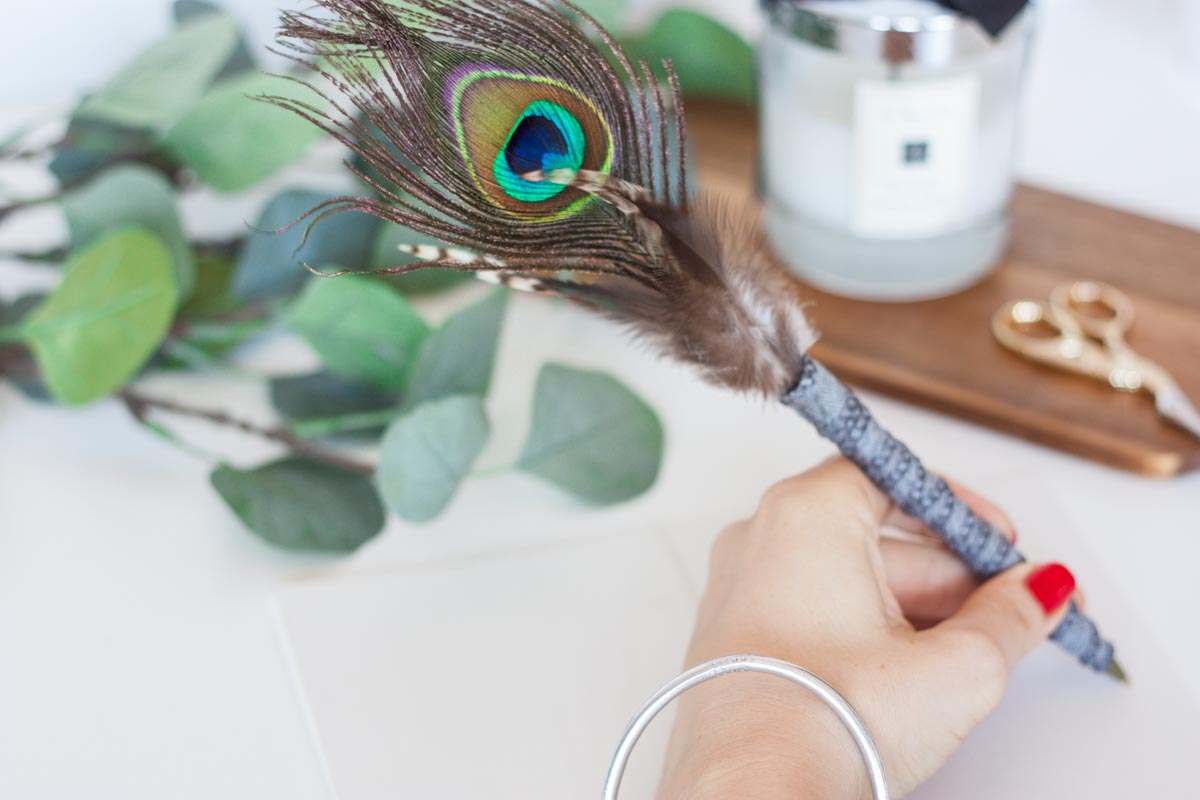
Vintage DIY Feather Pen
Who doesn’t love to pretend to be in the 6thn century and sign important papers with its unique feather pen? Also knwn as quills, they were the primary writing instrument in the western world from the 6th to the 19th century, usually made from goose, swan, and later turkey feathers. Quills went – of course – into decline after the invention of the metal pen, and today we’ll never abandon the comfort of a handy ballpoint pen, aren’t we right? That’s why this tutorial is all about mixing up modern and vintage: the fascination of the feather top with the more easy to use classic bottom. No ink drops involved, promised!
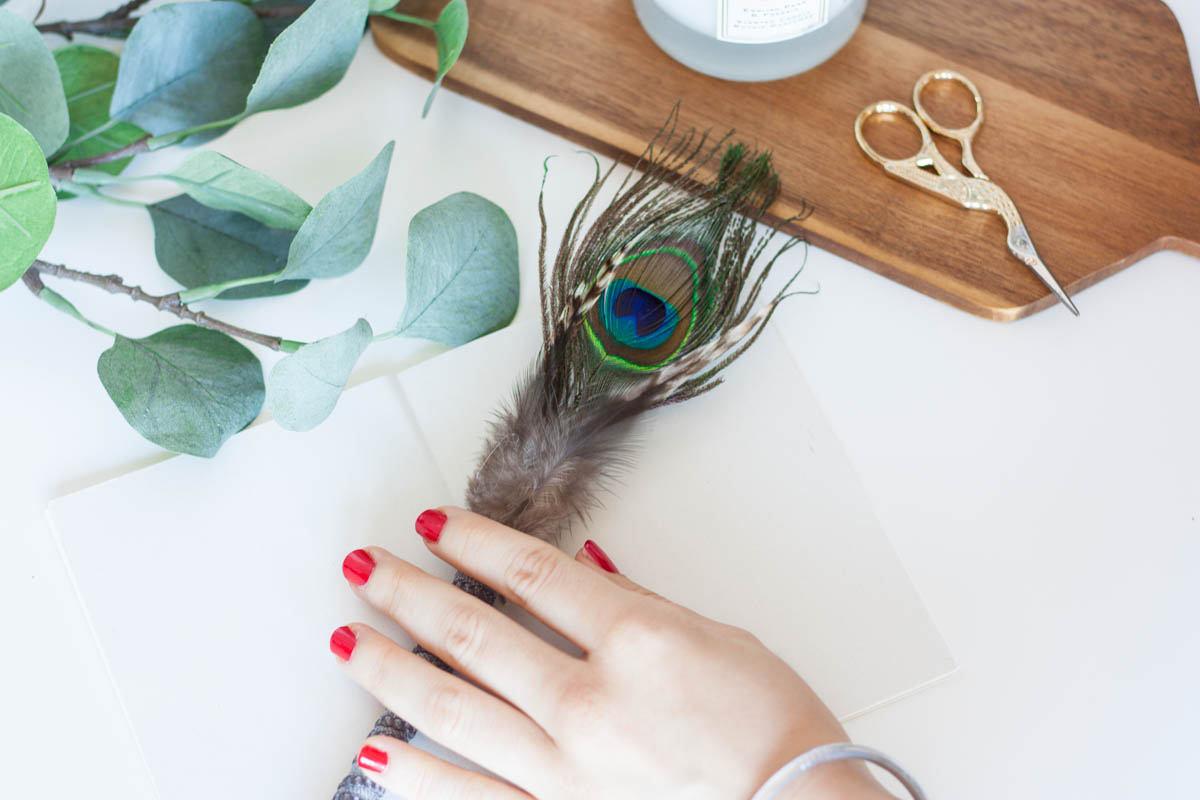
If you’re curious read on and see how to make yourself a personalized feather pen to exhibit on your desk! Jump on the tutorial and discover how easy making a diy feather pen is.
Supplies
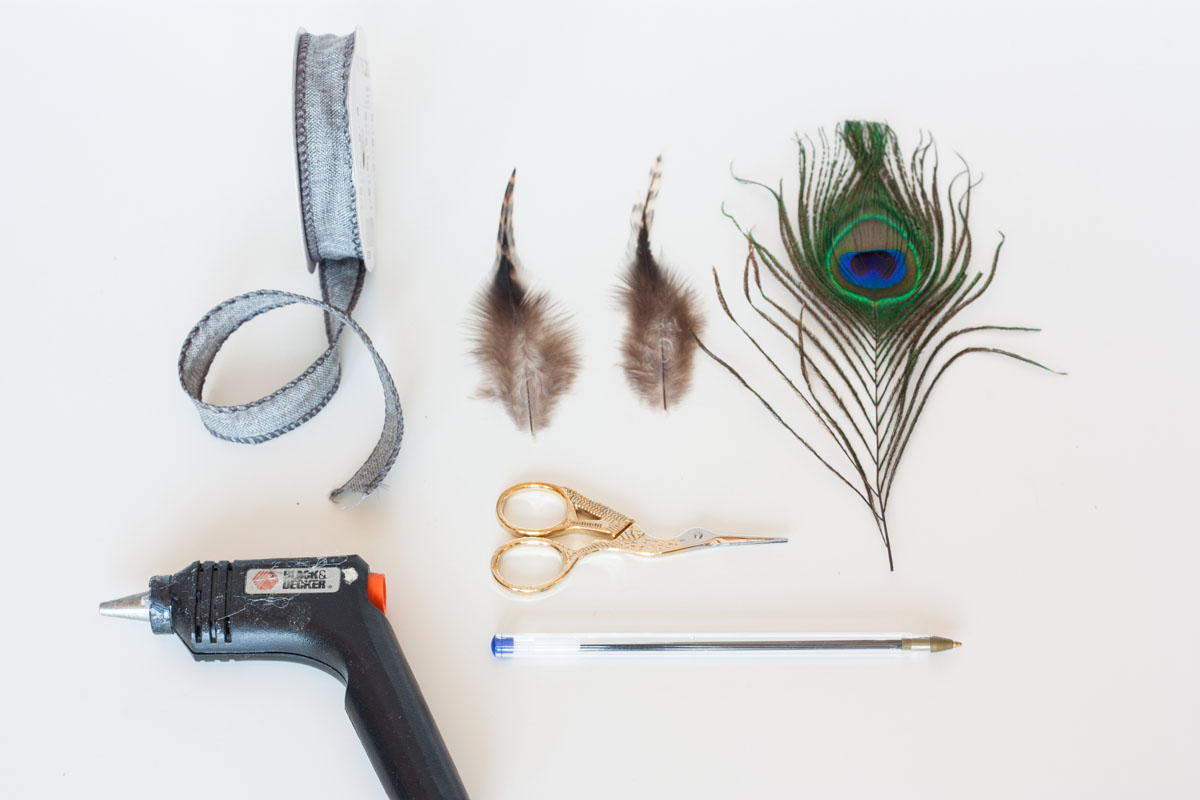
- pen
- 1 peacock feather
- 2 smaller feathers
- hot glue gun
- adhesive tape
- textile ribbon
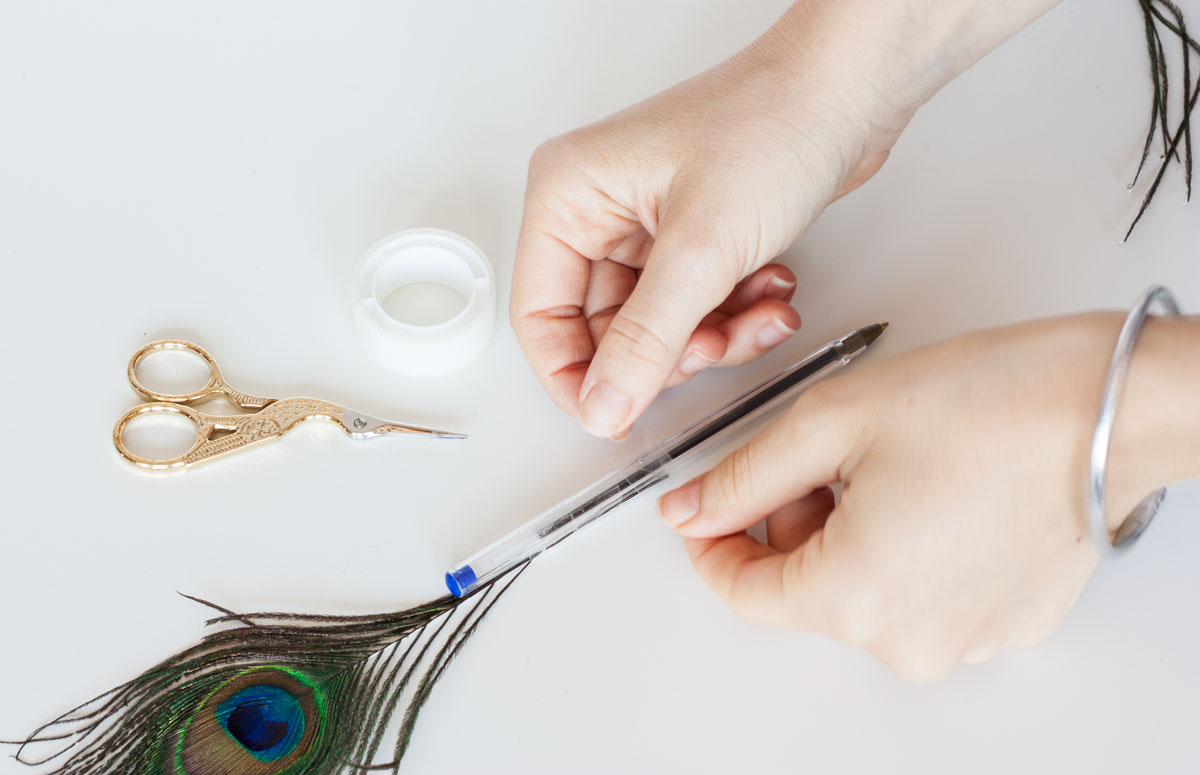
1. Start by taping the peacock’s feather to the end of the pen.
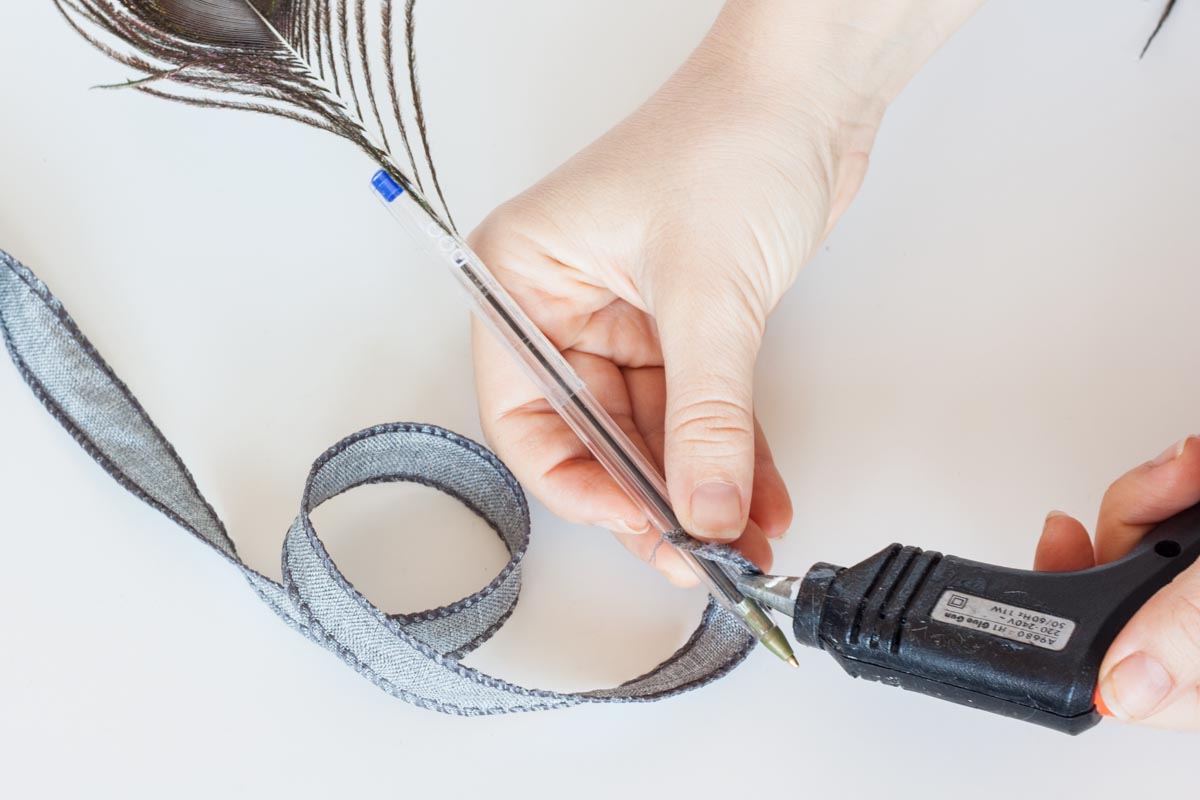
2. Put a small amount of glue at the bottom of the pen and stick the starting end of the ribbon, so it won’t slip away.
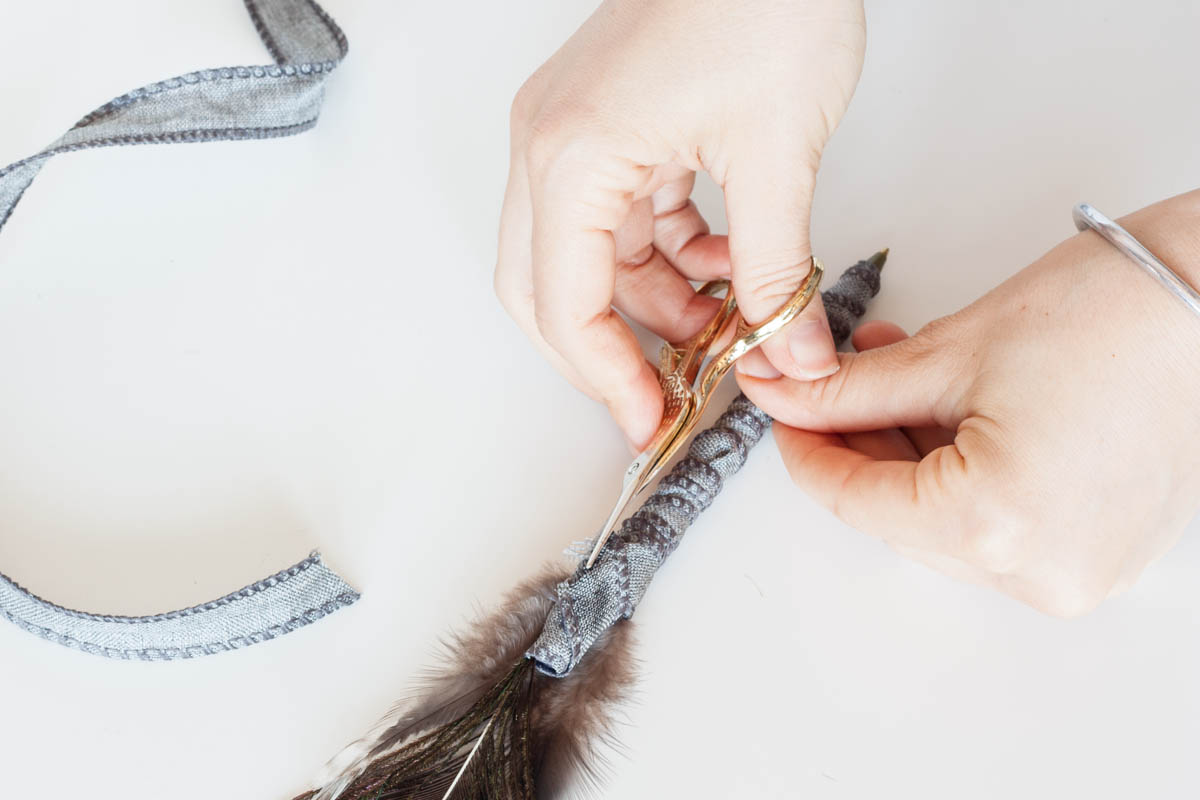
3. Now, work all the way up twisting the ribbon around the pen but stop just over half and secure with some more glue.
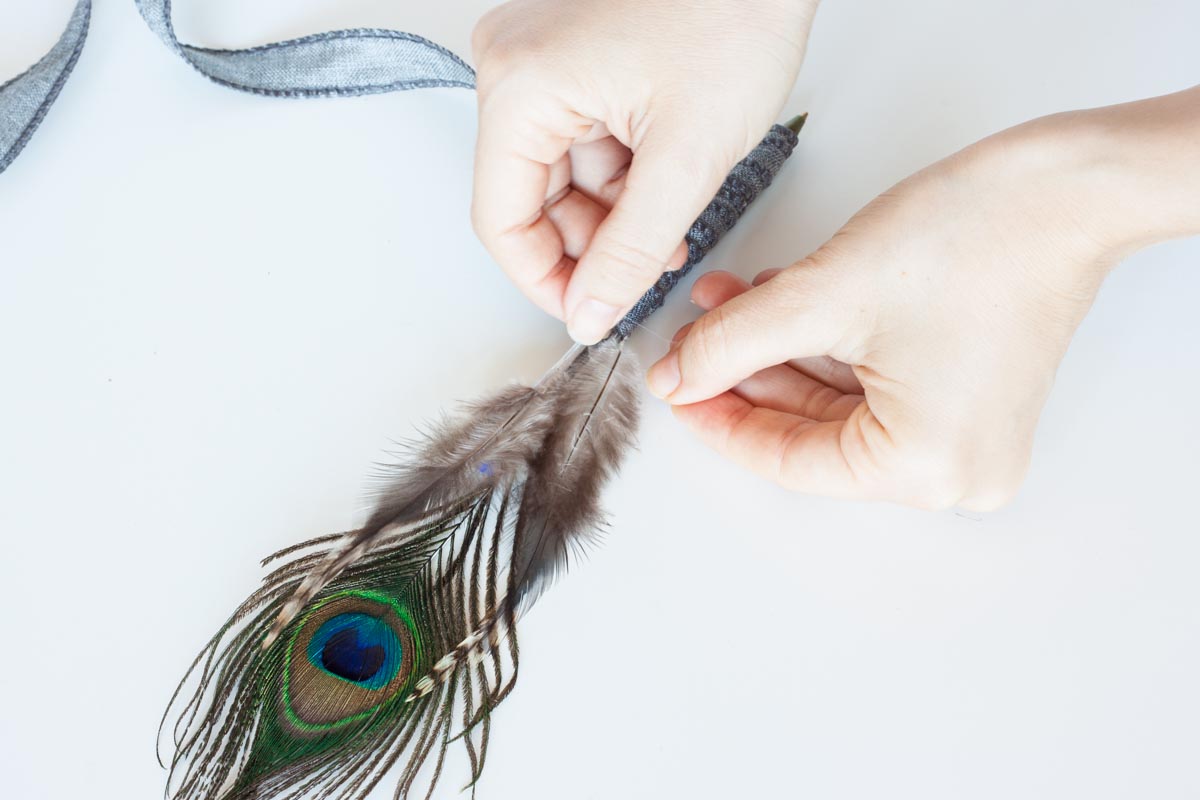
4. Tape the smaller feathers a bit lower than the peacock one, slightly on the sides so that they don’t cover the main feather.You can decide to skip this step if the central peakock feather is enough to you.
5. Keep going with the ribbon, working also behind the smaller feathers, and secure with hot glue on the back.
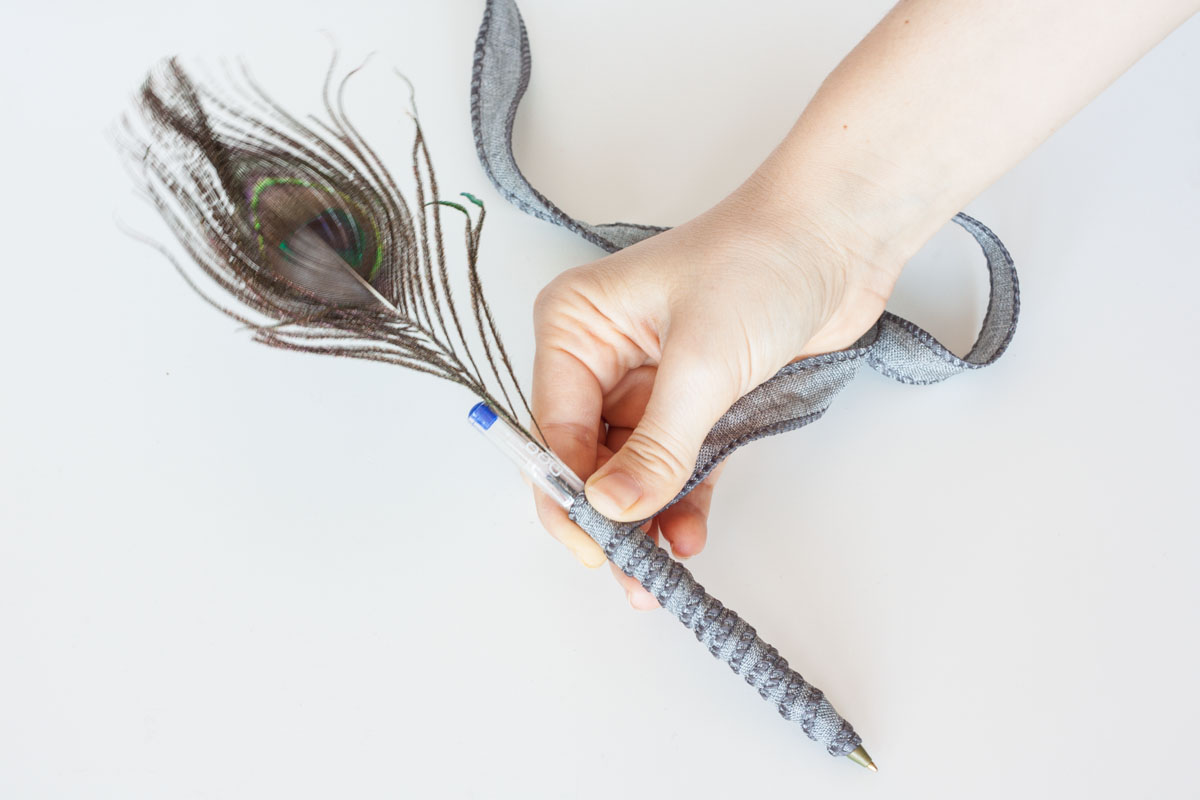
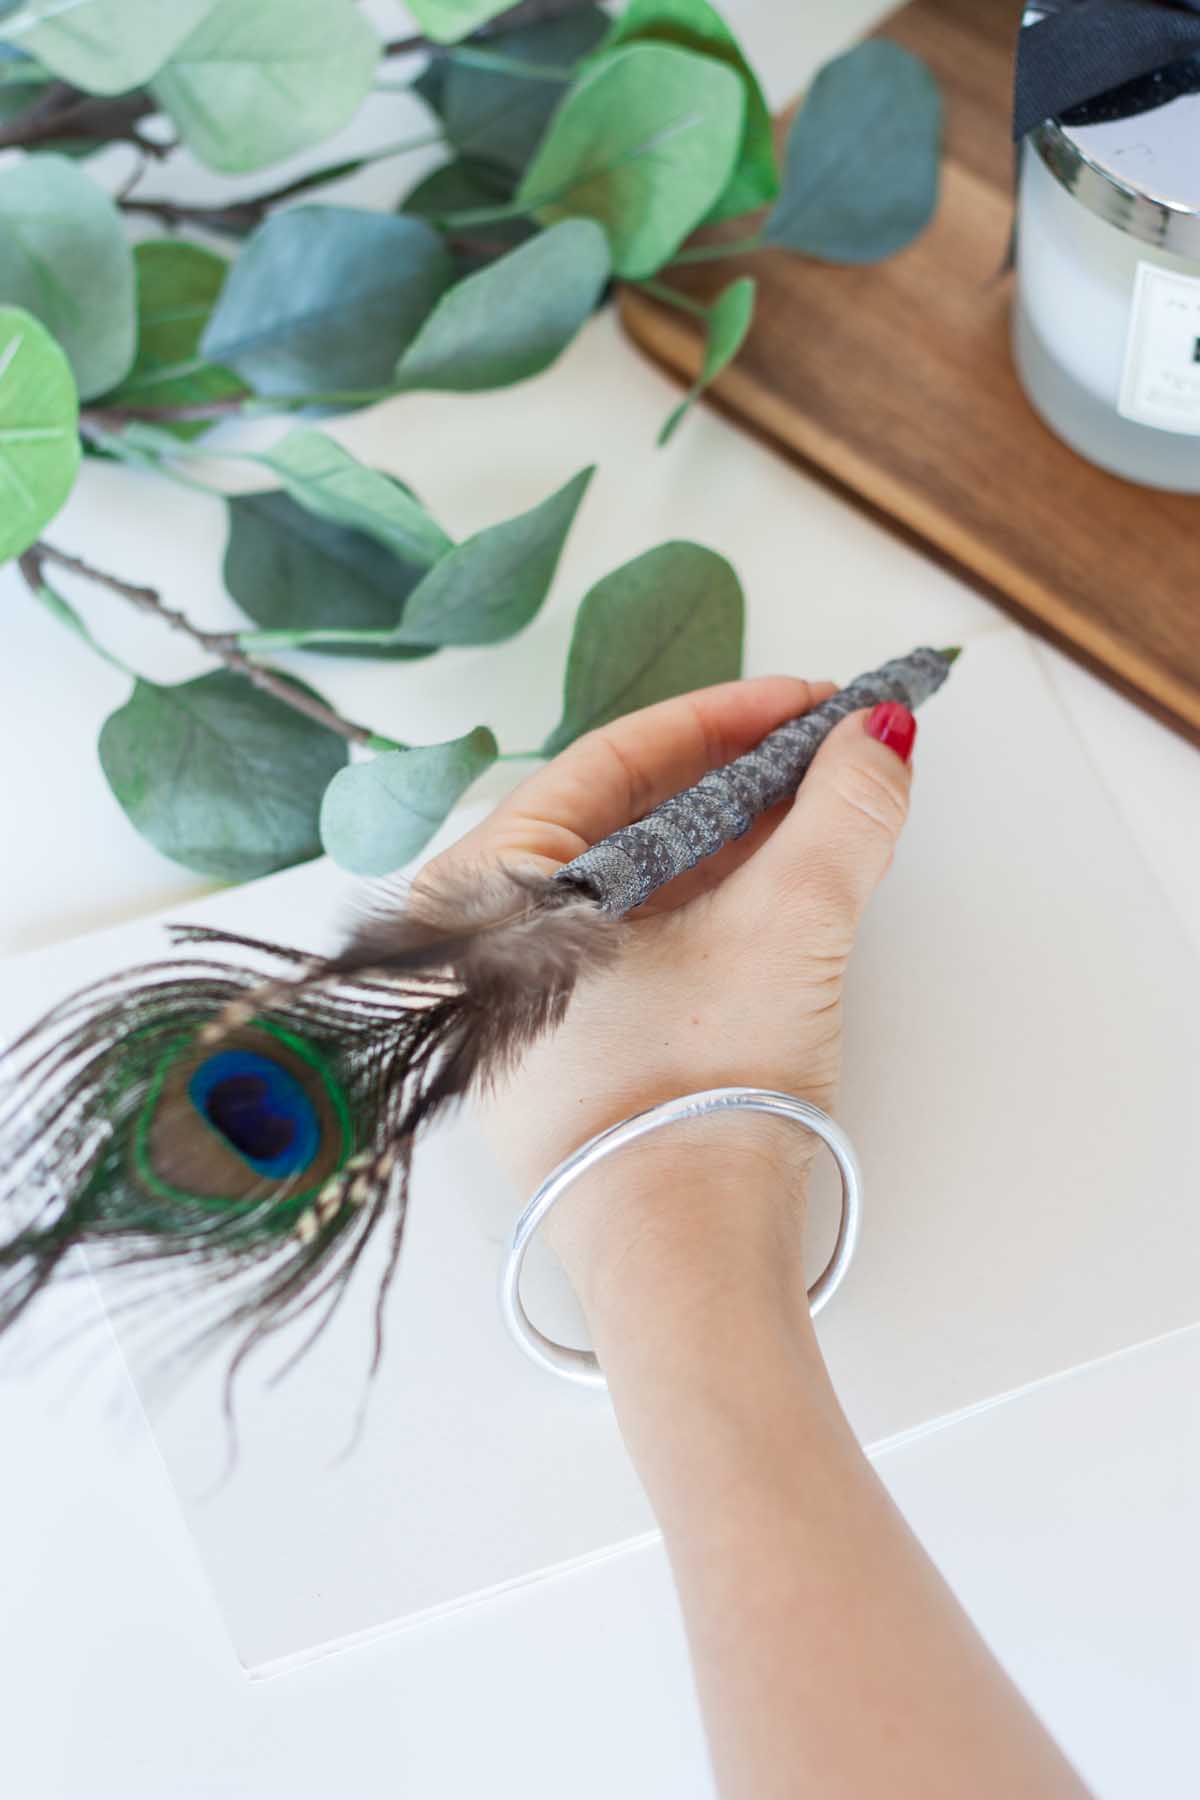
Well done! Totally a brand new look for a plastic pen, right? Now all you have to do is find some nice old looking parchment paper to pair it with, roll it up and fit everything into a box: this will be your important-document-to-be-signed pen. Don’t forget your monocles too ;-)
