Incredibly Stunning Updo Hairstyle for Wavy Hair
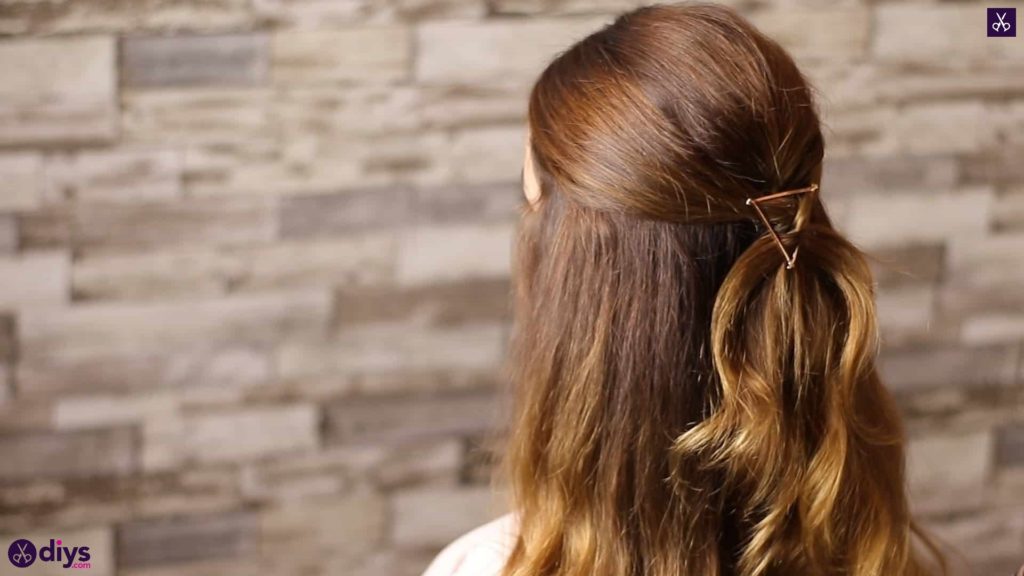
Are you like me and you’re lucky enough to have beautifully natural wavy hair, with just a little bit of default volume? I love showing off the waves in my hair sometimes with very simple styles that display how ti kind of curls and falls so prettily without needing hot styling to put those waves in. Half up, half down updos do the trick quite well, so I’m always playing with that kind of technique! Just in case you’d like to learn one of my very favourite styles lately, here’s the one I documented recently because I was so happy with how it turned out!
Check out these step by step instructions complete with photos! If you’d rather follow along with a video tutorial instead of written words, scroll to the bottom of this post to find just what you’re looking for.
For this style, you’ll need:
- Hair elastics
- Bobby pins
- A brush
- A fine tooth comb with a pointed end
- Hairspray
Step 1: brush and part hair
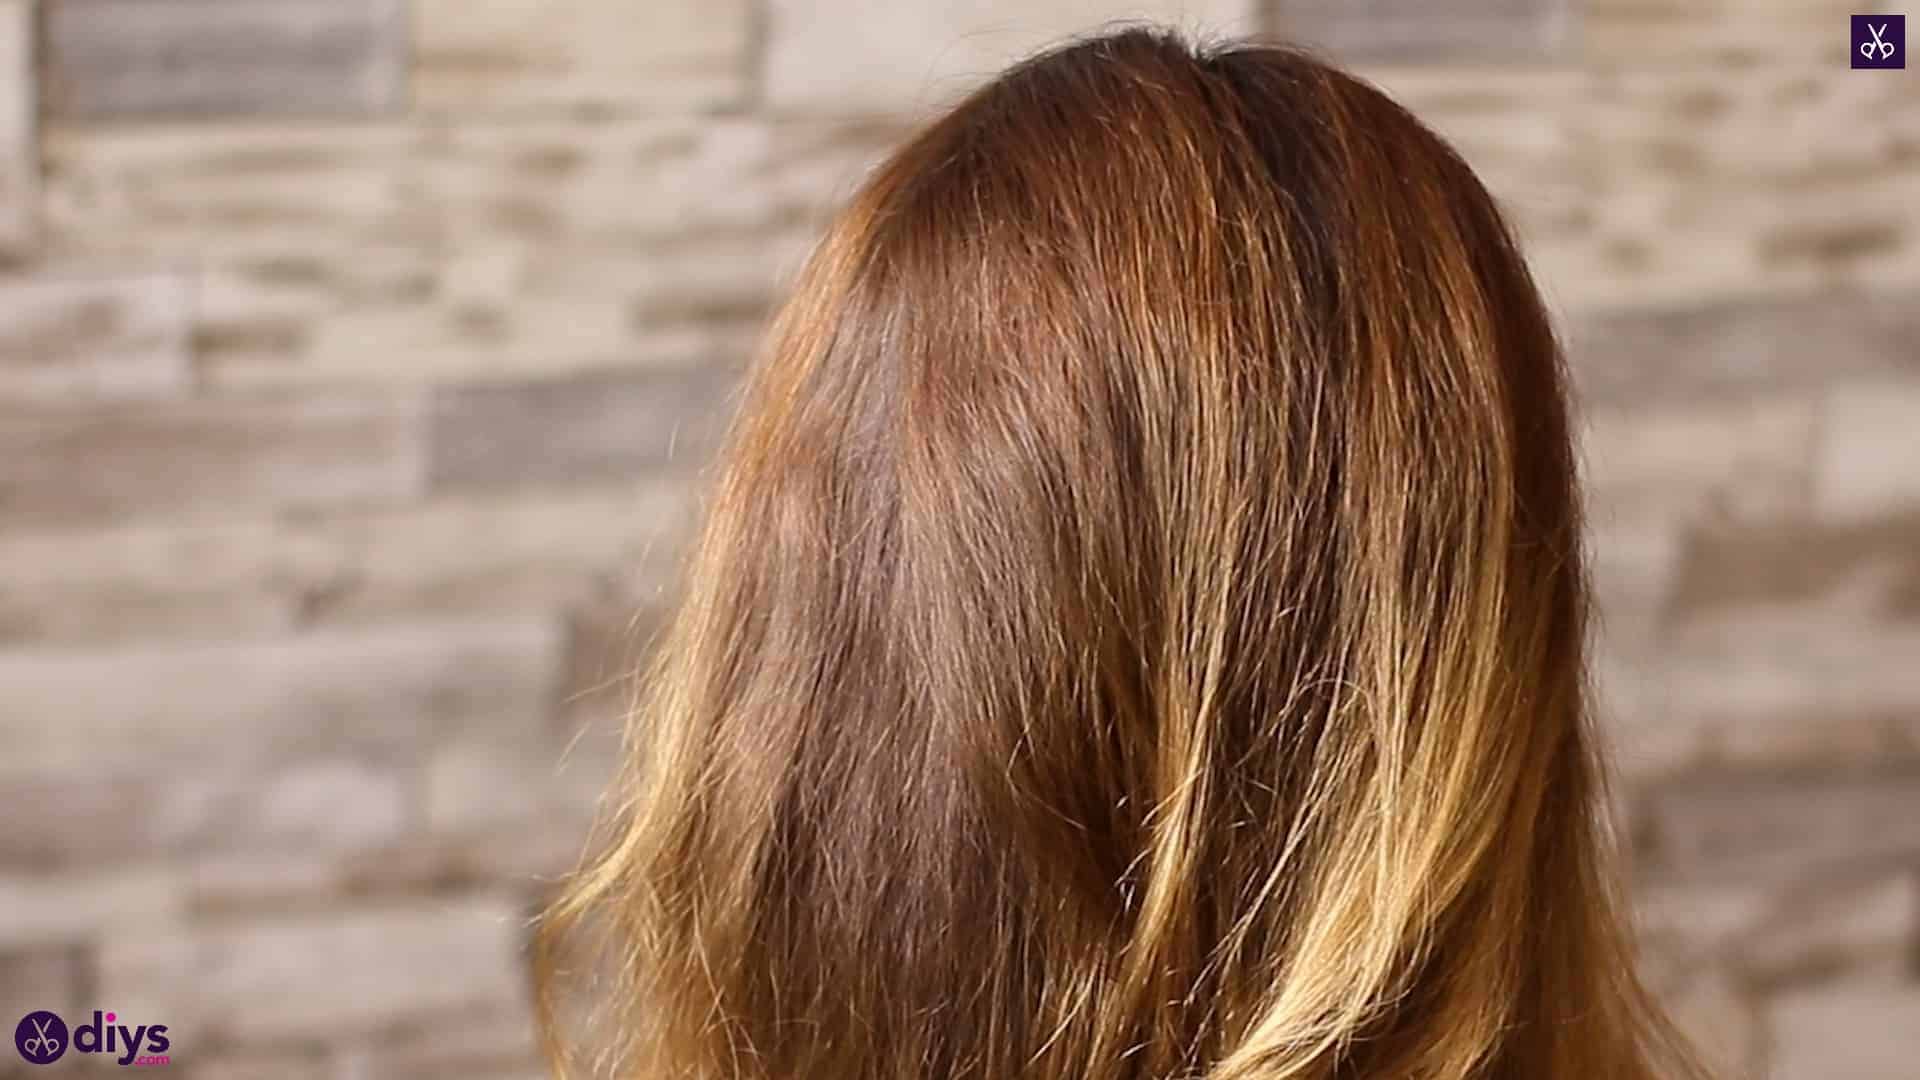
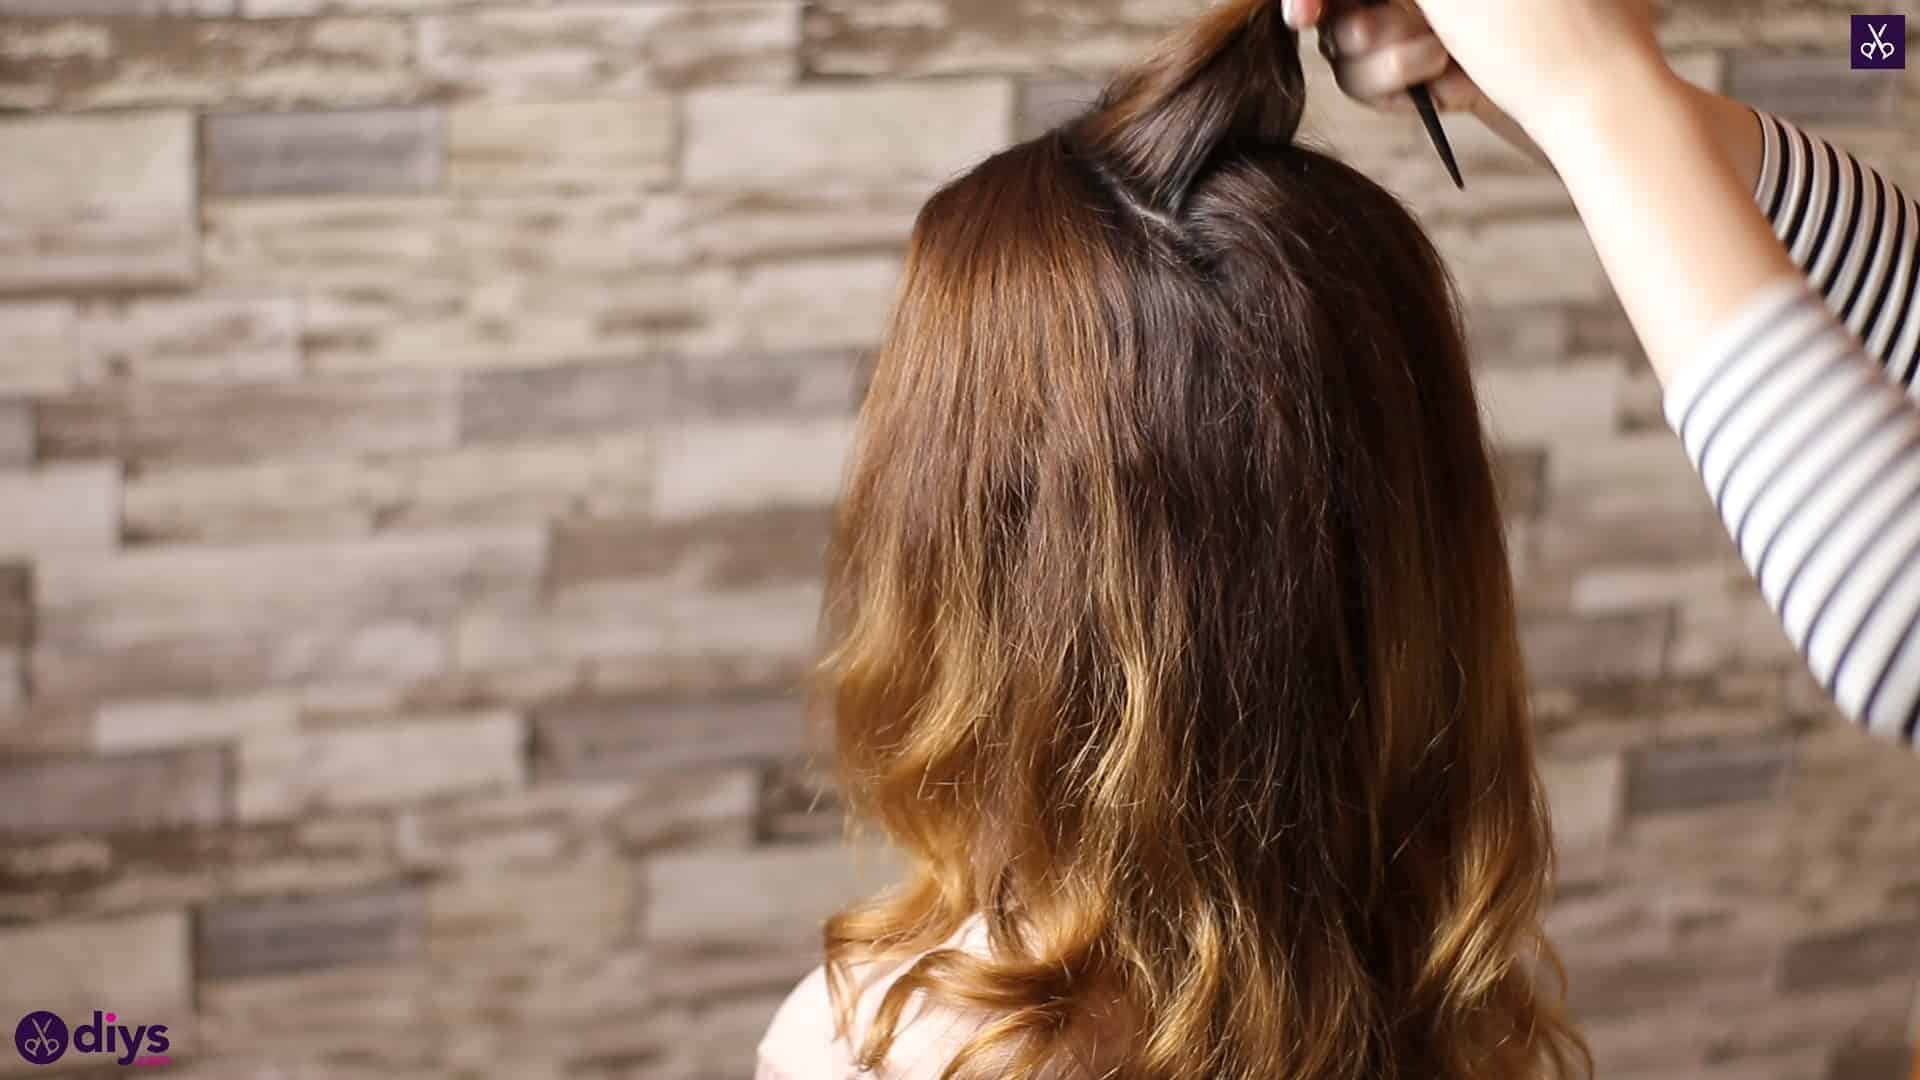
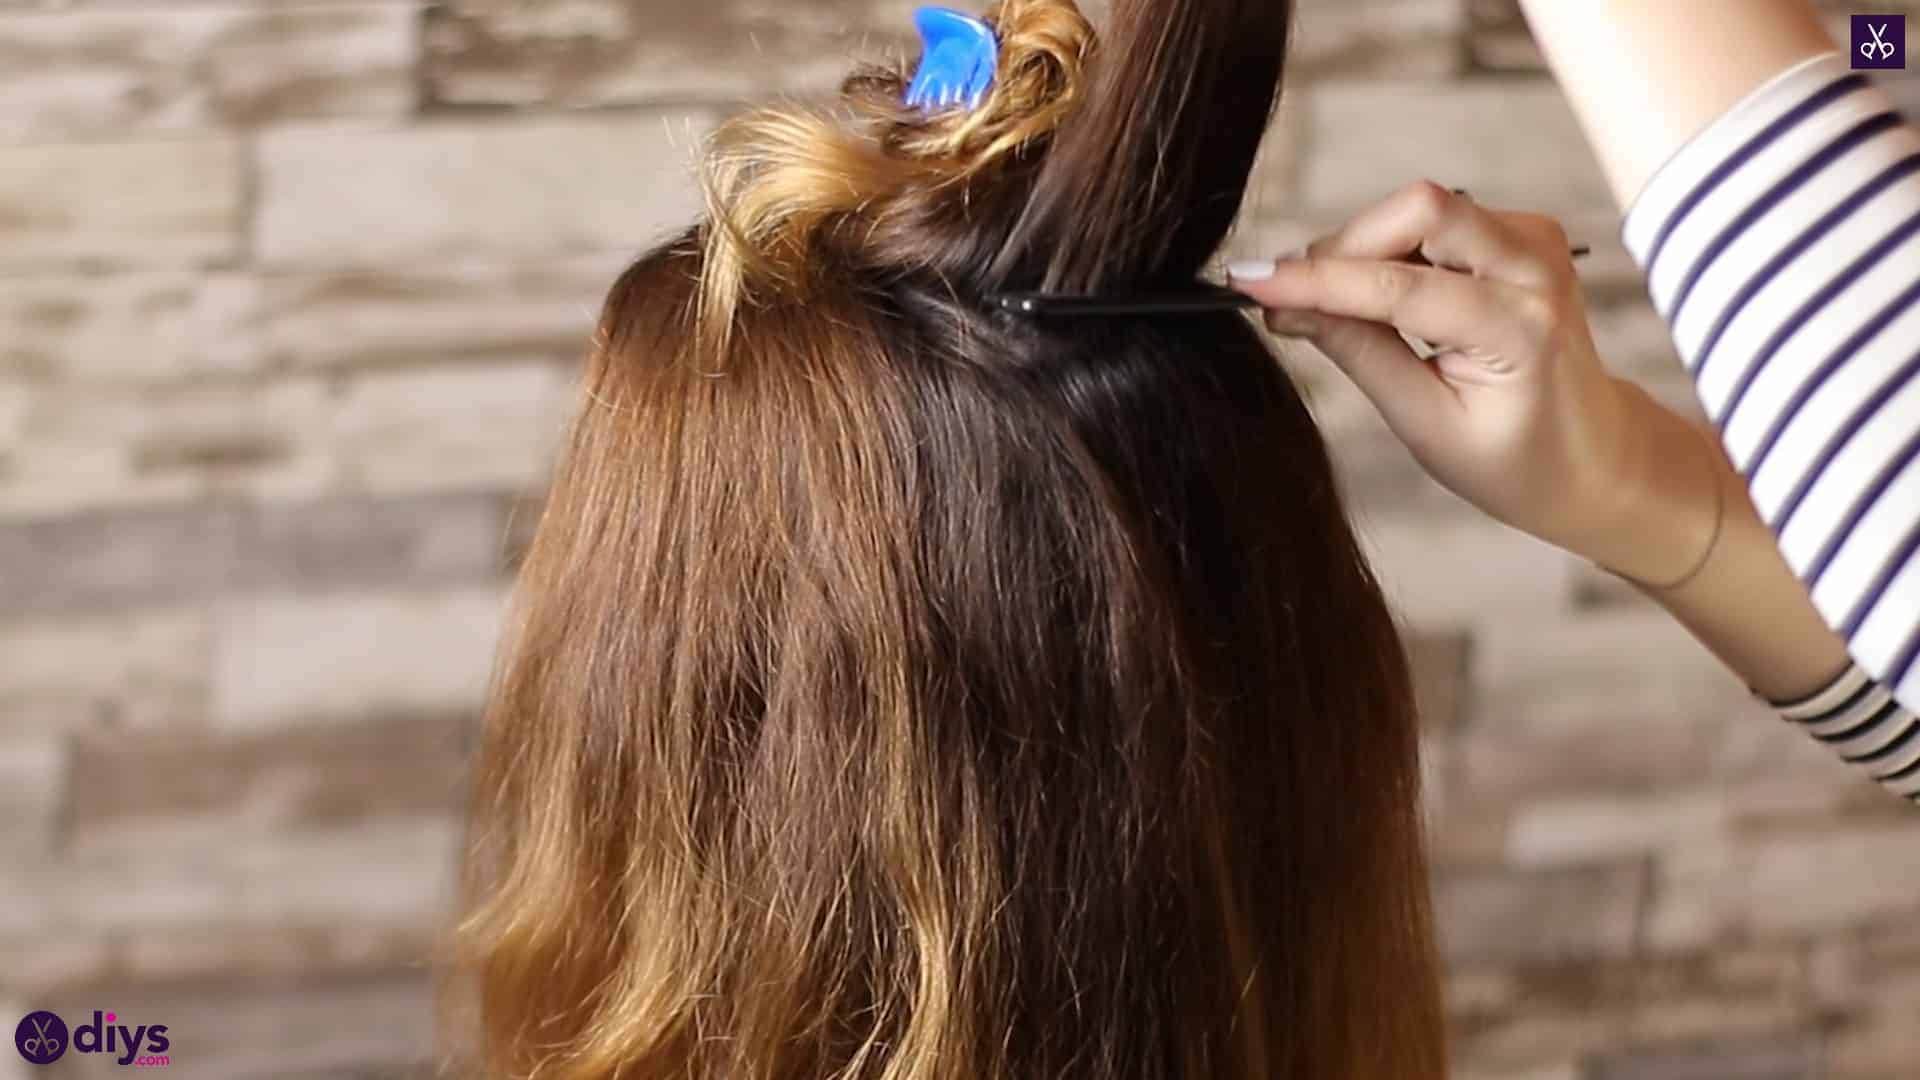
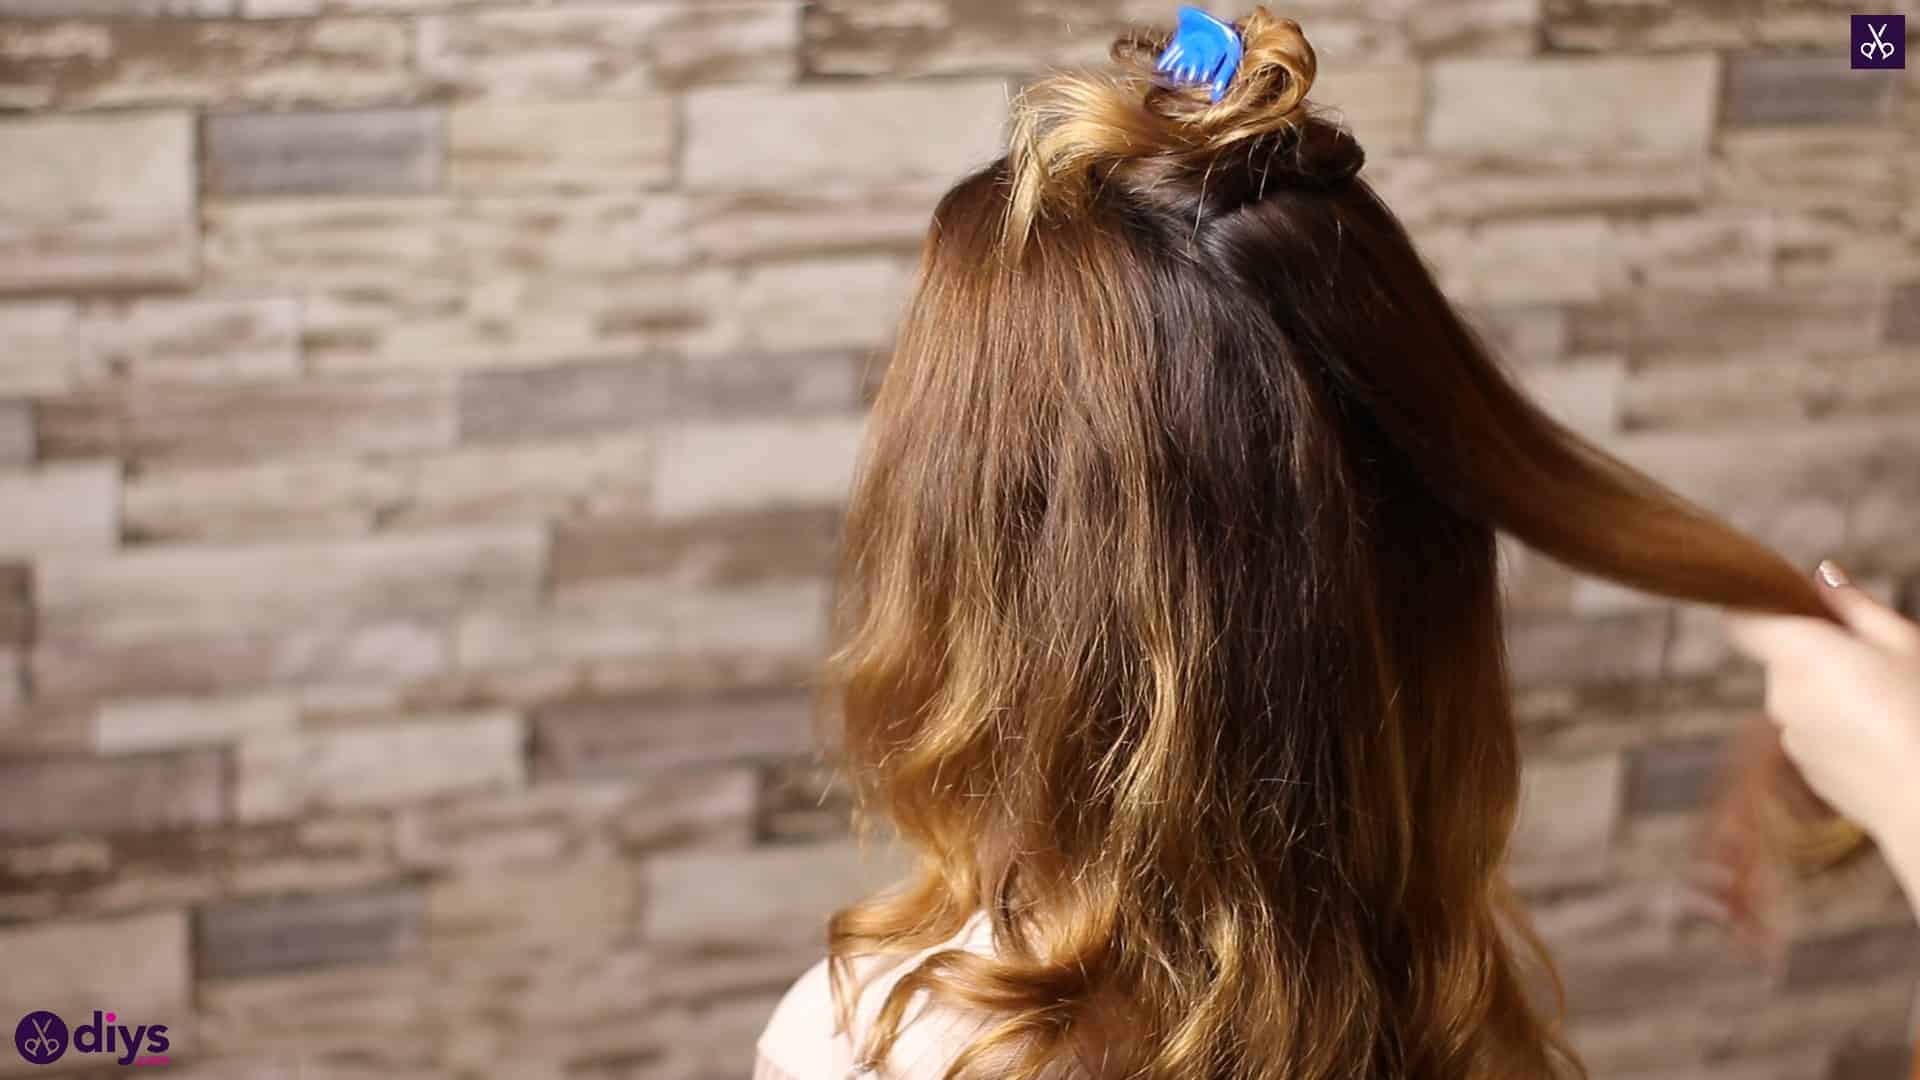
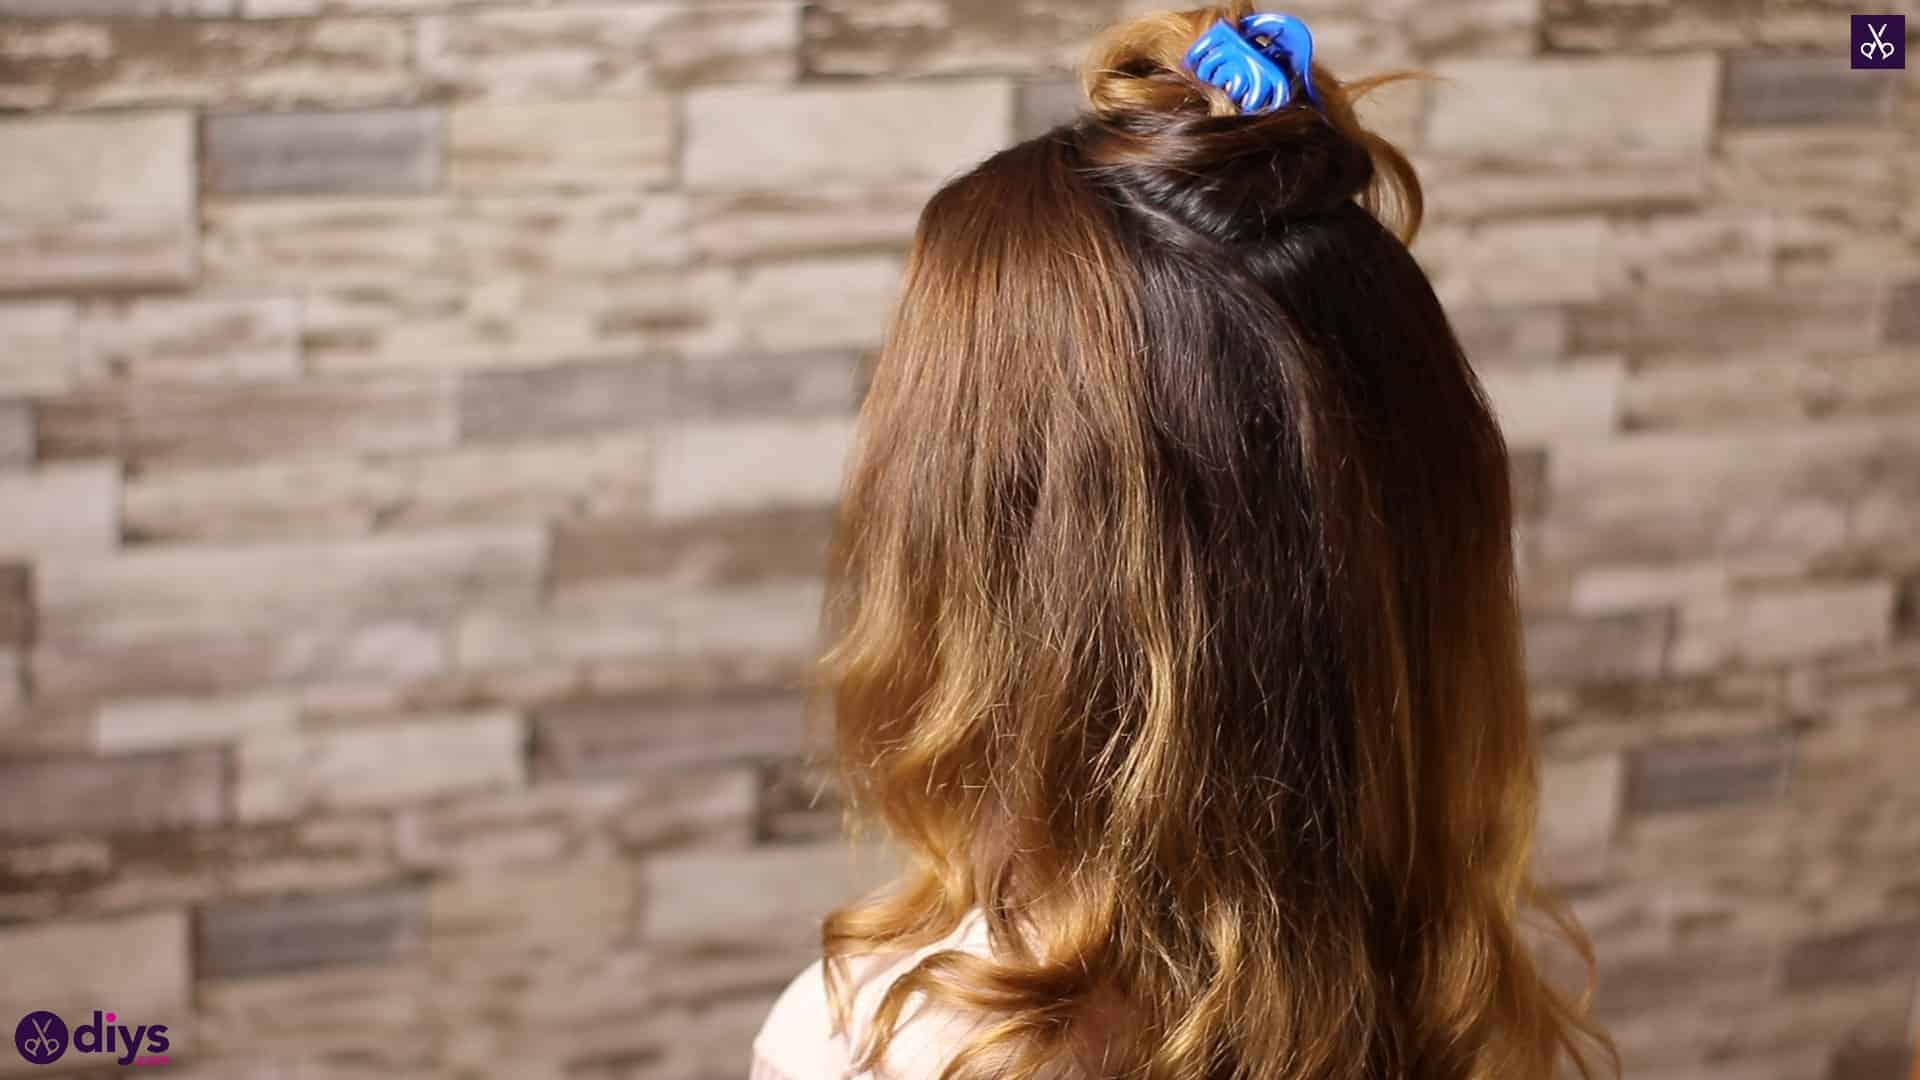
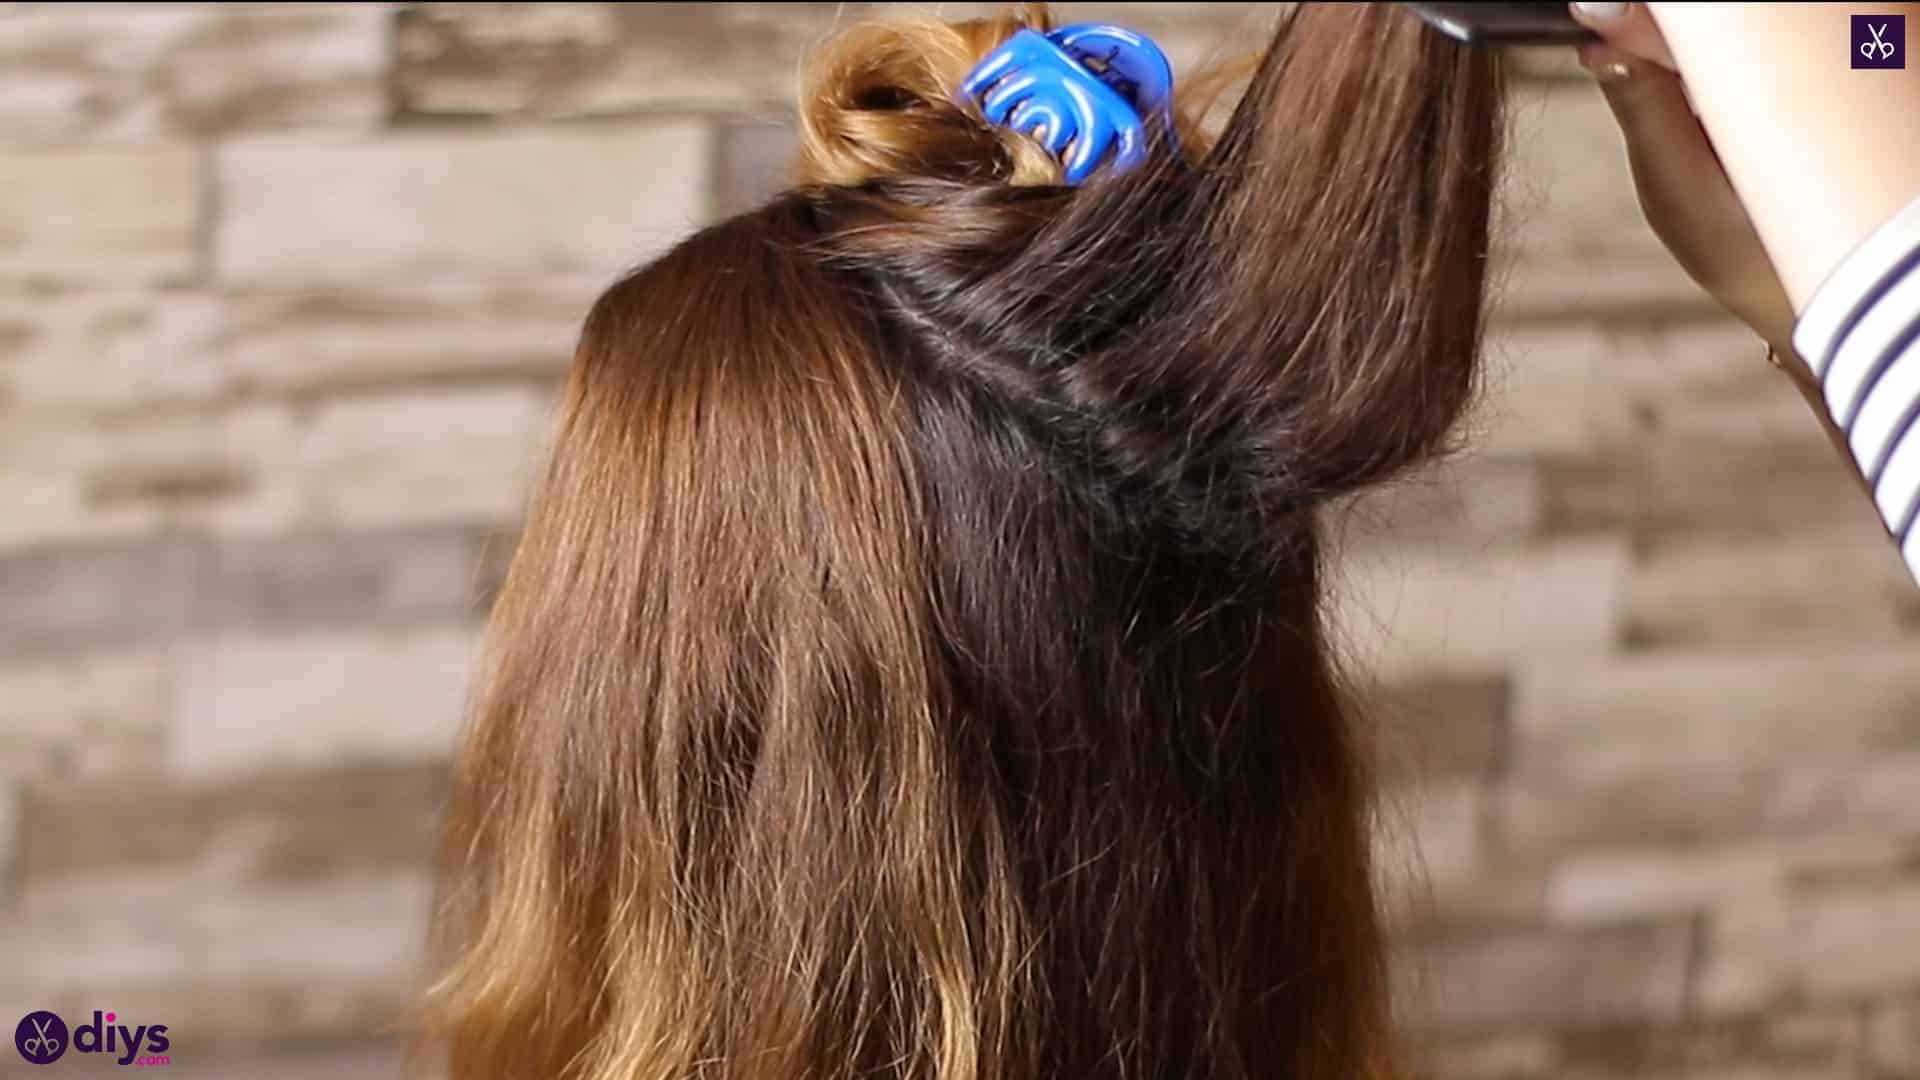
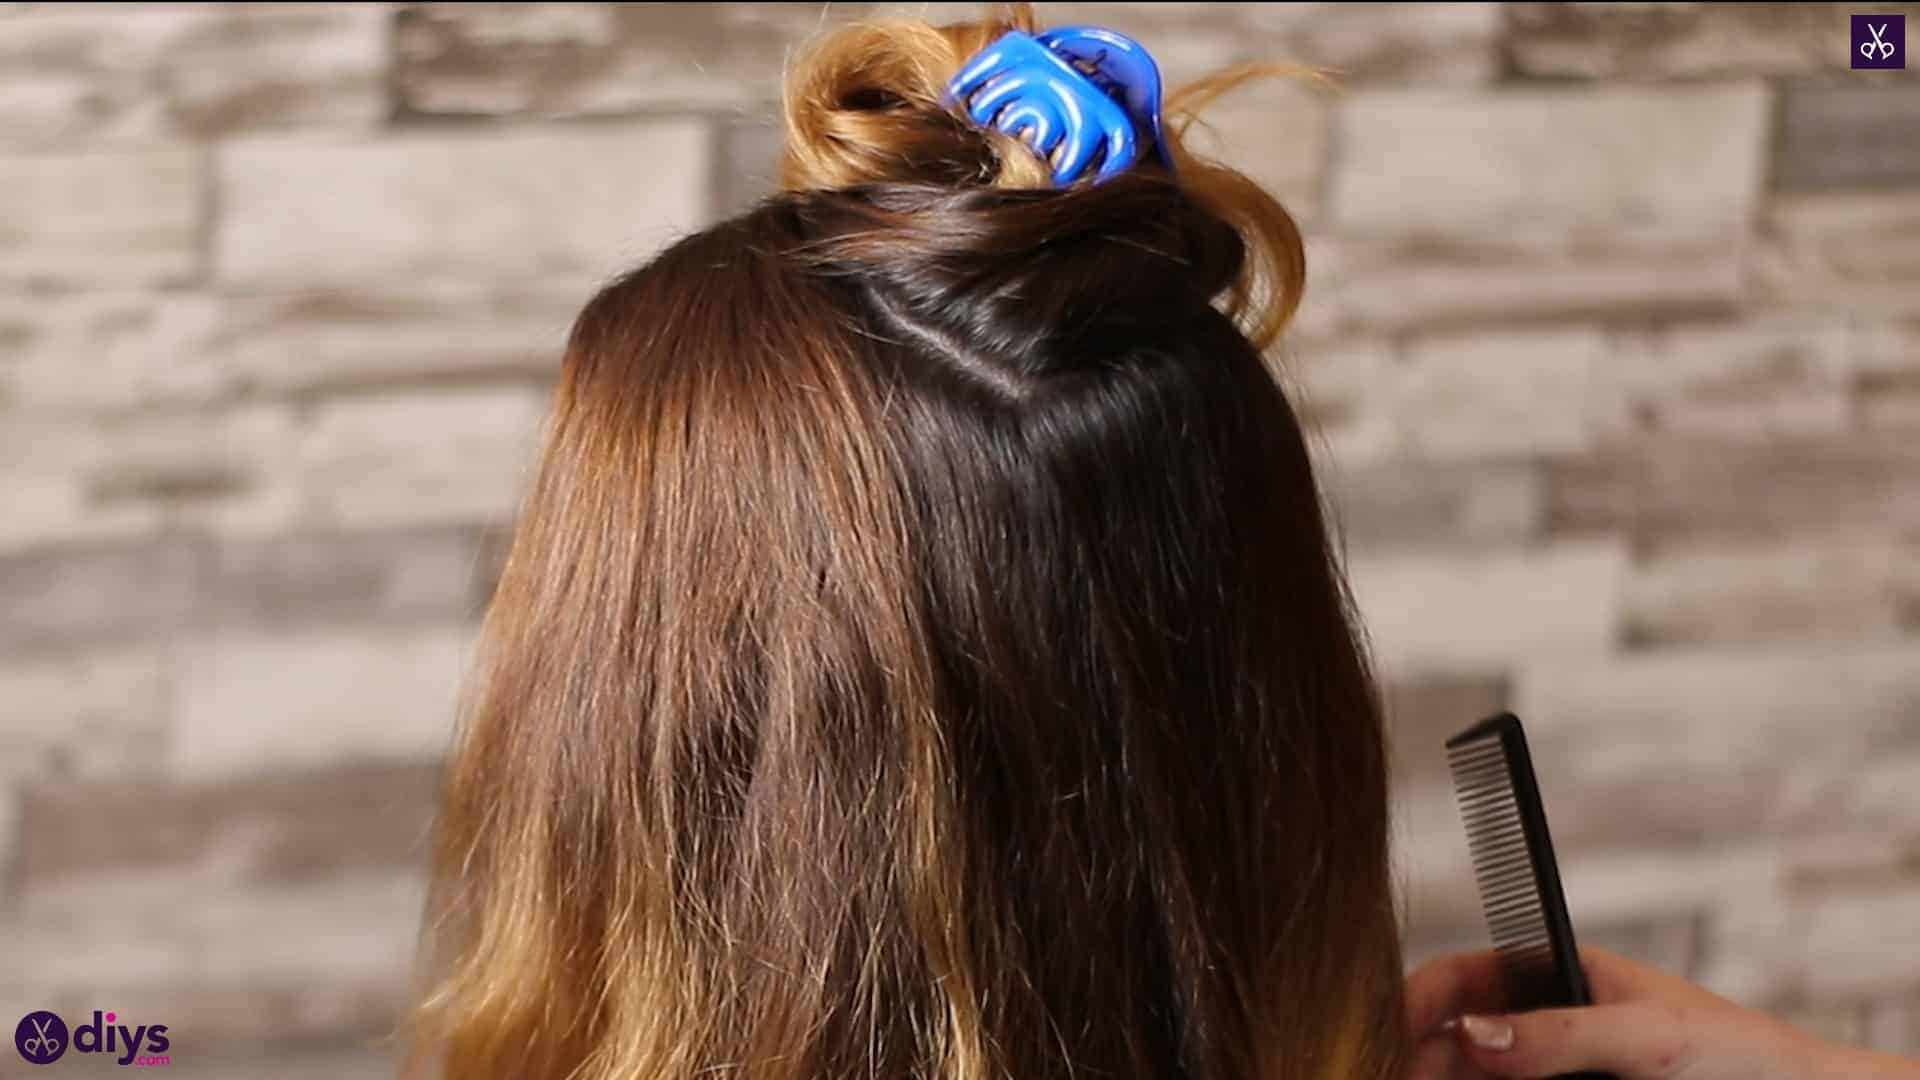
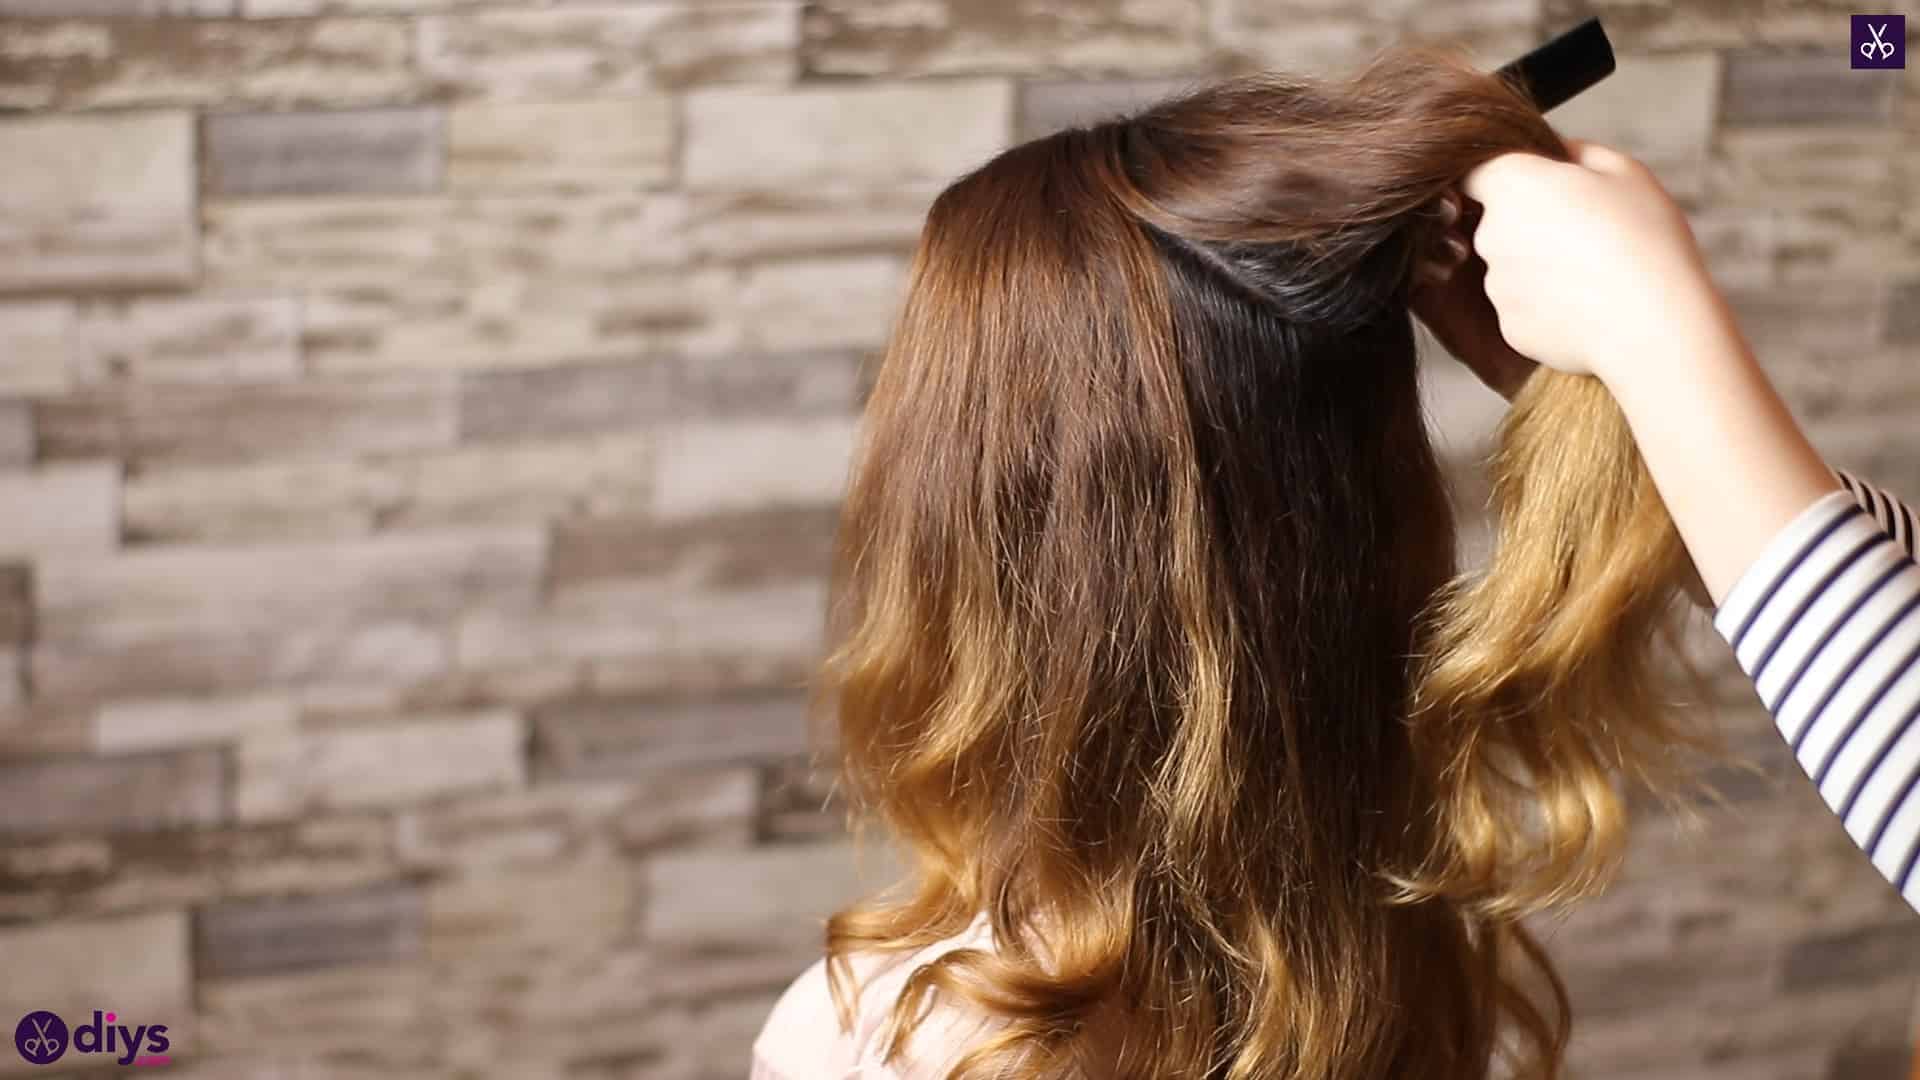
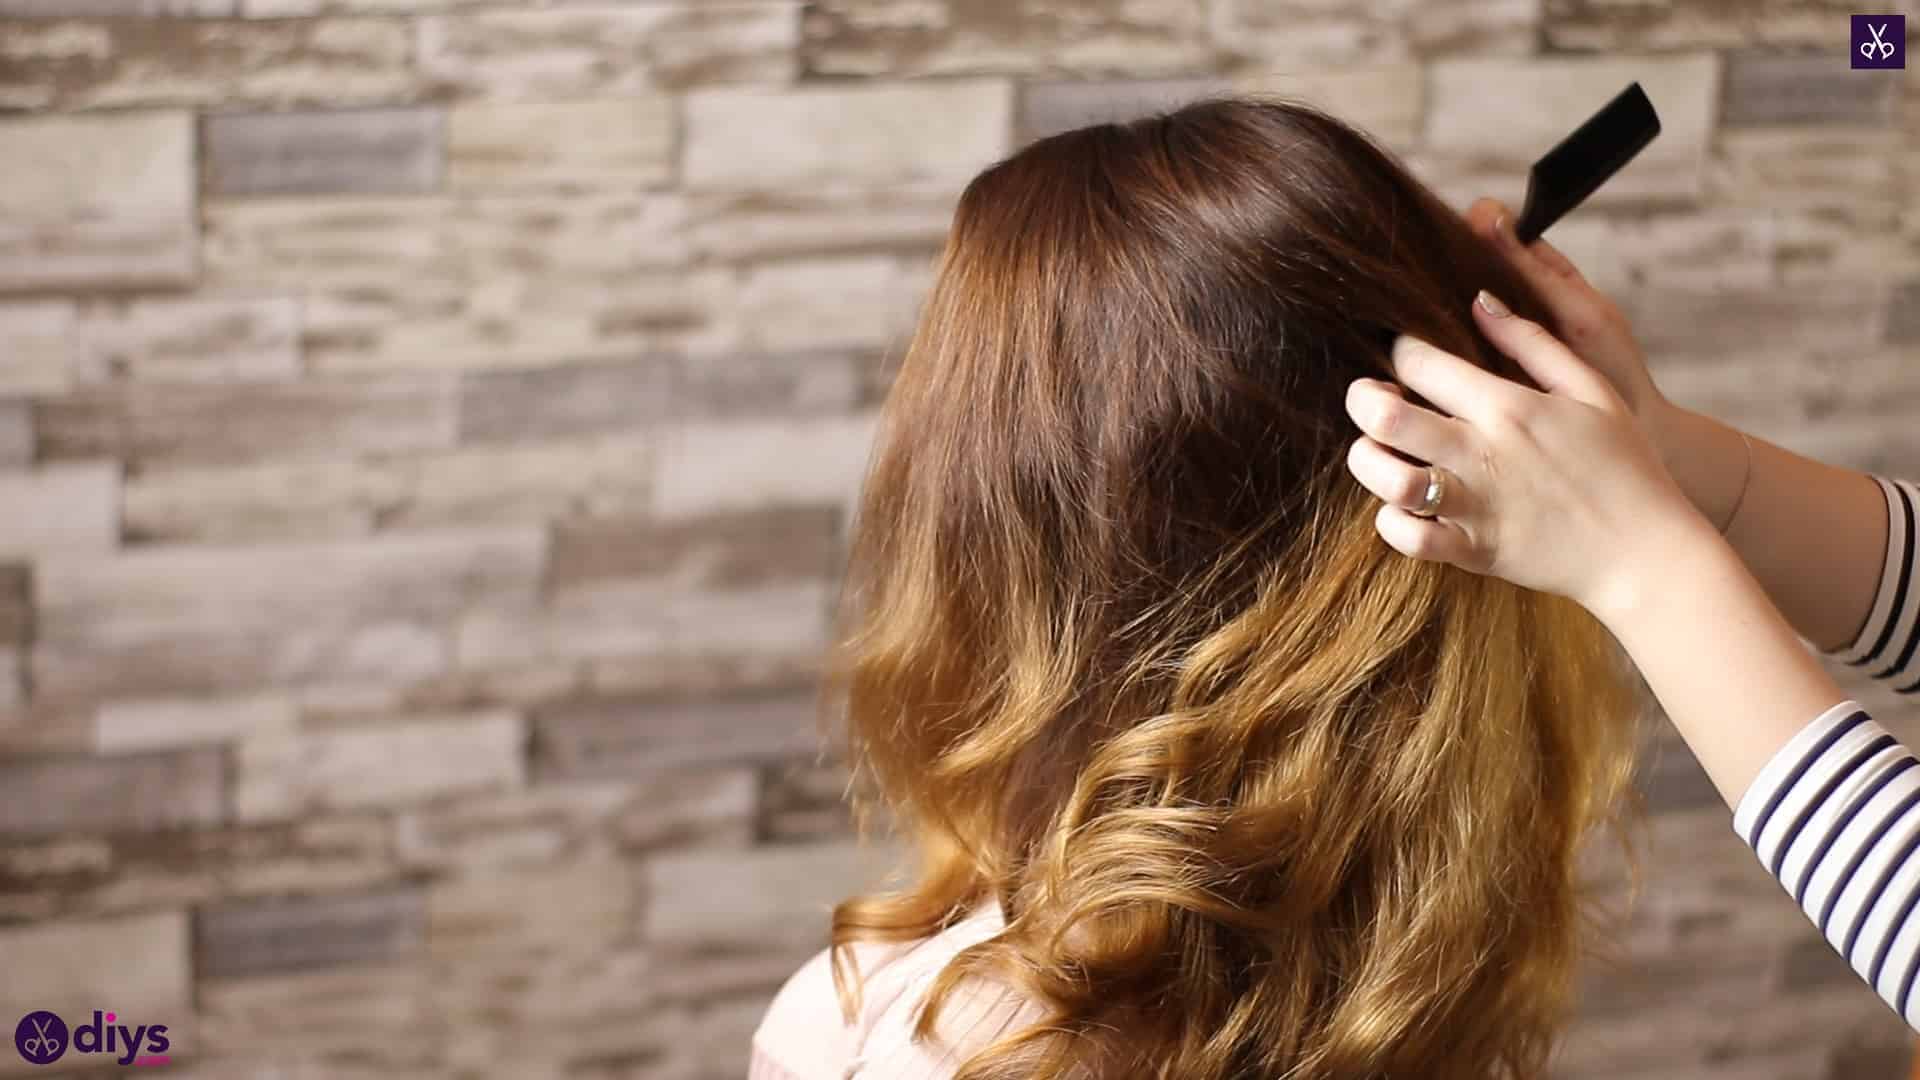
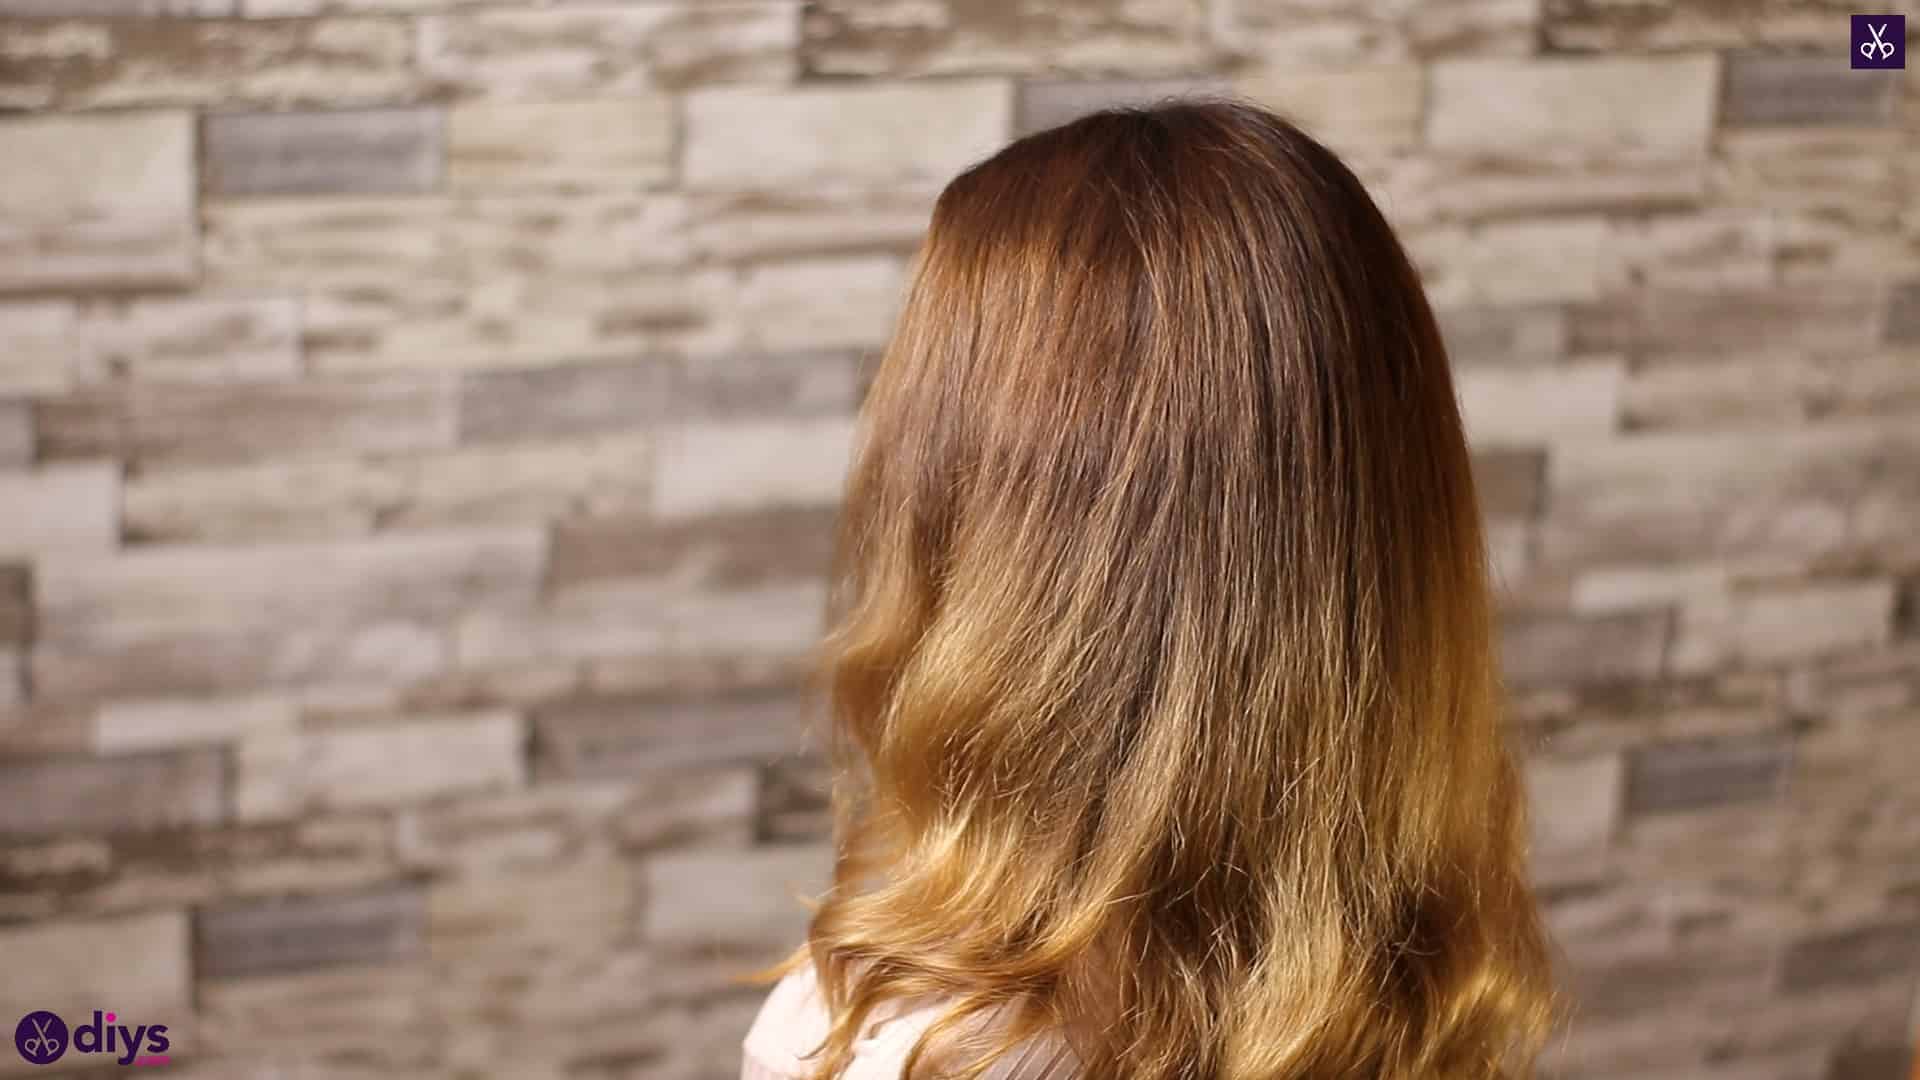
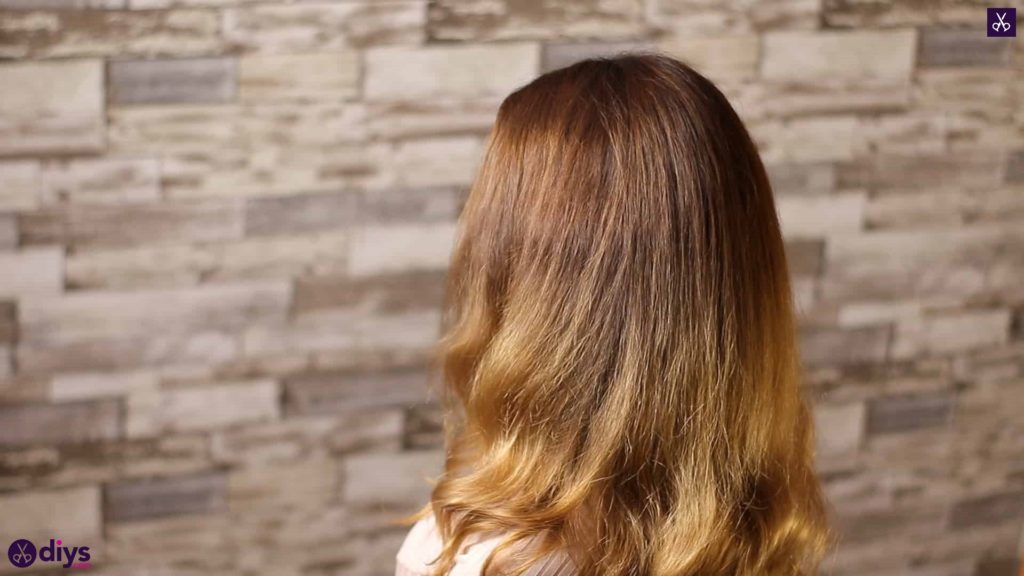
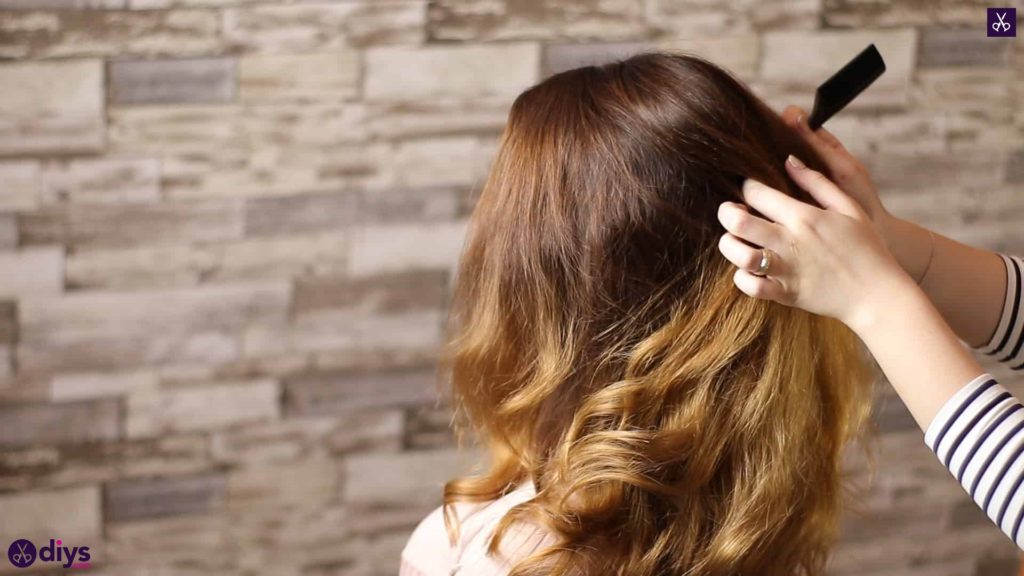
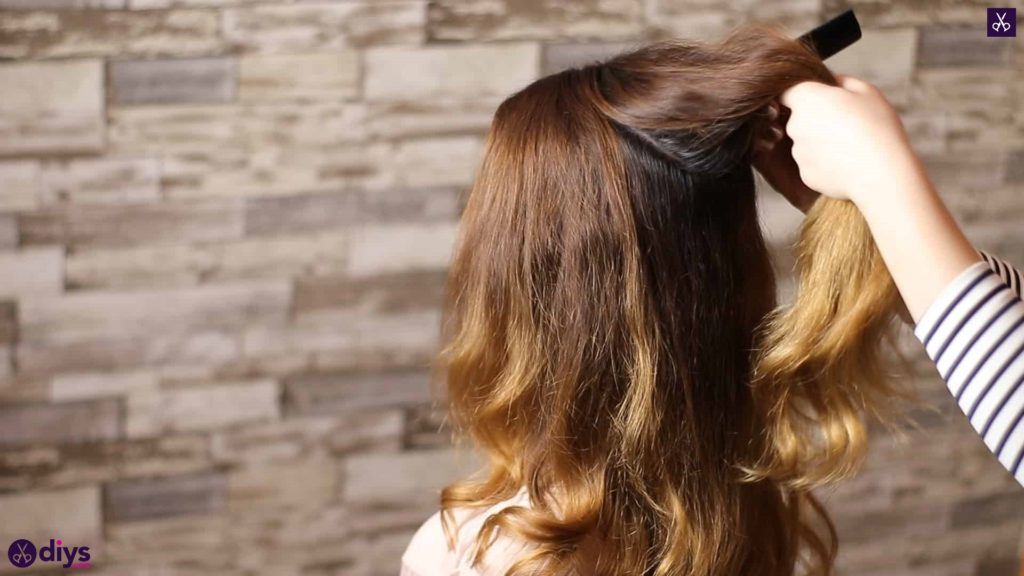
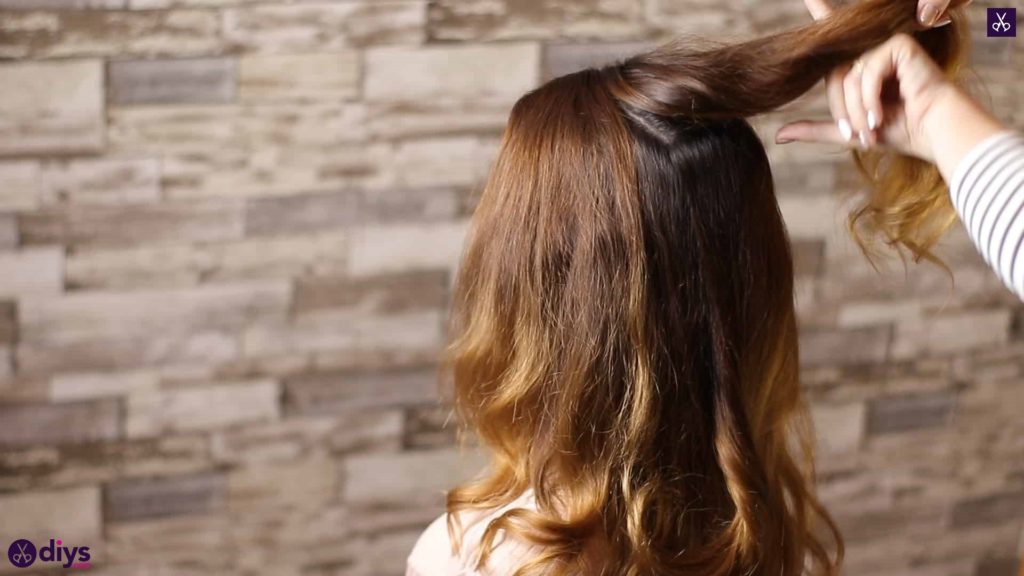
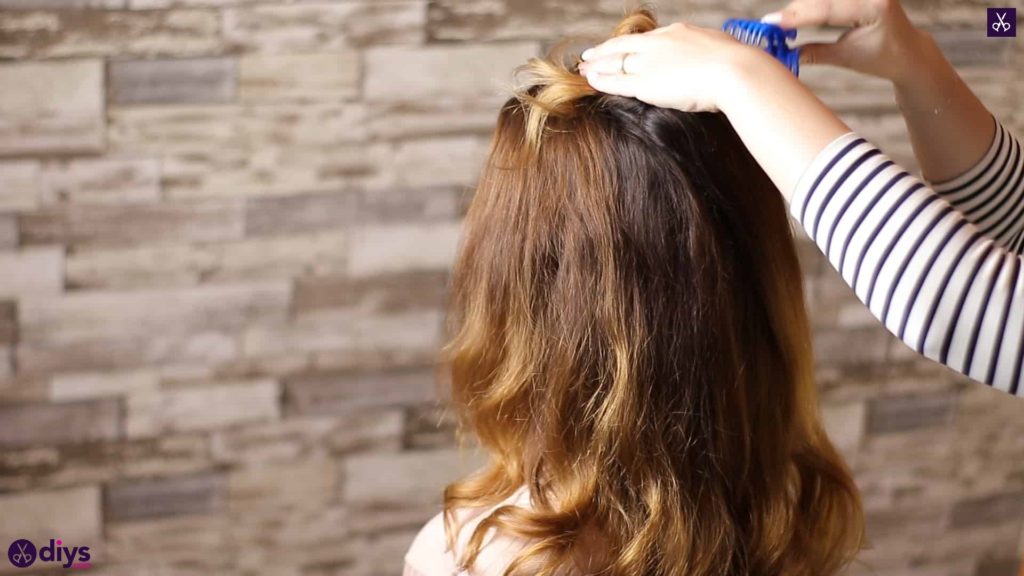
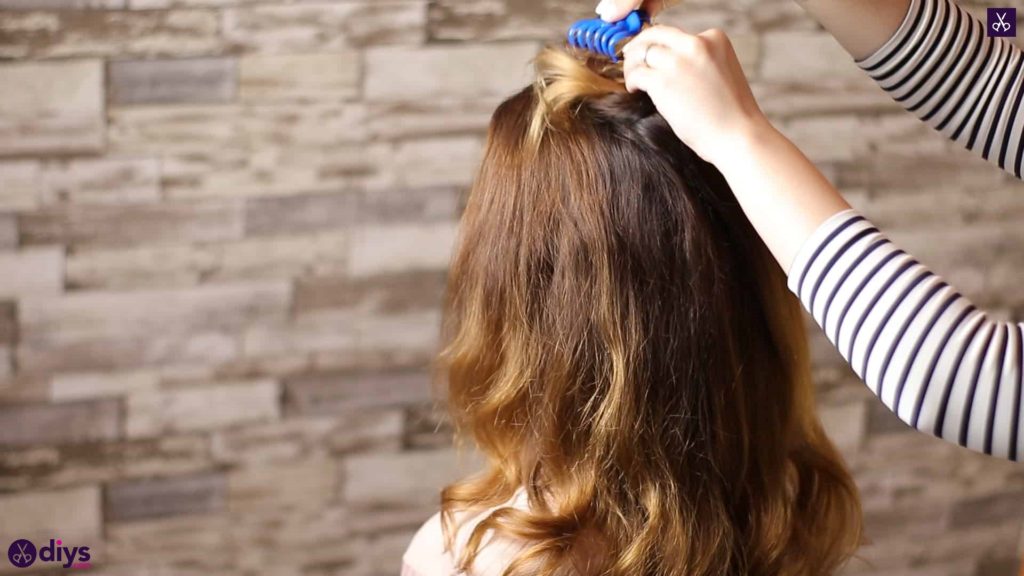
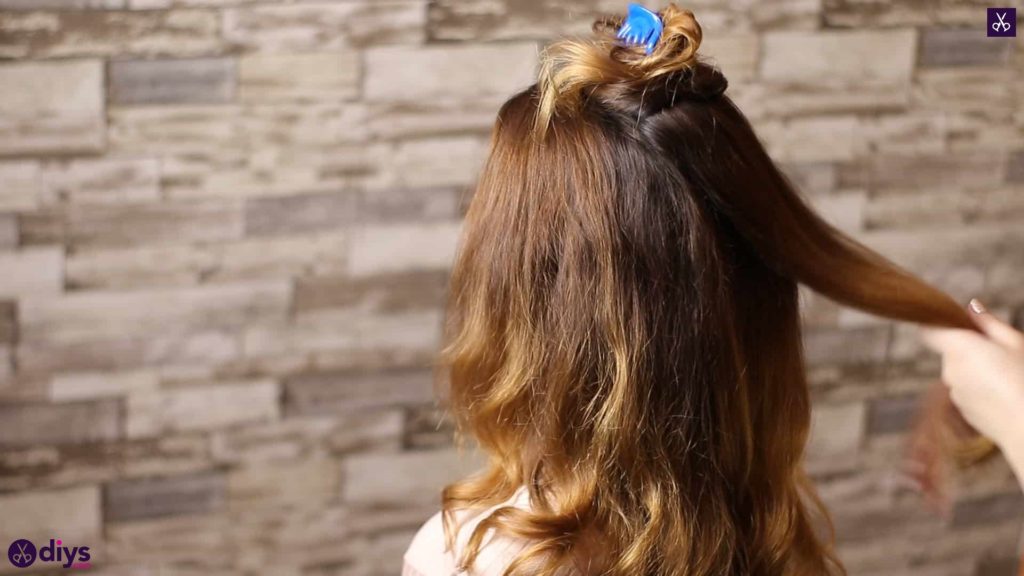
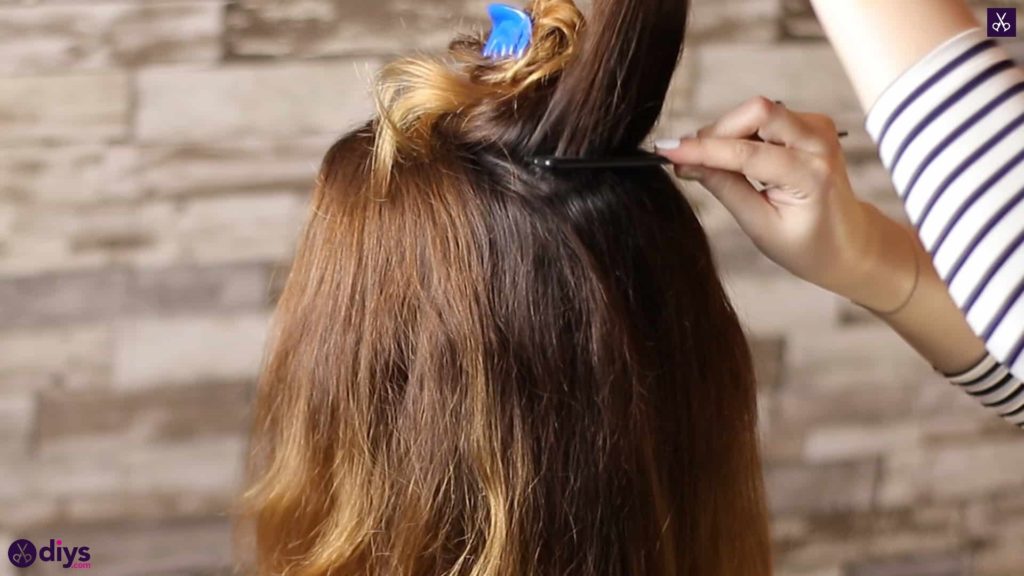
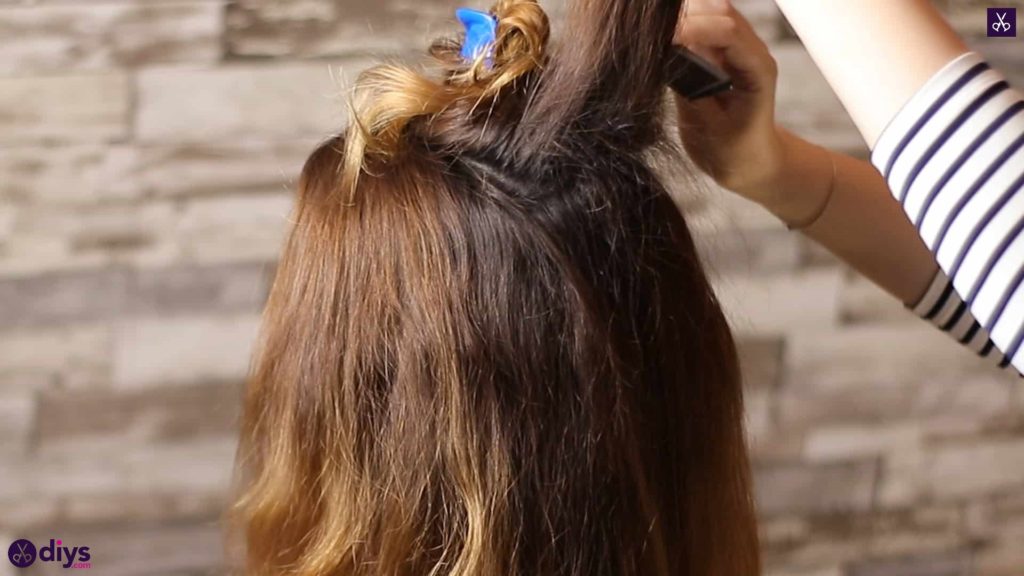
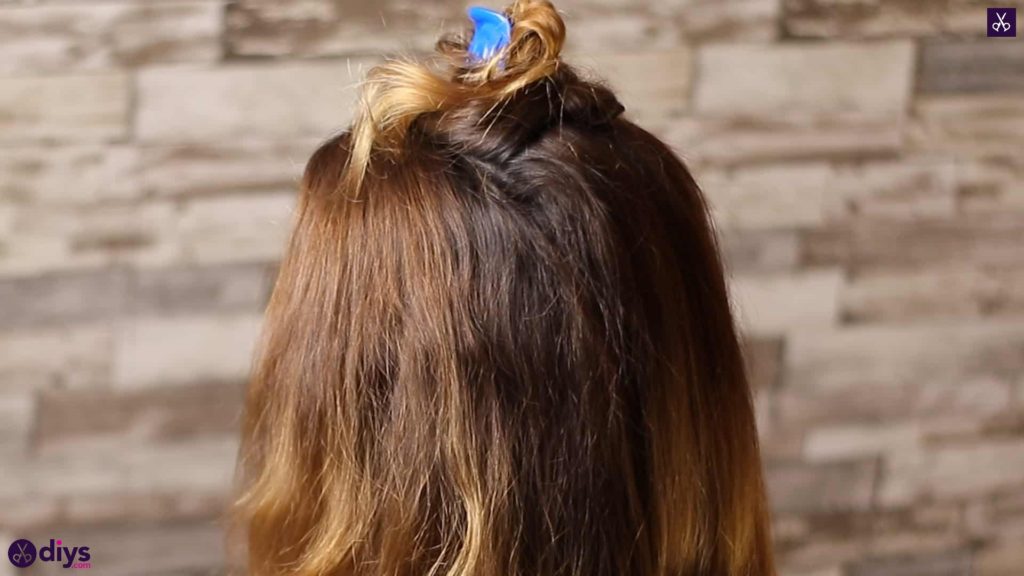
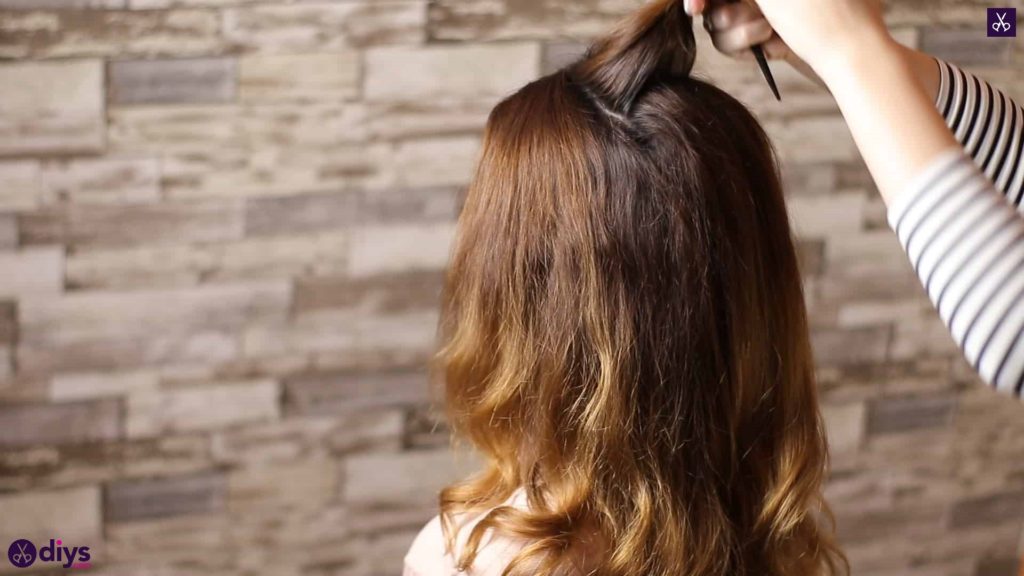
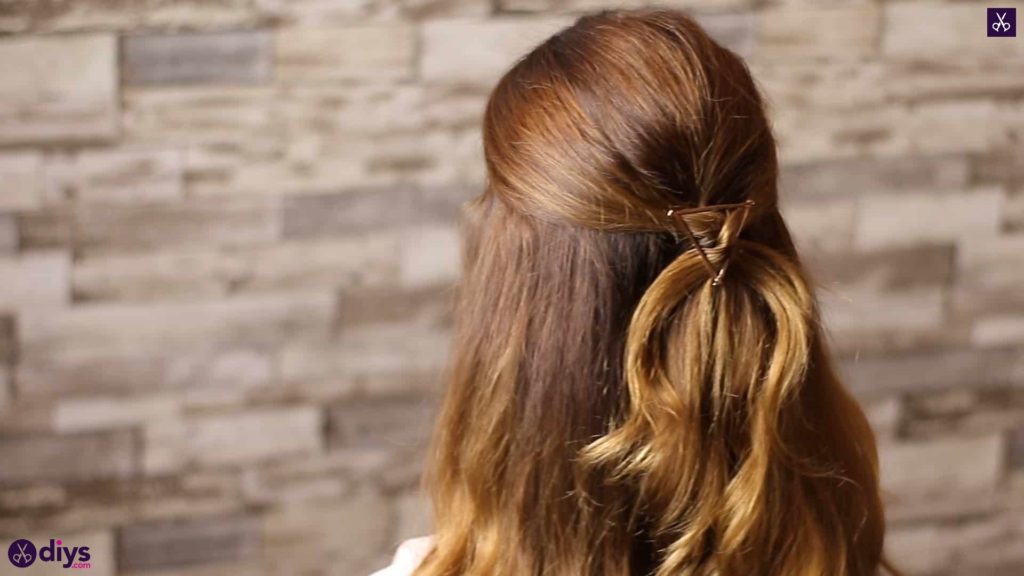
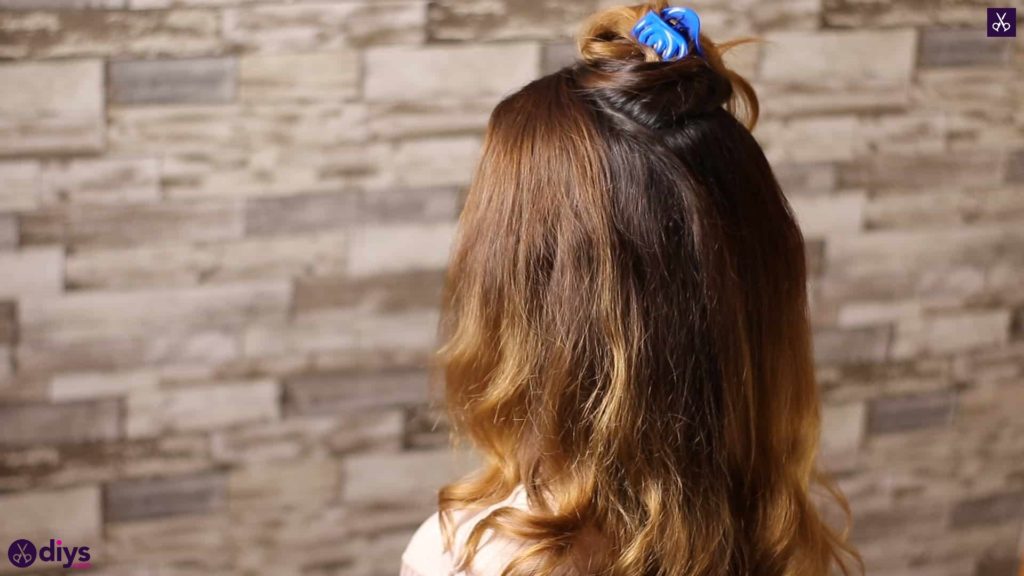
Brush your hair out entirely so it’s tangle free. Let the part fall naturally or put it wherever you prefer. Starting about an inch behind the hairline, separate a section that encompasses the hair round the crown. Use the point of your comb to split this section in half and use a clip to pin the top half up out of the way. Lift the half that you left down straight upwards and slide your comb down the hair towards the root a few times in order to back brush the piece and give it a little more height and volume. Once you’ve back brushed that section, unclip the top piece and split it into two layers once more. Repeat the back brushing process with this layer. Finally, release your last clipped up top layer and smooth that hair over your back brushing so the height shows but everything looks very neat.
Step 2: twist
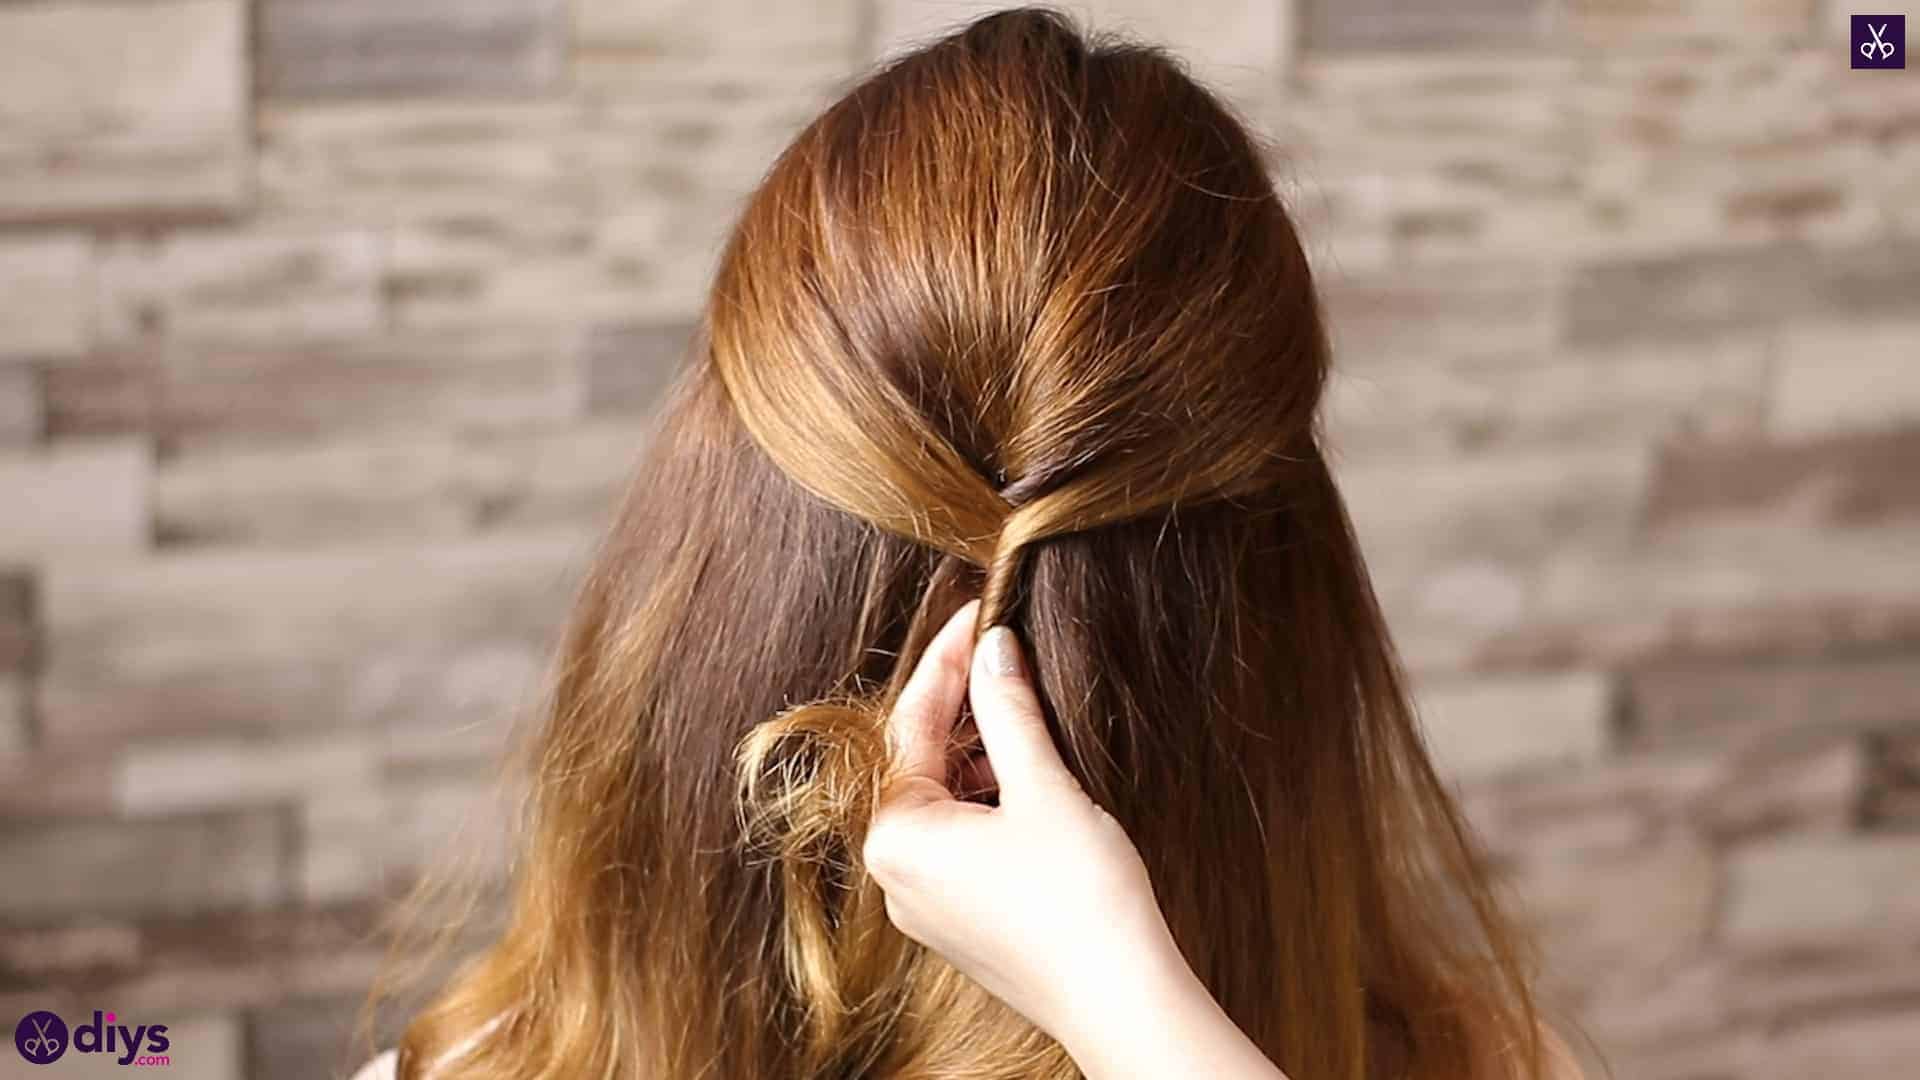
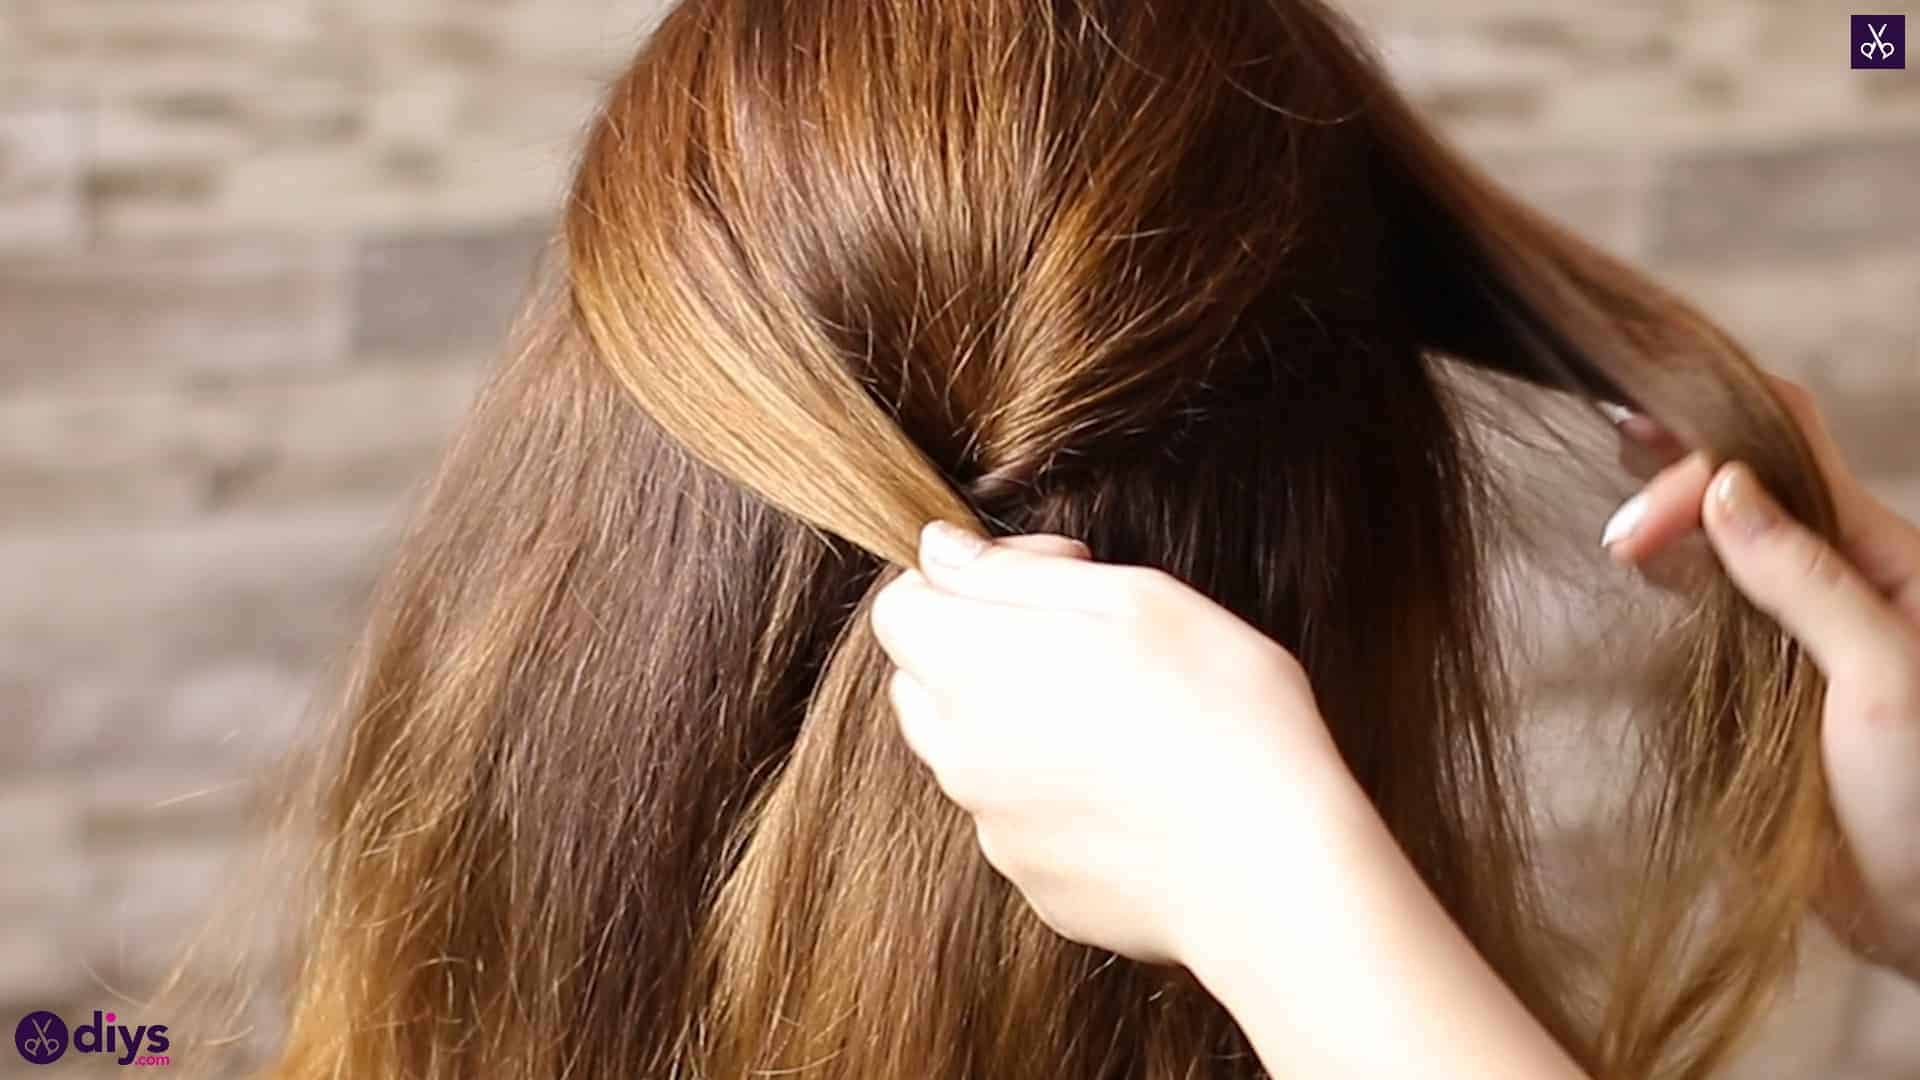
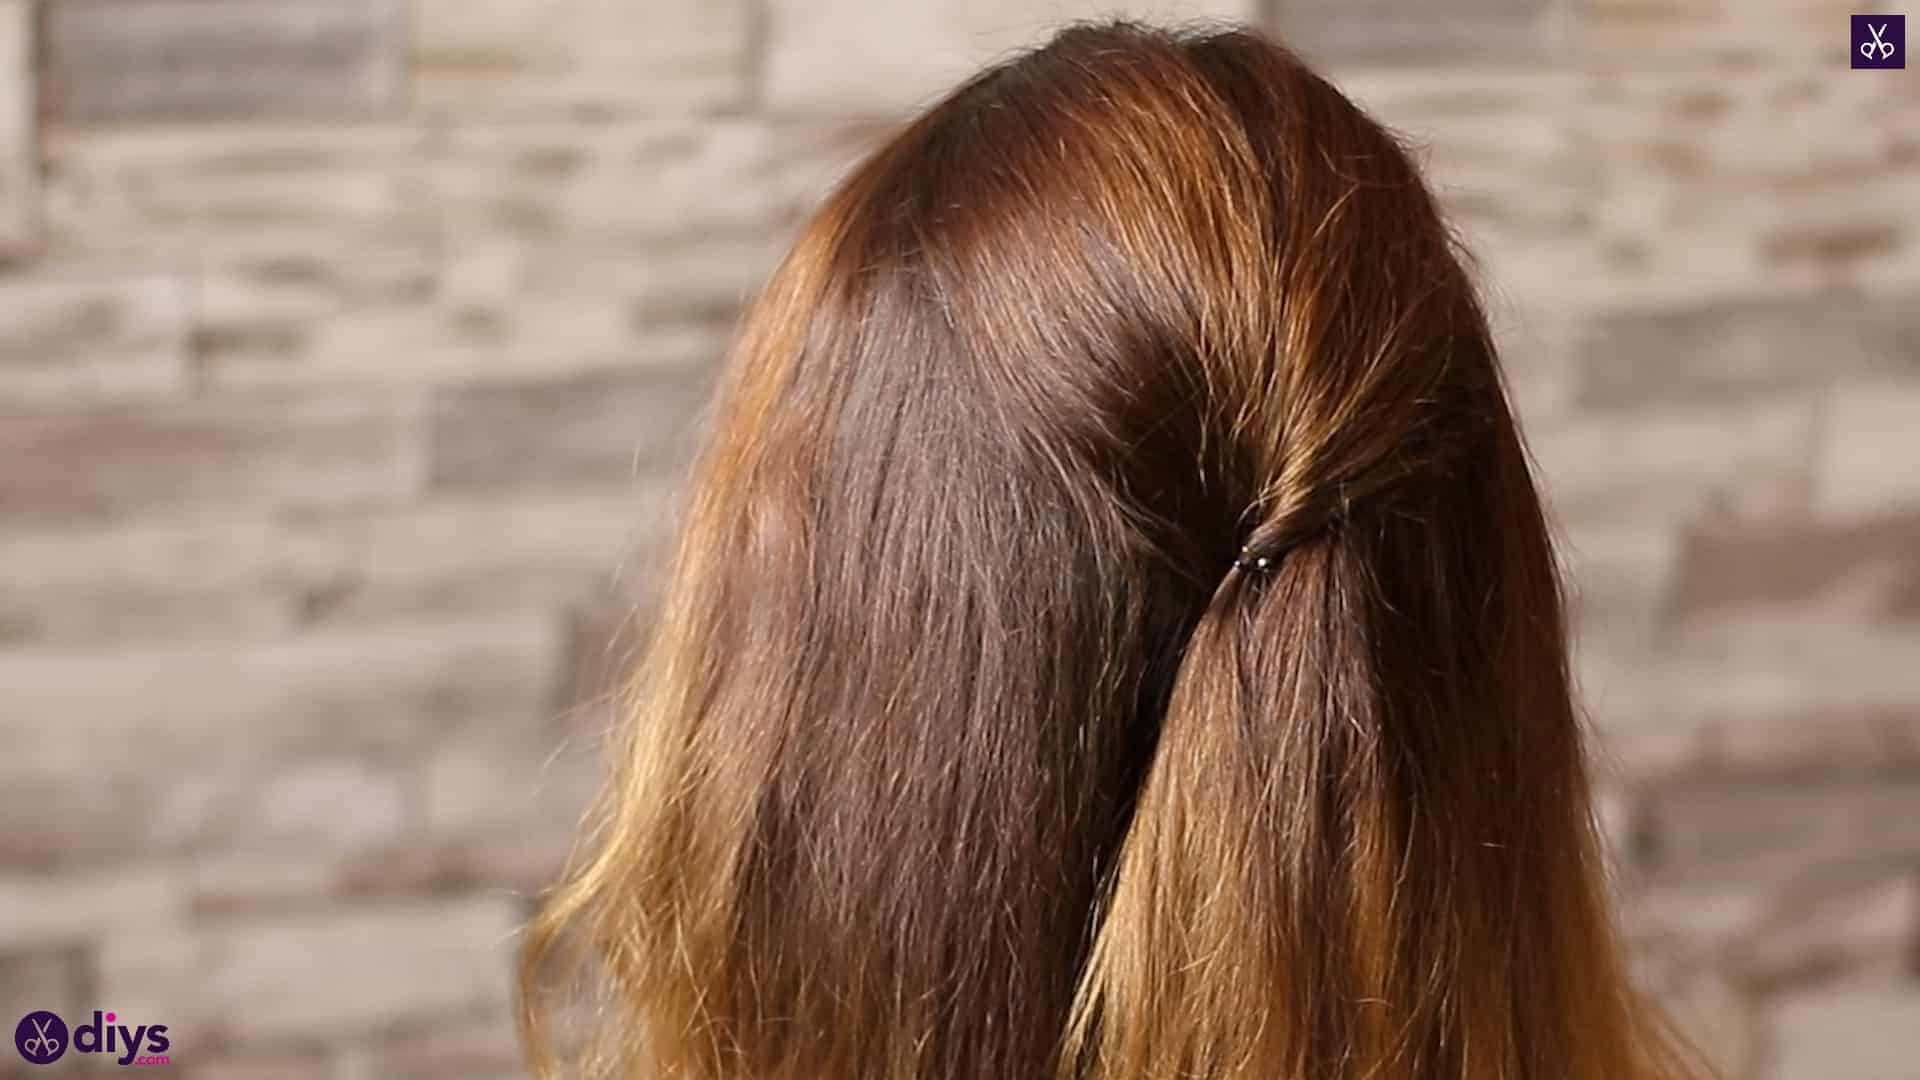
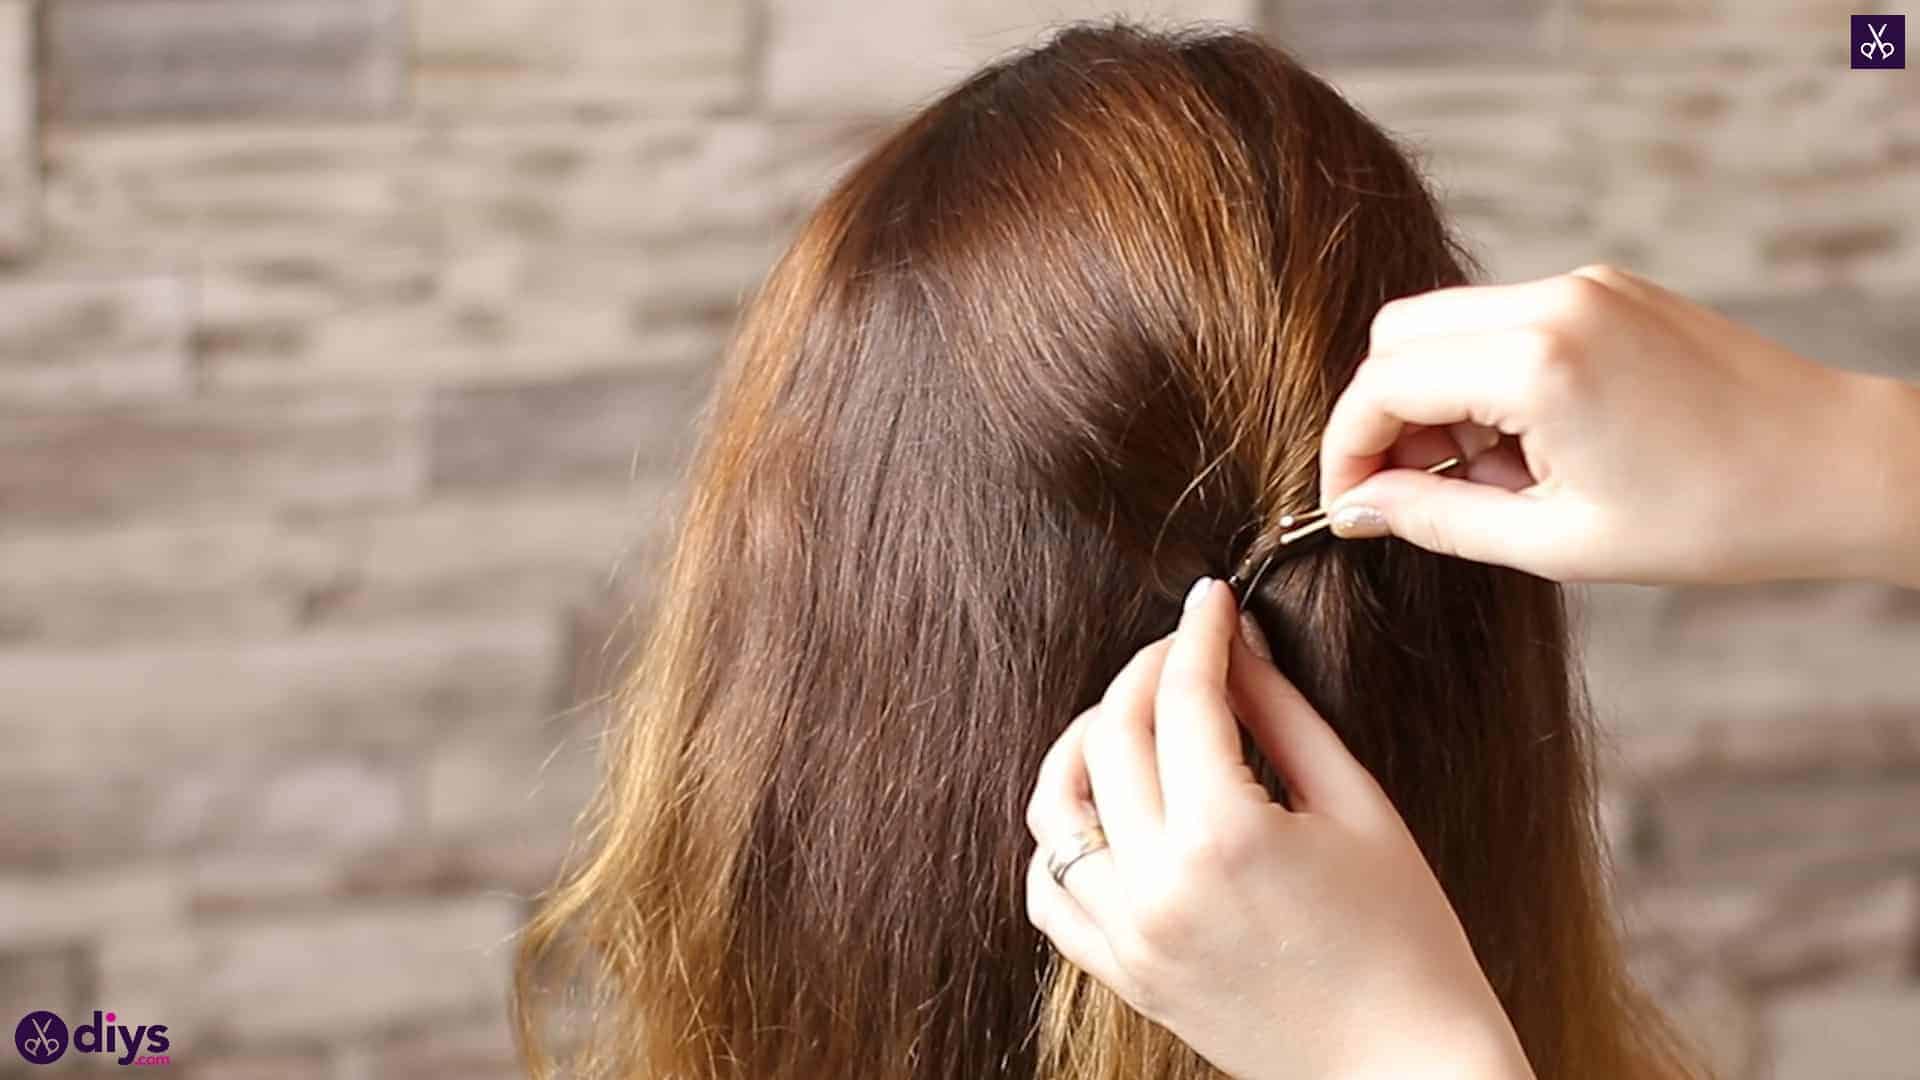
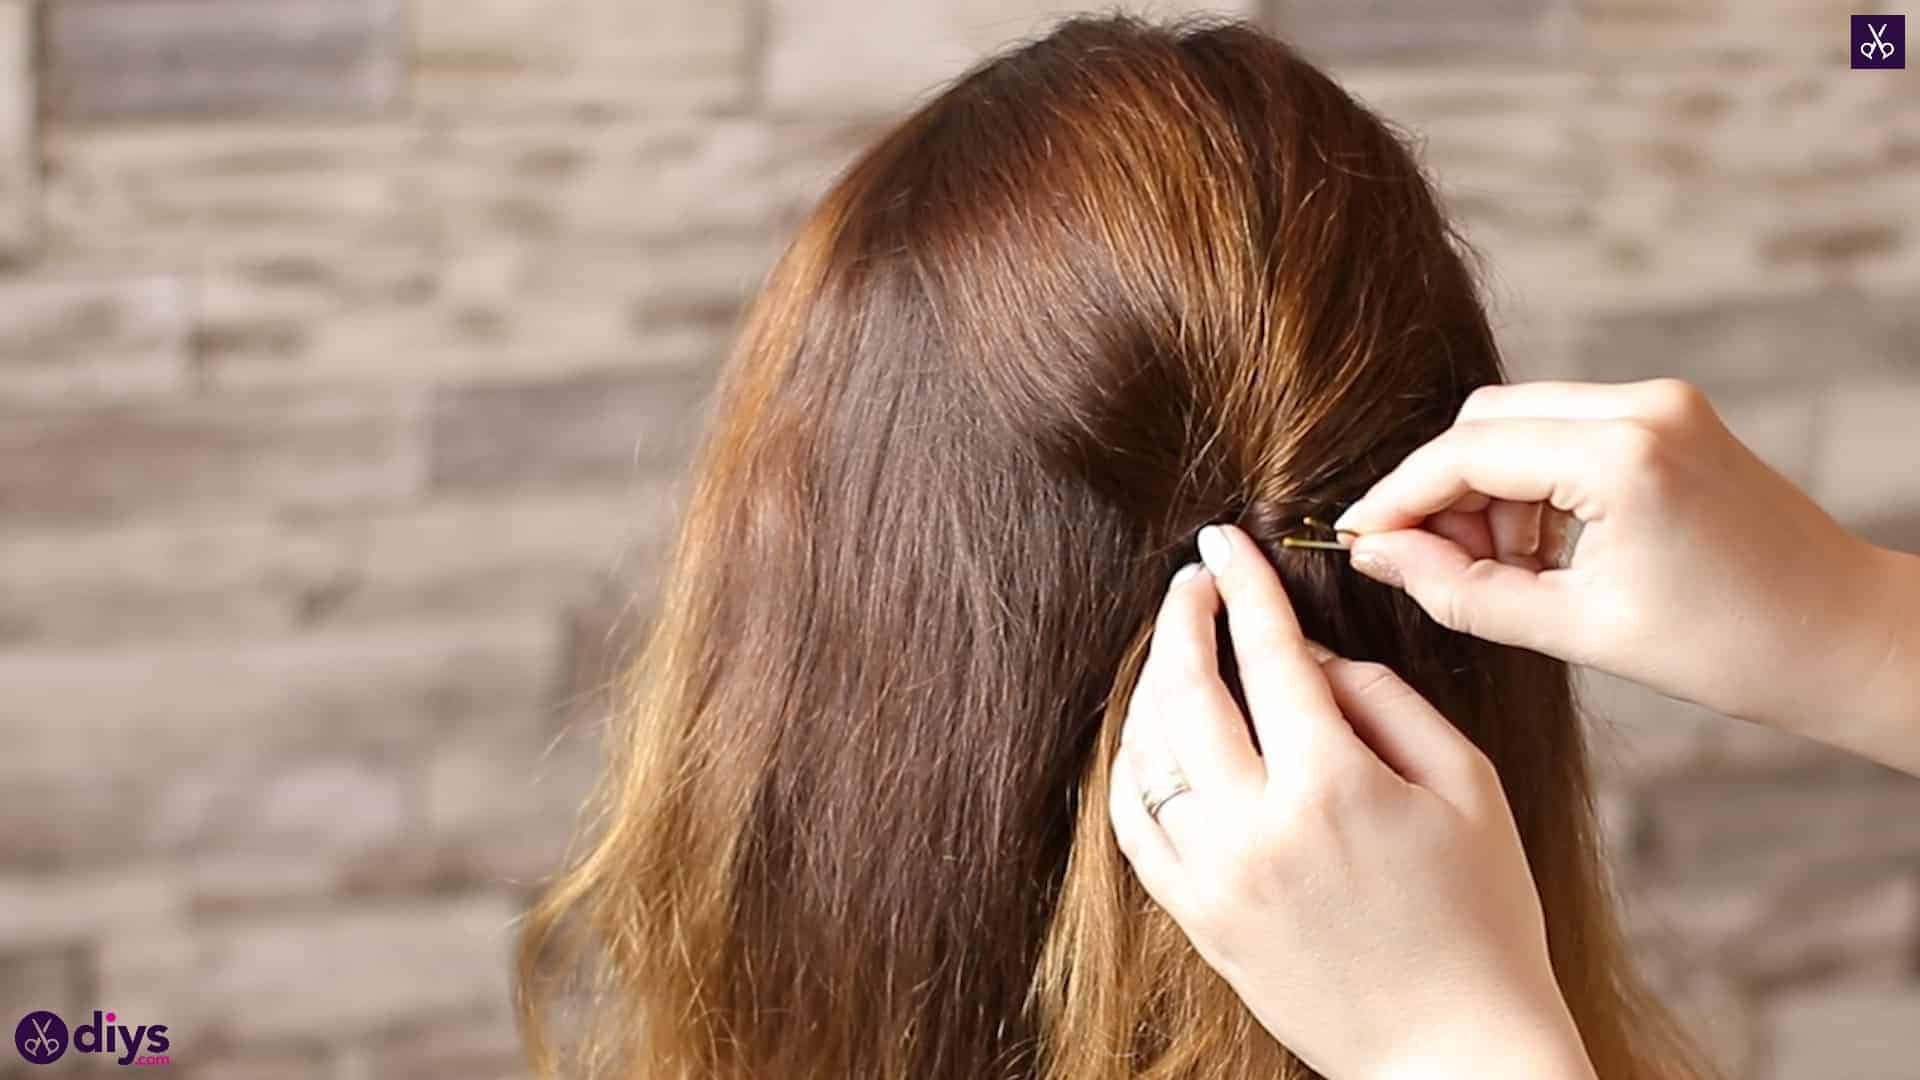
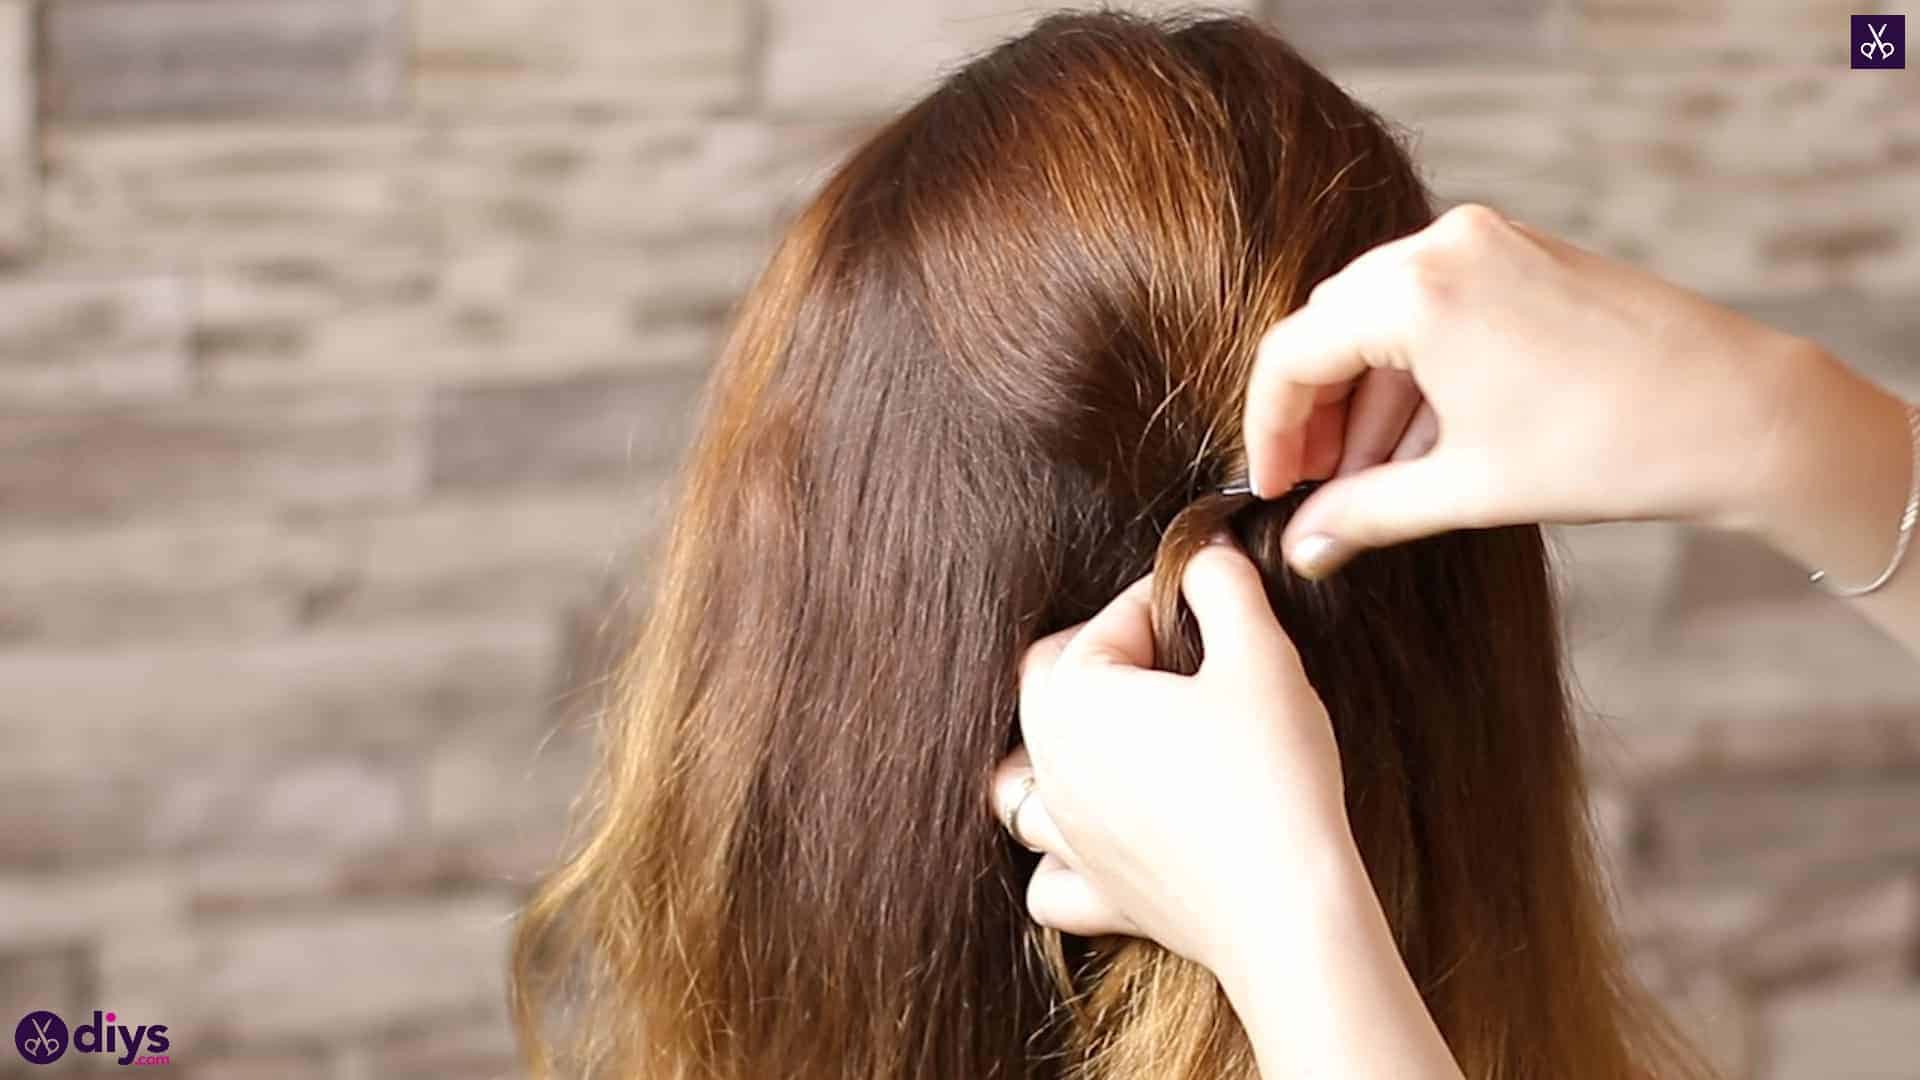
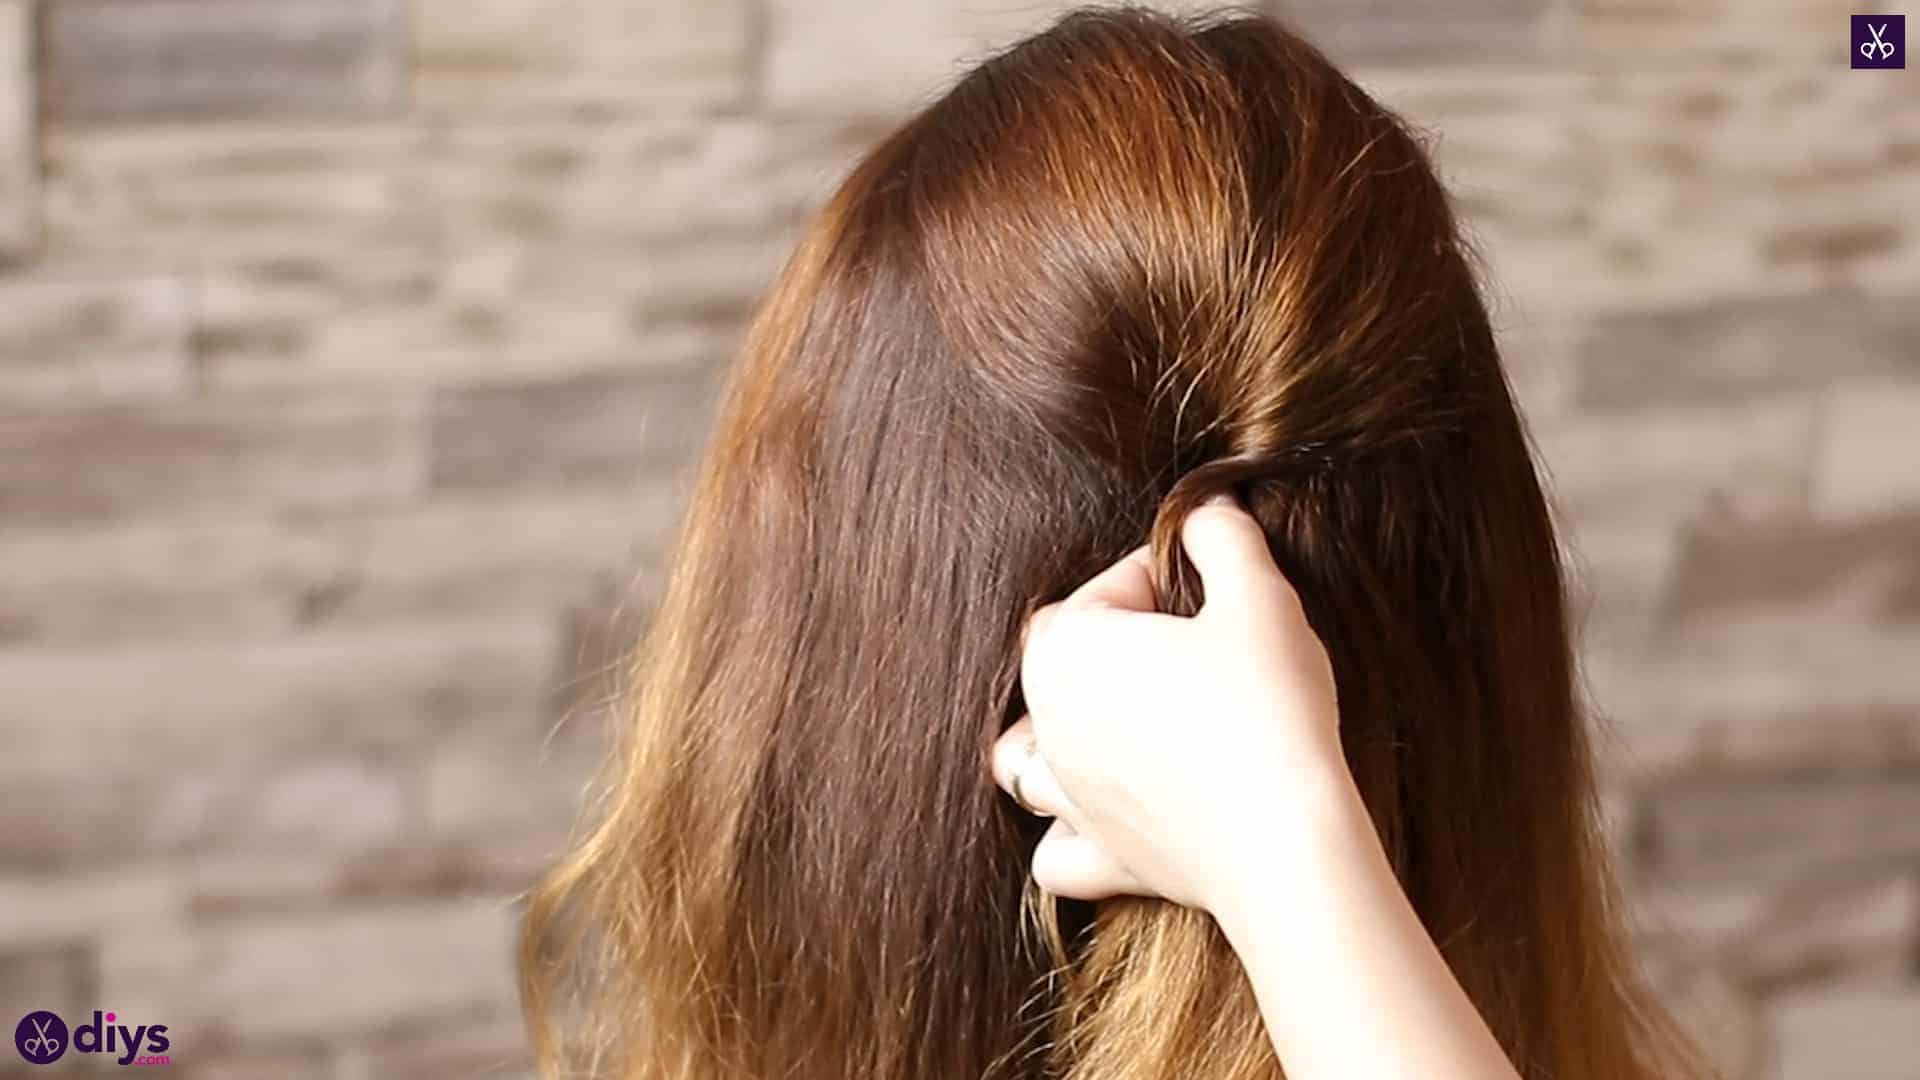
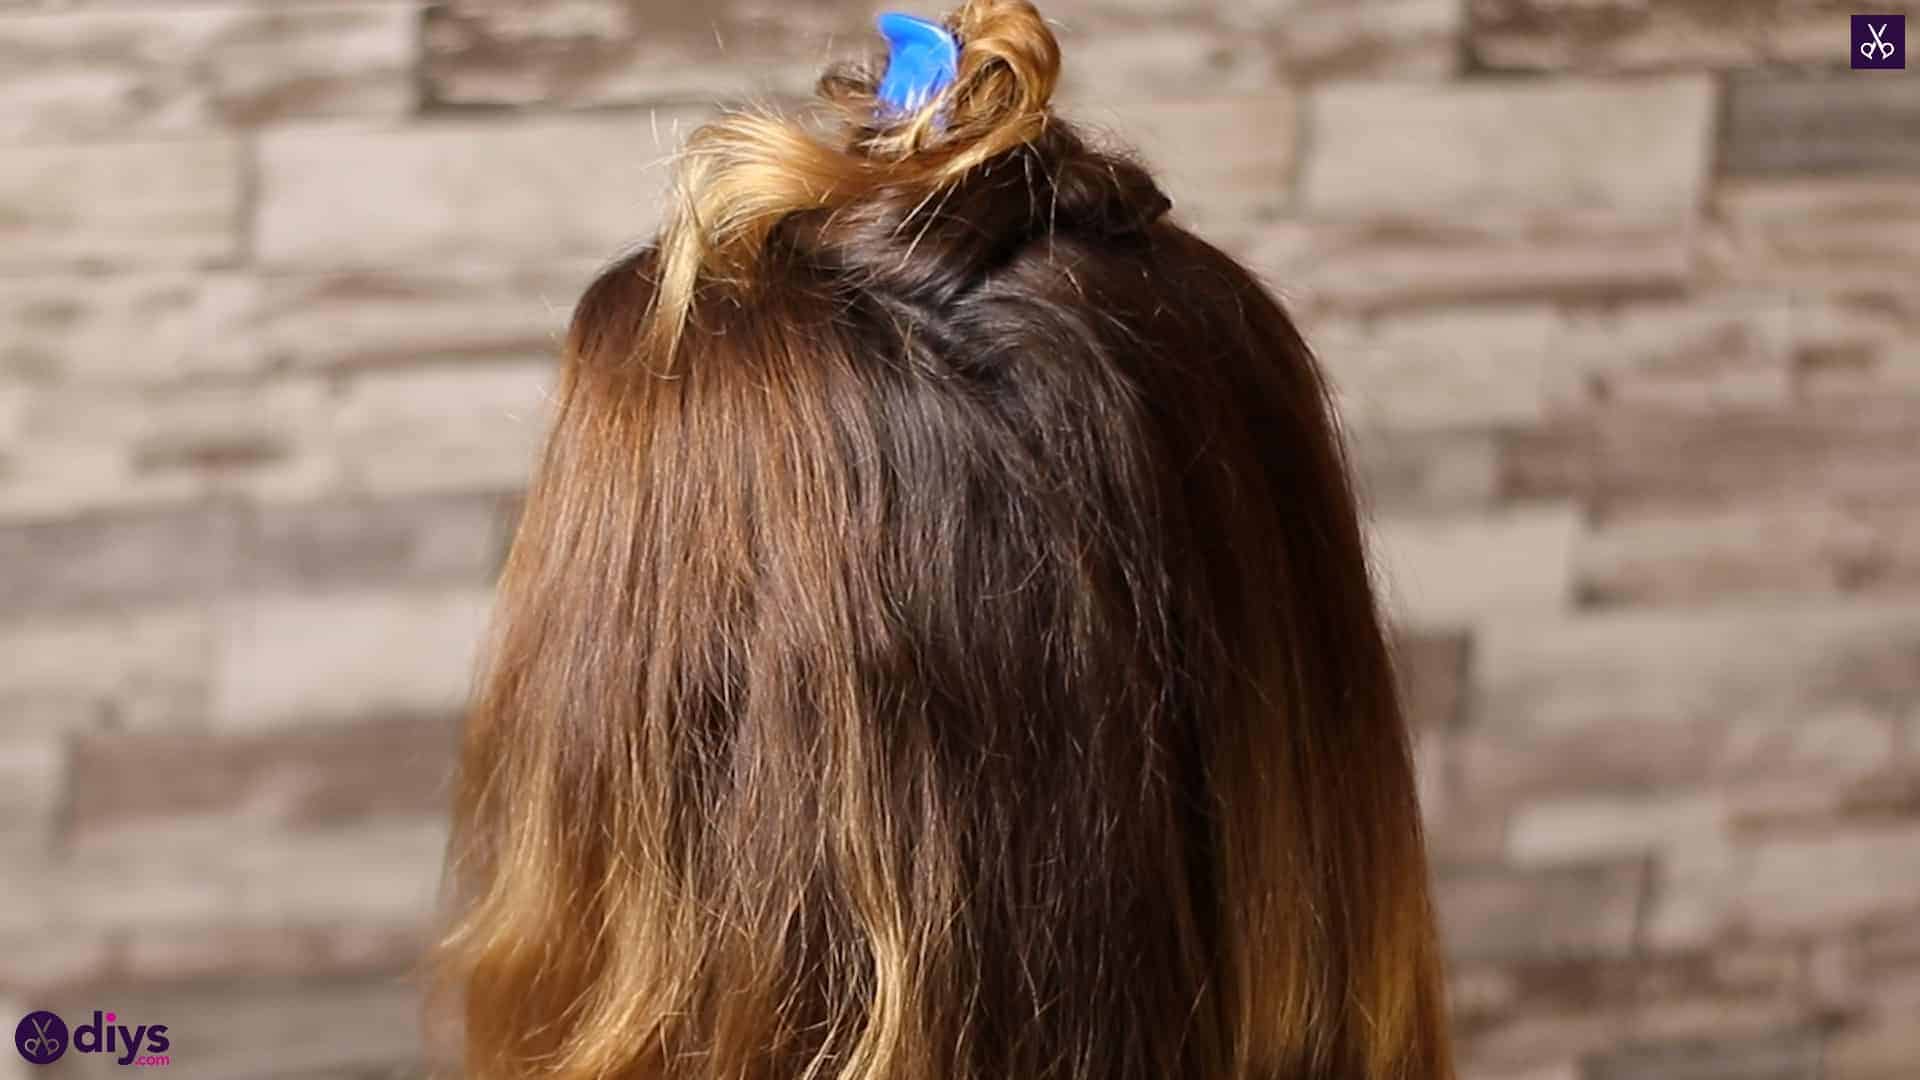
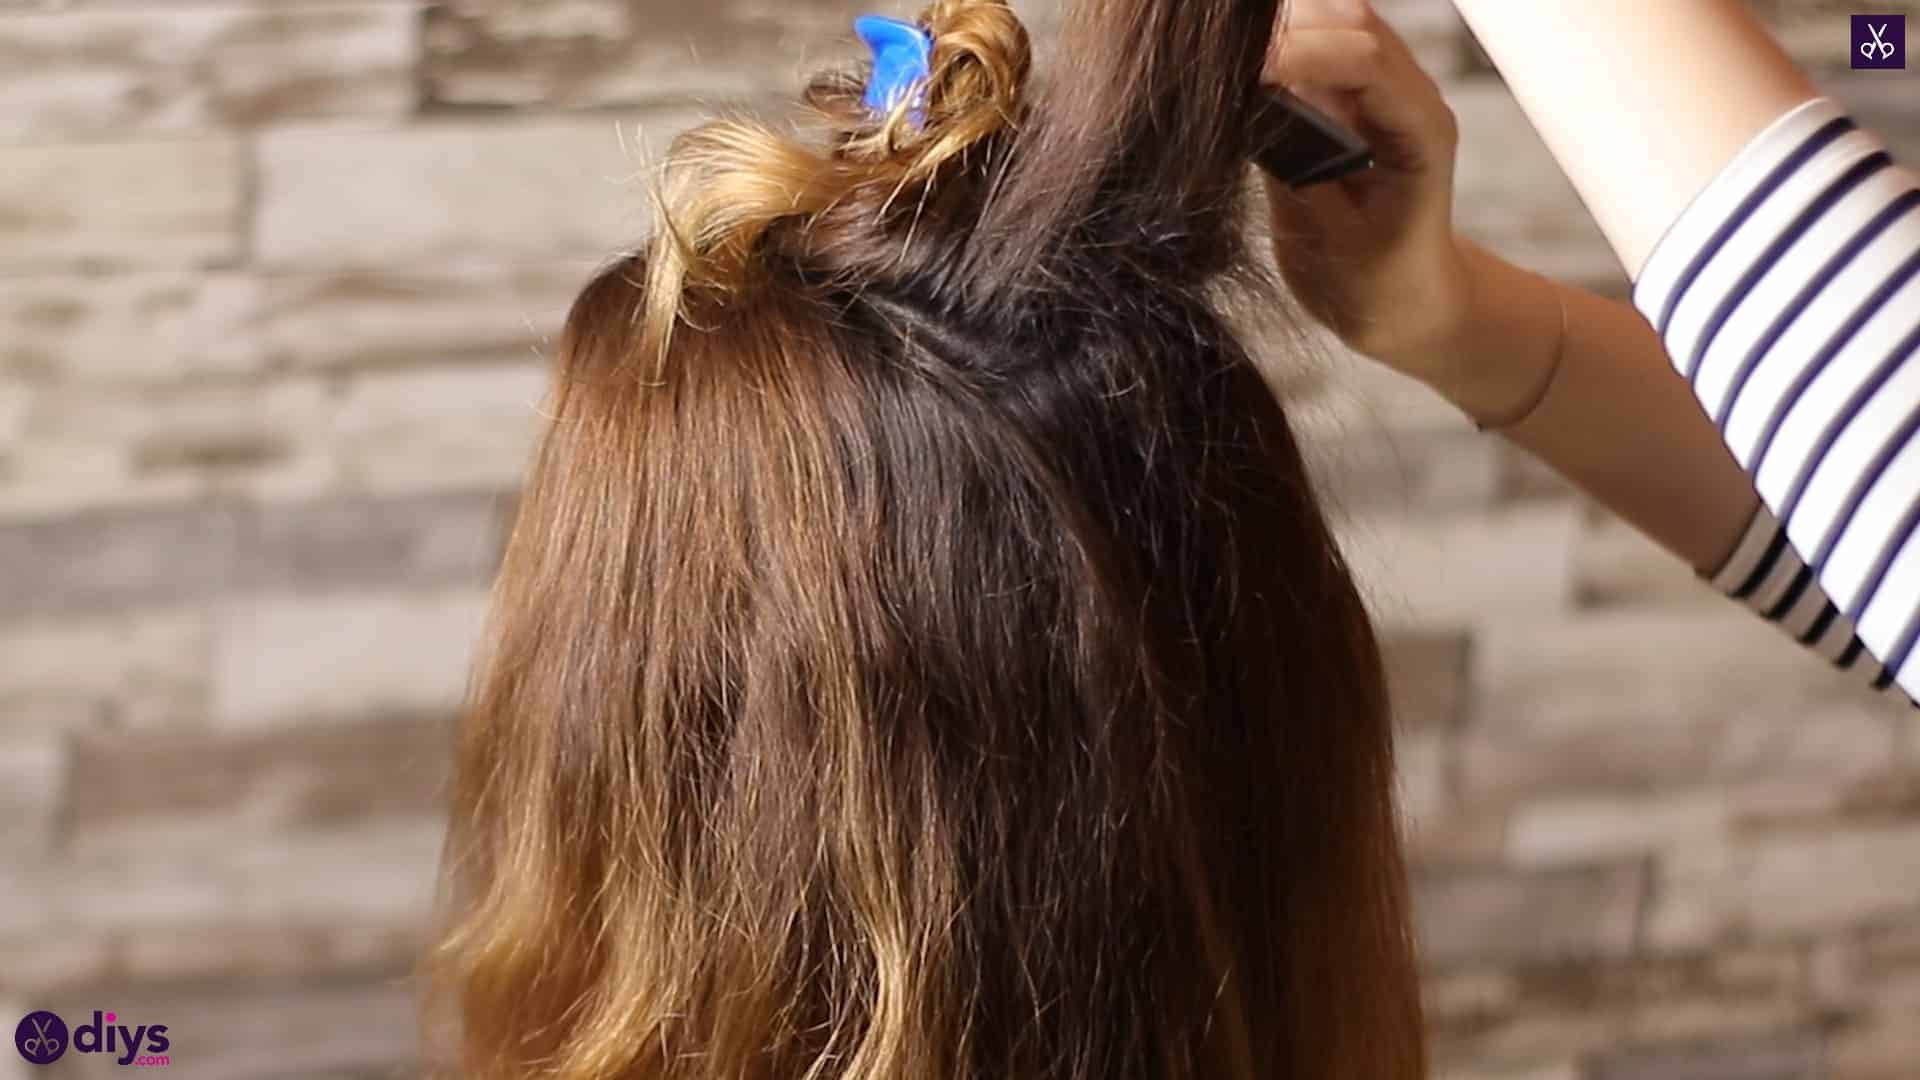
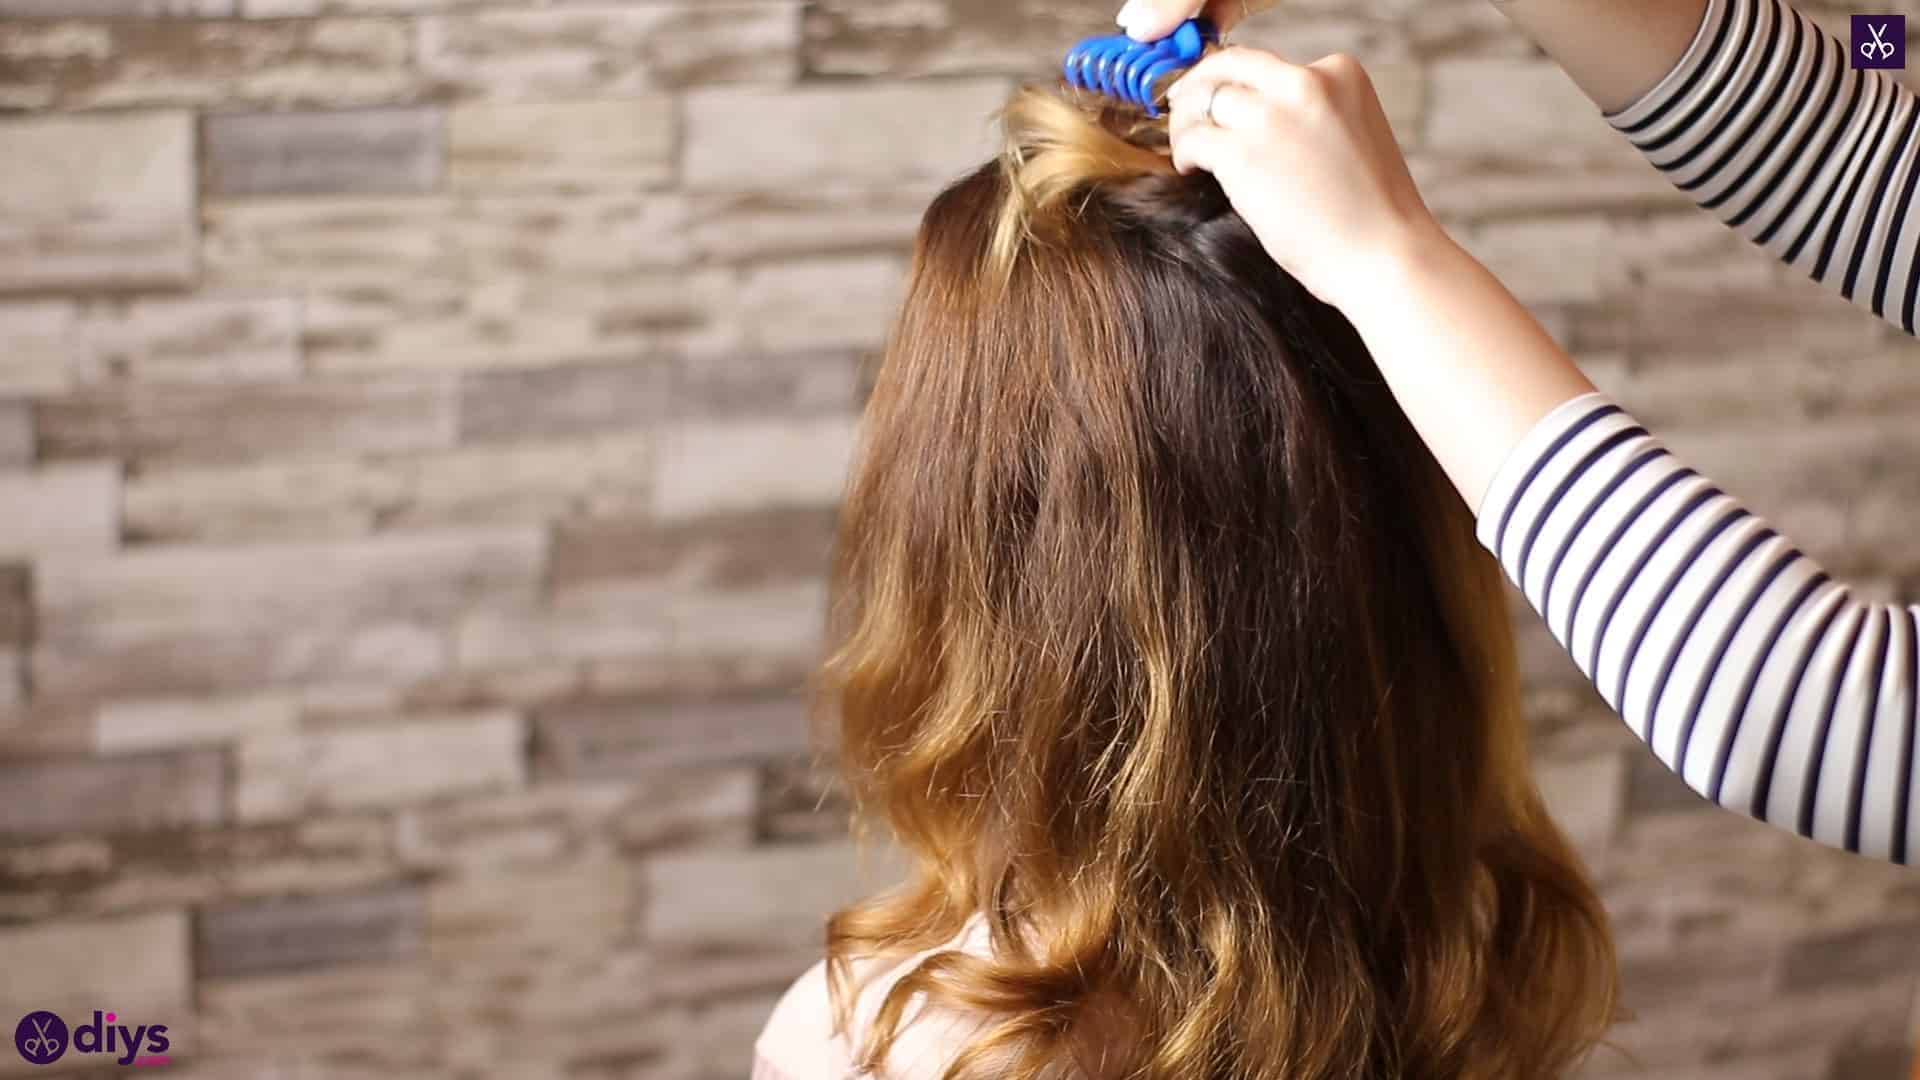
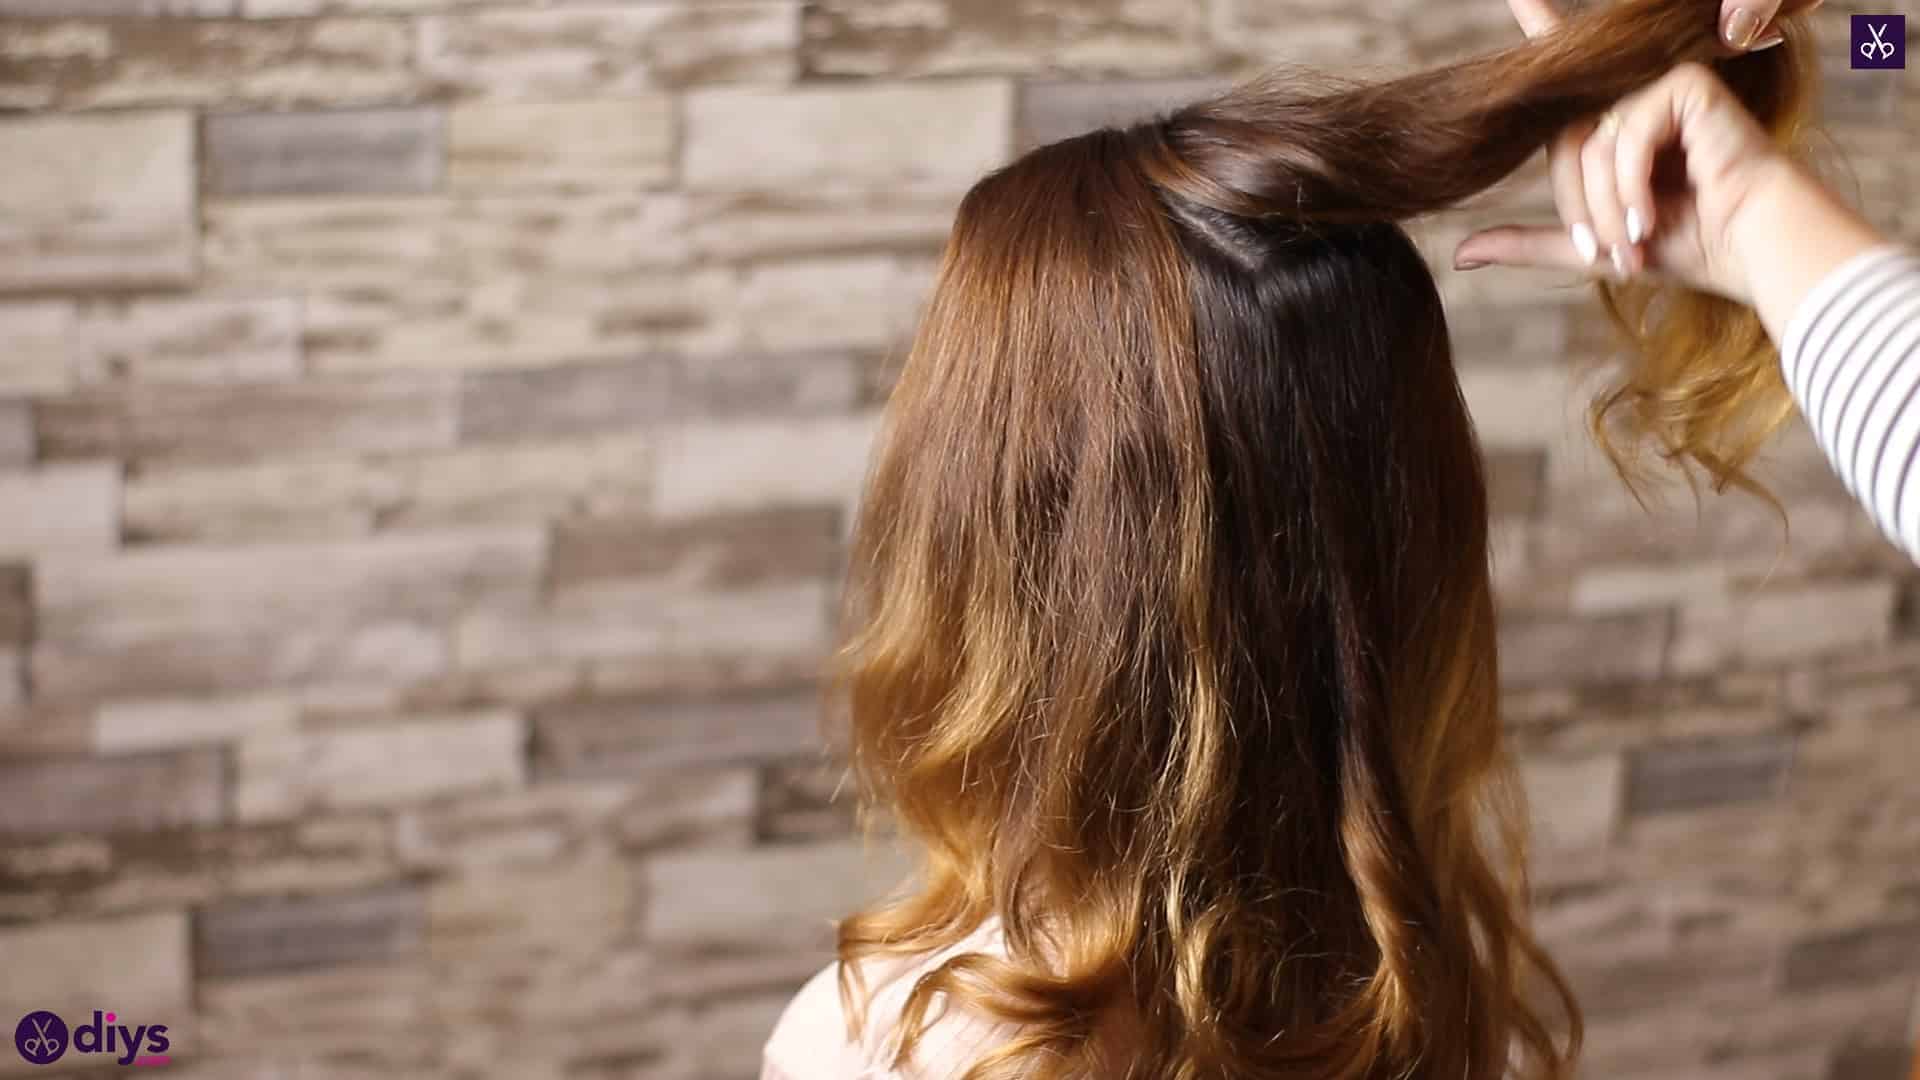
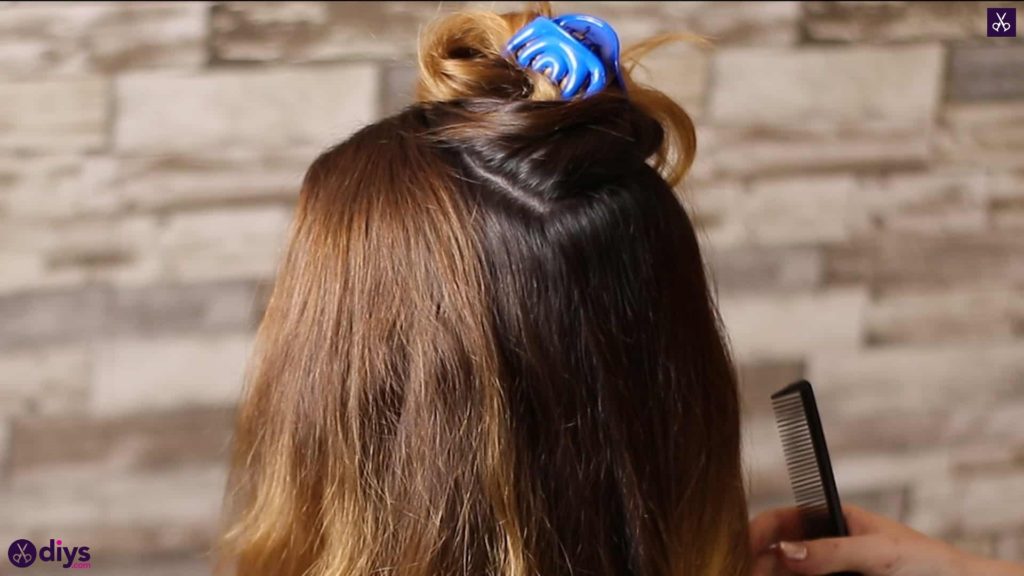
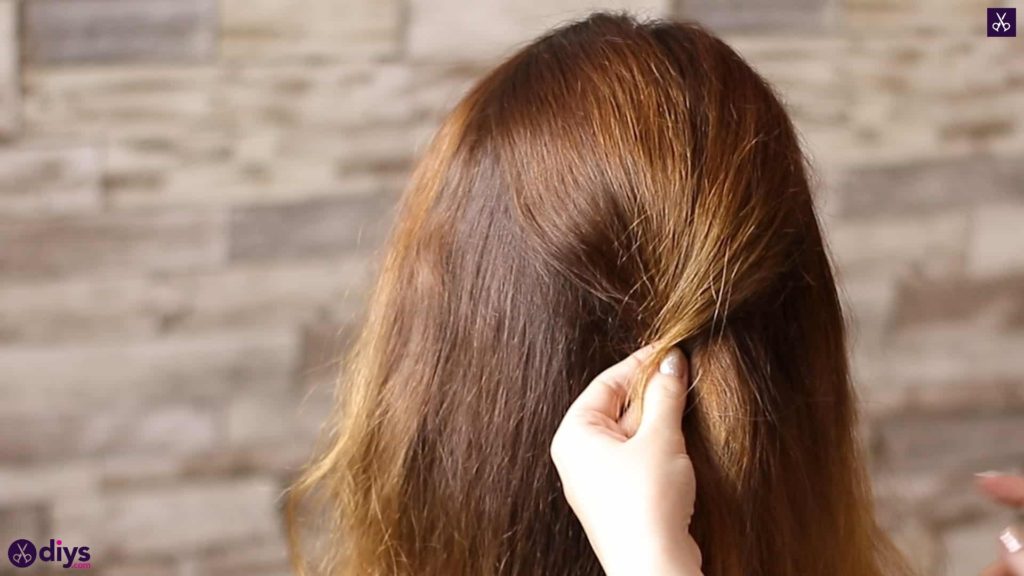
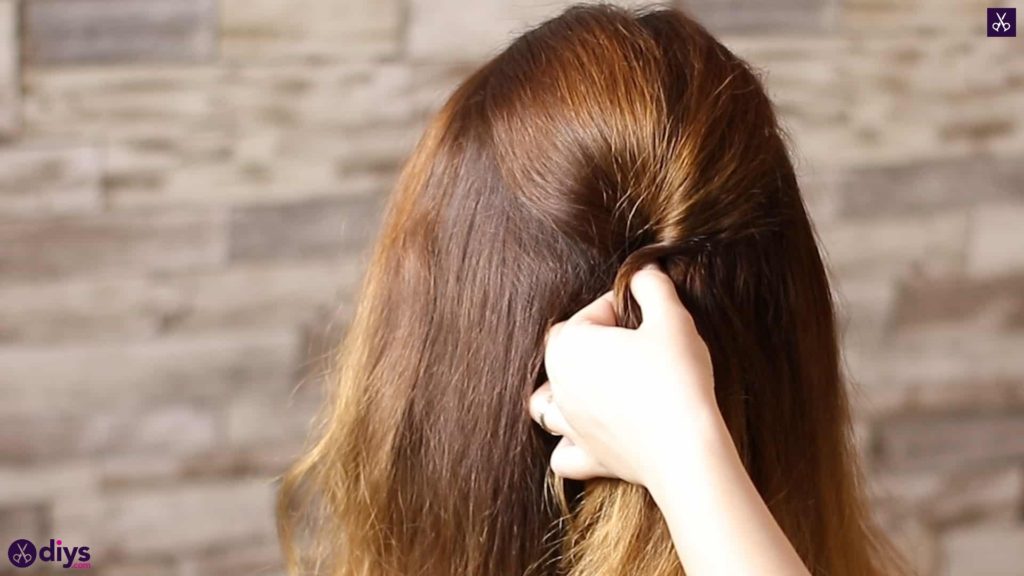
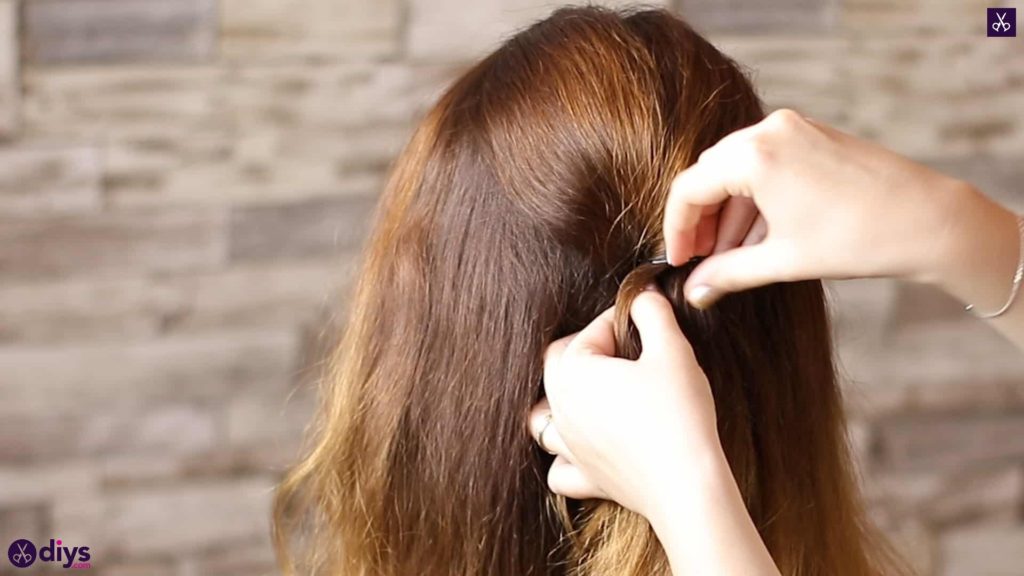
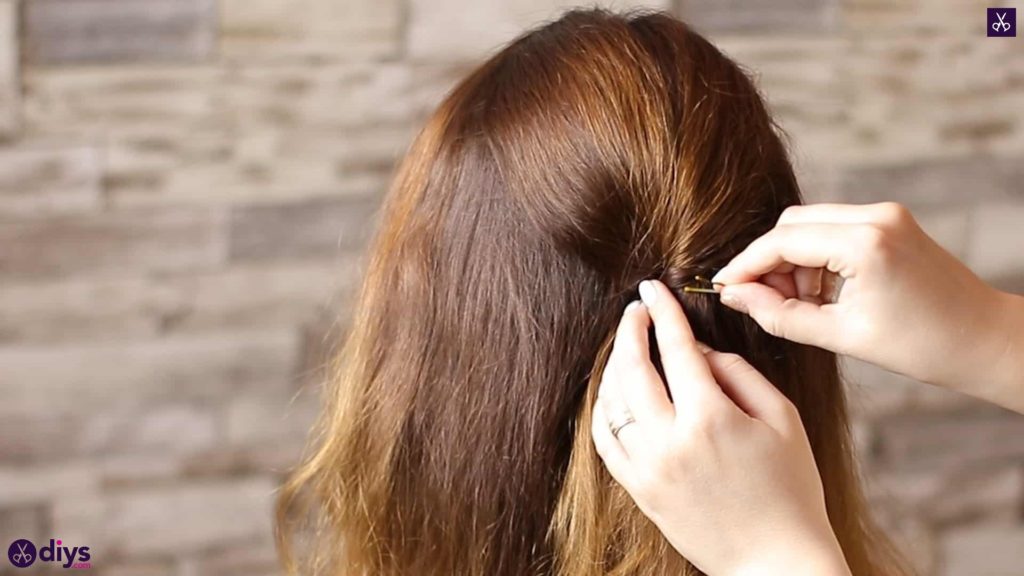
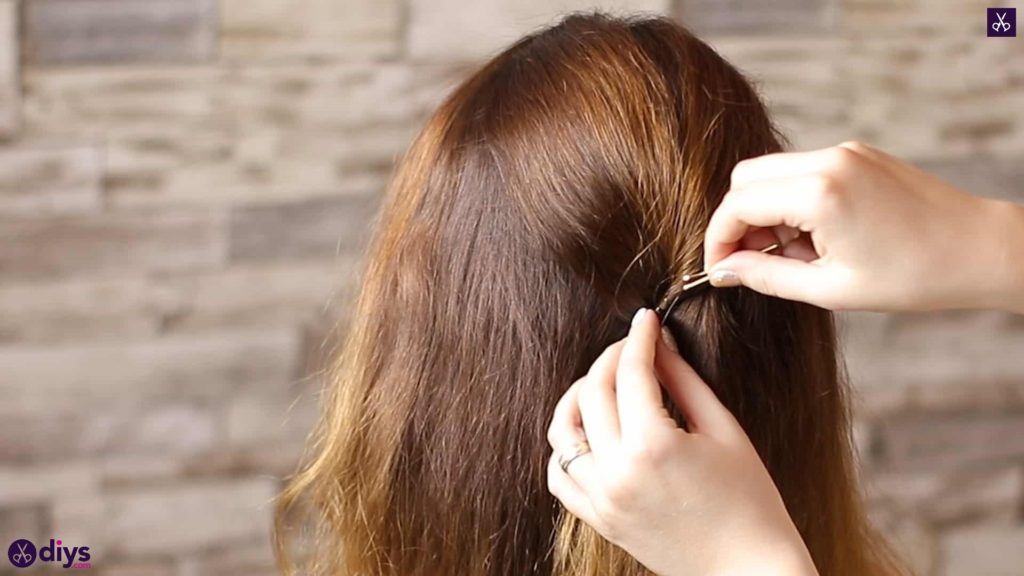
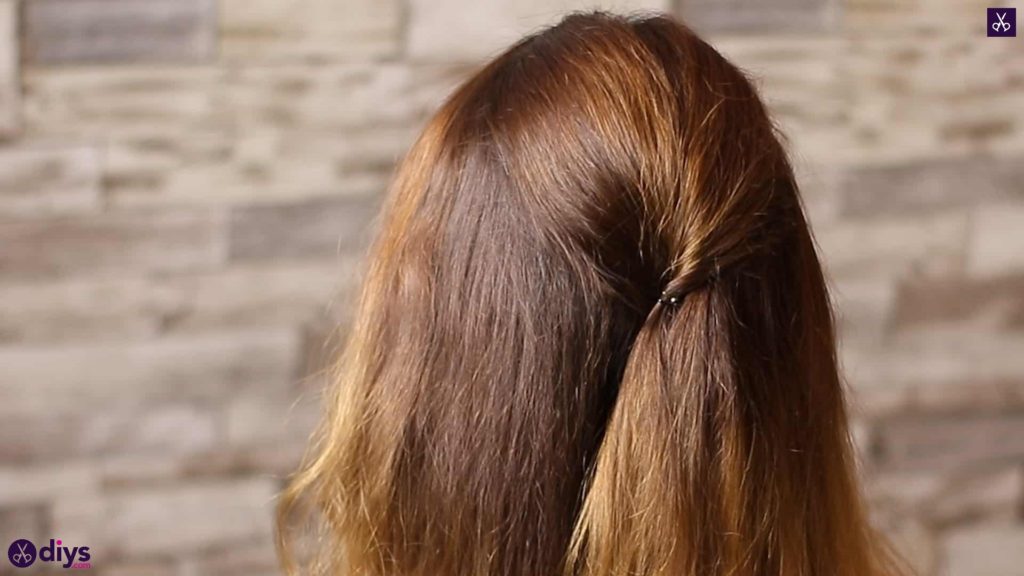
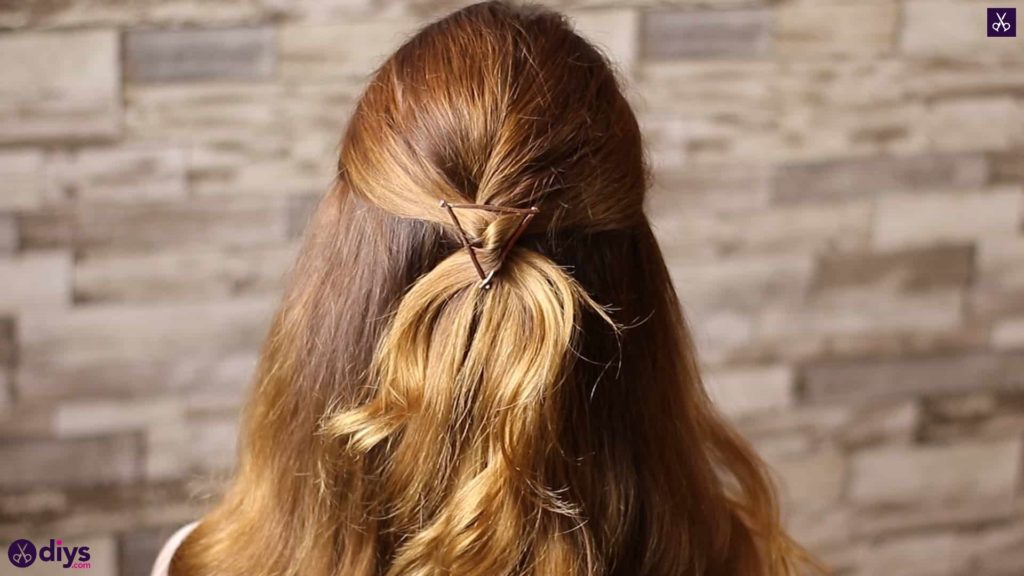
Take the hair about an inch below where you just back brushed height into your hair and pinch it together in the center at the back of your head. Twist the section you’ve pinched and anchor it into place with bobby pins. I stuck my pins in vertically for a better hold that hides them a little more thoroughly in the hair.
Step 3: start layering hair
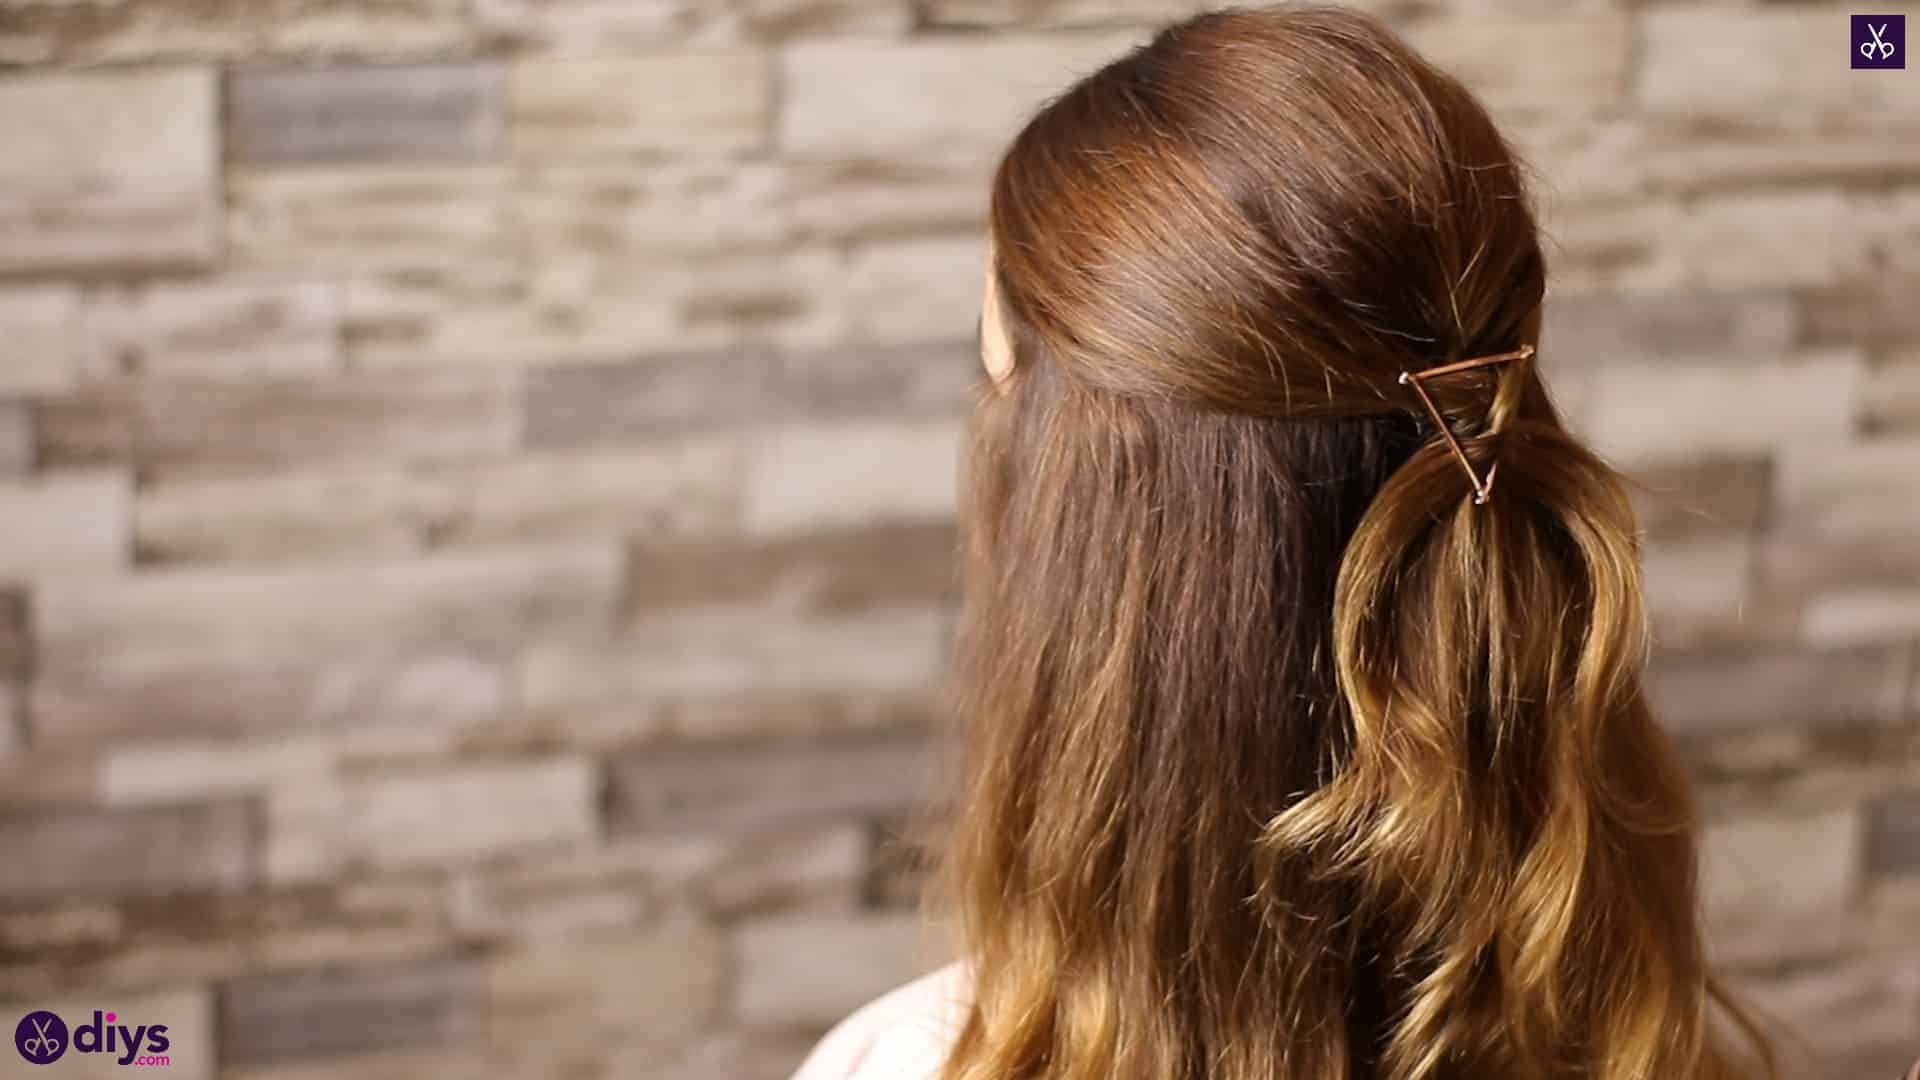
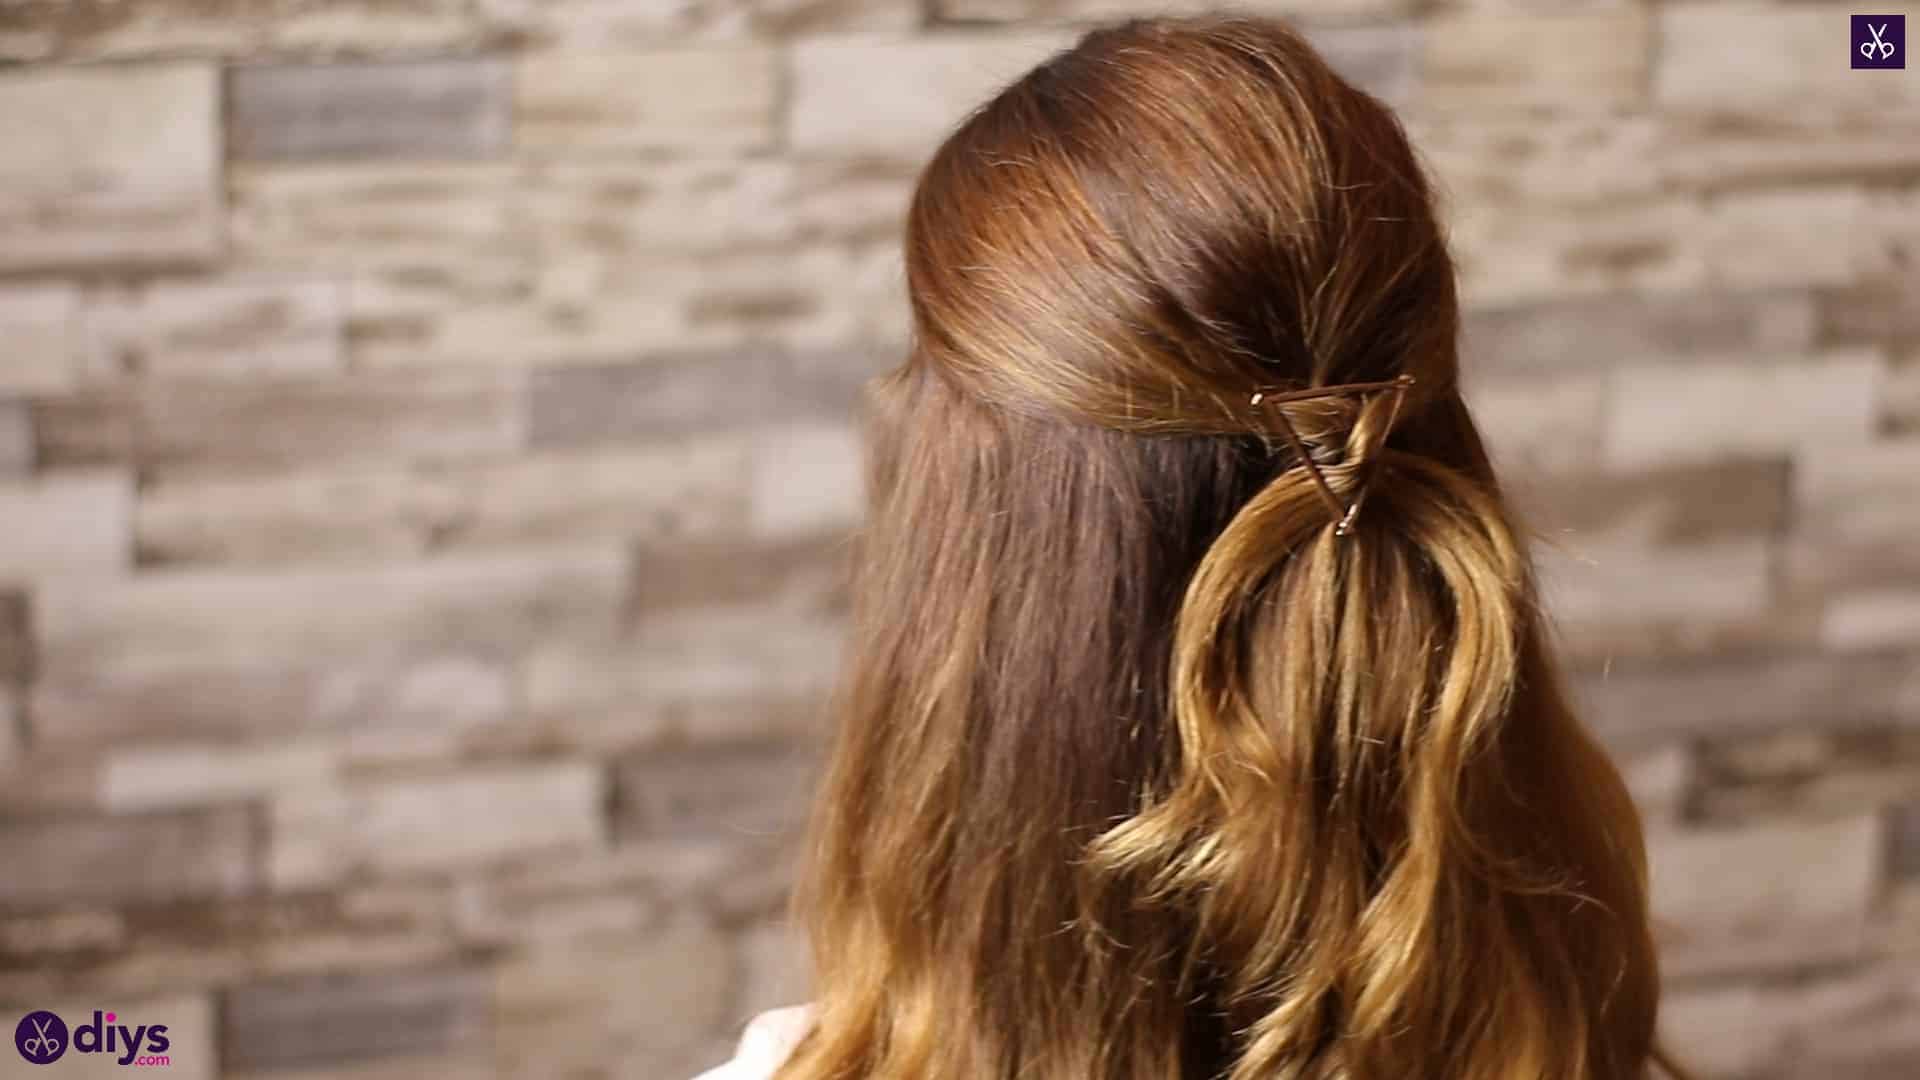
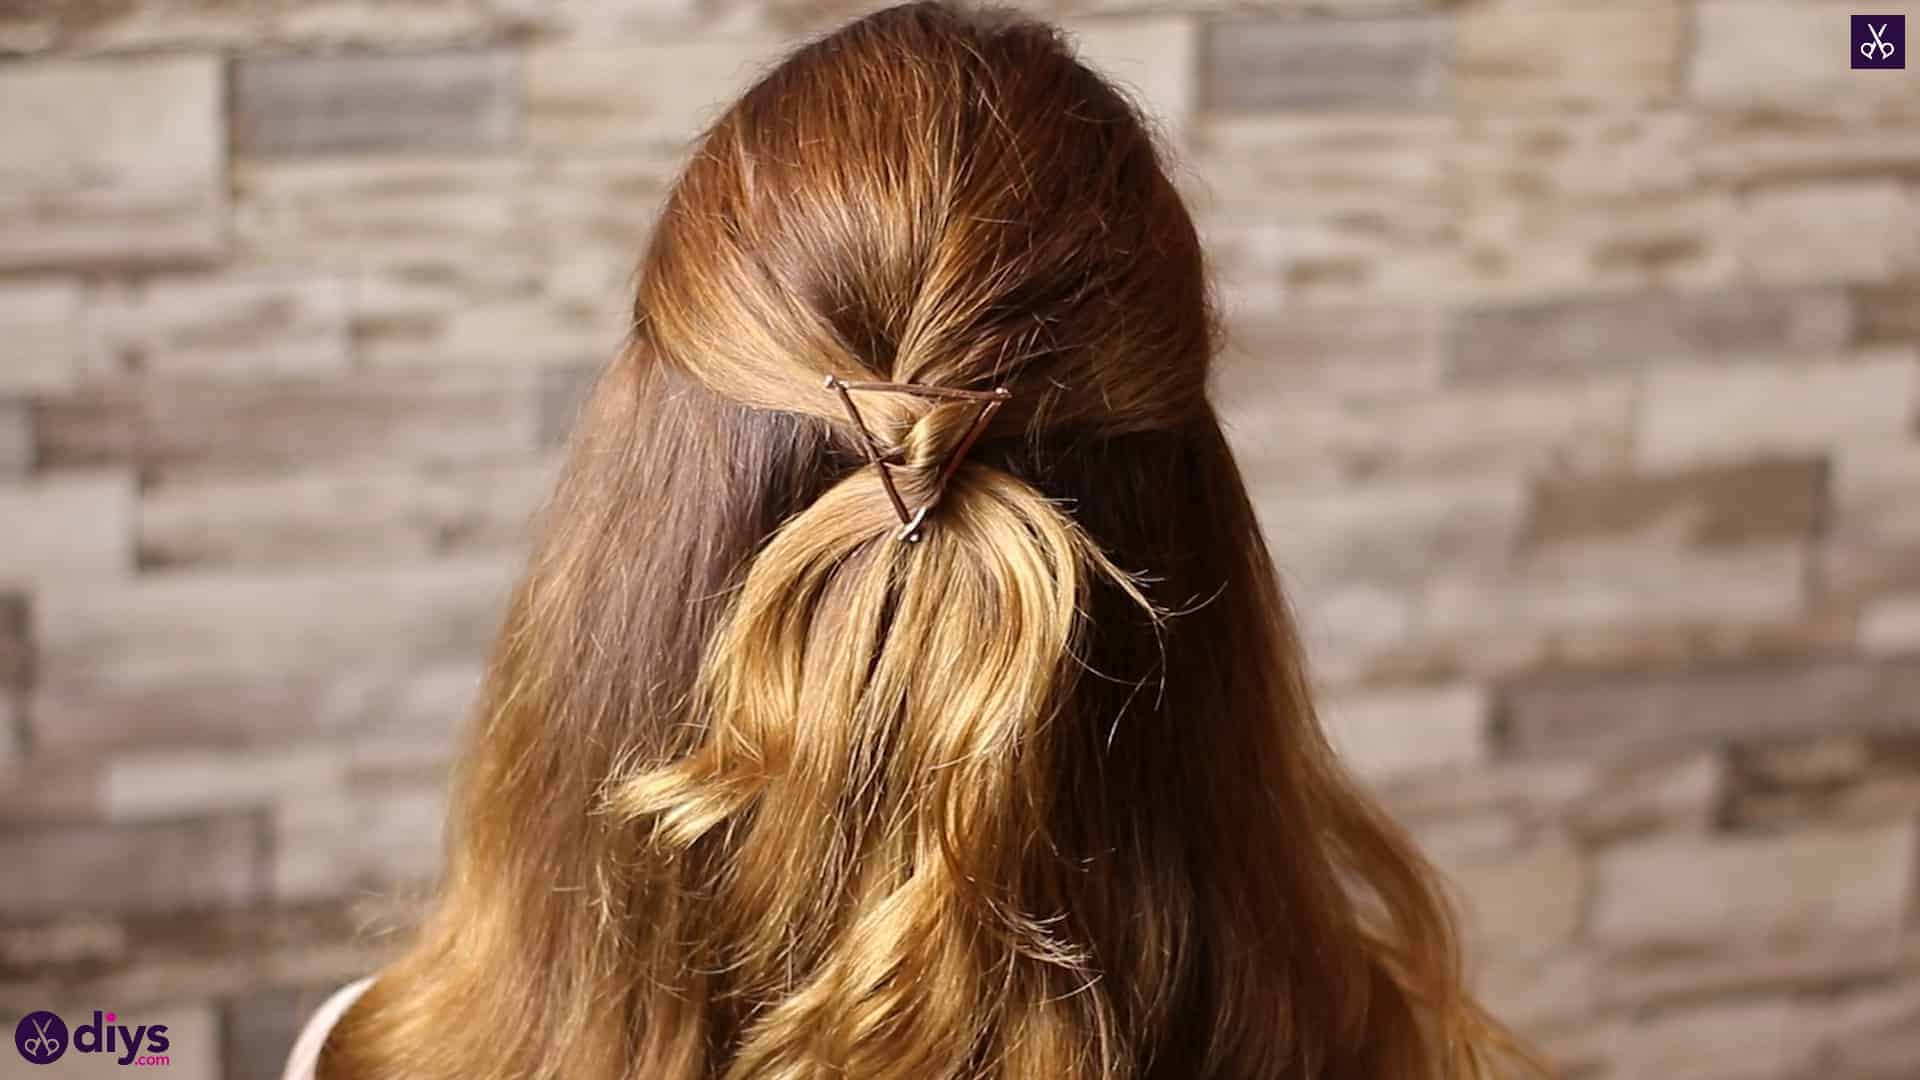
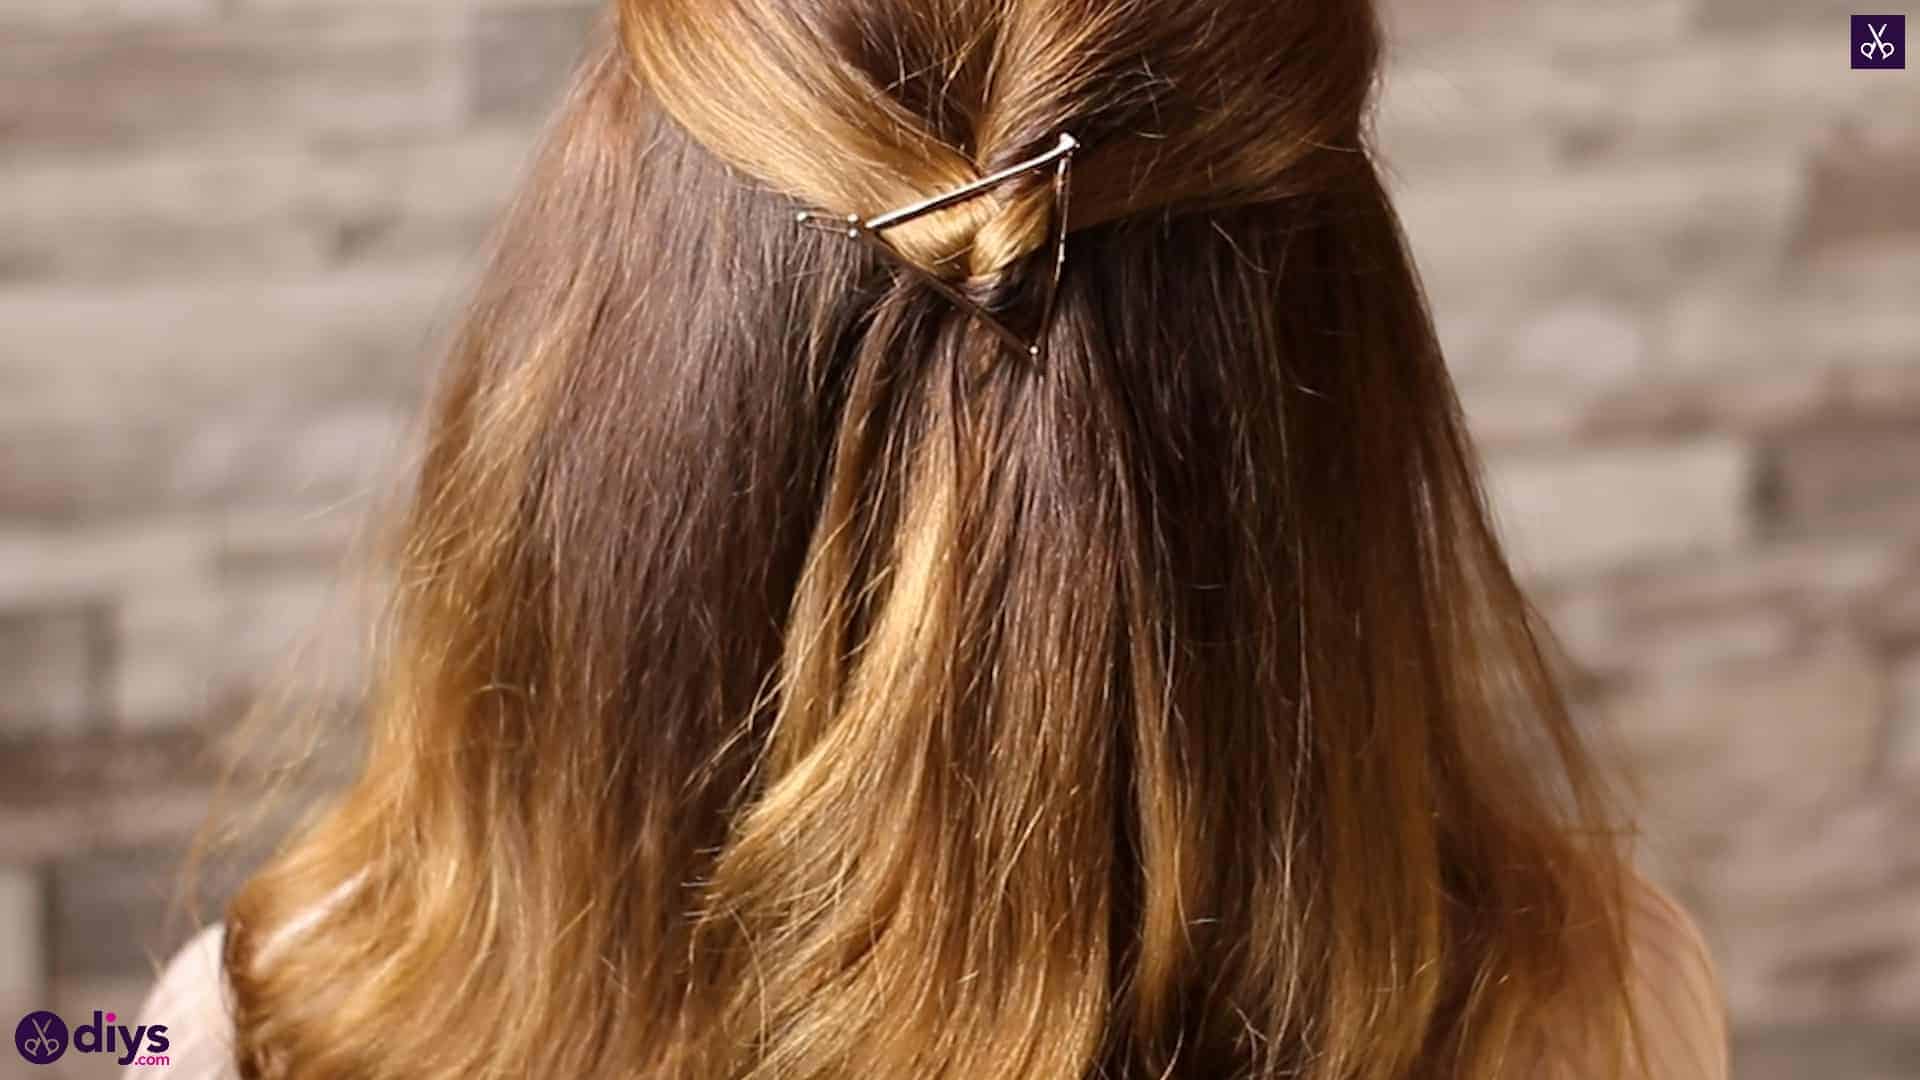
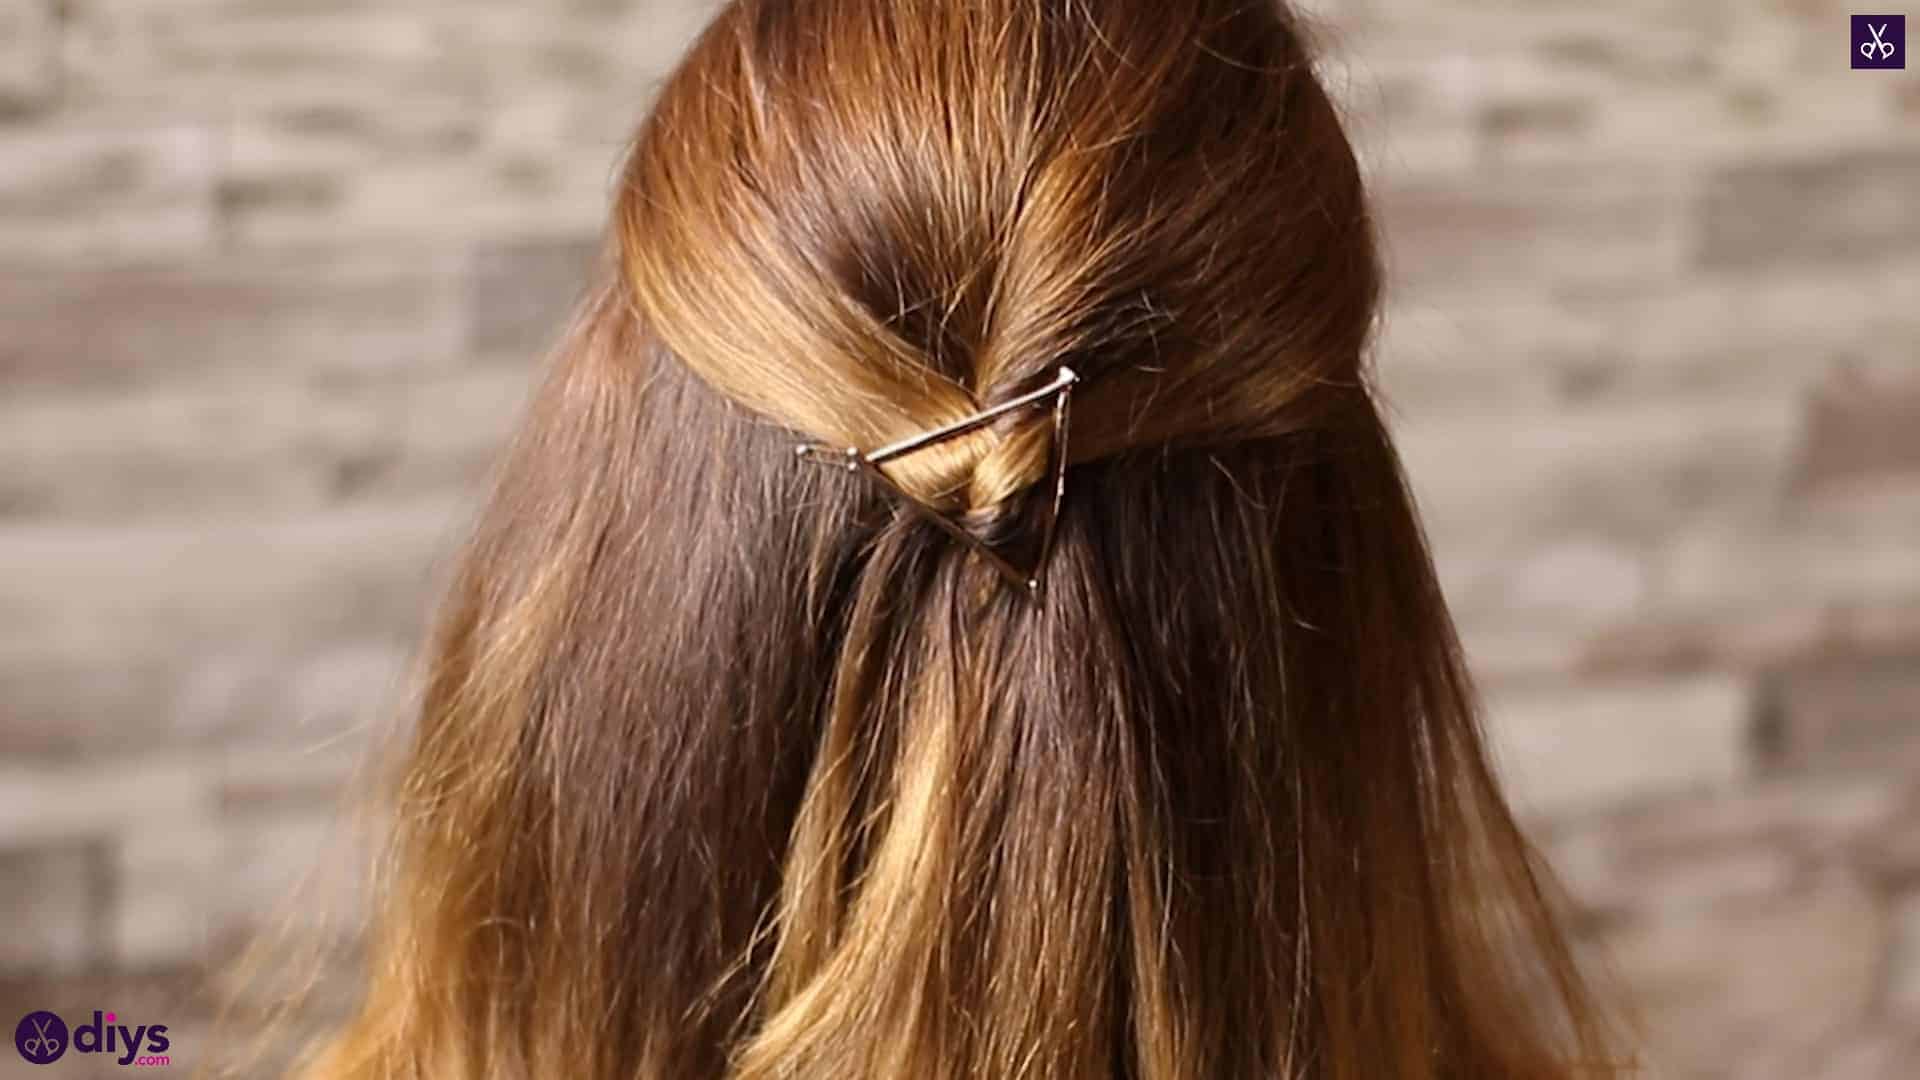
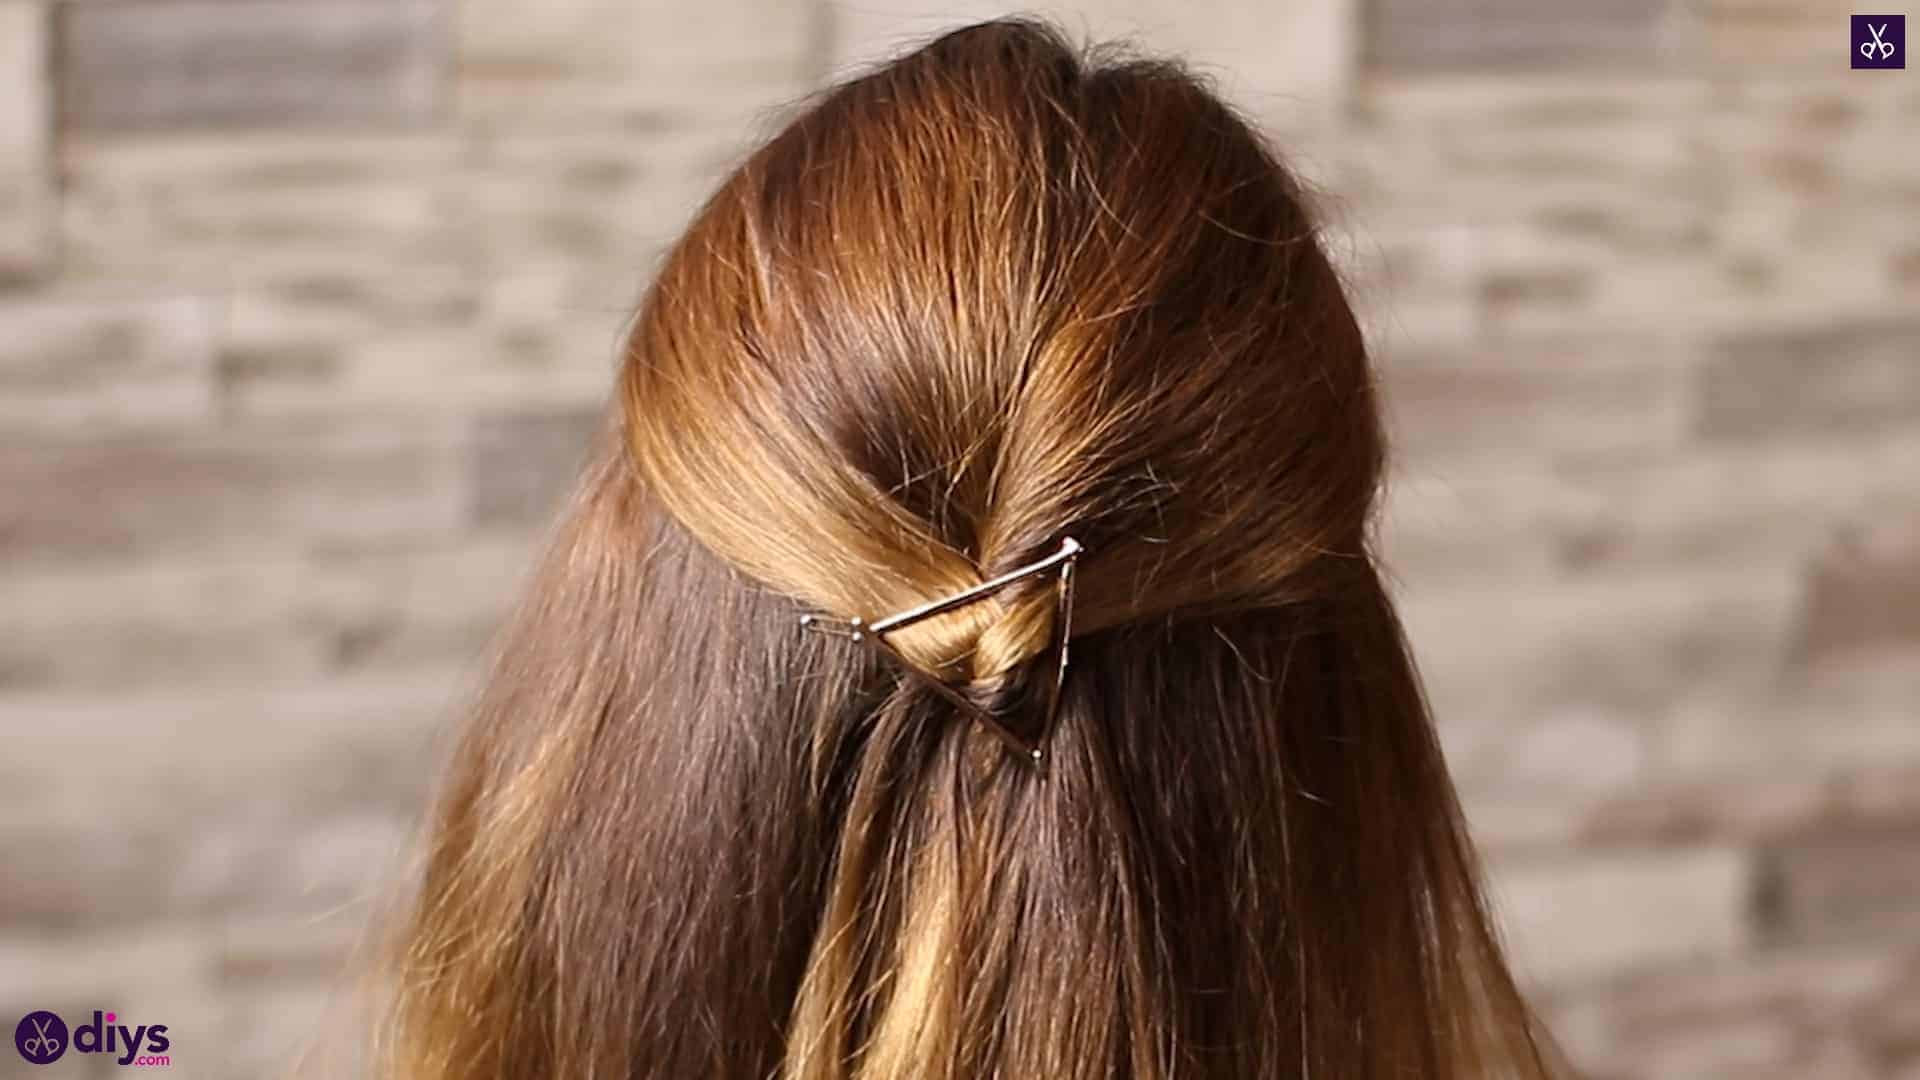
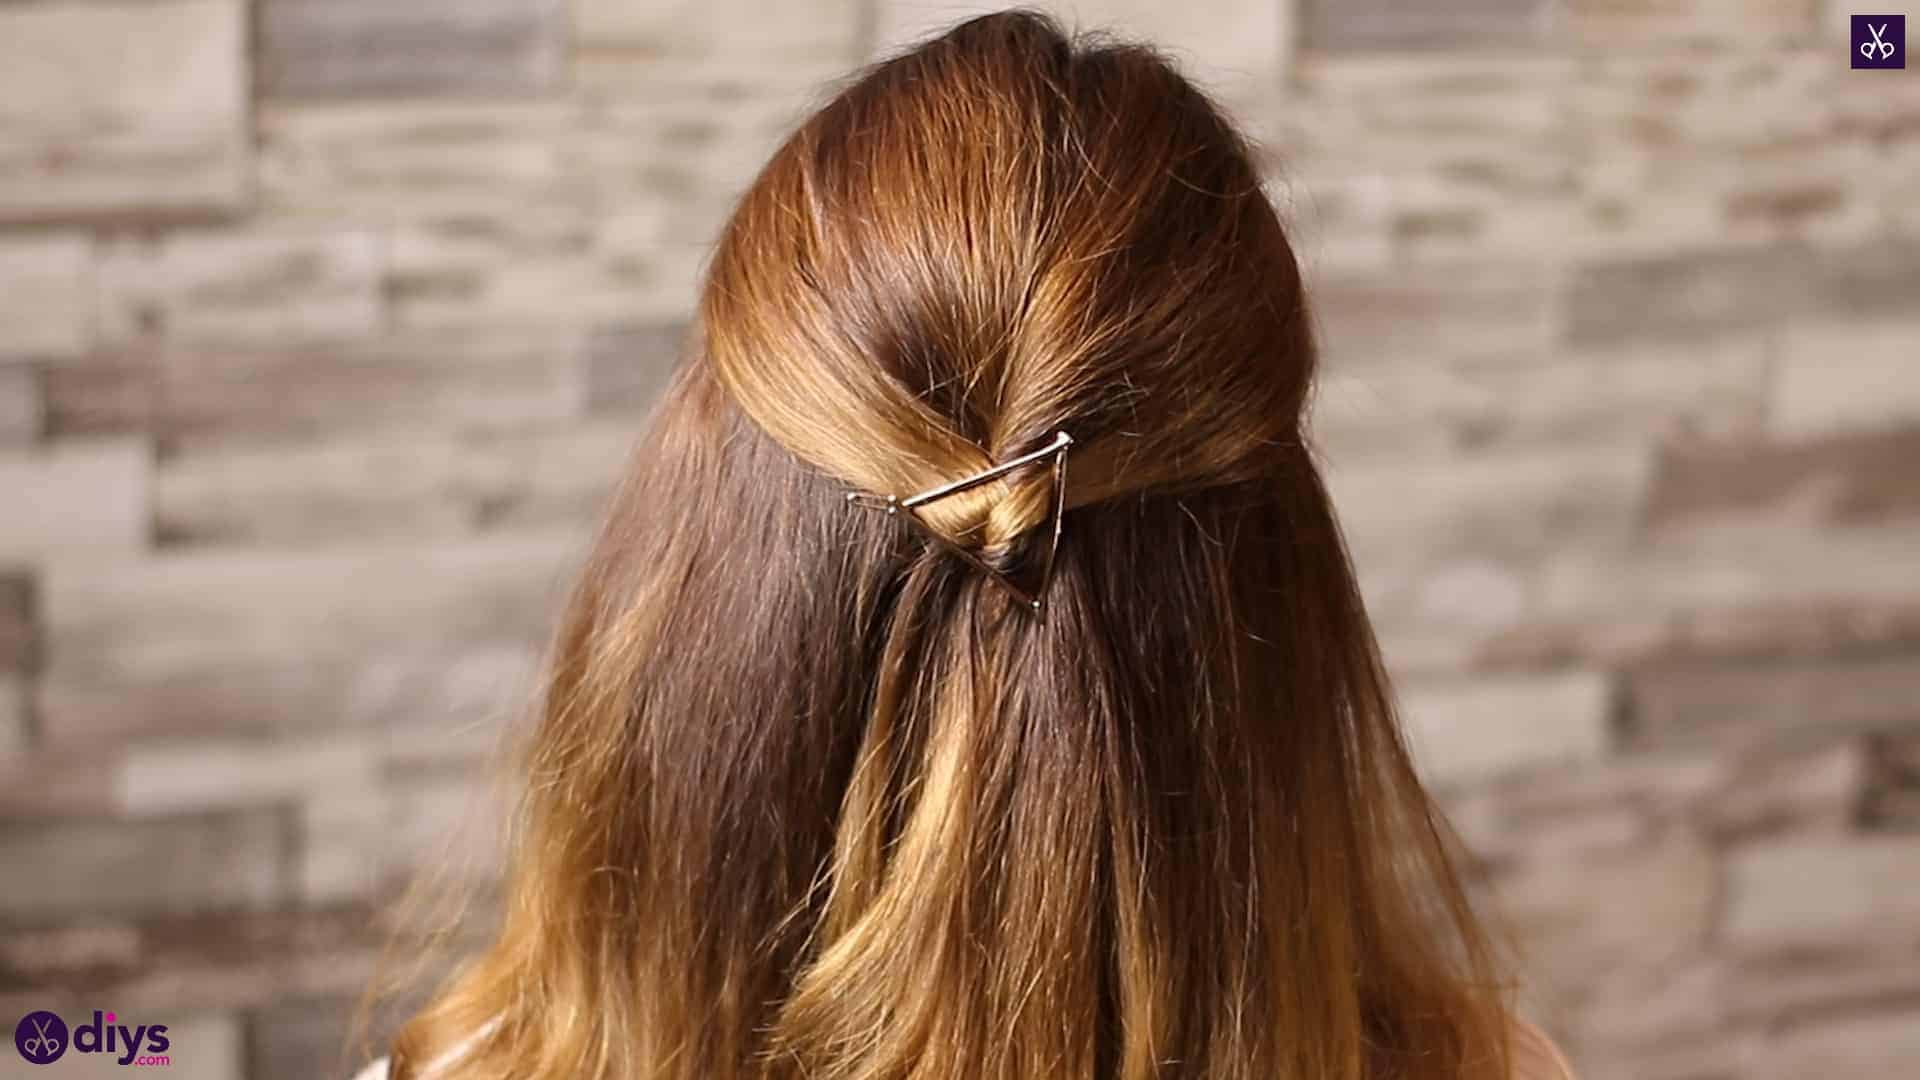
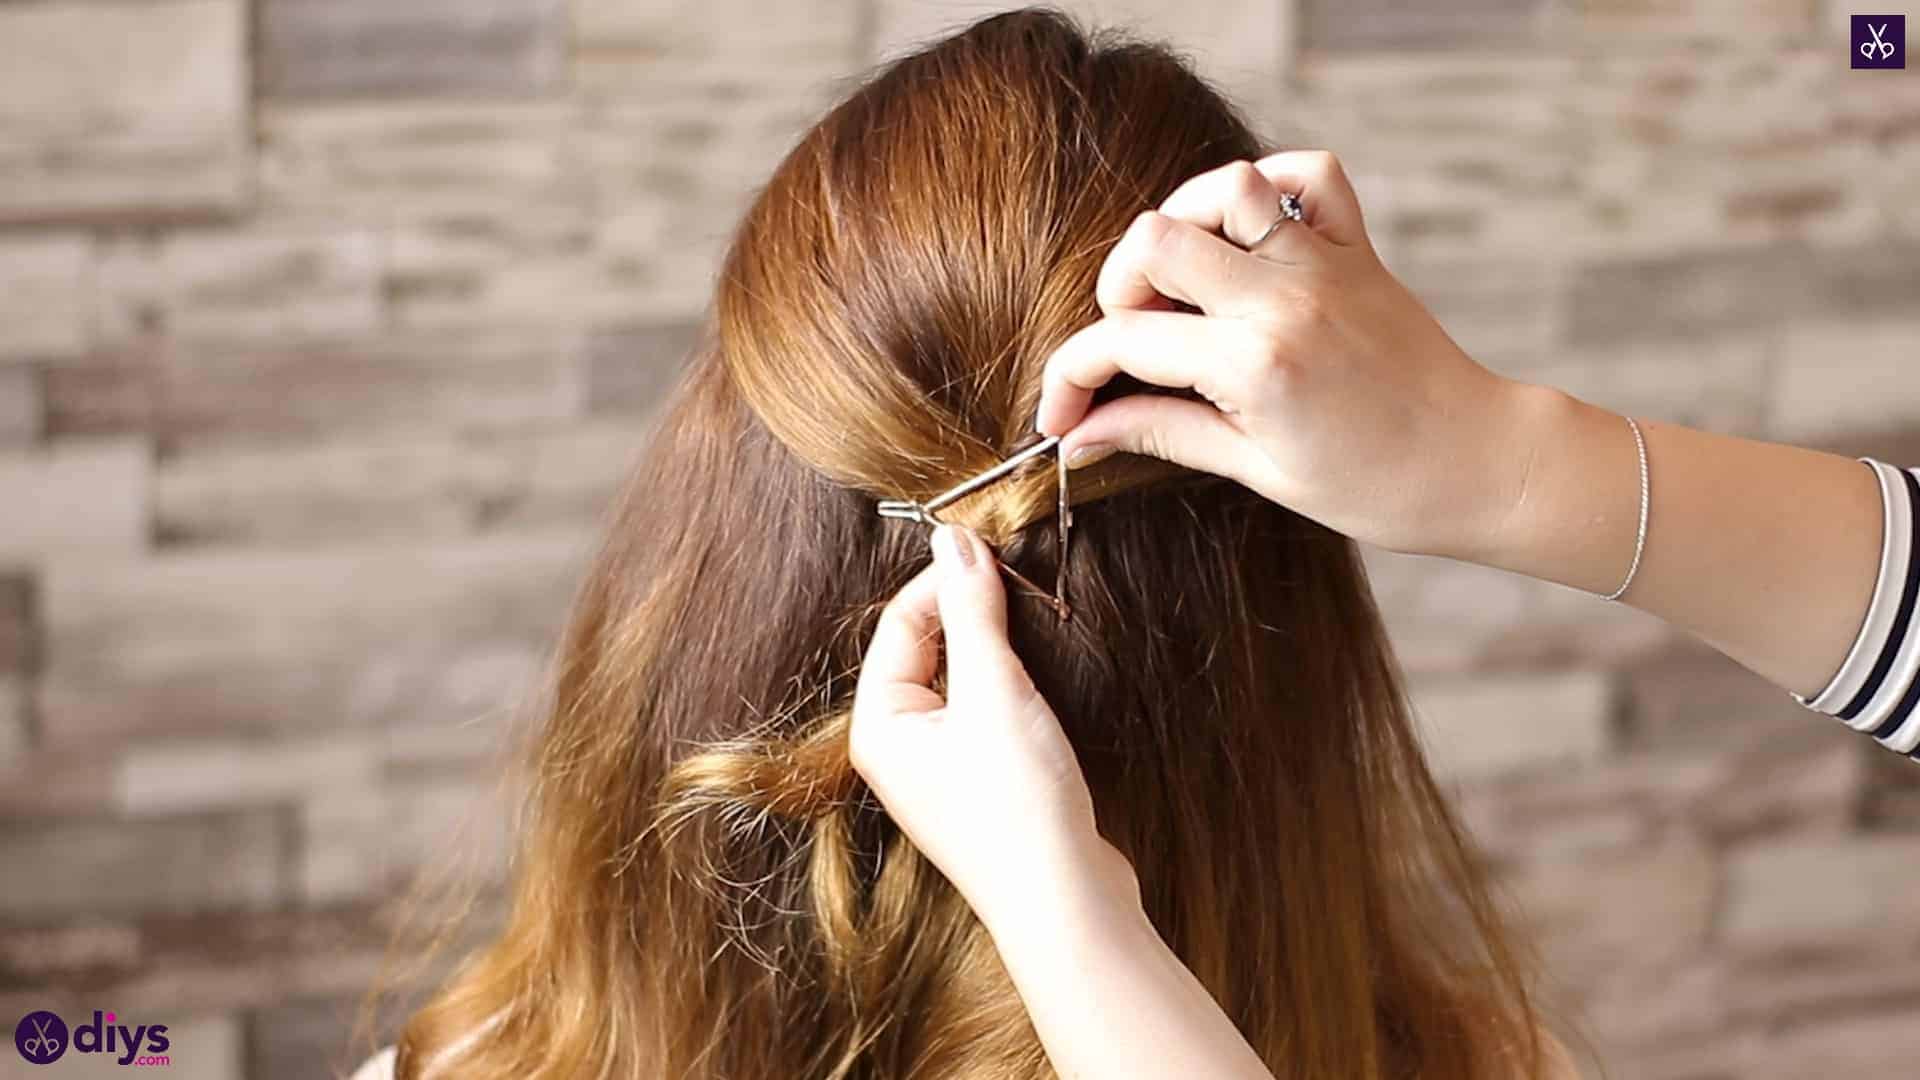
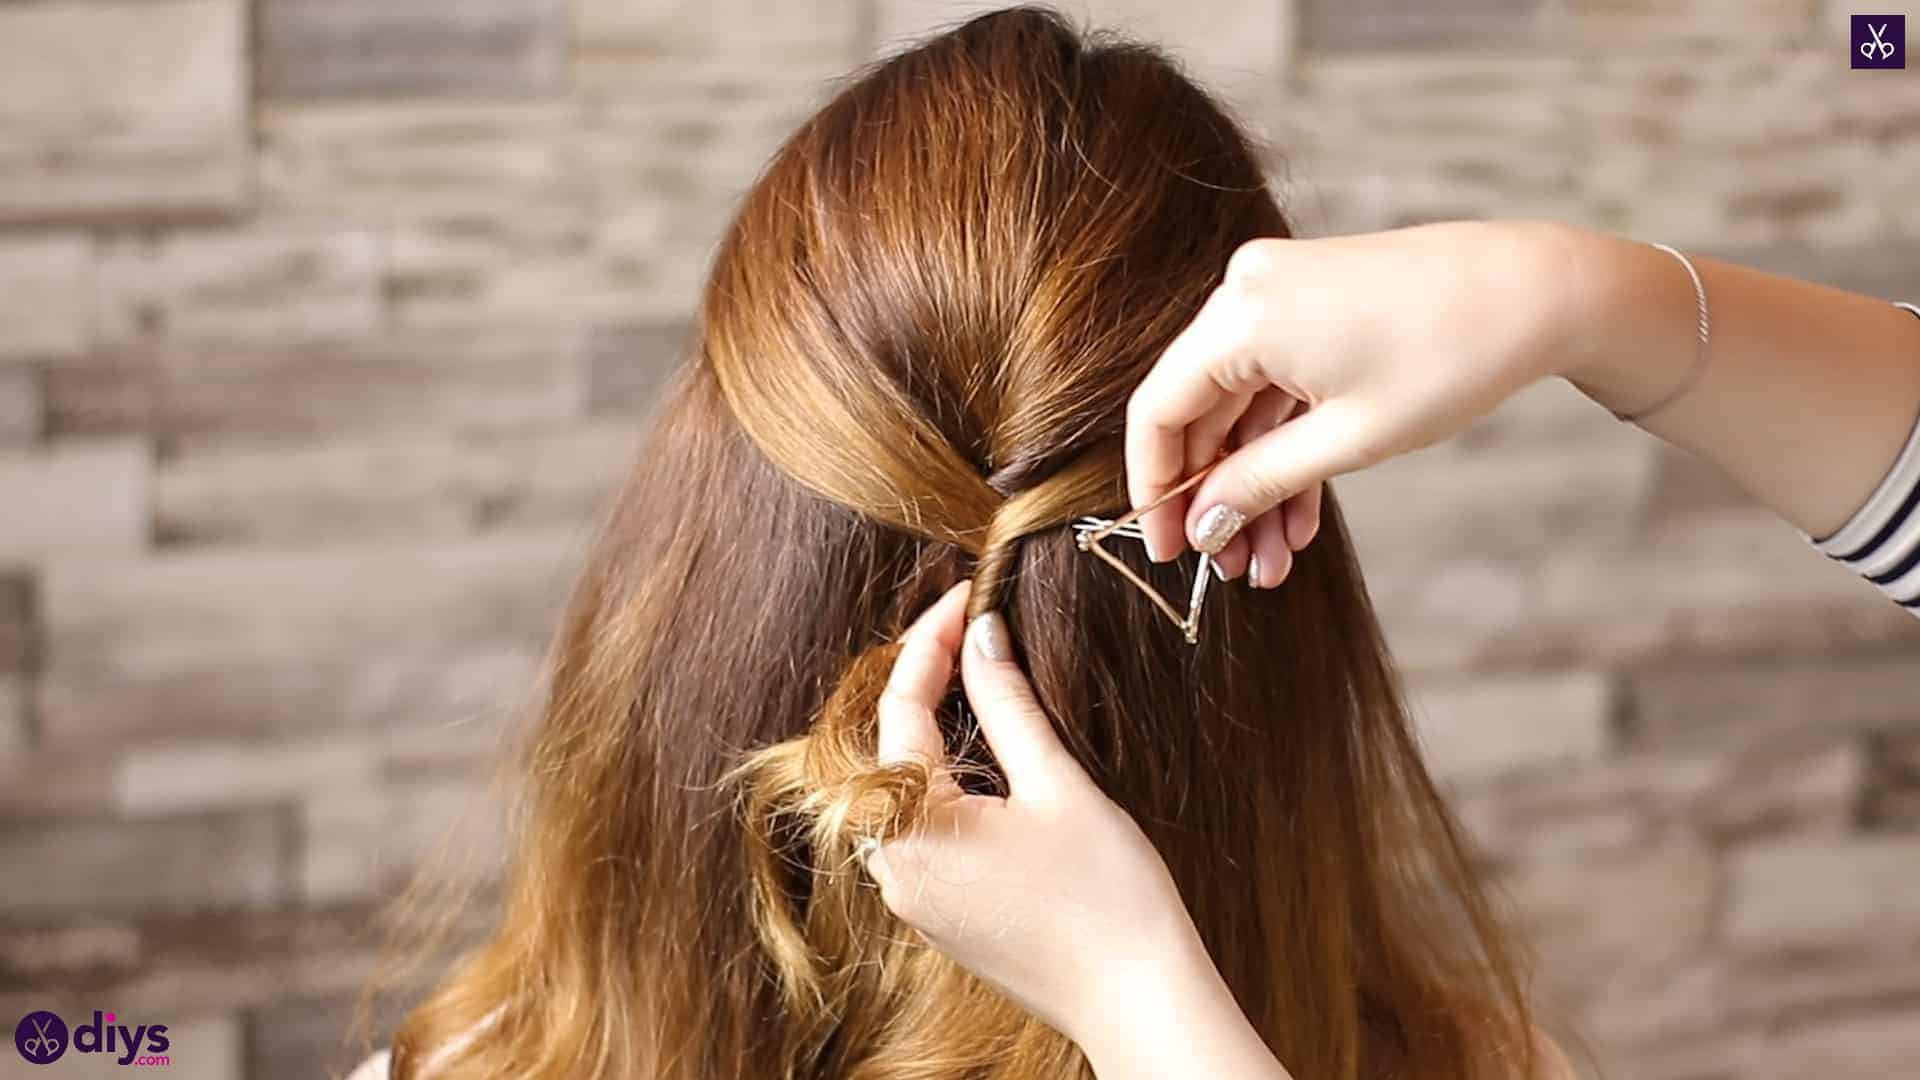
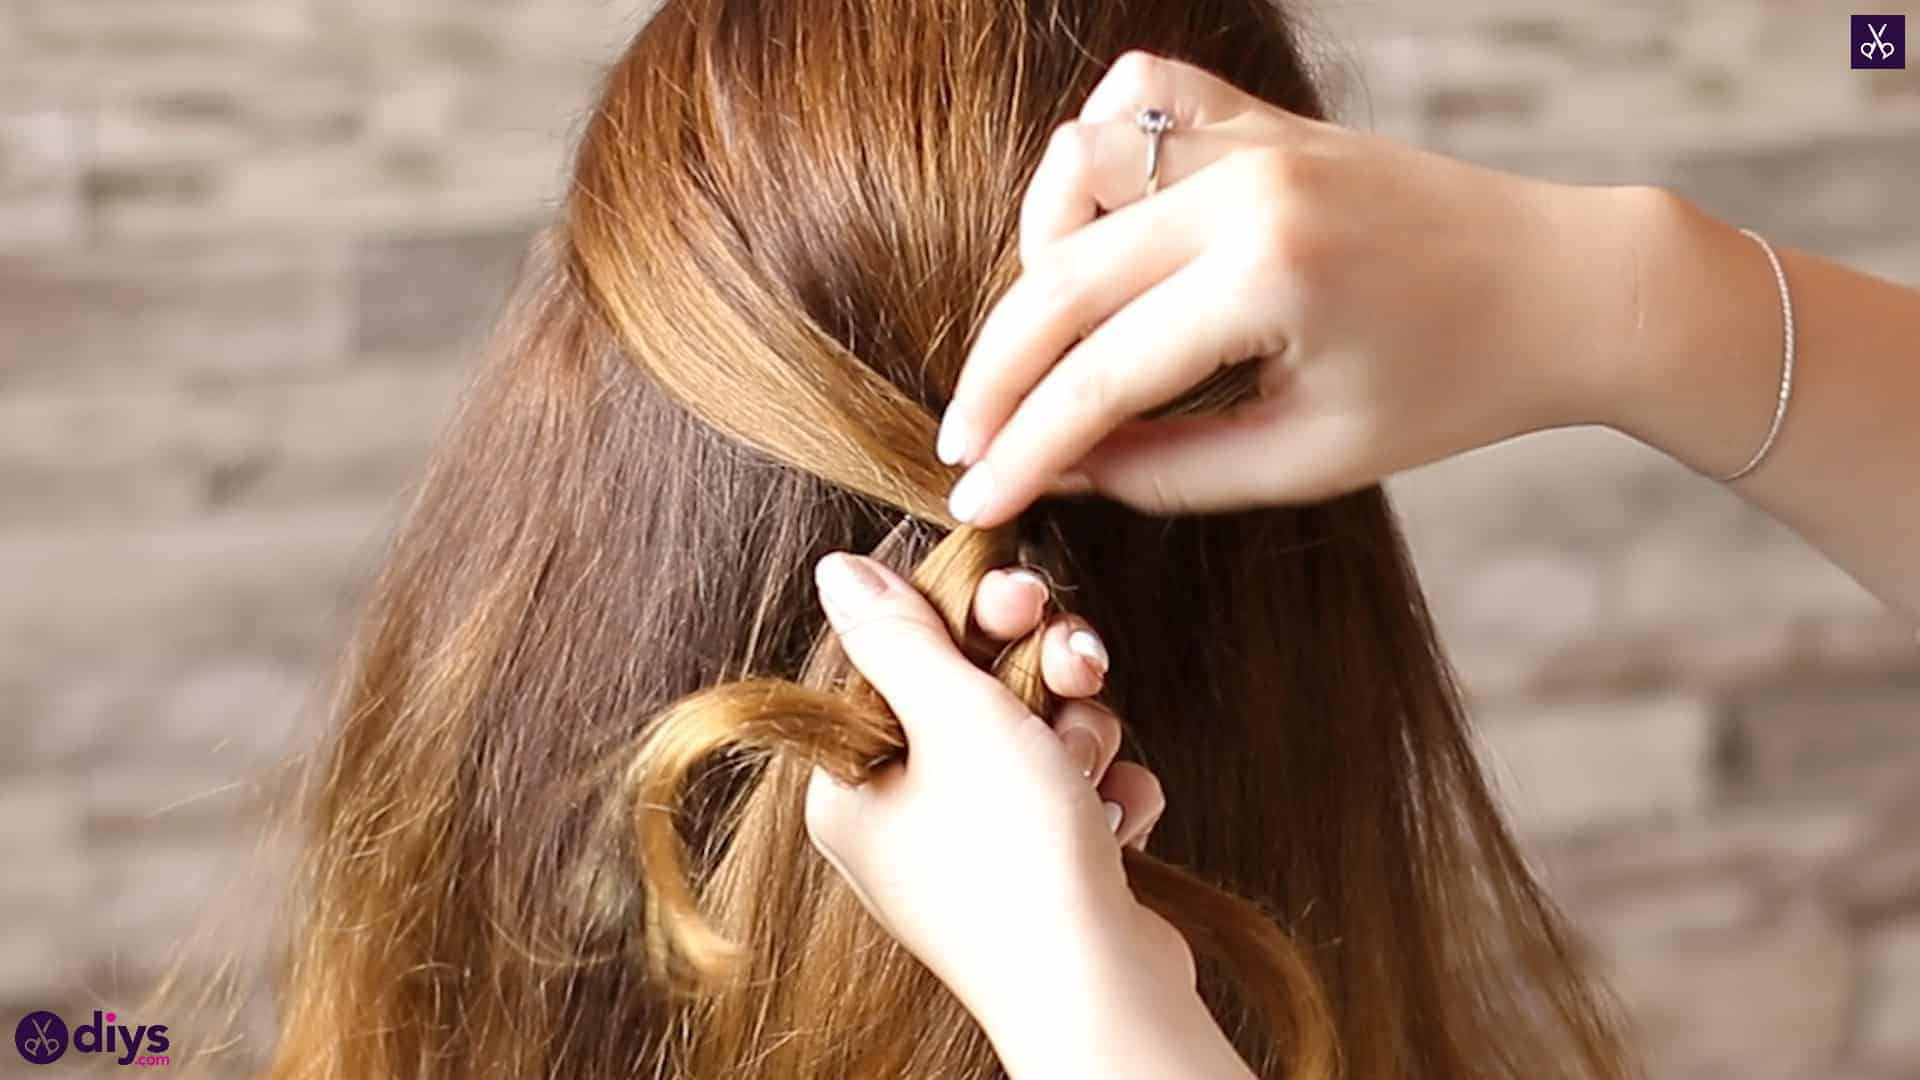
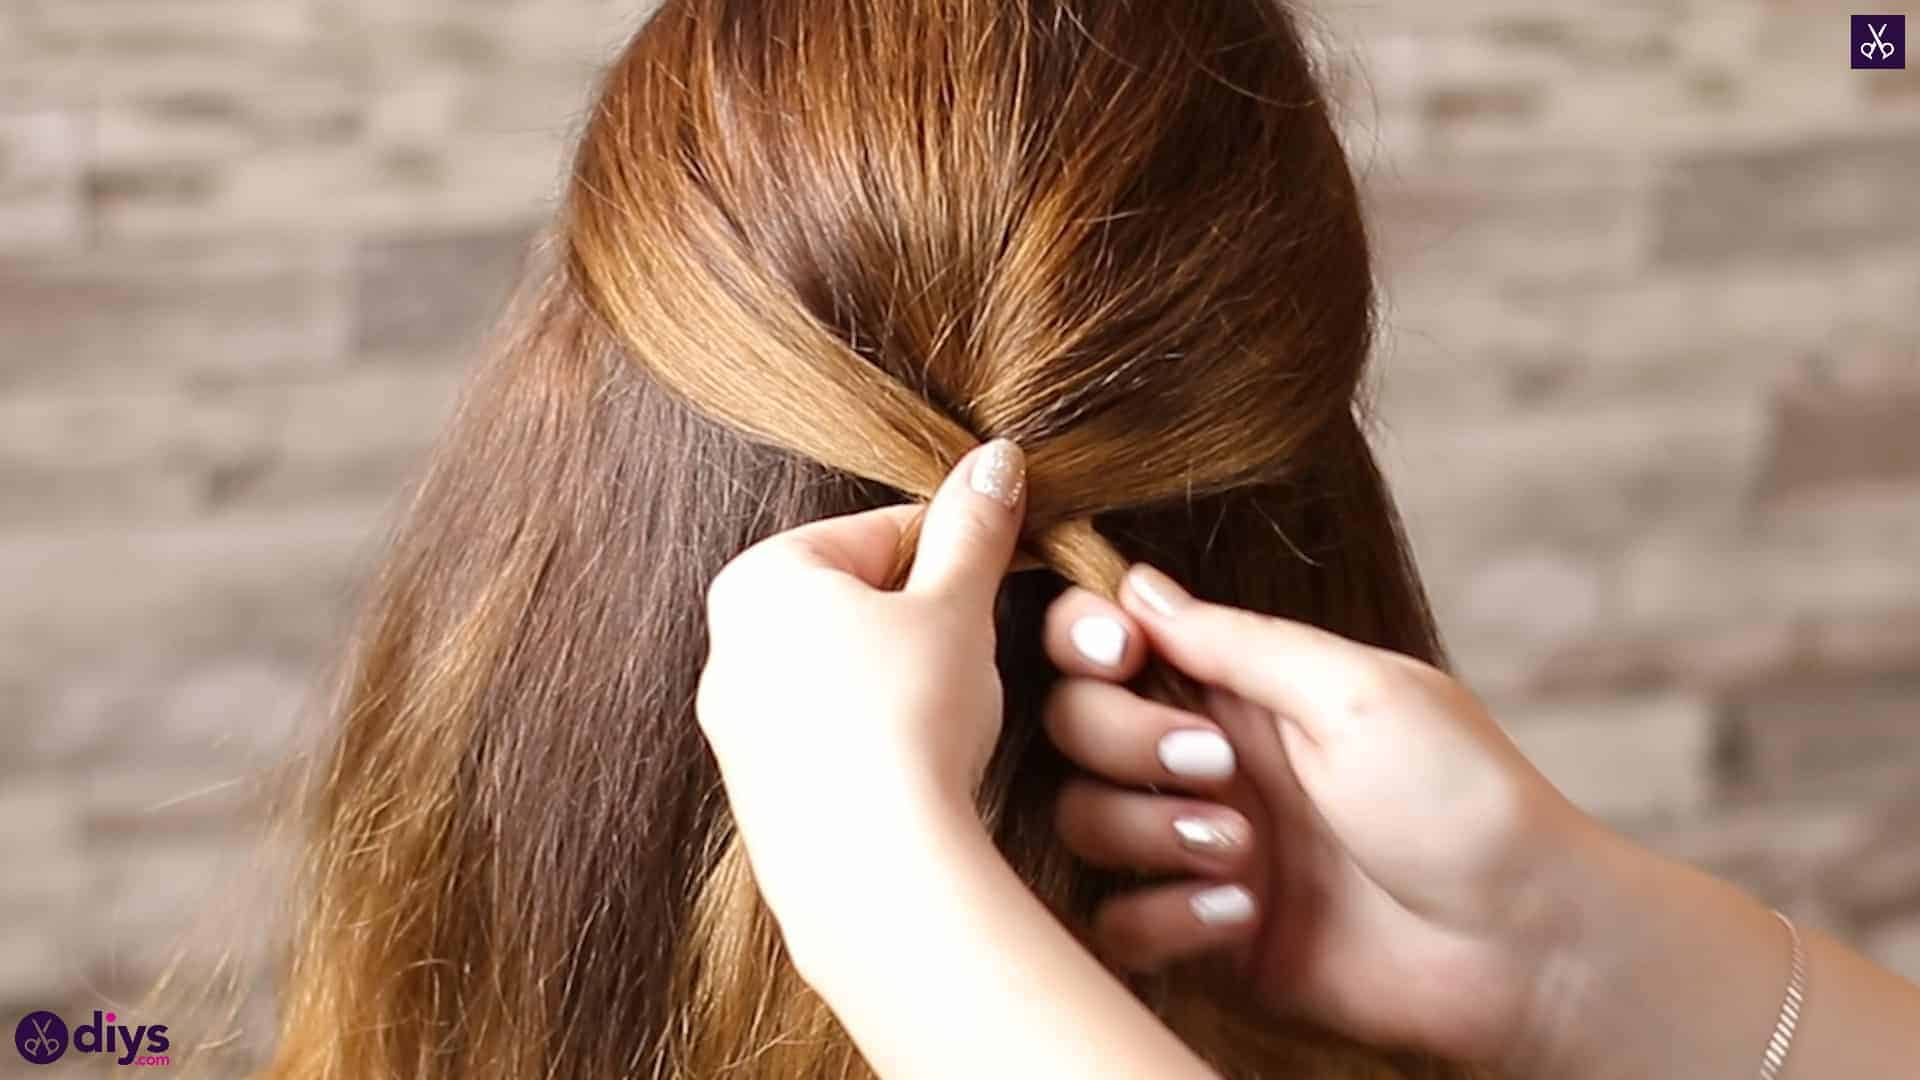
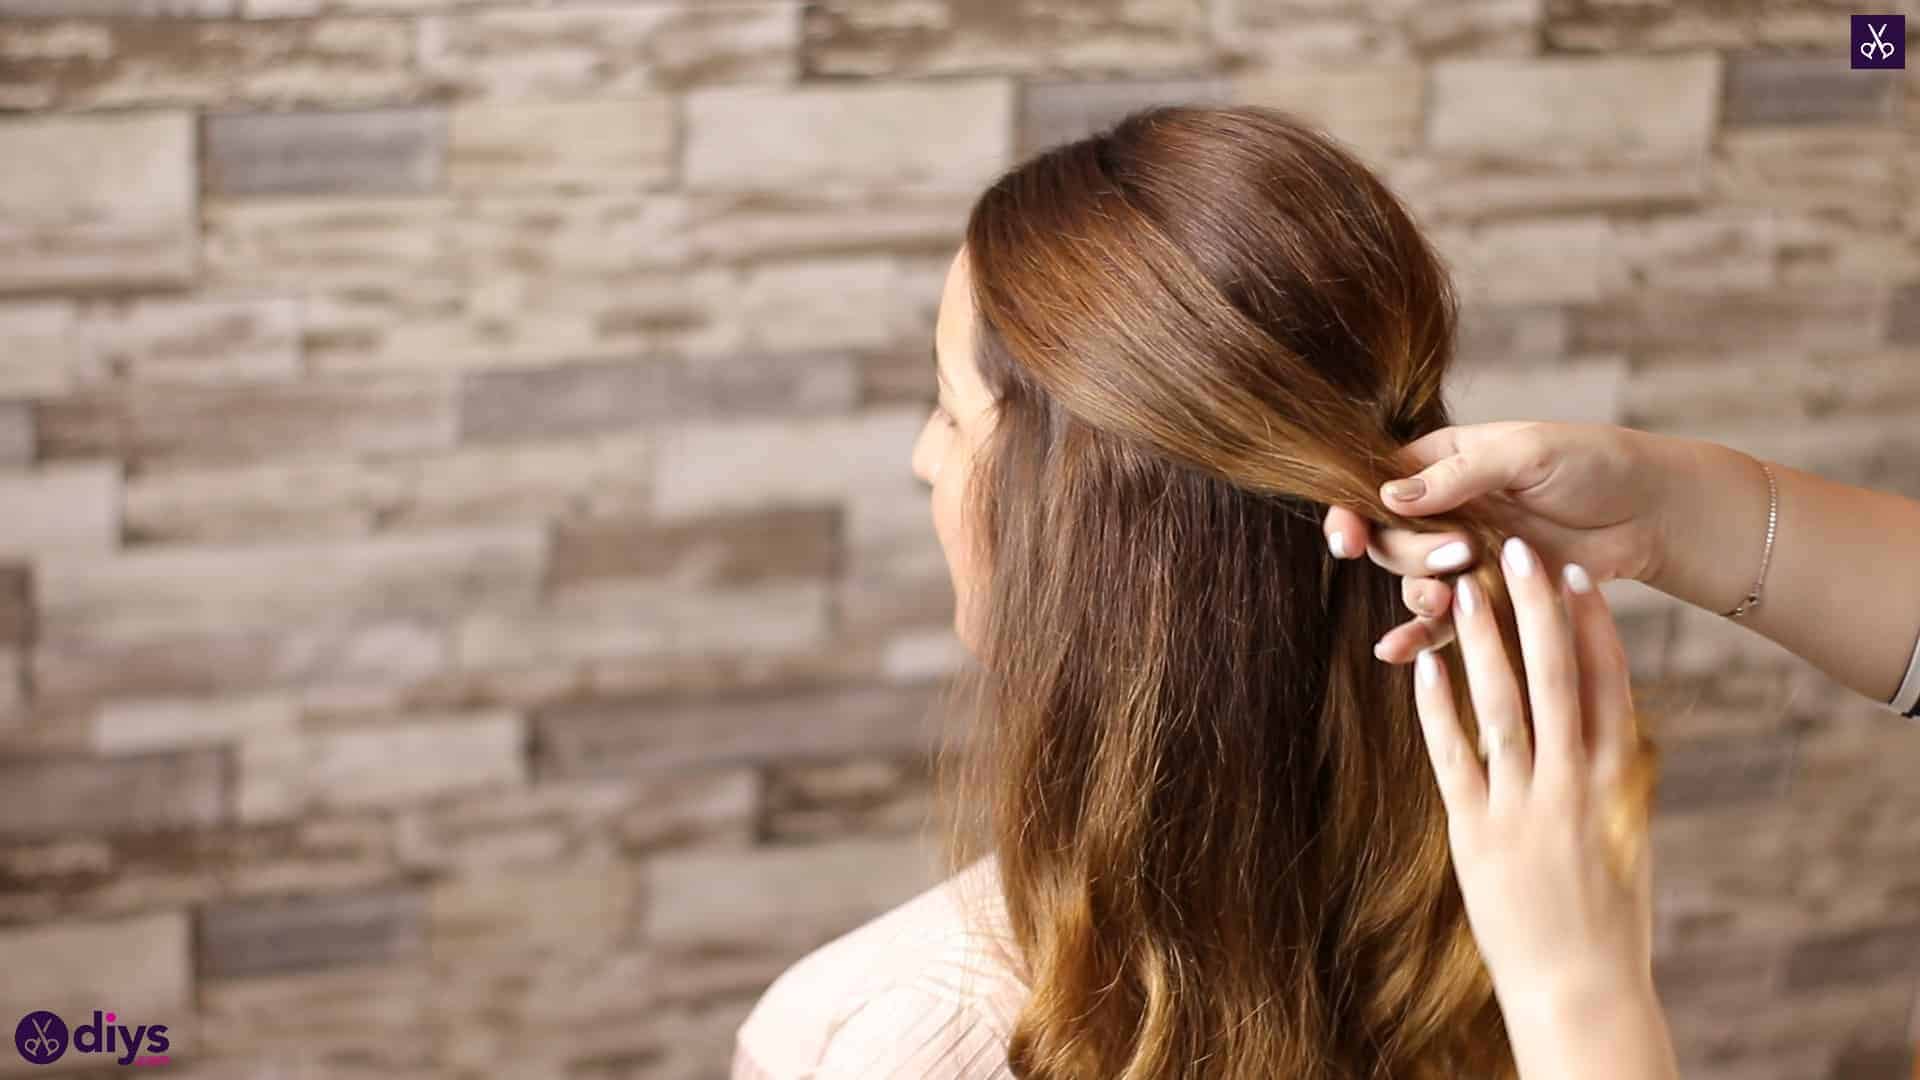
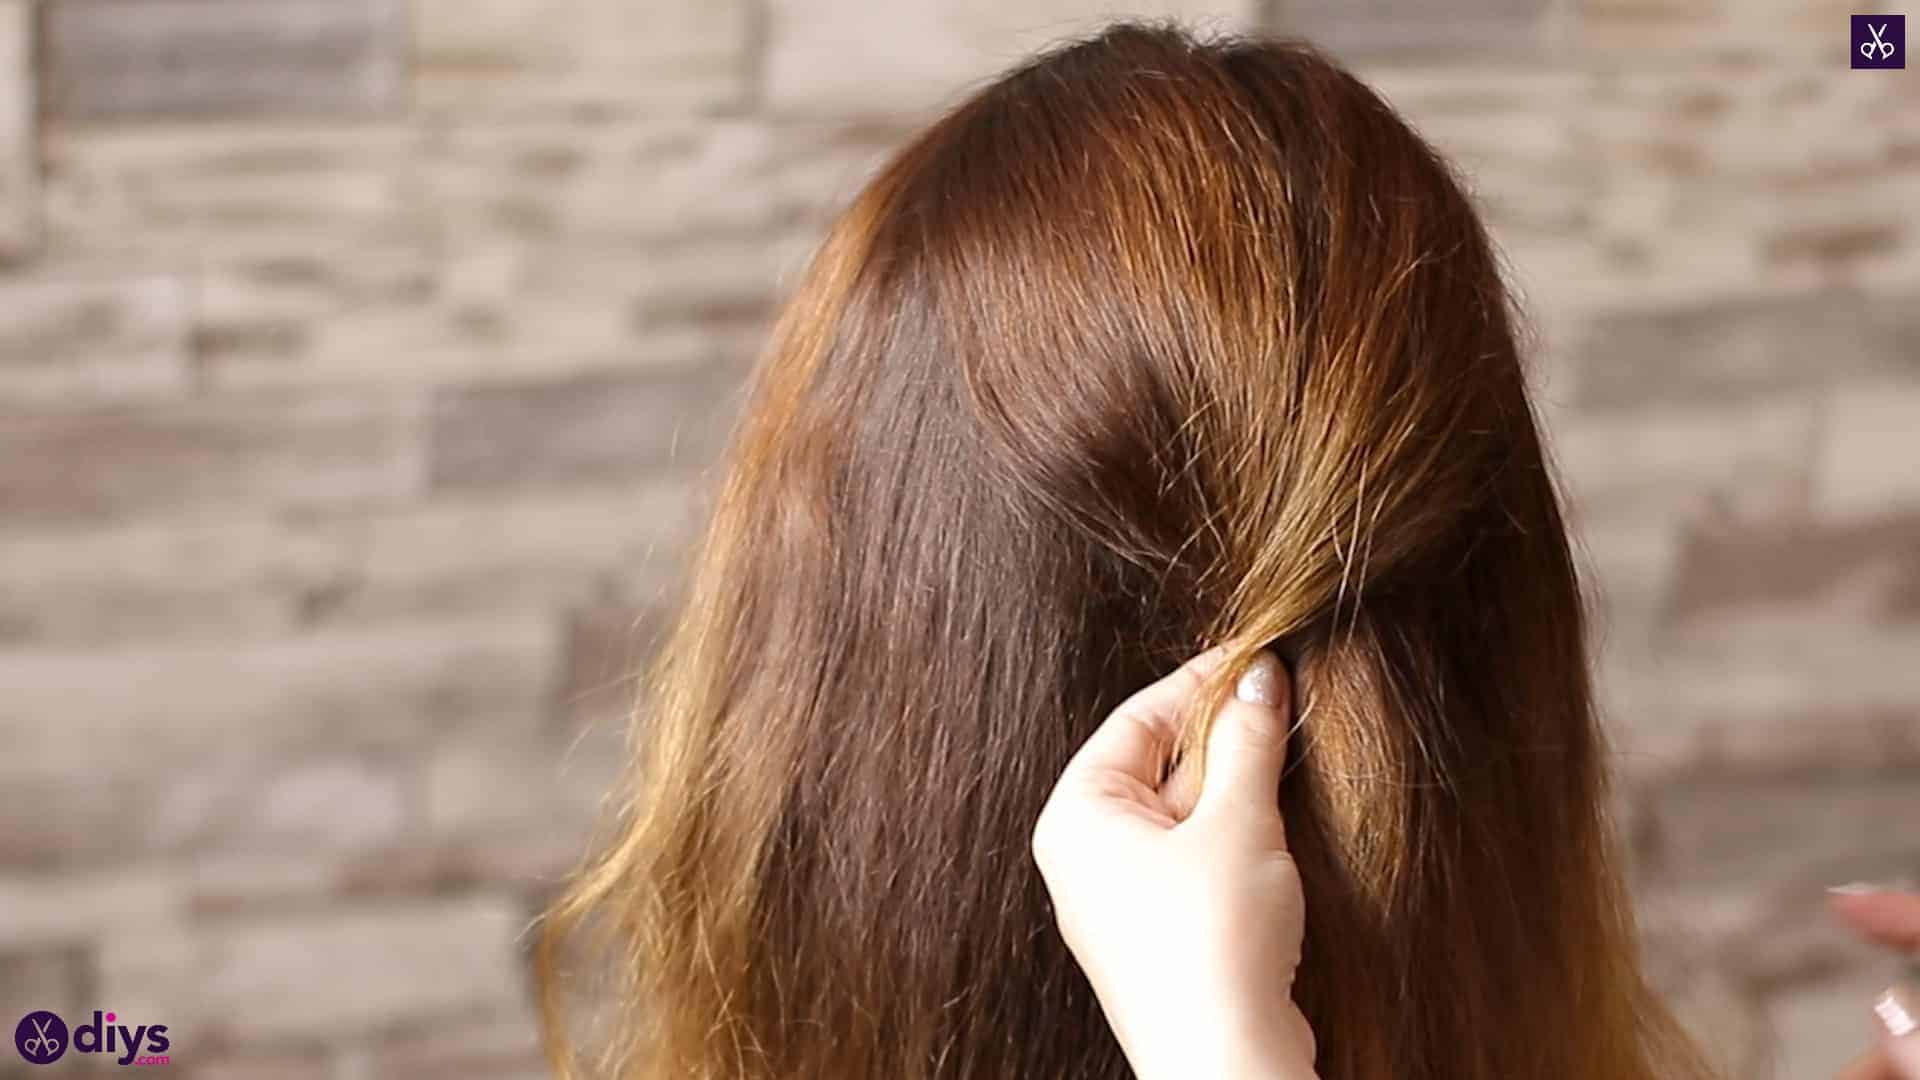
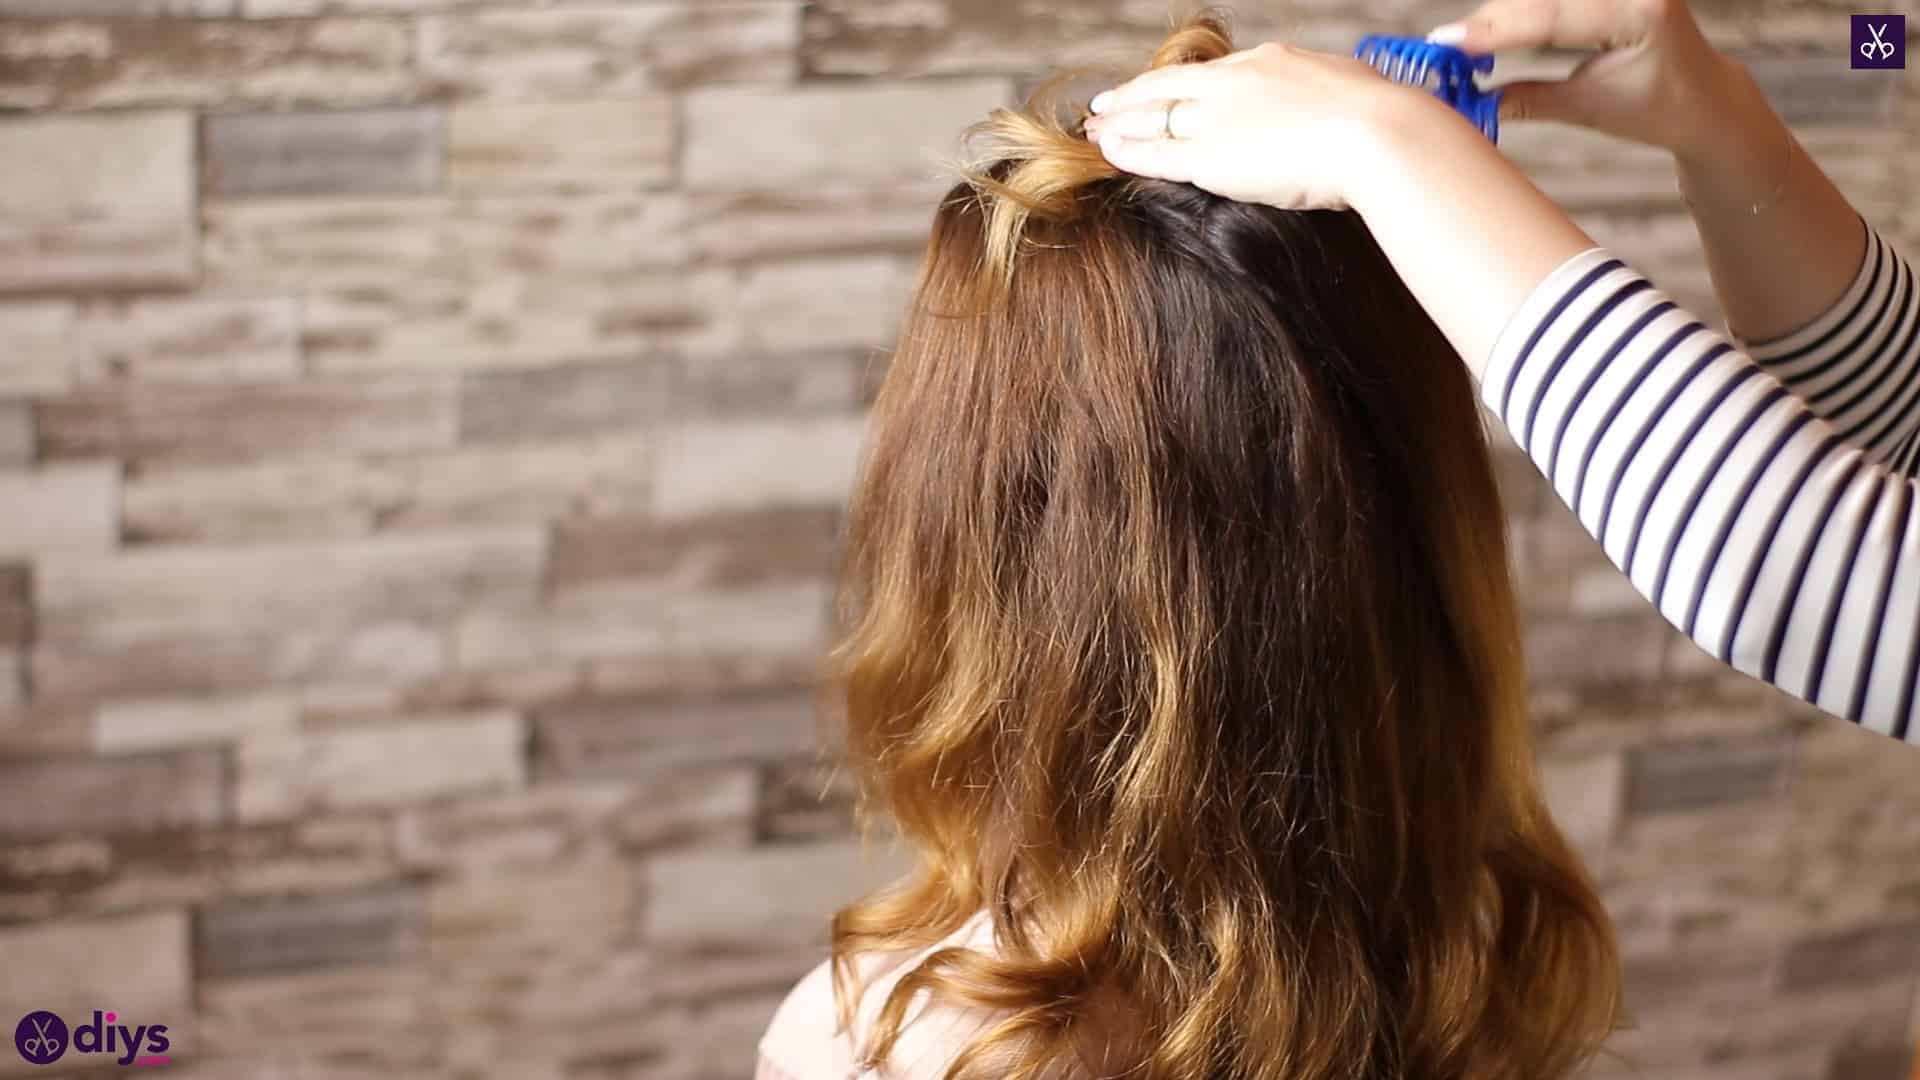
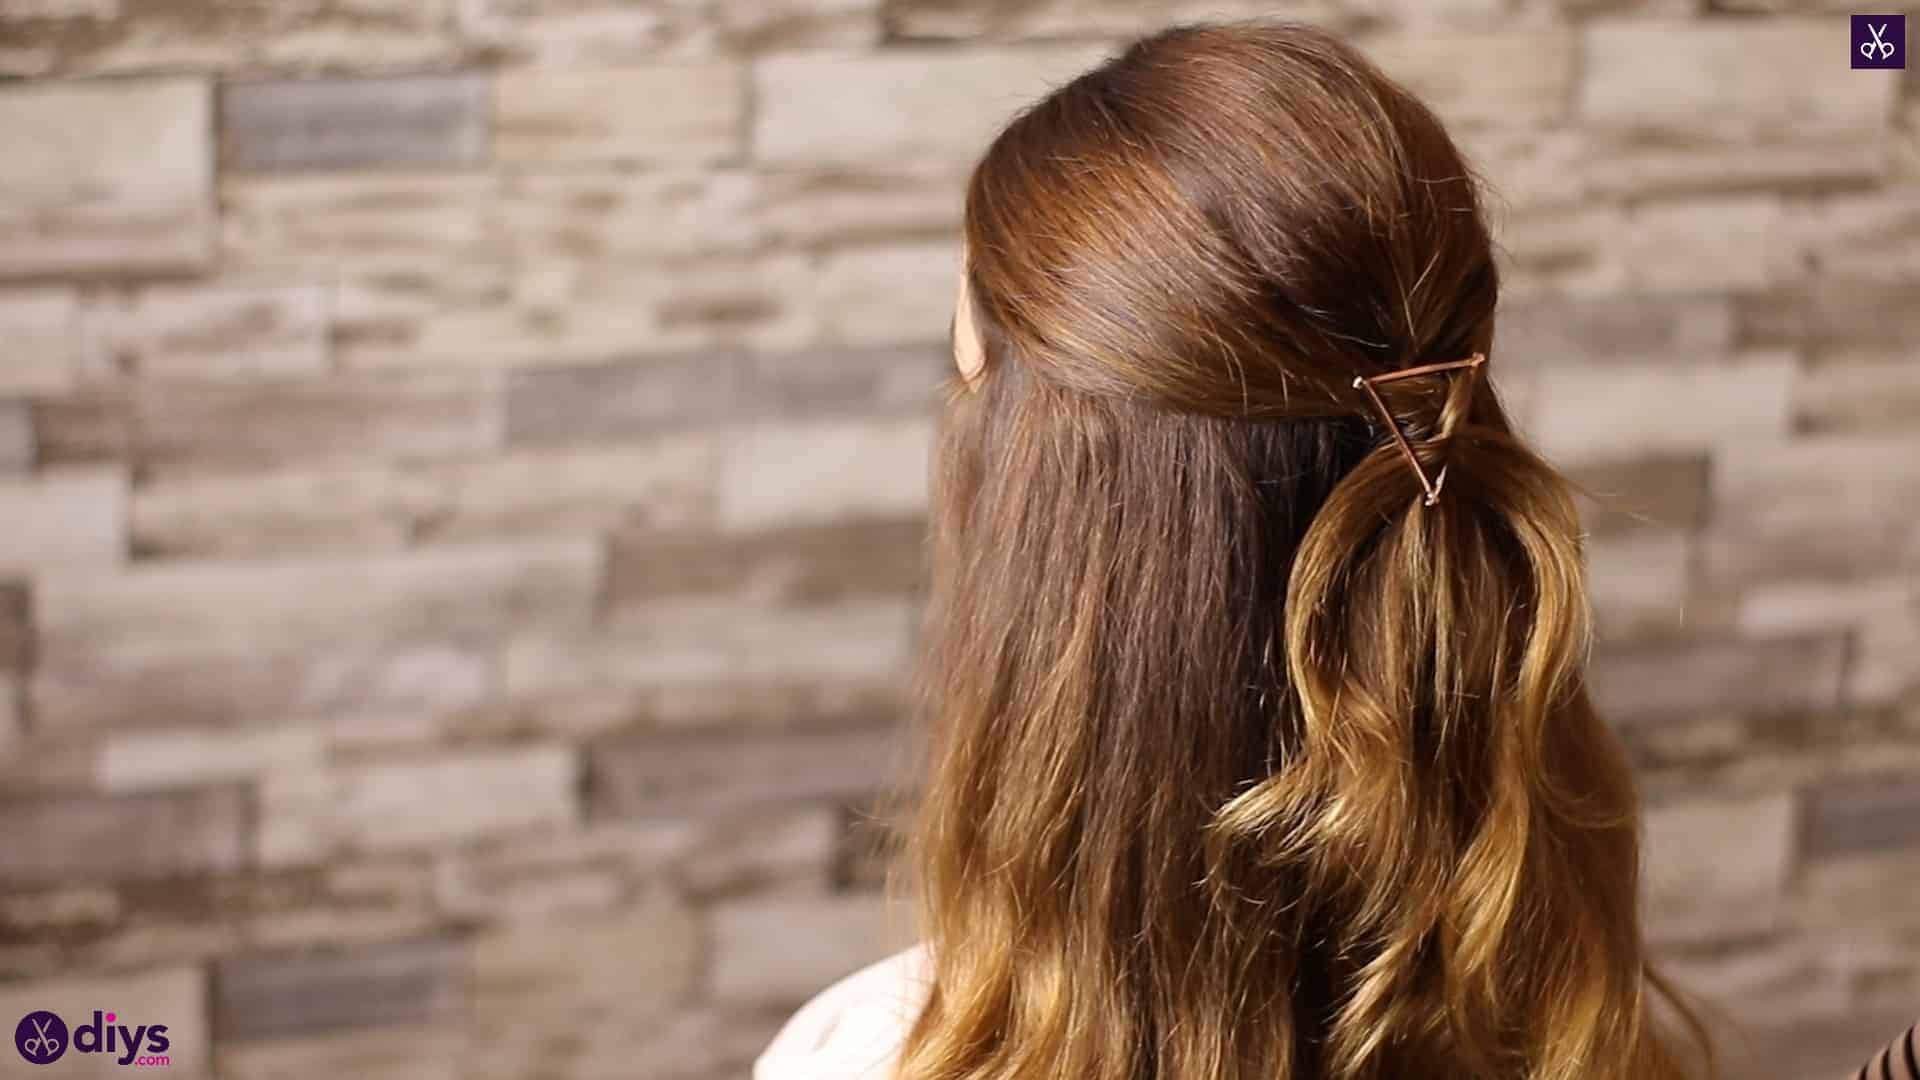
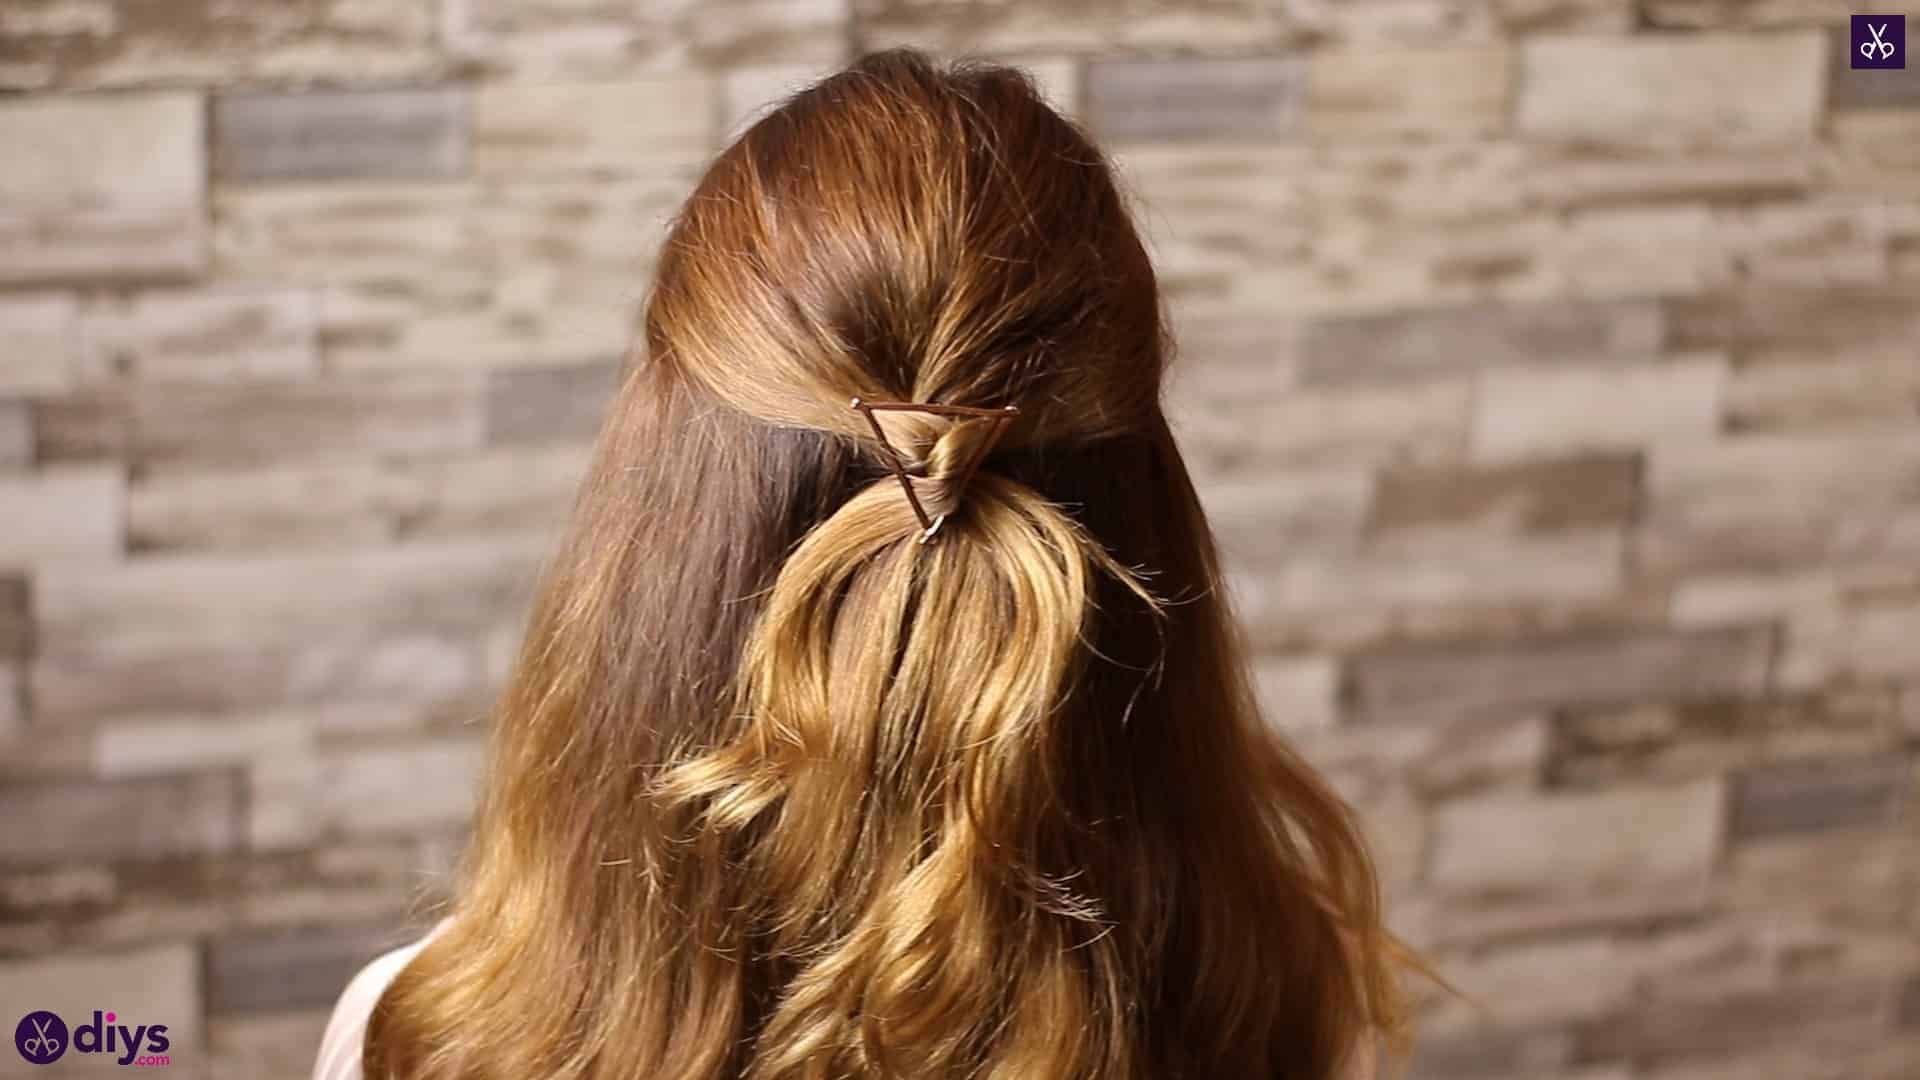
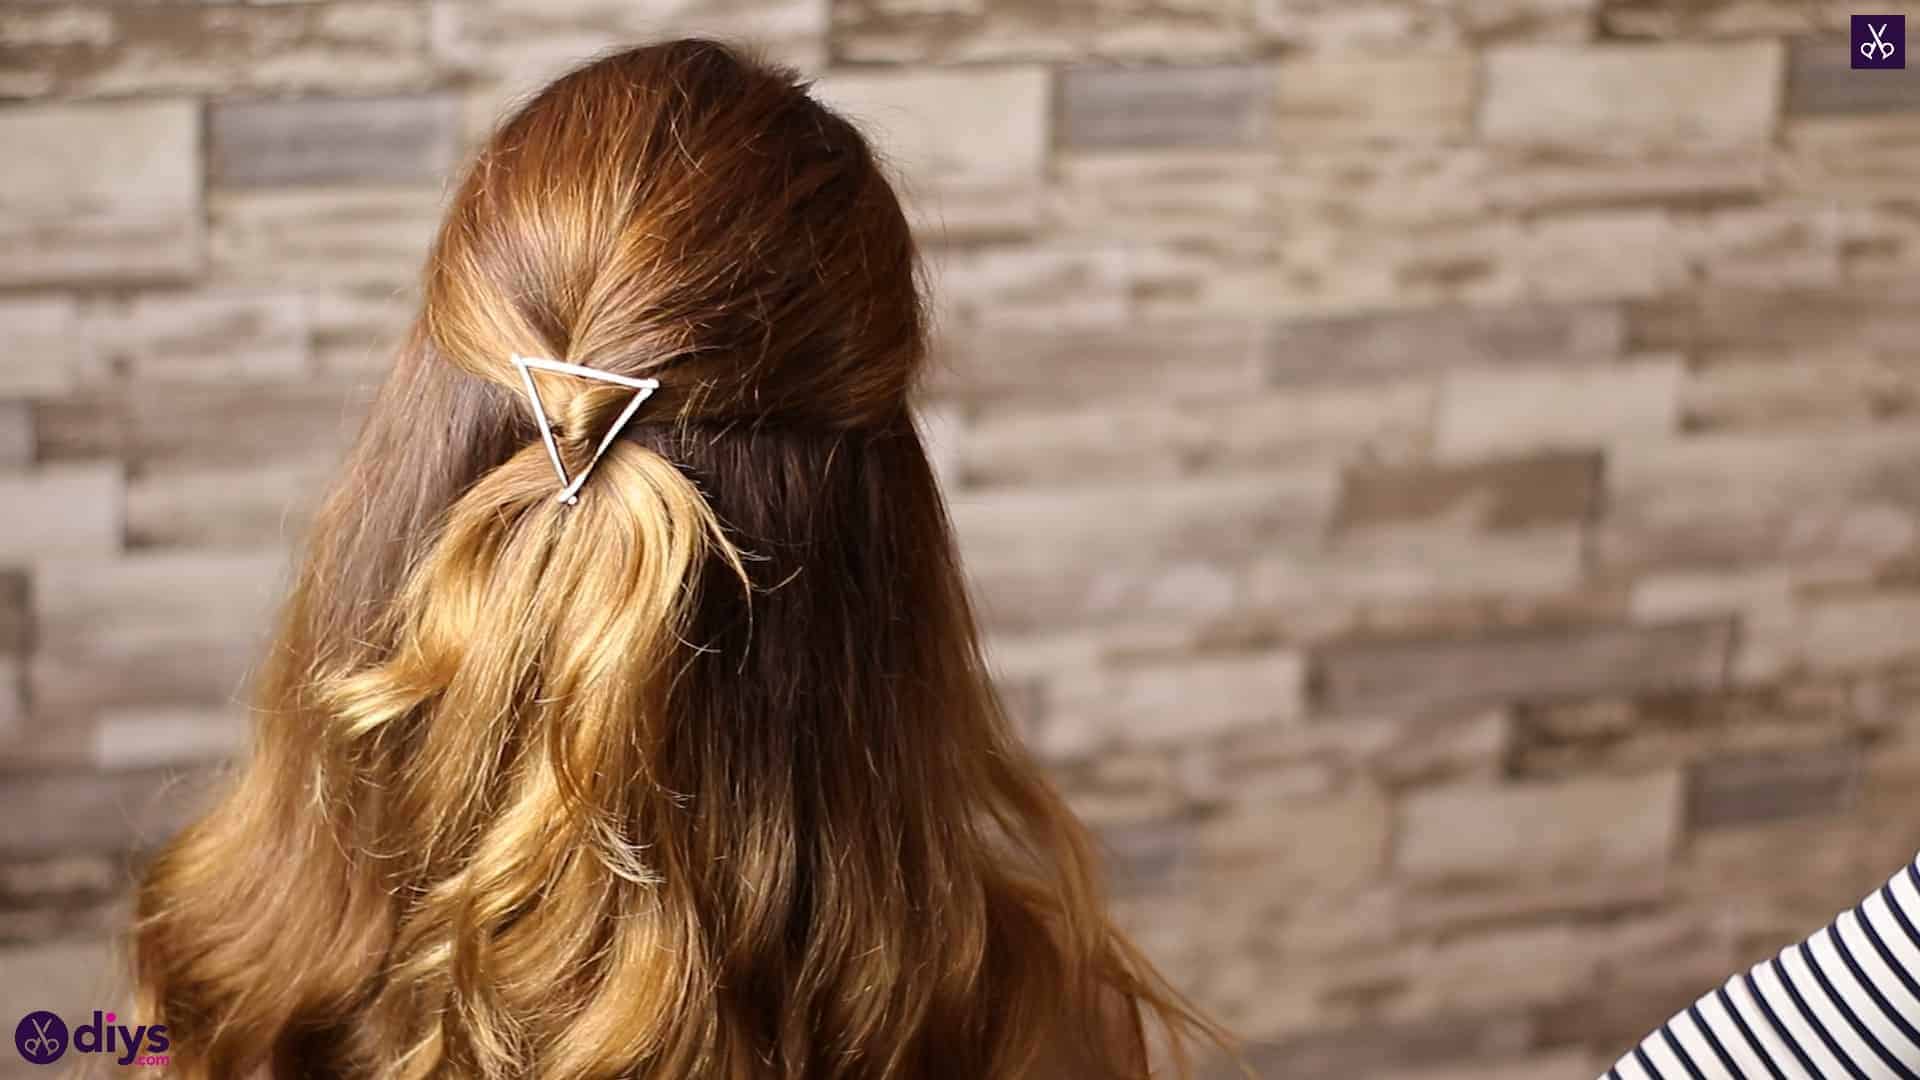
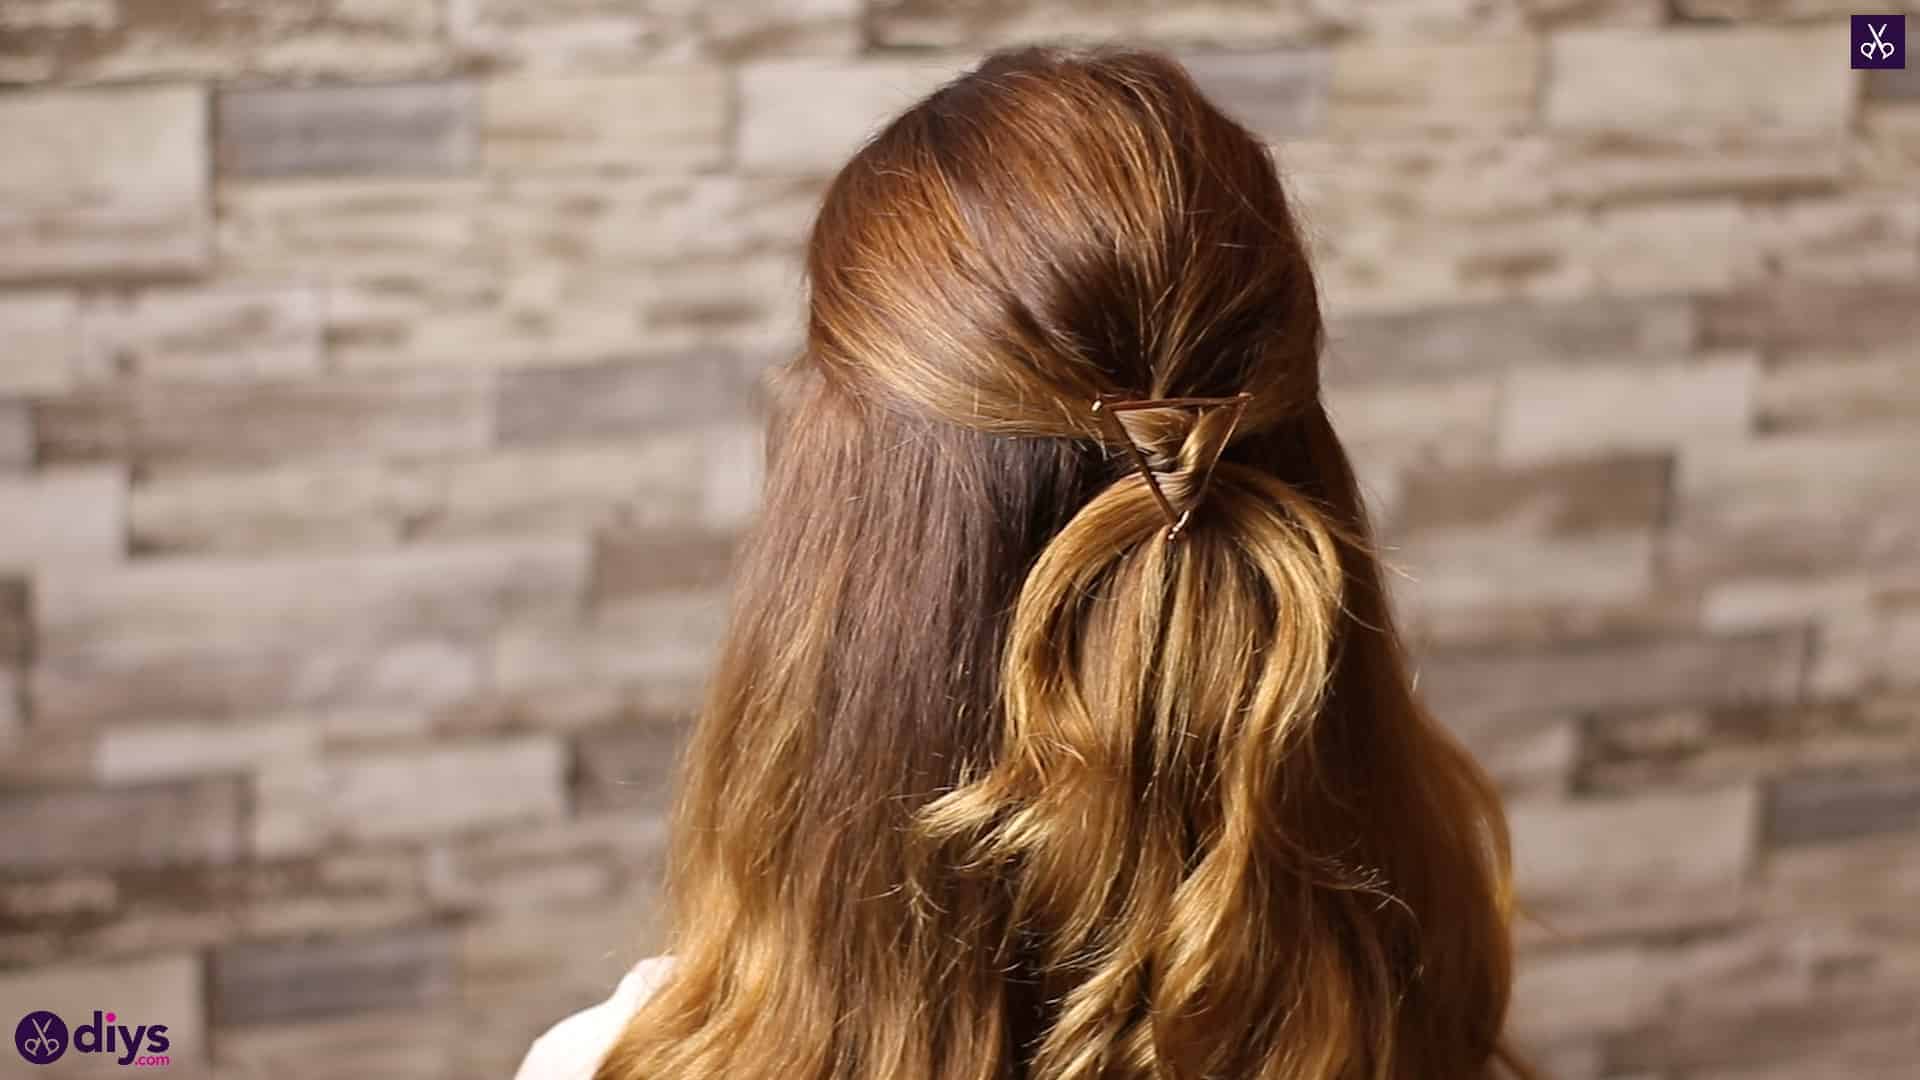
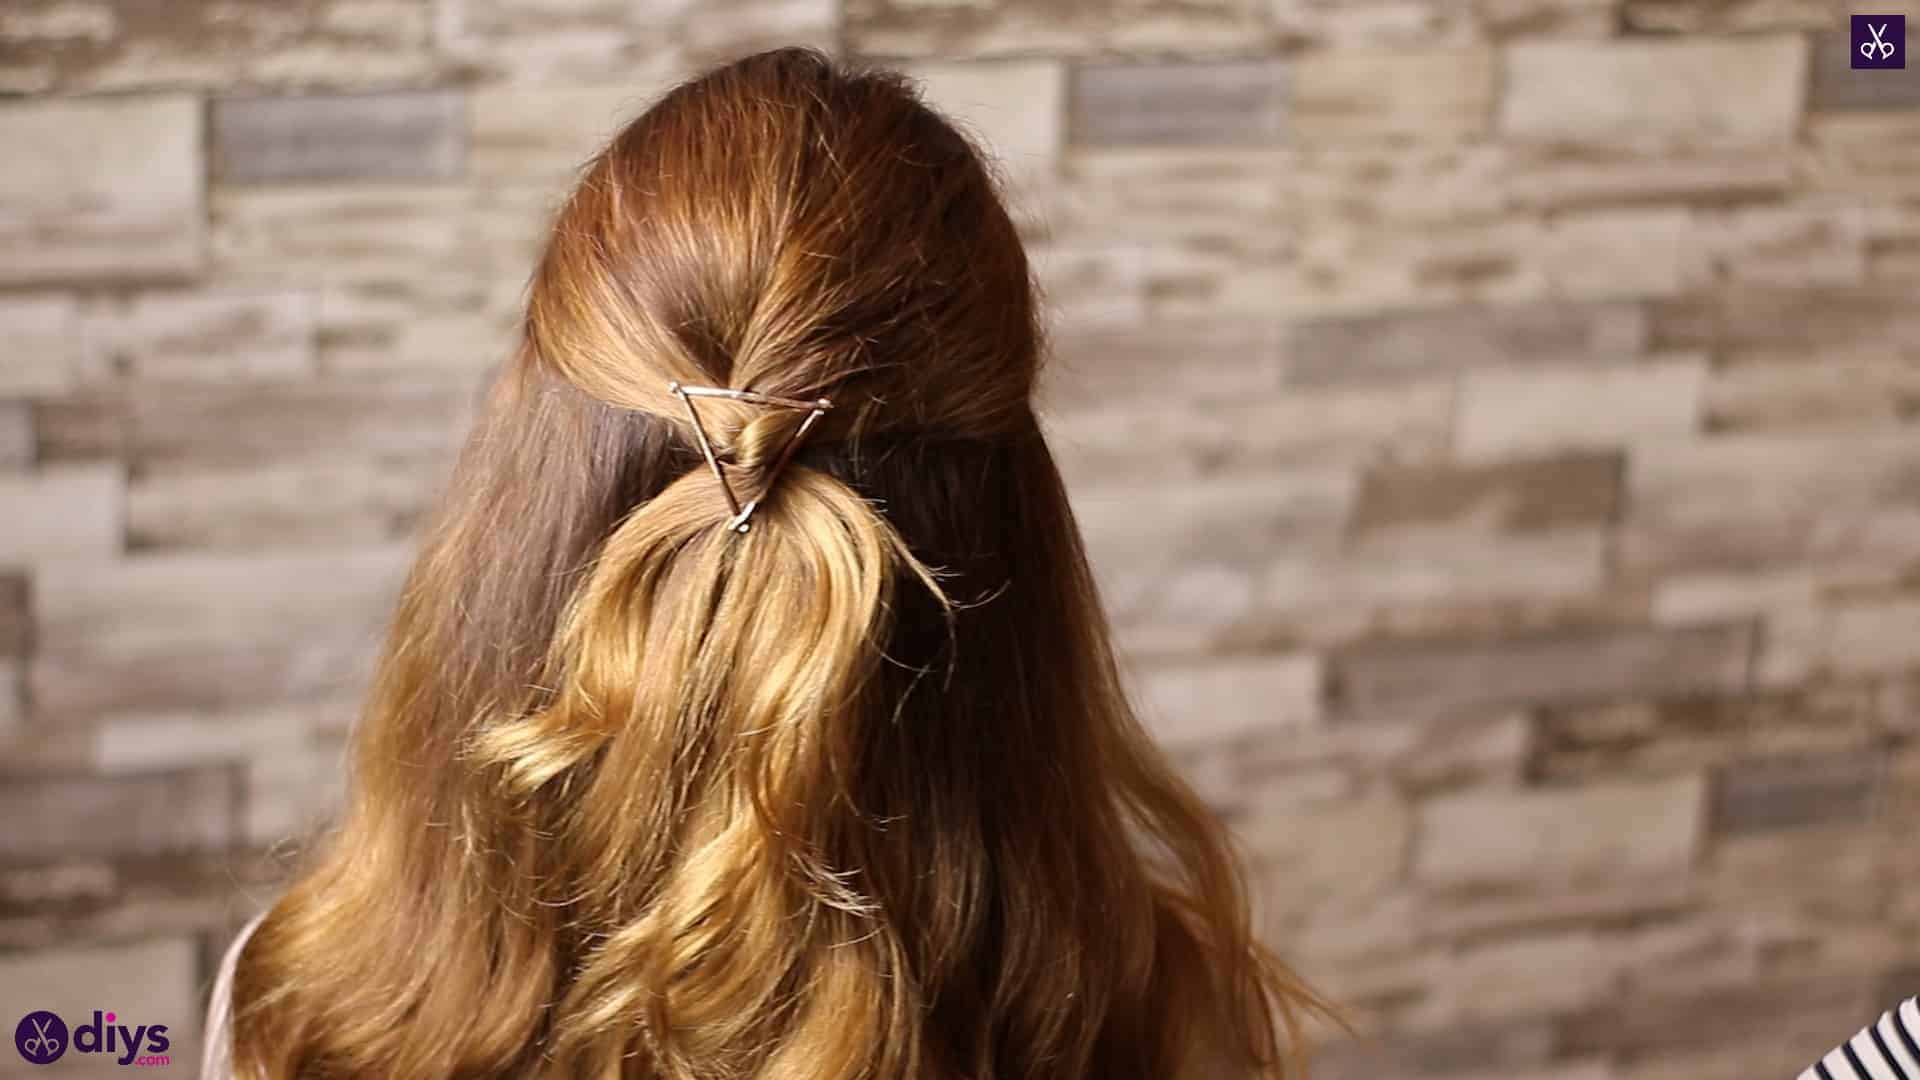
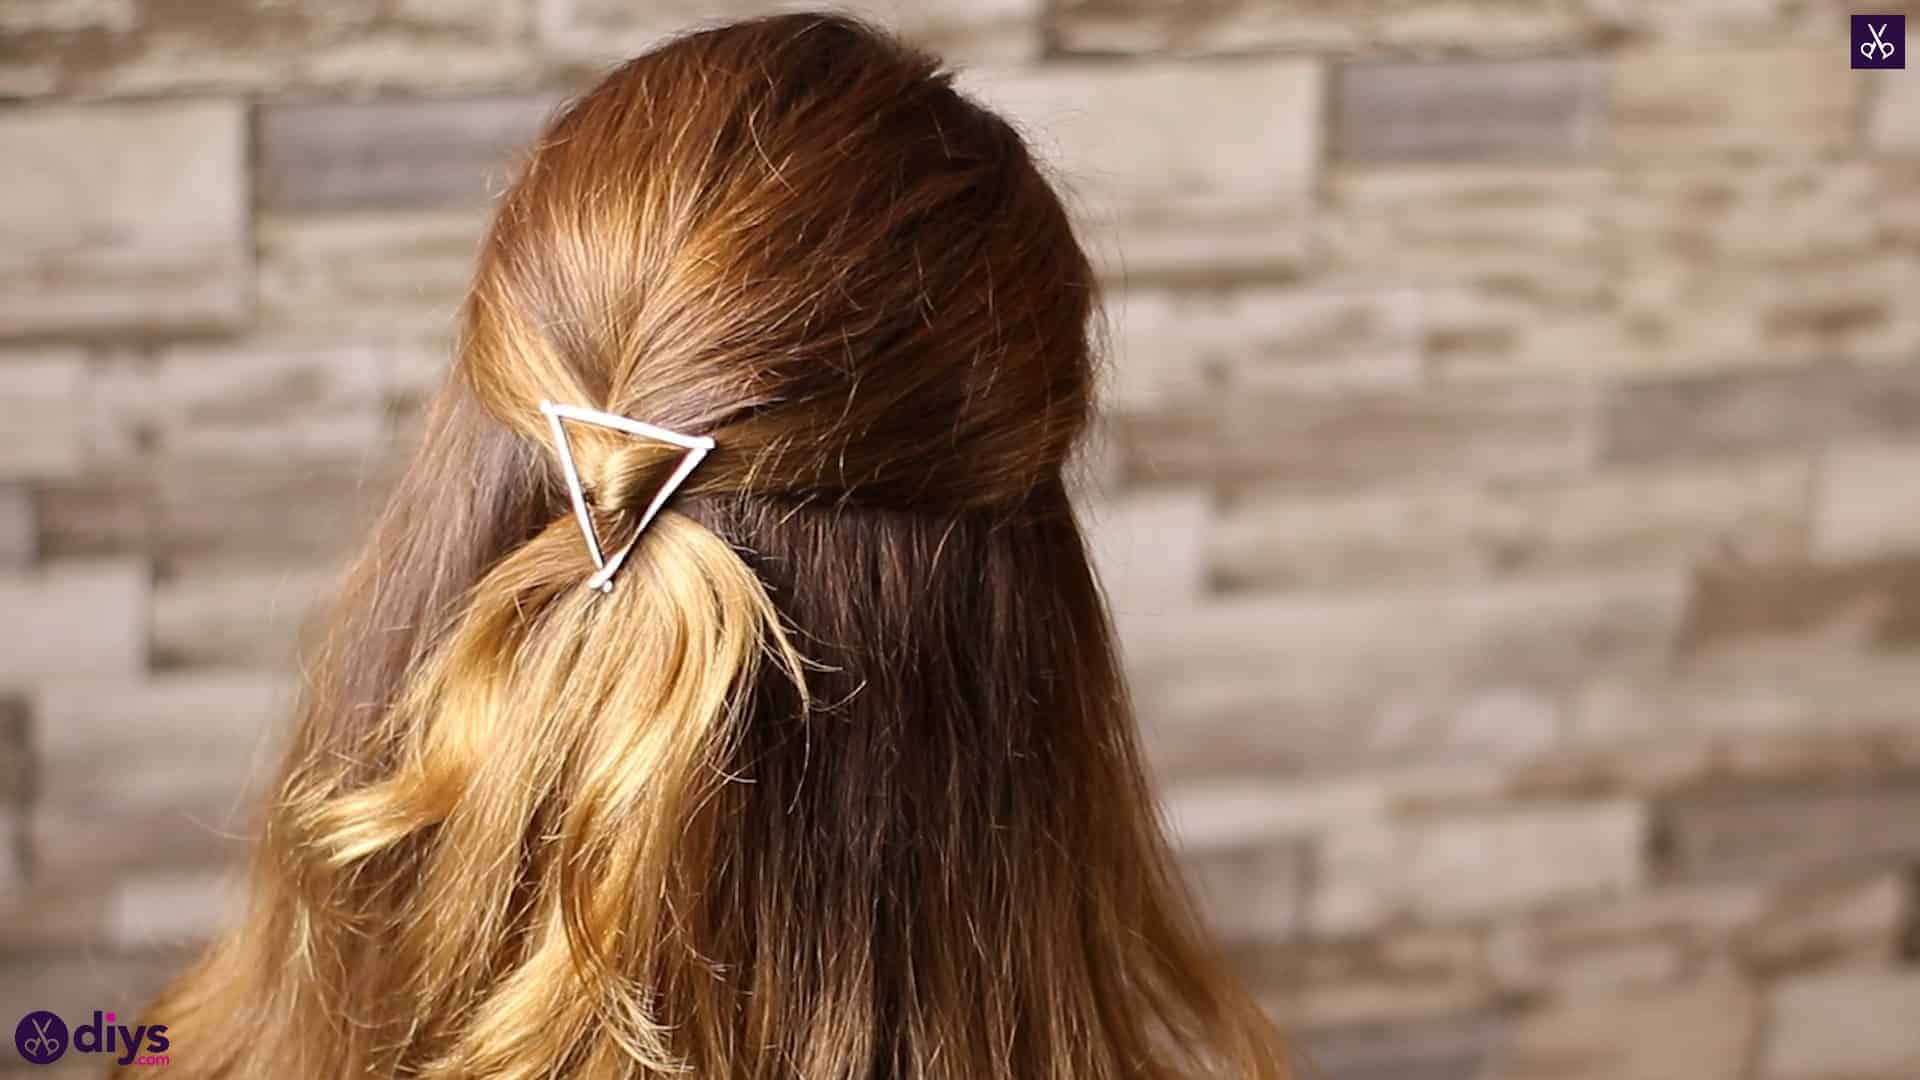
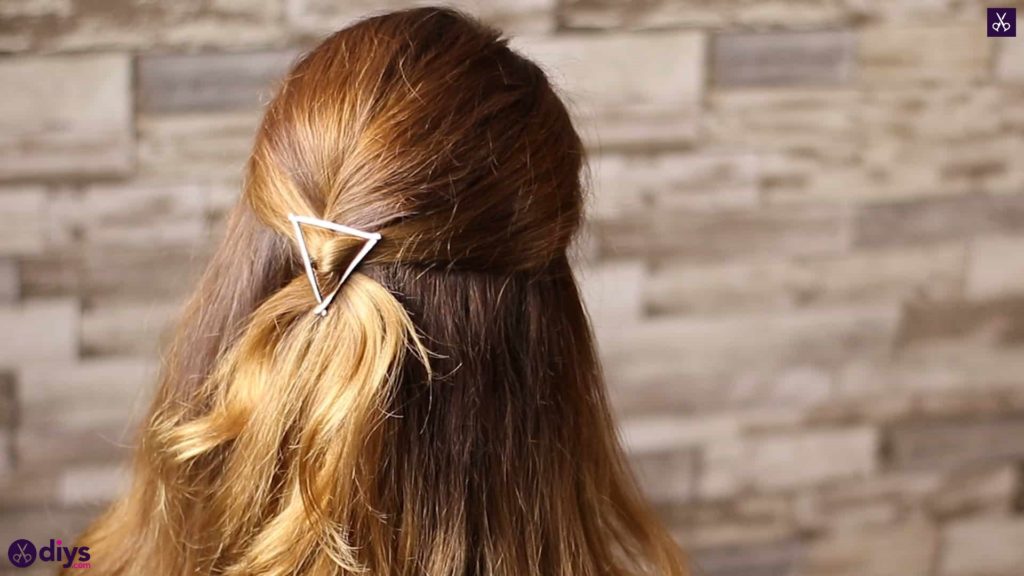
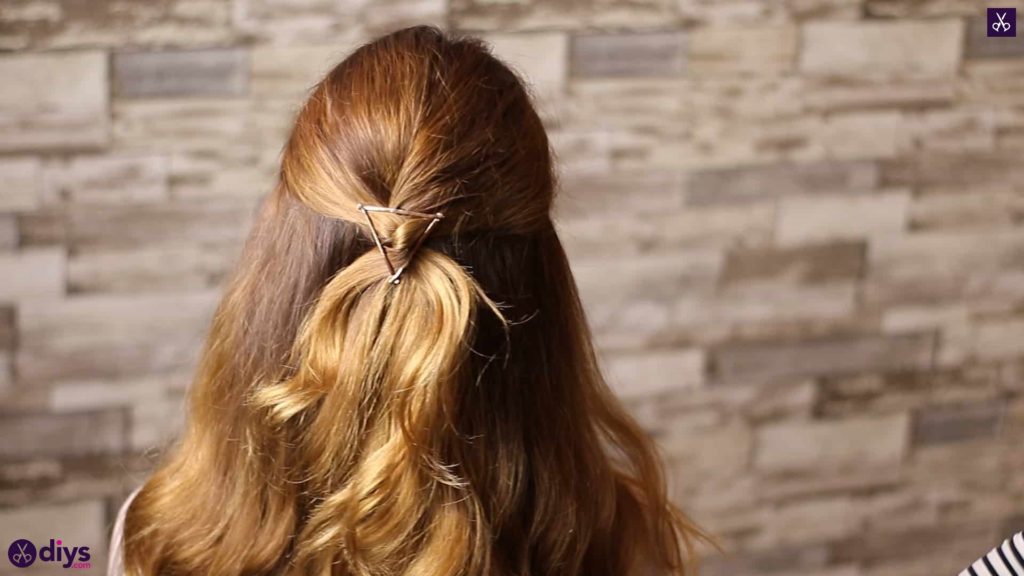
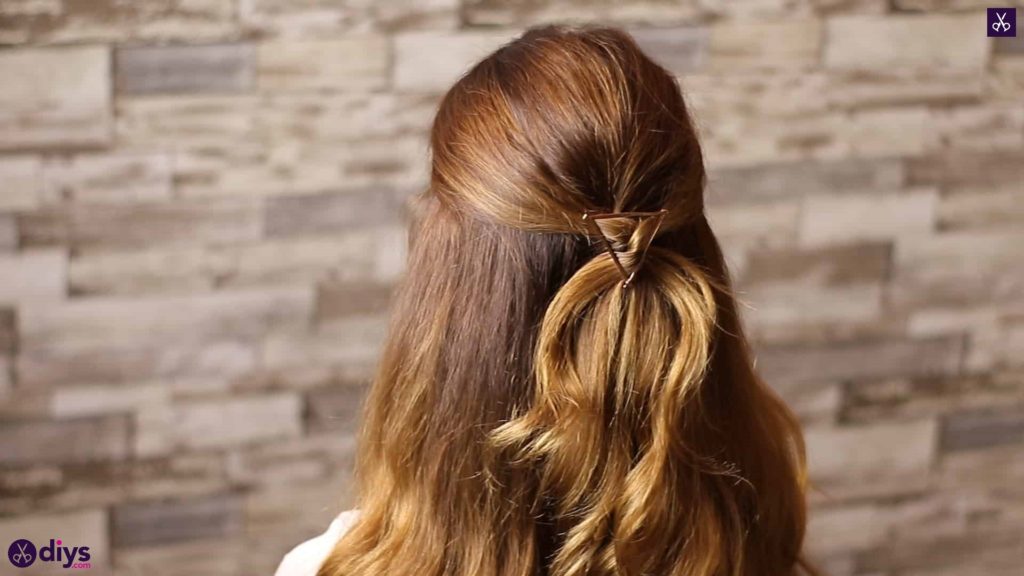
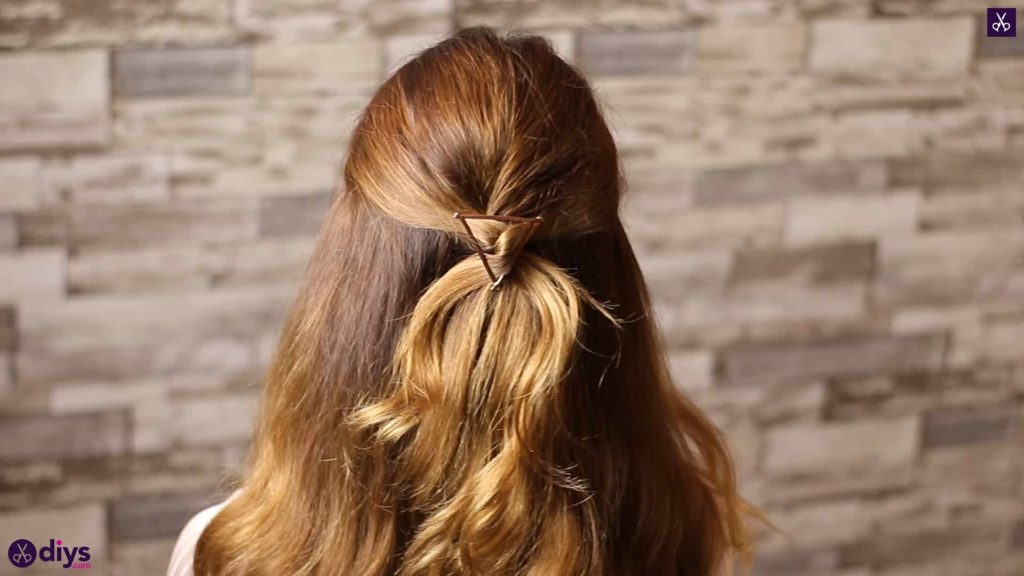
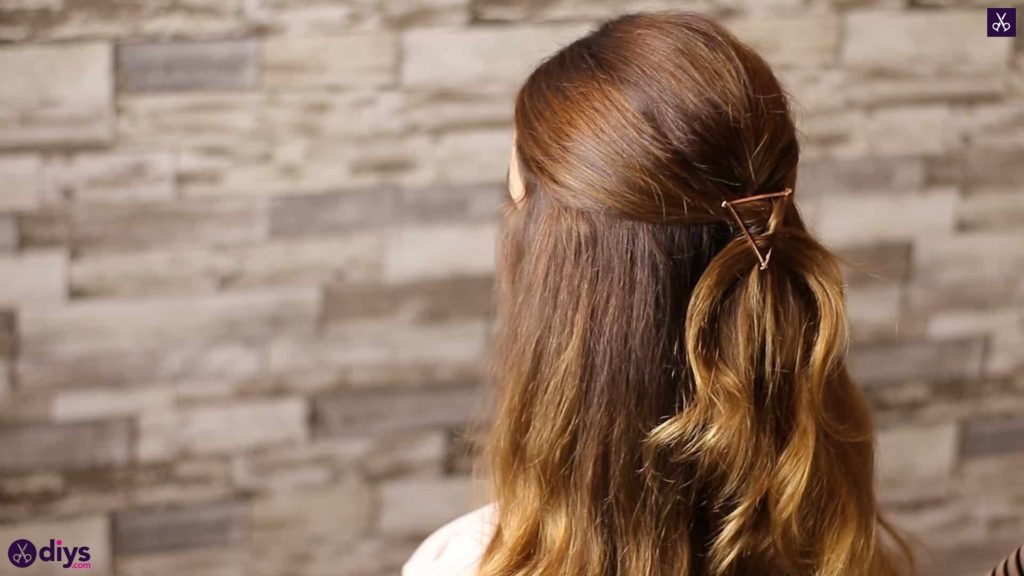
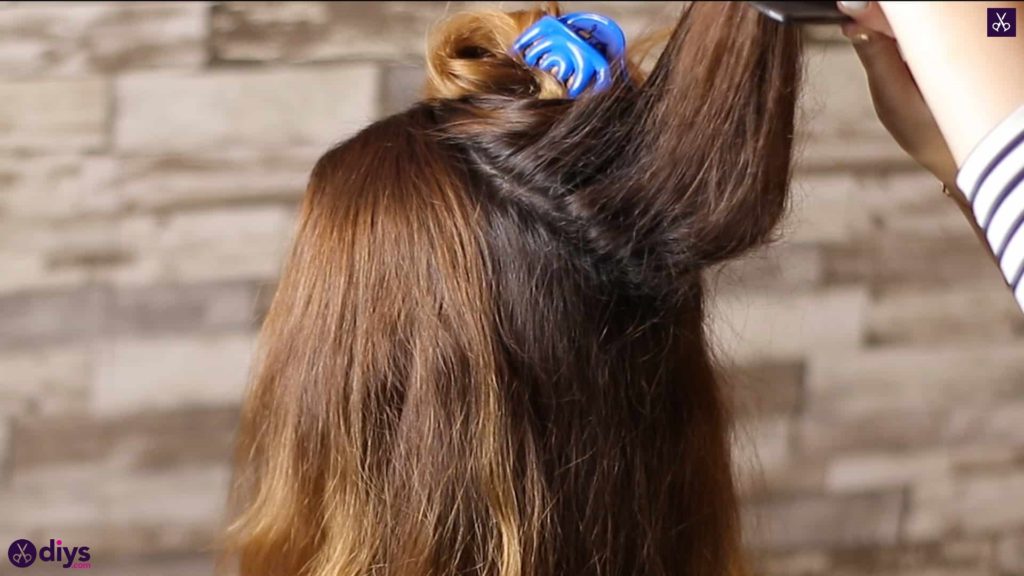
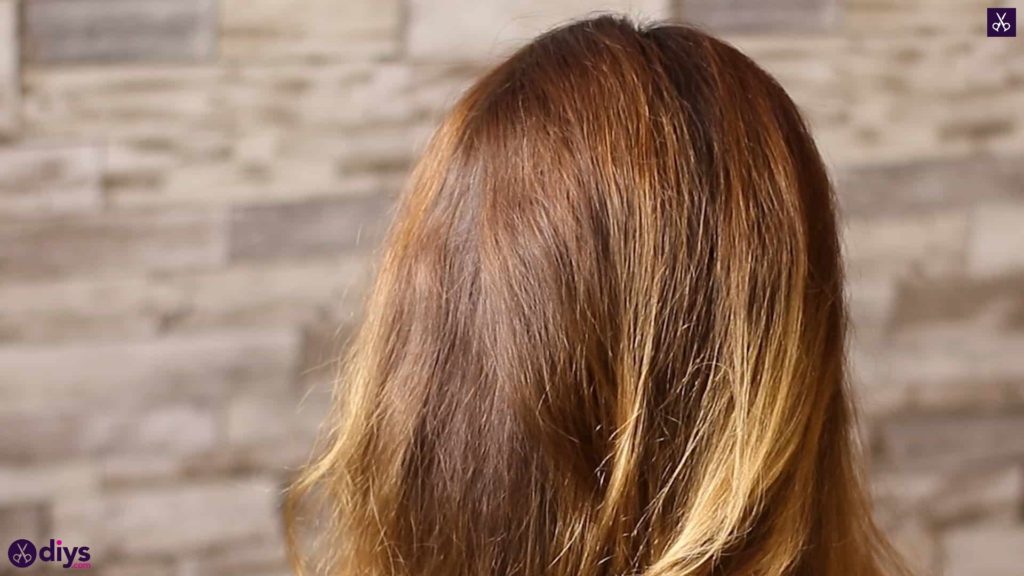
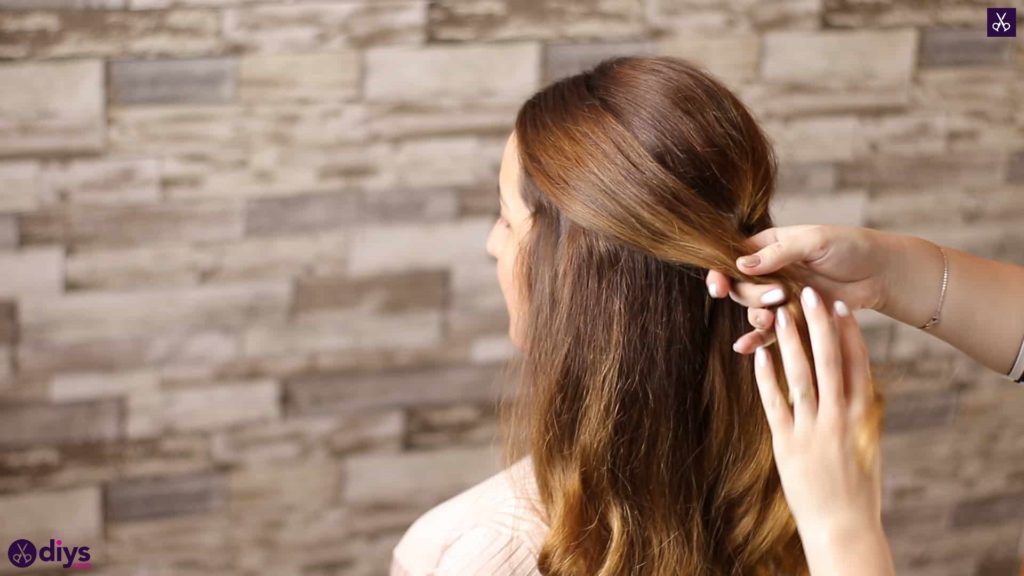
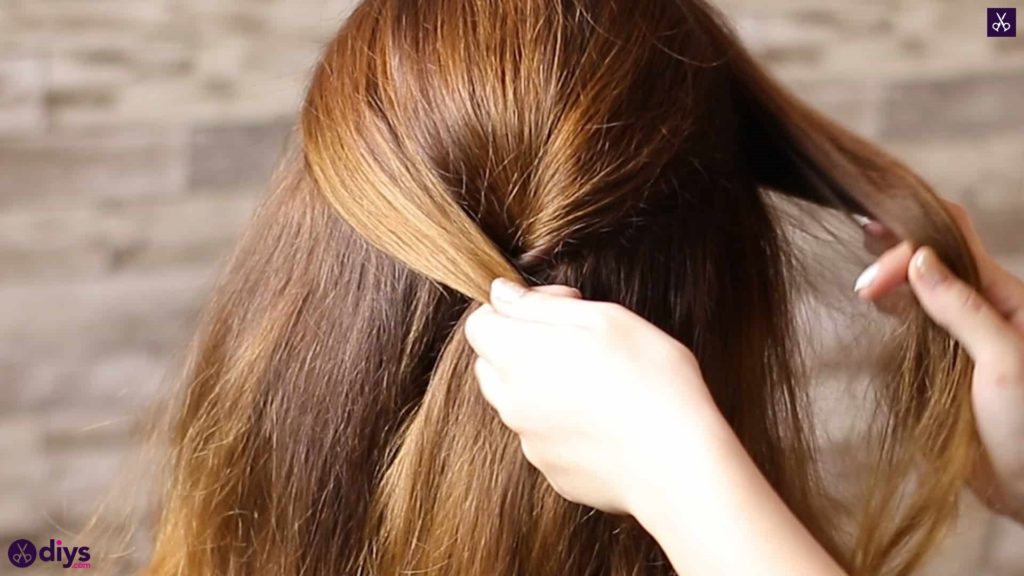
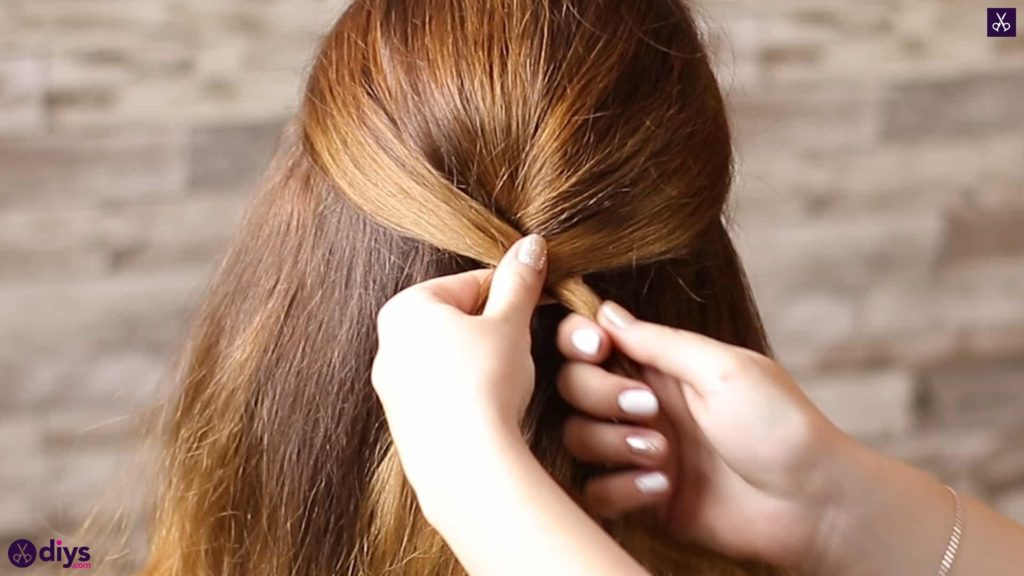
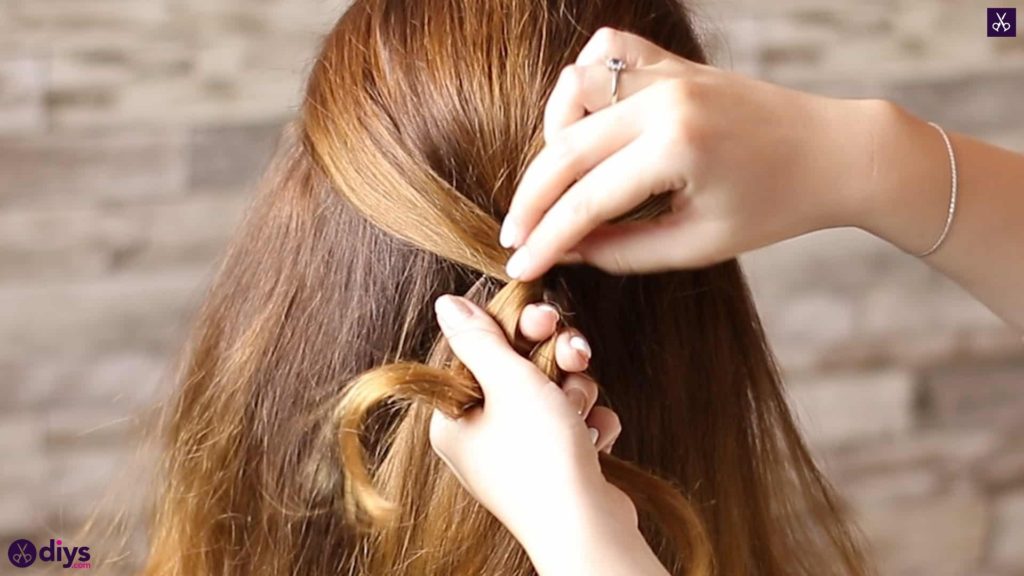
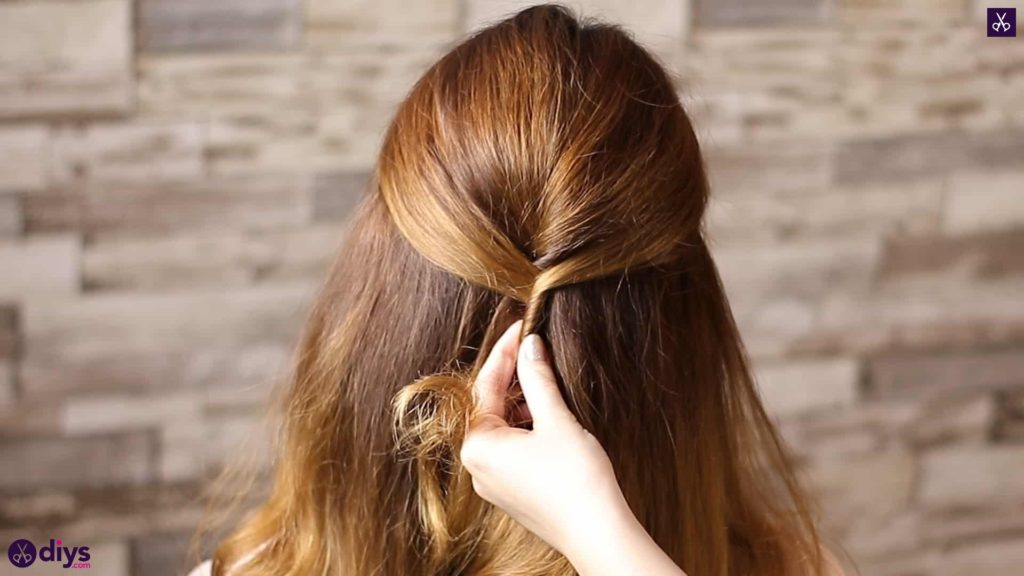
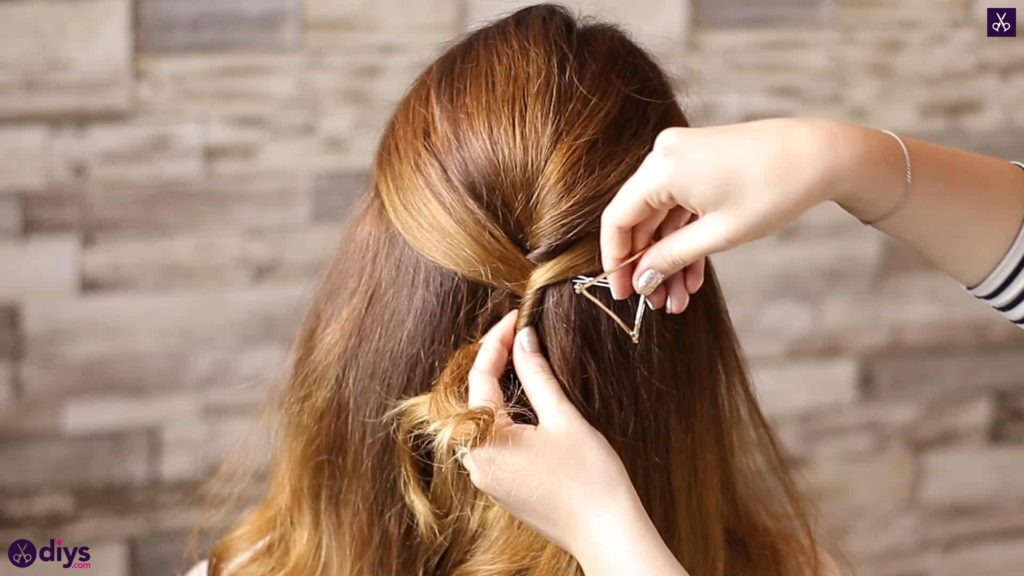
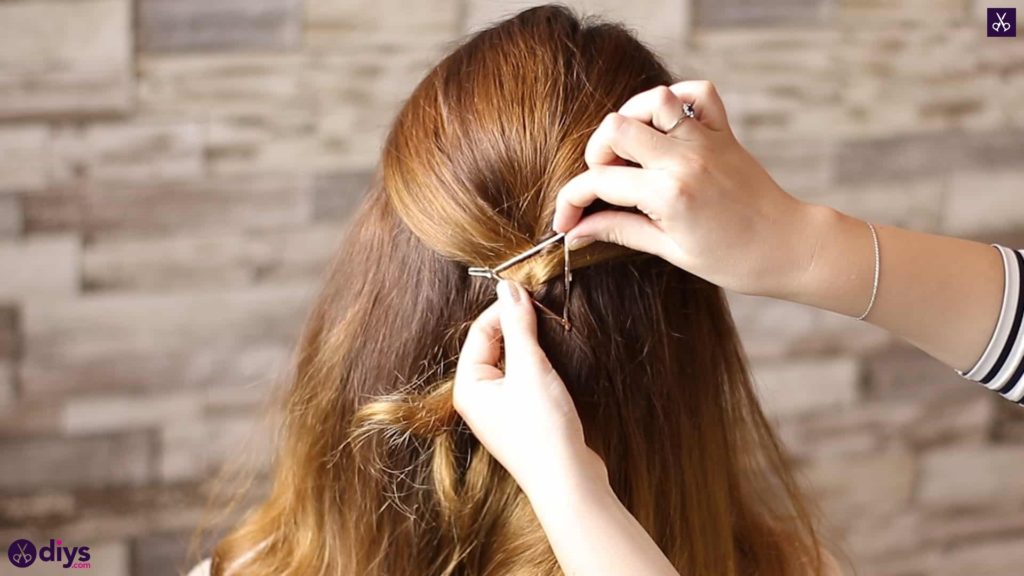
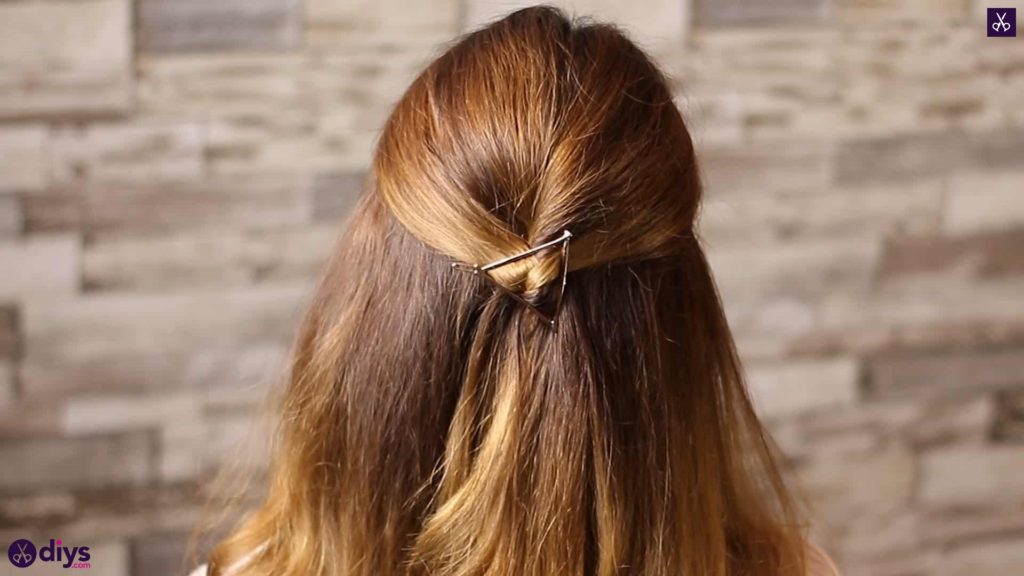
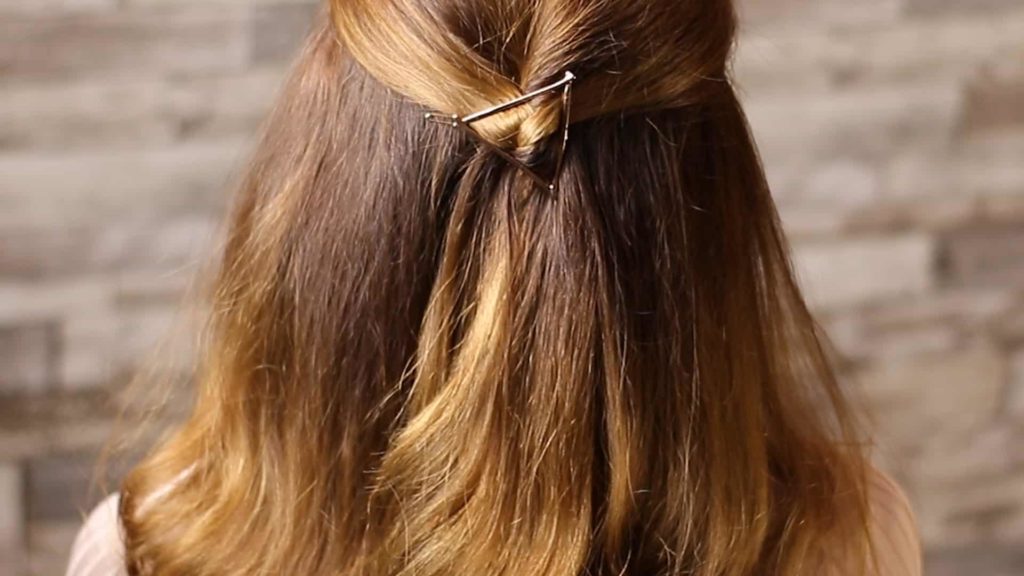
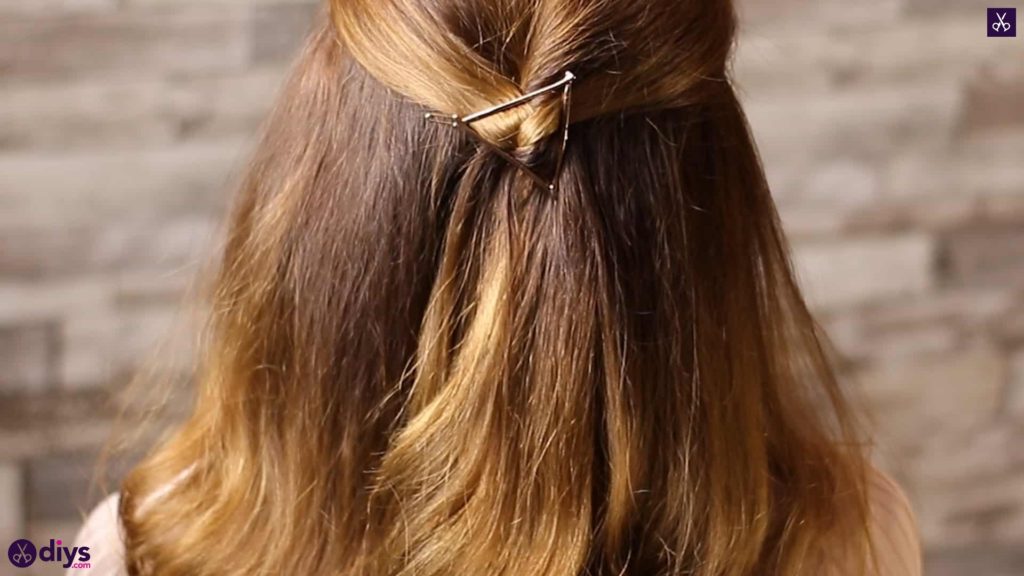
Pull in a section about an inch wide from each side of your head, near the front where your hair frames your face. Pull them loosely and smoothly back to meet in the middle, right overtop of where you just pinned your twist down, but low enough that the top of the twist still peeks out. Twist these two pieces around each other in the same direction as your first twist, without pulling so tightly that it affects the volume you’ve built into the style. If your embellishment clip is one that has great hold, slide it in here at the base of your outer twist where the hair crosses over. If your clip is more decorative and you’re worried it won’t hold your twisted hair in place well enough, pin it down with bobby pins first like before and then slide in the clip that you actually want to be seen. Your hair’s natural waves will hang below and complement the style, maybe even looking a little wavier than usual thanks to the twists you added.
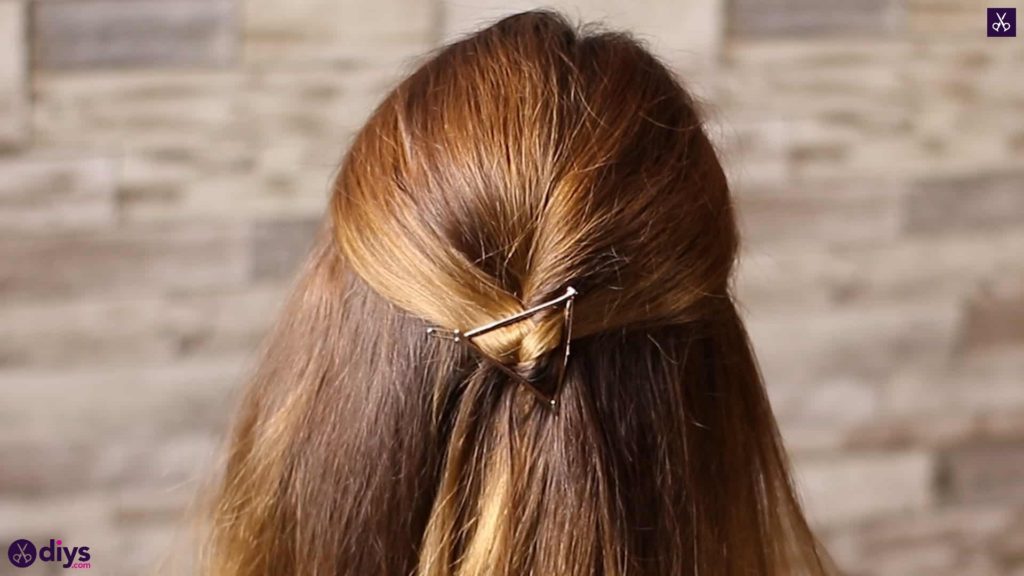
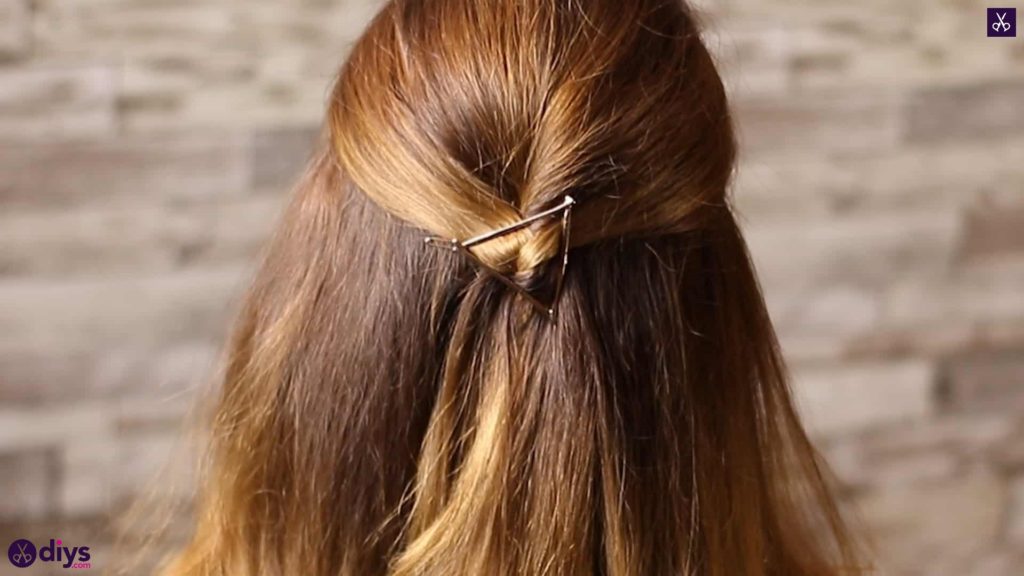
You’re all finished! Of course, you can feel free to get creative with your clip style and what you embellish your centre twist with. Just in case you’d like to try this style out for yourself, here’s a fantastic tutorial video to help you!
