How to Make a Twine Wrapped Bottle
Don’t toss those glass bottles leftover from drinks and other household items. Save them and turn them into beautiful DIY home decor. I made this twine wrapped bottle and documented it all so I could show you how to do it, too! Check it out!
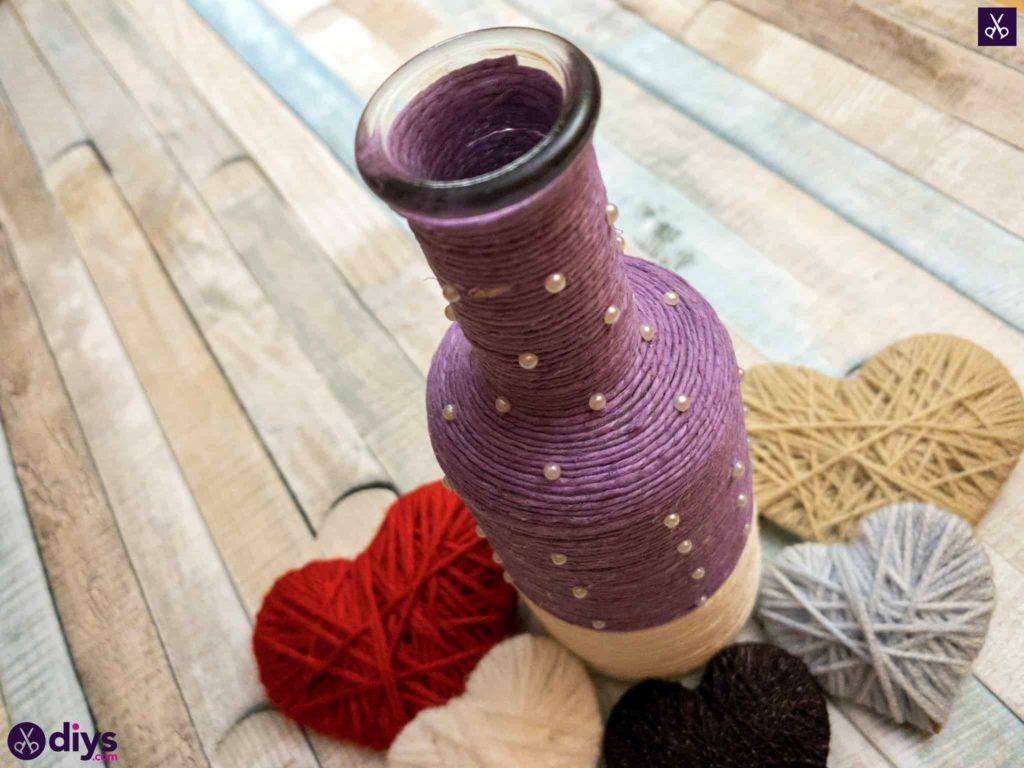
Take a better look at these instructions to see how I made a pretty twin wrapped bottle with a dual colour scheme and a little bit of rustic chic glamour to it. If you’d rather following along to a video tutorial, you’ll find a full one at the end of this post!
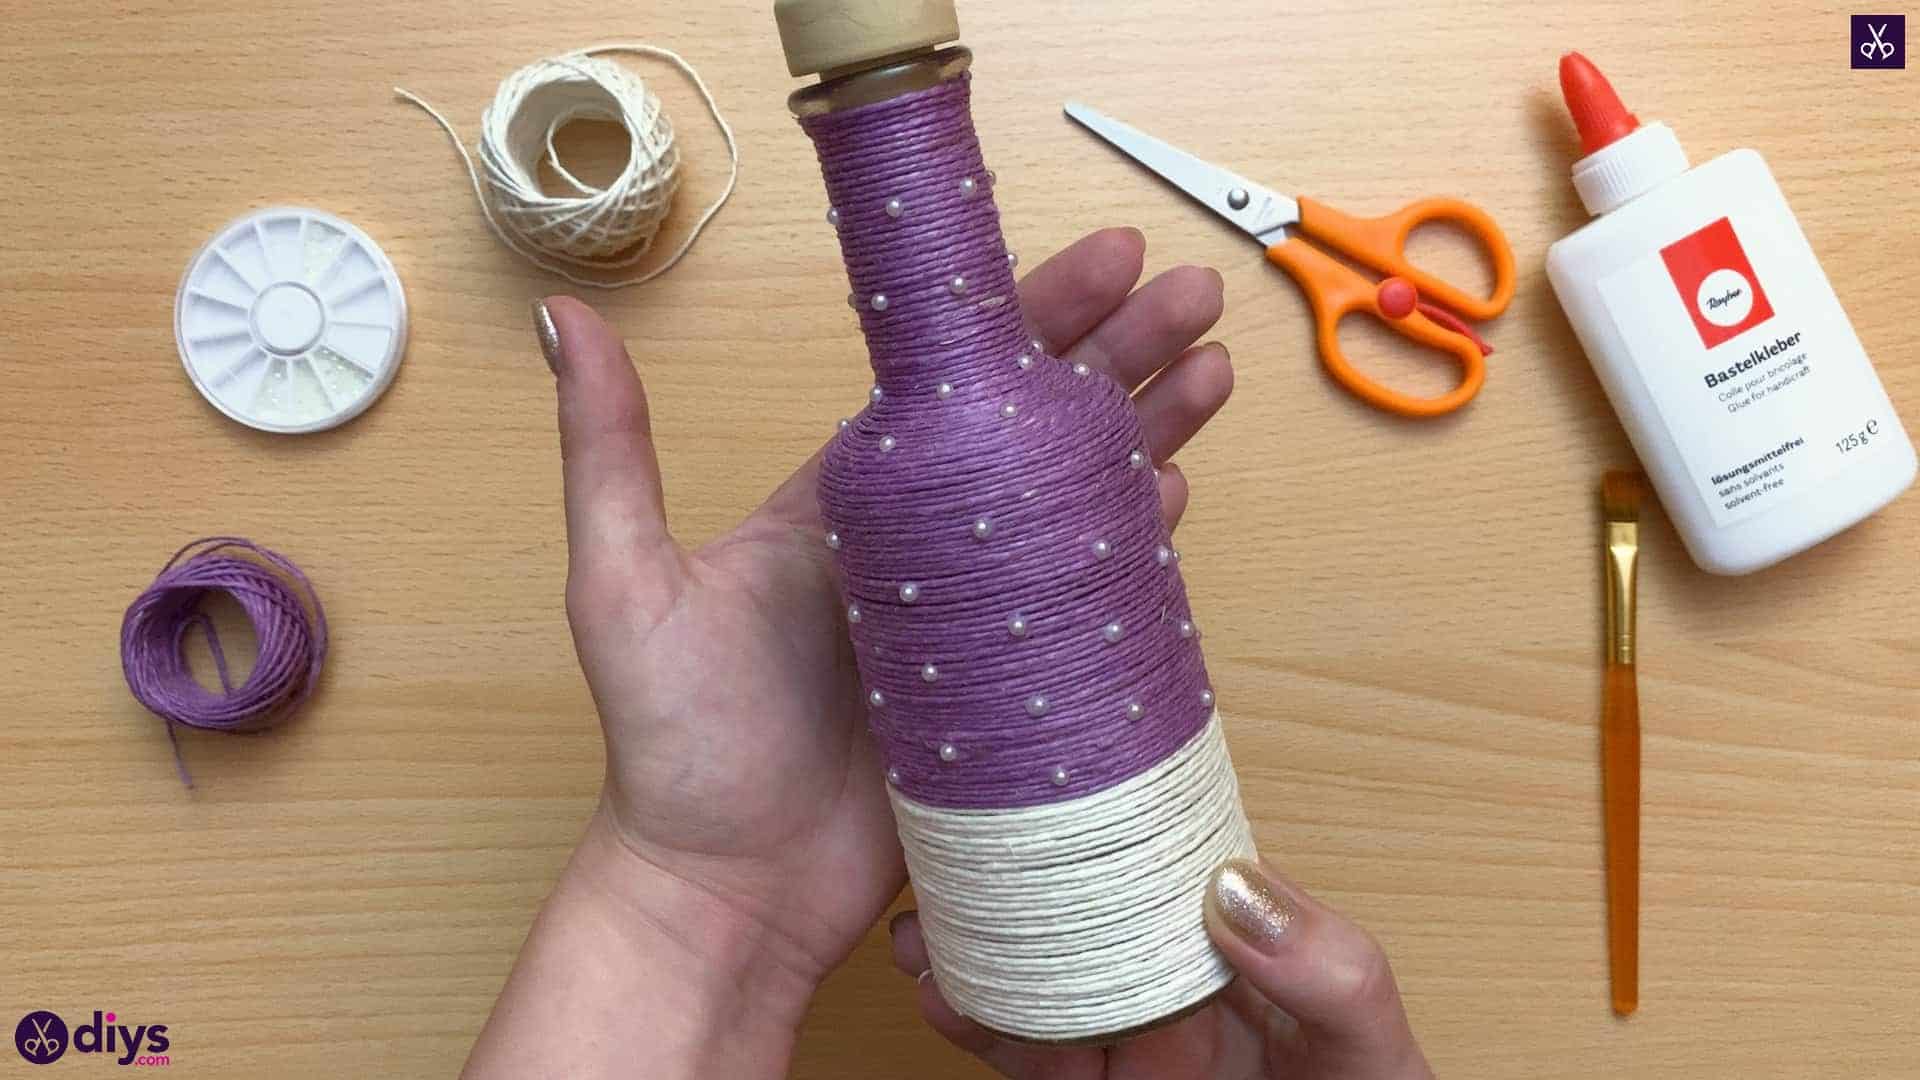
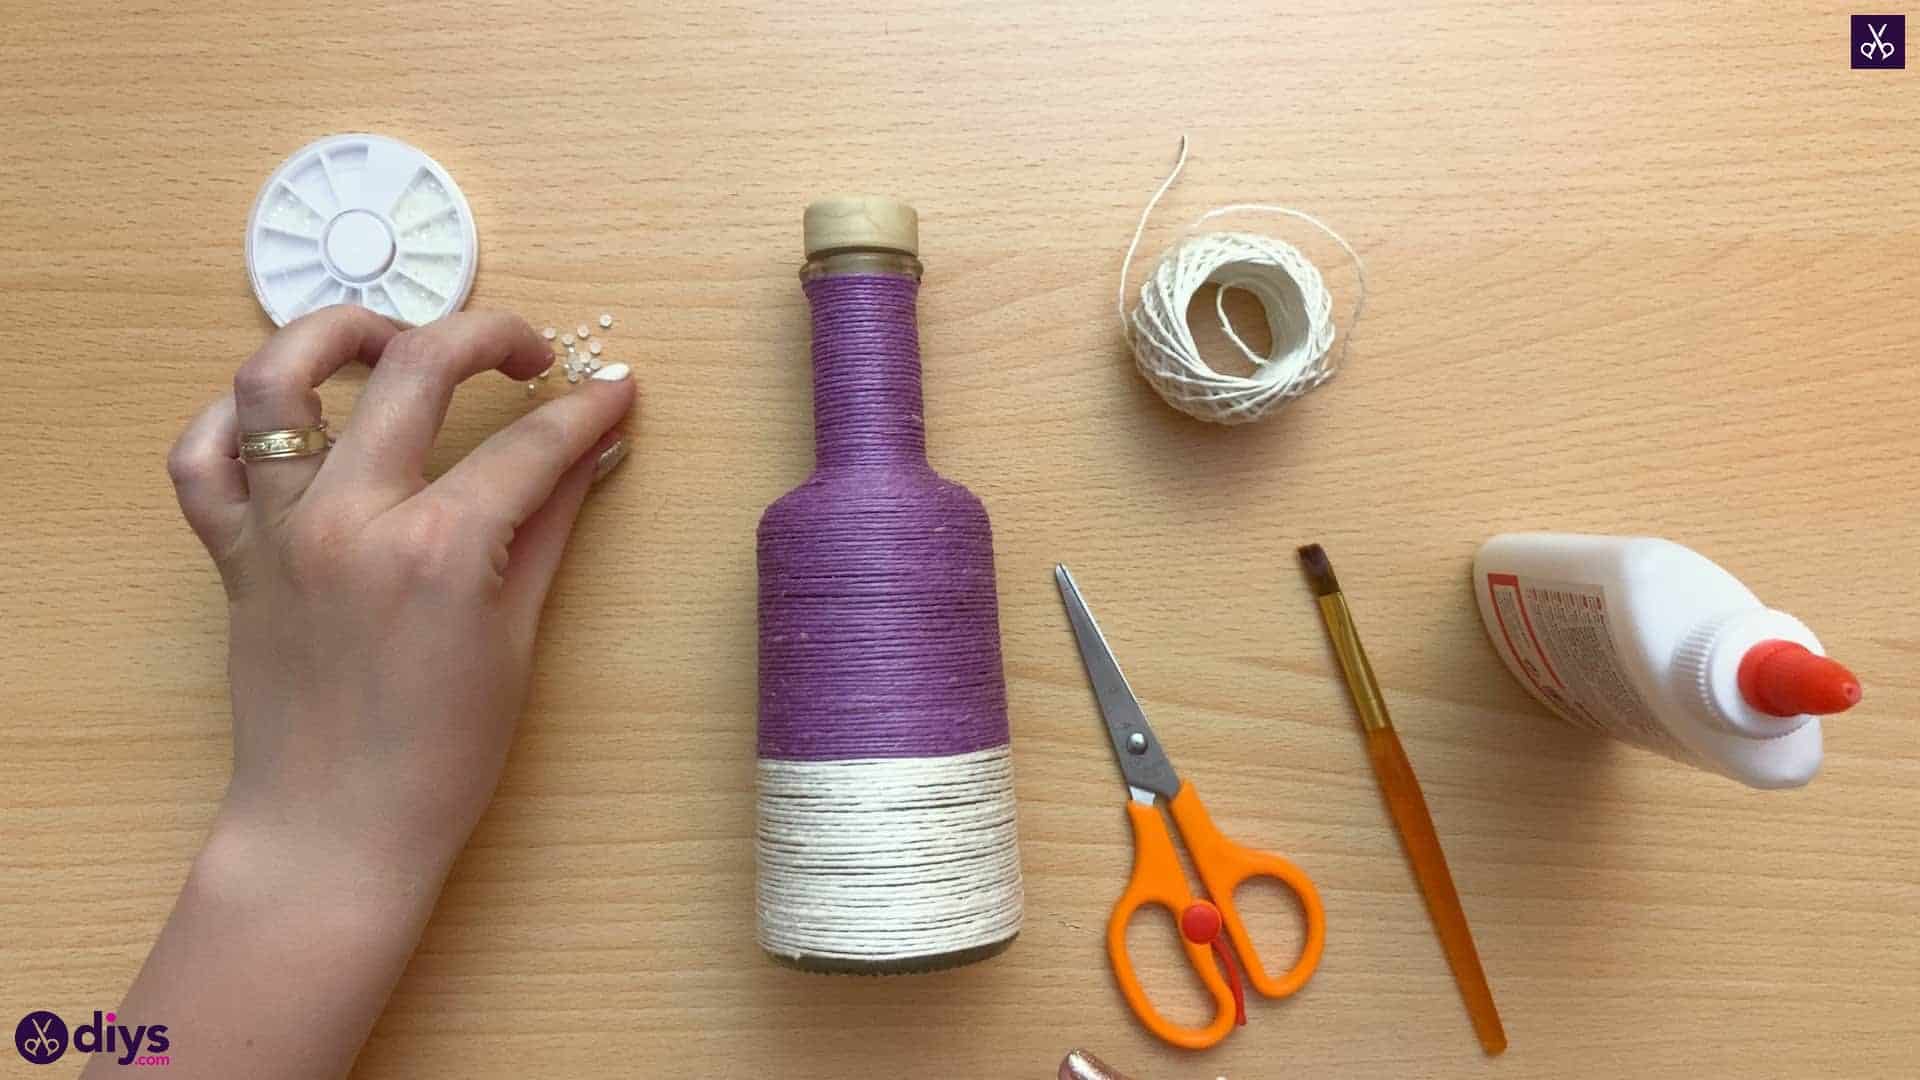
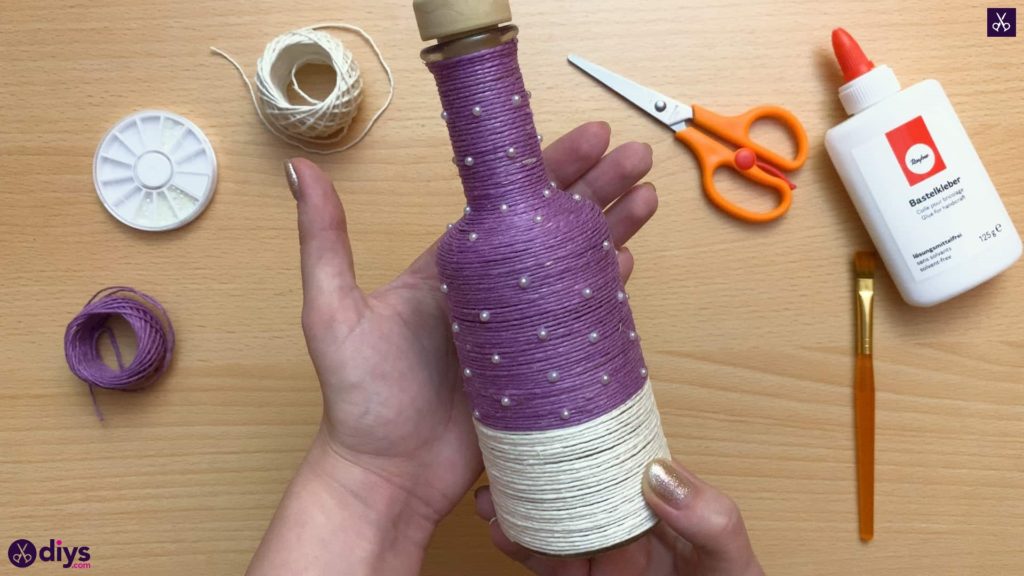
For this project, you’ll need:
- Bottle
- Coloured jute twine
- Glue
- Scissors
- Pearls
Step 1: Gather your materials!
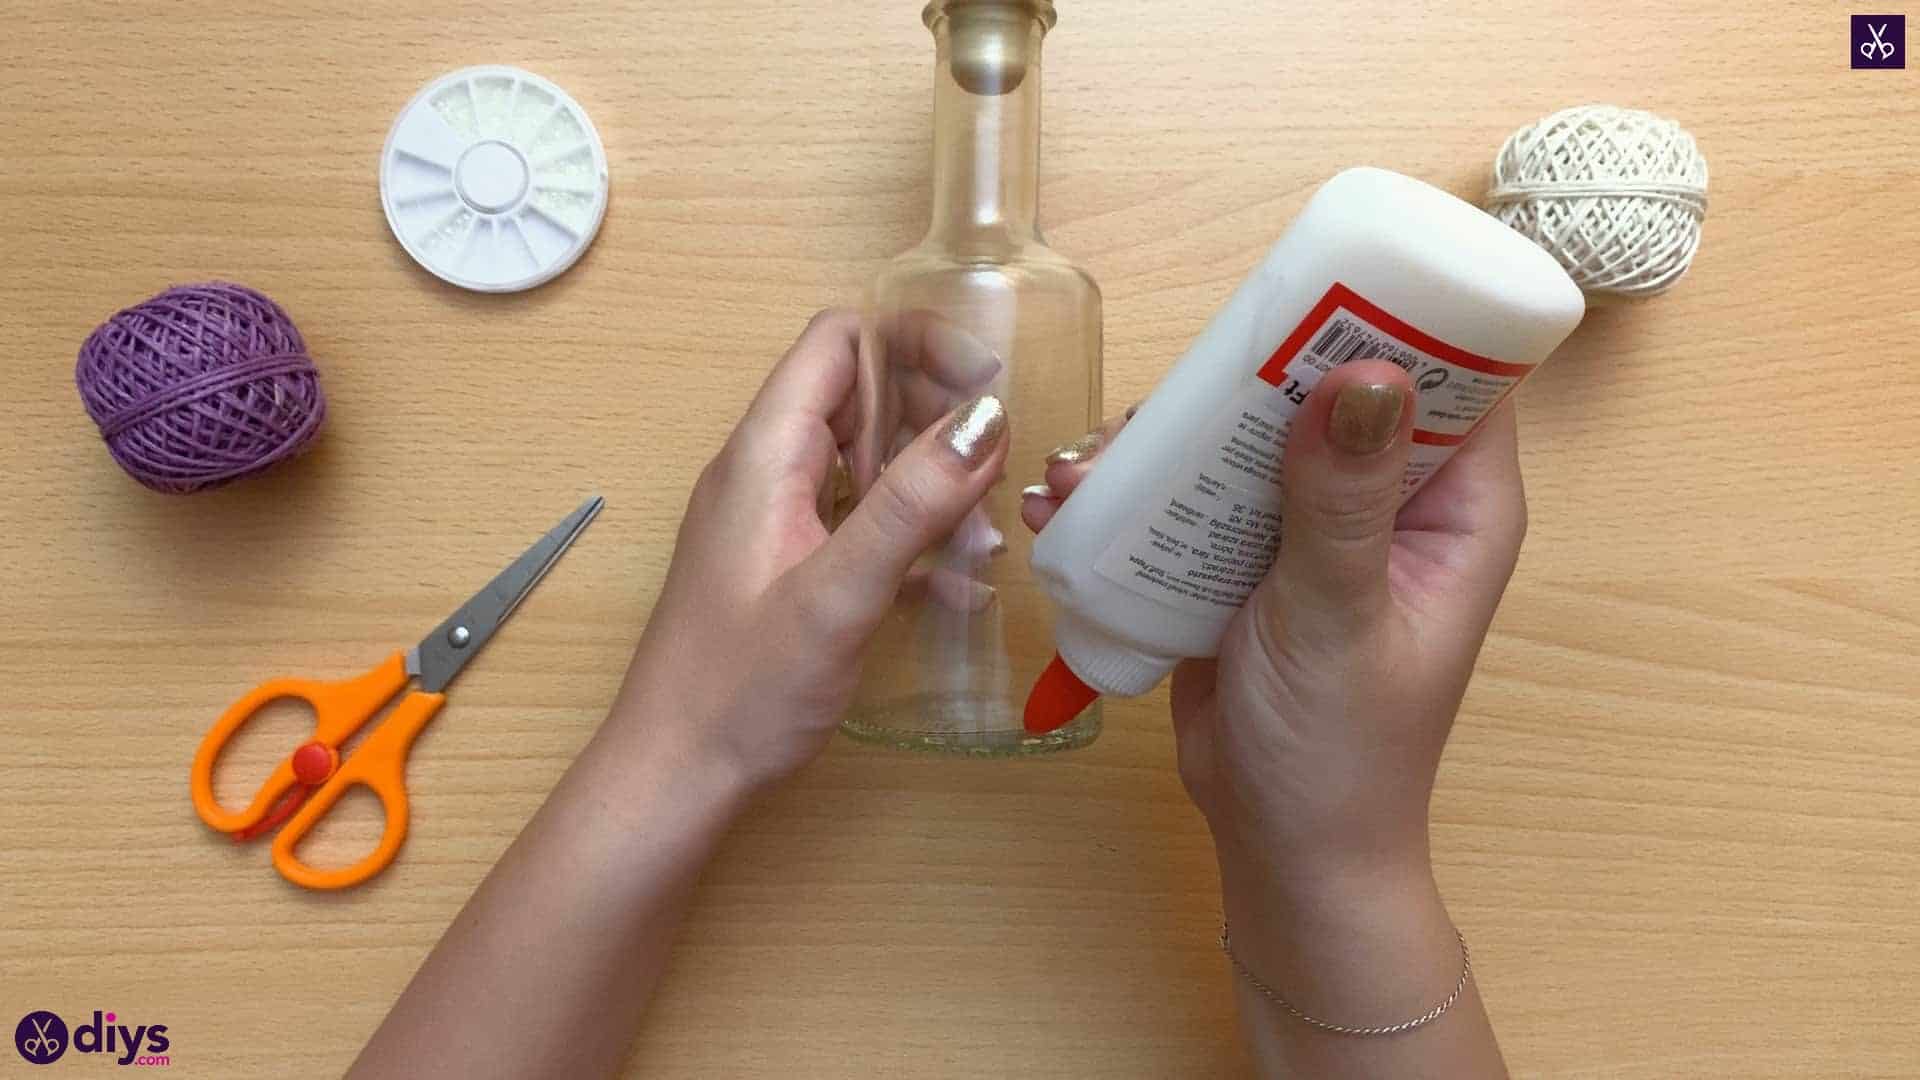
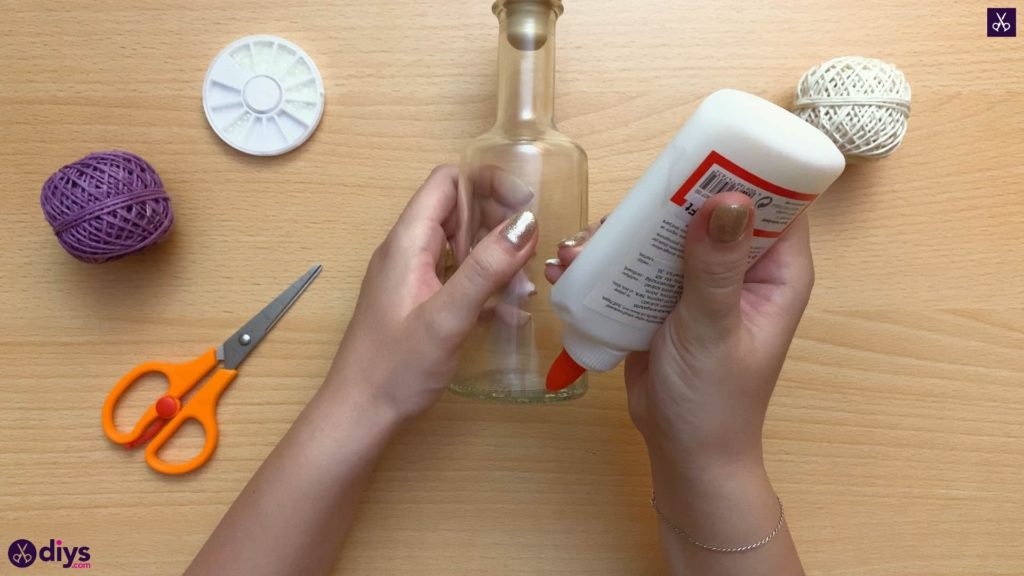
Start the project out by applying a blob of glue near the very bottom of the bottle, on its outside surface. You don’t need too much; you’re going to thin the layer out anyways and twine sticks well when the glue isn’t too wet.
Step 2: cover in glue
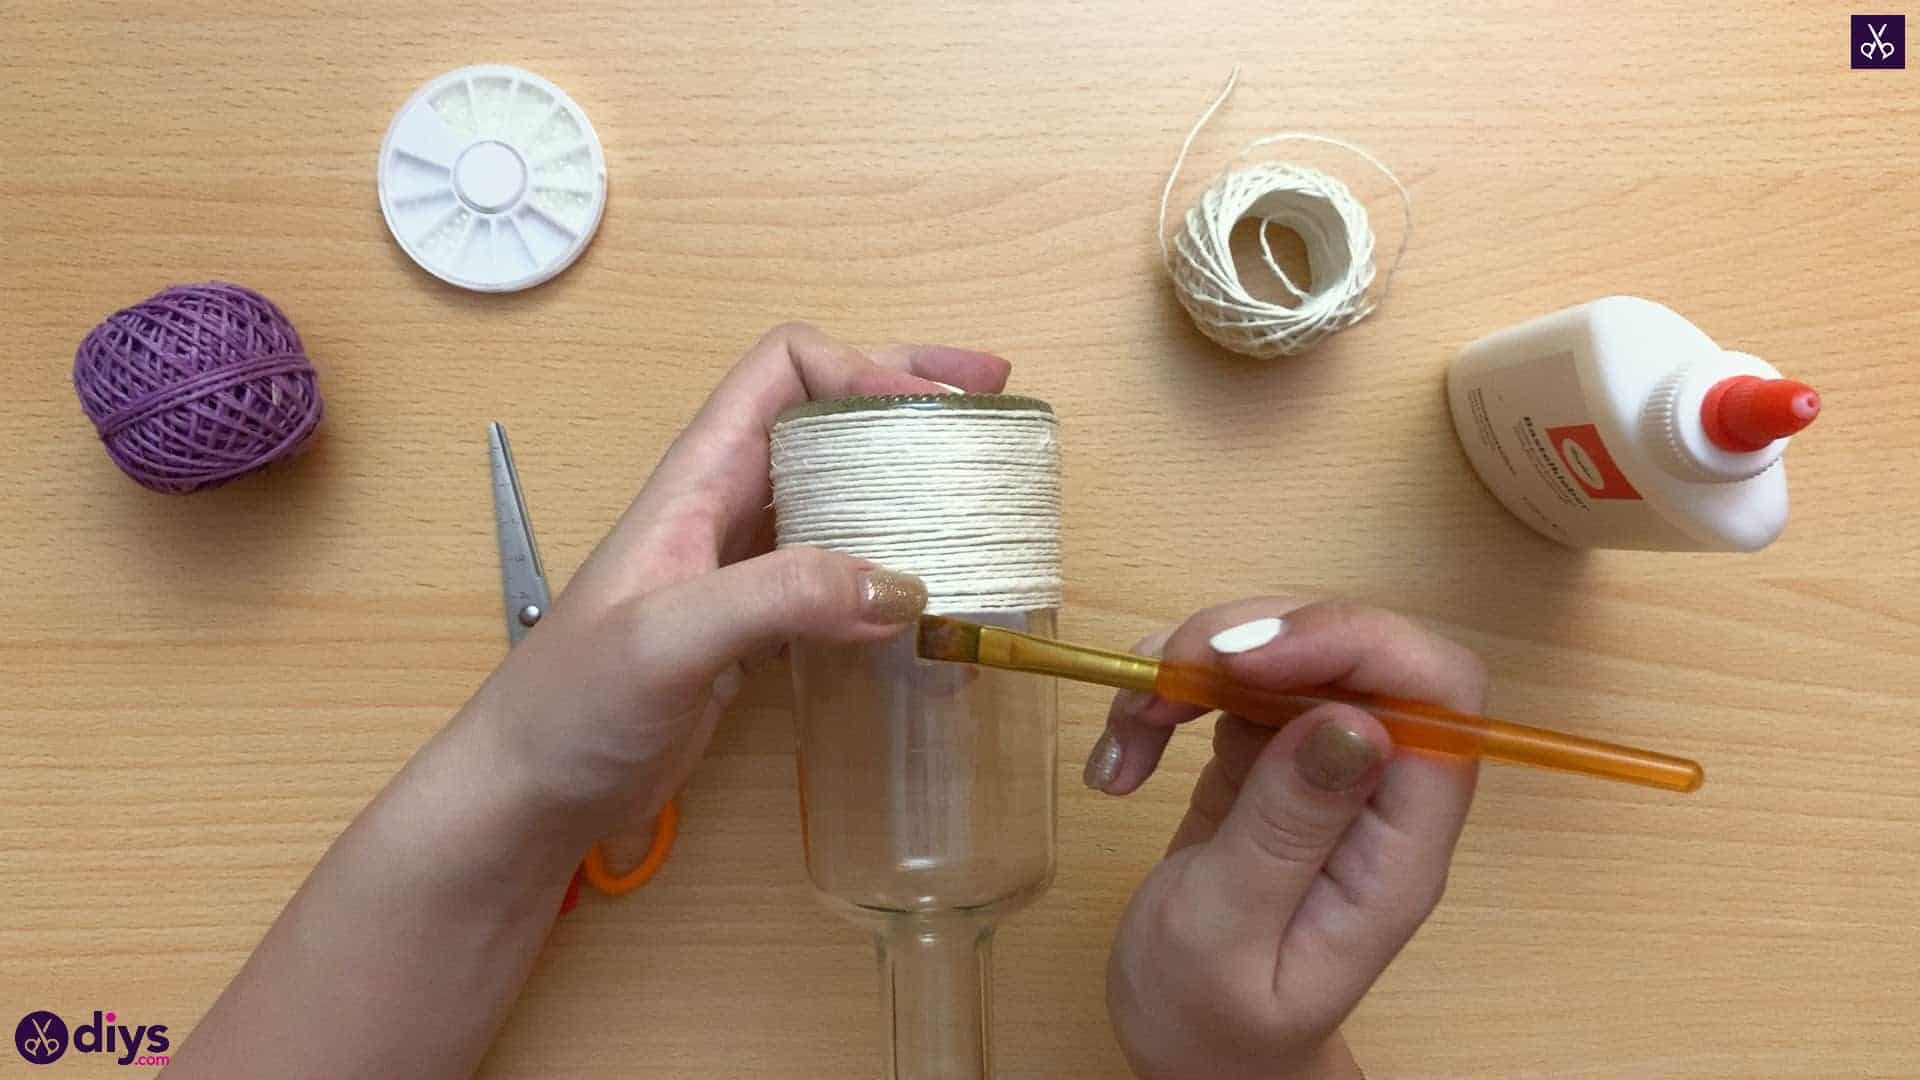
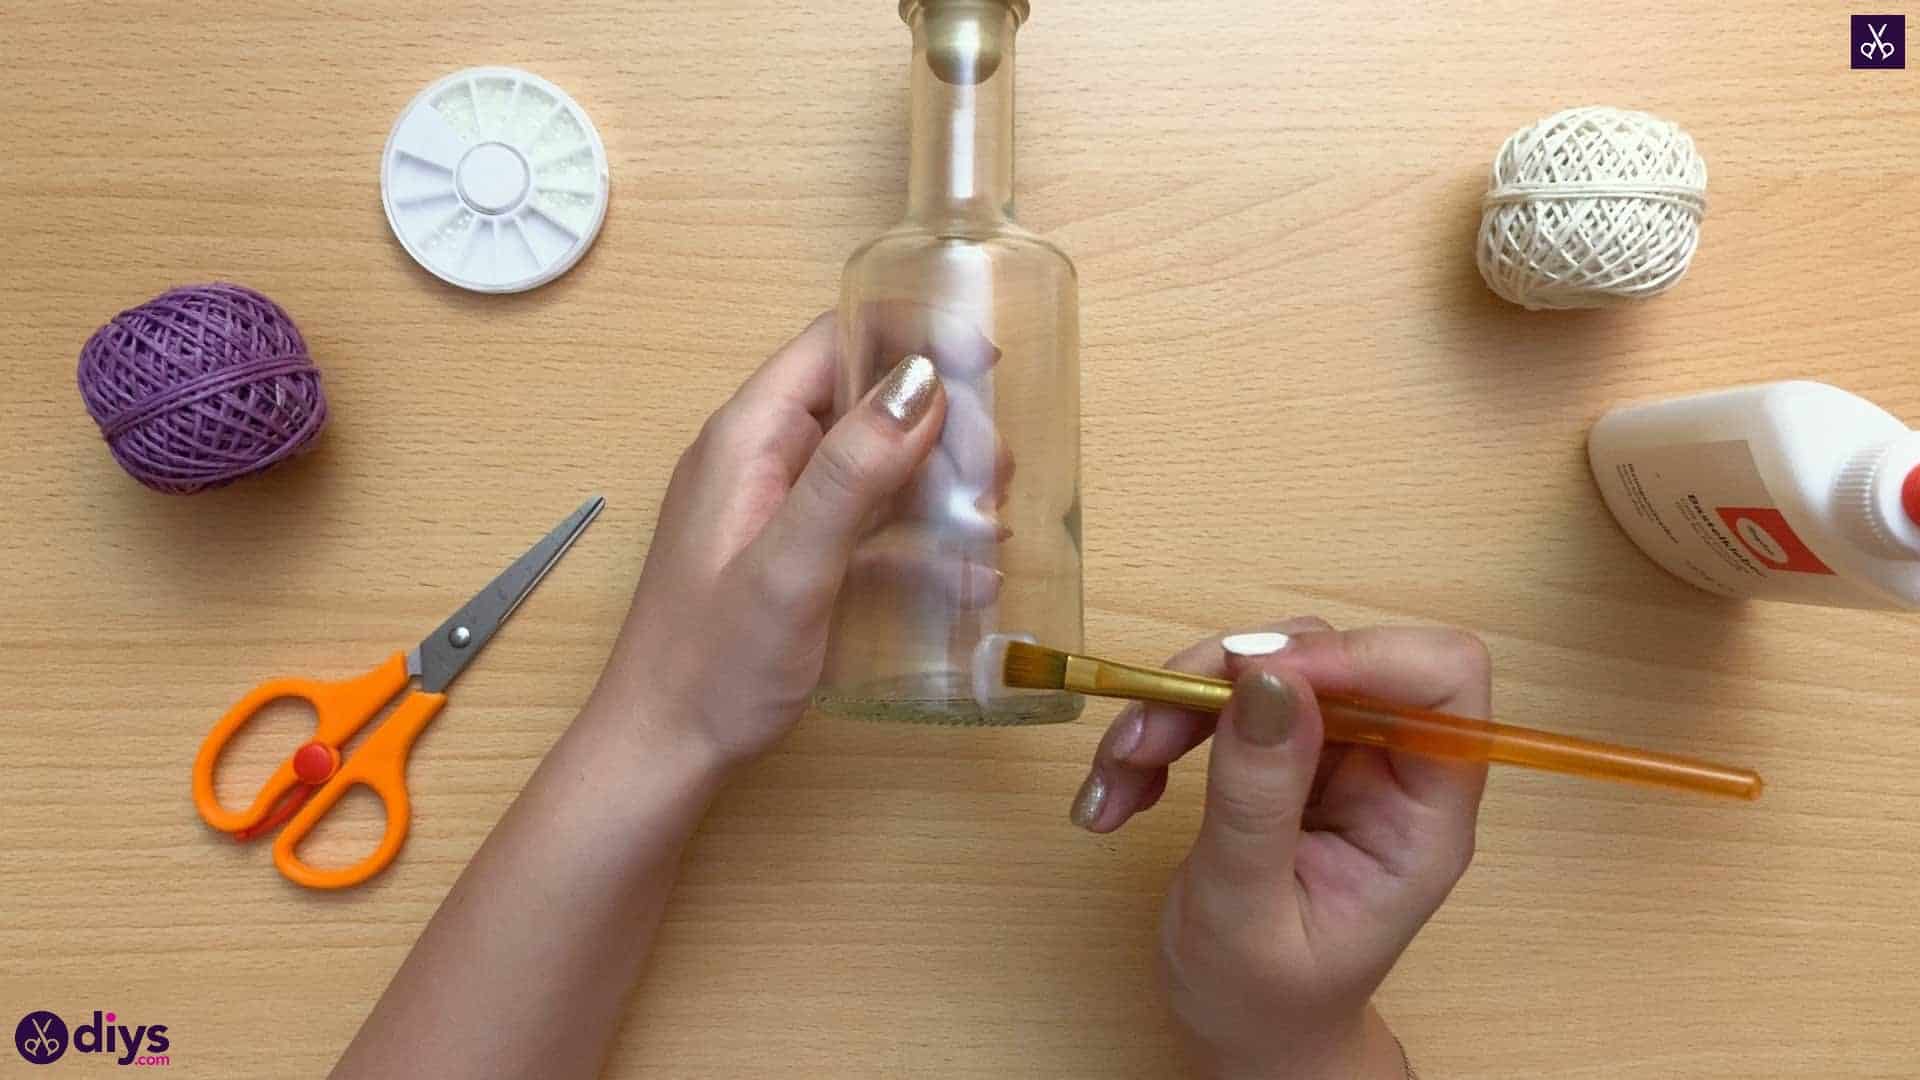
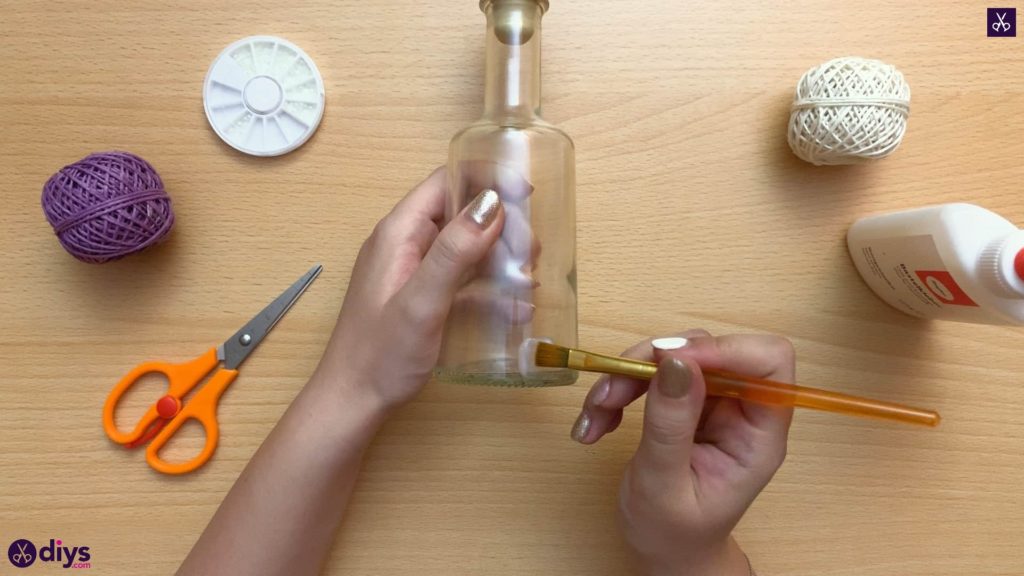
Use your paintbrush to spread and thin that blob of glue so that it covers more surface area in a slightly more translucent layer. You don’t need to cover the bottle’s entire surface; this patch will hold your end and act as an anchor to keep things in place while you wrap, without making a gluey mess that slides across the glass and soaks your twine so it dries kind of gross later.
Step 3: start wrapping
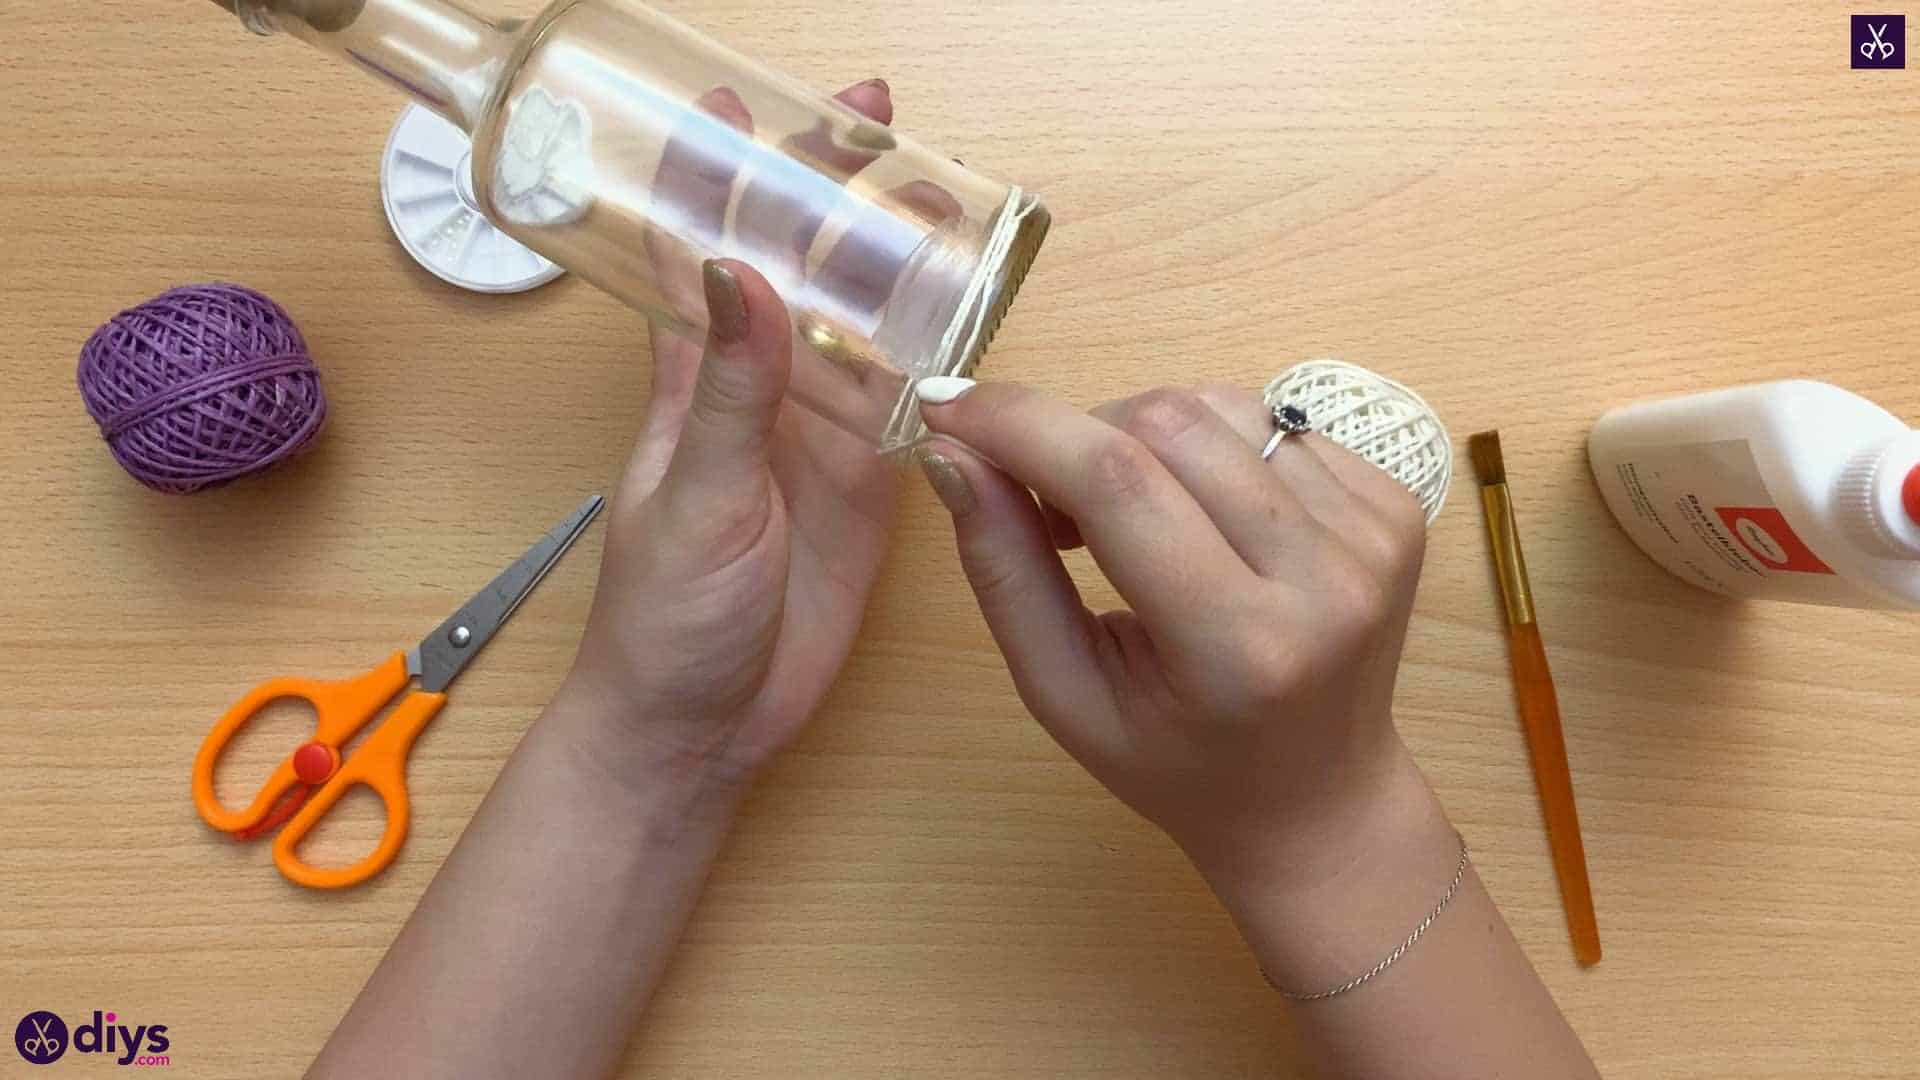
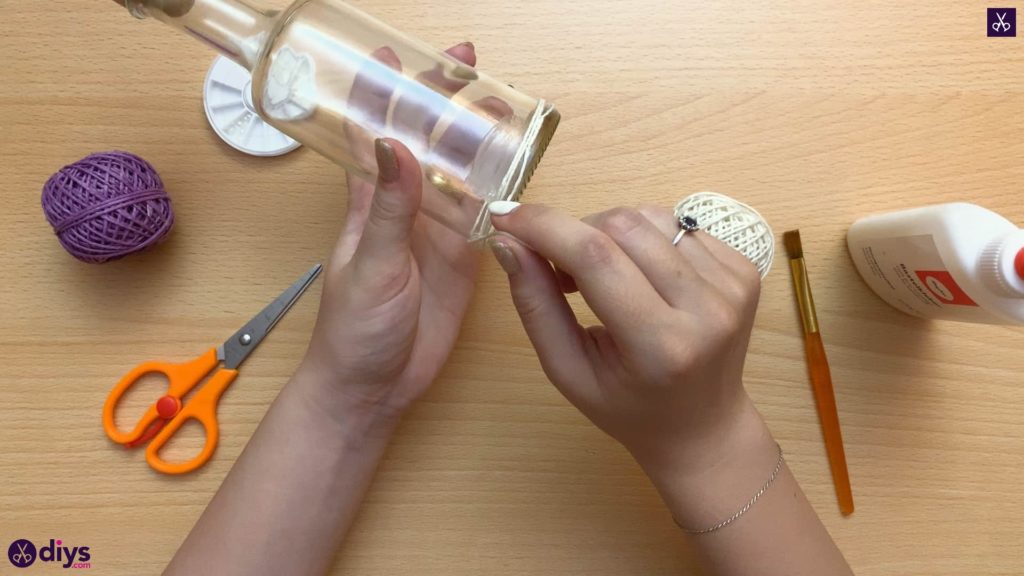
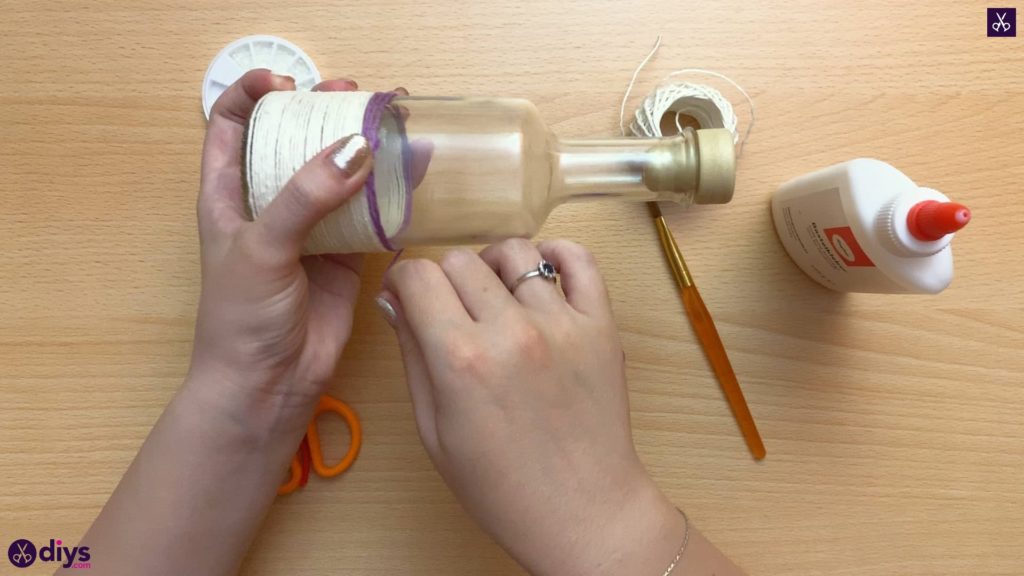
Choose your first colour of twine and start your wrapping process by sticking the end down in the patch of glue. Start winding the twin around the bottle, lining it up with the bottom and going all the way around the base until you make it back to the start. Each time you go over that patch of glue again, it will hold your pieces in place, layered next to each other, so they don’t move around as you wrap.
Step 4: switch to other color
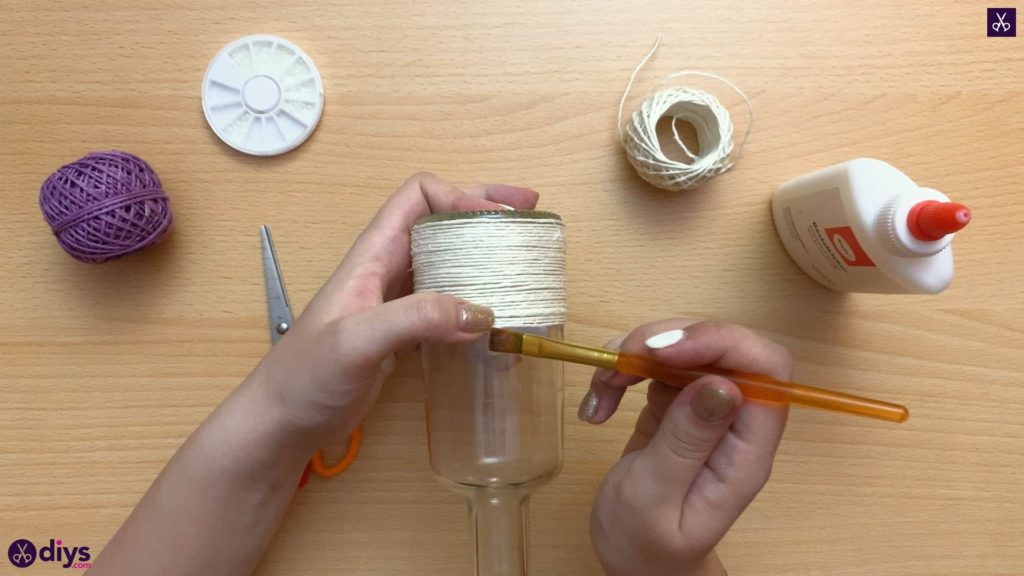
Continue wrapping in that first colour of twine until you feel like changing shades. Before you cut your end off from the ball, hold the string in place while you apply a very small dab of glue where you want to stop. Cut the string there and press the end into that glue to hold it. Now, repeat the glue spreading process like you did before with another dollop and your paintbrush.
Step 5: repeat
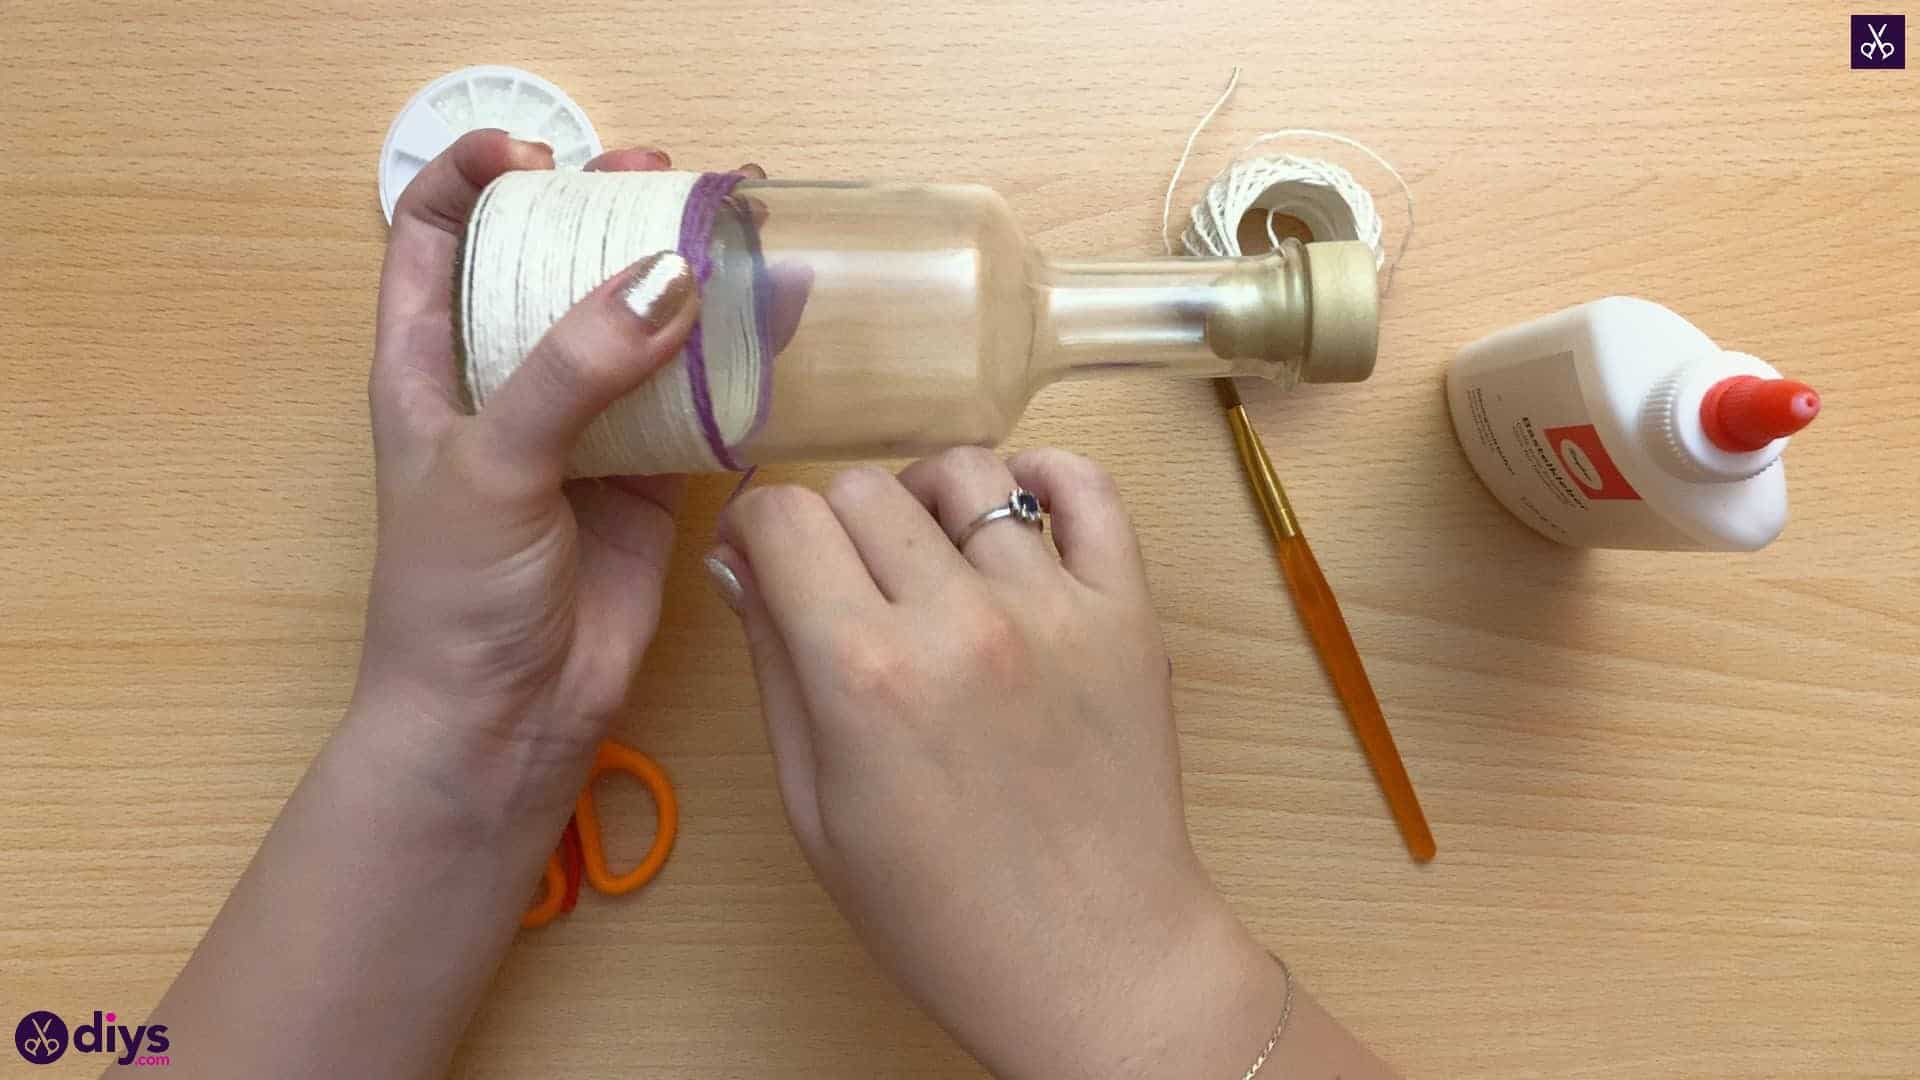
Start your second colour of twine right where your first one ended. I’d recommend holding both ends where the colours meet down with your thumb for the first few wraps, just to make sure they don’t shift when you pull. Continue your wrapping process with your new colour just as you did before.
Step 6: finish at the neck
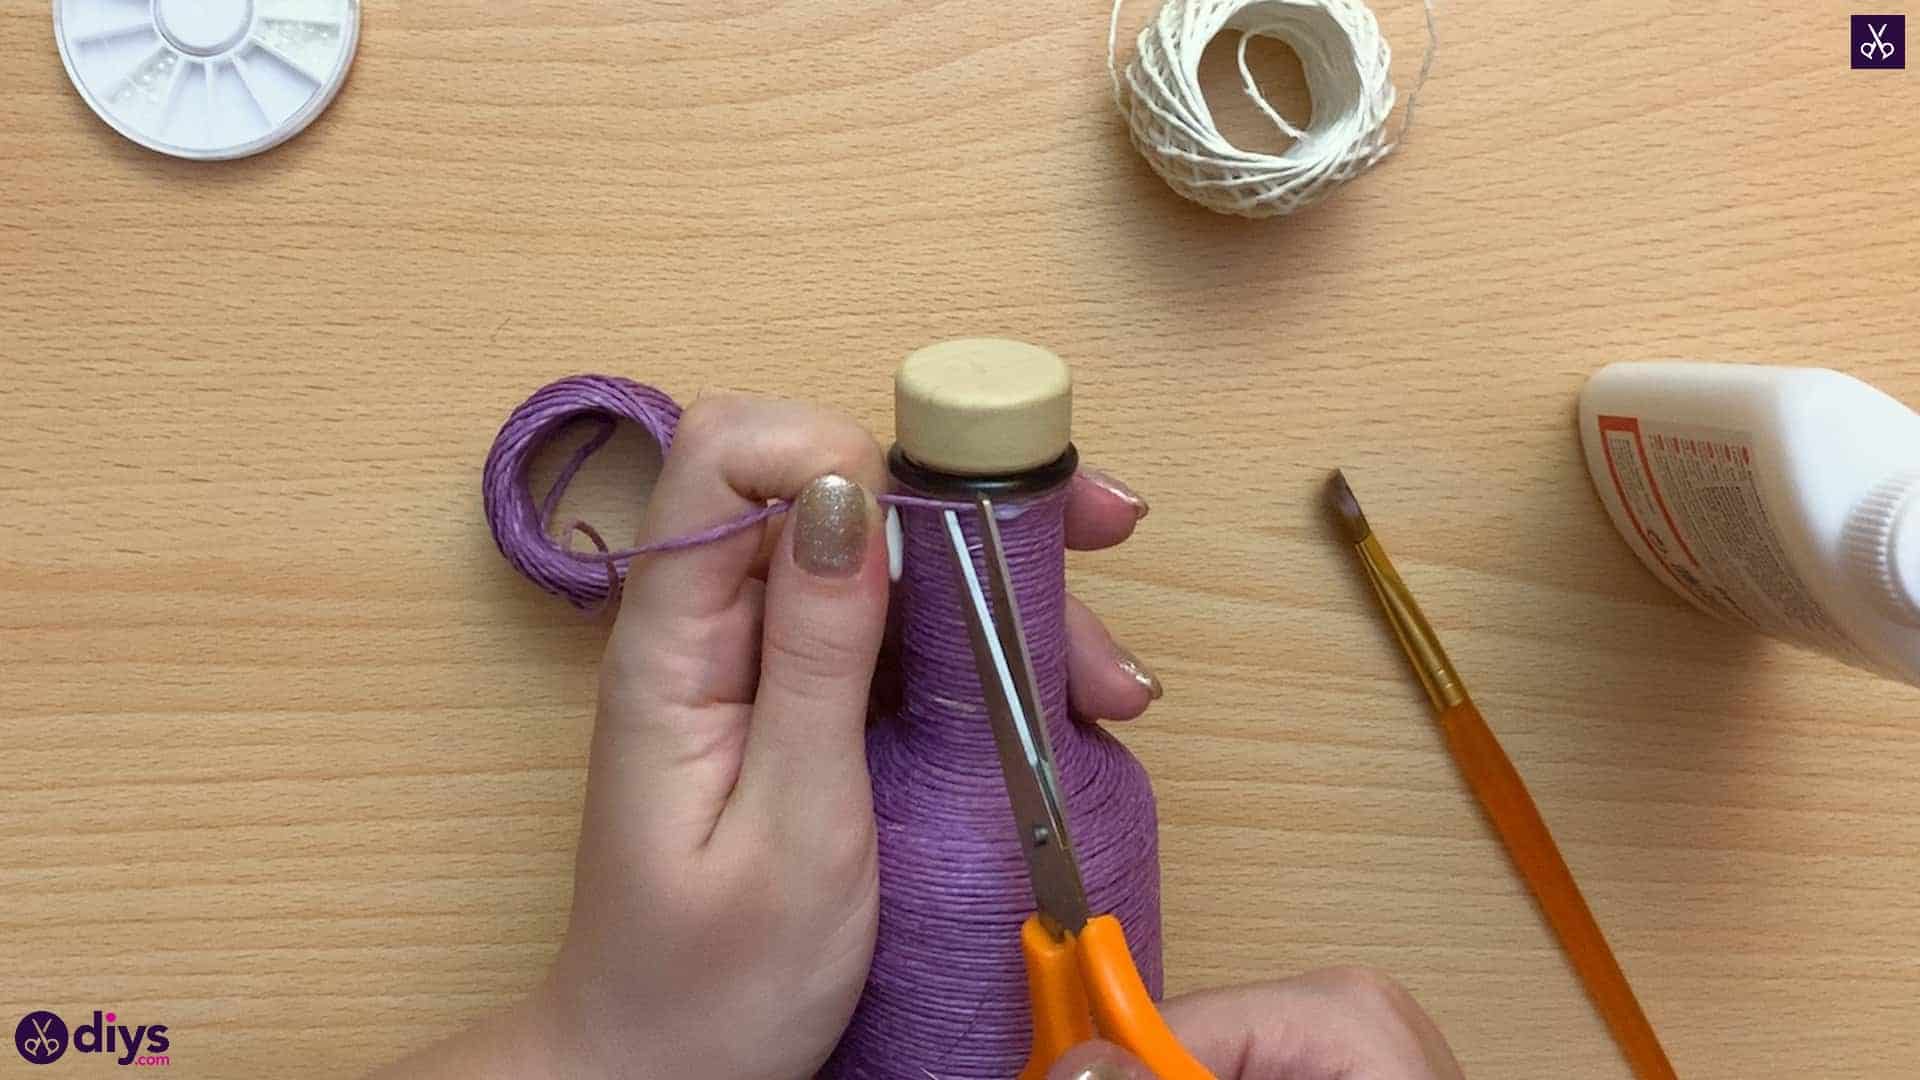
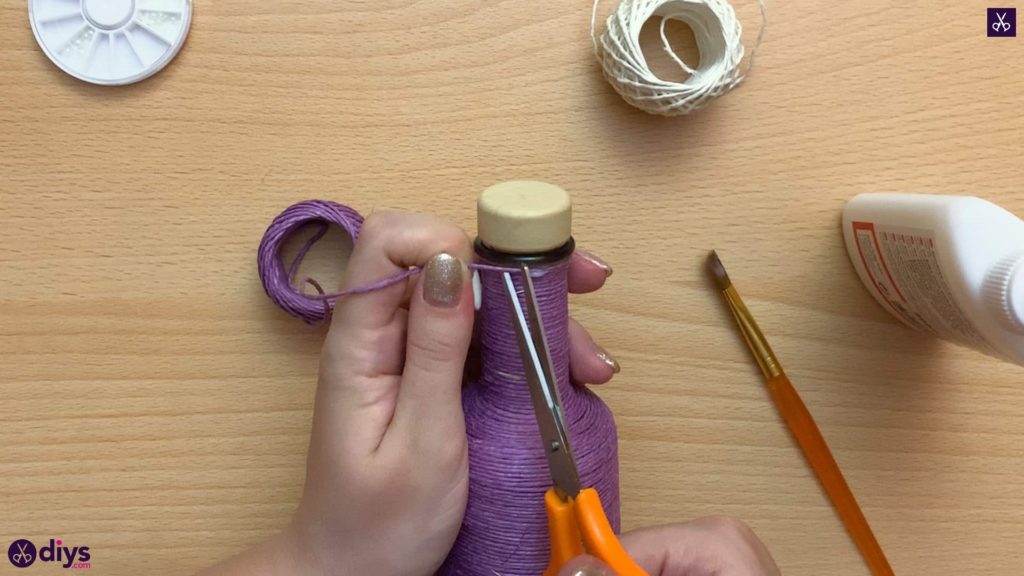
Wrap your second colour of twine all the way up to the top of the bottle (unless you feel like swapping shades more times, in which case you can repeat the process I just outlined). Put another dollop of glue where you want to finish, cut your string off, and press the end into the glue.
Step 7: embellish
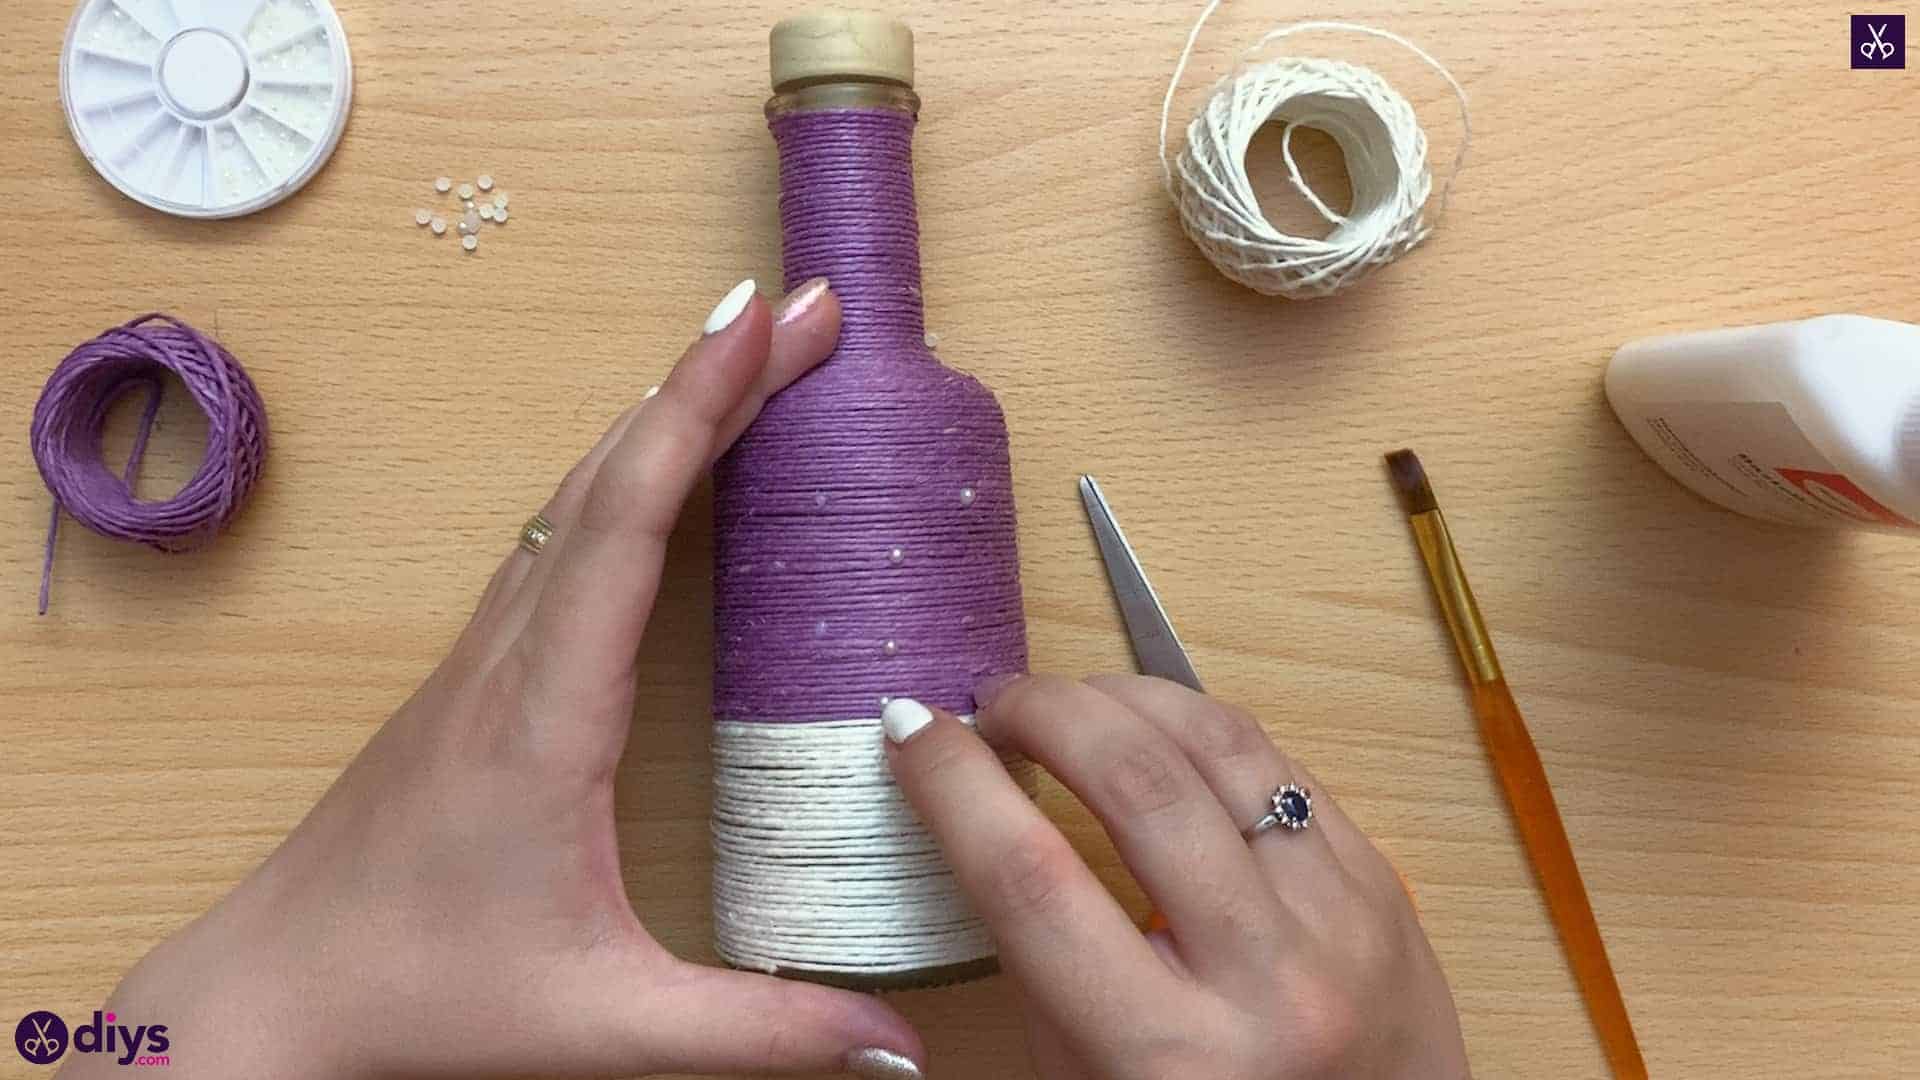
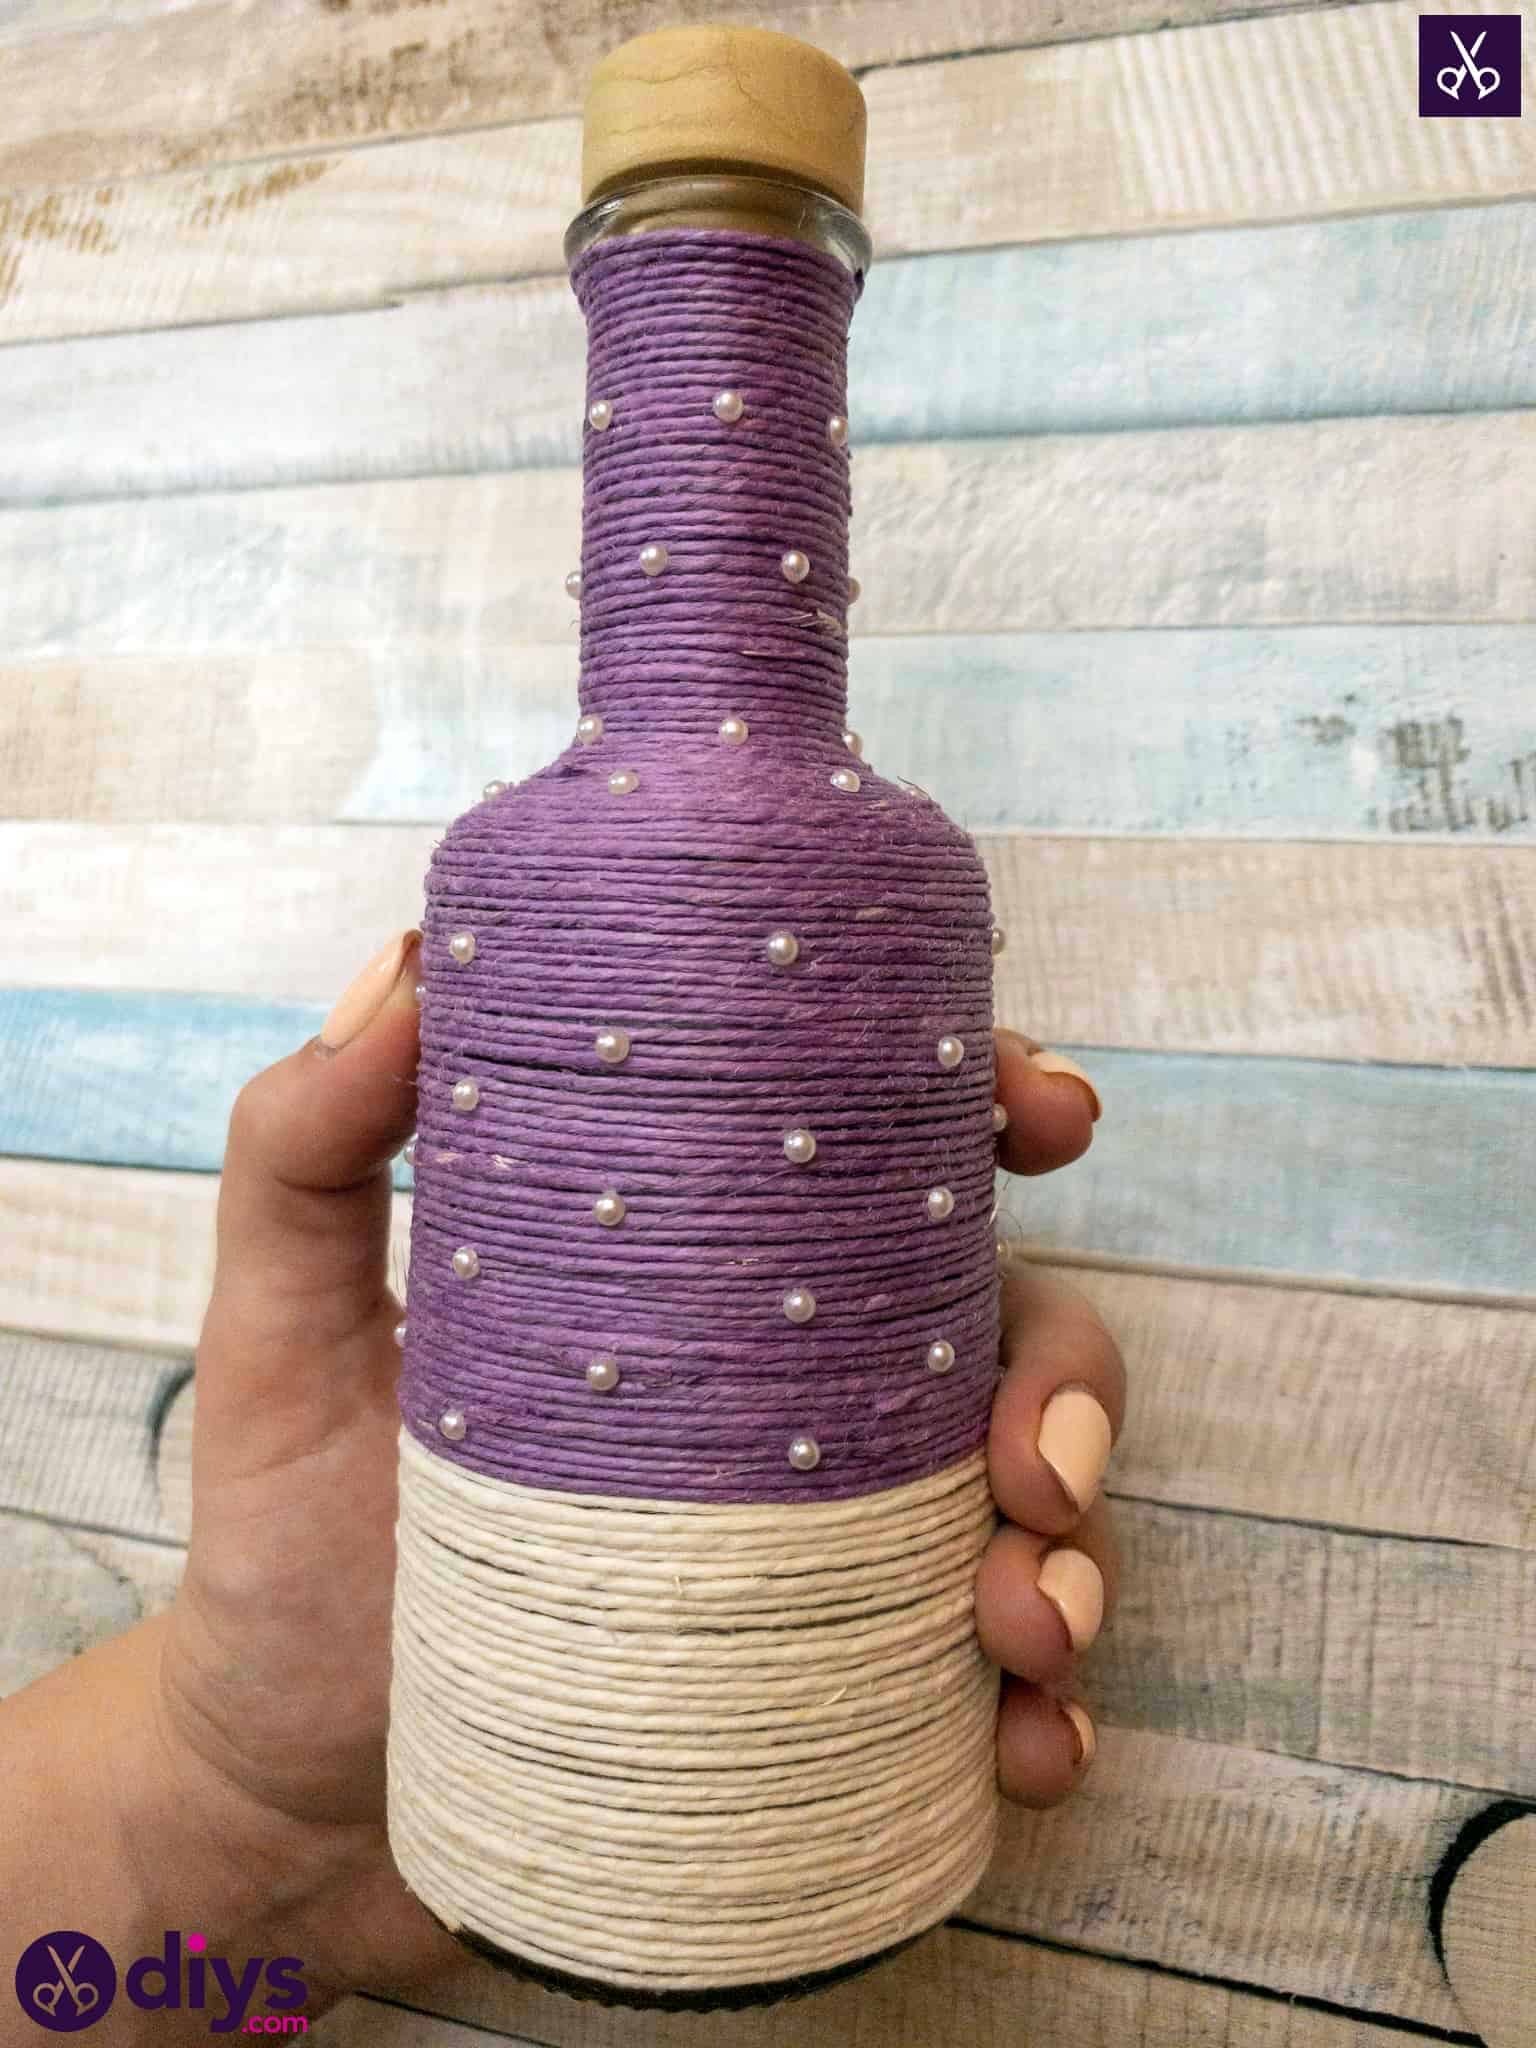
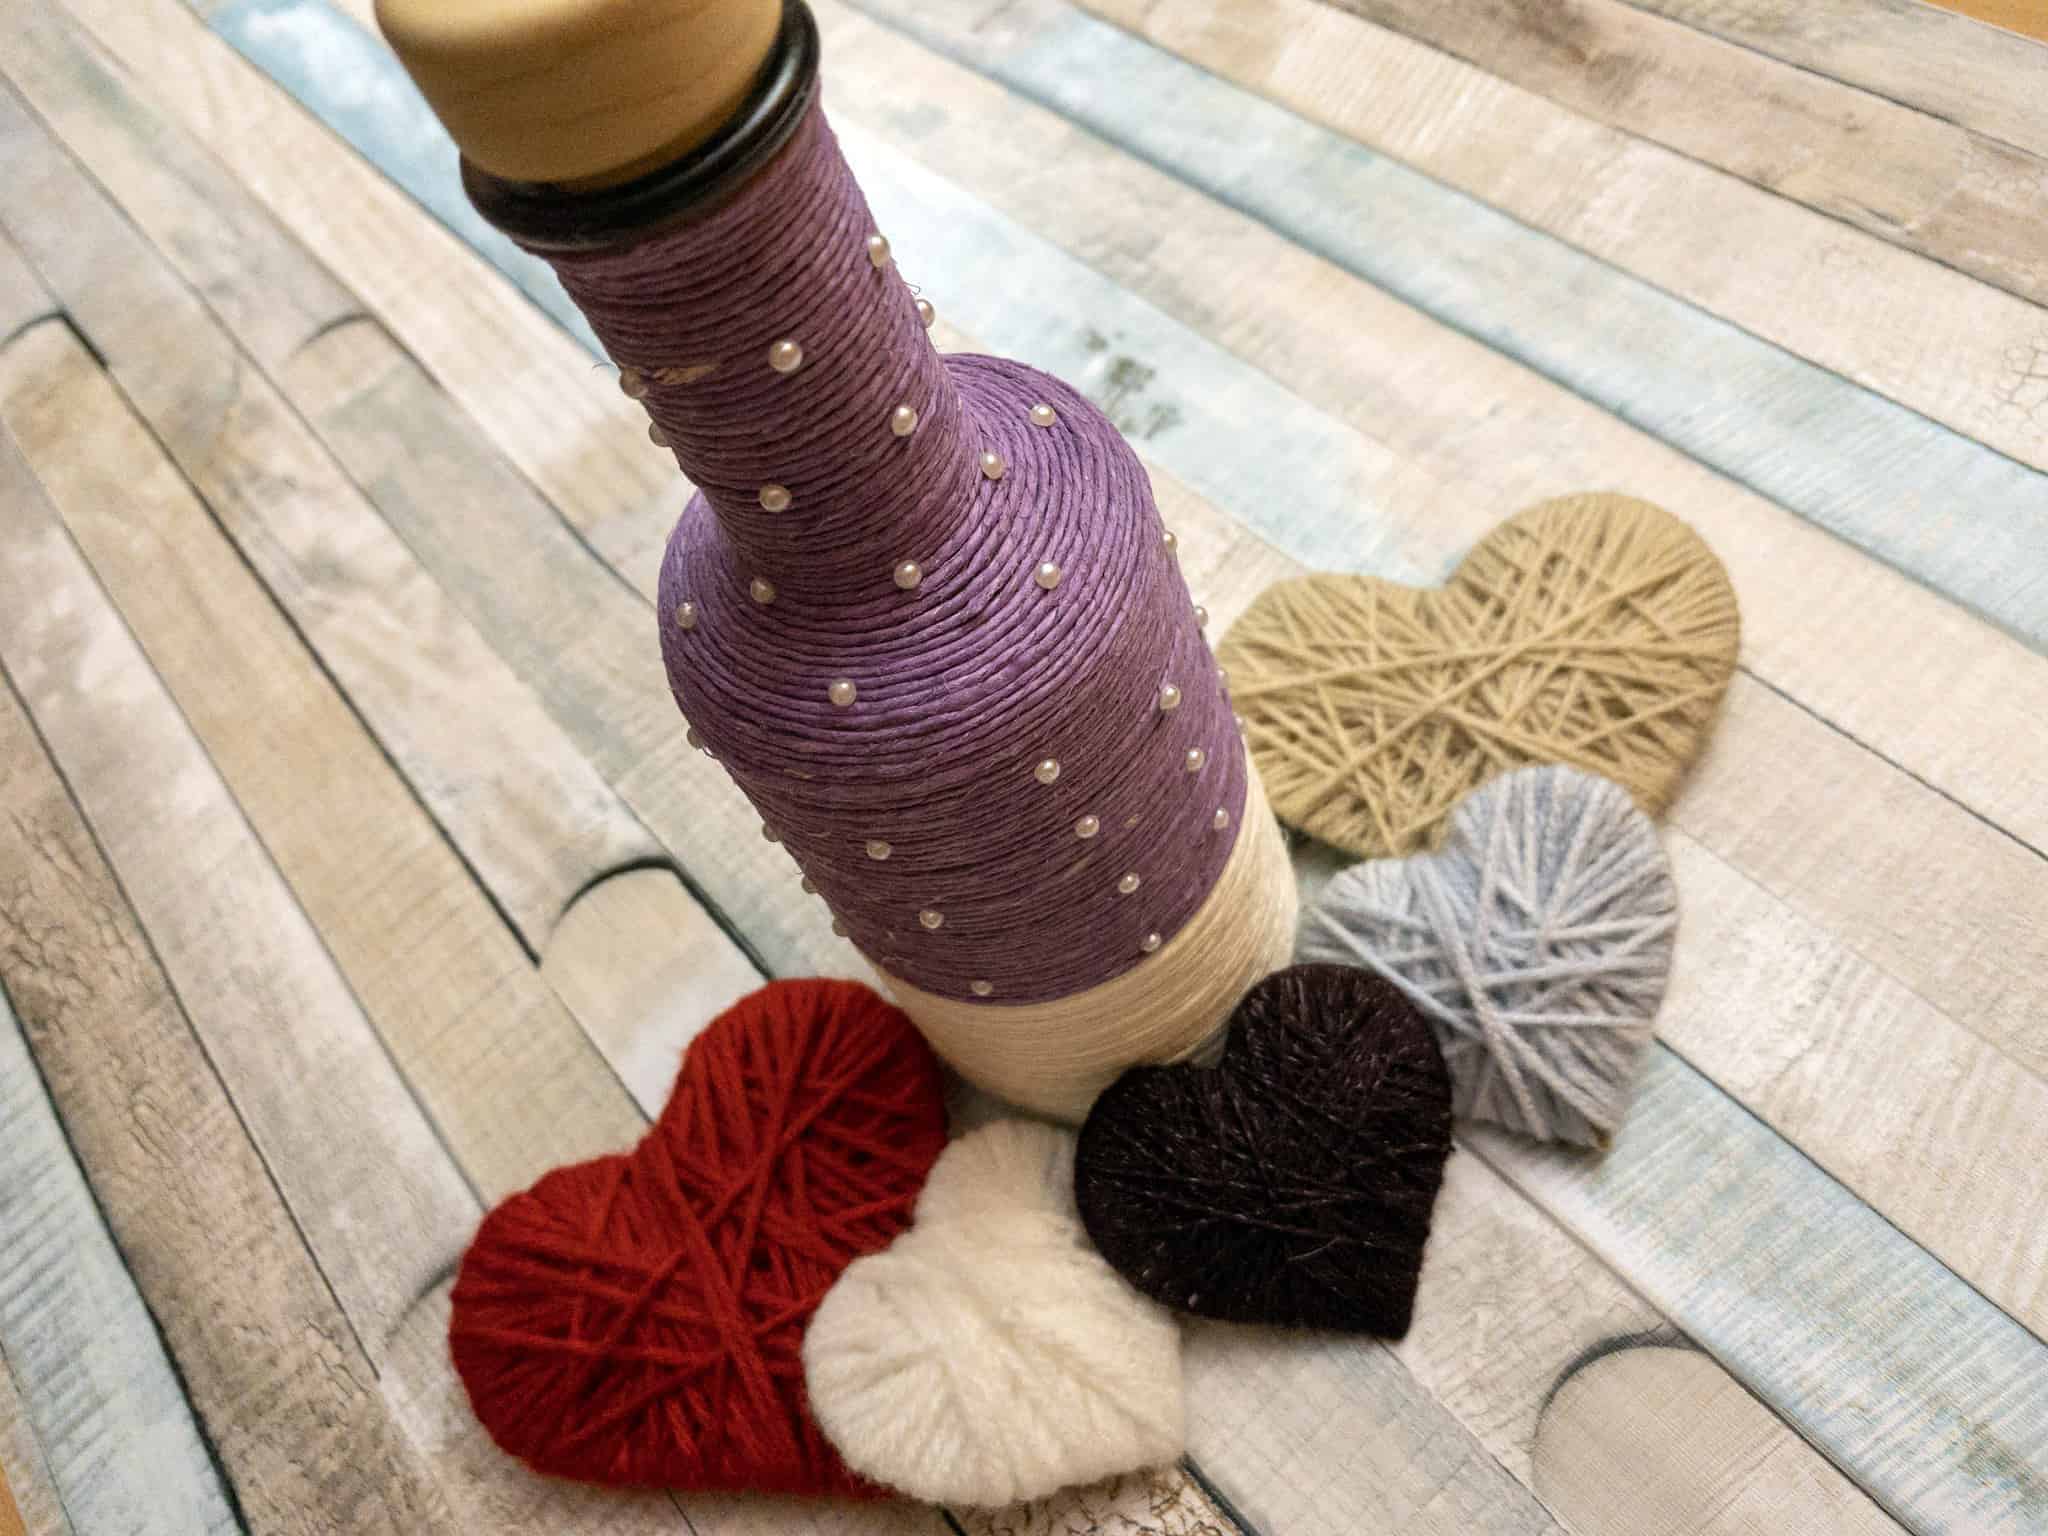
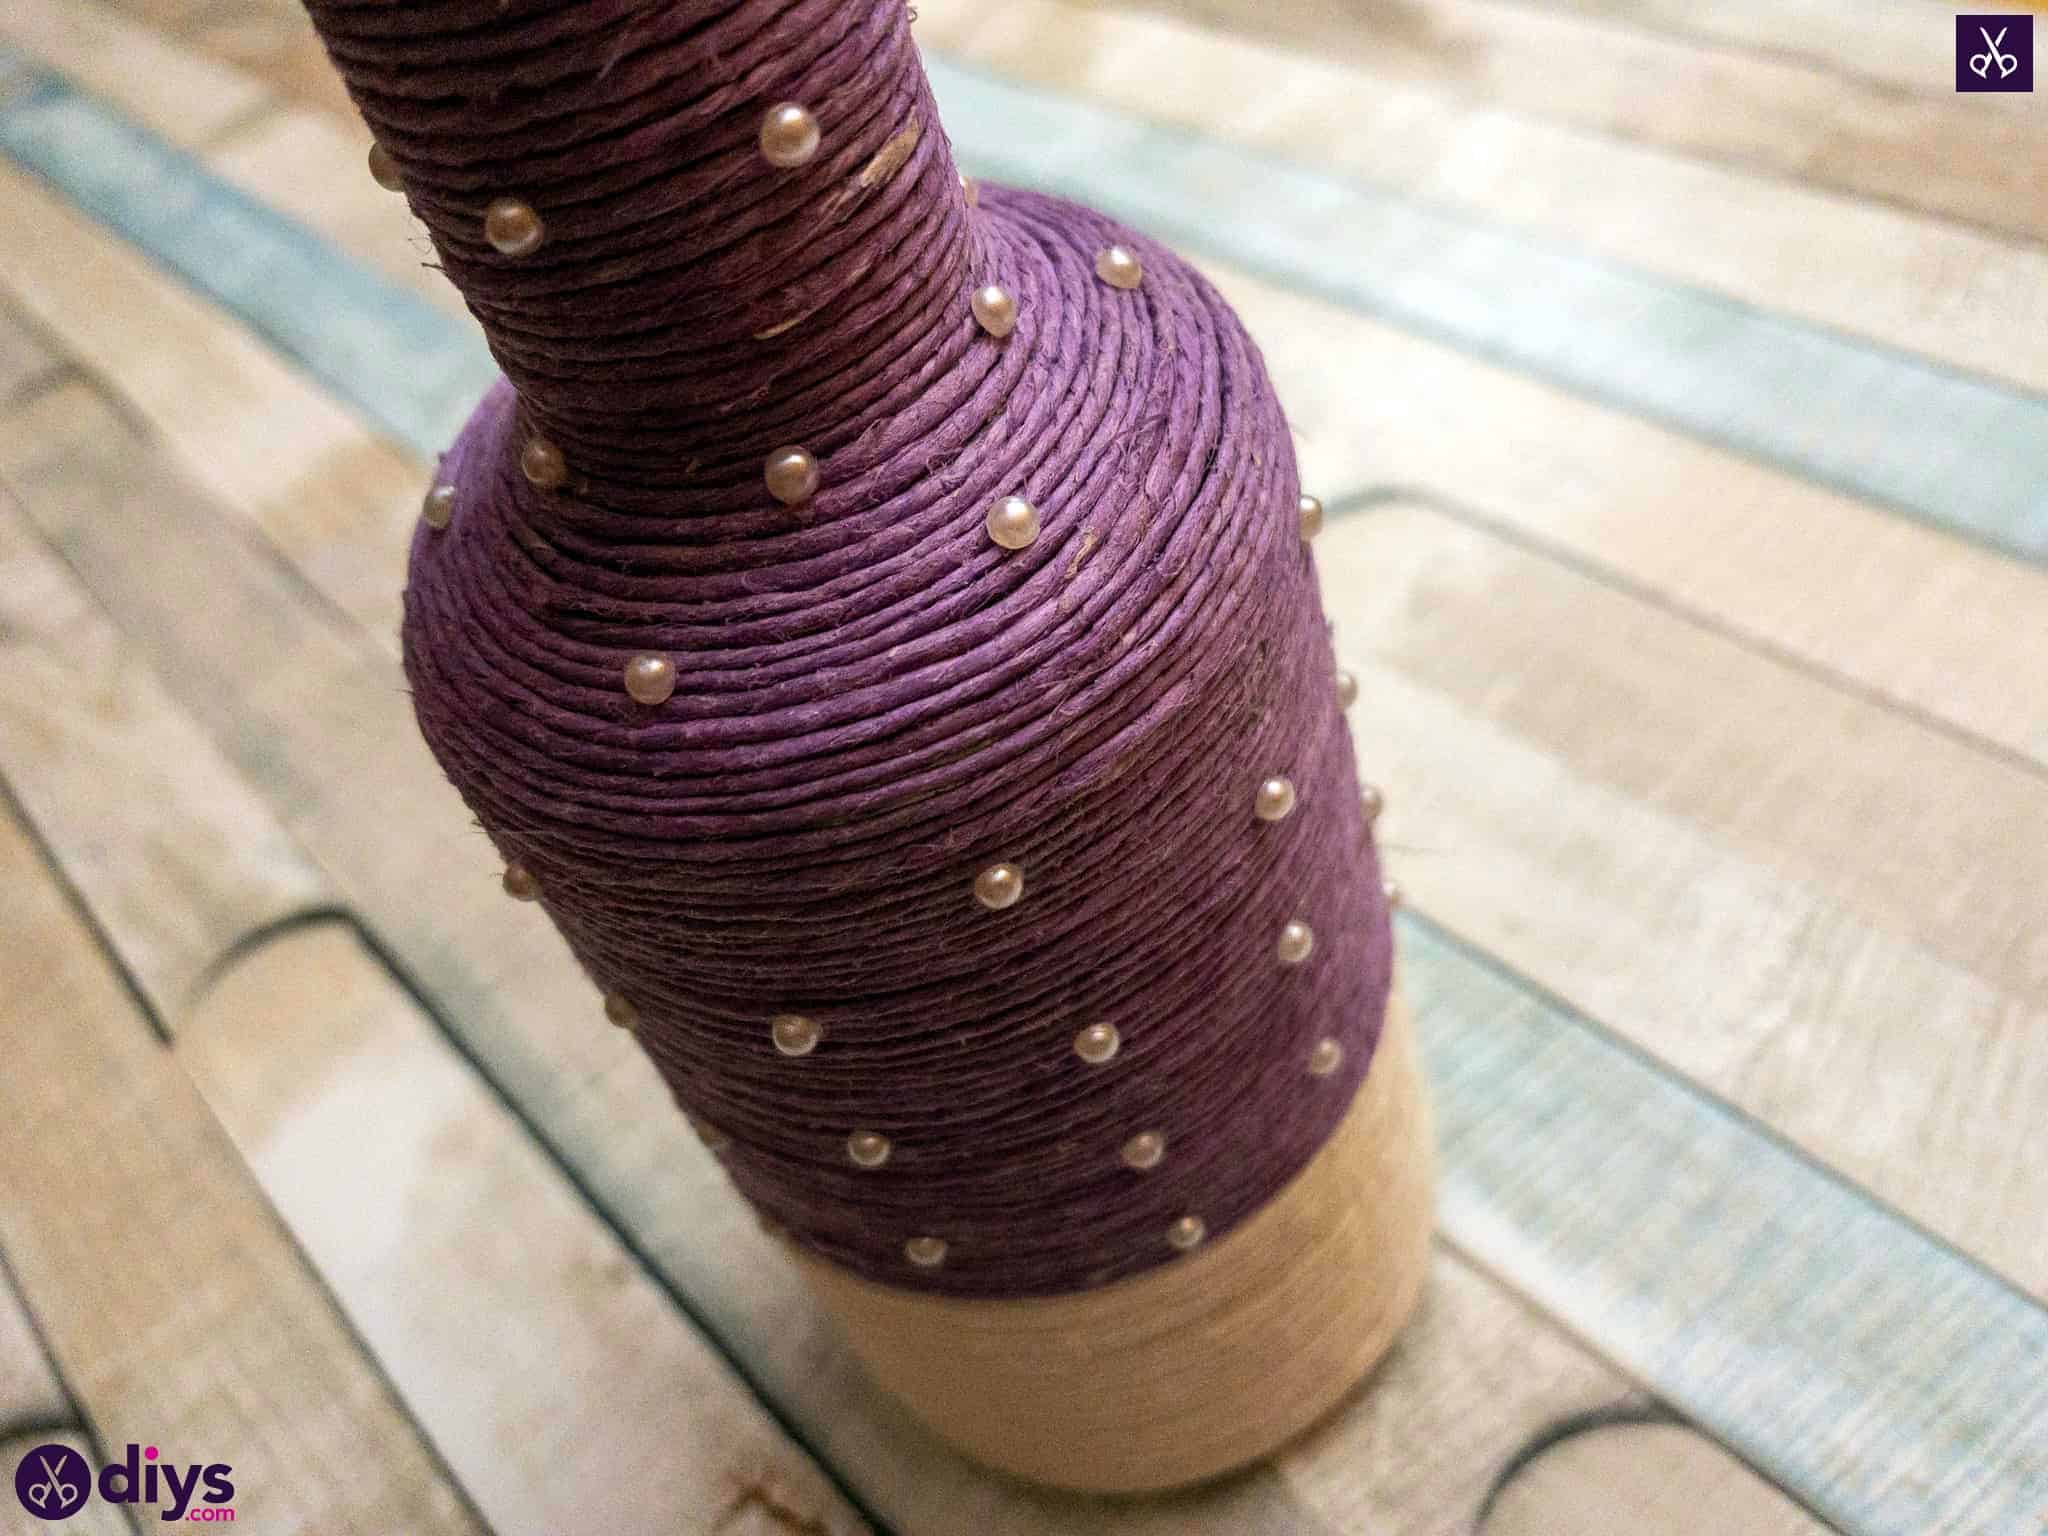
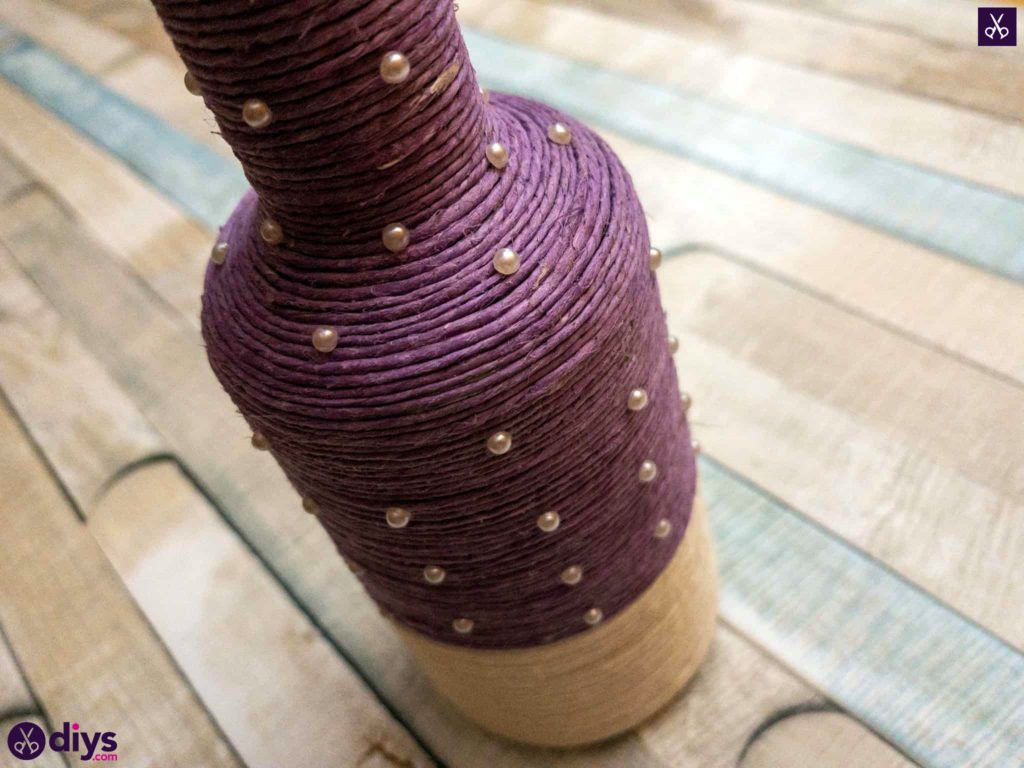
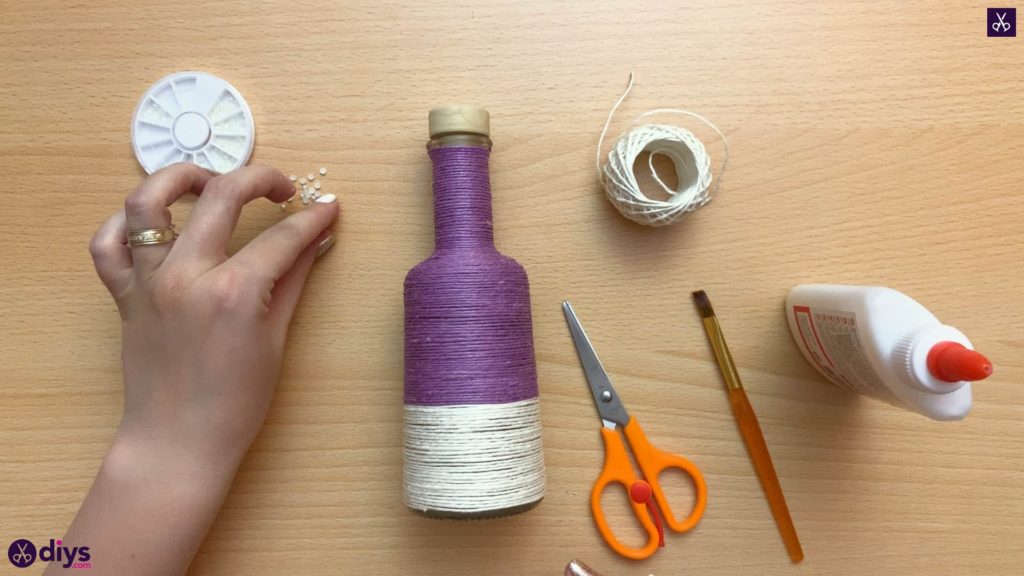
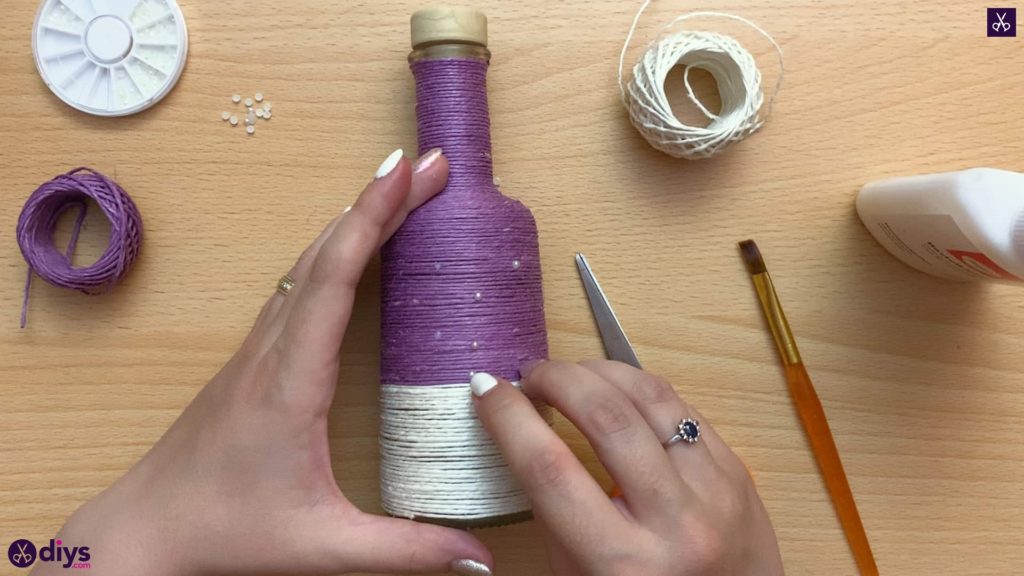
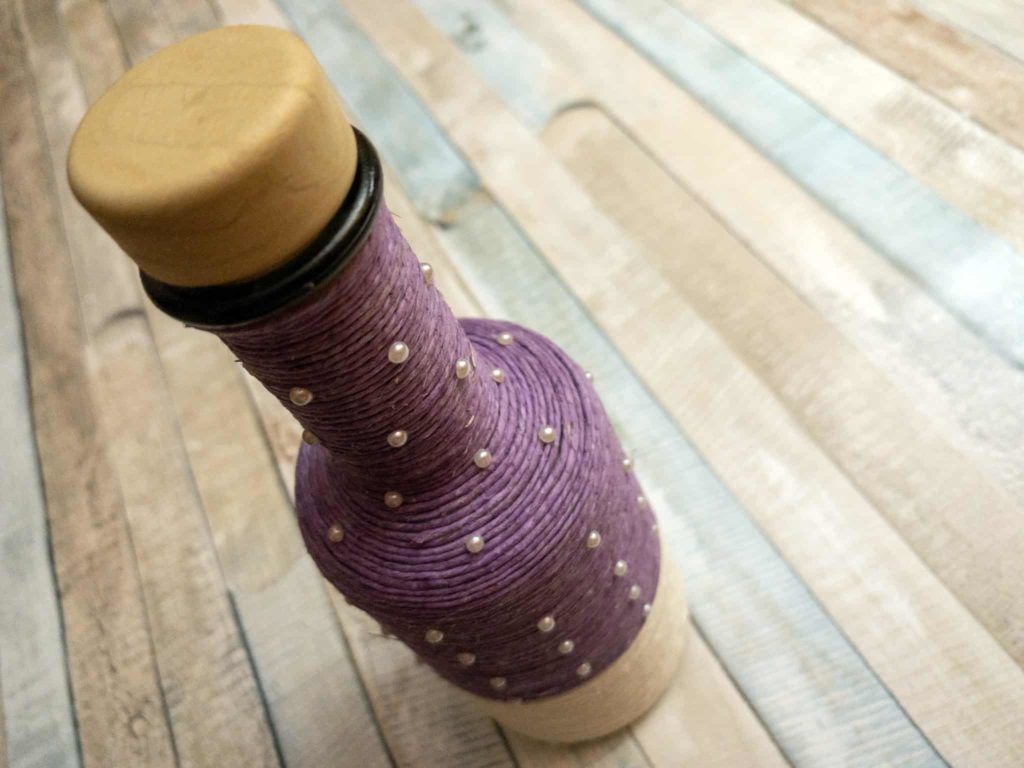
Start embellishing your twine covered bottle with flat backed pearls! You could also do this with rhinestones or different kinds of beads but I thought pearls suited the aesthetic I was going for the best. I started by scattering tiny dots of glue all over the surface of the twine in a sort of randomized spray, just a few at a time. I then followed through those same spots with the pearls, pressing one into each dot of glue.
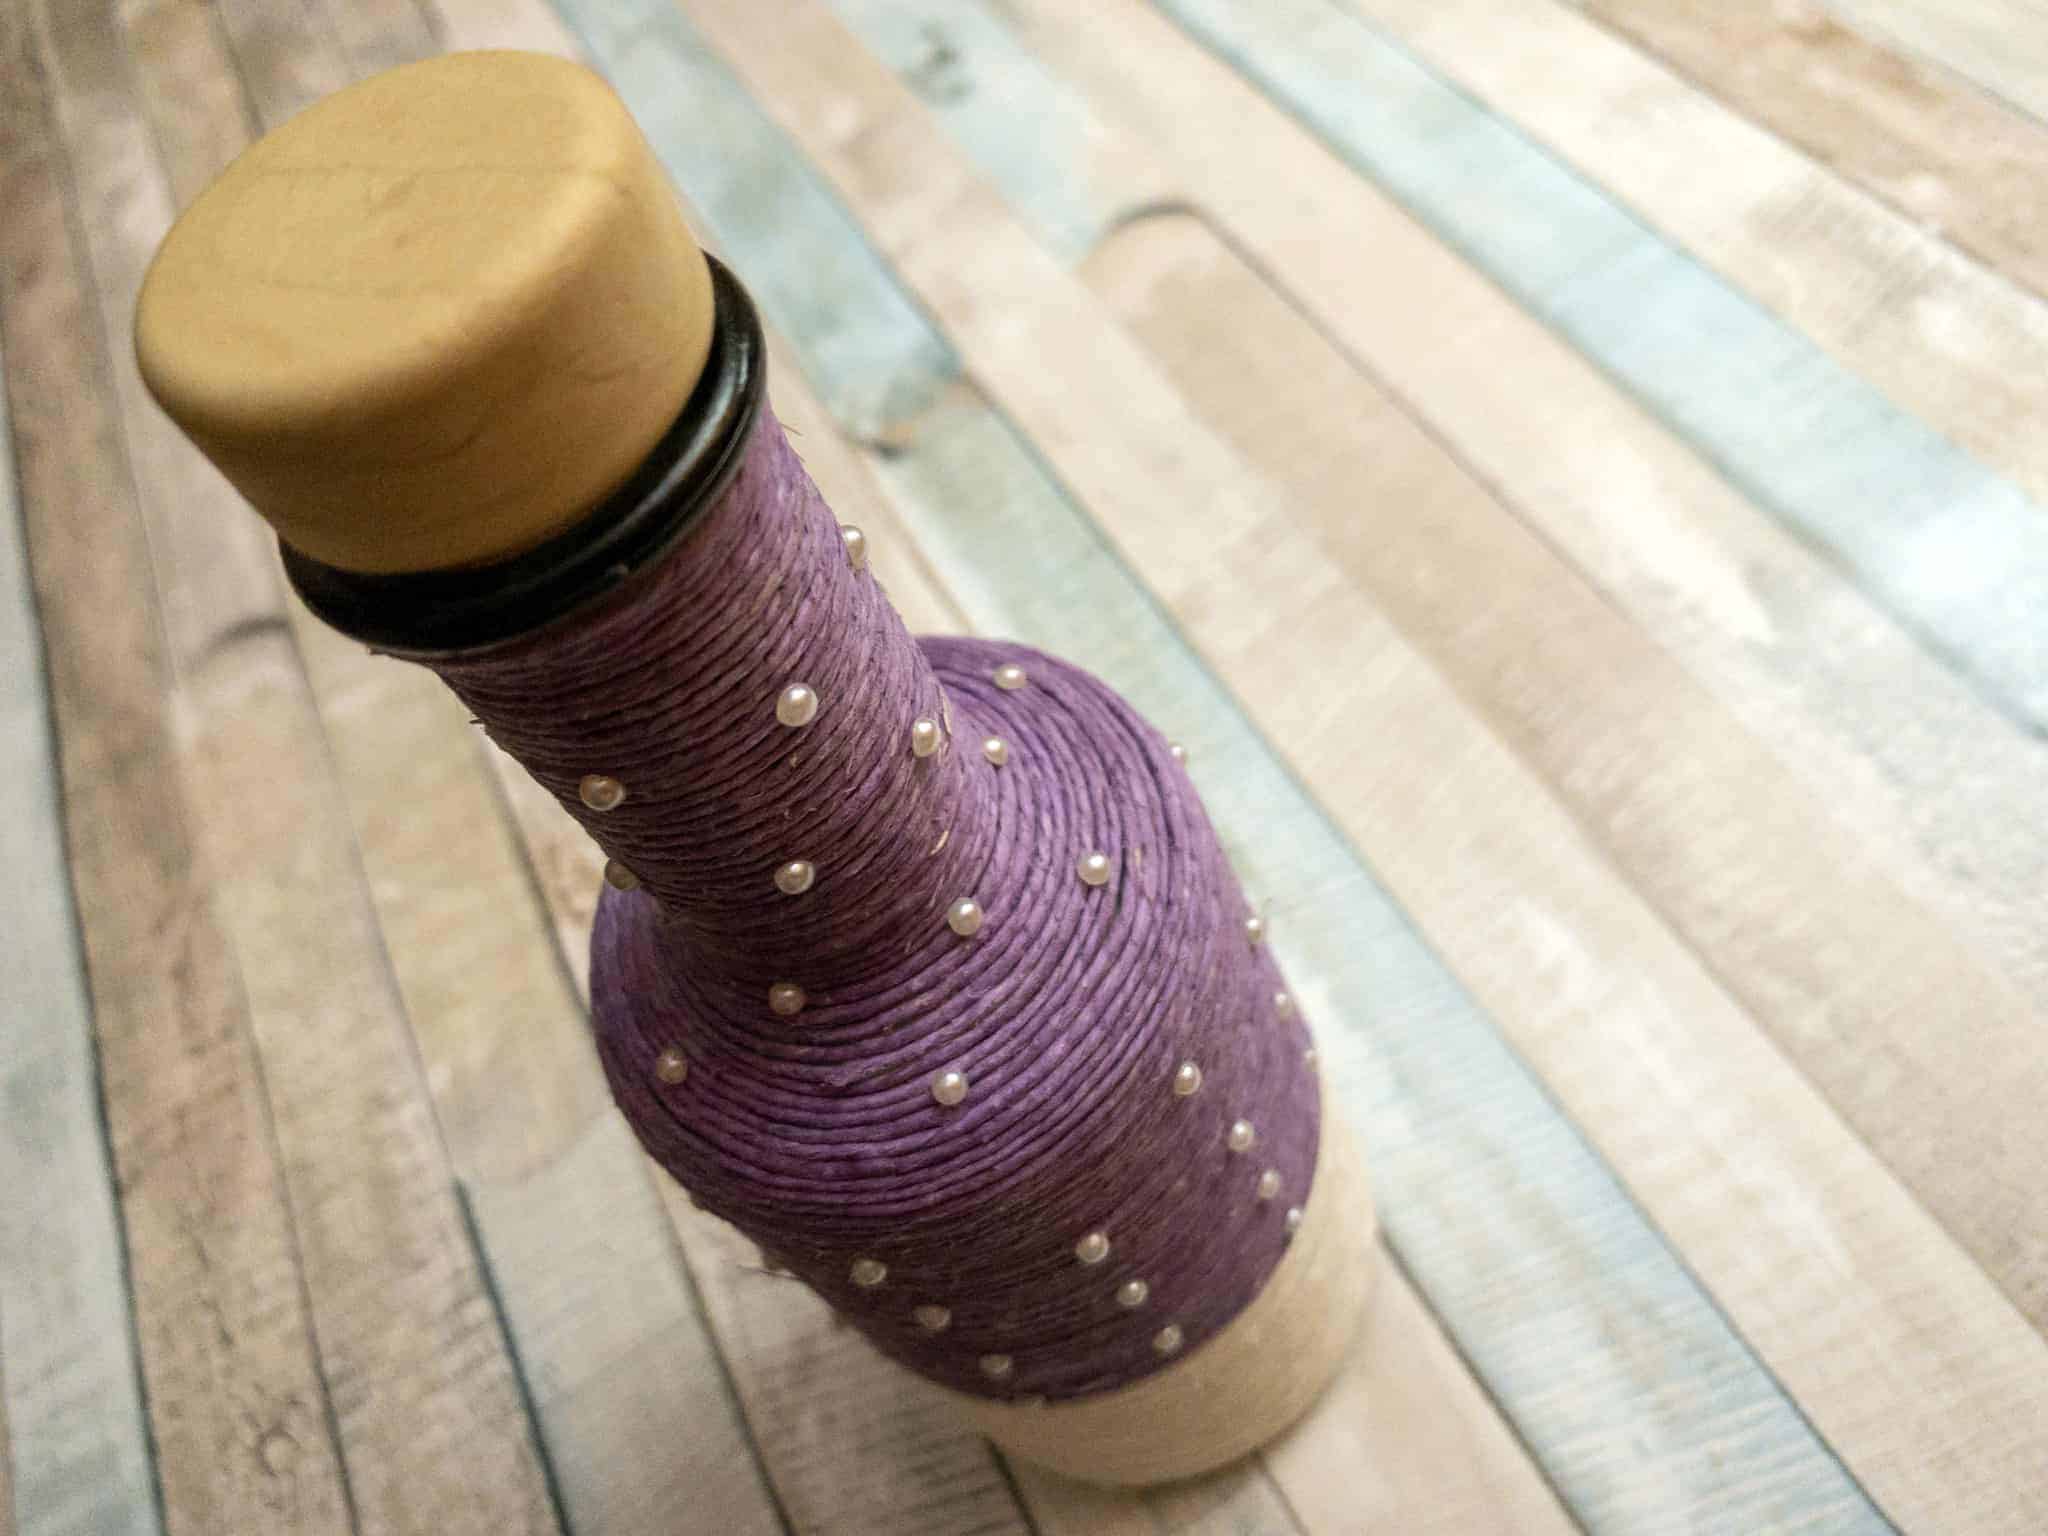
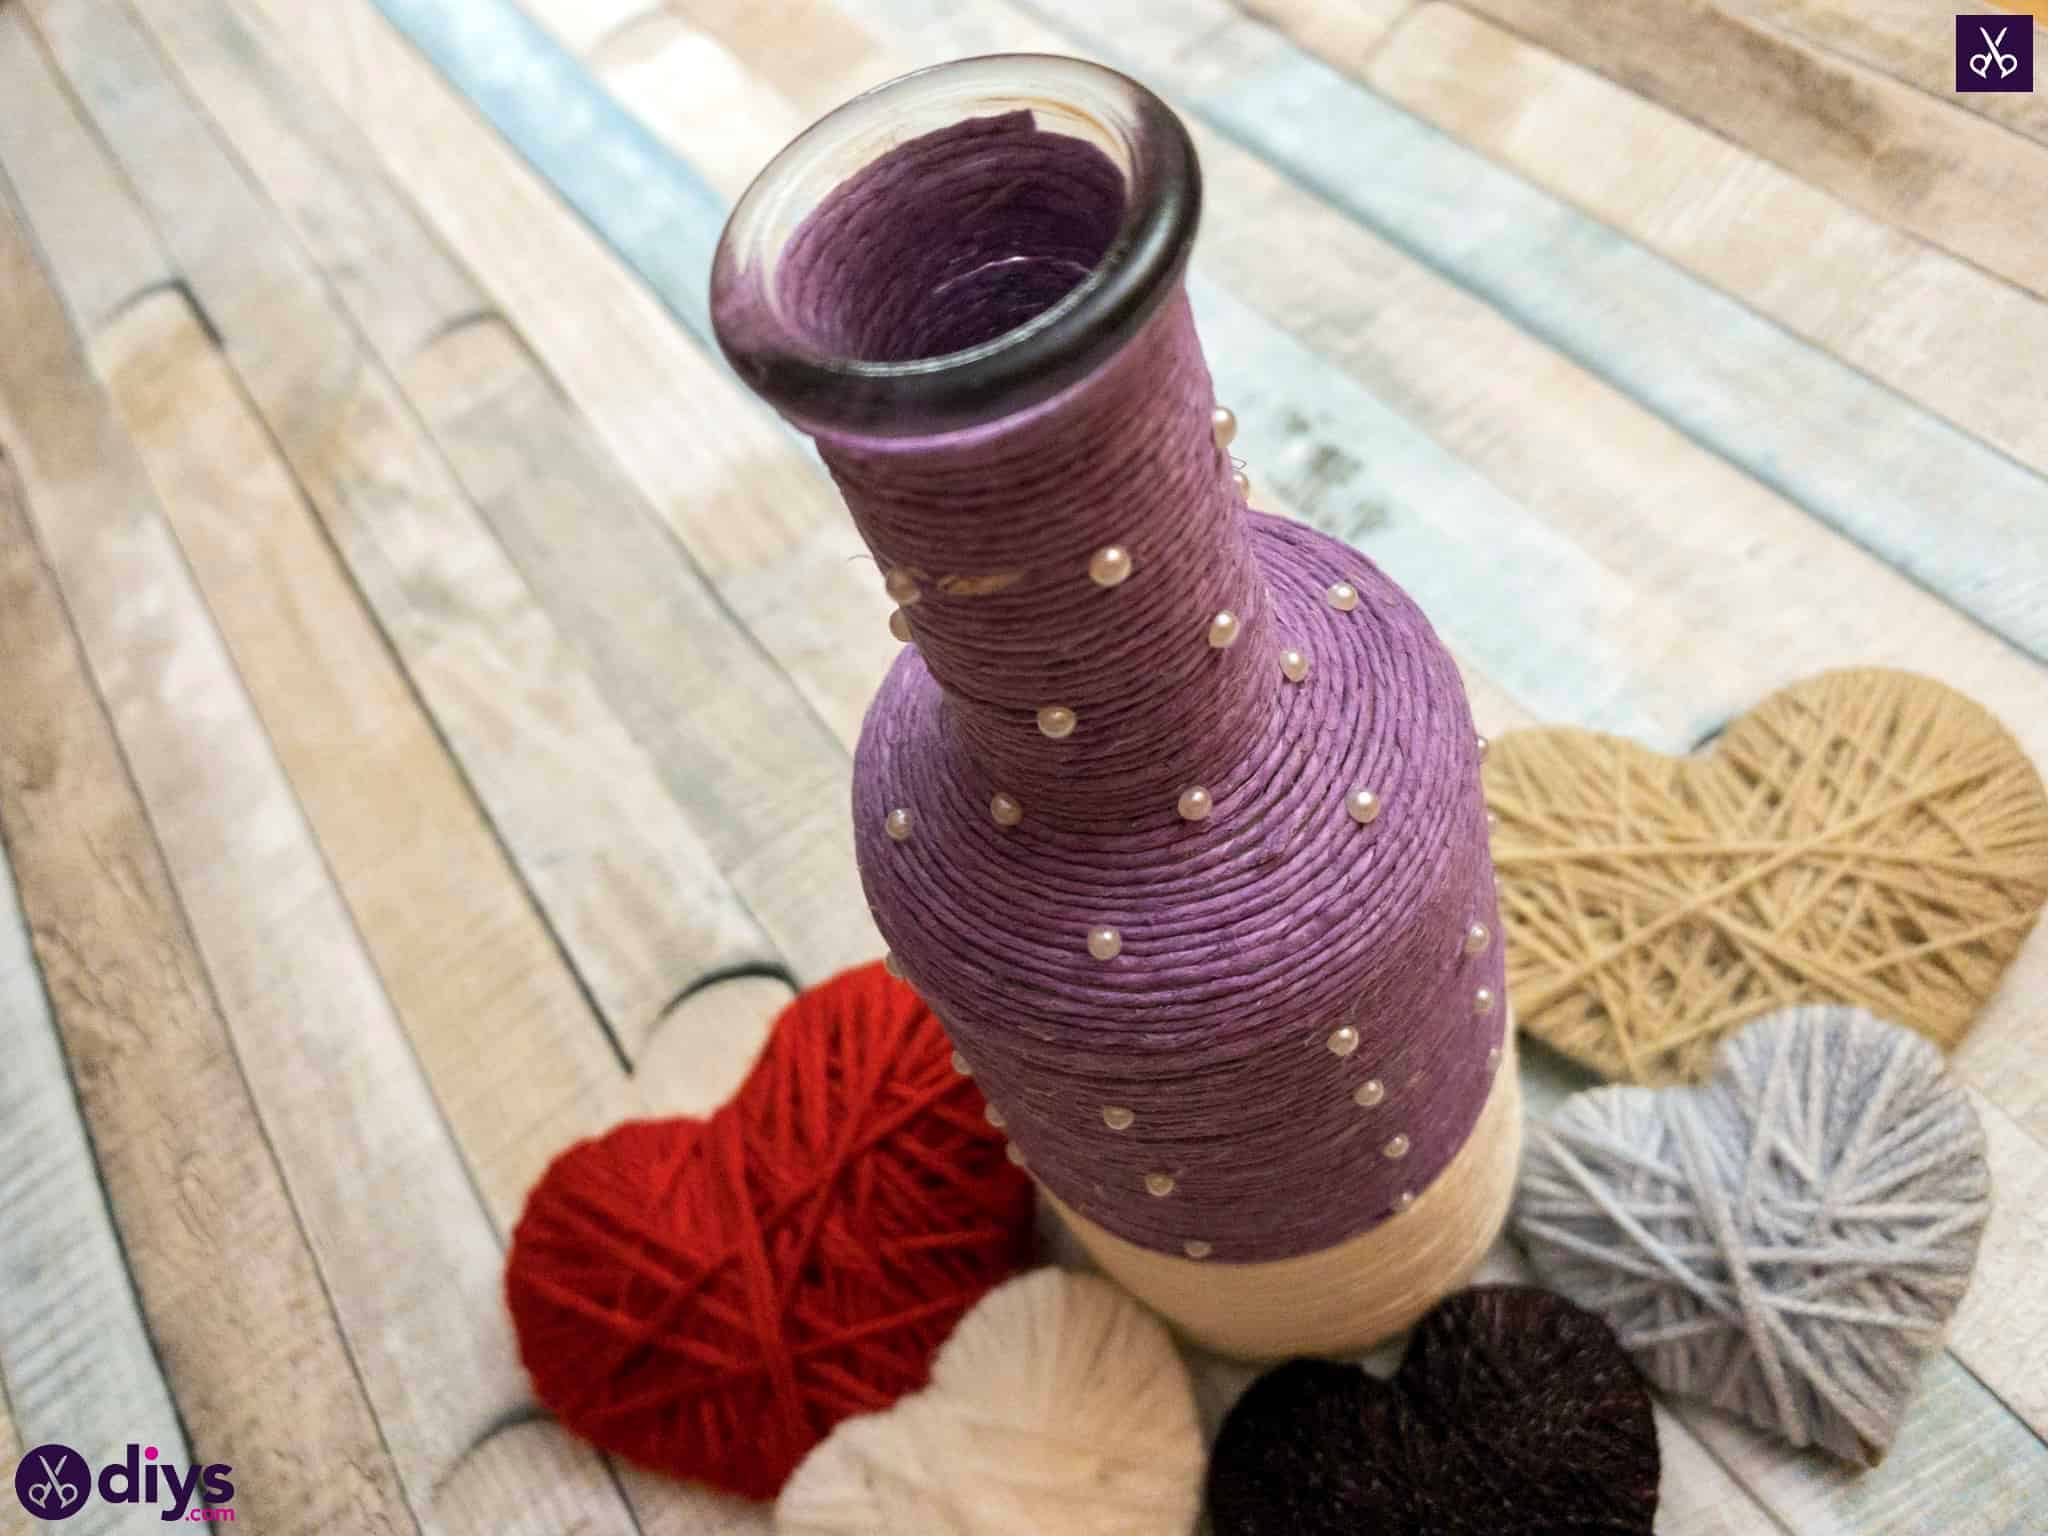
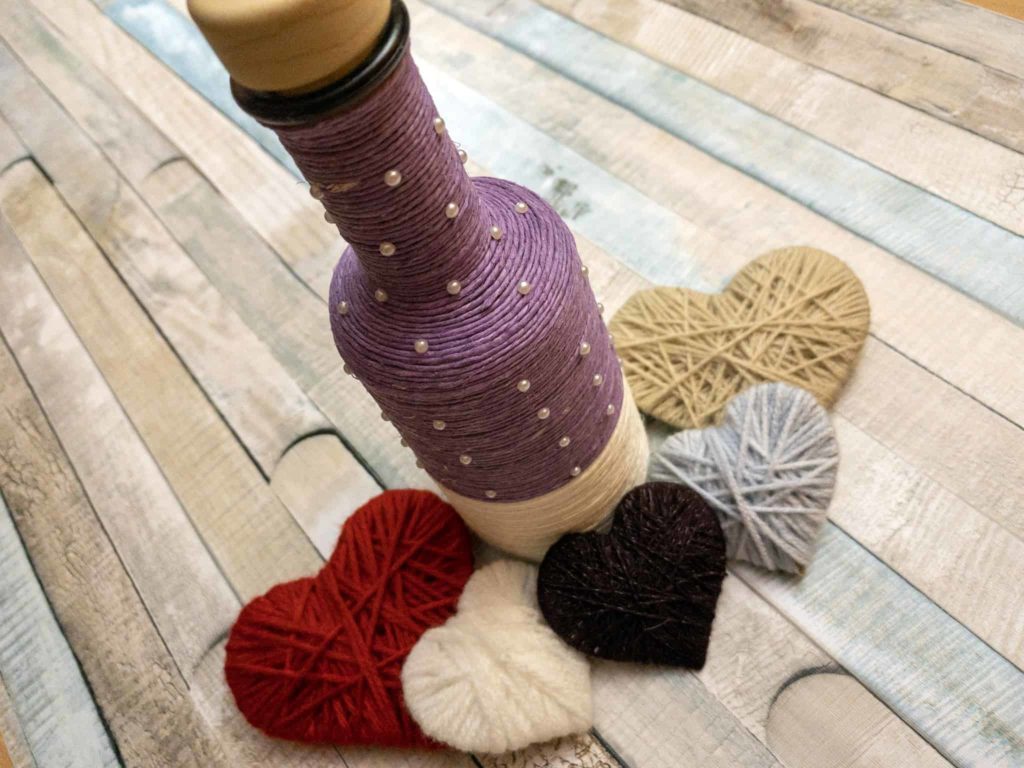
That’s really all there is to it! I was very happy indeed with the cute contrast between the glass, the twine, and the pearls, but you could also try this basic technique out while using things like colourful yarn or rhinestones instead.
Just in case you’d like to try this project out as well, here’s an awesome tutorial video to give you a hand!
