How to Make a Toilet Roll Scarecrow
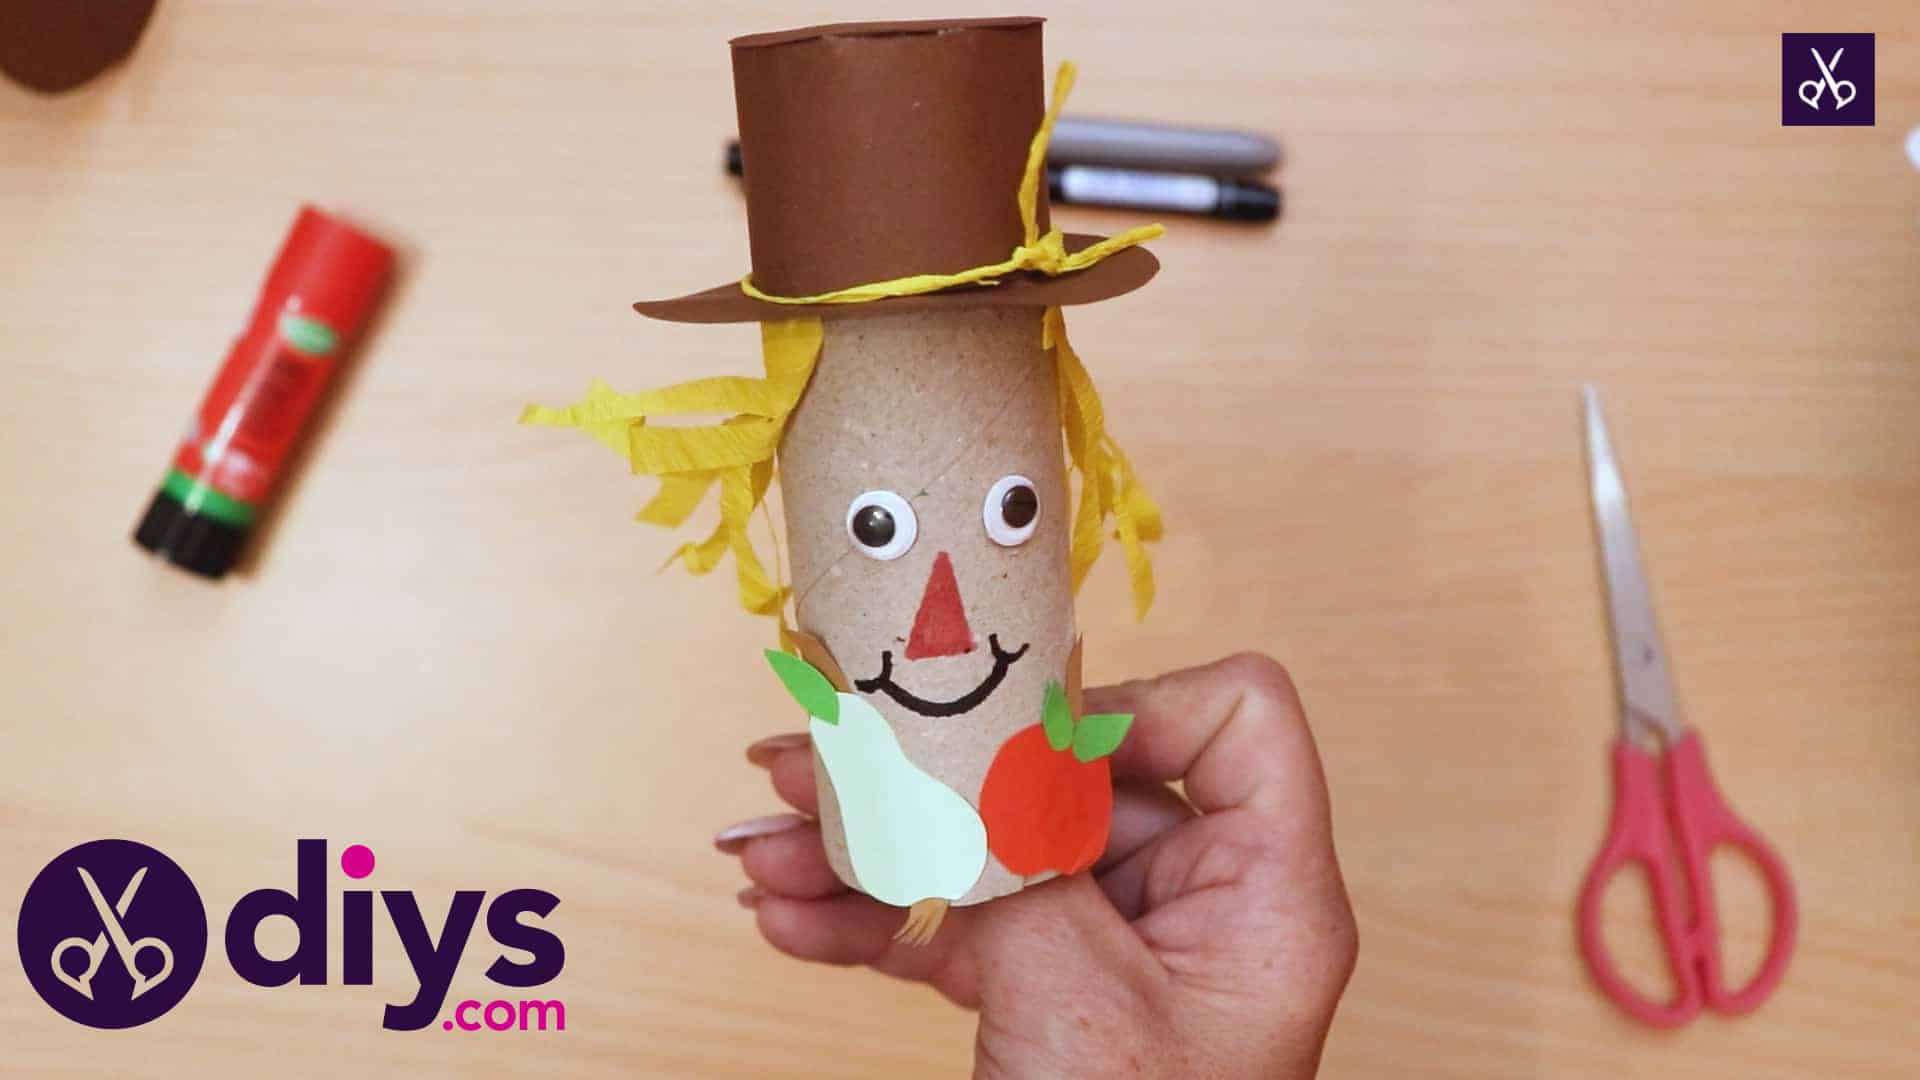
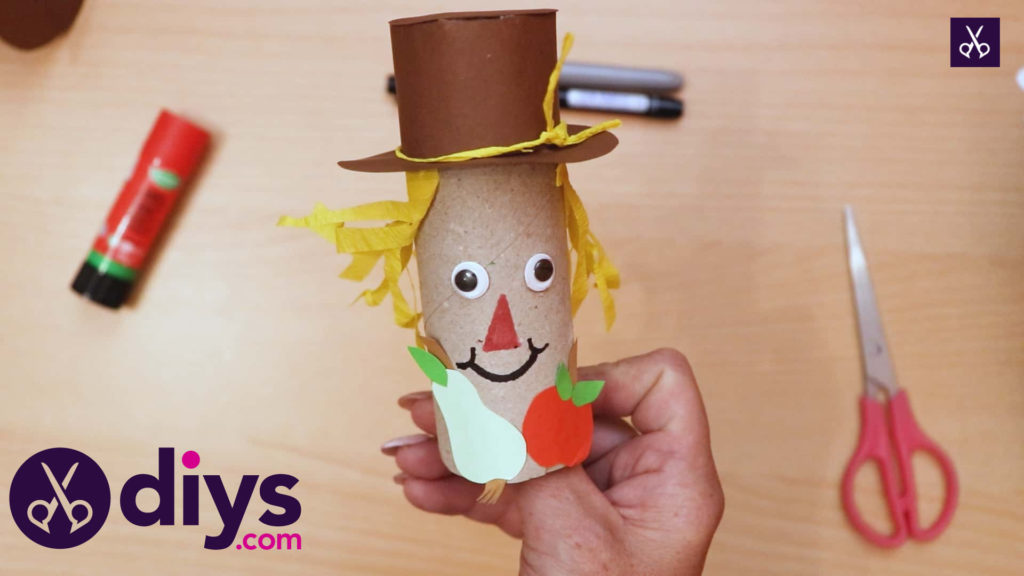
I’m always trying to think of new things to turn toilet rolls into with my kids and, in celebration of the new fall season, I decided on scarecrows this week. I like the idea so much that I thought I’d lay the steps out so other people can give the project a try as well!
Here are the full instructions for making a toilet roll scarecrow, complete with photos. If you’re the kind of DIY enthusiast who prefers following along with video tutorials, scroll to the end of this post to find one!
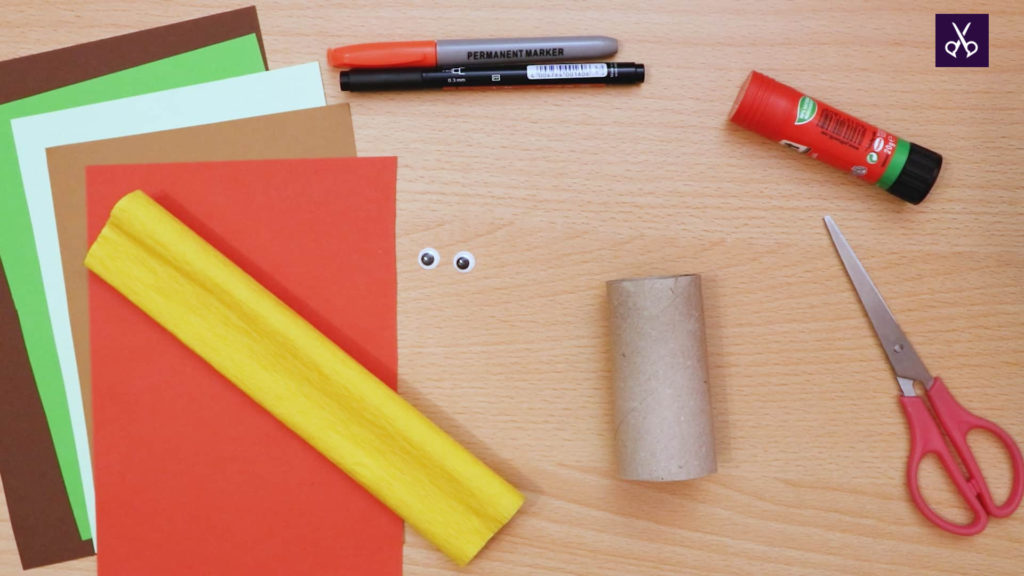
For this project, you’ll need:
- Coloured paper (light and dark brown, light and dark green, and red)
- Yellow crepe paper
- Markers (red and black)
- A glue stick
- Two googly eyes
- Scissors
- A toilet roll
Step 1: be ready
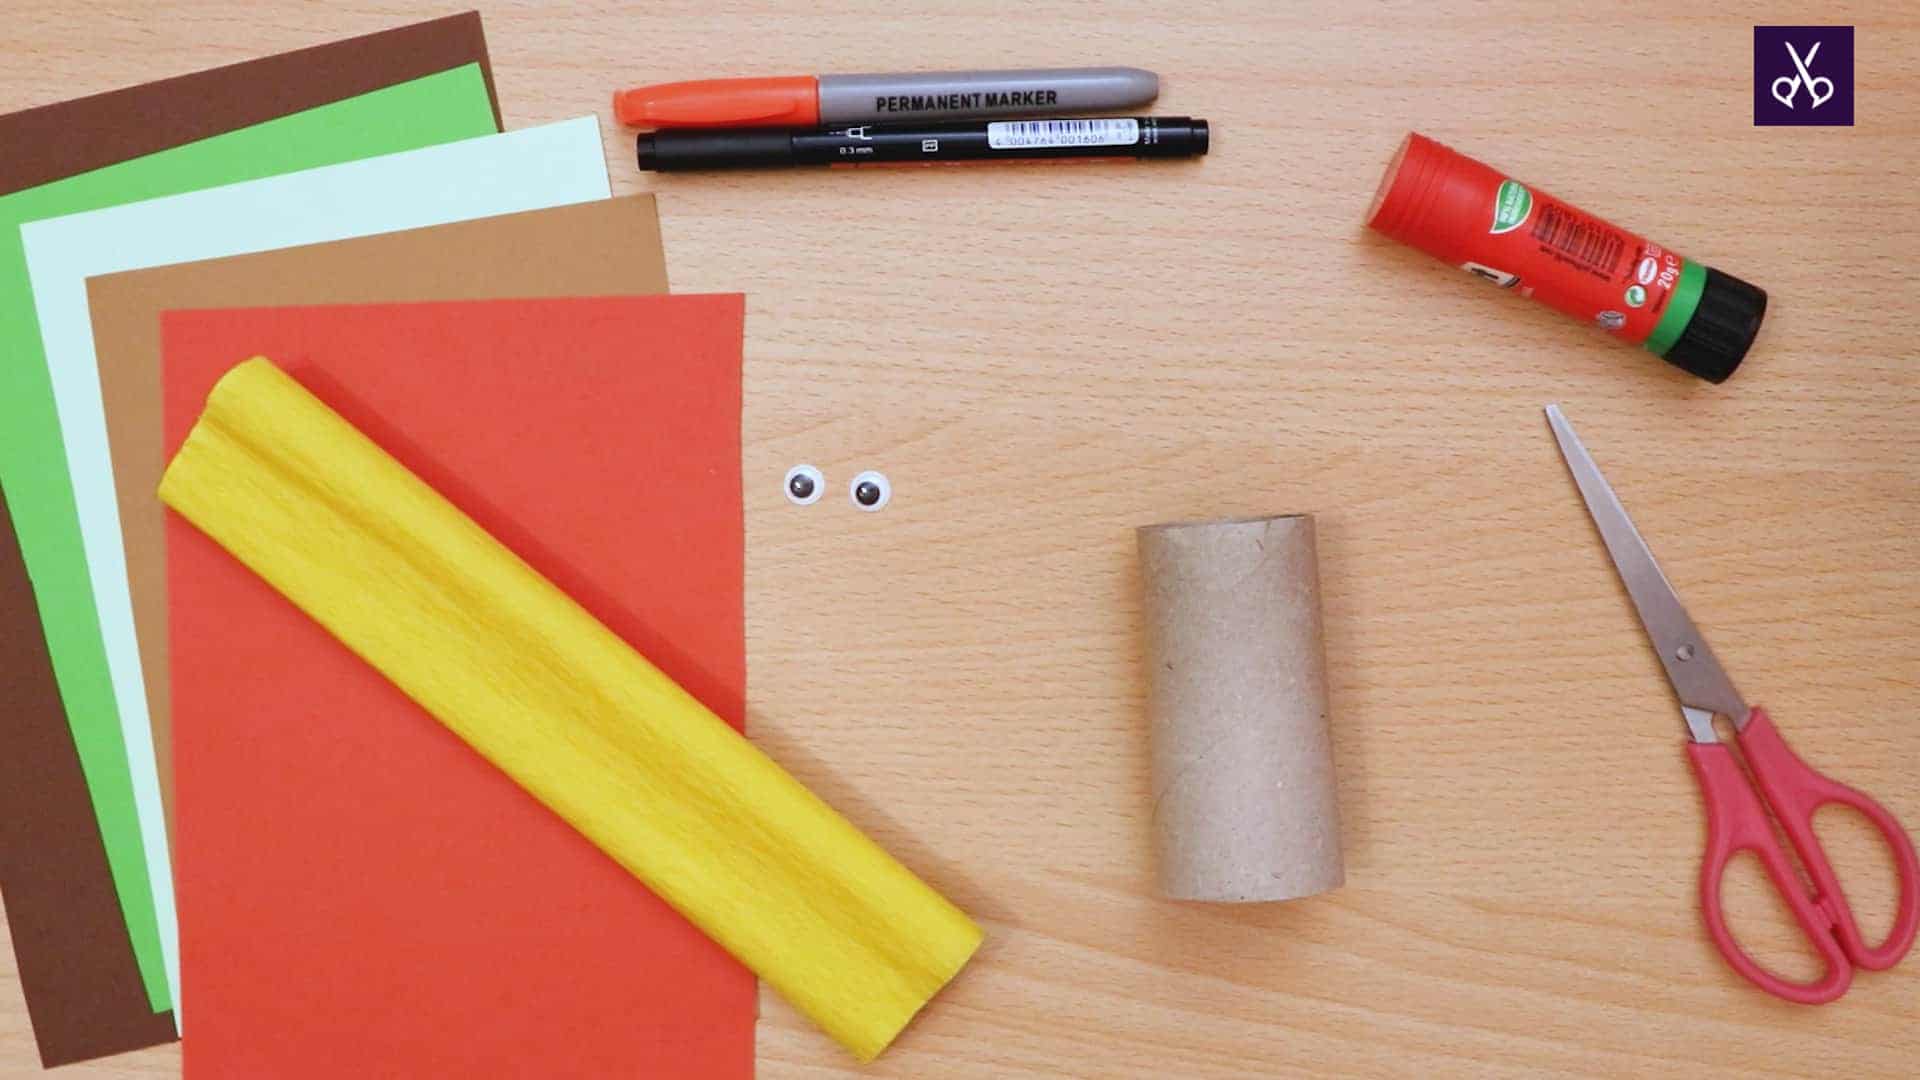
Gather your materials!
Step 2: make the hair
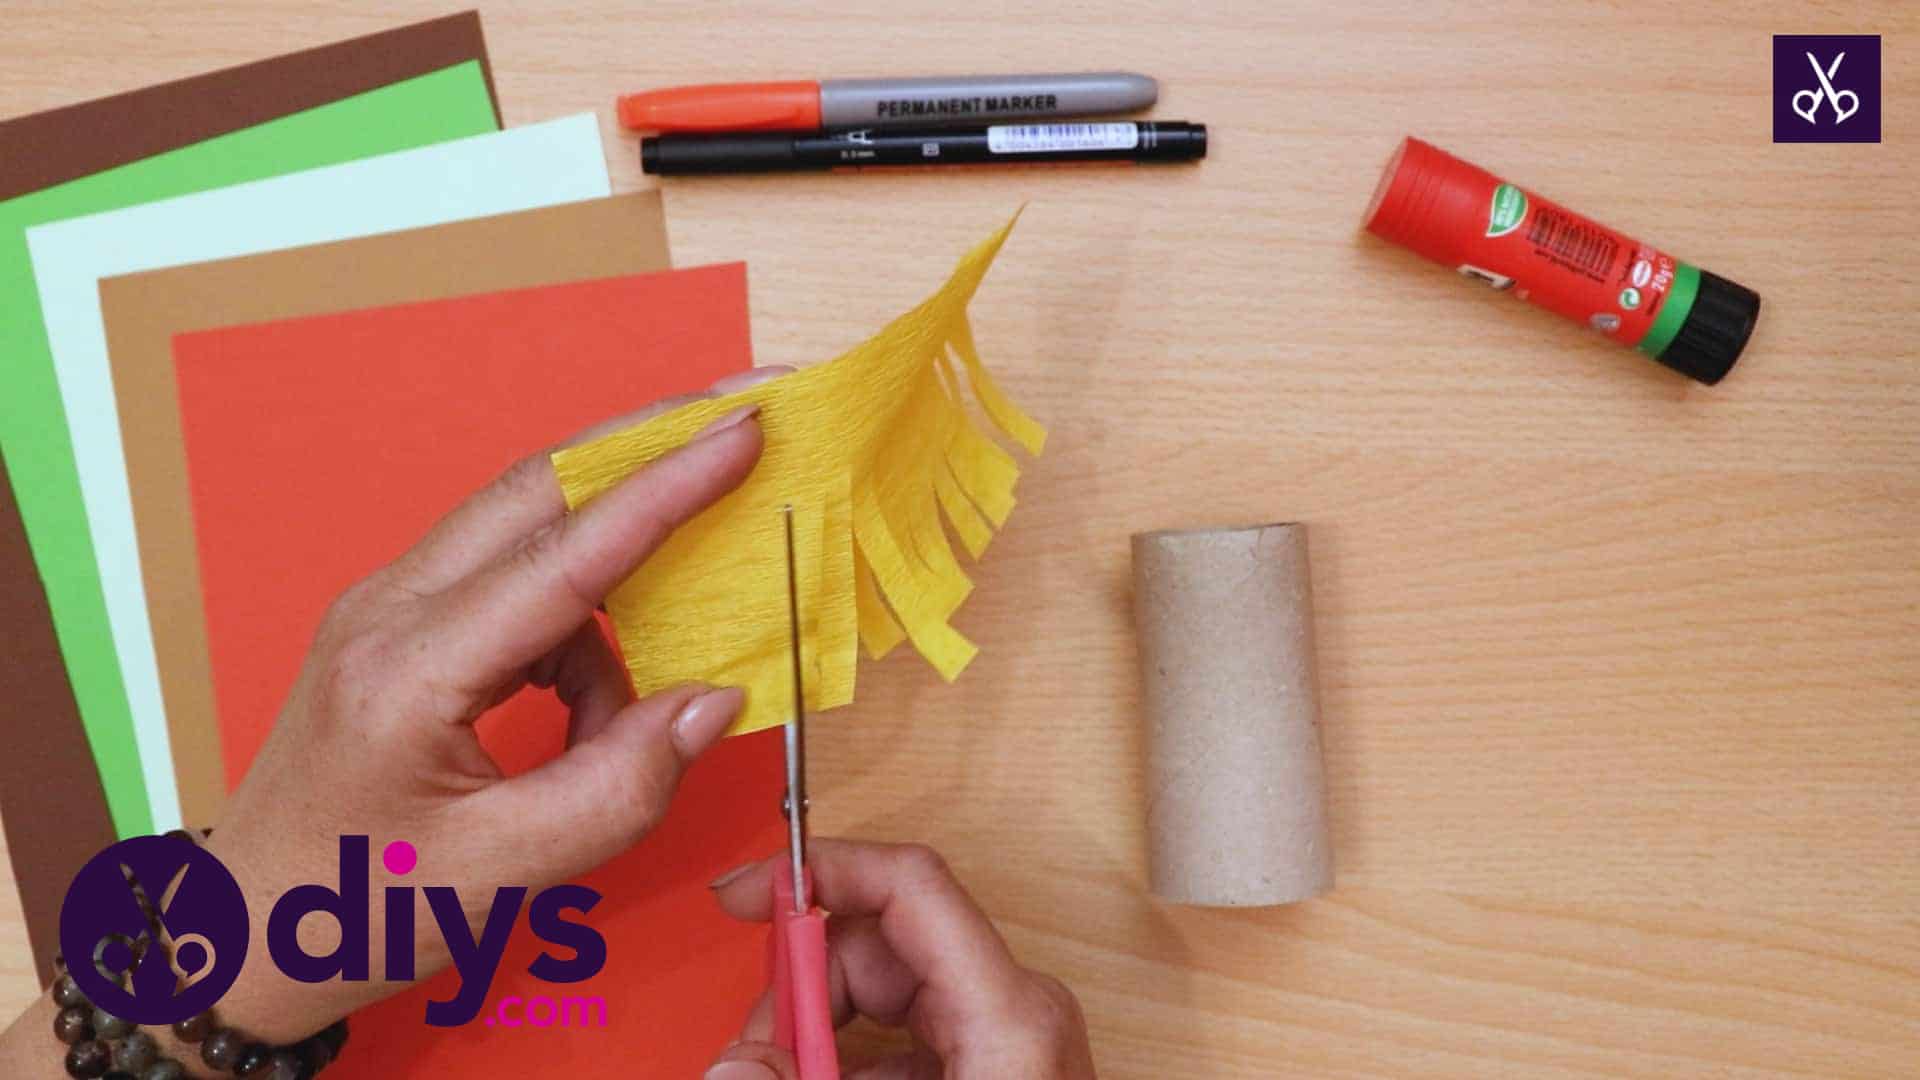
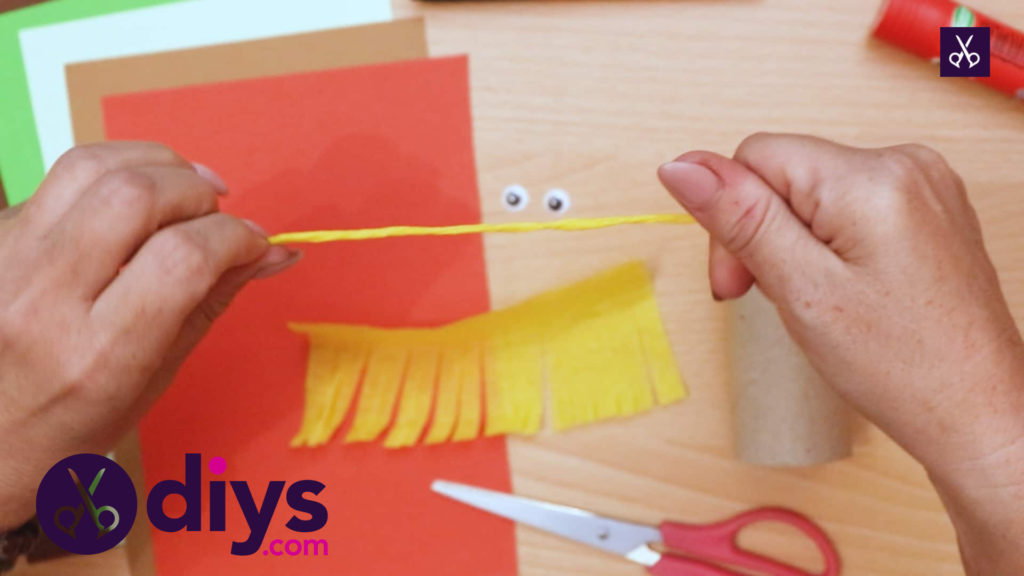
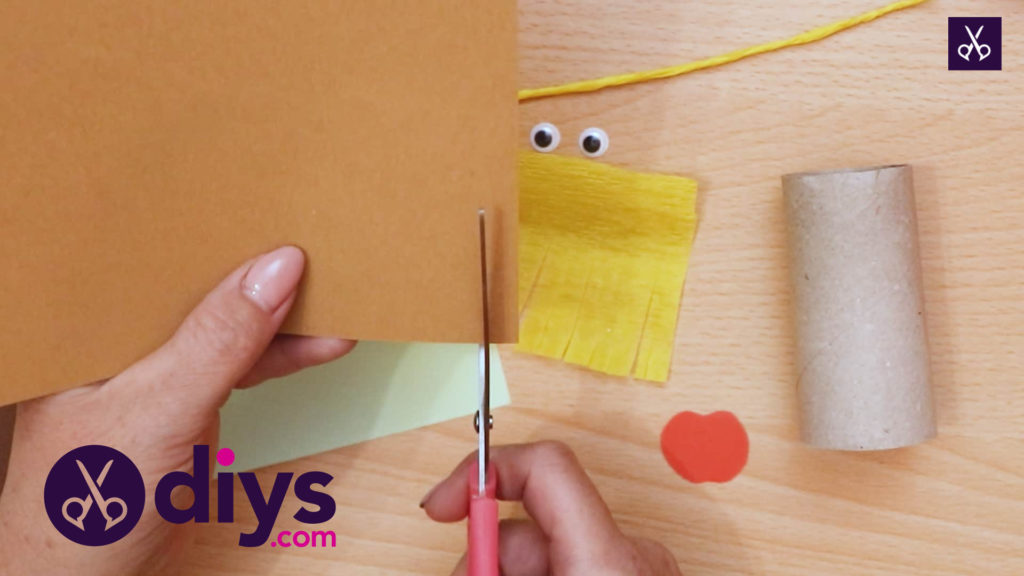
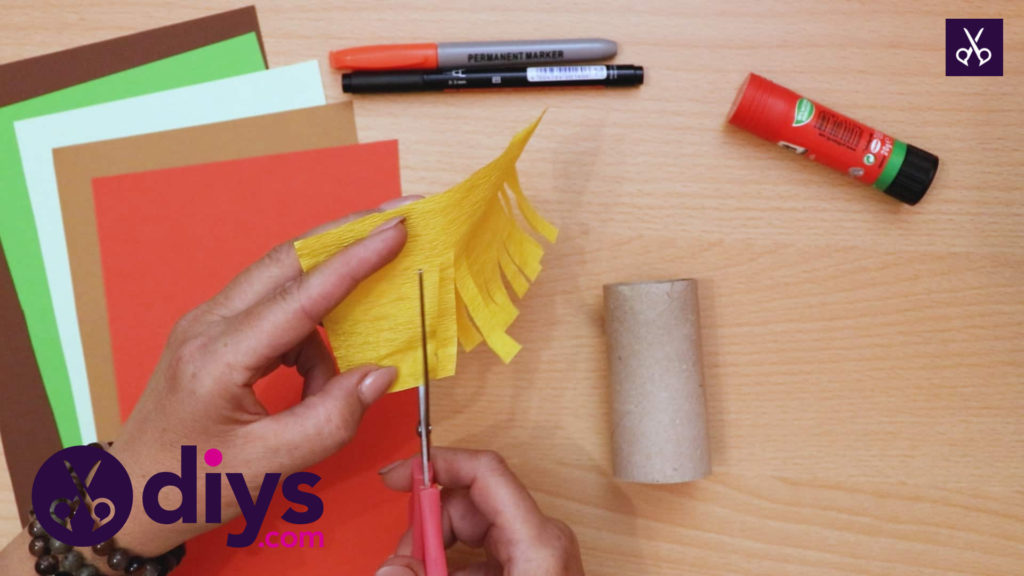
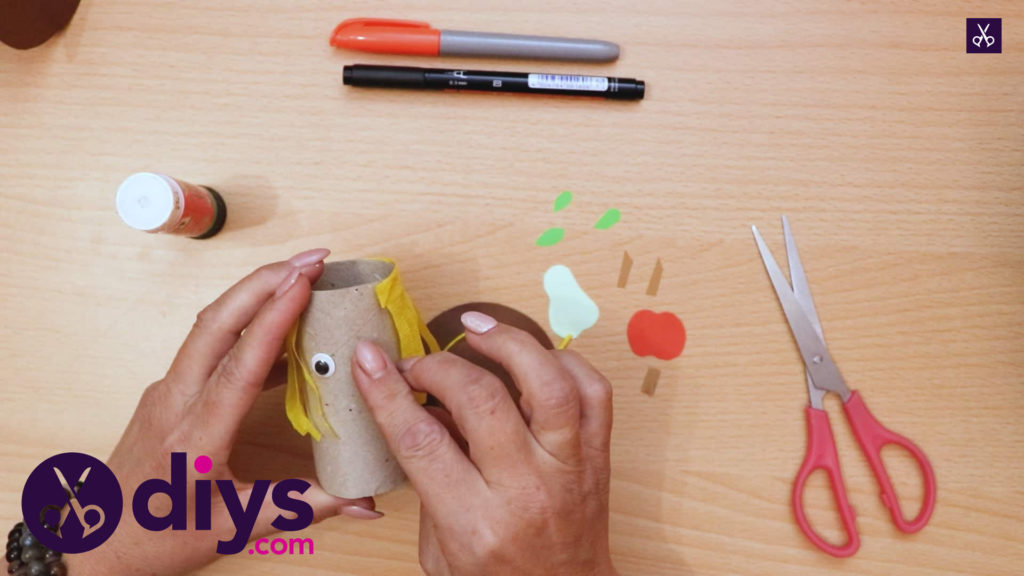
Cut a rectangle about two inches wide and four inches long from your roll of yellow crepe paper. Along one of its longer sides, cut slits all the way down from end to end in order to make a fringed effect. This will be your scarecrow’s hair.
Step 3: cut the crepe paper
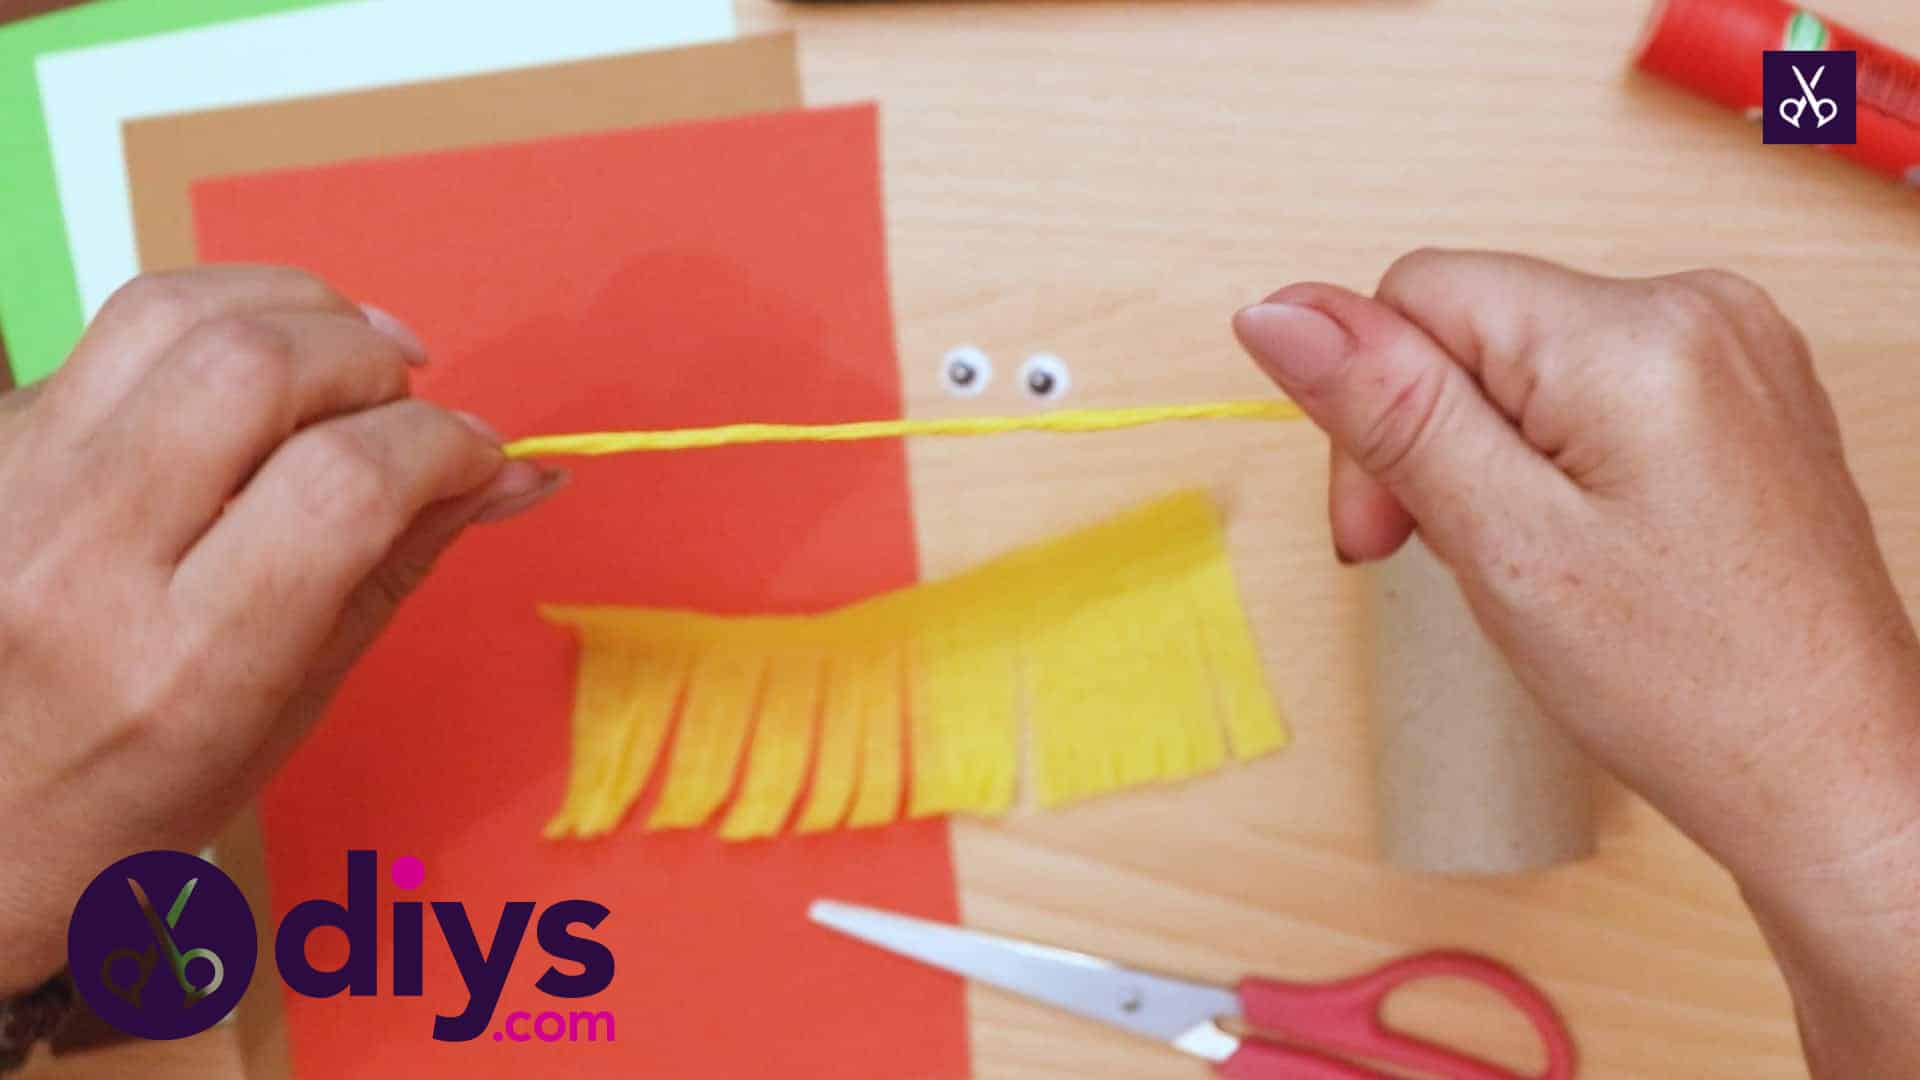
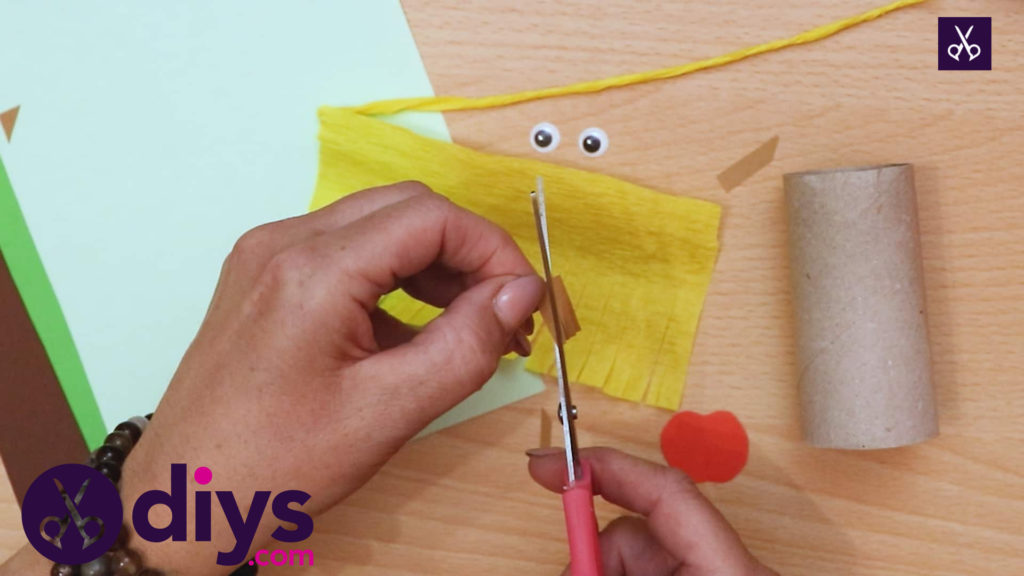
Cut A thinner strip from your yellow crepe paper, about the same length as before but maybe half an inch wide, and start twisting it between your fingers. The goal is to make a sort of string or twine, which will tie around your scarecrow’s hat like straw.
Step 4: create the apple
Cut the shape of an apple from your red paper. I found this easiest to do by first cutting a small square and then rounding off the edges and corners with my scissors to get a nearly-circular shape with two ridges on the top and two slightly smaller ridges on the bottom. Then cut a very small rectangle from your light brown paper and angle it diagonally at one end. This will be your apple stem.
Step 5: make pear shape
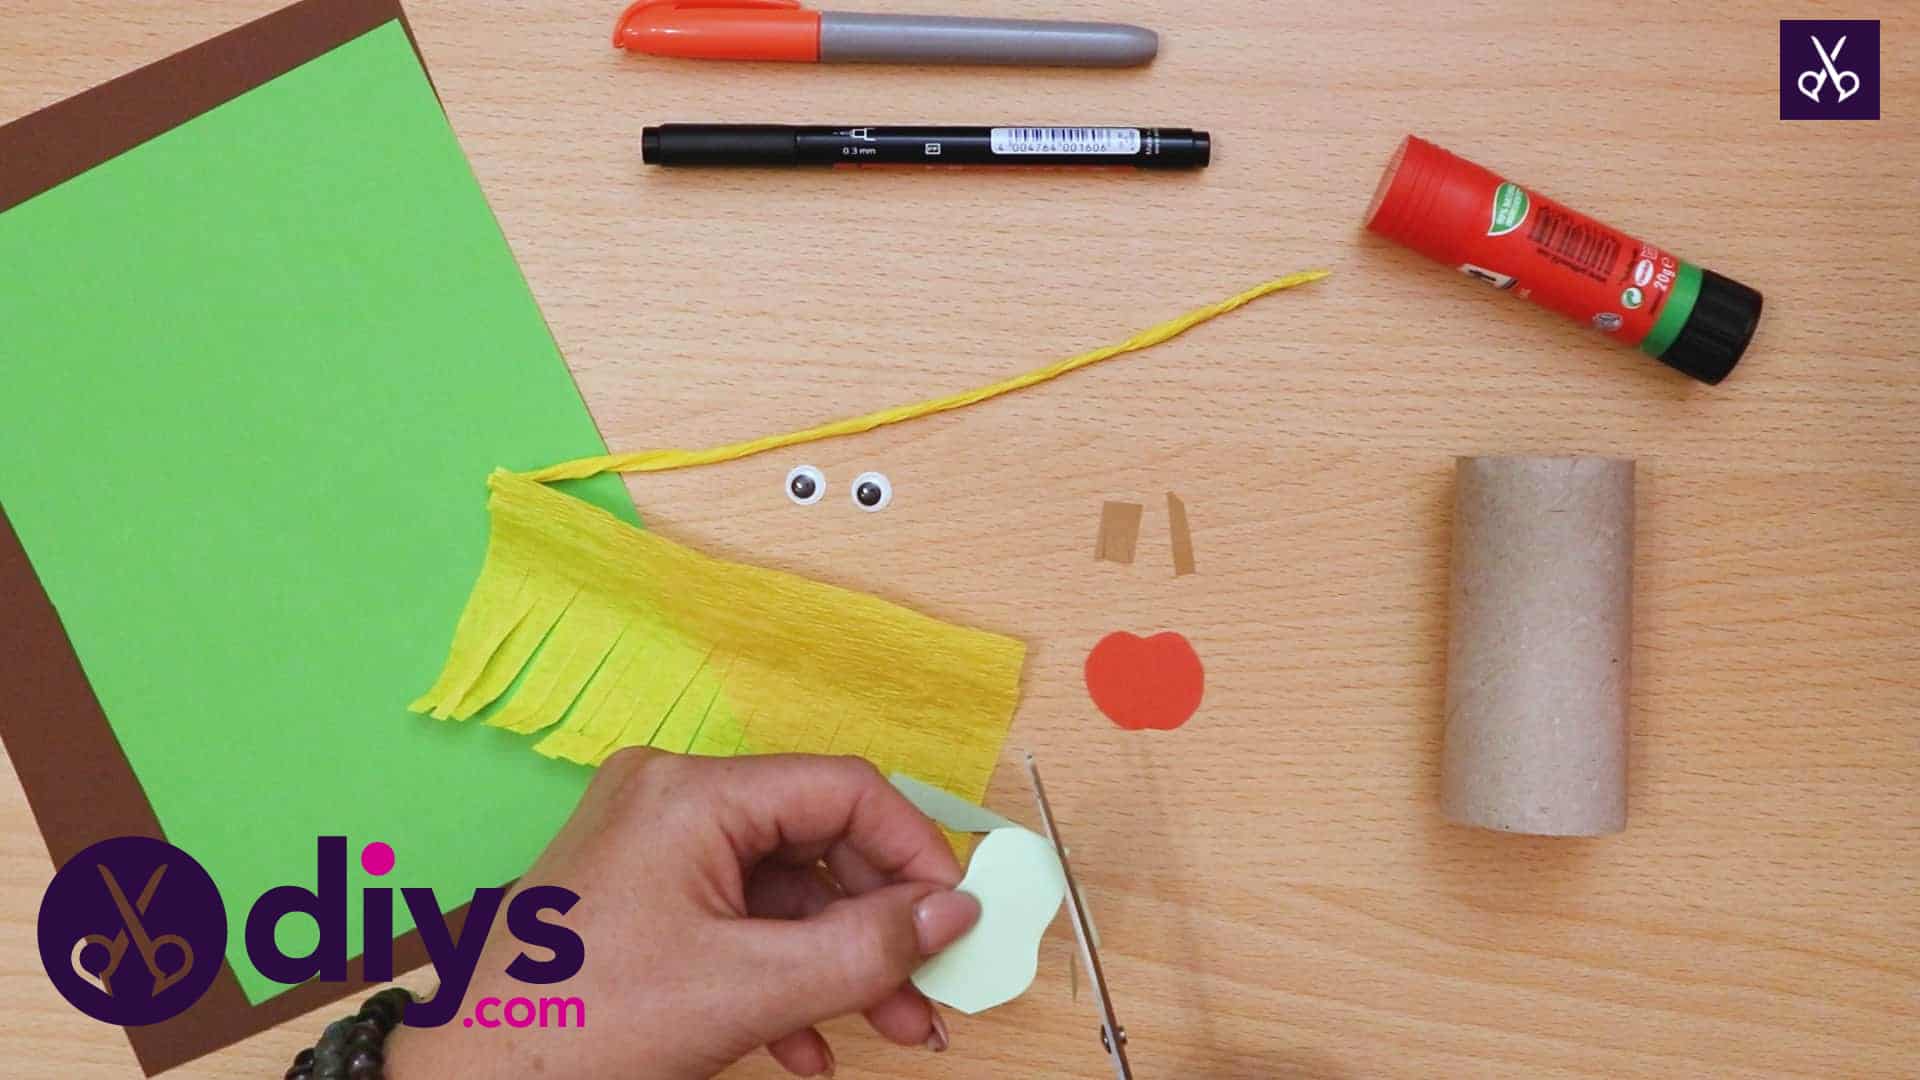
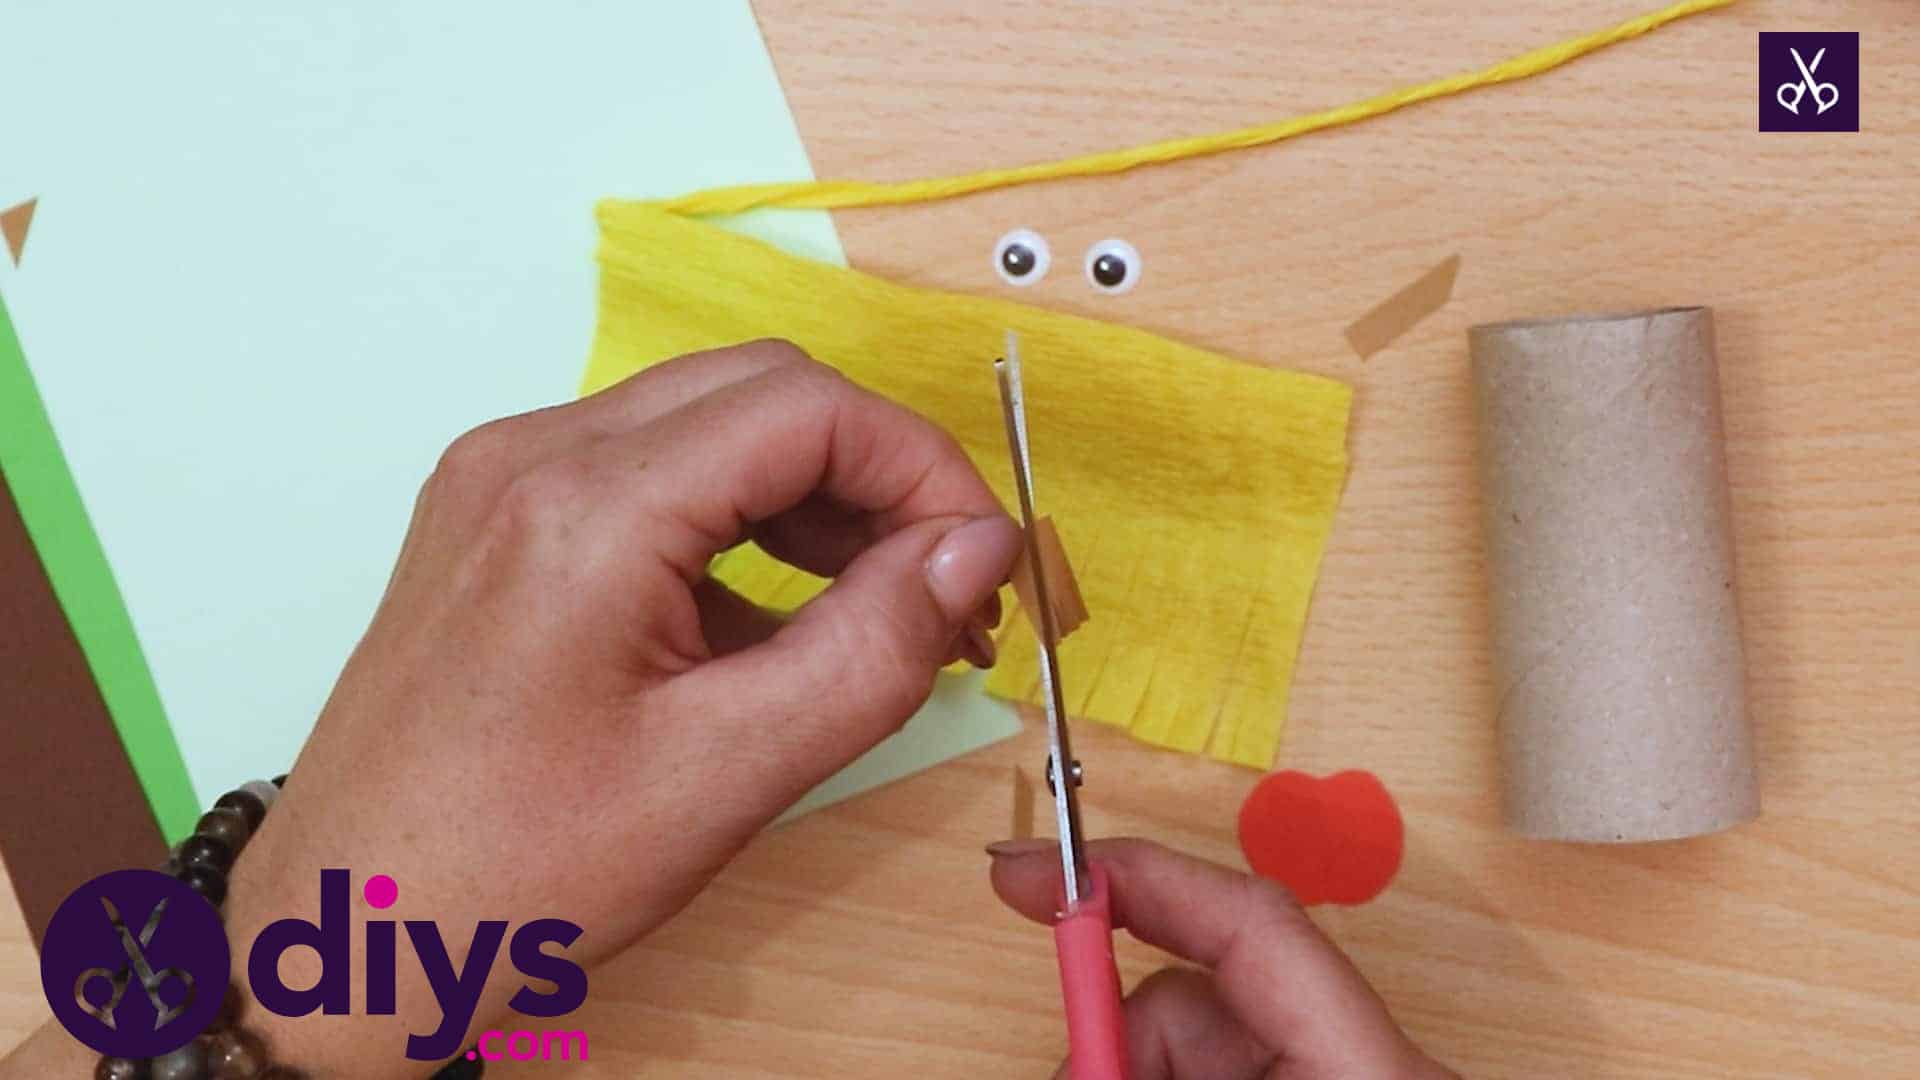
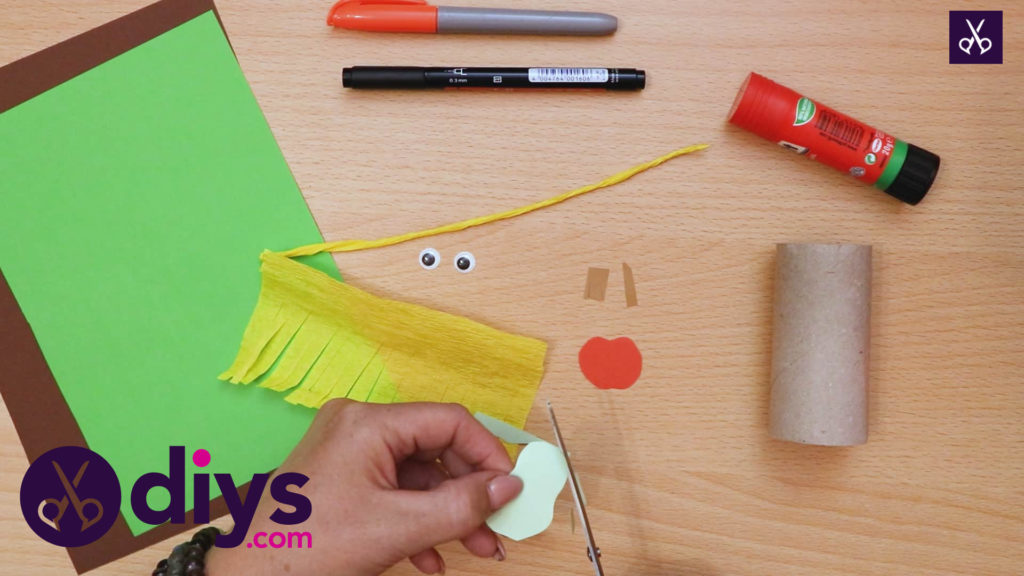
Cut a very small square from your light brown paper and use the same fringe cutting technique on one side. This will be the bottom of your pear, which you will make next. Cut a stem for your pear as well, just like you did with your apple. Cut a square from the light green paper and round off the edges and corners again, but this time making the shape of a pear, narrow but rounded at the top and wide and round at the bottom.
Step 6: cut leaves
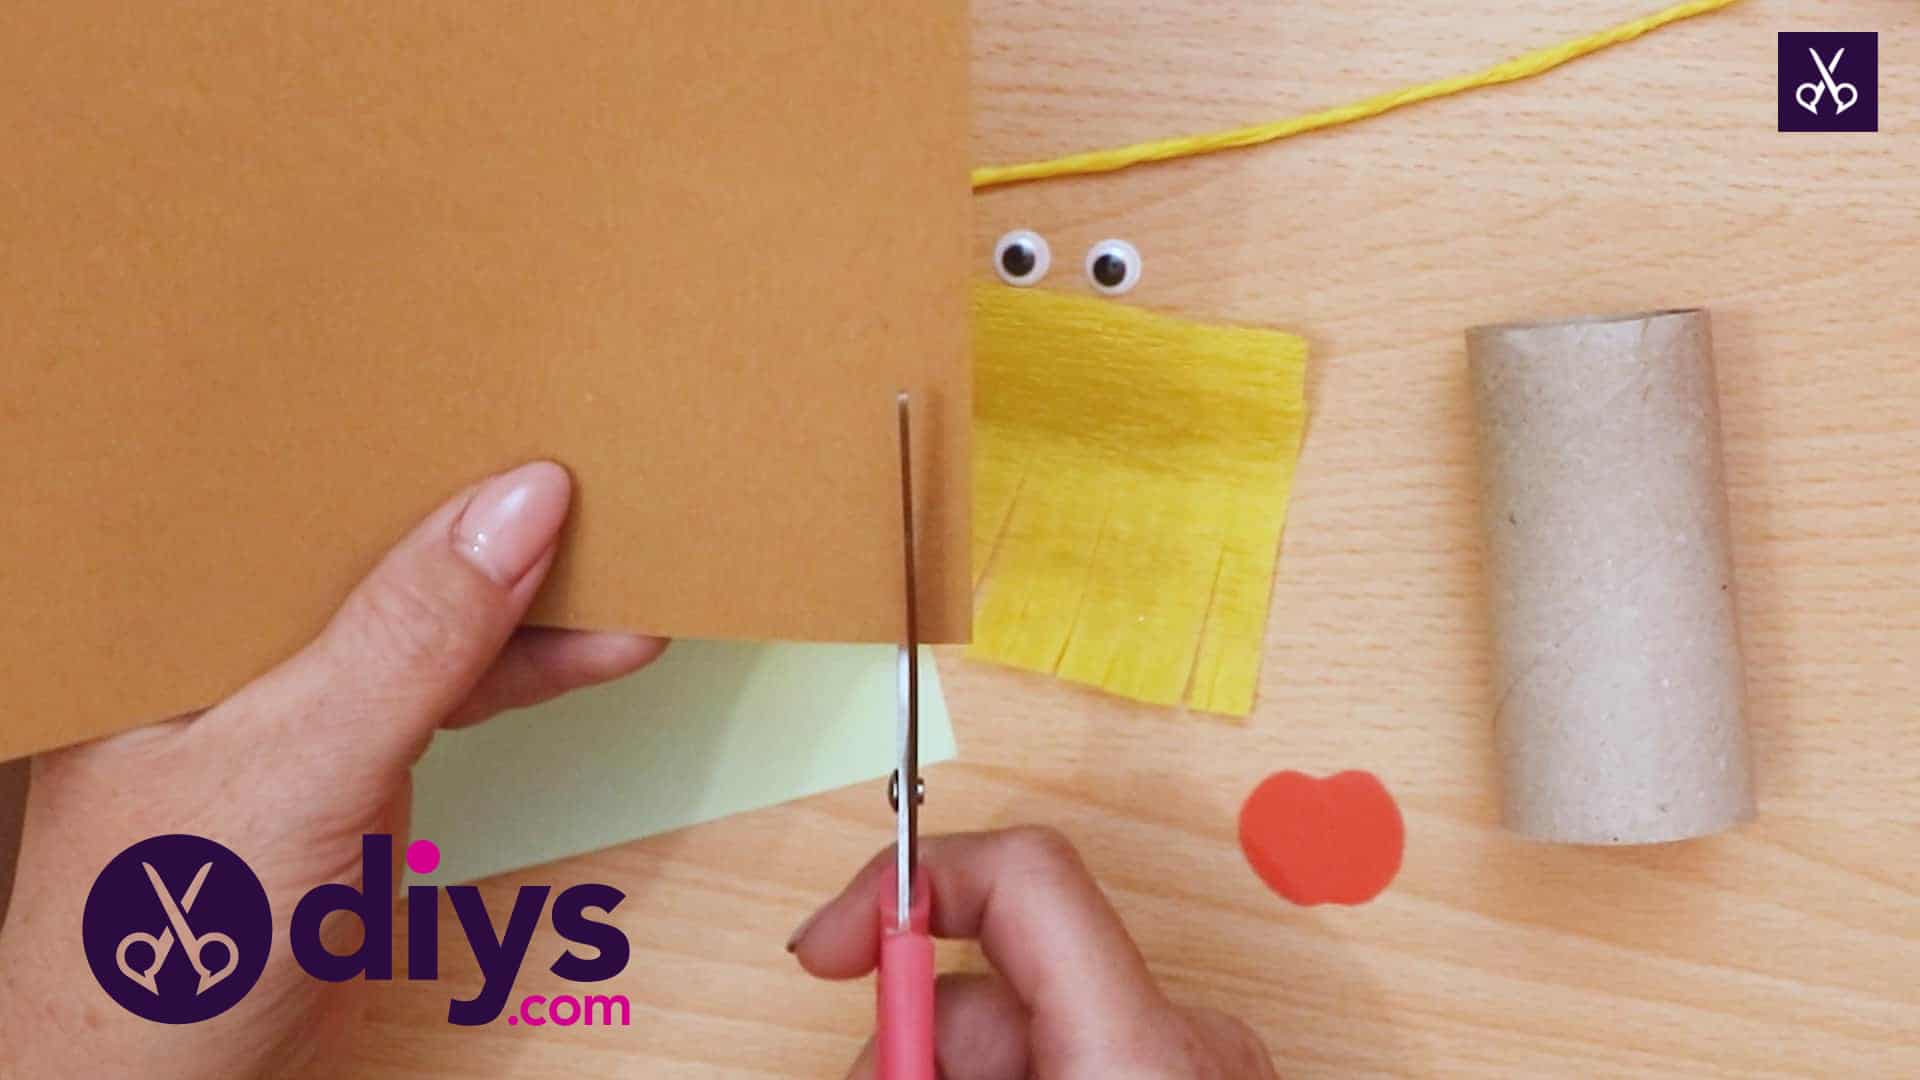
Using your darker green paper, cut little leaf shapes by creating pieces that resemble little ovals tapered to a point at one end. These will go on your apple and pear, so cut three leaves; two for the apple and one for the pear.
Step 7: start the hat
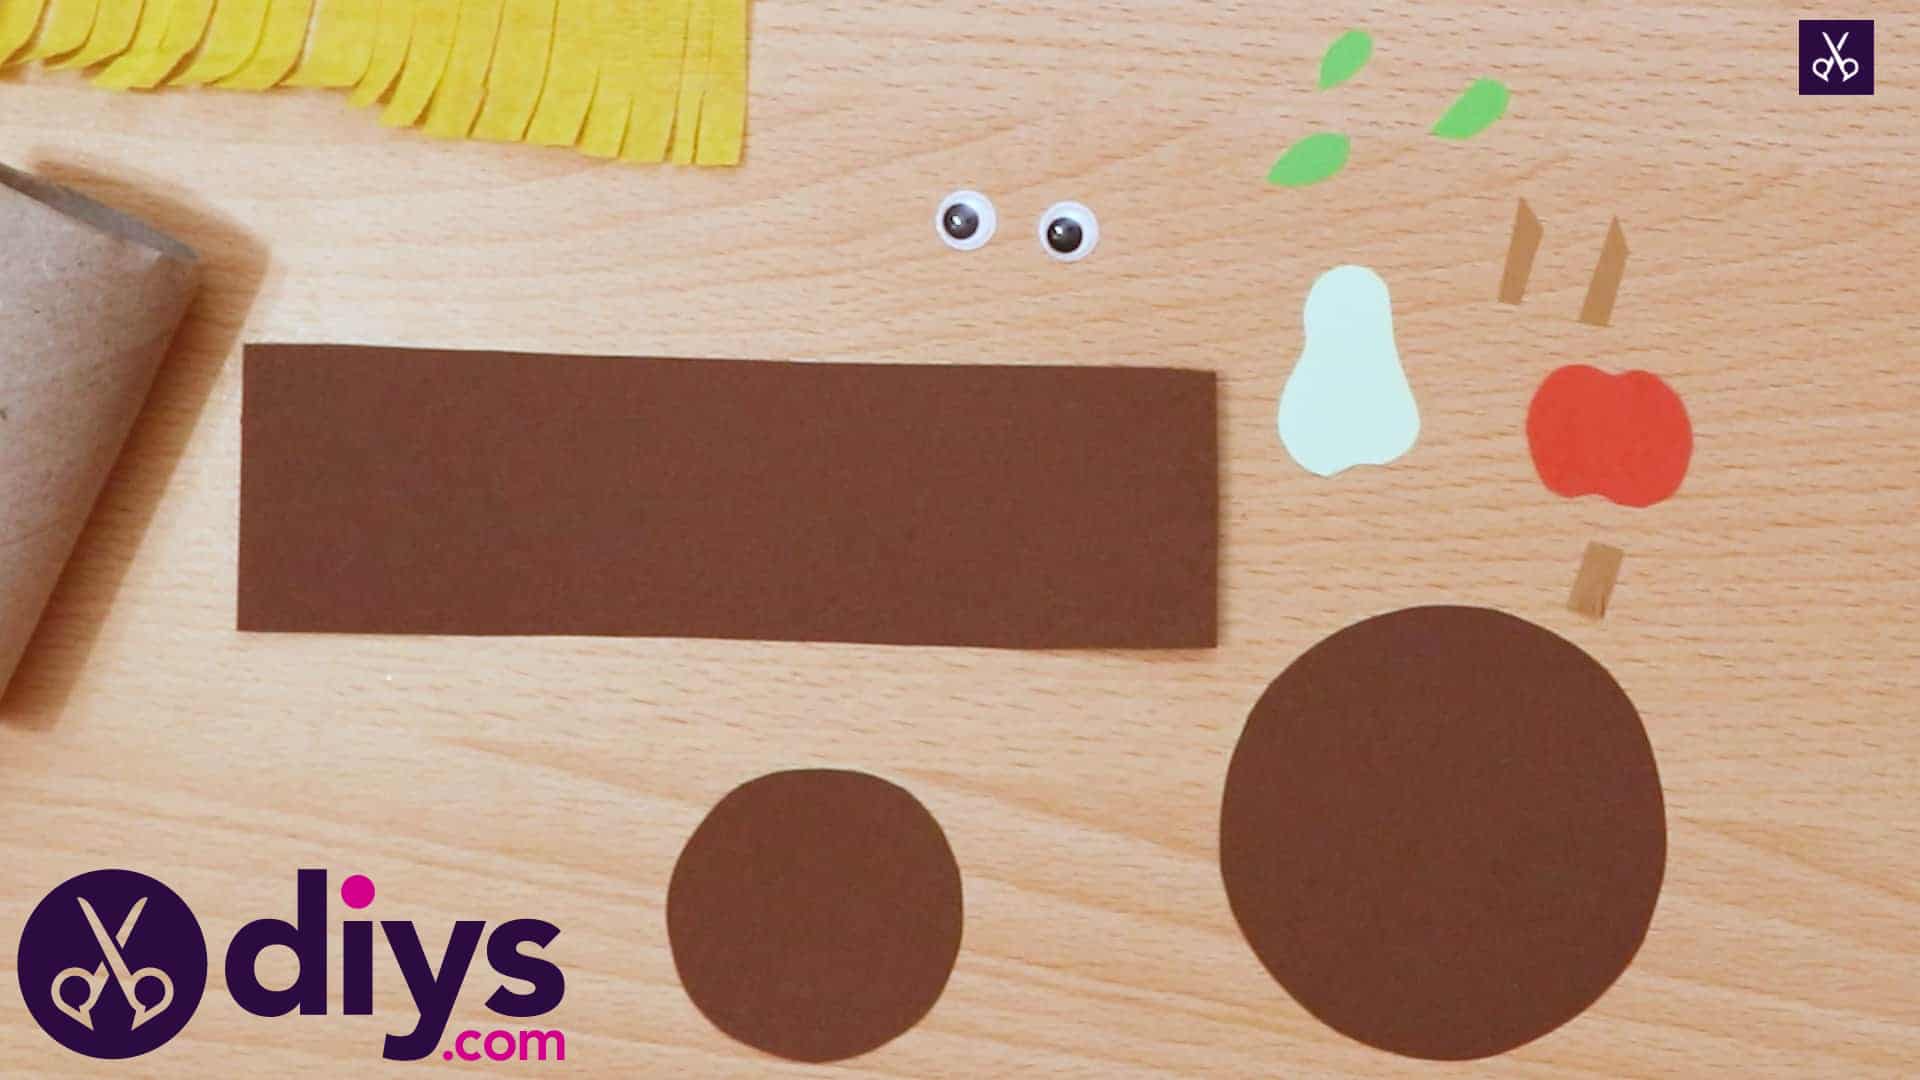
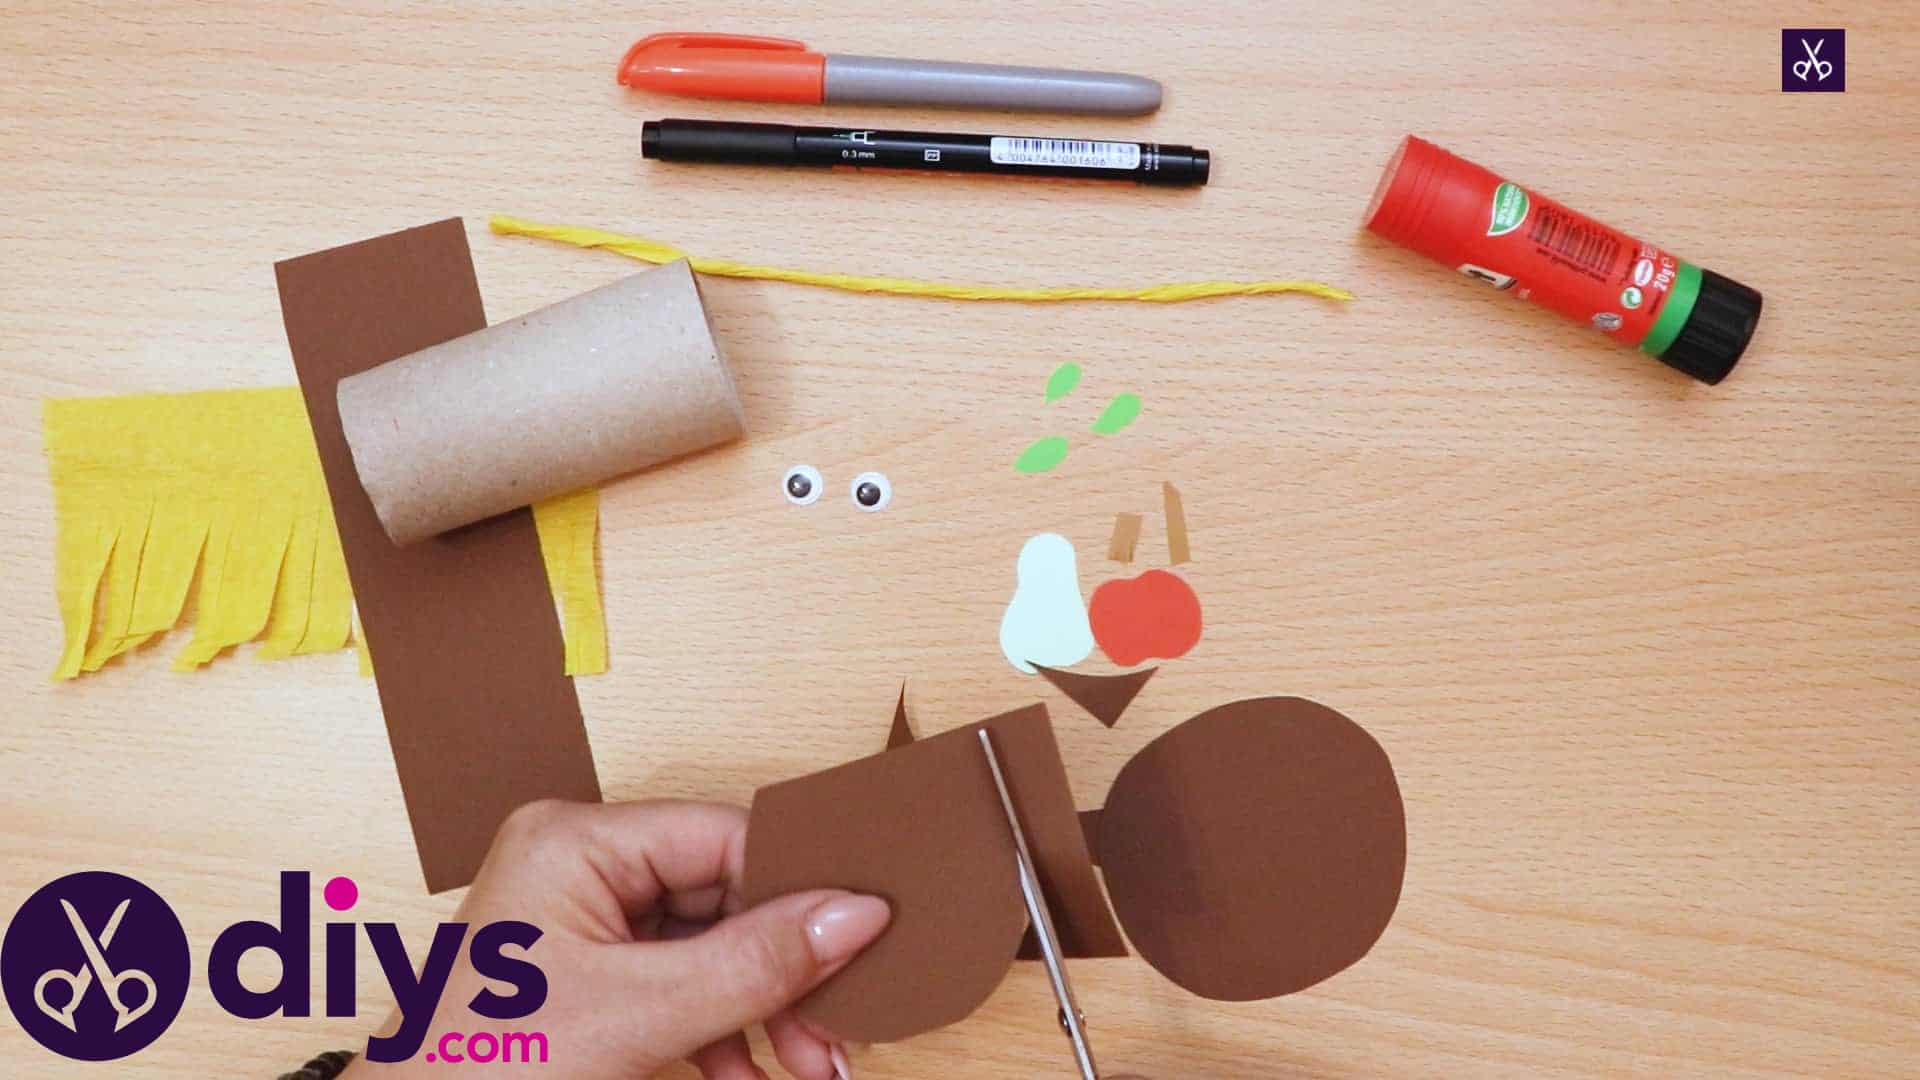
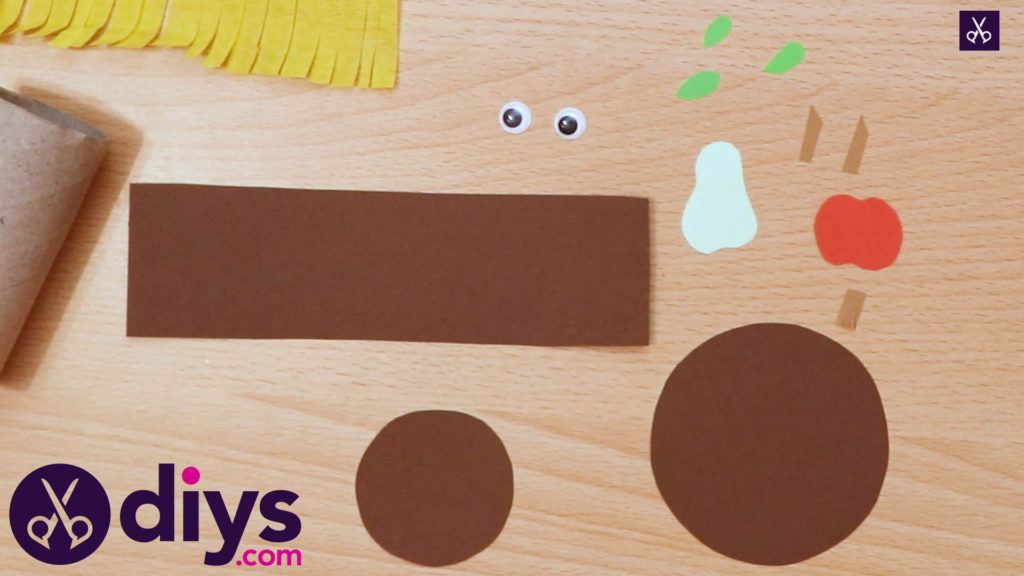
Cut a rectangle about an inch wide and two inches long from your dark brown paper. Next, cut a square of about two inches by two inches from the same paper and round the corners and edges off until you have a circle. Then cut a slightly smaller circle from the brown as well. You now have all the pieces you need to make your scarecrow’s hat.
Step 8: make the hat
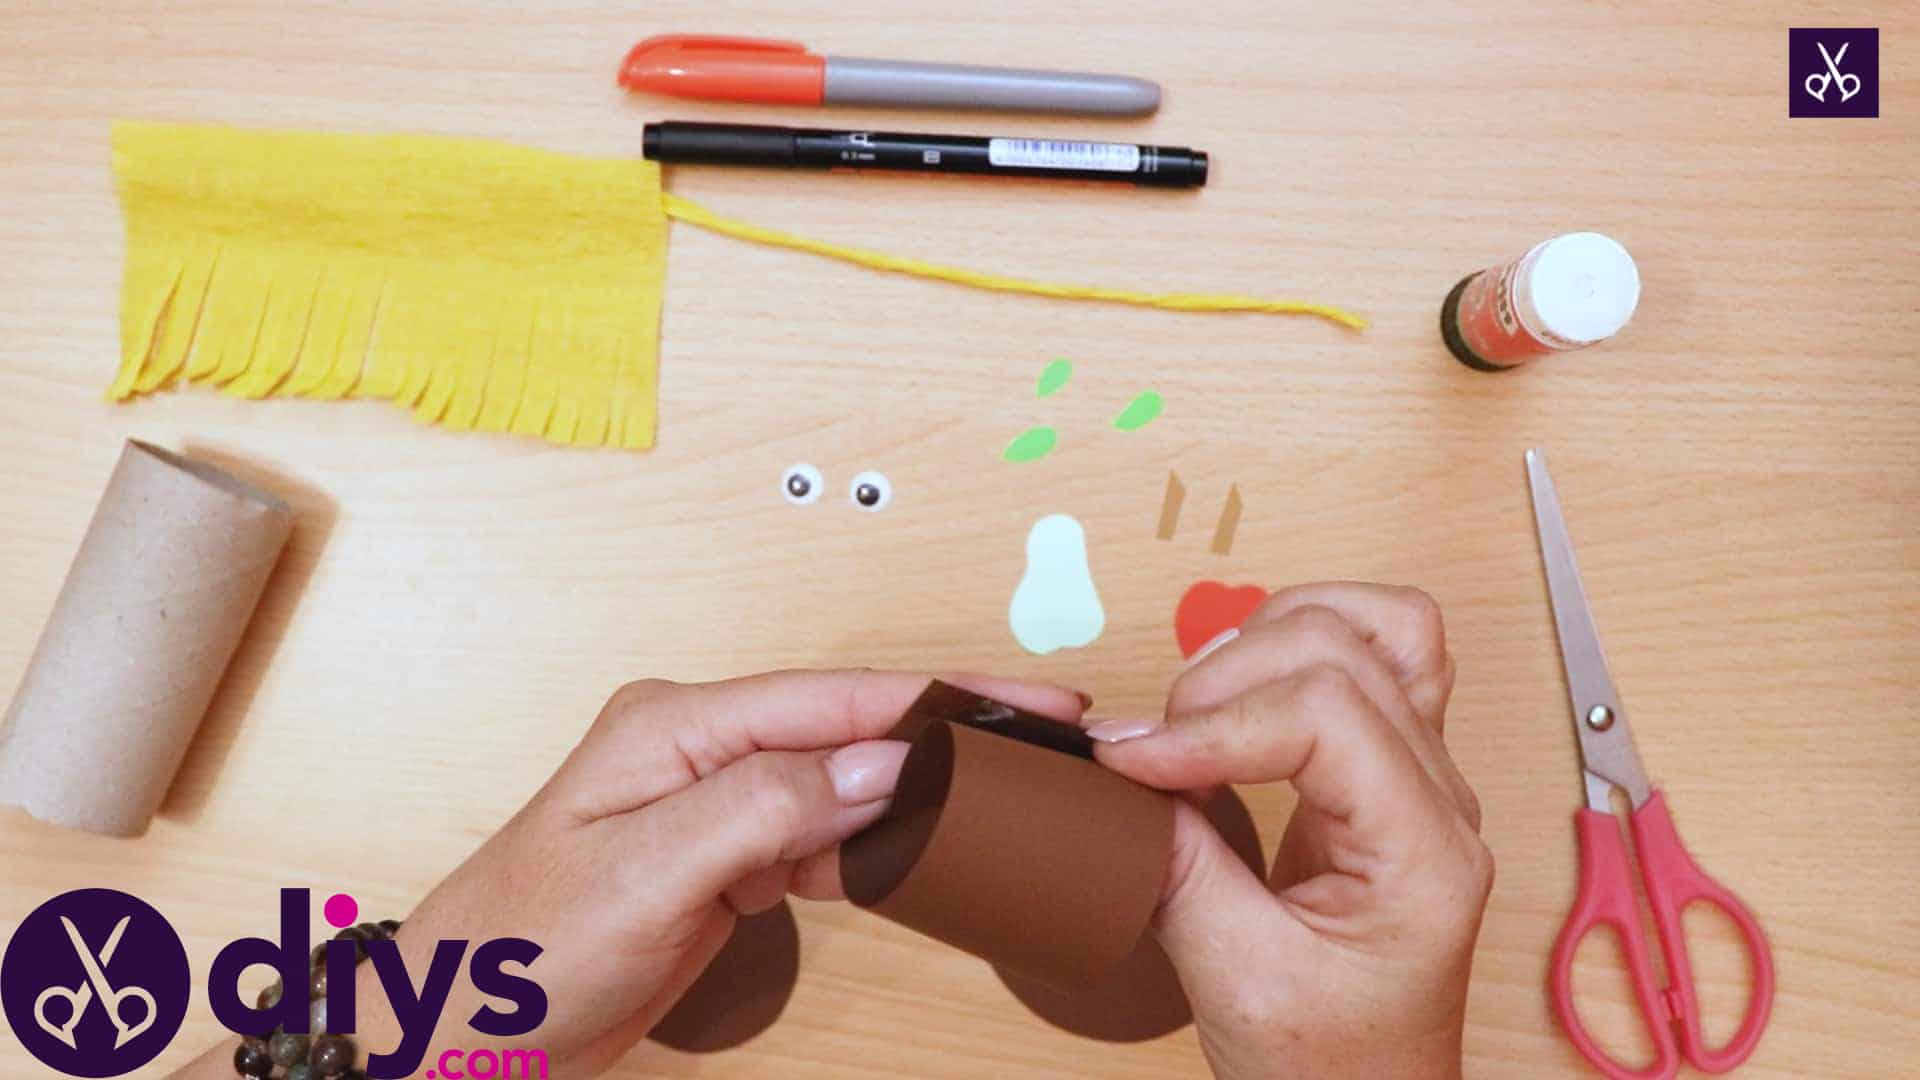
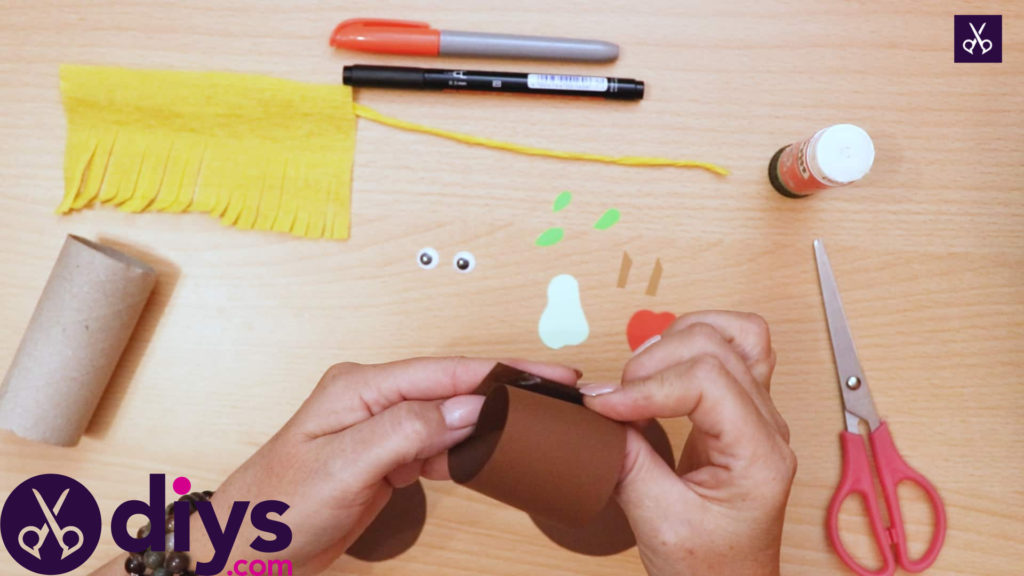
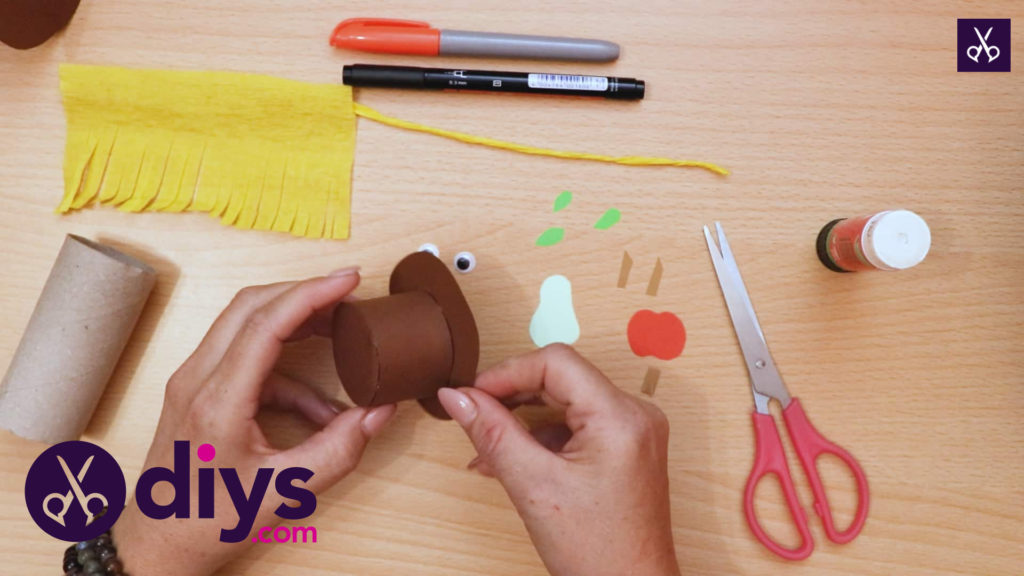
Apply glue to one and of the dark brown rectangle and then bring the other end to it, curling it in on itself to create a cylinder. Next, apply glue around the top edge of the cylinder and press the smaller of the two dark brown circles into place there. Use your scissors to trim around the edge of the circle until it sits even with the sides of the cylinder rather than sticking out further.
Step 9: make a hole
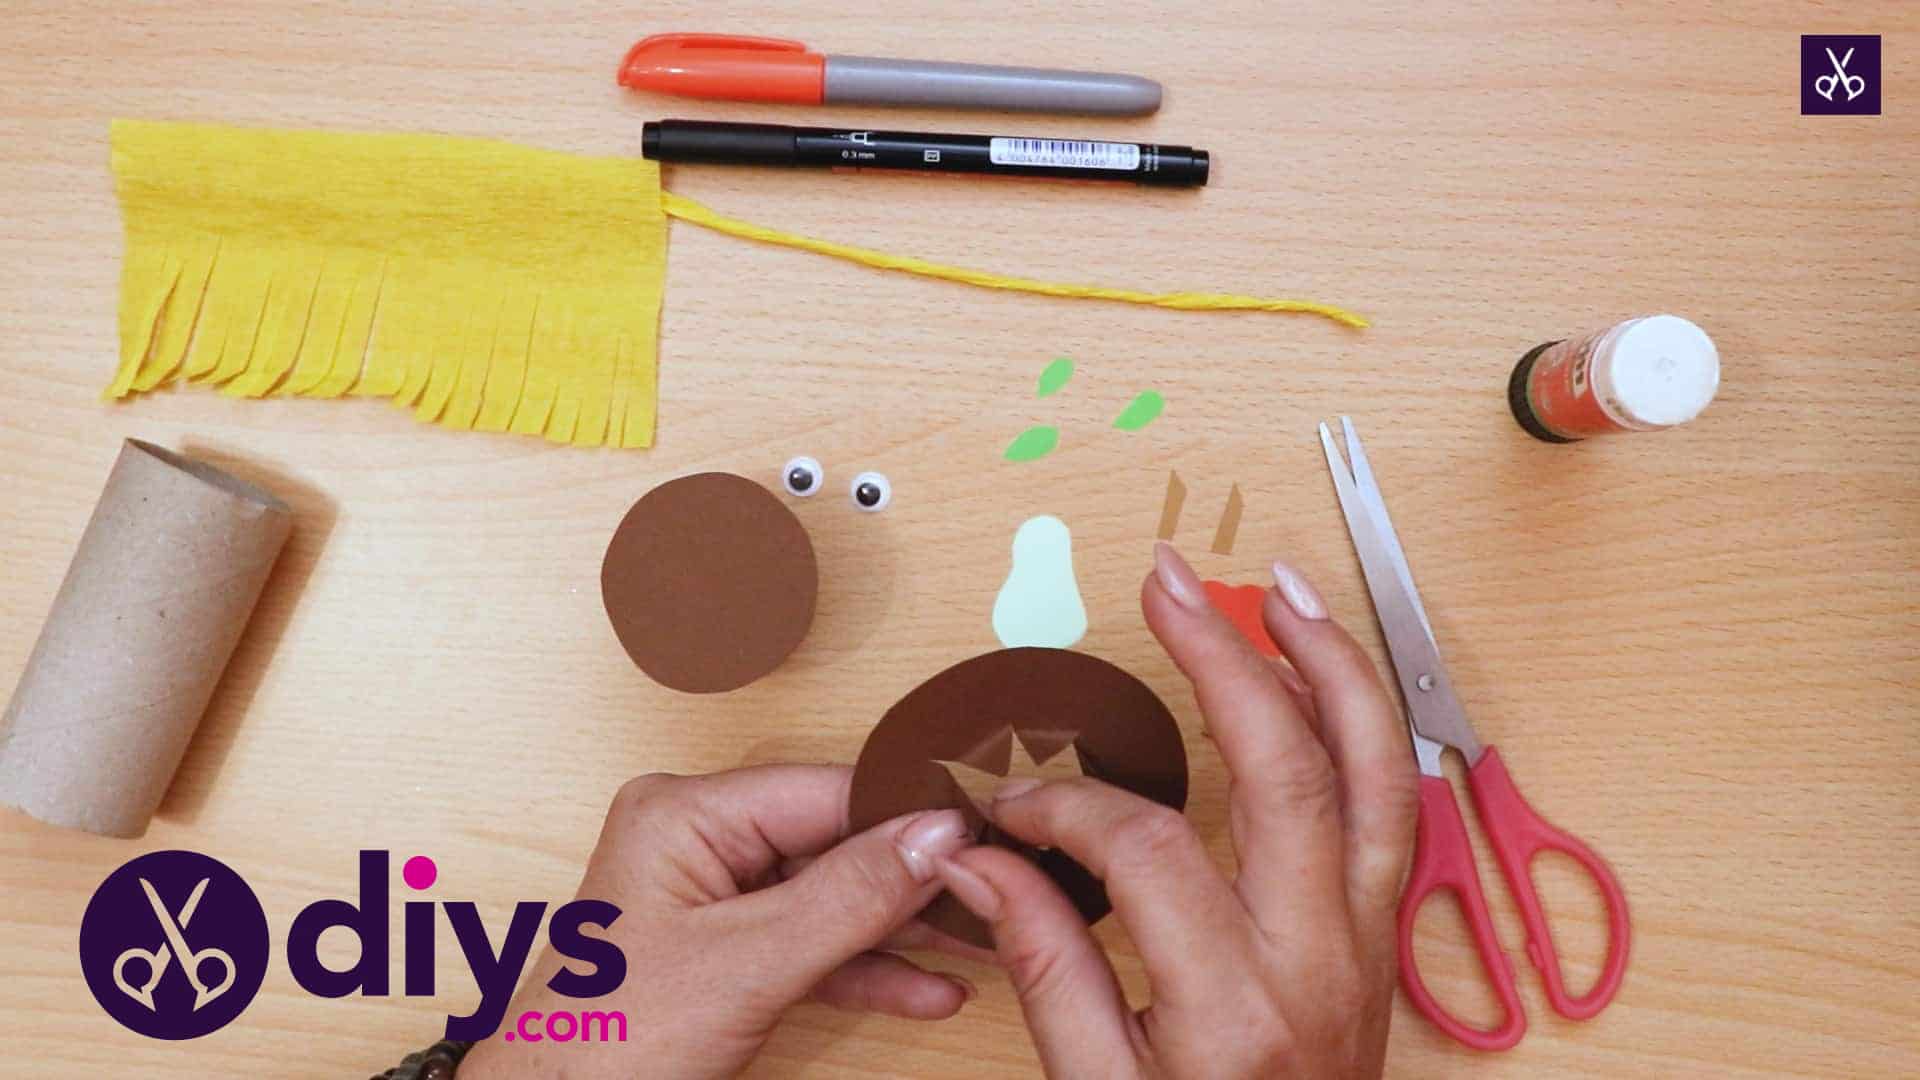
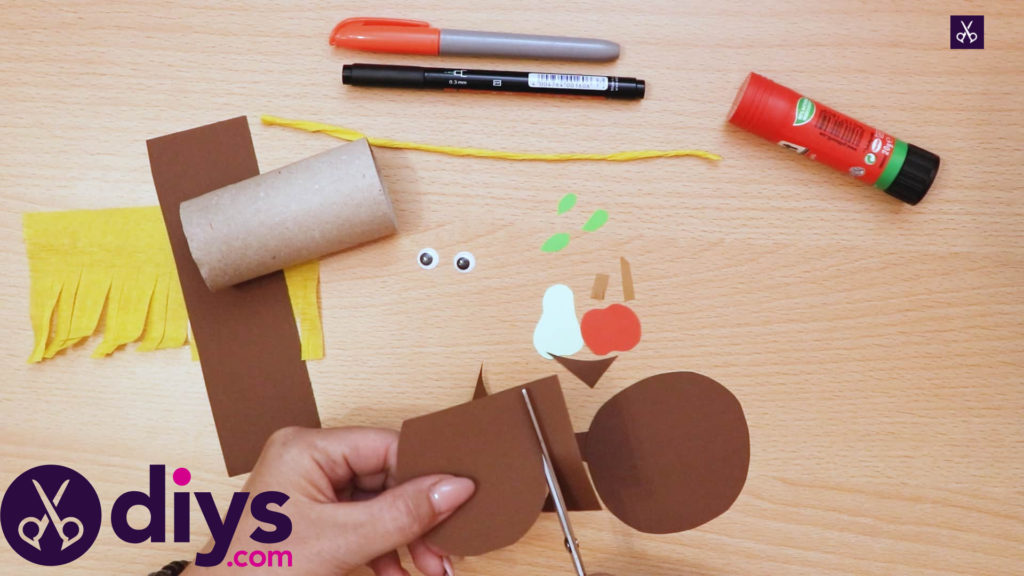
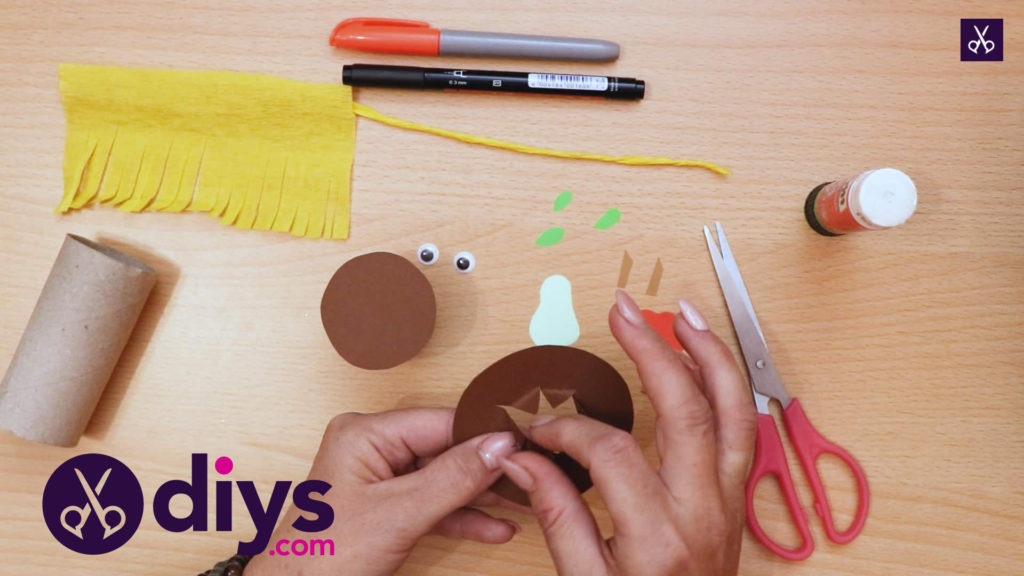
With one tip of your scissors, poke a hole in the center of the larger dark brown circle. Then cut slits outward from there all the way around, almost like an asterisk. You’ll see that if you push these new spike shapes you’ve created, the hole there gets bigger. Bend them upward to make a larger hole in the center.
Step 10: glue together
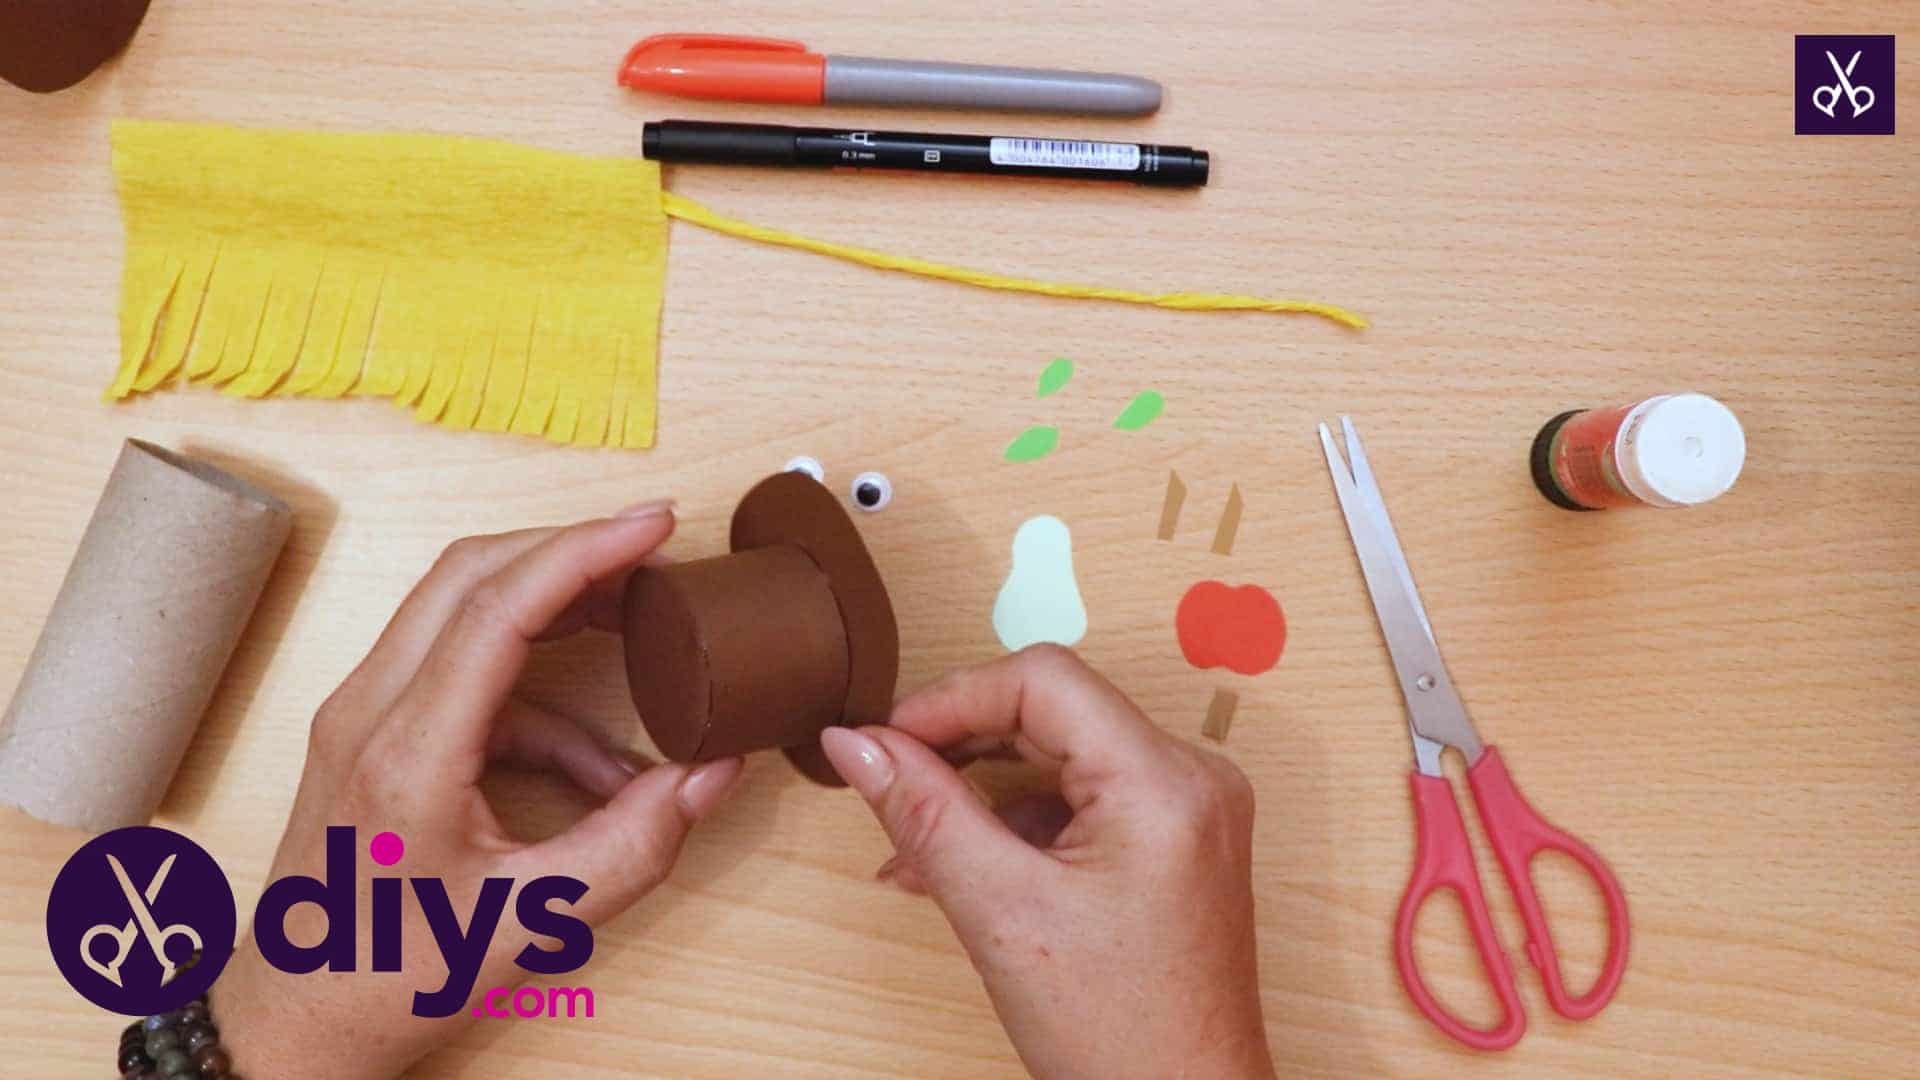
Apply glue on the outside faces of the spies, where you’ve bent them up facing away from the center hole. Now fit the spikes into the cylinder, pushing them against the sides on the inside with your finger. The larger circle has just become the brim of your hat while the cylinder and smaller circle are the top of it!
Step 11: start assembling
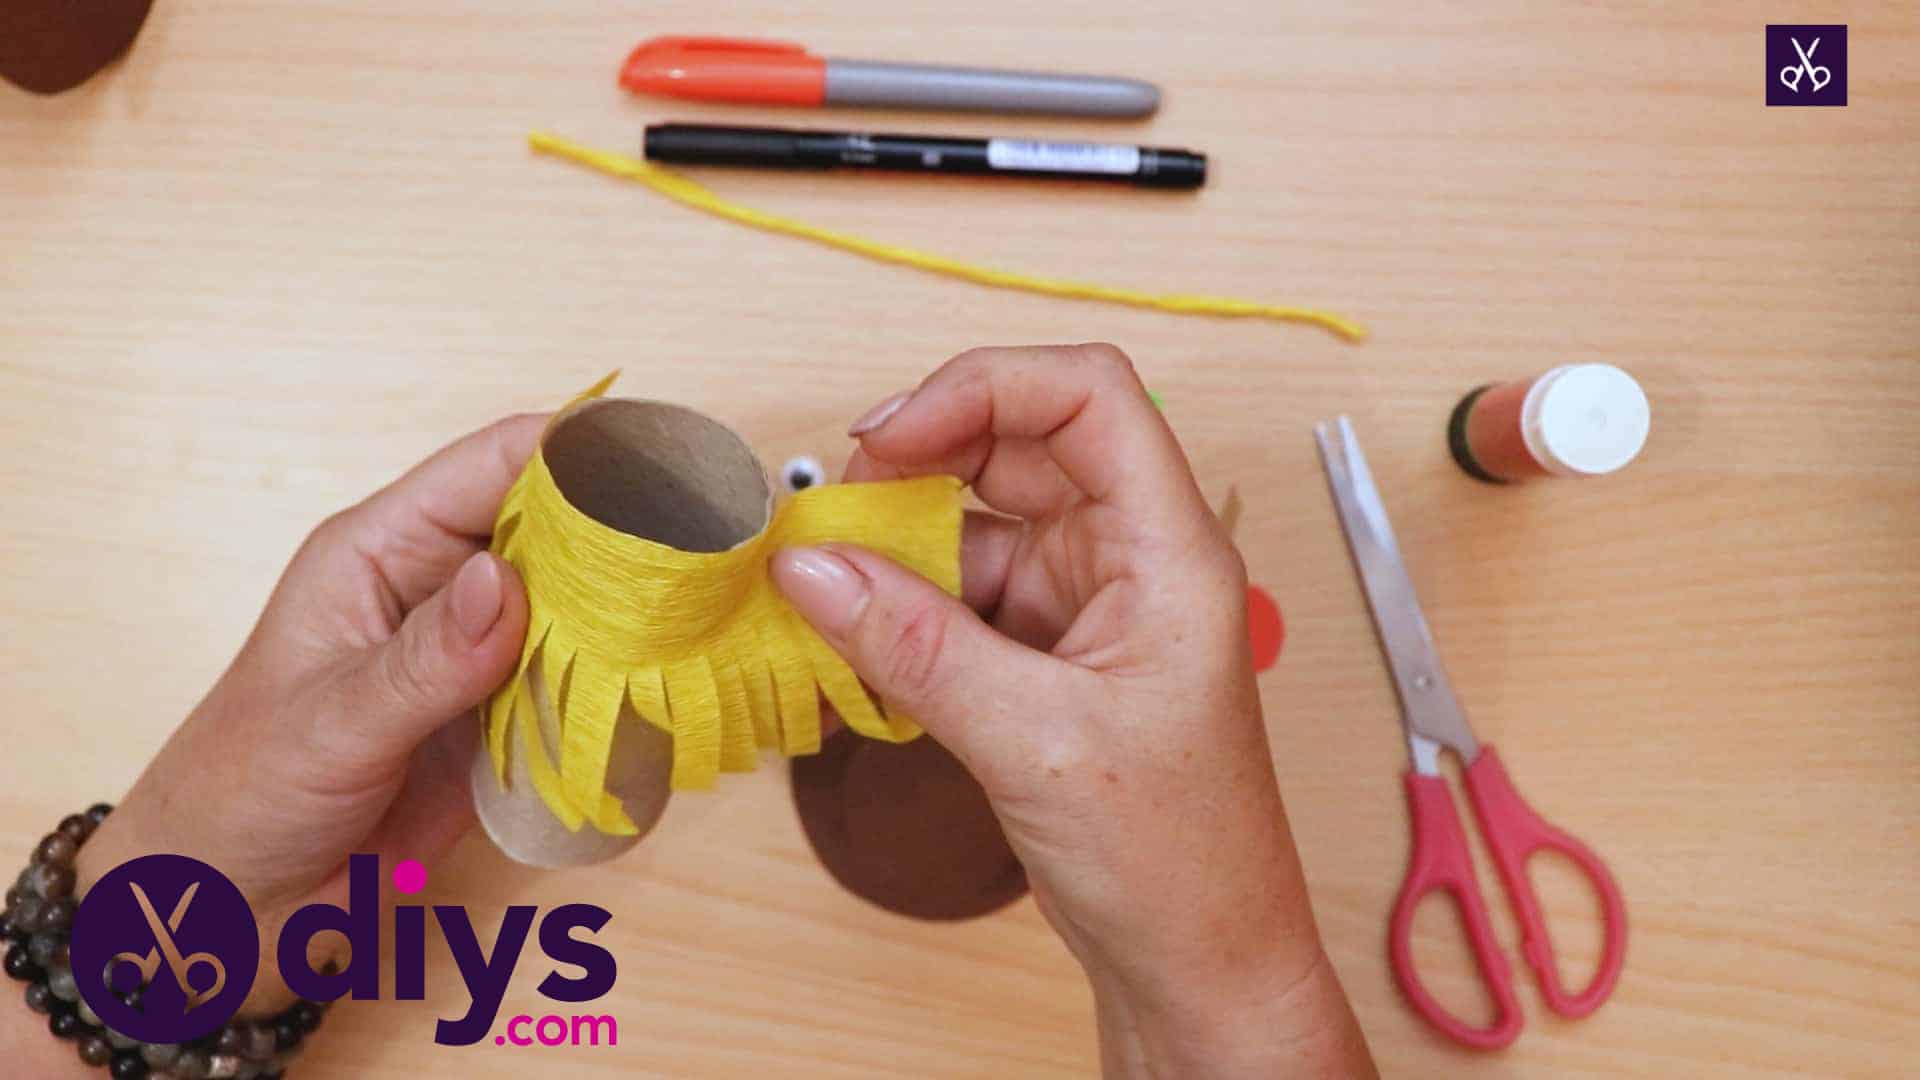
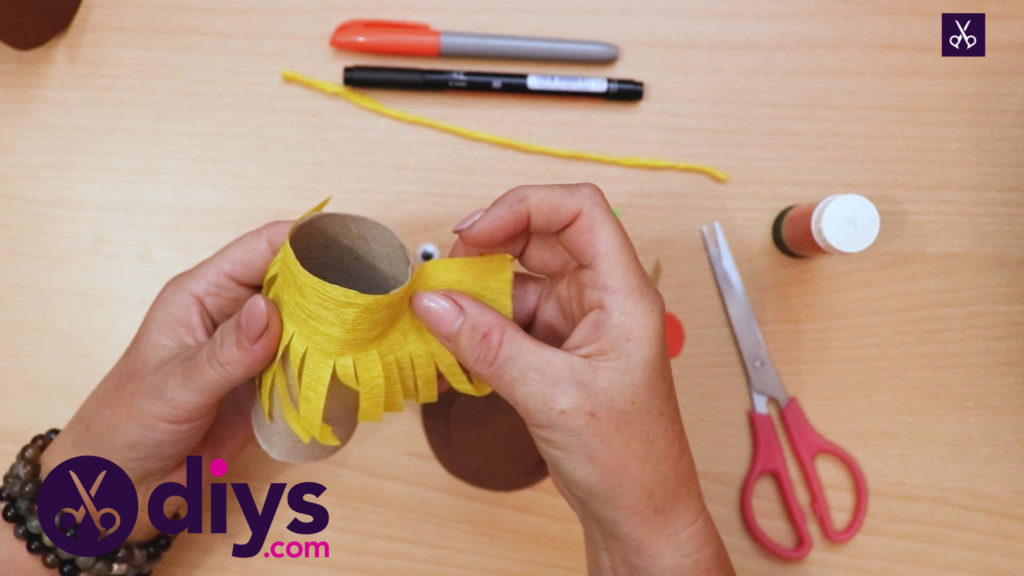
Apply glue around the top edge of your toilet roll, leaving a spot about half an inch wide without. Stick your yellow crepe paper hair in place all along the top. The spot where no hair is will be your scarecrow’s face! If your crepe paper fringed piece is too long, use your scissors to trim off the excess.
Step 12: trim the hat
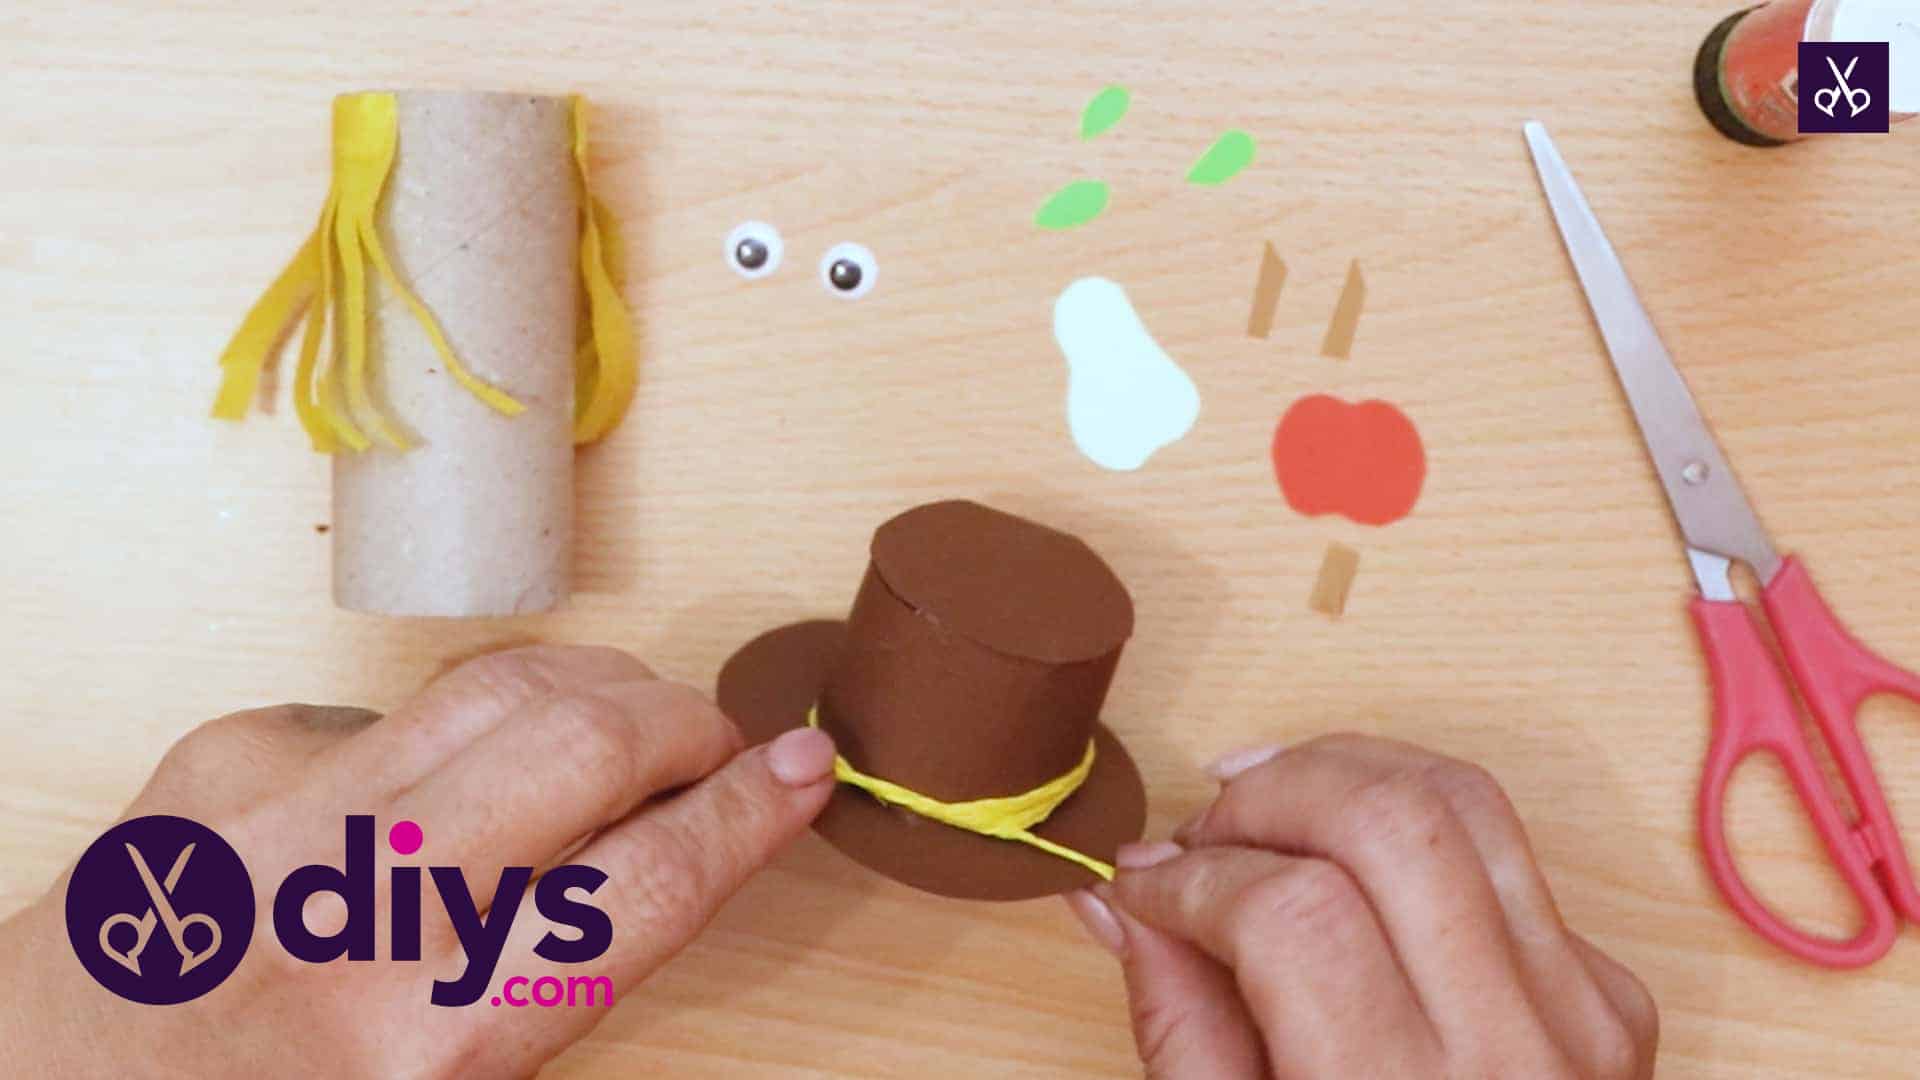
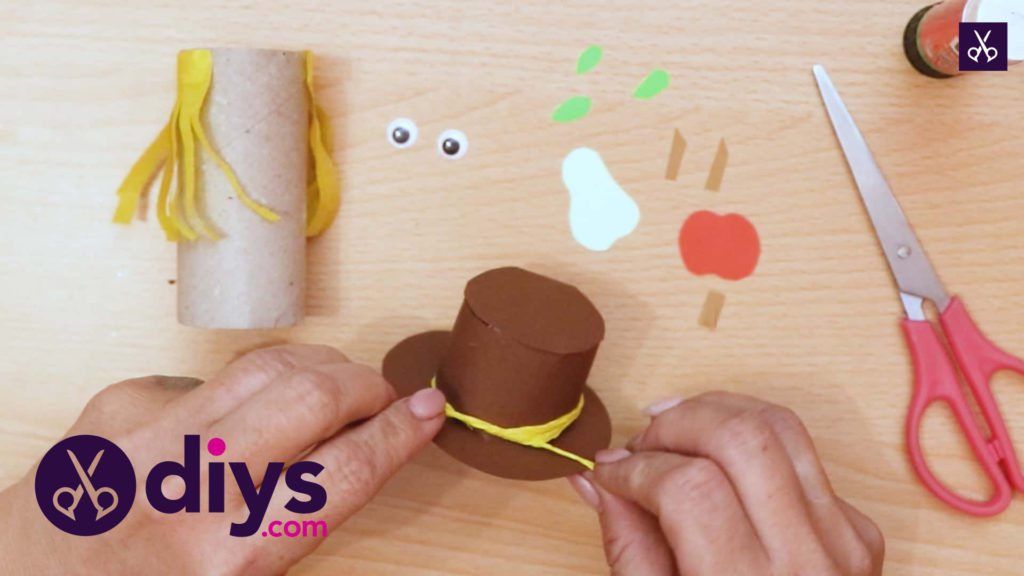
Tie your yellow rolled strip around your scarecrow’s hat to sit on the brim. I literally just tied mine in a knot like I might tie an actual string or ribbon around a hair brim in real life! Pull gently so you don’t rip the crepe paper, but it should tie quite easily otherwise. Trim the excess if the ends are a little too long.
Step 13: add eyes
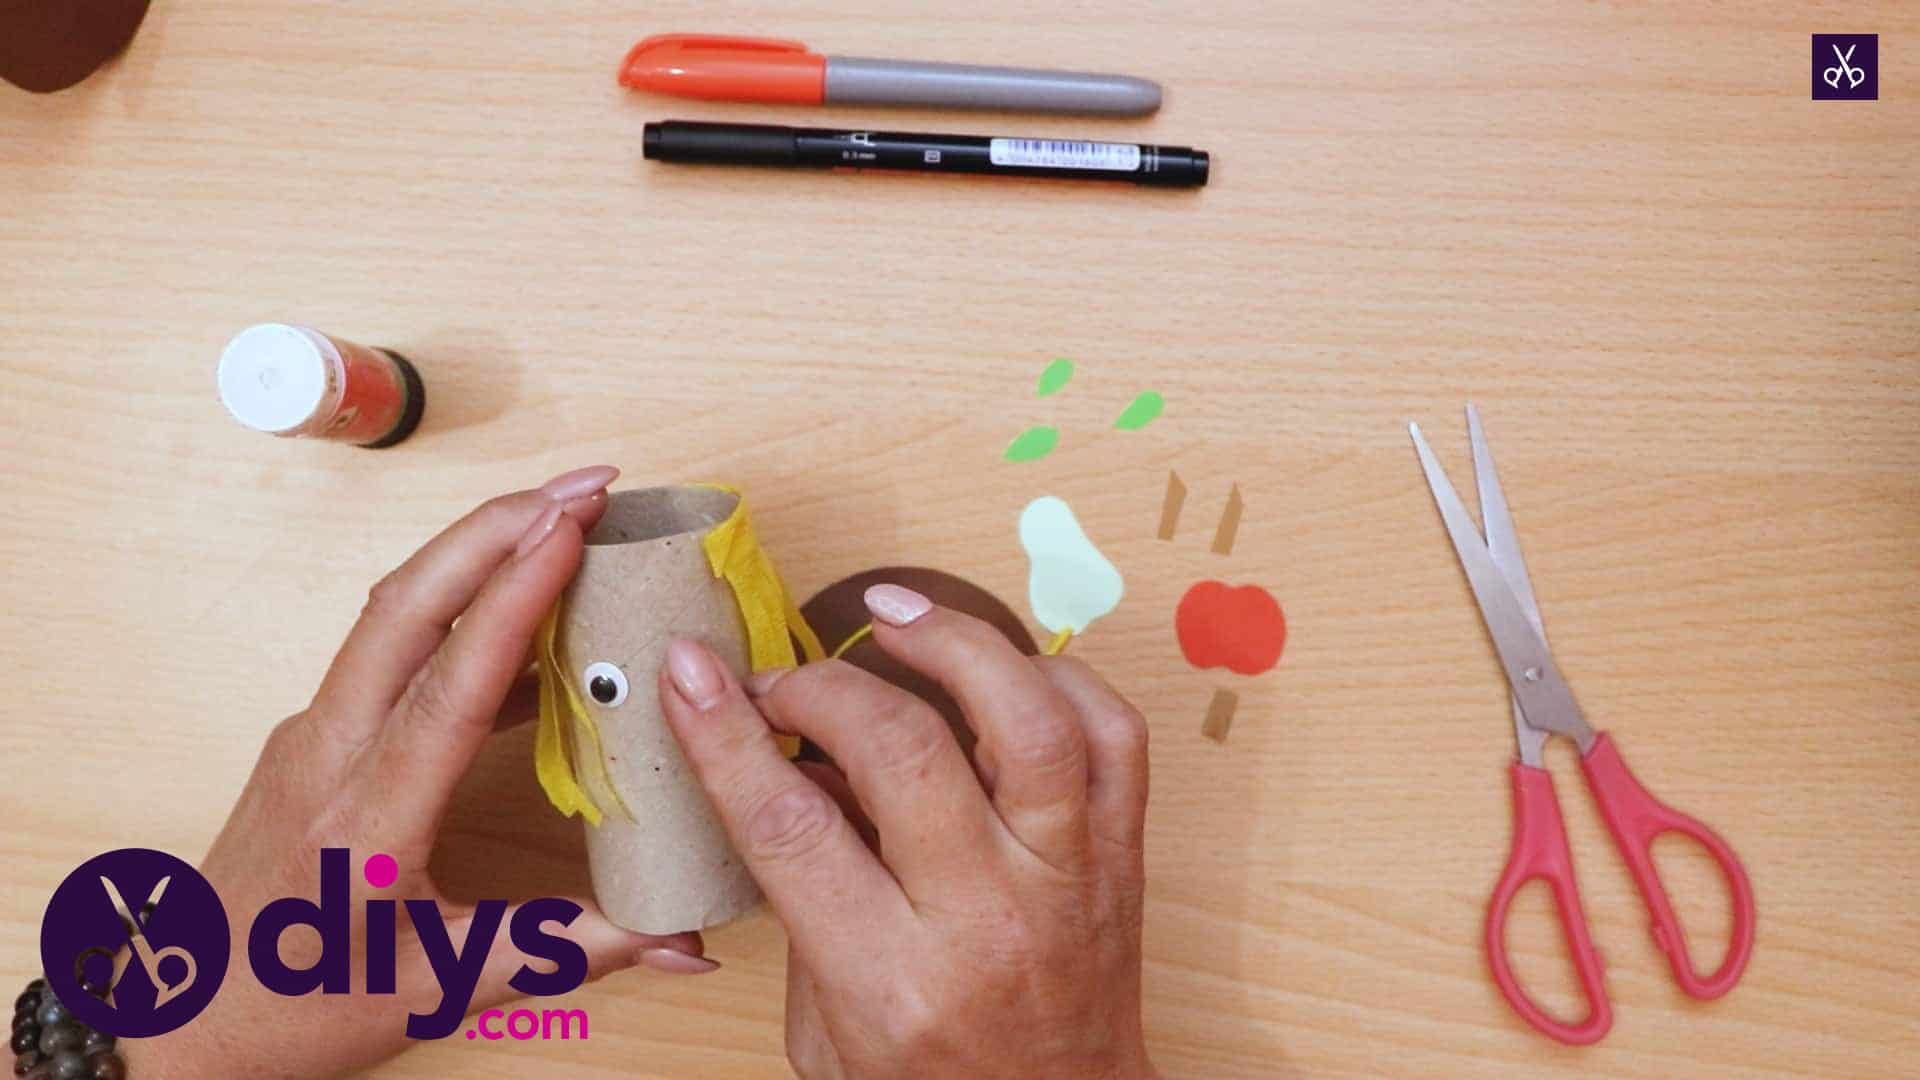
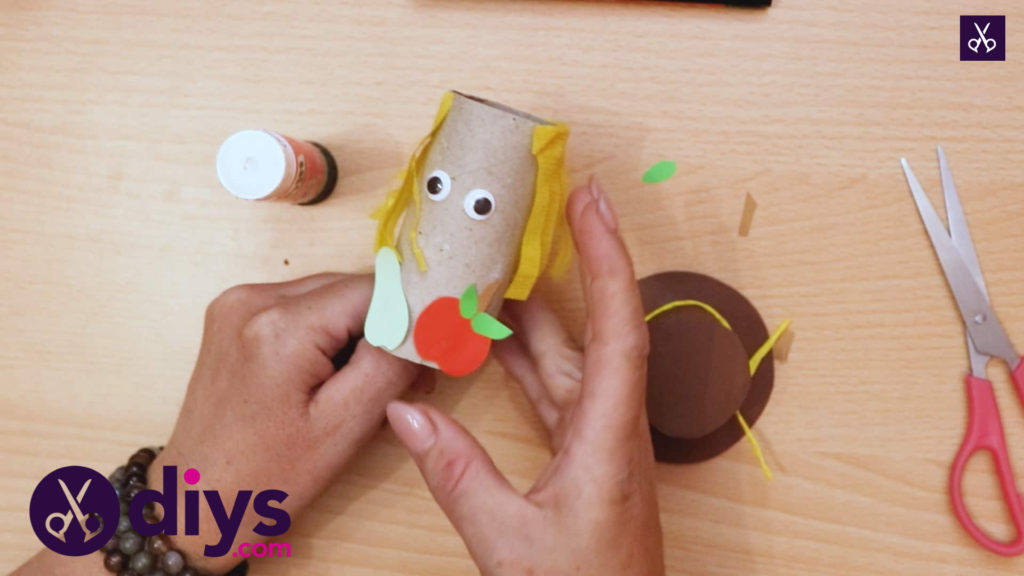
Apply glue to the backs of your googly eyes and stick them to the scarecrow’s face on the space between where the yellow hair falls.
Step 14: add the apple and pear
Glue the stem to the back of your apple and then stick the apple along the bottom of your toilet roll like the scarecrow is holding it. Apply glue to the backs of your leaves and stick them onto the apple as well, at the base of the stem. Build your pear in the same way and stick it down next to your apple on the bottom of the toilet roll. Don’t forget the little fringed detail for the bottom of your pear, just like there is sometimes a second stem on the real thing!
Step 15: draw face
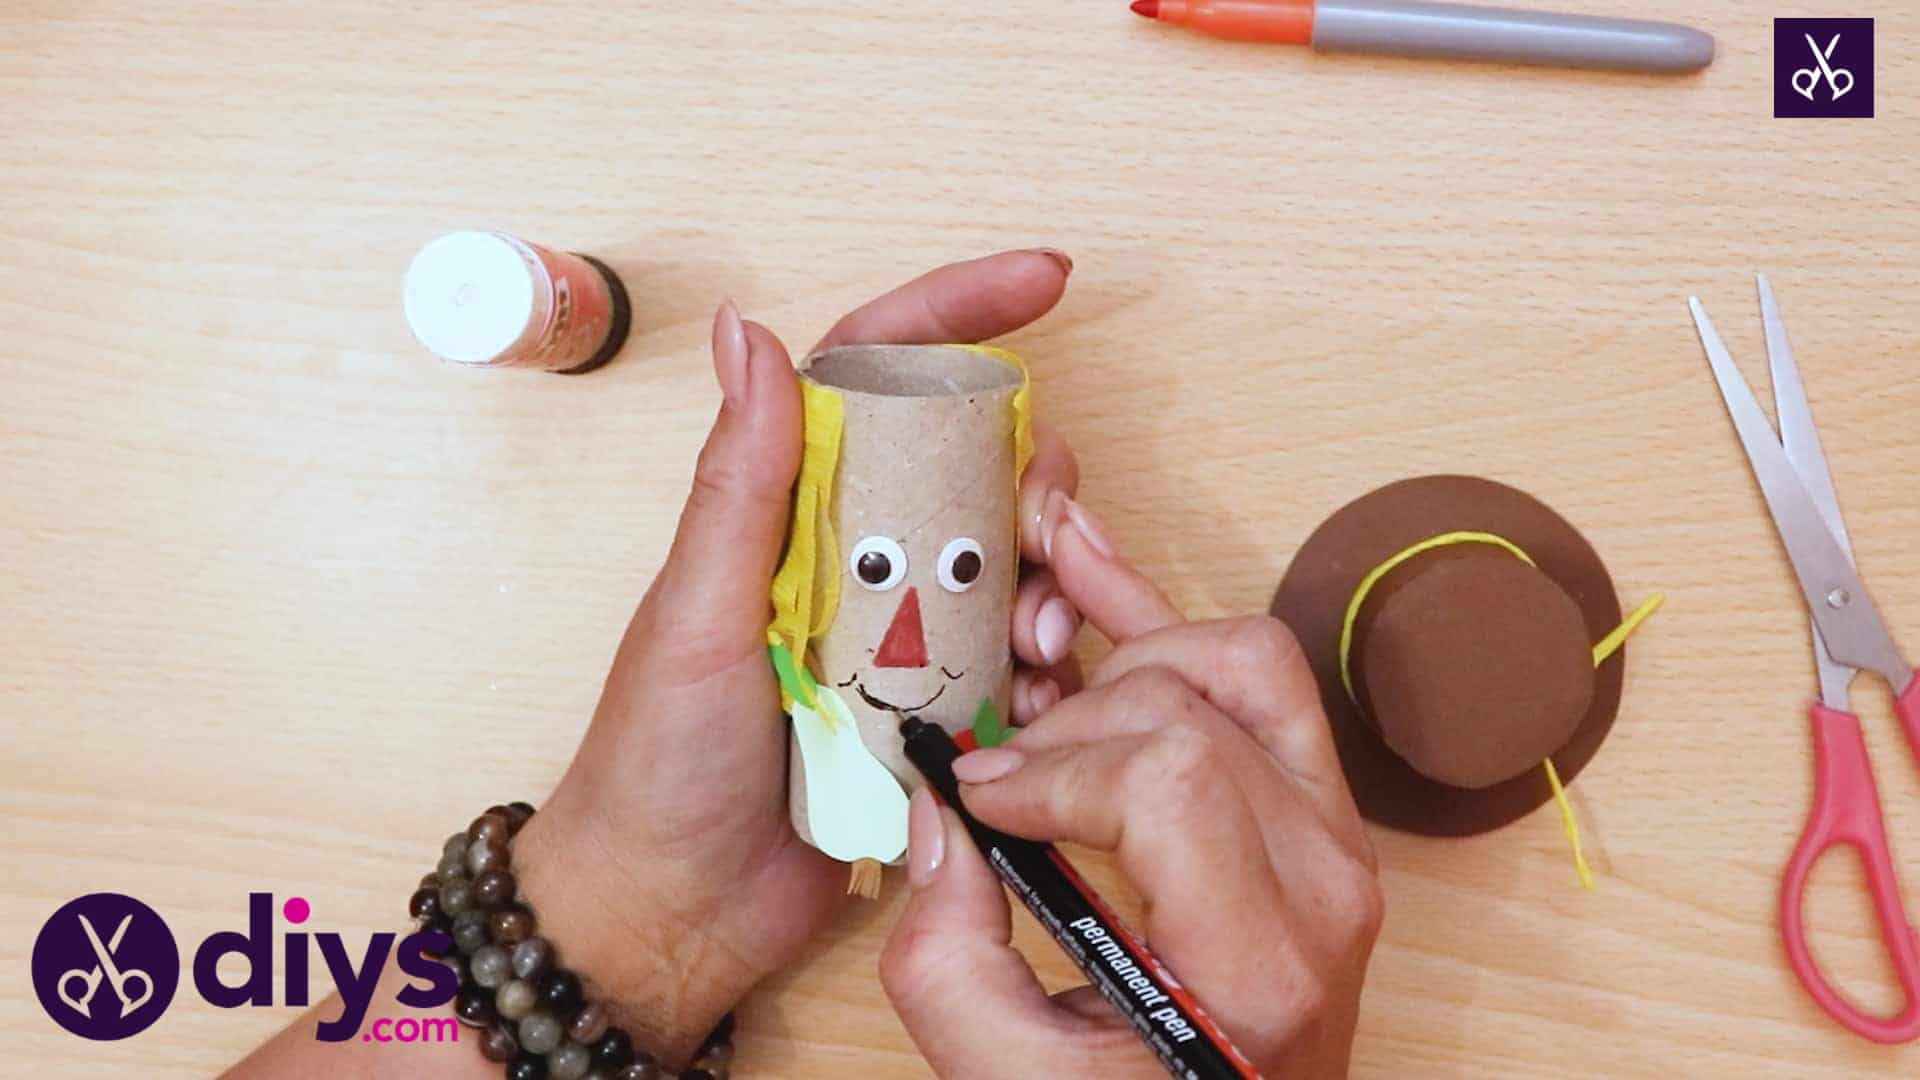
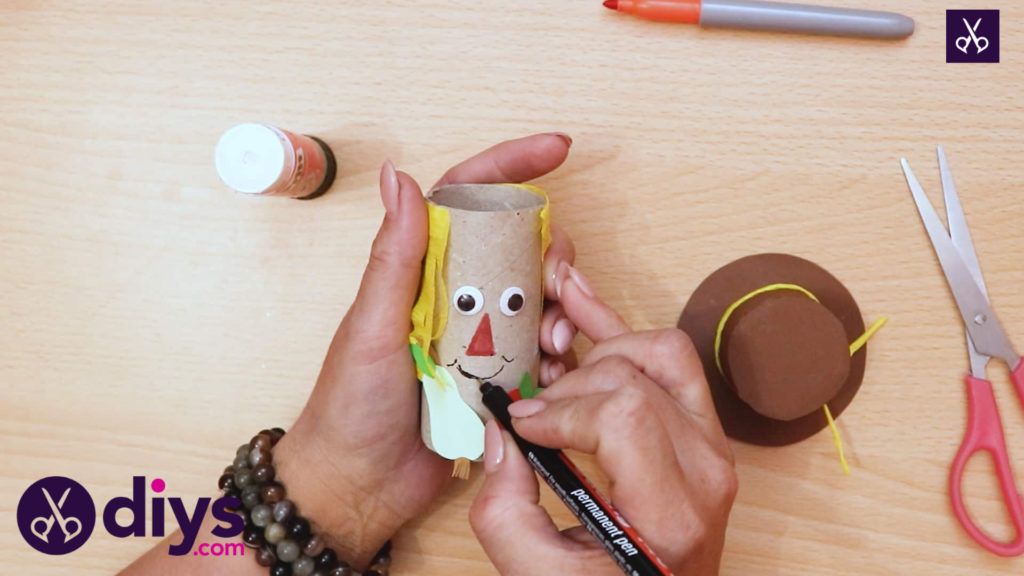
Use your orange marker to draw your scarecrow a triangular nose in the middle of his face, below the eyes. Then use the black marker to add a small between the nose and the fruit.
Step 16: finish
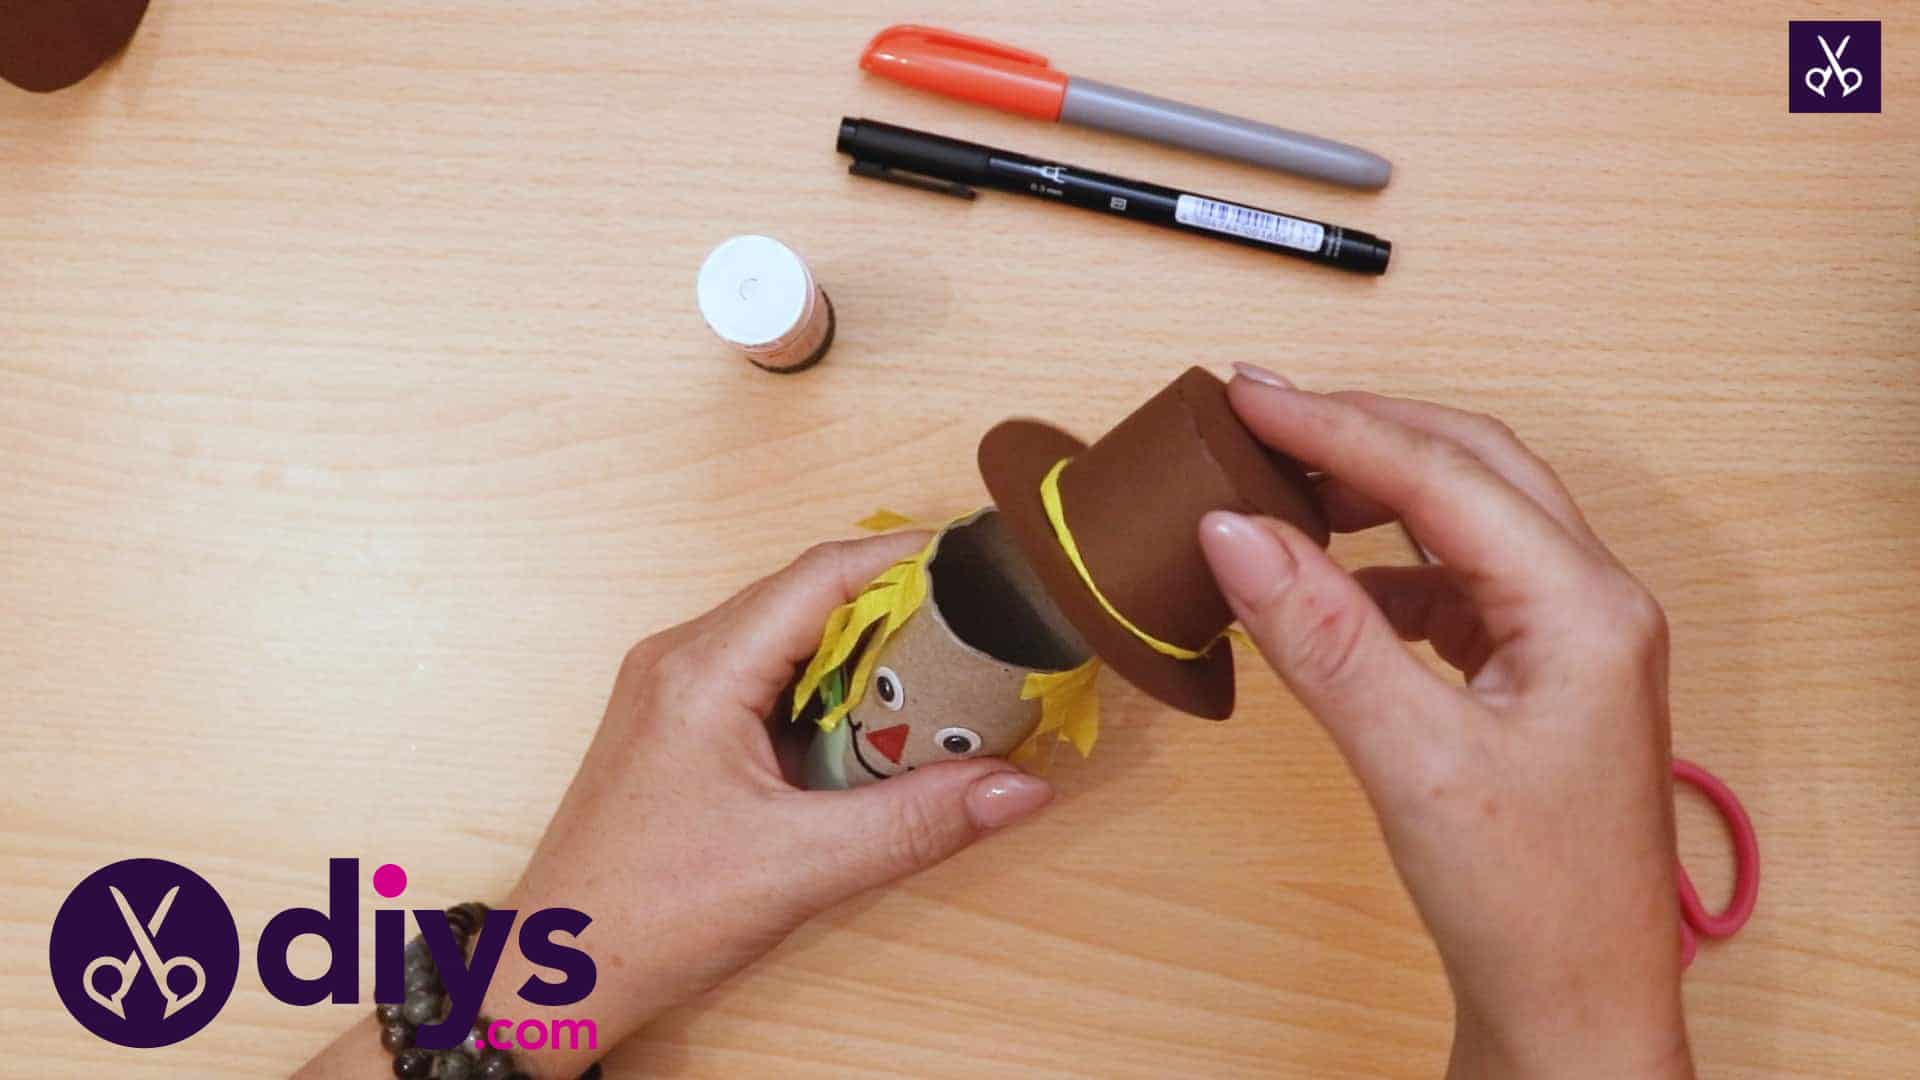
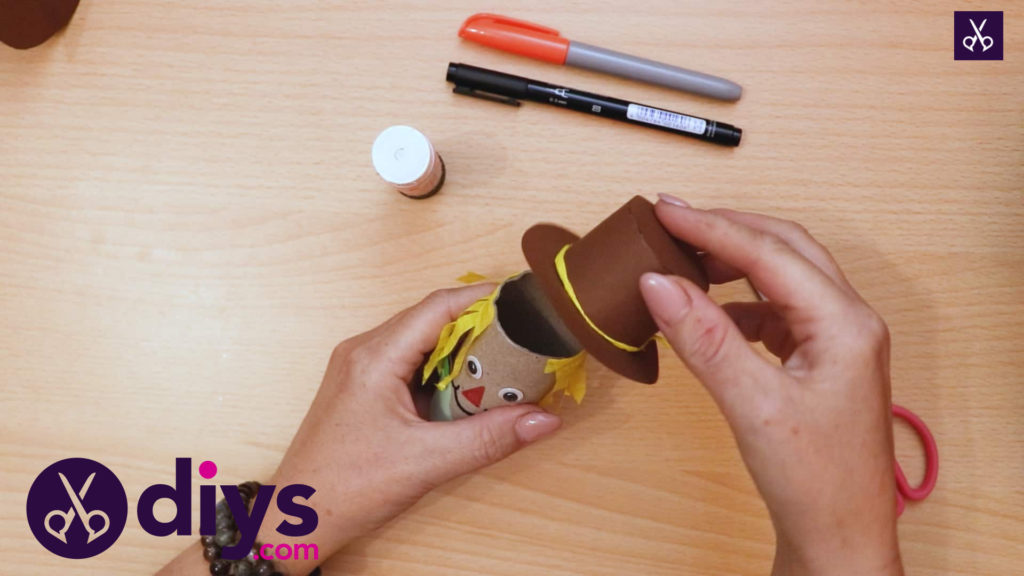
Apply glue all around the top edge of the toilet roll and press the hat into place there so it sits snugly. Make sure the roll doesn’t slip into the hole and cover the scarecrow’s face.
That really is all there is to it! Just in case you’d like to try this project out for yourself, here’s a fantastic tutorial video to help you!
