DIY Toilet Paper Roll Pencil Holder
If you ask me, toilet paper roll crafts are the kind of classic project that will nevernot be awesome. Even for adults, the process is enjoyable because there are just so many different things you can make! For kids, the simplicity of just about every single one of those things is a lot of fun and also a change to learn. We’realways stockpiling our empty toilet paper rolls for crafting purposes in my house, so I try to keep as many neat DIY ideas on hand as I can, that way the kids and I always have something to make together. Here’s one of their recent favourites to show you what I mean!
Check out these instructions and photos to see how I made a simple DIY toilet paper roll pencil holder. If you’d rather follow a video tutorial than written steps, you’ll find one by scrolling to the bottom of this post!
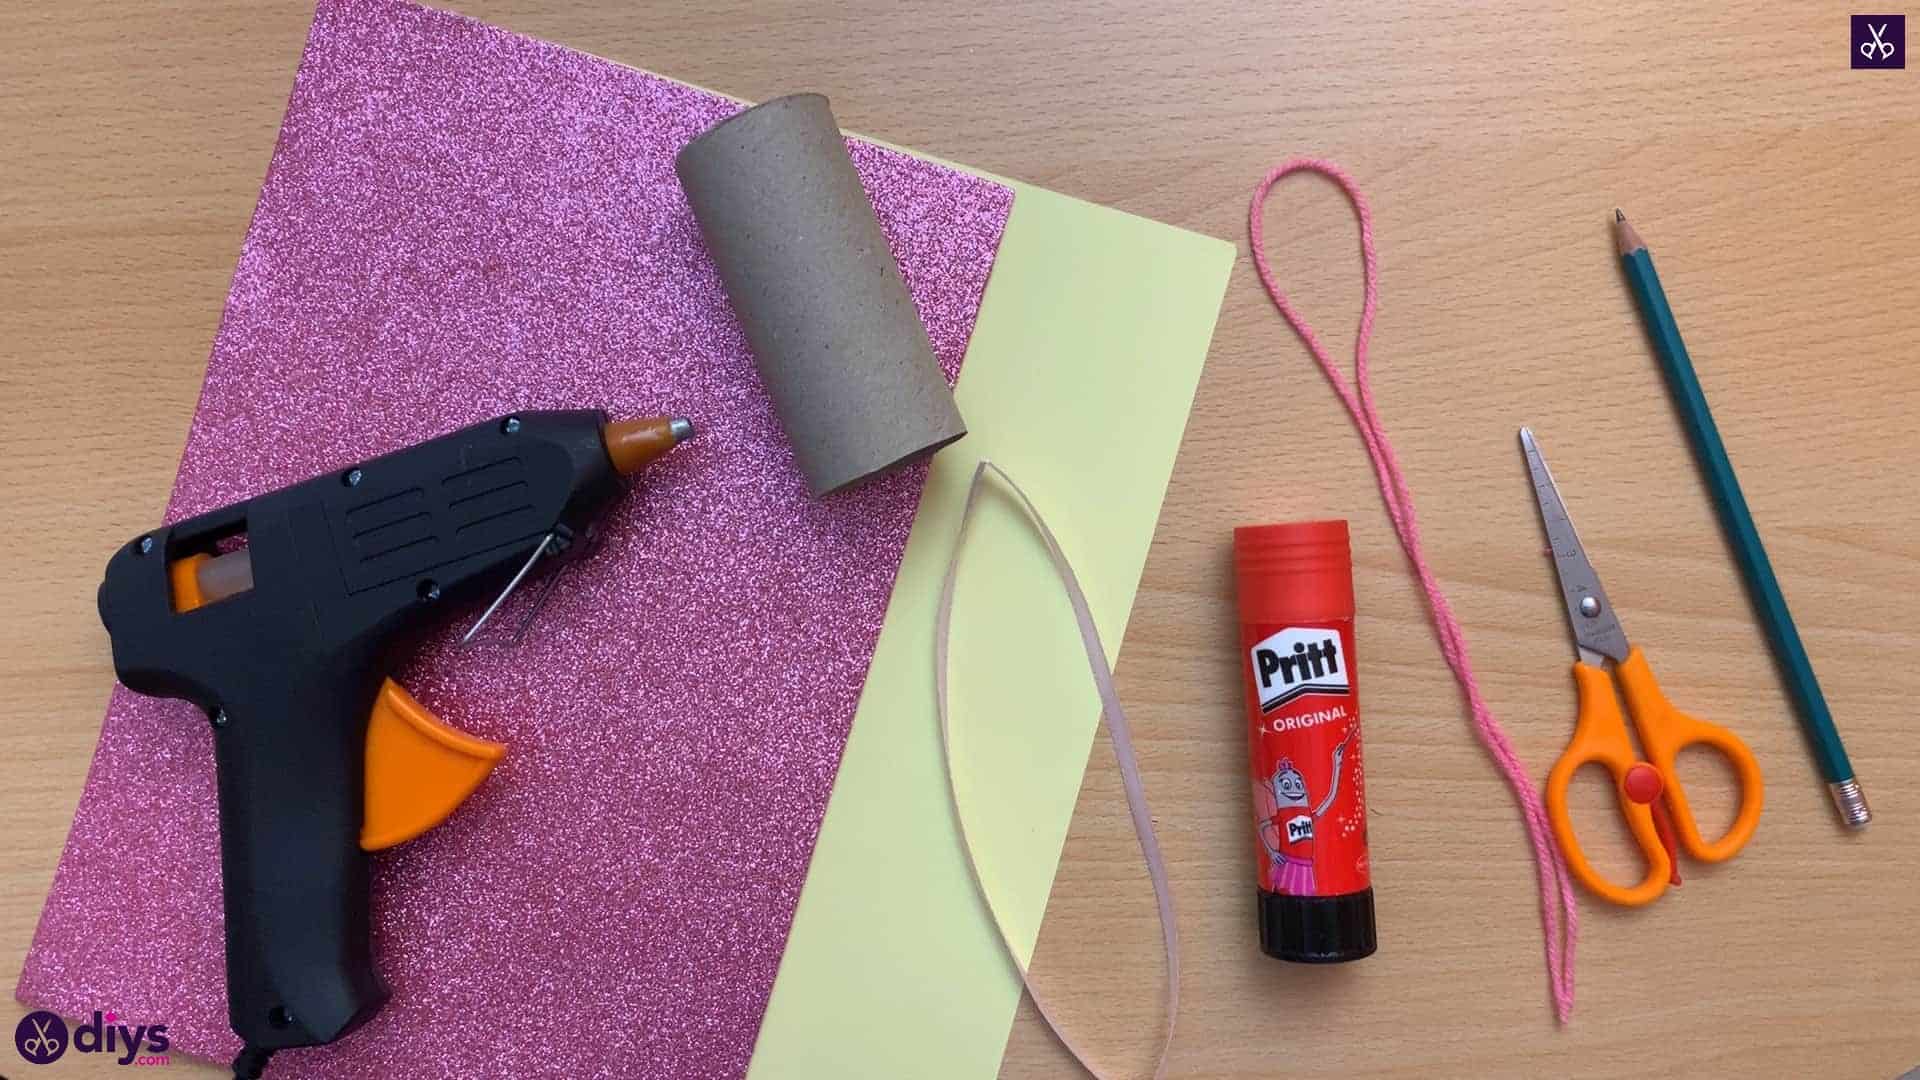
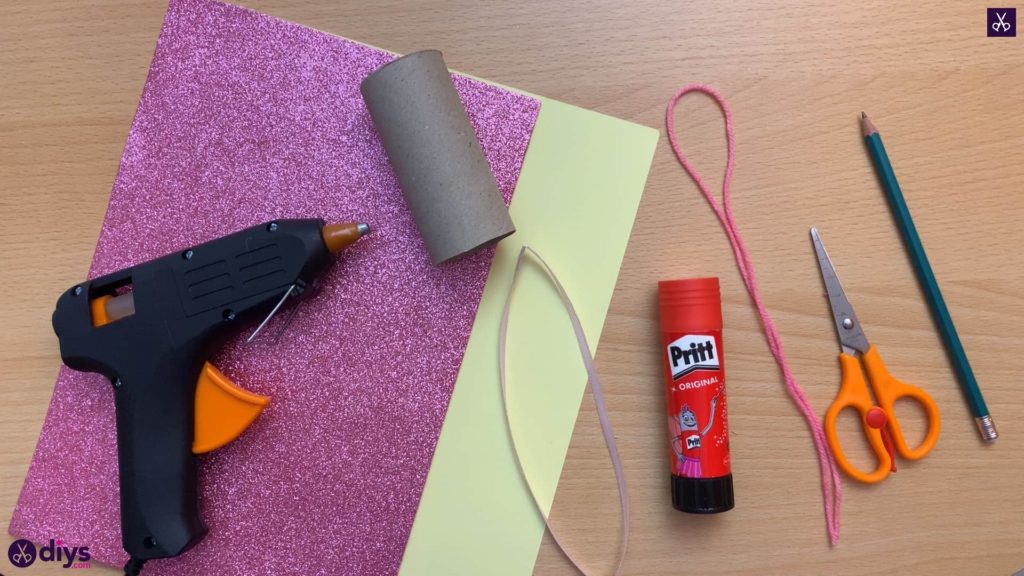
For this project, you’ll need:
- Toilet paper roll
- A pencil
- A pink ribbon
- Yellow paper
- Pink sparkly foam paper
- Scissors
- Hot glue
Step 1: check your list
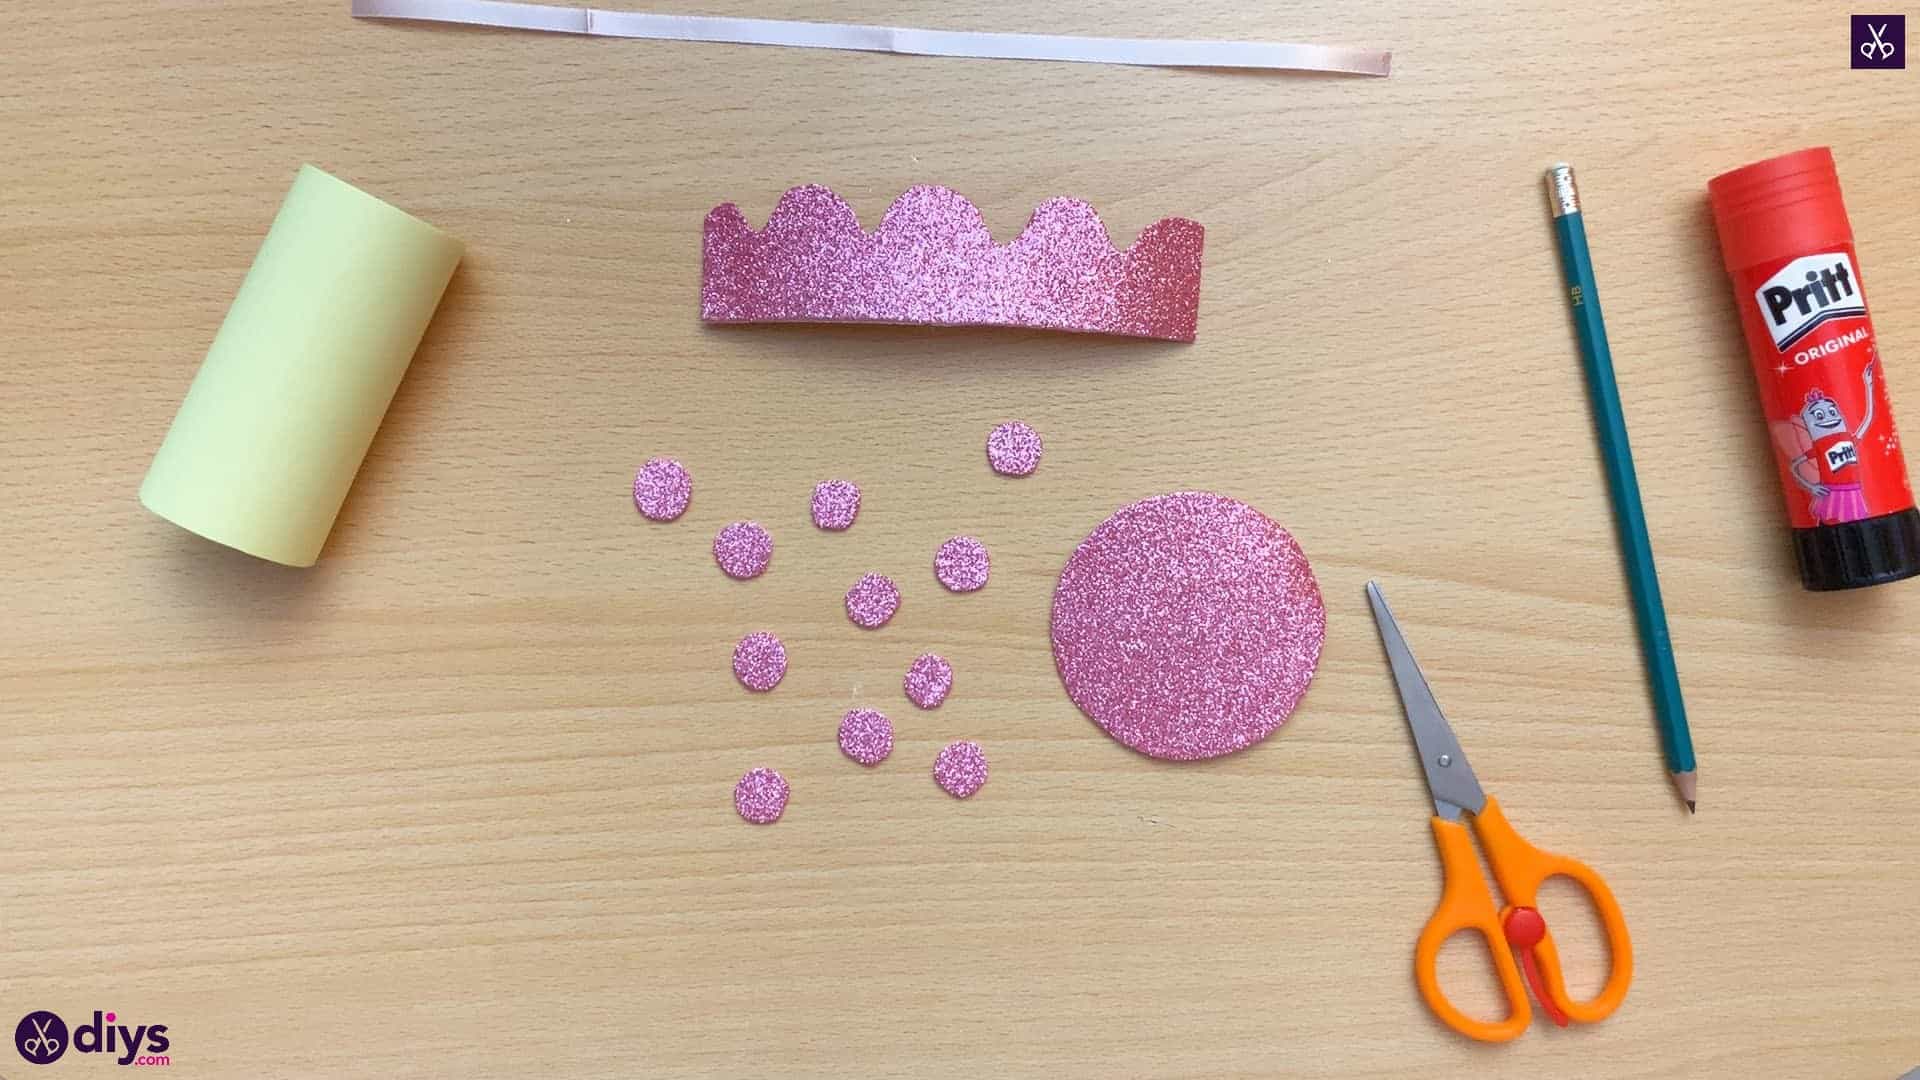
Gather your materials!
Step 2: measure
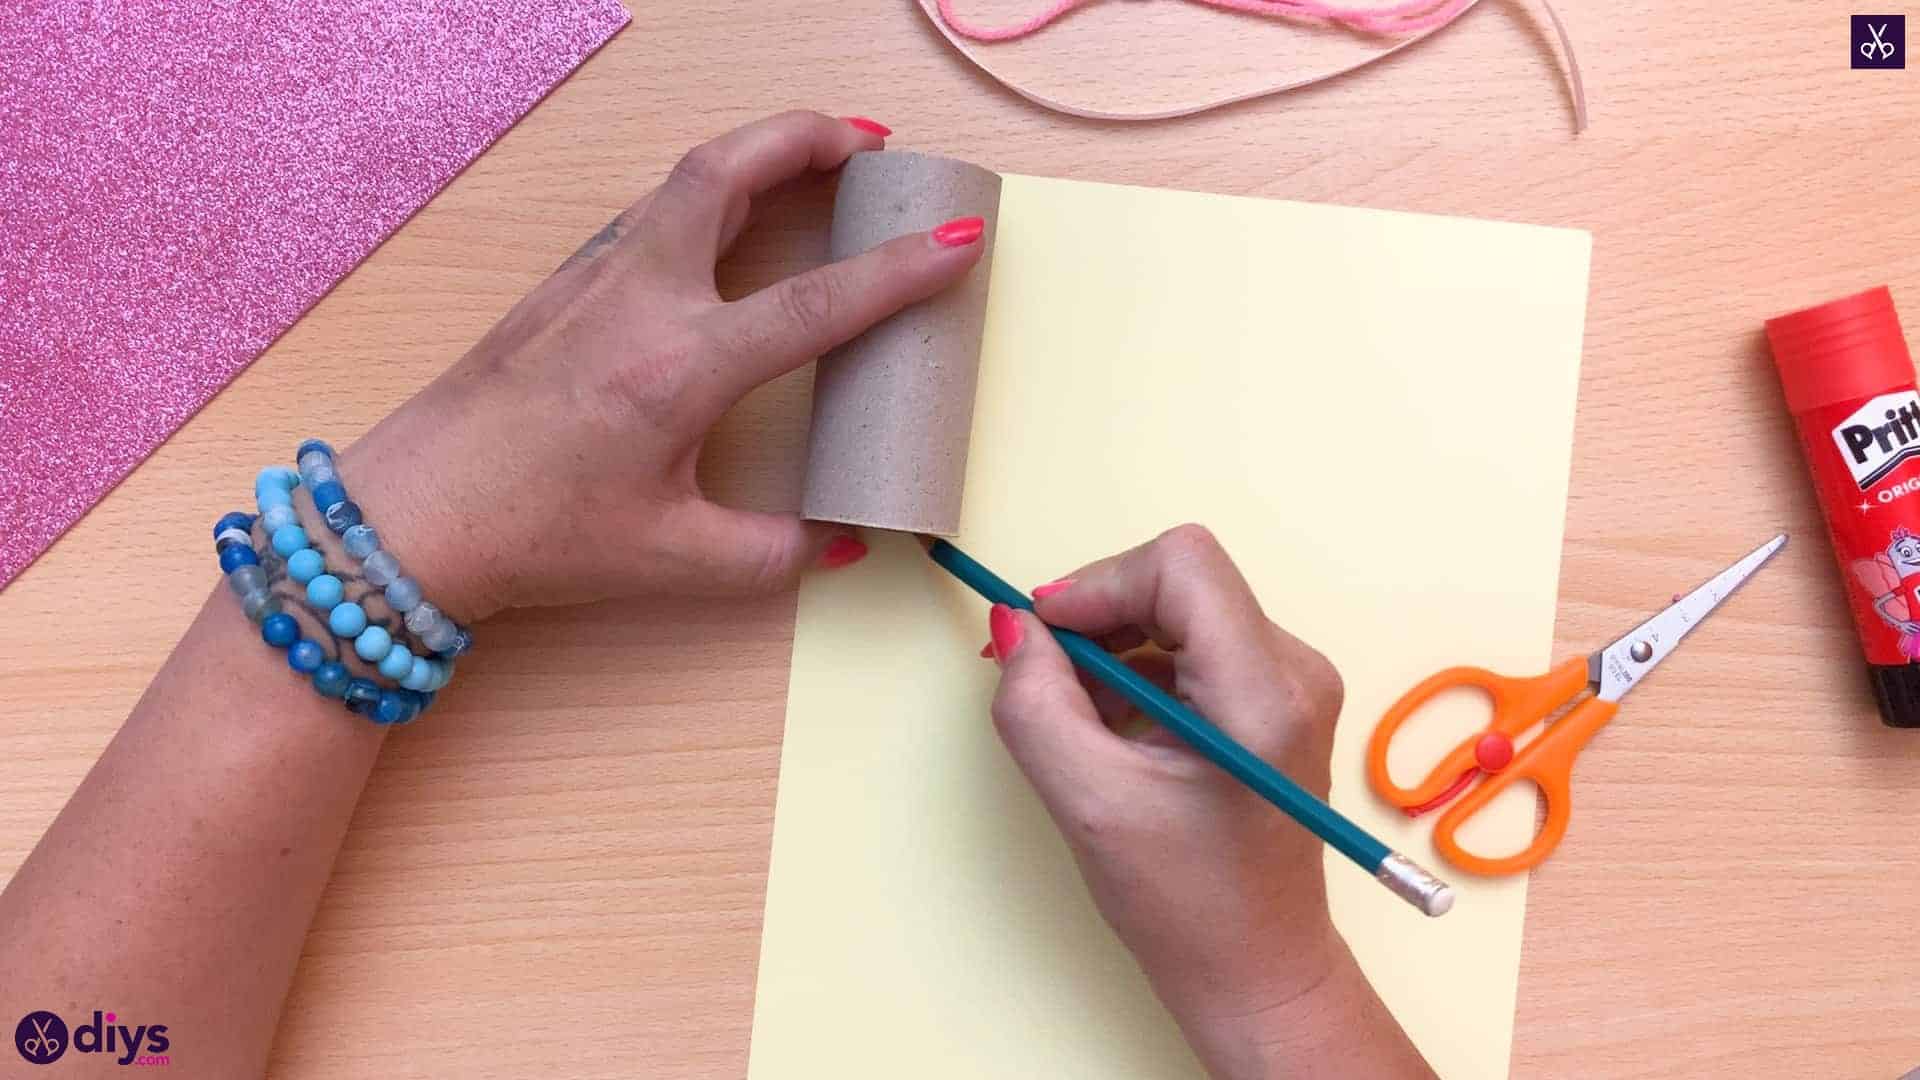
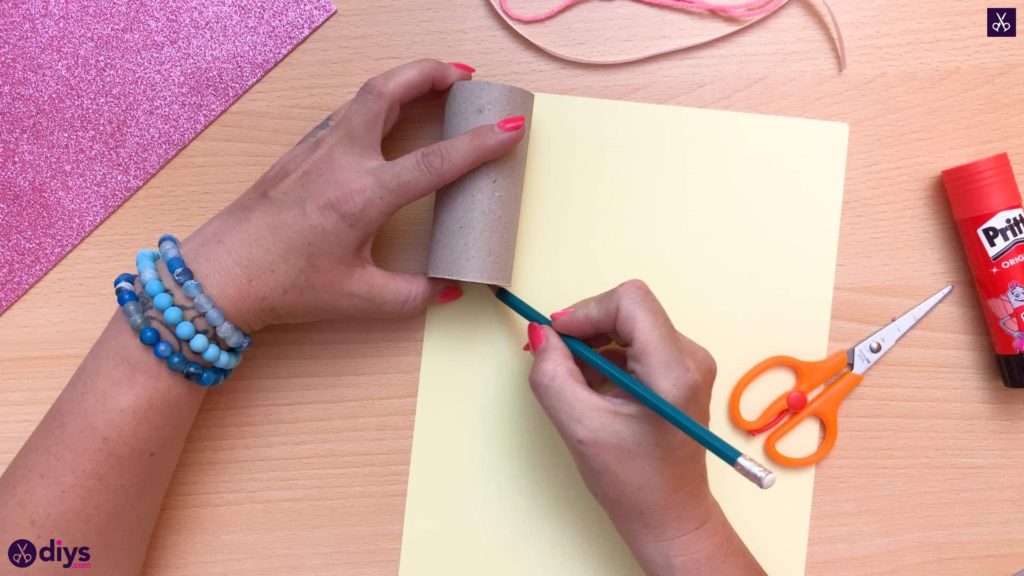
With your yellow paper sitting portrait, line the top edge of your toilet roll up against the top edge of the page and make a mark where the bottom edge of your toilet roll hits the paper. Use this as a guide to cut a strip from the page all the way across. This strip will be perfectly sized to the length of your toilet roll.
Step 3: wrap
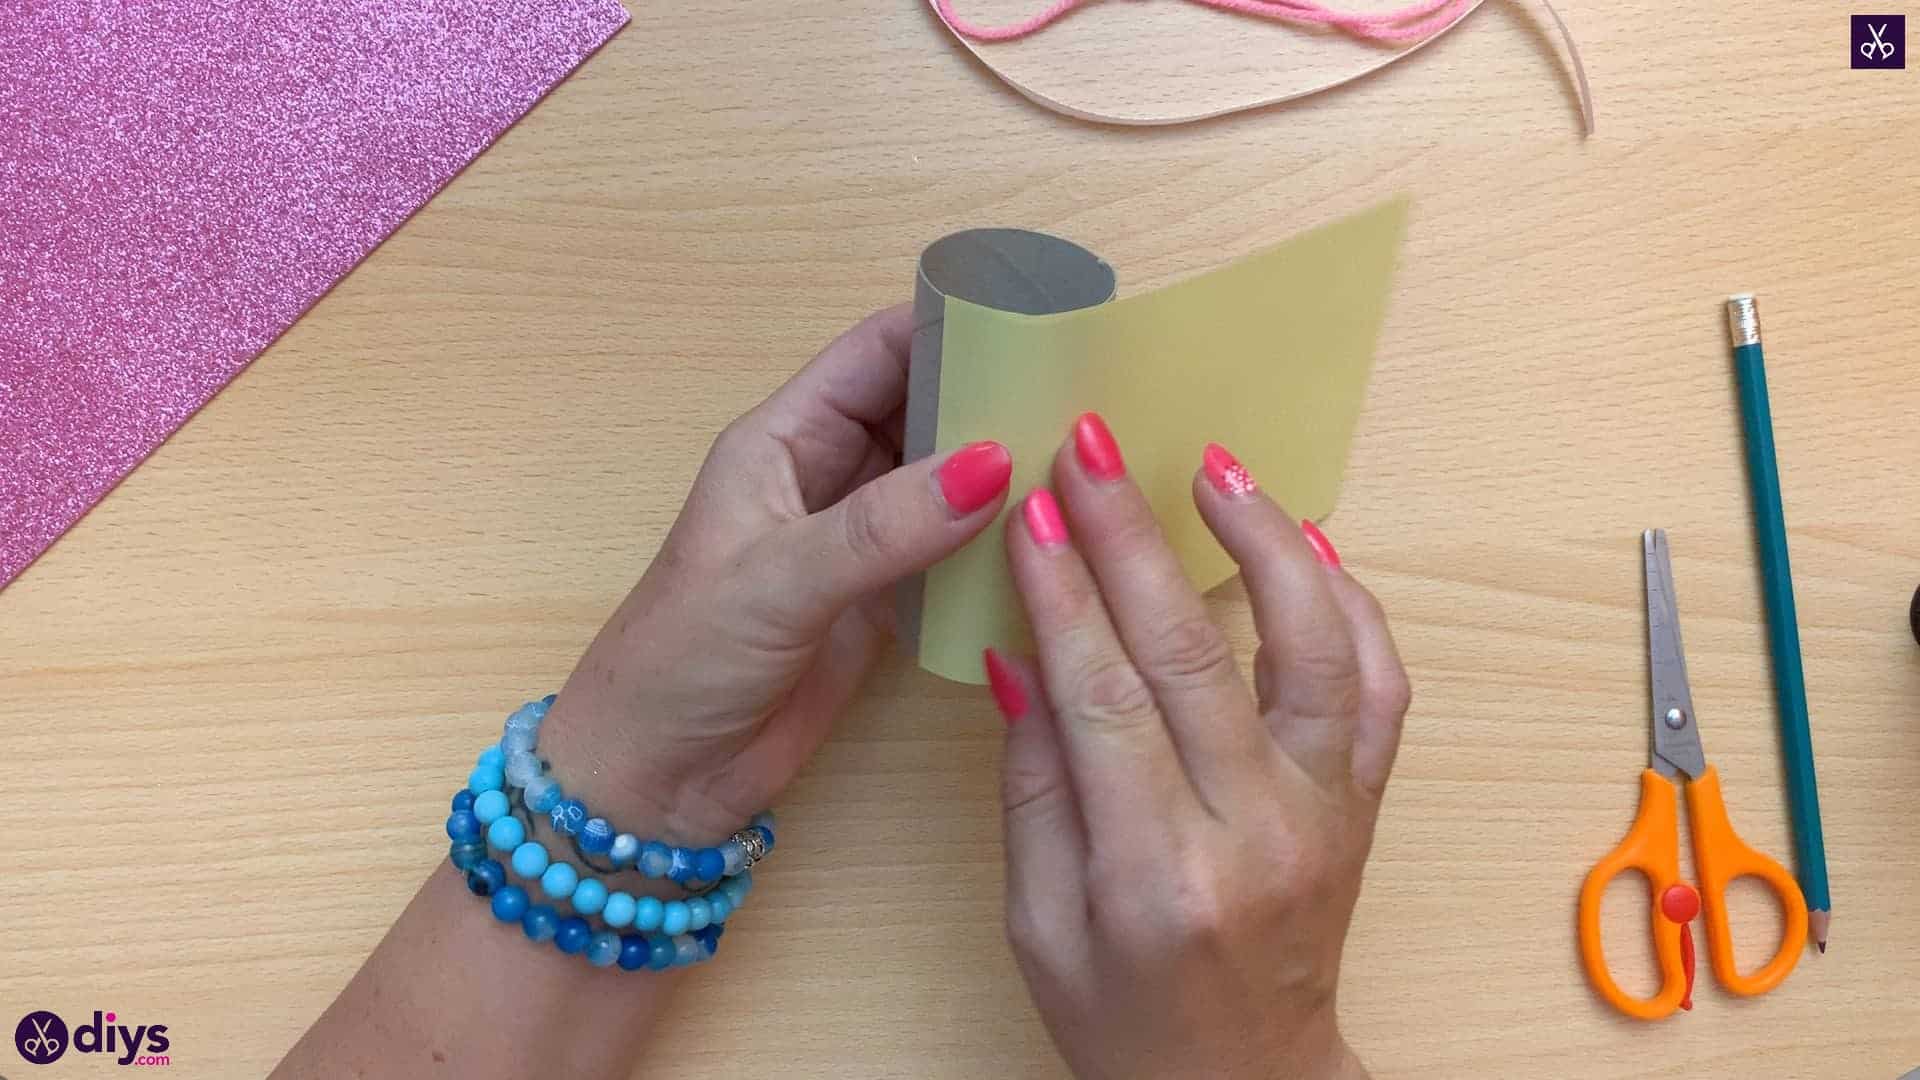
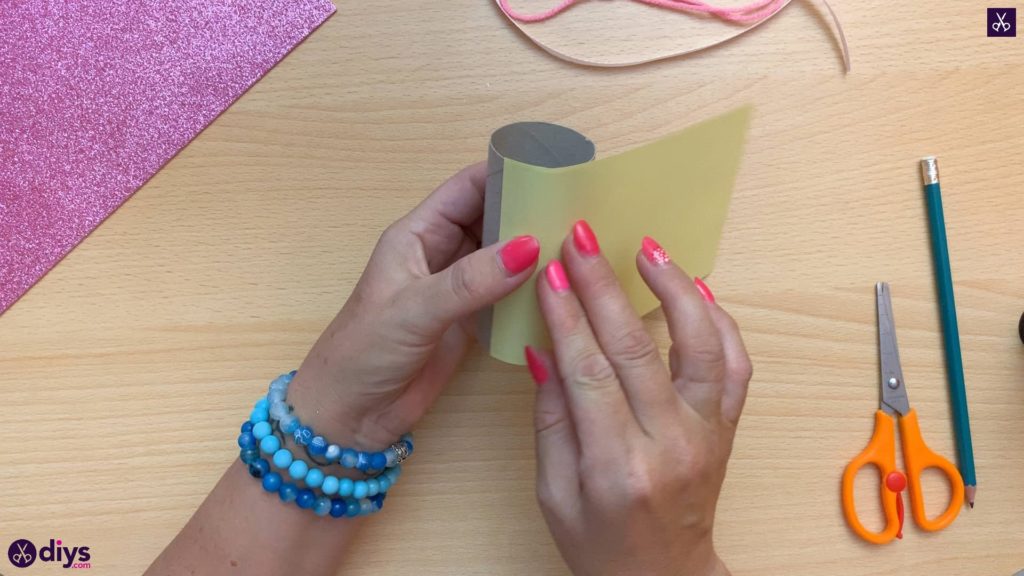
Apply glue down the whole length of your toilet roll and press one edge of the shorter ends of your yellow strip into it so the tops and bottoms of the paper and the roll line up even. Wrap the strip all the way around the roll until the loose end meets back up with the glued one. Cut off any excess and glue this end down on top of the first so your roll is now entirely yellow.
Step 4: draw and cut
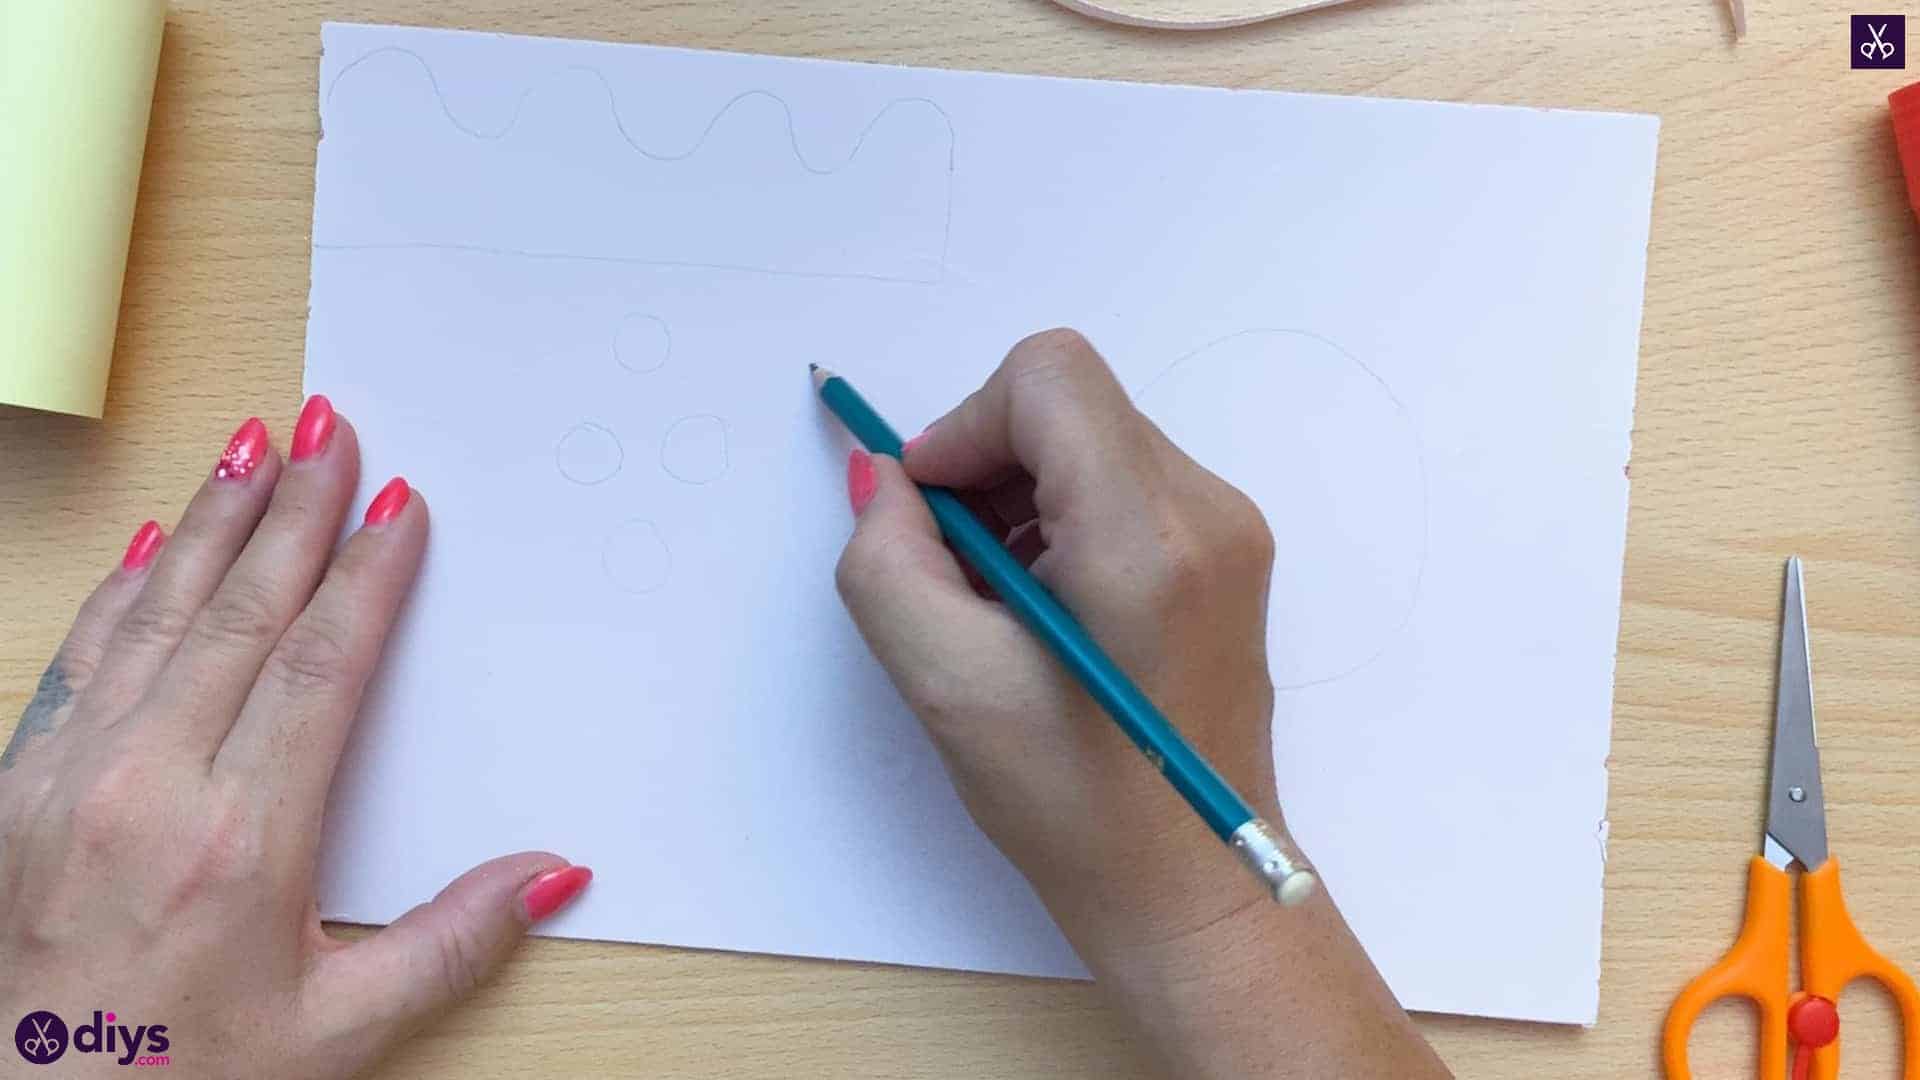
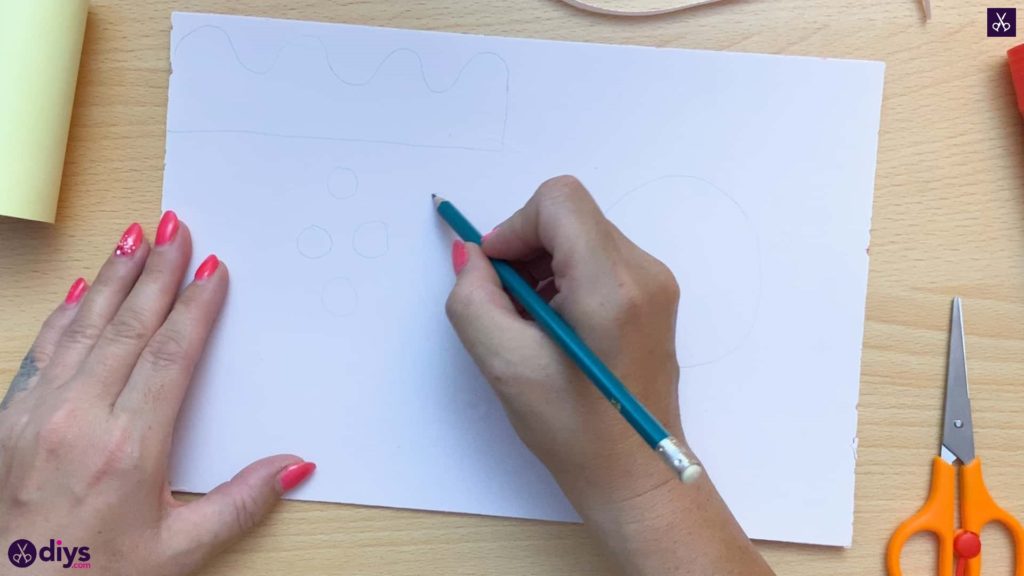
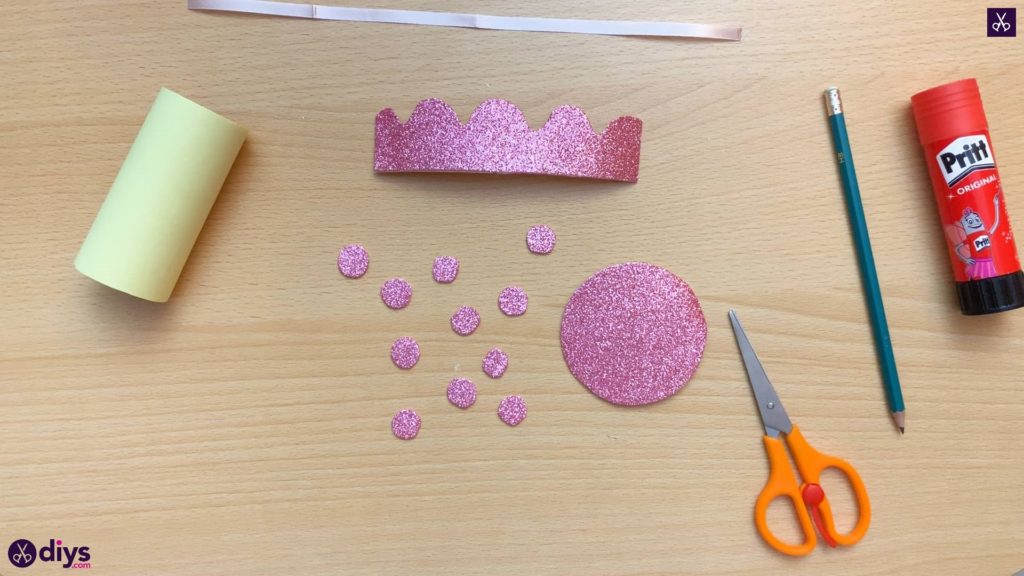
Turn your pink sparkly foam paper over so you can use your pencil to draw on its white backing. Draw a large circle to be the base of your pencil holder, several smaller circles to be polka dots, and a waving shape with a straight bottom edge for some embellishment around the top of your holder. Cut them all out.
Step 5: start gluing
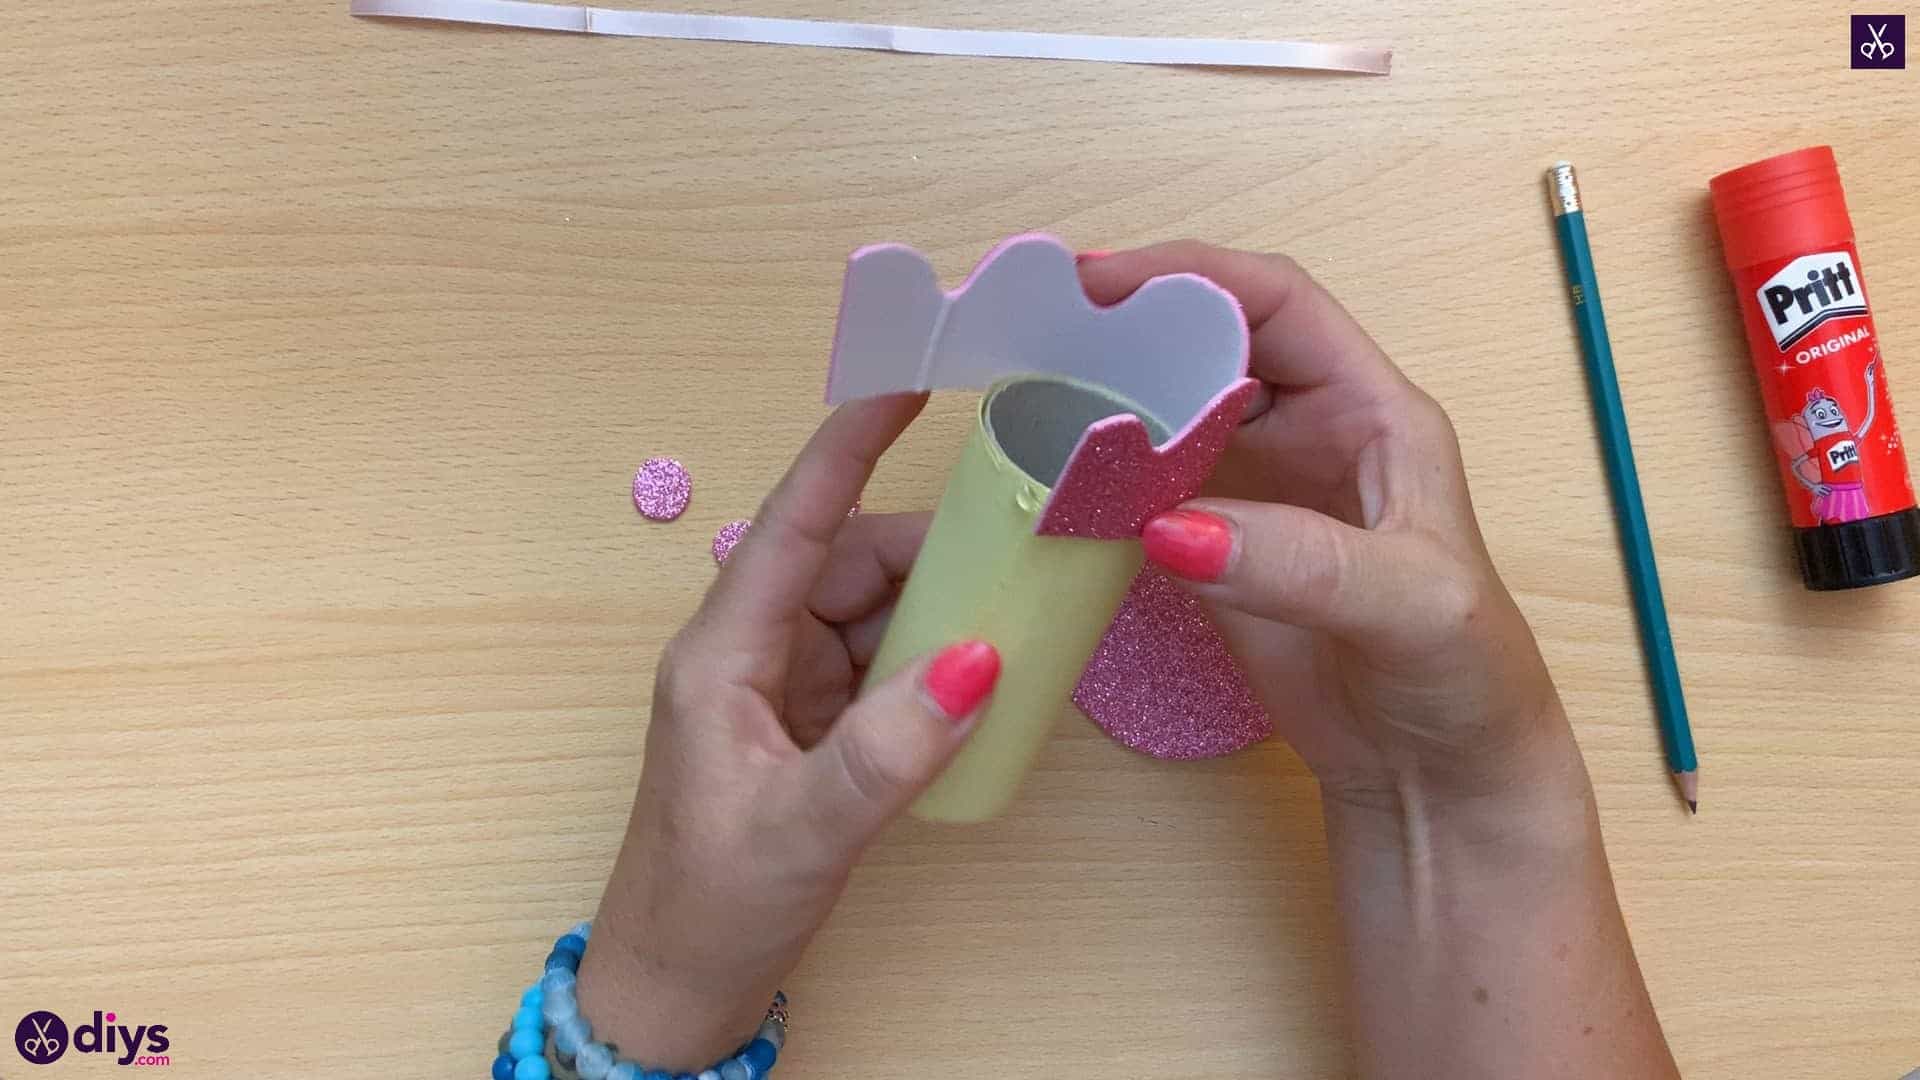
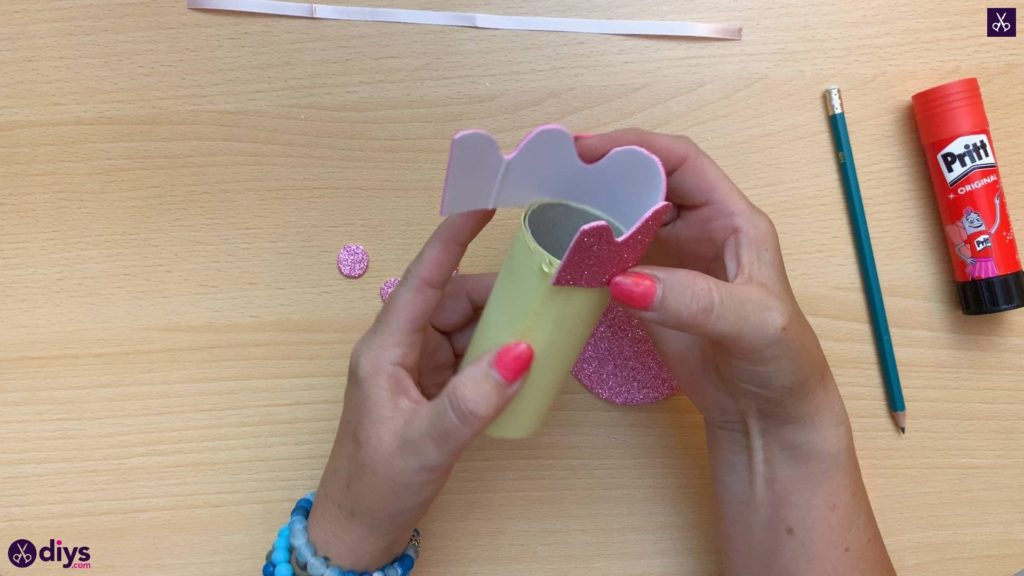
Use your hot glue to affix the waving shape around the top of your toilet roll. You can stick it near its straight bottom edge so the waves make the roll a little taller; the foam paper is stiff enough that it will keep its shape just fine.
Step 6: add the polka dots
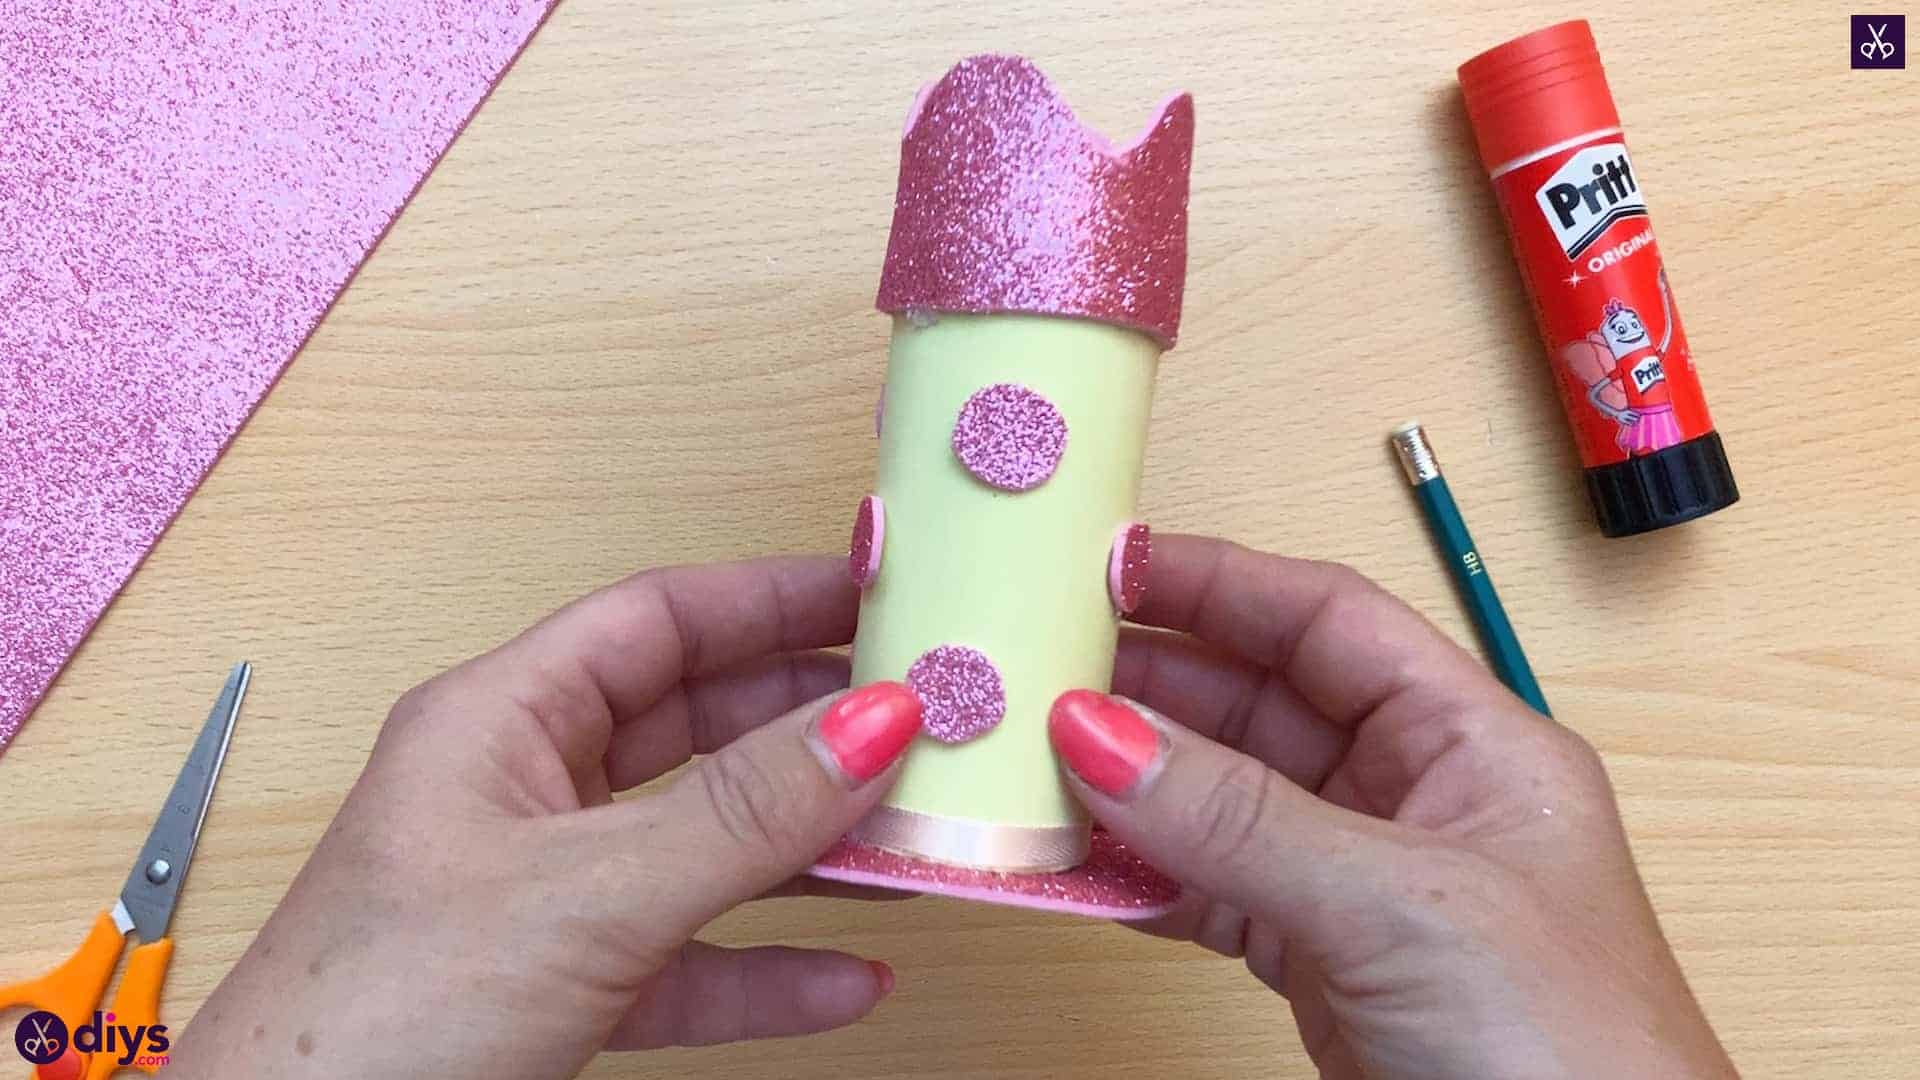
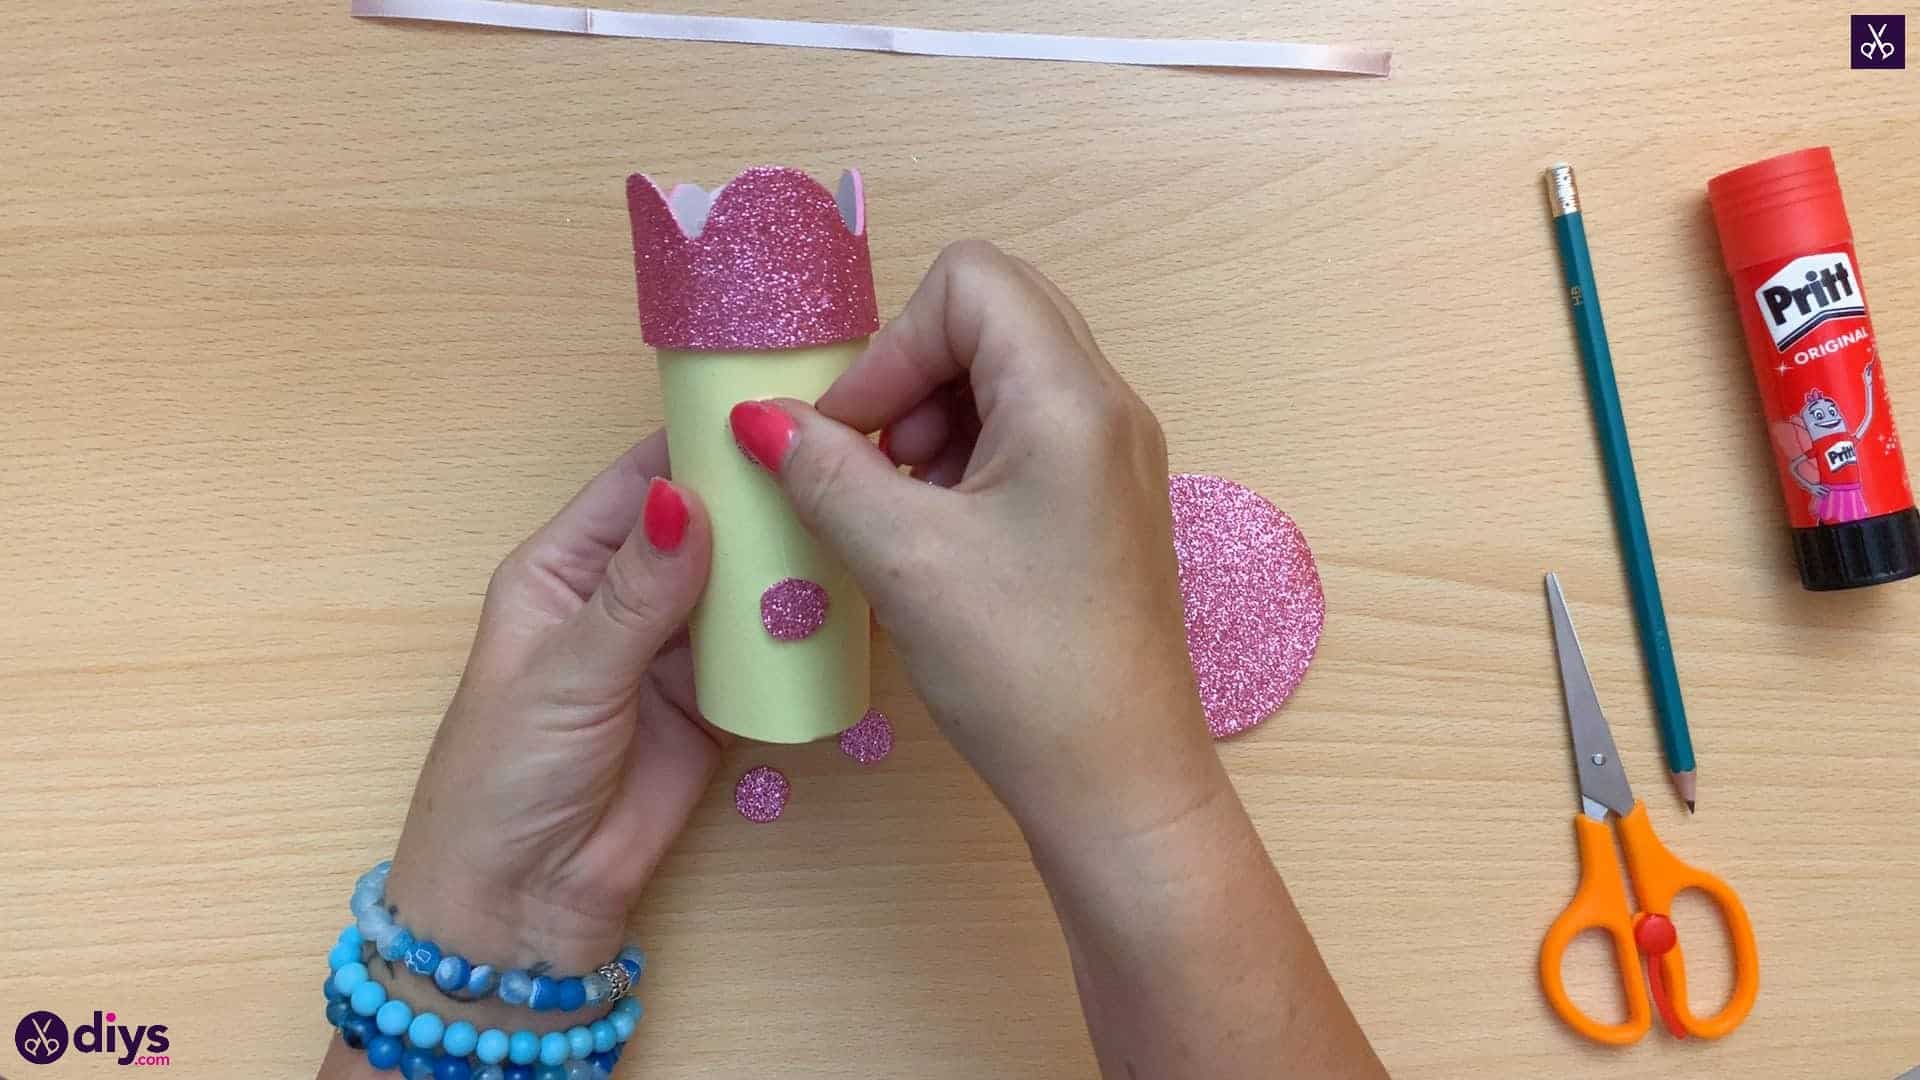
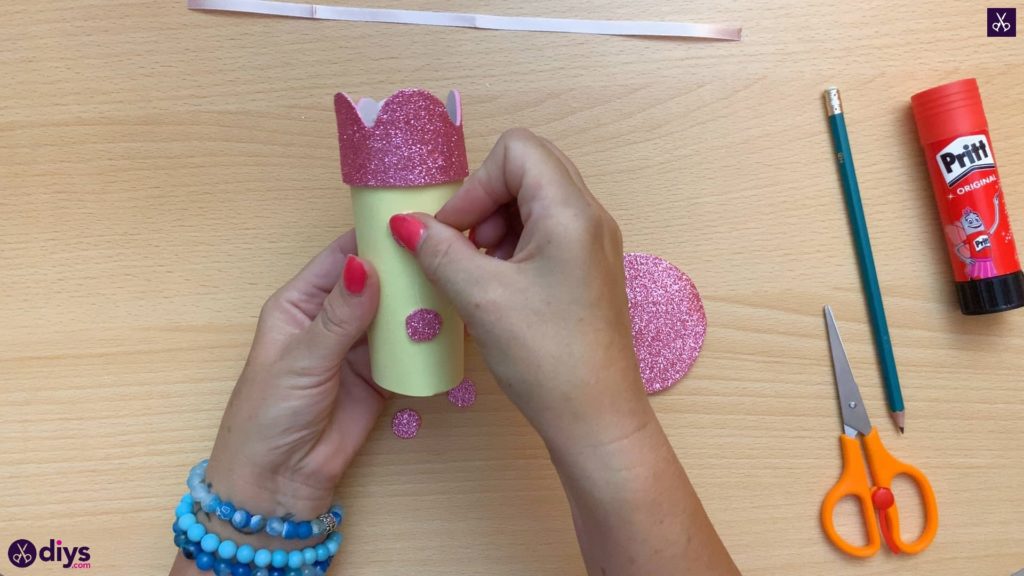
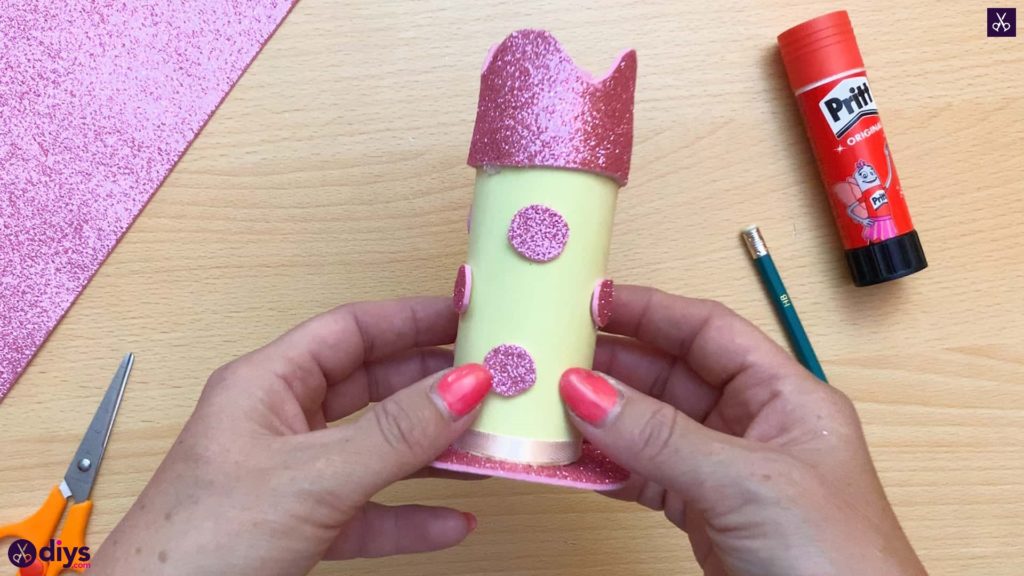
Use your hot glue to stick the polka dots all around the toilet roll on its yellow paper base. I scattered mine randomly but I made sure to leave enough space along the bottom so I could add a little ribbon border later.
Step 7: add the base
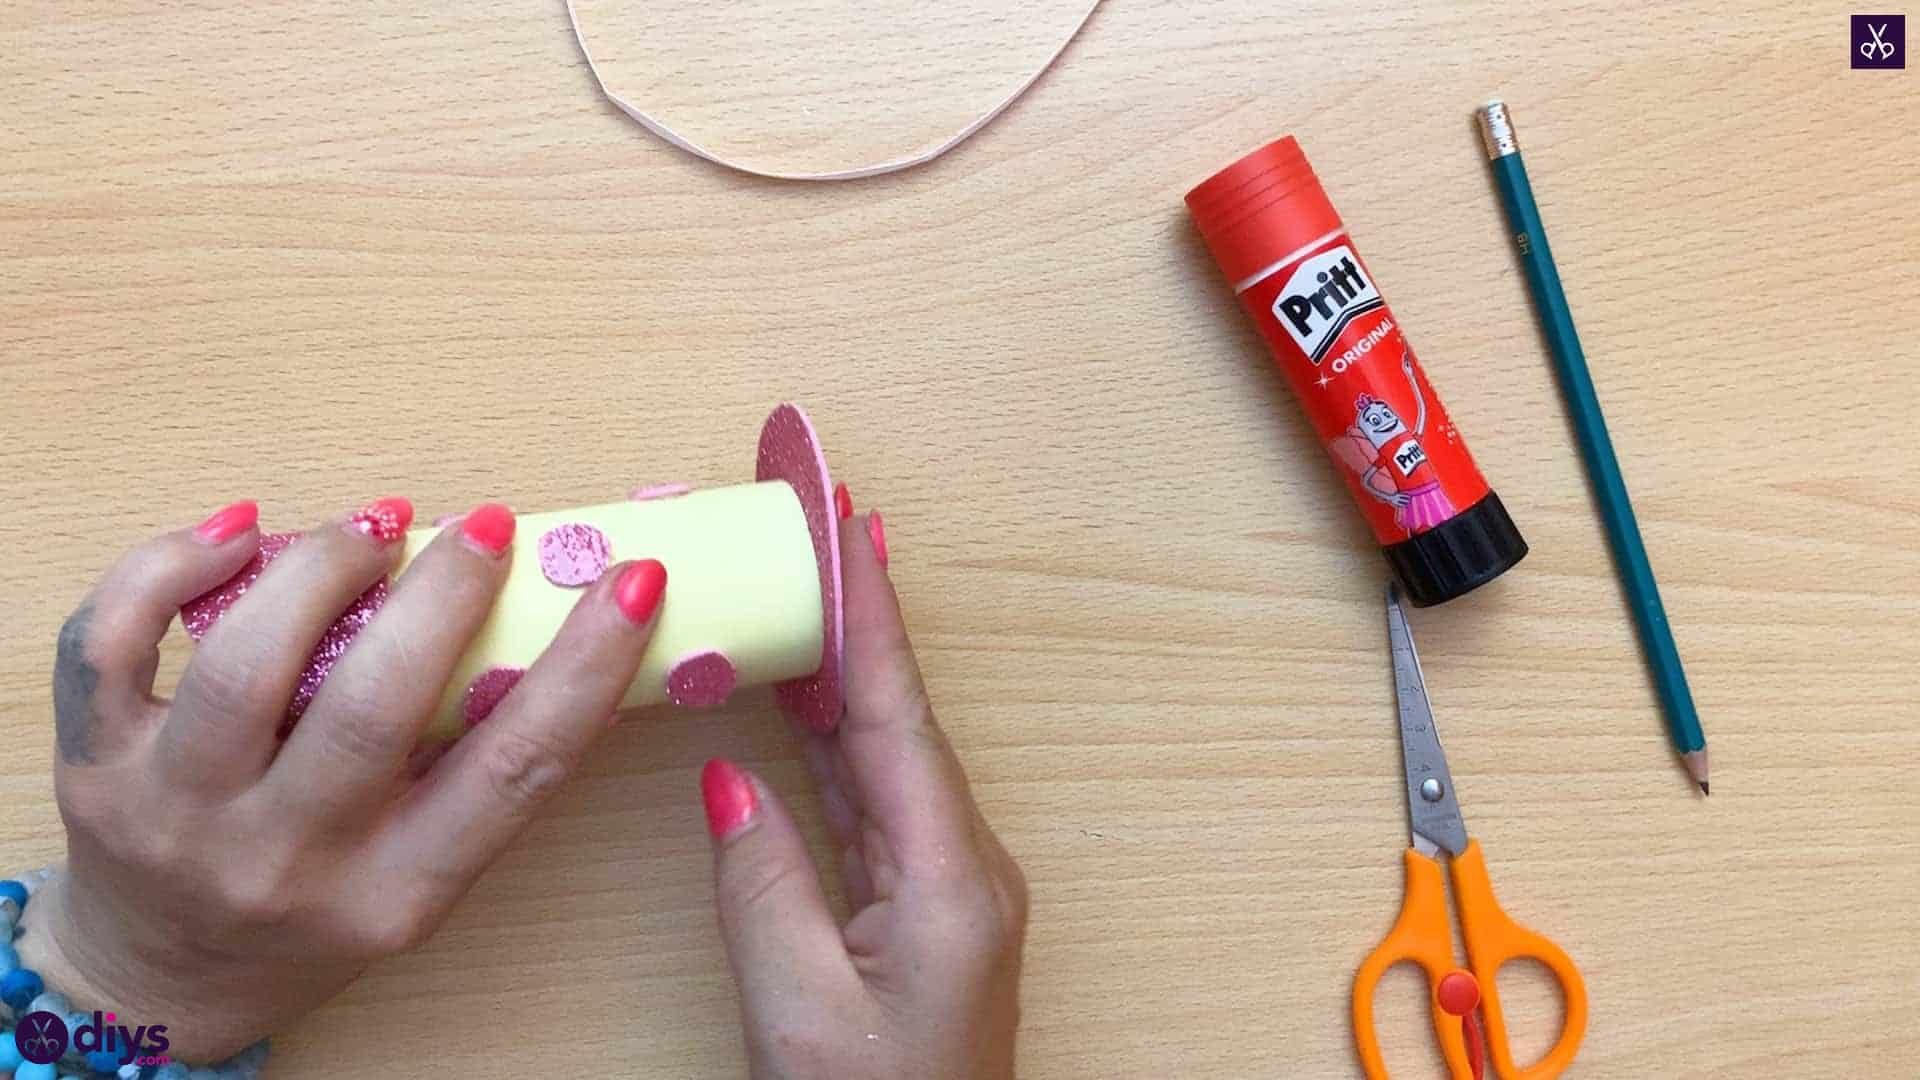
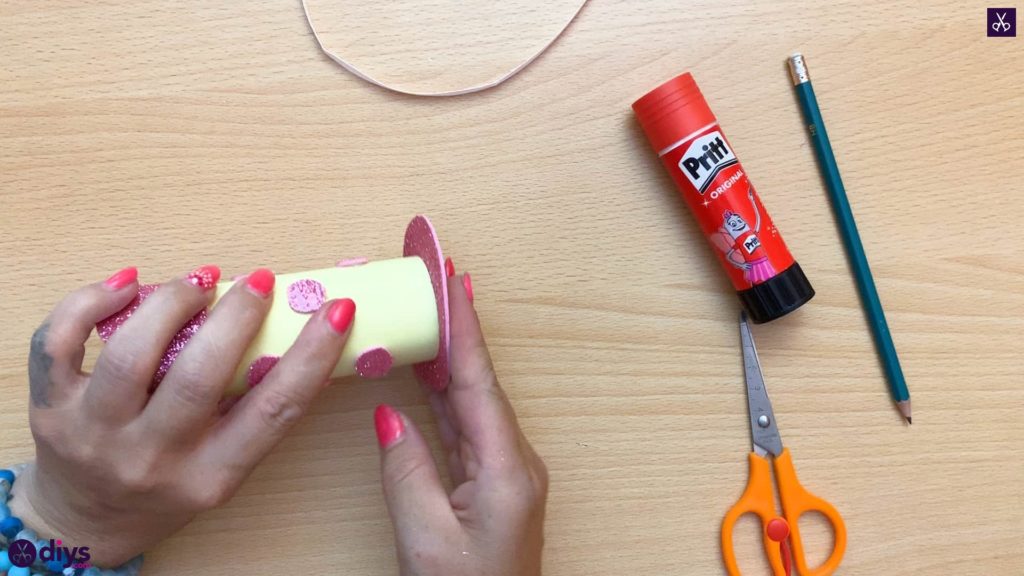
Apply hot glue around the very bottom edge of your toilet roll, on the cardboard rather than up on the yellow paper’s flat surface. Press this into the center of your larger foam circle to make the base of your pencil holder.
Step 8: finish with ribbon
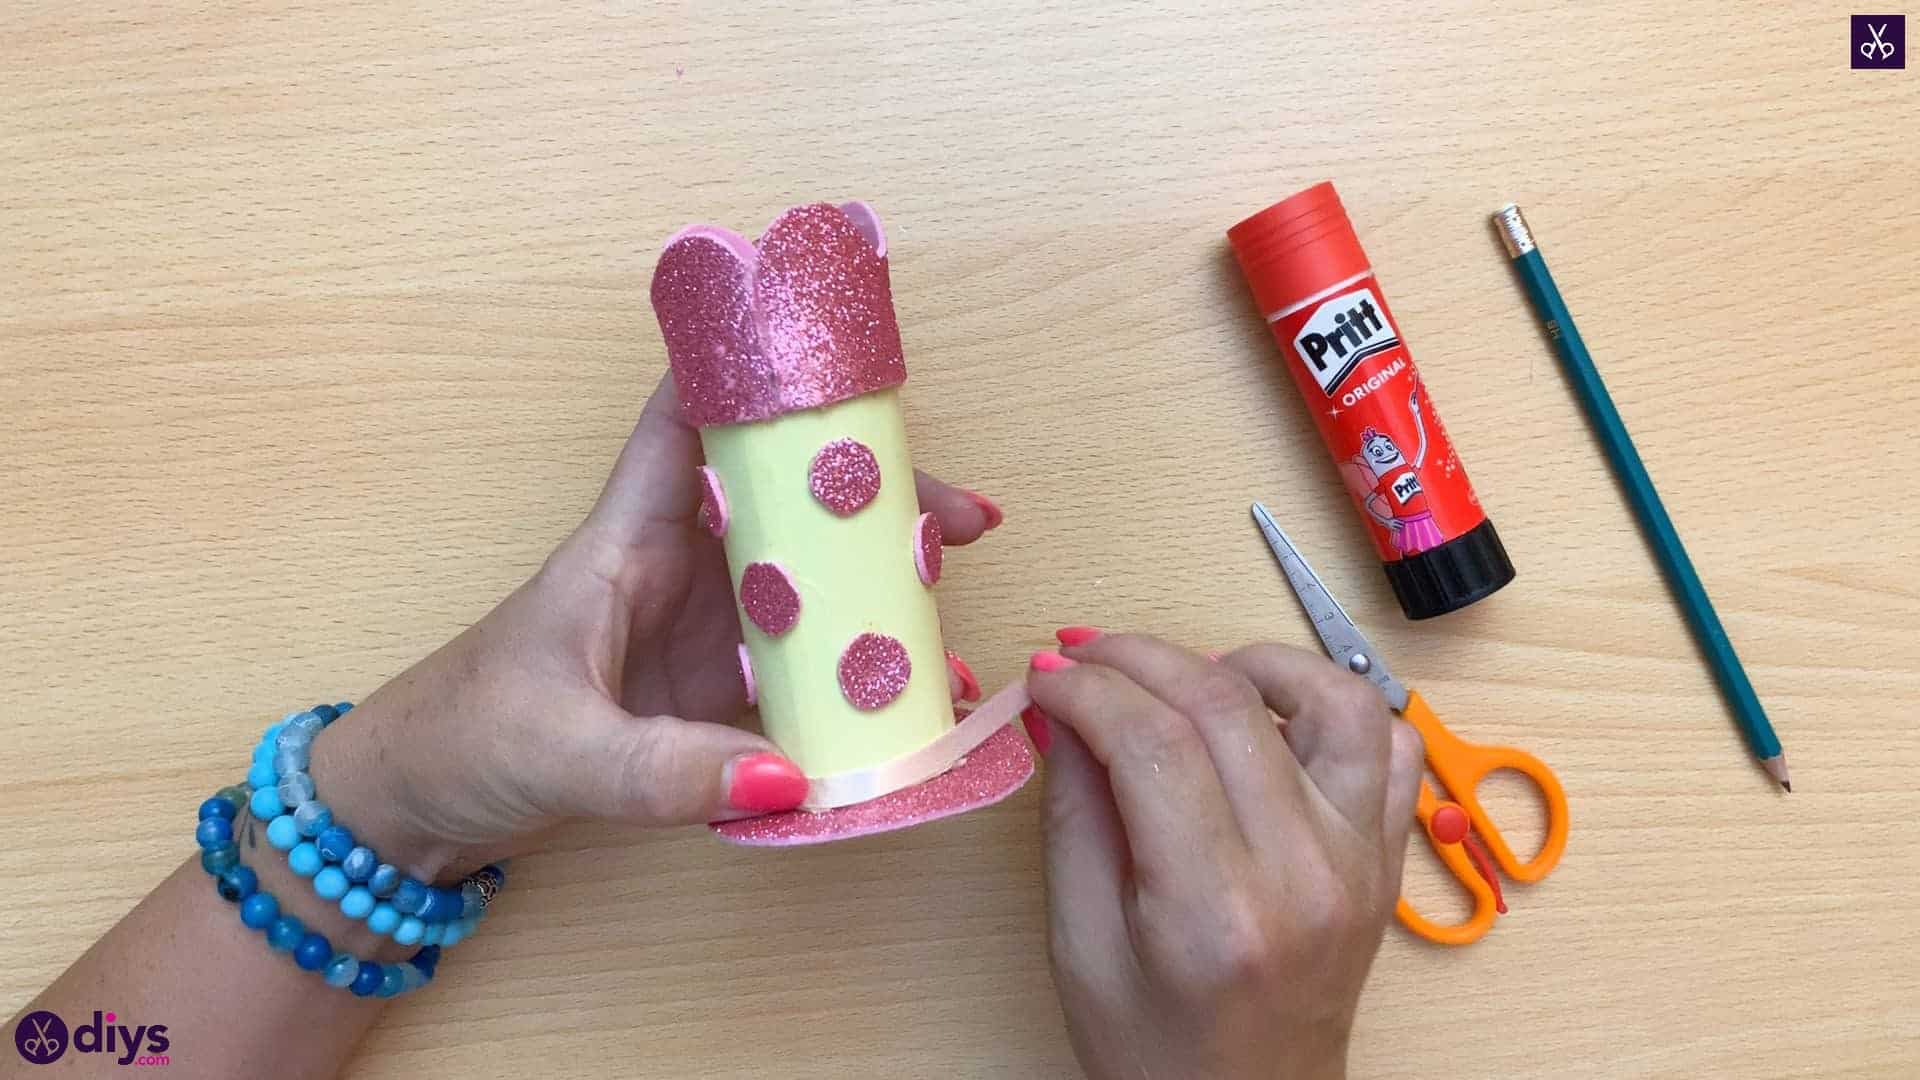
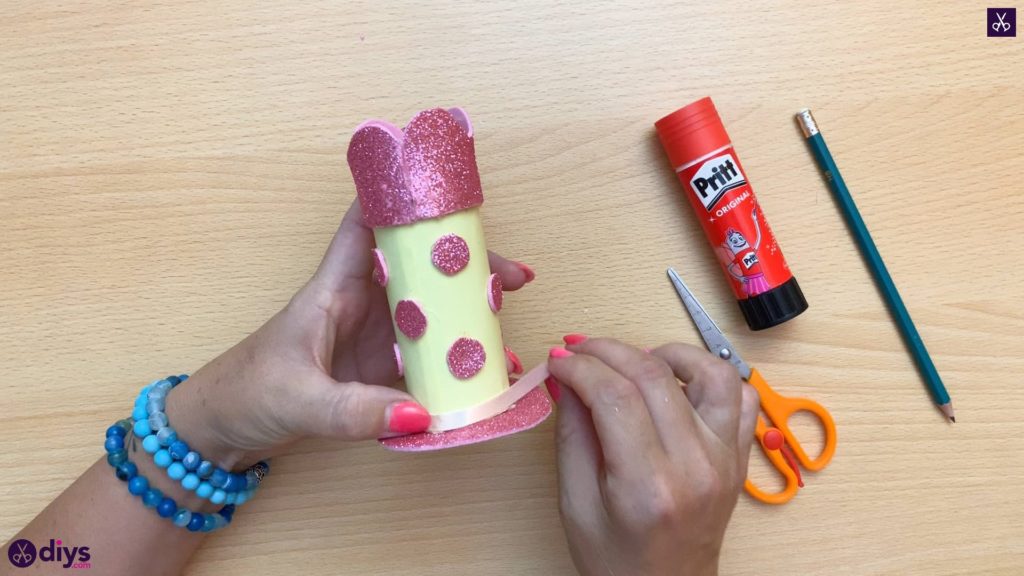
Use hot glue to affix your little white ribbon around the bottom of the pencil holder so it wraps around the yellow paper surface and sits perpendicular to the pink base. I used the same technique of gluing the ends in place as I did for the yellow paper in the first few steps.
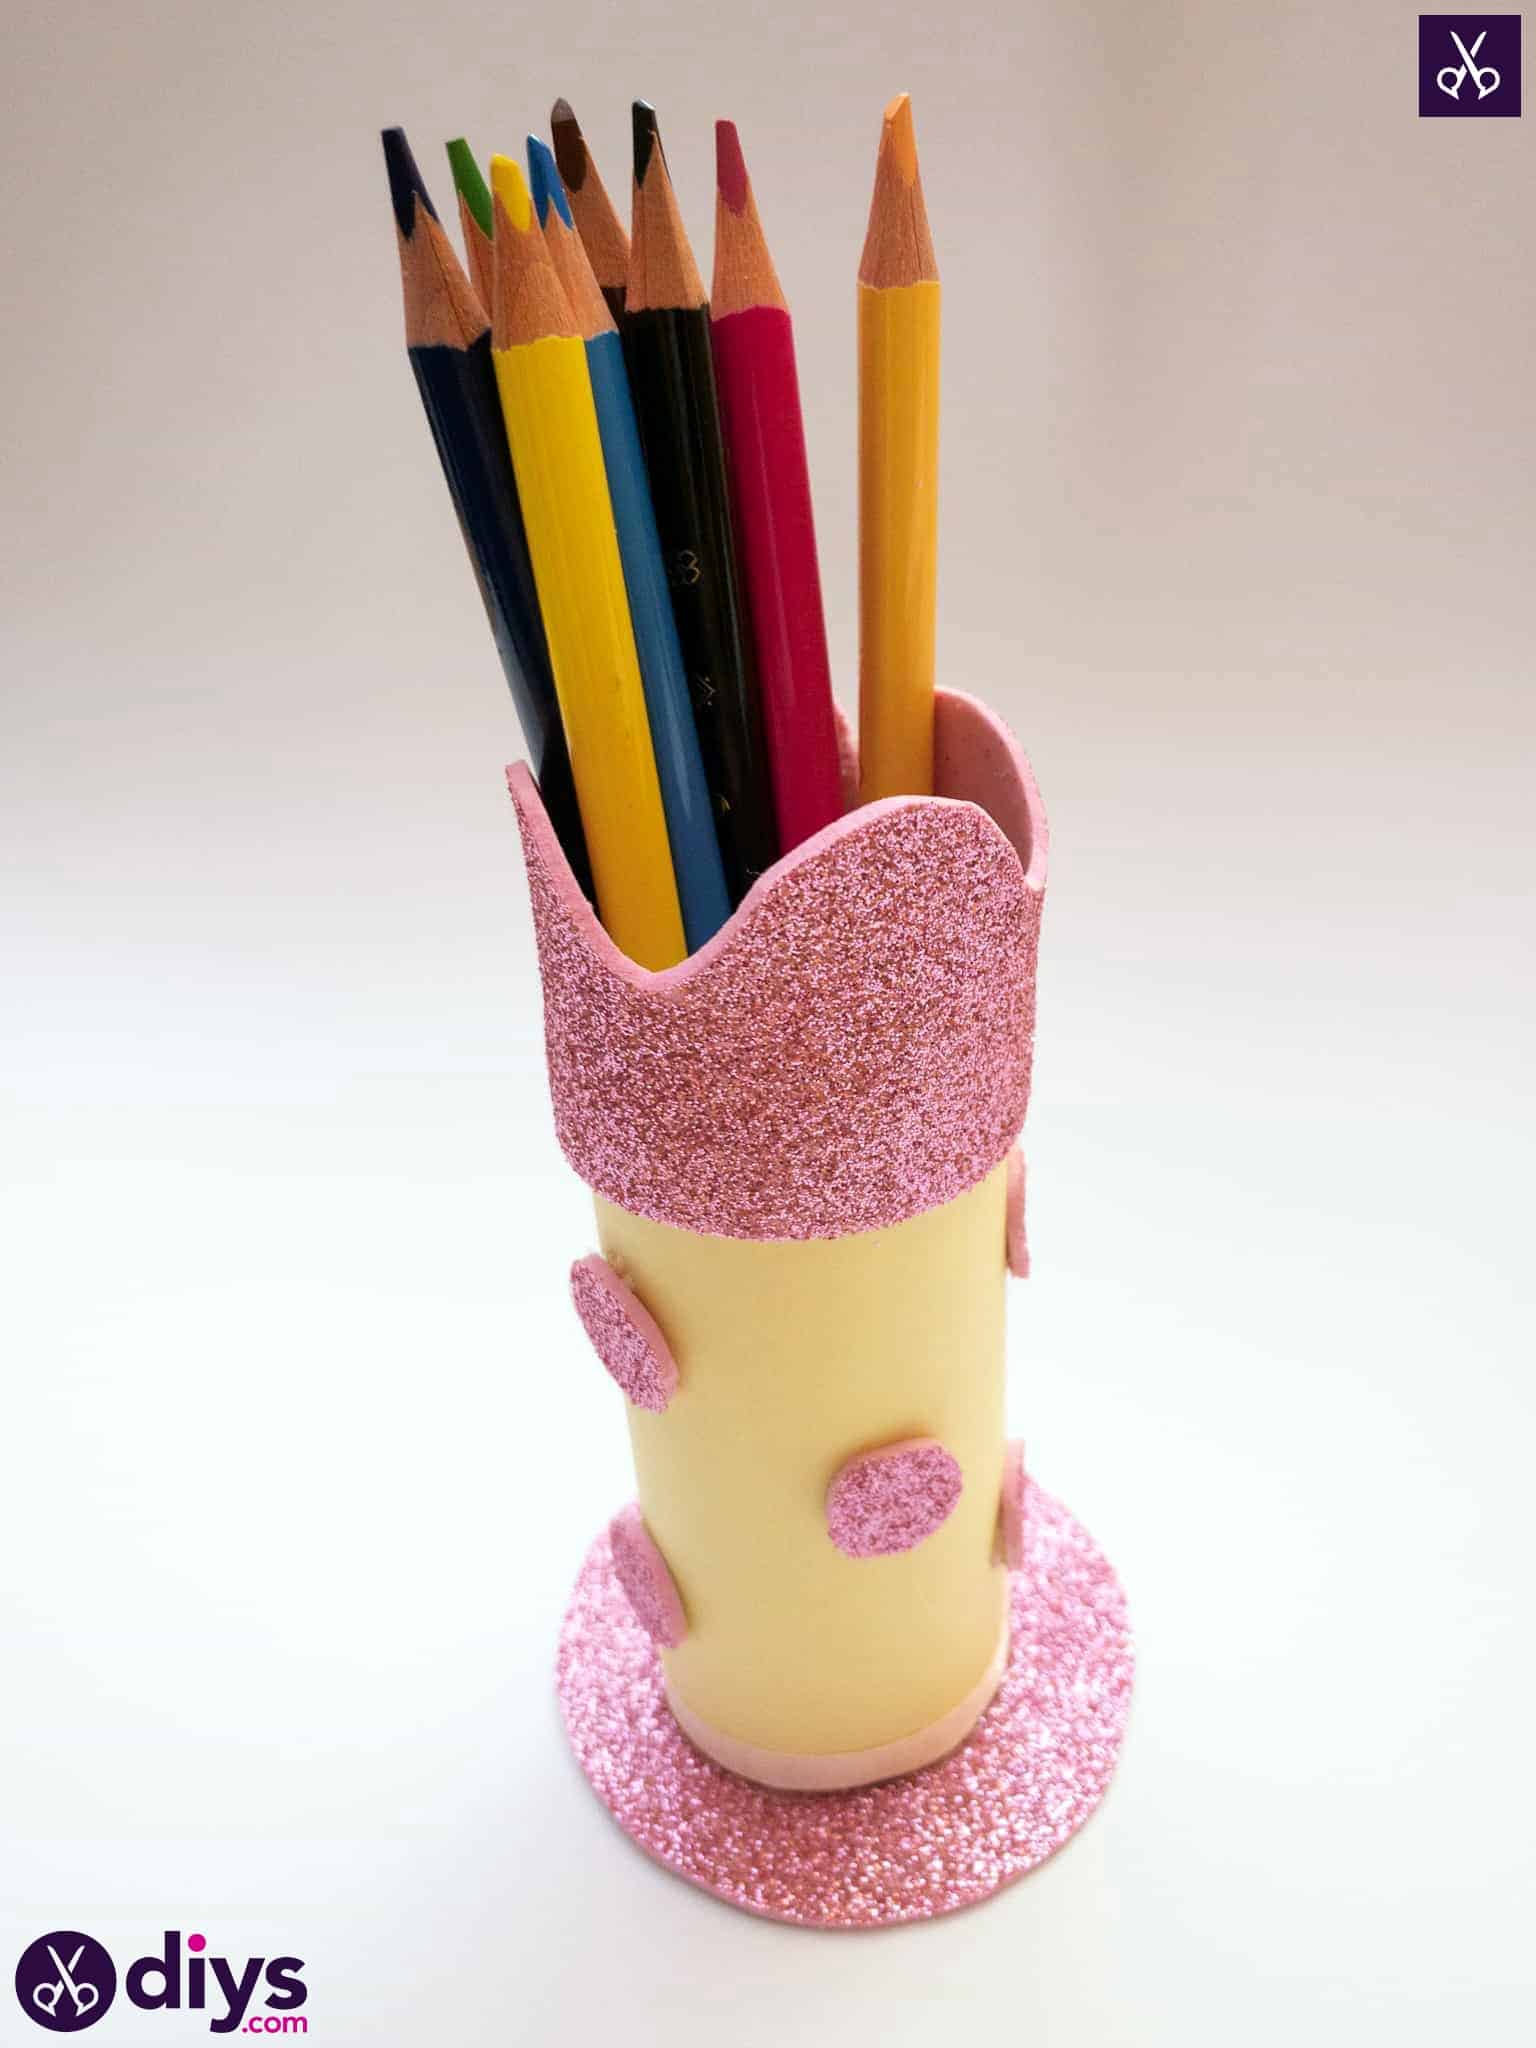
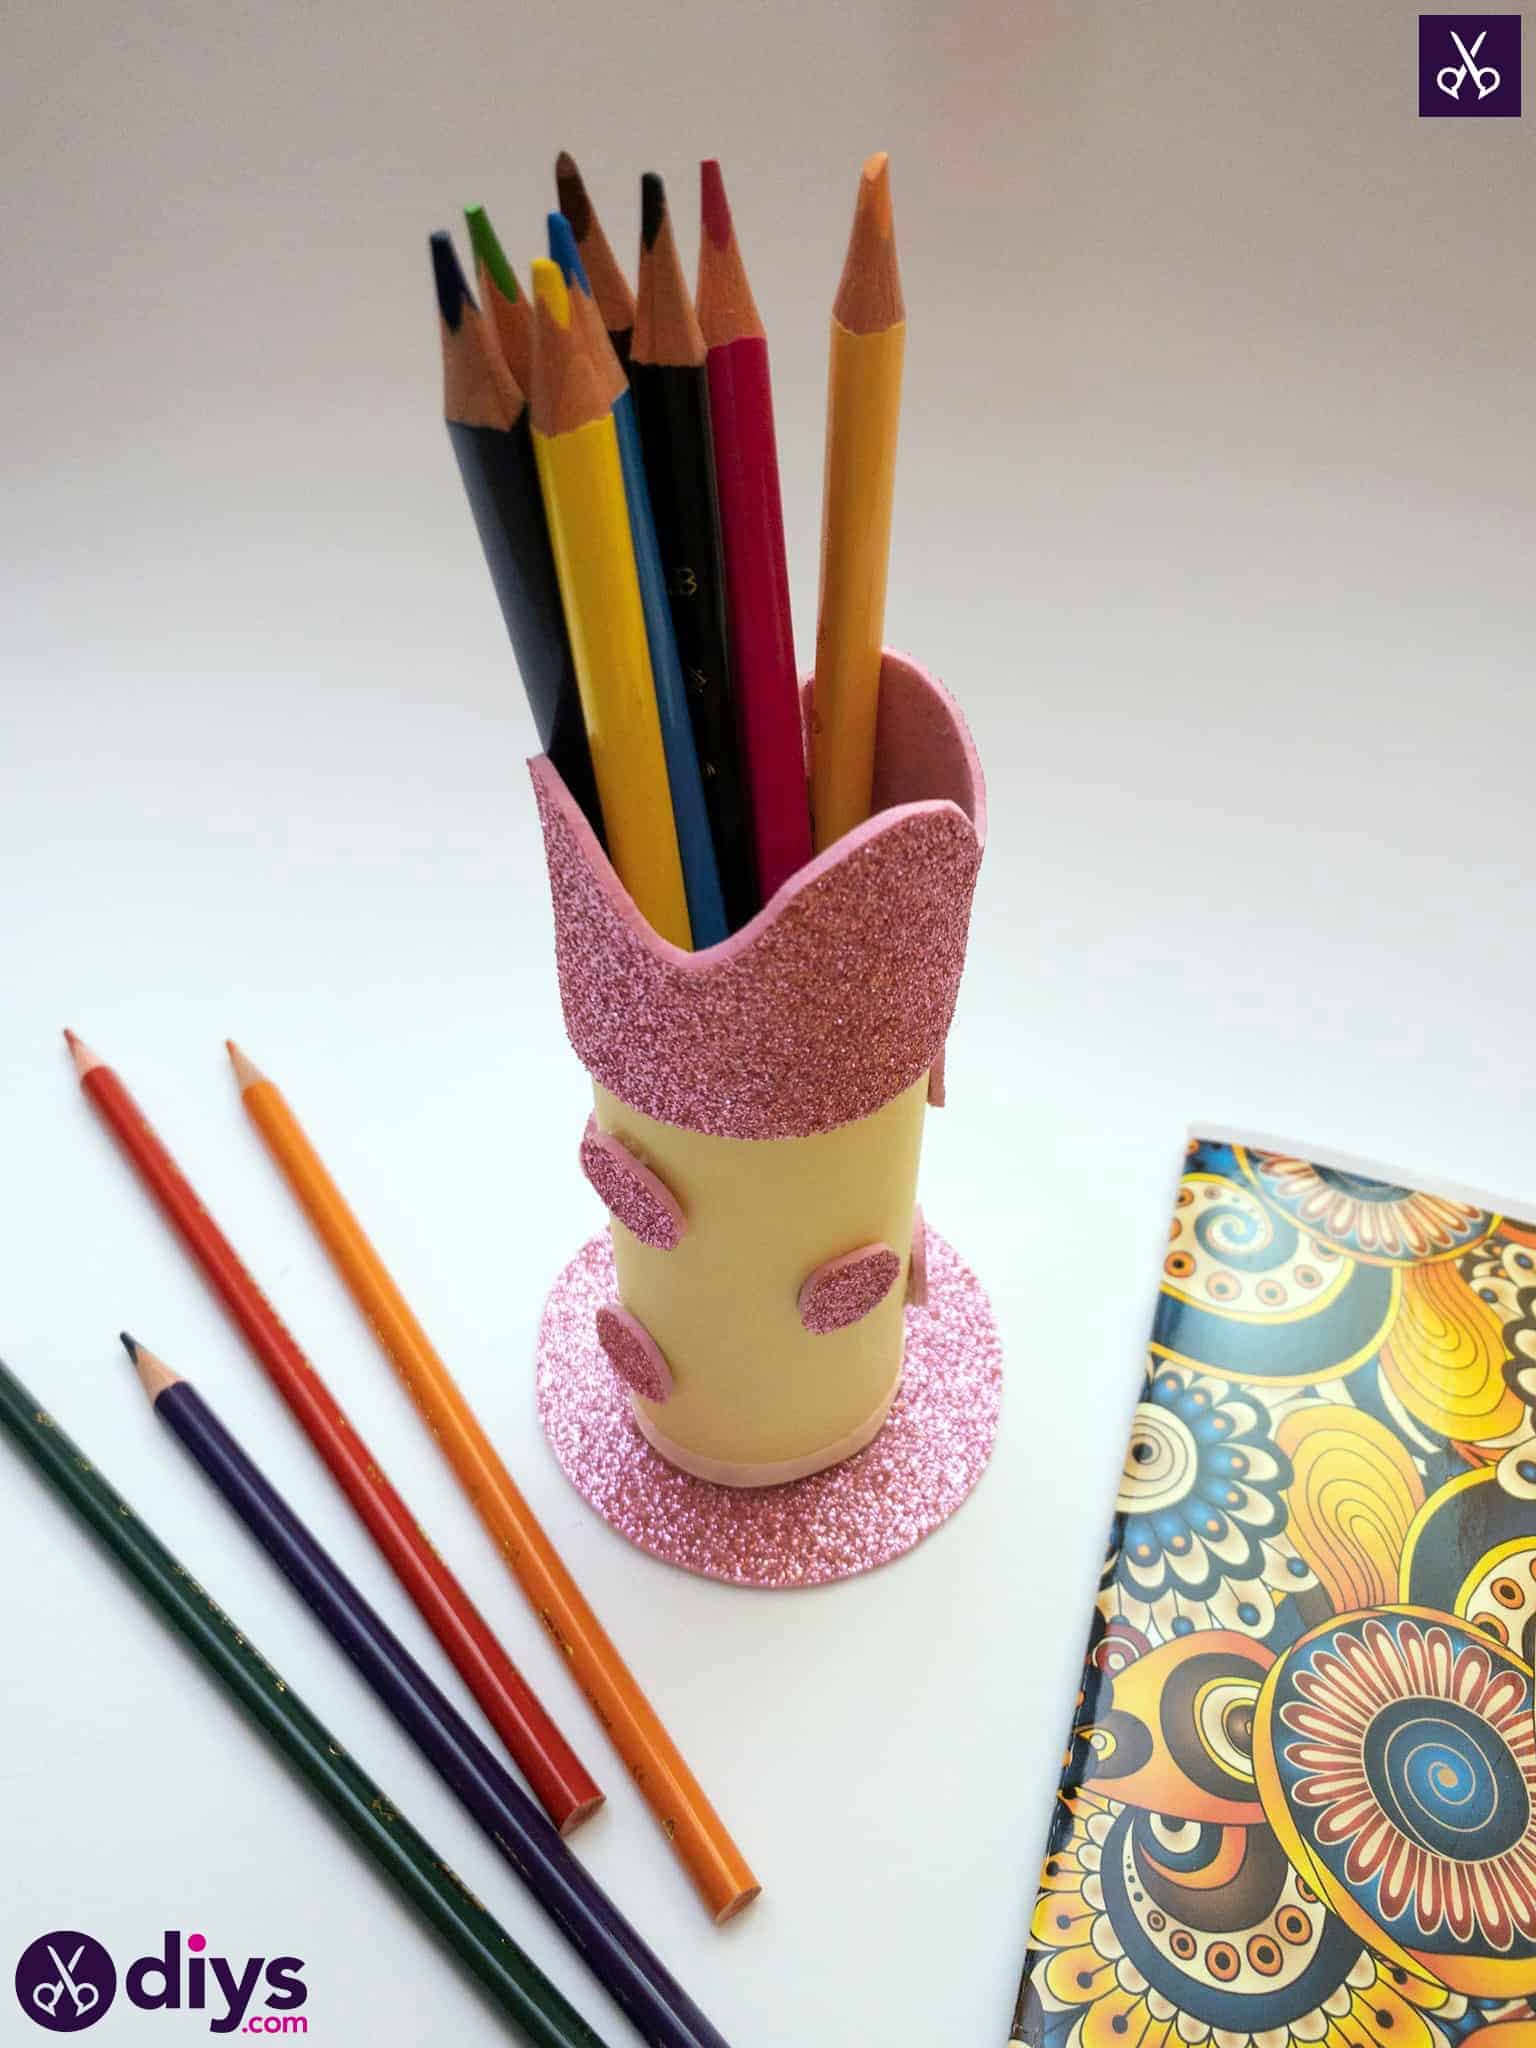
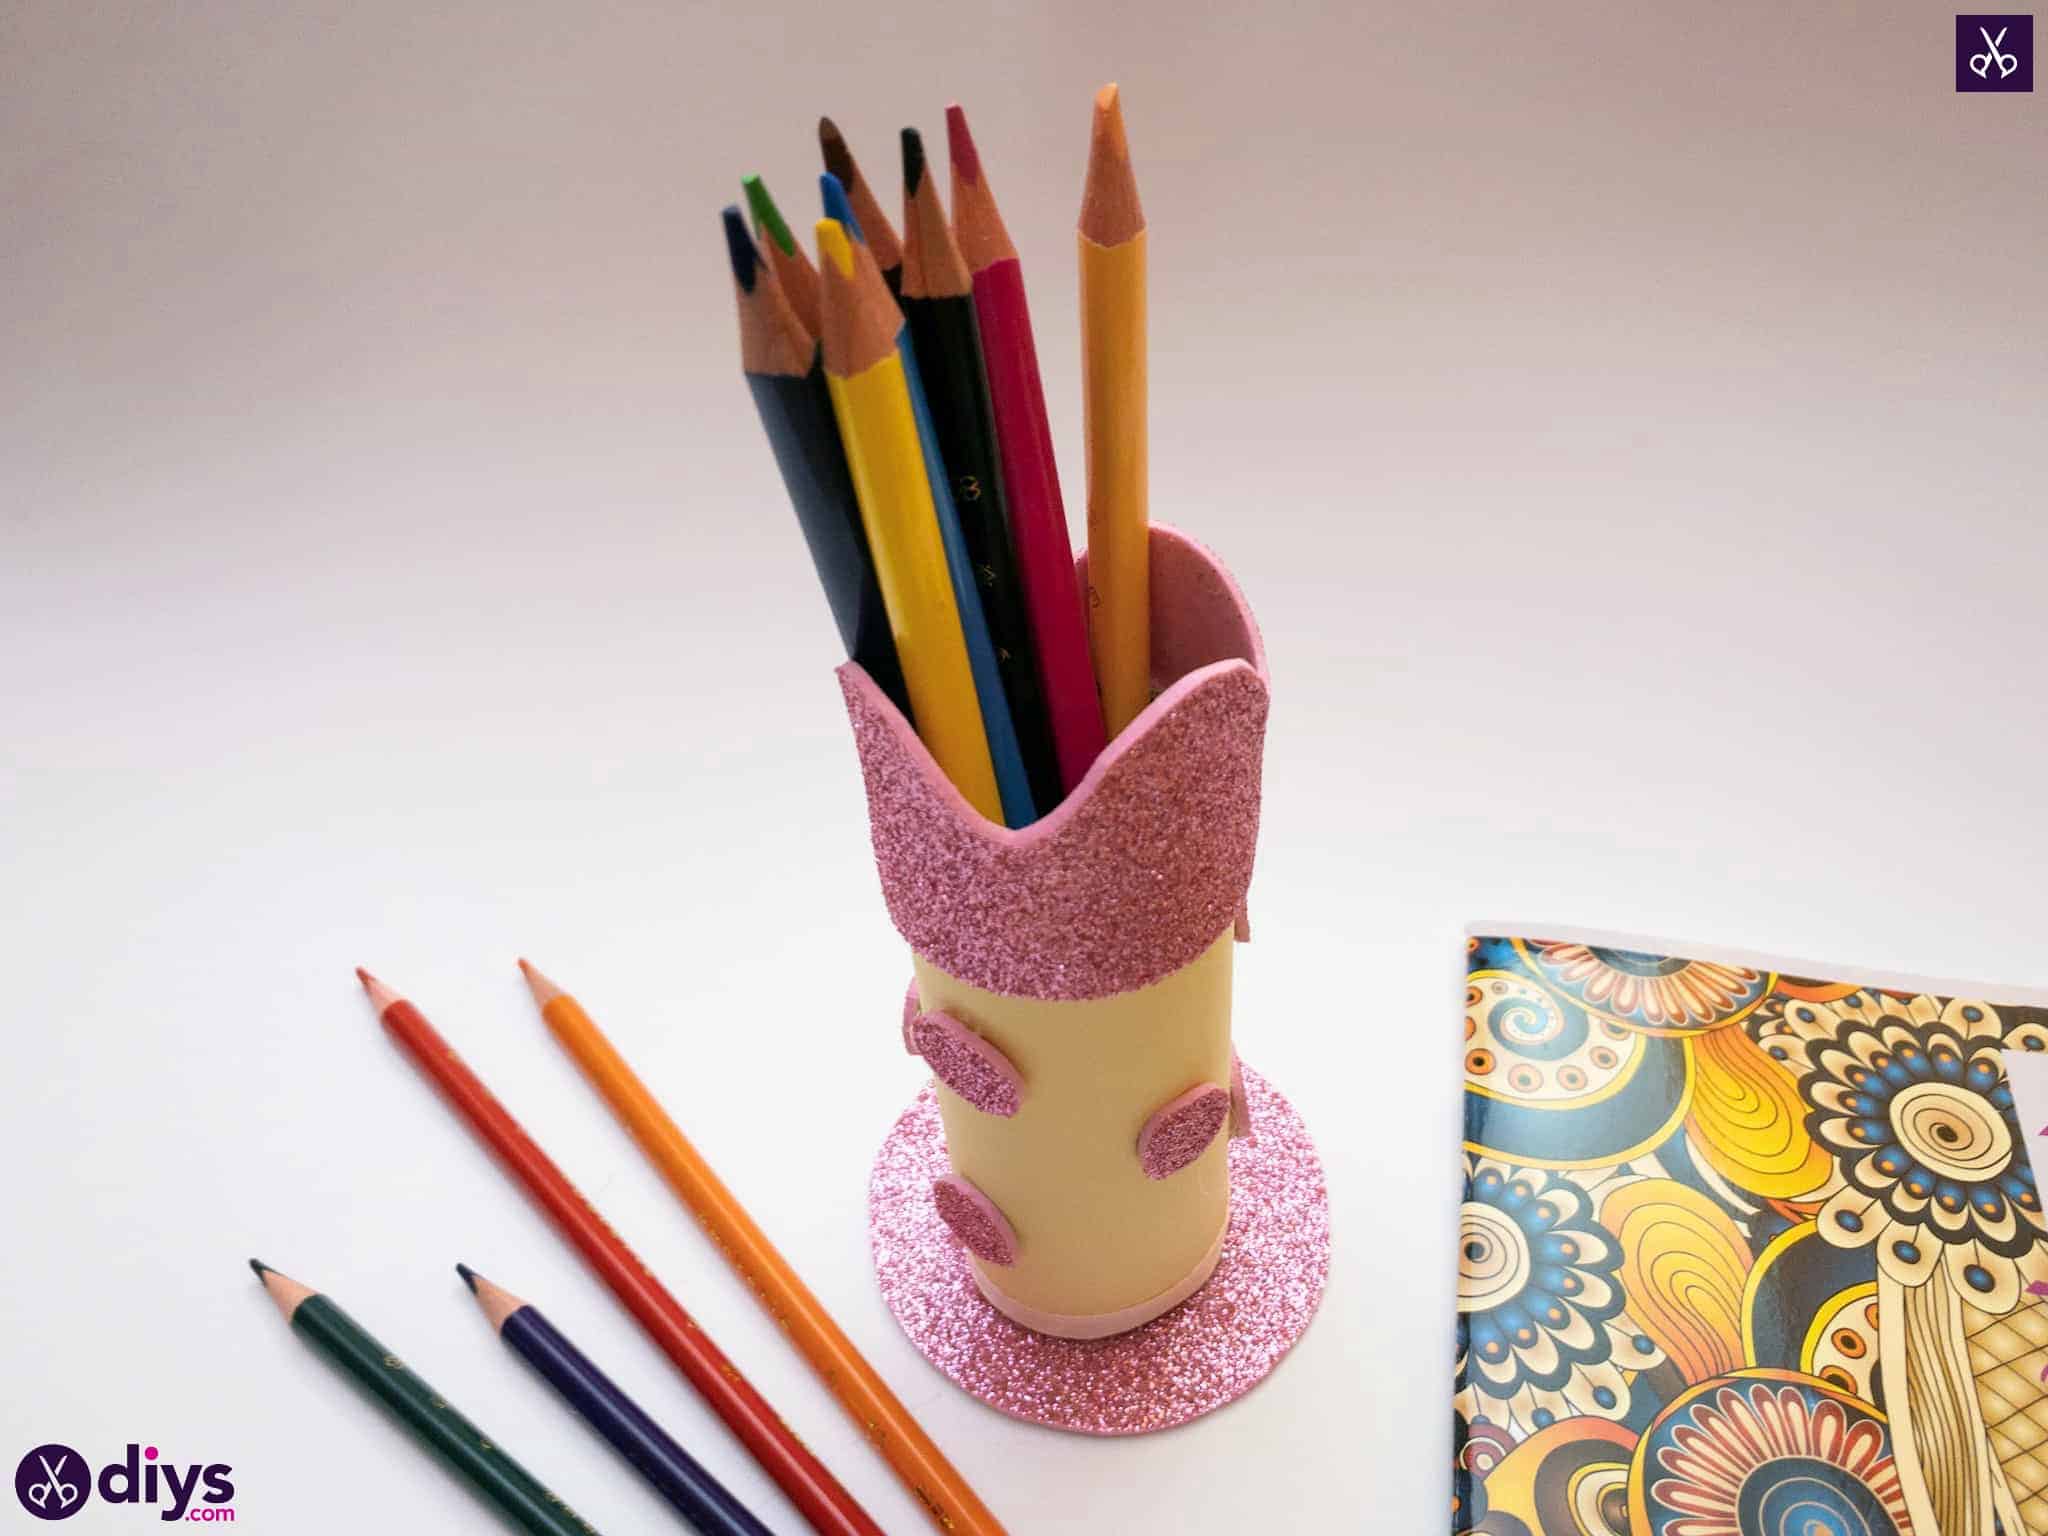
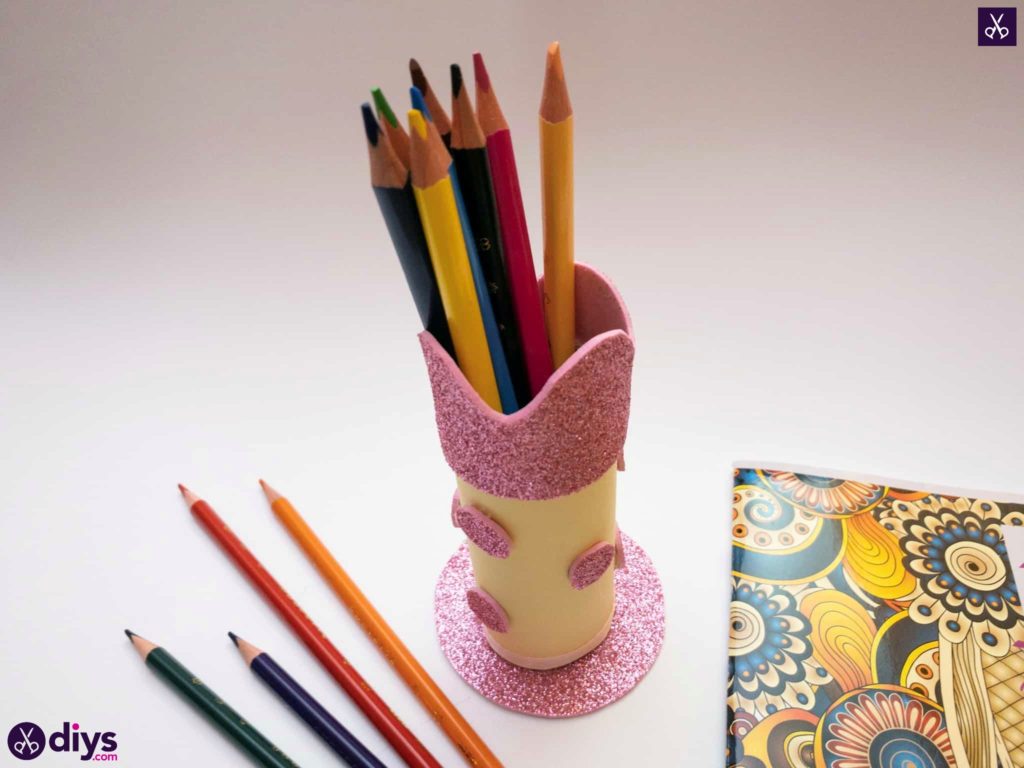
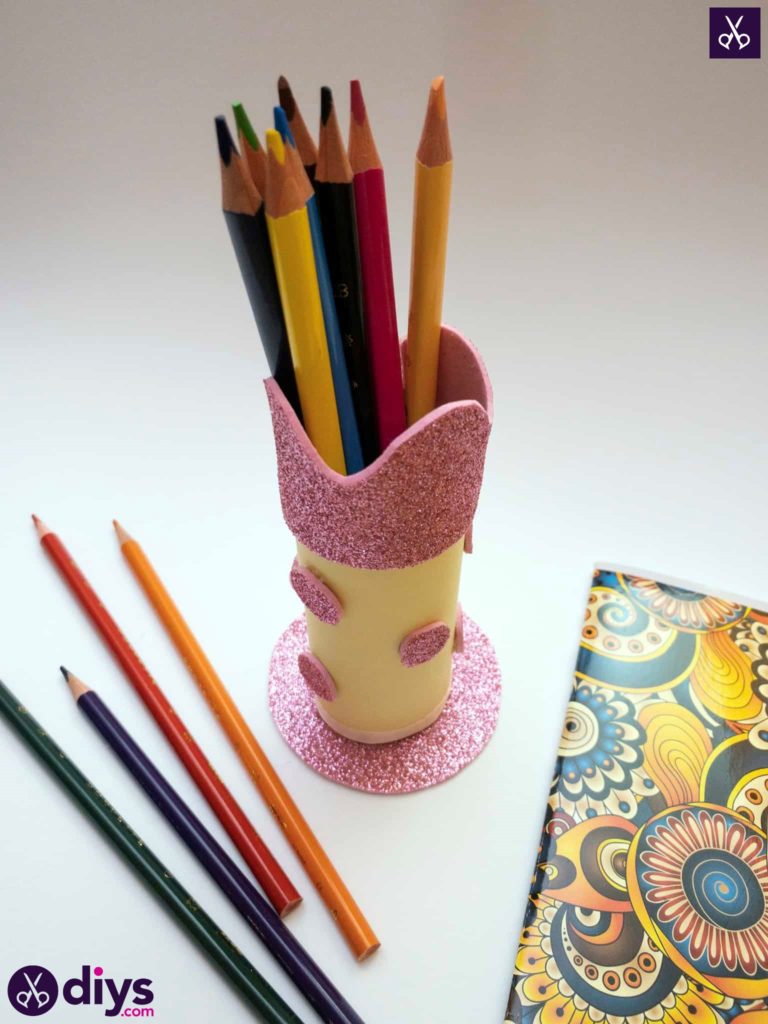
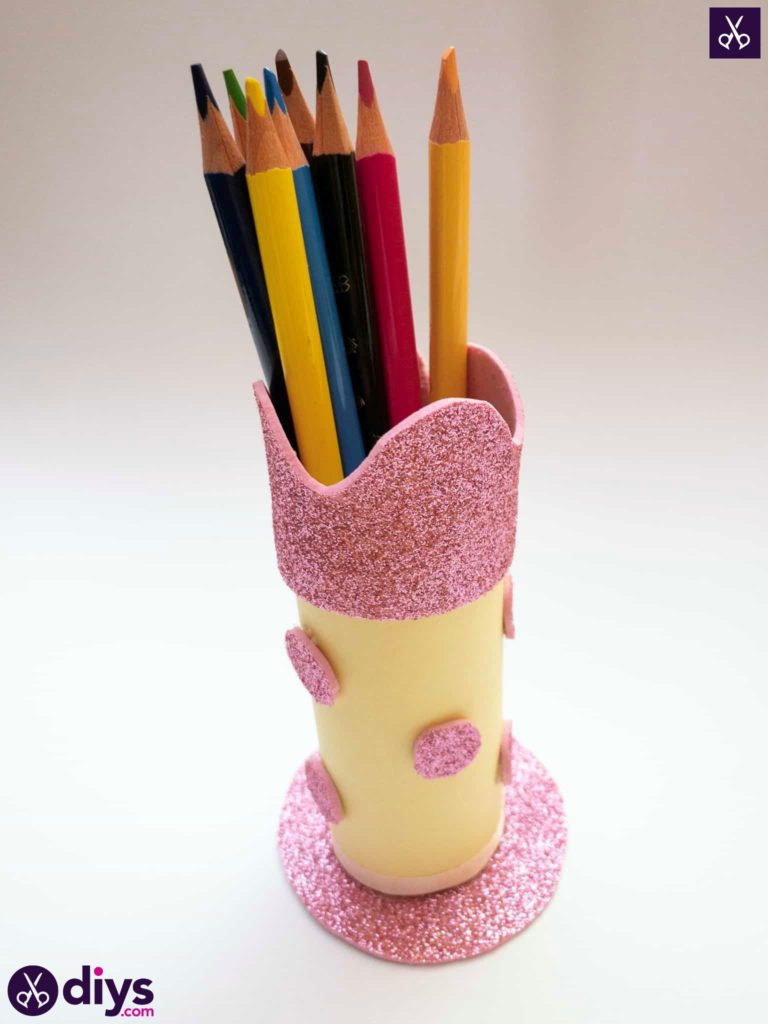
Fill your finished holder with pencils and other art supplies and voila! You’re all finished. Just in case you’d like to try this project out for yourself, here’s a fantastic tutorial video to help you!
