How to Make a Toilet Paper Roll Angel
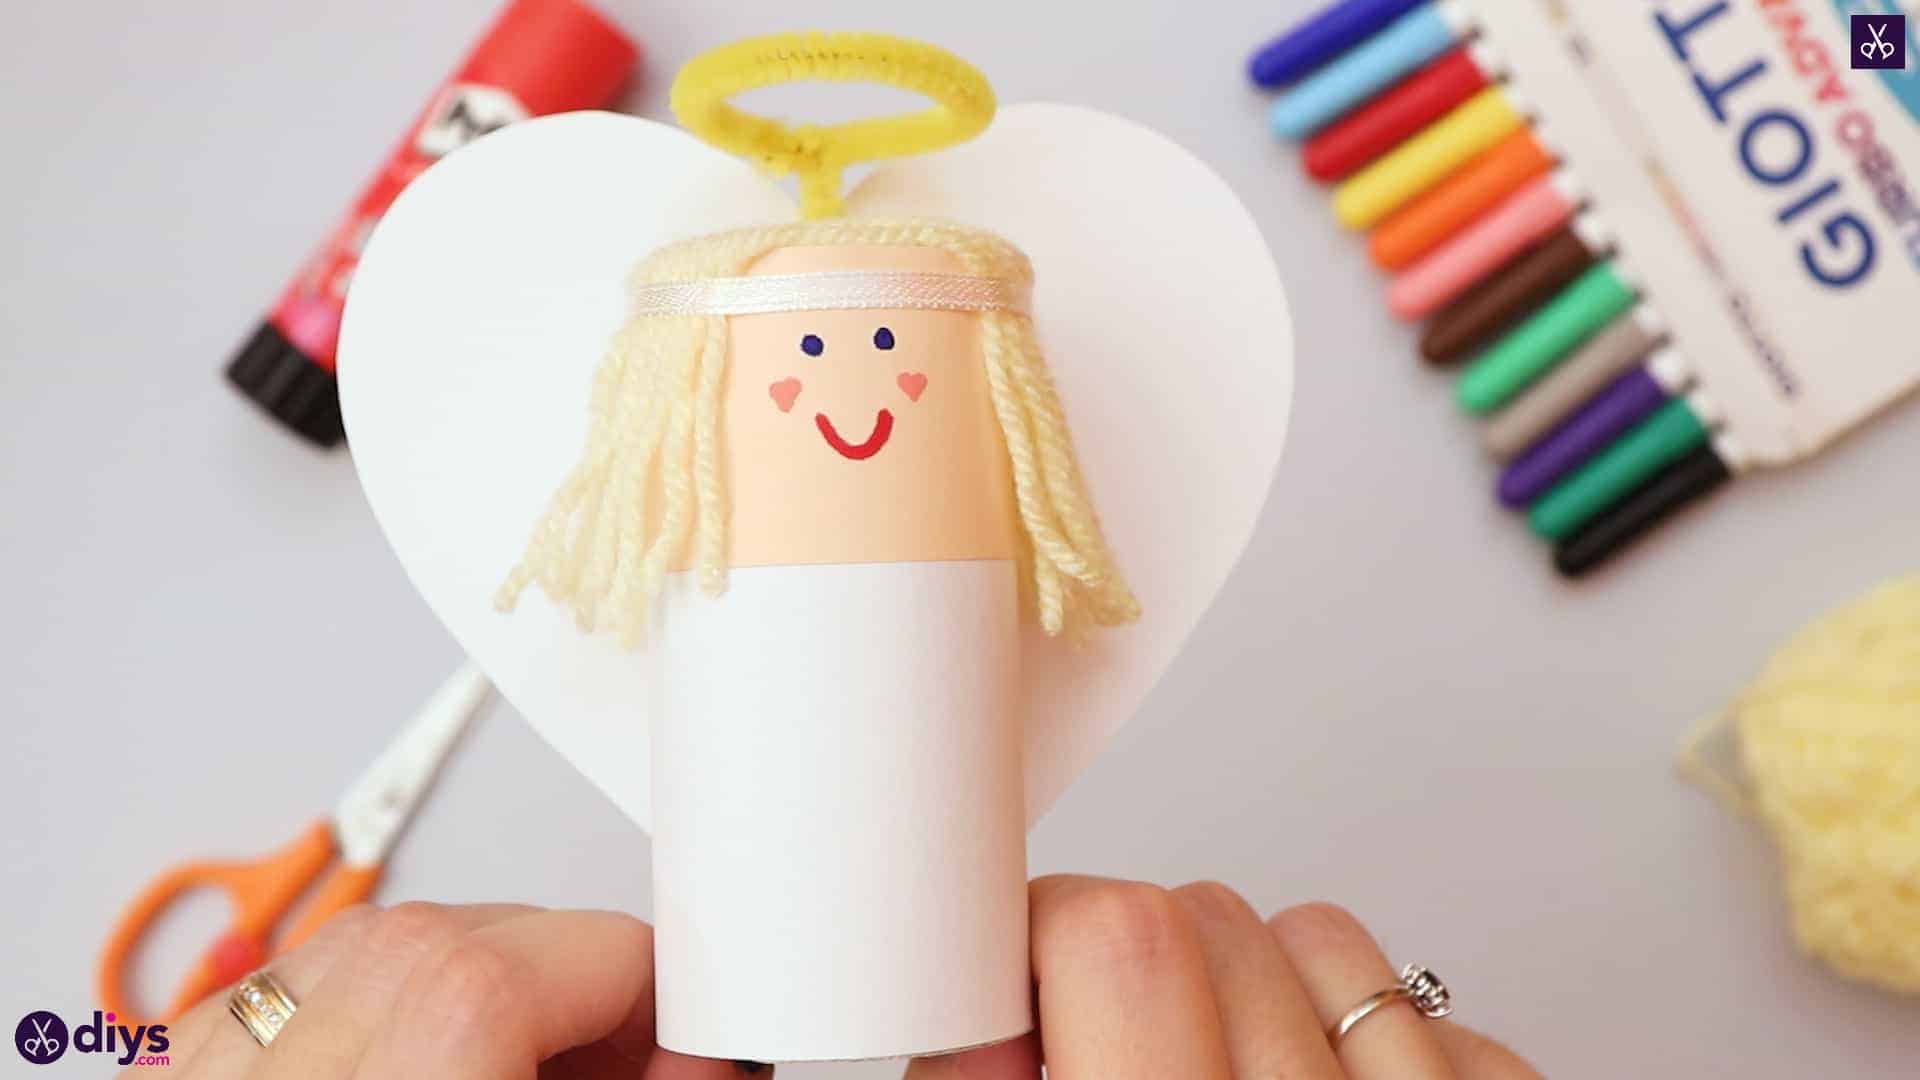
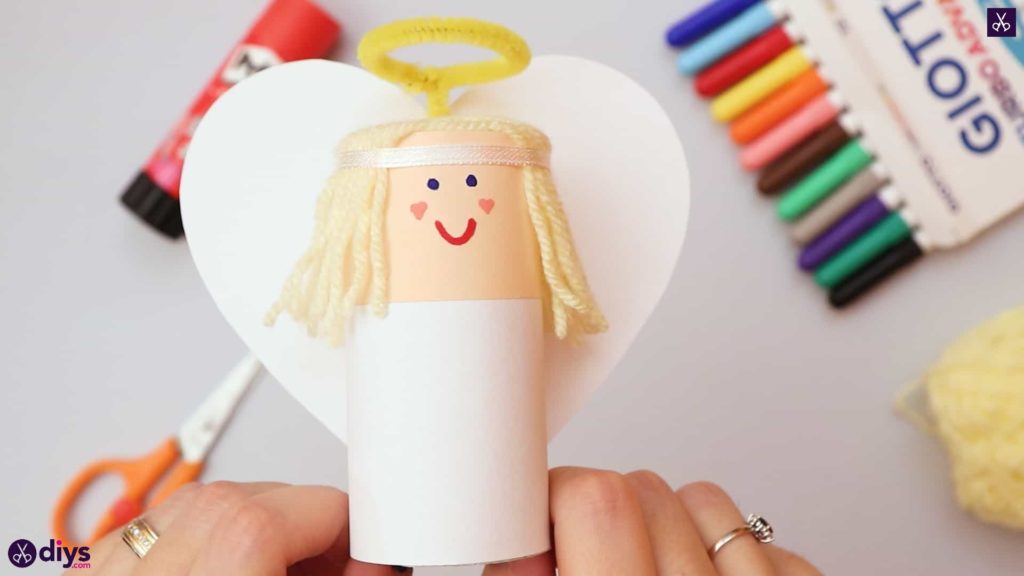
If you ask me, toilet paper roll crafts are atotal childhood DIY classic. There are just so many fantastic things you can make out of them! I’m sure it’ll come as no surprise to you, then, that Christmas time is no exception when it comes to my kids and I making things from empty toilet rolls. Recently we made an adorable angel together and we adored it so much that I couldn’t help making another one and outlining the process so that other people can give it a try as well.
Check out these simple steps for making a pretty toilet paper roll Christmas angel! If you’re the kind of person who prefers following video tutorials rather than written instructions, scroll to the bottom of this post to find just what you need there.
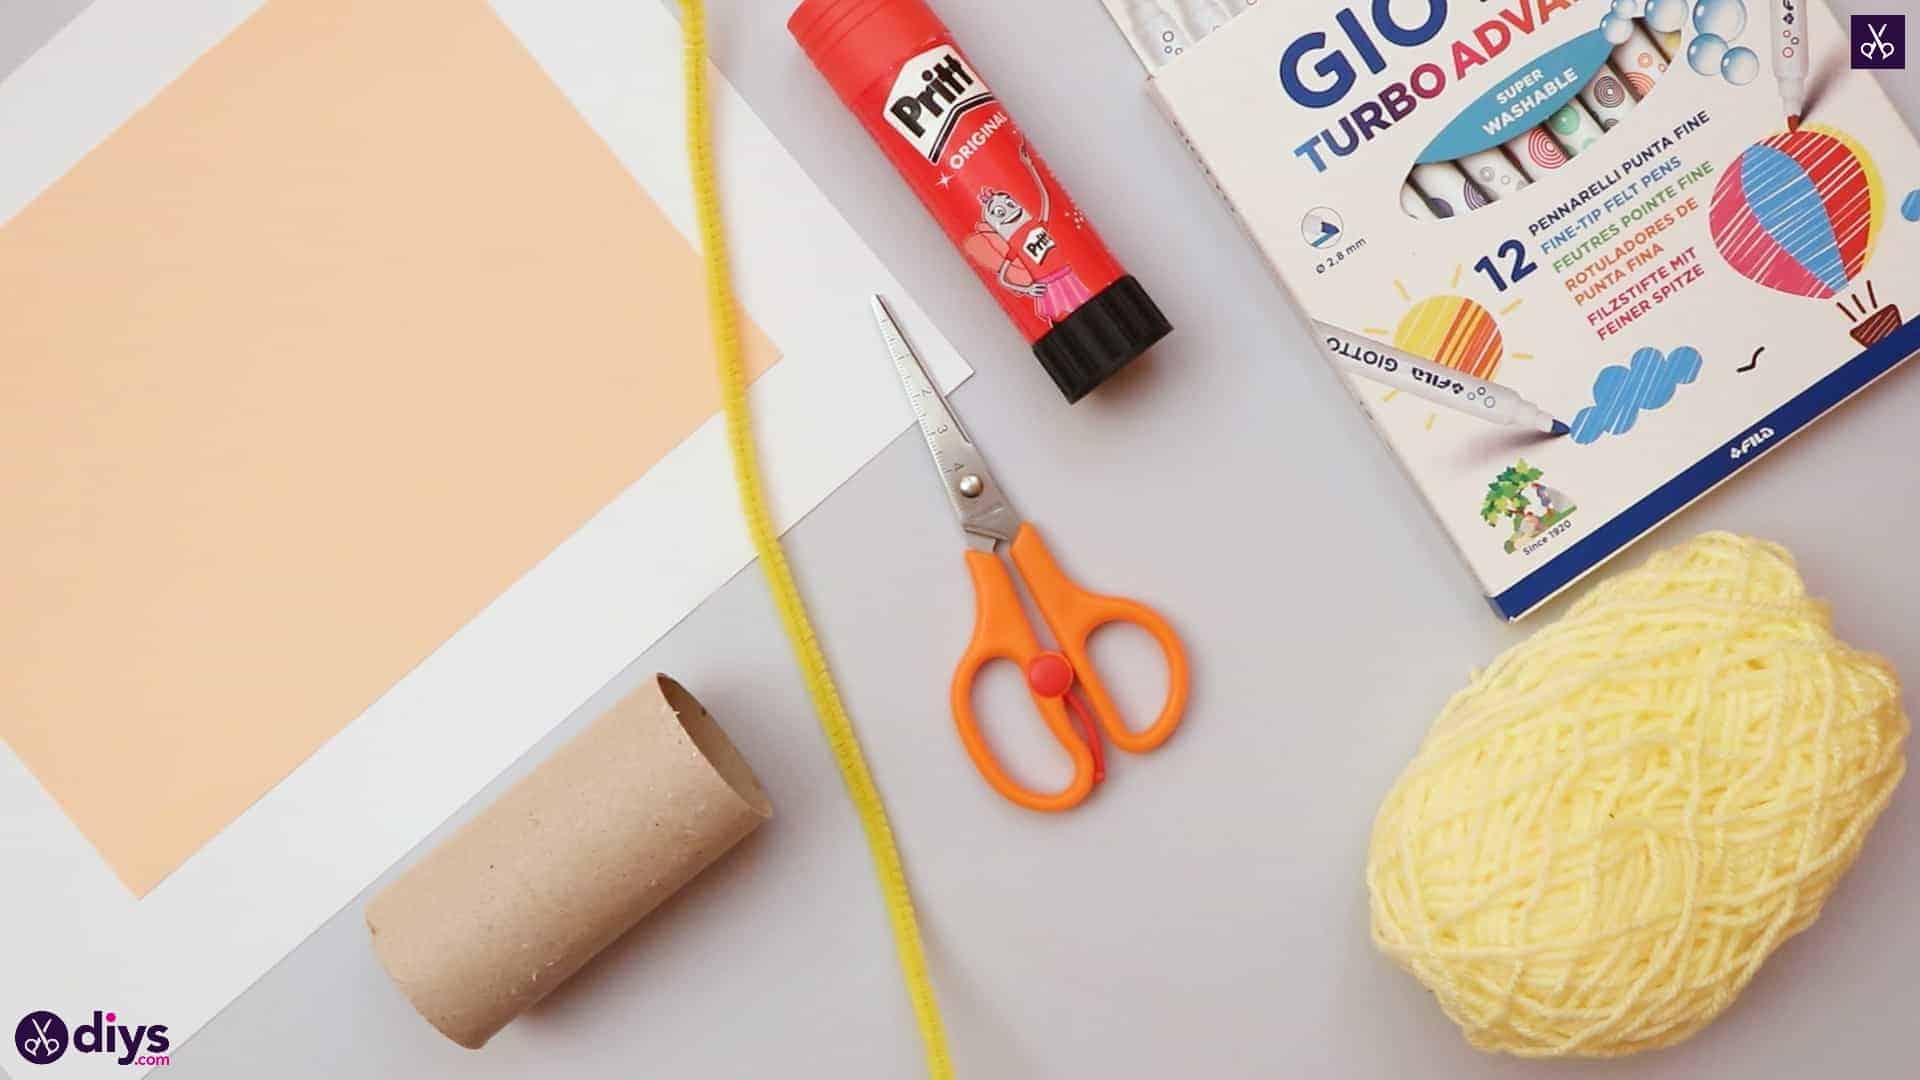
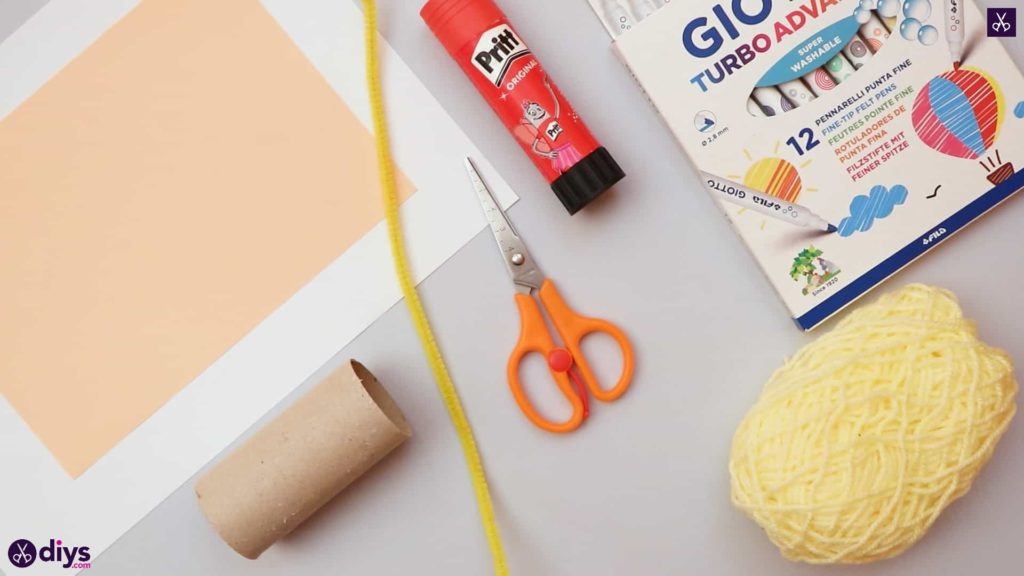
For this project, you’ll need:
- Toilet paper roll
- Paper (white and peach)
- Yellow yarn
- A white ribbon
- Pipe cleaner
- Markers (pink, blue, and red)
- Scissors
- Glue stick
Step 1: Gather your materials!
Check your list and get everything you need.
Step 2: measure and cut
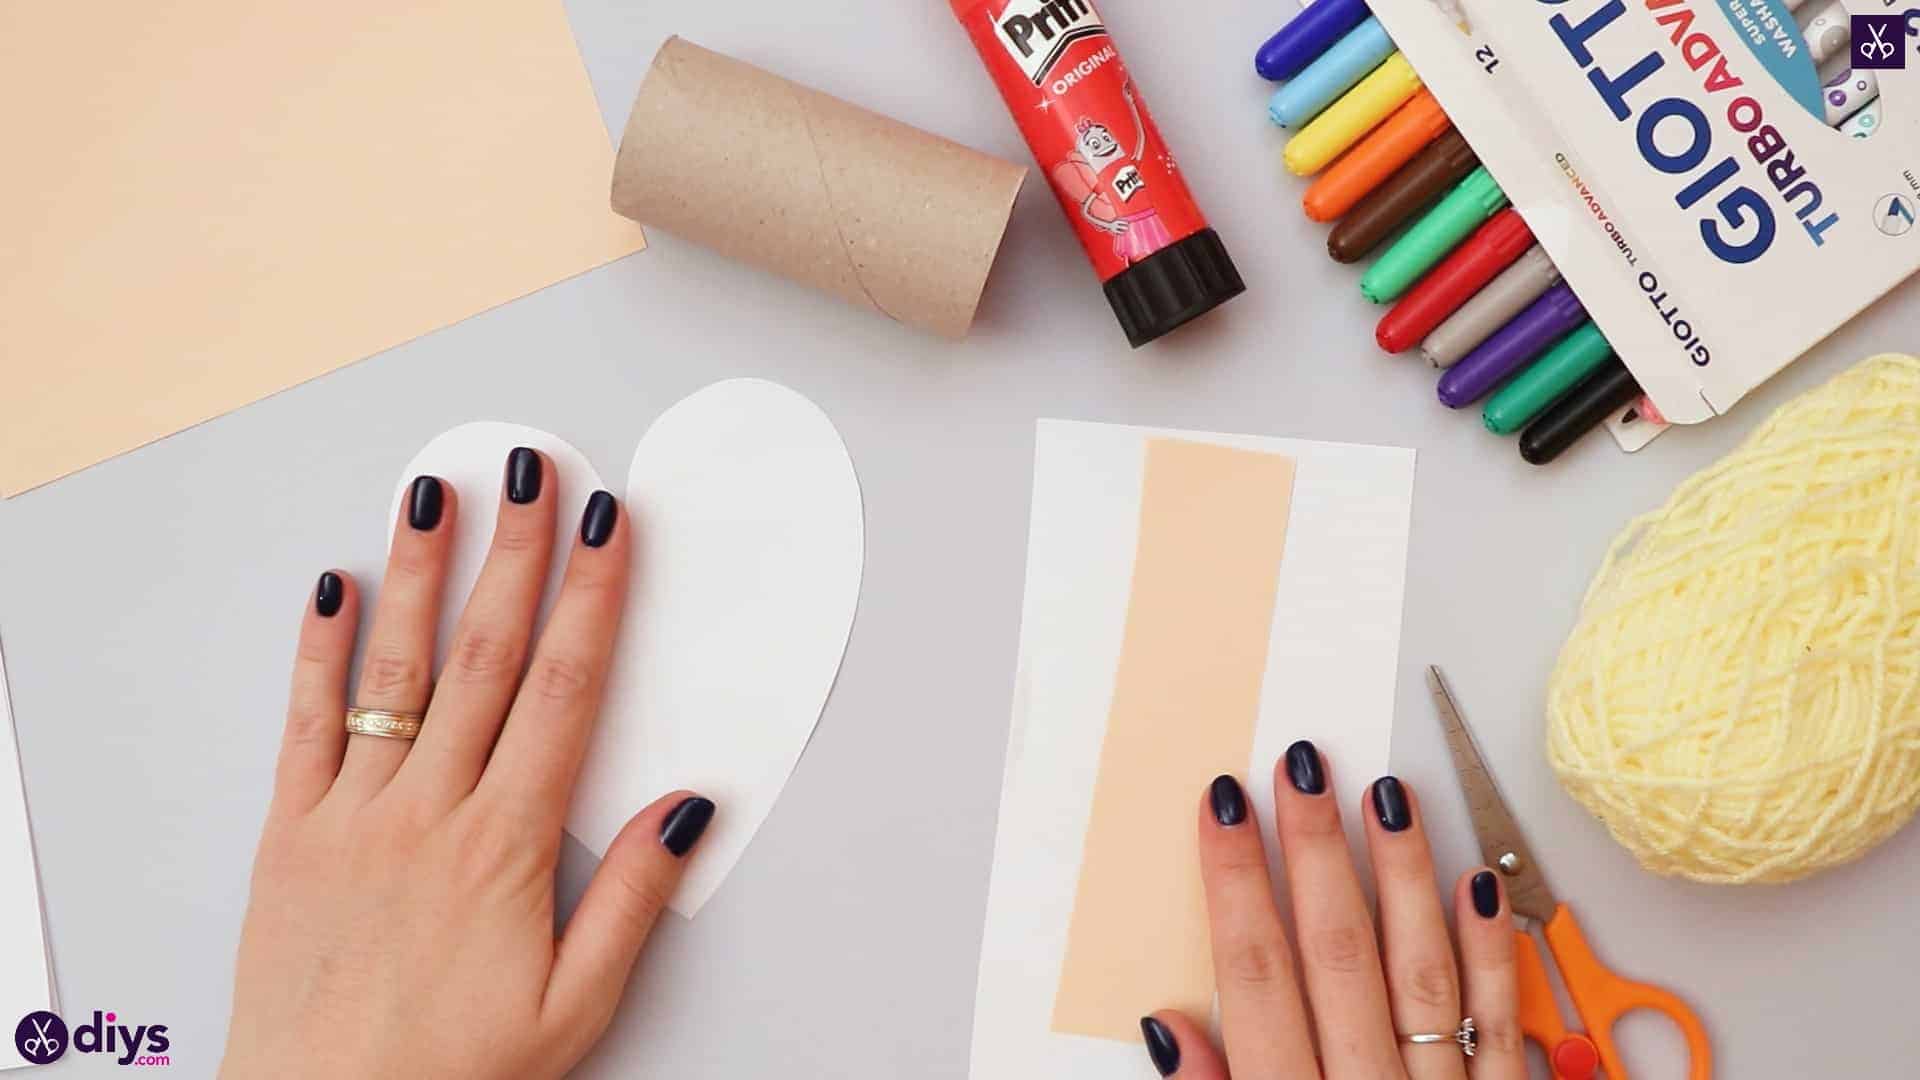
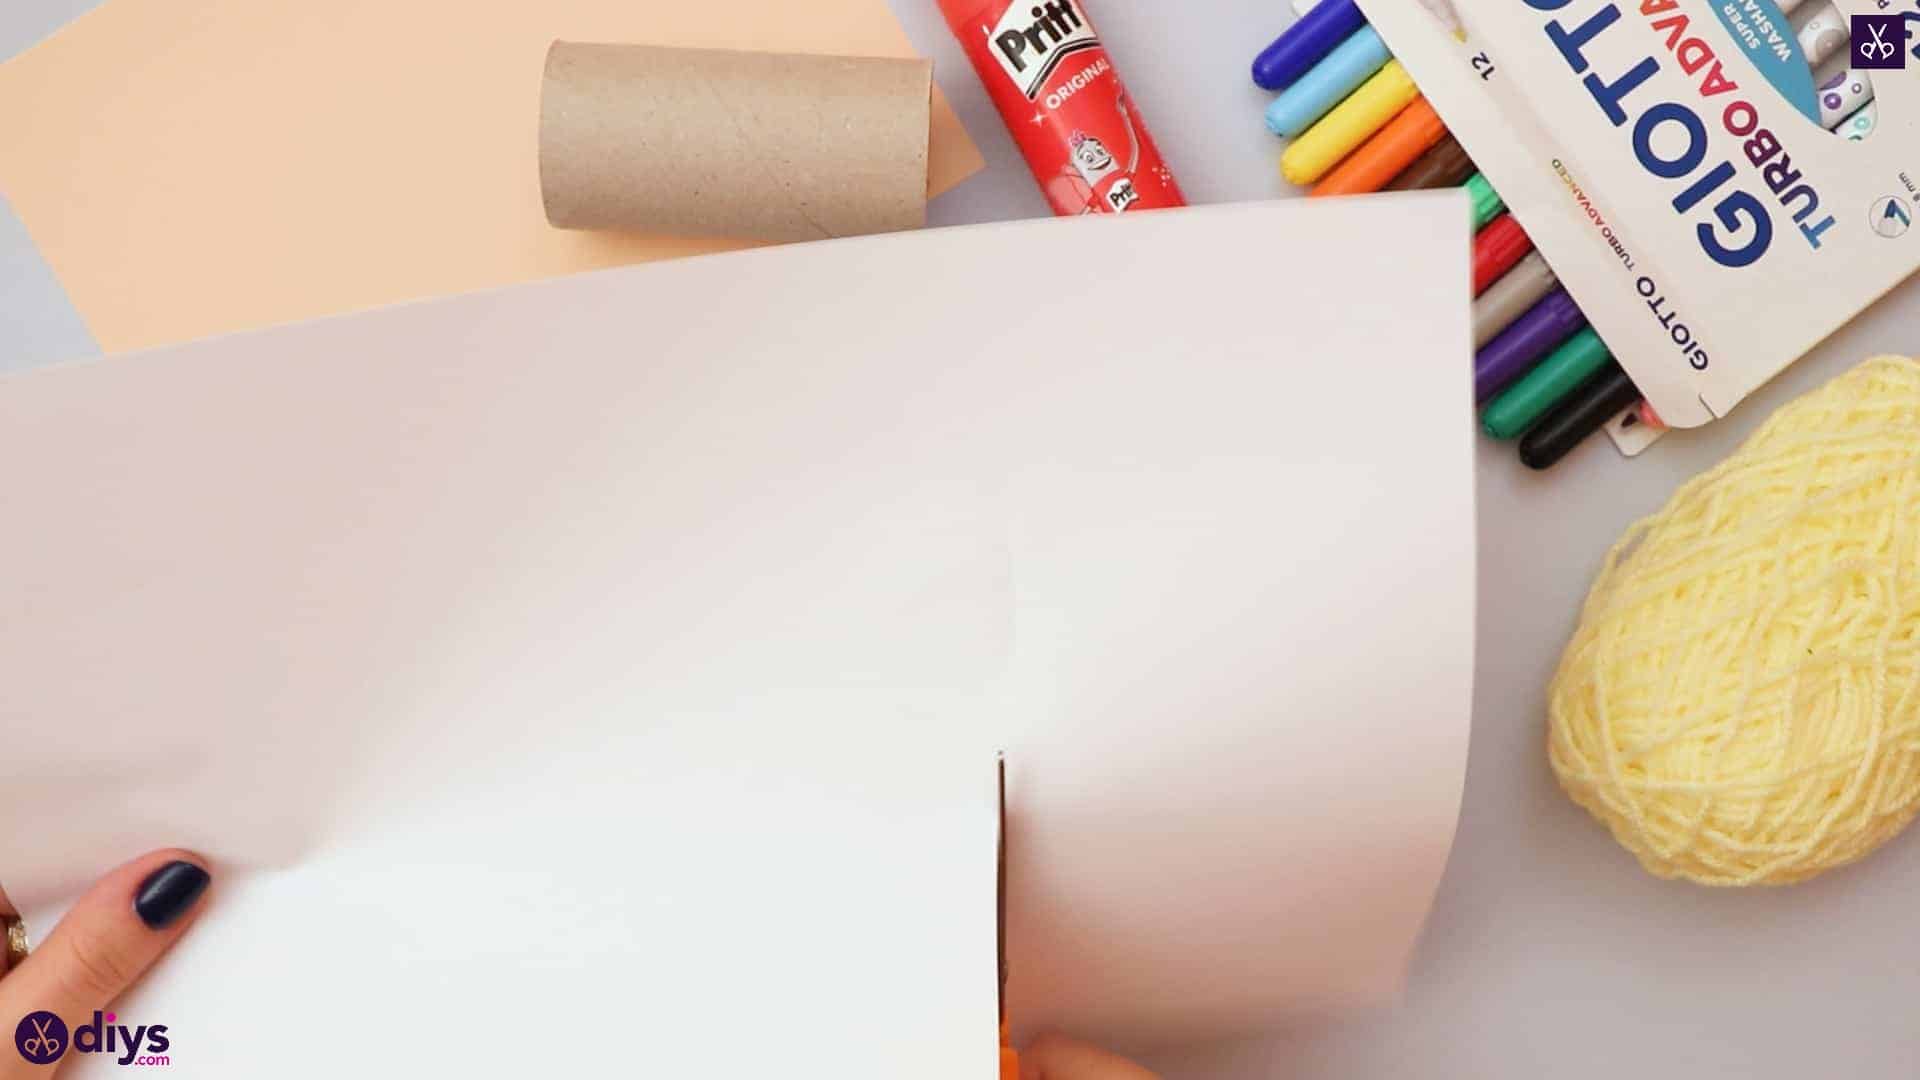
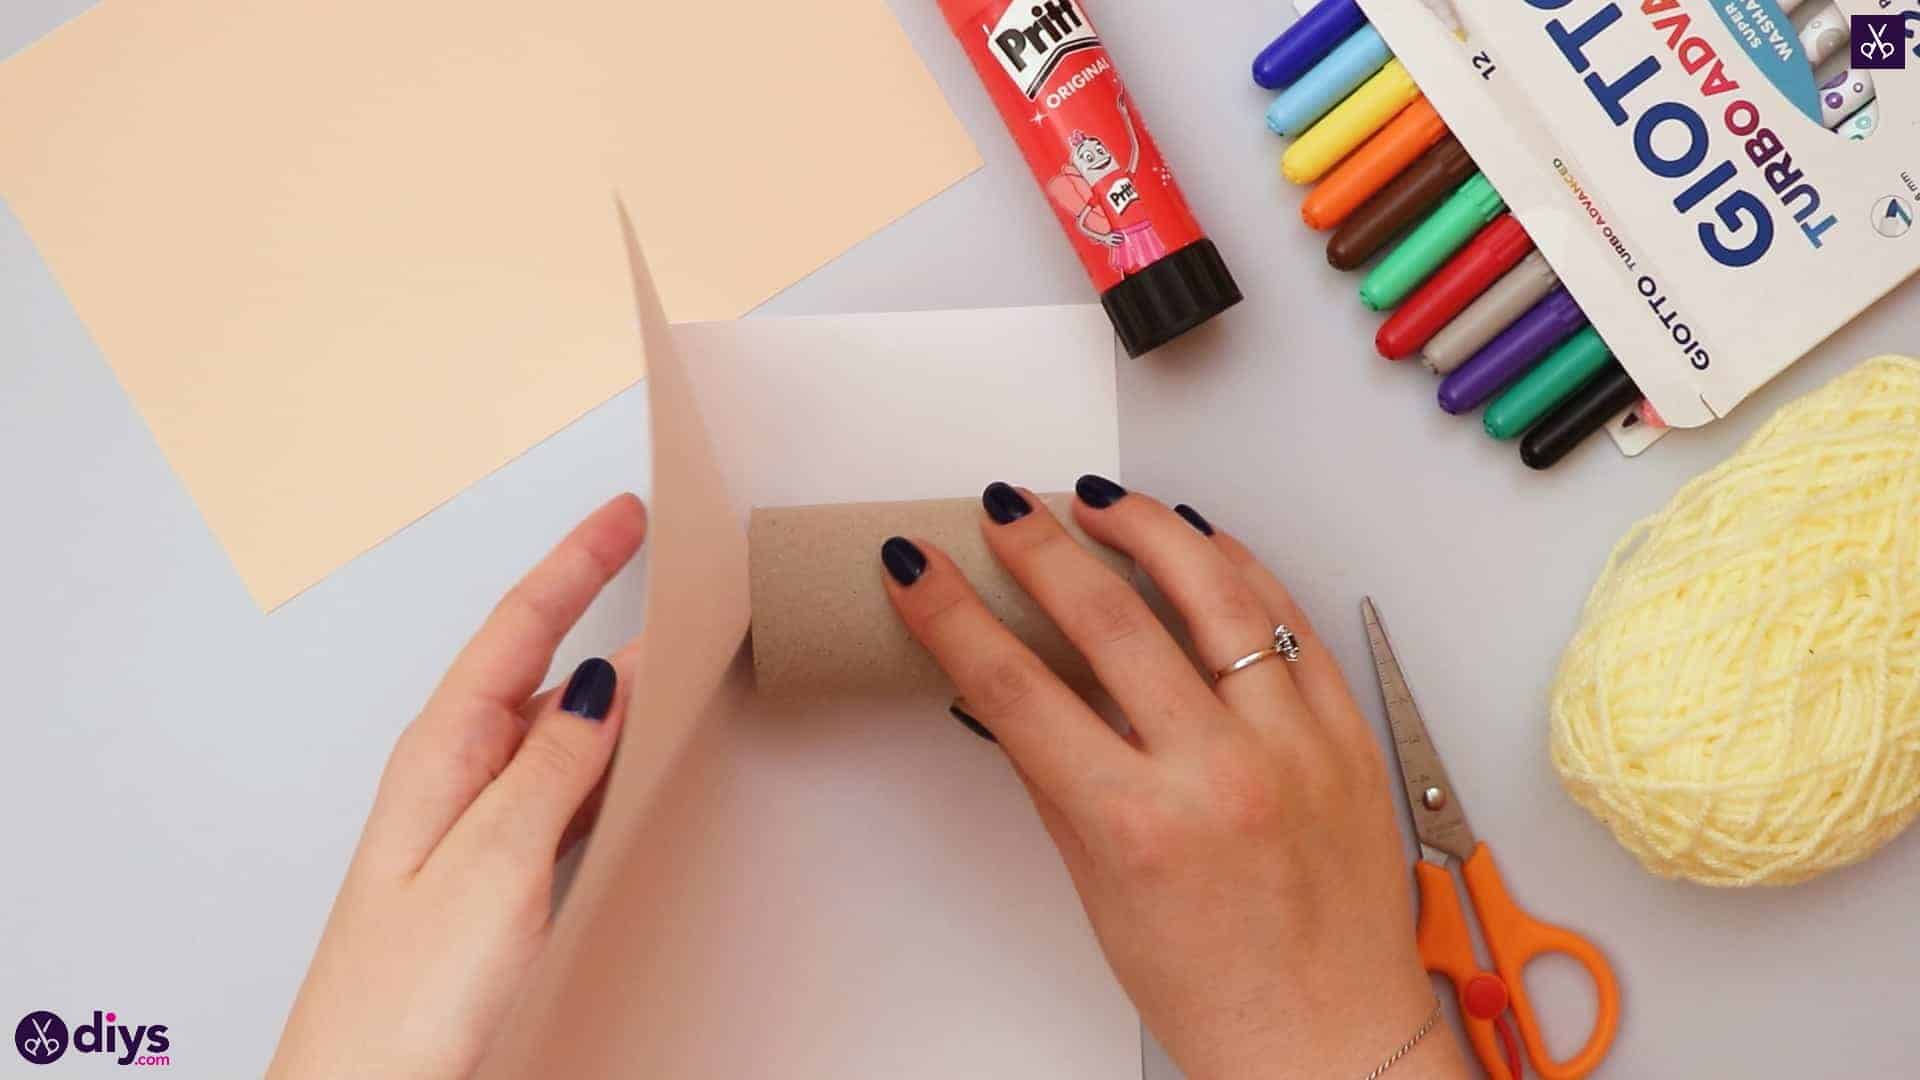
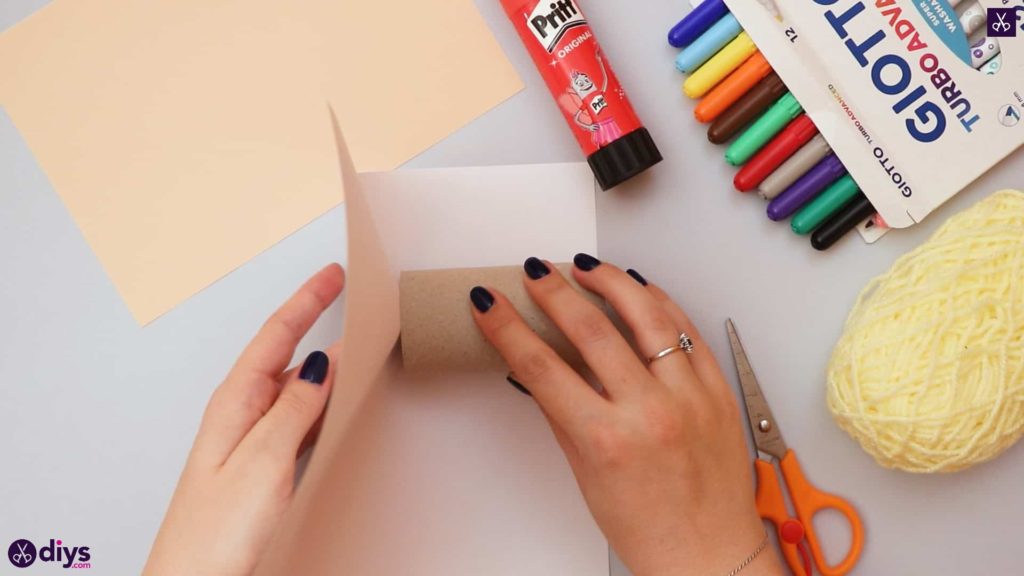
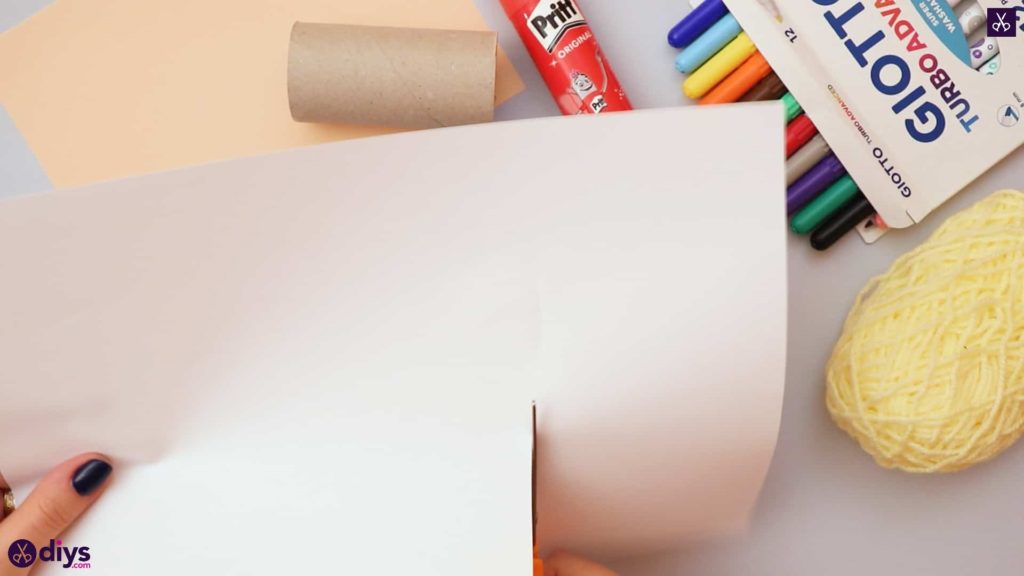
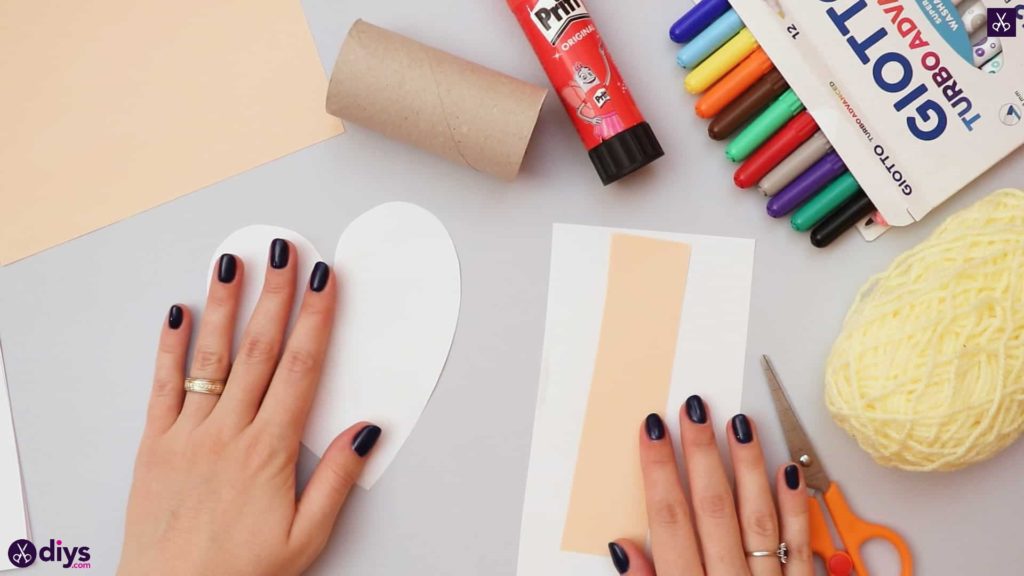
On your white paper, place the toilet paper roll against one of the page’s long edges so it sits even. Fold the rest of the page above the roll upwards to meet it so that a crease marks the length of the roll. Cut a strip off the page; this strip will be perfectly size to the your roll’s height thanks to the fold. Then, holding your peach page landscape, cut a strip that is about two inches wide and the whole shorter height of the page.
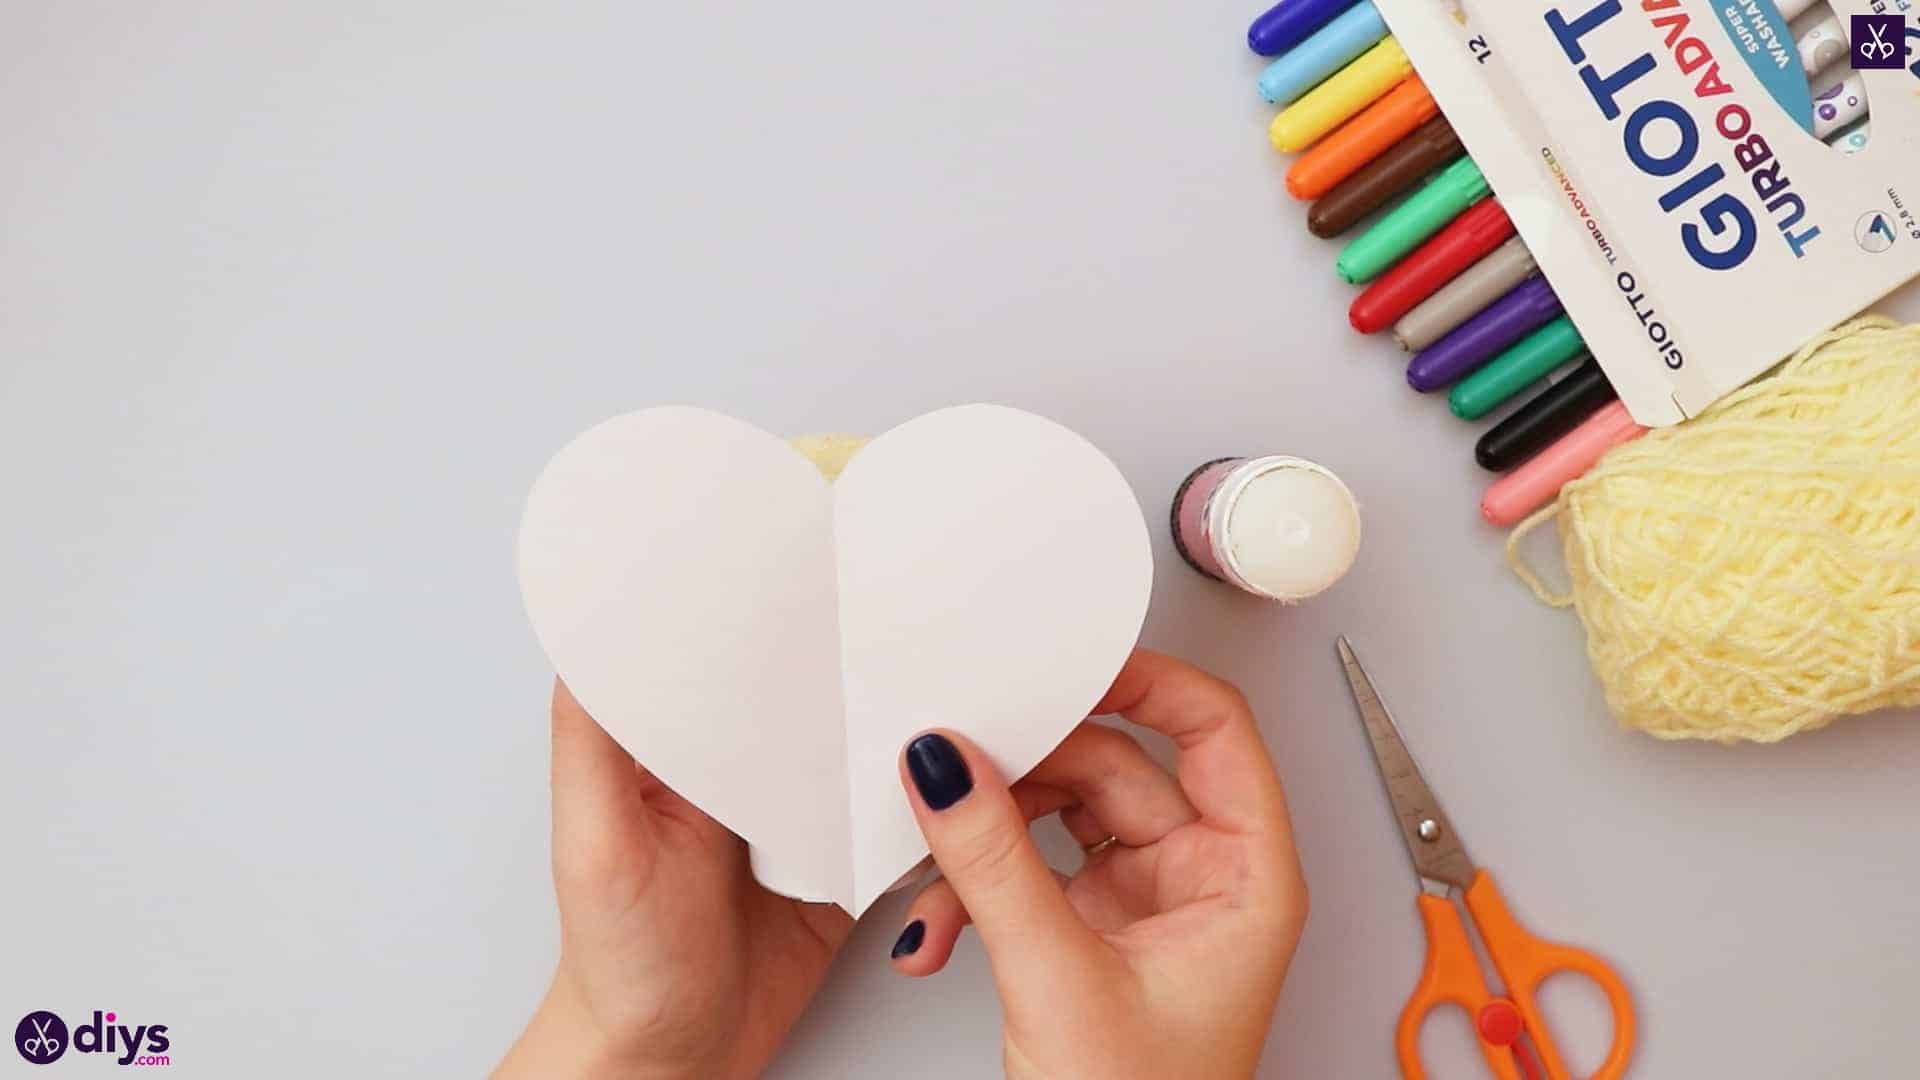
Step 3: make a heart
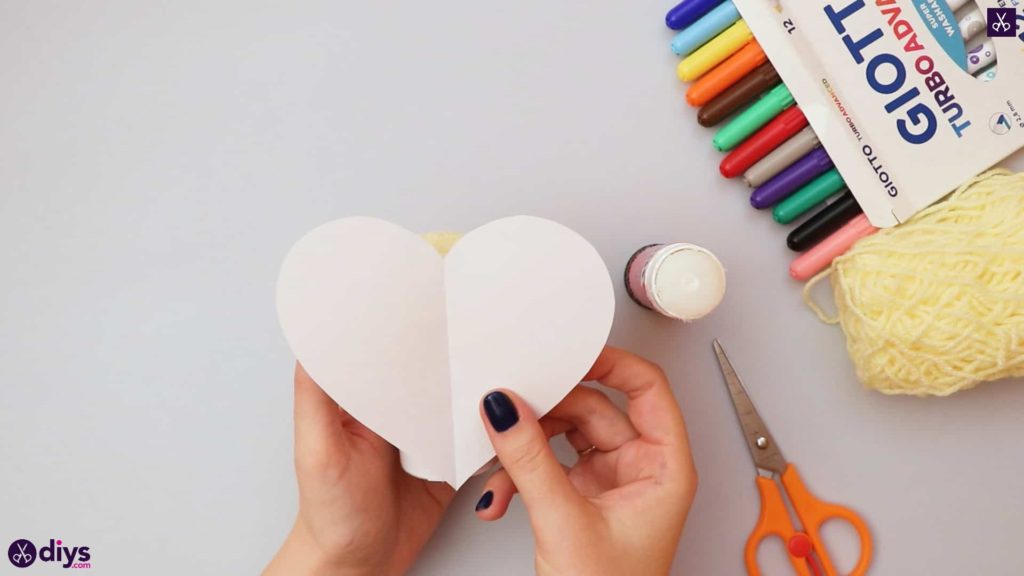
Fold the rest of your white paper in half horizontally. Using the creased side, cut a halved heart shape into the page that’s about two inches in length and about an inch wide. Cutting the heart with the paper folded like this ensures that your heart will be symmetrical! Unfold your heart to see what I mean. This heart will actually be your angel’s wings!
Step 4: draw a circle
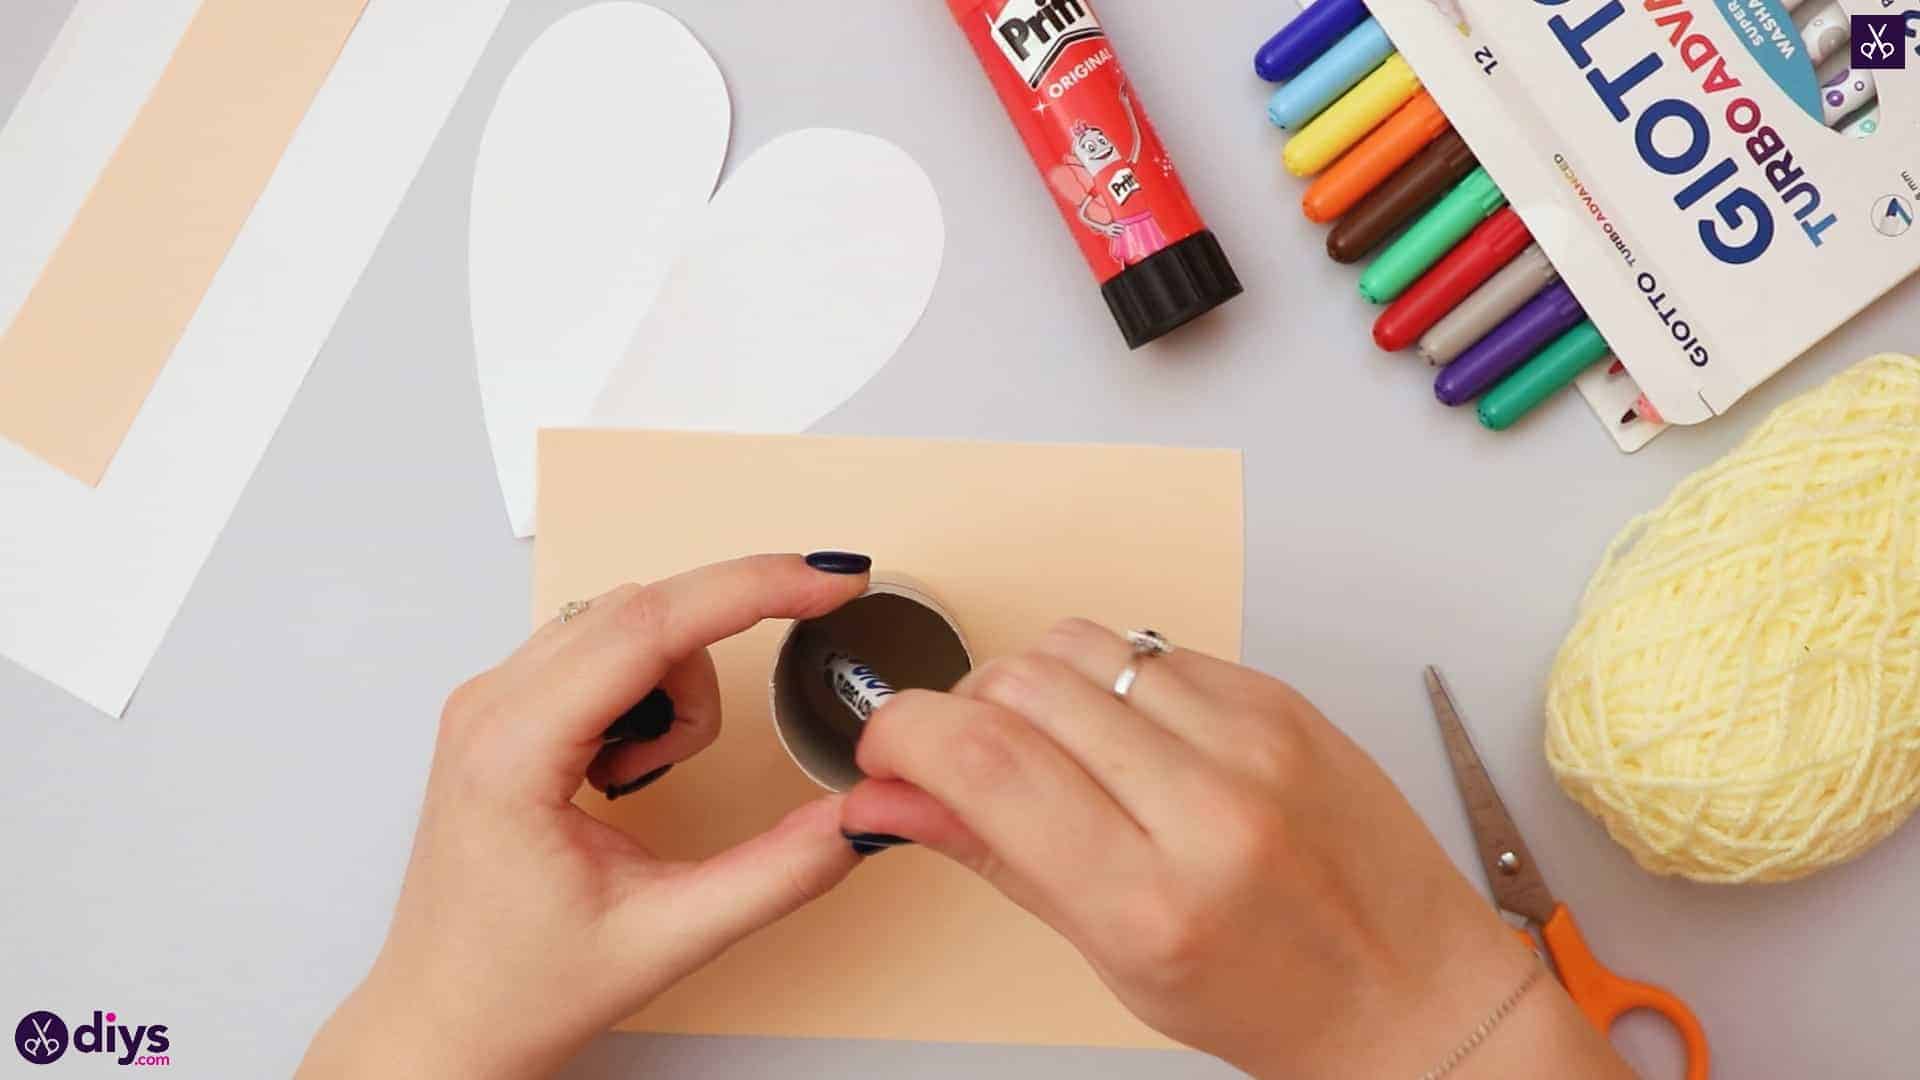
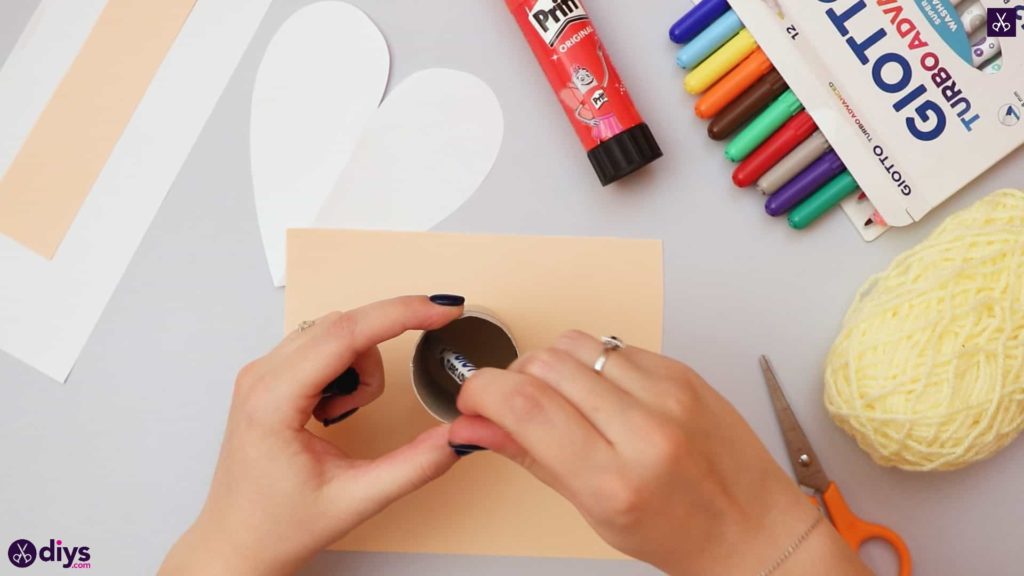
Stand your toilet roll upright on the leftovers of your peach paper. Use a pen or pencil to trace a circle on theinside of your roll, sticking the pencil down the tube to draw around the inner edge.
Step 5: cut
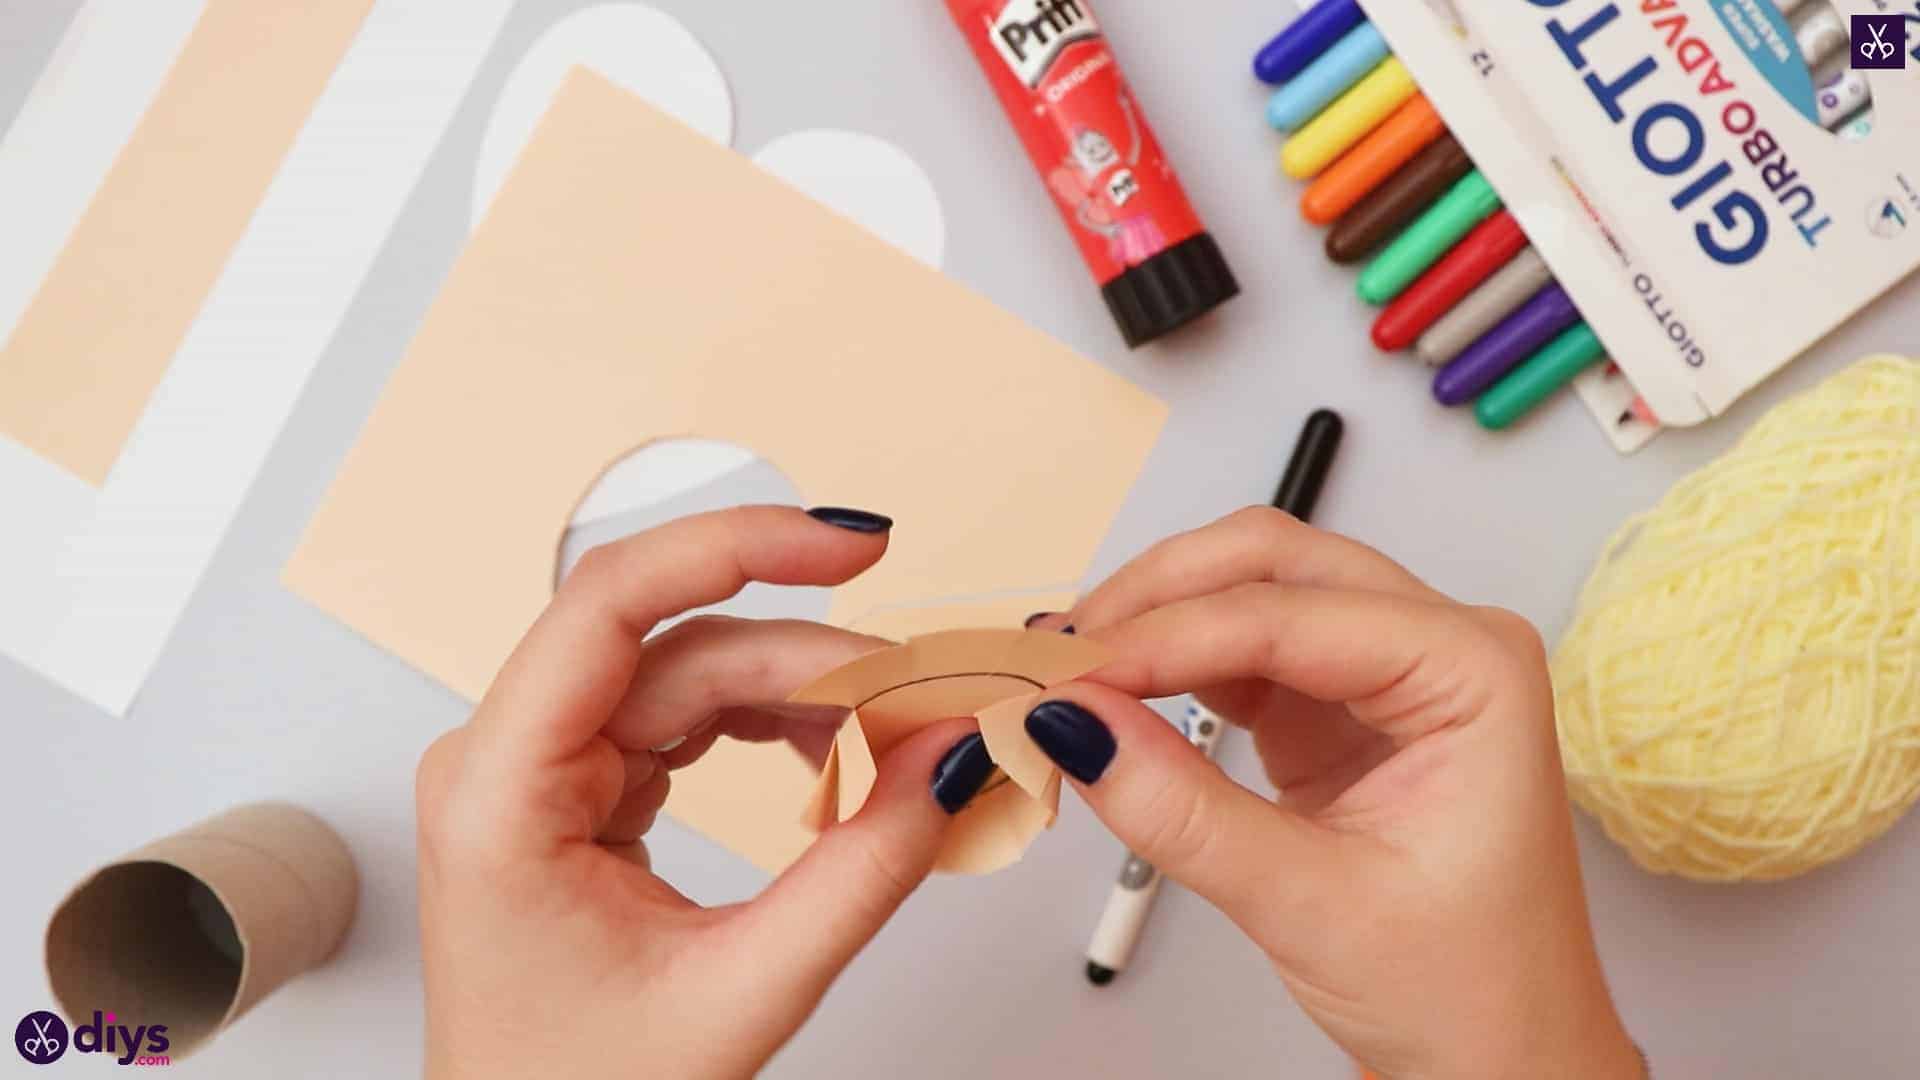
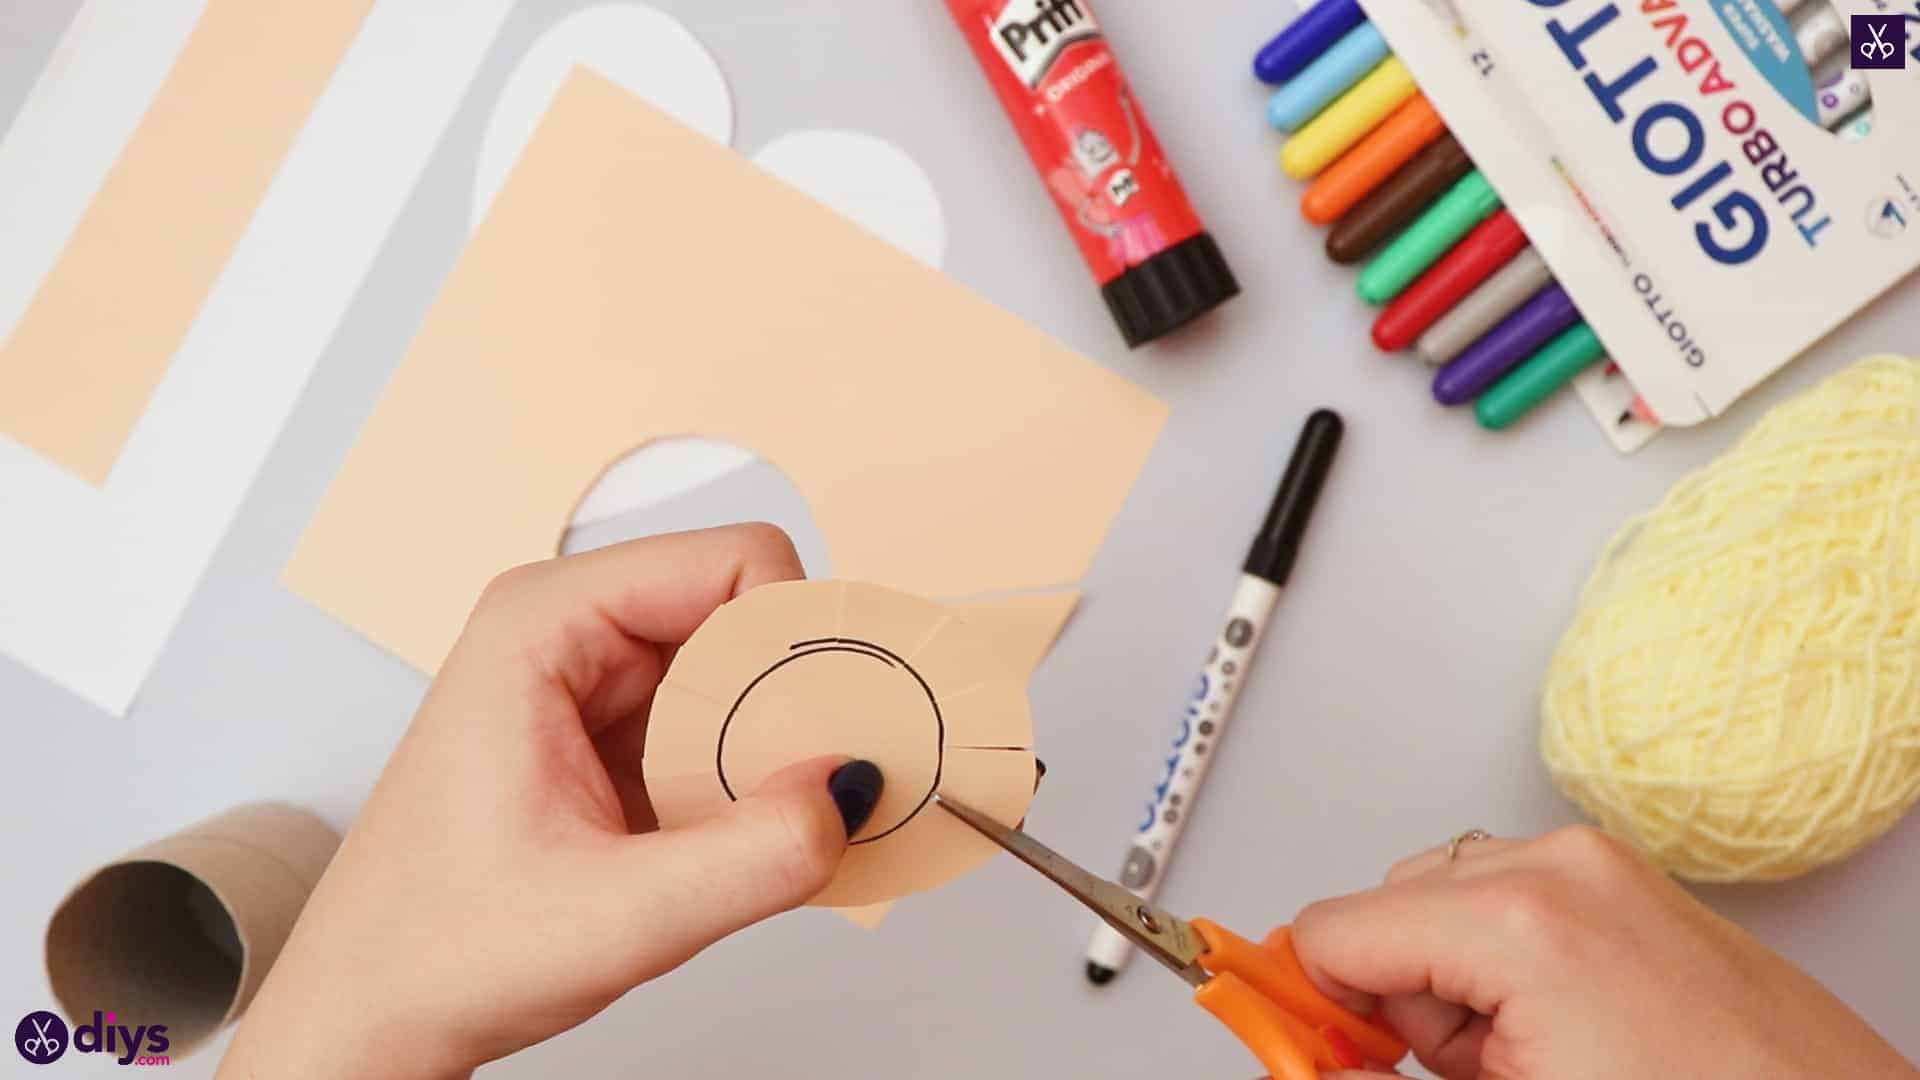
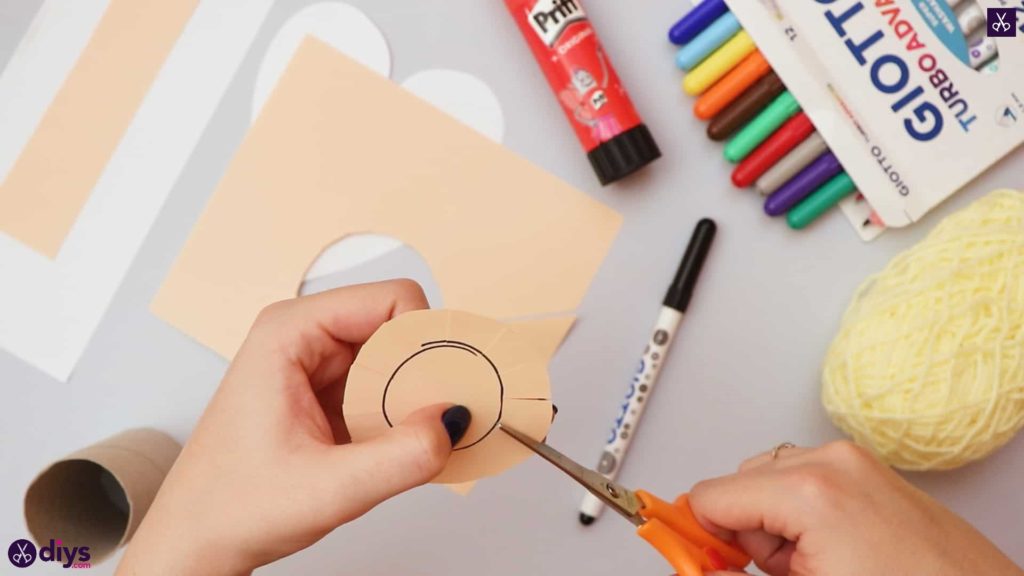
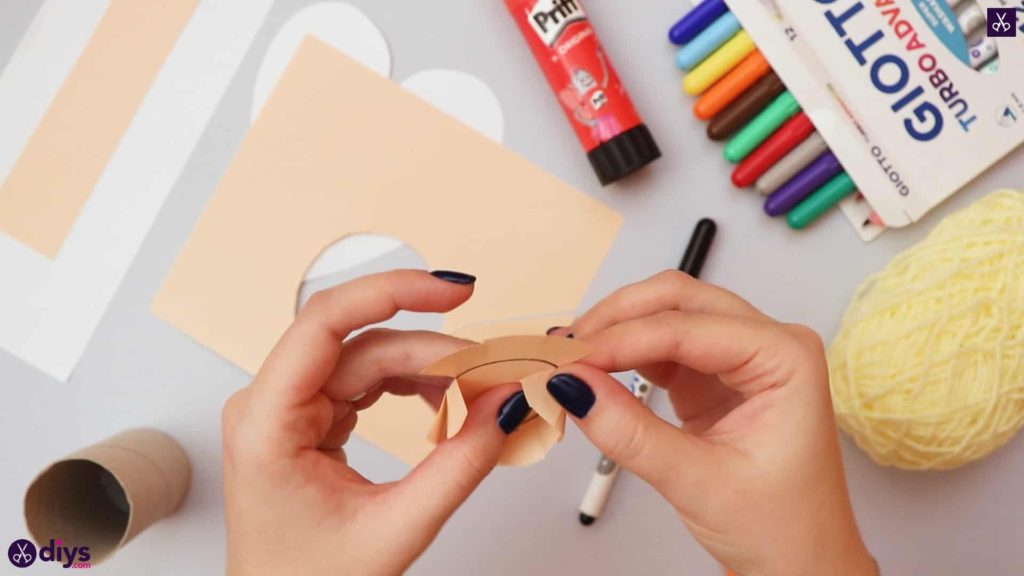
Cut this circle out, but leave a border of spare peach paper around the line you actually drew. I gave myself about half an inch. Once you’ve your your circle with the smaller circle inside, start cutting slits in towards the line you drew all the way around to create tabs. Fold these tabs downward with the marks from the circle you drew on the underside so they’re hidden. This will be the top of your angel’s head.
Step 6: glue
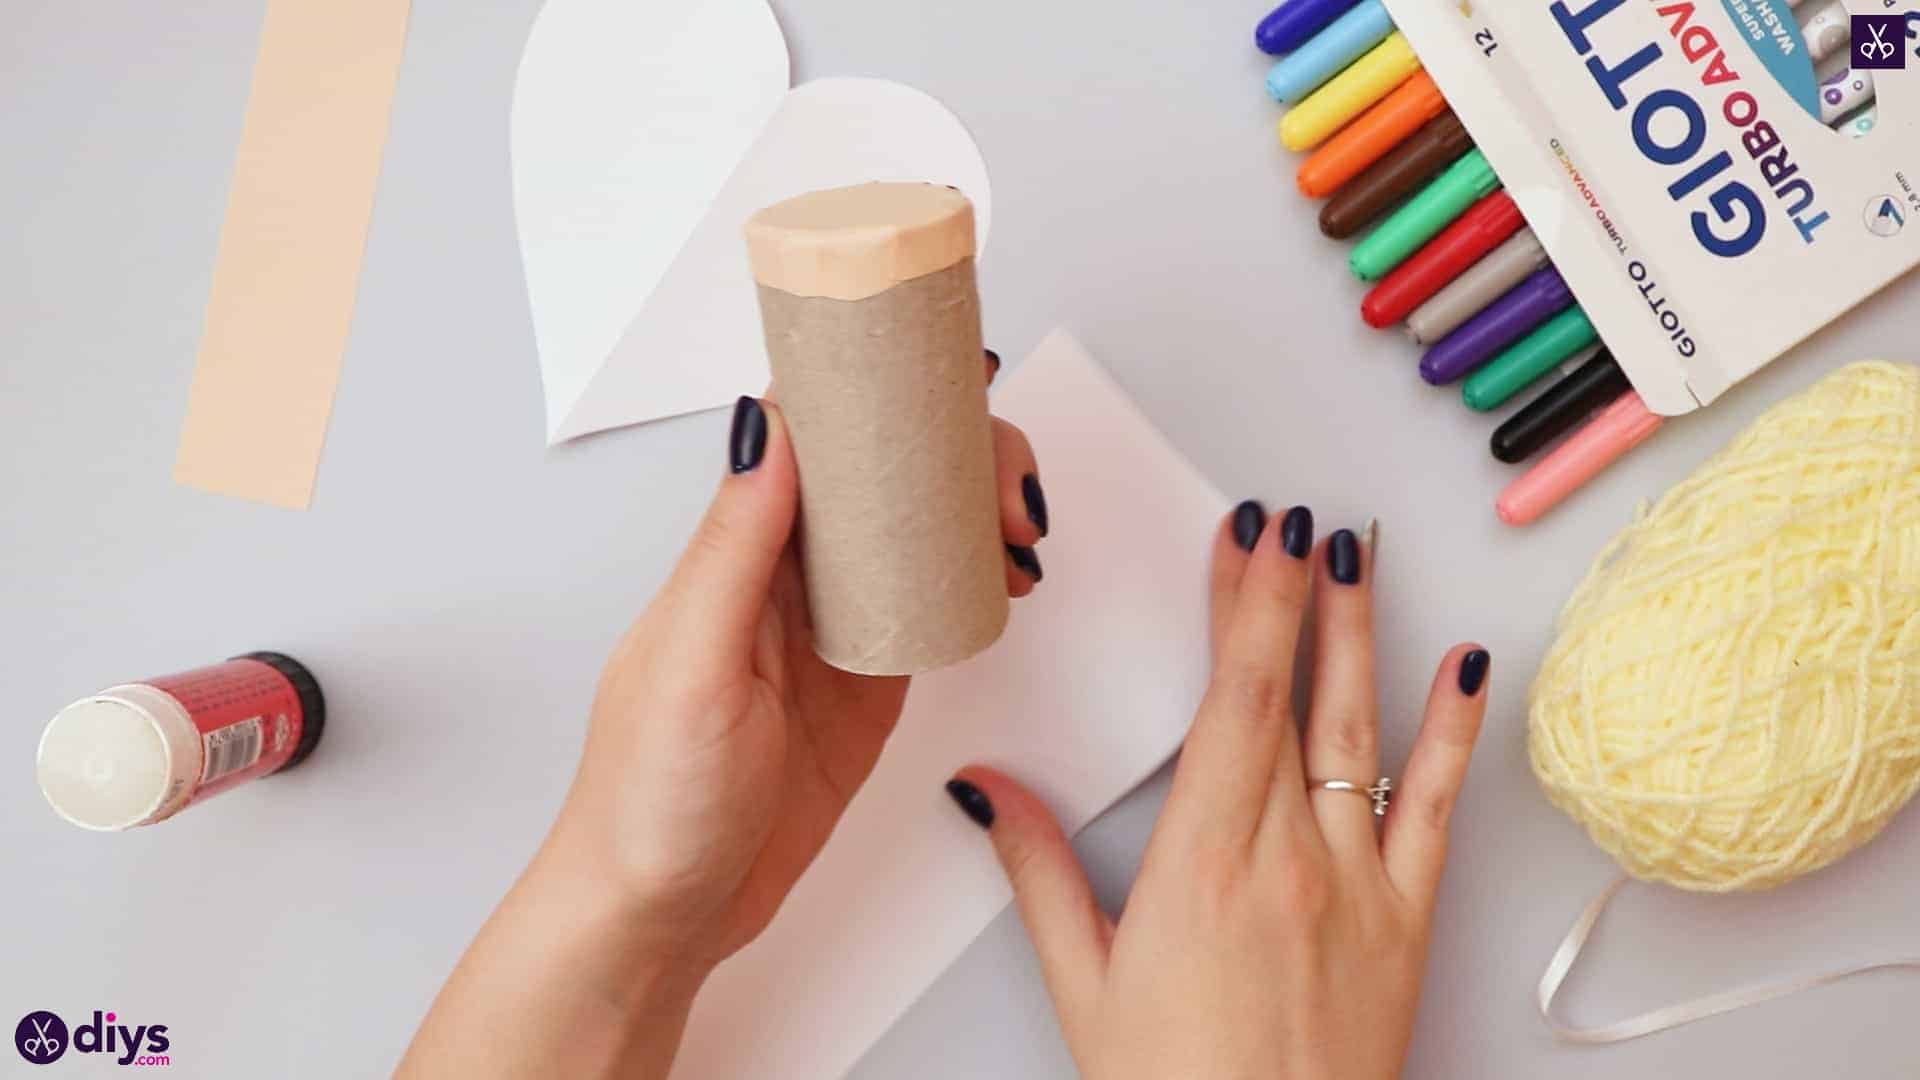
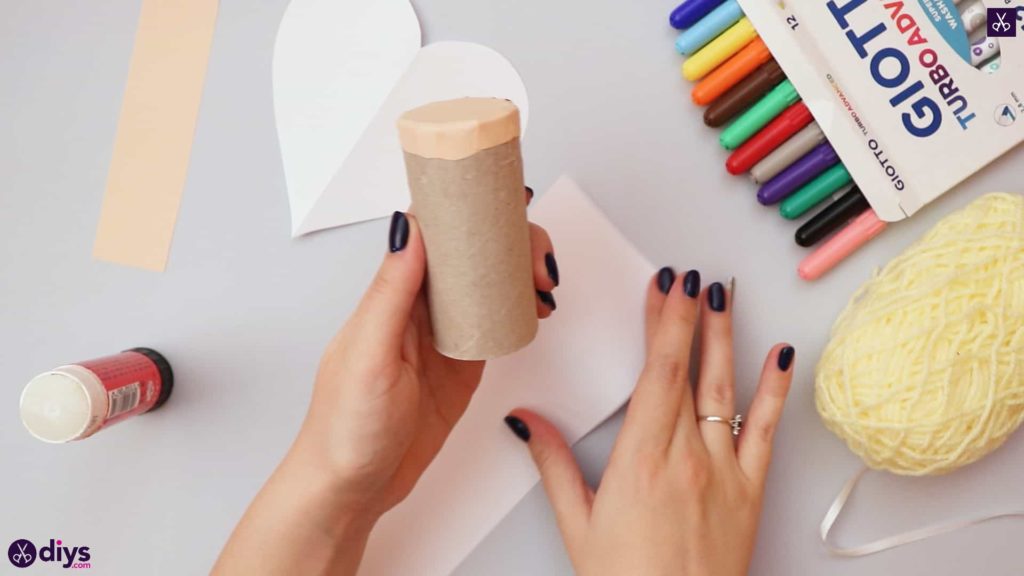
Apply glue around the edge at one end of your toilet roll. Place the circle over the top, covering the hole, and stick the tabs down into the glue all the way around.
Step 7: wrap
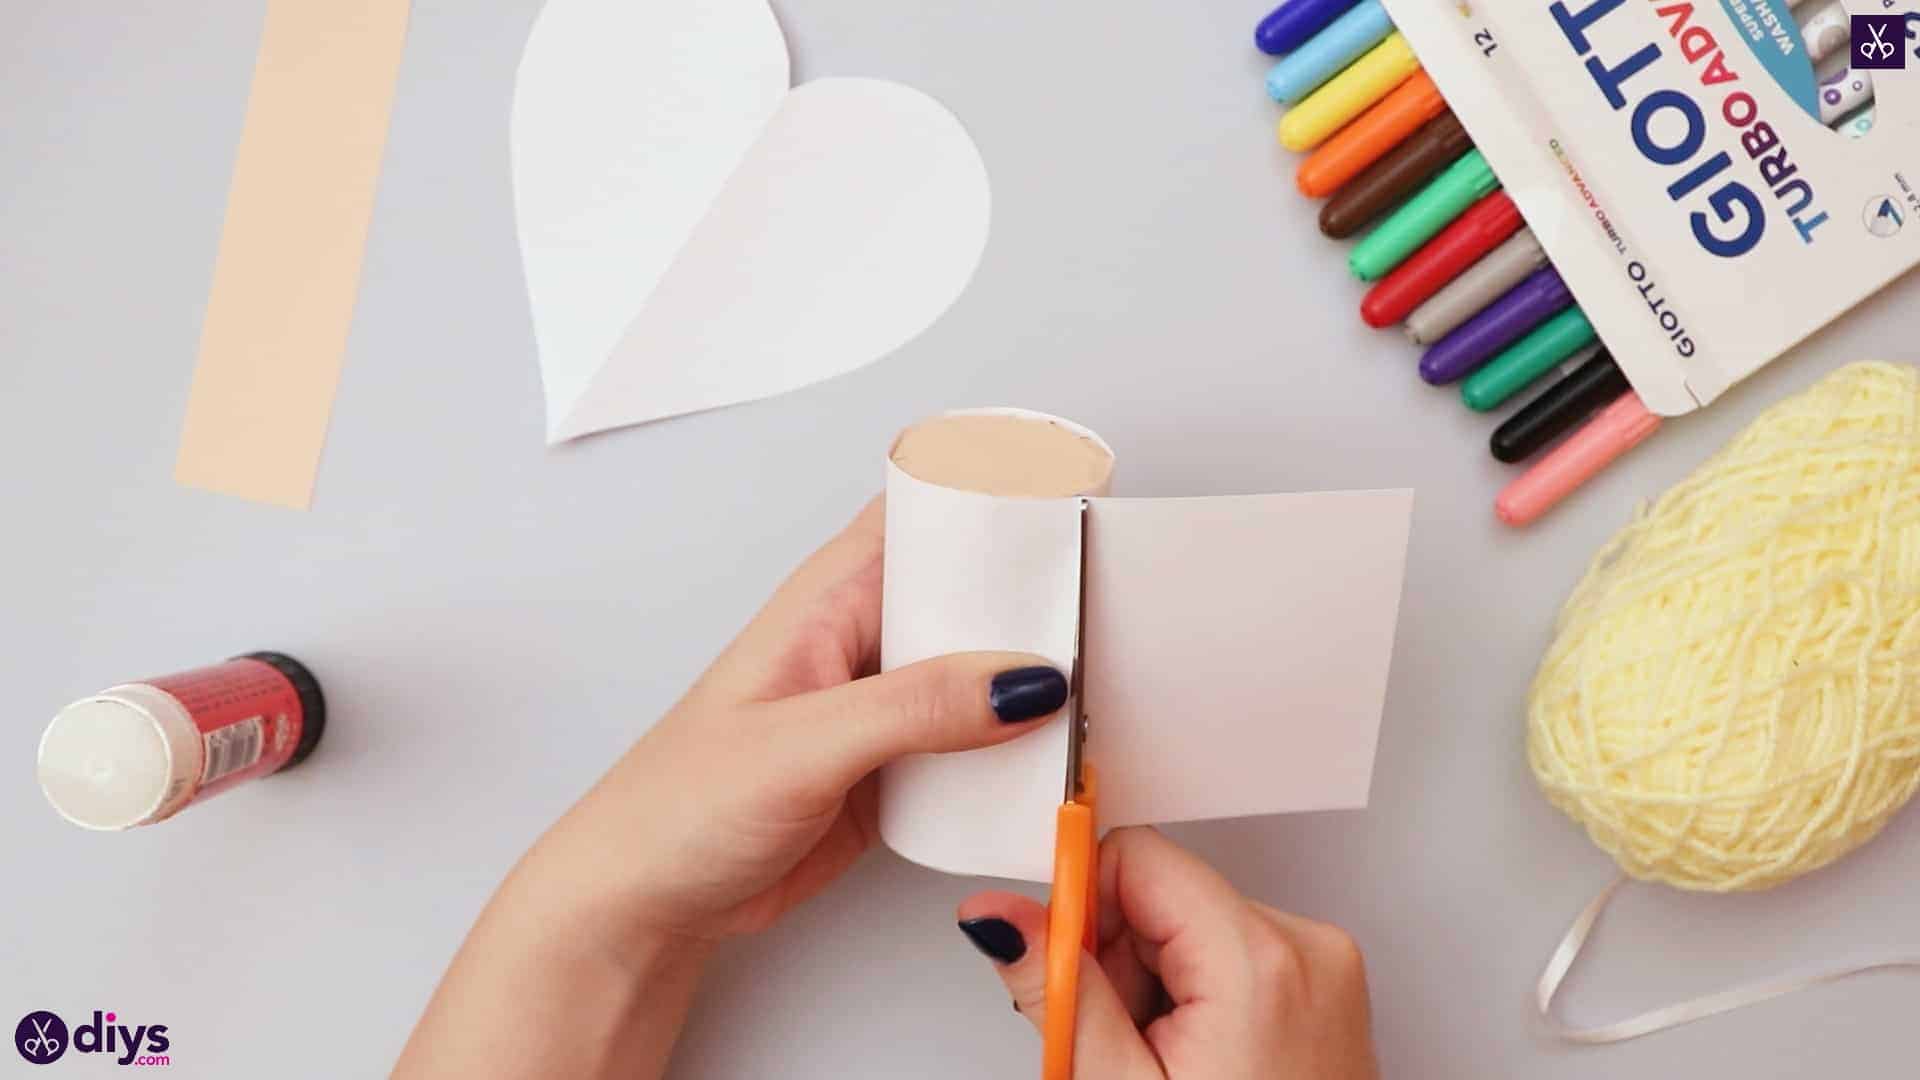
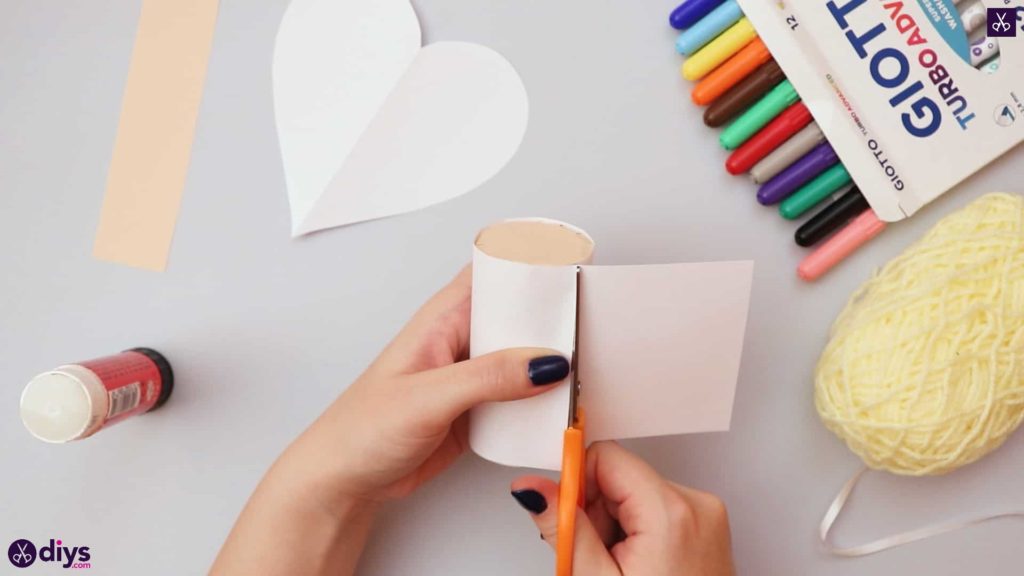
Apply glue down the full length on one side of your toilet roll and stick your white paper strip down there along one of its shorter ends. Wrap the white paper all the way around your toilet roll so it full covers the outside and meets up with the first edge. Trim the excess off and use your glue to stick this second edge down there as well, making sure all of the cardboard is covered.
Step 8: cover top
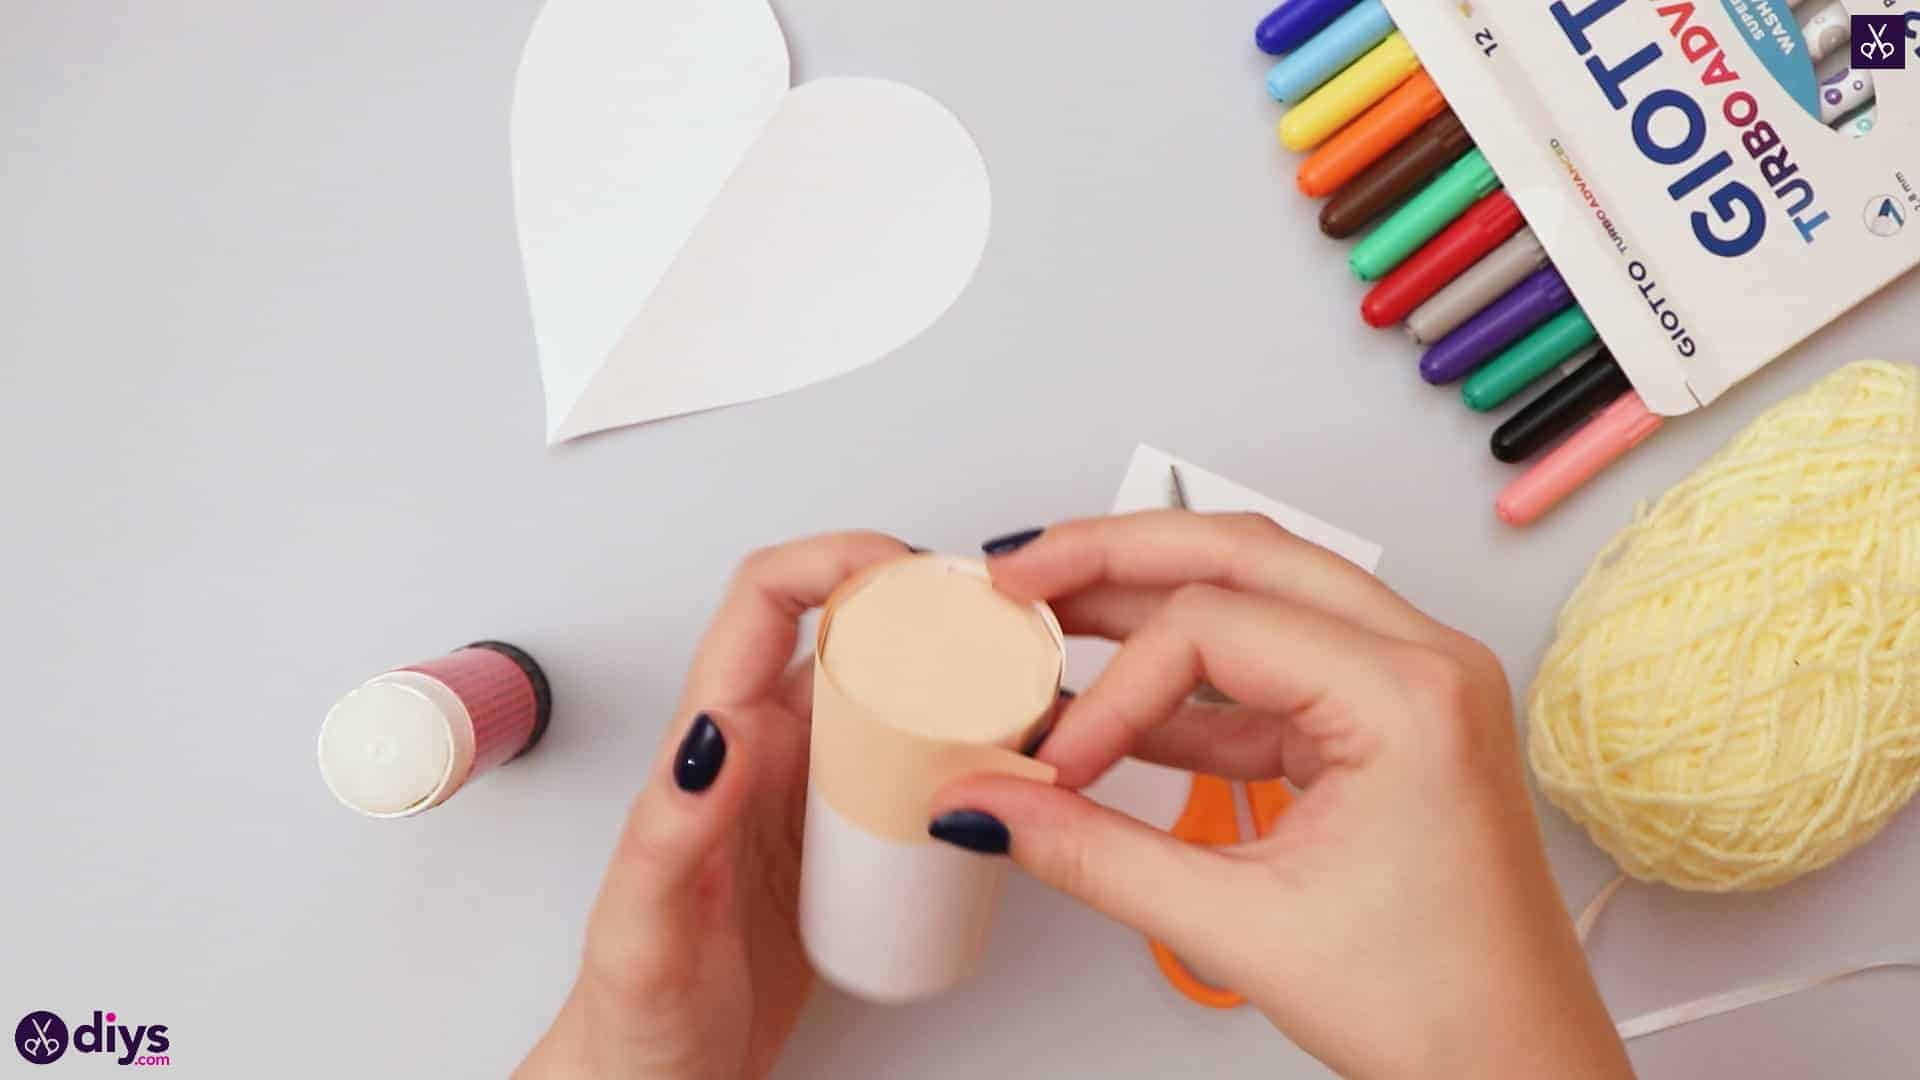
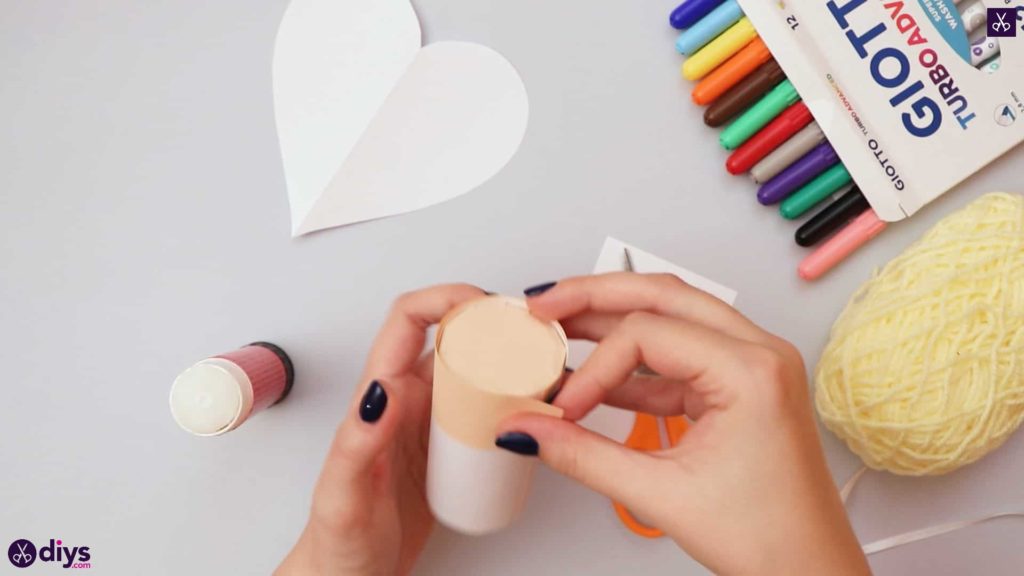
Using your smaller peach strip, repeat the process of gluing the paper all the way around the roll so the ends meet. This time, however, you’ll glue it so its longer edge sits along the top of the roll, covering the peach tabs you glued down earlier and lining up with where the previous piece of peach paper covers the hole in the top of the roll.
Step 9: make the hair
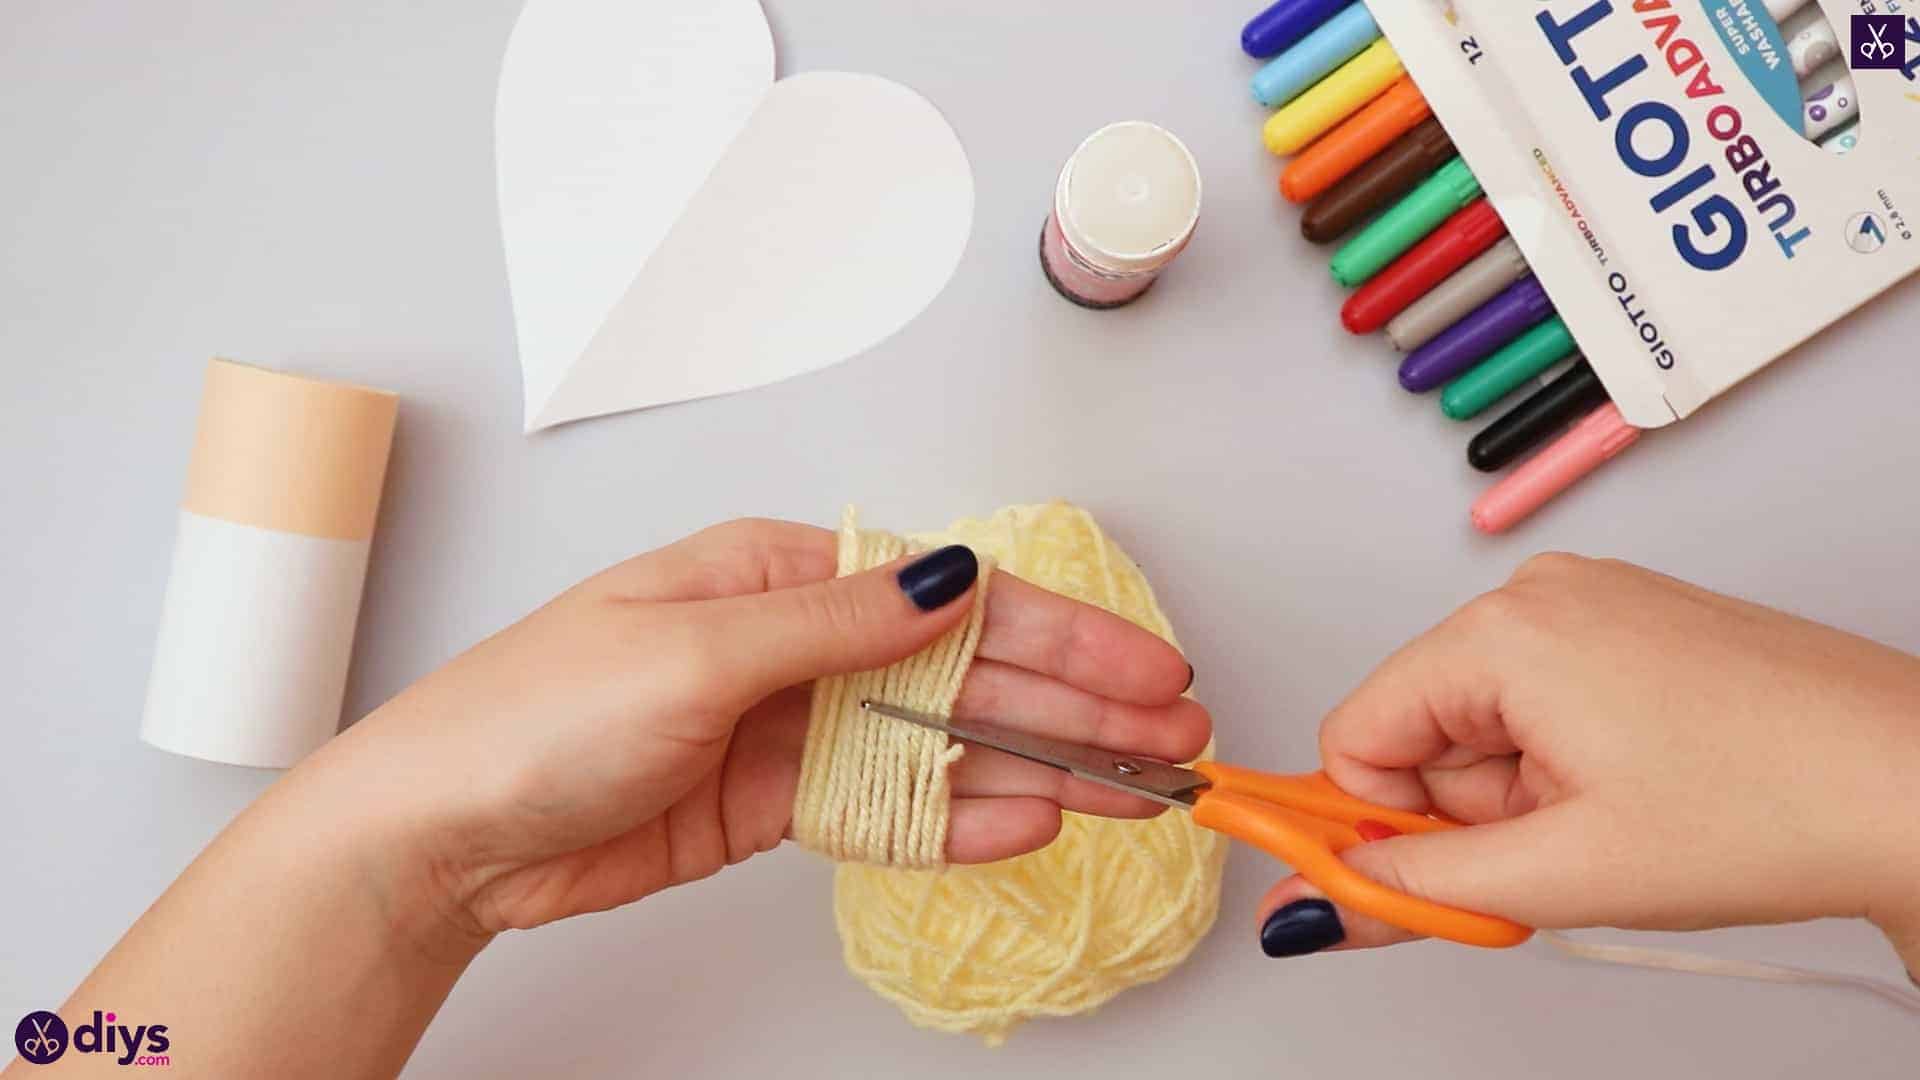
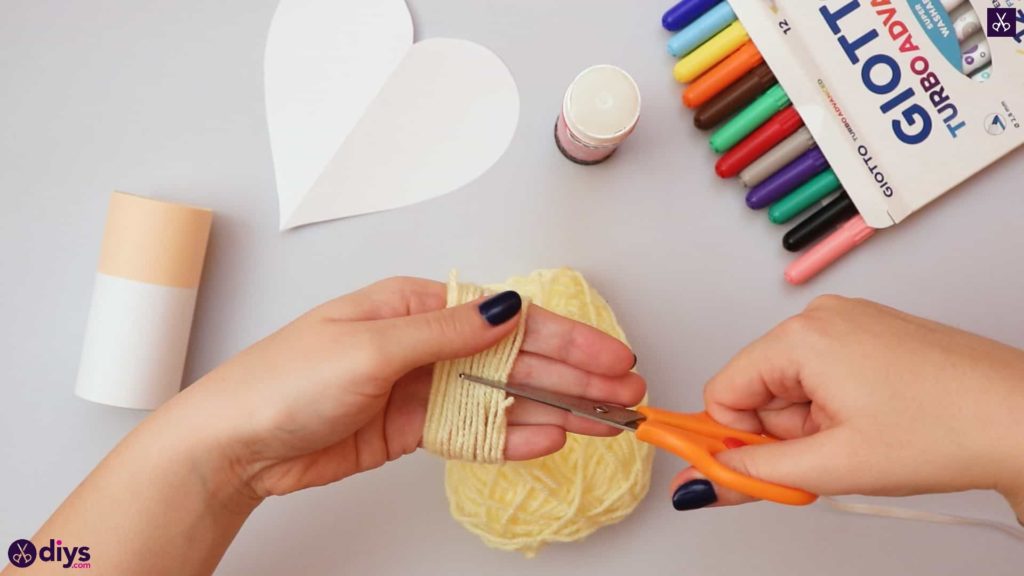
Now it’s time to make your angel’s hair! I made my angel blonde because I happened to have light yellow yarn on hand, but you can use another colour if you prefer (just as you can with the peach paper if you’d rather make an angel with a different skin tone). Start by holding your four fingers together and placing the end of your yarn against the inside of them, pinching it in place with your thumb. Start wrapping the yarn around all four fingers (I wrapped mine about 15-20 times to get enough strands of hair); you can slide your thumb out once you’ve got enough wrapped yarn to hold the end for you. Then hold that new end in place with your thumb too and use your scissors to cut all the yarn just underneath your thumb. This makes stands of hair; pinch one side’s ends in place with your thumb and fingers so you don’t drop it all.
Step 10: glue it on
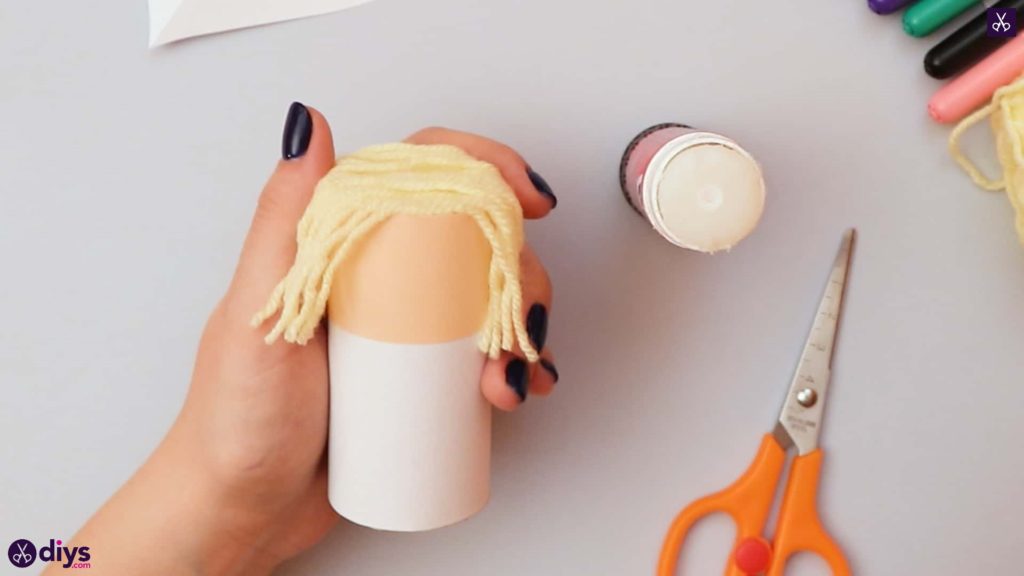
Apply glue to the top of your toilet roll where it’s covered by peach paper. Carefully press this part down in the middle of your yarn strands and smooth the ends on each side. Your angel now has hair!
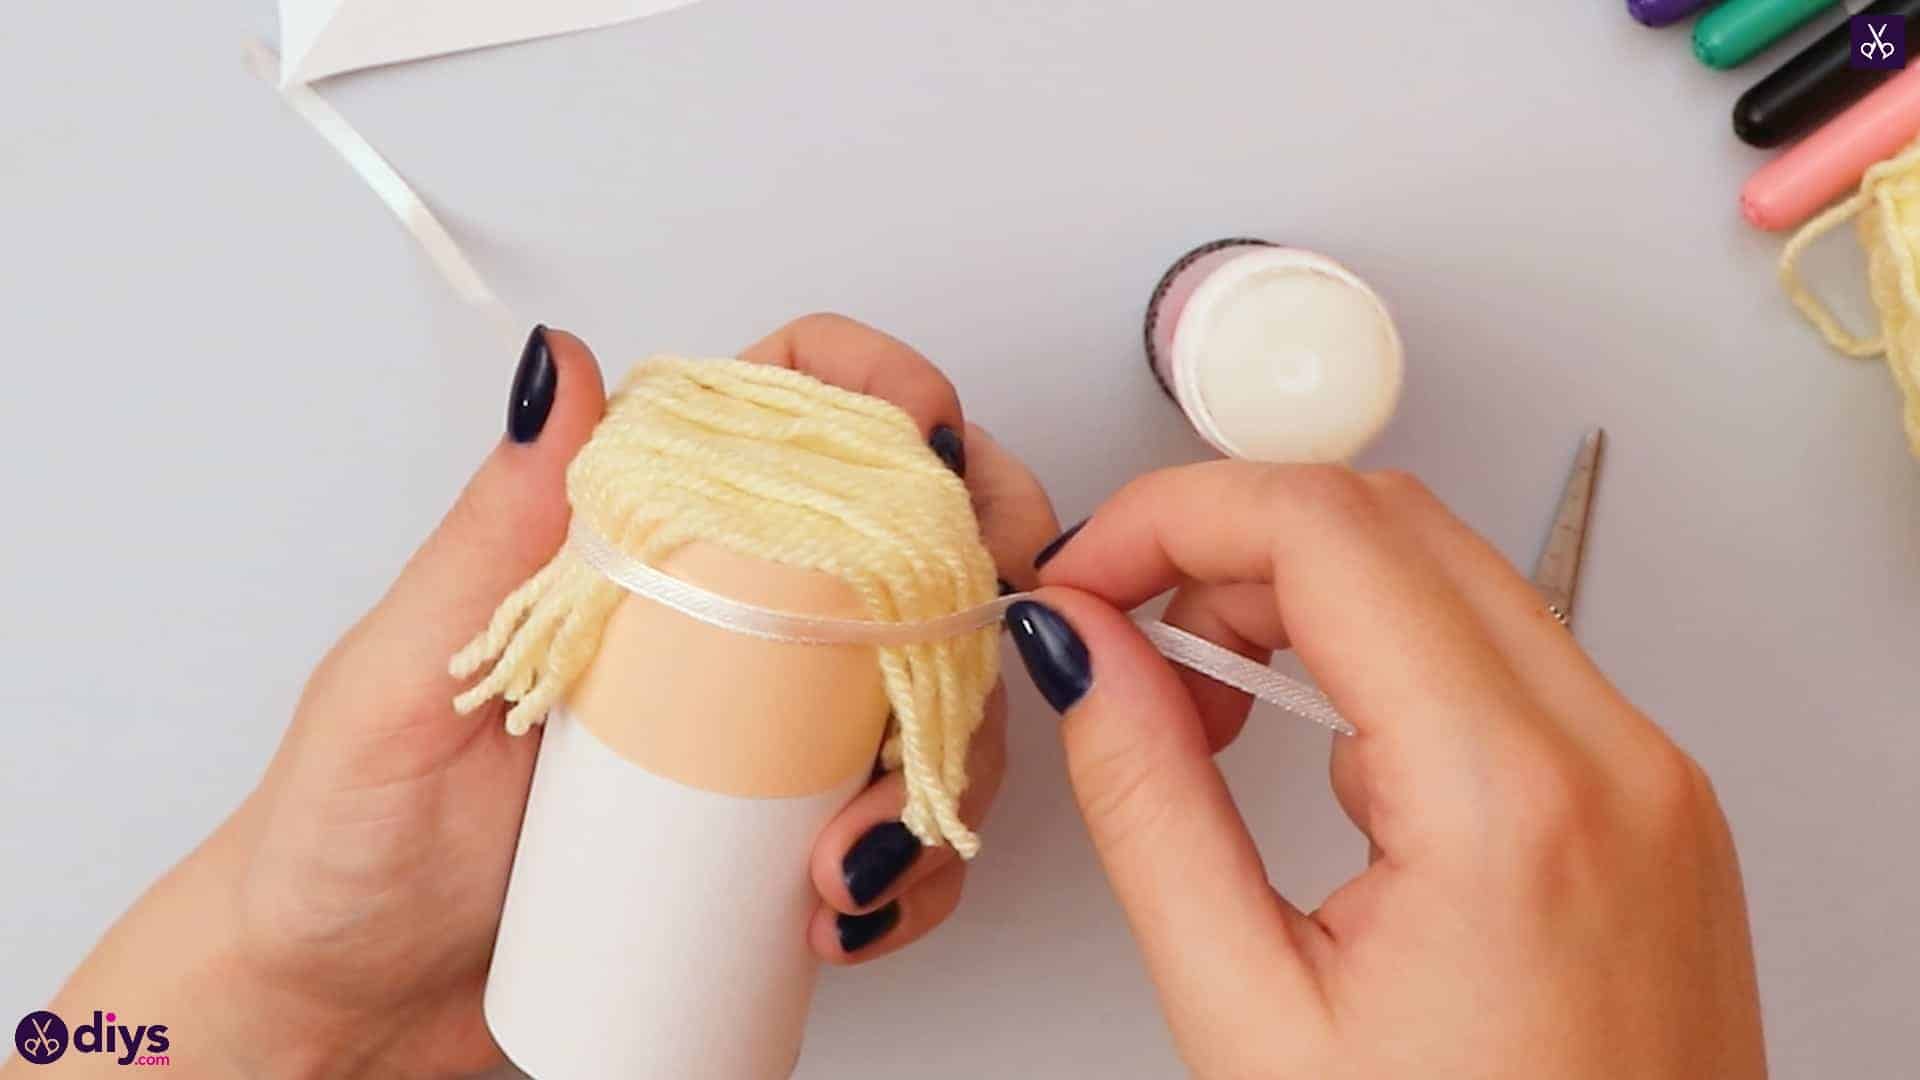
Step 11: add ribbon
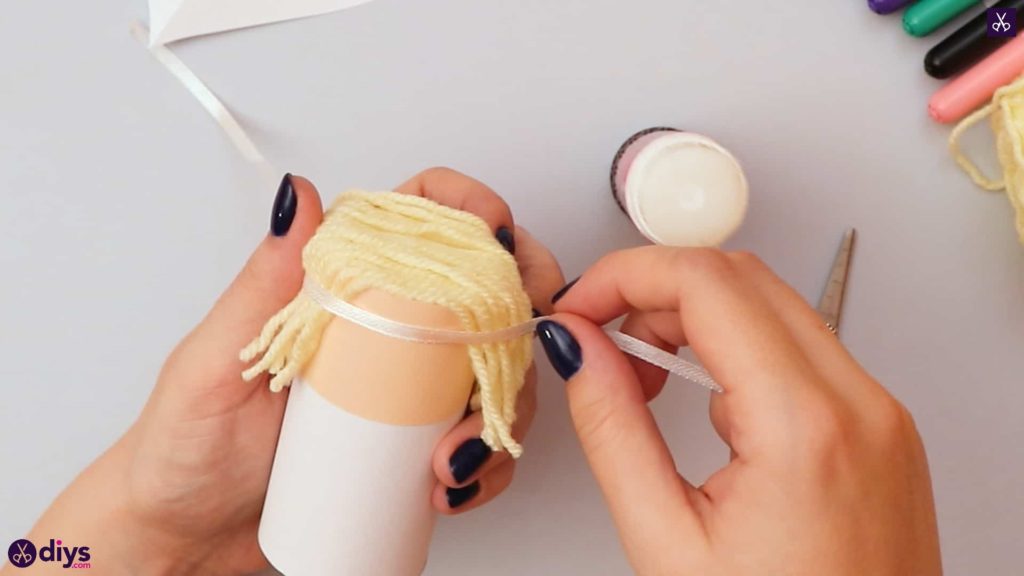
Wrap your white ribbon around the top of the angel’s head, with the center of the ribbon crossing over where the forehead is and the knot you’ll tie resting at the back of the head. Trim the excess ribbon ends.
Step 12: glue on wings
Apply glue down the length of the toilet roll at the back, underneath where you just tie your ribbon know. Stick the wings down here so the center of the heart (where you originally folded it) is in the glue and the rounded high edges stick out and can be seen from the front. The height of the heart wings will cover the spare peach paper at the back of the head where there is not yarn hair.
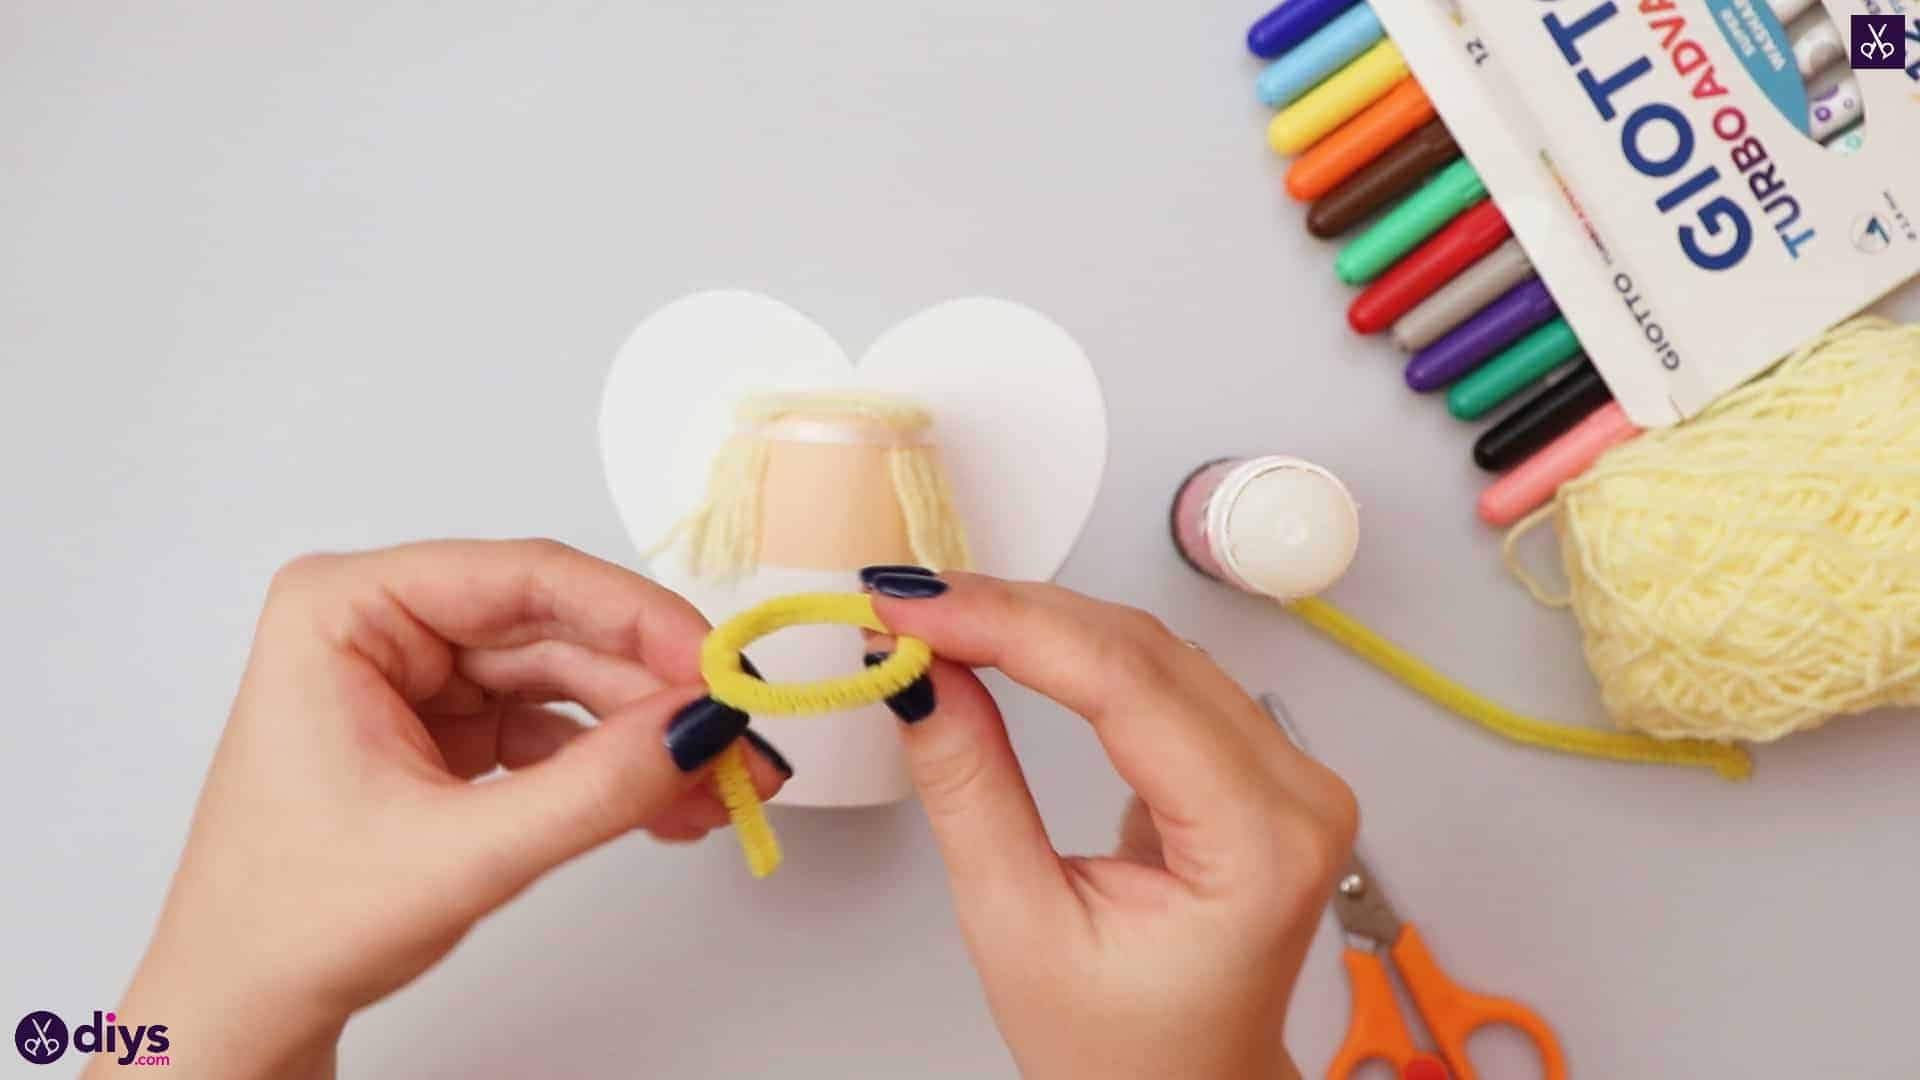
Step 13: make a halo
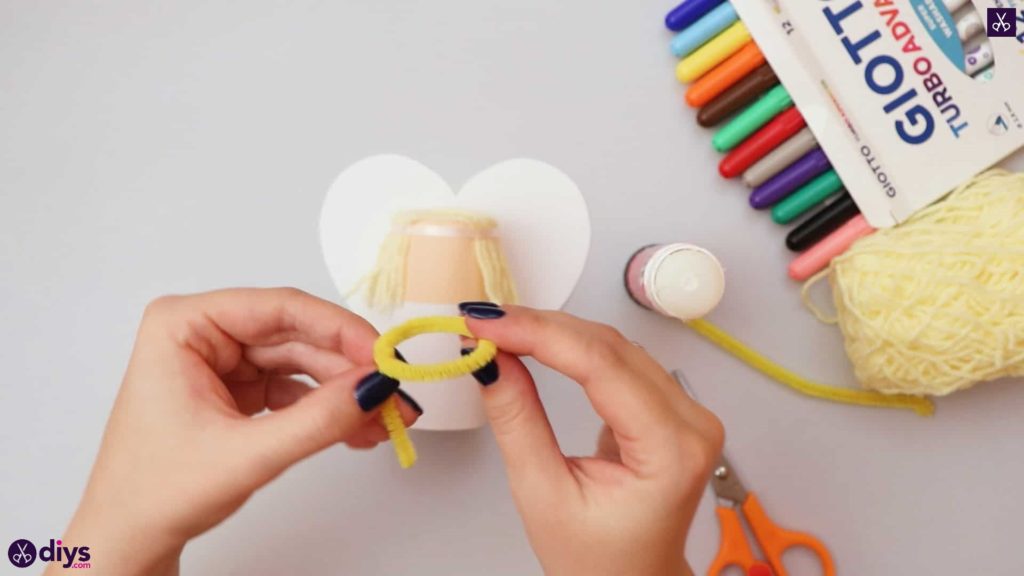
Round one end of your yellow pipe cleaner into a circle and twist the tip around the longer part to hold it in place. Then fold the circle downward so it looks almost like a basketball hoop. Trim some of the excess from this longer end; you only need about an inch. Stick this newly cut tip of the pipe cleaner down the back behind the angel’s head so it is hidden under the paper wings, between those and the toilet roll.
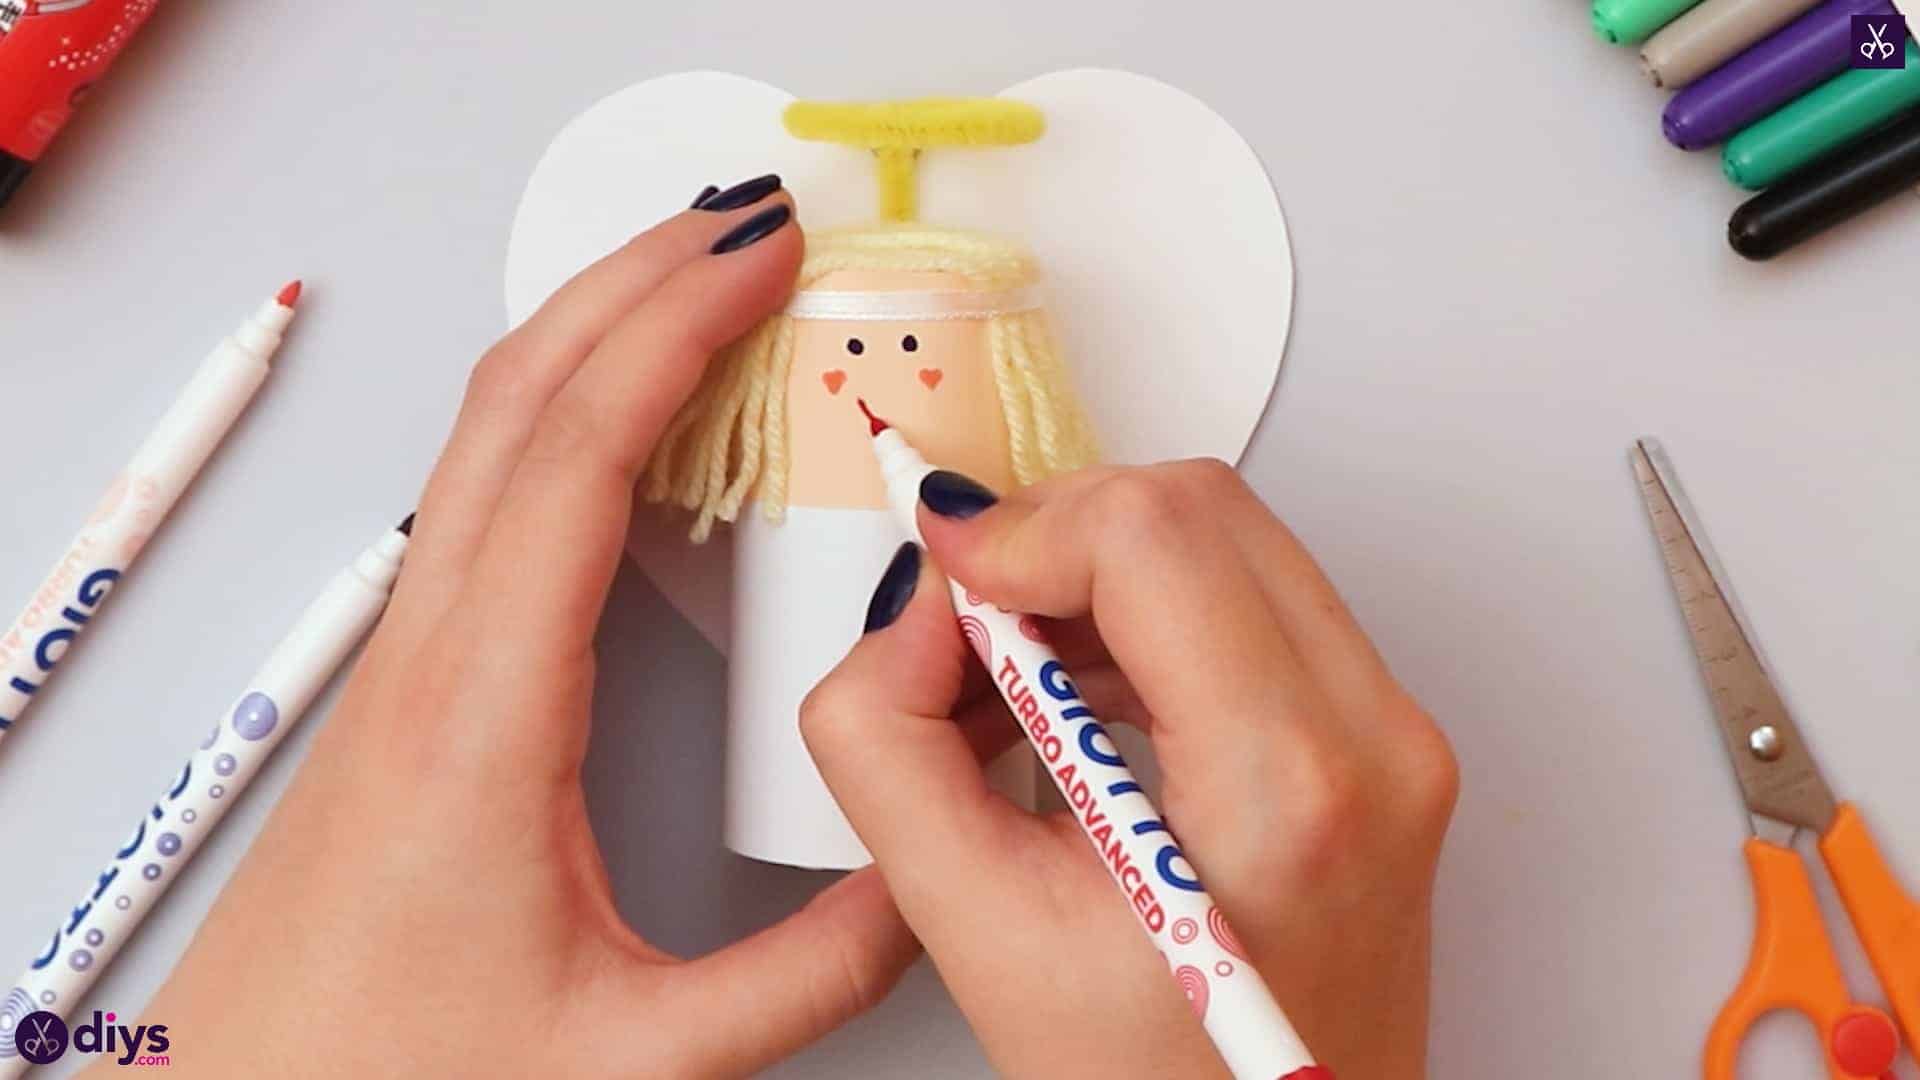
Step 14: draw the face
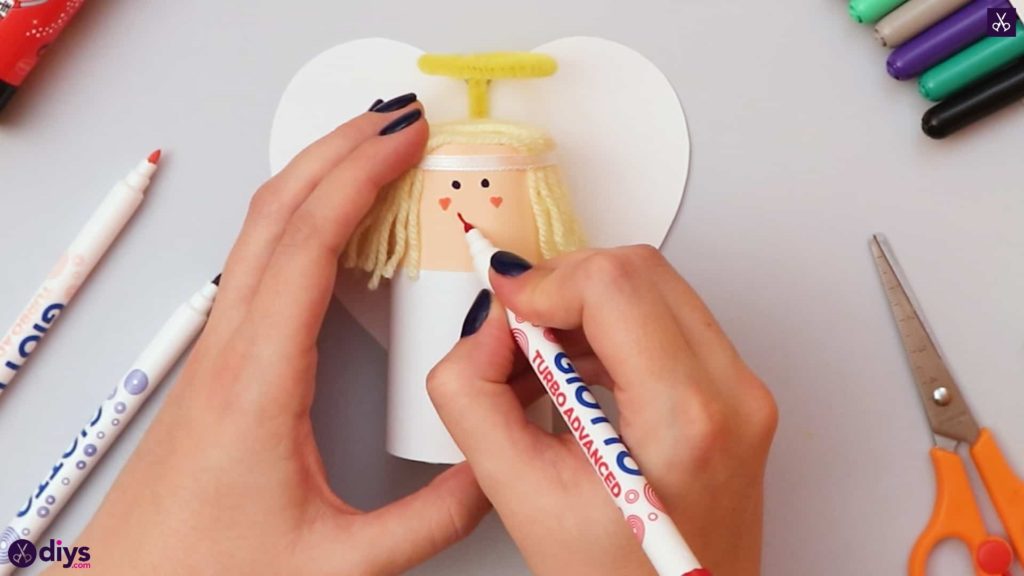
Use your makers to draw your angel’s face! I gave mine blue eyes, a red smile, and tiny pink hearts for cheeks.
Your angel is all finished! Just in case you’d like to try this project out for yourself, here’s a fantastic tutorial video to help you.
