How To Decorate A Pumpkin With Tissue Paper (Maché Technique)
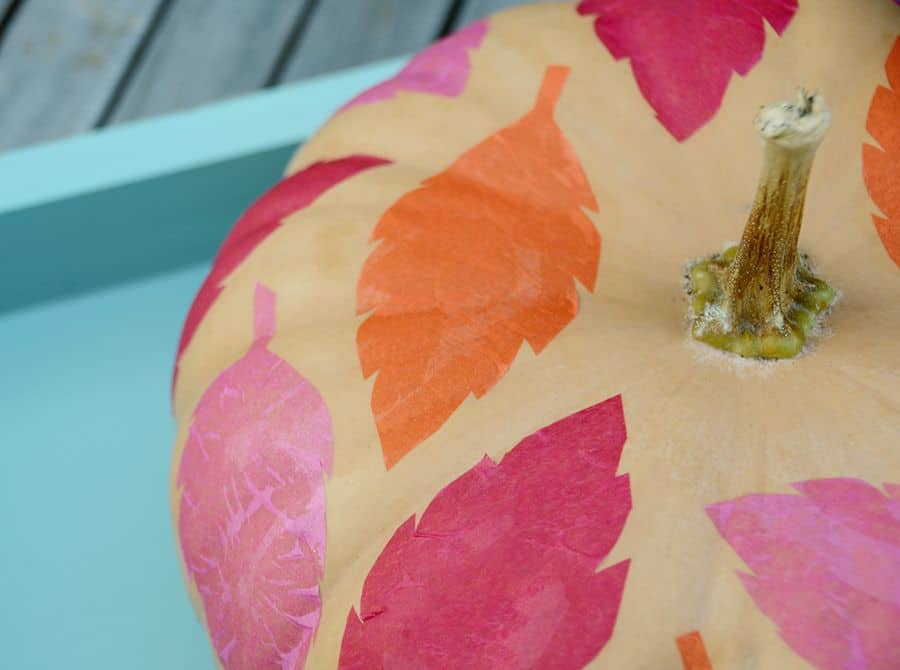
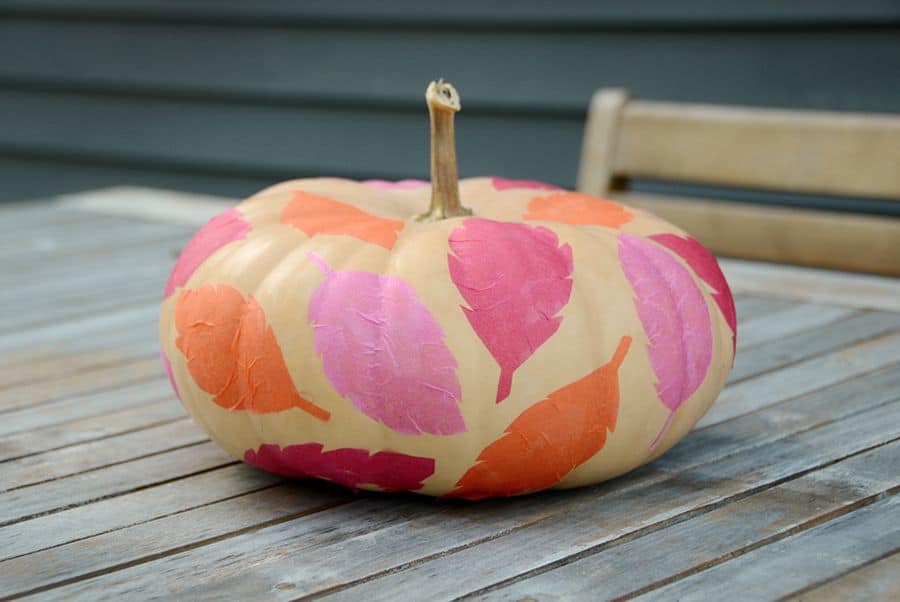
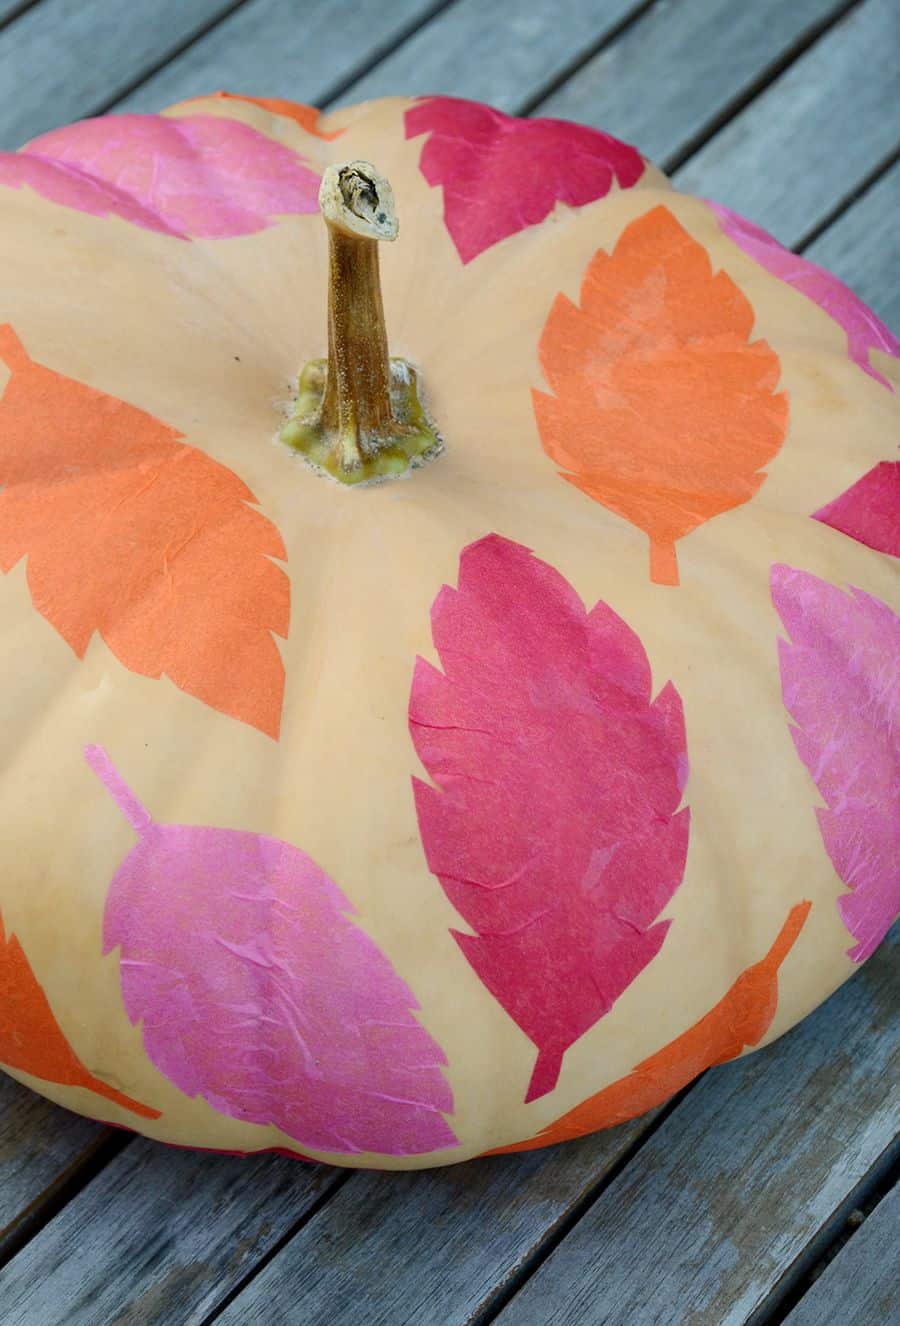
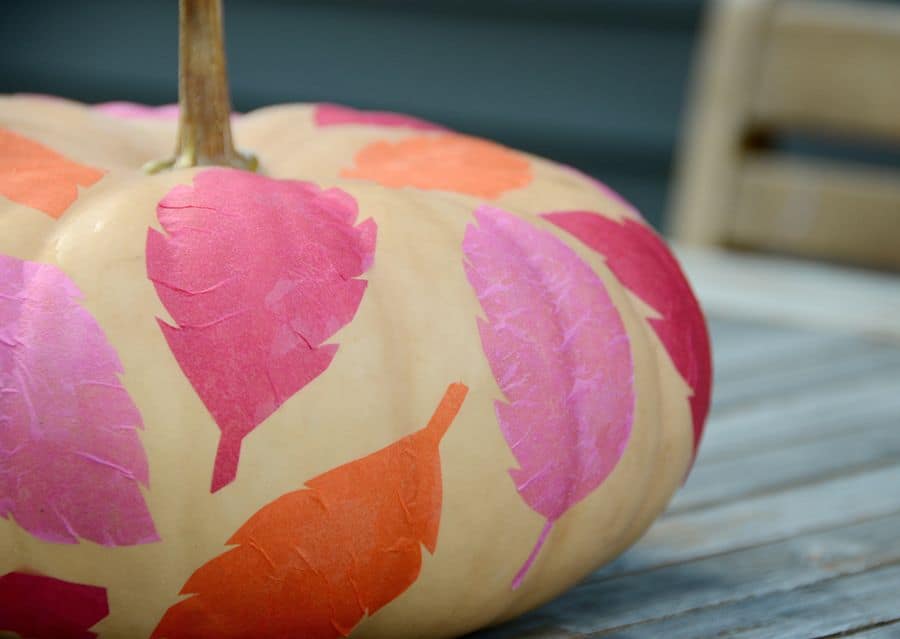
I love an orange pumpkin as much as the next gal, but sometimes I like to try something different. So this year, I’ve decorated a couple of heirloom pumpkins with a tissue paper maché technique. The great thing about this project is that you won’t have to buy much… just grab some leftover tissue from the last gift you received to get started.
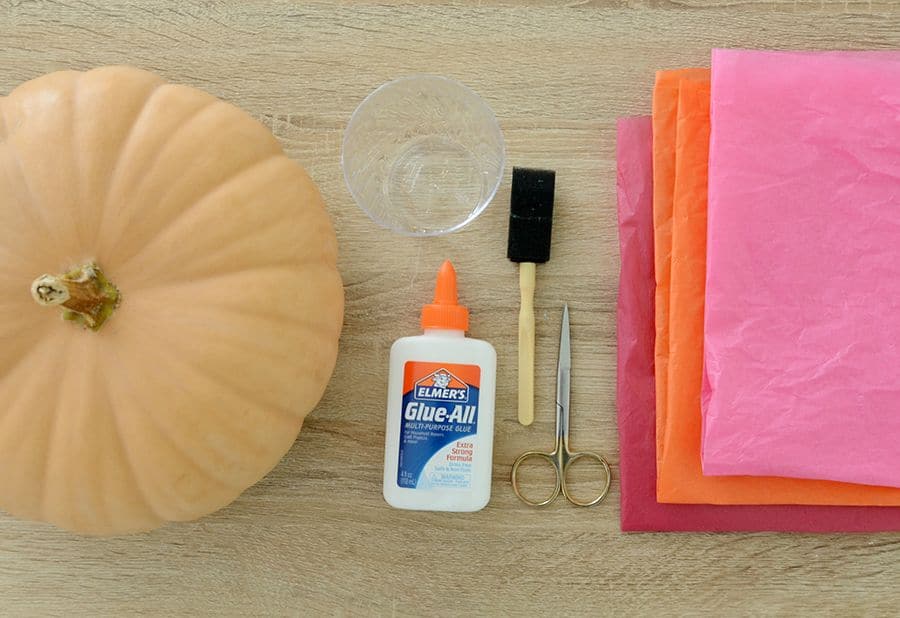
Here are the materials that you’ll need to decorate a pumpkin:
- A pumpkin (I used an heirloom variety… lighter works better)
- Elmer’s glue
- Plastic cup
- Foam brush
- Scissors
- Leftover tissue paper
Step by step decorating process:
Step 1: cutting paper
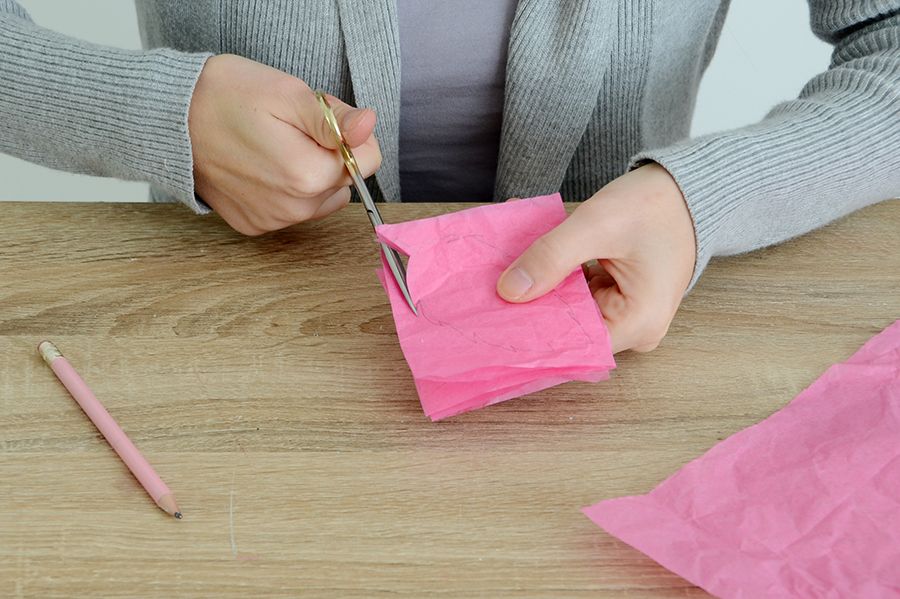
Begin by cutting a 4 inch wide strip of tissue and folding it in half a couple of times so you have multiple layers to work with. Draw a leaf shape and cut through all the layers to crate a handful of leaves. Repeat this process with a two or three other colors.
Step 2: Prepare the glue
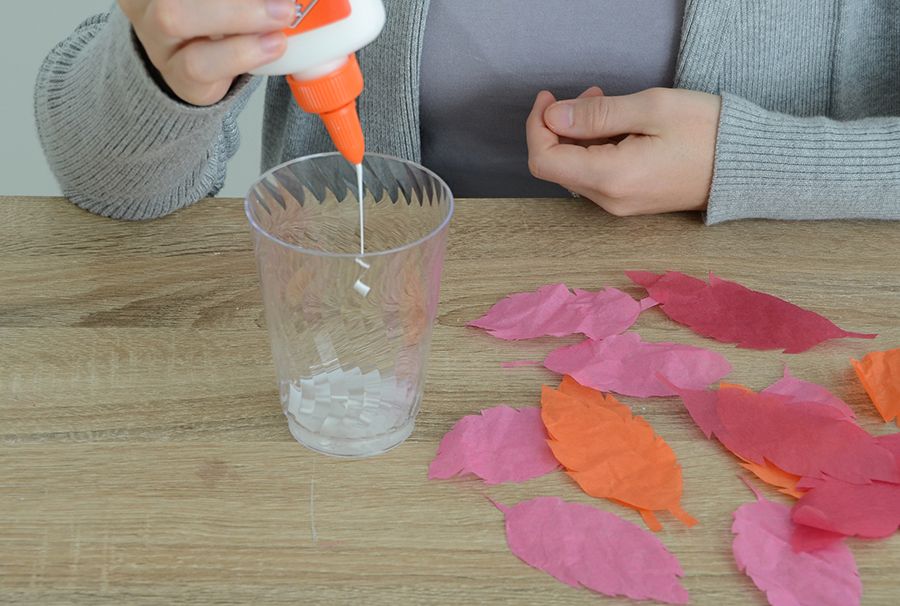
Next, pour about a teaspoon of water into a plastic cup and add a tablespoon of Elmer’s glue. Use the foam brush to mix it together. If it is super watery, add more glue. It should be a frothy consistency.
Step 3: Apply a bit on the pumpkin
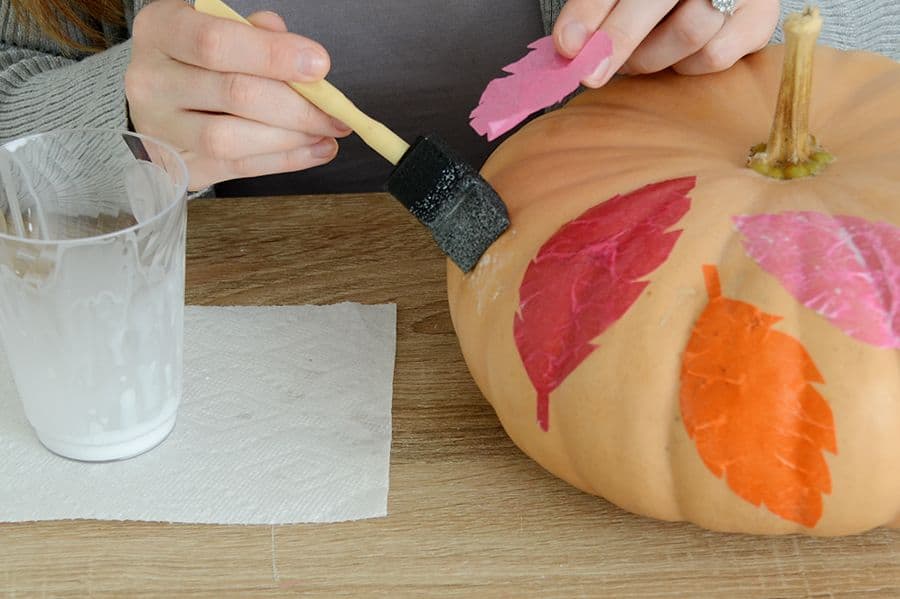
Put a bit of the mixture on the pumpkin where you’d like a leaf to go.
Step 4: Two layers of glue
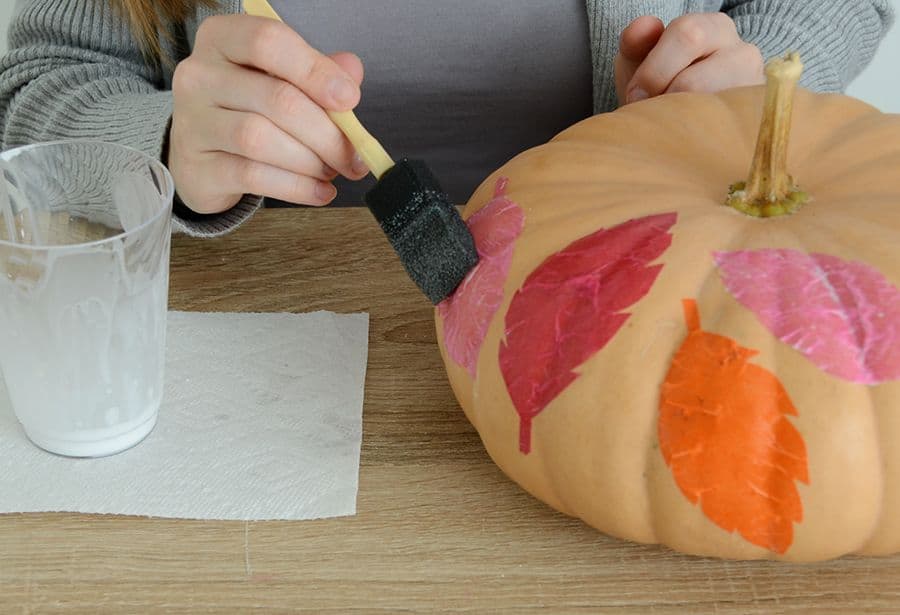
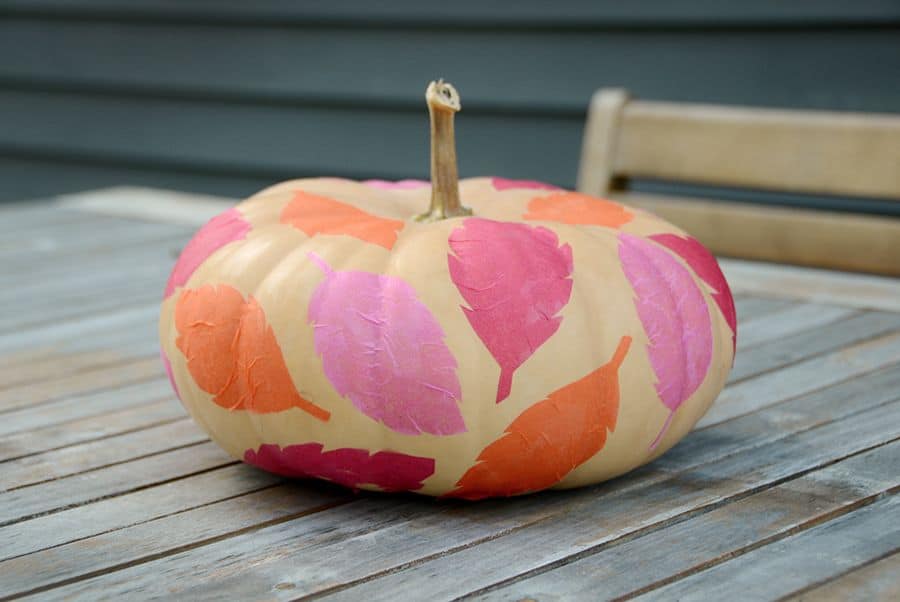
Place the leaf on the glued surface and then put another layer of the mixture on top. Make sure that the edges are glued down. Alternate colors and orientations so the layout looks natural. Let the top part dry completely, then flip it over and add a few more leaves towards the bottom.
Conclusion
And that’s all, your tissue paper pumpkin is complete! Because it isn’t carved, it should last for many weeks.
I love this project because it uses up materials that you probably already have on hand, instead of requiring you to purchase all new items.
You can use any kind of pumpkin and any tissue colors to get different effects… the sky’s the limit! You could also use an artificial pumpkin so you can keep it for years to come.
