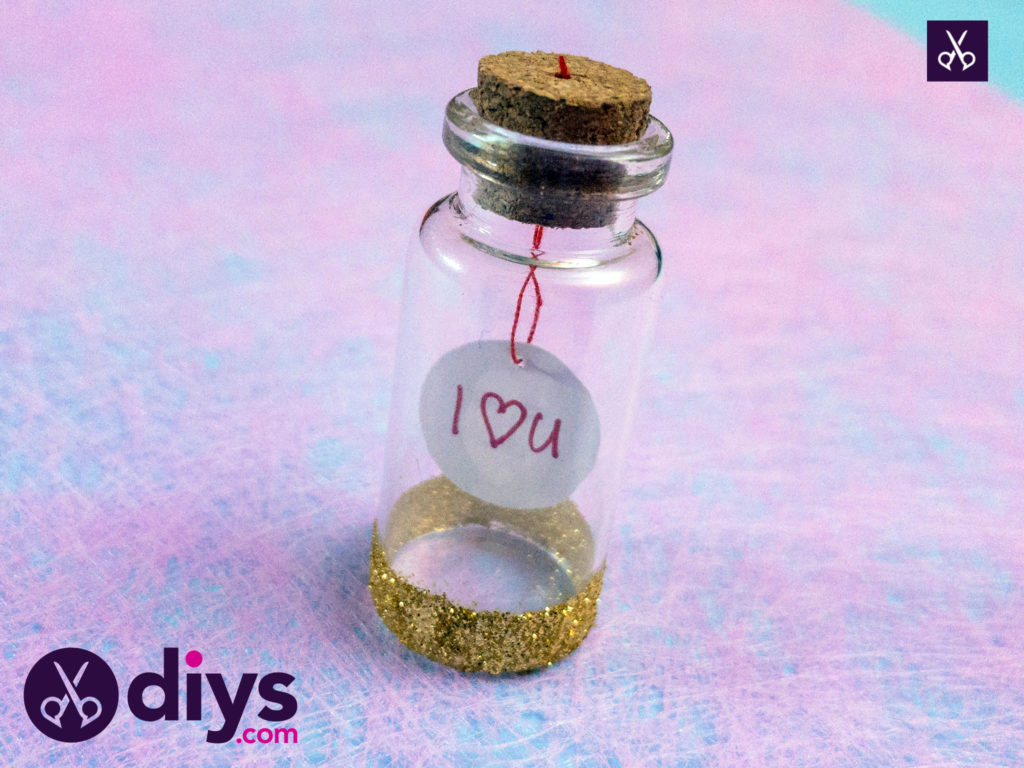
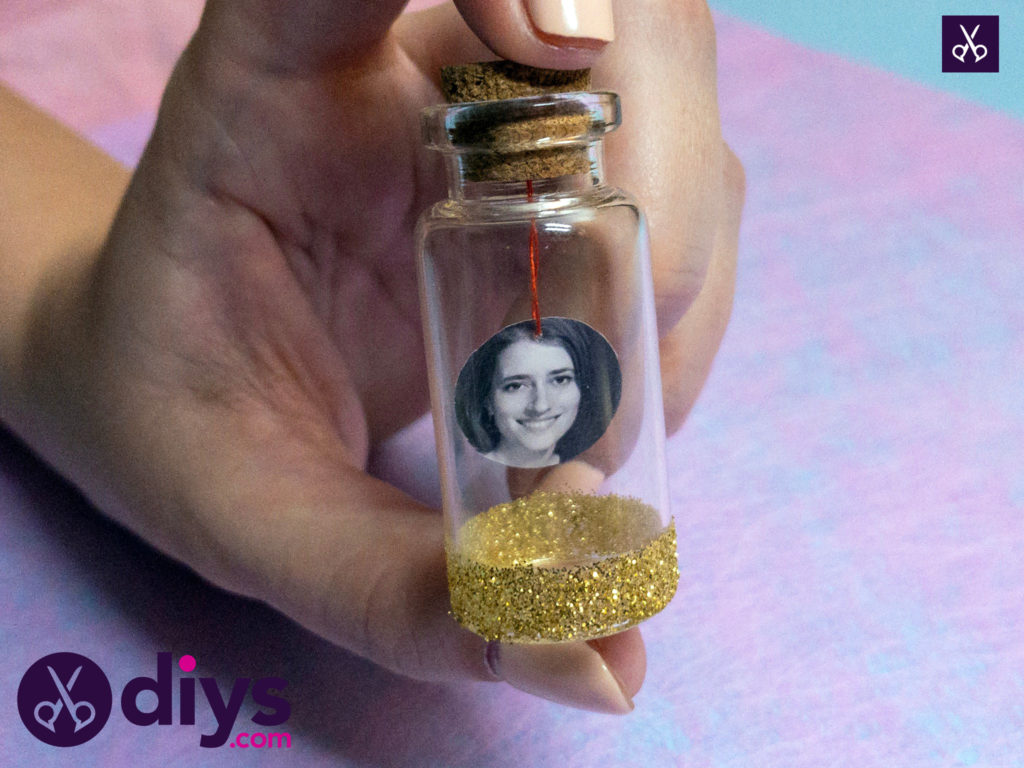
How to Make a Tiny Photo in a Bottle
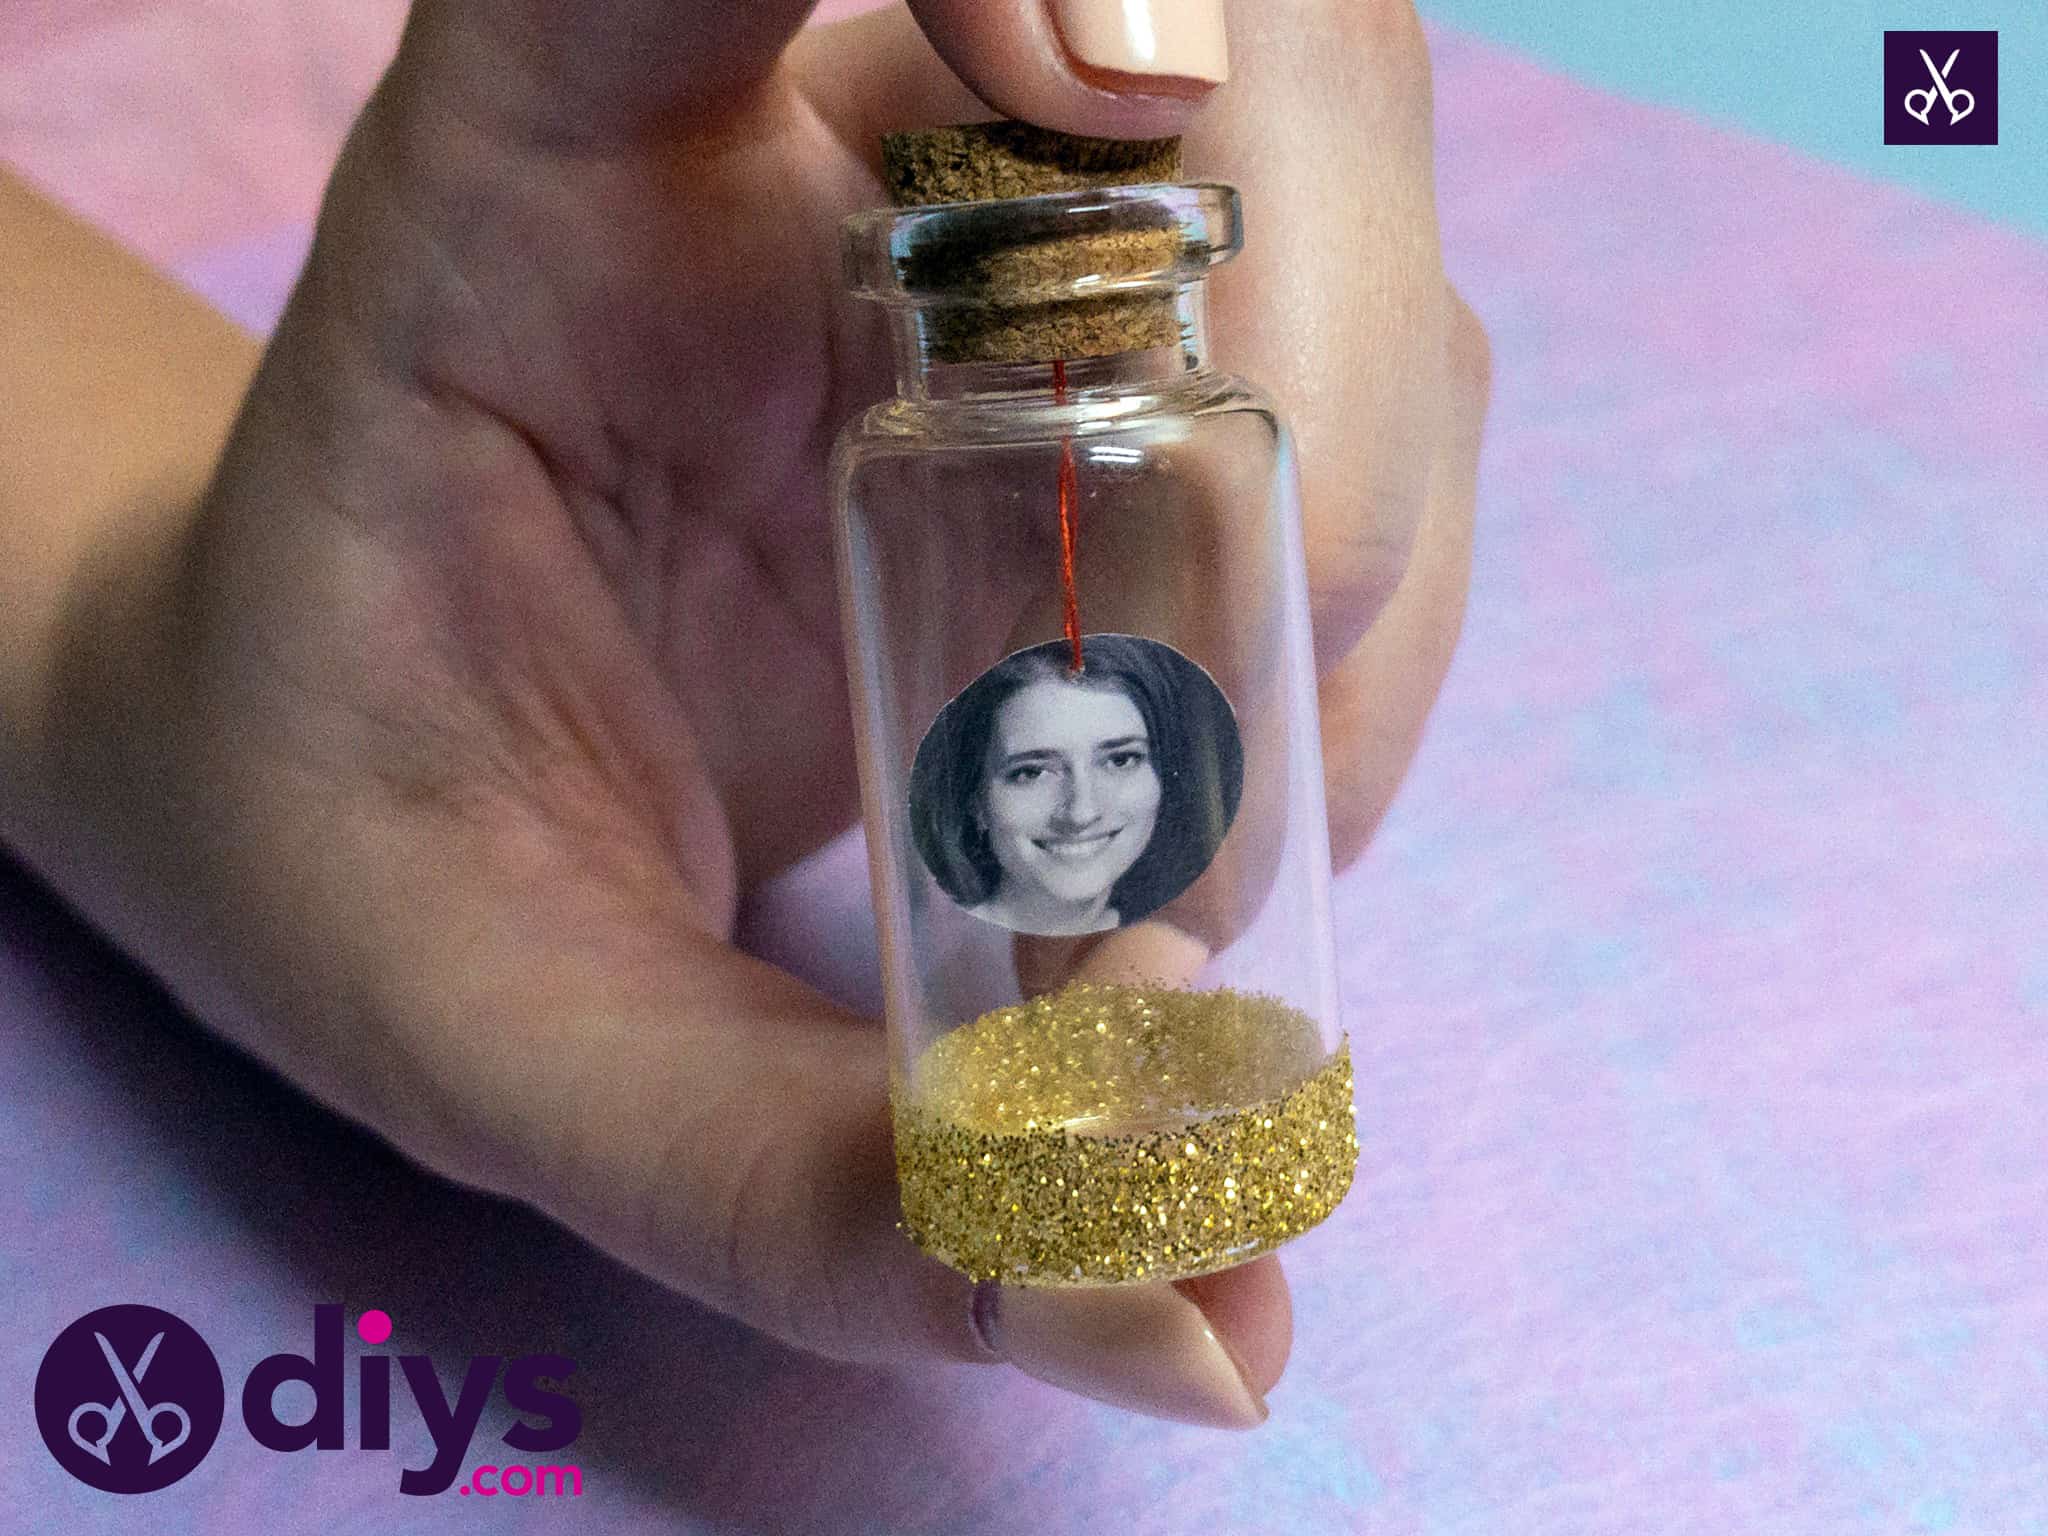
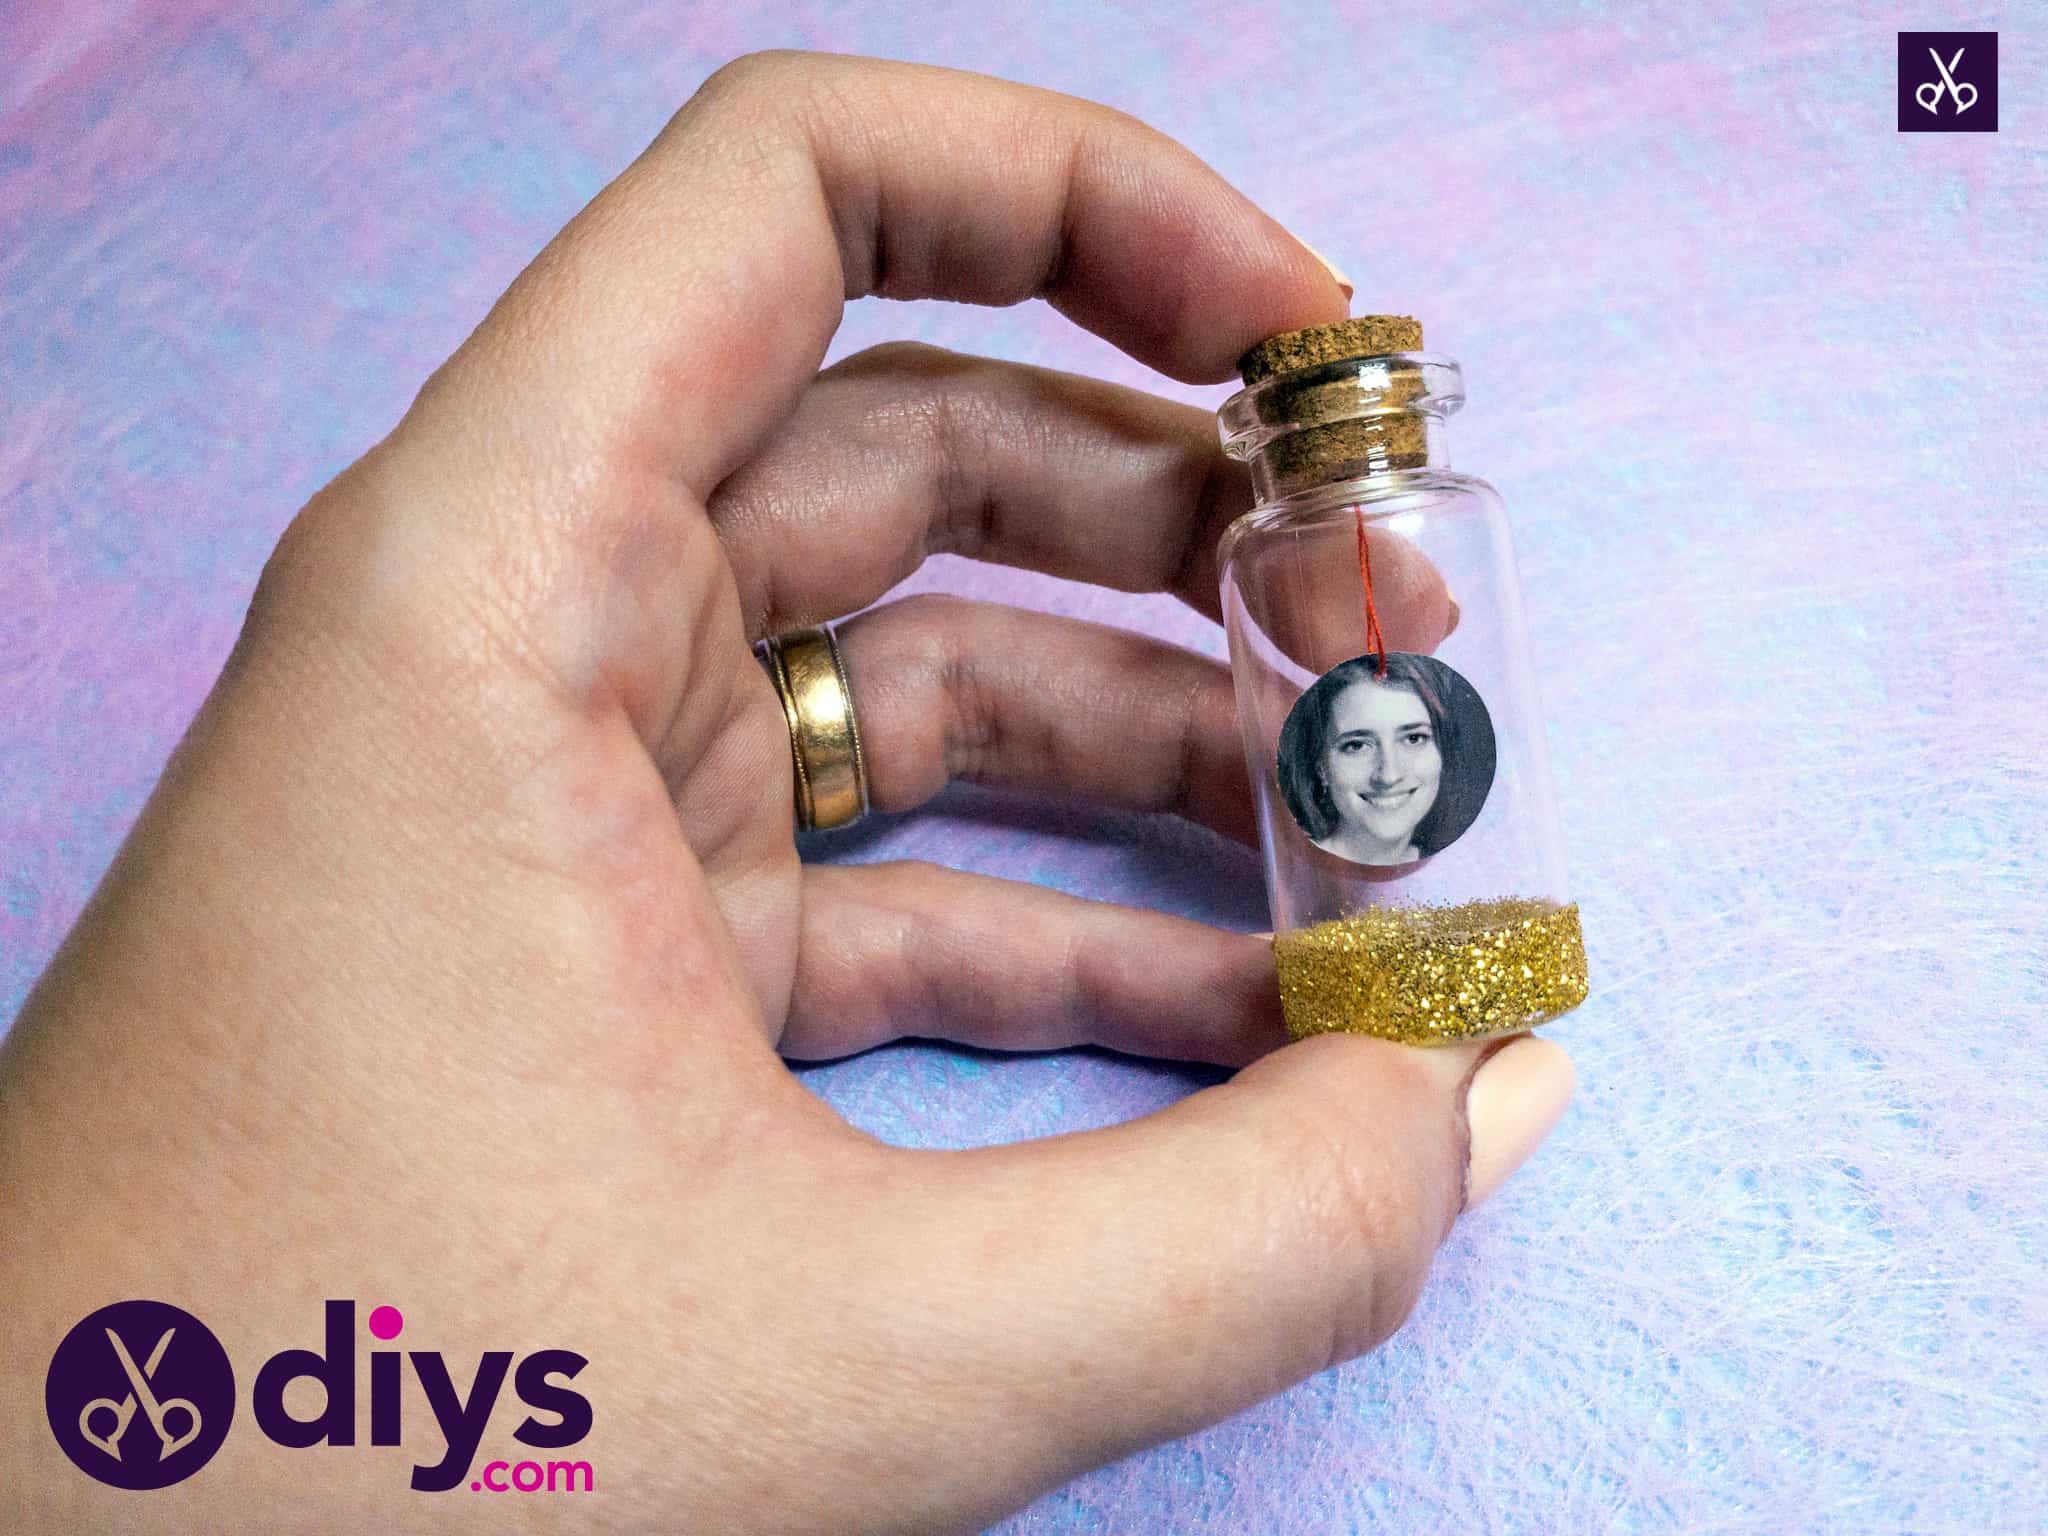
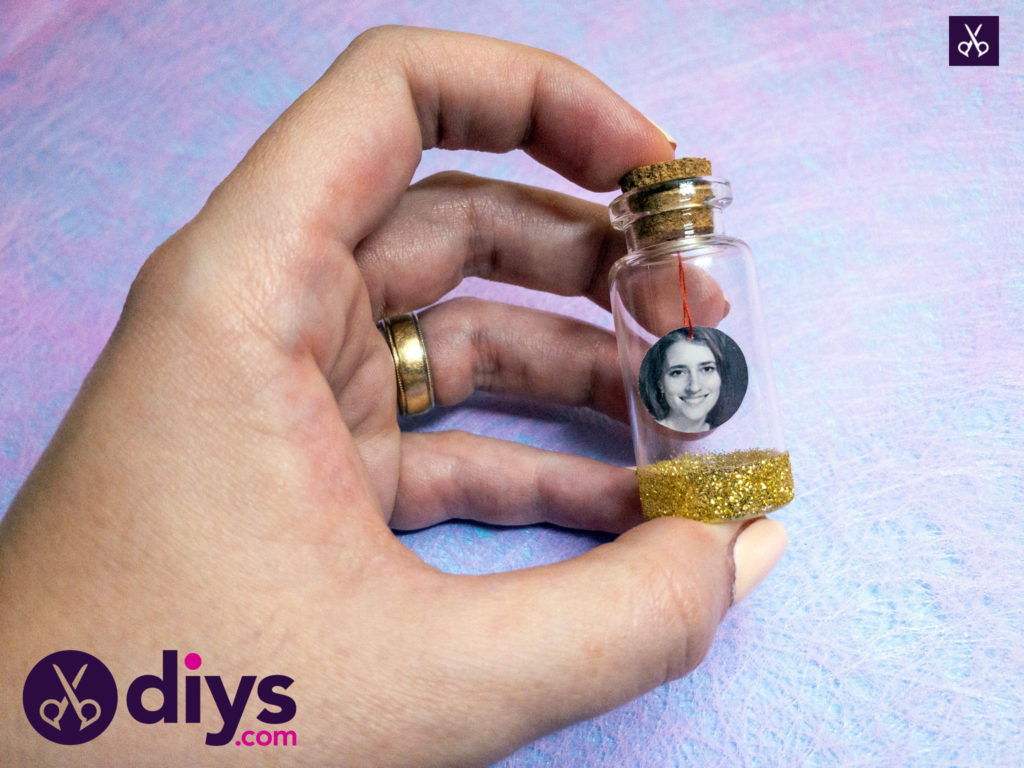
Recently, I found adorable little glass bottles with cork lids in my local dollar store, in the crafting aisle, and I was struck by a great idea that, once I’d tried it out, I was very happy with indeed in the end. Check out how I made these DIY tiny photo bottles.
Take a look at these written steps to learn more about how I made this tiny photo in a bottle! If you’re the kind of person who learns better by watching someone physically do something, scroll to the bottom of this post and check out the full video tutorial there!
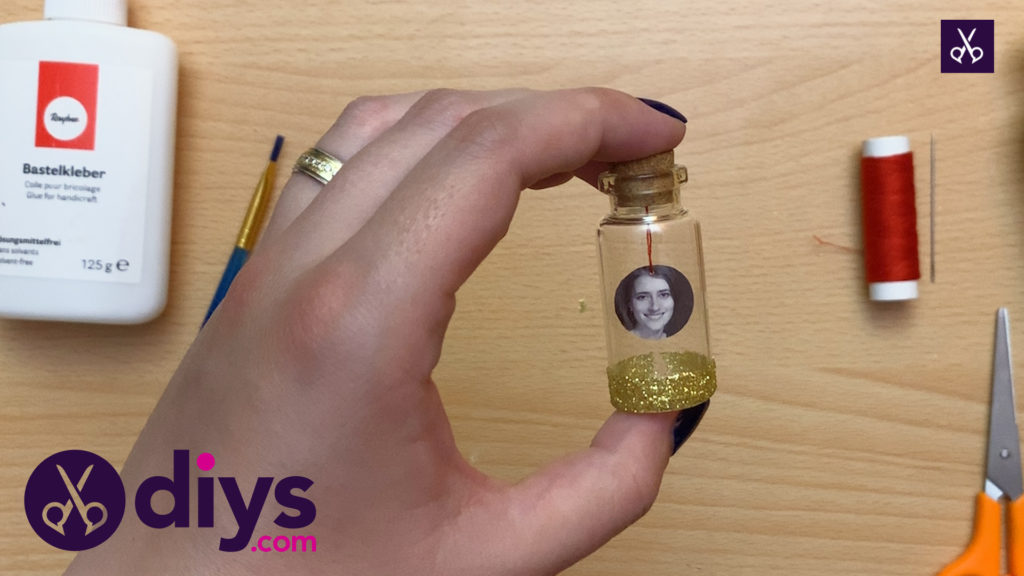
For this project, you’ll need:
- Miniatures bottle
- Mini photo
- Thread
- Needle
- Scissors
- Glue
- Glitter
Step 1: print photo
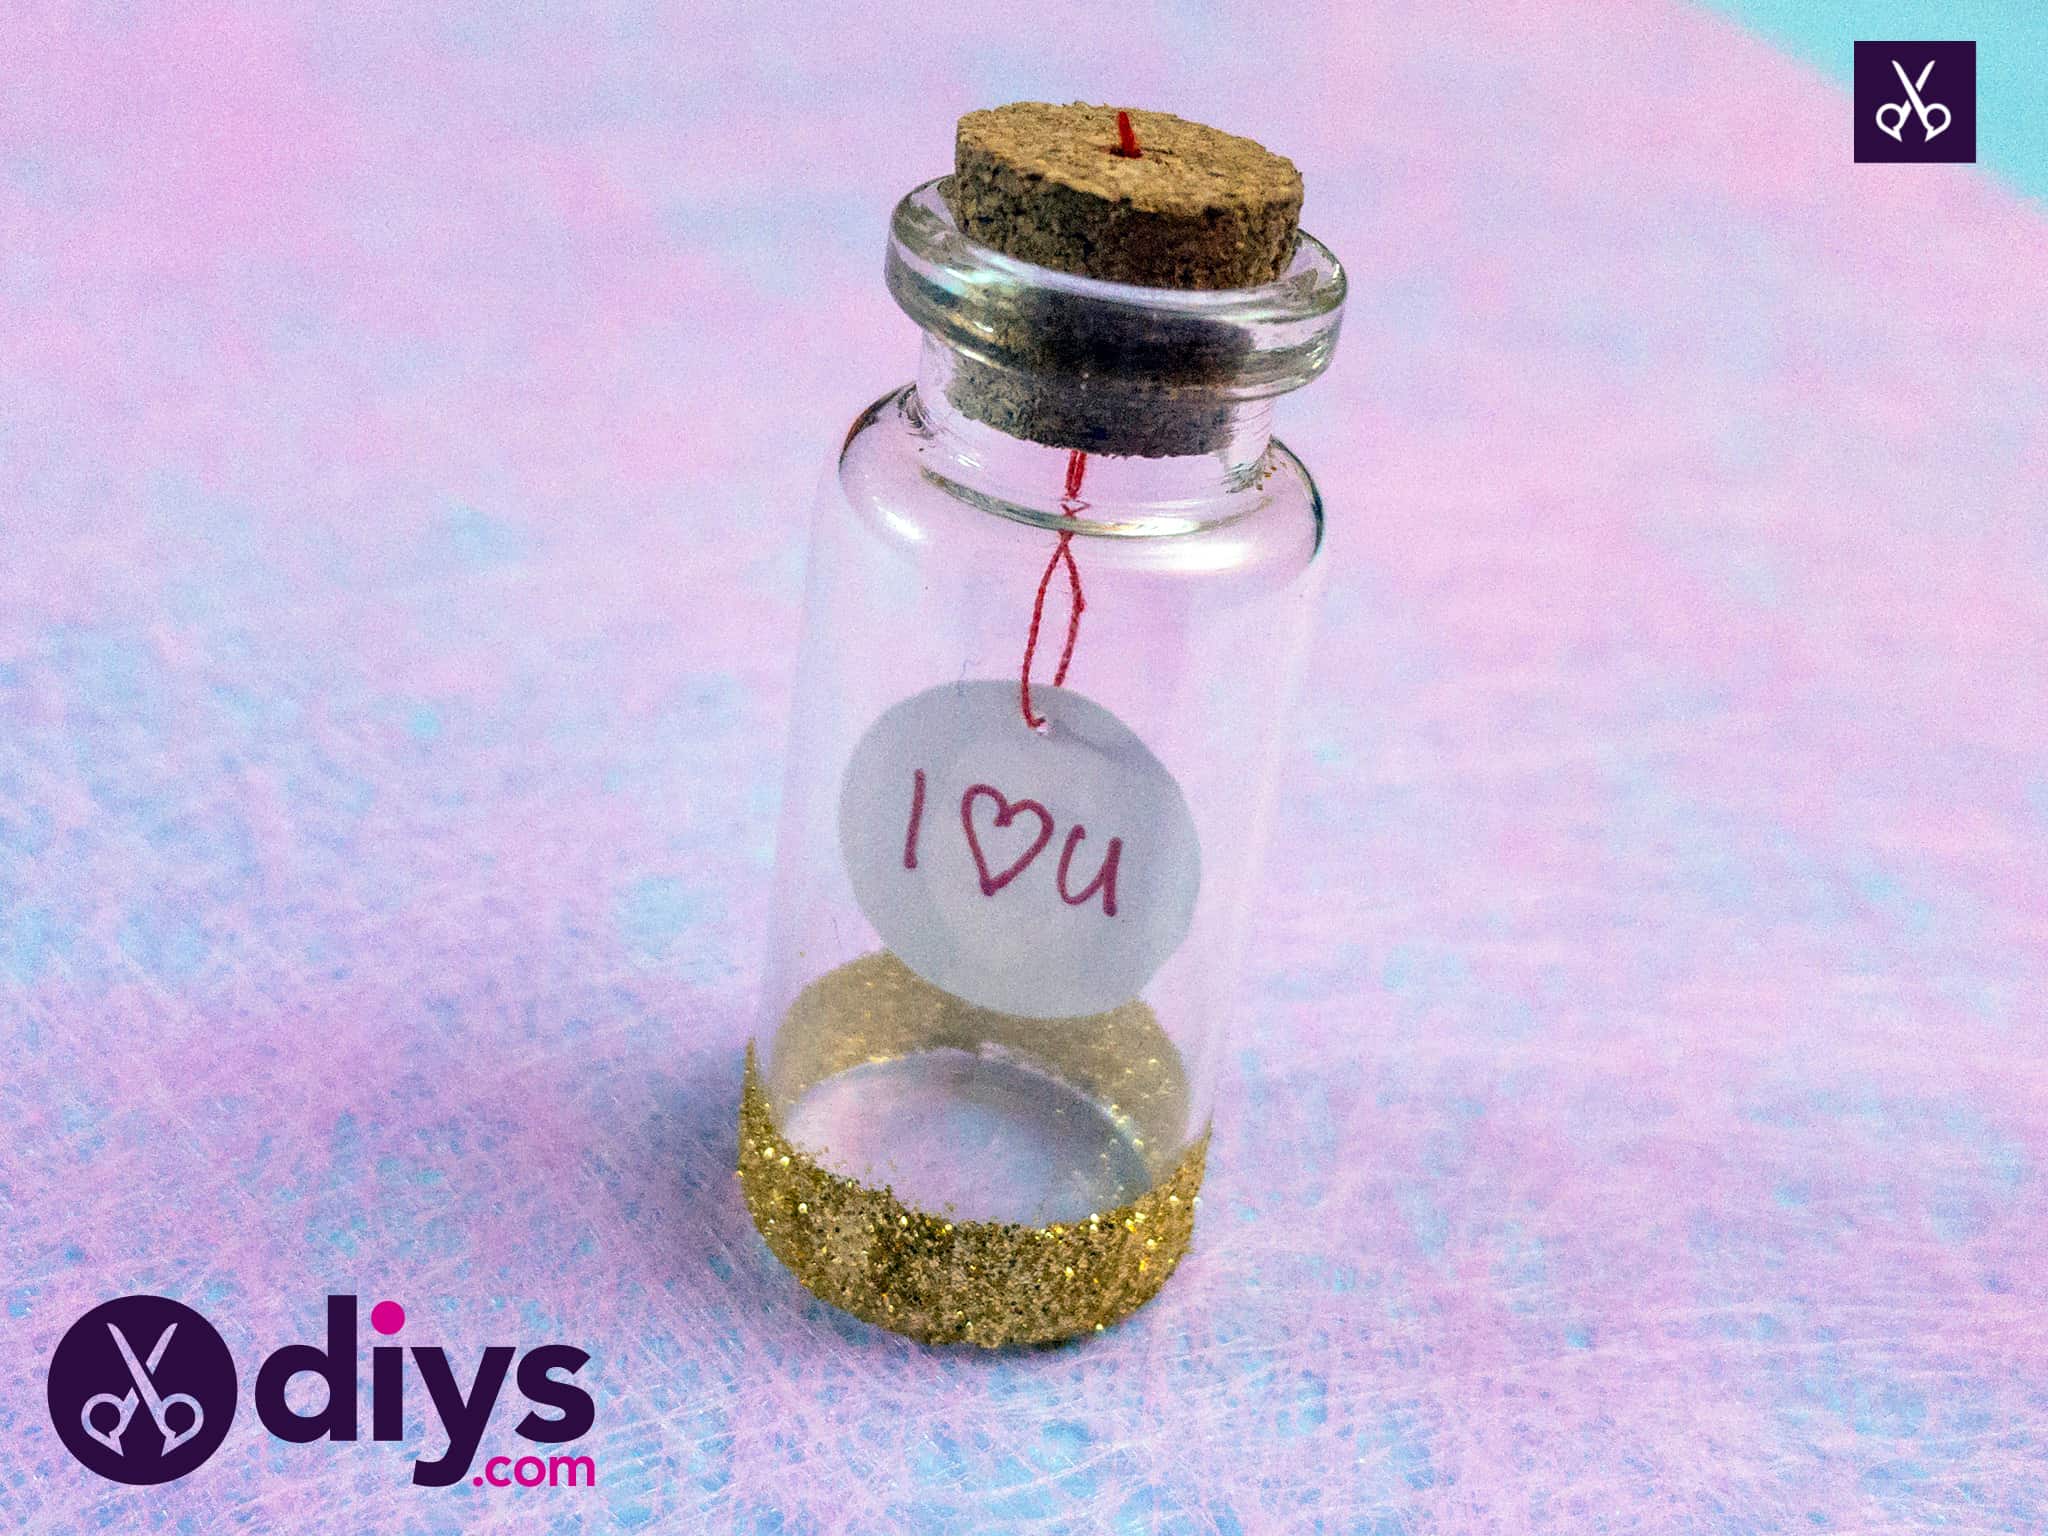
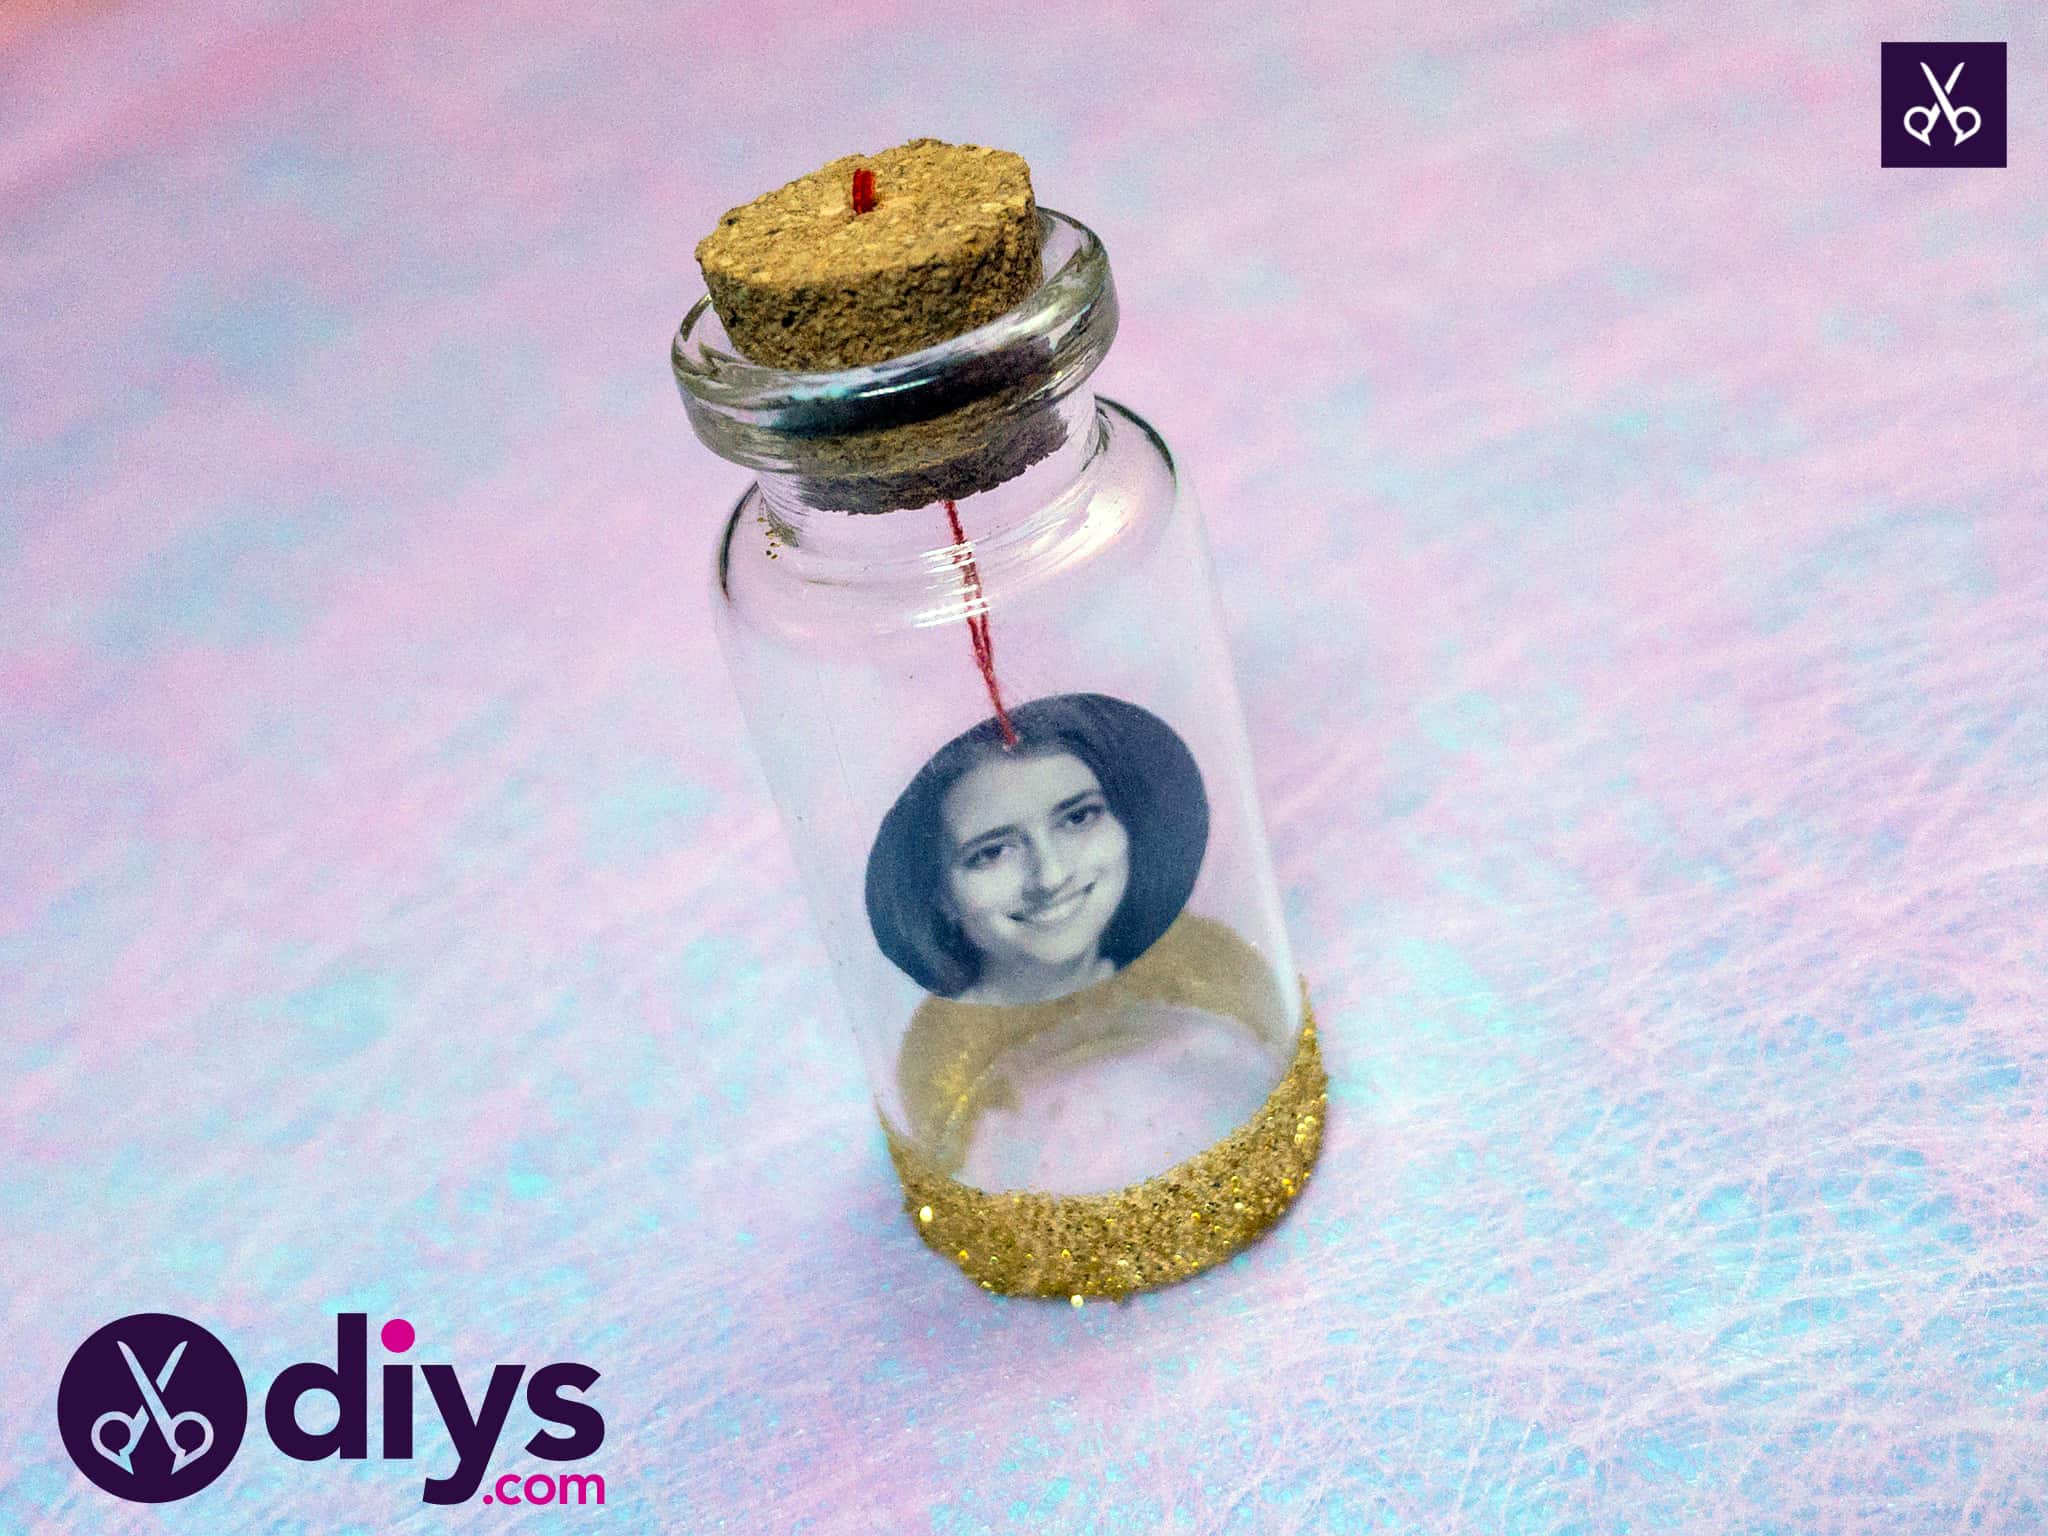
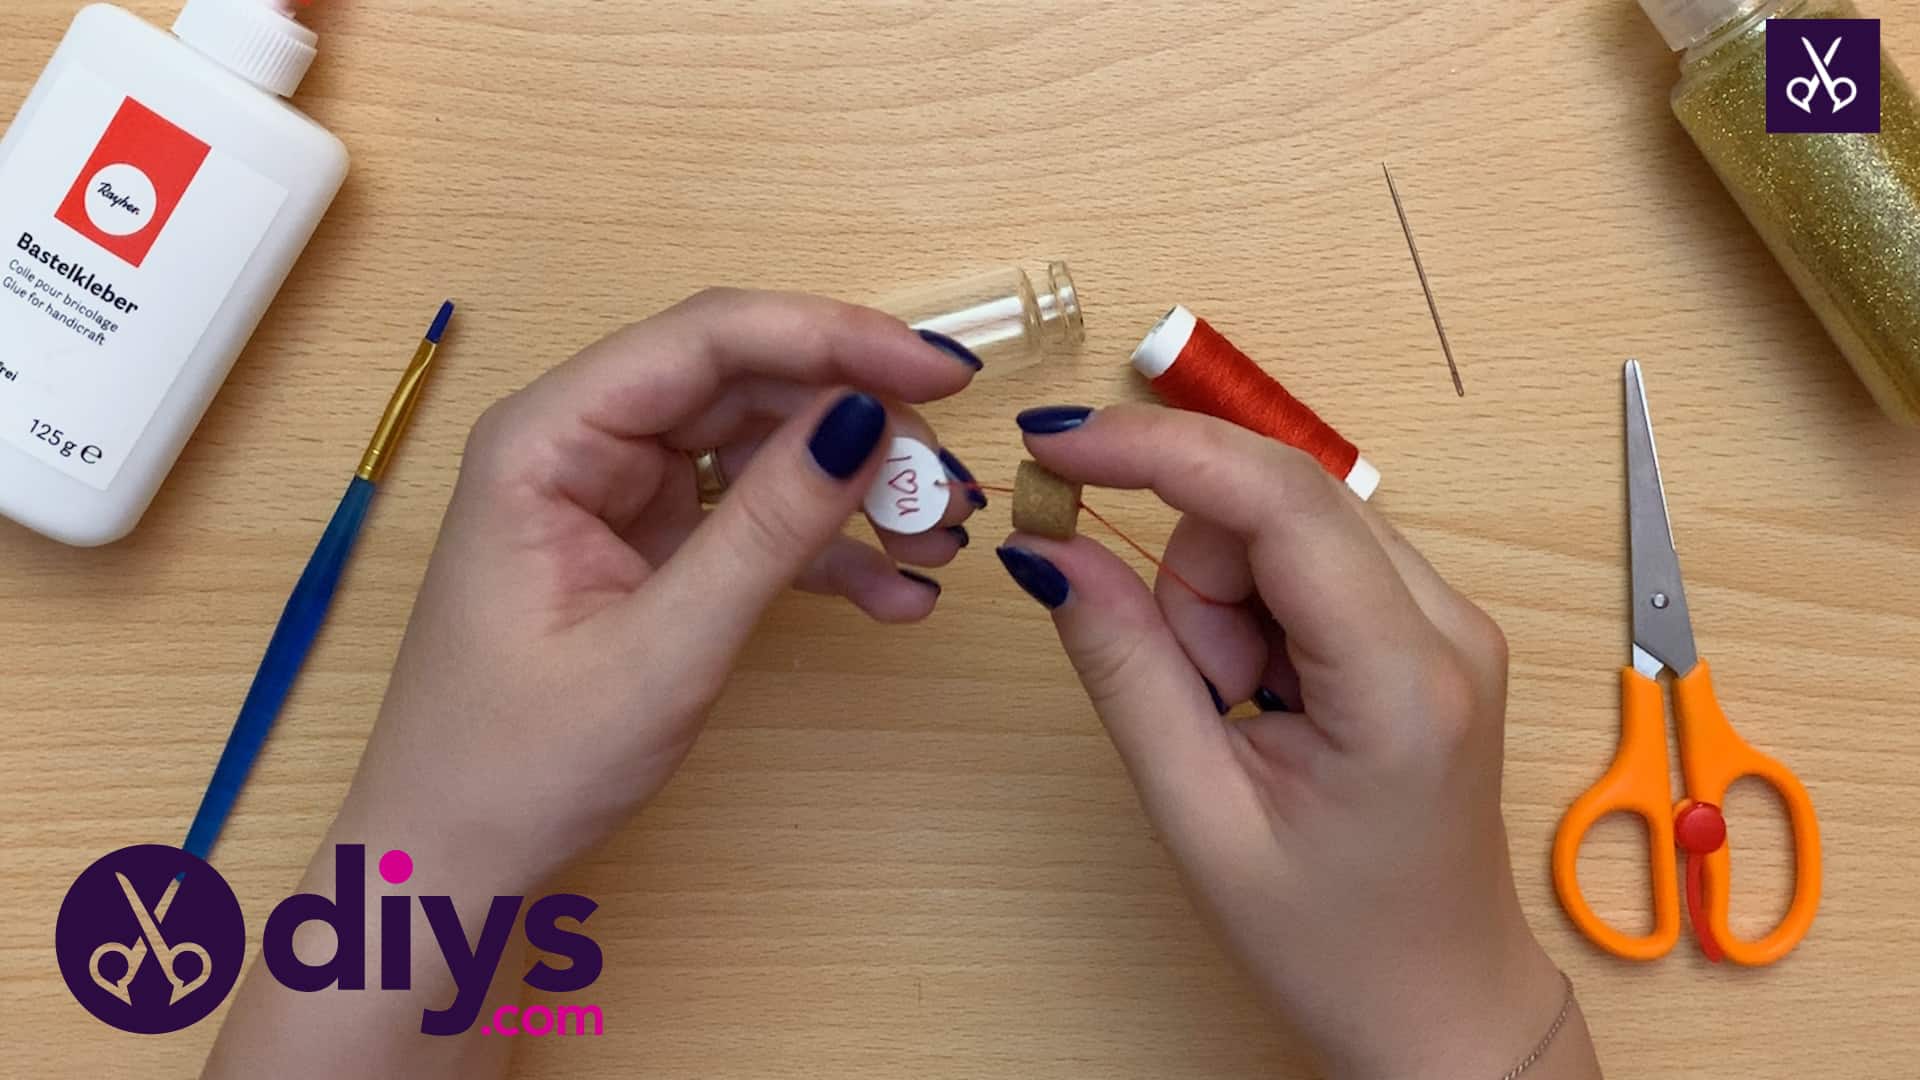
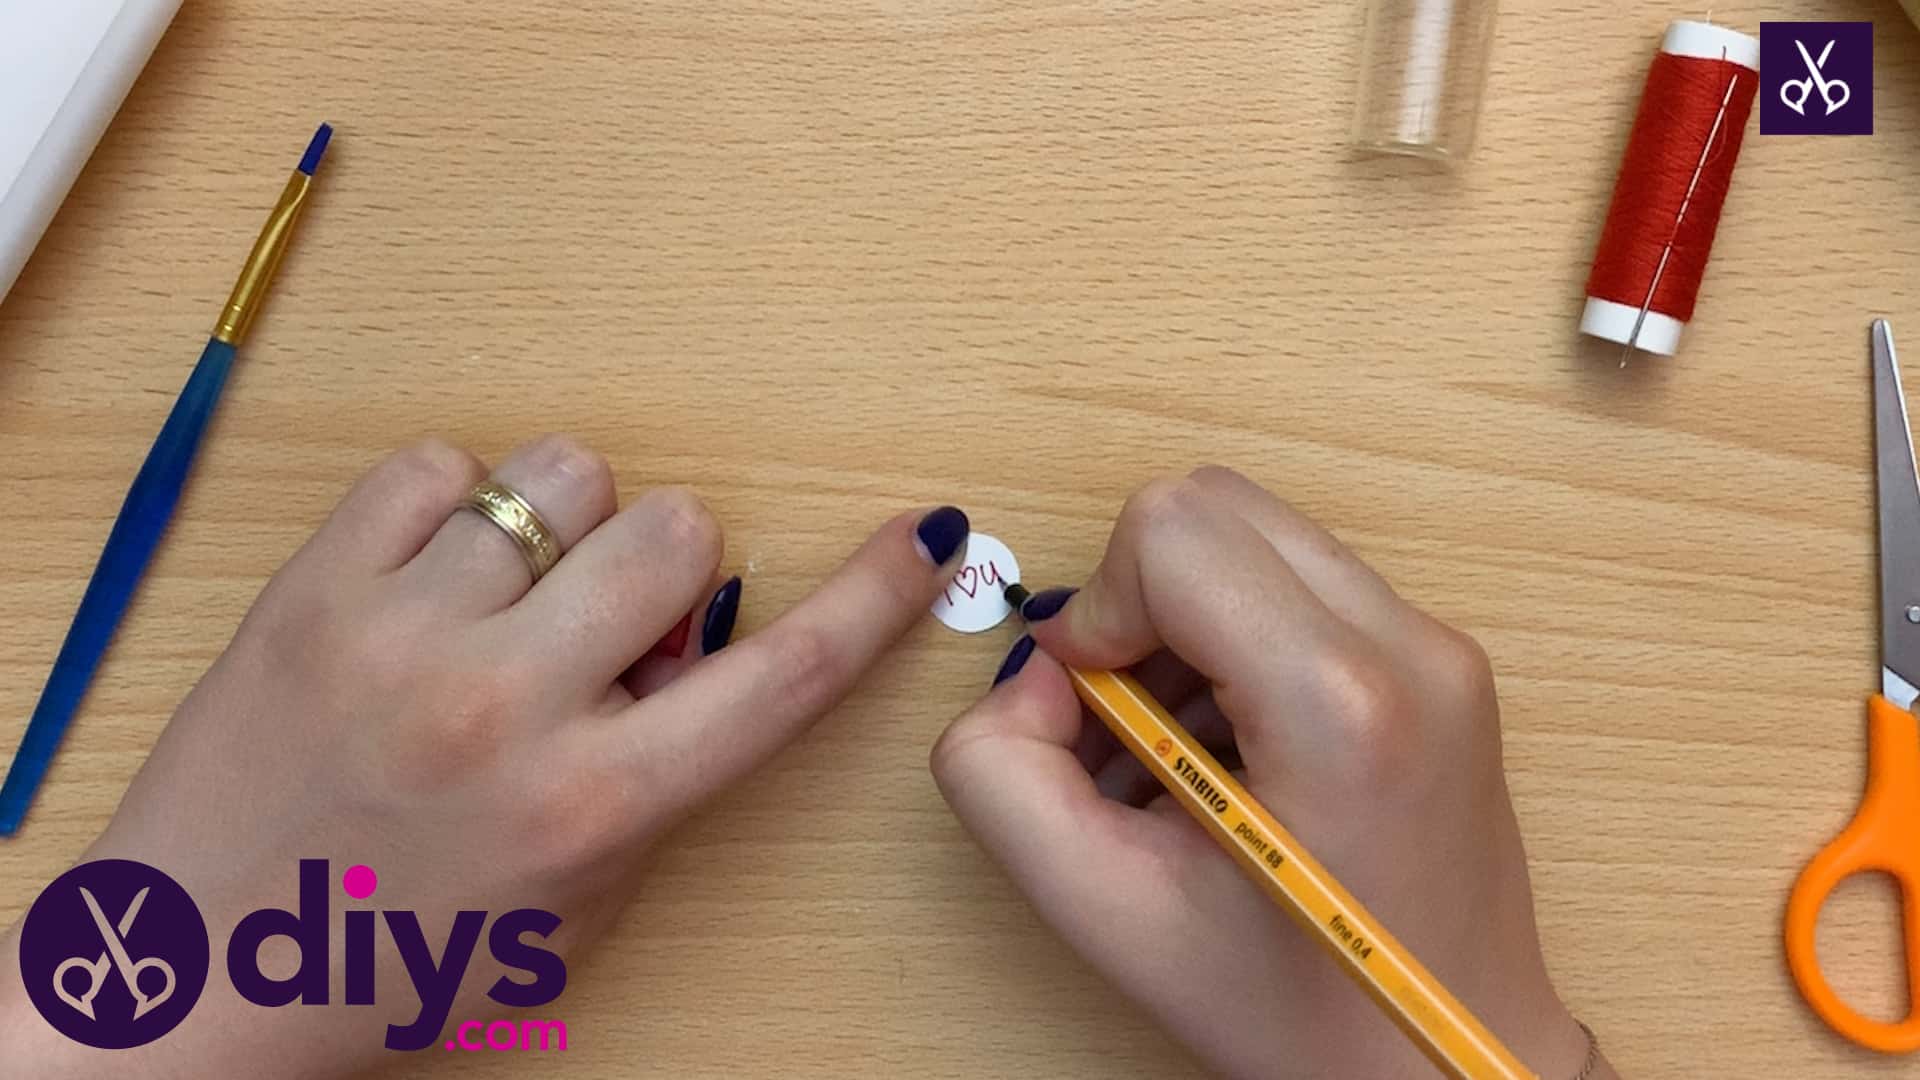
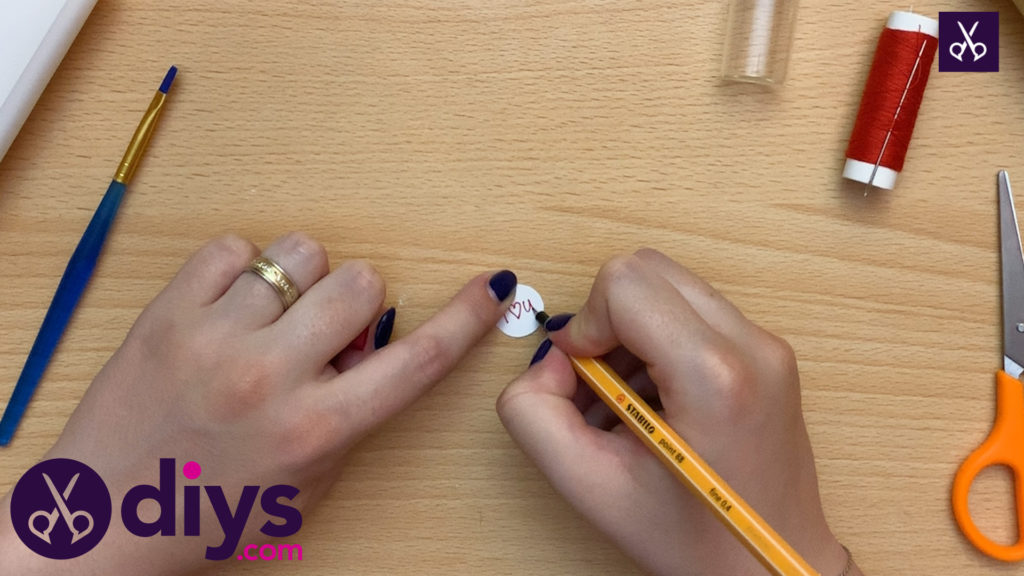
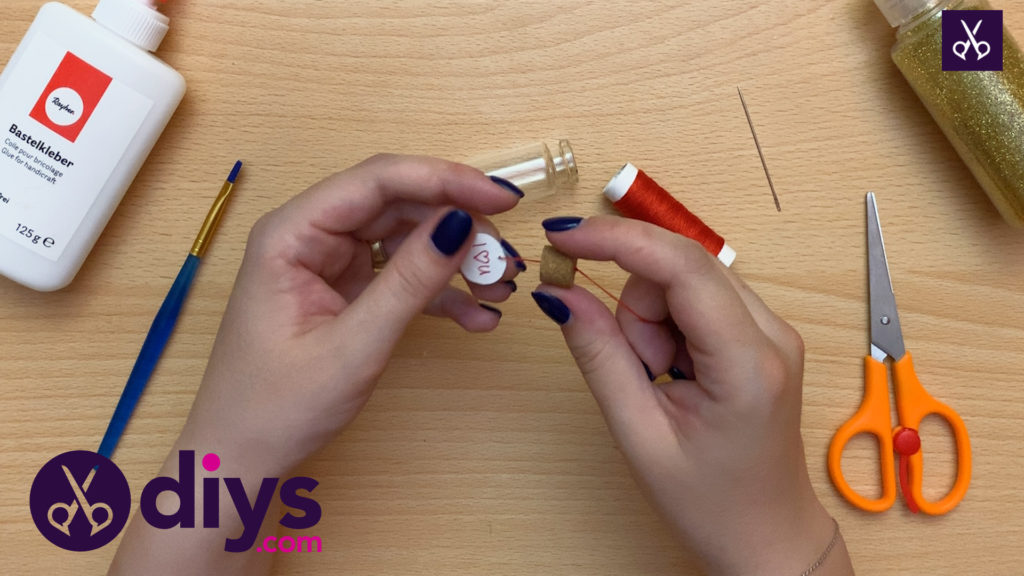
Print a very small version of the photo you want to put in your bottle. Use the top rim of your bottle to trace a circle around the main portion you want to display (for example, I chose a family member’s face from an old portrait) and carefully cut your little circle out. Flip it over and write a nice, tiny message on the back! I used a red, fine tipped felt pen to write “I love u”, replacing the word “love” with a simple heart to save space and add character.
Step 2: thread it
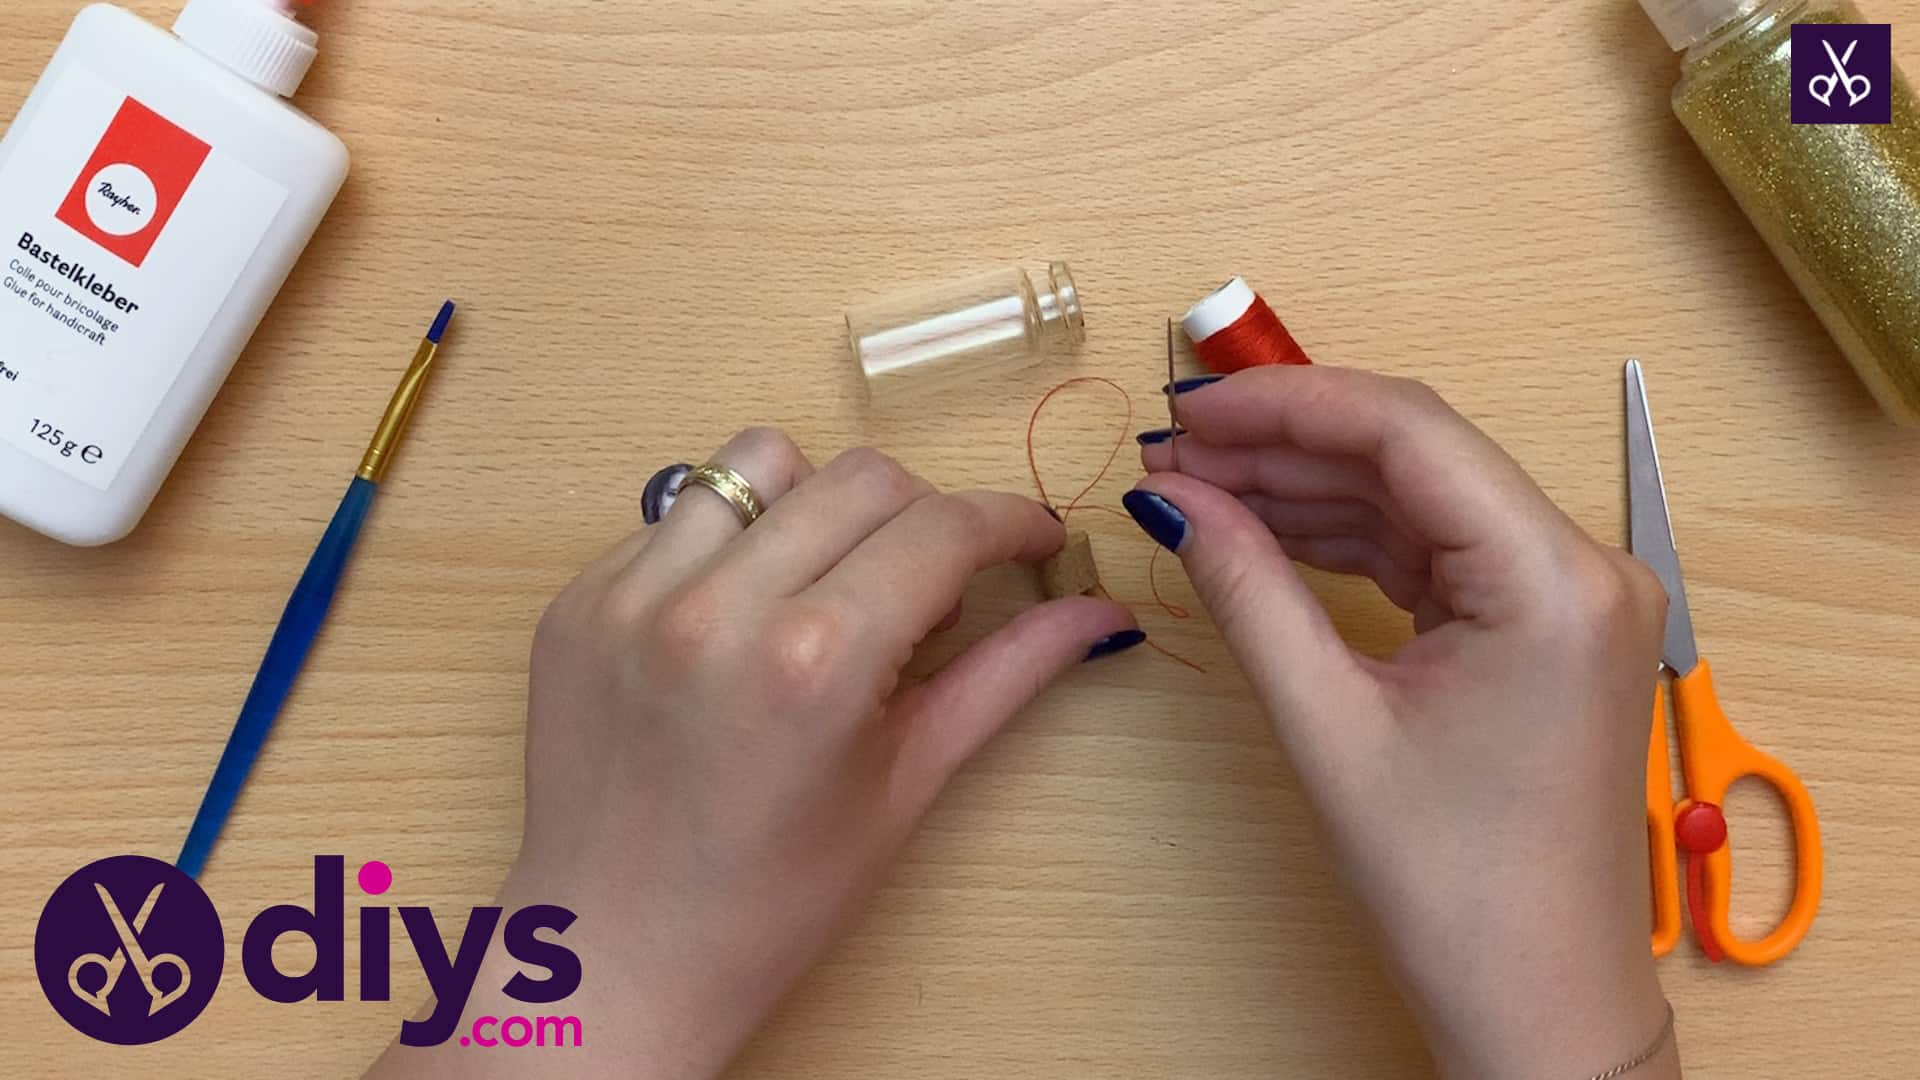
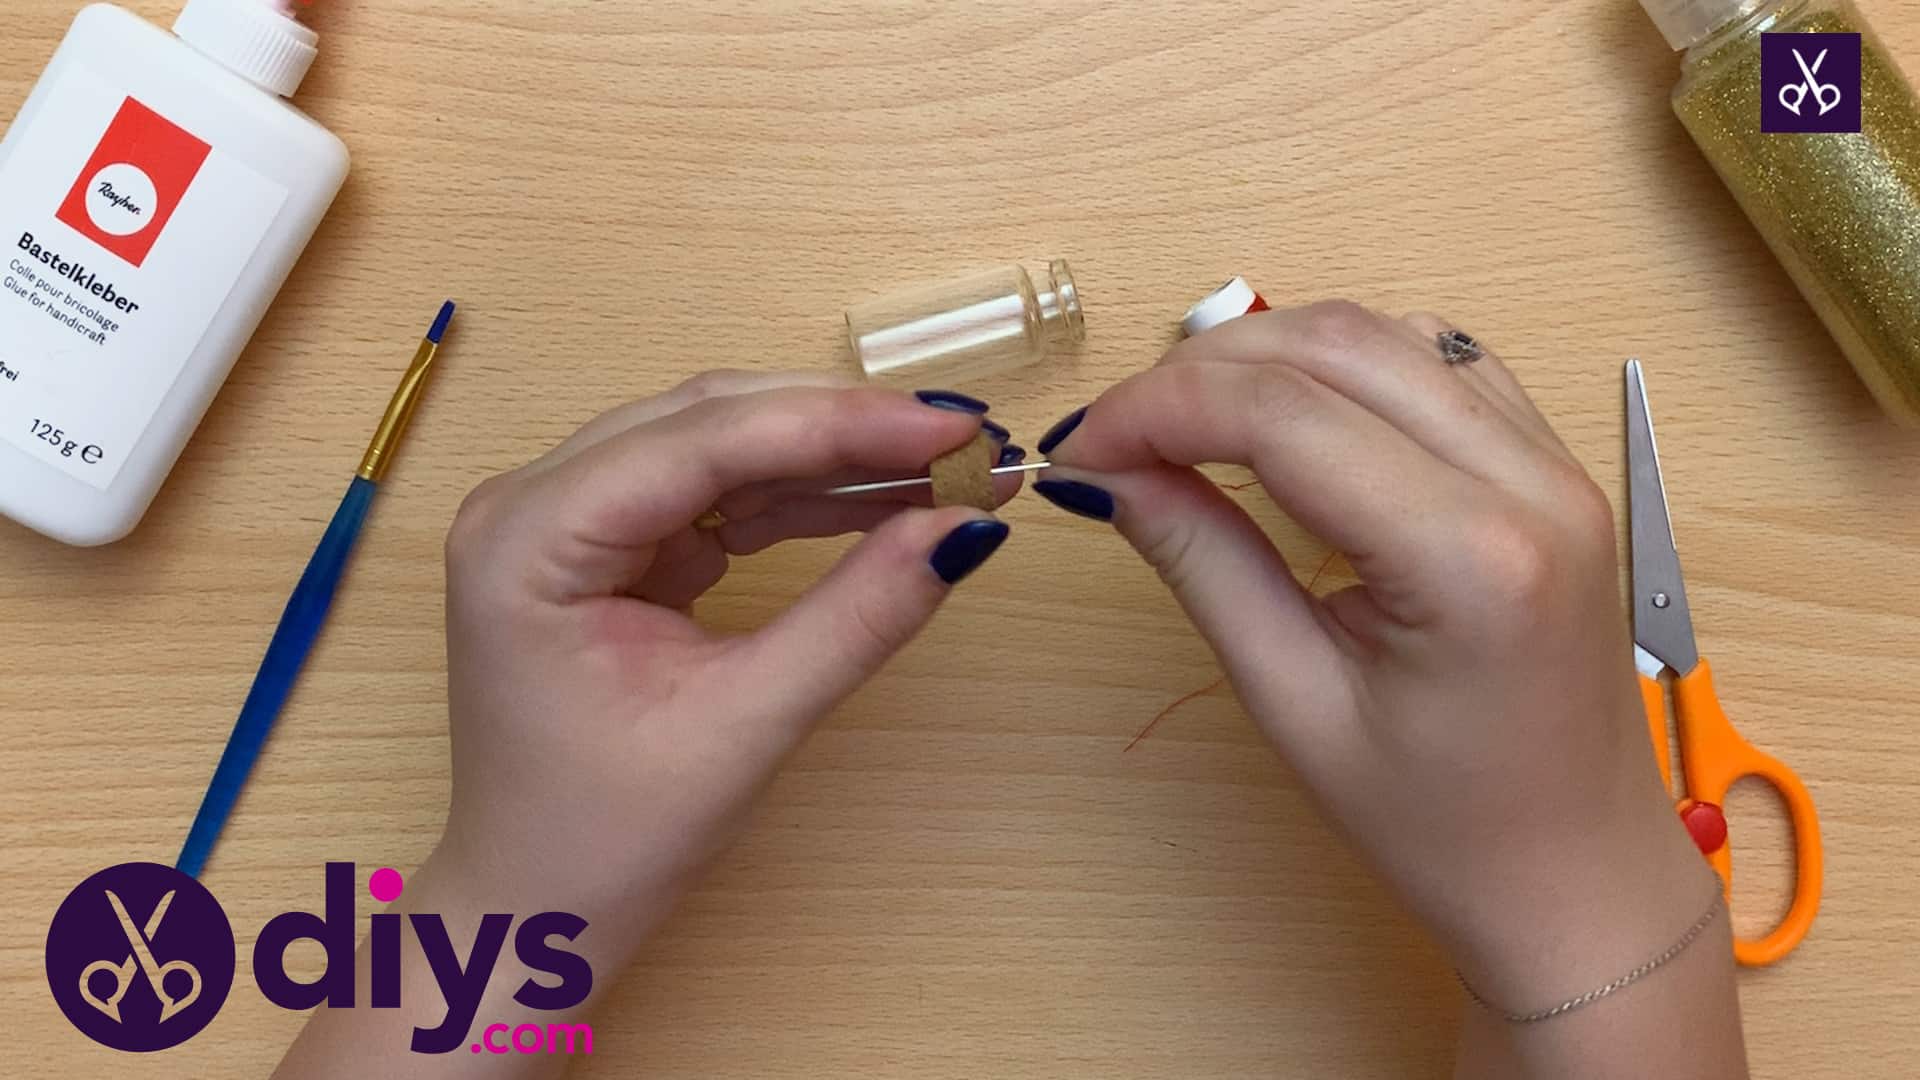
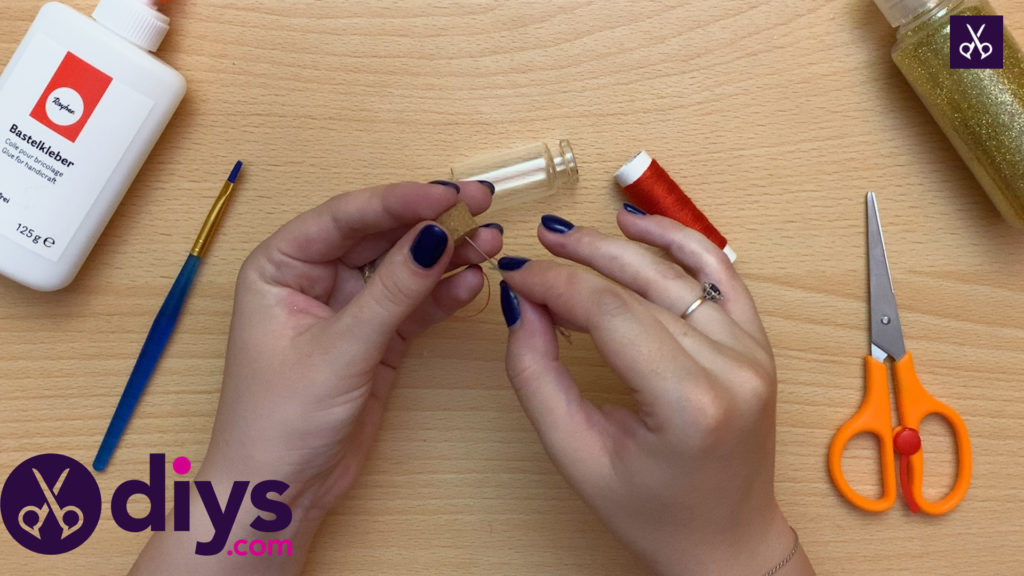
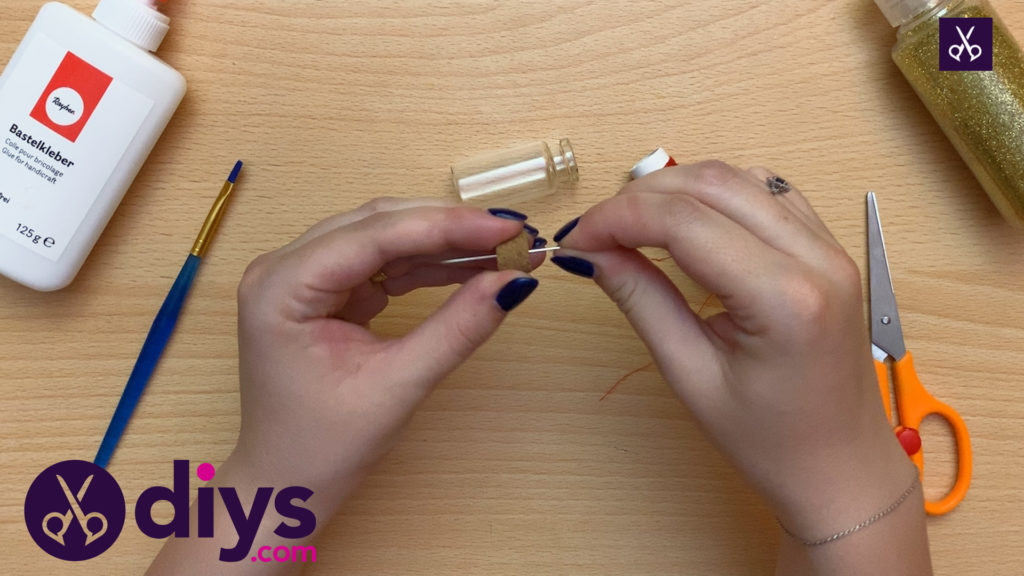
Thread your needle, giving yourself several inches of thread to work with. Pick up the cork lid of your little glass bottle and find the center. Push your needle right through the middle from the top of the lid down through the bottom.
Step 3: attach to cork
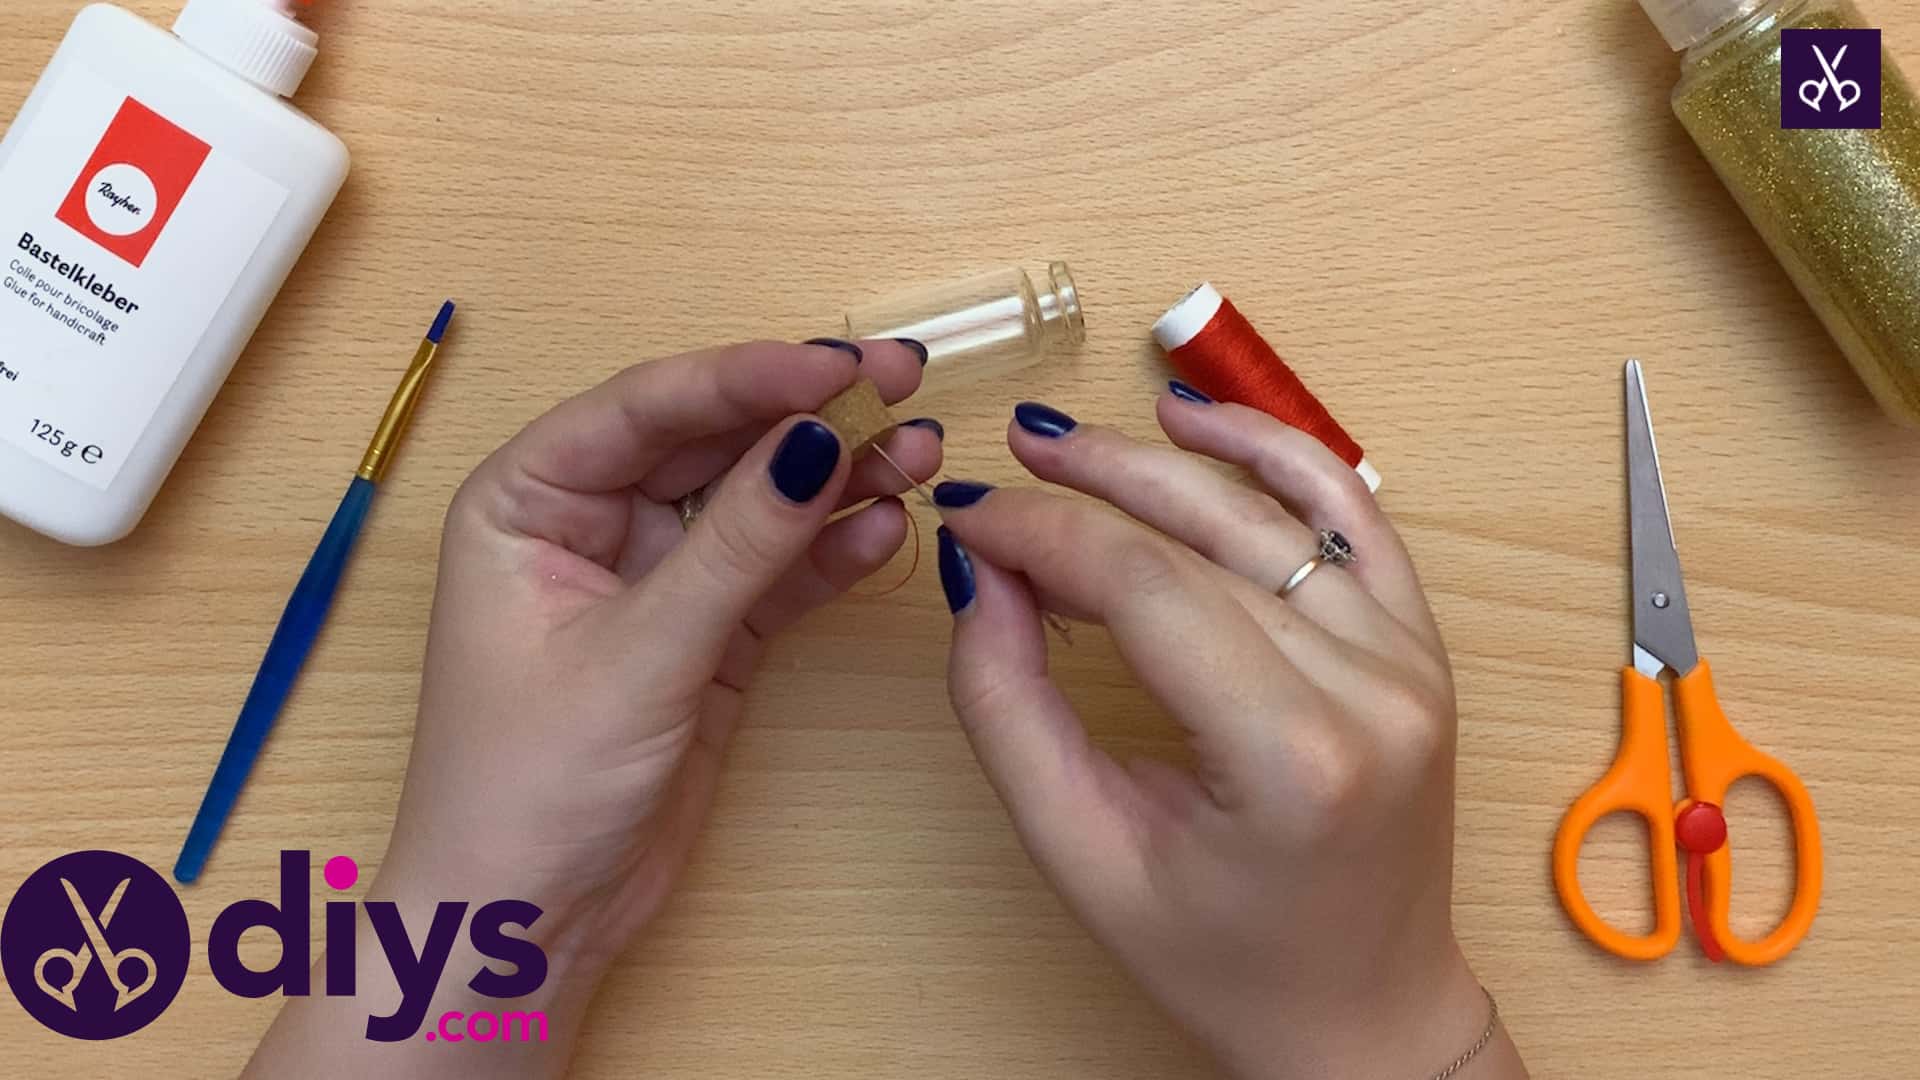
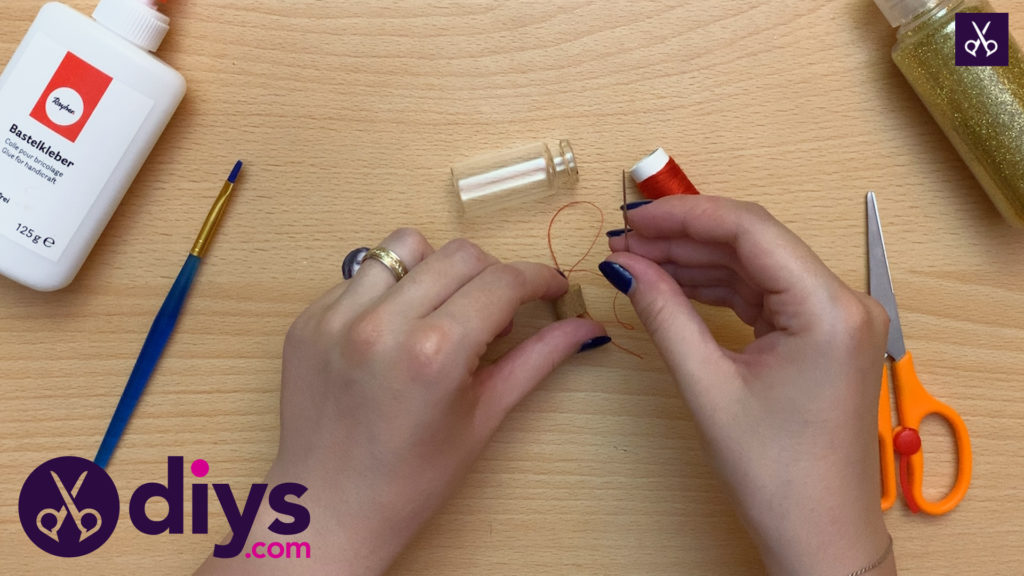
Pull your needle all the way through the lid so only the thread lies through the hole. Don’t pull ittoo far through; leave yourself thread to work with on either side. Find a spot in the very top of your little circular picture where you can subtly put the needle through and thread the photo onto your thread without really interrupting the image. Carefully make a single stitch through the top of the picture, pulling your needle all the way through. Leave a bit of length between the photo and the lid so the picture dangles.
Step 4: secure in cork
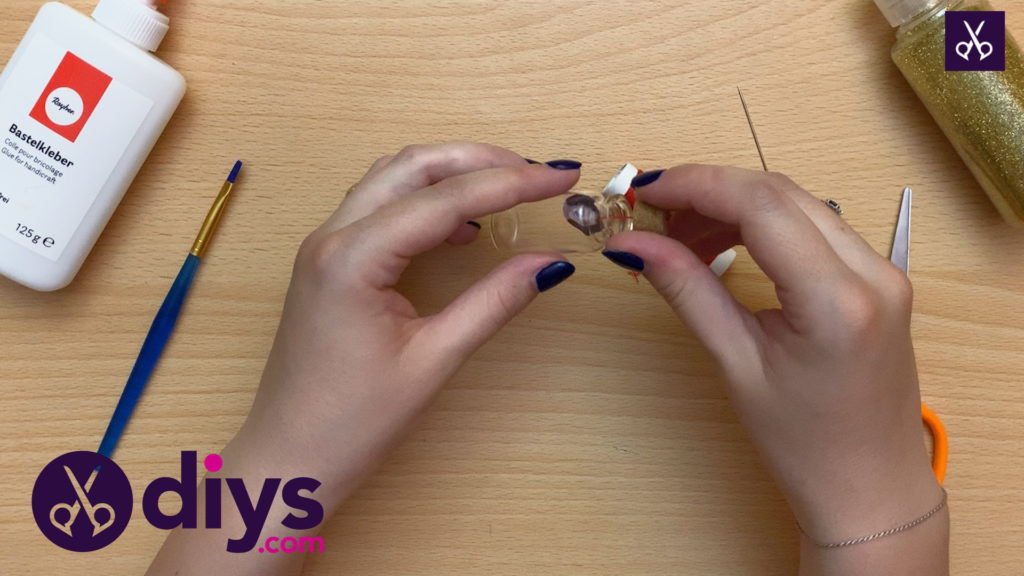
Push your needle back up through the cork lid from the bottom through to the top. I aimed to get mine as close to the original hole I made as possible. Pull the needle all the way through without pulling the photo too close to the top (you still want it to hang) and then remove the needle from your thread all together.
Step 5: insert in bottle
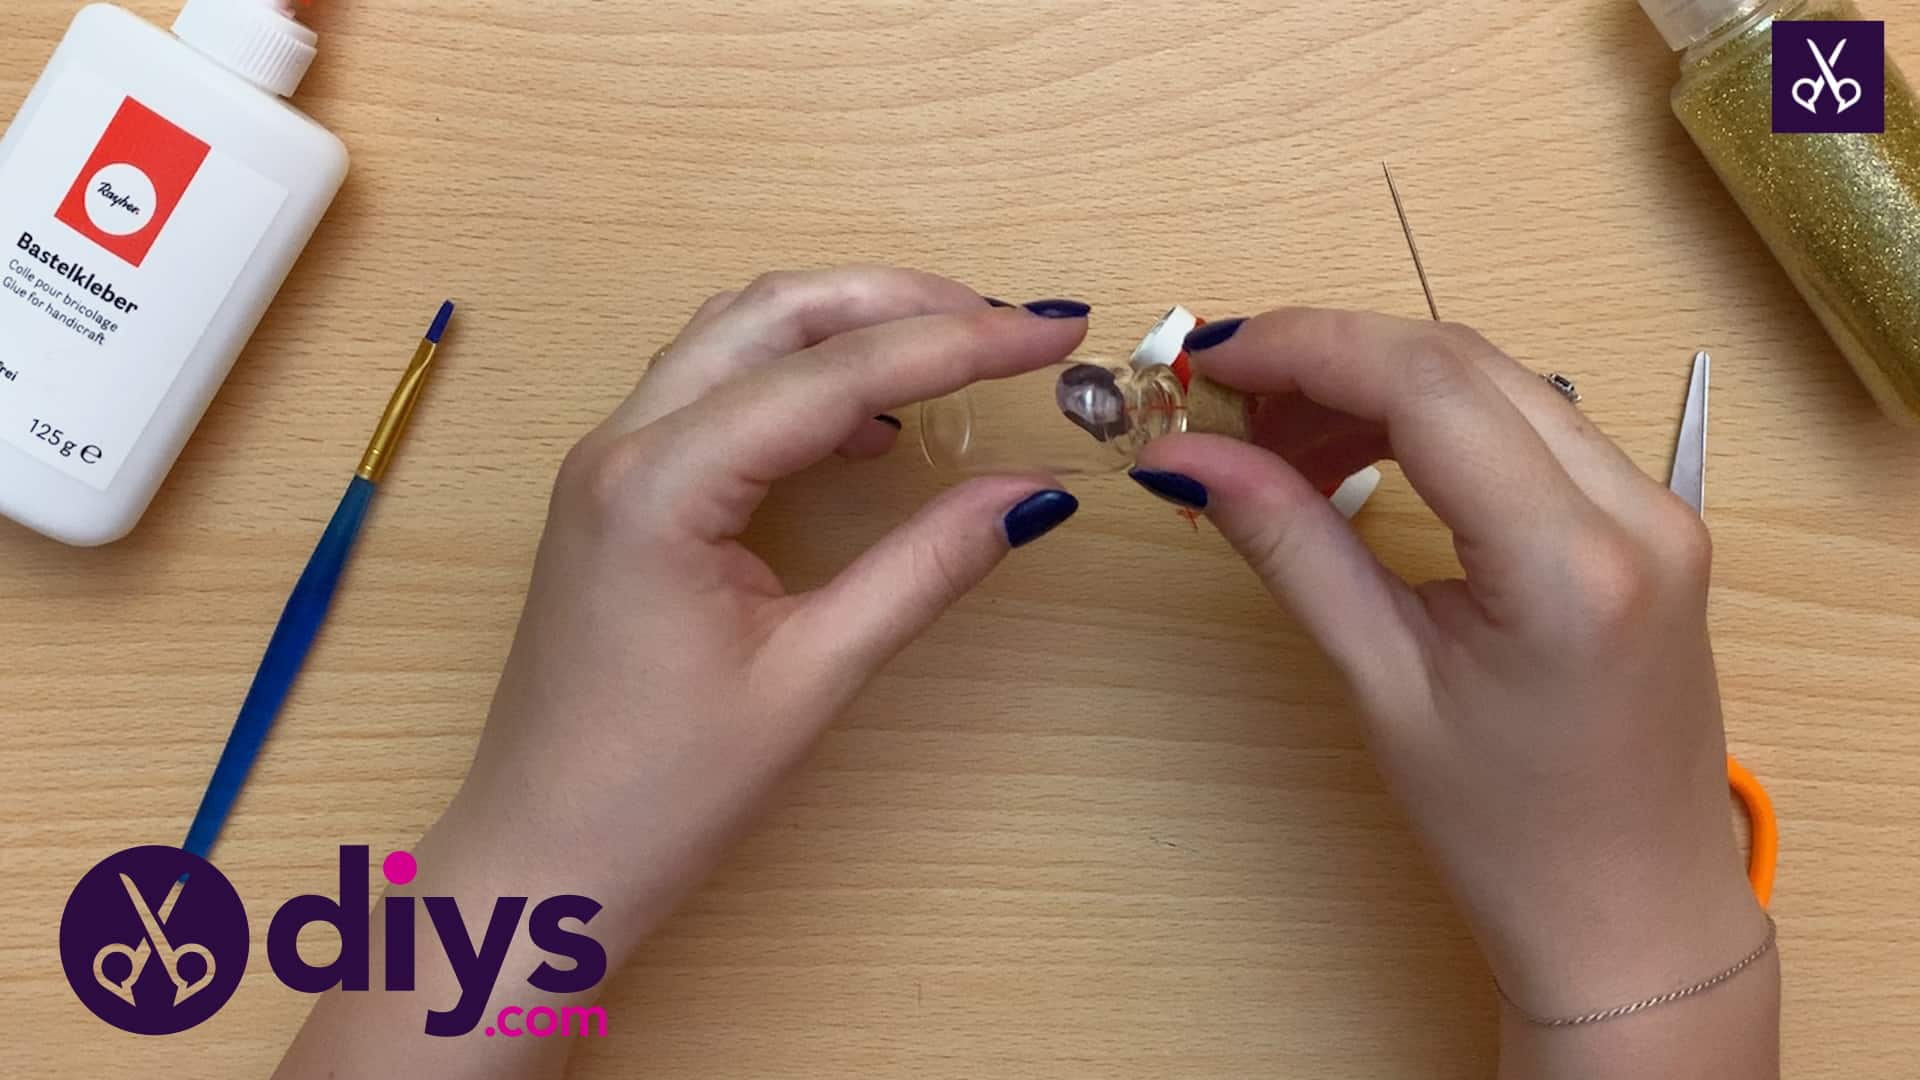
Carefully slide your little photo into the bottle. You might have to gently bend it to make it fit through the opening, but the way you sized it with the bottle’s top earlier should help avoid having to manipulate it too much. Once the photo is inside successfully, place the cork lid into the top to close it.
Step 6: decorate
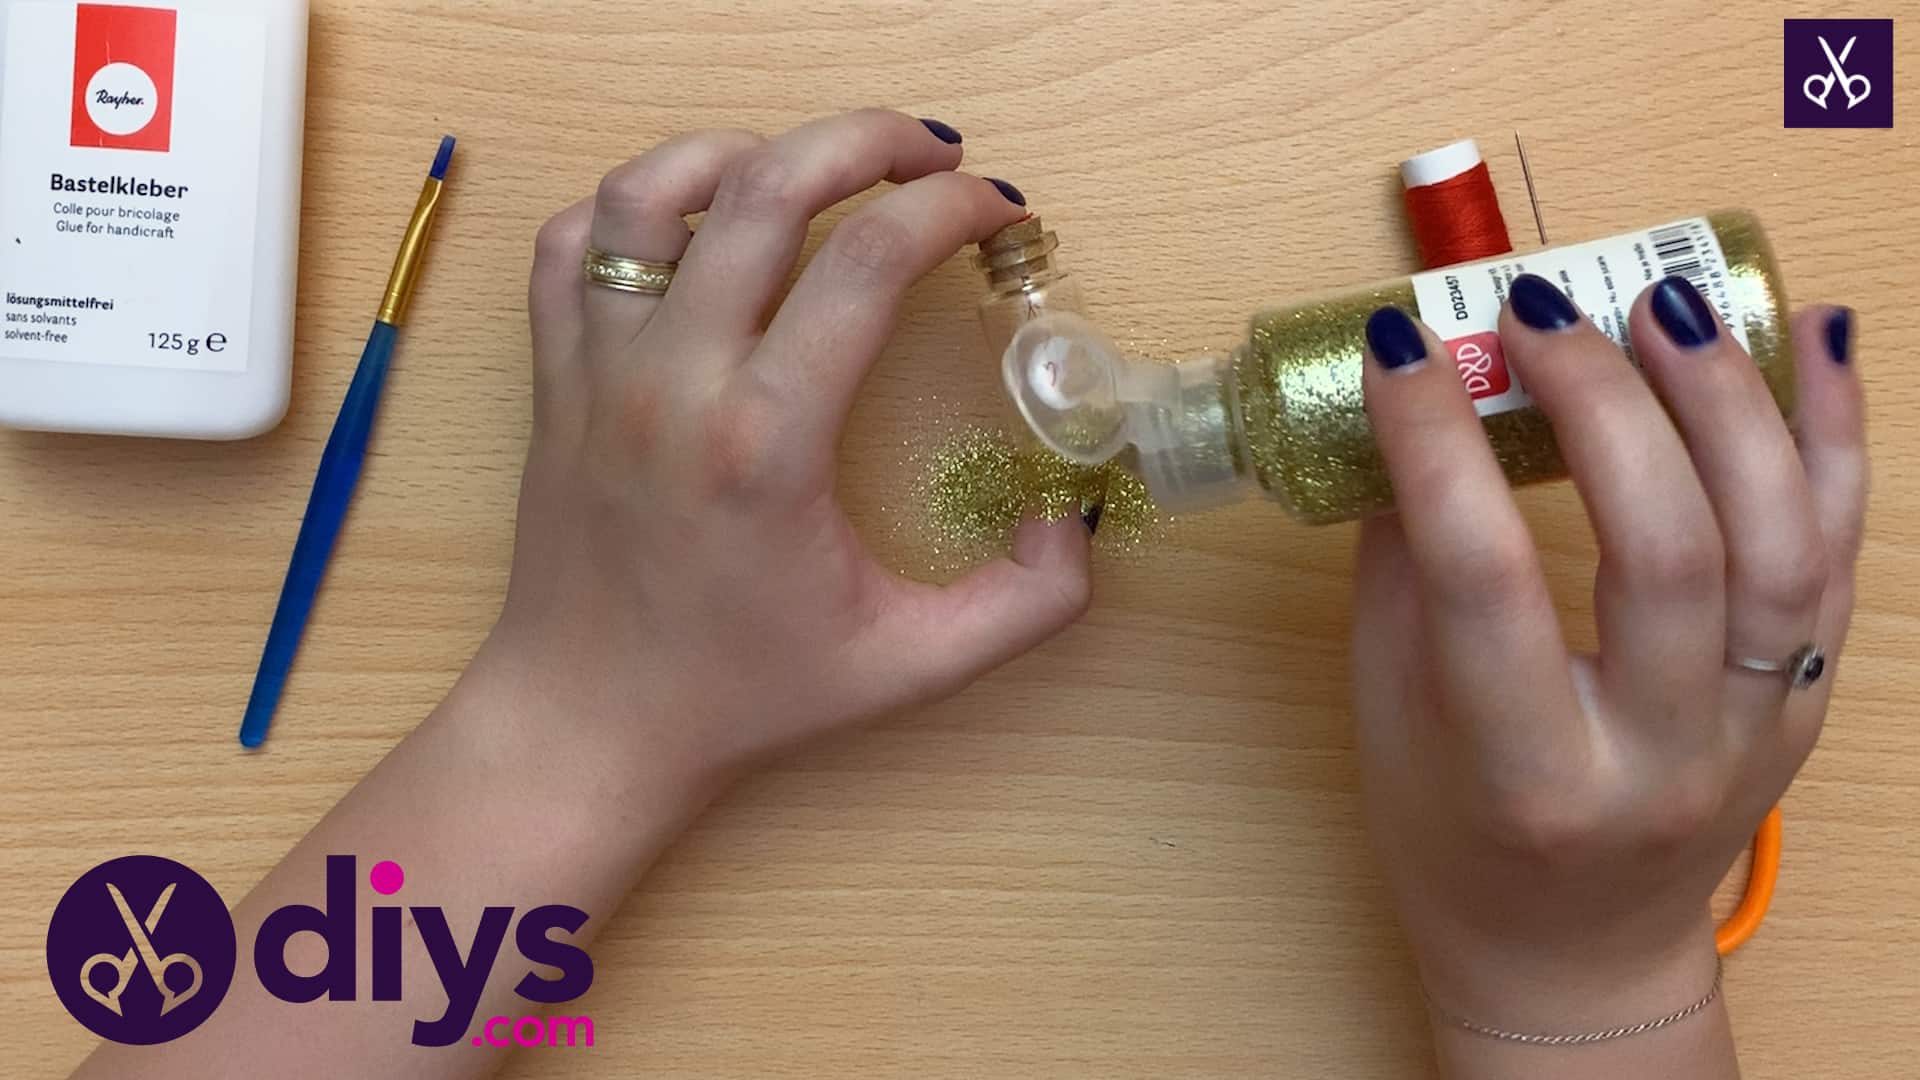
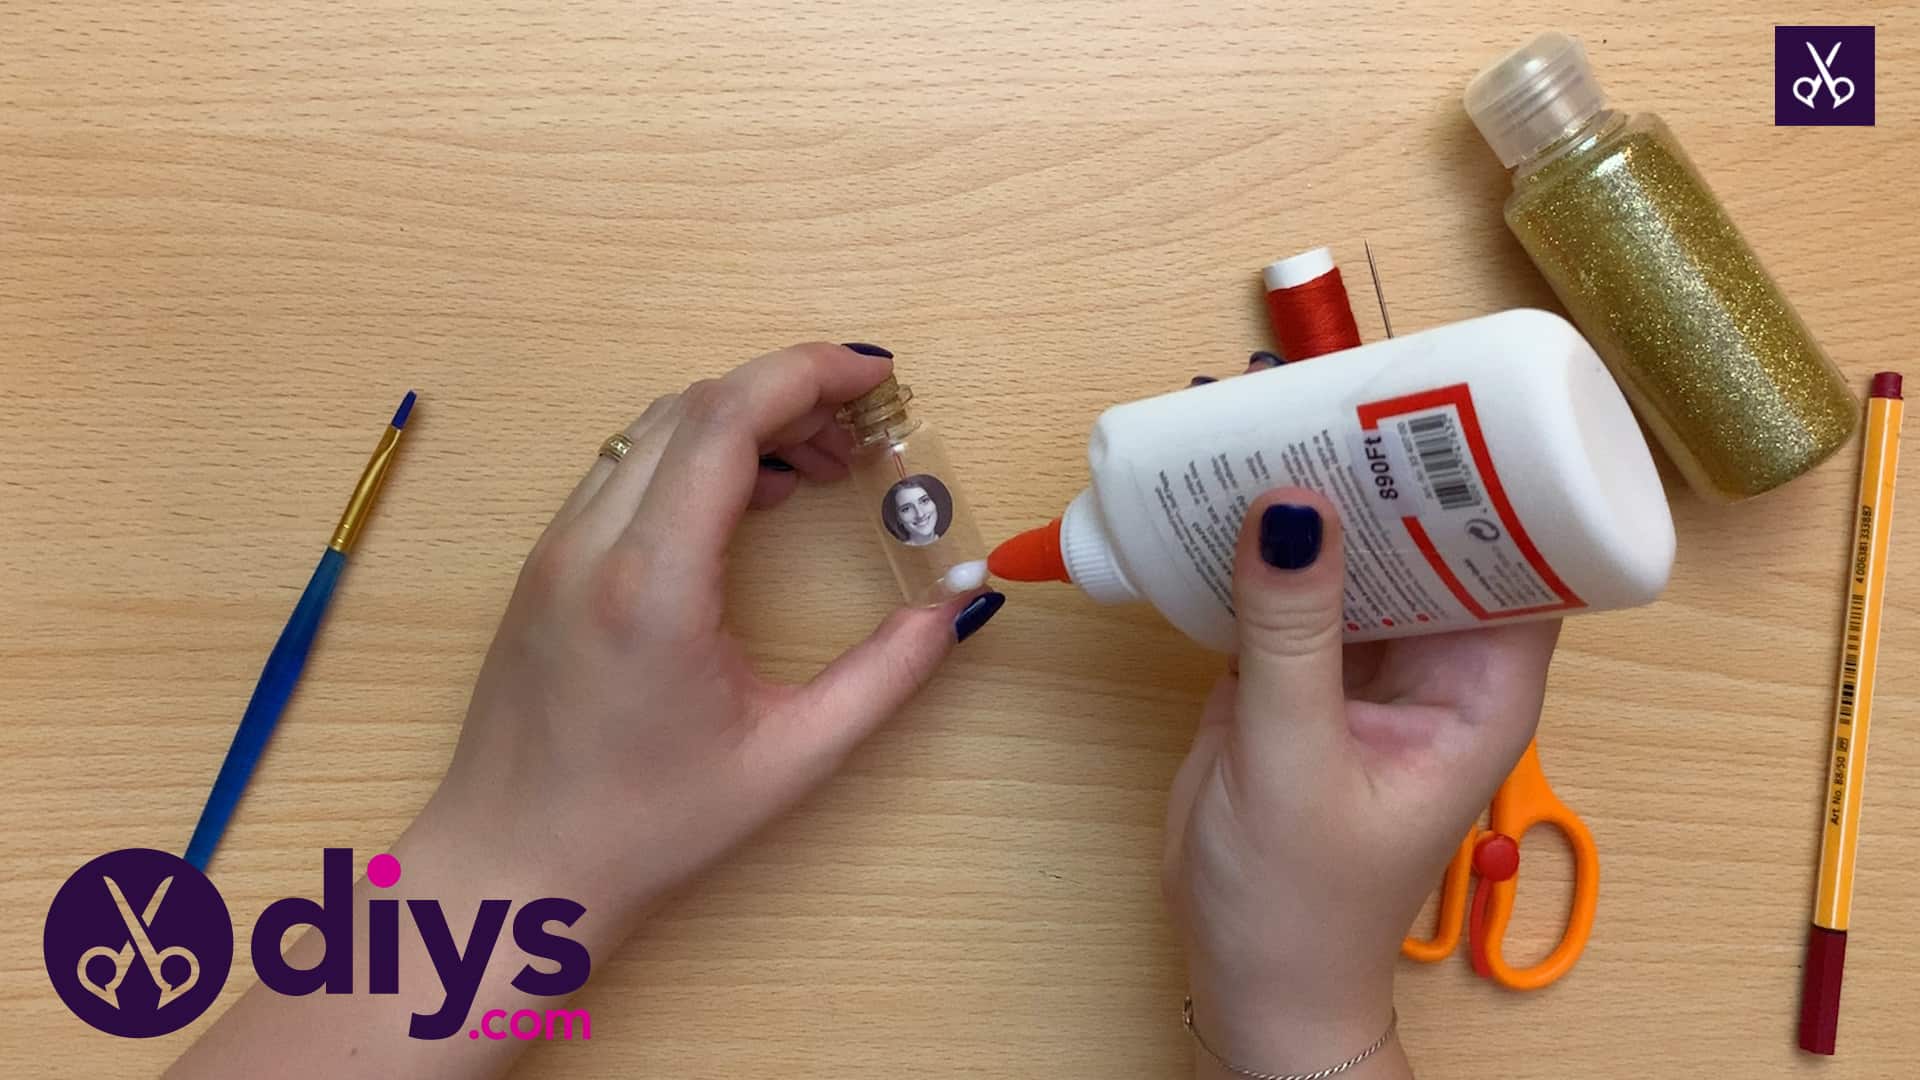
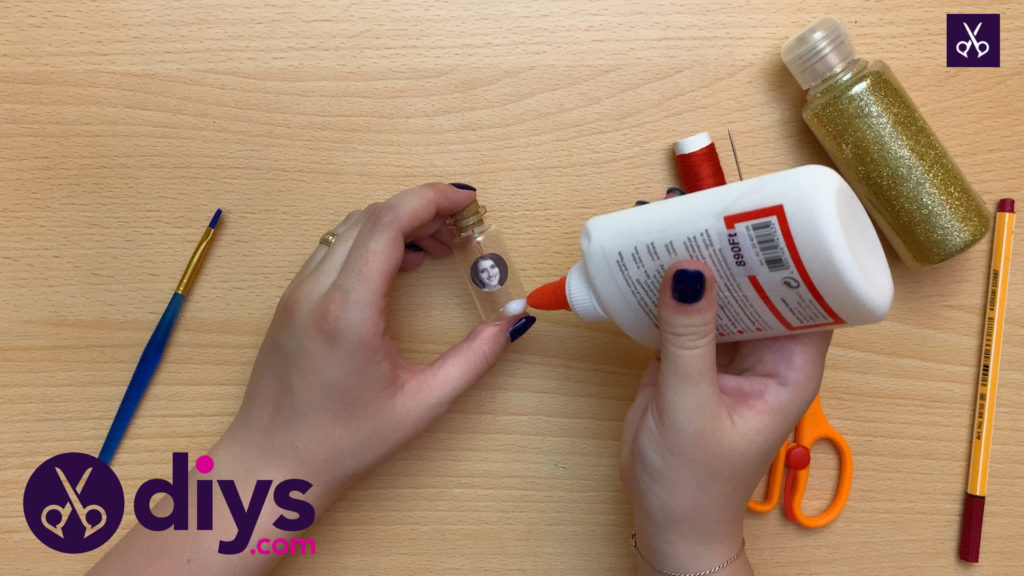
Now it’s time to make things sparkle! Apply a thin layer of white glue all around the bottom of your little bottle on its outside surface.
Step 7: glitter
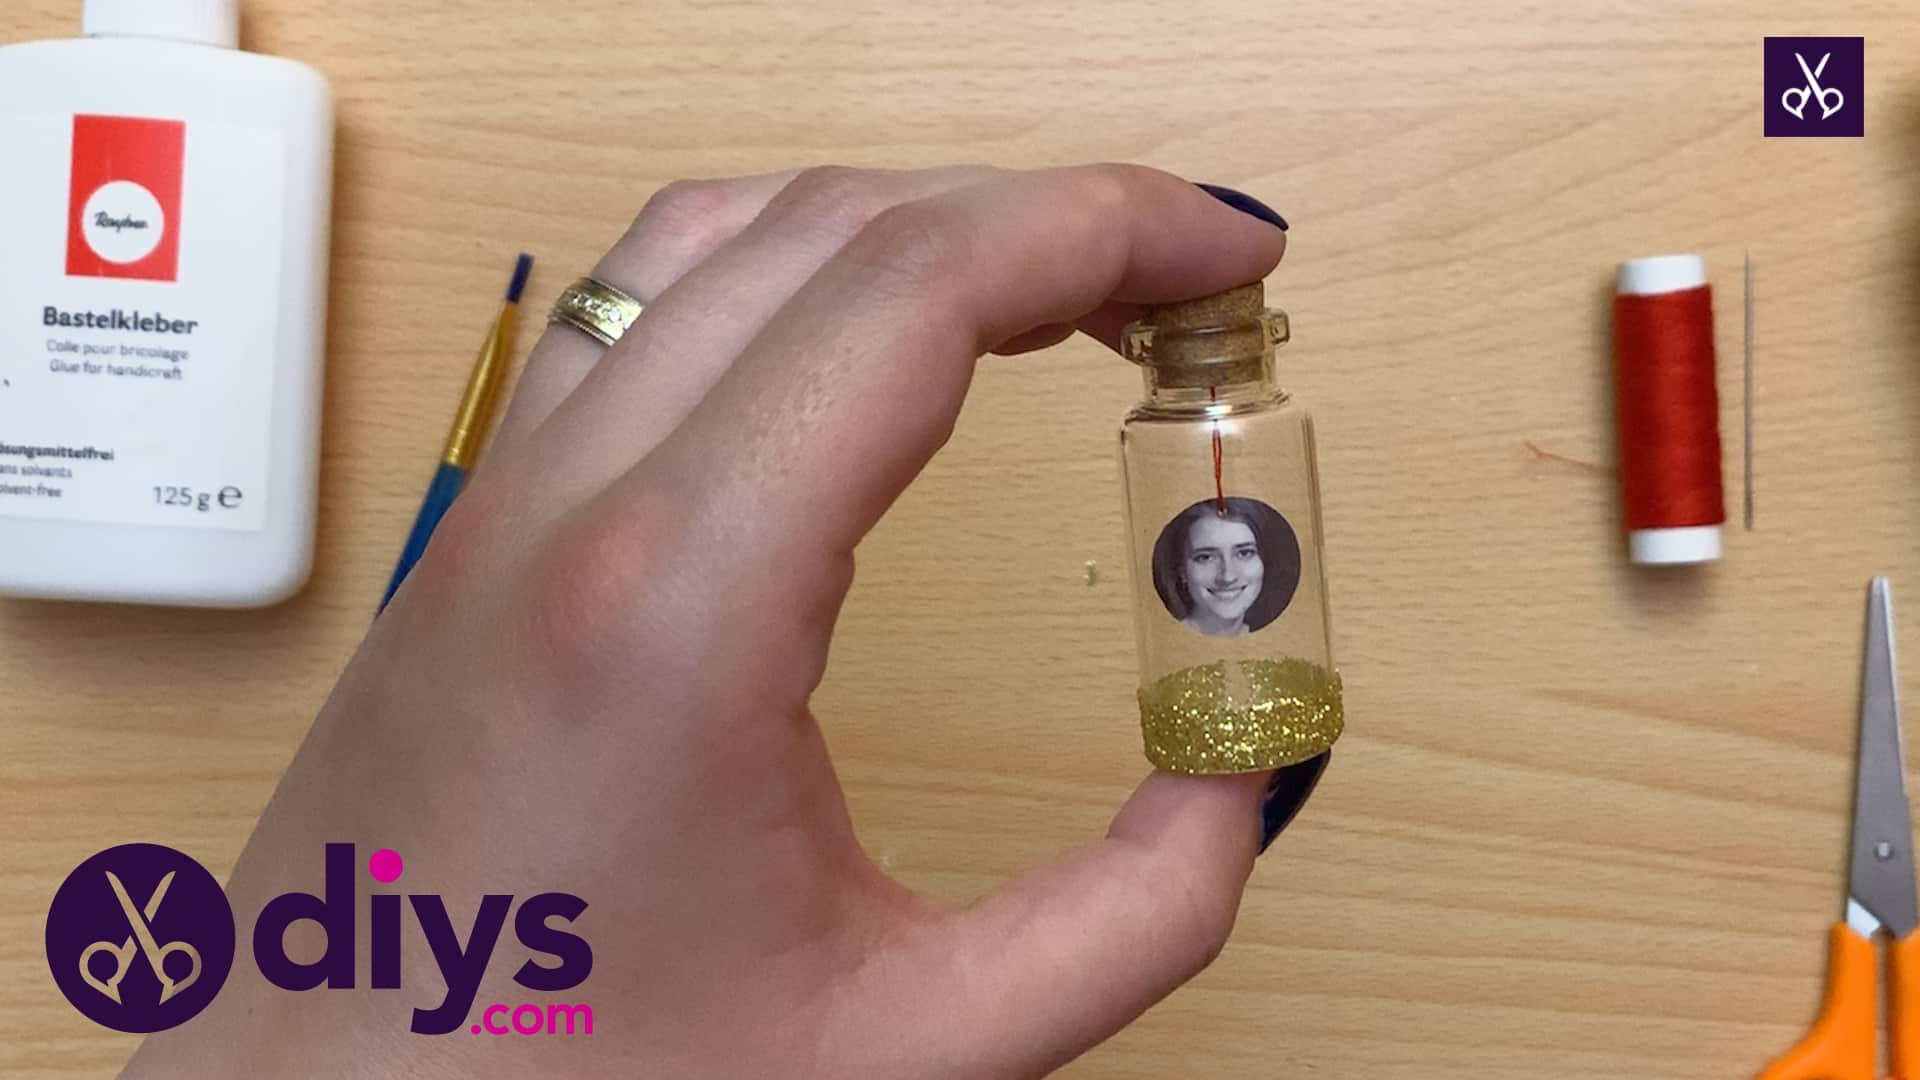
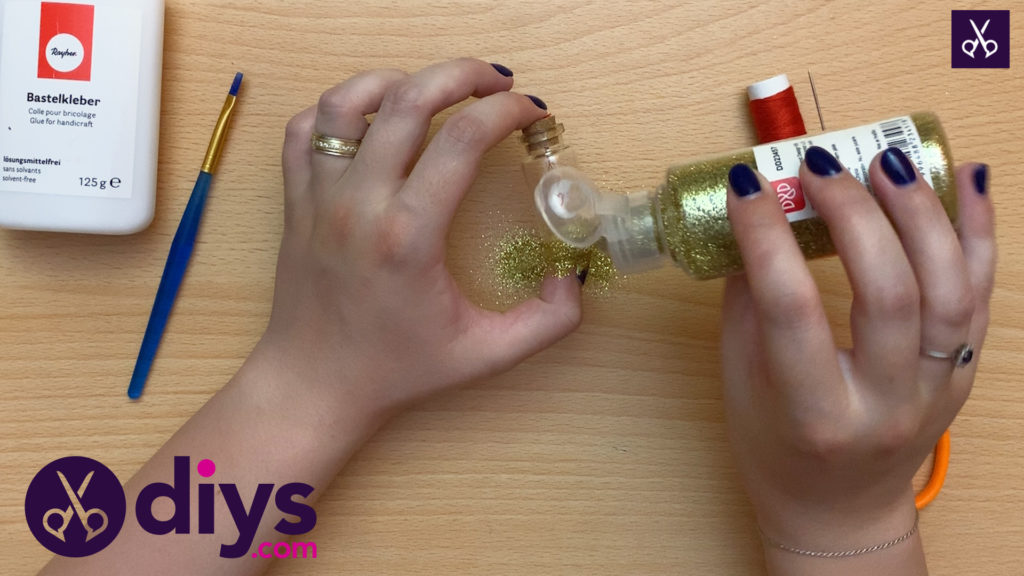
Before the glue dries, sprinkle it with glitter! I chose gold because I like how it looked with the red thread and ink we used earlier. I used a glitter with a shaker top. If you’d rather not sprinkle it right onto your tabletop like I did (my crafting table has certainly seen messier things in its lifetime), place a piece of paper underneath and use that to funnel the glitter back into the bottle when you’re done. Make sure you sprinkle the glitter as evenly as possible all the way around the bottle’s outside. Give the bottle a little shake to get off any excess glitter and set it down to dry.
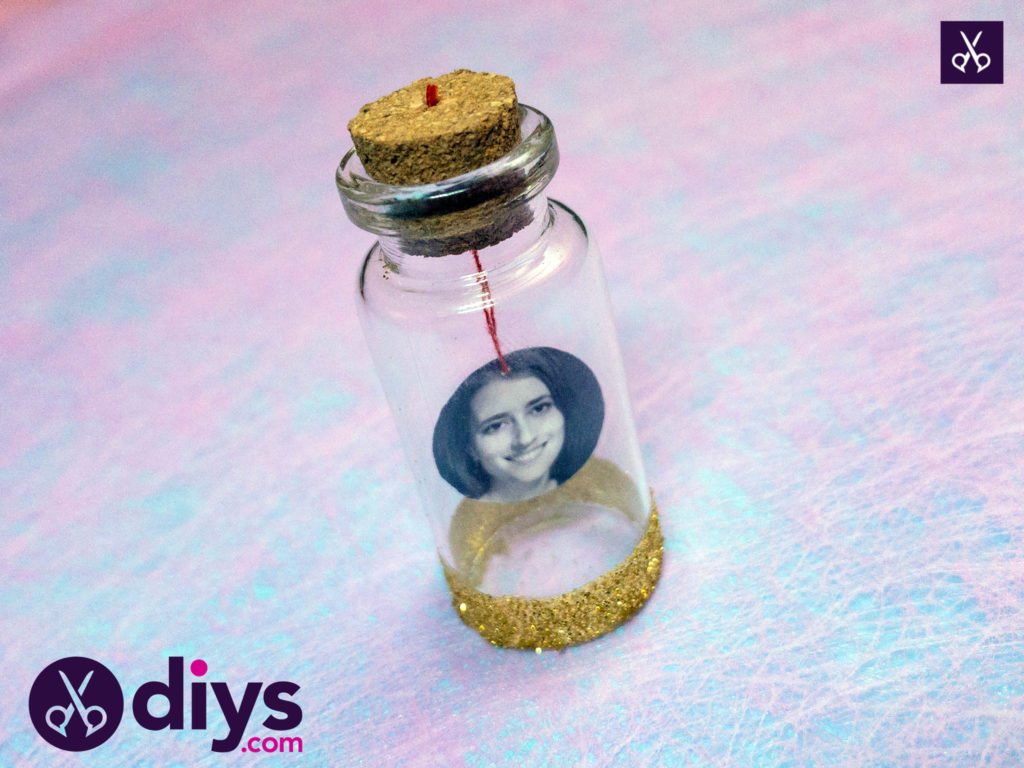
Voila! You now have a lovely miniature photo display that will look completely adorable no matter where you set it. I put mine on a trinket shelf in the living room!
Just in case you’d like to try this project out as well, here’s an awesome tutorial video to give you a hand!
