45 Adorable Easter Projects to Embrace Spring with Your Family
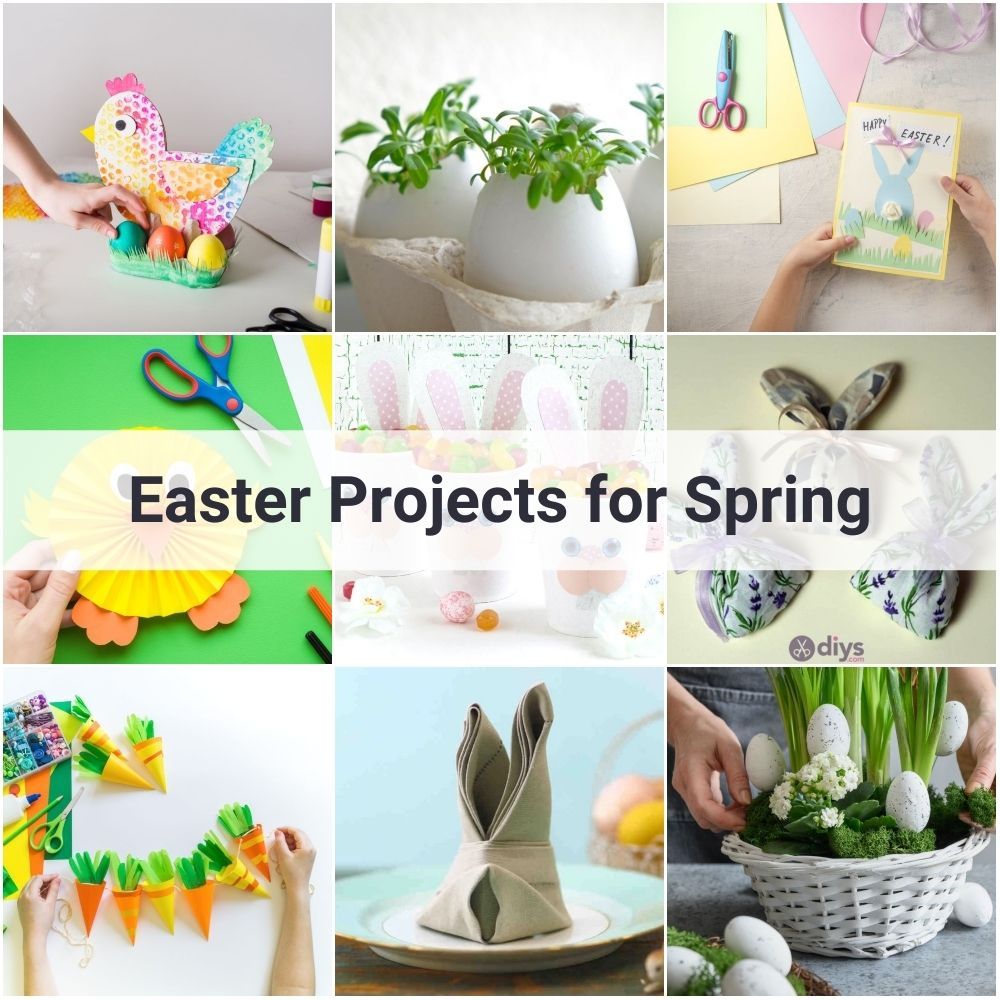
Get ready for the Easter bunny and welcome spring in style by engaging these fun and wholesome Easter projects for the entire family to enjoy.
The most important thing is making DIY Easter projects because you can do a lot of o things on your own on a tight budget, from decorating eggs to making Easter baskets.
Besides, it’s a great way to share casual time with your family and teach your kids how to be creative while having fun.
Here you can find DIY Easter projects that do not require too much effort or have special skills. All you need are colors, imagination, creativity, and free time.
Best DIY Easter Projects to Try This Year
Keep reading to discover the best DIY Easter projects worthy of your attention:
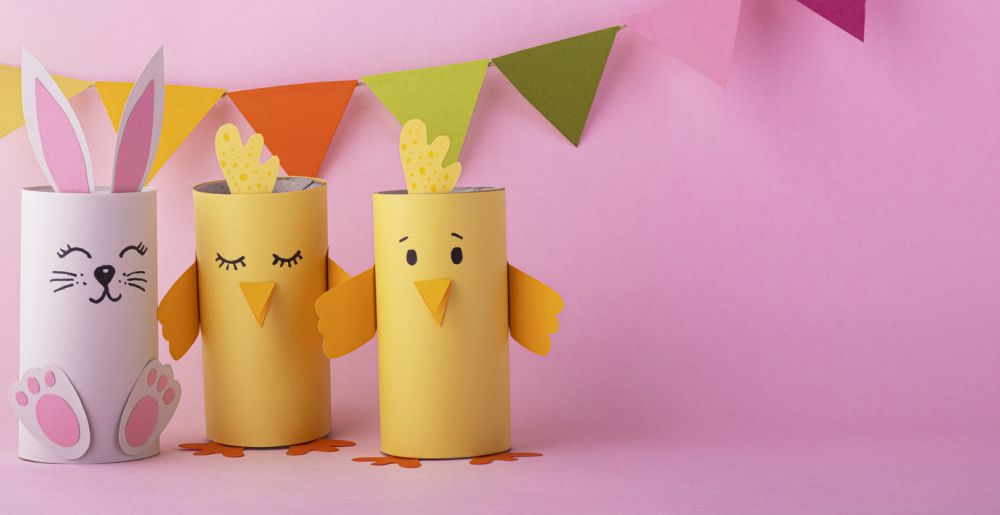
1. Paper Bunnies and Chicks – Easter Crafts
Making paper bunnies and chicks is both easy and fun. Furthermore, this Easter craft is a great way to get in the holiday spirit.
Tools and materials:
- White and pink construction paper
- Scissors
- Glue sticks
Instructions:
- Cut a sheet of white construction paper into a rectangle that is 12 inches wide and 18 inches long. Make sure to fold it in half so that it is 6 inches wide and 18 inches long.
- Next, cut a triangle out of the top of the white construction paper so that it resembles a bunny’s head.
- Cut two ears out of the pink construction paper and glue them to the top of the bunny’s head.
- Glue the bunny’s head onto the folded edge of the white construction paper.
- Cut two circles (2 inches in diameter) of pink construction paper and glue them onto the bunny’s face to make eyes.
- Next, cut a nose, mouth, and whiskers of black construction paper and glue them to the front of the bunny’s face.
- Glue the unfinished edge (the part that is still folded over) of the white construction paper to the back of the bunny’s head.
- Cut two 3-inch long ovals of pink construction paper and glue them onto the bottom of the bunny as its feet.
- Then cut a 1 ½ x 10-inch rectangle of pink construction paper and cut it in half down the middle.
- Cut a ¼ x 3-inch triangle on top of the half rectangle to make the tail.
- Fold each foot in half and glue them onto either side of the bunny’s bottom with the fold facing inwards so that they are symmetrical.
- Glue your finished paper bunny onto a cup, wall, or any other Easter decoration.
2. Eggs with Bunny Faces – Easter Crafts for Kids
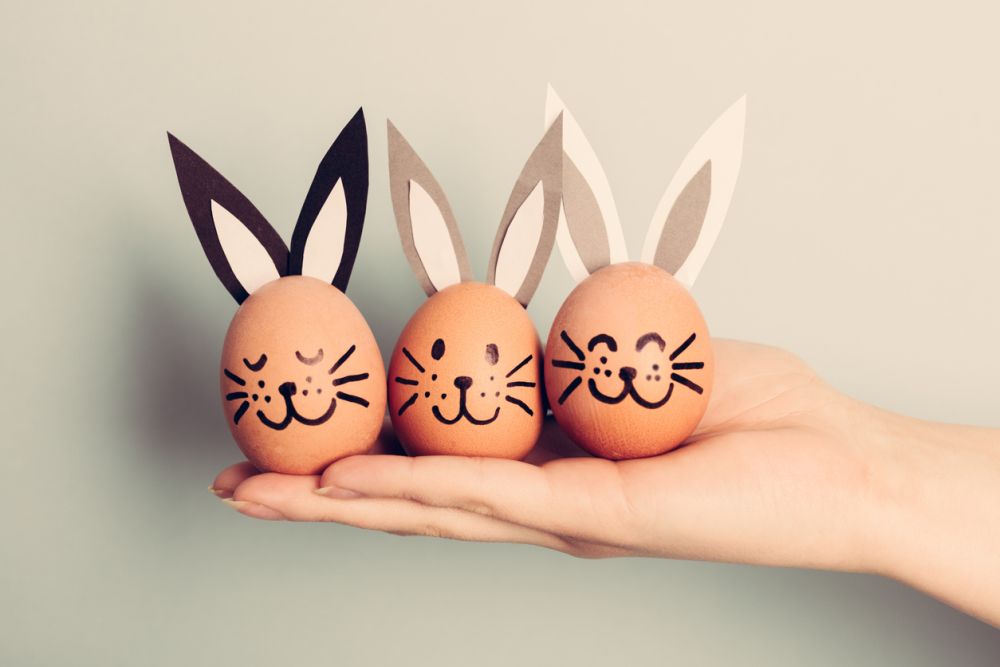
There are numerous options when it comes to decorating plain eggs. But one of the simplest ones is drawing bunny faces on them using a black Sharpie marker. You can even try different colors and patterns for a fun family activity.
And, to make the eggs even prettier, you can create bunny ears from paper and have them attached to the eggs. It’s a fun Easter craft for kids.
3. DIY Lollipop Holder Felt Bunny – Easter Projects for Kids
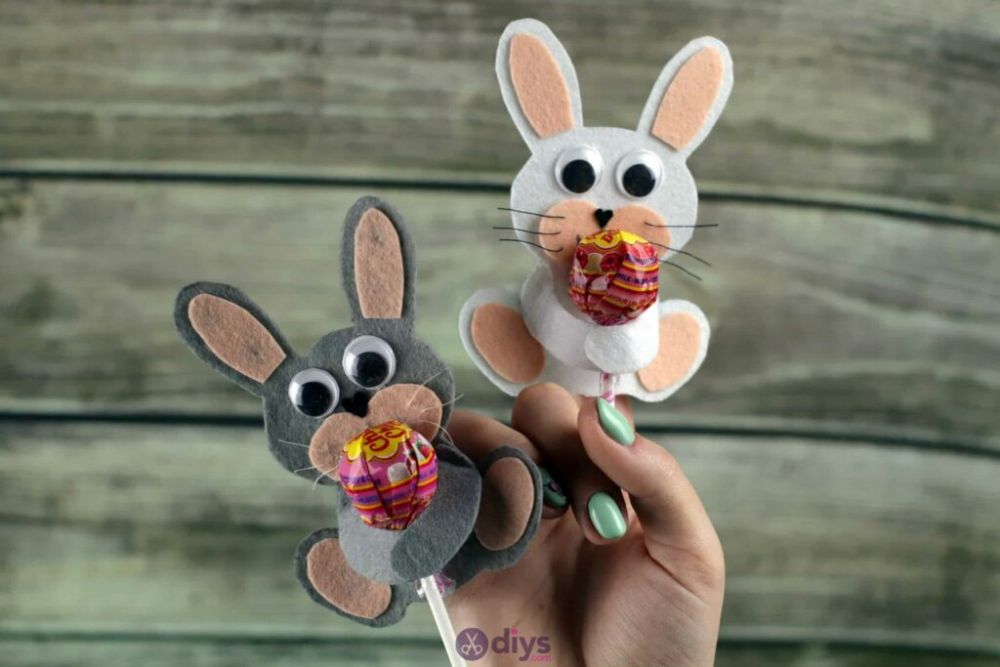
Making a lollipop holder in the shape of a felt bunny is a simple DIY Easter project for kids. What’s more, it makes for a great Easter decoration and a nice gift for a friend.
For this Easter craft idea, make sure you have felt fabric in various colors, a glue stick, a pair of scissors, cotton pom-poms, golly eyes, a needle and thread, a bunny template, and lollipops.
Read our in-depth guide to discover everything there is to know about making lollipop holders from felt bunnies.
4. Bunny Butt Easter Garland
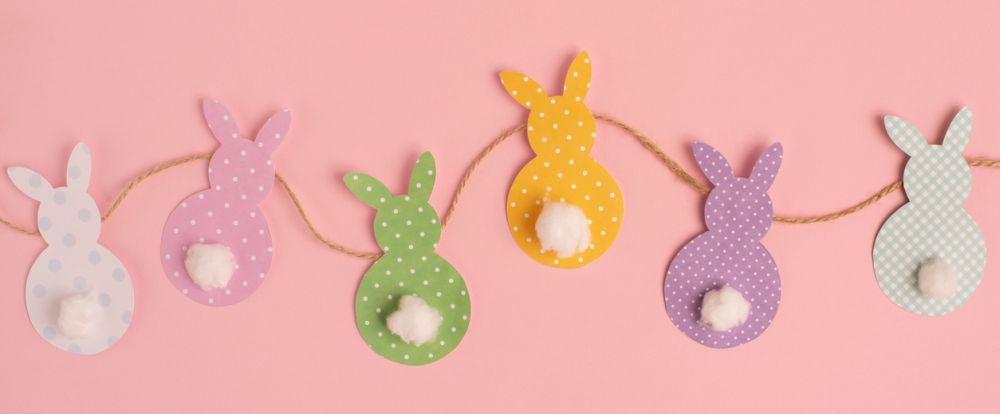
This adorable bunny butt transformed into an Easter garland is guaranteed to liven up your Easter party. Although it’s easy to make, it may require some patience.
Tools and materials:
- Cardstock in pastel colors
- White pom-poms to use as fluffy bunny tails
- A piece of twine or string
- Glue sticks
- Scissors
Instructions:
- Look up bunny templates online and choose one that showcases bunny tails.
- Print the template and use it to trace the bunny shapes on cardstock.
- Cut as many bunny shapes as you want.
- Stick the white pom-poms to the bunny shapes.
- Finally, stick the twine or string to the bunny shapes.
5. Eggshell Flowerpots – Easter Crafts for Adults
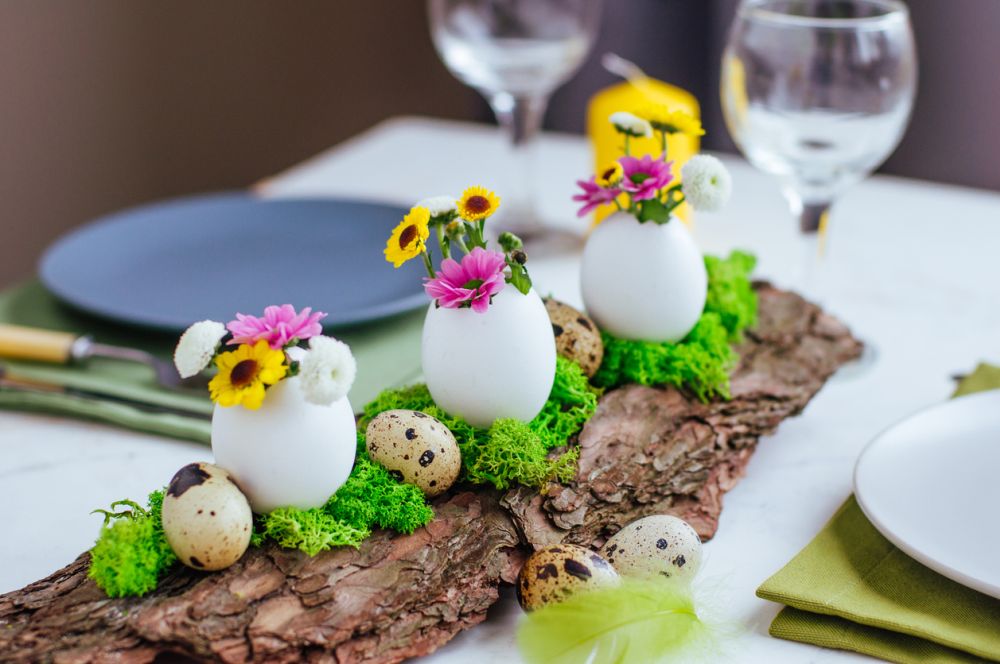
Eggshells are an excellent choice when it comes to Easter crafts for adults. In particular, you can use them to create unique flowerpots and showcase them as table centerpieces.
Tools and materials:
- Eggshells
- Glue or tape
- Bamboo skewer for poking holes in the eggshells
- Plant soil
Instructions:
- Poke holes in the eggshells using a bamboo skewer or anything else that’s sharp and pointy.
- Cut the skewers into smaller pieces to make them fit into the holes. After all, you don’t want your flowerpots to fall apart easily.
- Glue or tape the eggshells together and allow them time to dry – at least 1 hour.
- Put a bit of soil inside the flowerpot and plant a flower, seed, or cactus inside it. You can also add other Easter decorations such as little bunny figurines if you like.
6. Bunny Lavender Bags – Easy Easter Crafts
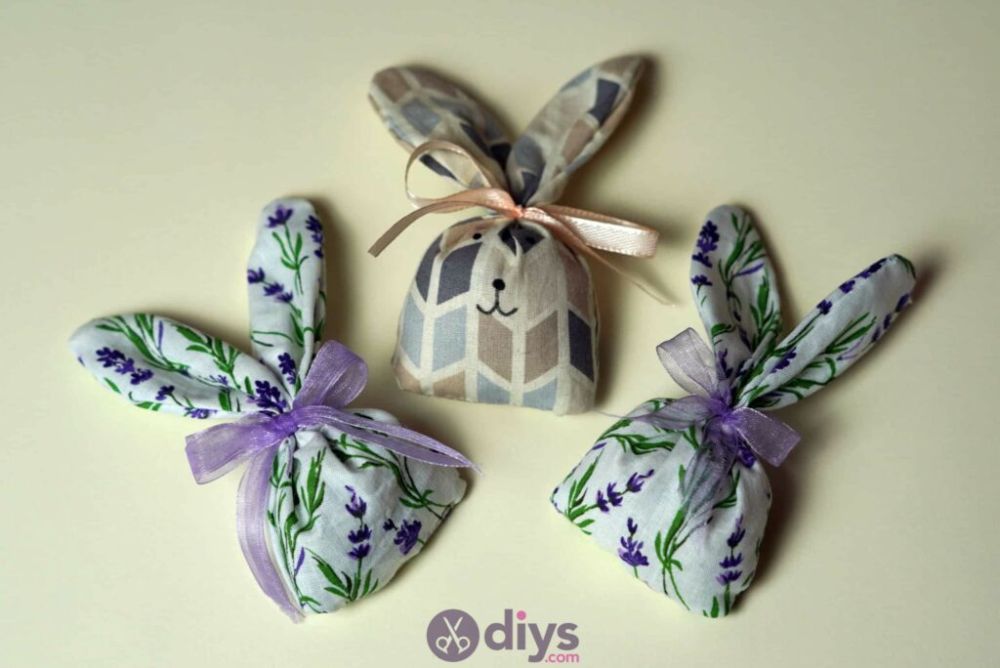
Easter and lavender go hand in hand, and these bunny-shaped bags make for cute home decorations. The best part is that they take almost no time to make.
Besides, this easy Easter craft provides a fantastic way to prepare homemade gifts for your friends and loved ones since everyone loves scented bags.
To work on this project, you need a ribbon, needle, thread, pins, a pair of scissors, cotton fabric, a pen, a bunny template, a teaspoon, dried lavender, and rice.
We have prepared a simple detailed guide for making DIY bunny lavender bags, so be sure to check it out.
7. Bunny Envelopes – Easter Arts and Crafts
Handwriting cards is always thoughtful, whether it’s Easter, Christmas, someone’s birthday, or another special occasion.
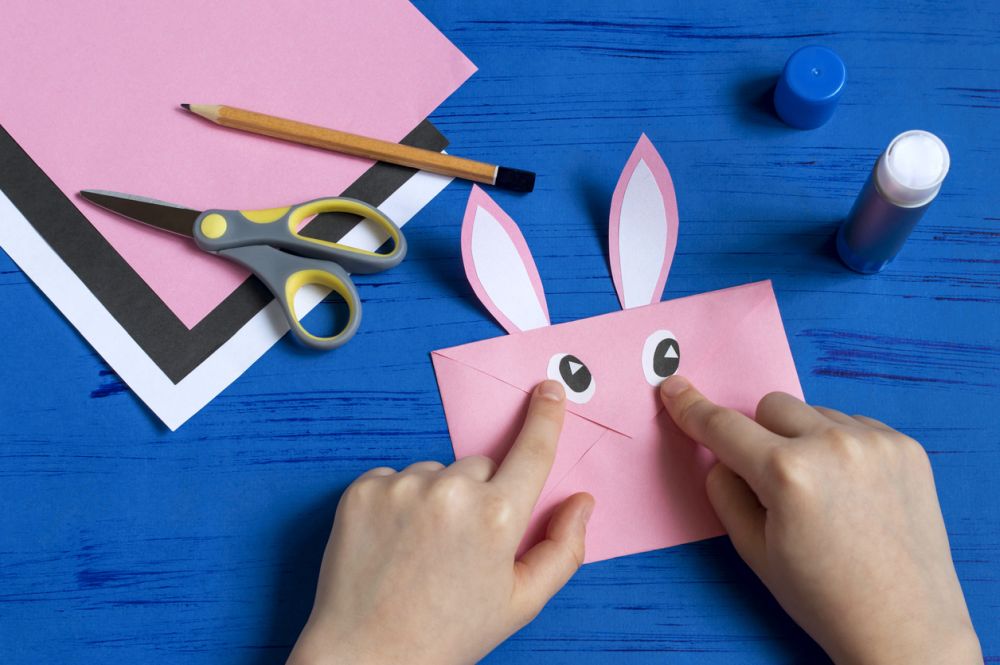
As far as Easter is concerned, you can’t pass on the opportunity to design bunny-shaped envelopes. They’re easy to make and will make your card even more thoughtful. Plus, it’s an easy Easter arts and crafts project for adults and older kids.
Tools and materials:
- A4 paper (pink, white, black)
- Scissors
- Pen
- Glue.
Instructions:
- Fold the paper in half lengthwise.
- Write your address on one side and add some lines onto it – this will help you fold it into an envelope later on. Then unfold it again.
- Fold down 1 inch on both sides of your envelope.
- Then fold up just under 1inch at the bottom edge of the envelope, starting from one end until you almost reach the centerline.
- Cut off excess bits if necessary to make the shape even.
- Glue the left and right sides of your envelope together.
- Create the bunny eyes from black and white paper, then glue them to the front of the envelope.
- Similarly, create the bunny ears from pink and white paper, then glue them to the top part of the envelope, on the back. Your bunny envelope is now ready.
8. Paper Accordion Chick – Easter Crafts for Toddlers
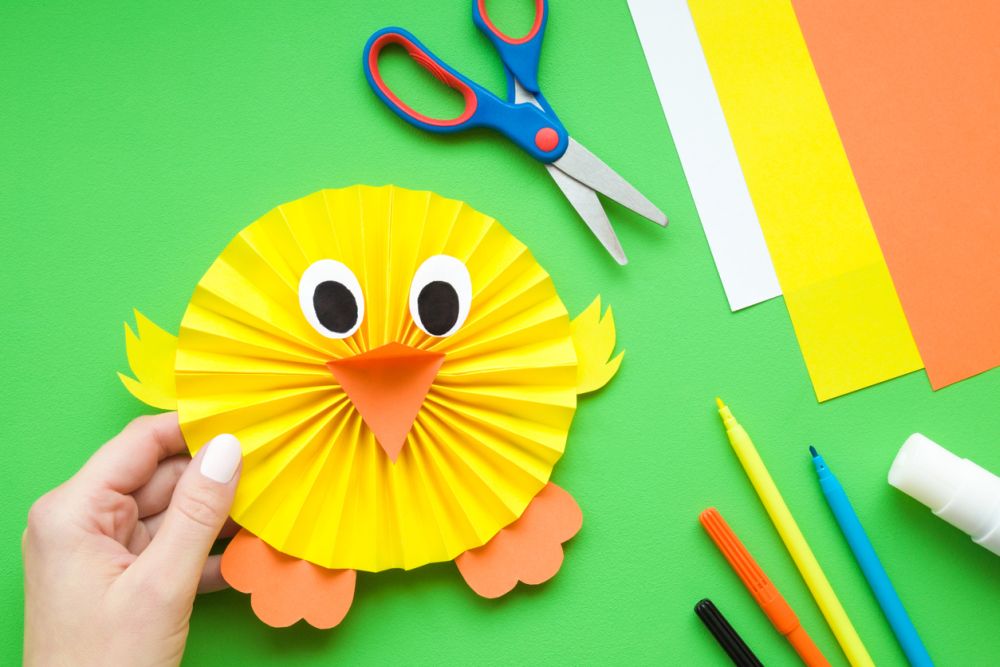
Since we’re talking about Easter and chicks, you can’t go wrong with this next project for kids. It’s a fun Easter craft for toddlers that brings the magic of spring to your home: a paper accordion chick.
Tools and materials:
- Orange, yellow, and white paper
- Pencil
- Scissors
- Double-sided tape
- Glue stick
Instructions:
- Cut two strips of yellow paper – about 2 inches wide and 11 inches long.
- Make accordion folds out of both strips of paper.
- Add a double-sided tape to one end of each paper strip, connect the two to obtain one long strip, then connect the ends so that the strips form a circle.
- Push down on the center of the circle to flatten it, thus creating the chick’s body.
- Cut a diamond shape out of the orange paper, fold it in half, and glue it to the center of the chick’s body – just as it’s shown in the image.
- Next, draw and cut the legs from orange paper, the hands from yellow paper, and the eyes from black and white paper before attaching everything to the chick. Your project is now ready.
9. Doily Wreath – DIY Easter Wreath
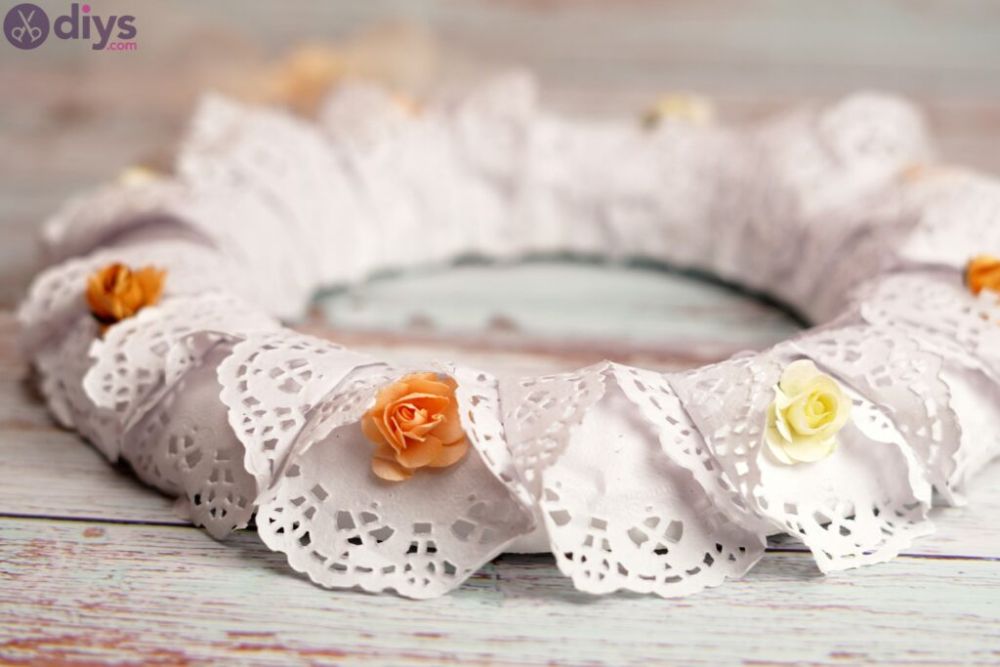
Easter also means bringing spring flowers into your home, so you might be interested in this next project for your DIY Easter wreath.
It’s a doily wreath made from lace paper doilies and attached to a floral foam ring, which you can hang on your front door to greet your guests.
For this project, you need lace paper doilies, a pair of scissors, a sheer ribbon, a hot glue gun, artificial flowers, and a polystyrene wreath.
Check out our tutorial for making a DIY doily wreath to get the complete instructions.
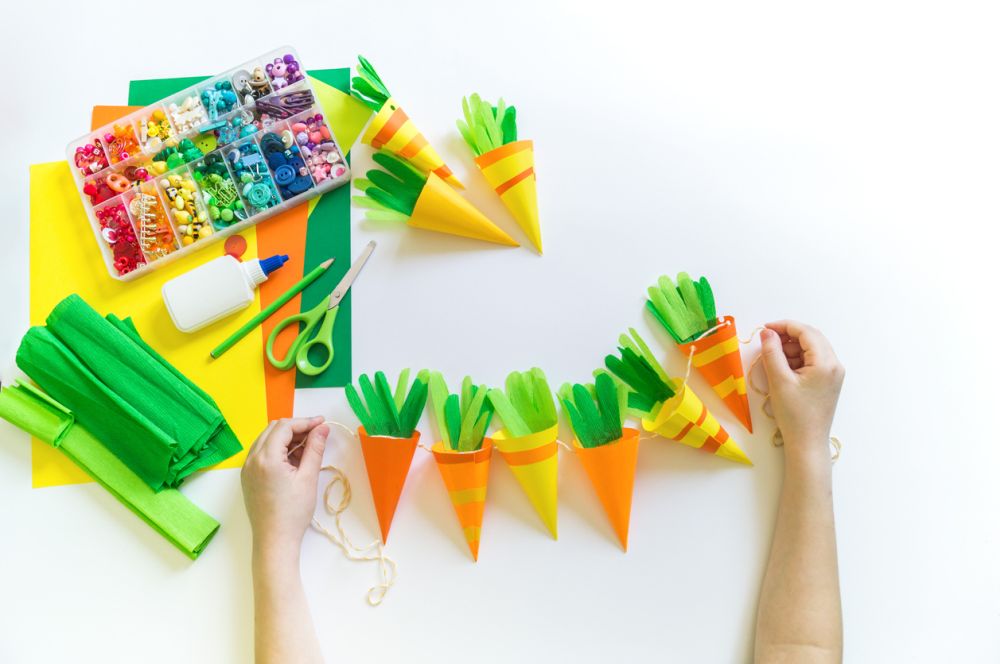
10. Carrot Garland – Easter Crafts for Preschoolers
When it comes to Easter crafts for preschoolers, you can’t go wrong with this carrot garland. You can hang it on the walls to decorate your Easter party.
Tools and materials:
- Green and yellow paper
- Scissors
- Pencil
- Hot glue gun
- Needle and thread
- Wire
Instructions:
- Cut long horizontal strips from the two pieces of paper – one wide and another slightly narrower to create an overlap. The width should be about 1 inch more than the desired spacing between the carrots.
- Fold each strip in half and draw on the center lines to get two notches that will help you fold them better.
- Make two folds for each strip – one at about 3/4 of the length and another closer to the top edge.
- Repeat this process until there is almost no paper left on your strip.
- Use a hot glue gun to attach the ends of the strip together. You can also add some extra details such as googly eyes if you like.
- Attach the carrot garland to your wall with a needle and thread or wire (if it’s thin enough).
- Once done, hang small artificial flowers from each carrot by putting a drop of hot glue onto its bottom edge. Also, make sure there is enough space in front of where you’ll be hanging the garland so that people won’t bump into it. Now just wait for everyone’s compliments.
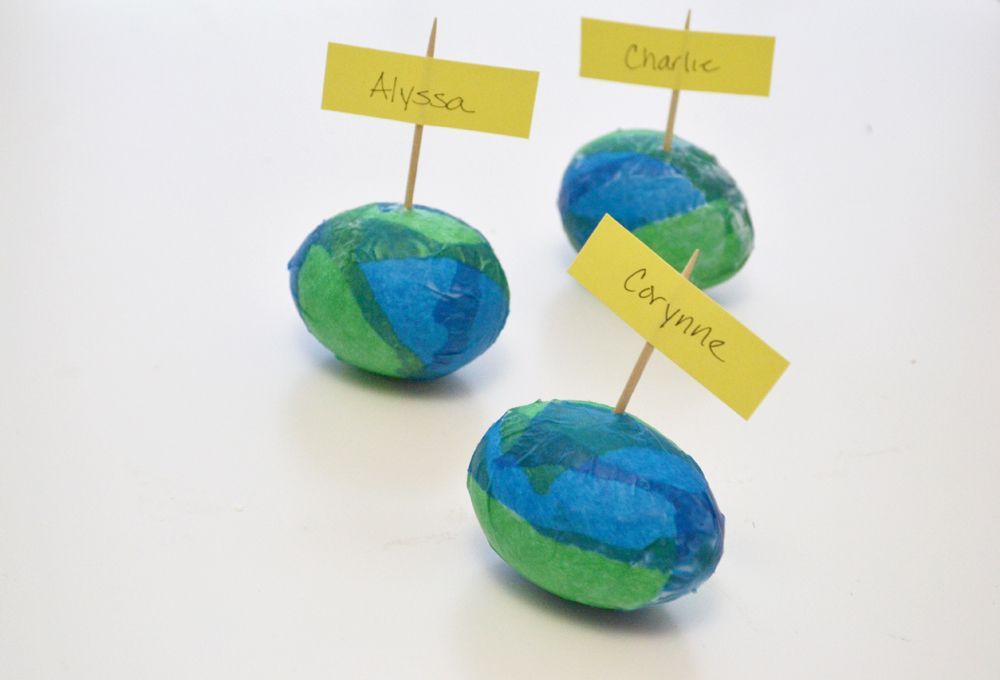
11. Dinosaur Easter Eggs with Placeholders – Easter Crafts for Kids
If you want another fun DIY Easter craft for kids, here’s a great choice – dinosaur eggs. You can place them in your basket or use them as placeholders for Easter dinner.
To make these, you need fresh or plastic eggs, toothpicks, mod podge, cardstock, tissue paper, a pair of scissors, and a thumbtack.
The steps are incredibly easy, as you can see by reading our intuitive tutorial for making dinosaur Easter eggs.
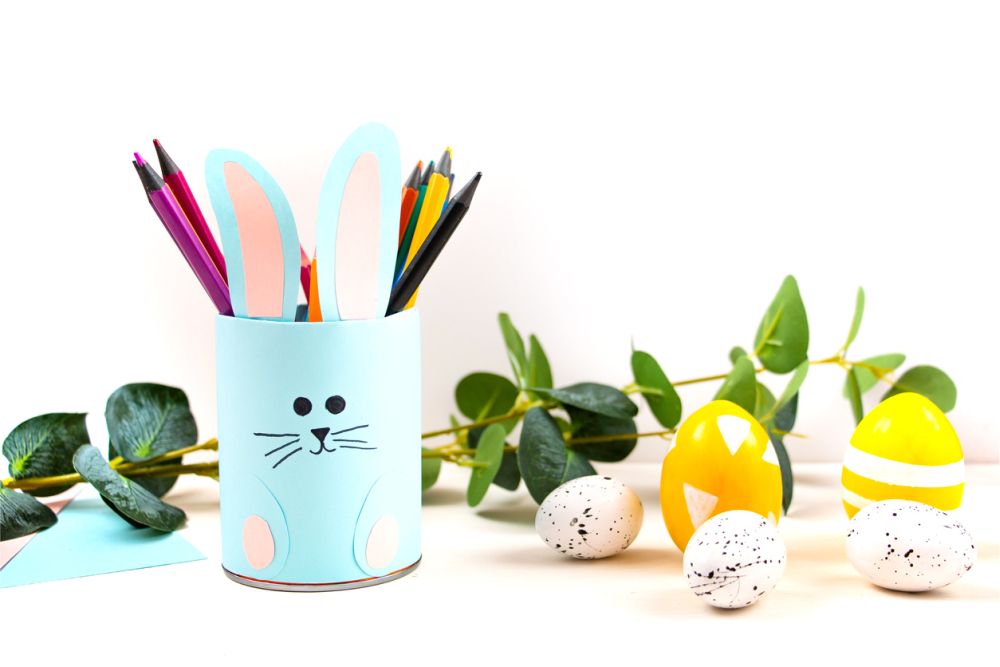
12. Bunny Pencil Holder
For another DIY Easter project for kids, you can make a bunny pencil holder and turn it into a cute decoration. It’s simple and takes less than half an hour to make.
Tools and materials:
- Pencil
- Pencil sharpener
- Tiny craft eyes
- Glue or tape
- Eraser
- Scissors or paper cutter
- Paper
Instructions:
- Cut out a basic bunny shape from the paper using scissors or a paper cutter.
- Draw two small circles for the eyes, and then cut them out.
- Glue or tape the eyes onto the bunny’s head.
- Sharpen the pencil and use it to poke two small holes on both sides of the head for the ears.
- Cut out two small triangular shapes from another paper and place them in the holes you poked.
- Draw a carrot-shaped nose onto another piece of paper, cut it out, and then attach it to the bunny’s face using glue or tape.
- And there you have it – your very own cute bunny pencil holder that can also be used as a decoration for your Easter party table.
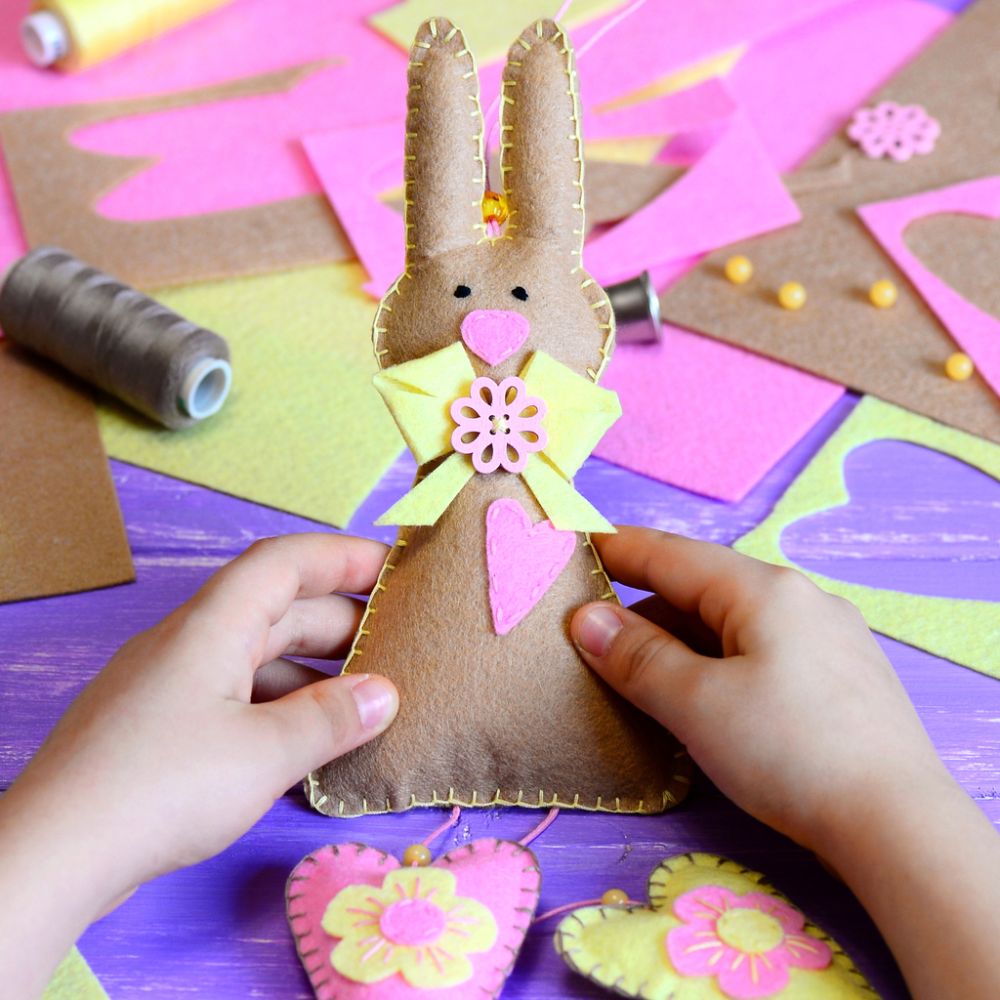
13. Felt Easter Bunny – Easter Crafts for Babies
Get your kids to enjoy some Easter crafting with this cute felt bunny. You can make it into a small plushie or even use it as a decoration for your Easter party table. Plus, it’s an excellent Easter craft for babies since you can give them a felt bunny to play with.
Tools and materials:
- Two pieces of pink felt
- One piece of orange felt
- One piece of blue felt
- Black and white thread
- Needle
- Scissors
- Pins
- Stuffing material (like foam shapes or polyester filling)
- Glue
- Fabric paint
Instructions:
- Cut out two large circles from black felt – these will be ears. Then cut out two smaller circles from white felt that are slightly smaller than the black ones – these will be the inner parts of the ears.
- You’ll also need two slightly smaller circles from blue felt for the eyes, one smaller circle from orange felt for the nose, and a triangle cut from white felt to use as a mouth. Glue or pin all these pieces onto the larger pink circles in this order: black ear flaps, orange nose, white mouth/nose, and blue eyes.
- Cut two small slits into each ear flap to later attach them to your bunny’s head. Now it’s time to assemble everything.
- Place some stuffing material inside both pieces of pink felt before stitching them together around their edges with white thread (leave an opening at the bottom). When you’re done stitching, stuff more material into the bunny before closing it up.
- Draw on the bunny’s face using black thread and a needle. You can also glue on some googly eyes if you want.
- Finally, put your felt Easter bunny on display as a decoration for your party table or hang it from a wall as an adorable plushie toy.
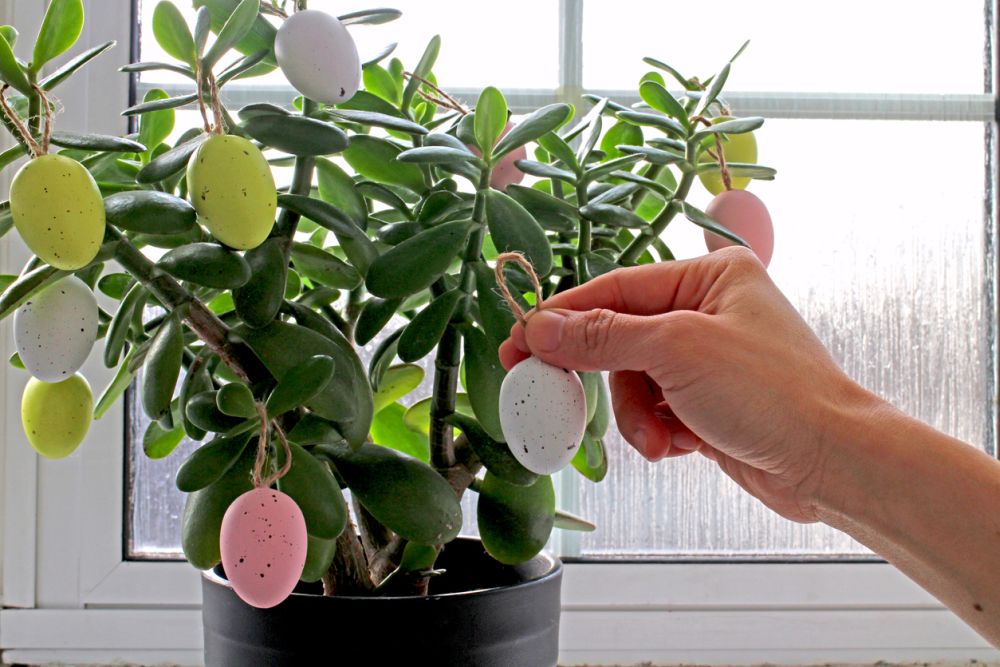
14. Easter Egg Tree – DIY Easter Decorations
Don’t let your kids throw out their Easter egg decorating kit – make something useful out of it instead.
An Easter egg tree is a cool project to make with small children, and also doubles as an adorable DIY Easter decoration for the house.
Tools and materials:
- Toothpicks or skewers
- Green florist tape
- Styrofoam cone or small grapevine branch
- Large white craft eggs
- Glue
- Ribbon
- Felt pieces in different colors
Instructions:
- Cut off the pointy tips of the toothpicks or skewers. Then cut the green florist tape into short pieces and use it to attach the toothpick or skewer tips to the cone or branch as evenly as possible.
- Attach the white Easter egg halves to the tree using glue, making sure to place the eggs close together but not directly touching. At the same time, you should leave enough space to be able to slip the ribbon through between them later for hanging.
- Finish decorating the tree by gluing on felt leaves at different heights; just make sure they don’t cover up any eggs. You can also write fun messages like Happy Easter on some of the eggs if you want.
- Once your Easter egg tree is decorated, hang it from a wall or window frame with a pretty ribbon for an adorable Easter decoration that’s also fun to play with.
Feel free to explore our intuitive tutorial for making pom-pom tree art. To turn it into an Easter tree decoration, simply replace the black pom-poms with colorful ones so that they look like tiny Easter eggs. We promise that you will love the results.
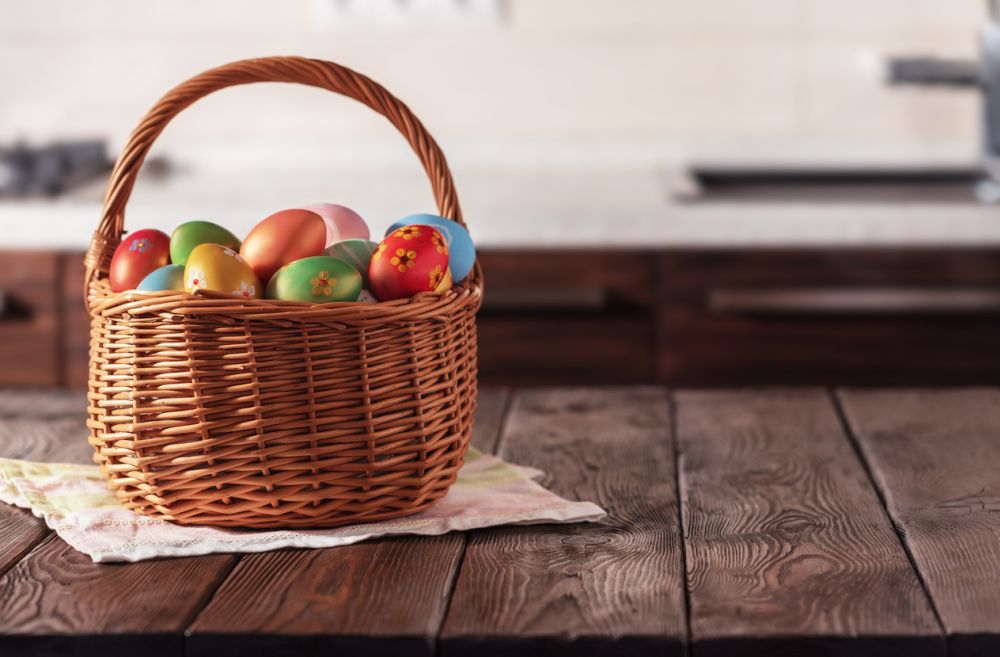
15. DIY Easter Basket
Whether you’re making them for your kids or as a fun activity to enjoy with them, DIY Easter baskets are always cute and exciting. Besides, they’re really easy to make.
Tools and materials:
- Brown paper grocery bags
- Stapler
- Paint in pastel colors (green, pink, yellow)
- Pencils or markers that match the paint
- White tissue paper or colorful craft tissue paper
- Glue sticks or a glue gun
- Scissors
- Small plastic eggs
Instructions:
- Decorate the paper bag with crayons using any patterns and colors you like – it’s okay if they aren’t perfect because this is just for decoration.
- Once the lines on your paper bag are dry (should take about 20 minutes), cut out one small corner of the bag and fold it inside to seal the opening.
- Cut out a piece of tissue paper that’s about as big as the opening of your paper bag and glue or staple it into place.
- Tear a larger sheet of tissue paper into pieces and layer them on top of each other on the bottom of your bag – this will help prevent your goodies from breaking.
- Fill up Easter eggs with candy or small toys, then put half an egg (the open side) into each little hole you made before. As you fill up each hole, make sure to cover any space between eggs so that nothing falls out.
- Finally, glue the edges of tissue paper together at the top where they meet to make a handle for your Easter basket, and tie the handle together with a ribbon.
- And there you have it – an adorable homemade Easter basket that’s sure to make your Easter egg hunt even more entertaining.
Check out our collection of homemade Easter baskets for more interesting designs that will spruce up your holiday.
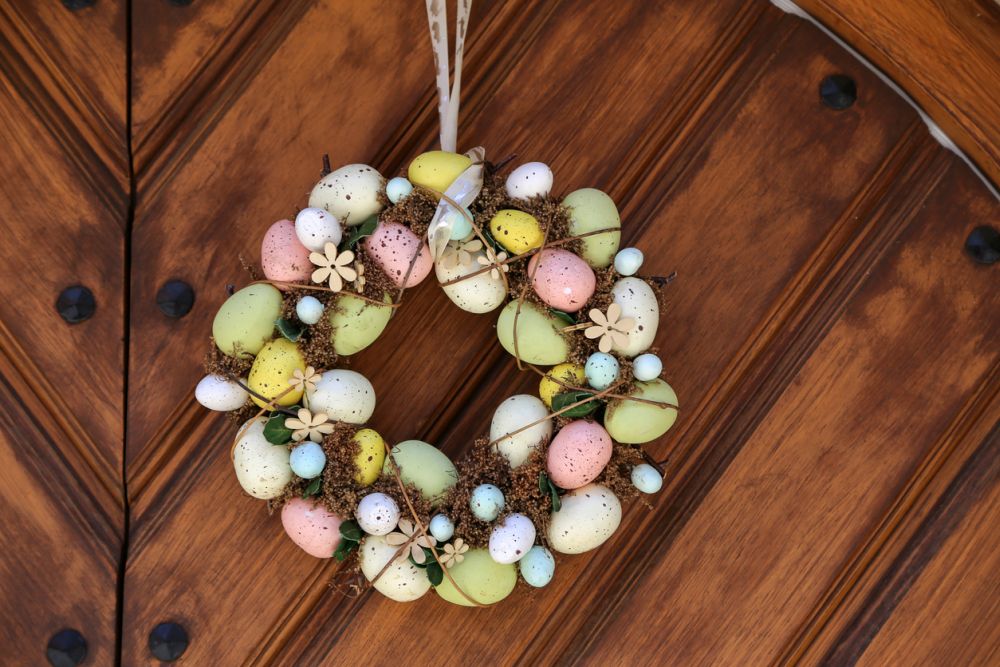
16. Easter Door Wreath
Wreaths are a beautiful addition to any Easter decor, and they’re really easy to make. You only need a few materials, and you can get creative with the design.
Tools and materials:
- Grapevine wreath form
- Green florist’s wire
- Hot glue gun and glue sticks
- Scissors
- Sprigs of fresh baby’s breath or other small flowers
- Plastic eggs (optional)
Instructions:
- Cut the wire into about 24-inch lengths and bend each length into a U-shape.
- Starting at the top of the grapevine form, twist the wire around the form to create a hanger. Continue going around until you reach the bottom of your wreath, then make another circle to secure. This time, twist the wire tightly around the form.
- Repeat the previous two steps two more times to create a total of three circles of wire on top of each other. Once you’re done, use hot glue to secure any loose ends sticking out from the back side of your wreath.
- Cut small fresh flowers off their stems at an angle and attach them one by one with the florist’s wire or floral tape on top of your wreath in no particular pattern until they look nice and full. If you want, you can also add plastic Easter eggs on top for decoration.
- Hang your Easter door wreath from a window frame or wall, and enjoy.
Look over our picks of lovely Easter wreaths for more inspiration.
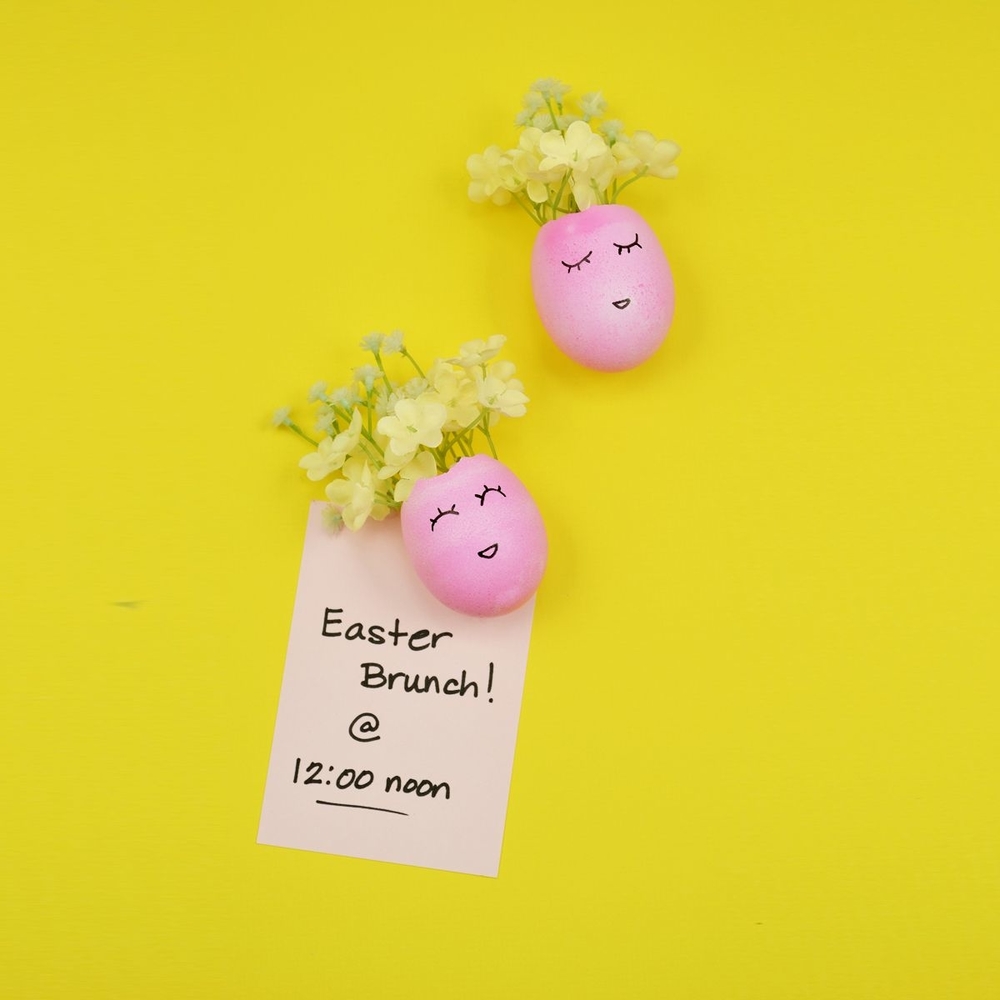
17. Easter Egg Magnet Vases – Easter Egg Crafts
Easter egg magnet vases are a fun way to dress up your fridge for the holiday. They’re also practical since you can pin important notes, to-do lists, and events that you need to remember.
Add the following items to your shopping list for this Easter egg craft: a hot glue gun with plenty of glue, fresh eggs, magnets, a bowl, water, and food coloring.
Find out everything there is to know about Easter egg magnet vases by checking out our complete guide with images.
18. Easter Card Craft
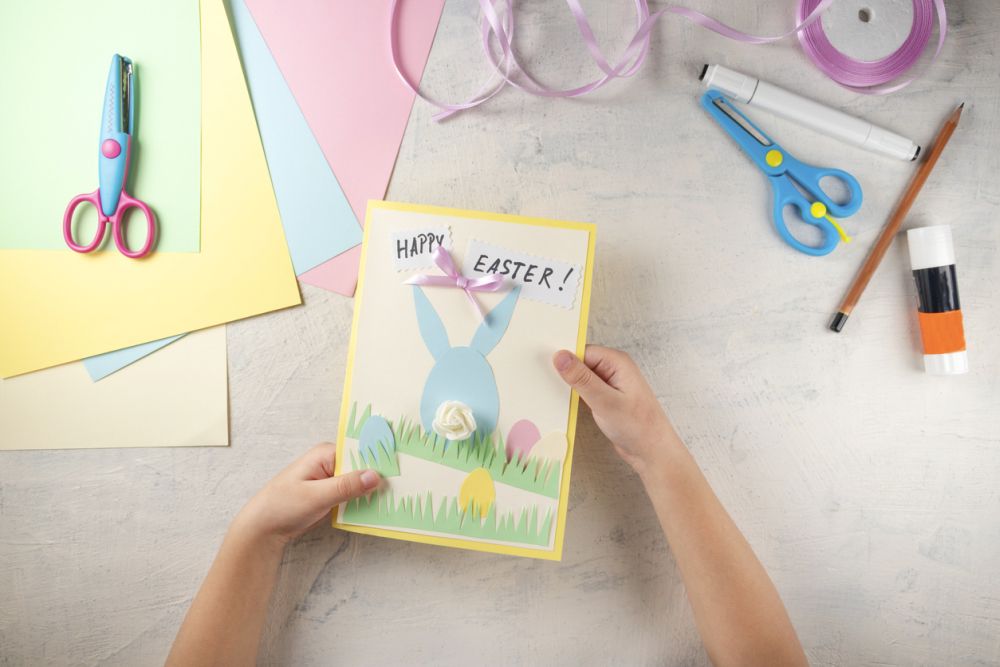
If you have a scrap of paper, stamps, and a marker on hand, making a simple Easter card can be a great way to share the holiday with friends and family.
You can make your card by hand or with the help of a computer if you have design software. In any case, it’s an easy project that you can complete in just a few minutes. Plus, you’ll save time because there’s no need to run around town looking for stamps.
If you’re not sure where to begin, start by thinking about how much time you want to spend on the project; this will determine whether or not using a computer is worth your while.
You should also decide on the message you’d like to send. If the Easter card craft is something that has caught your eye, take some ideas from the list below:
- Happy Easter! Hope this brightens up your day. Spring wishes for good luck!
- Hope your day is wonderful. Enjoy this beautiful holiday!
- Easter joy to you! Celebrate warmly!
- Wishing you a sunny Easter! Happy Spring!
- The Easter bunny brought this for you. Happy holidays!
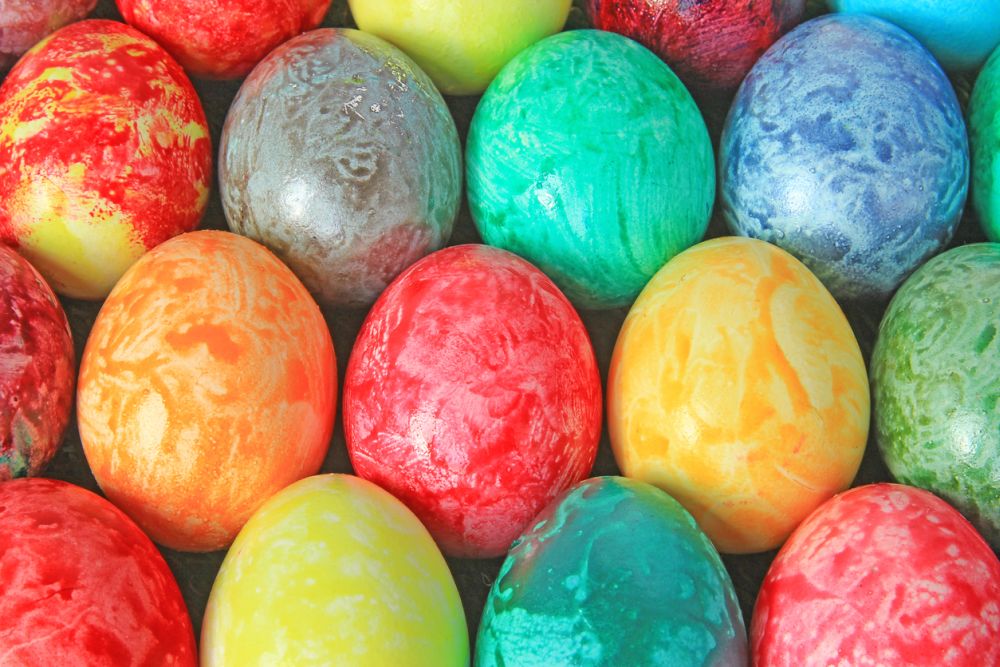
19. Marbled Easter Egg Decorations
Give your Easter eggs a unique marbled look with two simple ingredients. This is an easy Easter egg decoration project for kids to do, and the results are so beautiful that you might want to use this pattern year-round.
Tools and materials:
- White vinegar
- Food coloring (liquid or gel)
- Plastic gloves
- Jars that seal tightly (like Ball canning jars)
- Water
Instructions:
- Pour about 2 inches of water into each jar. Then add several drops of food coloring to the water and stir gently with a spoon.
- Put one hand in a plastic glove, then pour some vinegar onto your gloved hand so that it seeps through the glove tip. Now sprinkle the vinegar around the inside edge of each jar, making sure not to get any on your dyed eggs.
- Take an egg in your ungloved hand and dip it fully in the dye until you see no yellow (or paper) peeking out. Remove it, let excess dye drip off, and carefully place the egg into one of the jars full of vinegar-water mixture.
- Repeat these steps until all eggs are complete. Just be careful not to let eggs touch each other once they’re inside the jars.
- After adding all eggs, close the jar and store it someplace dark for a few hours. Once the eggs have had time to soak, take them out of the jars and let them dry on a towel overnight.
- And there you go – marbled Easter eggs that your friends will envy.
You can also try this fun technique to decorate Easter eggs with other types of dyes like natural ingredients (like beets or onion skins) or even coffee if you want brown eggs.
You can also mix food coloring with a dye mixture before pouring it into the water-vinegar jars to make your unique color combos. Just remember that whatever colors you choose, always do a test one egg before dying everything.
20. Easter Table Centerpiece
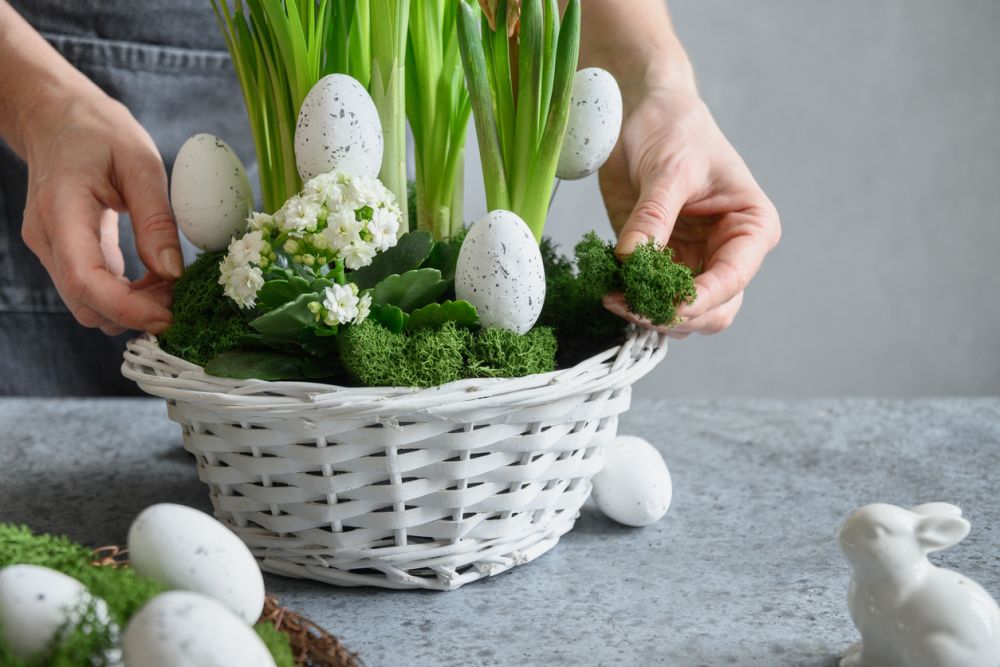
An Easter table centerpiece is a decoration used to enhance the look of a table or buffet during Easter dinner. Many different types of centerpieces can be made, but the most popular option is usually a basket filled with eggs, bunnies, and other springtime items.
If you’re looking for a simple way to create an Easter centerpiece, consider using a large container like a galvanized bucket, wooden crate, or wicker basket.
Fill the container with colorful Easter eggs, plush bunnies, plastic carrots, and any other springtime decorations that you like. You can also add a floral arrangement or some greenery to complete the look.
Another popular option for an Easter centerpiece is to use a basket since you can fill it with colorful eggs, chocolate bunnies, assorted candies, and other items that people of all ages will enjoy.
If you’re having a large dinner or party, then your centerpiece doesn’t have to be centered on the table. You can spread it out so that it decorates a buffet as well as different areas of the dining room.
On the other hand, if you need centerpieces for a smaller party, you can use small baskets or glass jars. Fill them with various Easter items and set them on tables or shelves throughout your home.
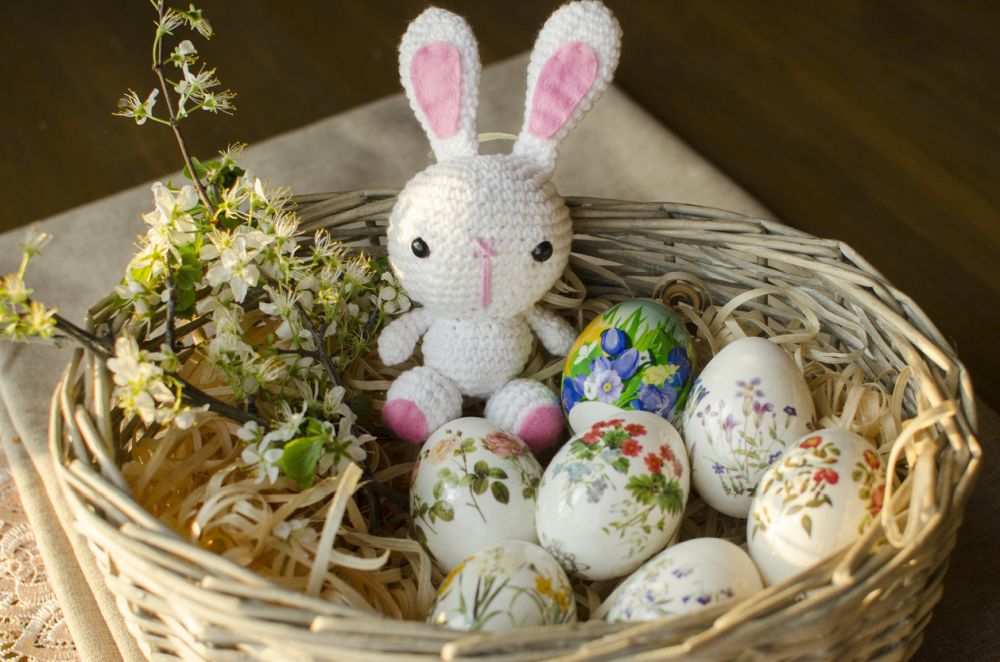
21. Amigurumi Cute Easter Bunny
An amigurumi bunny is a crocheted or knitted stuffed toy shaped like a rabbit. You can make them from different types of materials, but yarn and fabric are popular choices since they are easy to crochet and sew.
When you’re making amigurumi bunnies, you can crochet or knit them as big or small as you like. The only important thing is that the cute Easter bunny should be a soft toy.
Furthermore, you can give your bunny a wide range of colors and patterns to make it unique. You may even want to crochet or knit more than one so that you have a pair.
For more inspiration, you should check out our handpicked Easter knitters and crochet projects.
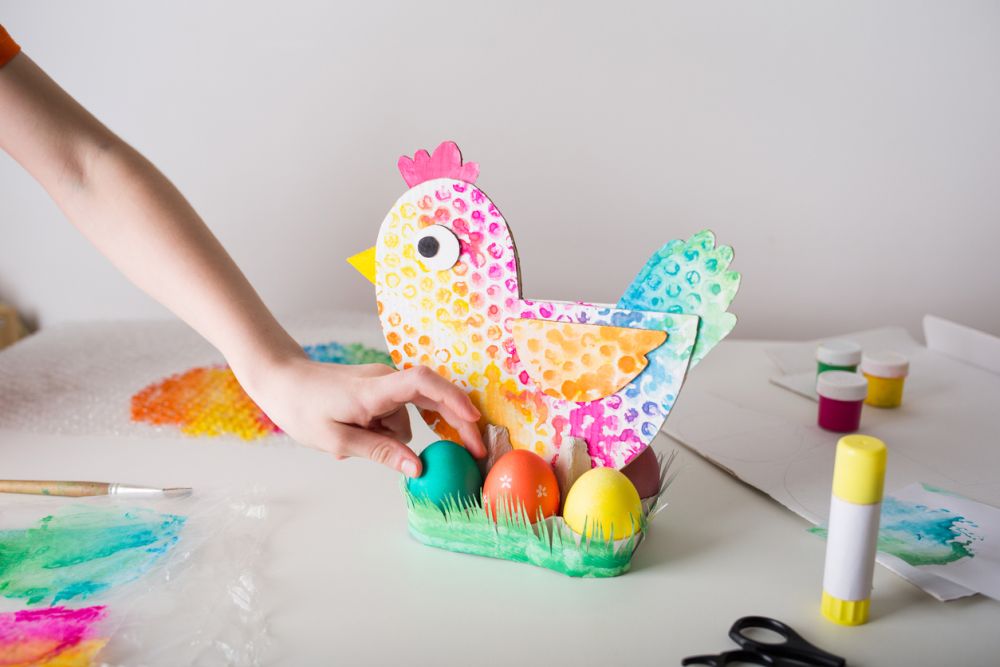
22. Chicken and Eggs Cardboard Stand – Easter Table Decor
You can make a chicken stand out of cardboard to display Easter eggs and other types of decorative items in homes, stores, workshops, and churches. It’s a great idea for Easter table decor.
Cardboard stands come in many different shapes and sizes. They may be adorned with ribbons, colored paper, or other materials for a festive look.
You can create your own chicken and egg stand by using a box cutter to cut out the general shape of a chicken from poster board or cardboard. Then you should cover this shape with foil or fabric so that it looks like a real bird.
Afterward, you just need to arrange some Easter eggs inside the chicken’s body to create an attractive decoration that will fit almost any room and budget.
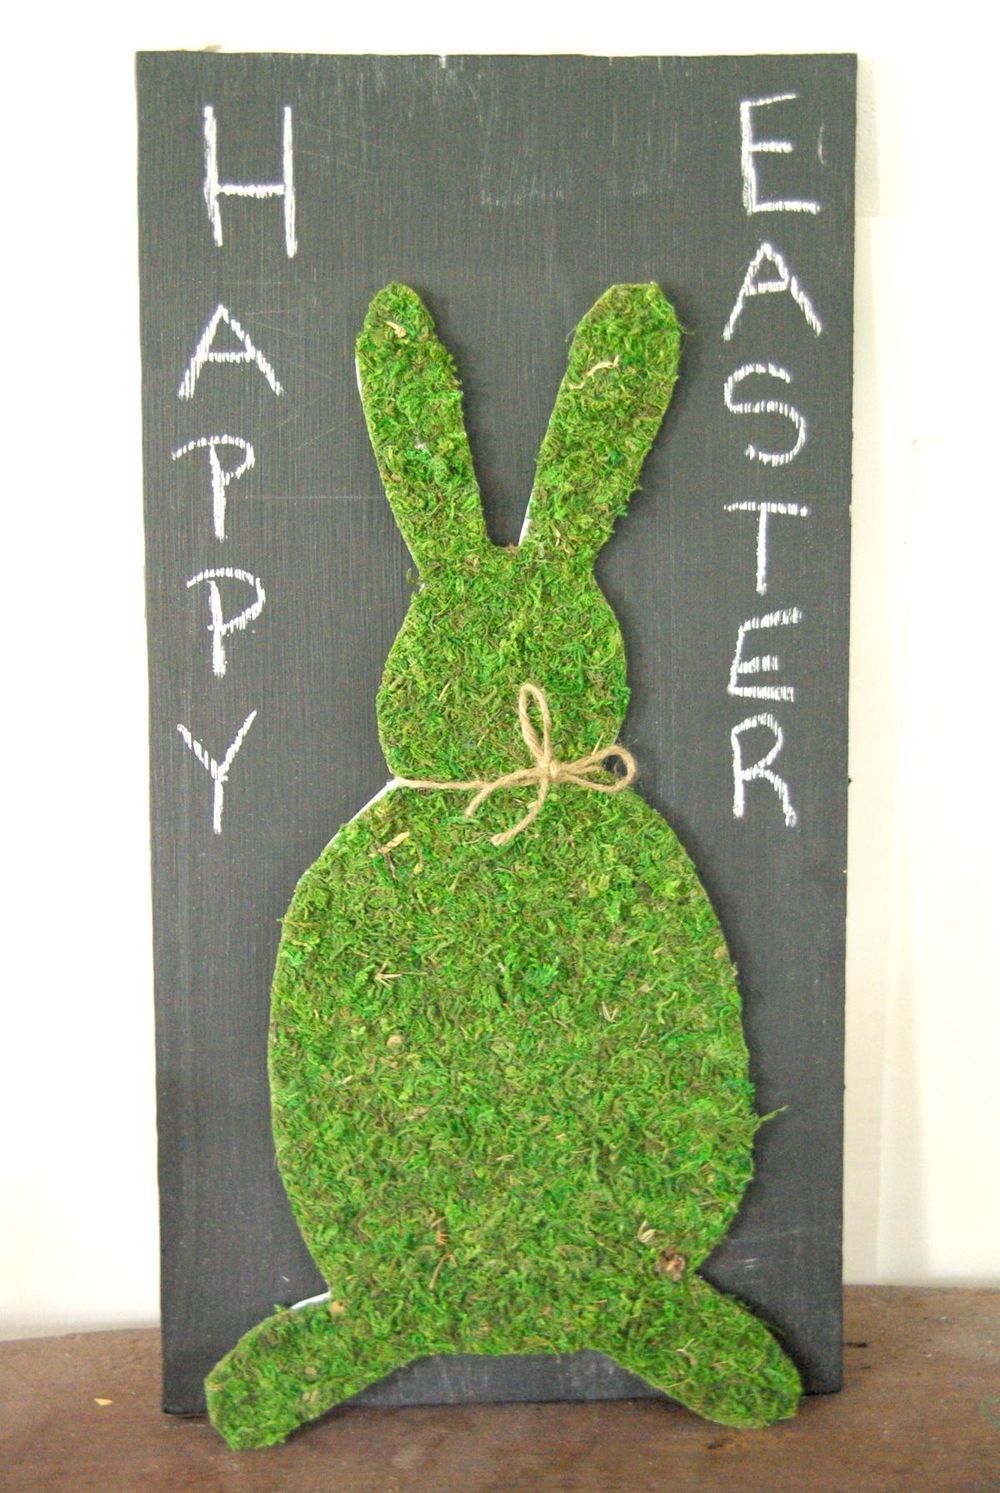
23. Moss Easter Bunny – Easter Decoration Ideas
An Easter bunny made of moss is a lovely Easter decoration idea that can enhance the look of your home during the festive season. You can make it yourself and have your family members join in for extra fun.
To work on this project, you need twine, moss, a hot glue gun, and a poster board. You can either draw the bunny shape using a pen and paper, or find a template on the Internet, download it, print it, and use it to trace the bunny.
Go to Homedit to get the complete steps for making a moss Easter bunny.
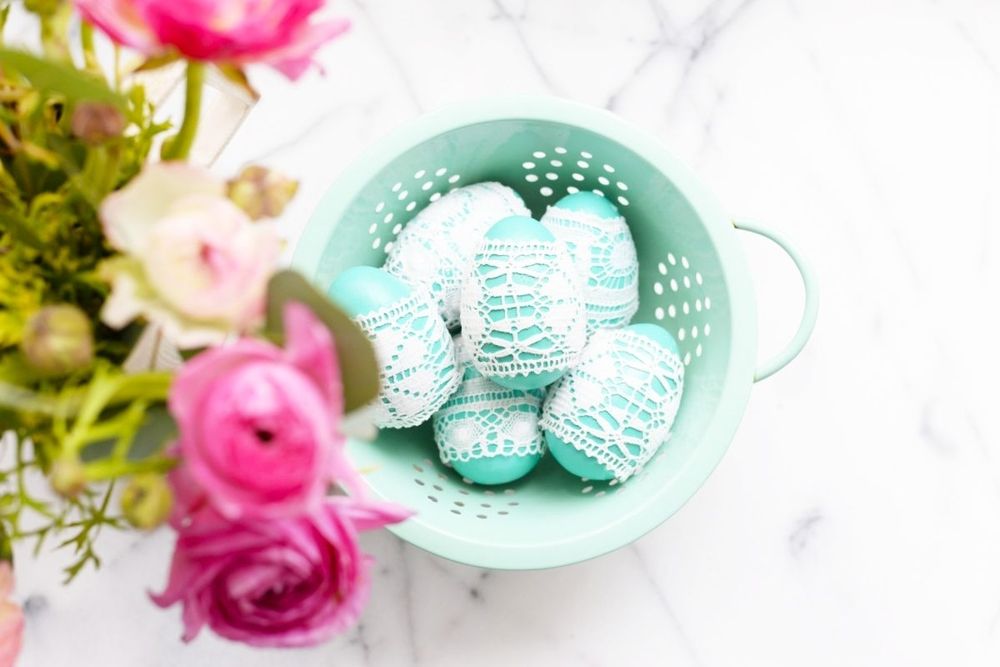
24. Lace Easter Egg Designs
You can create a new type of Easter egg design by using lace to decorate them. This is a fun project that you can do with friends and family members, so gather everyone together for an afternoon of creativity.
For this project, you need wooden eggs, a foam brush, lace trim, an egg carton, colorful spray or acrylic paint, a mod podge, a foam brush, sewing scissors, and a clear polyurethane finish.
Head over to Homedit to learn everything there is to know about crafting lace Easter eggs.
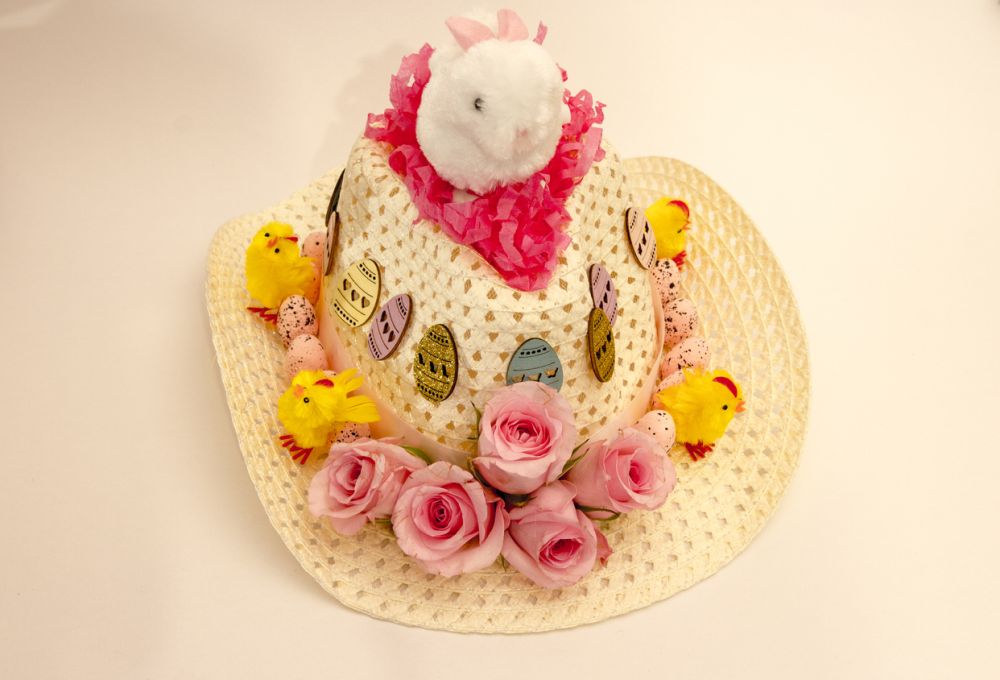
25. DIY Easter Bonnet Ideas
Easter bonnets are a popular item in children’s fashion during the holiday season.
You can make your own Easter bonnet by using simple white cloth or a headband and decorations such as foam shapes, feathers, flowers, ribbons, buttons, bows, and so on.
You can have your child wear his or her Easter bonnet to church or a family Easter celebration, and then take it off to show everyone the decorated headpiece underneath.
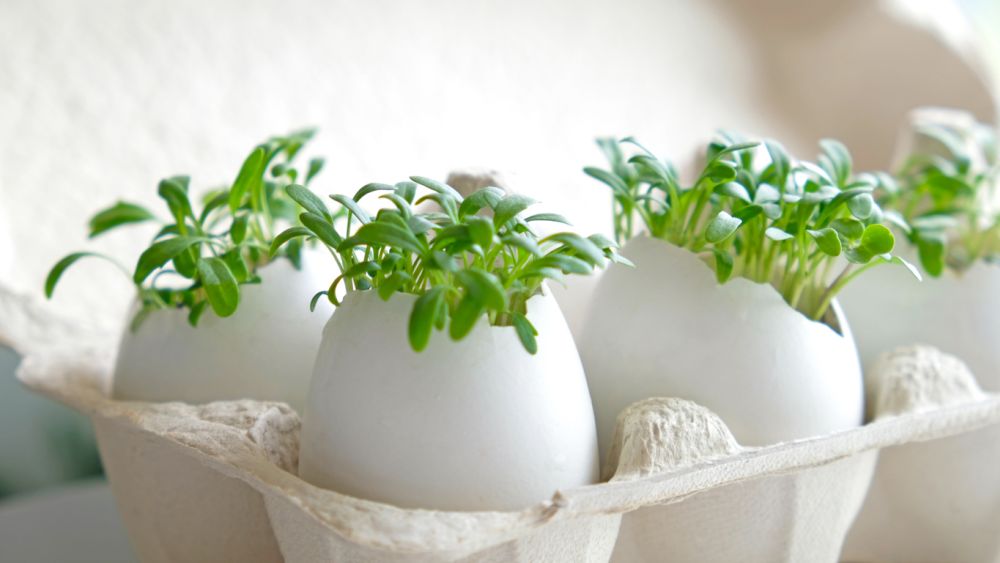
26. Eggshell Greenhouse – Easter Ideas
You can use eggshells to grow microgreens, which are young plants that are harvested at an early stage of growth. It’s a fantastic idea for Easter, especially if you’re the type of person who’s always looking for eco solutions.
Since Easter is a time when many people eat eggs, you only need to save your shell and add some seeds to get started with this craft. Then place the paper carton on a sunny windowsill at home or in the office, and you’ll soon have green sprouts growing inside.
You can use any type of seeds to grow microgreens, including mustard, basil, kale, cress, and parsley. It’s also possible to grow herbs in small eggshells, such as chives, thyme, oregano, and rosemary.
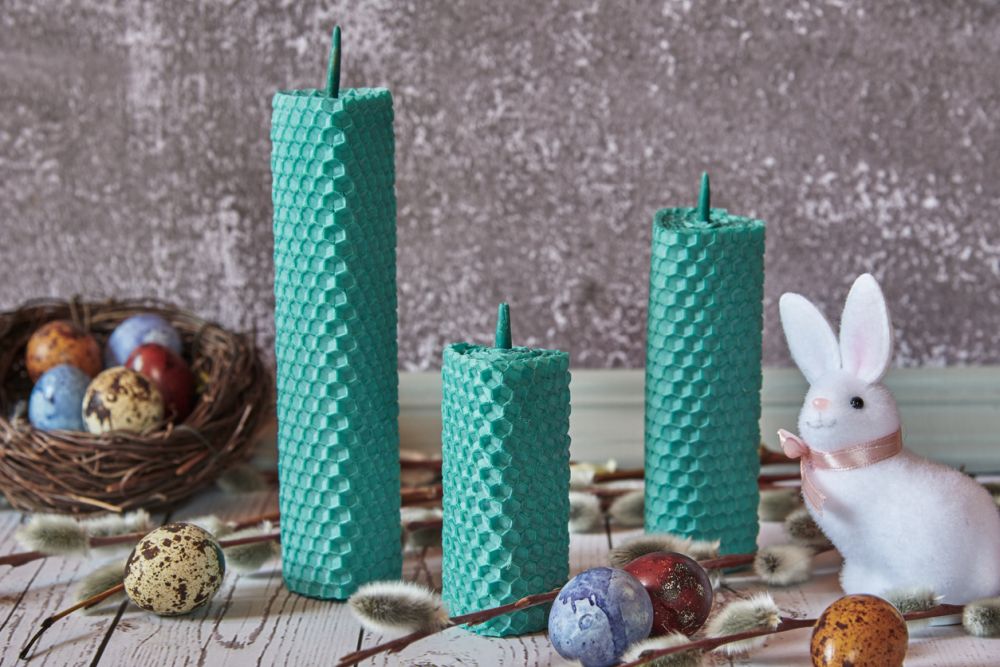
27. Handmade Wax Candles – Easter Gifts
It’s also possible to create homemade candles for Easter that can be reused year after year. Or, you can turn them into wonderful Easter gifts to share with friends, family, and co-workers.
Tools and materials:
- Metal tin for the mold
- Soy wax flakes
- Dye
- Wick holder clip
- Clothespin
Instructions:
- Melt down the soy wax in a double boiler over medium heat, then add your colorant and pour it into the metal mold.
- Allow the candle to solidify overnight before removing it from the mold.
- Use natural dyes such as turmeric powder when creating candles to add subtle colors to the flame. You can also add sandalwood or musk powder for even more texture and fragrance.
For more inspiration, check out our collection of the best candle-making molds.
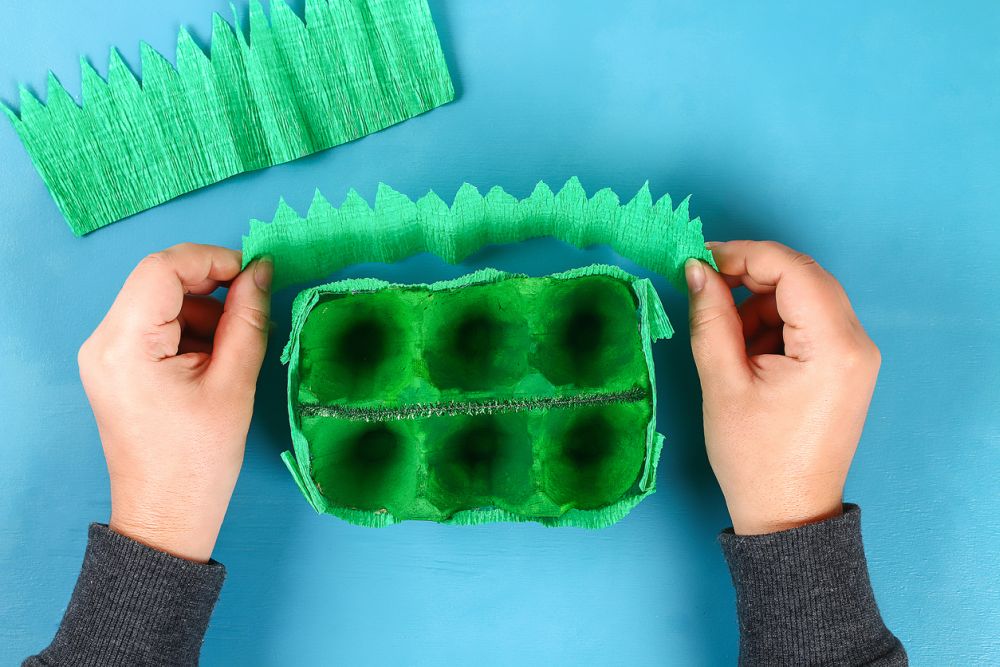
28. Egg Carton Easter Basket
Egg cartons are the perfect material to create Easter baskets, which can hold treats or small gifts for friends and family members. Or you can just use them to showcase your colored eggs.
Tools and materials:
- Cardboard egg carton
- Crepe paper
- Chenille stems
- Hot glue gun
Instructions:
- Cut the flaps off of the egg carton and discard them.
- Cut the top off of each egg carton cup so that you’re left with a straight edge.
- Cover the cardboard with crepe paper by gluing it on one side at a time.
- Once the crepe paper is in place, use the chenille stem to create a handle for the basket by wrapping it around the edges and gluing it in place.
- Use a hot glue gun to attach a decoration to the front of the basket, such as an Easter egg or some flowers.
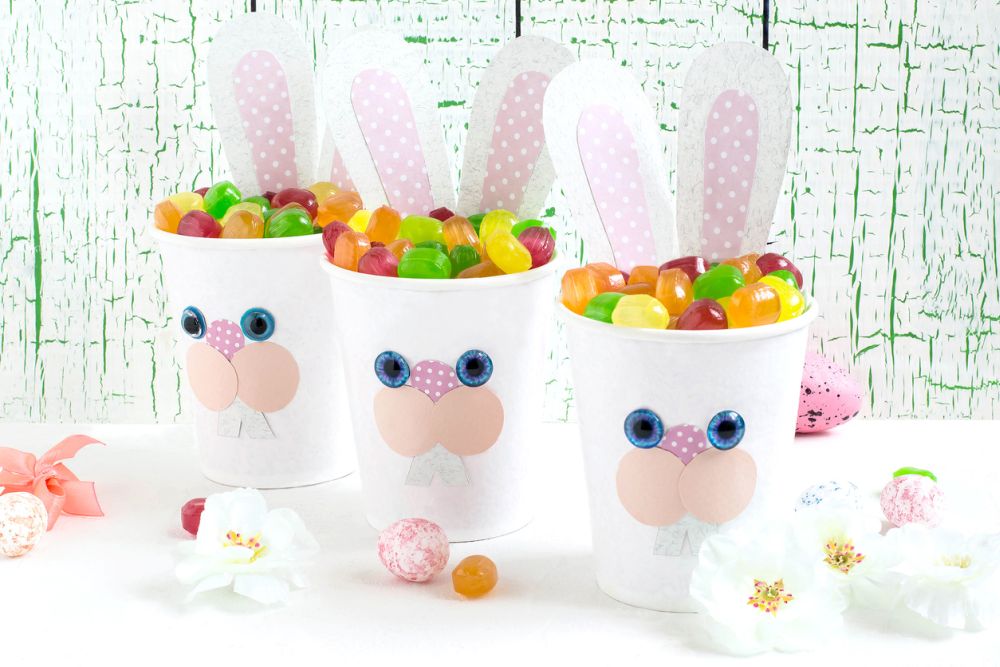
29. Bunny Box for Sweets – Easter Craft Ideas
Turning a plain box into an Easter bunny container is an excellent Easter craft idea to prepare sweets for your kids. Besides, it’s a simple DIY Easter project that won’t take up too much of your time.
Tools and materials:
- Paper cups
- Scissors
- Pencil
- Ruler
- White and pink felt
- Hot glue gun
- Black marker
Instructions:
- Cut the top off of each paper cup so that you have a straight edge.
- Outline an Easter Bunny on white felt and cut it out.
- Glue the white felt Easter Bunny to the front of each paper cup using a hot glue gun.
- Cut out two small circles from pink felt and glue them to the inside of each bunny’s ears.
- Use a black marker to draw eyes, nose, and mouth on the Easter Bunny faces.
- Fill each paper cup with candies and place them in a basket.
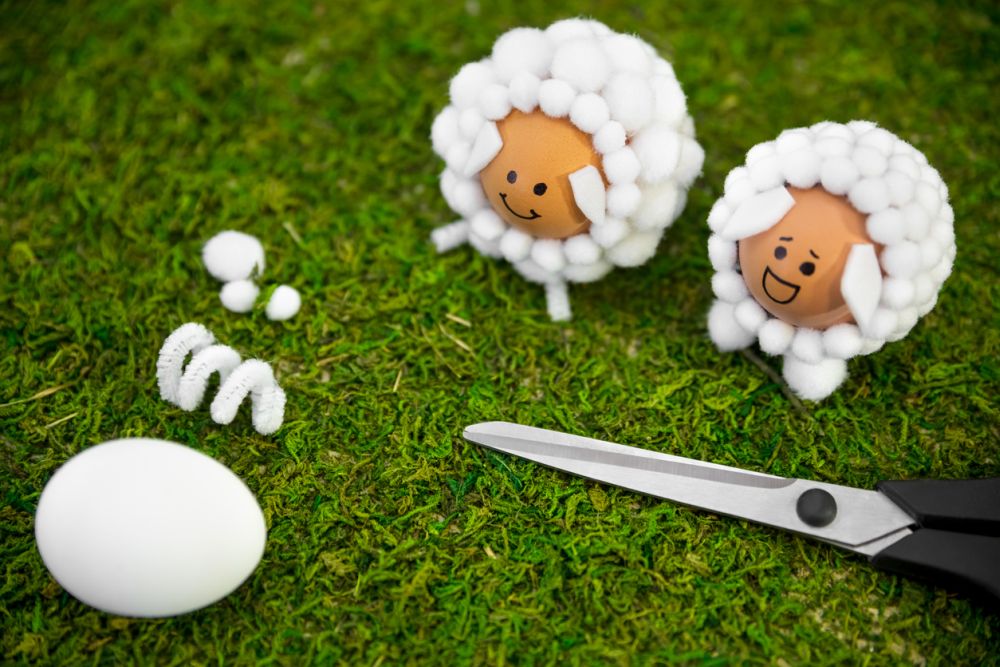
30. Sheep – Personalized Easter Eggs
If you’re looking for a project that allows you to create personalized Easter eggs, consider making sheep out of fresh eggs and white cotton balls.
Tools and materials:
- Black construction paper
- Glue stick
- Googly eyes
Instructions:
- Glue two white cotton balls together to form the body of the sheep.
- Glue the black construction paper around the edge of the cotton balls to create the wool.
- Attach two googly eyes to the front of the sheep.
- Draw a mouth with the black construction paper.
- Once the glue is dry, write your favorite festive message or cute Easter day quote on each egg using a black marker.
- Decorate the eggs by drawing various shapes and patterns on them, such as hearts, flowers, stars, squiggles, etc.
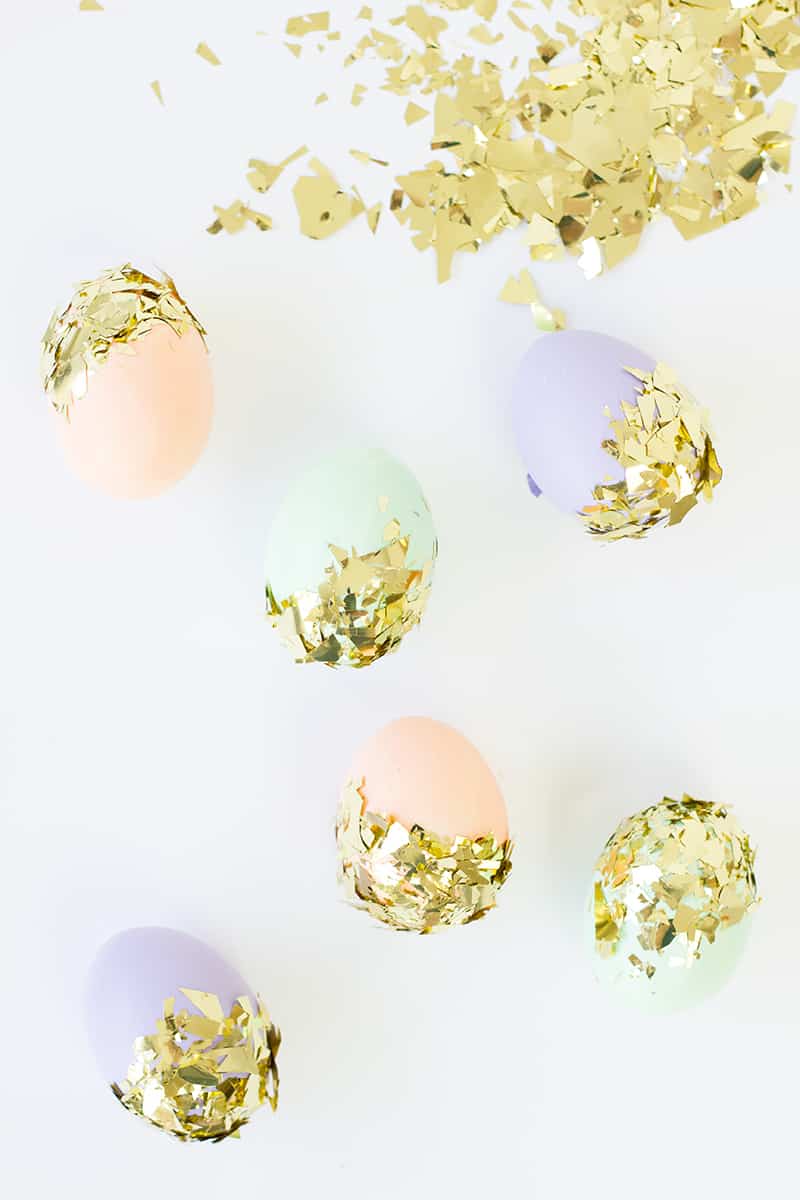
31. Pastel Easter Eggs Dipped in Confetti – Spring Craft Projects
A year doesn’t go by without decorating classic Easter eggs. However, just because it’s tradition doesn’t mean you can’t put a new spin on the eggs.
This year, we’re completely obsessed with the way Studio DIY painted their eggs in pastel colors and then dipped one end into confetti.
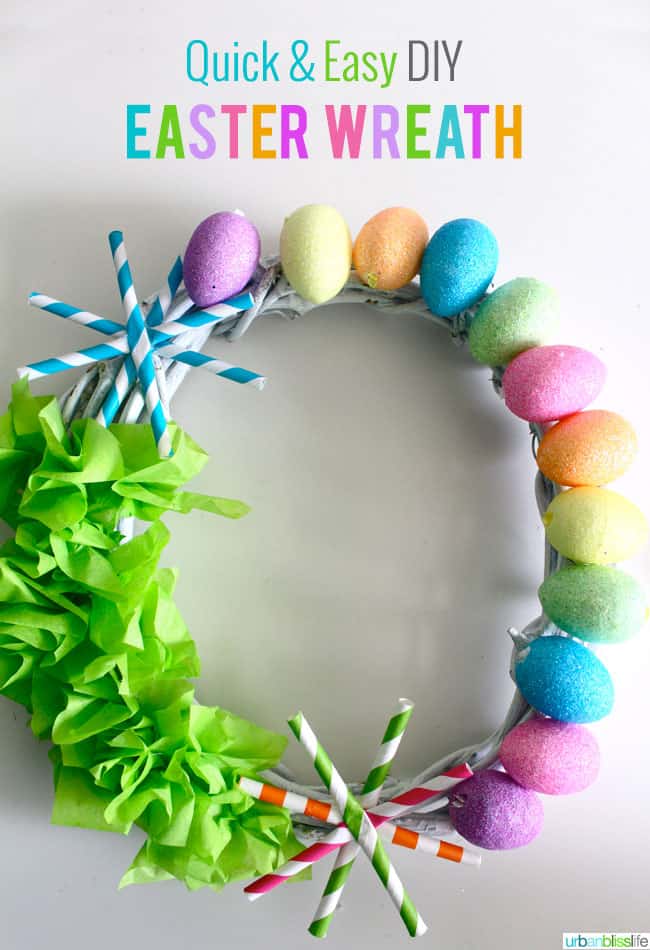
32. Paper Straw Easter Wreath – Spring Projects
Wreaths are an awesome craft you can make each year without getting bored. That’s because they can be themed, seasonal, and made in countless styles, shapes, and sizes.
Just check out this super fun technique from Urban Bliss Life, which shows how to put together a cute wreath using paper straws, tissue paper, and foam eggs.
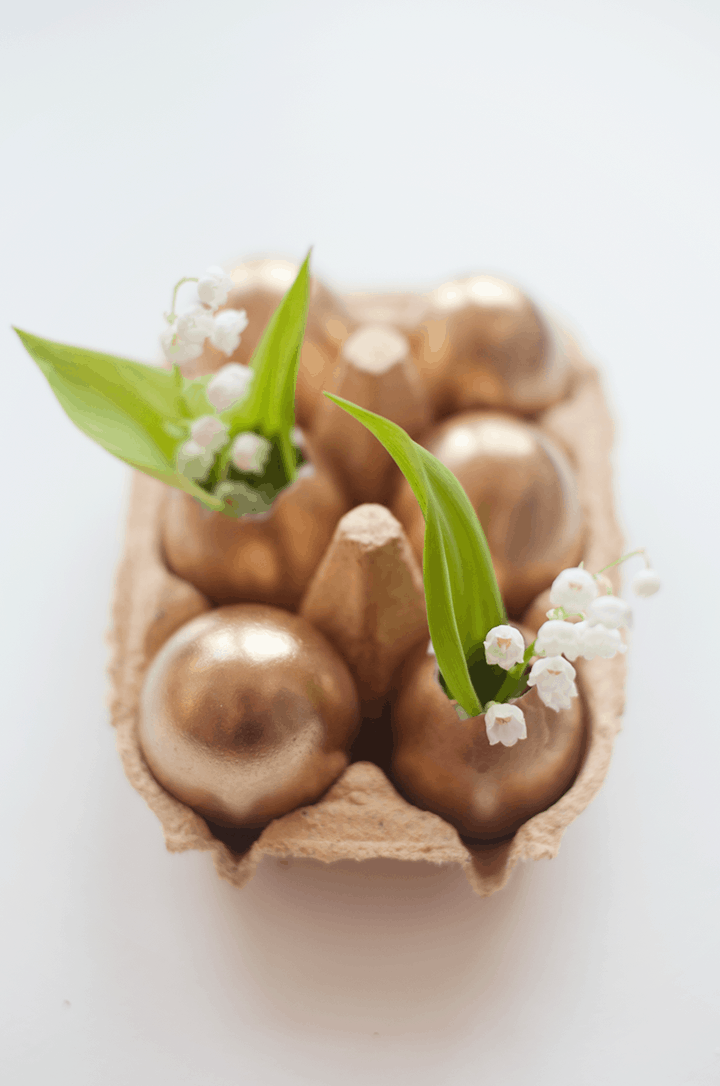
33. Mini Golden Egg Carton Vases – Craft Projects for Spring
Perhaps you’re looking for an Easter decor DIY project that’s less kitschy and more classy to suit the glam of your home. In that case, we’d definitely suggest taking a look at how79 Ideas made this fantastic vase for itty bitty spring flowers by painting eggshells and their garden metallic gold.
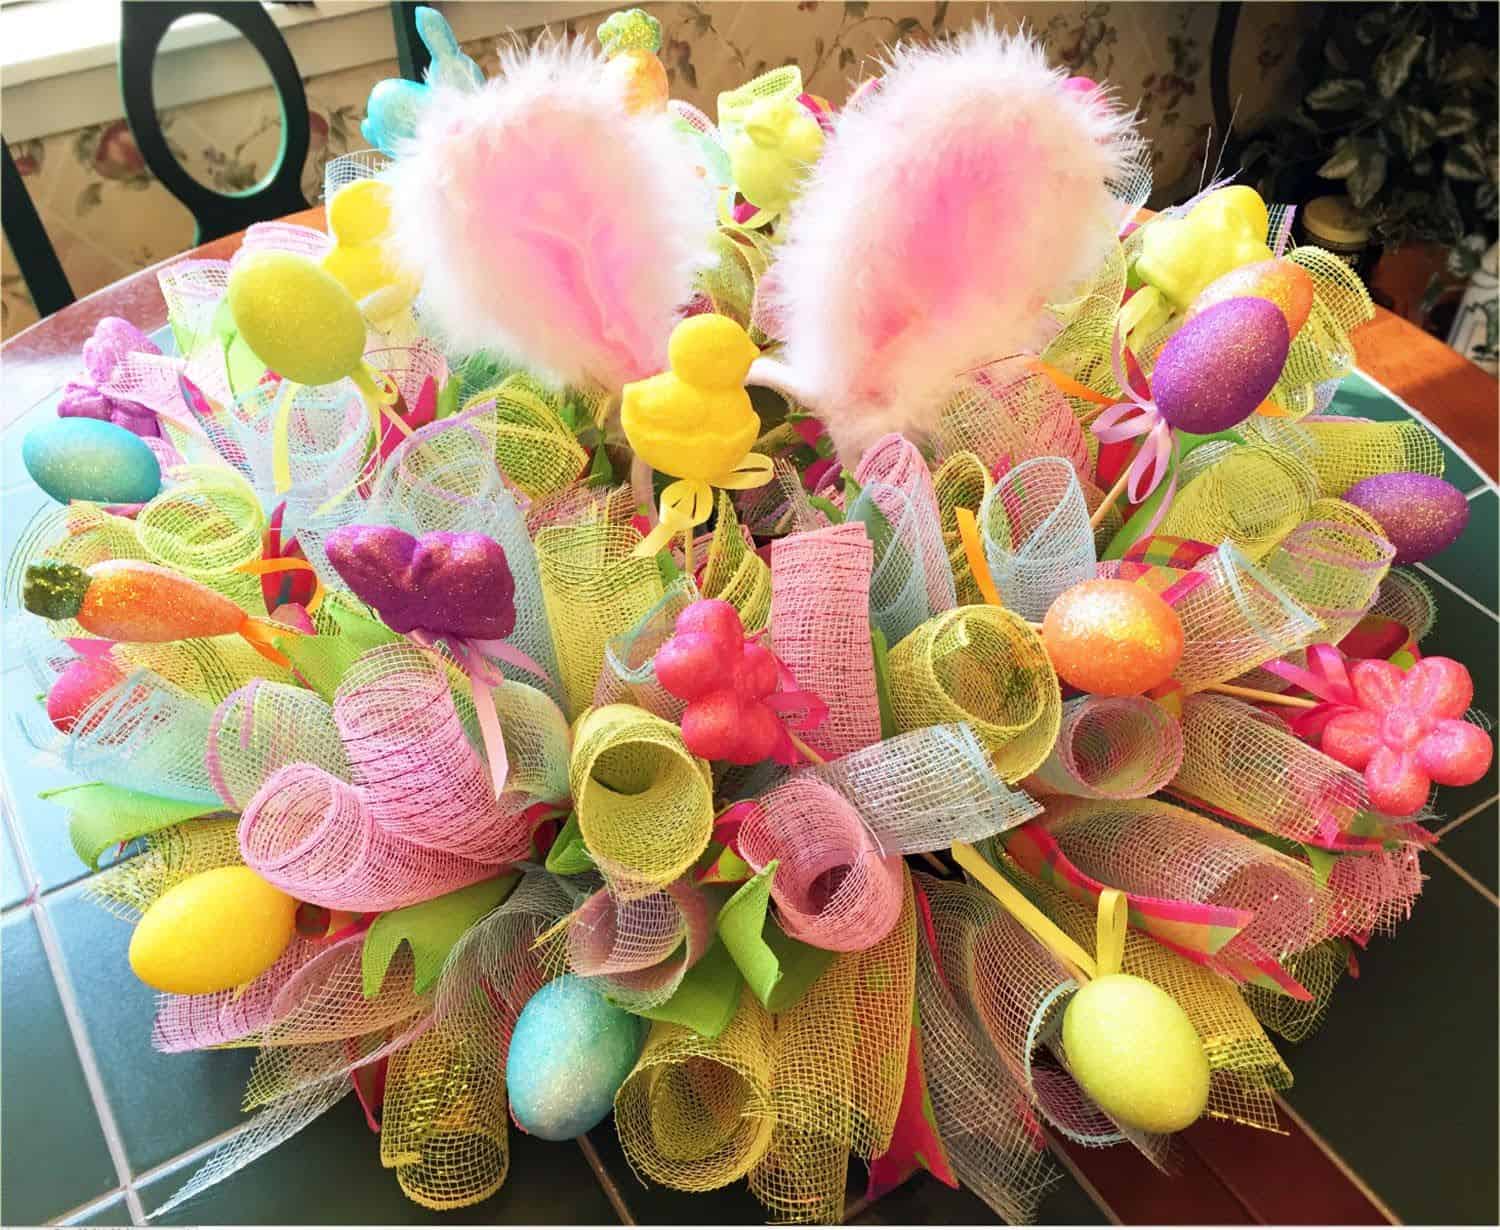
34. Ribbon and Bunny Ear Centerpiece – Project for Easter
If you love kitschy Easter themes and bright colors for spring decorations, we absolutely suggest taking a look at howLeta Bit of Everything used Easter eggs, sparkling ribbon, and fuzzy ears from the Dollar Store to make a super fun piece of decor.
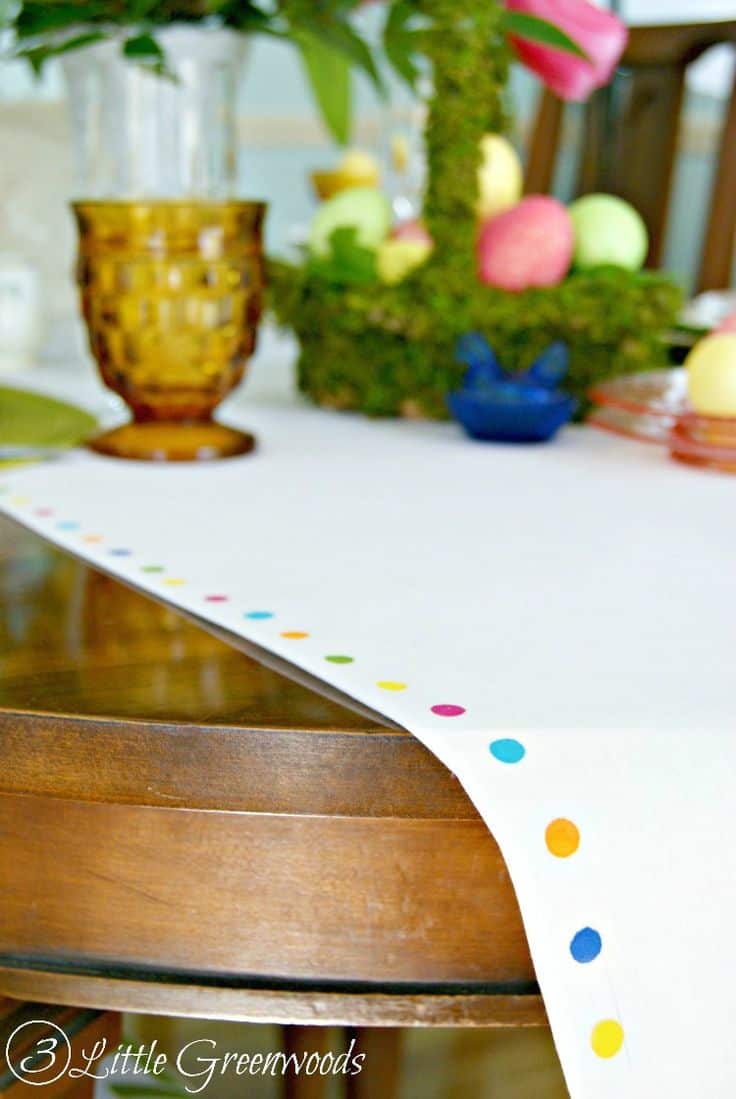
35. No-Sew Table Runner – Easter Craft Projects
We love how fabric table runners look on holiday dinner tablescapes, but we’re not particular fans of sewing. If you’re like us, we think you’ll be excited to know this lovely Easter-themed polka dot design is an entirely no-sew project. Get the full details from 3 Little Greenwoods.
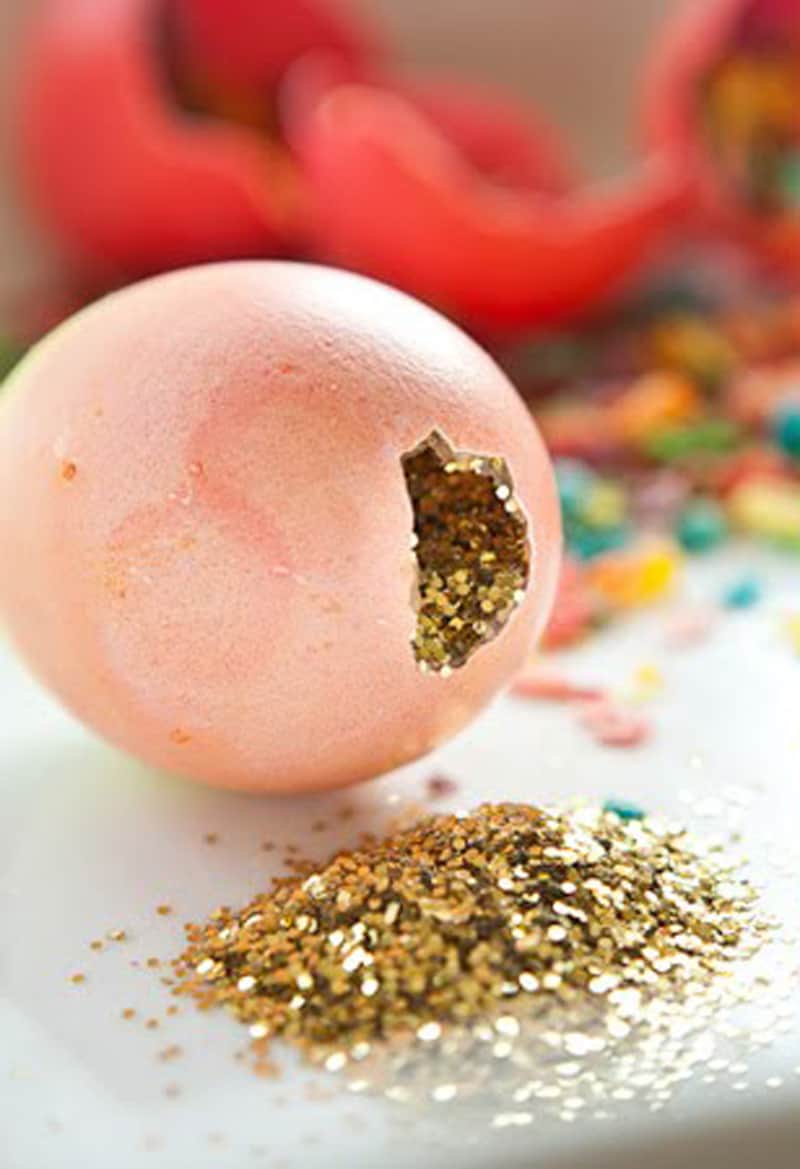
36. Glitter Confetti Egg Game
If you love the idea of making something interactive for your kids, here’s a fantastic project. Oh Happy Day shows you how they paint eggs, discreetly fill them with sparkly gold glitter confetti, and play a fun game that releases all that glitter.
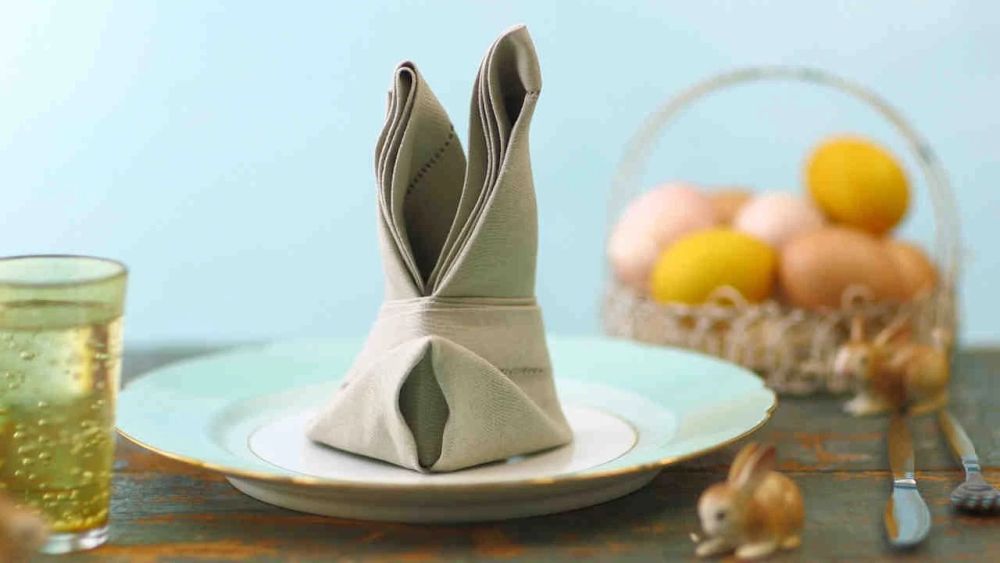
37. DIY Folded Bunny Napkins – Easter Bunny Projects
Martha Stewart has prepared a simple tutorial that teaches you how to effortlessly fold napkins in the shape of bunnies.
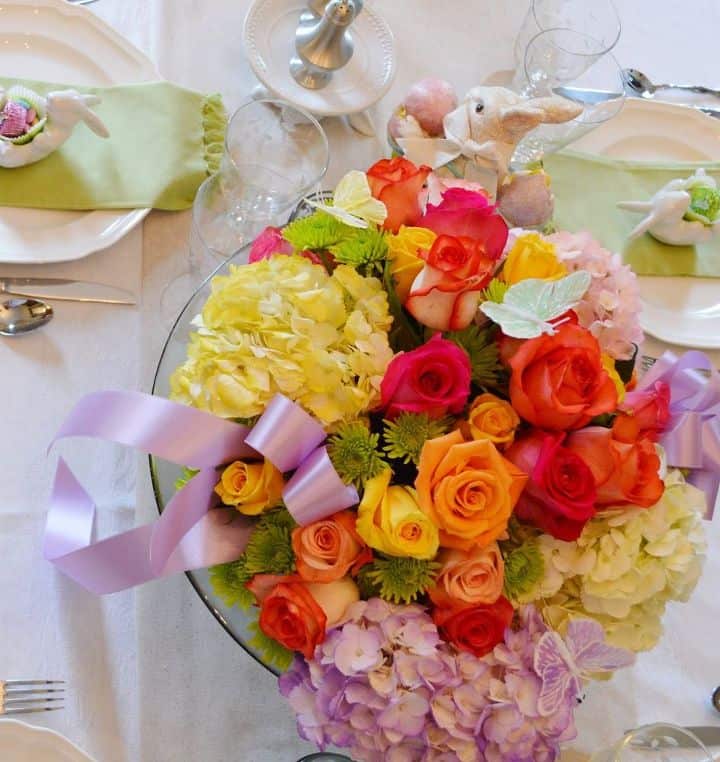
38. Stunning Pastel Ribbon and Floral Centerpiece
Hometalk made a lovely centerpiece almost entirely from bright spring flowers. And you can do it, too, by following their simple tutorial.
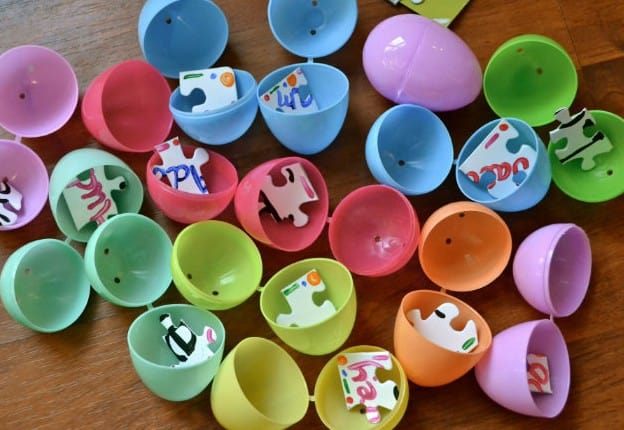
39. Puzzle Piece Easter Egg Hunt – Spring Projects for Preschoolers
If you’re the kind of parent who loves keeping kids engaged and entertained, you’ll really get a kick out of how DIY Projects hid chocolate and hollow plastic eggs, placing a puzzle piece inside each. Once the kids find all the eggs, they can complete the puzzle.
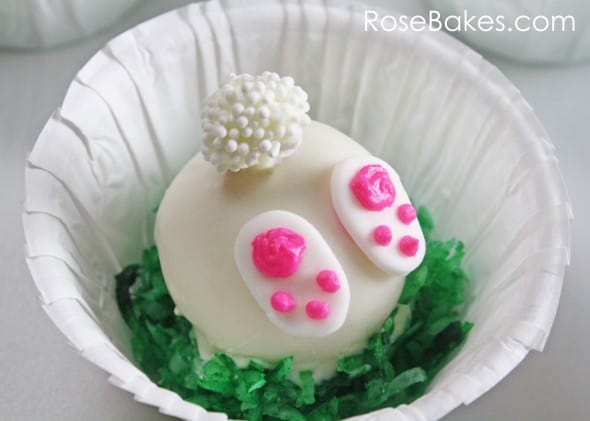
40. Bunny Tail Cake Balls
Rose Bakes made these fantastic little cake balls shaped like a bunny’s bum, complete with a fluffy cotton tail and little feet.
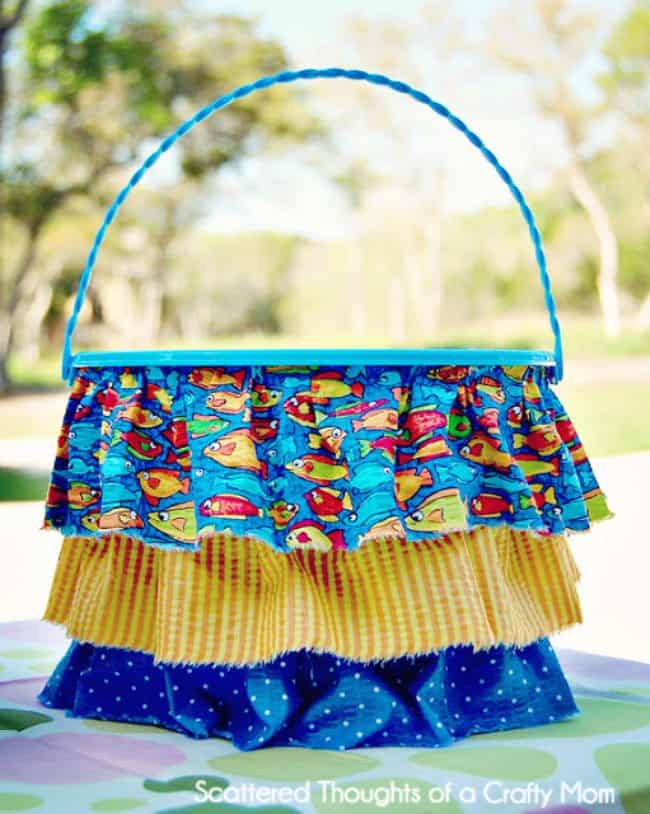
41. Ruffled Fabric Easter Basket
Check out how Scattered Thoughts of a Crafty Mom made this lovely basket that features tiered ruffles in different colors and patterns. You can use it to collect Easter eggs during the annual hunt.
42. Easter Flowers Rice Krispy Treats
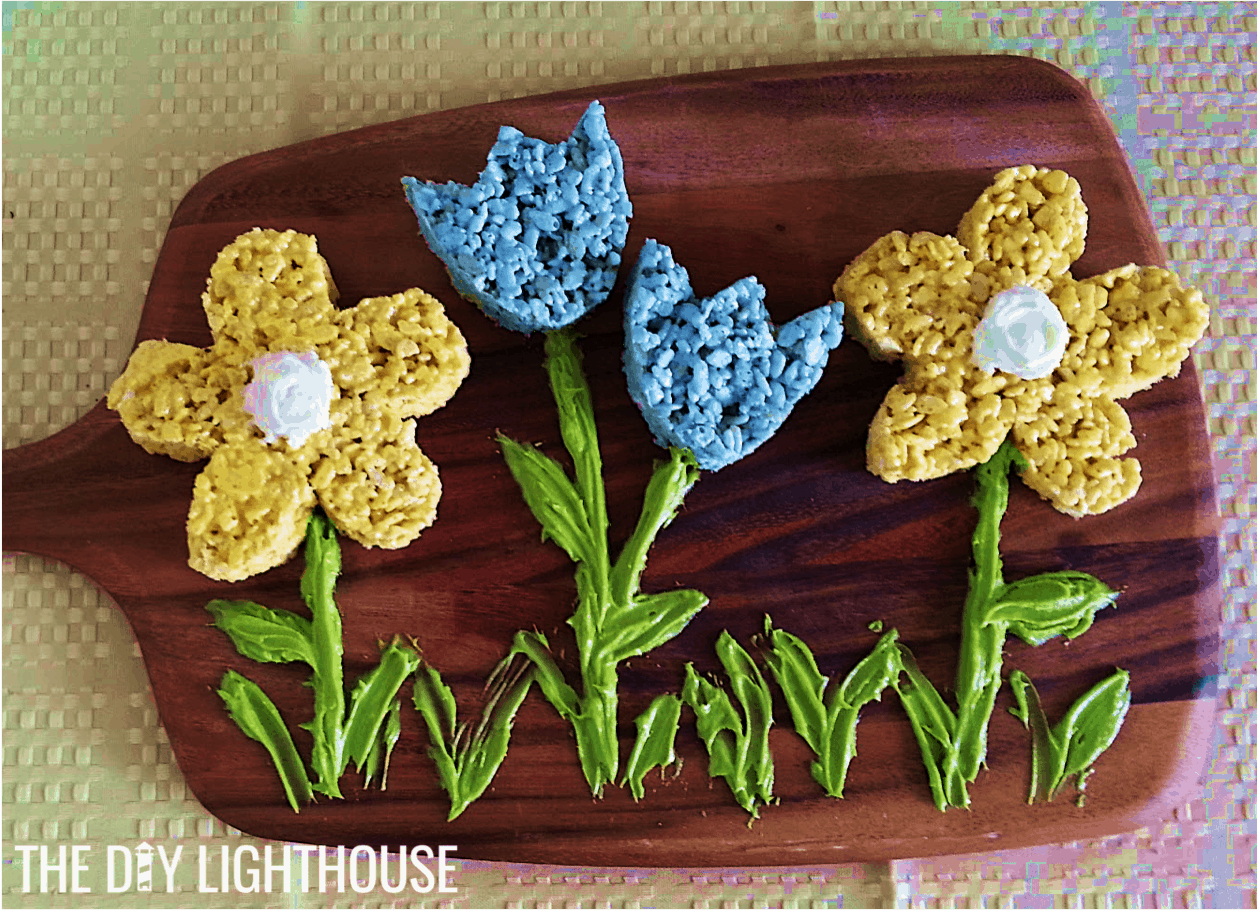
If you love Rice Krispy treats as much as we do, you’ll really appreciate this adorable spring tulip version outlined step by step on The DIY Lighthouse.
43. Easter Carrot Cake
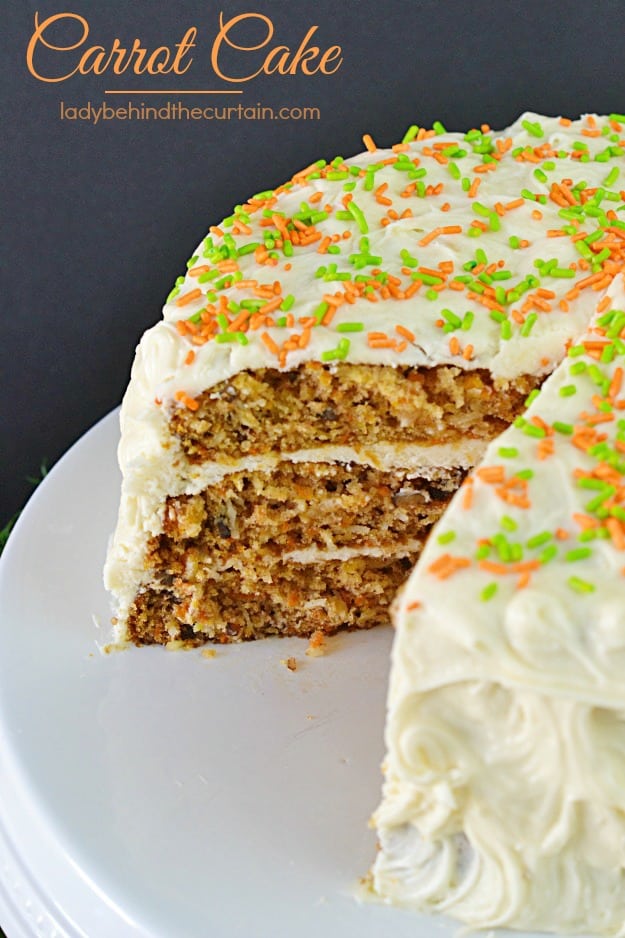
Lady Behind the Curtain baked this stunning homemade carrot cake, then iced and sprinkled it in carrot colors – just how the Easter bunny likes it.
44. Personalized Easter Buckets
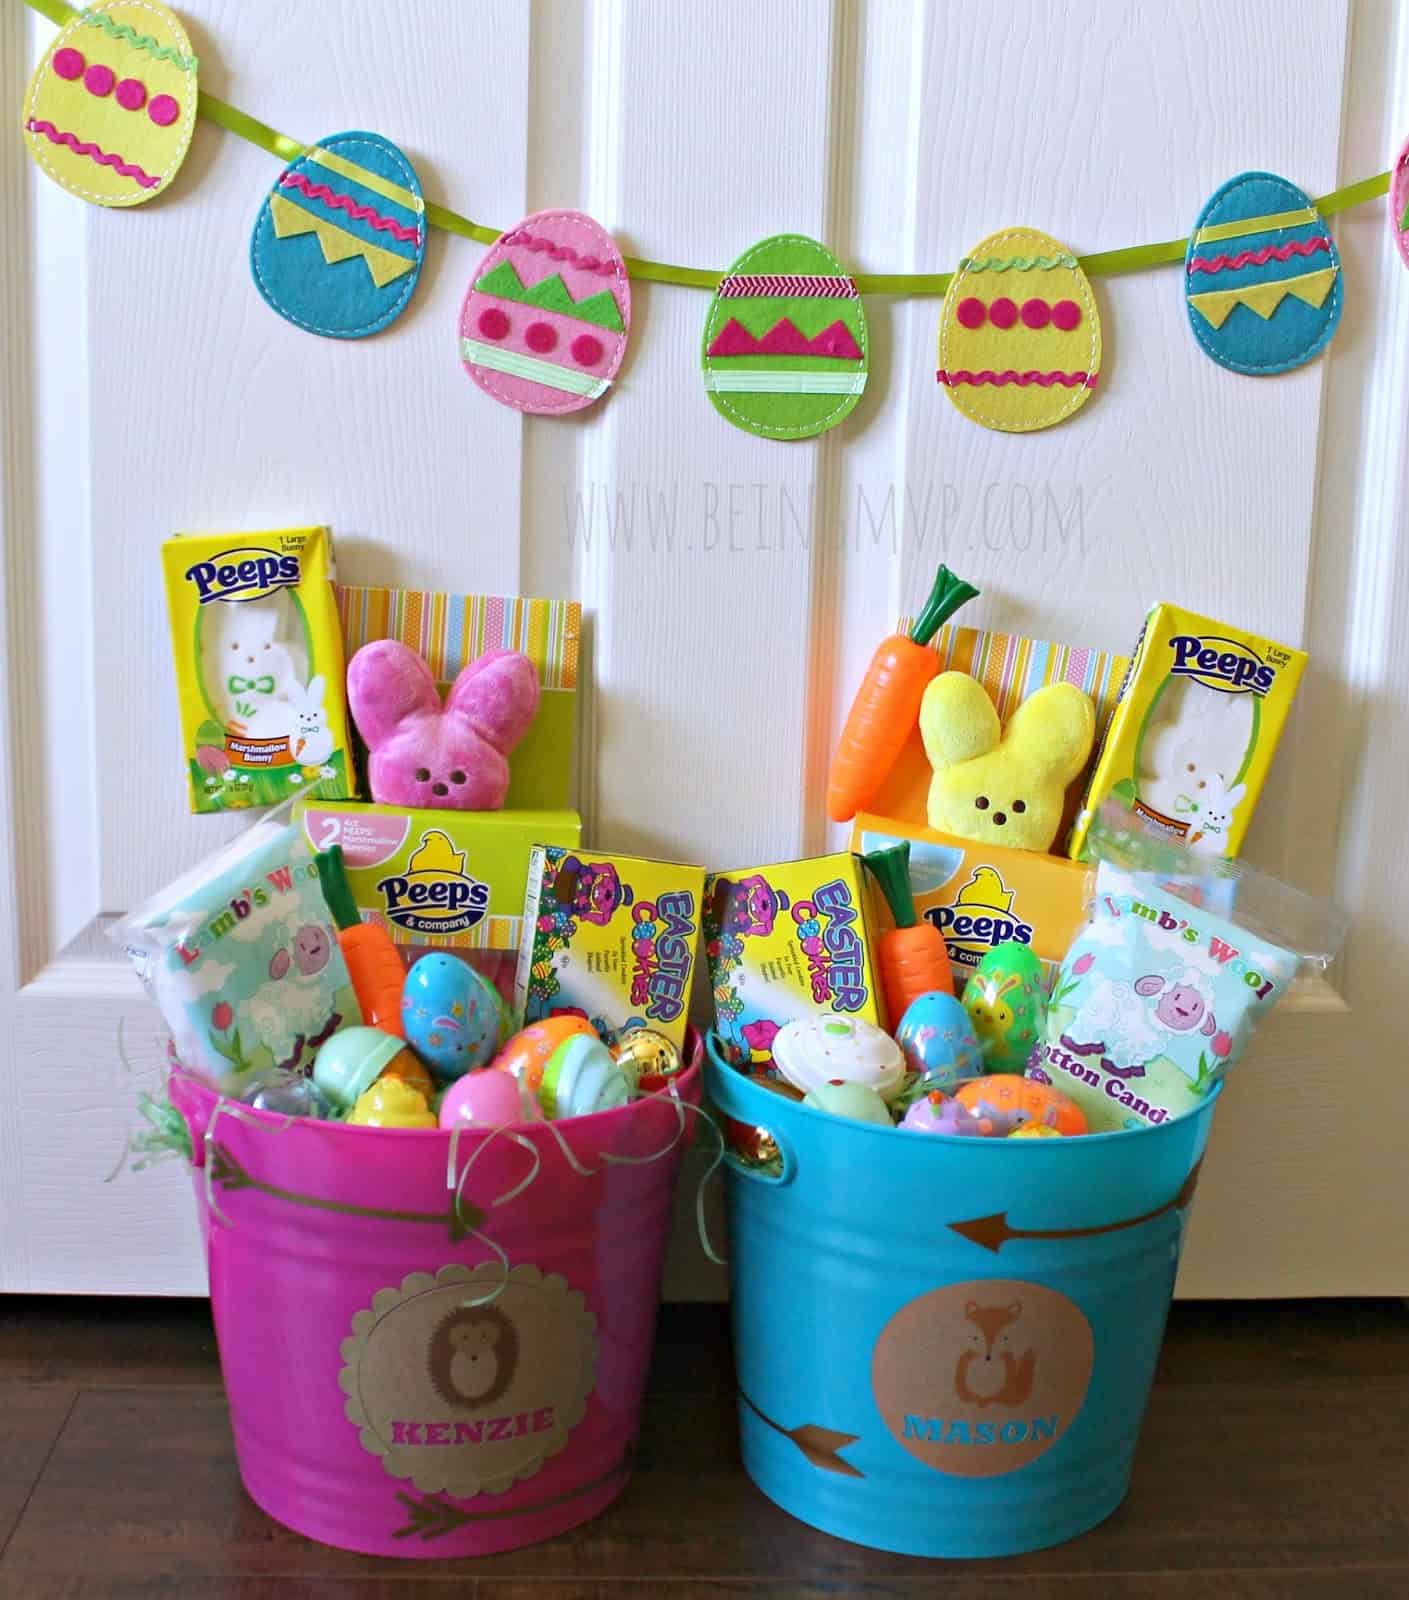
The Pinning Mama crafted Easter baskets by keeping things really simple. She used paper and cut and stick techniques to customize baskets with her kids’ names. We also like how the buckets are showcased and filled.
45. Chocolate Egg Wordplay Gifts
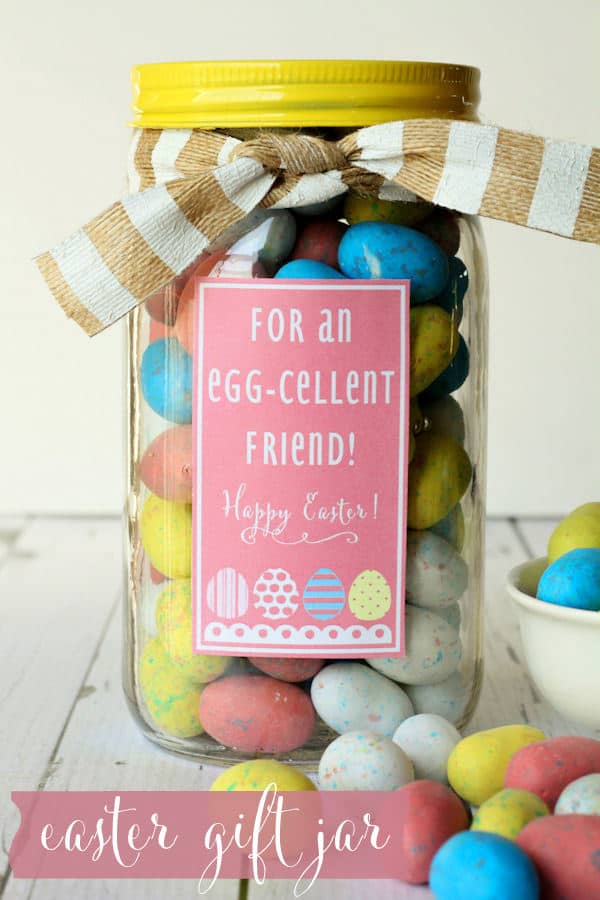
Here’s a casual and friendly Easter gift to give a coworker or neighbor as a little treat. Lil’ Luna filled a glass jar with chocolate eggs and included a bit of wordplay about being eggcellent.
Final Thoughts on DIY Easter Projects
One of the nicest things about Easter is that it’s a time for families to come together and work on various handicraft projects.
If you have kids, then this will be an excellent opportunity for them to learn how to do something new while being creative at the same time. So go ahead and try out some of these DIY Easter projects with your children or grandchildren.
What are your favorite DIY Easter projects? Let us know in the comment section below.
