40 Thanksgiving Crafts: Great DIY Thanksgiving Project for The Entire Family
Thanksgiving is a time where you get together with your family to celebrate your many blessings, as well as eat stuffed turkey and pie. In other words, there’s a good chance that you’ll have fun at Thanksgiving, especially if you’re a grown-up and family gatherings for you aren’t just boring adults getting together and talking politics and whatnot.
However, if you’re the host, we know that it can be hard to come up with Thanksgiving crafts that the entire family can enjoy. After all, you do want to decorate your house this Thanksgiving, don’t you? Not only that, but you probably want to give it a bit of your personal touch, as well, by making some (if not most) of the crafts on your own instead of buying them from the store.
If you find yourself in the situation depicted above, then you can probably agree that you’re in a bit of a pickle. So we decided to lend you a helping hand by creating this list of our favorite Thanksgiving crafts that you can do with your entire family. We guarantee that everyone will enjoy working on these crafts with you, adults and children alike!
Thanksgiving Crafts
If you’re the host of this year’s Thanksgiving dinner, then you’re probably expecting a lot of guests, and you want your house to look in top shape. However, we can all agree that simply having a clean, immaculate home isn’t nearly enough to emulate the feeling of warmth you get when you attend a Thanksgiving dinner at the house of someone you love.
I don’t know exactly what it is, whether it’s the smell of baked pumpkin, cranberry sauce, or roasted turkey that’s filling your nostrils, or the cozy feeling you get from the warm light of the flickering candles (or fireplace), but something’s definitely in the air. Not only that, but you’re suddenly more prone to forget about all the petty stuff and hug it all out.
Well, we do have a theory, and it involves beautiful autumn-themed decorations placed here and there in your home. If photo frames made out of twigs and bowls that are entirely made of leaves can’t help you get in the mood for some Thanksgiving love, then we don’t know what will. Except for turkey, cranberry sauce, and pie, that is. That being said, let’s get crafting!
1. Thanksgiving Place Cards – Easy Thanksgiving Crafts
If you’re looking for a simple Thanksgiving craft idea for your upcoming dinner, then these place cards should be right up your alley.
These place cards can be used as decorations or even as practical tools to help you remember where everyone should sit at the table. You can make them in less than 10 minutes, which will help to save time while you’re getting ready for Thanksgiving dinner.
You’ll need to cut various shapes out of construction paper, including circles and triangles; make sure to use red and orange colors for these shapes. Note that you’ll also need some mini white pumpkins you can attach the place cards to.
Then draw on basic facial features to give each place card character before writing down each family member’s name and attaching it using tape or glue.
You can make this craft as straightforward or as creative as you’d like; if you take a look at the guide above, for instance, you’ll find step-by-step instructions to create these Thanksgiving place cards with minimal effort.
On the other hand, you could just write down your family members’ names and stick the place cards onto the table with tape or glue.
Whatever you decide to do, we hope that your Thanksgiving dinner goes well and that everyone has fun! If you need more similar ideas, we also have a comprehensive collection of DIY Thanksgiving place cards on our website. We also recommend checking out some other Thanksgiving-themed crafts if you want your Holiday to be truly special.
2. Garland With Acorns – DIY Thanksgiving Crafts
Acorns are just as powerful symbols of autumn as pumpkins are, so the reason why they’re not used more frequently as Thanksgiving or Halloween decoration eludes us. If you were wondering the exact same thing, then this Thanksgiving garland with acorns decoration idea we have prepared for you should bring a smile to your face.
When it comes to crafting garlands, no matter the occasion, the principle is quite simple: you just run various decorative objects that are fit for the occasion for which you’re creating the decor through a long piece of string. Once you have enough objects that you can call your creation a garland, that’s it! You’ve successfully crafted one!
However, our garland is even simpler; instead of hanging various objects that are even remotely connected to autumn or Thanksgiving (such as turkeys, pumpkins, and pilgrim hats), you just use acorns.
It’s simple, it looks elegant, and we guarantee that your guests will absolutely love it. Well, it would be best if you’d paint the acorns gold before hanging them, but it’s really your call.
If you want step-by-step instructions on how to make this lovely project for your next Thanksgiving dinner, make sure you check out our comprehensive guide above. It also has helpful photos that will guide you through the whole crafting process.
3. Pumpkin Centerpiece – Thanksgiving Arts And Crafts
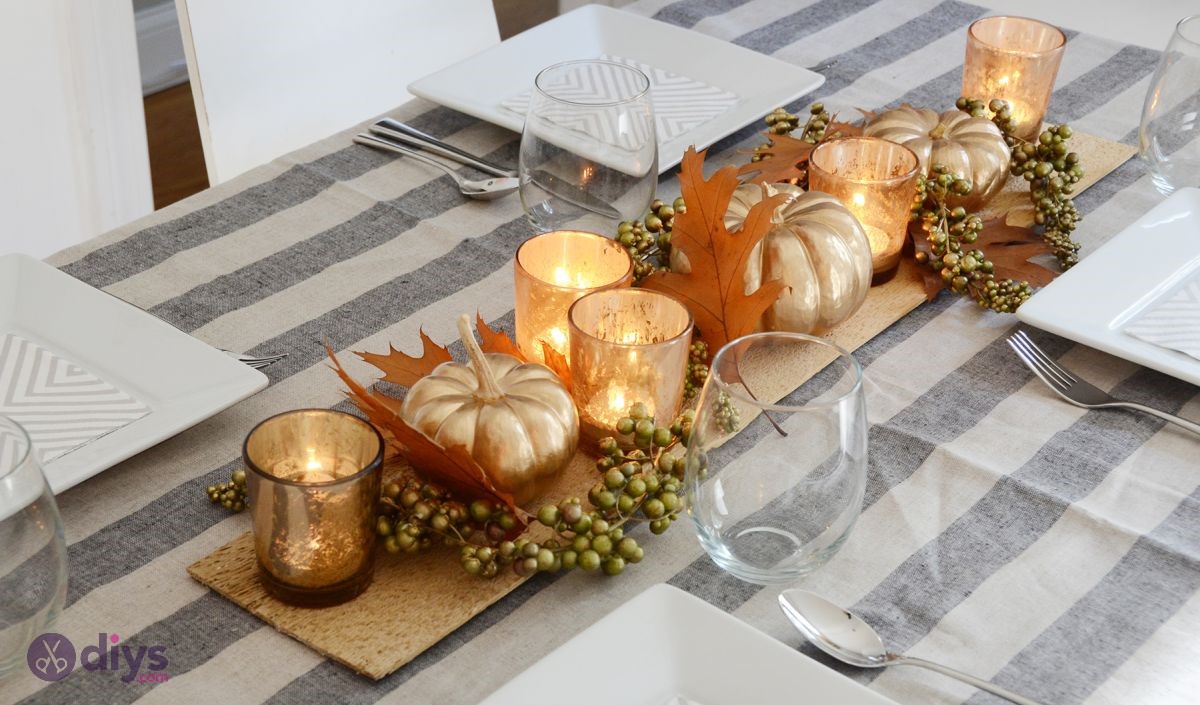
If you’re running out of ideas on making the best decorations for your Thanksgiving dinner, especially if you’re planning to keep everything classy and stylish, then this pumpkin centerpiece should be exactly what you need. This craft is not difficult to make, it looks absolutely dashing and will make your guests wonder where did you get it from.
Of course, we’ll both know that you made it from scratch (almost), but you can brag about it to your guests as well. There’s nothing wrong with taking pride in your crafting projects. You’ll only need a piece of scrap wood, a bunch of mercury votives with tea lights, gold liquid leaf, a paintbrush, 3 small pumpkins, some oak leaves, and a bunch of artificial floral accent stems.
The process is quite straightforward, seeing as all you need to do is paint the leaves and pumpkins, then assemble everything in a creative manner over the piece of scrap wood. Of course, this is an over-simplification, but that’s generally the idea behind this craft project. If you don’t feel that it reflects your Thanksgiving aesthetic, you could also add a personal touch to it by switching some of the required materials, such as the leaves.
Alternatively, you could use a large pumpkin and place it at the center of your decoration, and add two smaller ones on the sides. Furthermore, you could use some pieces of ribbon to tie everything up nicely. If you want more detailed instructions on how to craft this project, make sure to check the guide we’ve attached above. It includes photos and comprehensive step-by-step instructions.
4. Filled Pumpkin – Thanksgiving Craft Ideas
No one can deny how beautiful real pumpkins look during fall time. Unfortunately, they don’t last very long after they’ve been carved open kids and adults alike. That’s why these filled pumpkin crafts are the best things that could ever happen to your Thanksgiving.
We suggest you fill each one of your pumpkins with cotton, then sprinkle in some cinnamon or dry leaves for a rustic look.
You can even choose not to decorate them at all since they’re already perfect by themselves, but if you want to go 100% pure nature, why not knit some fall leaves and place them on top of the cotton? Or just tie a piece of twine around it. It’ll definitely bring out that “fall” vibe in no time!
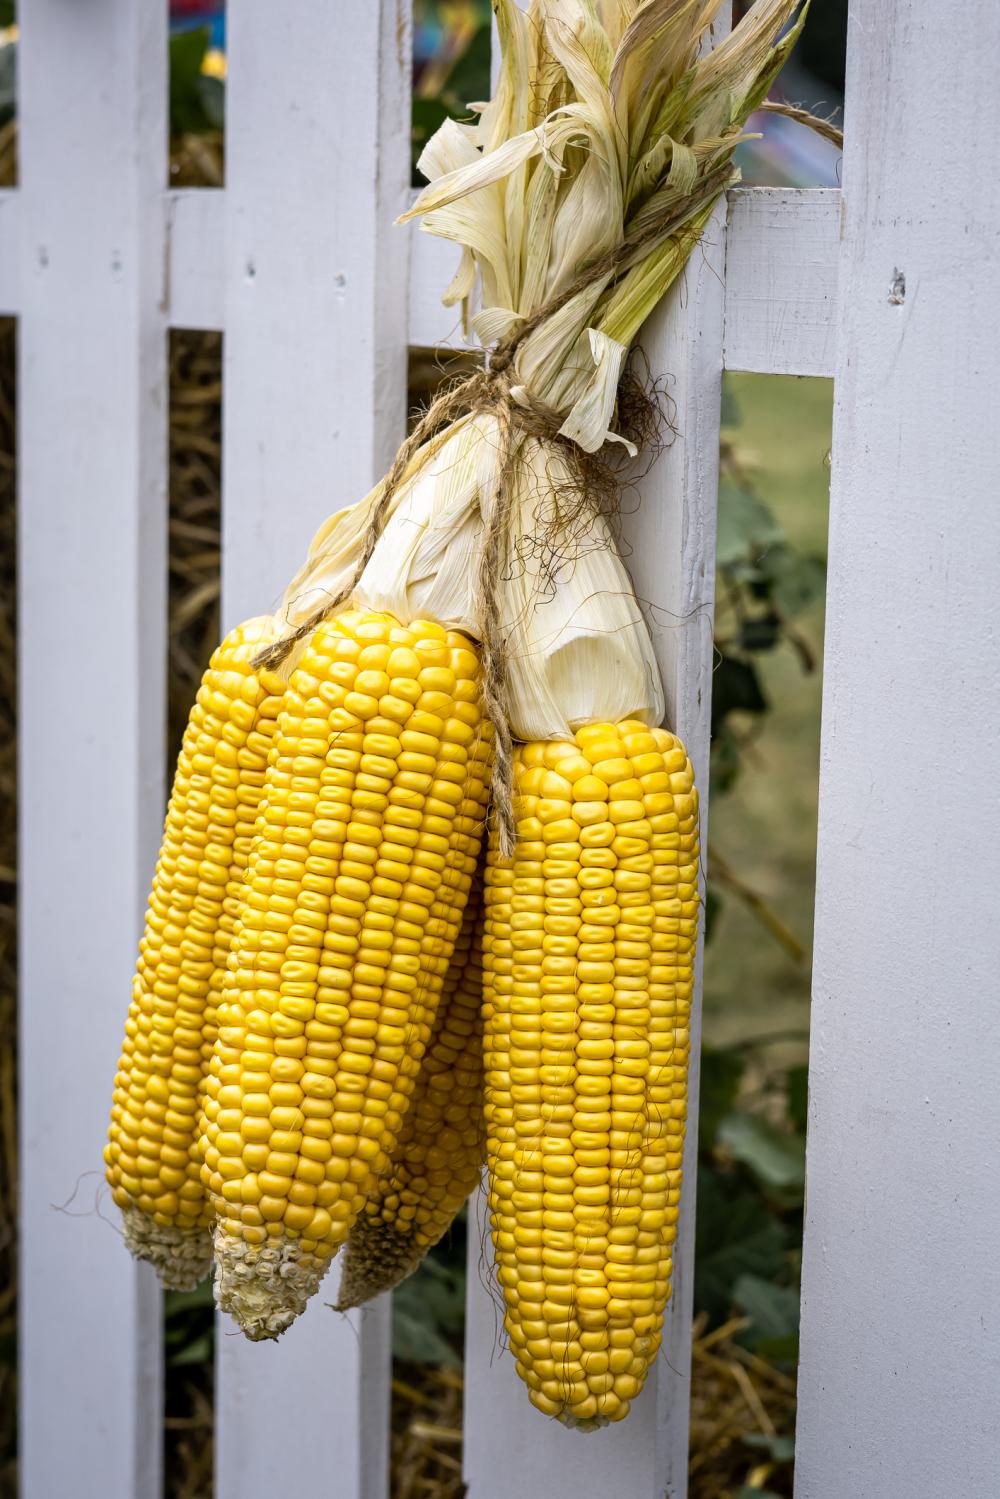
5. Corn Husk Decorations – DIY Thanksgiving Crafts
Next up, we have handcrafted corn husk crafts that are nearly impossible to mess up unless you don’t read the instructions. This is mainly because these crafts are very easy, and they require a few simple twigs and a pair of scissors. Here’s what you’ll need:
- Two dried corn husks
- One dried corn cob with the kernels intact
In order to start your craft, cut two small lengths of twine that are about 1 inch or so long in total, then tie one piece around the center of each dried corn husk.
Finally, slip each piece through slits made in each cob, so it resembles an ear of corn. Now, leave them out on your table for everyone to admire throughout Thanksgiving dinner!
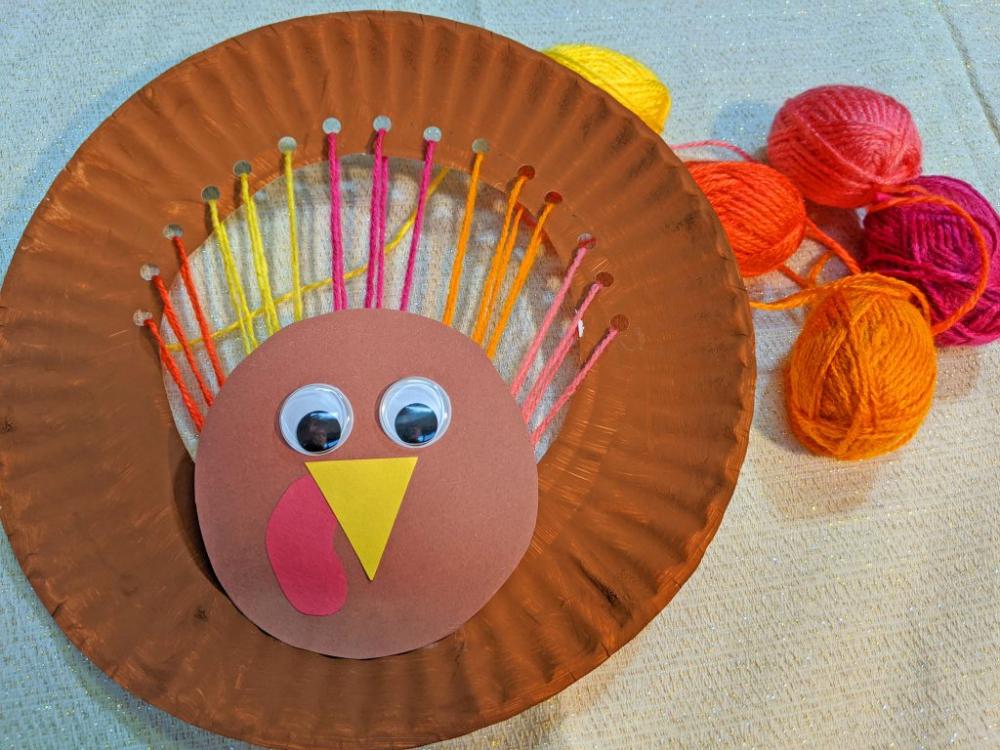
6. Paper Plate Turkeys – Thanksgiving Arts And Crafts
Just when you thought toilet paper turkeys were hard enough to make, we have a challenge for you. This time, it involves paper plates and construction paper along with some glue so that no one tears their feathers out. To create these fine crafts, you’ll need five pieces of construction paper in the following colors:
- Black
- Red
- Yellow
- Orange
- Green
First off, fold each piece into half, then cut out a half-moon shape just below where they meet to form a semi-circle. Then, turn them inside out so that the color is on the inside instead of outside – otherwise, your turkey will look like it’s made from wax paper. Afterward, follow these simple instructions to assemble your turkey:
- Take red construction paper and tape two sides together on top of black construction paper
- Take yellow construction paper and tape two sides together on top of red construction paper
- Take orange construction paper and tape two sides together on top of yellow construction paper
- Take green construction paper and tape two sides together on top of orange construction paper
As for the turkey’s head:
- Cut out a triangle from white construction paper
- Draw on some eyes and a beak using a black marker or sharpie
Now, what are you going to do with this guy? For starters, we suggest placing him right smack-dab in between your Thanksgiving dinner plates so all your guests can marvel at its beauty.
However, if it’s not big enough by itself, cut out more colored triangles and glue them together to form a full-sized turkey!
To make it even more realistic, place a wreath of leaves and twigs around its neck. That should bring the whole theme together.
This craft was inspired by the paper plate turkey Thanksgiving crafts from Unkrafty. Head over to the webpage above if you need step-by-step instructions and photos on how to create this unique craft for your Thanksgiving dinner.
7. Raffia Decorations – Thanksgiving Crafts
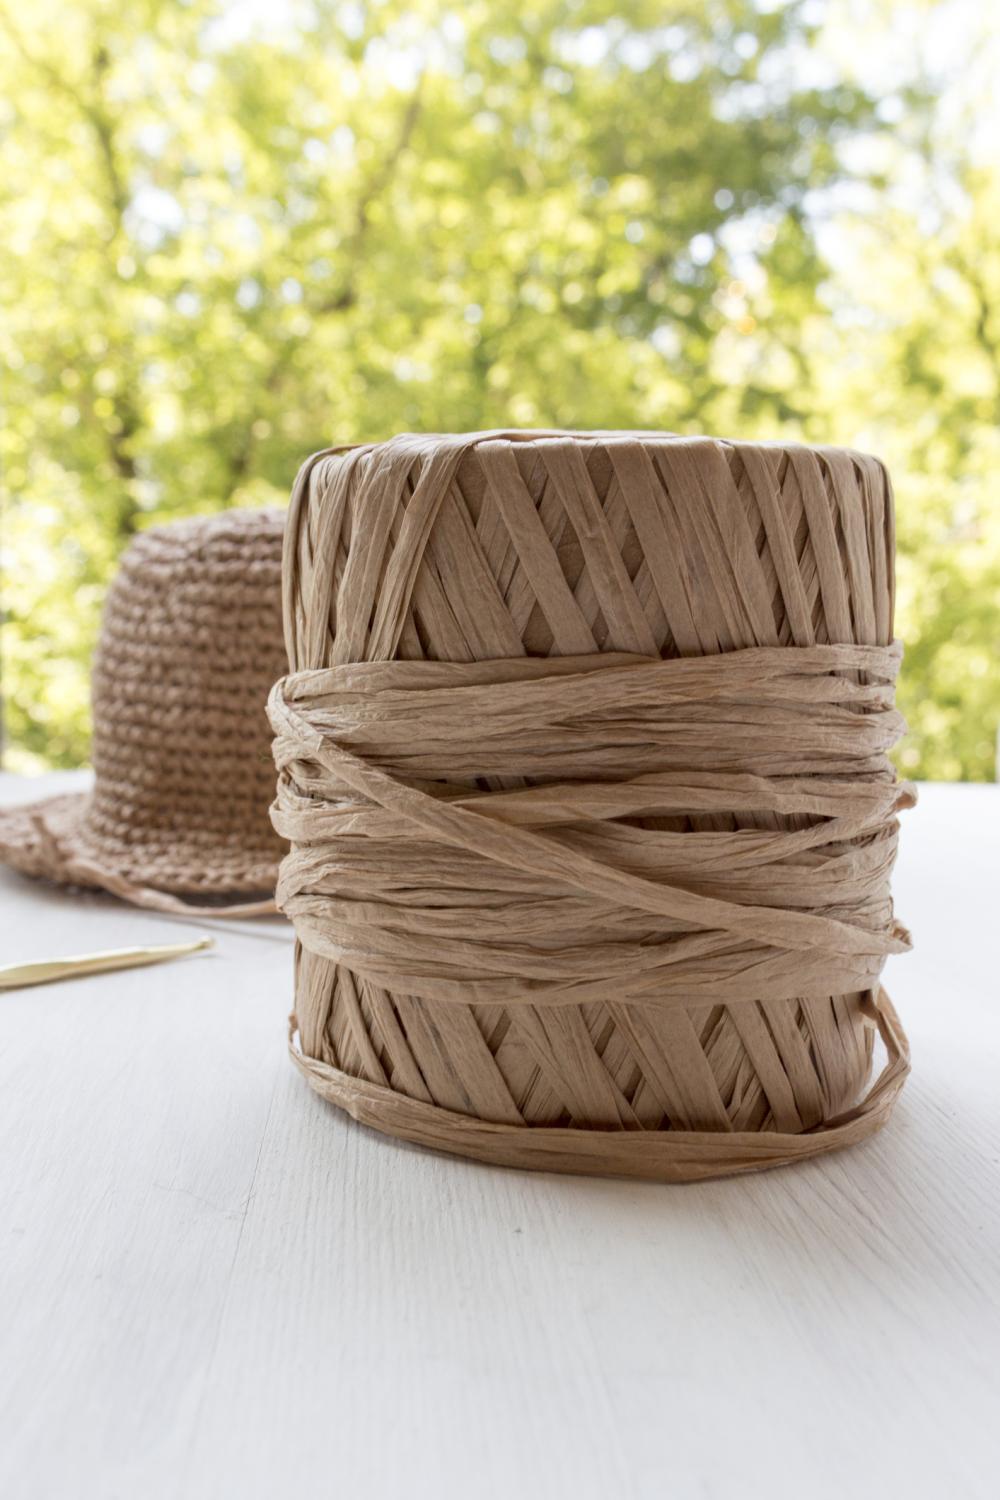
No Thanksgiving would be complete without at least some dried raffia at the center table. After all, what’s a Thanksgiving dinner without some rustic decor? Now before you go and buy your own supplies, why not make it yourself by recycling some brown paper bags?
First off, take out the bag from inside any given paper bag and use scissors to cut strips ranging from 1/2 inch to an inch in length. While you’re at it, if you’re feeling extra generous, place one strip of raffia between two pieces of cardstock and bind them using string. Afterward, you can tie each end of your brand new strand around an empty glass jar.
Now, take out all the raffia strips you’ve made and place them inside your jars so they can look pretty for years to come – or at least until Thanksgiving dinner ends.
8. Burlap Bib – Thanksgiving Crafts For Toddlers
The perfect decor for your Thanksgiving table isn’t just limited to twigs and trees. If you’re looking for something that screams “I’m ready for fall,” then look no further than these burlap bib crafts. What’s impressive is that not only are these things easy enough to do with kids, but they also require very few materials compared to others on this list! To get started, here’s what you’ll need:
- Construction paper in colors of your choice
- Burlap
- Scissors
- A stapler
- Adhesive tape
Arts and crafts time! Cut out a square measuring roughly 20 centimeters on each side. Afterward, cut three slits about an inch apart from the top center of the square, then take your very own square baby bib and put it through those three cuts so that one flap goes through each slit. Now staple both sides together, so you have a little bib with your baby’s name written on it.
Now all you need to do is place this bib around their neck and watch them drool all over Thanksgiving dinner – or at least until they tug on mommy’s shirt. At that point, we suggest distracting them with some more crafts, but make sure they’re baby-proof before you indulge them.
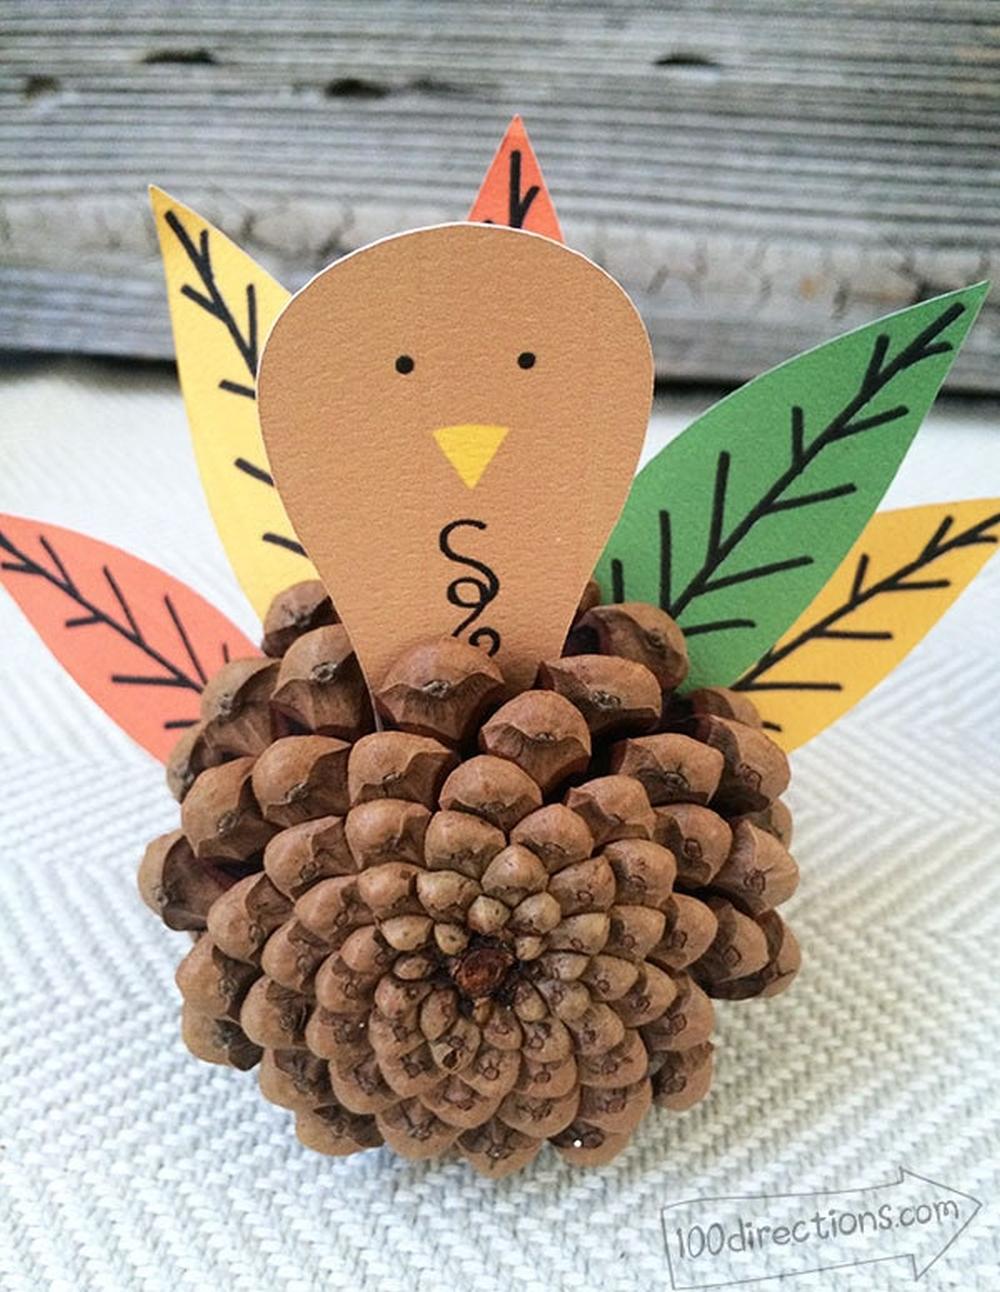
9. Pine Cone Turkeys – Thanksgiving Crafts For Kids
Who knew that pine cones could be so darn cute, right? Well, if you didn’t before, hopefully, the example in the picture above changed your mind. Still not convinced? Then how about we show you how to make this turkey craft in 4 easy steps:
First off, glue two pieces of construction paper together on top of each other – use one color for the front and another color for the back. Next, take a piece of orange or yellow construction paper and attach it using string onto your finished product.
Now, all you have to do is buy some pine cones from your local Home Depot (or Amazon), cut out triangle shapes with goldenrod construction paper, tie them together using string, and place them inside the pine cone! Last but not least: use a cotton swab to color in some eyes, paint the beak red, and you’re good to go.
Obviously, this craft requires that you have access to pine cones and construction paper – if not, then we suggest buying them online because honestly, who has time for all of that? The rest of it is easy enough for kids so long as they can handle little pieces like this red beak or those cotton swabs.
We’ve found this craft idea on 100directions. You can also find a printable coloring page on the project’s page that you can print and color yourself to create this awesome pinecone turkey craft.
10. Parchment Turkeys – Preschool Thanksgiving Crafts
Arts and crafts are always easier when they involve recycled materials because it saves us some money! So now that you know about all the other Thanksgiving crafts out there, why not try your hand at making parchment paper turkeys?
Of course, if you’re feeling extra generous today, then feel free to share this post with your friends so they can enjoy arts and crafts time as well! Now onto the fun stuff:
- Start by tracing a template on white paper
- Cut out said template using scissors
- Trace again, but use different colors instead
- Glue them down on top of each other
- Wait for it to dry
- Fold the paper in half and tape both sides together
- Cut out triangular shapes, making sure to cut all four sides of the piece
- Attach each triangle to your turkey using string
- Tie a red ribbon around its neck
- Glue on eyes
It’s worth mentioning that, although you can probably make this project on your own without significant effort, sourcing printables are also a great way to get things done.
In fact, you could probably get the whole thing ready for the Holiday even faster! If parchment paper turkeys are not precisely what you had in mind for Thanksgiving decorations, then just move on to the next craft.
11. Thanksgiving Dinner Napkins – Easy Thanksgiving Crafts
Have you been looking for a unique way to decorate your Thanksgiving dinner? If so, then we hope that our DIY Thanksgiving napkin will give you some inspiration. You can buy these types of napkins or make your own at home, which is much more cost-effective than buying them!
Begin by cutting out a variety of shapes, including curves and circles. Try to use different colors for each shape or pattern, but make sure that they are all Thanksgiving-themed.
Once you’re done cutting these shapes, use double-sided tape or craft glue to stick them onto your napkin to give it that extra flair. You could even use felt if you wanted to, although the stickiness might ruin other decorations on the napkin itself!
If you want to get really creative with your Thanksgiving dinner decoration, you could use an entire roll of red or orange construction paper to make the napkin. Just make sure you cut out various shapes; if you look at the image above, for example, you’ll see that there are lots of different colors and designs used throughout this DIY Thanksgiving napkin.
12. Plush Pumpkin – Thanksgiving Projects
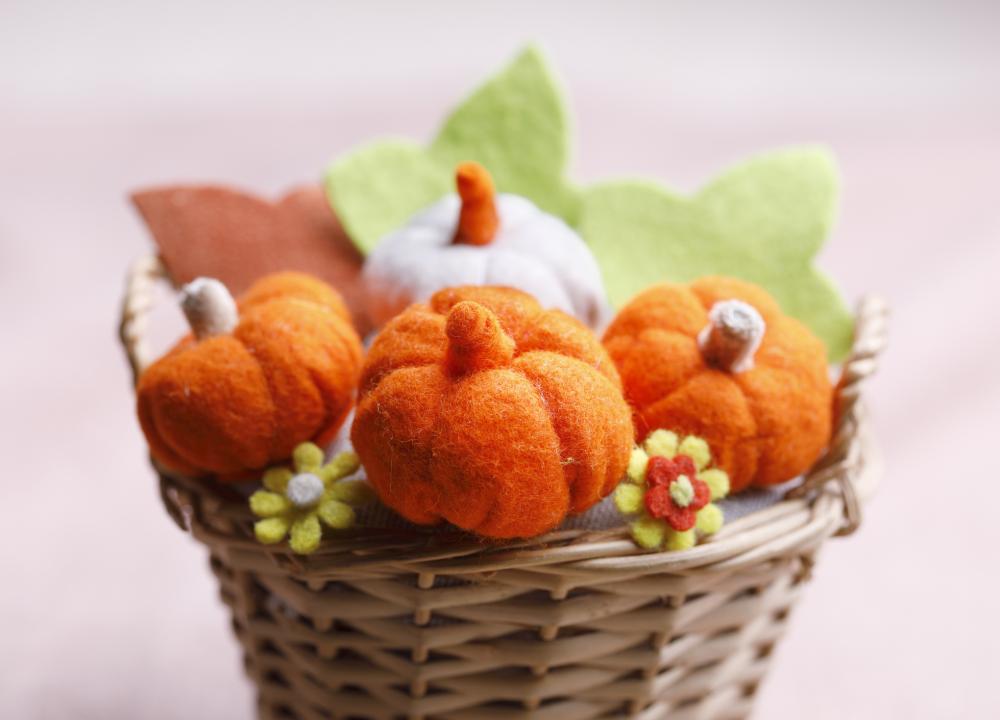
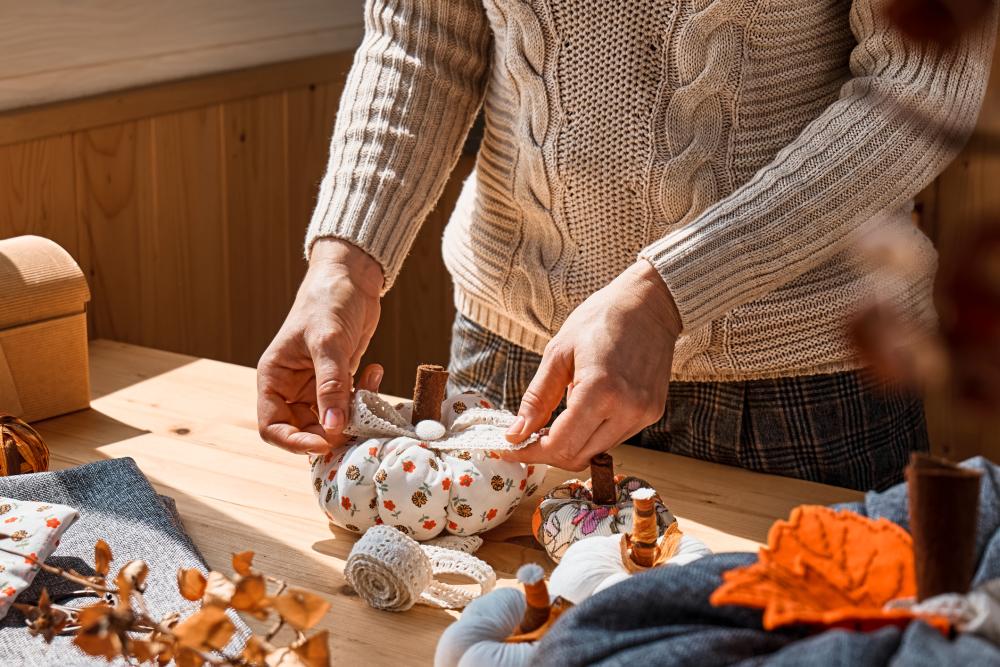
This plush pumpkin craft is not only great to look at, but also incredibly easy to do. All you need is a bunch of fabric that you no longer need, or a plain old t-shirt that you wanted to recycle or dispose of anyway, a sewing kit, some batting, and a piece of felt. First thing’s first, you want to make sure that you have all the required materials nearby.
The first step is to lay out the fabric in front of you and cut it in a square shape. Put the batting on top of the square-shaped material and bring it all together on top so that you cover the batting with the edges of the fabric. Make sure to secure the top so that the batting can’t escape the fabric pumpkin you’re about to craft, then start working on the sides.
For the sides, we suggest you drive the sewing needle all the way through the pumpkin and attach two opposite sides together. Make sure to leave some slack in the thread; otherwise, you’re gonna end up with something that doesn’t resemble a pumpkin at all.
Last but not least, use some felt to create a stem for your pumpkin and use the sewing needle to attach it. Voila! You’re done!
13. Fabric Pumpkin Decoration – DIY Thanksgiving Crafts
This fabric pumpkin decoration is perfect for Thanksgiving! Why? Because the only tools you need are scissors, fabric, felt, and some thread. So, what are you waiting for? Let’s get started!
The first step is to cut out four squares of fabric. You can make them as big or small as you want, but the only rule of thumb is to make sure that they’re symmetrical on all sides. Once you’ve got your pieces of fabric together, it’s time to attach them together using some thread and a needle.
You can do this in any way that you like; however, we suggest that you squeeze two opposite sides of the fabric together then continue attaching them until finally closing it with another piece of thread through the middle of everything. The last step is the easiest one: use some felt to cut out stems so that you have something for pumpkins to go on.
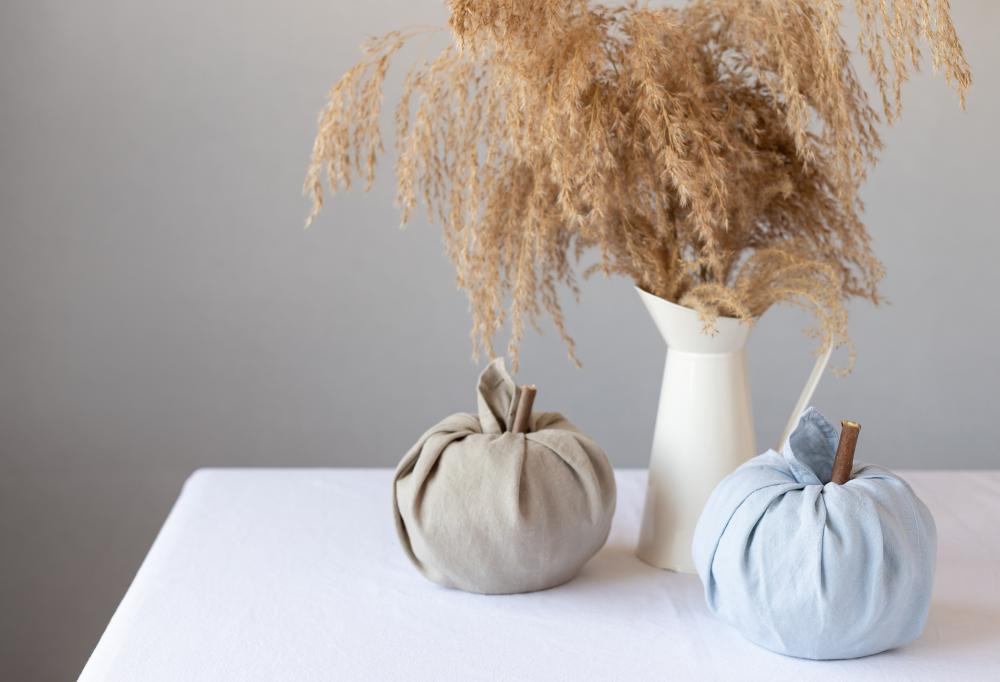
An alternative way you could go about this craft would be using an apple, an orange, or some other round-shaped object to cover with fabric and stick a twig inside so that it looks like a stem. Make sure you leave a bit of slack in the material so that it doesn’t stick too tight to the round-shaped object (or fruit, whatever it is that you’re using).
When you’re all done, hang the decoration on your wall or in front of a window and enjoy!
14. Hand-drawn Turkeys – Thanksgiving Arts And Crafts
If you’re looking for a more traditional Thanksgiving craft, then this turkey drawing is the perfect choice for you! And guess what? You don’t even need to be that good at drawing to pull this one off; all you gotta do is follow our simple step-by-step tutorial, and they’ll turn out great (or maybe they won’t; either way, the kids will love them!).
To begin with, make sure your child’s hand is steady before giving them an ink pen or marker to color the turkey with; otherwise, it’ll just be a waste of paper. The next step is to let them draw the feathers on the turkey’s body. We recommend you do the left wing and feather first, then have your child draw the right wing and feather in order to make it look symmetrical!
Finally, have them color in the turkey’s feet, and they’re done! If you want a little bit more detail, you can always add some hands holding a fork and spoon, but that’s entirely up to you.
15. Coffee Filter Turkeys – Thanksgiving Crafts
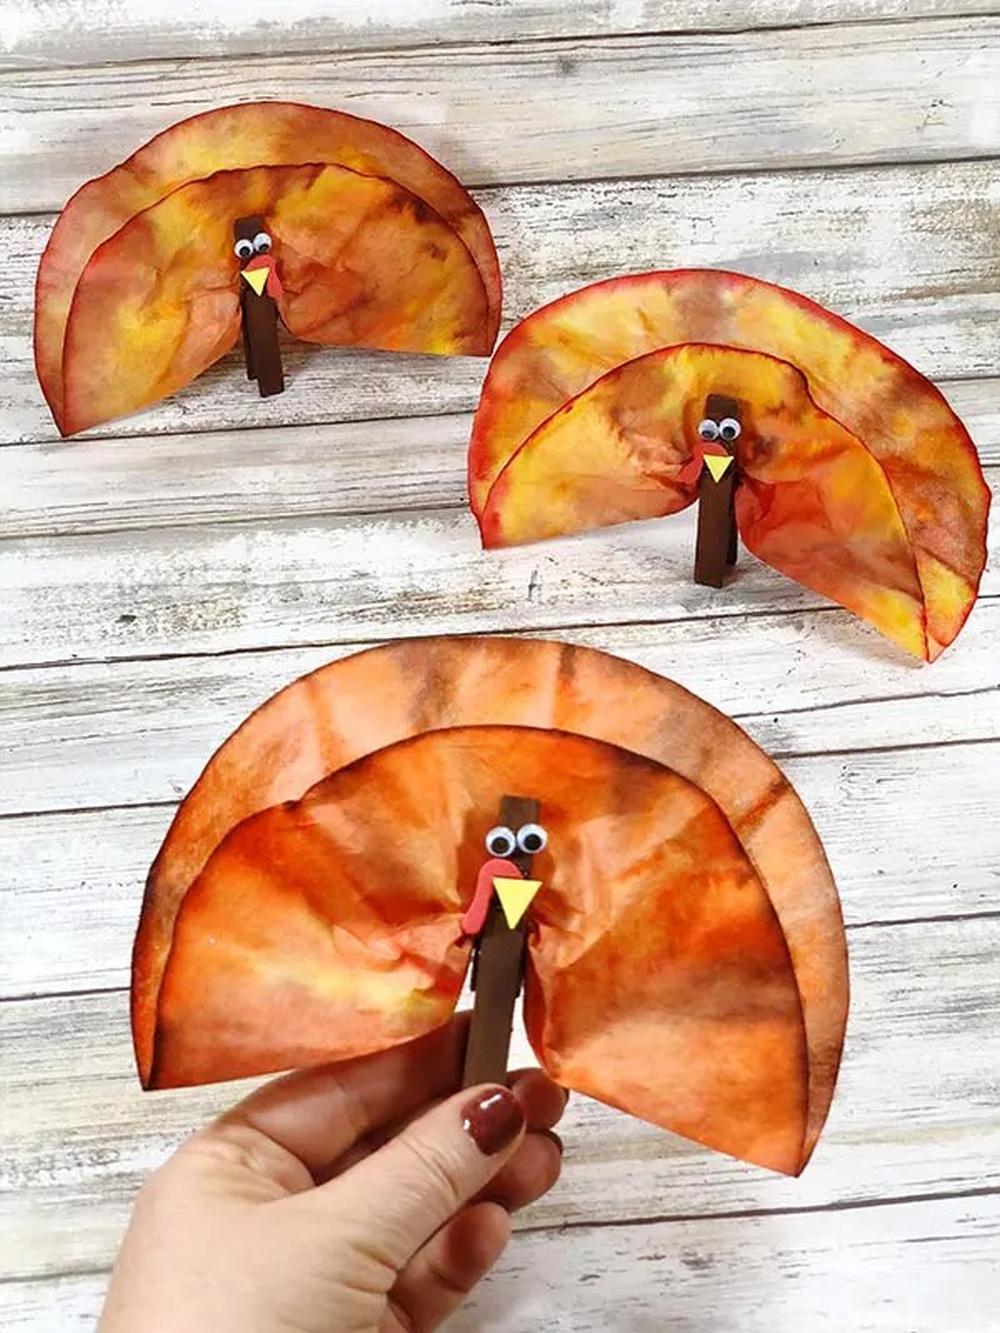
The coffee filter turkey craft is perfect if you’re looking for something simple and easy to make with kids.
To begin with, teach your children how to create the turkey’s body by cutting out a triangle shape from the coffee filter; make sure they use their imagination! The next step is to show them how to create the turkey’s eye using some construction paper or cardboard (we recommend that you cut out two circles for this part).
Once they’ve got both eyes done, it’s time for them to color in the beak and attach it somewhere on top of the coffee filter; then all that’s left is attaching one of the wings too! Finally, let them go crazy drawing whatever details they want!
We’ve spotted this nifty craft idea over at Darcy and Brian, so if you want helpful photos and comprehensive step-by-step instructions, you should head to the project page we’ve attached above.
16. Fabric Leaves – Easy Thanksgiving Crats
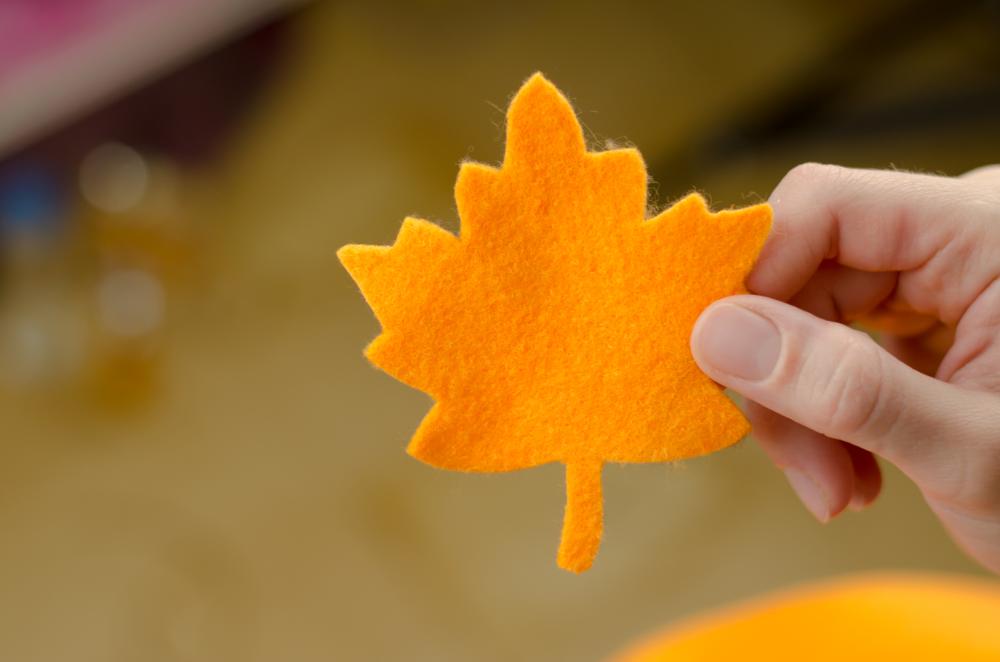
The fabric leaf decoration is perfect for Thanksgiving because it’s simple, beautiful, and easy to make! We recommend that you use at least three different colors of felt to cut out the leaves (red, yellow, and orange look best if you’re looking for some fall vibes), but there really are no limits as to how many colors you can use; so feel free to go wild with this one!
Once you’ve got all of your pieces together, it’s time for the fun part: gluing! All you have to do is show your child how to apply glue to the back of their pieces, then let them stick them wherever they like; don’t forget that you can also make some leaves overlap with each other!
The final step is definitely the simplest one (although it’s definitely not optional): show your child how to cut out some twigs or branches from paper or foam board and attach them on top of the fabric leaves with some tape. Finally, hang this decoration in front of a window for everyone inside your house to enjoy!
Another option you could go for is using construction paper instead of felt; both look beautiful either way! Furthermore, if you want something even simpler than that, then just create bracelets or necklaces out of these decorations by attaching them around your wrist or neck using tape. It’s the perfect way to pull off this craft, even if you’re in a hurry!
17. Felt Flowers – Thankful Thanksgiving Crafts
Creating some thanksgiving flowers is an excellent idea for those who love the beauty of flowers but hate the work that comes along with maintaining them!
To begin with, cut out several different shapes and sizes from colored felt (alternatively, you could use construction paper and color each one in a different color).
If you want to make it look and feel more like autumn, then your best options are probably orange, brown, and yellow, but feel free to go crazy! Then all you have to do is attach some yarn or string to the backs of these pieces, and you’re done!
You can either hang these decorations on your walls or use them as a centerpiece for your lovely Thanksgiving dinner.
18. Turkey Pumpkins – Thanksgiving Craft Ideas
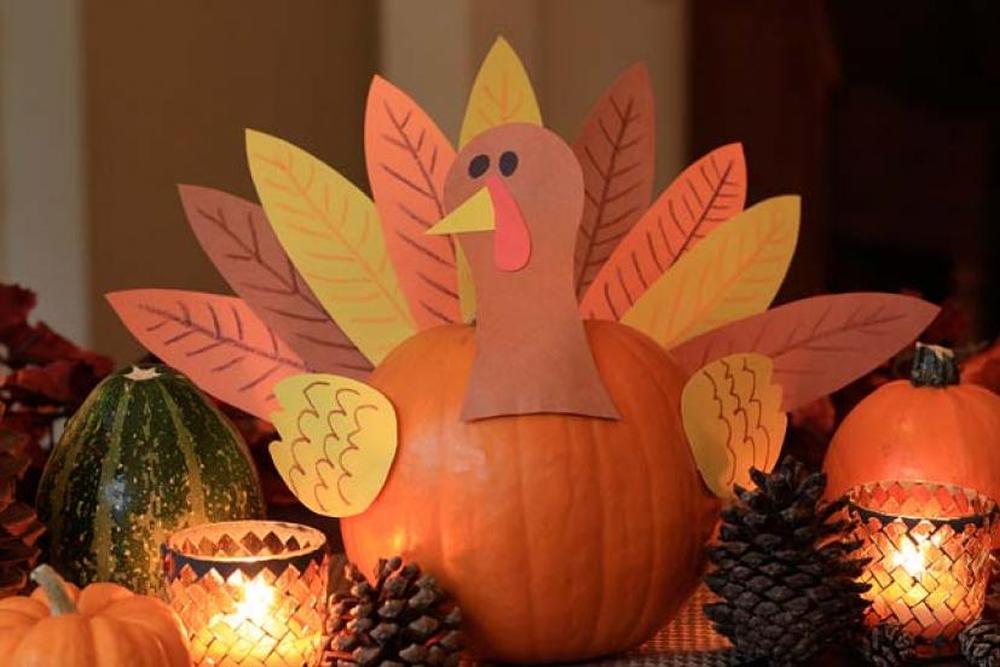
These turkey pumpkins are incredibly easy to make, and they’ll also look good for your Thanksgiving dinner this year! As you can see from the photo above, you’ll need one pumpkin for each turkey you want to create; the pumpkin will serve as the body of the turkey, but you could also get creative and turn it into a turkey head if you prefer.
First, you’ll need to cut out some different pieces from orange construction paper (if you want to get really festive, then use tissue paper), and we recommend that they’re all pointed at the top. Try cutting out a beak, an eye, and a wattle for each of these pieces, so it looks like your turkeys have eyes and smiling expressions.
Then all you have to do is attach them to your pumpkin using glue or tape; don’t forget that you can even add glasses or hats if you want! Finally, write “Happy Thanksgiving” with a marker on the back of each pumpkin for your guests to see when they’re waiting in line at dinner time!
Alternatively, if you’re feeling especially crafty, you could use mat board or some other wooden material to create the heads and feathers of your turkey pumpkins. Make sure you paint eyes and beaks on the heads and that the feathers are painted in various bright colors.
We’ve found this craft idea on Marin Mommies; if you want more detailed instructions and photos to help you with the crafting process, make sure to access the website we’ve attached above.
19. Pilgrim Hats – DIY Thanksgiving Crafts
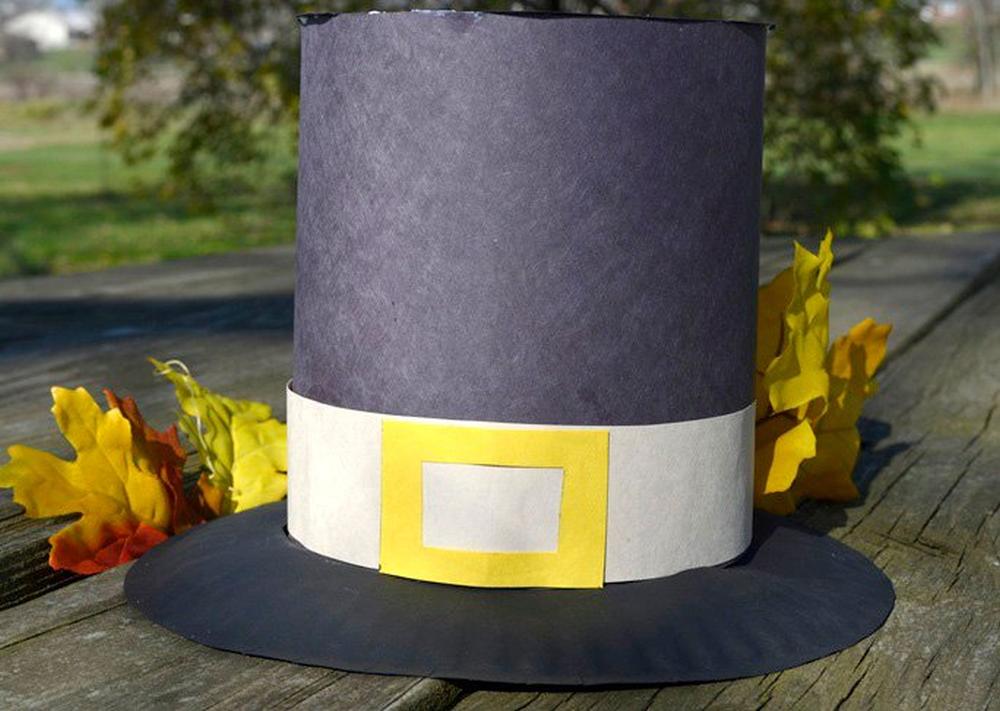
This is another one of those easy Thanksgiving crafts that can be made in just a few minutes, but it’ll look great either way!
To begin with, cut out some basic shapes from orange construction paper (cut the top into a curve for the brim) before drawing on facial features; they don’t have to look perfect since they’re supposed to be cartoonish anyway.
Then all you have to do is attach these pieces onto your hats using glue or tape; we recommend that you use a black marker to draw the eyes and mouth of each pilgrim hat before sticking them onto your paper hats.
If you don’t know how to make hats, then you can use the Momtastic tutorial we’ve attached above to guide you through the process. The tutorial has not only detailed instructions but also photos that can come in handy if you’re having a hard time crafting pilgrim hats for your Thanksgiving dinner.
You can make as many as you’d like, and they’ll look great for your Thanksgiving dinner (just don’t forget to bring one for yourself!), or you could even stick some other Thanksgiving-themed decorations on there! Feel free to get creative and design the perfect hat for your own creativity.
20. Felt Turkey Decoration – Thanksgiving Art
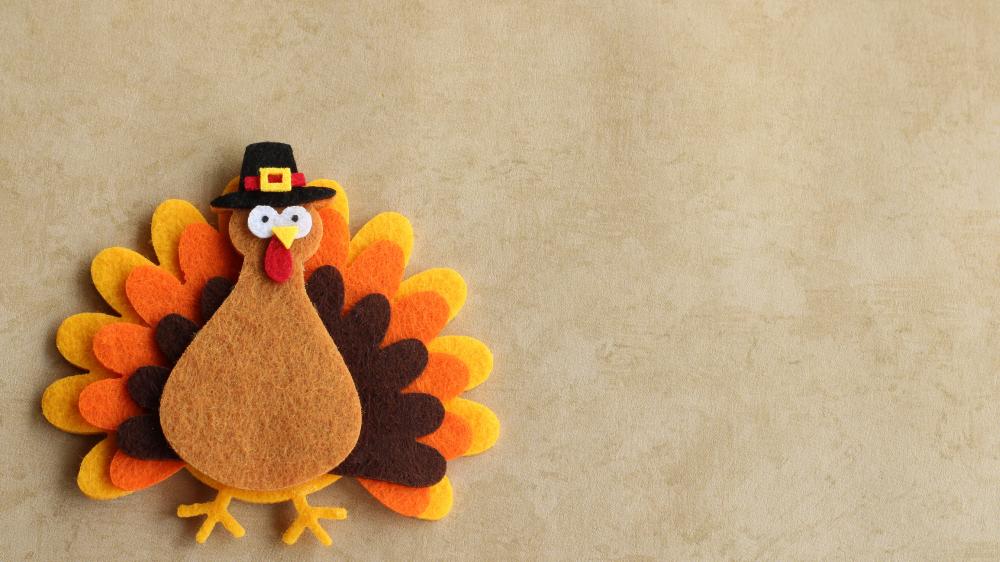
If you’re looking for beautiful Thanksgiving crafts that don’t require much work, then this is the perfect one for you! You can make it with your older children or use it as an arts and crafts project to do with the whole family.
Begin by choosing some fabric (we recommend using felt) before cutting out basic shapes like an oval, a beak, eyes, and even some wings. Then use a white marker to draw on smiley faces for each of the shapes before sticking them onto your base fabric using glue or tape.
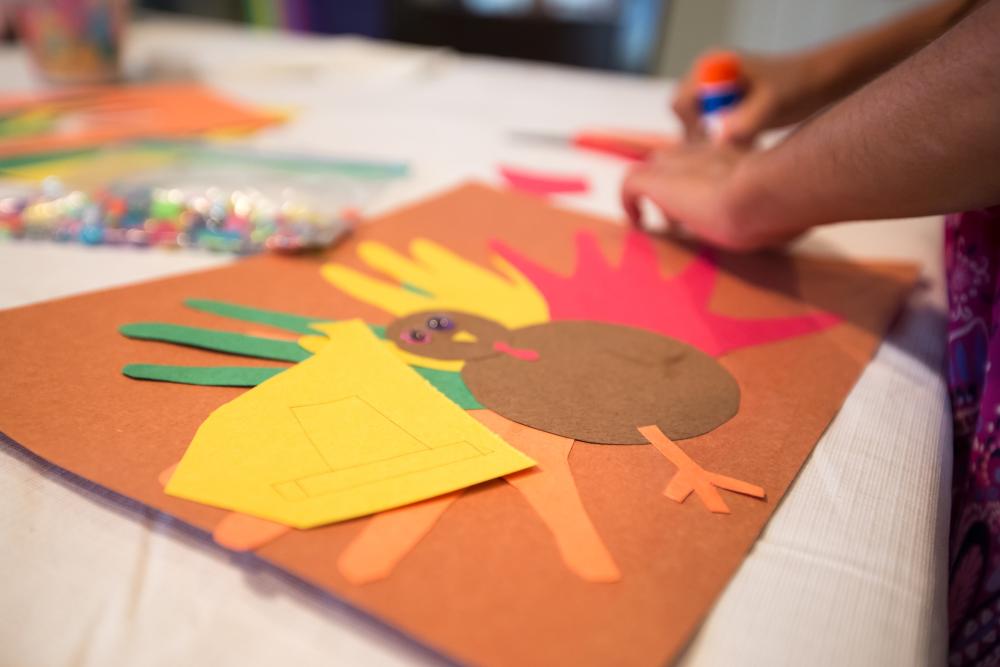
If arts and crafts aren’t exactly your strong game, you could use the oldest trick in the turkey crafting business: placing your palm and outlining it to create the feathers.
Once that’s done, just cut and use them in your craft without a care in the world! Make sure you cut different colored feathers and that you use various sizes to emulate the turkey feather tail effect.
You can get creative with this craft idea by choosing different types of fabrics; for example, you could choose an orange fleece material to create different shades of feathers. Just cut out some basic shapes before attaching them to your felt base with glue or tape; good luck!
21. Recycled Toilet Paper Roll Turkeys – Thanksgiving Crafts For Kids
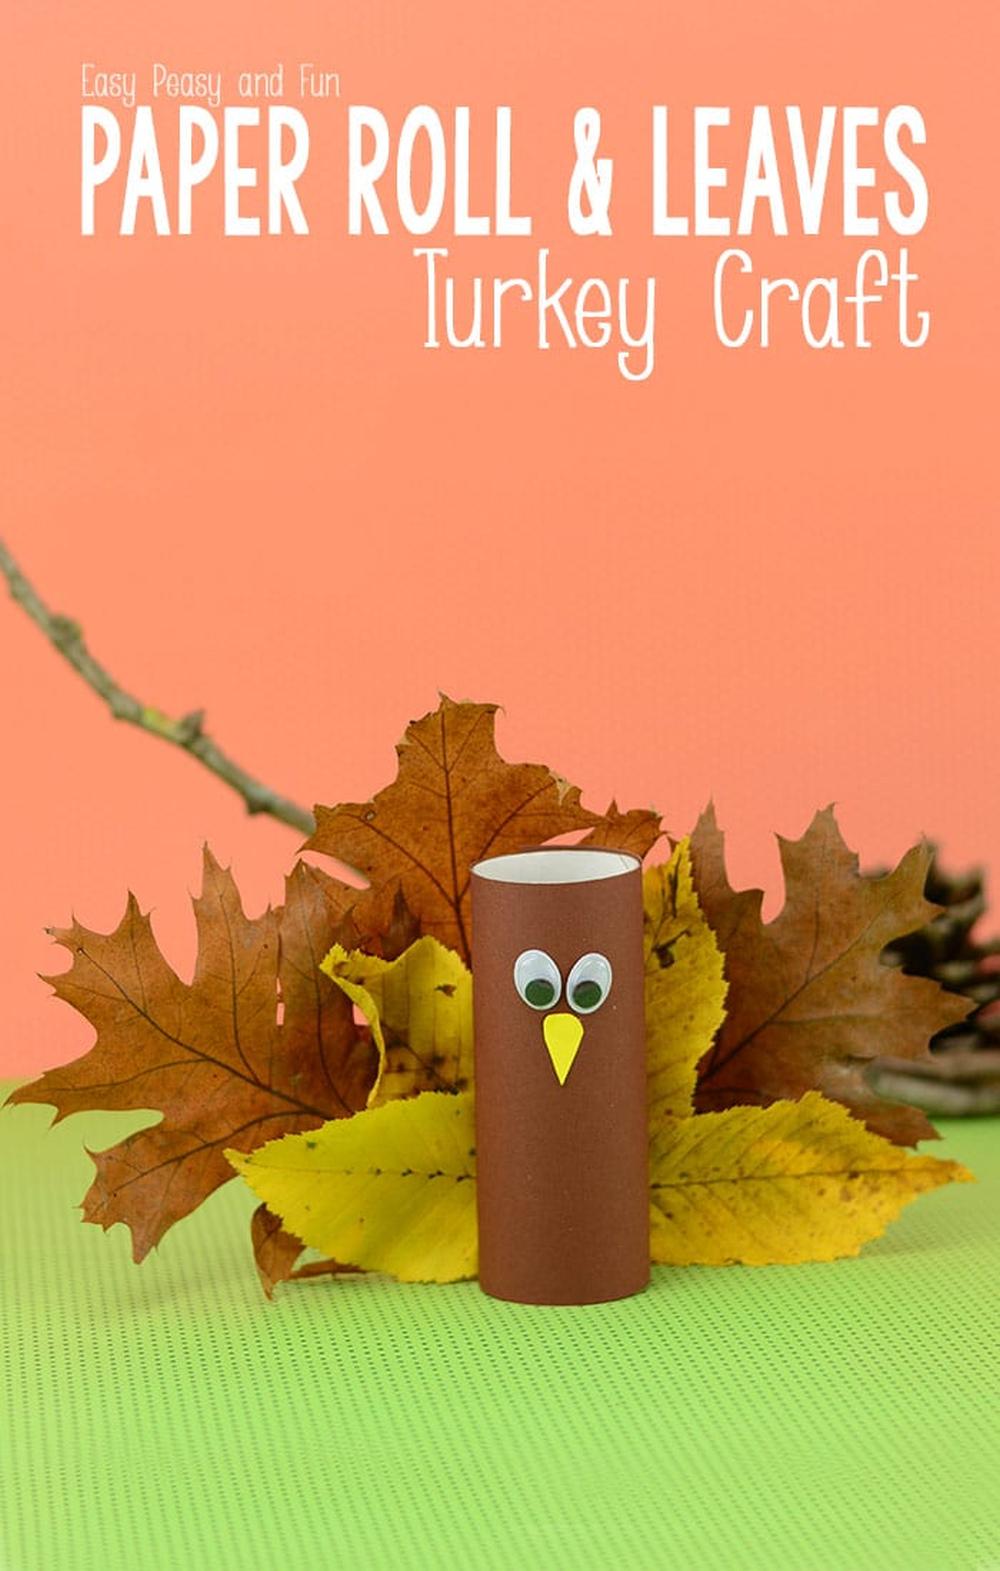
We’re going to start off with some TP crafts that we know everyone will enjoy. For starters, we suggest these lovely toilet paper roll turkeys that you can make by getting a pair of scissors and cutting out the shape of a turkey from one cardboard tube.
Then, add googly eyes and draw several feathers on your newfound TP friend, as well as a beak for good measure. This is also when you’ll want to add some glitter if you wish.
Afterward, just give it a color and cut out two pieces of orange construction paper for its legs and attach them using glue or tape (or both). Finally, write “Happy Thanksgiving” in the middle of the turkey’s belly, and you’re done! Now, what are you going to do with this little guy?
Why not place it on your table as a centerpiece, then give him a fine spot right smack-dab in the middle of one of your plates? Or why not just cut out more TP turkeys if Thanksgiving is just too boring for you and invite all your friends over to admire them together? After all, we know that no one will say “no” when it comes to TP crafts.
We’ve found this craft idea on Easy Peasy and Fun. If you want to read more about this craft and see a step-by-step tutorial, make sure to visit the link above.
22. Turkeys On A String – Thanksgiving Projects
Finally, we have the last craft, and as you can see, it’s super easy because all these crafts are! With just a few simple steps, you can create this Thanksgiving craft that uses one color for the front and another color for the back. All you’ll need is:
- String – cut to the size of your preference
- Construction paper in colors of your choice
- Scissors
- Tape
That’s it! Here’s how to do it:
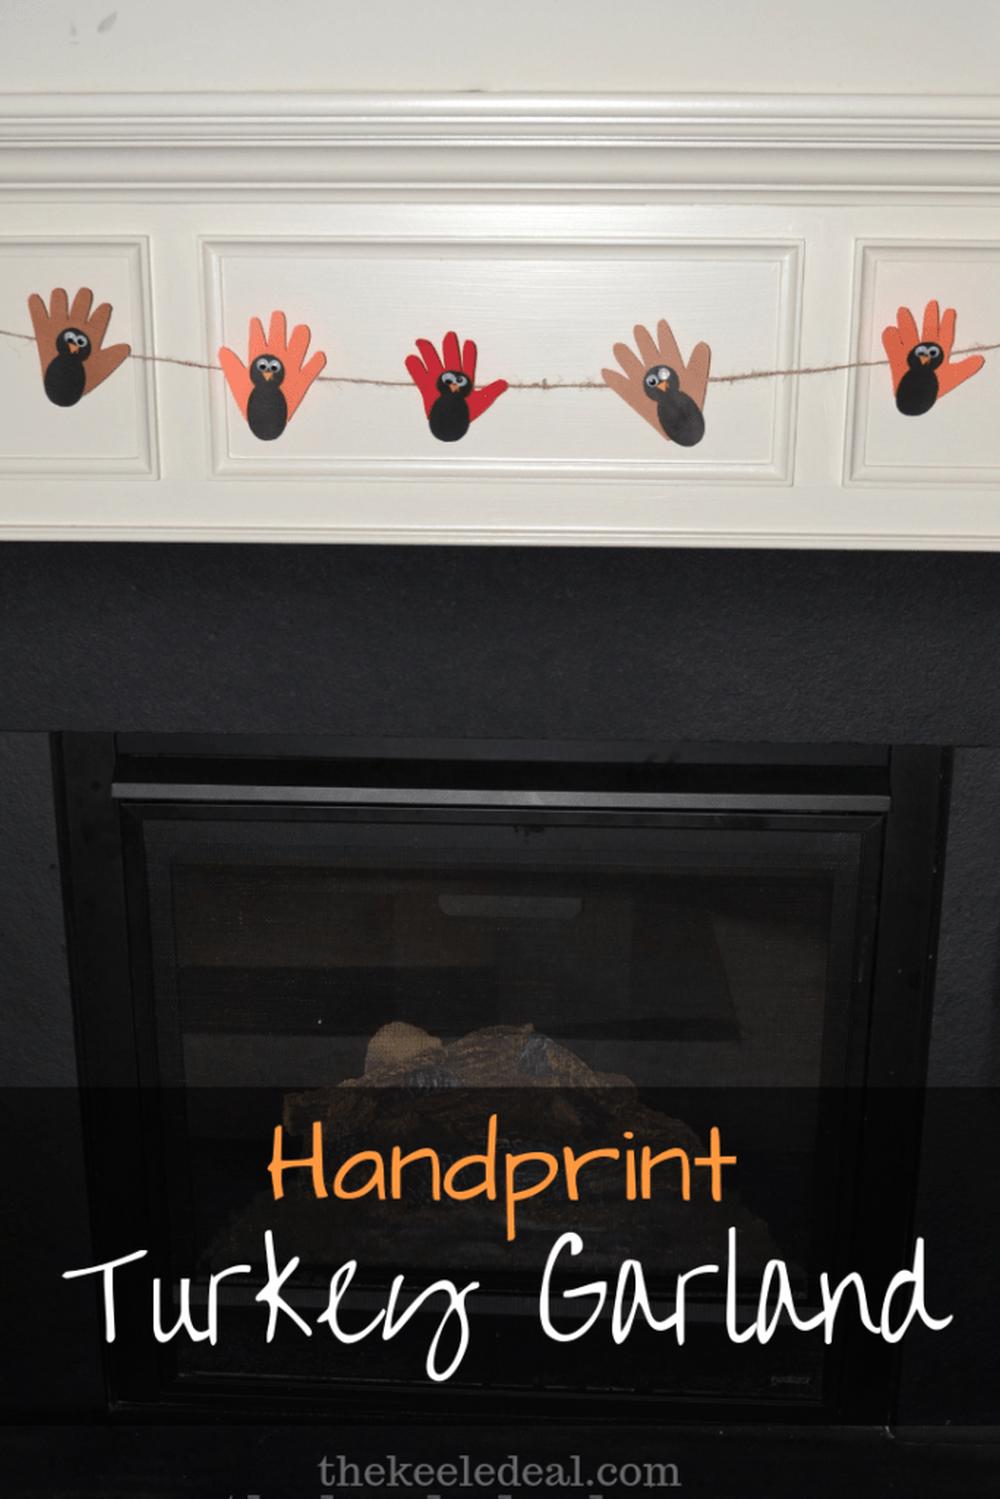
- Take one piece of construction paper and have your kid place their palm on it, then outline their palm. Next, draw an 8-shape (elongated bottom) on a piece of construction paper that has a different color.
- Attach the two pieces of construction paper together using sticky tape or a stapler. Add googly eyes and beaks for your turkeys, then finally, take your string and attach it to both sides before tying a knot!
- Now, what was so tough about all that? Seriously though, if you’re still feeling a little lost, then take a look at the picture above. We outlined all of these steps for you so that it’s even easier than ever to craft!
- Oh, and before we forget: If you want to make this turkey craft go faster, then we suggest popping on some Thanksgiving tunes and lighting up a nice pumpkin scented candle – trust us, it’ll do wonders for your motivation levels.
- Now, if you can’t tell already, we’re trying to say that this is one easy craft that kids can do with ease, but does that mean parents should stop here? No way! In fact, why not try this same concept with other turkeys instead?
- That’s exactly what we did with our hand-drawn turkeys. Give it a try today and see if you can use your imagination to think of something else to add on top of this one.
Amazingly easy, right? Your kids will definitely have a fun time making these Thanksgiving crafts!
And in the end, they’ll have a great keepsake to make you the favorite parent for this holiday season. Don’t forget about our other Thanksgiving crafts either – we guarantee there’s at least one that everyone in the family will love.
We’ve found this craft idea on The Keele Deal, so if you want comprehensive step-by-step instructions on how to make this easy craft, you should definitely head to the website we’ve attached above.
23. Miniature Village – Thanksgiving Arts And Crafts
This project might be a bit of a stretch, we’ll give you that. However, you can’t deny that it looks incredible and would definitely put a smile on the faces of your Thanksgiving dinner guests this year. If you’re at least a bit interested in woodworking and can source the materials for this project easily, then you should not skip it.
First of all, you’ll need some wood, but you shouldn’t go with thick pieces. Instead, you should try to find thinner pieces of wood, such as mat board, as you’ll be able to cut them way faster. If you’re an experienced woodworker, then thicker pieces should work just as fine, if not even better (they’re more resistant to being dropped and mishandled).
Make sure that the houses you craft are of varying sizes, and use different colors when painting them. If you want to keep it cozy, make sure to use autumn-themed colors, such as burgundy, brown, gold, and even gray.
Use the photo we’ve attached above as a reference if you’re not exactly a connoisseur when it comes to colors and shades.
Last, but not least, you can cut little window holes within the houses and use warm led lights to light up your miniature village.
You can also buy some pumpkin miniatures and place them randomly next to the houses if you want to enhance the whole autumn and Thanksgiving aesthetic.
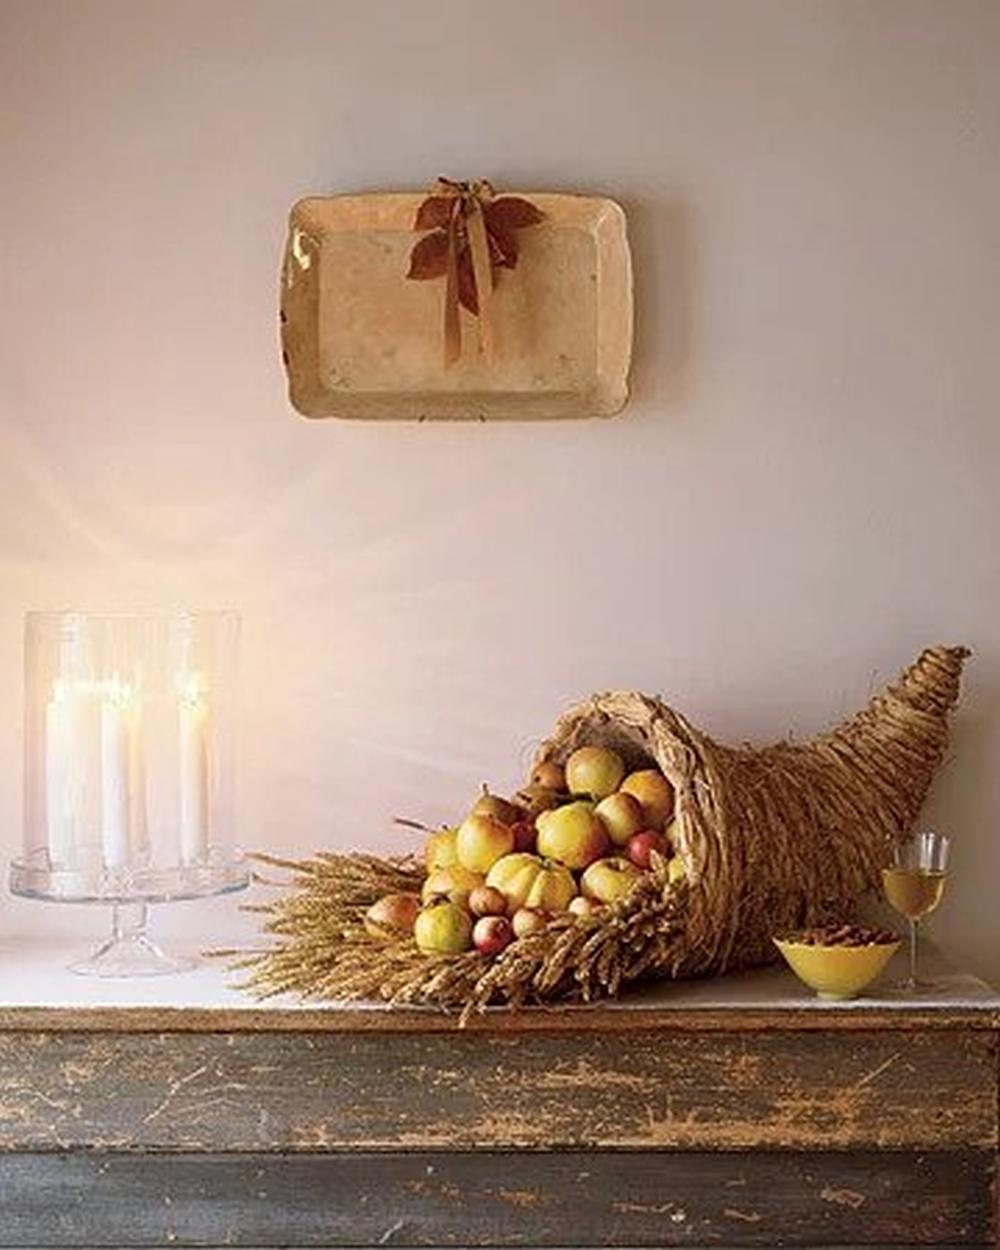
24. Tabletop Cornucopia – Easy Thanksgiving Crafts
If you’re about to organize a fancy Thanksgiving dinner and find that you’re out of ideas regarding how to decorate your house, then this tabletop cornucopia should be right up your alley. Not only will it look amazing in your house, but it is also one of the easiest DIY crafts you could try this year for Thanksgiving. It only involves finding a wicker basket (it’s better if you can find one that’s shaped like a horn) and a bunch of artificial or dried fruit and leaves to place inside.
You can simply place the dried fruits and leaves inside the horn-shaped basket if you want to keep it simple. However, if you want to be able to store this beautiful decoration and use it on other occasions, we suggest you find a way to make the things inside the horn stay put. Although many suggest glue guns for this purpose, you should know that using wire also works great.
You just have to drive the wire through the artificial or dried fruit and secure one end of the wire to the horn. If you’re using long dried leaves or bundles of fruit, you could also try wrapping them along the wire or wrap the wire along their stem, depending on the situation. Once you finish crafting the cornucopia, you can simply place it on your table and use it as a centerpiece.
If you want to get really creative, you could also try to place some battery-powered decorative lights inside the basket, along with the artificial or dried fruits and leaves. This will give your Thanksgiving dinner an even cozier feel and your guests will be even more impressed.
This Thanksgiving craft idea was pulled from Martha Stewart’s website. If you want to find out more about the craft or view a step-by-step instructions slideshow, we recommend you visit the project page we’ve attached above.
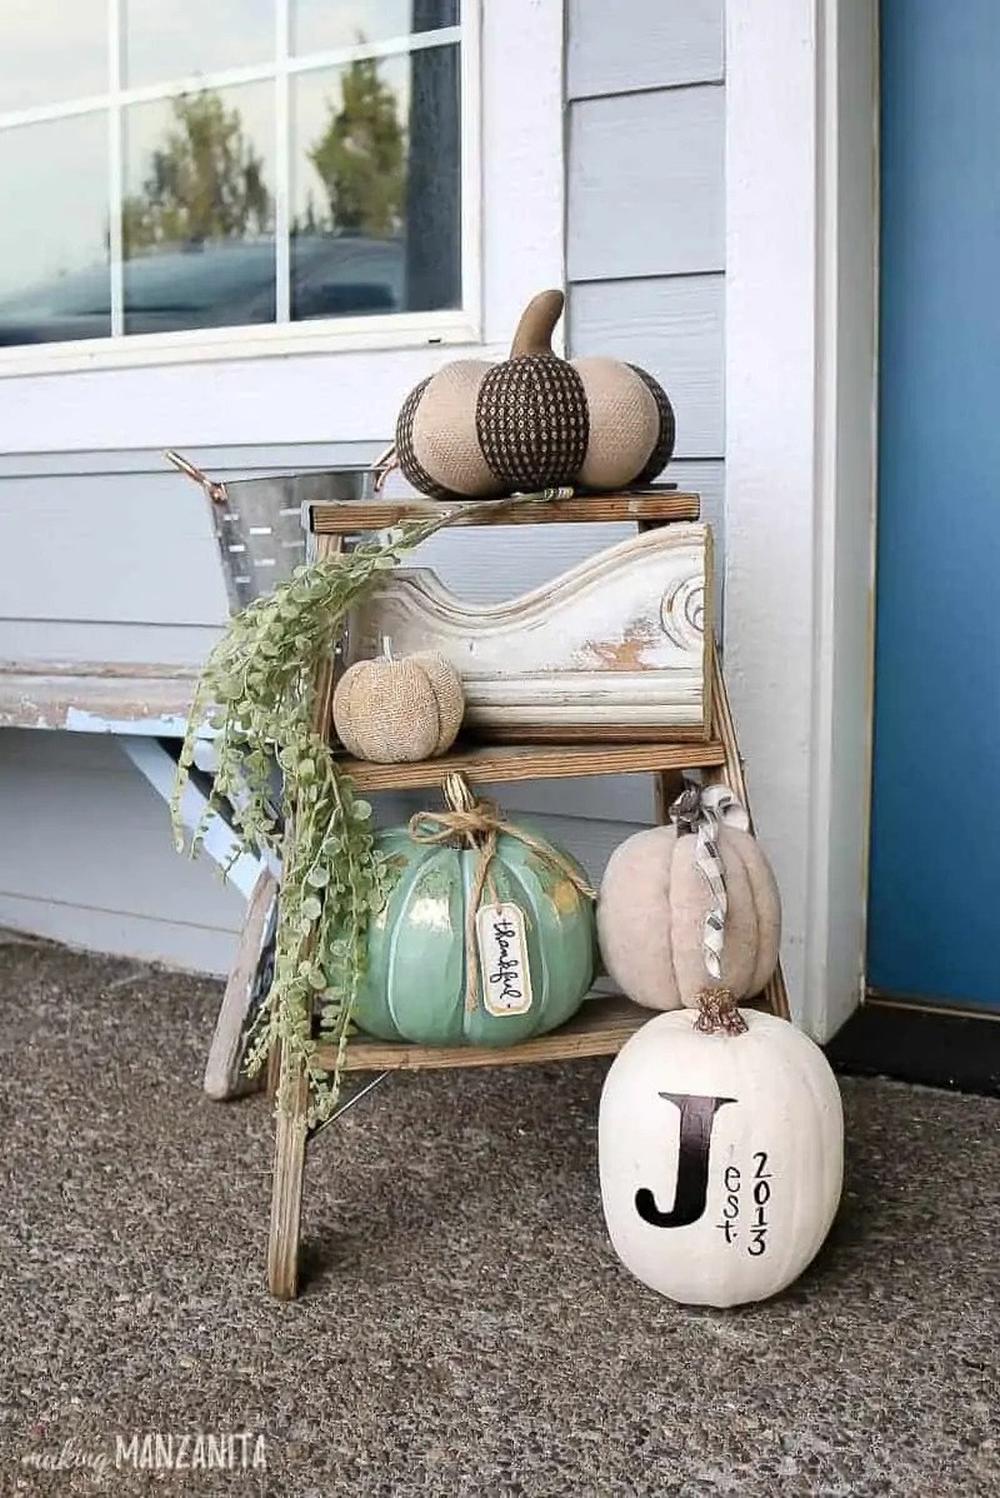
25. Writable White Pumpkin – Thankful Thanksgiving Crafts
It’s best not to forget that Thanksgiving is an excellent occasion to show our love and appreciation for the countless blessings in our lives, and these writable white pumpkin crafts are absolutely great for this purpose. For once, they’re pumpkins, and we all know that pumpkins are a universal symbol for autumn and everything autumn-like, such as Halloween and Thanksgiving.
Furthermore, you can use ordinary markers to write on these pumpkins some of the best things that you’re grateful about, and invite everyone at your Thanksgiving dinner to do the same. Once everyone’s done, you could name someone and have them read all the Thanksgiving notes before you start dining.
What makes this craft so special is that you can’t go wrong with it and it’s incredibly easy to make. All you need is a foam pumpkin (preferably white) and an ordinary marker (color doesn’t matter) to make this creative decorative object for your Thanksgiving dinner.
You could also use a real white pumpkin instead of a foam one, but it will be a bit heavier and will probably cost you more.
Alternatively, you could buy several mini white pumpkins and place one in front of each guest that will attend your Thanksgiving dinner.
That way, your guests can write their thanks on their personal pumpkin, and at the end of the dinner, they could all bring those pumpkins back home with them, as a keepsake of the time you spent together. Happy Thanksgiving, everyone!
We’ve found this writable pumpkin craft on Making Manzanita. If you want more details about the project as well as step-by-step instructions and photos, then you should head over to Making Manzanita’s project page that we’ve attached above.
15 More Amazing Thanksgiving Crafts
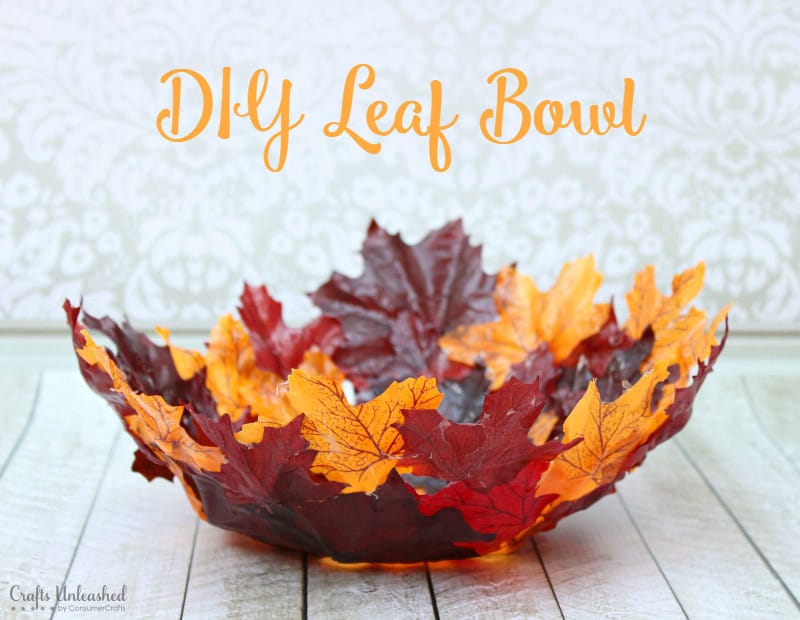
26. Leaf Bowl Thanksgiving Crafts
Grab some faux or real leaves and get started! Crafts Unleashed will teach you everything you ned to know about how to make this beauty come to life. Then, once it’s completed, flaunt it in the foyer, dining room table, or even in the guest room.
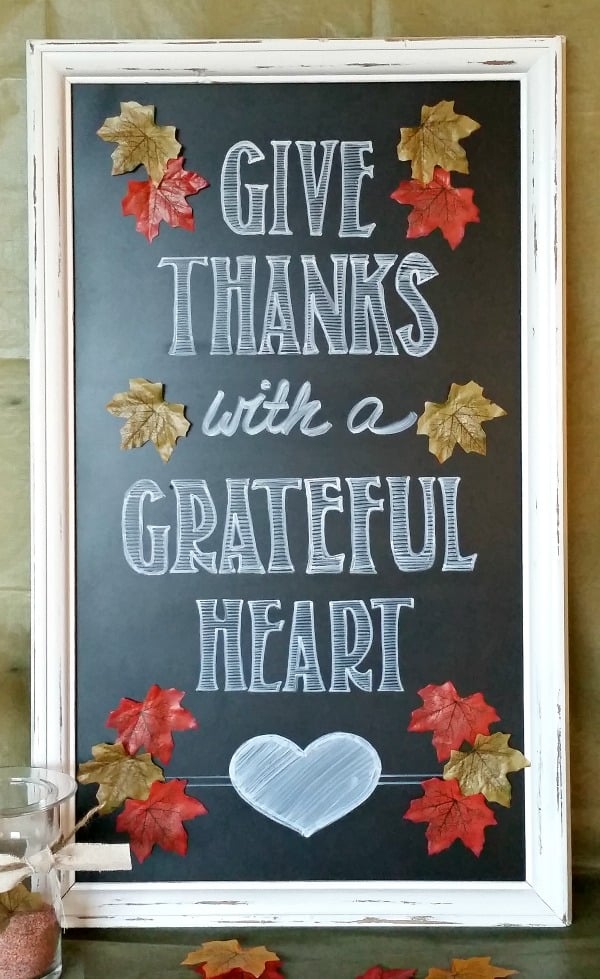
27. Give Thanks Chalkboard Sign – Easy Thanksgiving Craft
We love chalkboard signs and how they can easy change with the seasons. Follow along at My Pinterventuresto learn how to make yours come to life for the fall! Those leaves certainly add an extra festive touch.
28. Thankful Tree – DIY Thanksgiving Craft
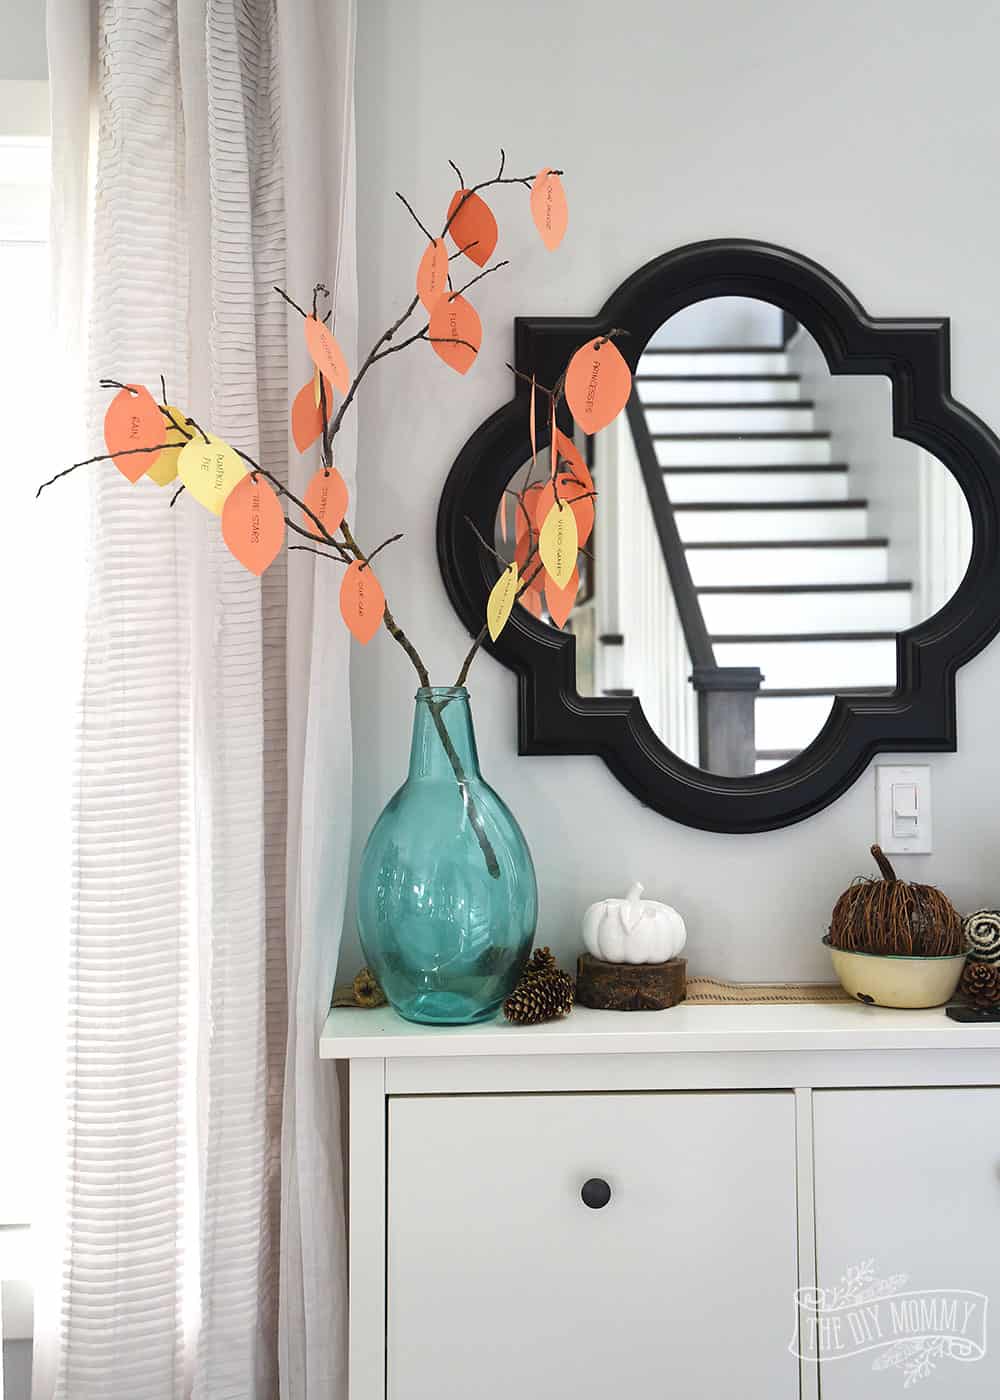
Have the entire family get involved with this project! Over at The DIY Mommy you’ll learn how to create a “thankful tree.” And each leaf will provide the family with some warm feelings and a smile.
29. Painted Pinecones – Thanksgiving Activities for Kids
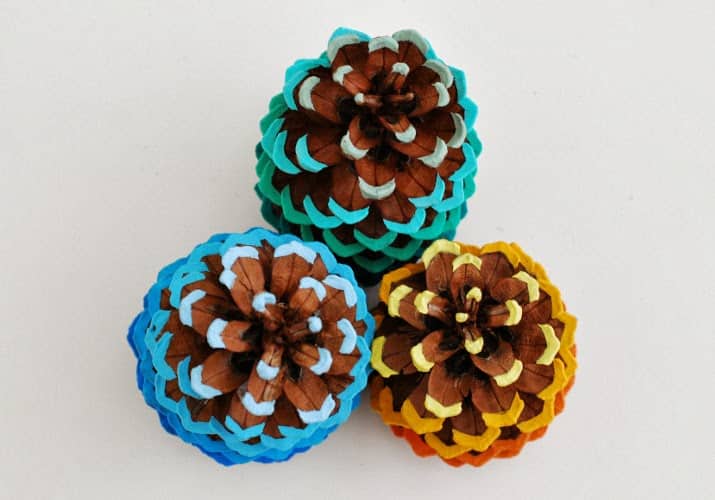
Whimzeecalwill take your pinecones to the next level. Hop on over and put that ombre trend to good use with the kids. Then drop them in an apothecary jar and decorate the house with them.
30. Turkey Pops – Thanksgiving Project
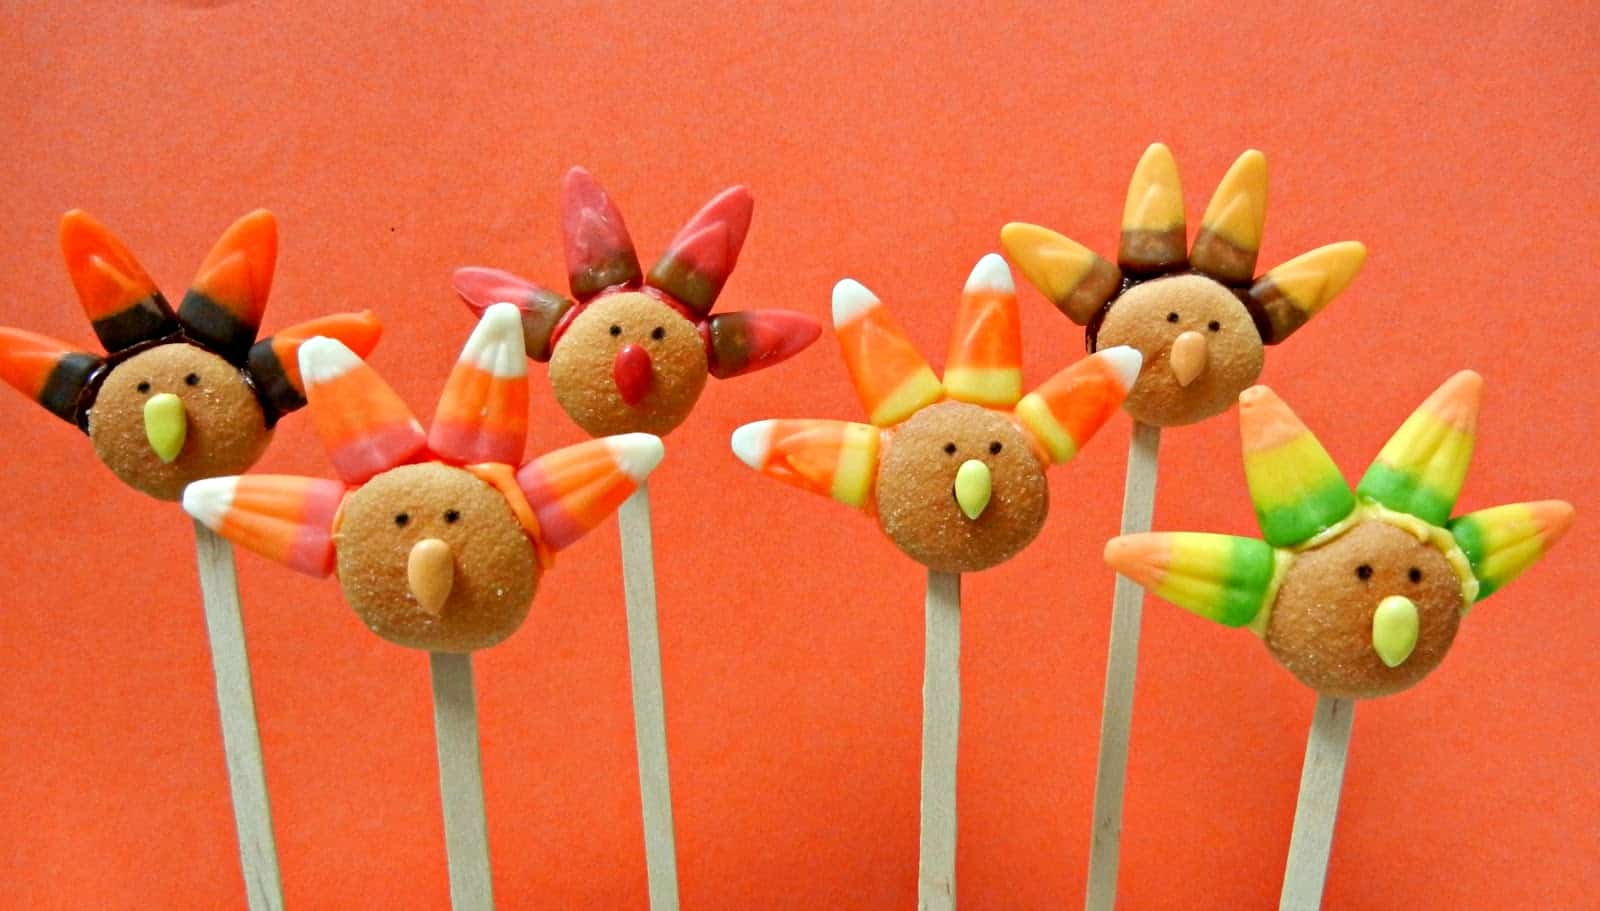
Are these turkey pops not the most adorable little snacks you ever did see Grab the recipe at Sugar Swings! and grab the kiddos to help out! You can put all that different flavored candy corn to good use with this one.
31. Thanksgiving Pie Garland – Thanksgiving Crafts for Kids
Martha Stewartmade some pumpkin pie garland that can set off Thanksgiving dinner with extra charm! The kids can help cut out the pieces and glue on the “whipped cream.” Hang them on the banister, the mantle, or the buffet in the dining room.
32. Pumpkin Votives Thanksgiving Craft
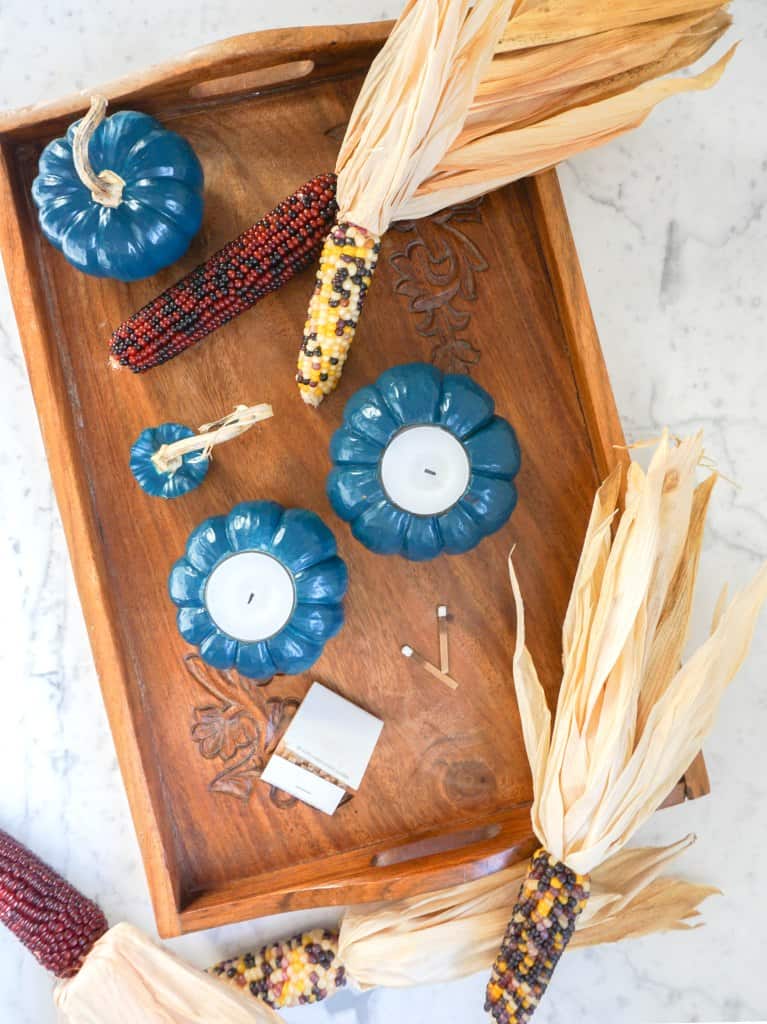
Turn some pumpkins into pretty votives with some help from Homedit. You’ll need some spray paint too! Grab an offbeat color and get to work on some unique, Thanksgiving day decor.
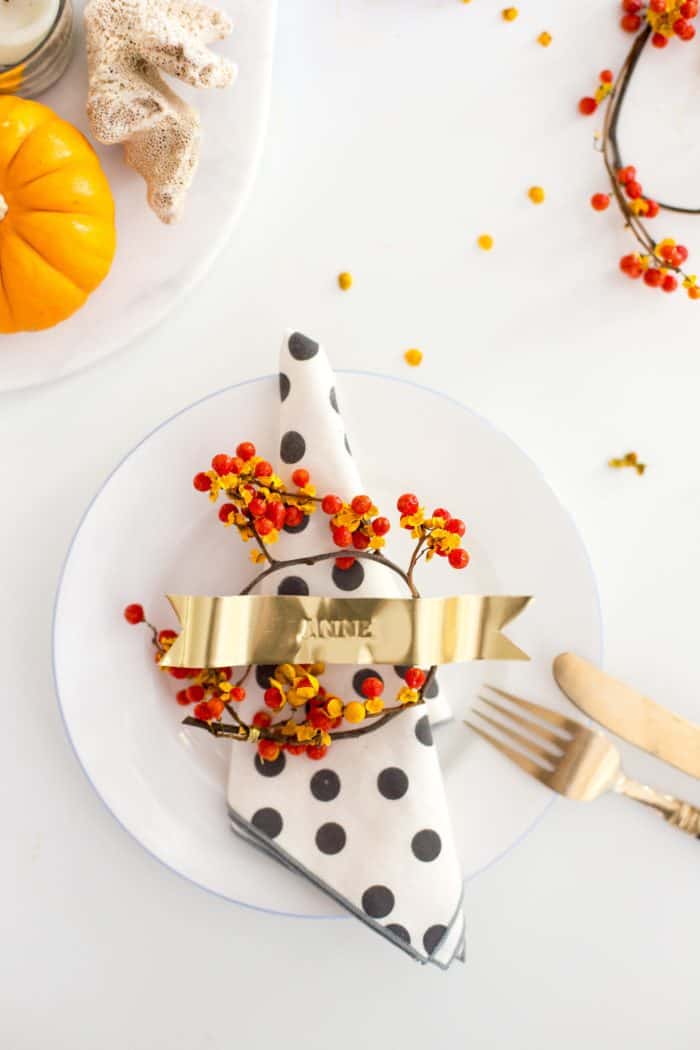
33. Gold Ribbon Stamped Place Cards – DIY Thanksgiving Craft
You could always amp up the style at the dinner table with some of these place card. Some gold ribbon would add a special touch of femininity to the scene. Visit Flax & Twine for the details.
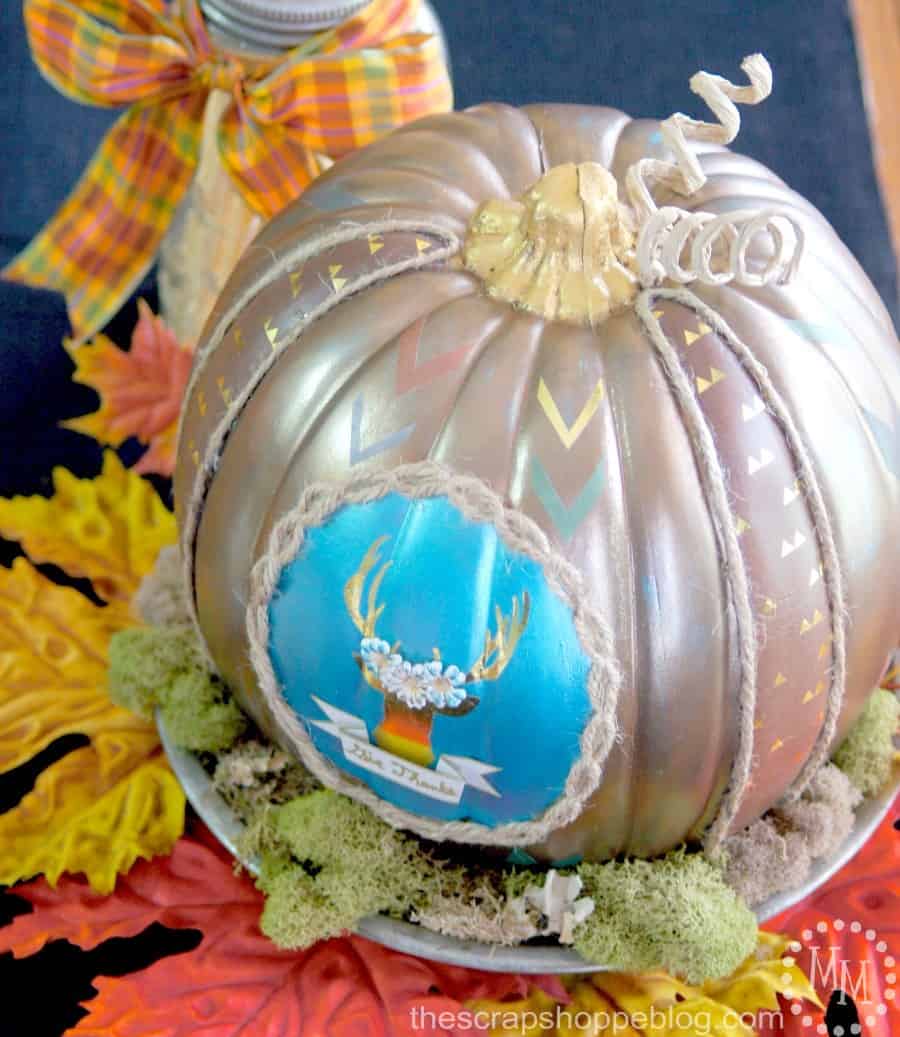
34. Deer Silhouette Pumpkin – Thanksgiving Craft
The Scrap Shoppewent all out on this beautiful pumpkin design. You don’t have to stick to decorating pumpkins only at Halloweentime. Instead, you can create something extra pretty with your gourds for Thanksgiving too!
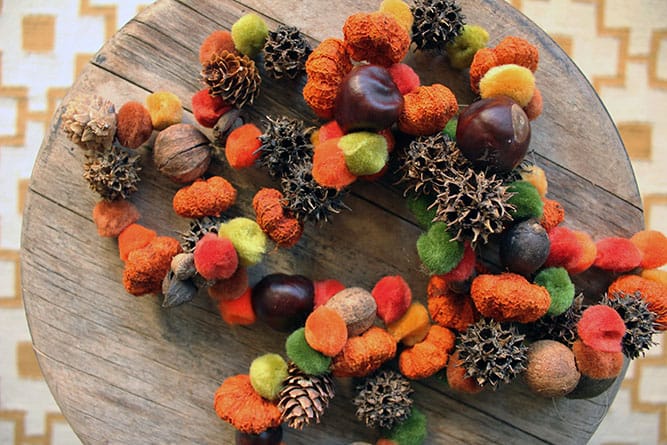
35. Autumn Garland – Easy Thanksgiving Craft
Make & Do Crew made a garland too! And this time is was themed with autumn textures in mind. Grab the kiddos and have them help string everything on.
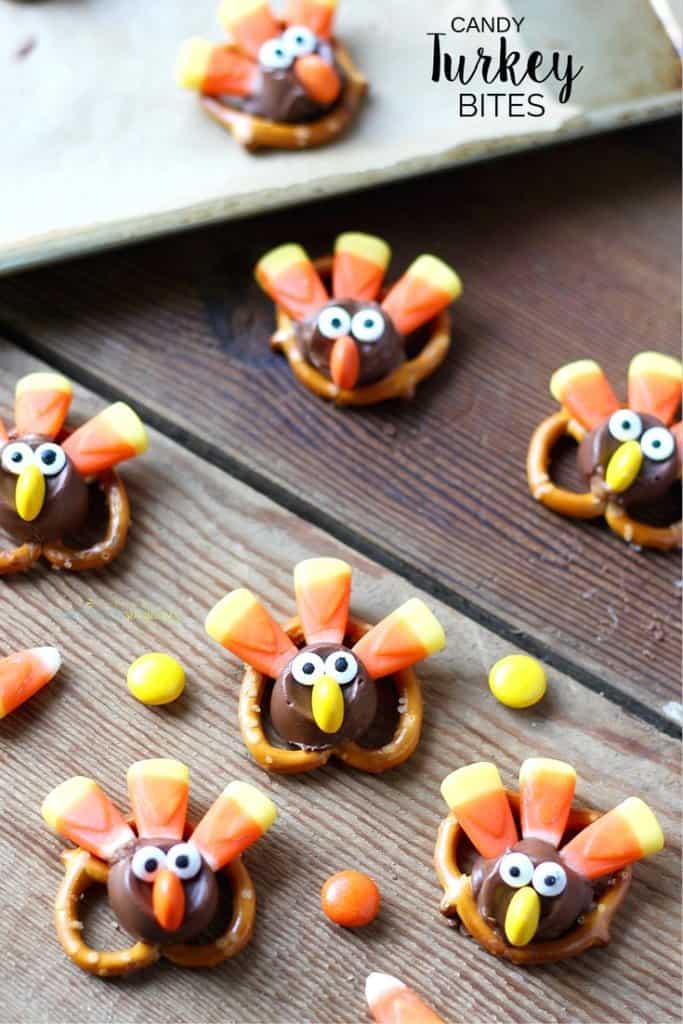
36. Candy Turkey Bites – Easy Thanksgiving Craft
Here’s another craft that’s edible too! Make some bite-sized turkey with some of the family’s favorite, delicious treats. With chocolate, pretzels, and candy corn too, Suburban Simplicity will show you how.
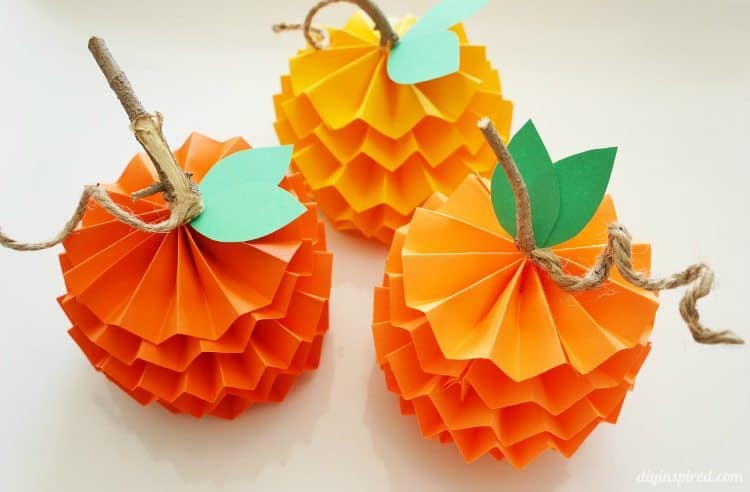
37. Paper Pumpkins – Easy Thanksgiving Craft for Kids
DIY Inspiredused pumpkins as their inspiration. They turned some paper and twine into some pretty little gourds that can delight the house. From the tables to the shelves, you can add some pops of color to any nook after you whip these up with the family.
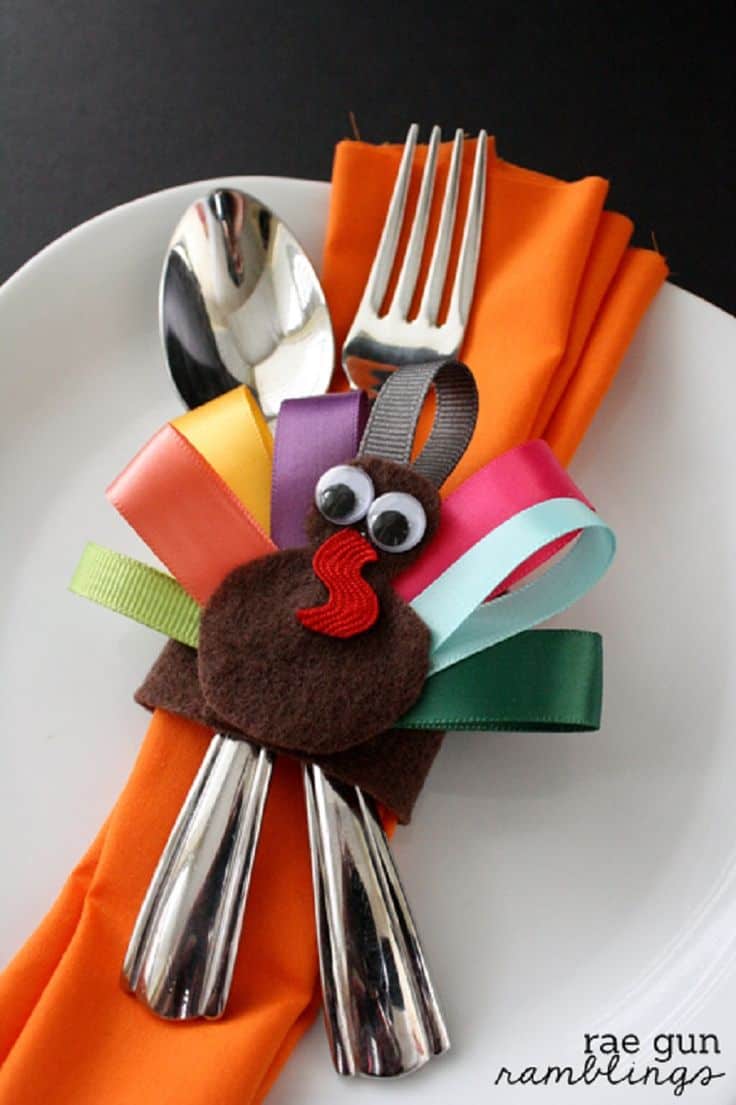
38. Turkey Napkin Rings – DIY Thanksgiving Project
We’re loving these turkey napkin rings fromRaegun Ramblings. They’re charming and make the best craft for the kiddos to take part in. Part of the fun is picking out your favorite bits of ribbon to use!
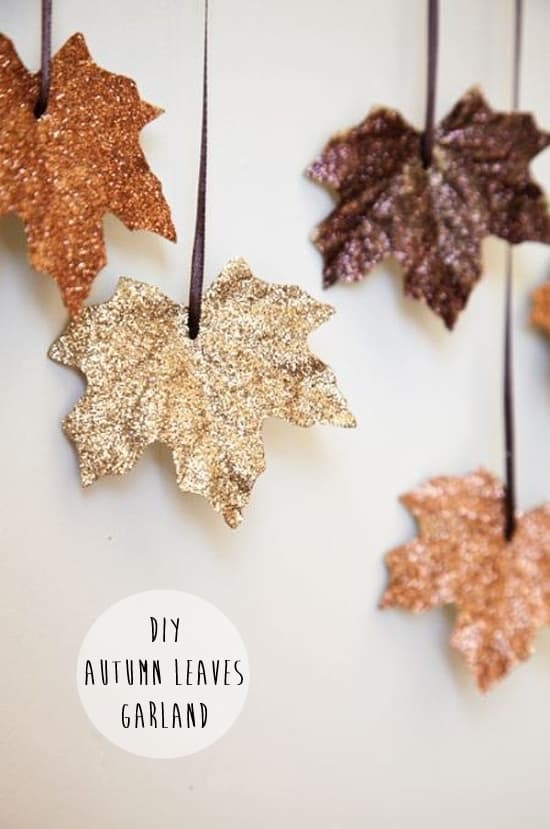
39. Sparkly Leaf Garland – DIY Thanksgiving Project
Sparkle and shine with some glittered leaf garland from Decor Envy. You’ll want to flaunt the finished product all around the house. And your kids will want in on all the sparkling fun.
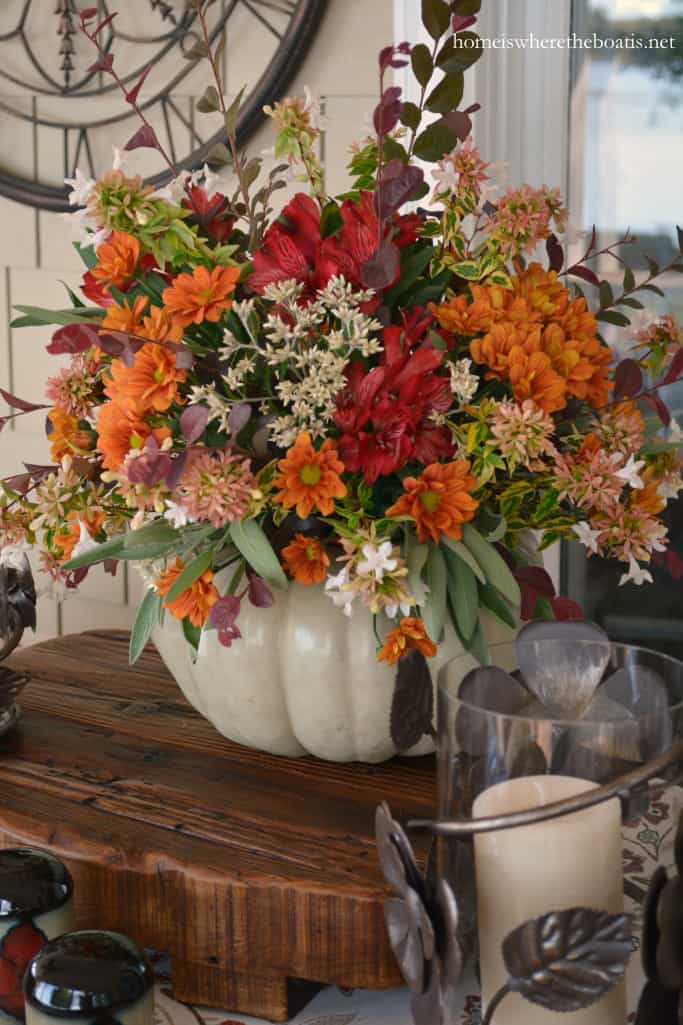
40. Blooming Pumpkin Centerpiece – Easy Thanksgiving Craft
Home is Where the Boat isleaves us off with this blooming pumpkin centerpiece craft. It’s the perfect way to top off the table for when dinnertime comes to call. Fill your masterpiece with the best of fall flowers – including burgundy mums.
Conclusion
All things considered, if you’re trying to find some crafts that could look great at your Thanksgiving dinner and are easy enough to make on your own, then our guide should give you some pretty great ideas.
While most of the decorations we’ve included above can be easily made without significant effort, some of them could prove to be a bit more difficult and require certain skills, such as sewing, knitting, or drawing.
As far as the actual crafts go, not only will they serve as great decorations for your dinner table, but most of them can also double up as a sweet gift for any Thanksgiving dinner host.
Just keep in mind that the food is always the most important part of this holiday, so don’t go overboard with your decoration efforts. The best idea would be to use all sorts of decorations that offer a nice Thanksgiving feel without overwhelming you or your dinner guests.
