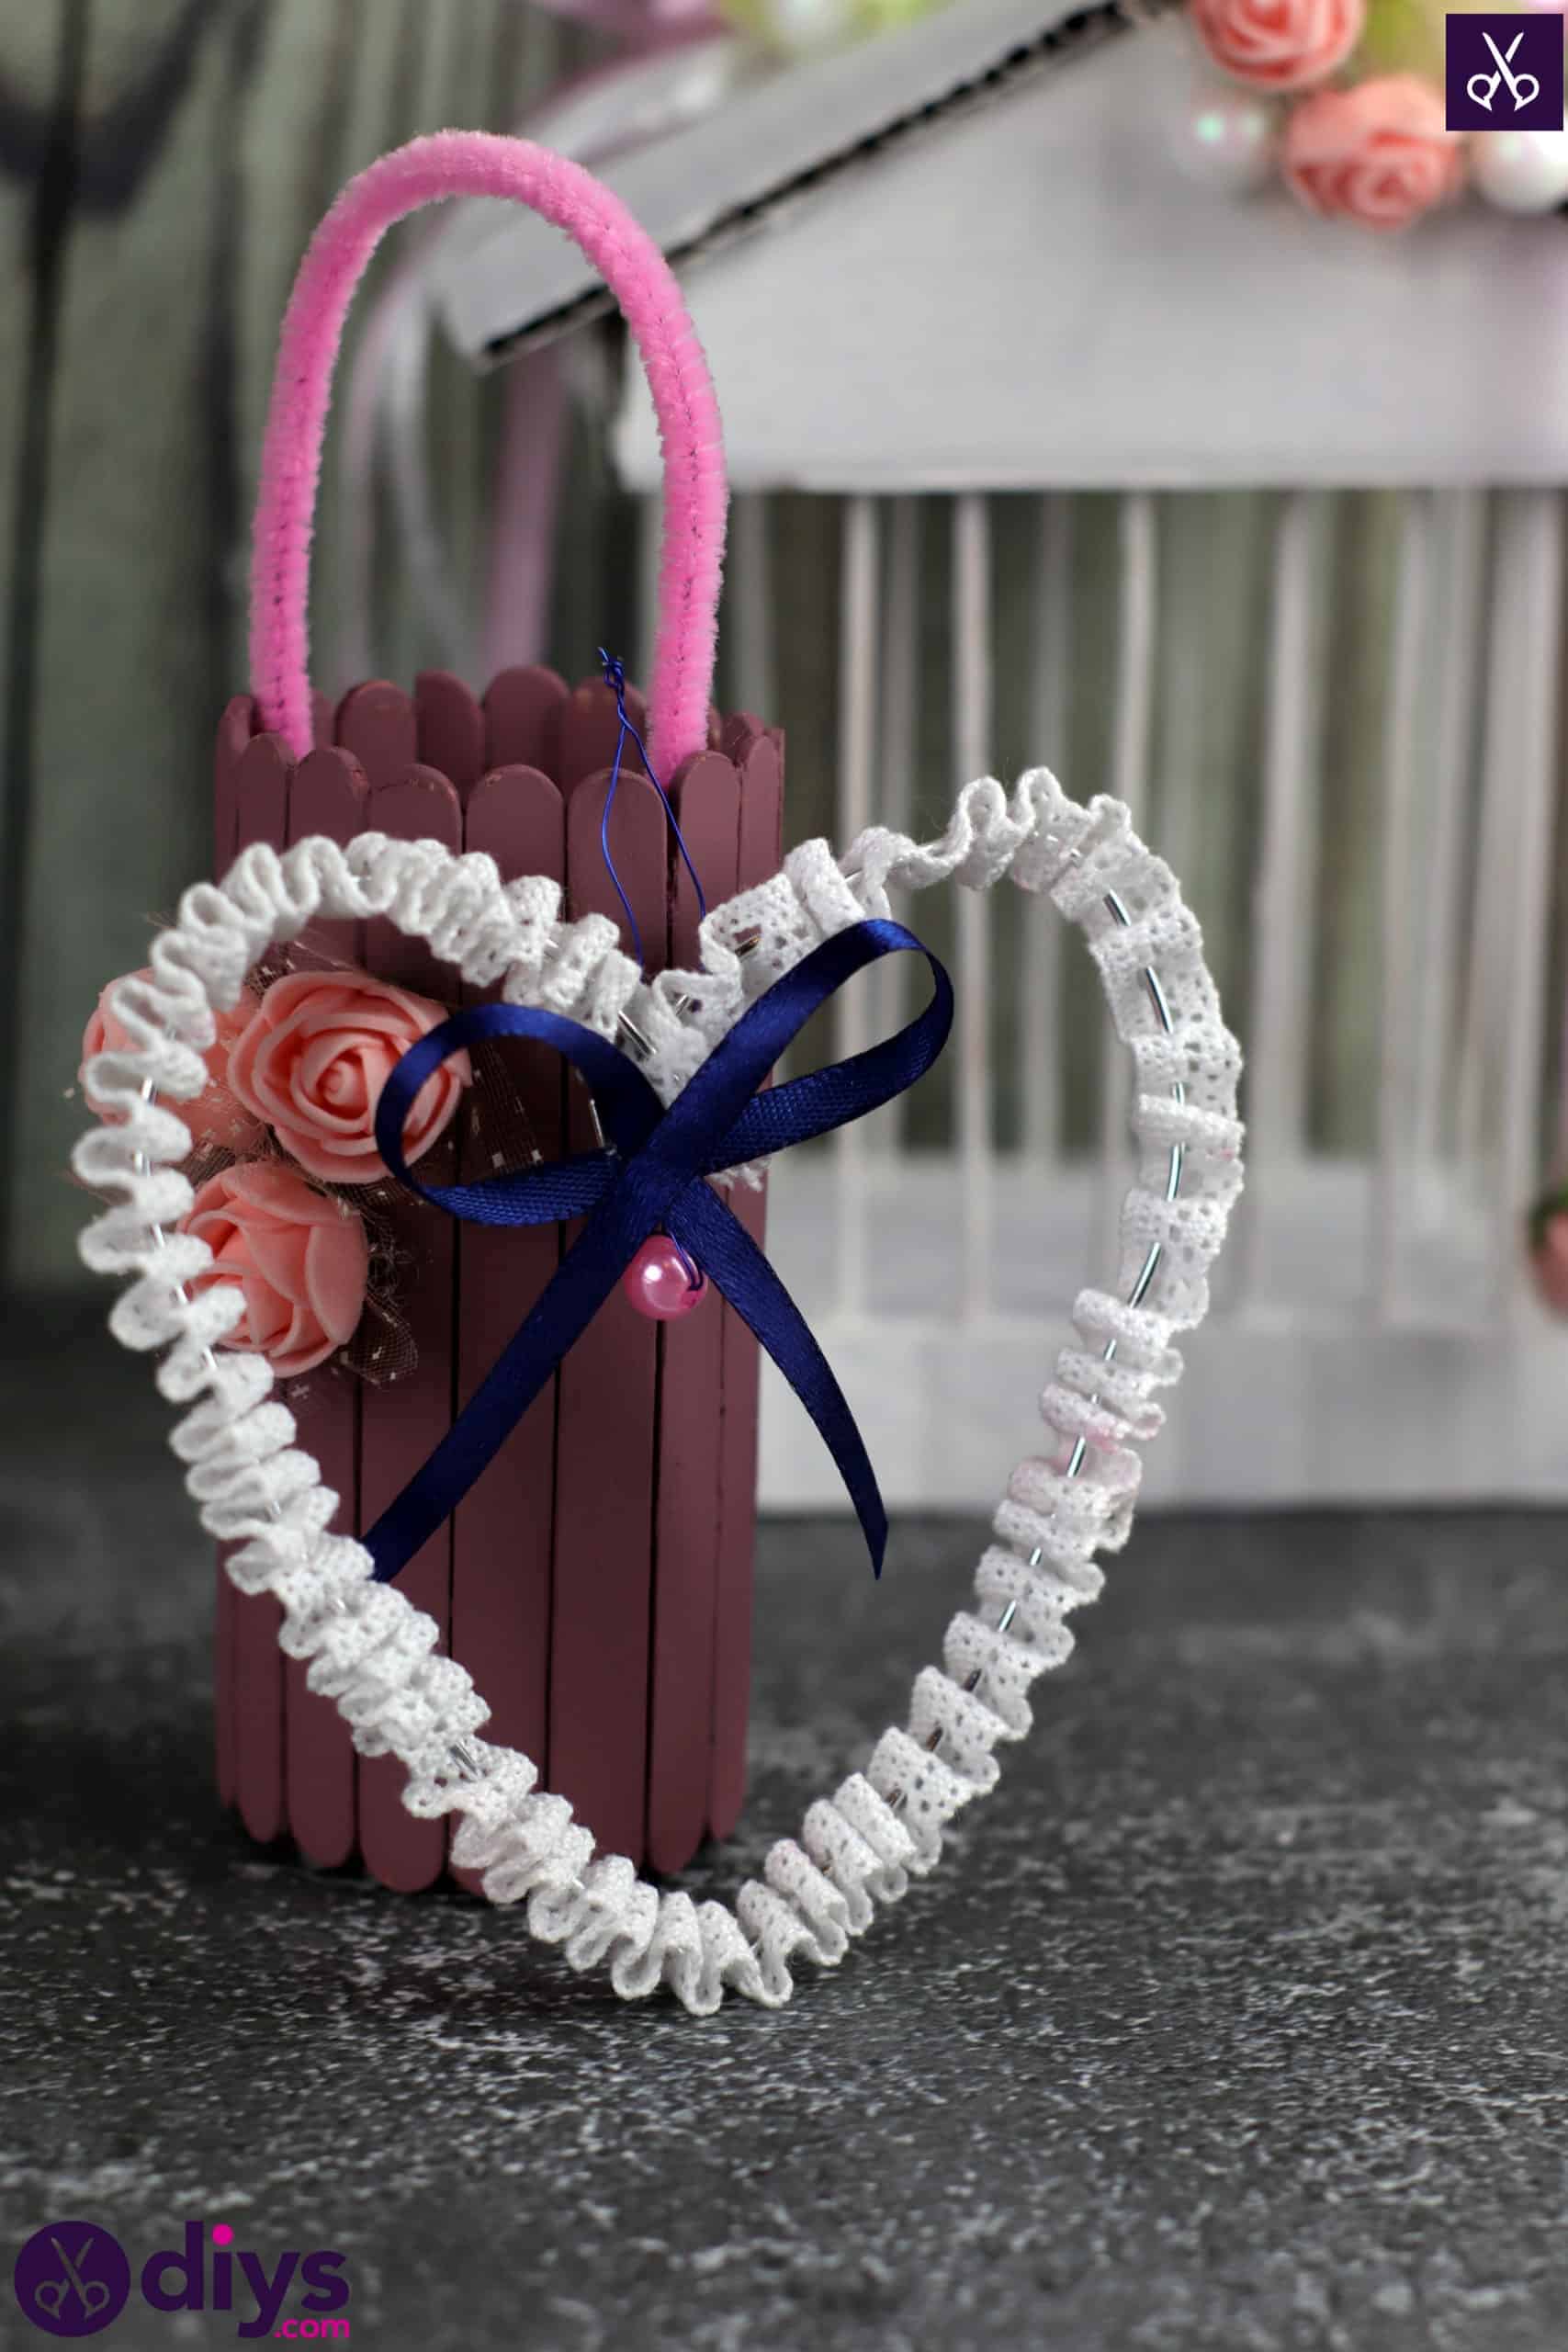
DIY Table Wedding Heart Decor
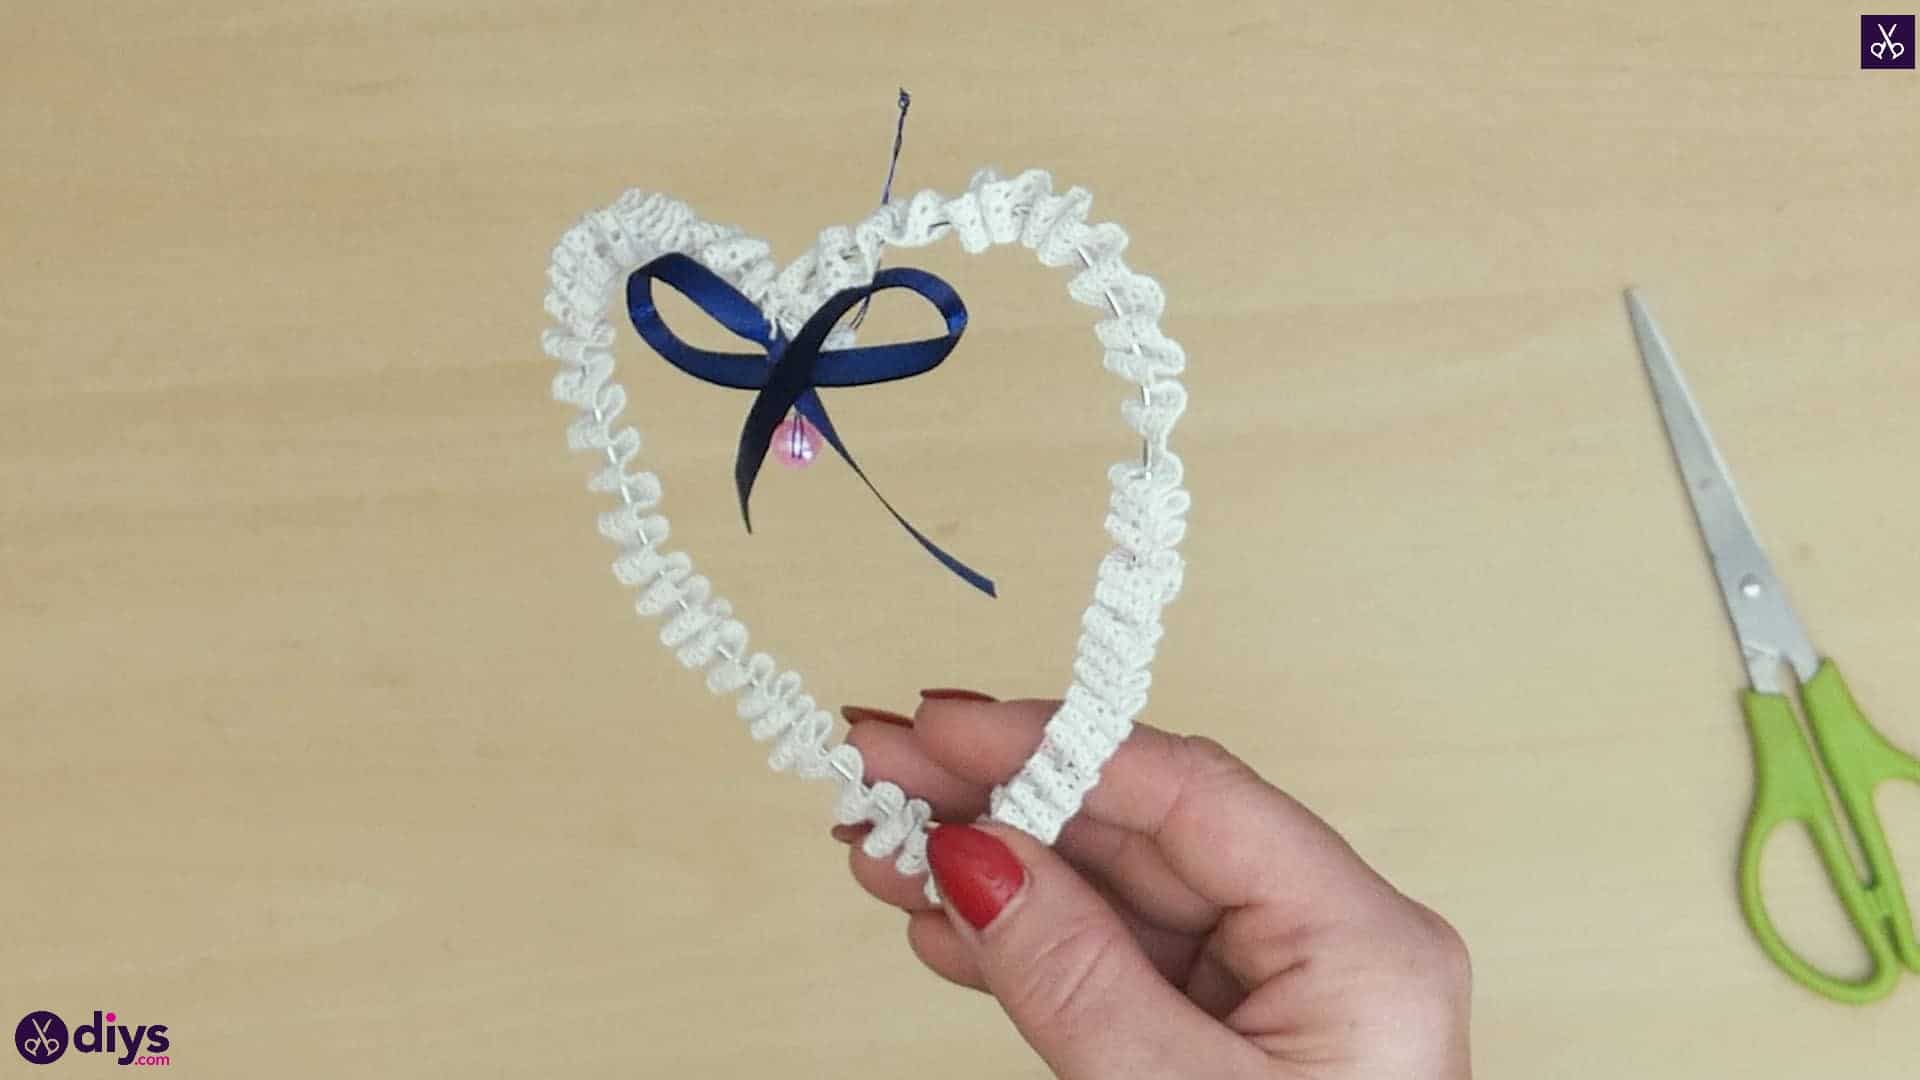
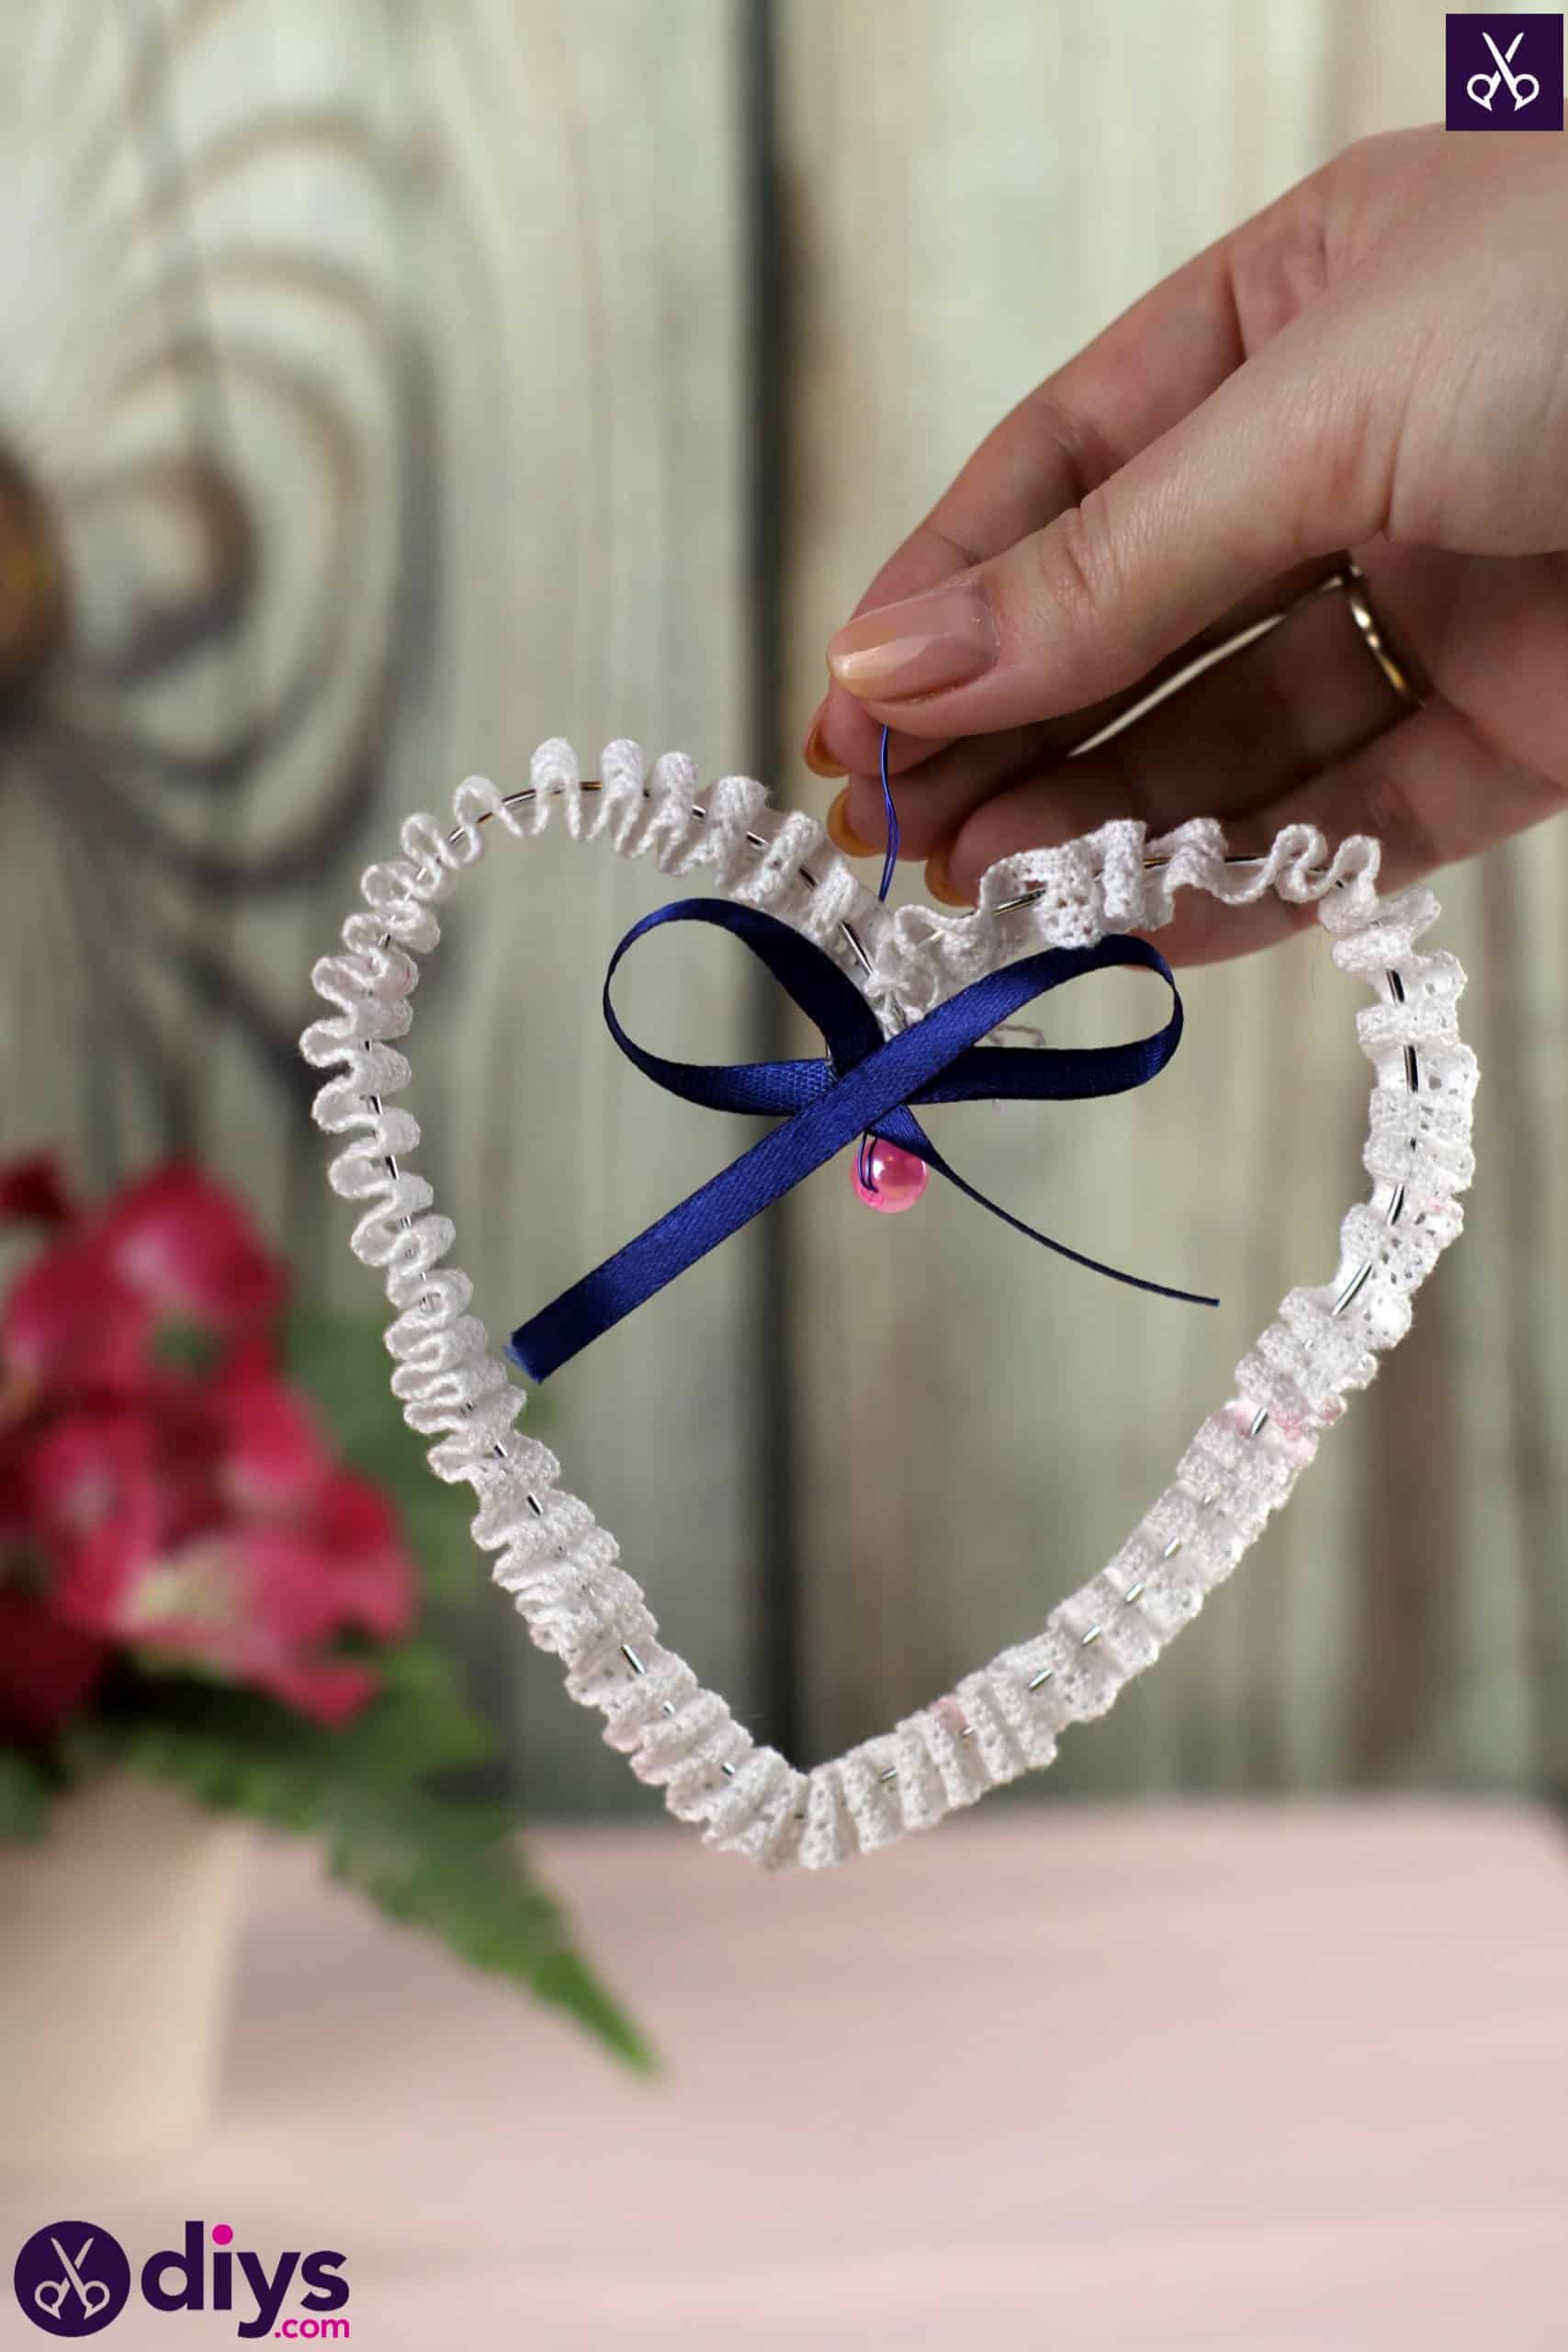
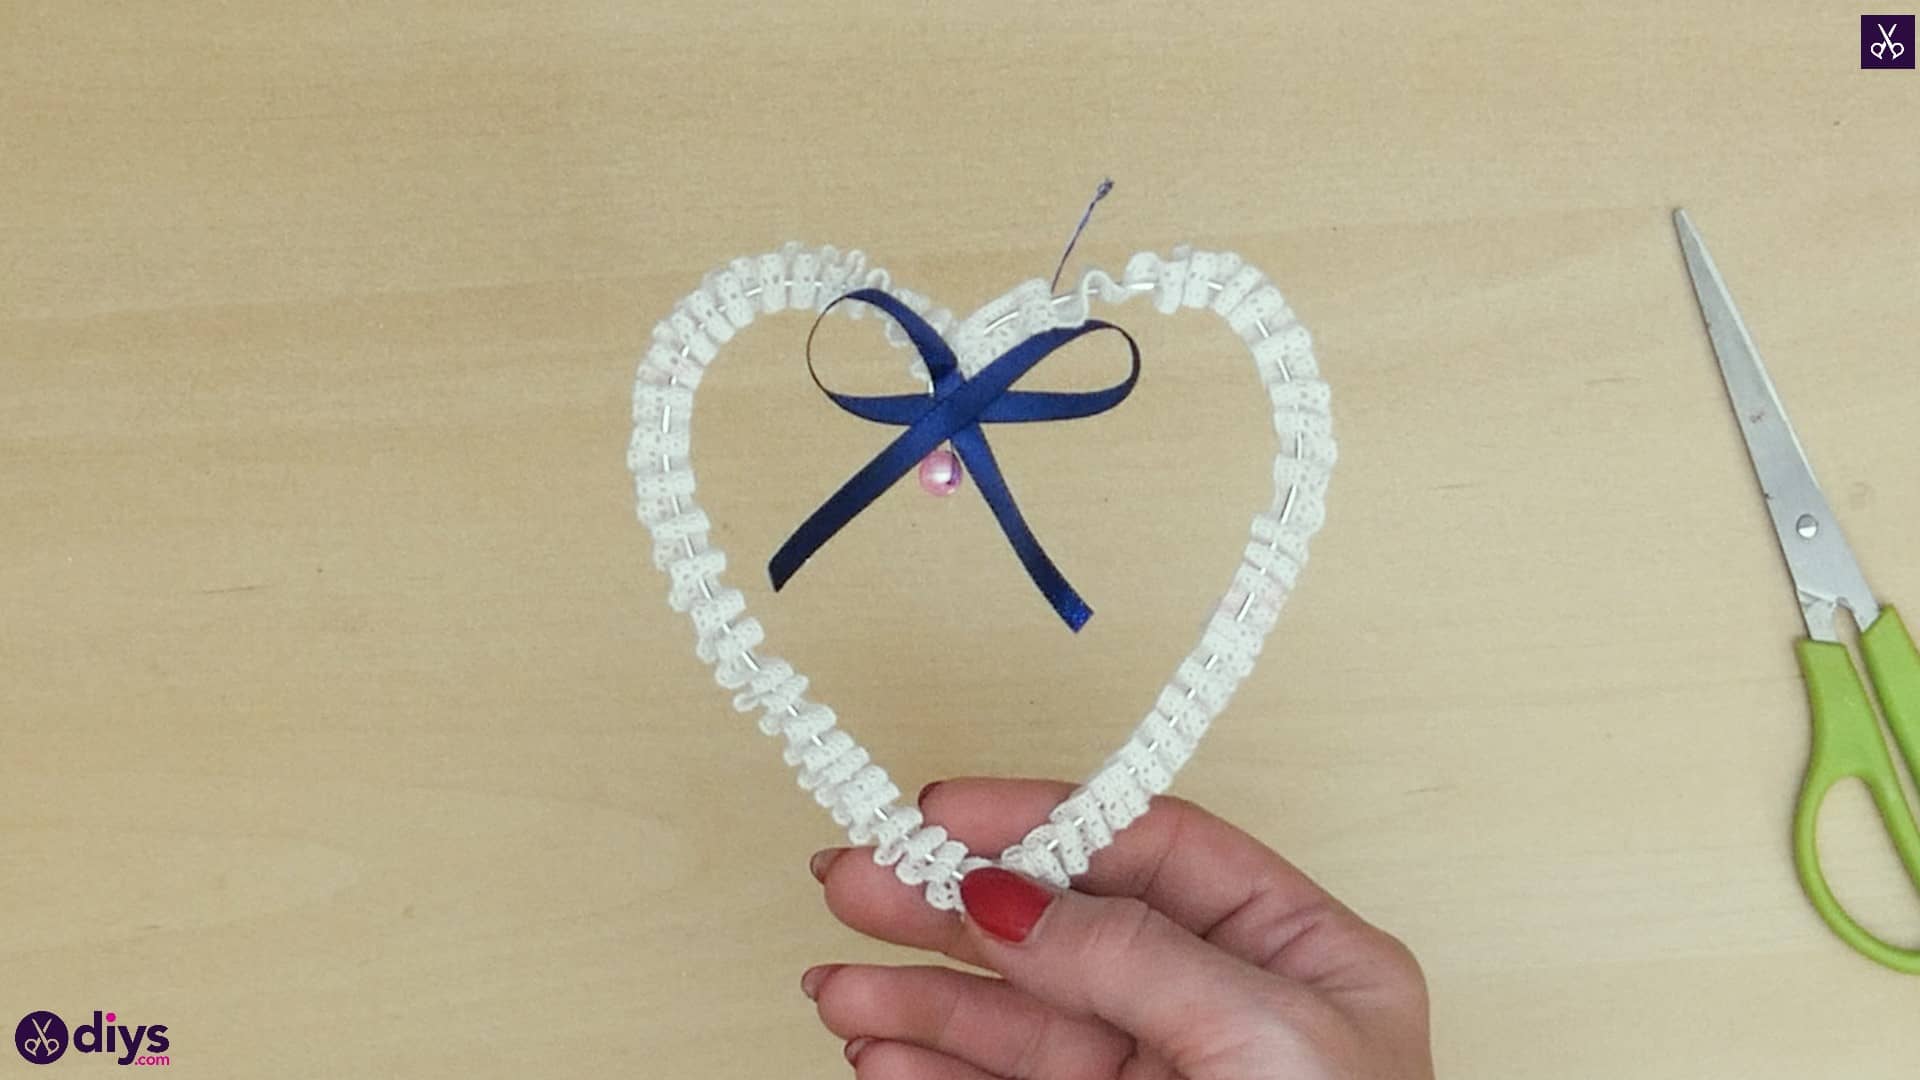
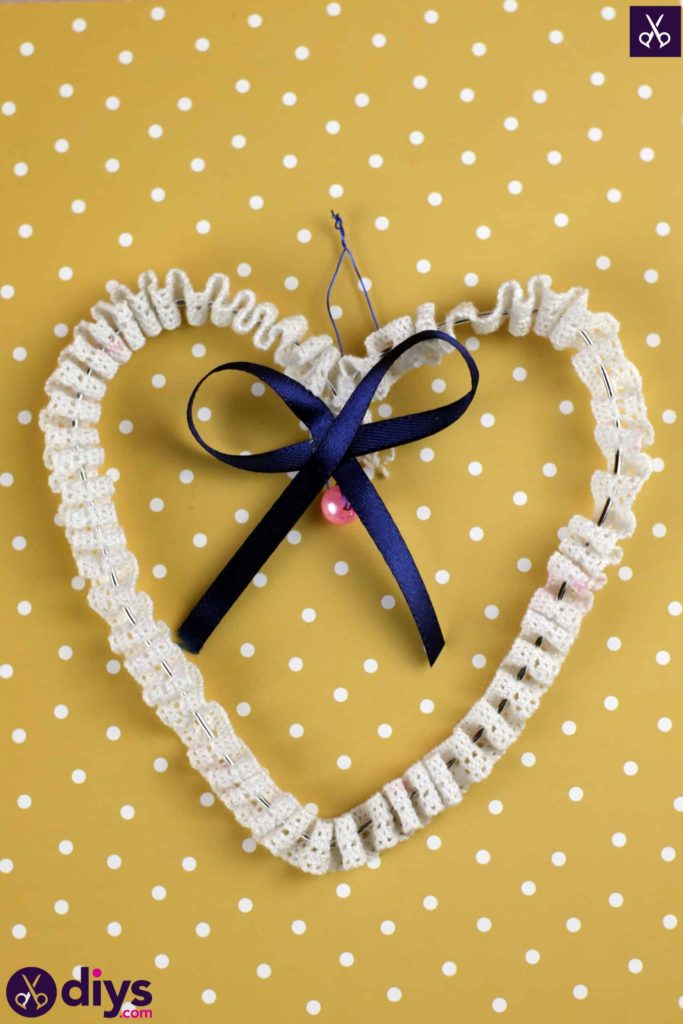
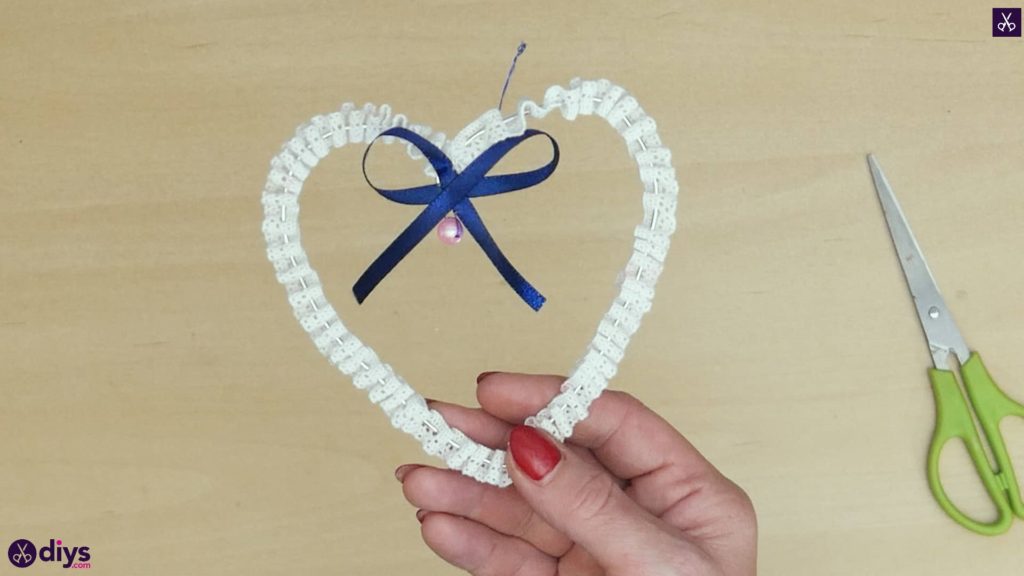
Got a wedding coming up? Or a friend who’s getting married and you’ve volunteered to help with the decor? Look no further, then! This DIY table wedding heart decor idea is just one of many we have here to check out! See how we made this one!
Check out these step by step instructions complete with photos! If you’d rather follow along with a video tutorial instead of written words, scroll to the bottom of this post to find just what you’re looking for.
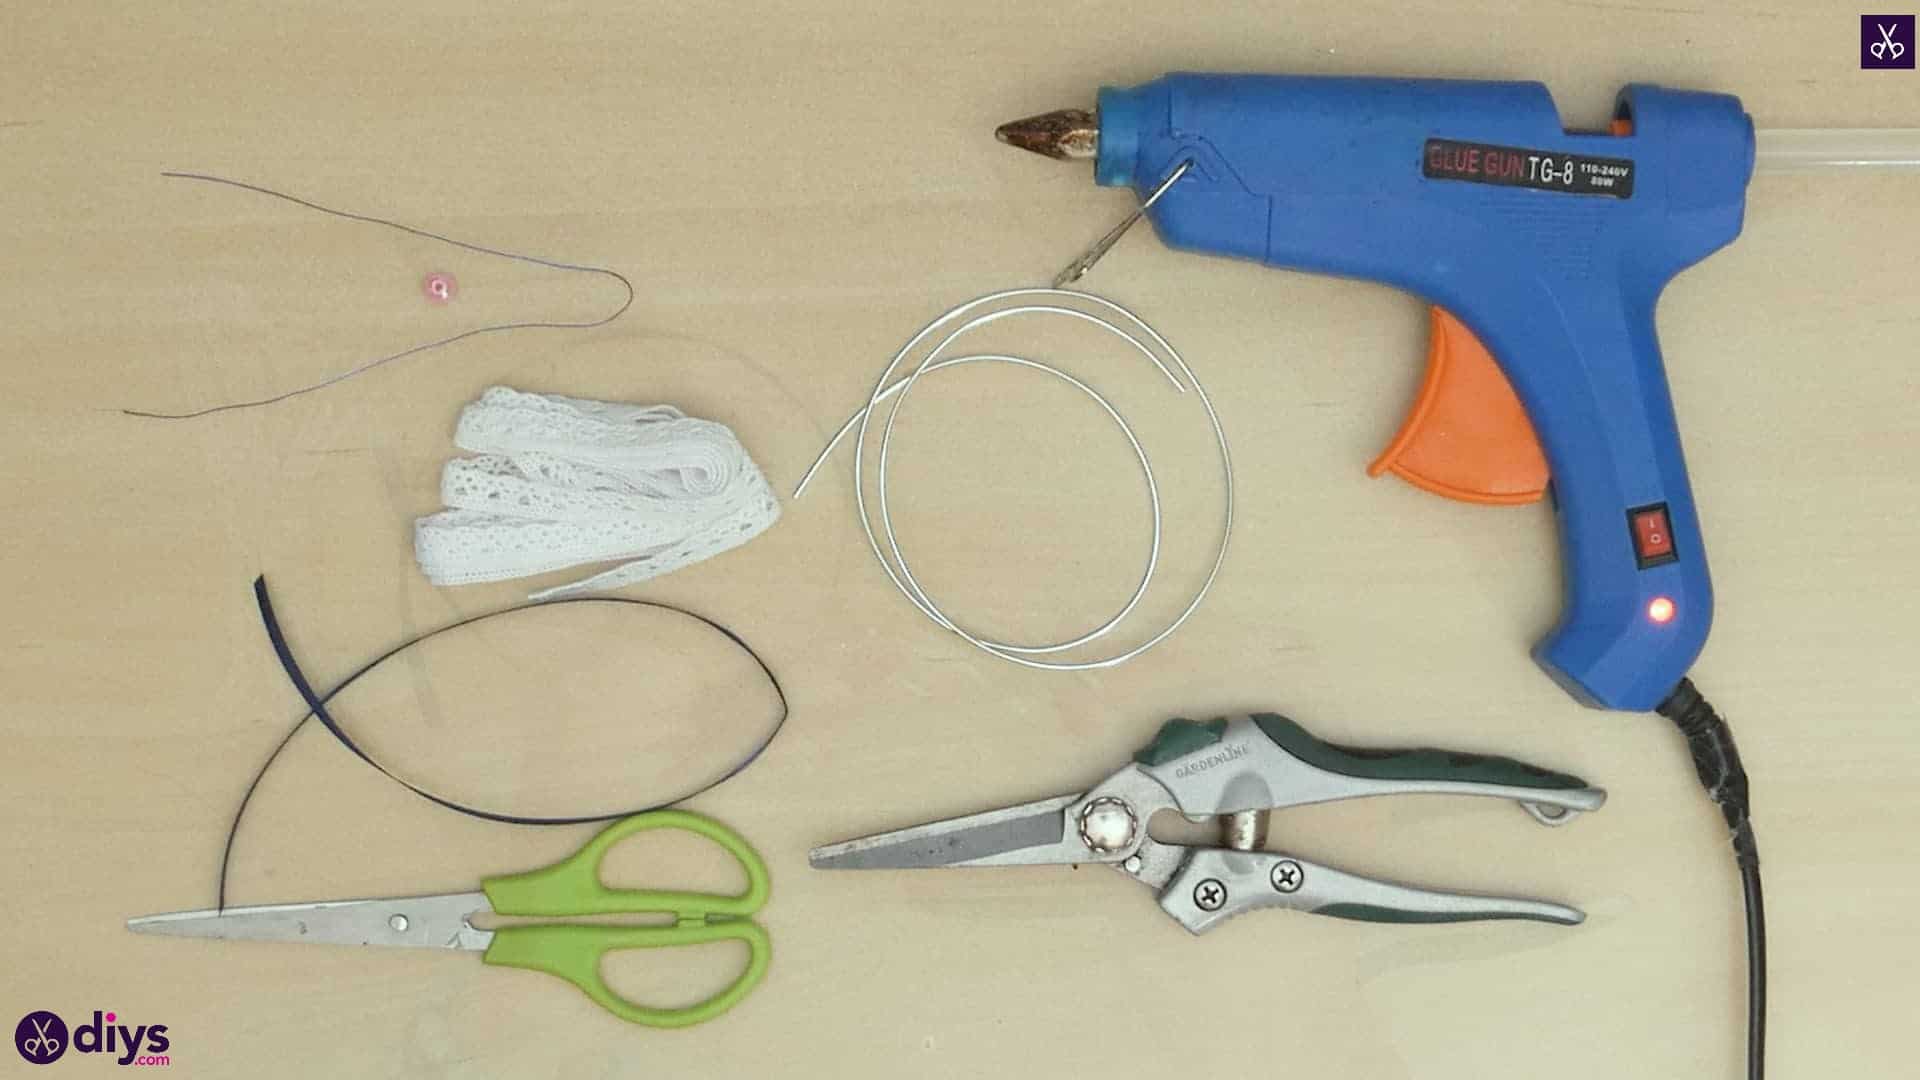
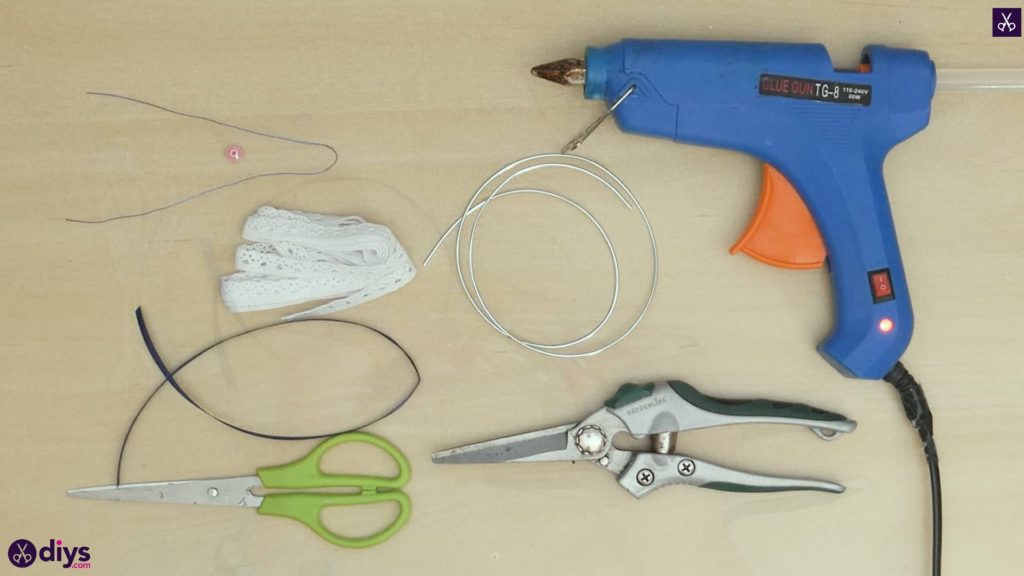
For this project, you’ll need:
- Crafting wire
- Pliers
- Hot glue
- Scissors
- Pearl beads
- Lace ribbon
- Blue ribbon
- Blue thread
Step 1: Double check the list
Gather your materials!
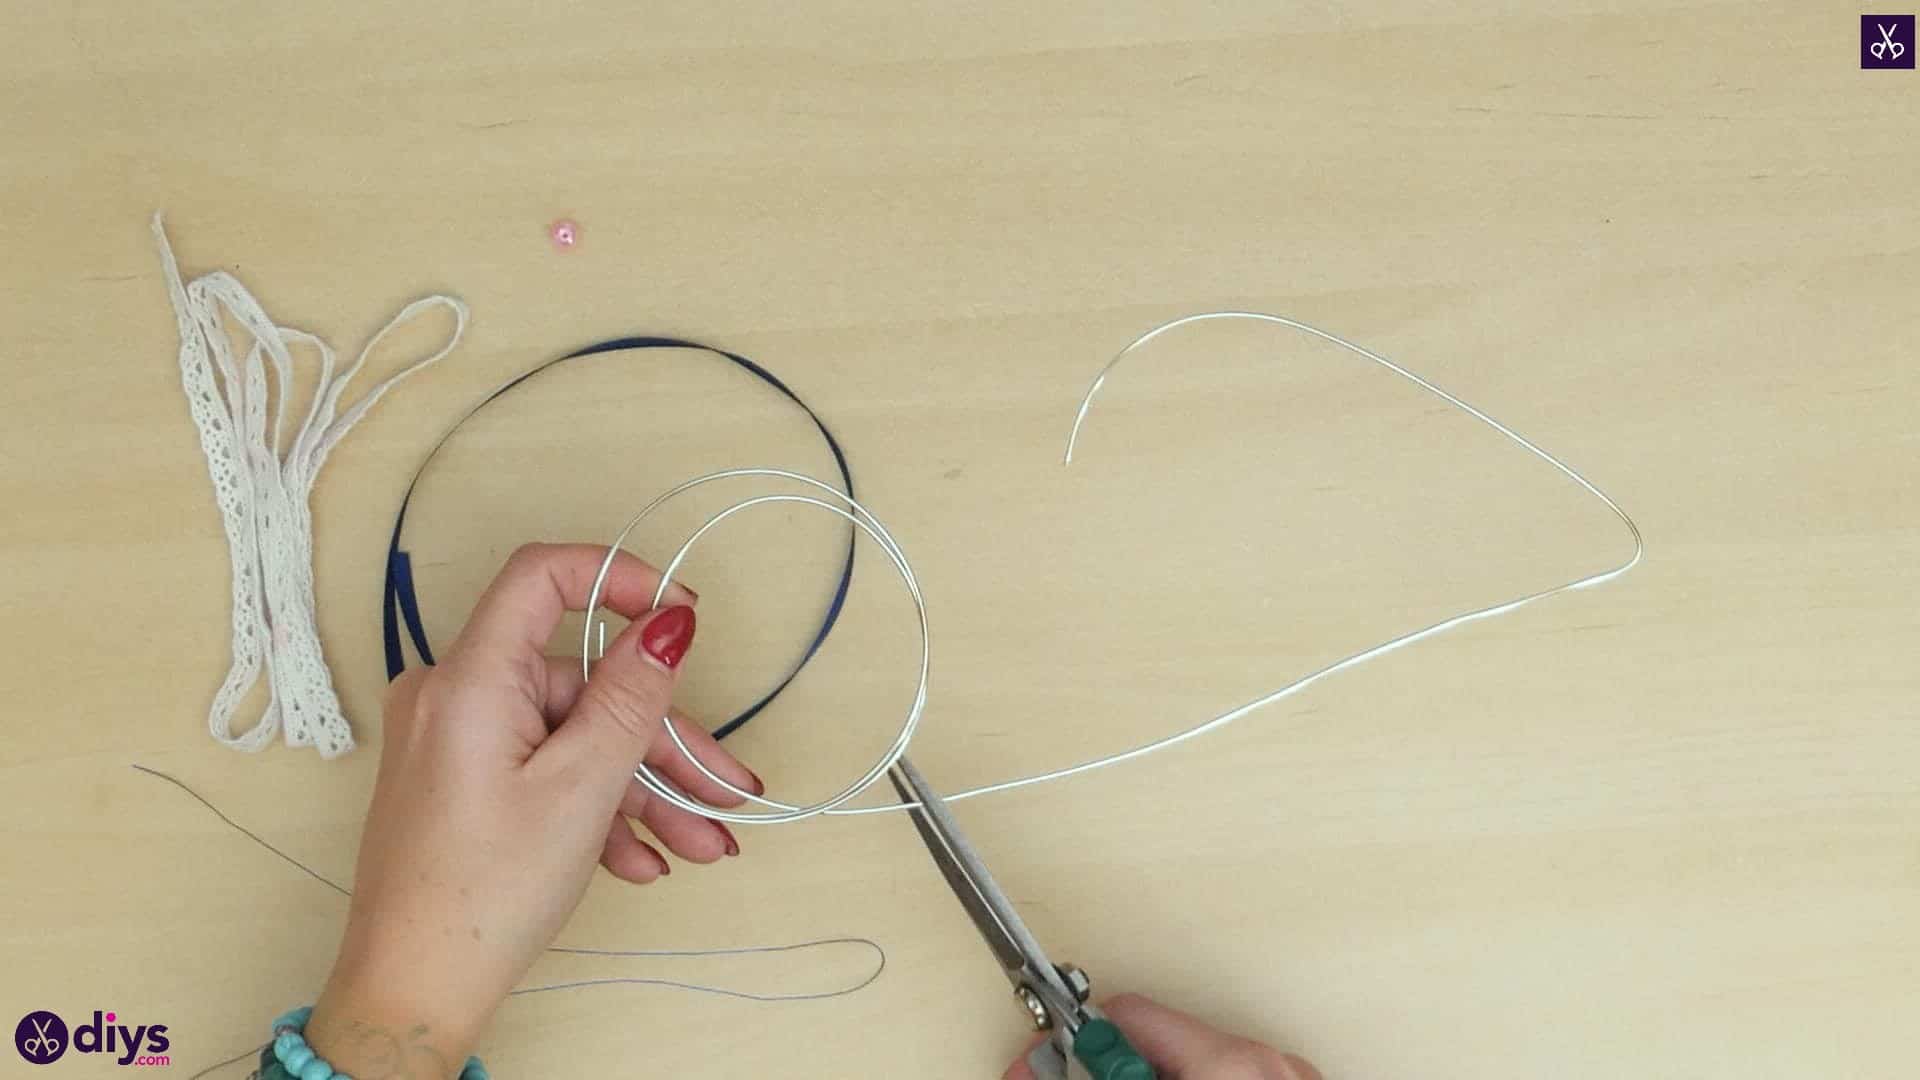
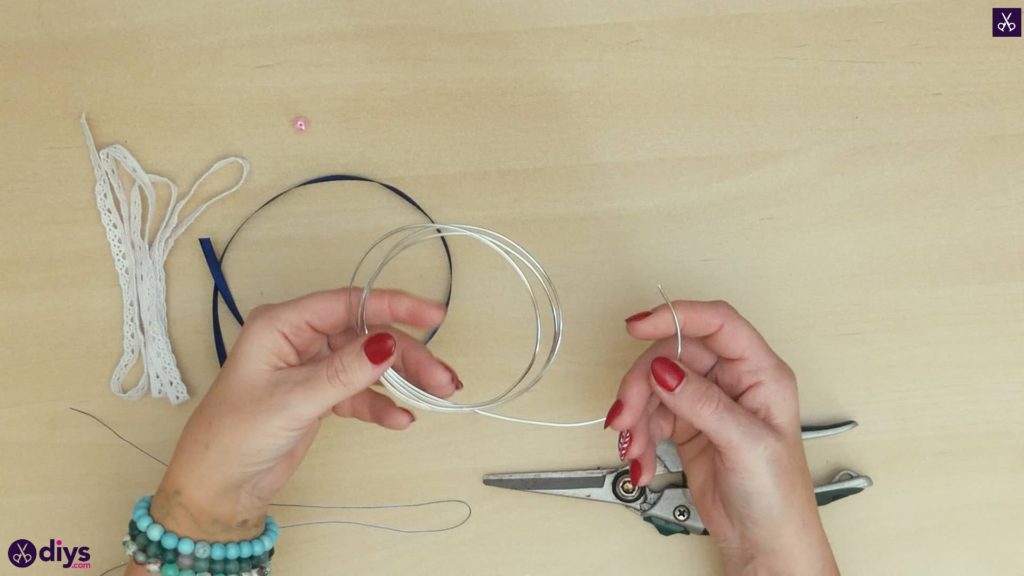
Step 2: cut your wire
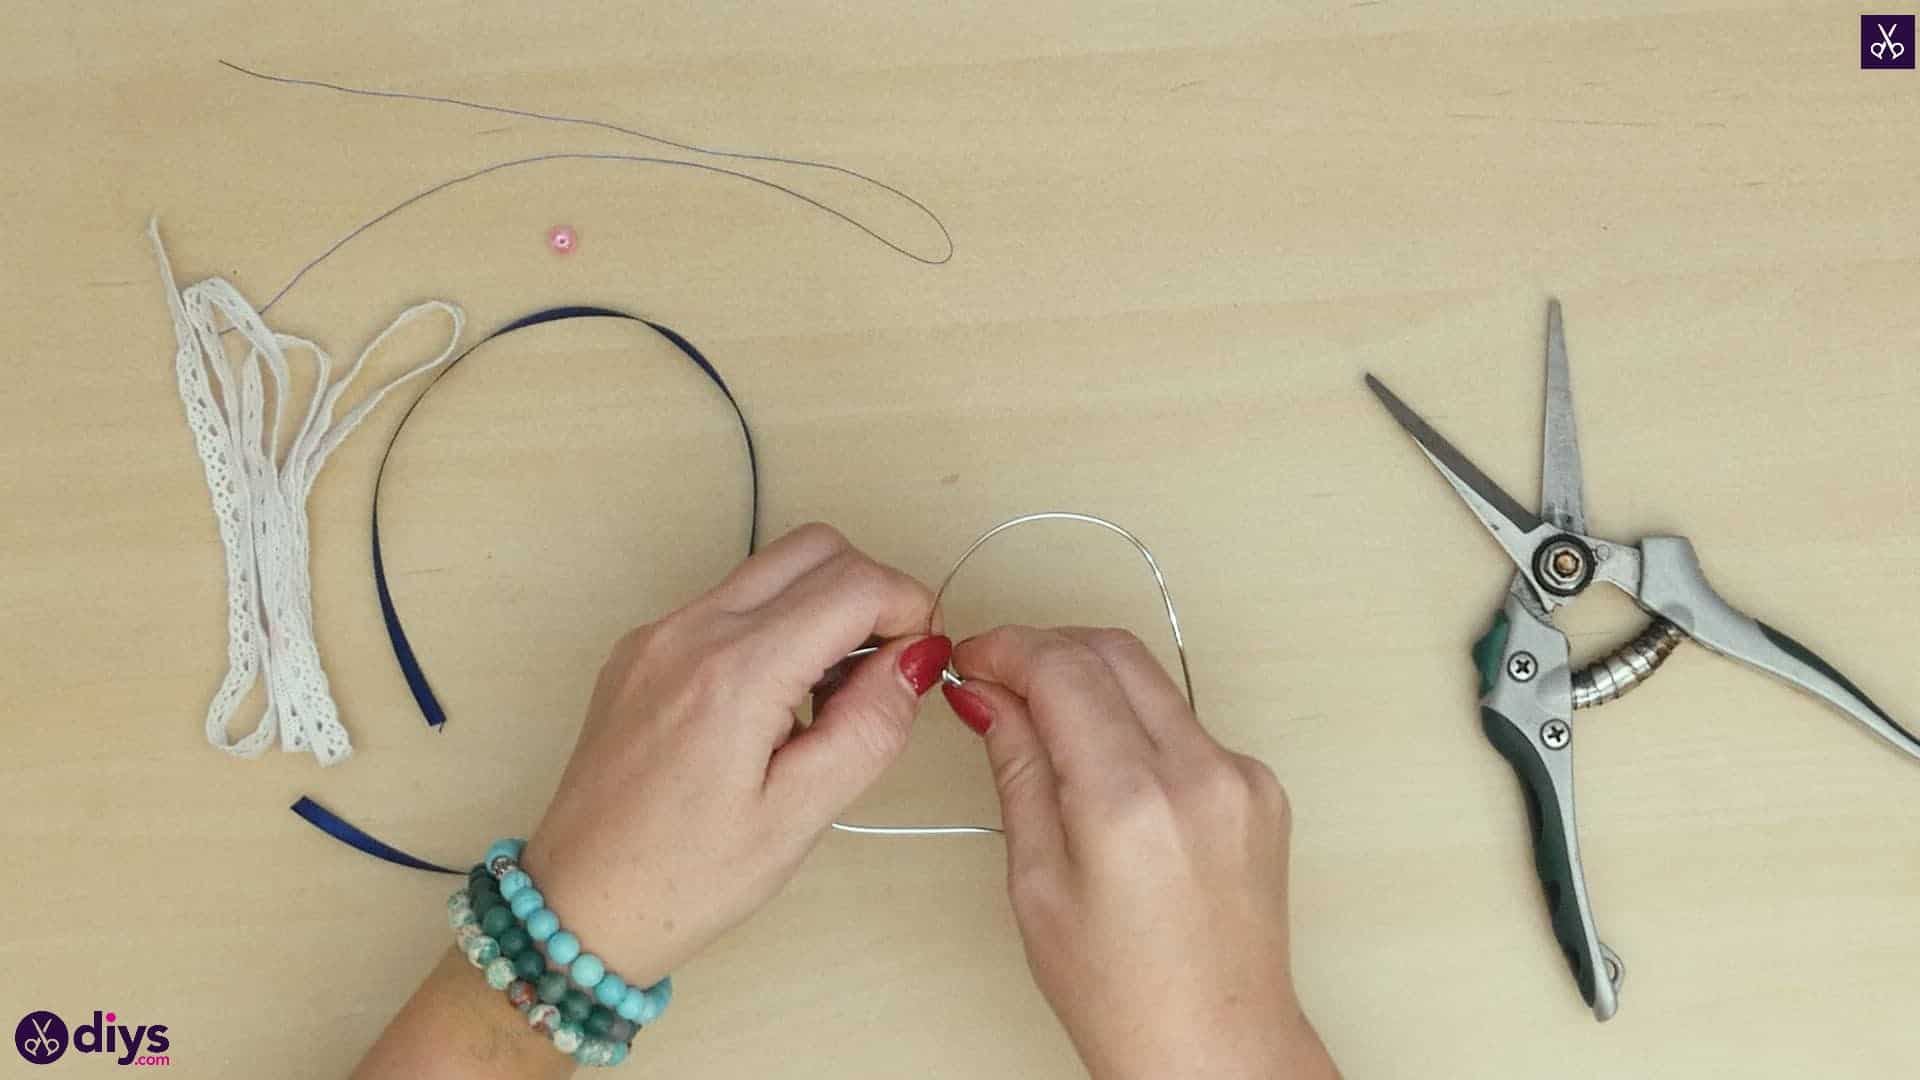
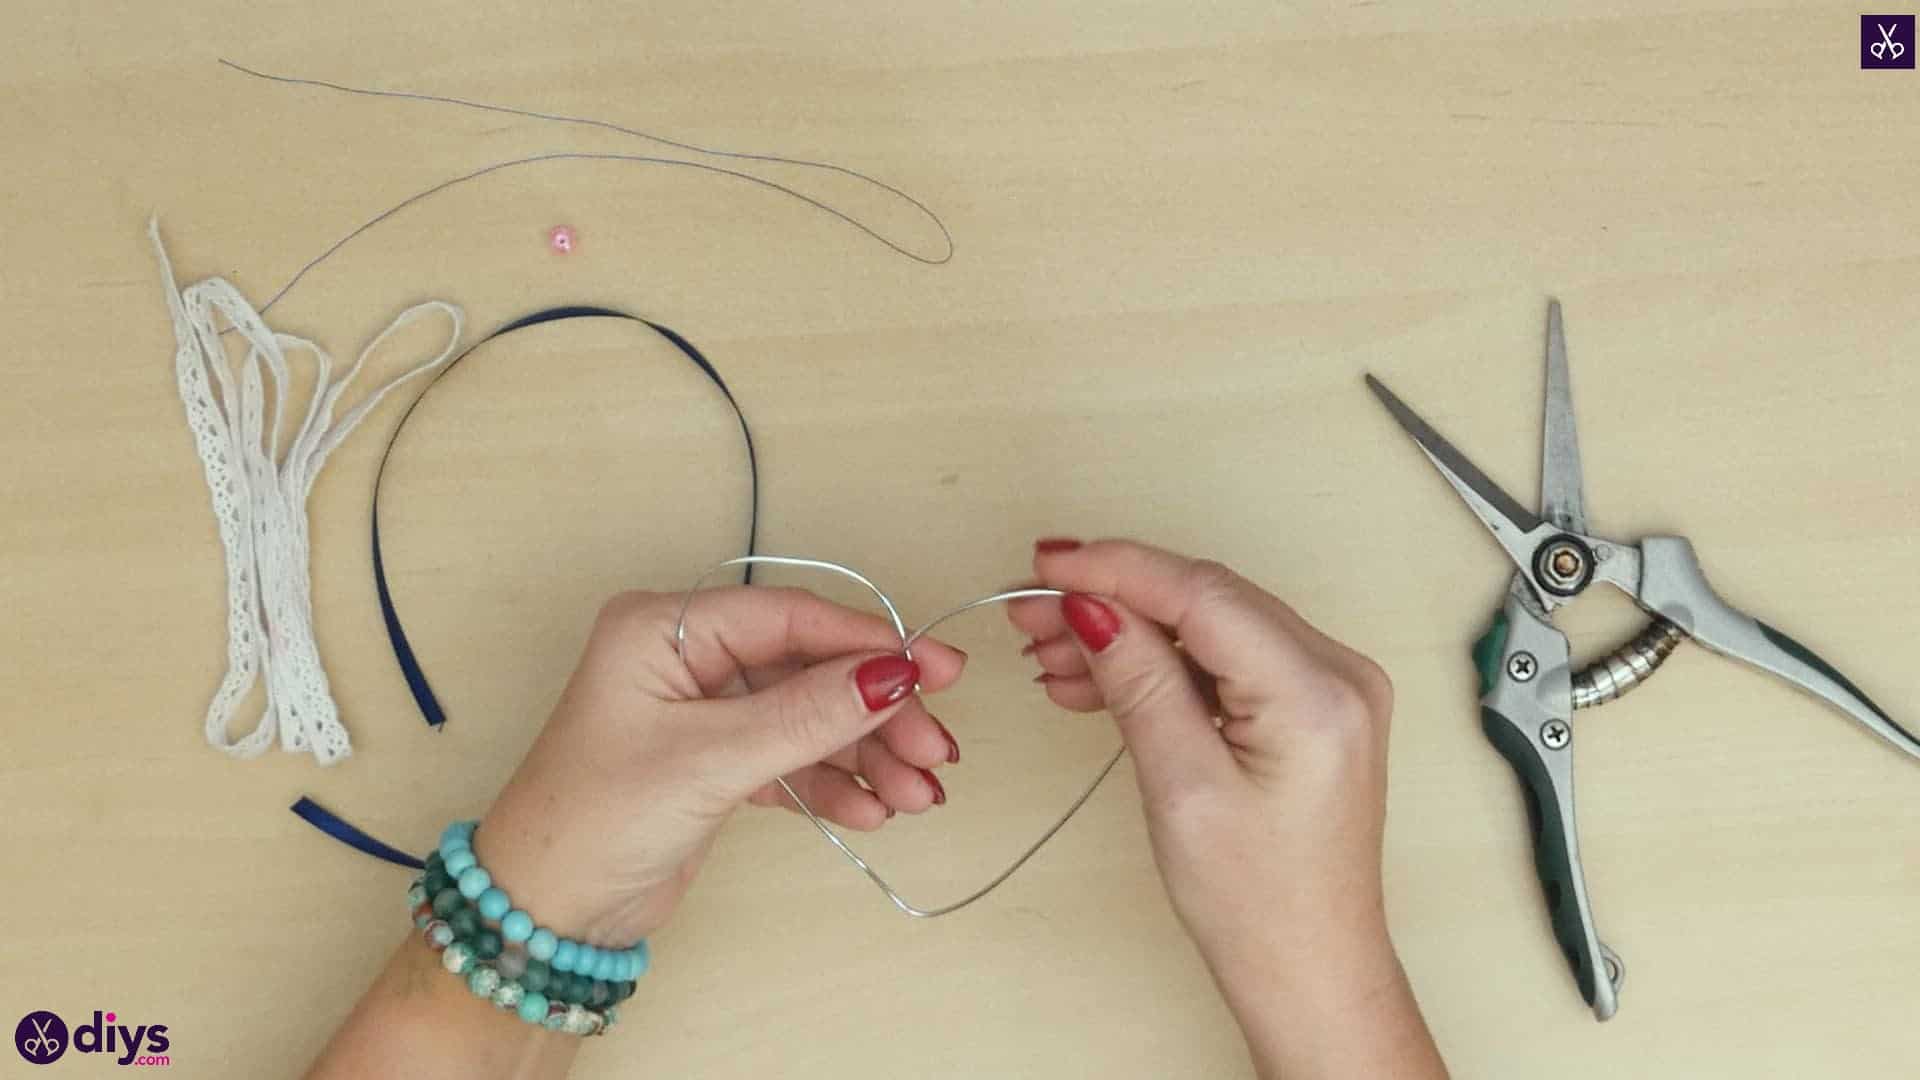
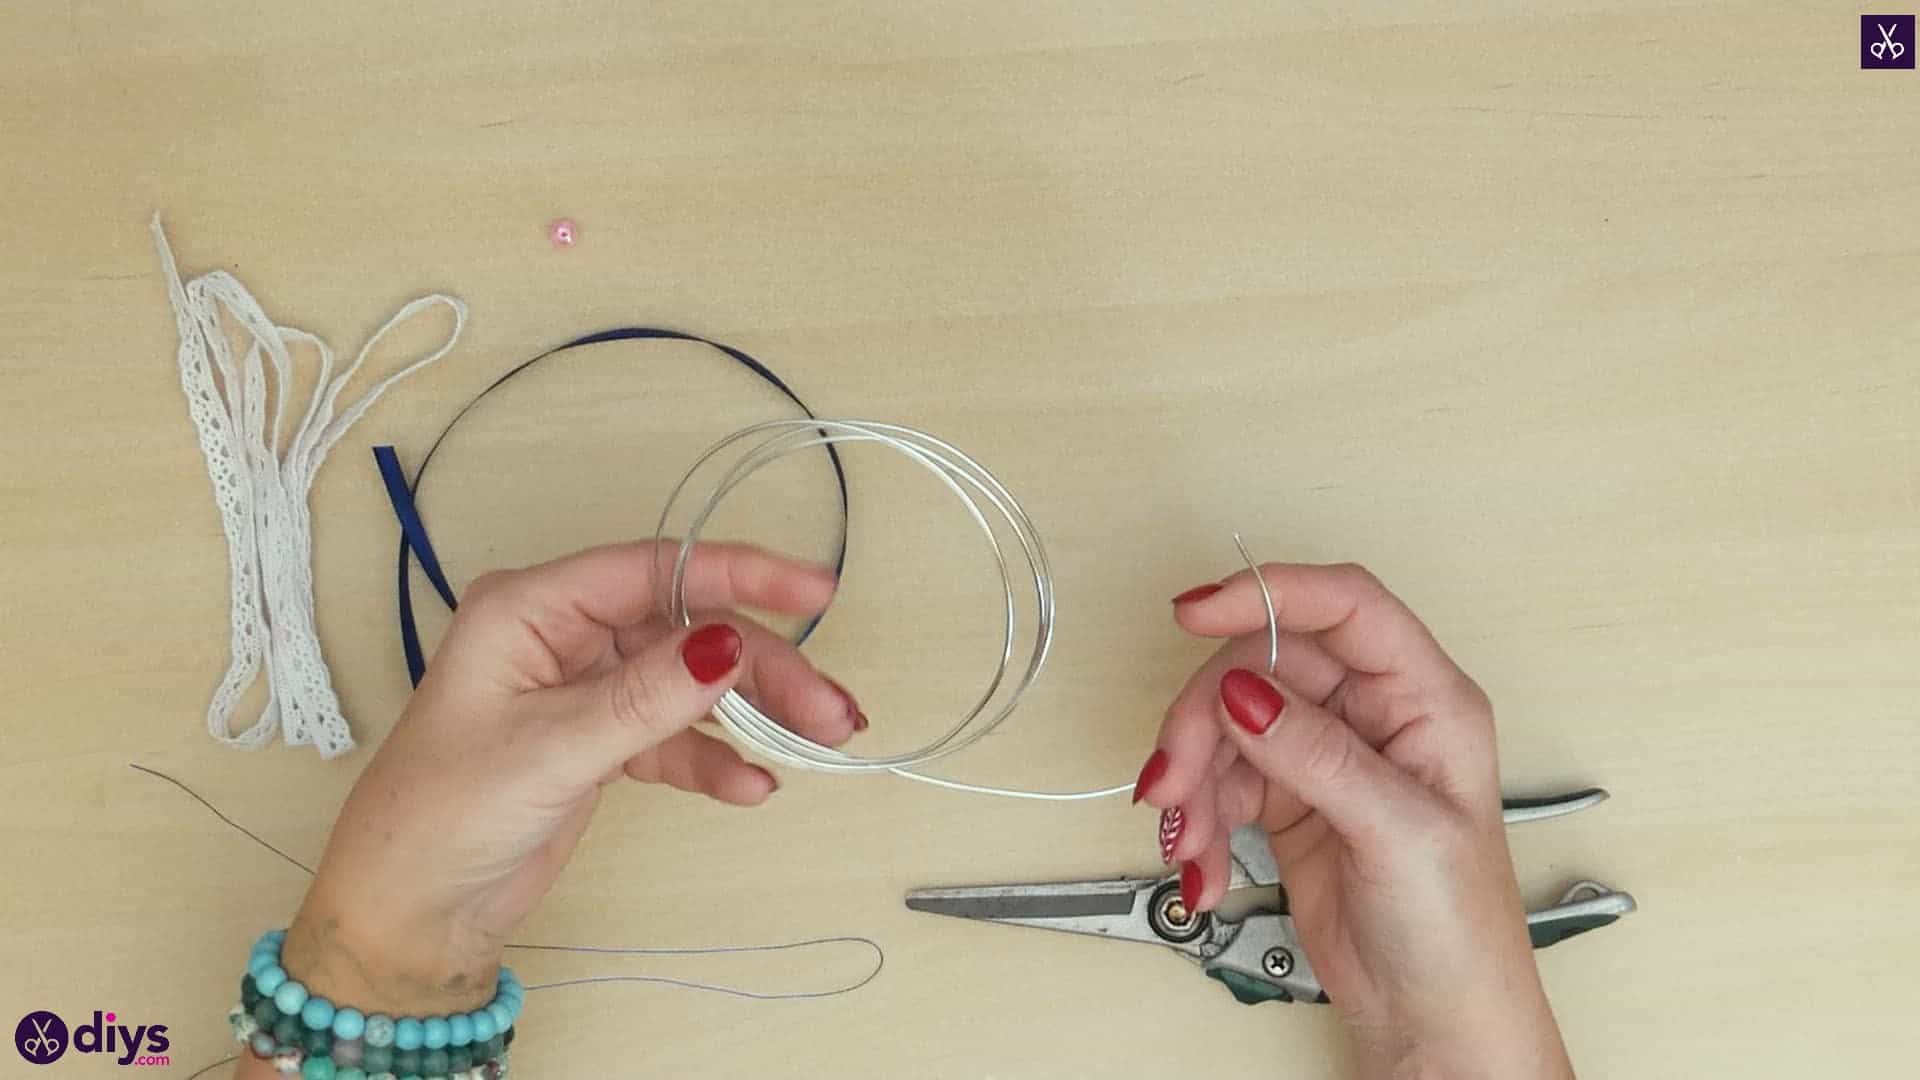
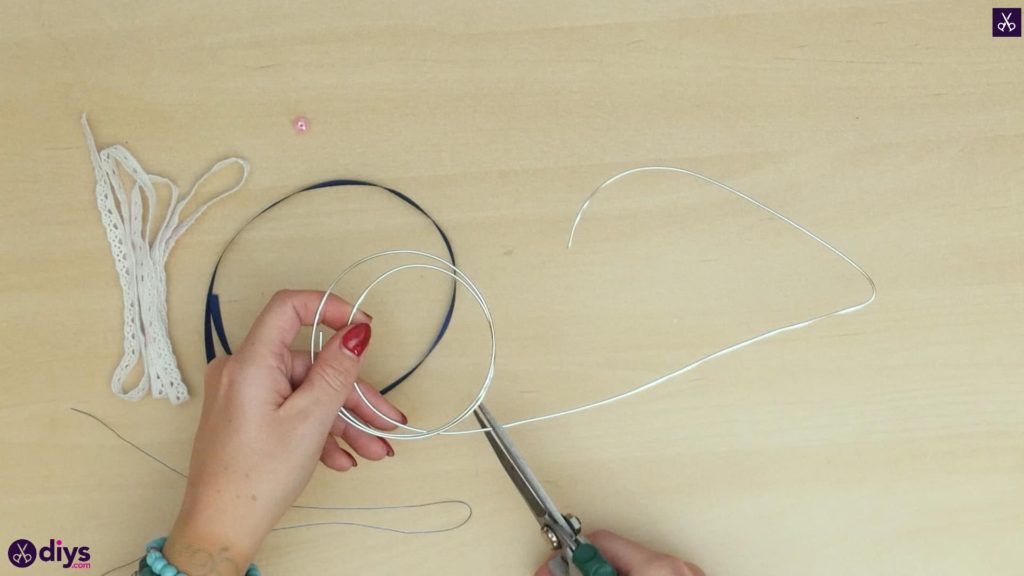
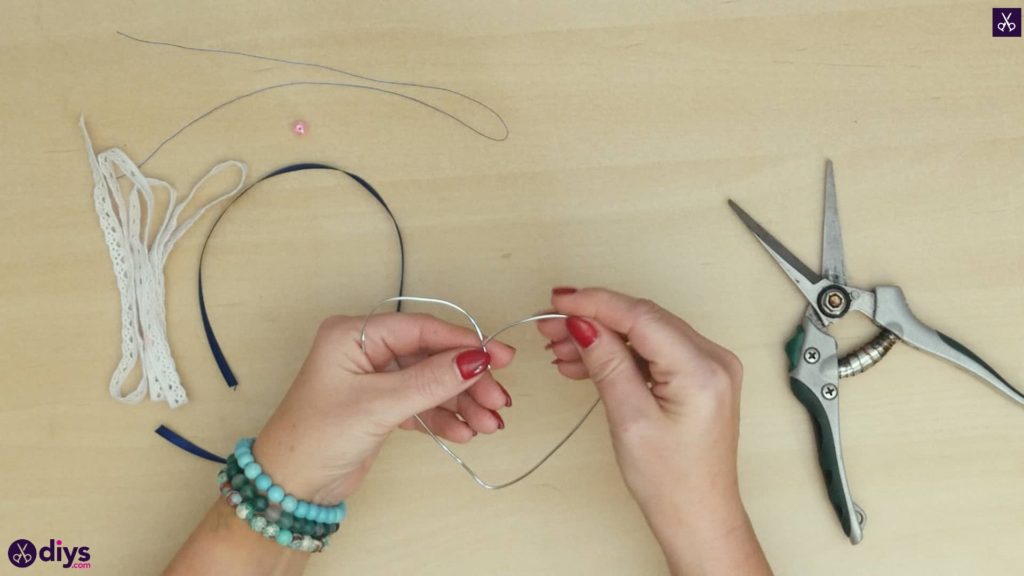
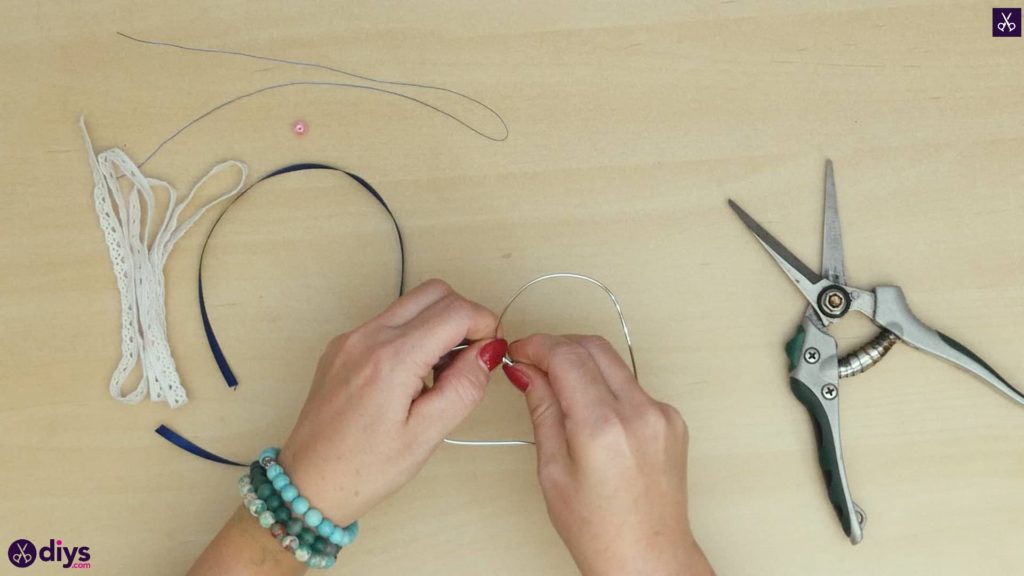
Use your secateurs to cut a piece of wire from your bundle of crafting wire that’s about four inches long. This is what you’ll construct the base structure of your heart from! Bend the ends of the wire together and find the centre of its length, then crease that into a point to make the bottom of your heart. Keeping the ends together, round out the top of your heart out to make the proper shape.
Step 3: cut ribbon
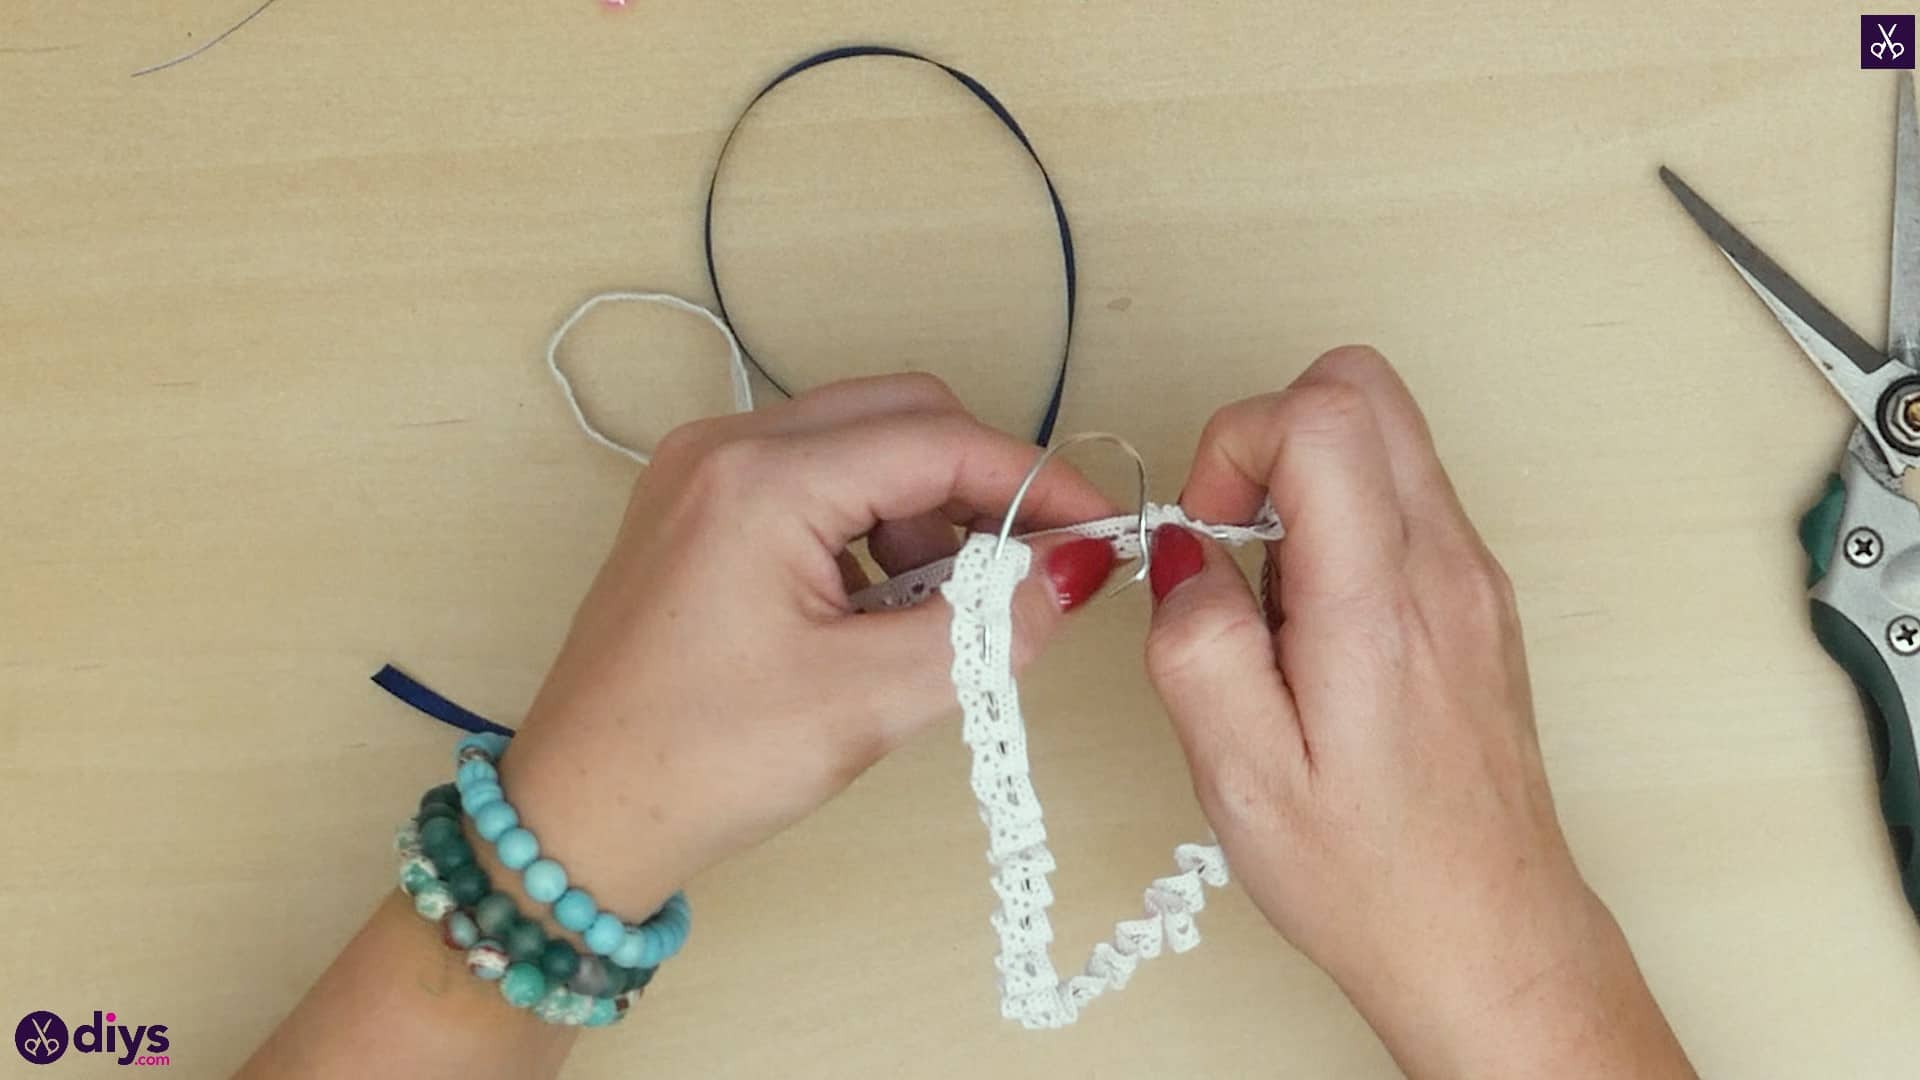
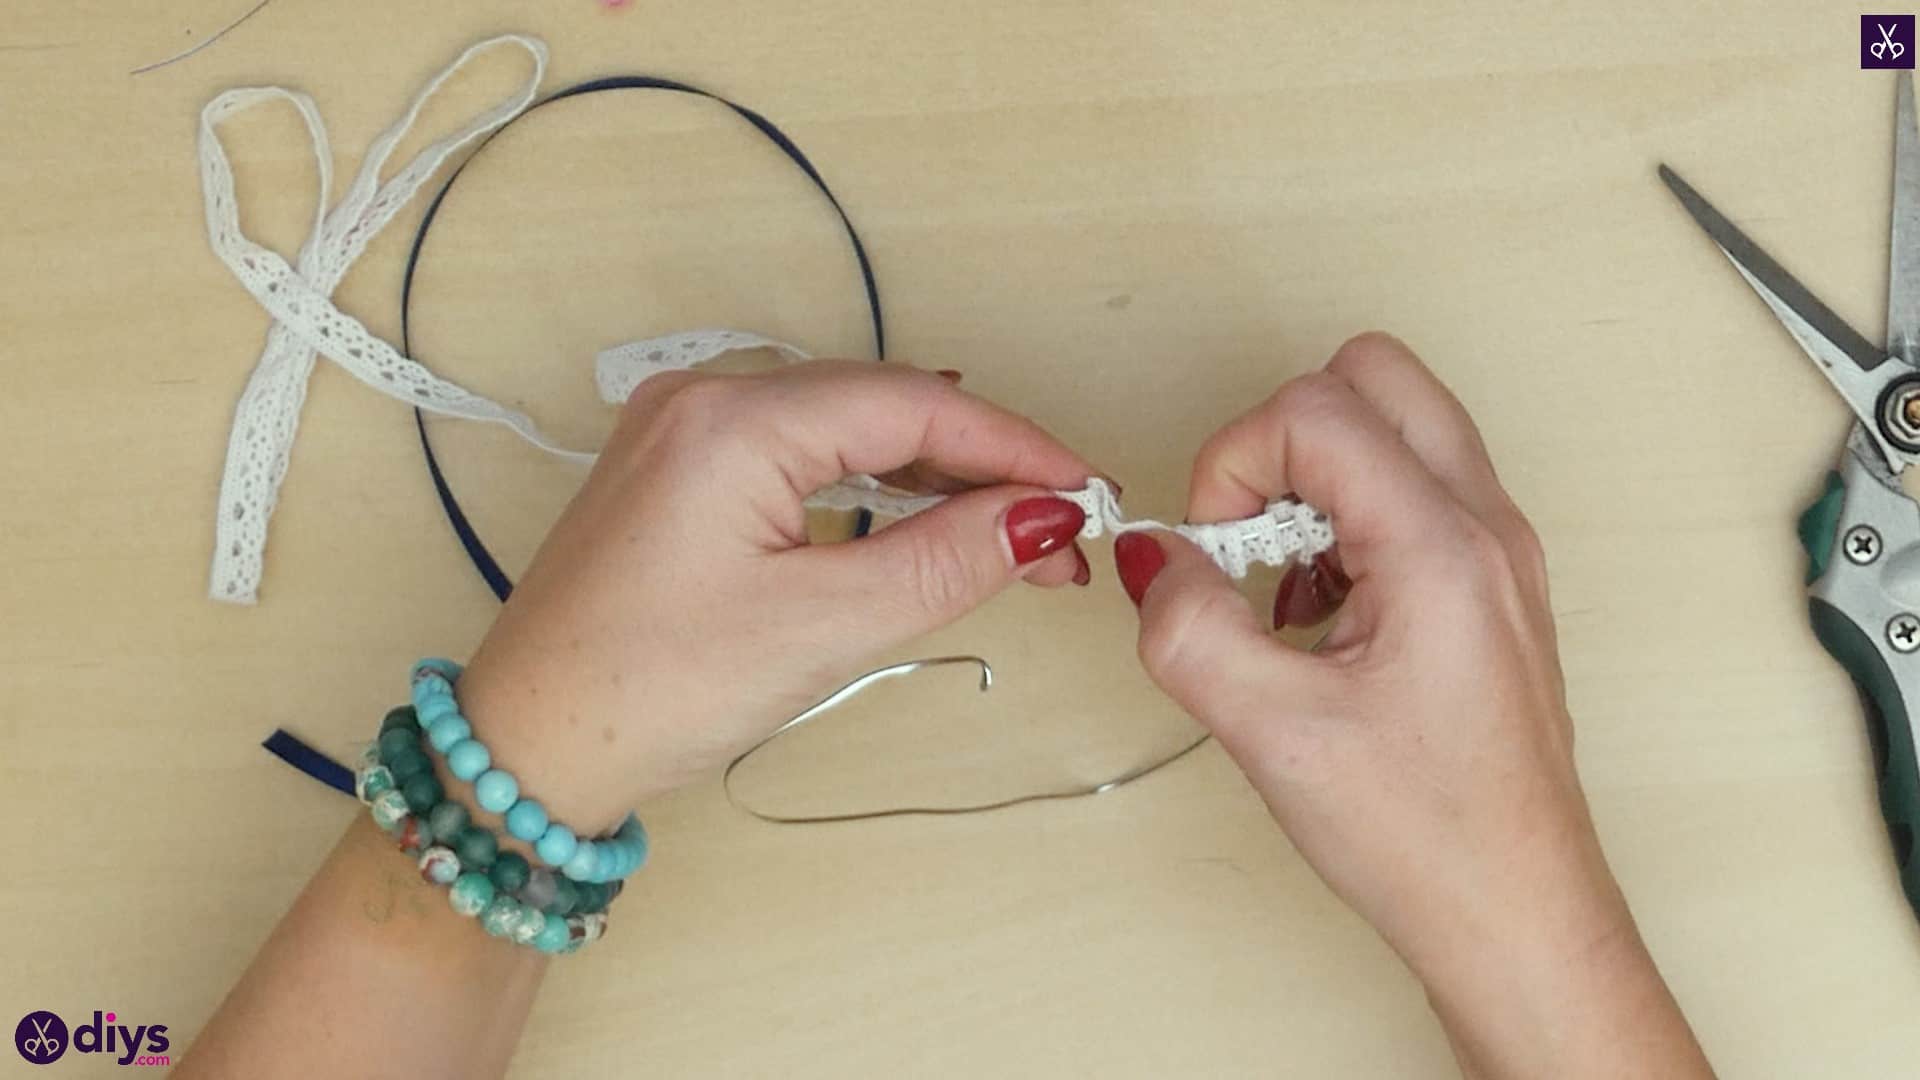
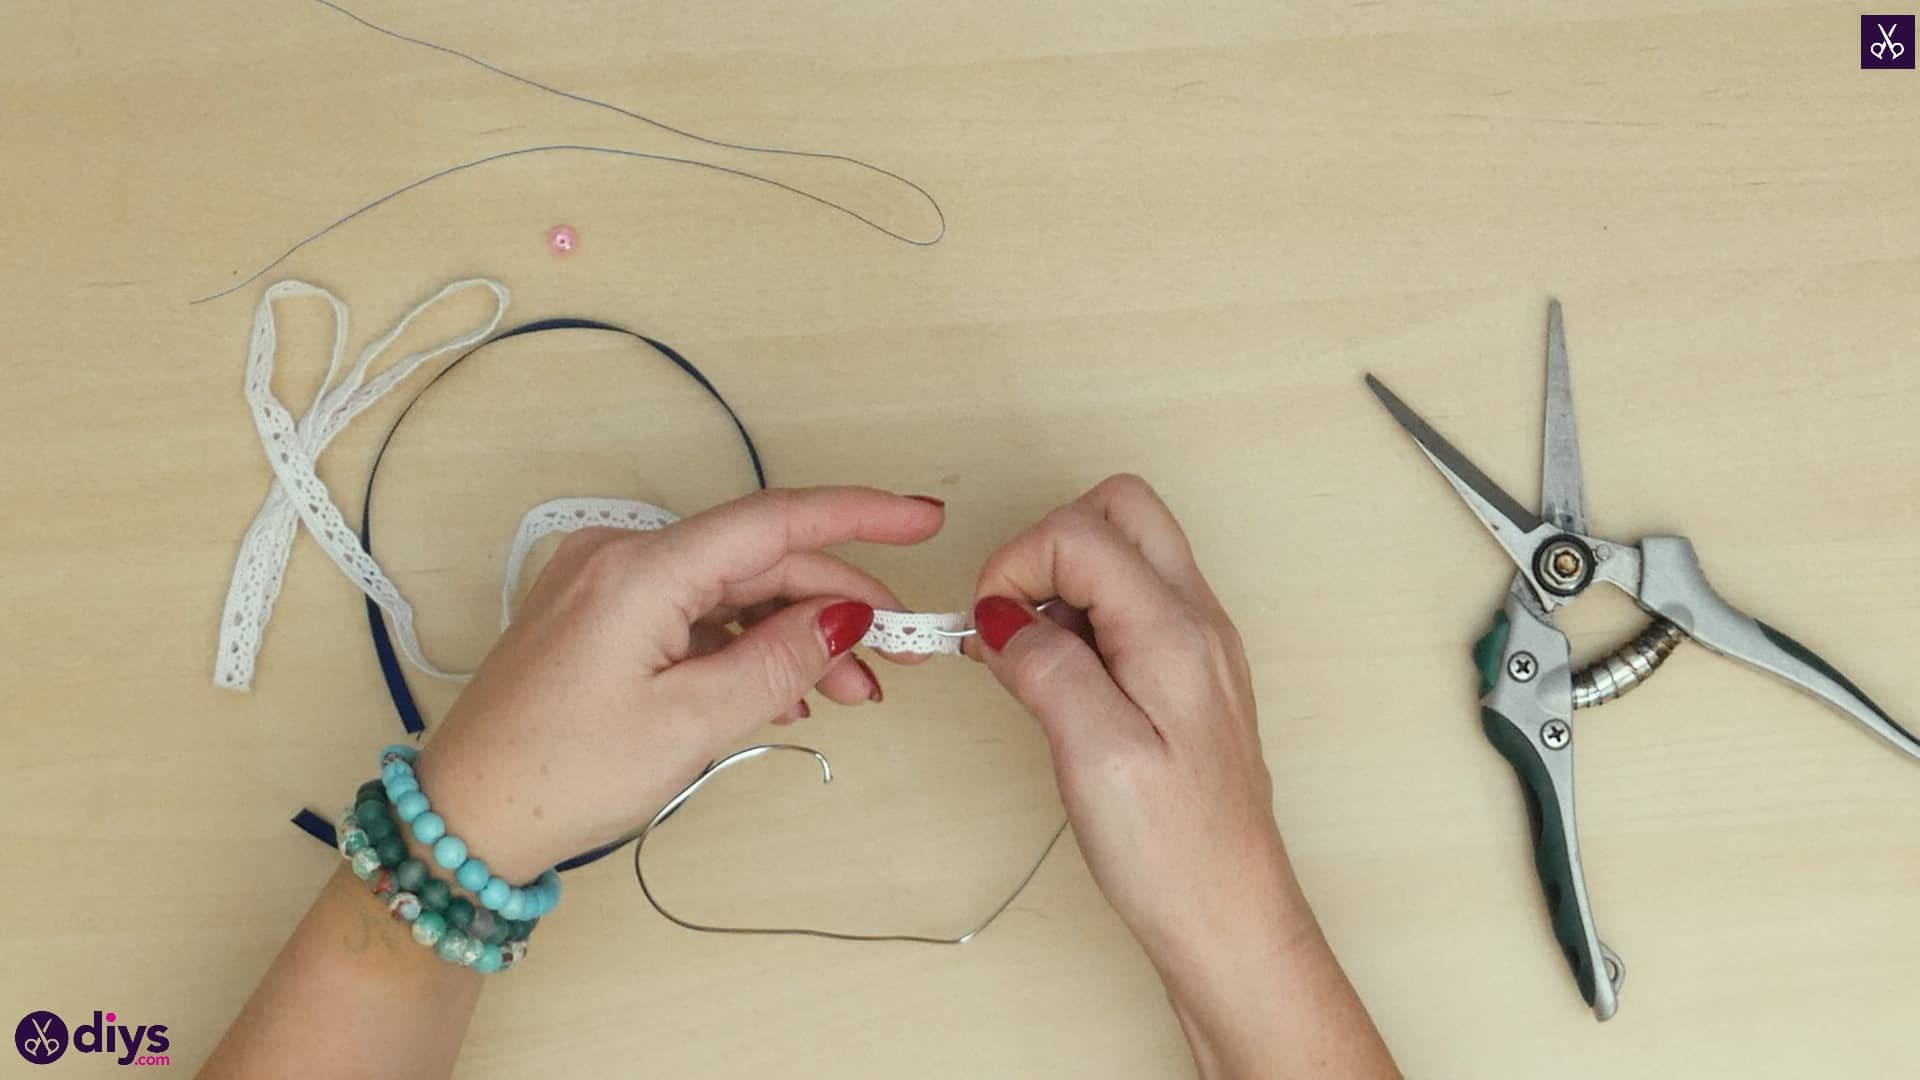
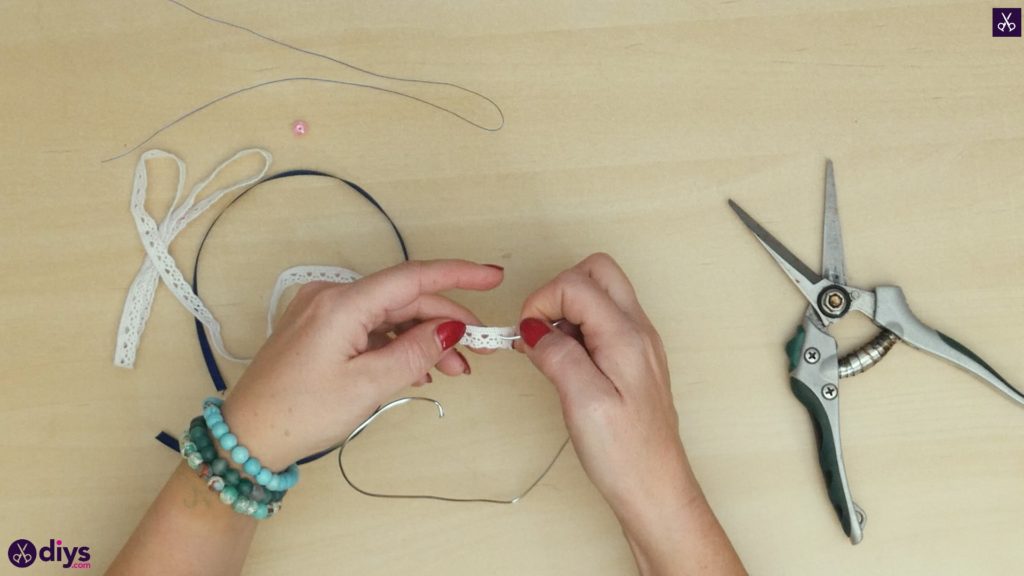
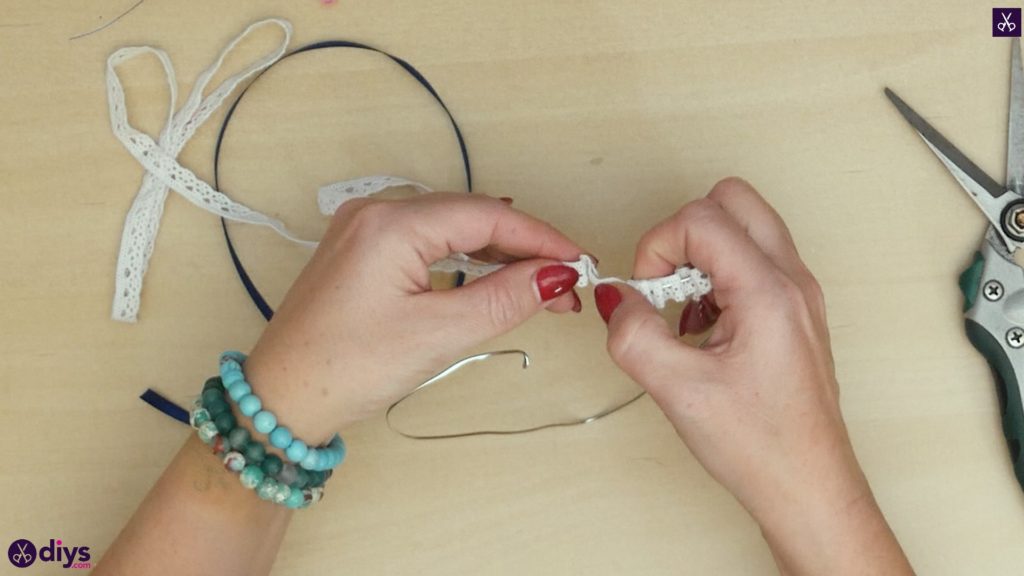
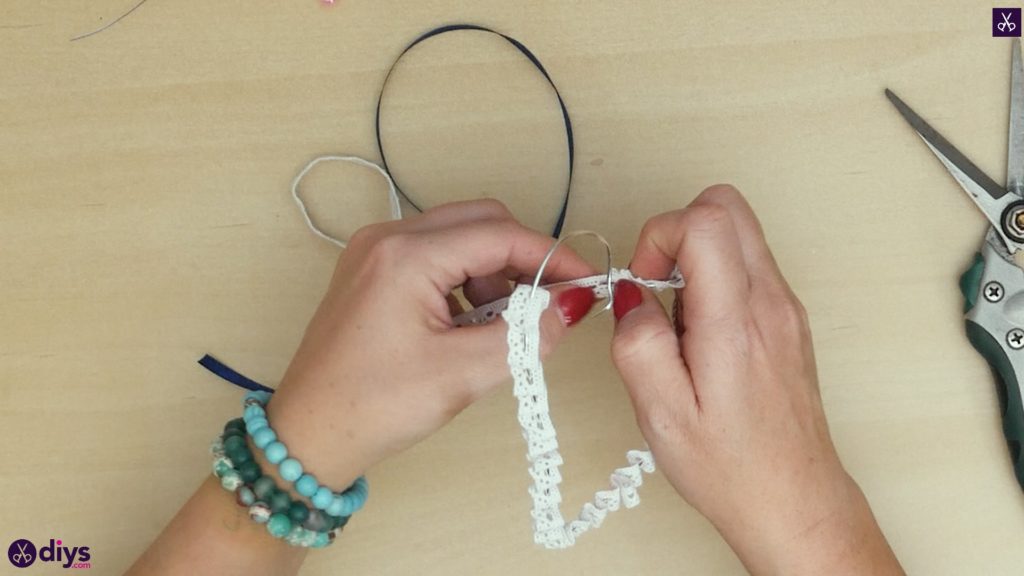
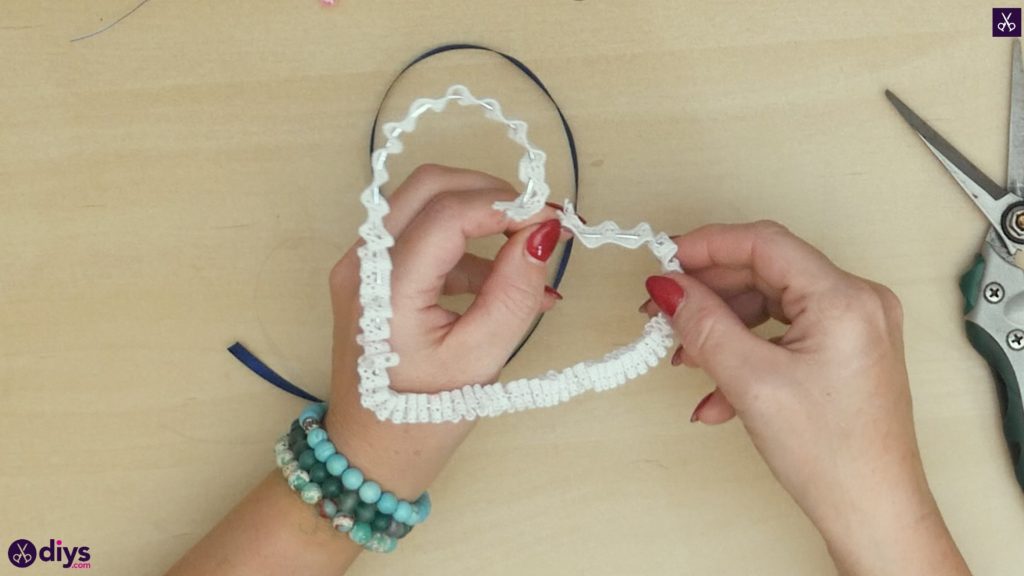
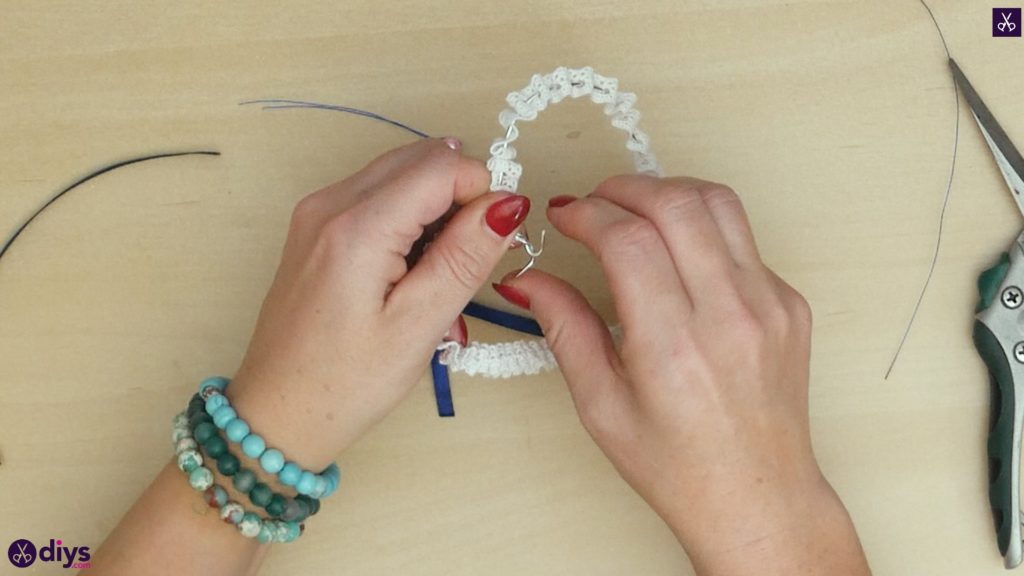
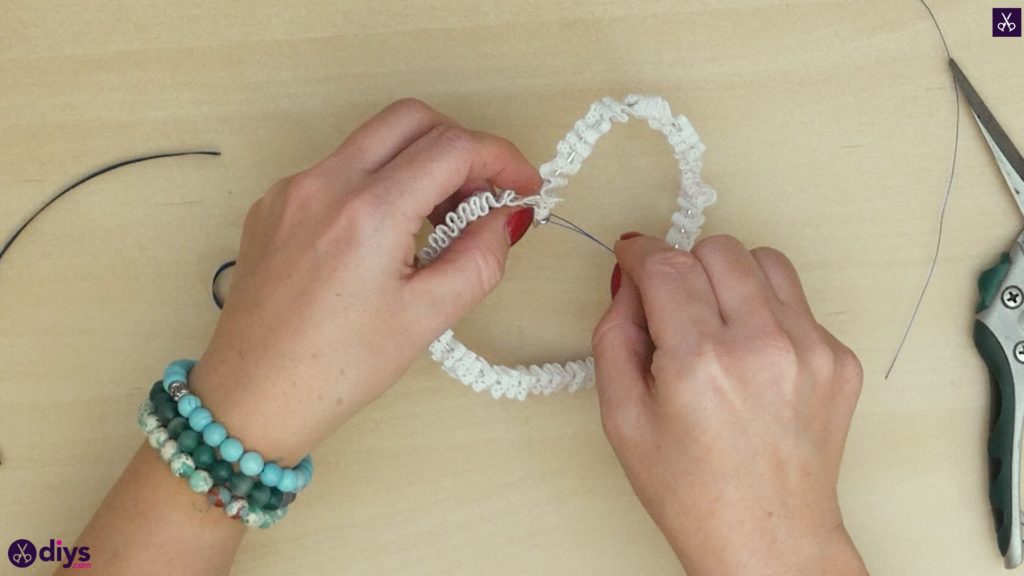
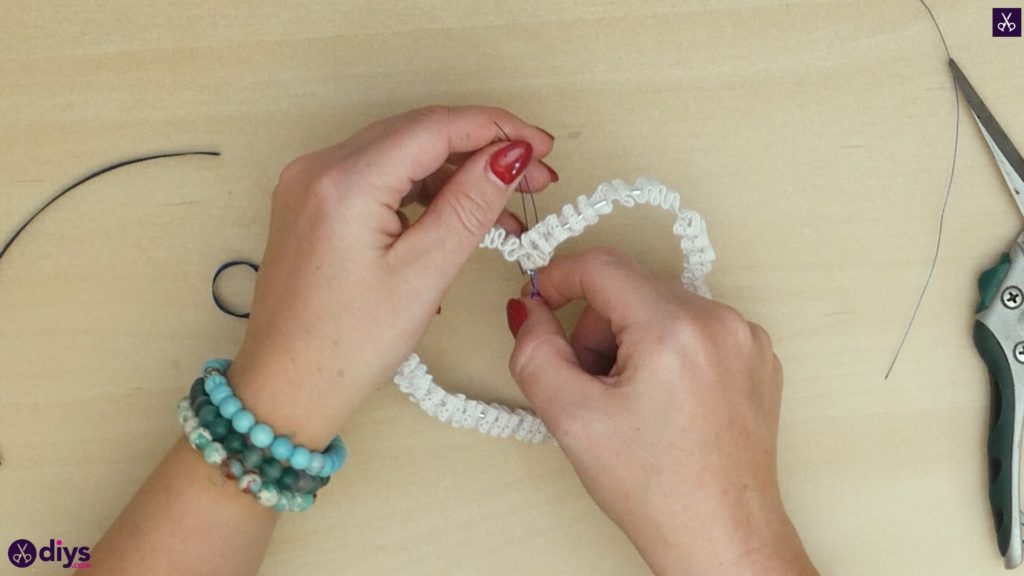
Not cut a piece of lace ribbon that’s about double the length of the piece of wire you turned into your heart. You’ll string this onto the heart, but you want it to be longer so that the excess presses together, creating a ruffled effect. You can make your ruffles as lax or dense as you please, depending on the look you’re going for. Find a central row of holes in the ribbon and work with those all the way along. Start on one side and put one end of your wire through the hole, then skip a hold and, from the other side, put the end of your wire back through the next one. This will help you build your ruffled appearance. You can skip more holes if you want big, loose ruffles or put your wire through every hold if you’ve prefer smaller, very dense ruffles. Keep weaving the lace ribbon onto your wire until you’ve reached the end of your length and the whole wire is covered.
Step 4: cut thread
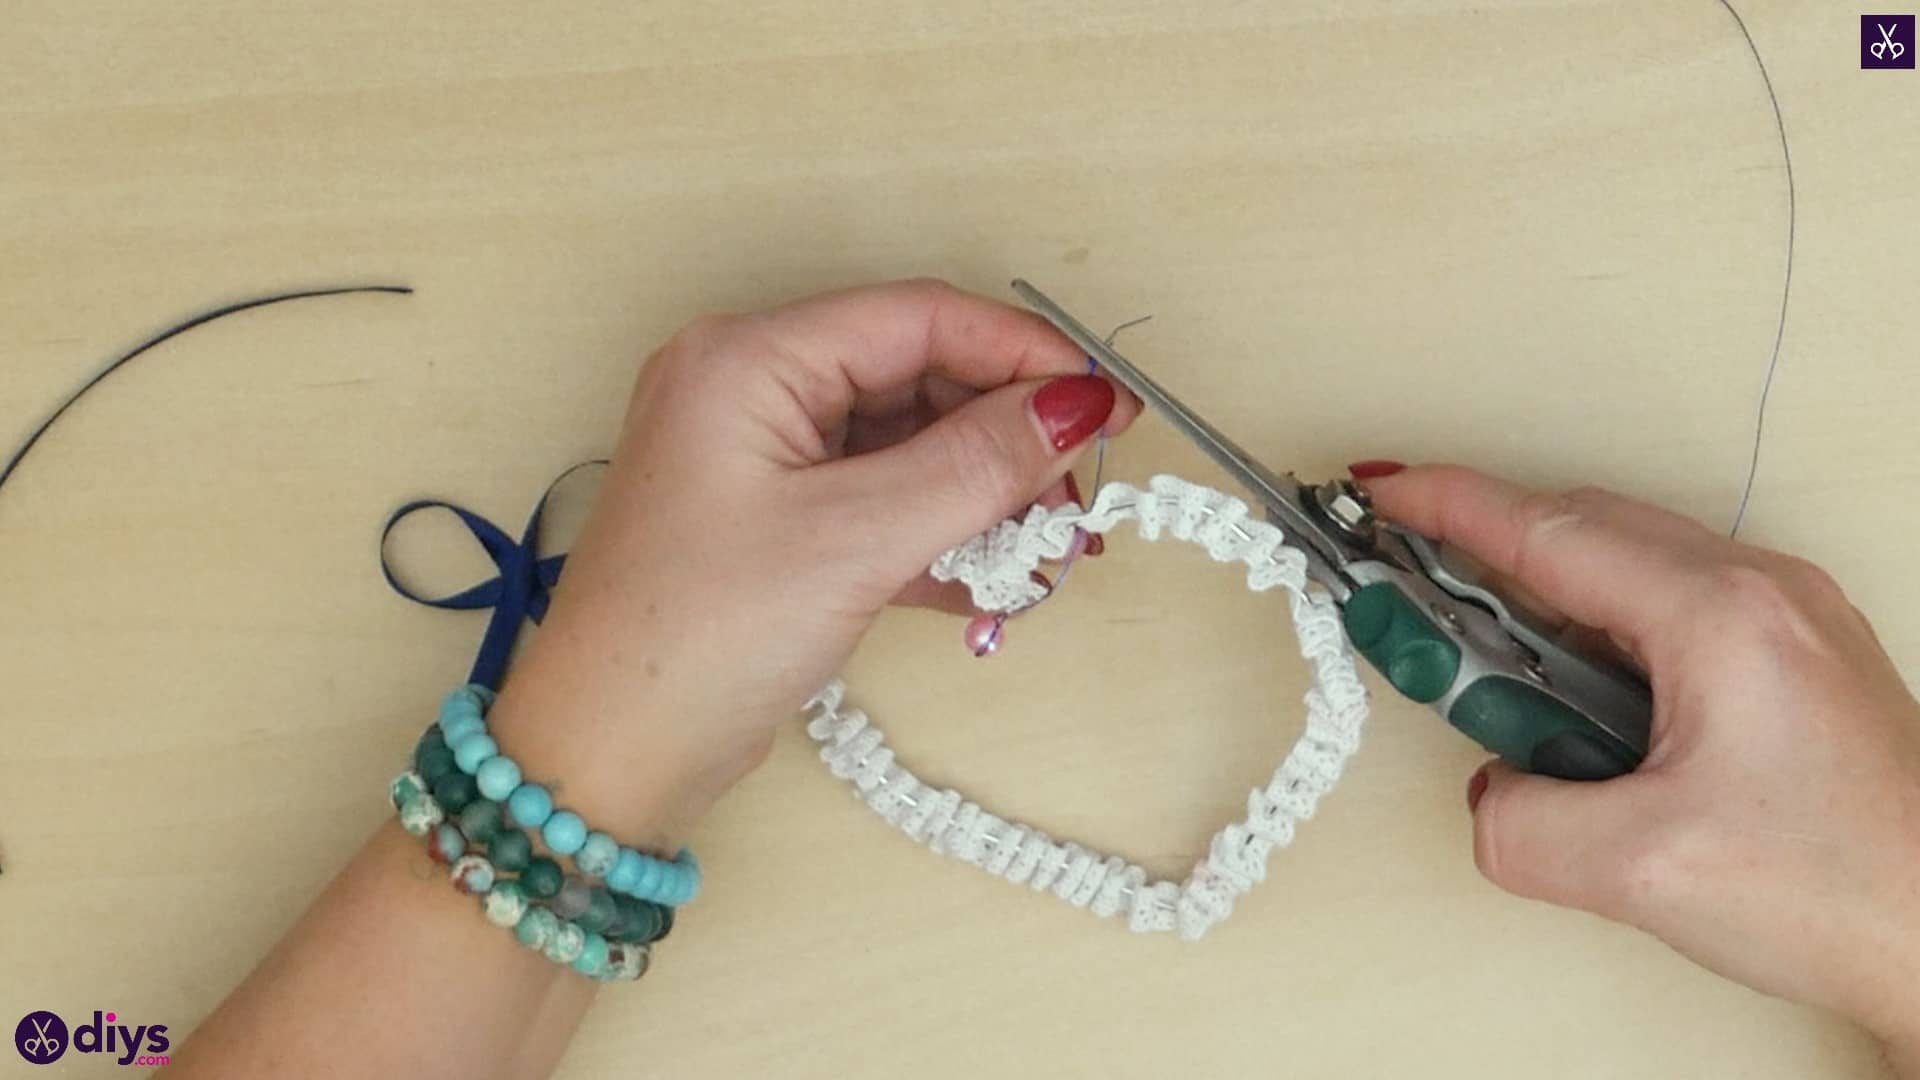
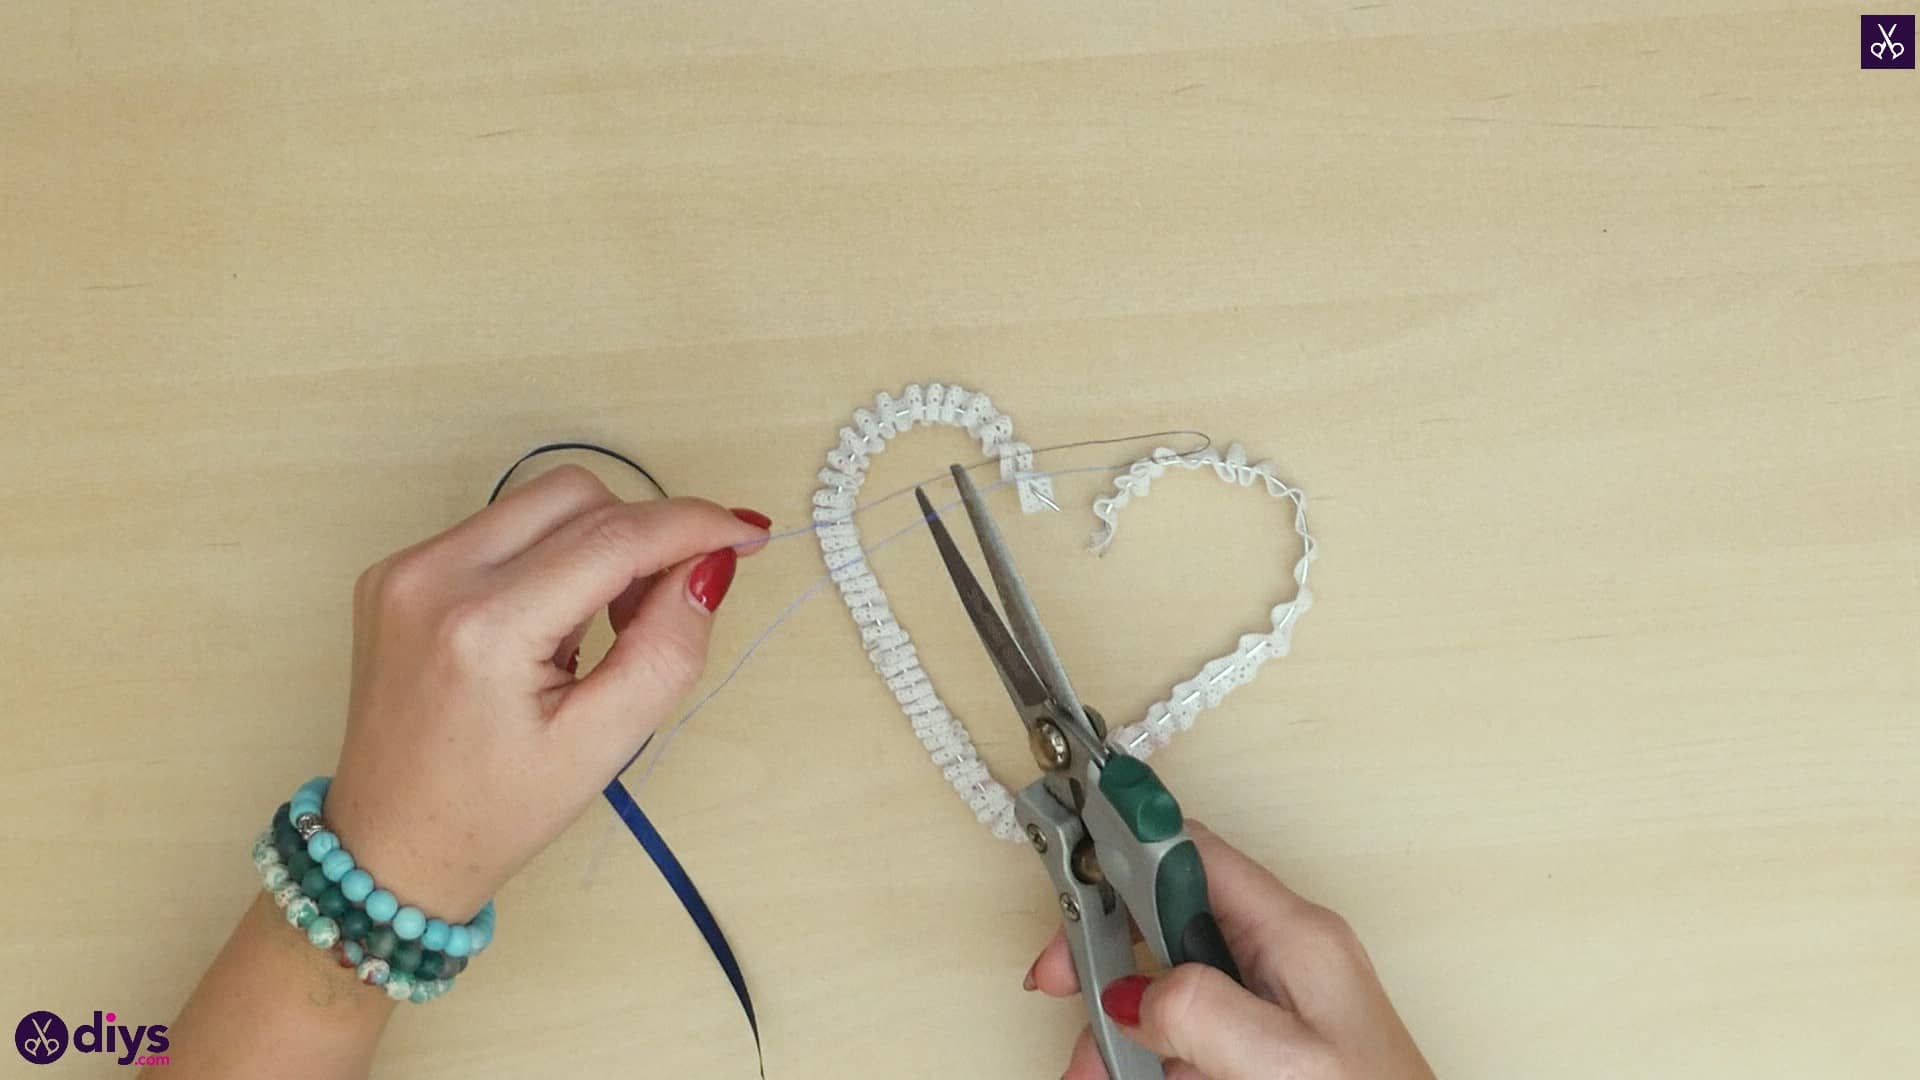
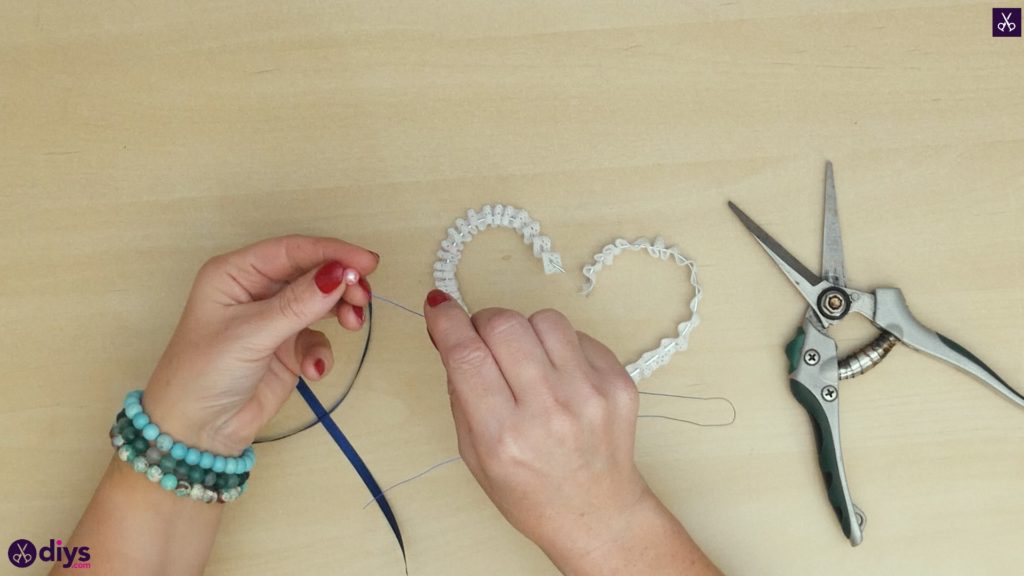
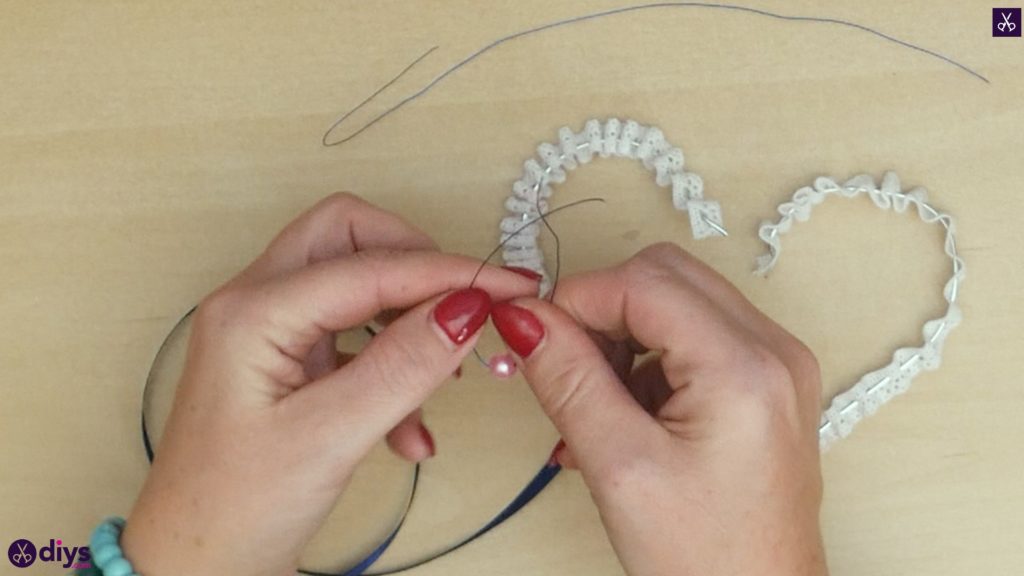
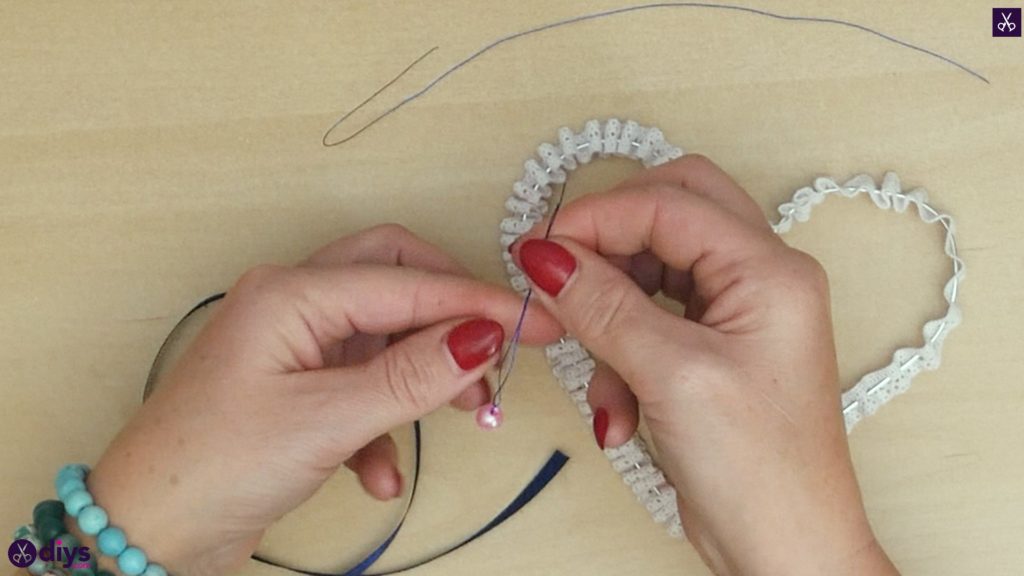
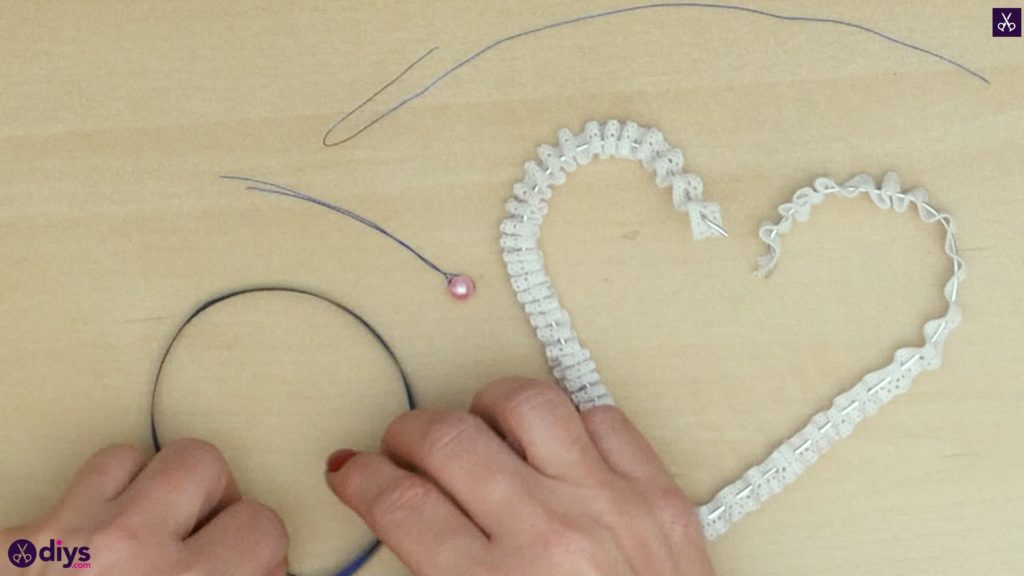
Cut a length of thread about four inches long. Put one end through the middle hole in your pearl bead and pull the thread through until the bead is halfway down its length. Loop the other end up to meet the first one and knot the two together around the bead, tightening it right against its side. Put the threaded bead aside for the moment.
Step 5: form your bow
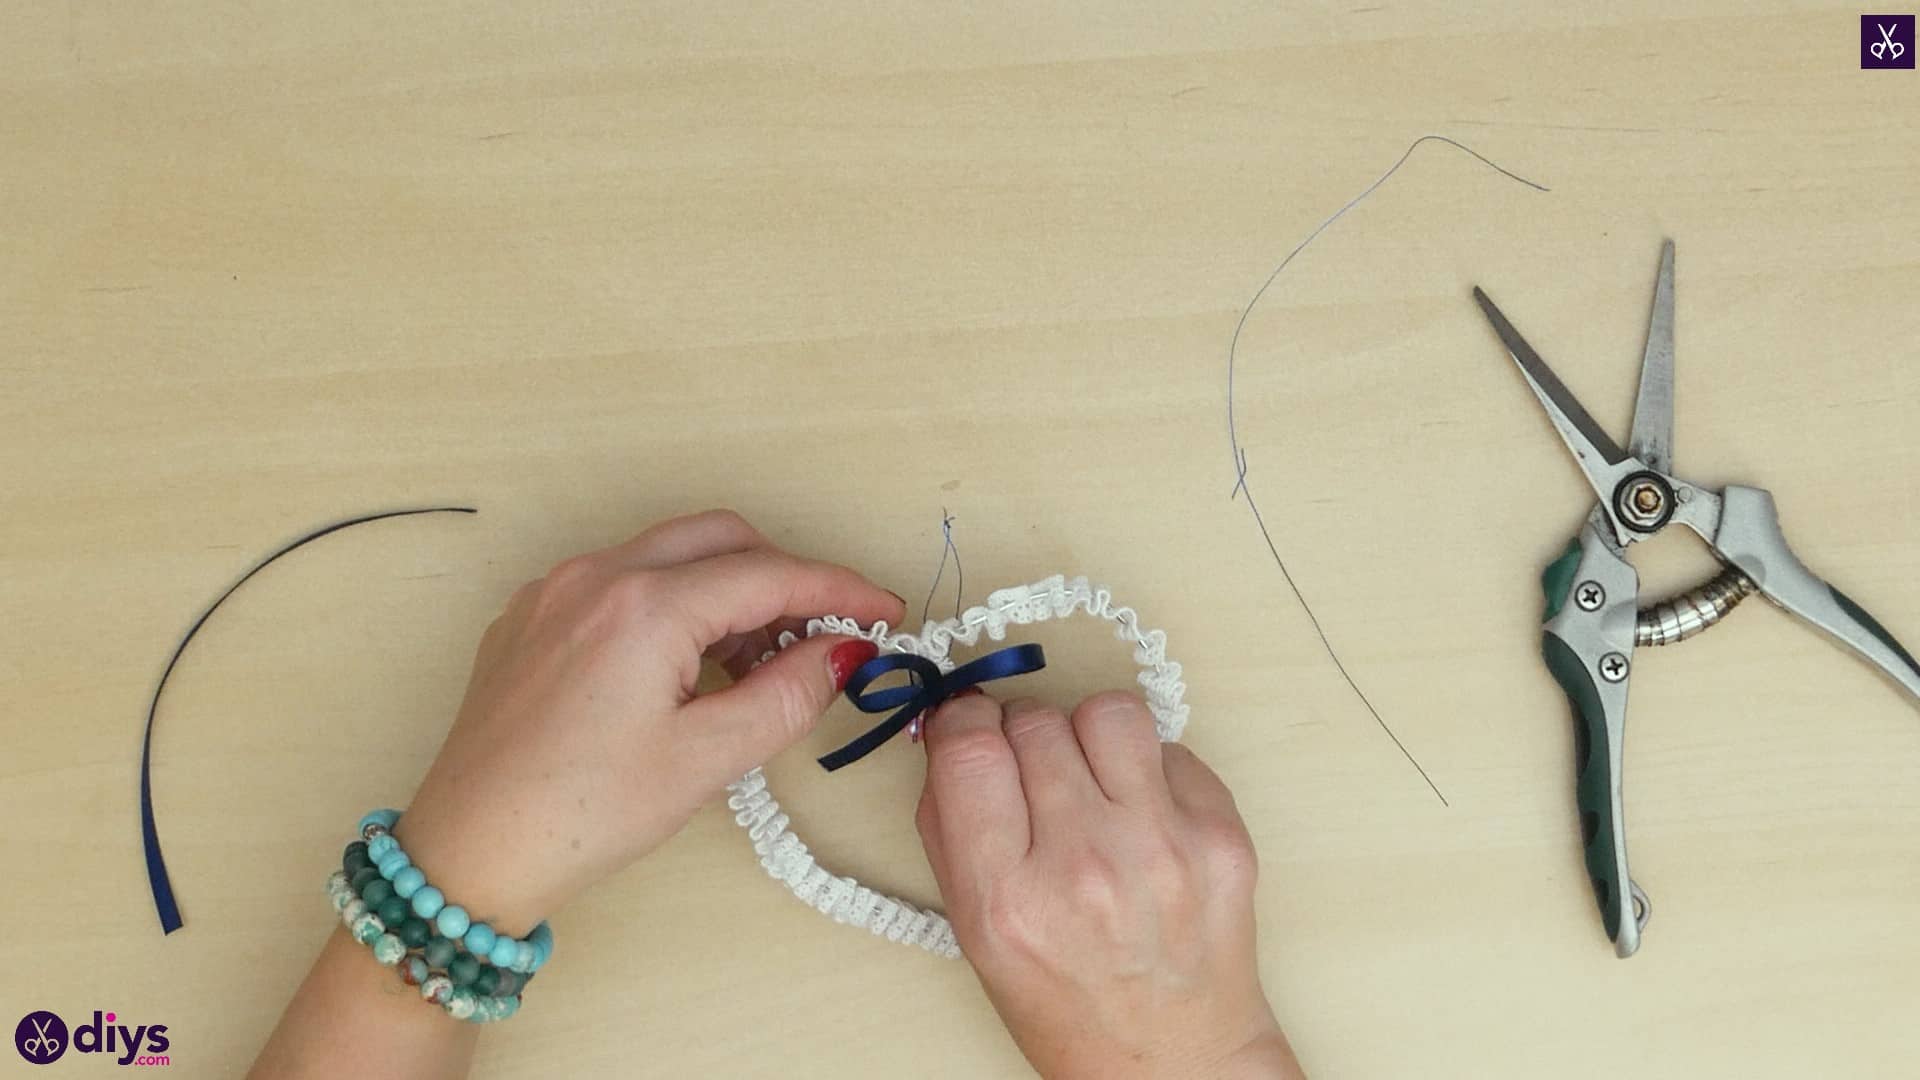
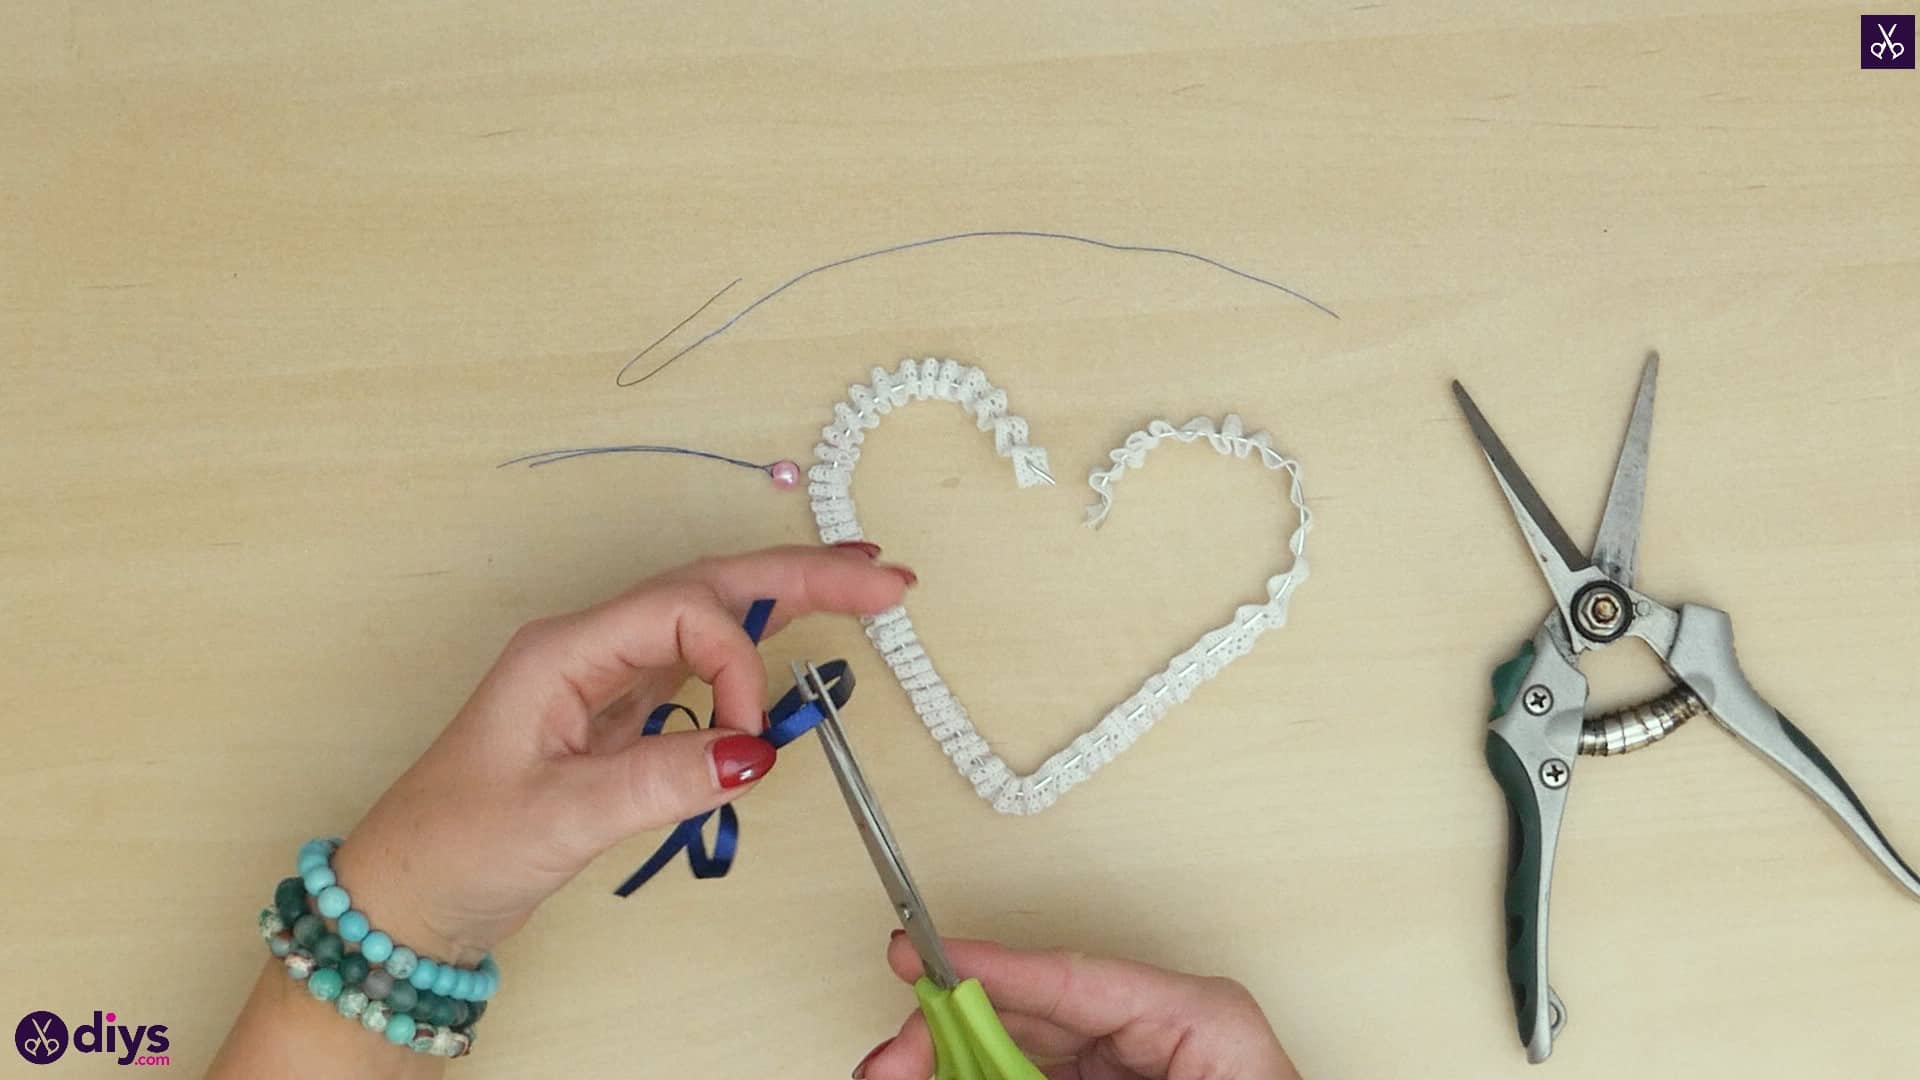
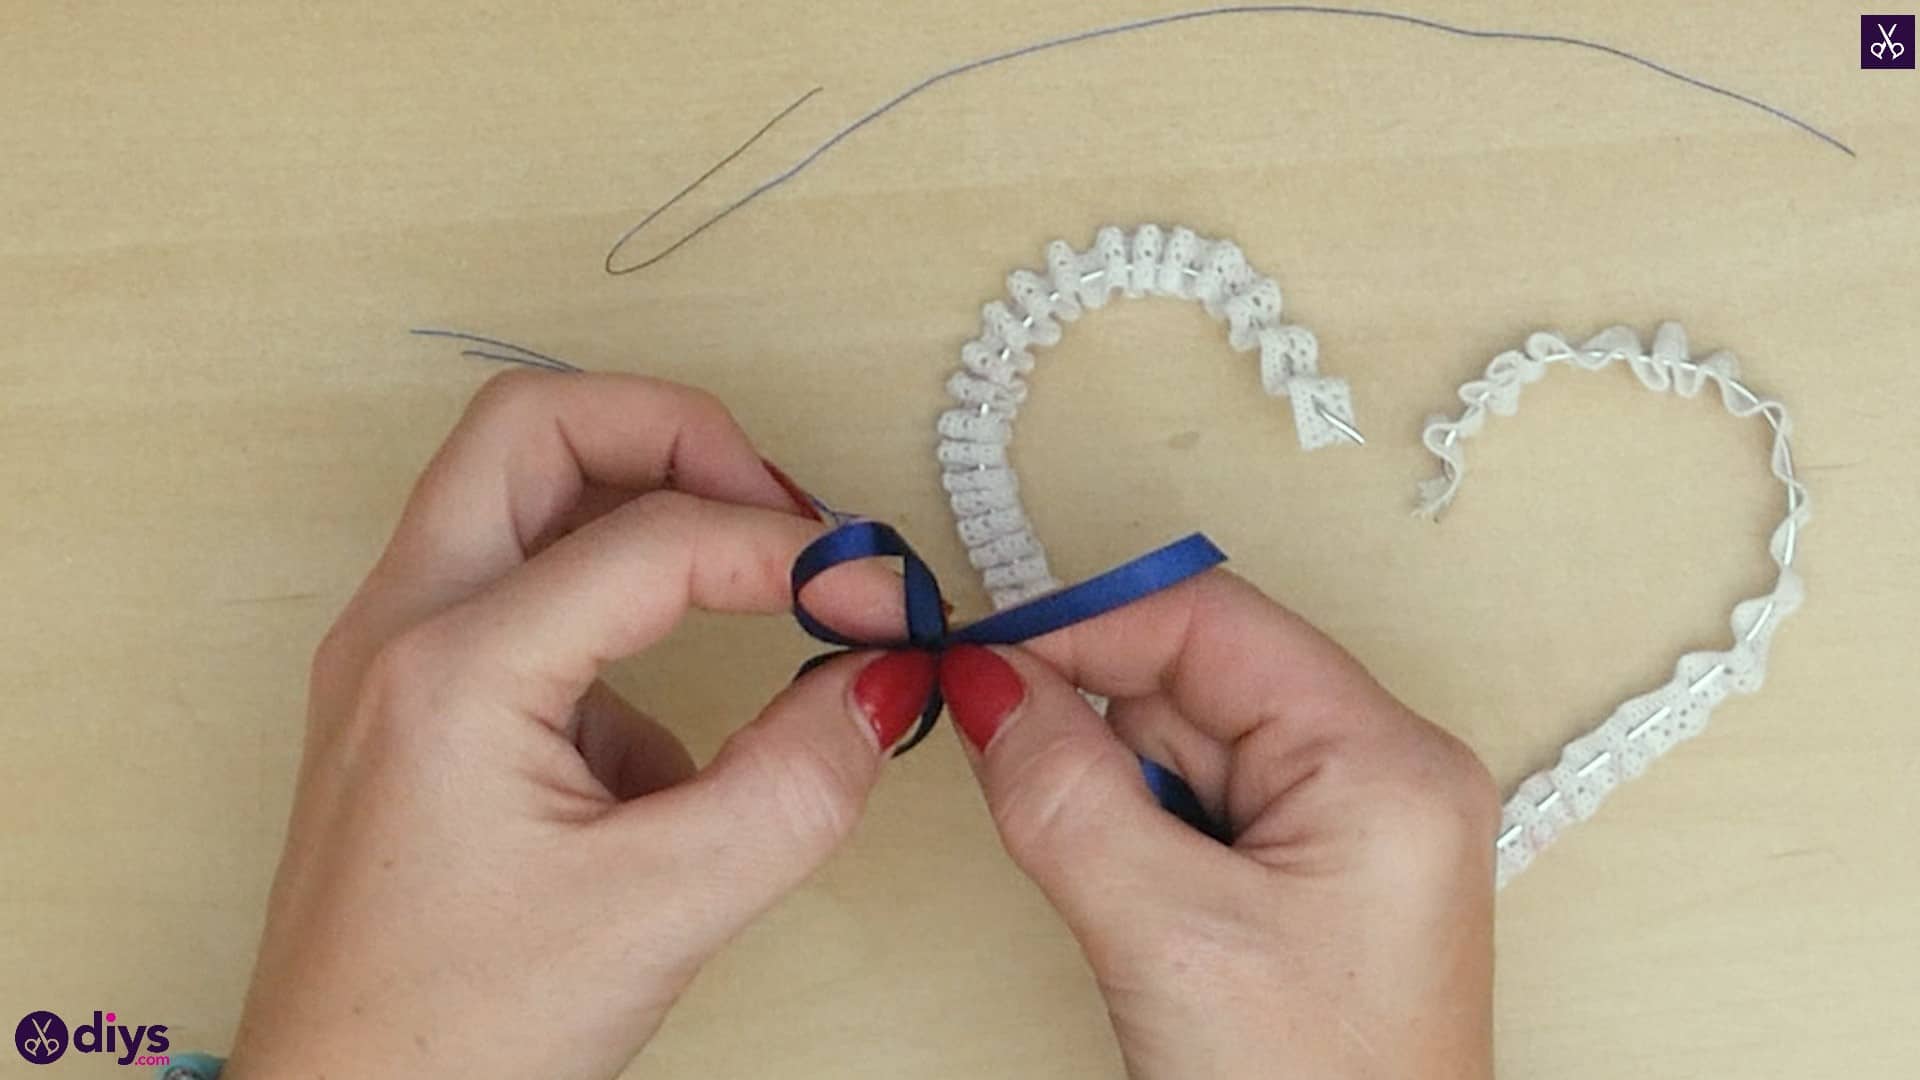
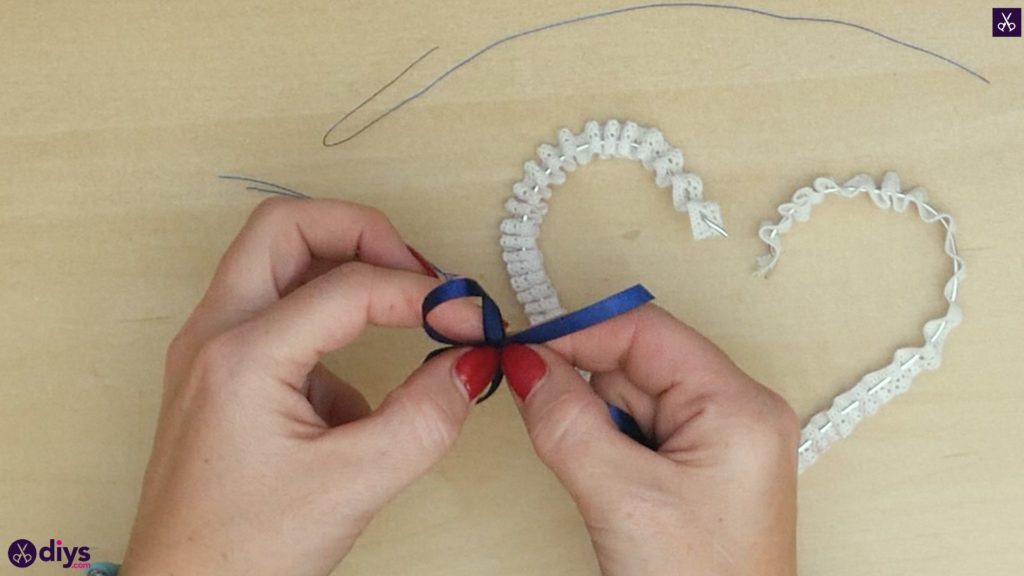
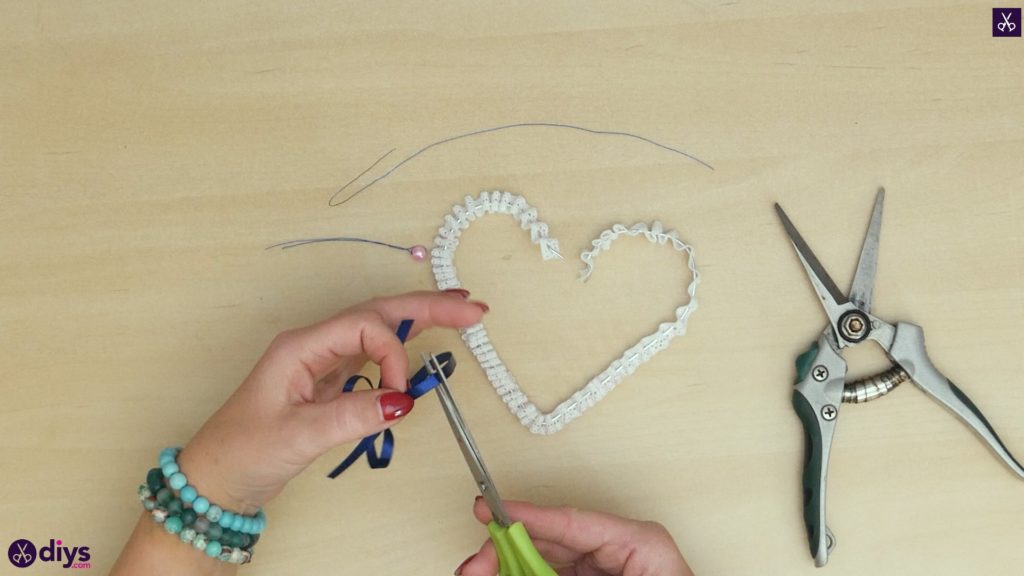
Make a bow from your blue ribbon. Do this by curling in one end of the ribbon towards itself to make a loop and leaving some excess on the end where the ribbon crosses over itself. Apply a dot of glue in that crossing spot and stick the two pieces into place. Then curl the other end in the same way, gluing it down where it crosses the other two pieces. Cut the ends to be even (I cut mine on an angle to stop them from fraying). Set your ribbon aside as well.
Step 6: add the lace
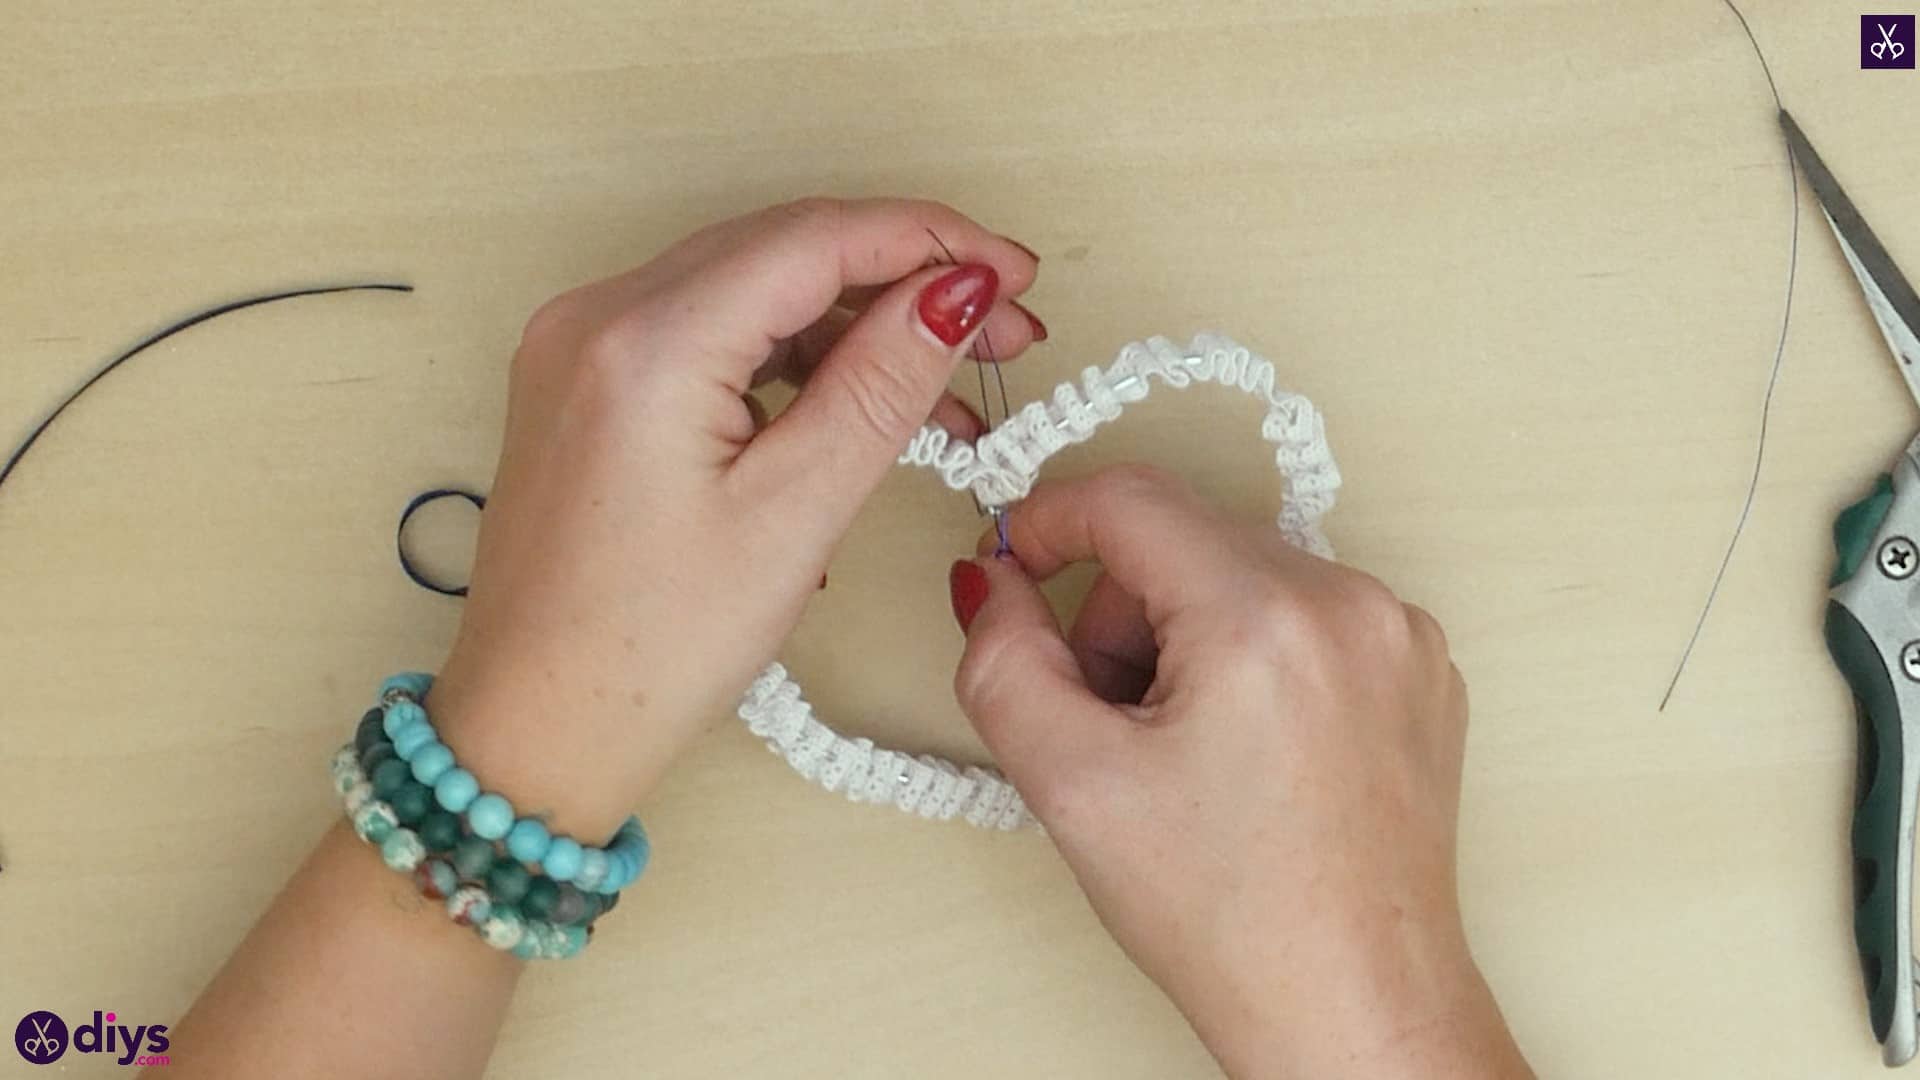
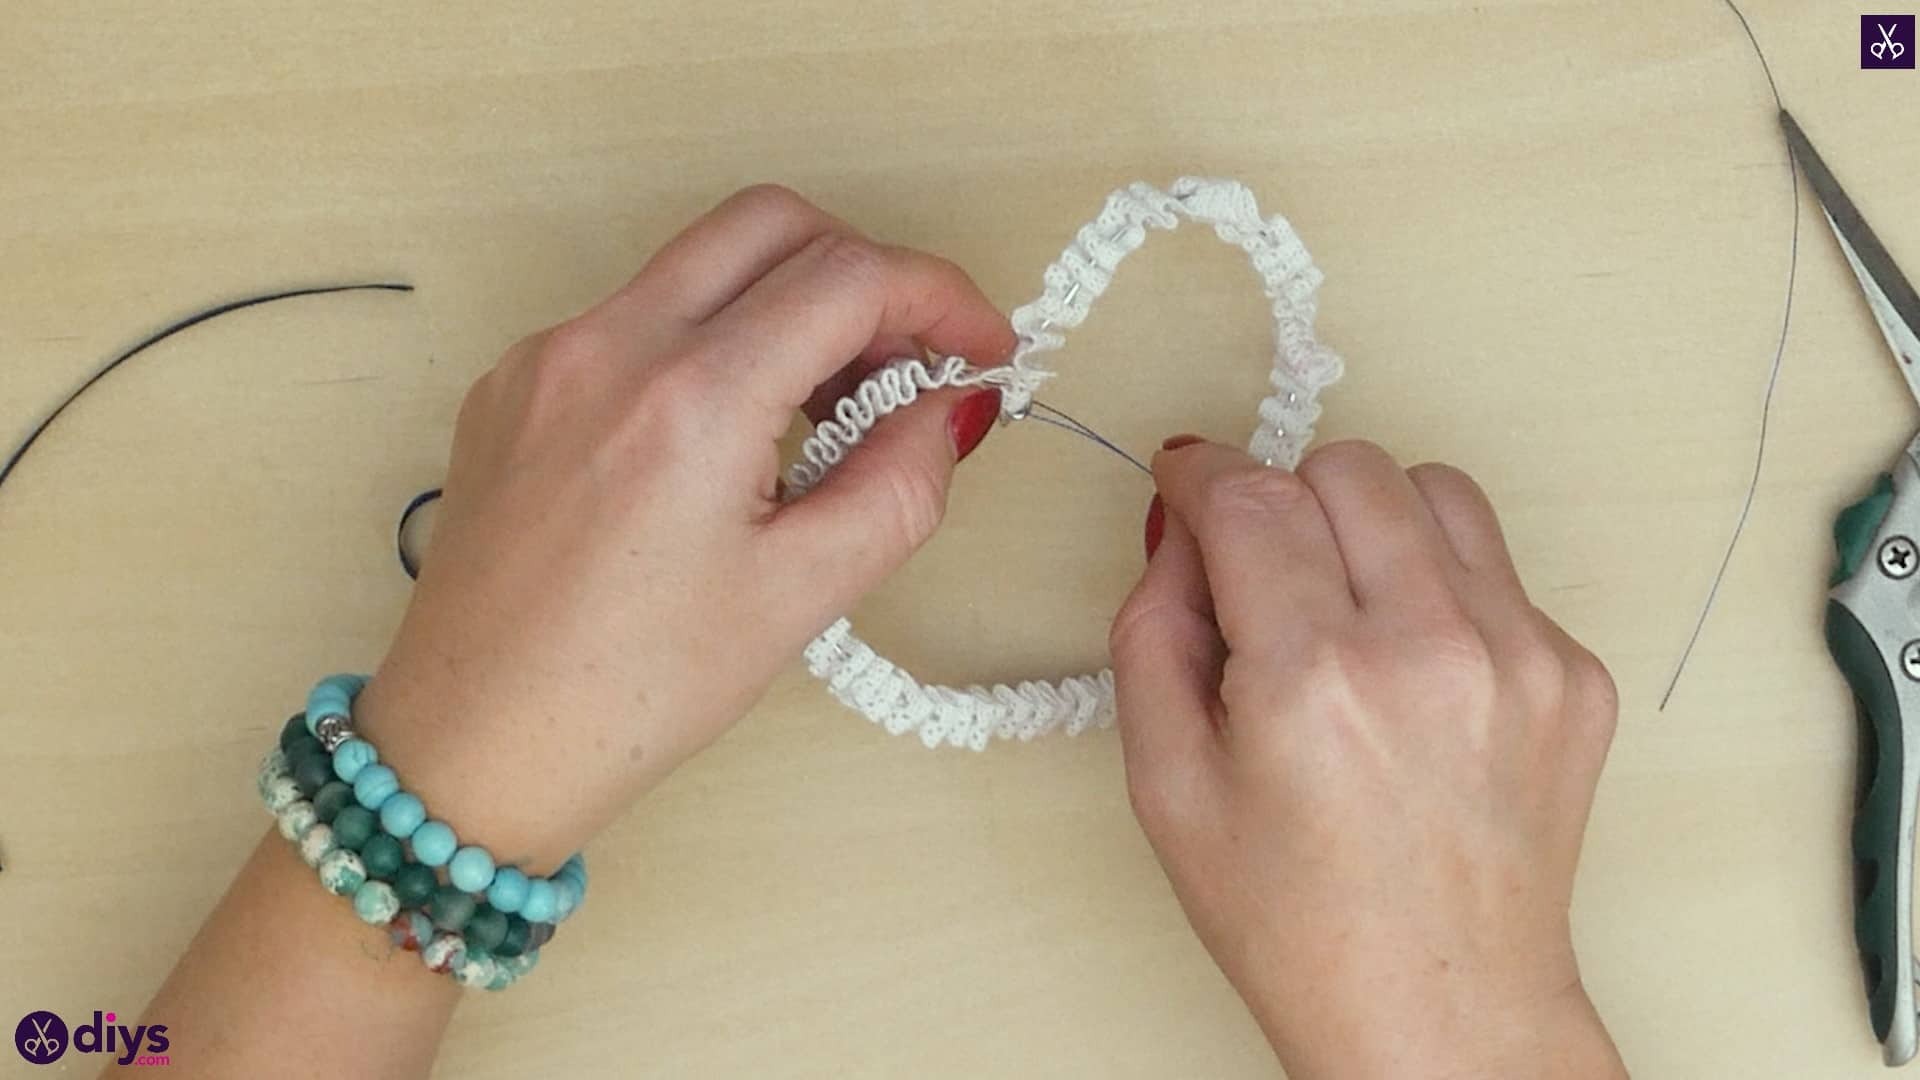
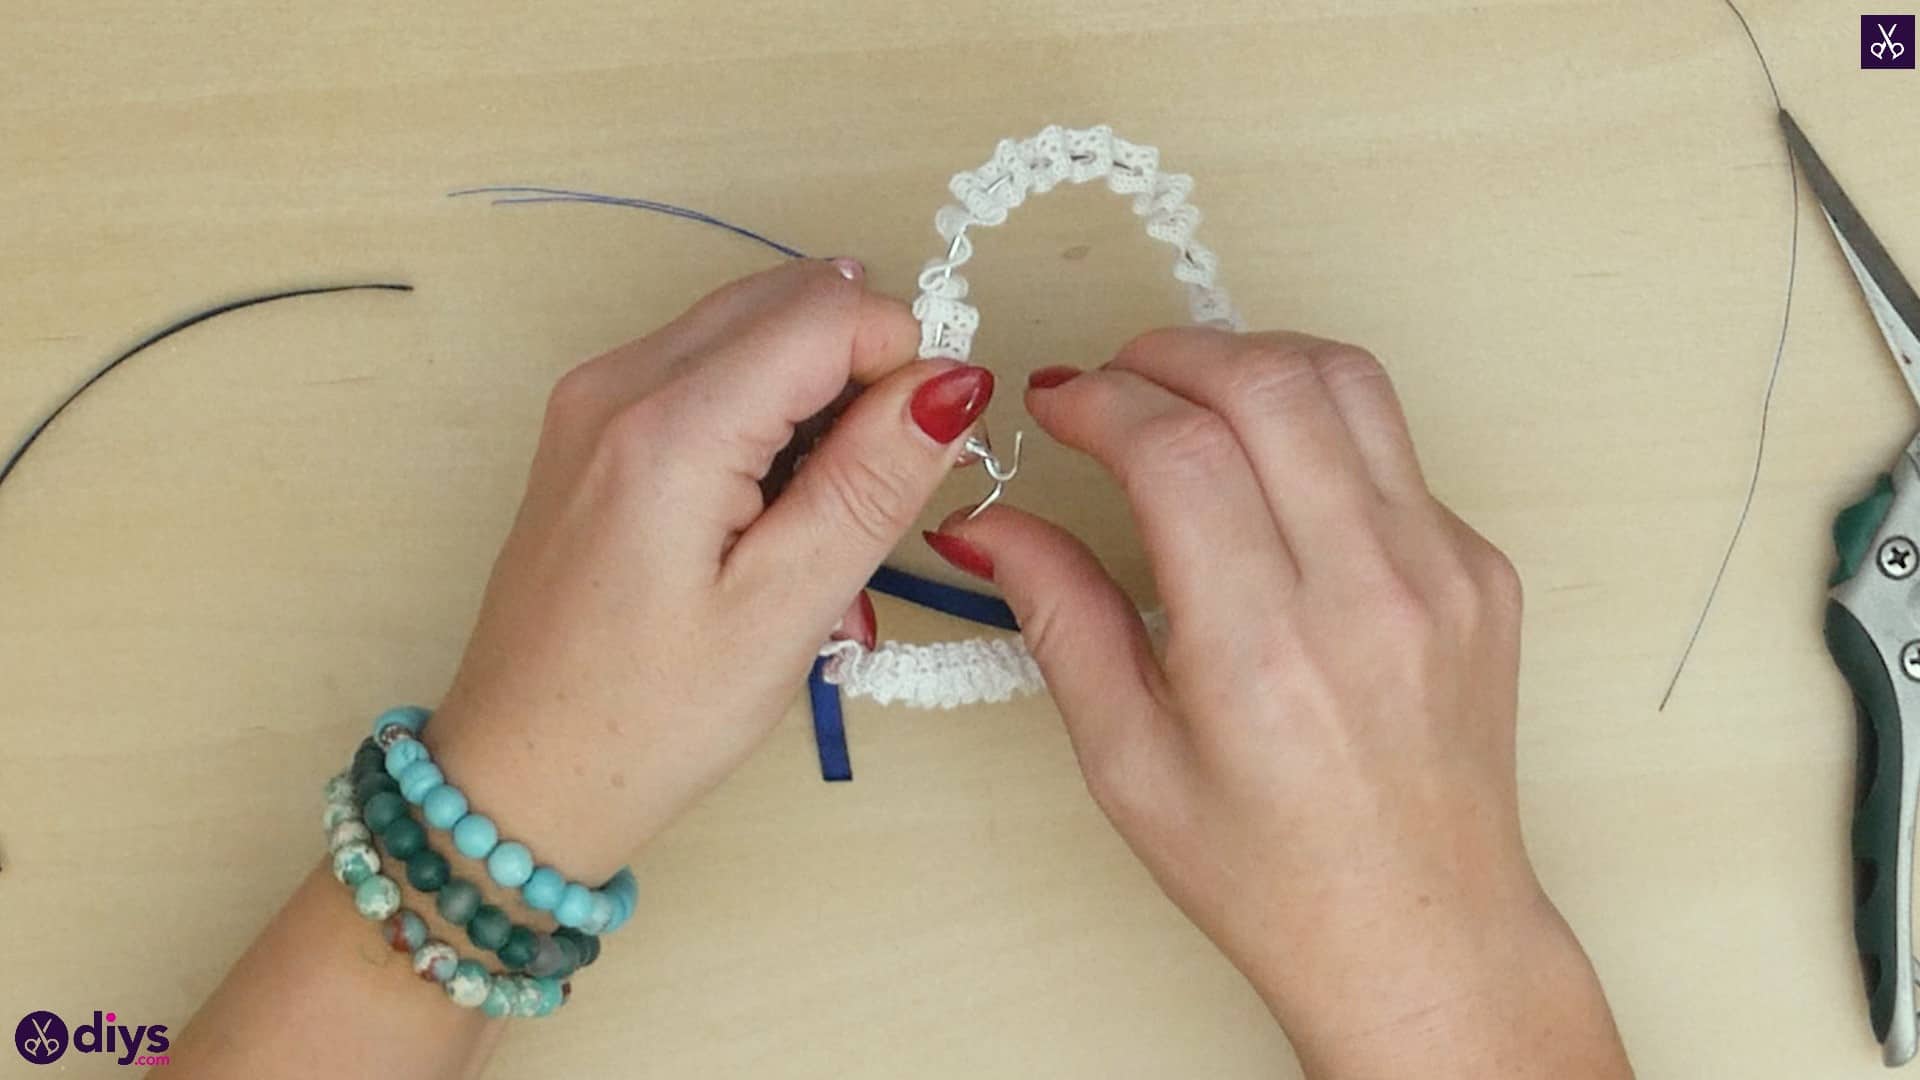
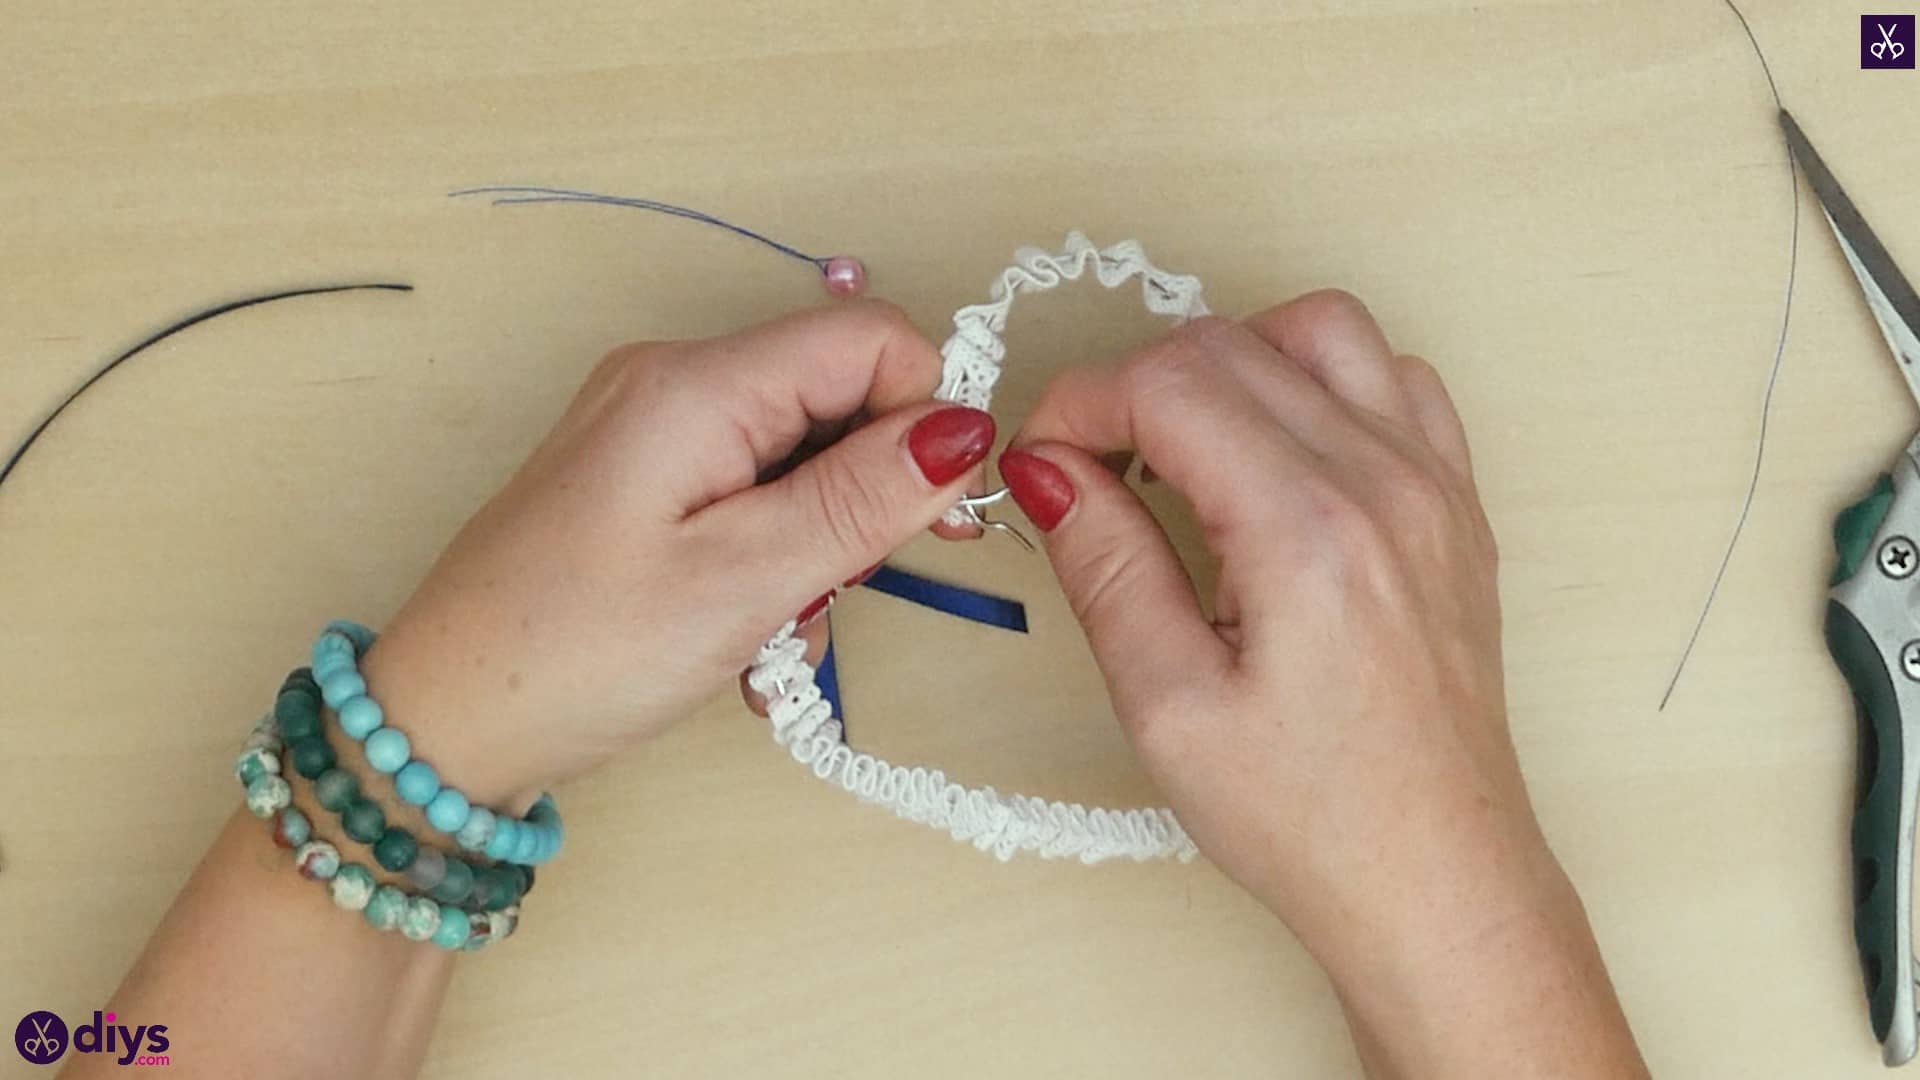
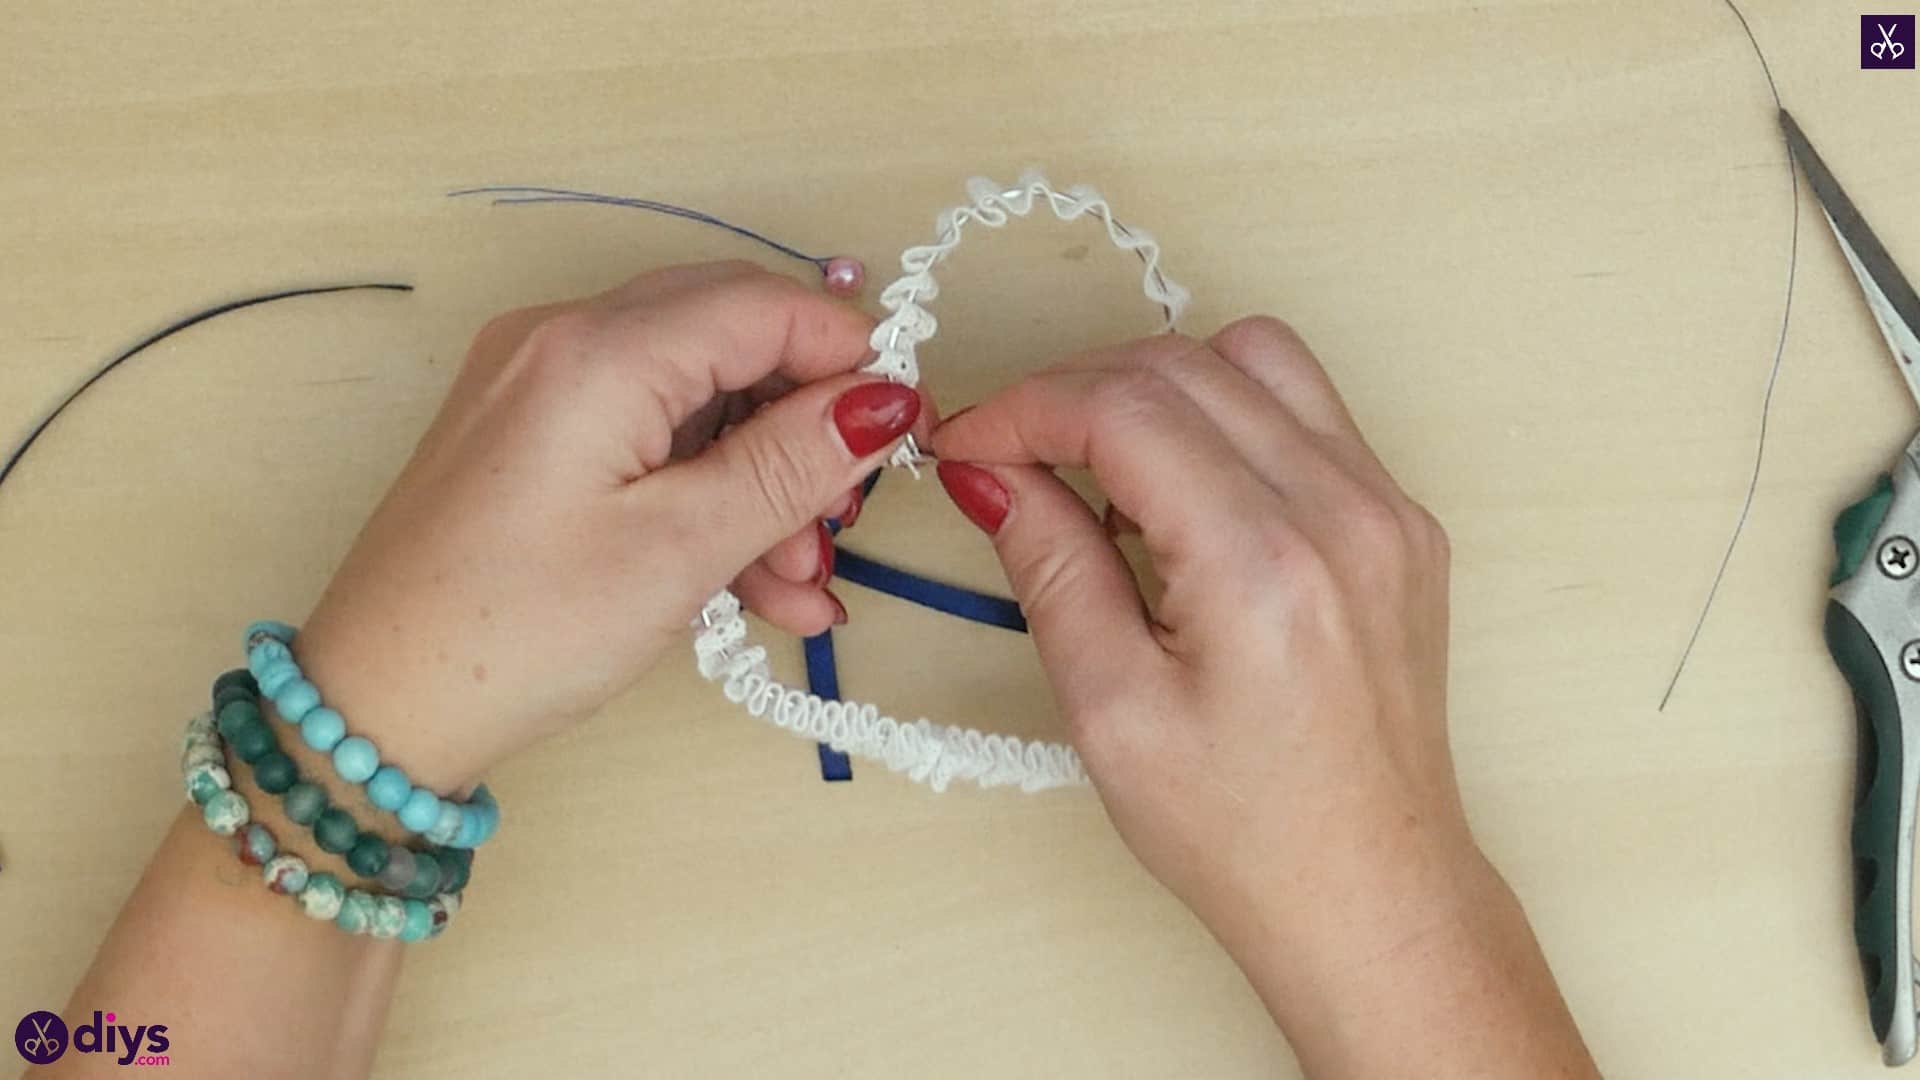
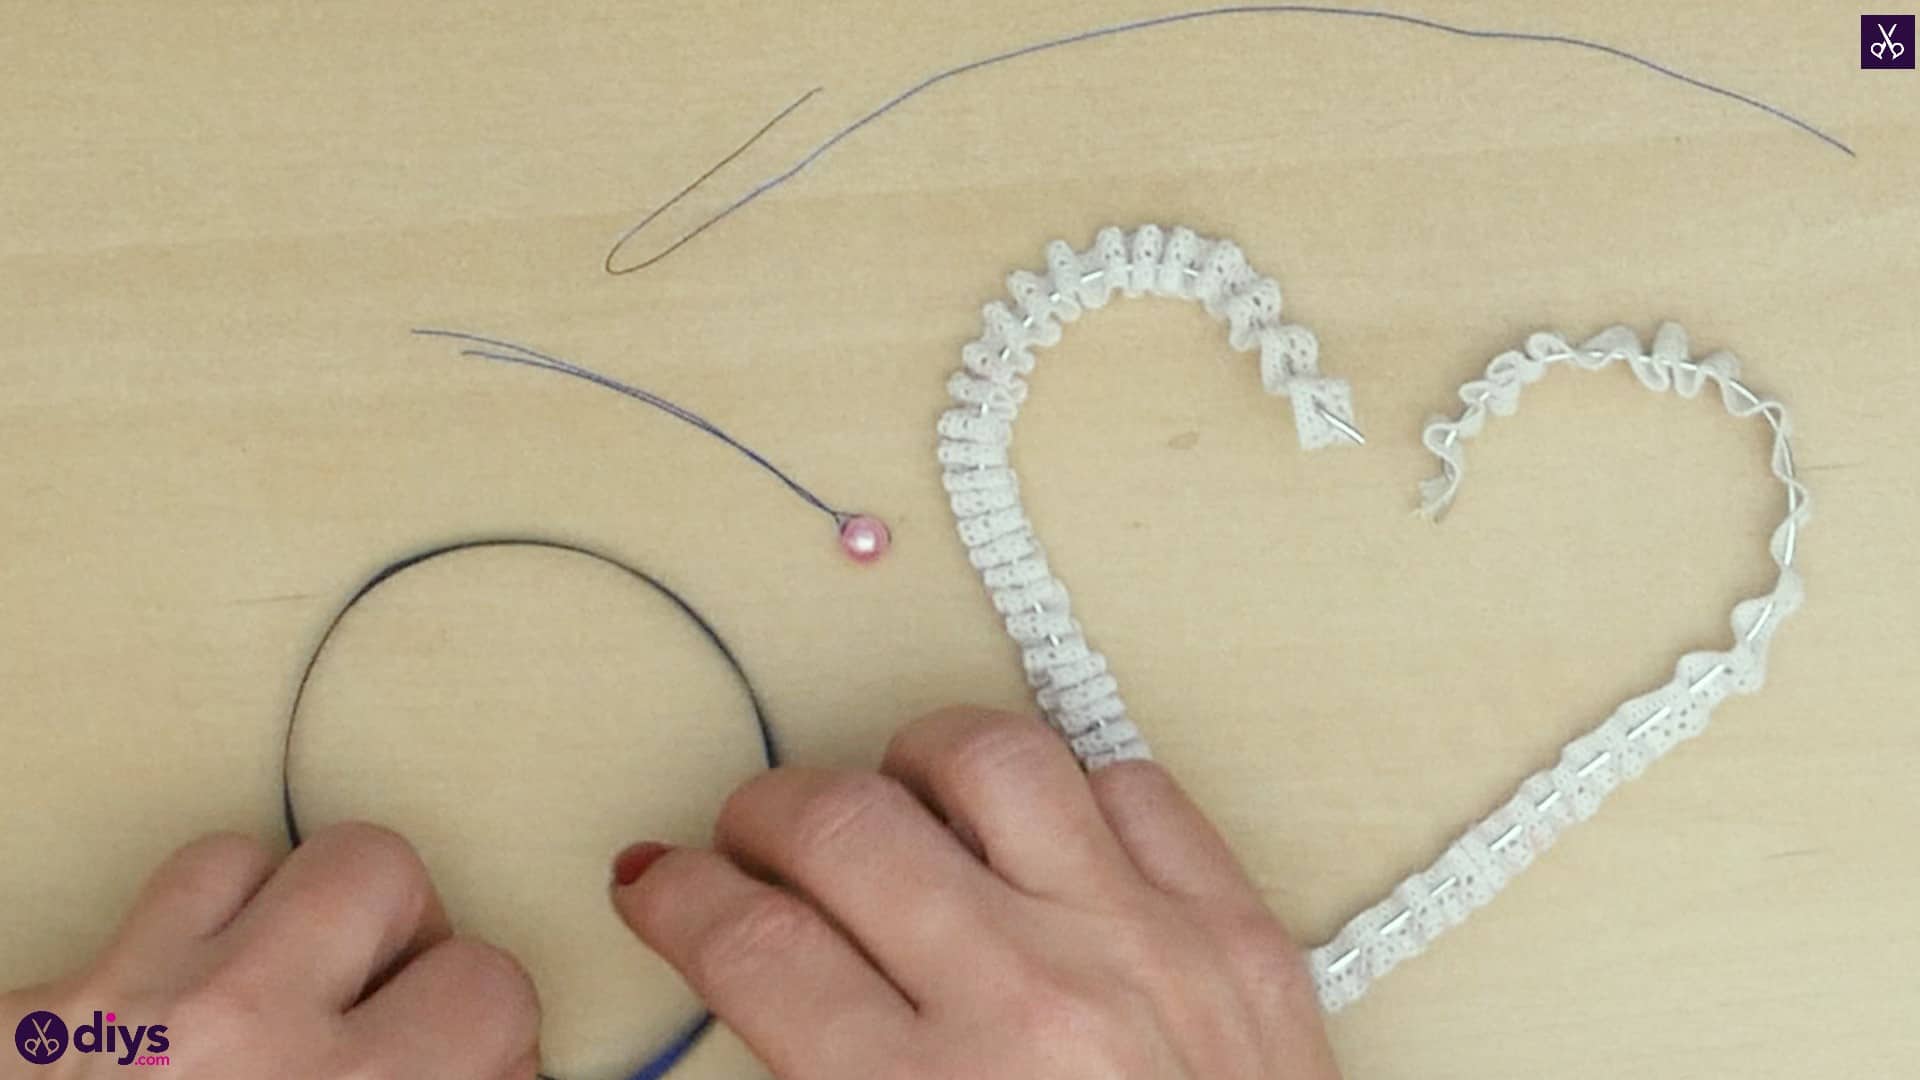
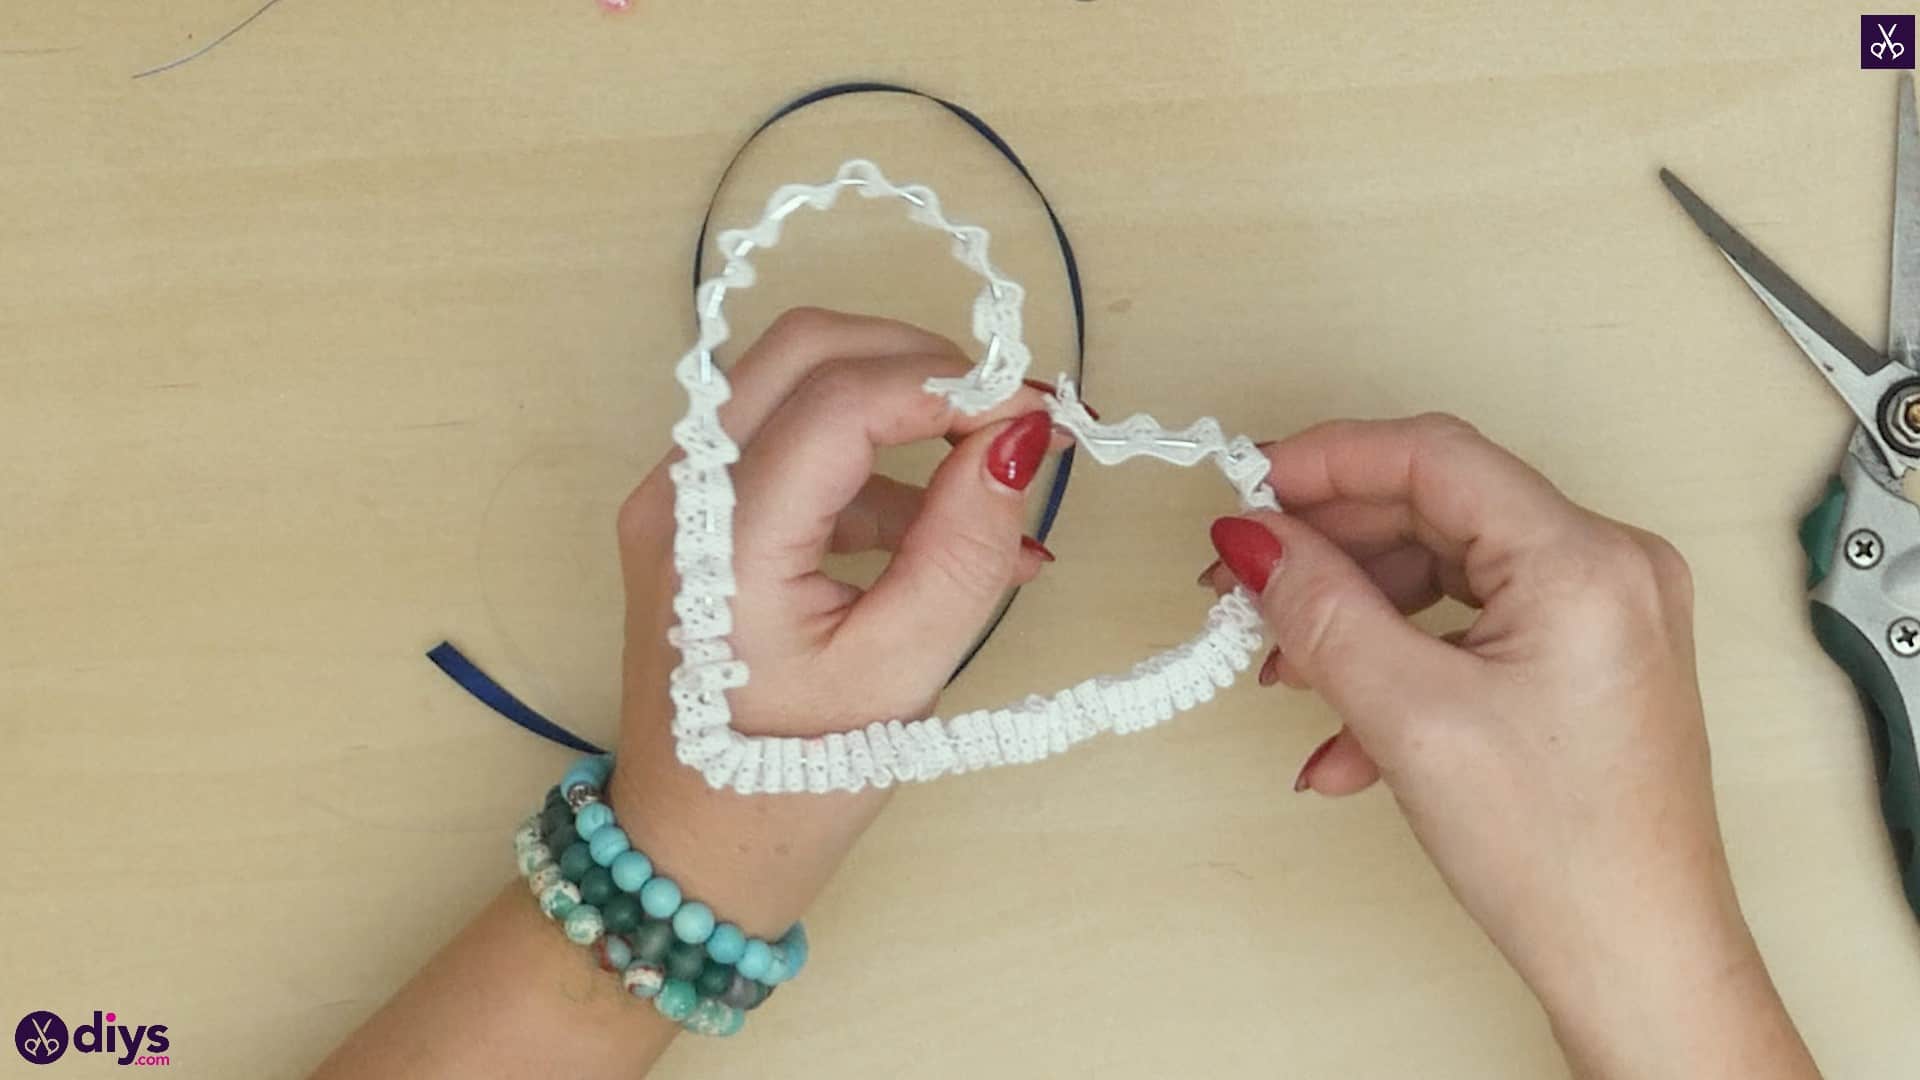
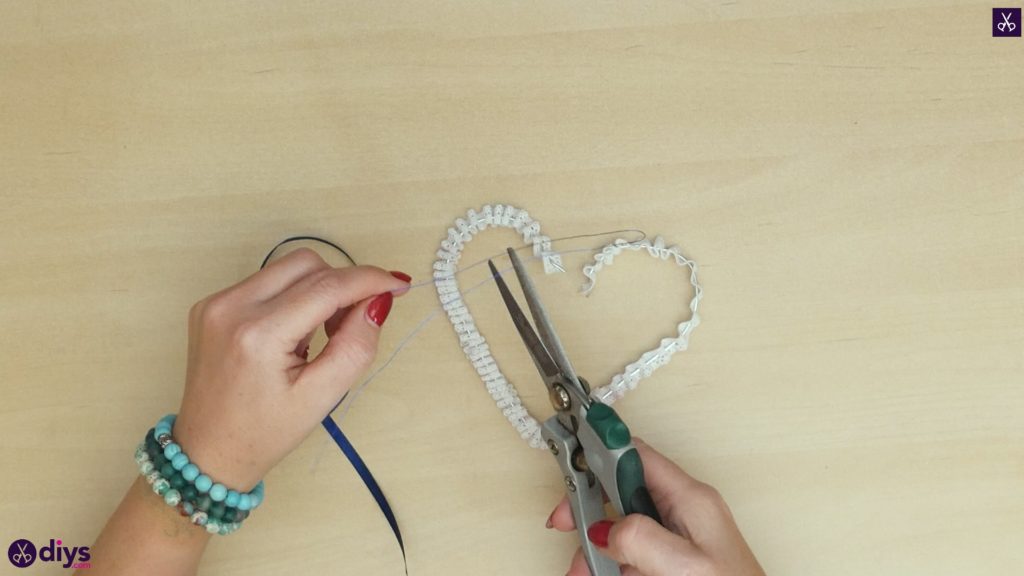
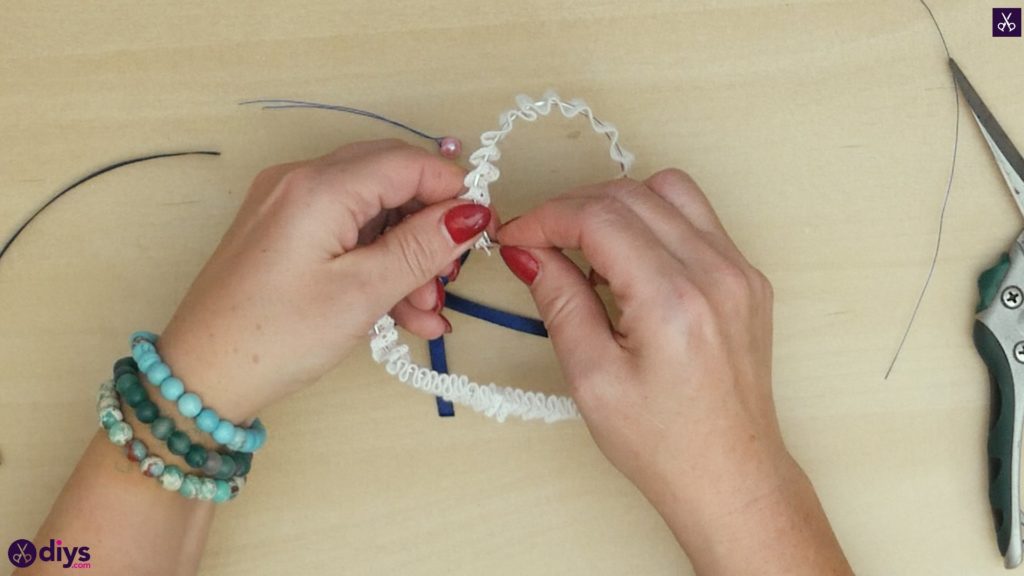
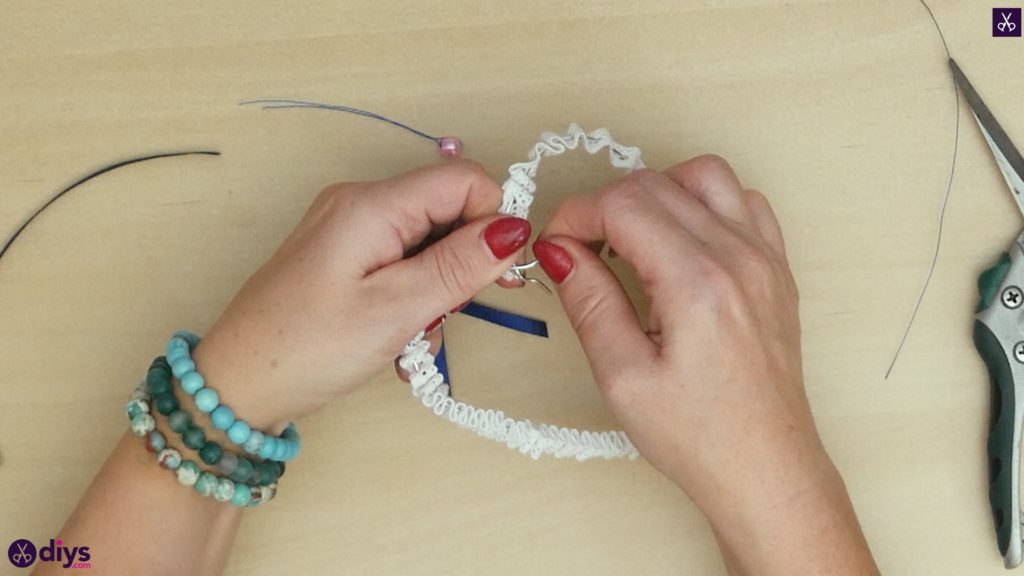
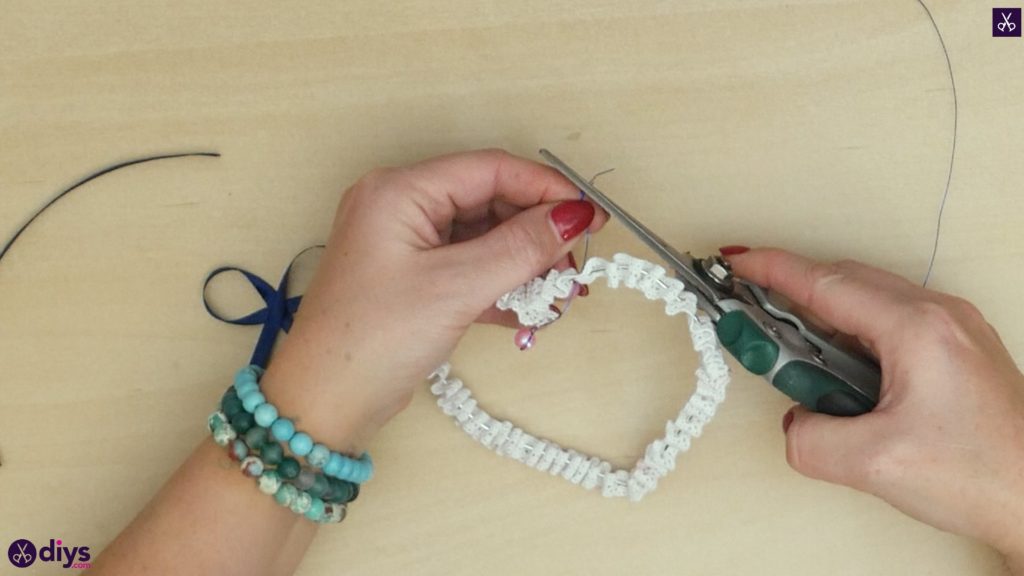
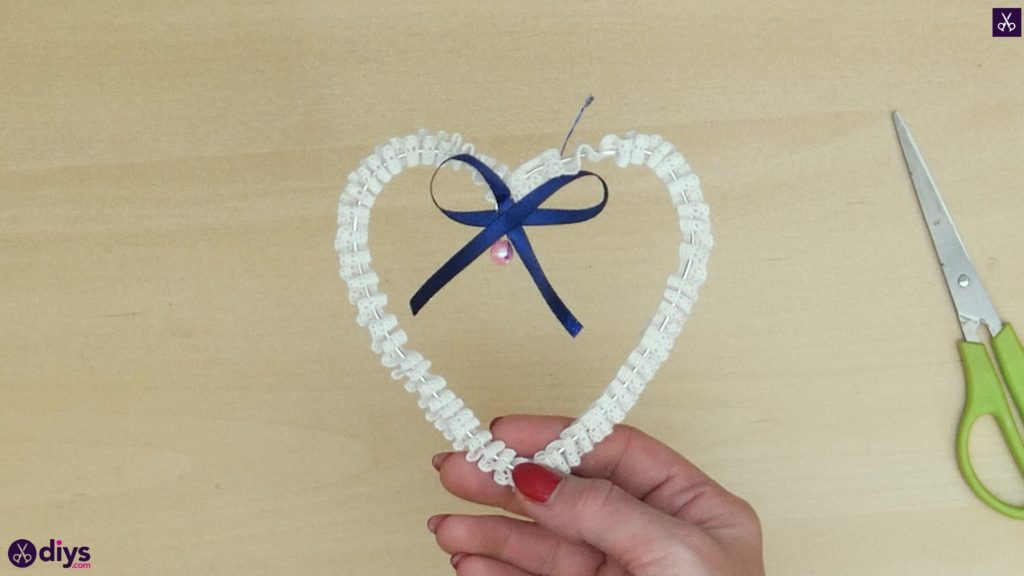
Pick your heart back up and bring the central tips together once again where the heart dips in the centre of the top. Push the lace up so the ends are free and twist them around each other to close the shape and keep the lace in place.
Step 7: add beads
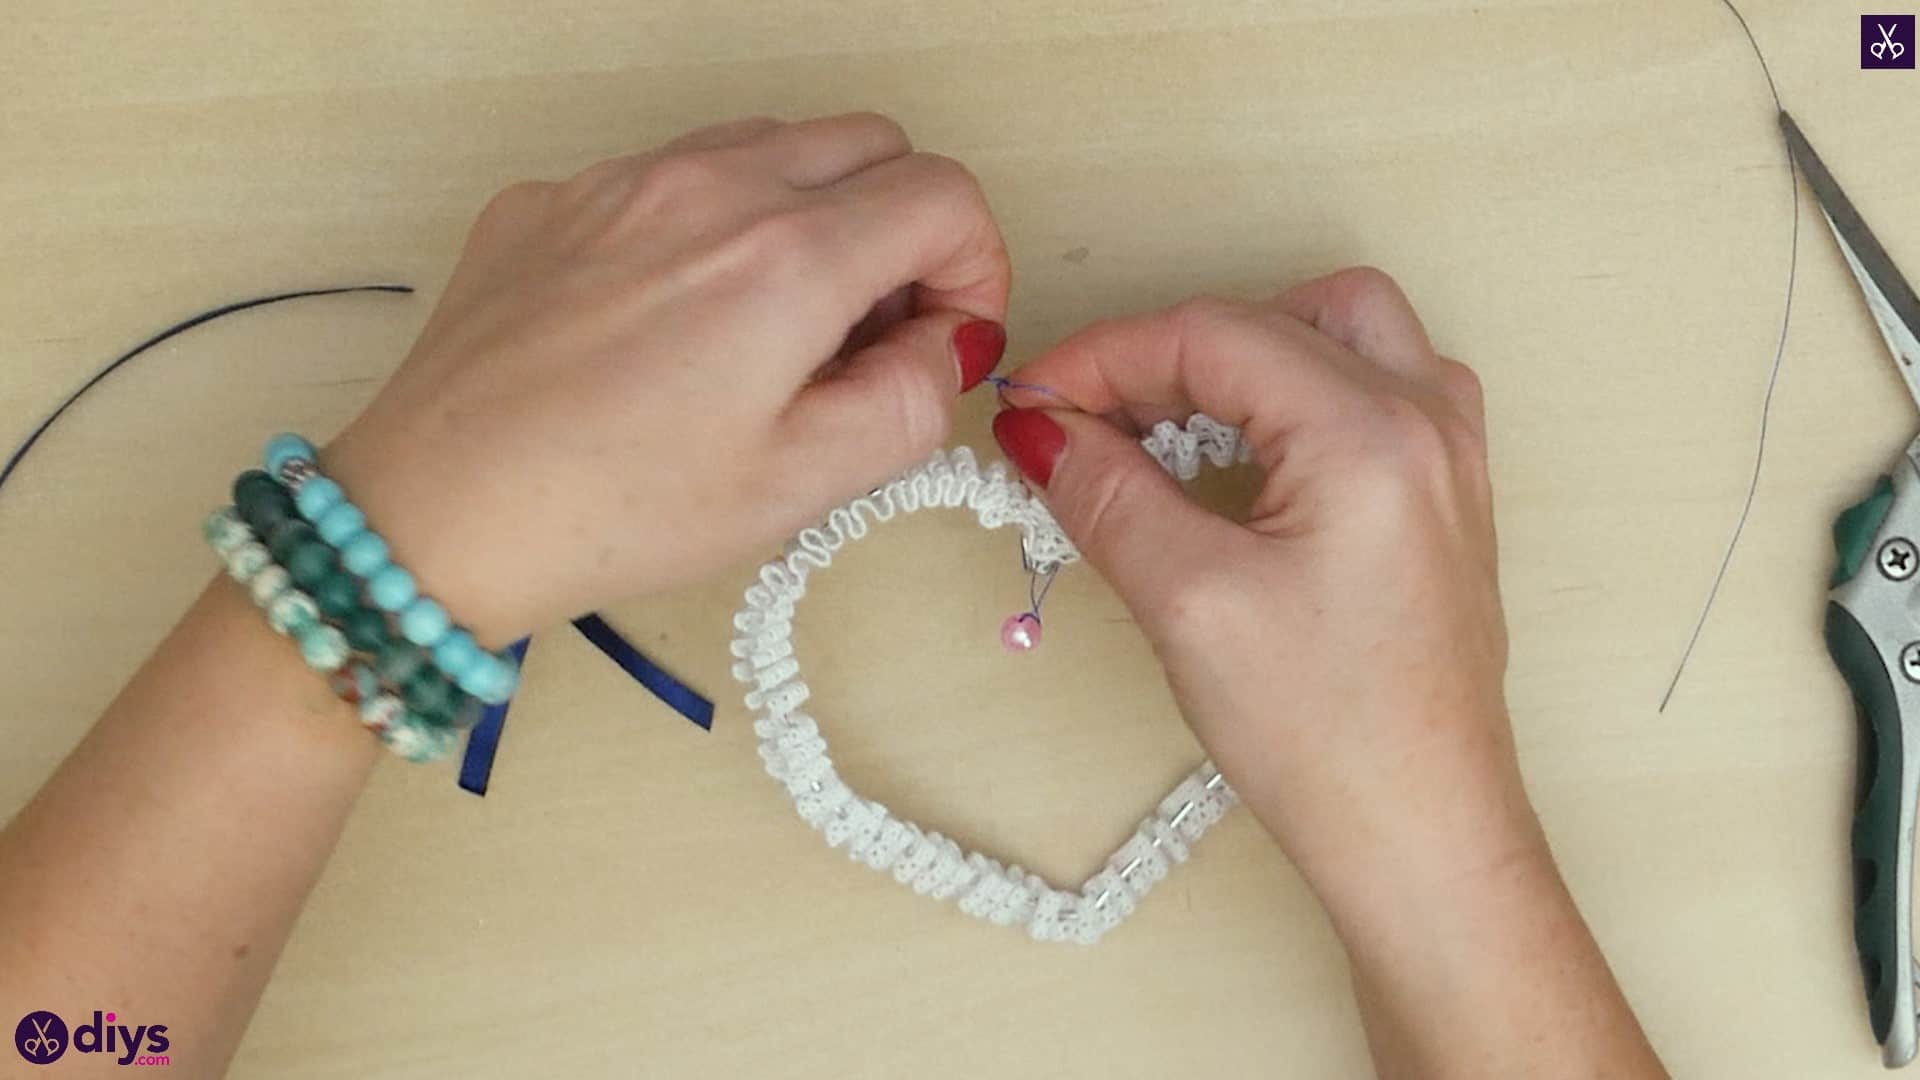
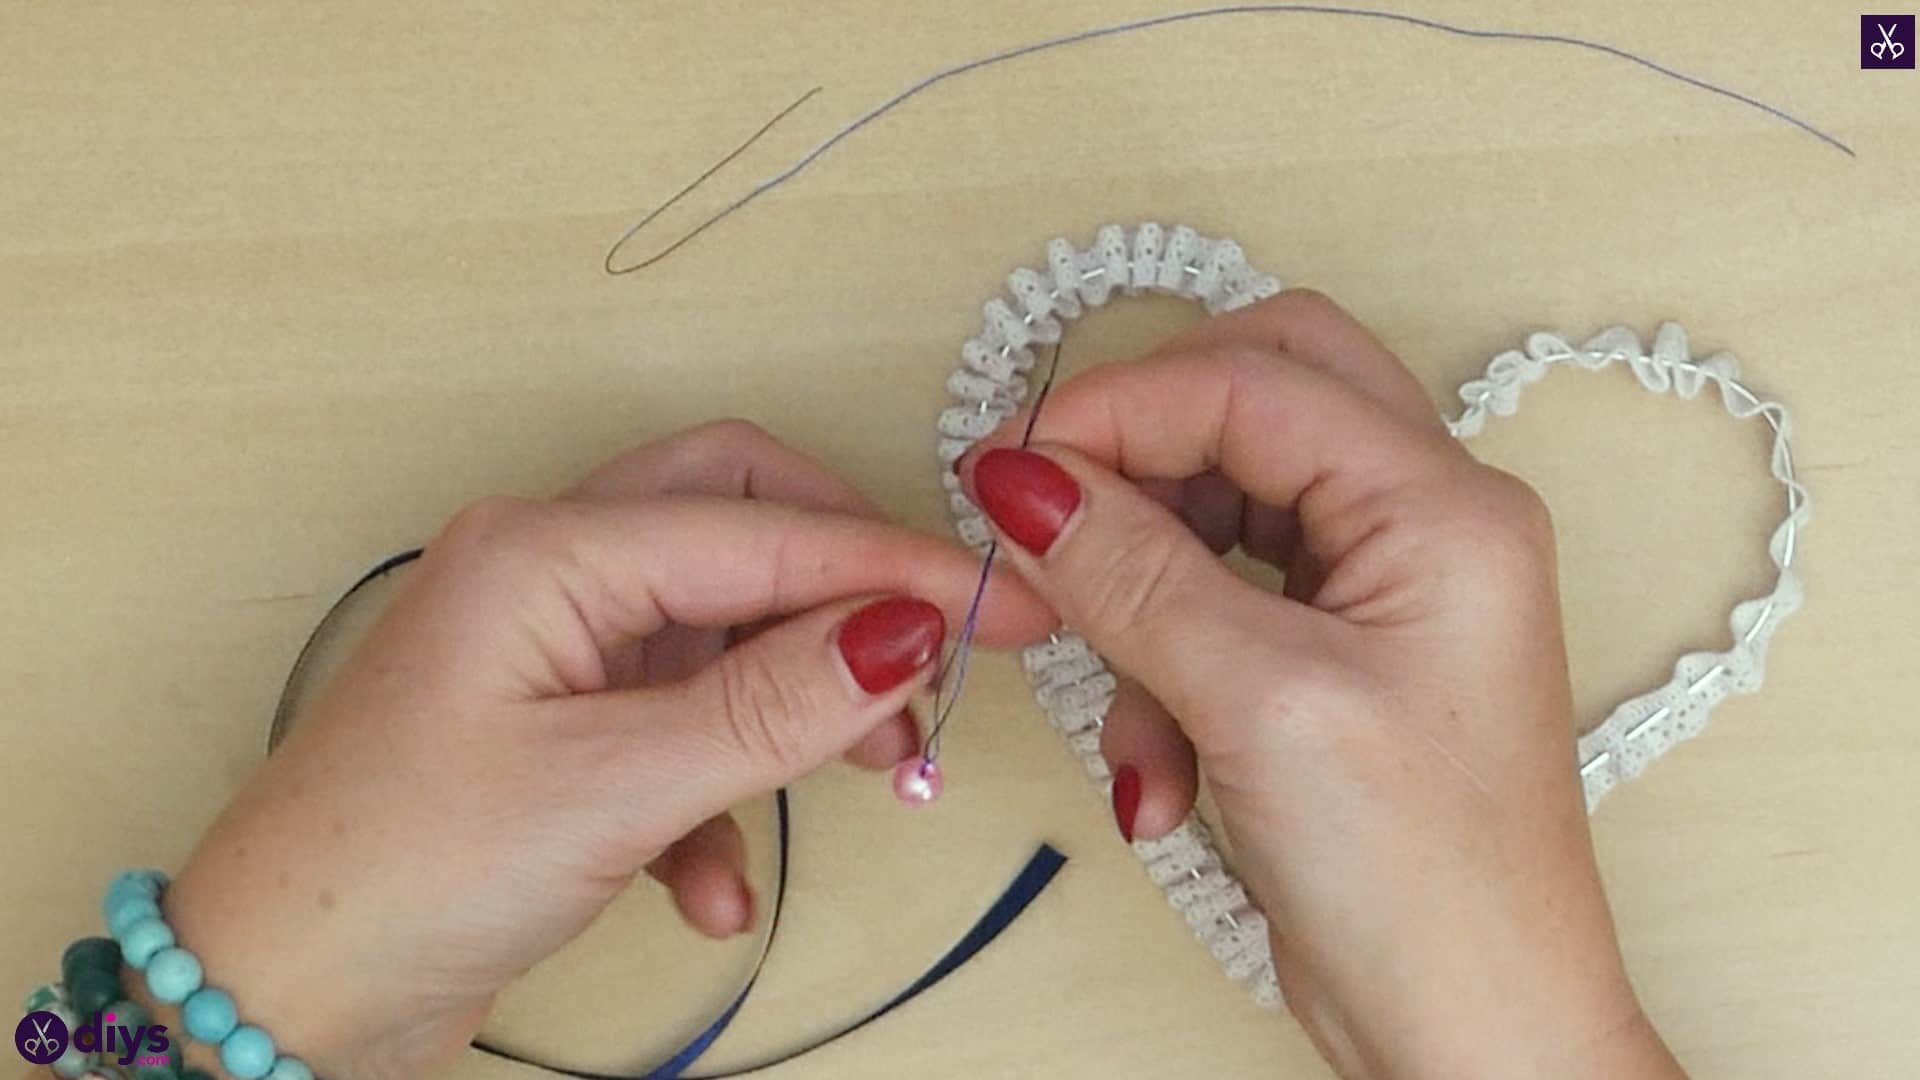
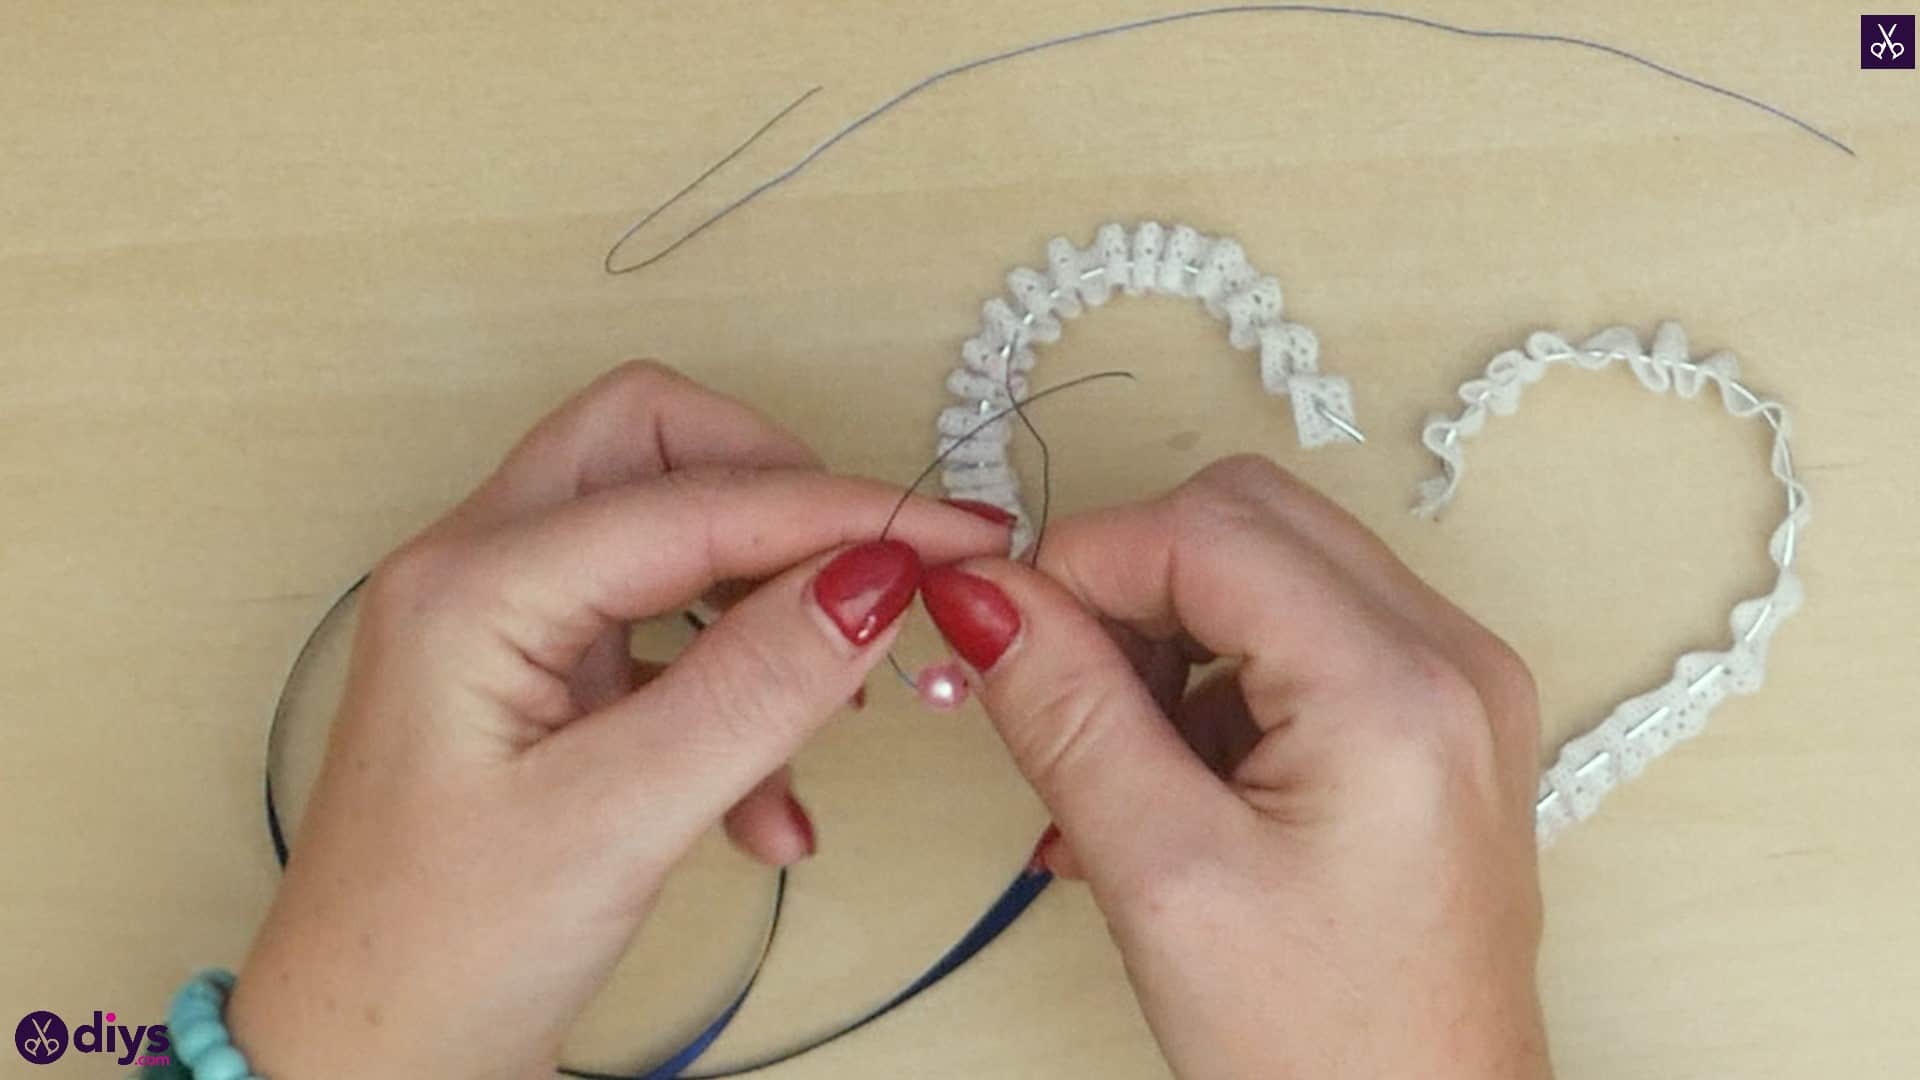
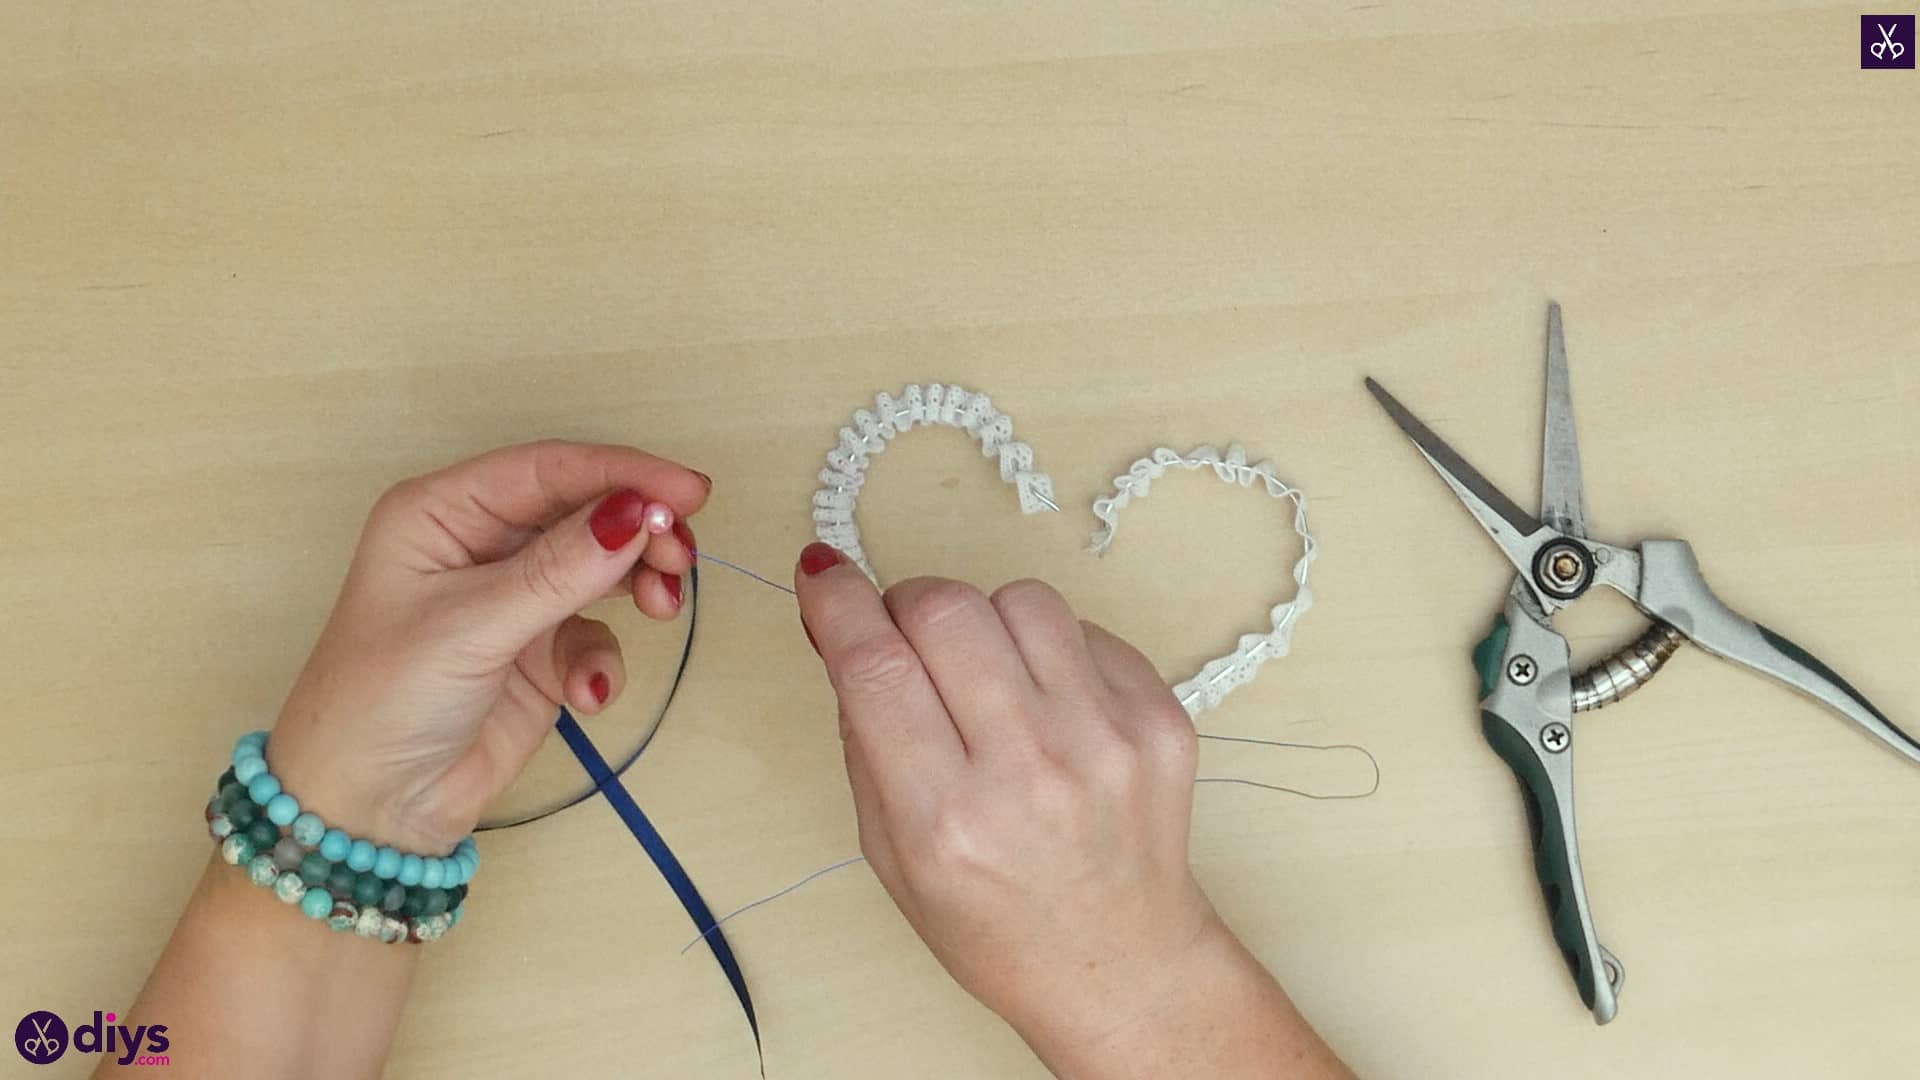
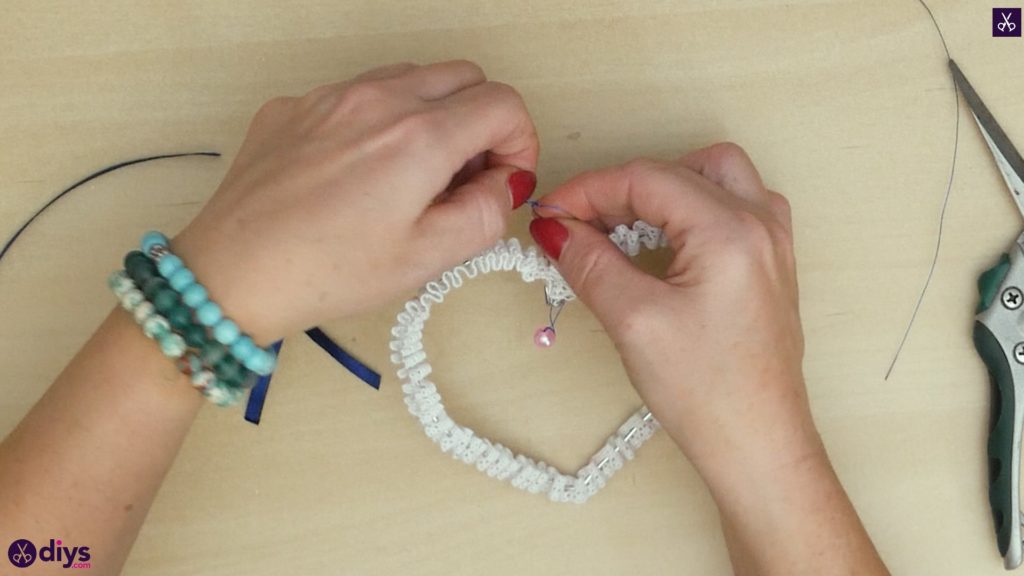
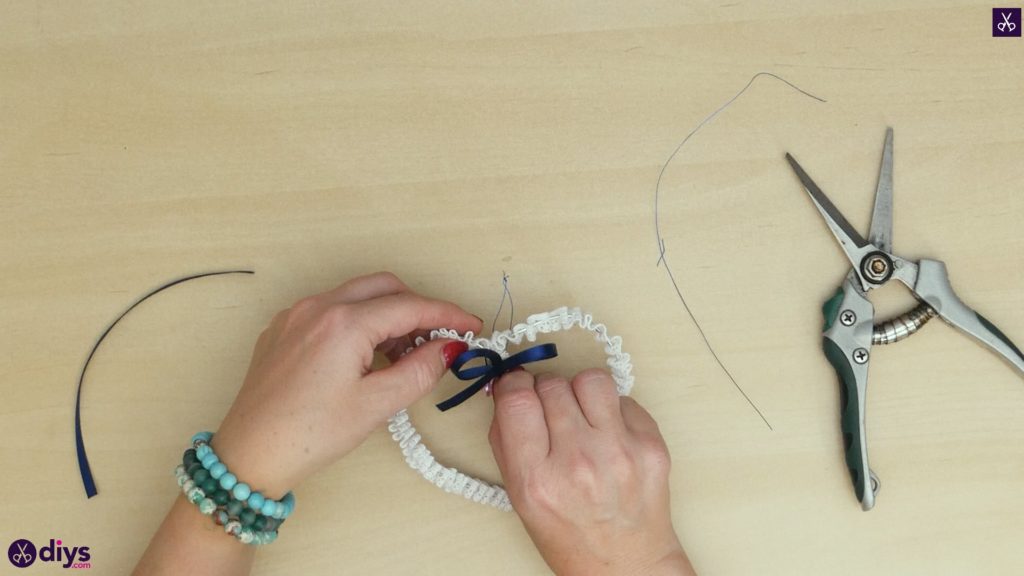
Pick up your threaded bead and put the tips of the threads through holds in the lace right at the top centre where you just twisted the wire together. Pull the ends through to the lace and knot them together like you did around the bead, tightening the knot all th way down to hold the bead steadily in place in the centre, just below the lace and on the inside a little bit. Trim the excess ends.
Step 7: glue bow
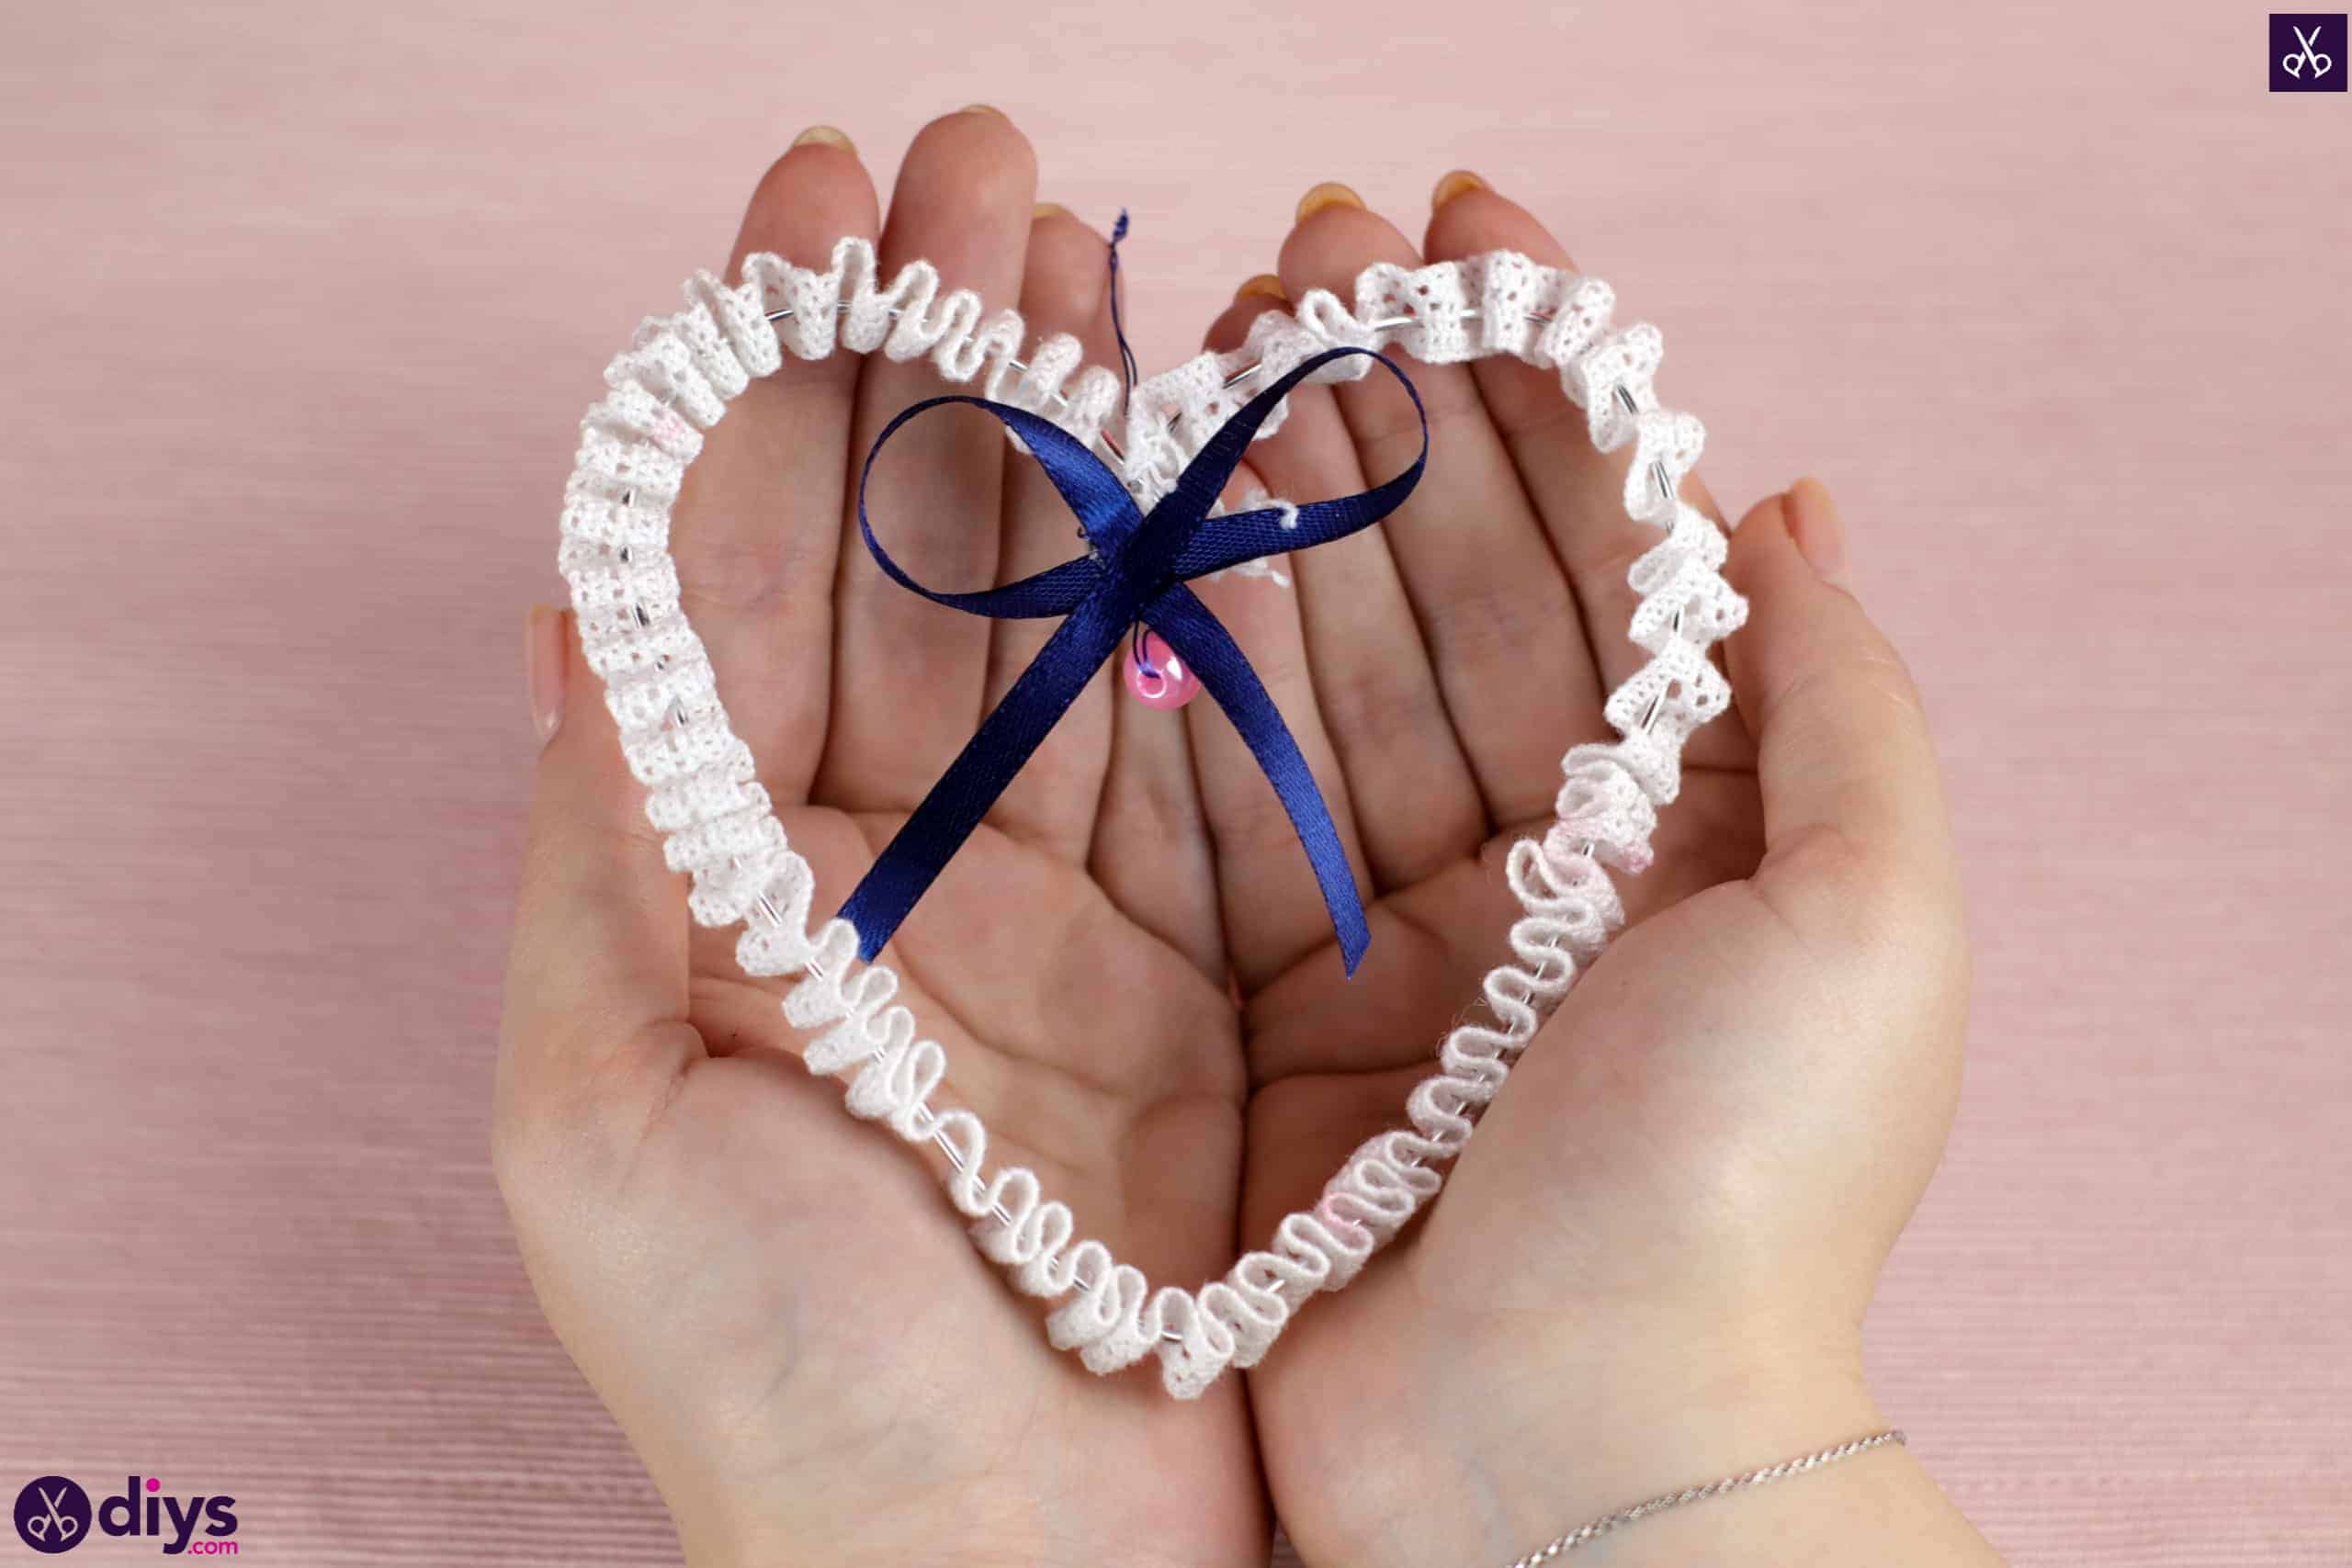
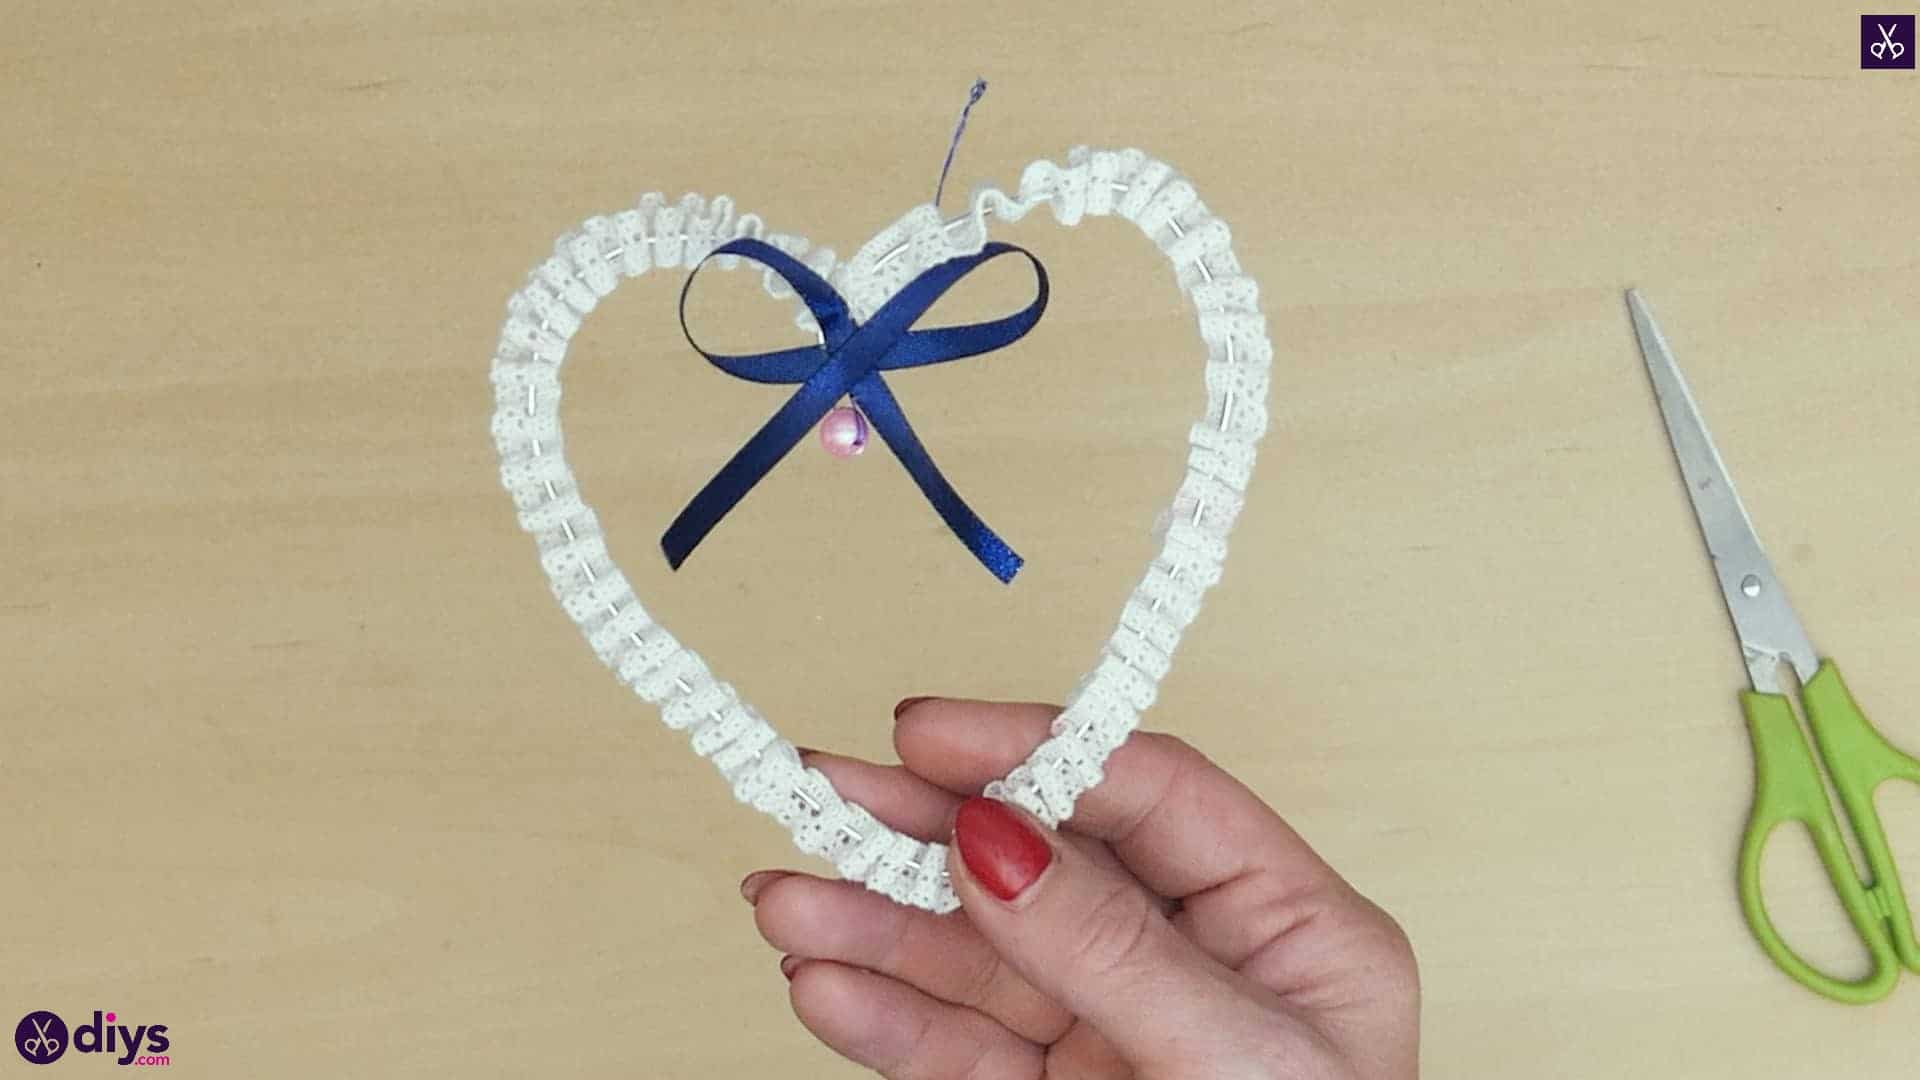
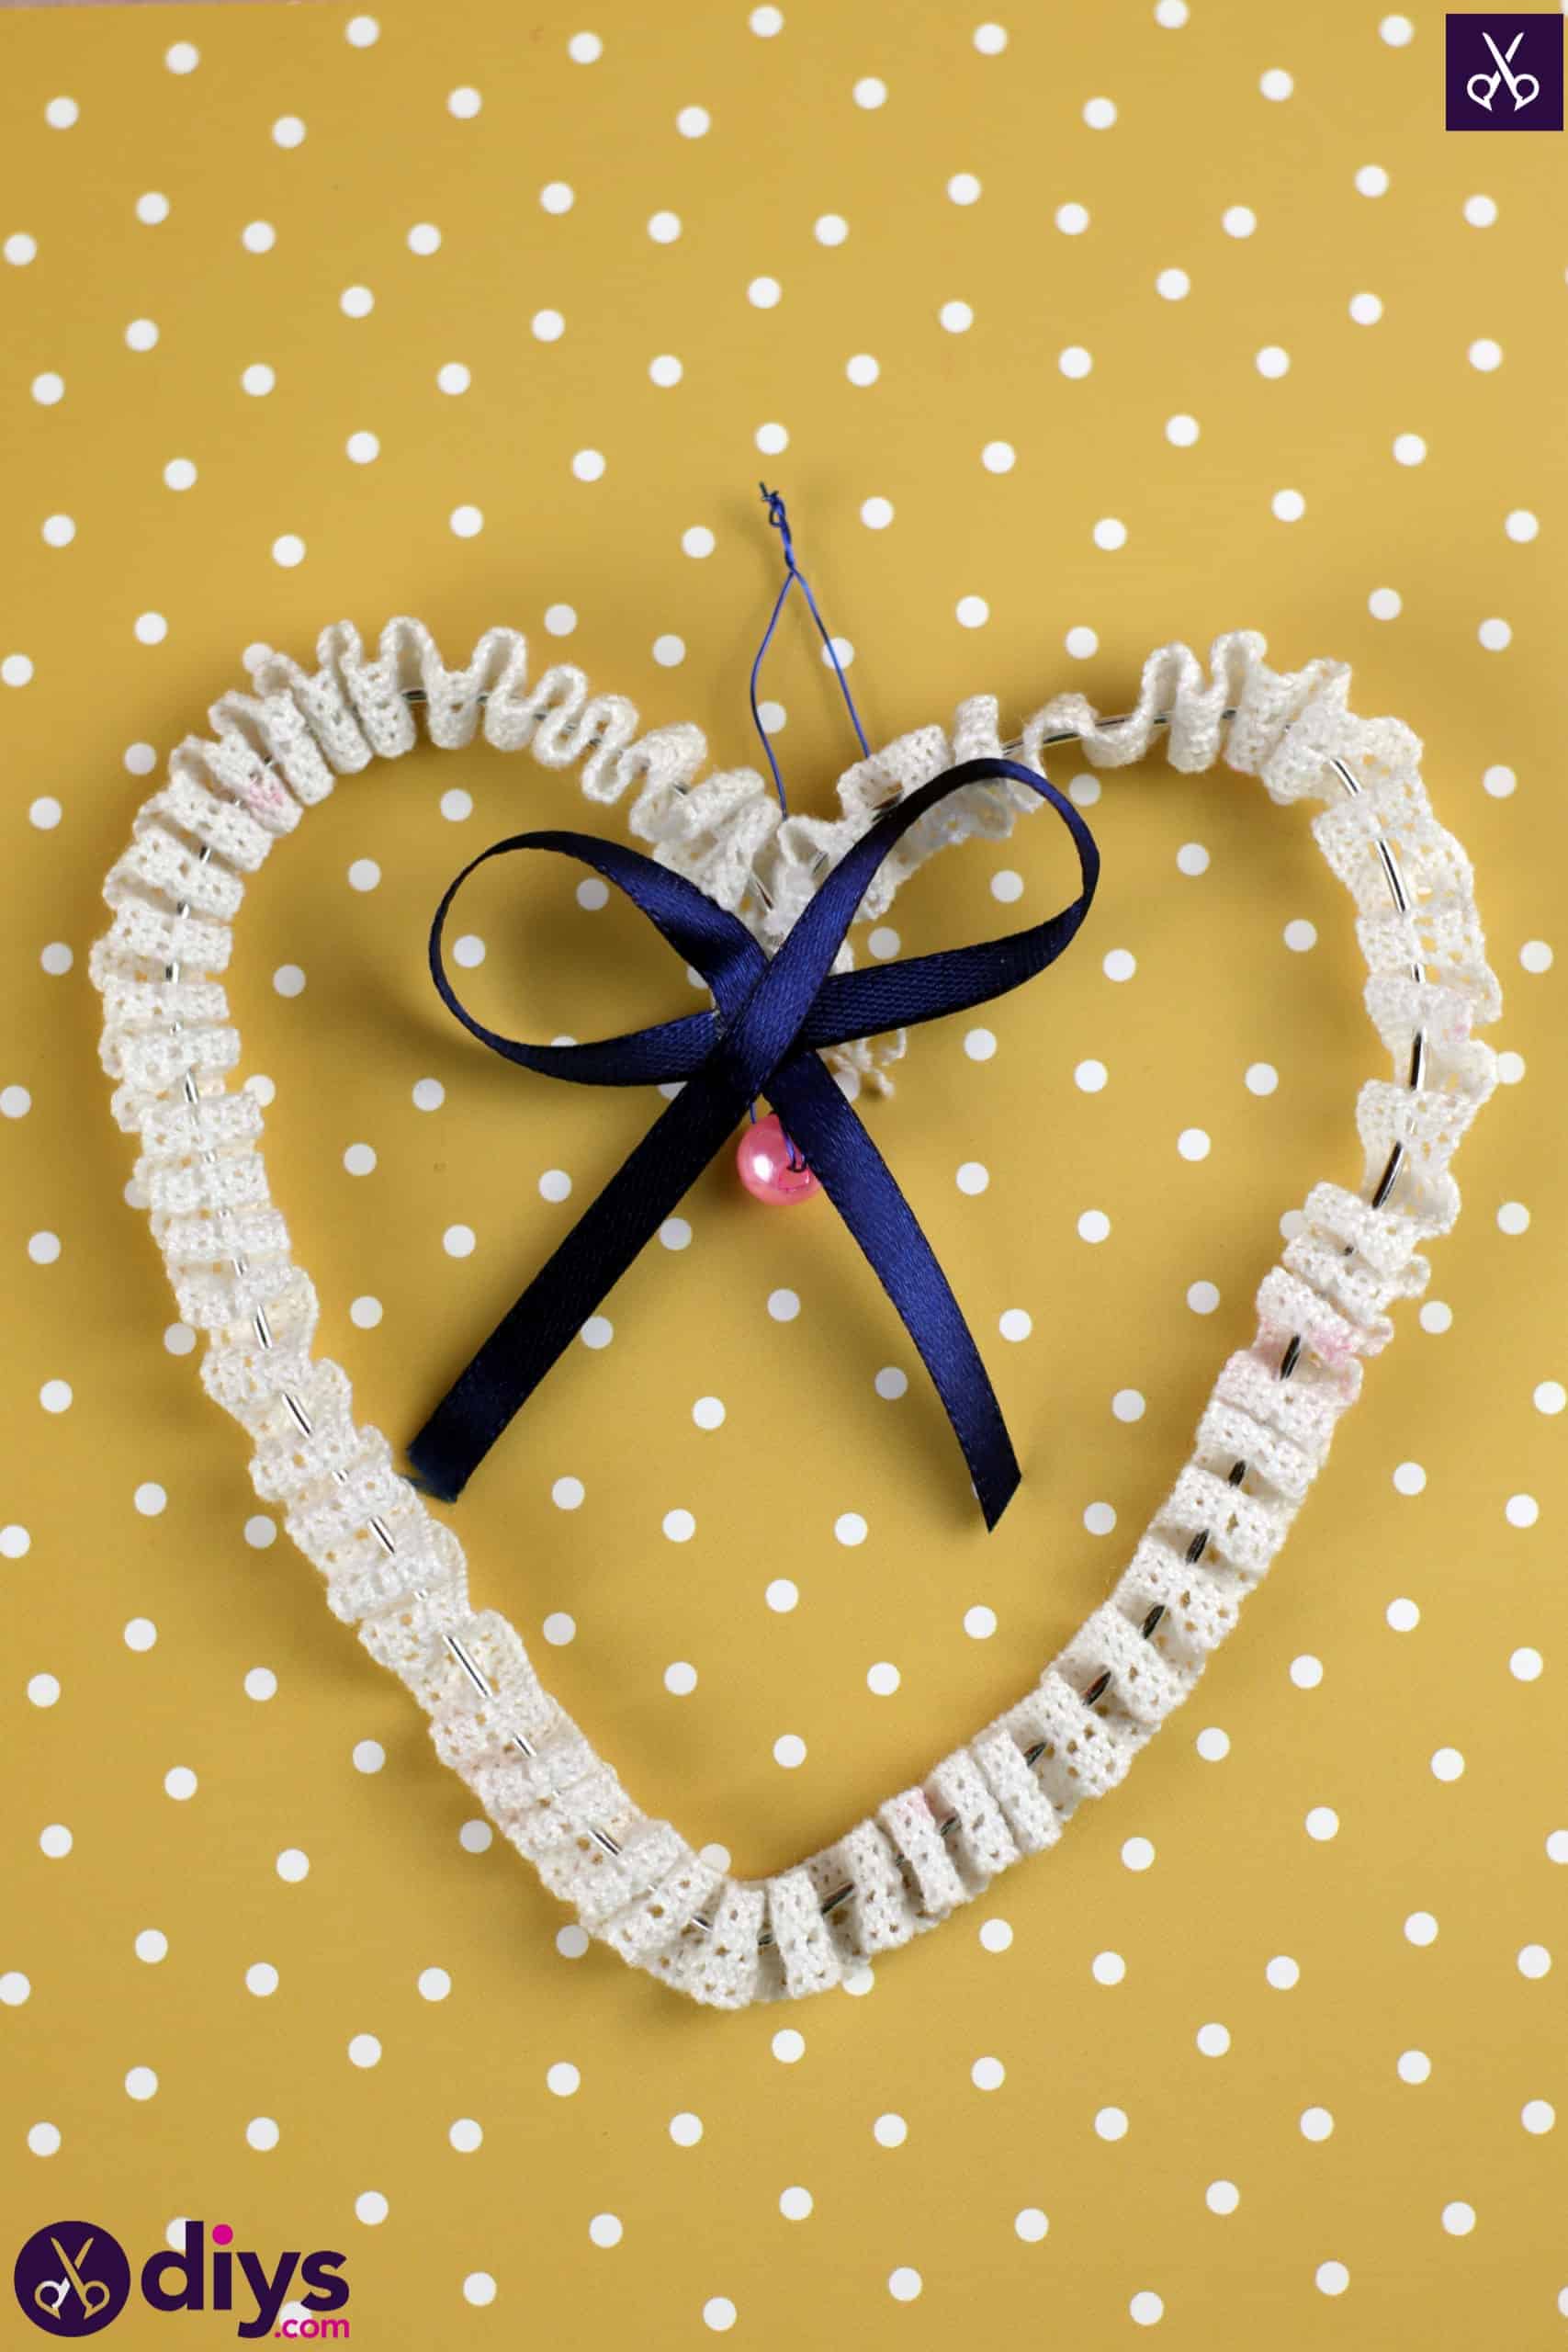
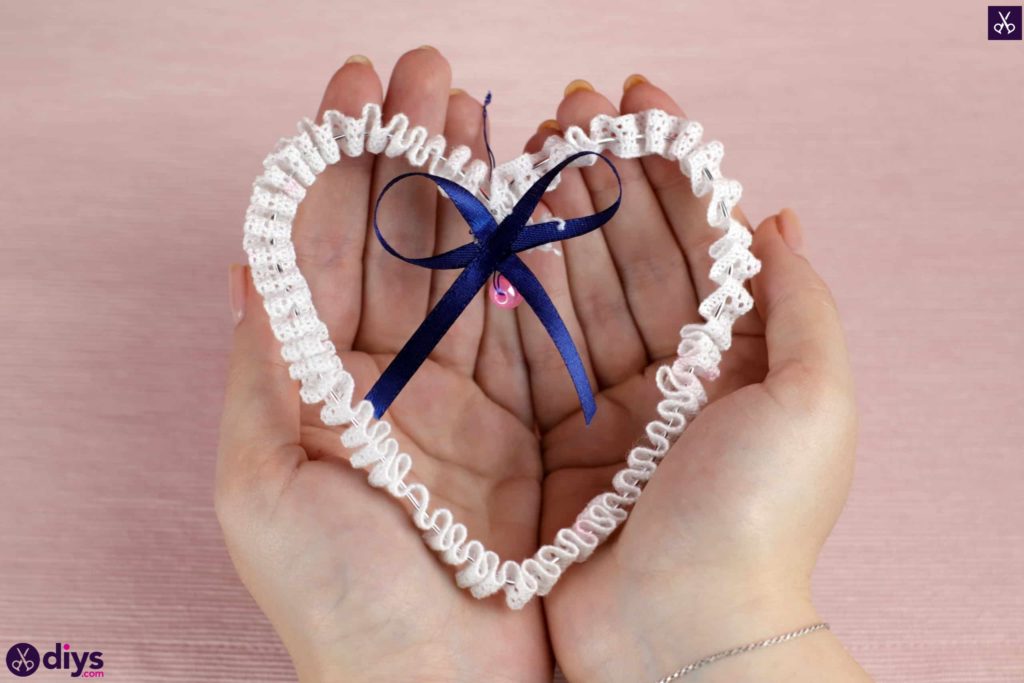
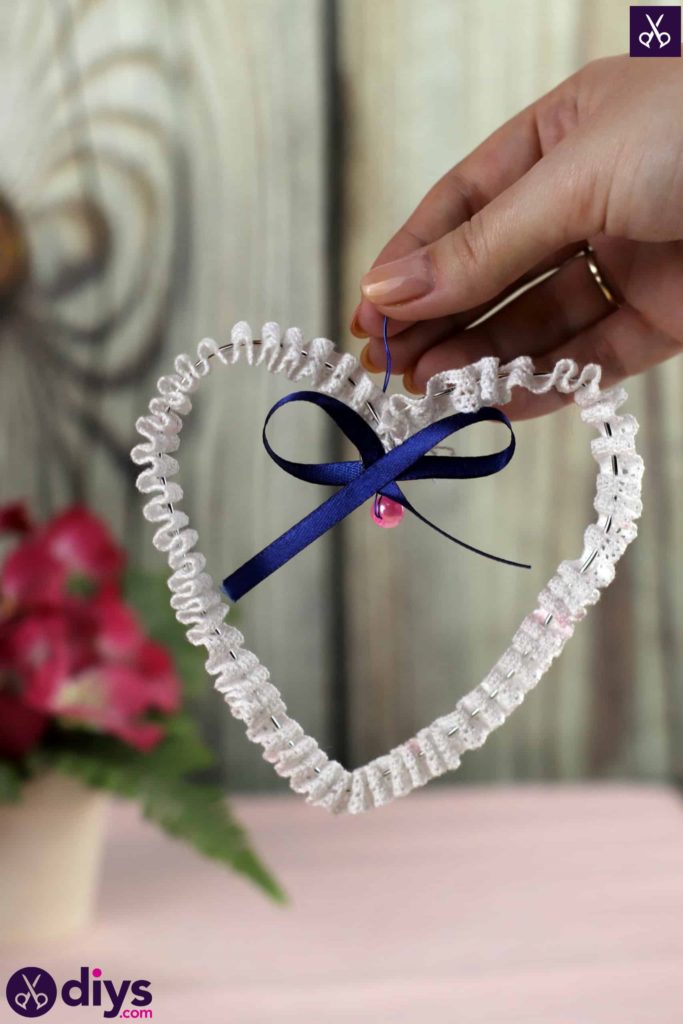
Apply hot glue to the back of your blue bow and stick it down in place in the centre, so it sits right above the pearl and completes the look.
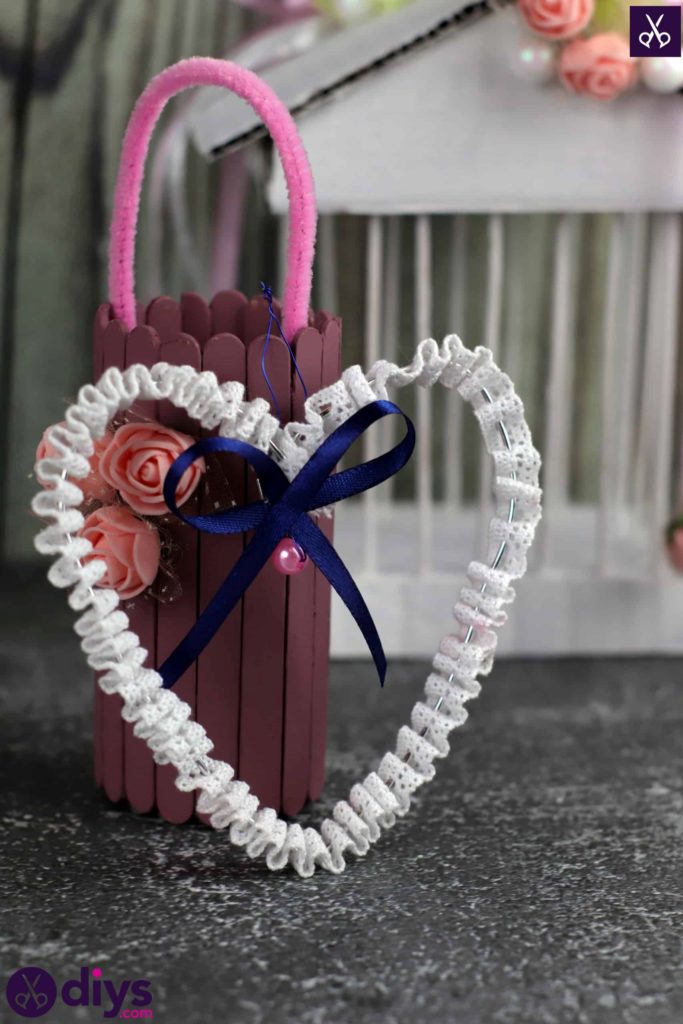
That’s really all there is to it! Of course, you could use all different kinds and colours of lace, ribbon, or central bead, so feel free to get creative. Just in case you’d like to try this project out for yourself, here’s a fantastic tutorial video to help you!
