Swiss Chard Care: How to Grow And Harvest Chard
Swiss chard is the kind of vegetable you grow in your garden because it looks good and tastes even better. The leaves are bright green and it’s best eaten fresh. Maybe that’s why you won’t find it in your supermarket. It doesn’t store well, so the only way to have these delicious veggies is to grow them in your garden.
You can grow Swiss chard in a container or in the garden. It doesn’t take much experience nor care. Even for a vegetable, the chard is a hardy plant that can tolerate both cold and hot weather. Not only that, but it has a long lifespan and will stay looking green and fresh in your garden throughout the spring and summer.
As we’ll see, you can also grow it in the fall. But if you have an early frost, that could kill the Swiss chard. Of course, once you harvest it, you’ll need to consume it fresh. But you don’t have to harvest the whole crop at once. Just gather as much as you need and leave the rest growing brightly in the garden for another day.
Swiss Chard Varieties
When you go shopping for chard seeds, you’d be surprised at the number of varieties available. Swiss chard, as it turns out, comes in different shapes and colors, let alone flavors. Some have smooth green leaves while others have wrinkled up or puckered leaves with pink vines. As you can imagine, they also taste differently. Here are some of the most popular Swiss chard varieties.
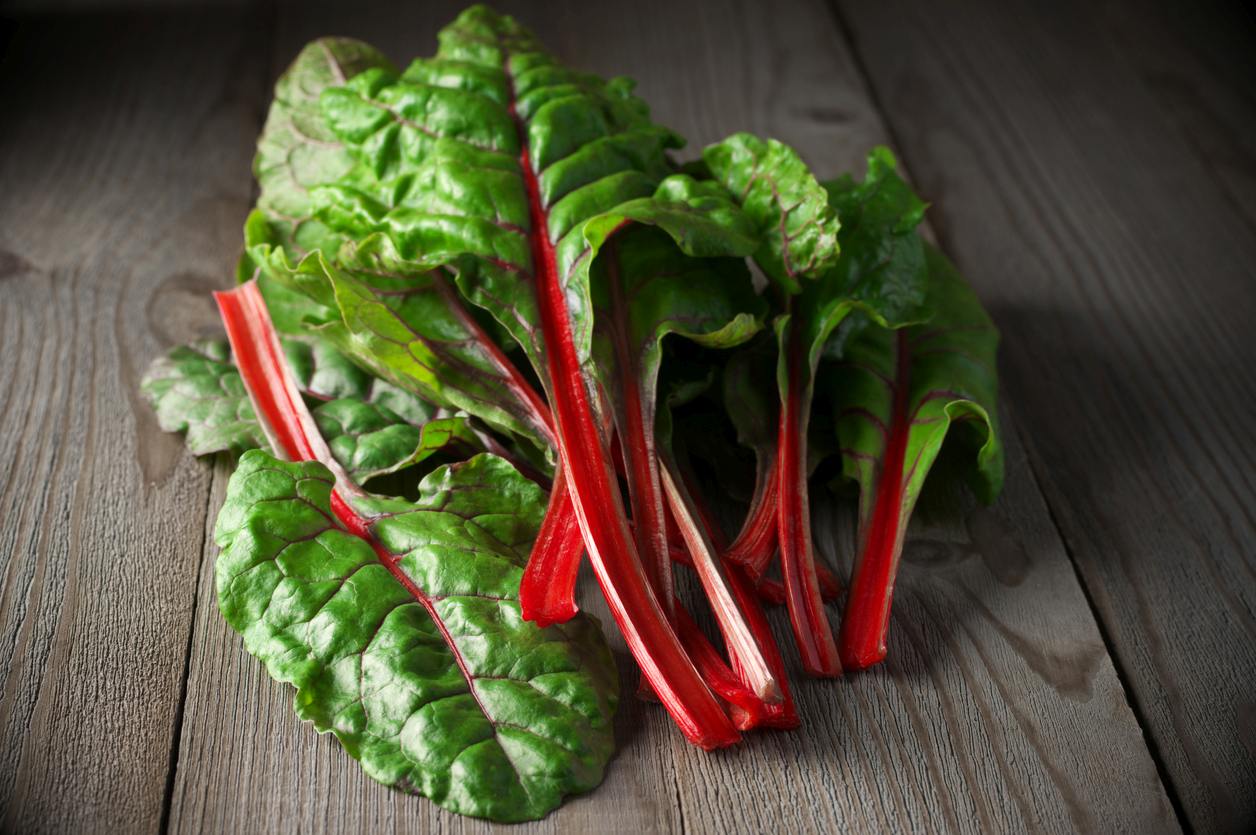
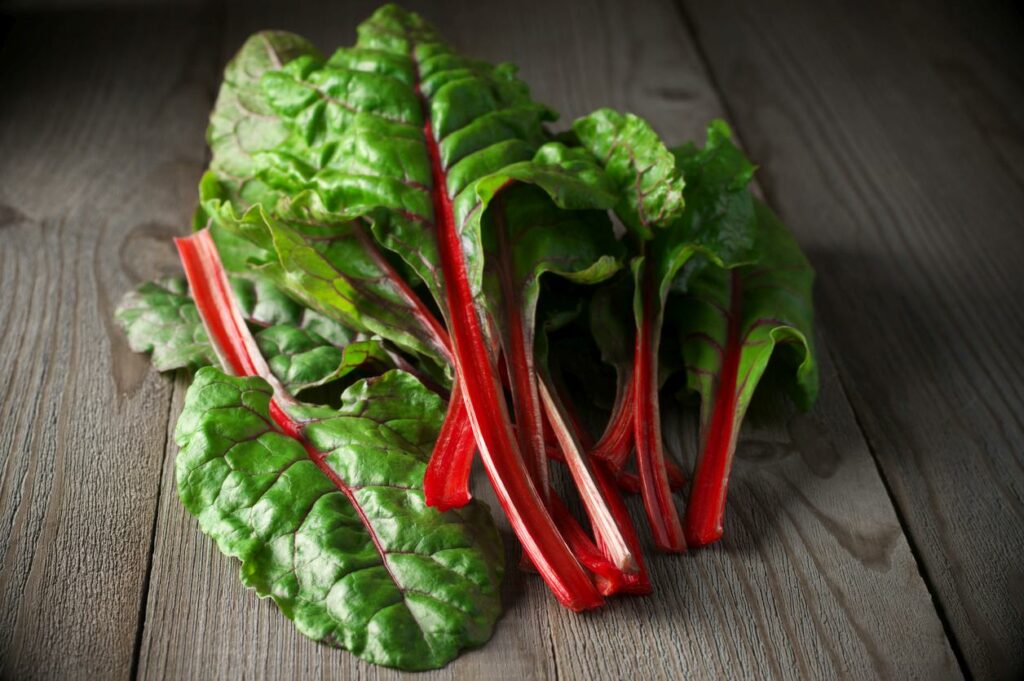
- Bright Lights: A popular cultivar with deep red stems and dark green leaves. It has an exotic look about it and many people grow it for its ornamental value. It doesn’t taste that good even when you harvest it young. The mature plant grows to 20 inches.
- Orange Fantasia: One of the smaller varieties averaging between 8 and 10 inches. It grows best in containers and offers a nice show of colors. The stems are usually bright orange and the leaves are lush green.
- Lucullus: Another giant that tops 24 inches with ease. However, this one stays juicy and keeps its flavors even when fully mature. Another advantage this cultivar has is that it handles the changes in the weather much better than other varieties.
- Ruby: Named after the long deep red stems, this cultivar thrives in the summer and early fall. It prefers the hot weather so once the temperature drops that will be the end of it. The leaves are dark green and edible. Although it’s mainly grown as an ornamental plant. Those long stems reach about 24 inches, so this is not a plant for a container.
- Fordhook: You can grow this variety in a container or in the garden. It grows to 10 inches high and has lush green leaves. The juicy leaves are tasty and what it lacks in looks, it makes up for in flavors.
- Fordhook Giant: A large variety of Fordhook that grows to 24 inches. If you want to eat the leafy veggies, you’ll have to harvest it before it reaches its full length. The mature plant loses is almost inedible and hard to chew.
How to Grow Swiss Chard
Not all these varieties can handle the same weather conditions equally well. As we have seen some cultivars are best suited for the summer months while others thrive in hot and cold seasons alike. So it’s best to check about the best time to grow your seeds before you buy them. Here’s how to grow Swiss chard from seeds in easy steps.
- On average, the soil temperature should be at least 50 degrees Fahrenheit for the seeds to germinate. This means that you should wait a few weeks after the last frost before you plant the chard seeds.
- You can start the seeds indoors about 4 weeks before the last frost and transport them outdoors later when it gets warm.
- Give the seeds the water test first. Fill a bucket or a container with water and drop the seeds in it. Skim off the seeds that float and discard them.
- Soak the seeds for 24 hours before planting to help them germinate.
- Select a large container with plenty of drainage holes at the bottom.
- Fill the pot with a general-purpose potting mix with plenty of organic materials.
- Place the seeds in the soil carefully and cover them with a thin layer of soil.
- Water the soil until wet and keep the container in a warm place away from direct sunlight or drafts.
- Cover the container with plastic to maintain the temperature of the soil.
- After the seeds germinate, thin the plants keeping only the strong and healthy seedlings.
- About 2 weeks after the last frost you can transport the seedlings out to the garden.
- Prepare the bed in rows about one foot apart.
- Use a spade to dig up each seedling with a clump of soil around the roots.
- Dig a hole in the row as deep as the root ball of the seedling and place it in it.
- Space the seedlings about 20 inches apart.
- Water the soil and keep it moist until the chard plants establish.
Swiss Chard Care
Caring for Swiss chard is not more demanding than any other vegetable. One thing you should keep in mind though is that the more you harvest it, the better it grows. So that small batch of chard will keep your kitchen stocked up with fresh and delicious veggies all season.
Soil
Unlike many other veggies that you grow in your garden, the Swiss chard prefers slightly acidic soil. But even neutral soil will do as long as it’s well-drained and well-aerated. Test the soil before you plant it and make sure the pH is between 6 and 6.4. You can add lime or perlite to adjust those levels. If the soil is poor, you will need to add plenty of organic materials. This improves the flavor and taste of the juicy leaves. Chemical fertilizers might have an adverse effect on the taste.
Water
Whether you’re growing your chard variety for its bright colors or as an edible veggie, you’ll need to pay attention to its water requirements. Swiss chard prefers moist soil over the waterlogged one. When you irrigate it, sprinkle the water enough to get the soil a little wet. In the summer months, this would require watering the plants about twice a week. Watch out for signs of dehydration such as wilting stems or yellow leaves. Overwatering could lead to root rot which is a common issue with vegetables growing in clay or dense soil.
Pests and Diseases
For the most part, the pests and diseases you’ll encounter are often the results of bad irrigation, poor soil, or lack of space between the plants. Common insects that feed on Swiss chard include aphids, slugs, leafminer, blister beetle, flea beetle, tarnished plant bug, and beet leafhopper. Since this is a veggie batch, you won’t be able to use pesticides even if you grow chard for ornamental purposes. It’s usually best to treat the pests with neem oil as a safe way to eliminate them.
As for diseases, they’re either caused by bacteria, fungus, or bad weather or soil conditions. The most common ones are the following.
- Fungal infections: These include Cercospora leaf spot, powdery mildew, downy mildew, and seedling blight. None of these are fatal to the plant except for the seedling blight which happens in the early stages and could kill the seedling.
- Root rot: A common problem that occurs when you use poor-drainage soil or you tend to overwater the plants. Chard prefers moist soil so water regularly but only enough to get the soil moist.
- Curly top: A disease caused by pathogens in the soil. Beet leafhoppers are the main carriers of this pathogen and it affects both the roots and leaves of the plant. You should remove any infected chards and get rid of them before it spreads to the rest of the plants.
Companion Plants
Swiss chard is a friendly veggie that grows well with other non-competing plants. You can plant it with cabbage, radishes, broccoli, and Brussels sprouts without any issues. Just make sure each plant has enough space to avoid competing over food and nutrition. Many gardeners also grow it with lettuce, sweet alyssum, mint, chamomile, and coreopsis. These attract pollinators and other birds that feed on pests. So this keeps your chards healthy throughout their life.
That said, you should never grow chard with other plants such as cucumber, melon, potatoes, pumpkins, or corn. These veggies are very competitive and chard will not survive alongside them.
Harvesting Swiss Chard
Many Swiss chard varieties are edible right before maturity. That’s when they have the most flavors and the leaves are still juicy and tender. This of course depends on what cultivar you grow in your garden. The good news is, chard likes to be harvested often since that triggers new growth. It’s the same as pruning a perennial to encourage the plant to develop new shoots.
The best time to harvest chard is in the early morning. Once the stalks are about 6 inches or less, they’re ready to harvest. Use clean pruning scissors to harvest the leaves. Always start with the outer leaves and work your way to the inner ones. You should cut about one inch above the soil to allow the chard to grow new leaves quickly.
Toward the end of the season, you can dig up the whole plant with the roots to prevent it from growing and sucking up the nutrition in the soil. Experts recommend that you rotate chard in the garden since rich soil gets depleted quickly if you grow it back to back.

