Colorful Summer Dotted Nails
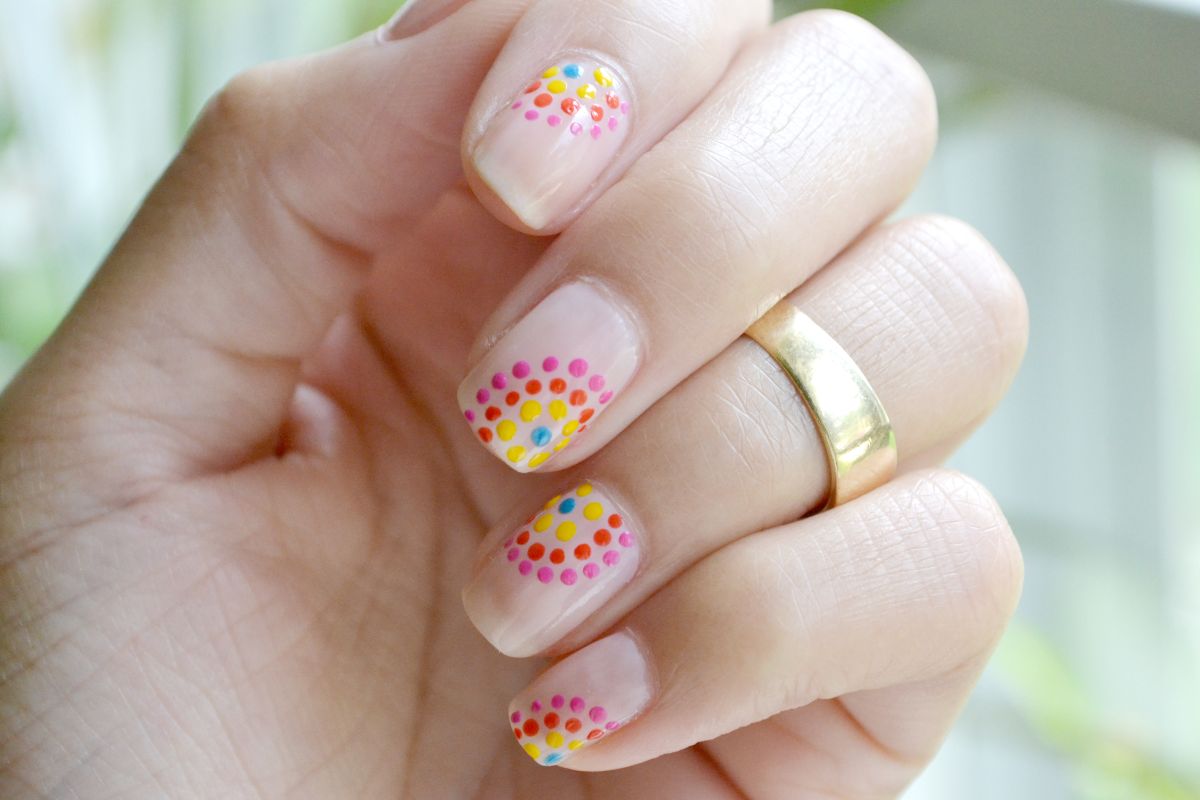
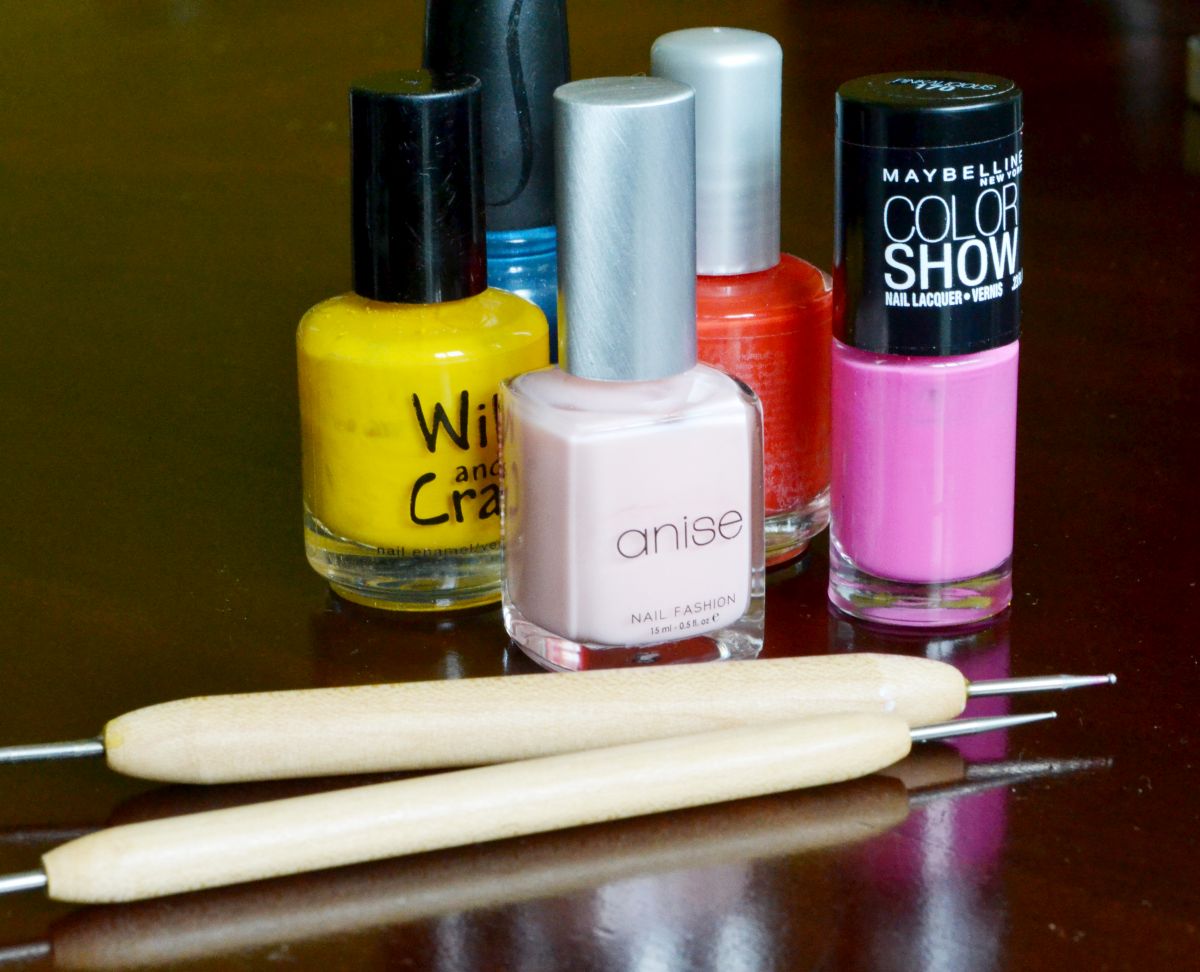
Hello ladies and welcome Summer (well, almost)! To kick off the season, I thought I’d show you a fun, festive and bright nail tutorial that is super easy. I found a similar nail design on Pinterest, but decided to change the colors up a bit. For this look, all you’ll need is a nail dotting tool, and your favorite bright polishes.
You can find a dotting tool at any local beauty supply store but if you want do this look right now, you can whip out a bobby pin and that will work too. Use the two, round ends of the bobby pin to dot your nails. The dotting tool you buy should have head sizing options which determine the size of the dots on your nail. One end should have a larger tip and the other end having a smaller tip. Choose whichever tip to use based off your nail size and the look you want. Then pick out your polishes. I chose a variety of nail polishes, but I do what to highlight Anise “Flirty Lace”, which is the nude/pink base color I used, and Maybelline’s “Pinkalicious,” for some of the dots.
Follow along to create your summer, dotted nail look!
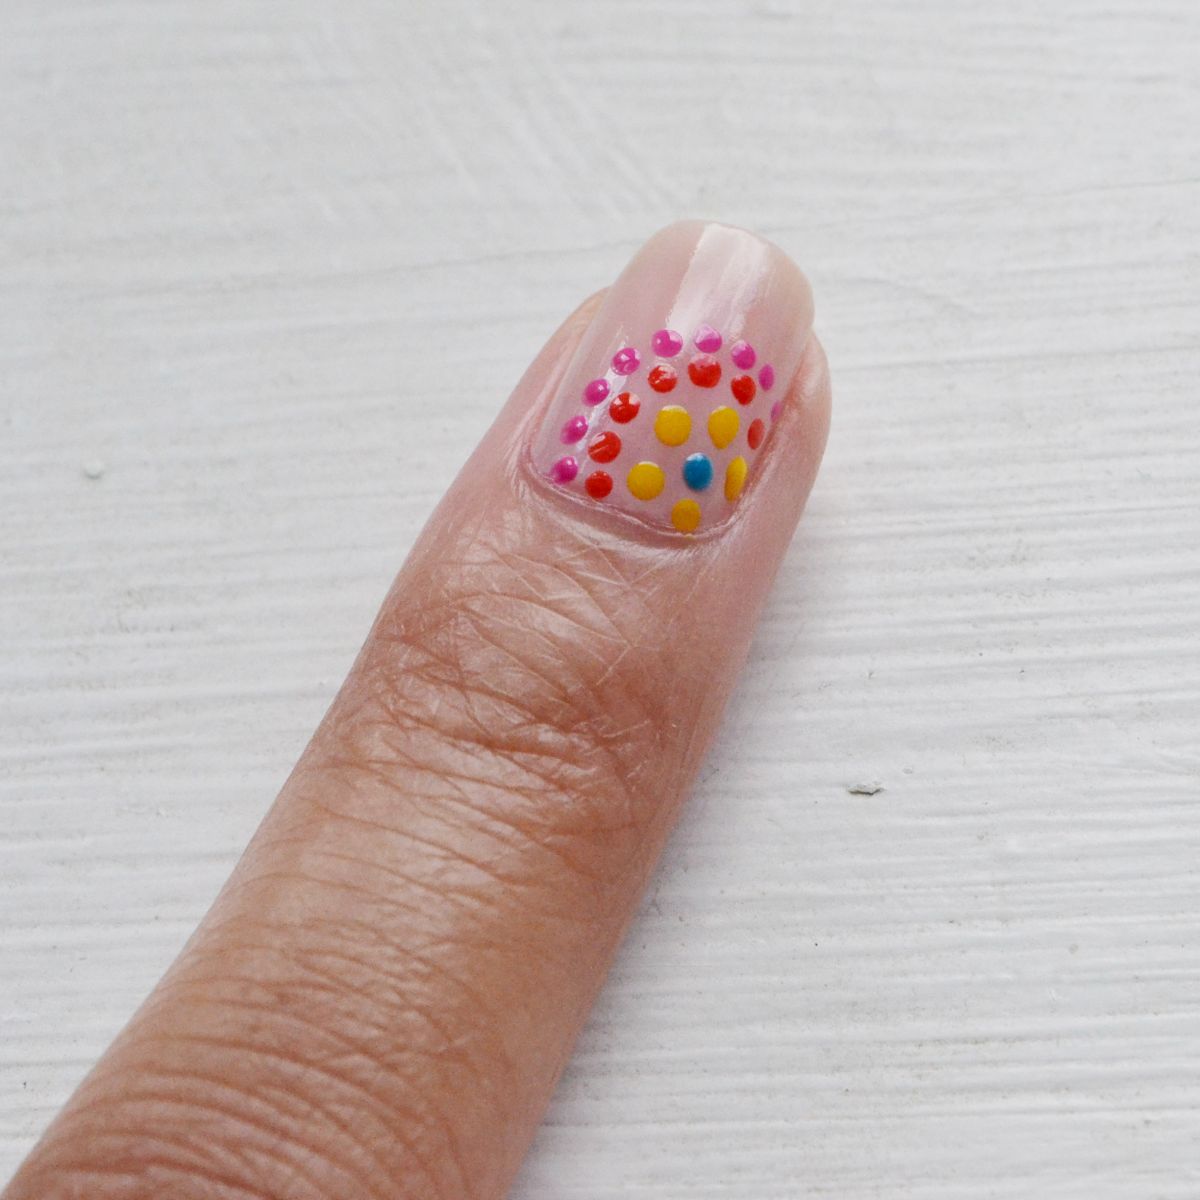
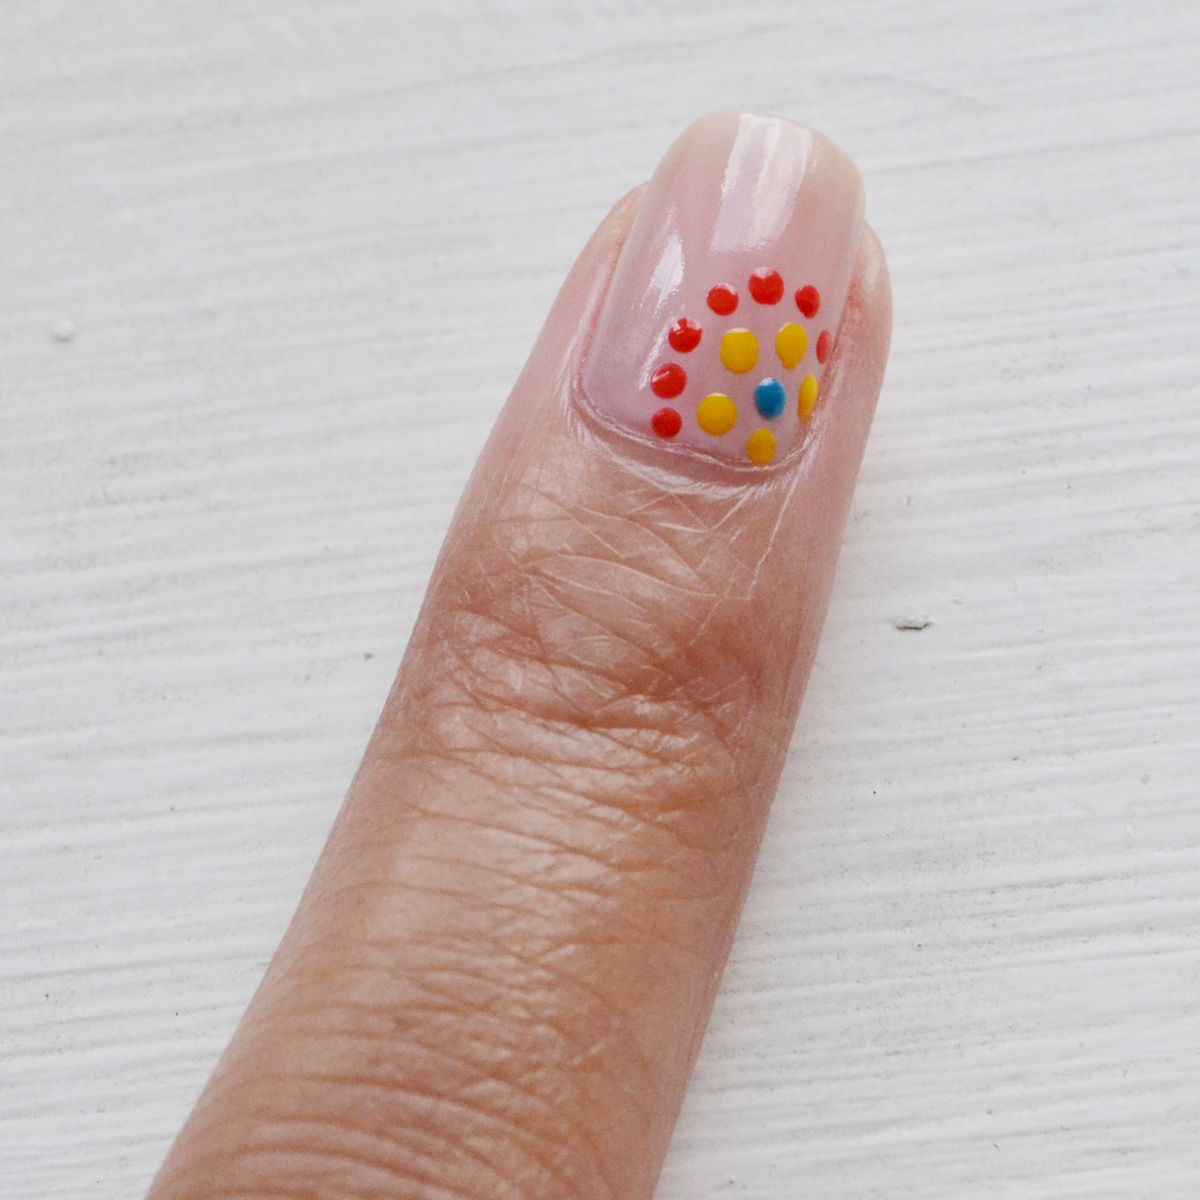
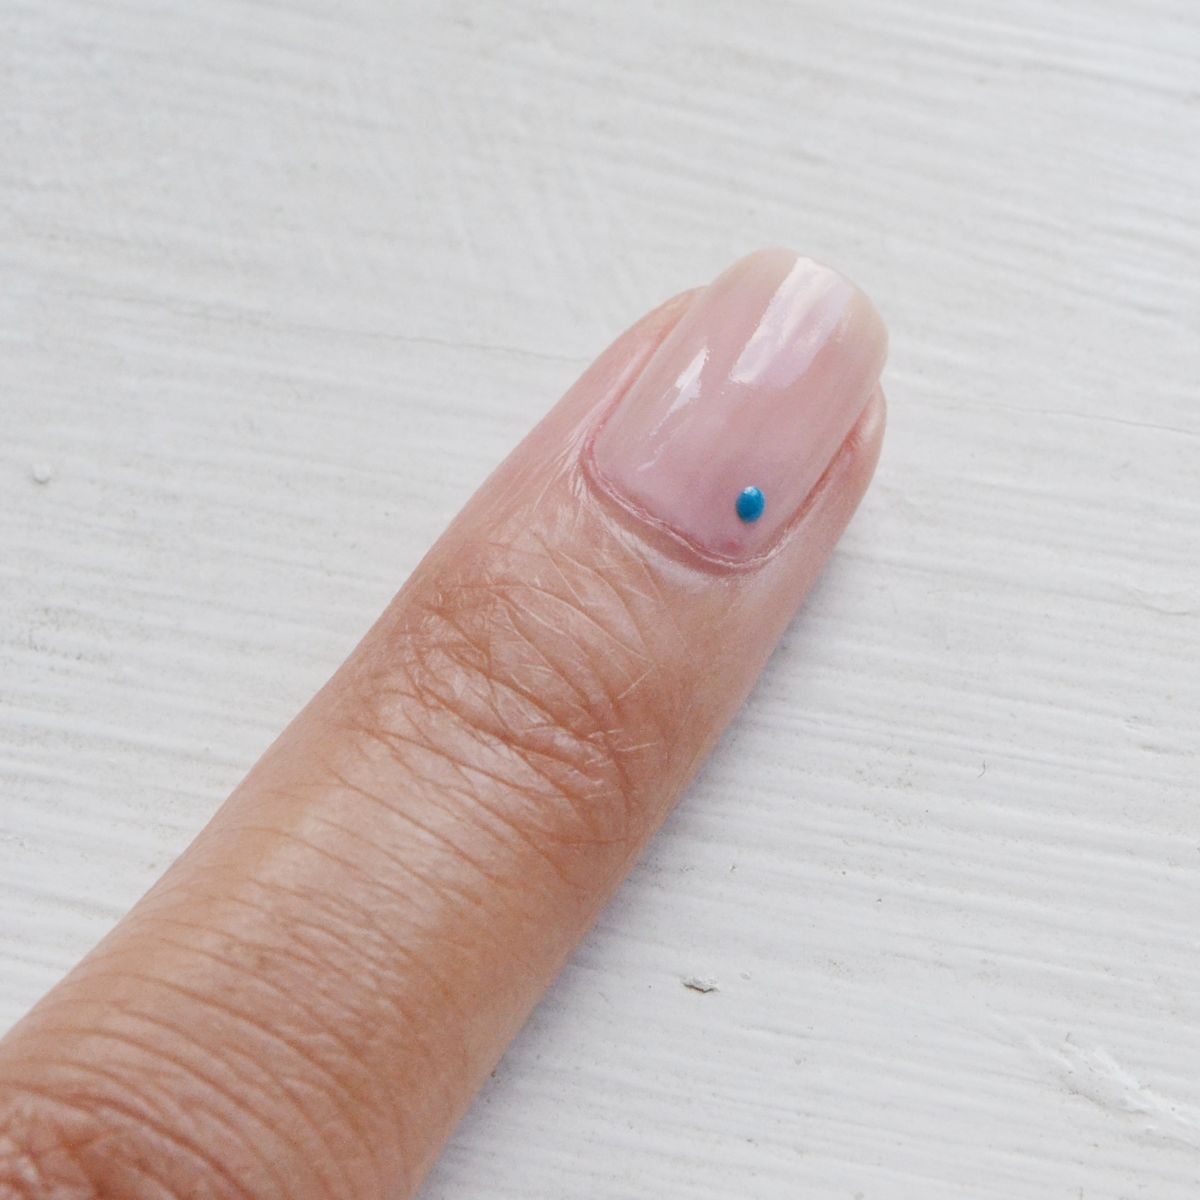
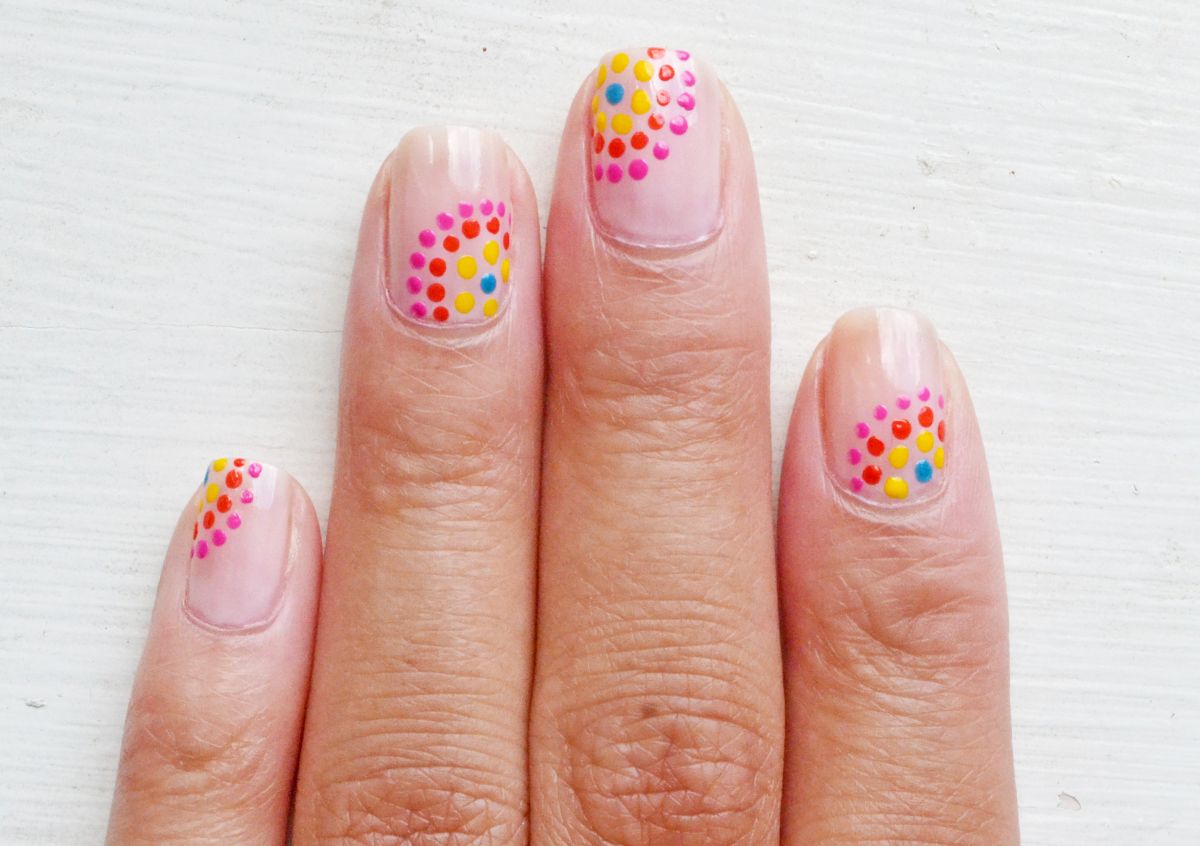
Start by polishing your full nail with one color. I chose a pale pink for this design. Make sure your nails are fully dry before applying the dots. Dip your dotting tool in the nail polish and apply it to the nail as shown. Continue dotting, changing colors, and create a circular pattern around the first dot created.
I love that you don’t have to wait for the dots to dry while applying each color. You can work fast (but carefully). Add layers of color; or you can even take the dots all the way up the nail! Let your nails completely dry before applying the top coat. Then you’re done!
I love this look! It was simple, fast and summer ready! Happy DIY!
