How To Make A Pinecone Wreath – Step By Step Tutorial
How about a simple project that doesn’t take long to make, and doesn’t cost much? Those are my favorite kinds of projects. Today I’m going to share how to make a pine cone wreath that you can use all year long. So let’s get started!
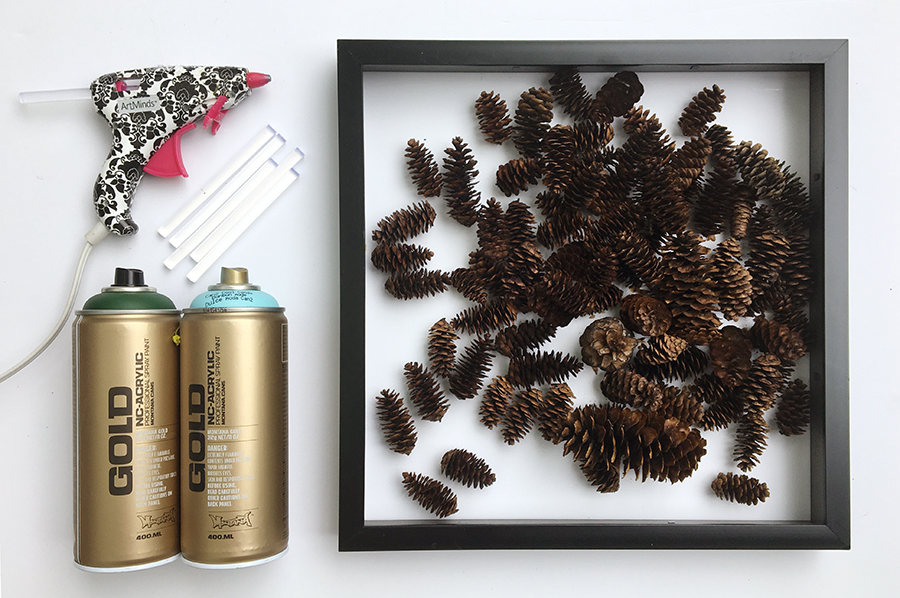
Here’s what you’ll need for a pinecone wreath:
- Pinecones (I used around 60 in varying sizes for a 14×14″ wreath)
- Square picture frame without the glass
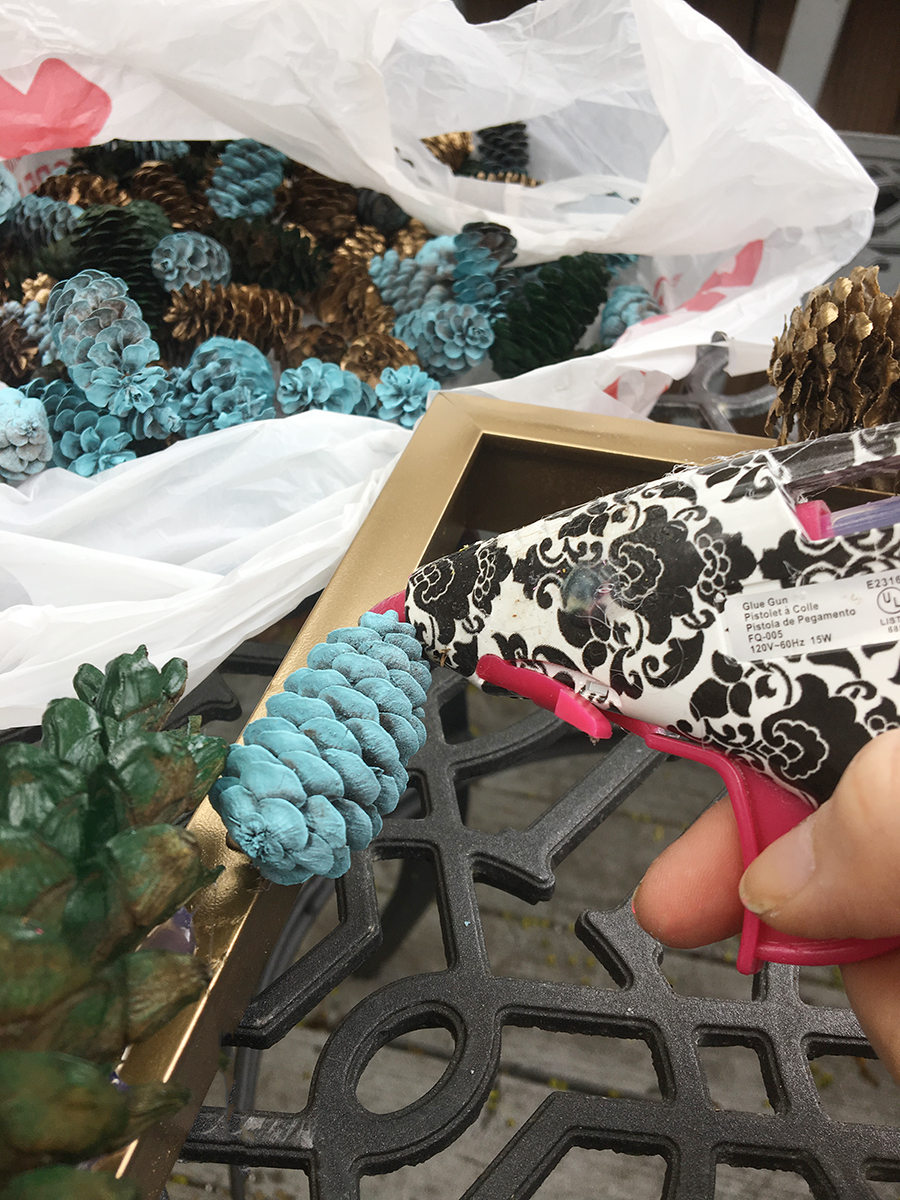
- Hot glue gun with extra glue
- Spray paint in a couple of colors
Directions to craft the pinecone wreath:
Step 1: Collect and bak pinecones
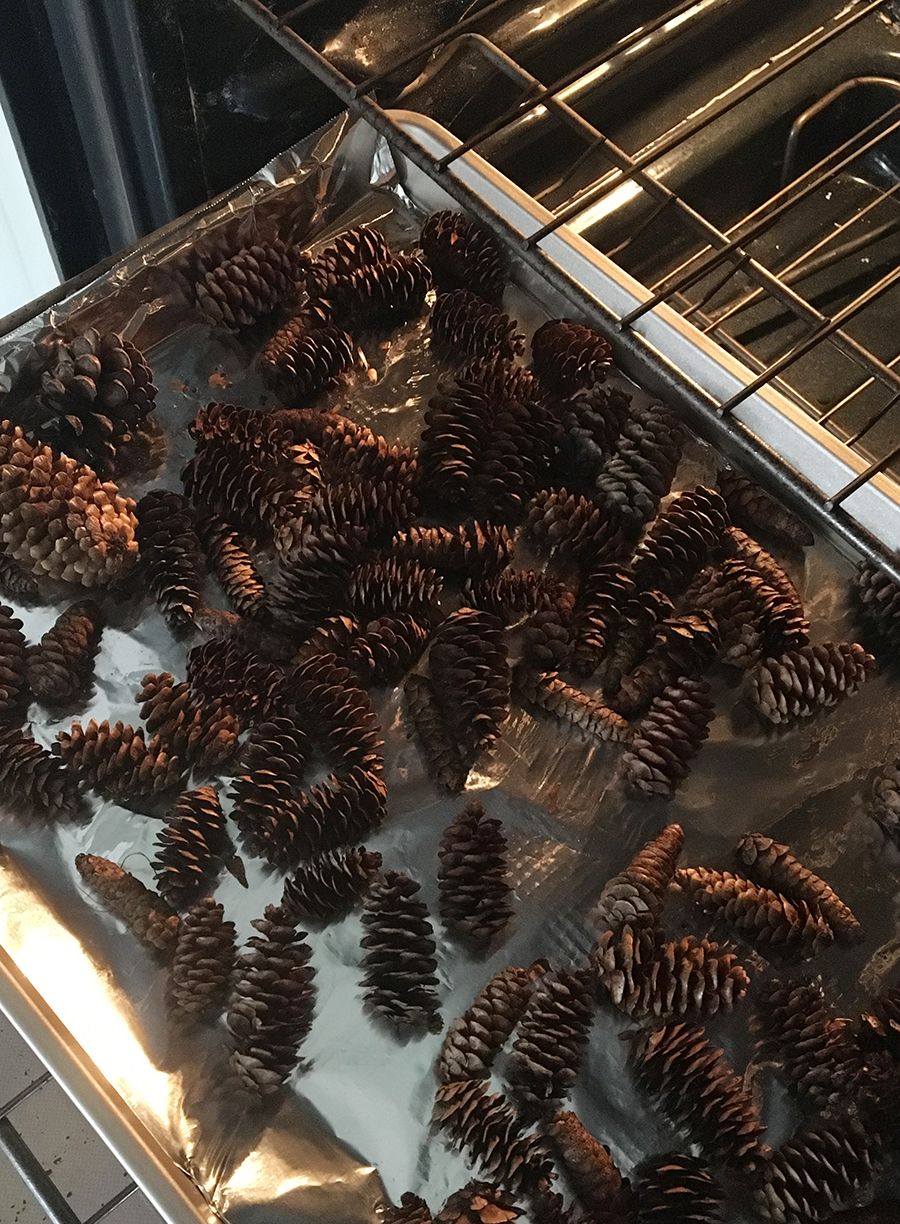
Begin by collecting your pinecones and baking them. This will help them open up and it will also kill any bugs that may be lurking inside. Put them on a foil-lined baking sheet and bake at 275 degrees for one hour, turning the pinecones every 15 minutes. Keep a very close eye on them to make sure they don’t burn!
Step 2: Spray paint
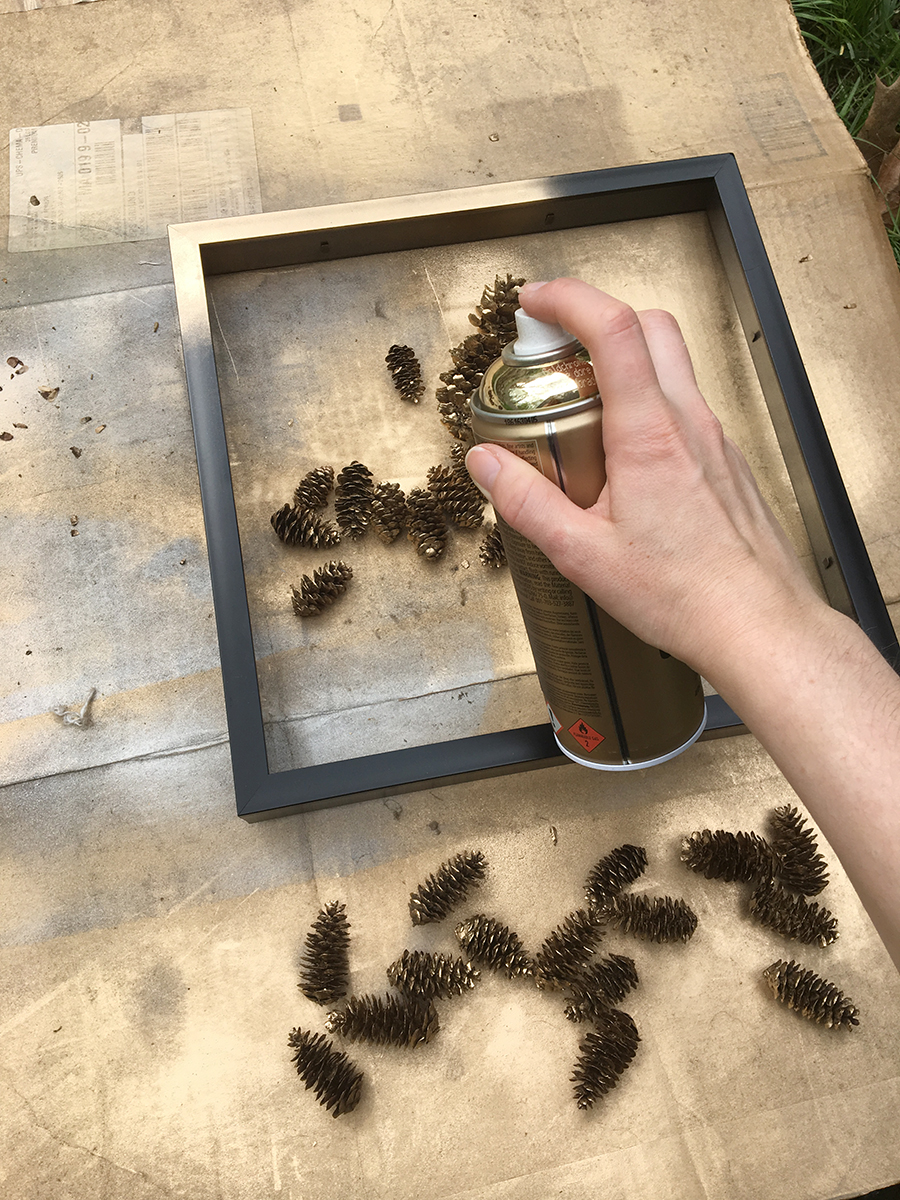
Next, it’s time to spray paint the pinecones once they cool off. Separate them into a few different piles, painting each a different color. They may need a couple of coats of paint.
Spray paint the frame as well.
Step 3: Glue process
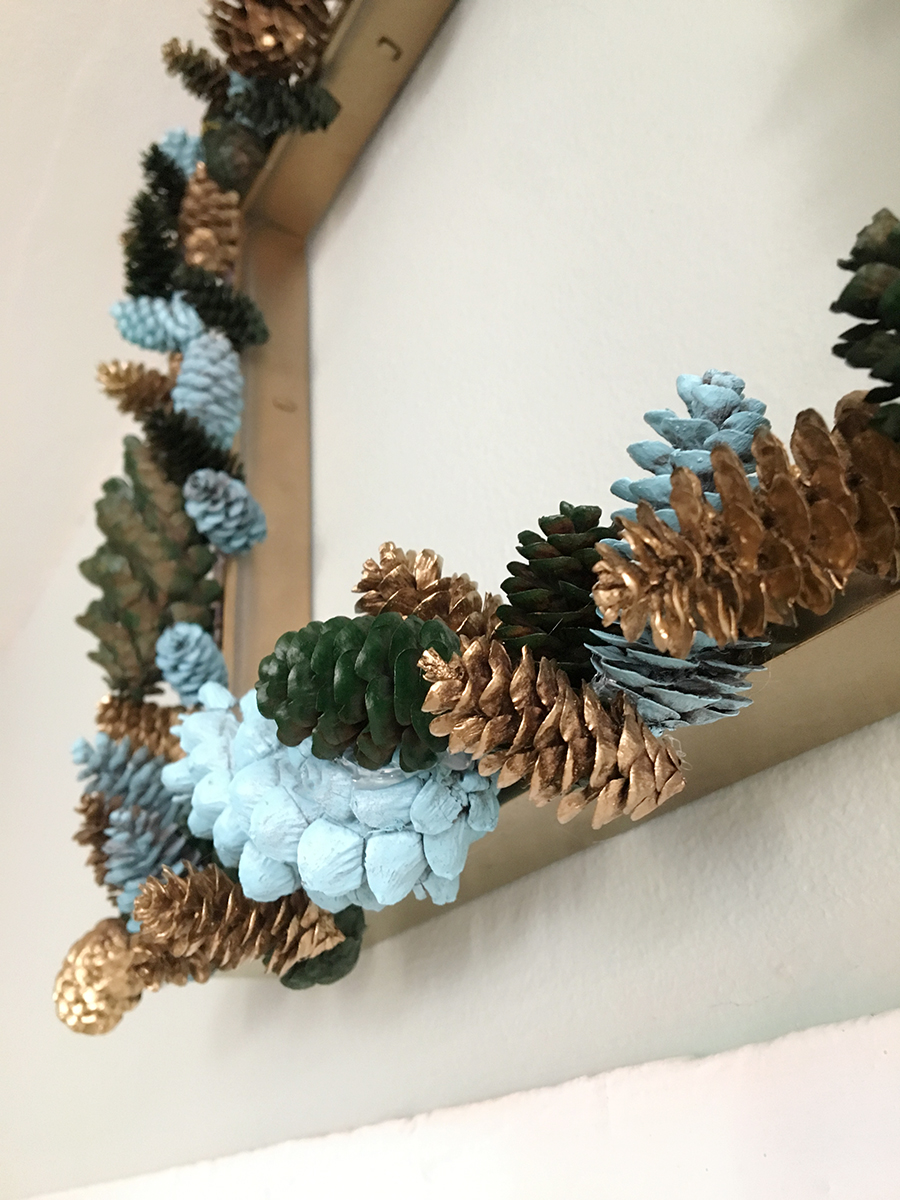
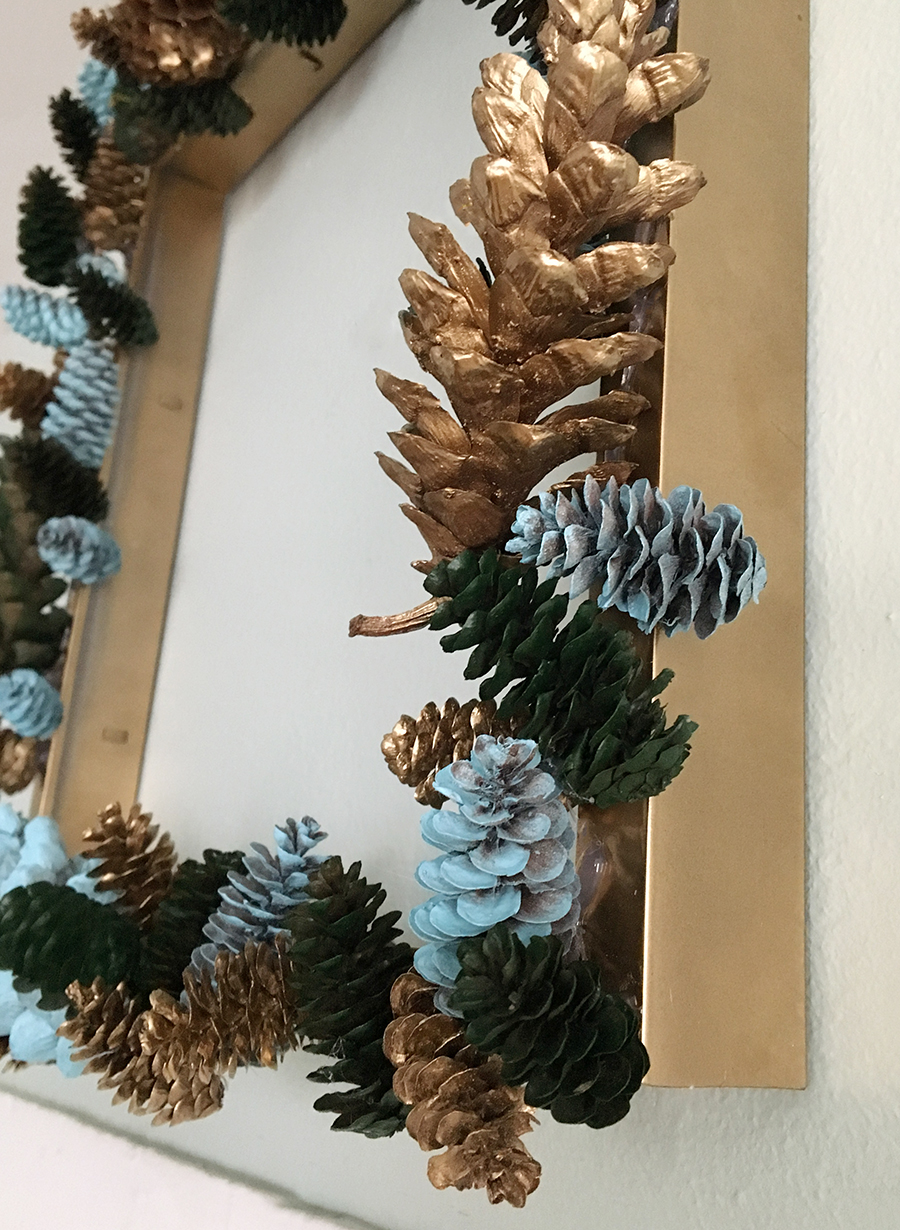
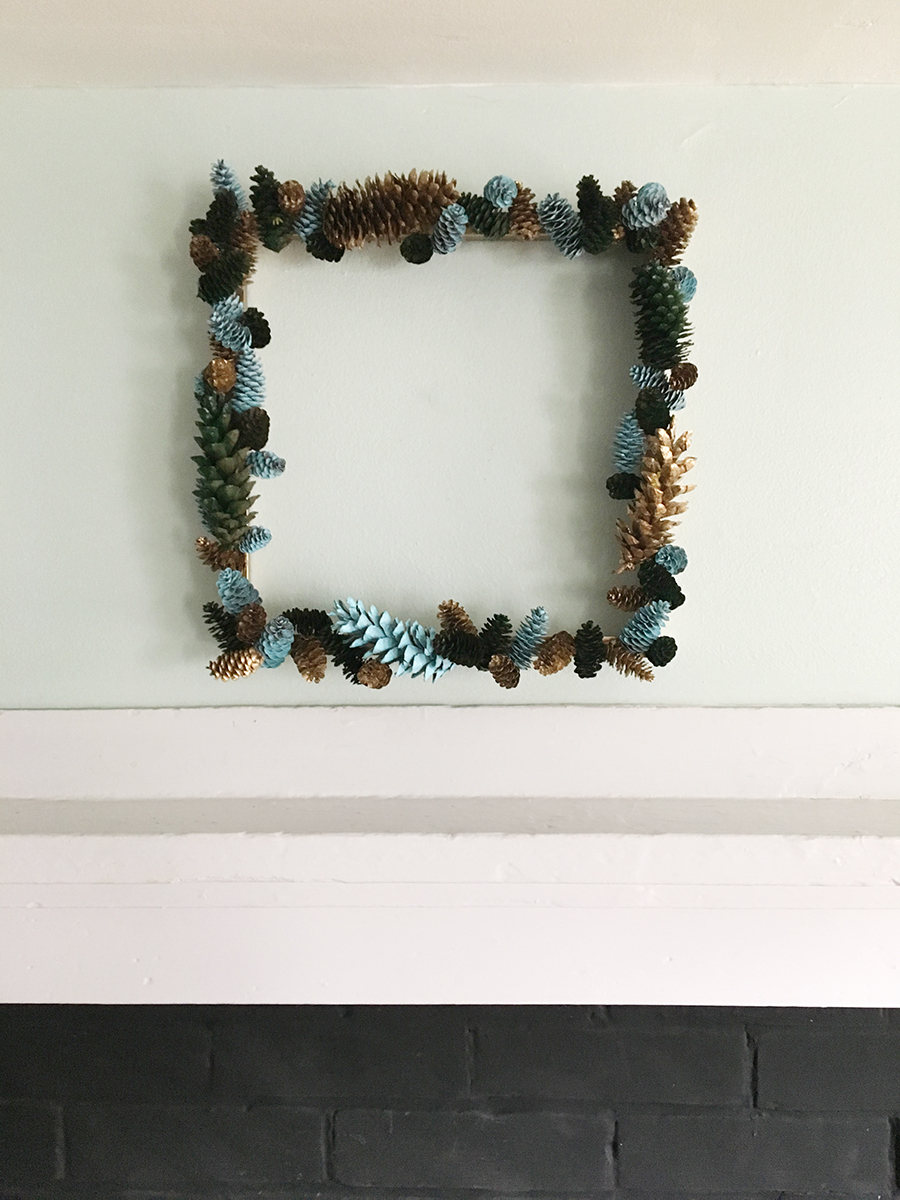
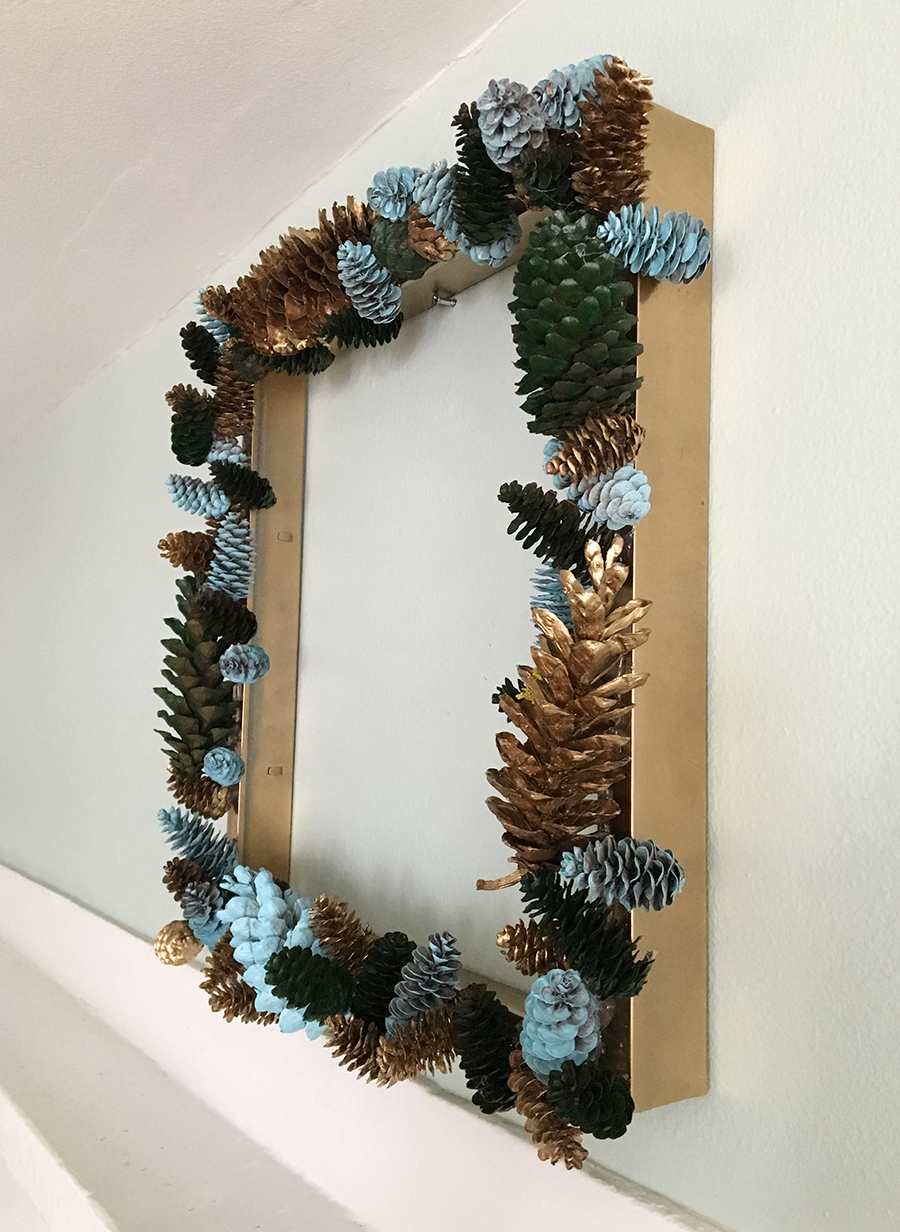
Once everything is dry, begin gluing the pinecones to the frame. Start by spreadingthe larger ones out around the frame, then fill in the spaces with smaller ones. Continue building up the wreath with more pinecones until it looks full. Remove any glue strings, and mount on the wall. See, I told you it was easy!
Step 4: Hang it
If you plan to hang this wreath outside, you may want to spray a sealer on it so it will stand up to the elements.
Conclusion
This would look great with any color combination, from all metallics to neon brights to pastels… it could be fun to mount it with a colorful ribbon too.Get creative with it! Happy crafting everyone!
