How to Make a Spider Web Decoration for Halloween
Our kids are the kind of avid little crafters who area ready to change the whole theme of their daily lives to spooky things themoment October hits, all in preparation for Halloween. That’s why I spend this time of year trying to think of and discover as many ideas as I can to get them making spooky things! This year, they’re rather obsessed with creepy crawlies, so I went fishing around our craft room for pipe cleaners and came out with string, popsicle sticks, and an idea too.
Just in case you’d like to learn how we made some awesome spider themed Halloween decor, here are the full instructions for making it happen, complete with photos! If you’re prefer to follow along with a video tutorial, keep scrolling to the end of this post and you’ll find one there.
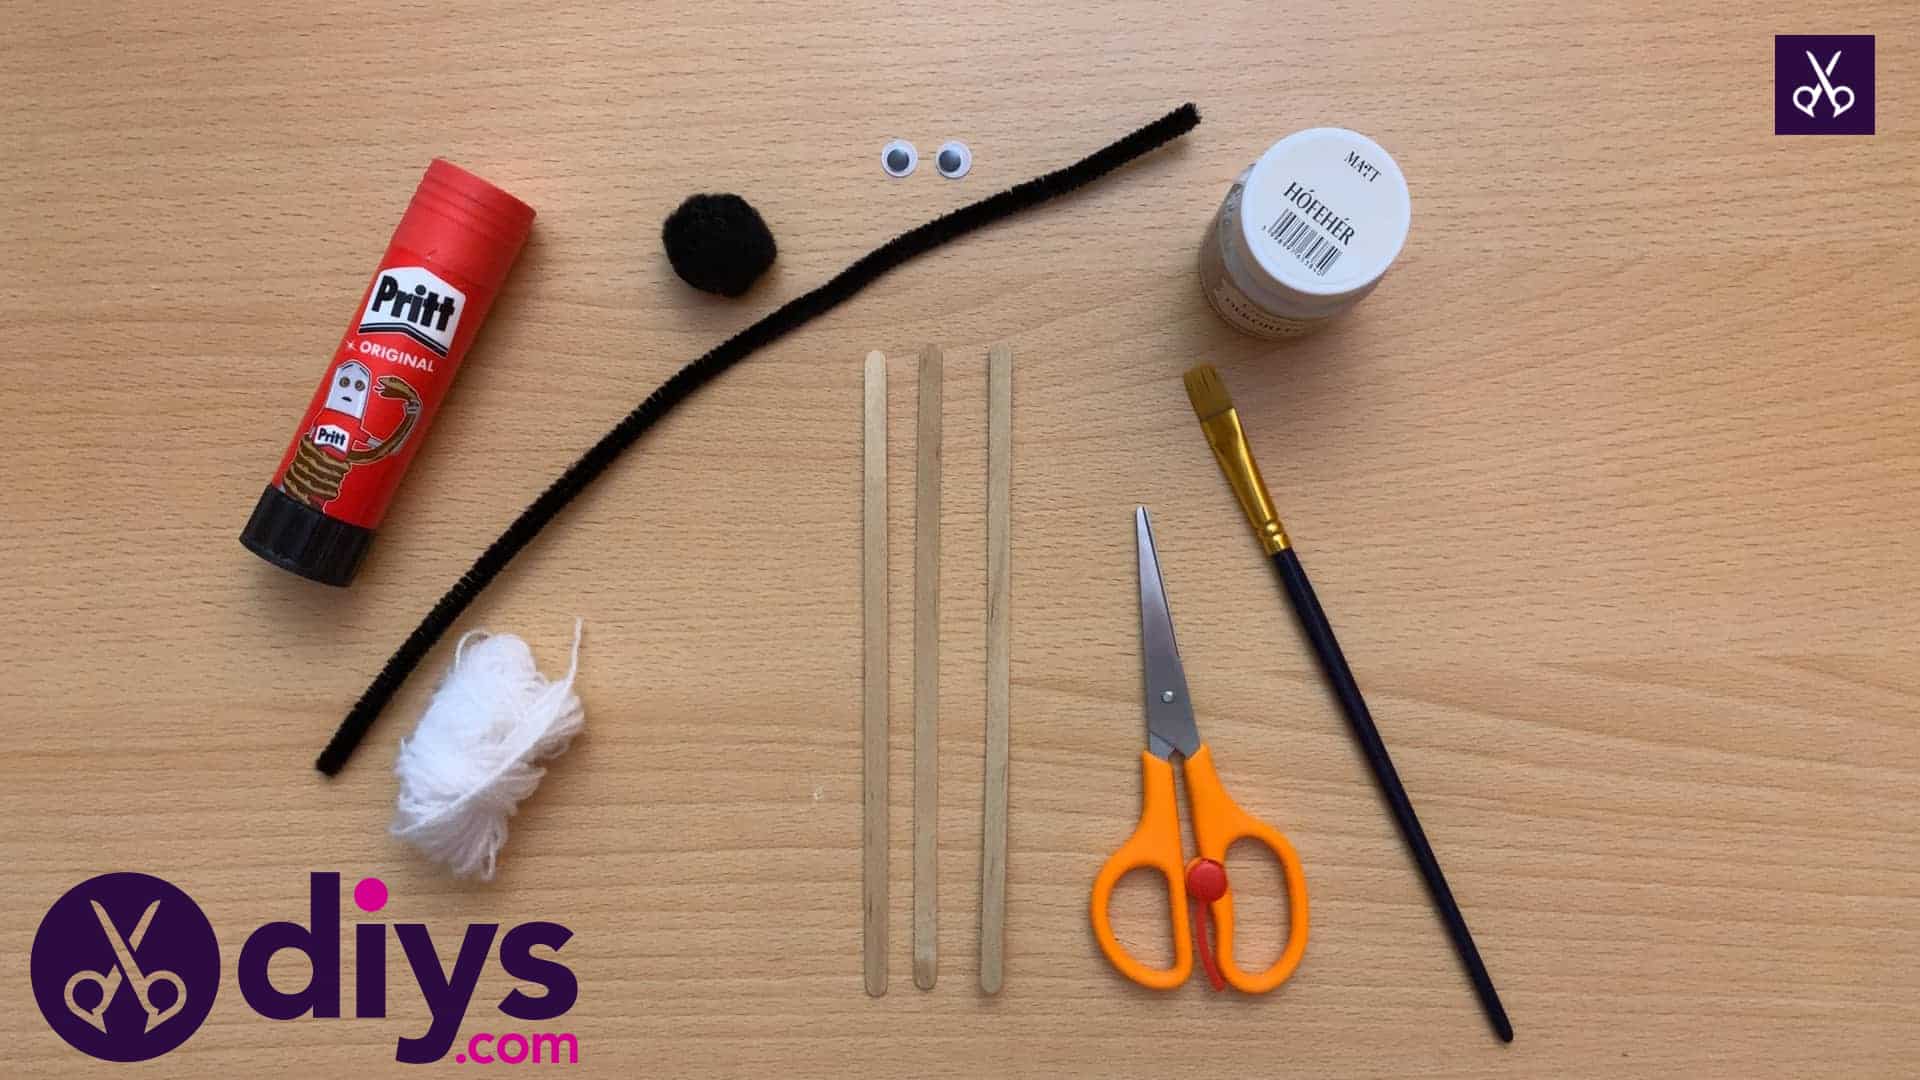
For this project, you’ll need:
- A glue stick
- White paint
- A paint brush
- Two googly eyes
- A black pipe cleaner
- Three popsicle sticks
- A black crafting pom pom
- White string
- Scissors
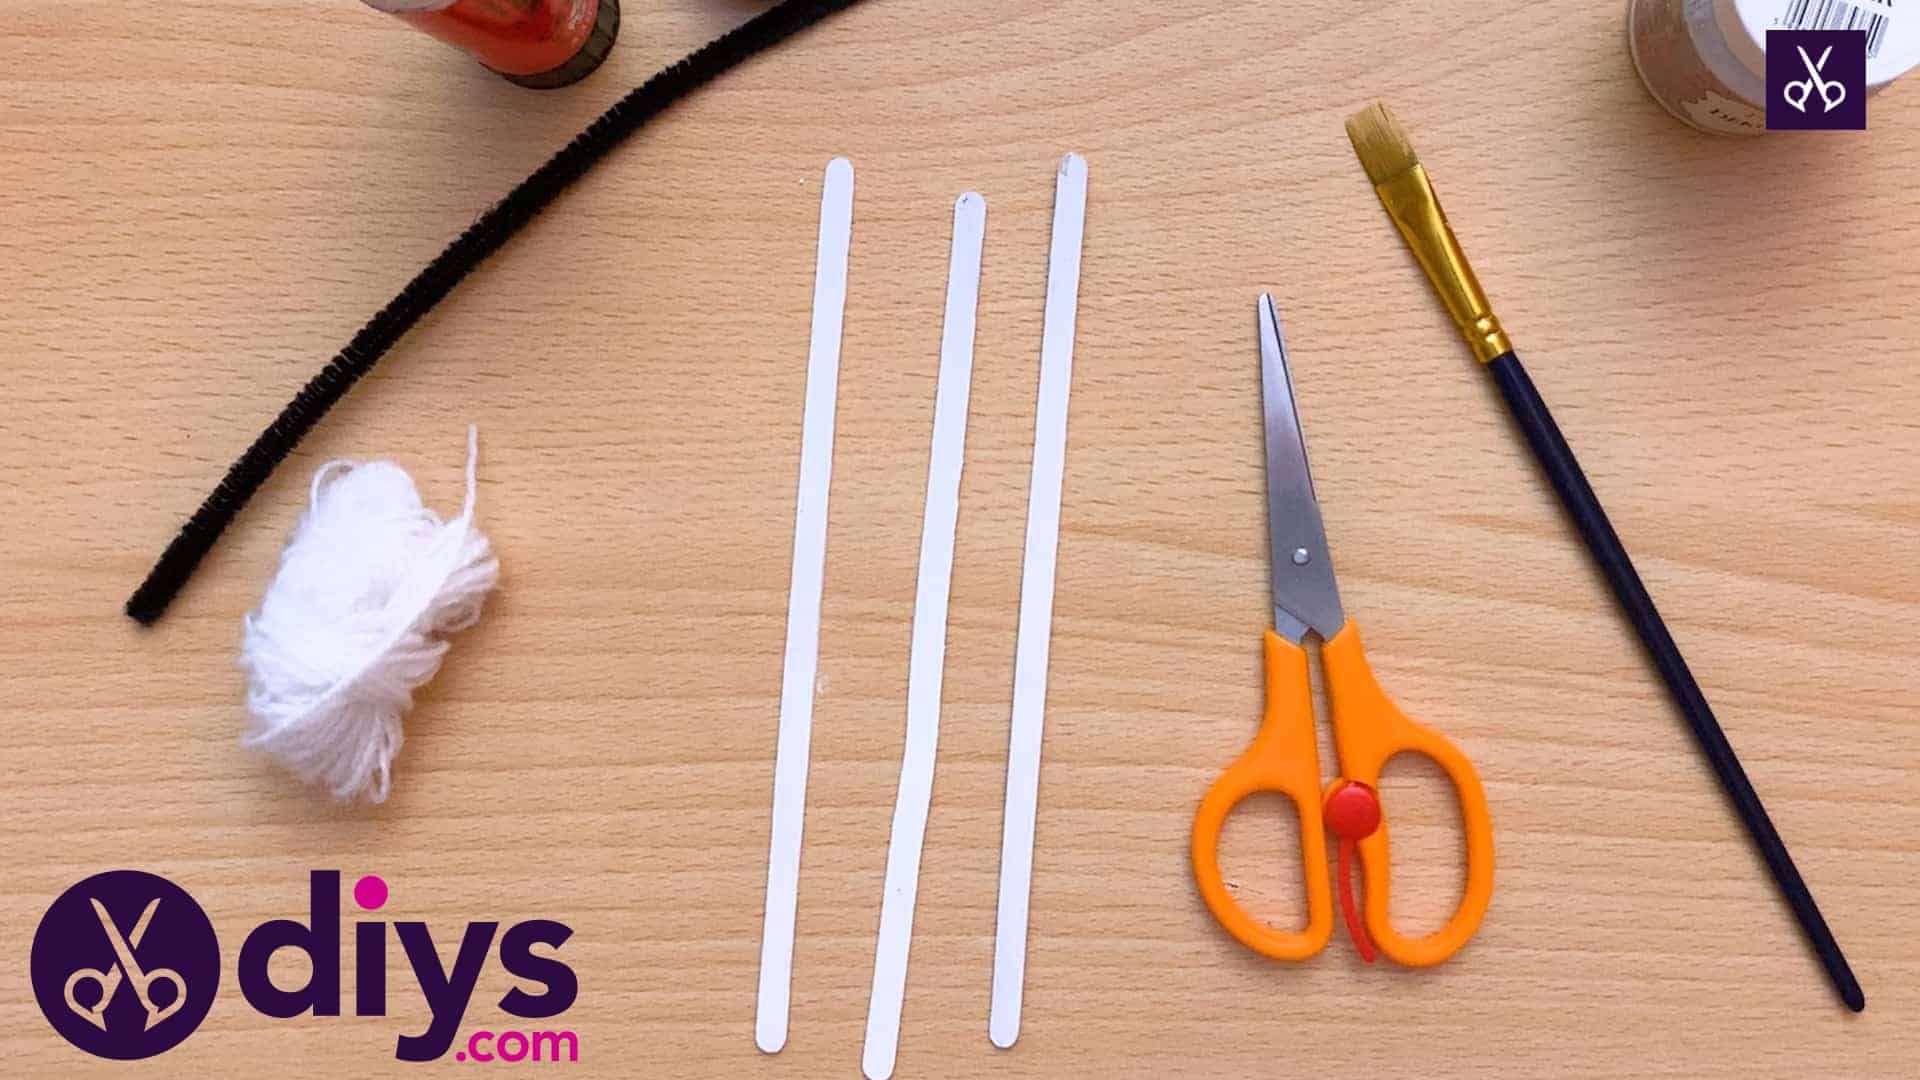
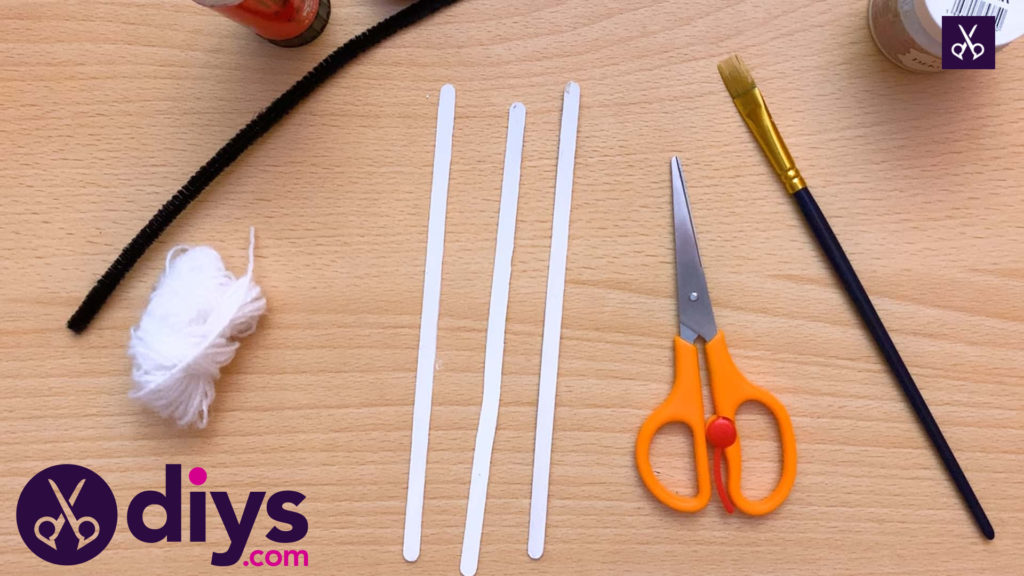
Step 1: Gather your materials!
Get everything you need that’s on your materials list and put it together.
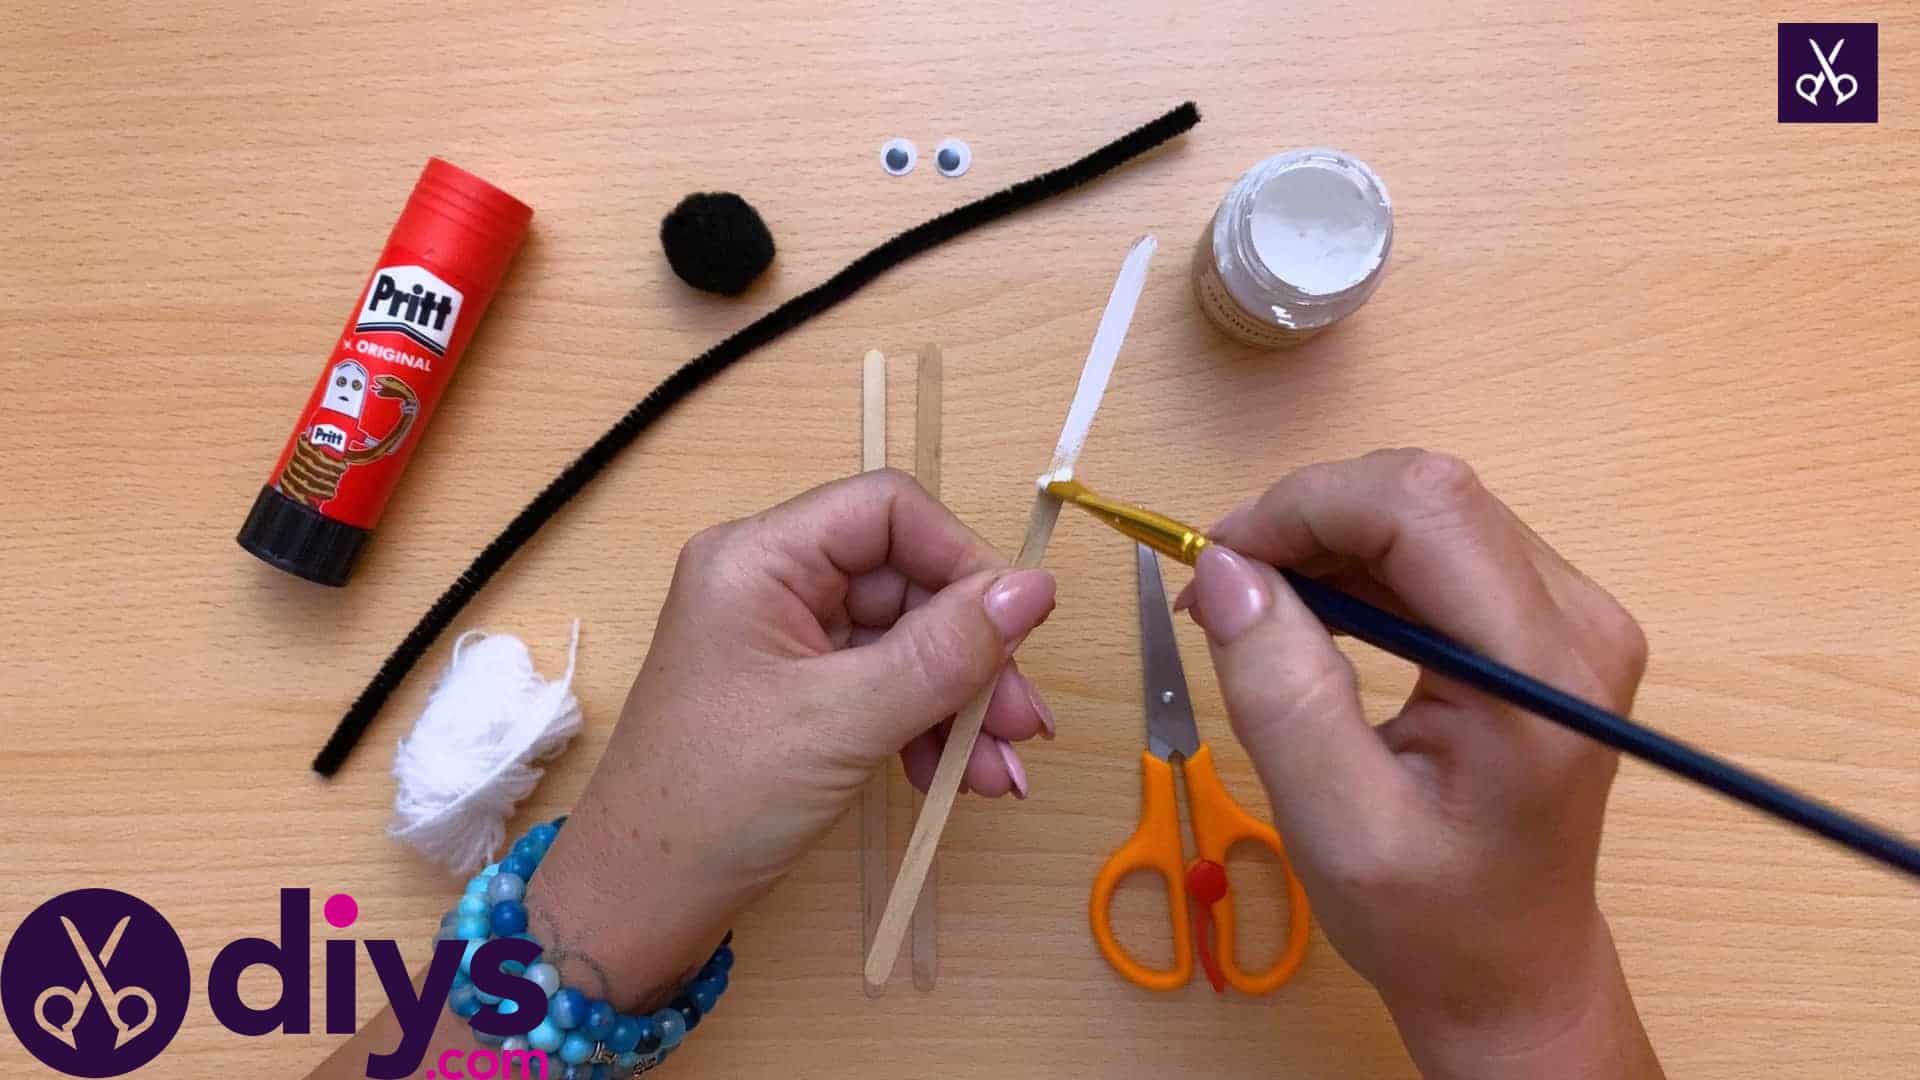
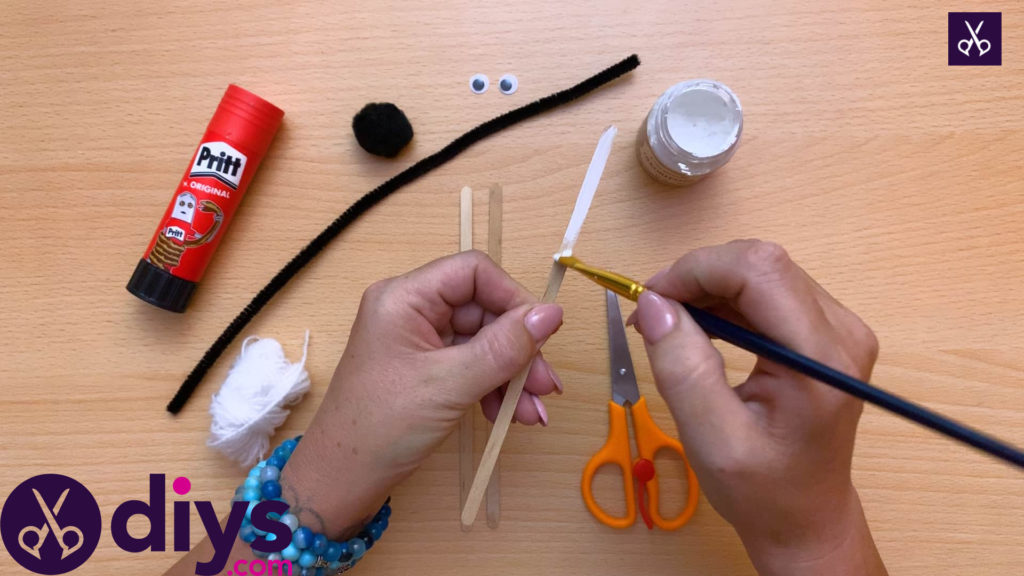
Step 2: paint sticks
Use your brush to paint your popsicle sticks white and then let them dry. I made sure to paint both sides of each one.
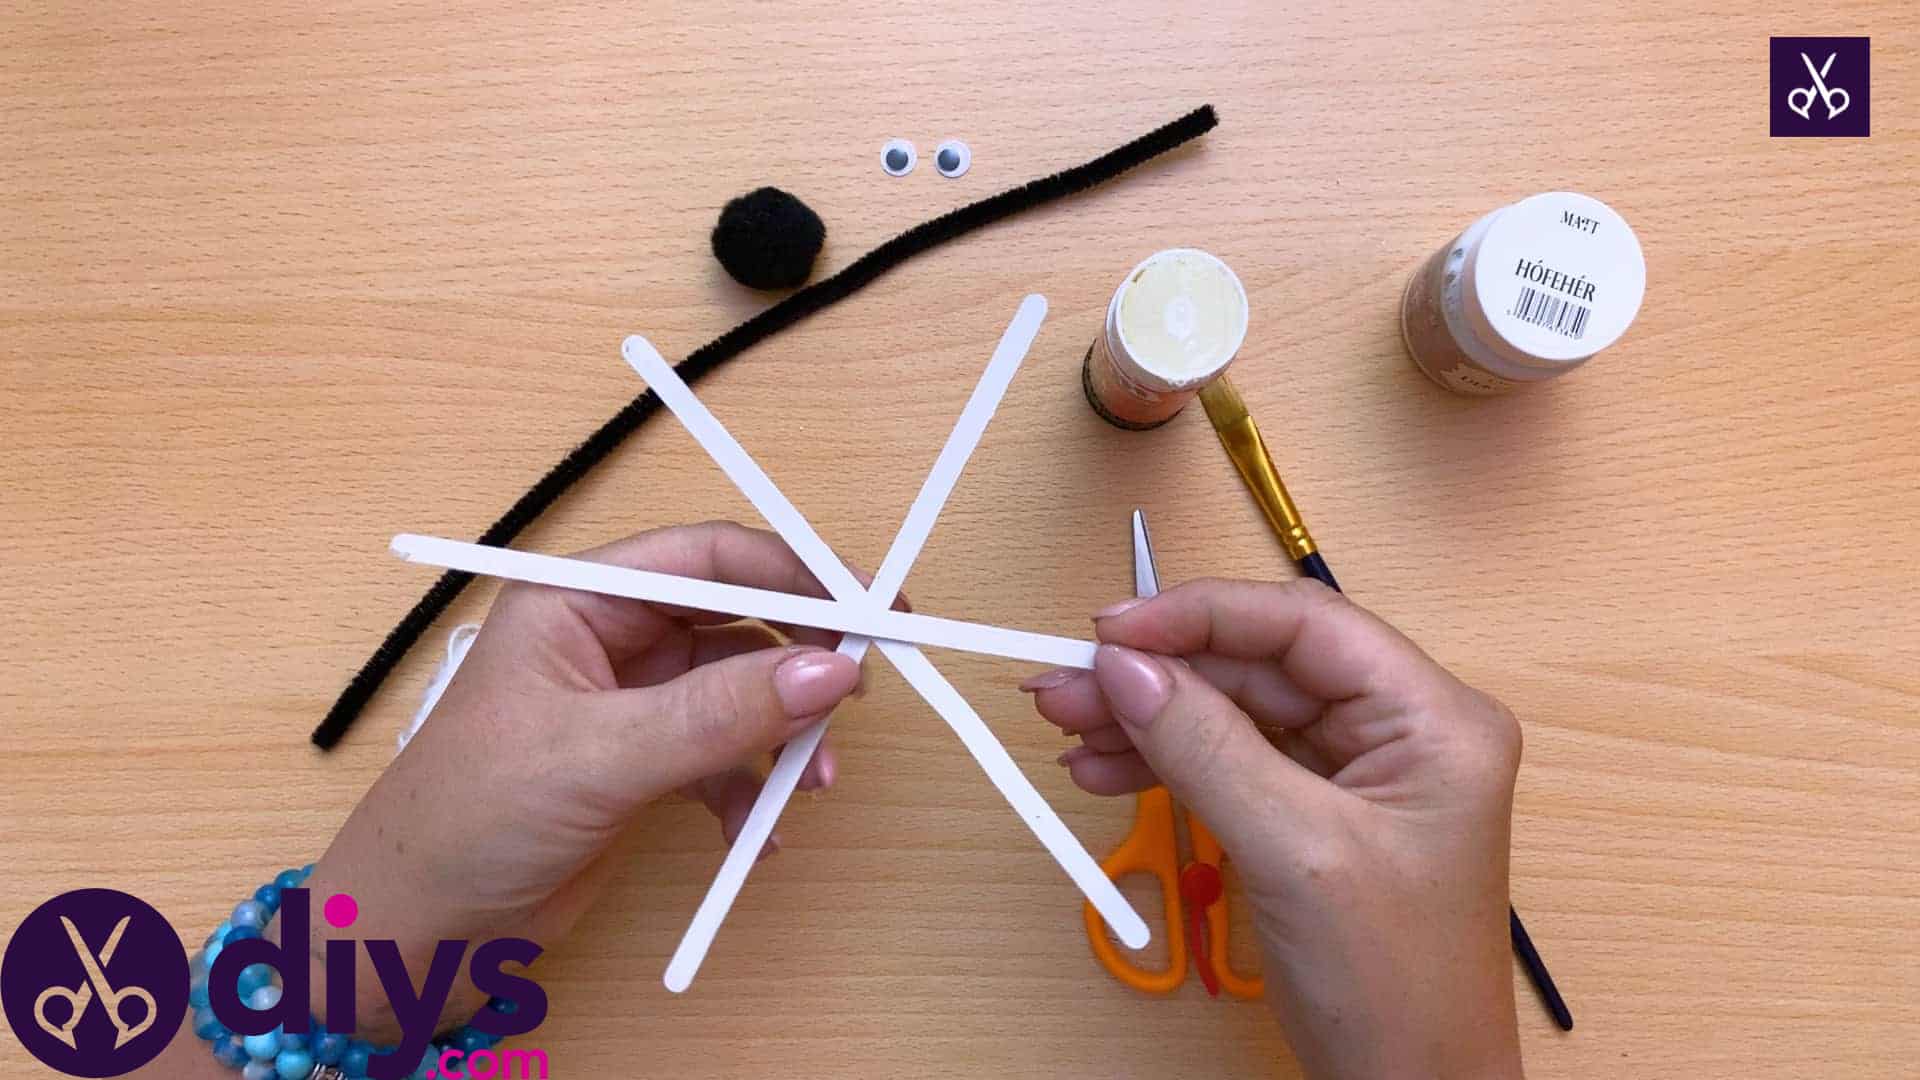
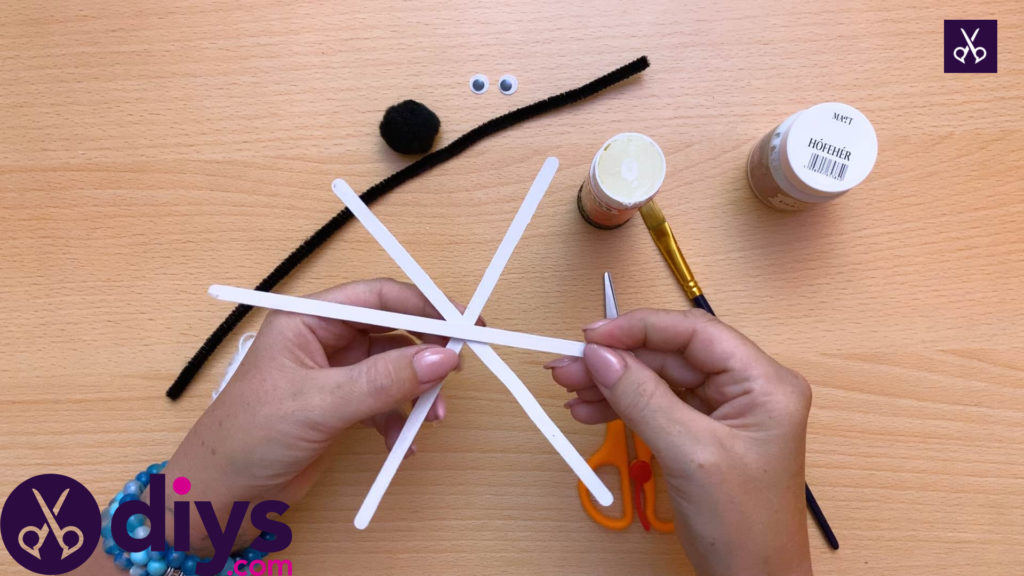
Step 3: glue sticks together
Once your paint is dry, apply glue at the center of one of them and cross a second one over it like an X. Apply more glue to the center of the stick you just put on the top and place your third stick there, so it sticks out in the spaces between your first two sticks at each end. Adjust the sticks to sit at the angles you want them to before the glue dries, then press them more firmly into place.
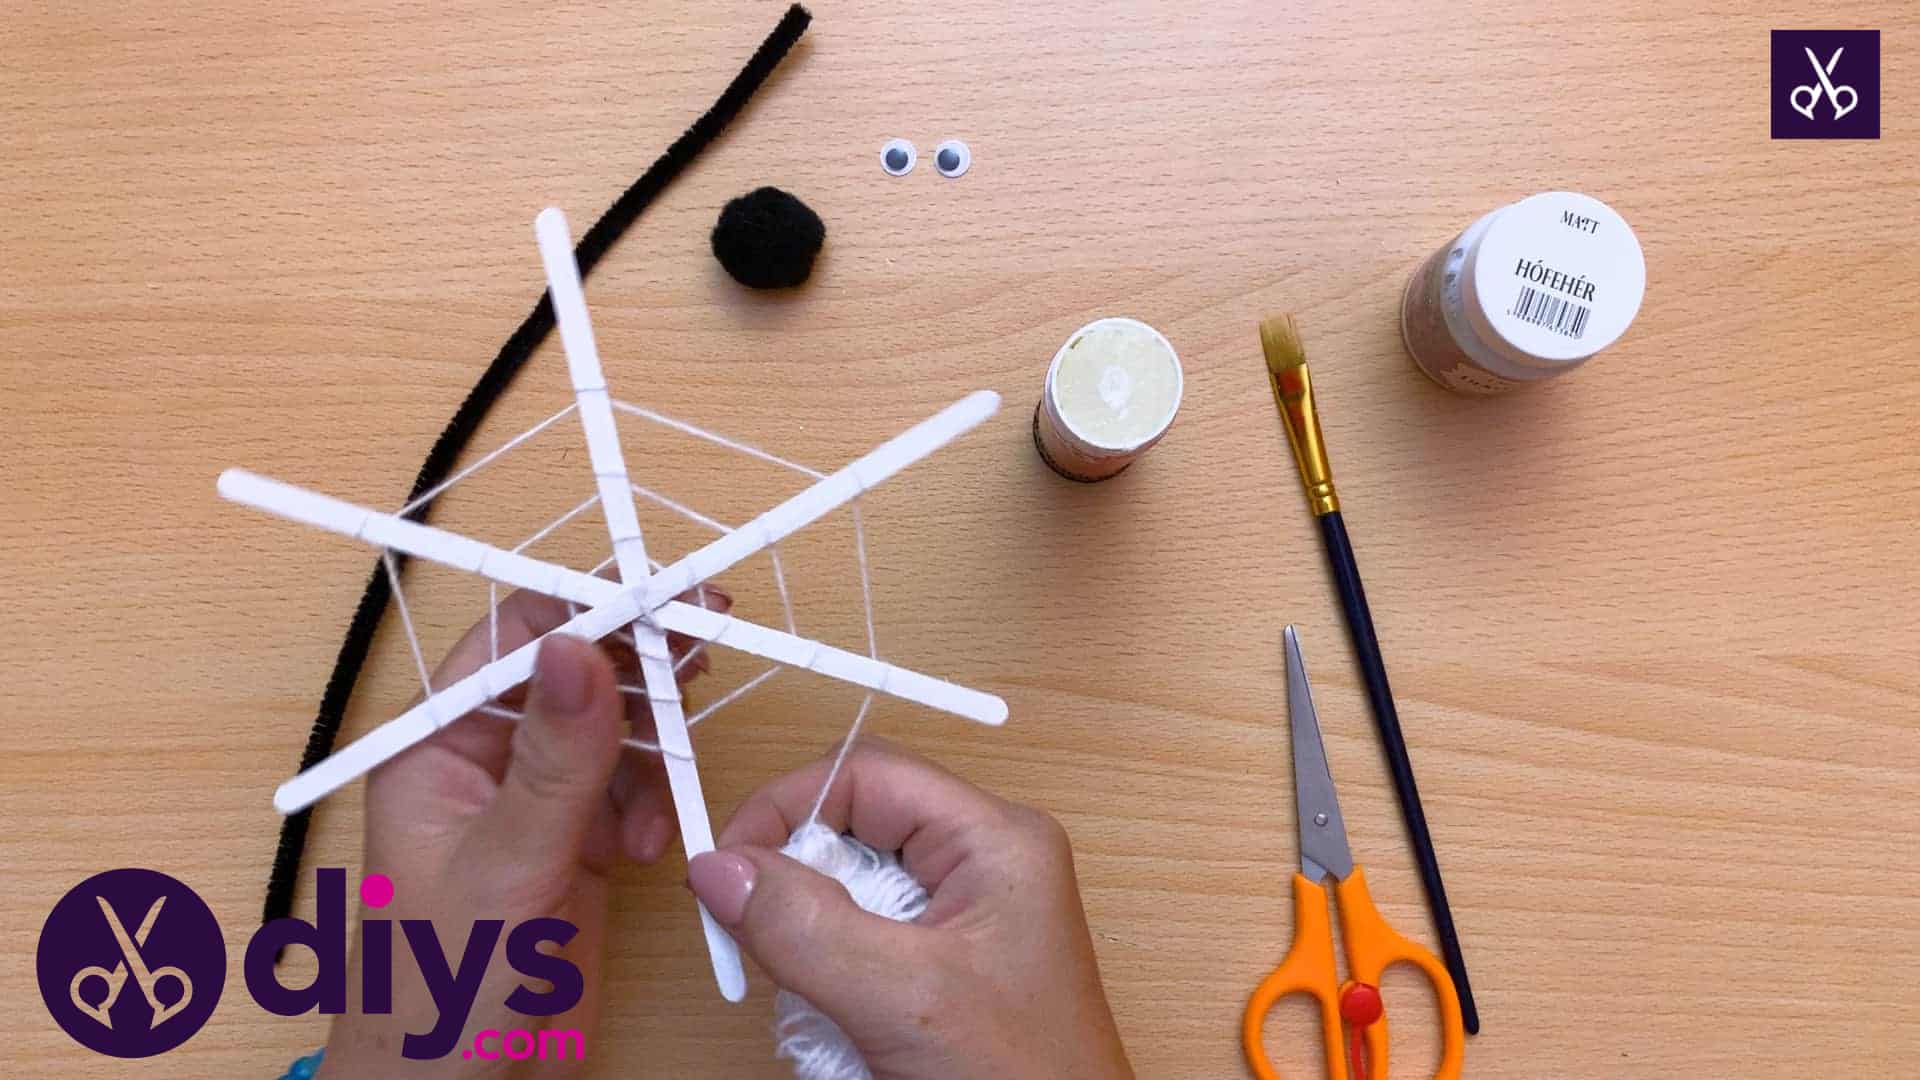
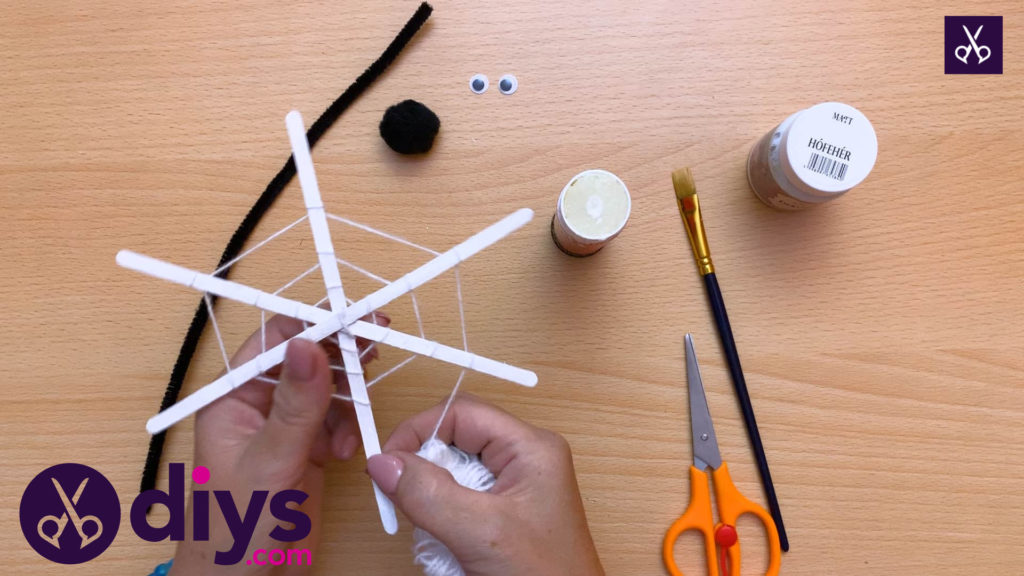
Step 4: wrap in string
Once your glue is dry, pick up the web frame you’ve just made and apply a bit more glue in the center on your top stick. Press the end of your white string here and hold it in place with your thumb until the glue dries while you use the other hand to start winding the string around the sticks to make the rest of the web. I started close to the center, wrapping the string fully around each stick before moving onto the next one, linking them with a length of string between. I went around clockwise in a spiral motion, making my way outwards and closer to the ends of the sticks as I went.
Step 5: finish with a loop
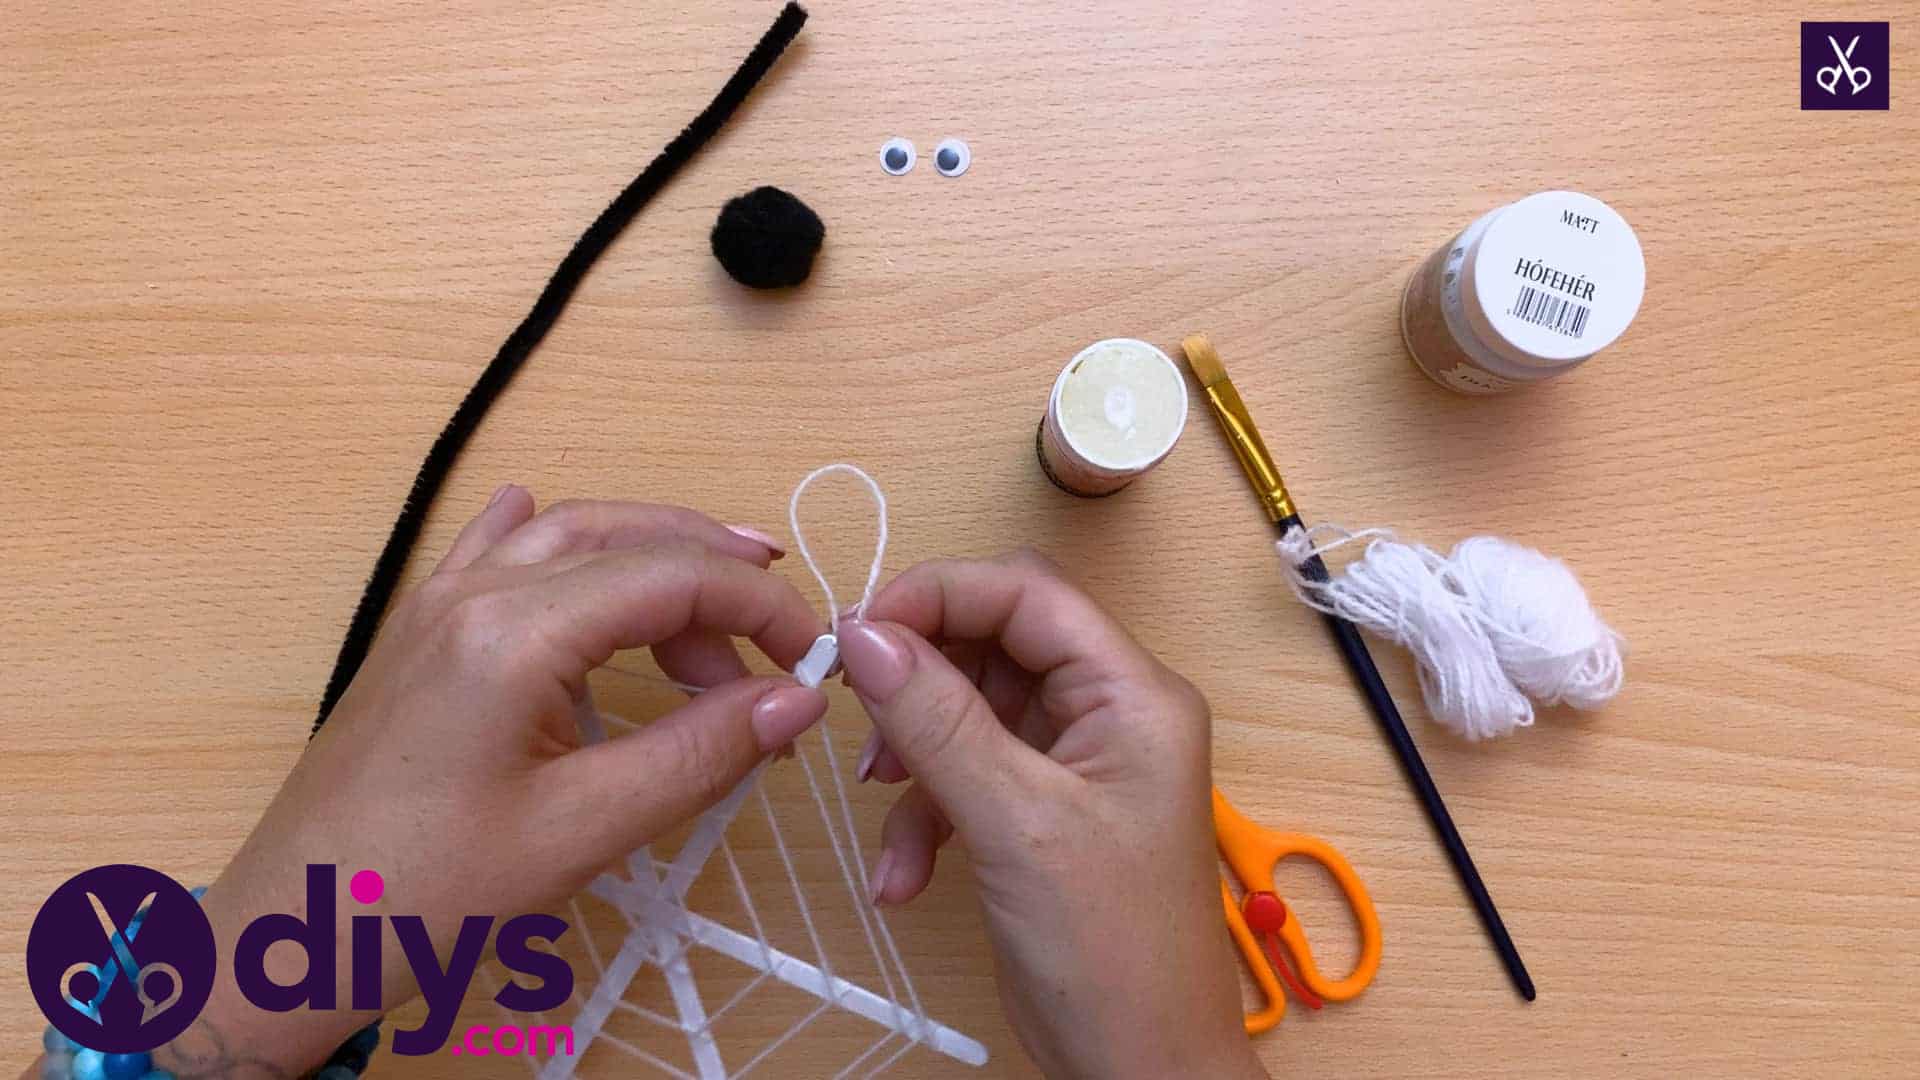
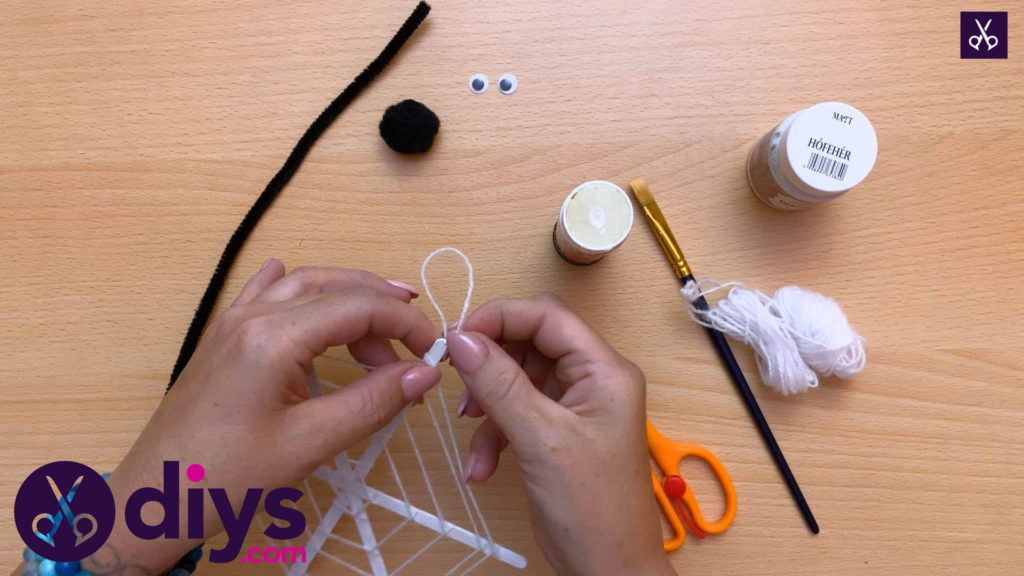
When you feel like your web is complete, cut the string free from the ball with enough excess to make a loop that you can hang the web up with when you’re done. Wrap the string around the end where you stopped once more, apply glue to the back of the stick, and stick the last wrapand the trimmed end into the glue to make your loop.
Step 6: cut pipe cleaner
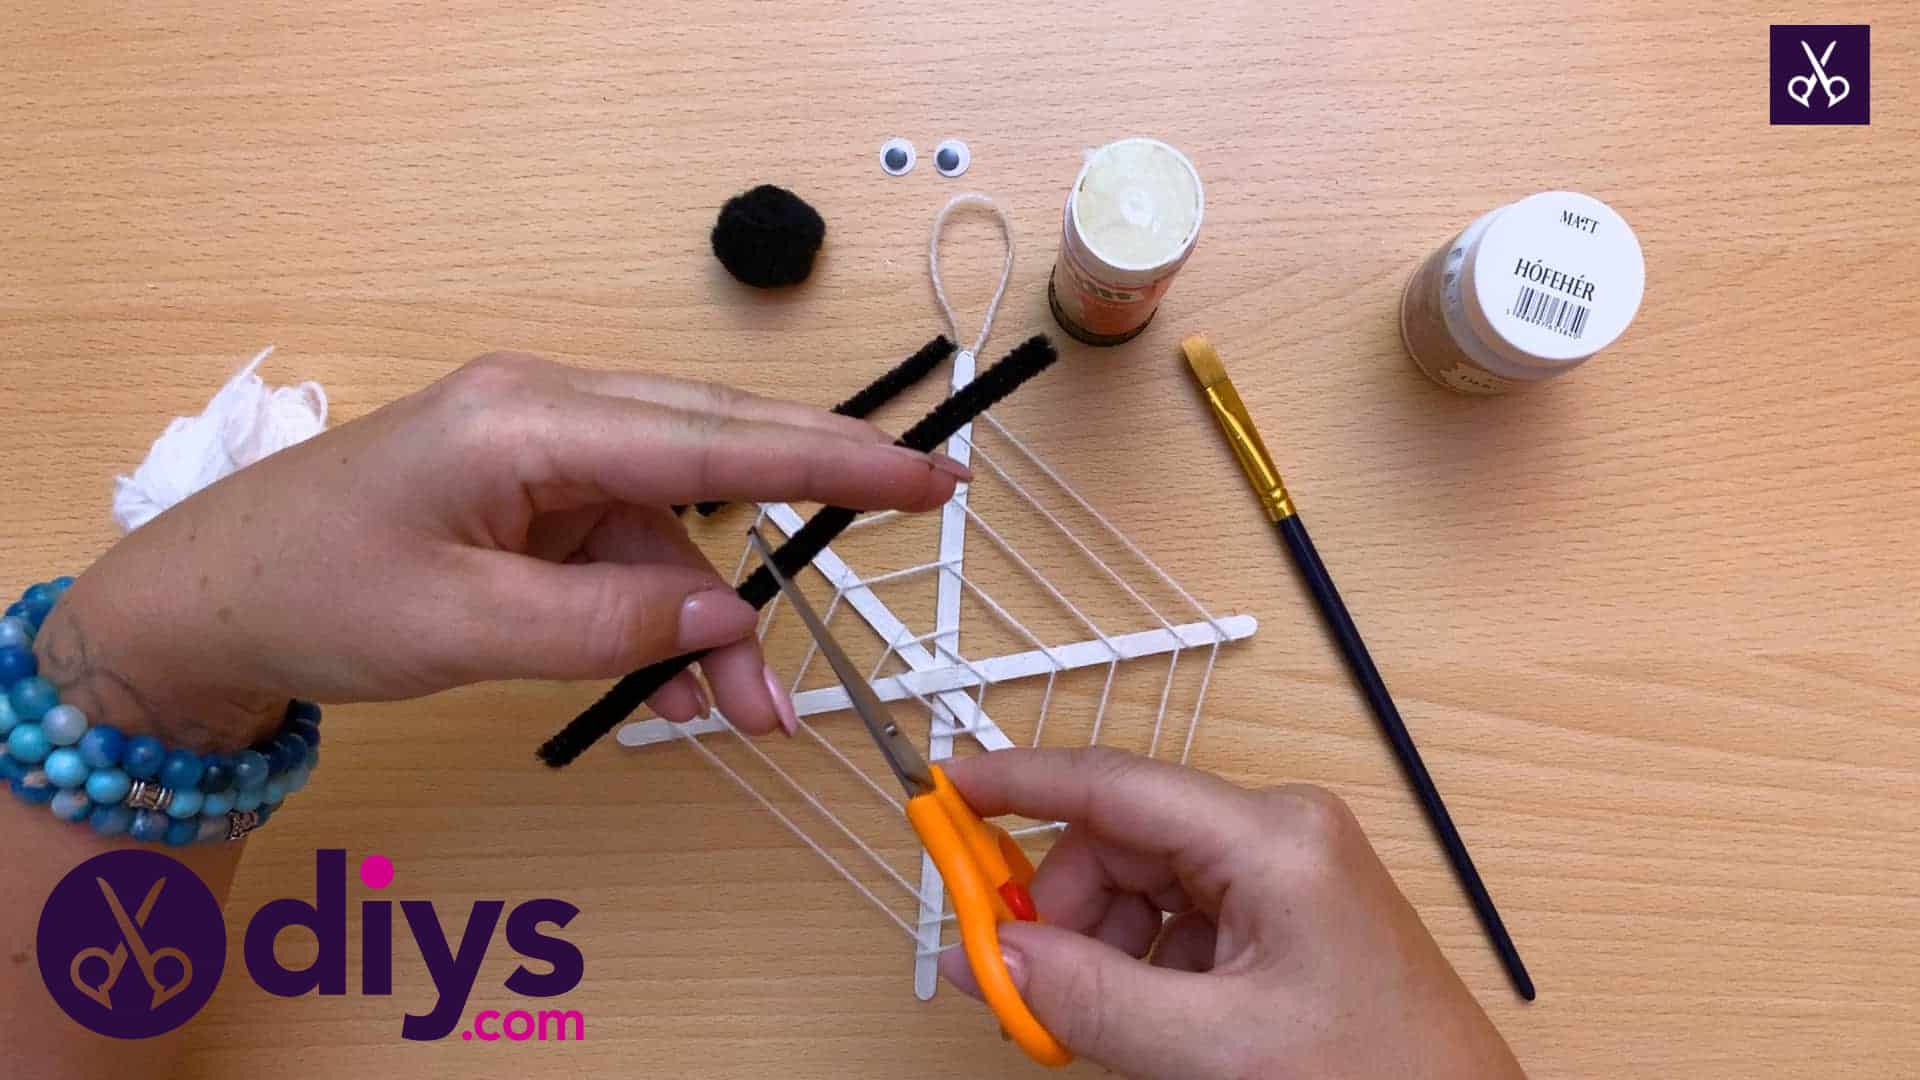
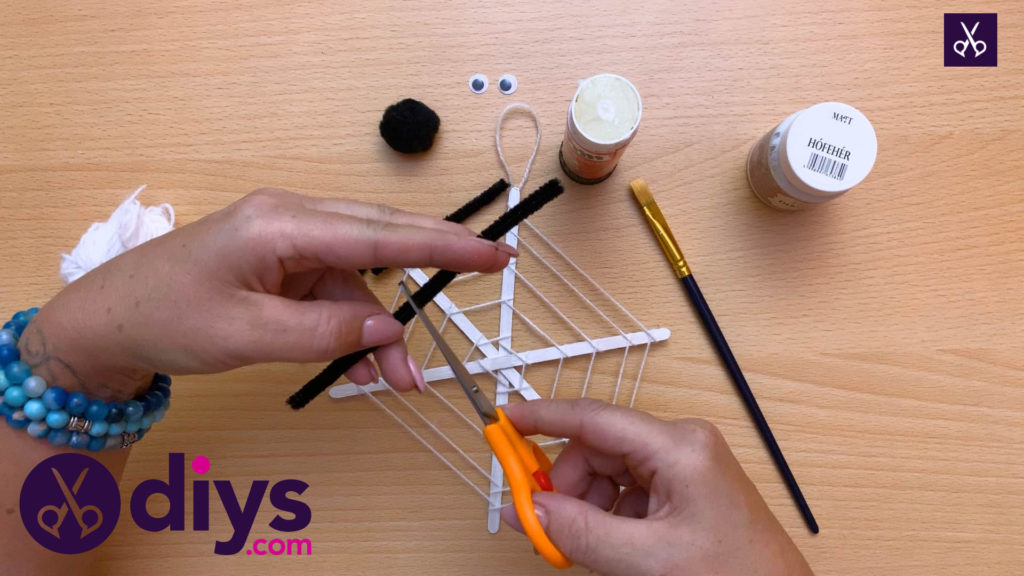
Cut your black pipe cleaner into four equally sized pieces. I did this by cutting it in half and then cutting each of those halved pieces in half again.
Step 7: add eyes
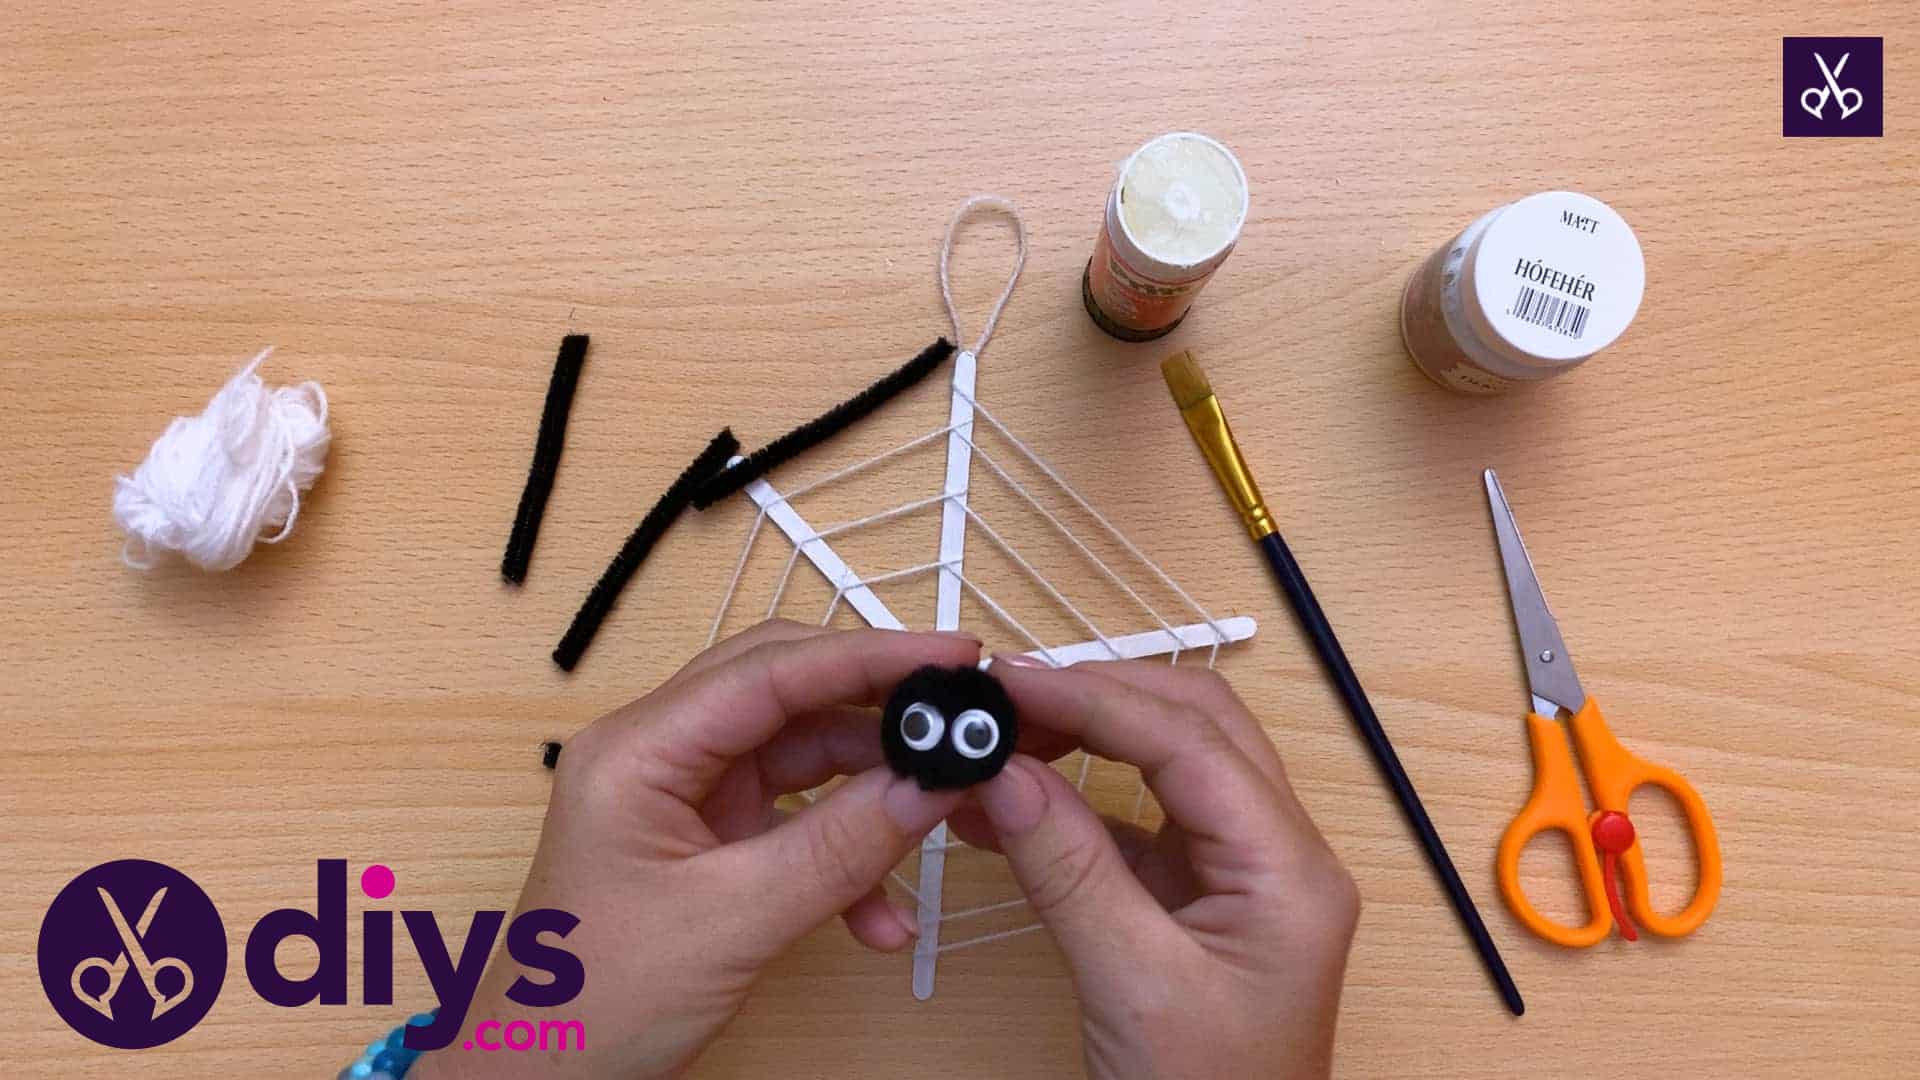
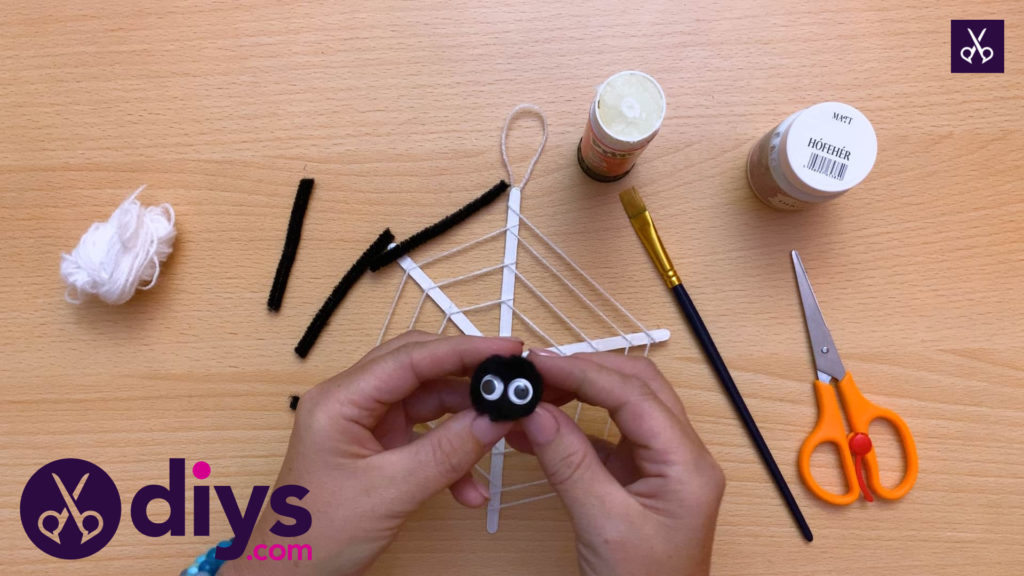
Apply glue to the backs of your googly eyes and stick them to your black crating pom pom. This is now your spider’s body and head!
Step 8: twist legs together
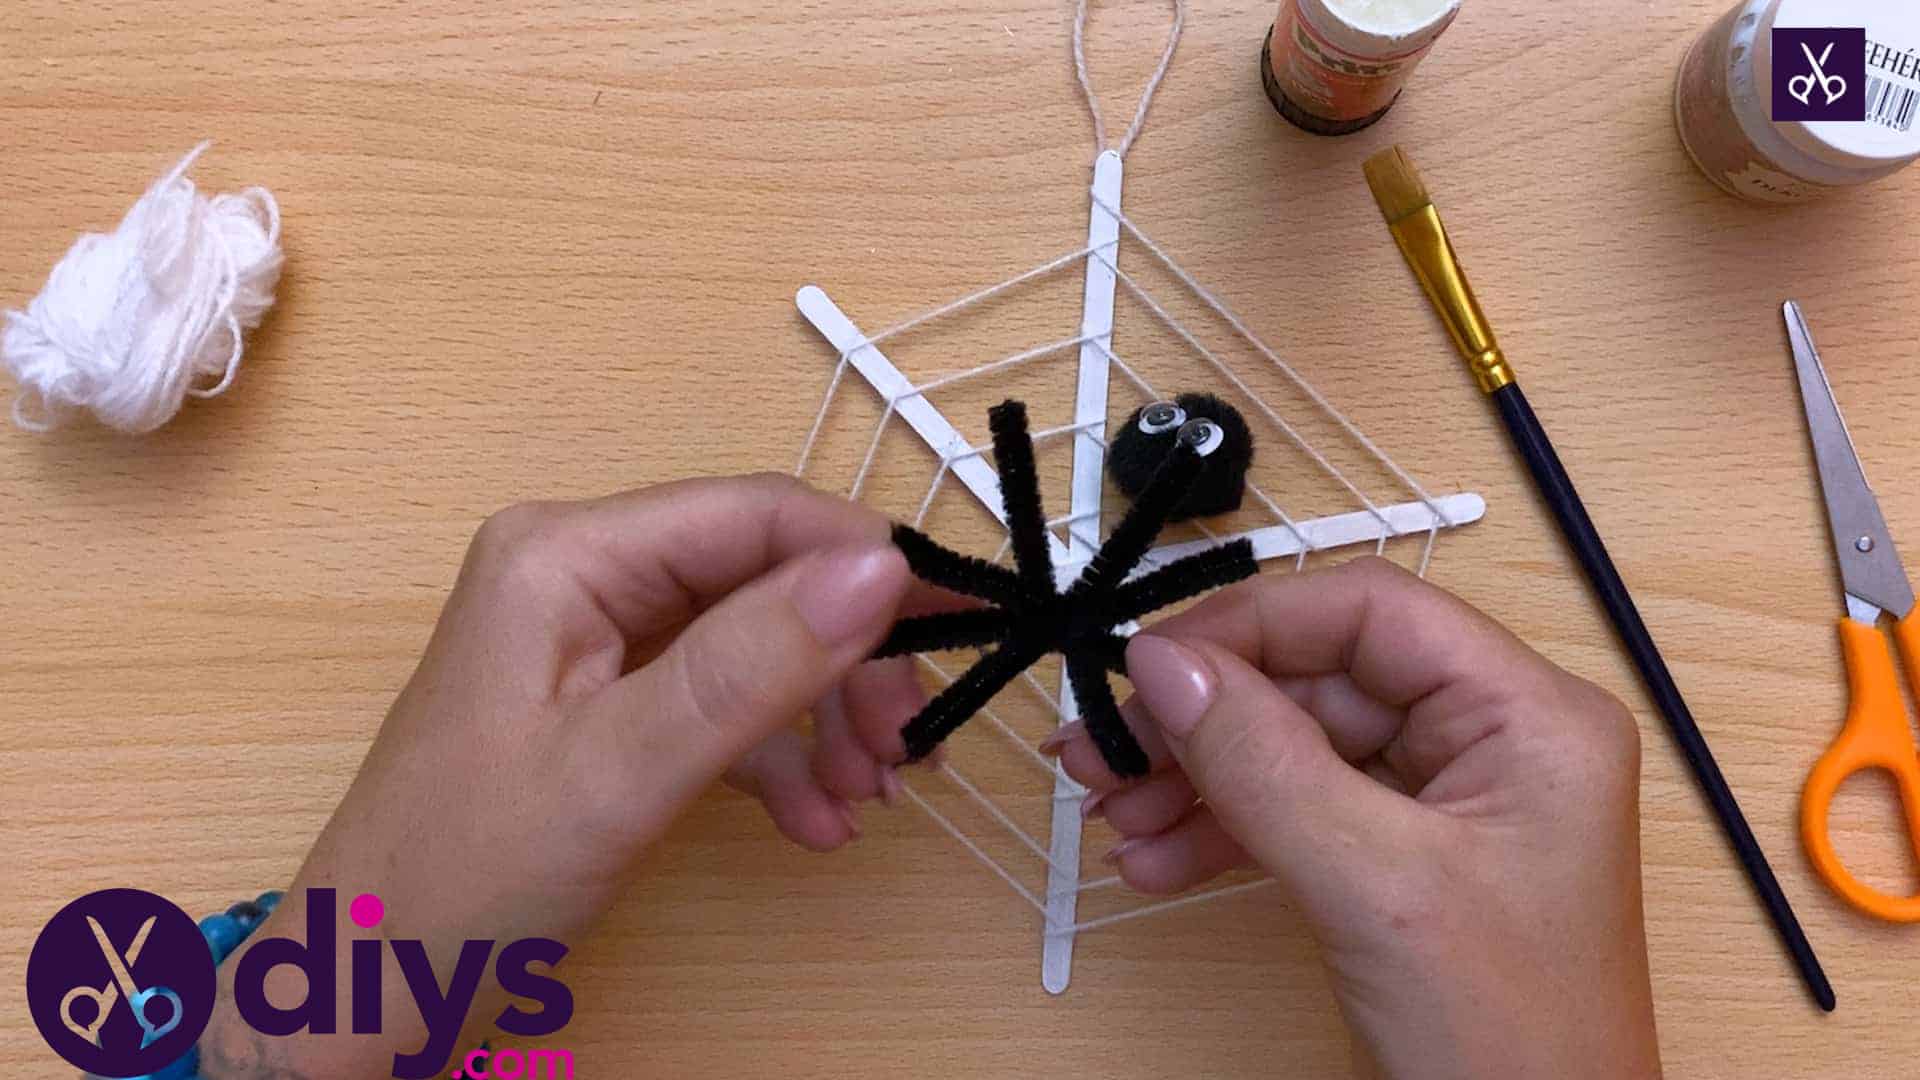
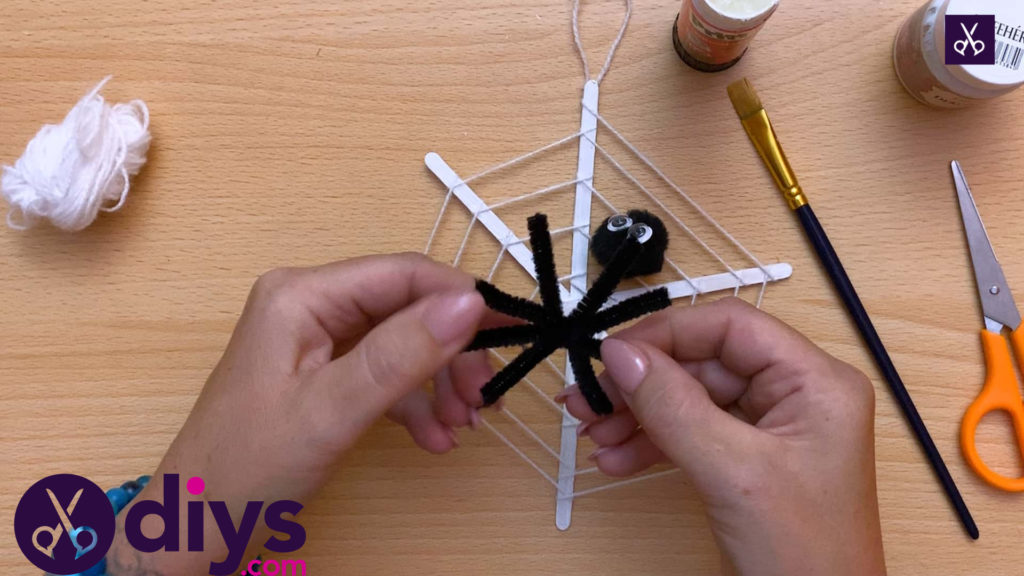
Take all four of your shortened pipe cleaner pieces and cross them over at their centers like you’re making an asterisk. Twist them around each other so the stay in place. You’ll have four ends on one side and four ends on the other, making up your spider’s eight little legs.
Step 9: glue body on
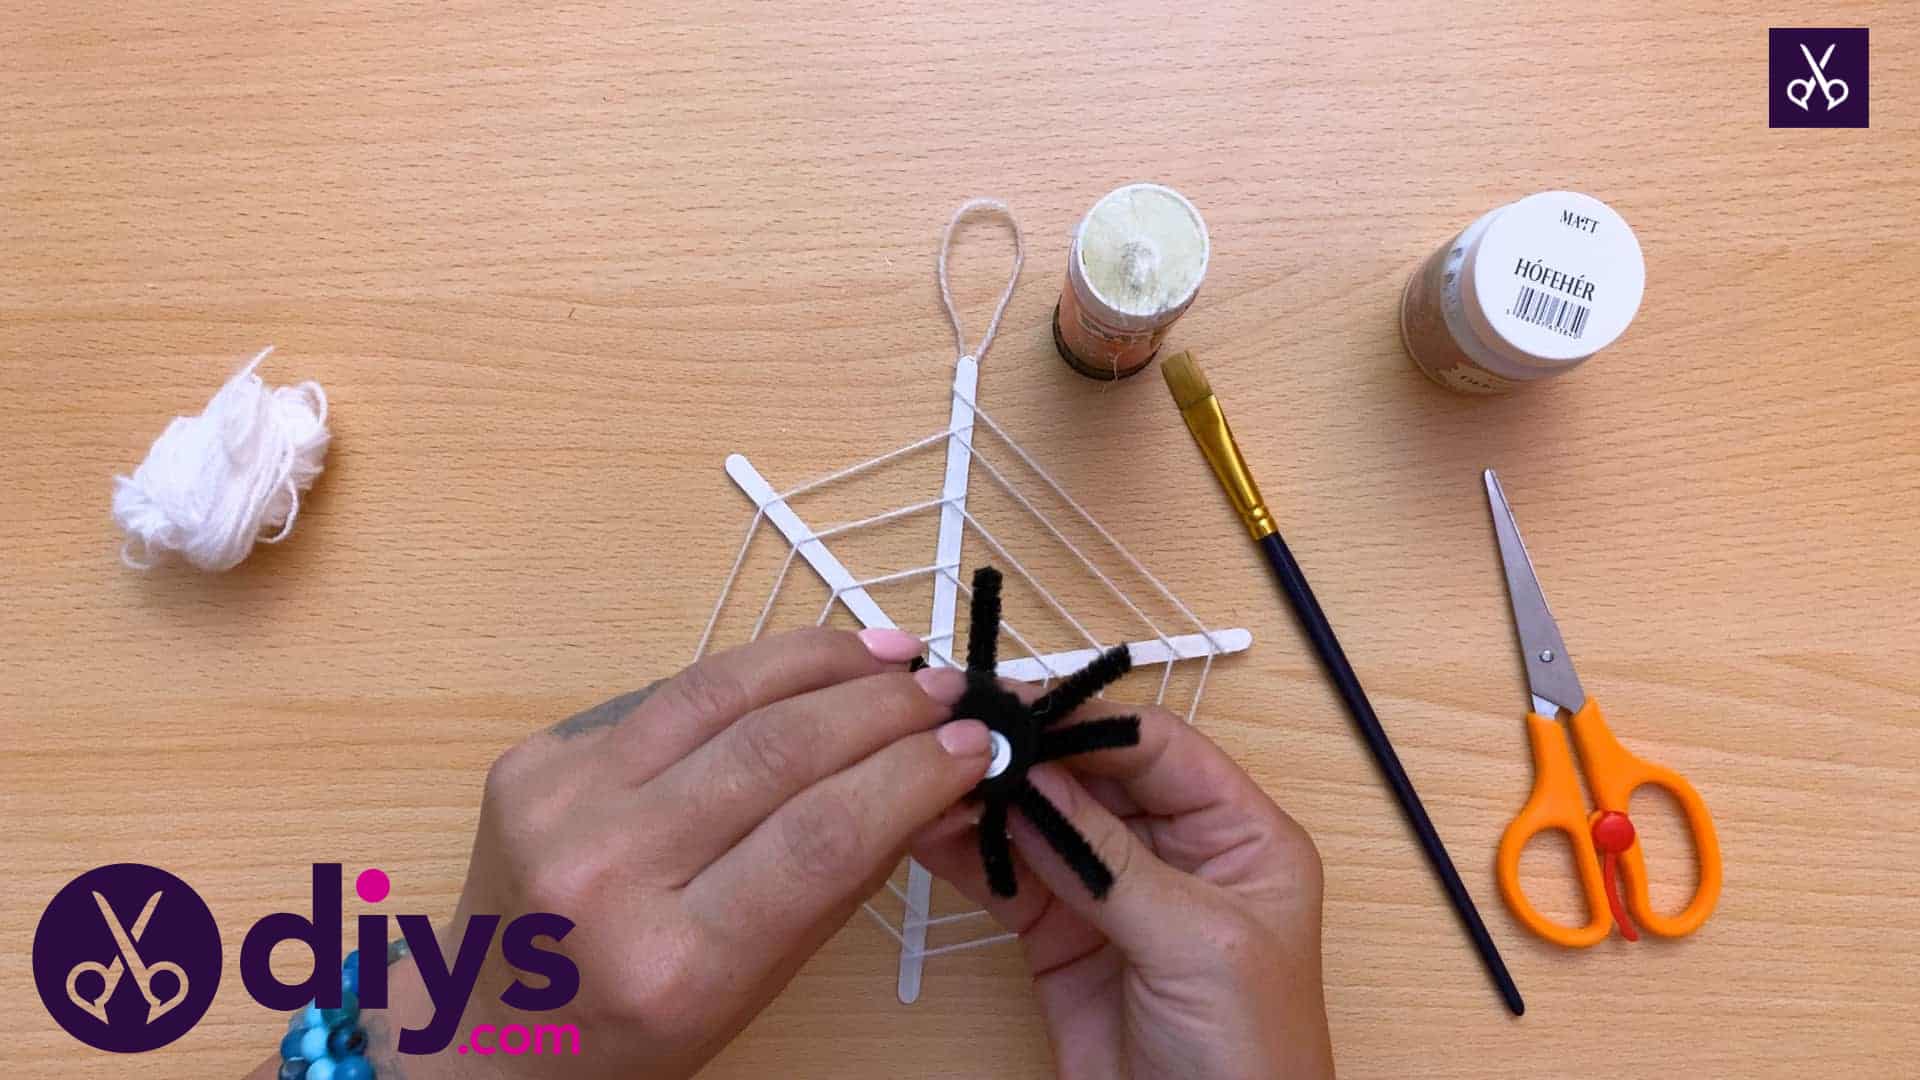
Apply glue to the bottom of your pom pom, opposite to where you glue your spider’s eyeballs on, and stick it into the center of the pipe cleaner legs where you twisted them all together.
Step 10: glue spider to web
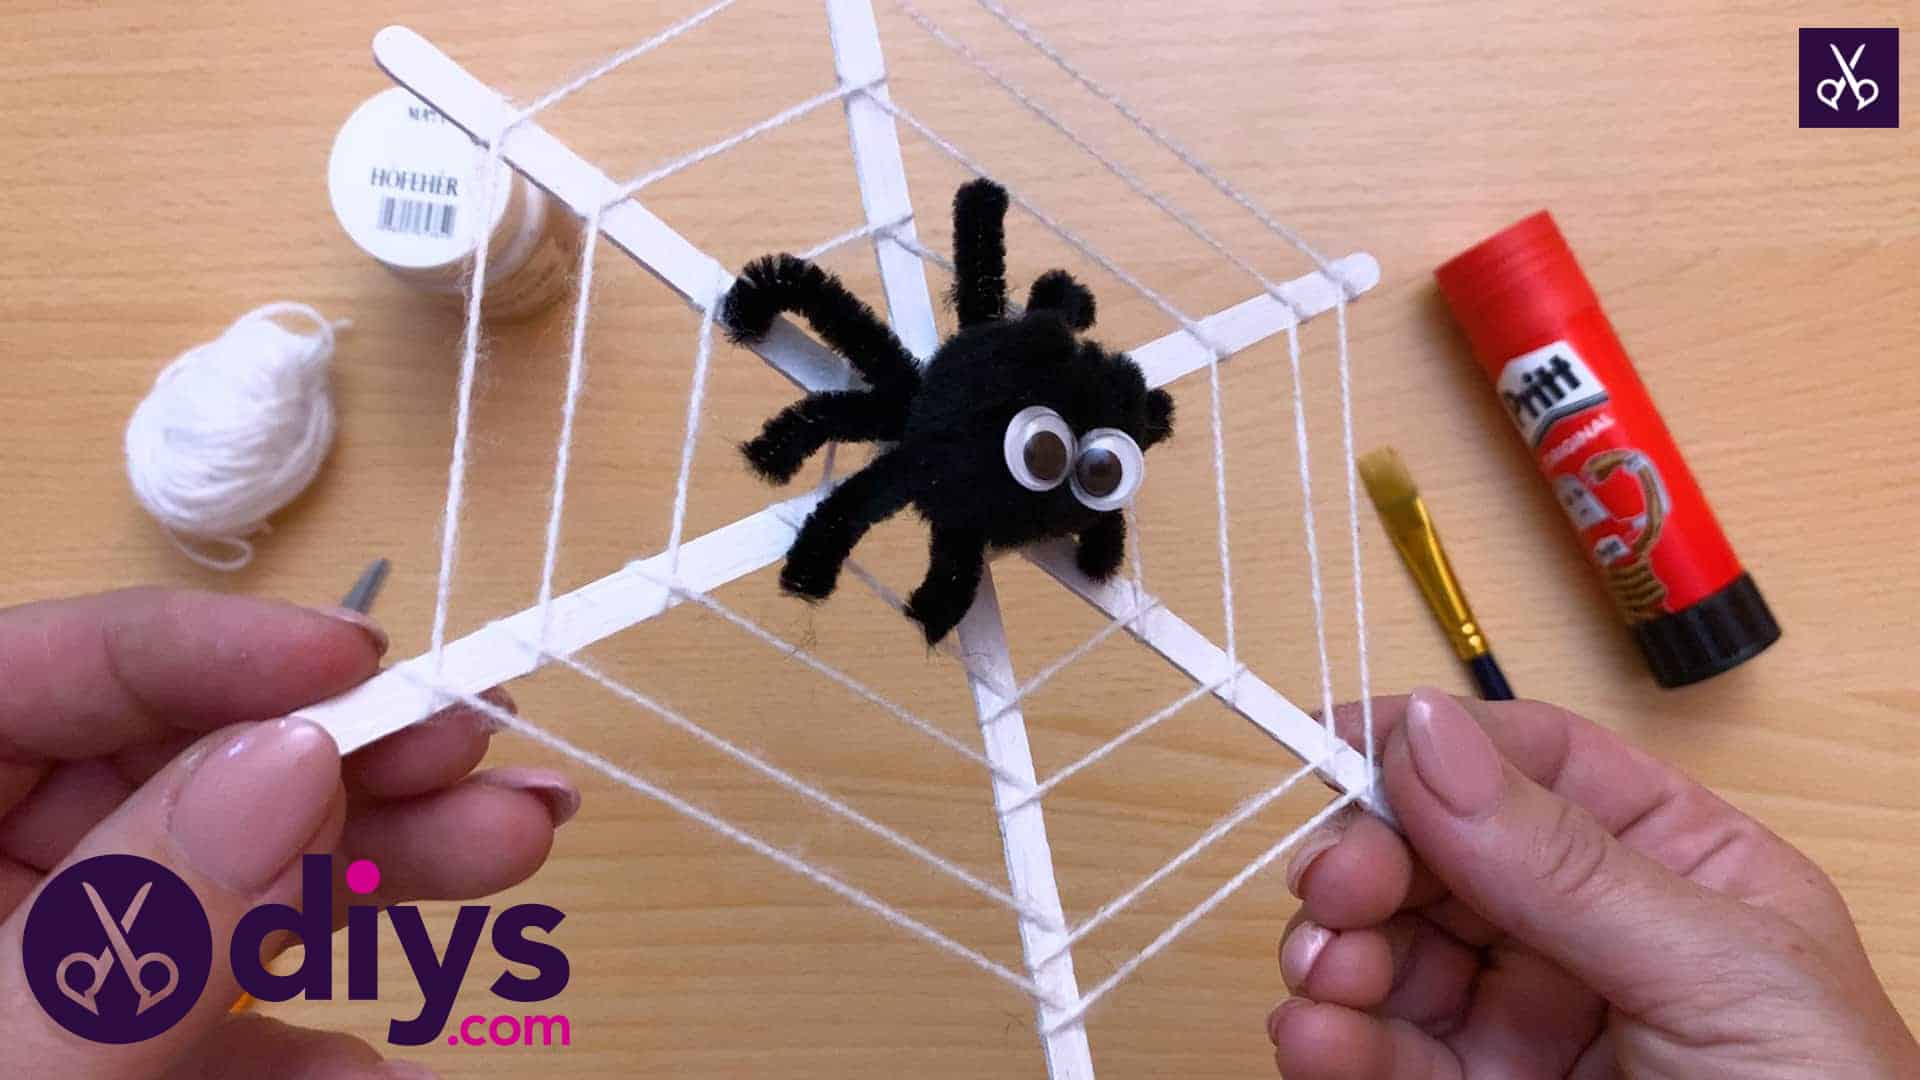
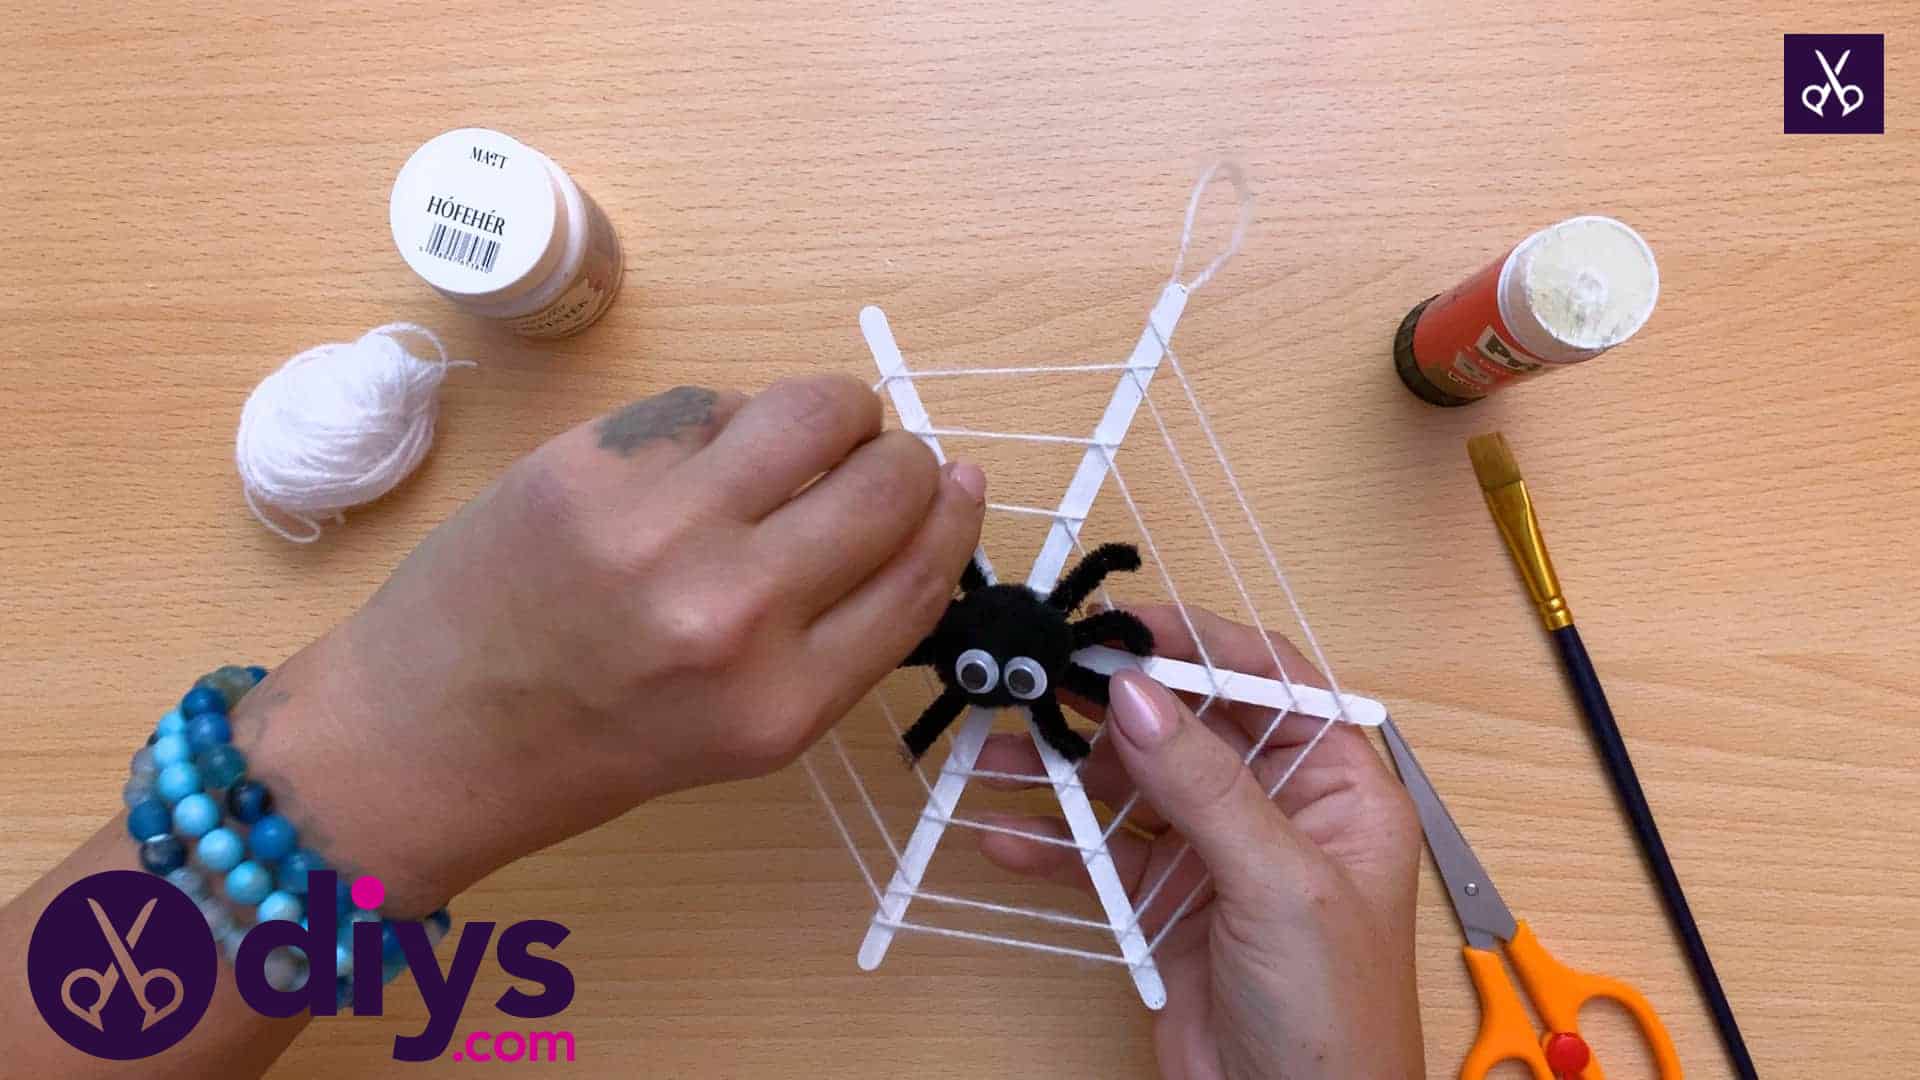
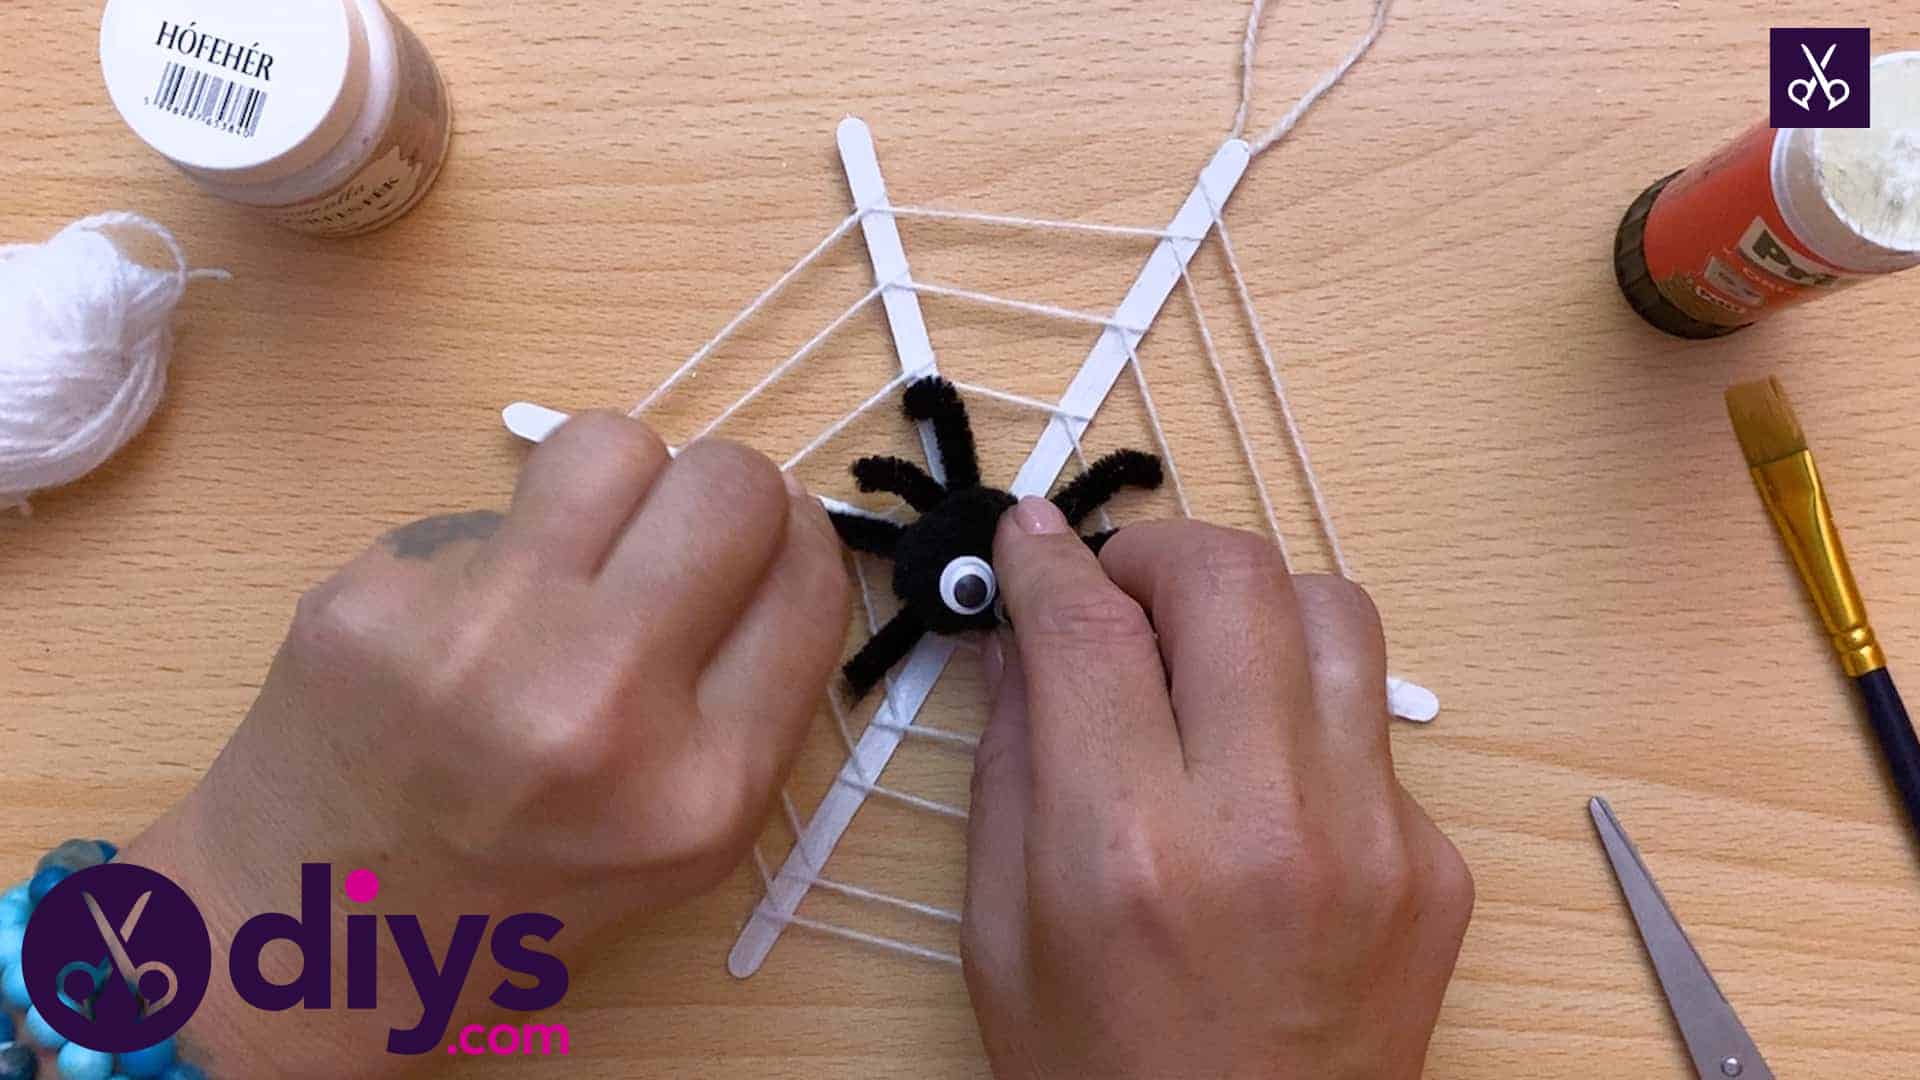
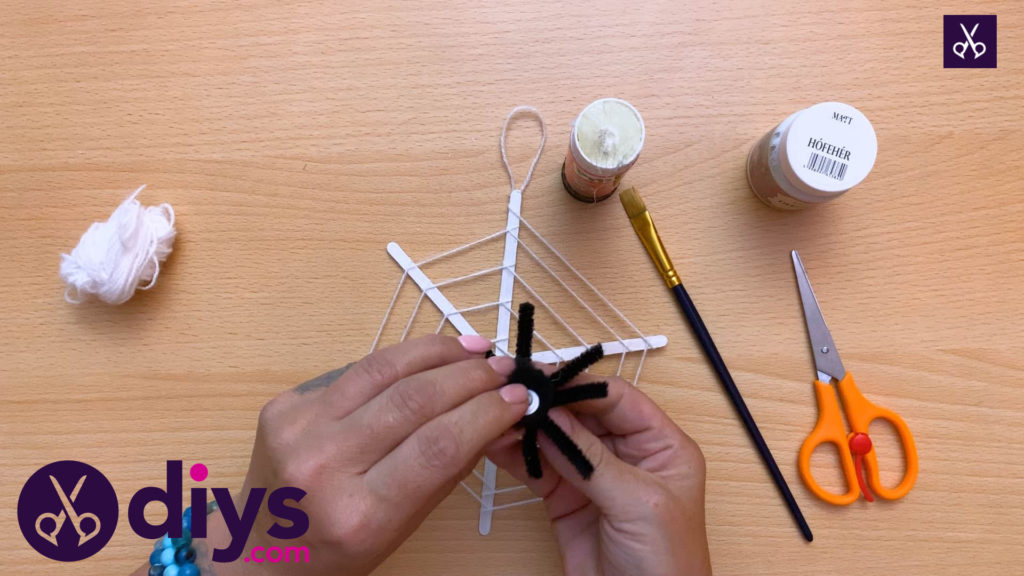
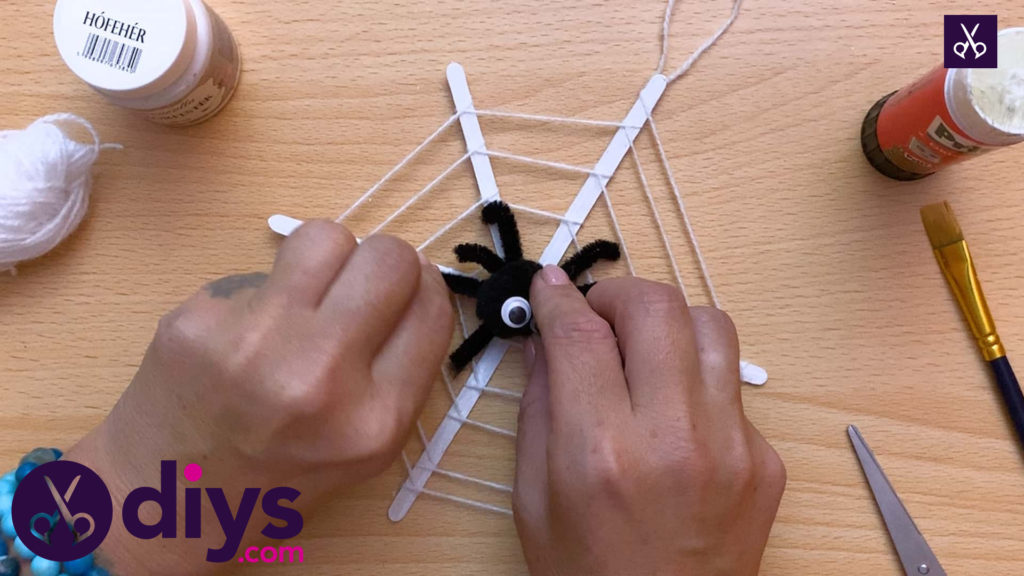
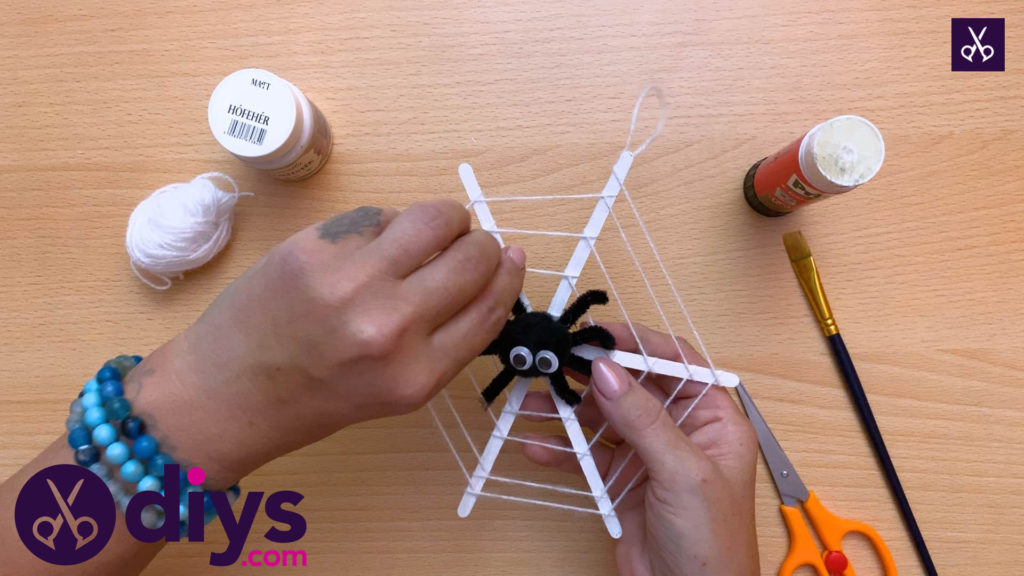
Now apply glue to the middle of your web, where all the painted sticks cross in the middle, and press your whole spider into place there.
Step 11: bend the legs
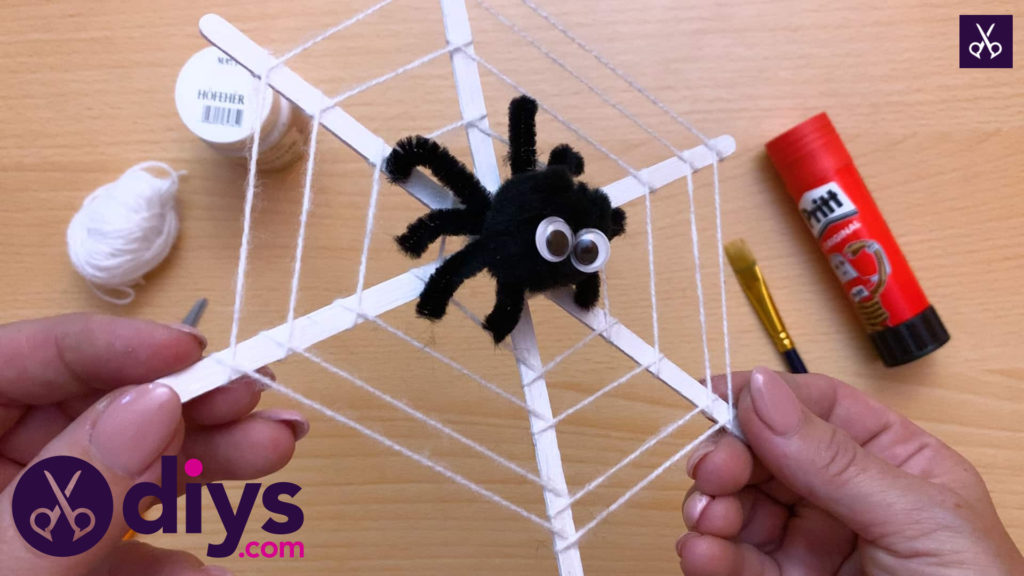
Bend the very tips of your spider’s legs downwards, towards the web, so it looks like the spider has feet.
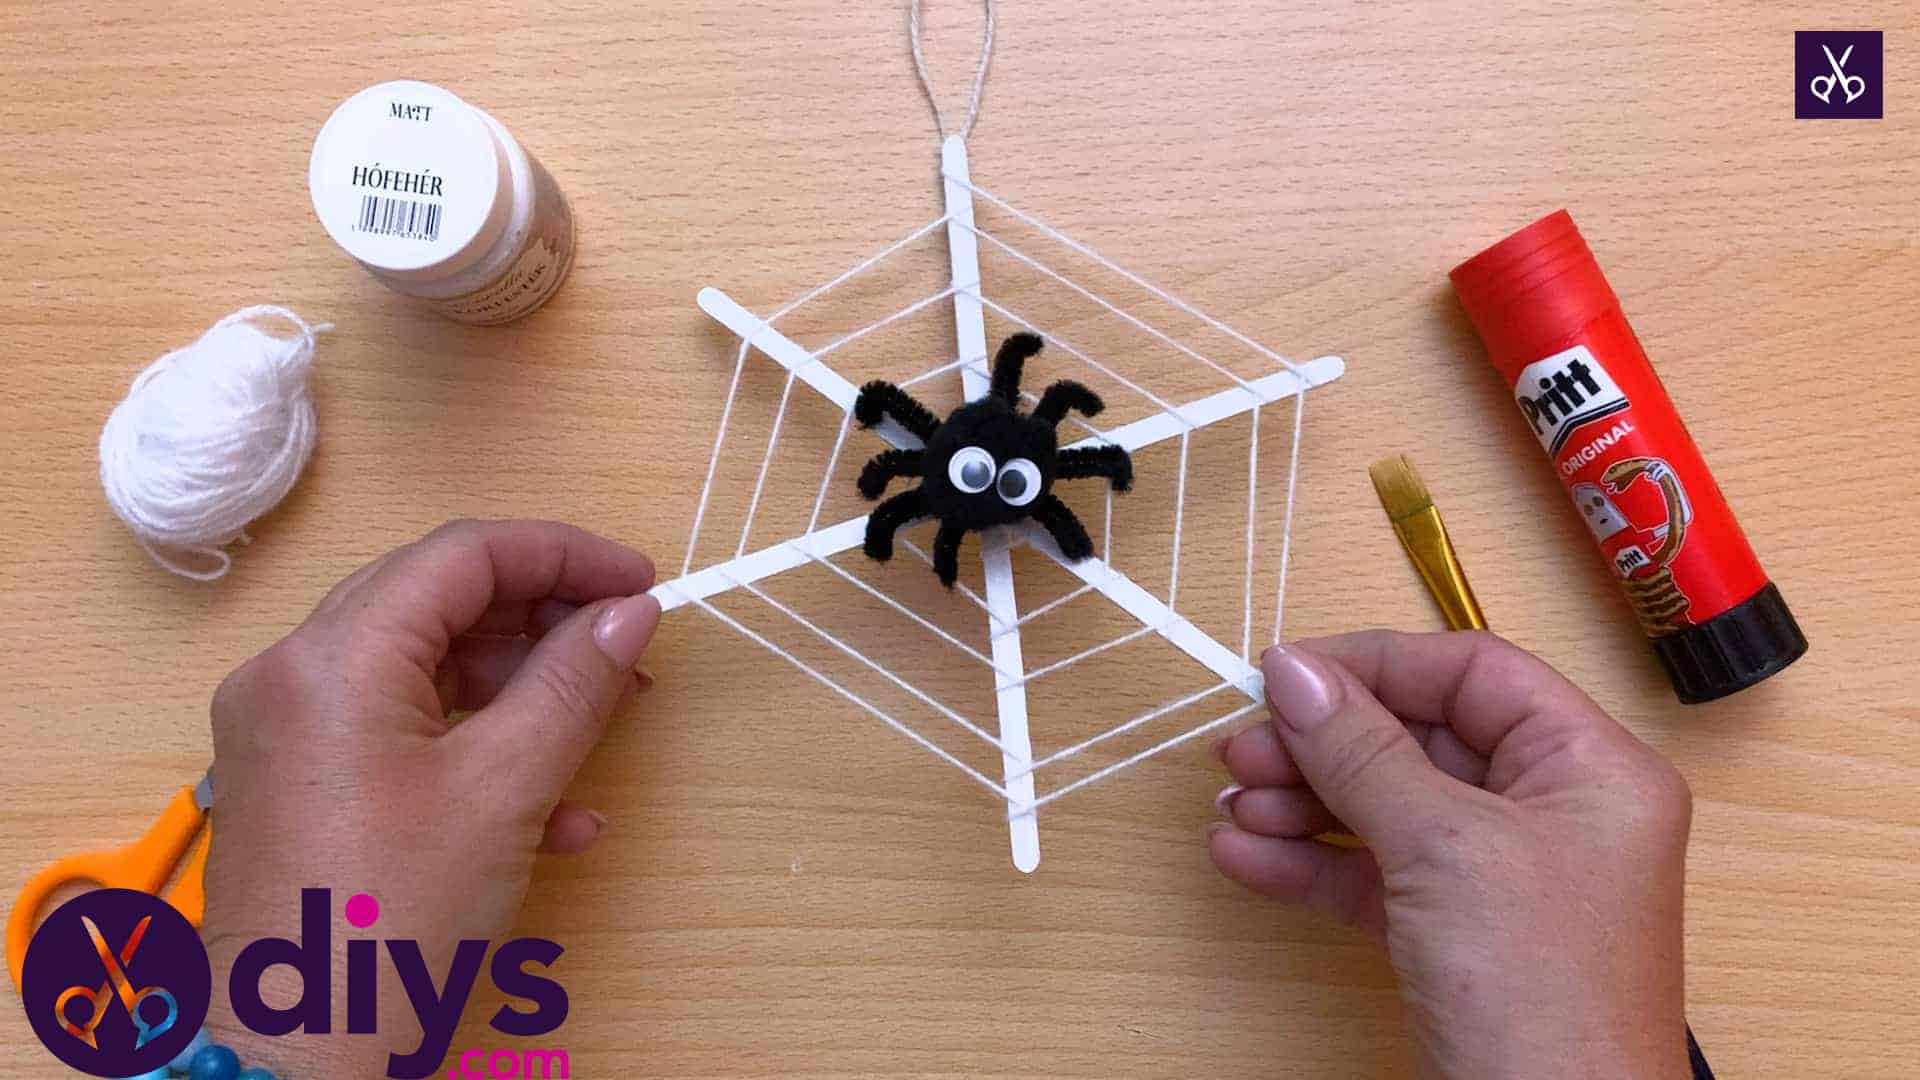
Ta-da! You have a spooky spider on a hanging web. Just in case you’d like to try this project out for yourself, here’s a fantastic tutorial video to help you!
