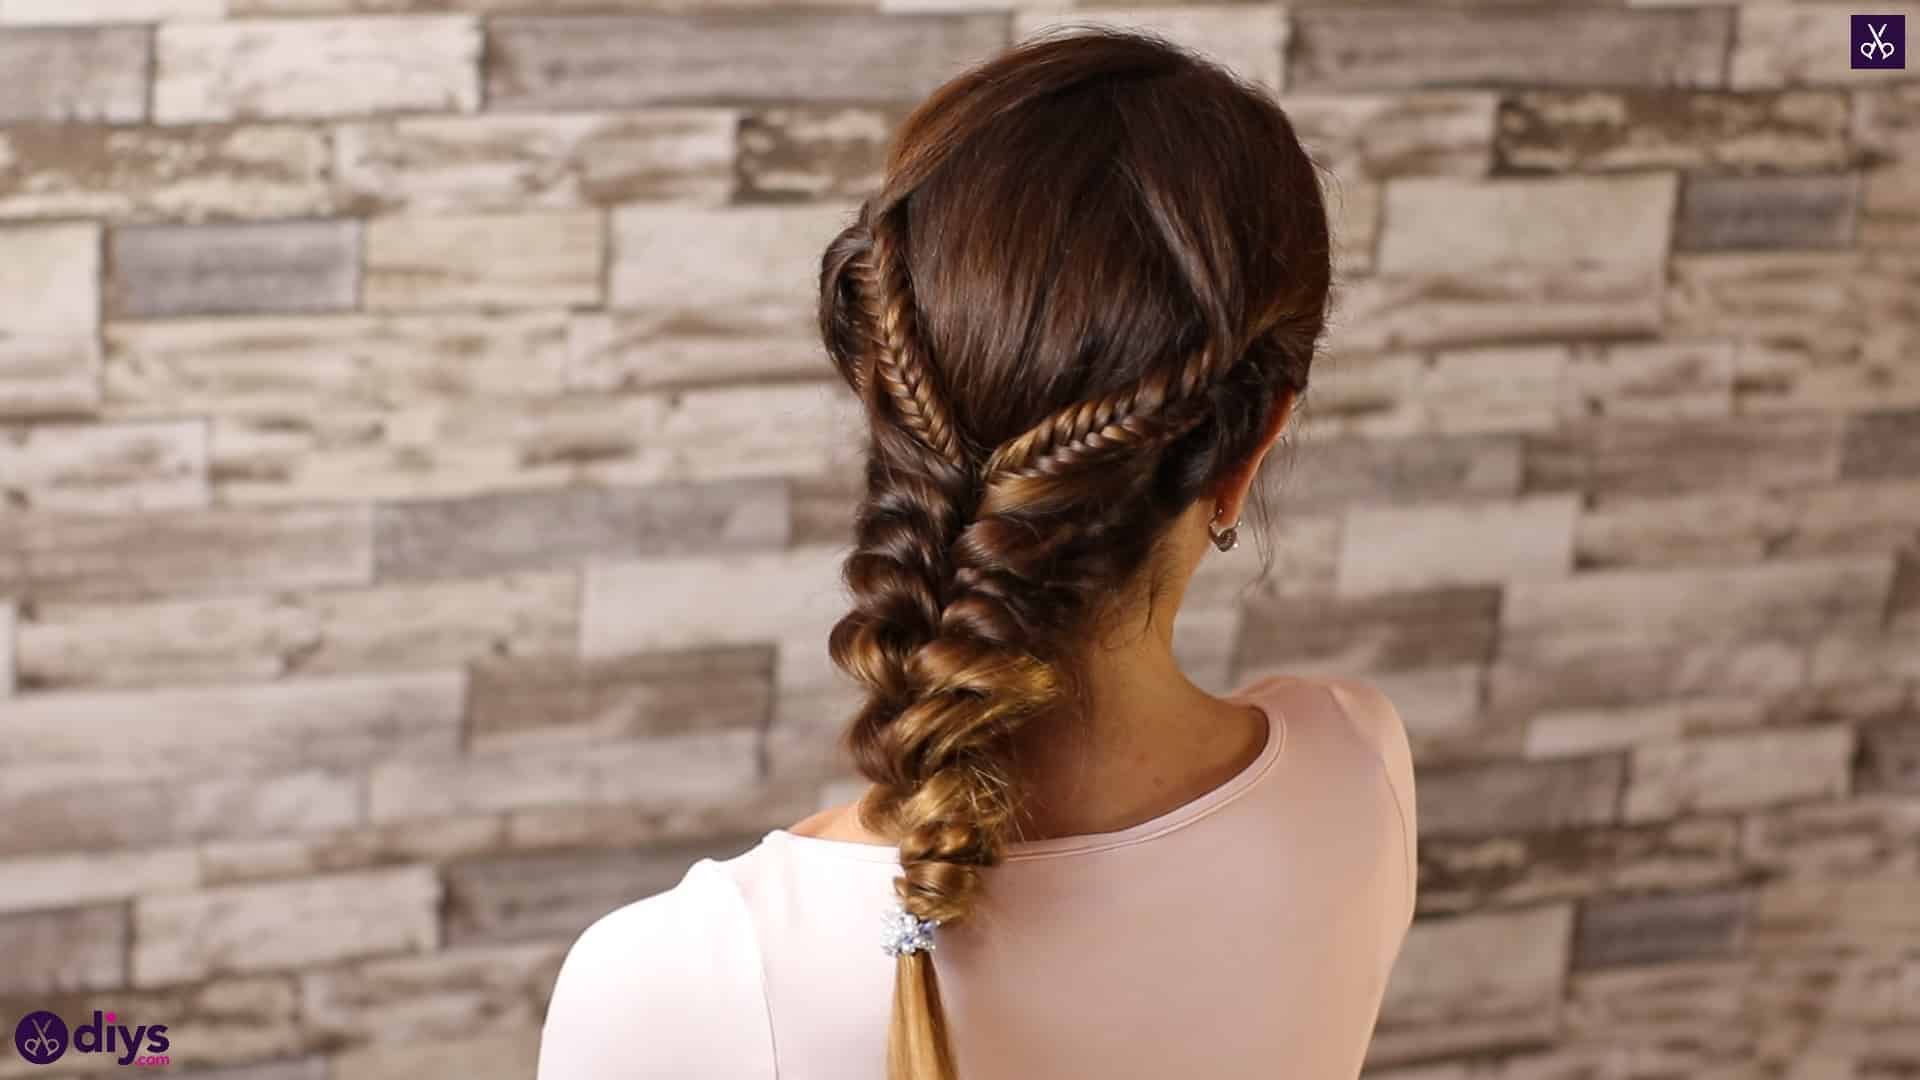
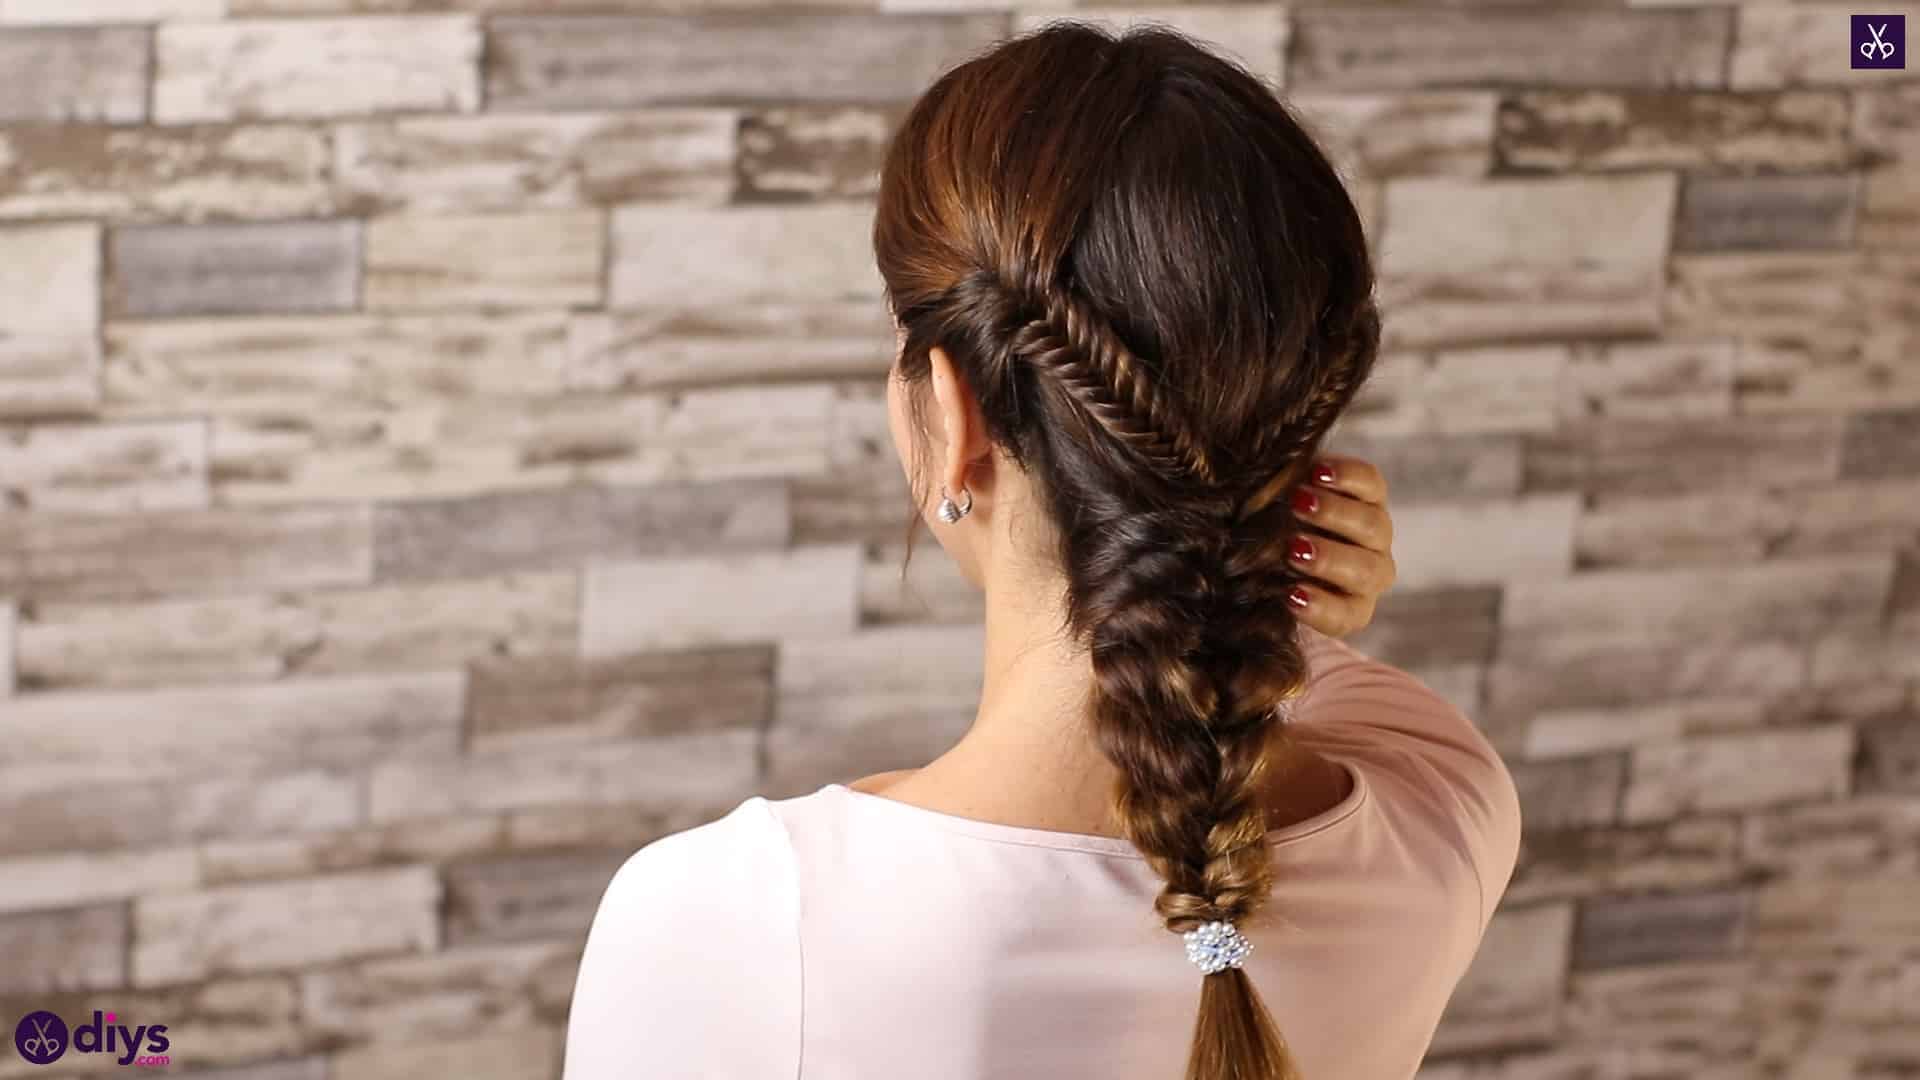
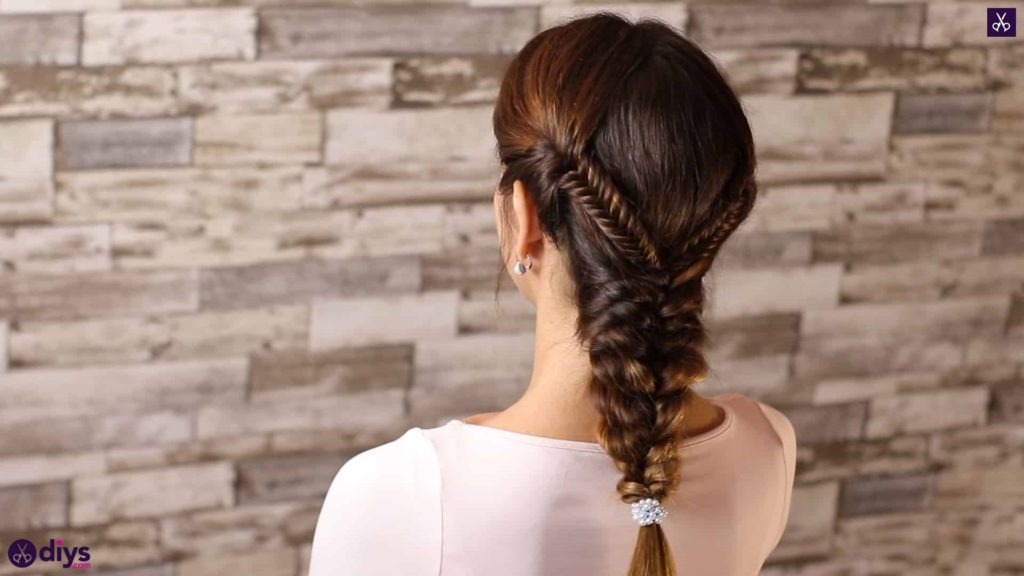
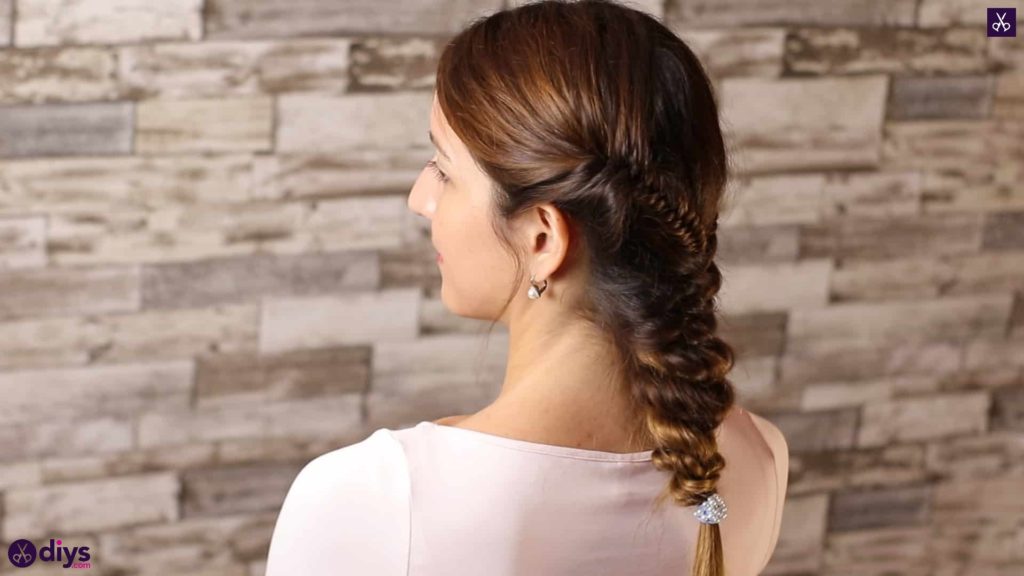
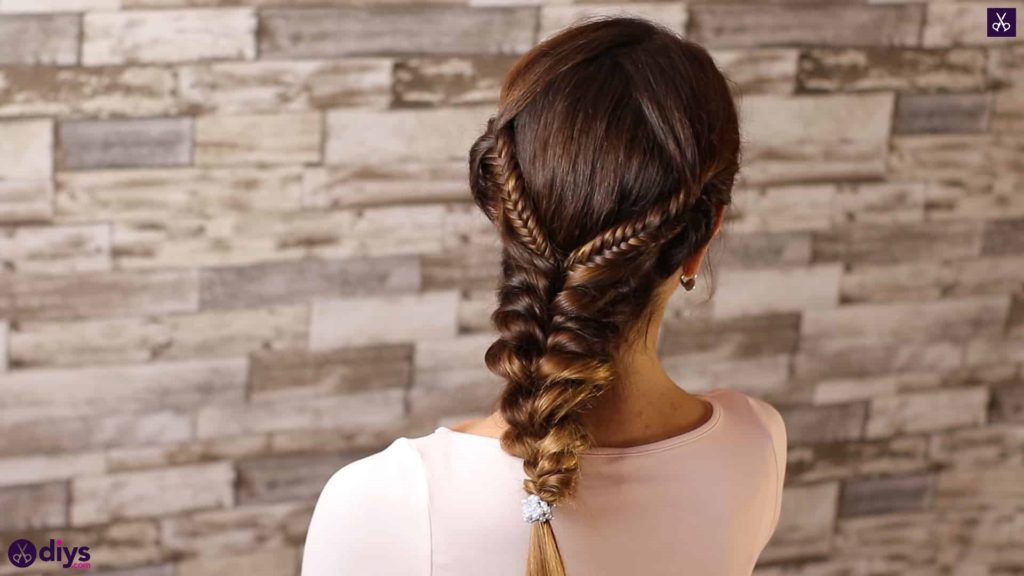
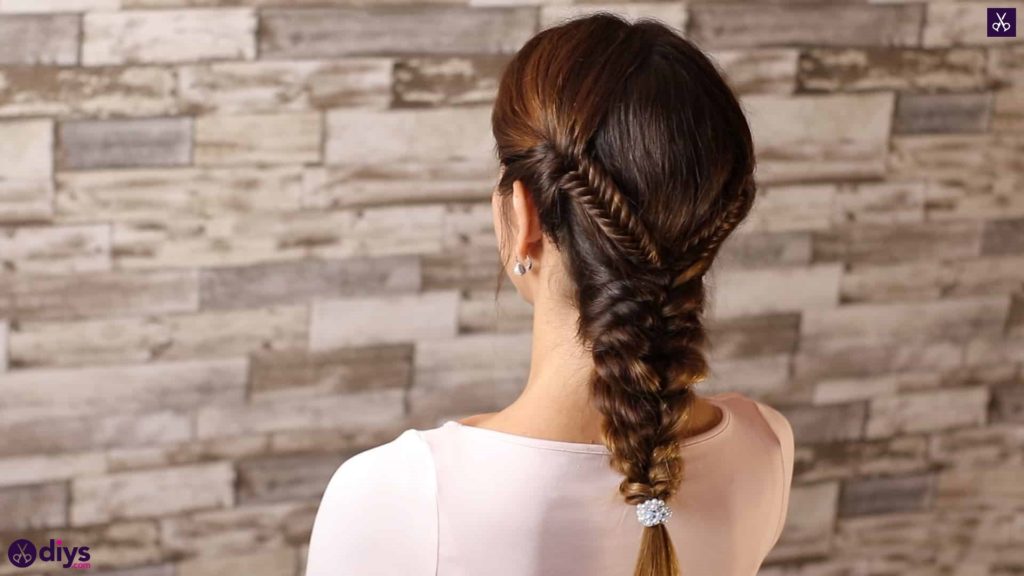
Easy Romantic Prom Hairstyle Tutorial
Have you ever been asked to style a friend’s hair for something very important before and felt determined to do your best? I was asked to do someone’s hair for their prom this year and I’m feeling pretty honoured. I might not be a professional, but I love hairstyling, so I really want to do well for my friend! I’ve been practicing a lot lately and came up with a style that we both fell in love with based on our mutual soft spot for classic and very romantic looking braided styles that look intricate enough to be like something out of an old fashioned movie scene. The best part of this style, however, is that I actually came up with a trick to make it happen in a way that’s even easier than it looks!
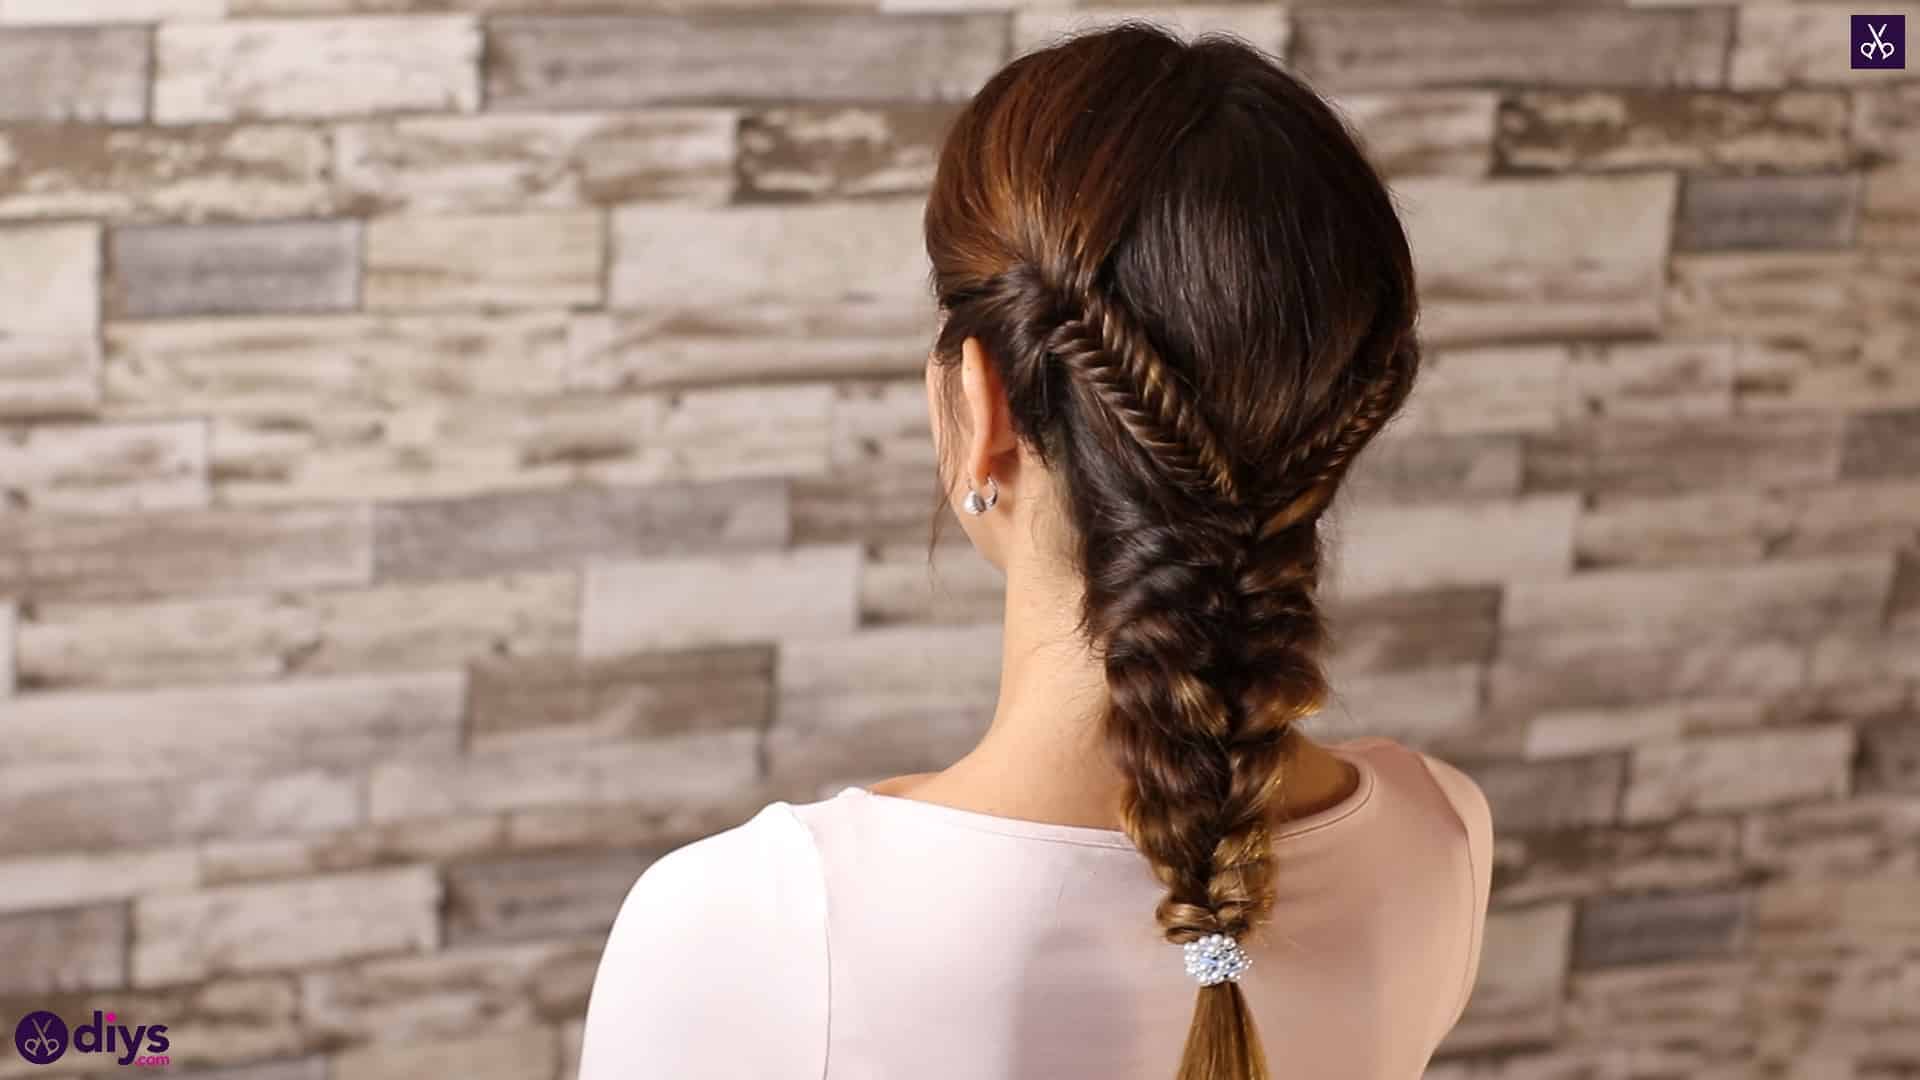
This style is an awesome combination of fishtail braiding and a simple gathering trick that makes the hair look carefully braided. I was so pleased with how it turned out when I was practicing that I couldn’t resist documenting the process for other hairstyling enthusiasts to learn from. Check out these step by step instructions complete with photos! If you’d rather follow along with a video tutorial instead of written words, scroll to the bottom of this post to find just what you’re looking for.
For this project, you’ll need:
- Hair elastics
- Bobby pins
- A brush
- Hairspray
Step 1
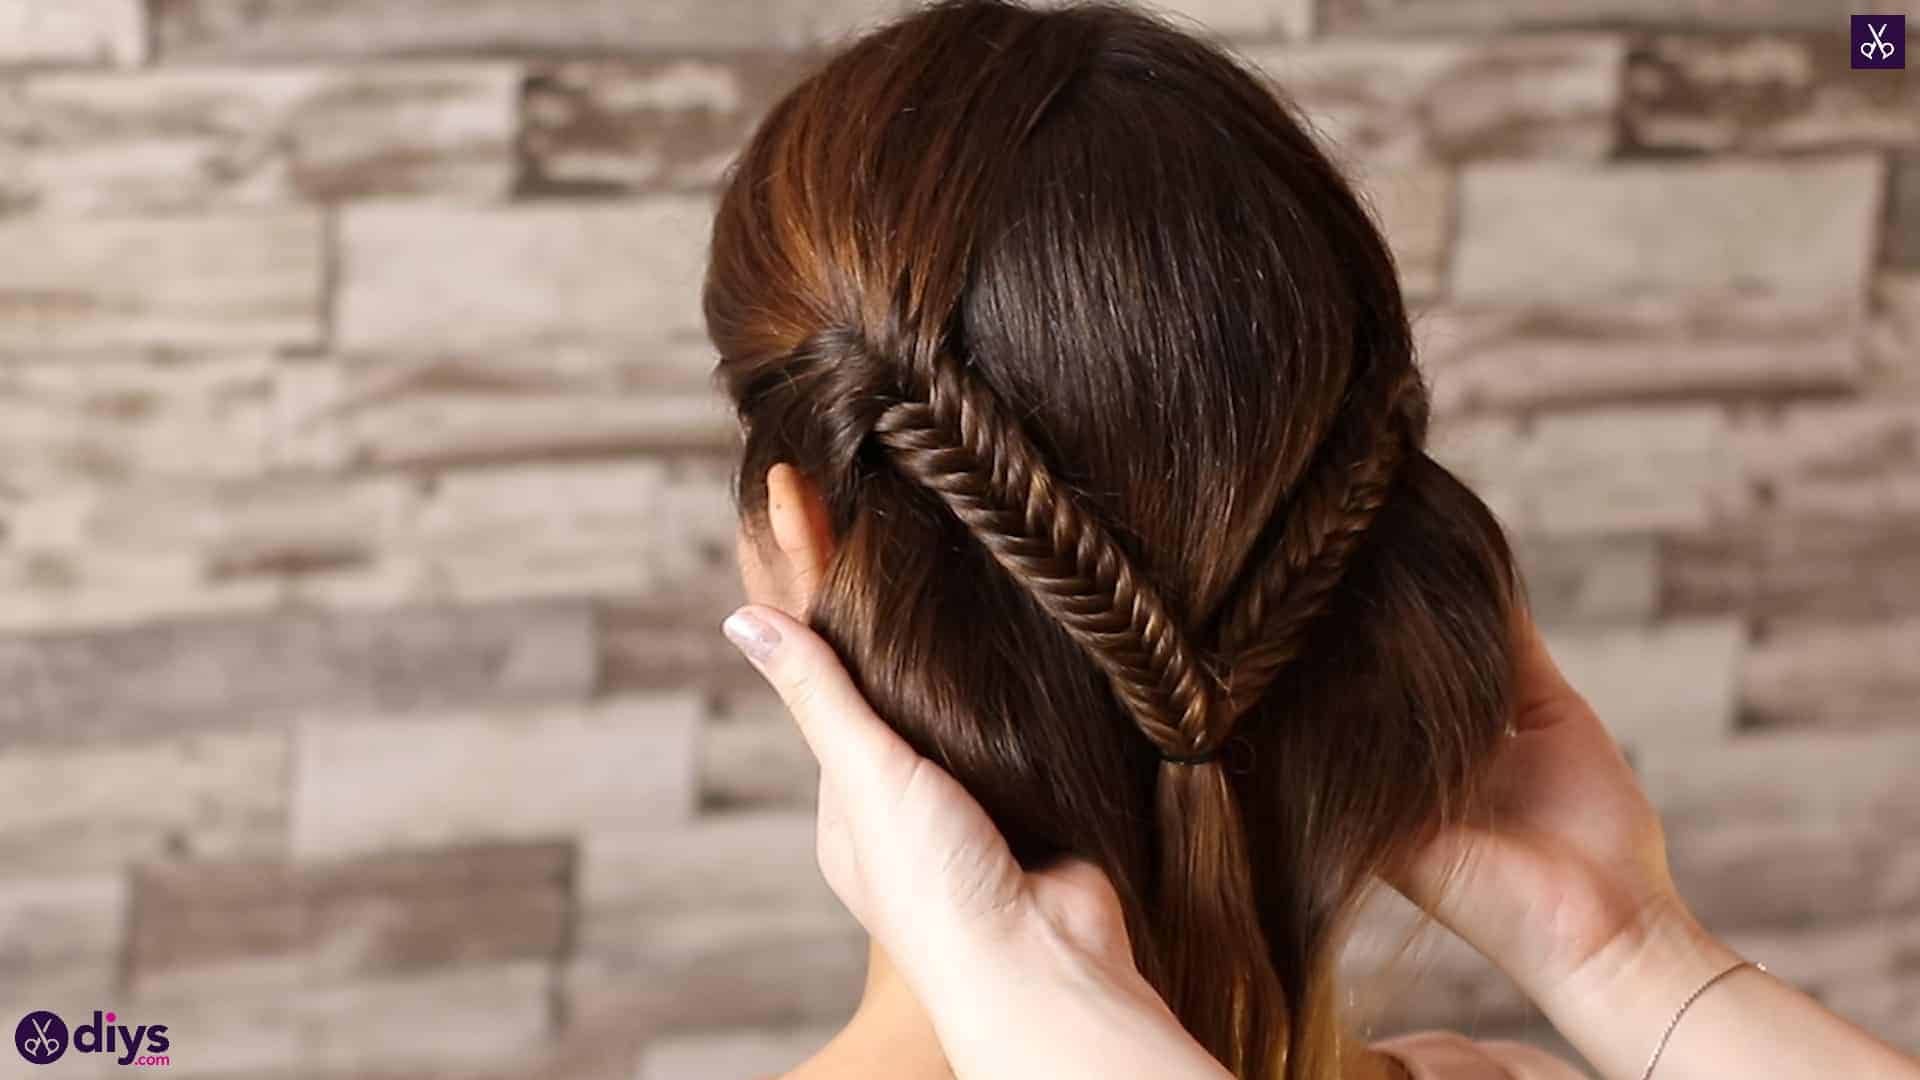
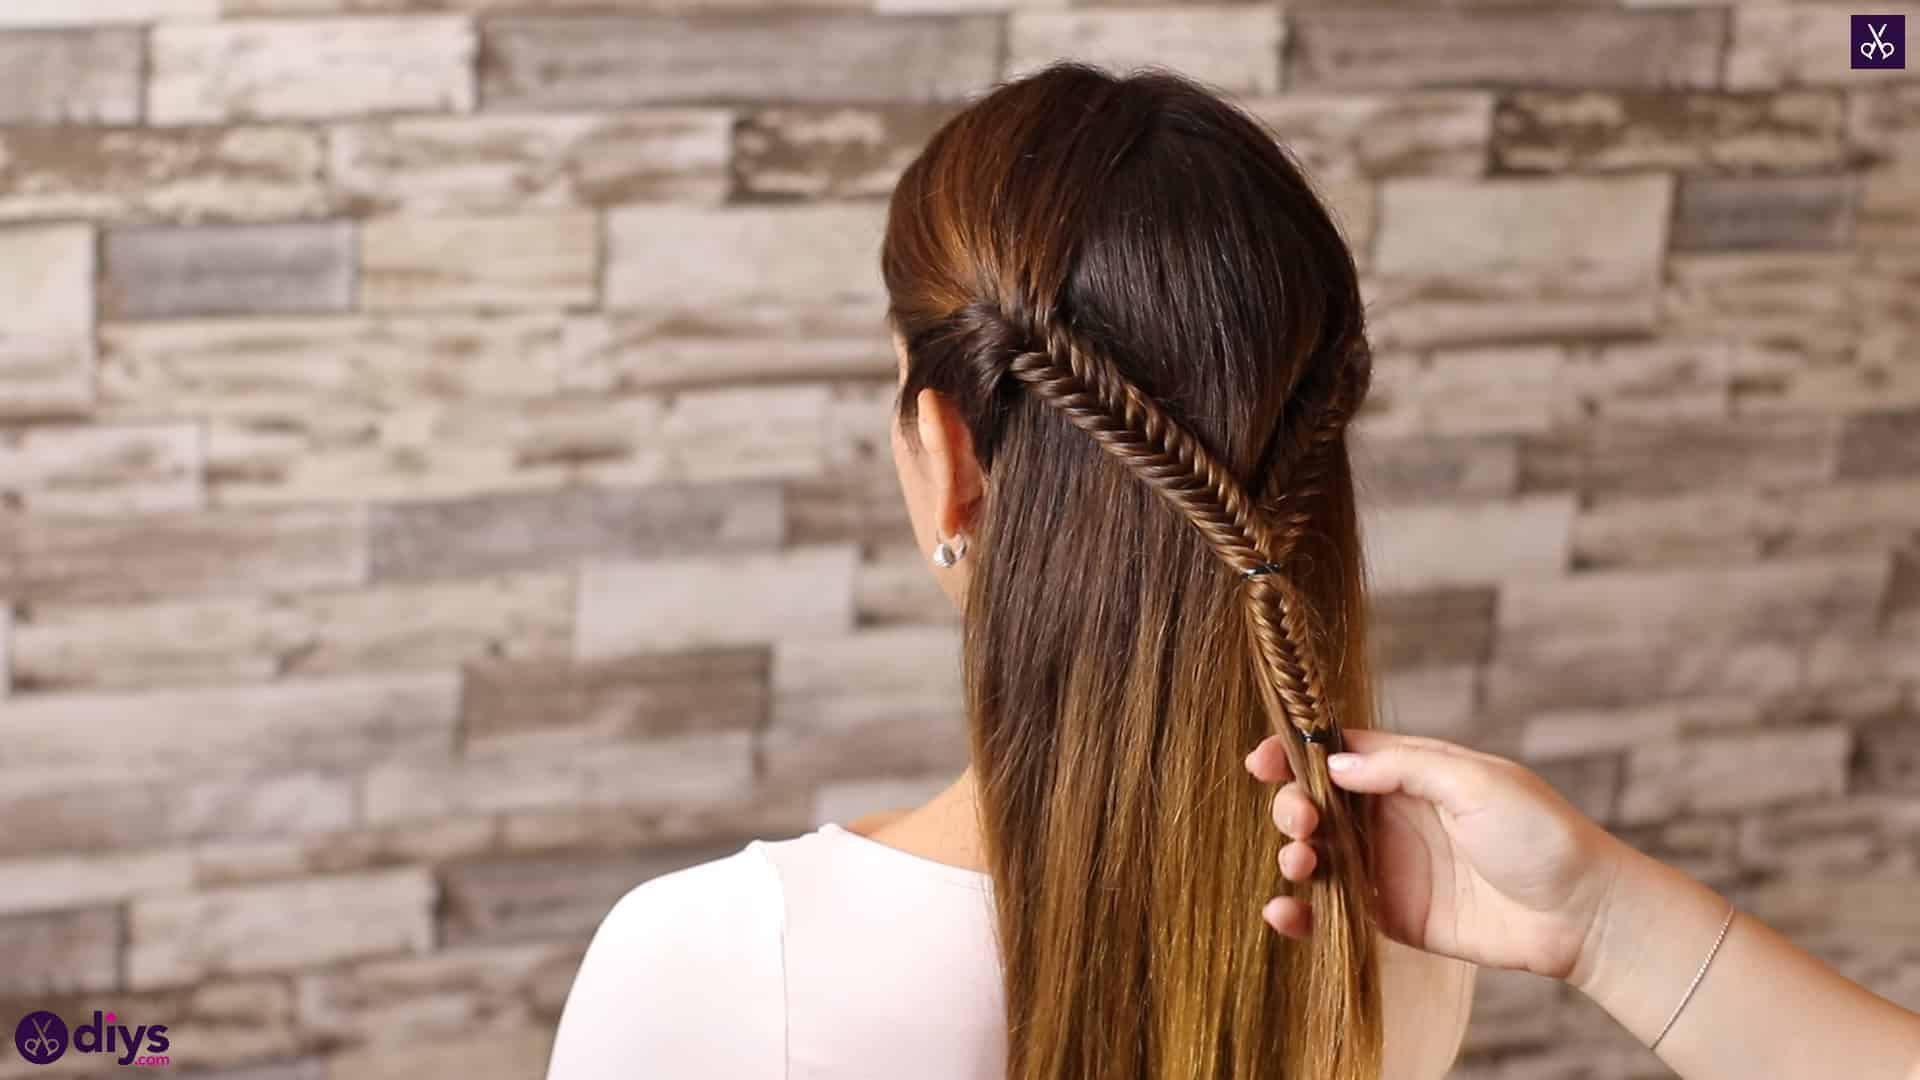
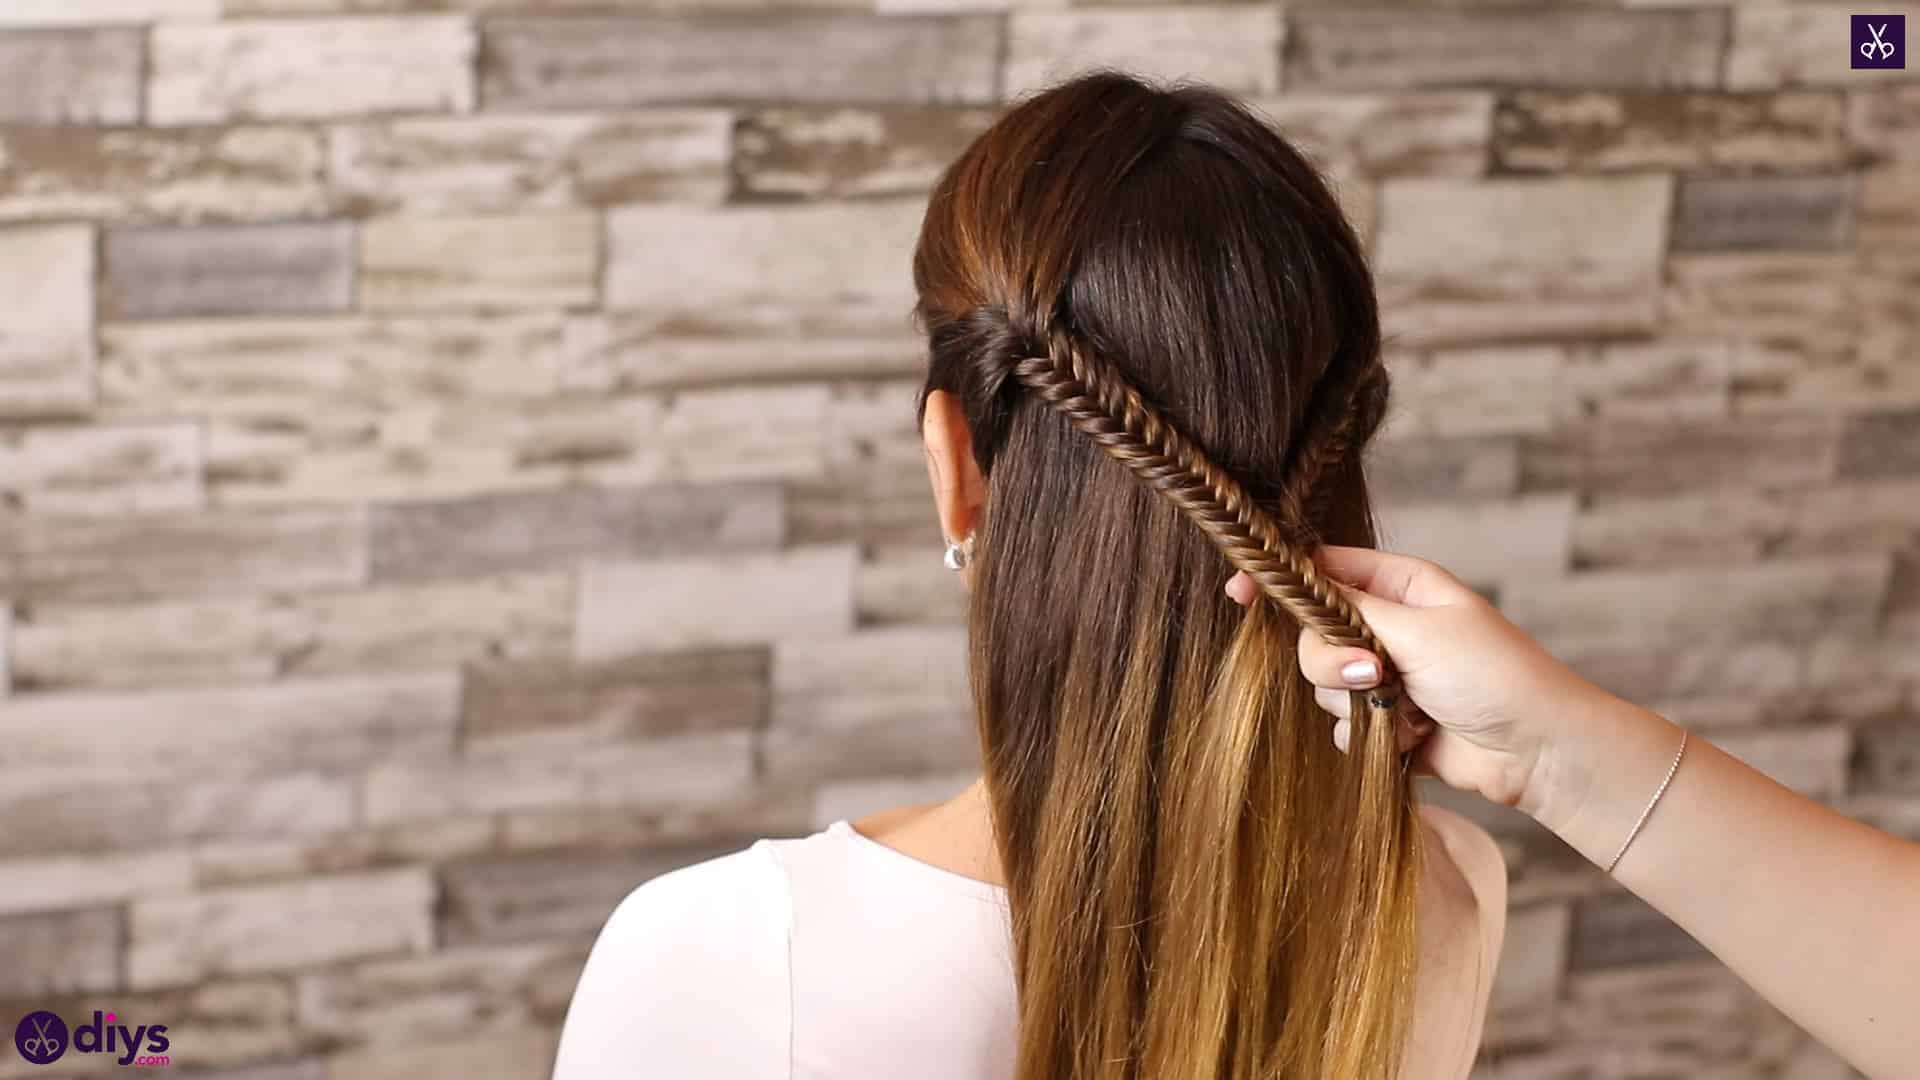
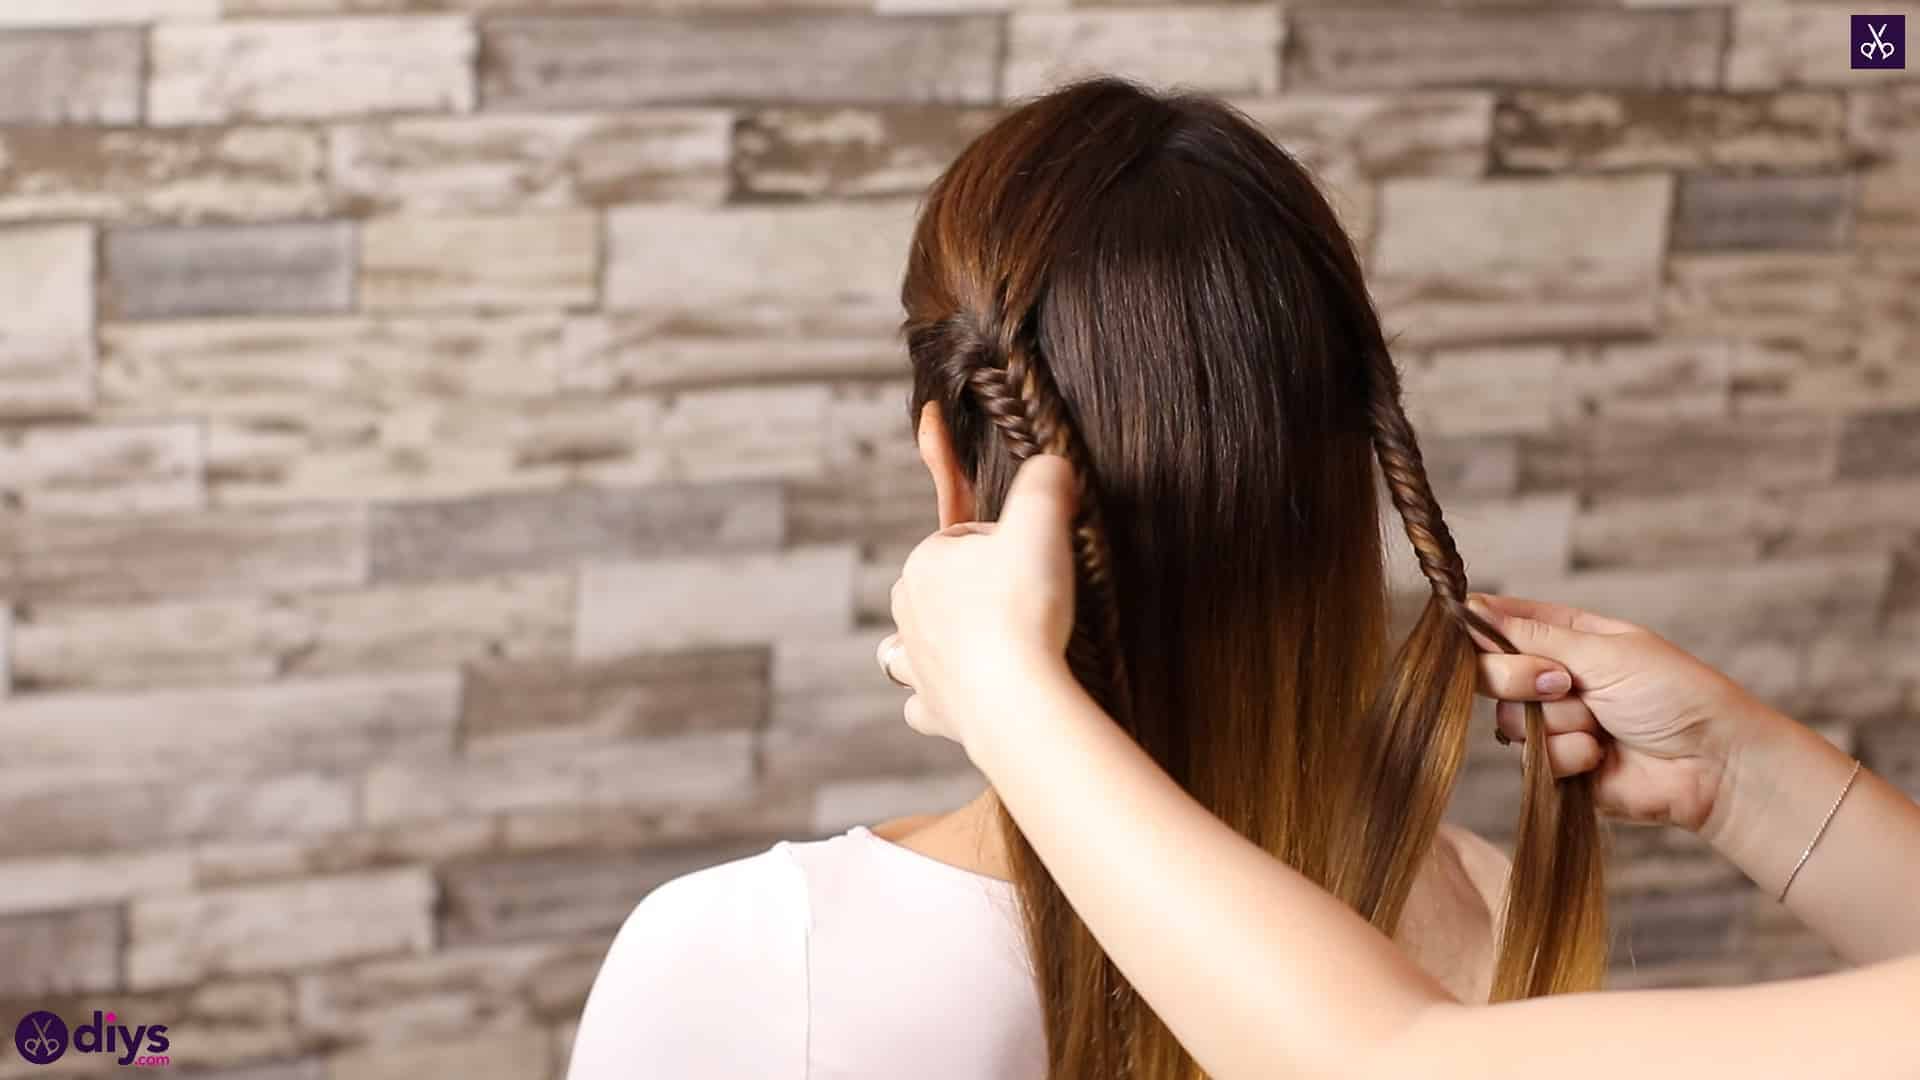
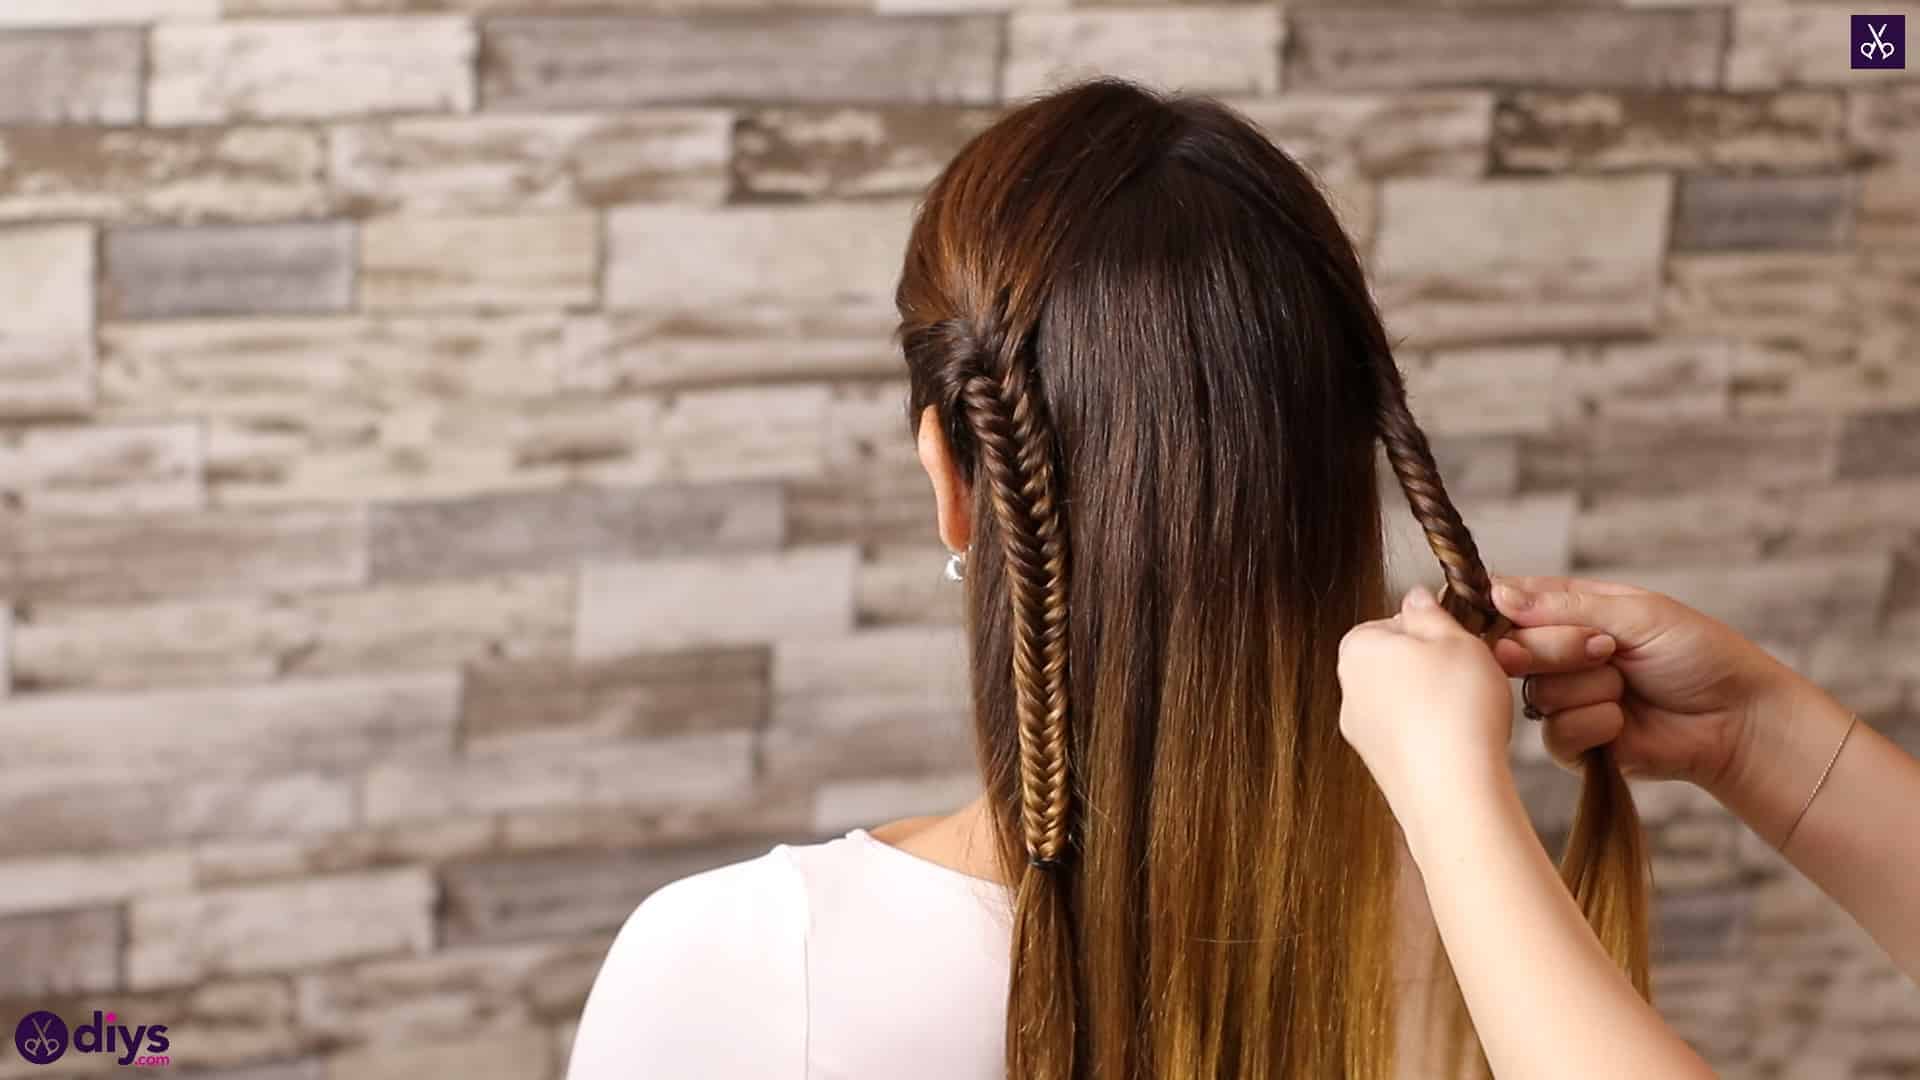
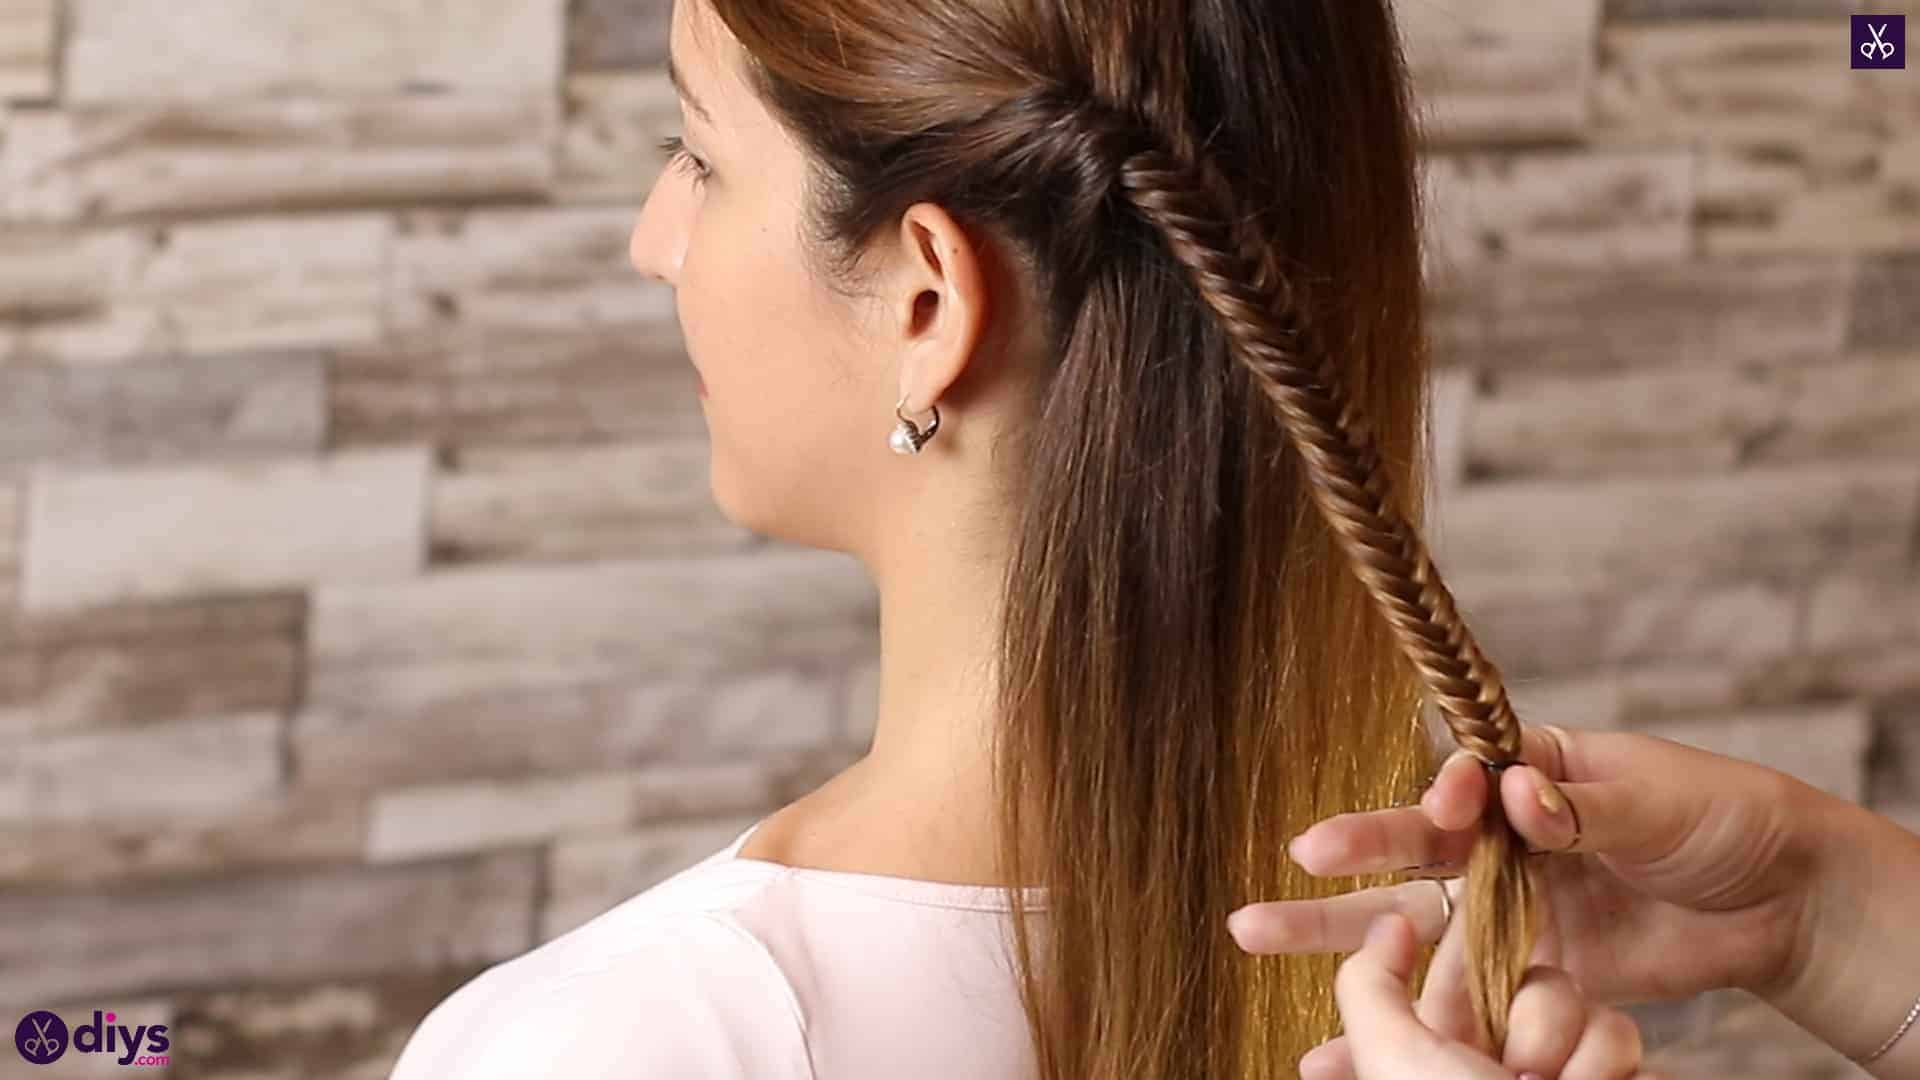
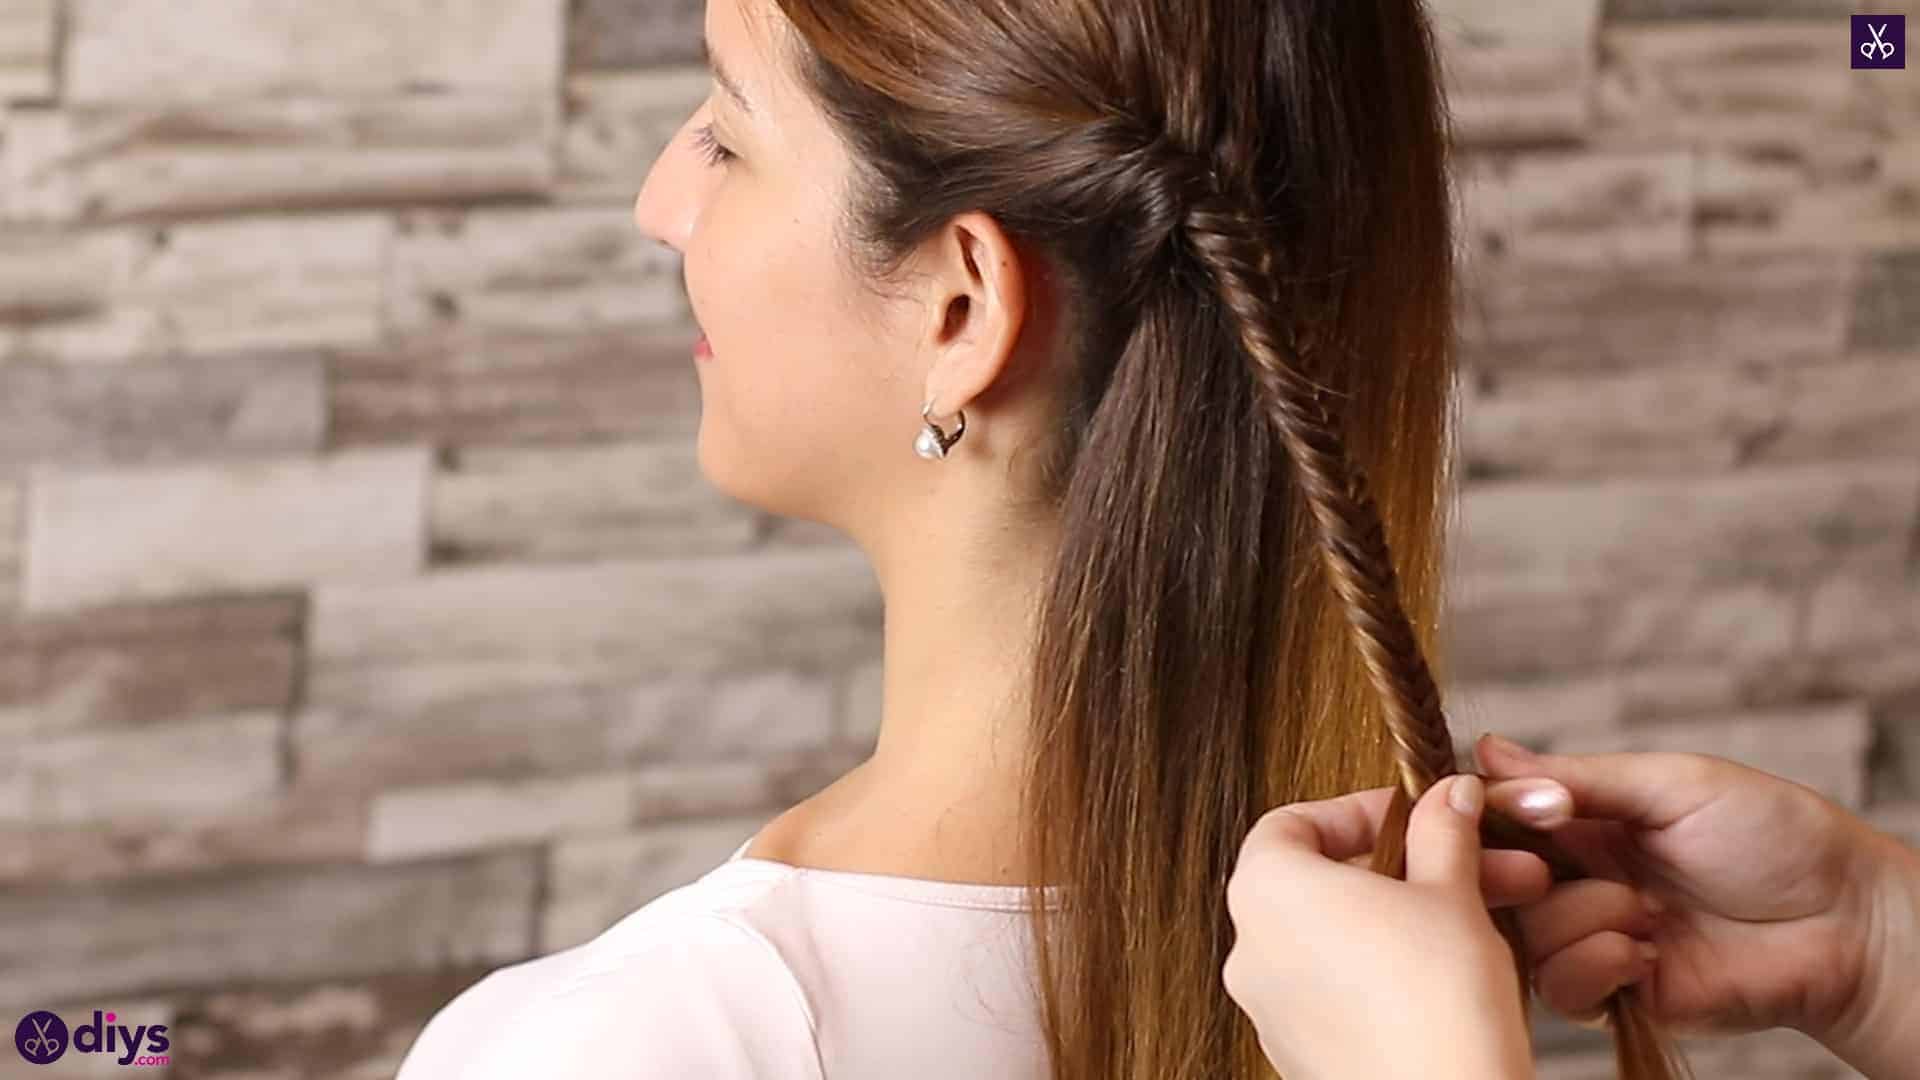
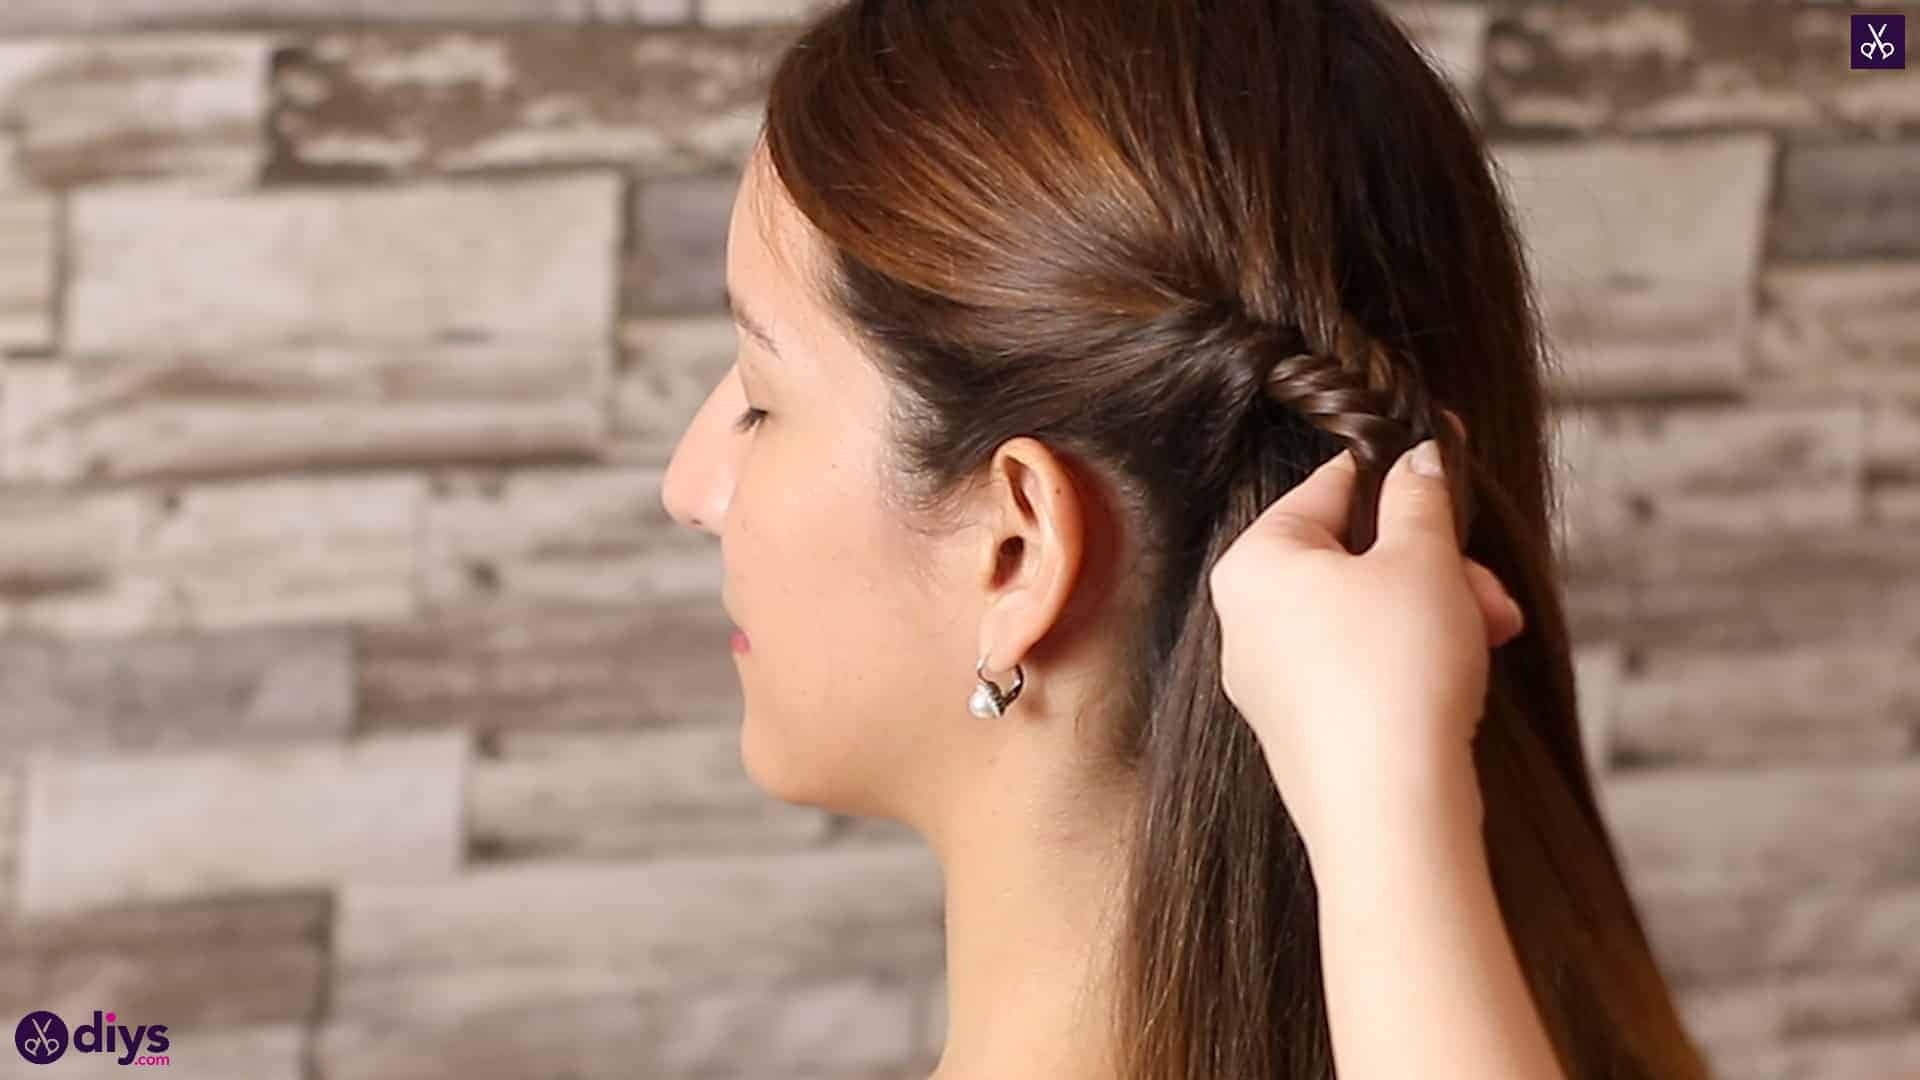
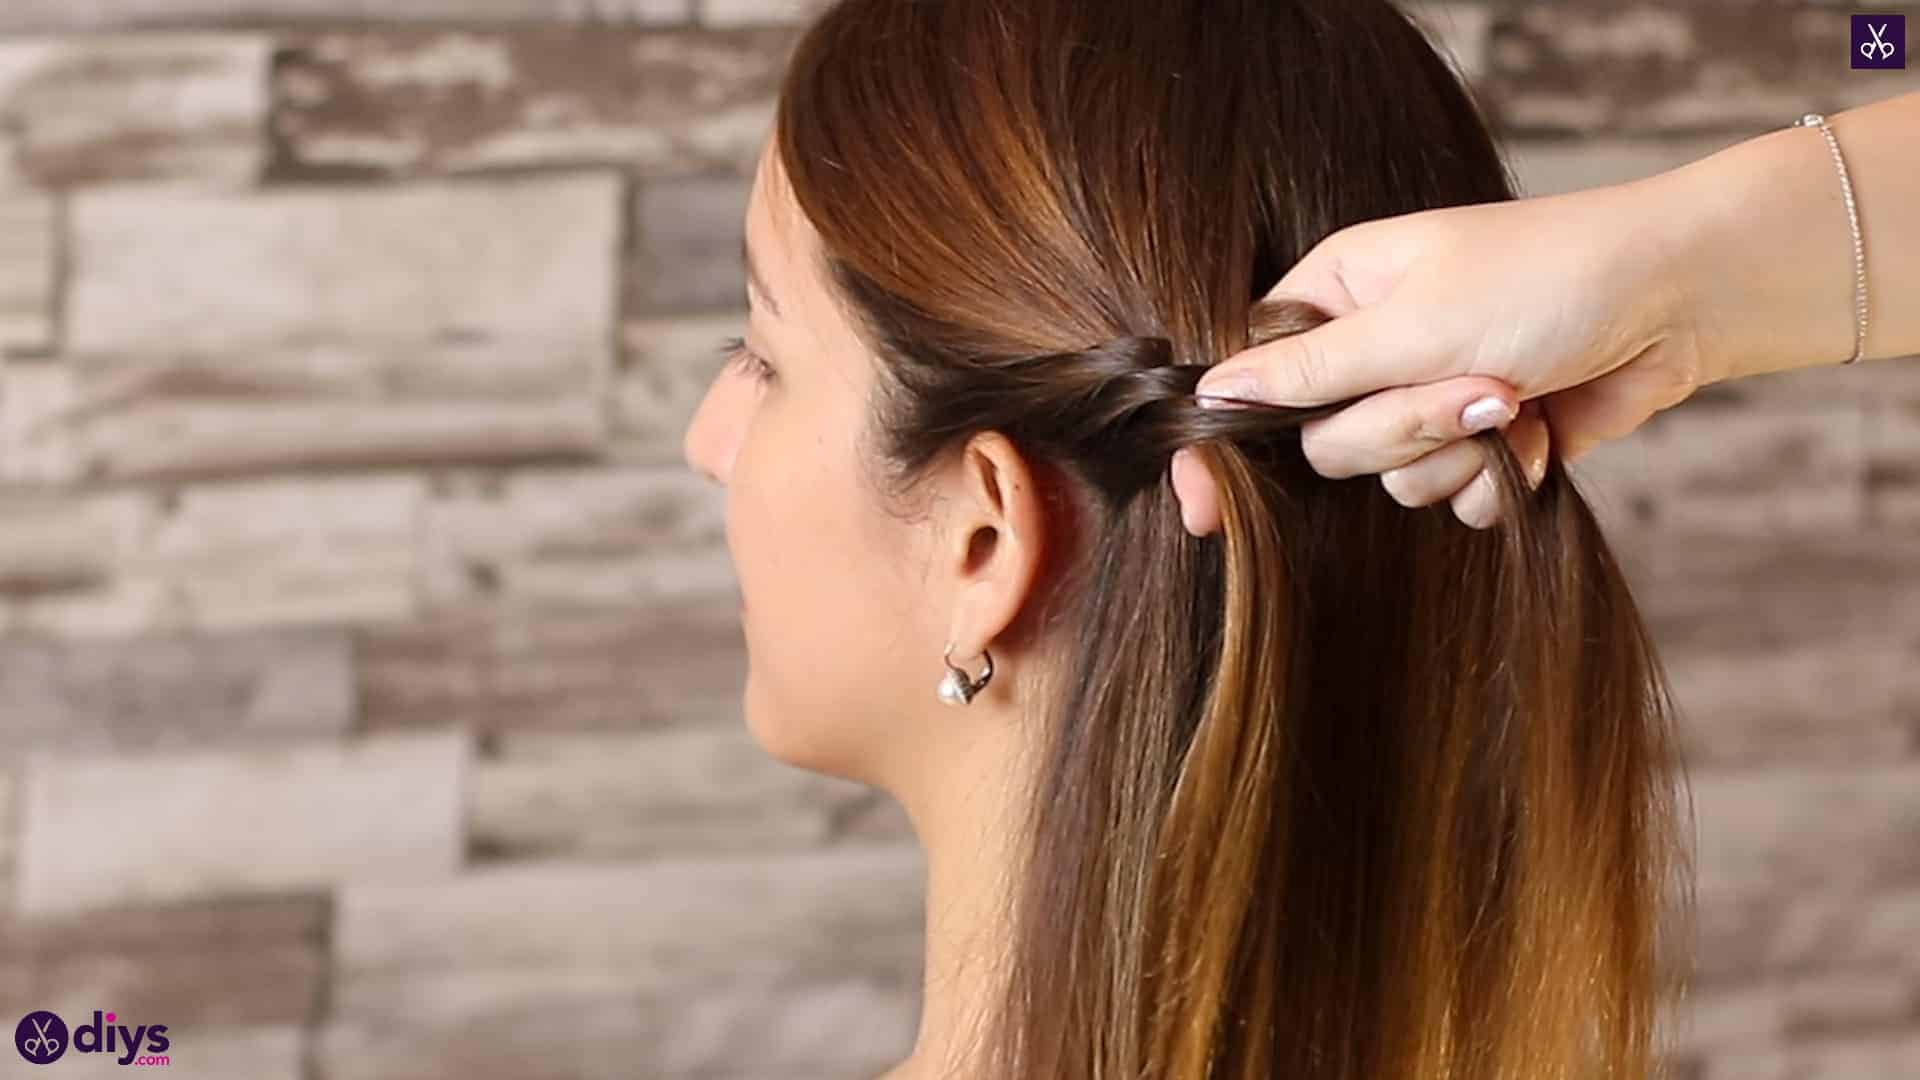
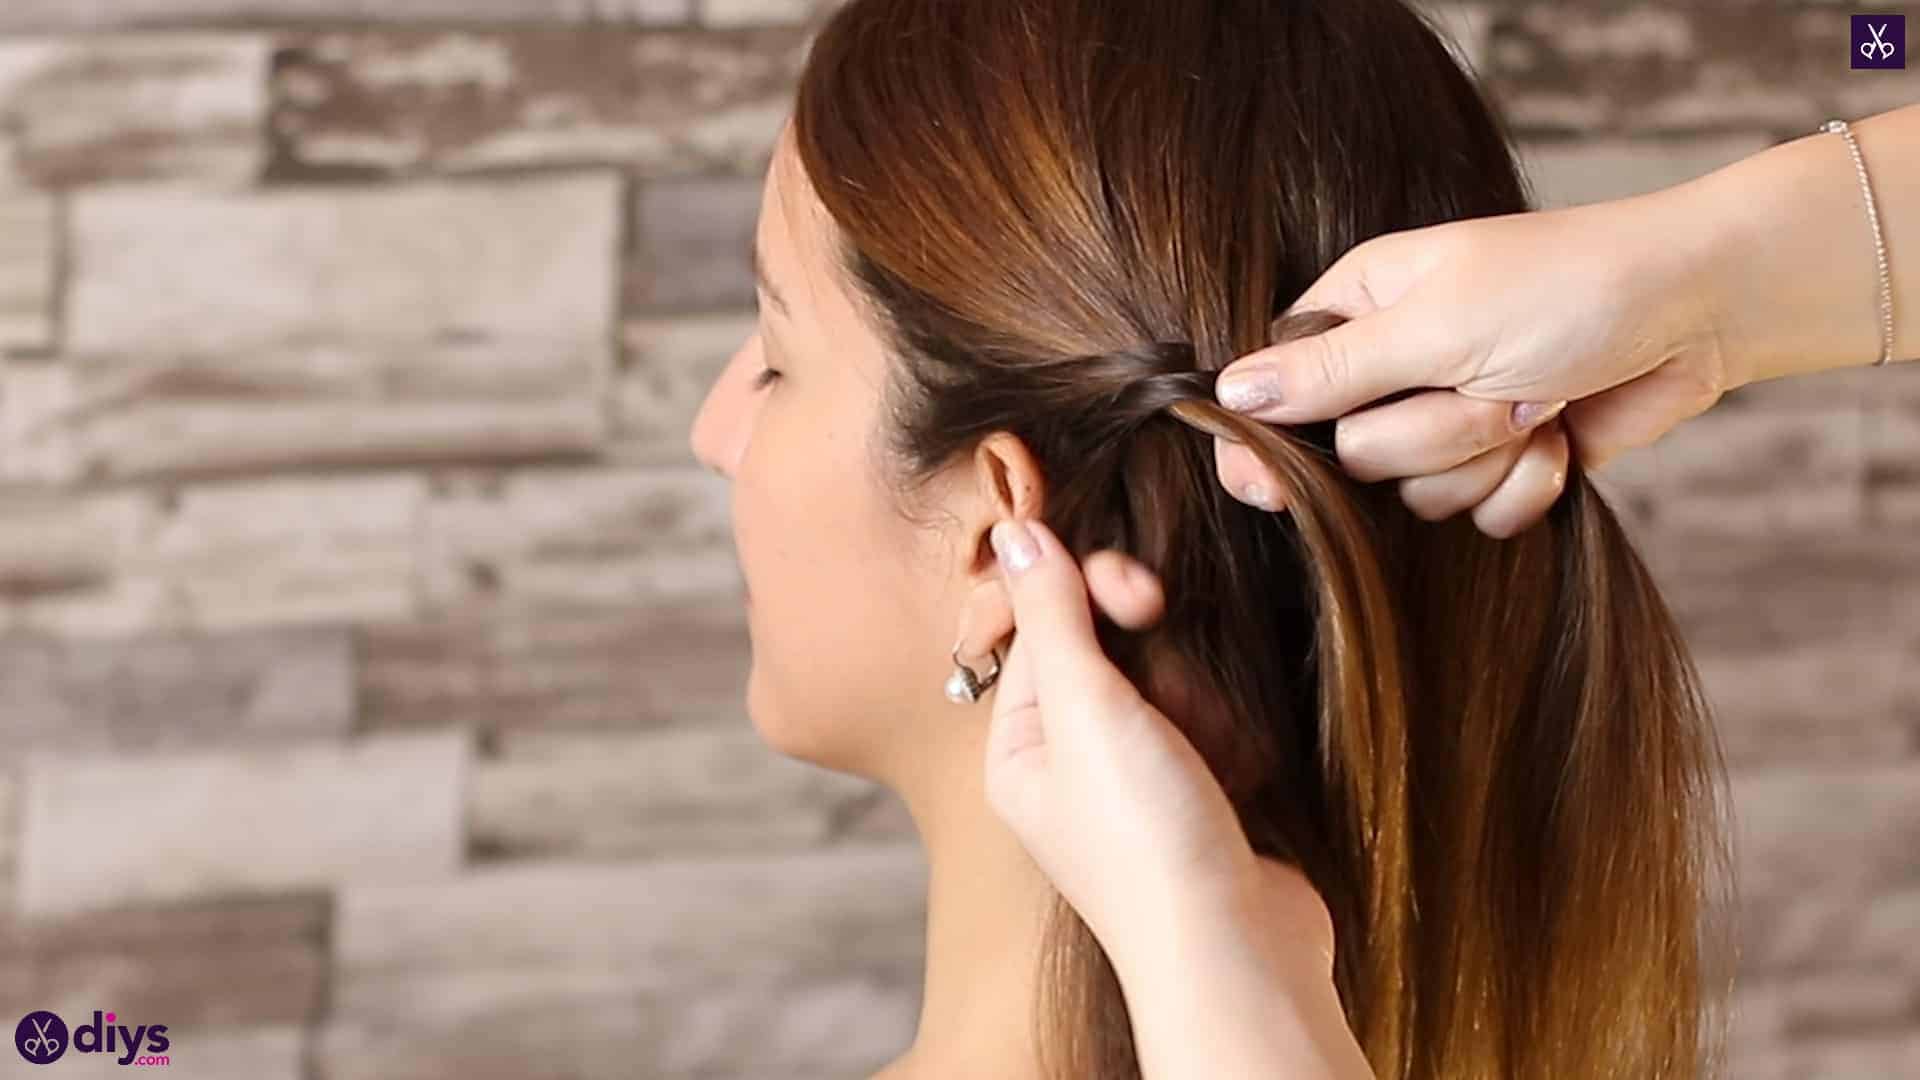
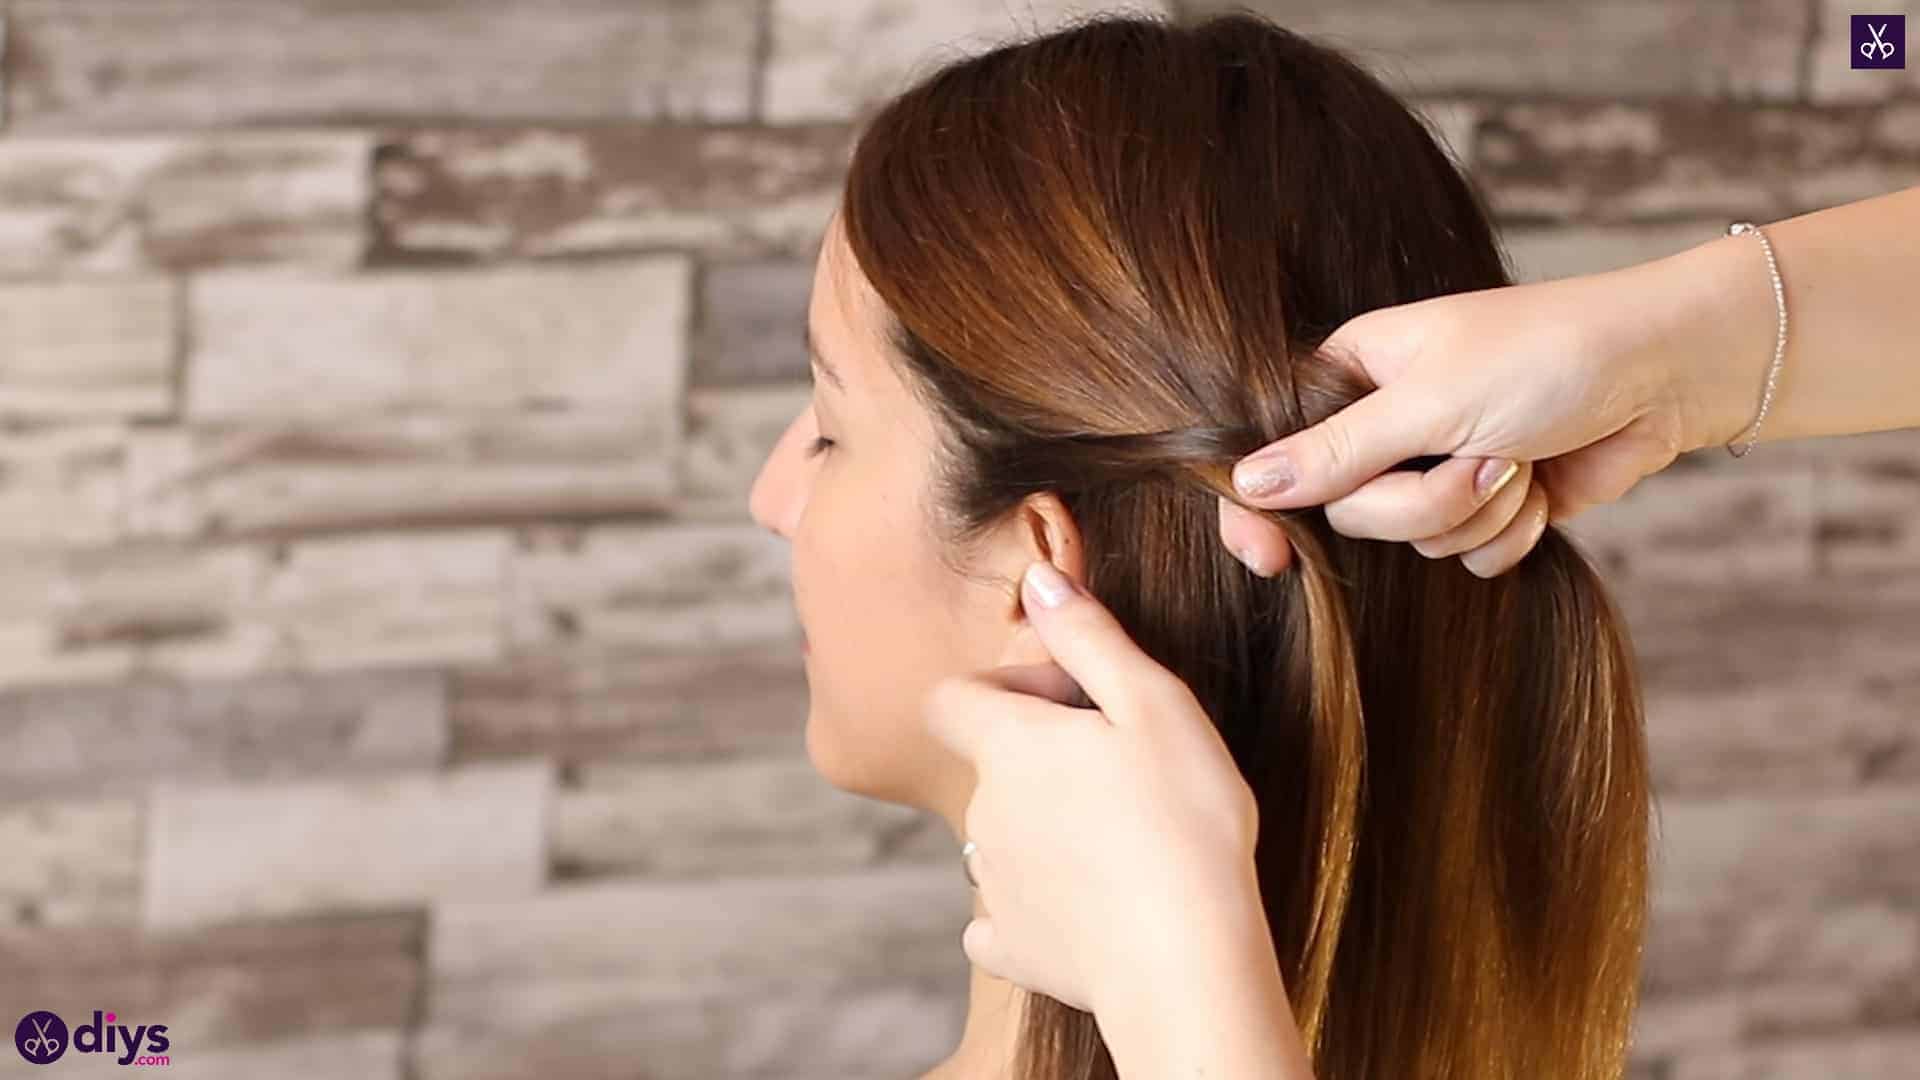
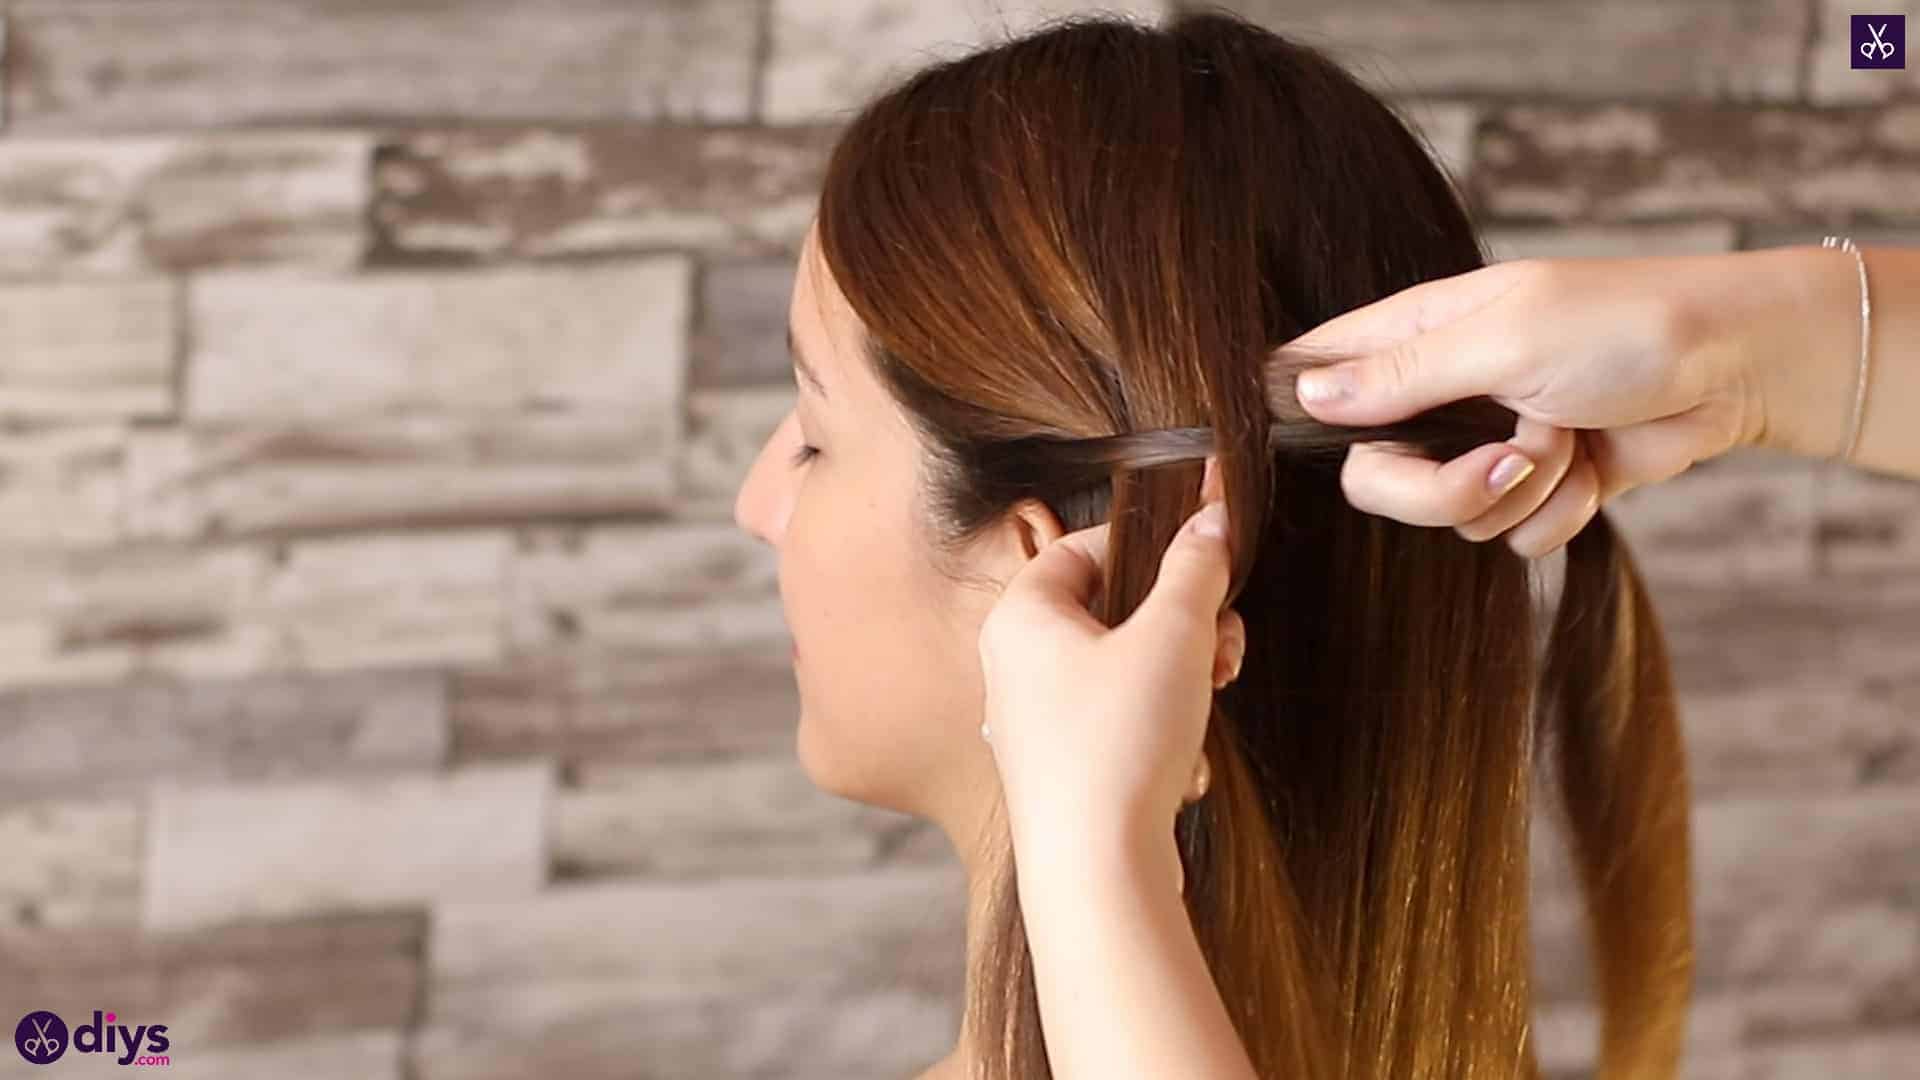
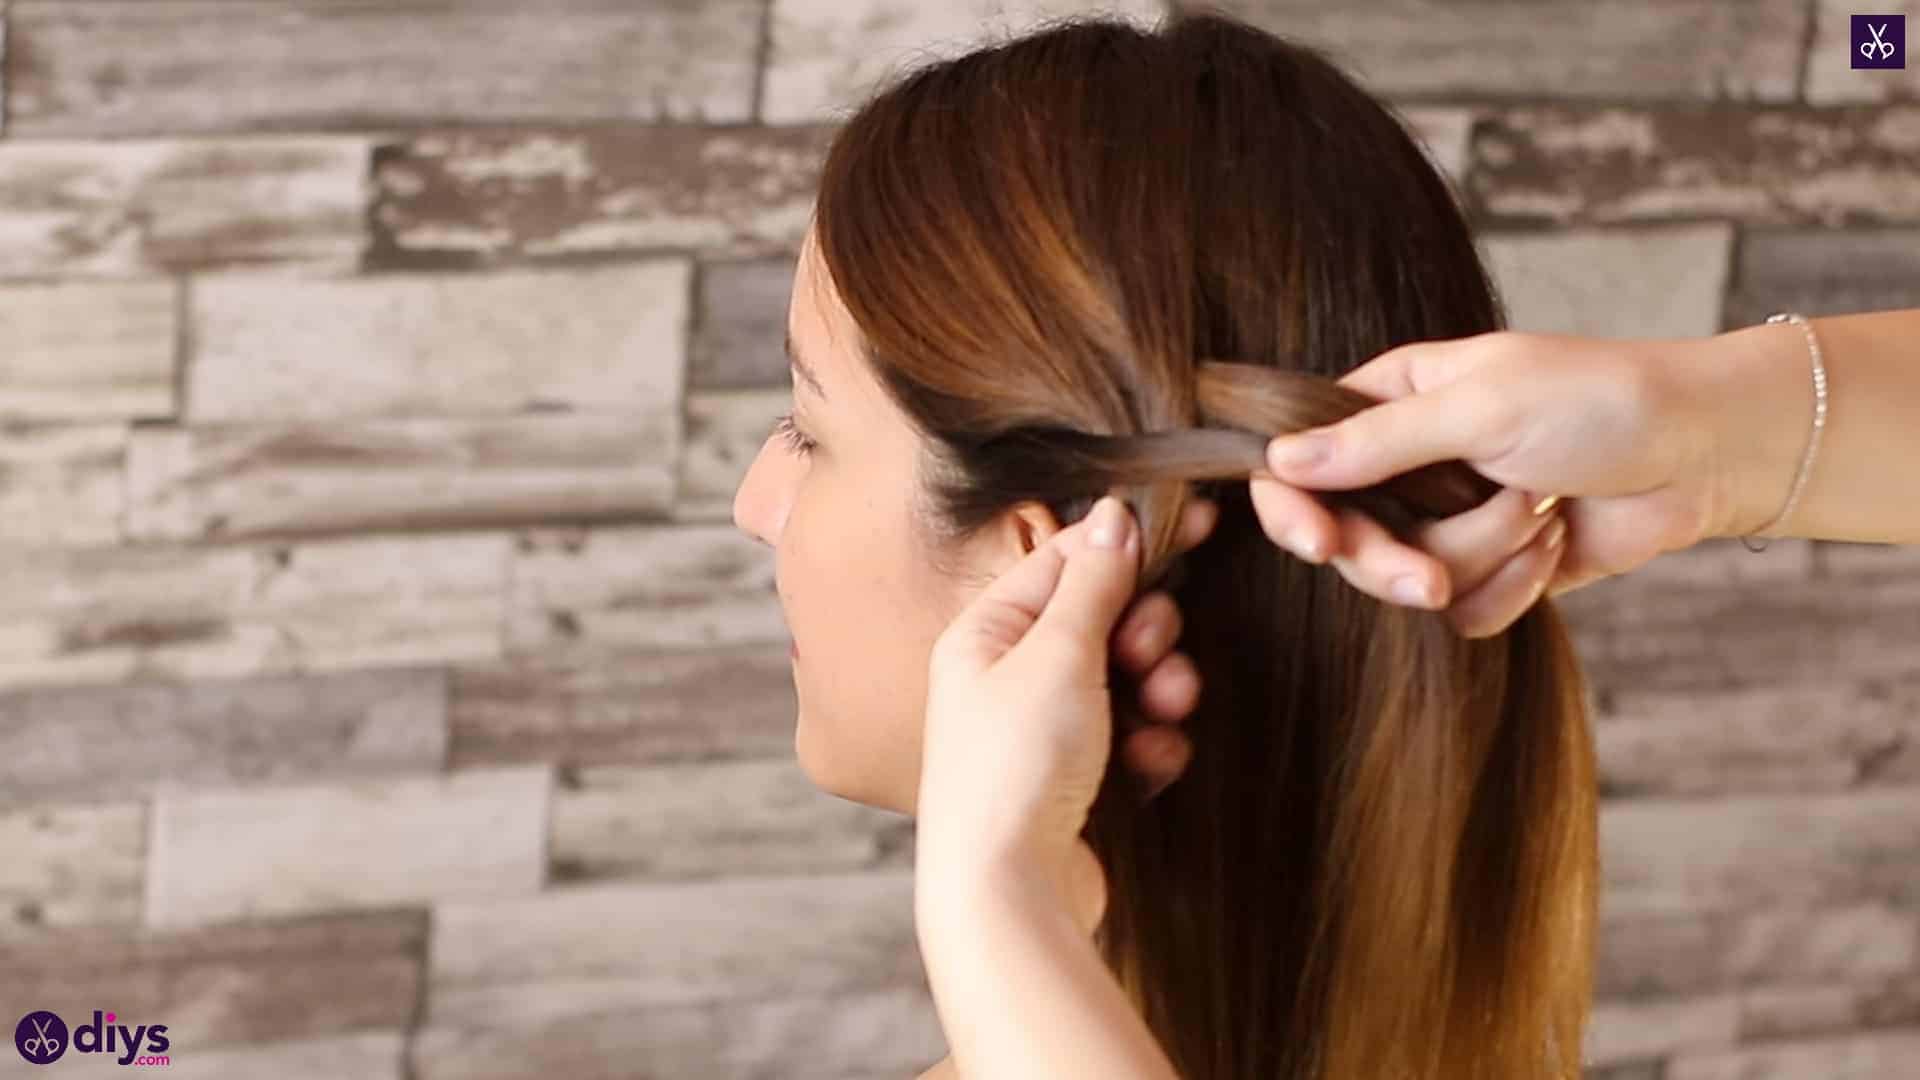
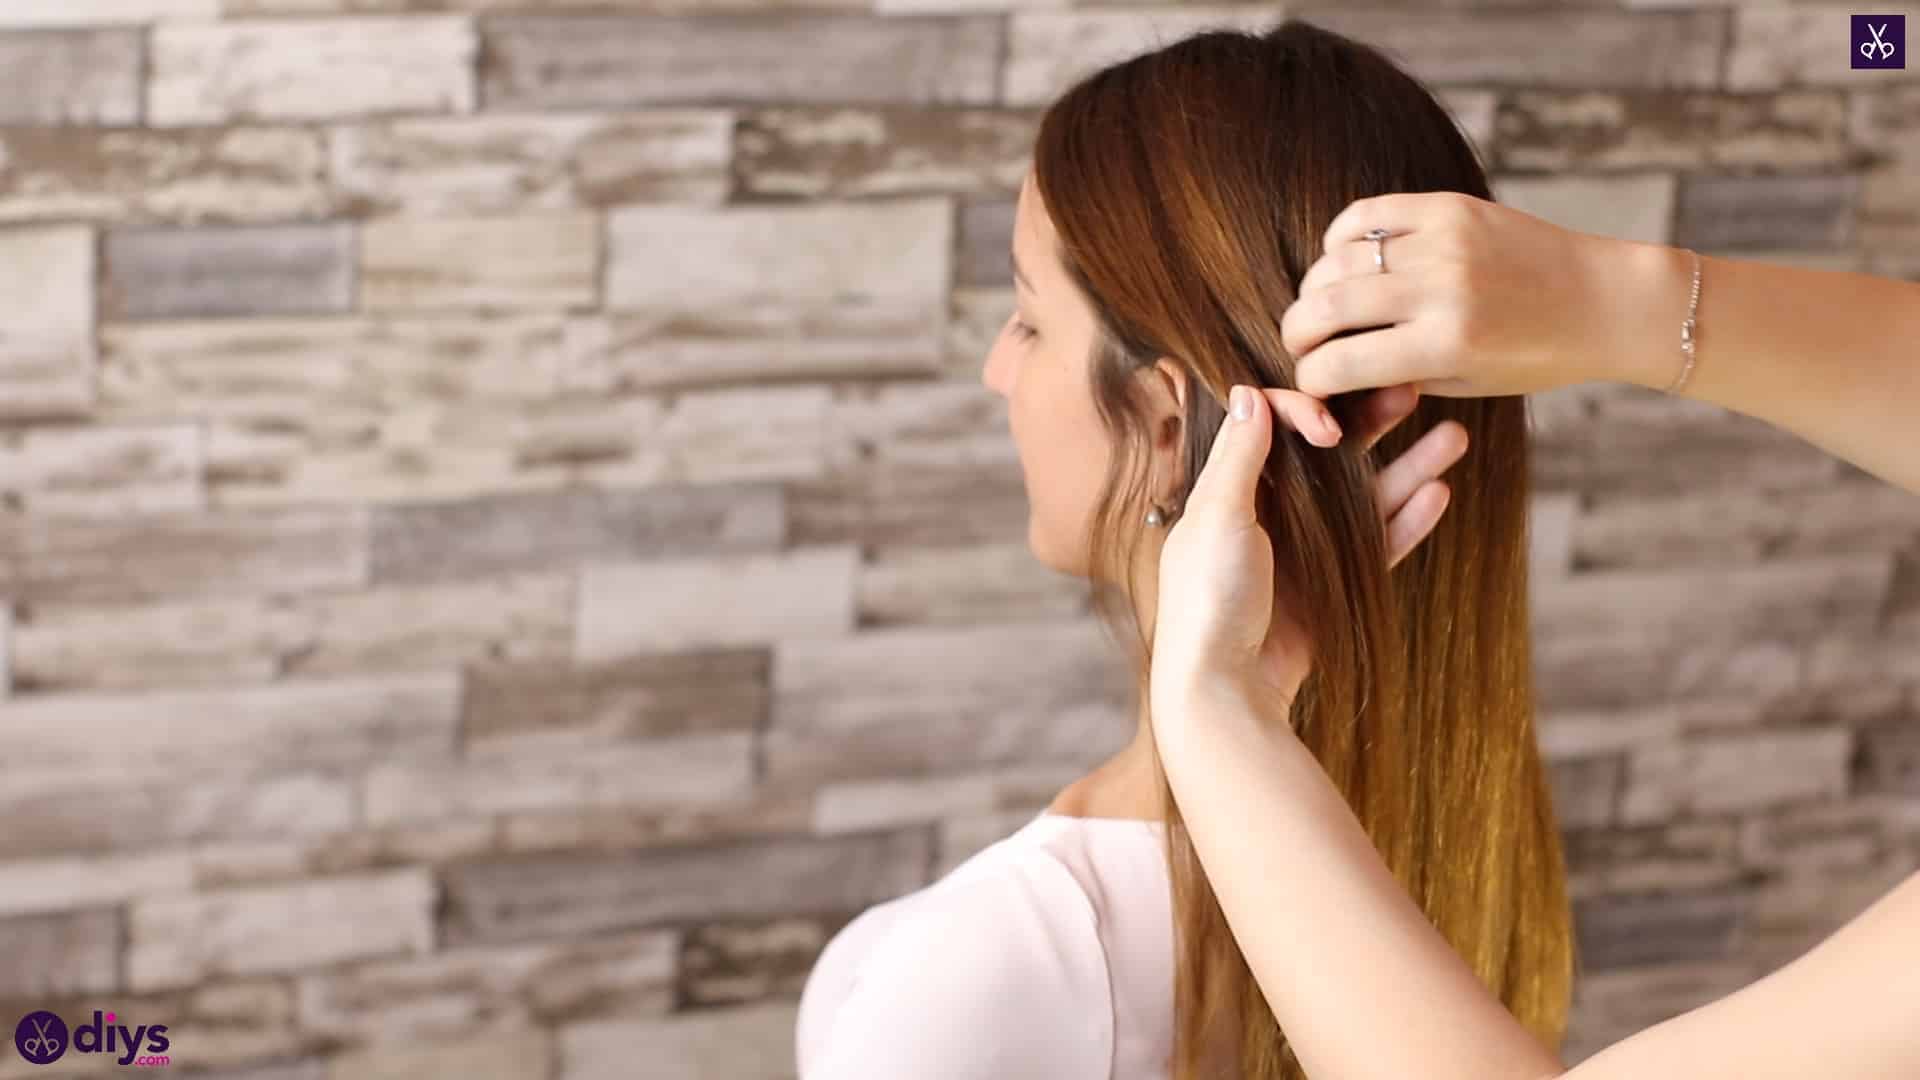
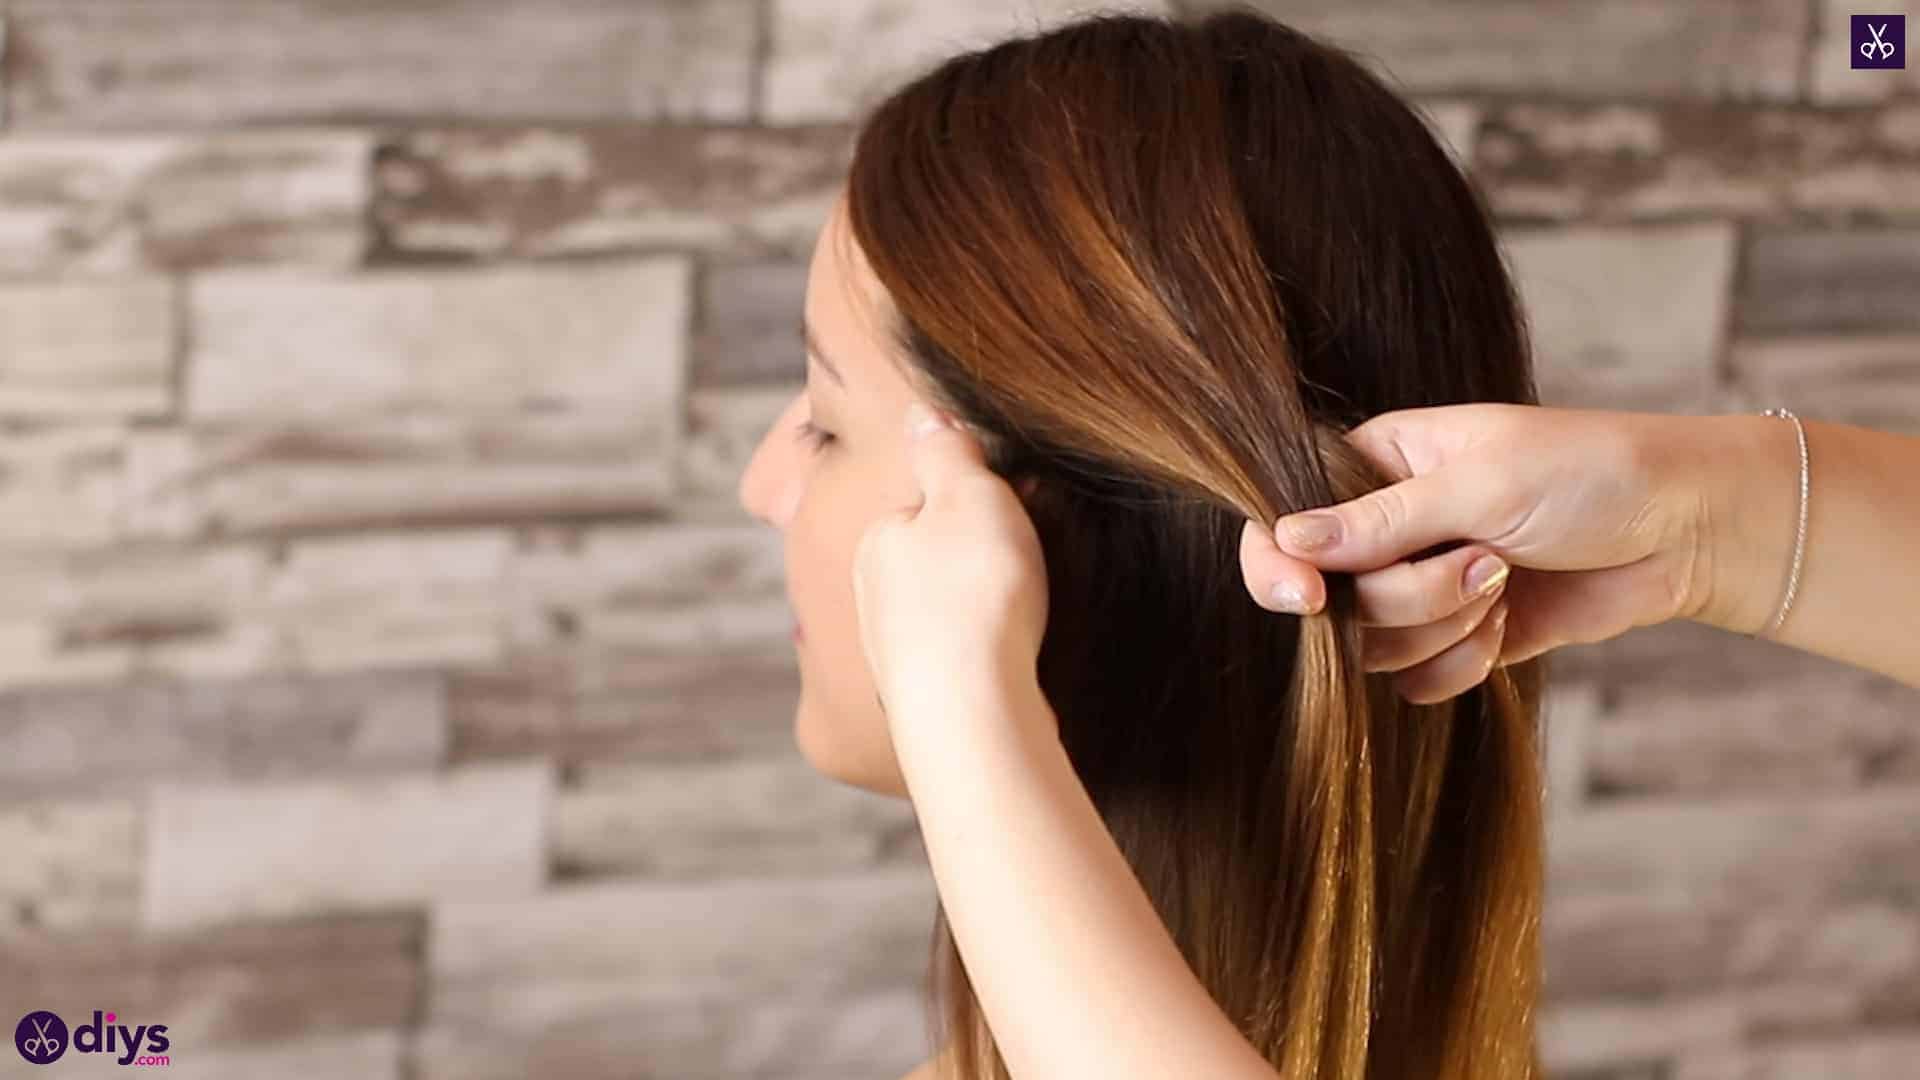
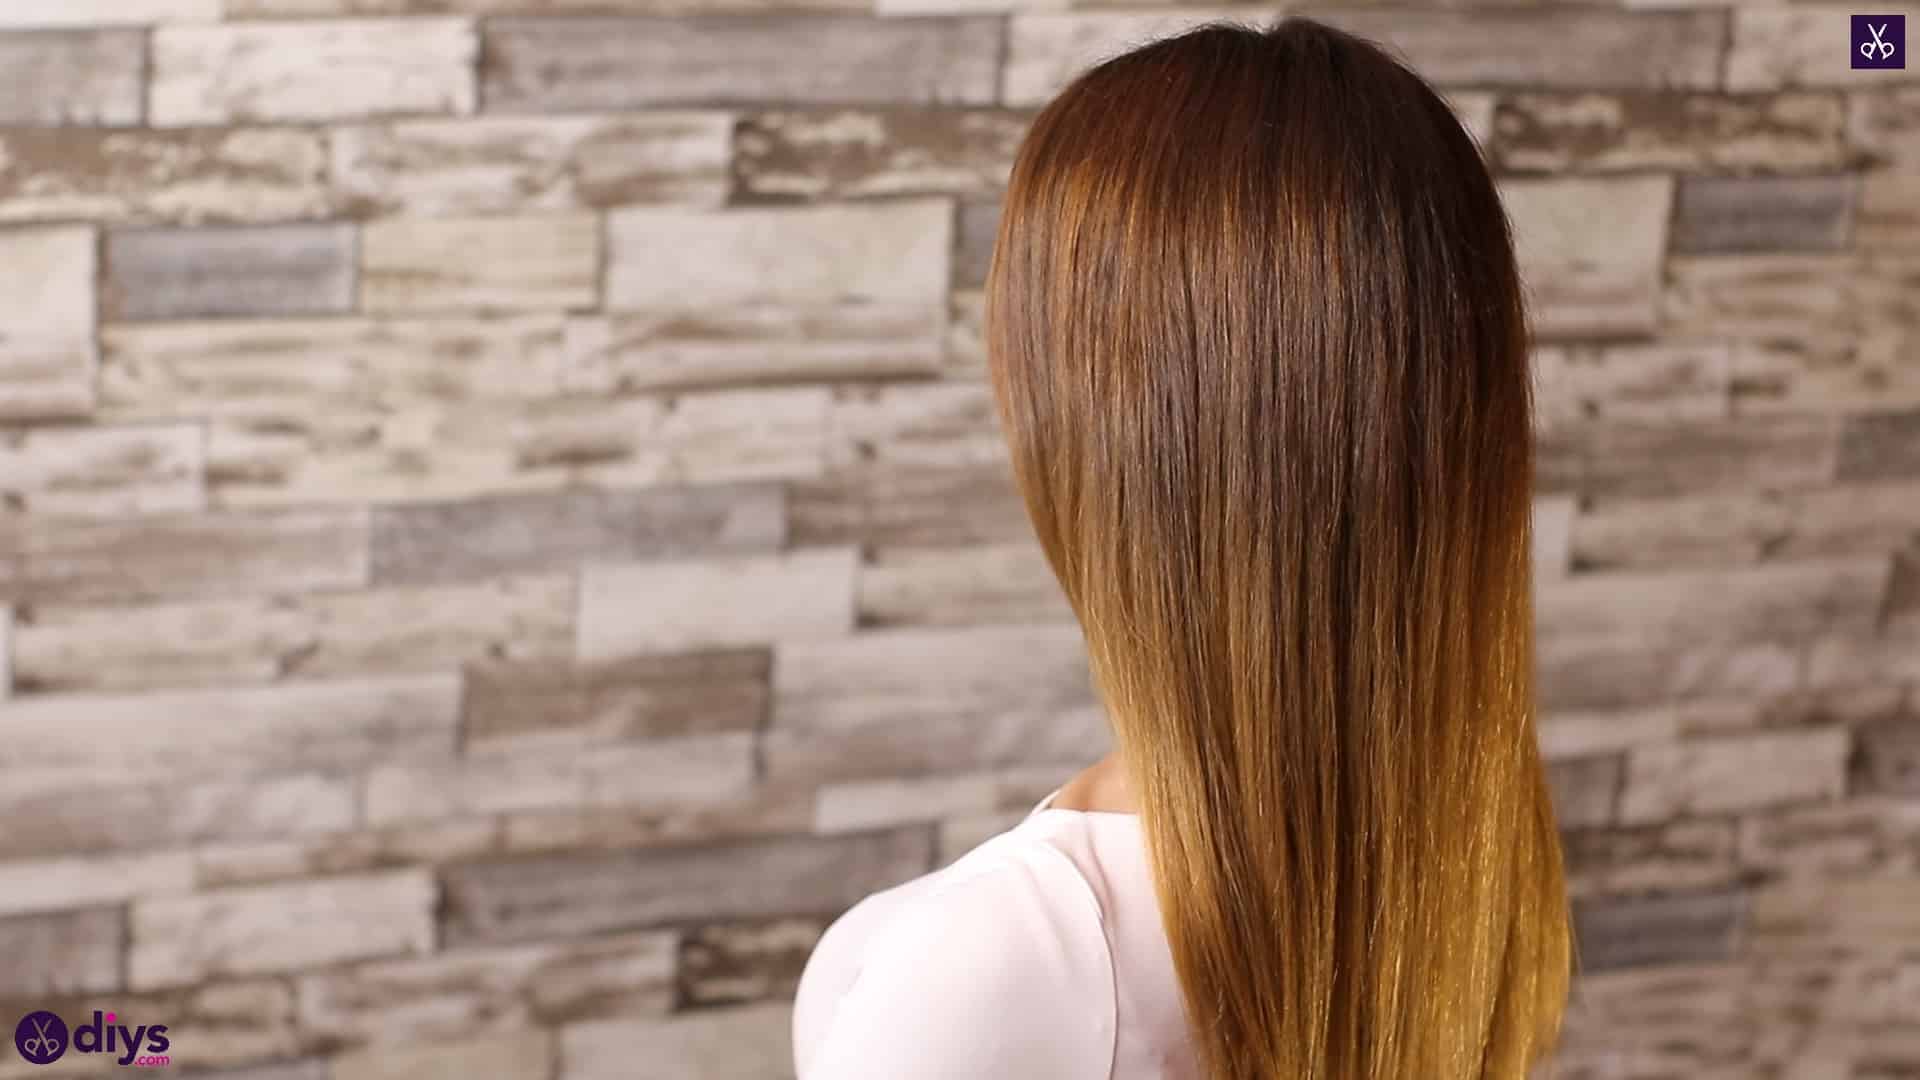
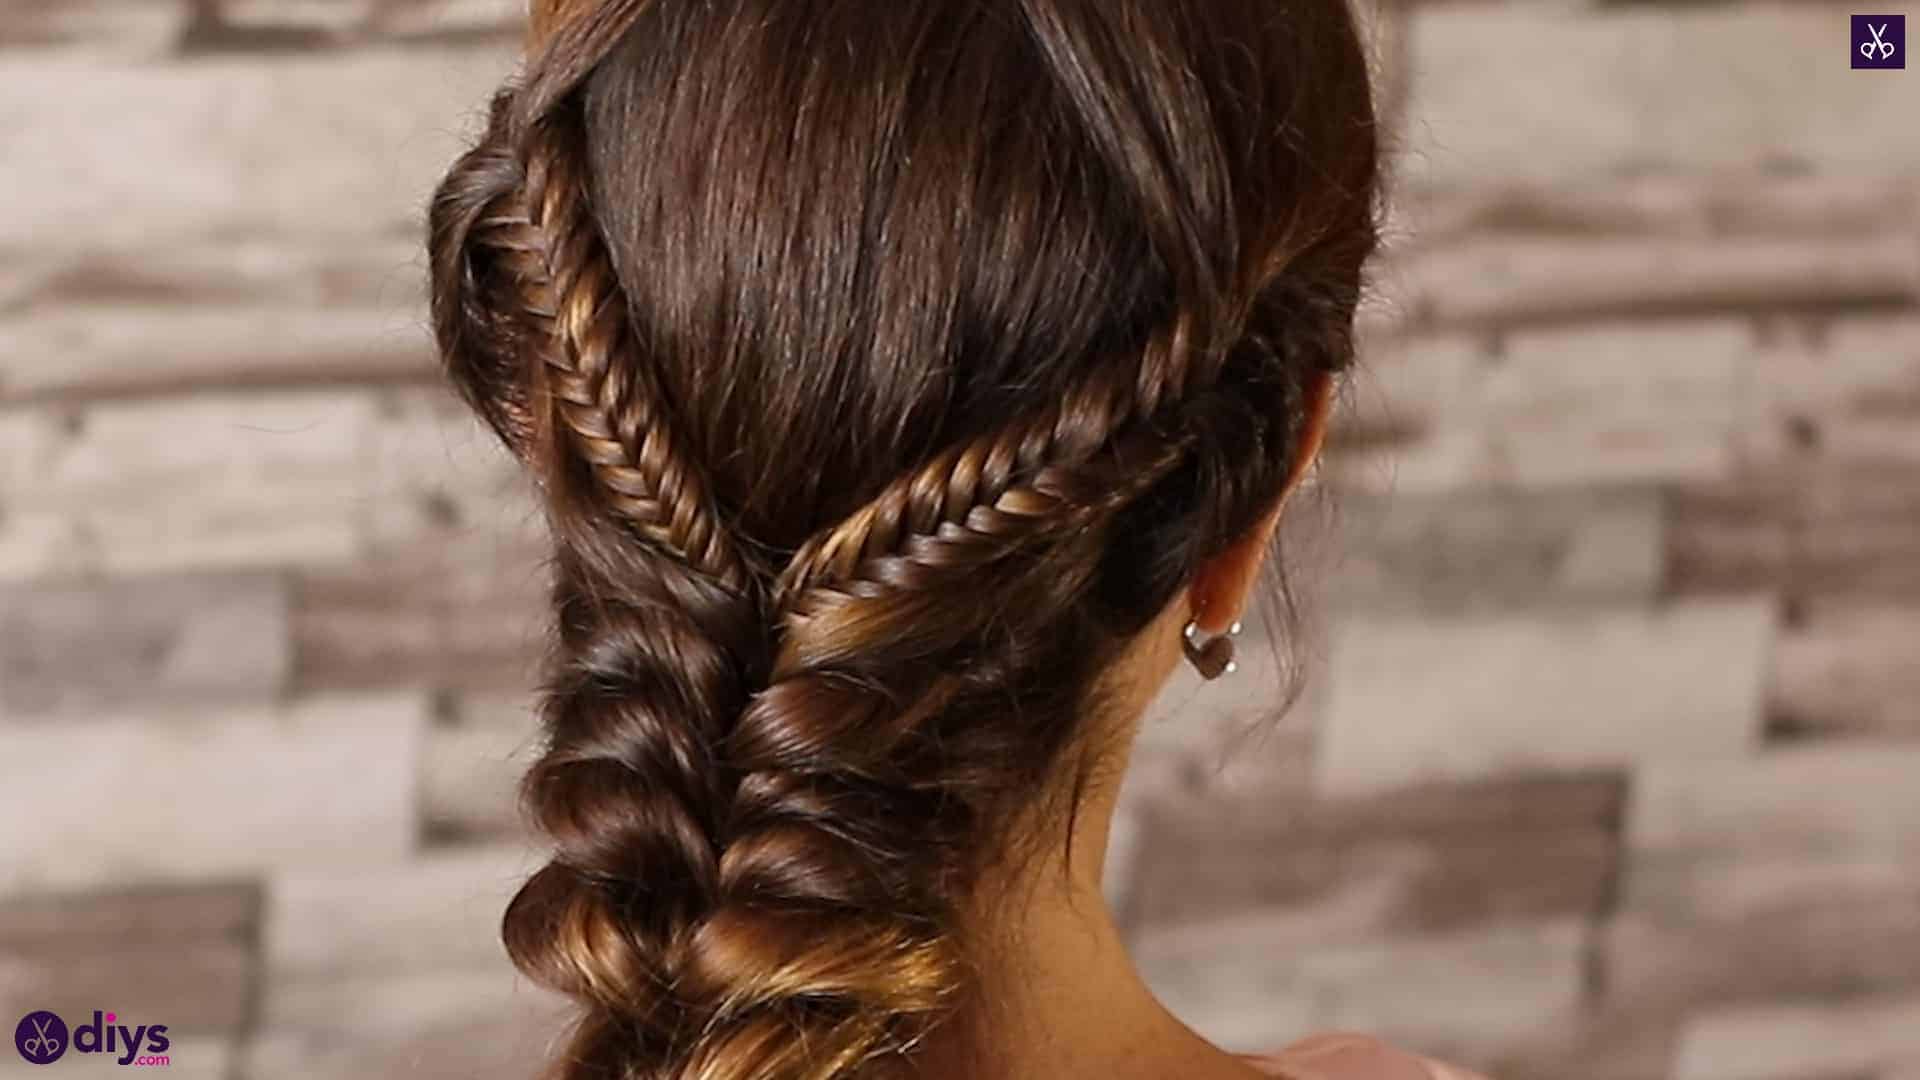
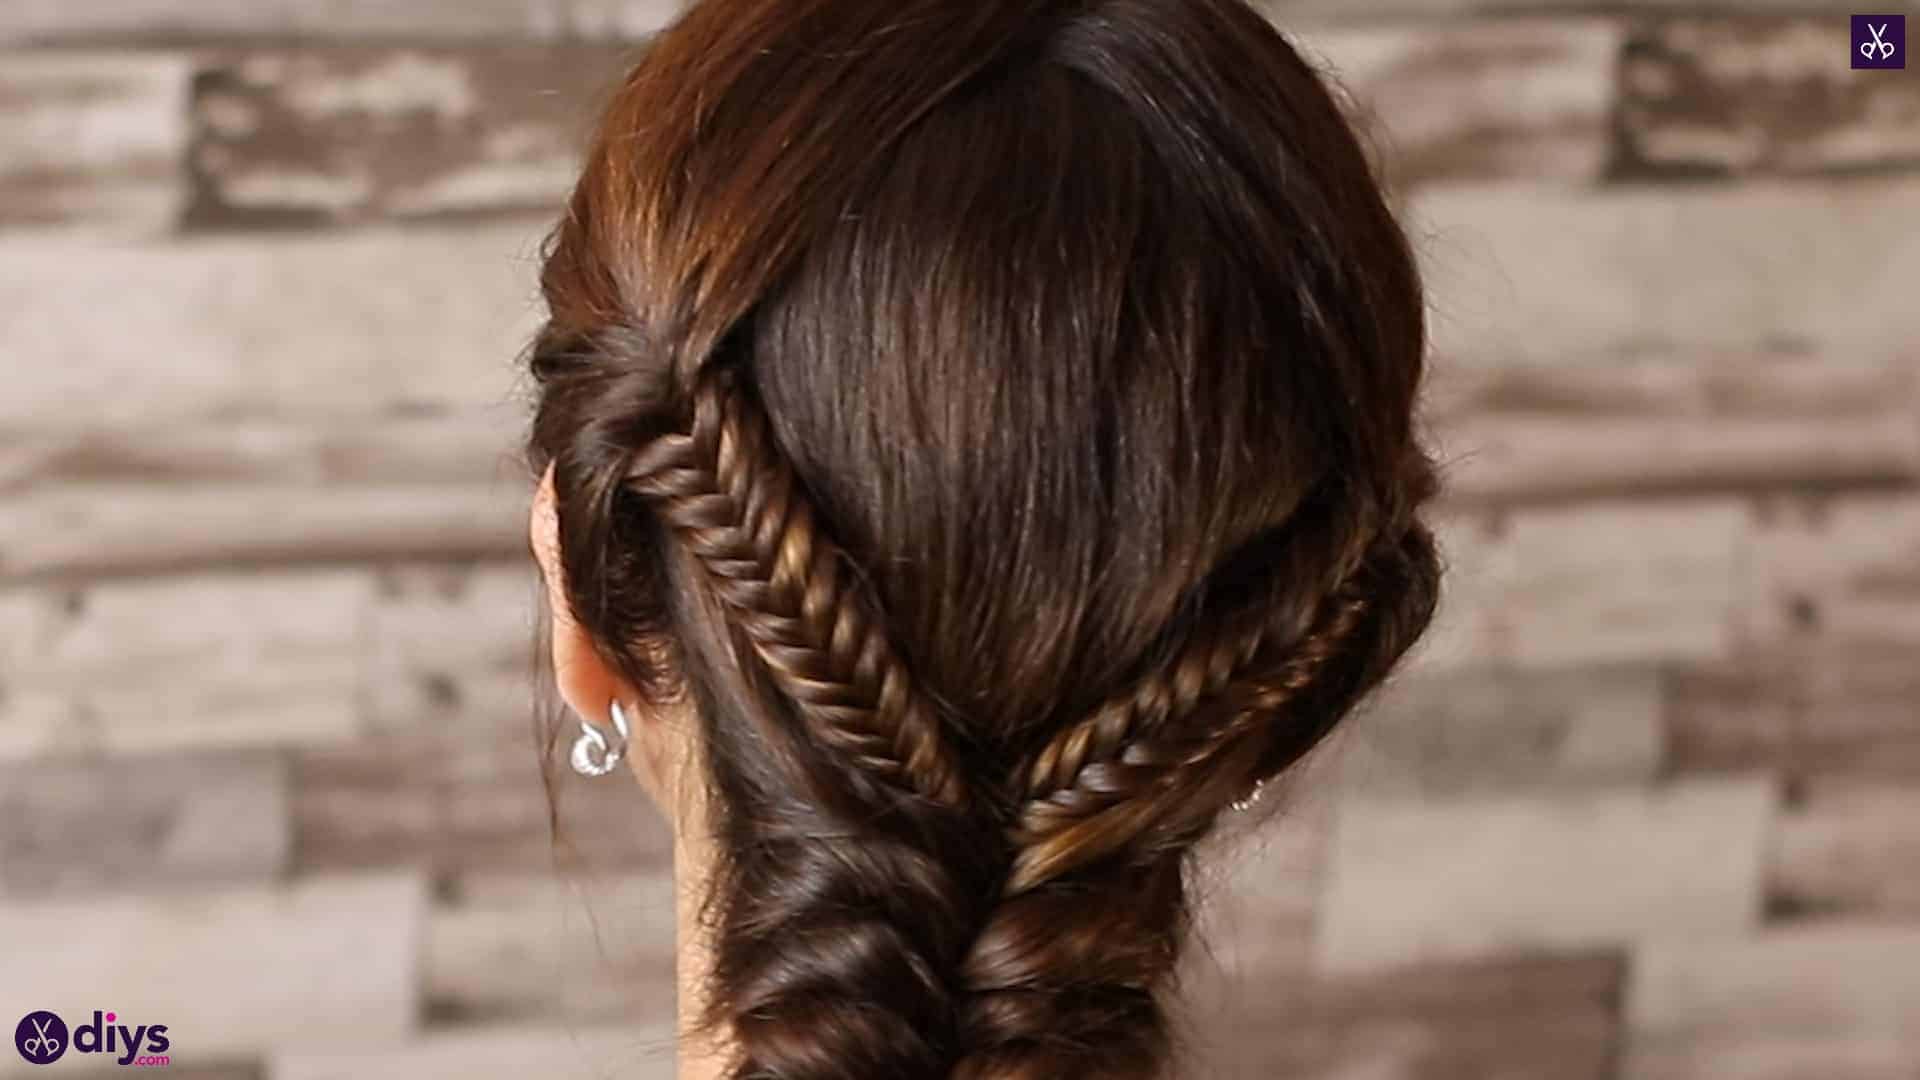
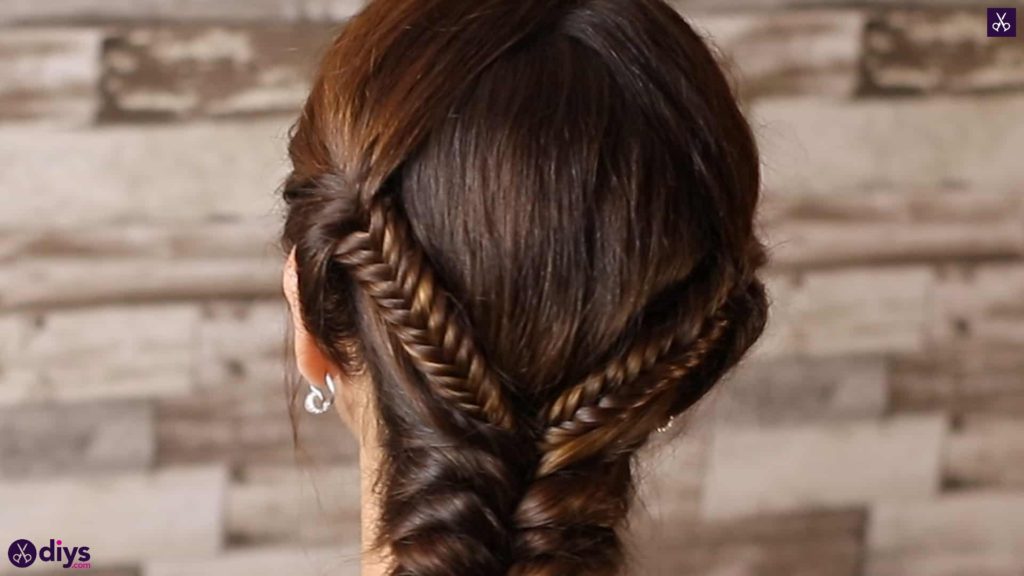
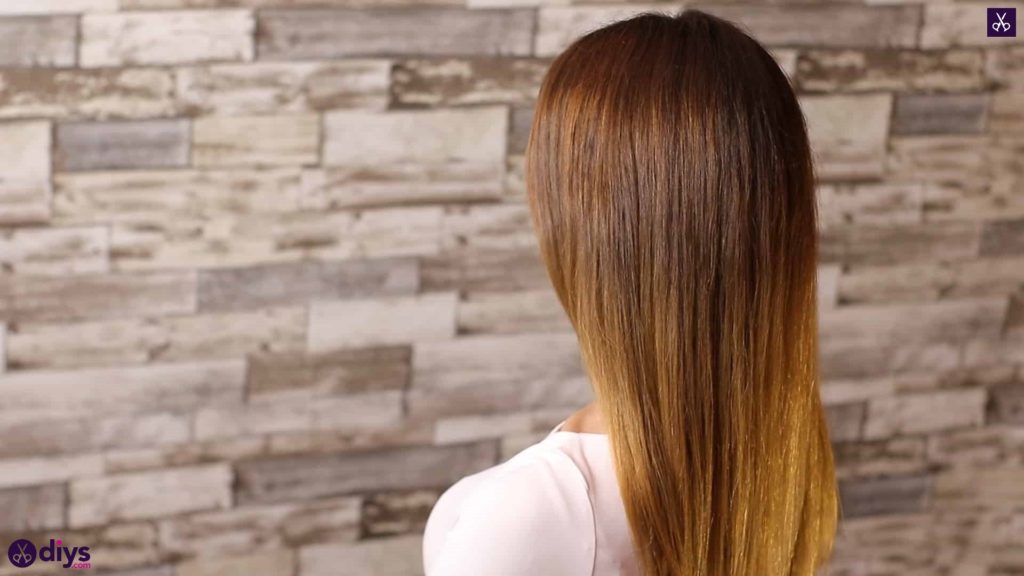
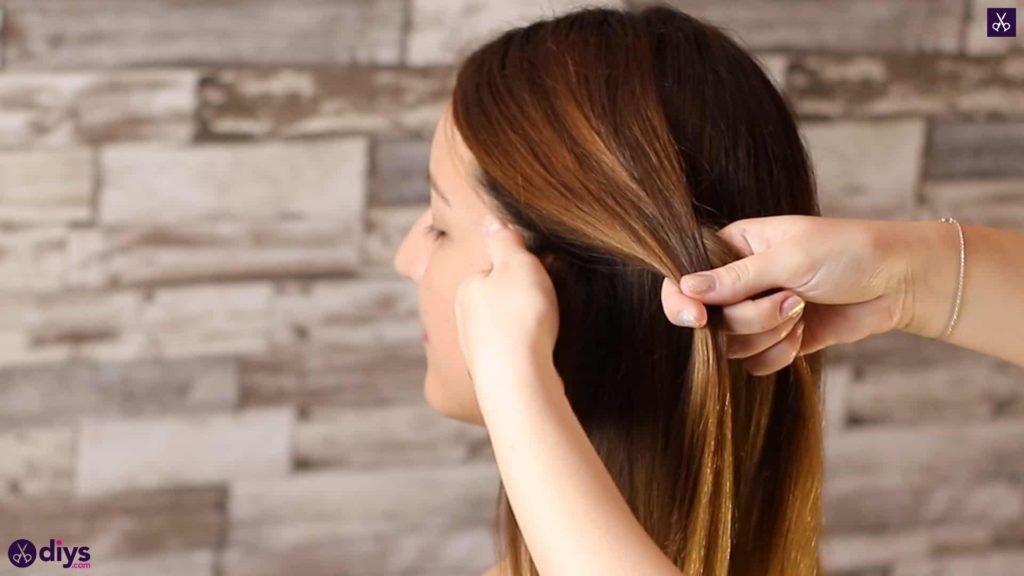
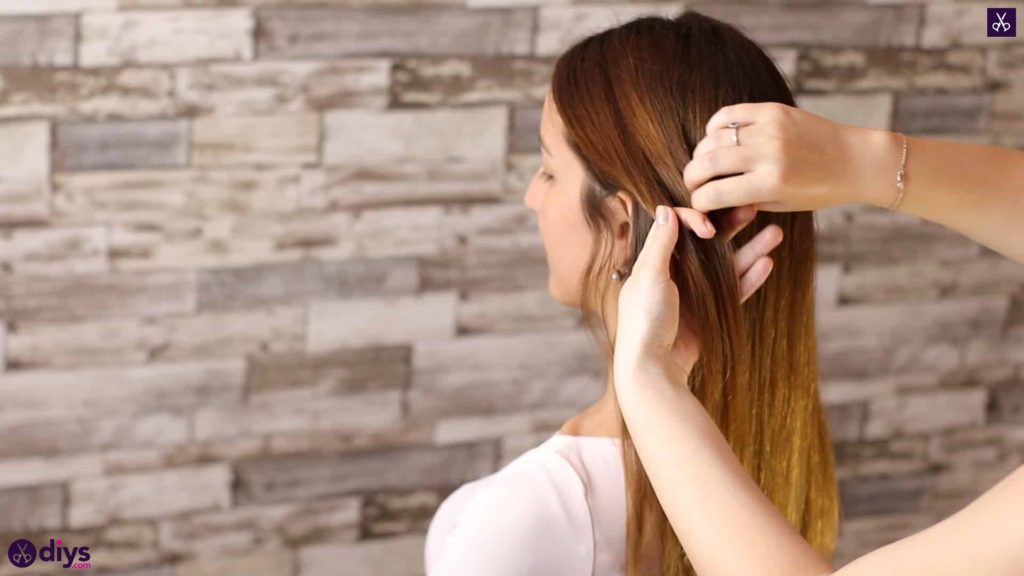
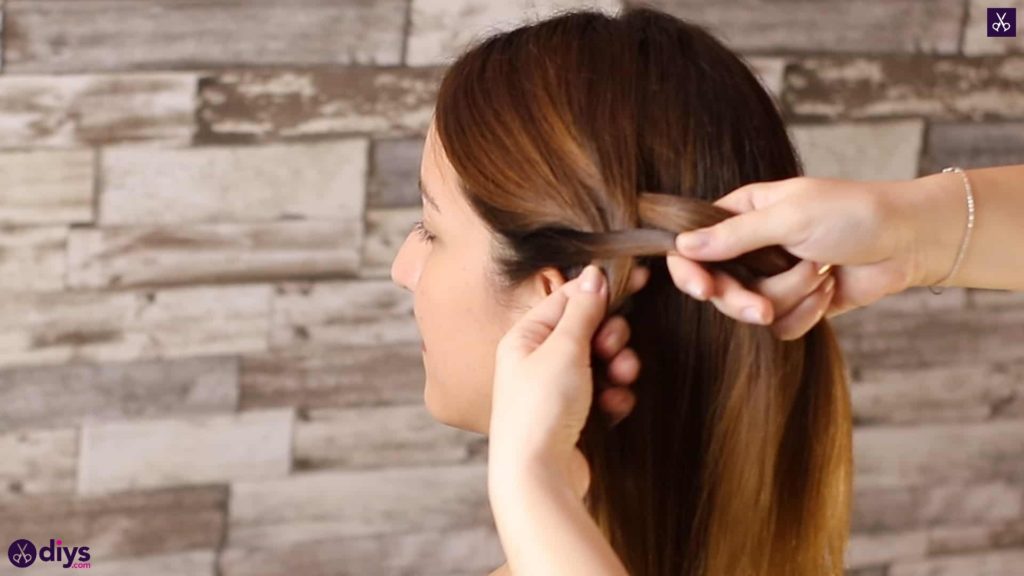
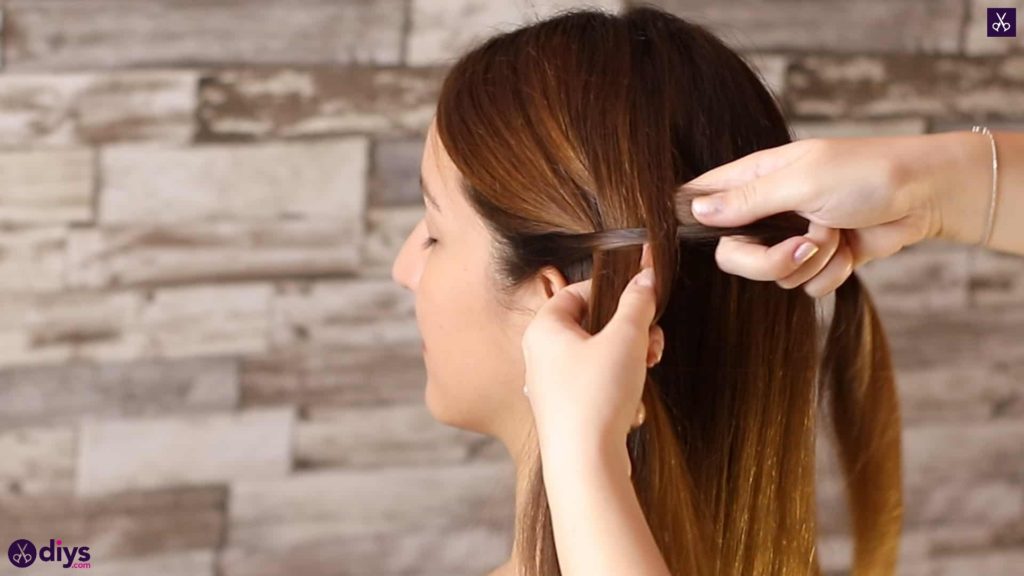
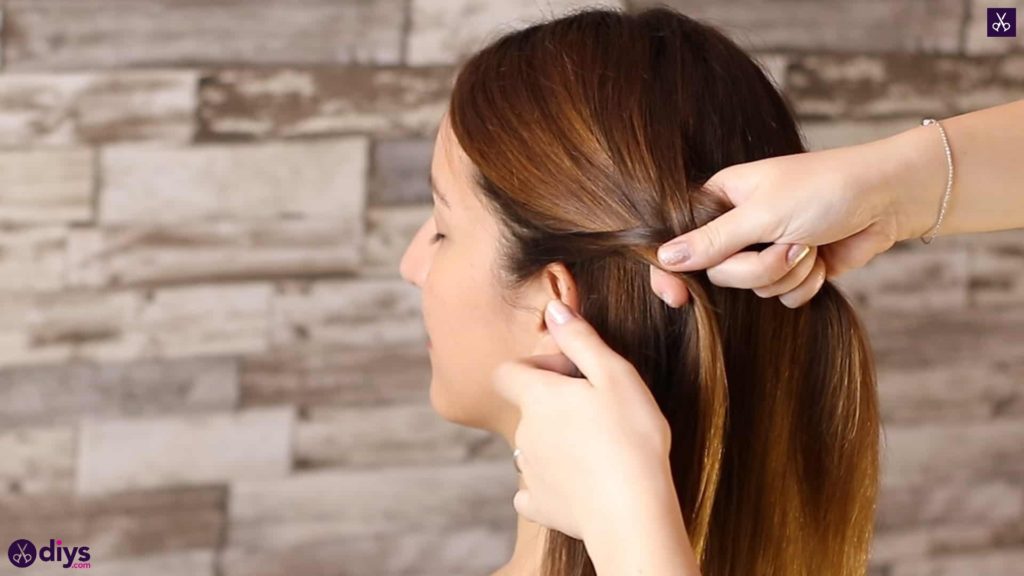
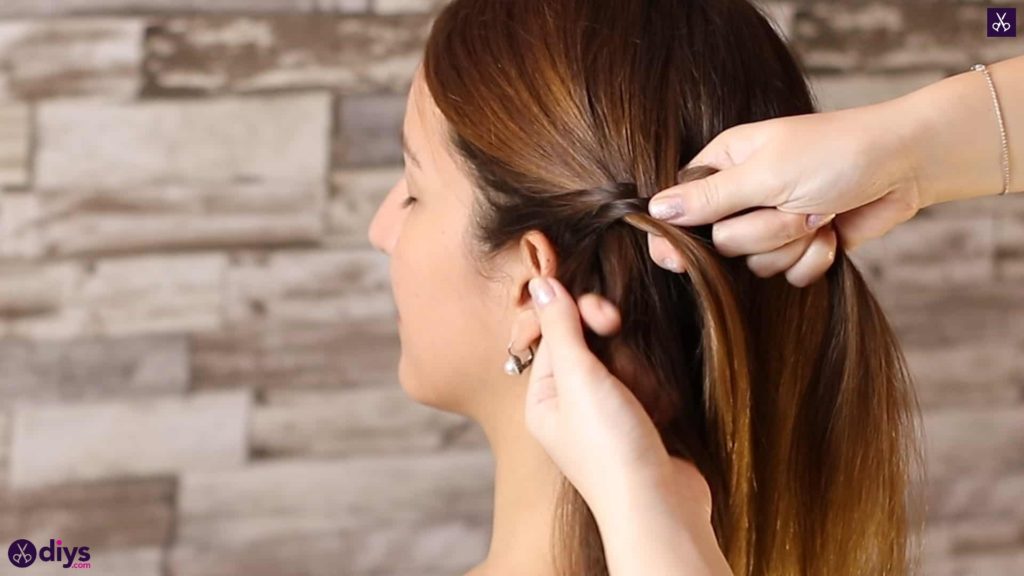
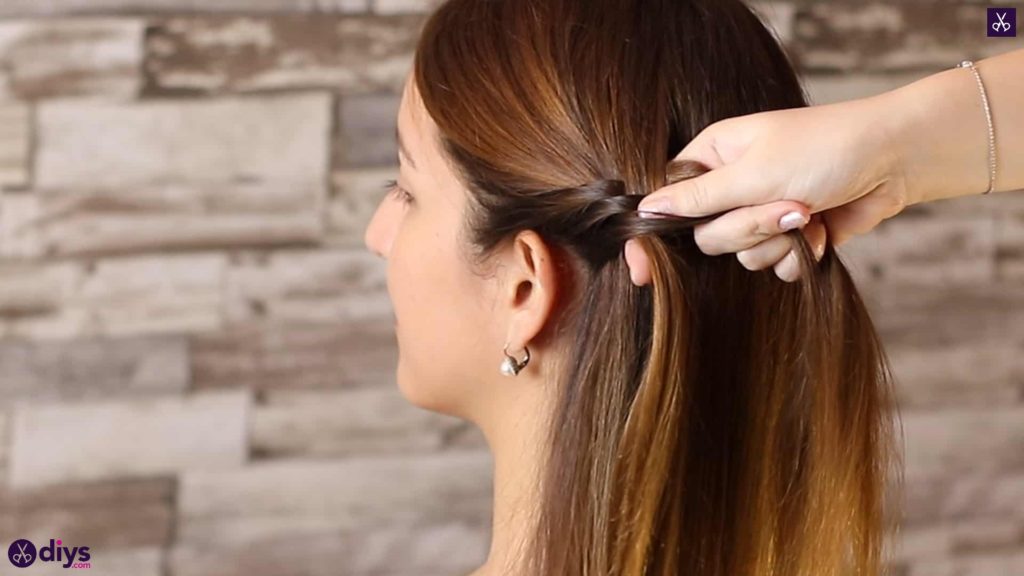
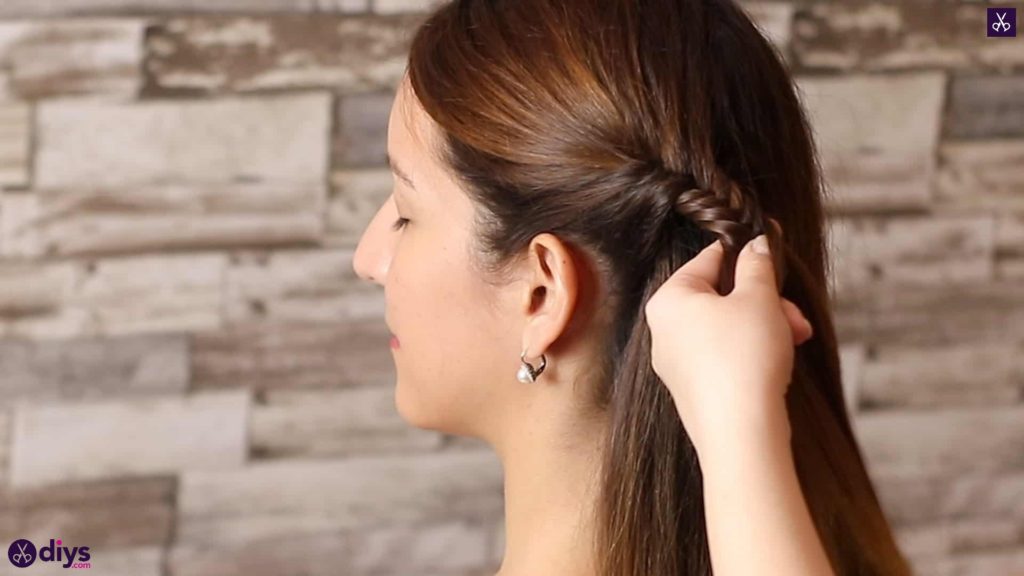
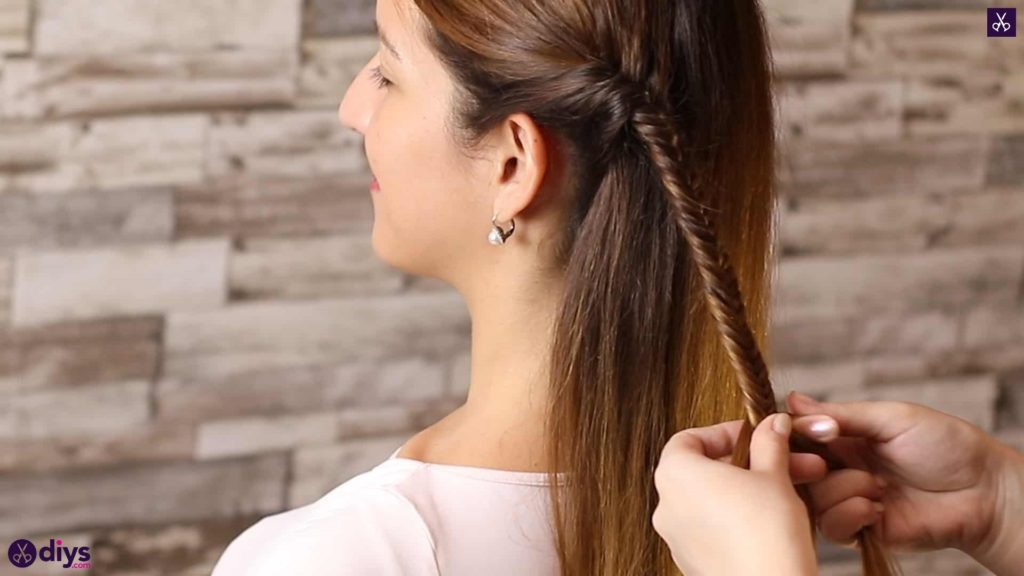
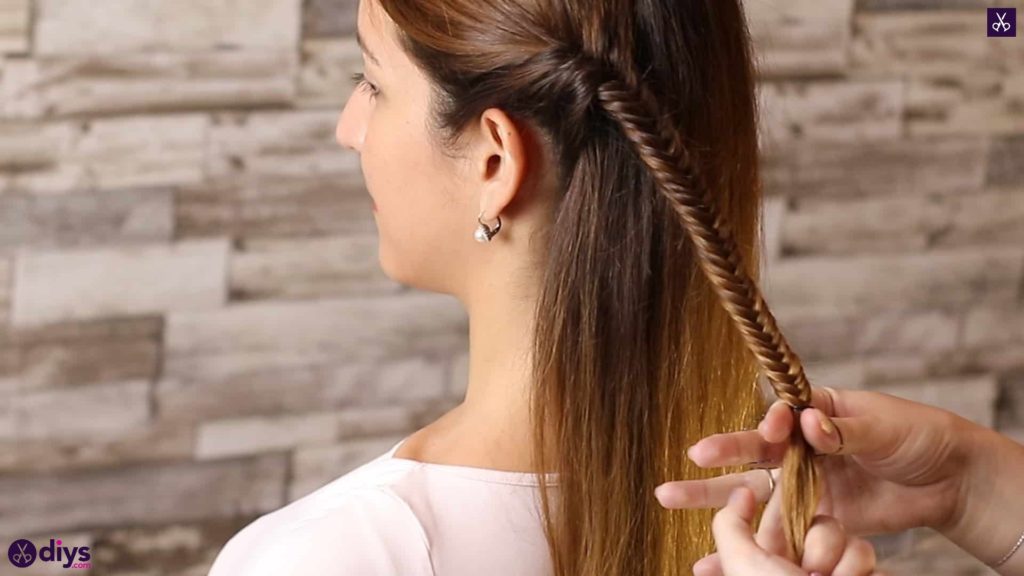
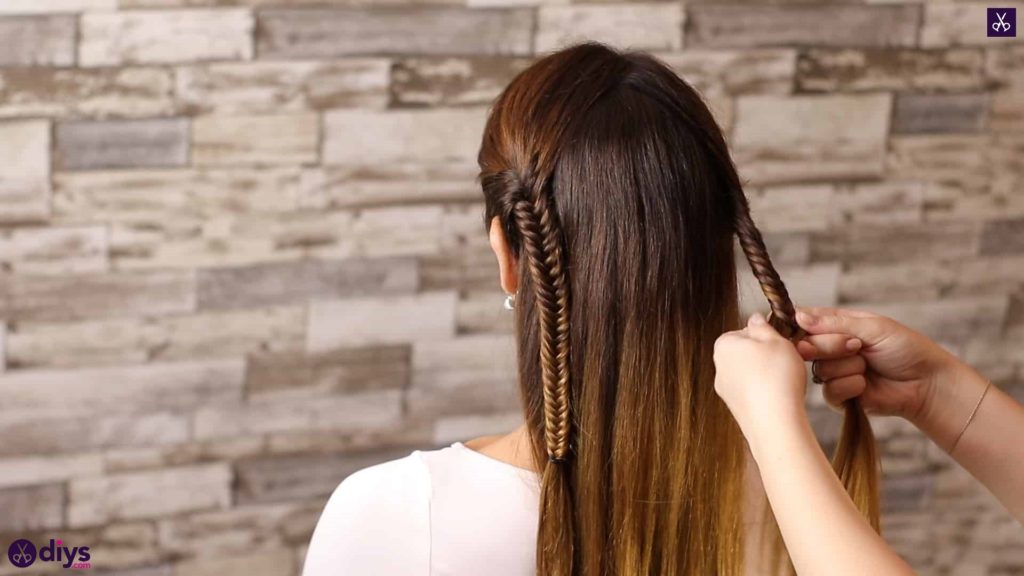
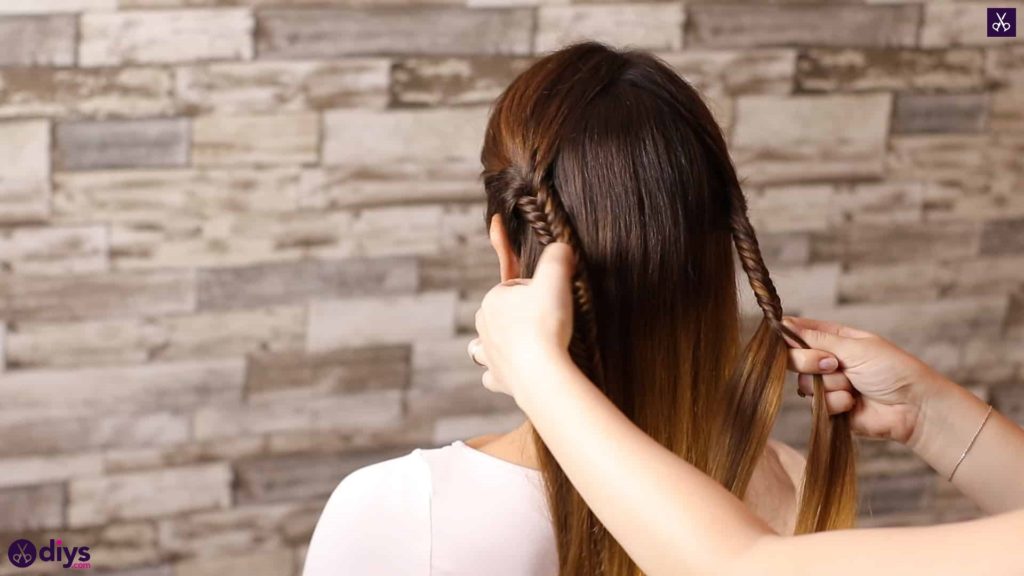
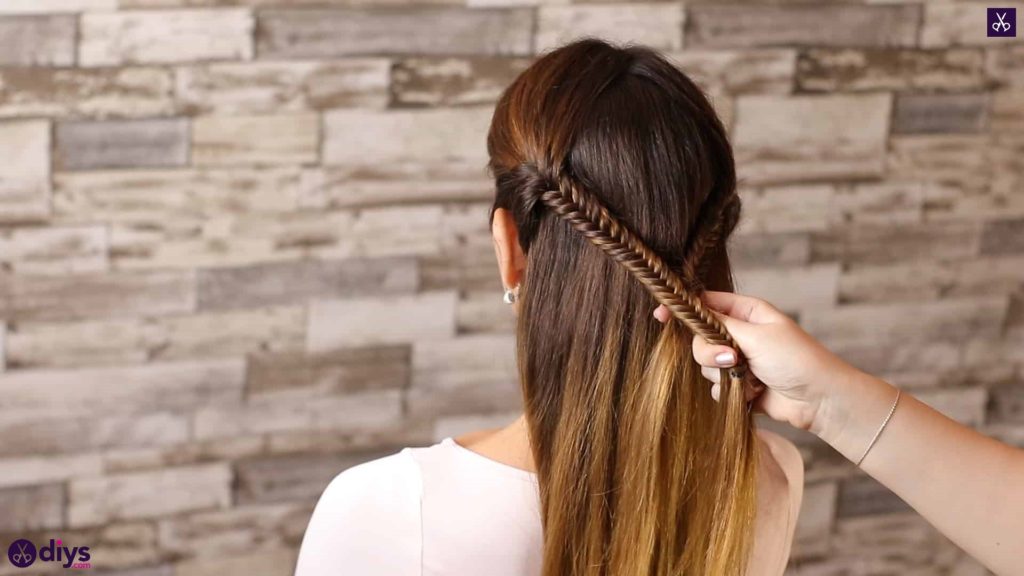
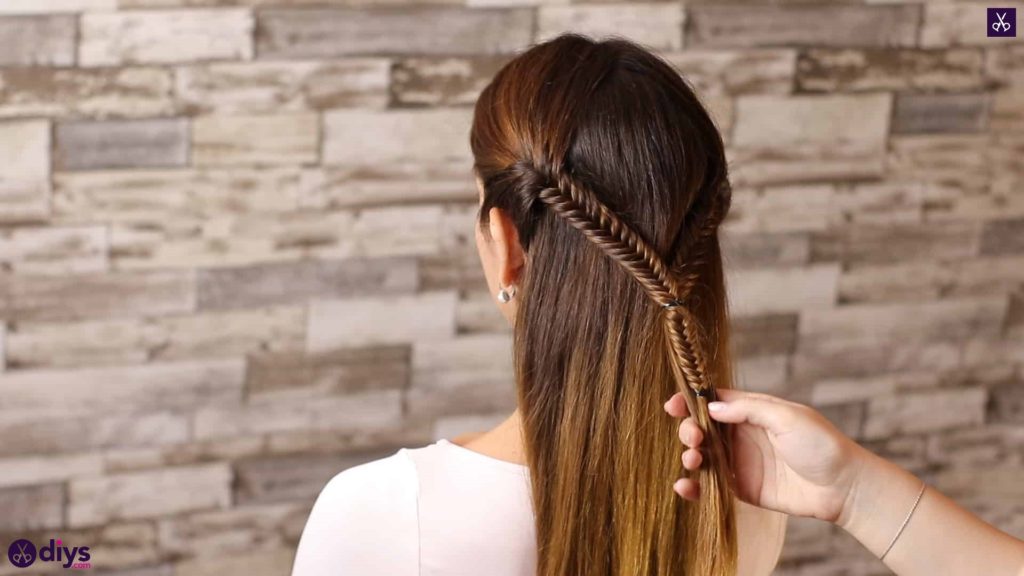
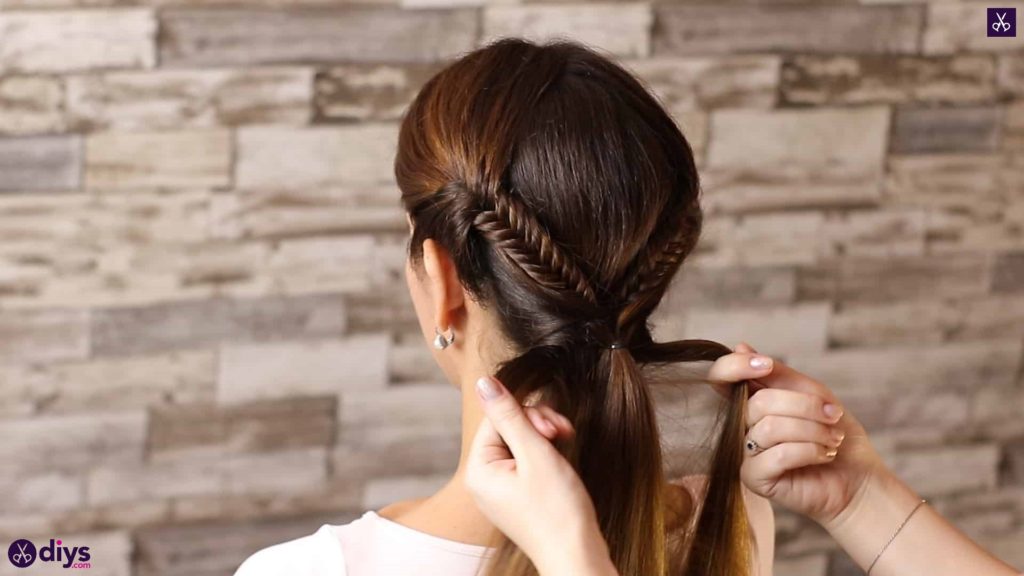
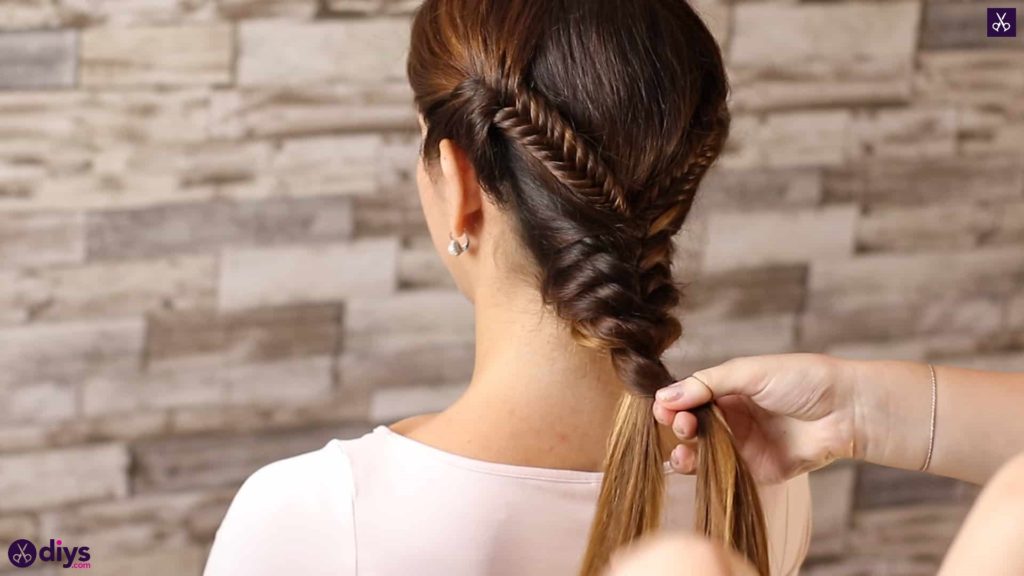
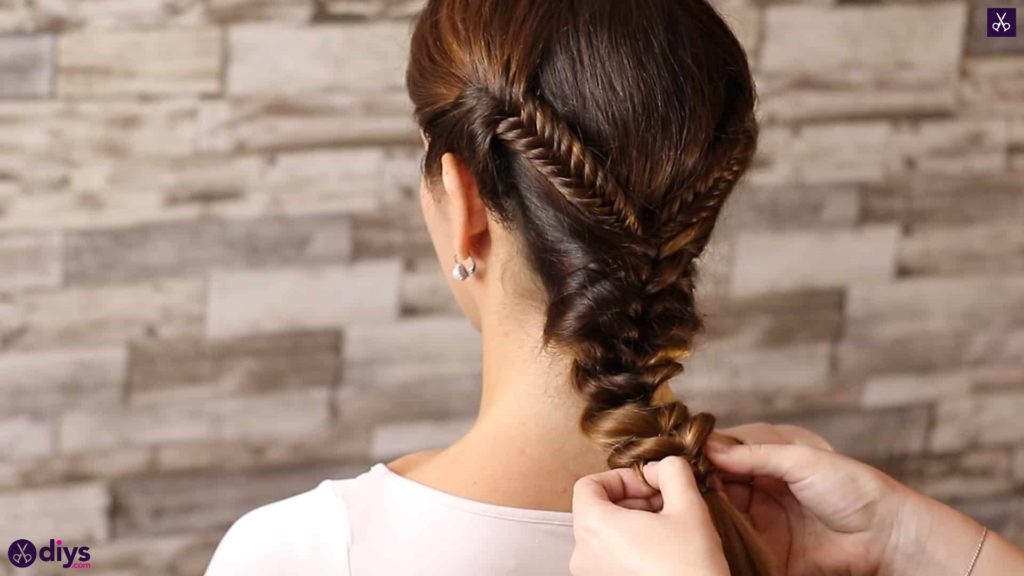
Brush your hair thoroughly to rid it entirely of tangles. Let it part wherever is comfortable or desired. Start on one side by separating a section of hair near the front top about two inches wide and decently thick. Split the piece into two equally sized halves, holding one in each hand. You’ll do a fishtail braiding style, starting with a gathered method like you would for a French braid. Take a little piece from the underside of the left strand and bring it to the side, under the right strand. Pick up another little piece from just off to the side of the right strand and gather it with the small piece you’re working with, passing them together over the main right piece and into the centre to merge back into the left piece. Then take a small piece from the underside of the right piece, bring it across to the left side up and around the left piece, gathering another little piece from just off to the side of that and gathering it in together. Then pull the both into the centre to merge back into the right strand. Repeat this process a few more times, alternating sides, until you’ve worked your way to just behind and below the ear, still picking up extra pieces to keep the braid against the head. At this point, you’ll continue fishtail braiding regularly without gathering extra pieces in from each side. You’ll only take pieces from the underside up and around the other side and back into the centre. Continue fishtail braiding all the way down the rest of the strand, tying the ends with a hair elastic when you’re done. When you’re done with the first side, repeat the same process on the other side to create a second fishtail braid that starts woven to the head and changes to a free braid behind the ear.
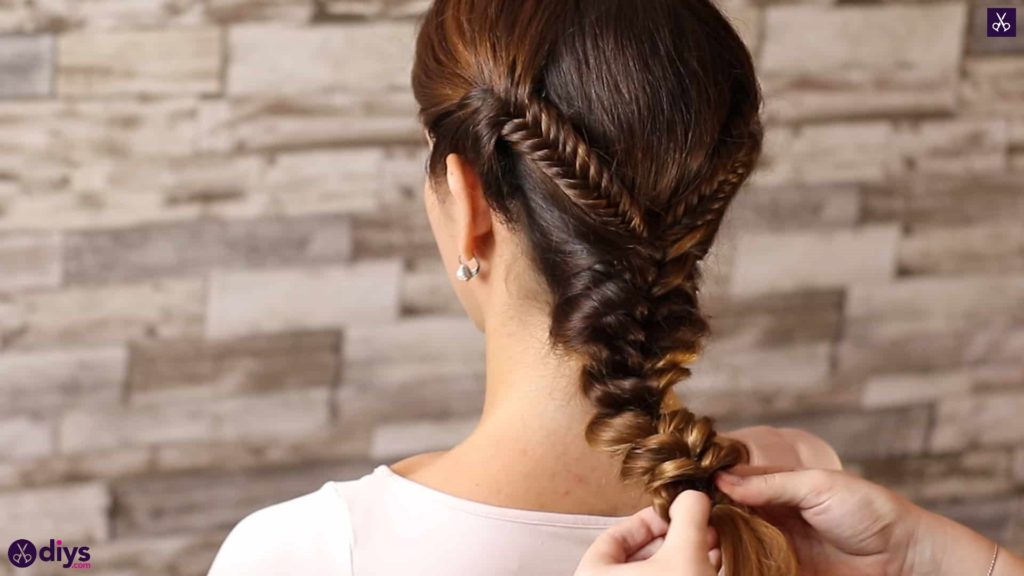
Romantic Prom Hairstyle Tutorial Step 1
Step 2:
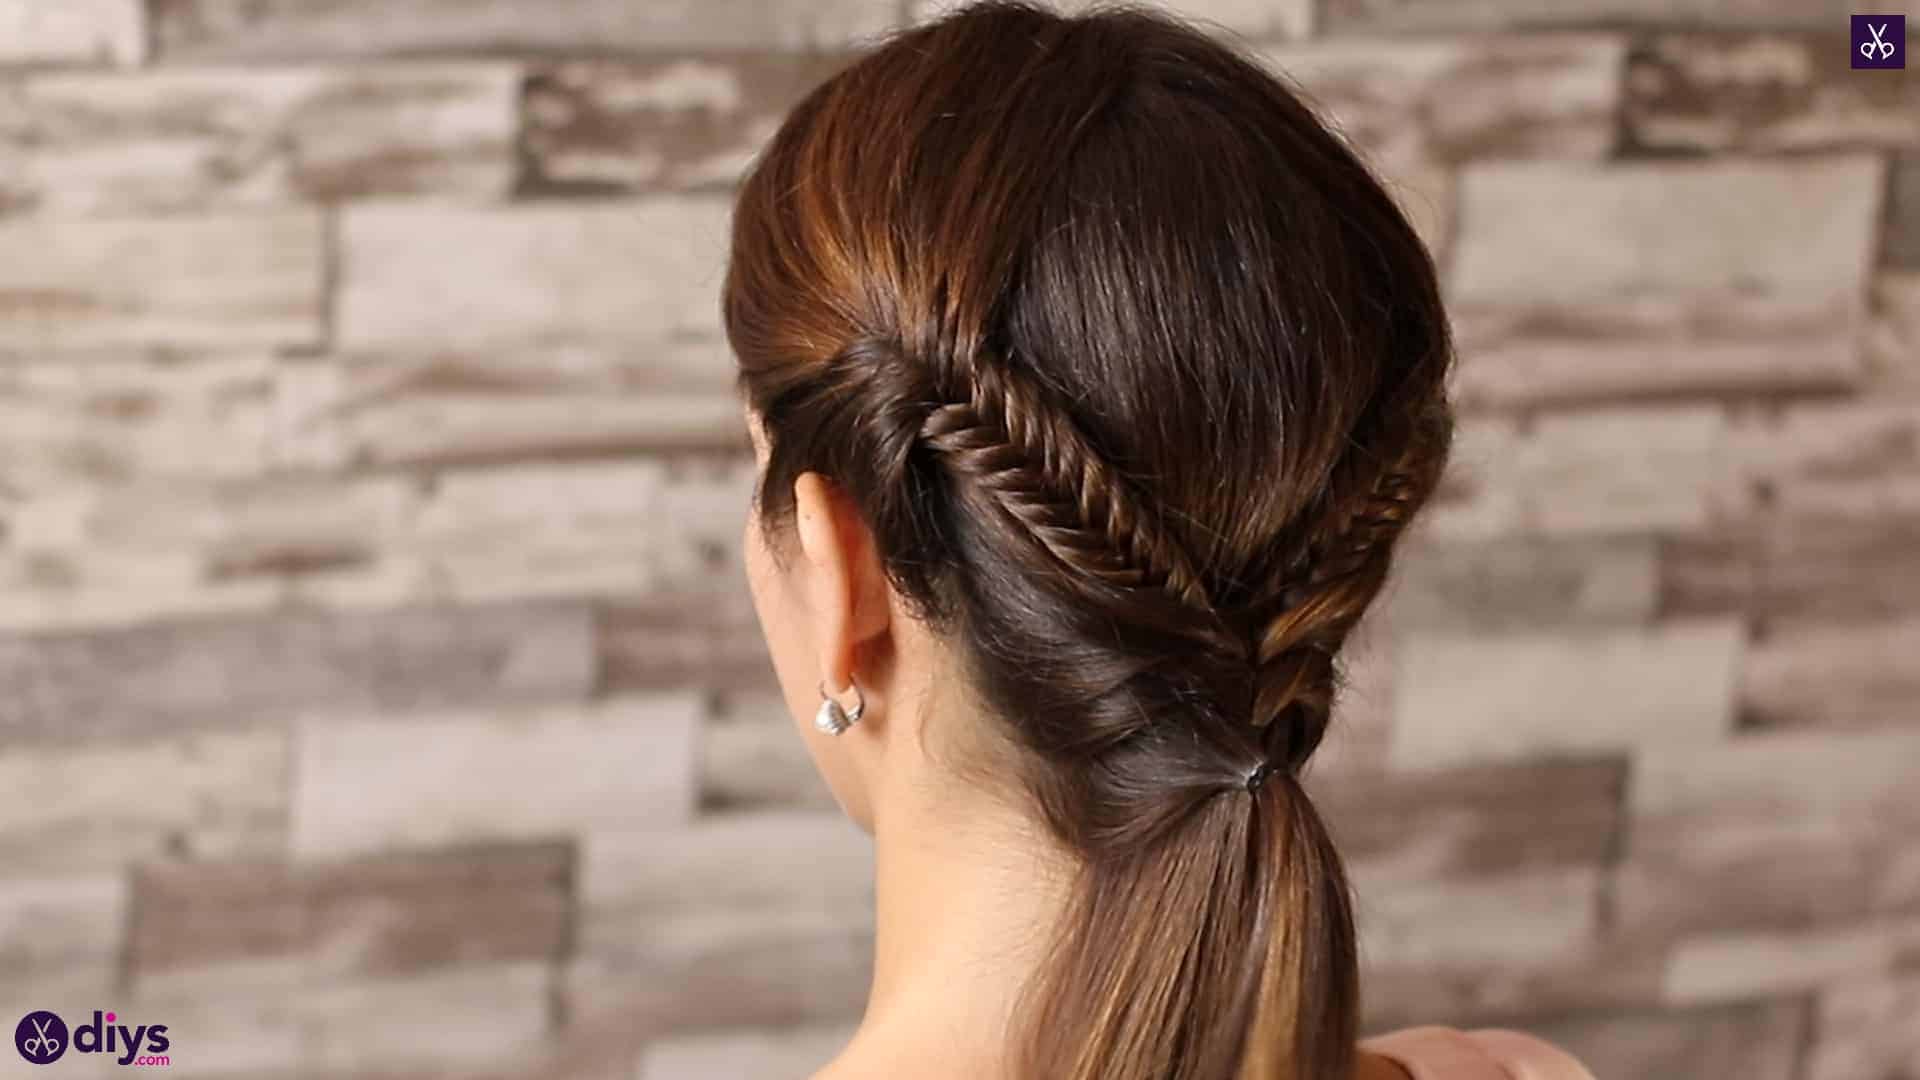
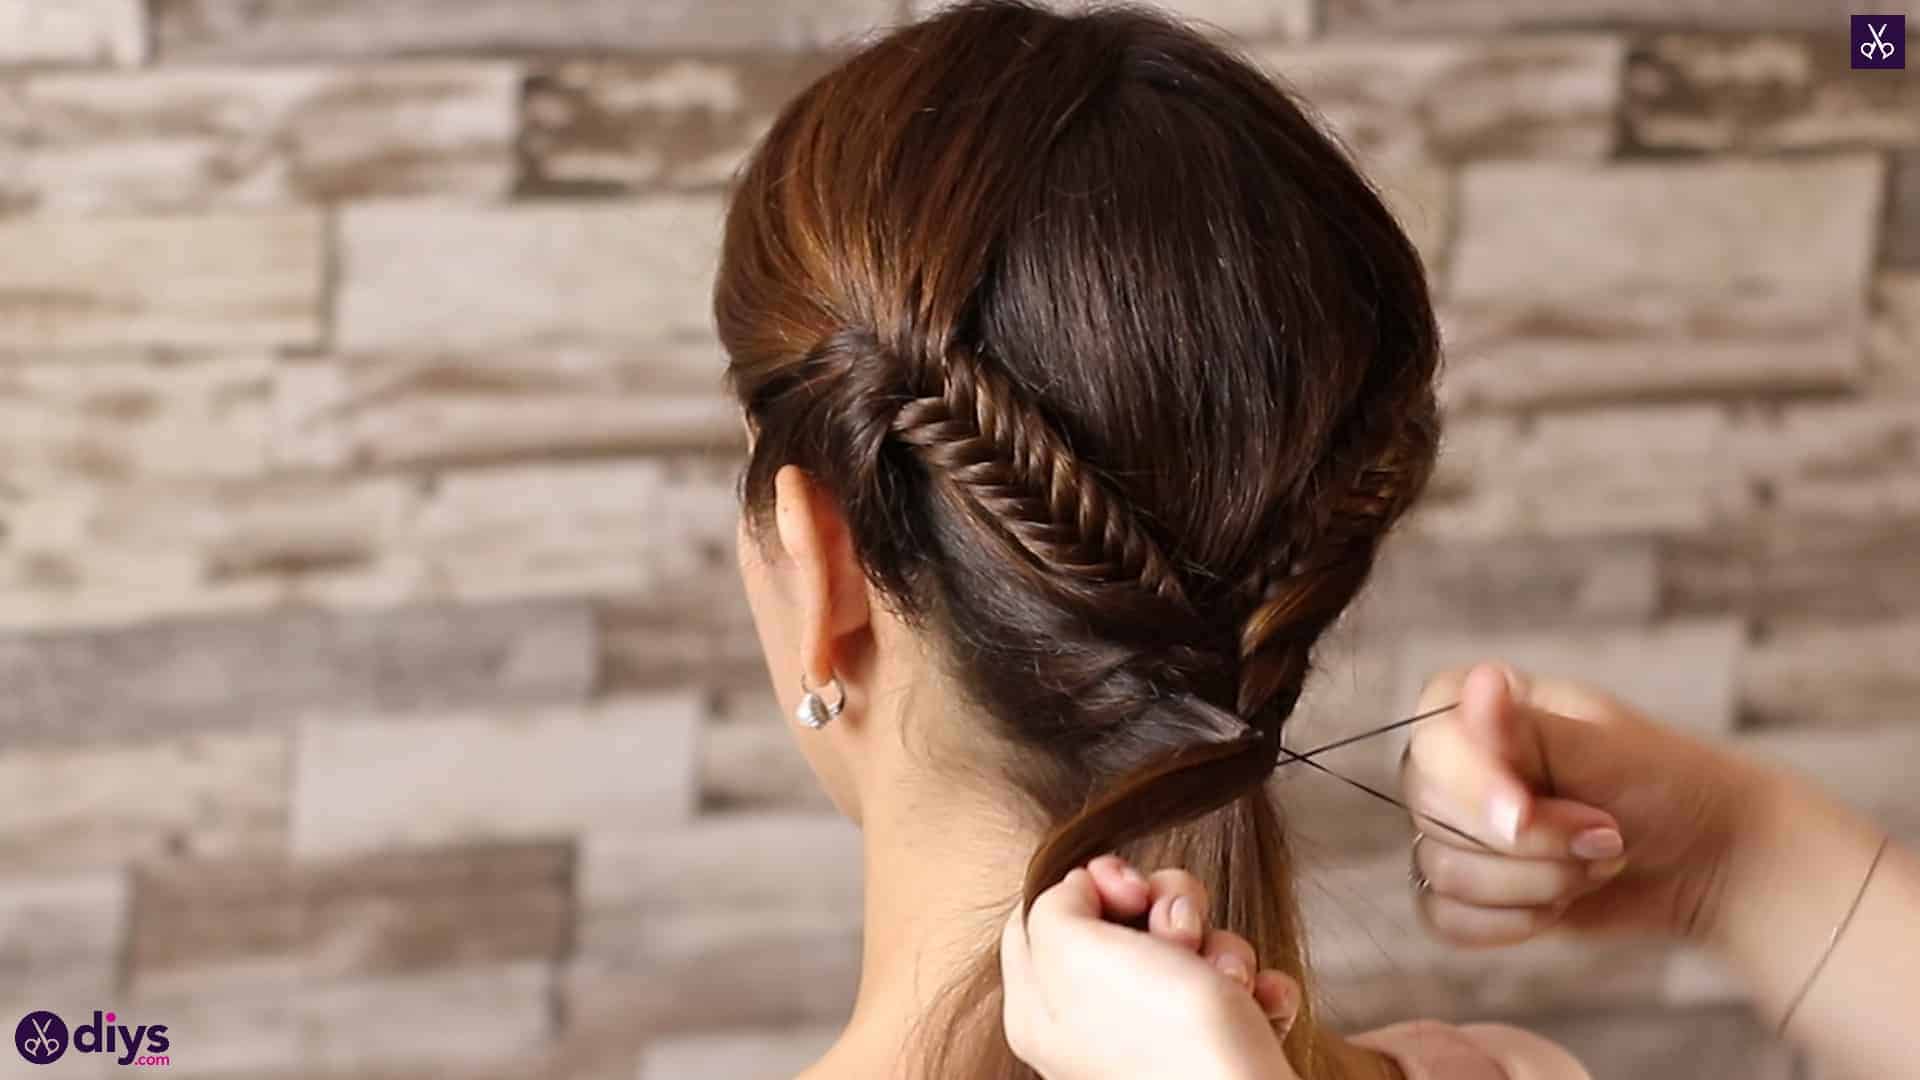
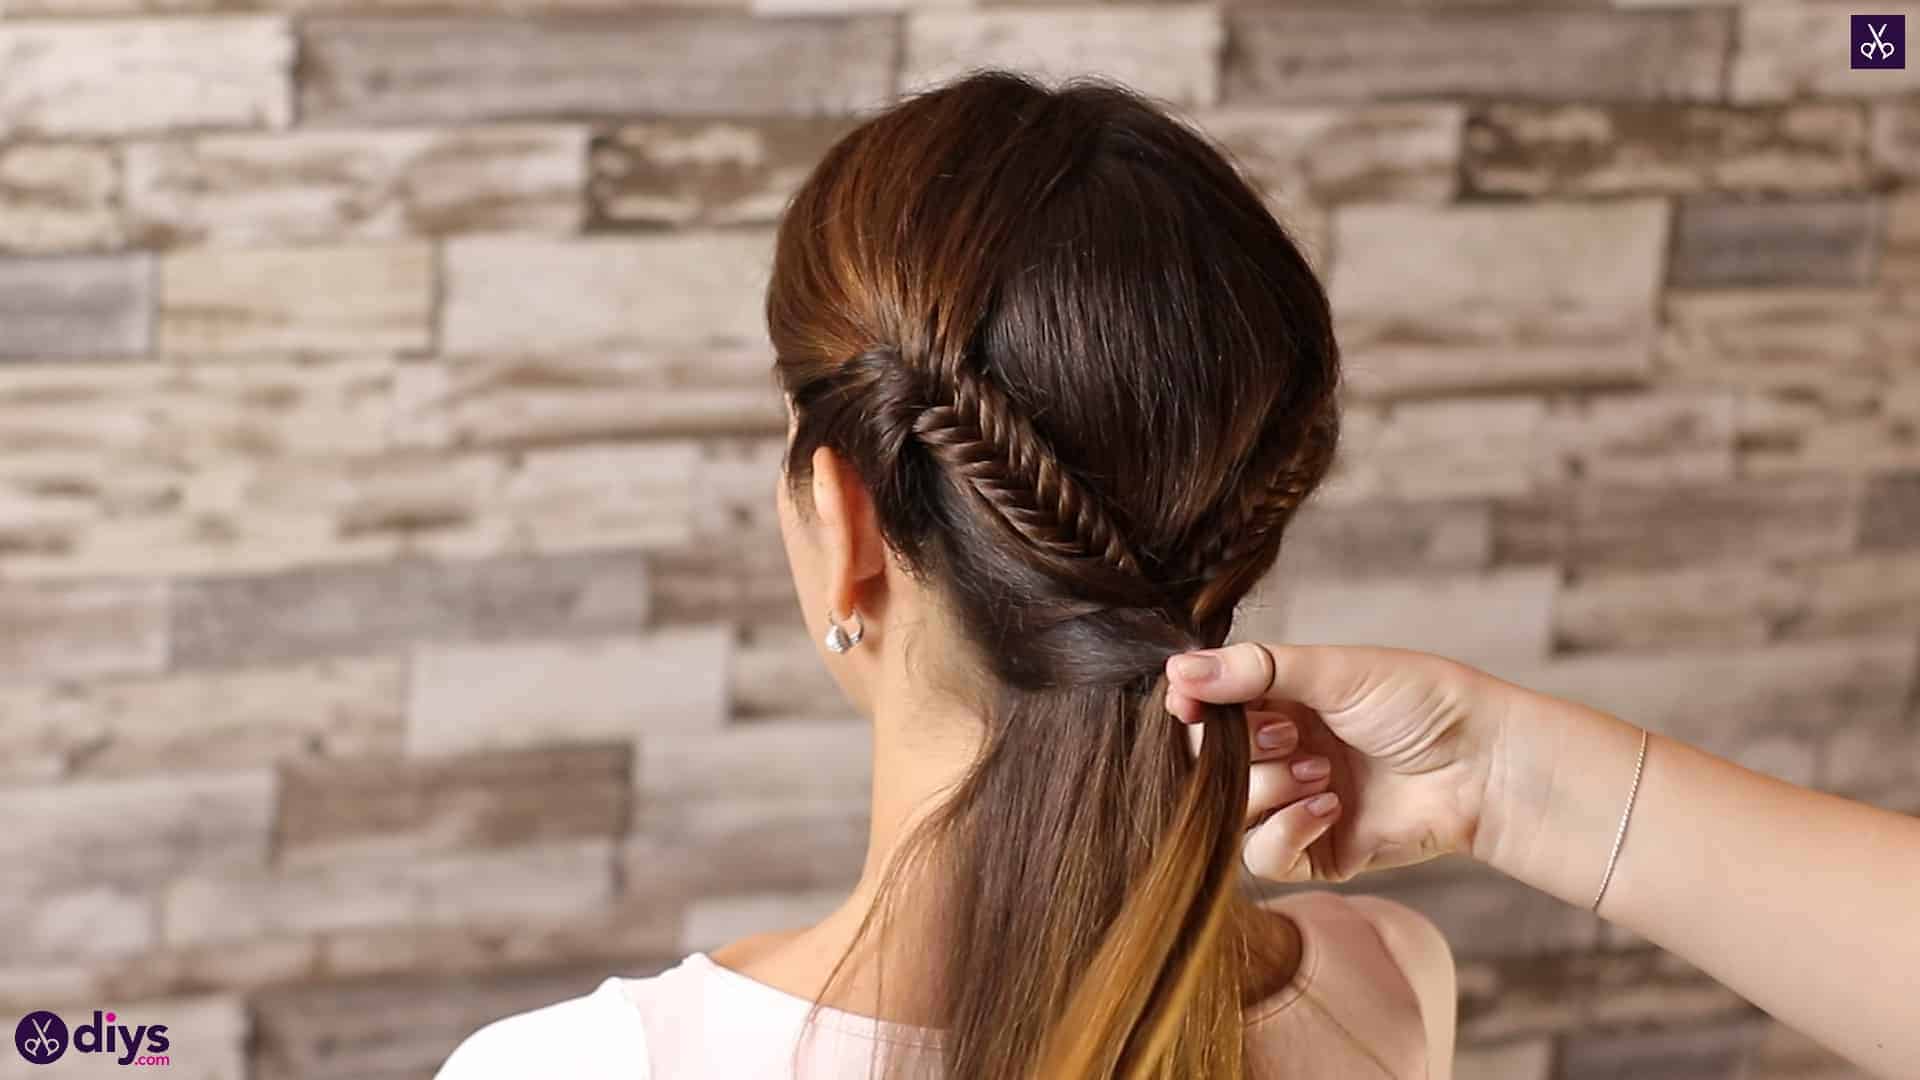
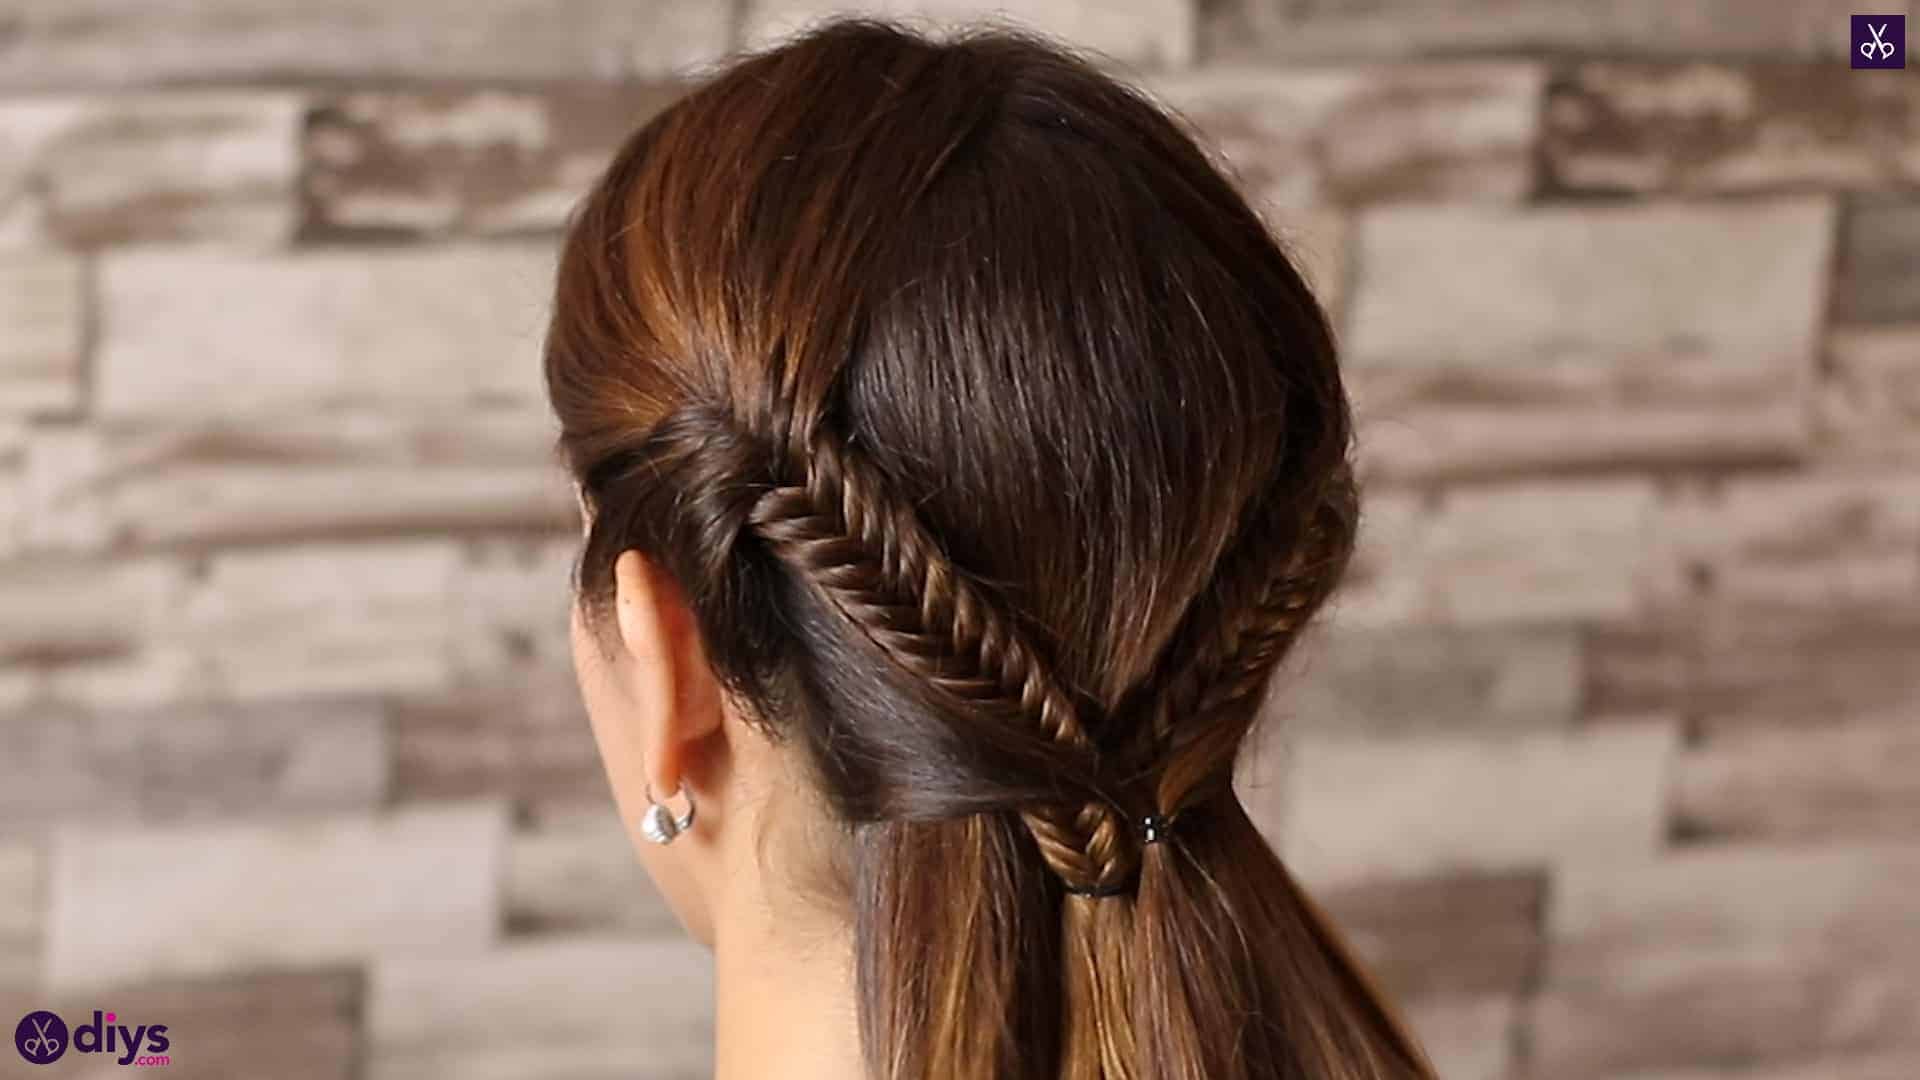
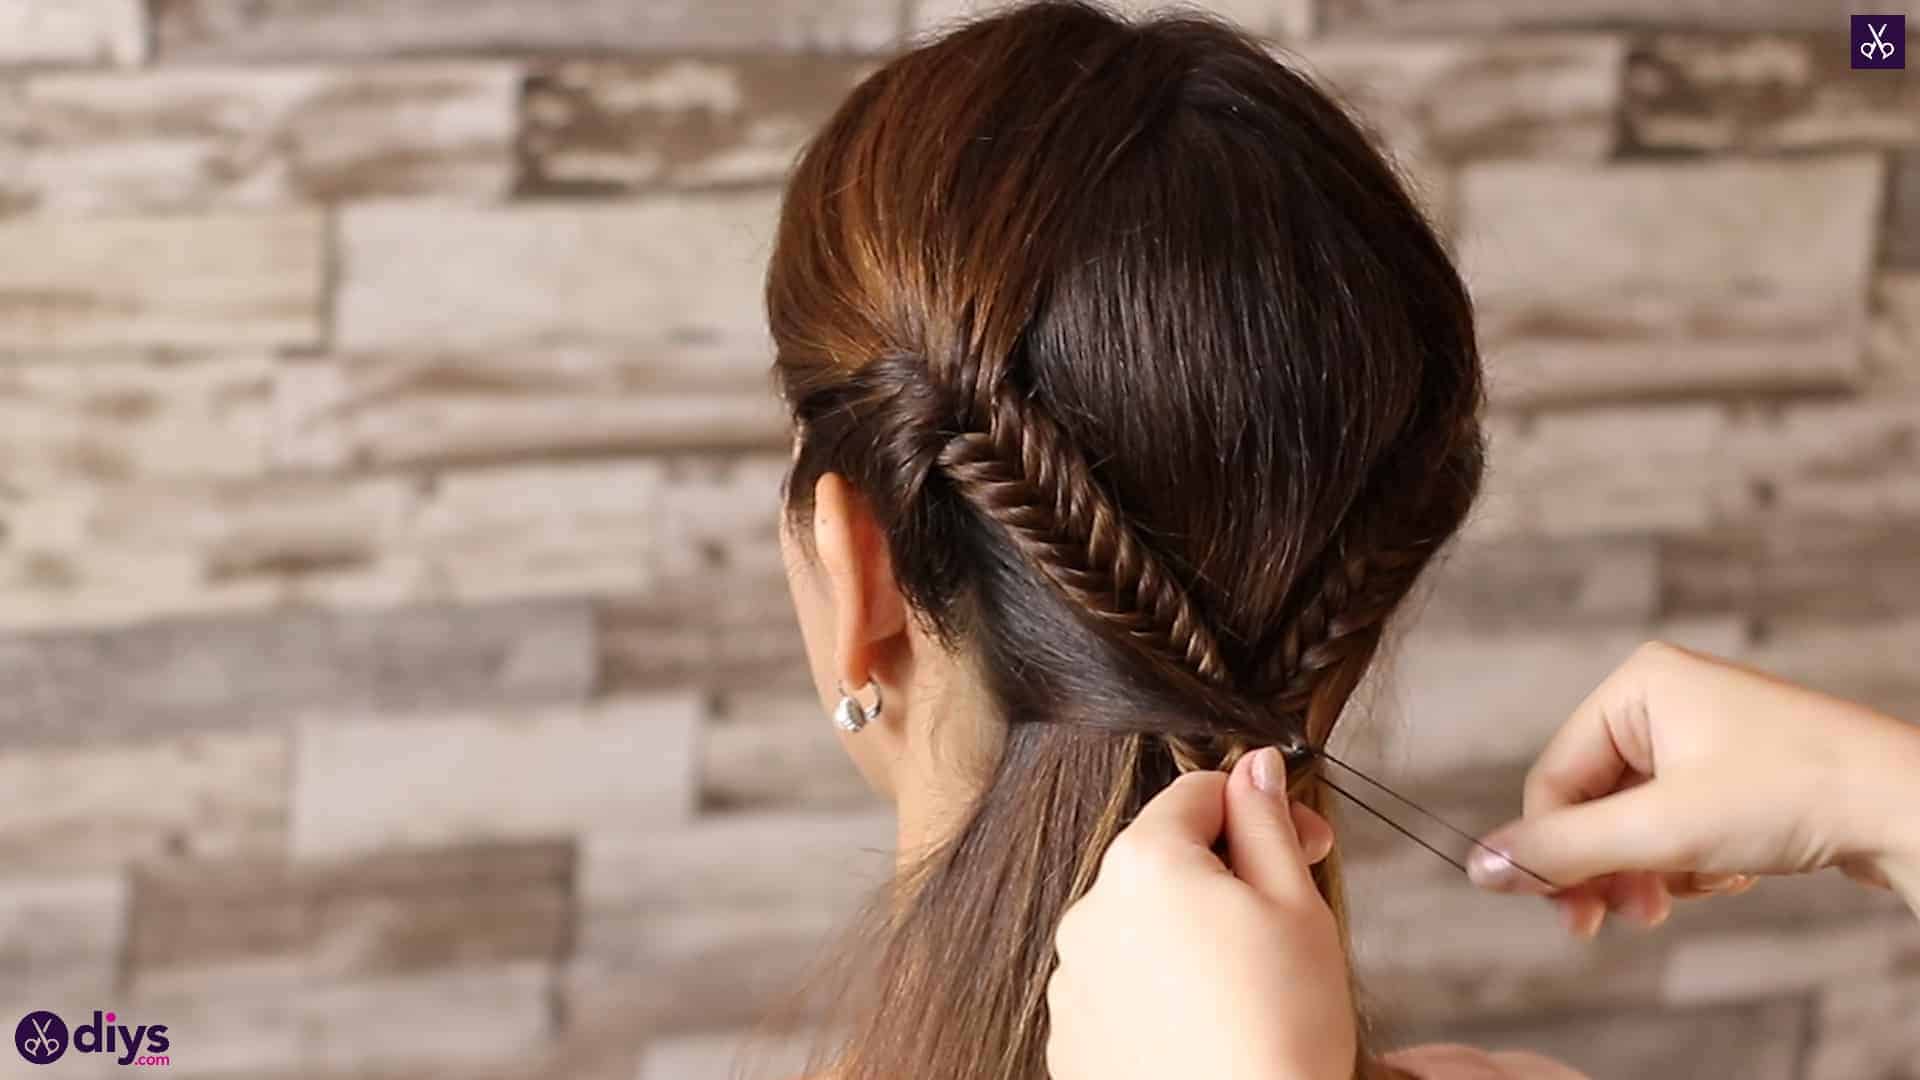
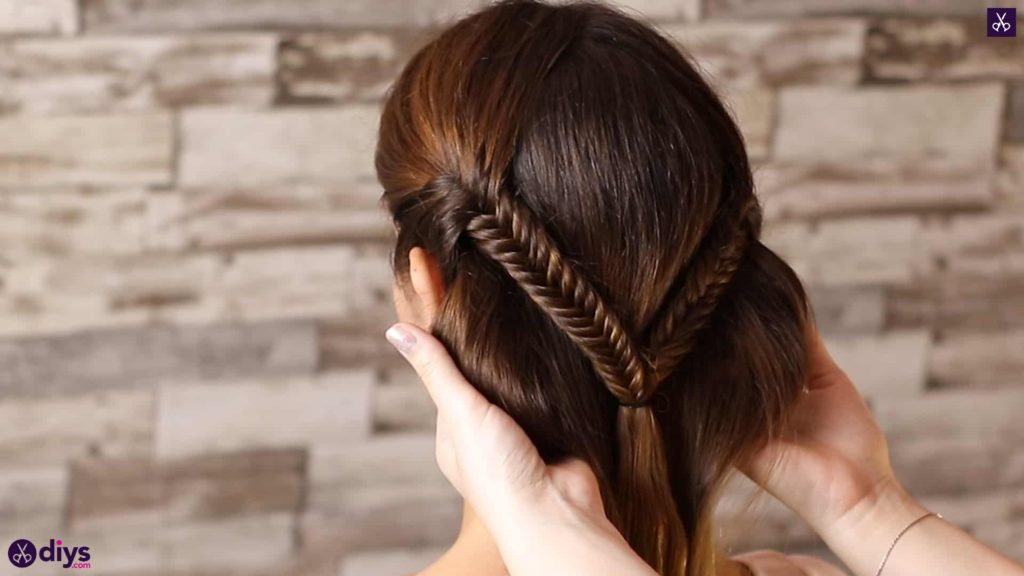
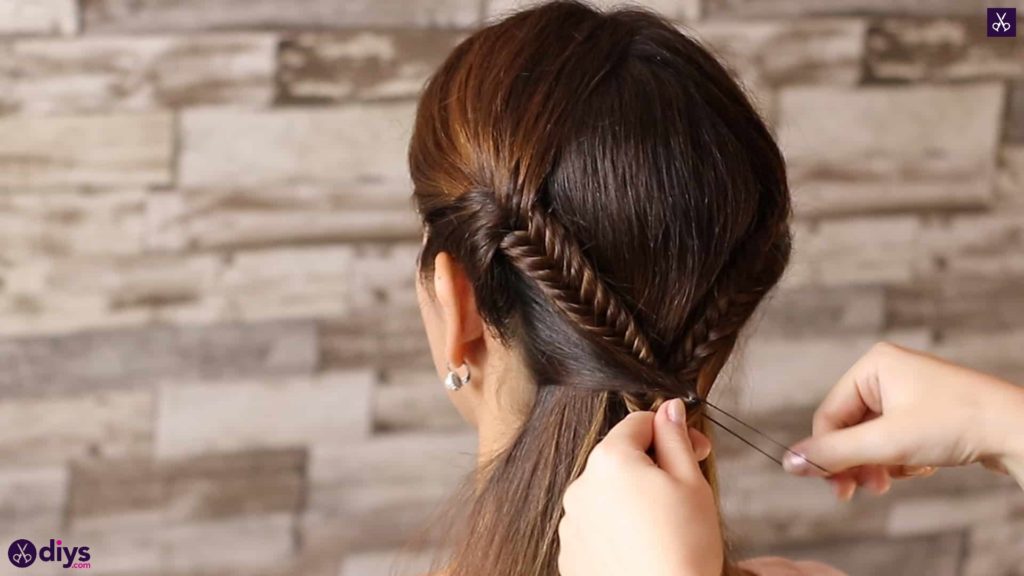
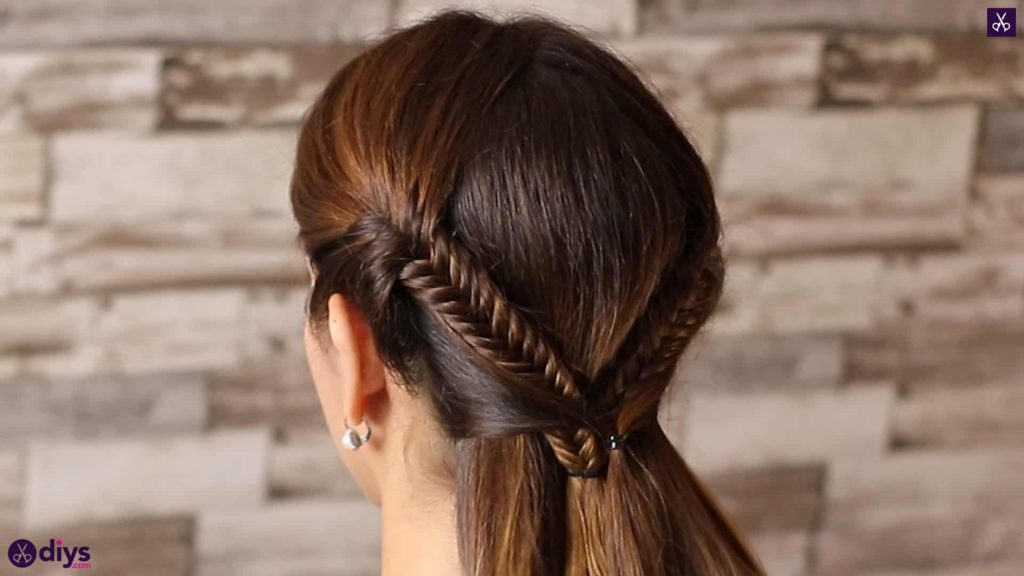
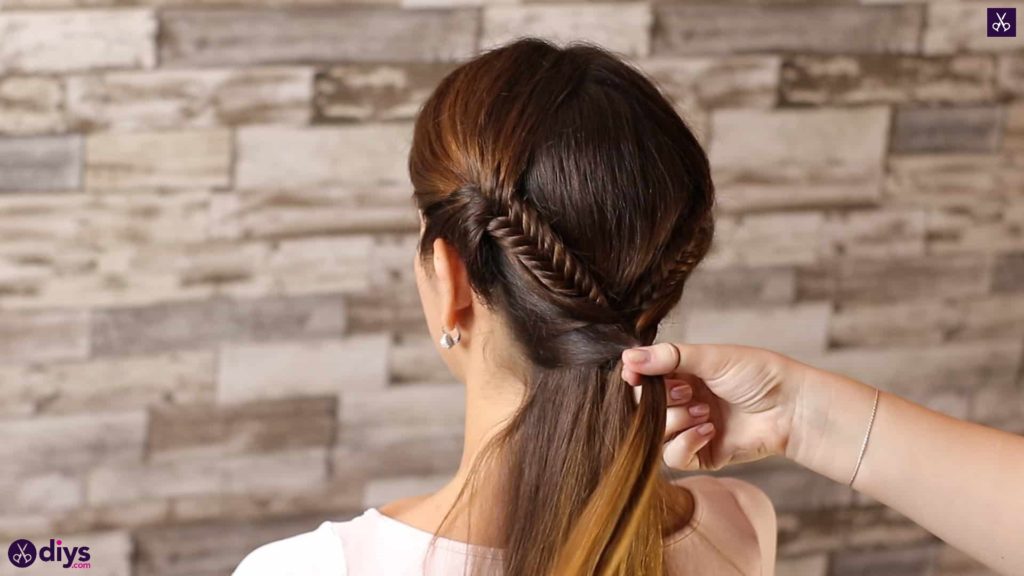
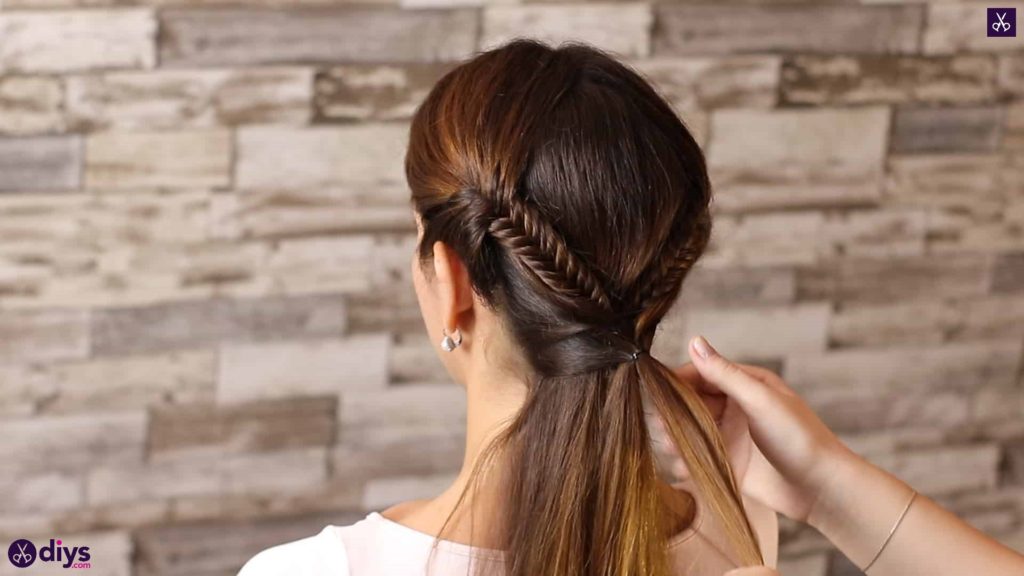
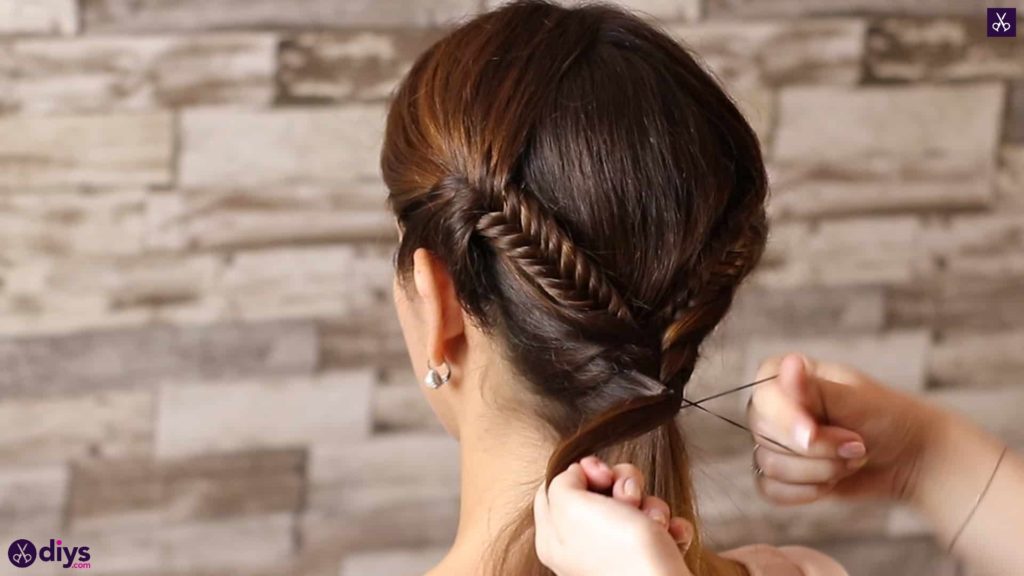
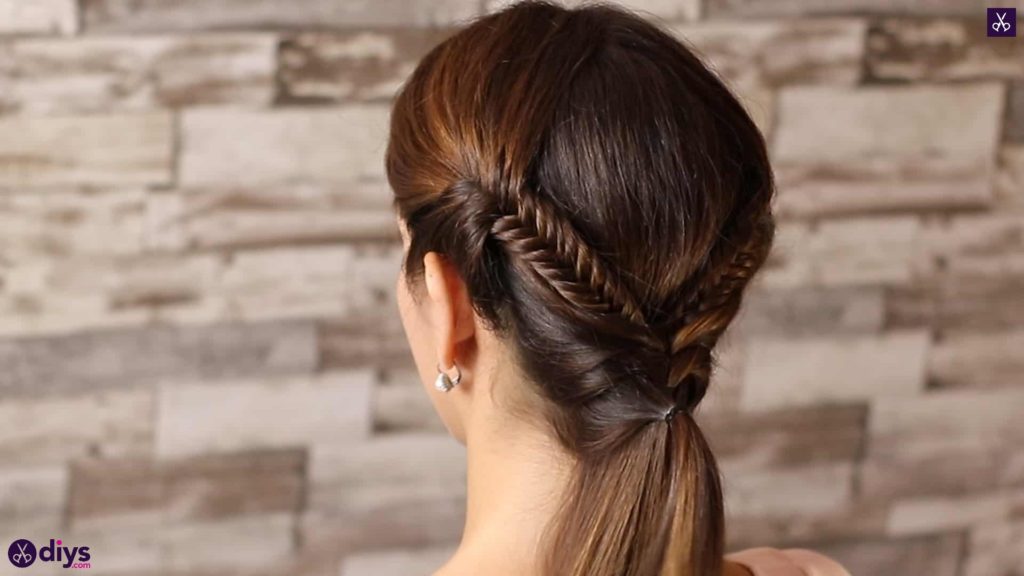
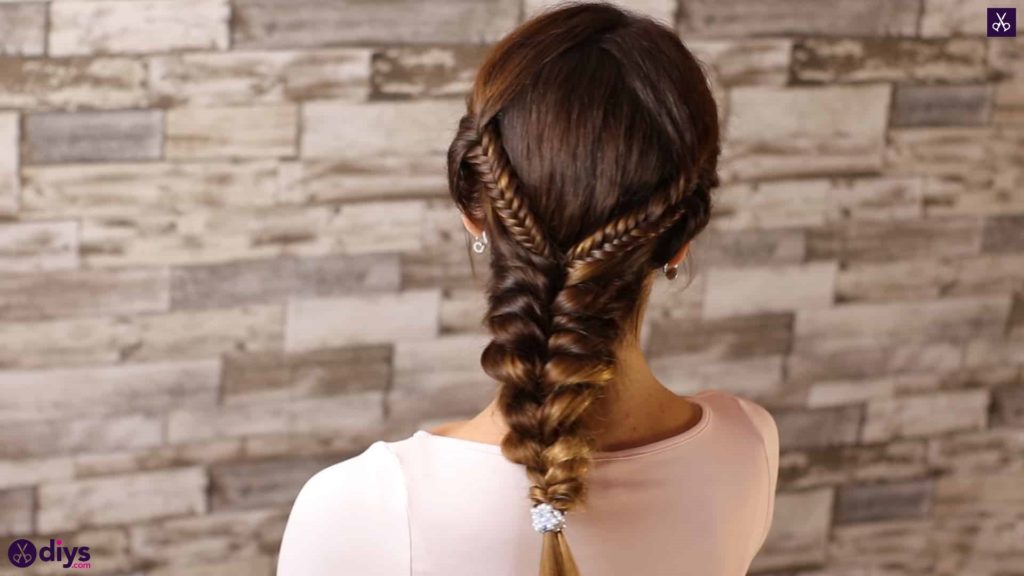
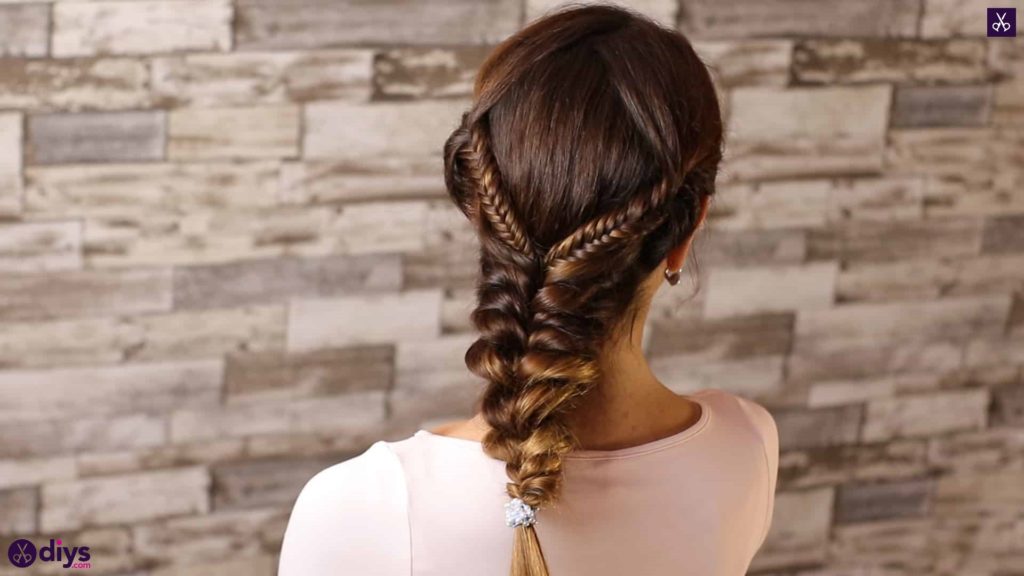
Bring your two braids gently back to meet in the middle at the back of the head, pinching them together where the cross over each other. Tie them in place at that spot with a small hair elastic. Once that elastic is in place you can remove the other elastics elastics you put into the ends of the braids, unweave the parts below that elastic, and blend them into the hair to make a regular ponytail below. The middle elastic will keep the braids above from unravelling.
Step 3:
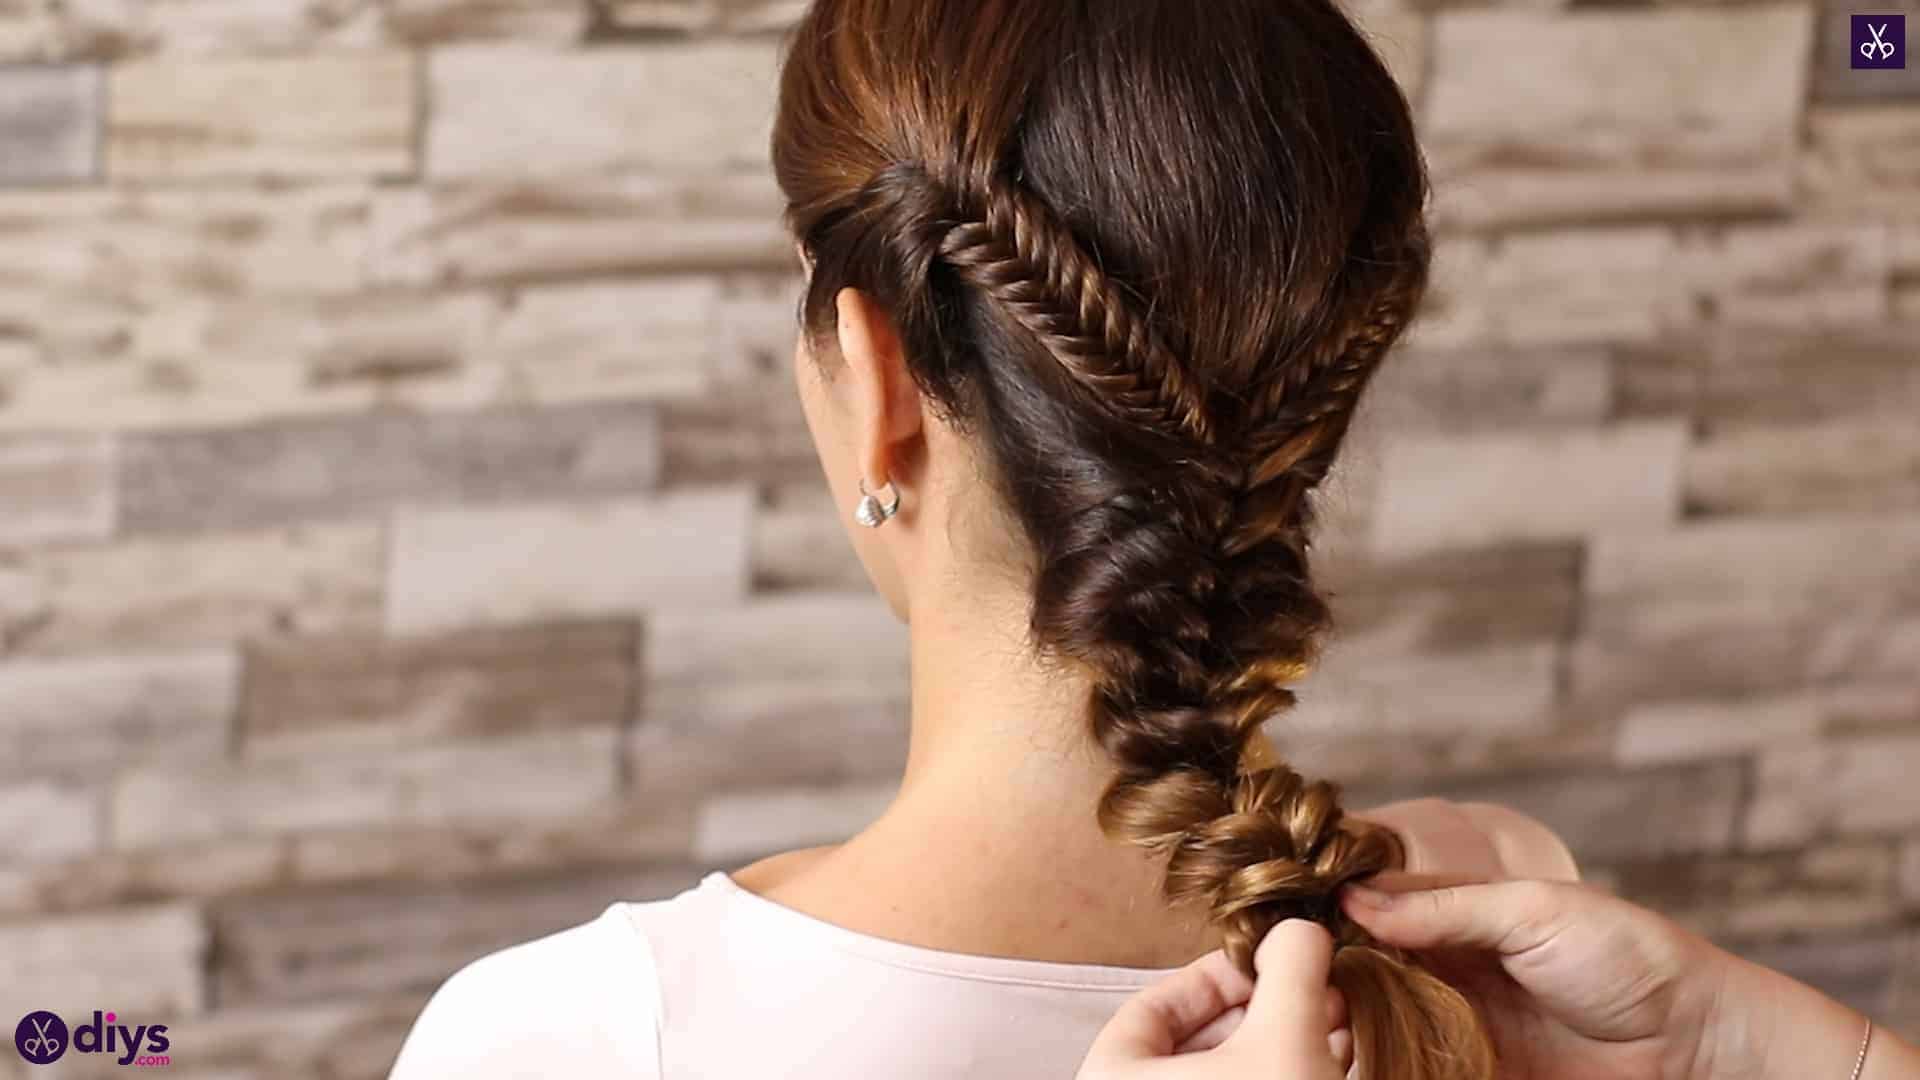
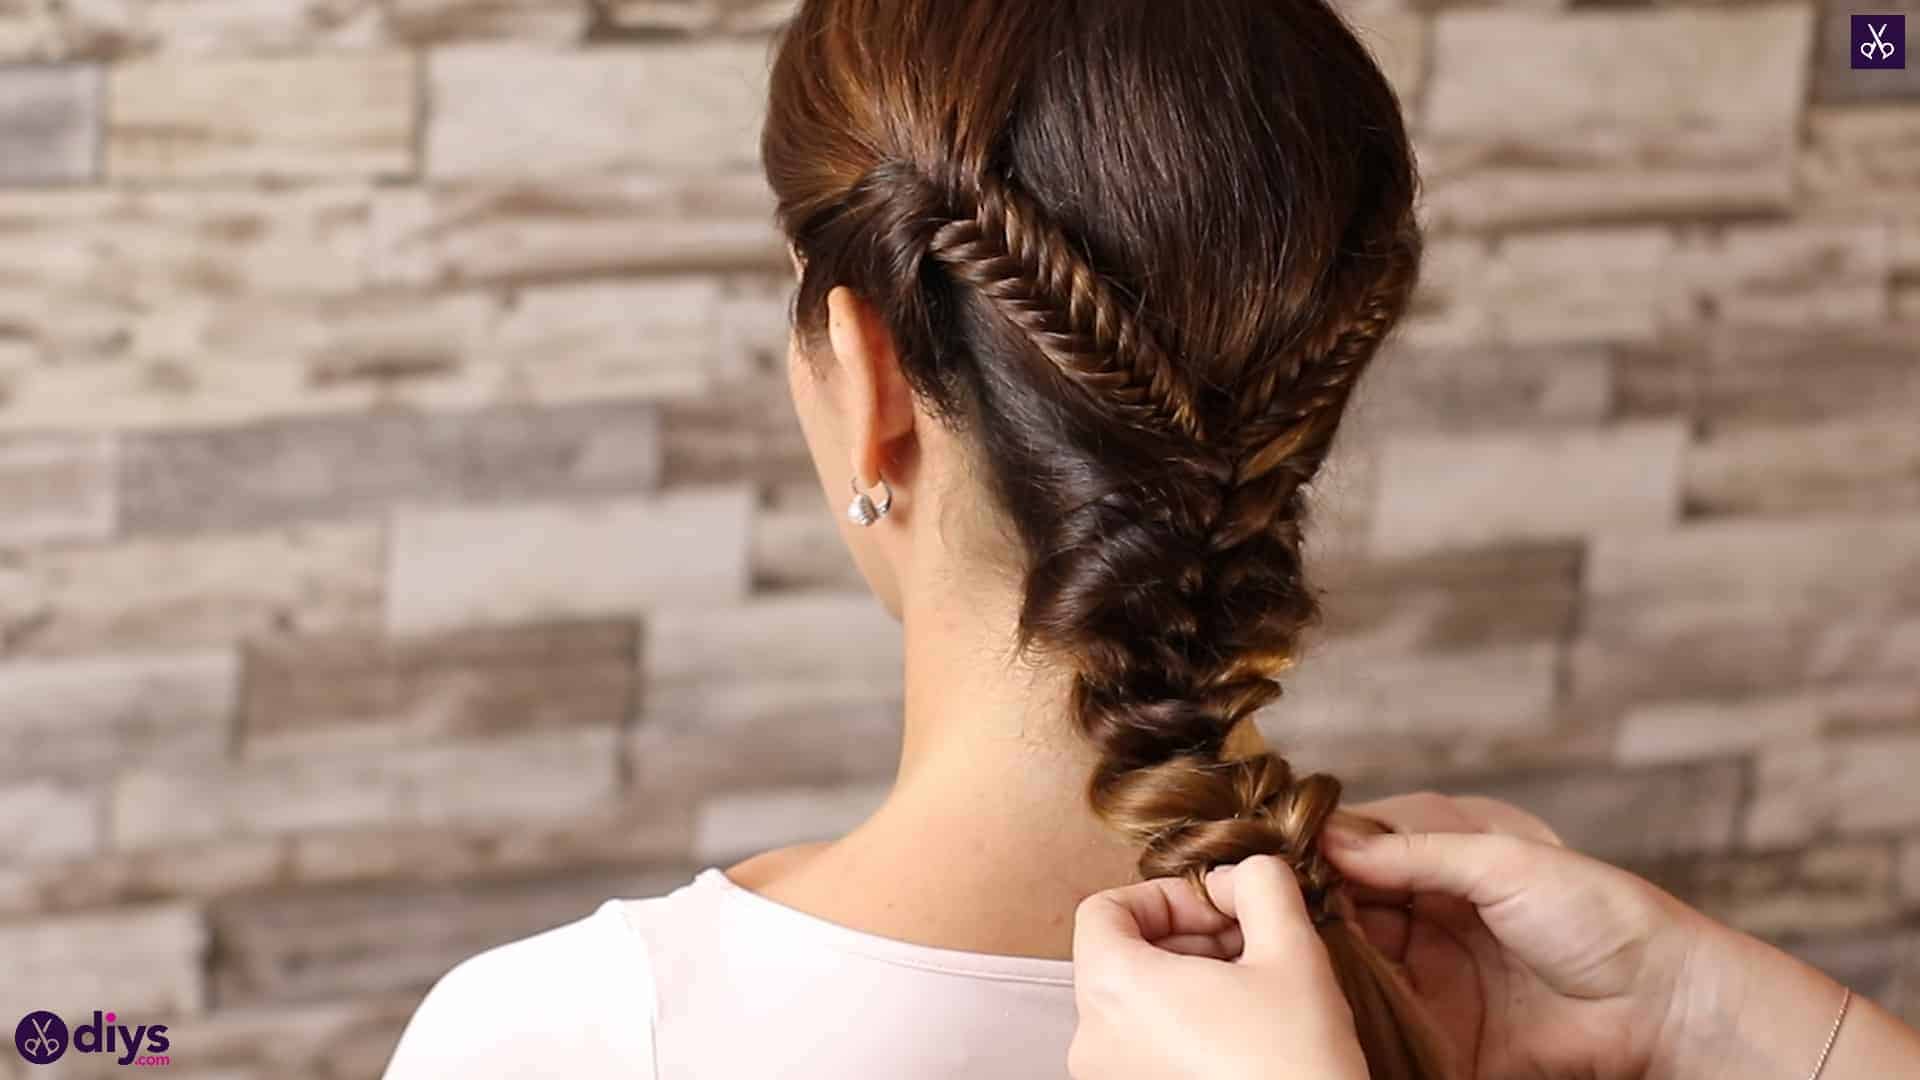
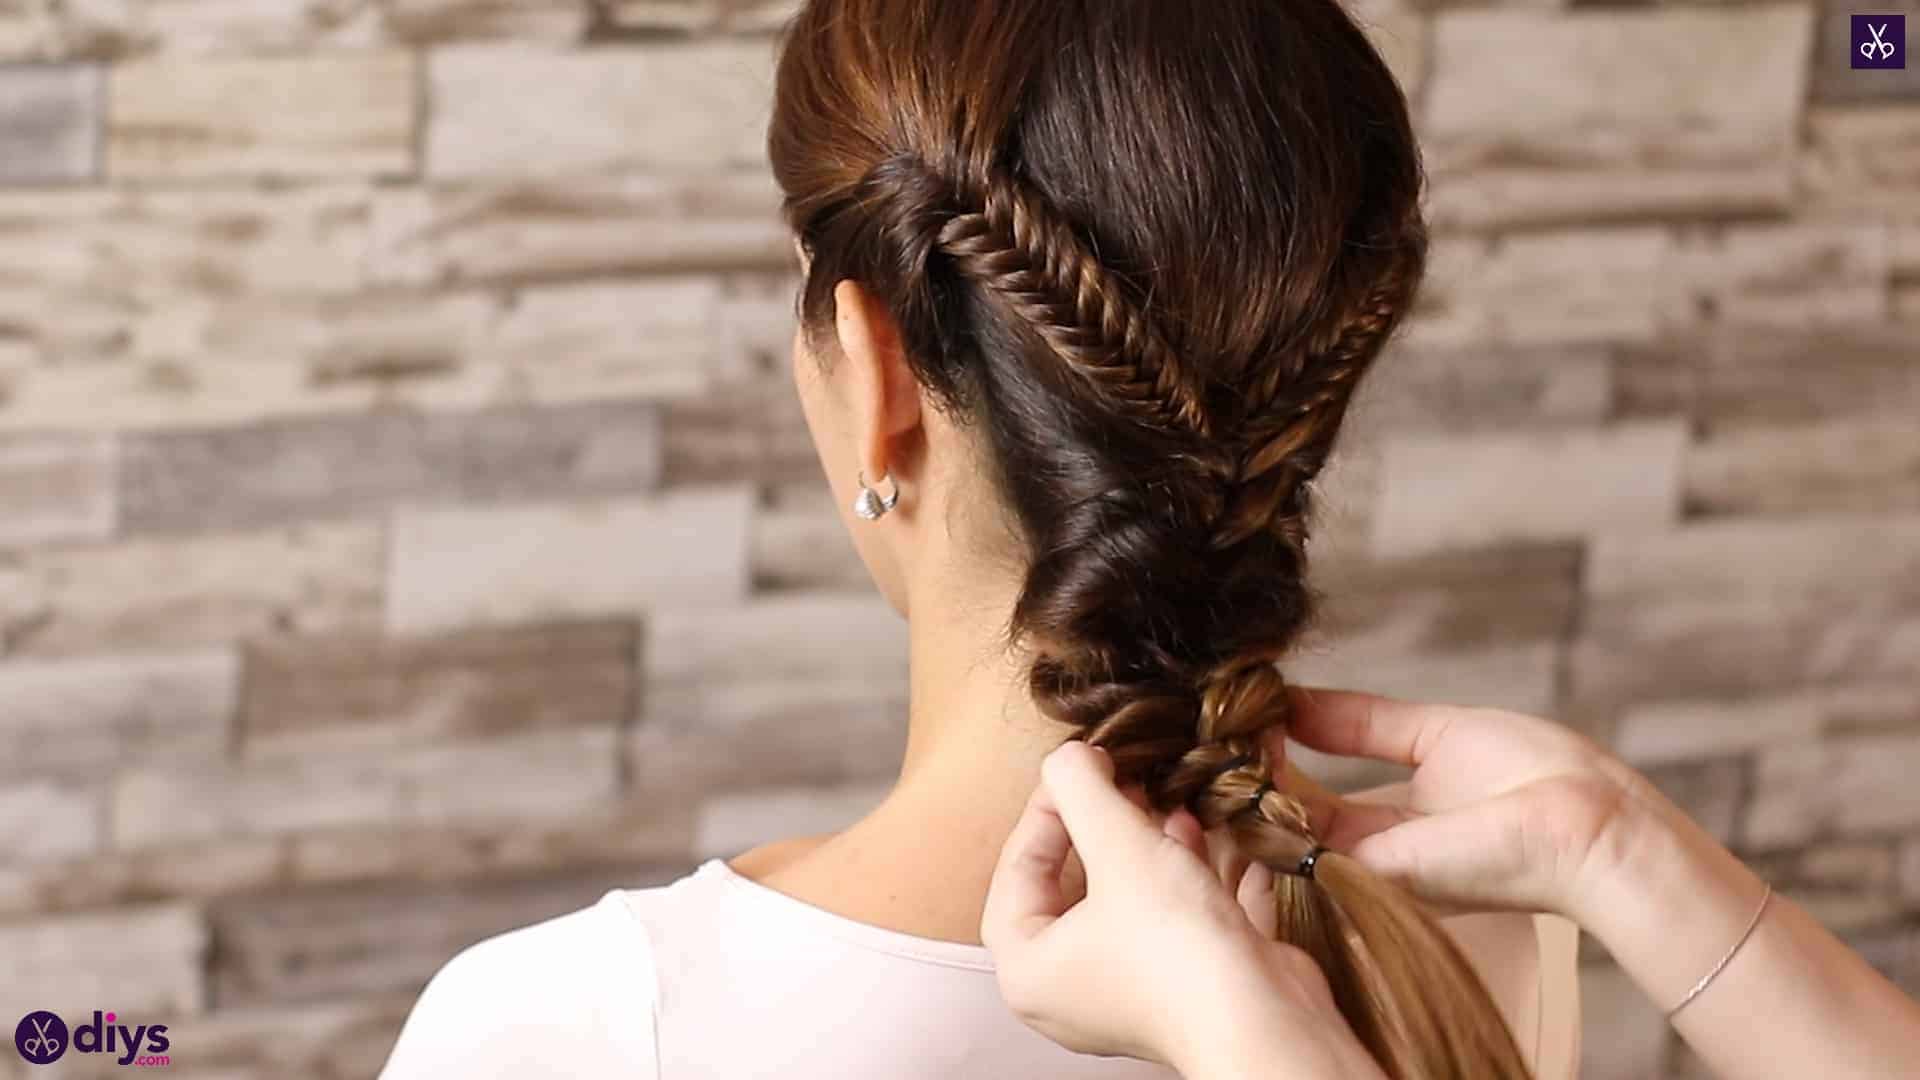
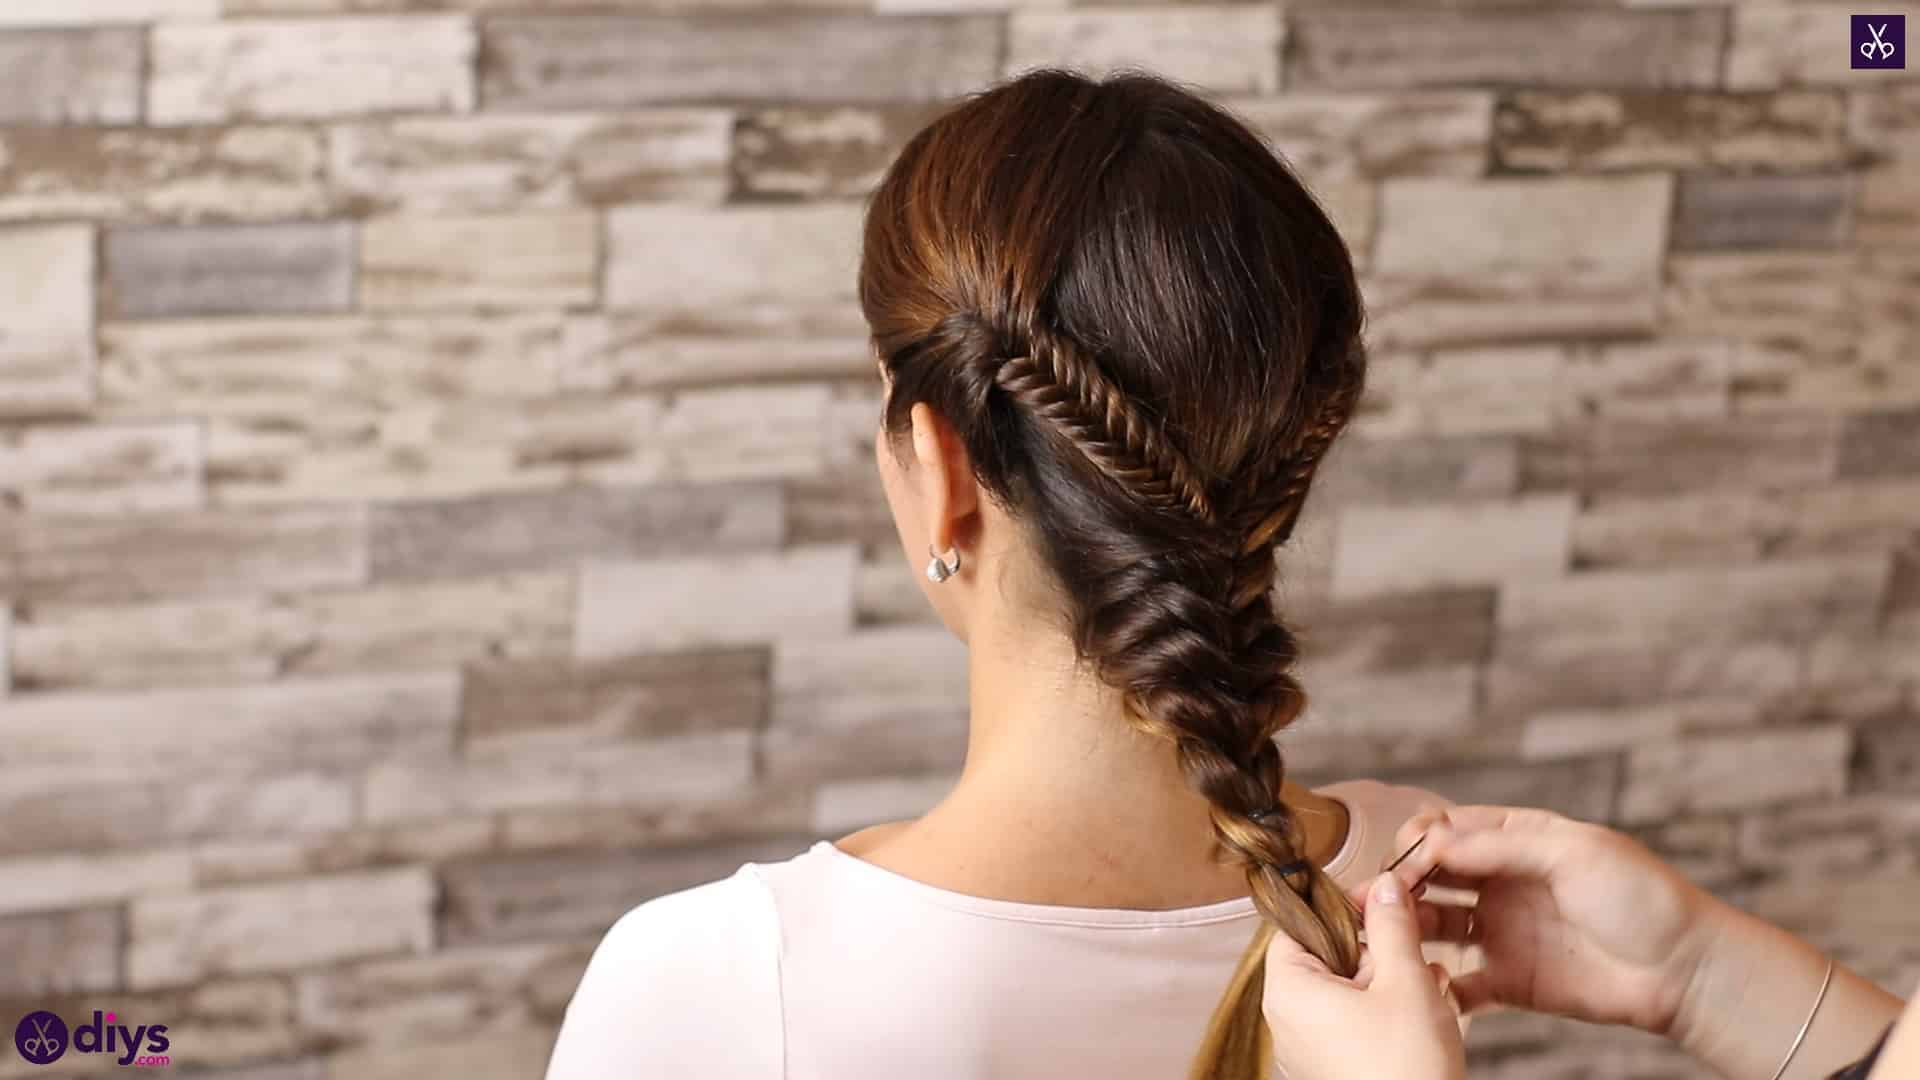
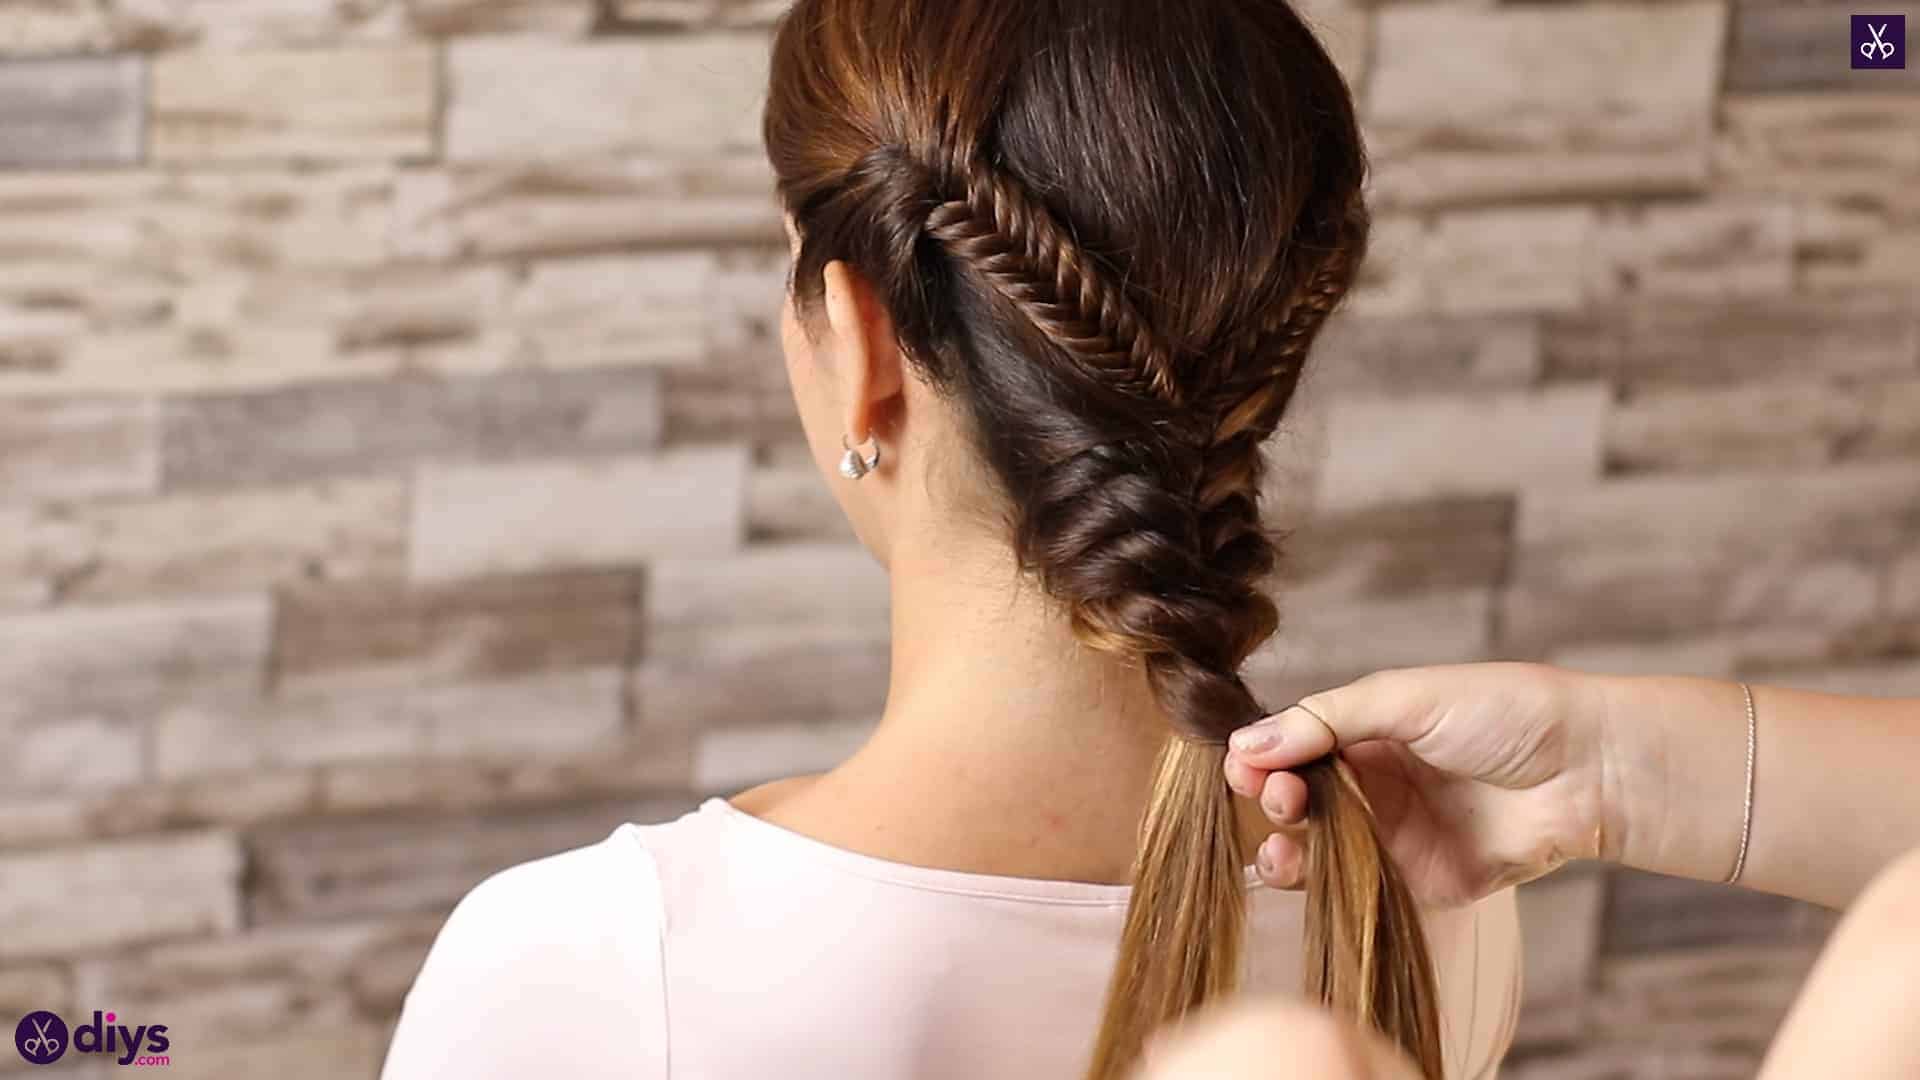
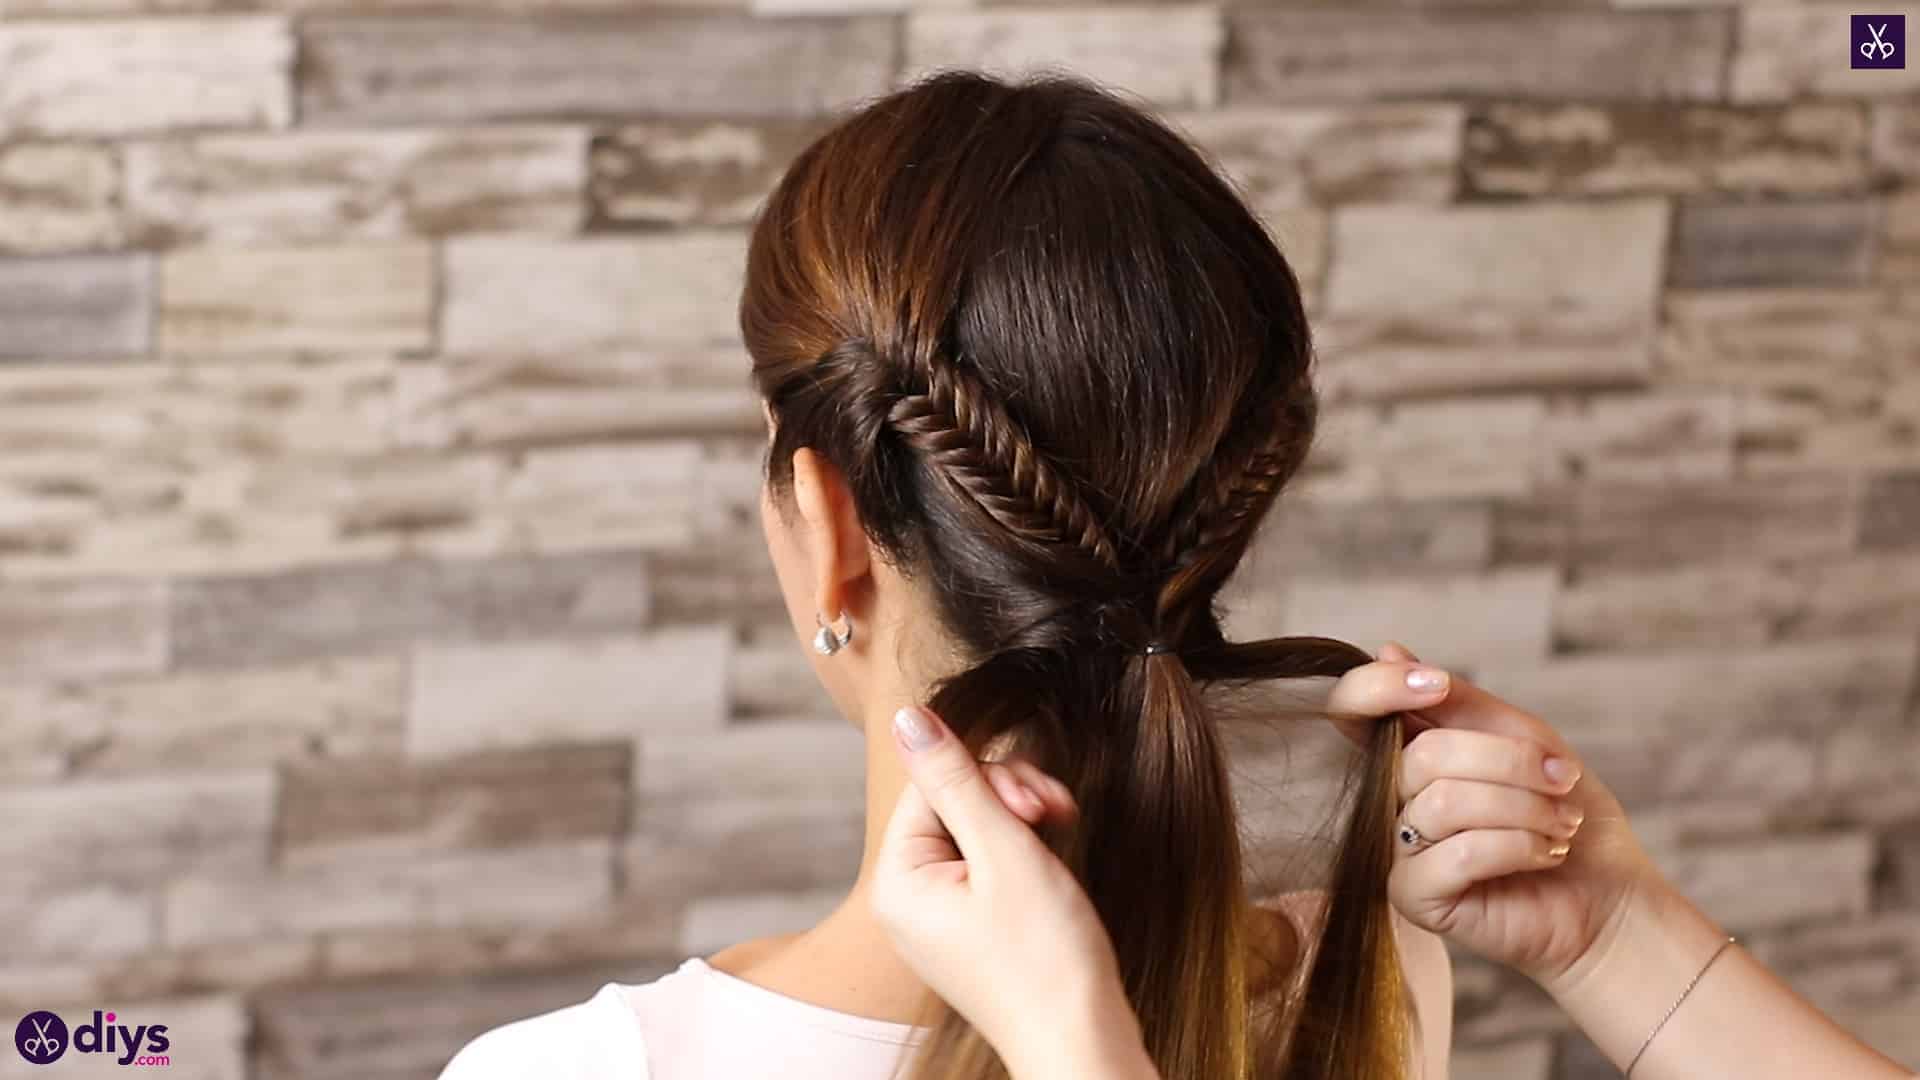
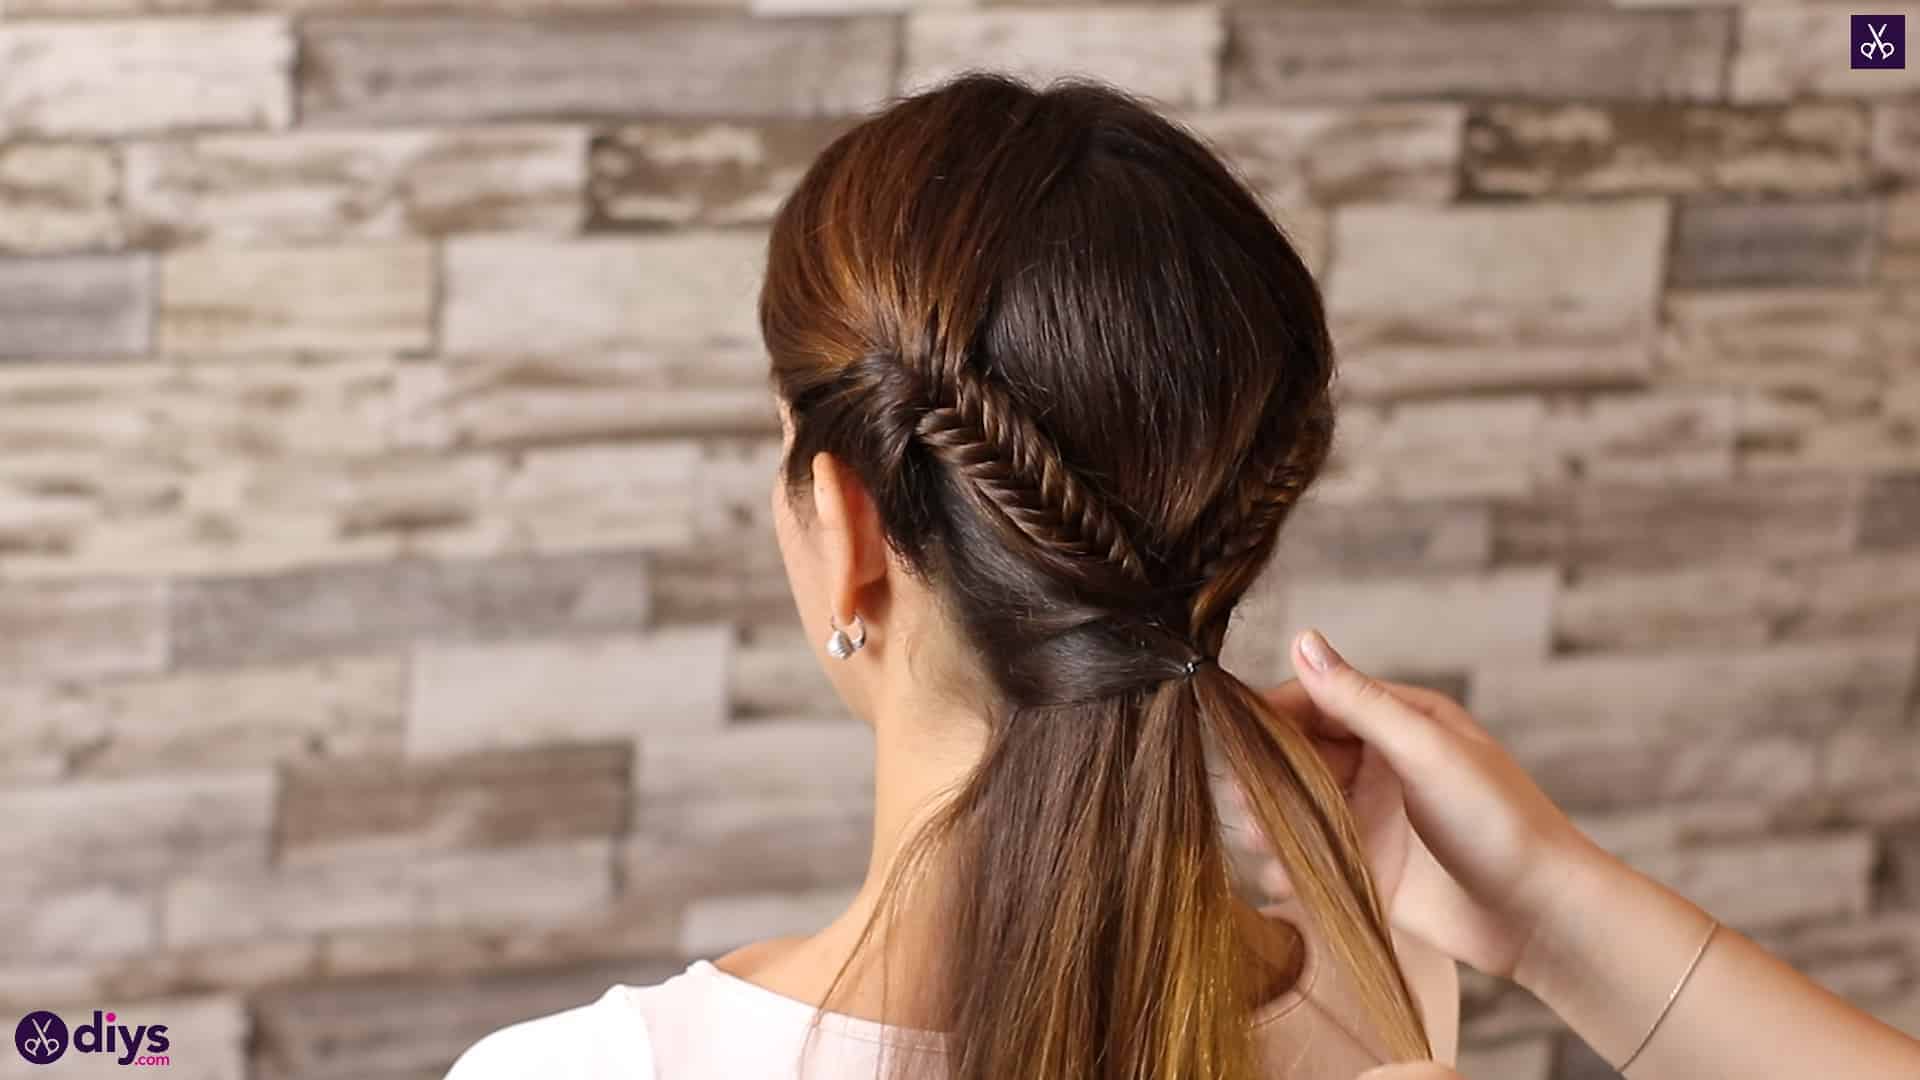
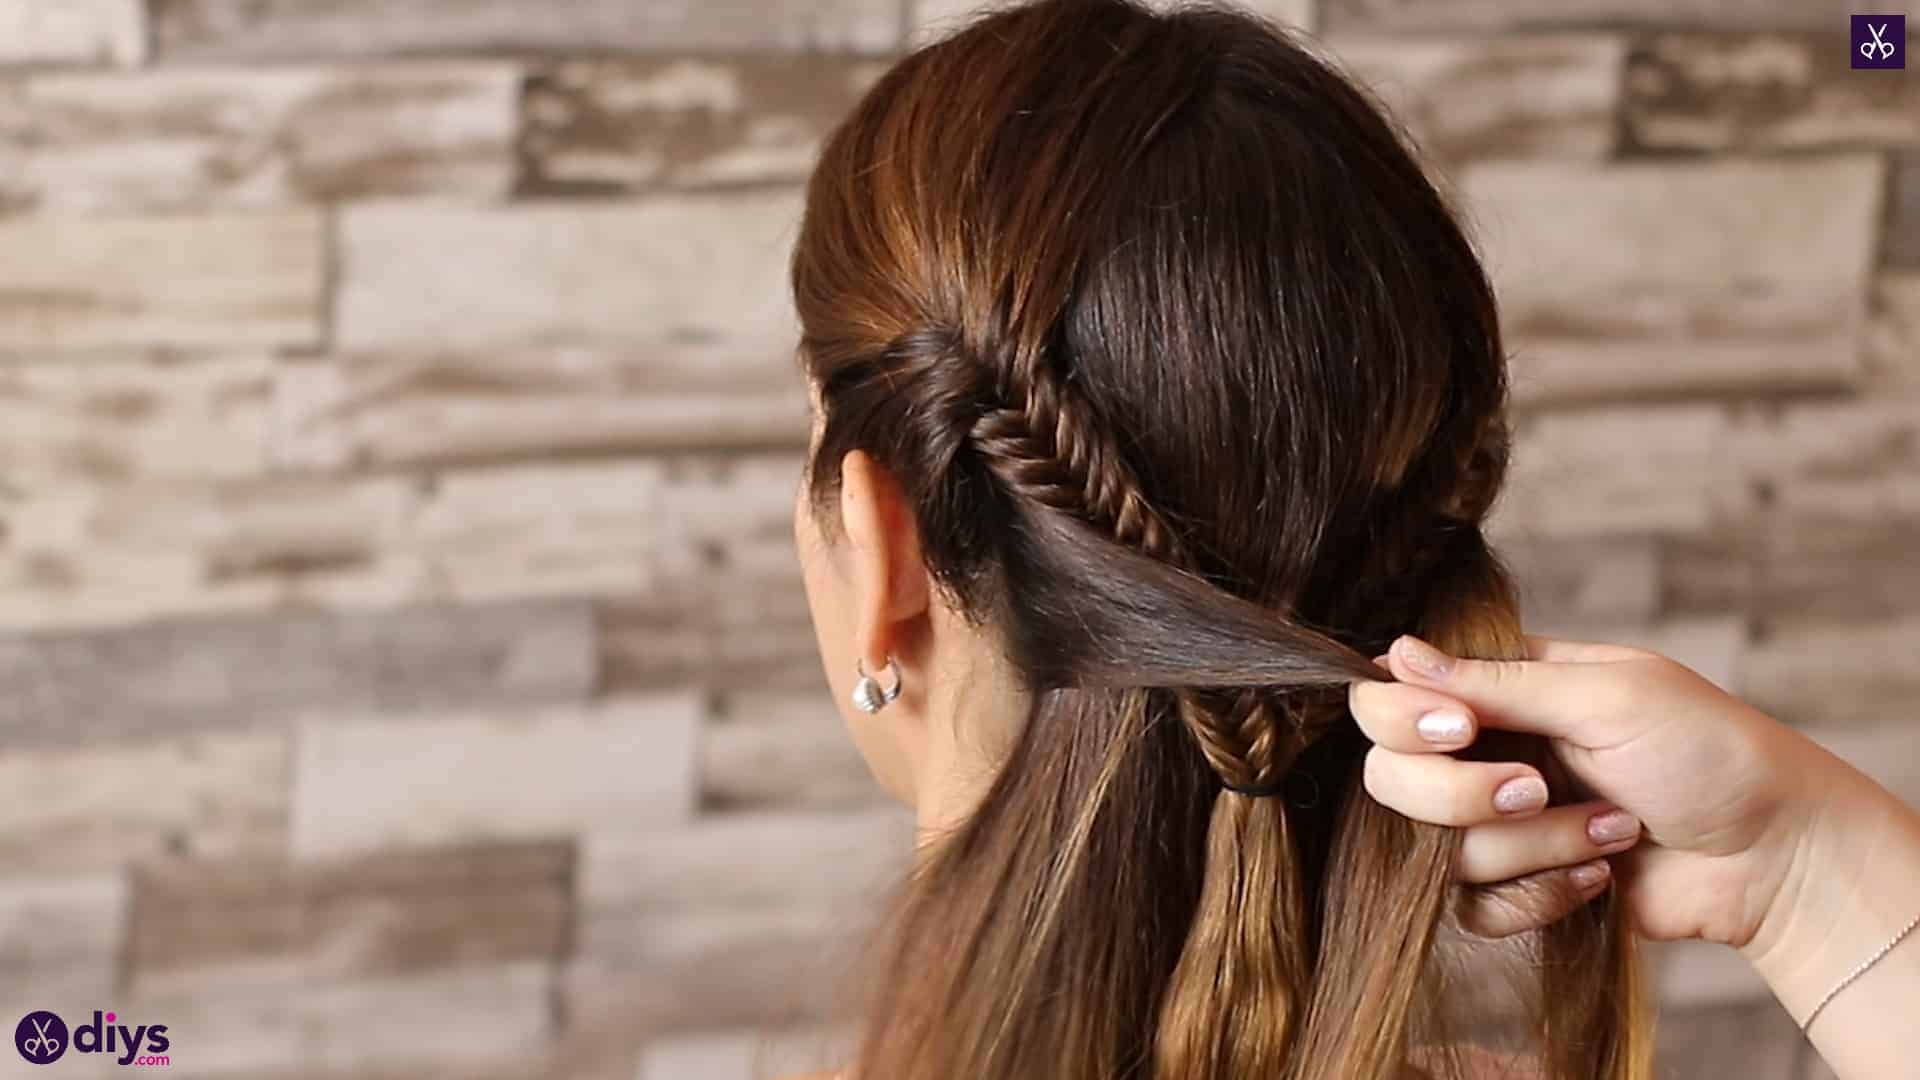
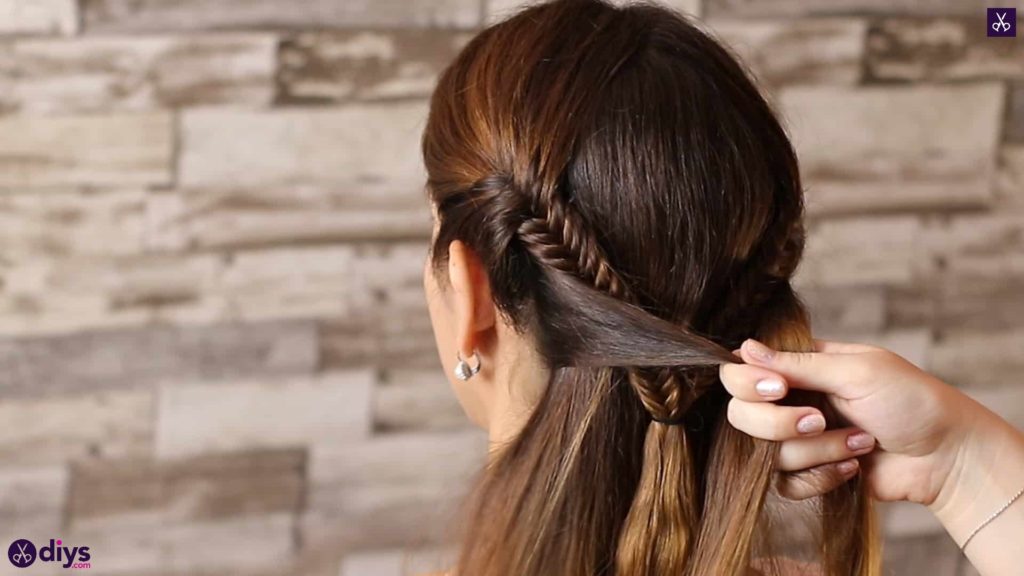
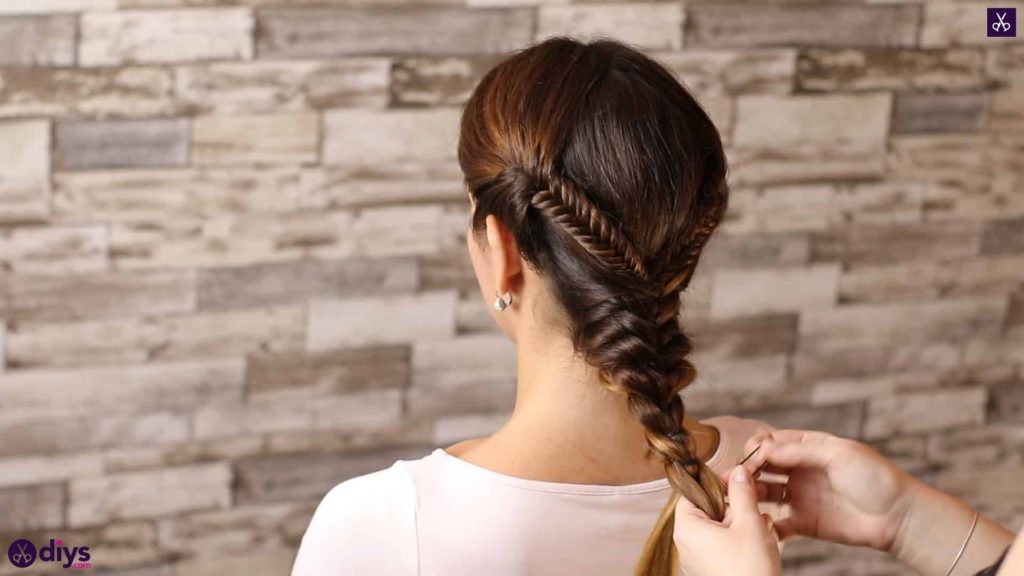
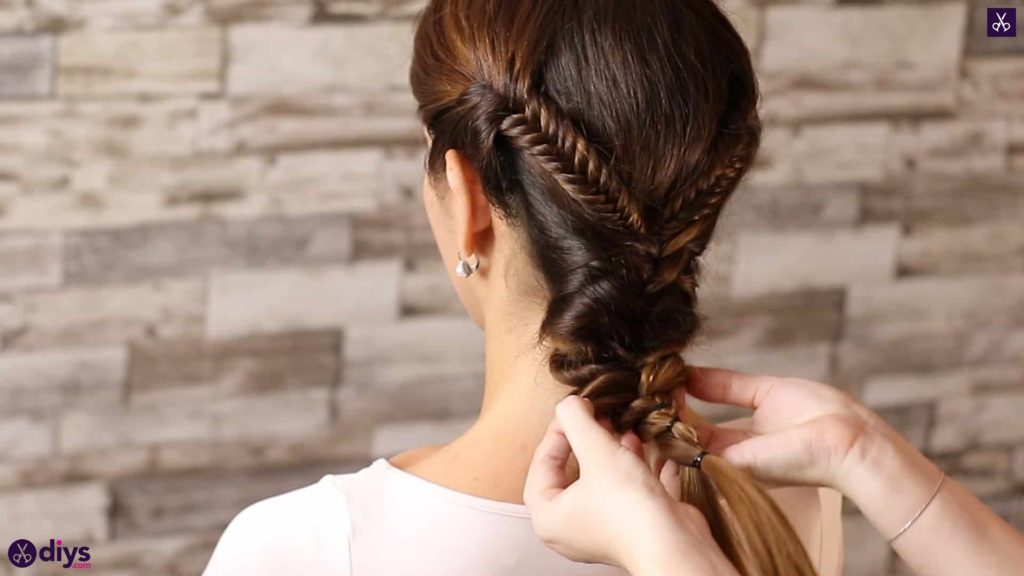
Now you’ll being the trick method that looks like an intricate braid but is actually a lot easier. Smooth your ponytail down flat in the middle and work with the rest of the hair underneath that, gathering from the outside edges on either side. Separate an inch wide handful of hair from just behind each ear on either side of your centre ponytail and bring the pieces smoothly to the back to meet n the centre like you did with your braids. Tie them with another small hair elastic in the centre where the two pieces meet, fastening them so their elastic sits just under the one above from the braids. It’s okay if the elastic actually sits above or covers the other elastic; you just want it to gather in the middle wherever it sits naturally.
Step 4:
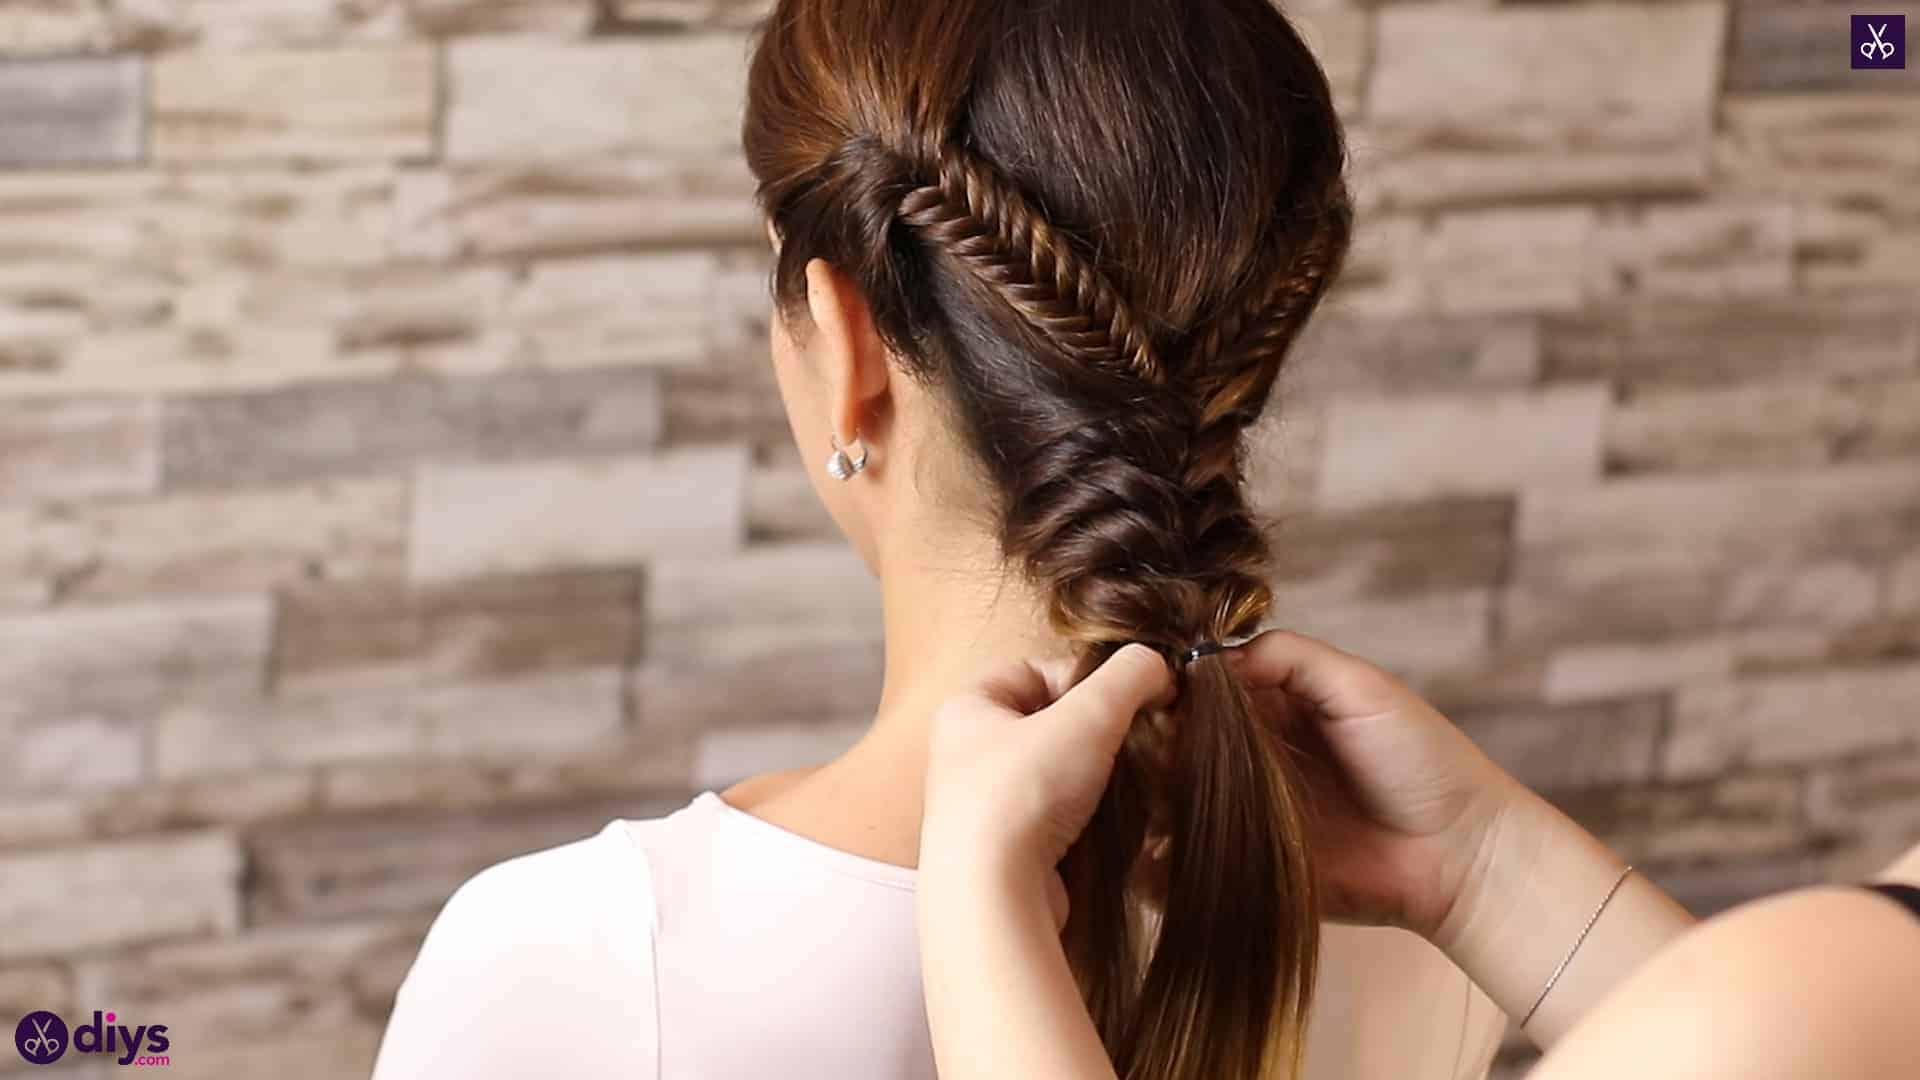
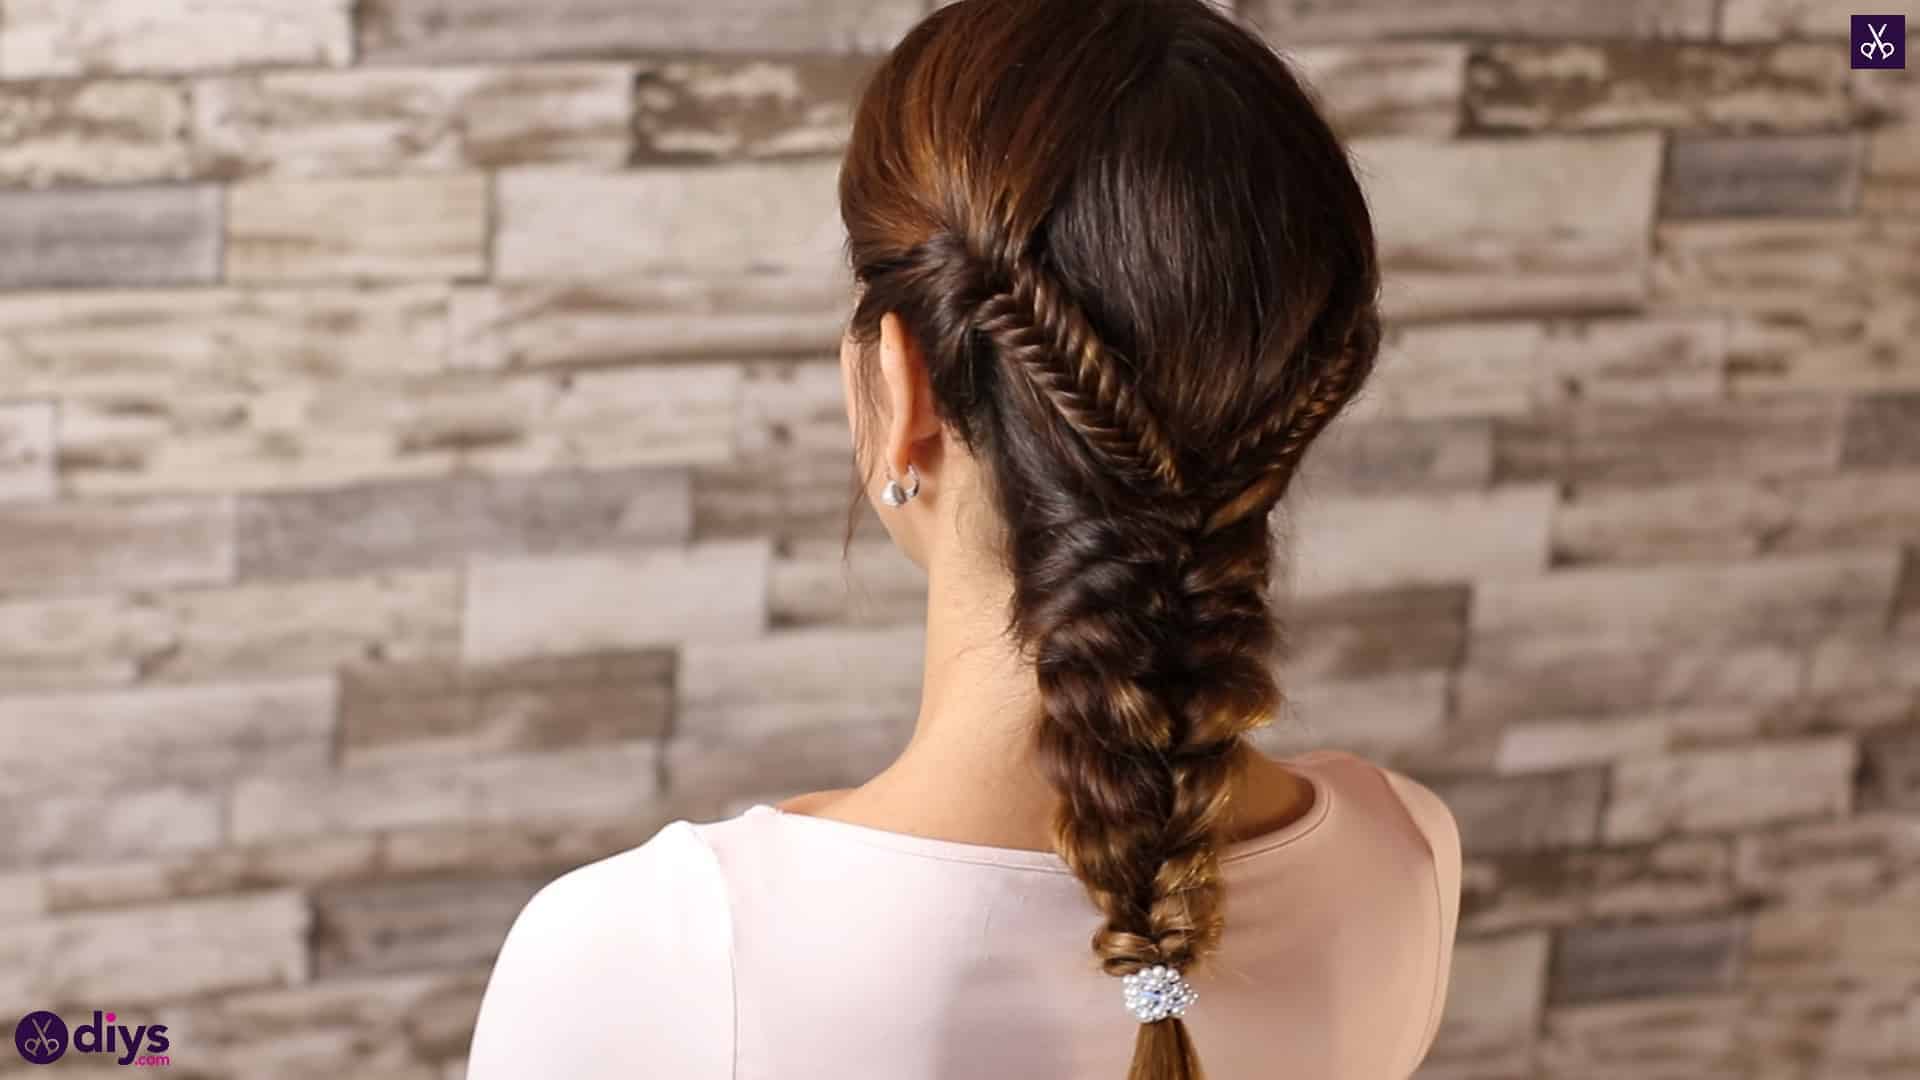
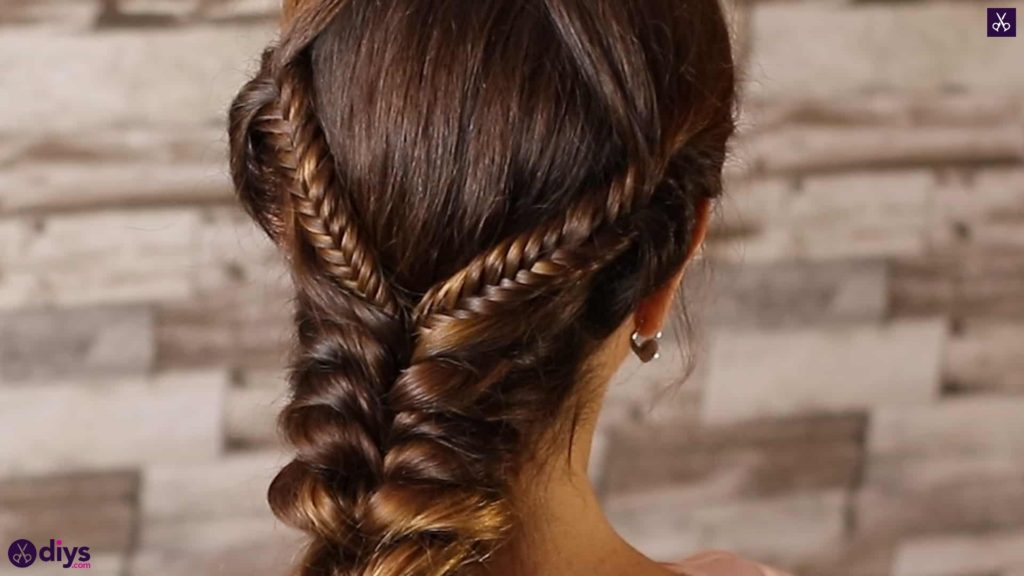
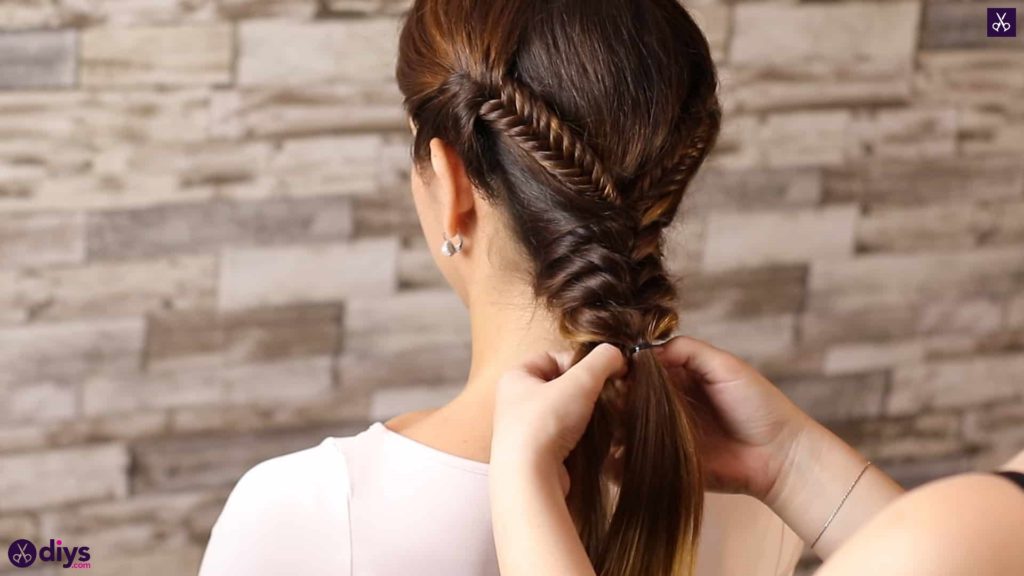
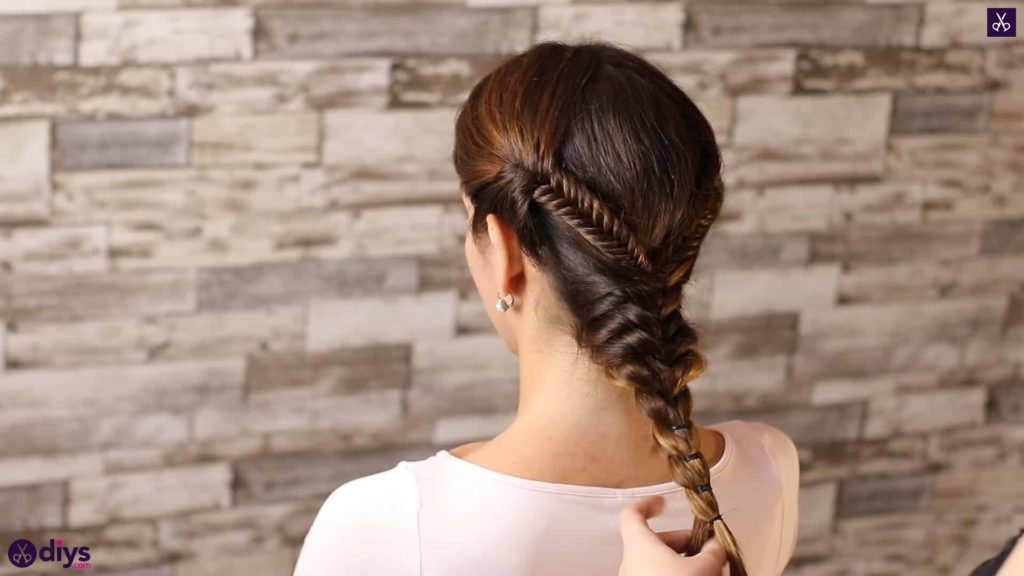
Repeat the gathering and centre fastening process! As the pieces meet in the middle and overlap, the shape down the back of the head and at the centre of the hair will start to resemble the weave in your fishtail braids above, as though they’ve merged into one bigger braid. When you get to the point where all the hair on either side has been gathered and you only have the hair in the centre, below the back hairline, left to work with, separate strands from the underside of the ponytail hair at the centre and bring them upward and around either side to mimic the way you were gathering pieces in from the side before and the way you took pieces from the underside of your sections when you were fishtail braiding.
Step 5:
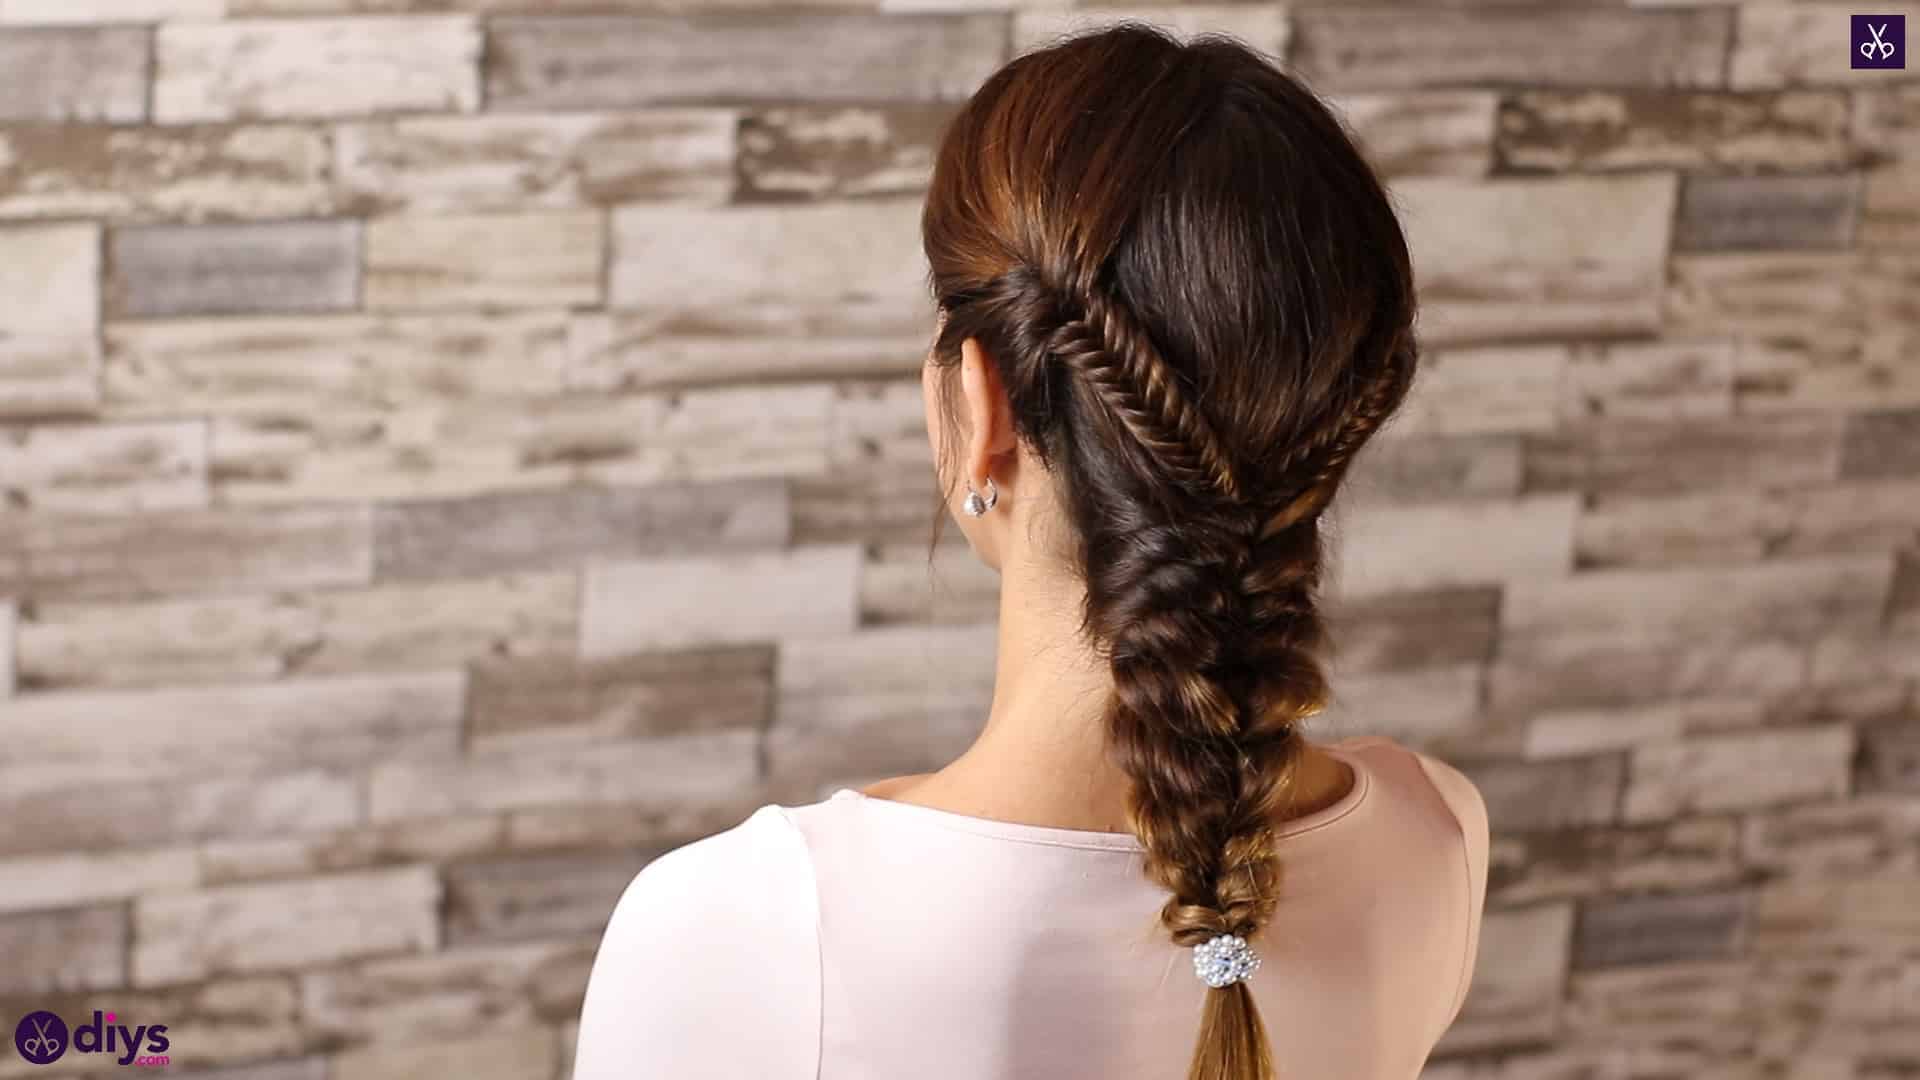
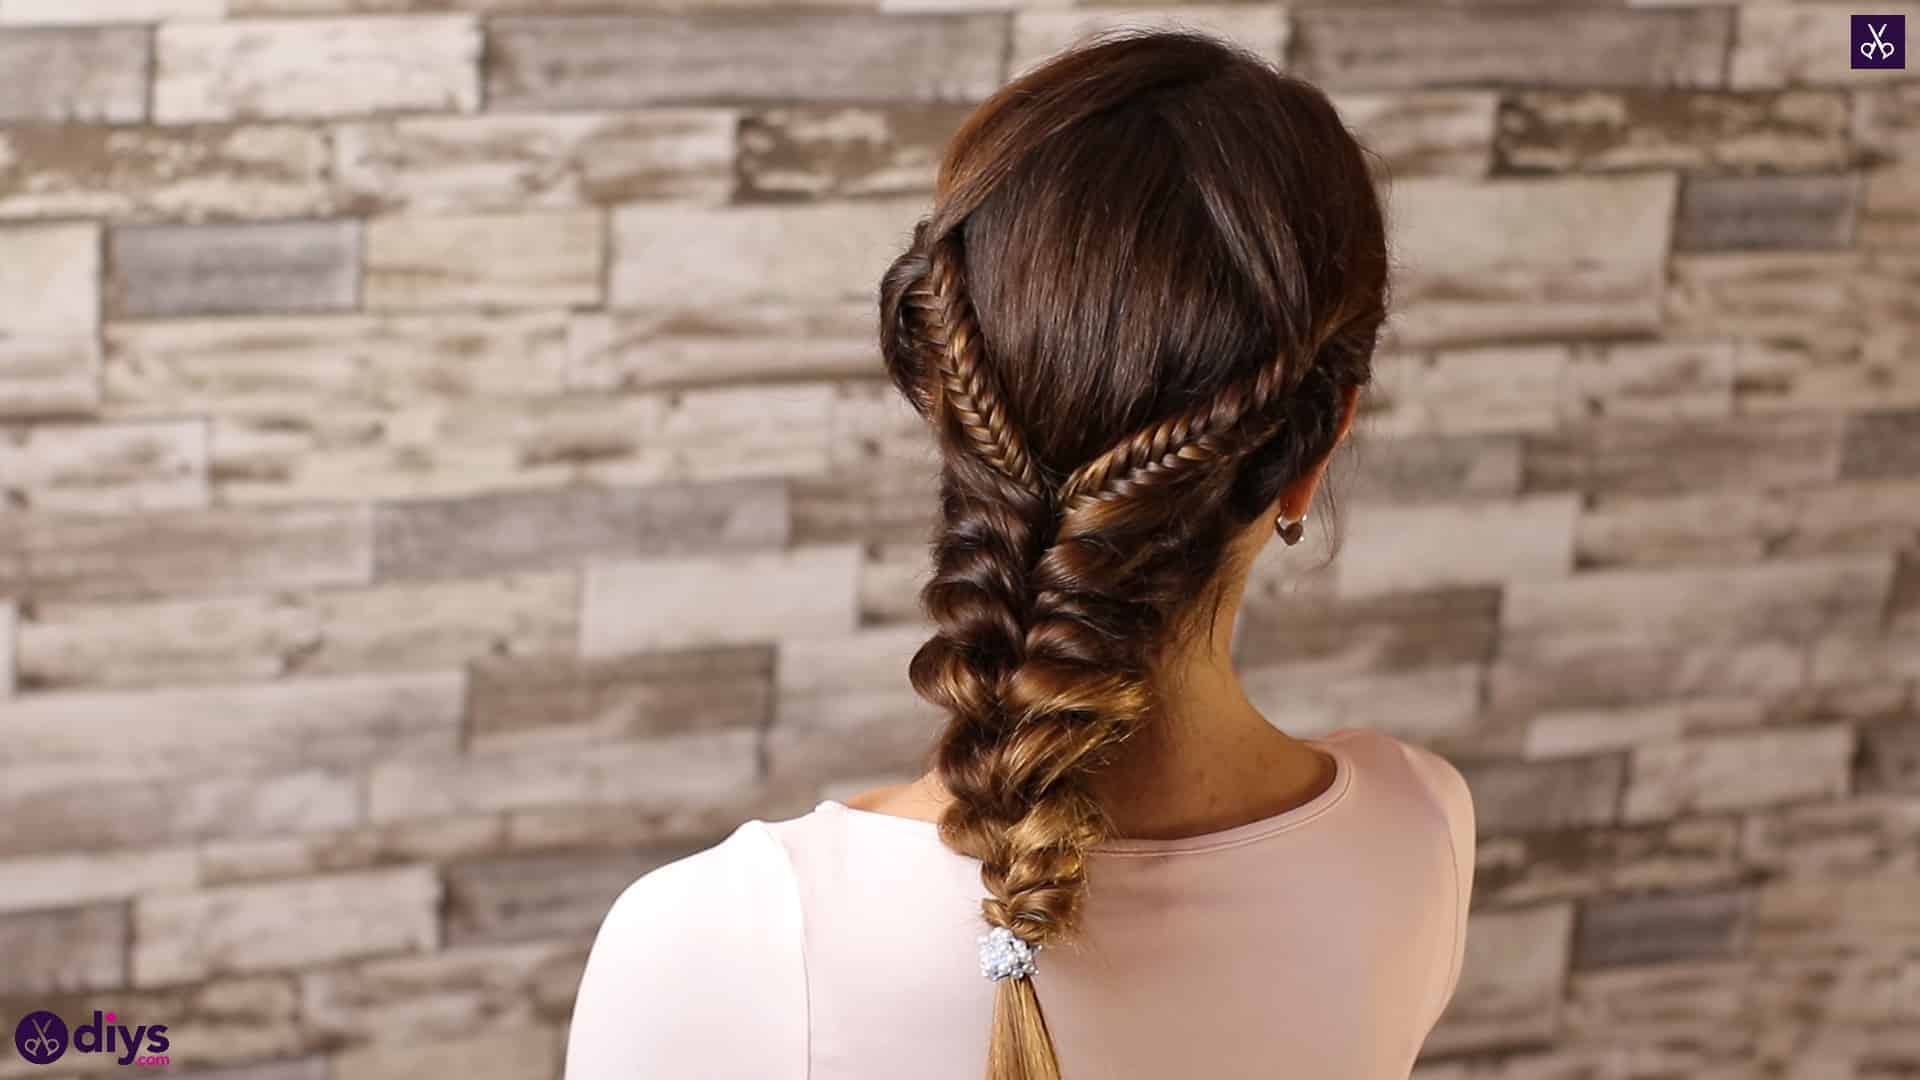
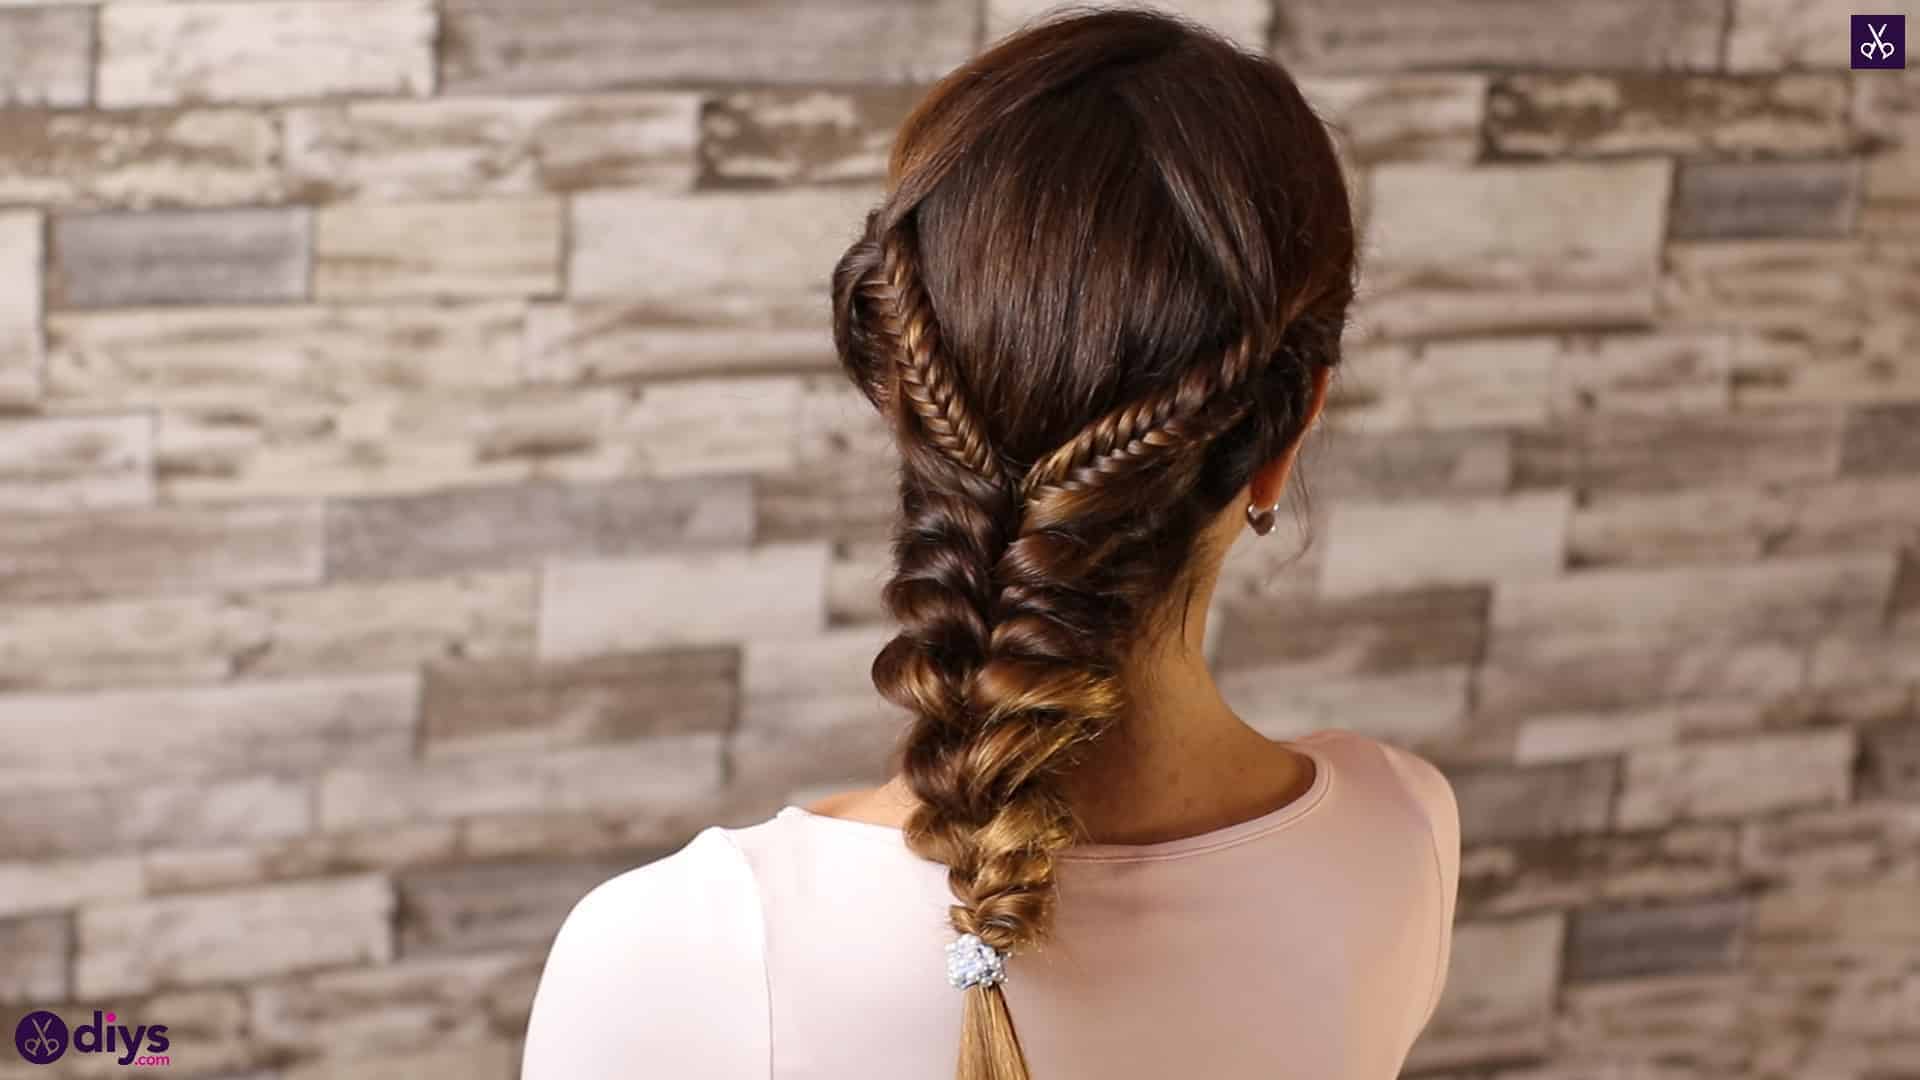
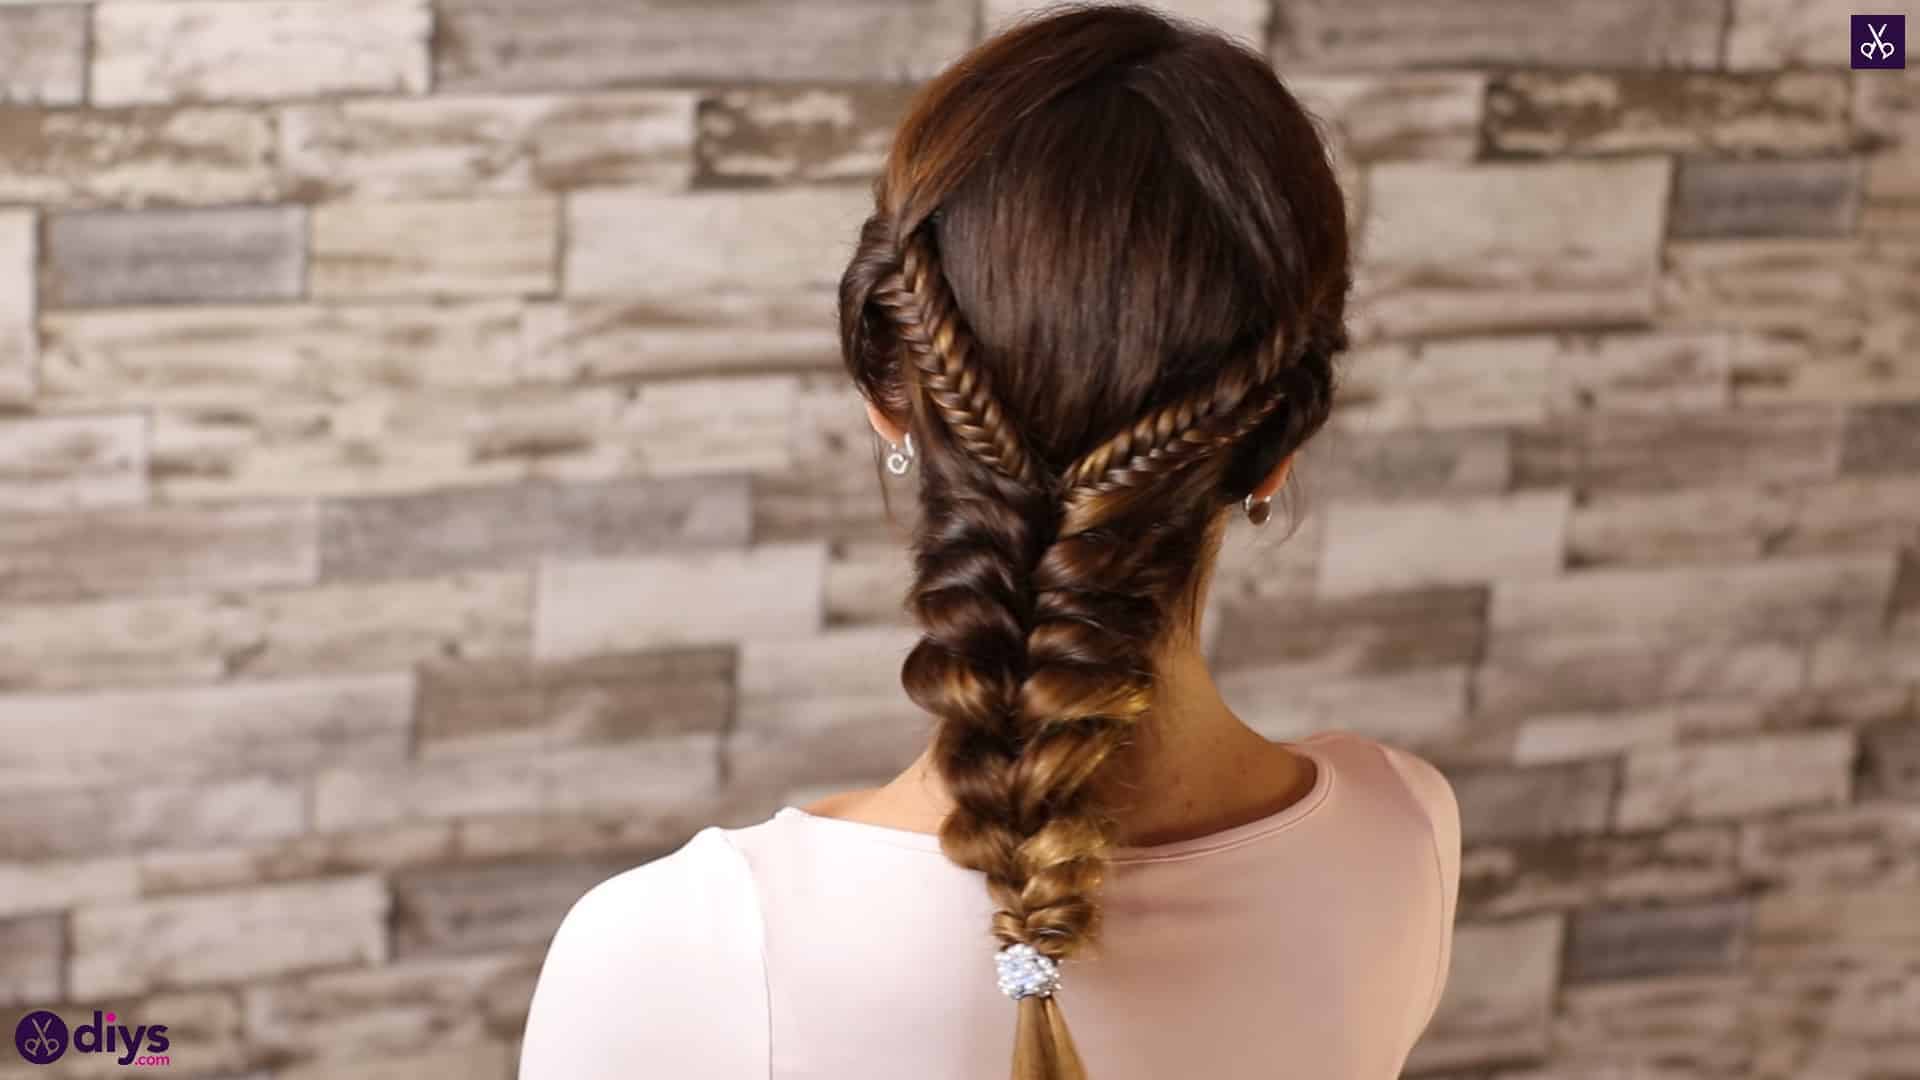
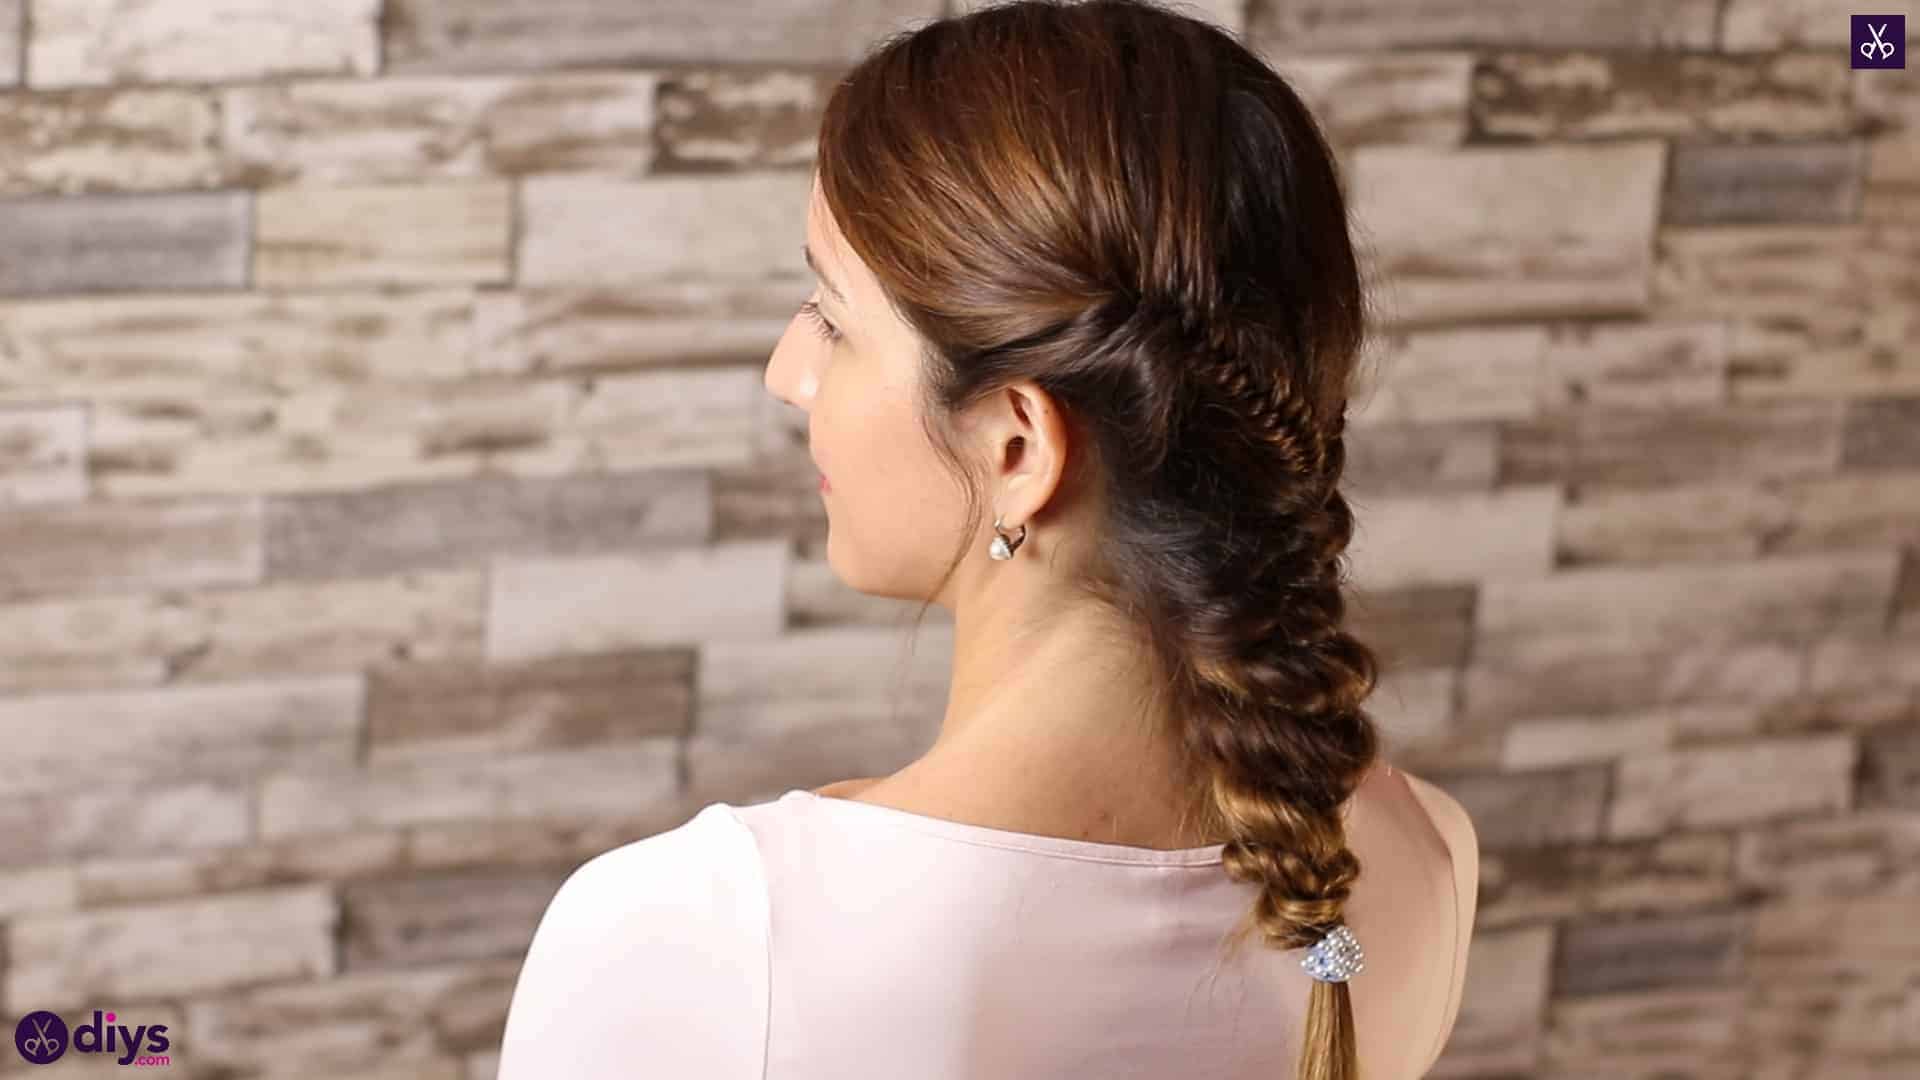
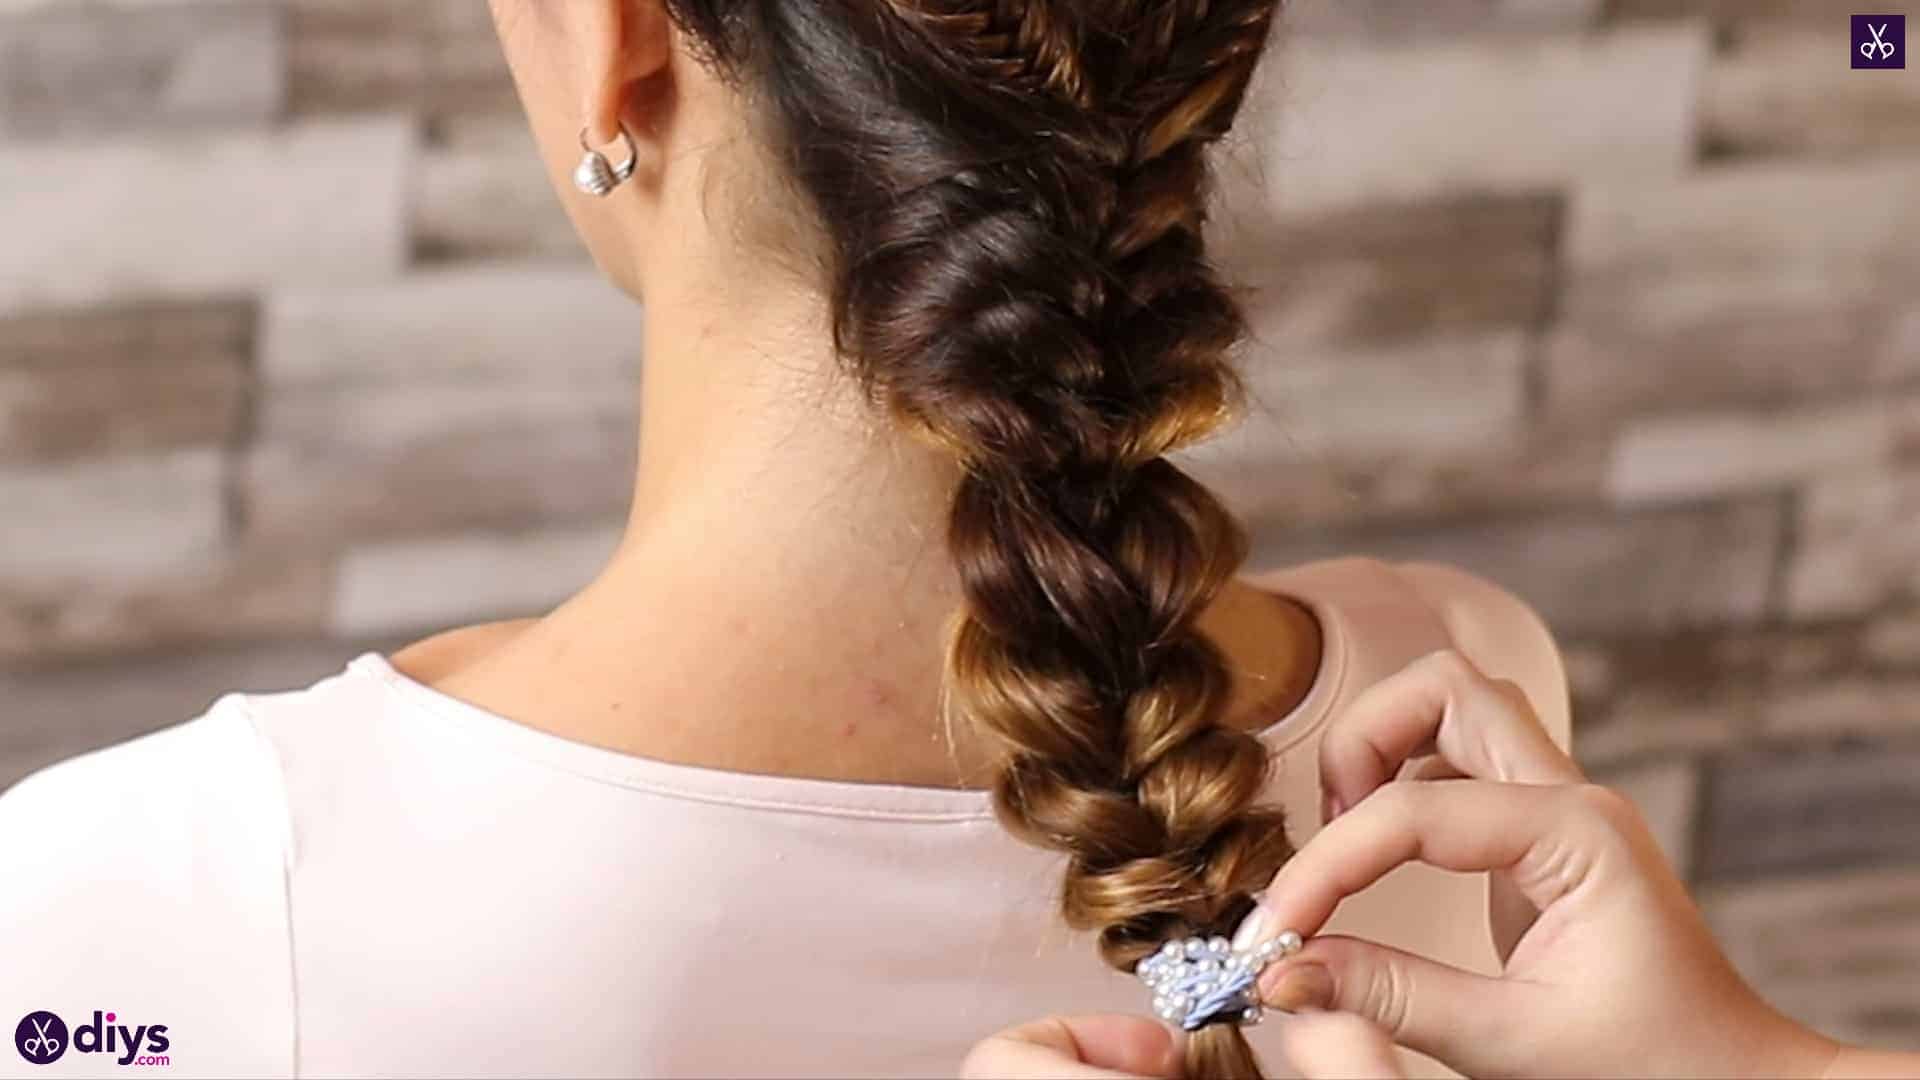
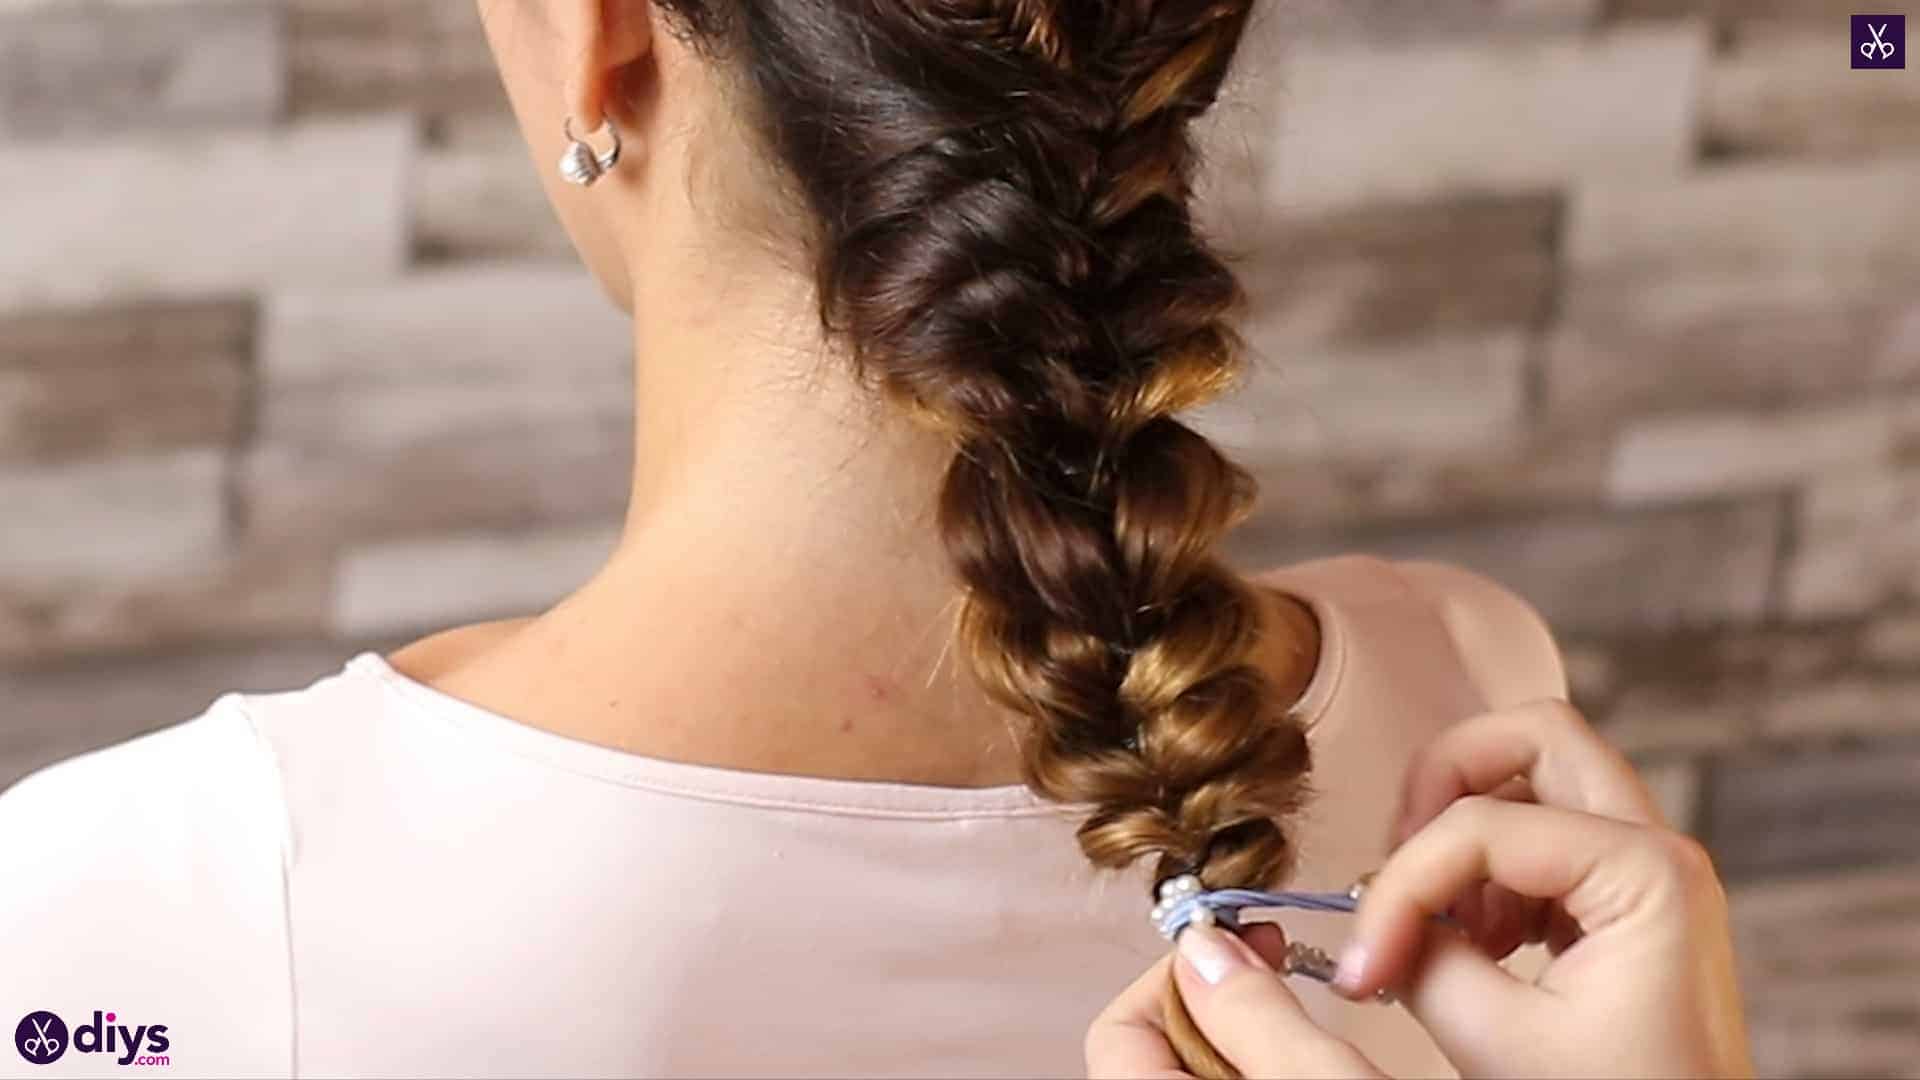
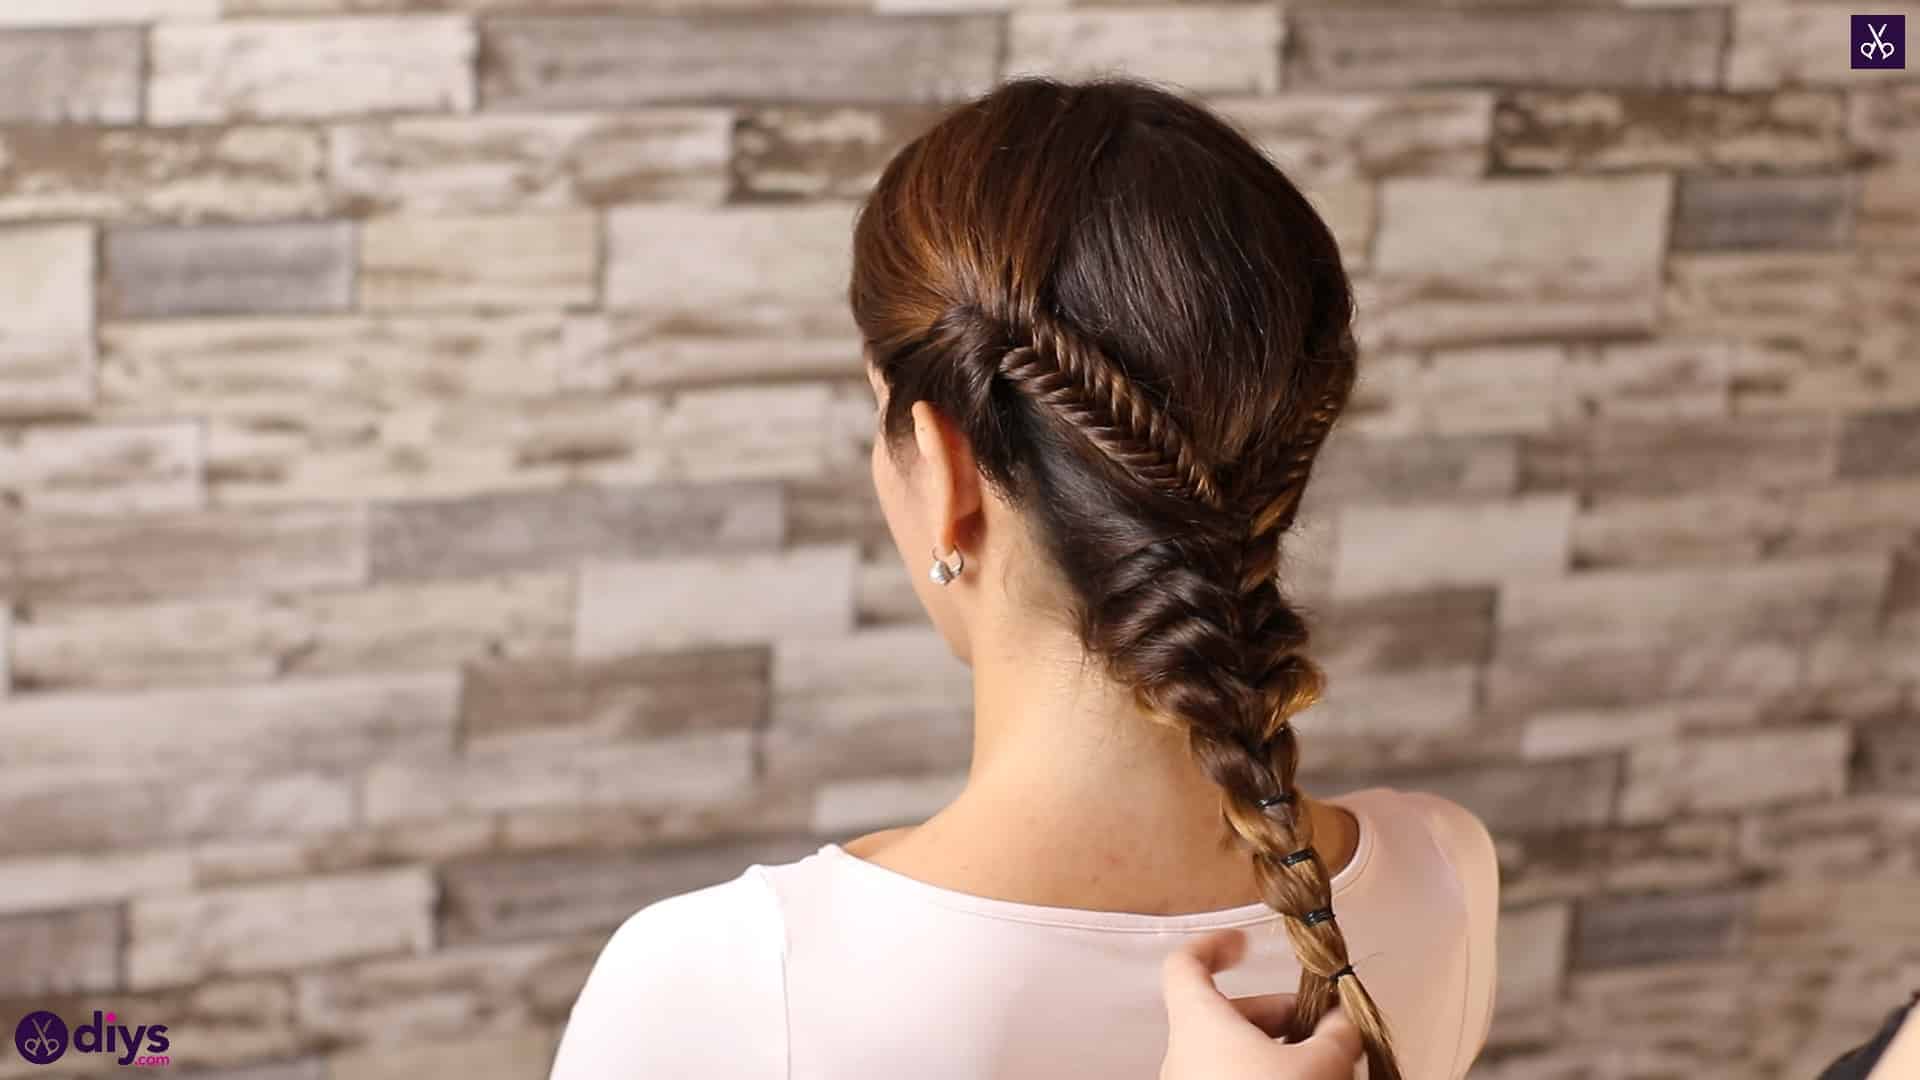
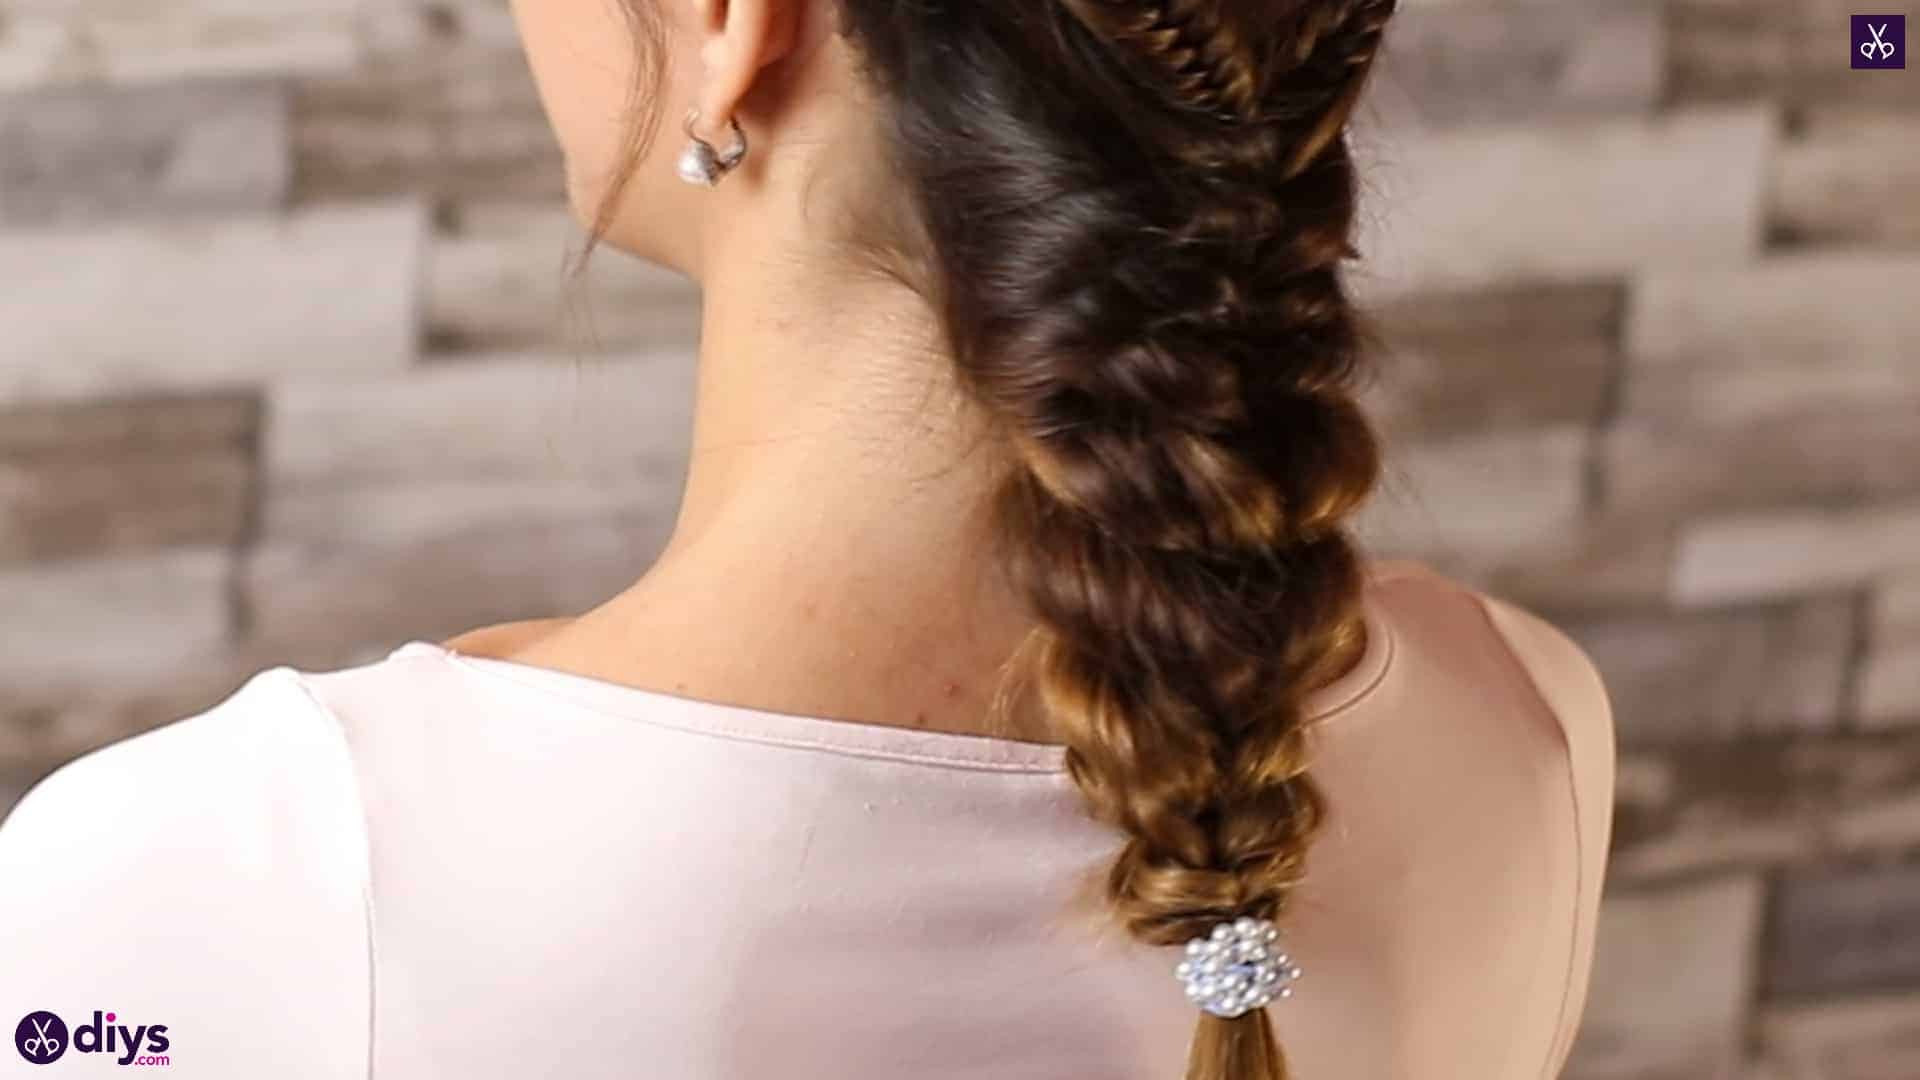
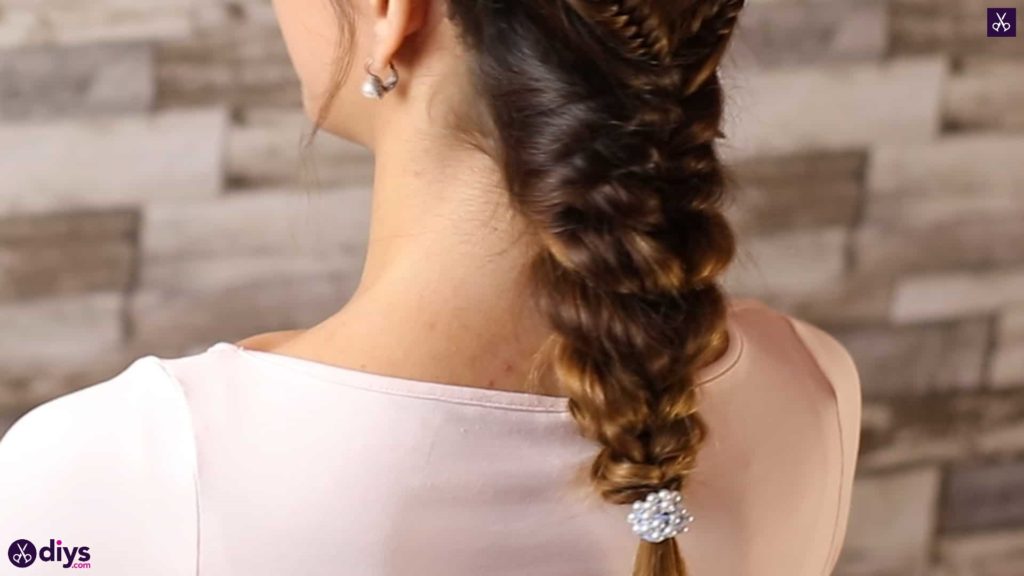
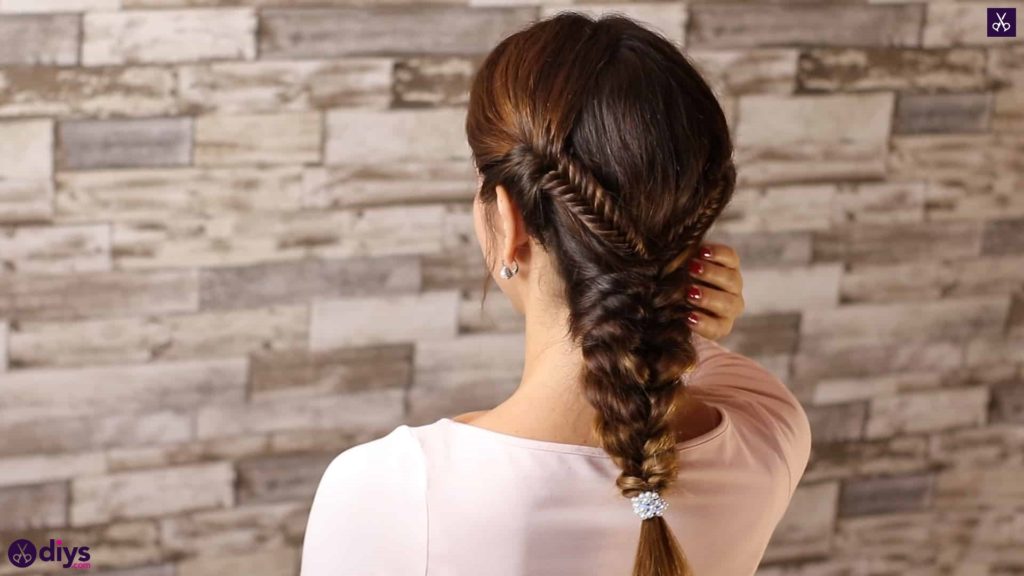
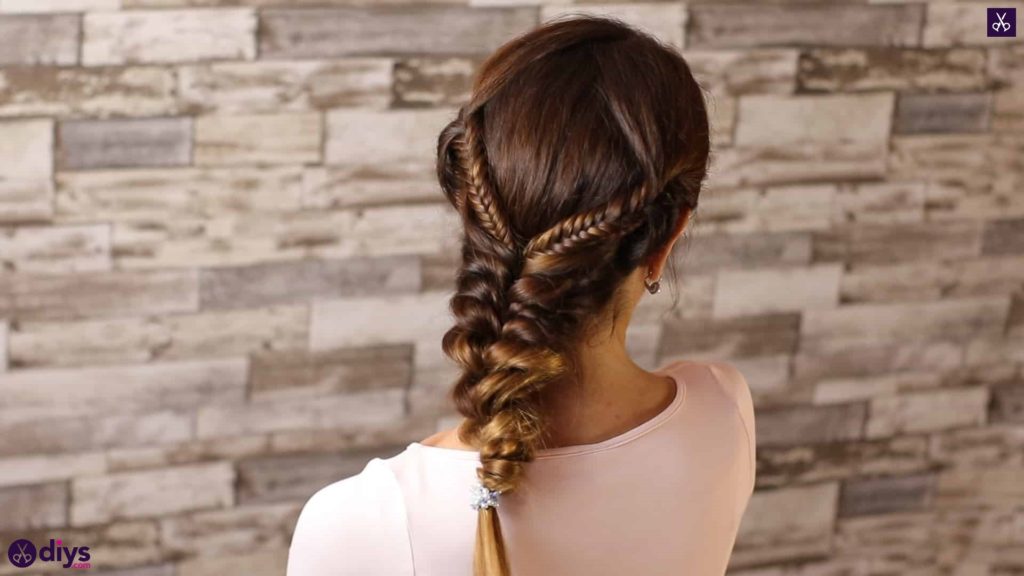
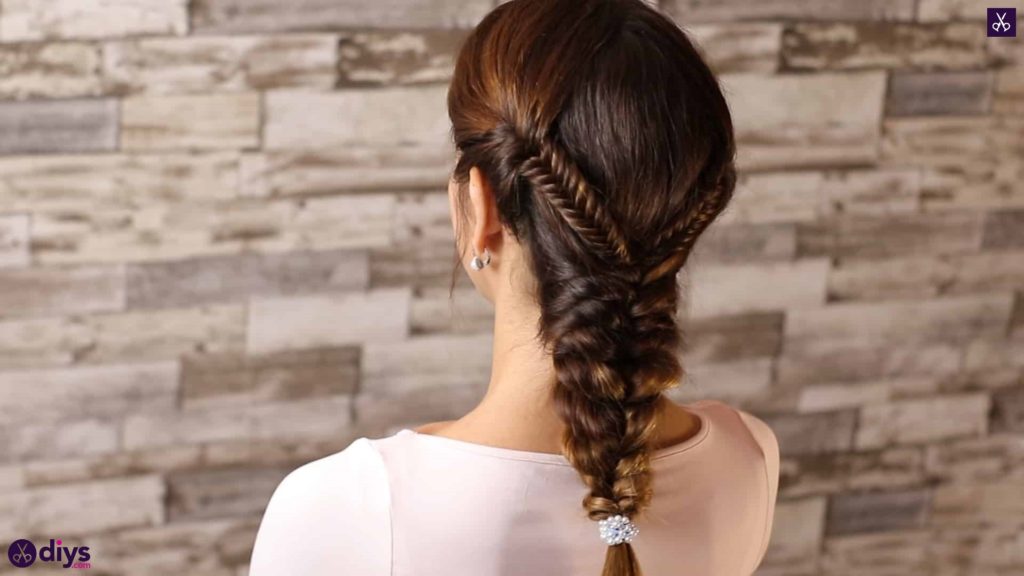
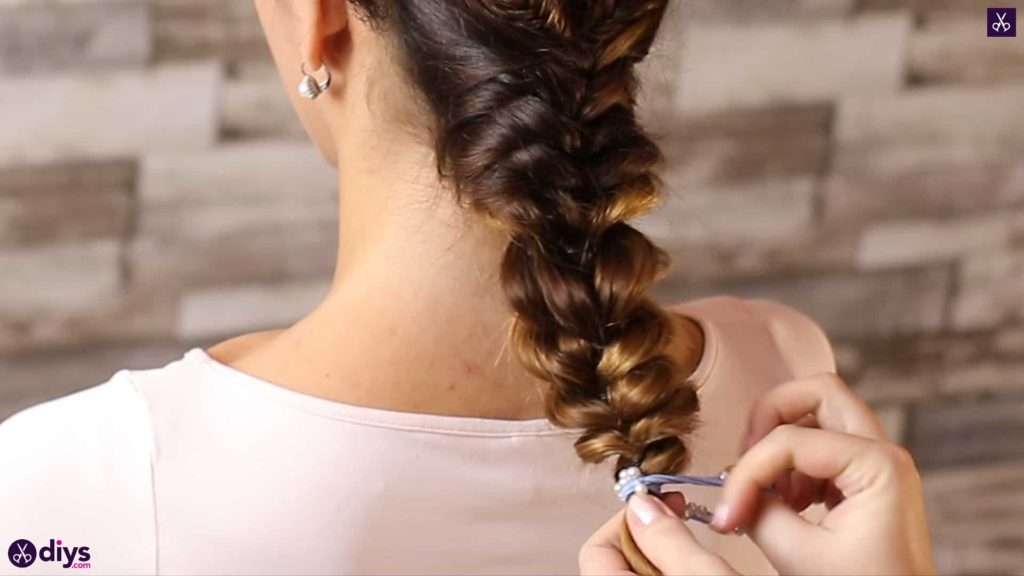
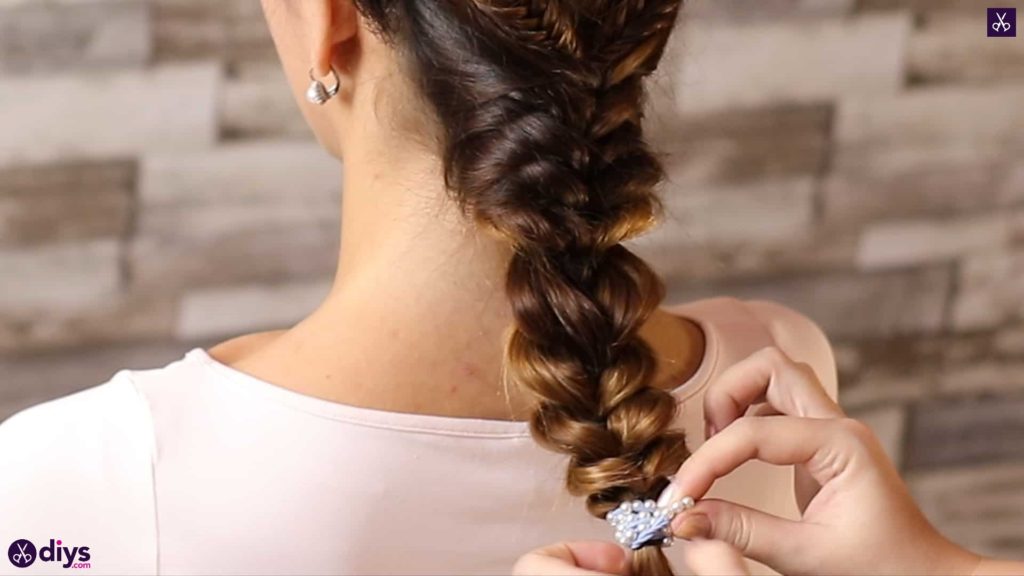
When you’ve reached the bottom, tie one final elastic in place to hold everything together. Then loosen and adjust all the woven pieces as you need to until the whole piece looks a little more voluminous and Boho chic. Once you’re happy with how the woven pattern looks, tie a decorative elastic around the end for some glamour and embellishment. I chose one with pearls because it matches the planned jewelry for the big night!
That’s all there is to it! Feel free to embellish the style however you please, if you don’t have a decorative elastic like we used. Just in case you’d like to try this project out for yourself, here’s a fantastic tutorial video to help you!
