Reindeer Stamped Napkins
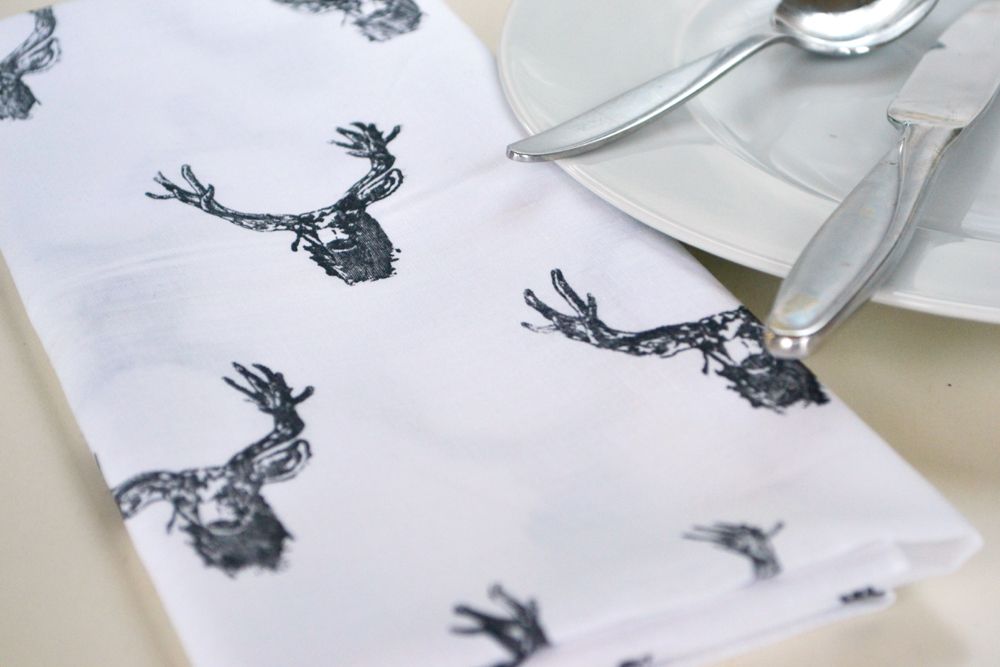
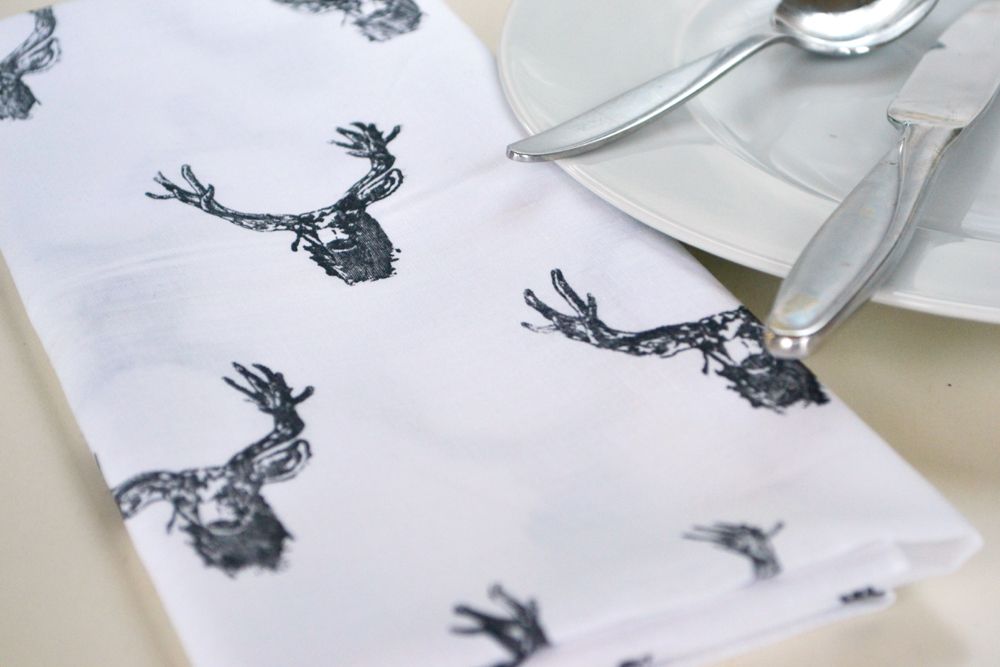
Walking through my local craft store, I stumbled upon a rubber stamp of a striking deer that I thought would work very well for a DIY project. I knew that I wanted to use it for the holidays, but I wasn’t sure what to stamp. Then I came across some white napkins and thought the two of them together would make a great holiday craft. The mix of the bold black stamp and the bright white of the napkin gives this craft the perfect blend of vintage and modern. These napkins are simple to make so pull out your favorite rubber stamps and let’s get started!
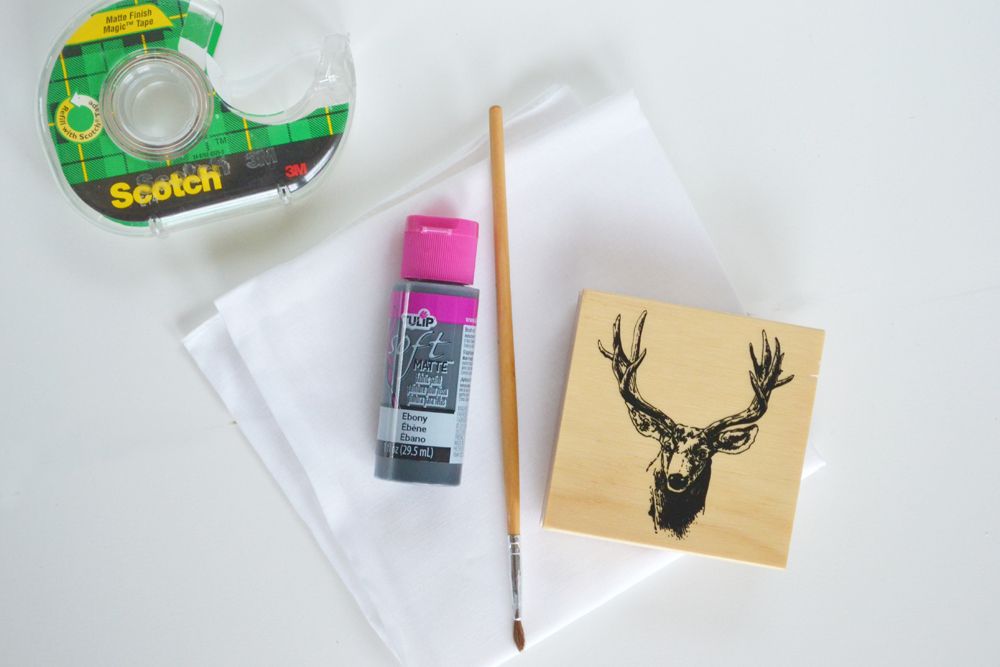
For this DIY you’ll need:
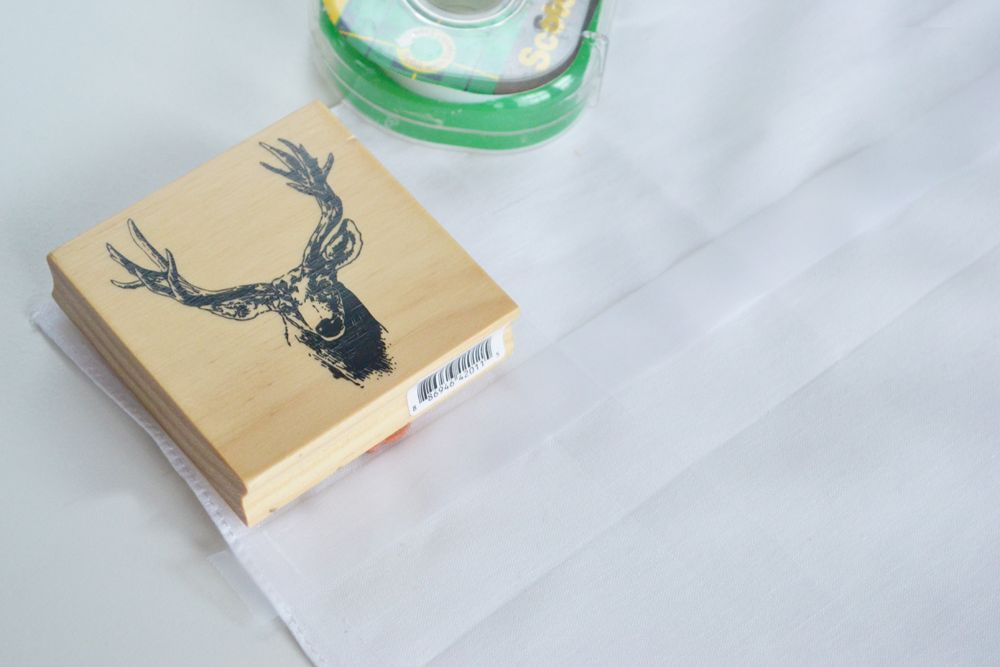
- A large rubber stamp 4×4 (I found this deer stamp at Michael’s craft store)
- Fabric paint or ink pad
- Paint brush (optional)
- White or cream color napkins
- Tape (optional)
- A piece of cardboard or scrap paper
- Iron
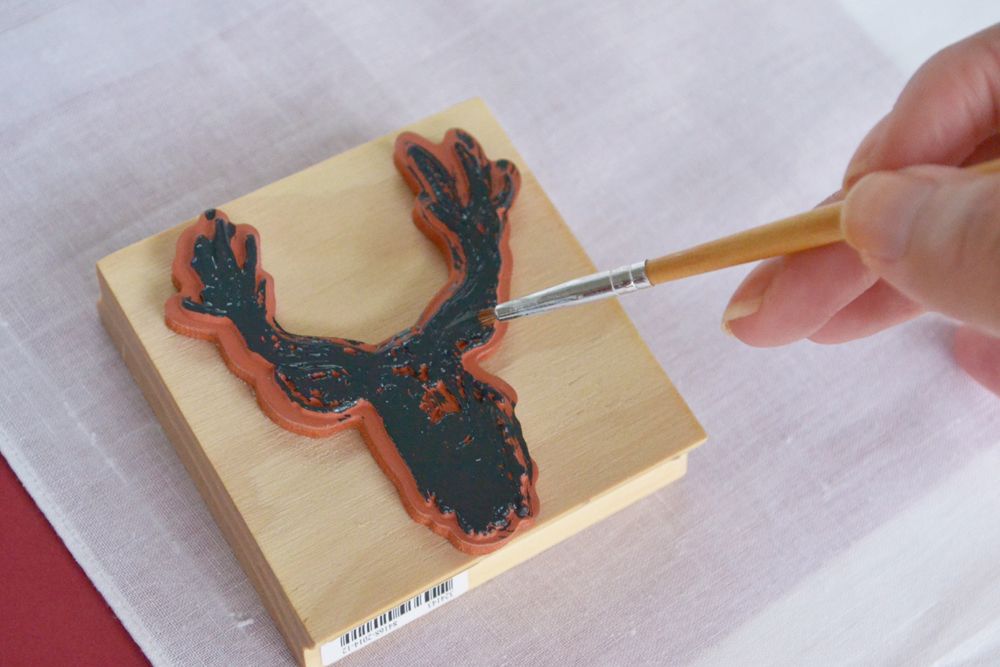
Before stamping, you’re sure to have purchased a napkin that came folded, with a lot of creases. Iron those creases as best you can which will ensure the ink isn’t spotty in those creased ares. For this craft, I used fabric paint instead of an ink pad. I wanted to freely paint the paint on the stamp to make sure it touched every part of the stamp. Sometimes the ink pad add too much ink in certain areas which can add unwanted spots on the design. It was more time consuming, but it was worth it.
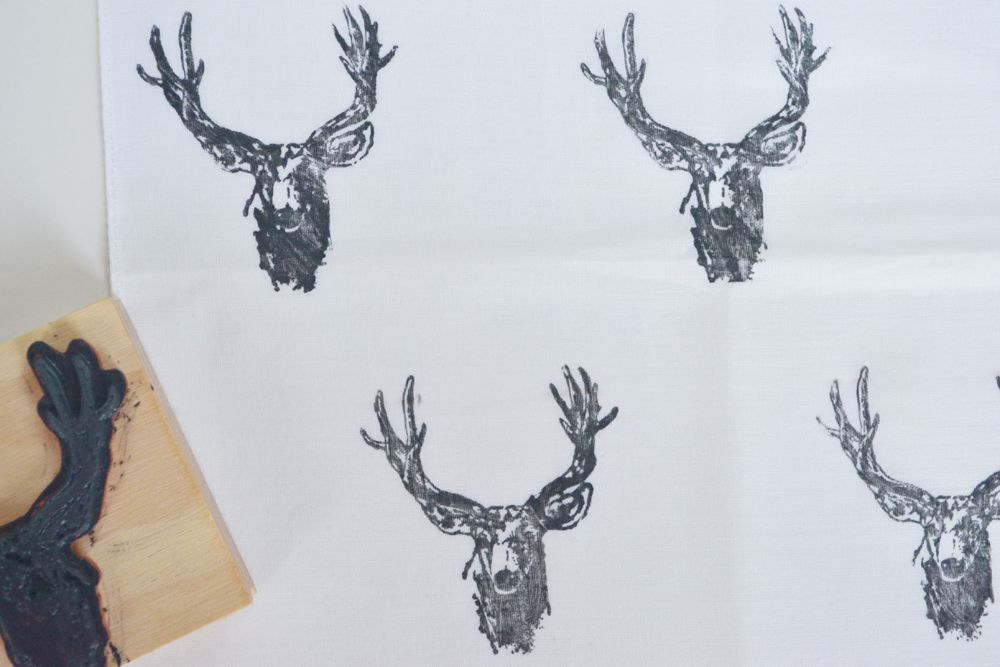
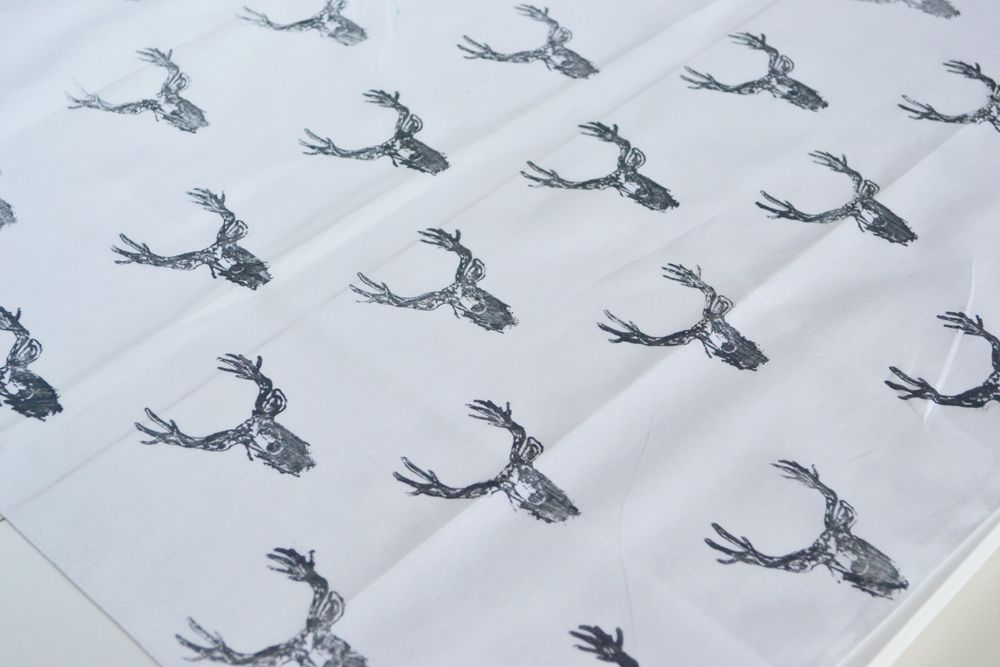
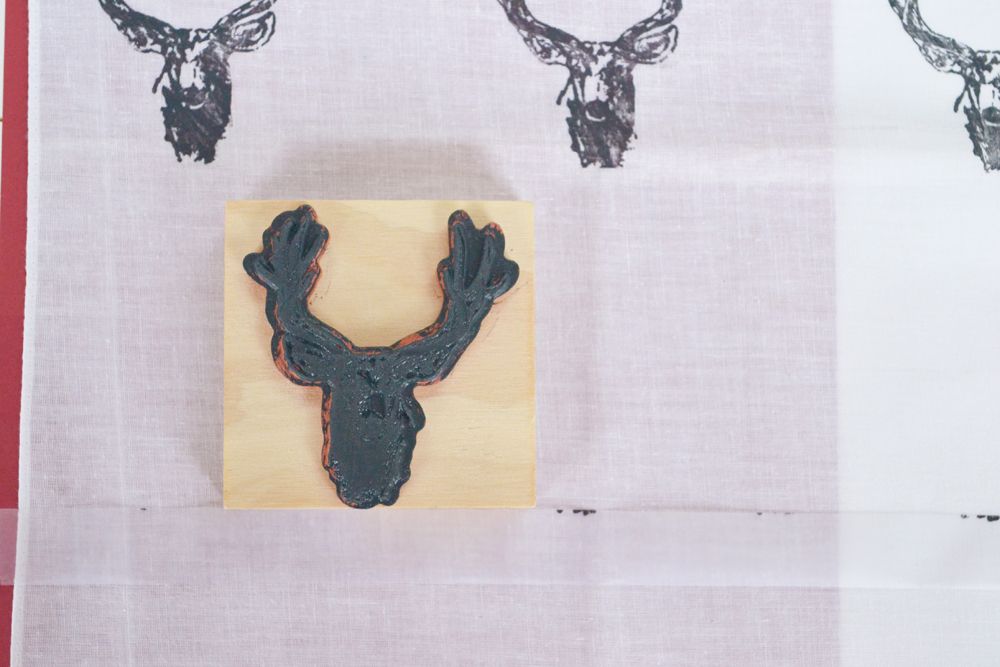
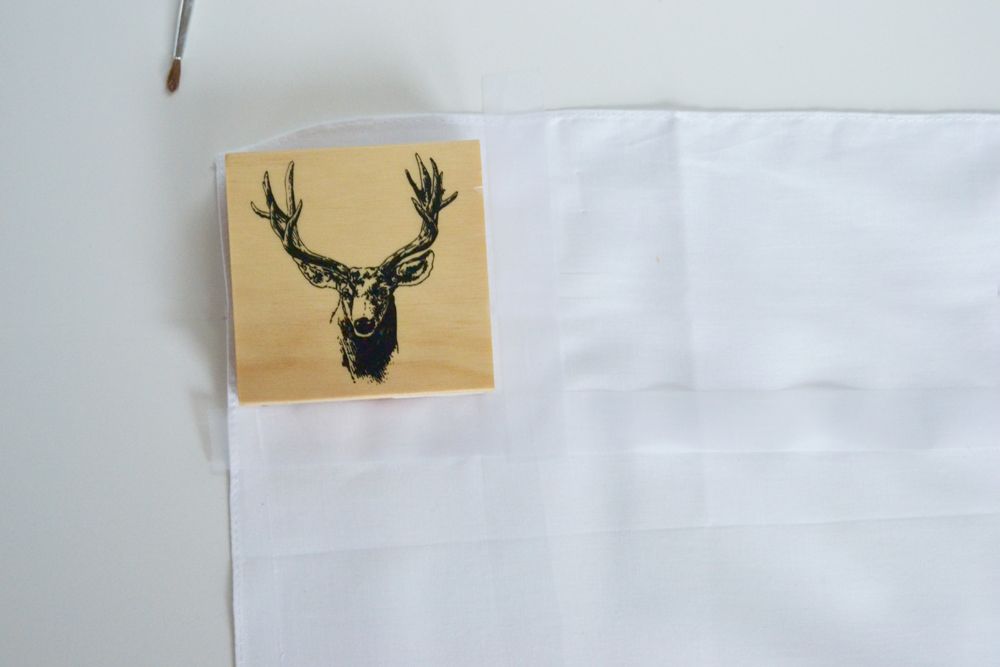
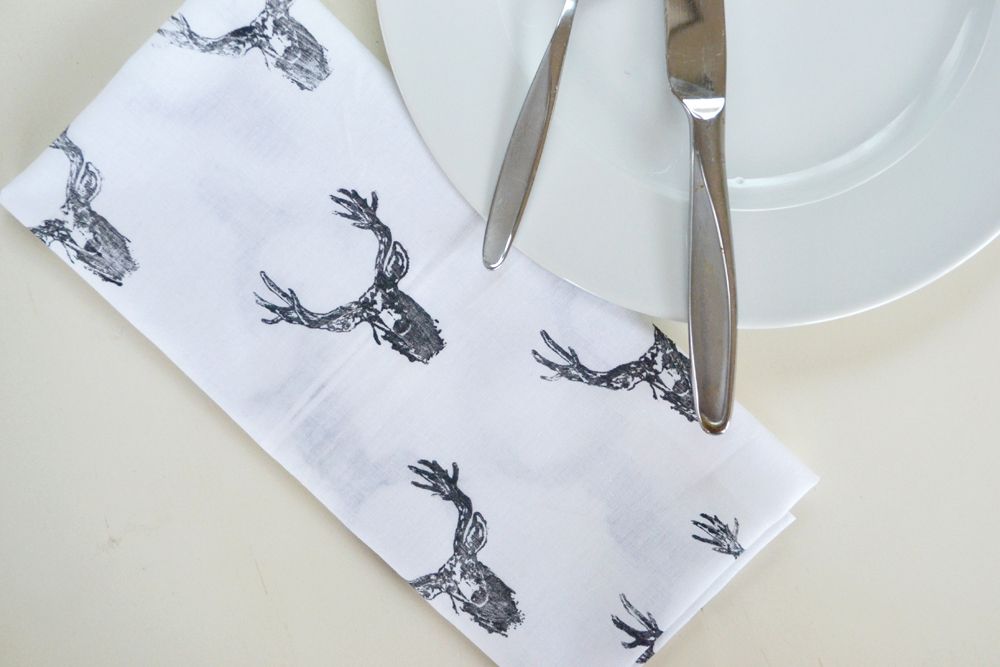
I decided to stamp all over the napkin but in a staggered pattern. If you want to be sure you have as straight of a line as possible, use tape as a guideline. Lay the stamp at the top corner of the napkin. Tear off a piece of tape the width of the napkin and lay it just below the stamp. That will be the guide for your first row. You can also tear a tape lengthwise for more accuracy if you want.
Place a piece of paper or cardboard underneath, as the paint will bleed through the napkin a little bit. Paint the stamp or use the ink pad and stamp right at the top corner. Each stamped deer is about a finger-width apart. Continue to do this until you get to the end of the napkin. Remove the tape, lay the stamp, ink side up, on the napkin and place the tape down again for the second row.
Repeat this process until you get the bottom/end of the napkin. When you are complete, let the paint dry for about an hour. Once it is completely dry, you can set the paint by ironing over top of the napkin on a low setting. Be sure to hand wash these napkins to ensure they last a long time.
Now it’s time to determine if these are just for decoration or to actually use!
Fabulous! Love this idea!! Off to share, thank you xx