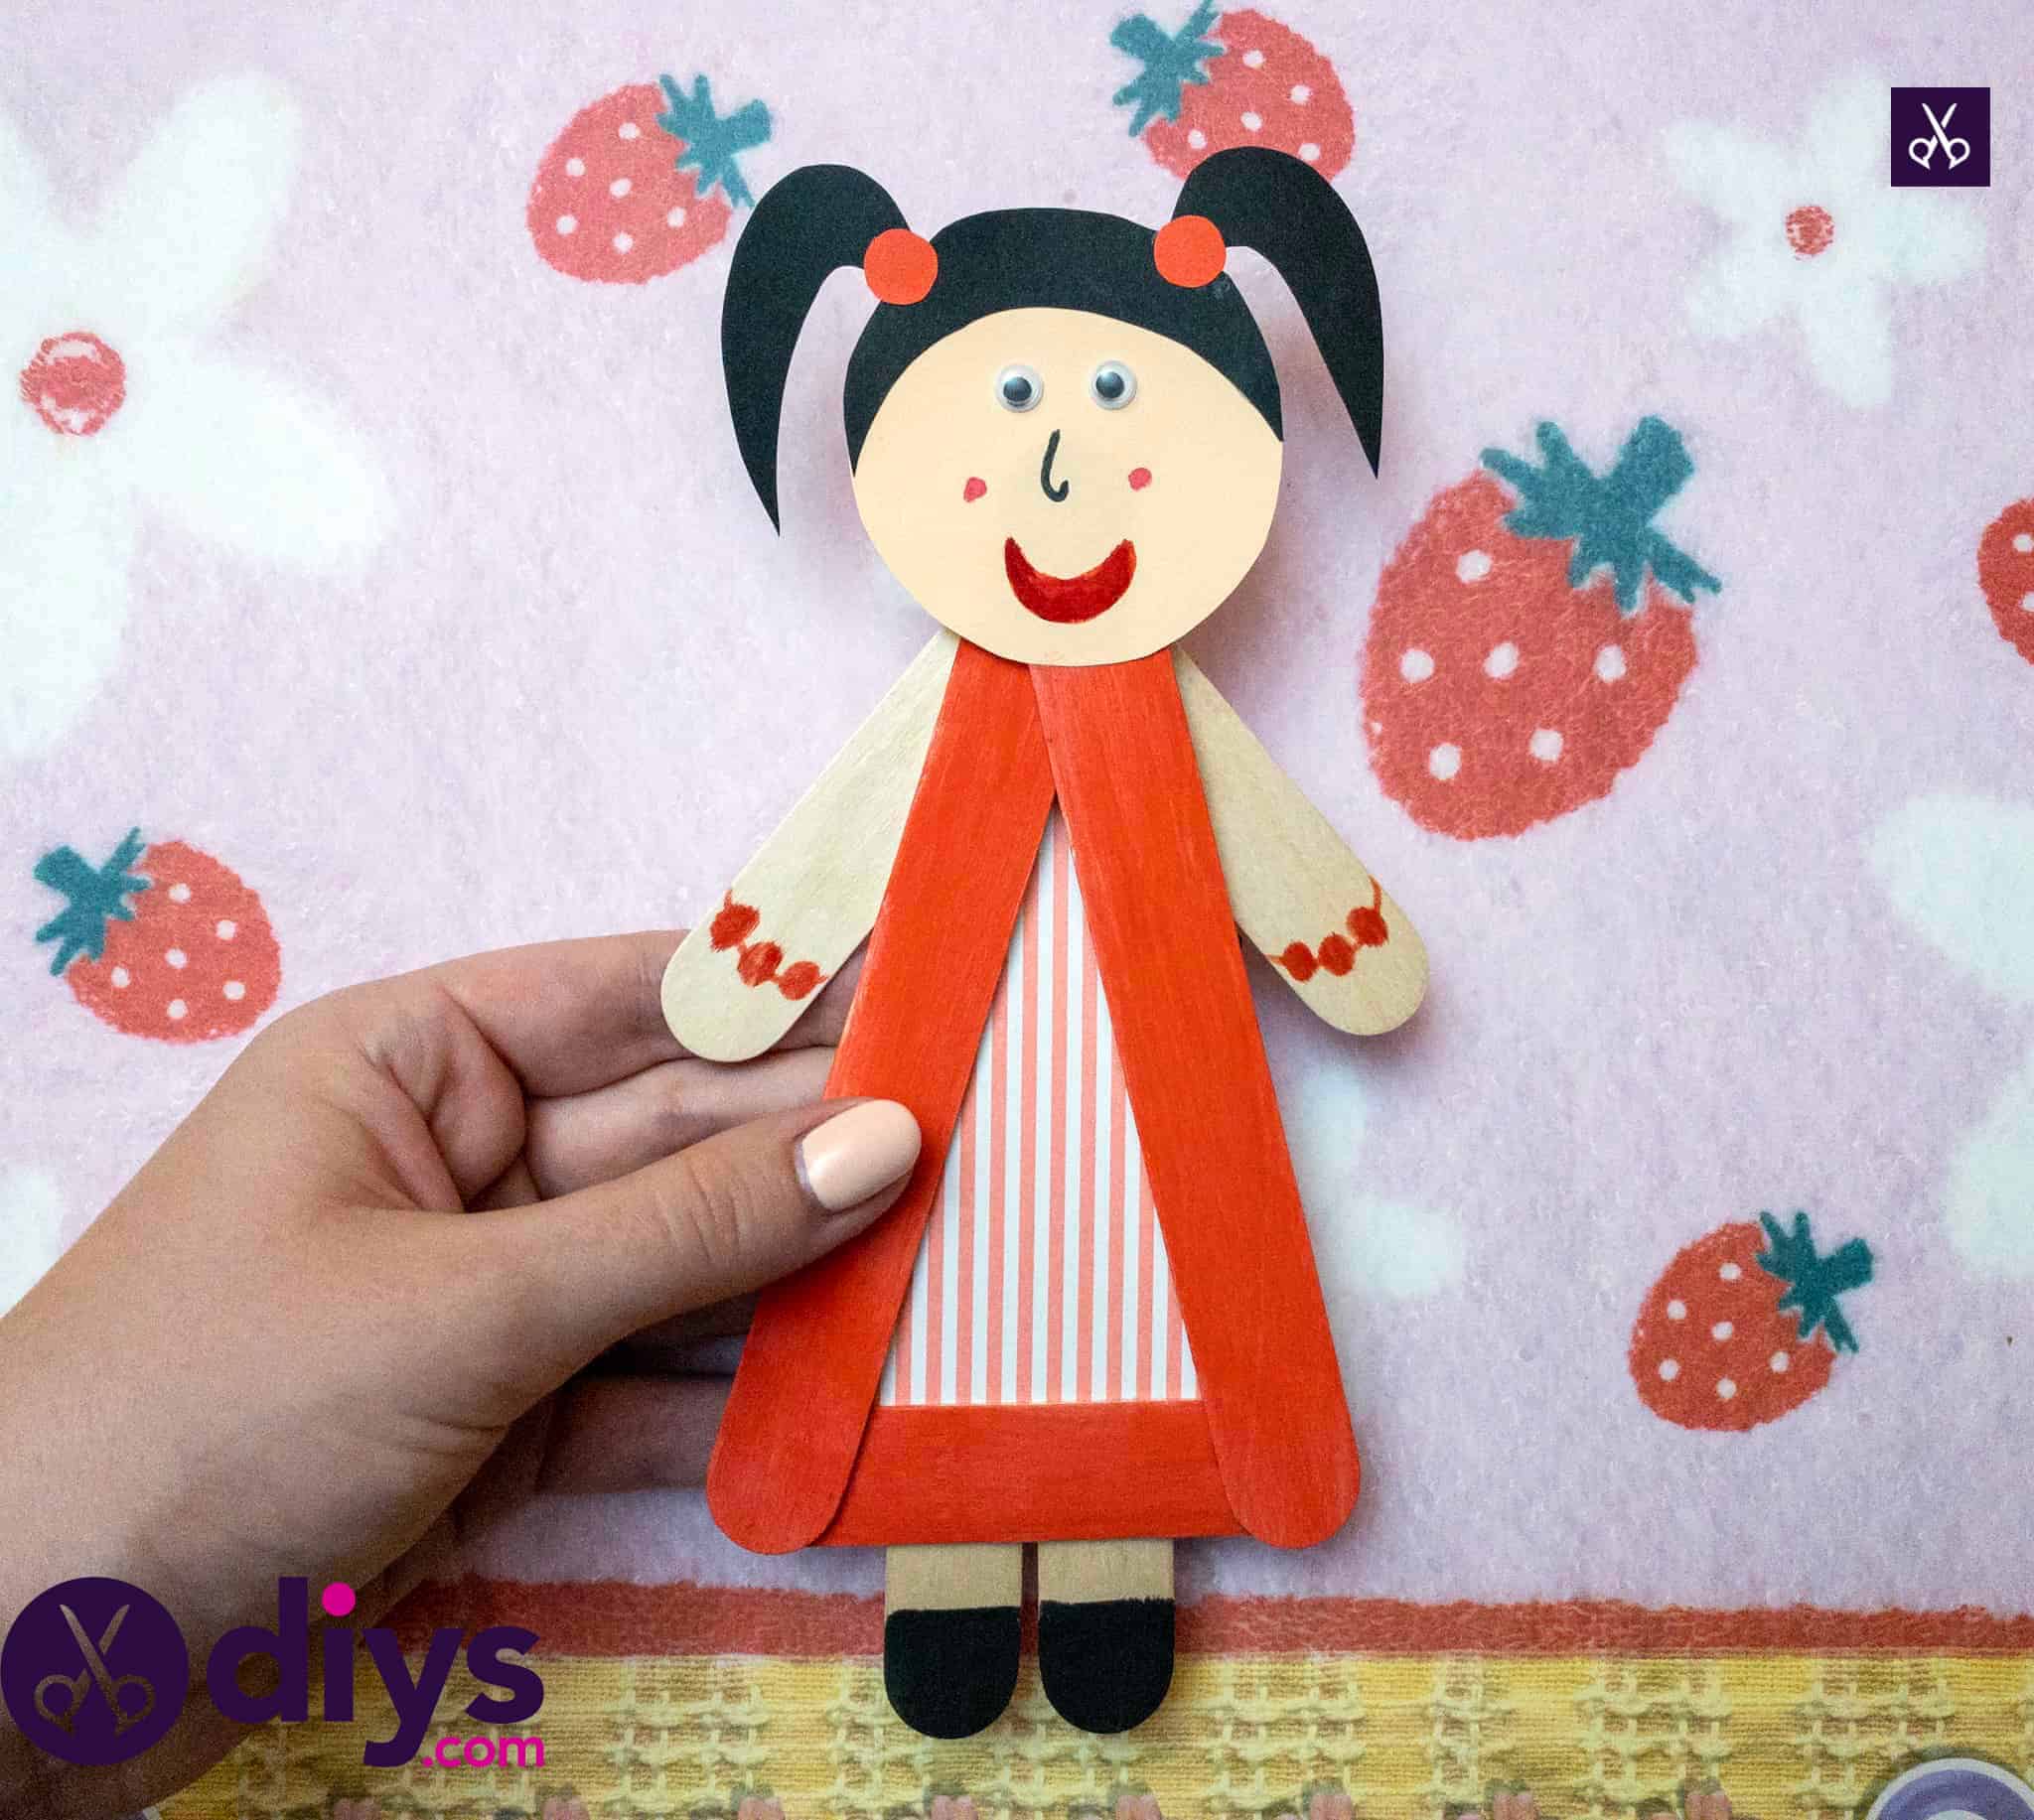
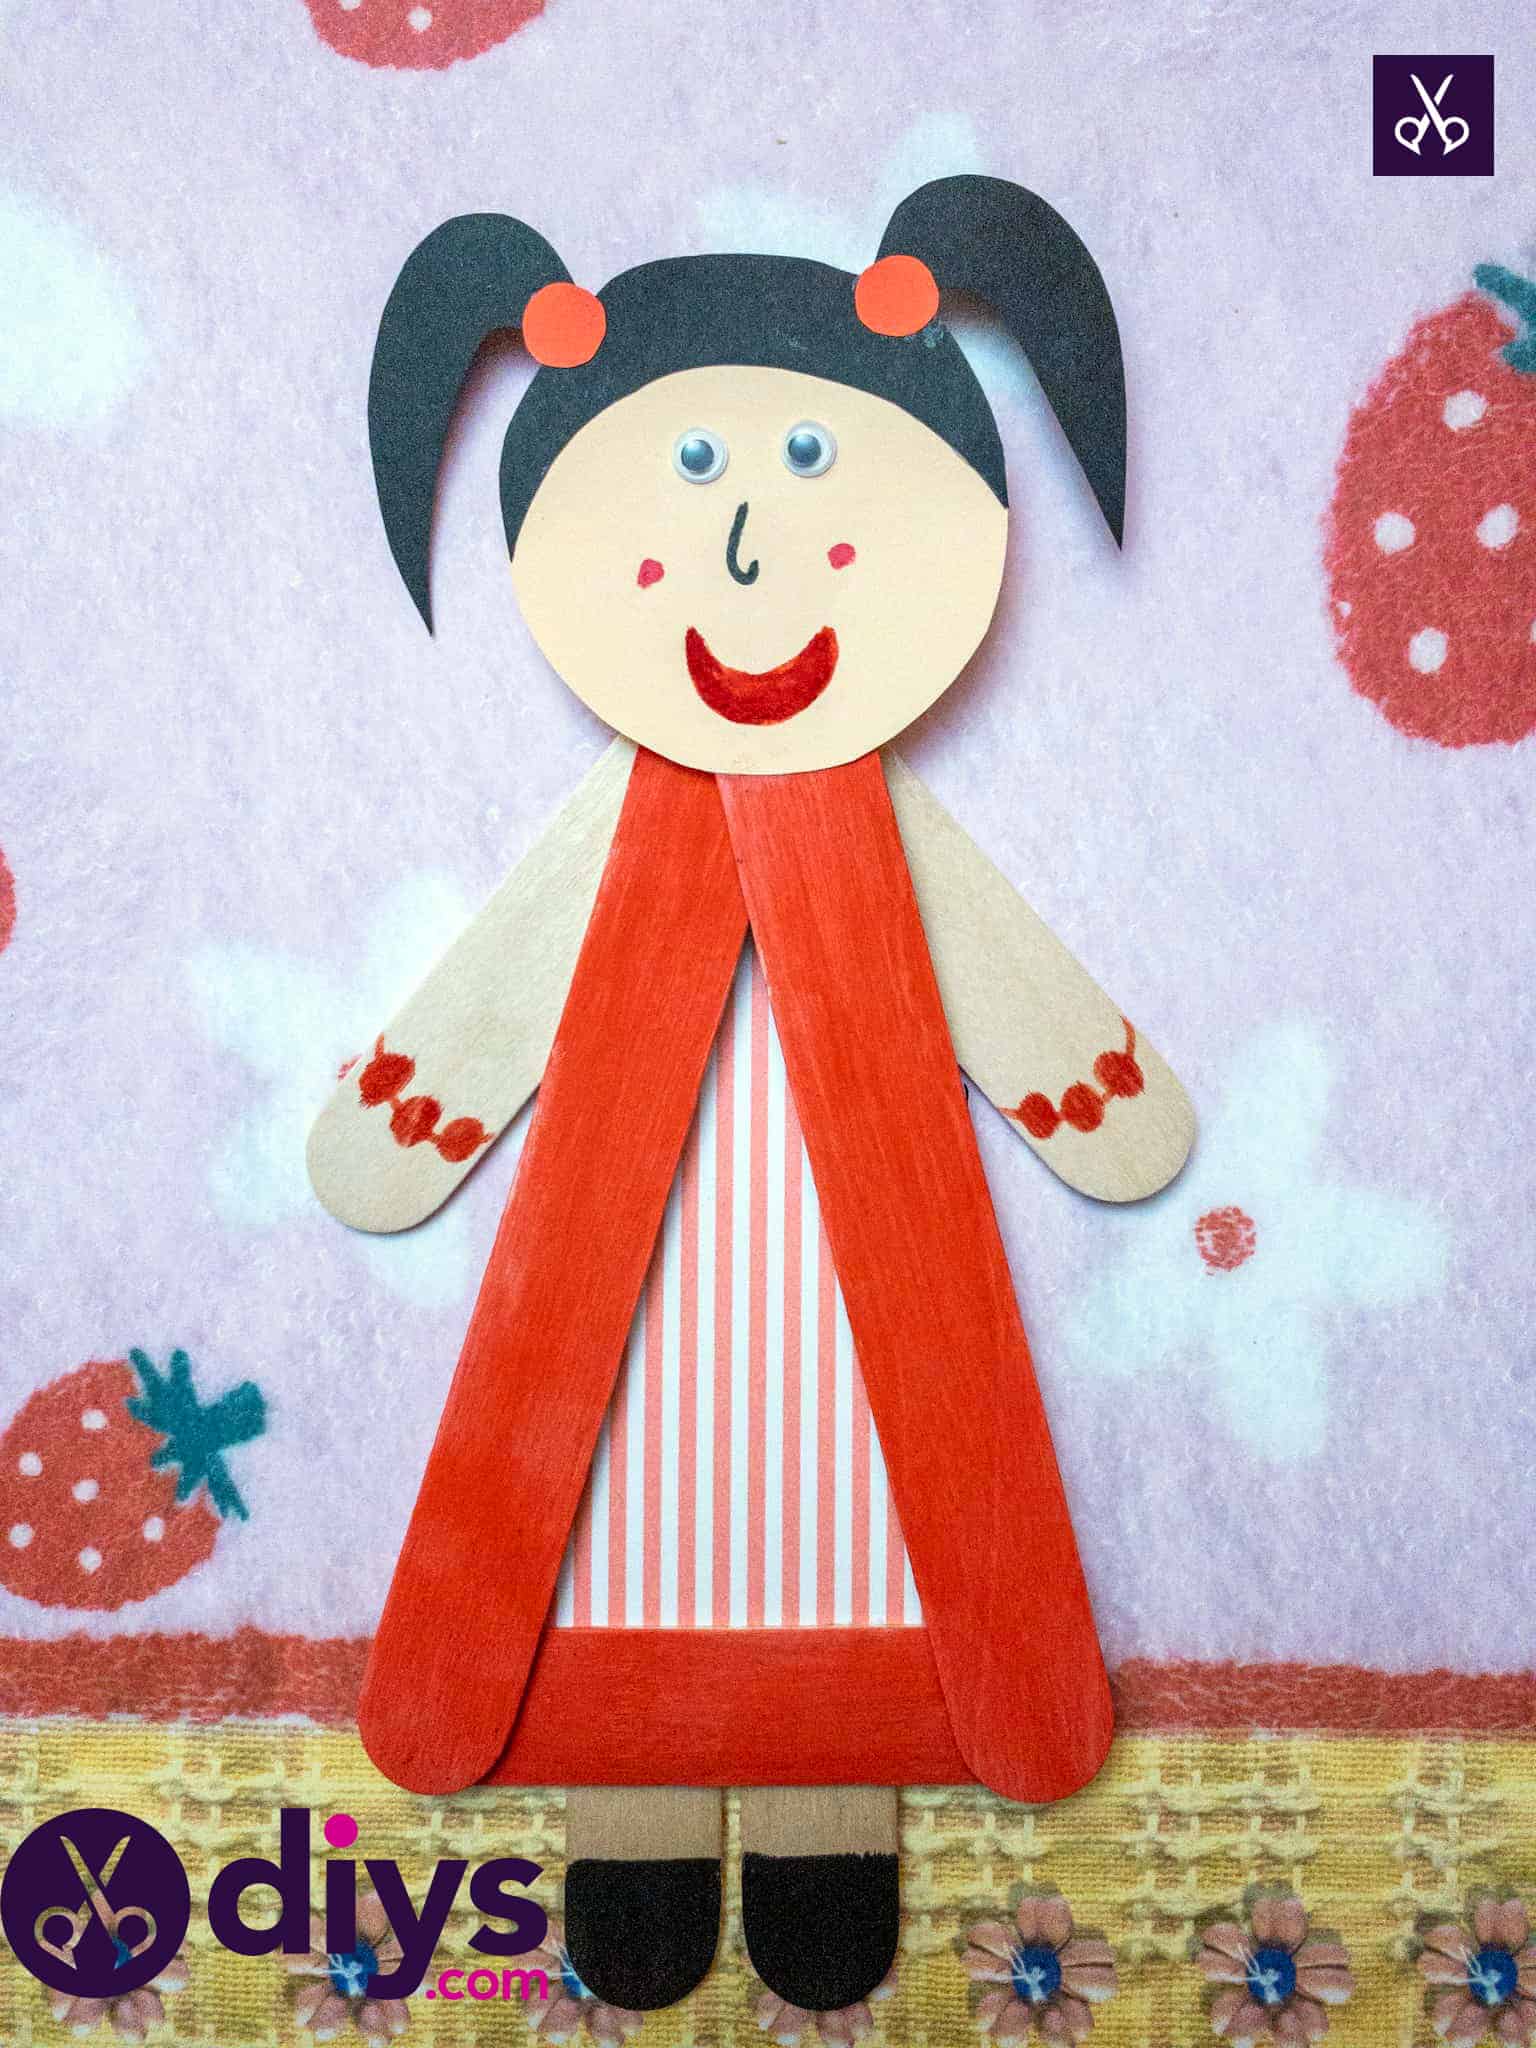
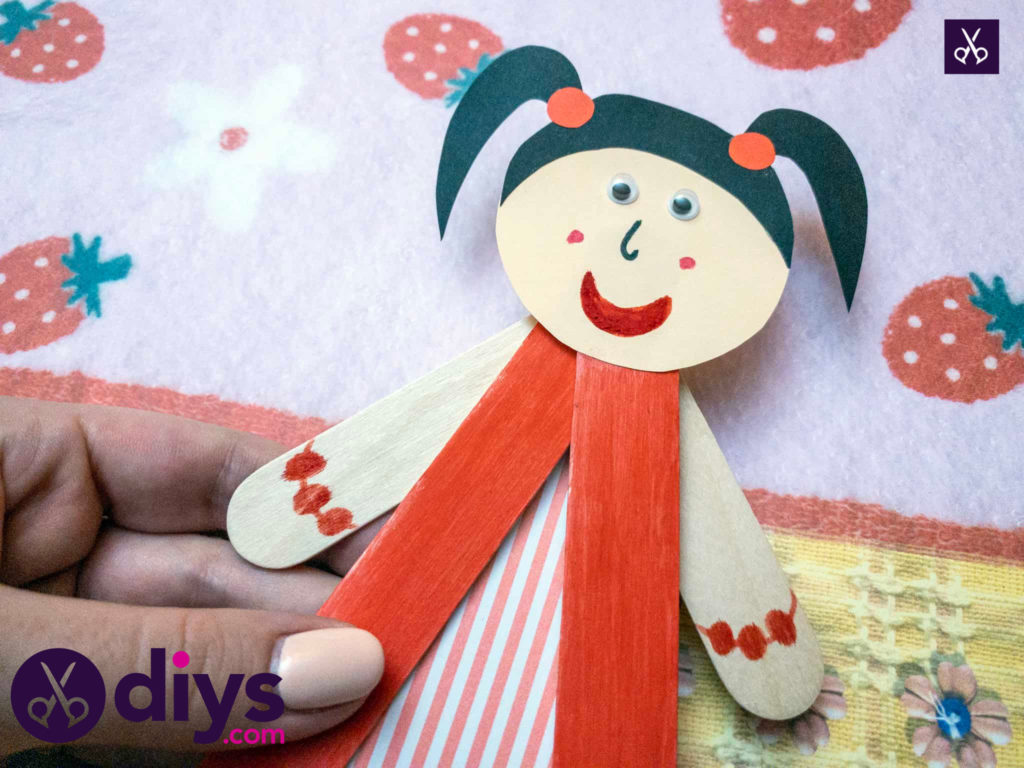
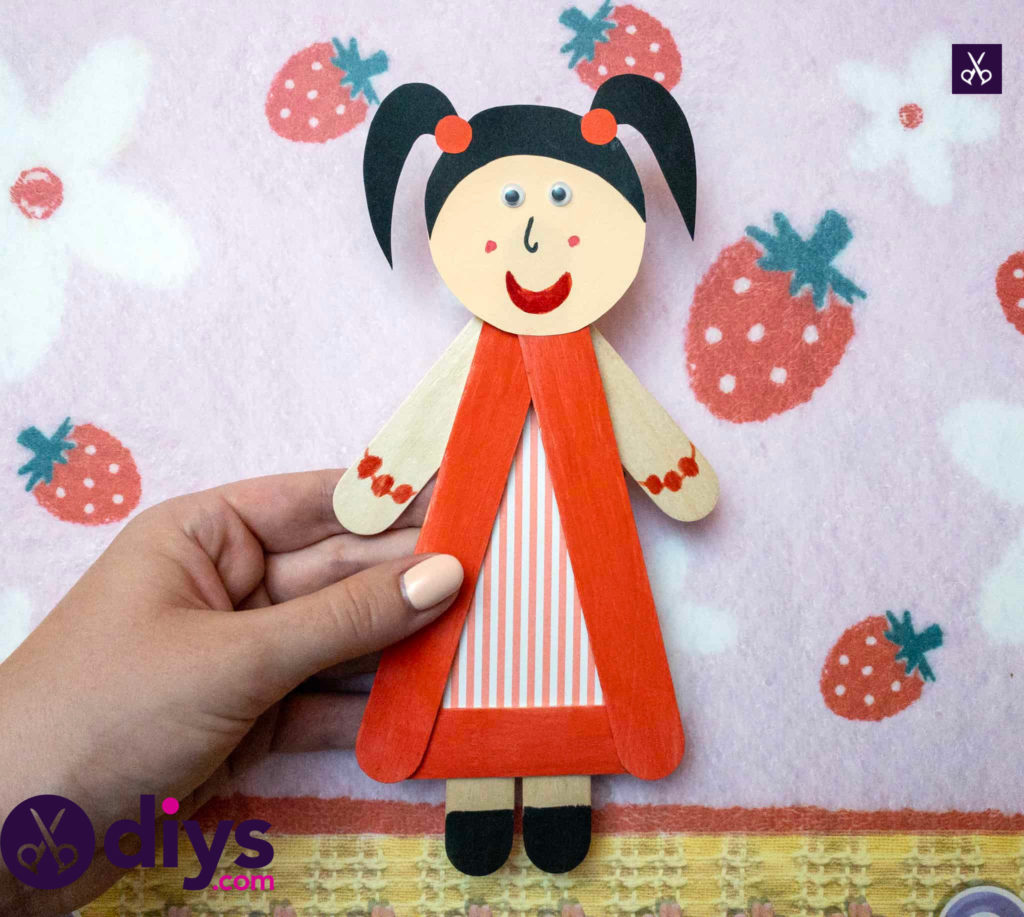
How to Make a Popsicle Stick Puppet
Making crafts with popsicle sticks is something my kids have always loved doing, but the projects that are always thebiggest hits in our house are usually the ones that result in some kind of toy or thing that they can keep playing with when they’re done making it. It’s double the fun for them but it keeps them busy on rainy days double the time for me! That’s how we found ourselves thinking about how we might help our kids make some kind of adorable popsicle stick puppet.
If the idea sounds just as intriguing to you as it did to us, here’s a full outline of our steps! You’ll also find a video tutorial at the end as well, just in case you’d rather learn a new project that way instead.
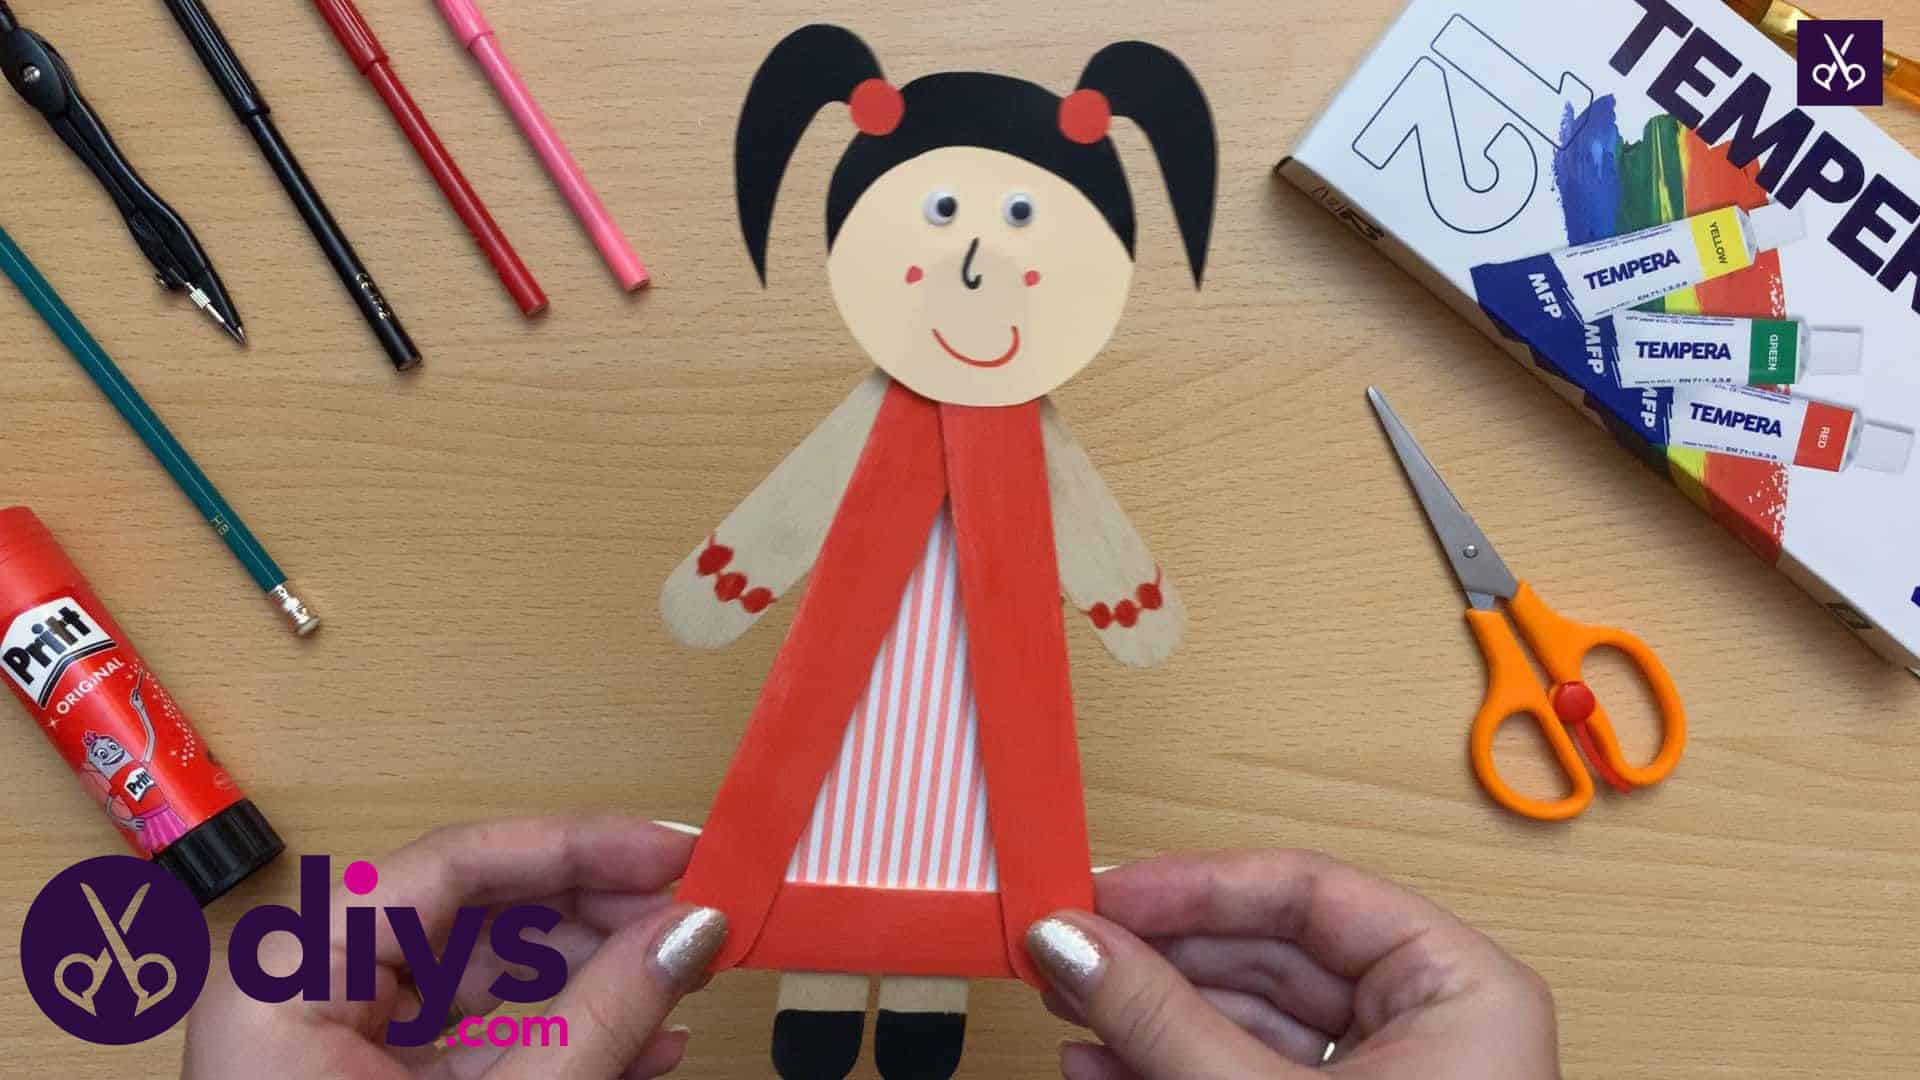
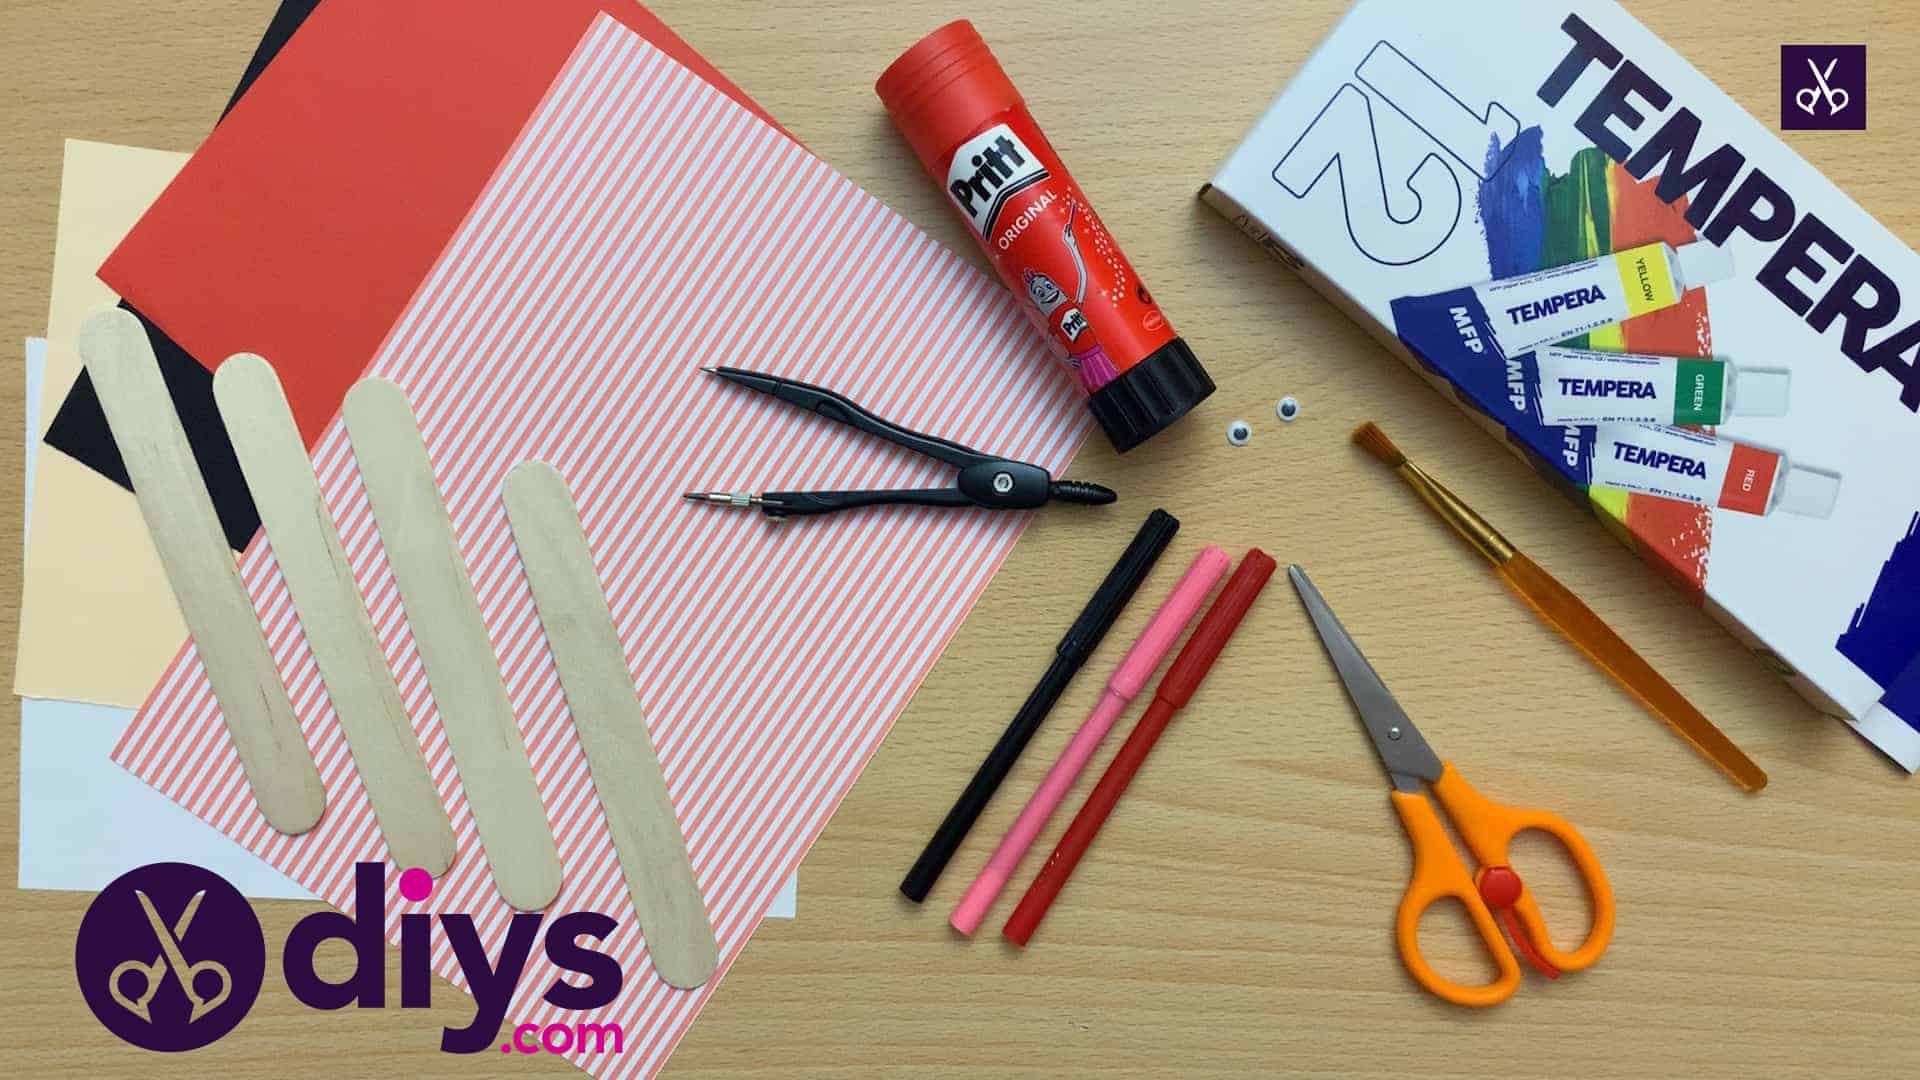
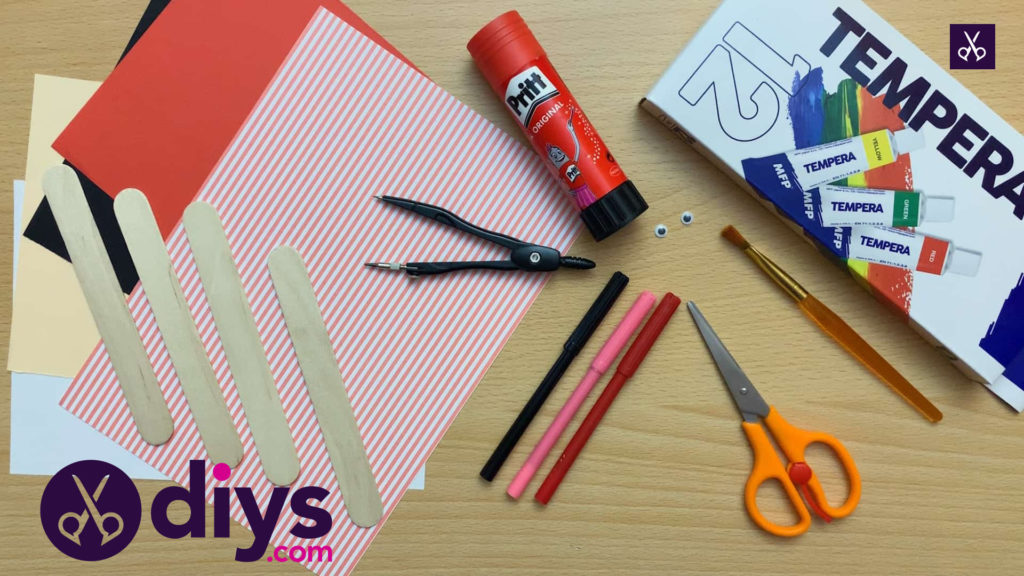
For this project, you’ll need:
- Popsicle sticks
- Glue stick
- Scissors
- Black and red markers
- Cardboard
- Black and light pink paper
- Googly eyes
Step 1: get ready
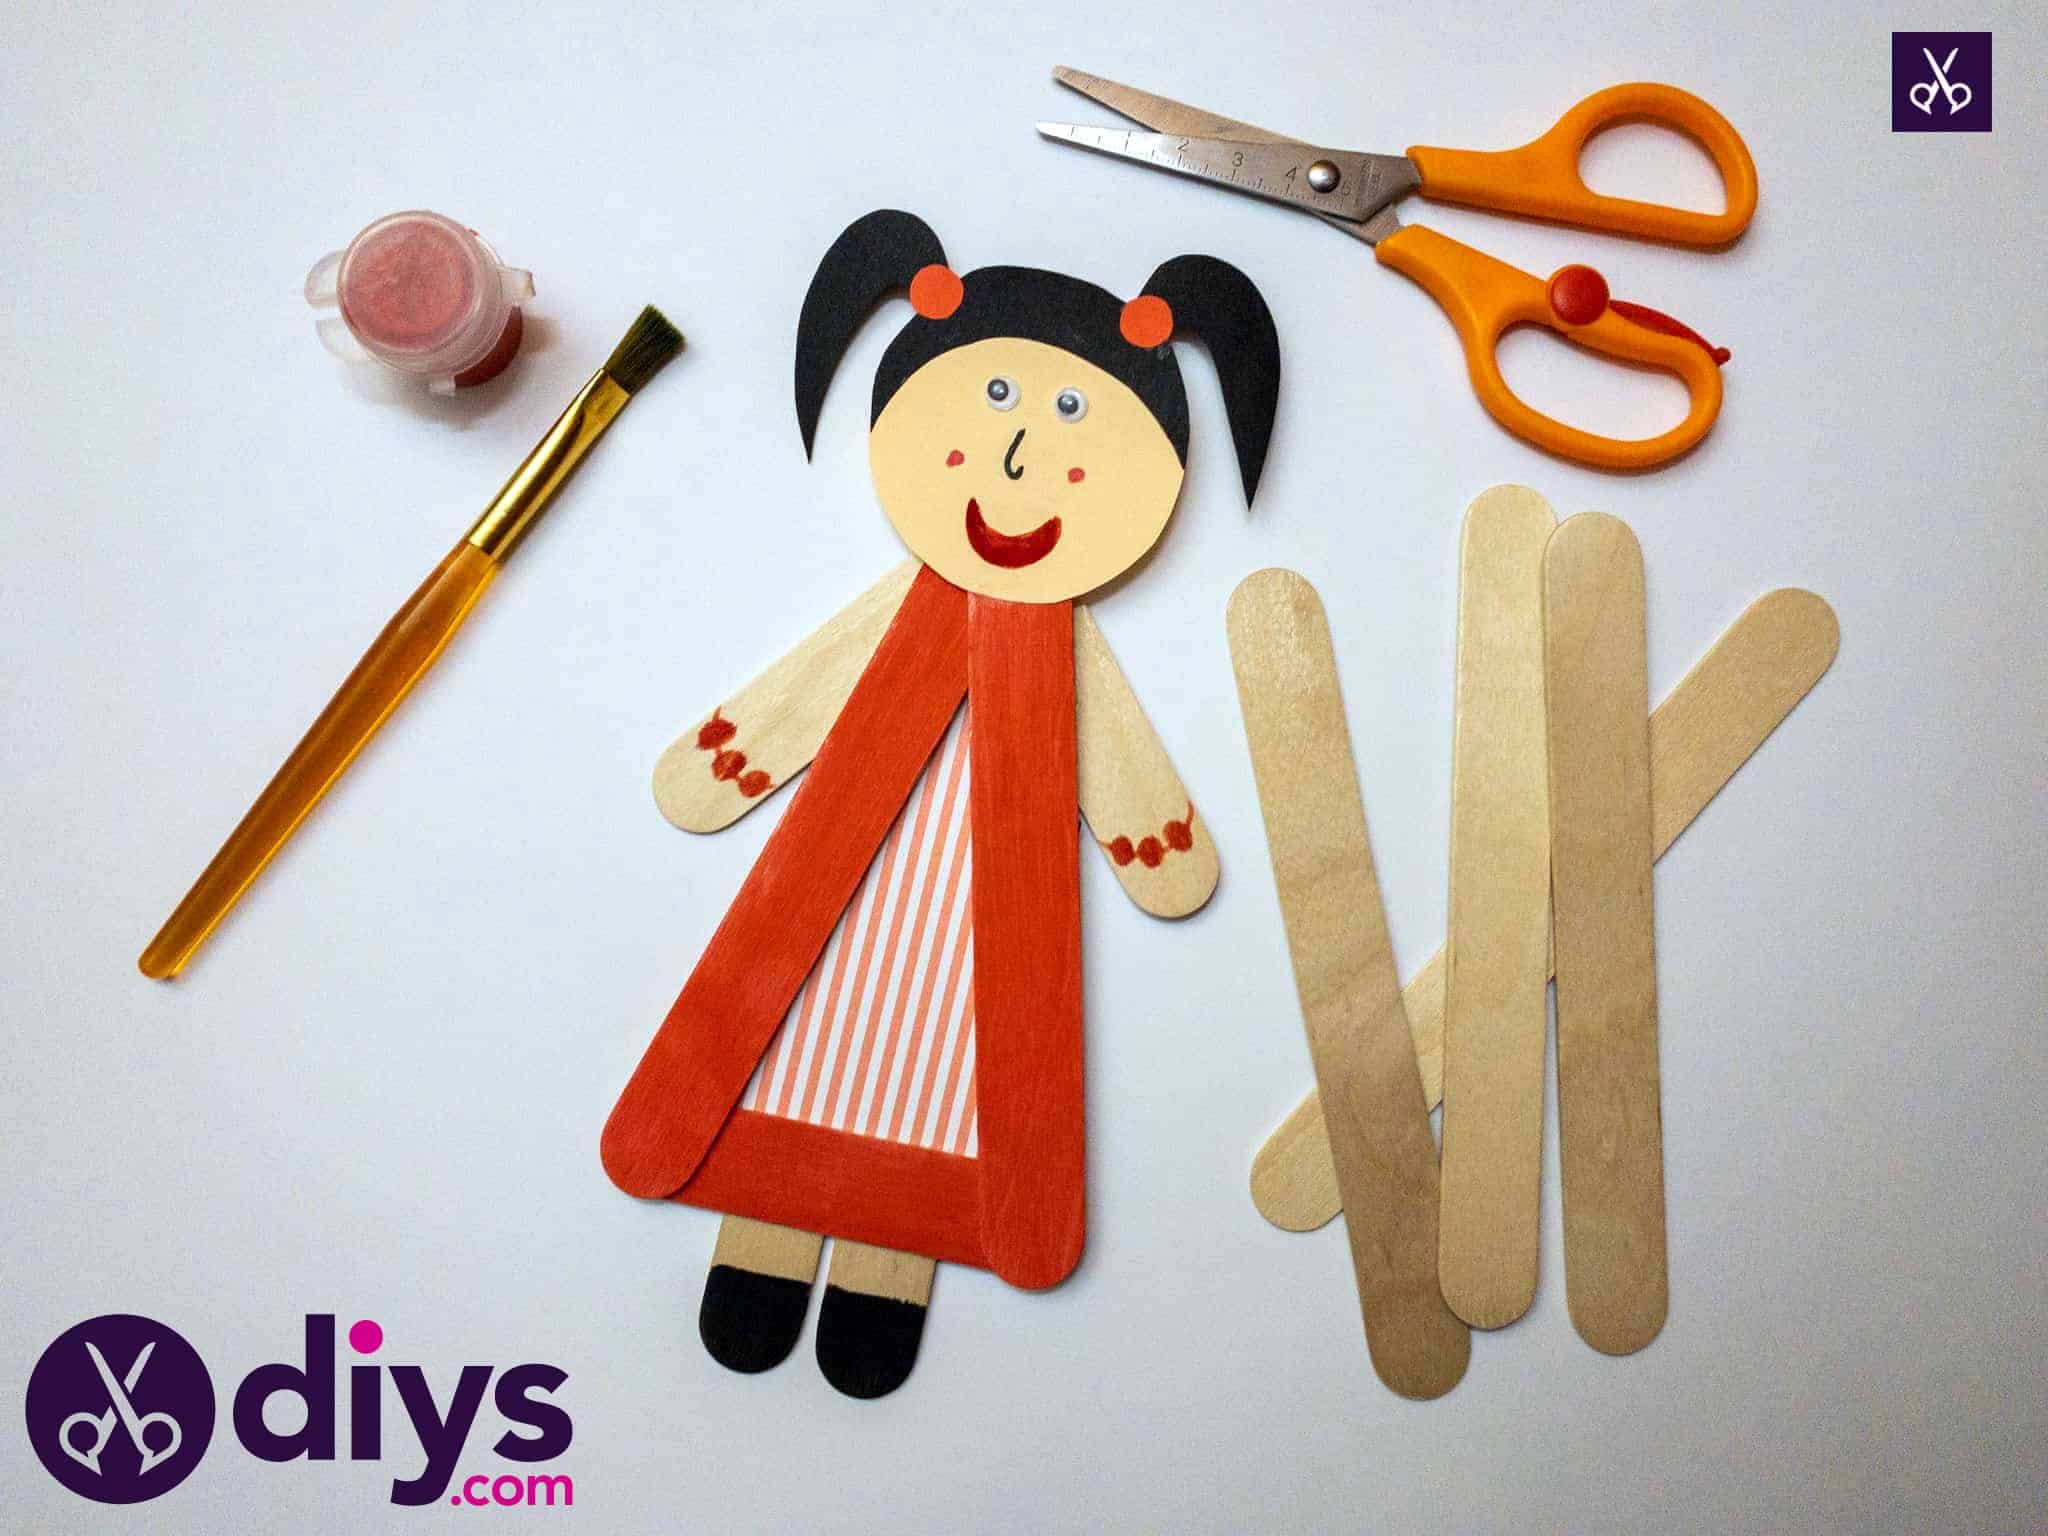
Gather your materials!
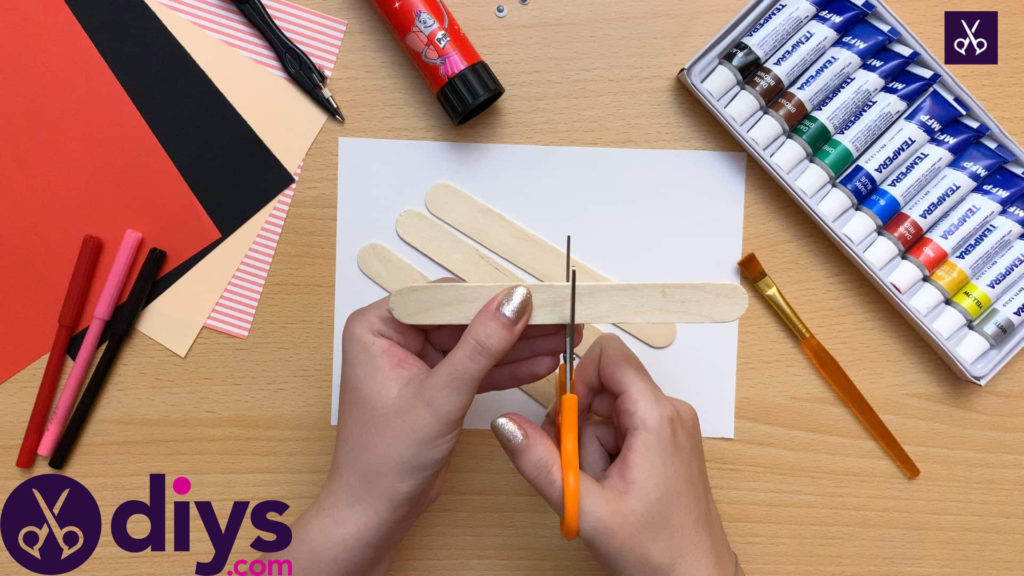
Step 2: cut sticks
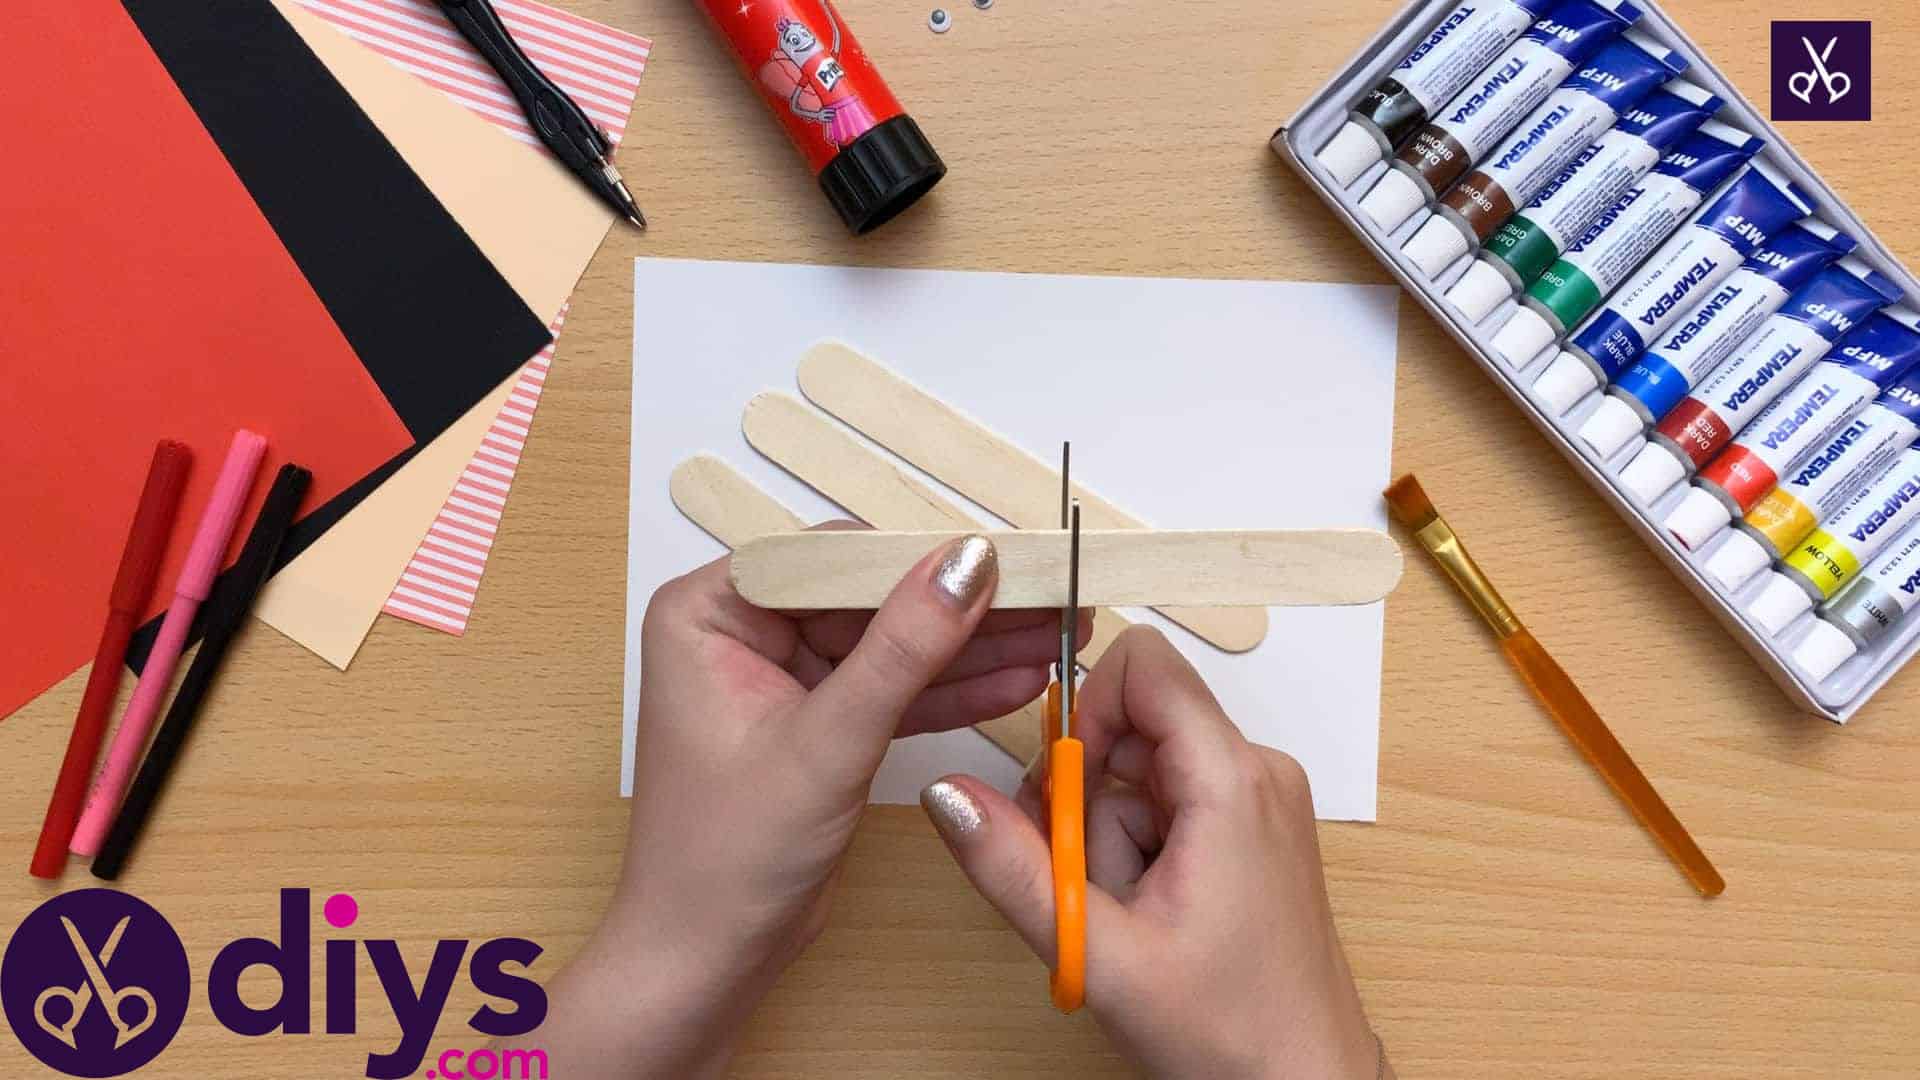
Cut your popsicle sticks to length! You’ll keep two of them whole, cut one in half to make your puppet’s arms, and cut the ends off the last one about an inch from the end to make your shortest piece, which will be your puppet’s feet showing from beneath her dress. The middle of the stick you’ve just cut the ends off to make the feet will make the bottom hem of the dress.
Step 3: paint sticks
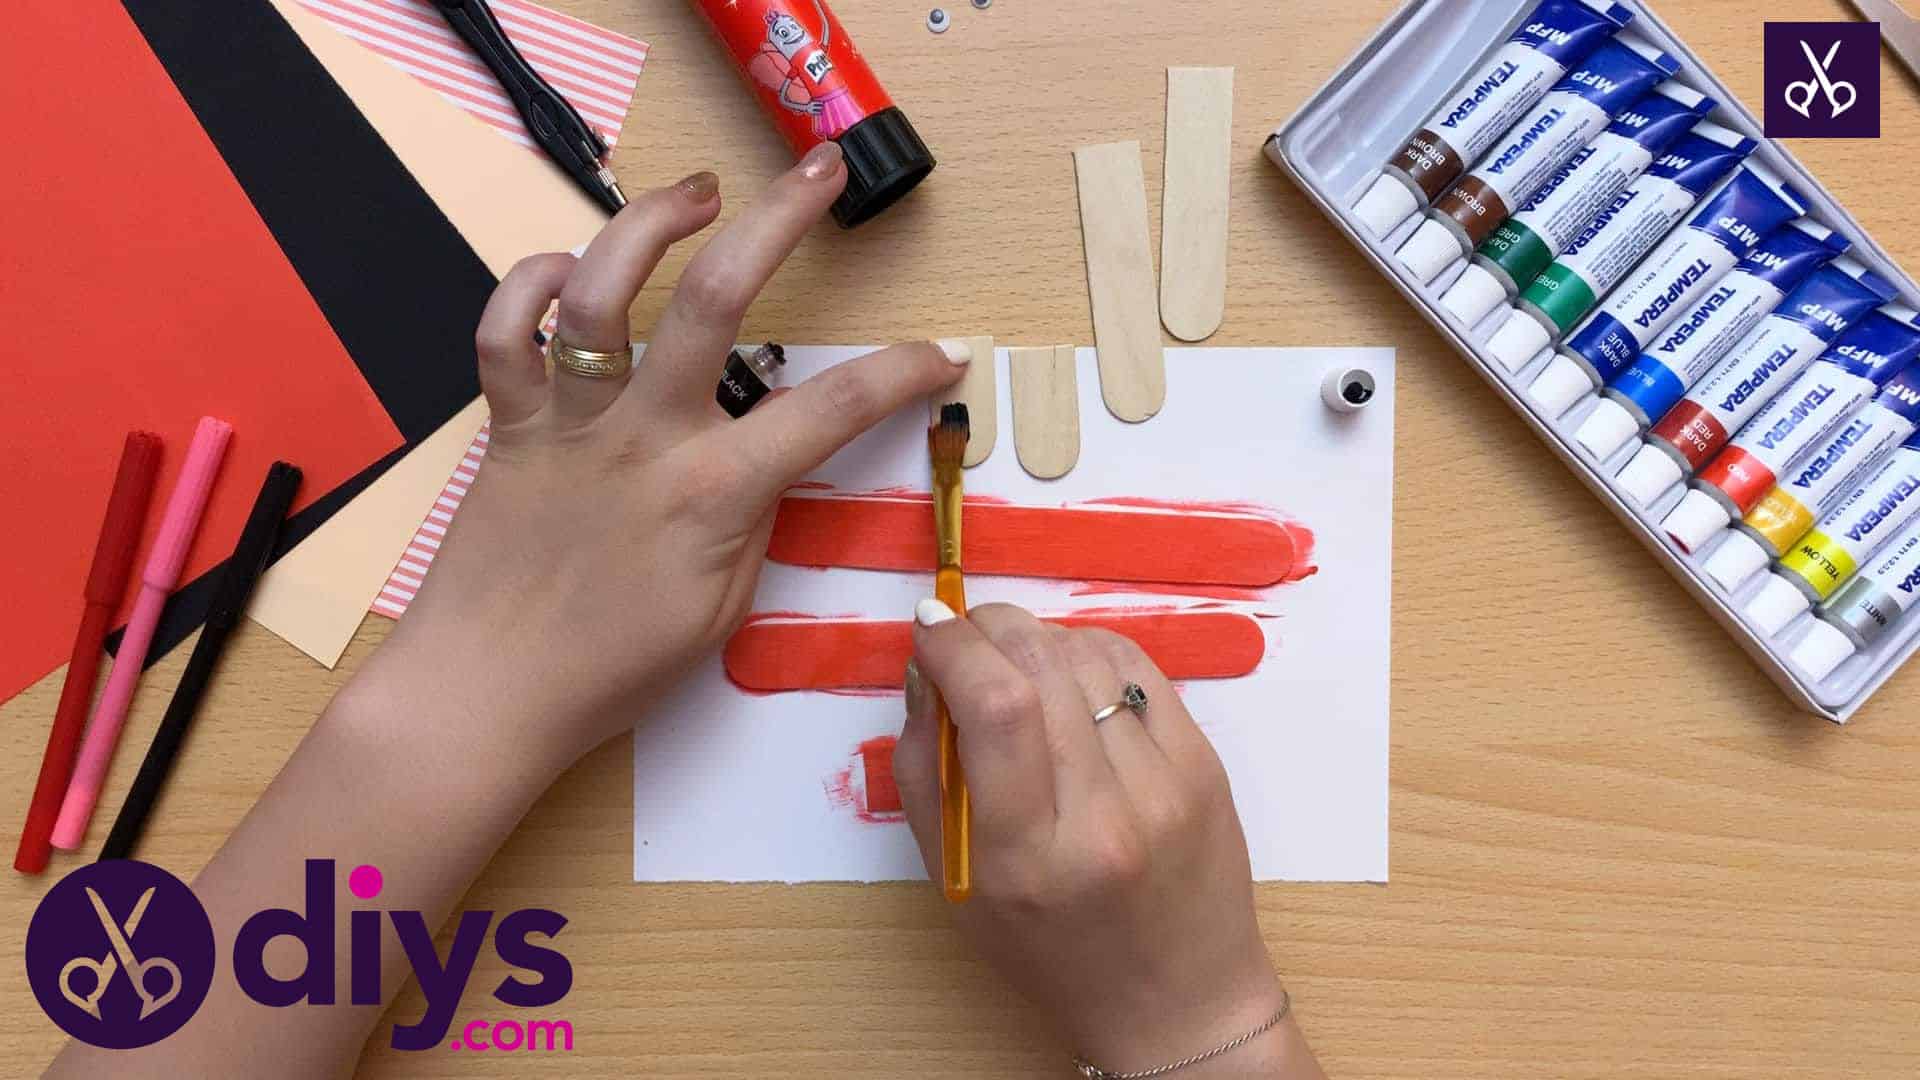
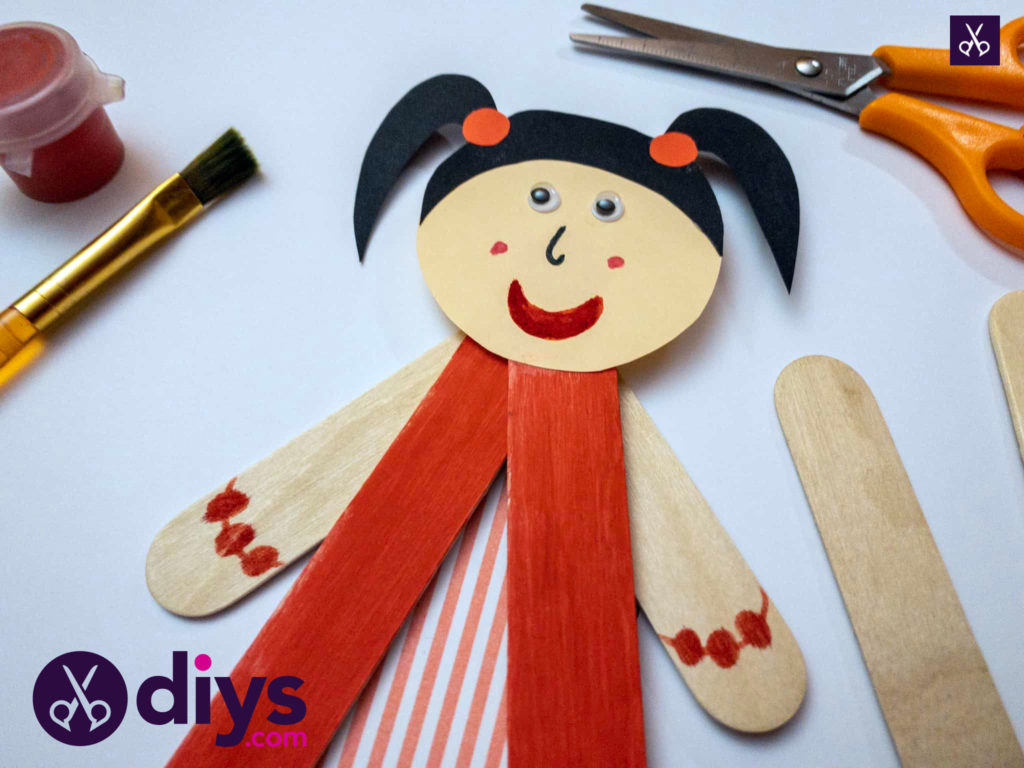
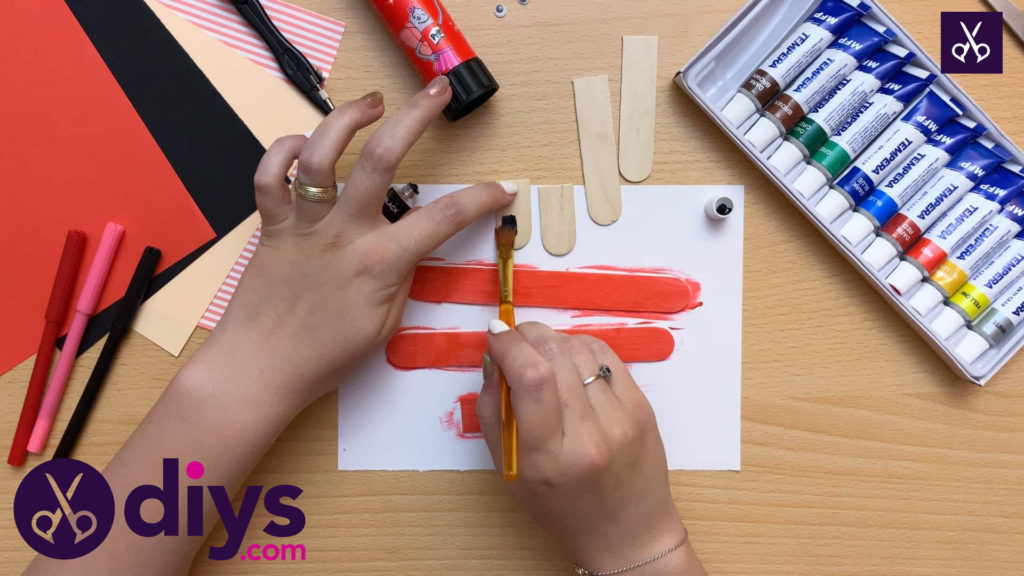
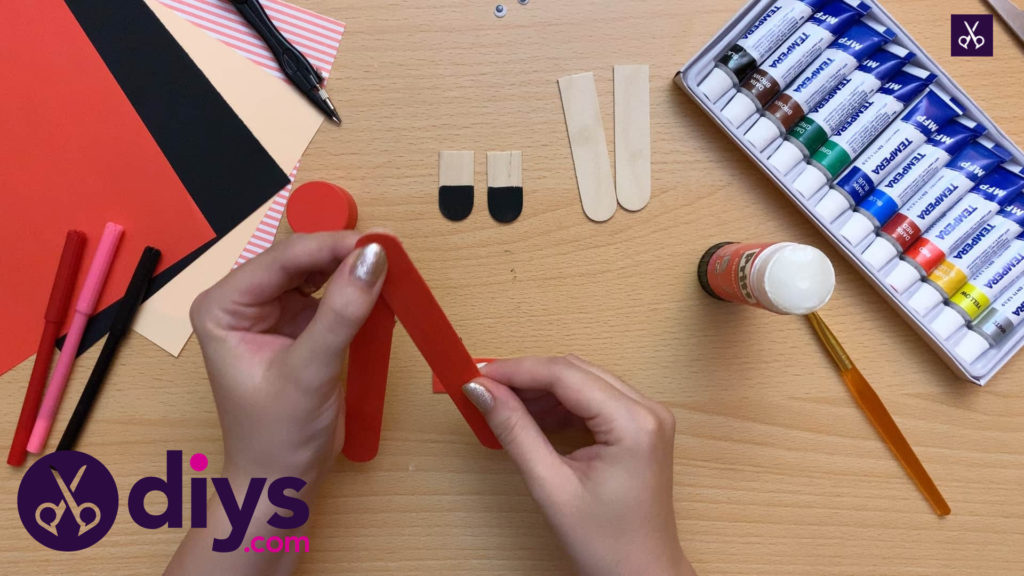
Add colour to your popsicle sticks! I chose to leave my puppet’s arms the way they were, using the light wood as a base tone for the puppet’s skin. I painted the full sticks and the middle section that make up the dress red. Finally, I painted the rounded tips of the short foot pieces black, leaving some of the natural wood to look like legs above the little black shoes.
Step 4: make a V
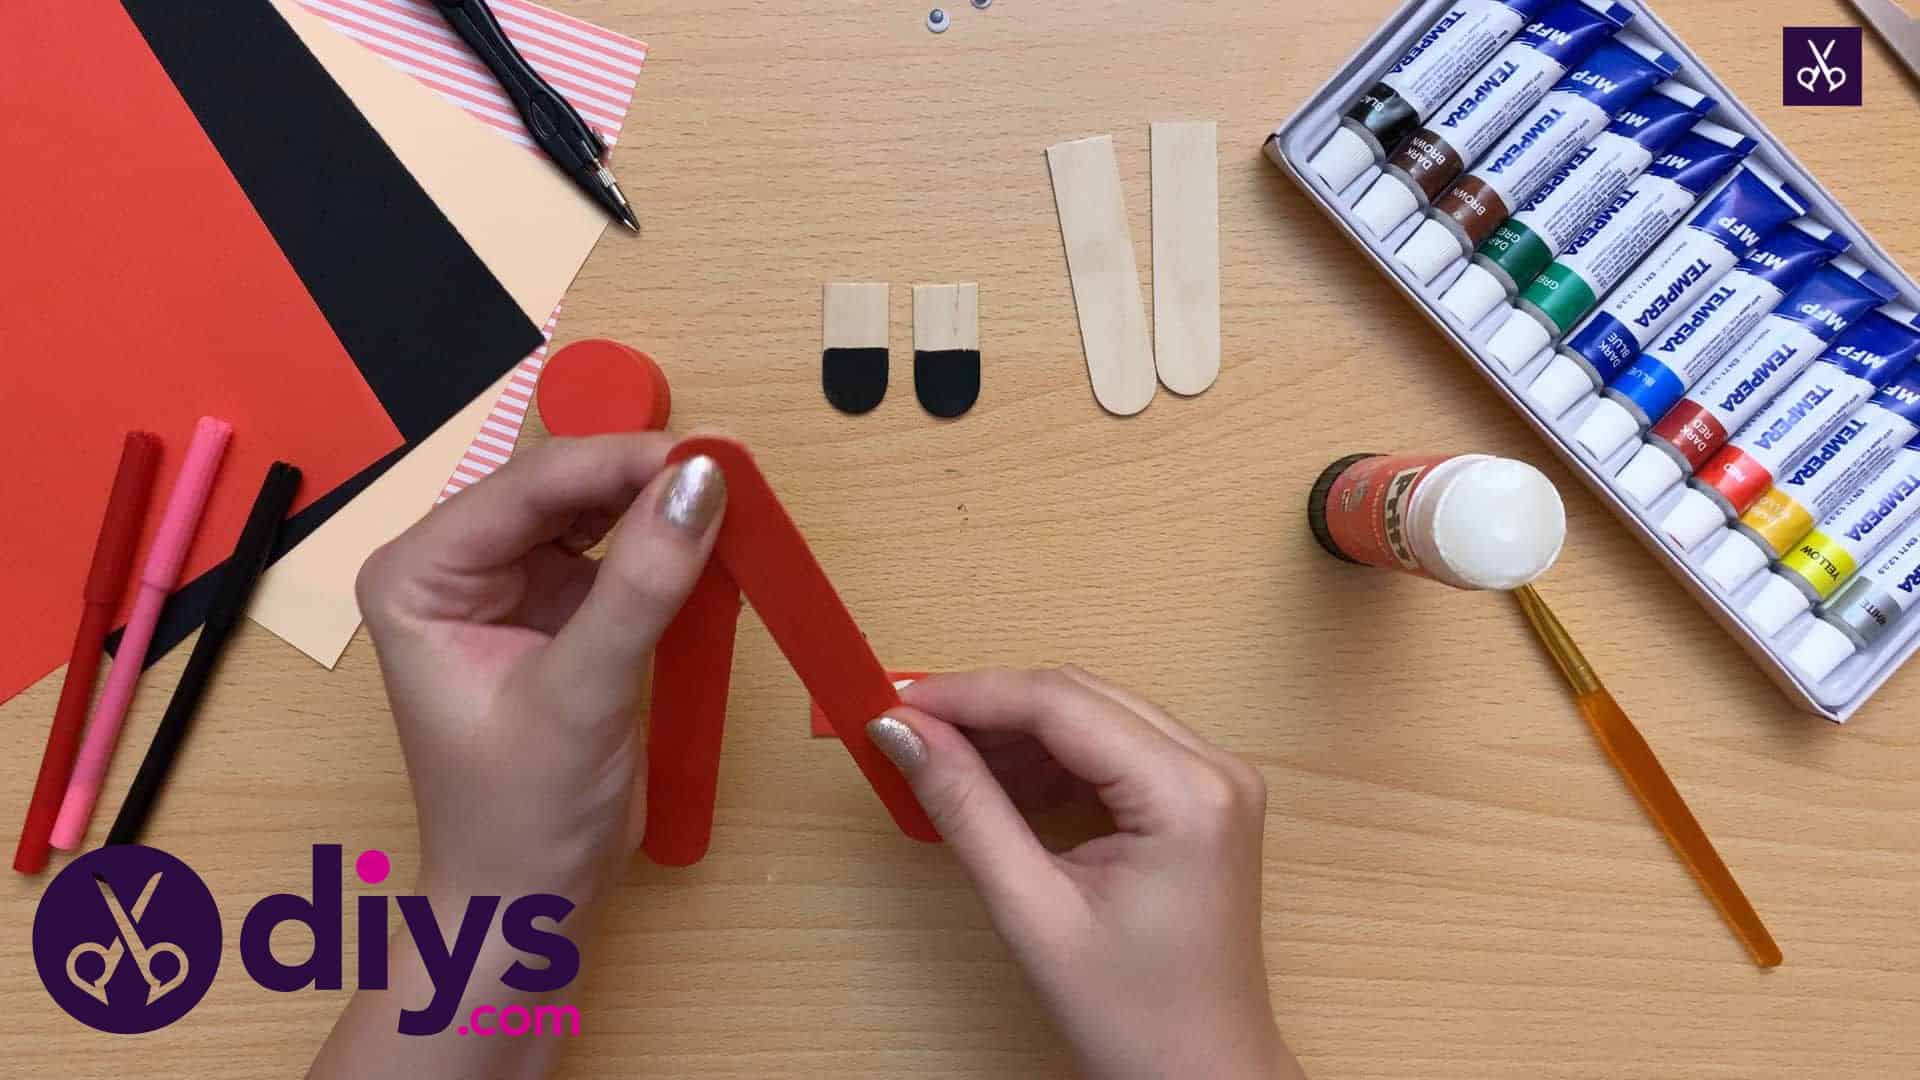
Start gluing the sticks together to form your puppet! I started with the dress. Apply glue to the front side of one end on one of your full red sticks. At a 45 degree angle, press the back side of the other full red stick into the glue to make an upside down V-shape. Hold the ends together until the glue has dried enough for them to stay in place. I measured the width of my V by making sure the loose ends lined up with the ends of the bottom hem piece.
Step 5: make the dress
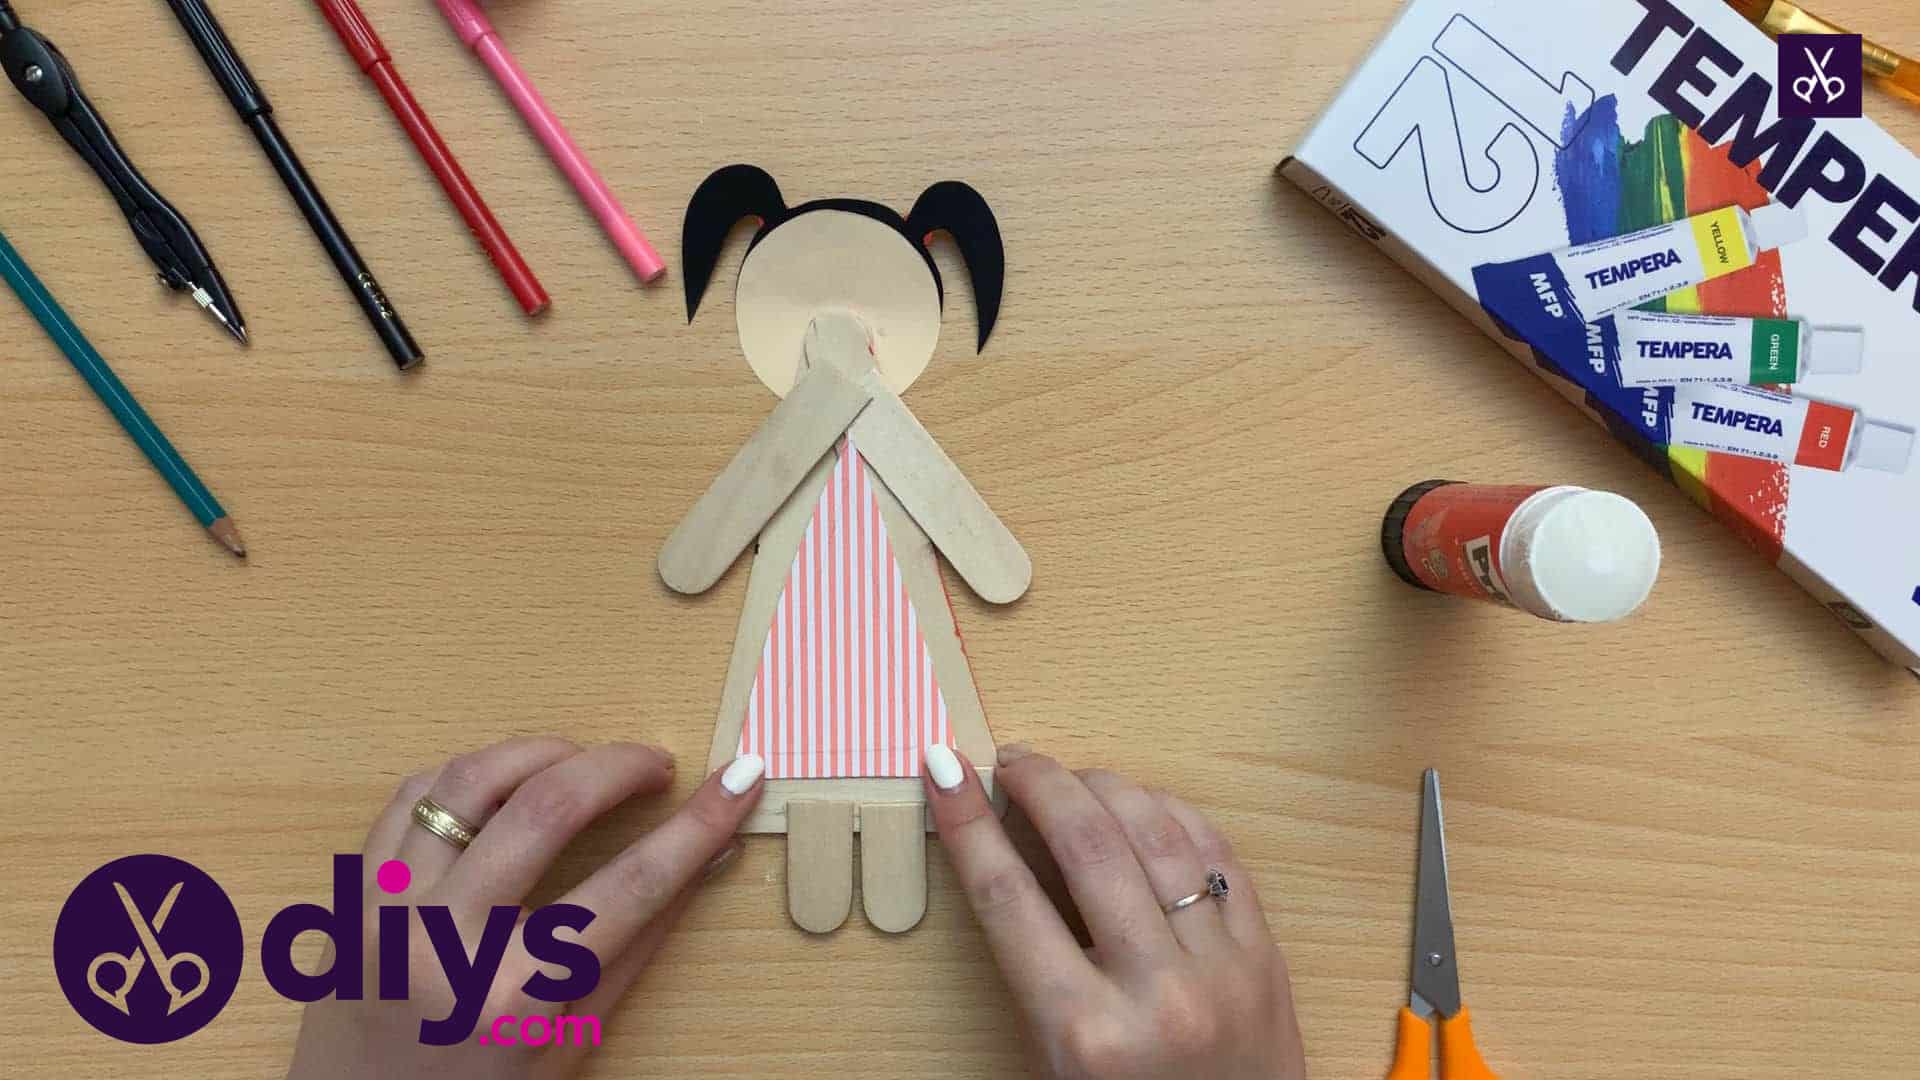
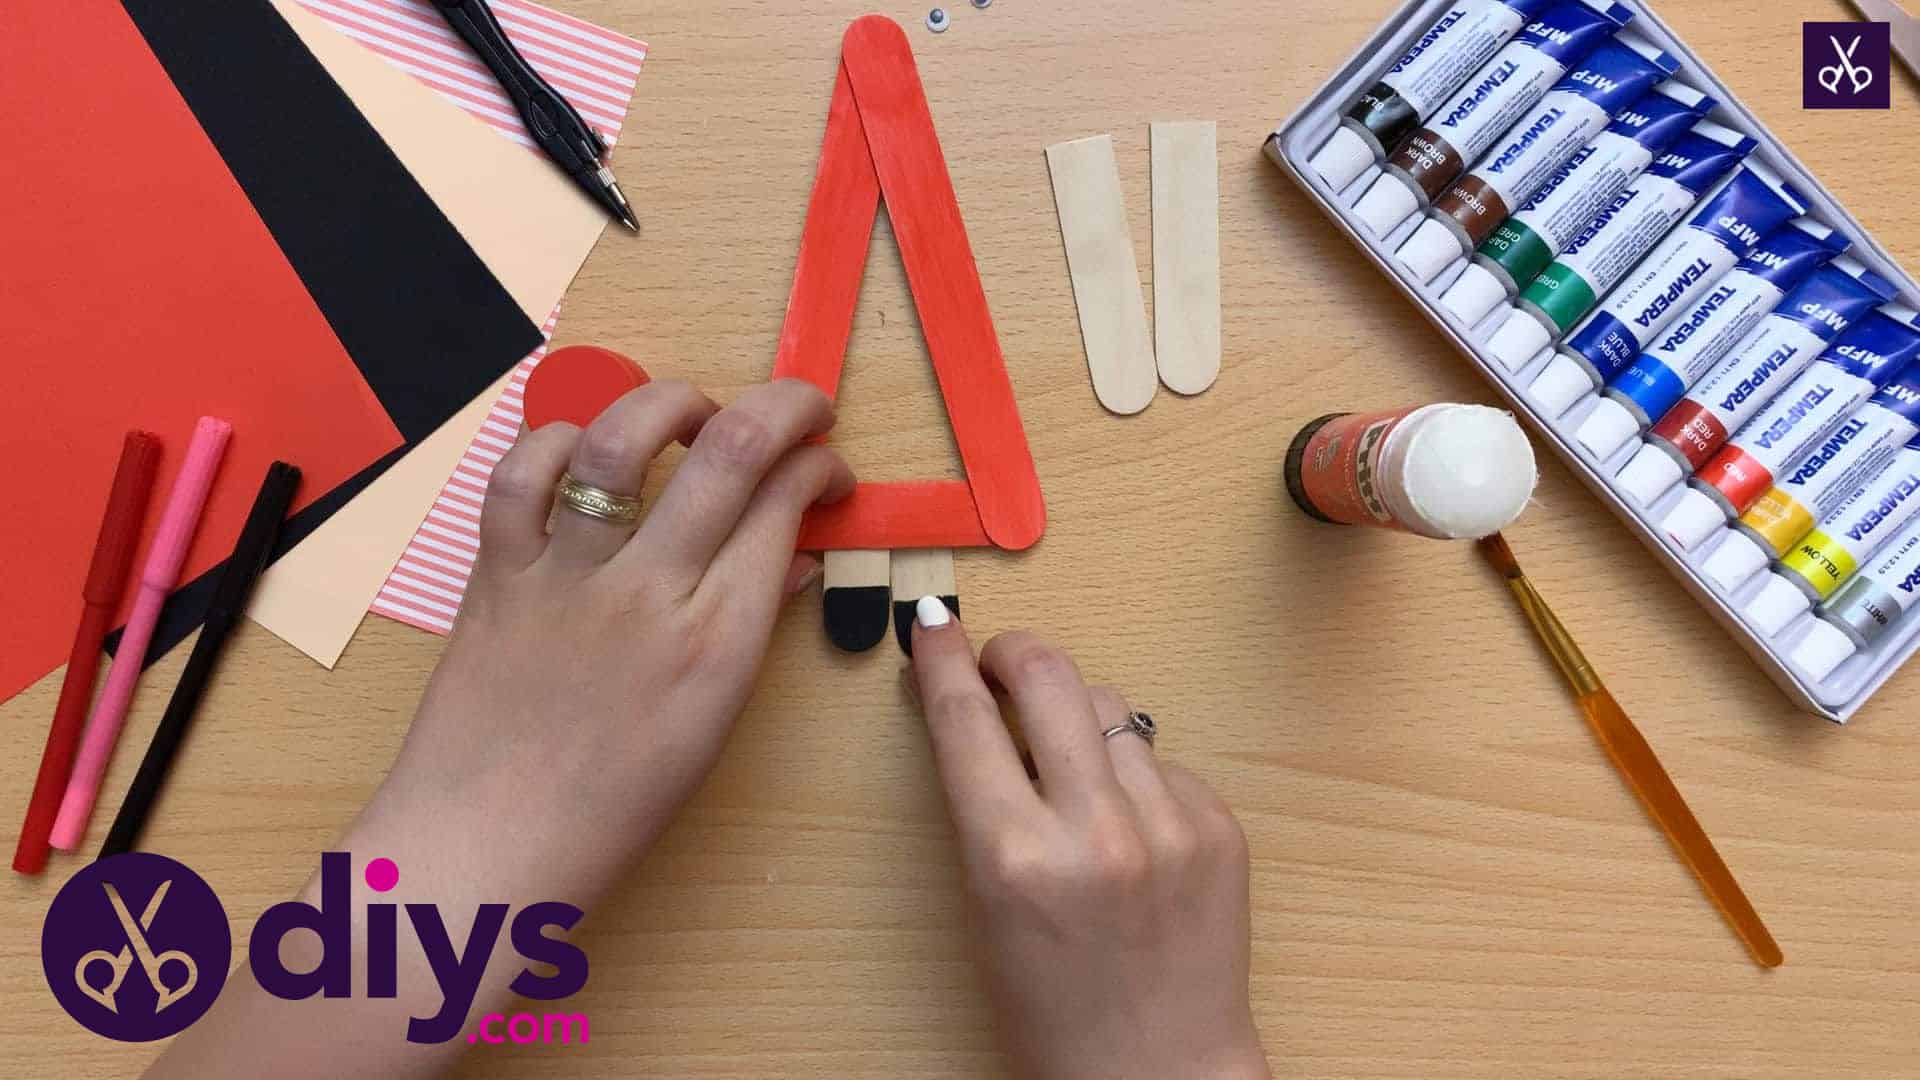
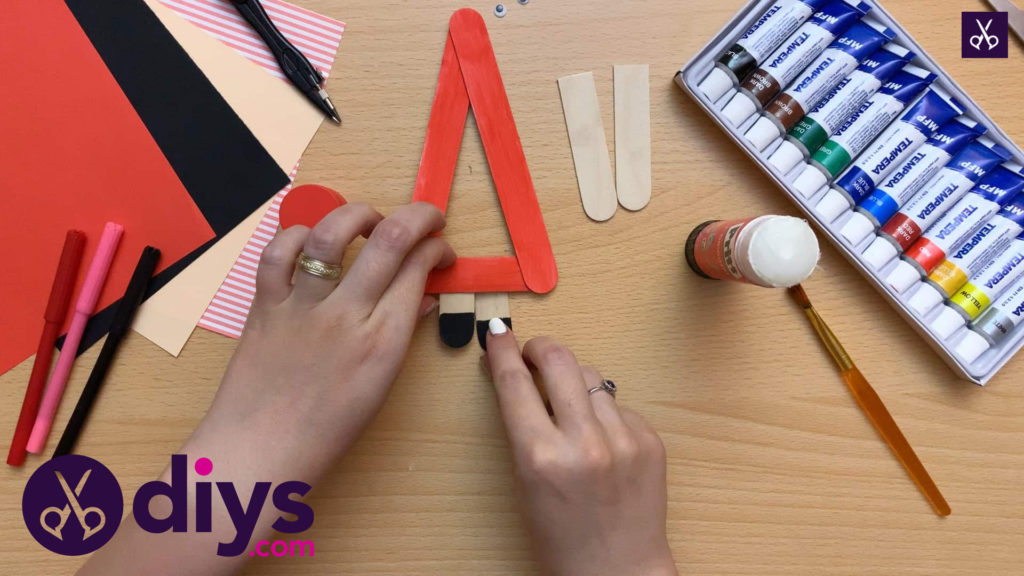
Apply glue to the ends of your bottom hem piece, on the red side. Press the ends of the upside down V-shape into the glue, one at each end of the hem piece. Next, apply glue to the top cut ends of the smaller foot pieces you painted earlier, on the front side above where you painted the shoes. Press the back of the hem piece into that glue so the feet look like they’re peeking out the bottom of your dress.
Step 6: attach arms and feet
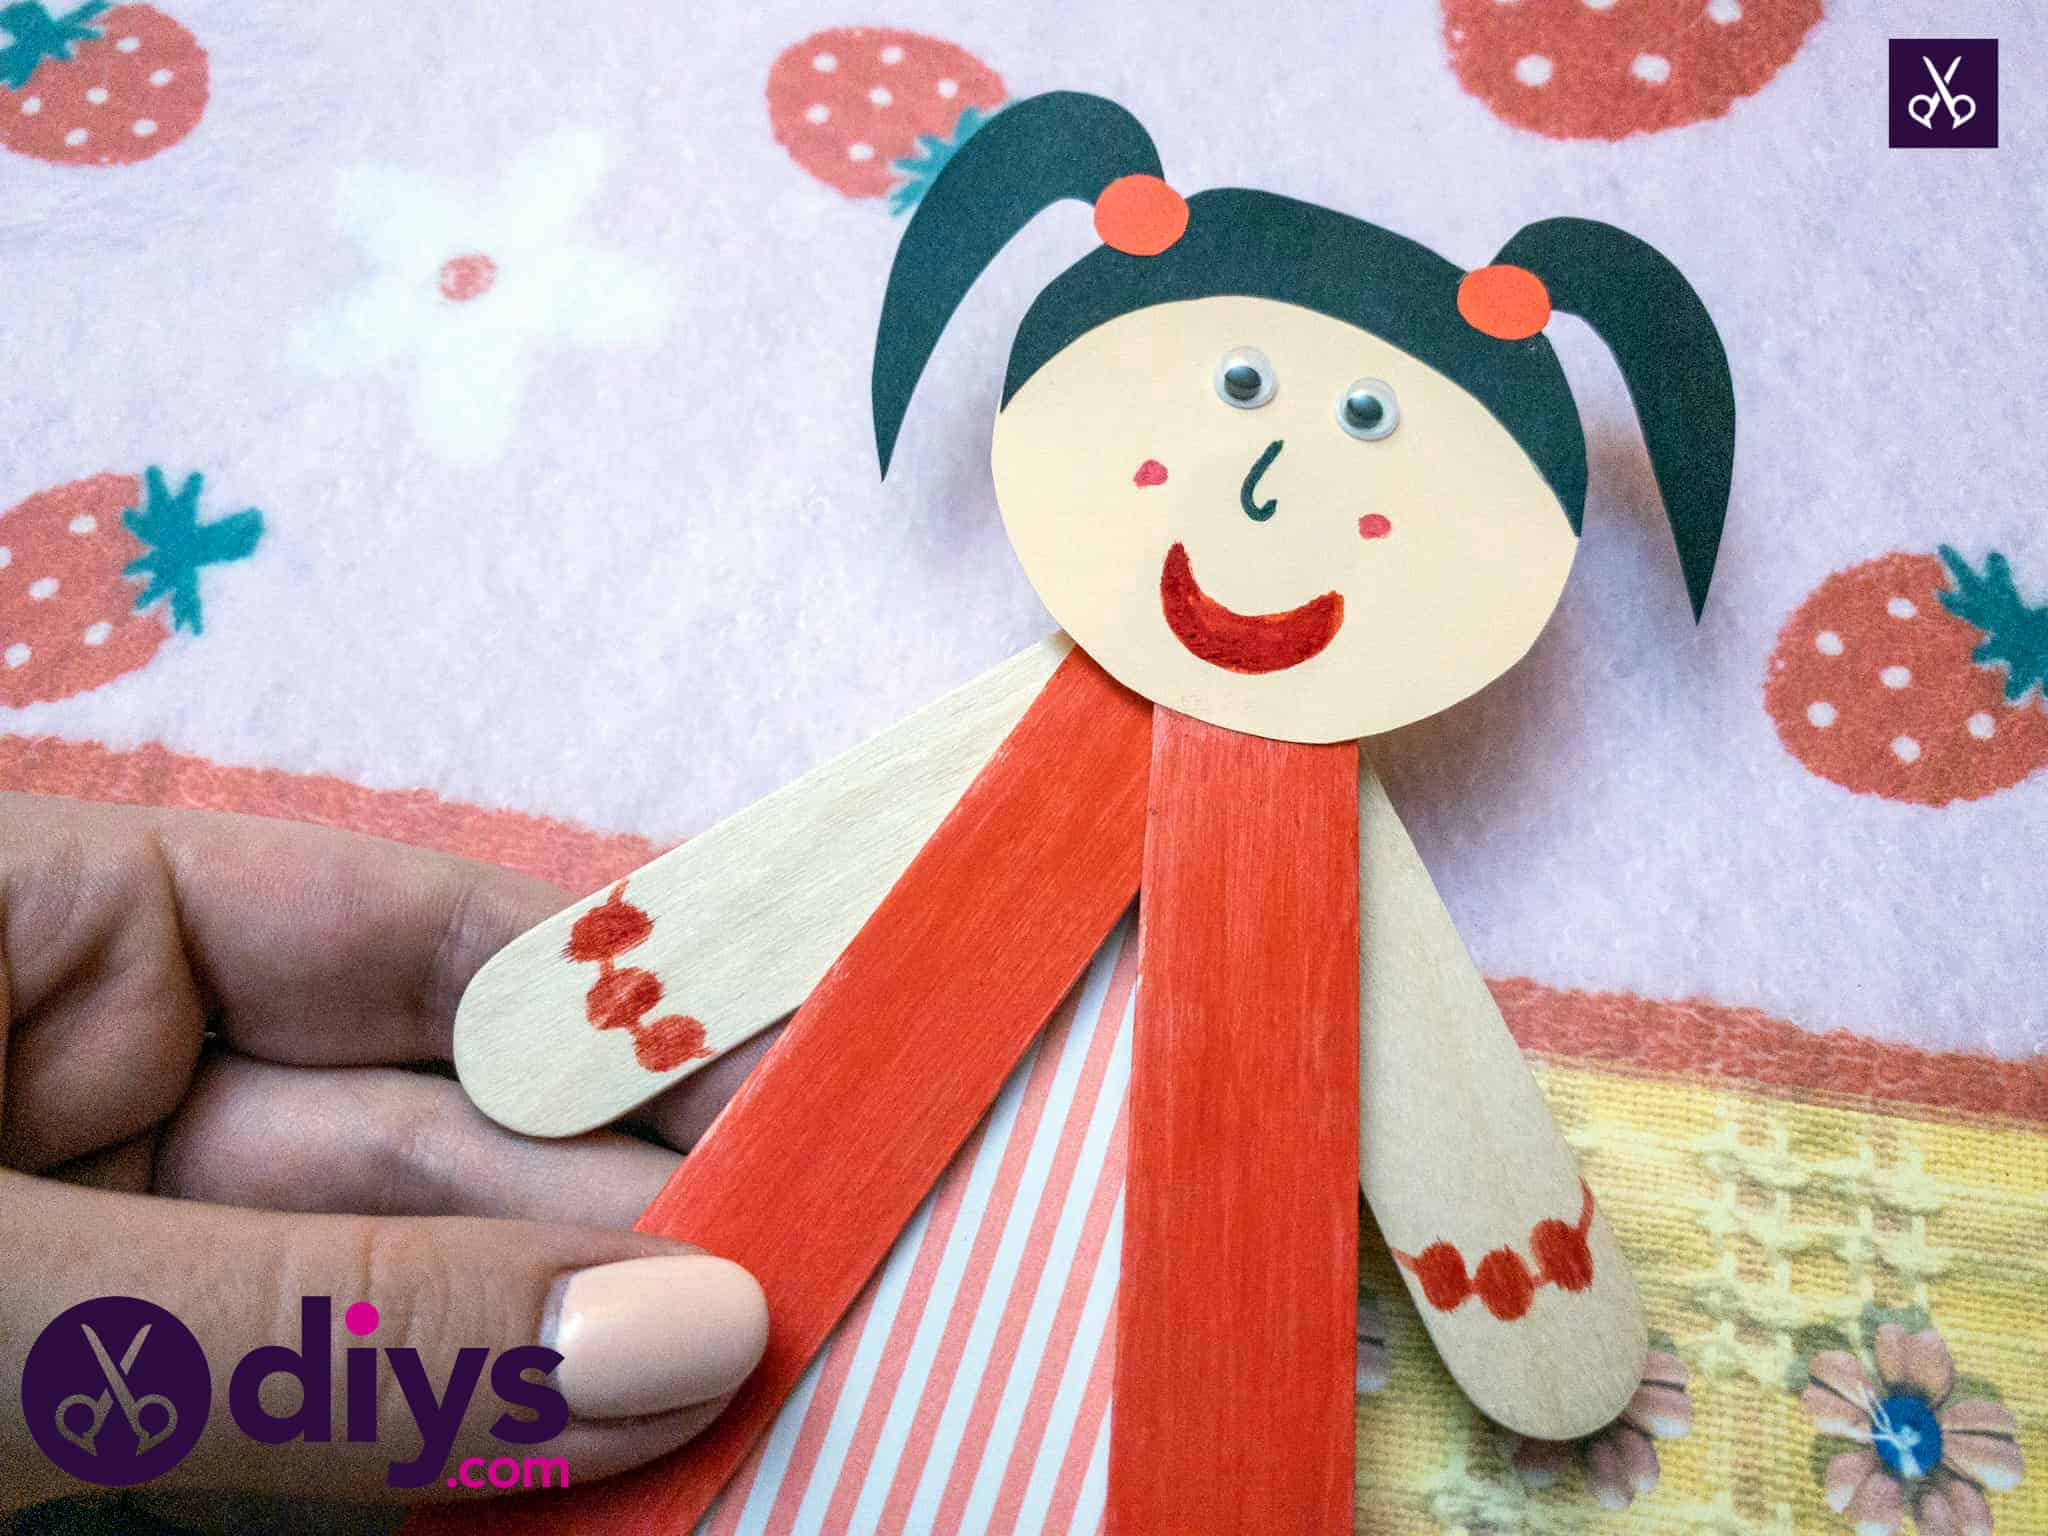
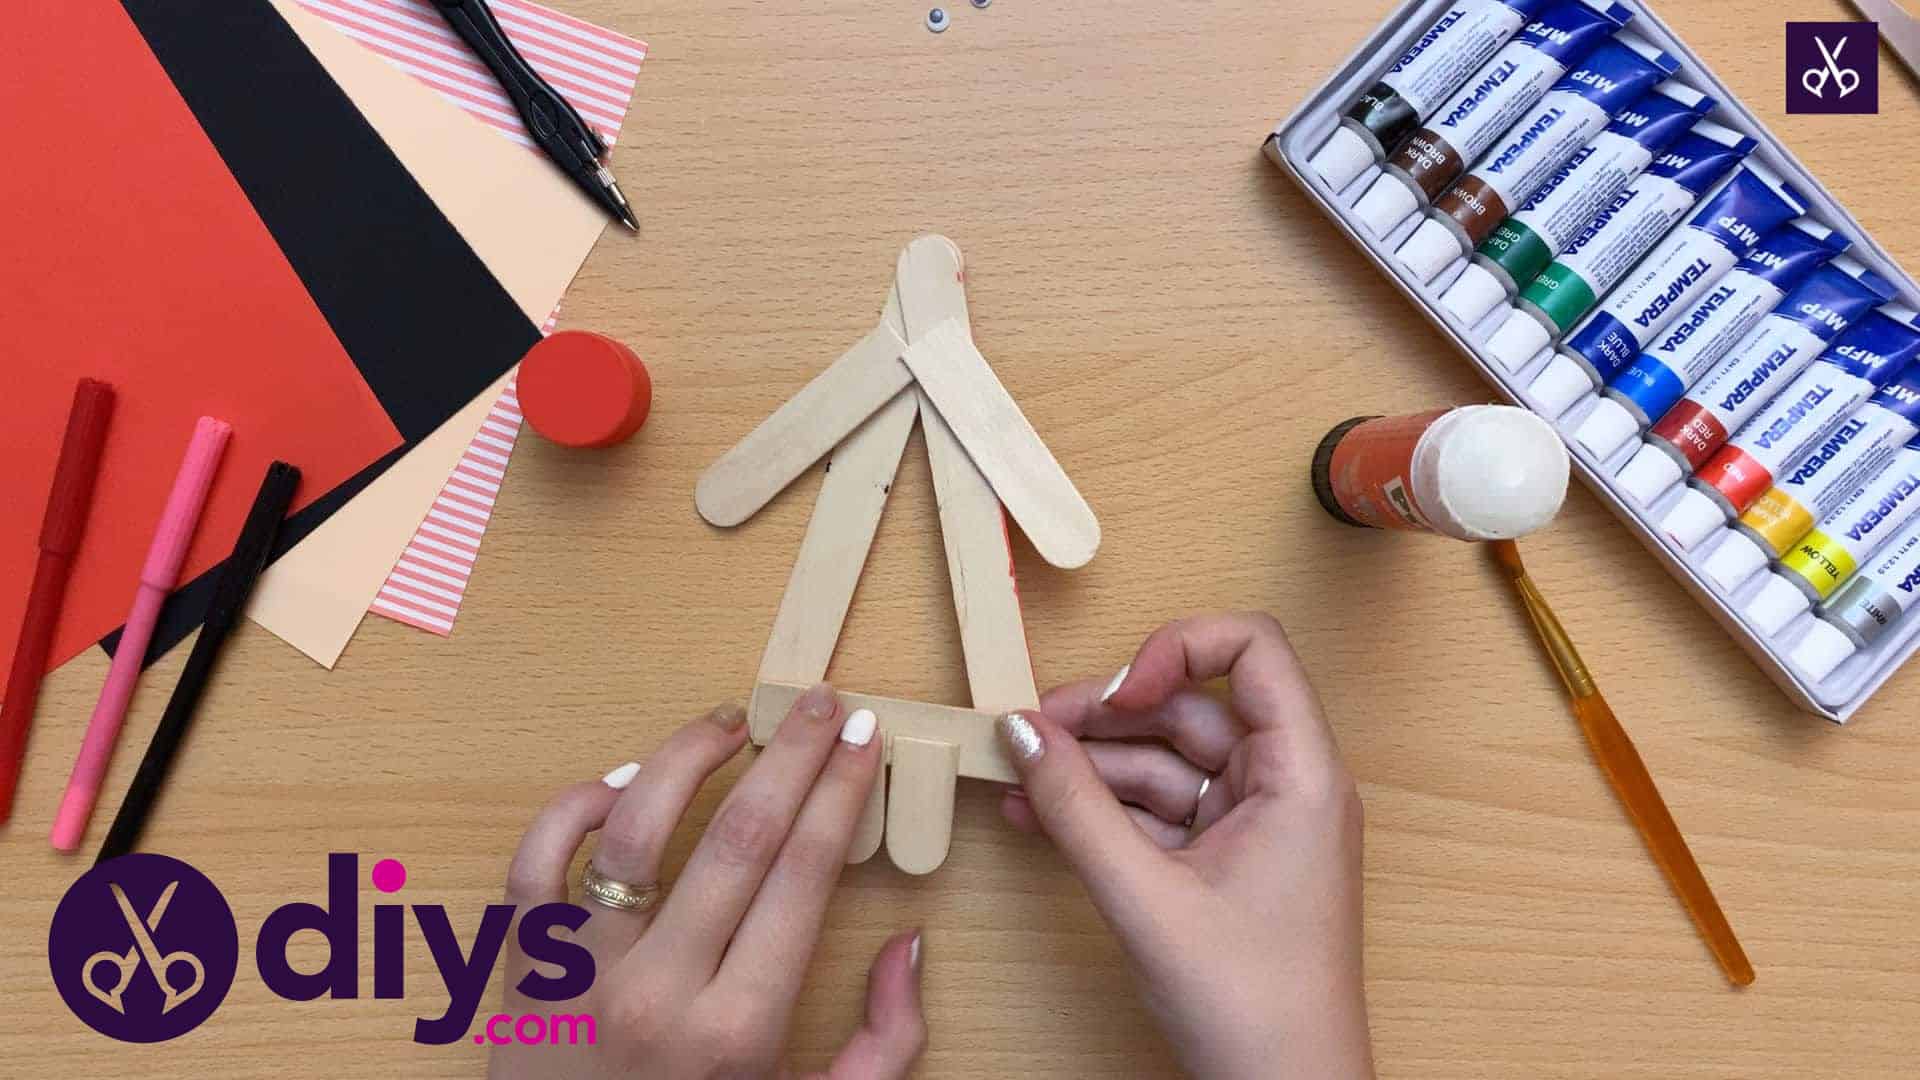
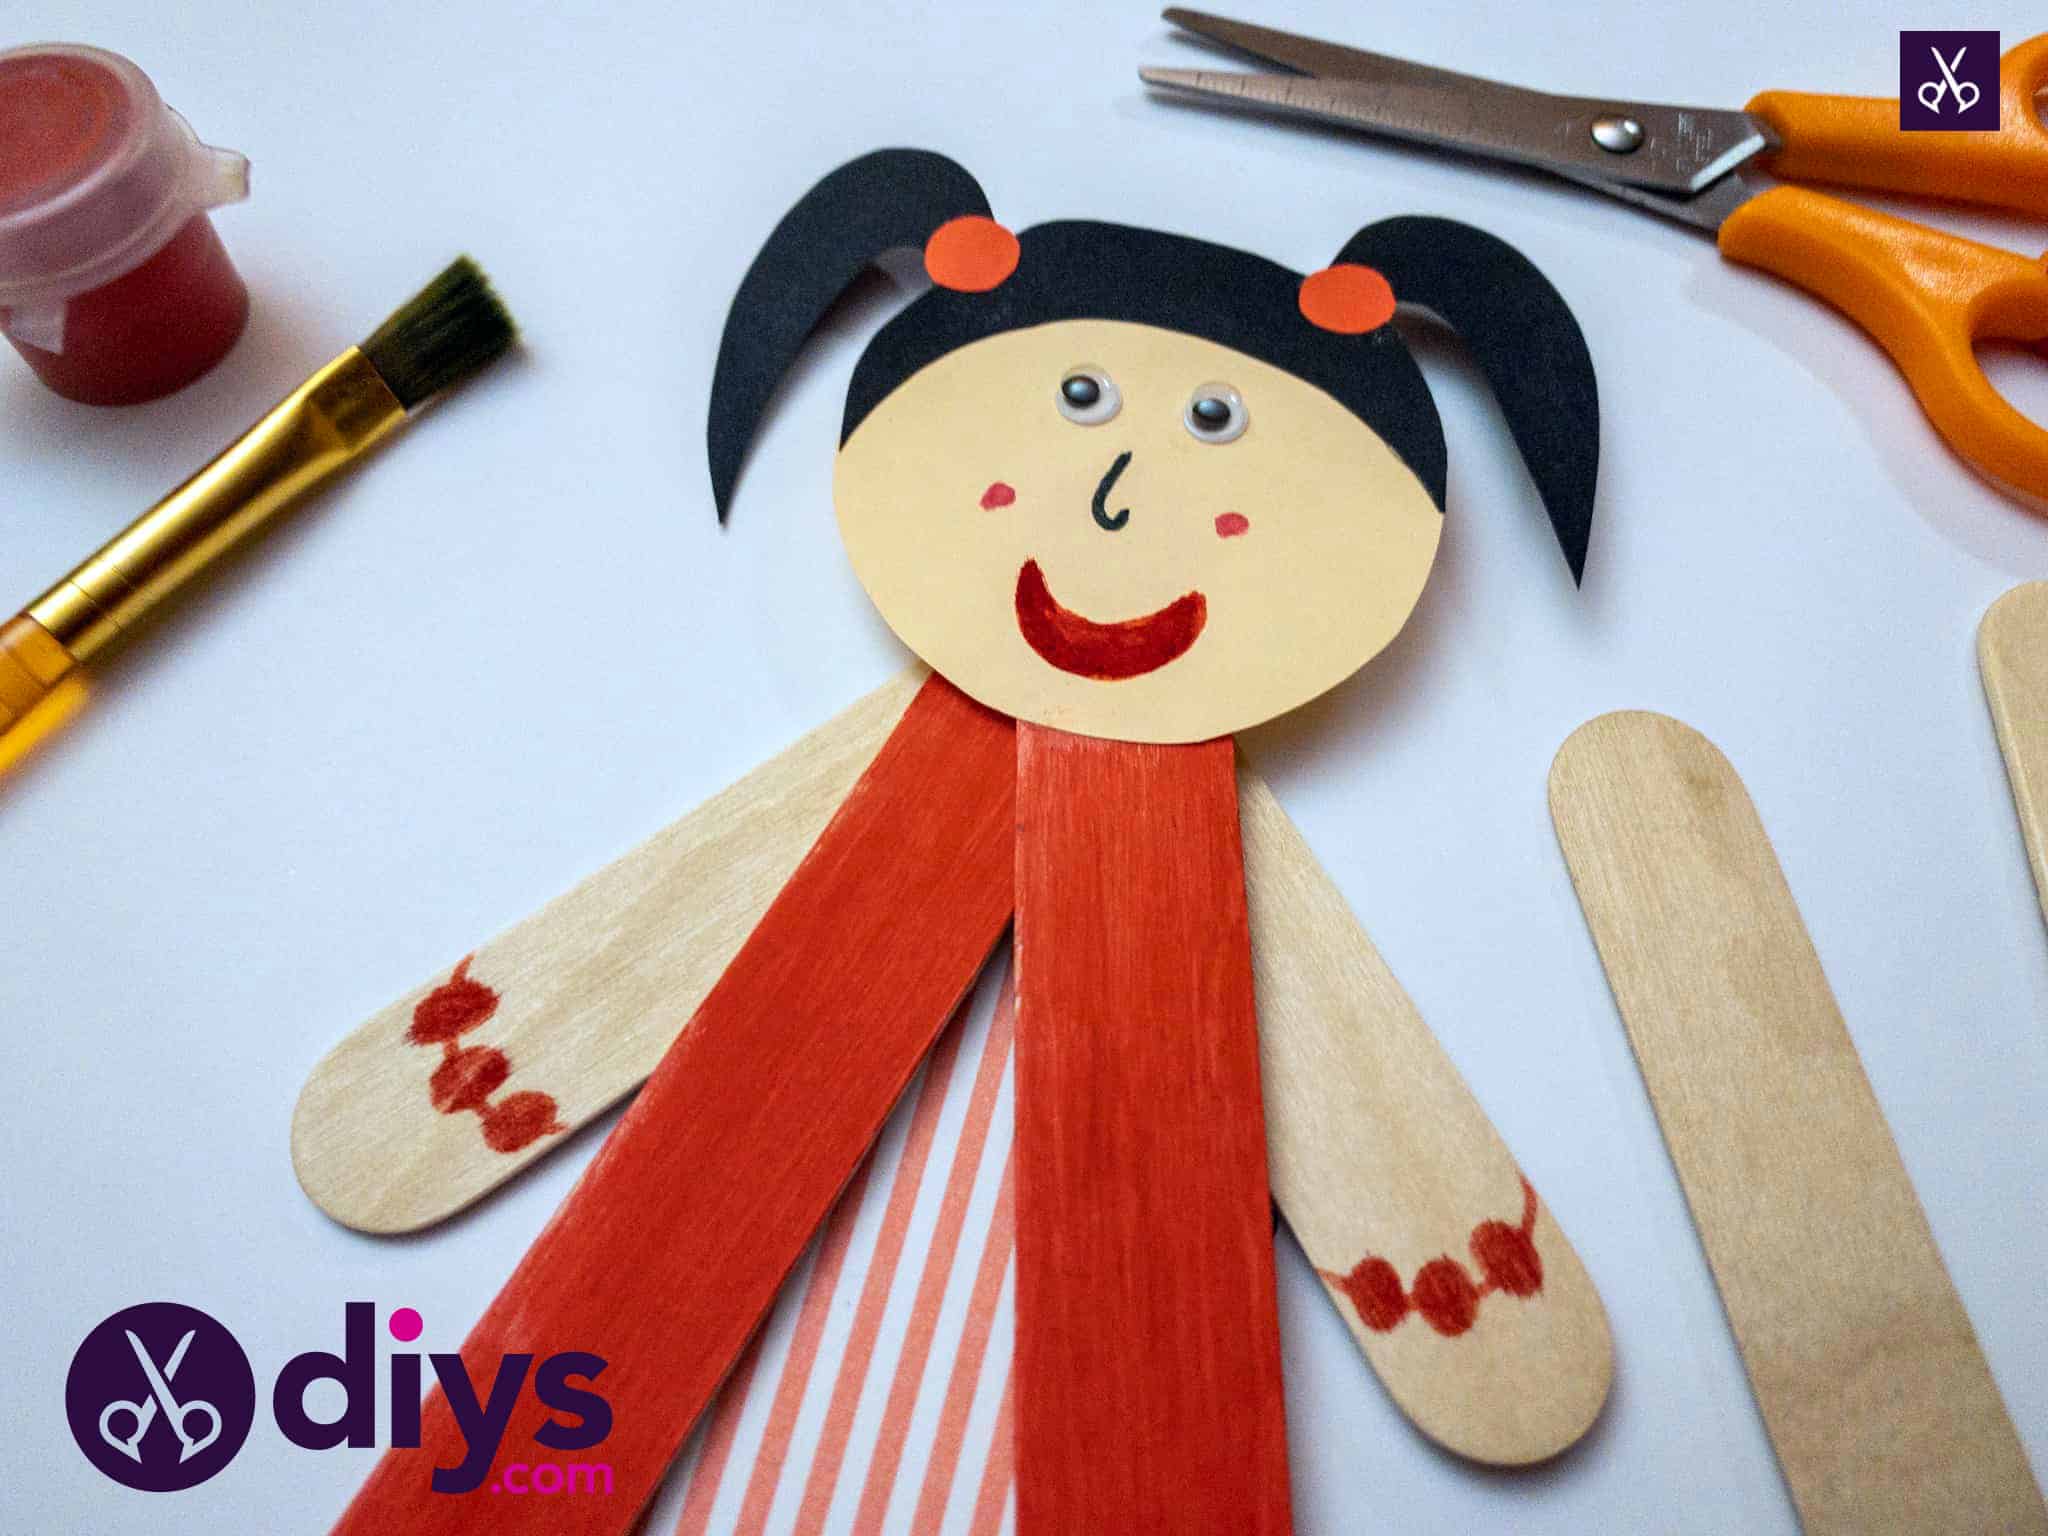
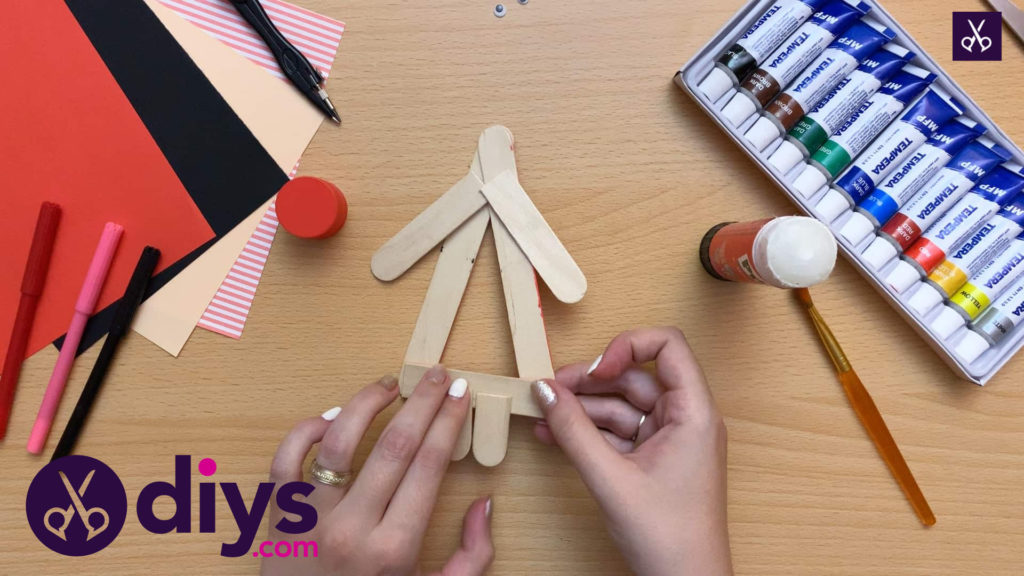
Attach your arms! Apply glue on the blunt ends where you cut the stick in half to make the arms. Press that side into the backs of the upside down V, near the top where the shape tapers to a point.
Step 7: draw and cut the face
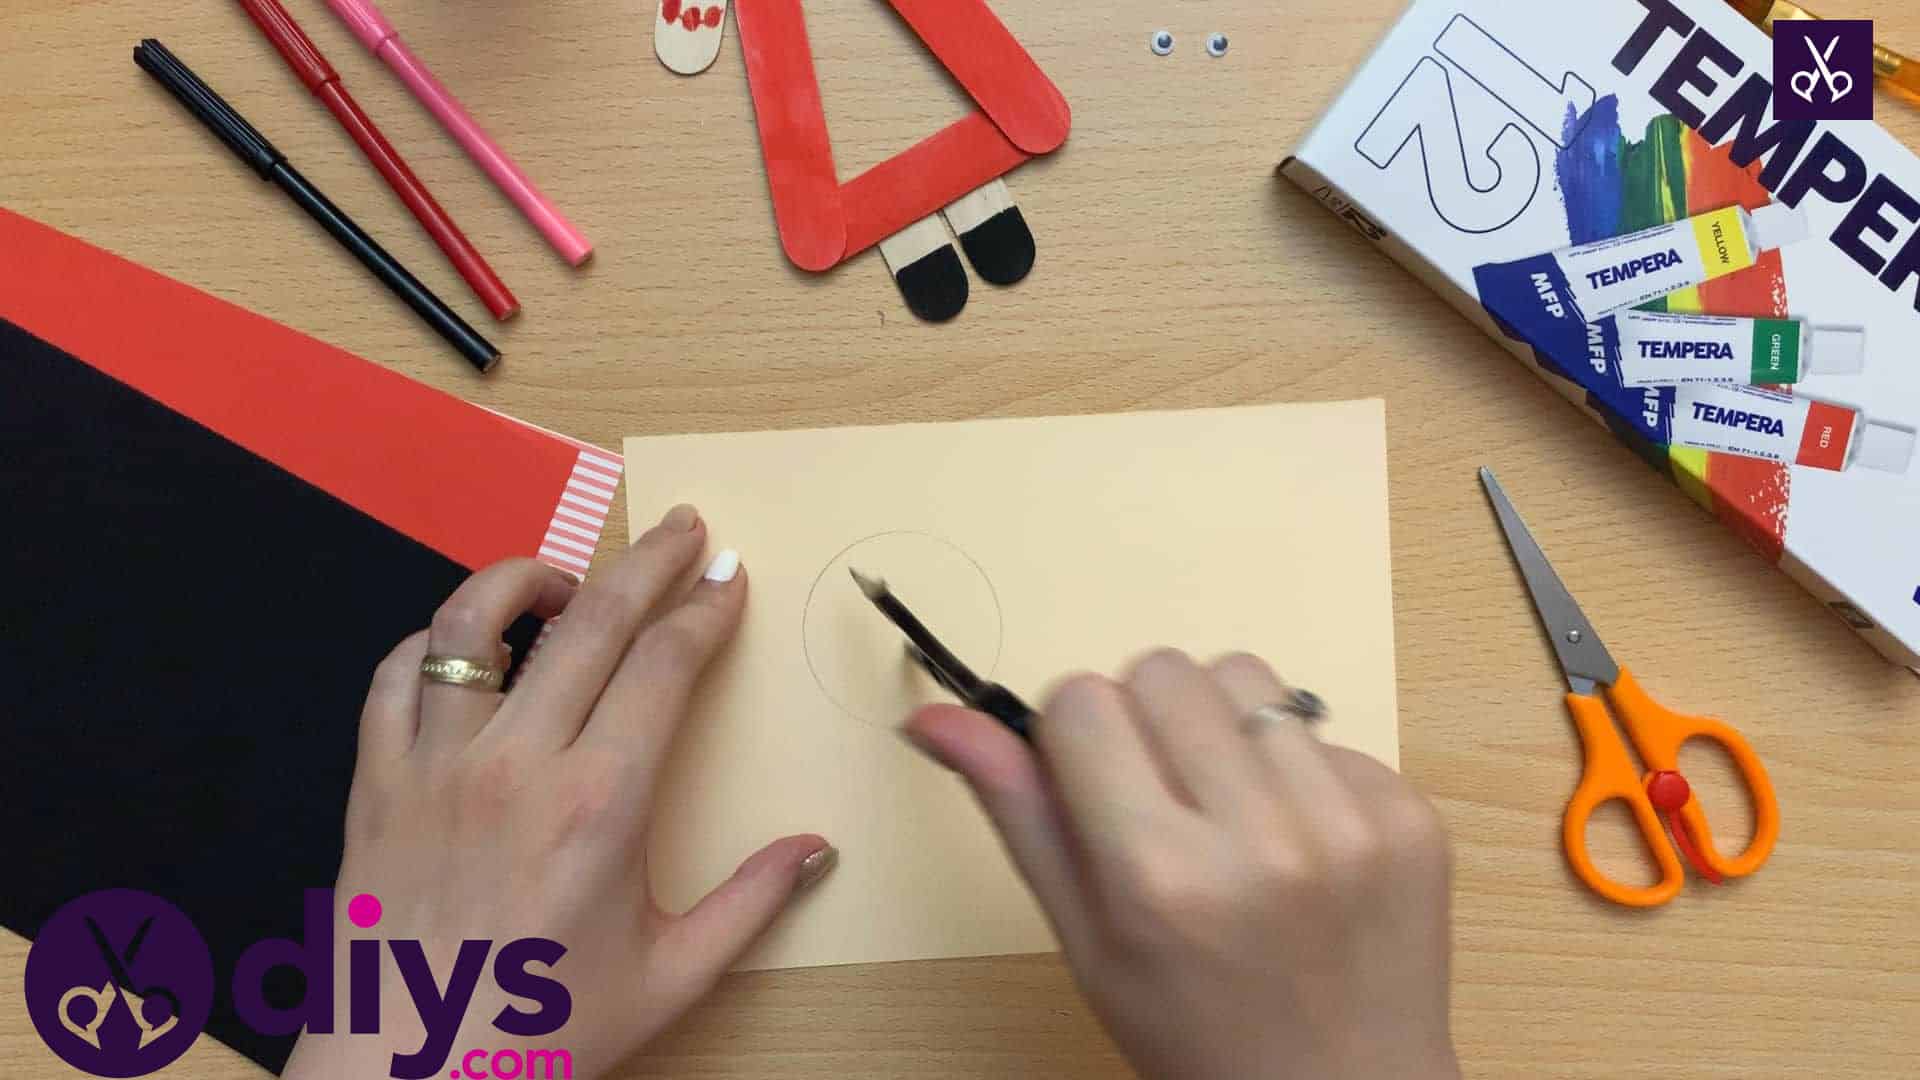
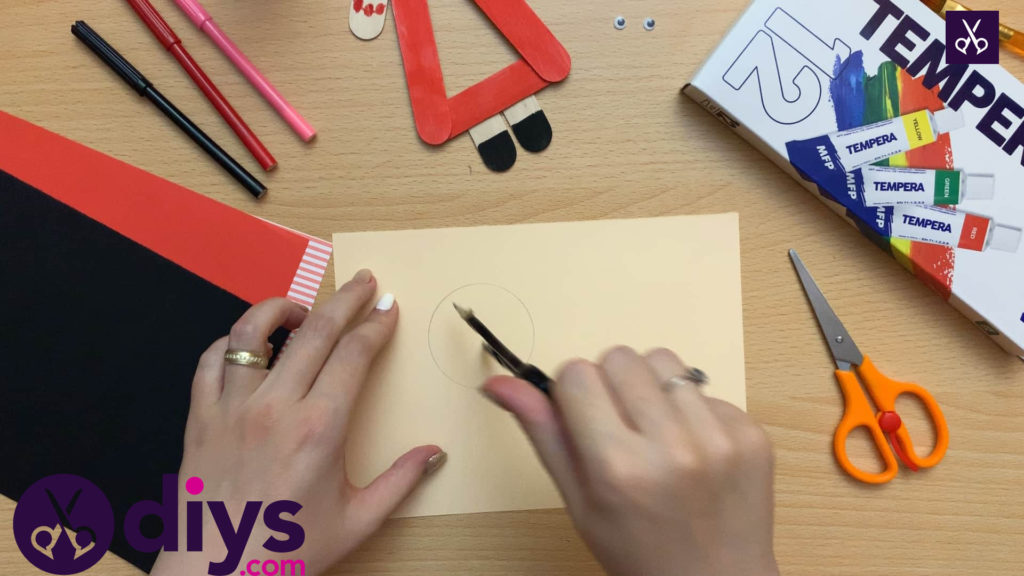
Position your caliper points about half an inch apart from each other and use that dimension to draw a circle on your cream coloured page. This will be your puppet’s face.
Step 8: draw the hair
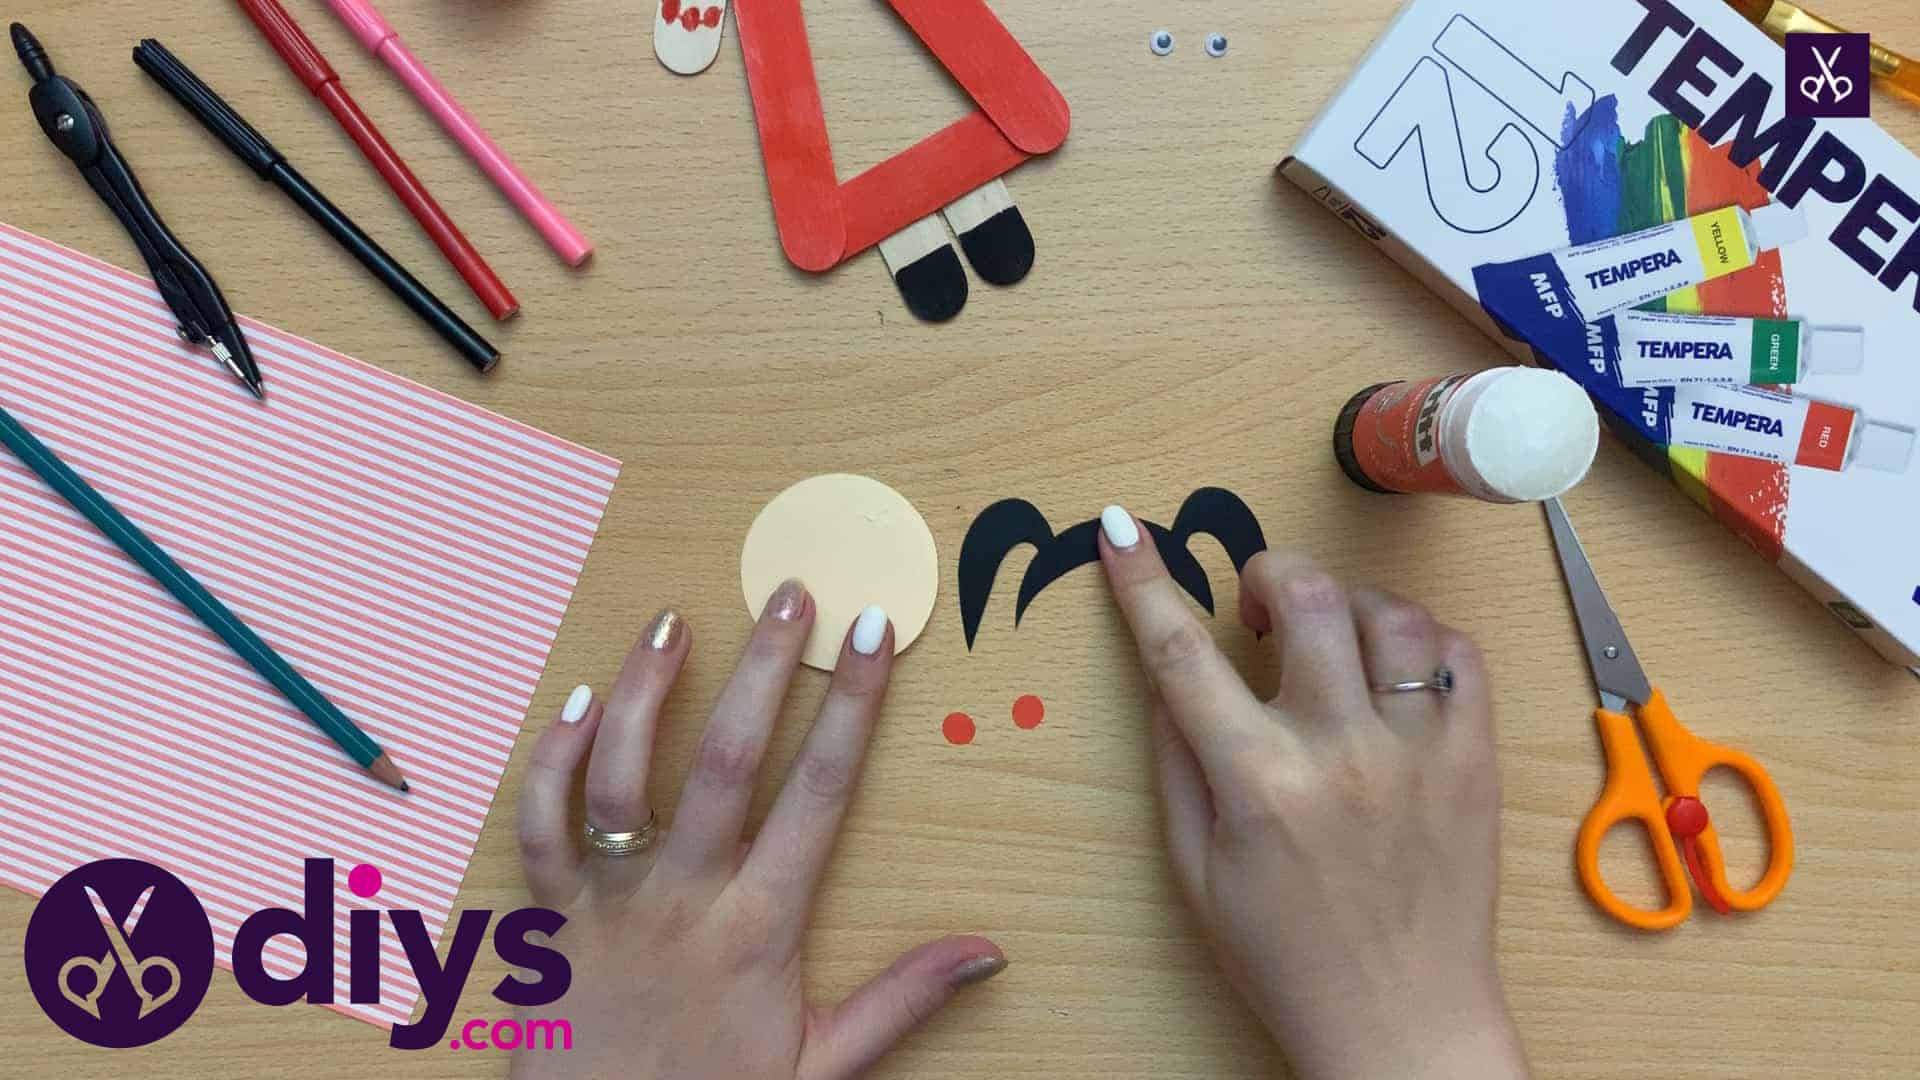
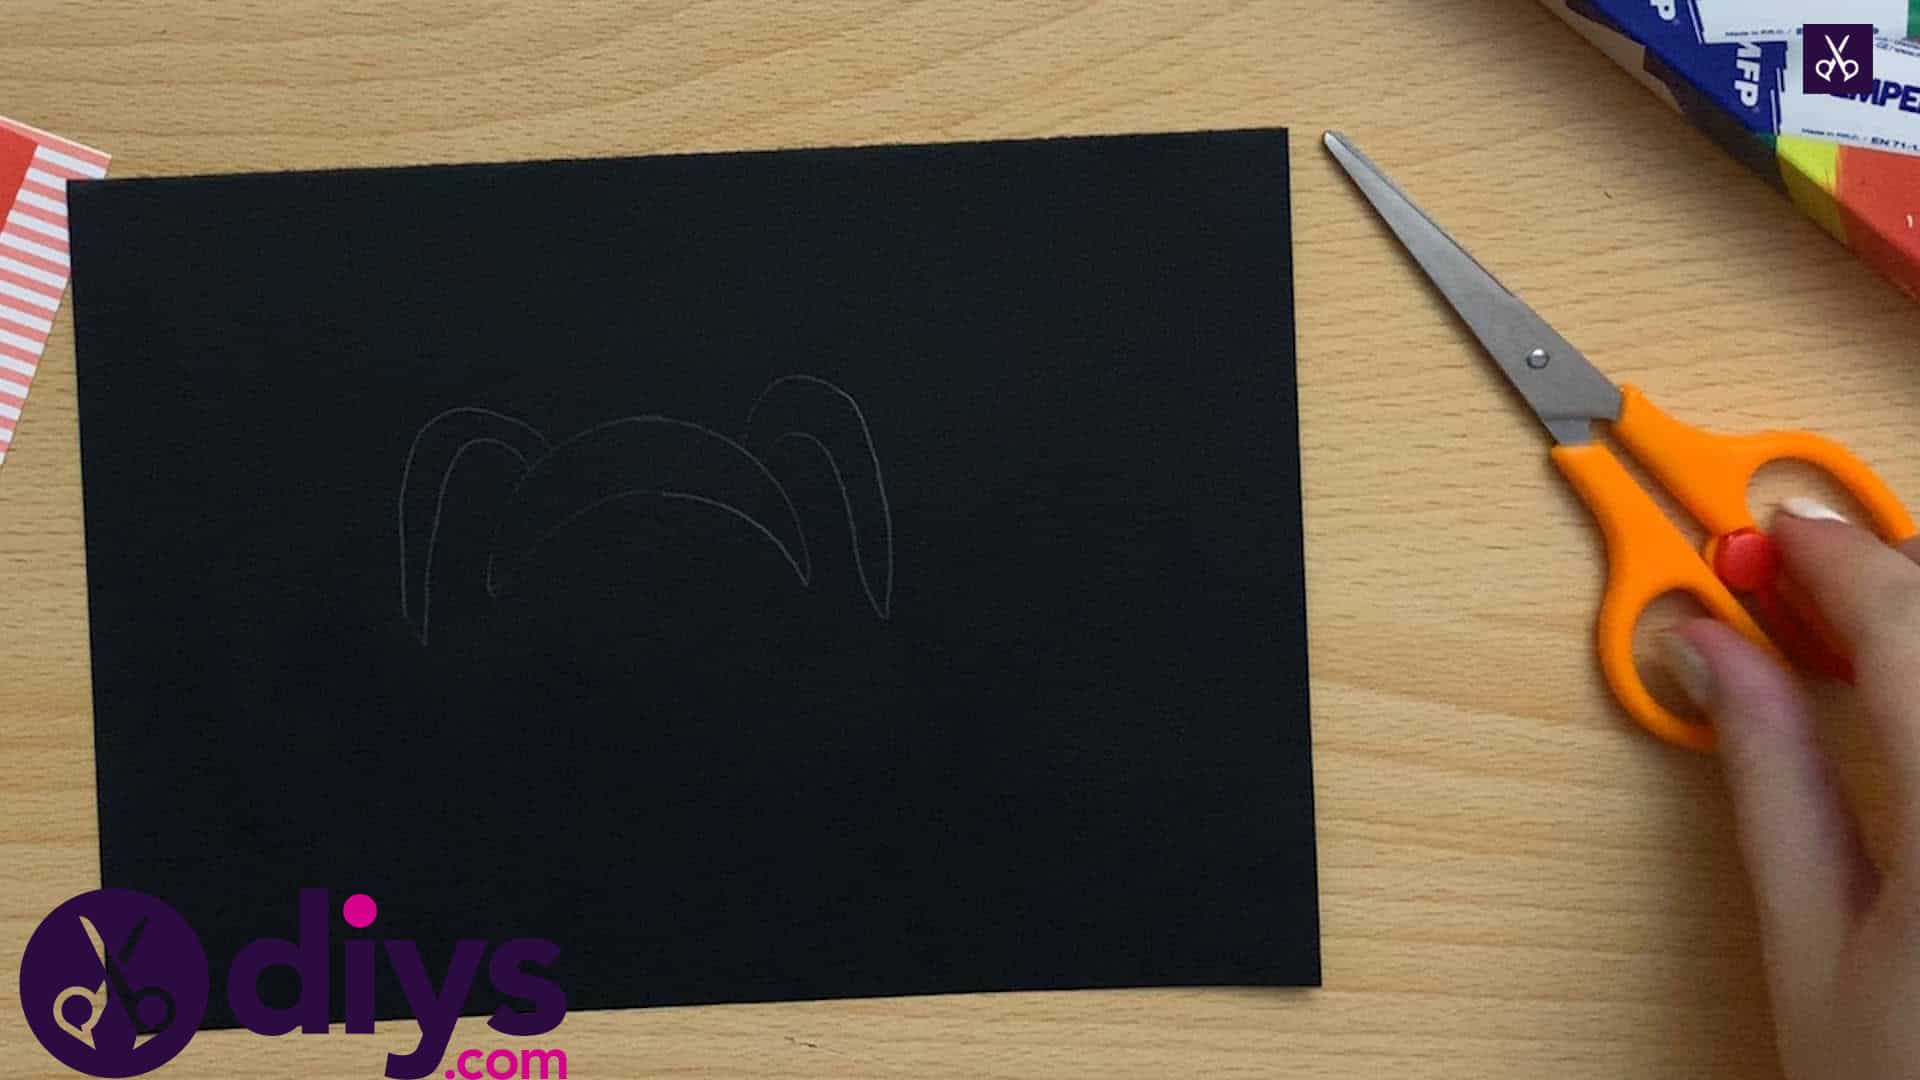
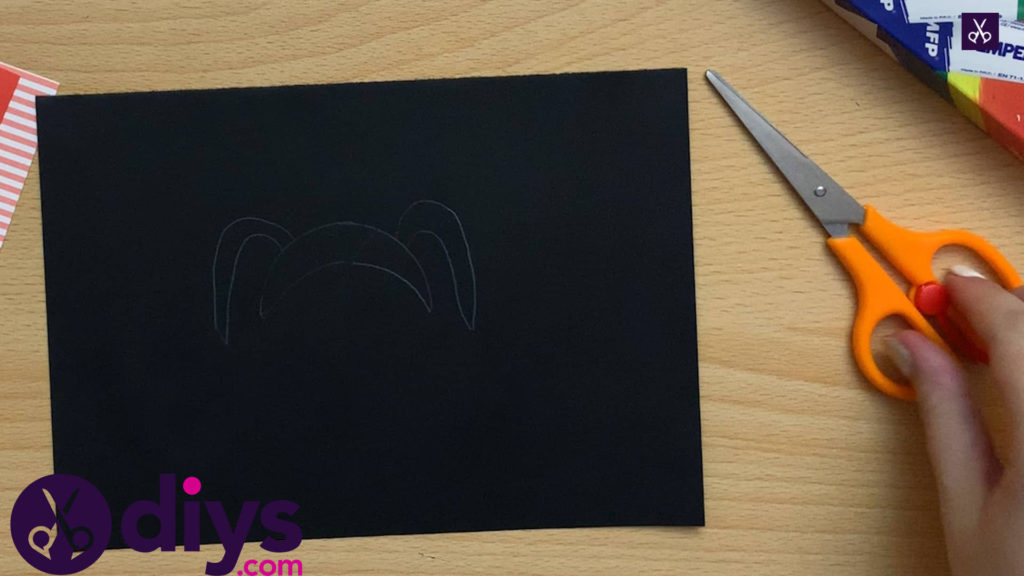
Hand draw the shape of pigtails onto your black paper. I did my sketch in pencil so that it actually showed up on the black page for me to see. I made sure to trace the hairline of the hair around the circle that made up my puppet’s head, just to make sure it fit on properly. Next, cut two very small circles from red paper. You’ll place these at the base of the pigtails like hair ties.
Step 9: cut it out
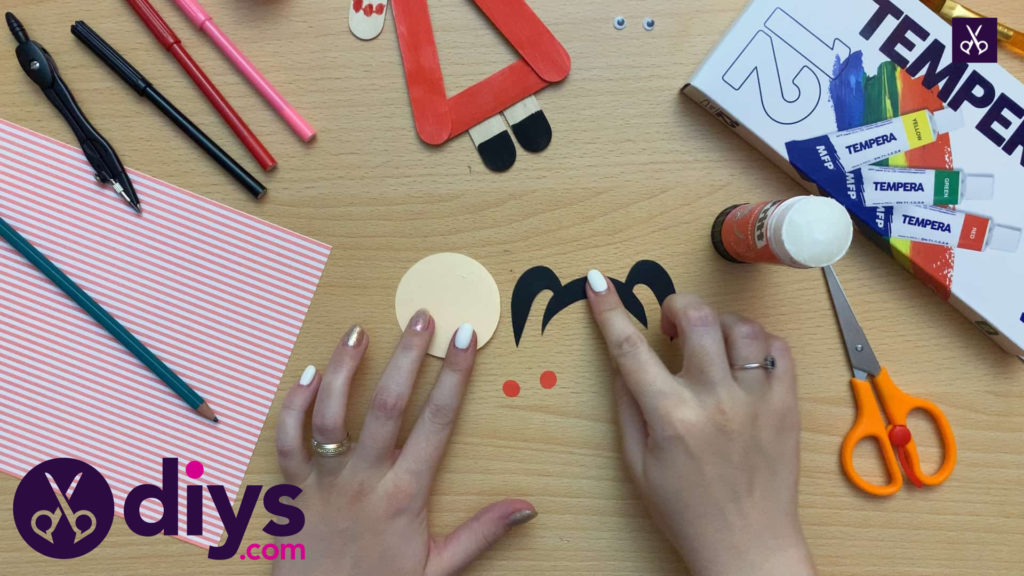
Cut out all of your paper features, including the head, the hair, and the little red hair ties.
Step 10: assemble
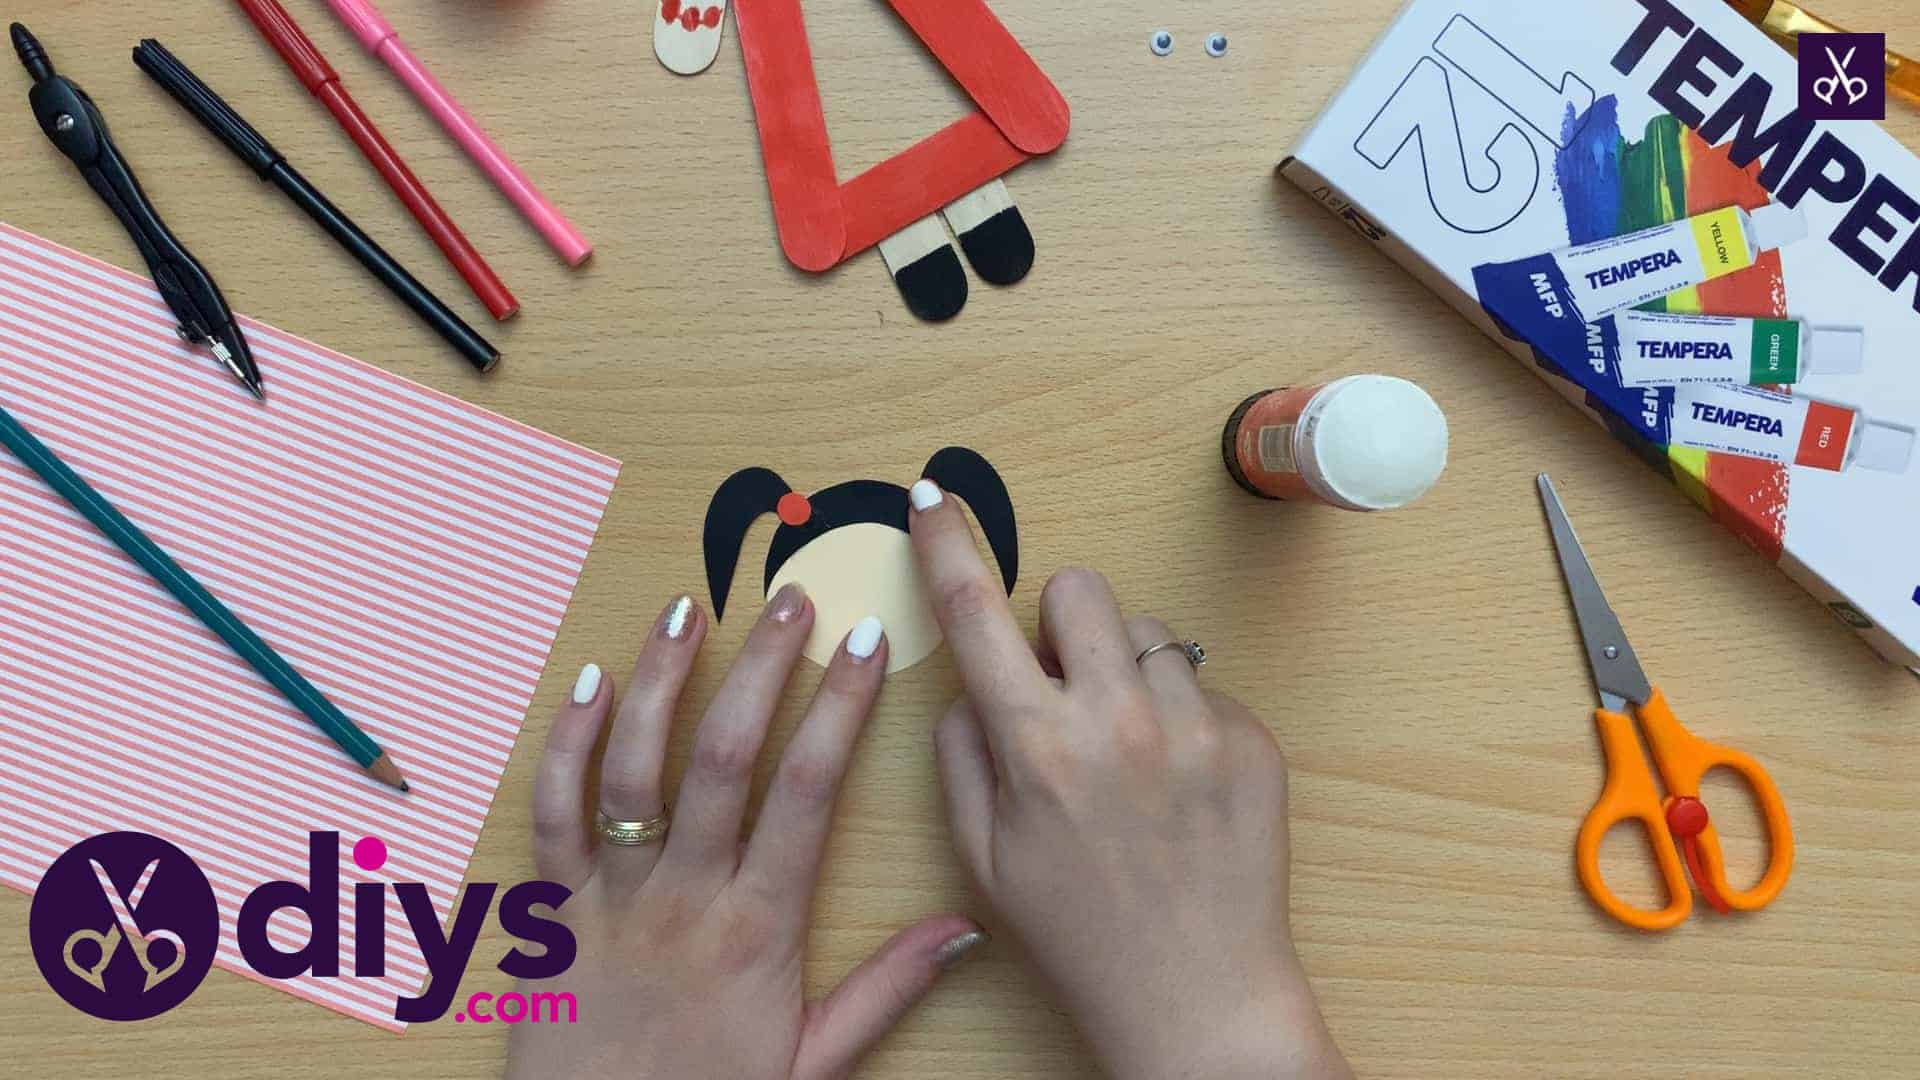
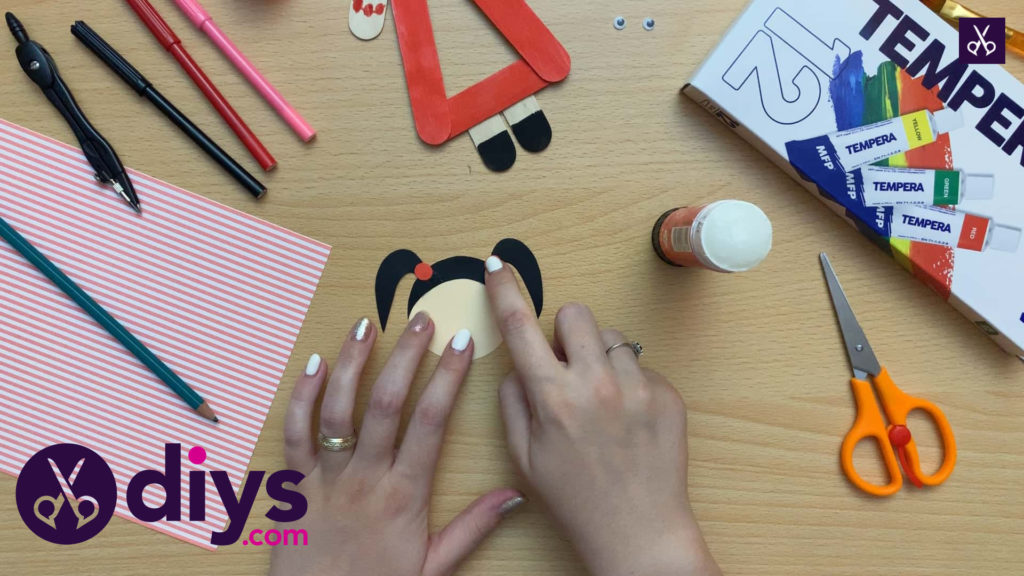
Glue all of your paper features together! I glued the hair to the top of the head first and then glued the hair tie details onto the base of the pigtails.
Step 11: finish face
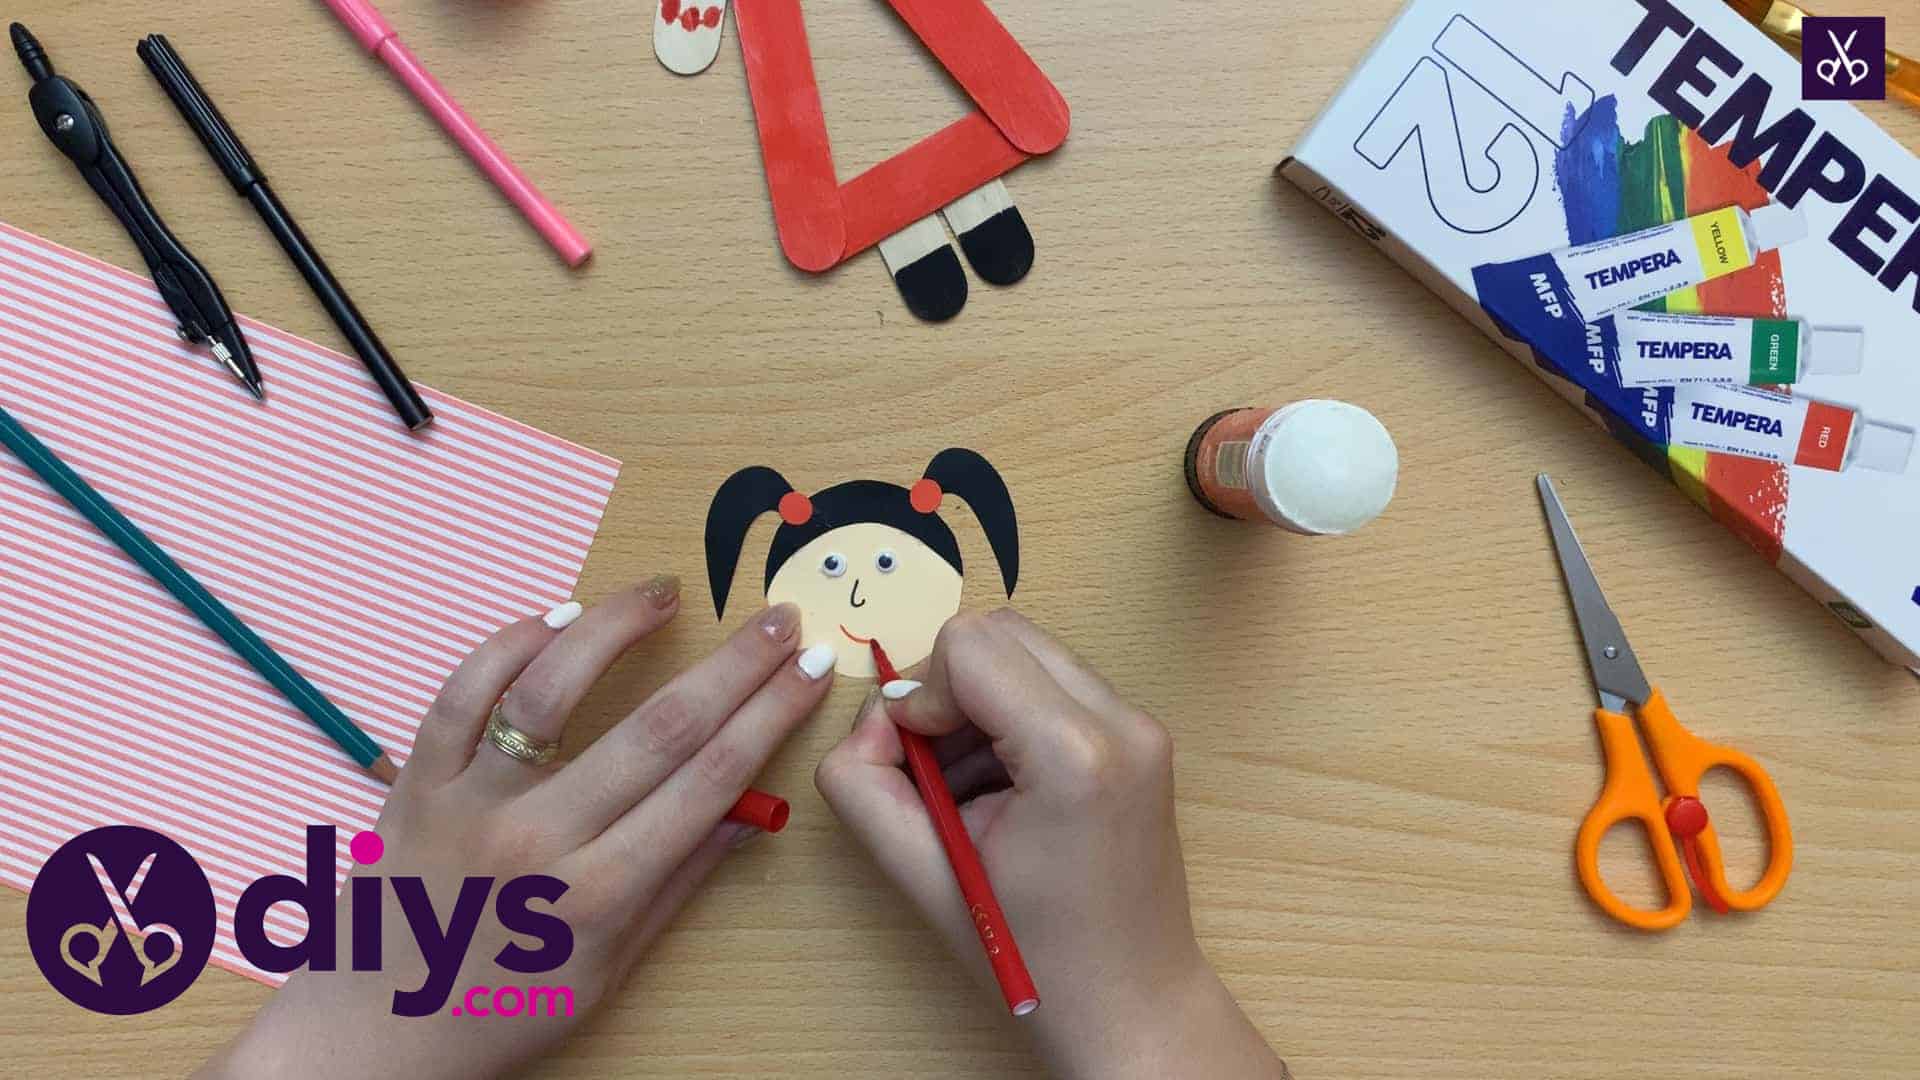
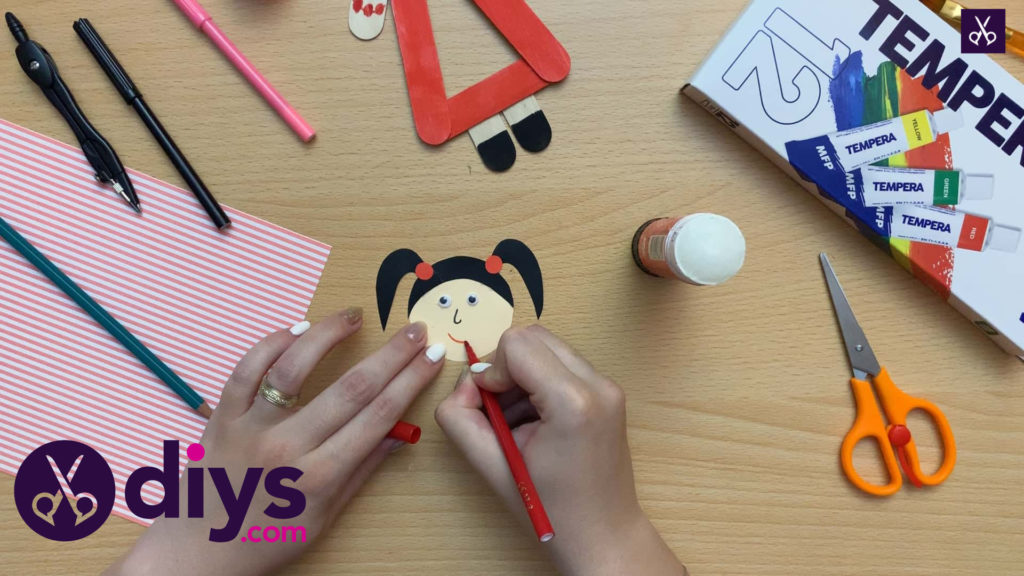
Finish your puppet’s face. I glued the googly eyes on where I wanted them to sit first and then used a black marker to add a nose and a red marker to draw a simple, happy smile on just below that.
Step 12: fill in dress
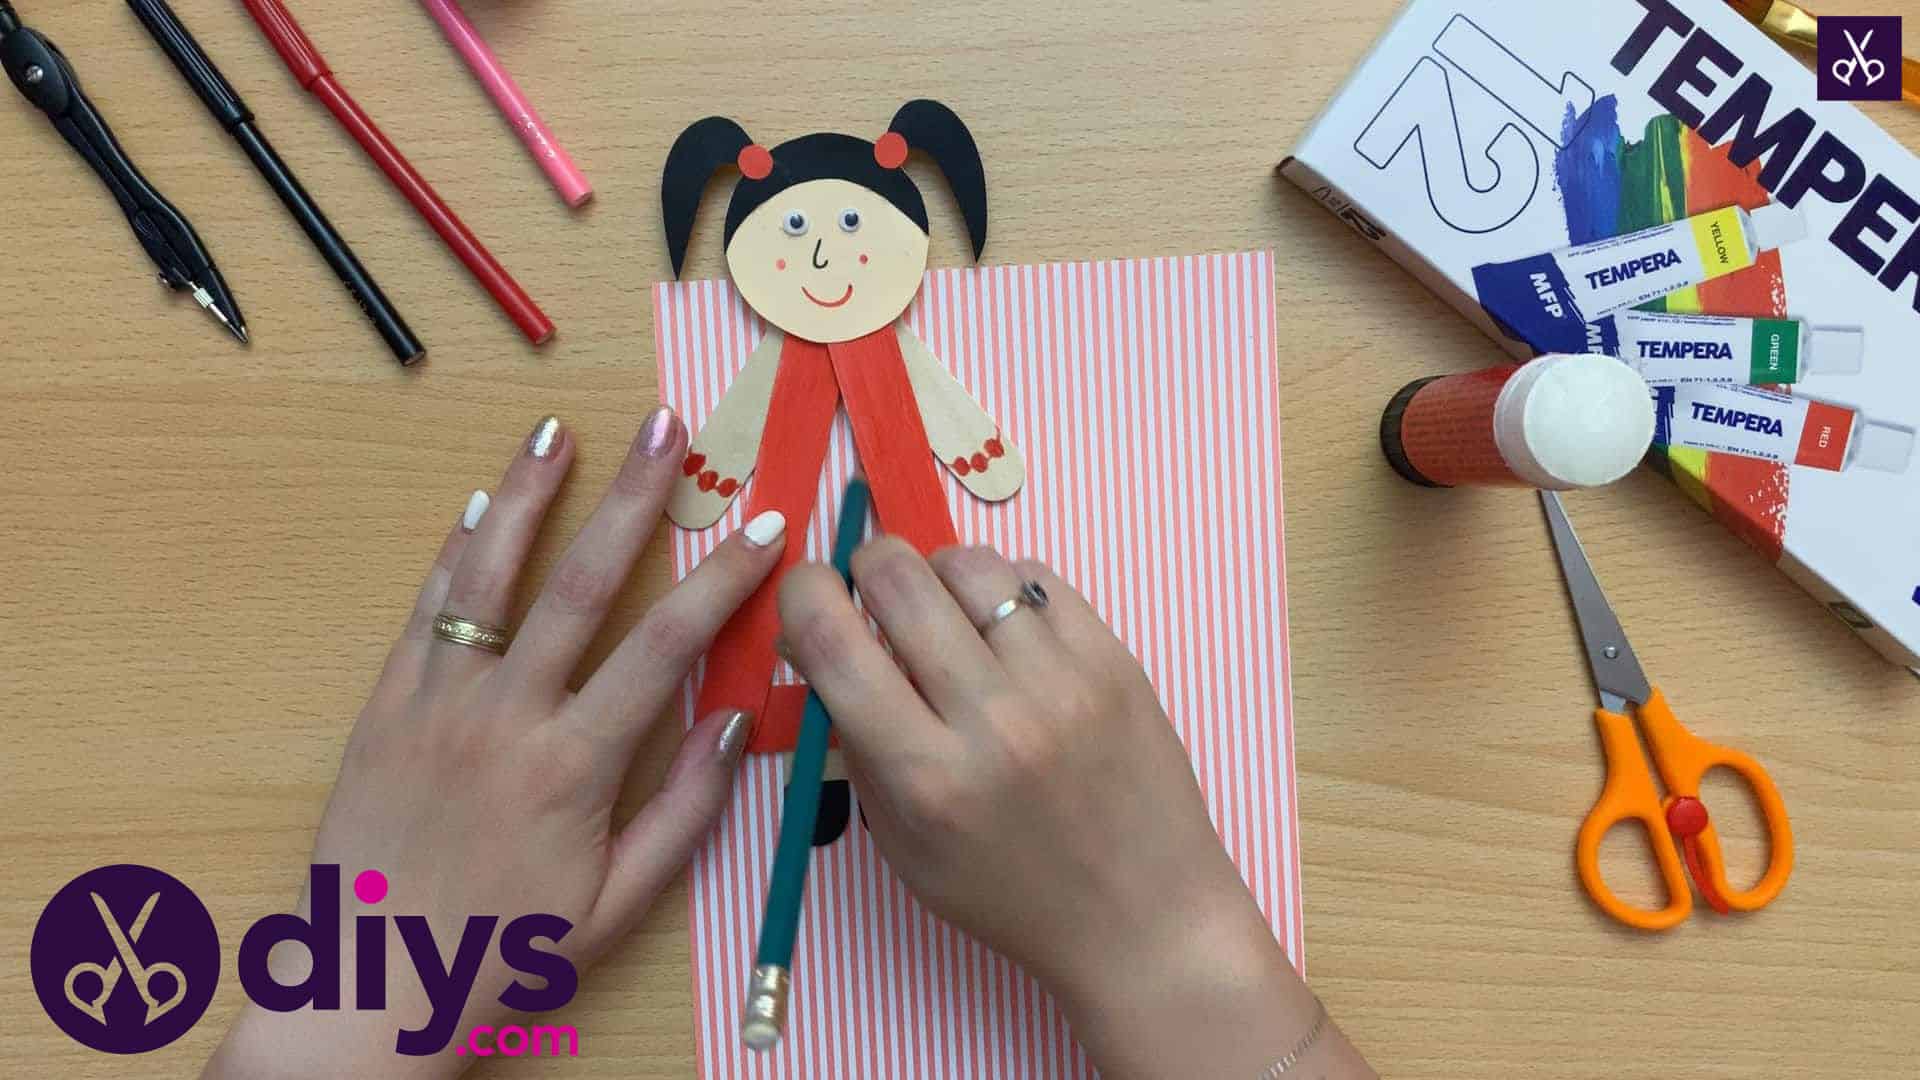
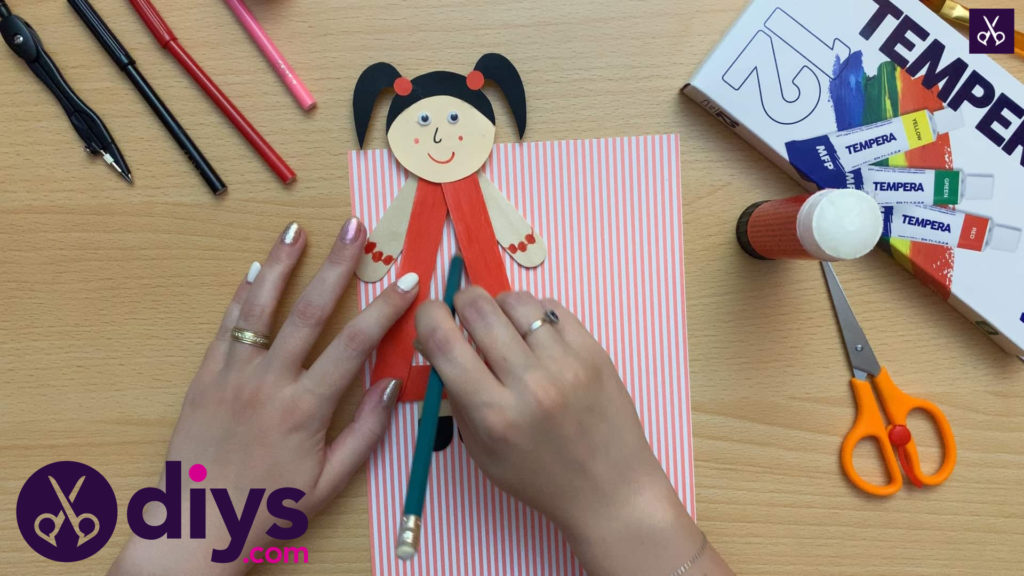
Place your puppet on top of your patterned paper and use a pencil to carefully trace the inside shape onto the page. This will give you a triangle outline that perfectly fills the empty center of your puppet’s dress. Once you’re done tracing, move the puppet and cut the triangle out.
Step 13: glue it
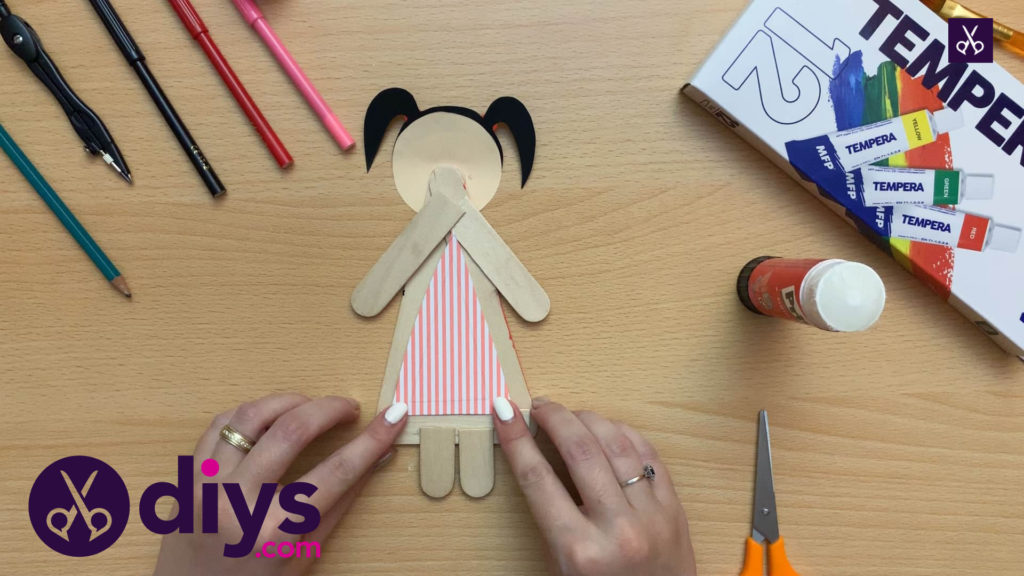
Apply glue all around the edges of your patterned paper triangle. Flip your puppet over and press the edges down onto the wood of the popsicle stick triangle that makes up your dress.
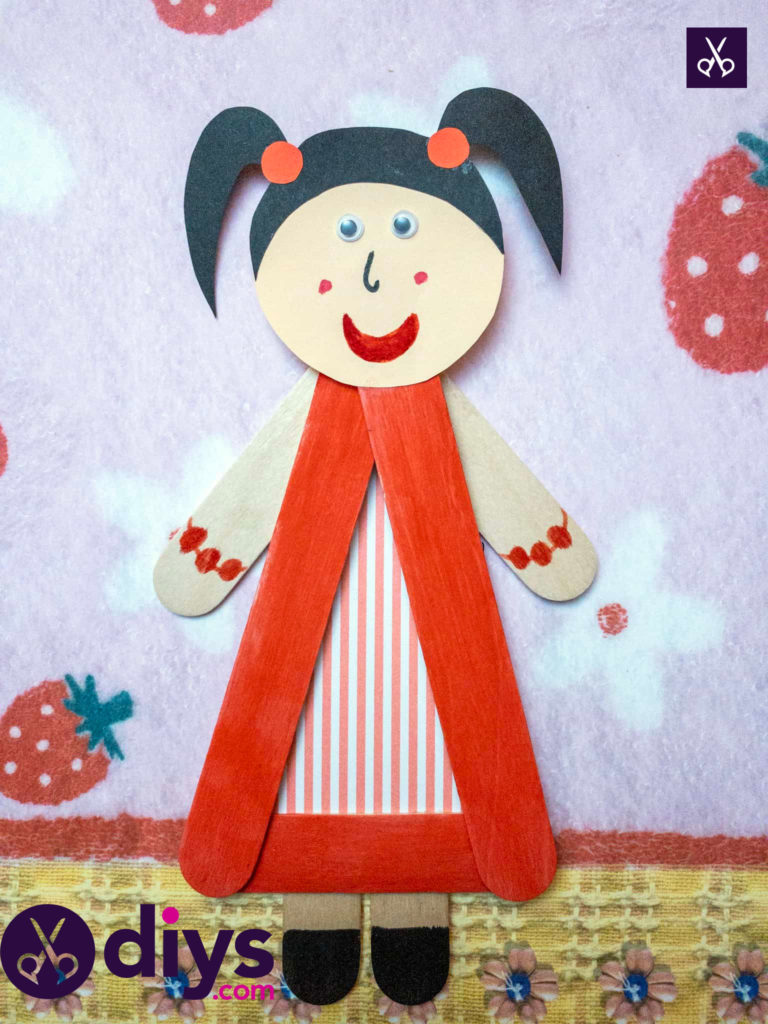
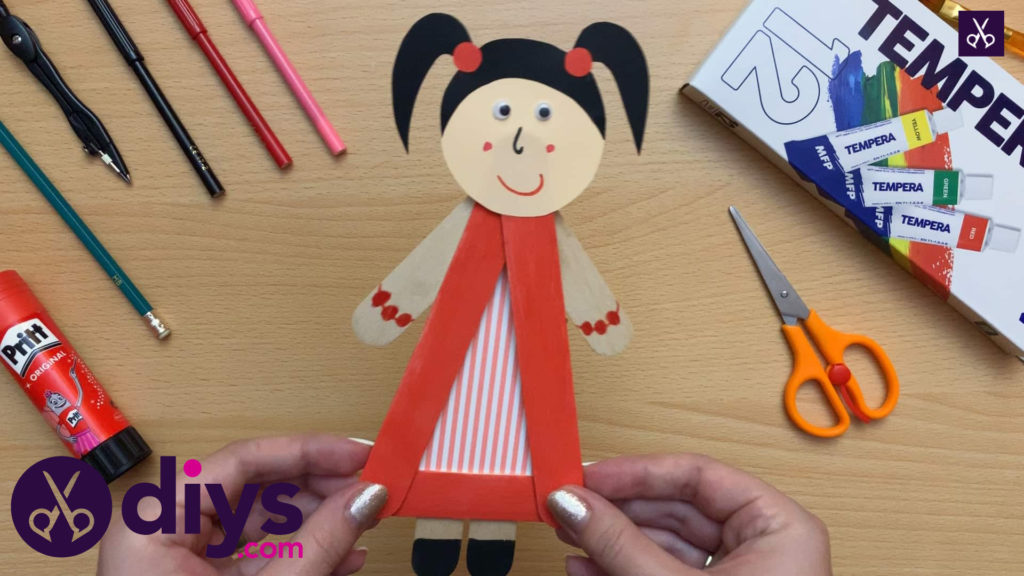
Turn the puppet back over and you’re all done! Your kids can use the puppet the way she is like a doll, or you can glue her to the end of an extra popsicle stick so she can be moved around like a classic stick puppet. Either way, she’s adorable!
Just in case you’d like to try this project out as well, here’s an awesome tutorial video to give you a hand!
