DIY Elegant Popsicle Stick Covered Tin Container
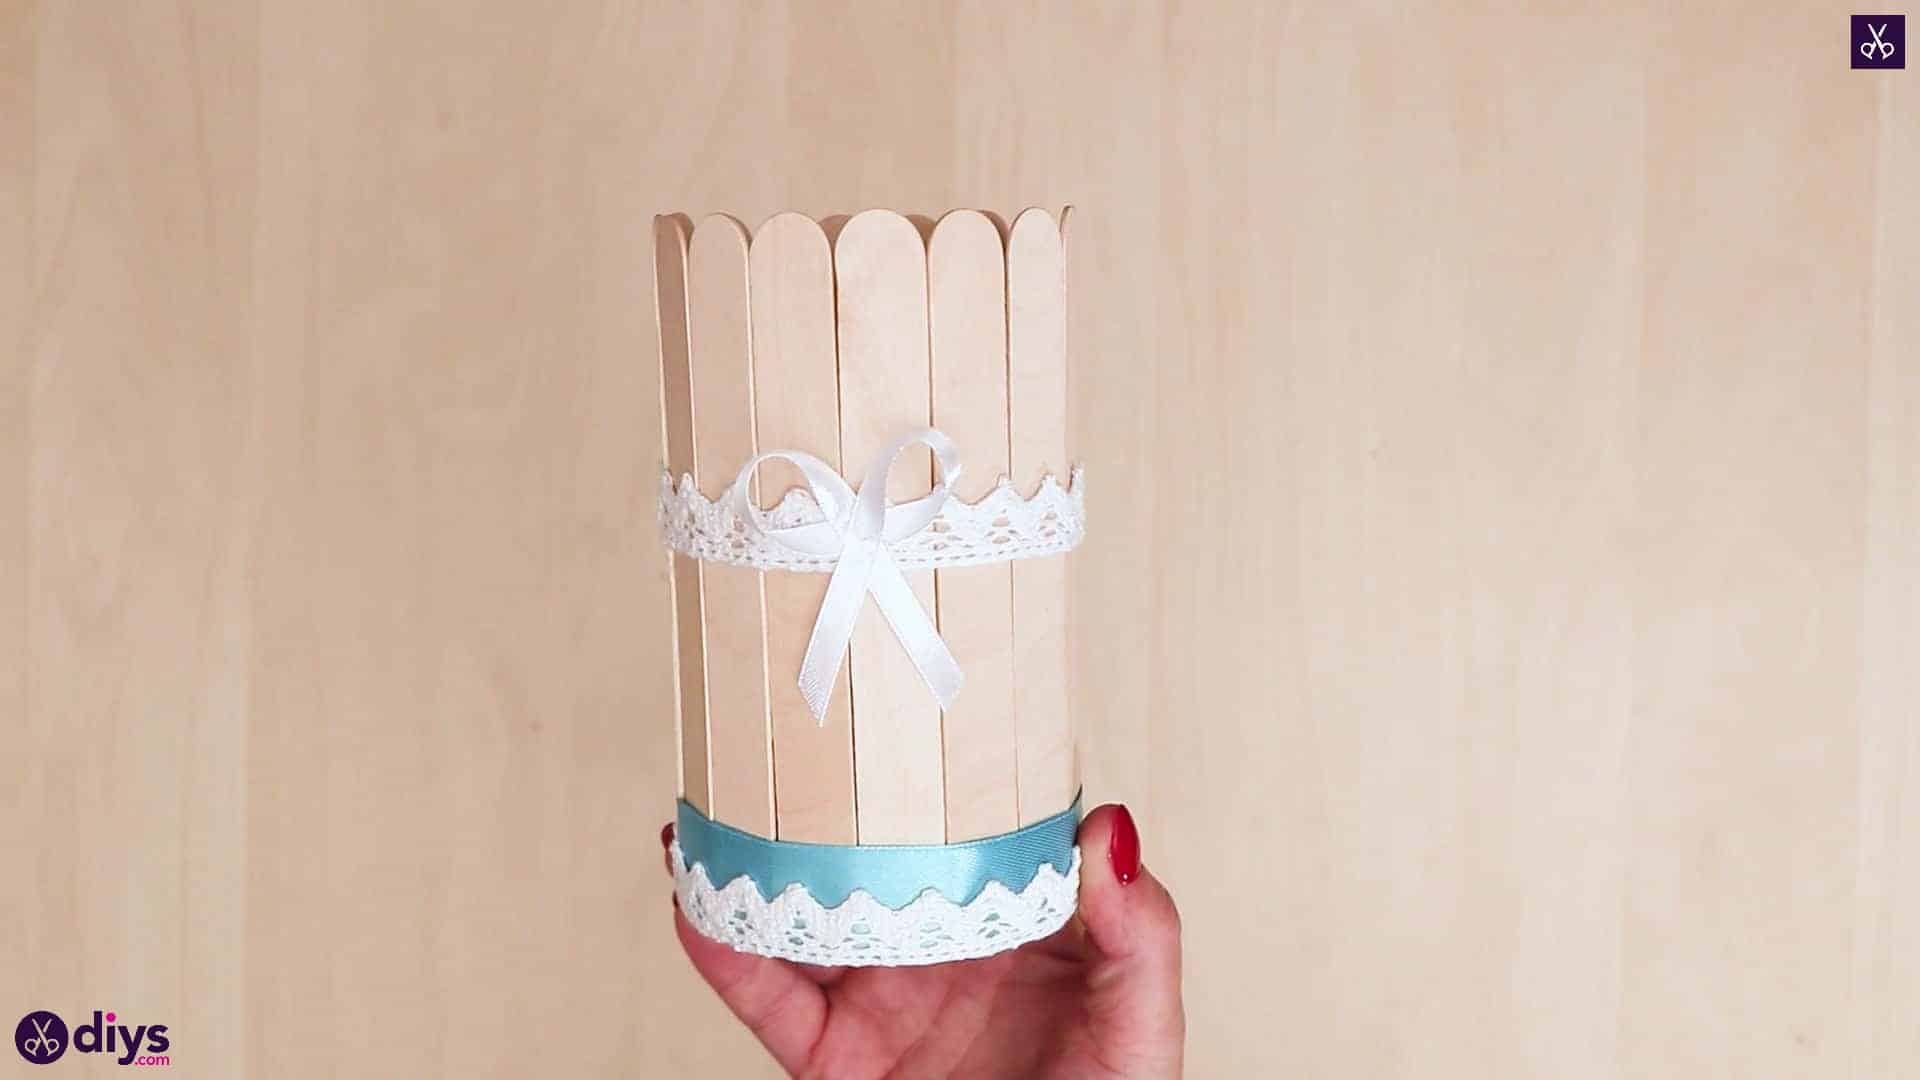
Popsicle sticks have so many amazing uses in the crafting world. I sat down and figured out a way to use them to make this super cute DIY elegant popsicle stick covered tin container. Perfect for holding pens and pencils, or some flowers. Check out how I put it all together right here!
Naturally, I documented the whole process just in case it came out the way I was picturing and made me want to share my work, which it totally did! Check out these step by step instructions complete with photos! If you’d rather follow along with a video tutorial instead of written words, scroll to the bottom of this post to find just what you’re looking for.
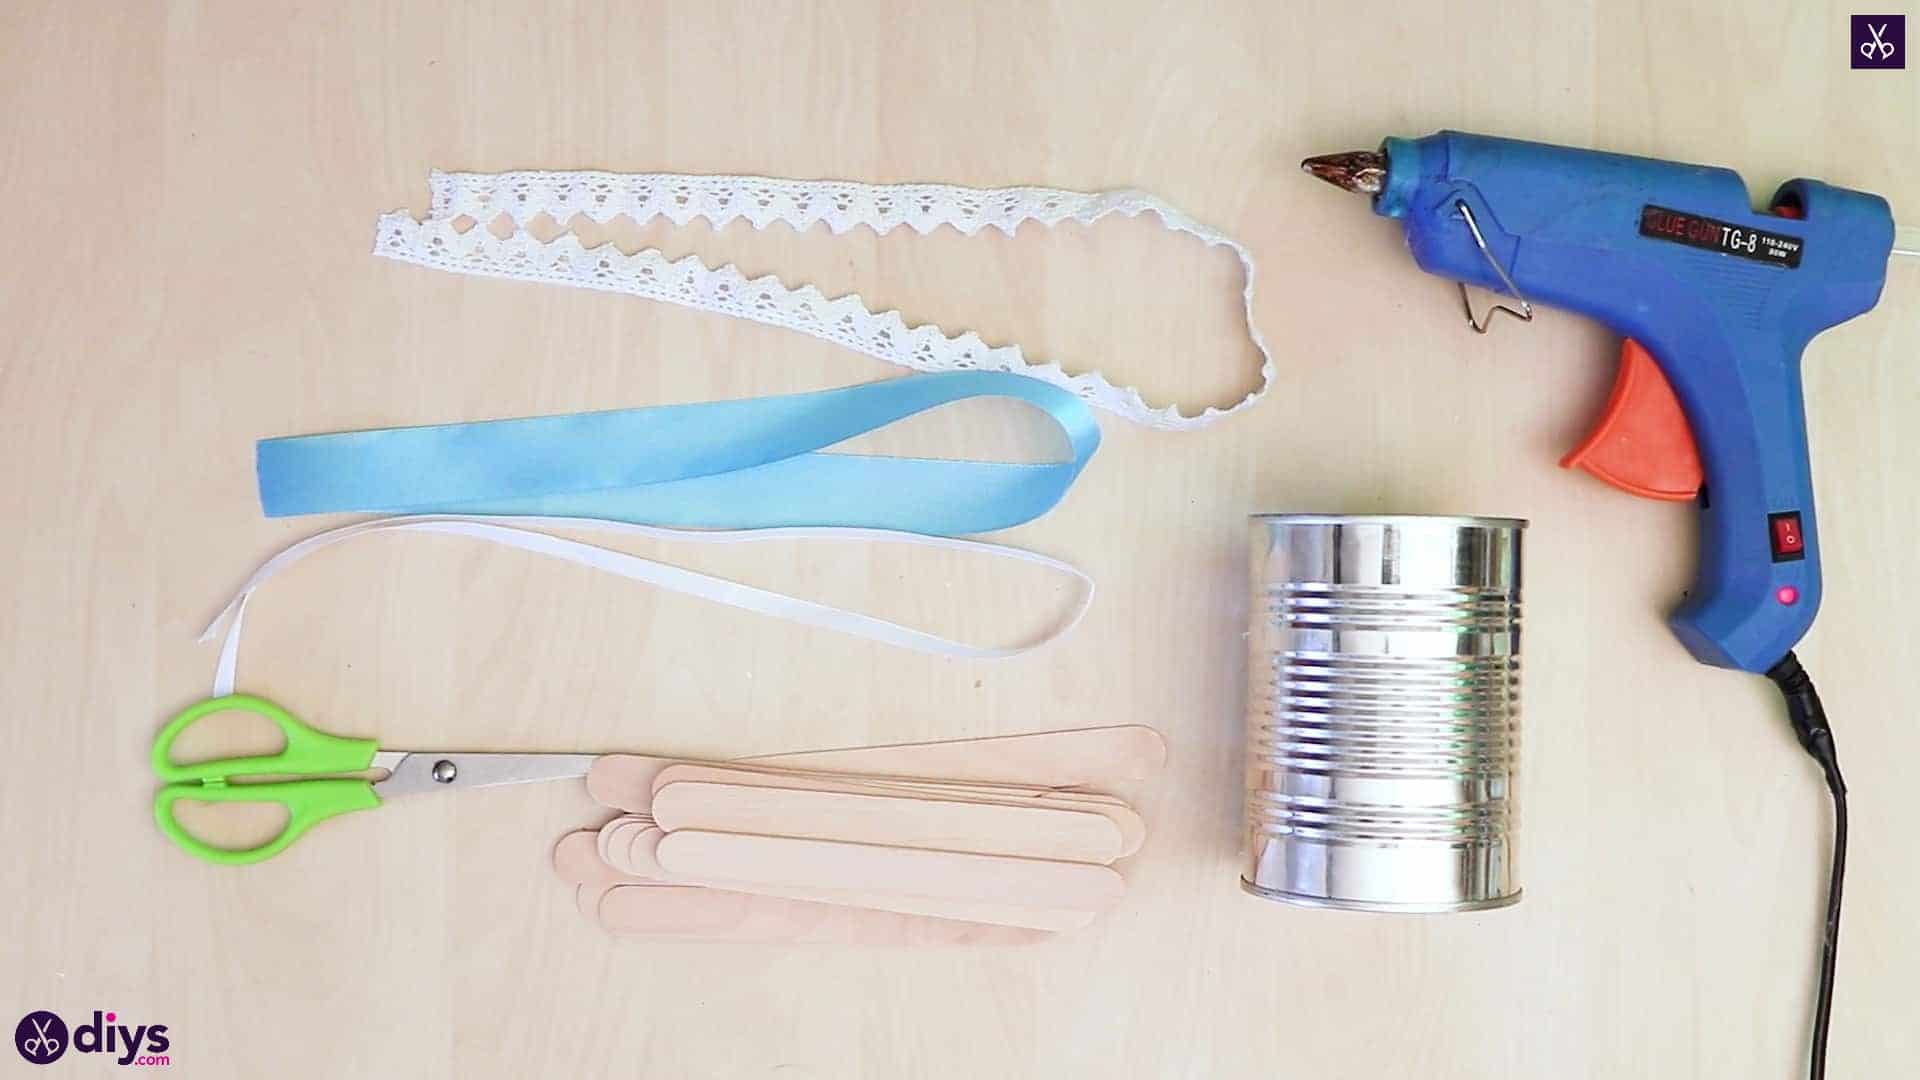
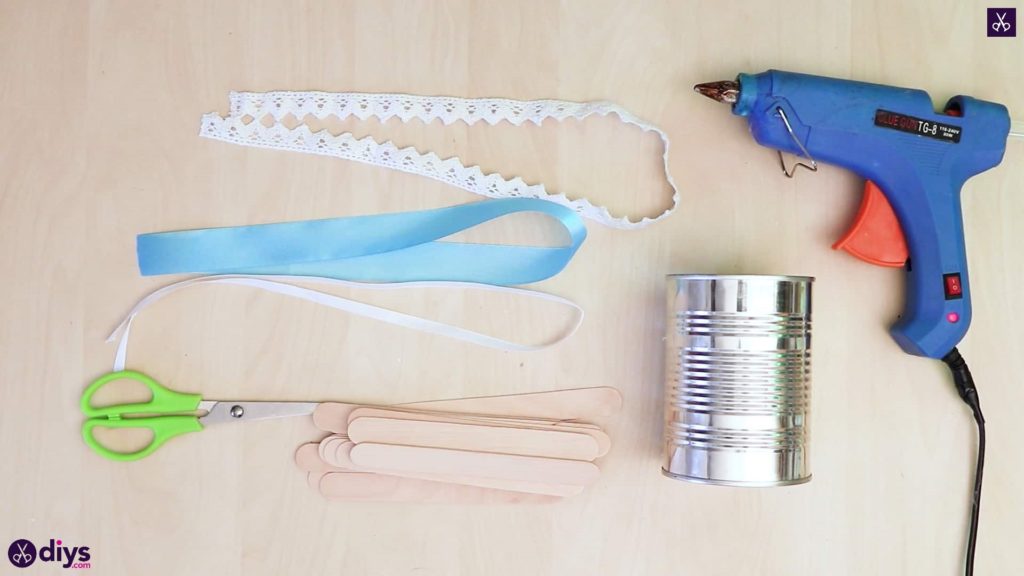
For this project, you’ll need:
- Popsicle sticks
- Ribbon (blue, white, and lace)
- Scissors
- Hot glue
- A tin can
Step 1: get ready
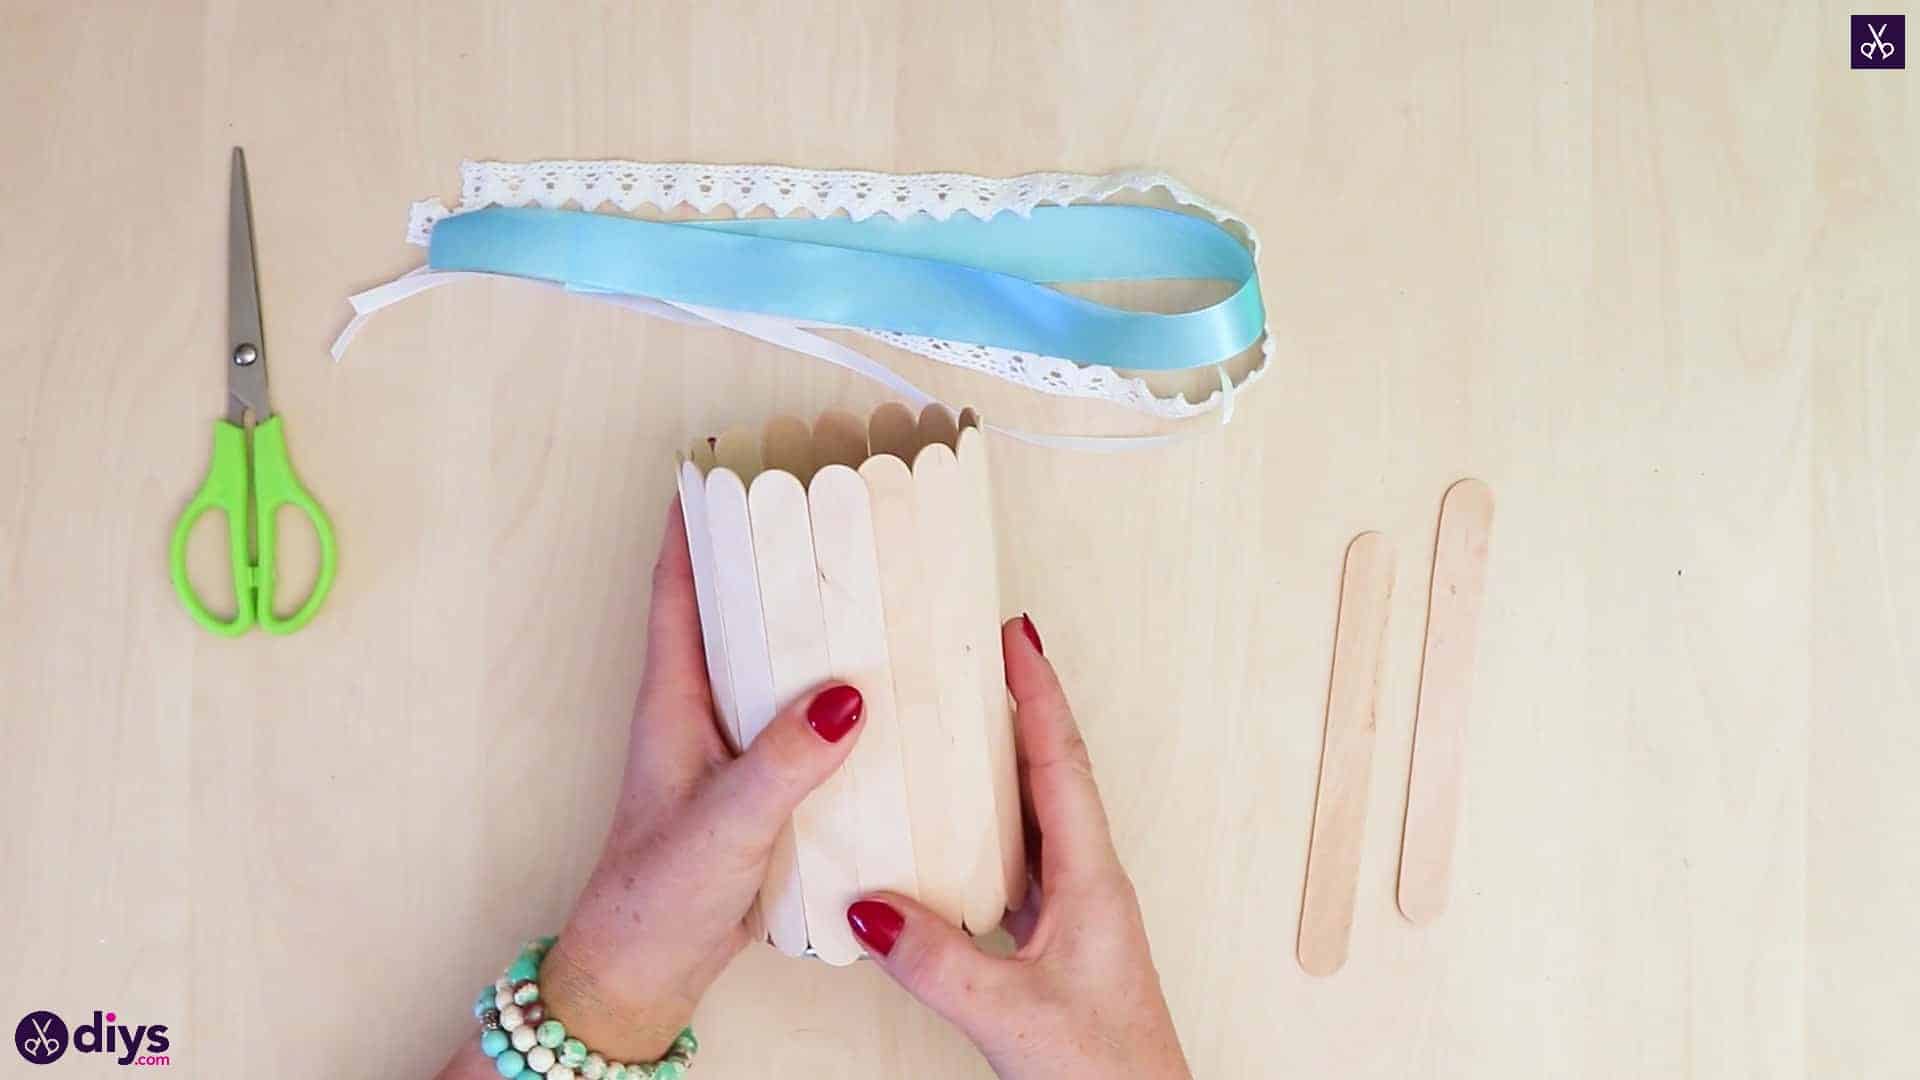
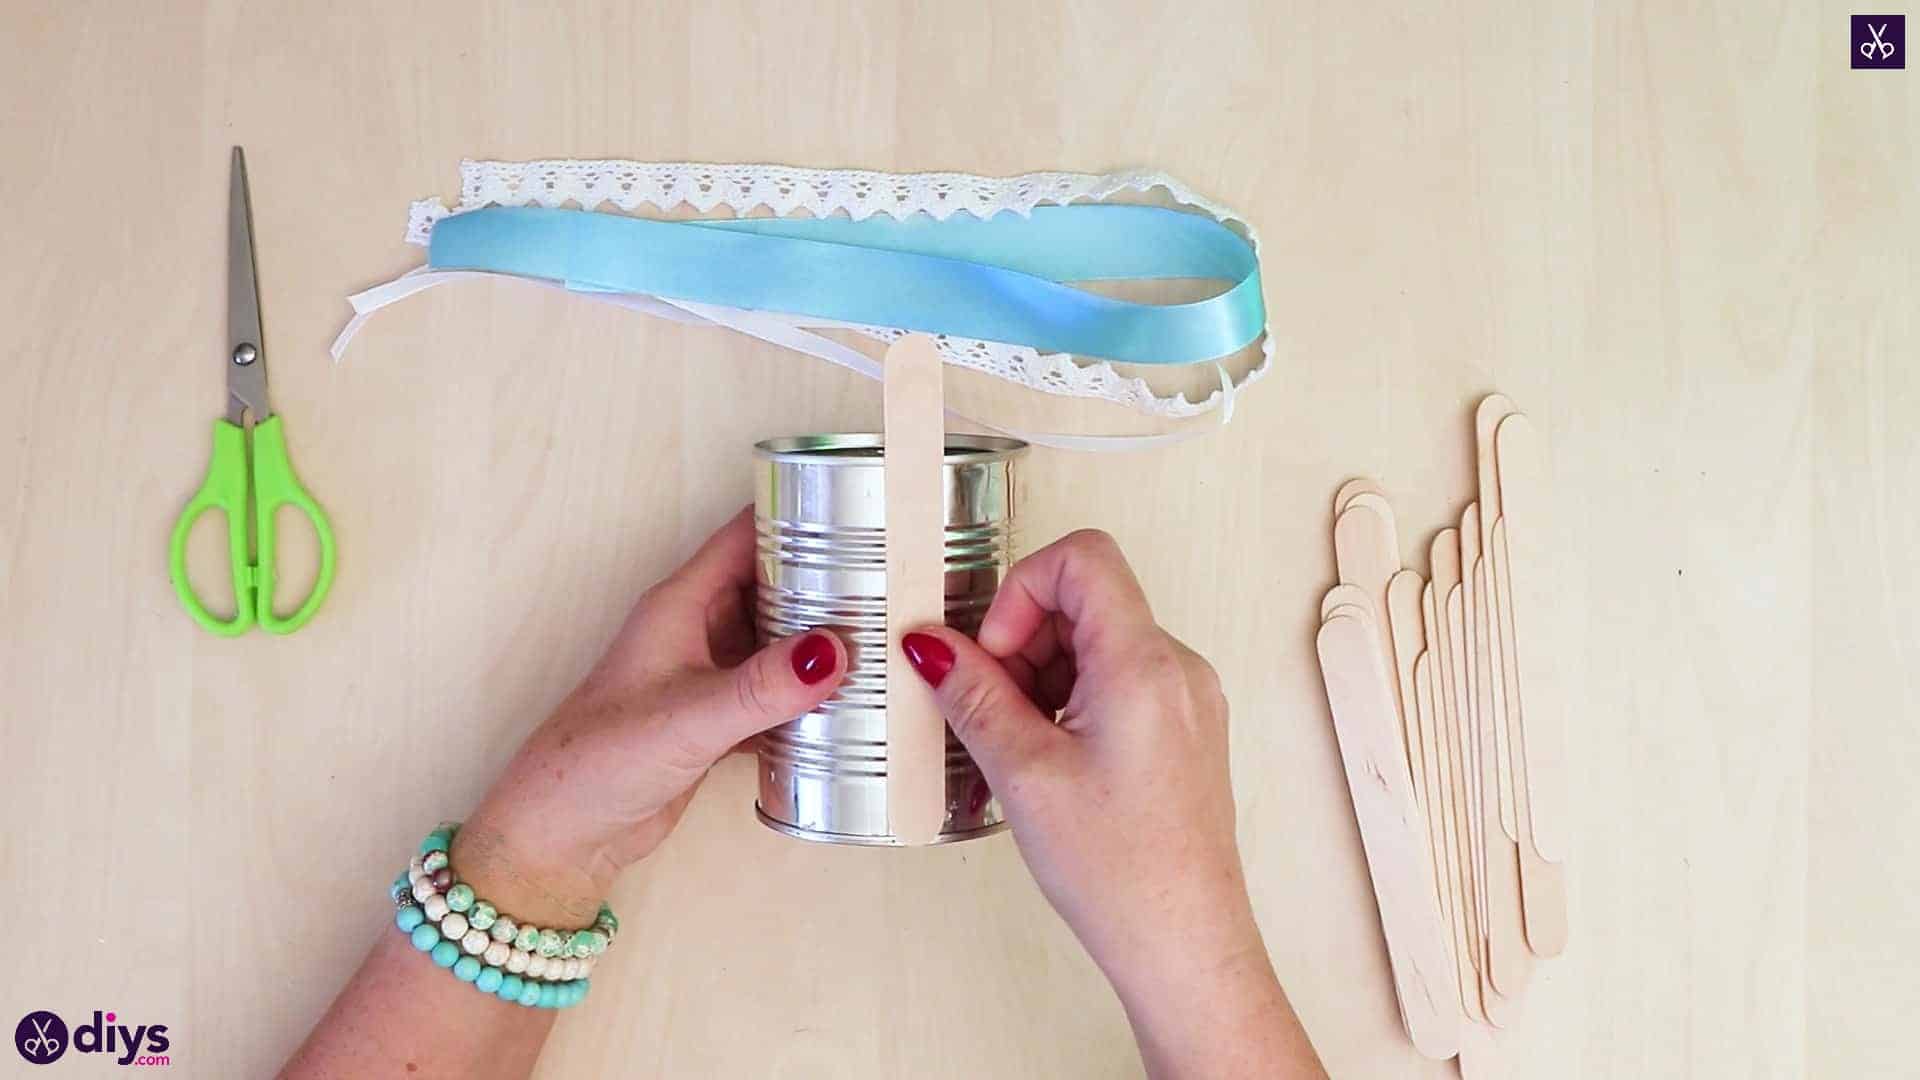
Gather your materials and everything you’ll need!
Step 2: start gluing sticks
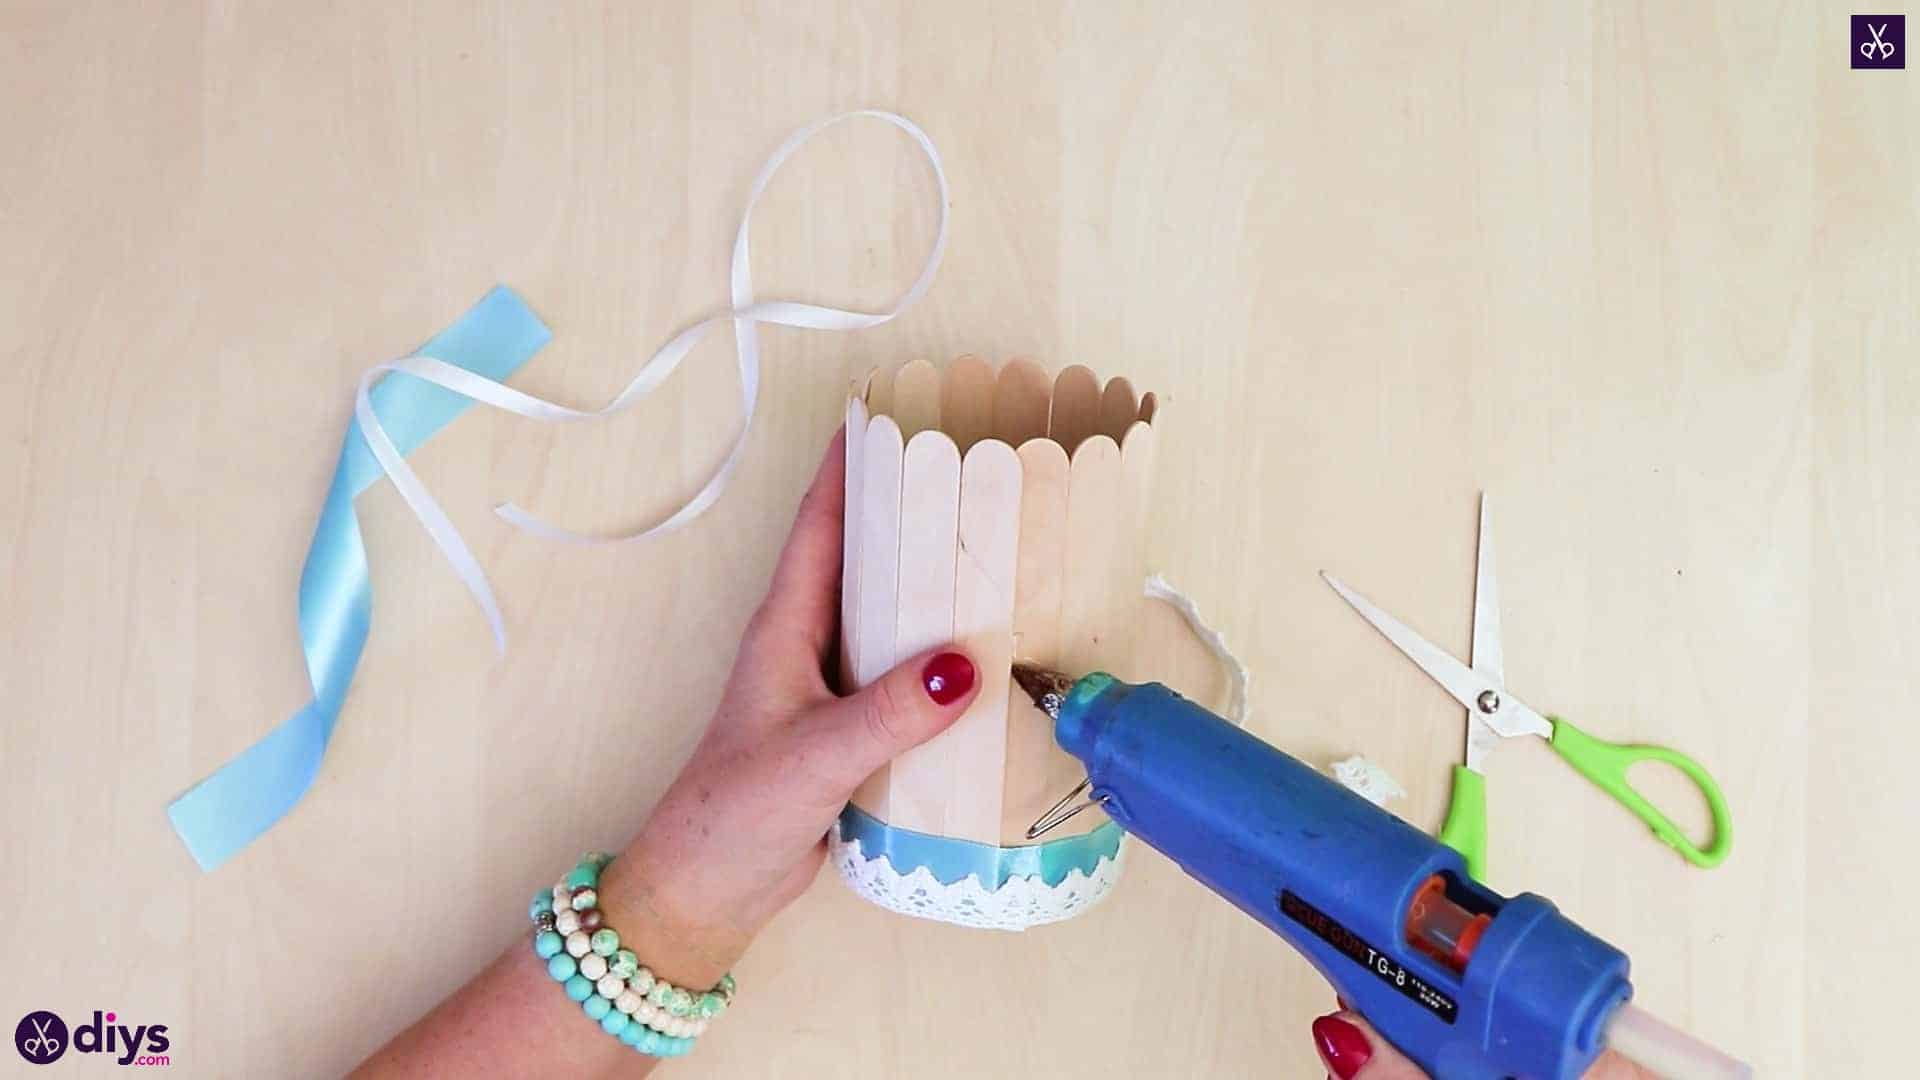
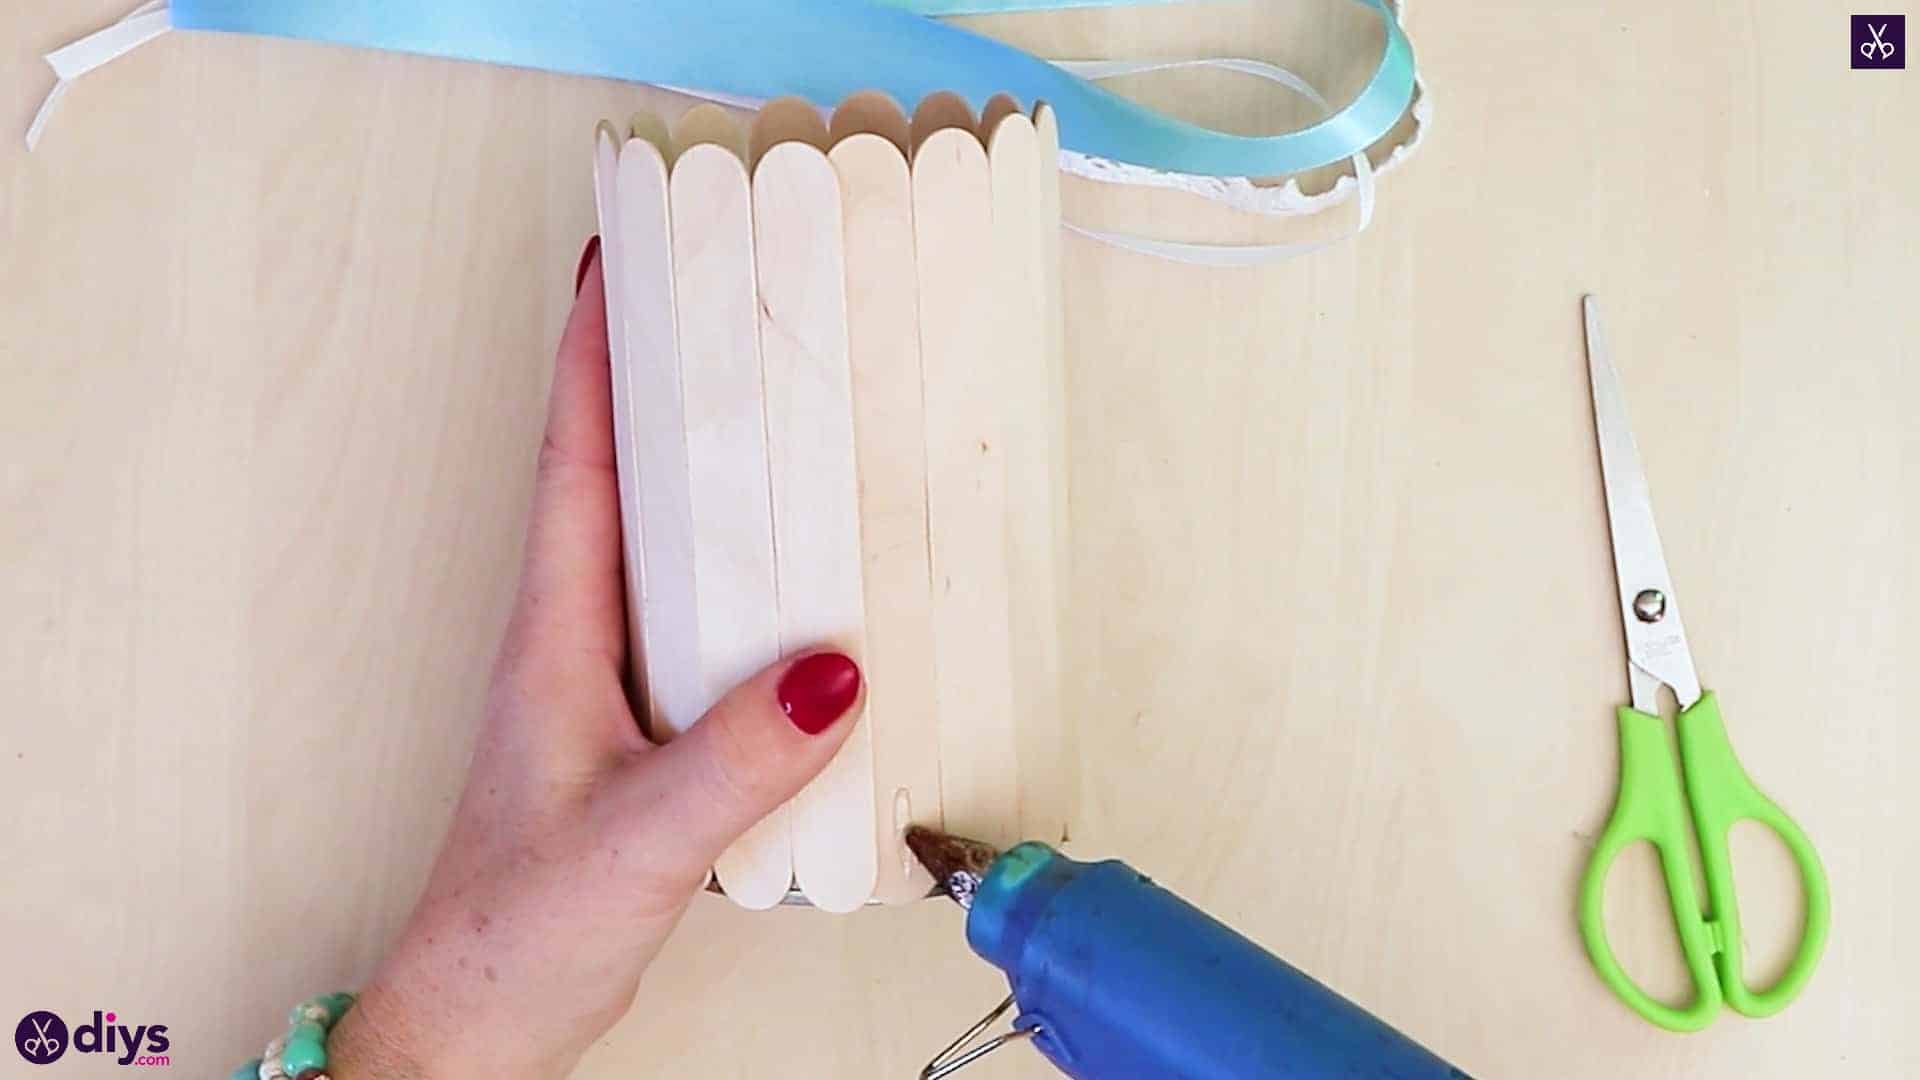
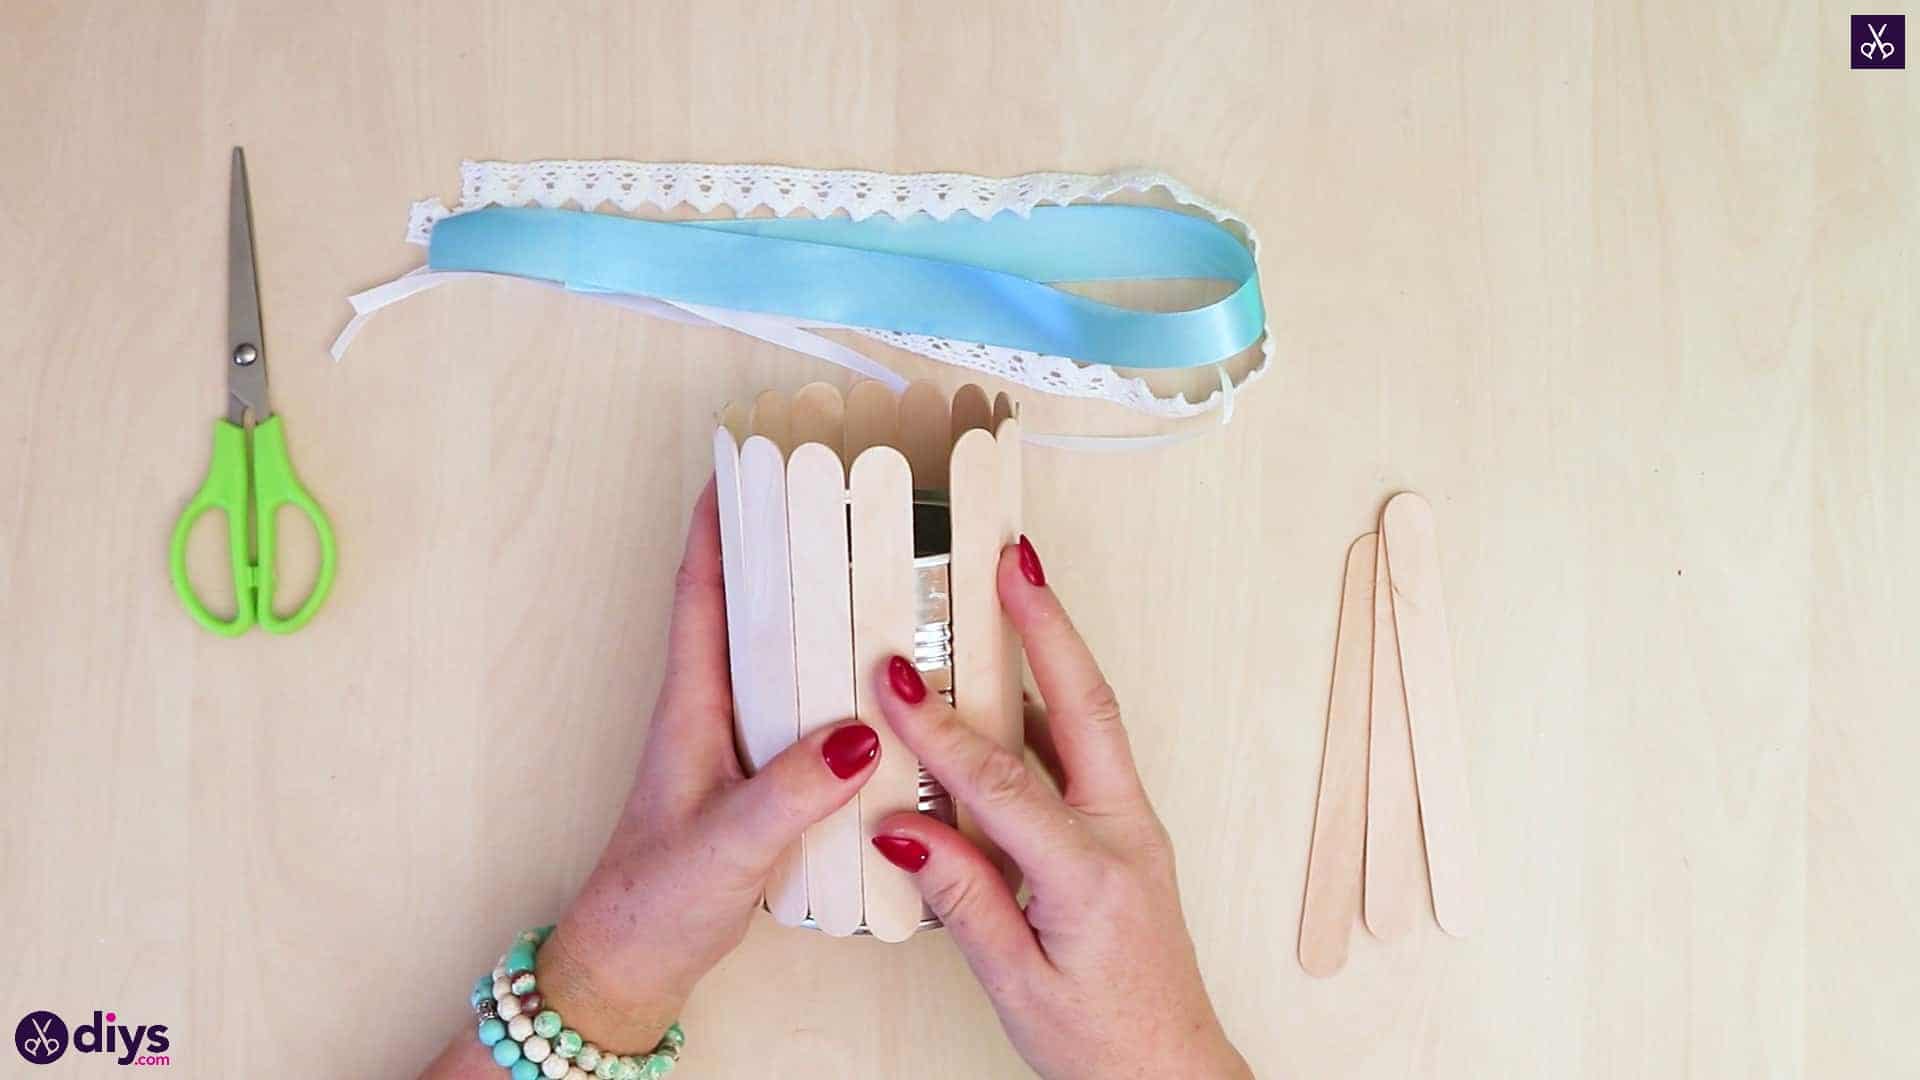
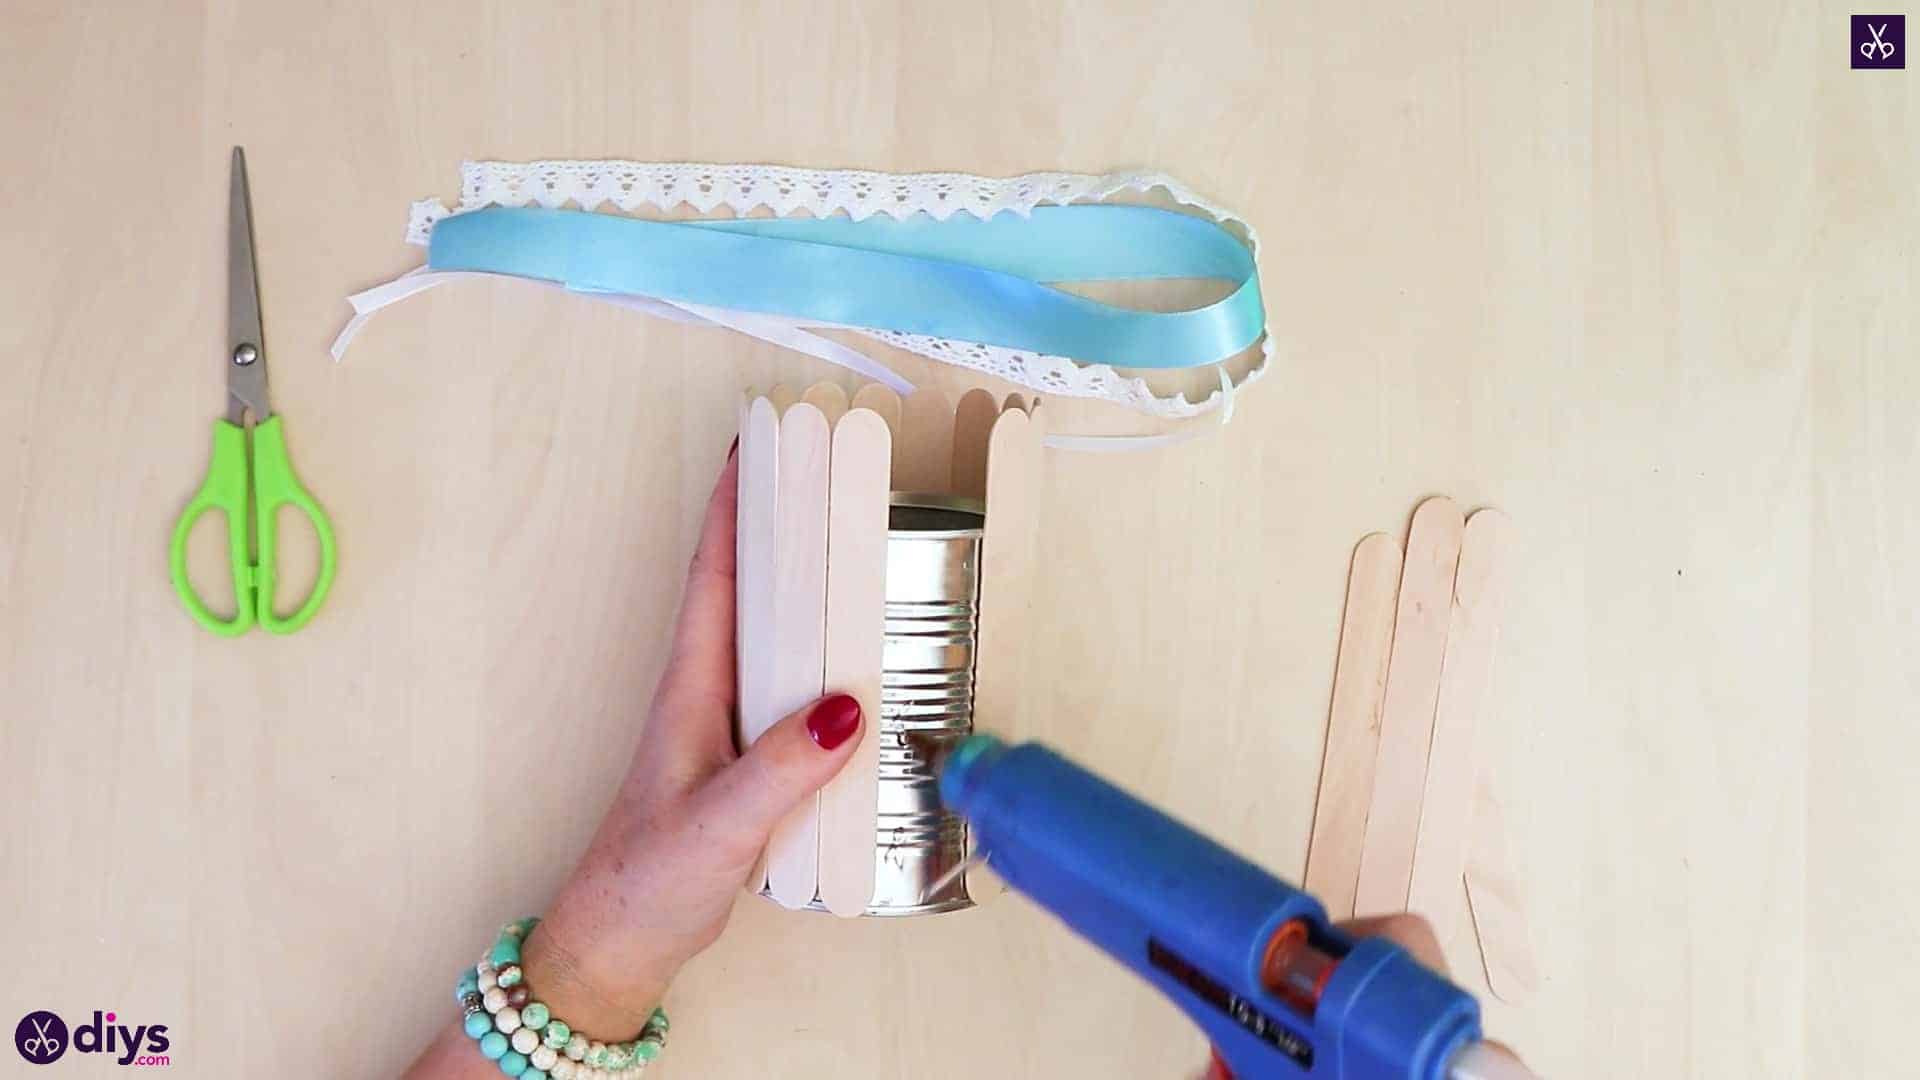
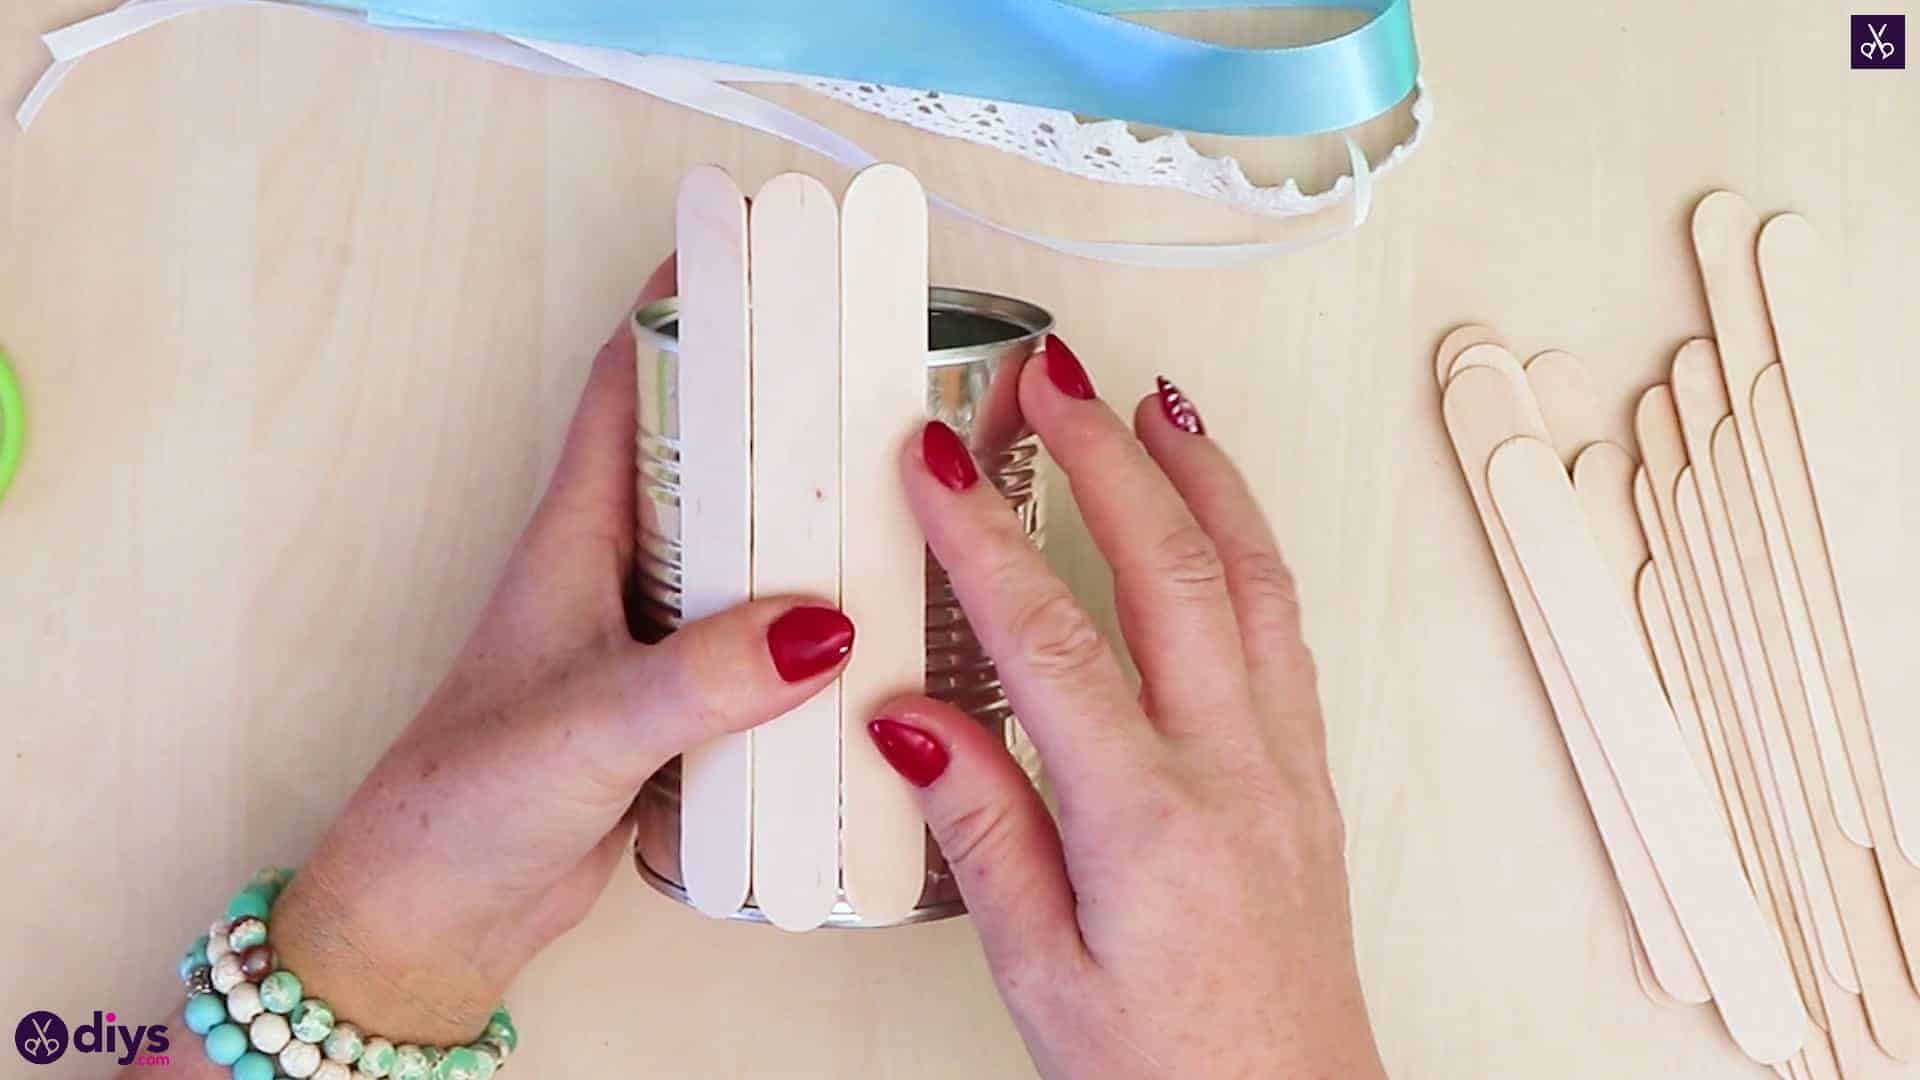
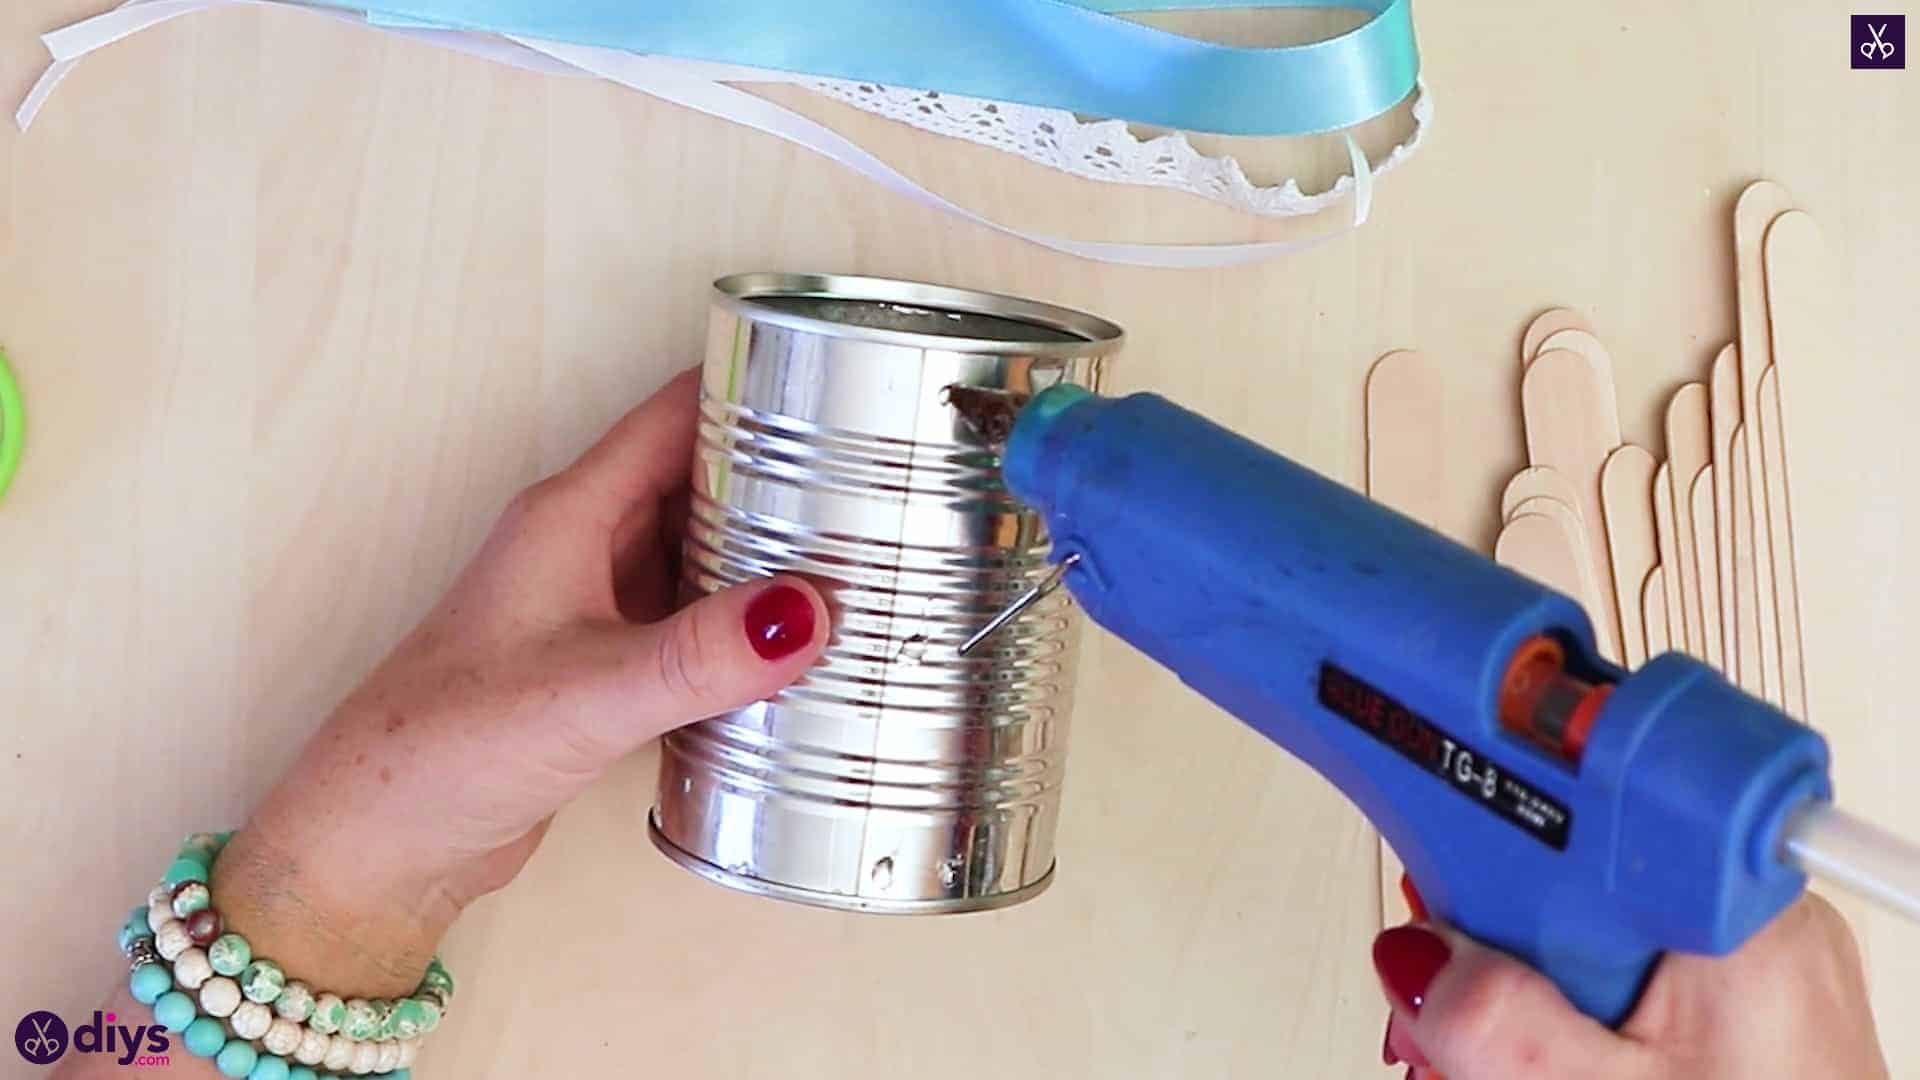
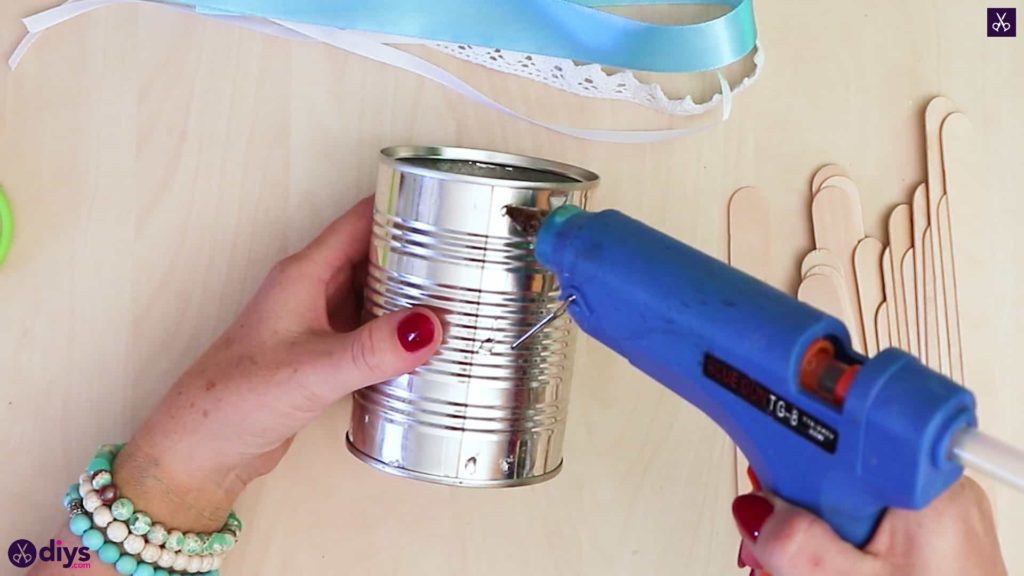
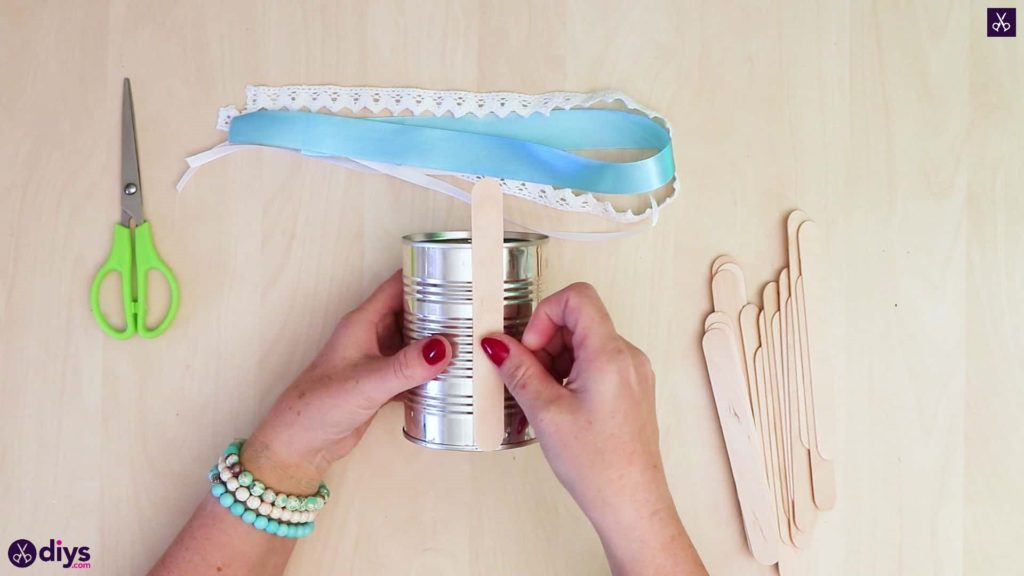
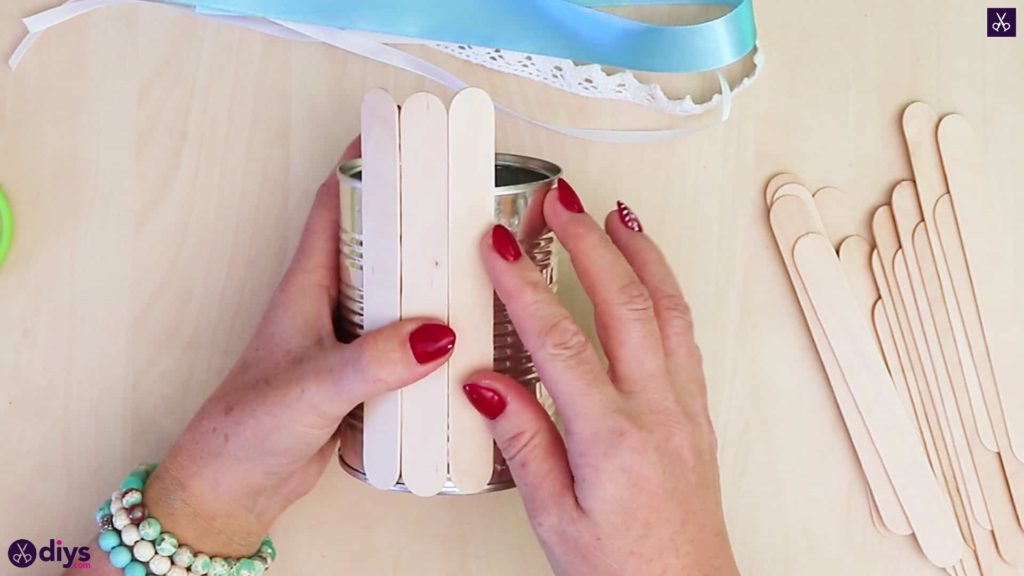
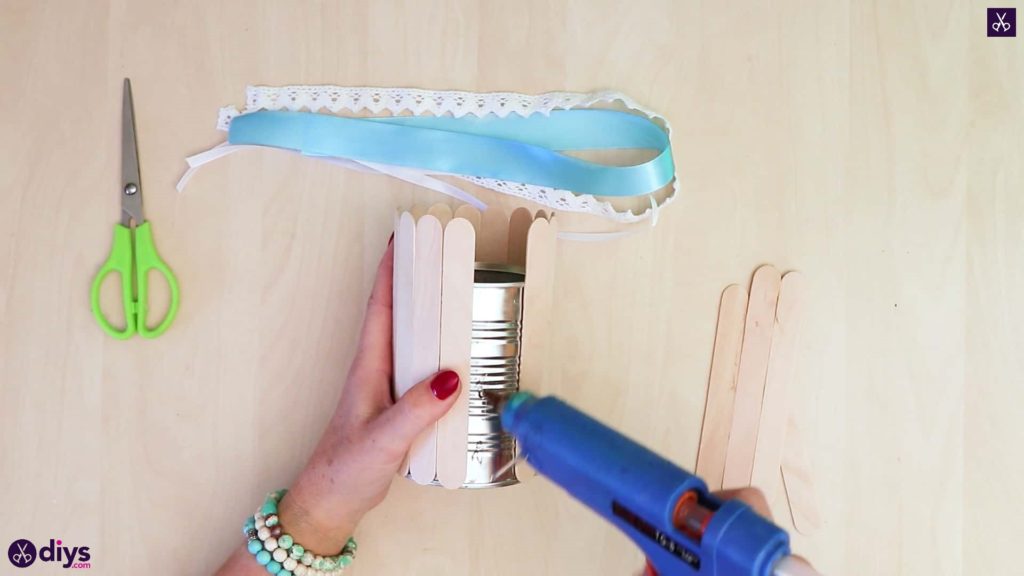
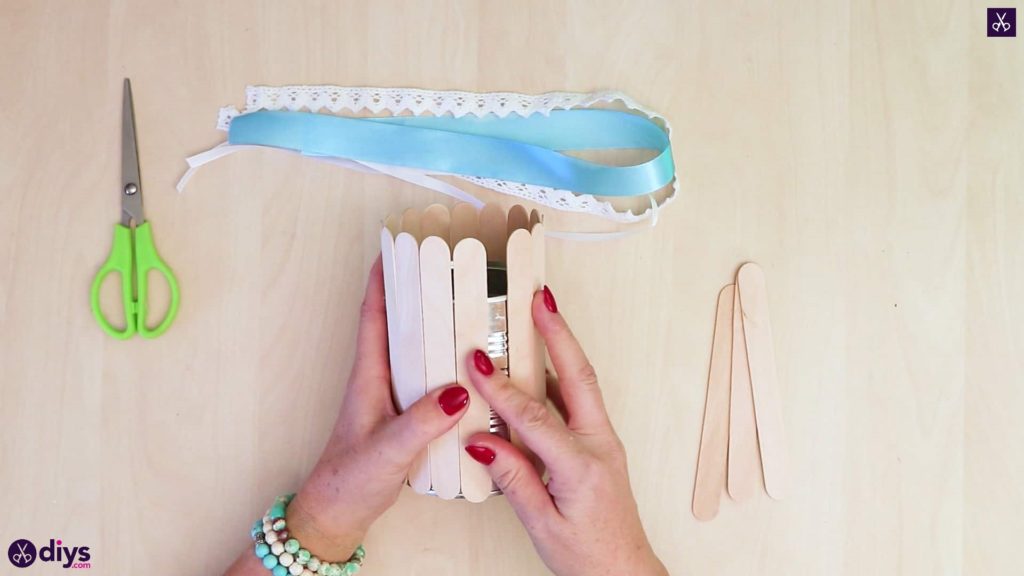
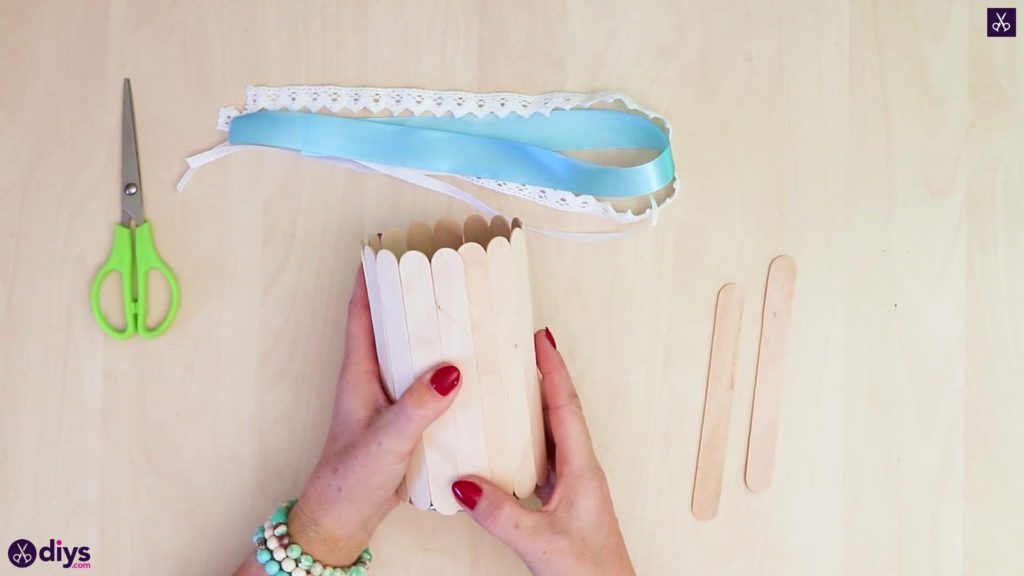
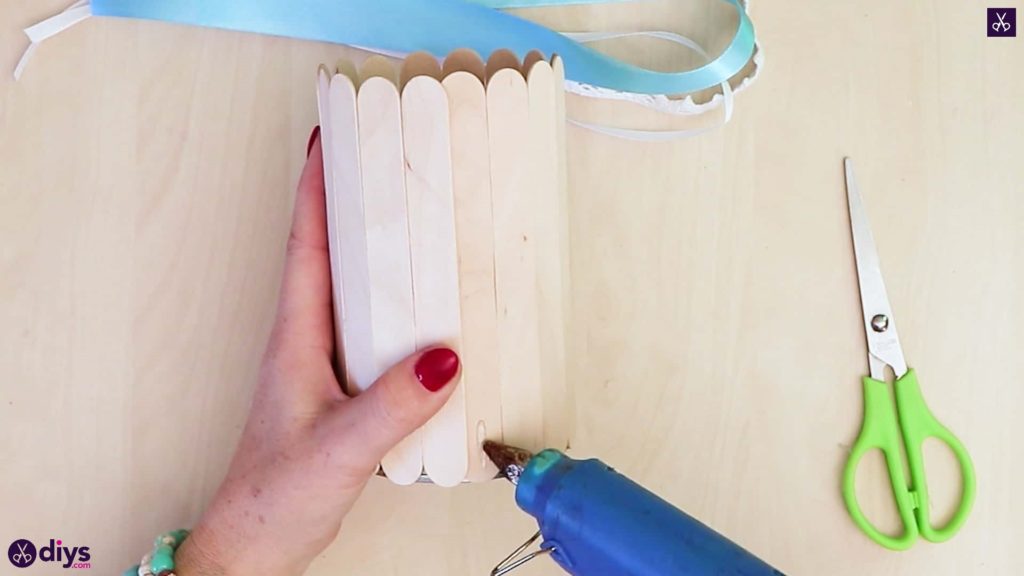
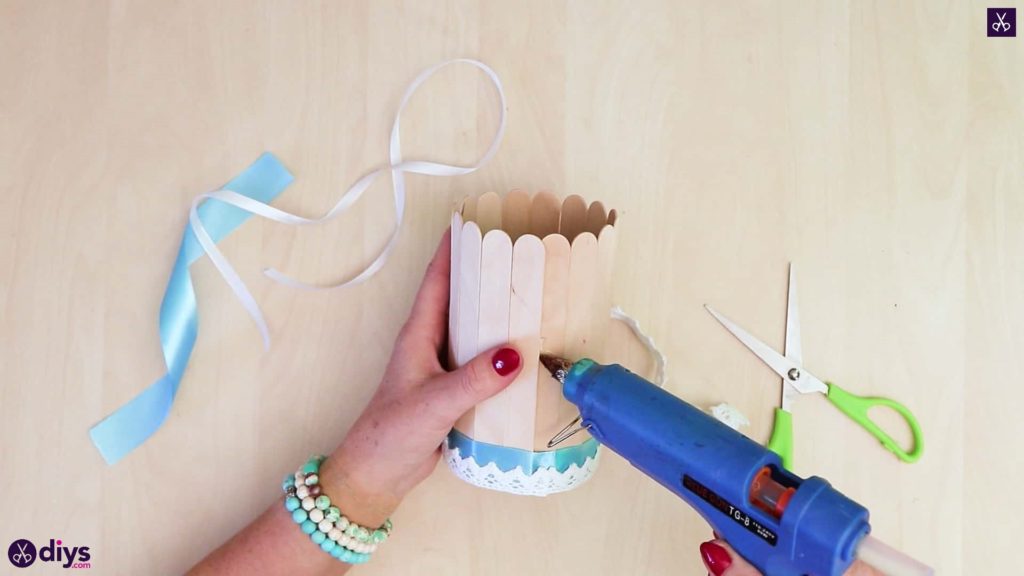
Cover the entire outside surface of your tin can with popsicle sticks! Use your hot glue gun to make apply dots of glue in a straight line at the bottom, middle, and top of the can’s height. Then press a popsicle stick down vertically and straight. Repeat this process all the way around the can, lining the sticks up side by side so their edges sit flush against the sticks in their right and left. If your sticks and can are sized such that you have to choose between having a small sliver of can showing between two or having an overlap because the circumference isn’t easily divisible by the width of the sticks, then choose to have a little bit of overlap for complete coverage and just treat that as the back of your project that won’t be seen when you set it on display. Make sure the bottom ends of your sticks line up evenly with the bottom edge of the can so they cover the metal there well but the can still sits flat on whatever surface you place it on.
Step 3: add ribbon
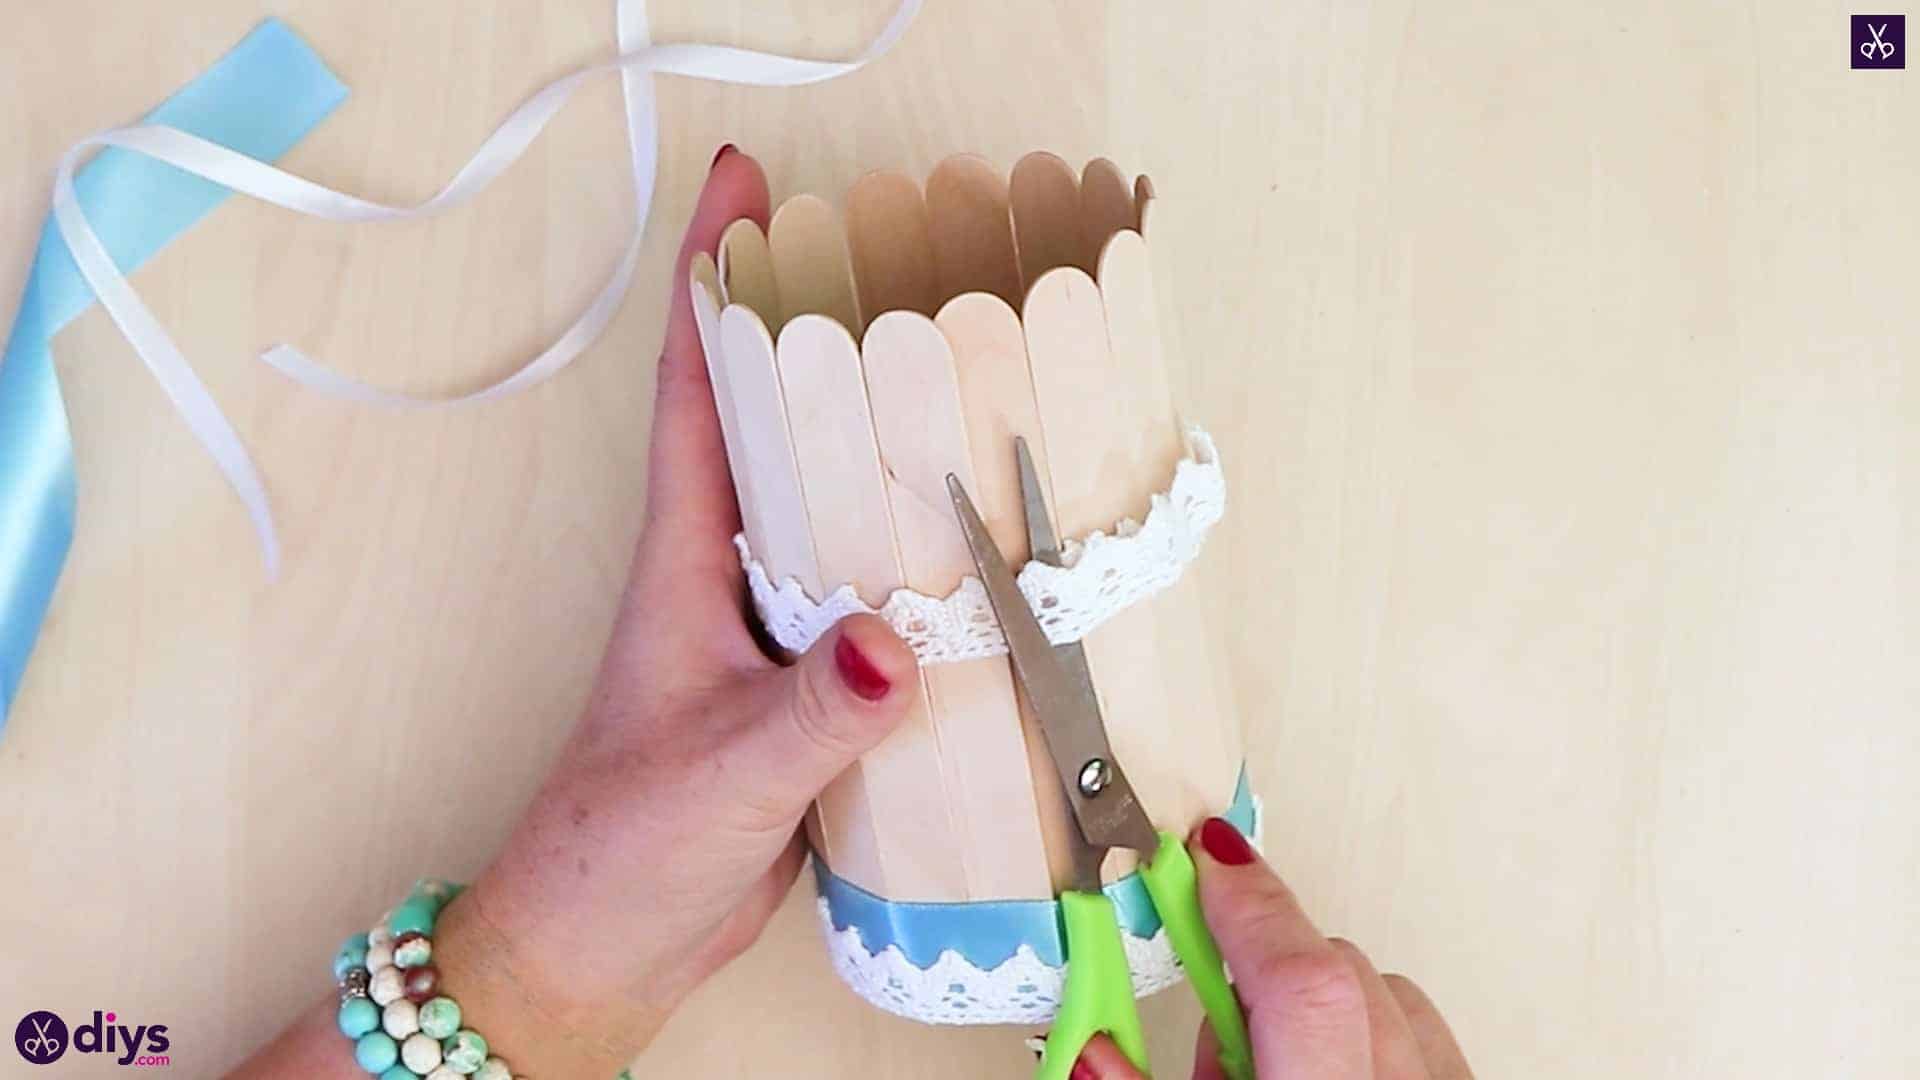
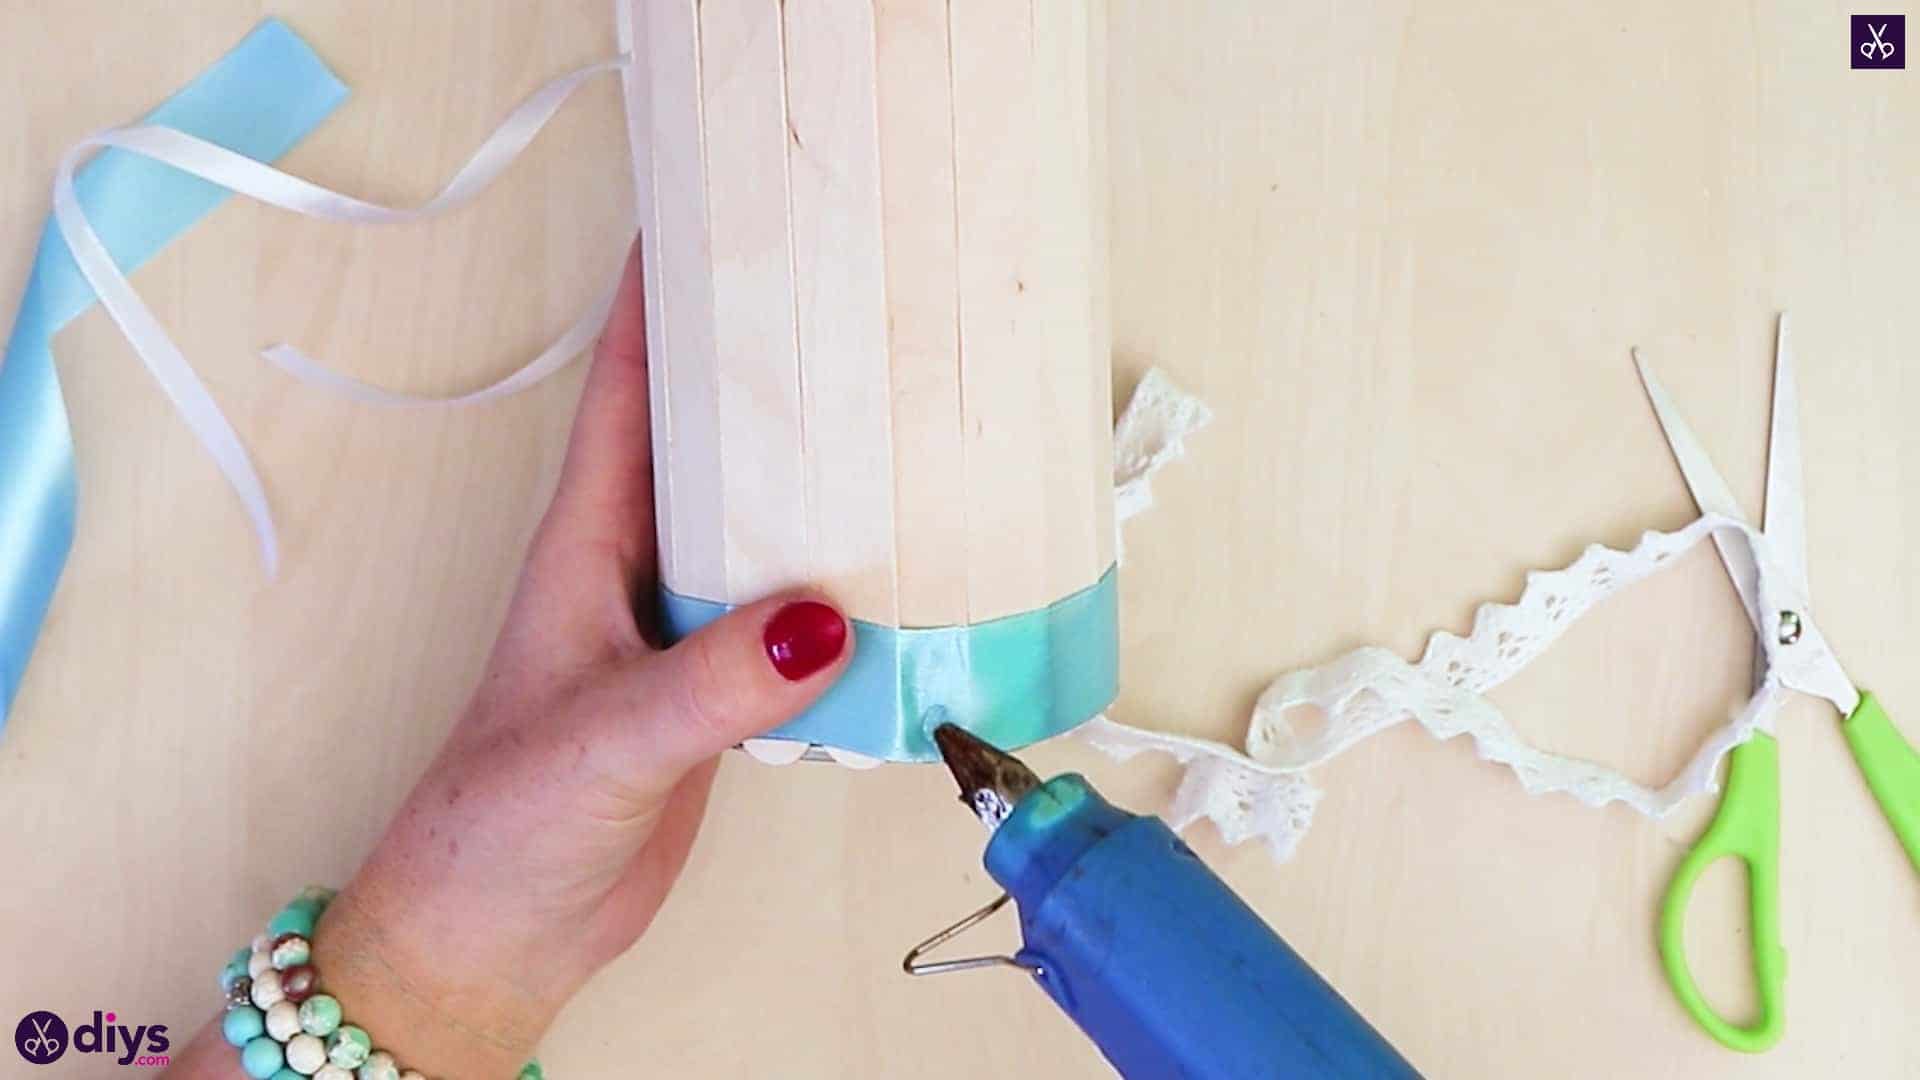
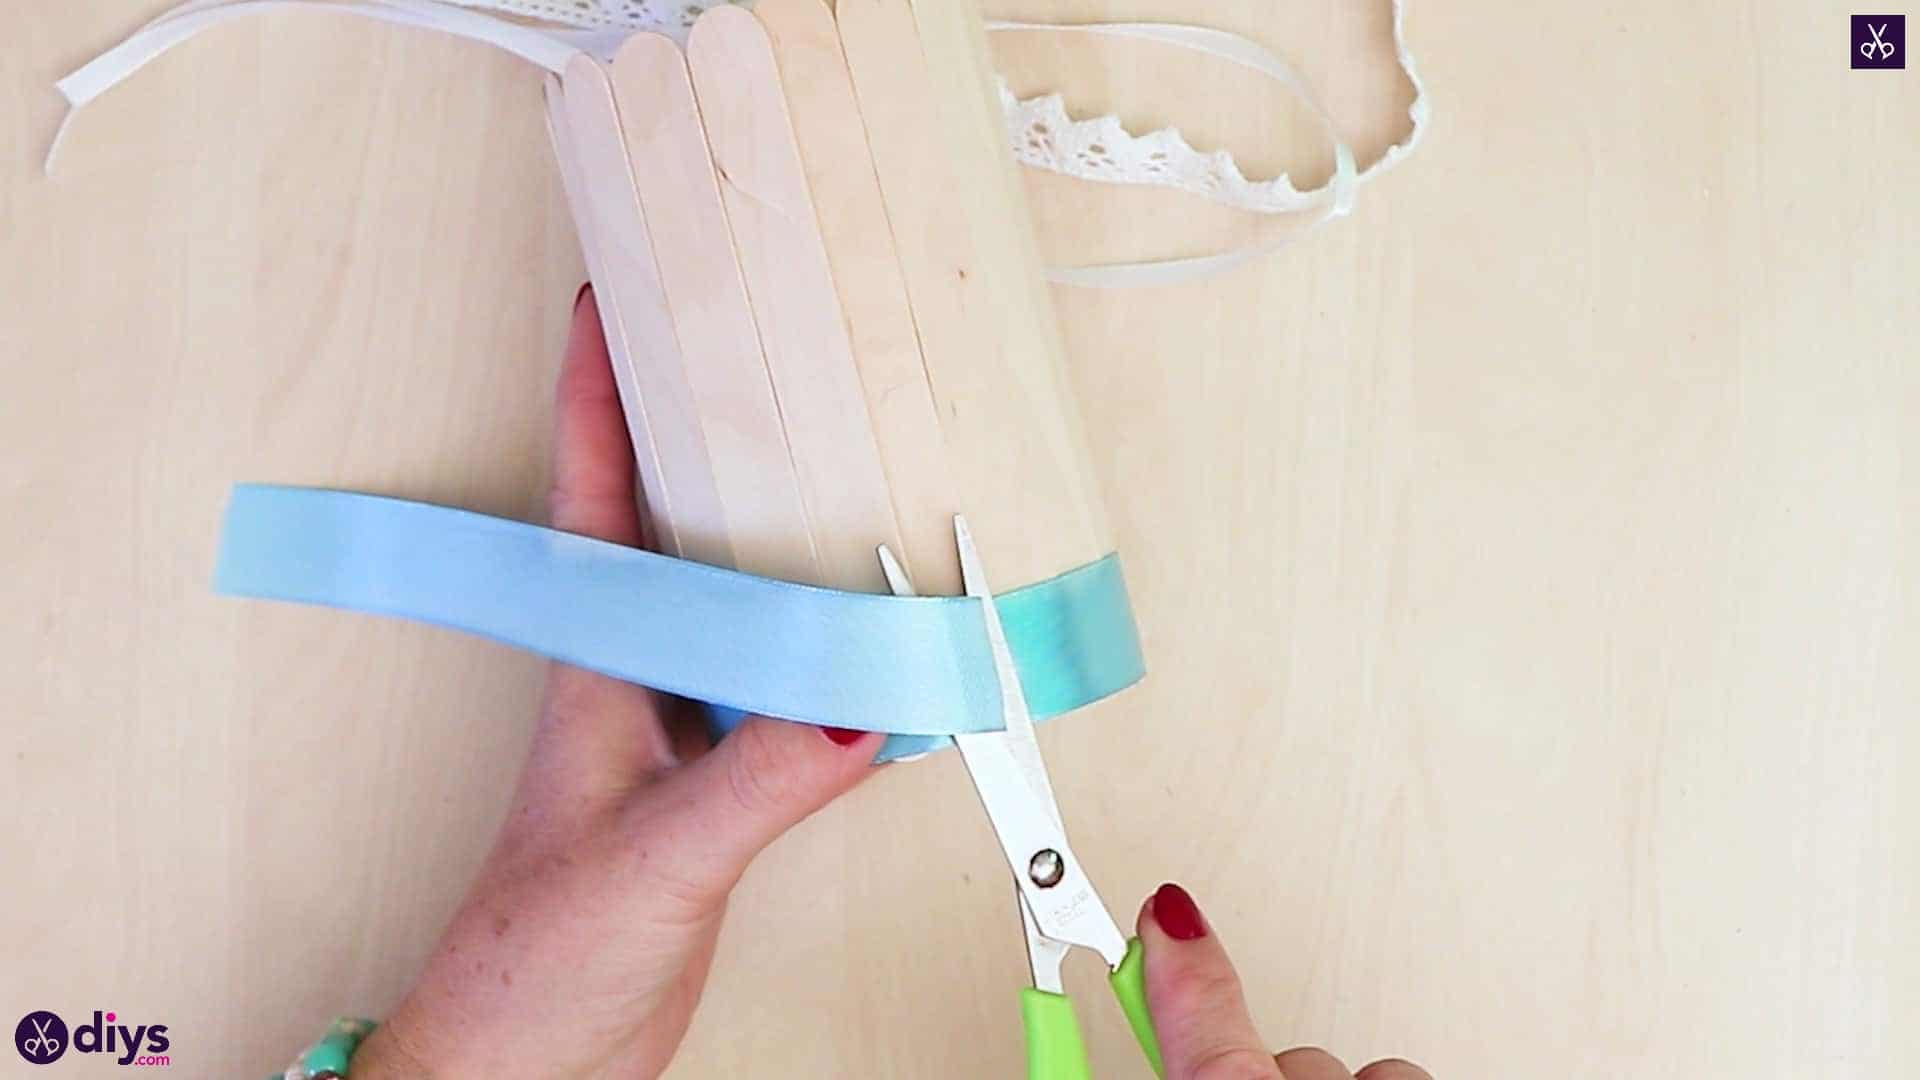
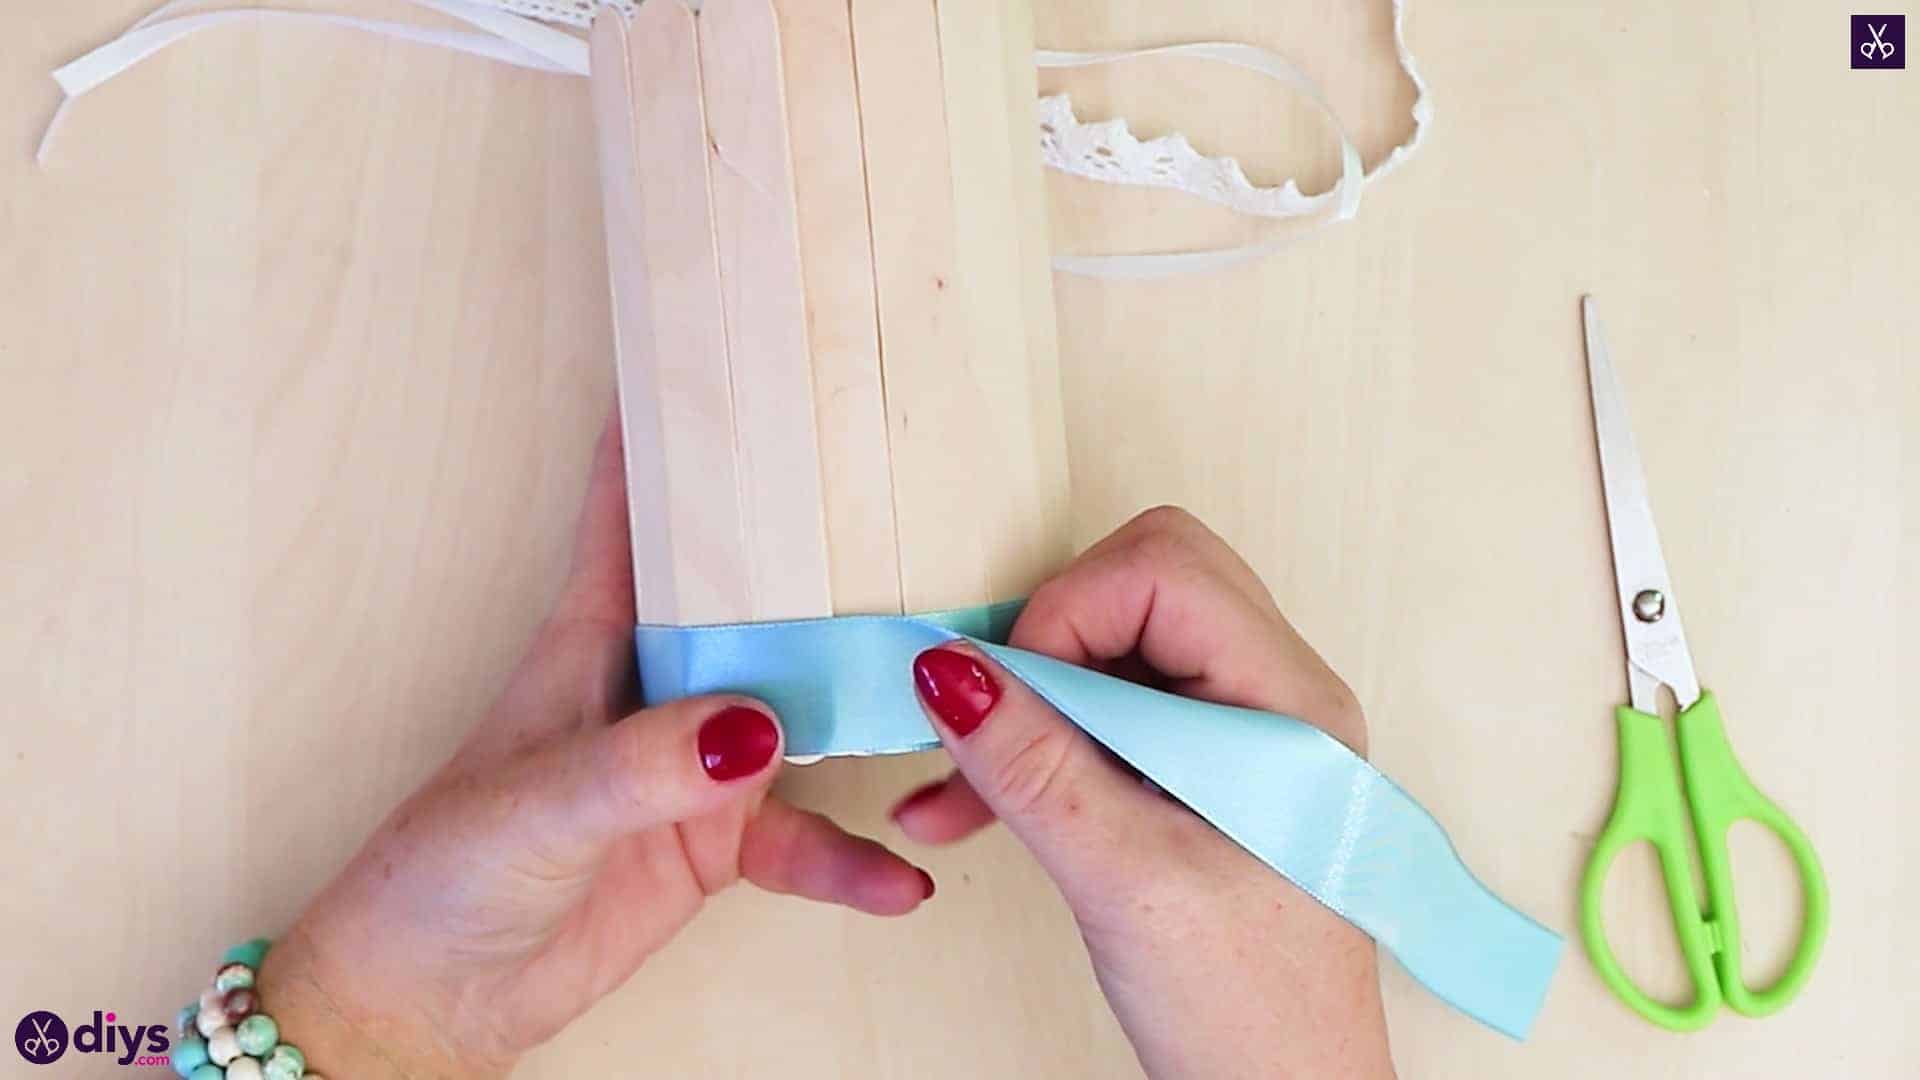
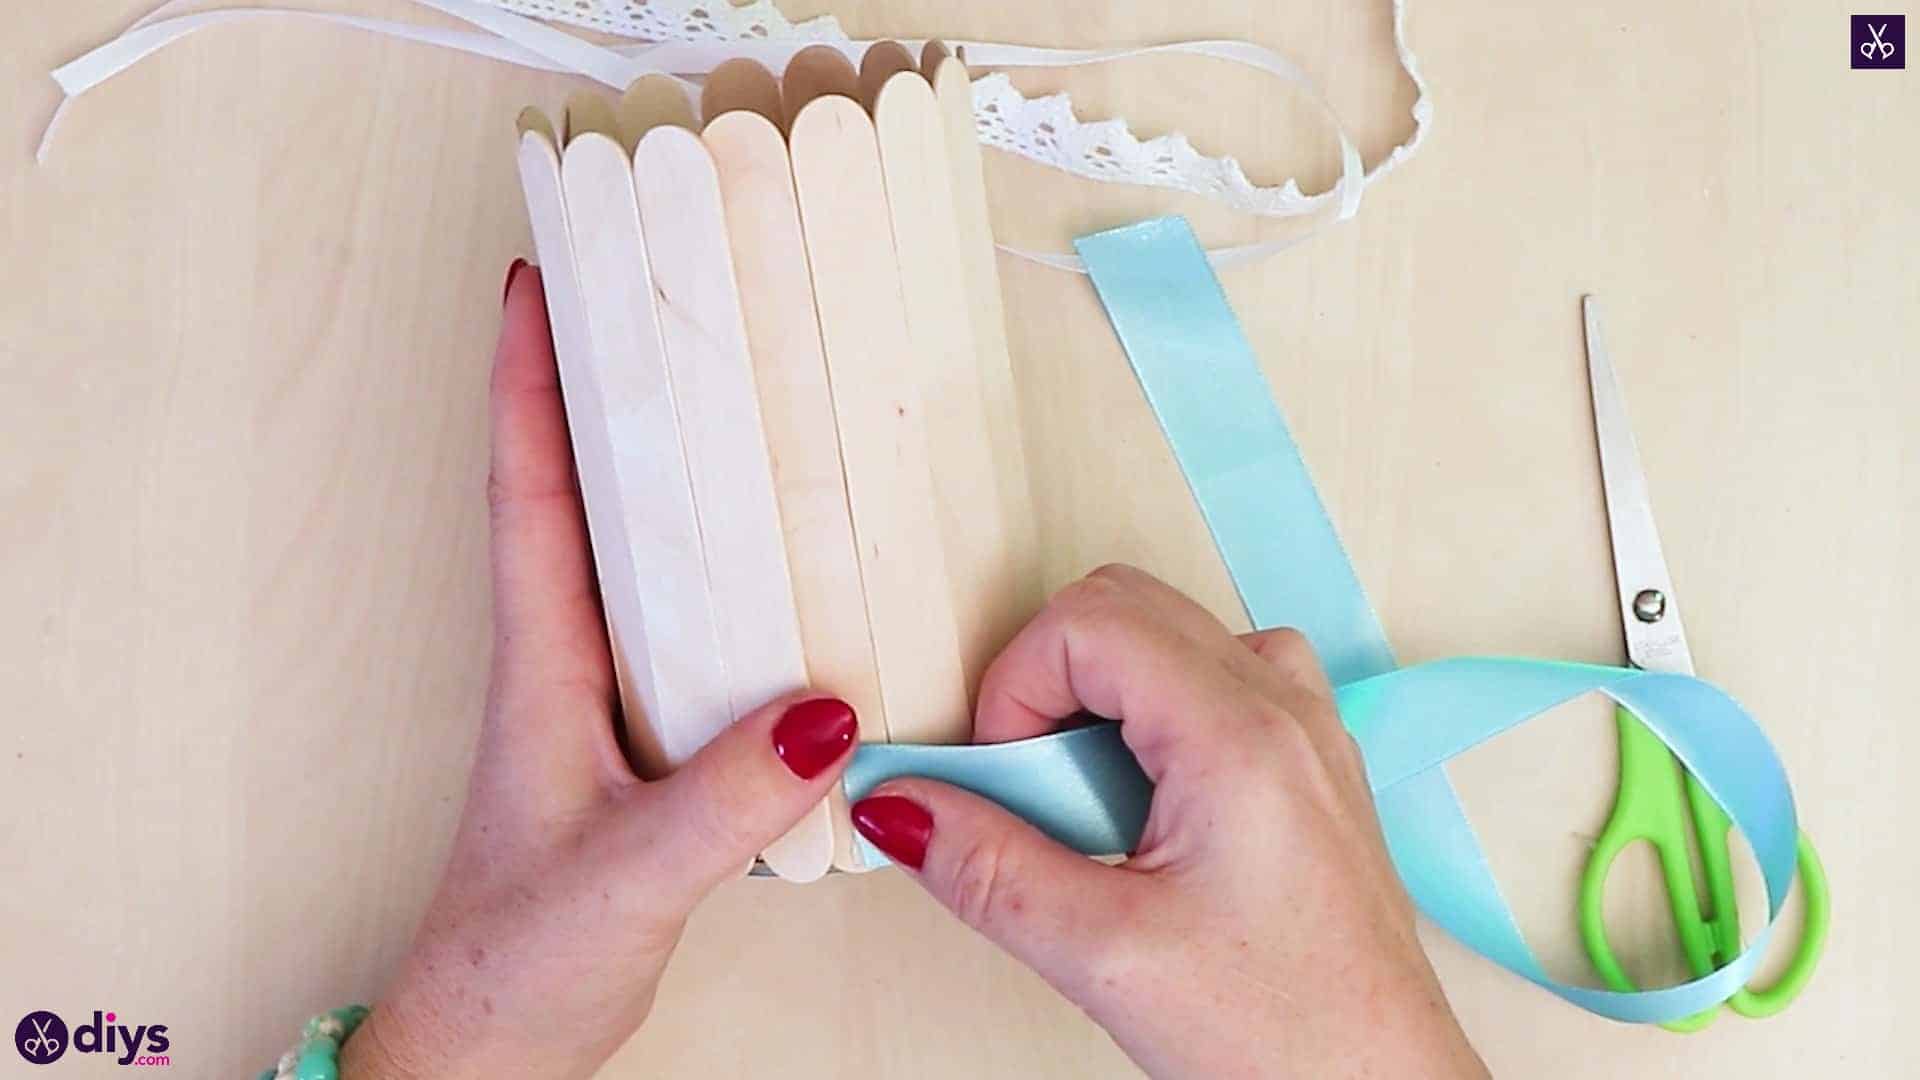
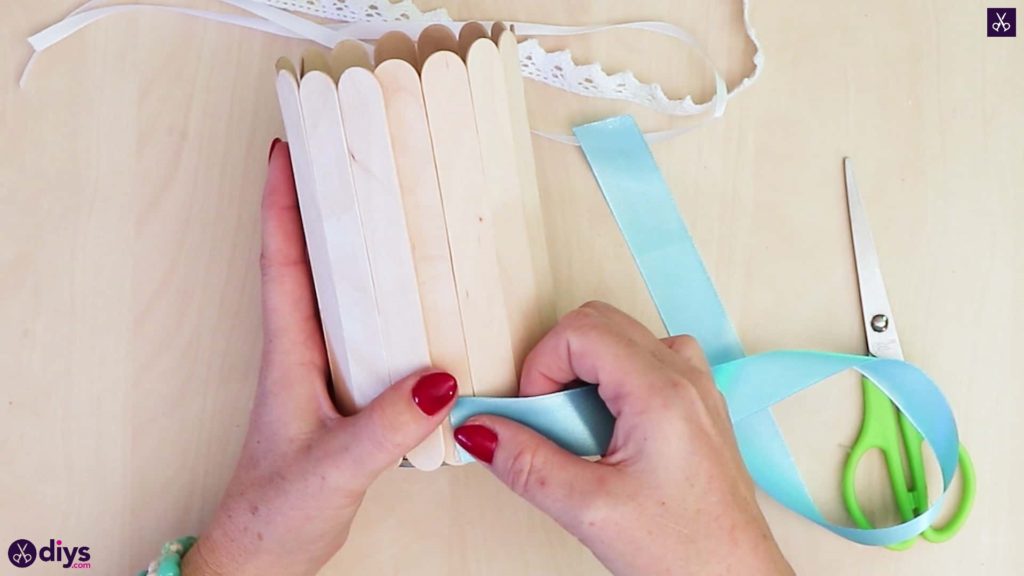
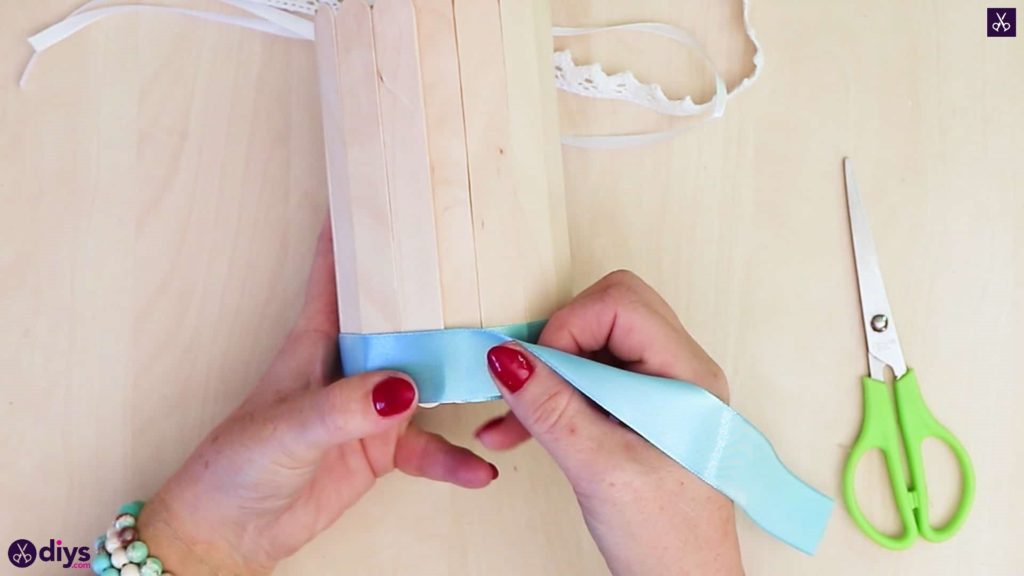
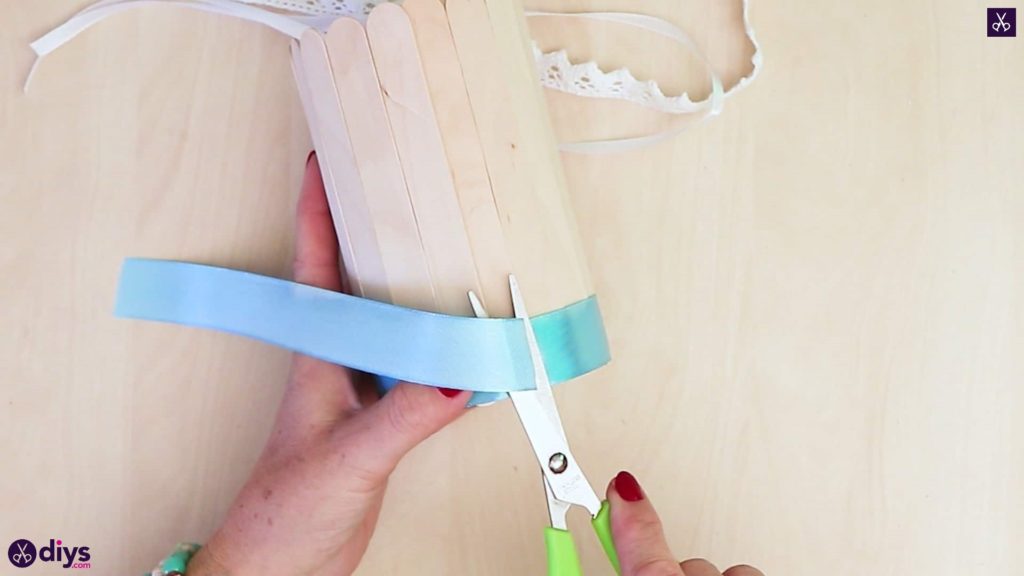
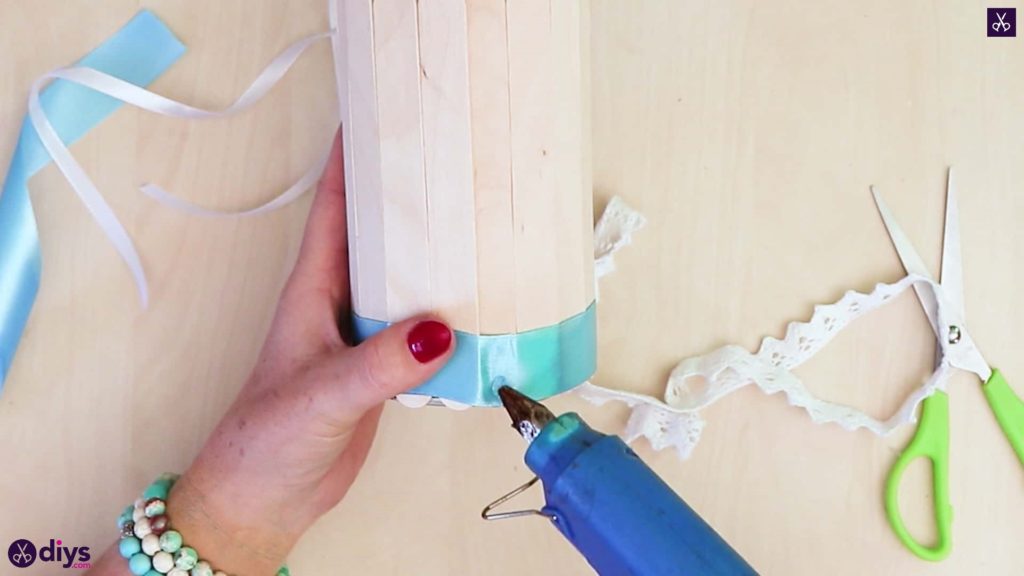
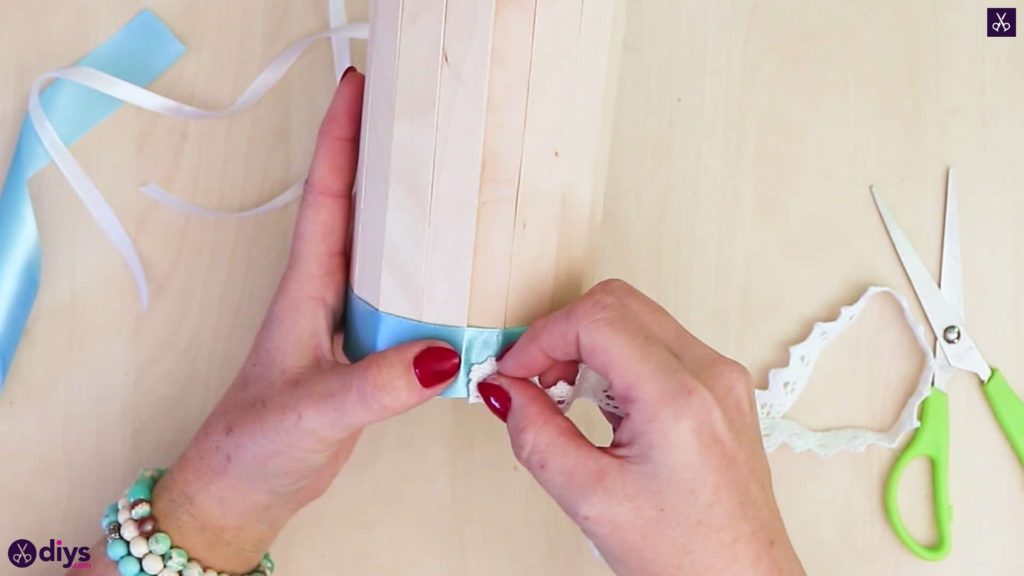
At the back of your can (where you might have an overlap in popsicle sticks), apply some glue near the bottom edge and stick one end of your blue ribbon down here, at its short edge so the ribbon lines up with the bottom edge of the can horizontally. Wrap the ribbon all the way around the bottom of the can, keeping their edges even to one another. When your ribbon meets back up with its glued end, apply another dot of glue on top of where the first is covered, trim the excess off the ribbon to make a new end there, and stick it down overlapping the first.
Step 4: add lace
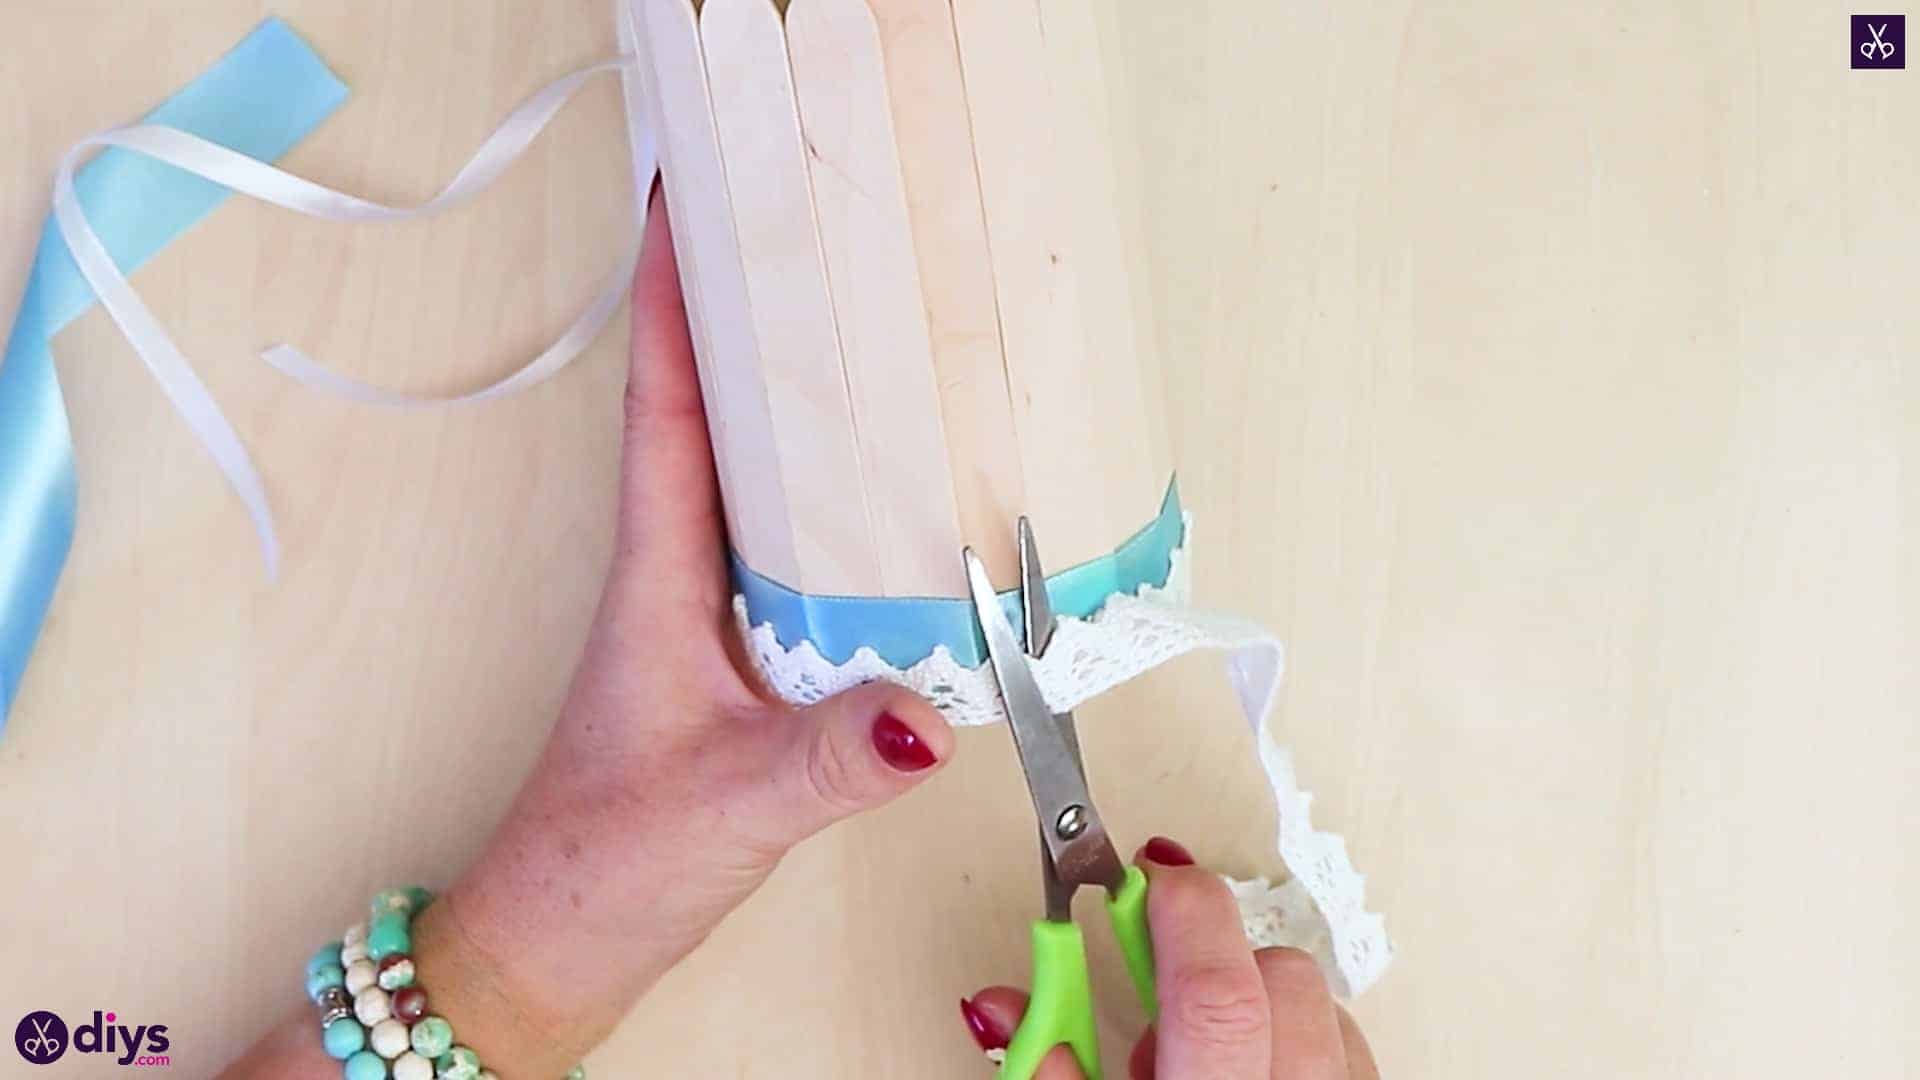
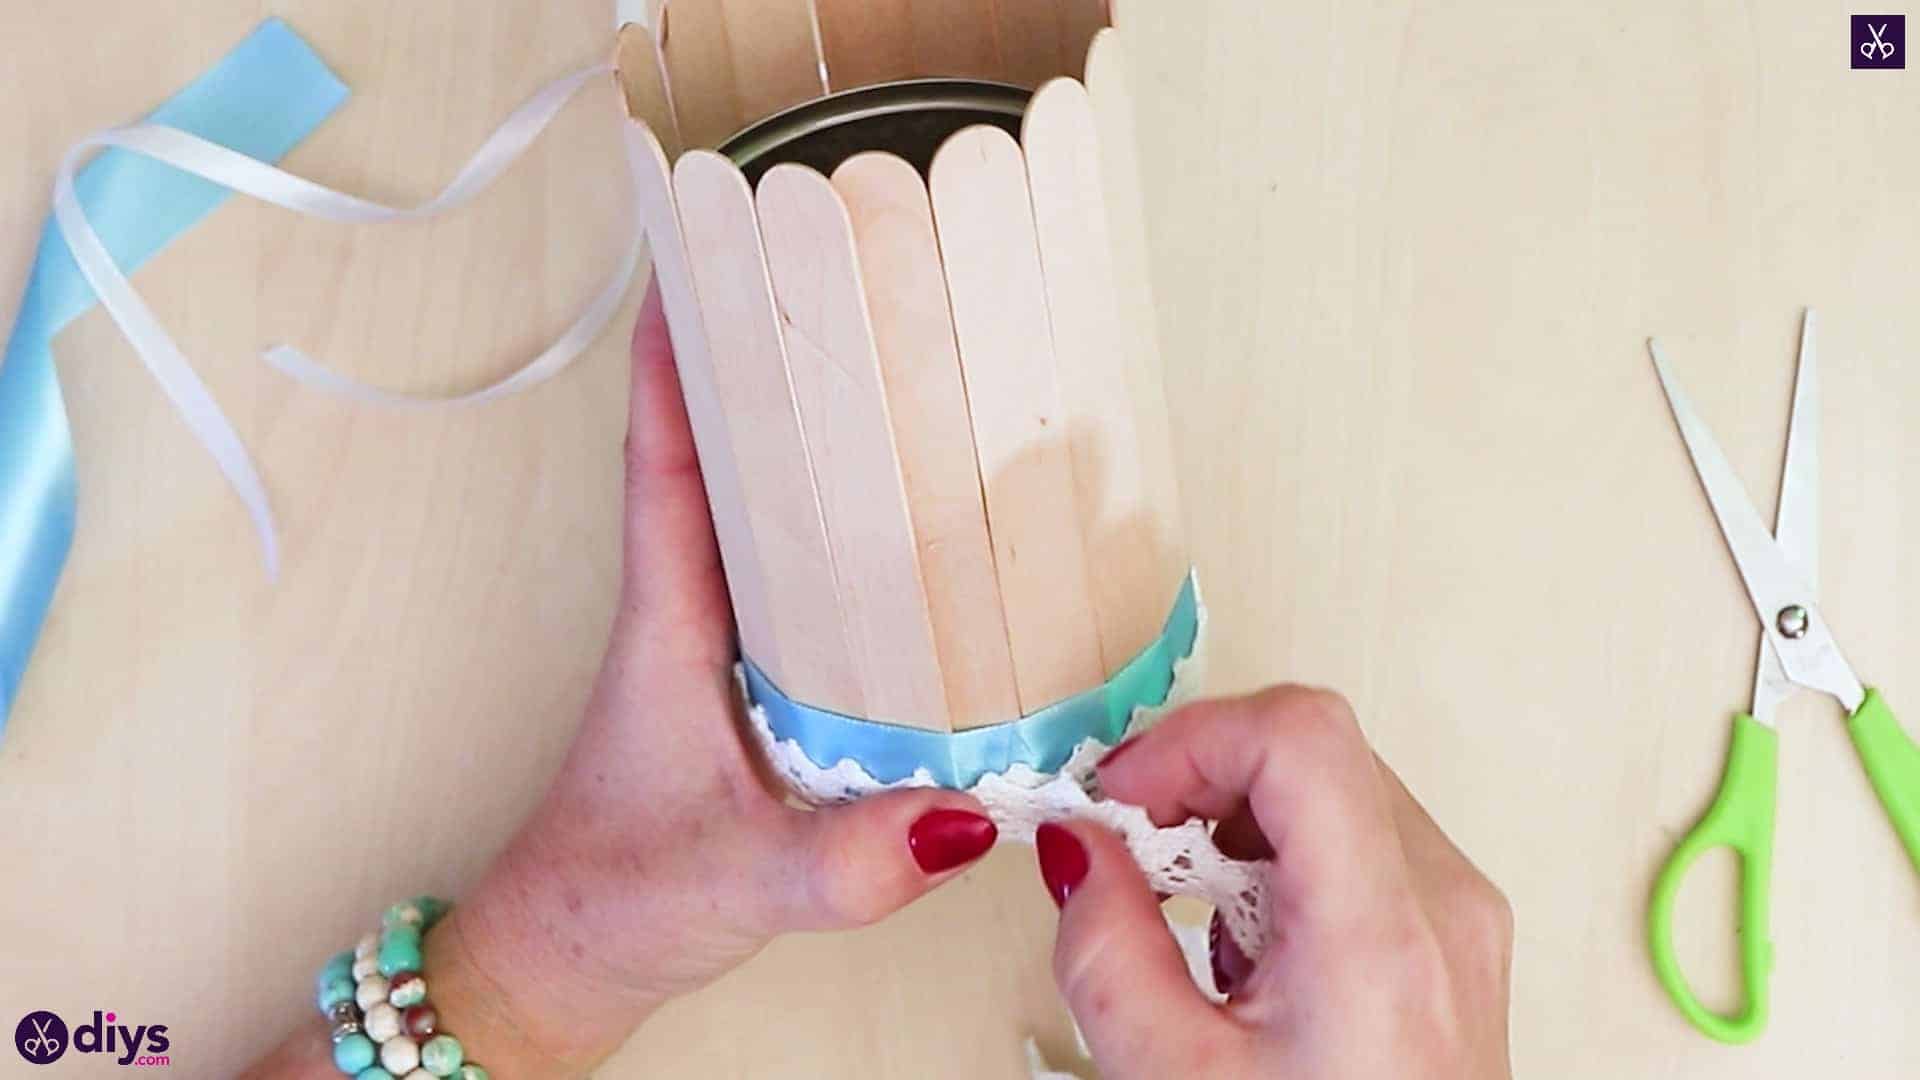
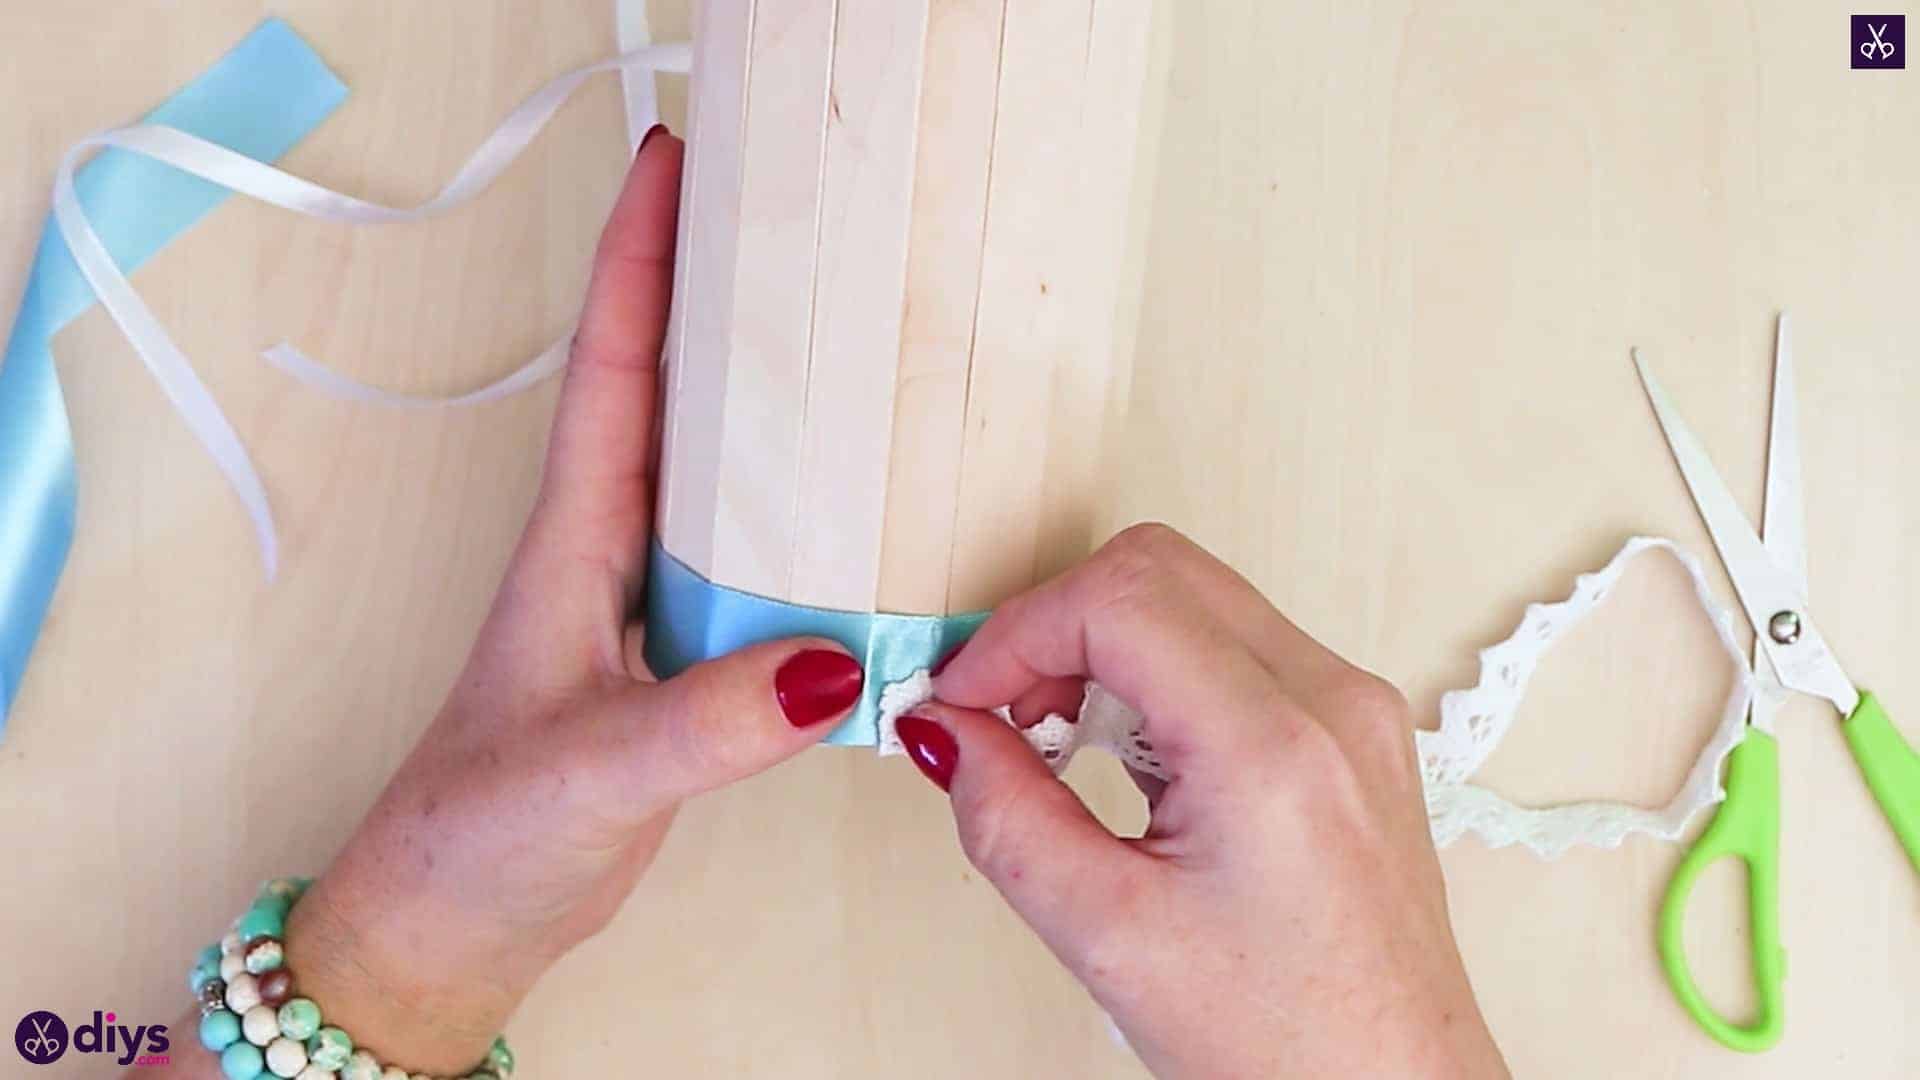
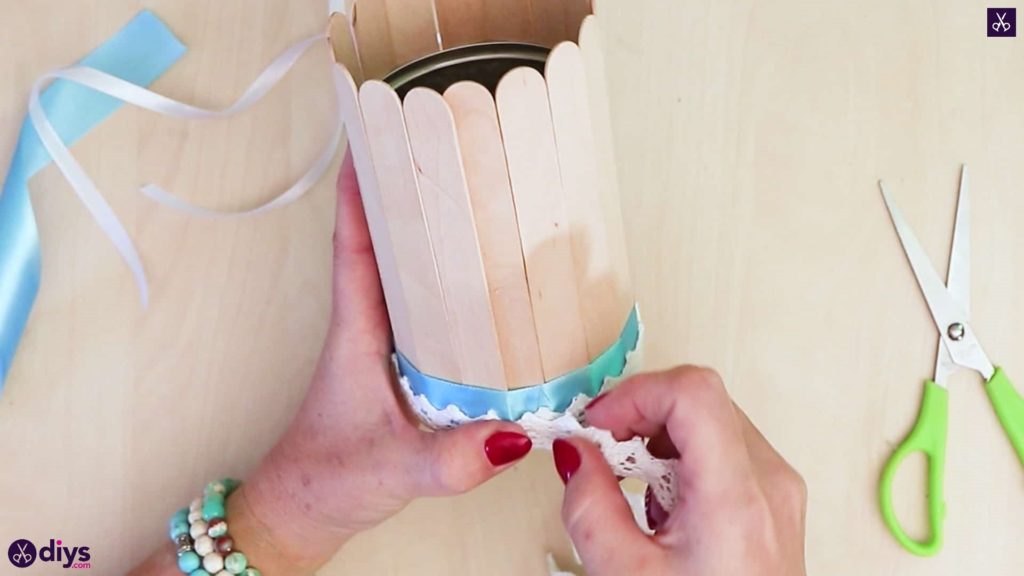
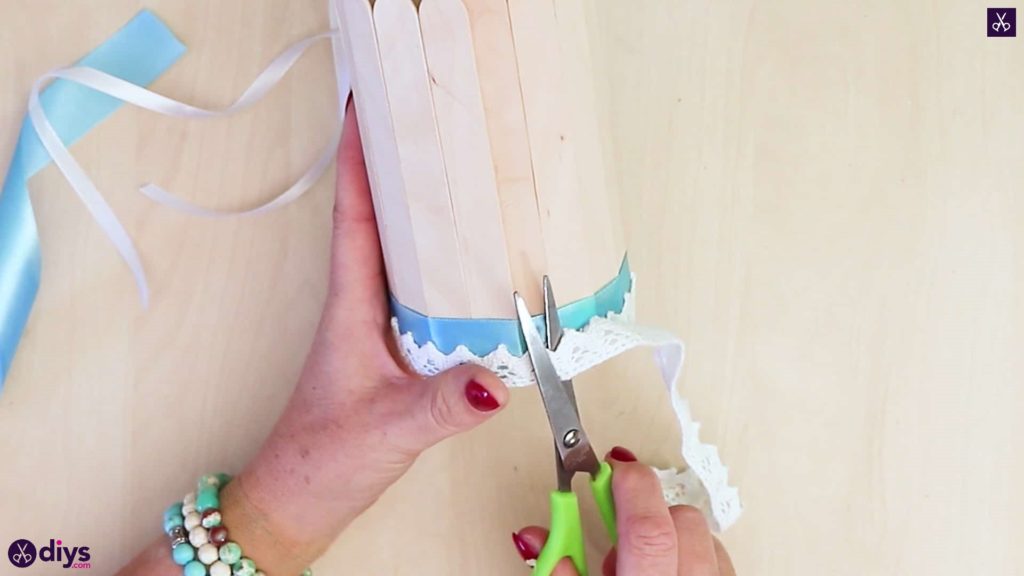
Repeat the gluing, wrapping, trimming, and sticking process that you just did with your blue once more, this time with your lace ribbon or trim. Start and end it in the same spot as you did with the blue so that the two overlap, with the lace ribbon wrapping around on top of the blue one so that its colour peeks through the holes in the lace pattern. Keep the bottom edges lined up nice and evenly just like before.
Step 5: embellish
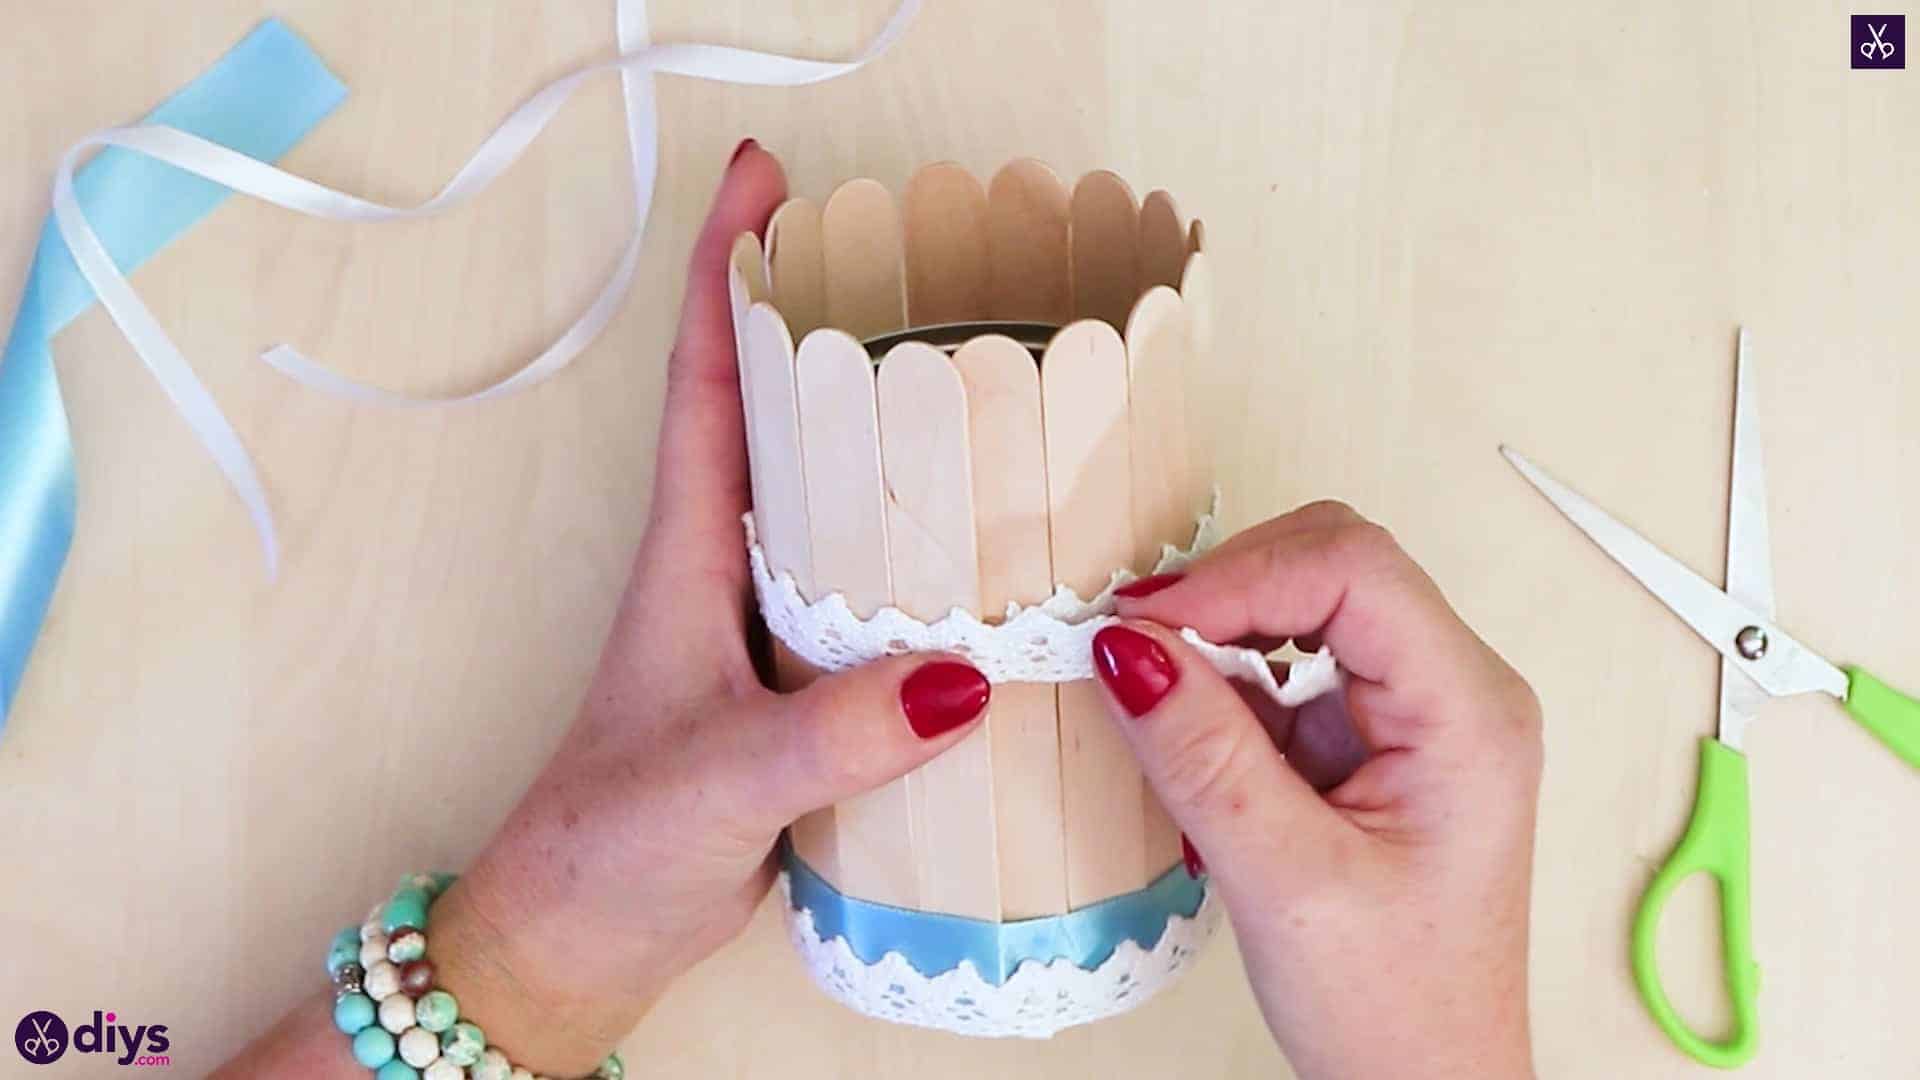
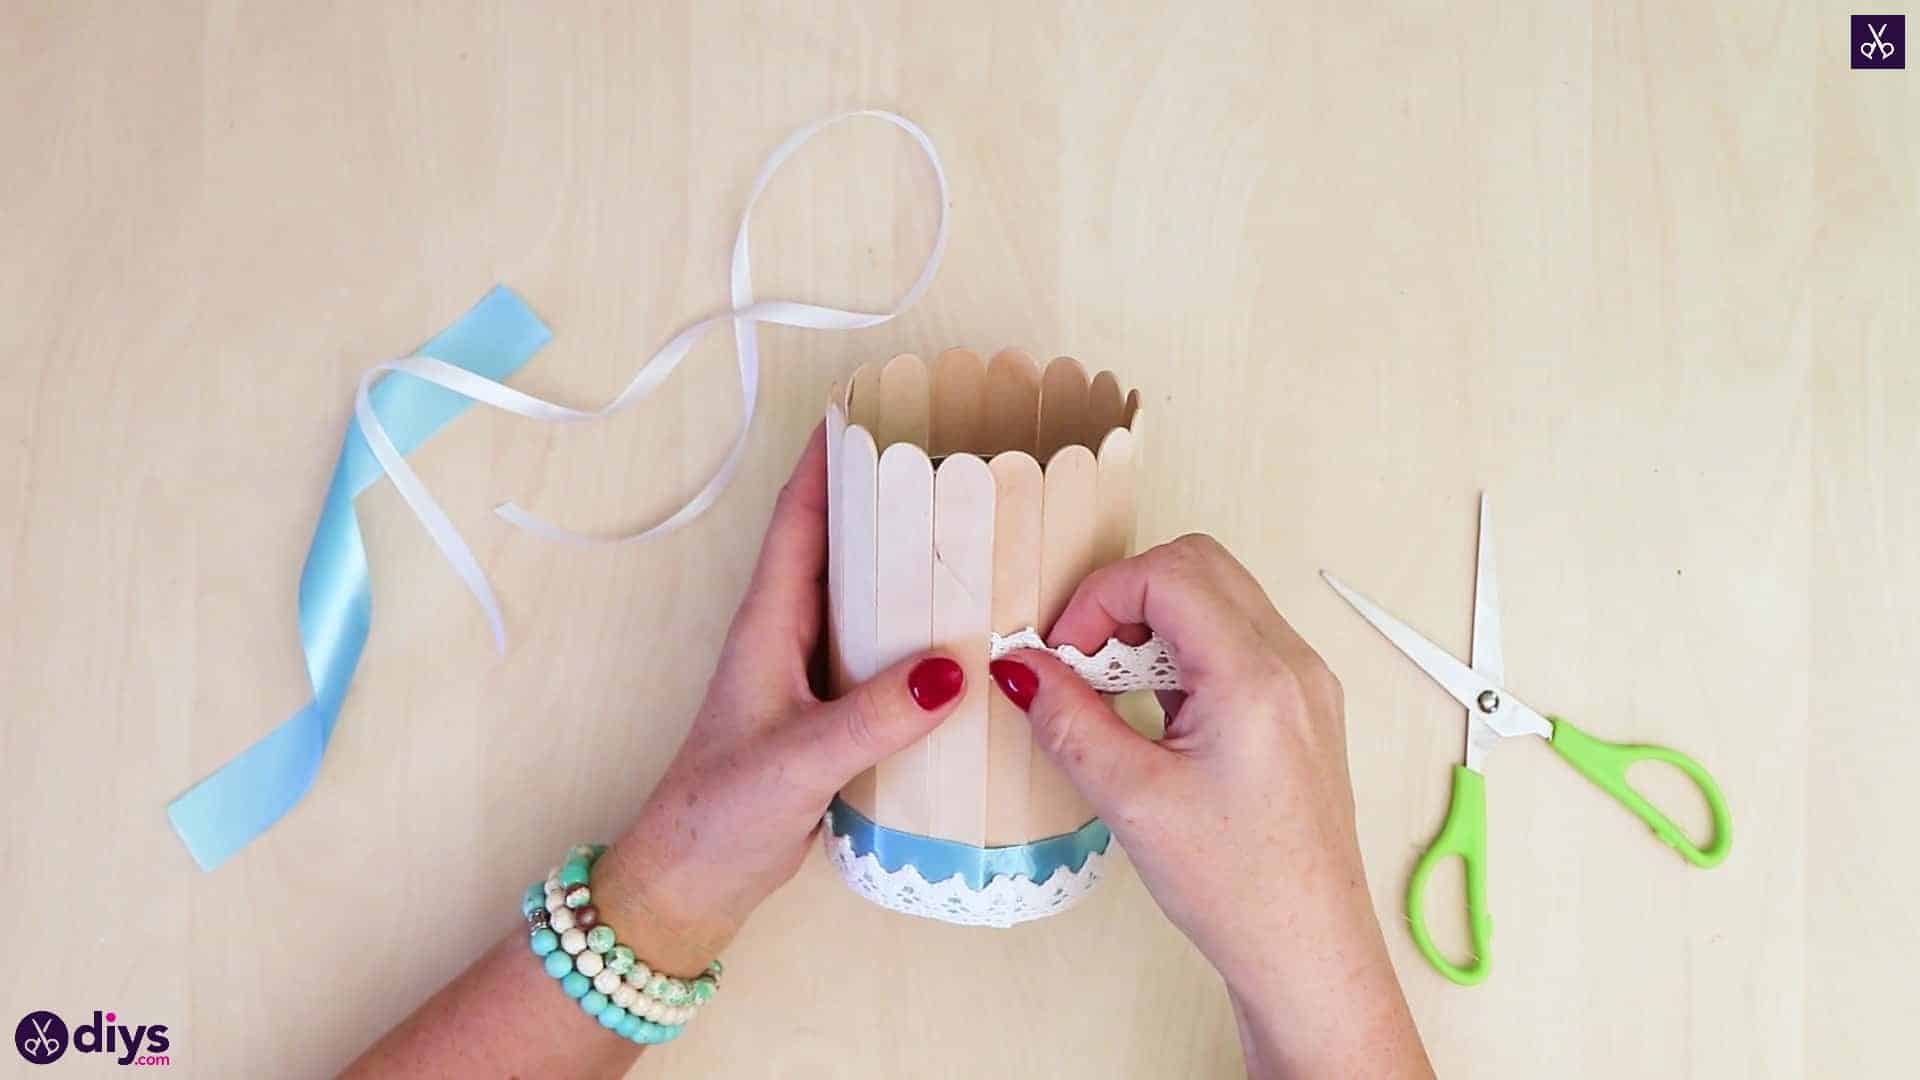
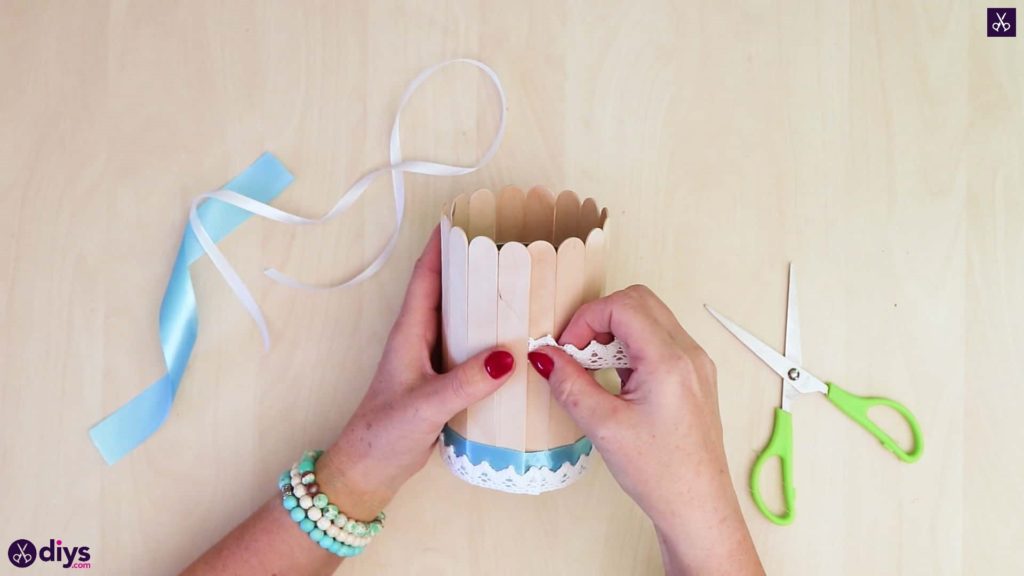
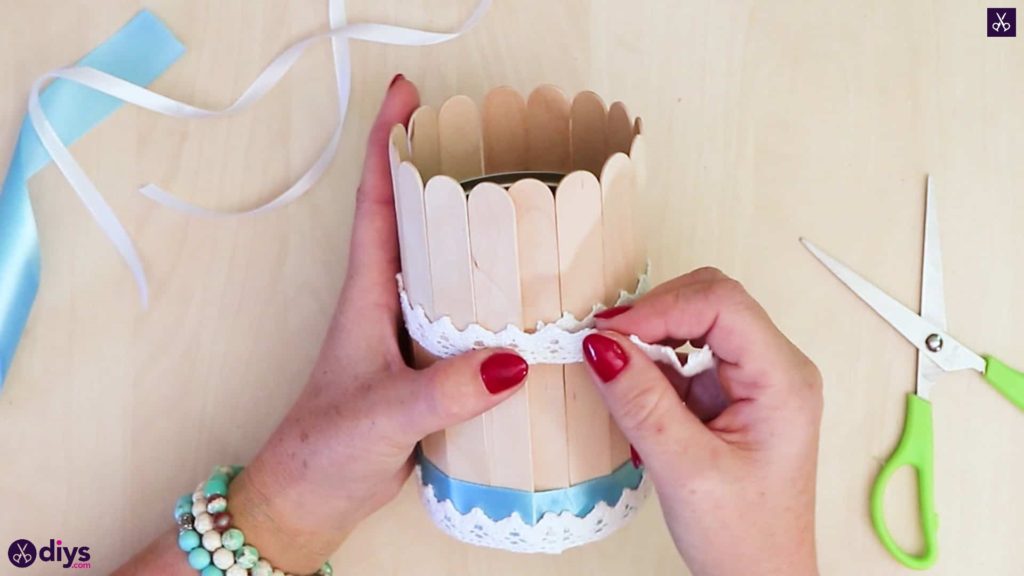
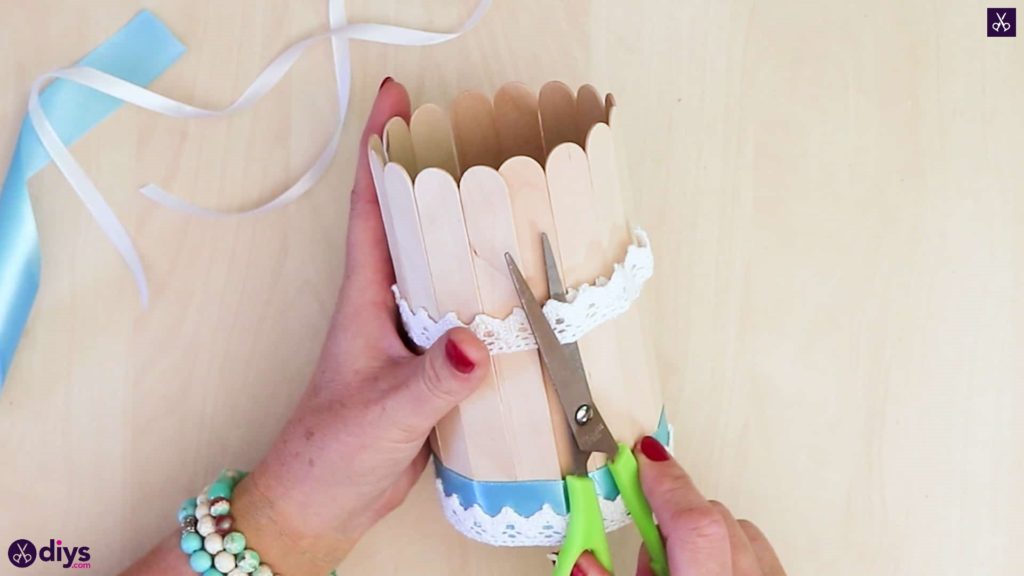
Use the rest of your lace ribbon or trim to repeat the same process once more, but this time higher up at the halfway mark of the can. This time the lace will just be applied directly on the popsicle sticks themselves rather than on top of other ribbon.
Step 6: add your bow
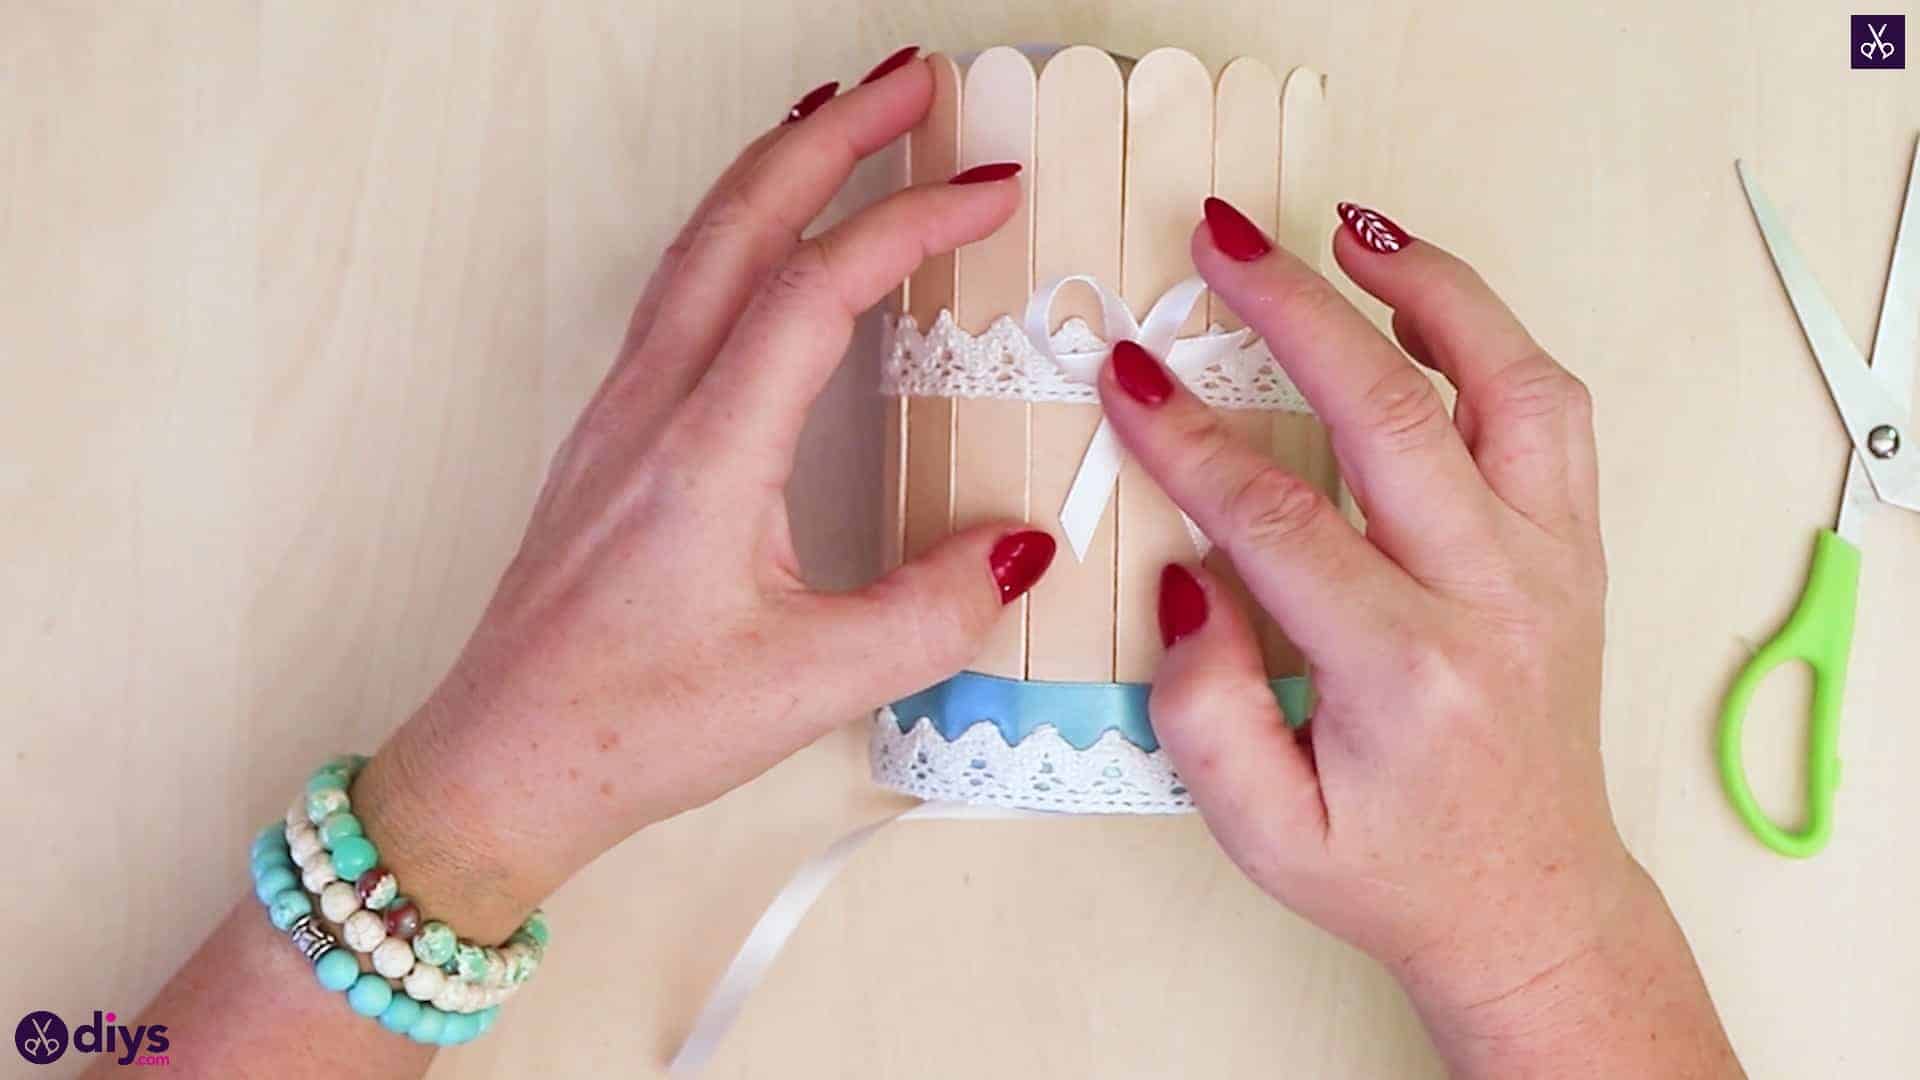
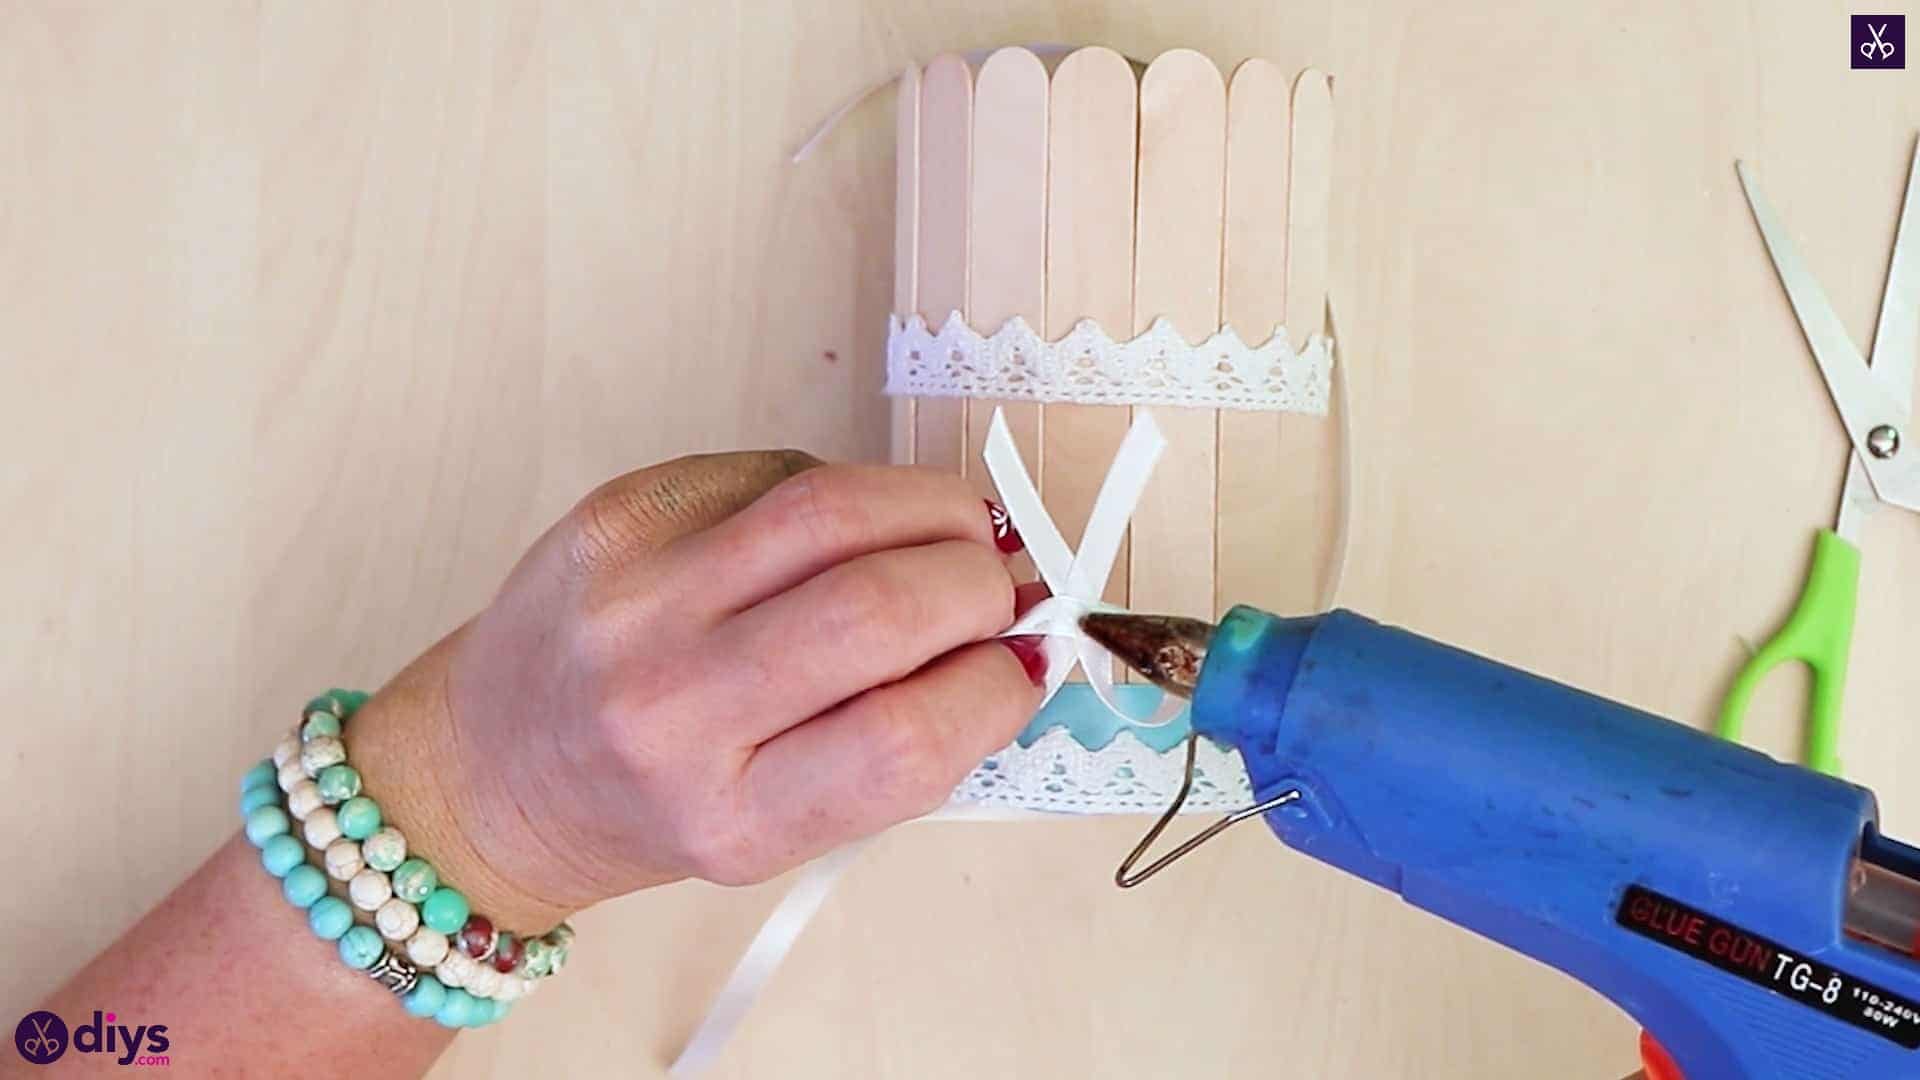
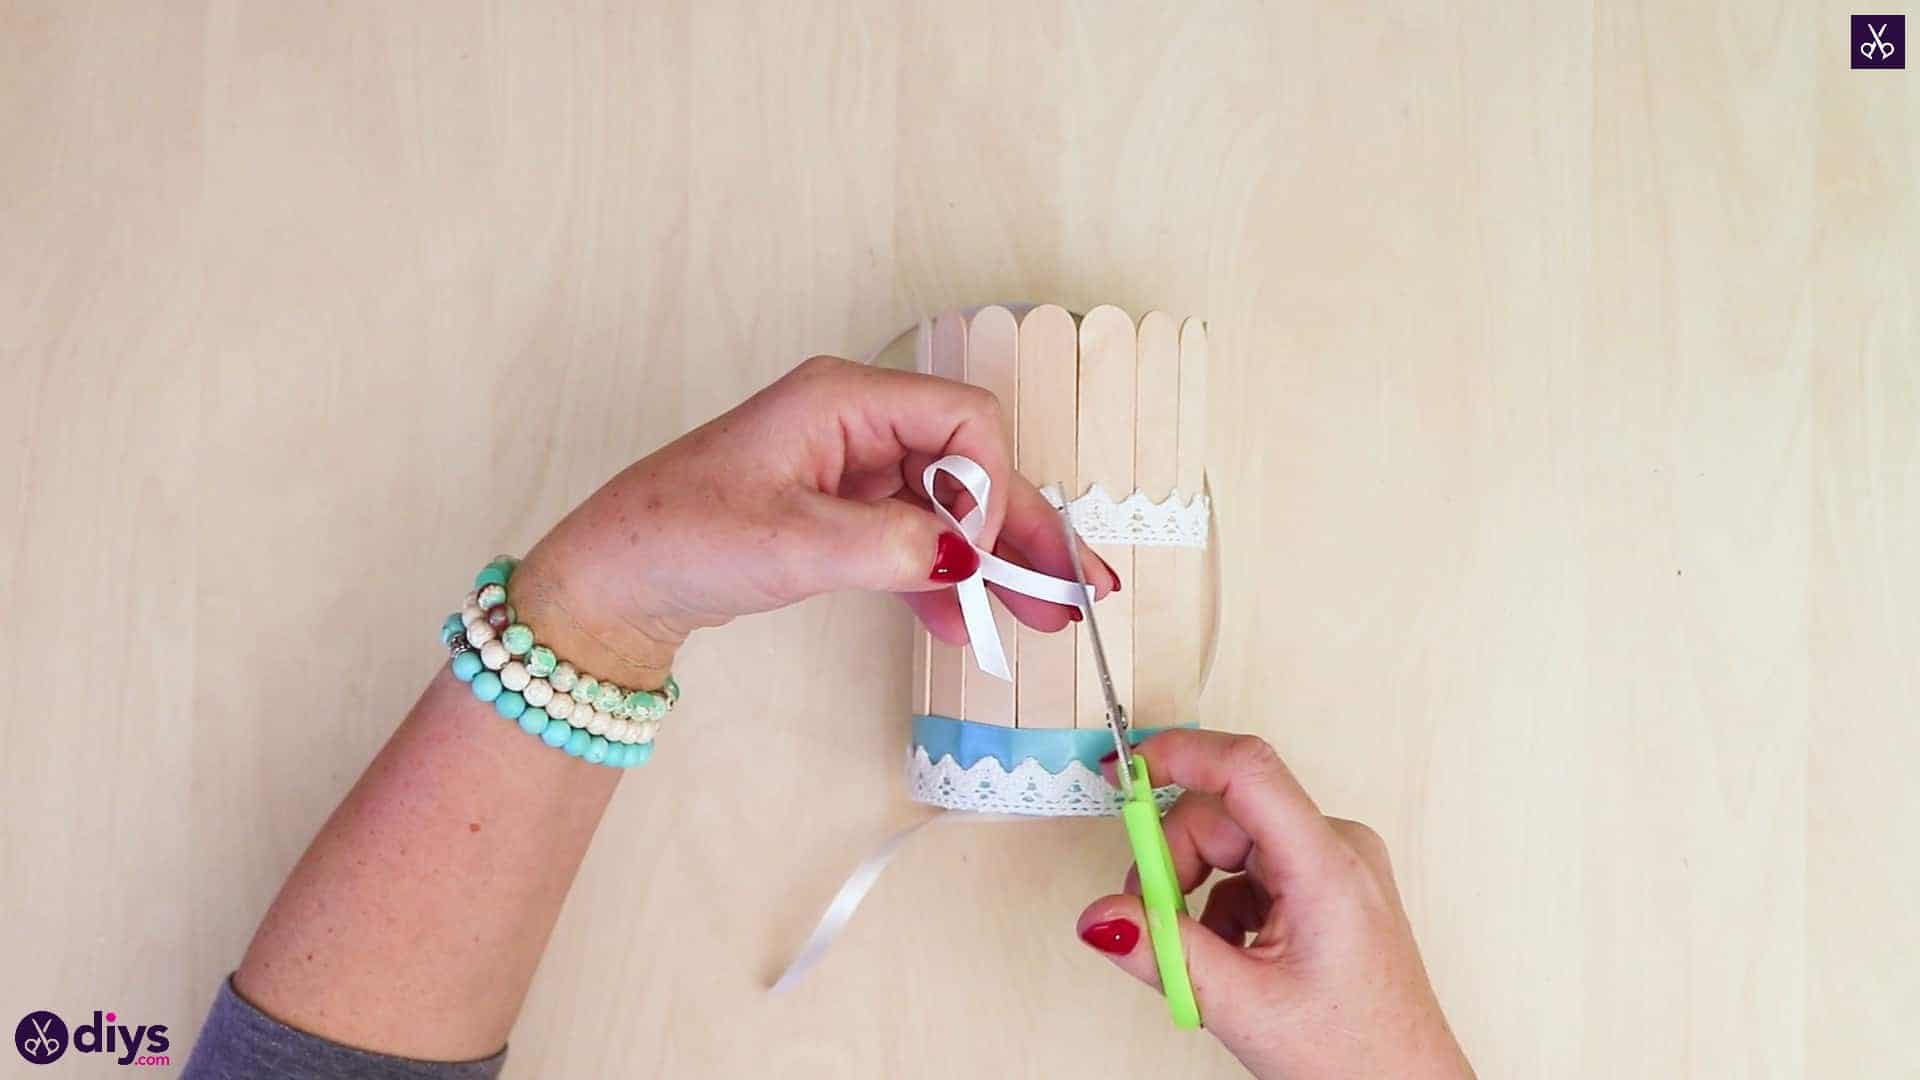
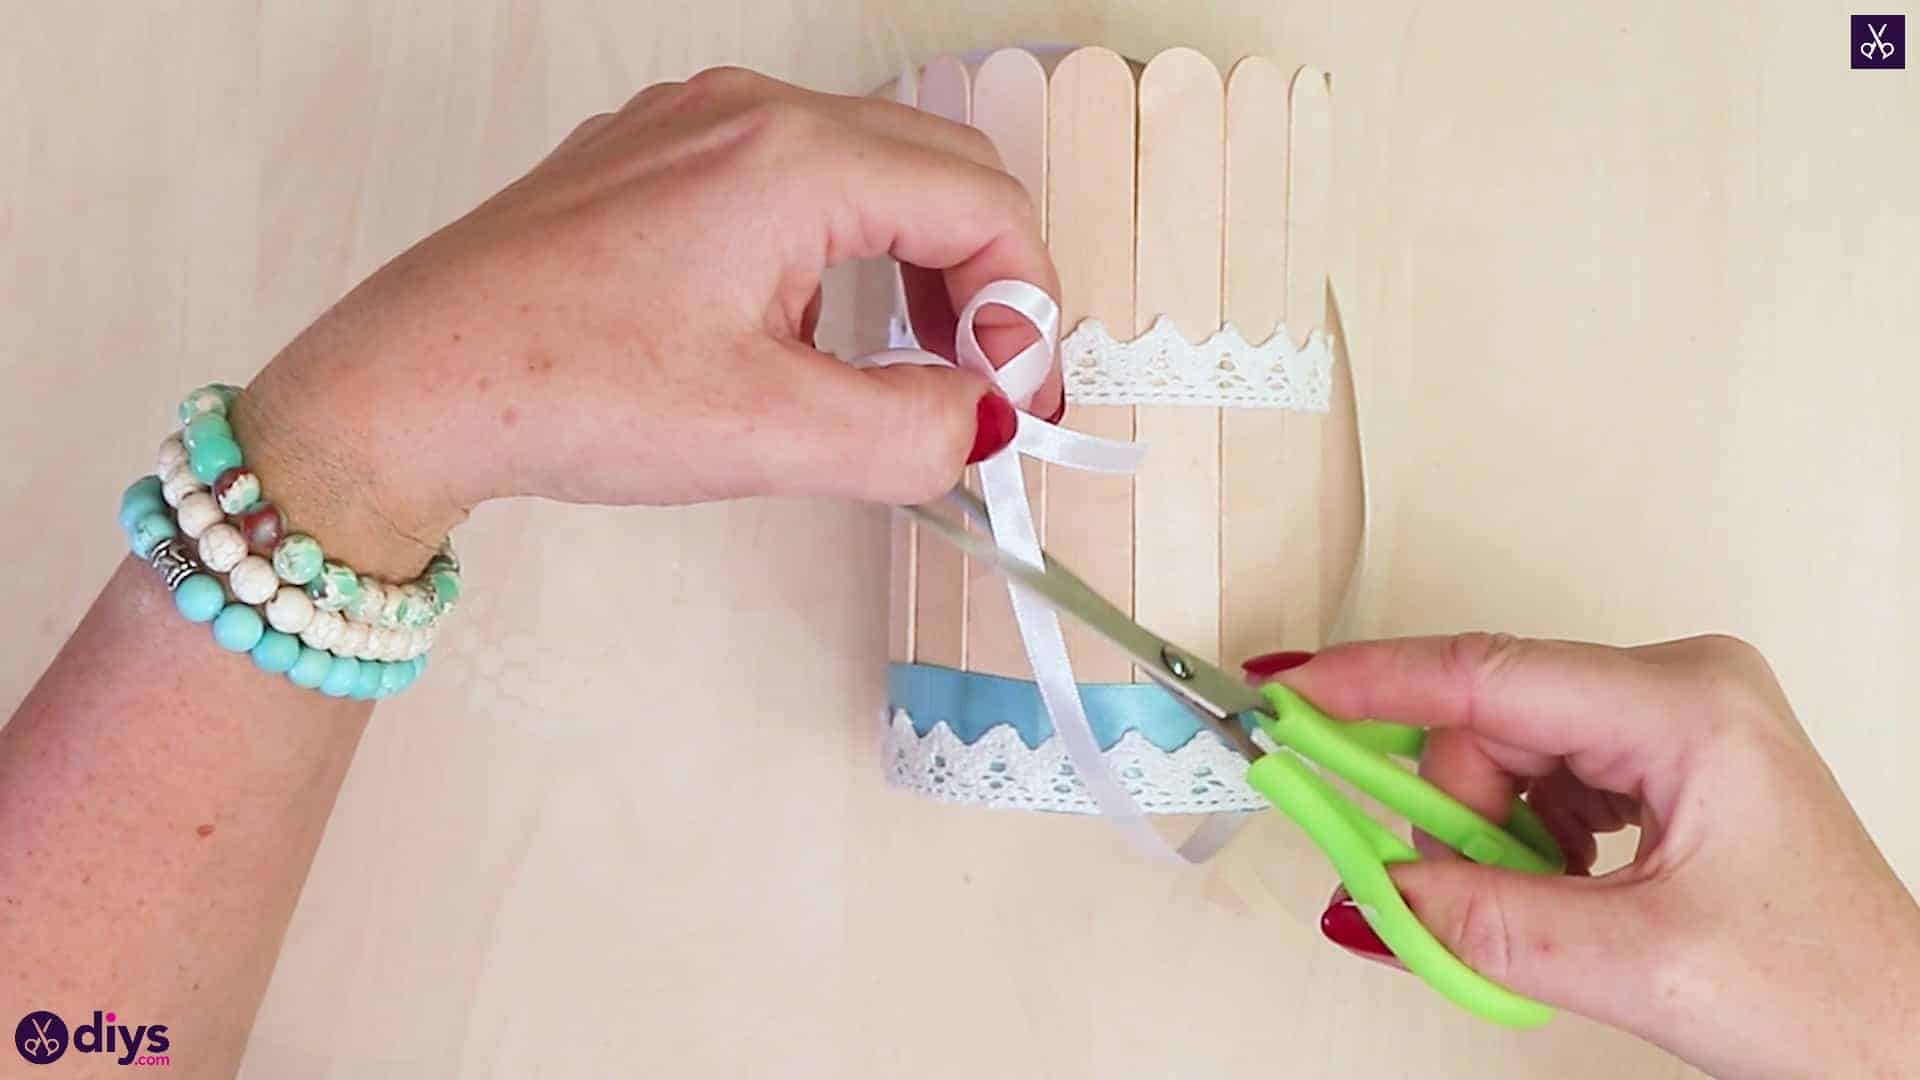
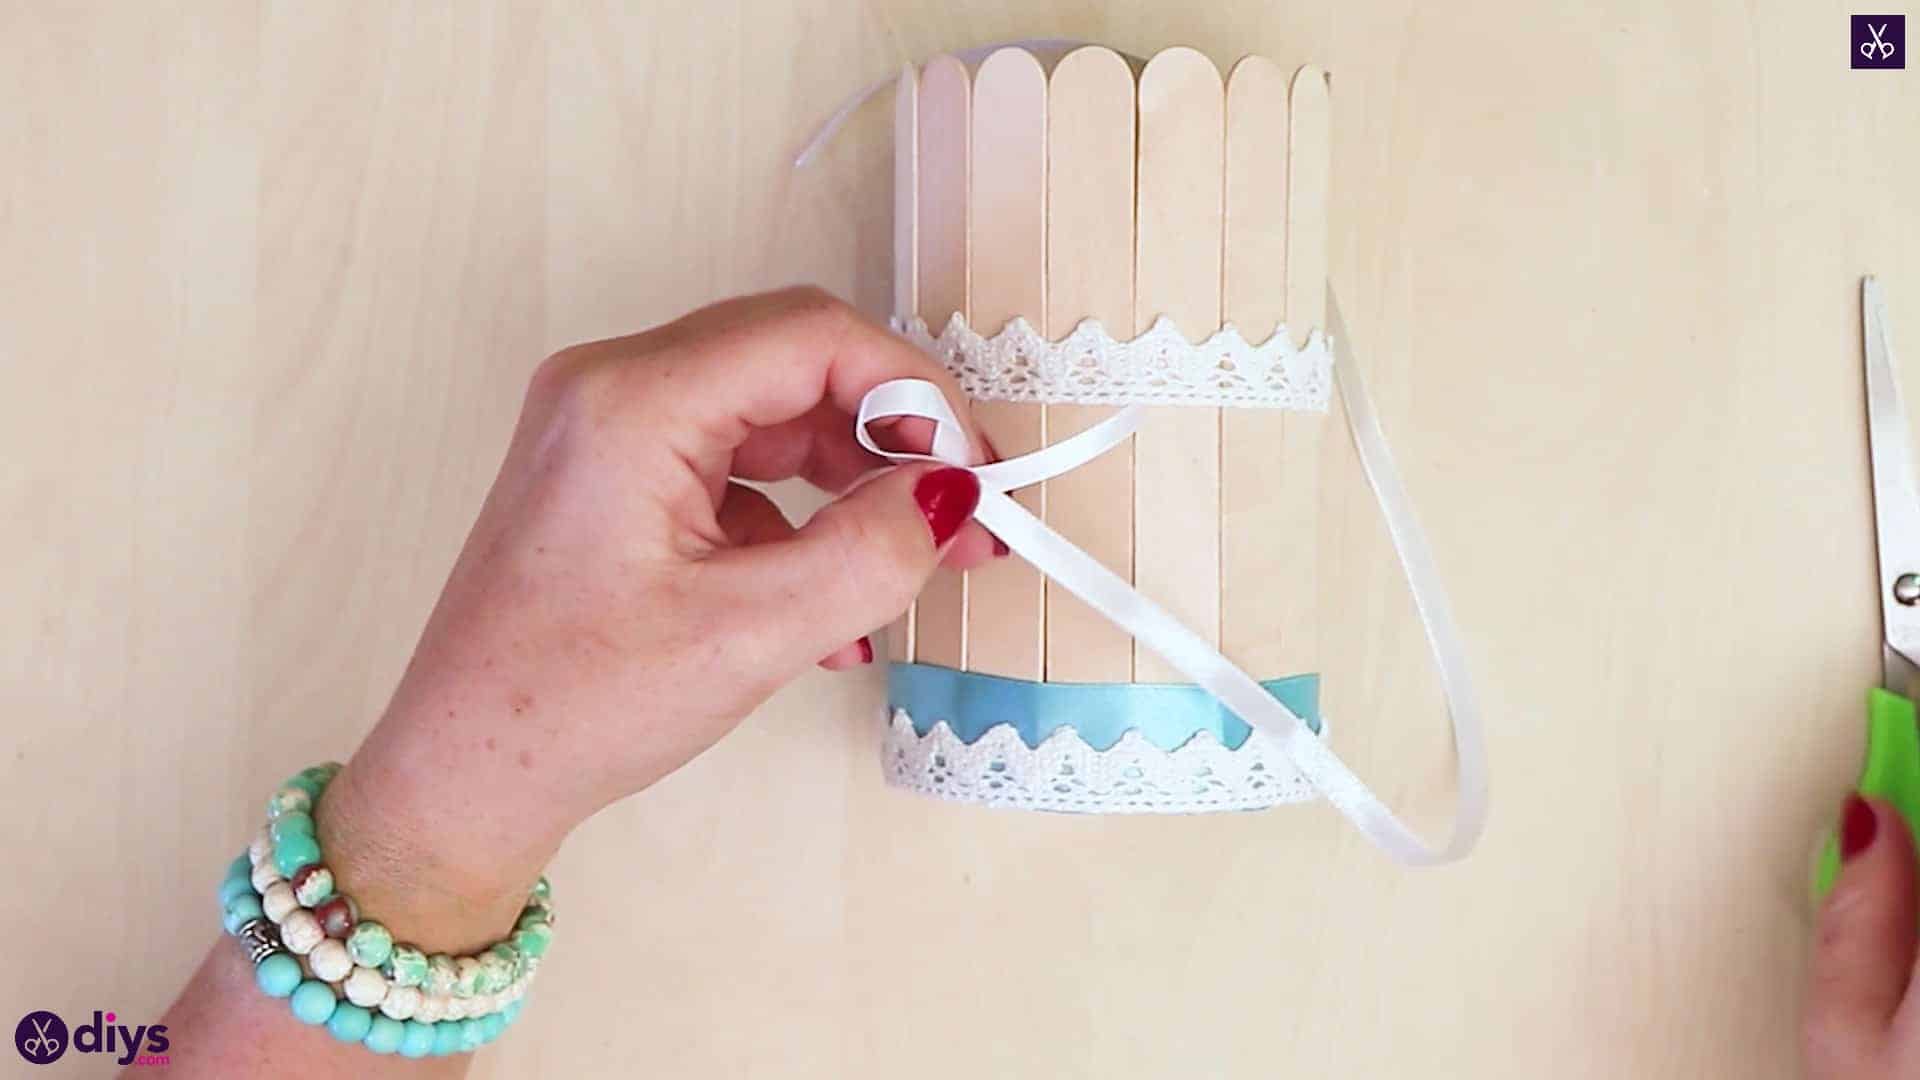
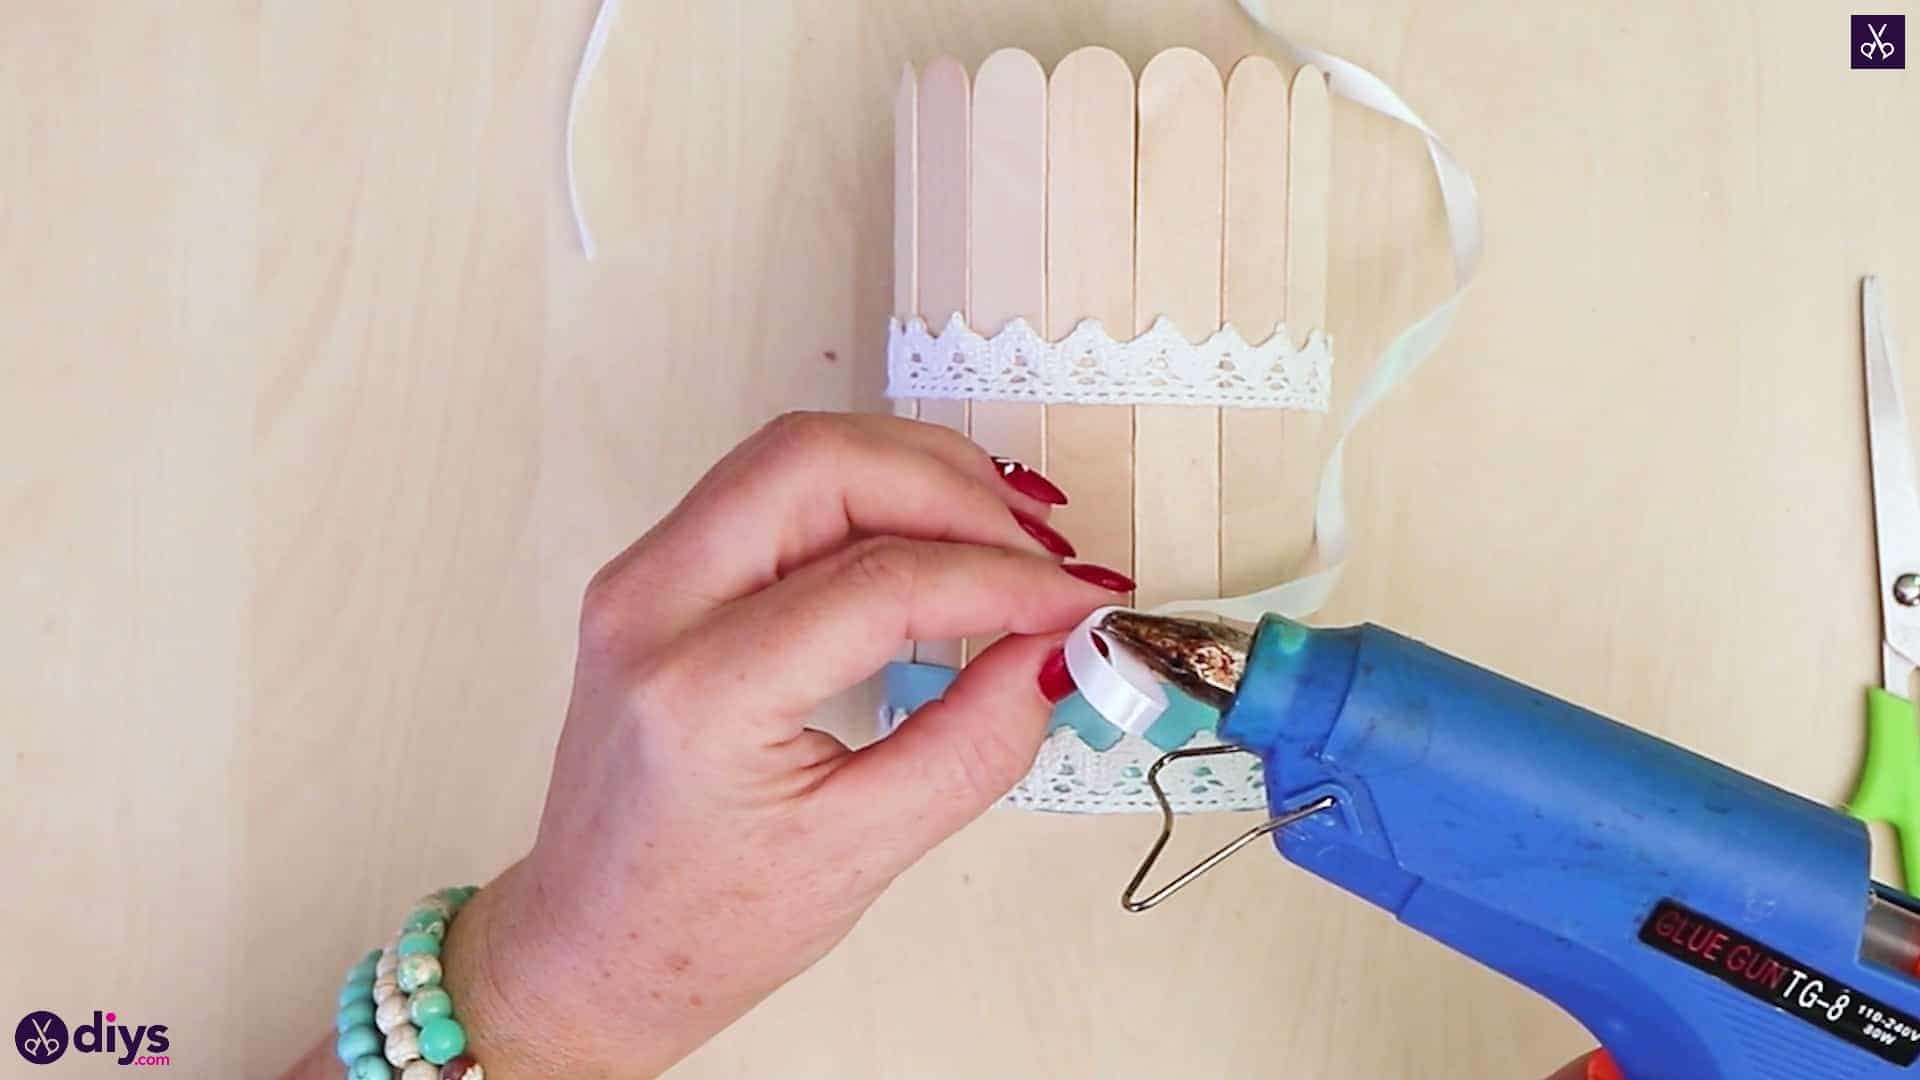
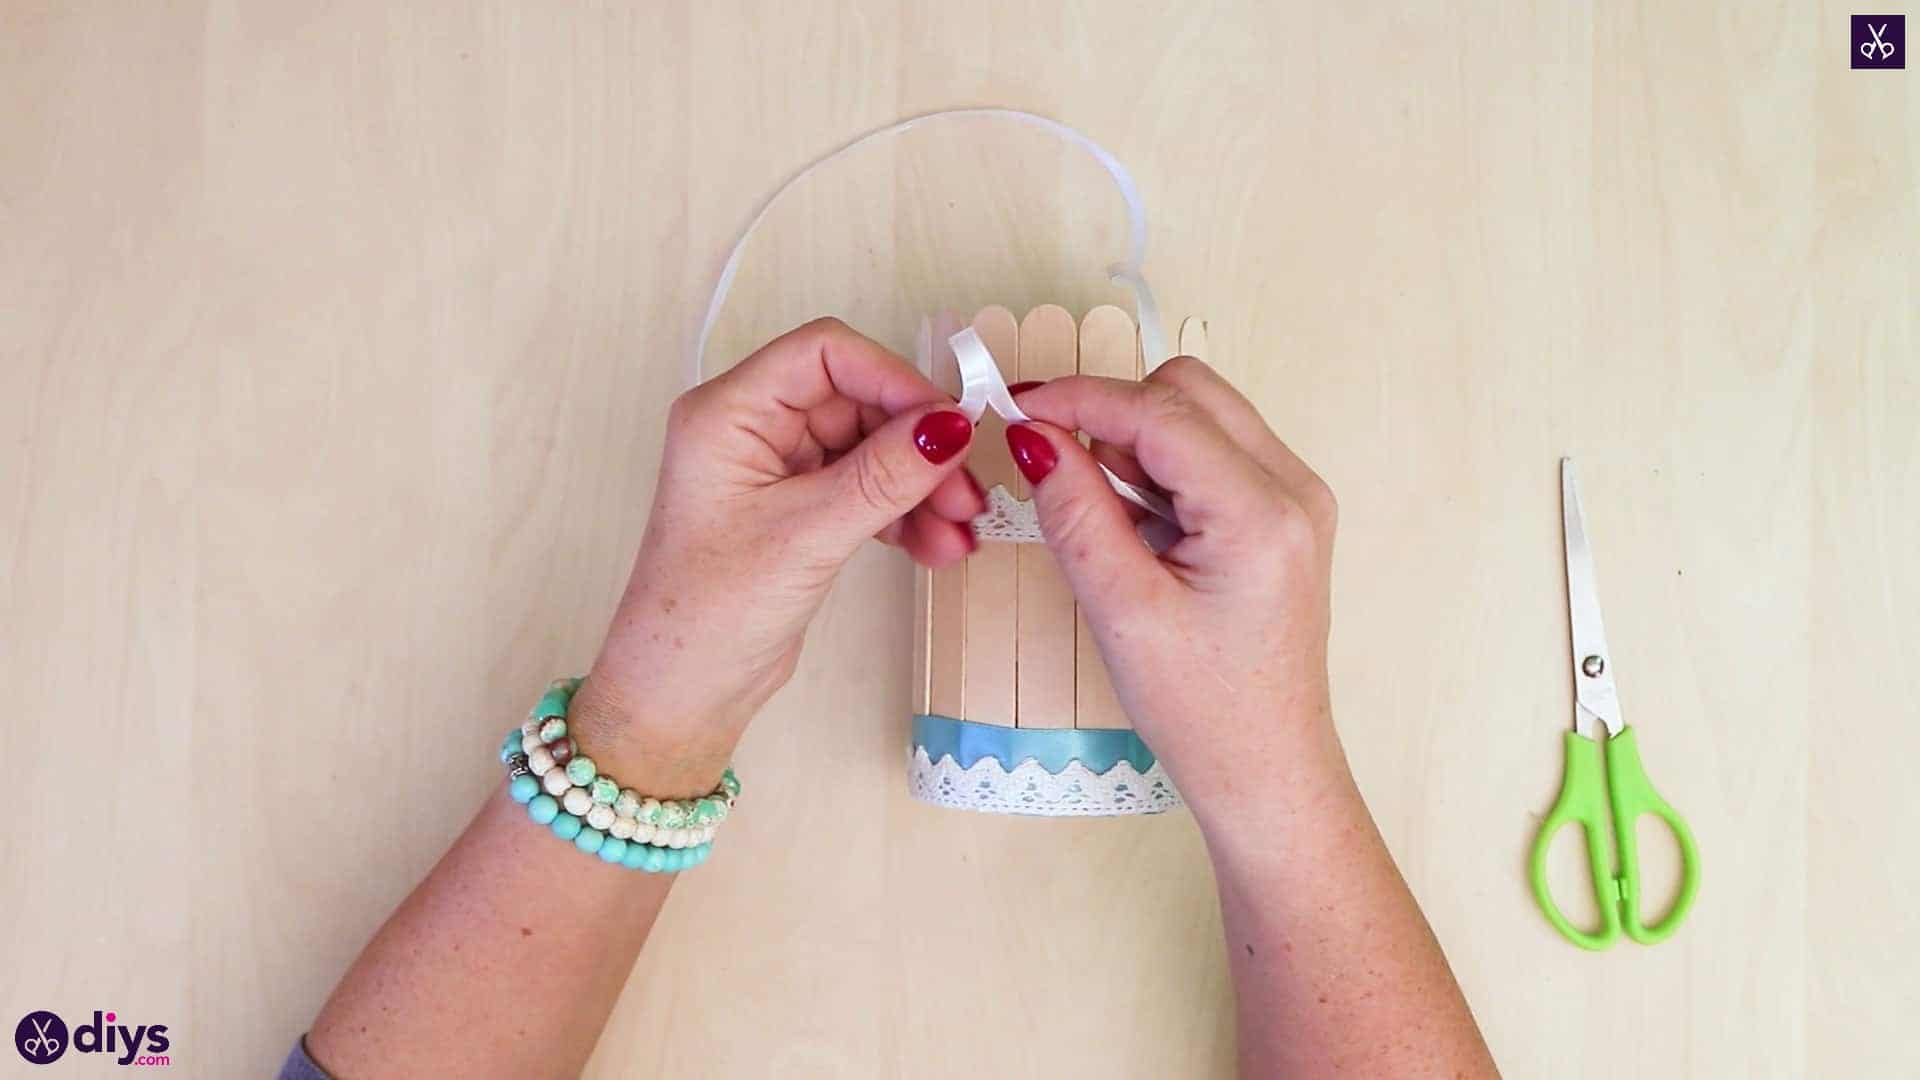
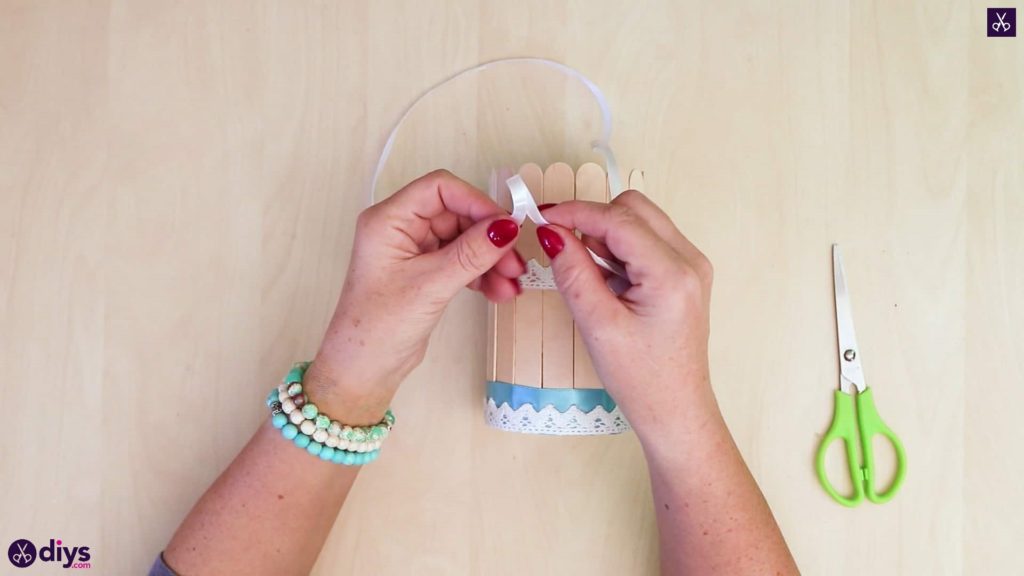
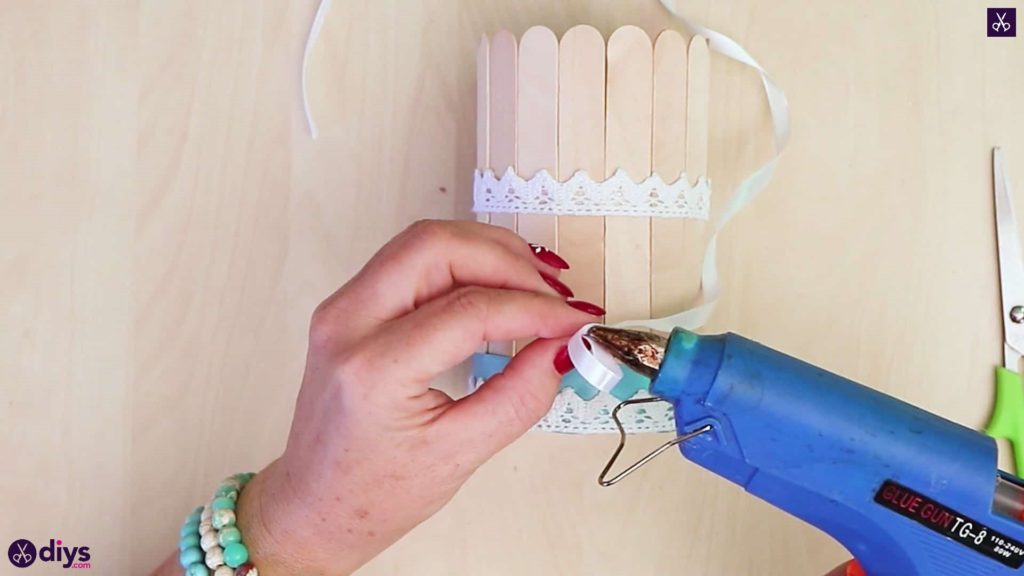
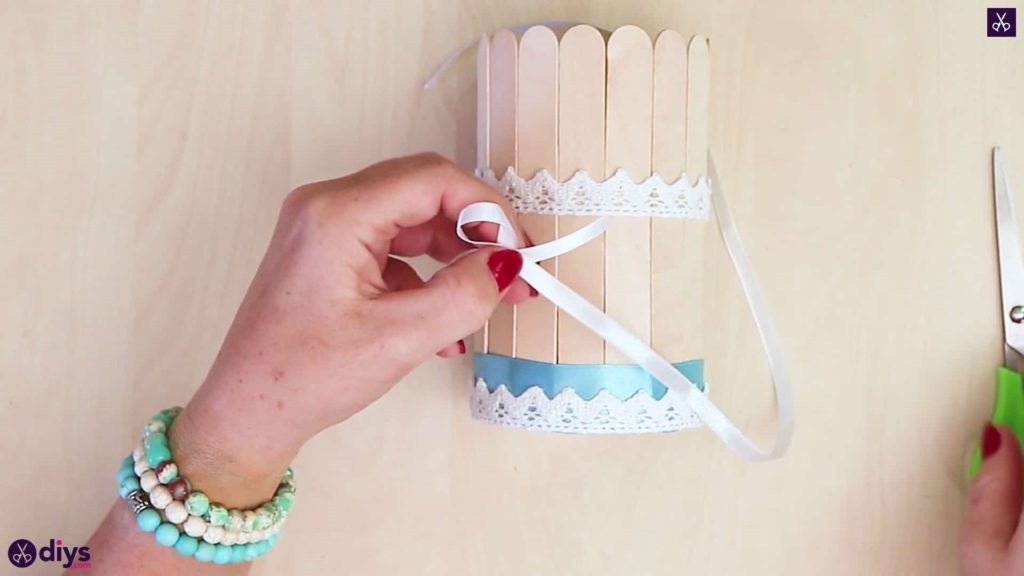
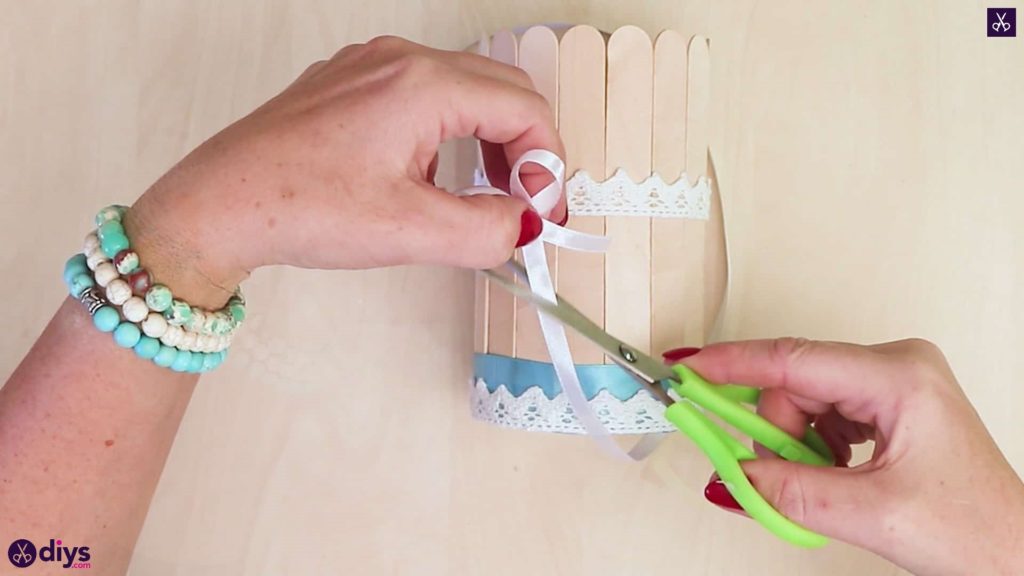
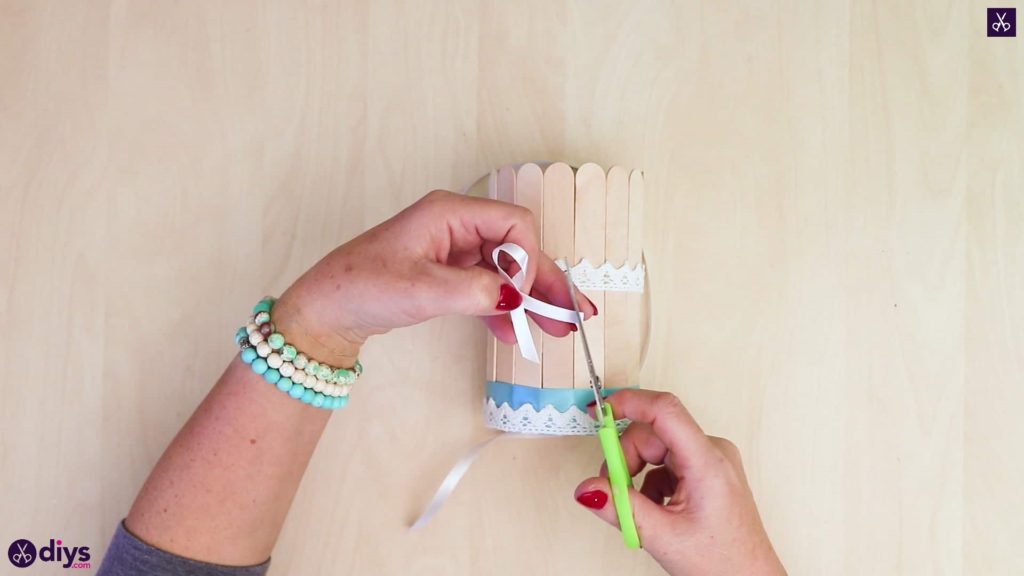
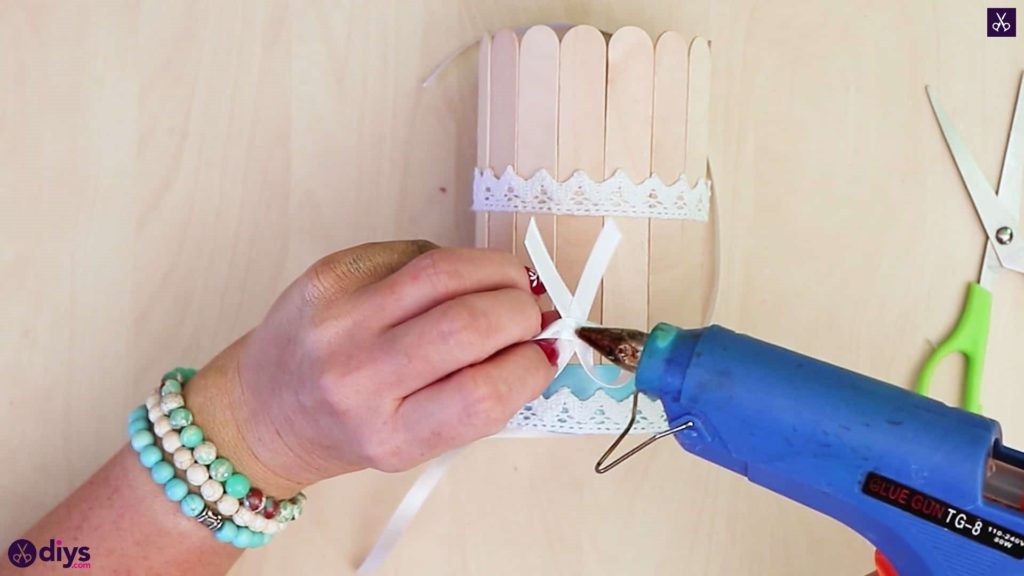
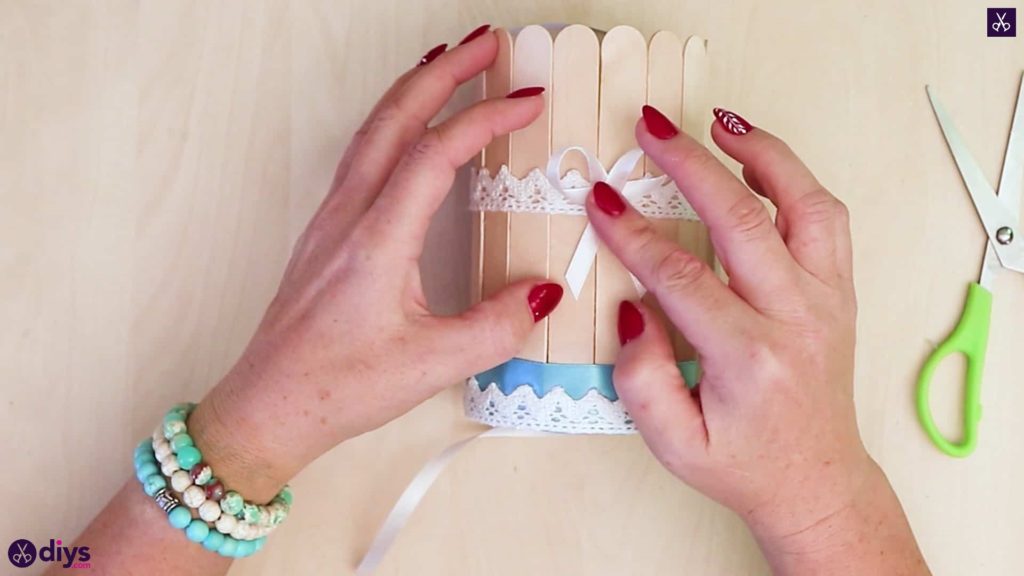
Use your last, smaller white ribbon to make a little bow in order to finish off your piece! Curve the end in on itself in a loop until it overlaps itself, leaving about an inch of excess below where the loop intersects the rest of the ribbon. Apply glue where the overlap is and stick the loop into place. Then do the same with the other side so the ribbon crosses over once more at that same intersection and creates a second loop. Apply glue under that crossover and glue into into place like before. Trim the end of this loop to be even with the other. I cut each end on a diagonal angle to stop the ribbon from fraying. Apply glue to the back of the bow at the centre and turn your can to the part that you’d like to use as the front. Stick the little bow down in the middle of the higher lace ribbon.
You’ve officially finished yourself a new and rather elegant looking container that’s perfect for holding pens or displaying a little bouquet of flowers! Just in case you’d like to try this project out for yourself, here’s a fantastic tutorial video to help you!
