How to Make a Popsicle Stick Bracelet
I’m always on the lookout for new techniques, looks, and materials that I haven’t tried in the world of accessory making and I’d come across the idea of making popsicle or crafting stick bracelets before, but I couldn’t find a tutorial that laid the process out quite as clearly as I’d hope… so I decided to put one together myself!
Here are the full steps I took to make myself a number of bangle style bracelets from popsicle sticks. Just in case you’re more of a visual learner, you’ll also find a full video tutorial at the end of this post!

For this project, you’ll need:
- Popsicle sticks
- Washi tape
- Scissors
- Glass
- Pot
- Water
Step 1: boil
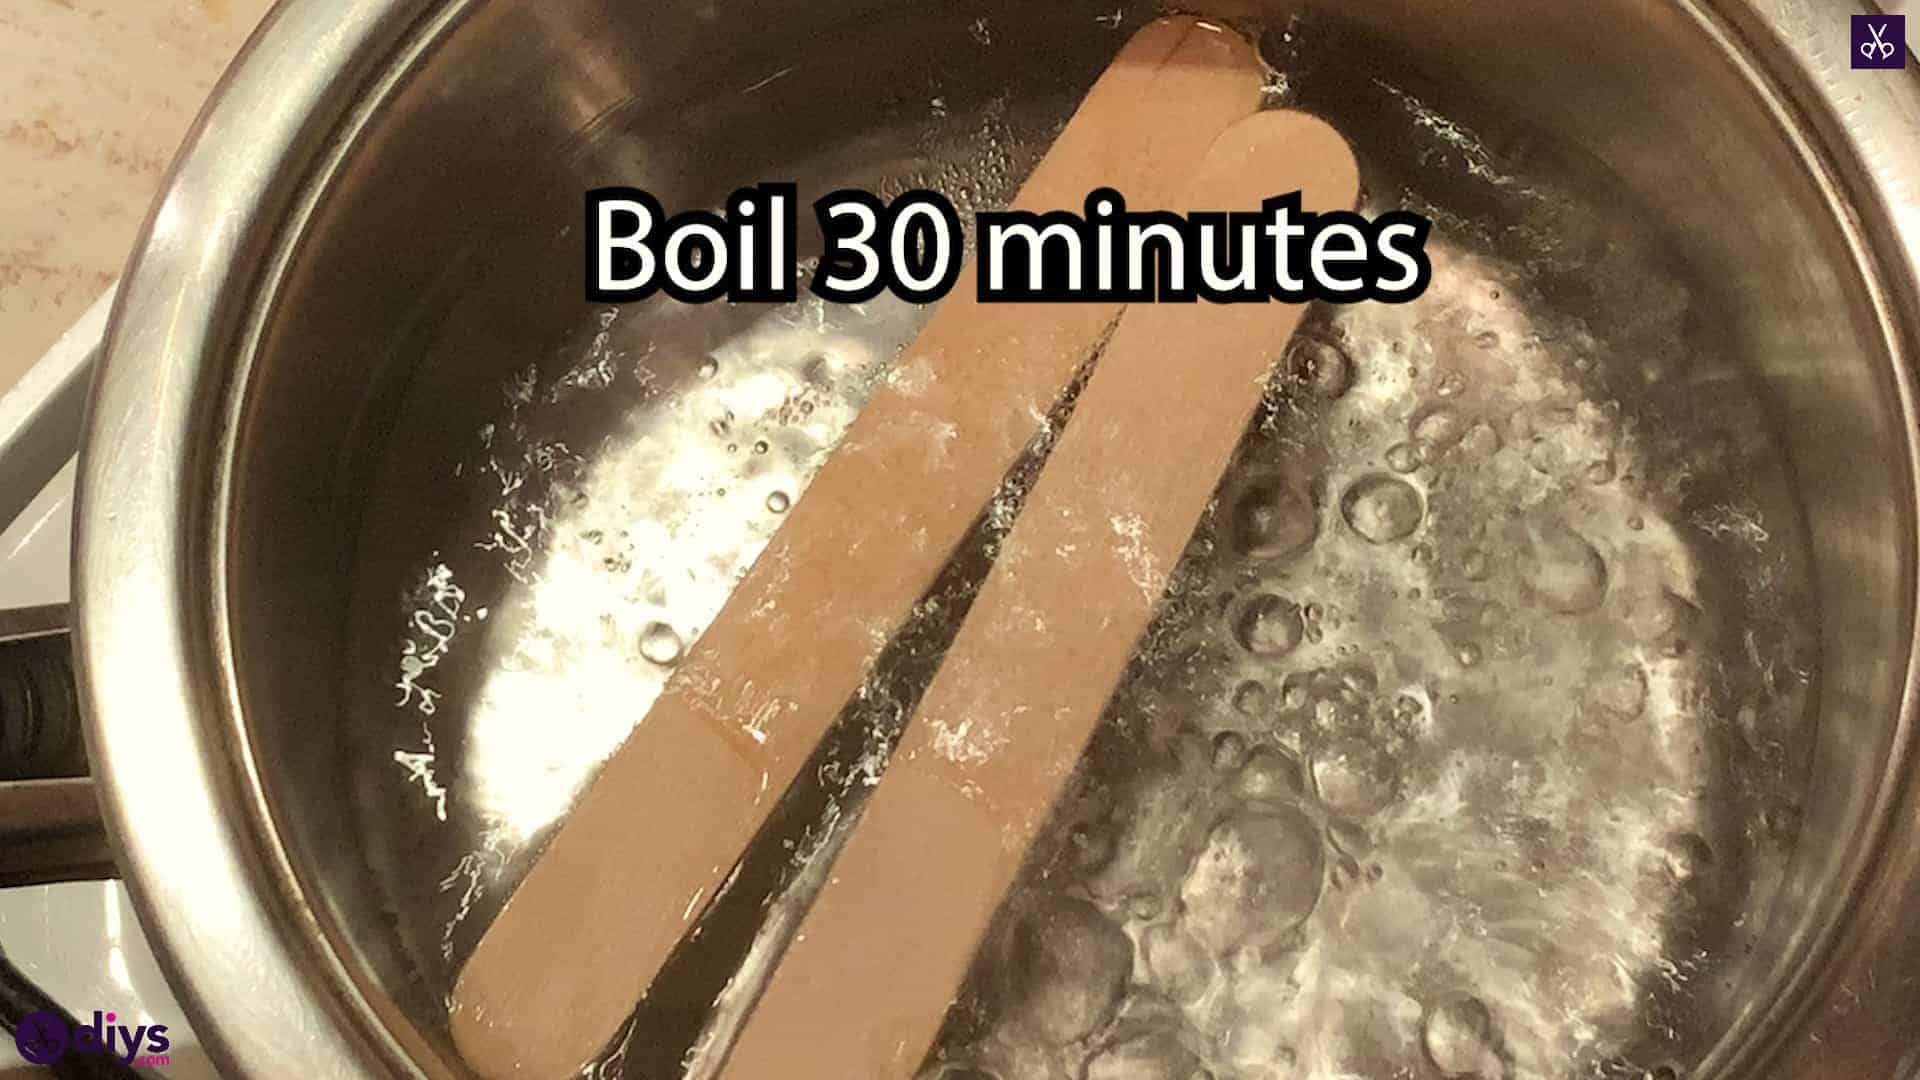
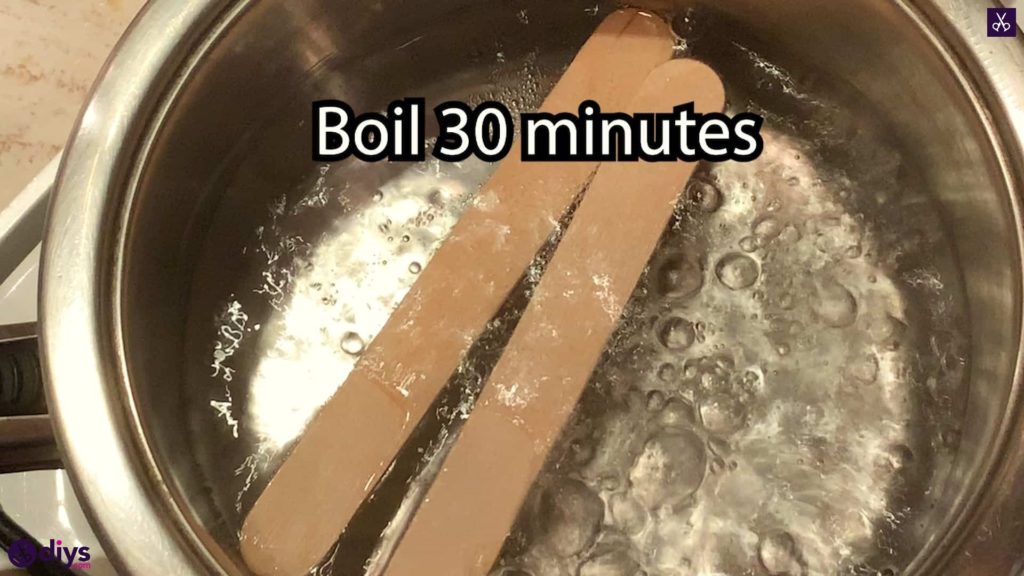
Fill a pot with water and bring it to a boil. Carefully submerge the popsicle sticks in the water and leave them to boil for 30 minutes.
Step 2: remove and bend
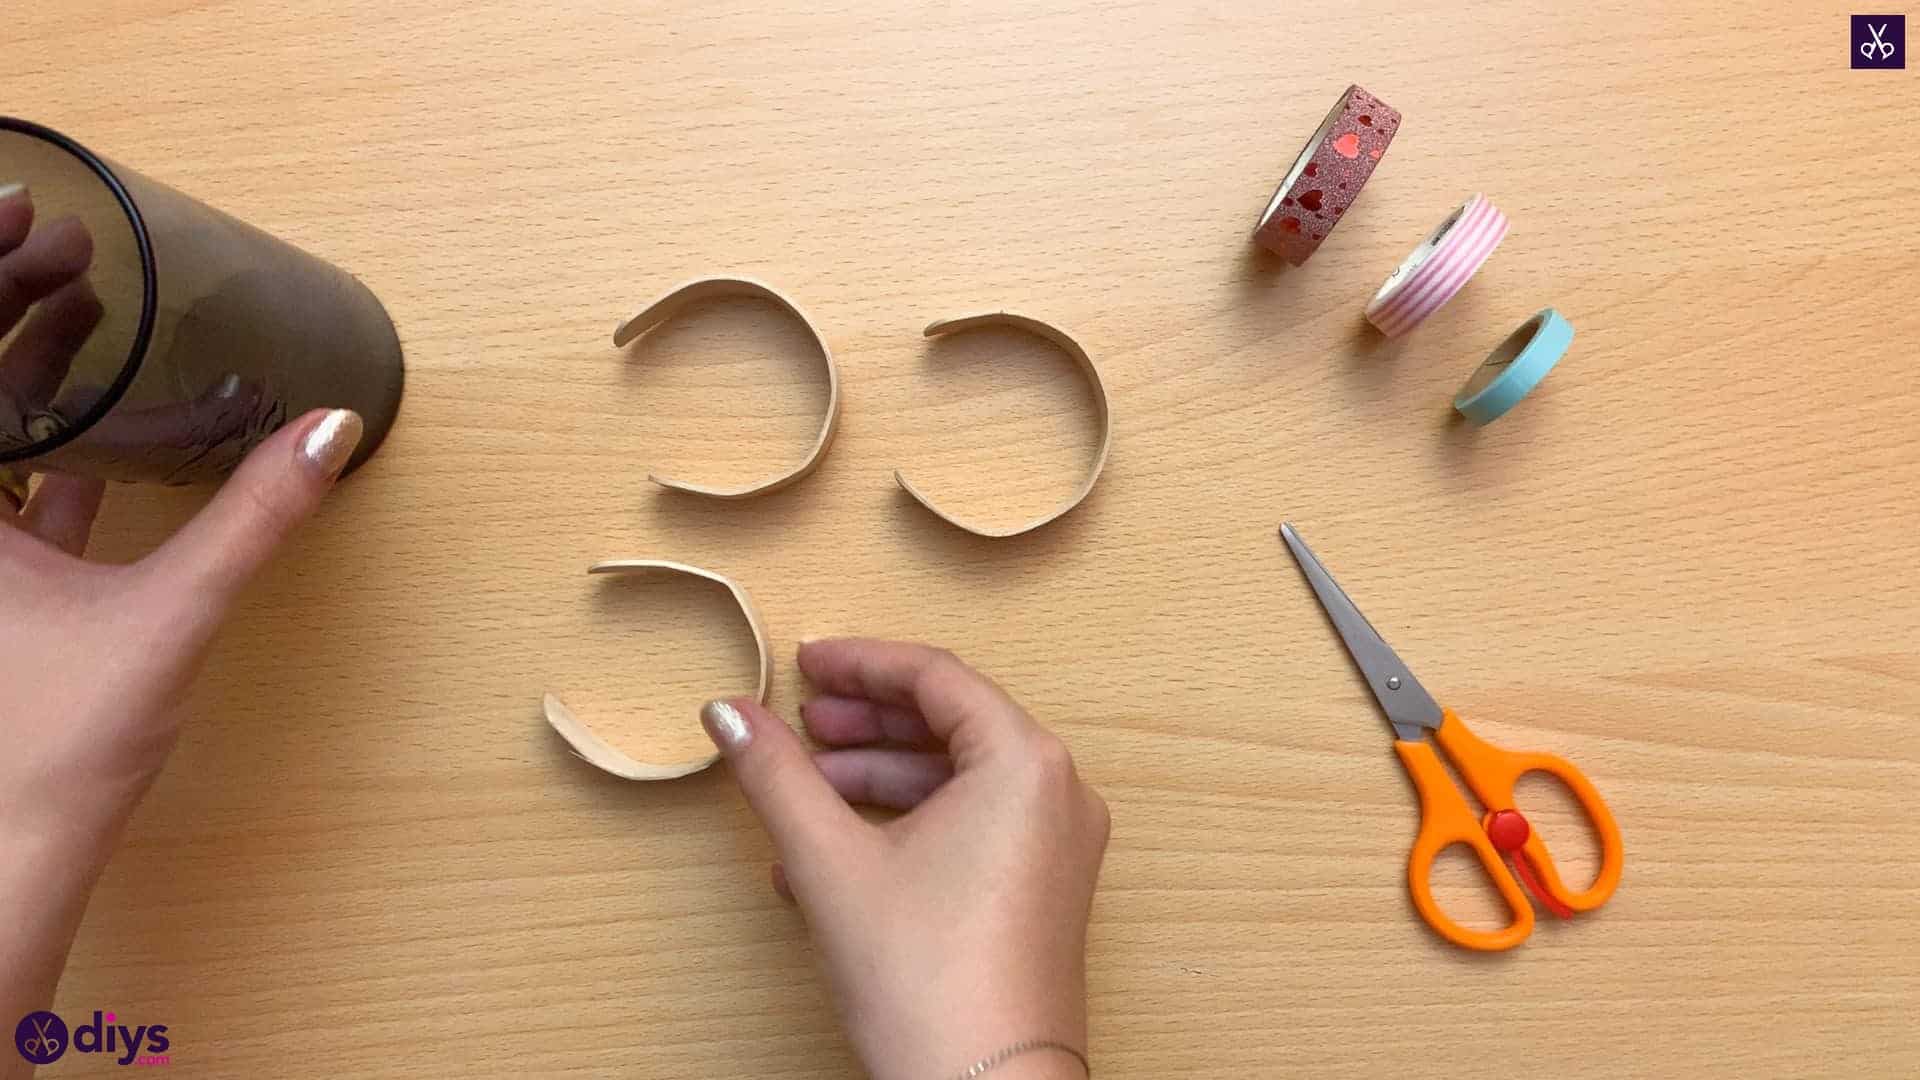
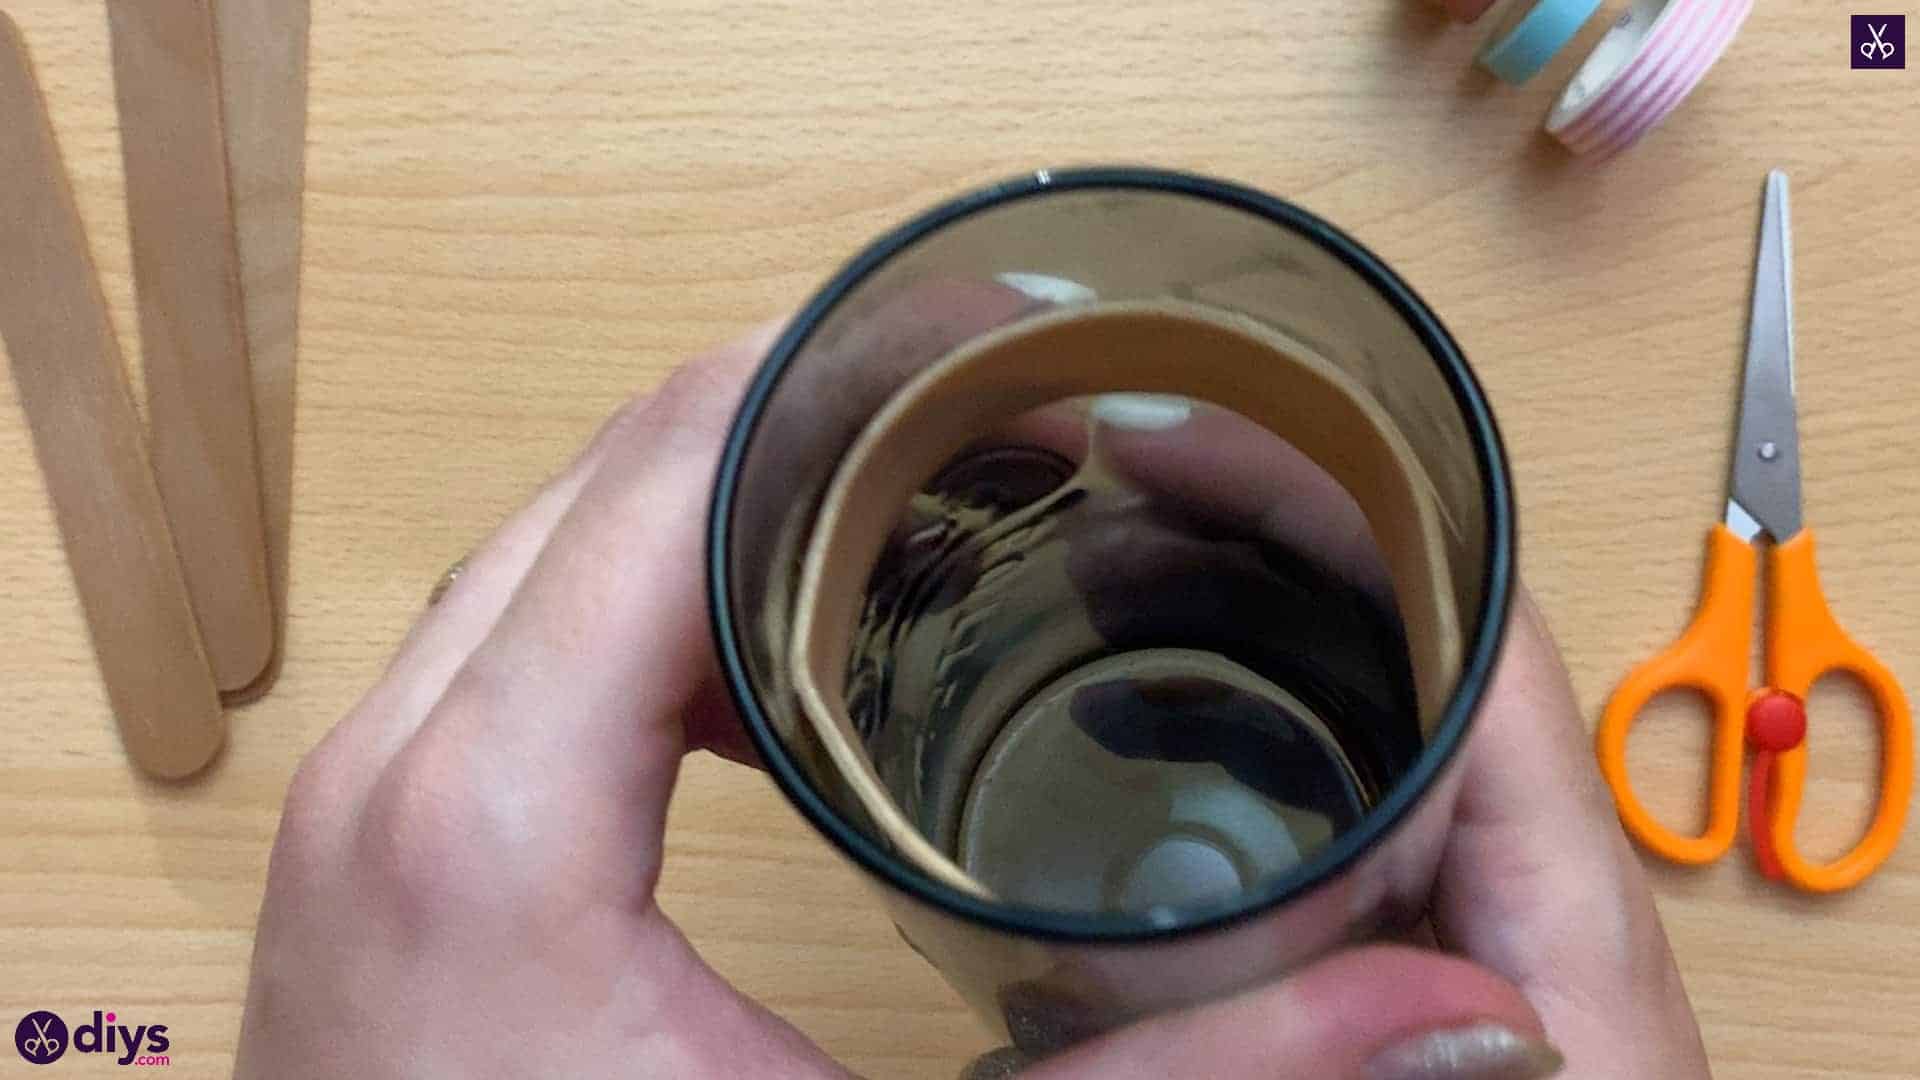
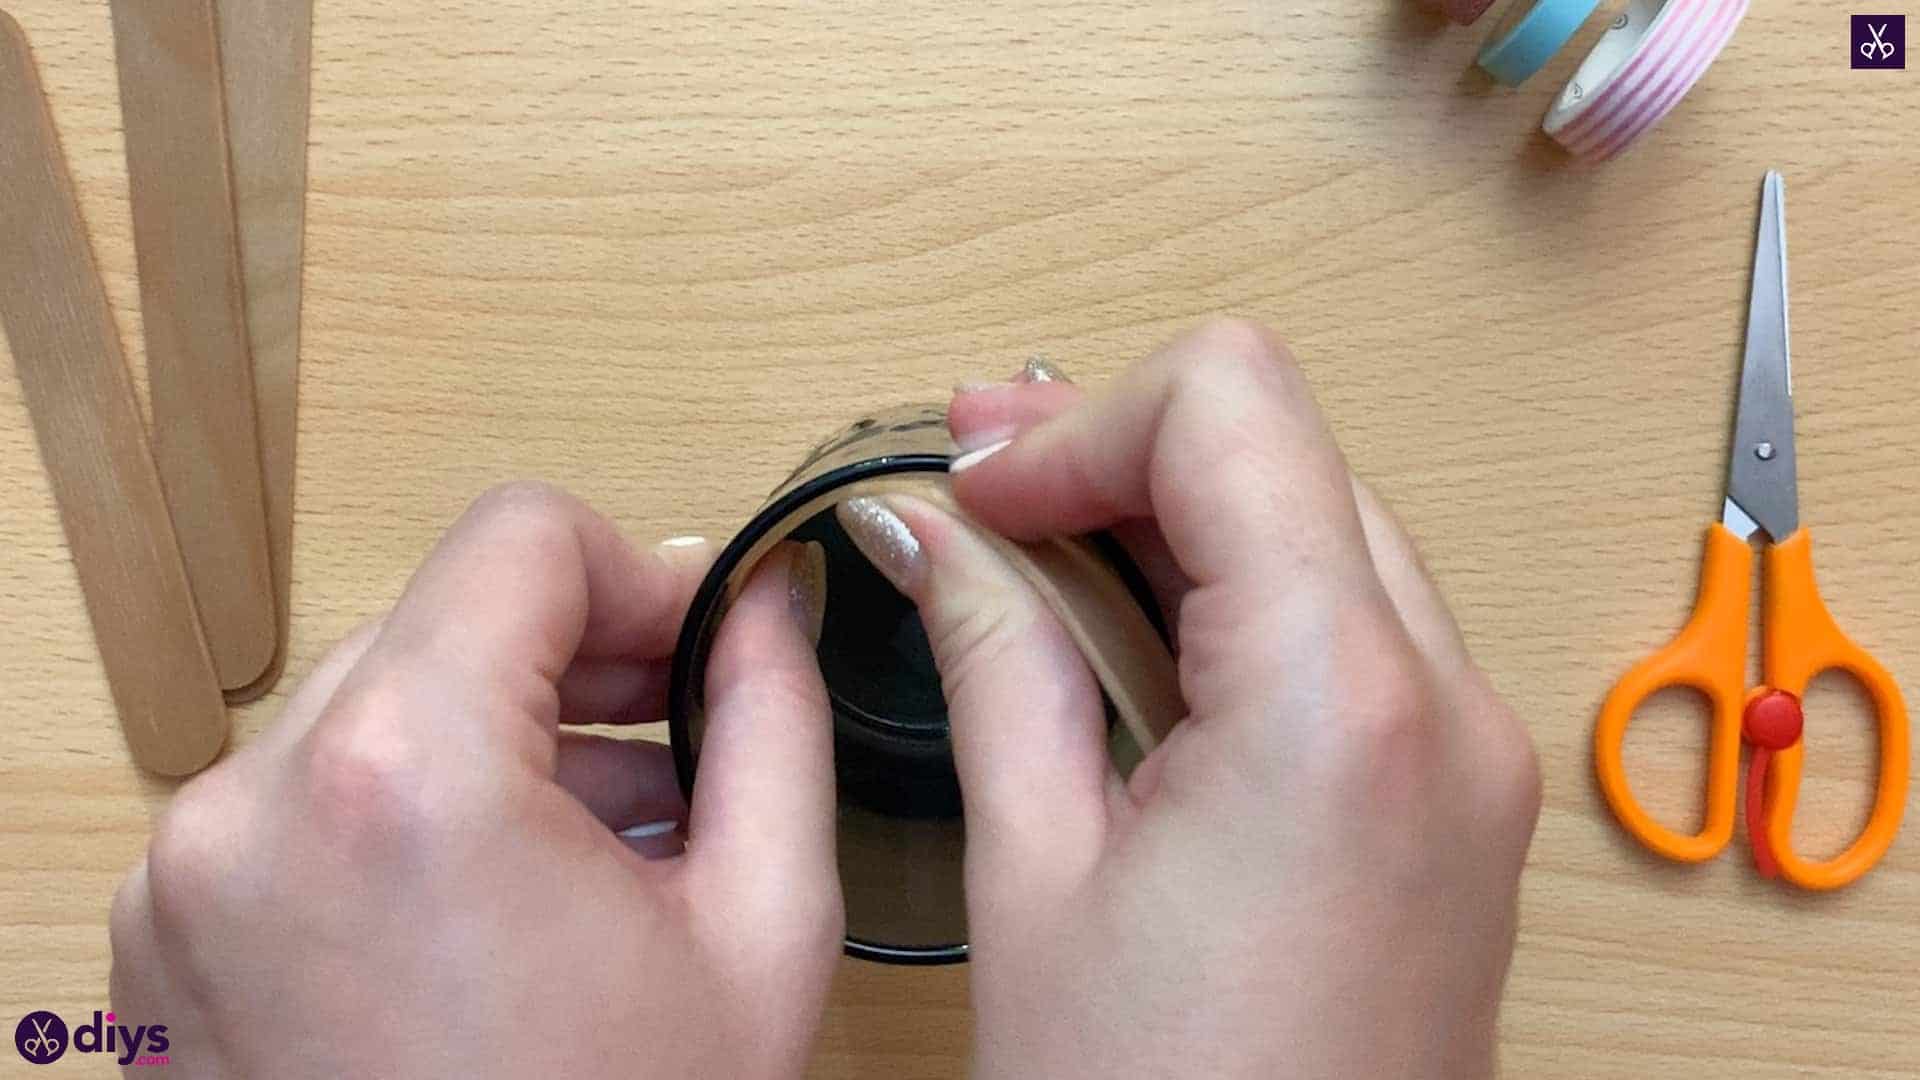
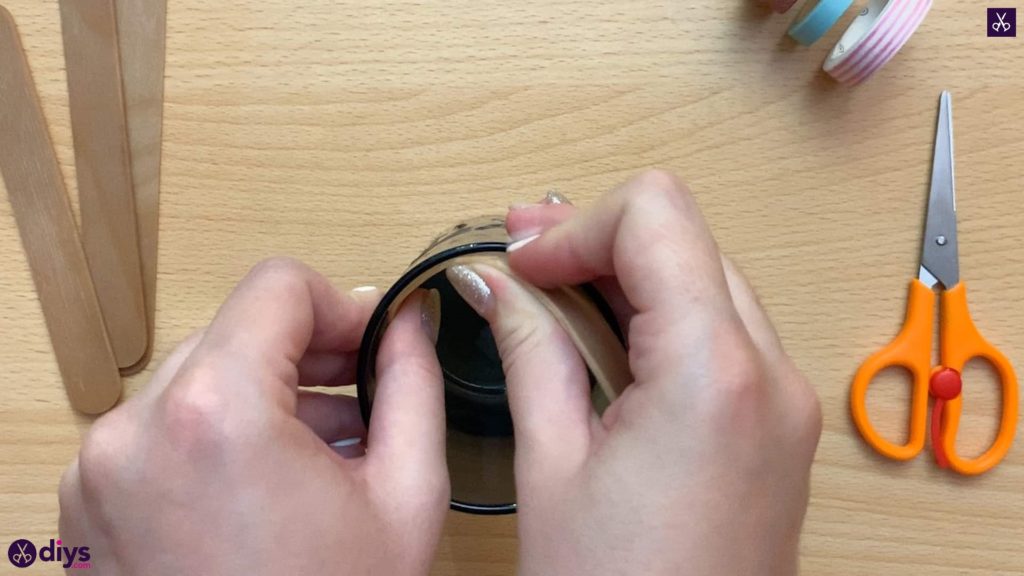
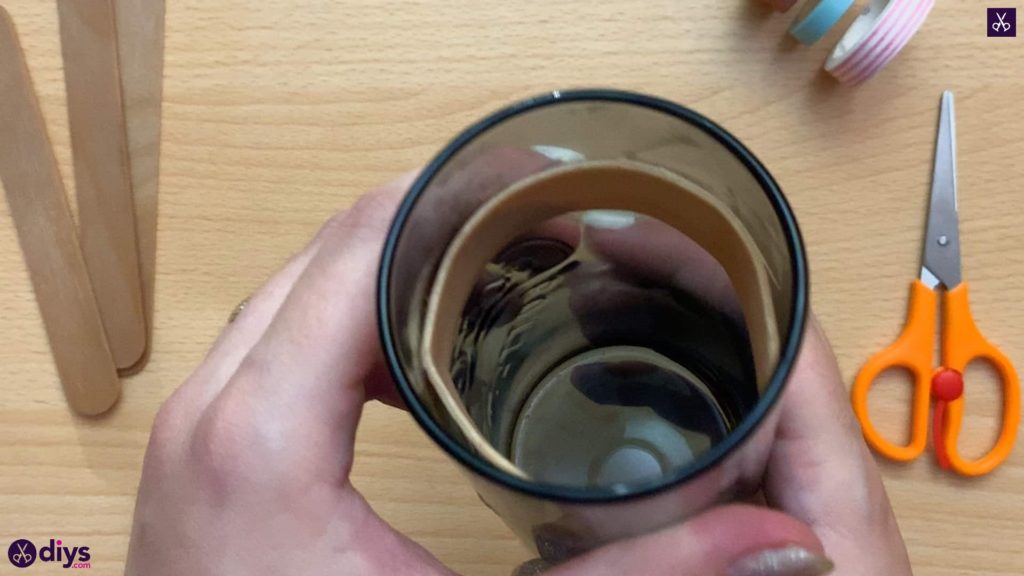
Turn the heat off on your pot and use tongs or another utensil to carefully remove your popsicle sticks from the water. Let them cool until they’re safe to touch. You’ll notice that they’re quite soft and malleable from being boiled. Carefully bend your stick into a rounded, arched shape and slide it into the top of your glass. Gently mould it to the rounded shape of the glass with your thumbs and push it downward so you can fit another popsicle stick in if you’ve opted to make more than one like I did.
Step 3: dry
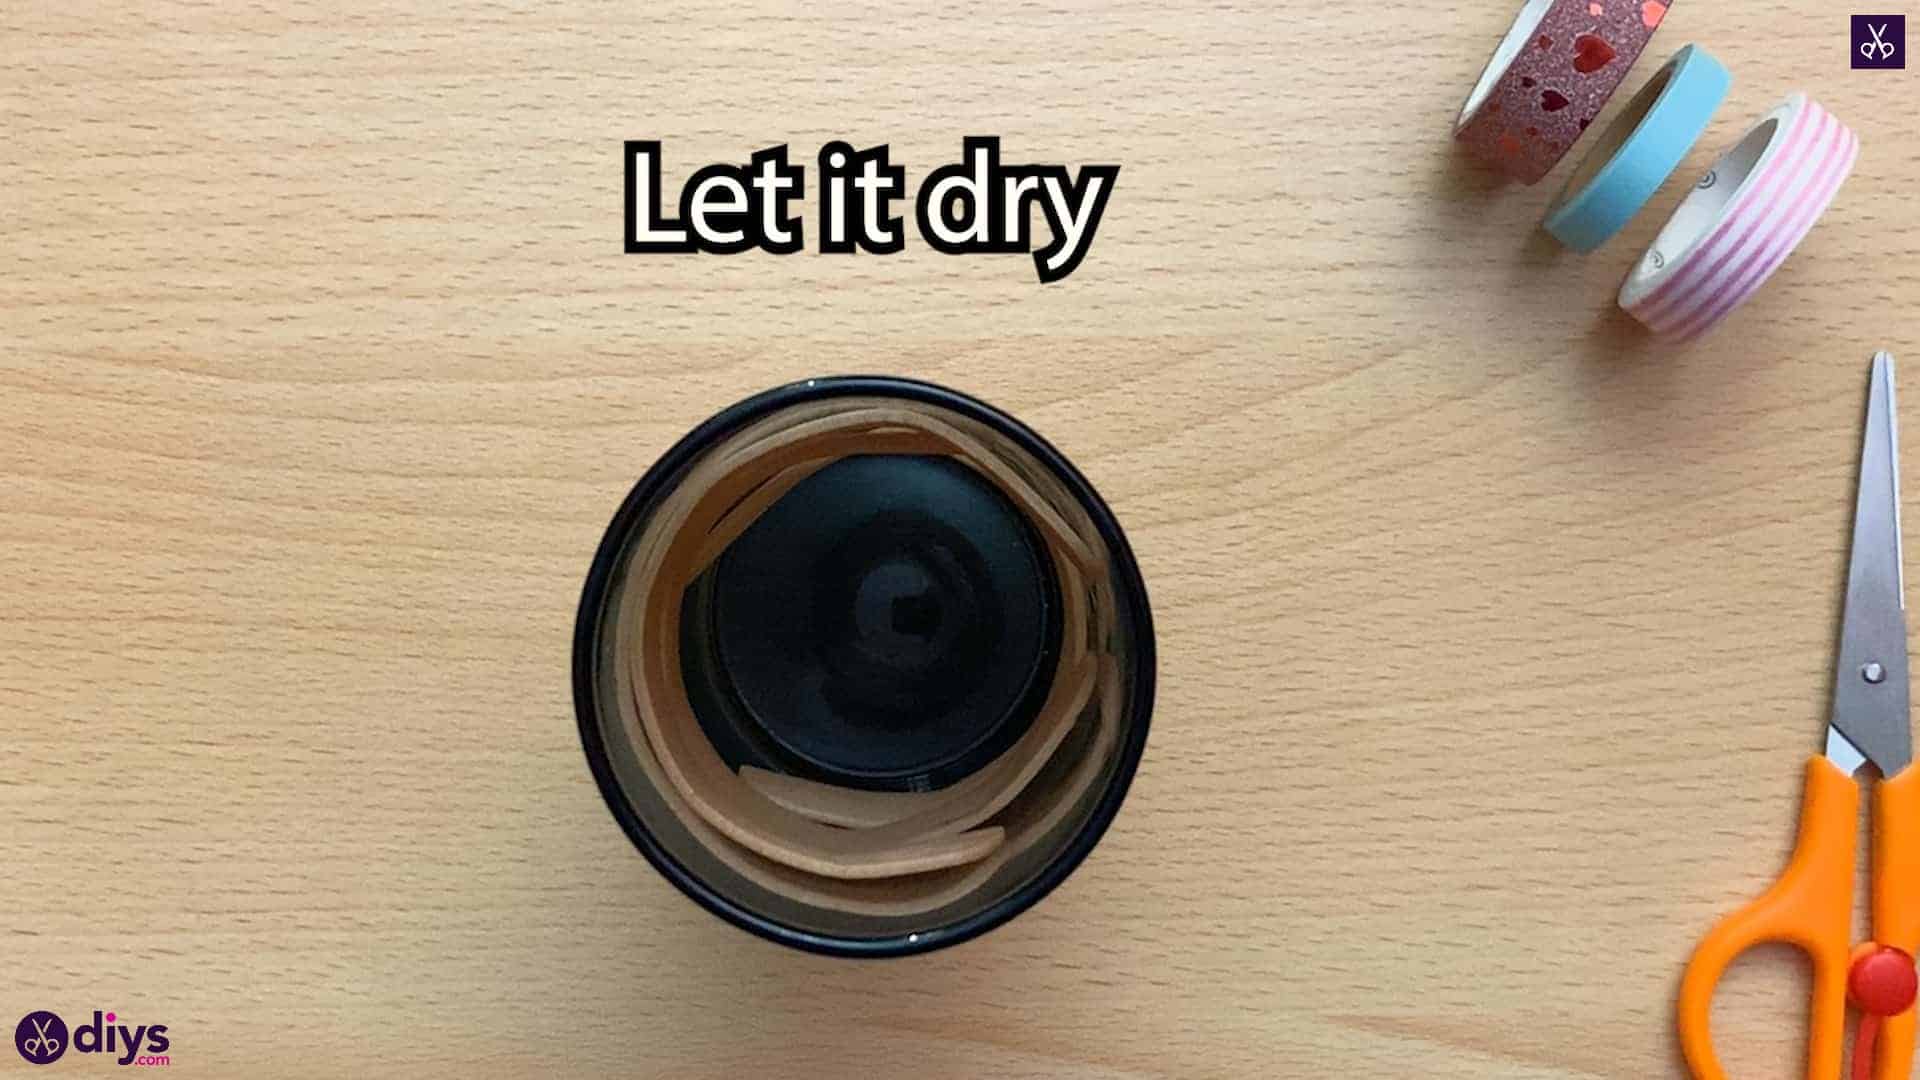
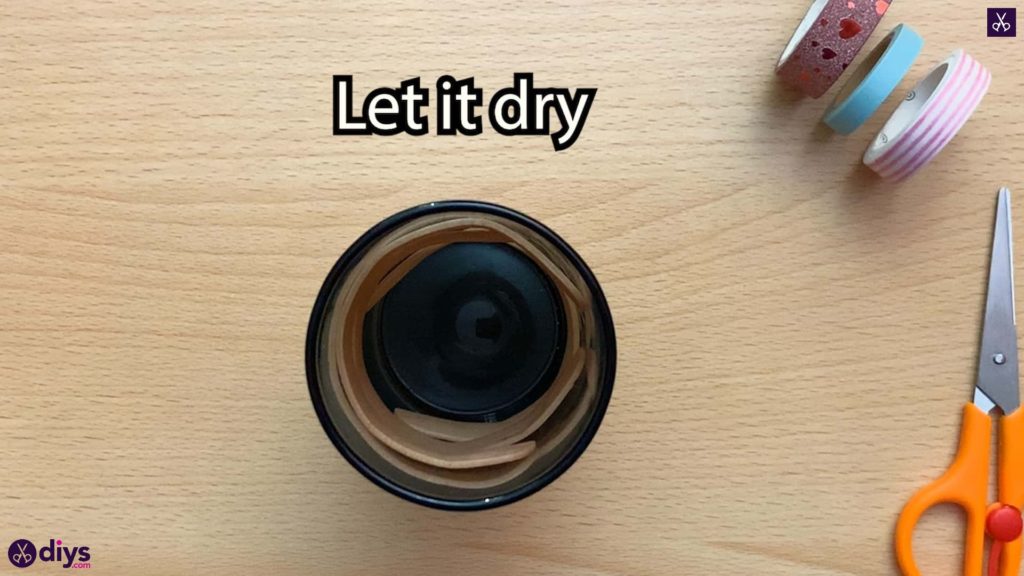
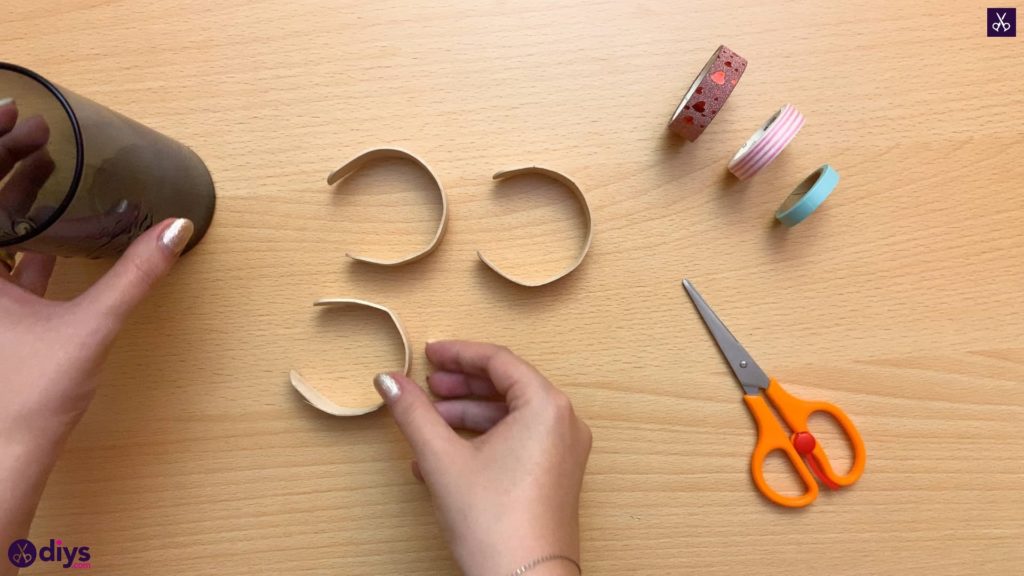
Leave your popsicle sticks to air dry in the glass so they can take on that circular shape. Once they’ve fully dried, carefully slide each one out the top of your glass.
Step 4: decorate
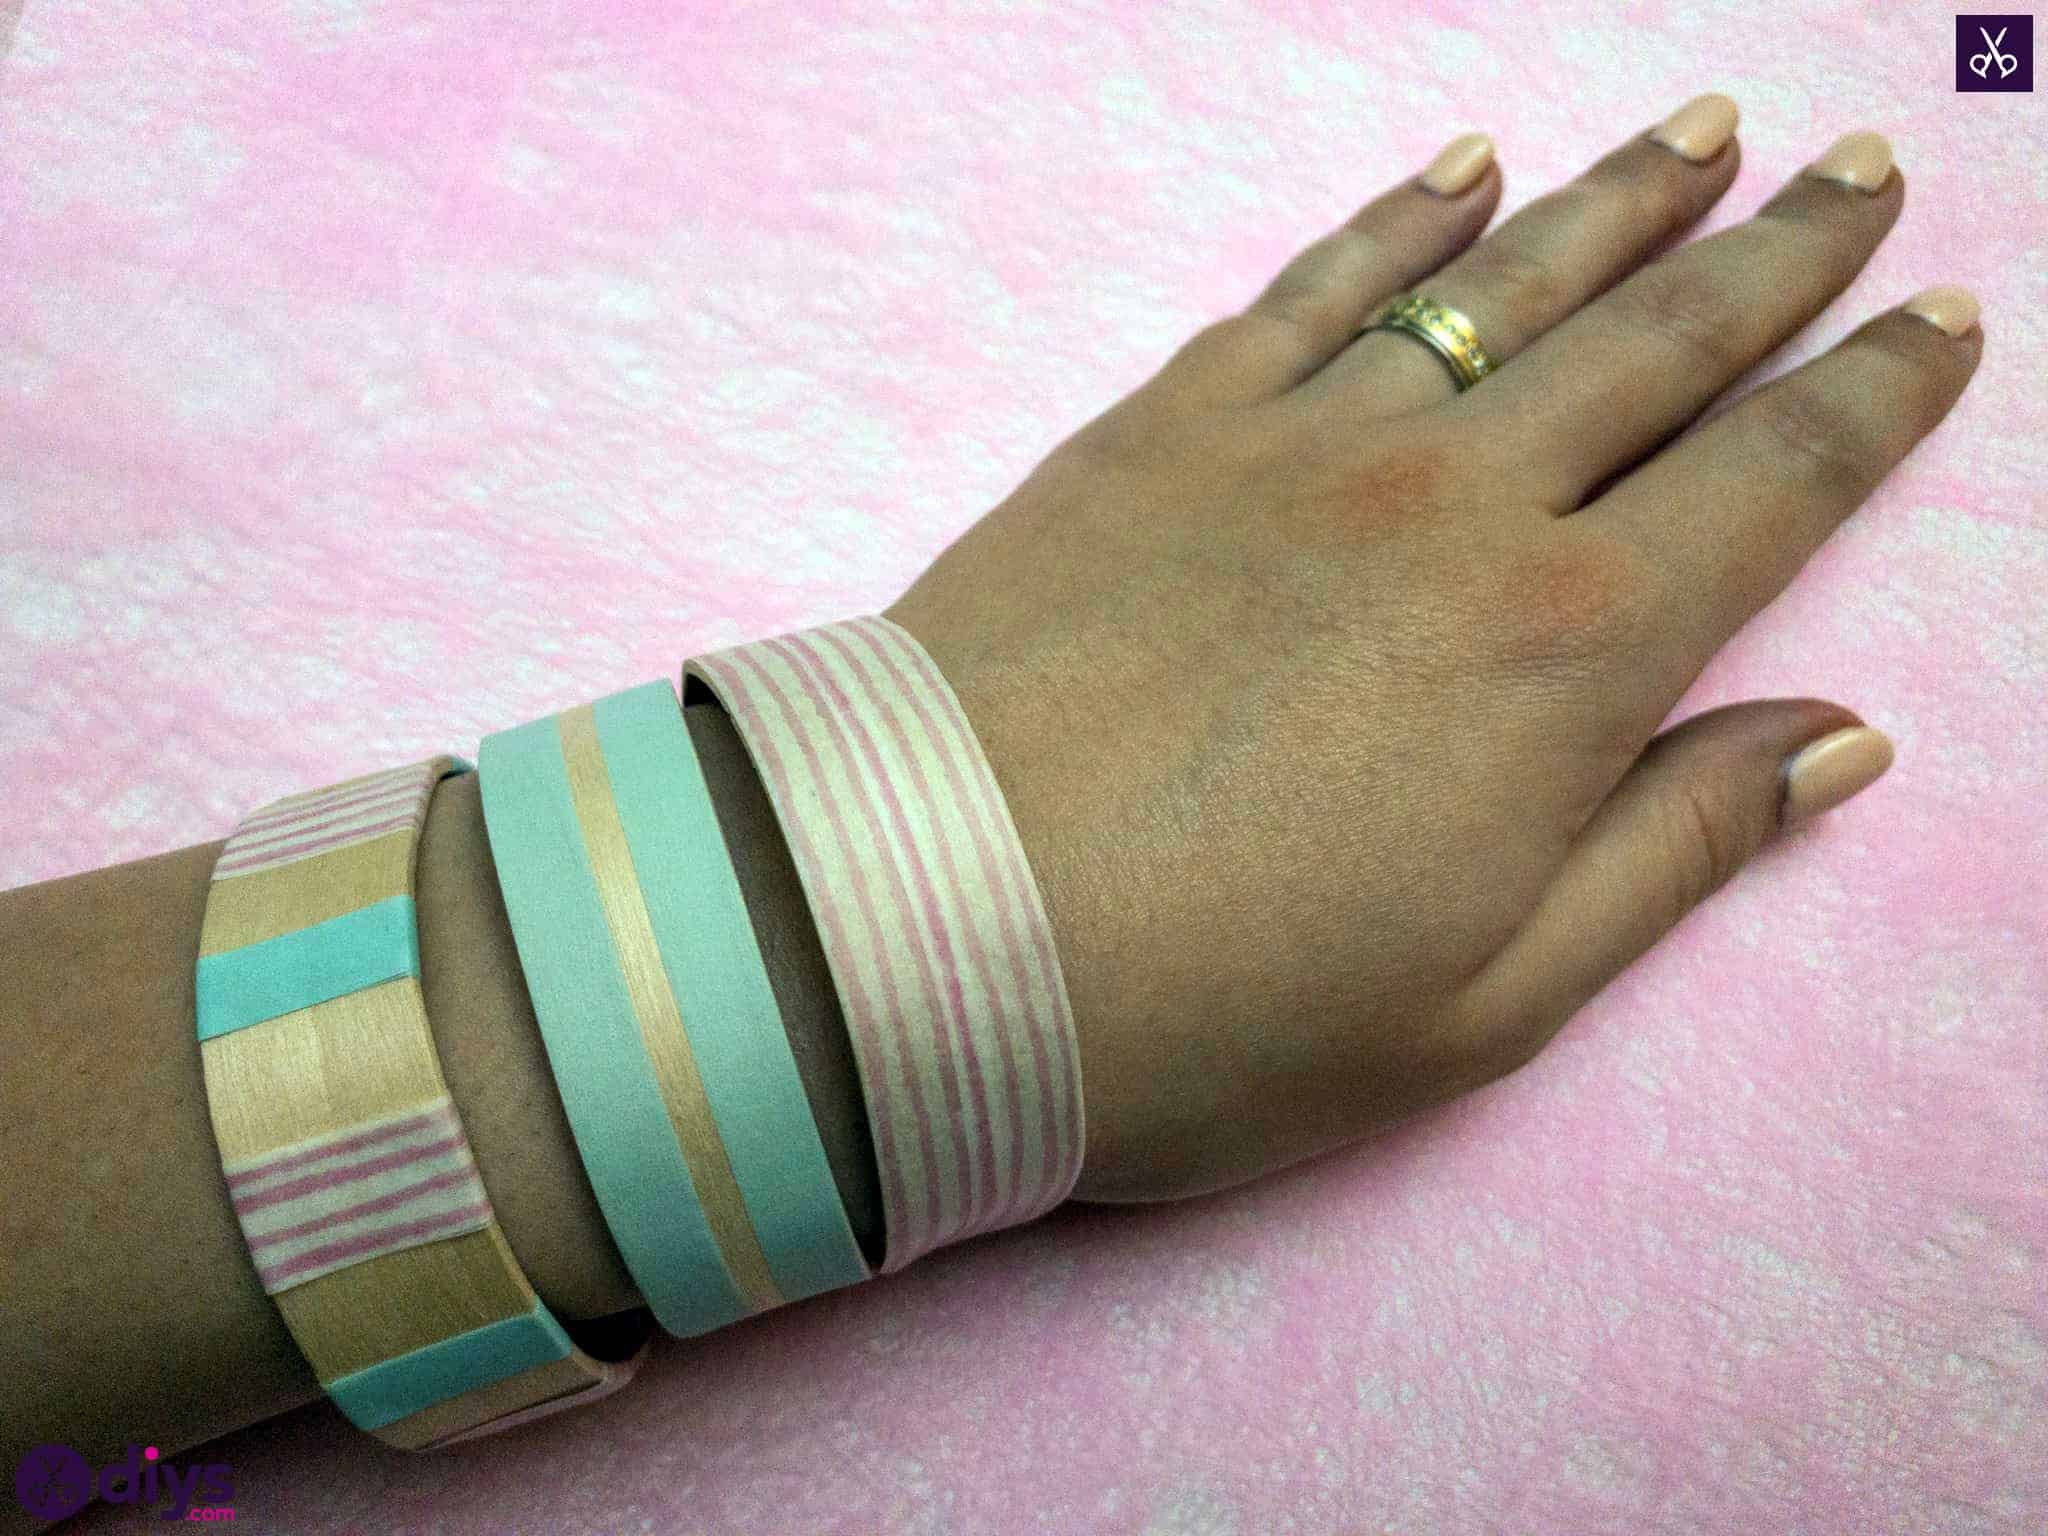
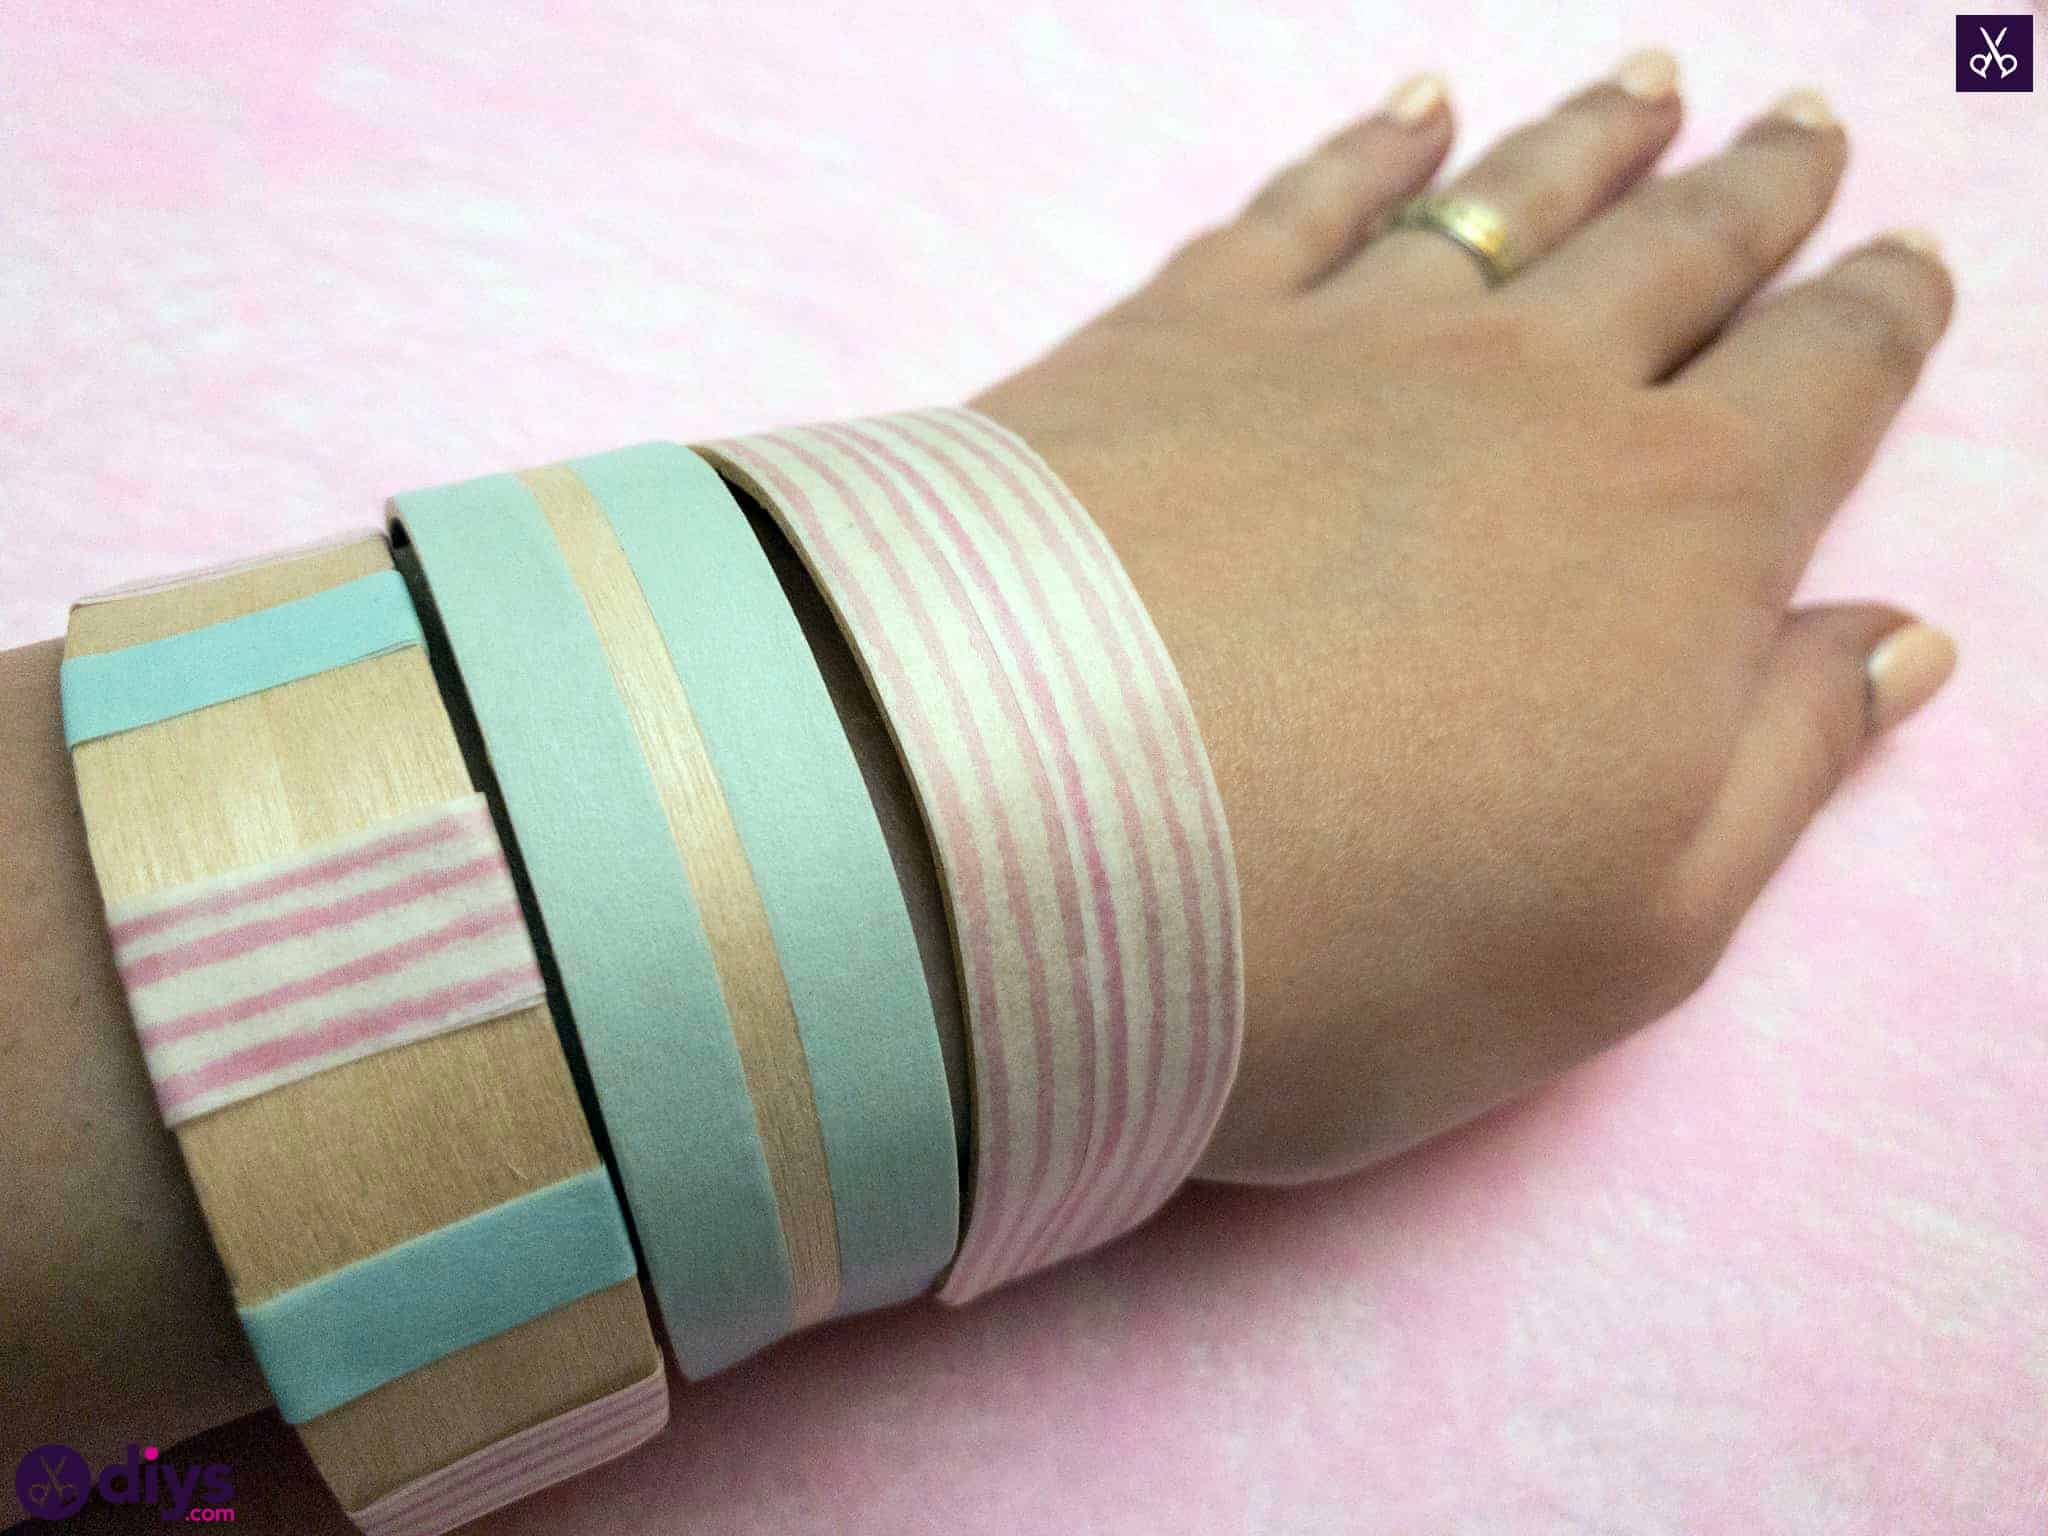
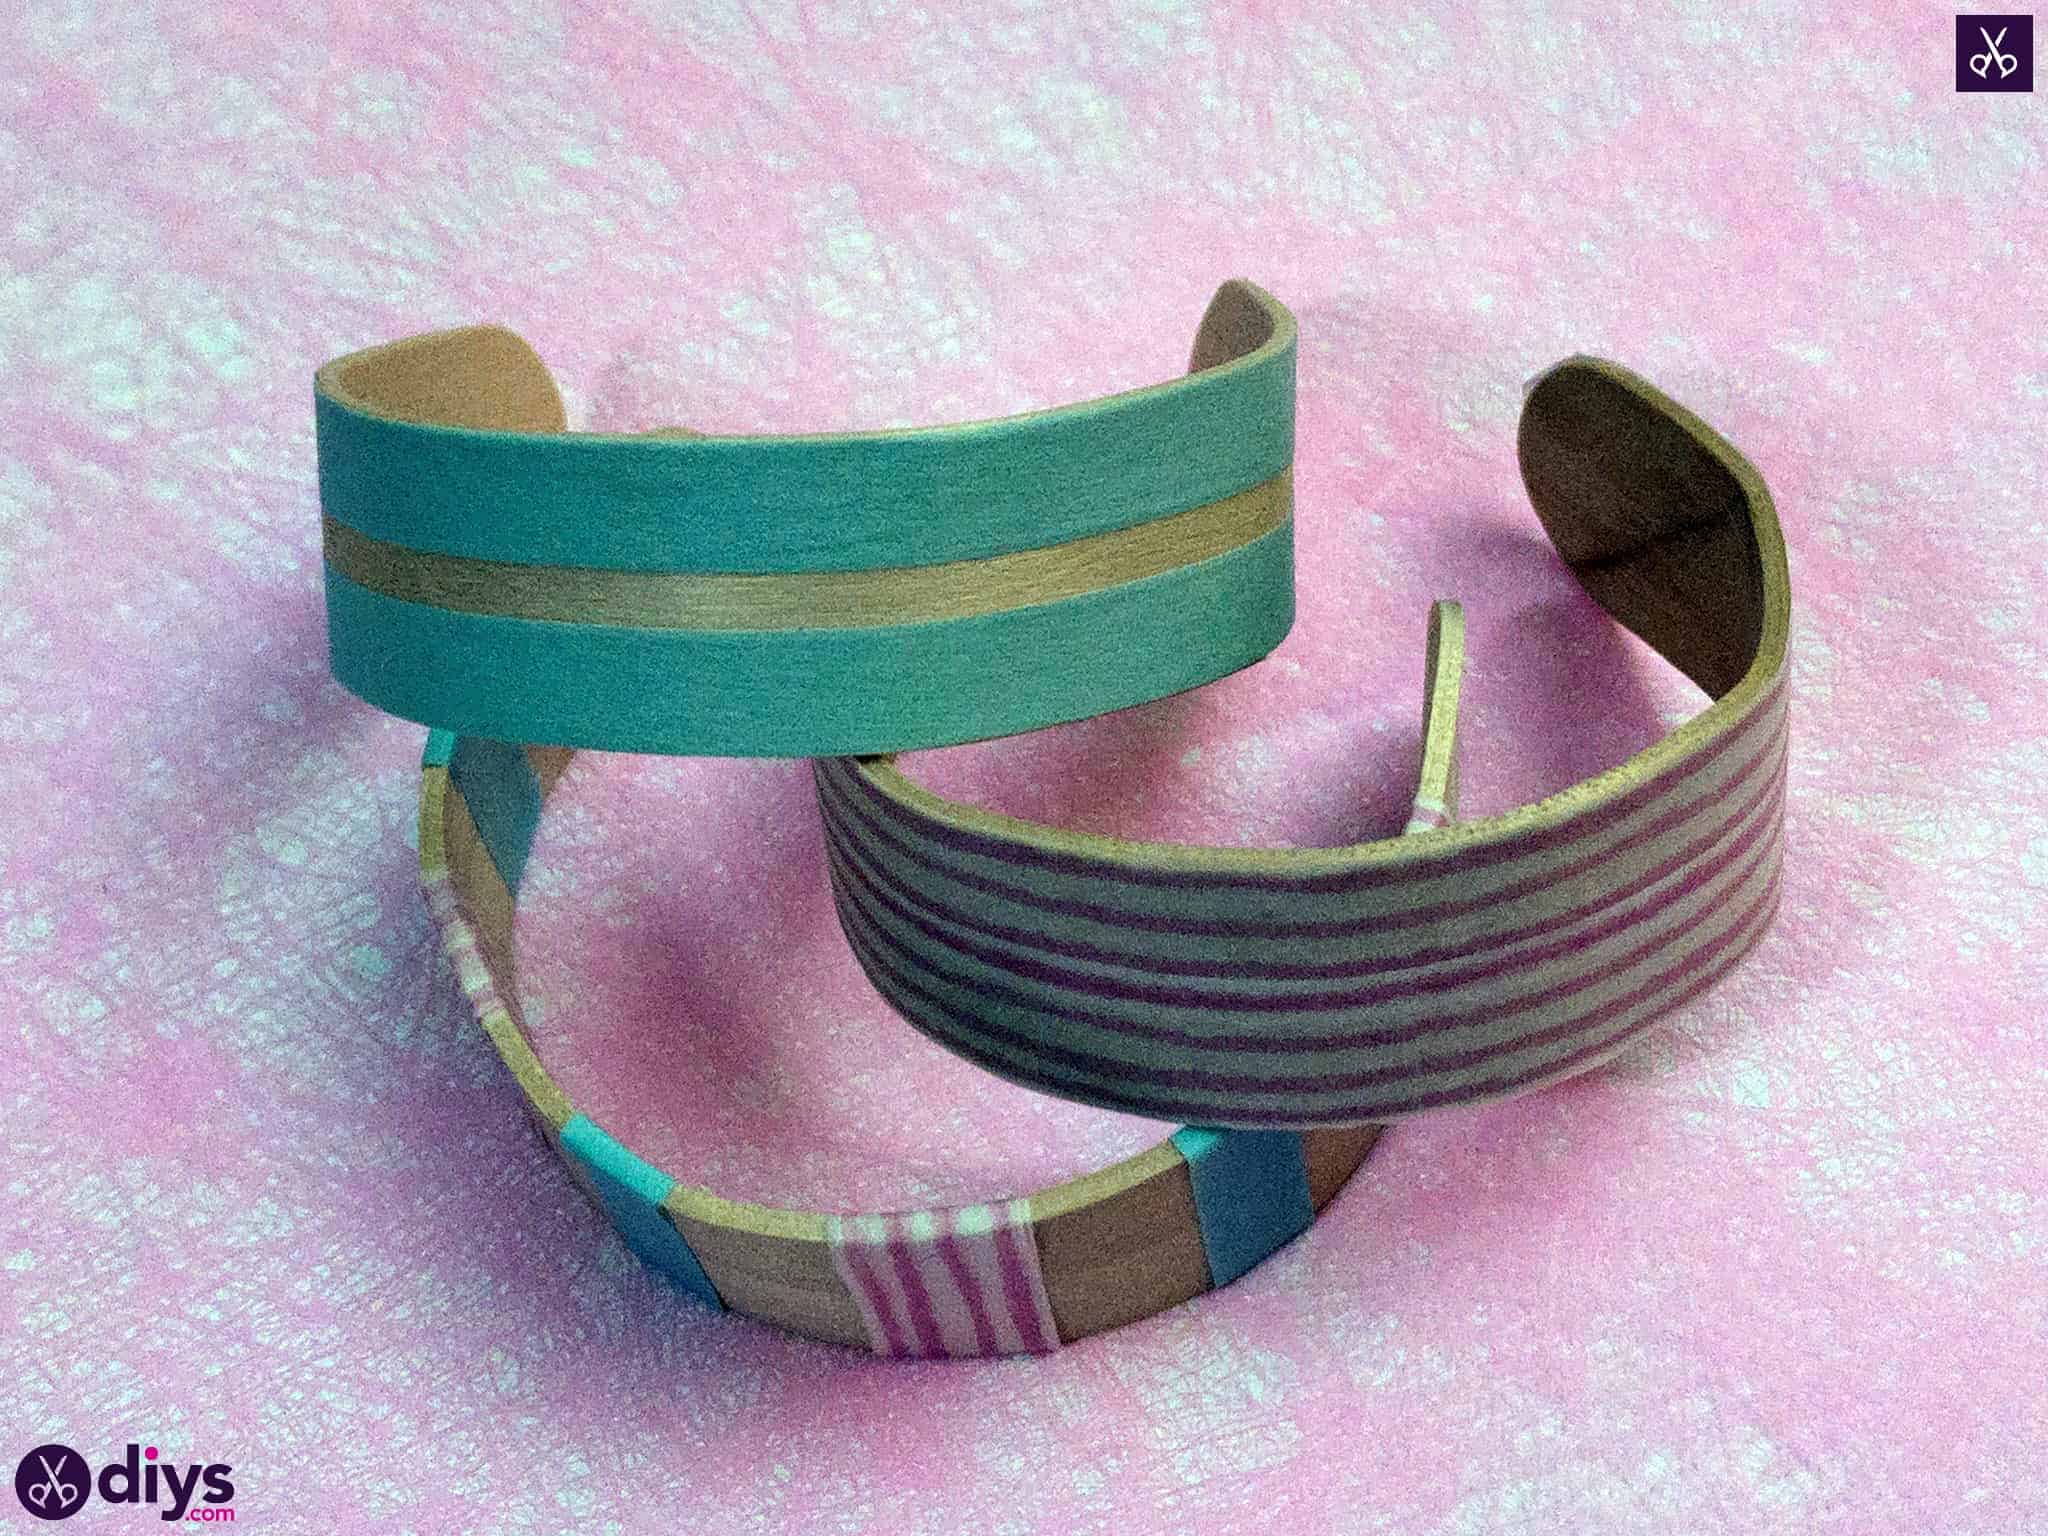
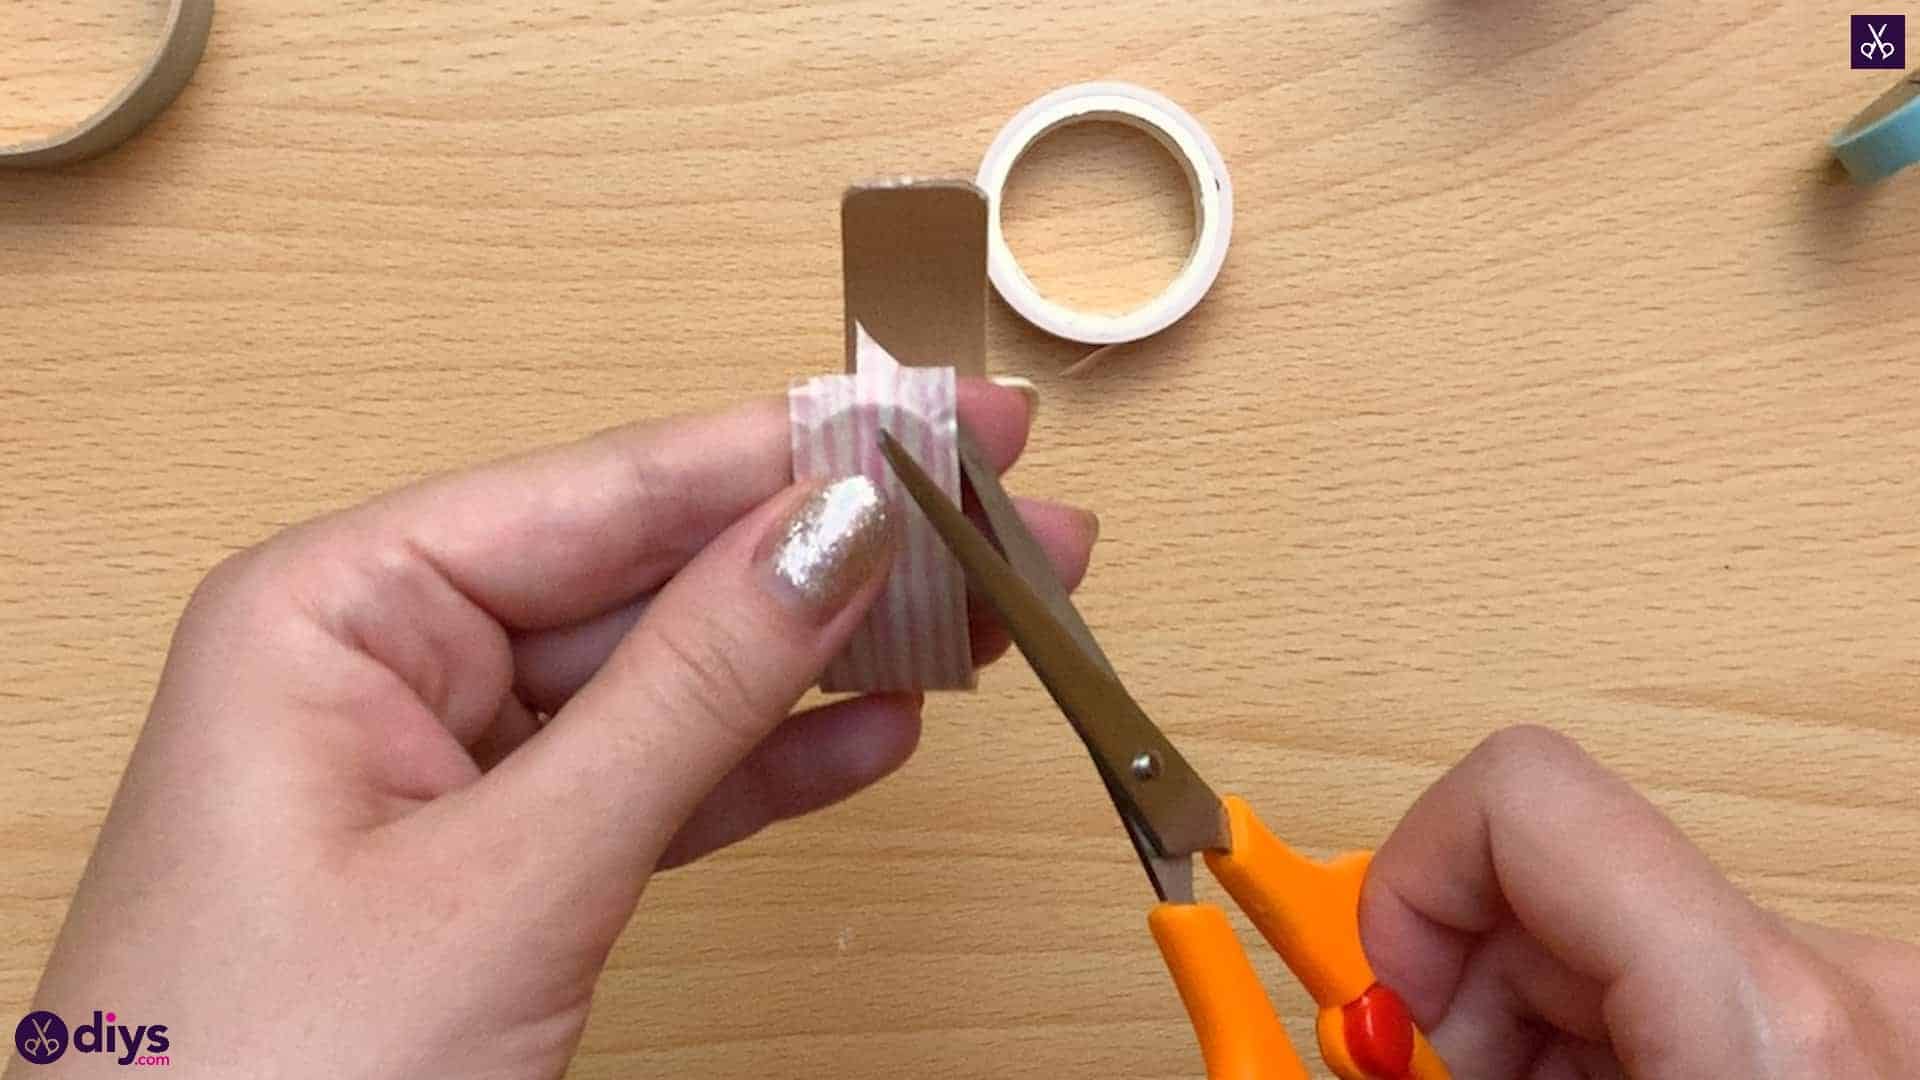
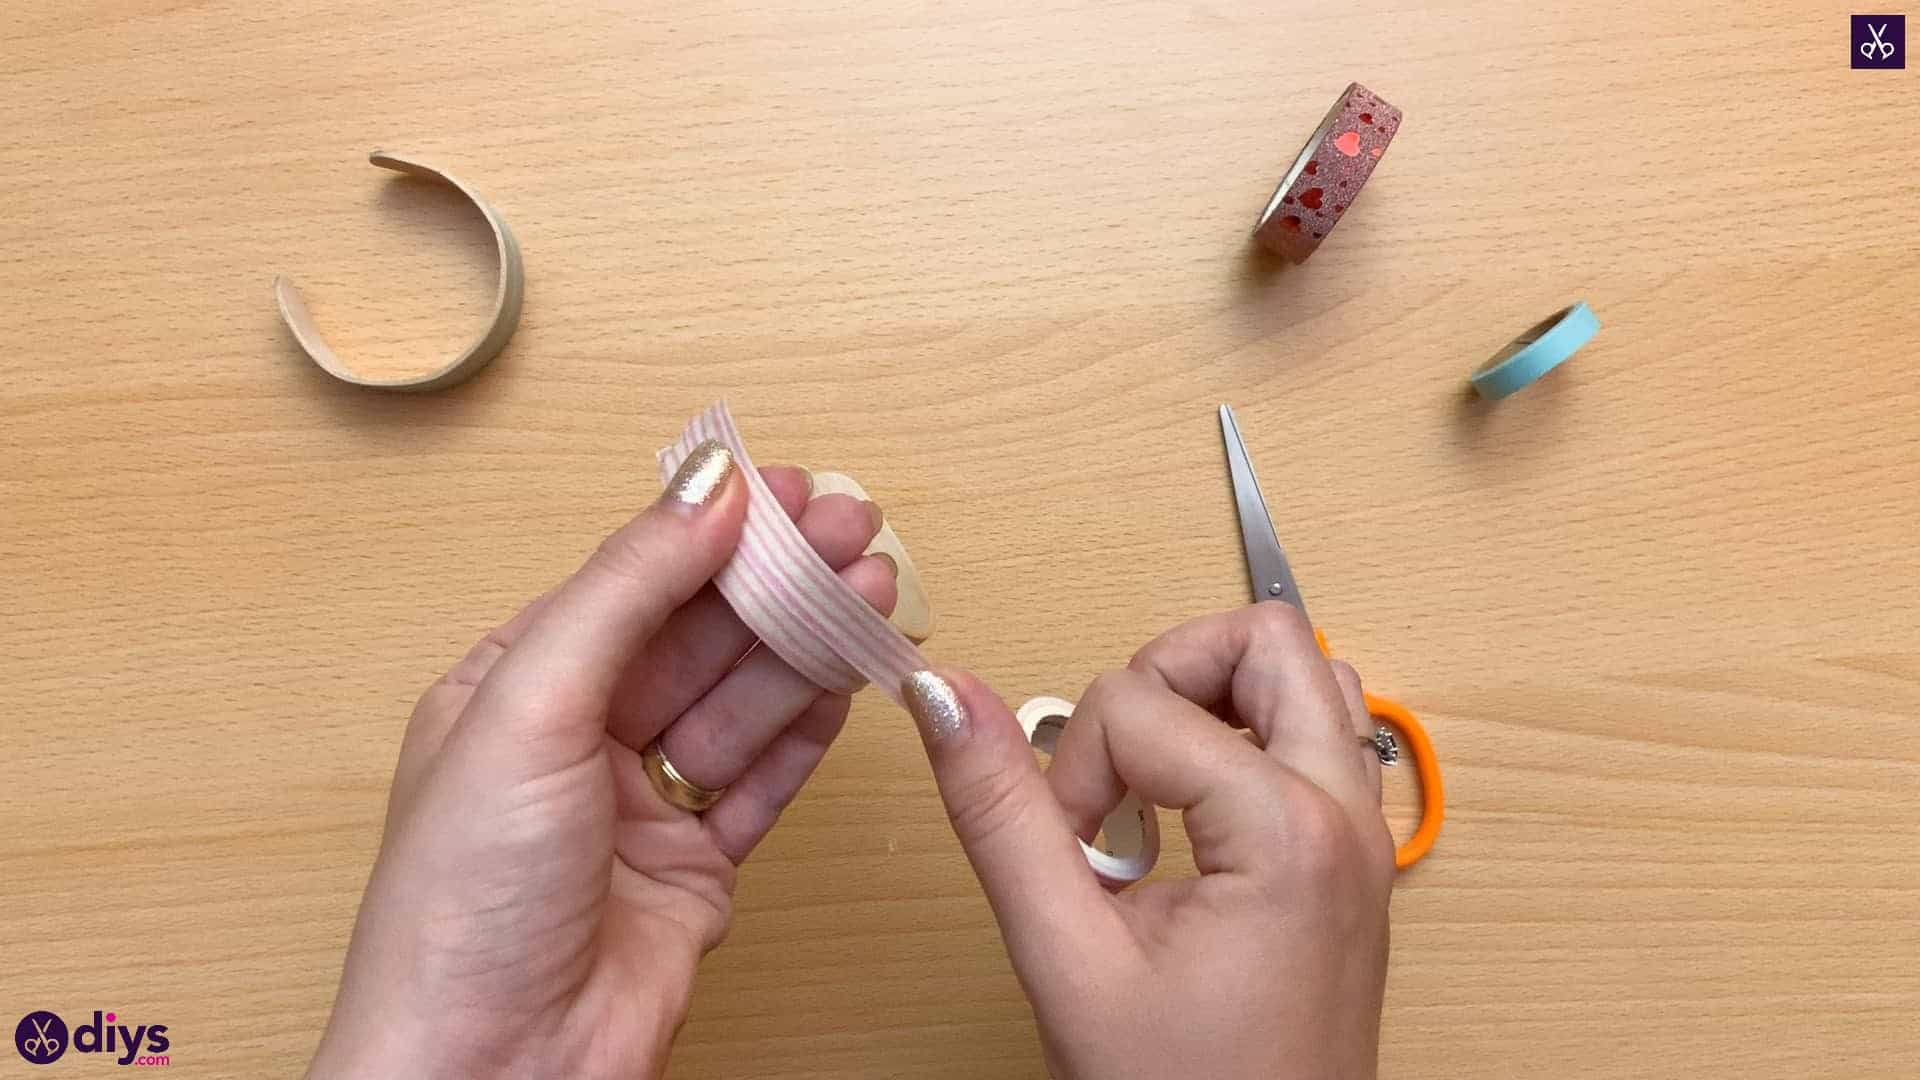
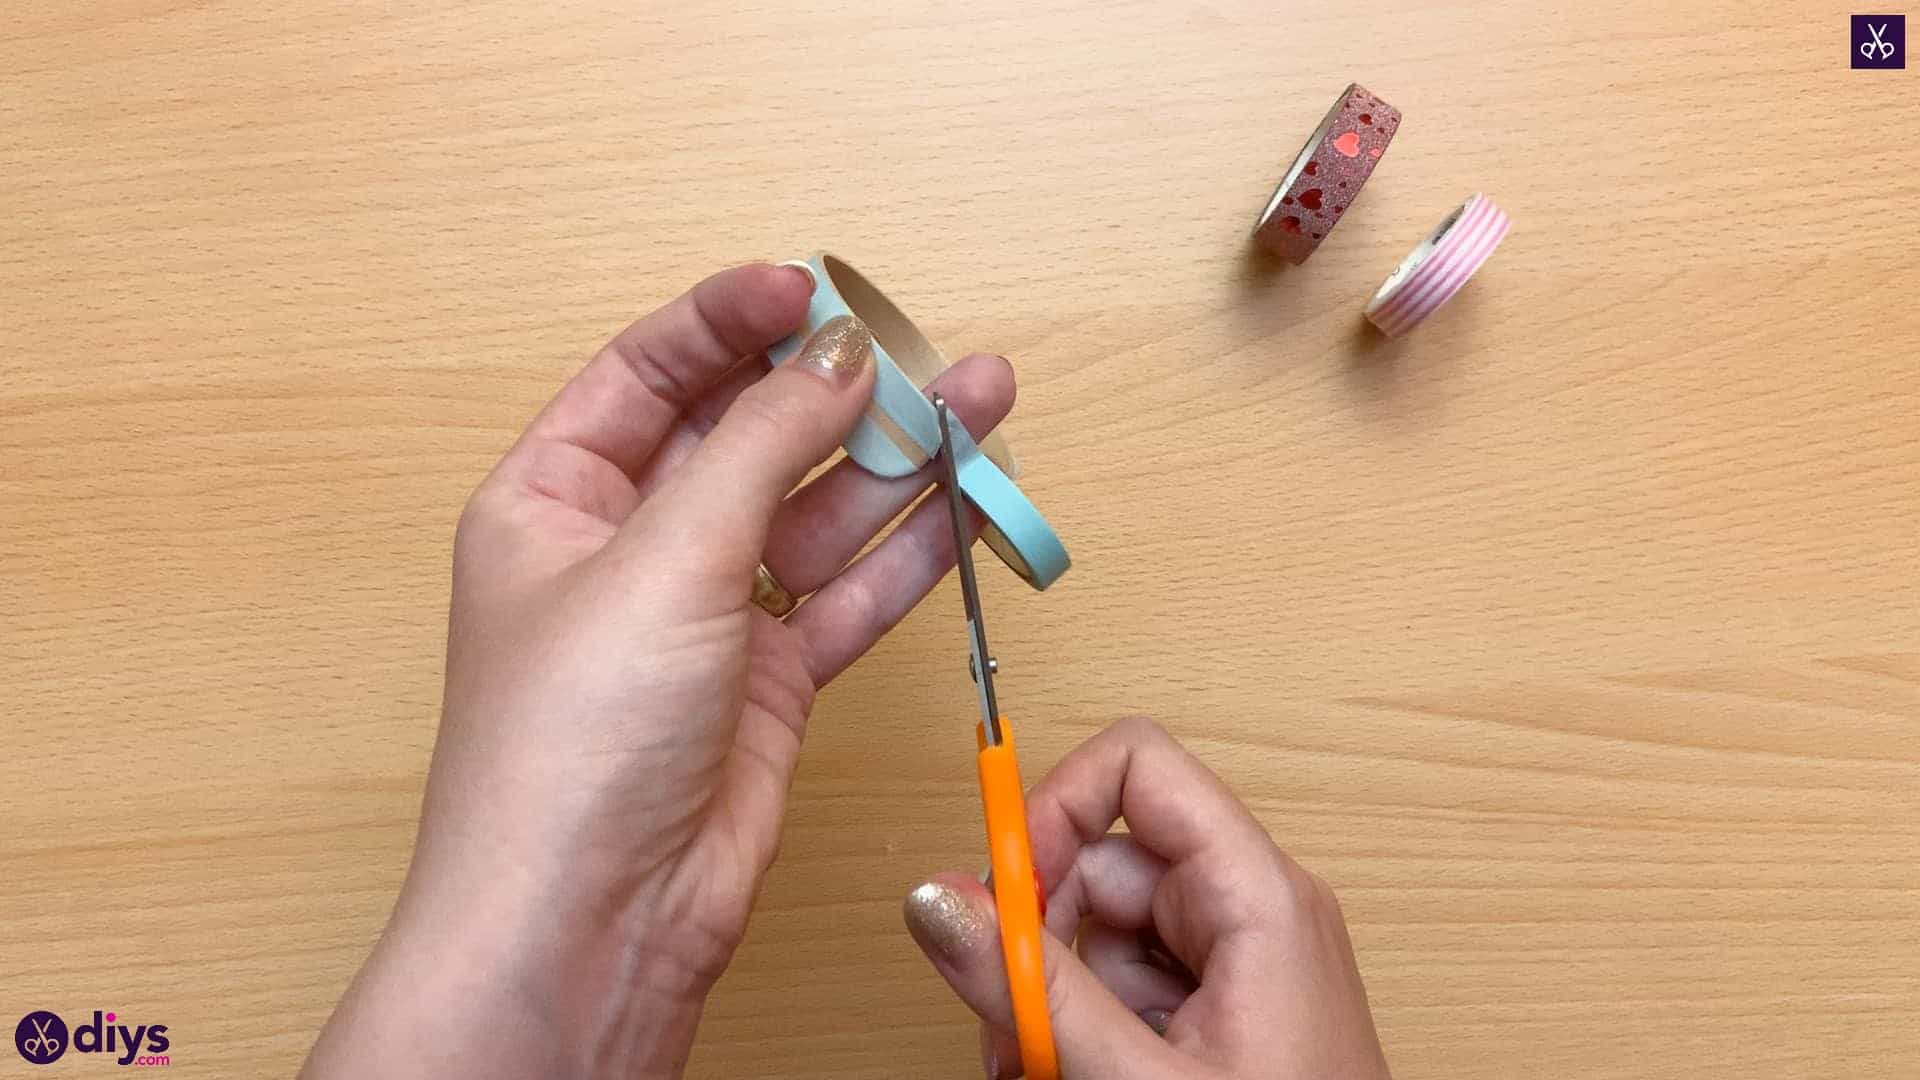
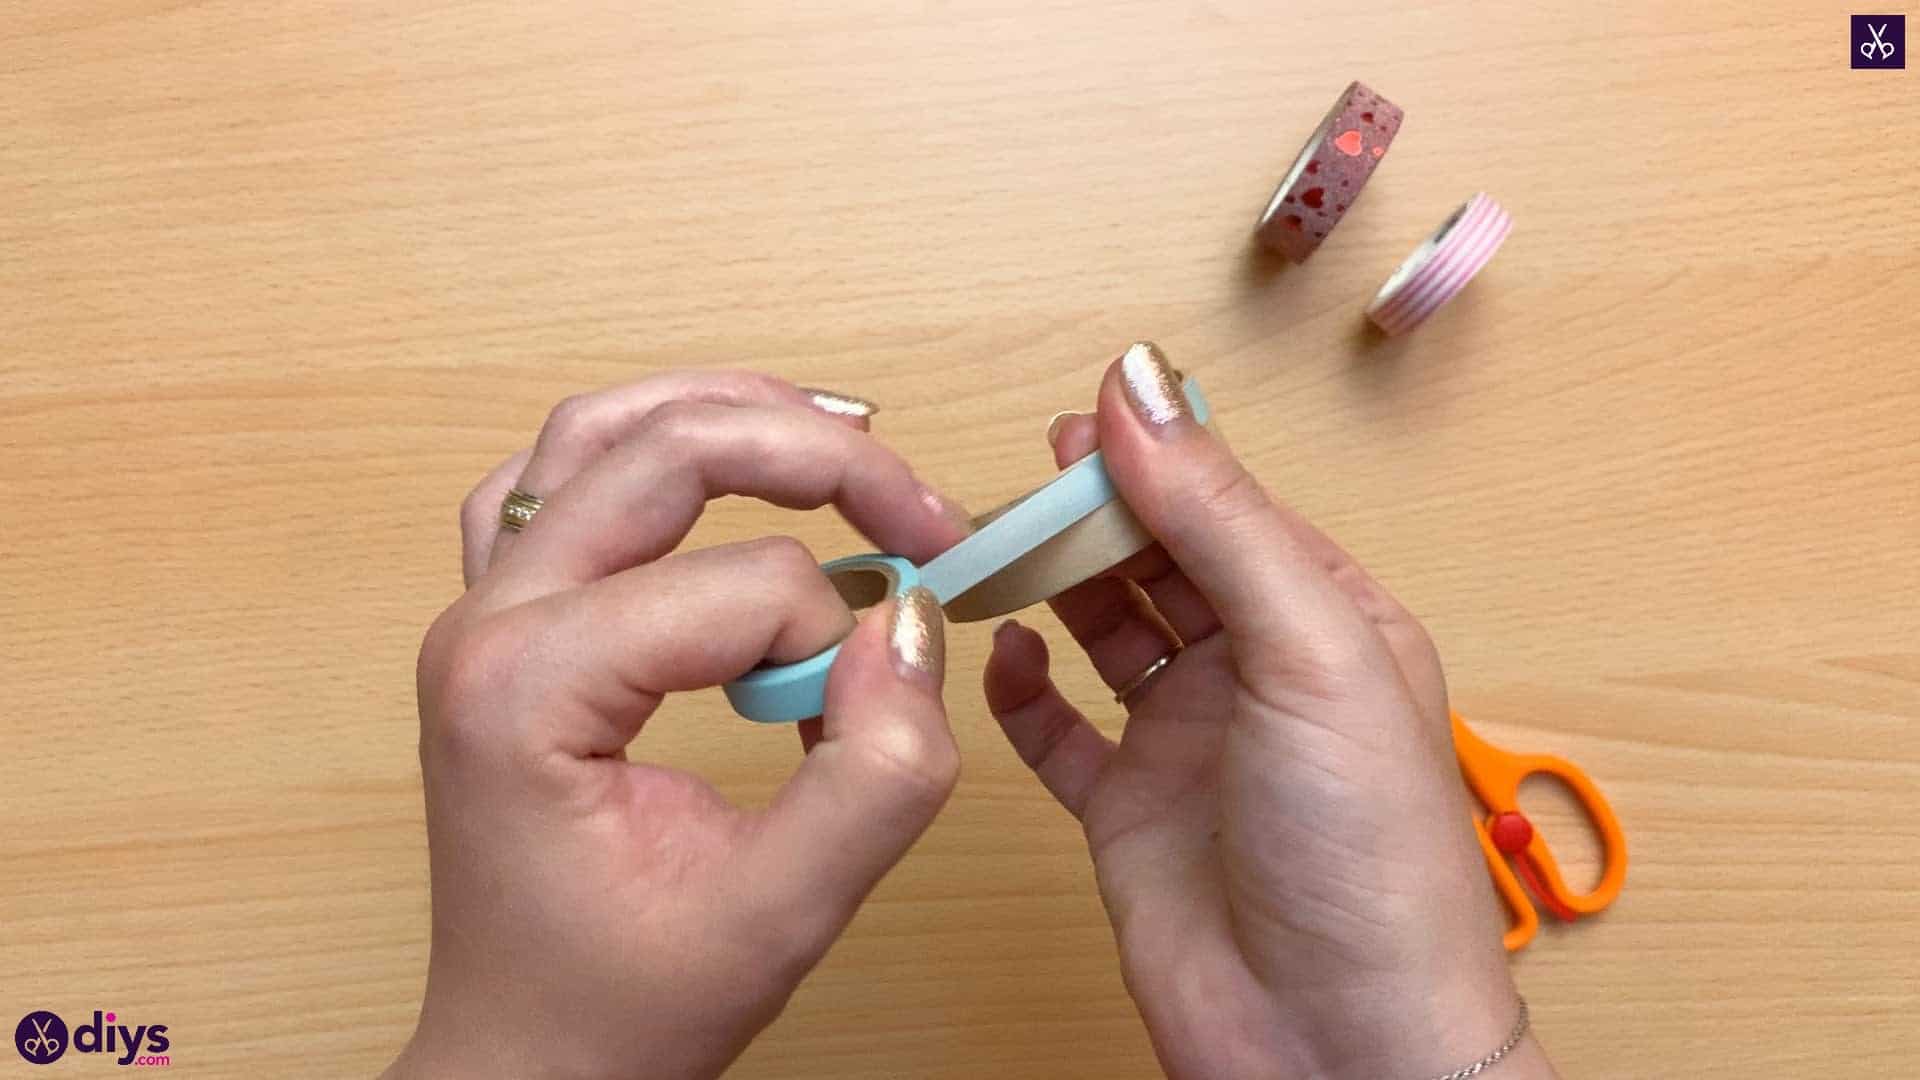
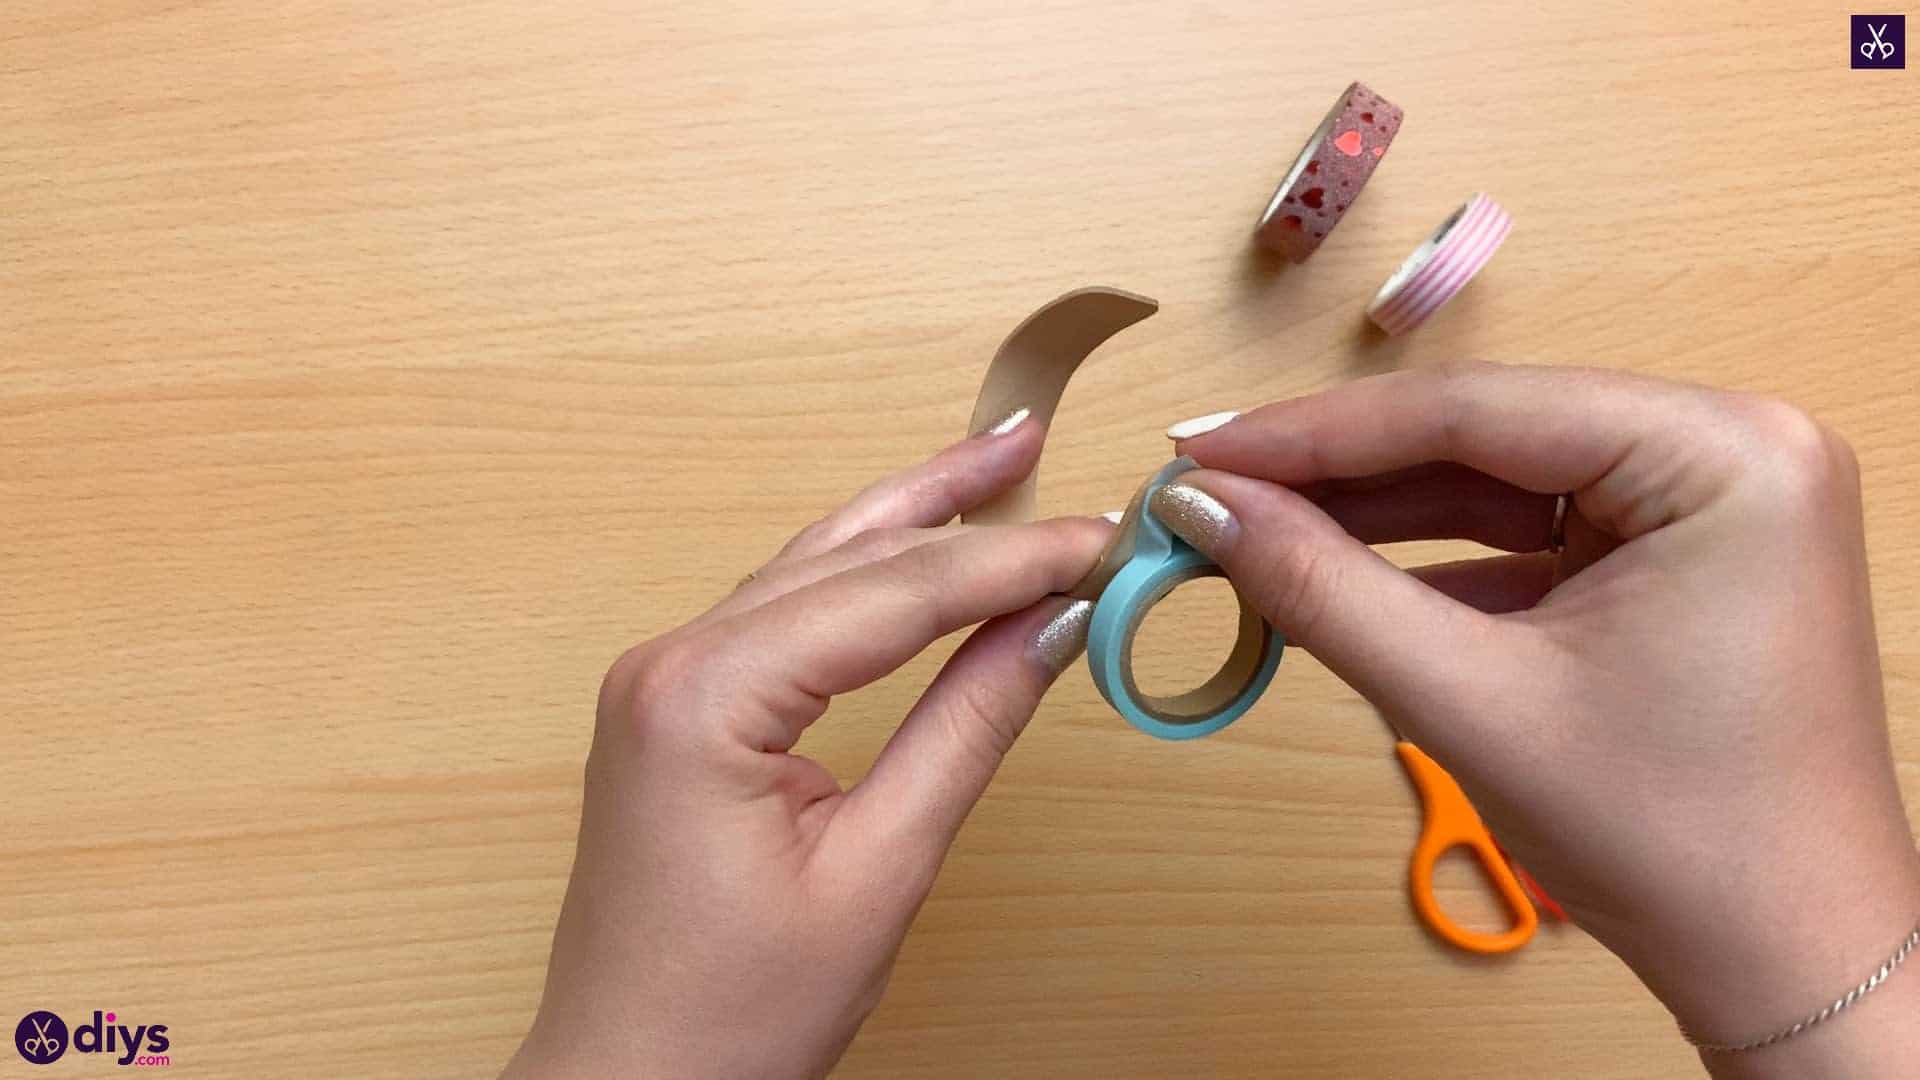
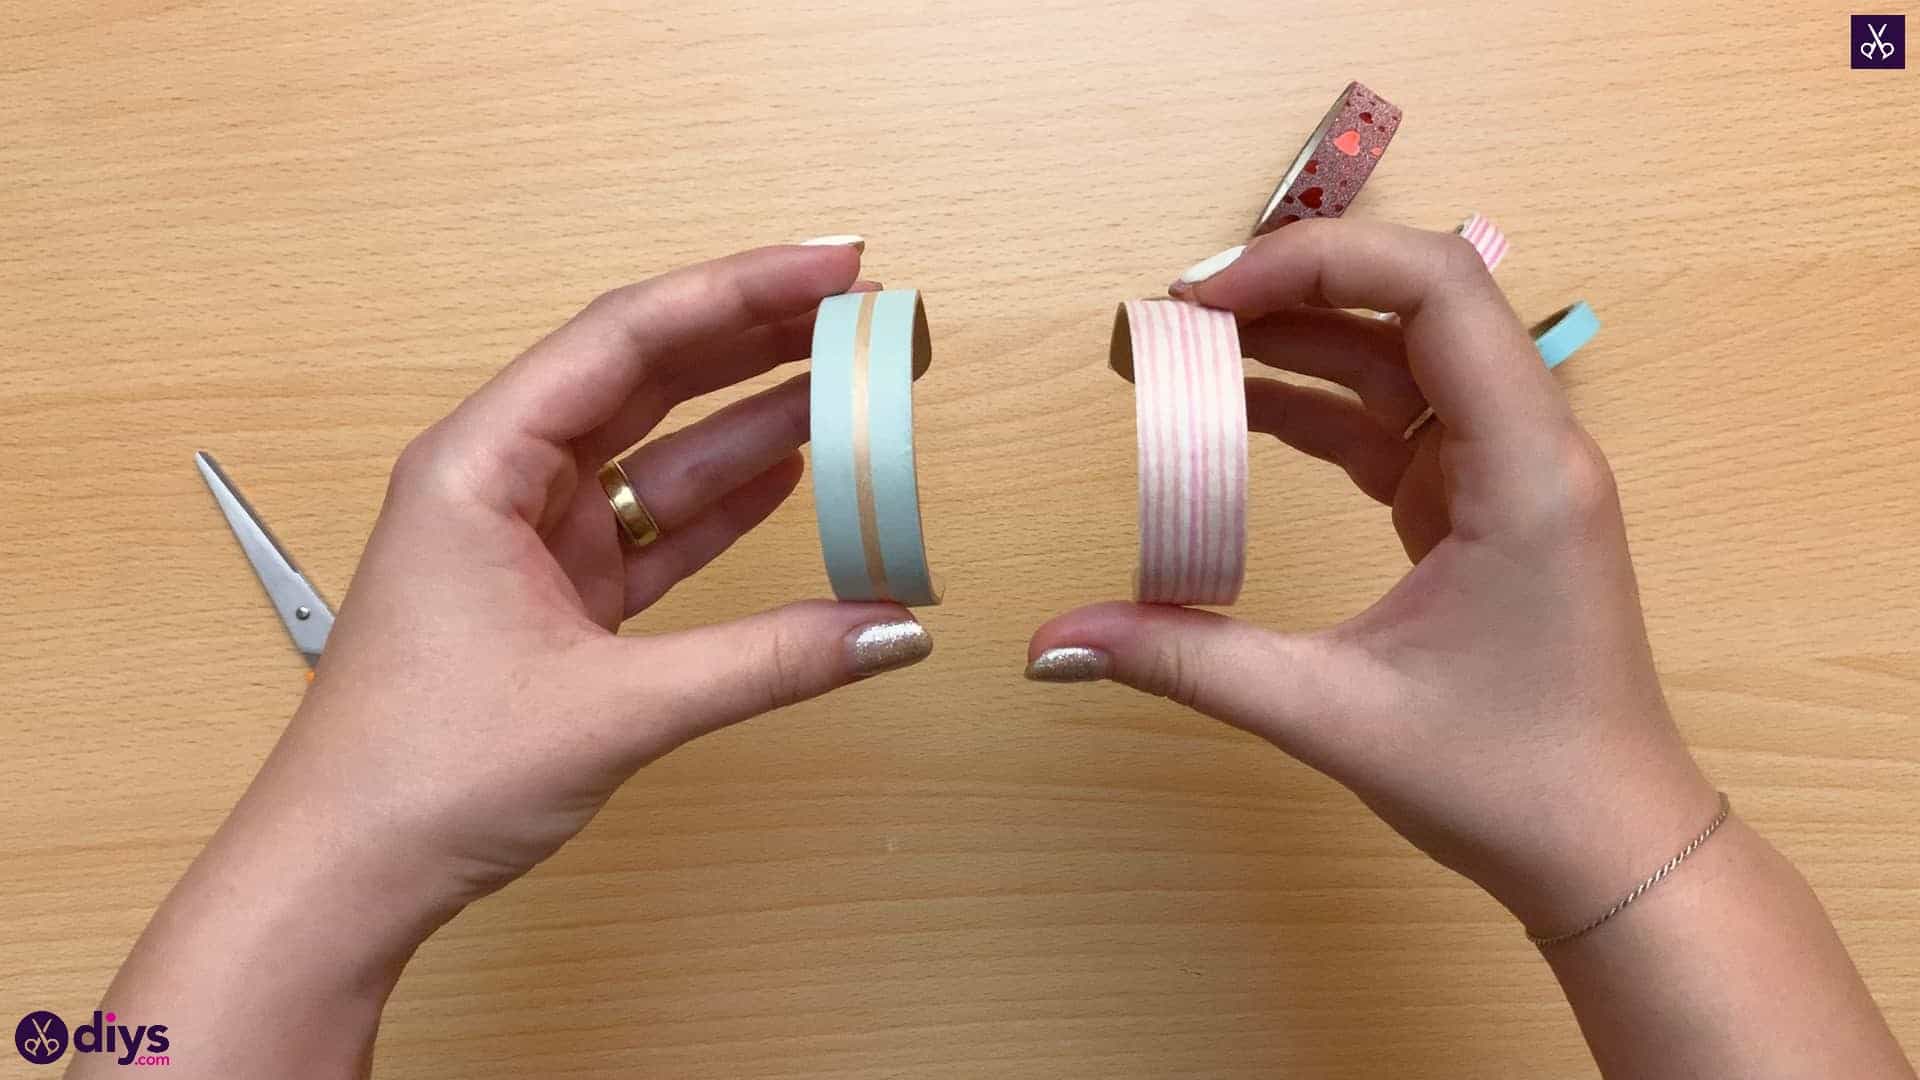
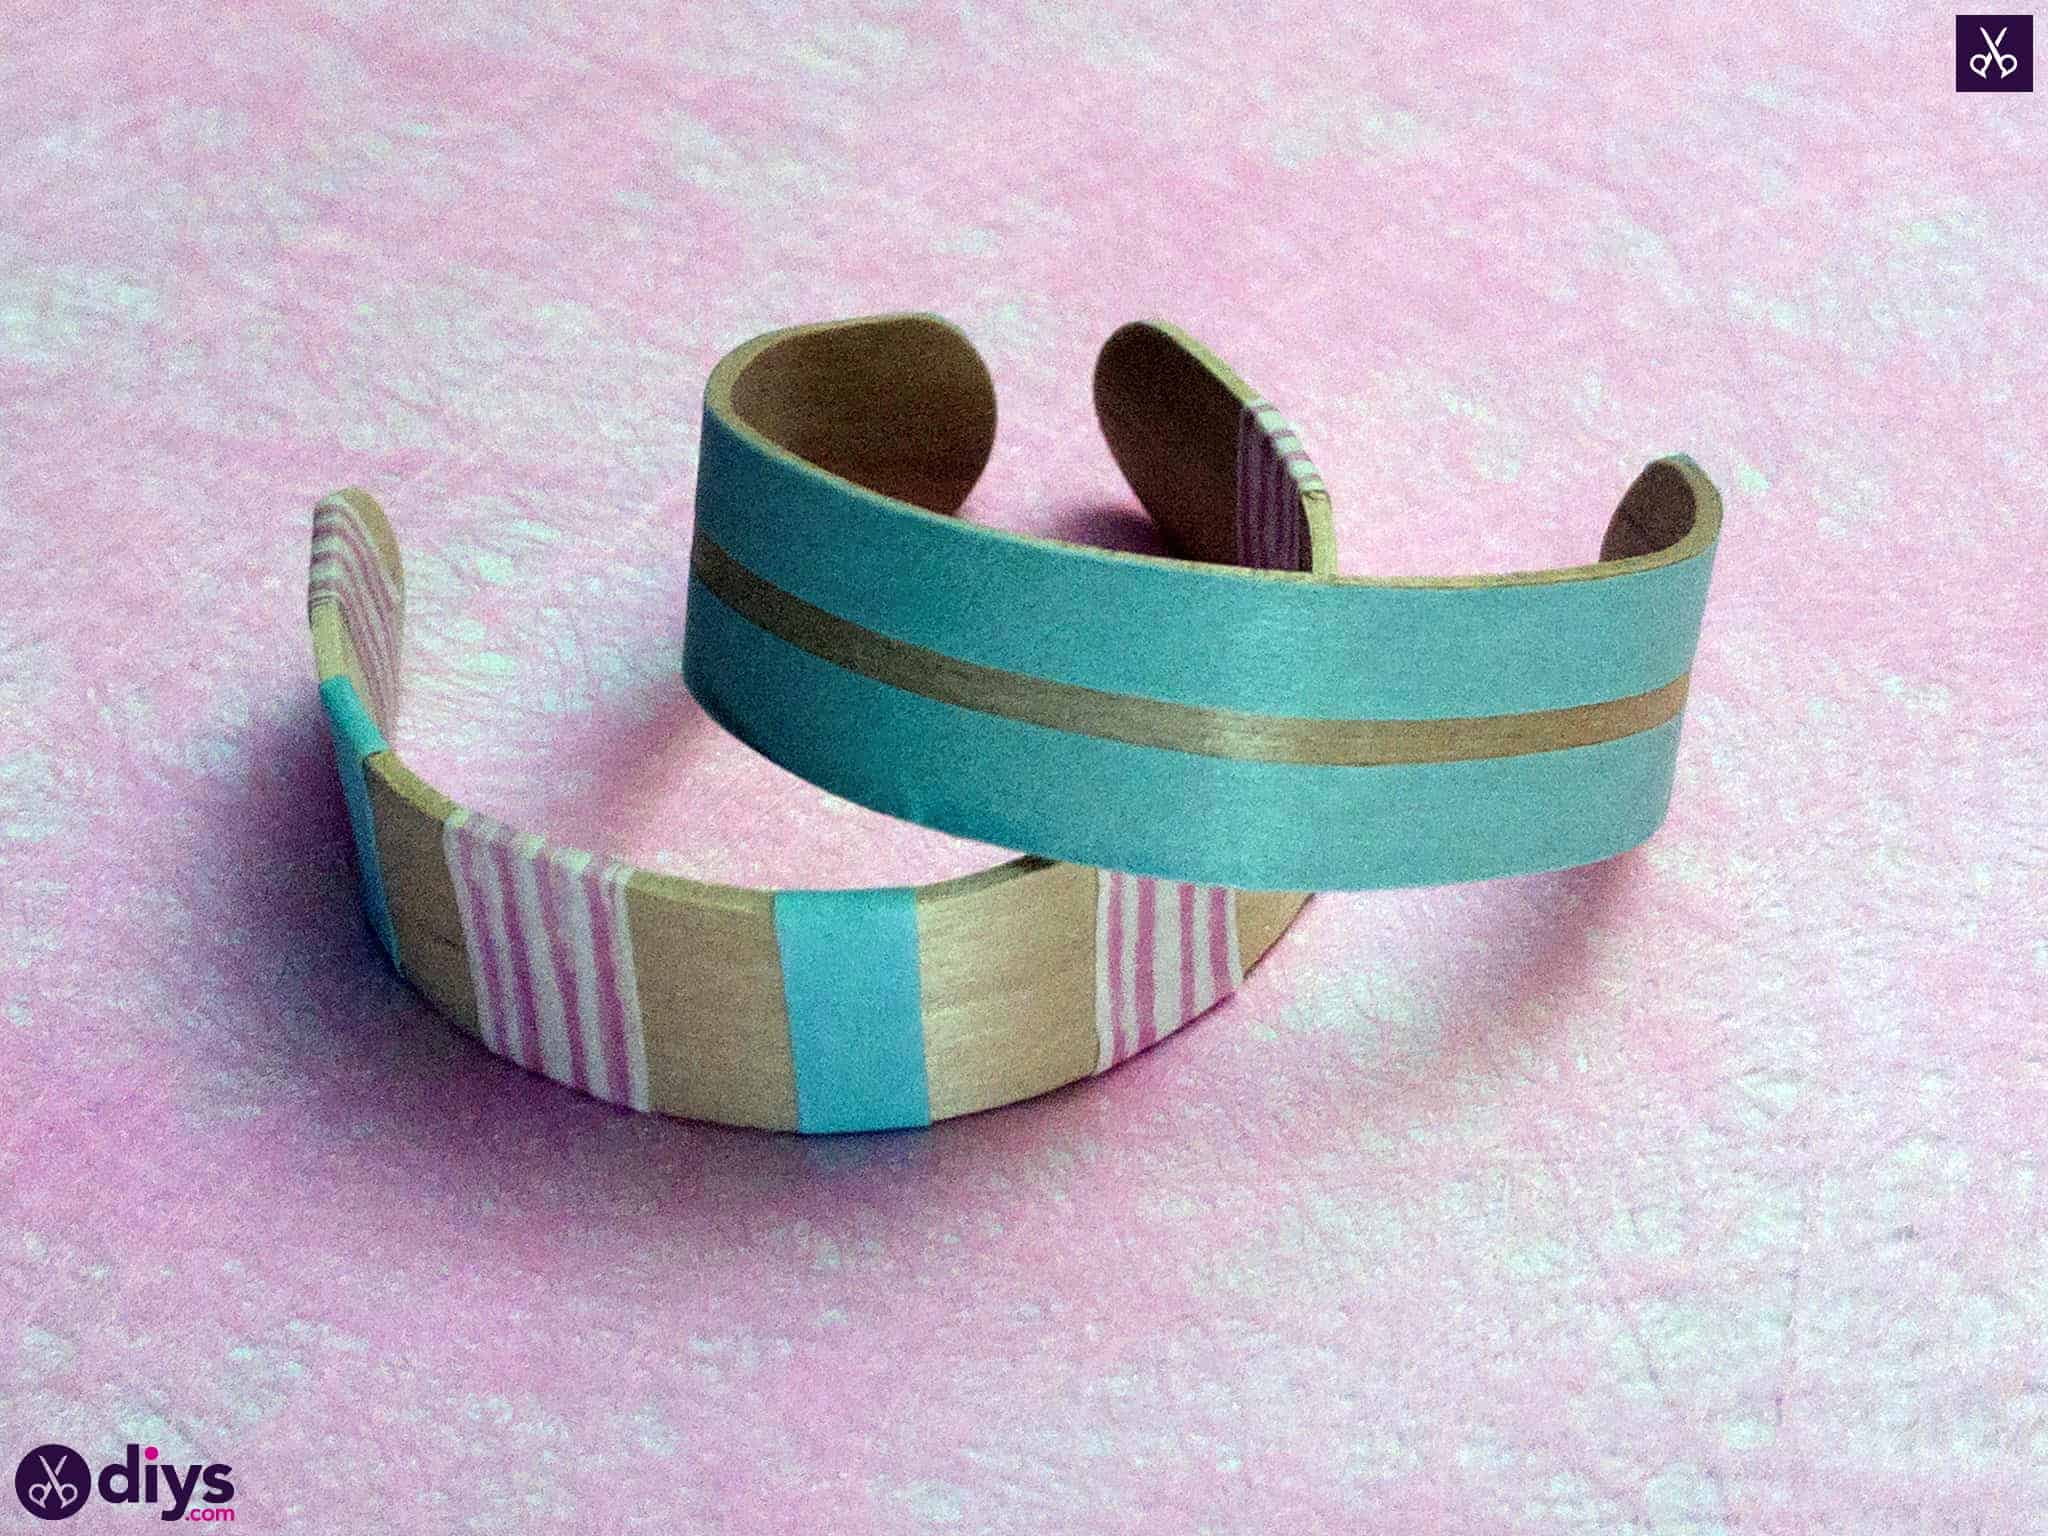
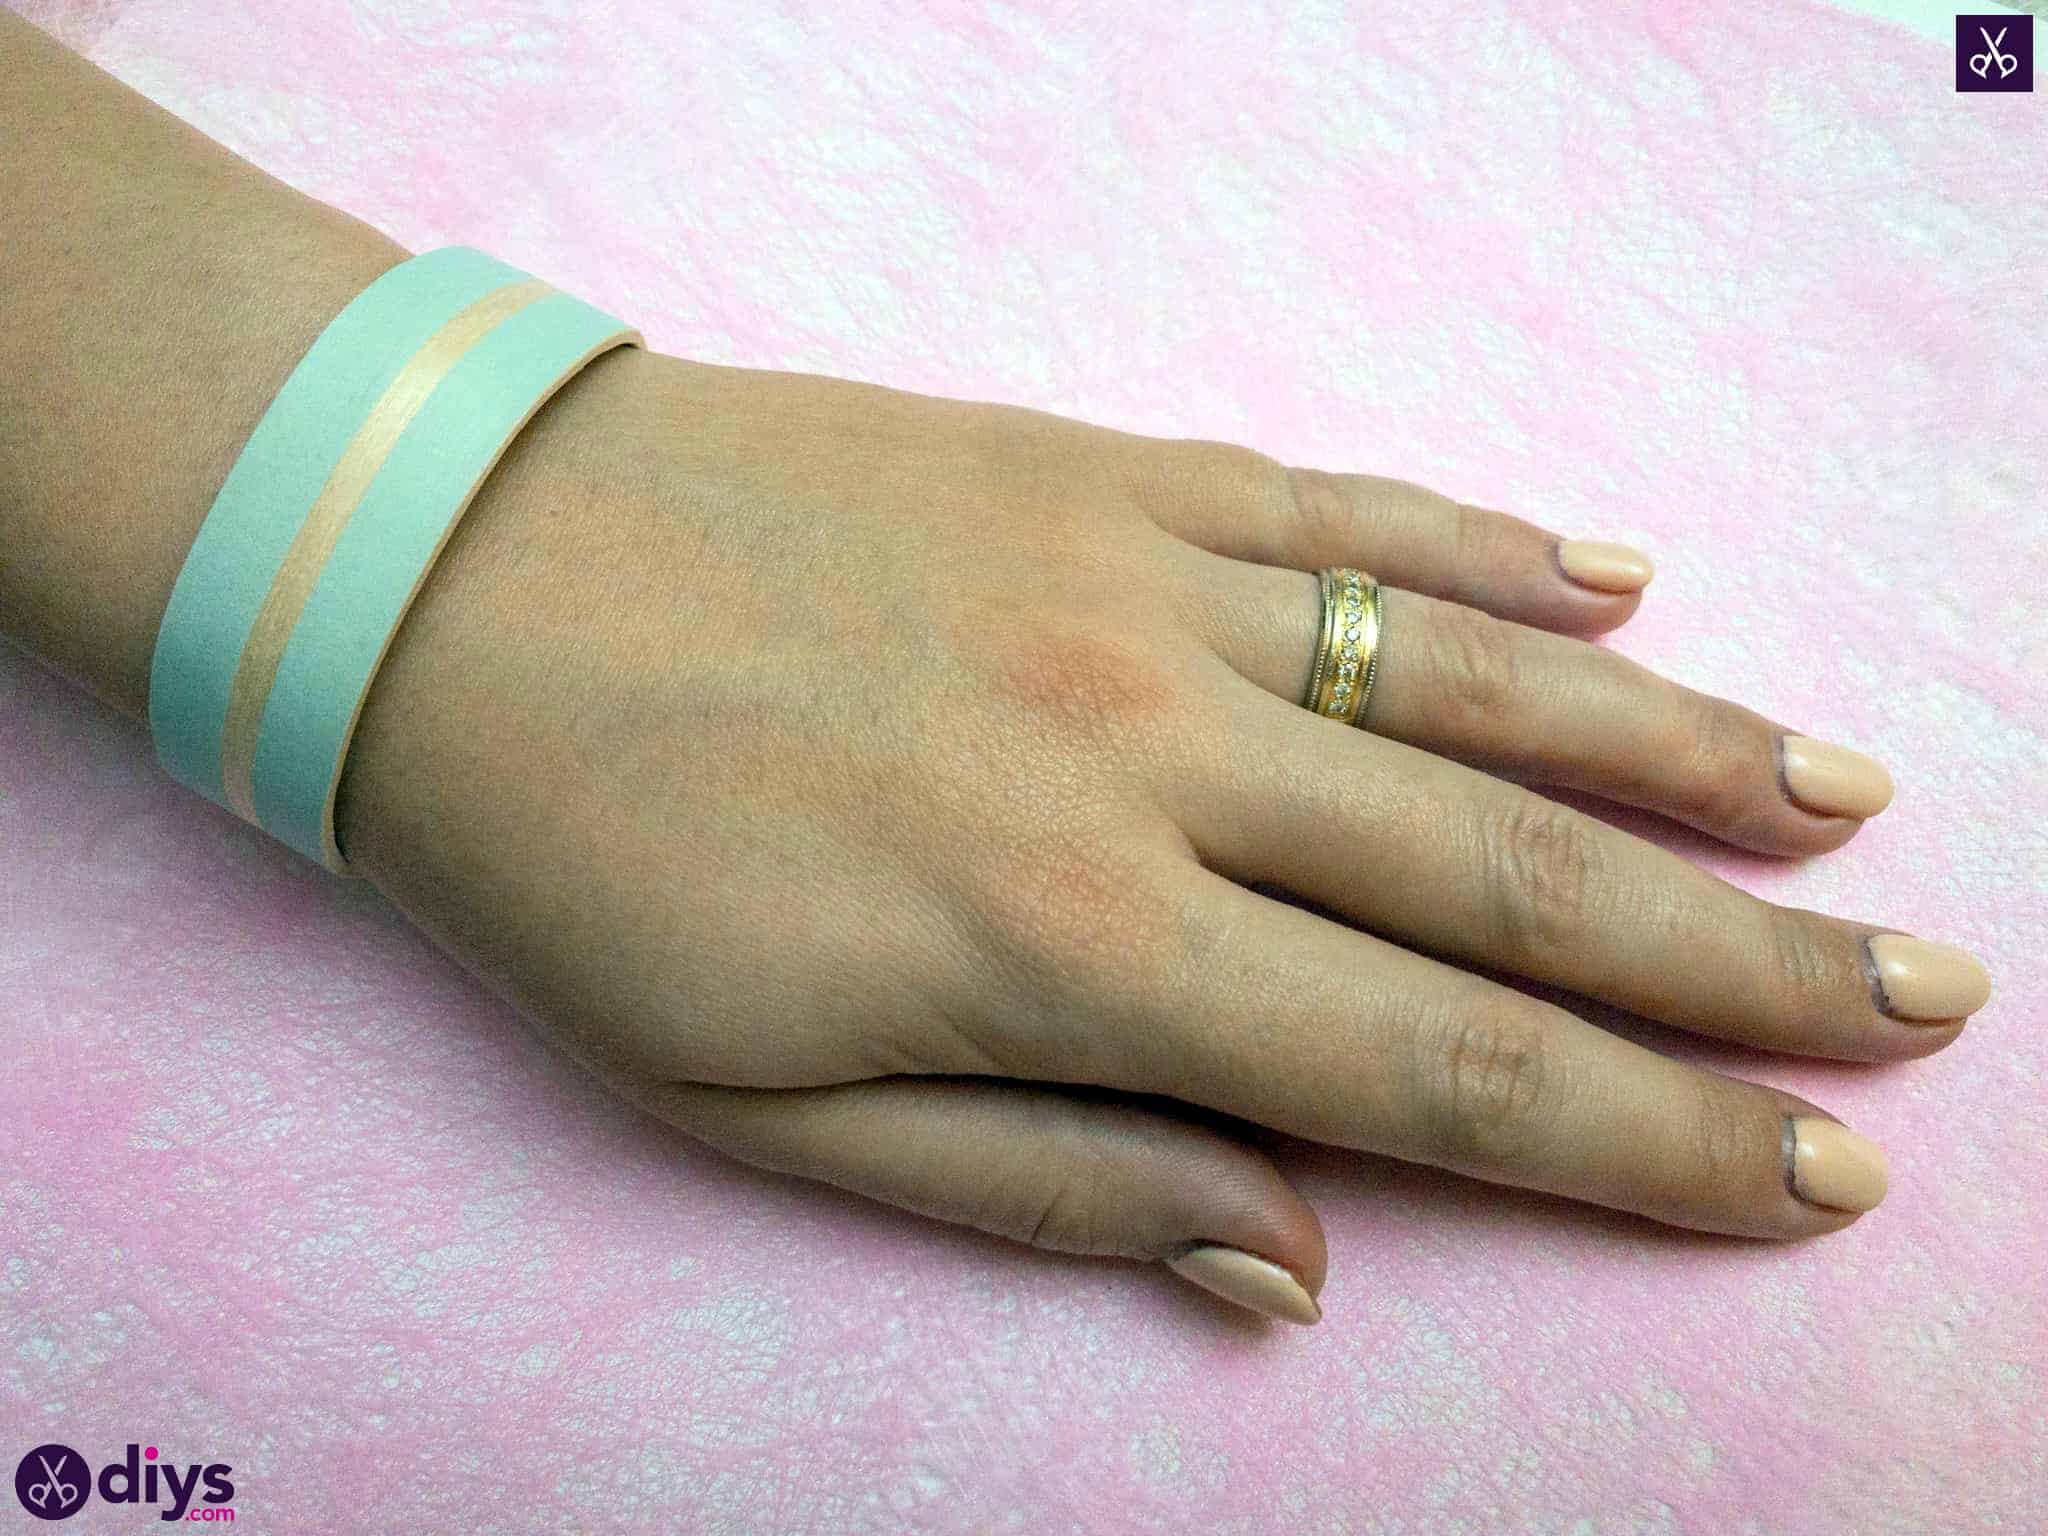
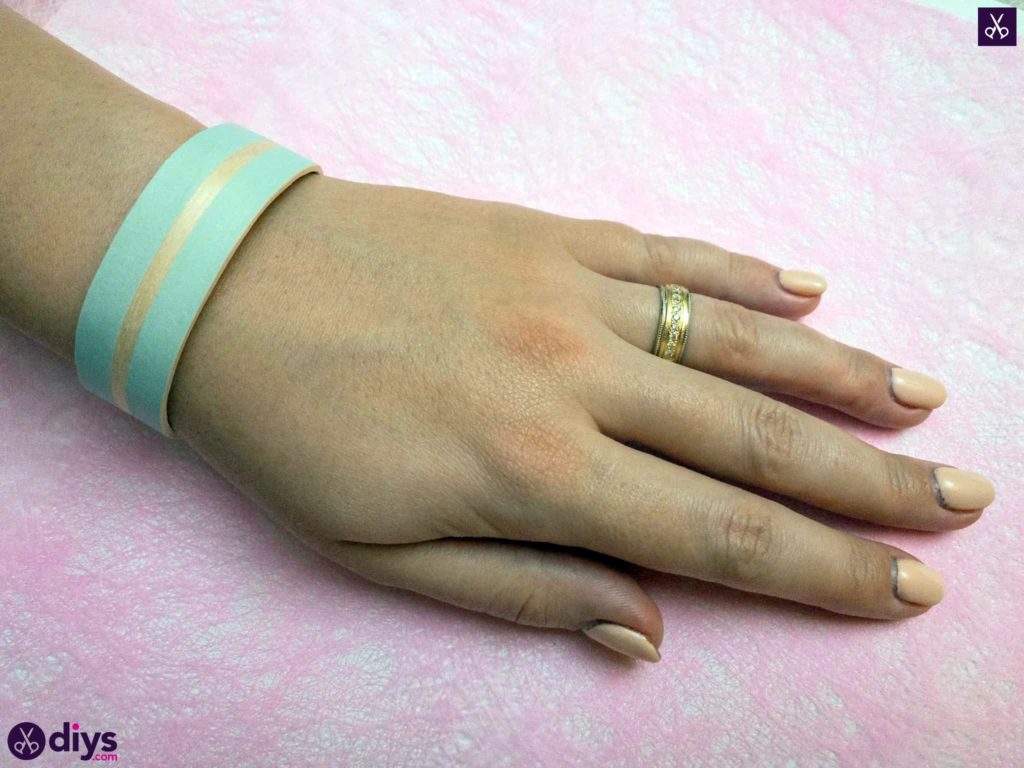
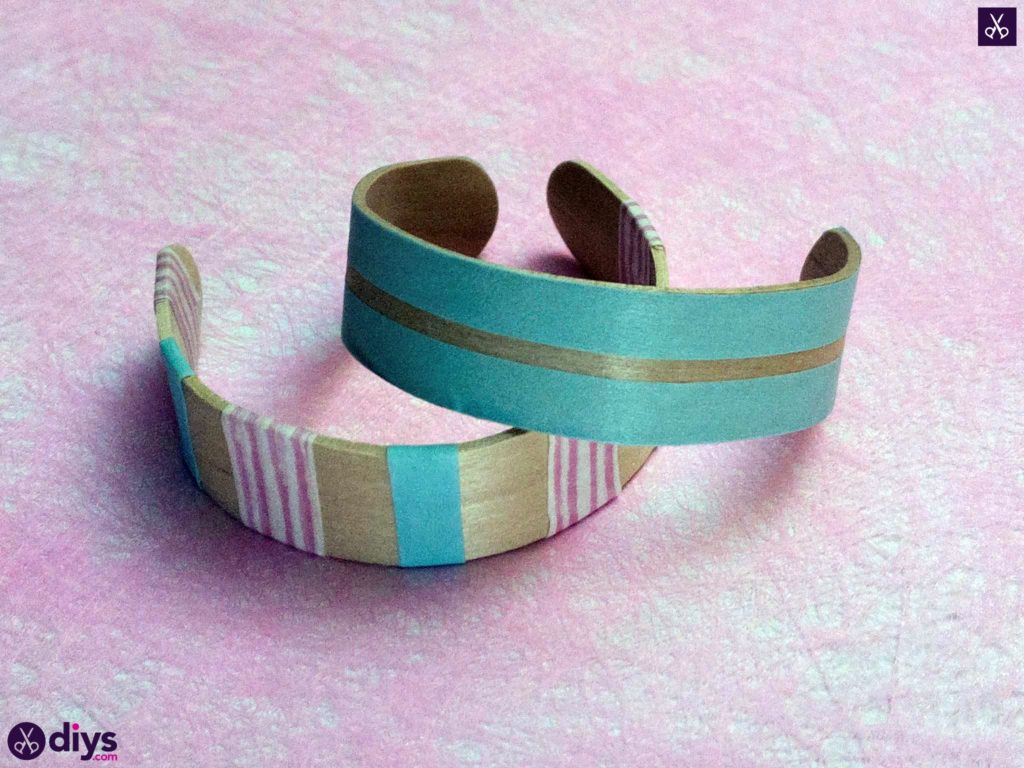
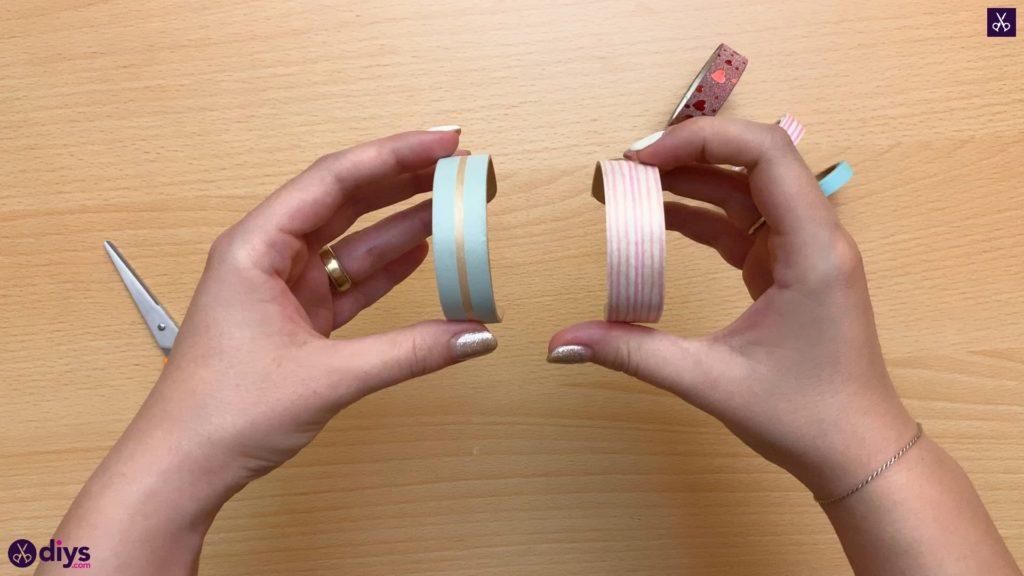
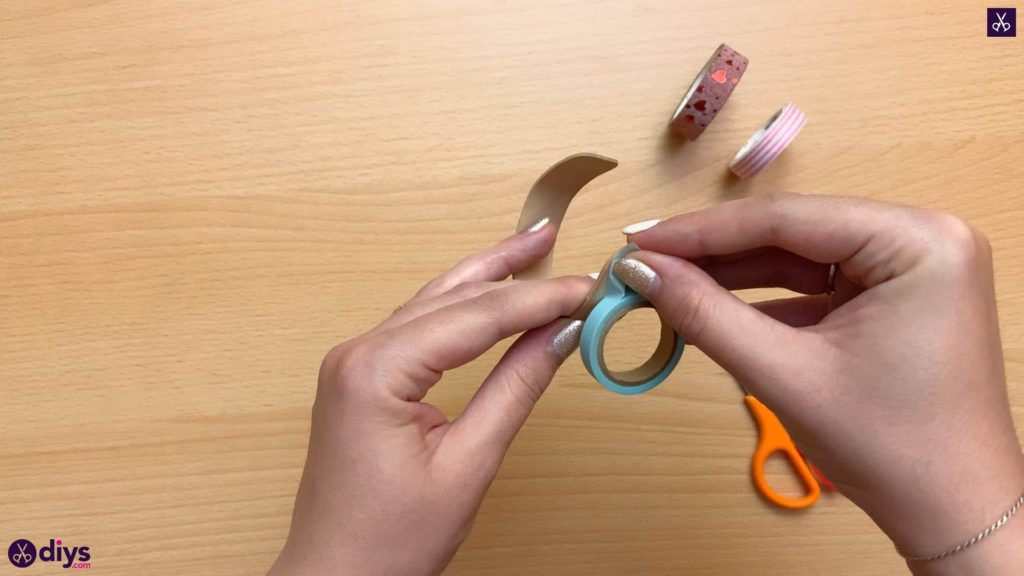
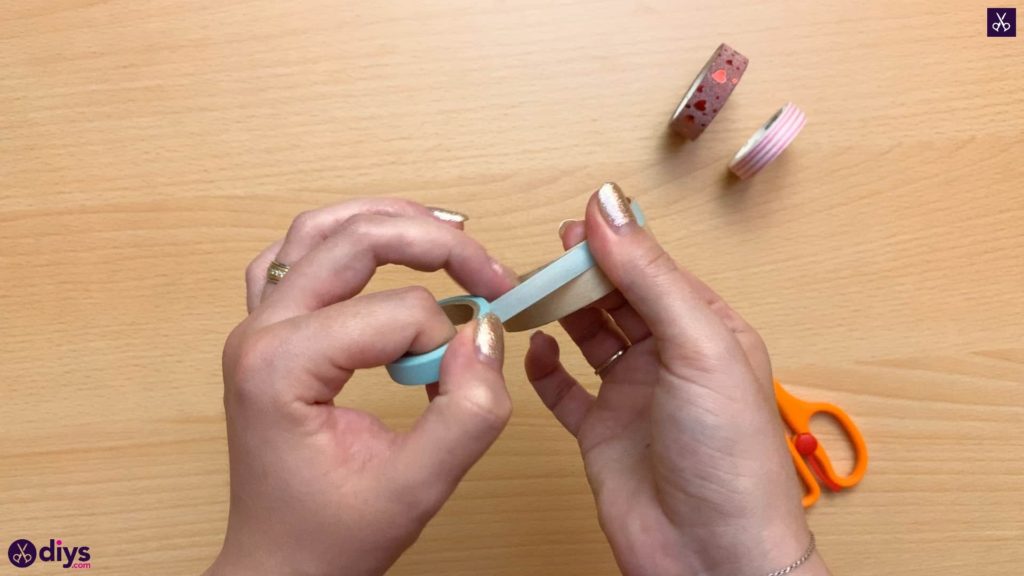
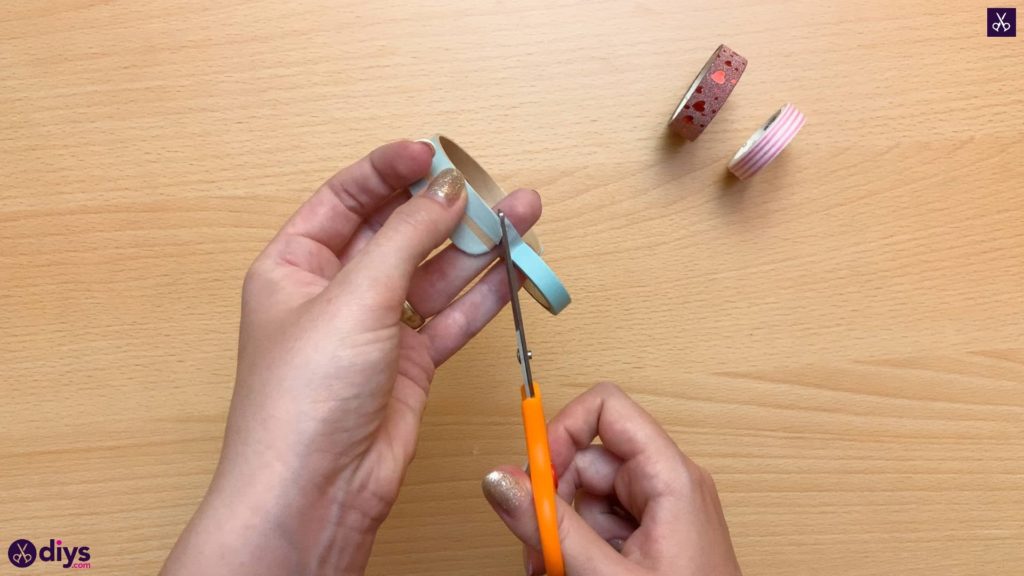
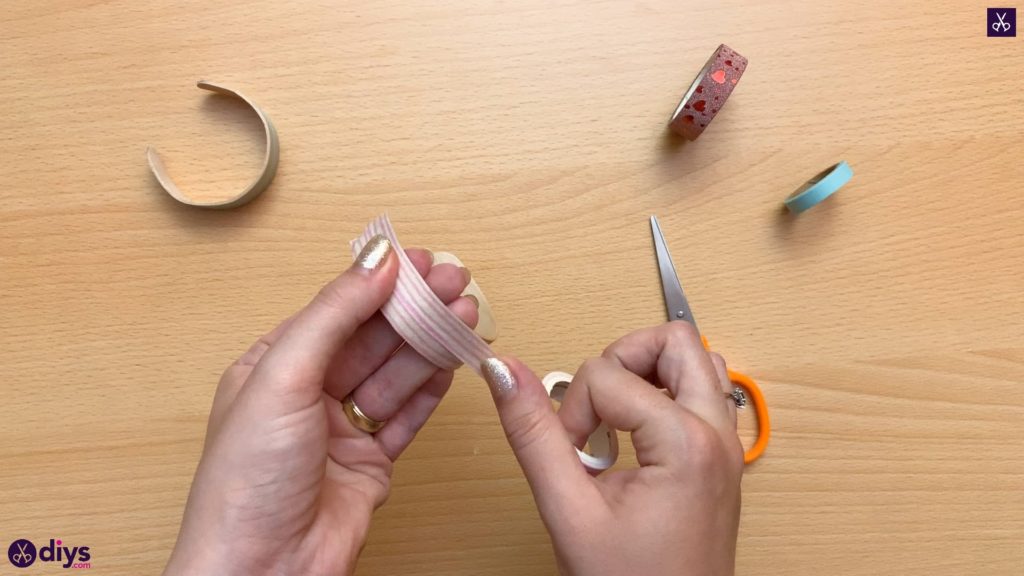
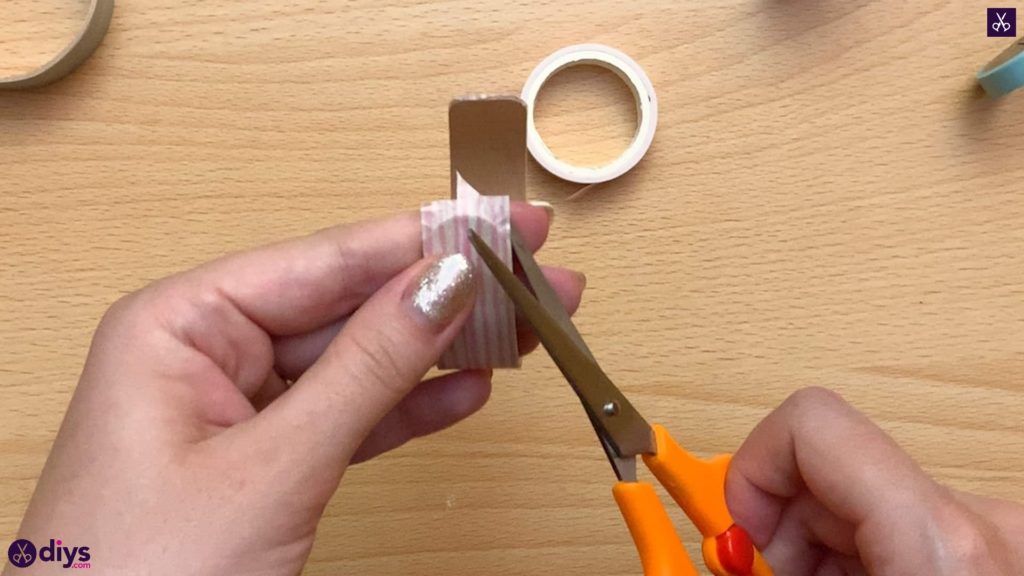
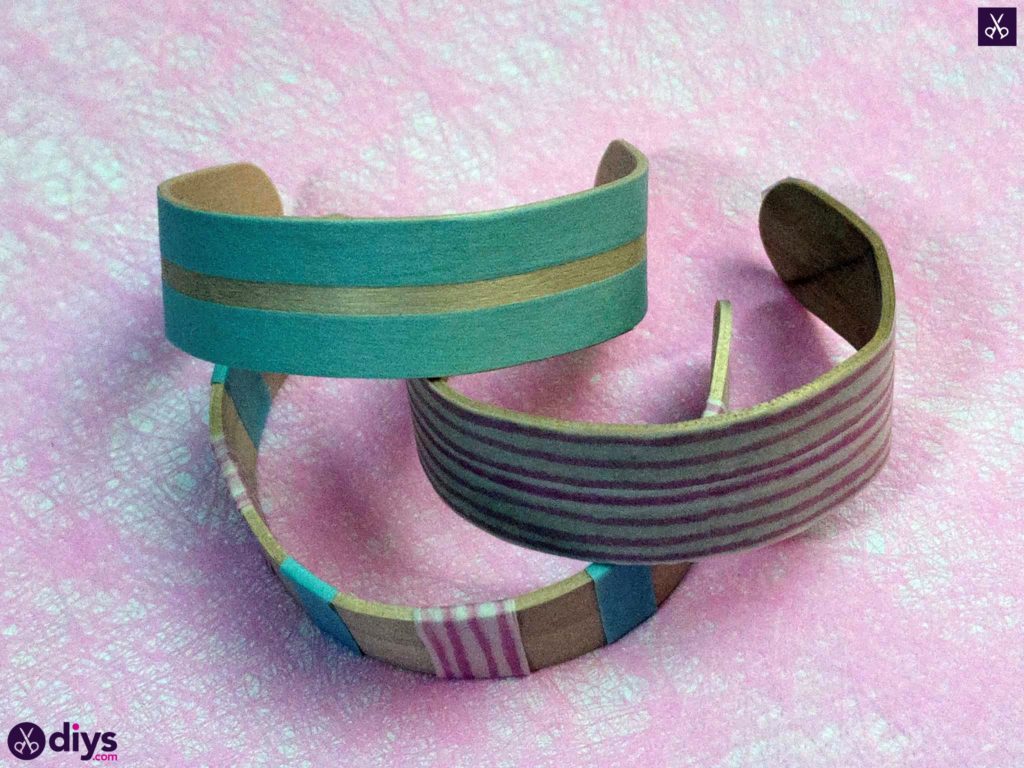
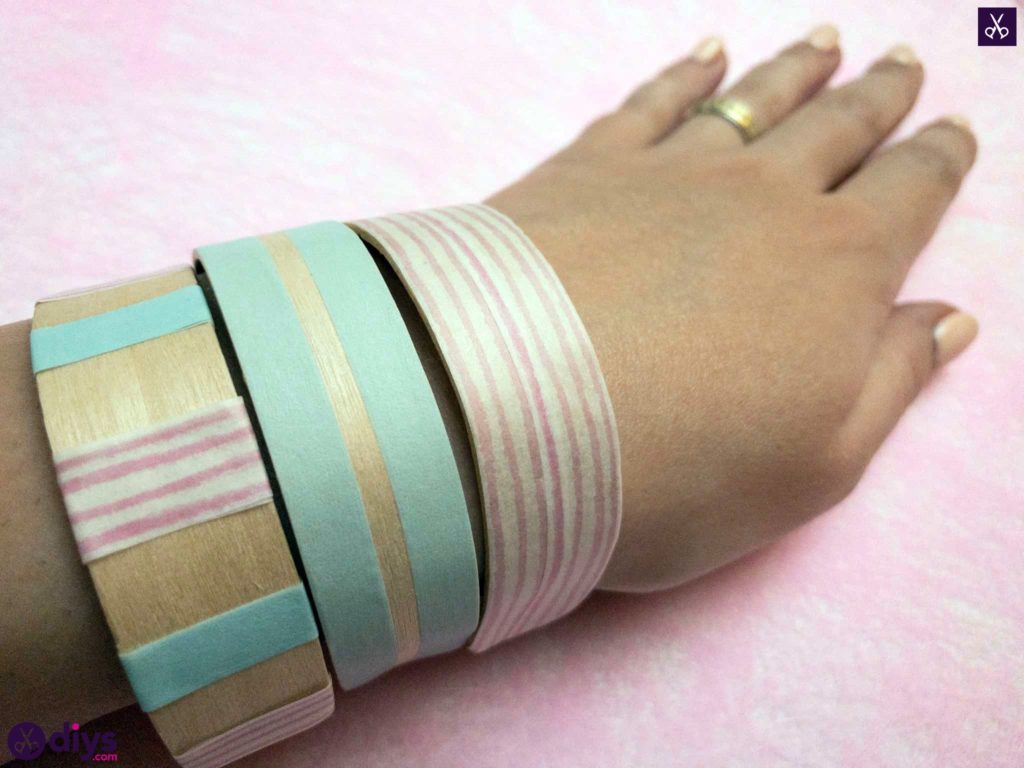
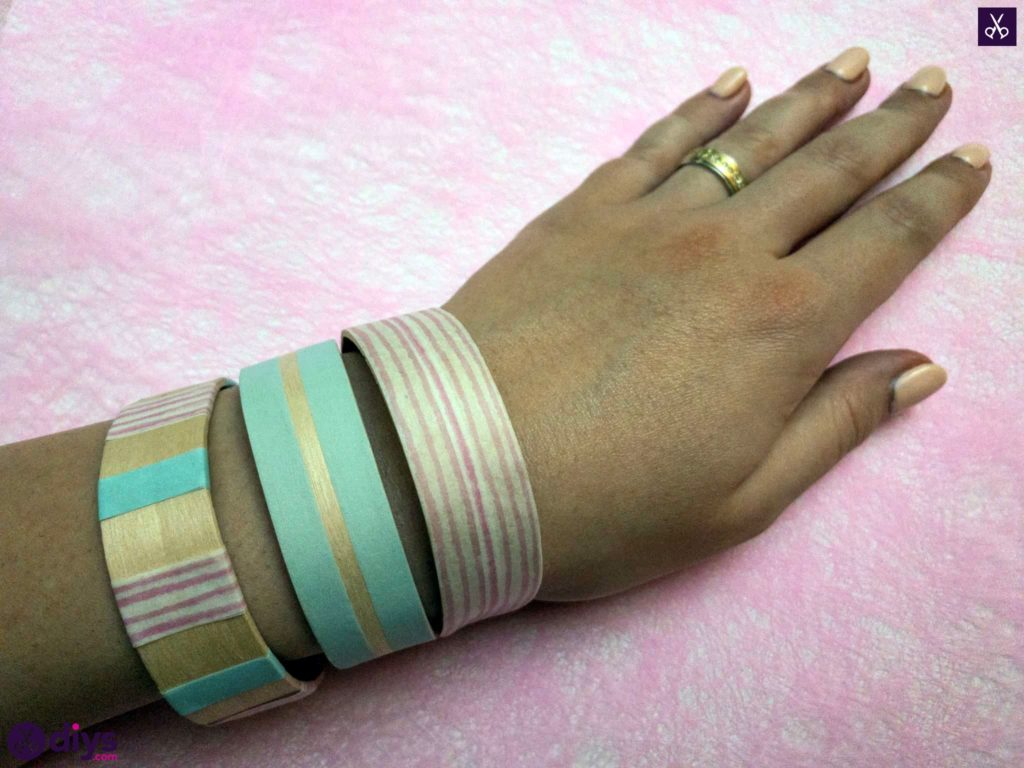
Decorate your bracelets! I chose to use washi tape to add colour and patterning to mine because the method is simple and quick and washi tape is very trendy right now, meaning it’s available for quite cheap in all kinds of cool shades and designs! I covered once bracelet entirely in washi tape, carefully lining the edge of the tape up with the popsicle stick, smoothing it the whole length, cutting it at the end, and gently rounded the tips of the tape over the ends of the new bracelet. For the other bangle, I covered only the edges, leaving a wooden coloured stripe down the middle between the two pieces of tape. You could make whatever simple pattern or colour combination of tape you want; washi tape is one of the easiest supplies to use!
That’s all there is to it! I simply adore how easy these are to make and, since they’re so quick to do, I often make just the bases while letting my kids watch and then hand the newly formed bangles over for them to decorate, since the wood can easily be embellished with stickers, markers, and glue as well.
Just in case you’d like to try this project out yourself, here’s an awesome video tutorial to help you out along the way!
