3 Easy Ponytail Hairstyles for Everyday Wear – Video Tutorial
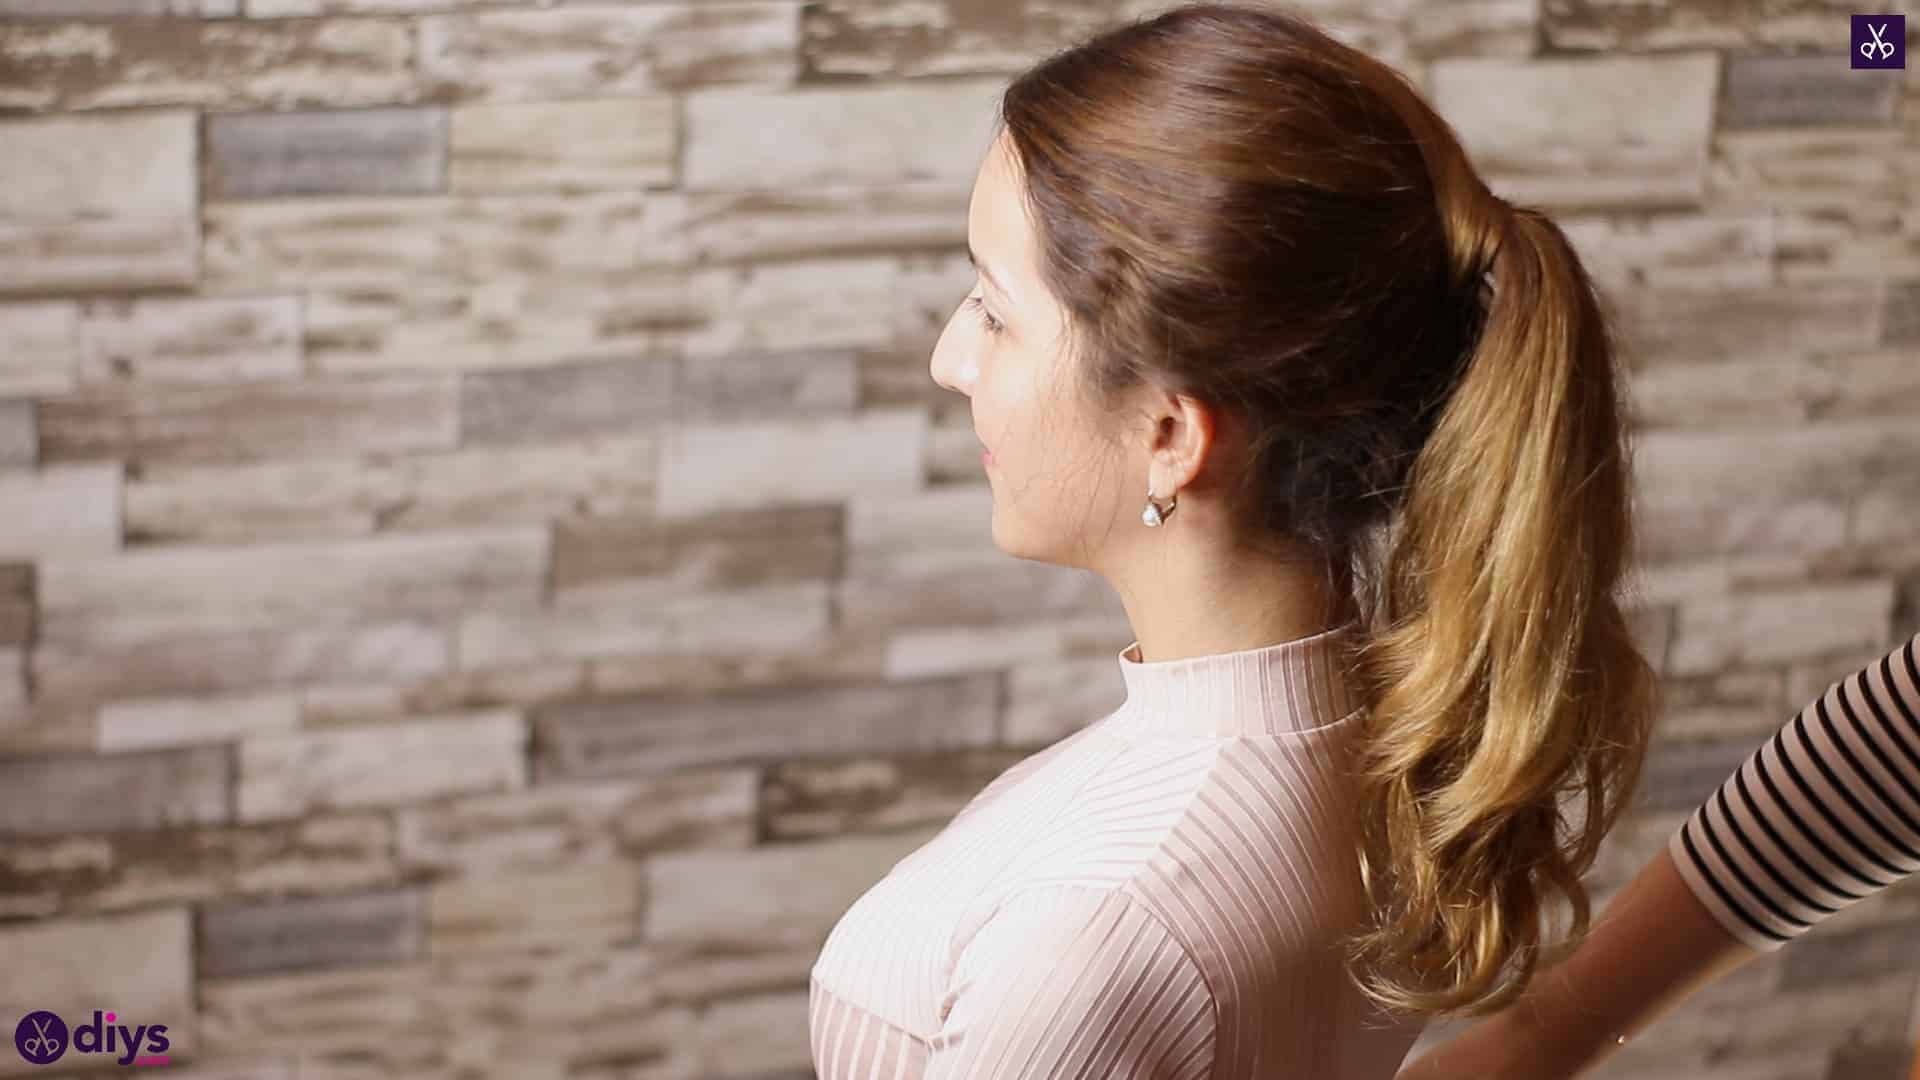
Anyone with long hair can tell you that the classic ponytail is a staple in not only the hairstyling world, but also just day to day life. Whether you’re putting your hair up into a simple ponytail because you like how it looks on you, because you want it out of the way while you’re being active, or because it’s really hot out, it’s a reliable style that takes almost no time to do, whether you scrape the hair in tight and neat or let it stay a little tussled and stylishly messy. Lately, however, I’ve been feeling adventurous and putting unique spins on my ponytails, just to give them a little more character without a whole lot of extra effort or difficulty.
Here are three of my very favourite ponytail styles that I’ve repeated several times each in my recent ponytail adventures, step by step and complete with photos! If you’d rather follow along with a video tutorial instead of written words, scroll to the bottom of this post to find just what you’re looking for.
For each of these styles, you’ll need:
- Hair elastics
- Bobby pins
- A brush
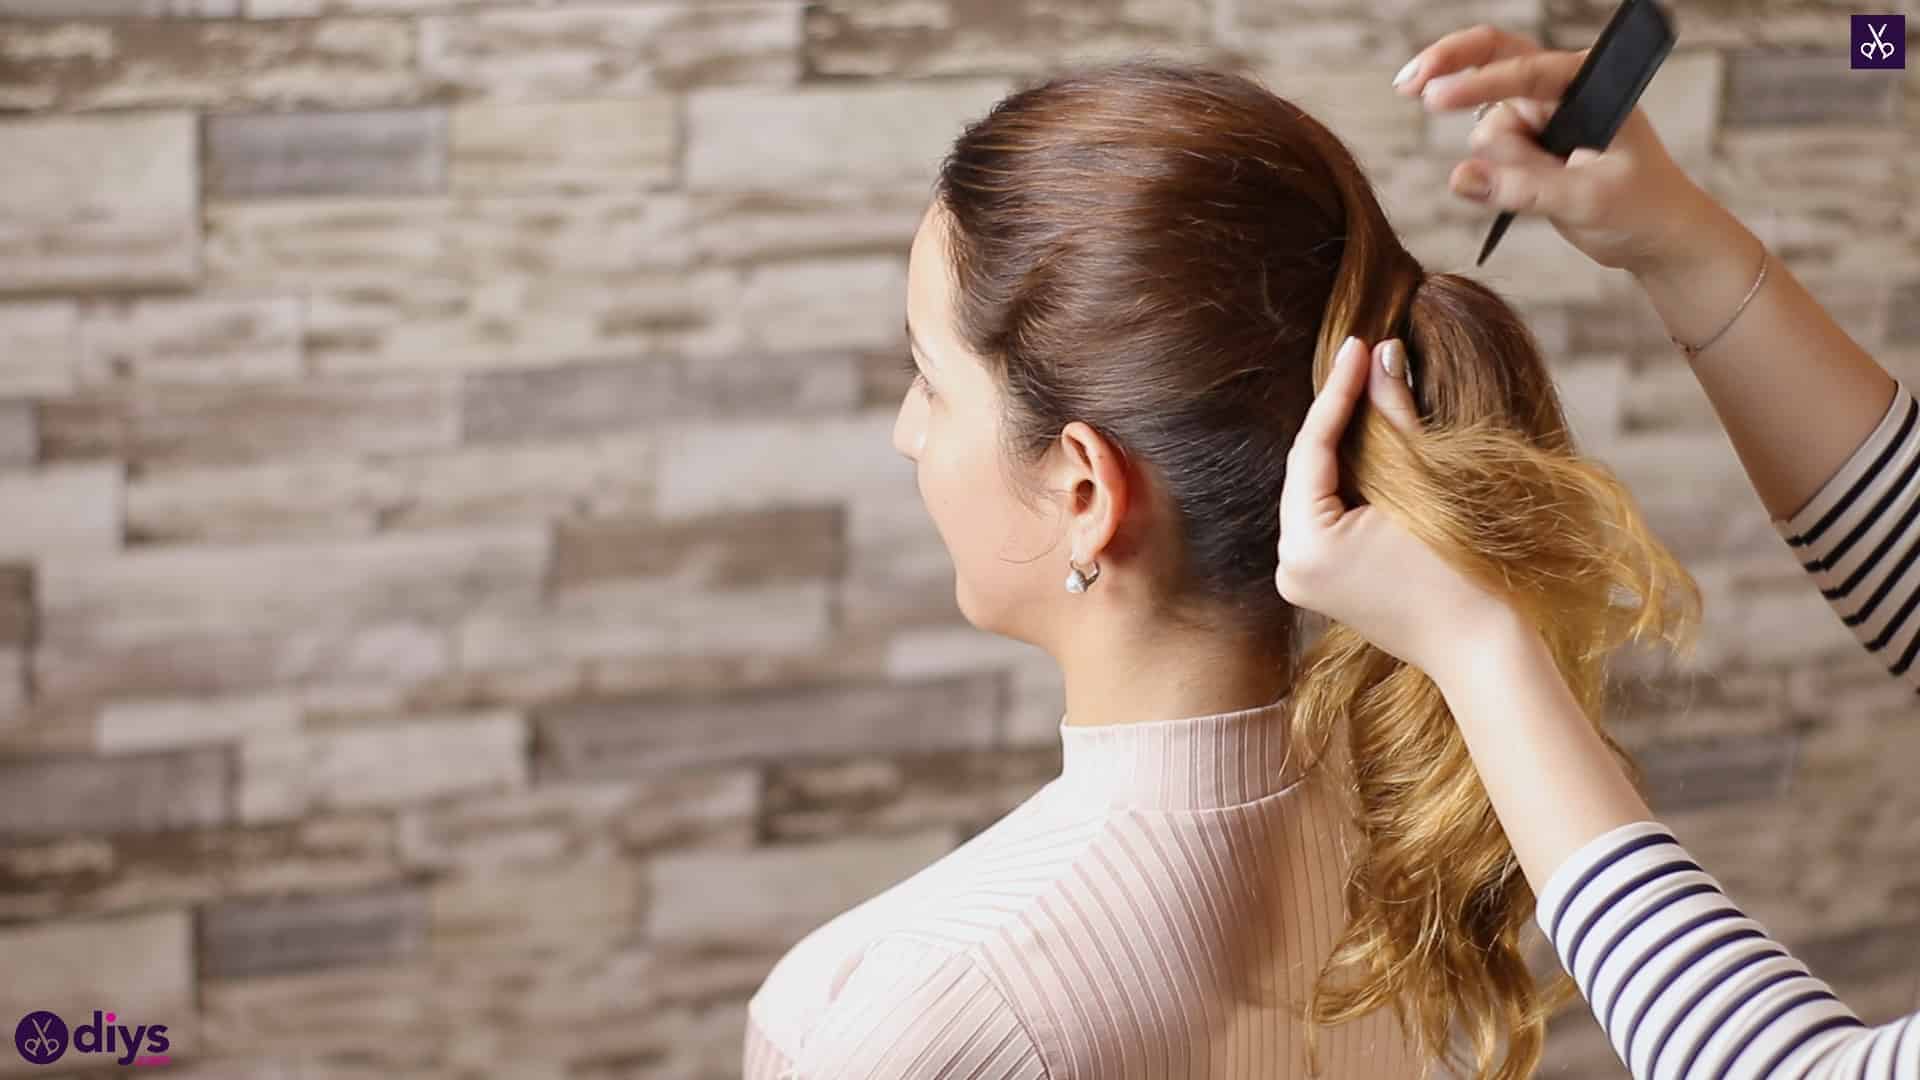
- A fine tooth comb with a pointed end
- Hairspray
Ponytail 1: “The pull-through”
Step 1: brush and gather
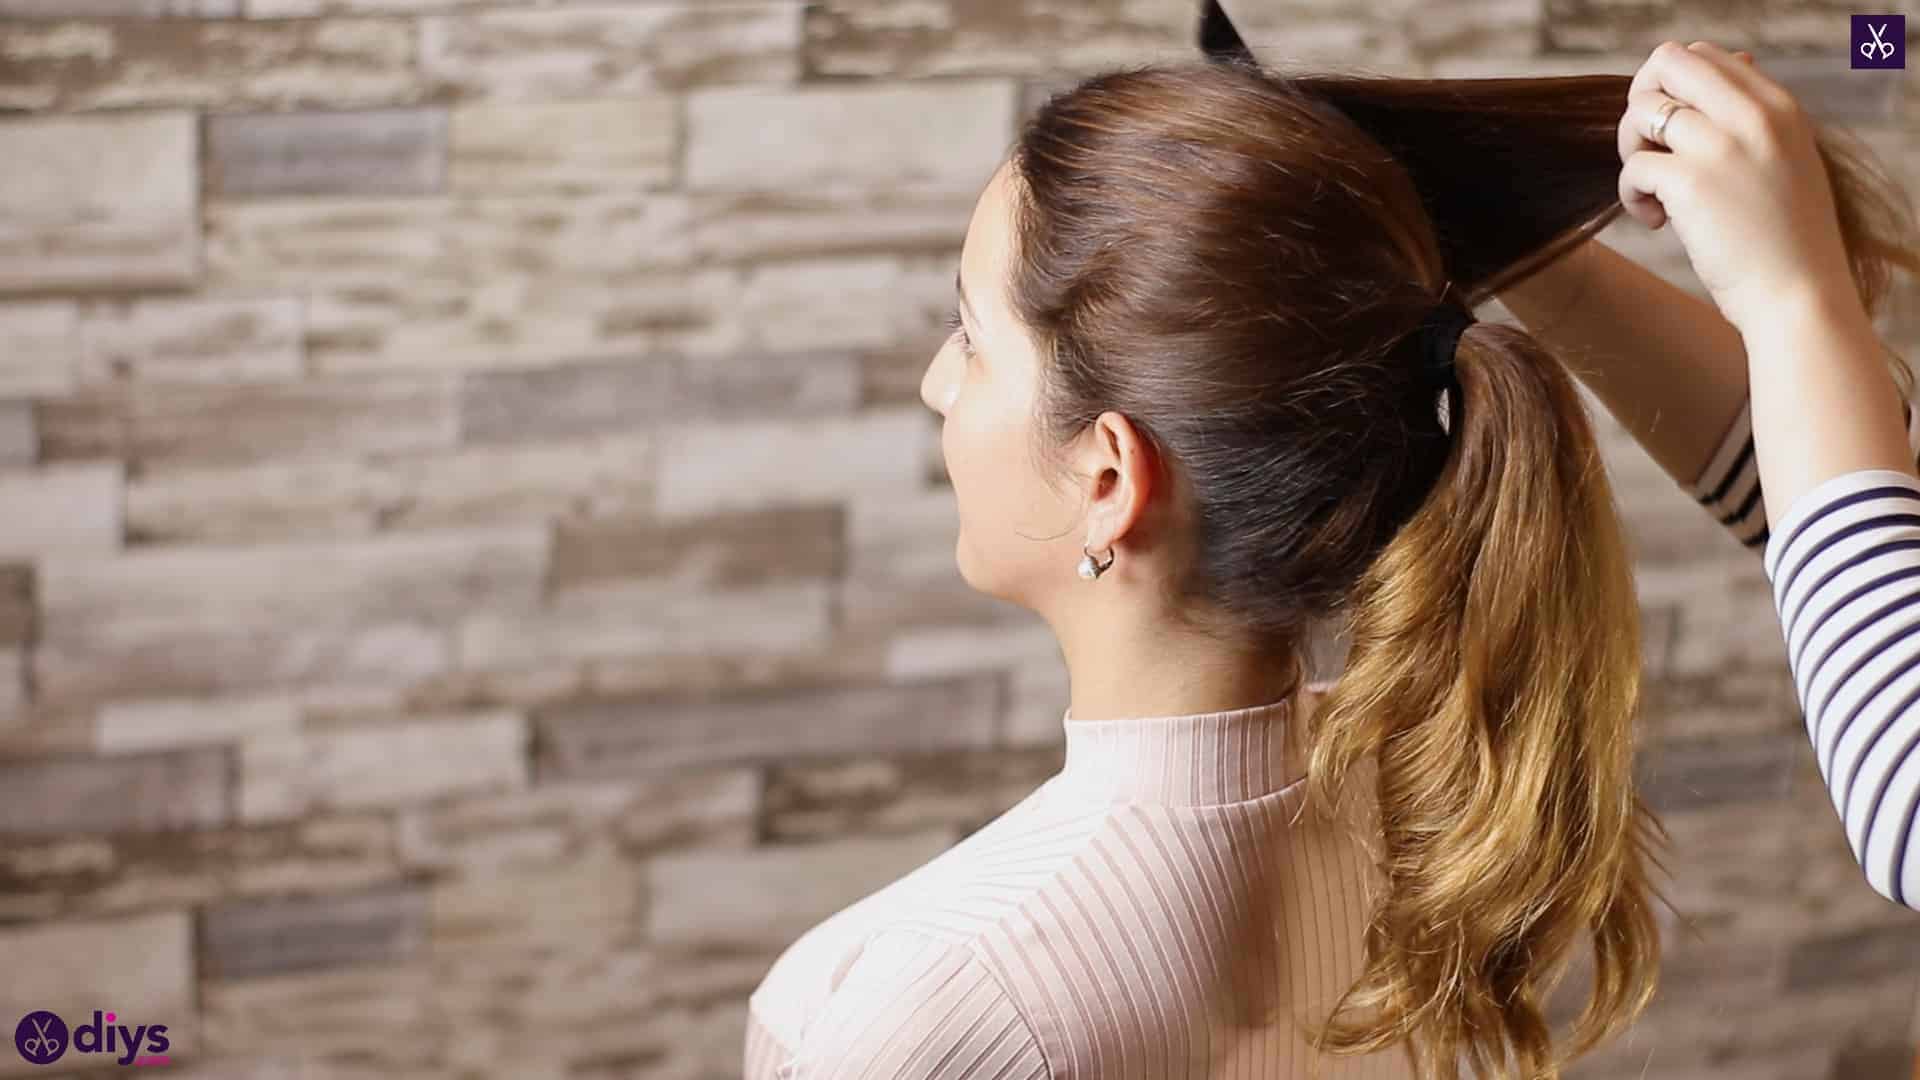
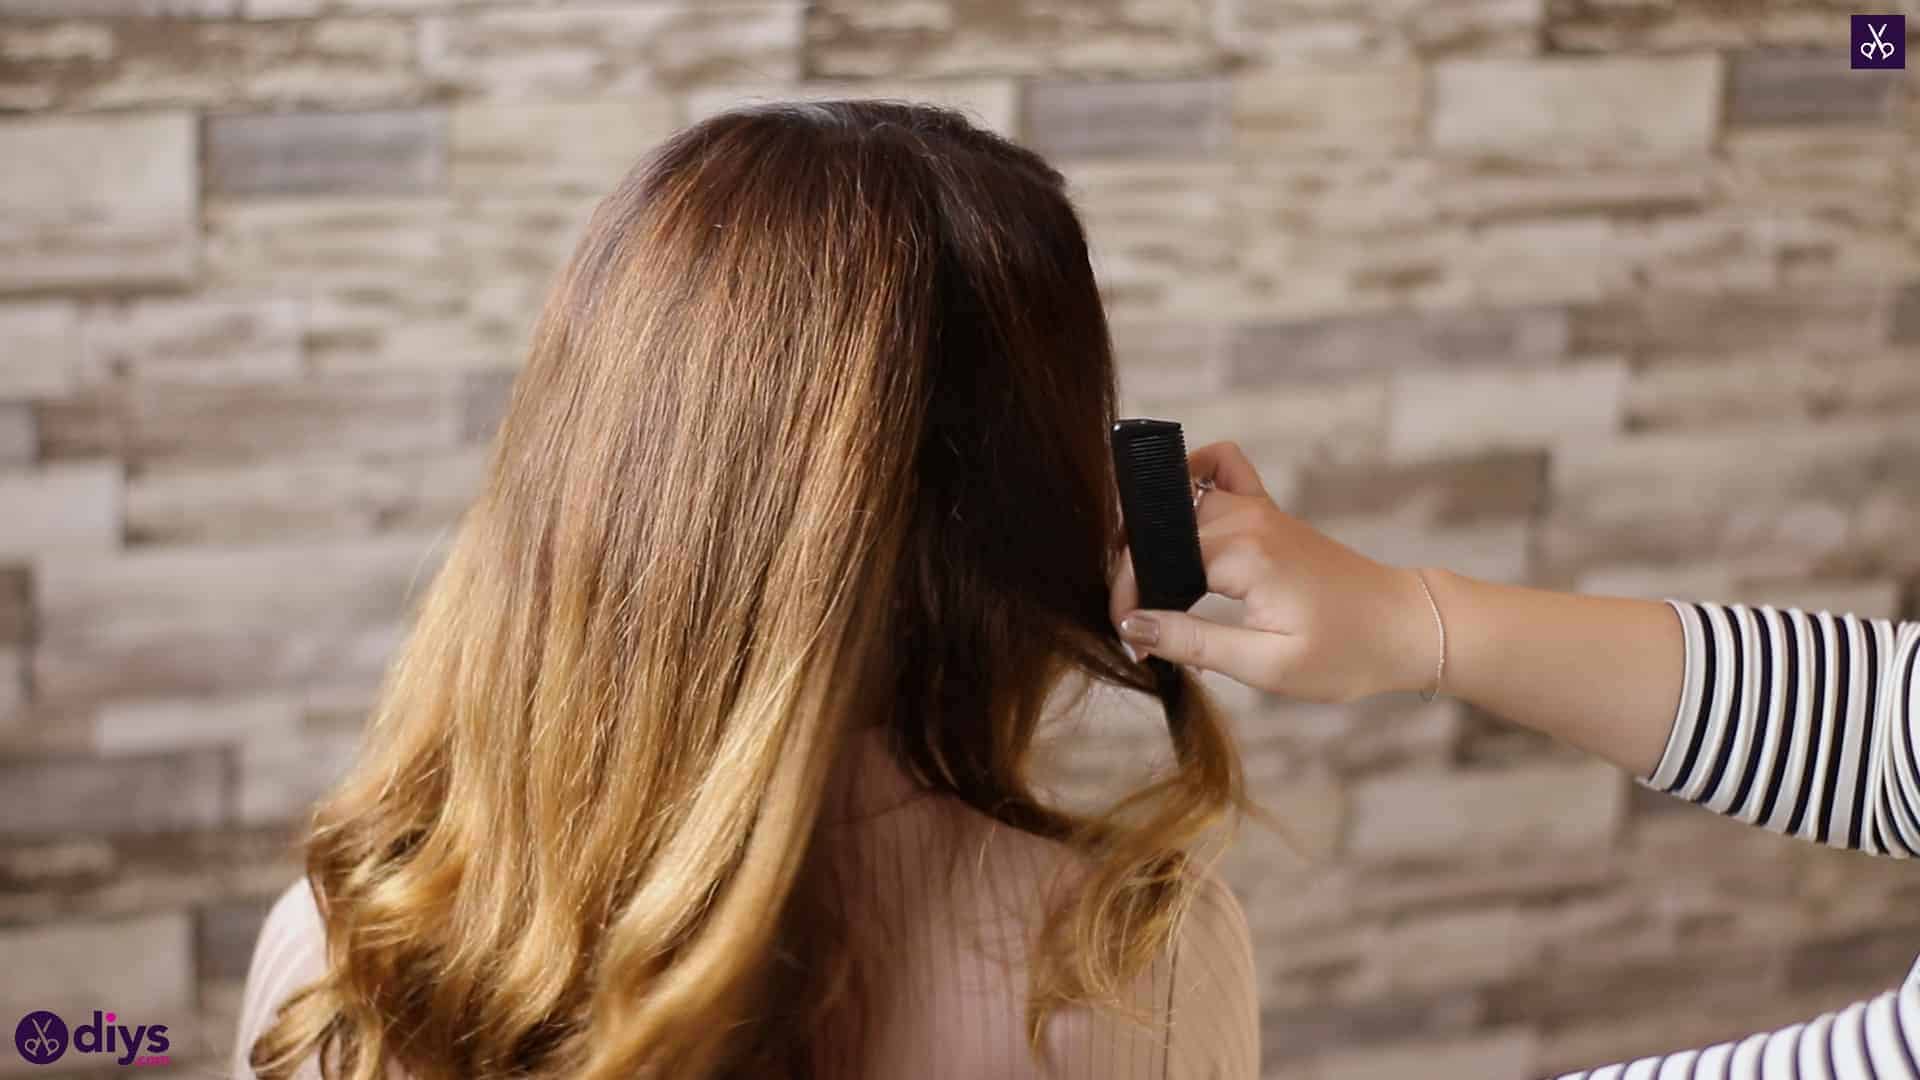
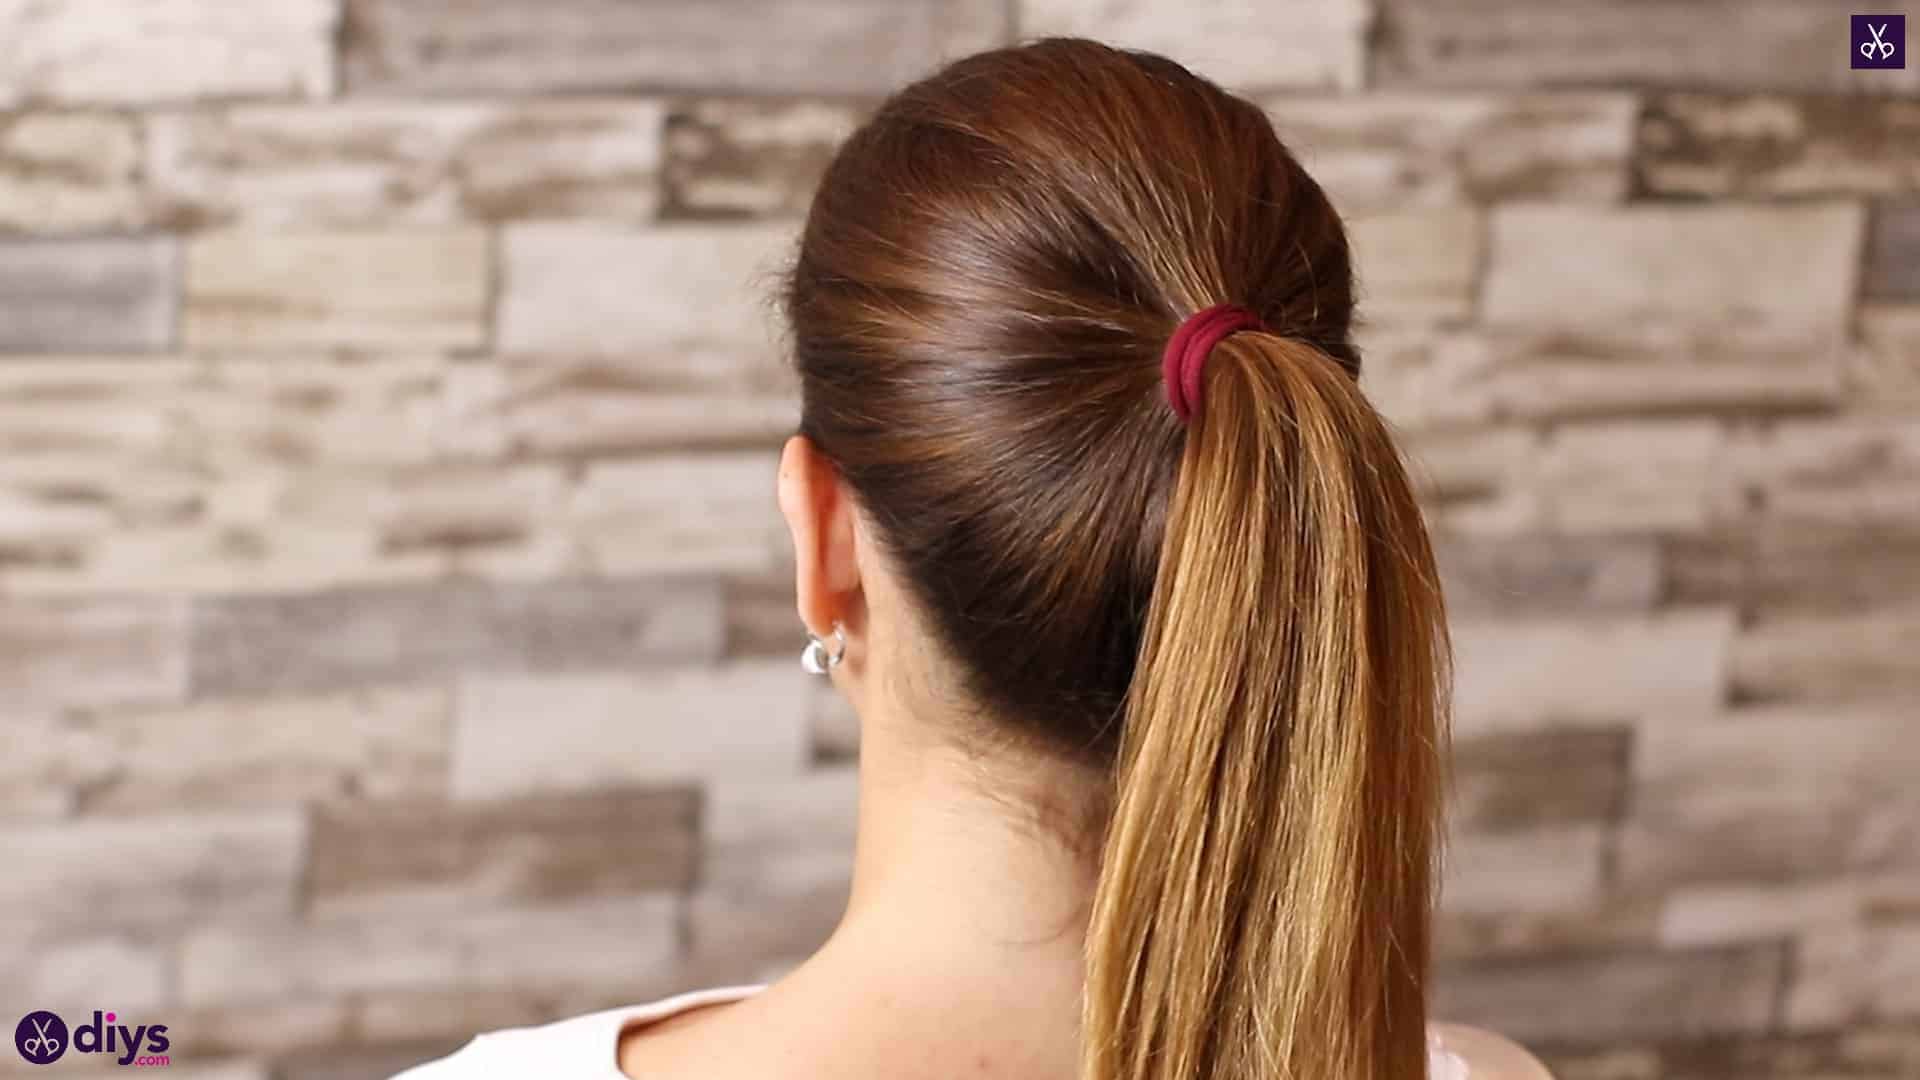
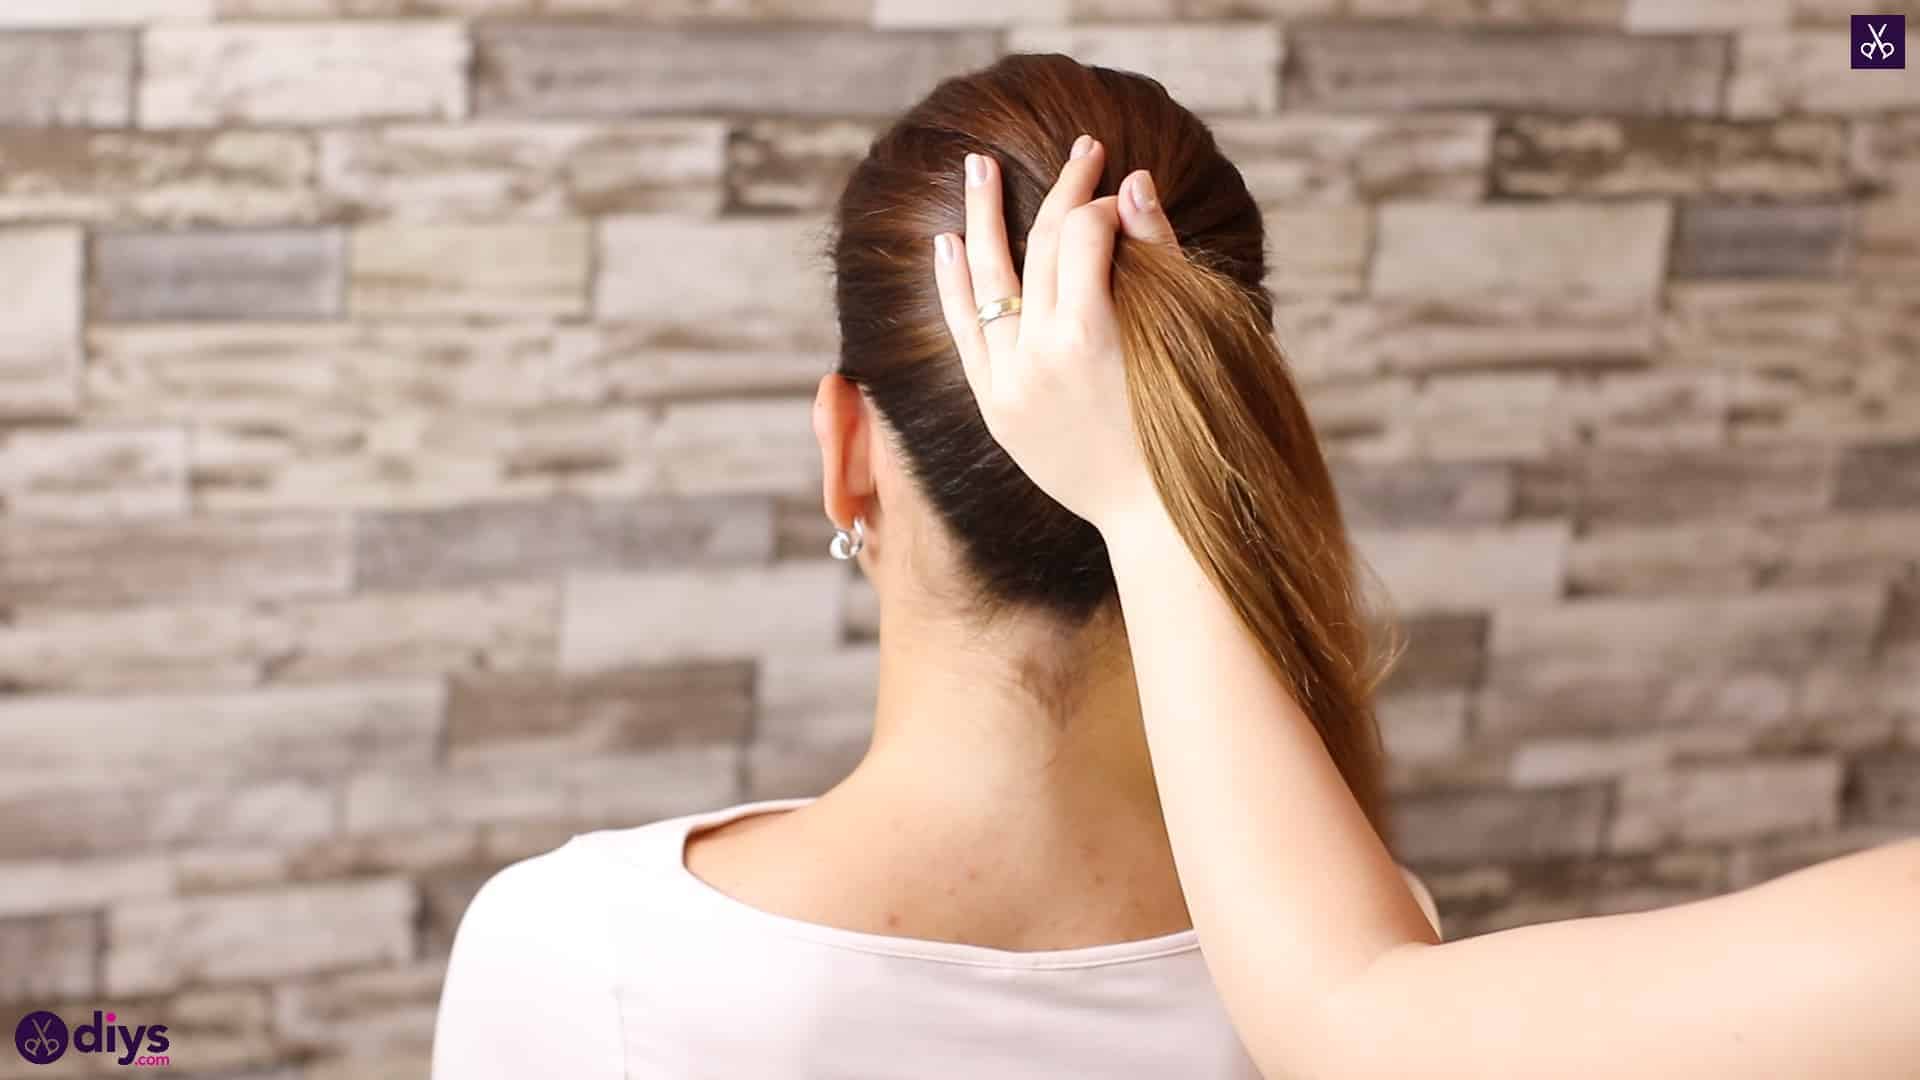
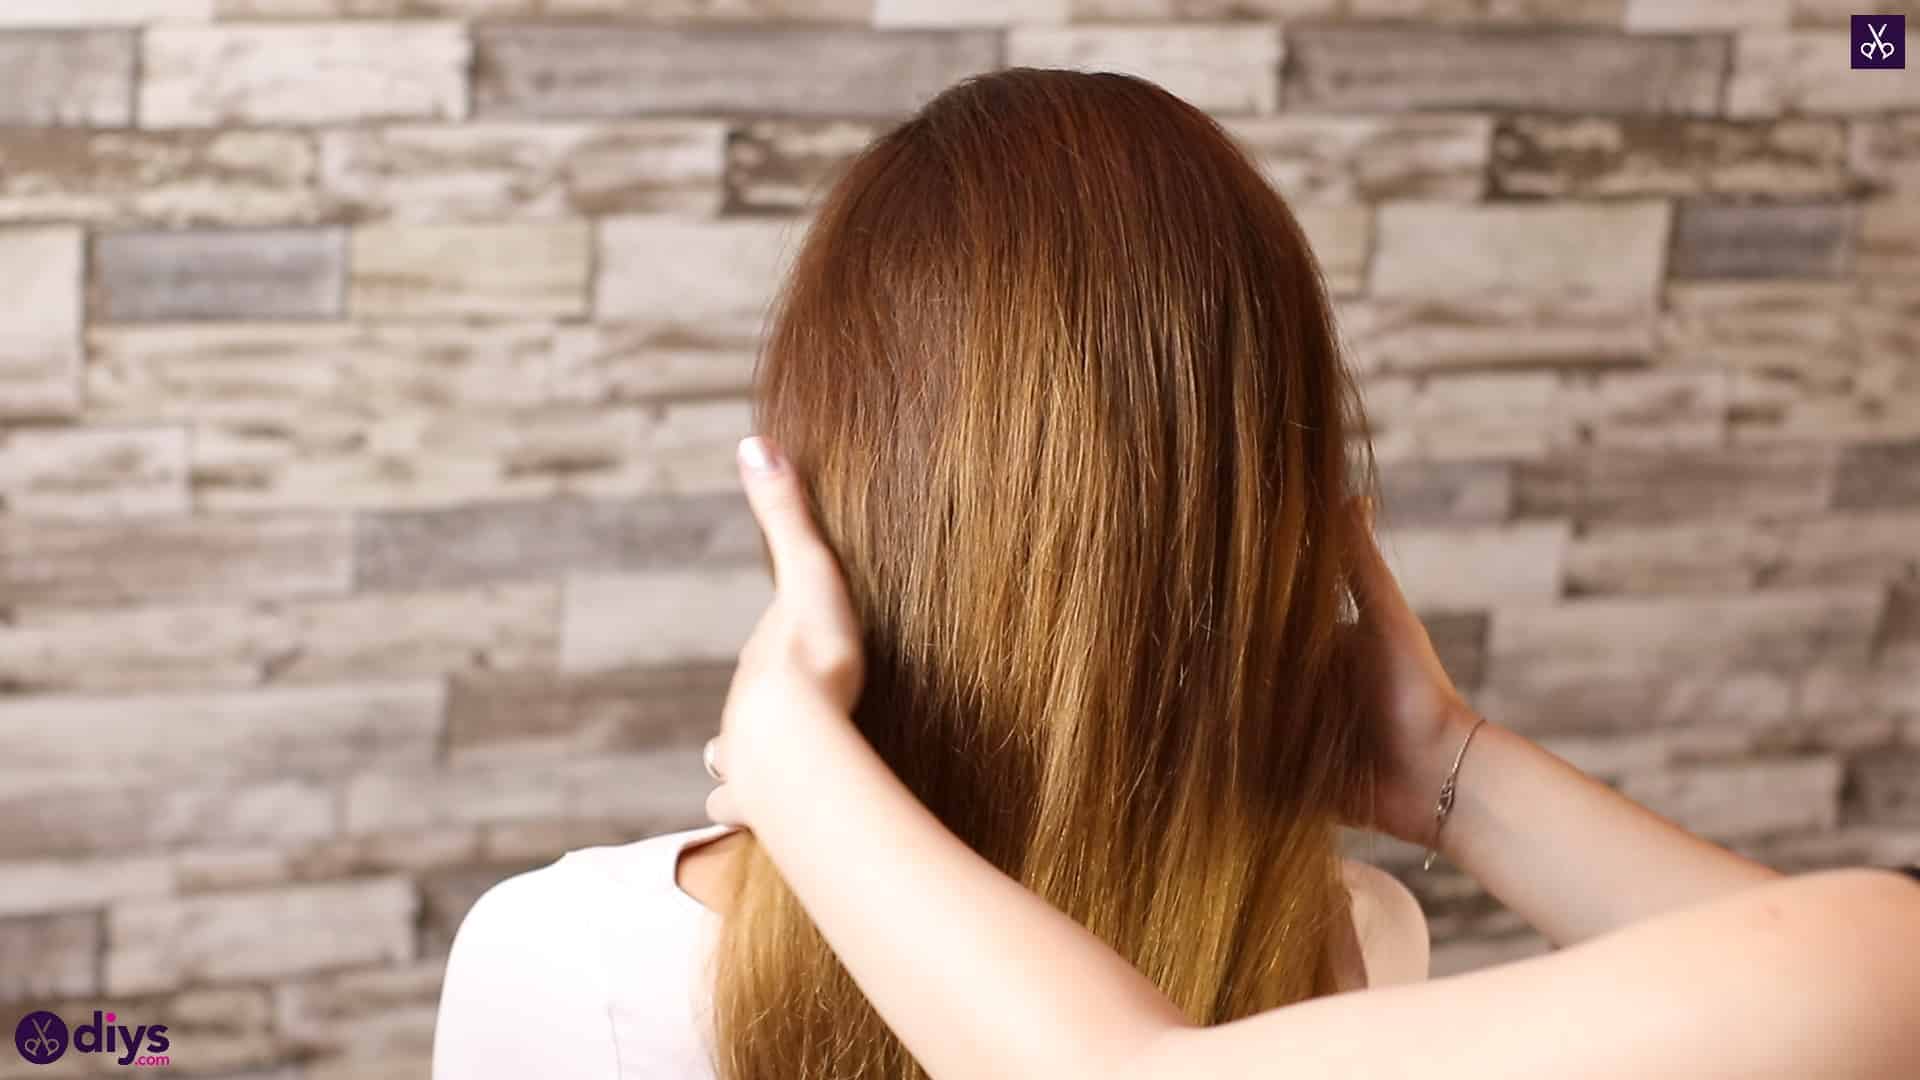
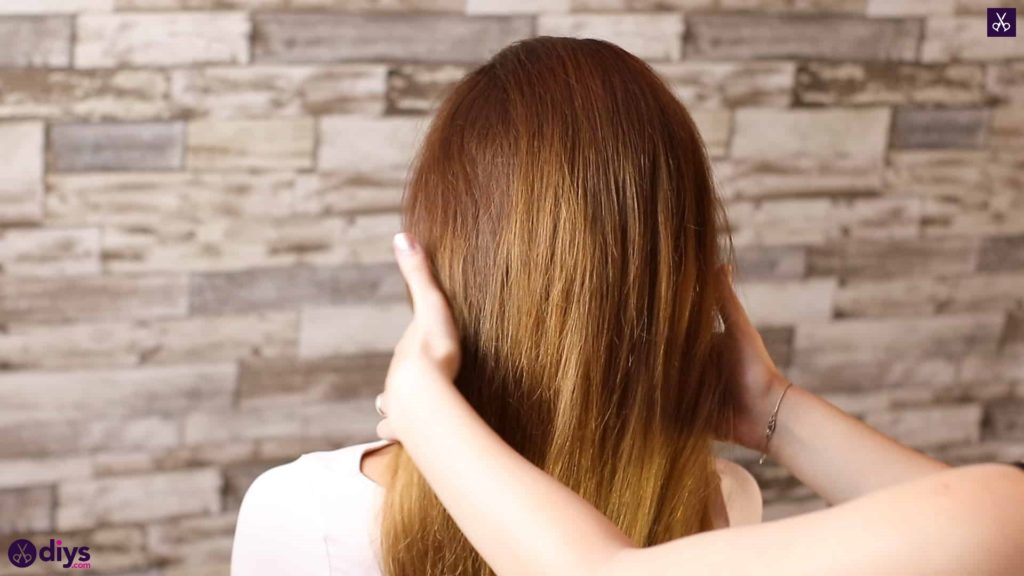
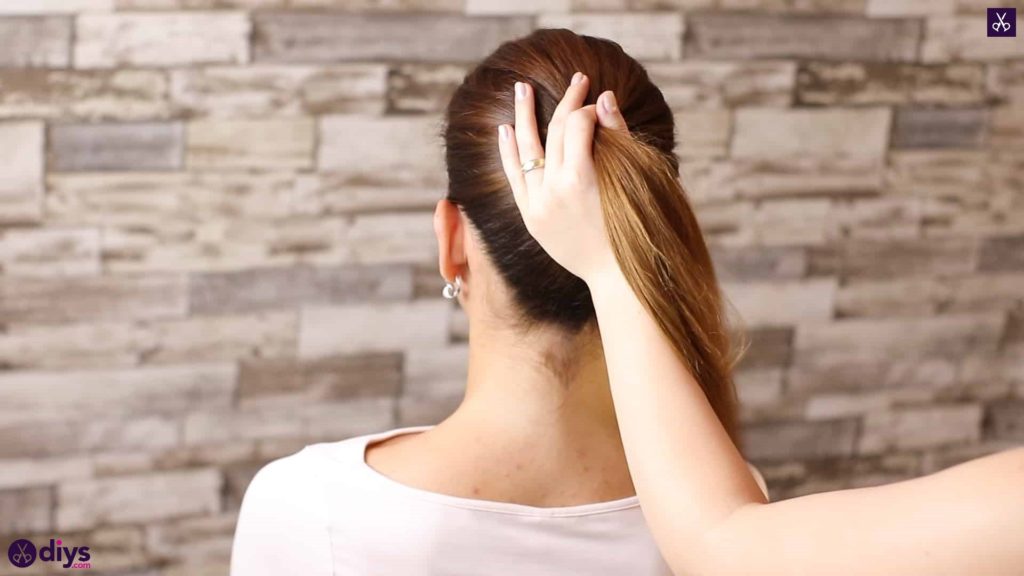
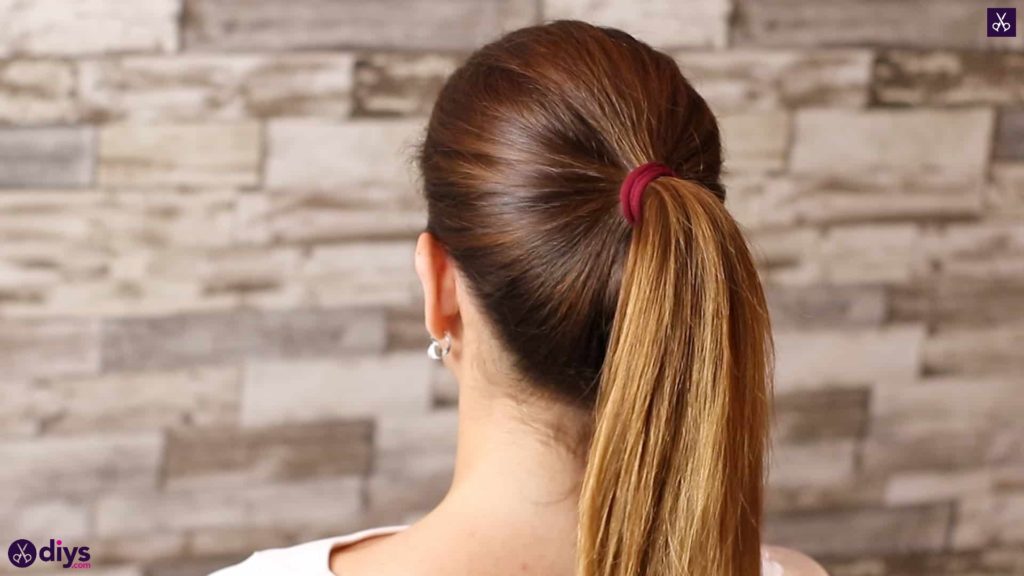
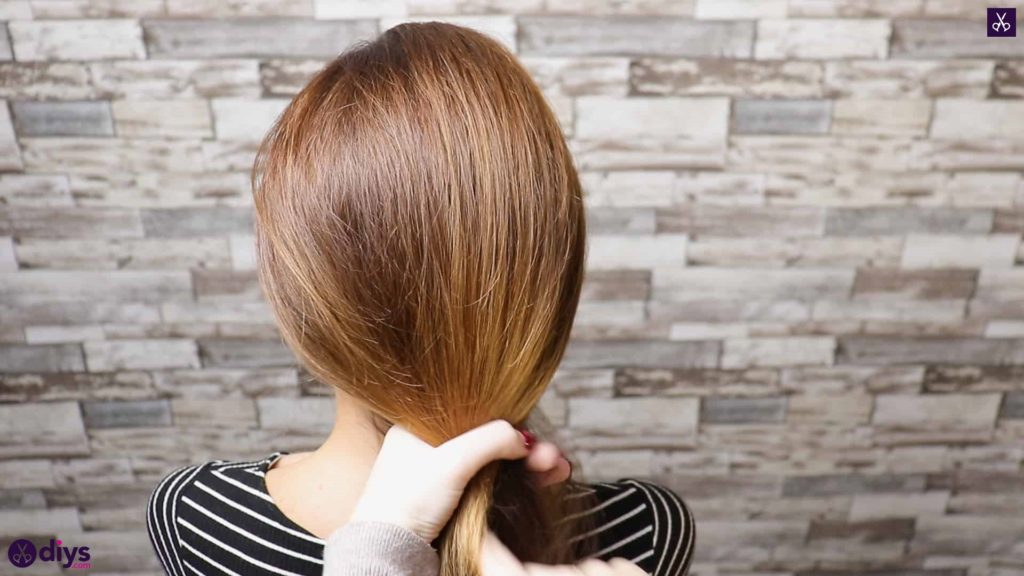
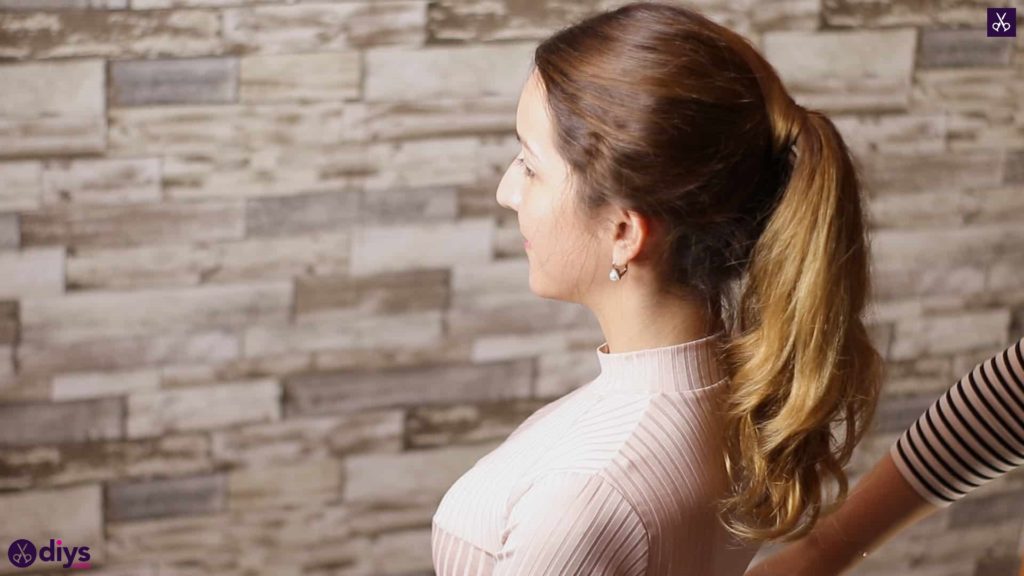
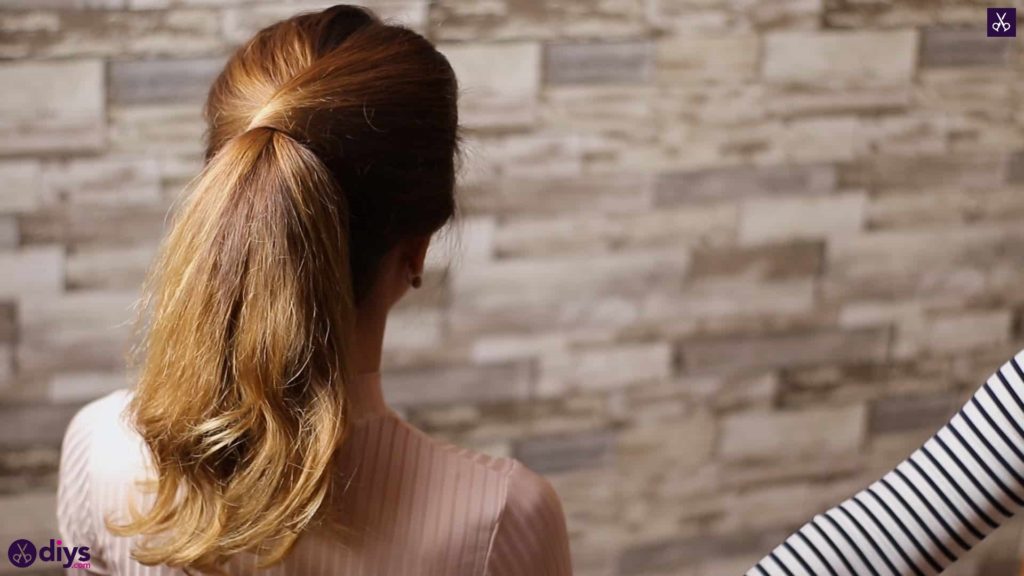
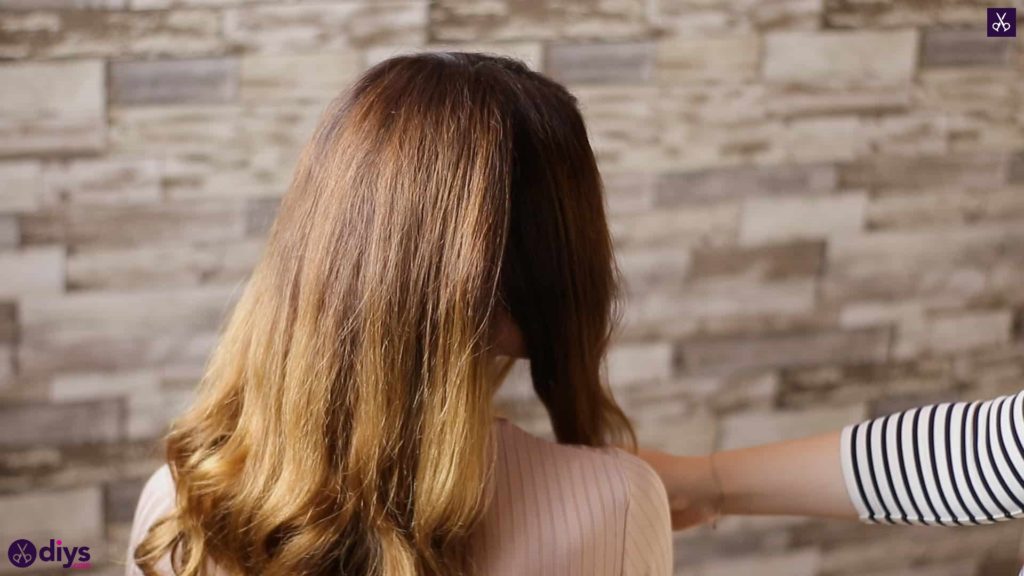
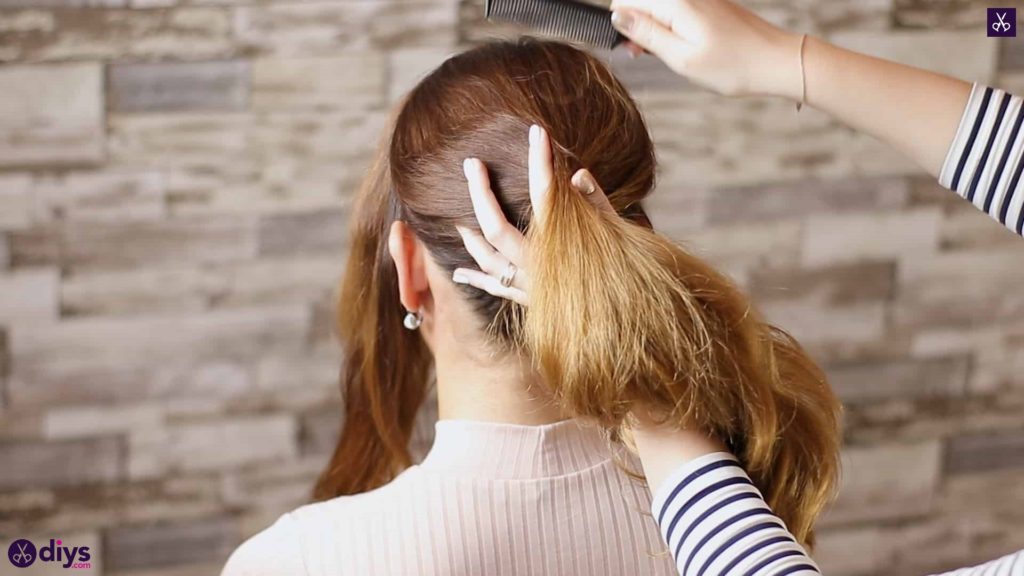
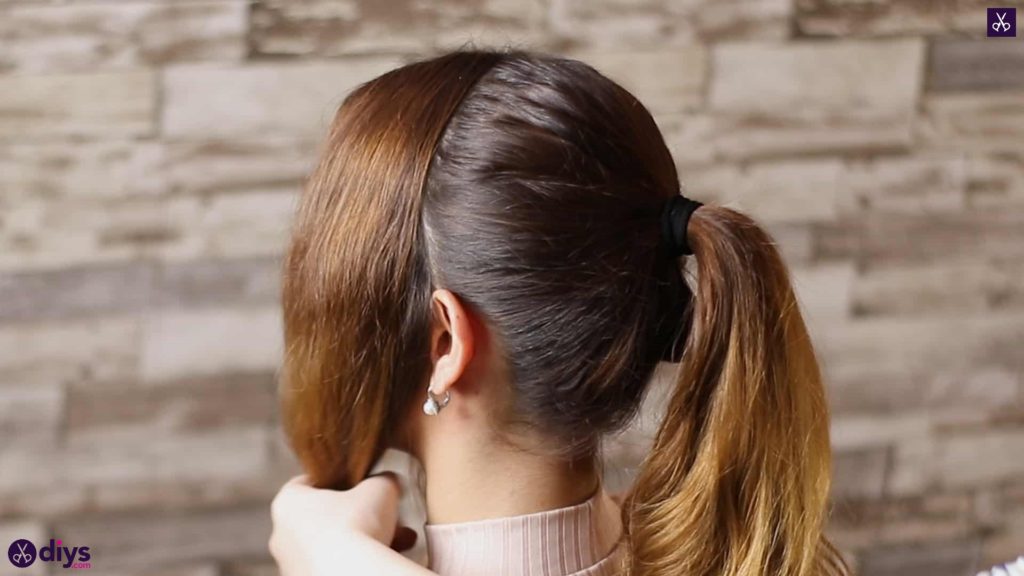
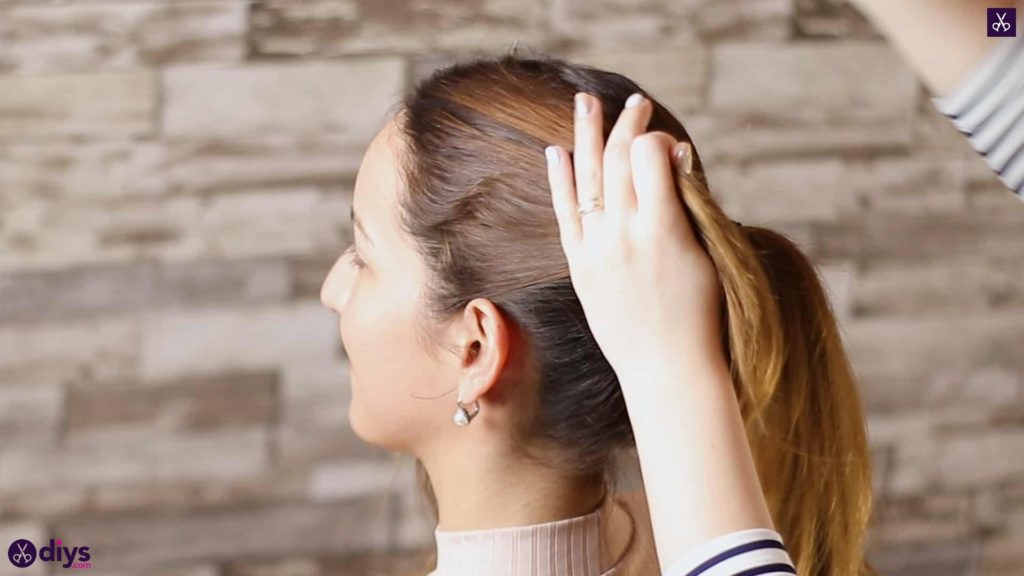
Brush your hair so it’s smooth and free of tangles. Then use your brush to pull all of your hair back into a simple, classic ponytail positioned right at the crow of your head, holding it in place with a regular hair elastic. Spray down any flyaways with hairspray.
Step 2: section the hair
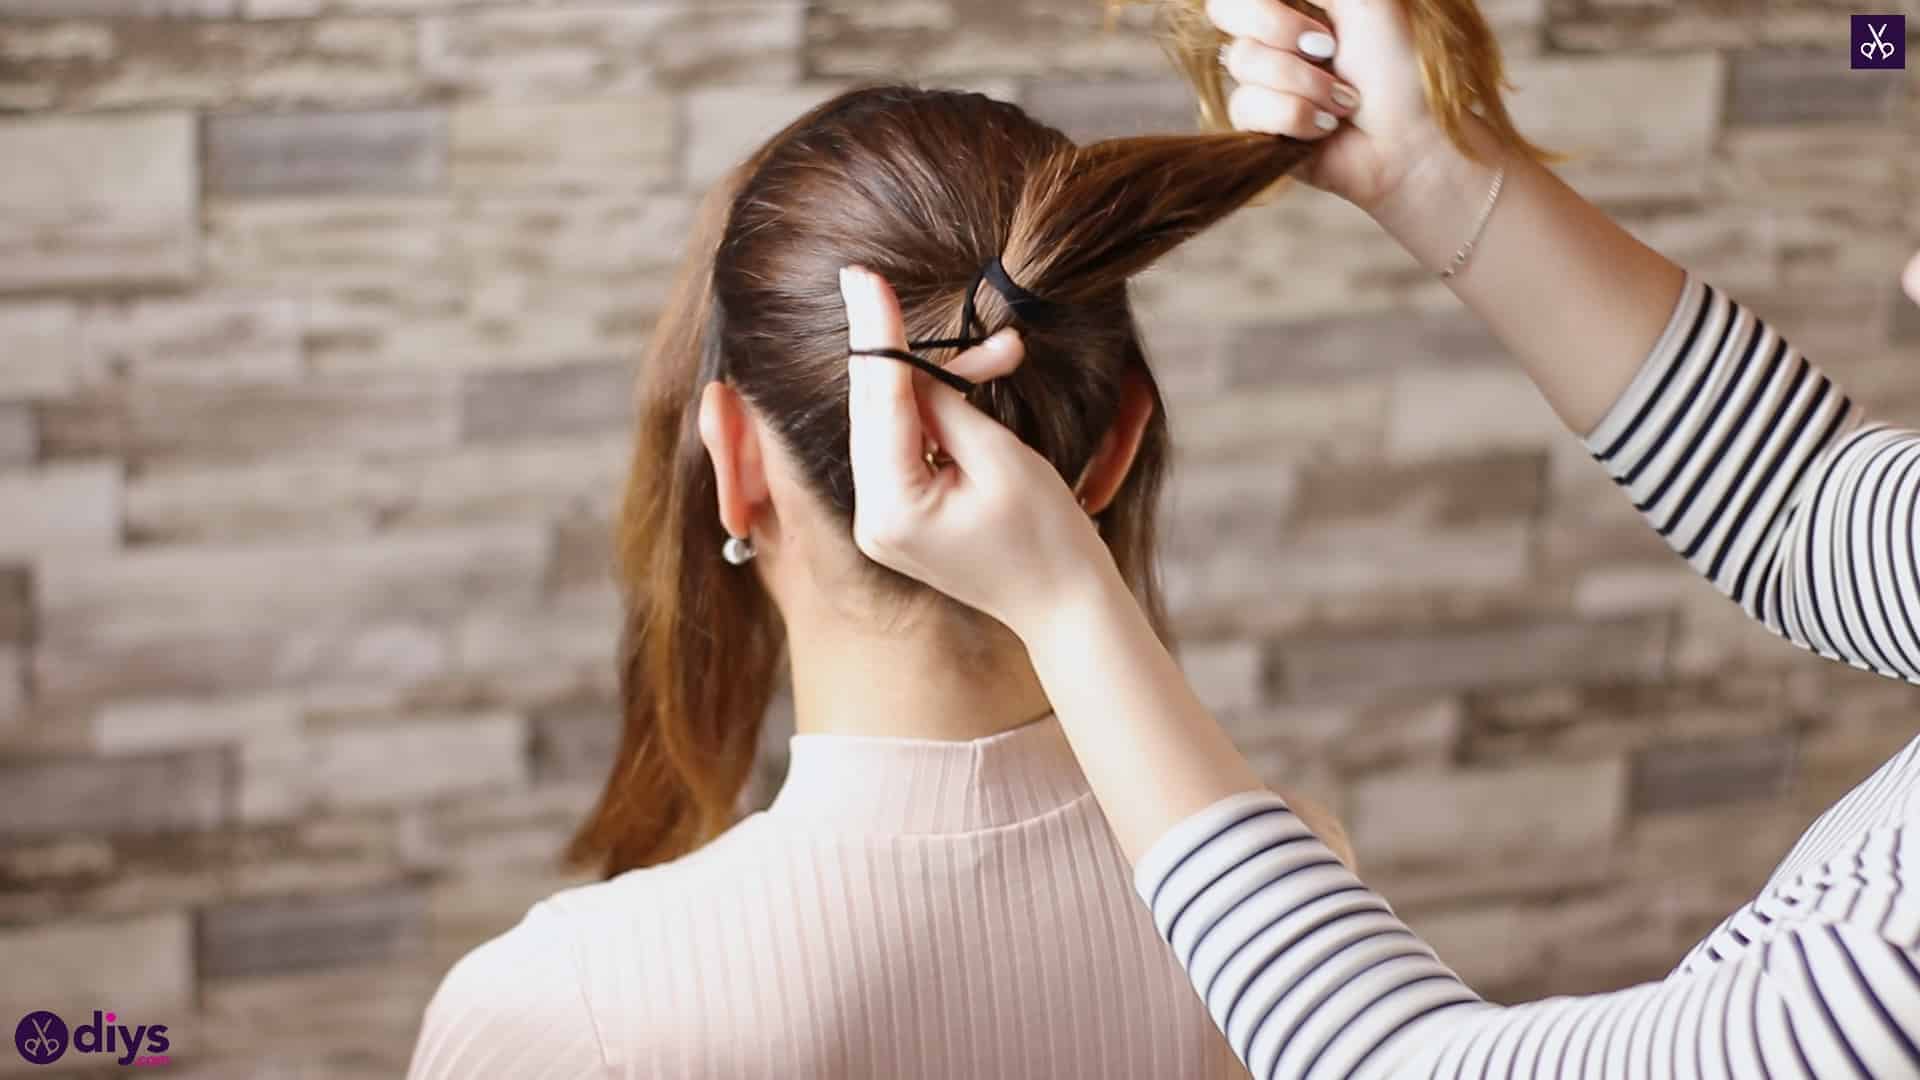
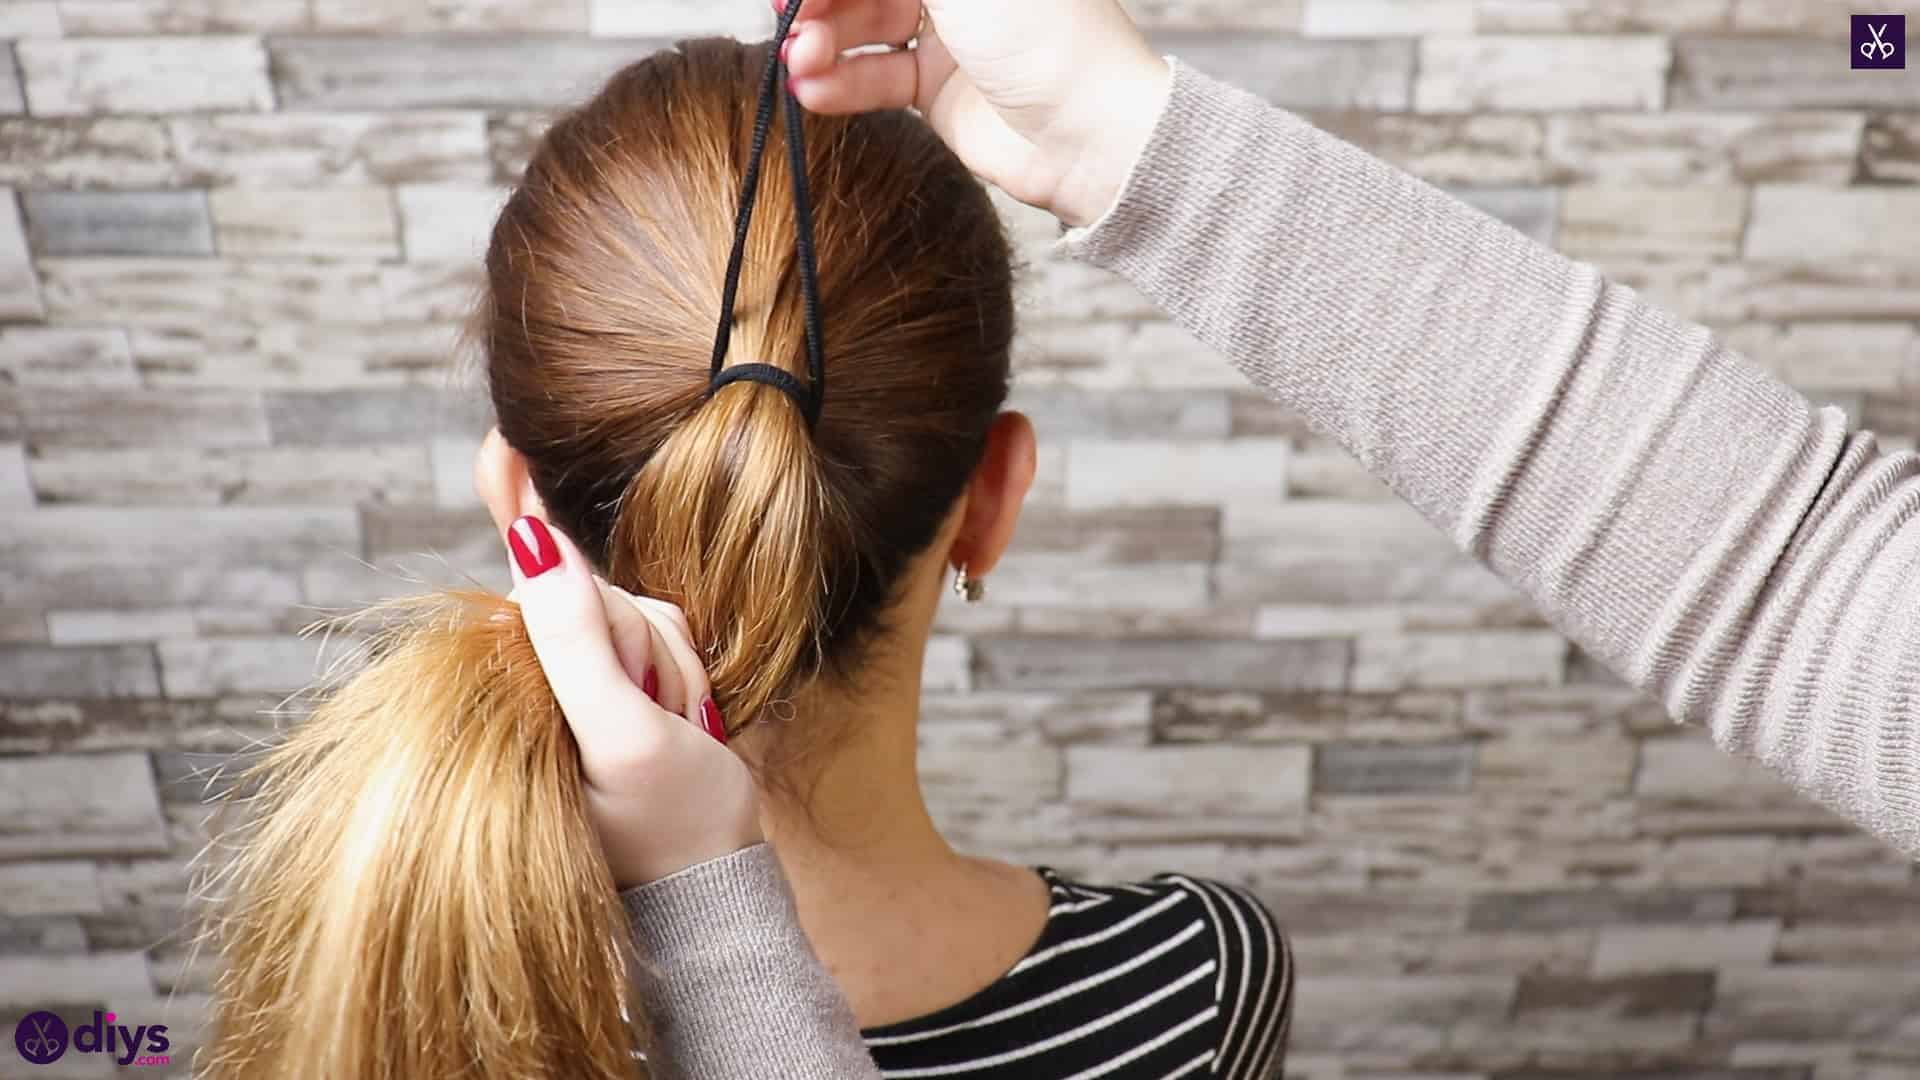
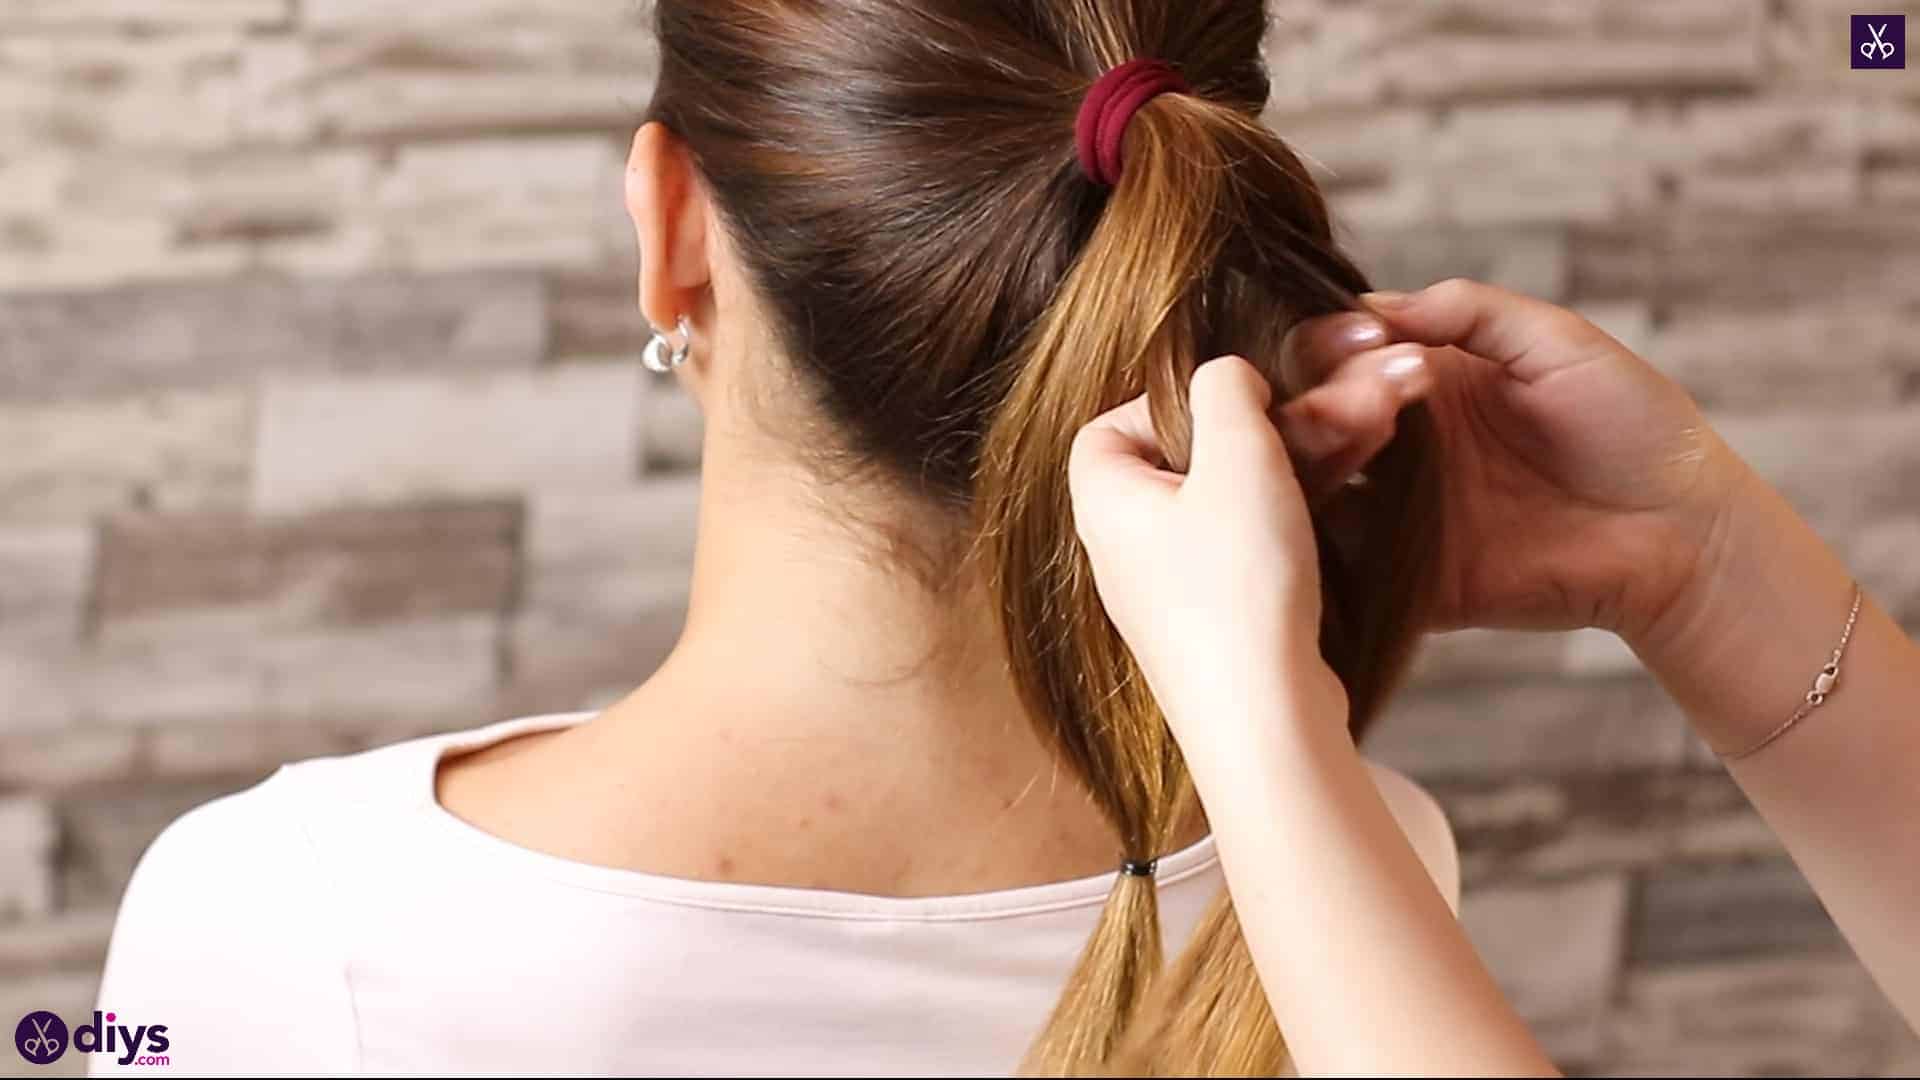
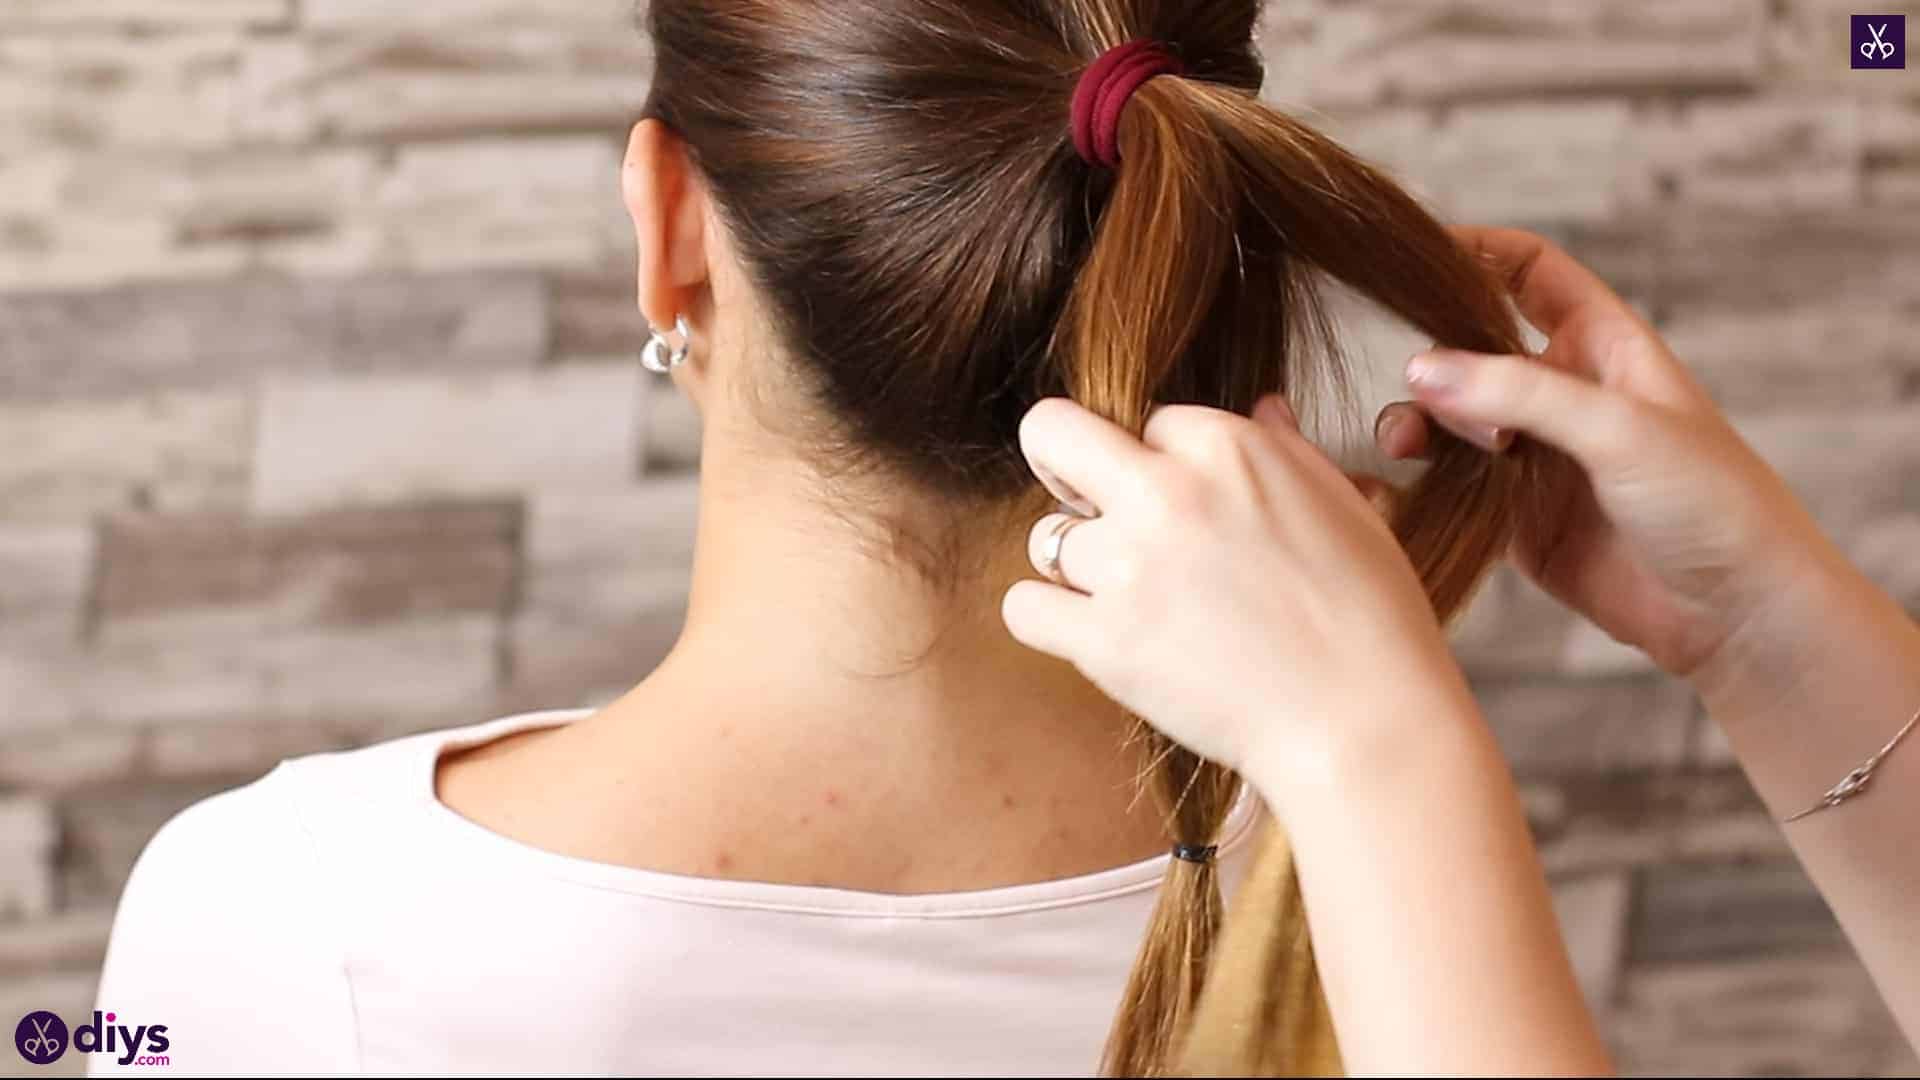
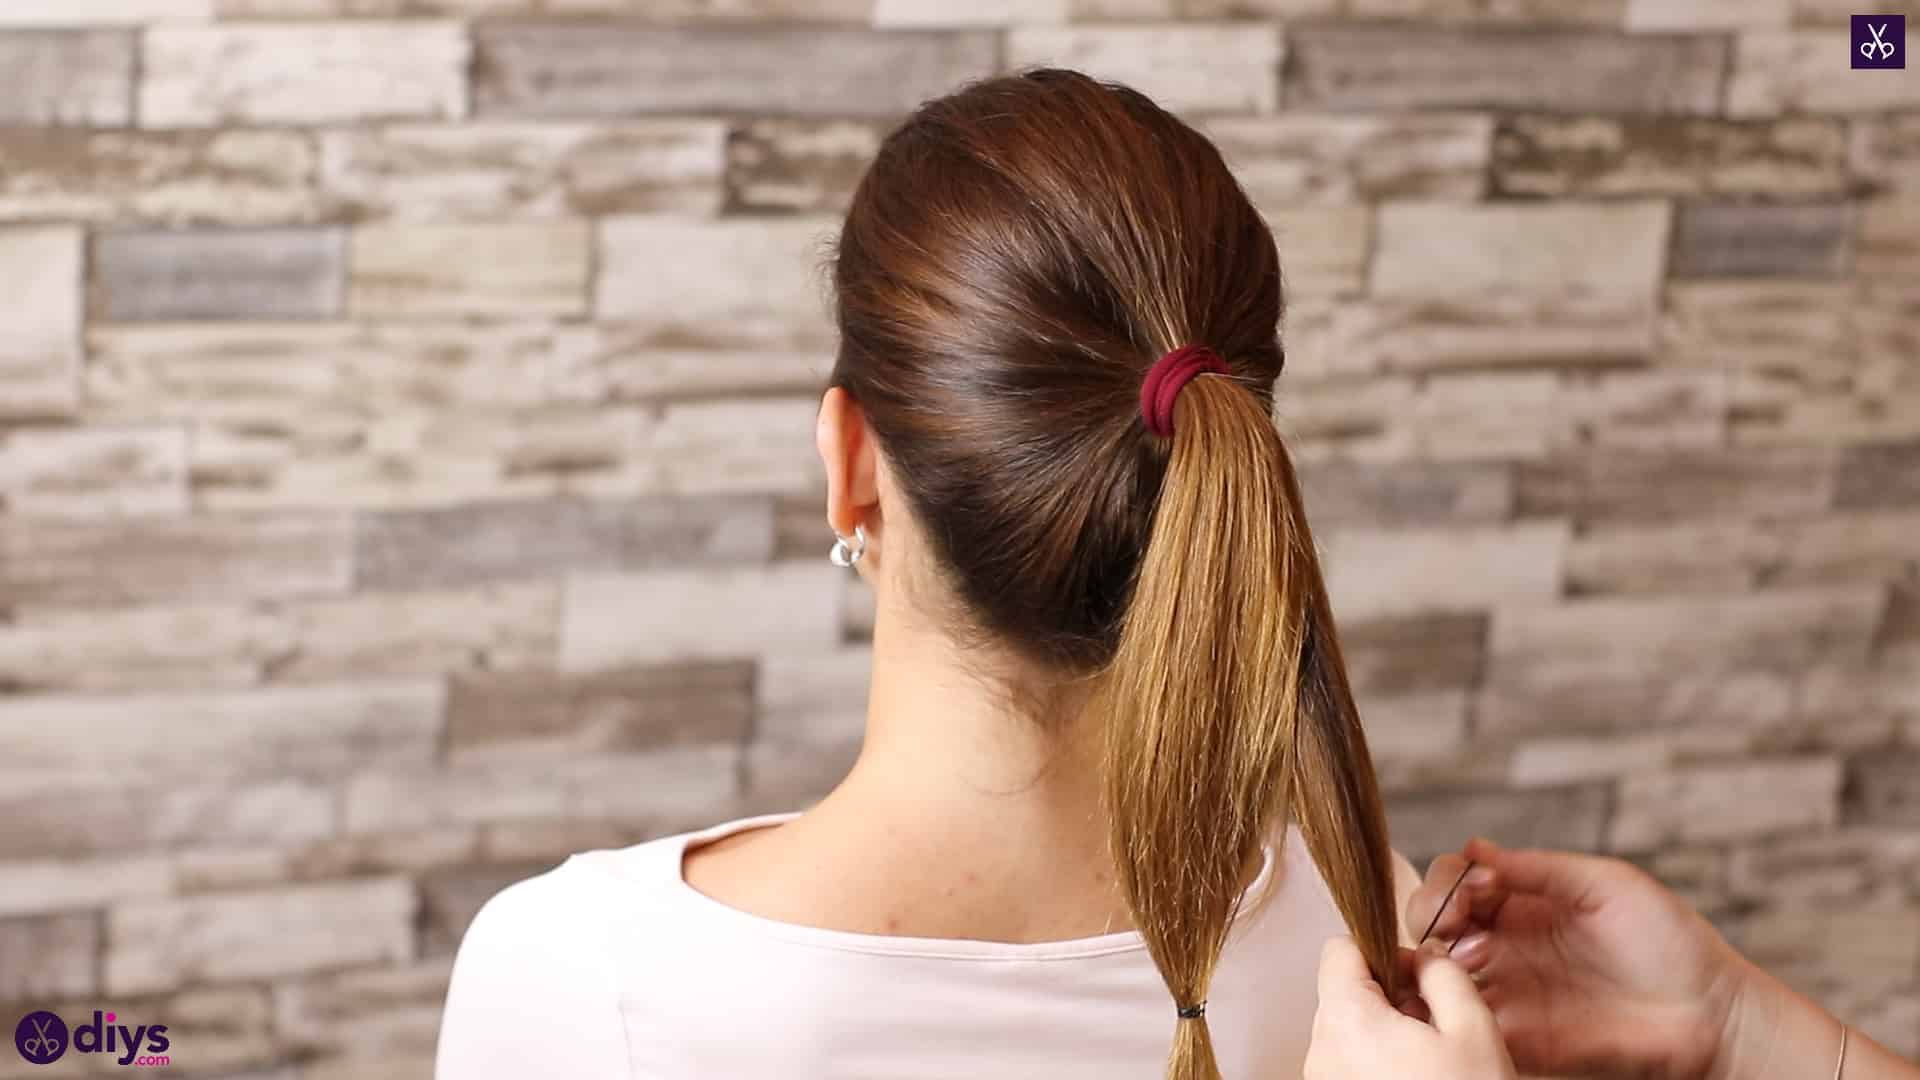
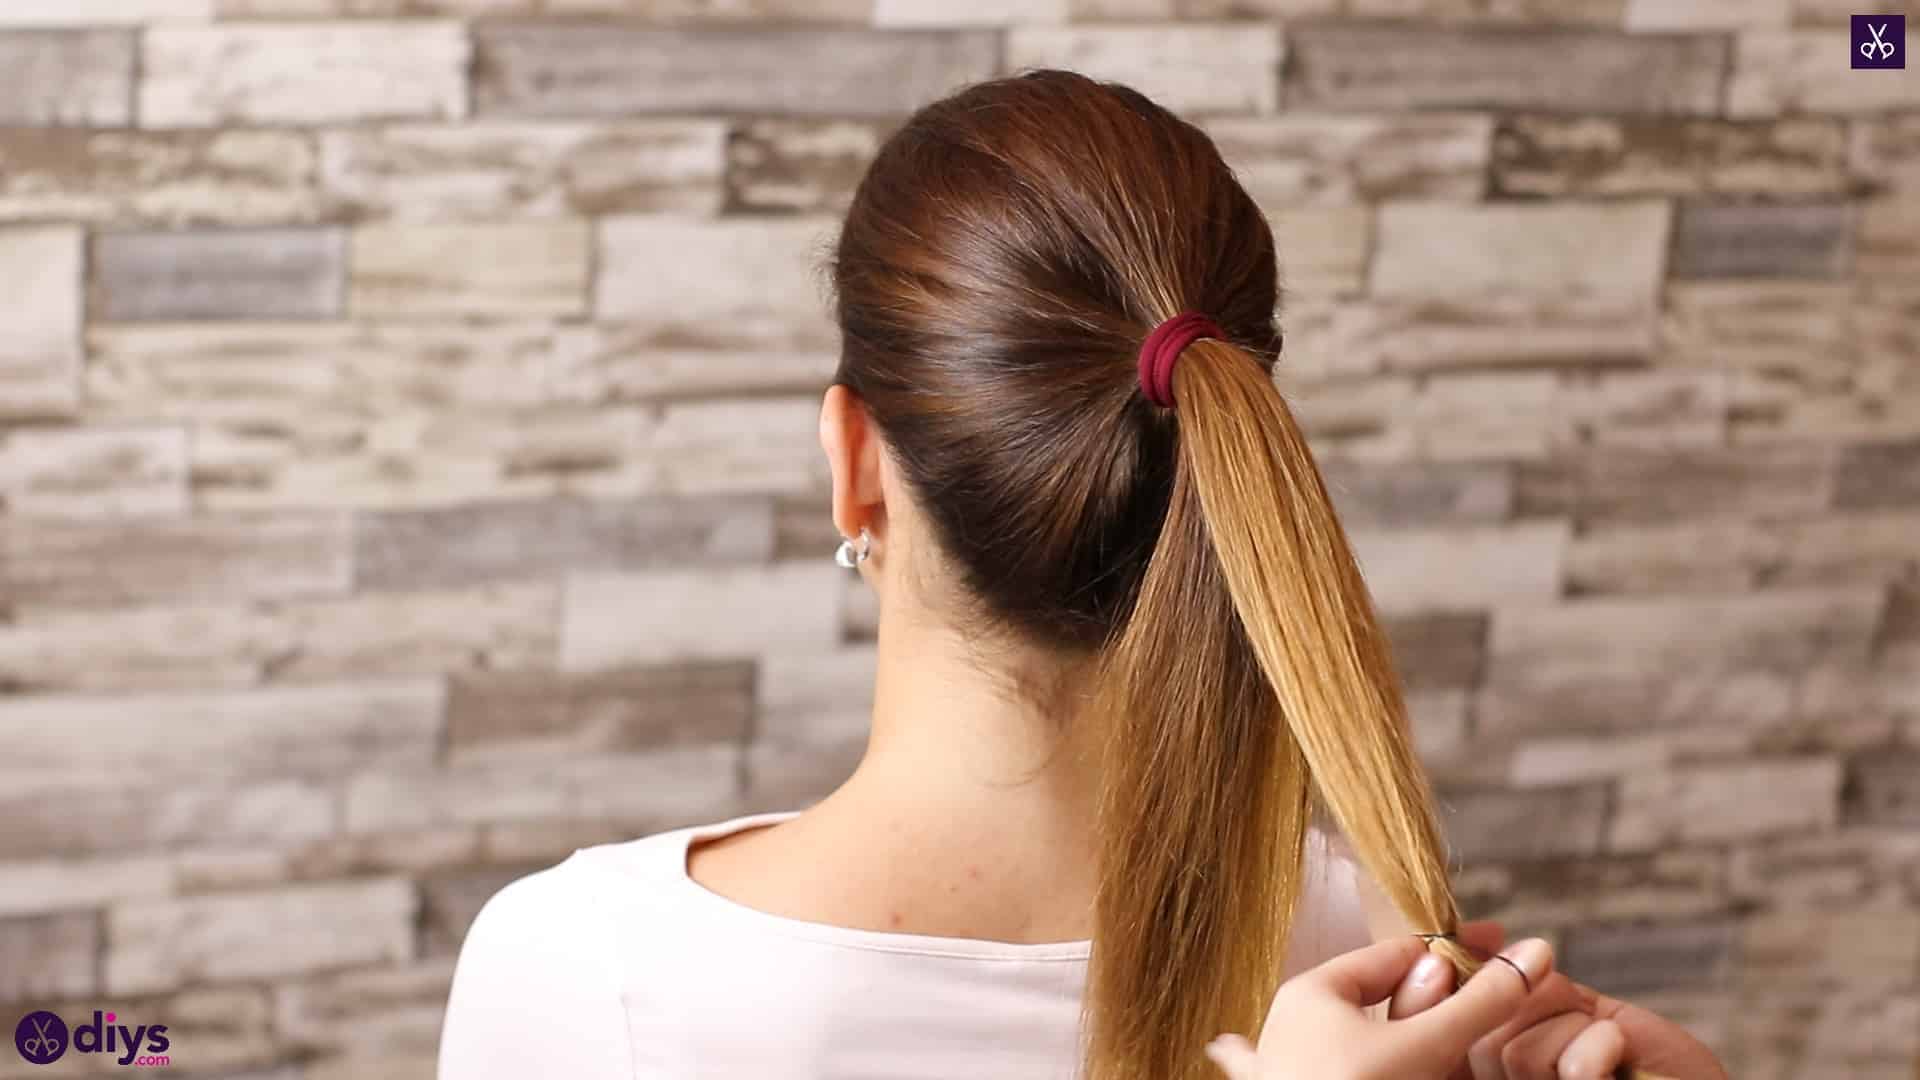
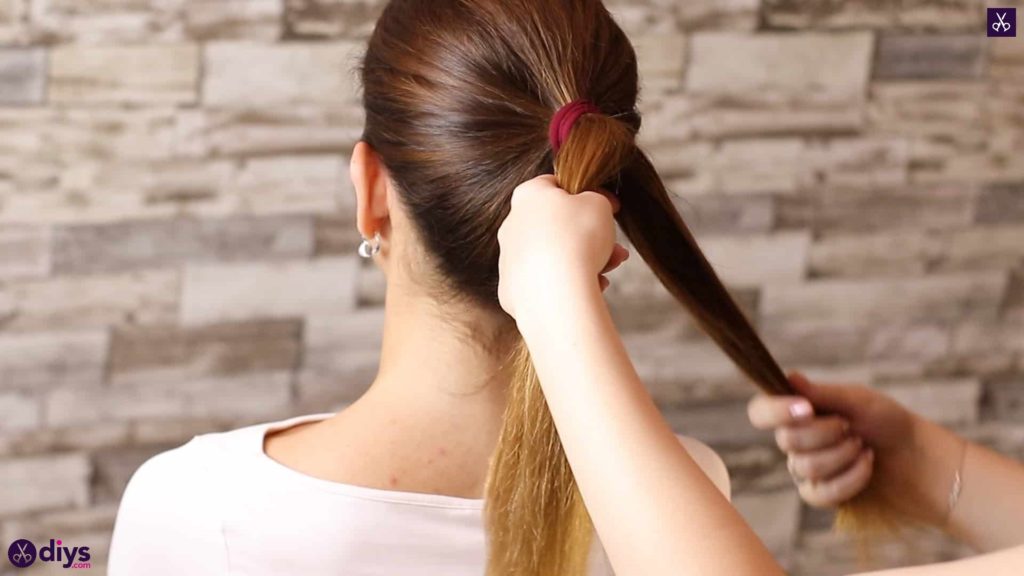
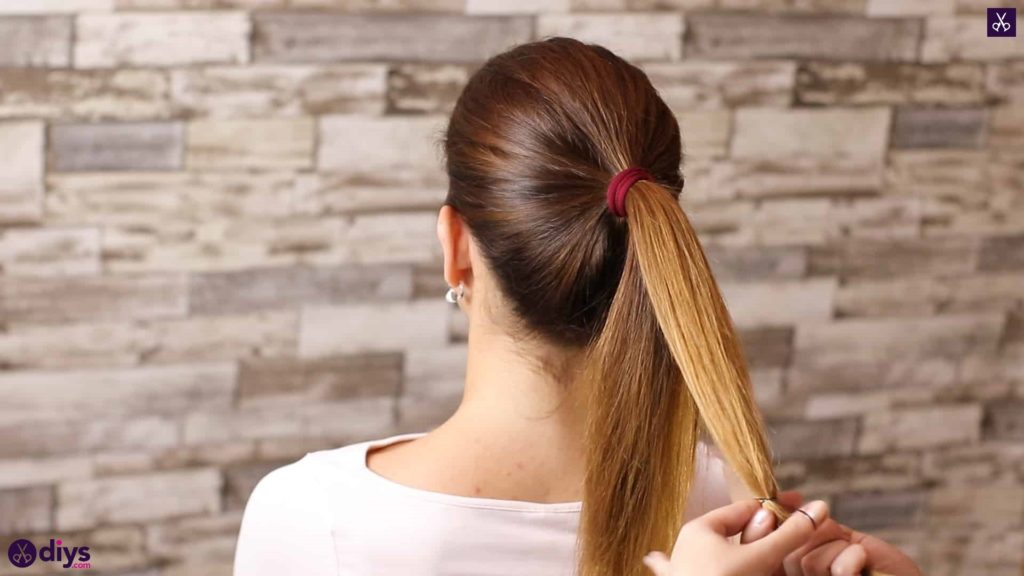
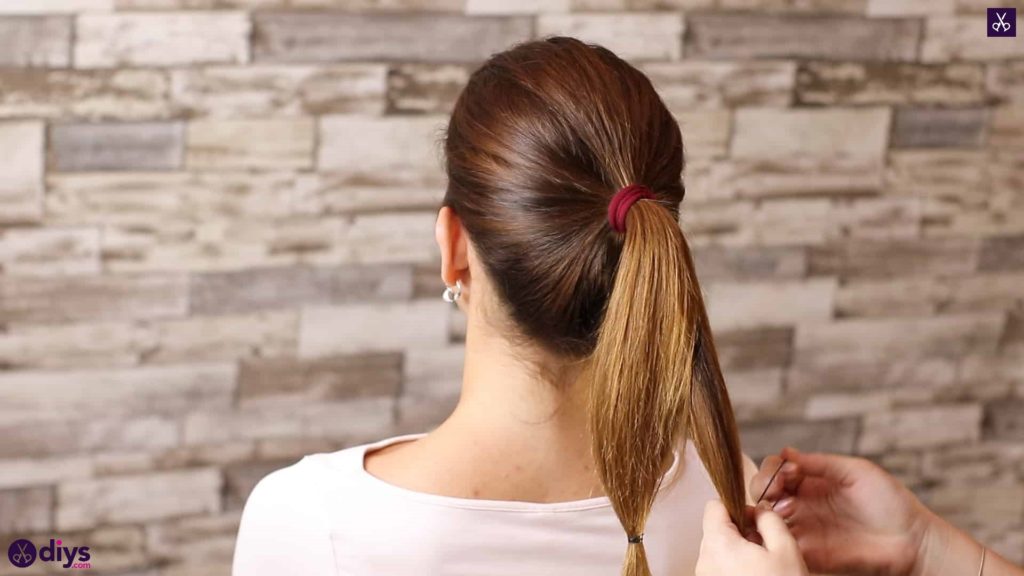
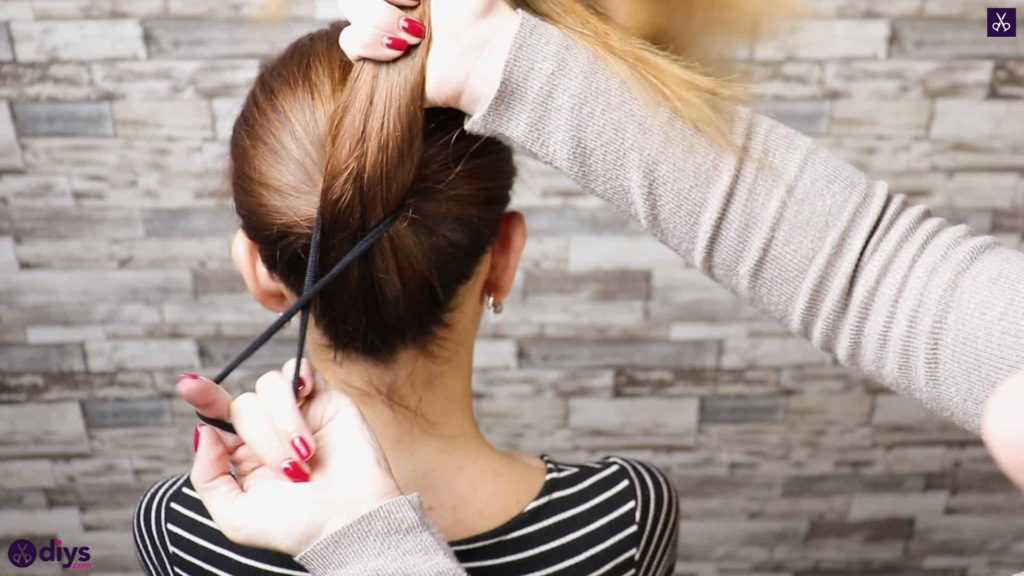
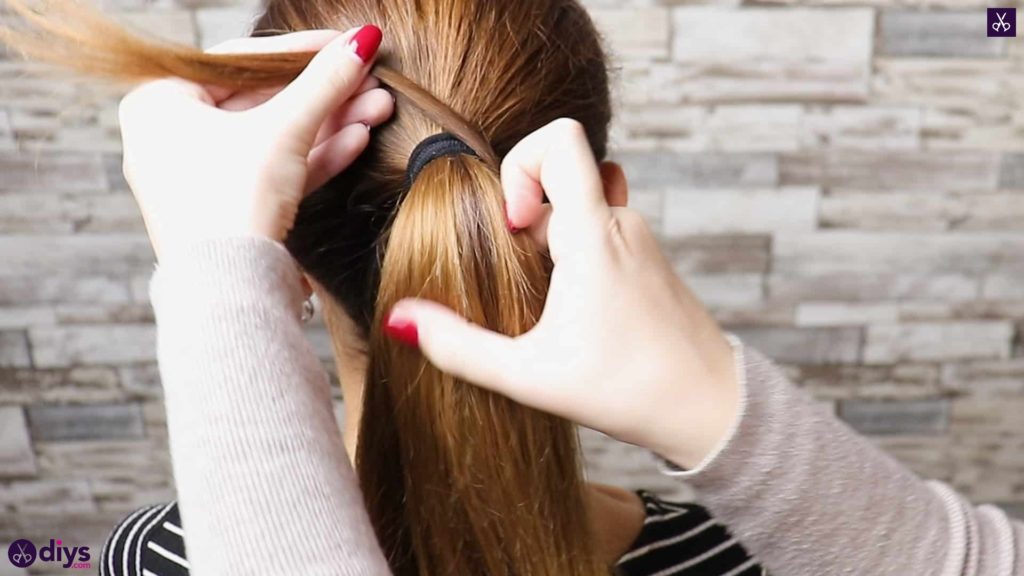
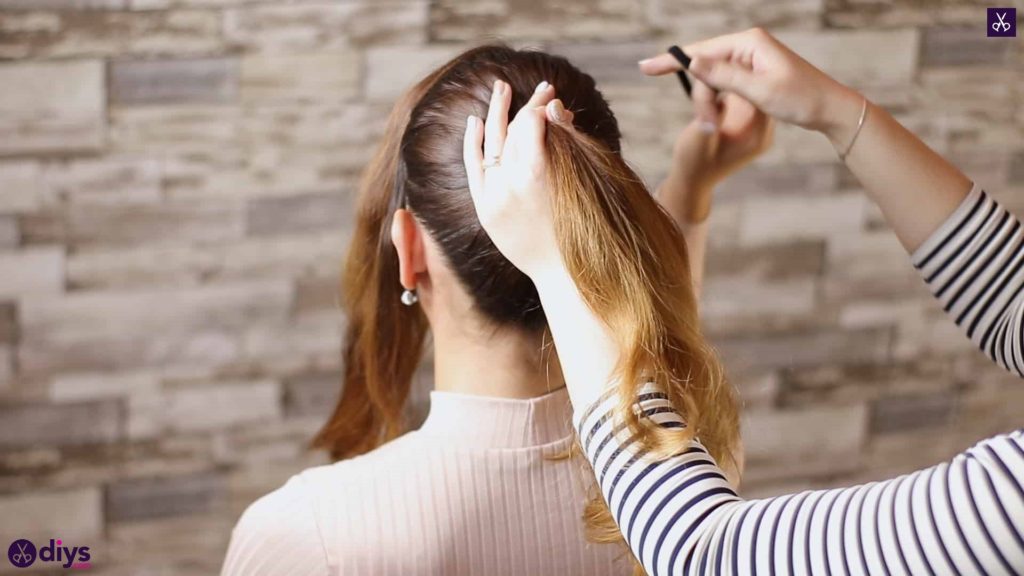
Split your ponytail into two equally sized sections; one from the layers on the top half and another from the layers underneath the first. Fasten the ends of each section of hair in a little hair elastic so they stay distinct from each other but are otherwise unhampered along their length between those little end elastics and the singular one at the top.
Step 3: start pulling through
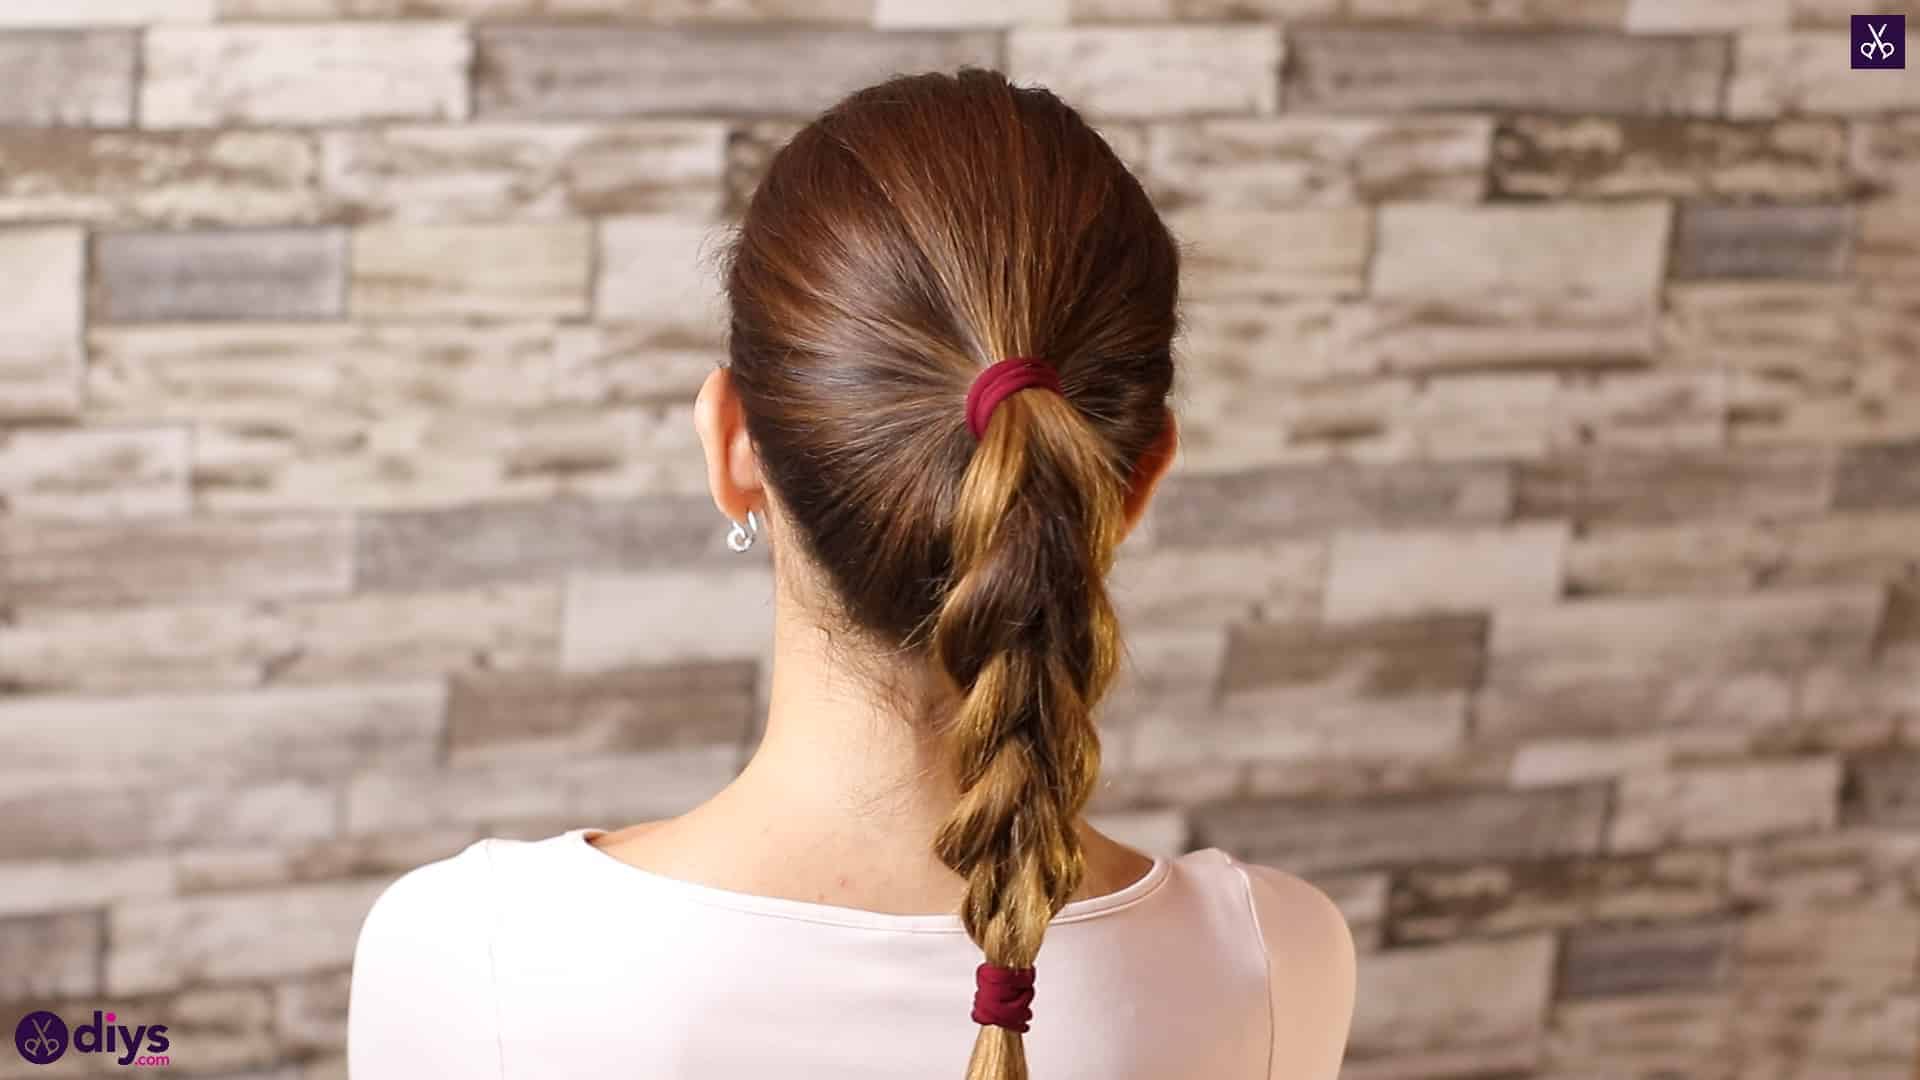
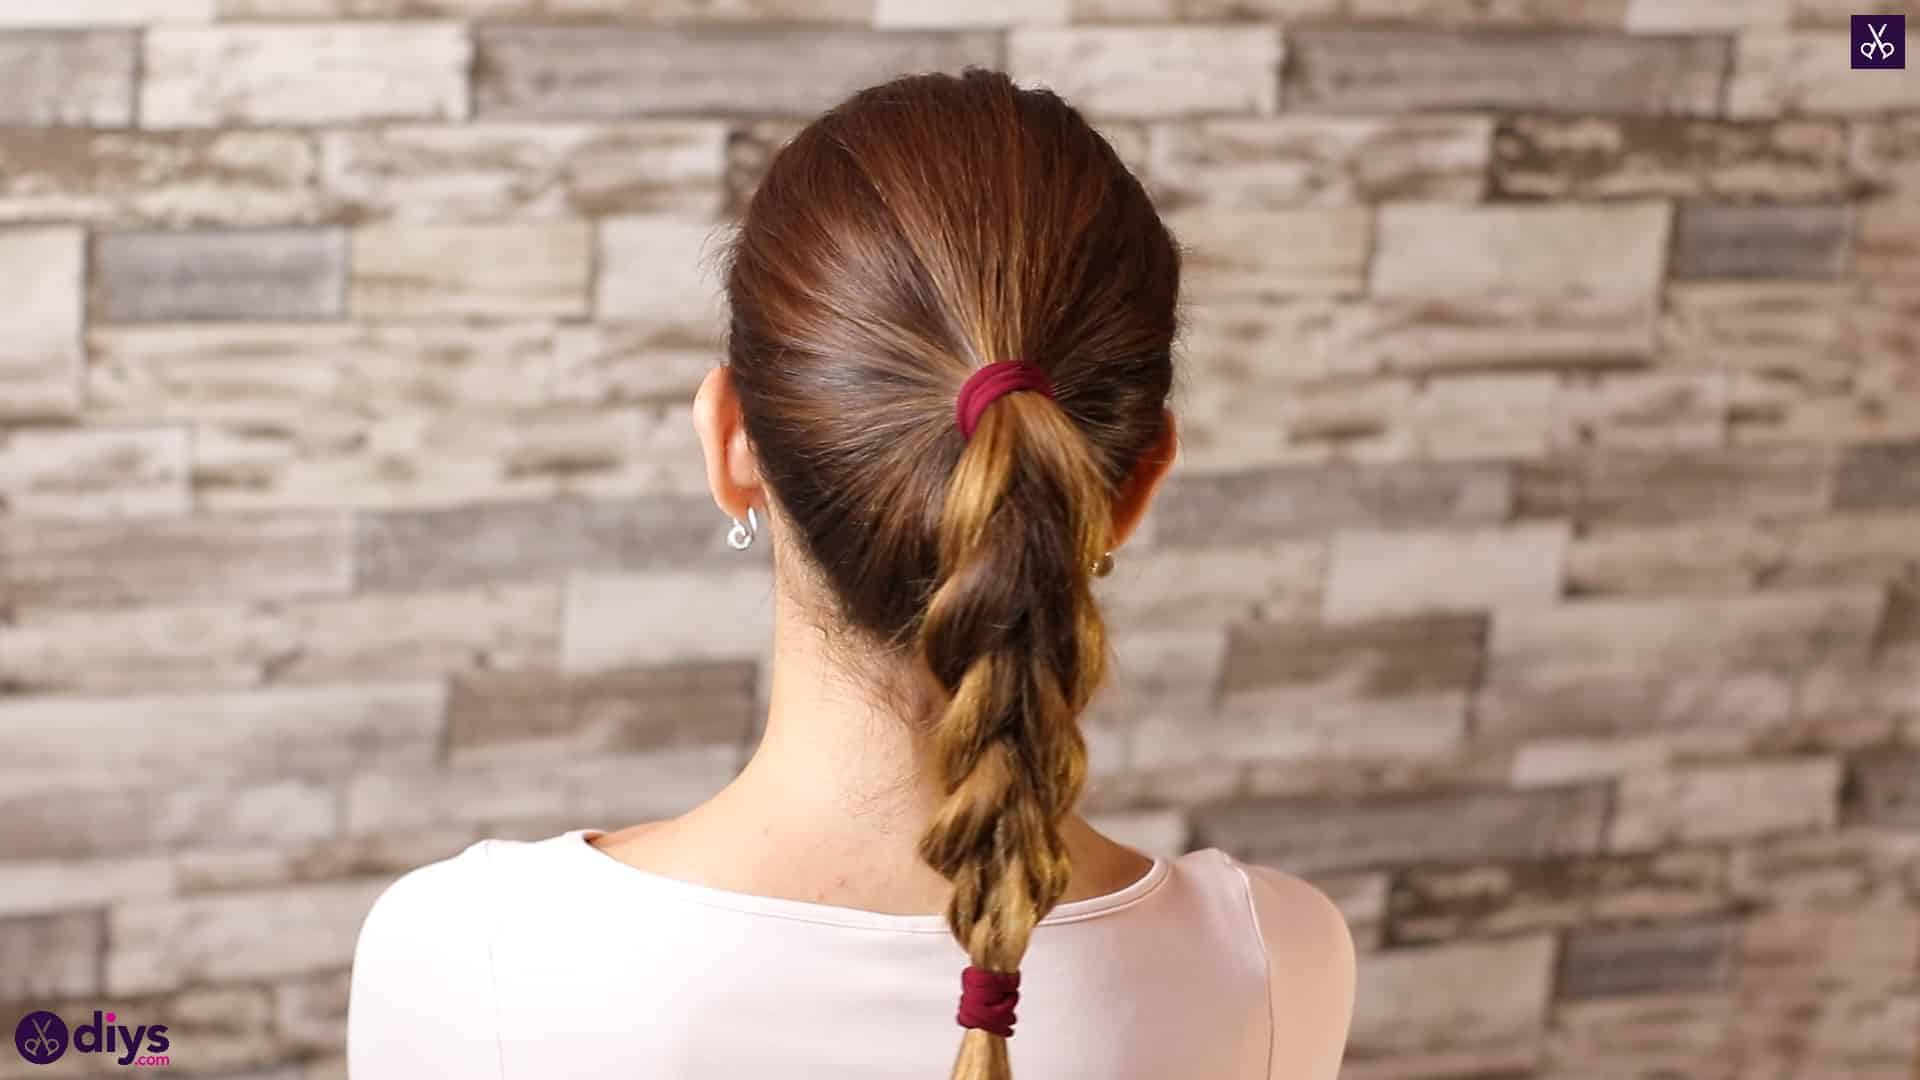
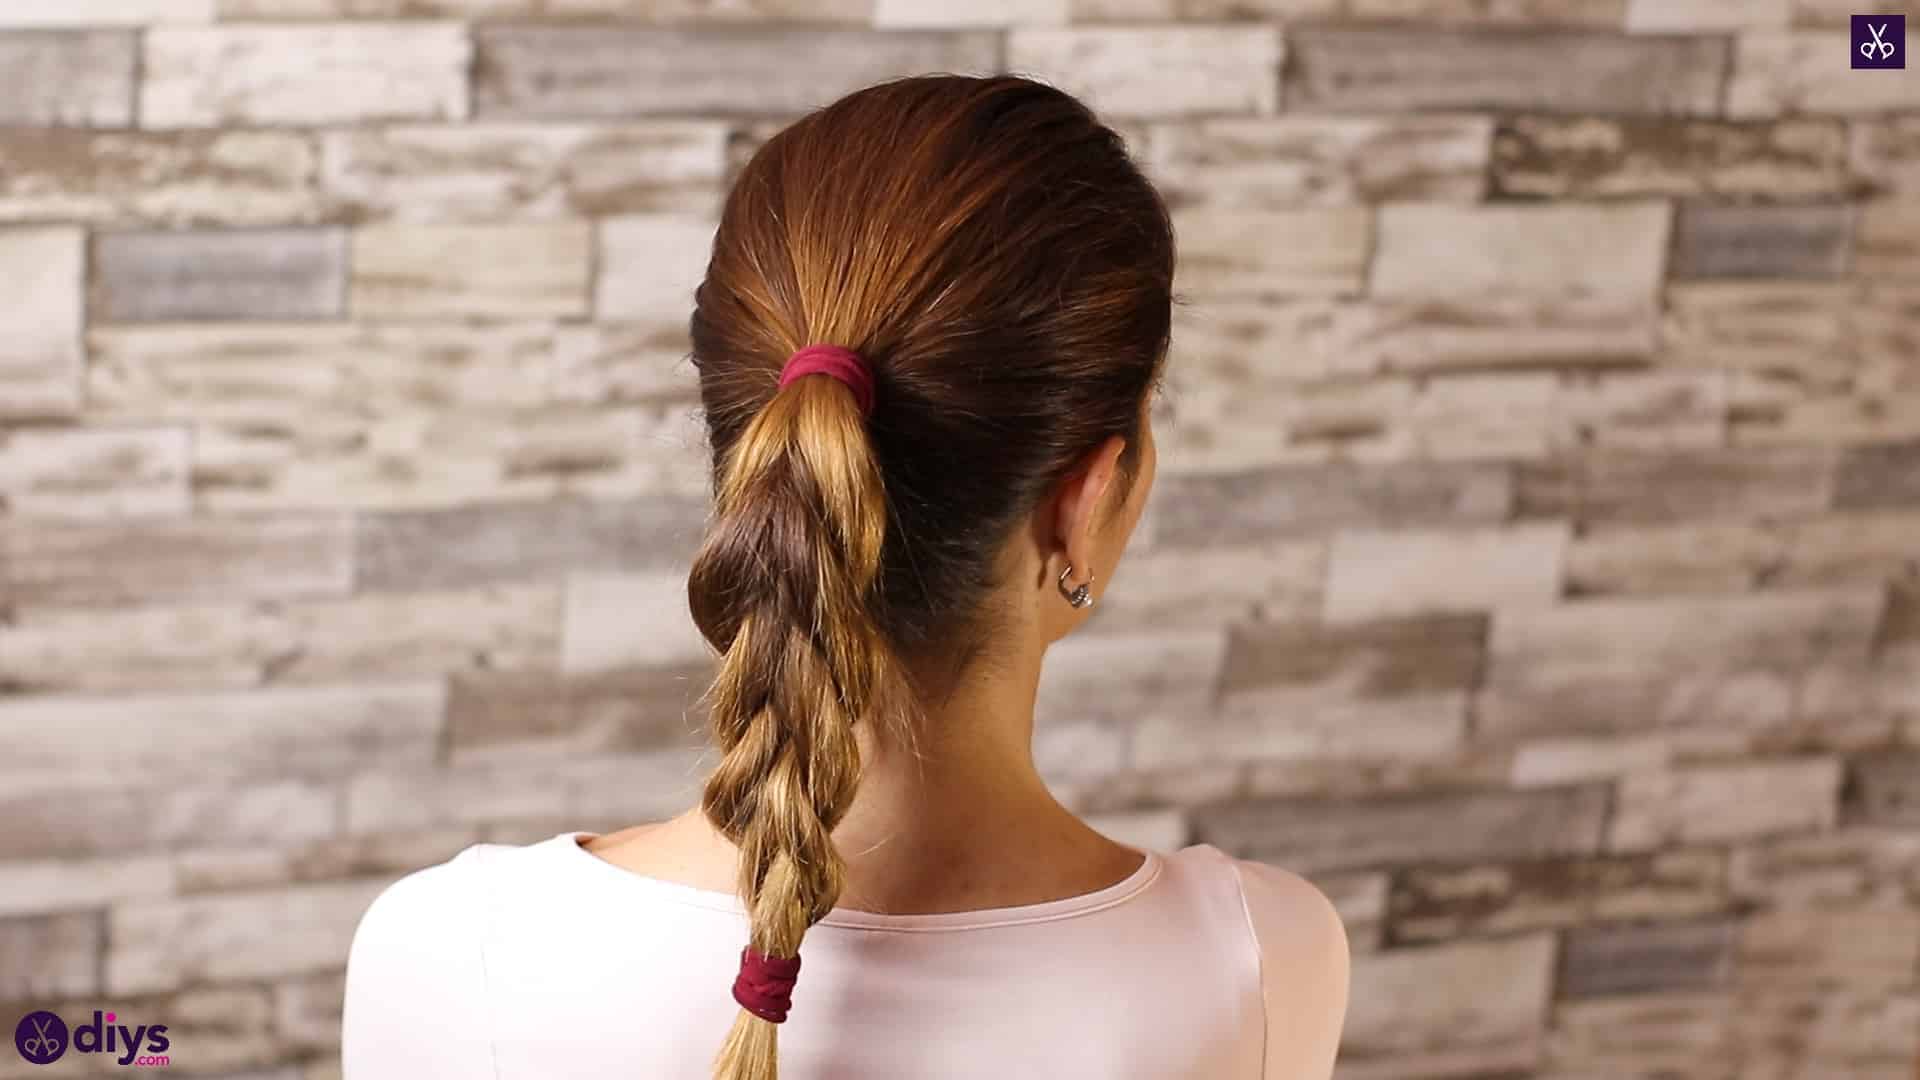
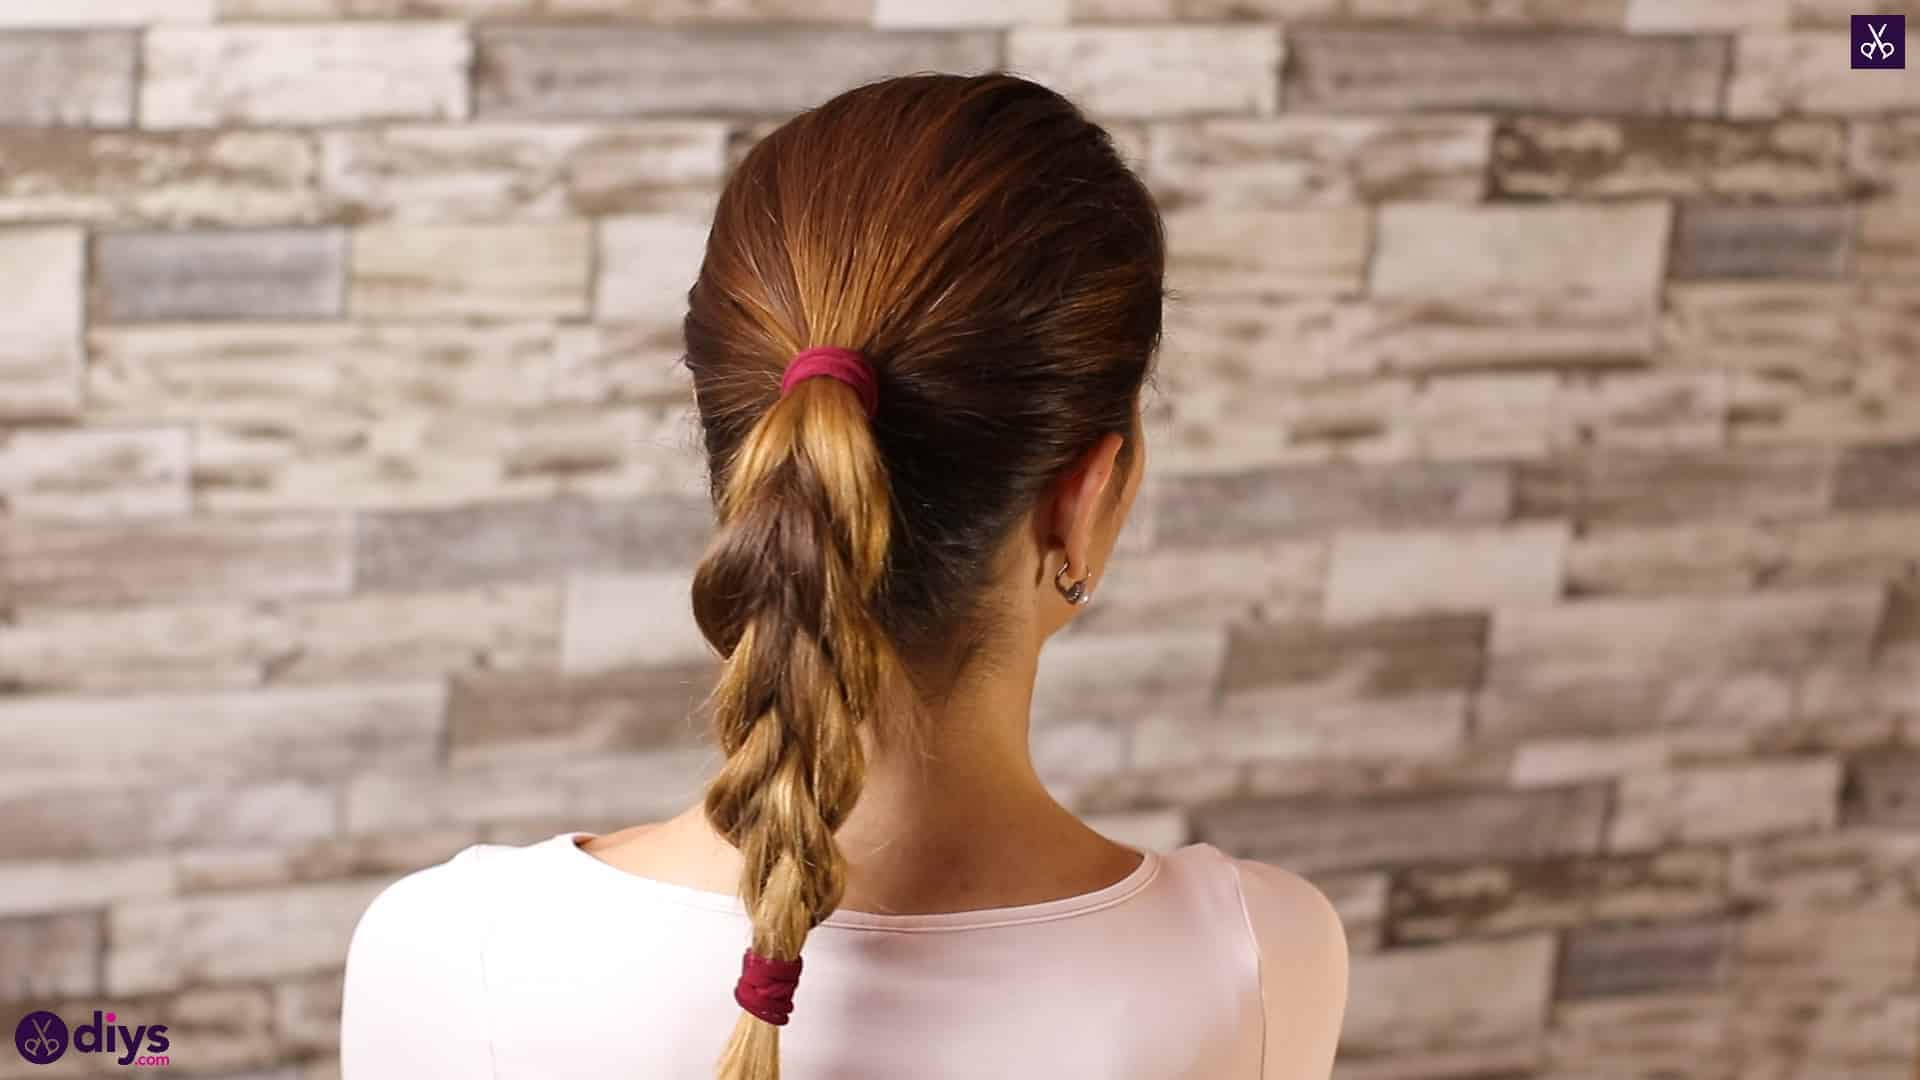
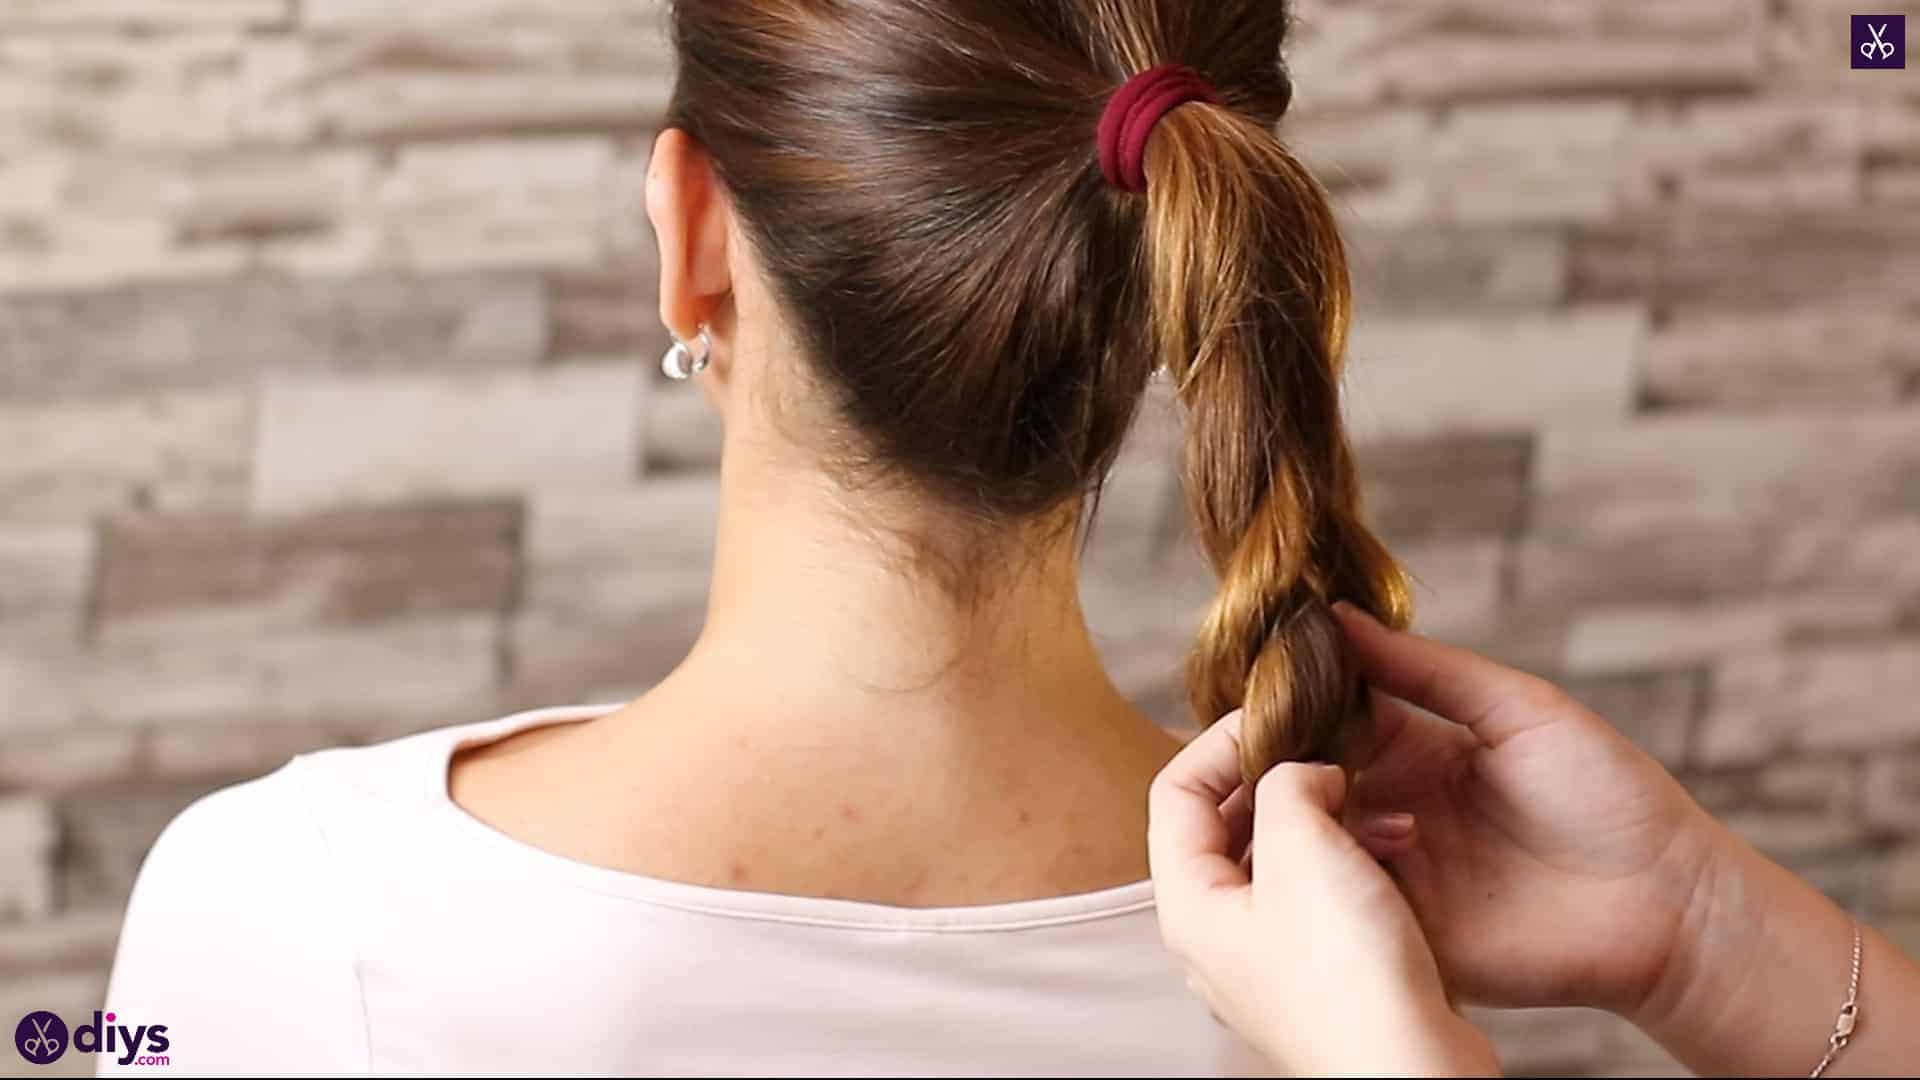
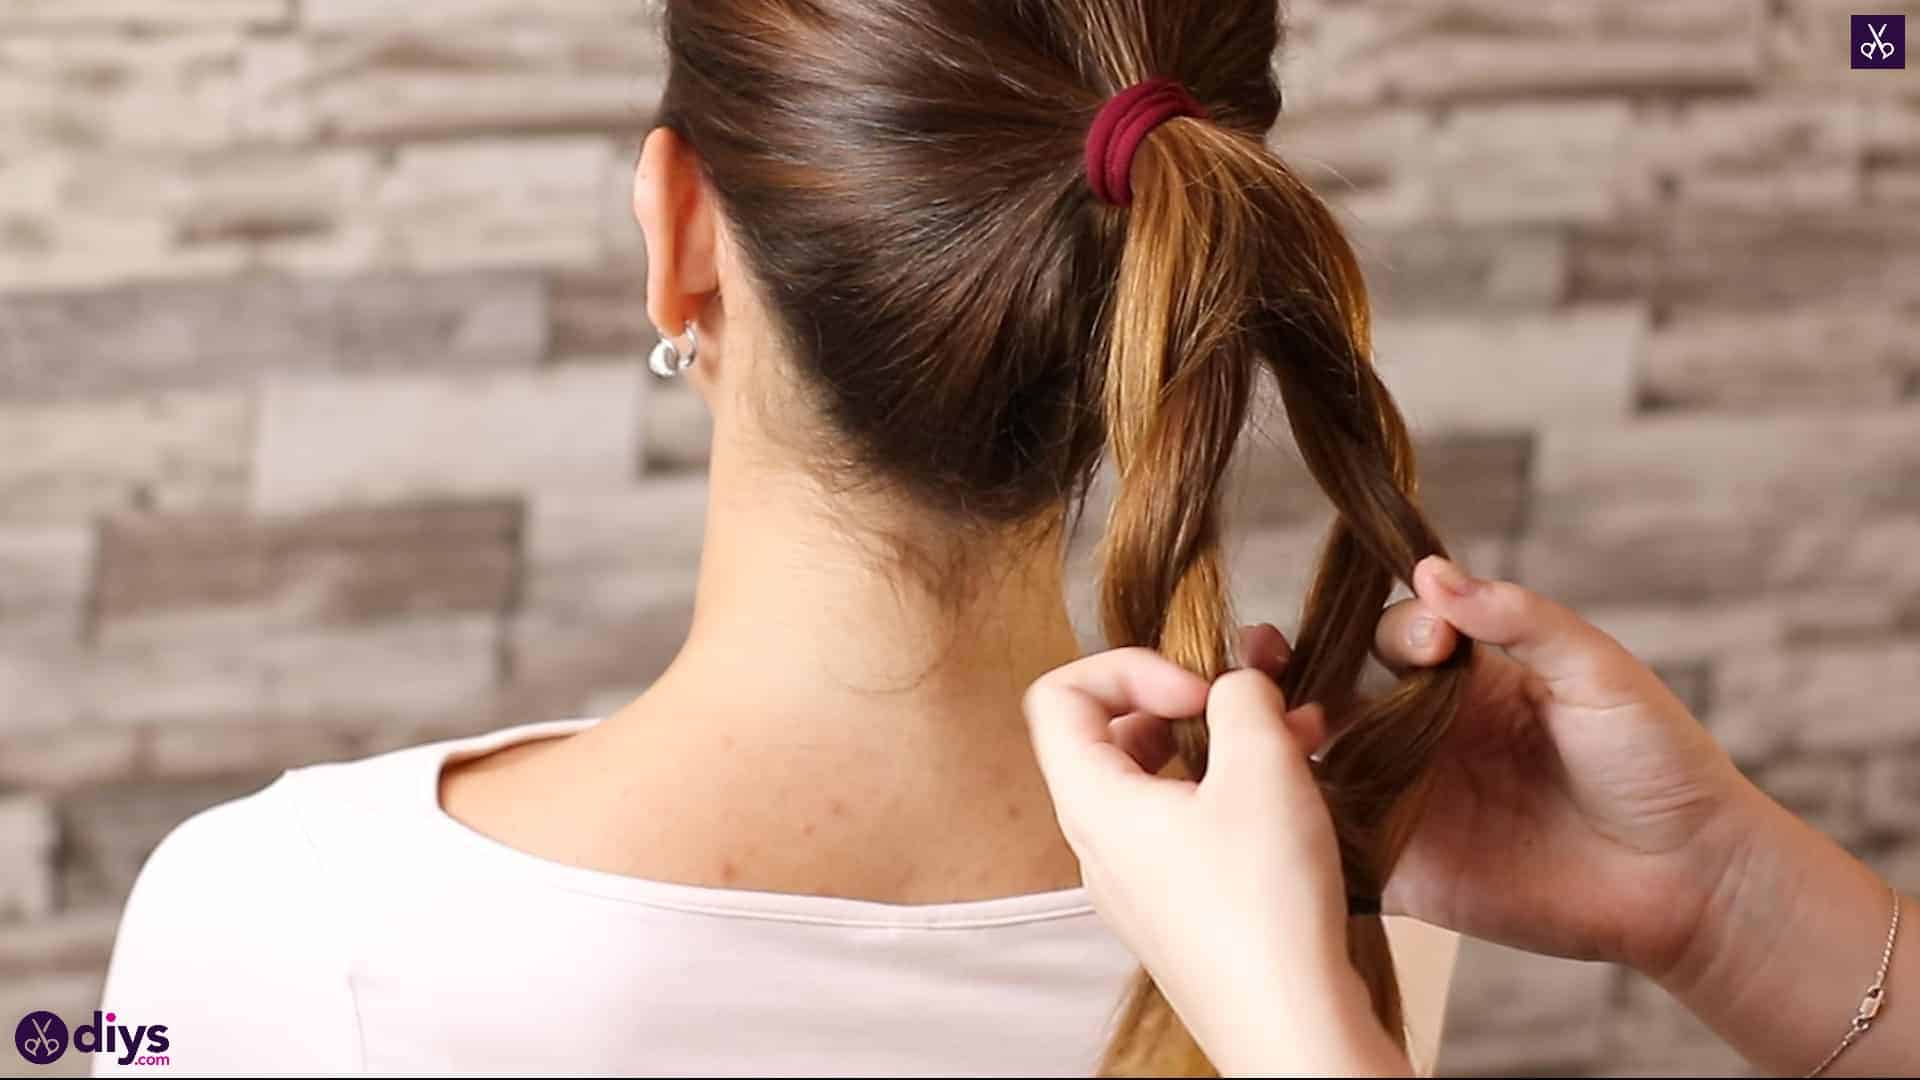
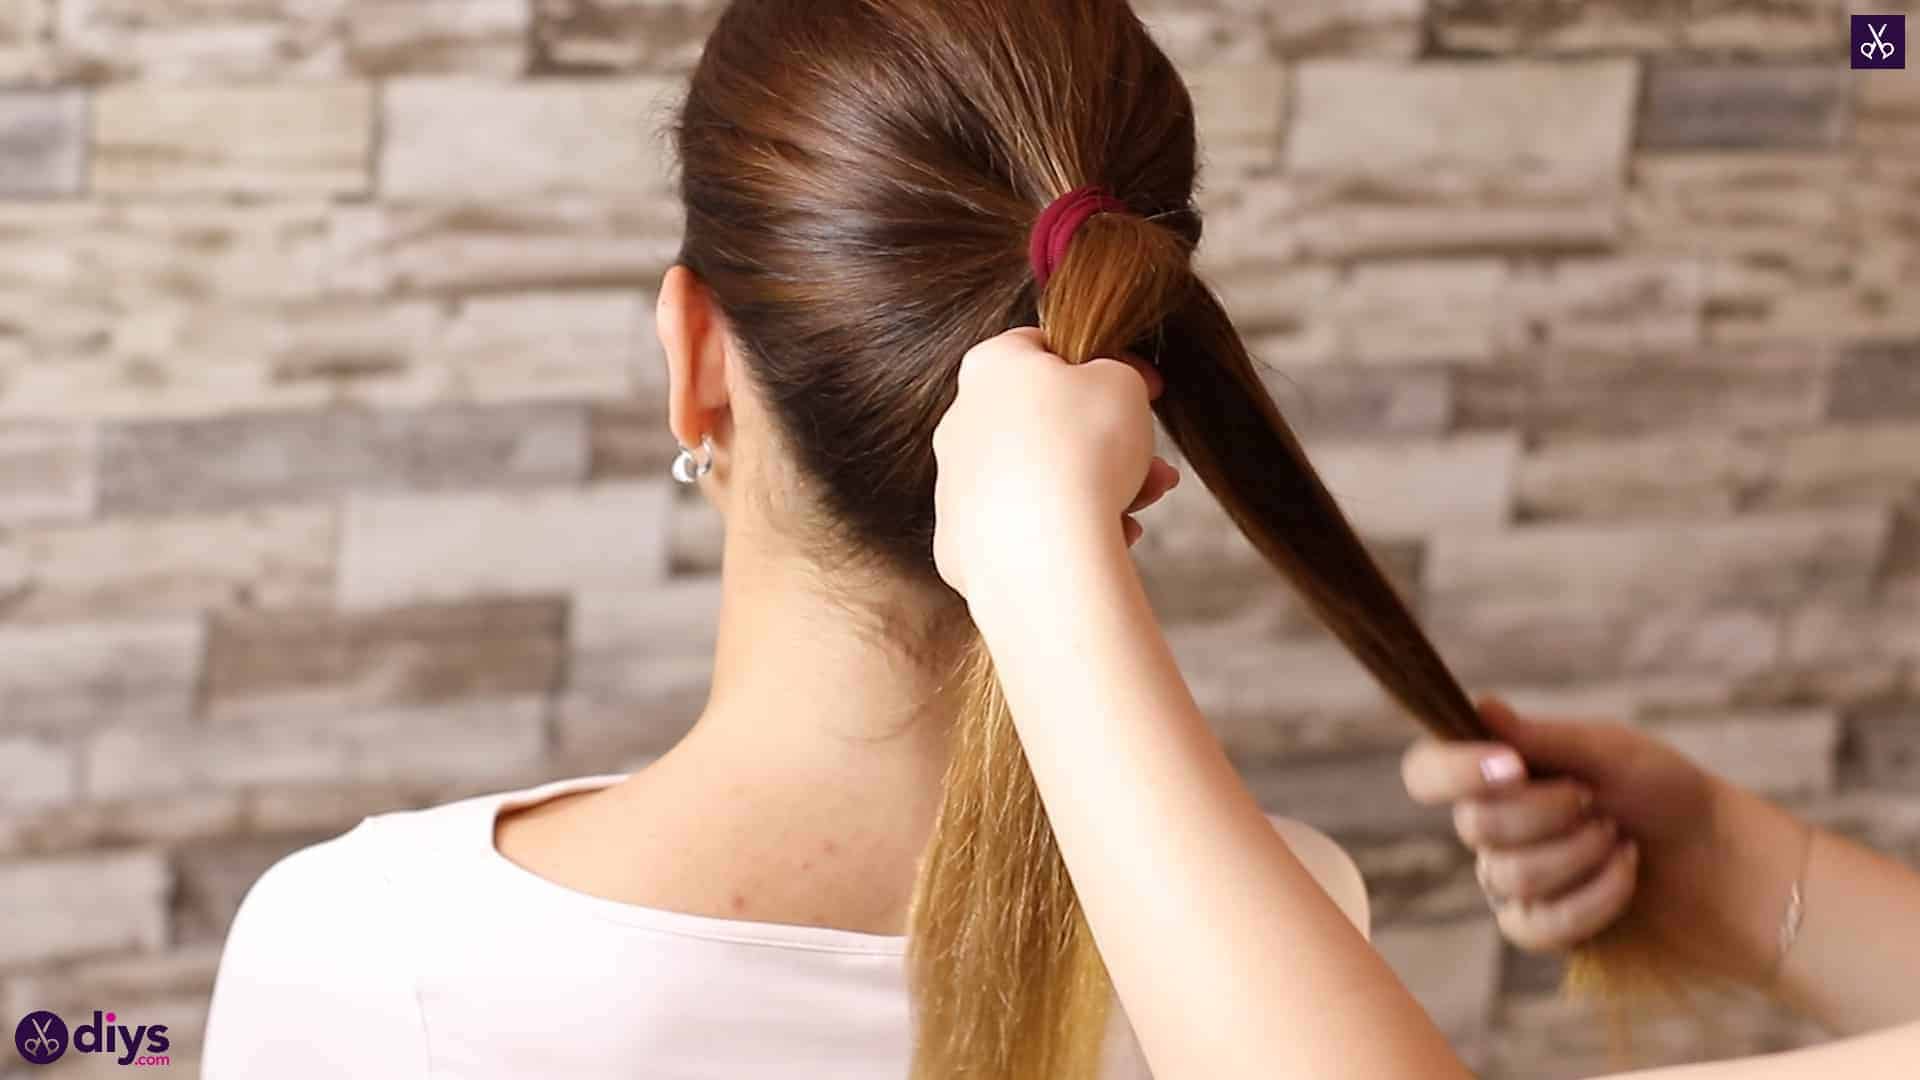
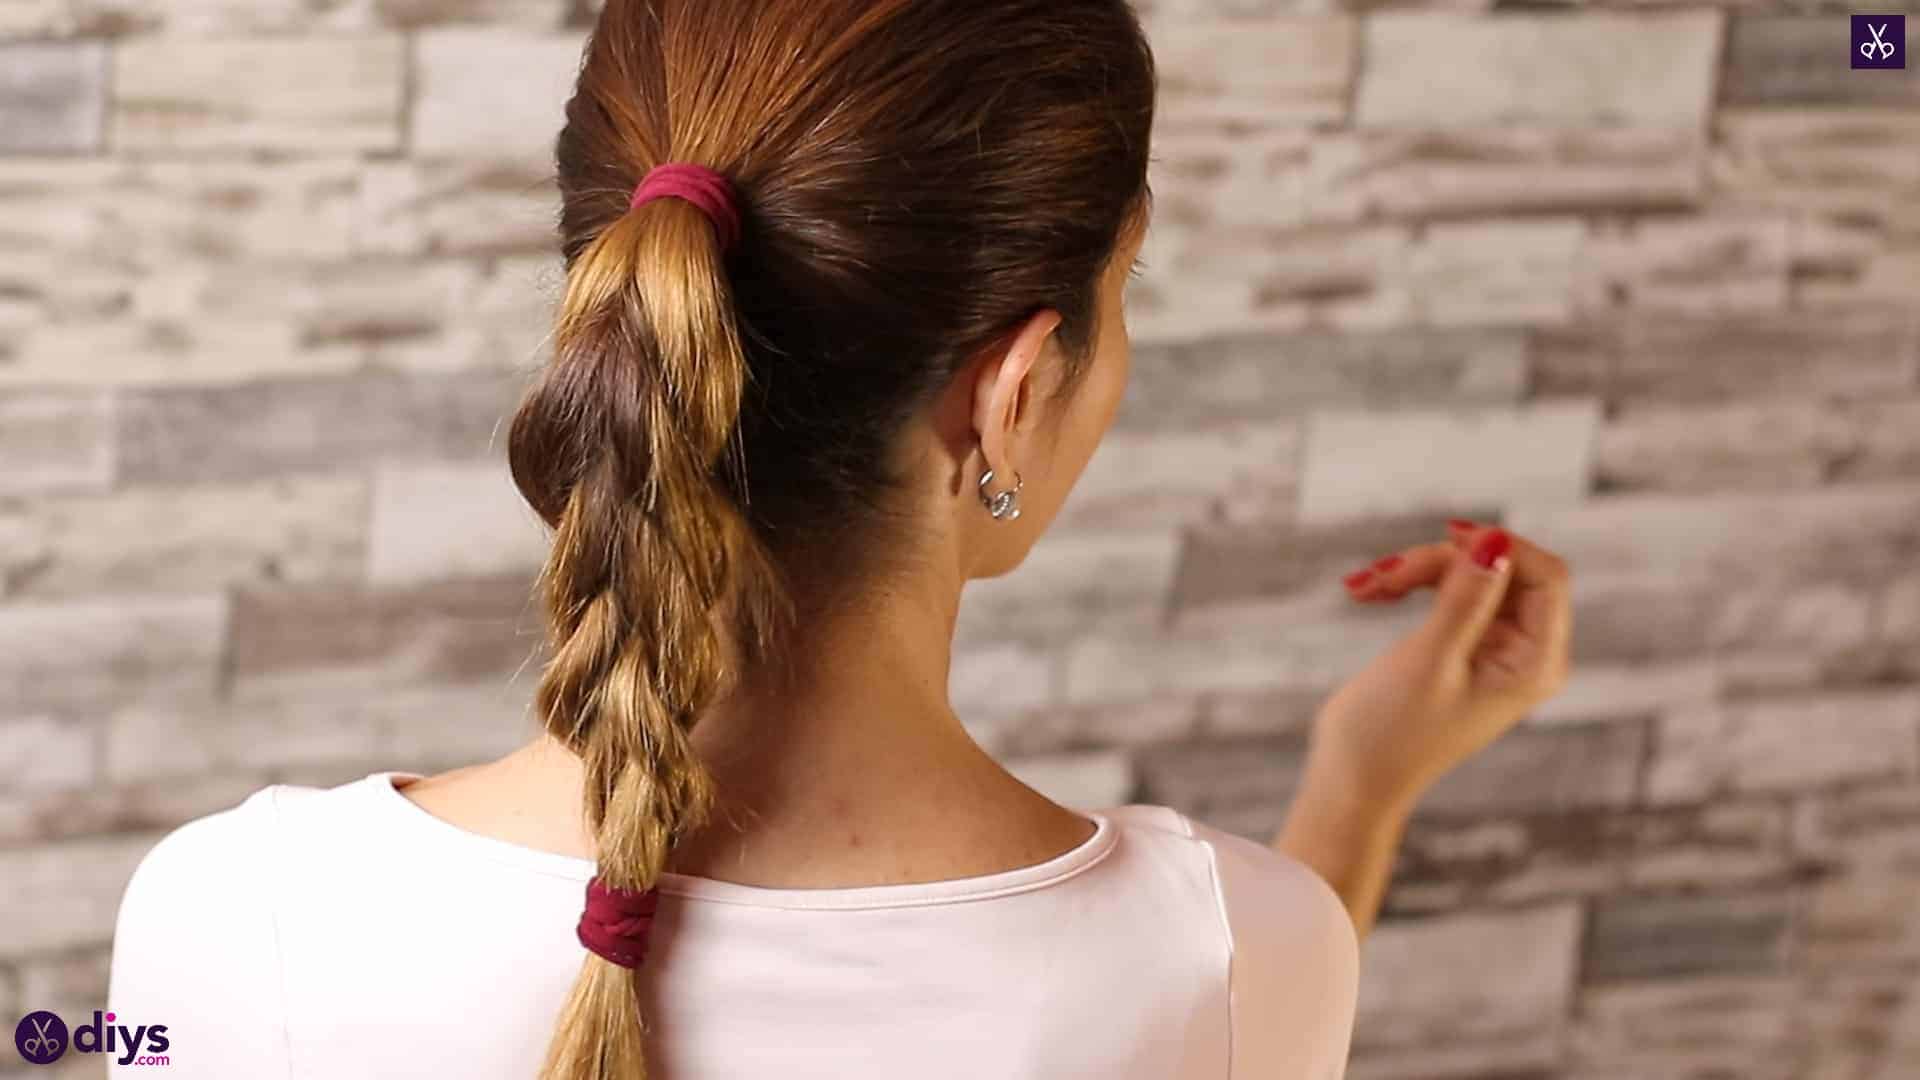
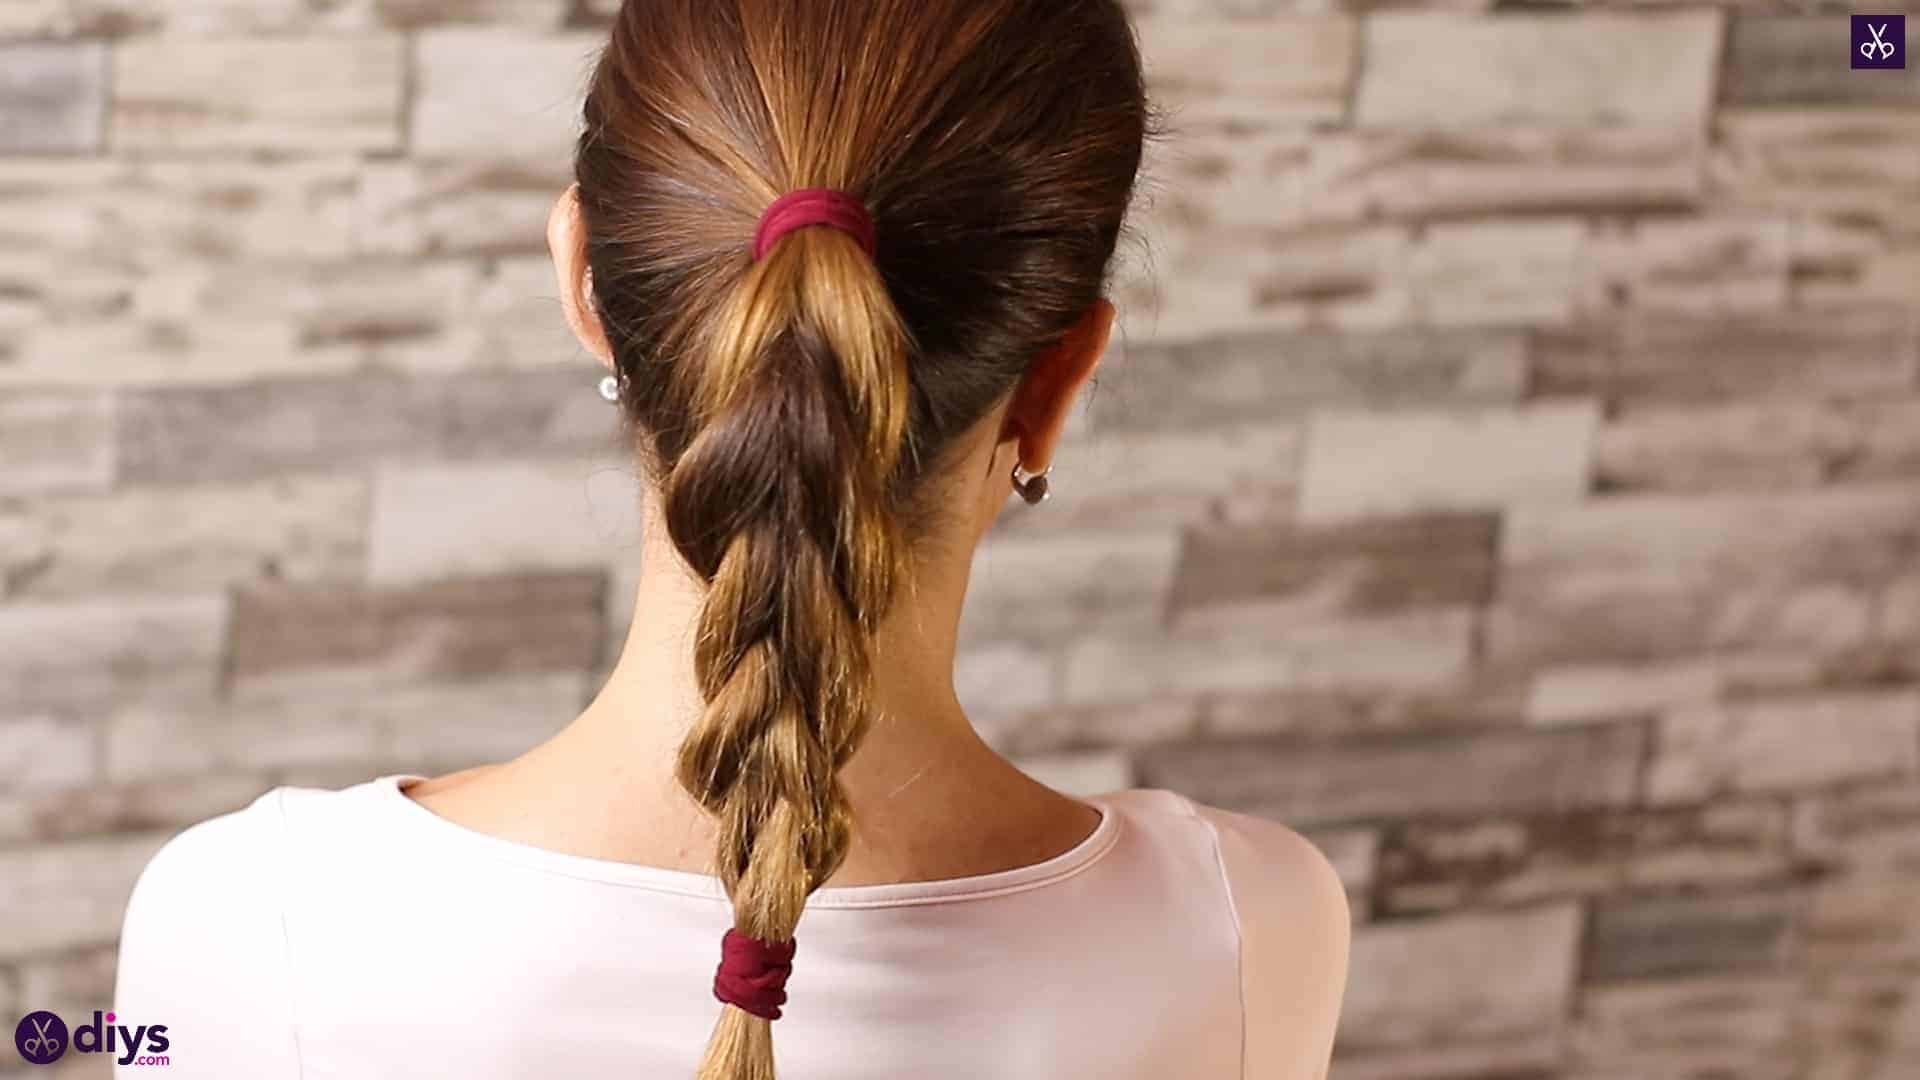
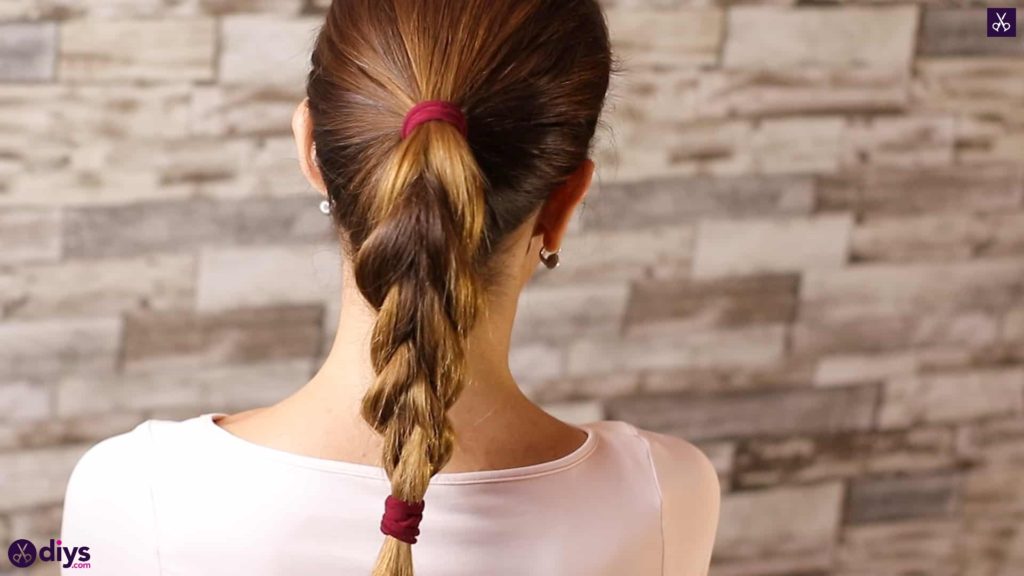
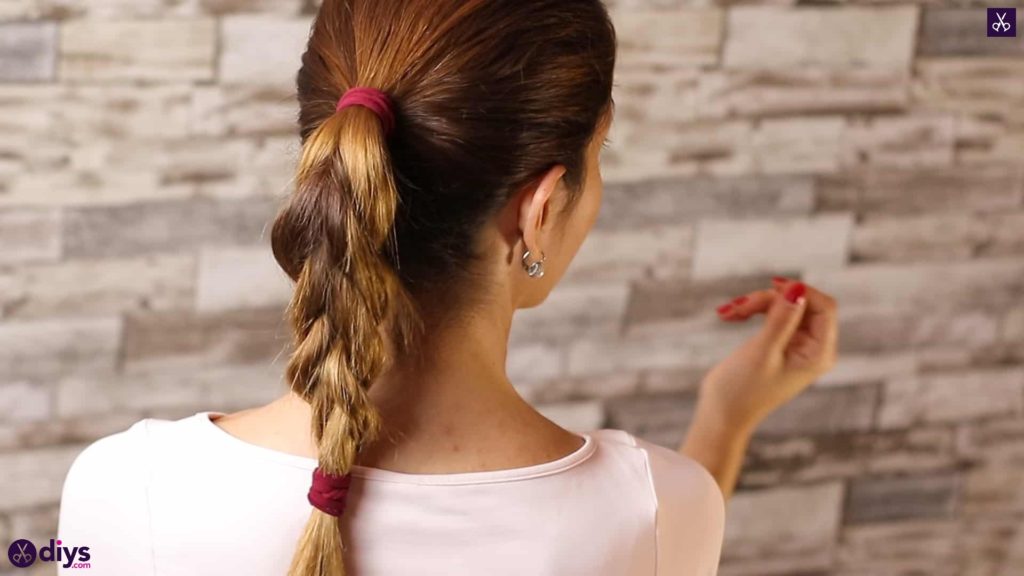
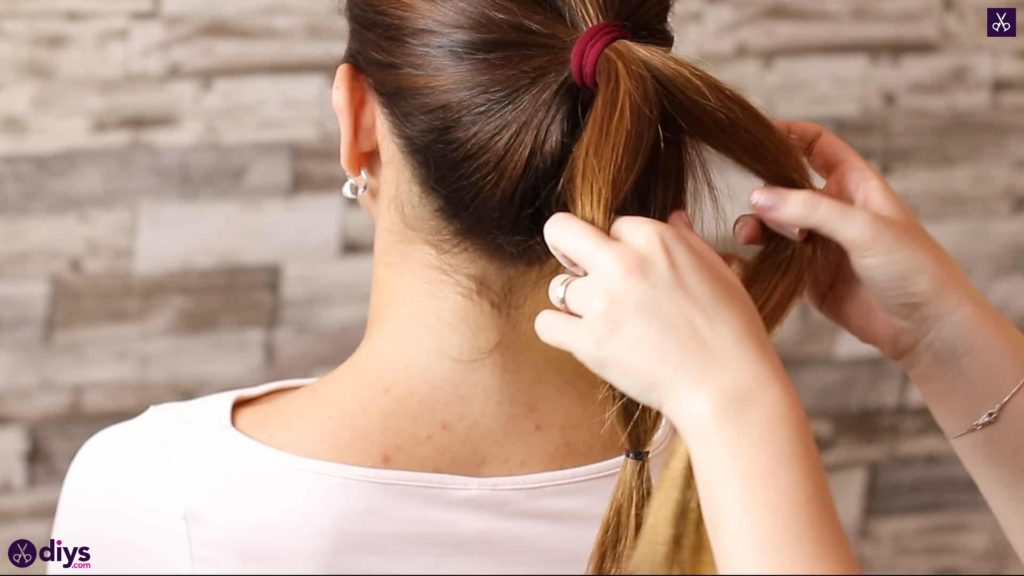
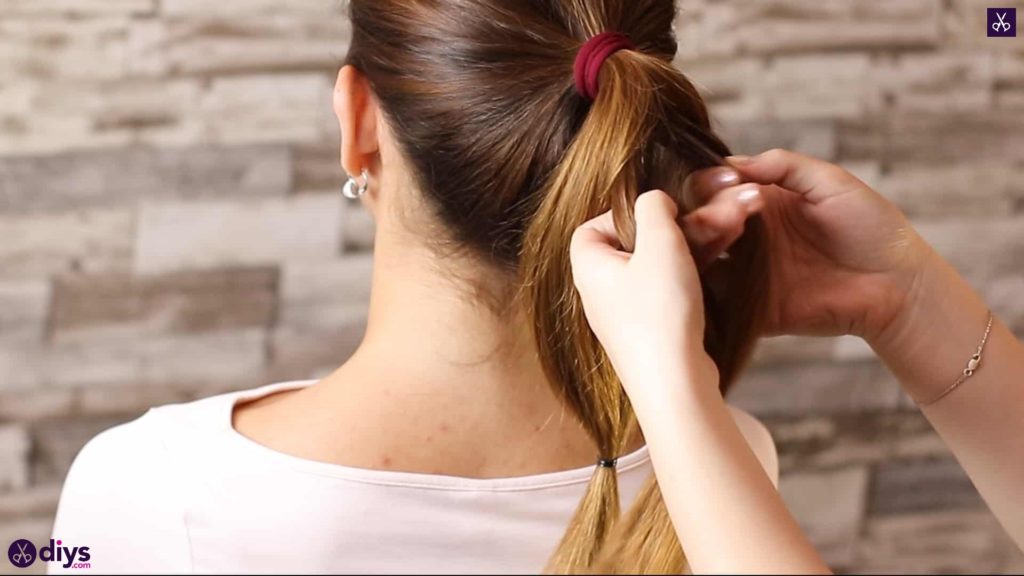
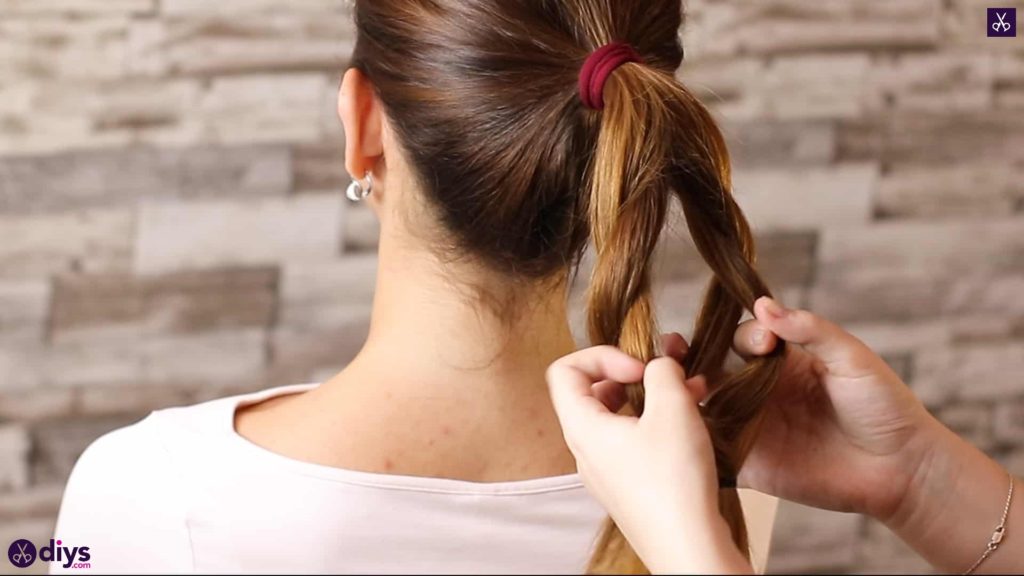
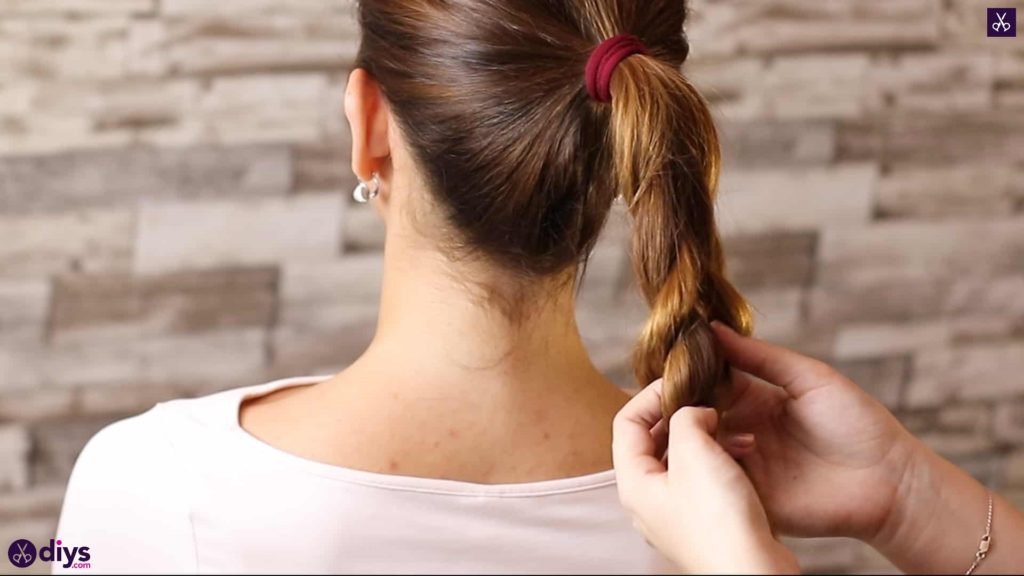
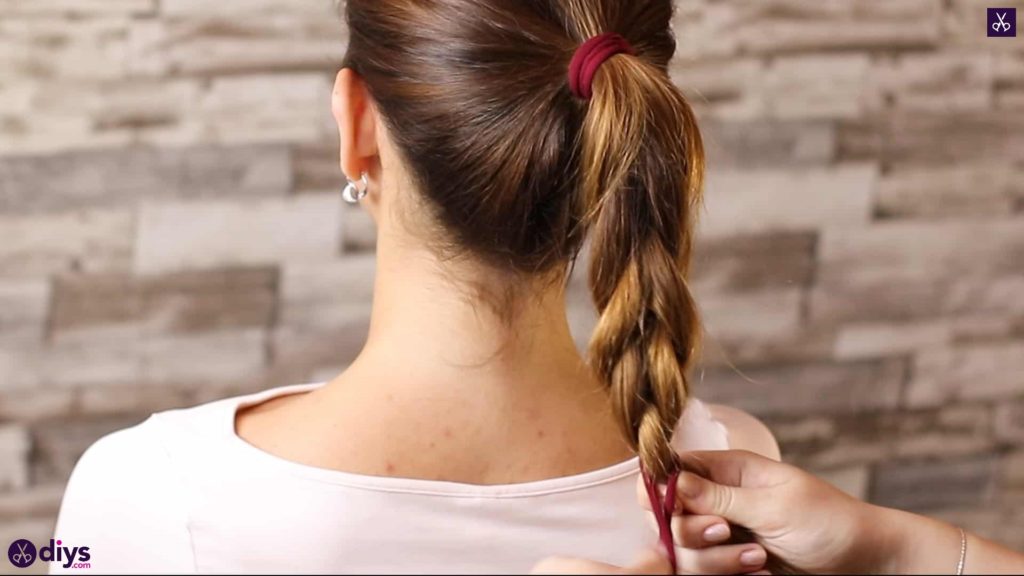
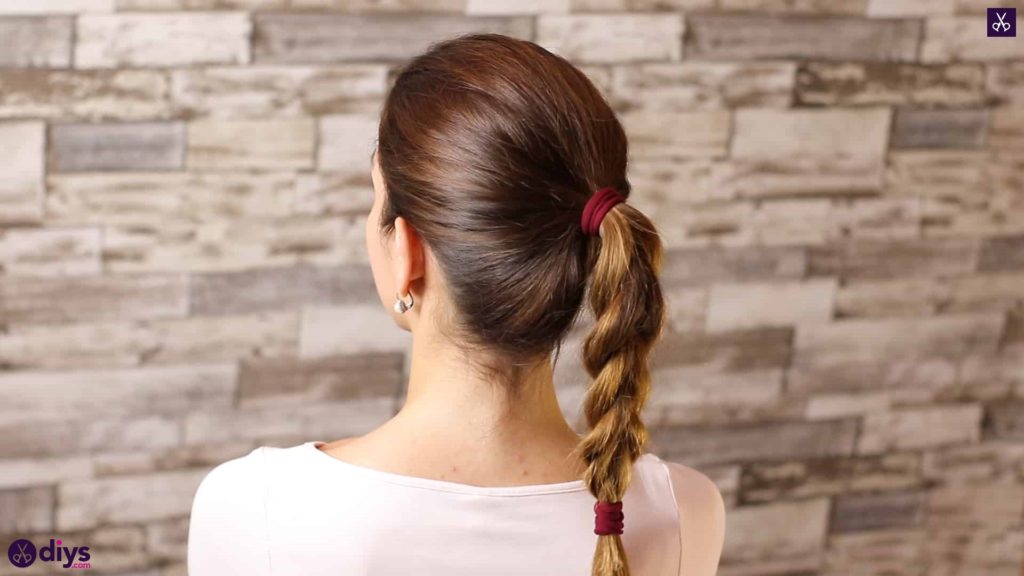
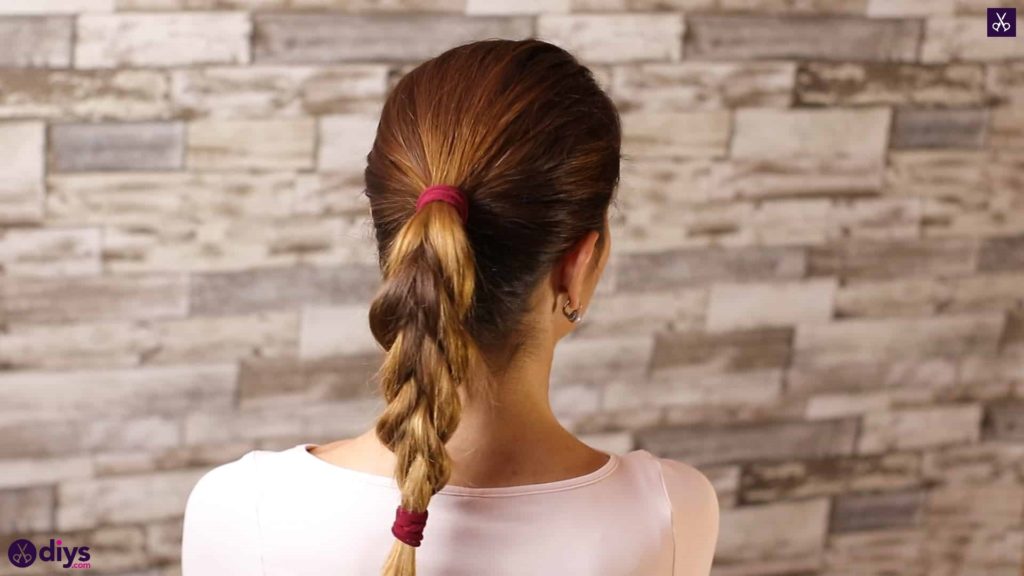
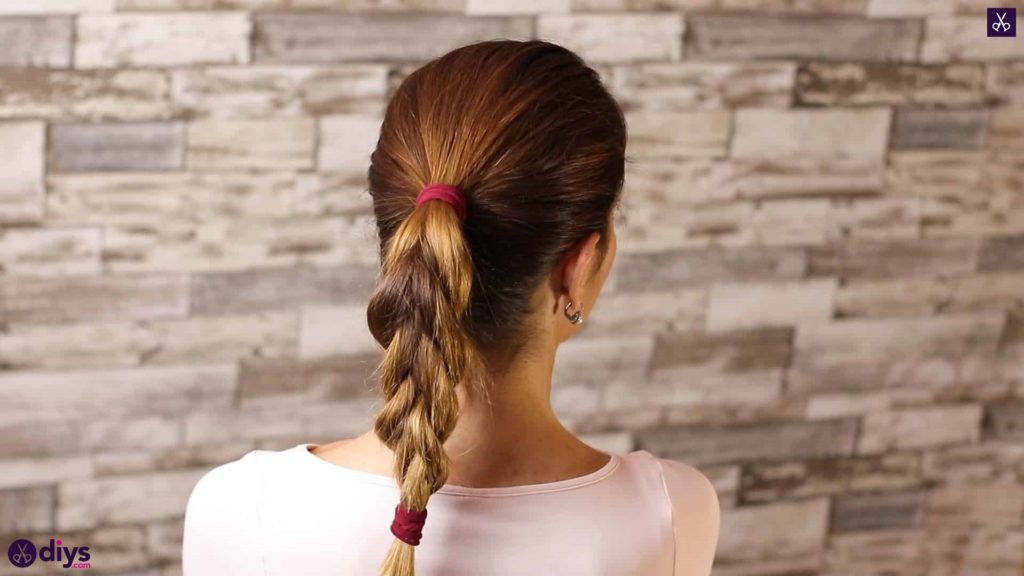
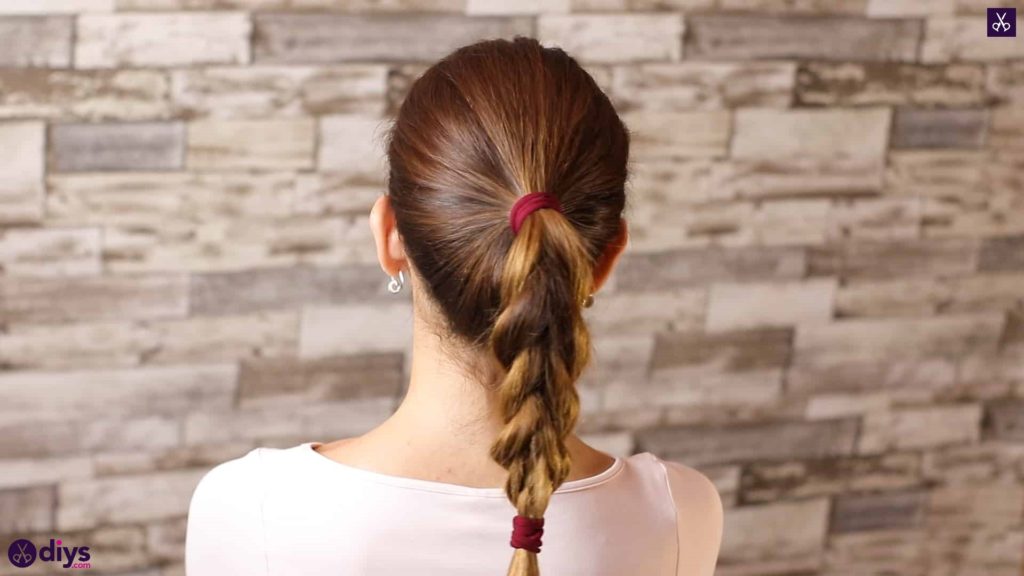
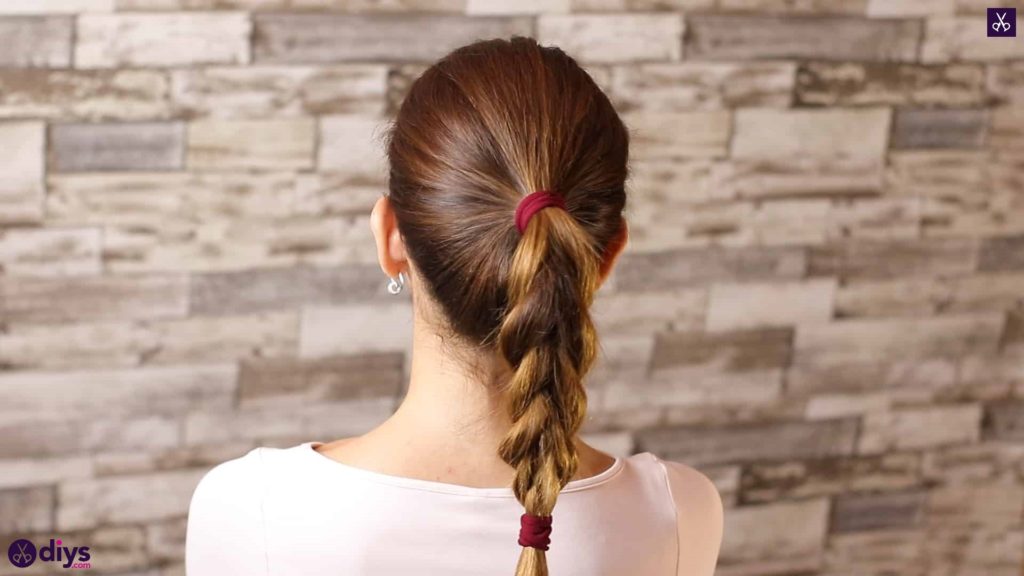
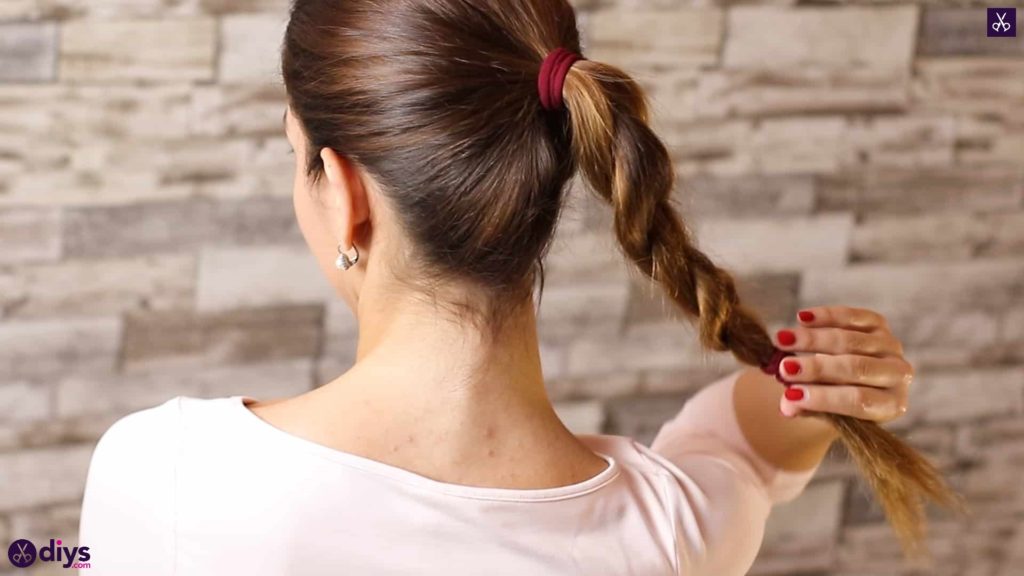
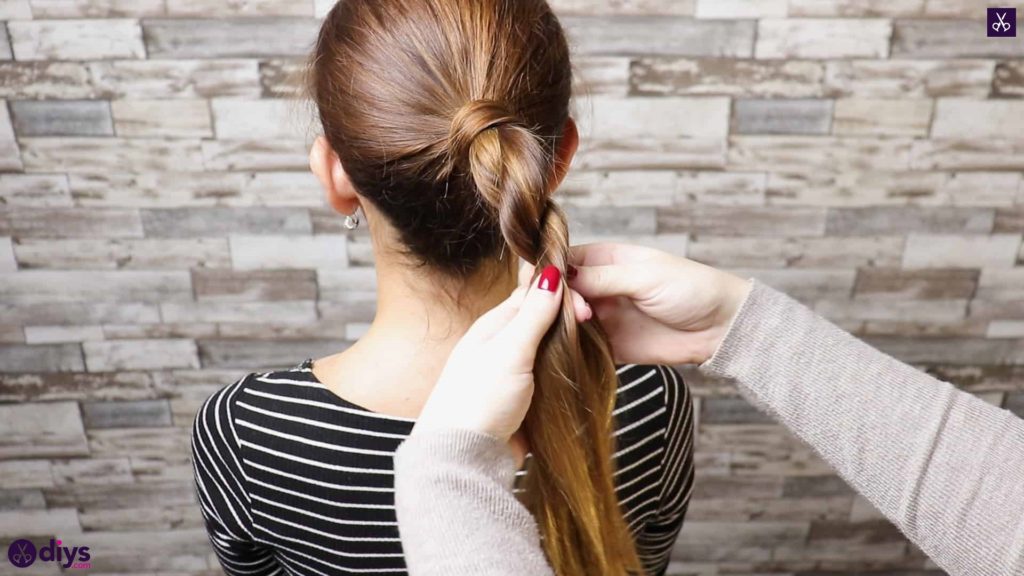
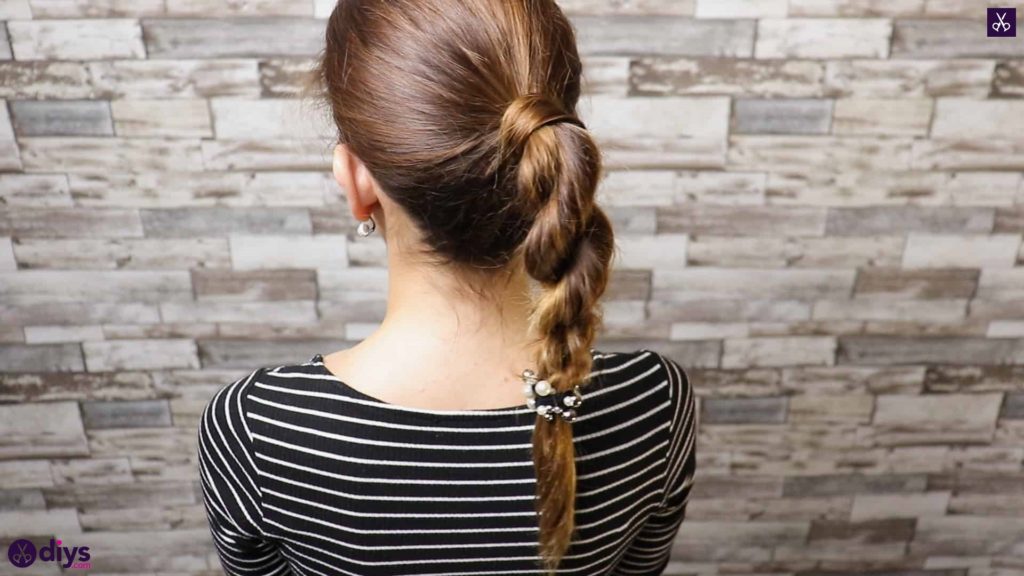
Split the top section of hair in half down its center so you have space to reach through and grab the lower section of hair beneath. Pull that second section all the way through the middle of the first. Next, split that second section of hair in half down its middle the same way you did the first one. Reach through that new space to grab both sides of the first section and pull that section, as a whole, through the second one and back to the front. You’ll notice that the split in your first section is still distinct; reach through this again, grab both sides of the second section, and pull the whole thing back through the first. Repeat this motion over and over; you’ll notice that the sections are twisting around each other down each side. The closer you get to the bottom, the more the weaving action will pull the hair together so it looks less divided down the middle. An effect that looksalmost like a braid but more like a cabled pattern in a knitted sweater will emerge. Stop when the space is too small to reach through near the bottom of the ponytail sections.
Step 4: finish with a tie
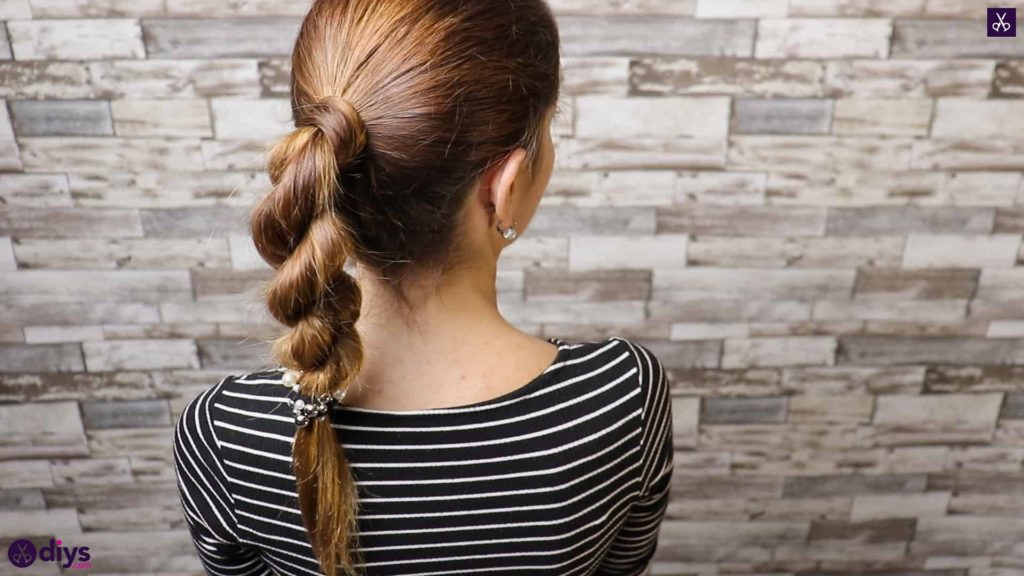
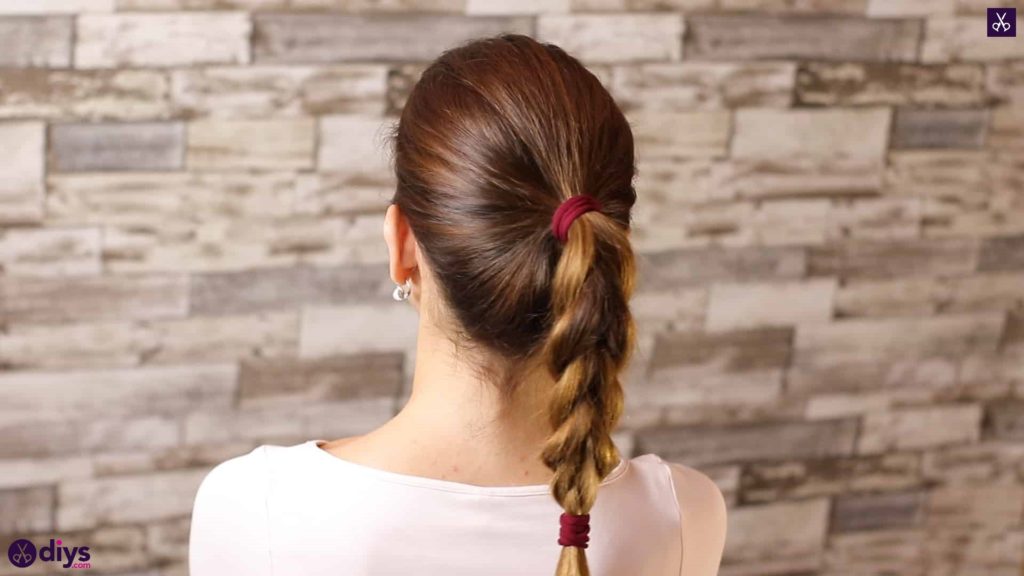
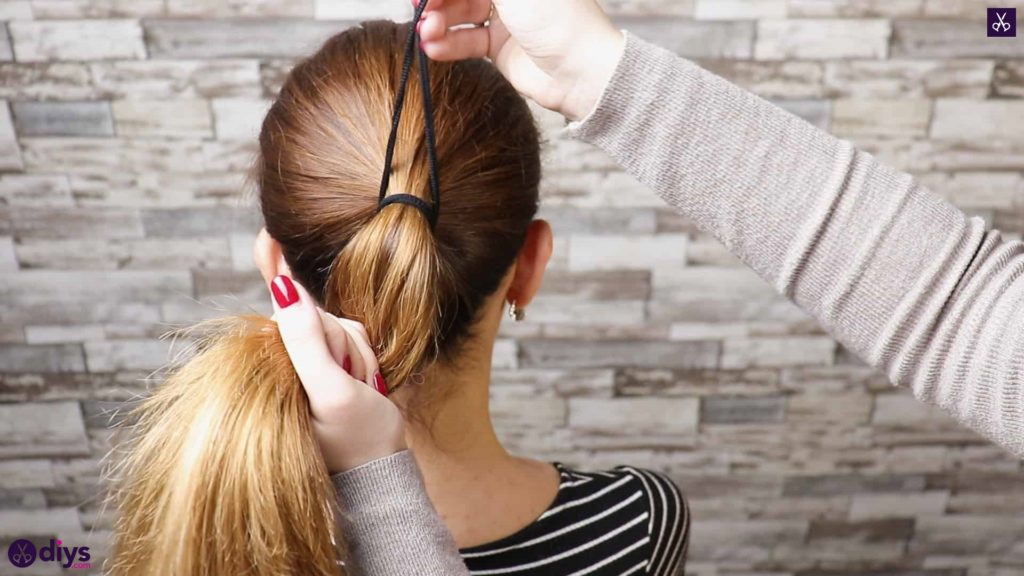
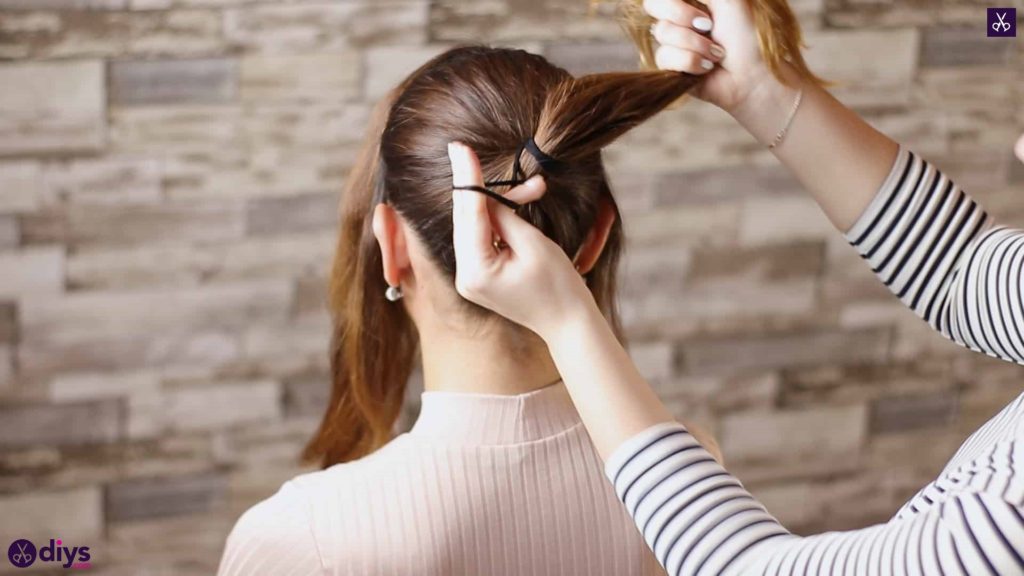
Pinch the ends of your two ponytail sections together and pull the smaller elastics out, holding the ends firmly in place so your looped hair doesn’t come unwoven. Take a regular sized hair tie (like the one at the top) and wind it around the ends ofall the hair together, merging the two sections back together as one.
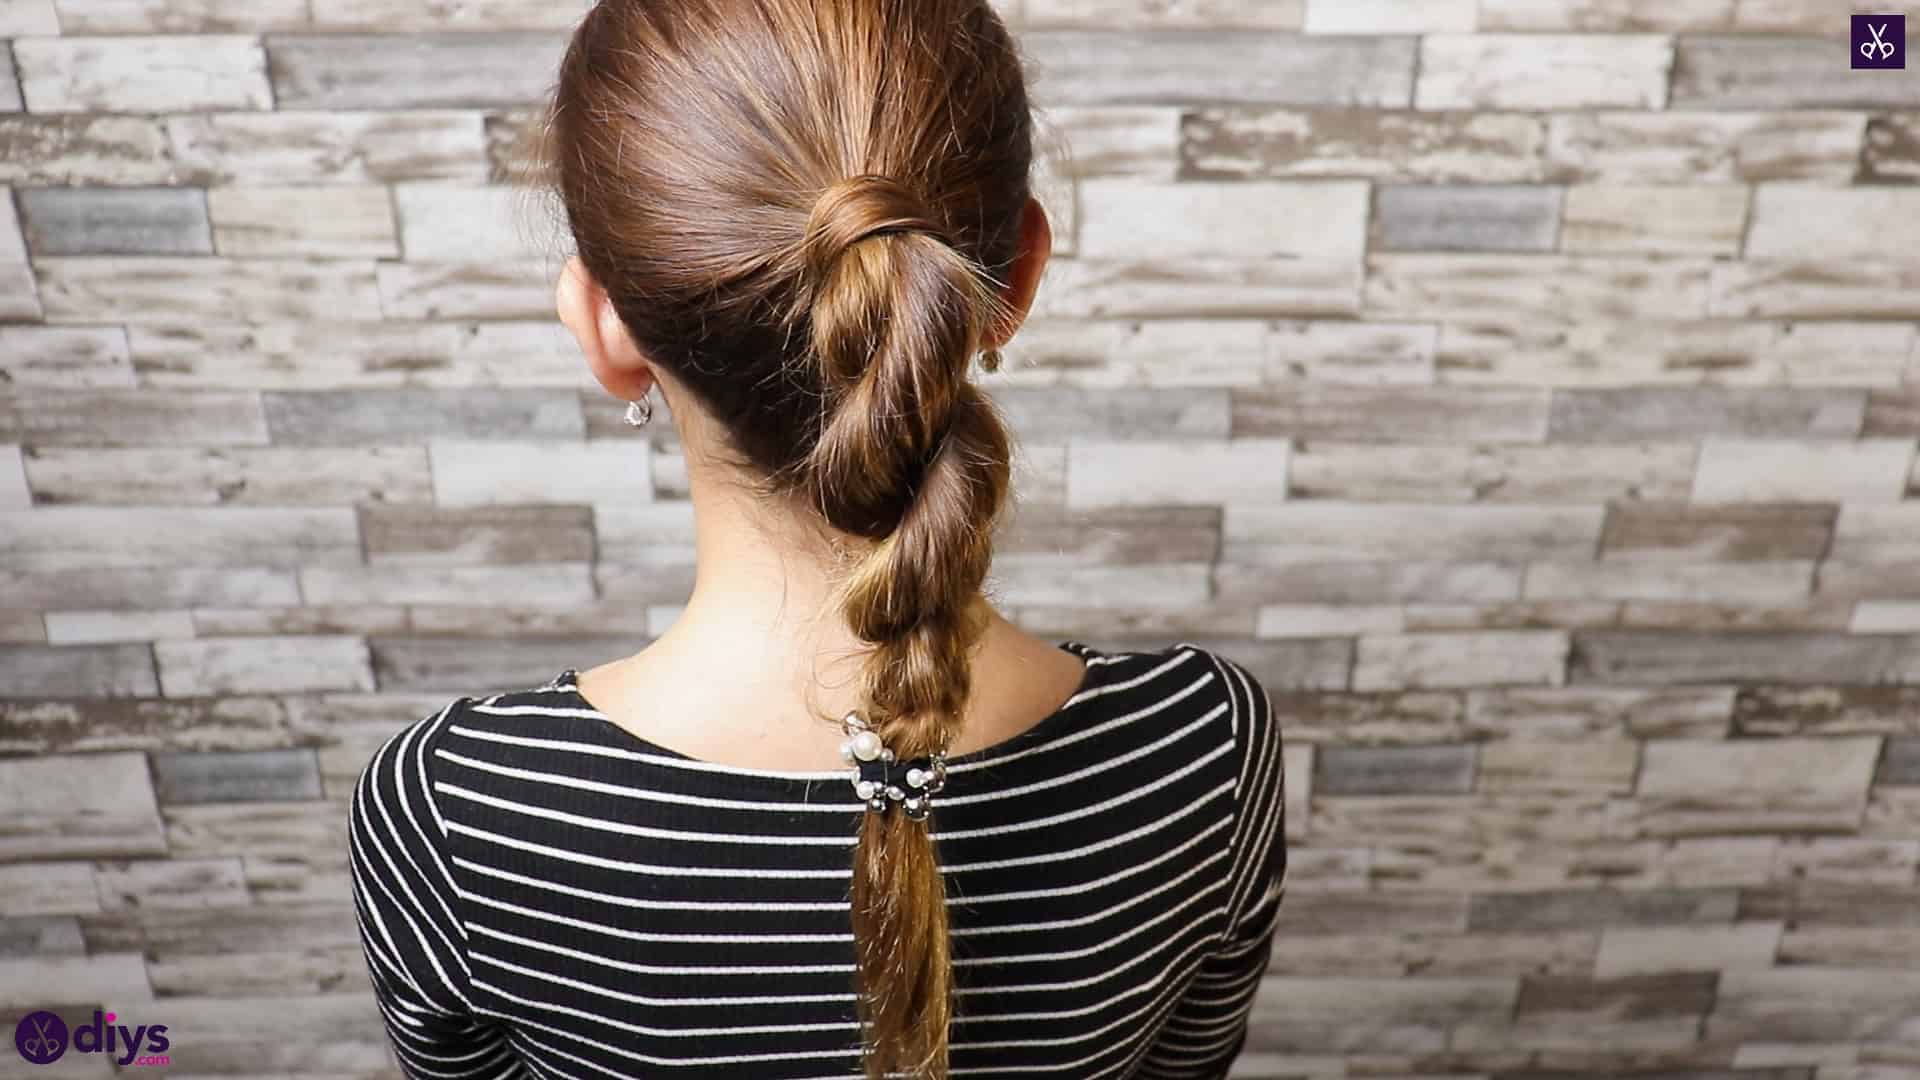
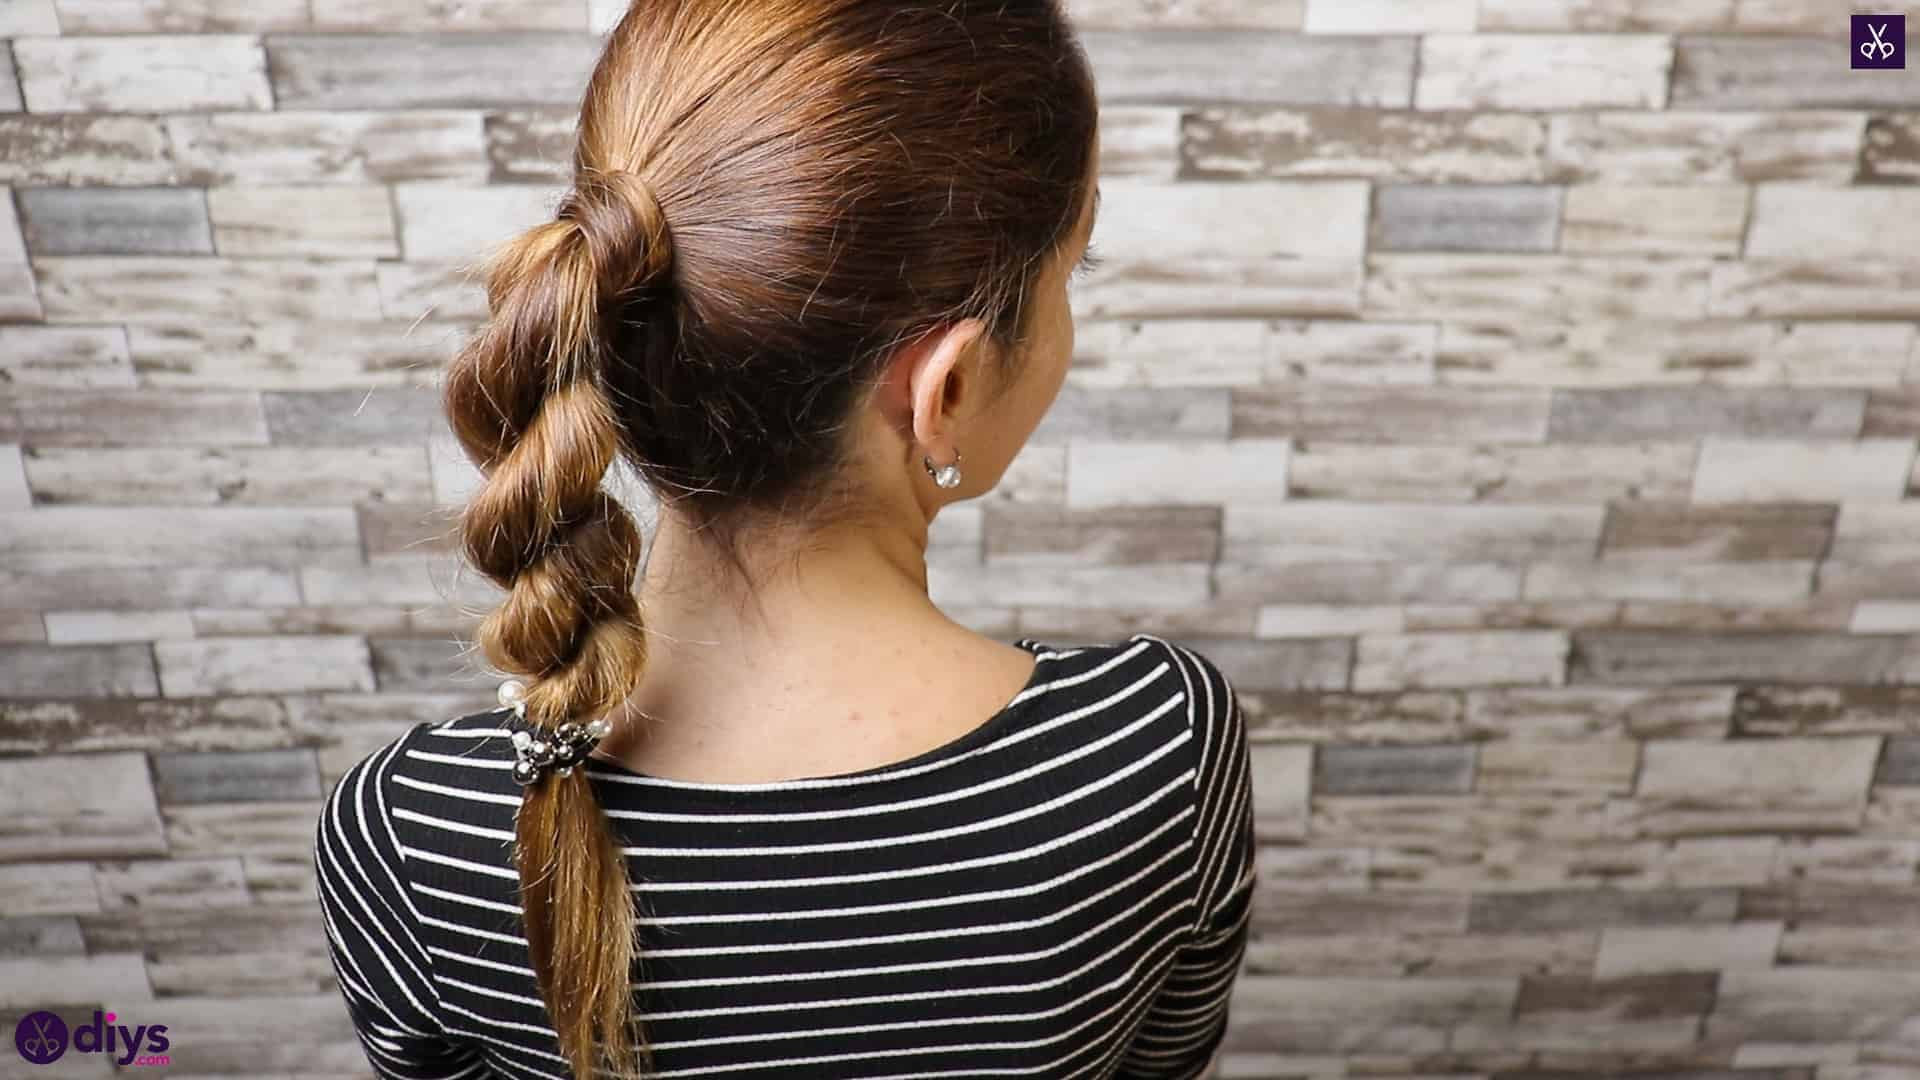
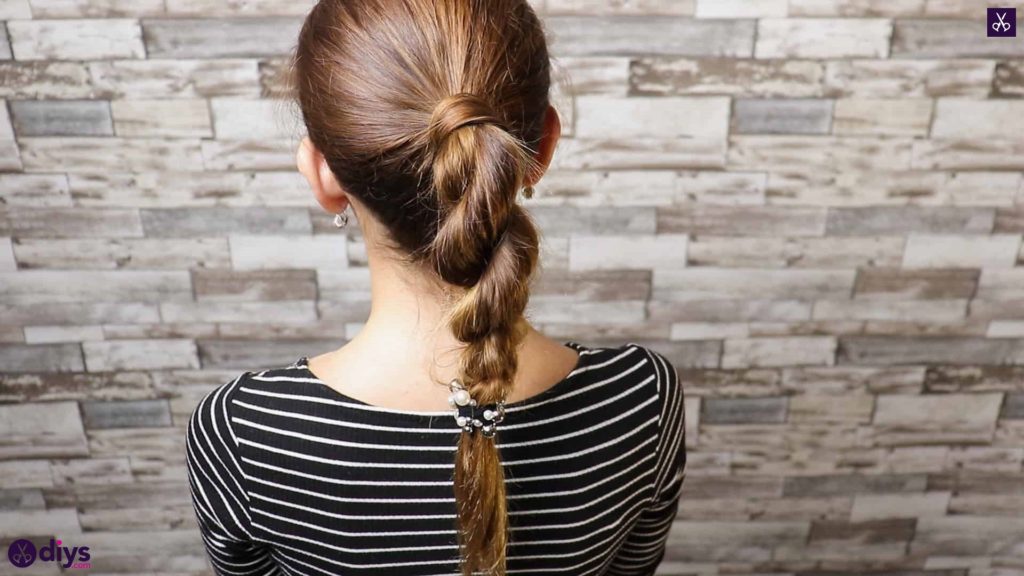
You’re all finished! The final ponytail looks almost like a braid, but it’s a little easier to do for those who have trouble weaving three or more stands.
Ponytail 2: “The twisted ponytail”
Step 1: brush and gather
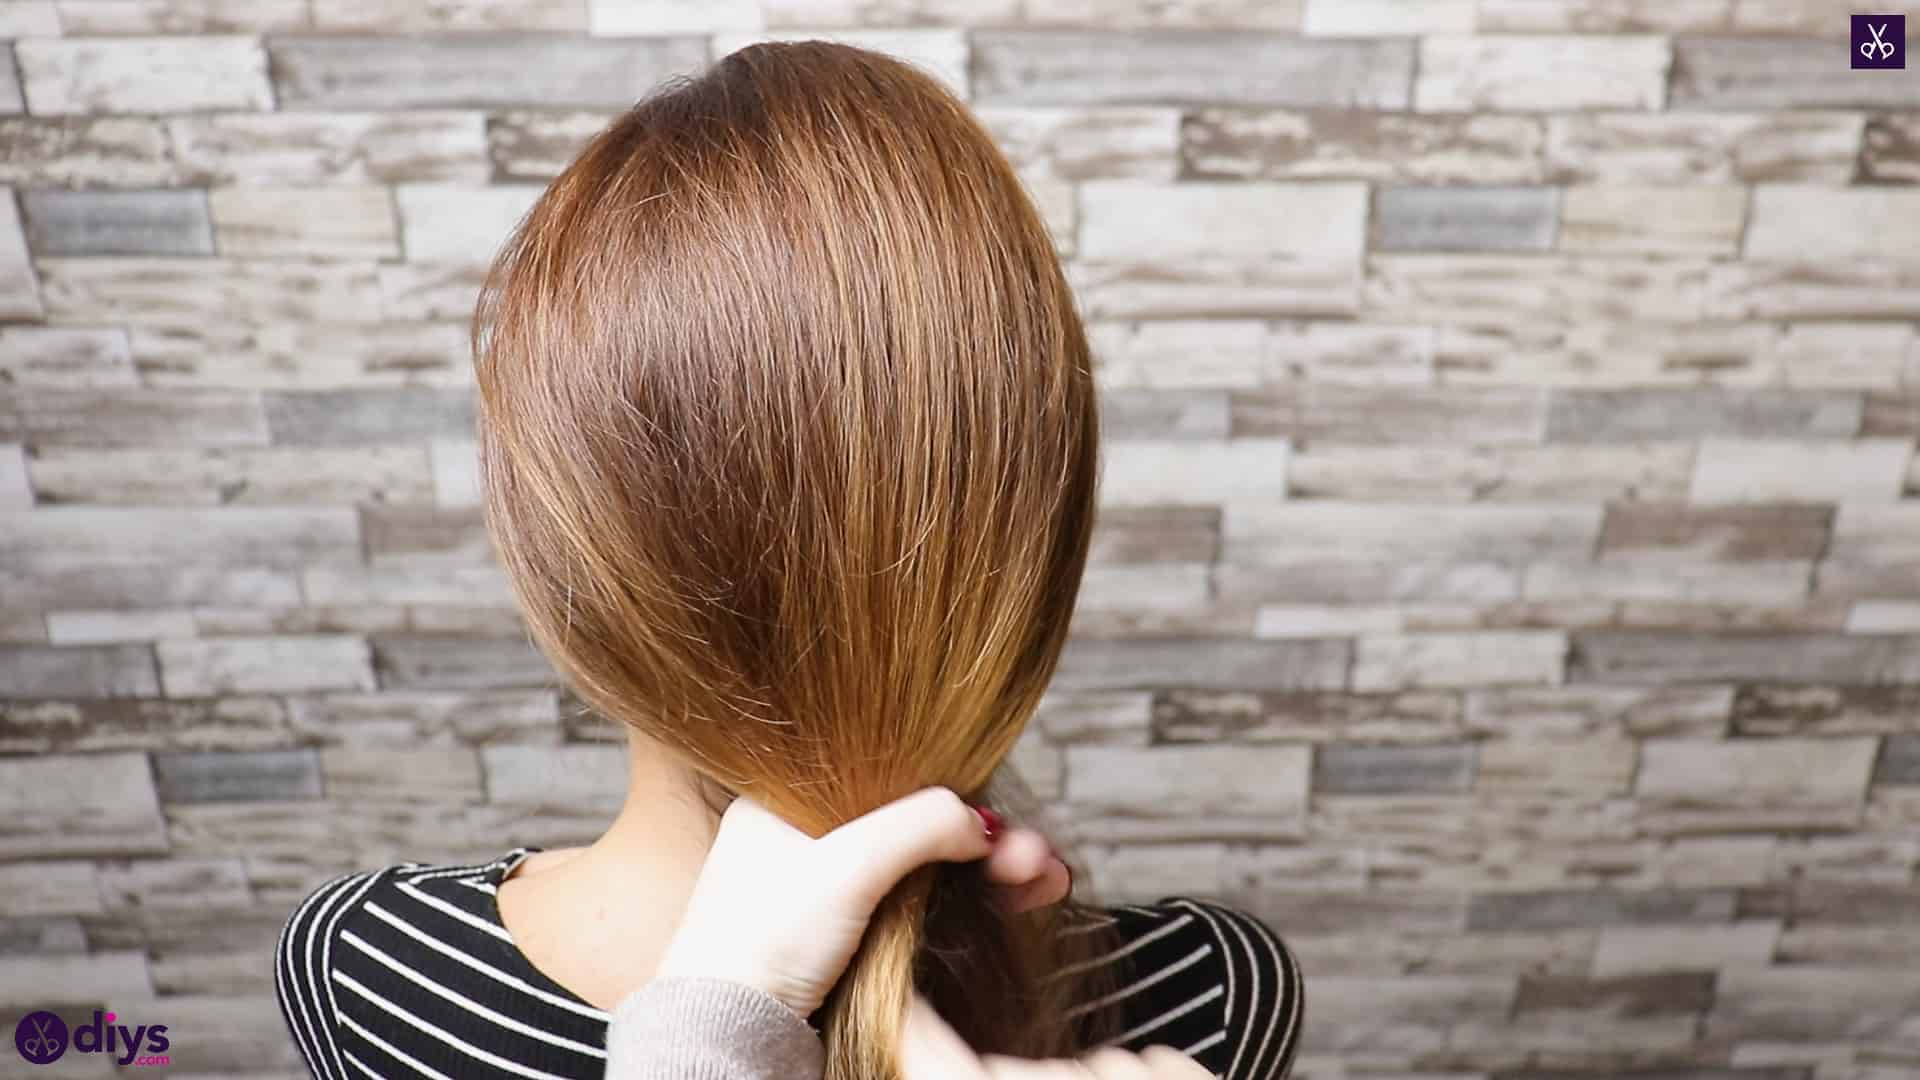
Brush your hair out completely to get rid of tangles. Then use your brush to pull it all back into a classic ponytail at the crown of your head, keeping it in place with a regular hair elastic. Smooth any flyaways down with hairspray.
Step 2: cover the elastic
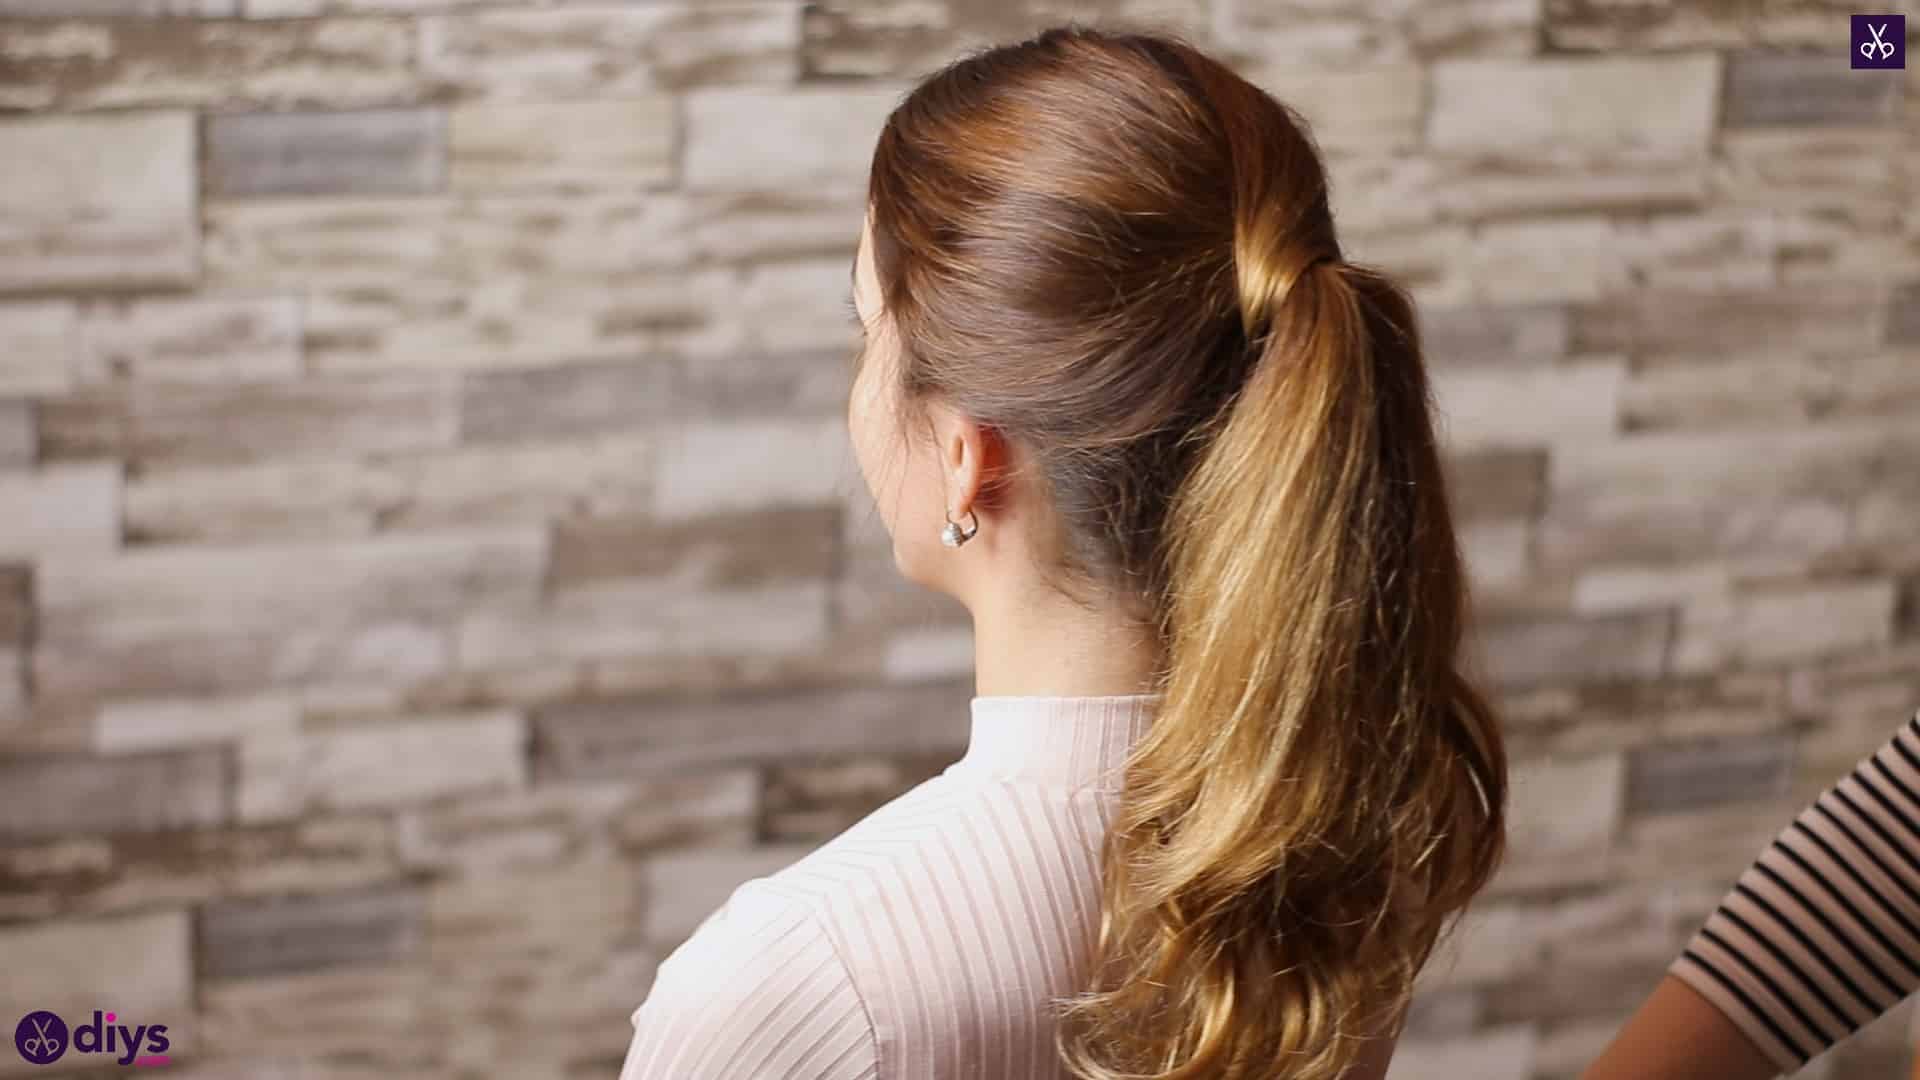
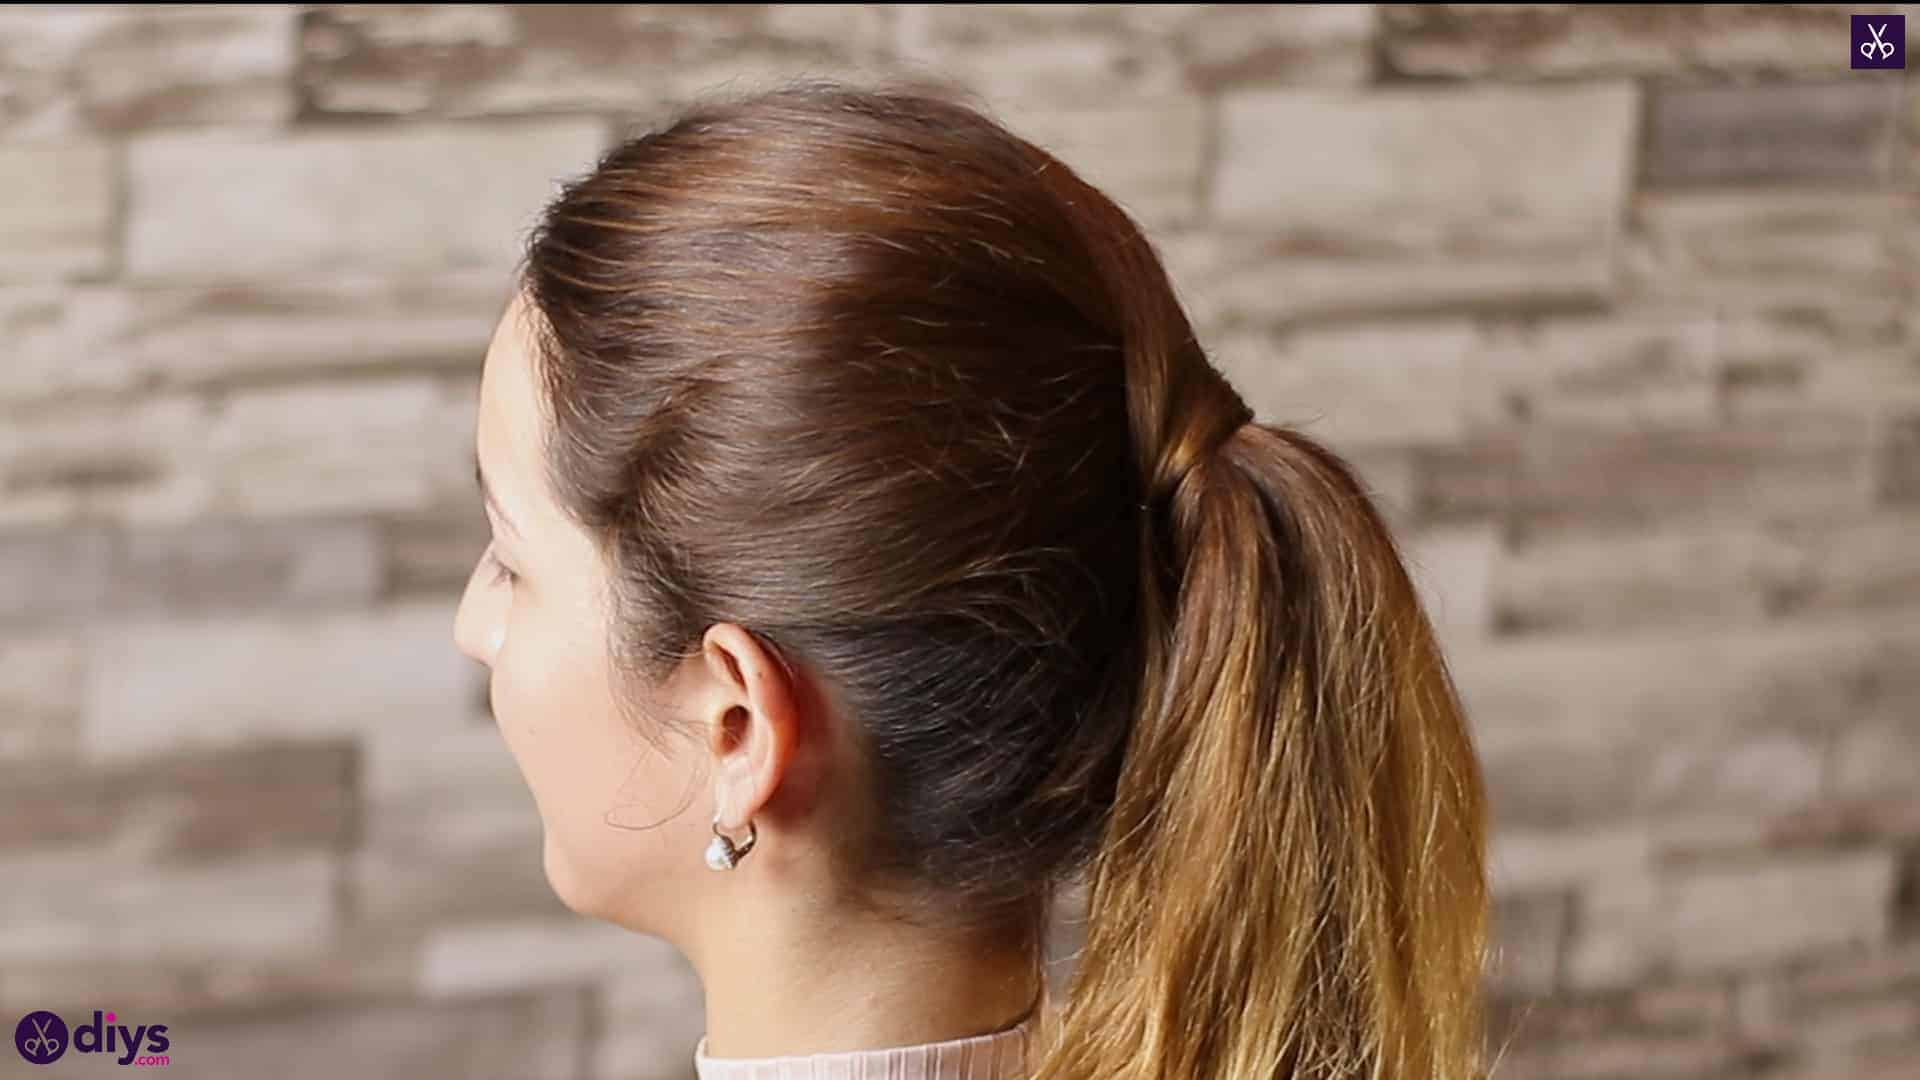
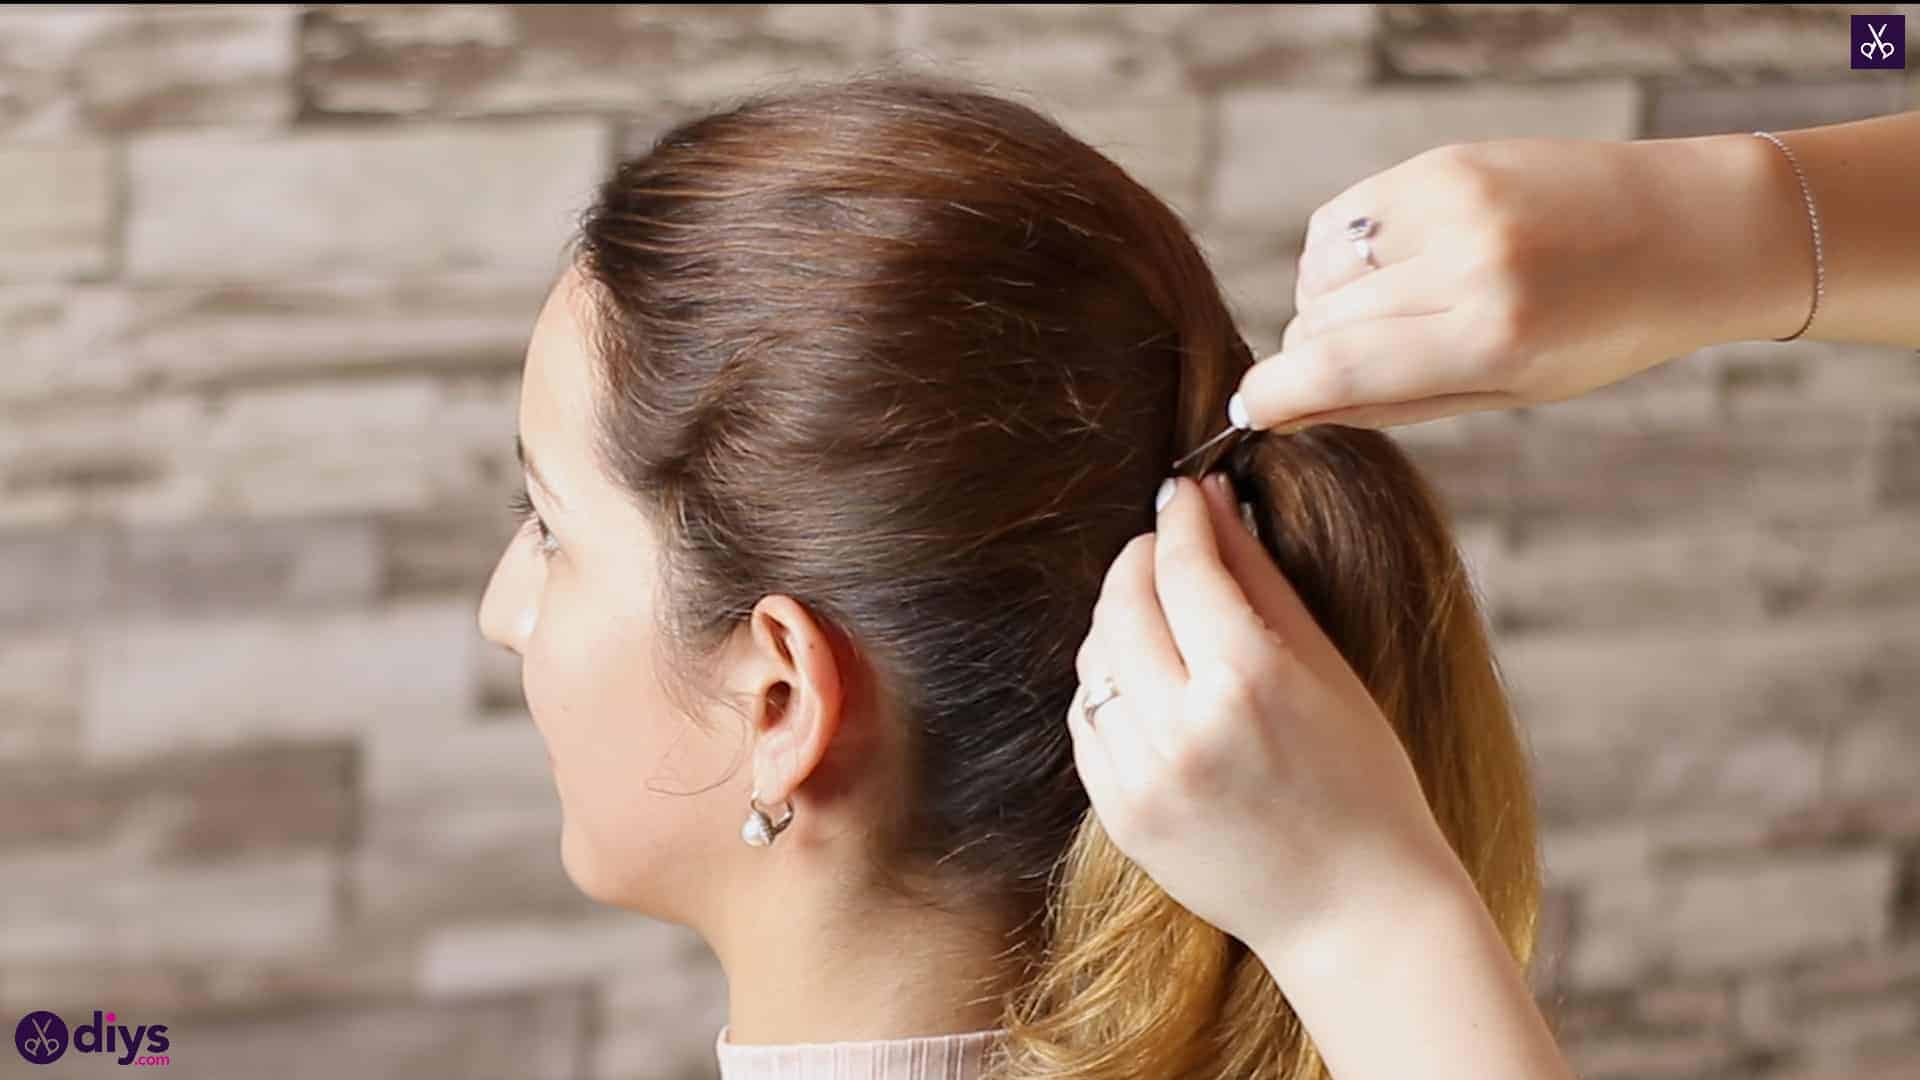
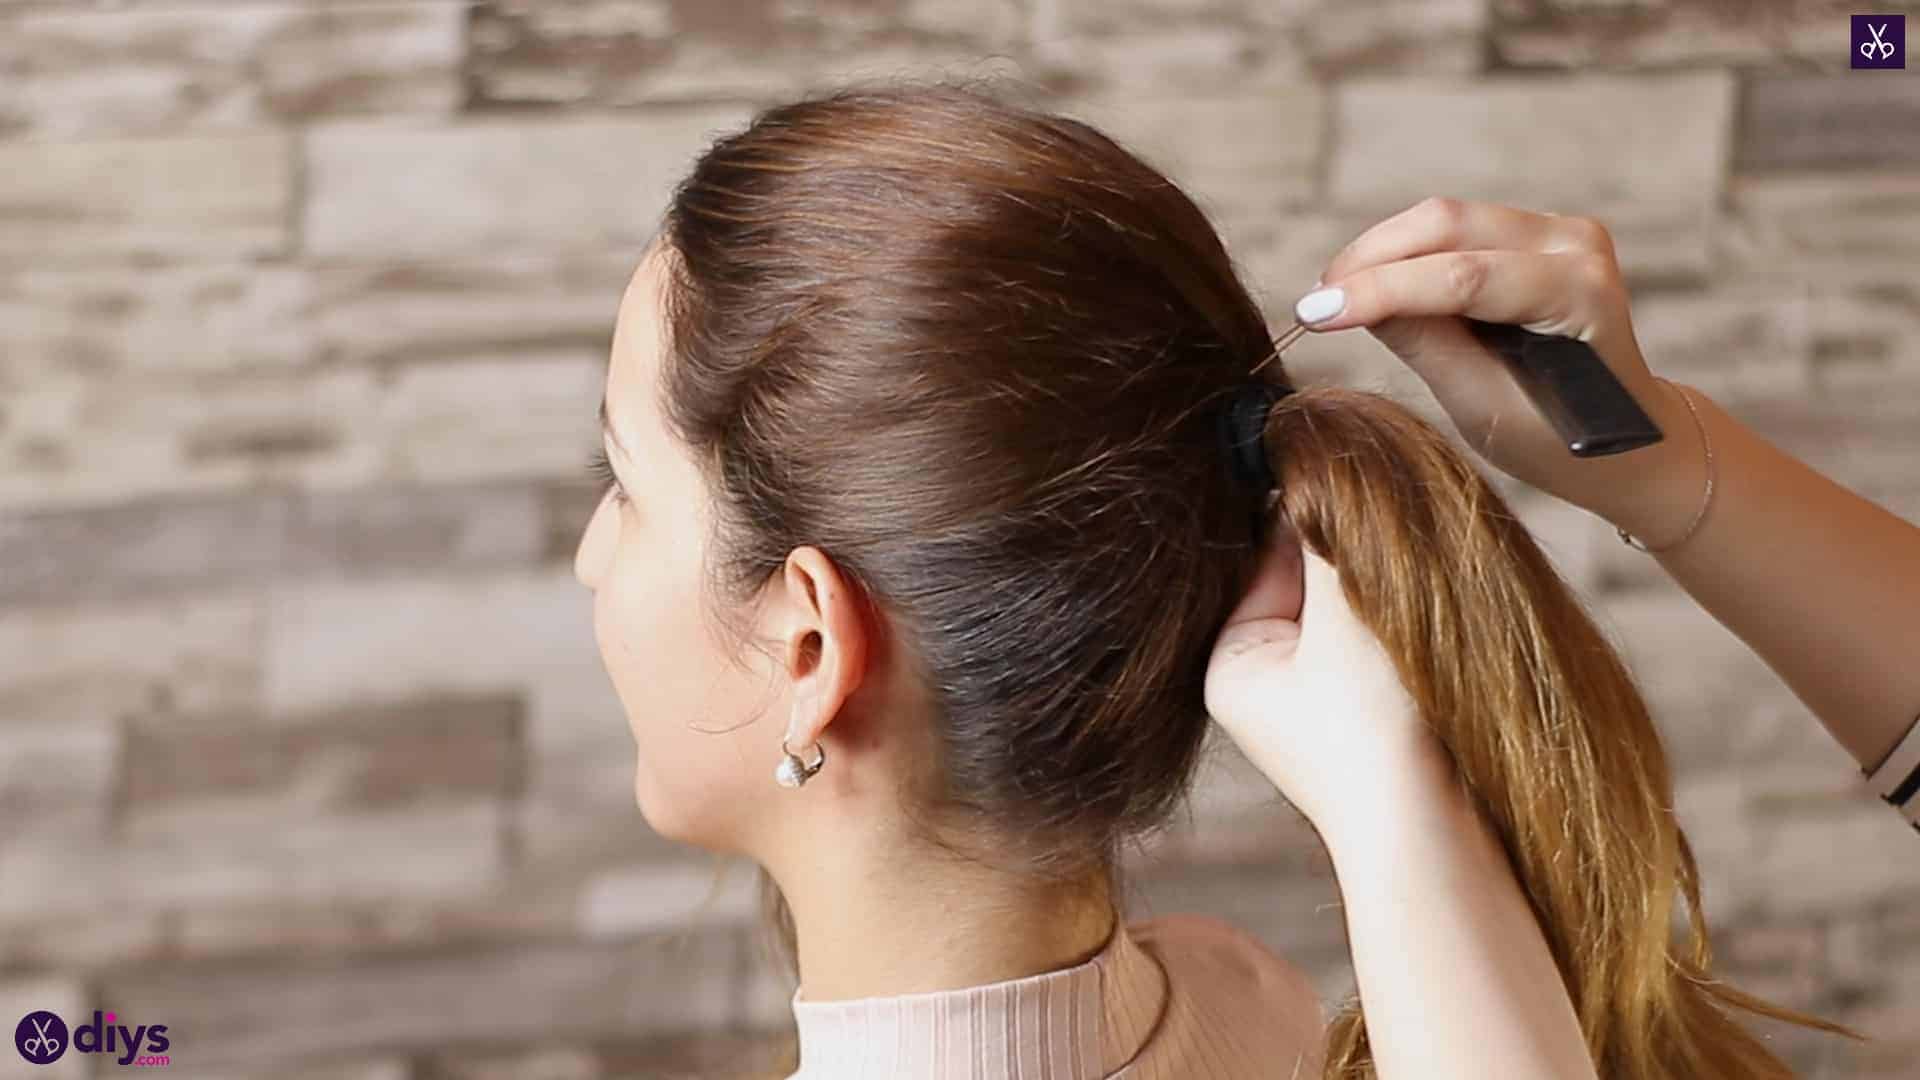
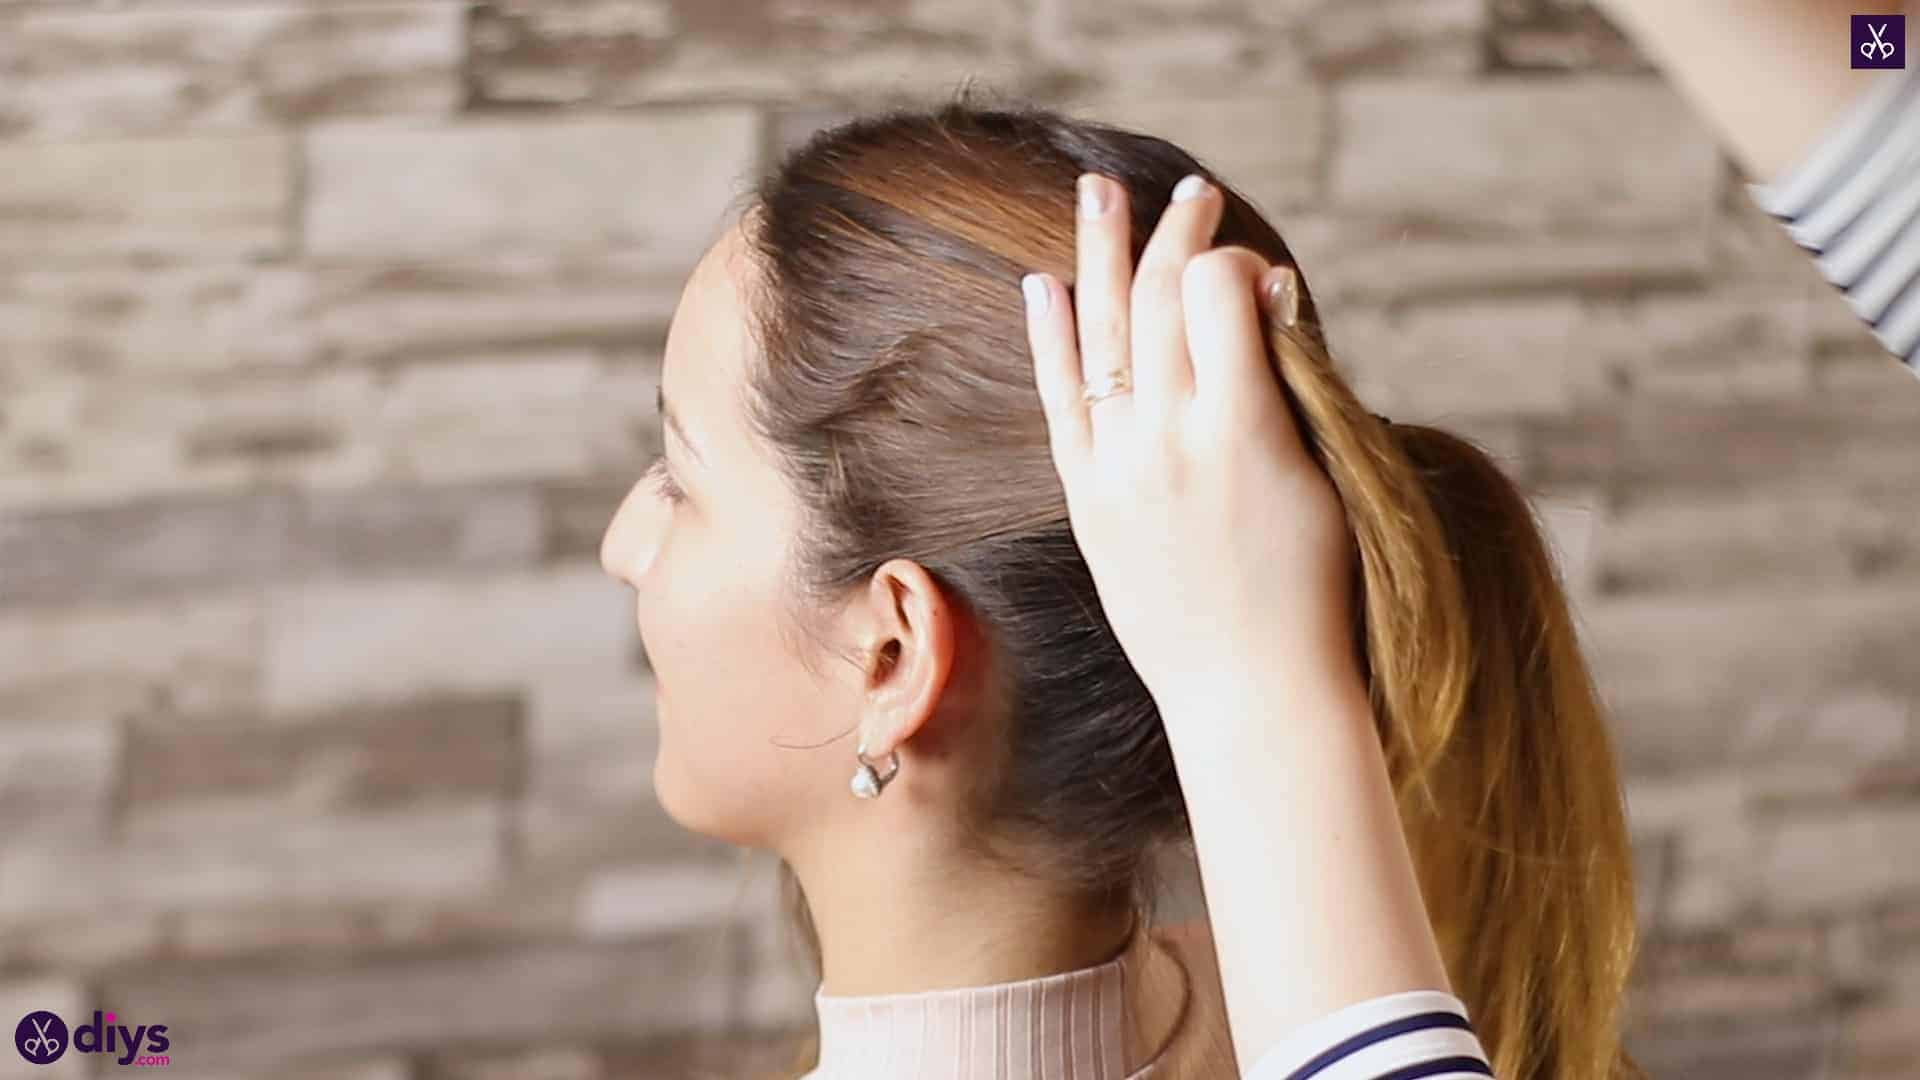
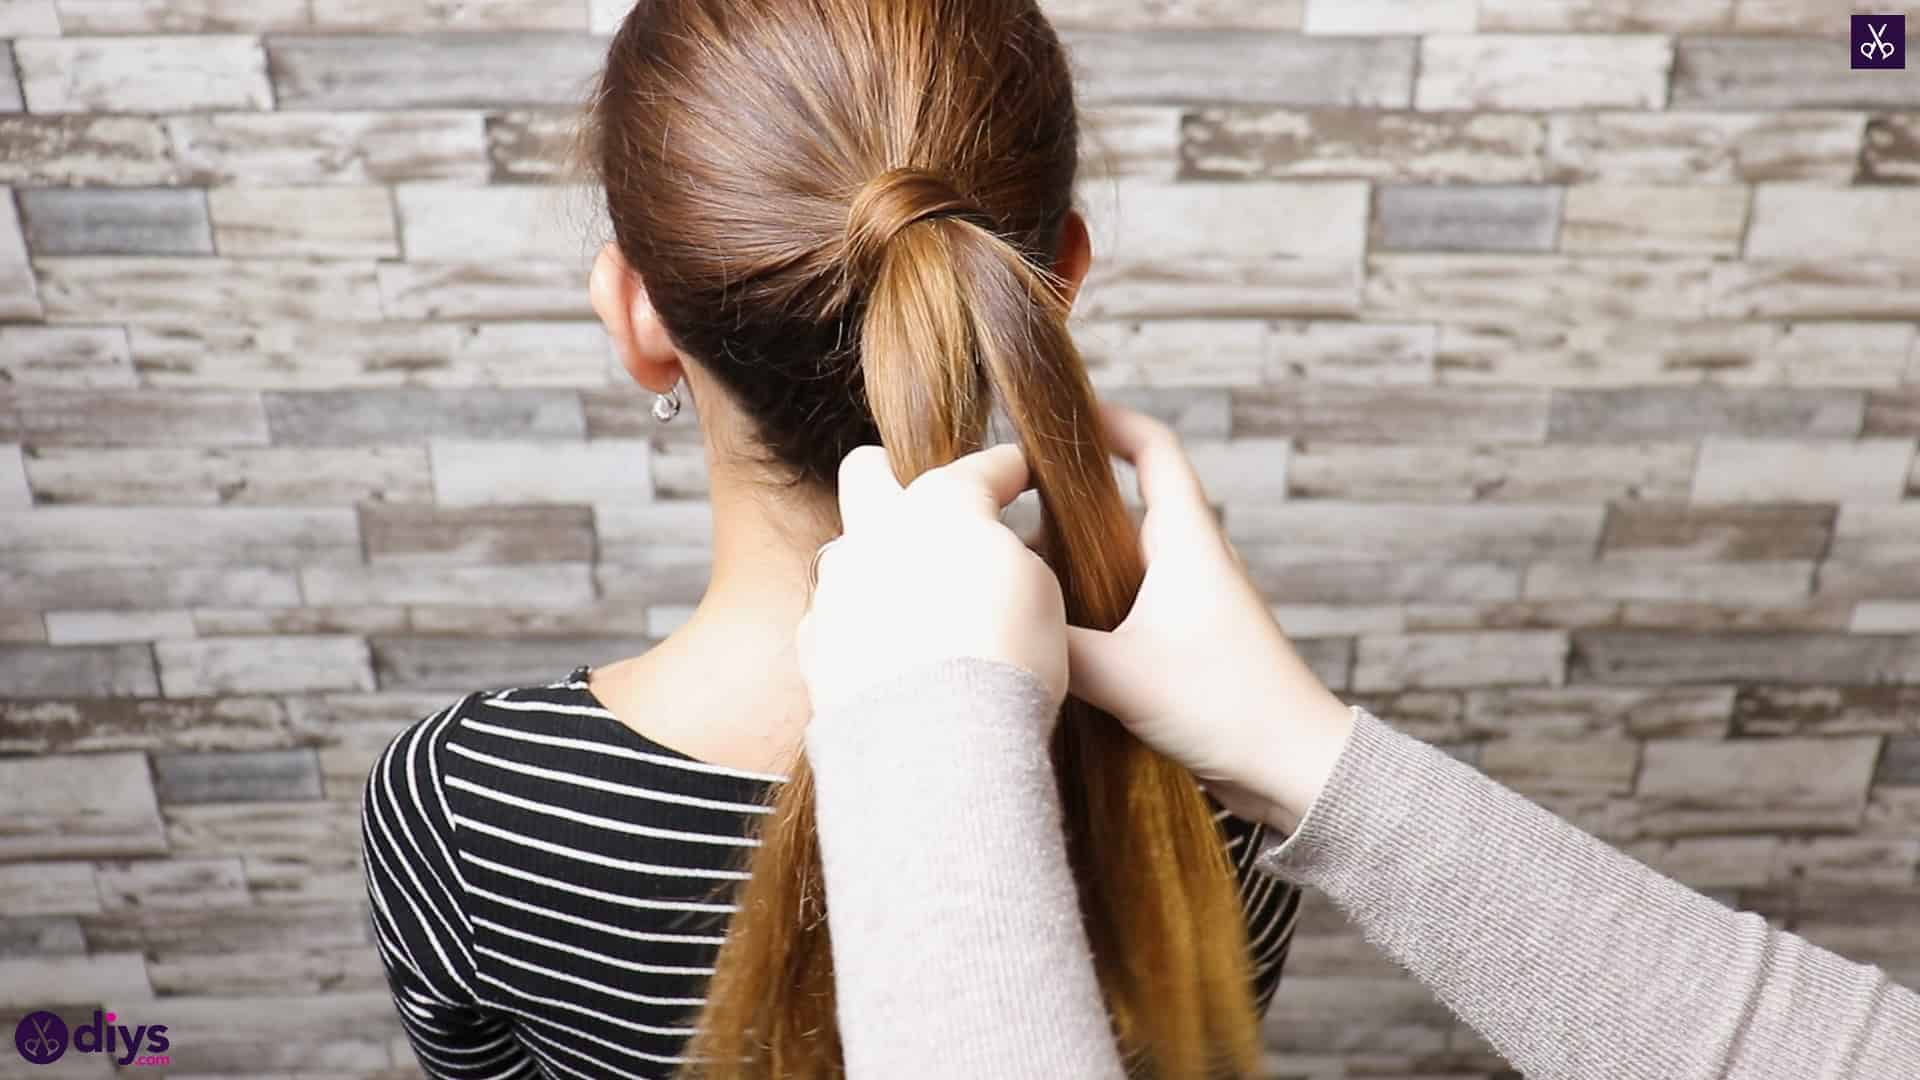
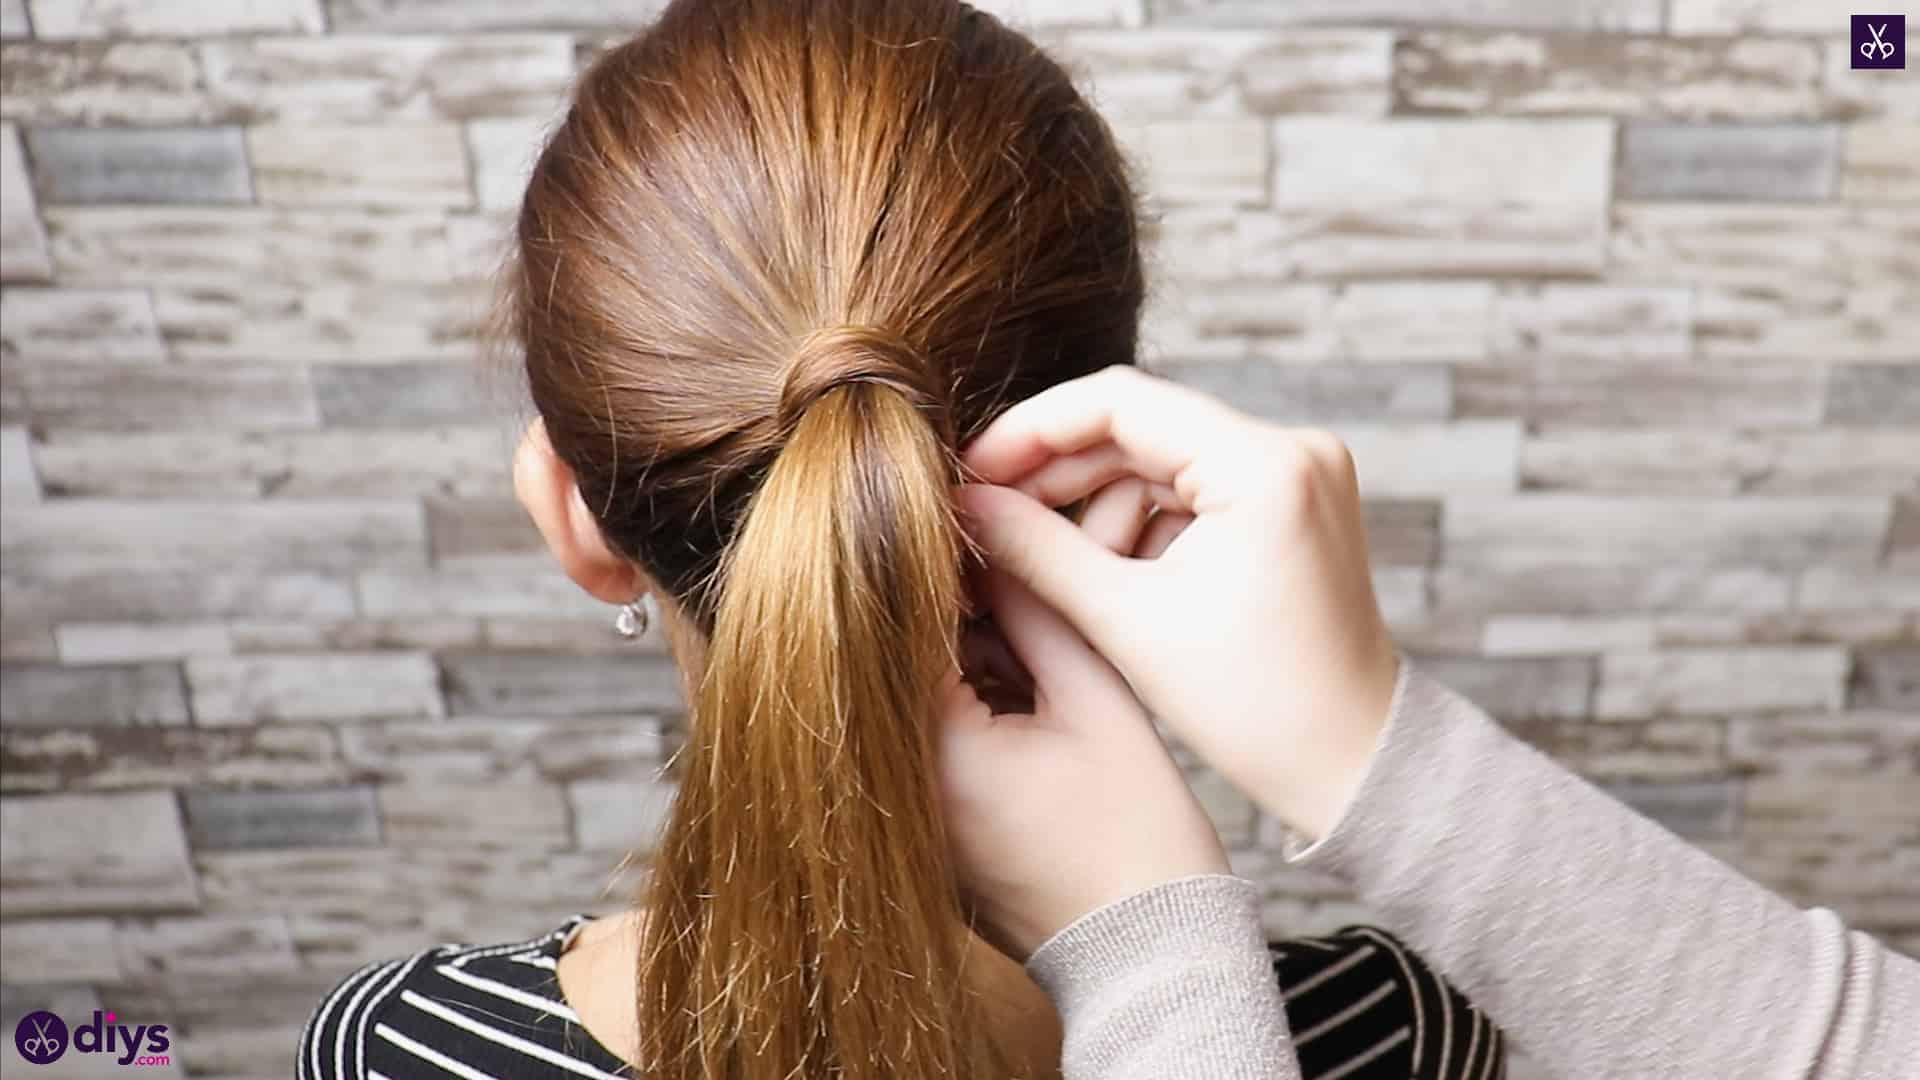
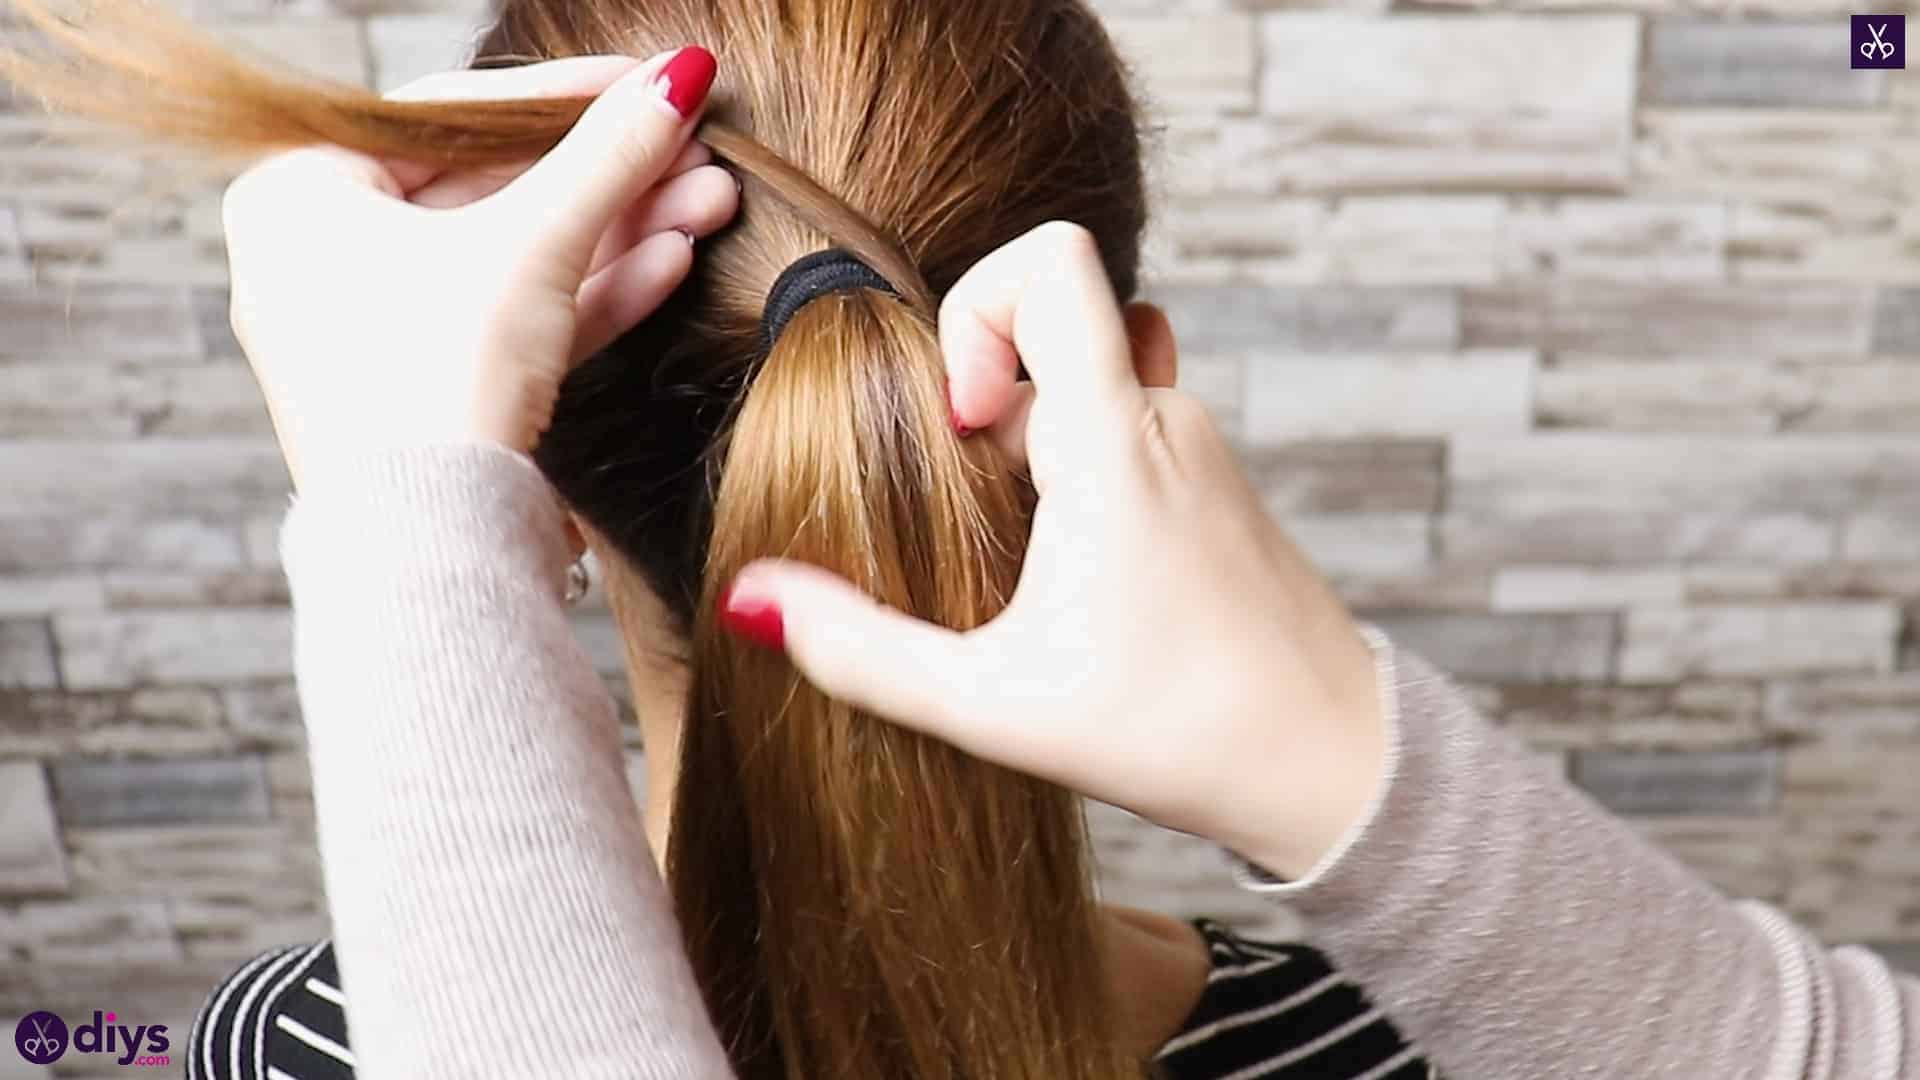
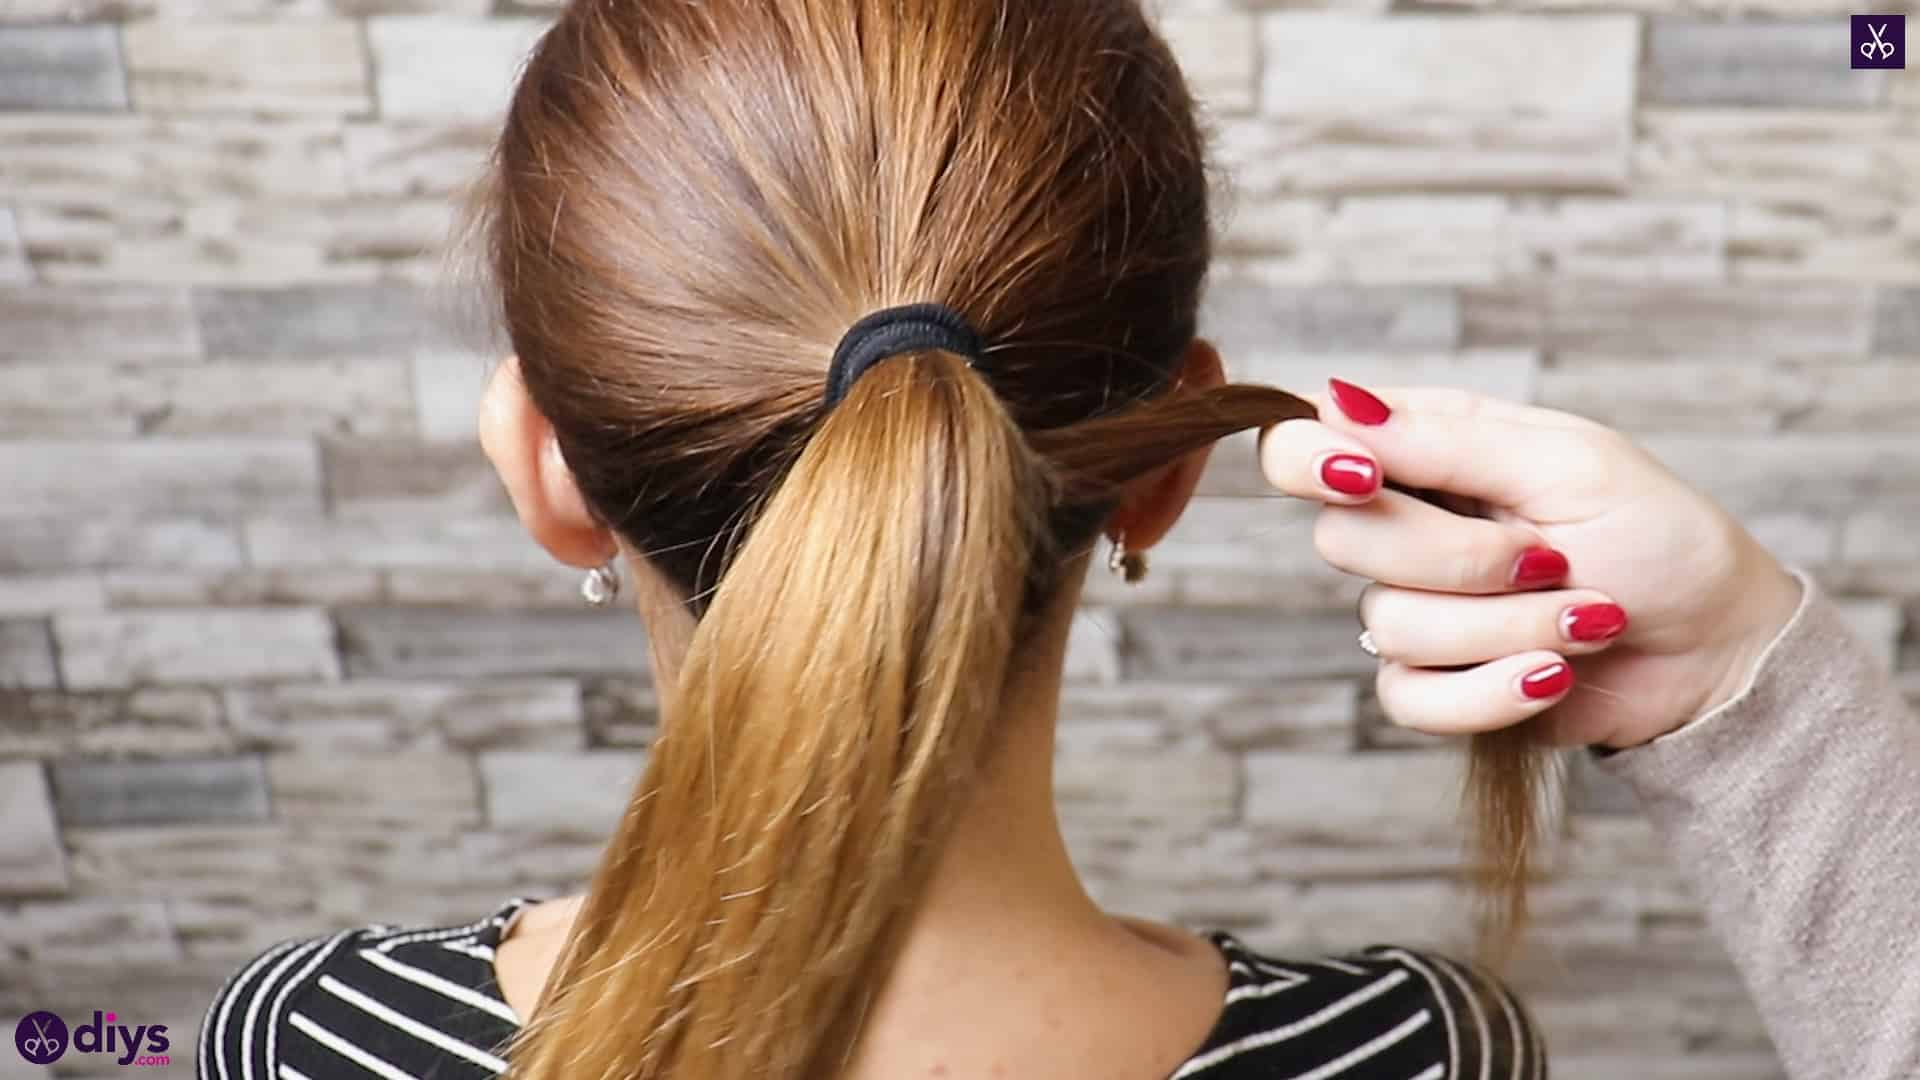
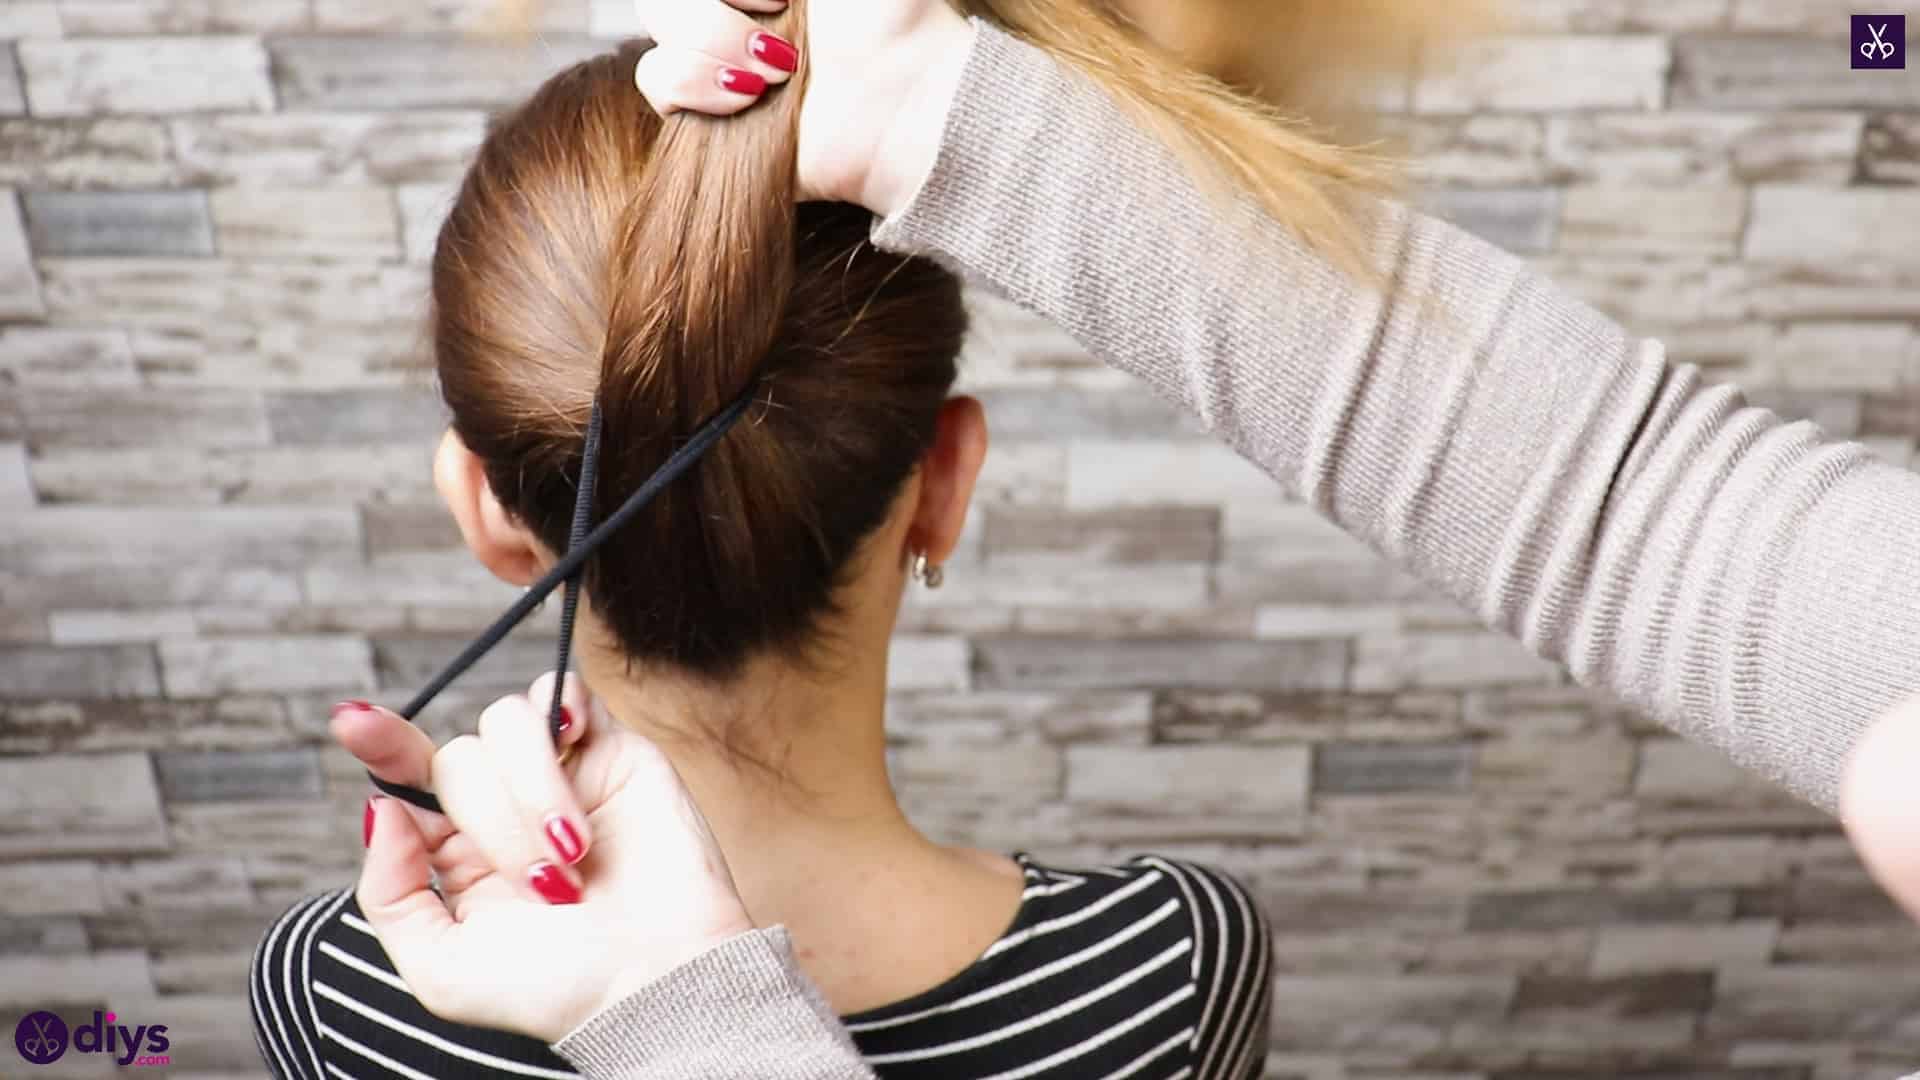
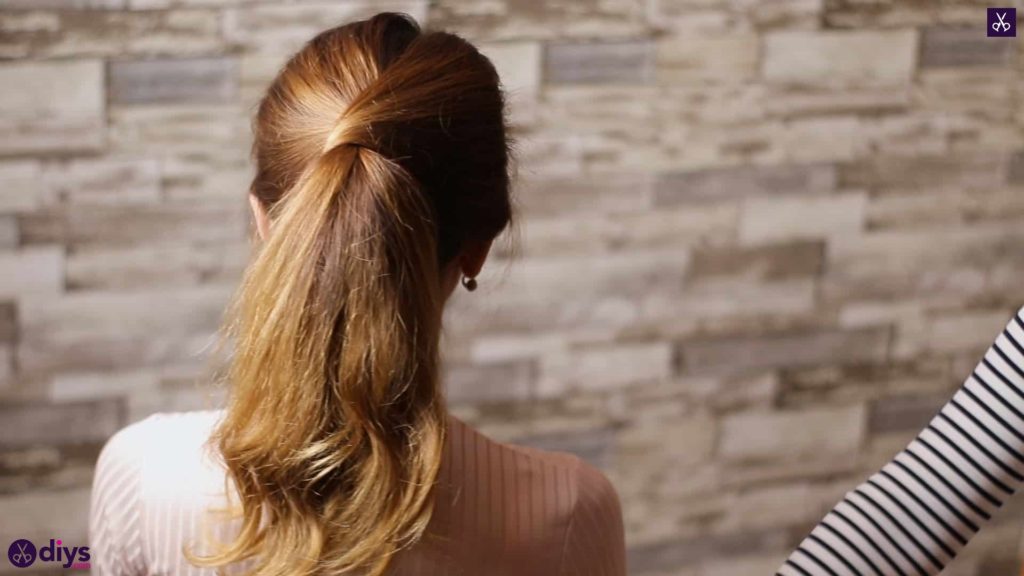
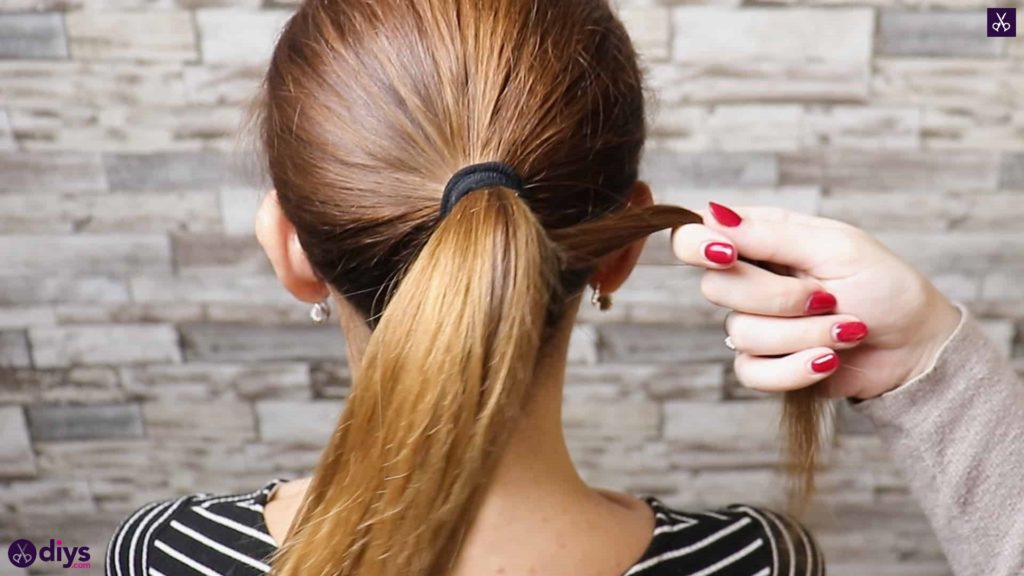
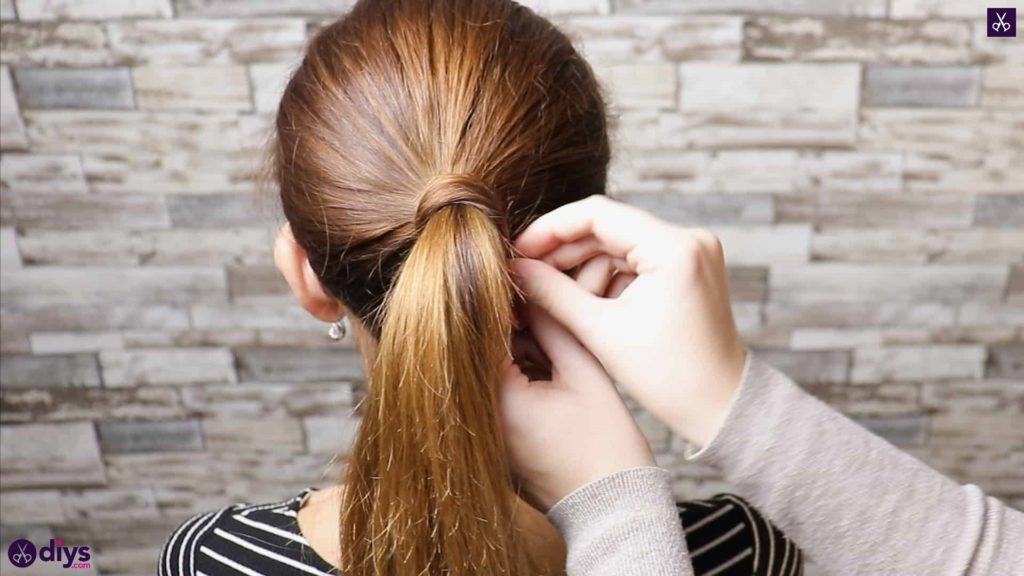
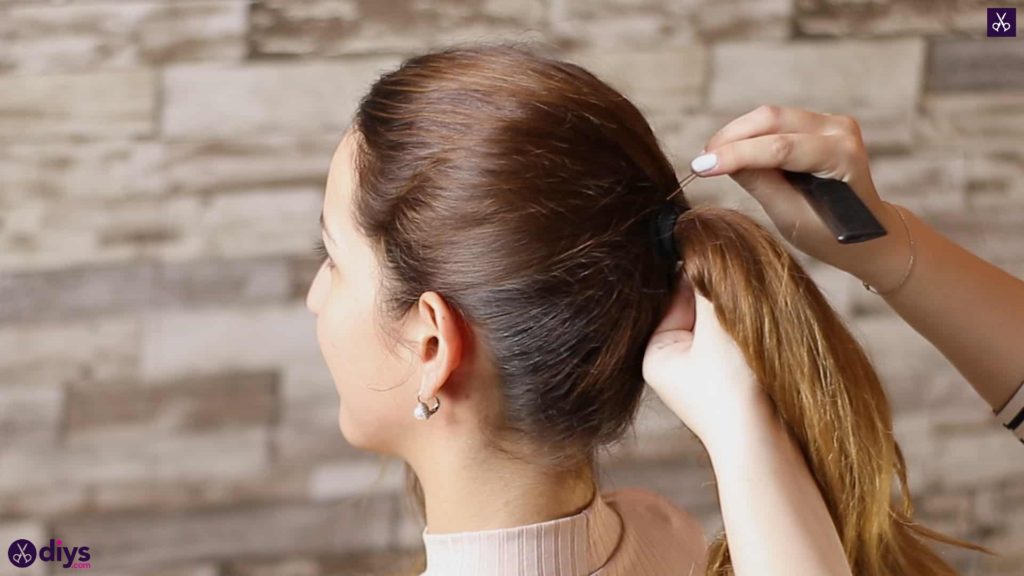
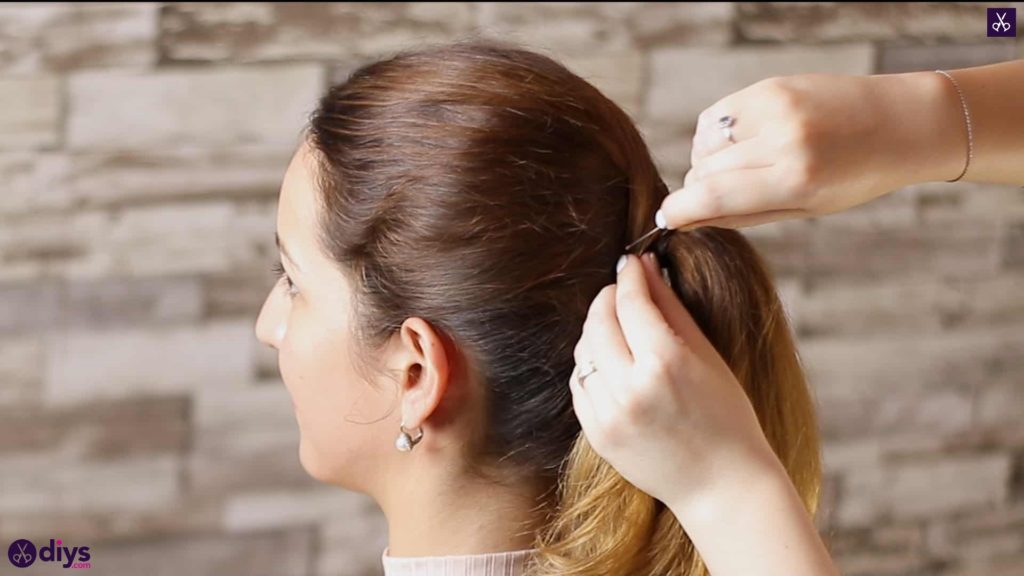
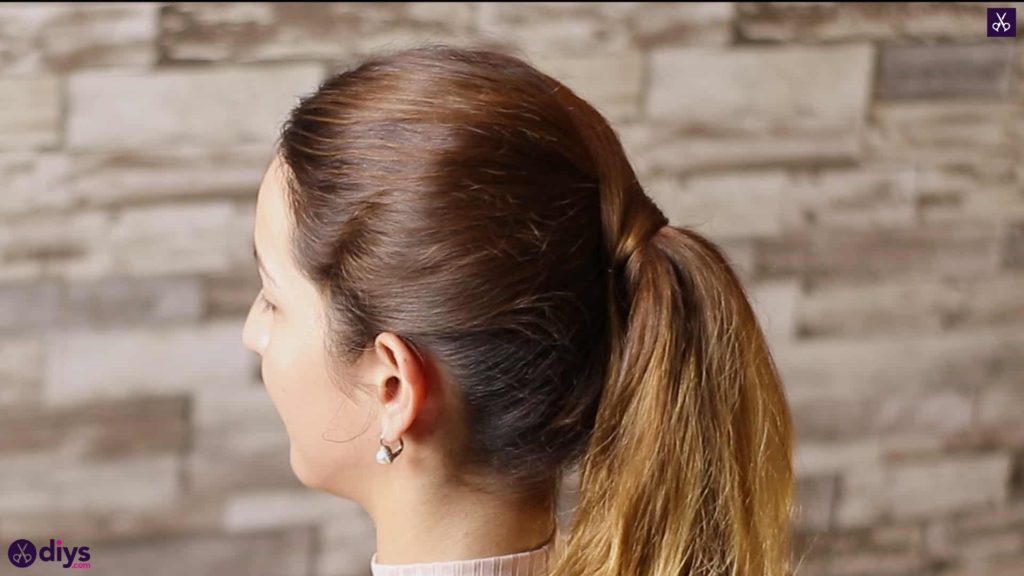
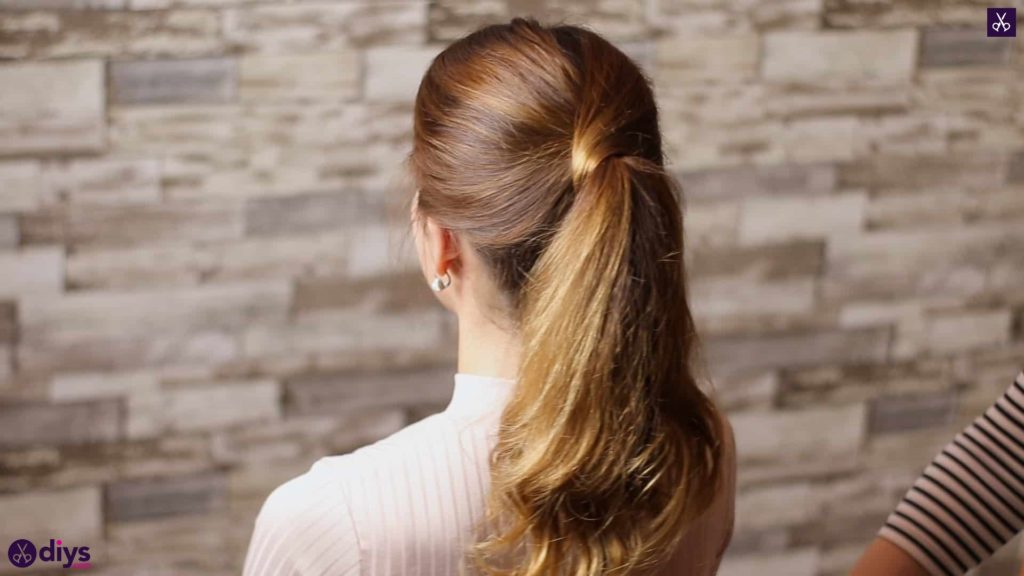
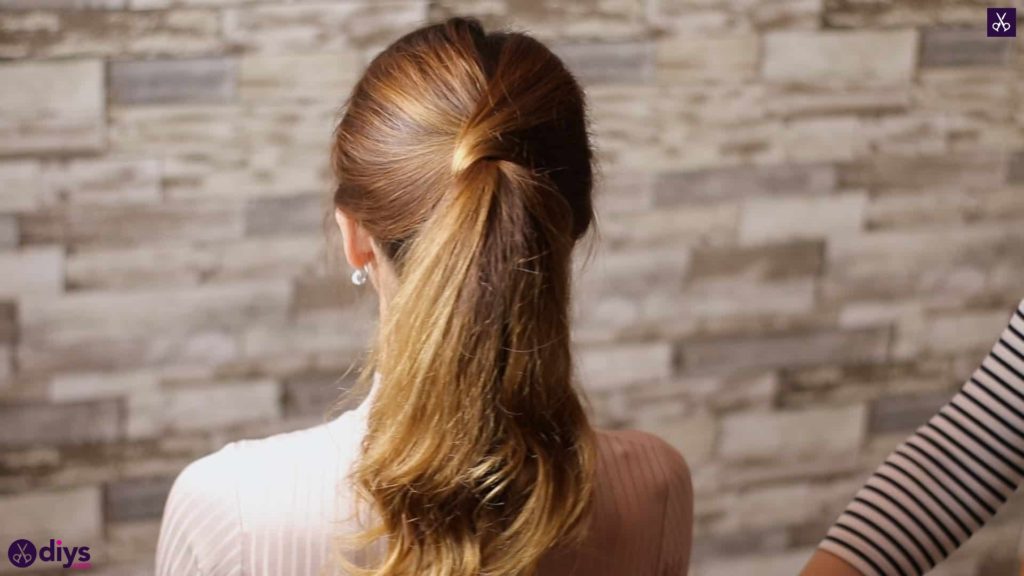
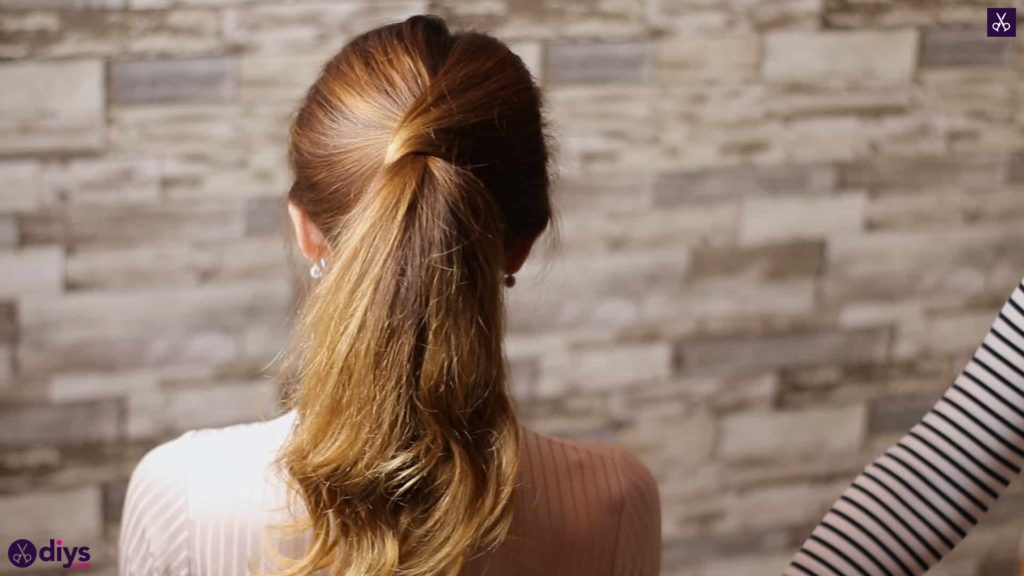
Twist a piece of hair around the elastic at the top to hide it and make the style look more natural. Do this by separating a section of hair from the underside of the ponytail, bringing it up and to the side, and wrapping it around the elastic to cover it in layers of hair, leaving a small piece at the end unwrapped. Use a bobby pin to anchor this little piece at the end into the side of the ponytail’s base, hiding it under the layers of hair but also anchoring them in place to keep the elastic hidden.
Step 3: start twisting
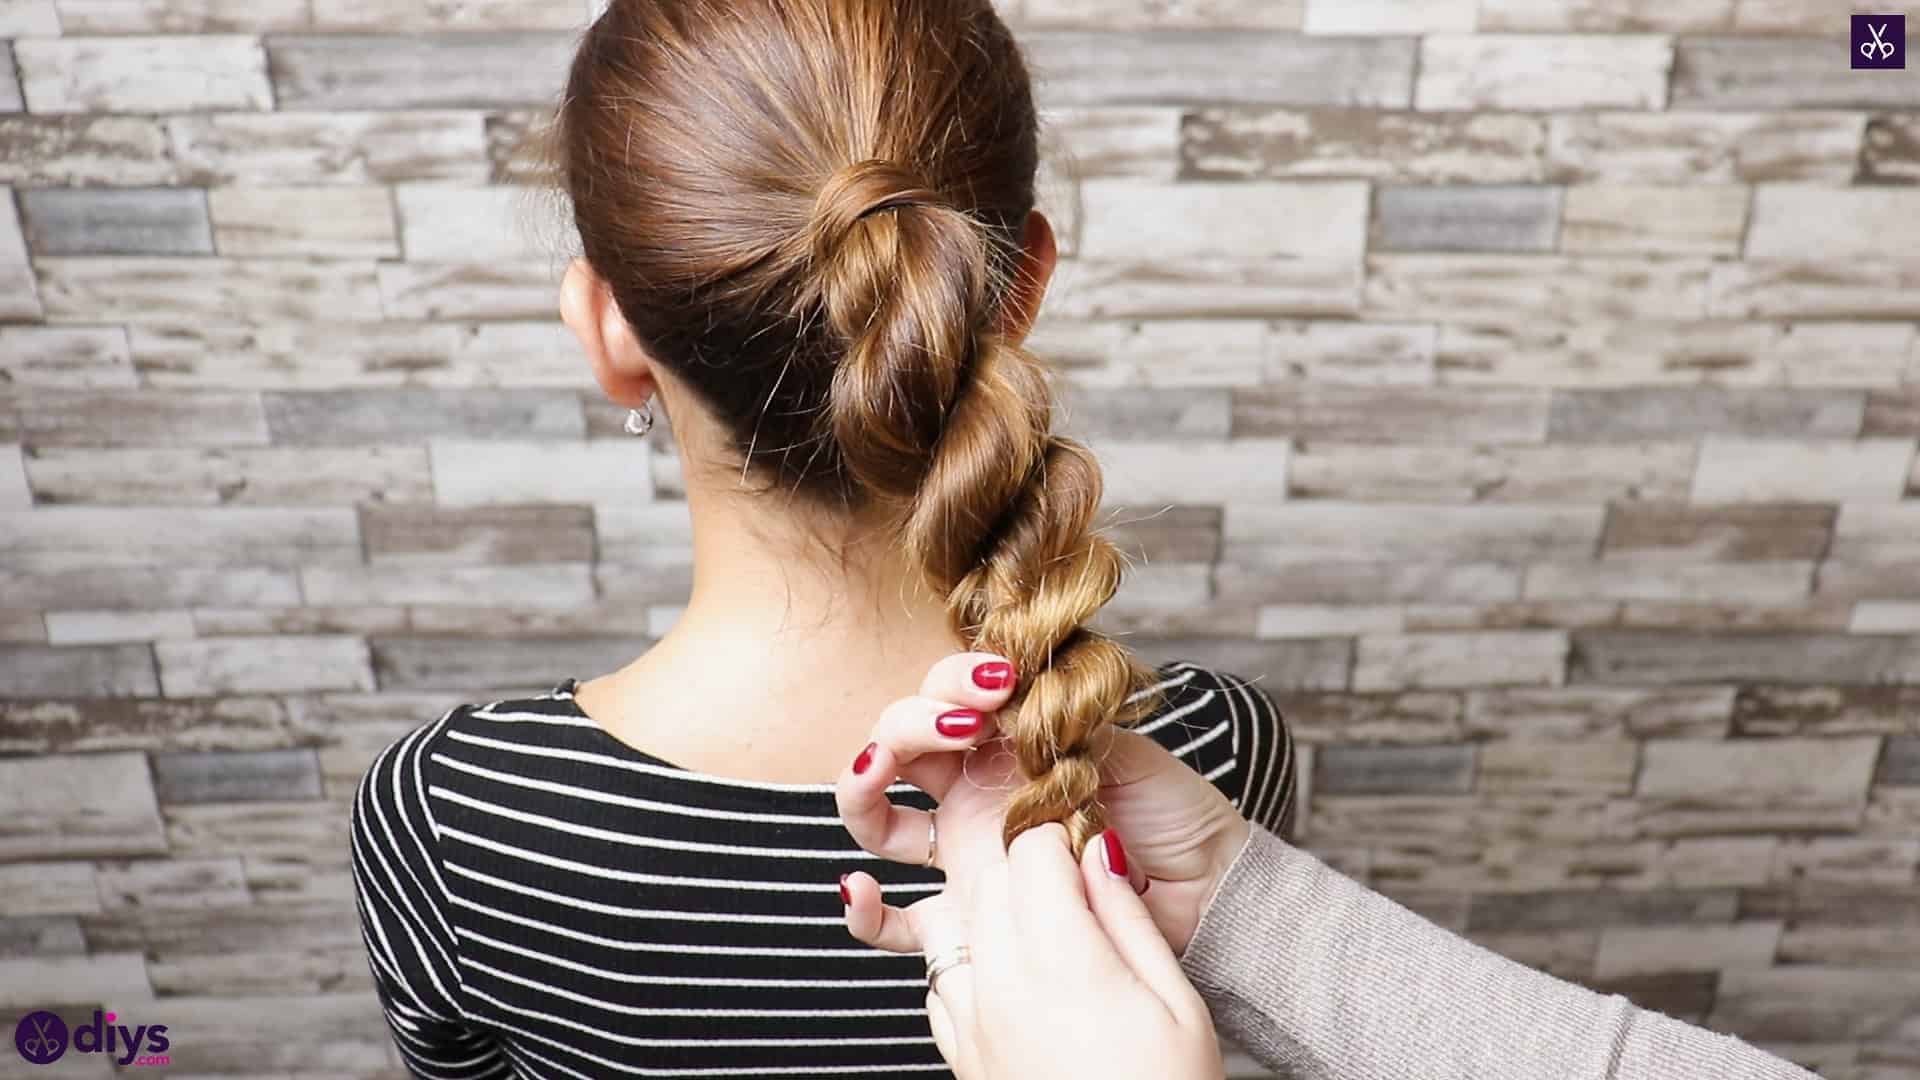
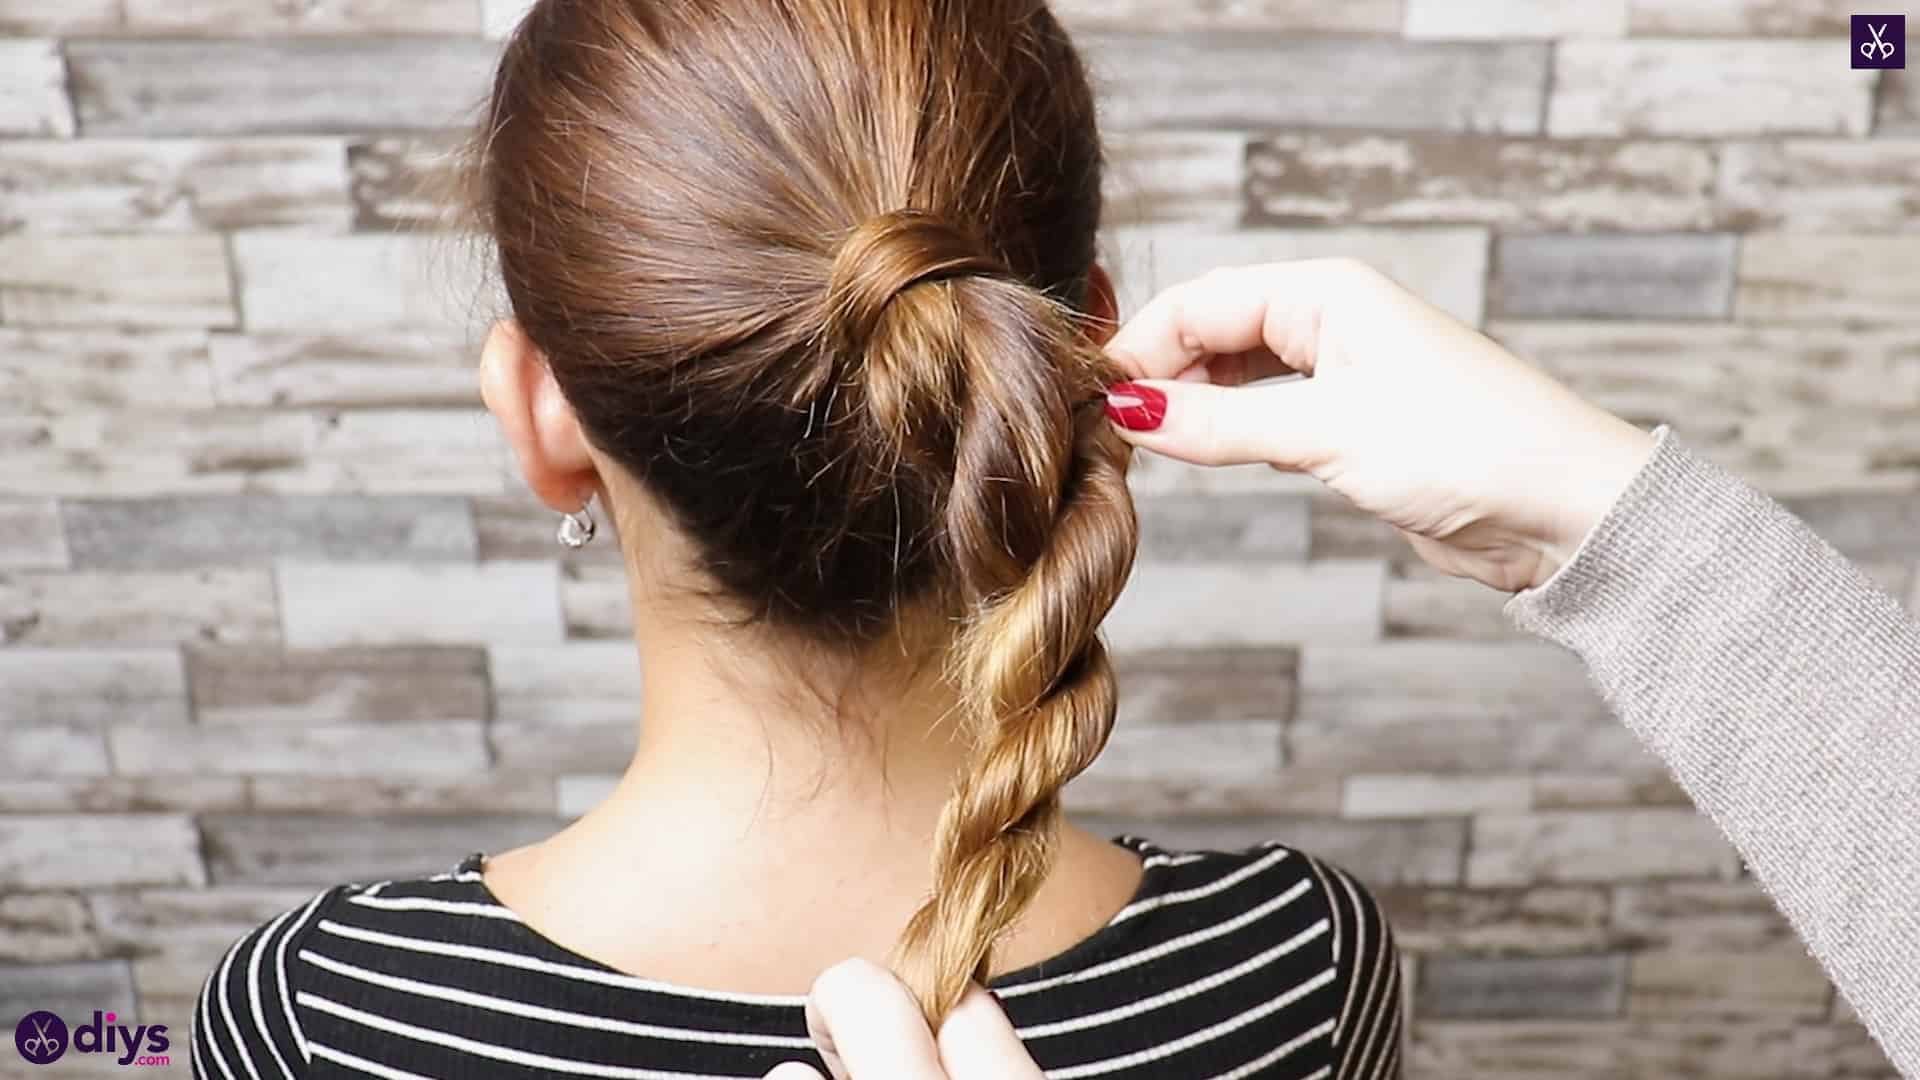
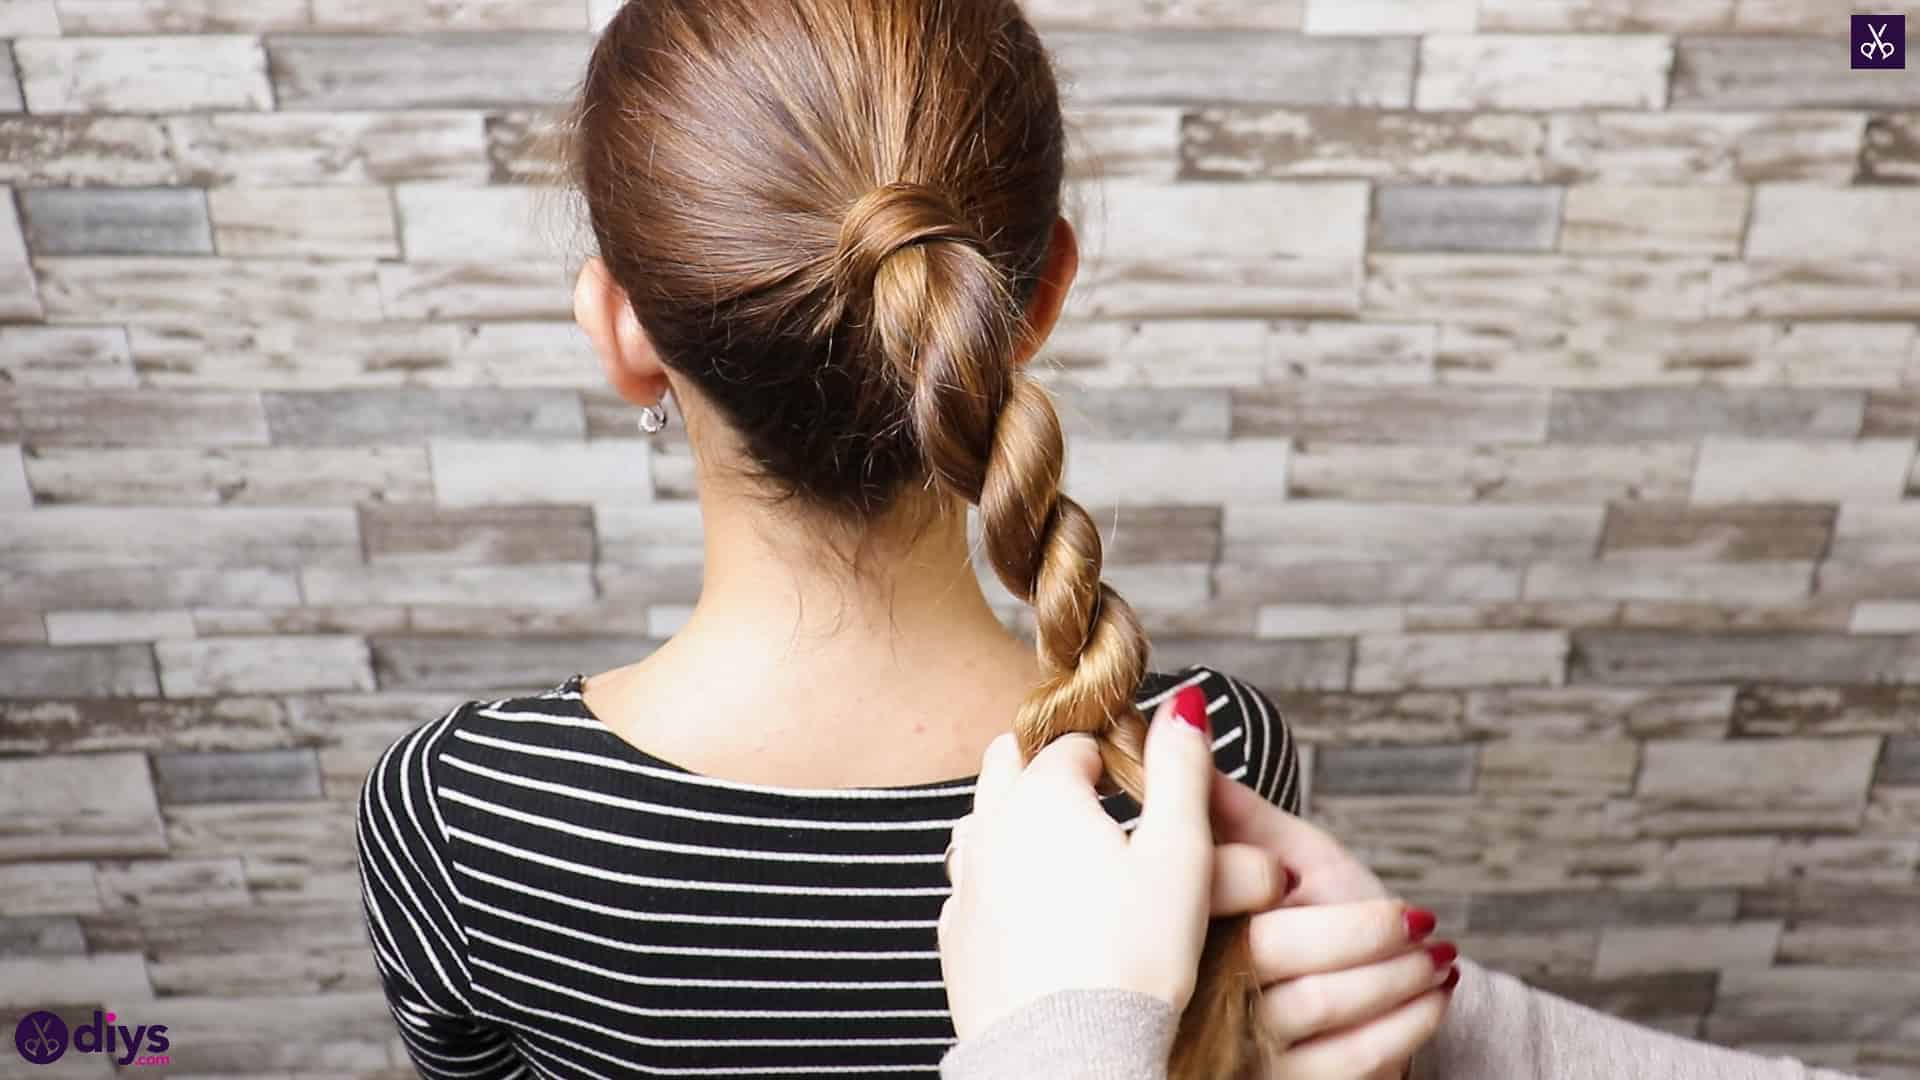
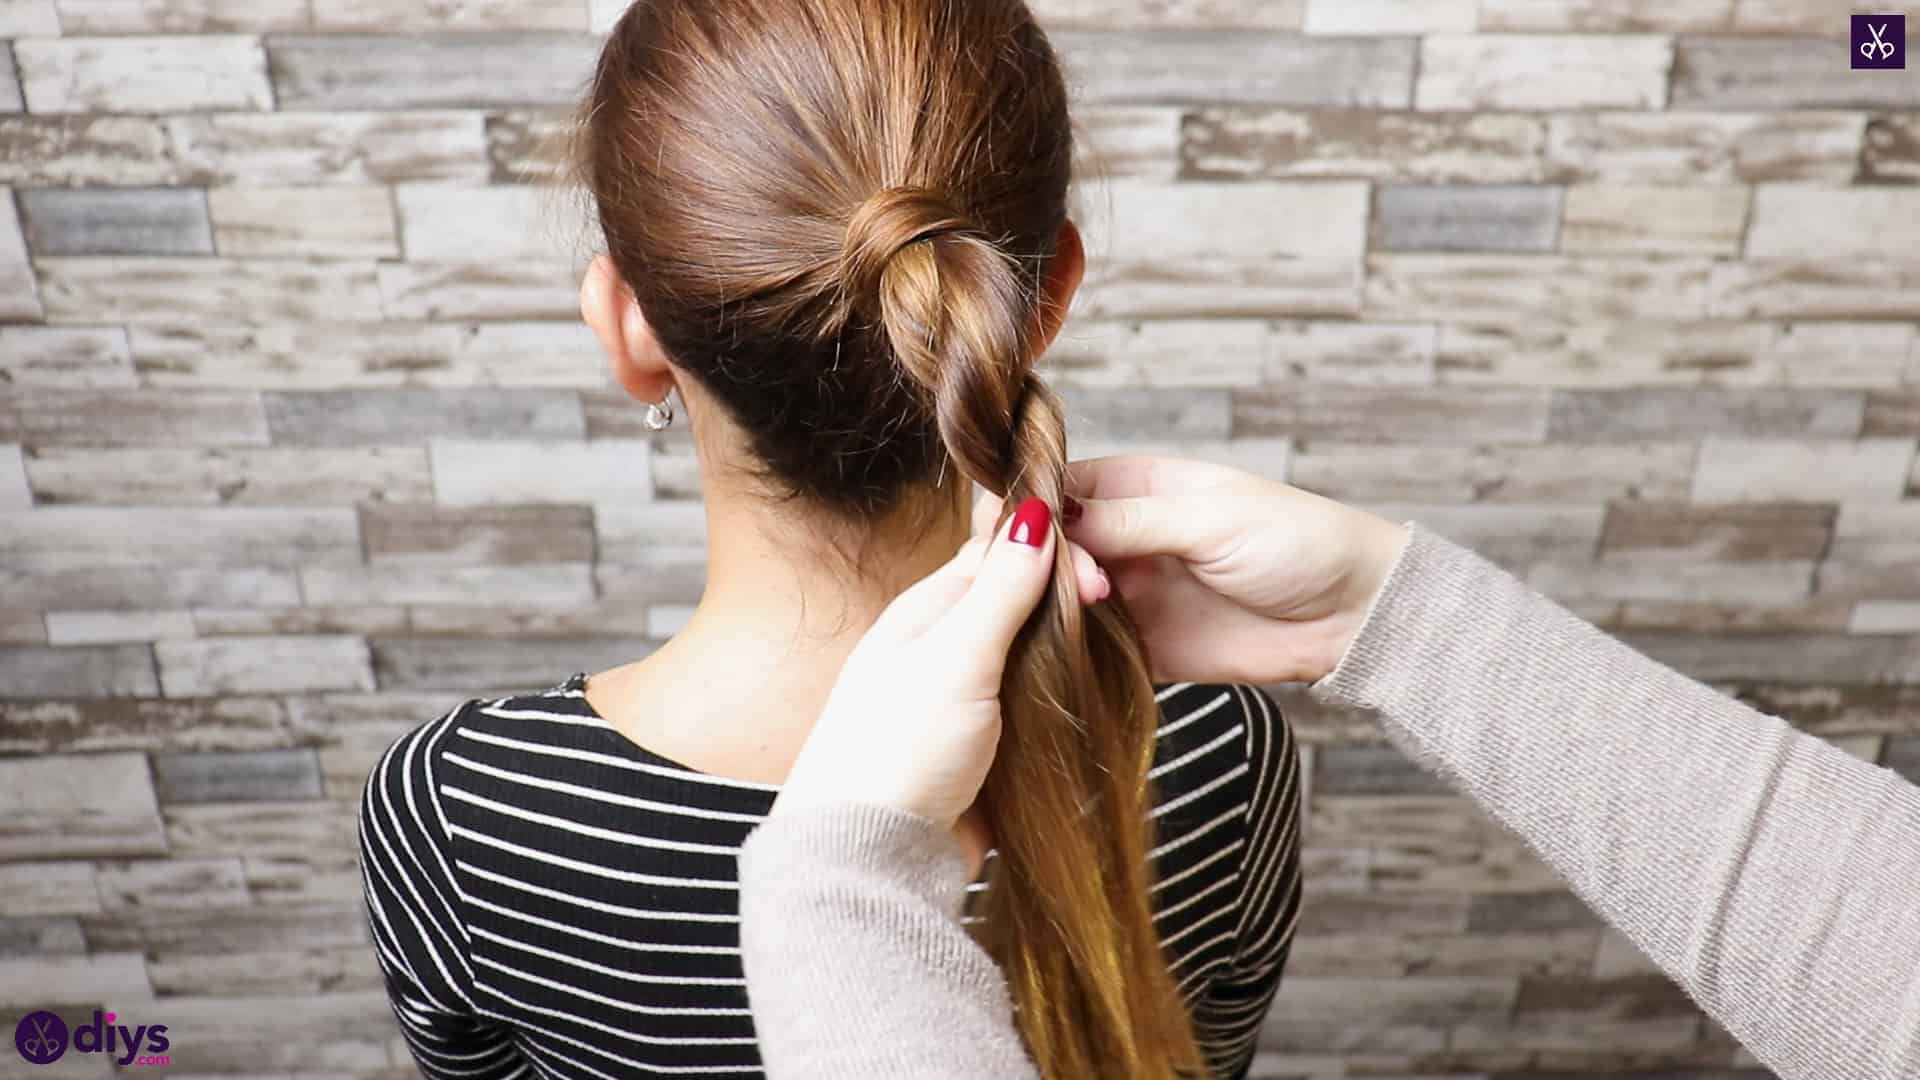
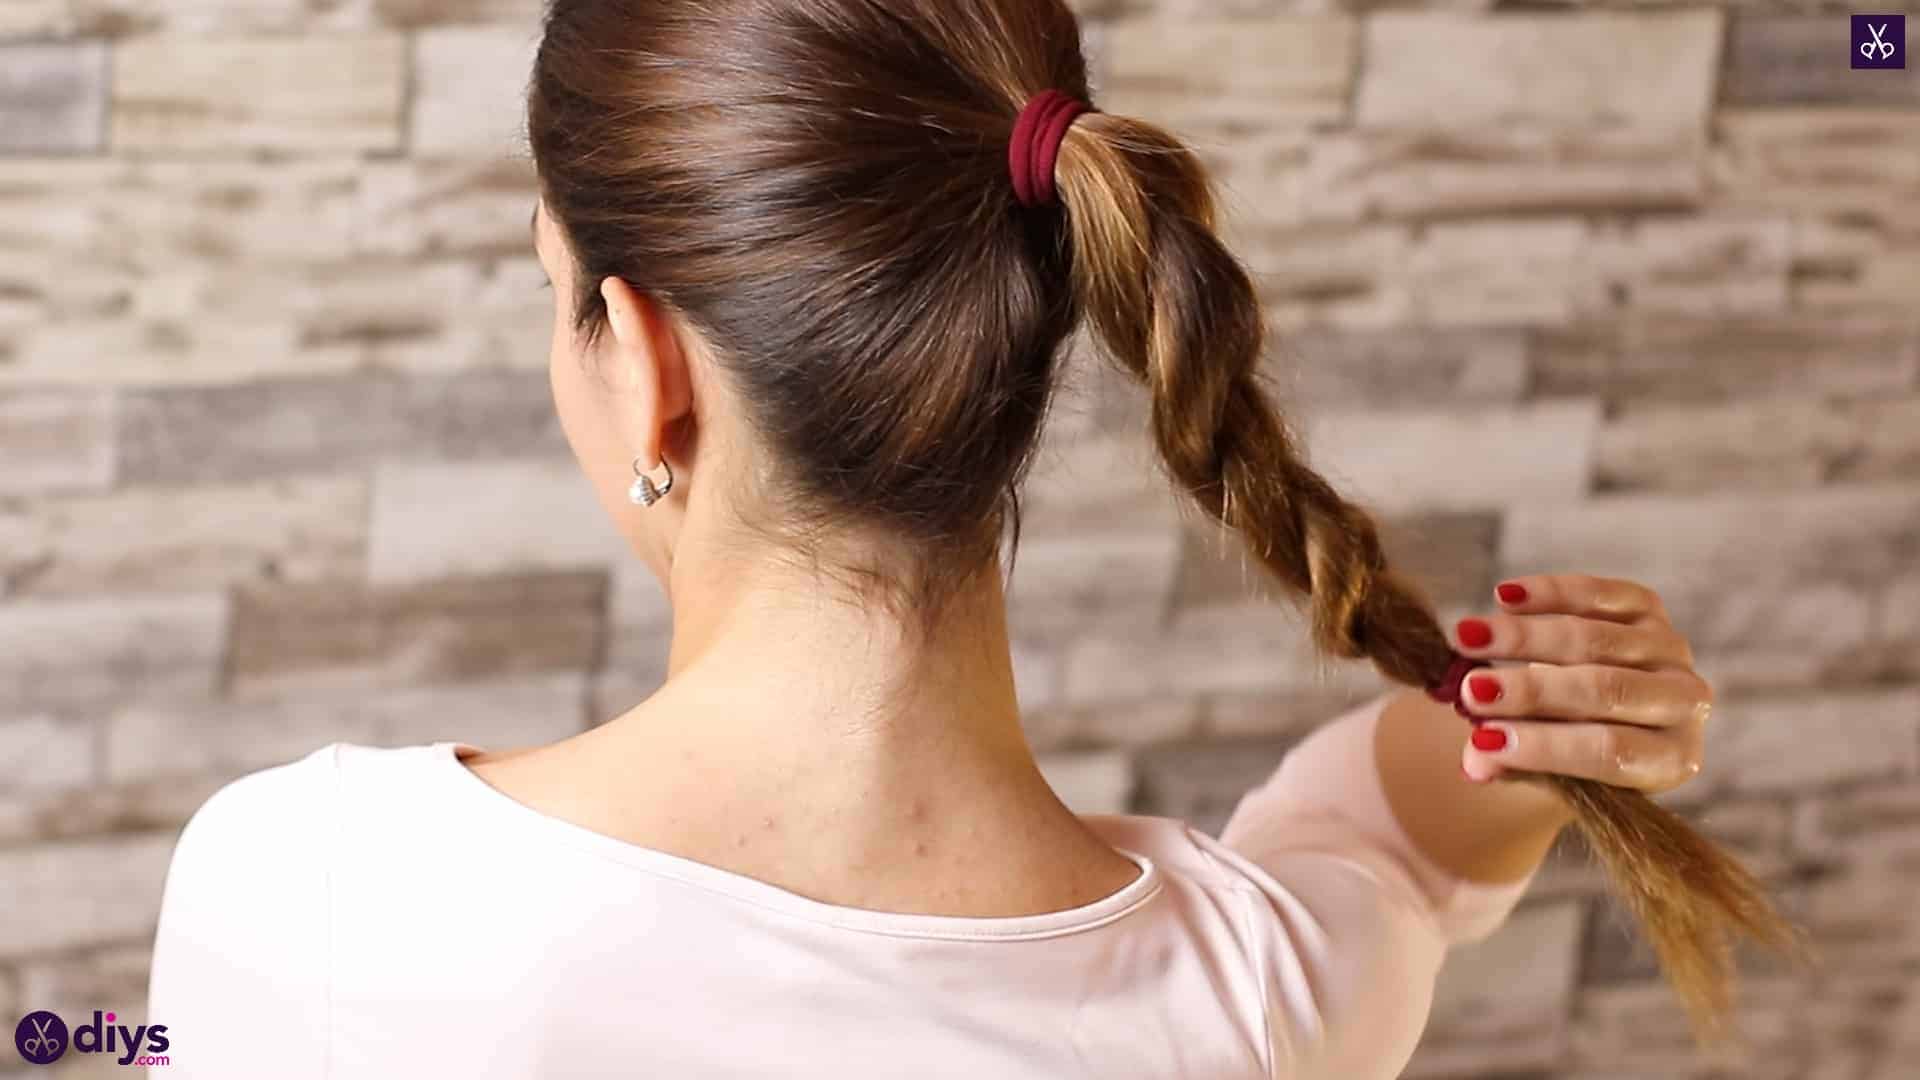
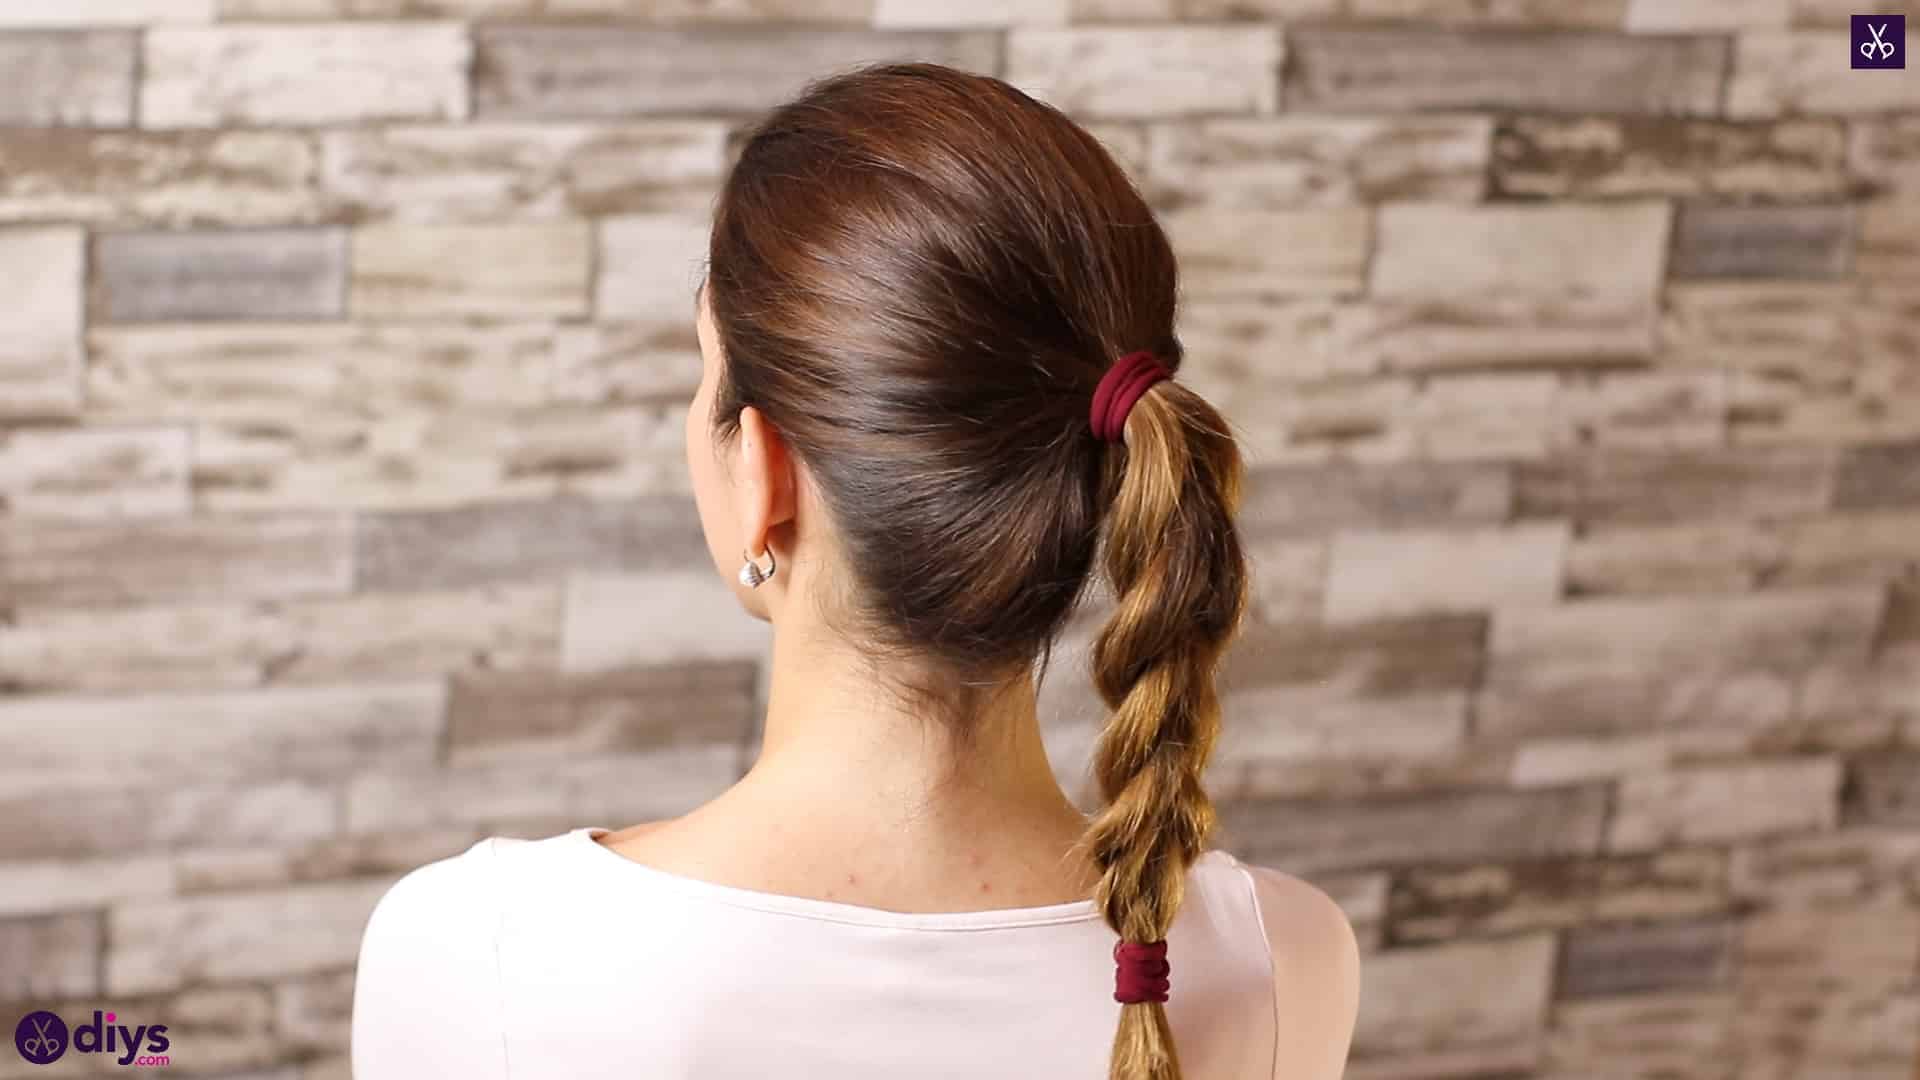
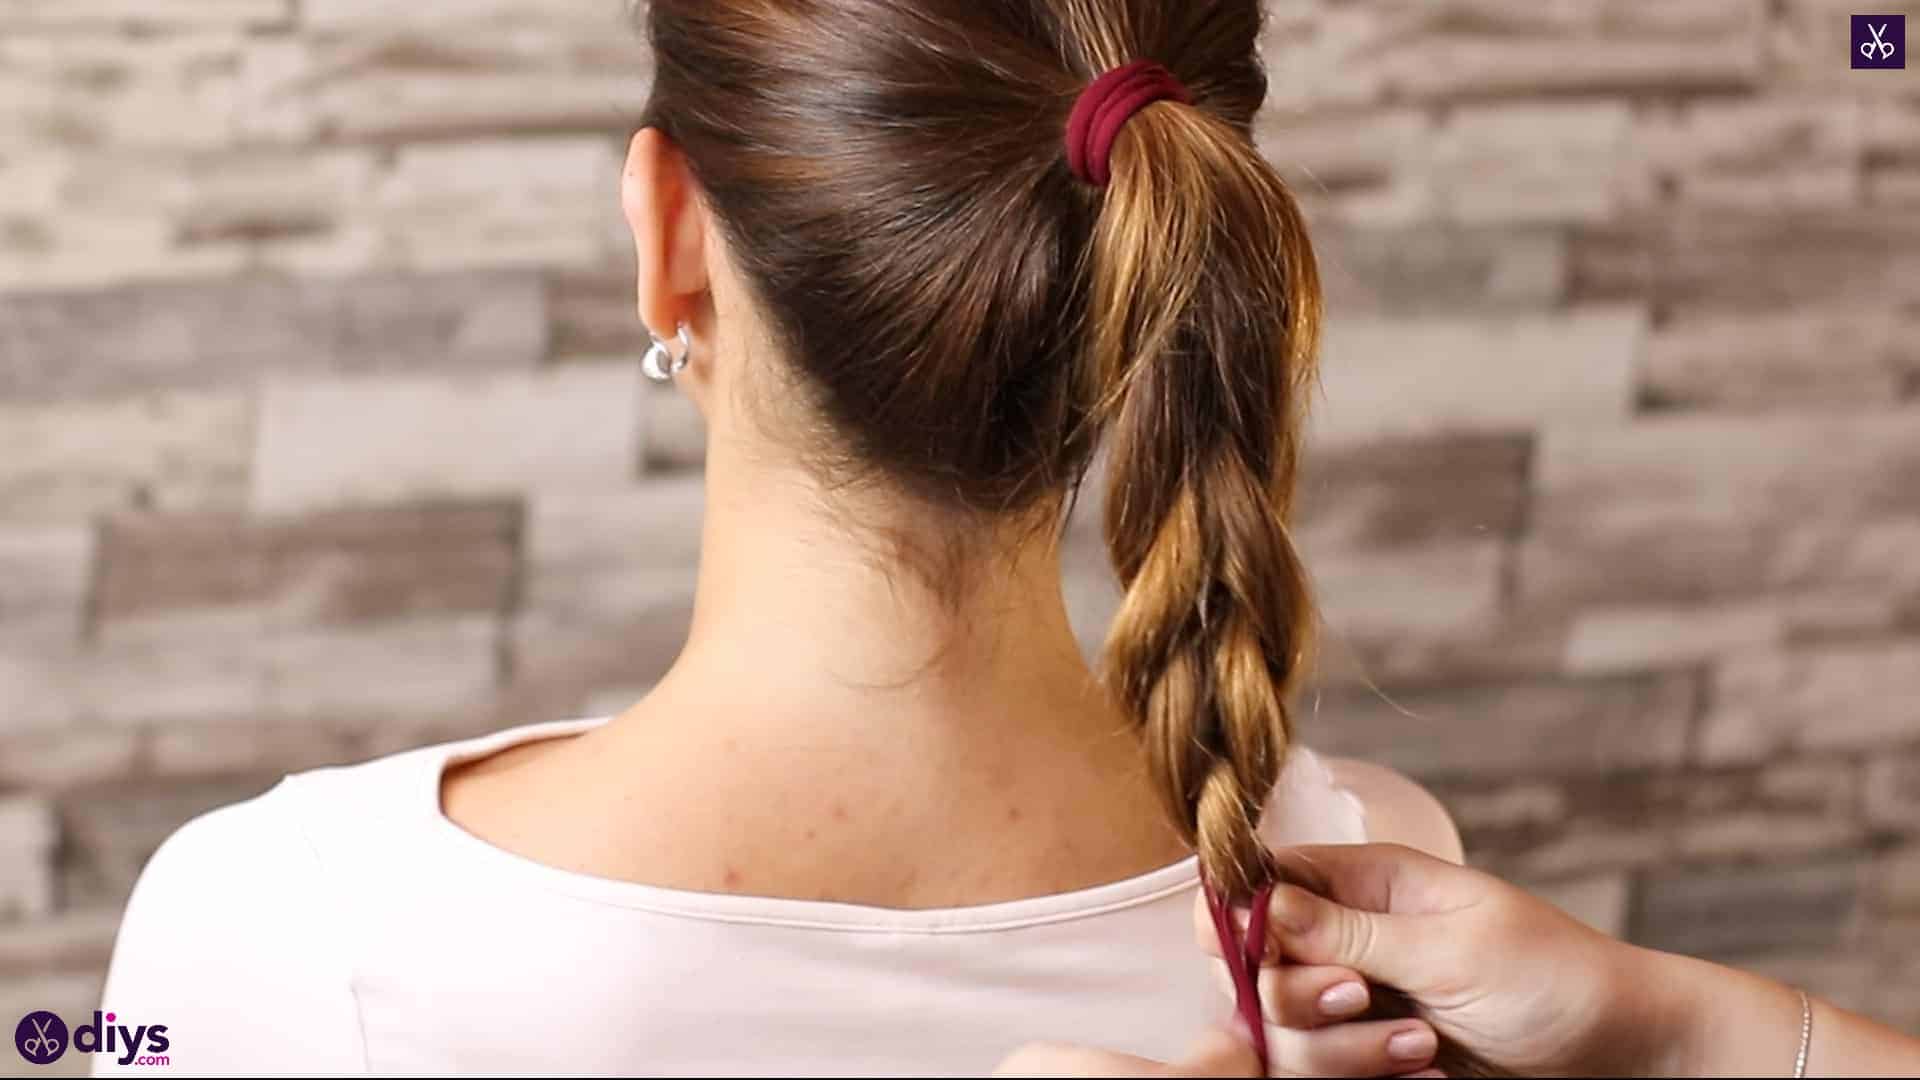
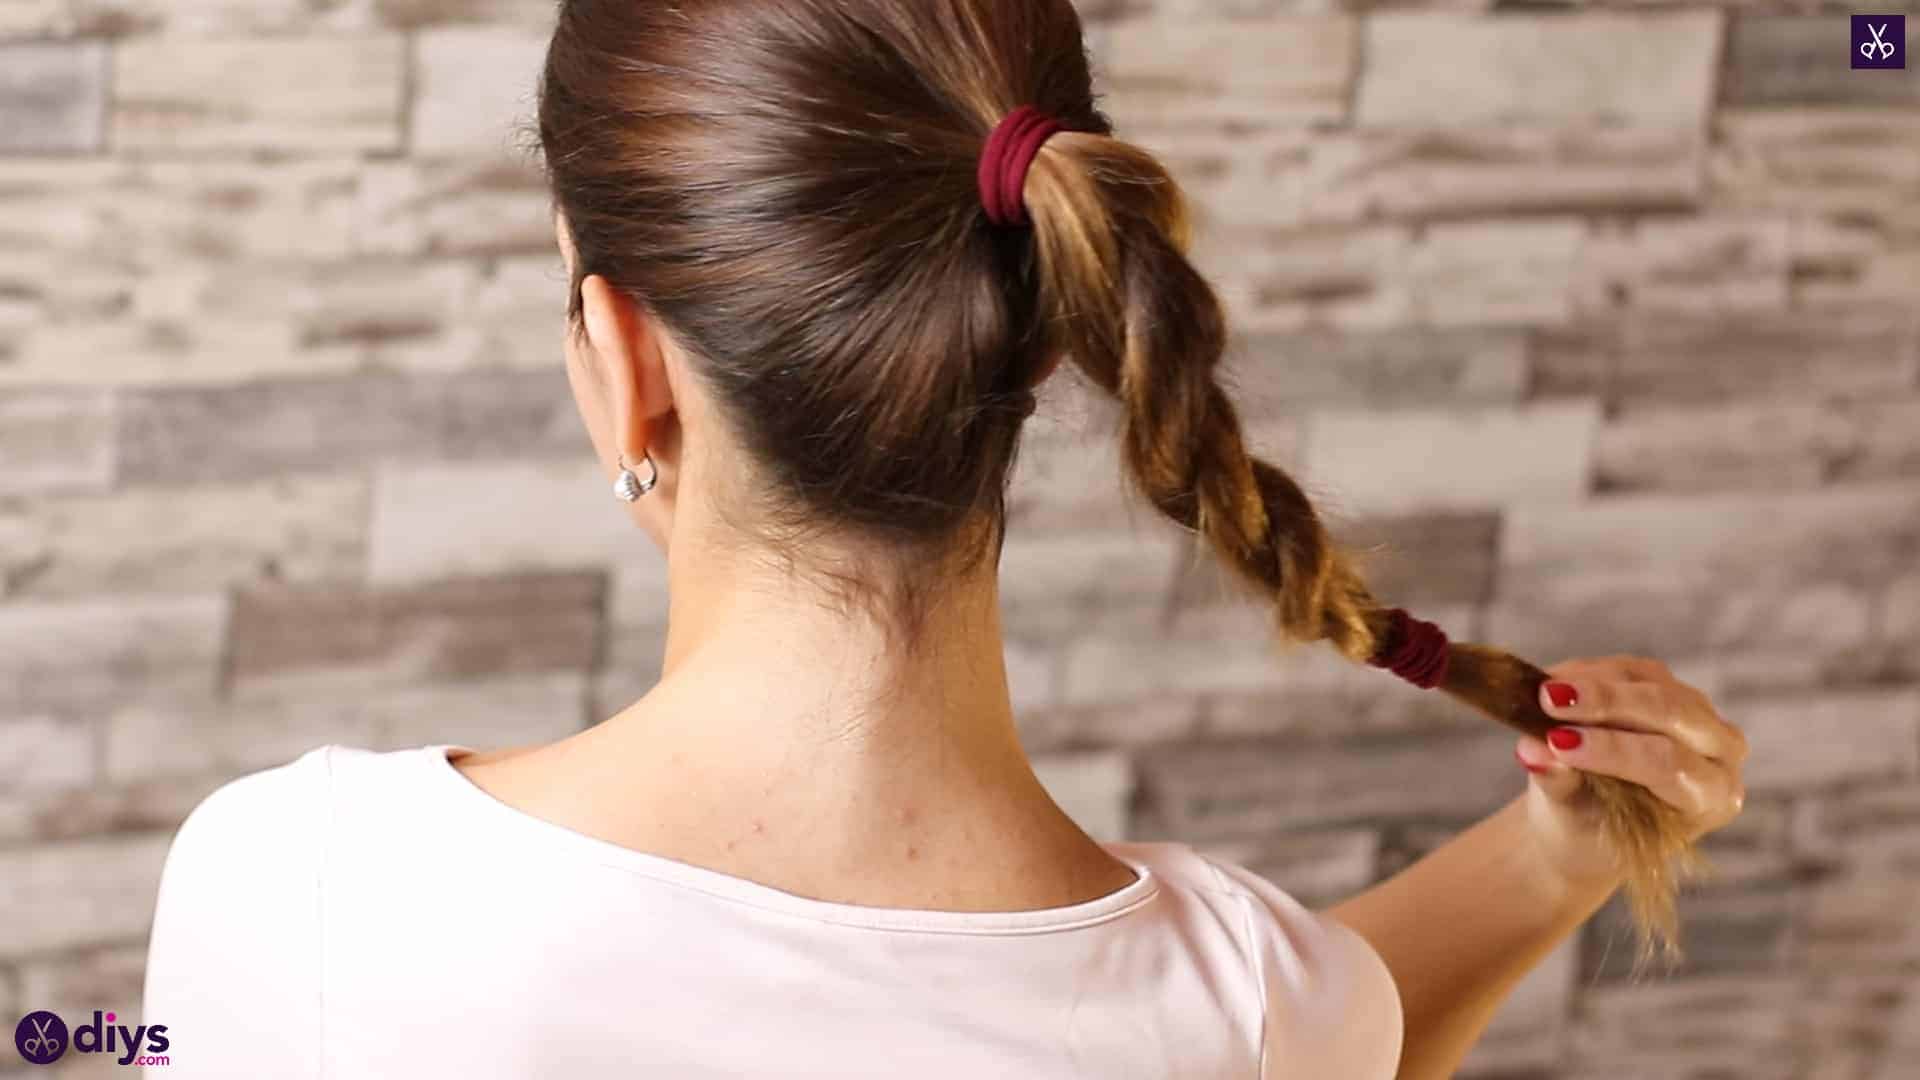
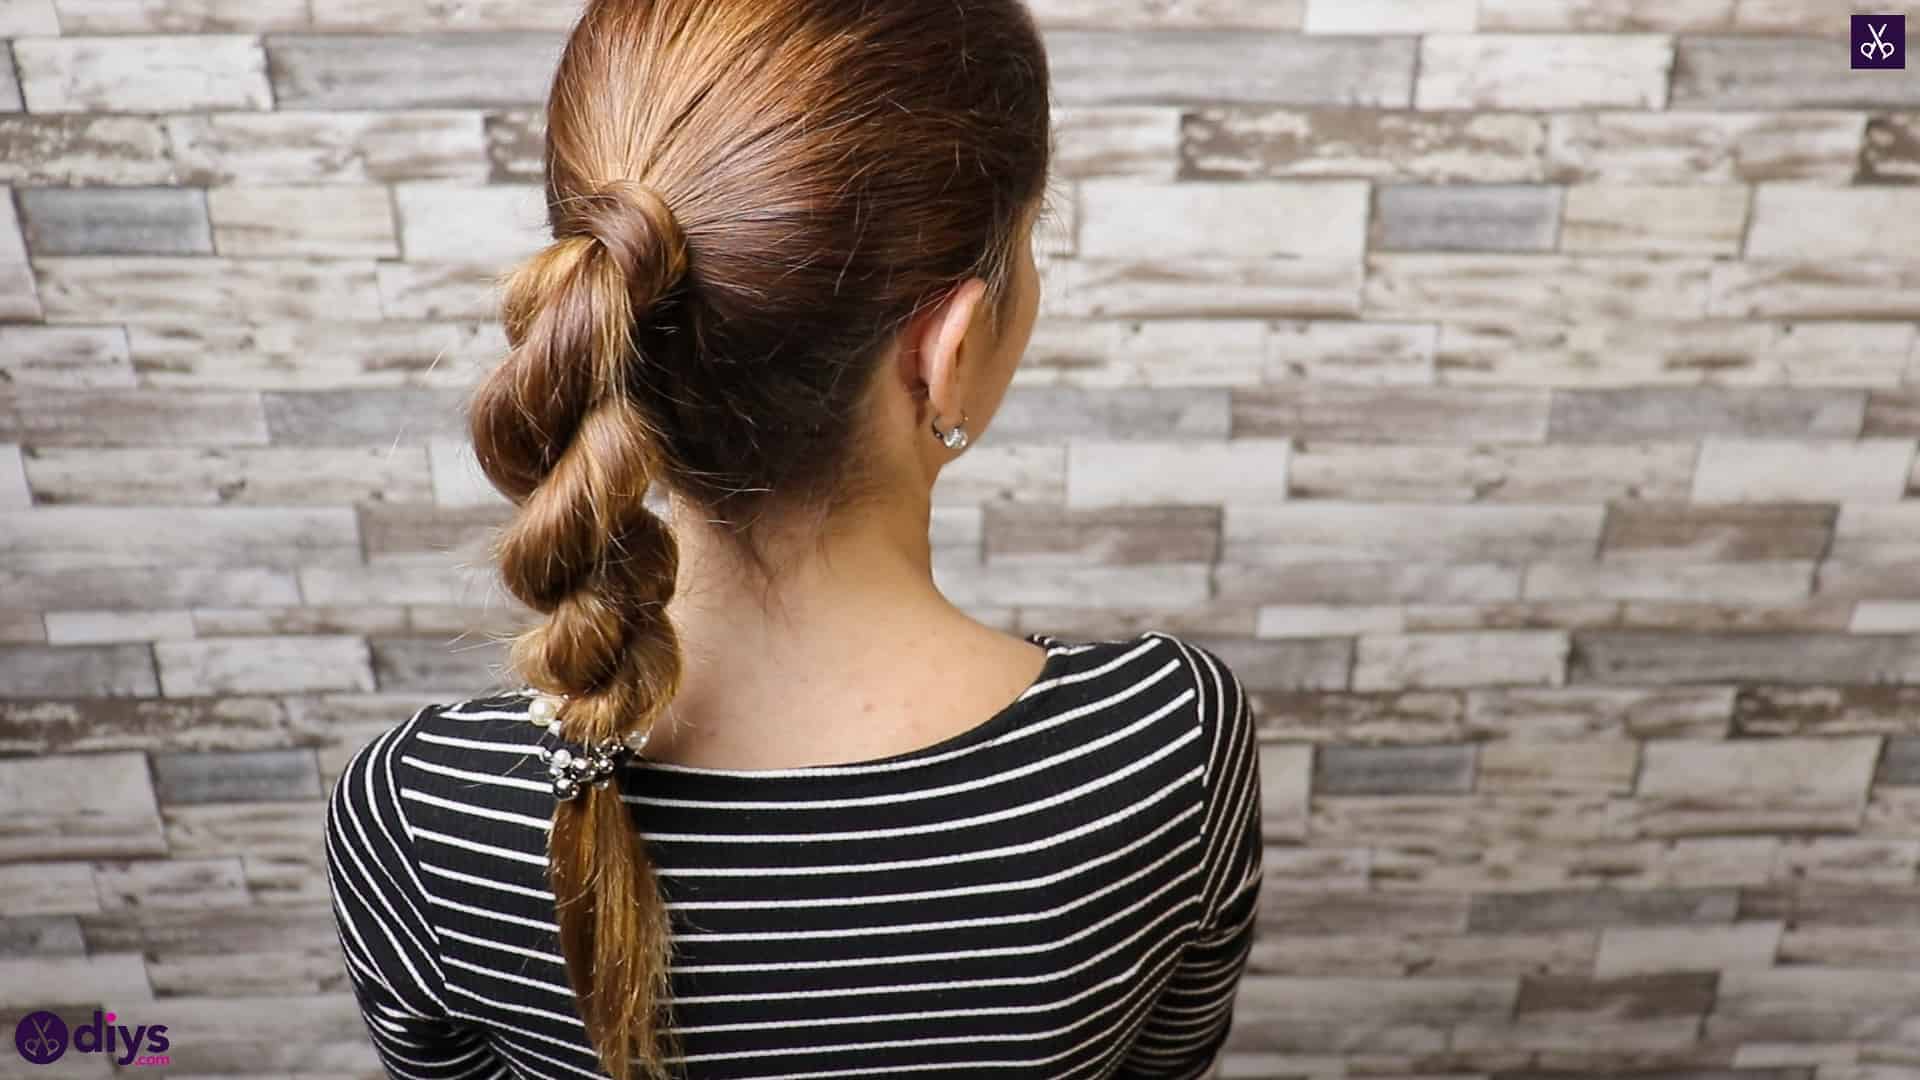
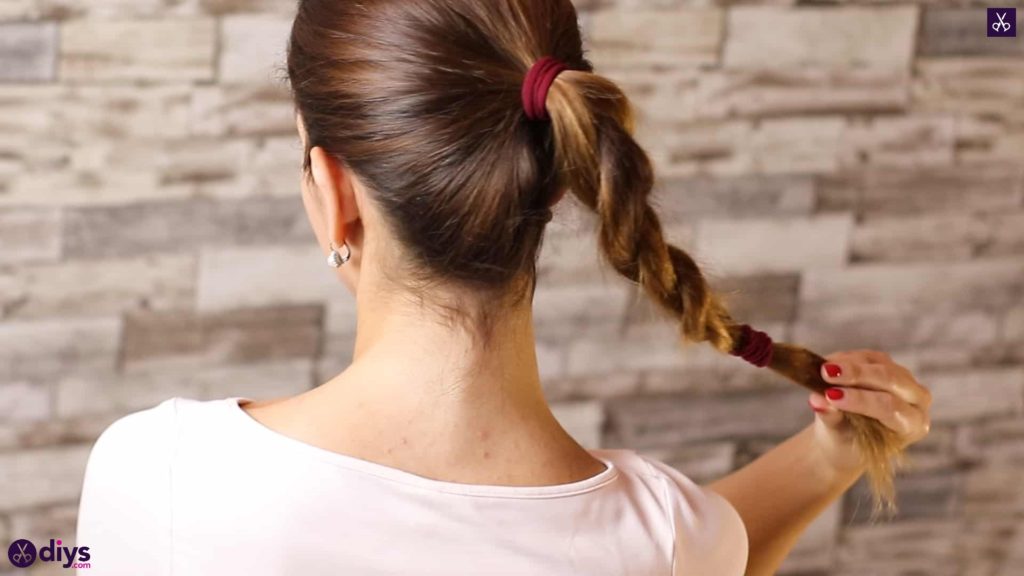
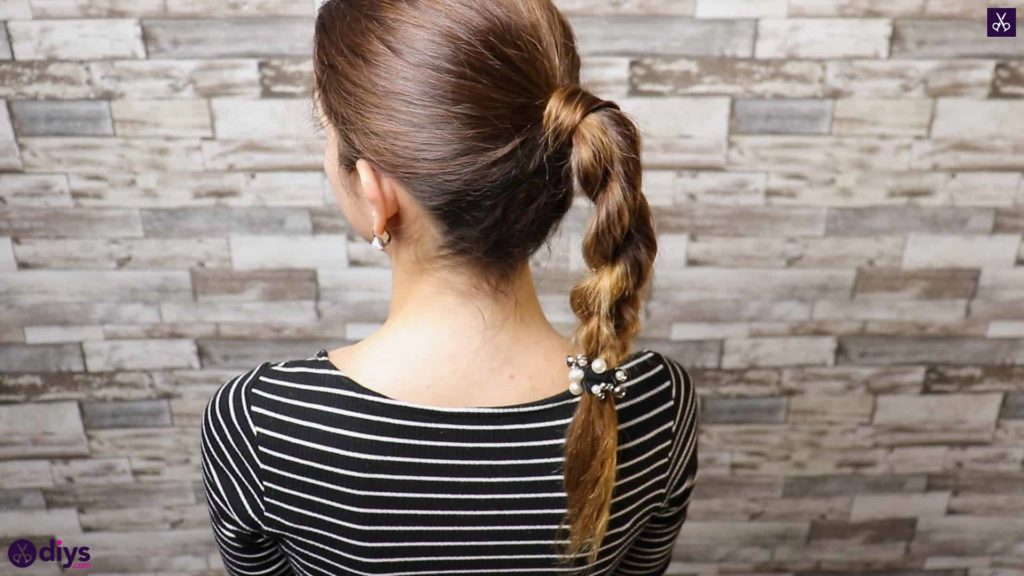
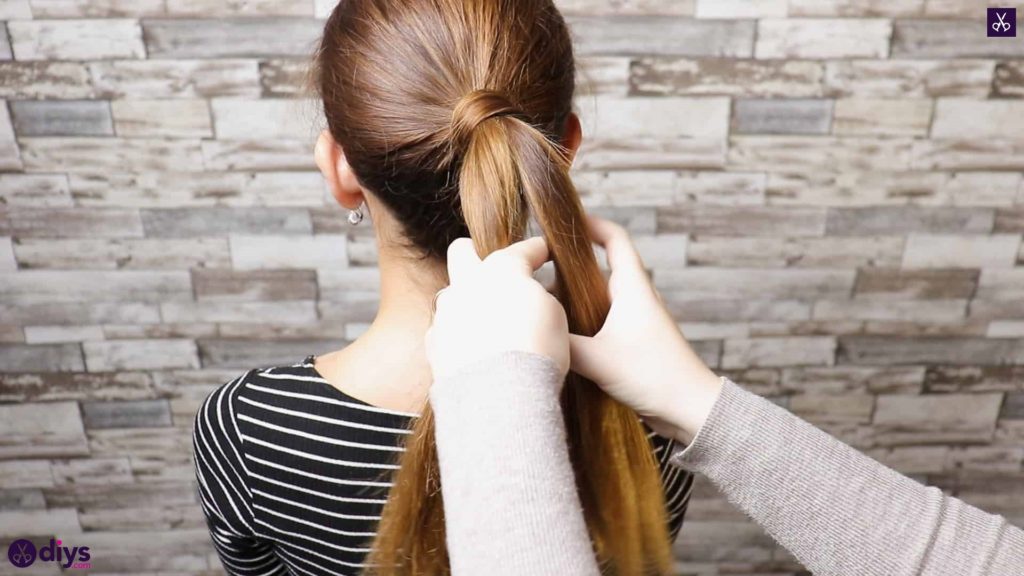
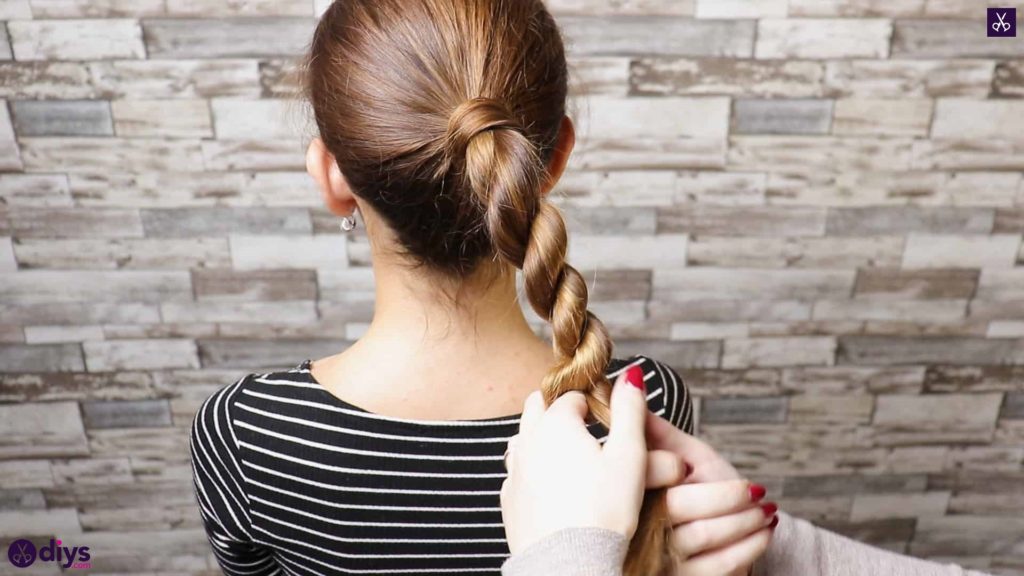
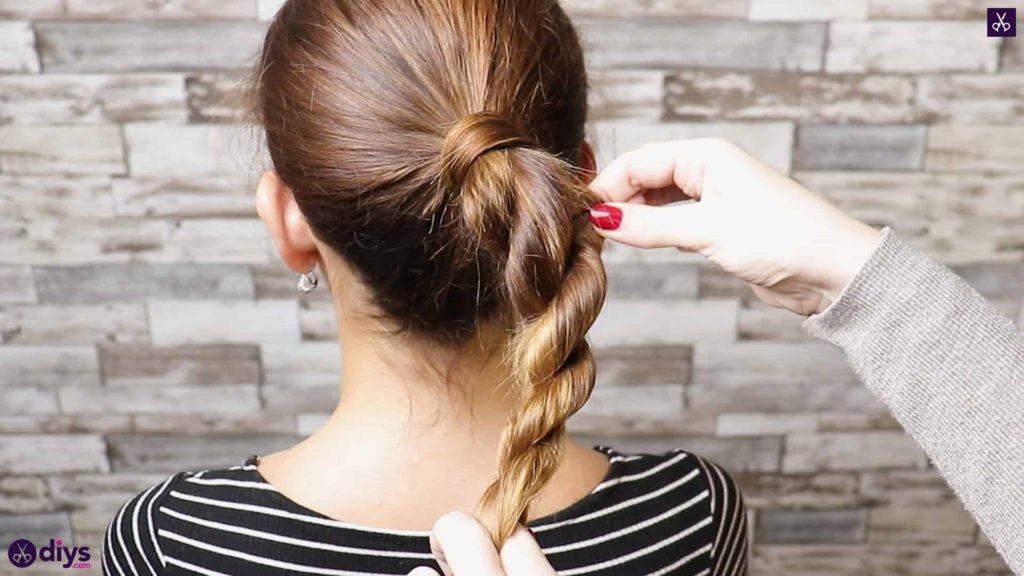
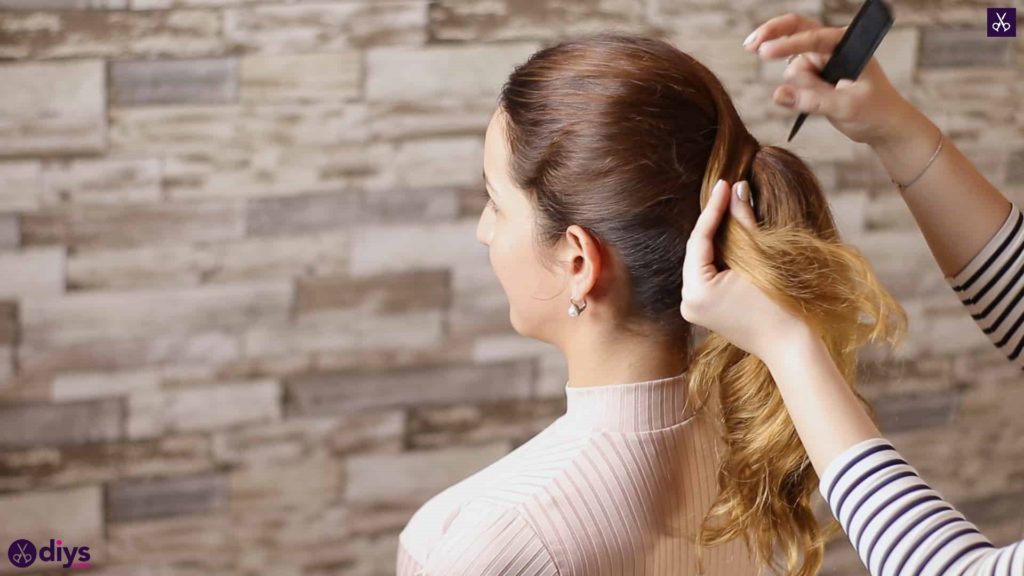
Split your ponytail into two even section down the center; one on the left and one on the right. Give the right section a twist to the right and then pass it over the left section, swapping which hand is holding which section as you move them. Hold the twisted section that is not in your left hand tightly so it doesn’t lose its twist and give the new section in your right hand a twist to the right too. Pass this freshly twisted section over the other and to your left hand and take the section that was there from underneath and back into your right. Give it another twist to the right and repeat this passing and twisting routine over and over, always with the same pull from under-twist right-pass over to the left pattern until you’ve reached the bottom of the ponytail and the ends are too short to continue with.
Step 4: loosen
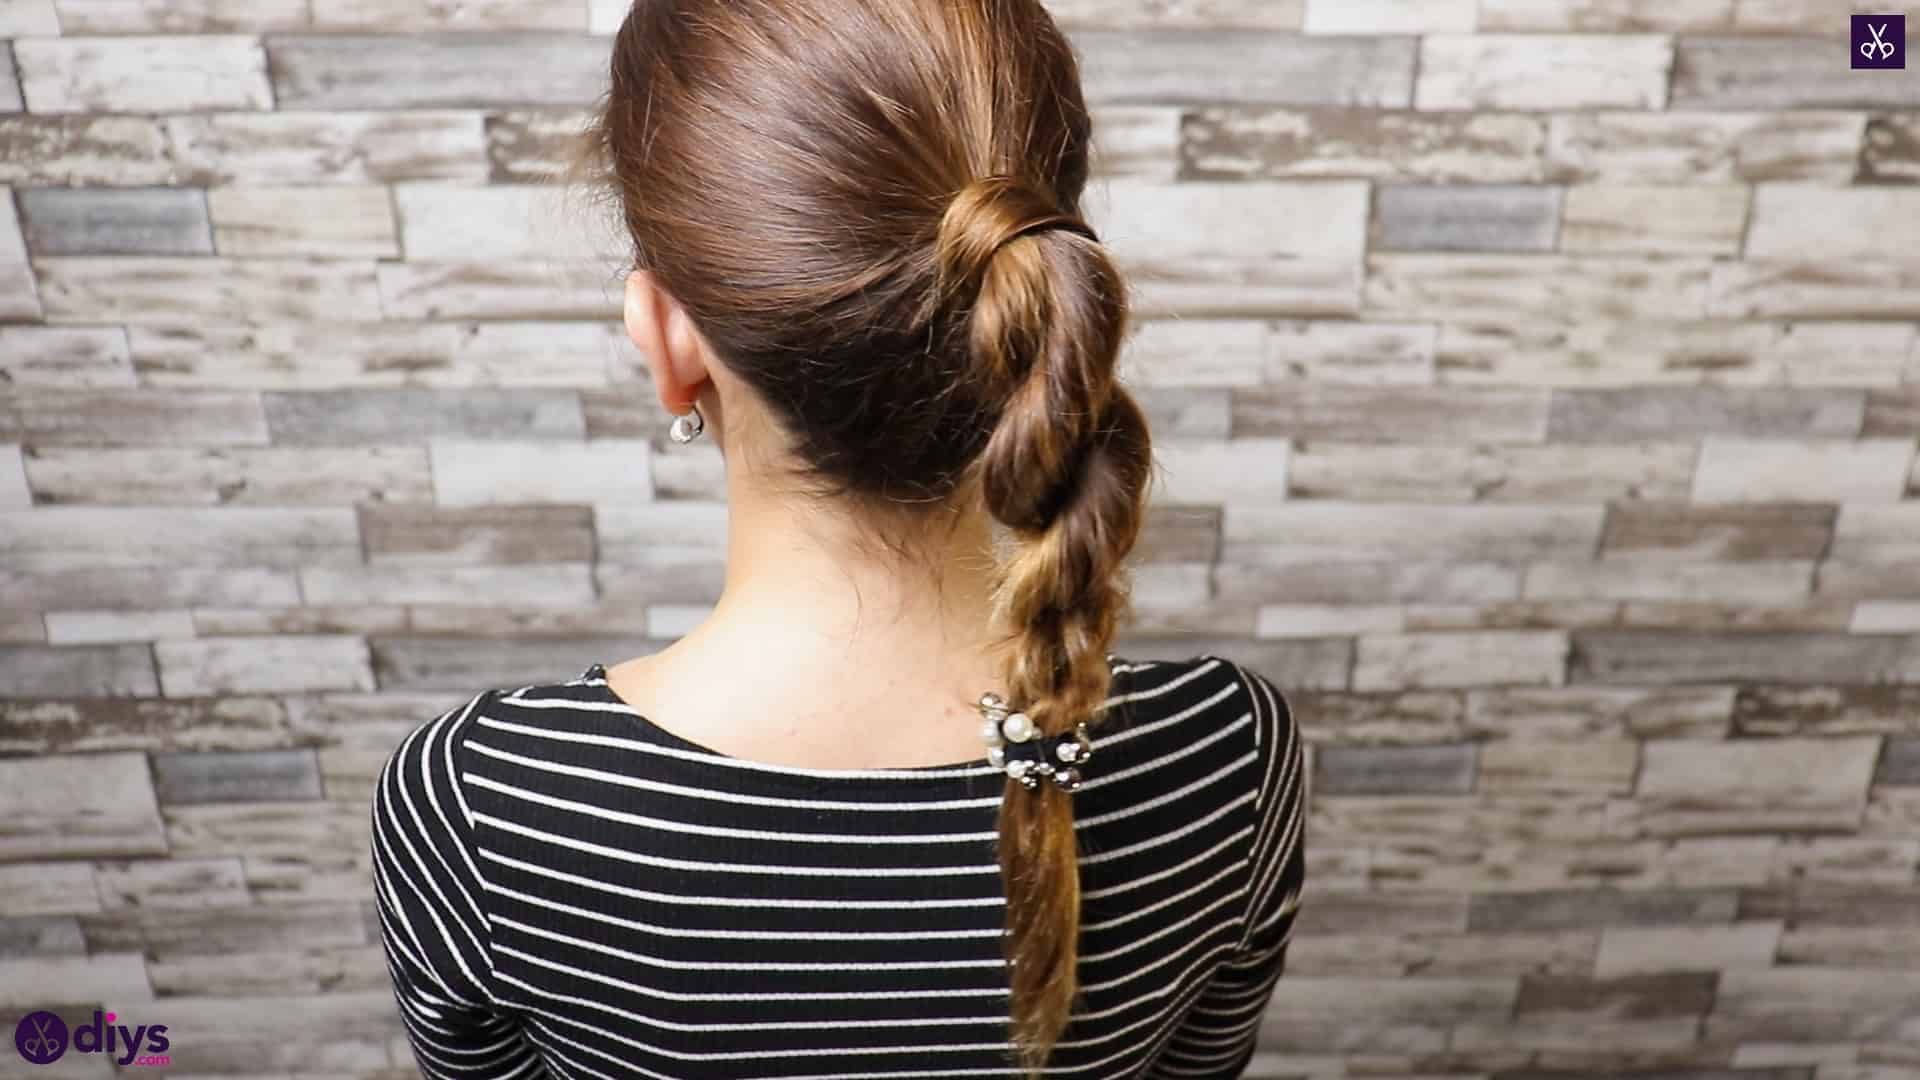
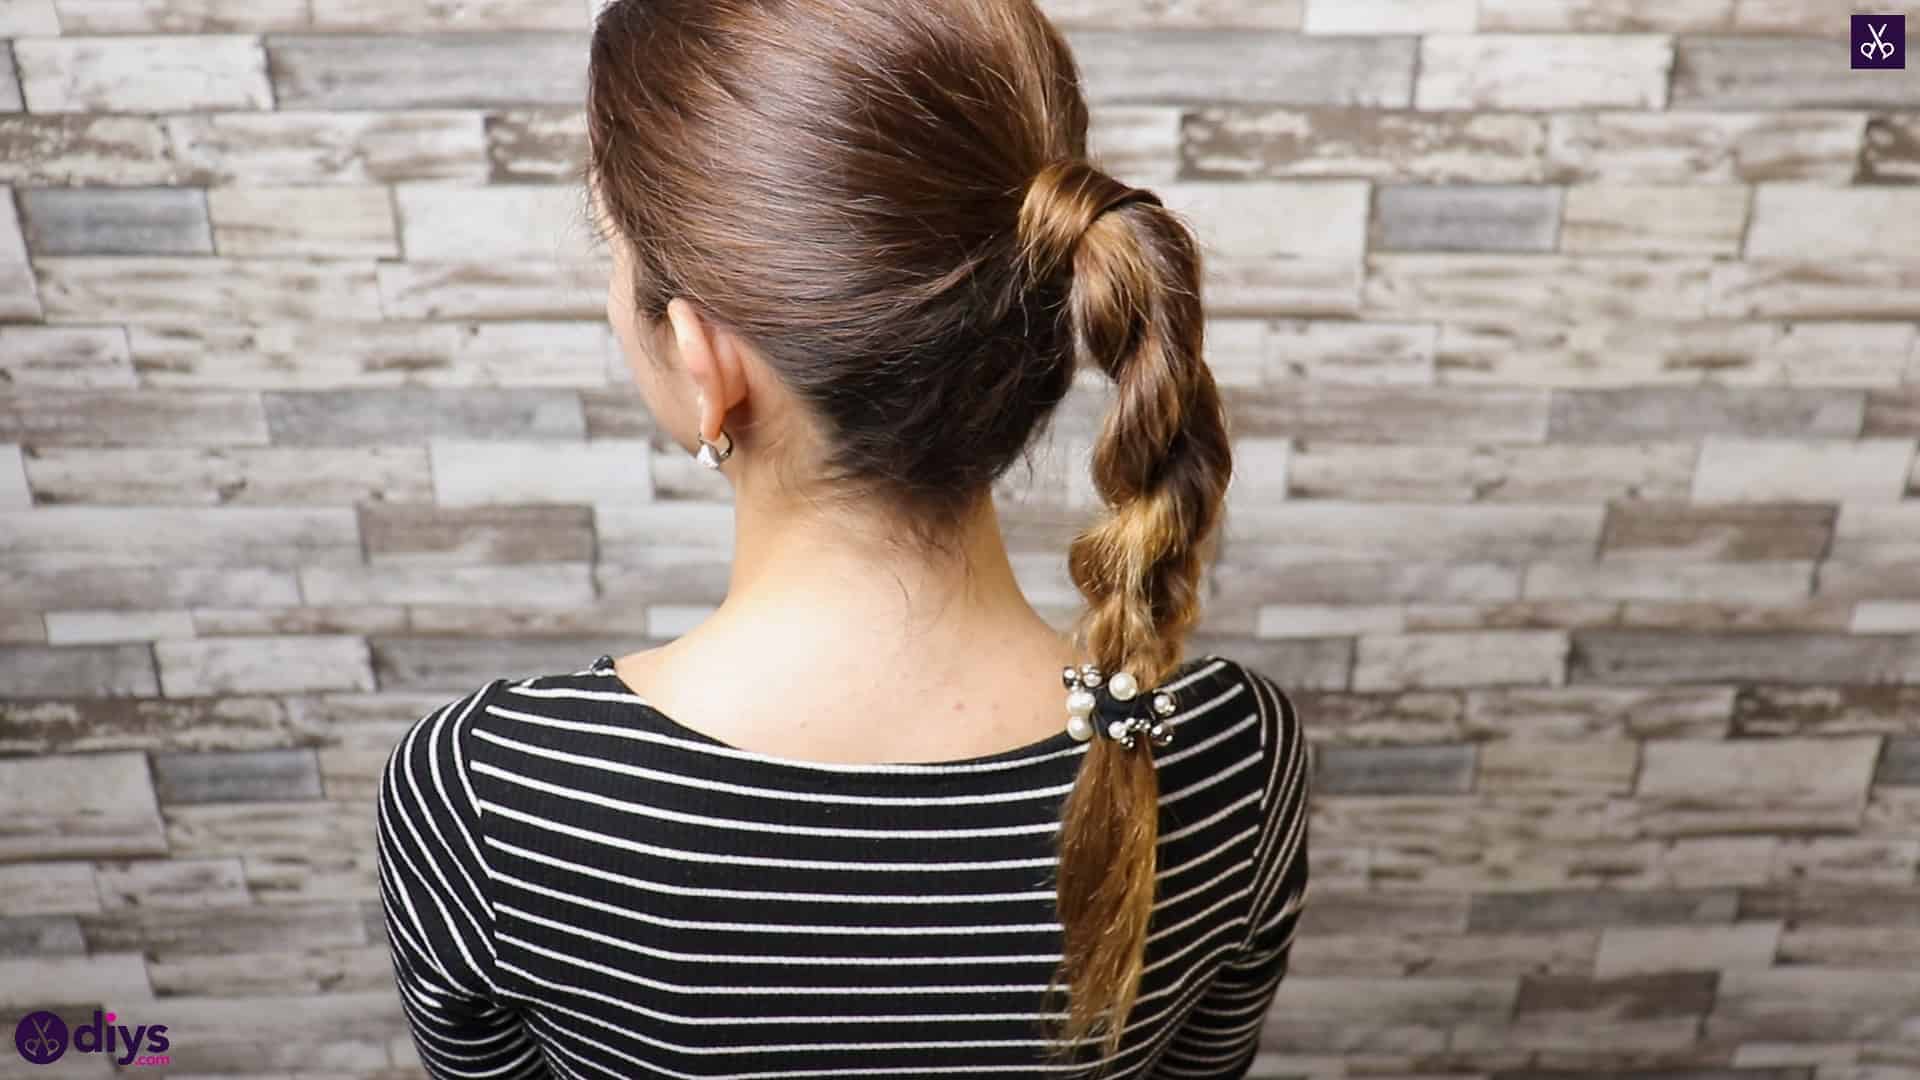
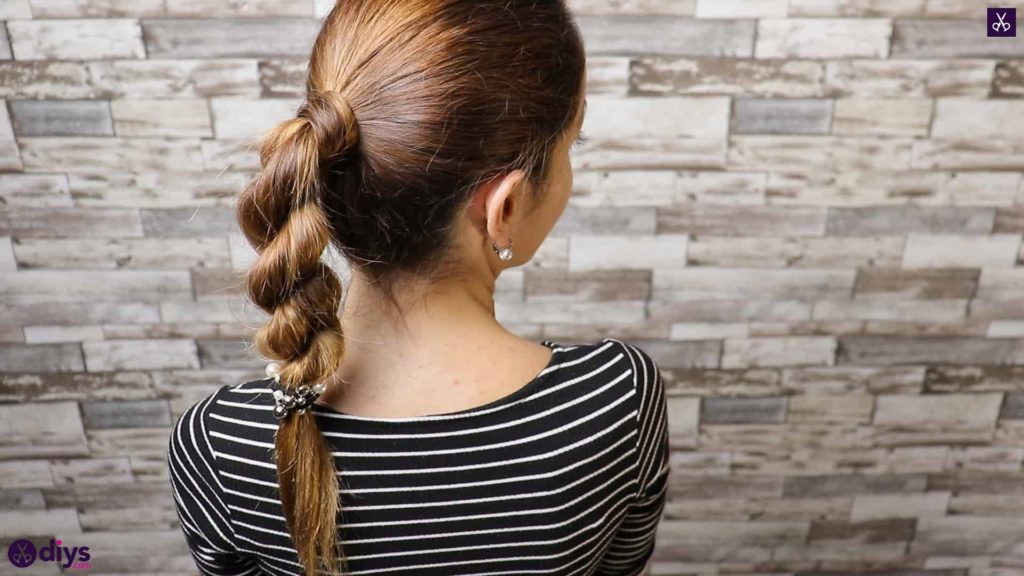
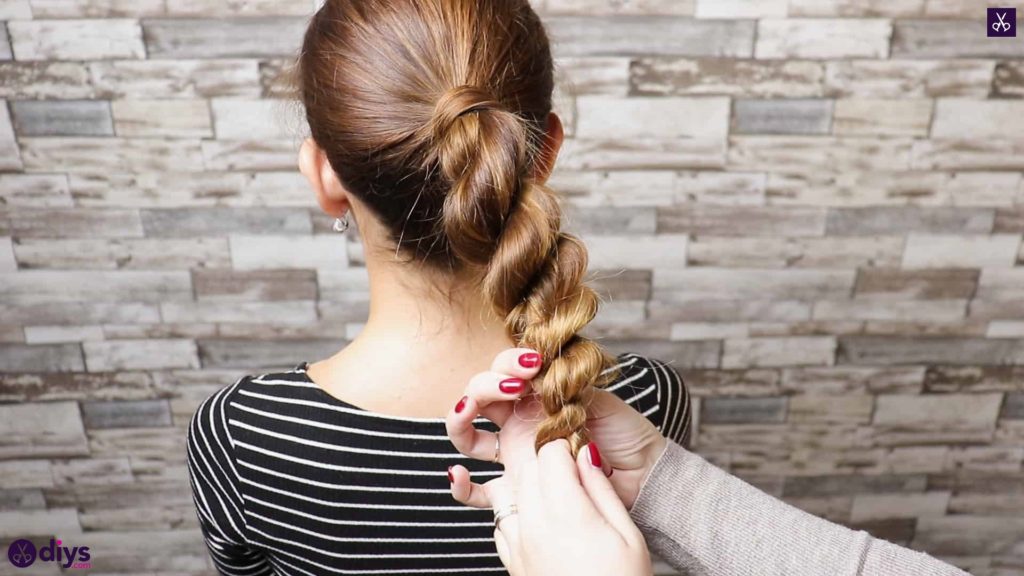
Hold the ends tightly together in place with your left hand so none of your twisting comes undone, and use your right hand to loosen up the twists a little, giving them a slightly more relaxed, almost Bohemian chic look that makes the ponytail look thicker and like it has more volume.
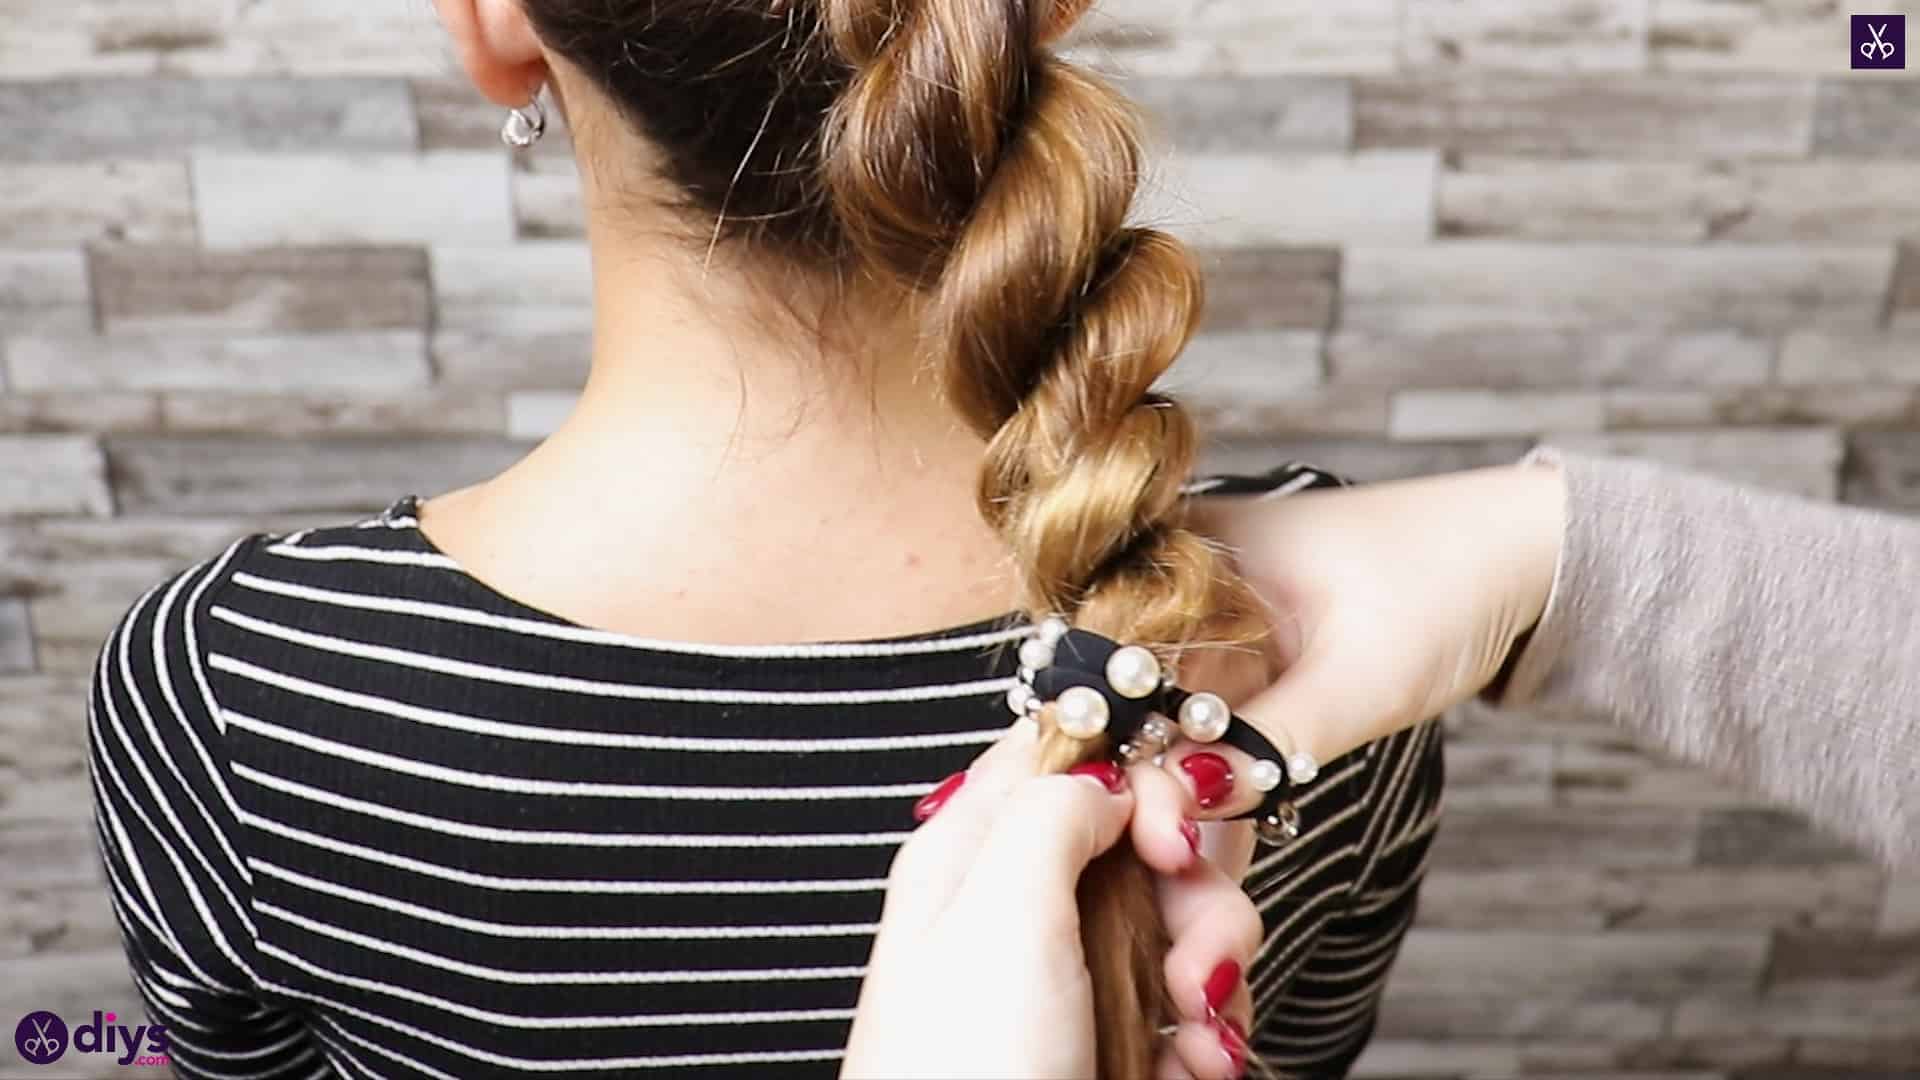
Step 4: finish with a tie
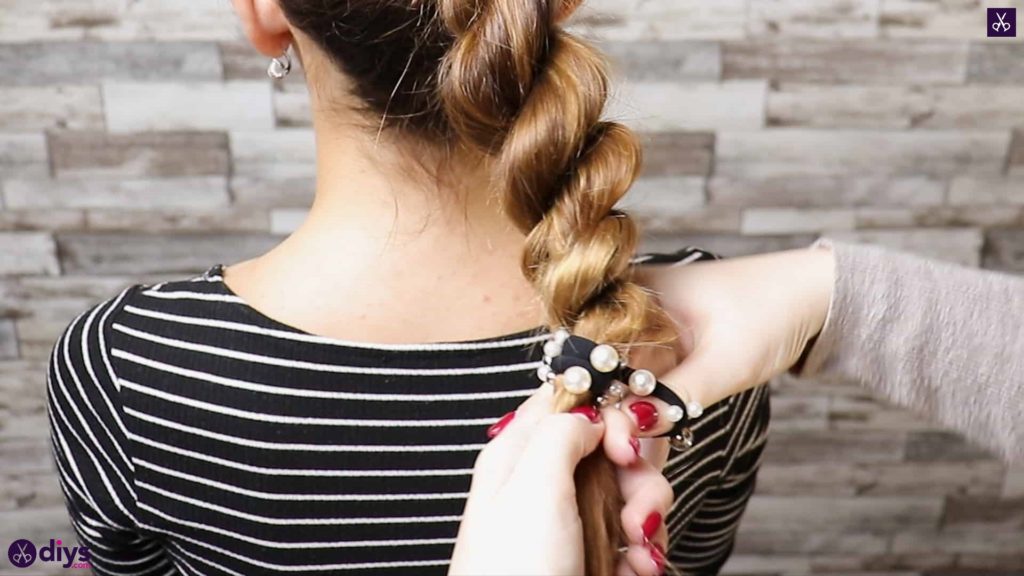
Fasten your ponytail’s ends into place with another hair elastic to finish it off! I chose to use a decorative one for a little more character.
Ponytail 3: “The wraparound pony”
Step 1: nbrush and part
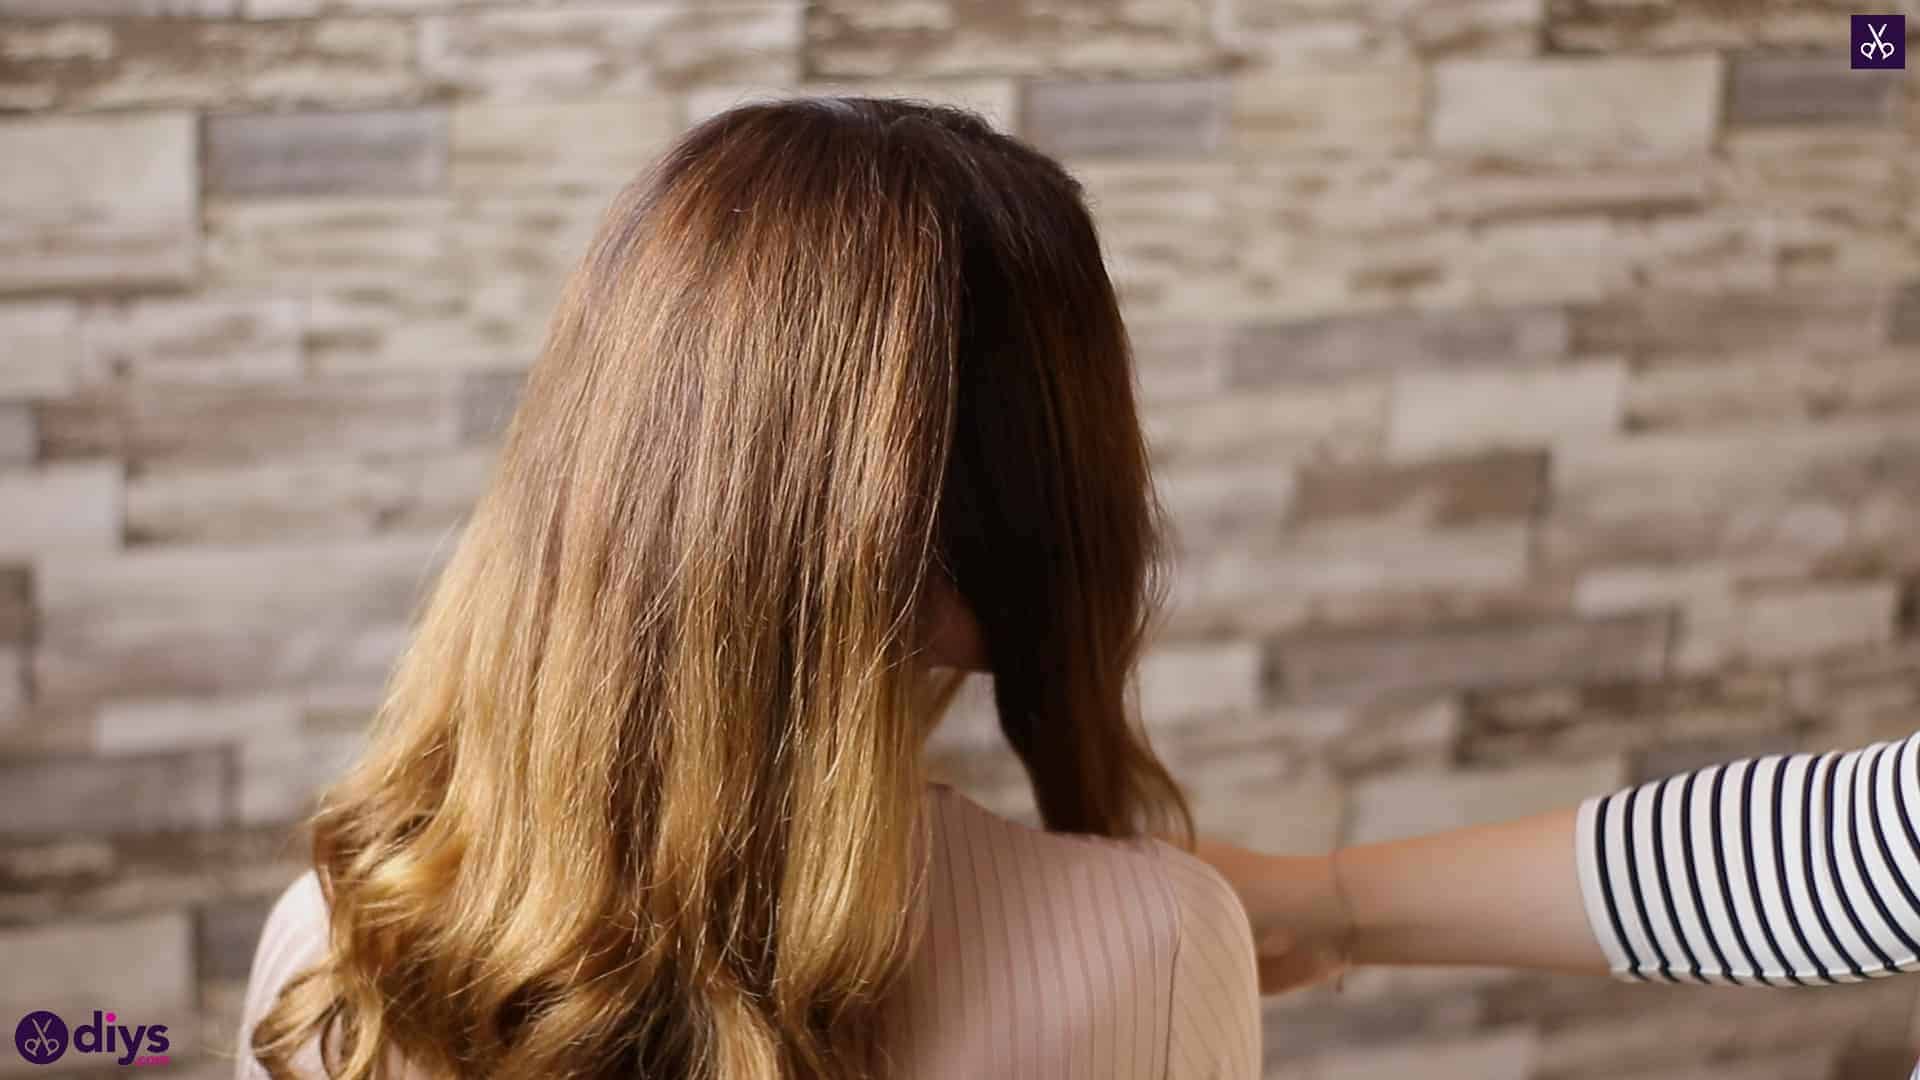
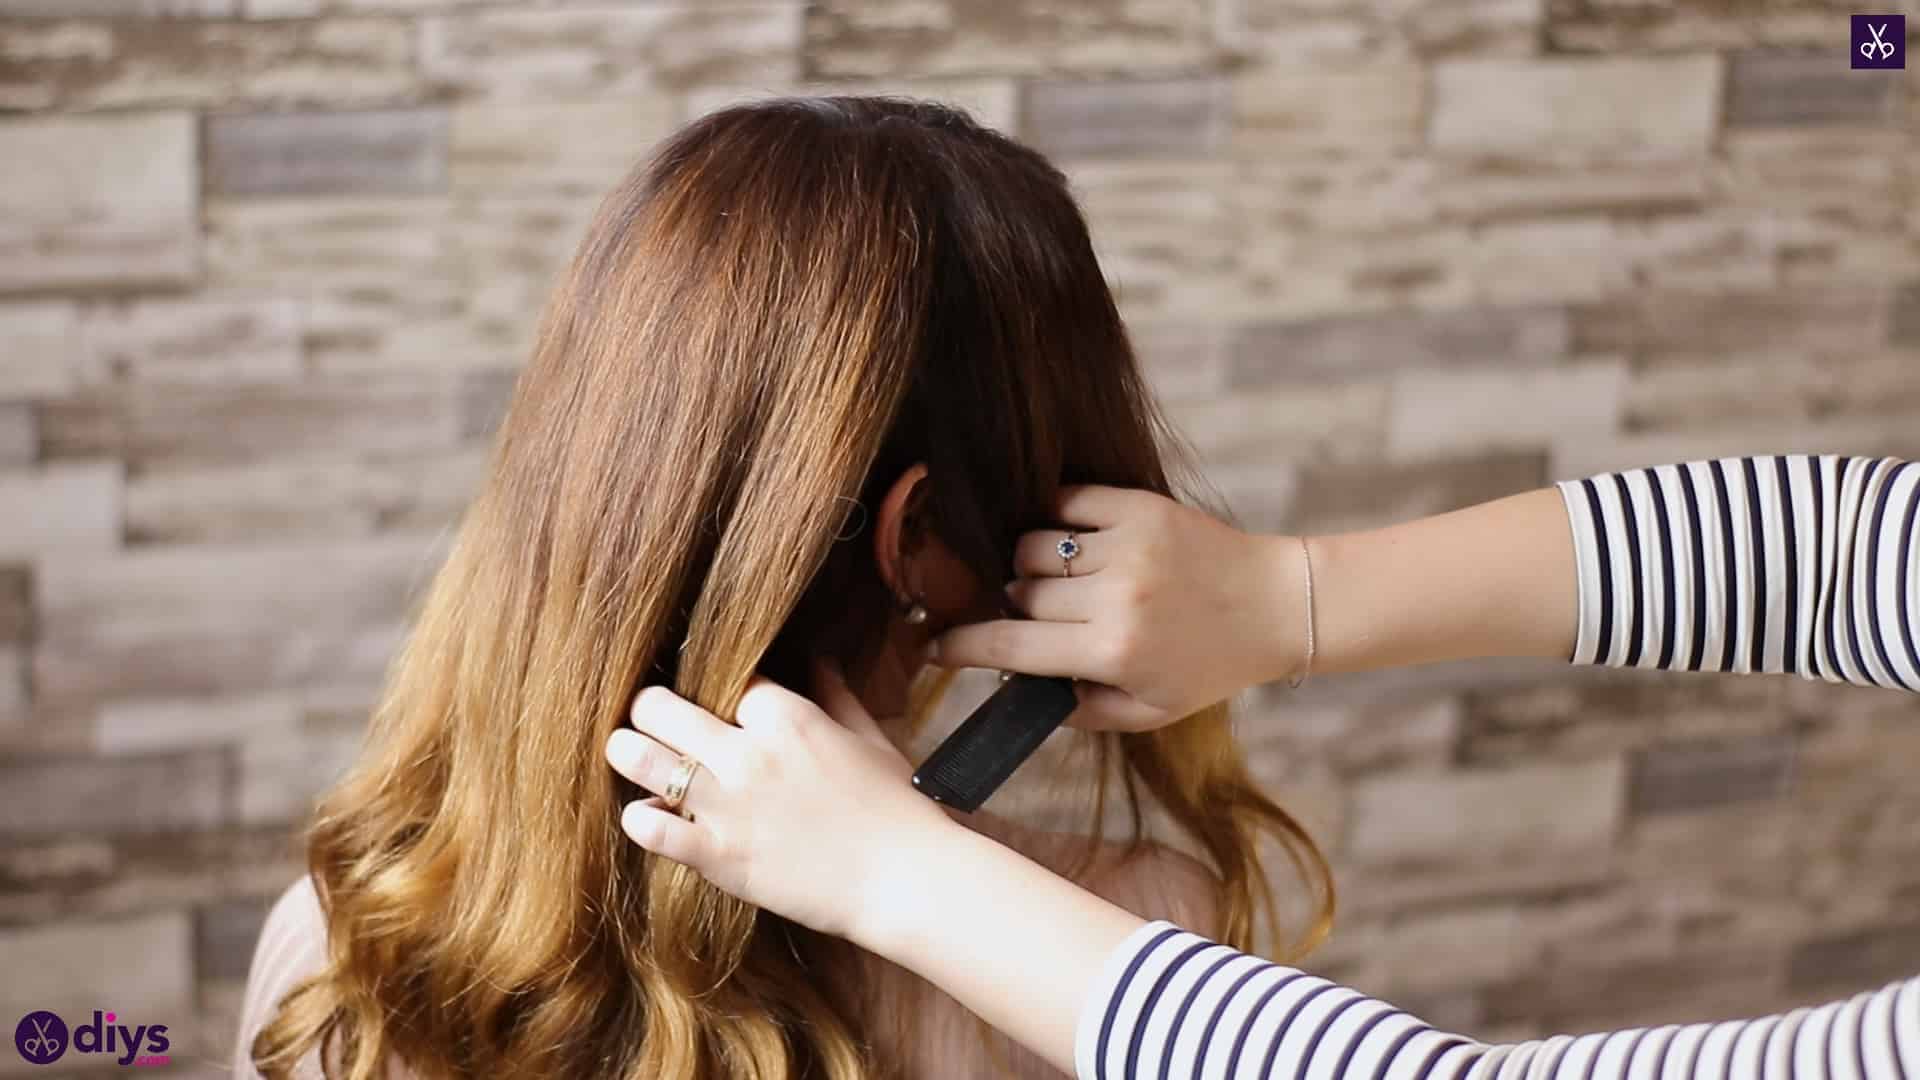
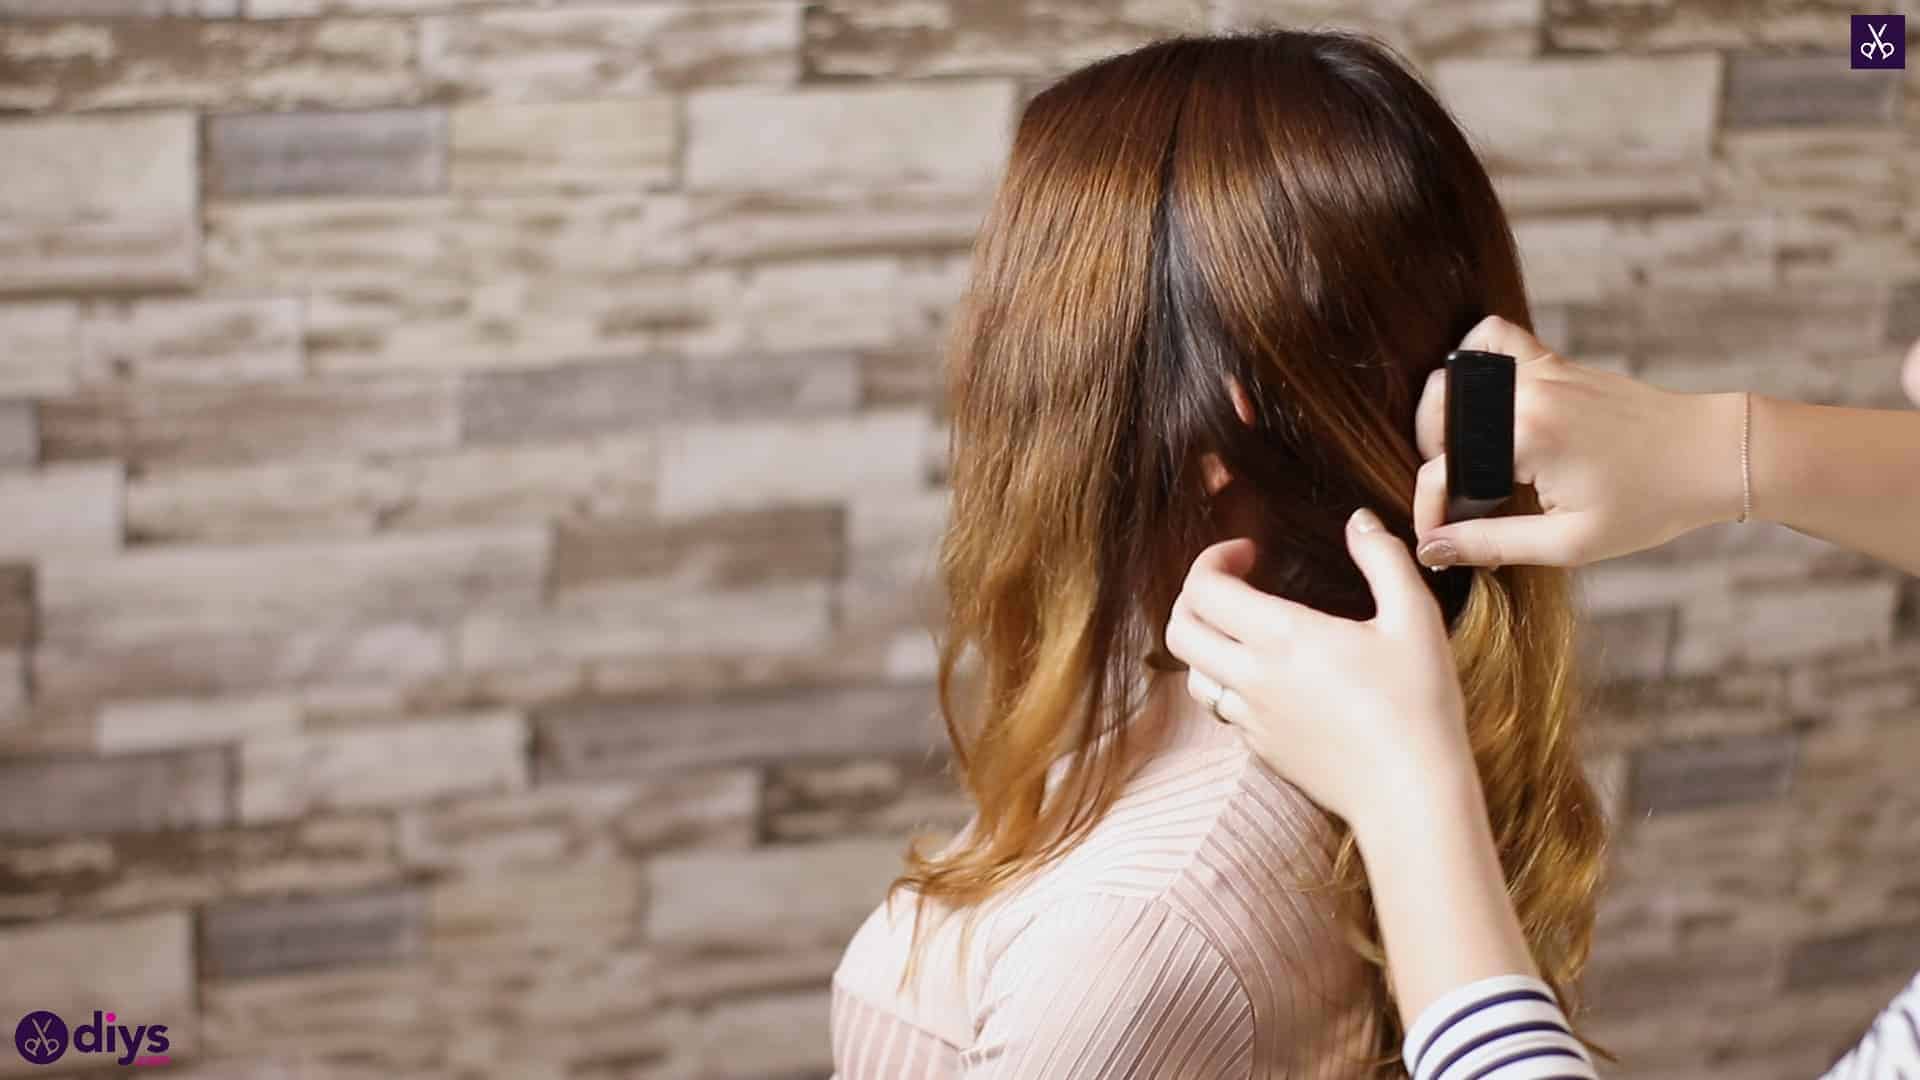
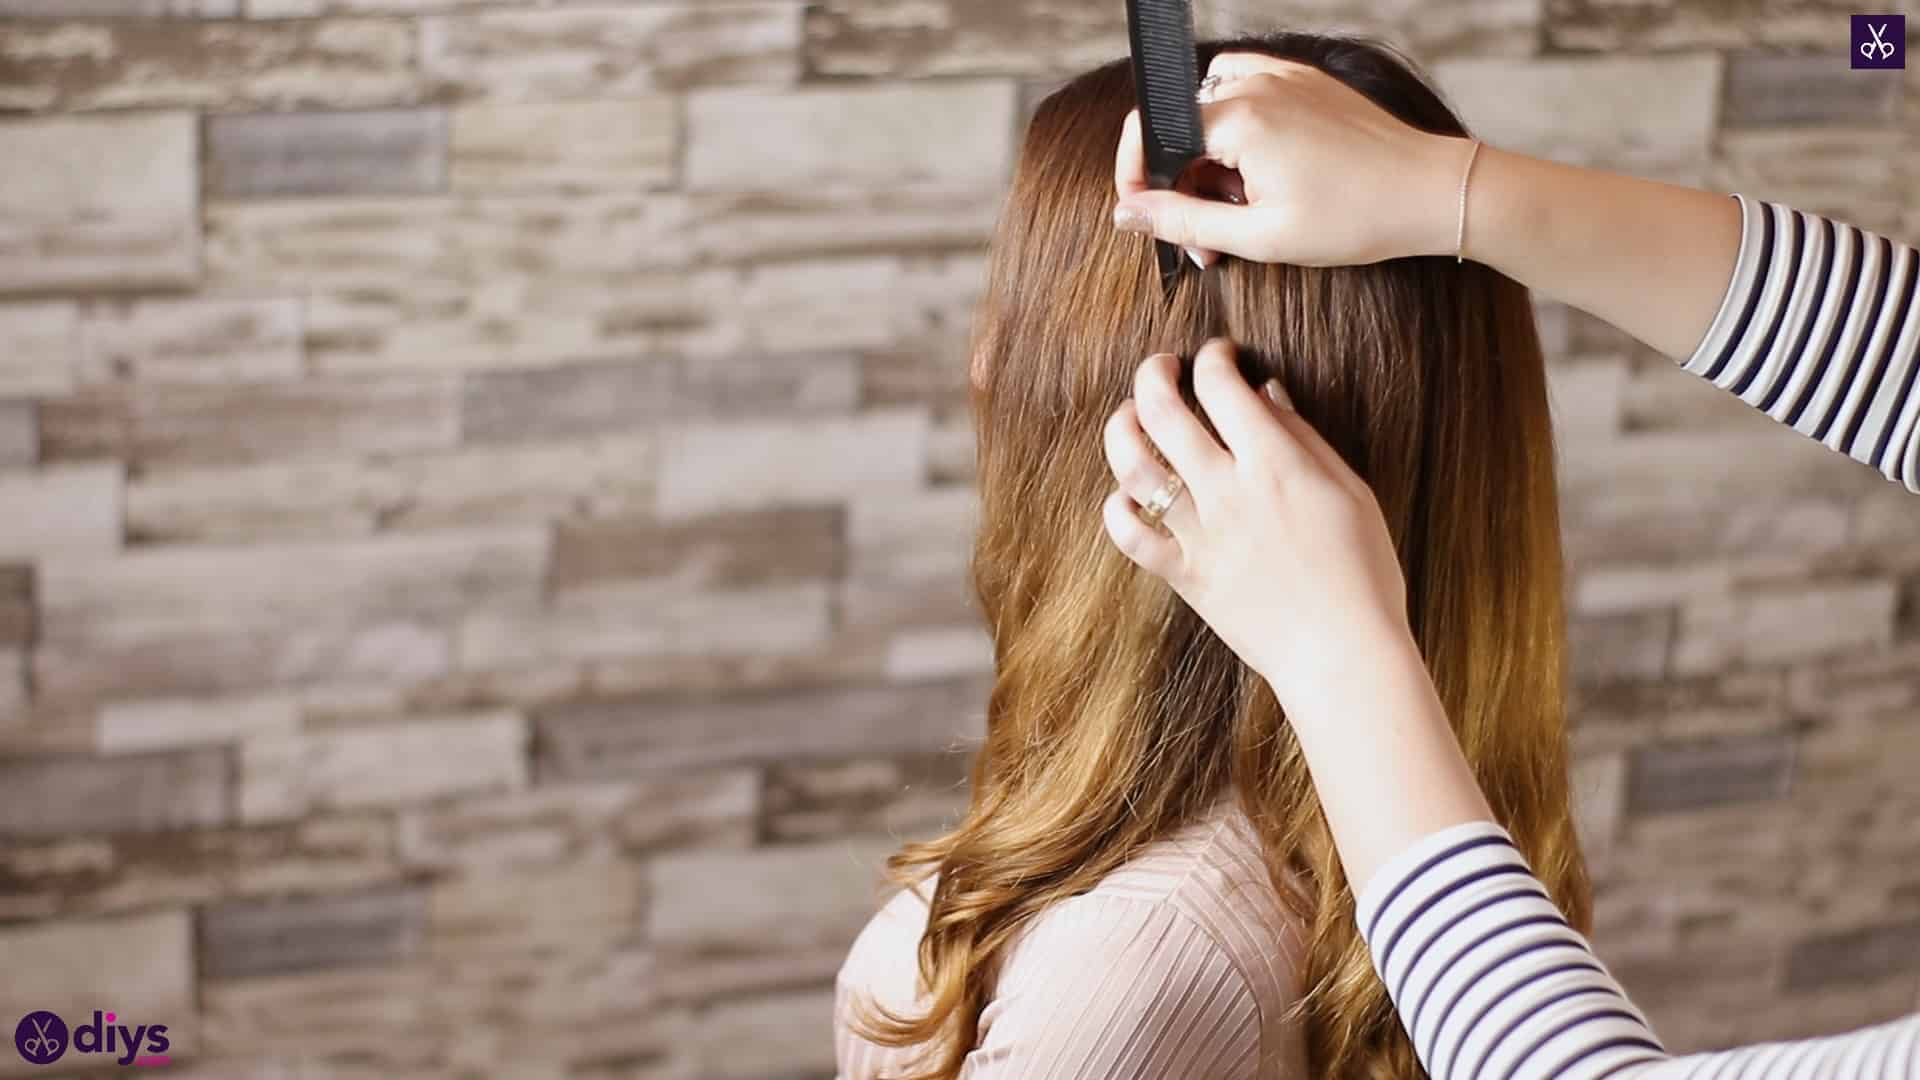
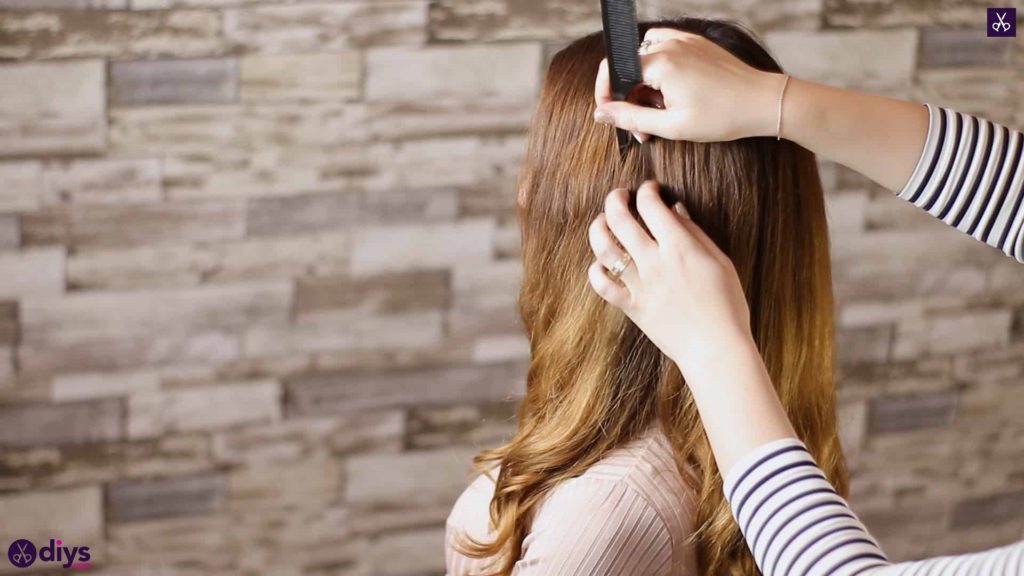
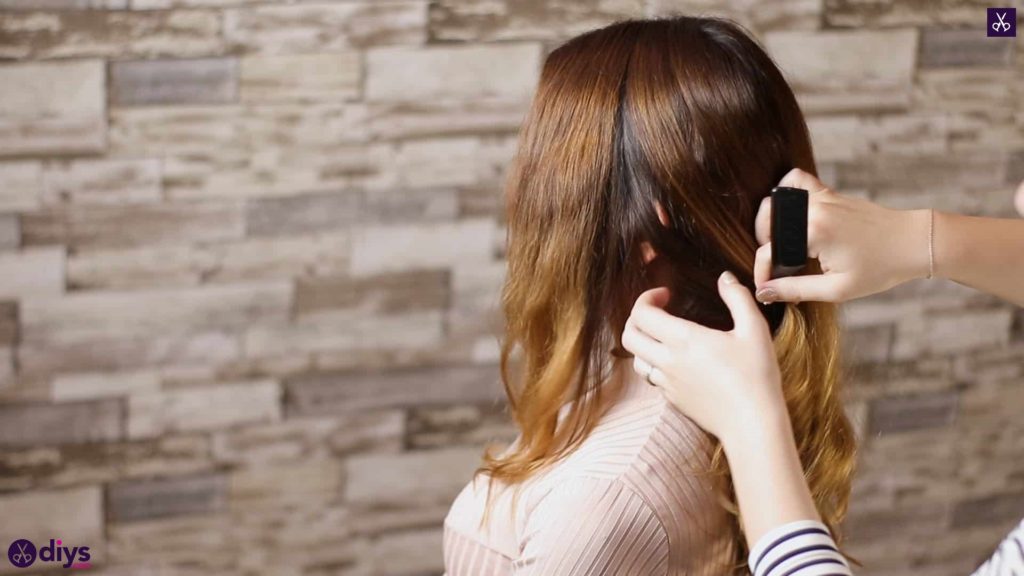
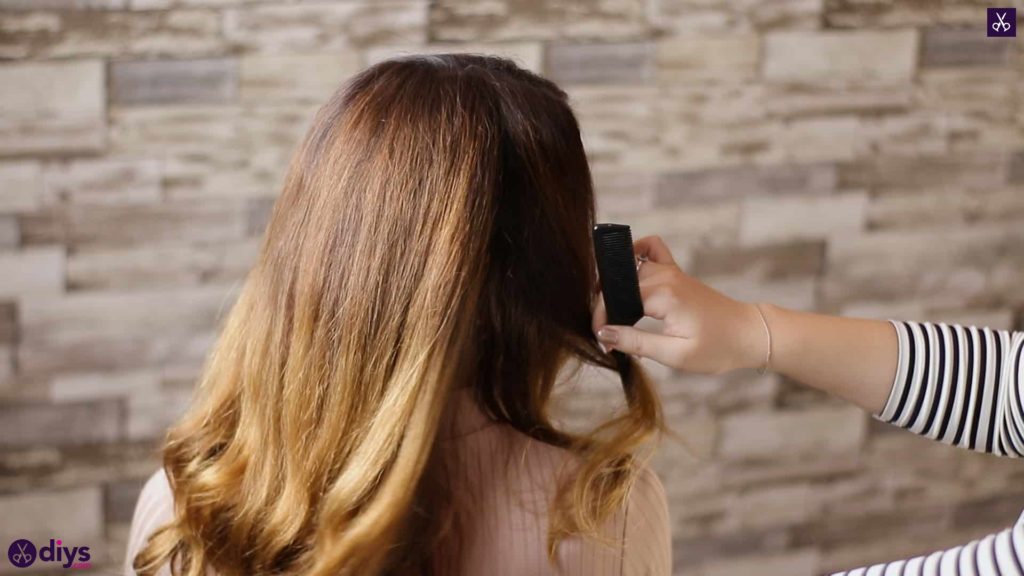
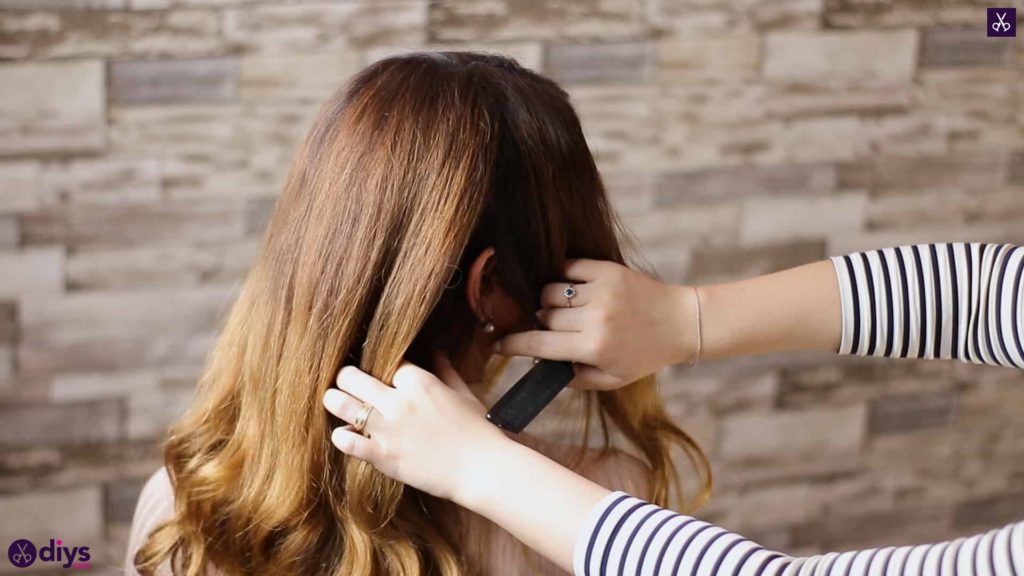
Part your hair and then brush your it out so it’s entirely free of tangles. On the left side, use the pointed end of a fine tooth comb to separate a section of about three inches at the front. Leave this section in front of your shoulder and pull the rest towards the back, putting it behind the shoulder to keep it separate (you can pin the apart for now if you need to). Repeat this process on the other side, separating a section at the front right and pulling the rest of the hair back.
Step 2: tie
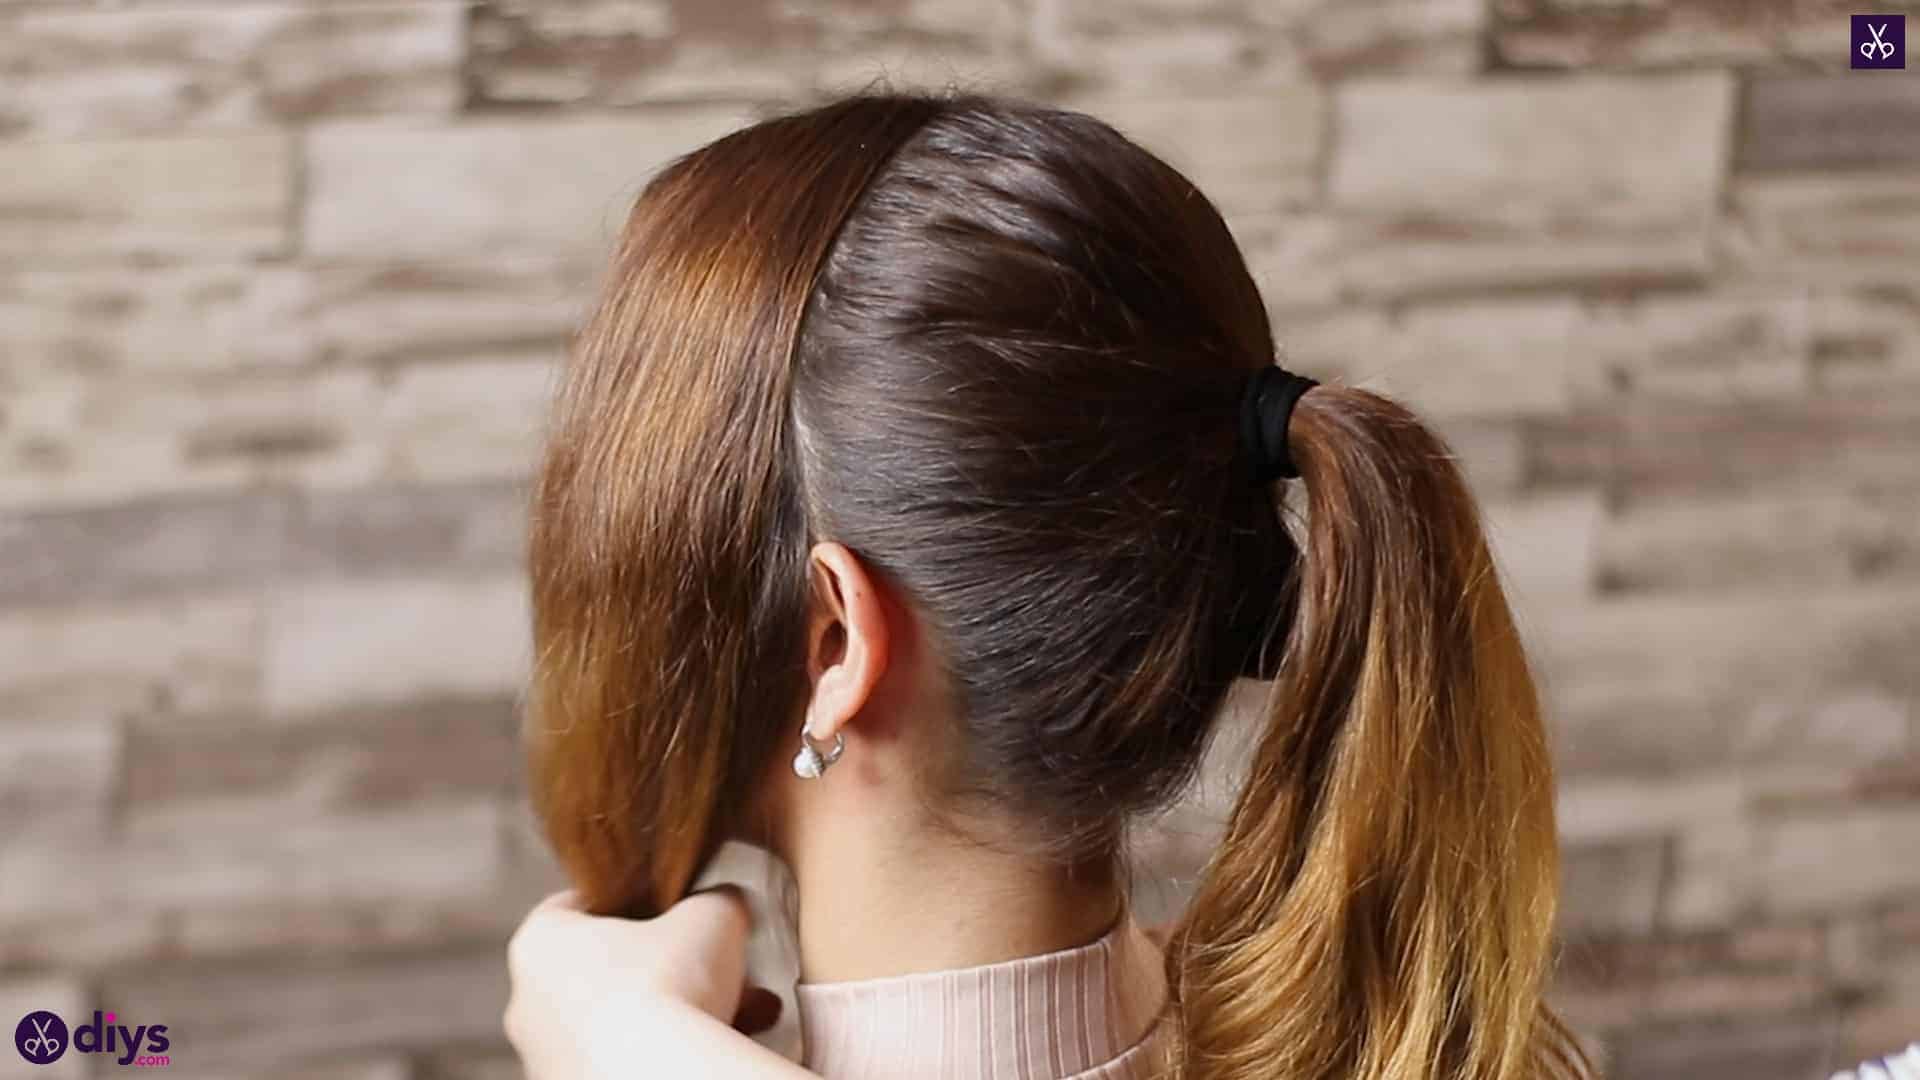
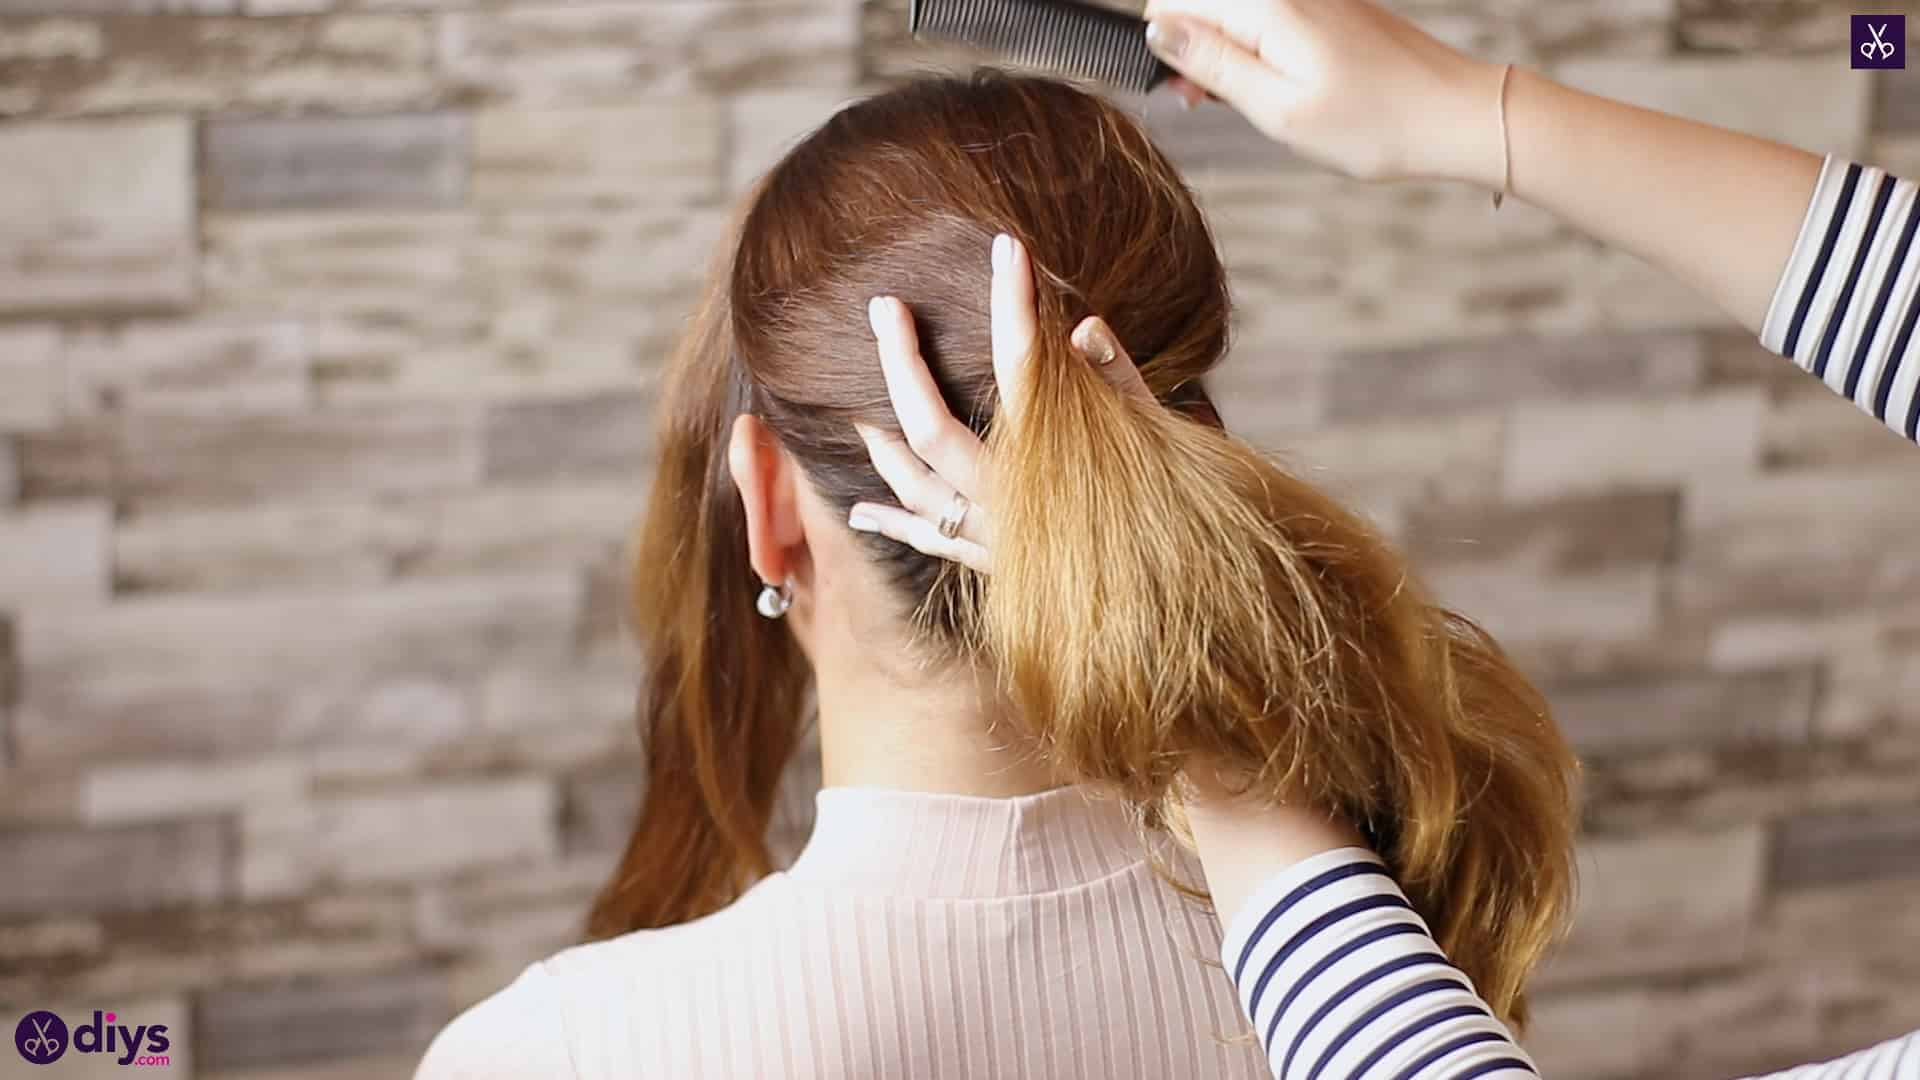
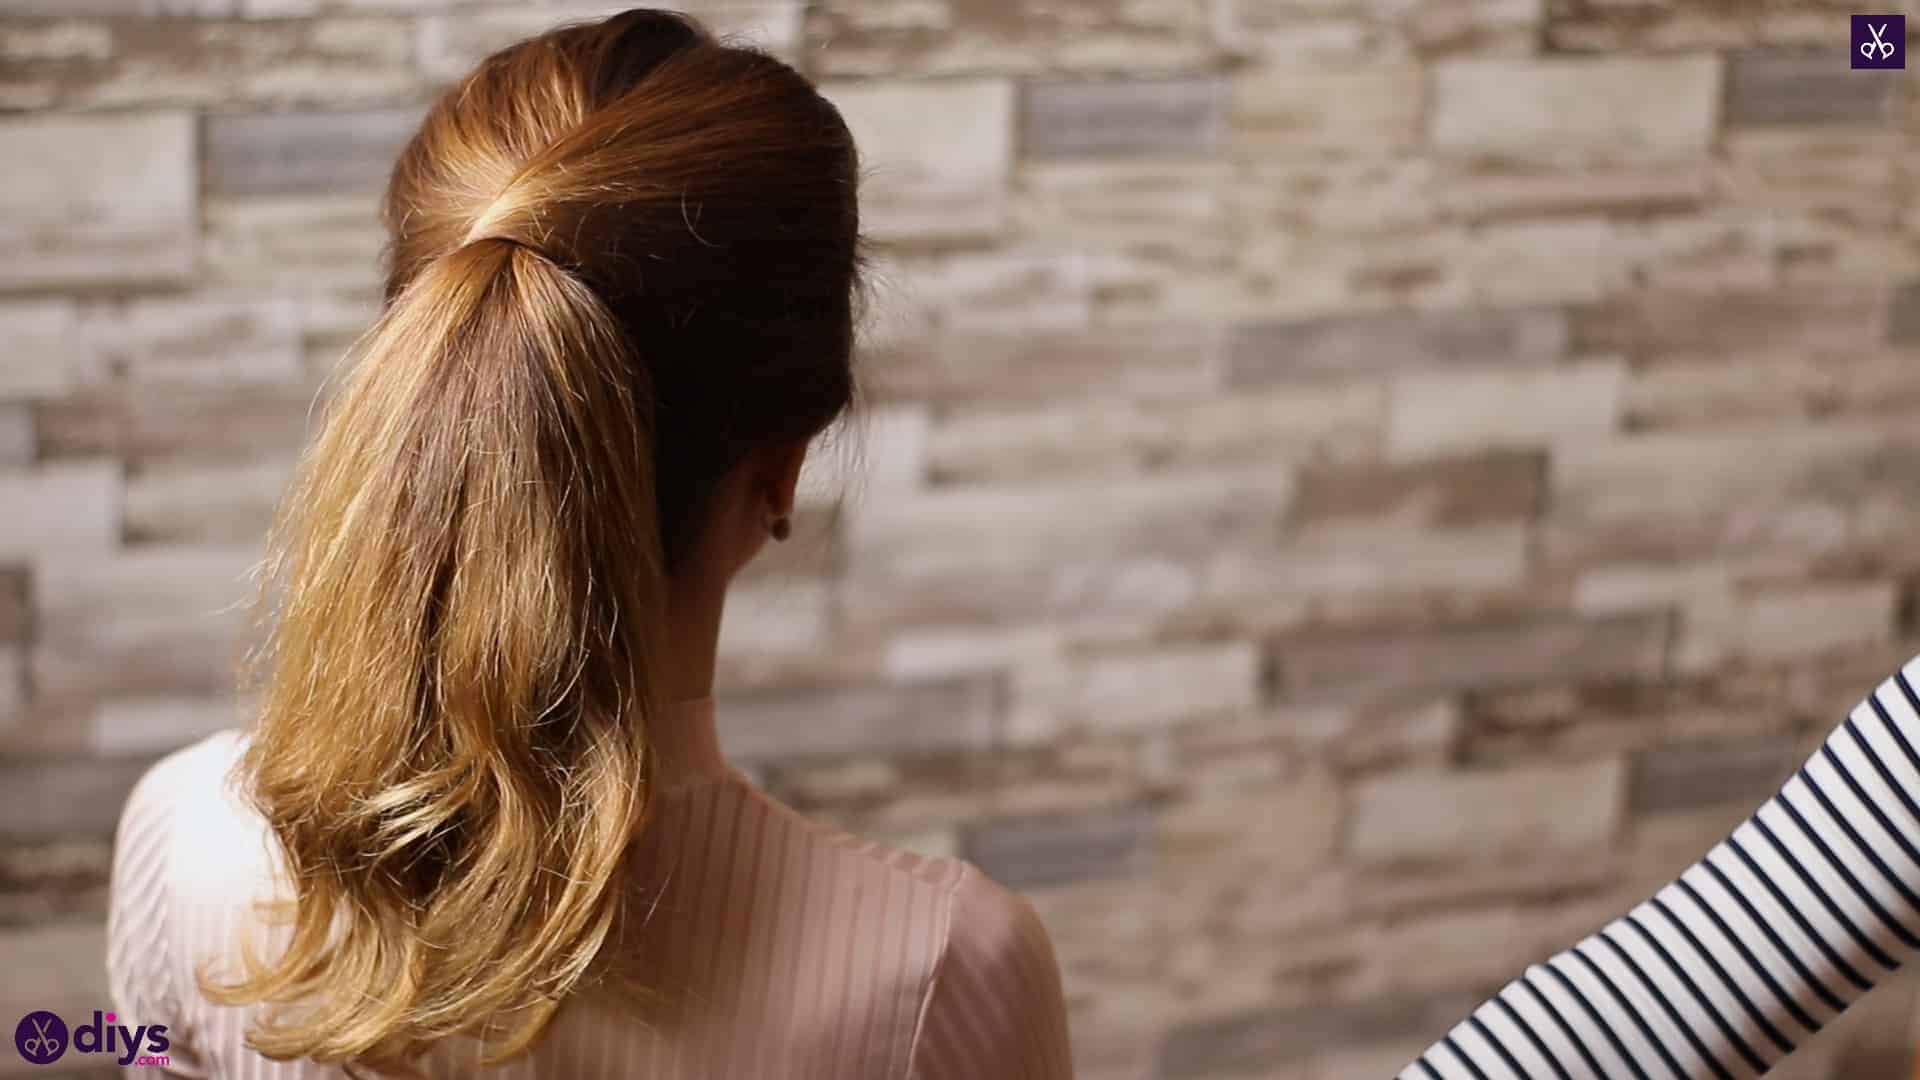
Leave the two front sections that you made separate for now and just work with the rest of the hair at the back. Pull it all back, smoothing it up into a classic ponytail to sit at the crown of your head. Tie it in place with a hair elastic. Your two front sections are still separate and hanging down on either side.
Step 3: pin one side
Pull the front section on the left side straight back, smoothing it with a brush or comb if you need to. Cross it over to the right side of the ponytail, letting the hair lay flat across the side and top of the head nicely and then pinching it together when you reach a point in the section that’s even with the hair elastic of the ponytail. Use a bobby pin to pin that section you cinched into place right next to, almost under, the elastic so the hair looks to be part of the ponytail.
Step 4: pin the other side
Repeat this process of smoothing the hair back and over once more on the right side, this time bringing the hair to sit to the left of the elastic. One more, cinch the hair together and use a bobby pin to pin it right besides, nearly under, the ponytail so the right section’s hair looks to be a part of it.
Step 5: finishing touches
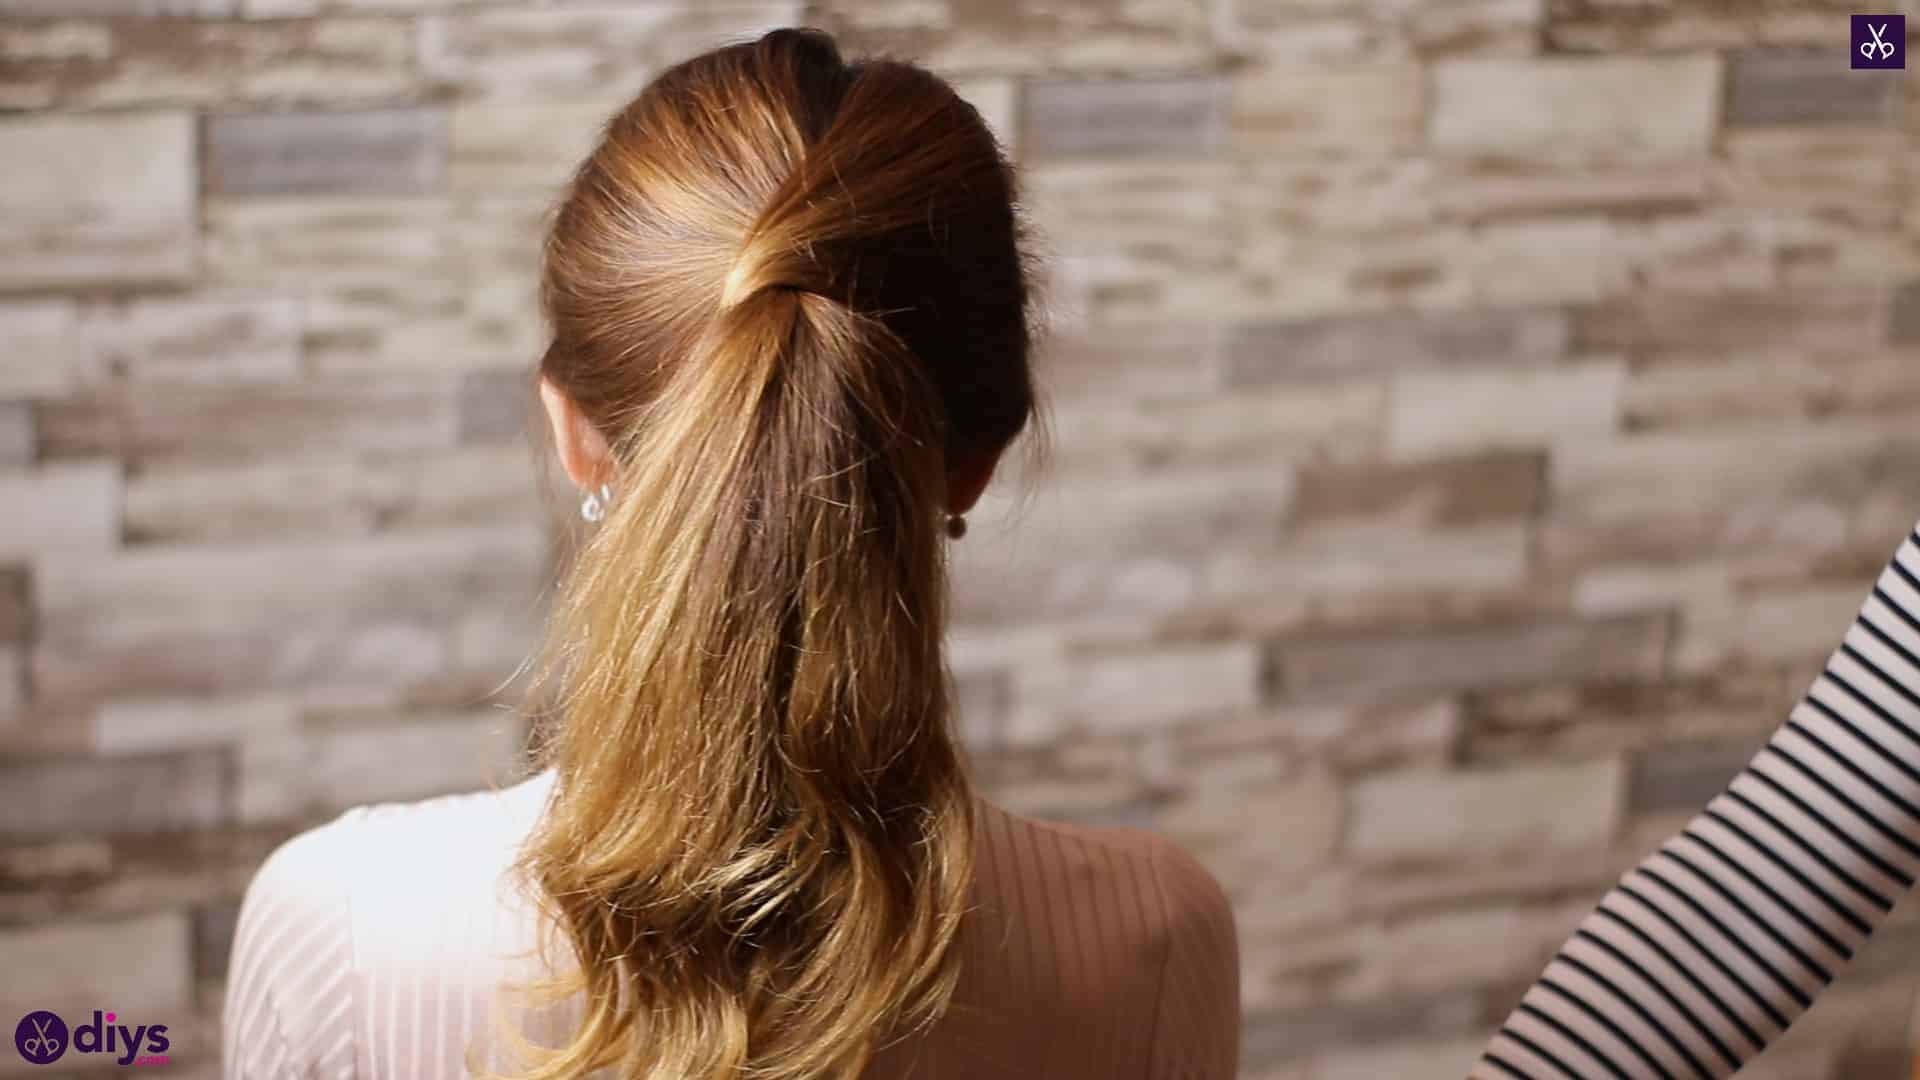
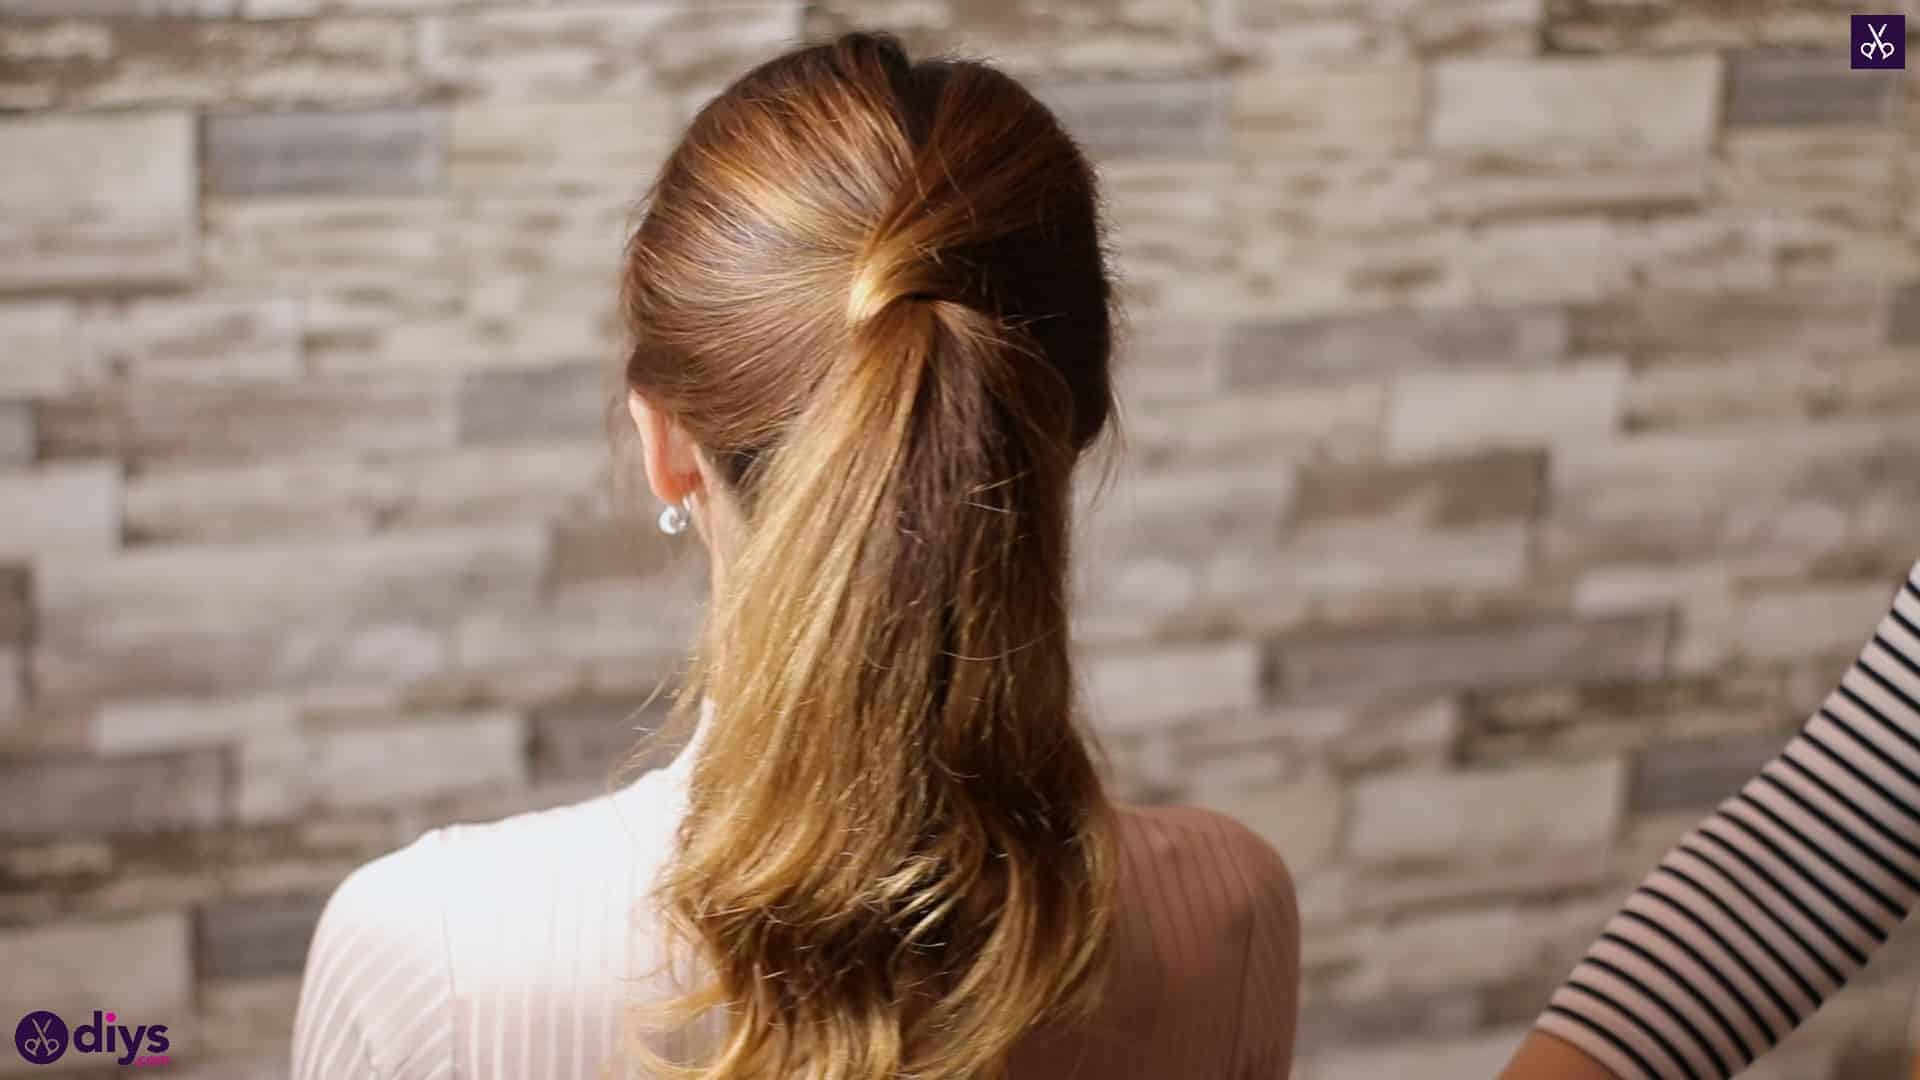
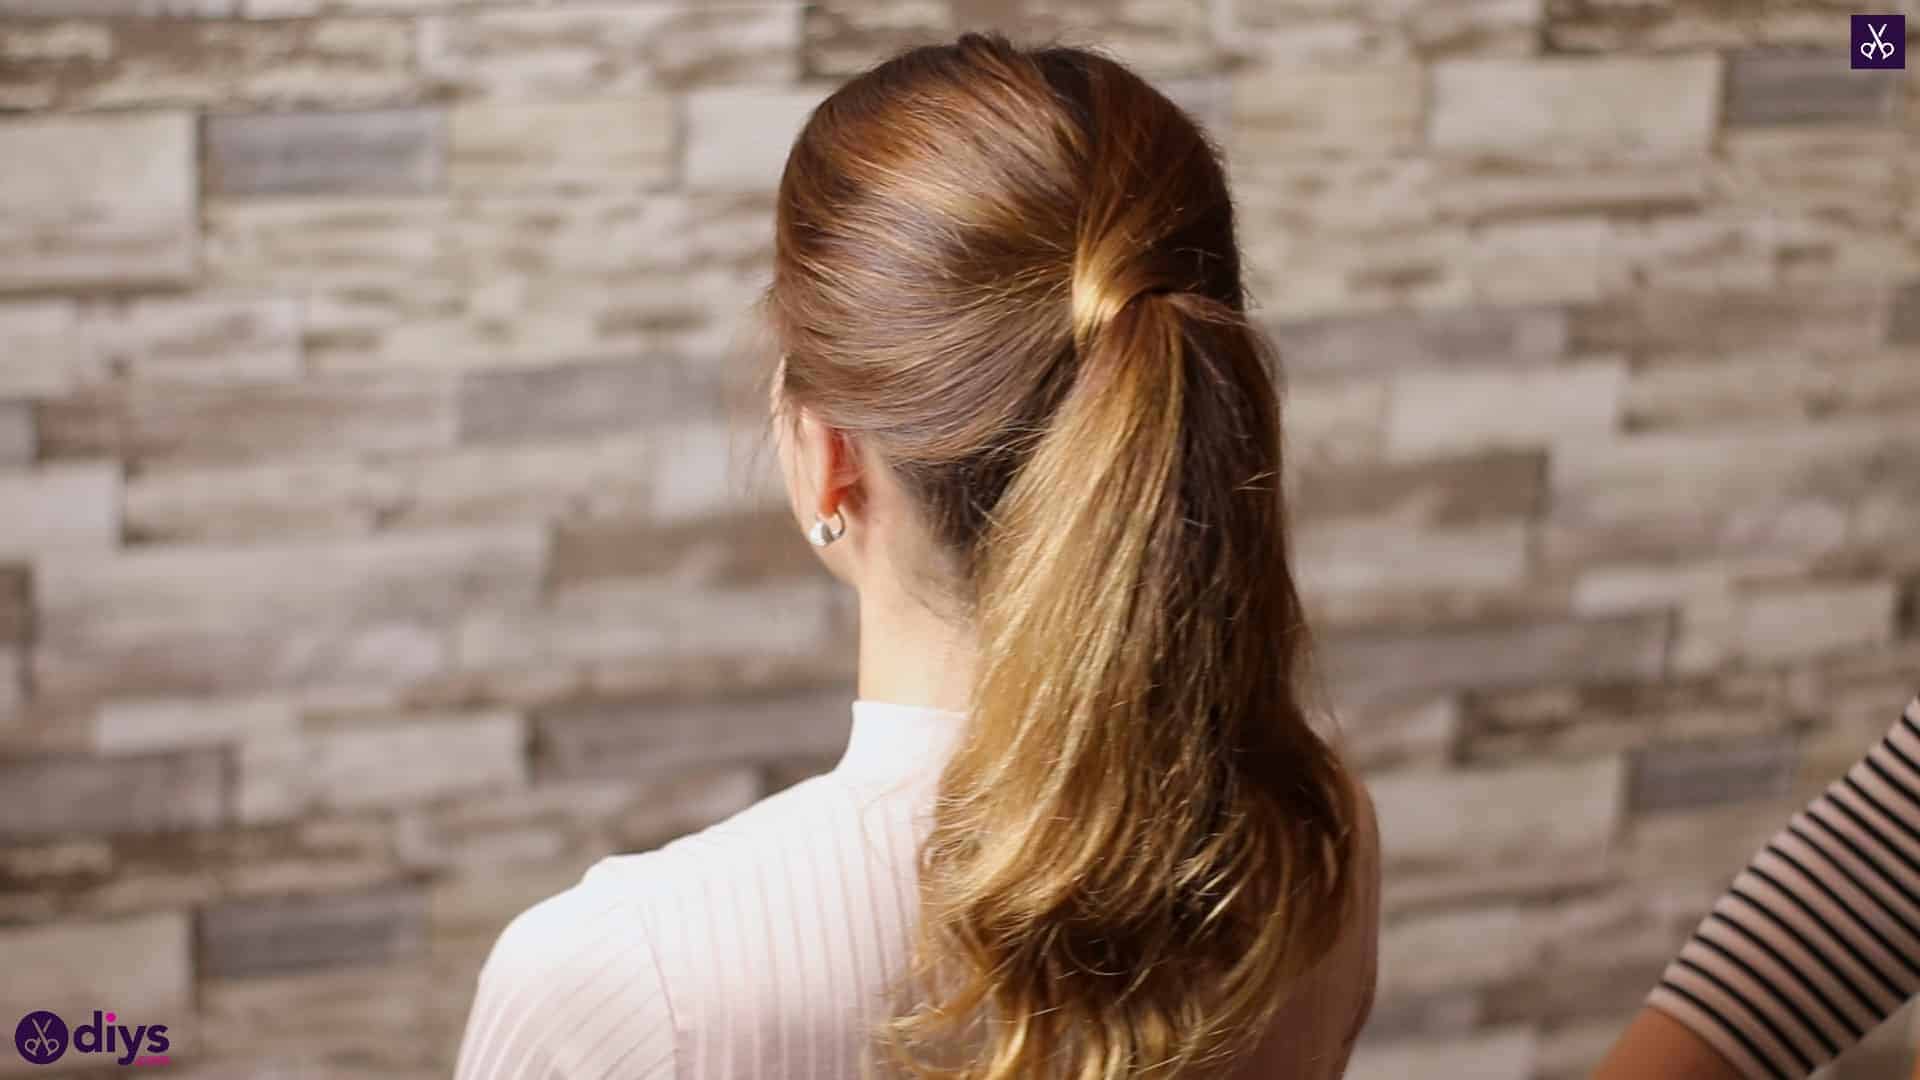
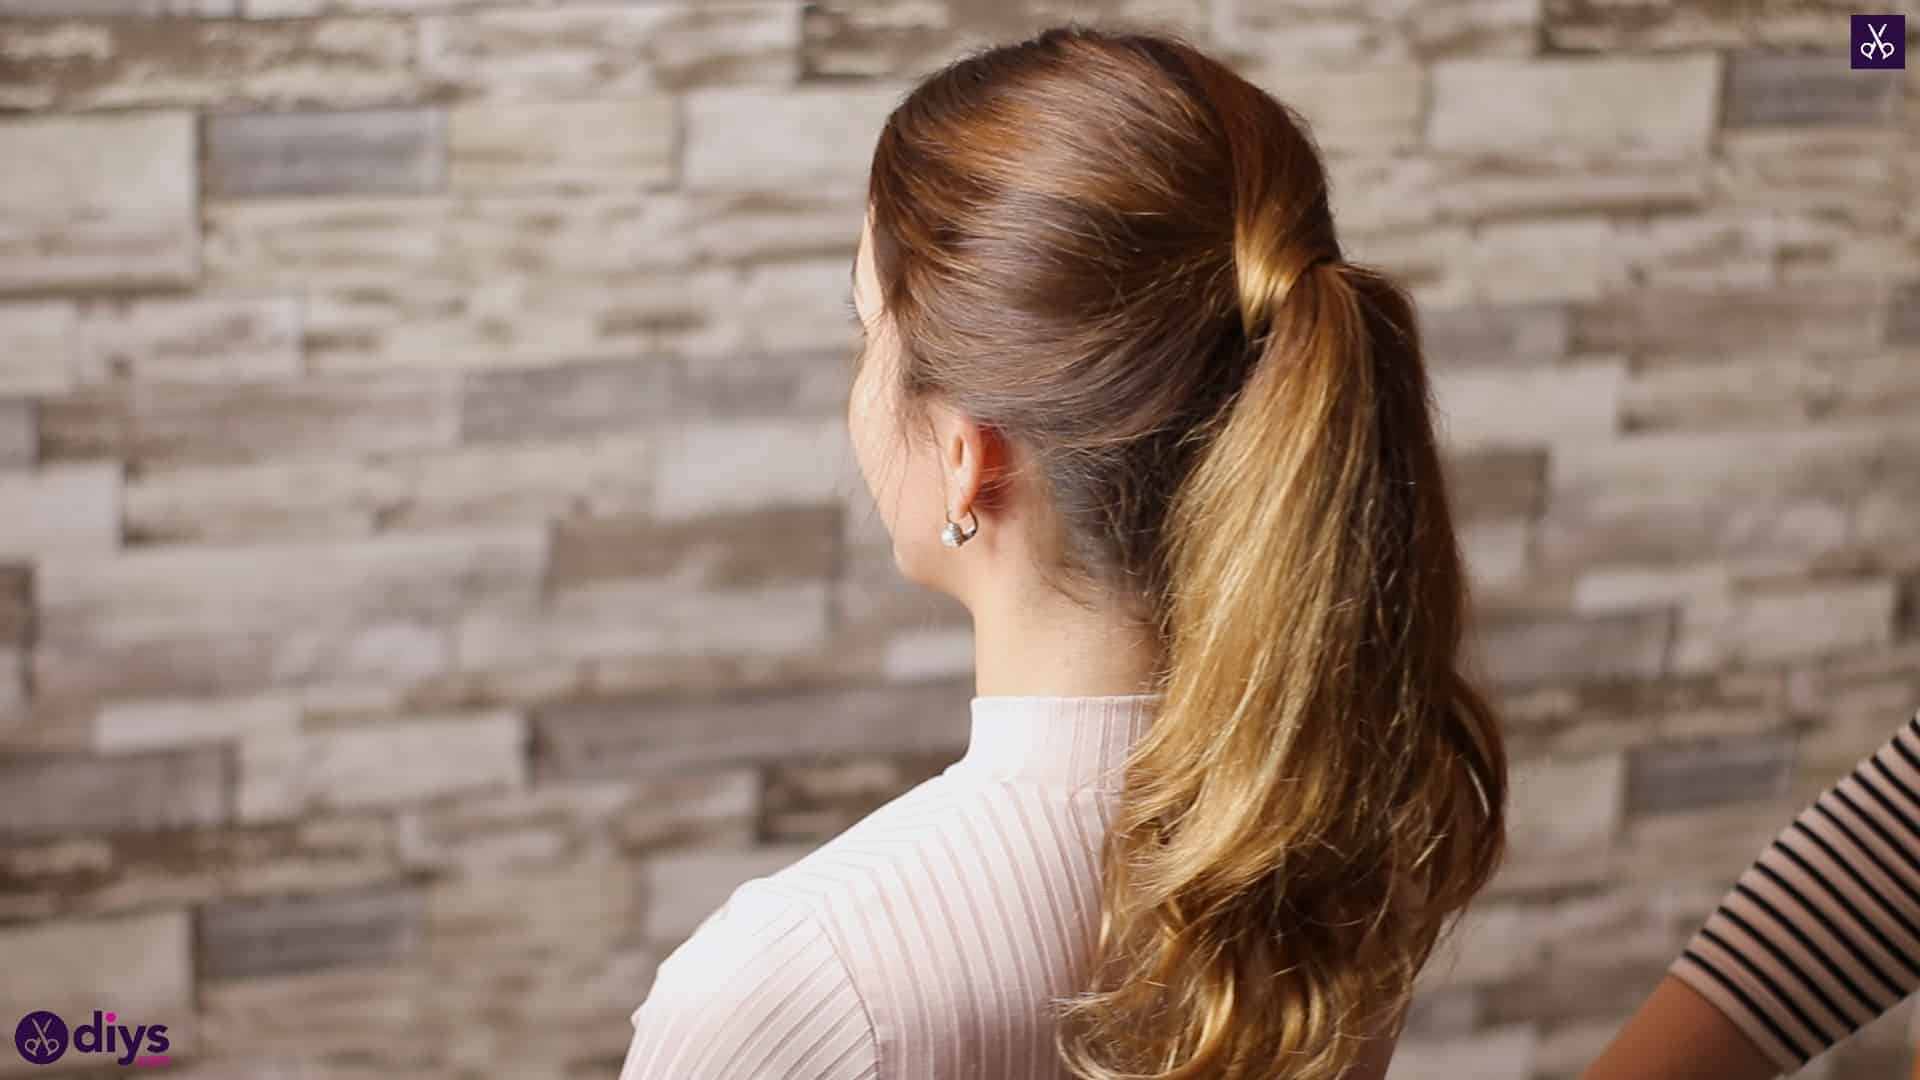
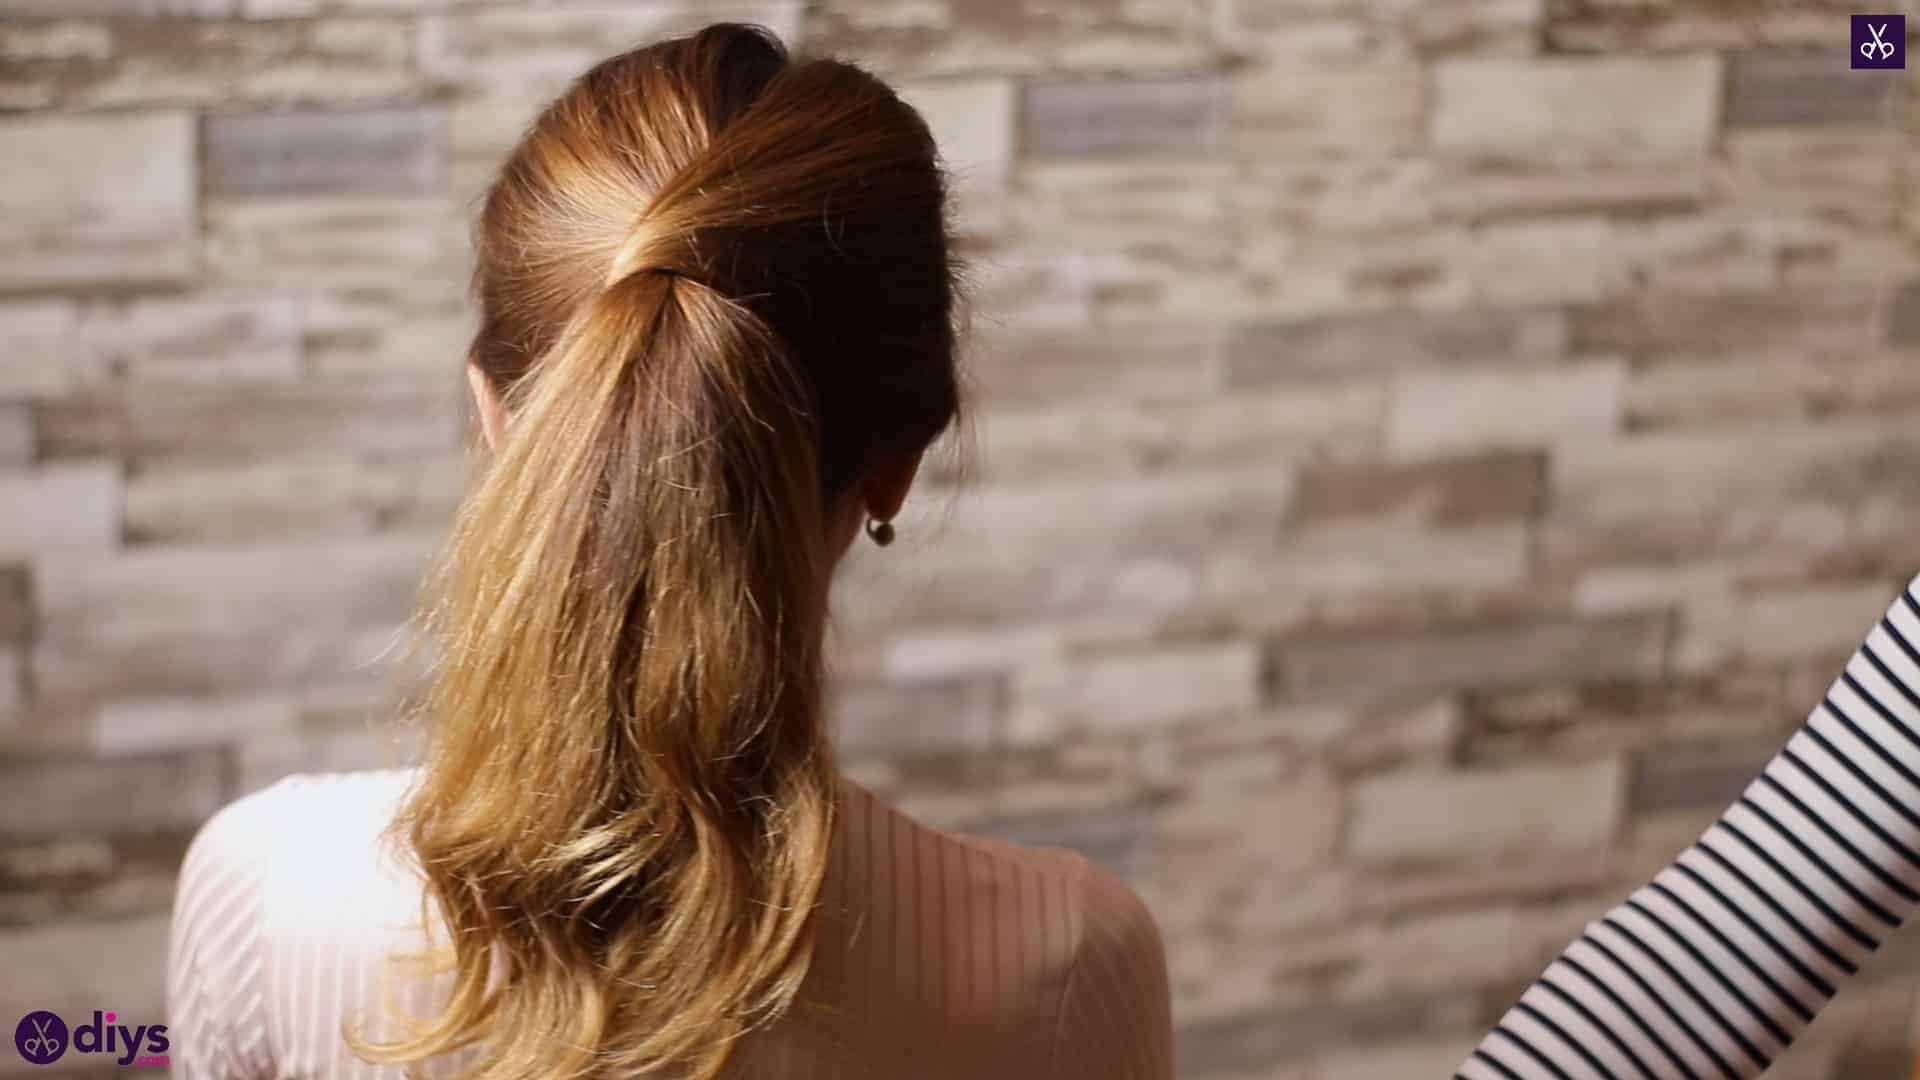
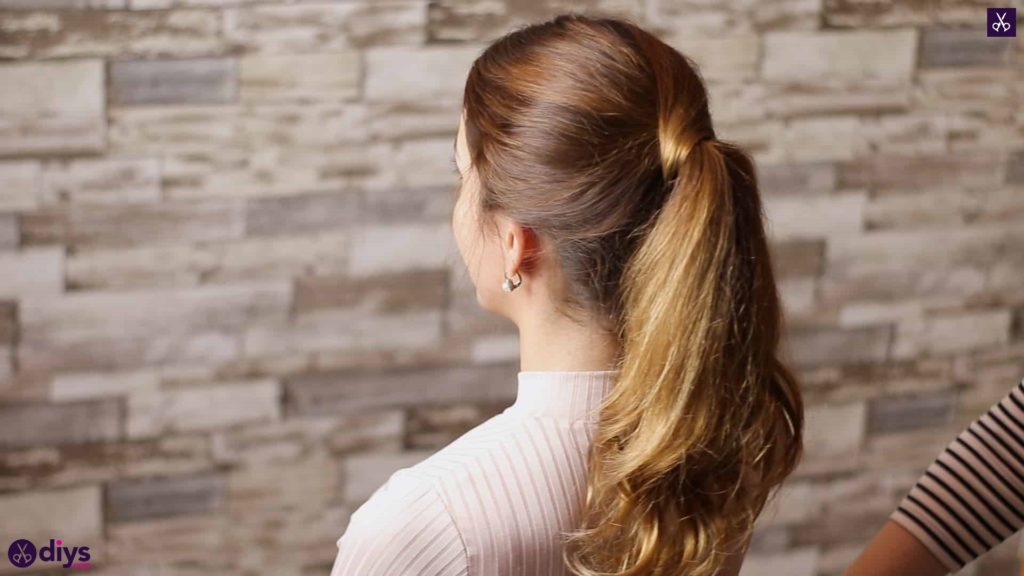
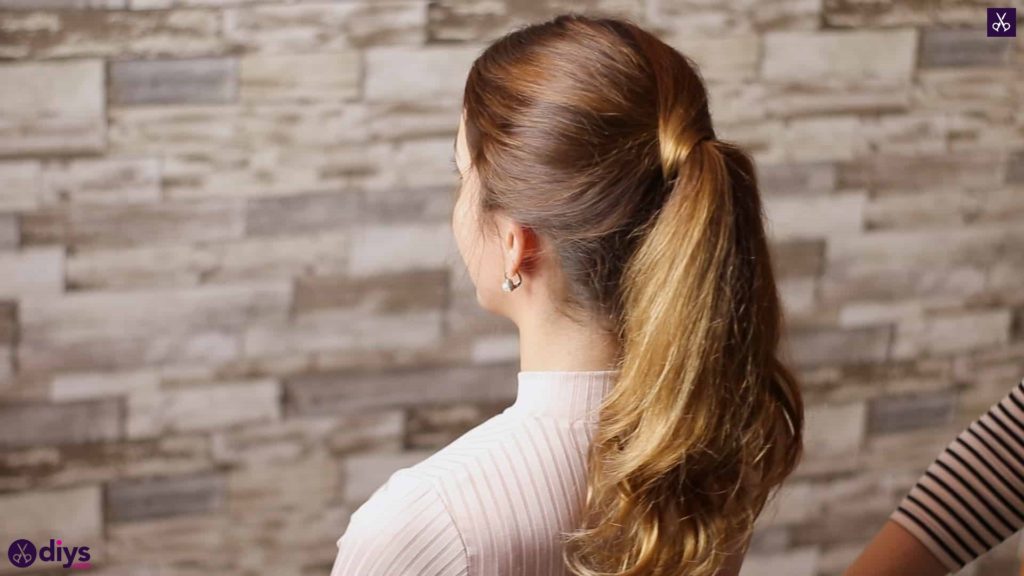
The effect is that the two side sections have wrapped around the main ponytail’s elastic, hiding it and sort of appearing to swoop underneath to join the rest of the ponytail itself. Adjust, fluff up, or widen the ponytail as necessary to make the three sections look more cohesive as one.
Just in case you’d like to try any of these styles out for yourself, here’s a fantastic tutorial video to help you!
