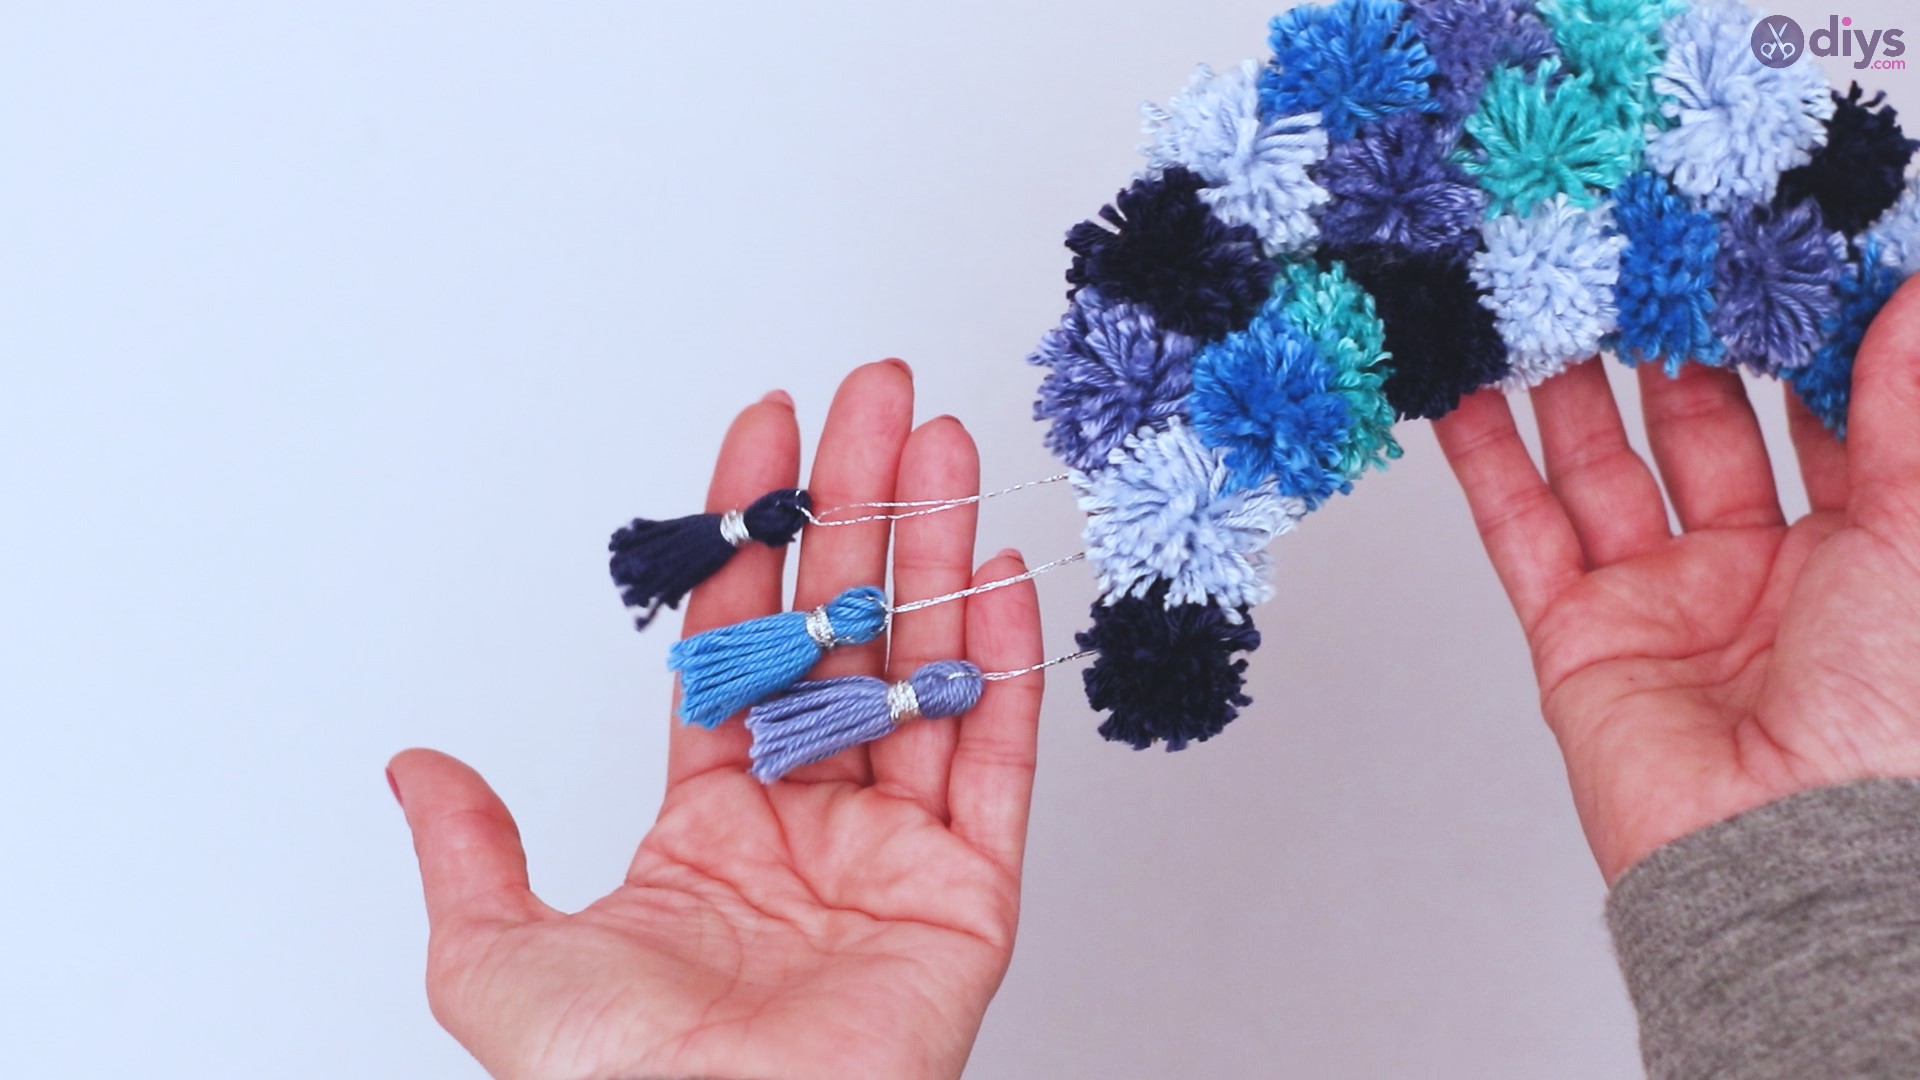
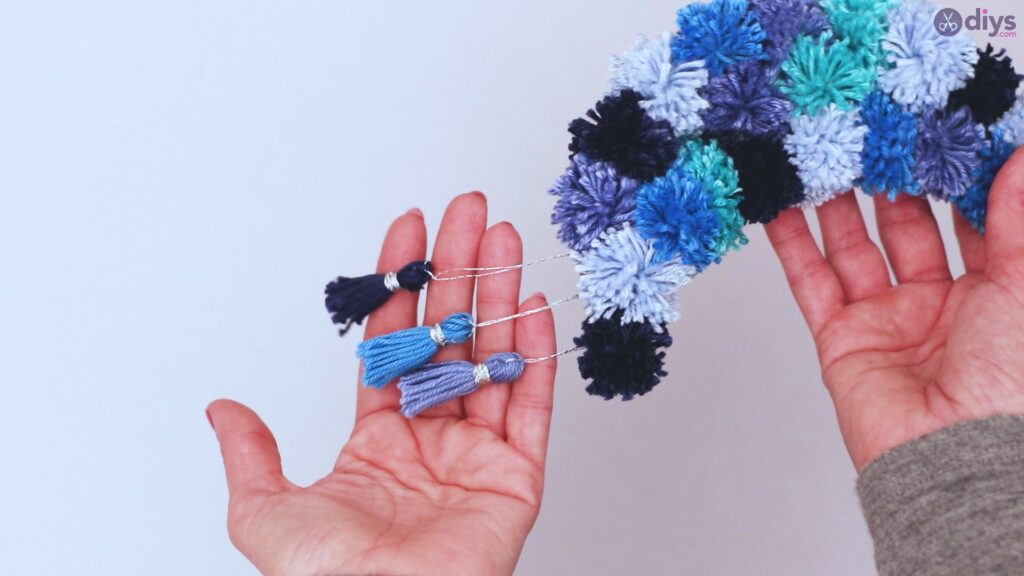
Pompom Moon DIY Wall Art
When it comes to texture and an overall fun element to add to a project, there’s almost nothing better than pom poms. They look complex, but they’re really easy to design. That makes them a perfect addition to cute projects, both for the general home and for a child’s bedroom.
You don’t need a lot of supplies, and you can use them to create some of the cutest bits of an overall décor in a space, such as the DIY pom pom moon we’re going to make today. Let’s gather our materials to get started.
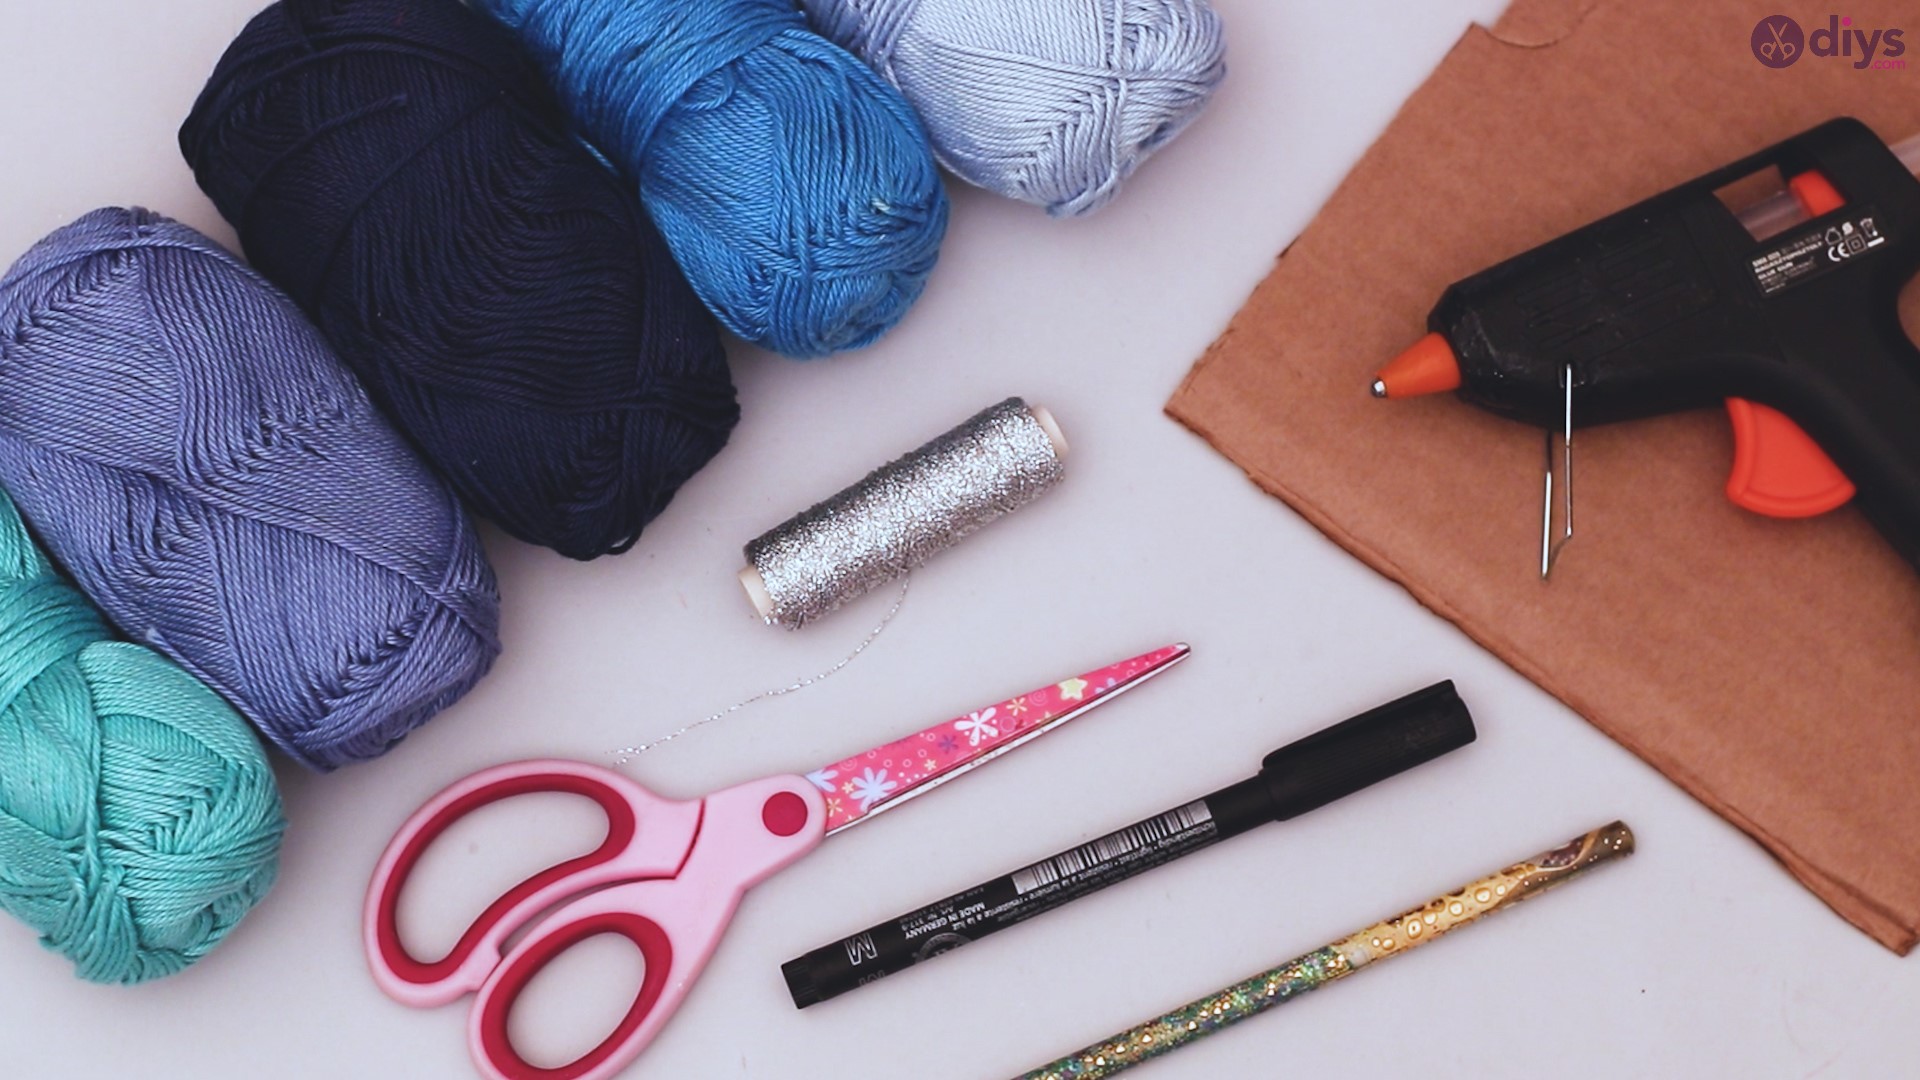
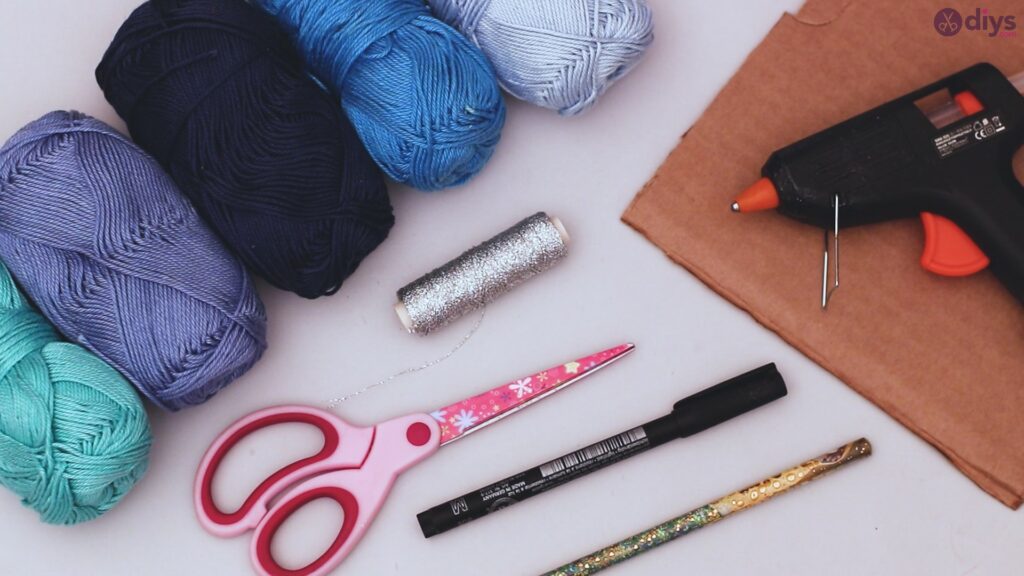
Materials
- Cardboard
- Pencil
- Black marker
- Scissors
- Glue gun
- Silver twisted yarn
- 5 additional colours of yarn
Step 1: Make your moon
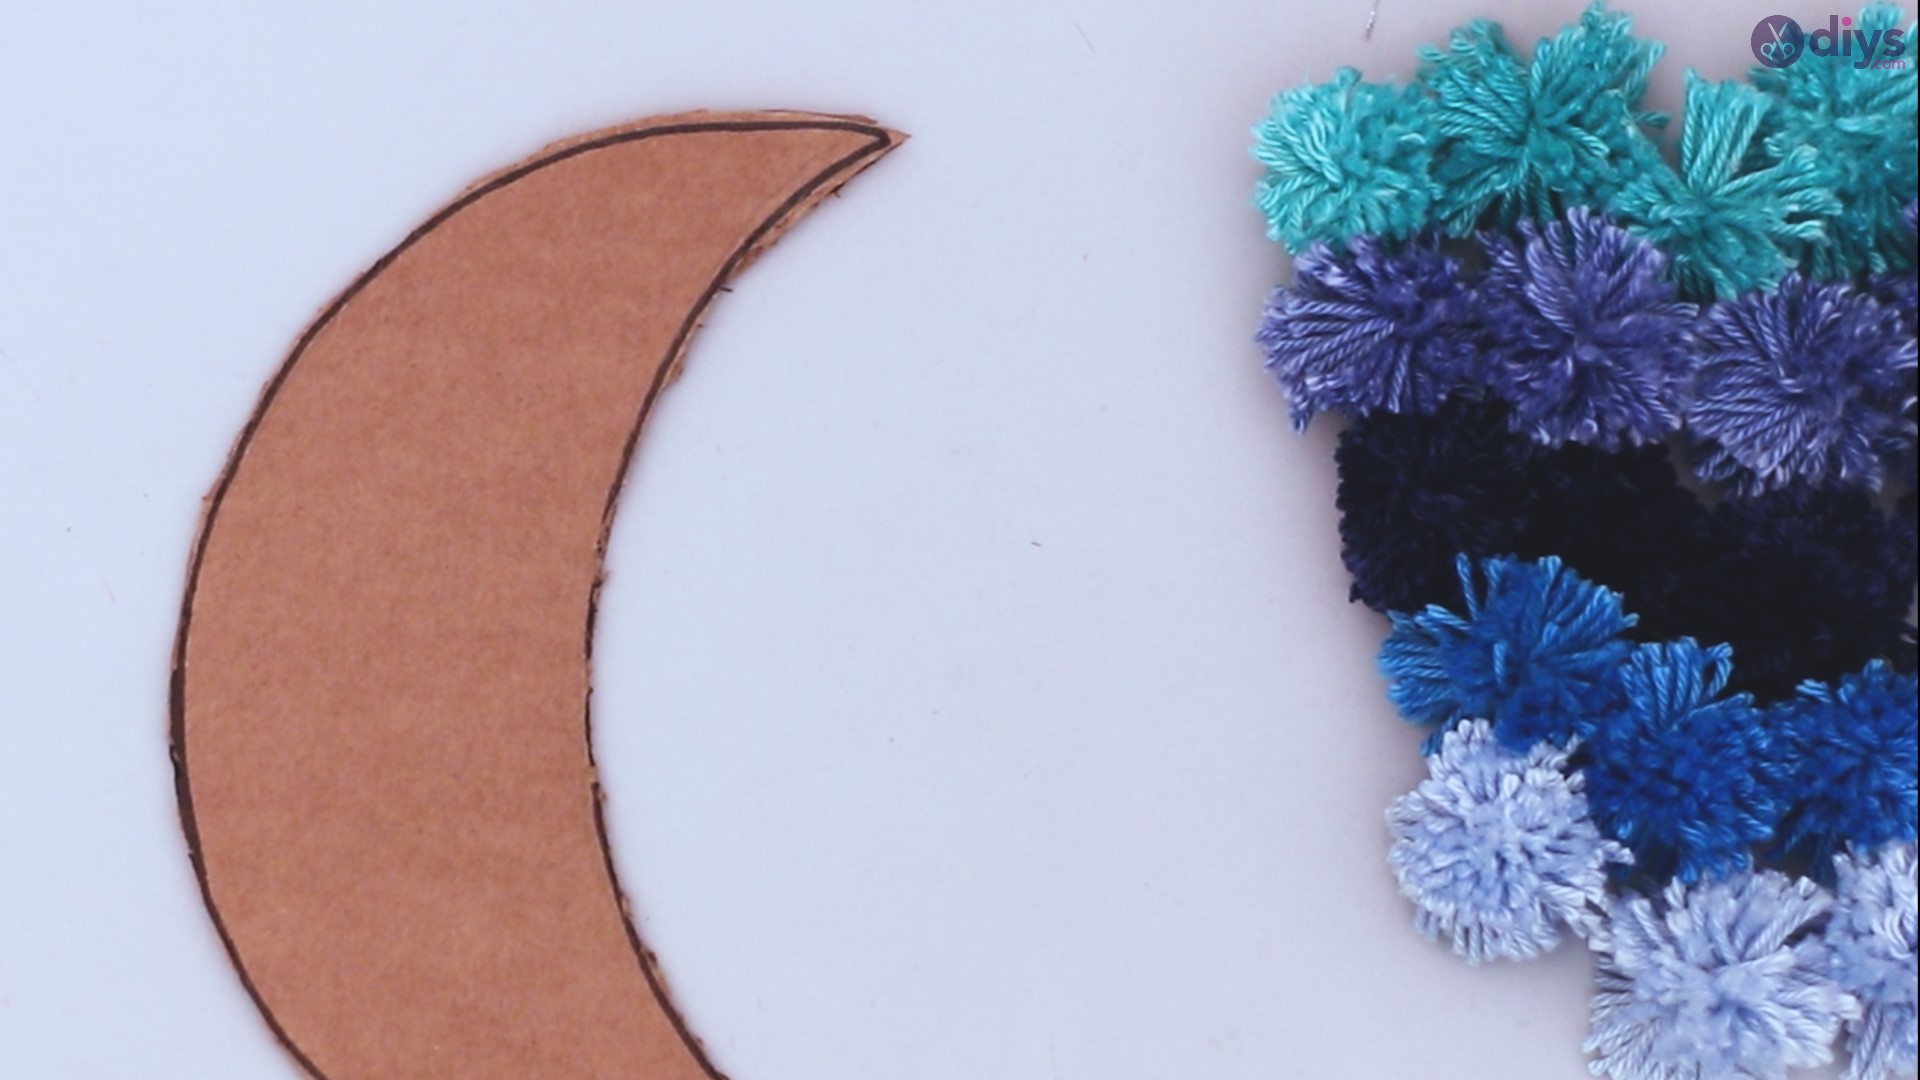
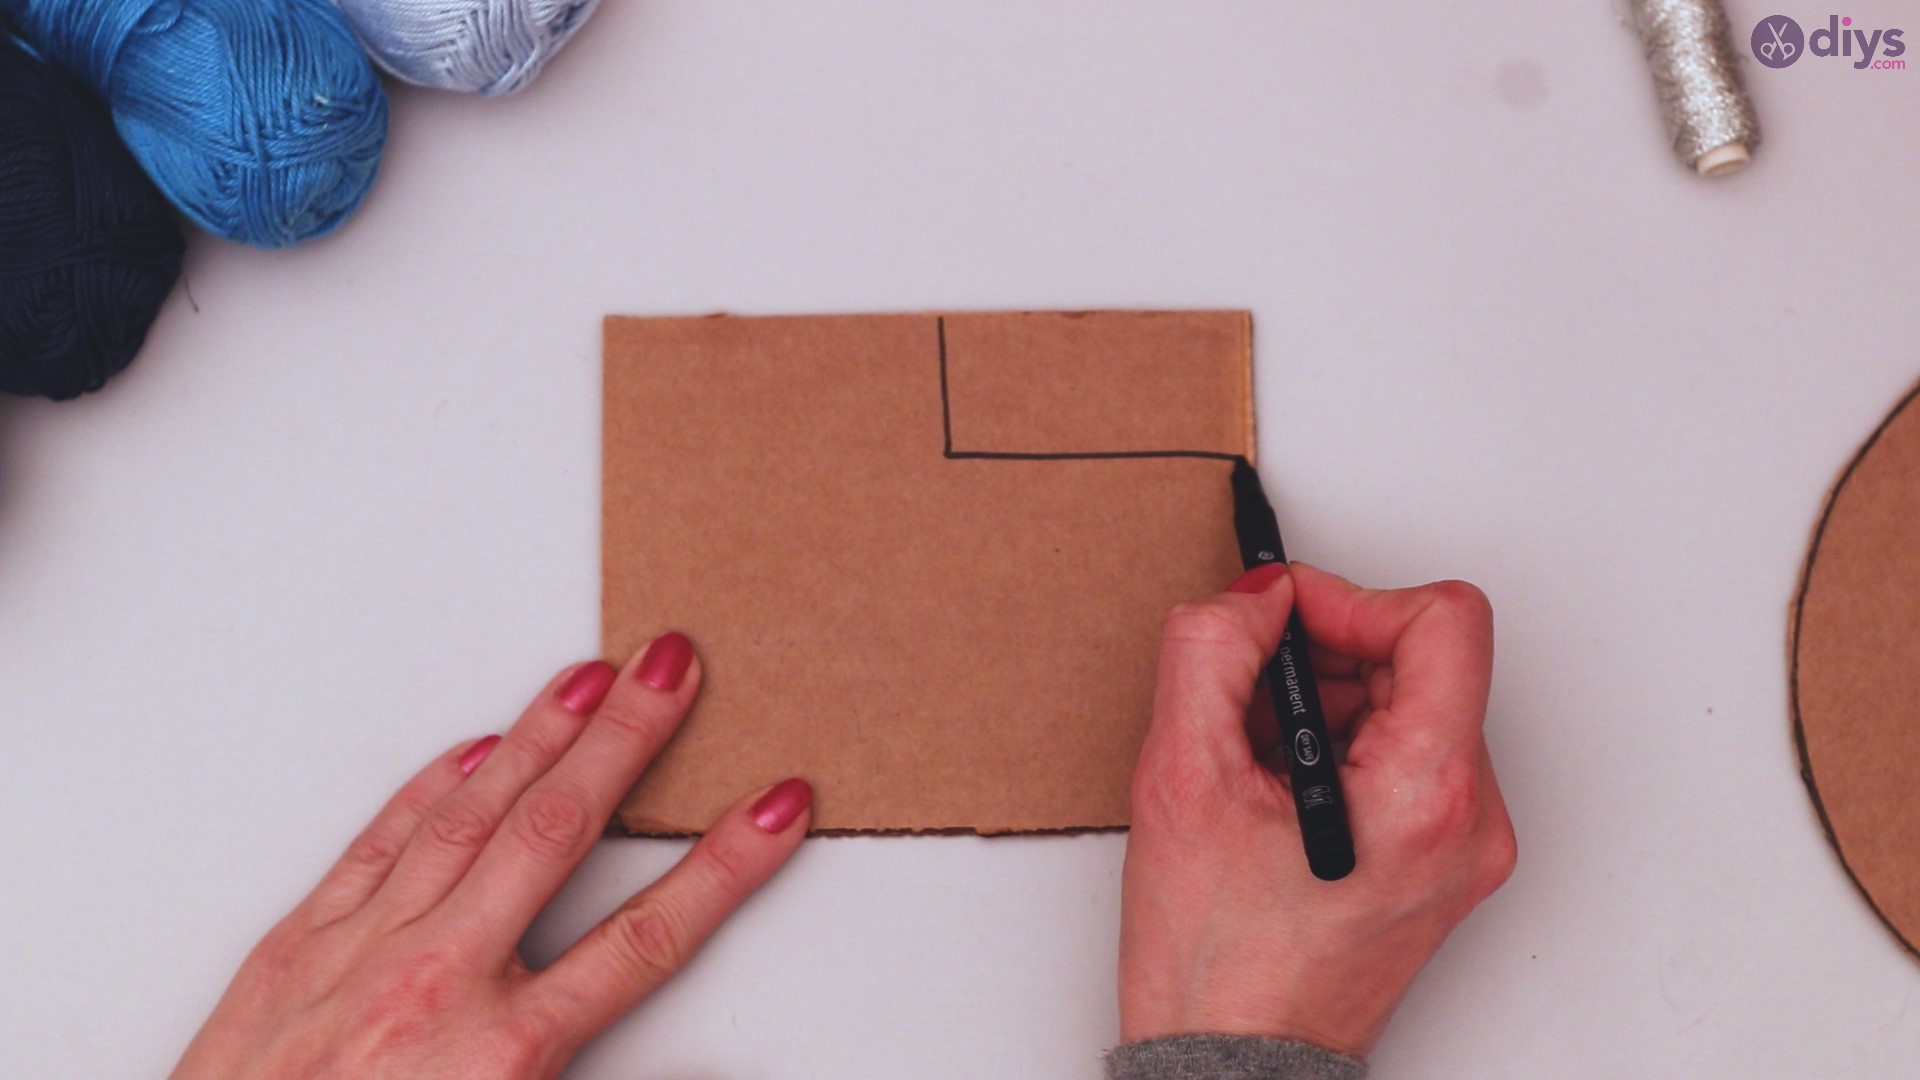
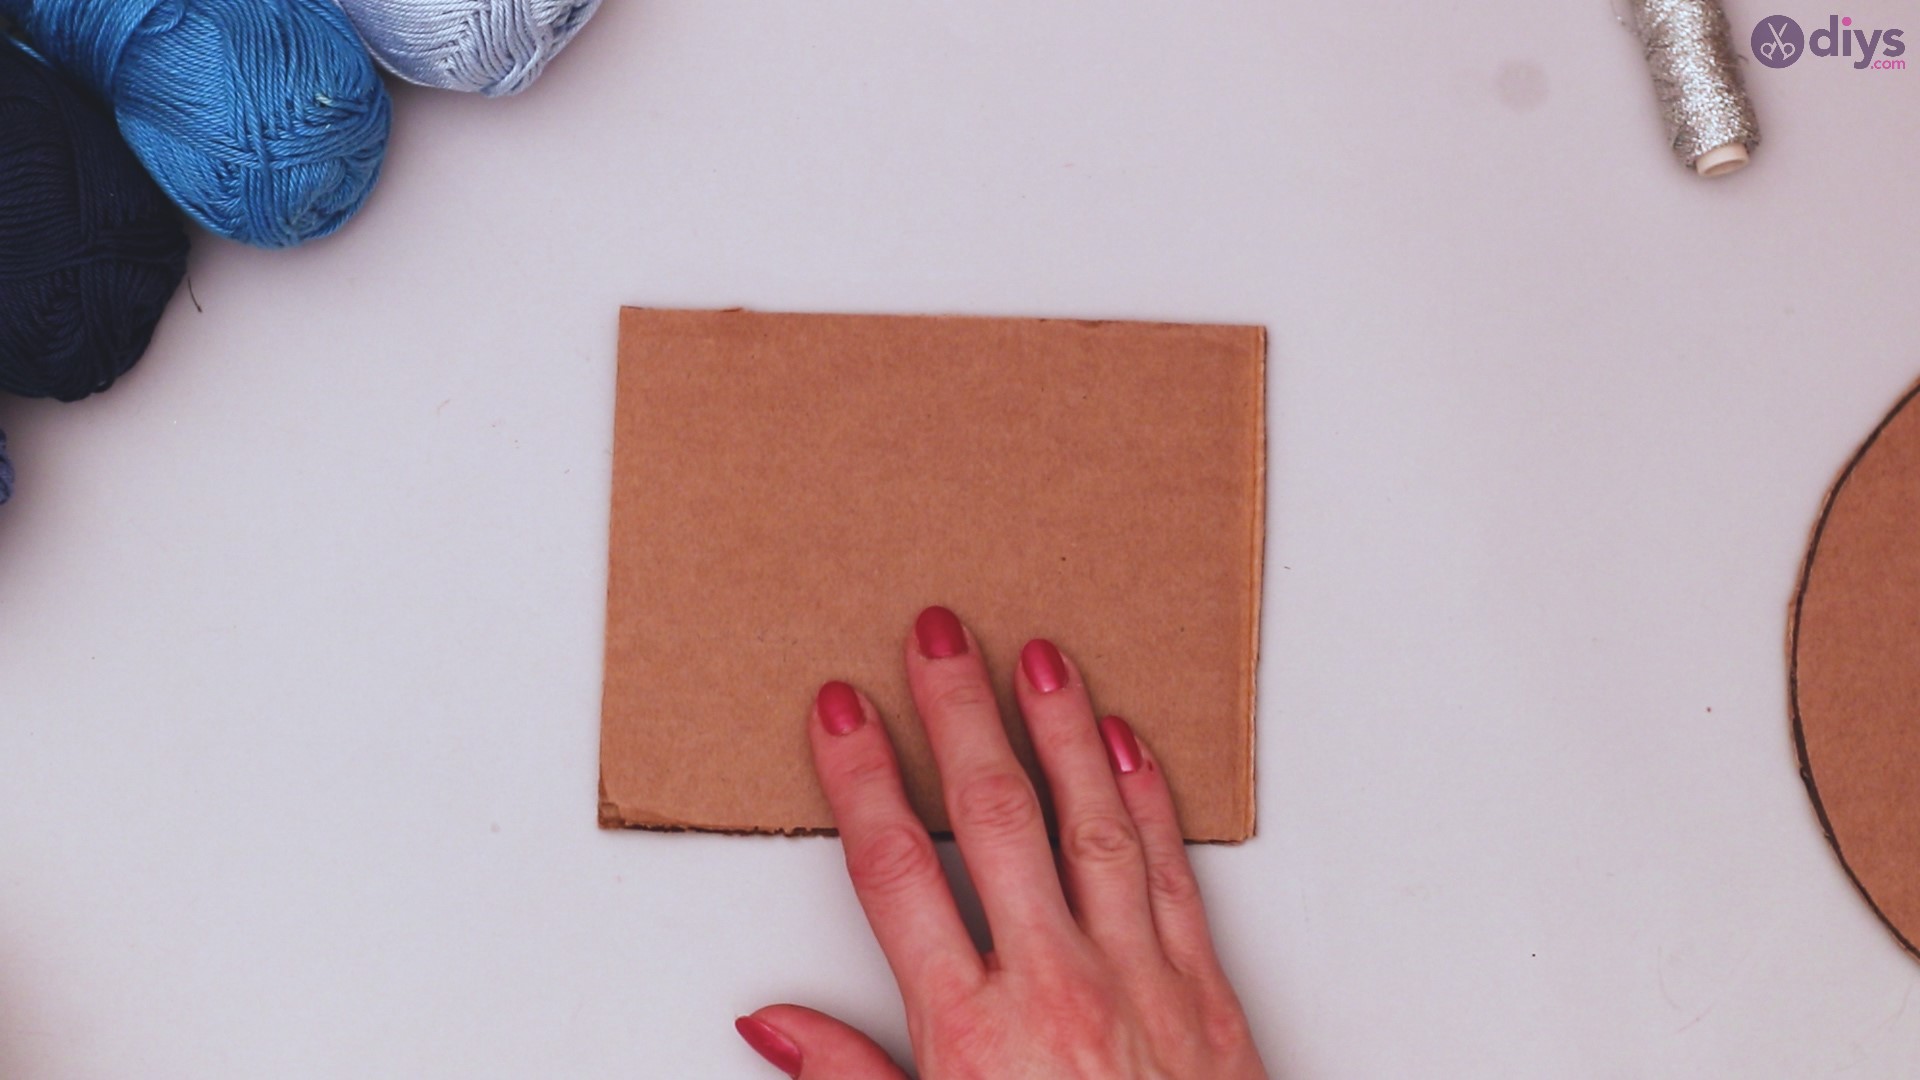
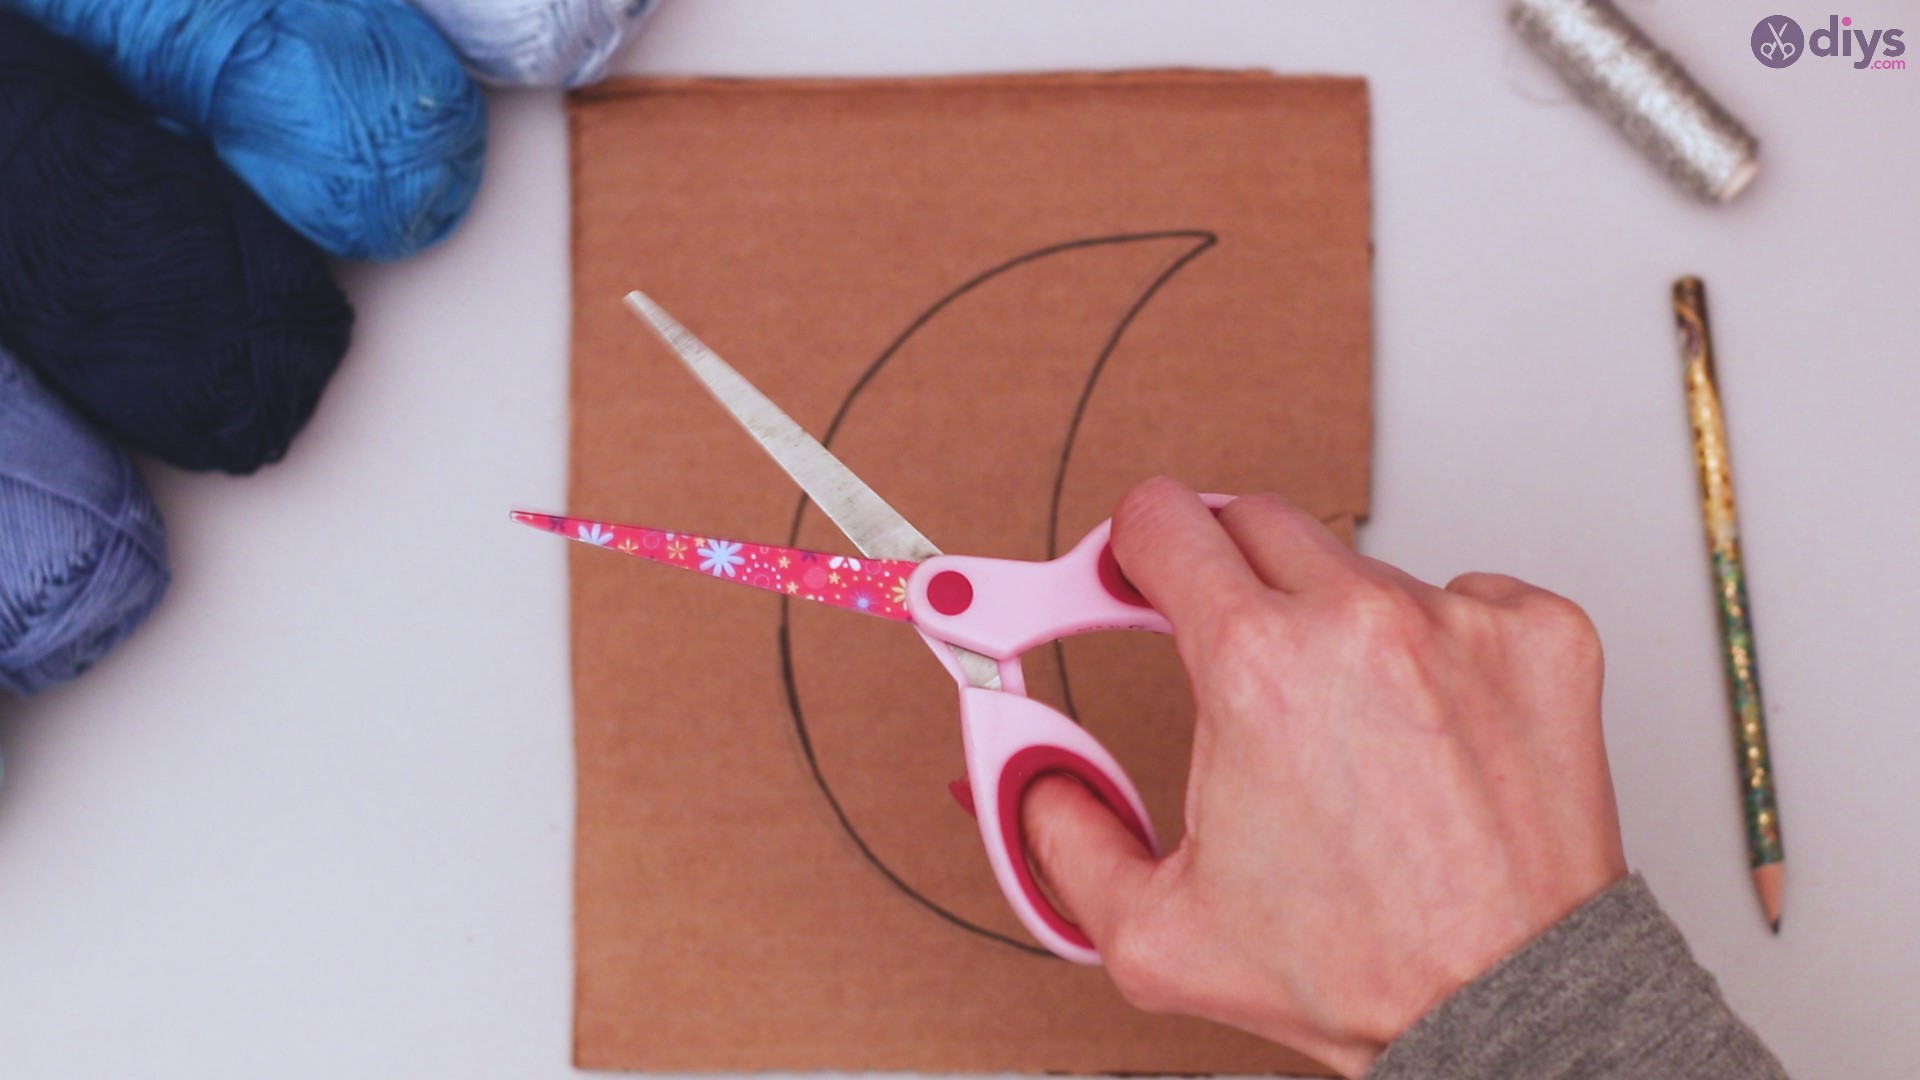
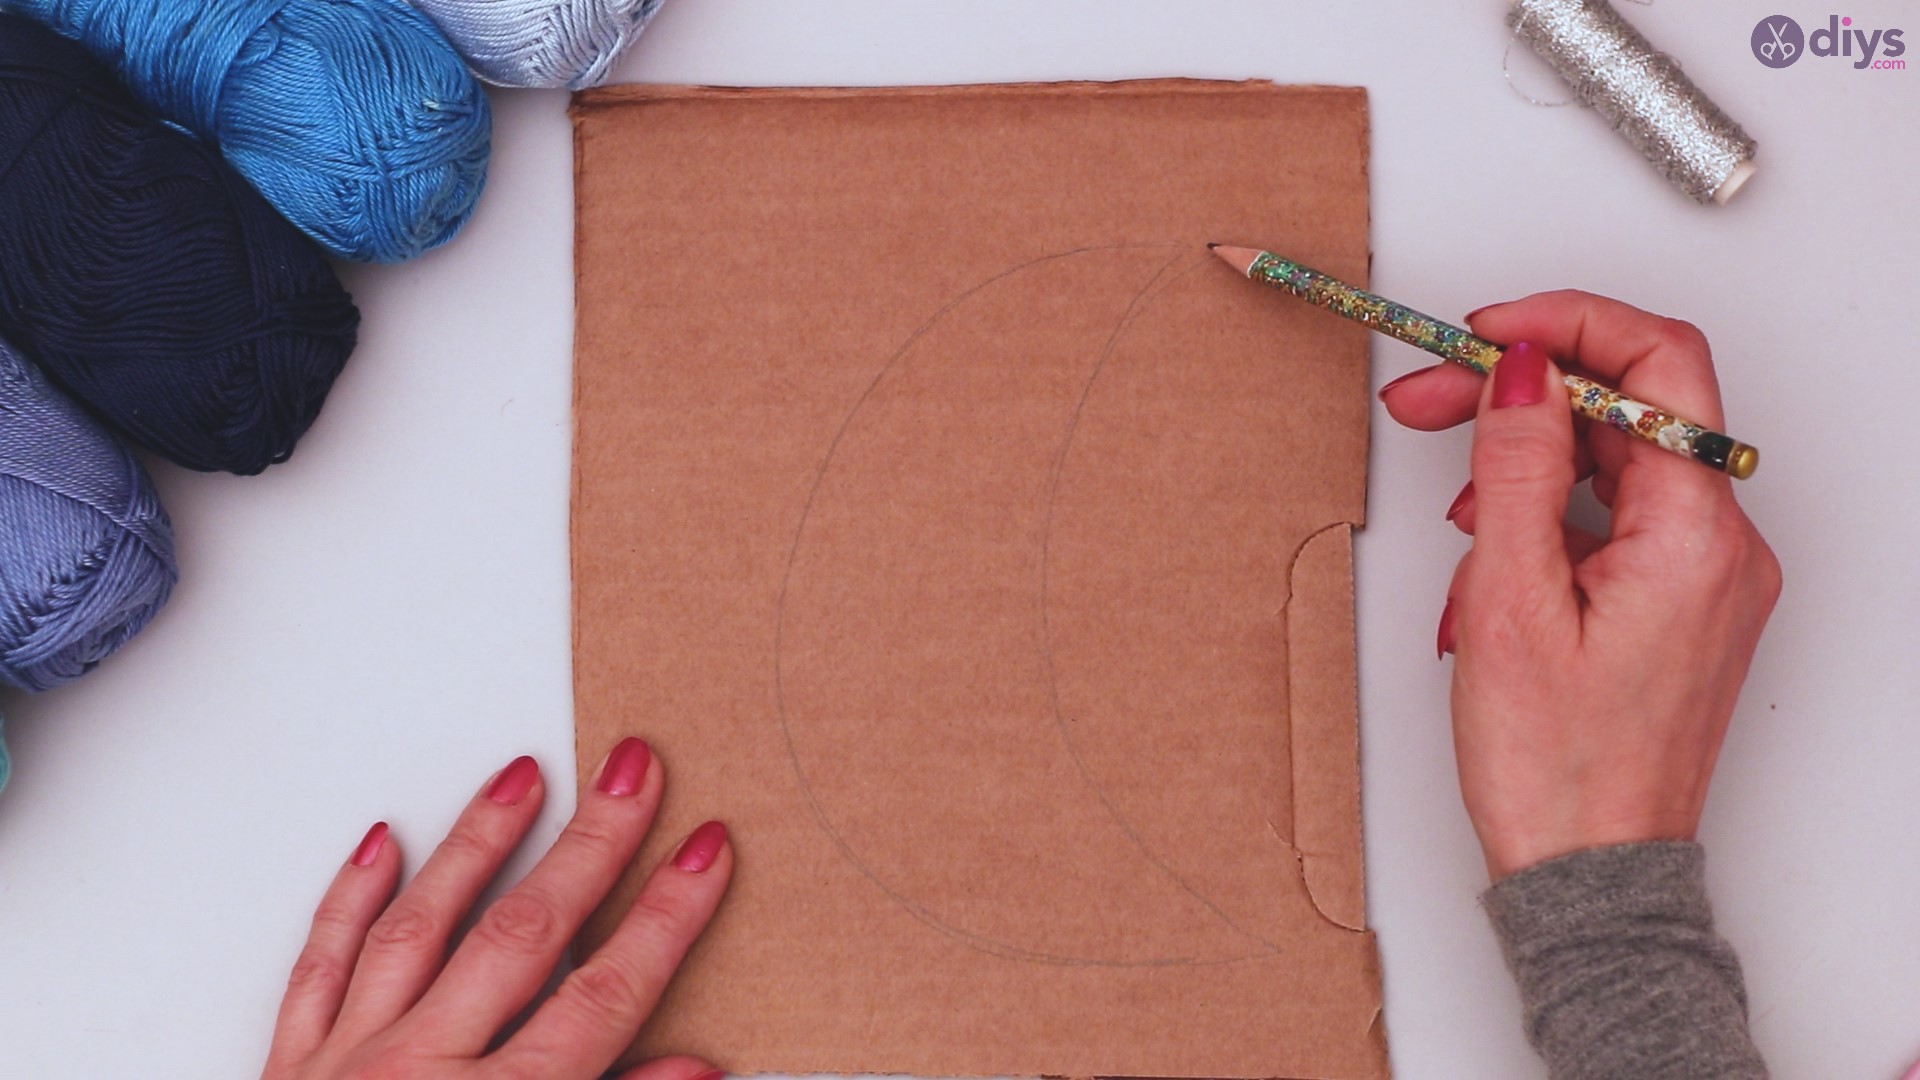
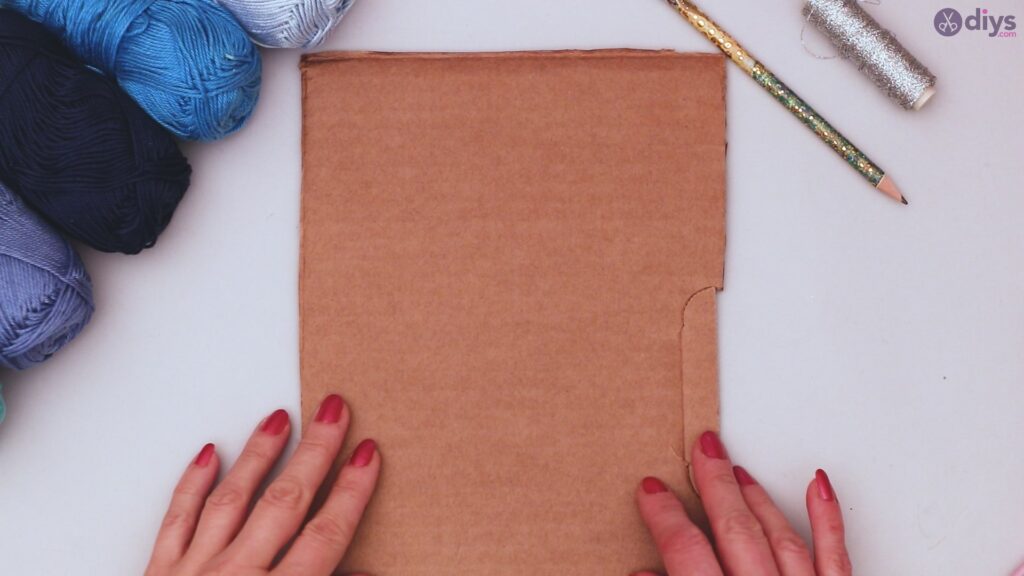
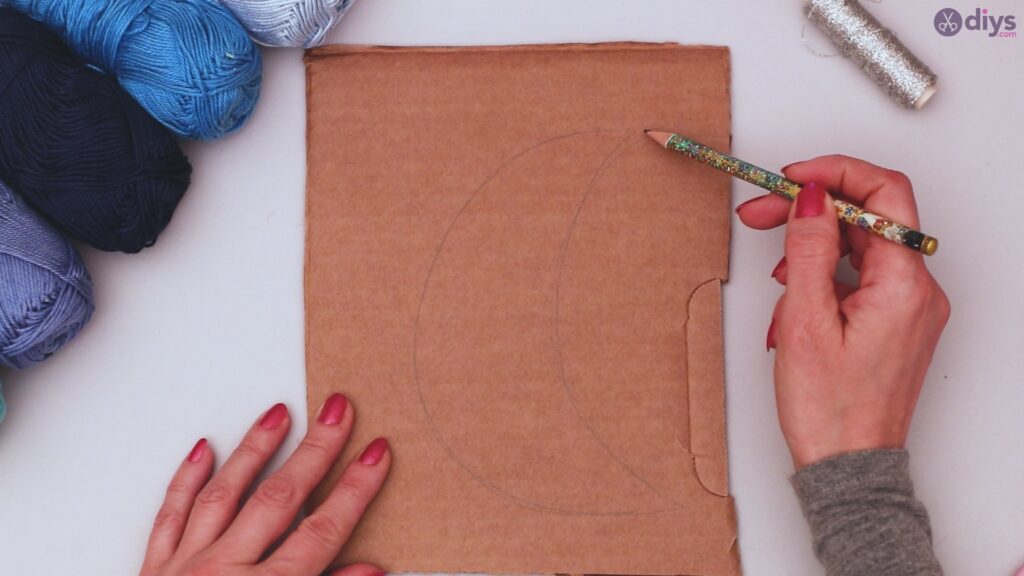
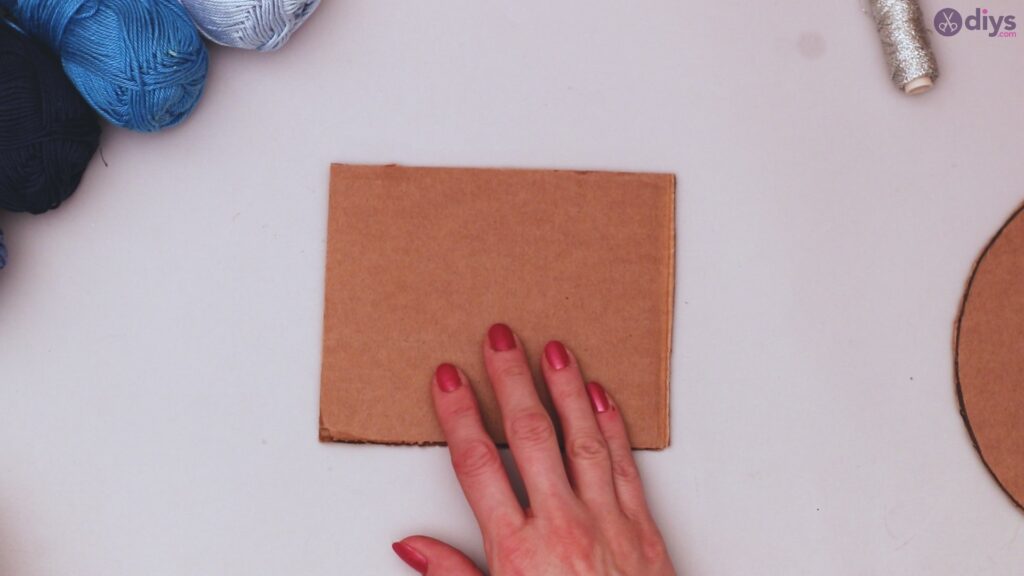
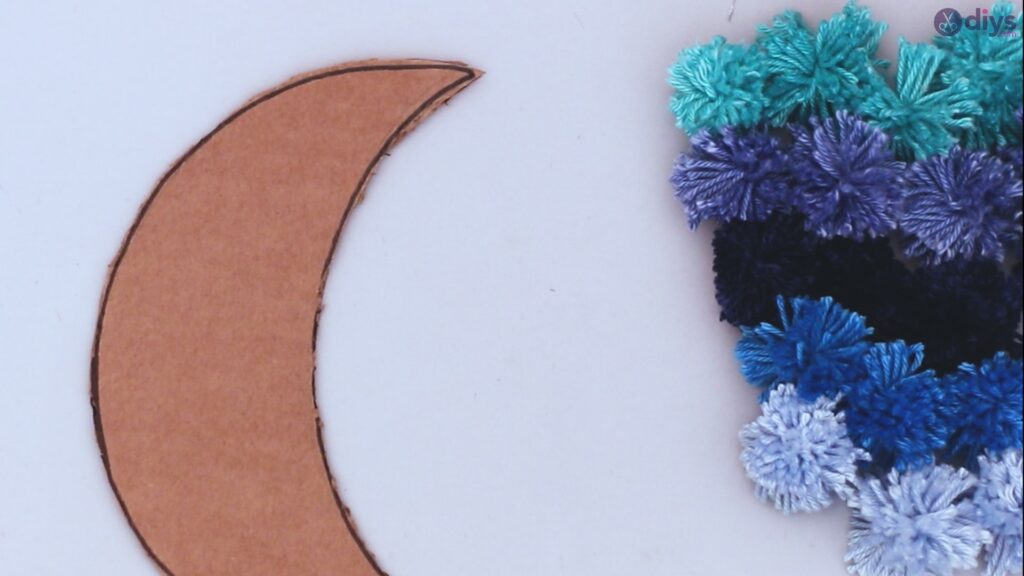
Taking your piece of cardboard and your pencil, trace out the crescent moon in the shape and size you want to use. Using the pencil will allow you to edit your shape until you’re satisfied.
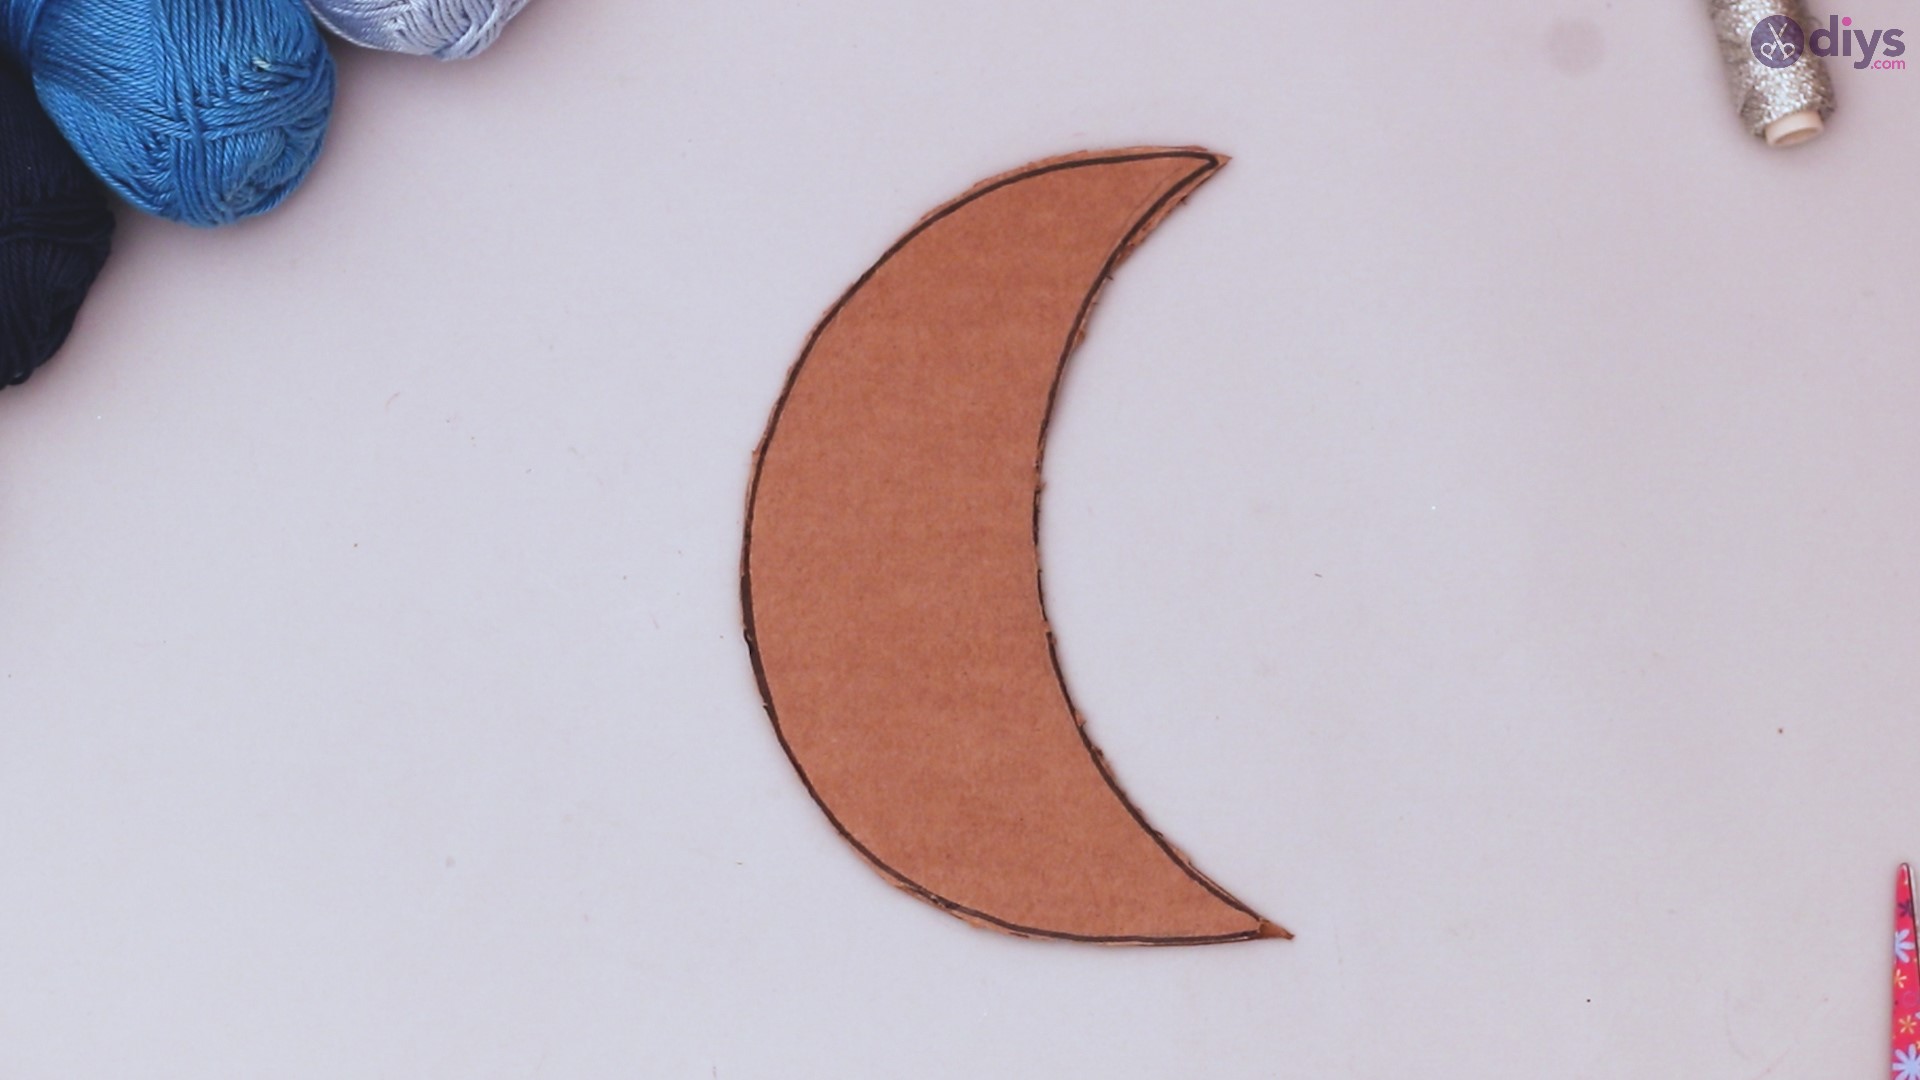
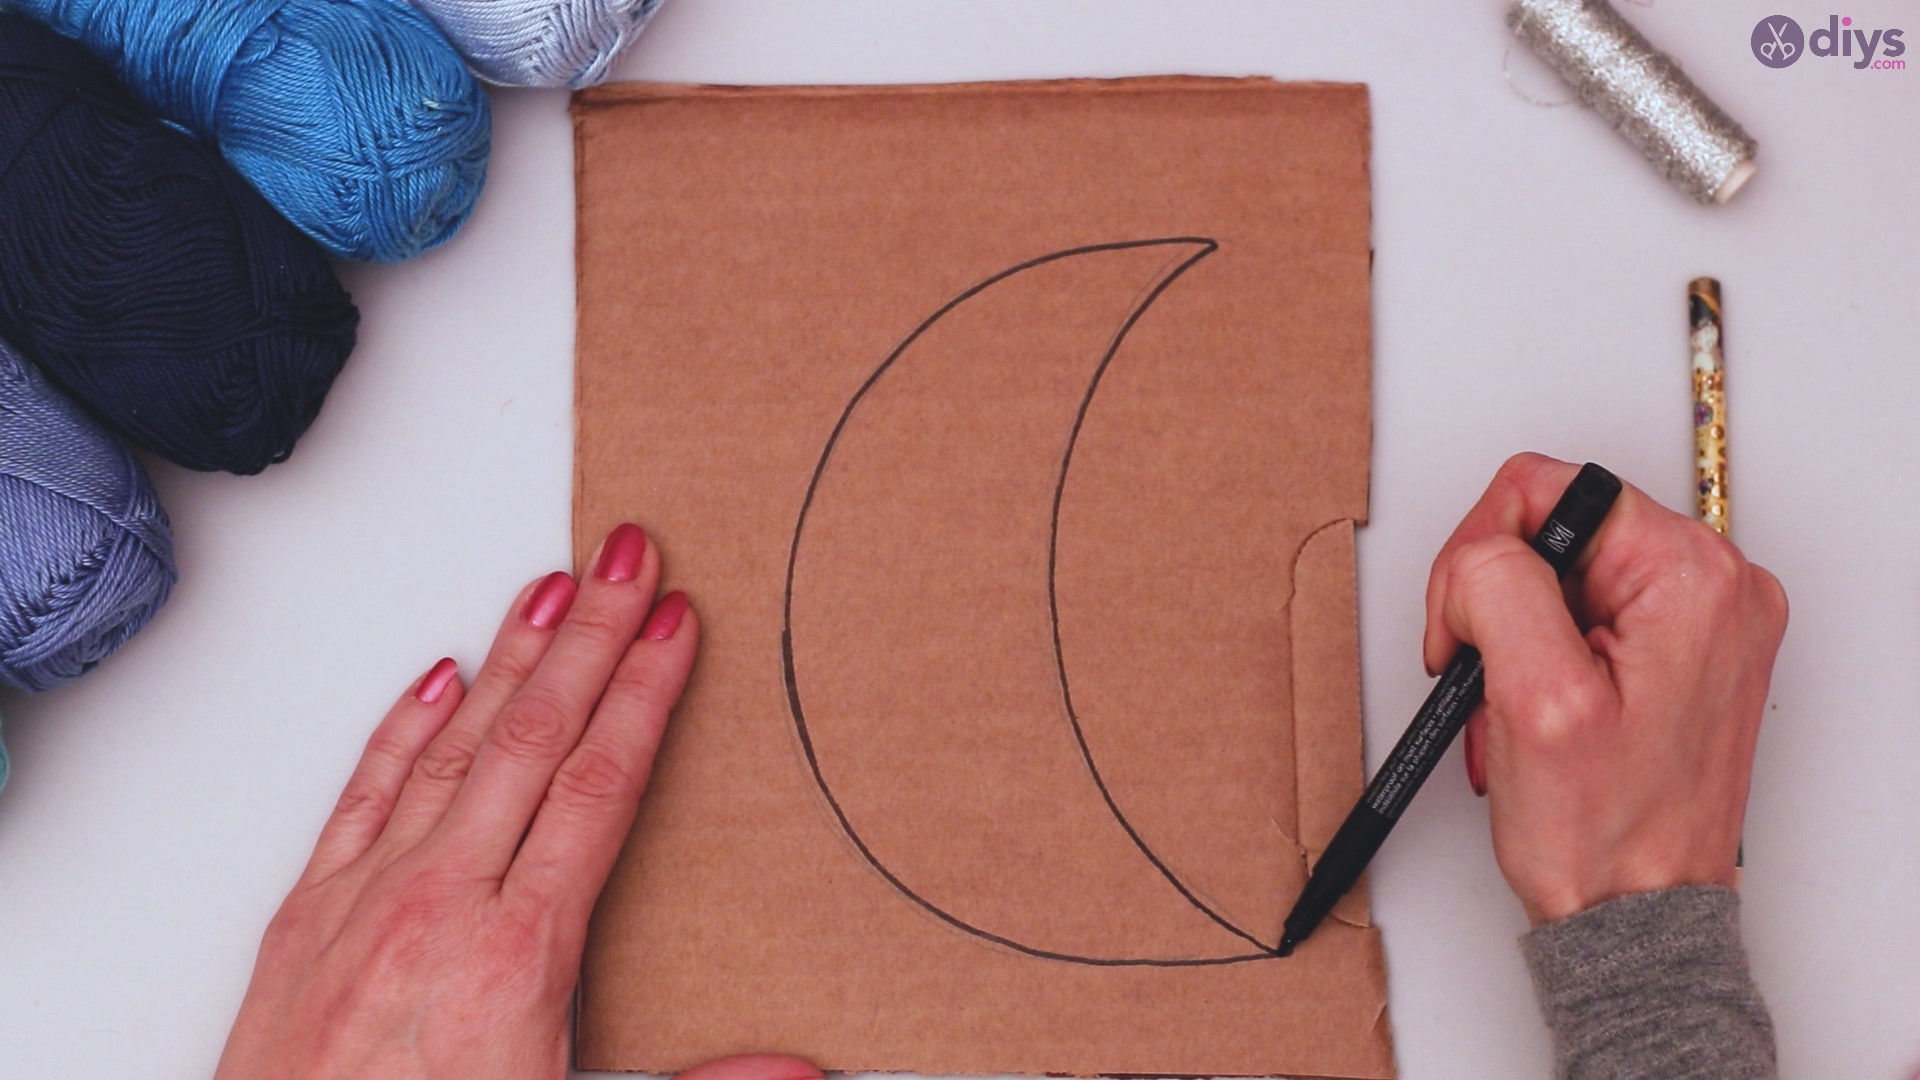
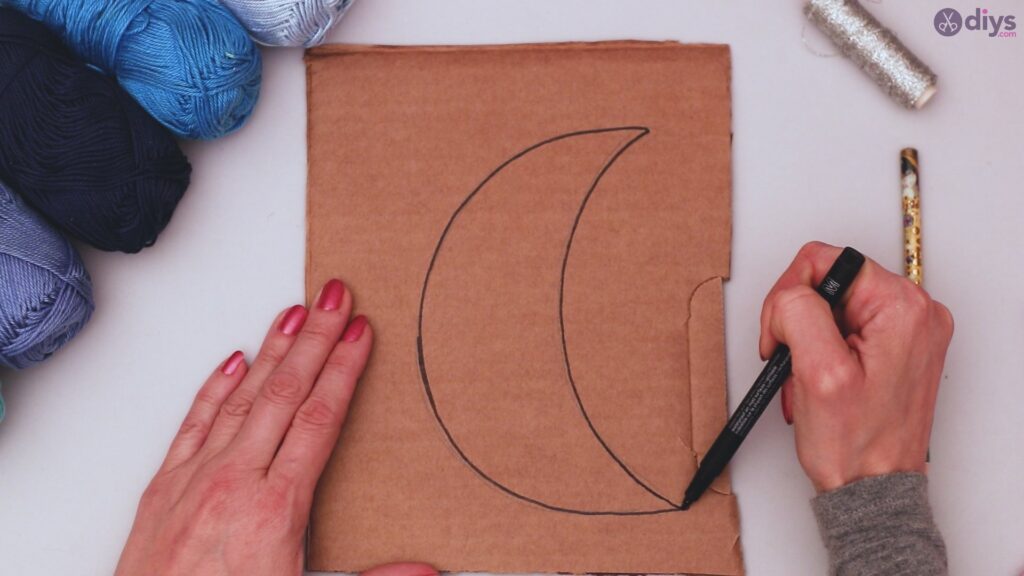
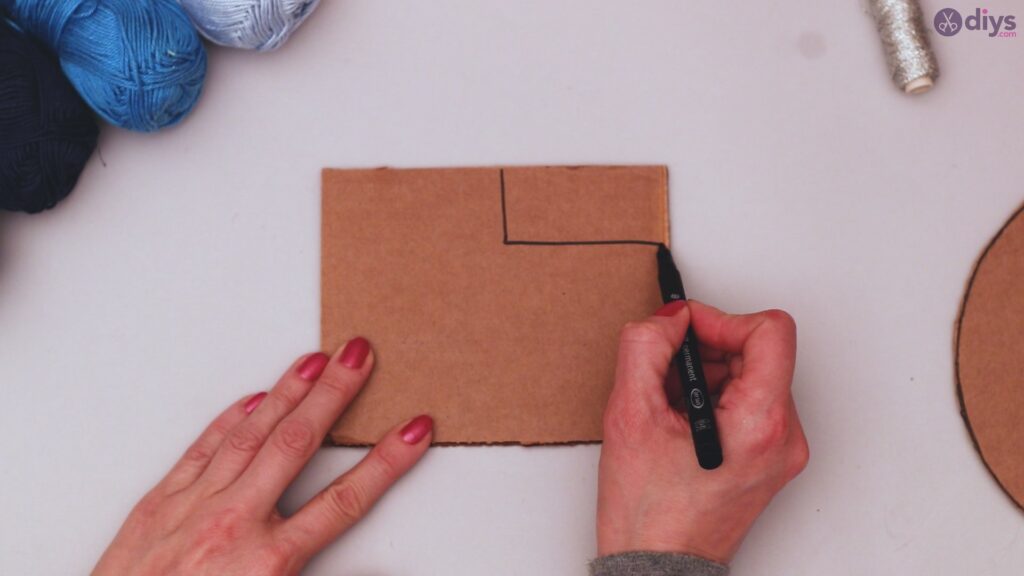
Trace back over your final crescent moon with your black marker so that it’s easily visible to you.
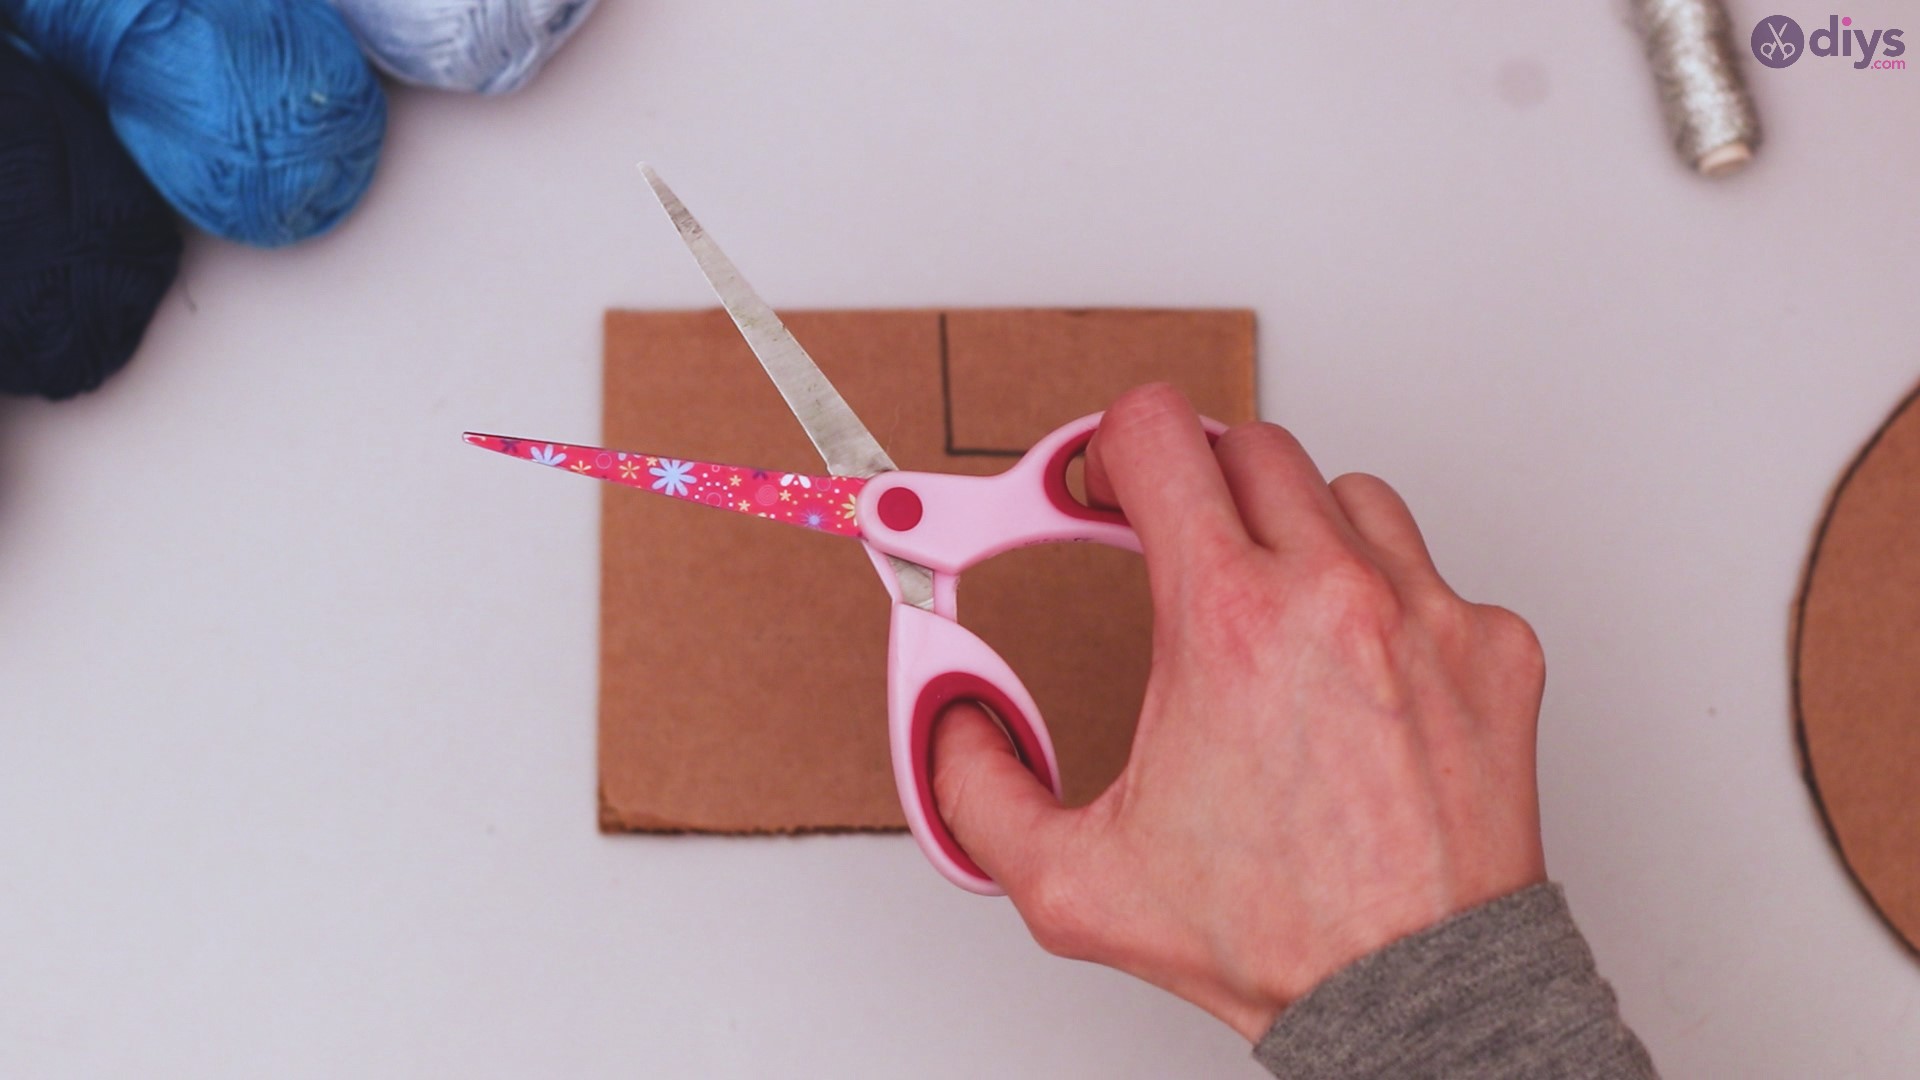
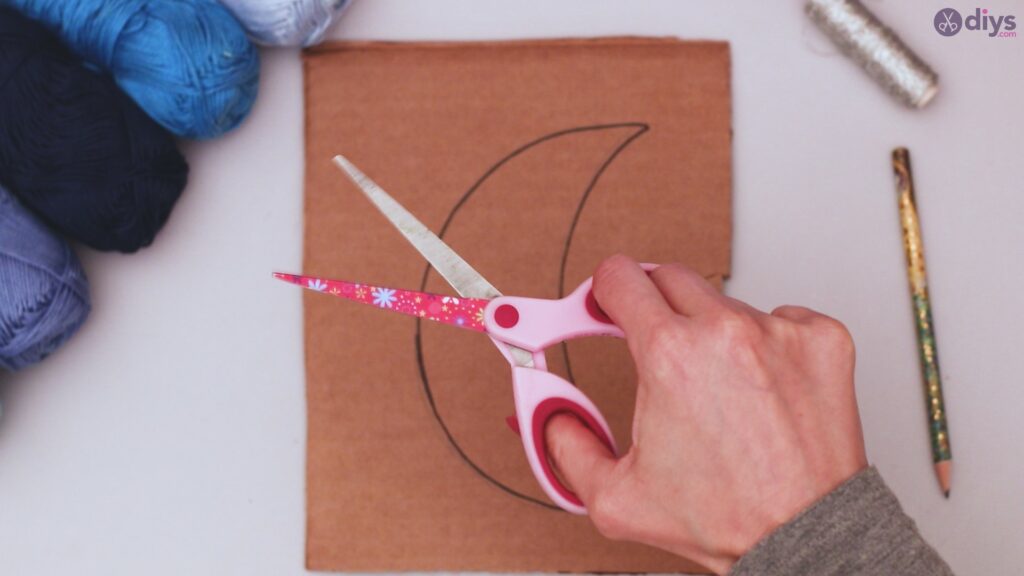
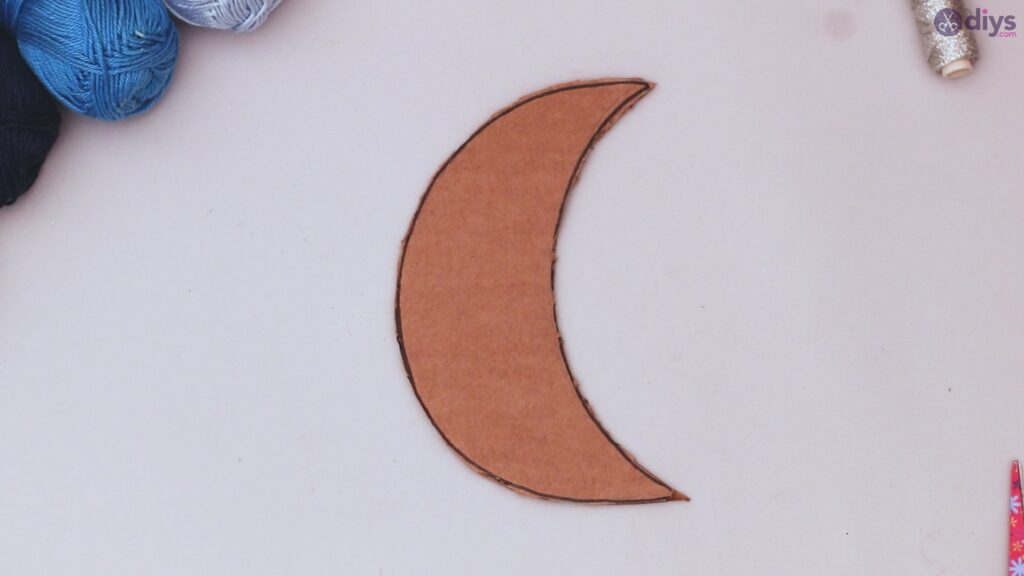
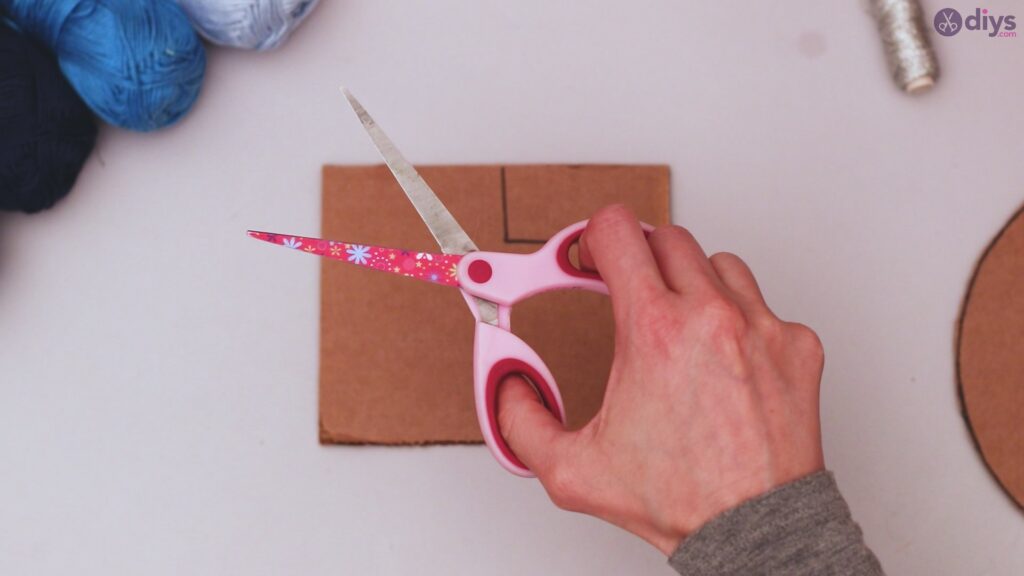
Using your scissors, cut out the moon. This will be the backbone of your entire art project.
Step 2: Make your ‘cheater’ wrapper
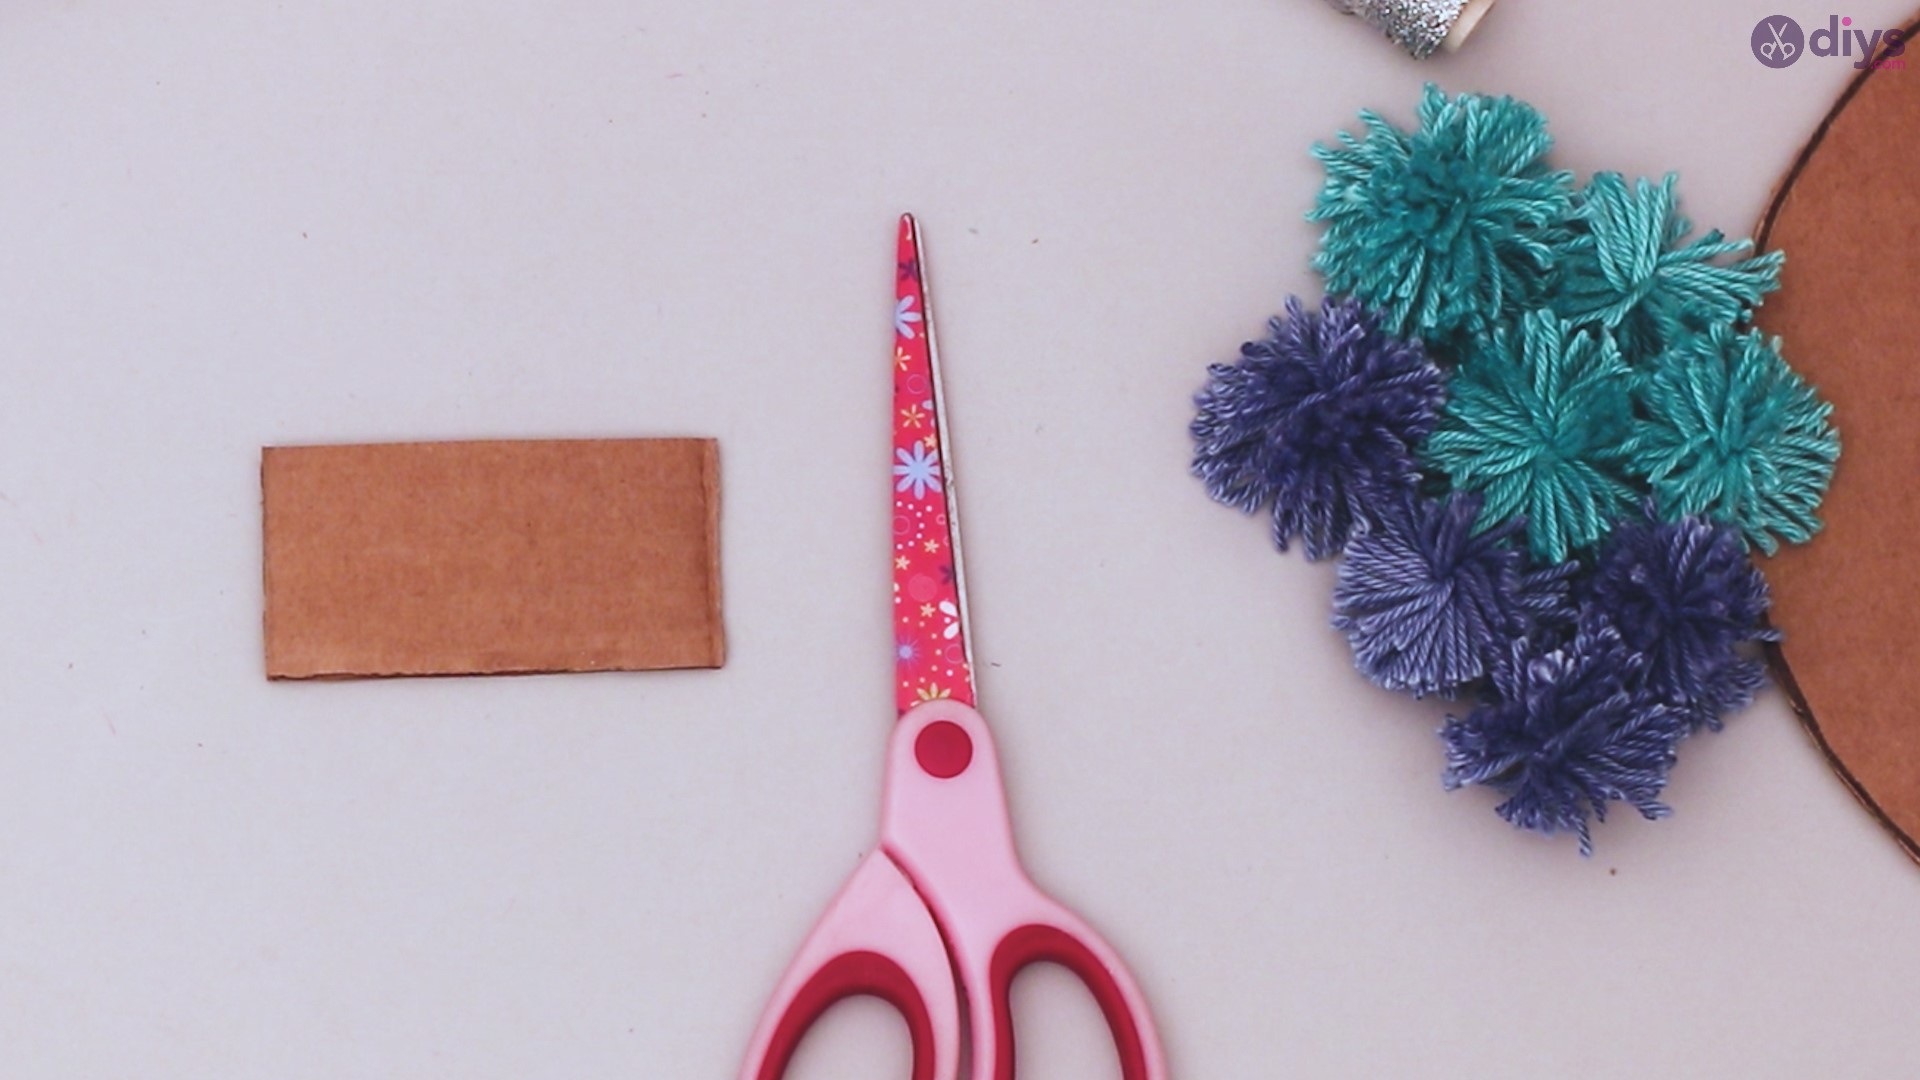
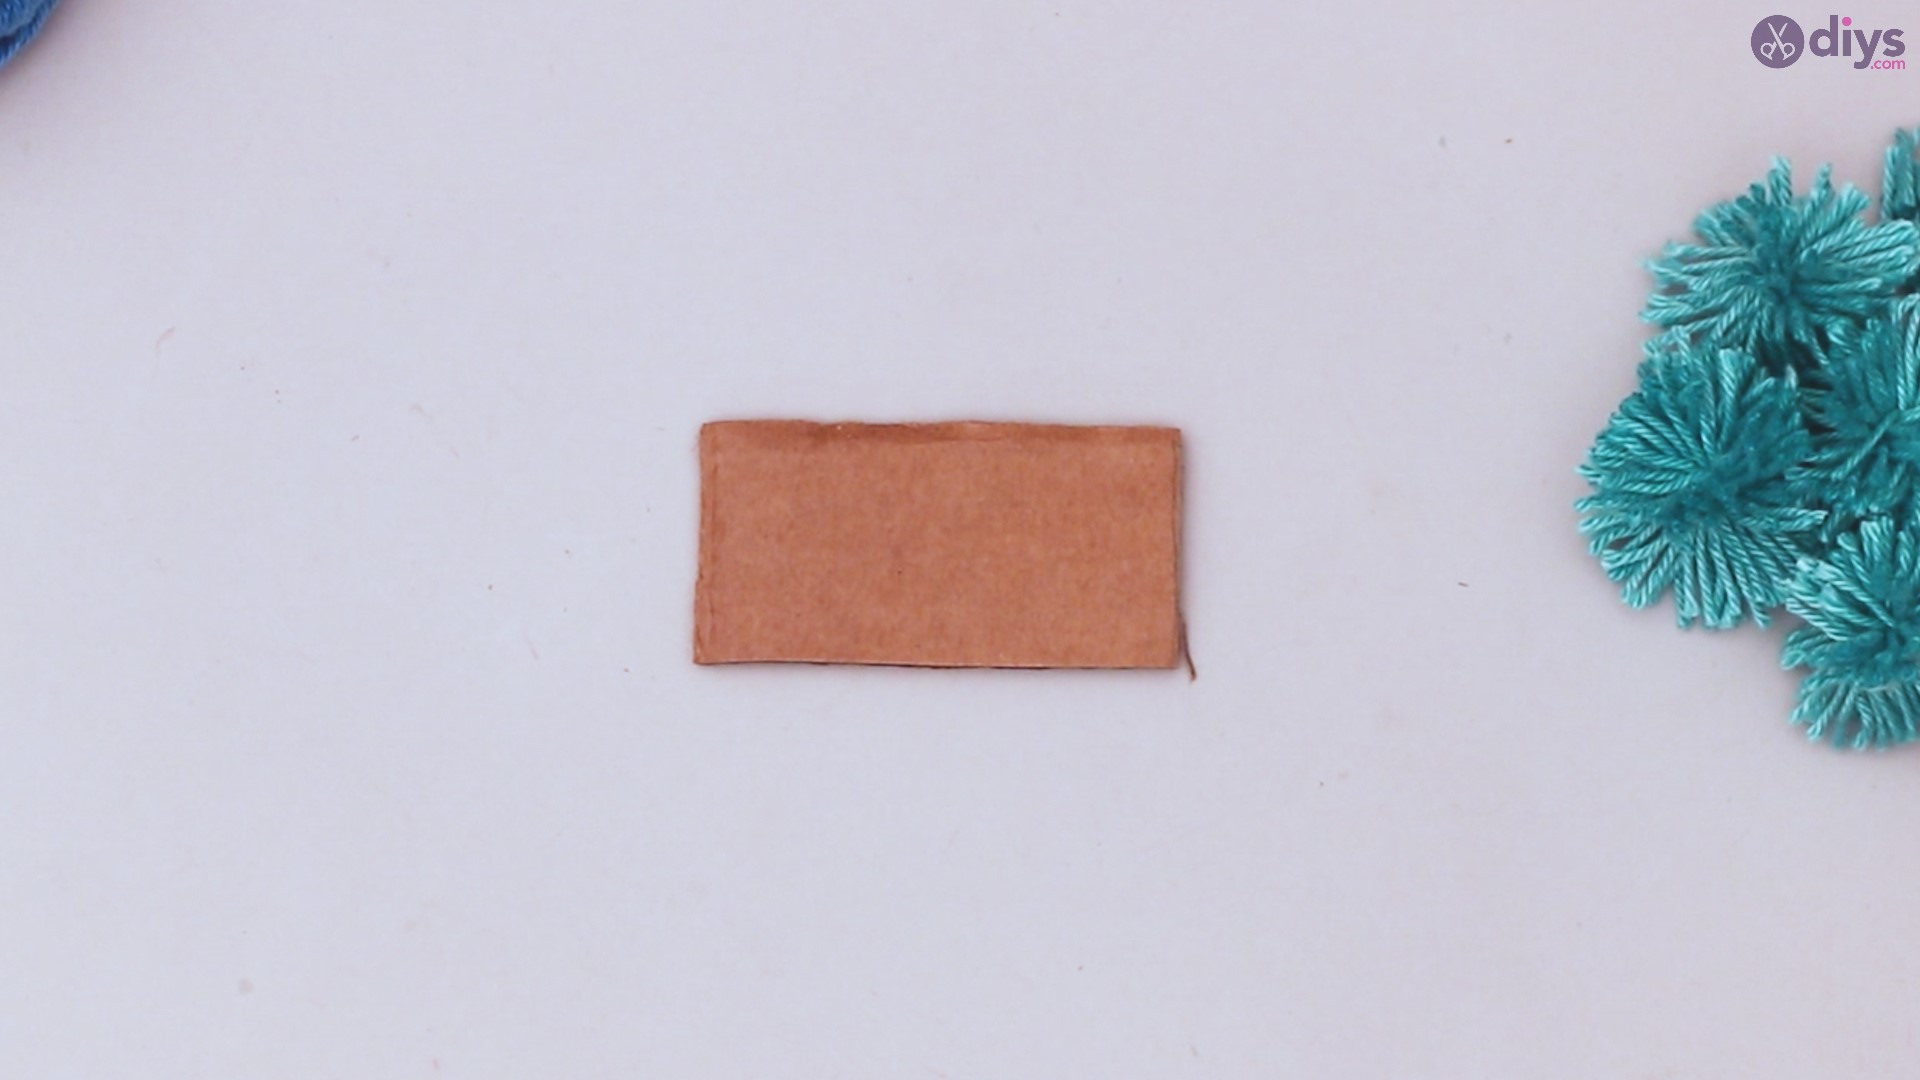
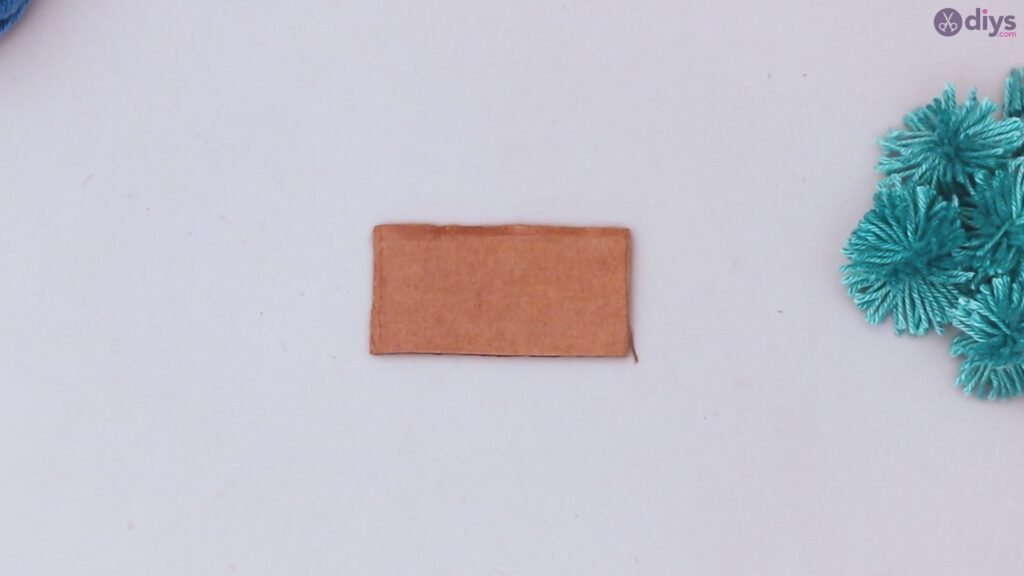
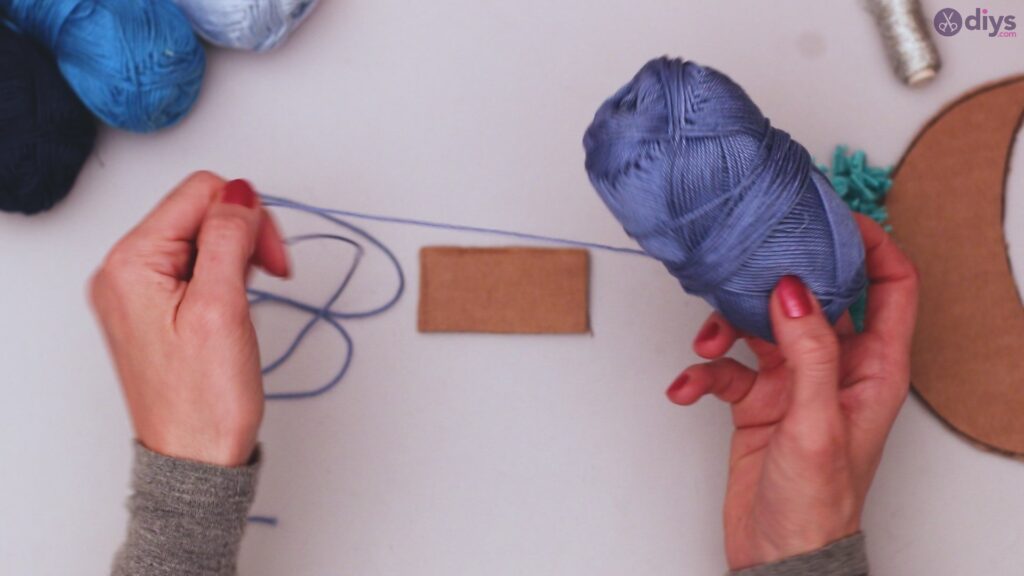
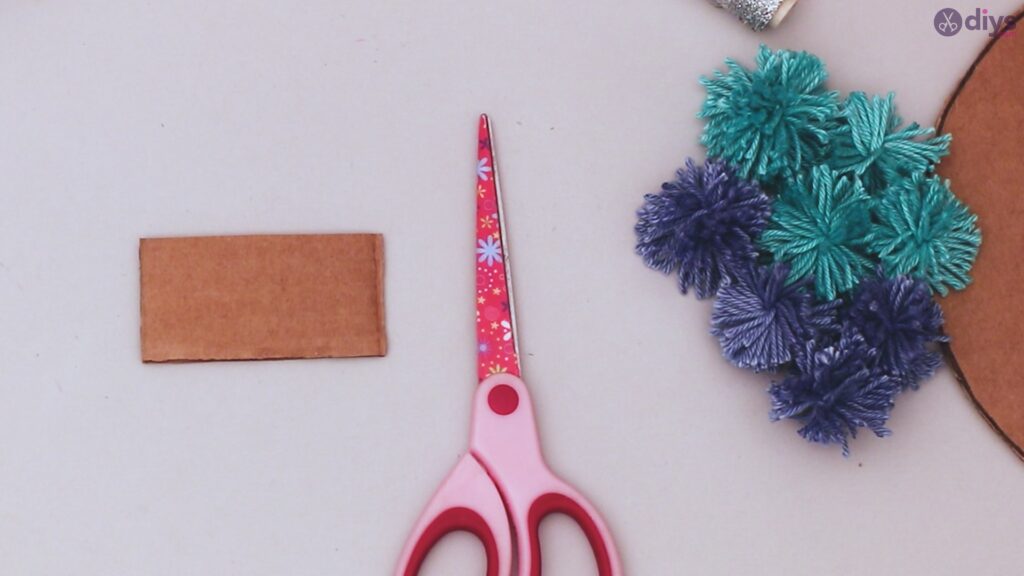
Folding yarn can be difficult, so we recommend having a piece of cardboard to help. This will make it easier to create your pom poms. Cut out a strip of cardboard. This can be as narrow or wide as you like, depending on how big you want your pom poms to be. If you want different sizes, you can cut out more than one strip of cardboard in varying widths.
Step 3: Wrap your yarn
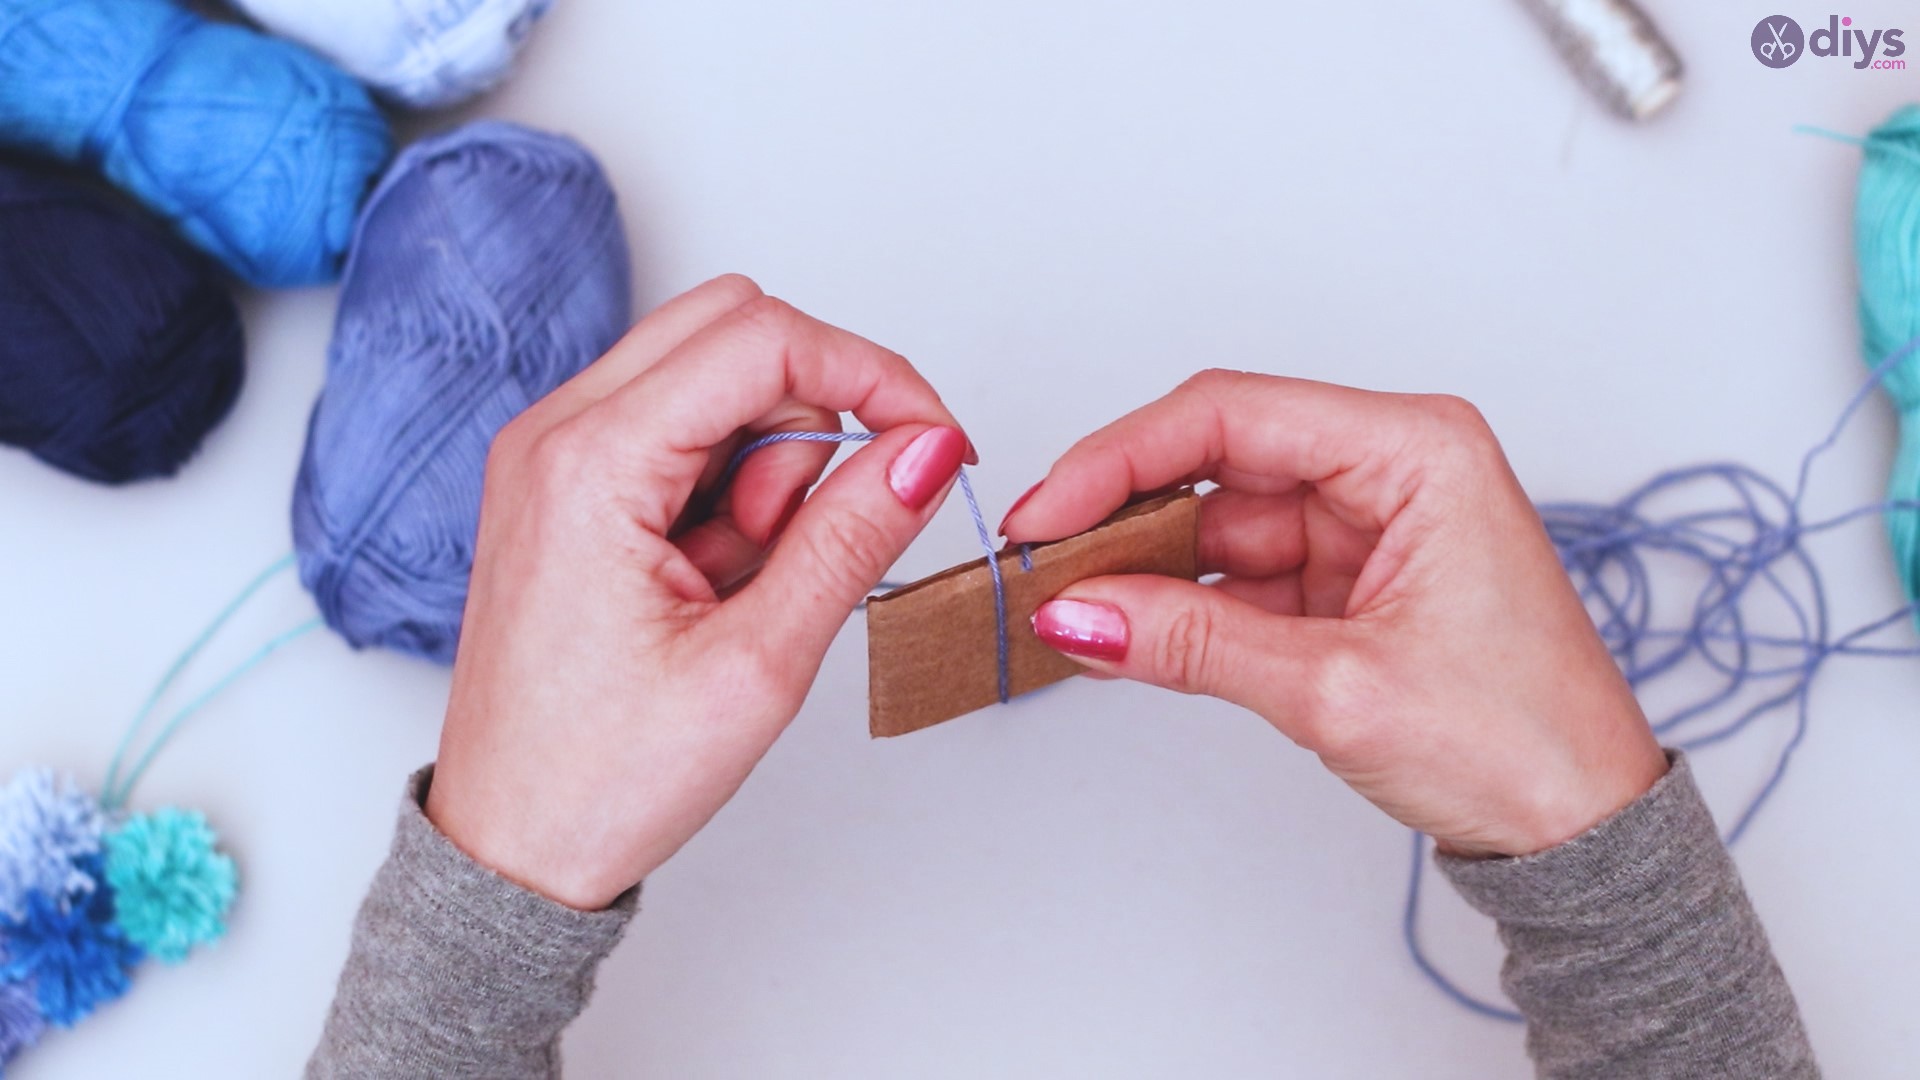
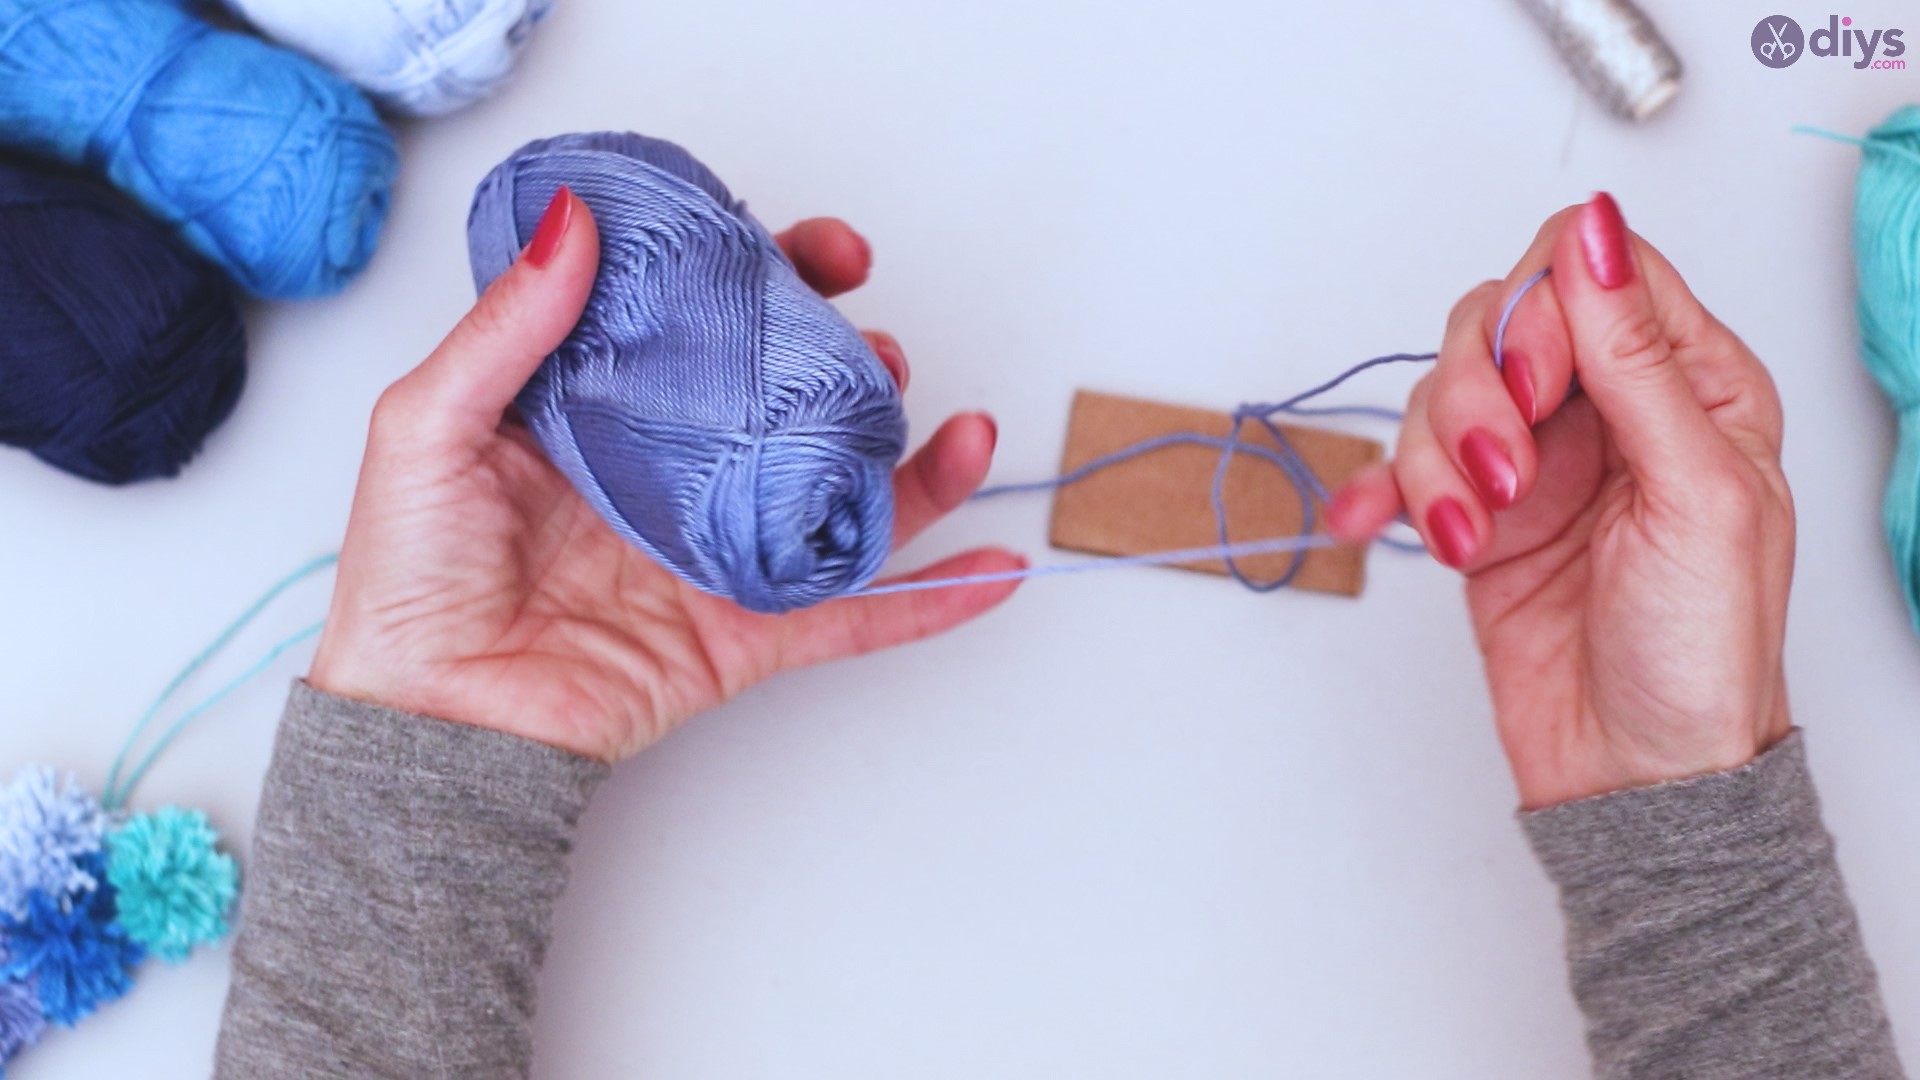
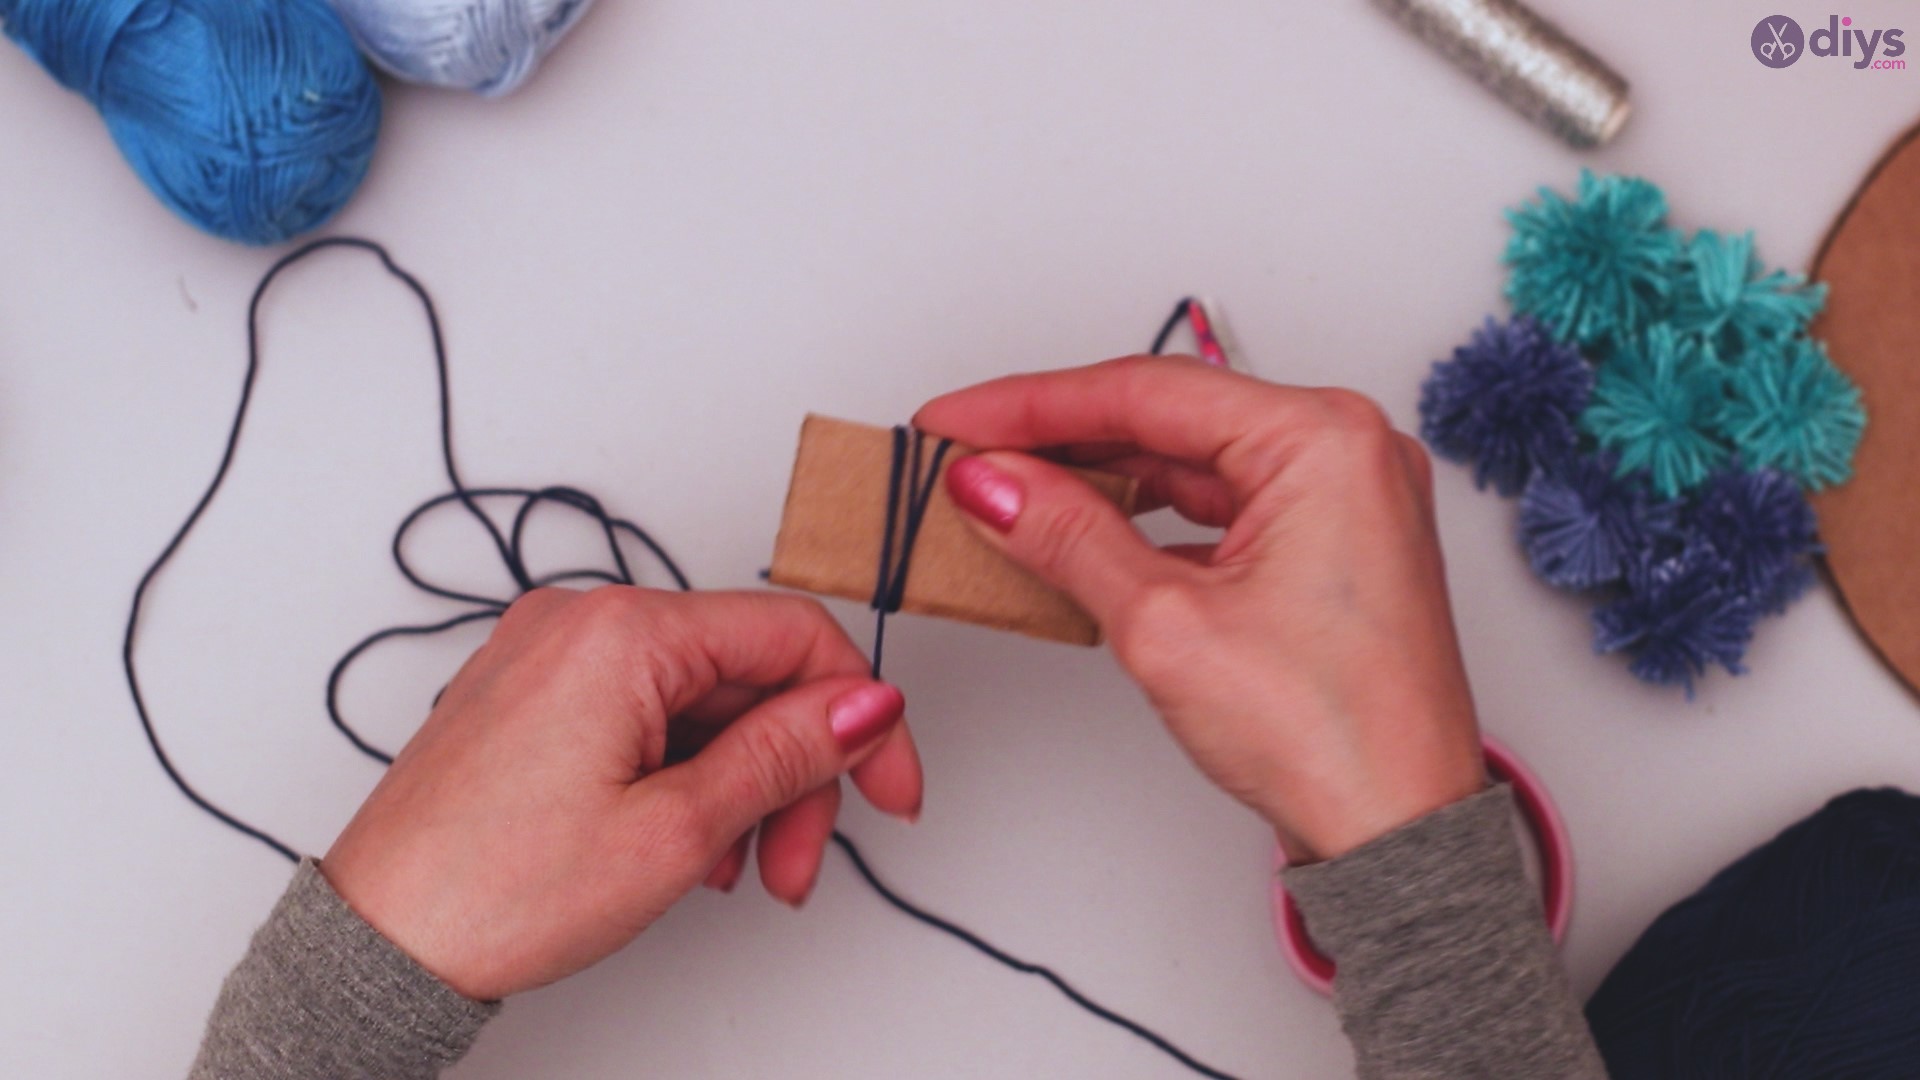
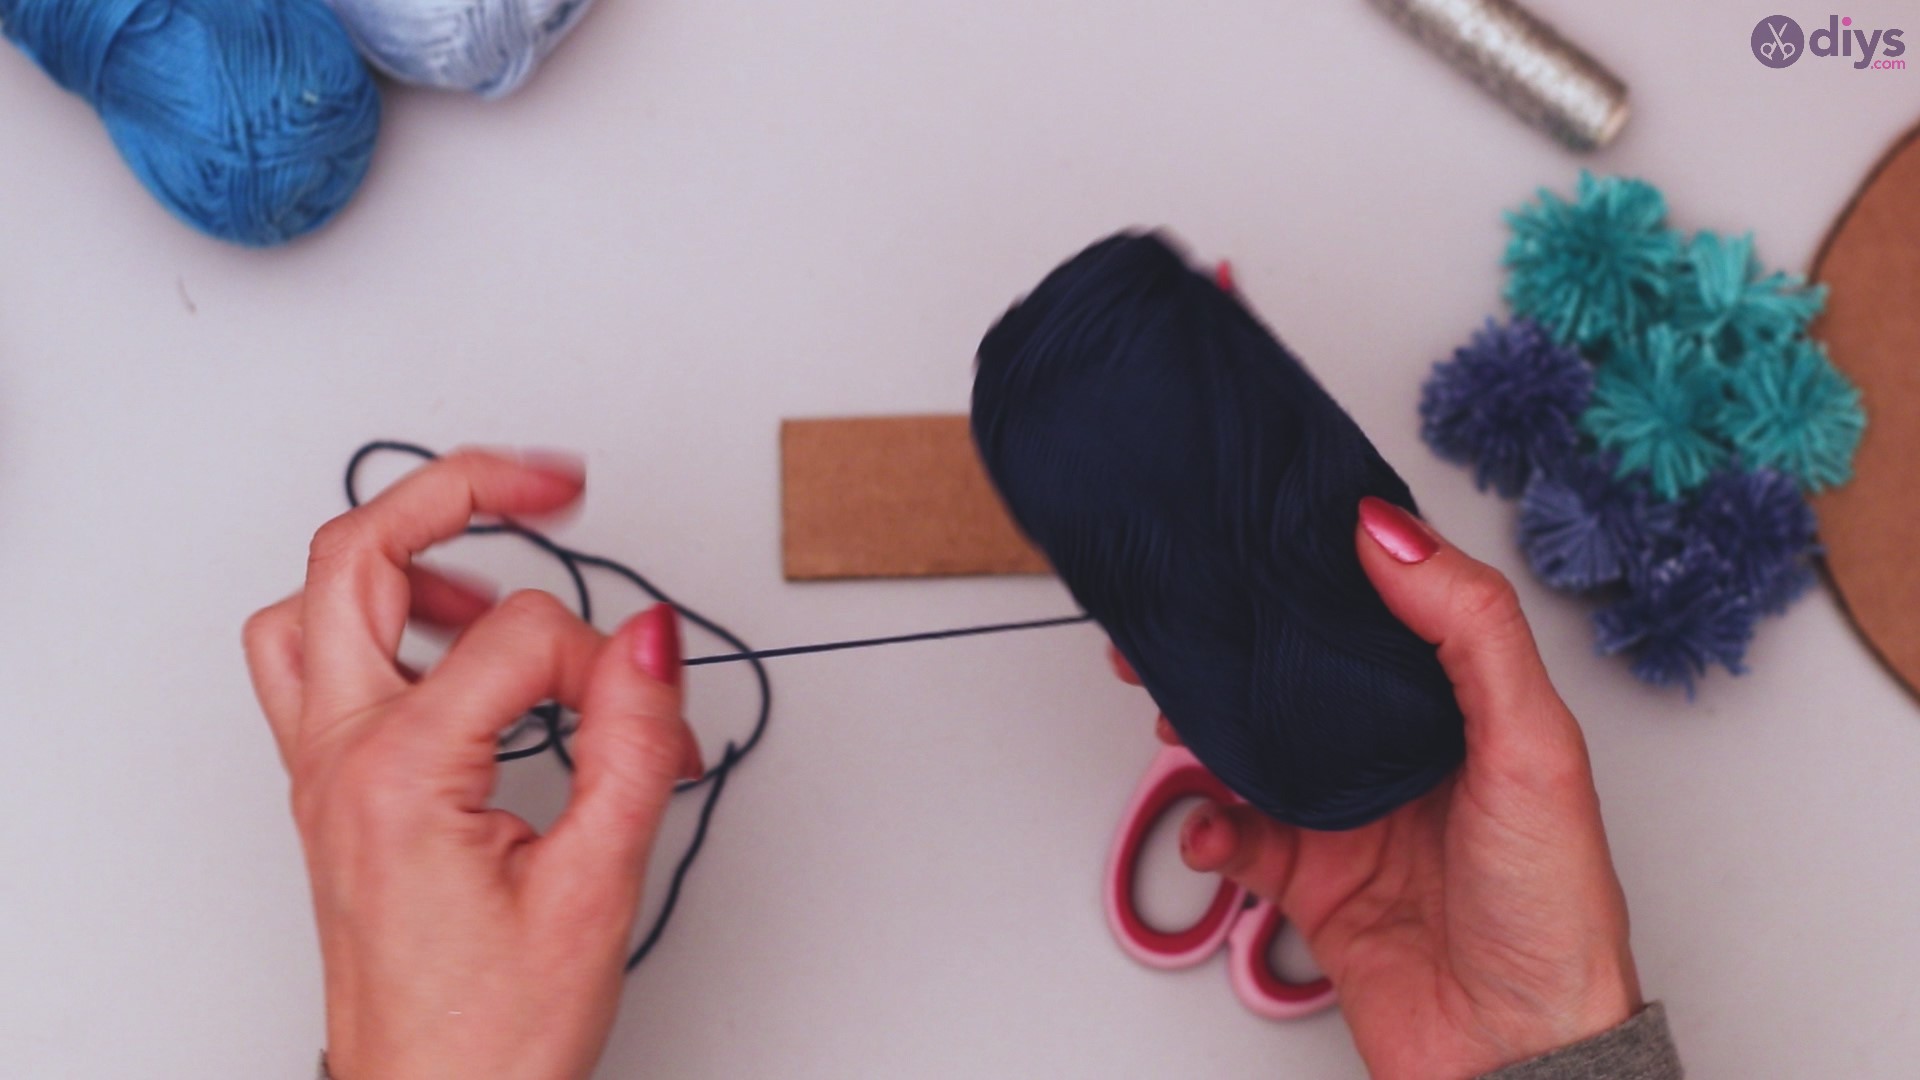
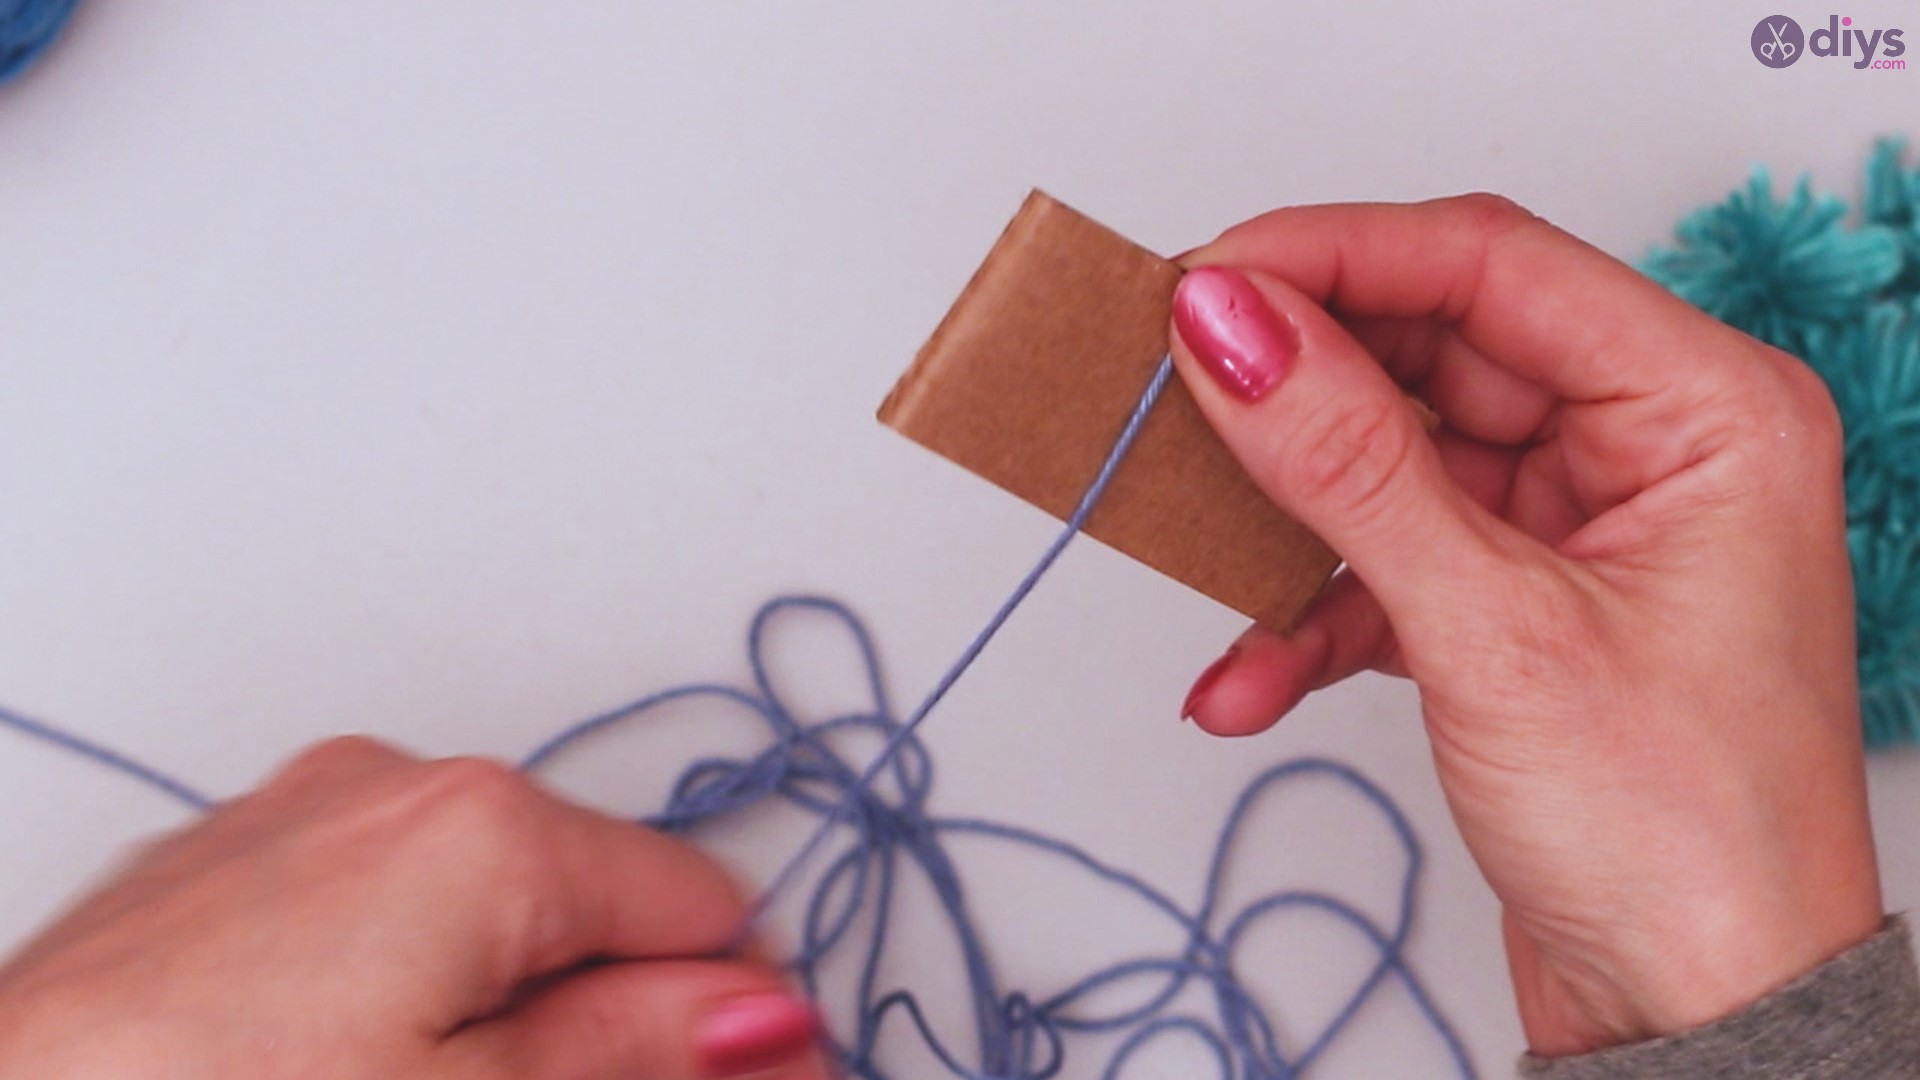
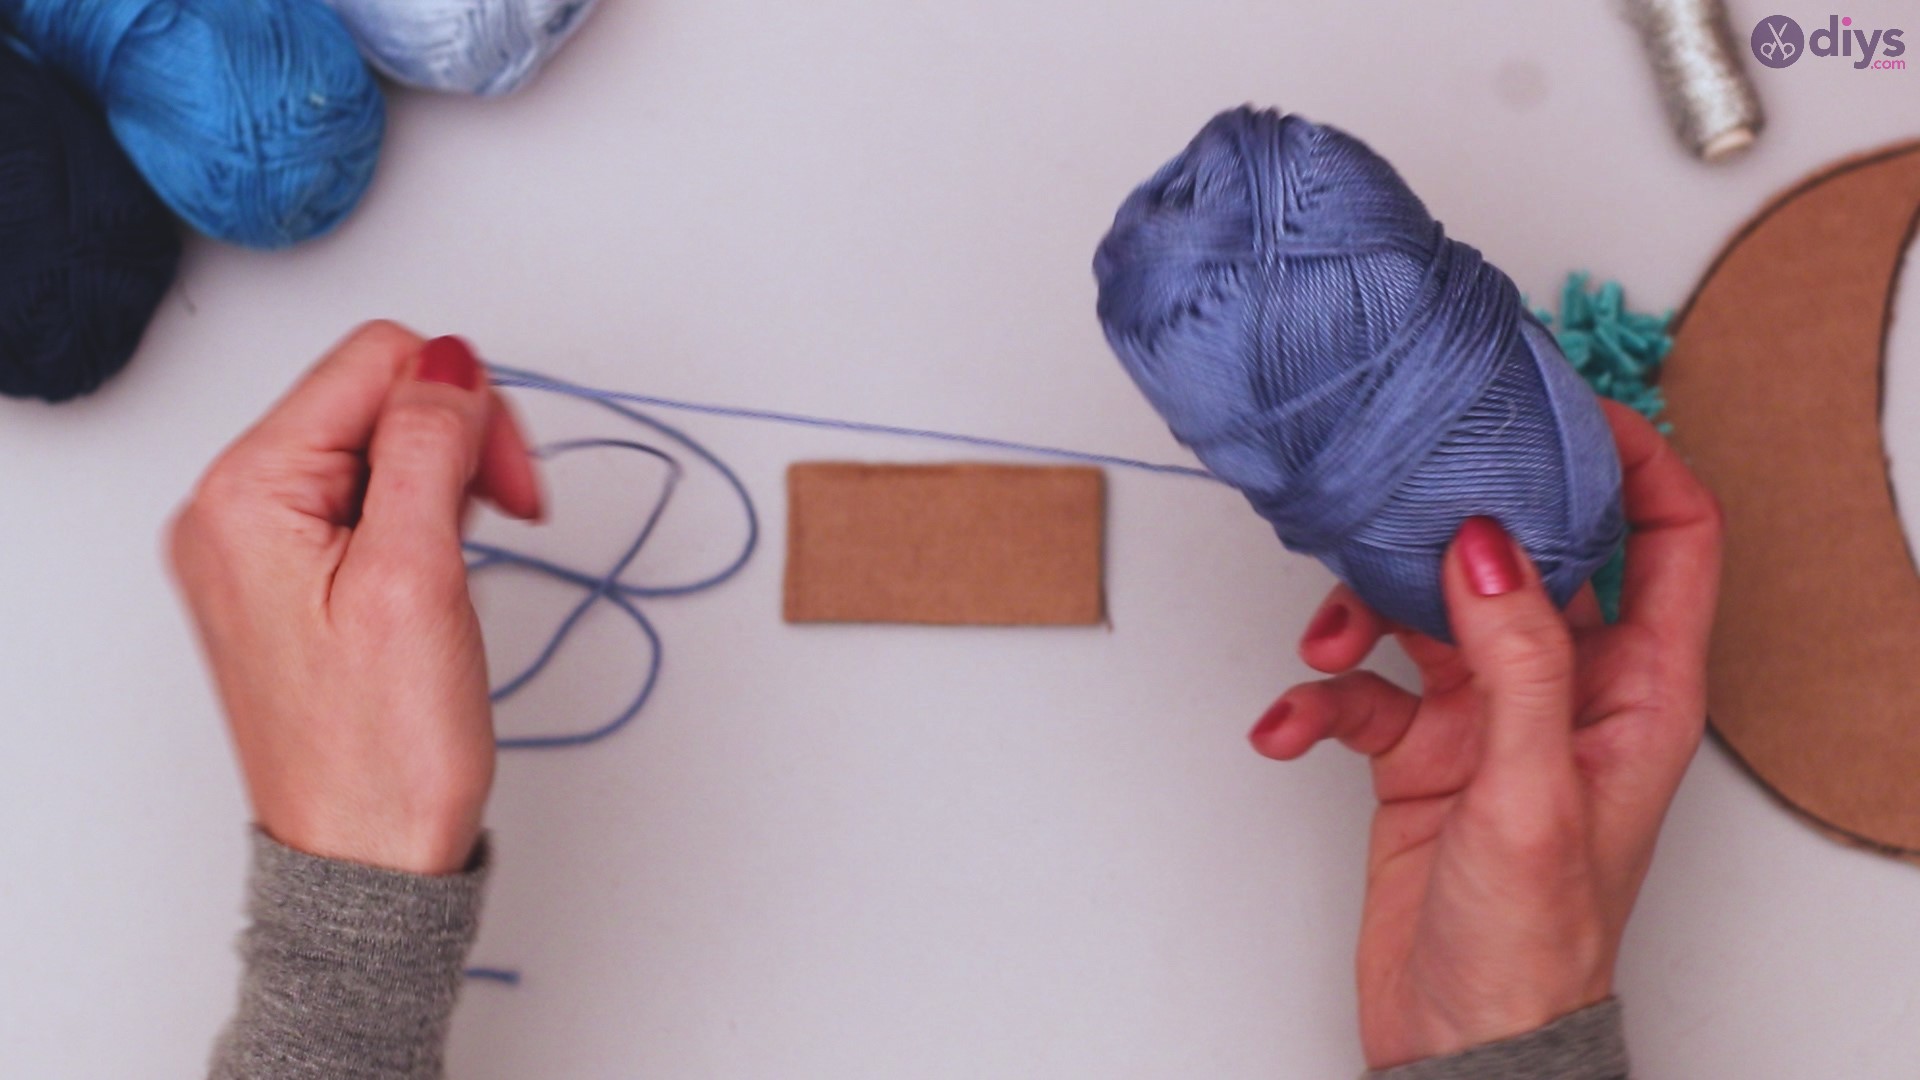
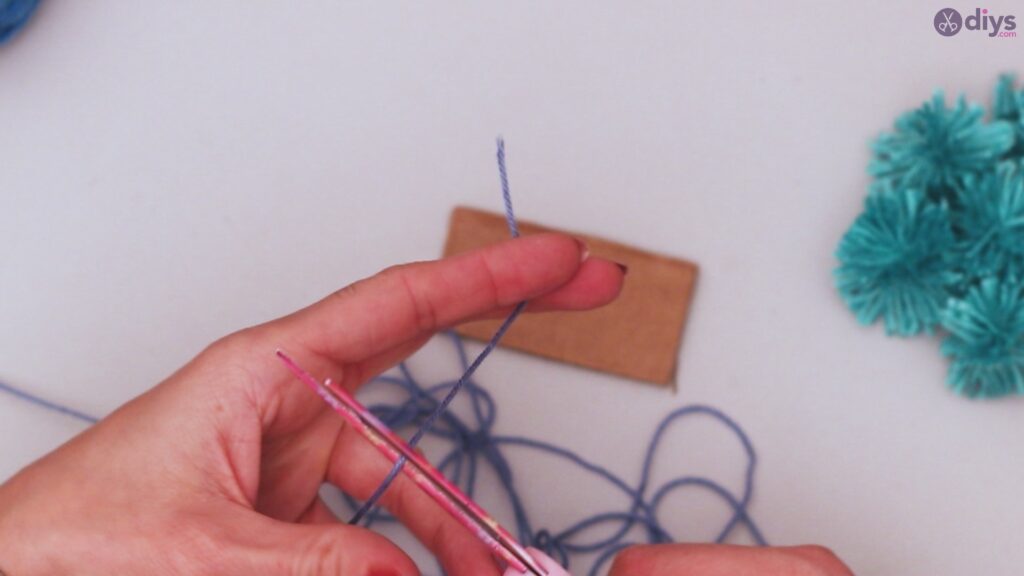
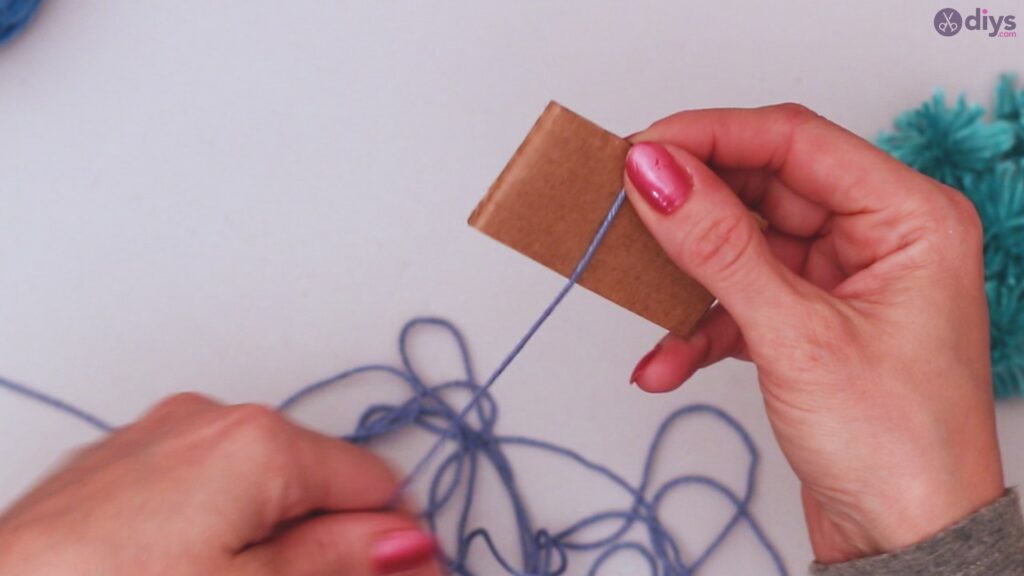
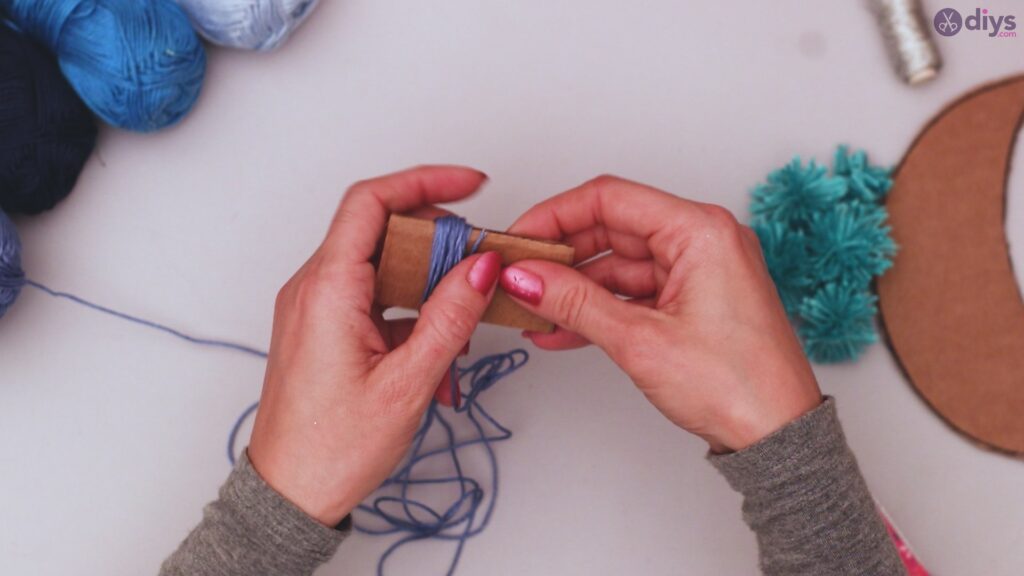
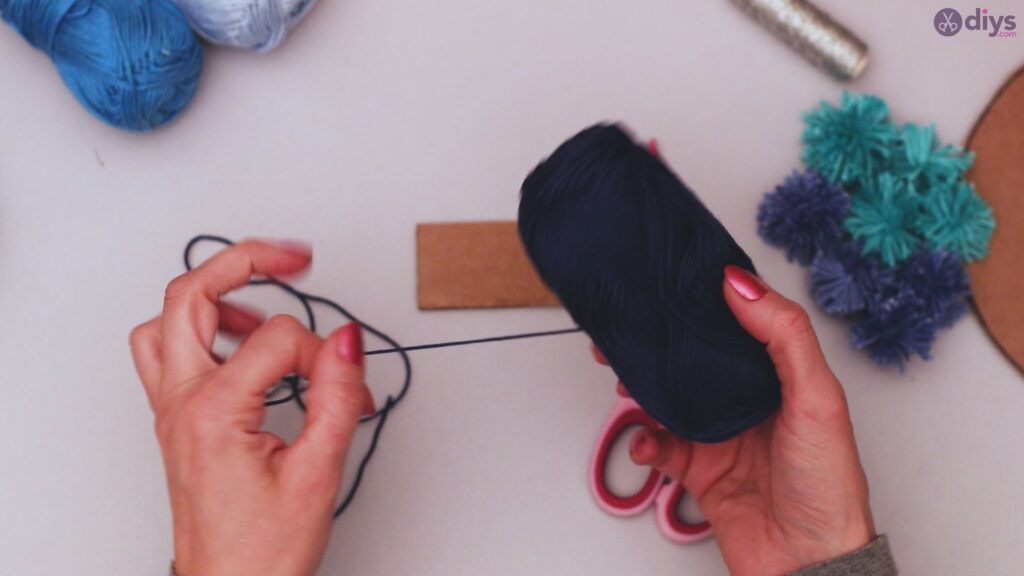
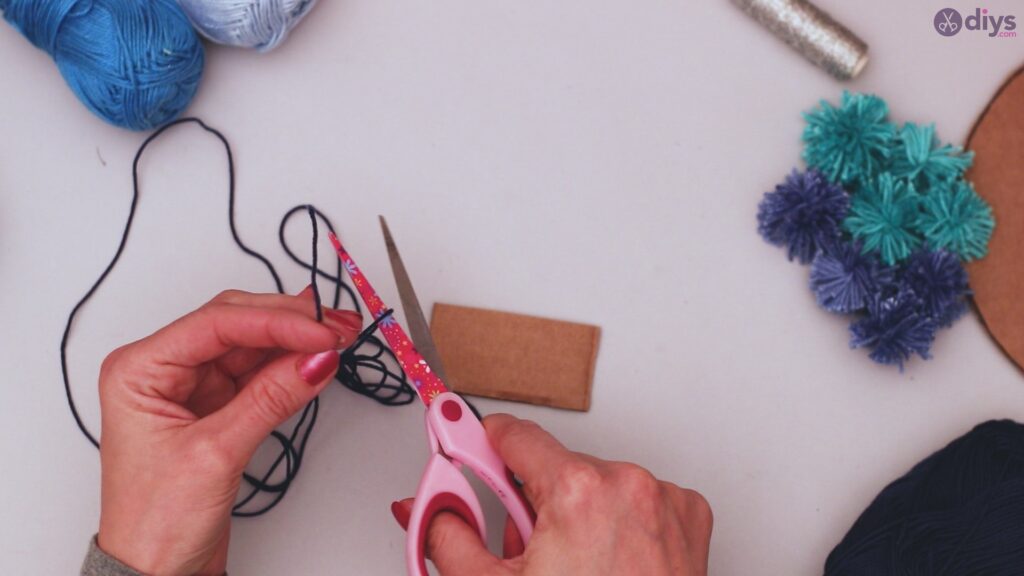
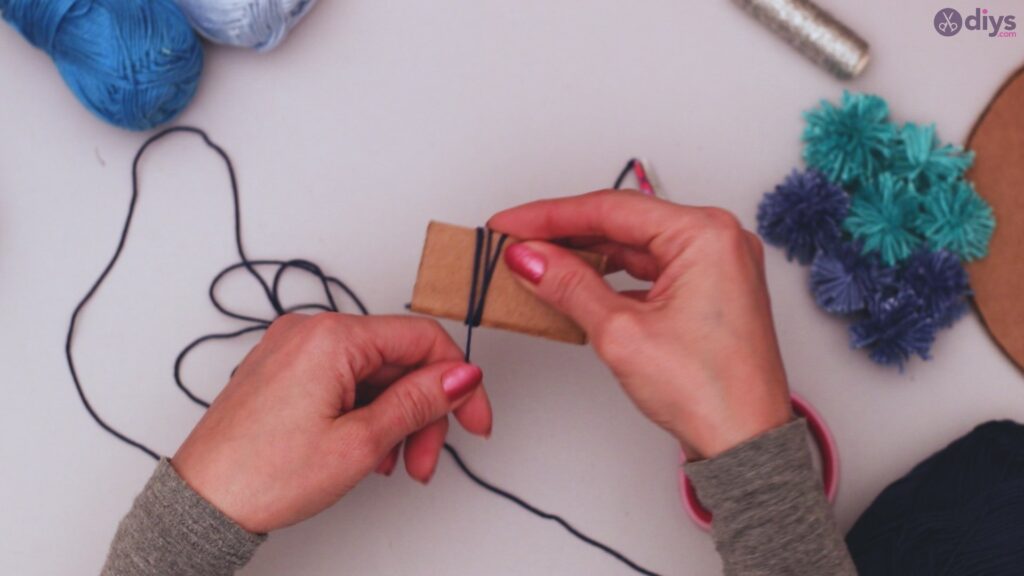
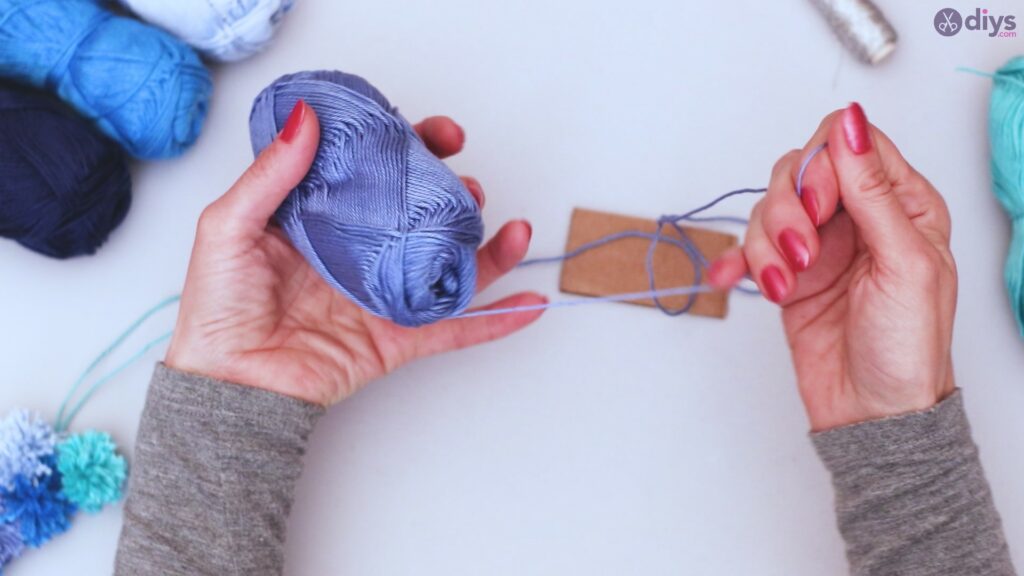
Choose one of your colors of yarn, and unravel a fairly large amount. Cut off your ball of yarn, and pinch the end against your strip of cardboard with your thumb.
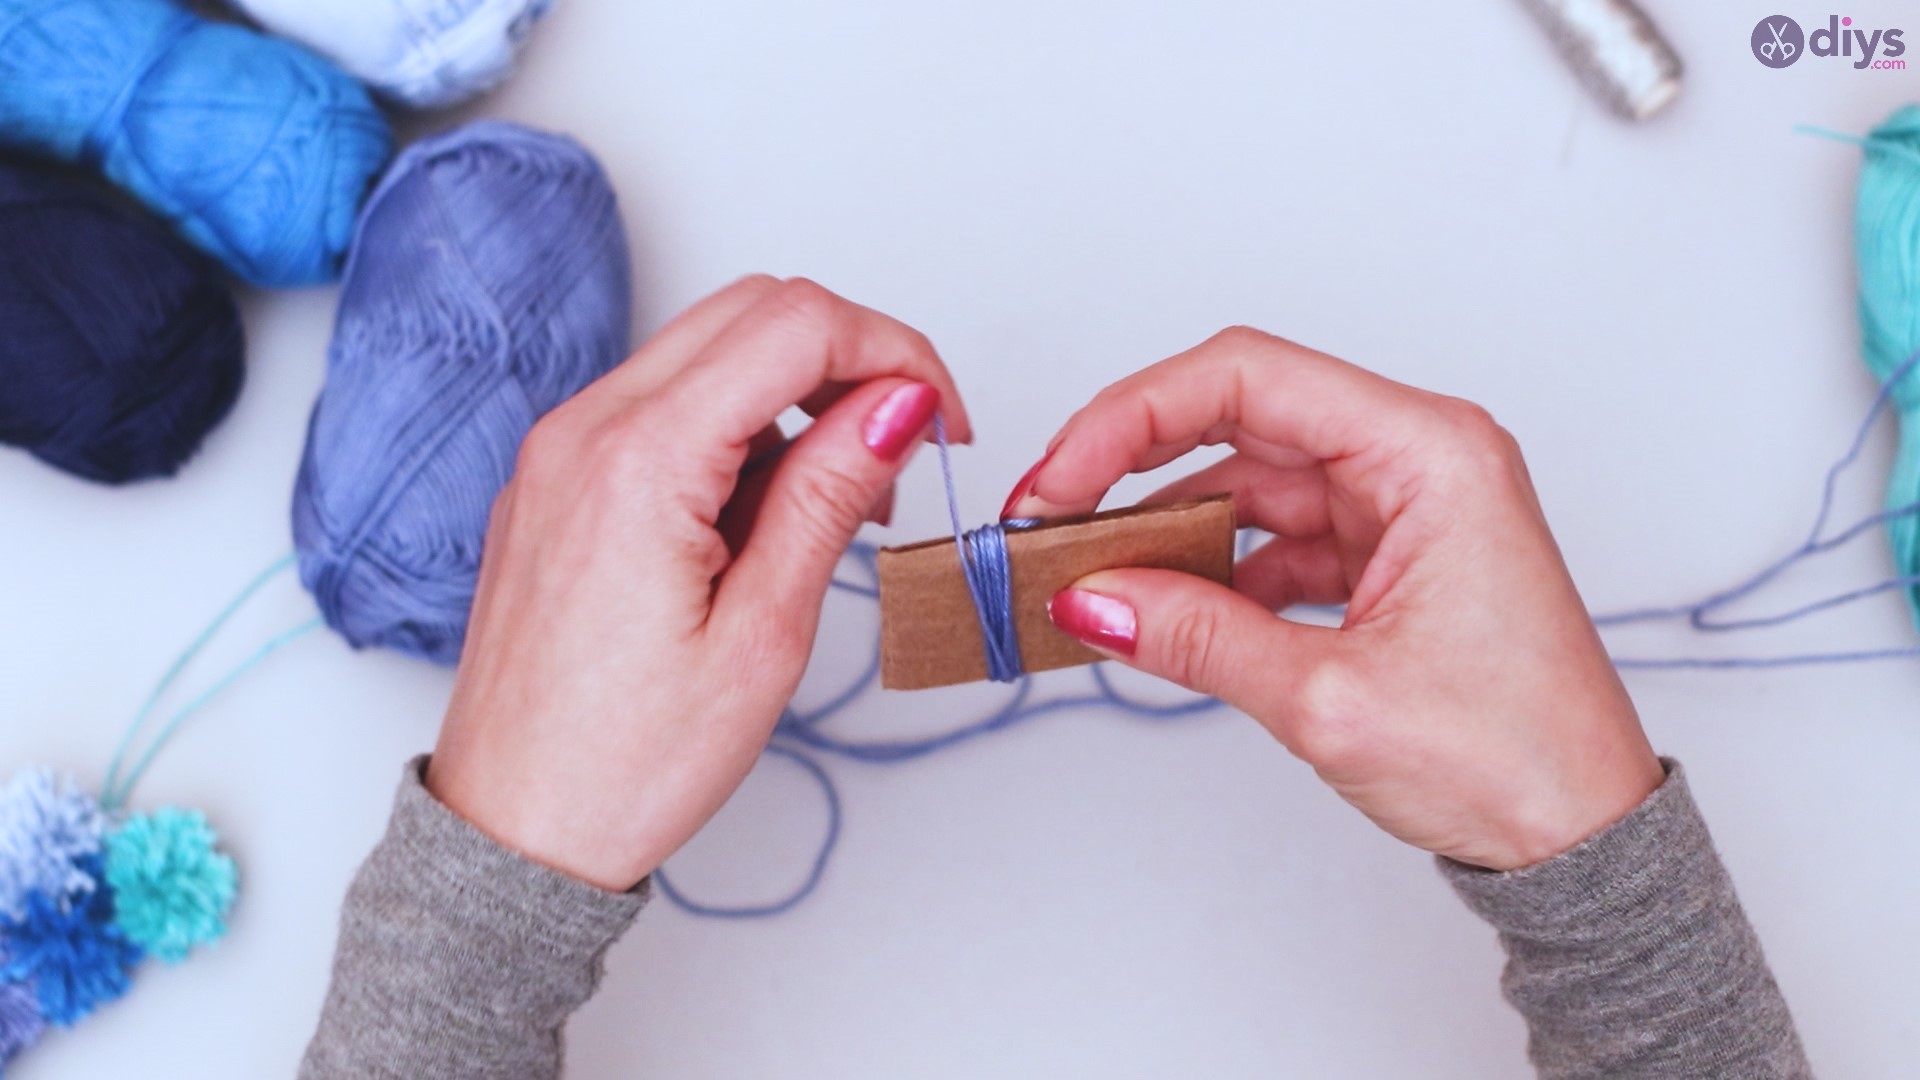
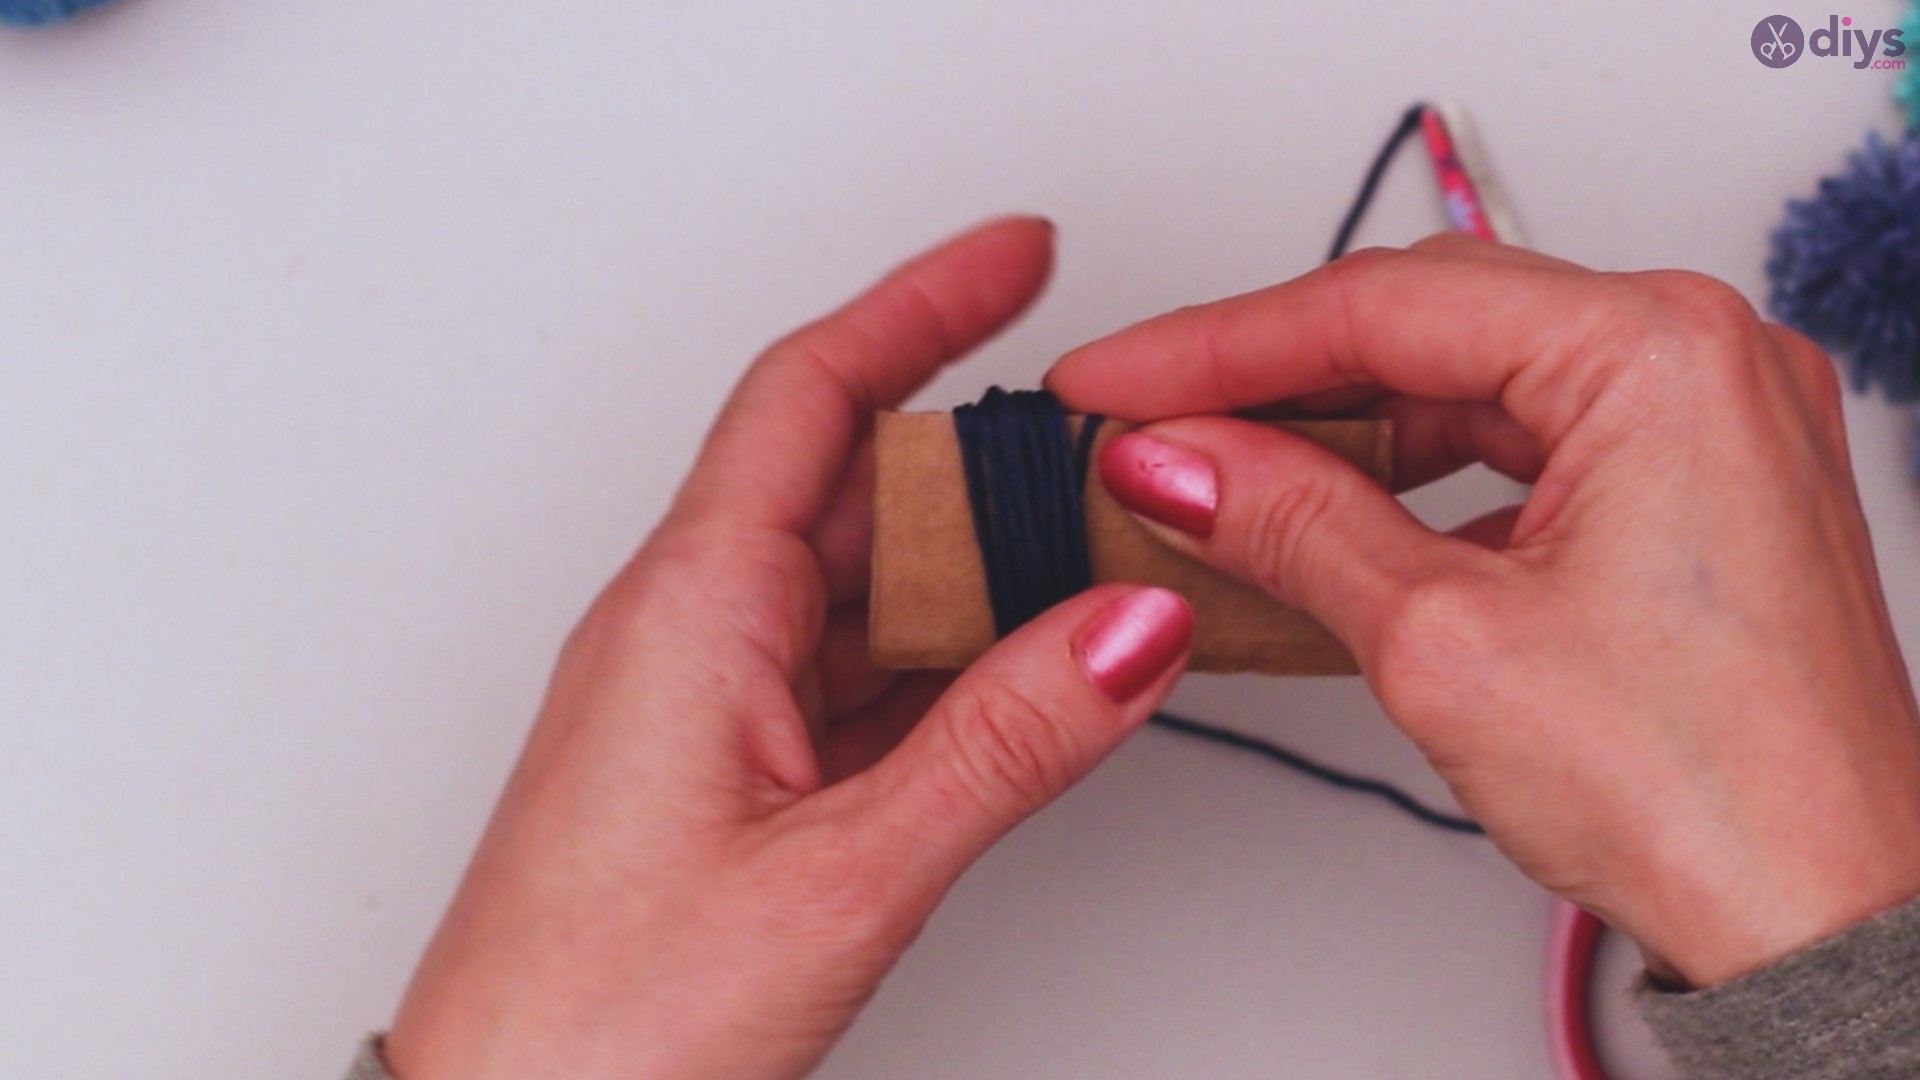
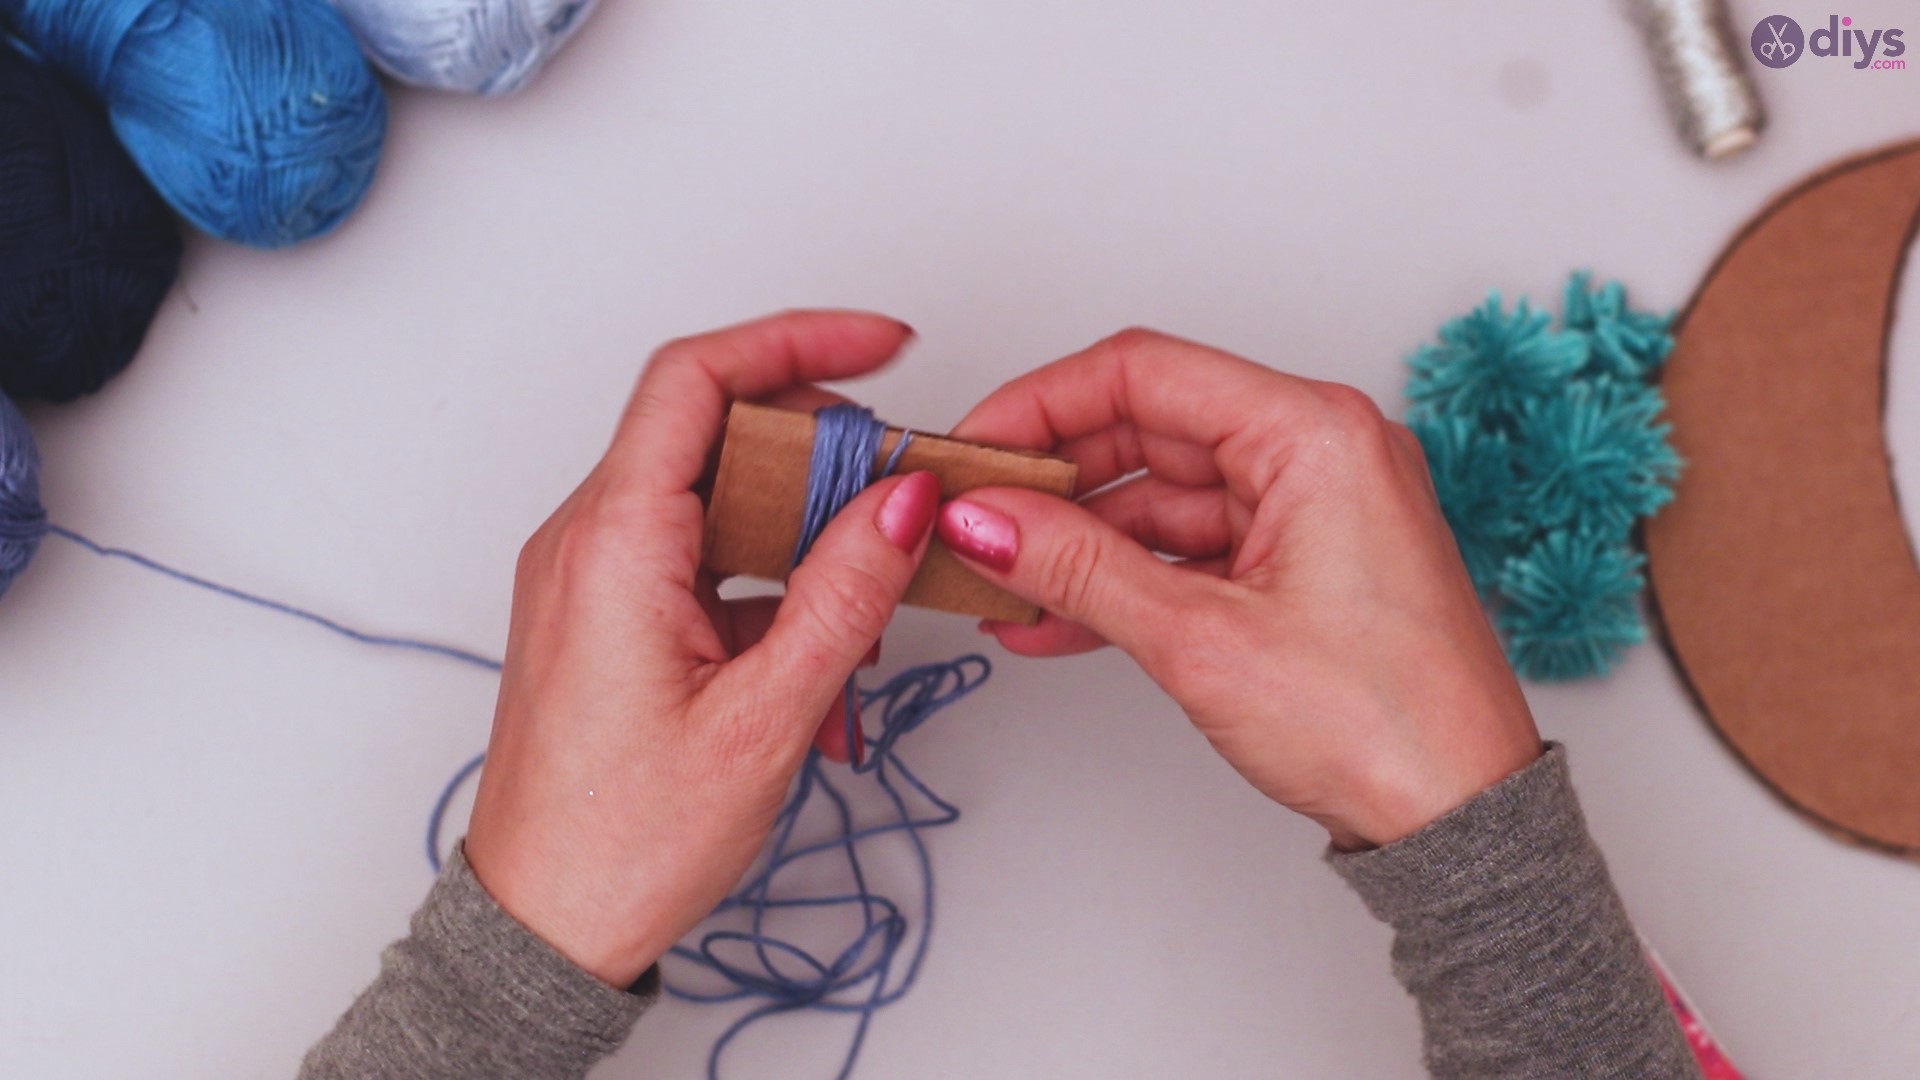
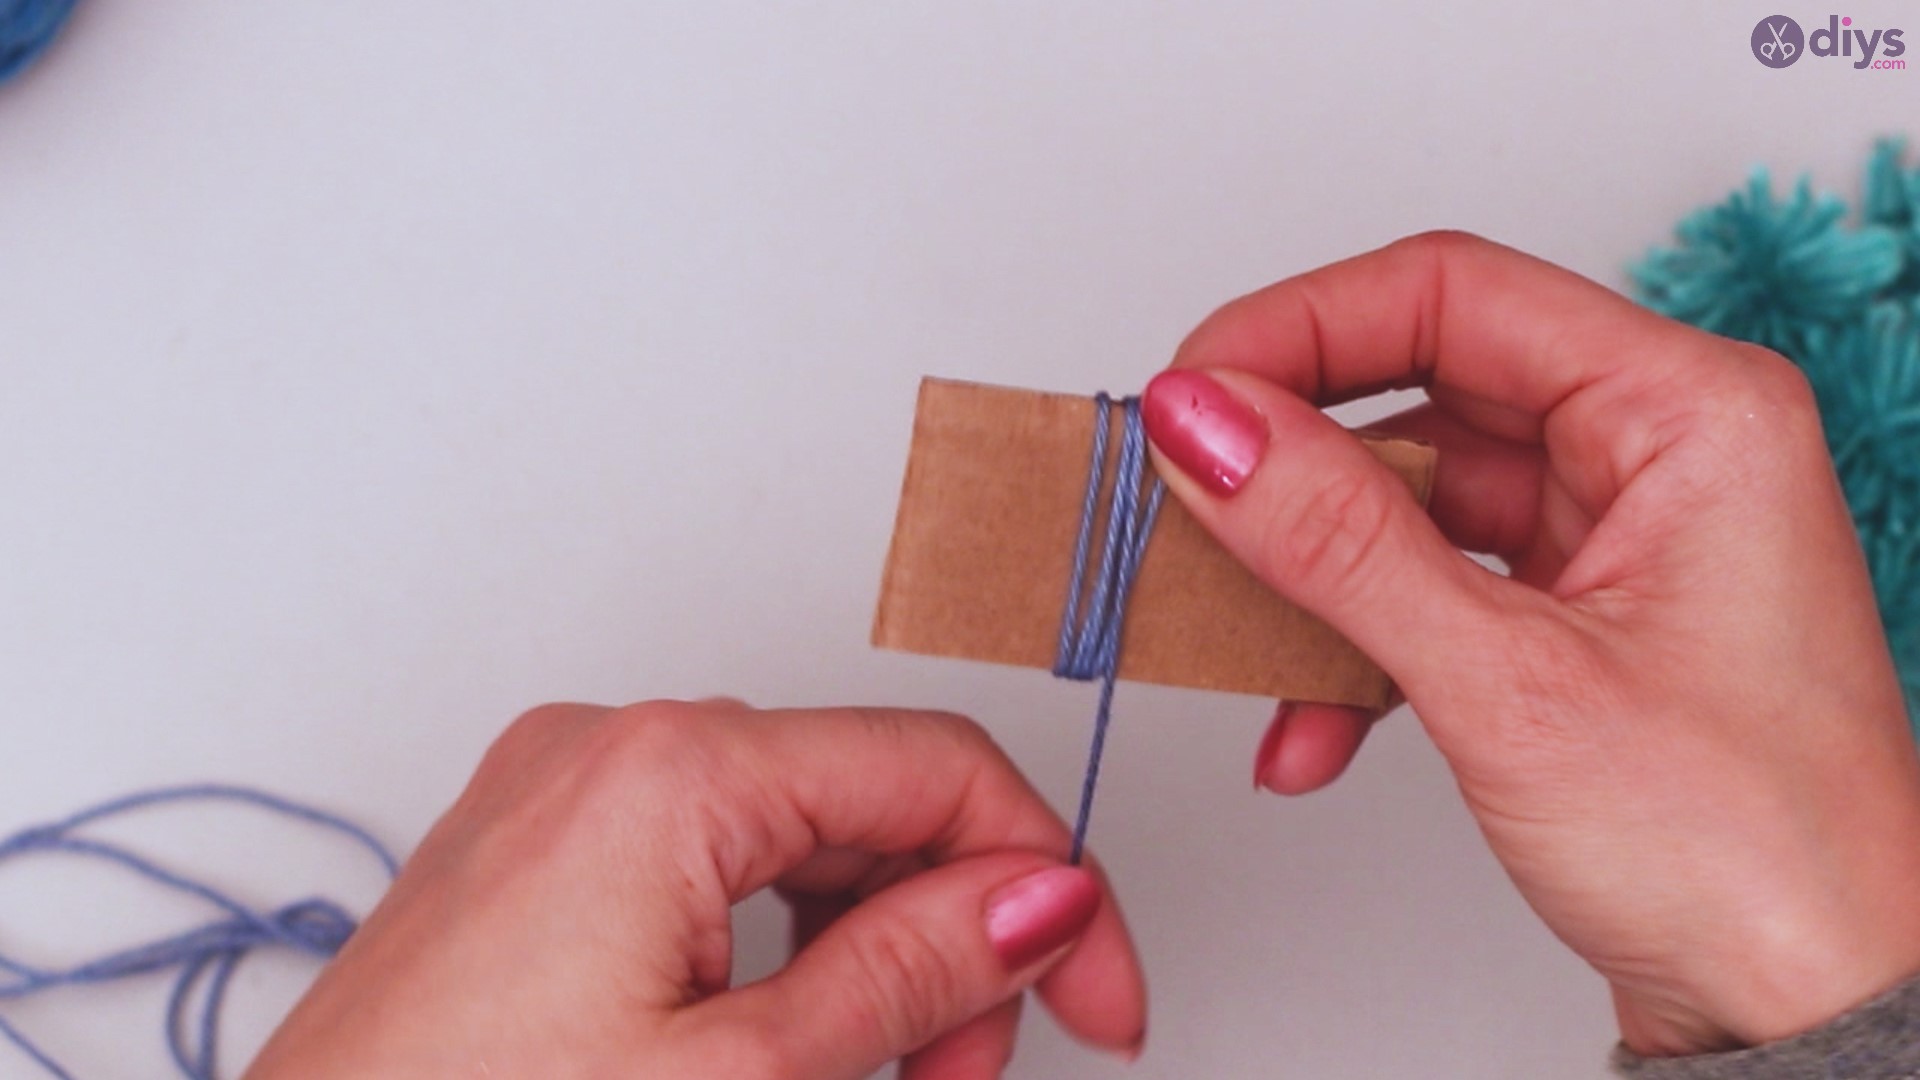
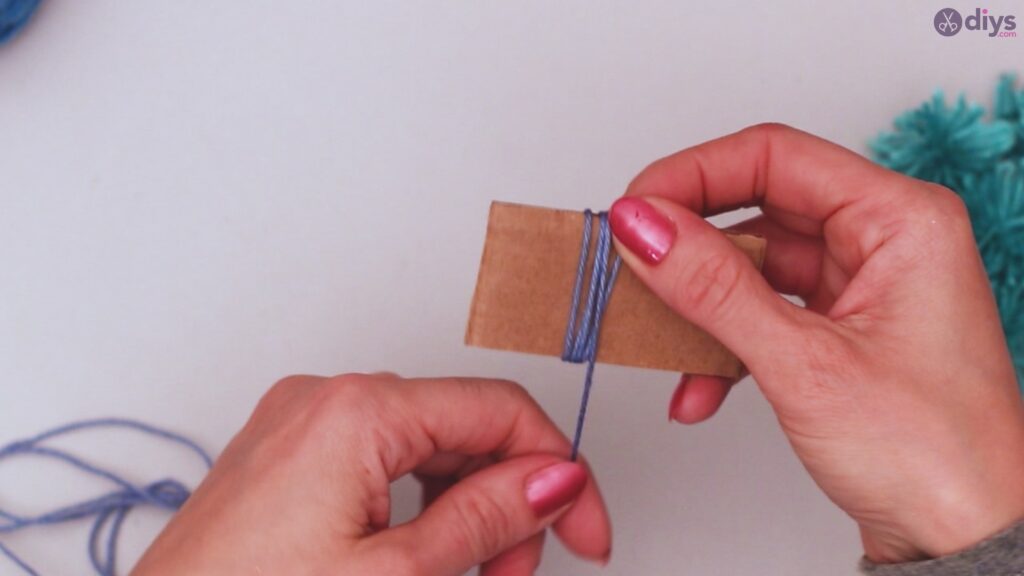
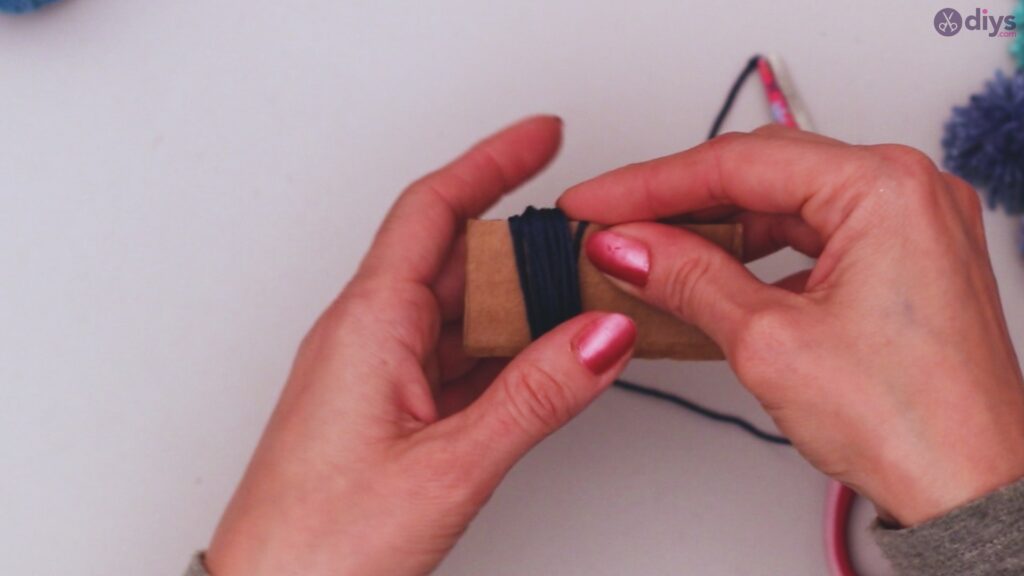
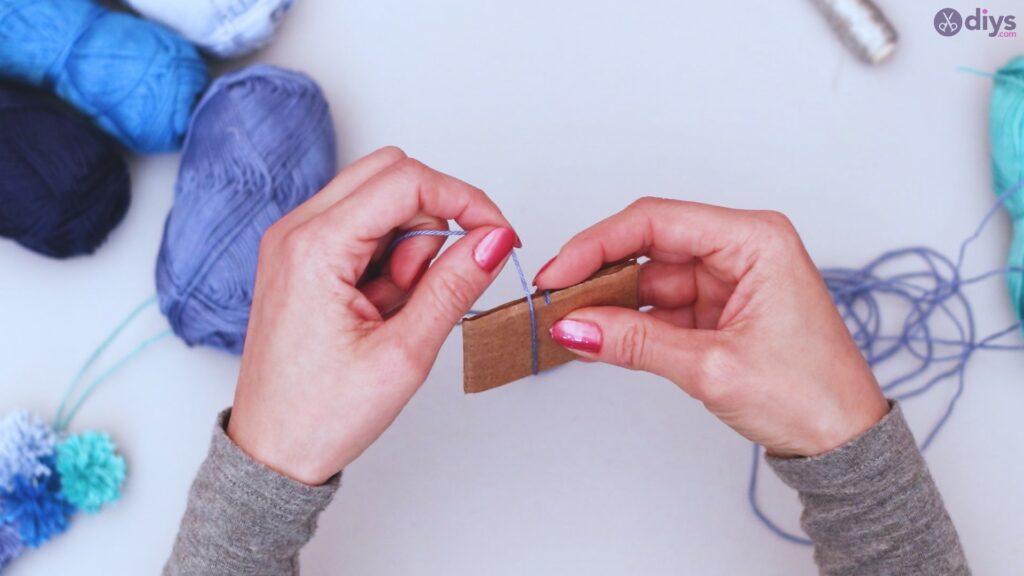
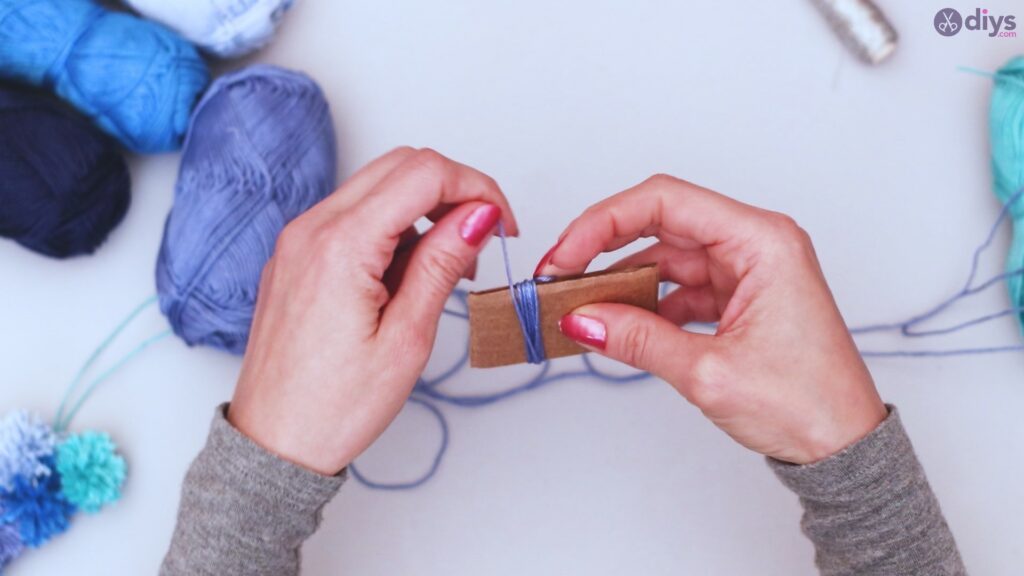
Wind around the cardboard strip over and over, until you’ve wound the entire length of the yarn around it, save for a couple of inches at the very end.
Step 4: Create the pom pom
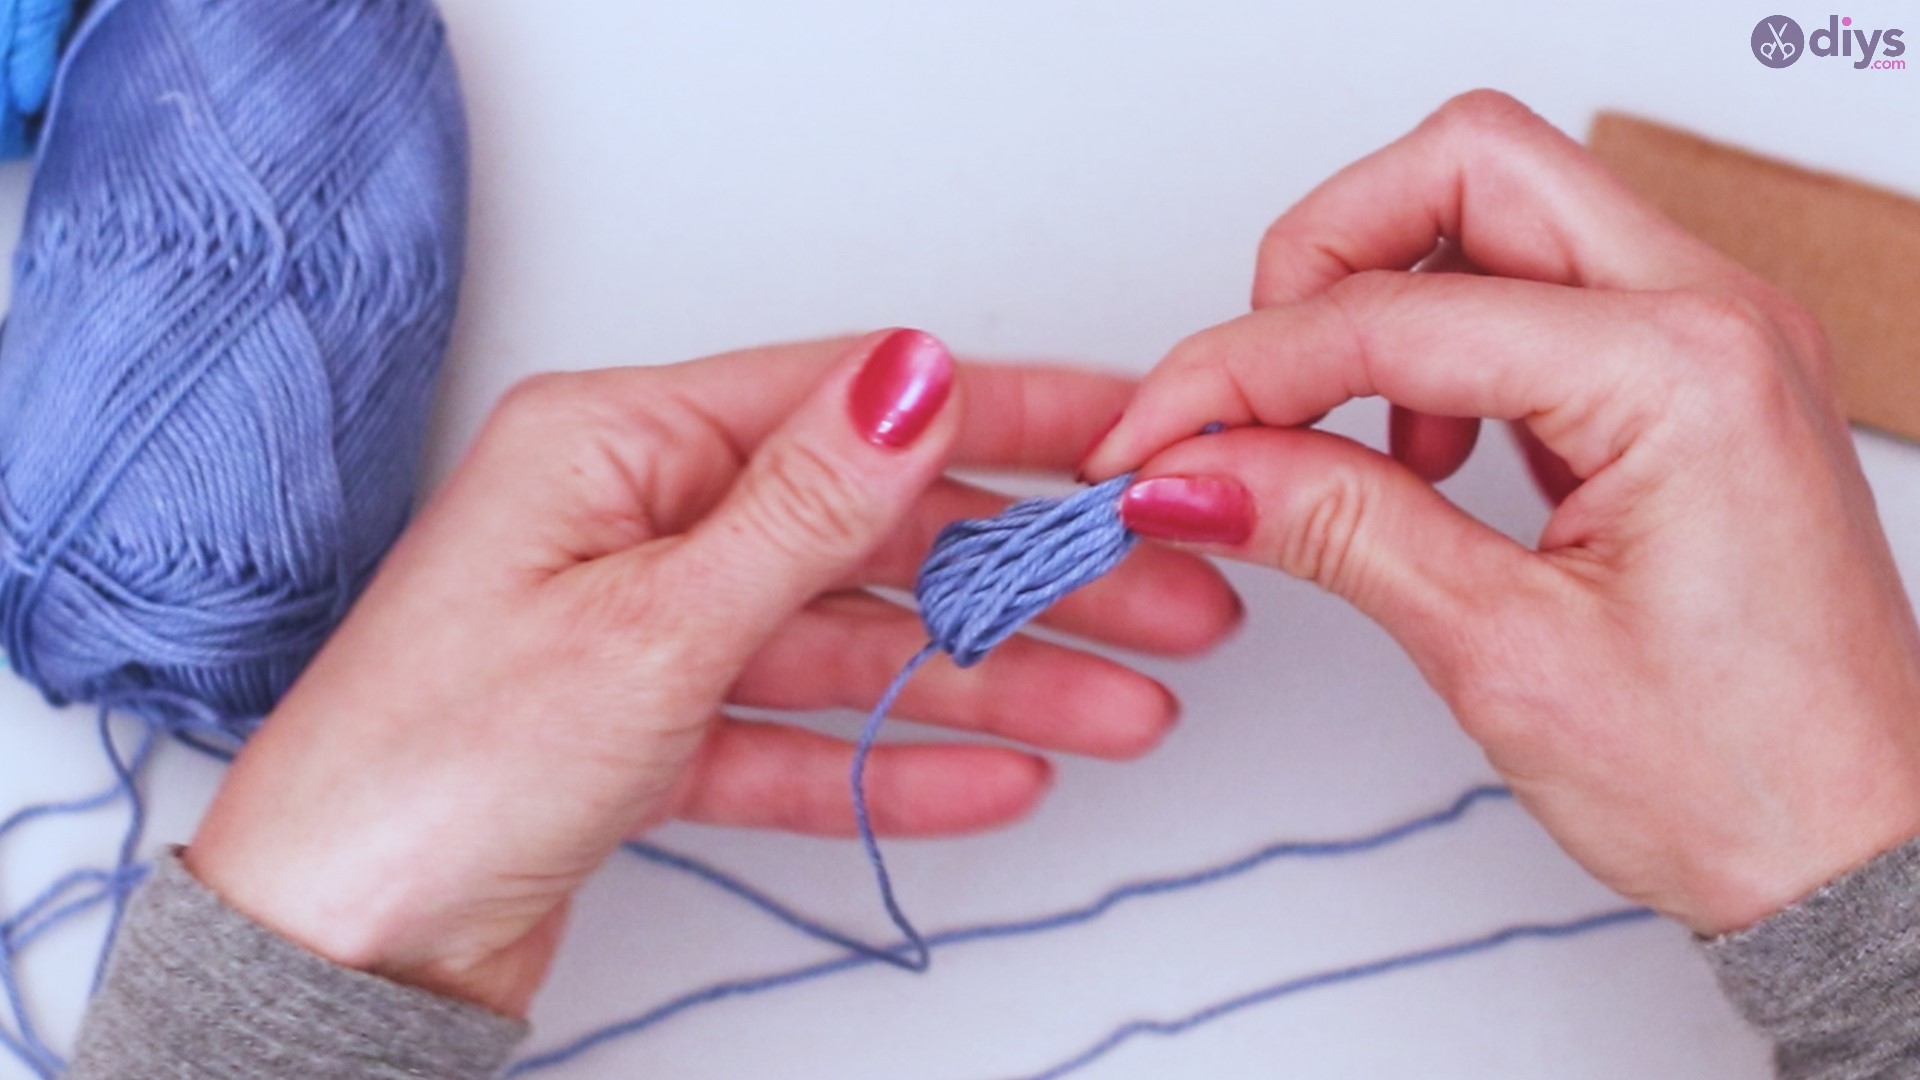
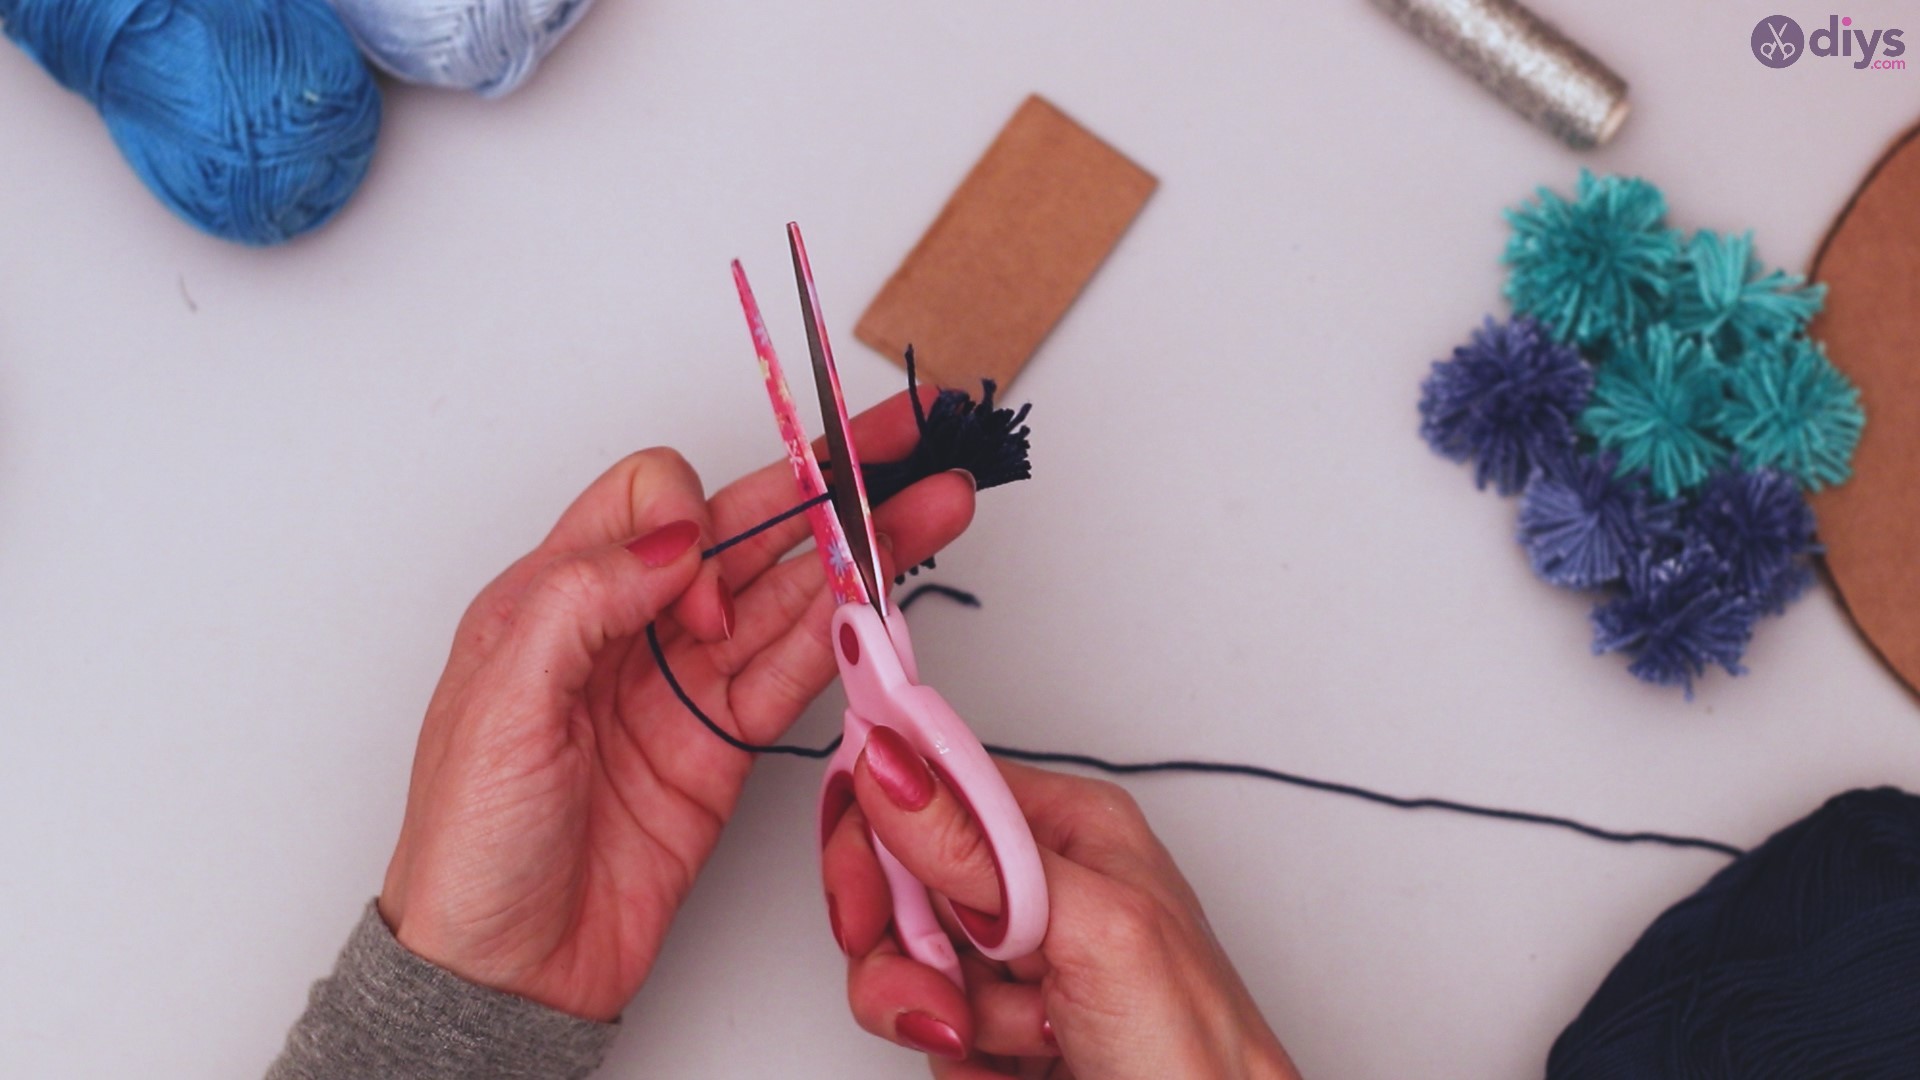
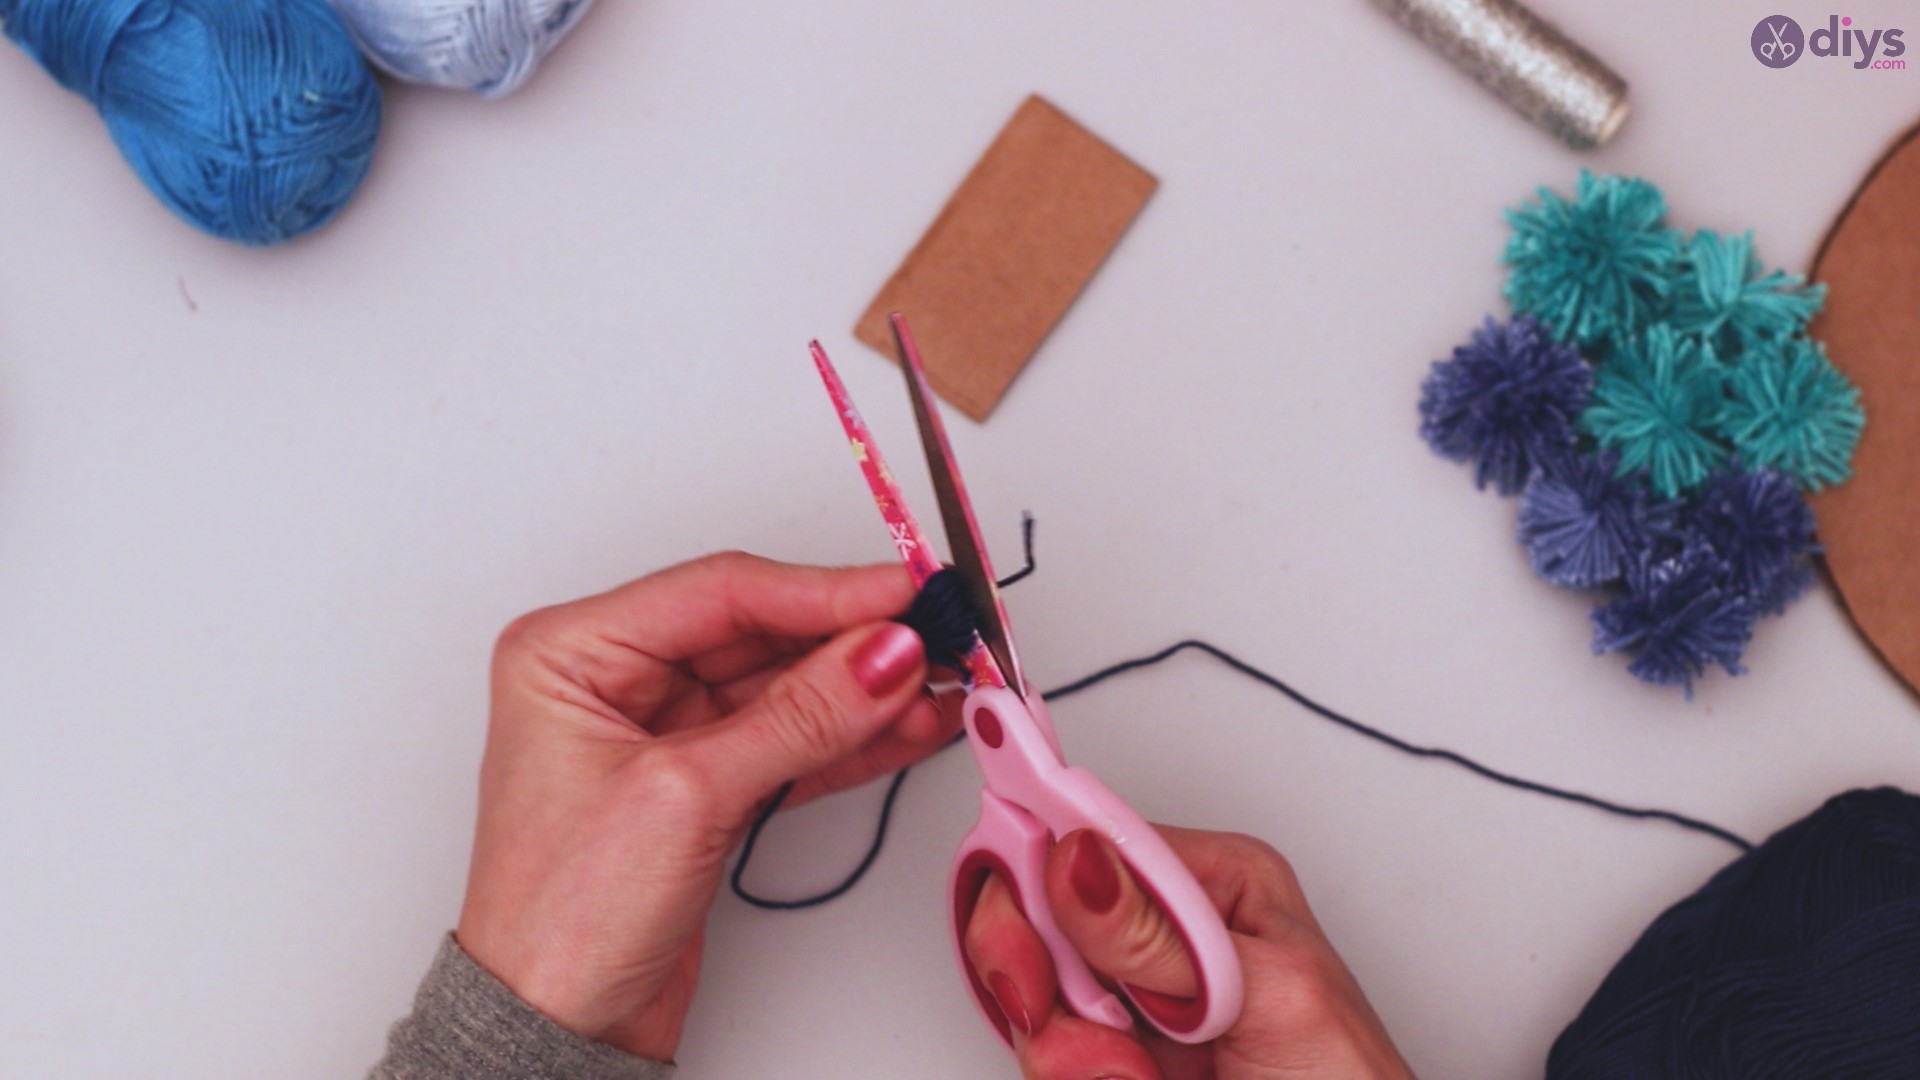
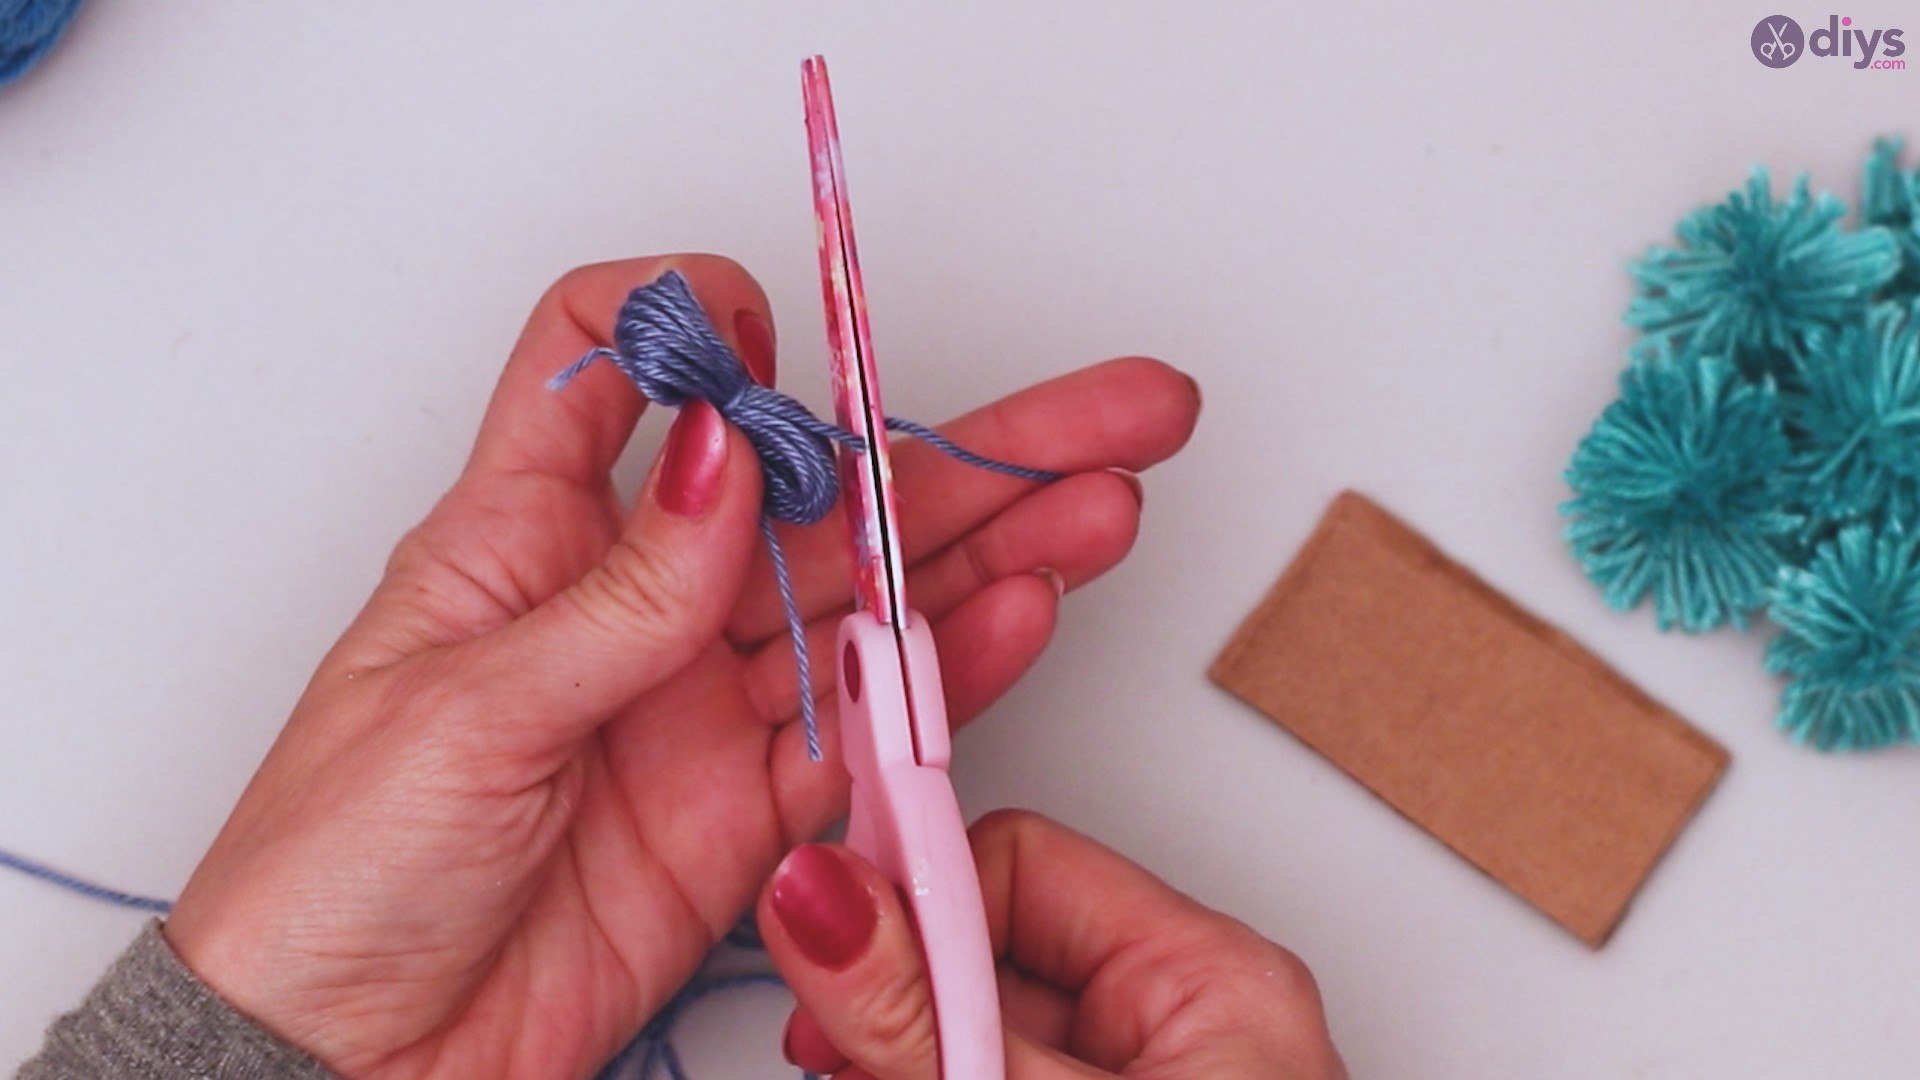
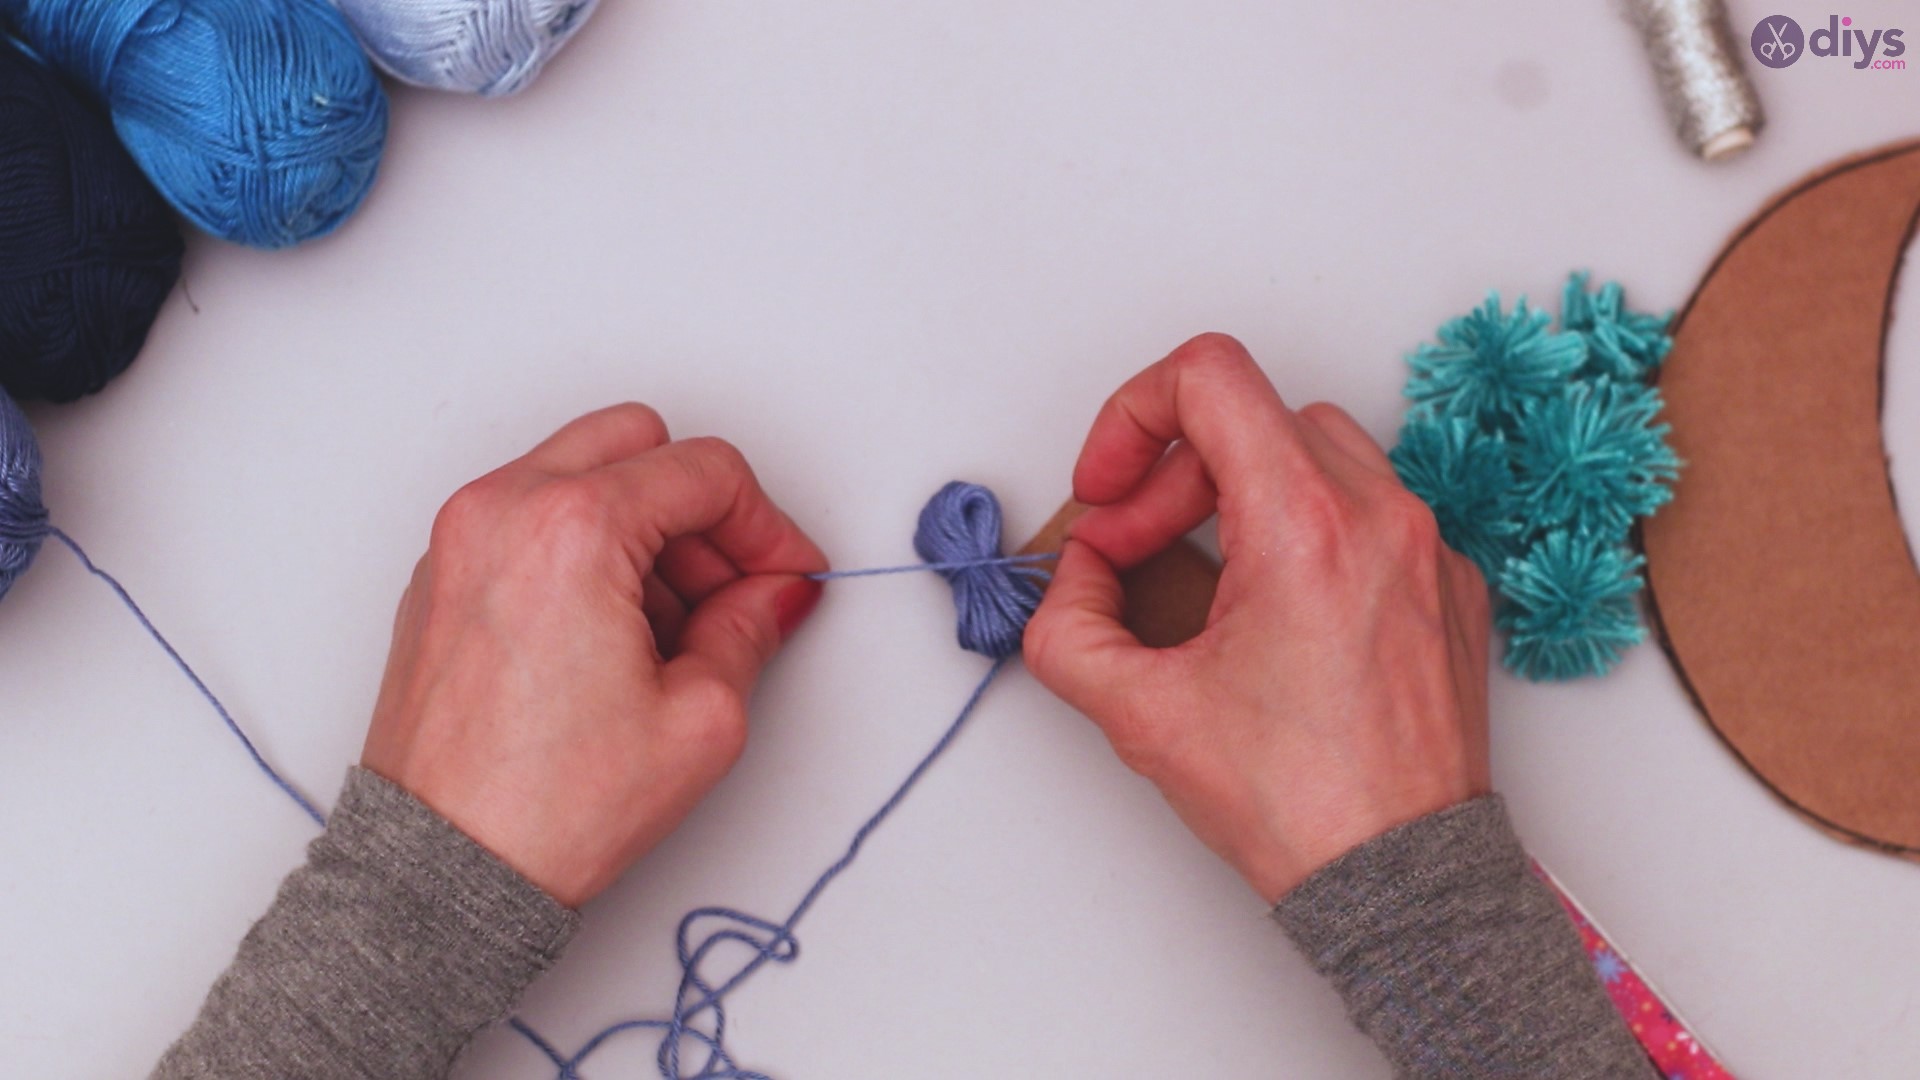
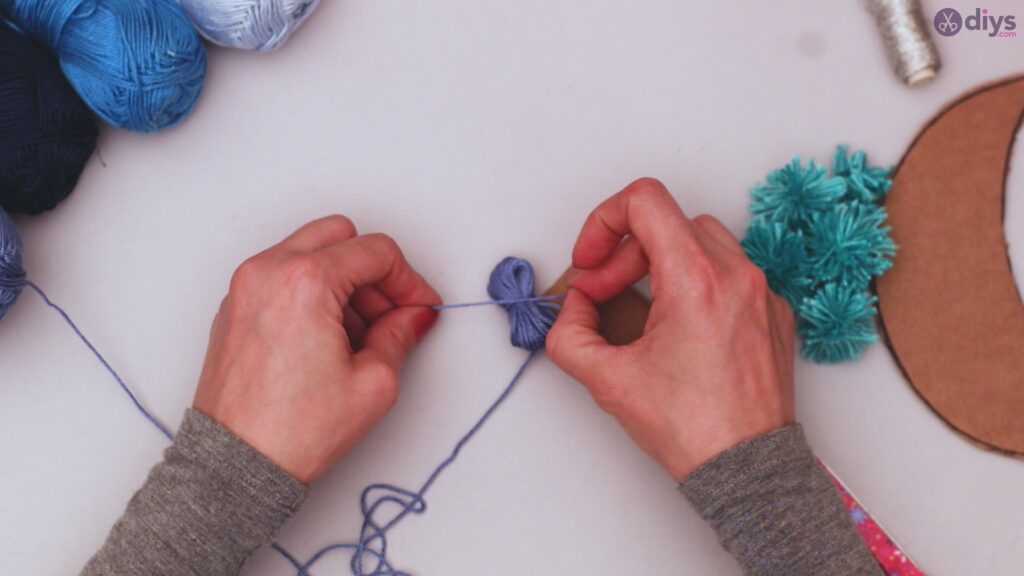
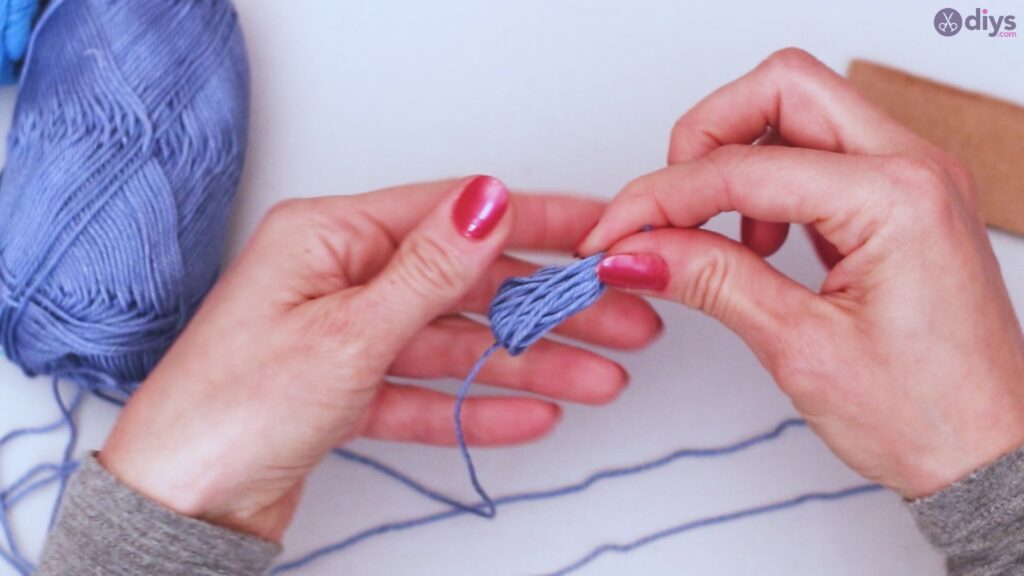
Slide your wrapped yarn carefully from the cardboard, keeping it folded as you move it. Pinch the folded yarn in the middle, and wrap the small amount of excess around that center, tying it off and cutting off any extra.
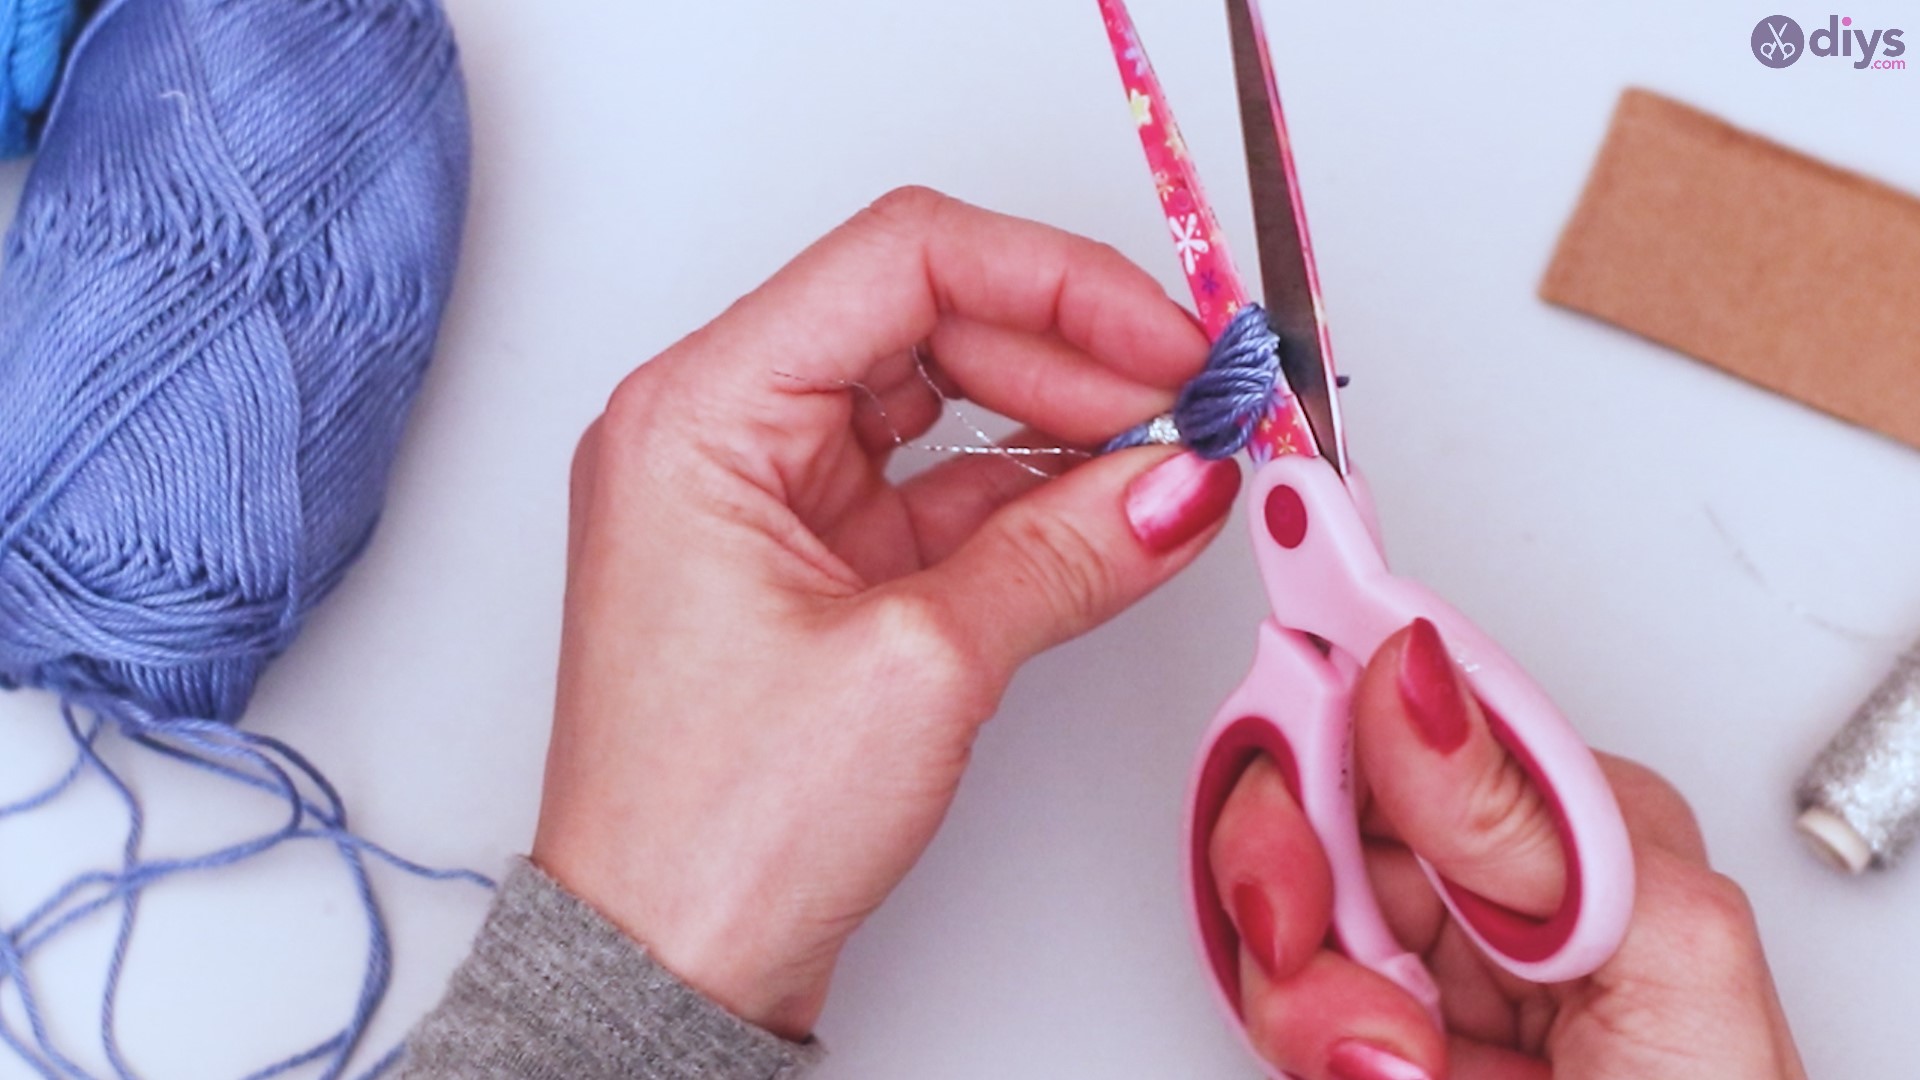
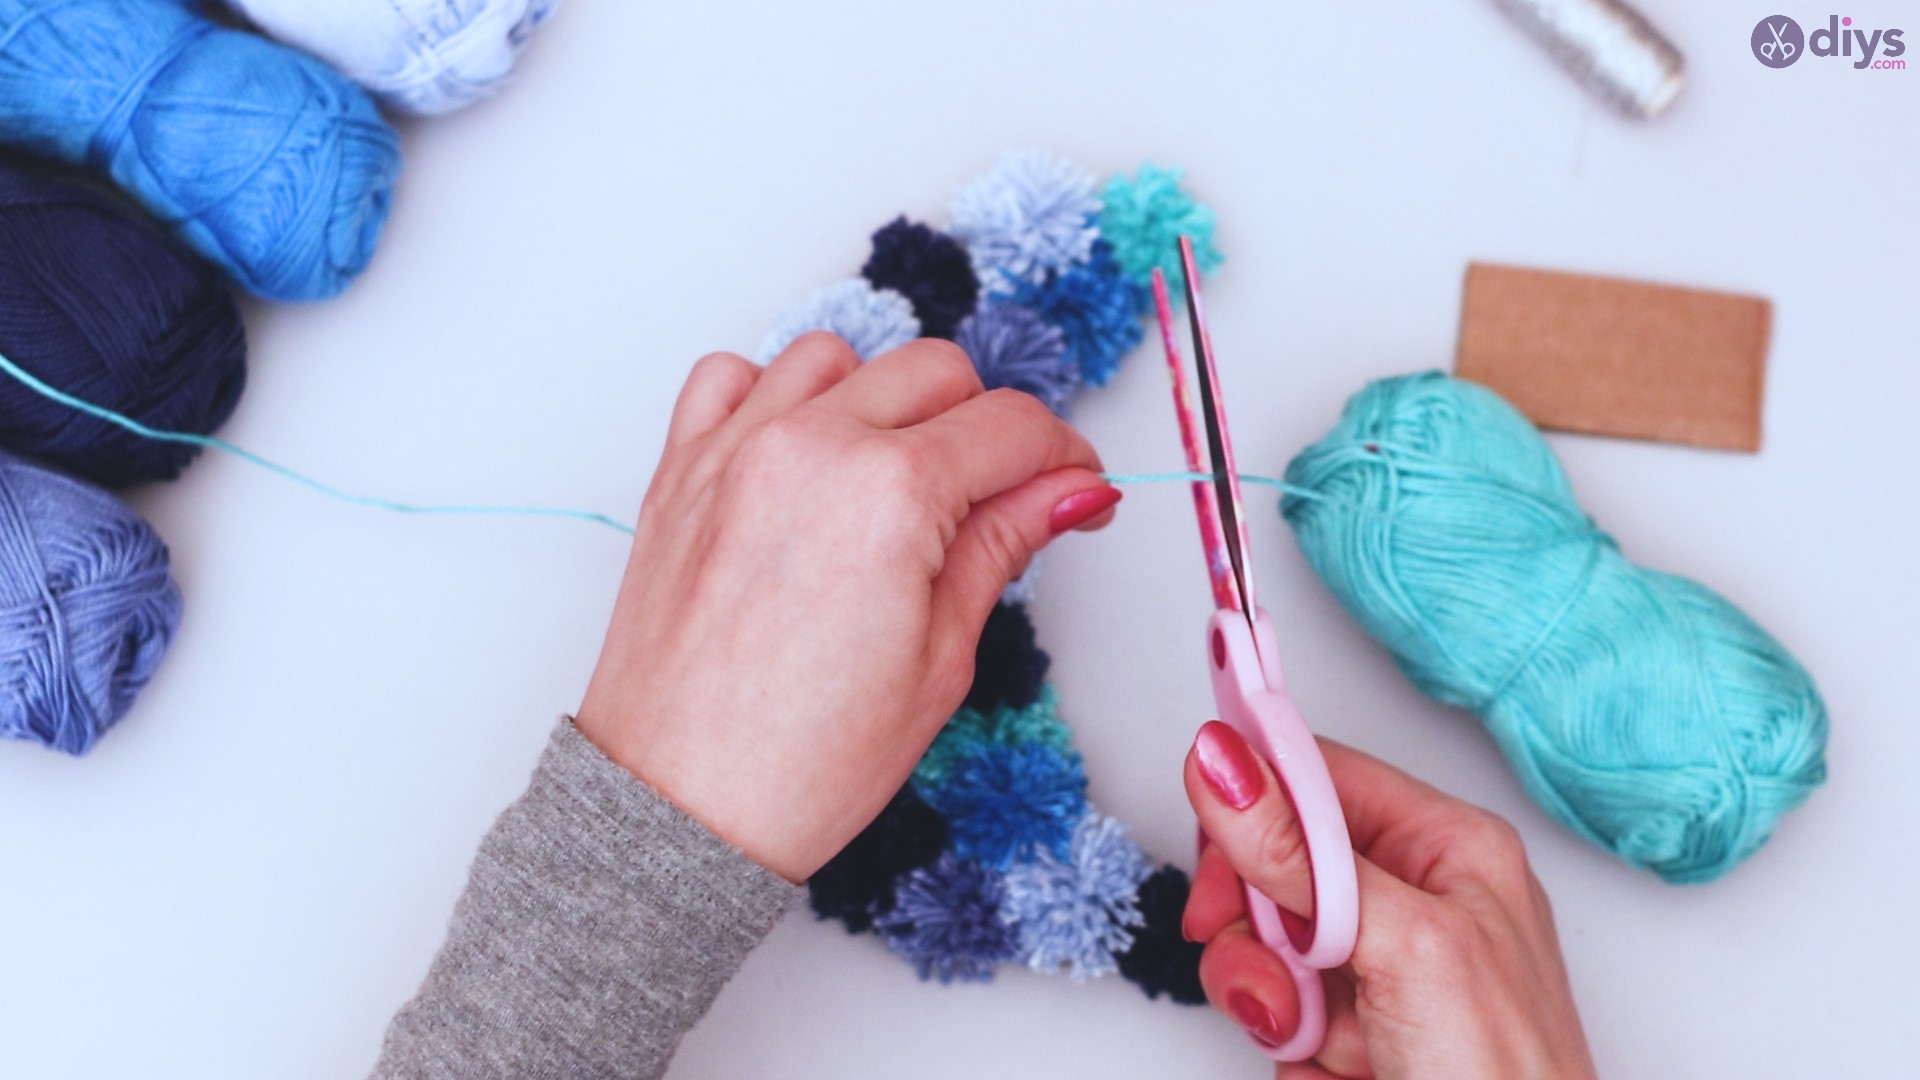
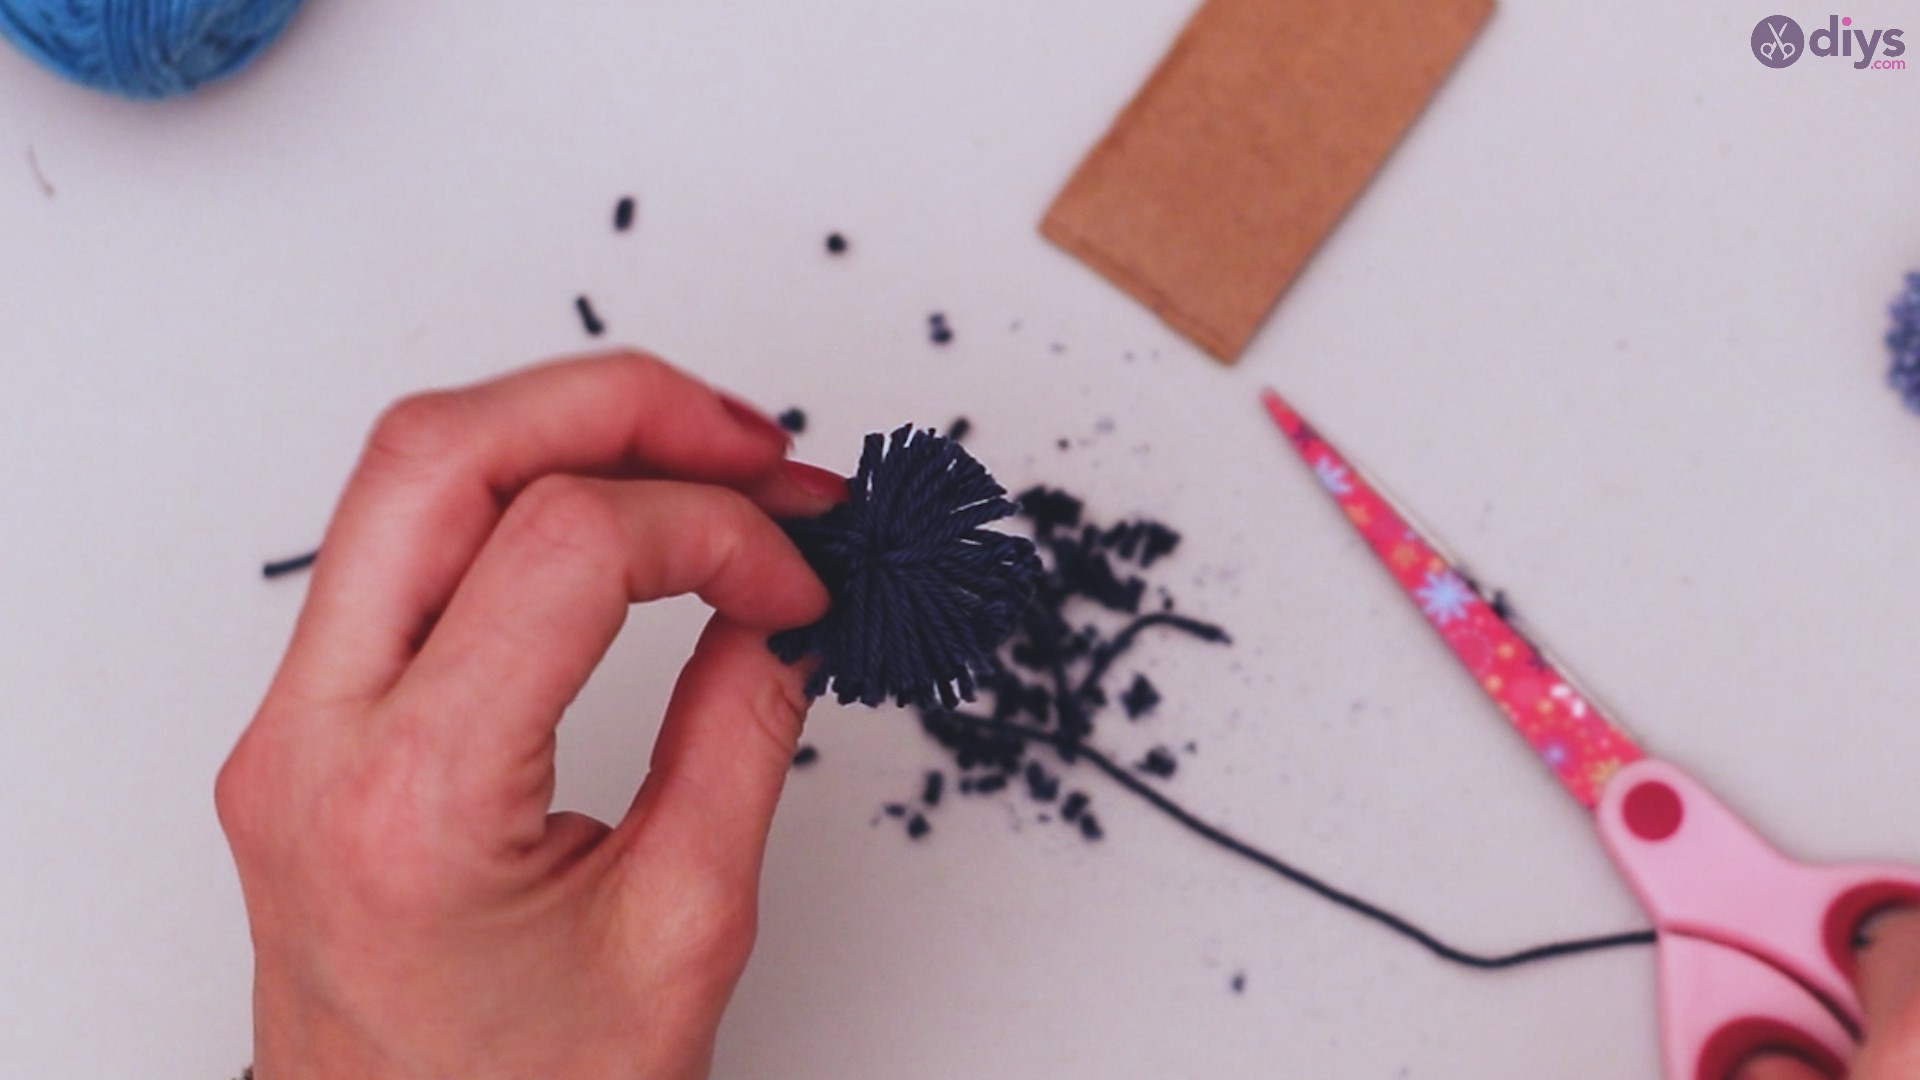
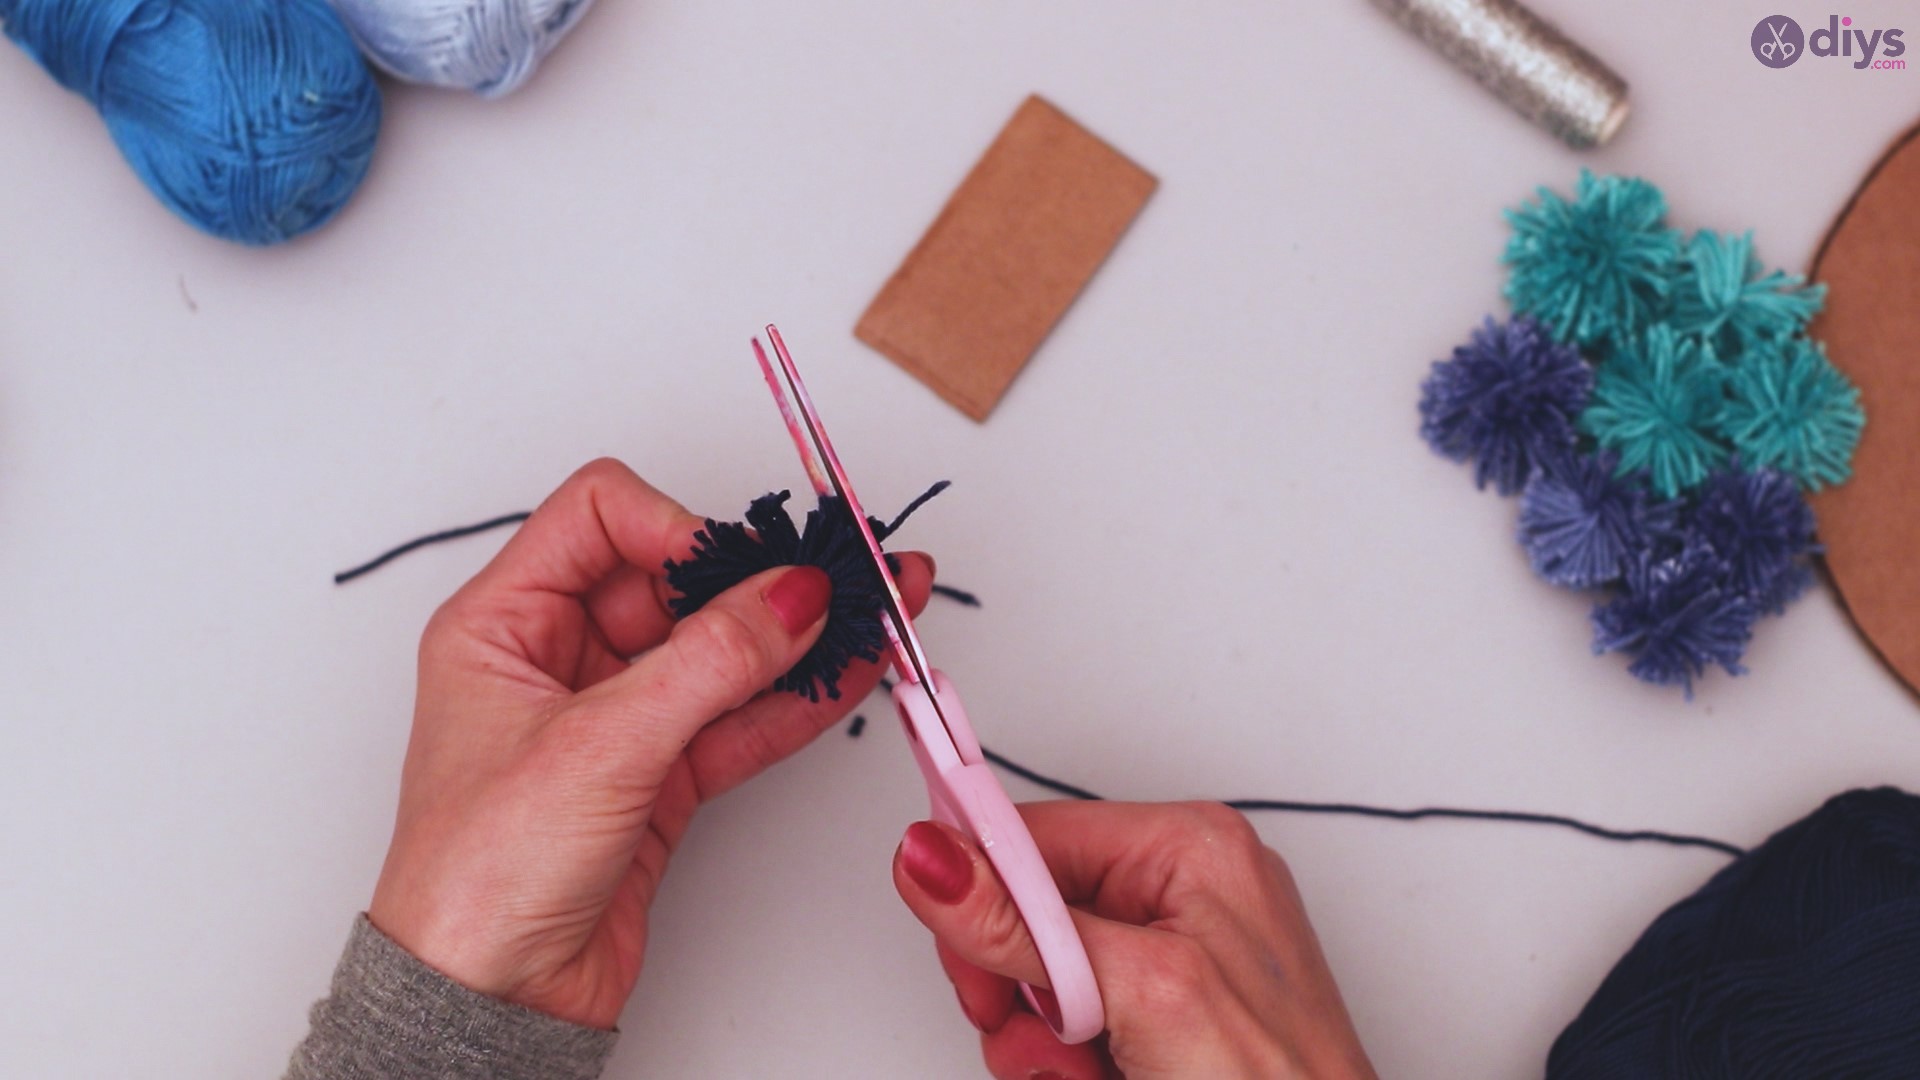
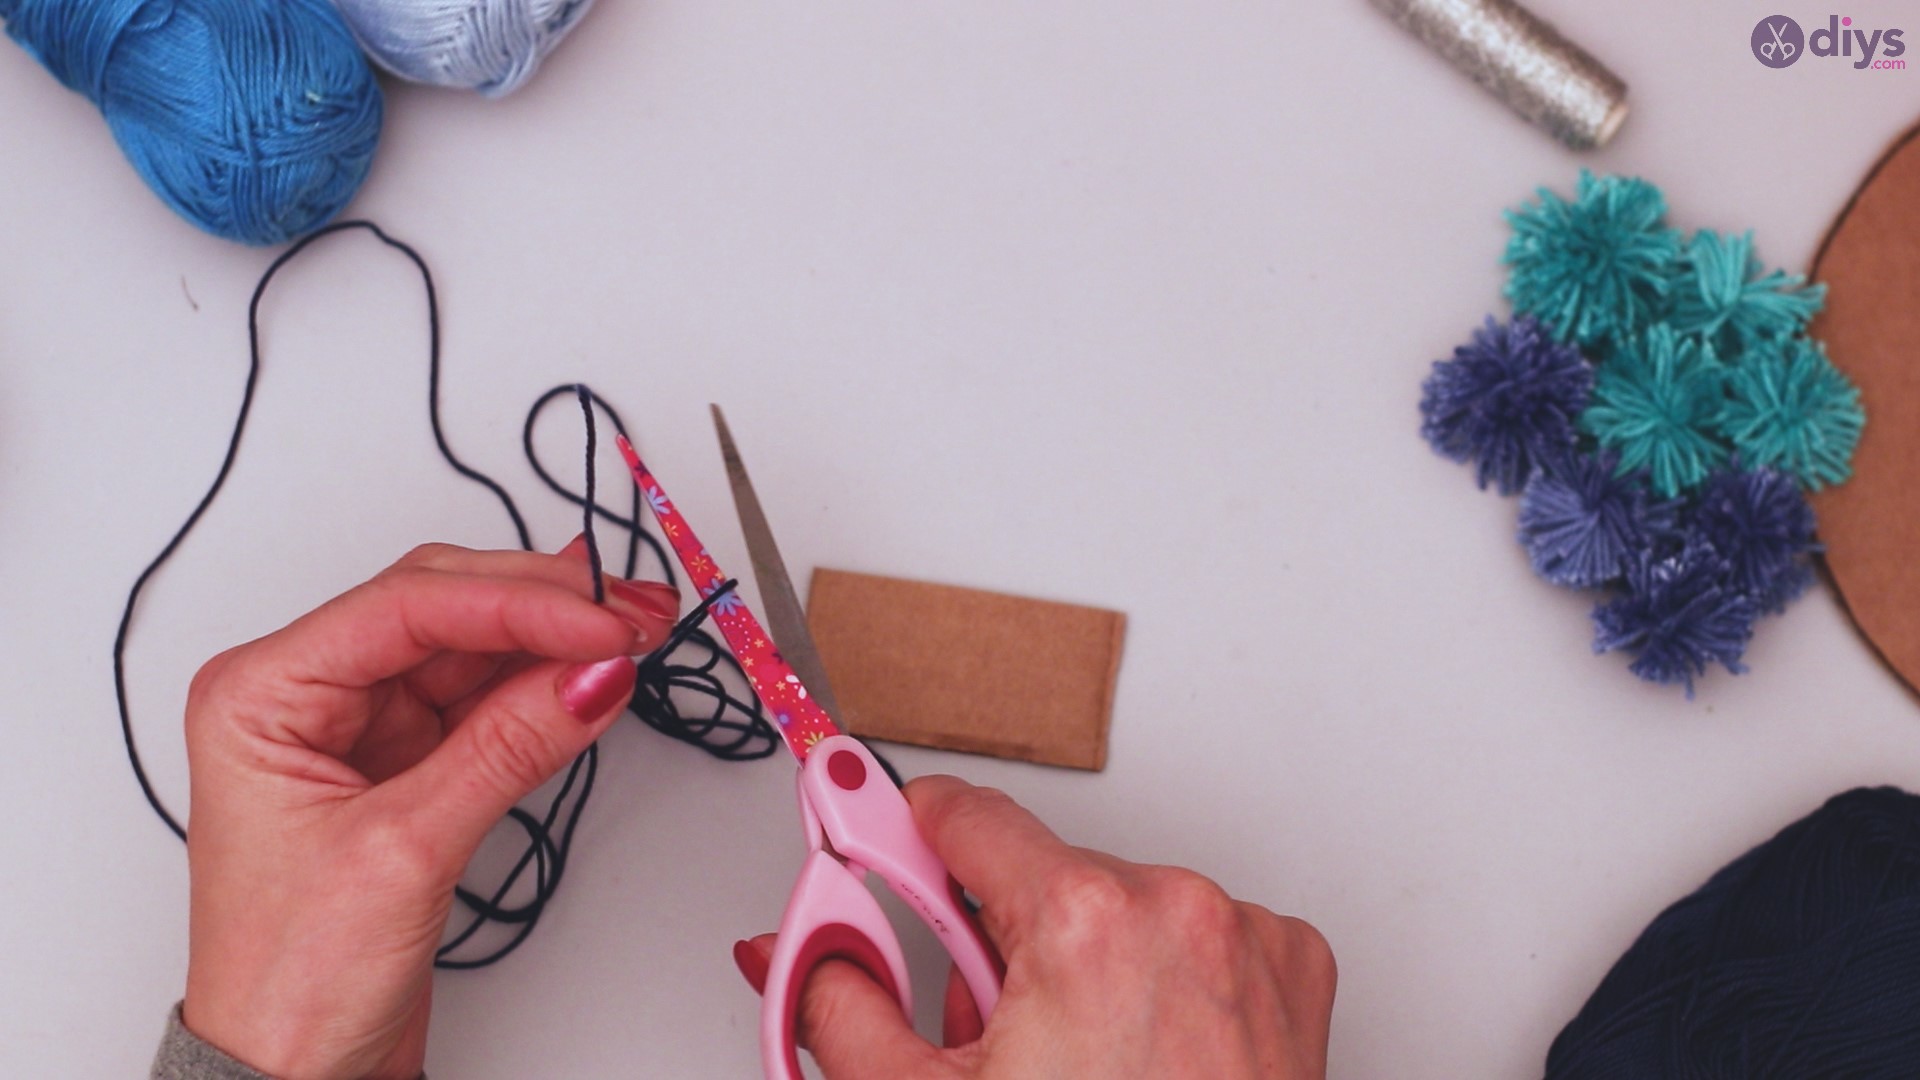
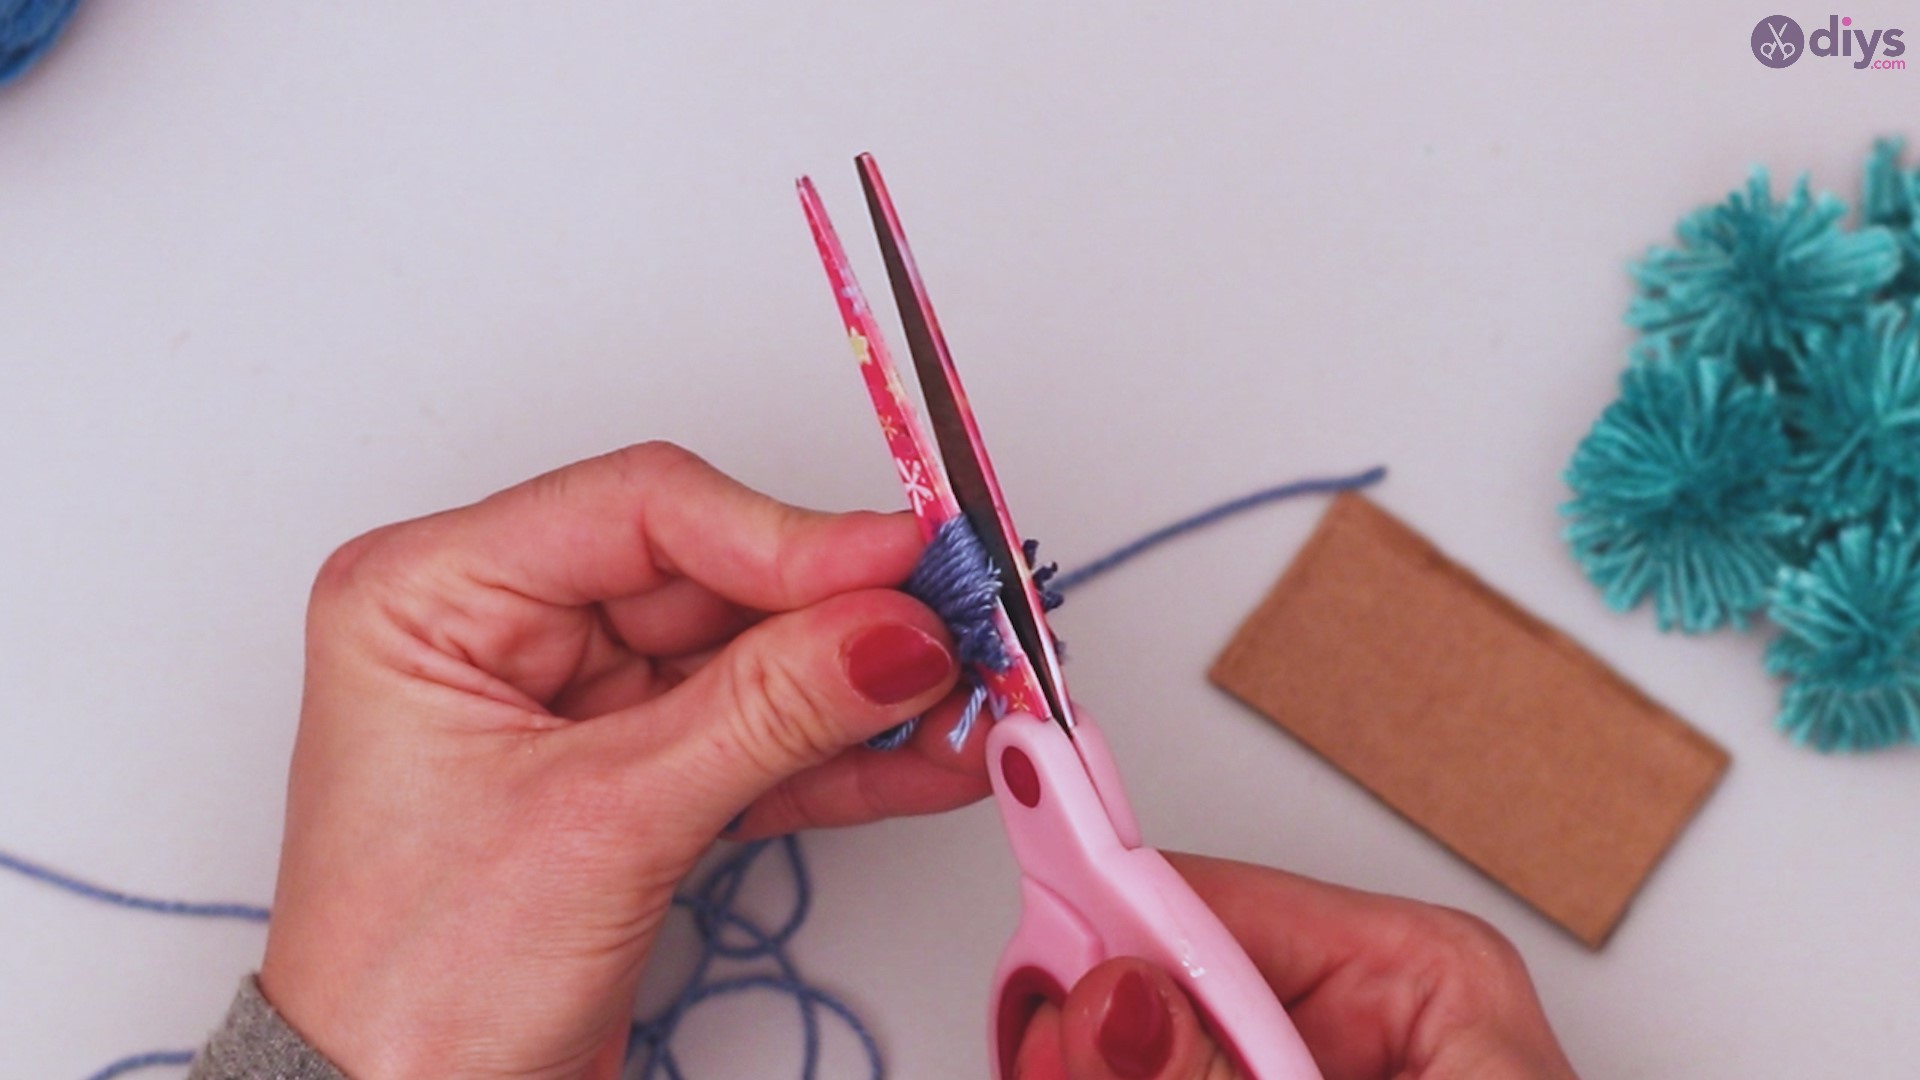
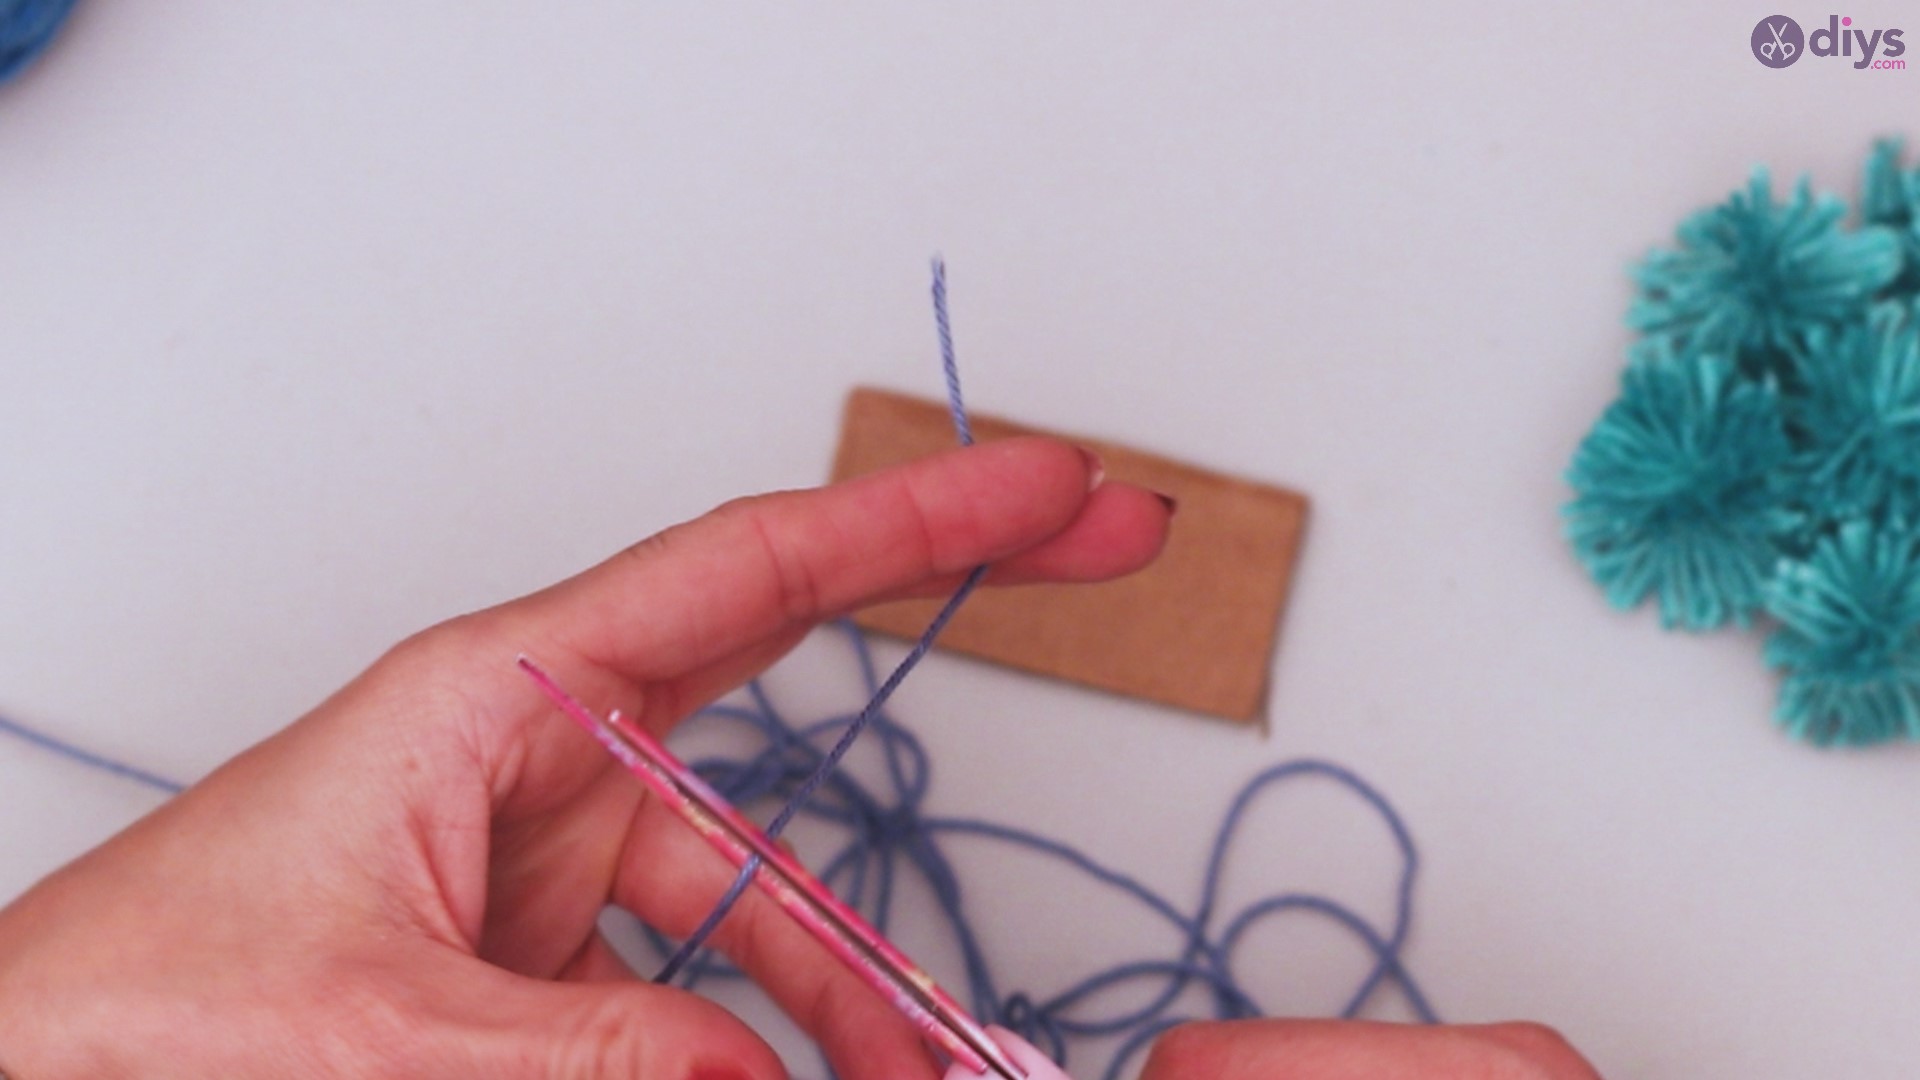
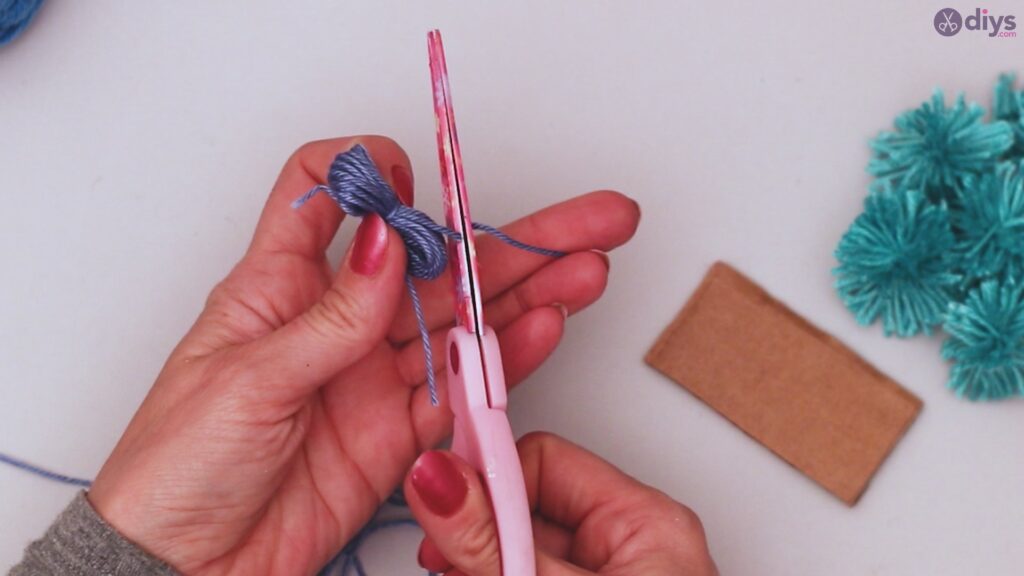
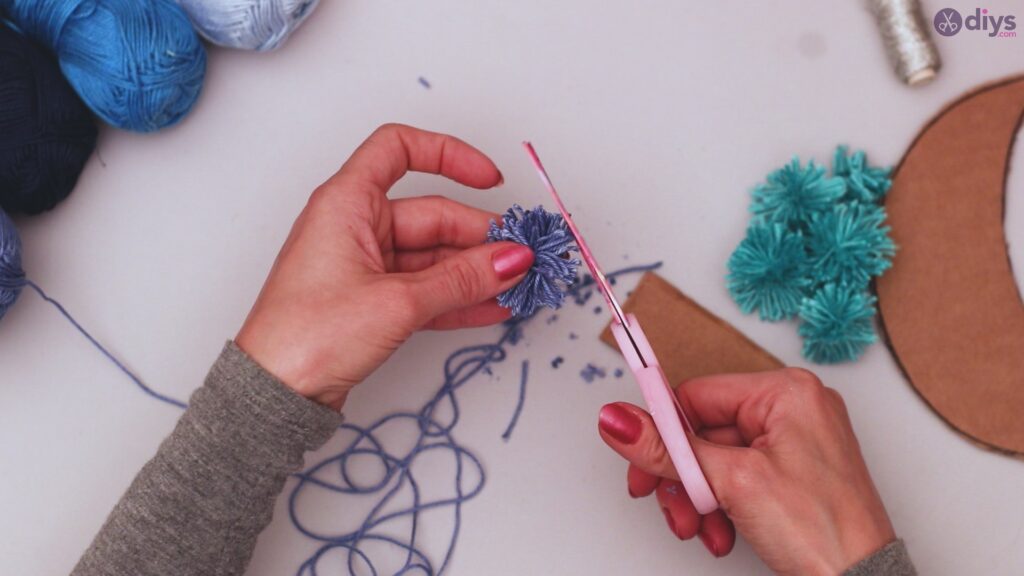
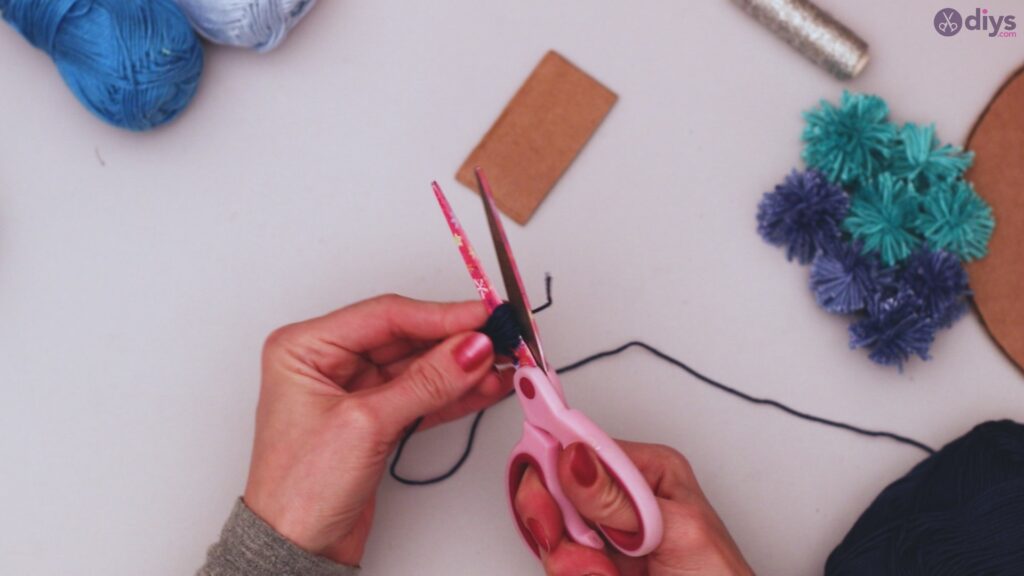
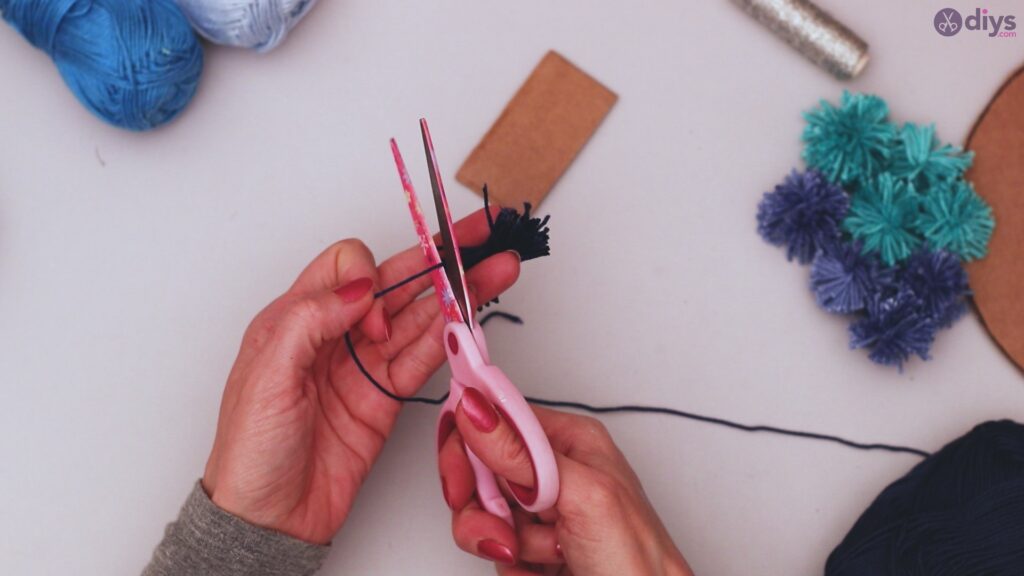
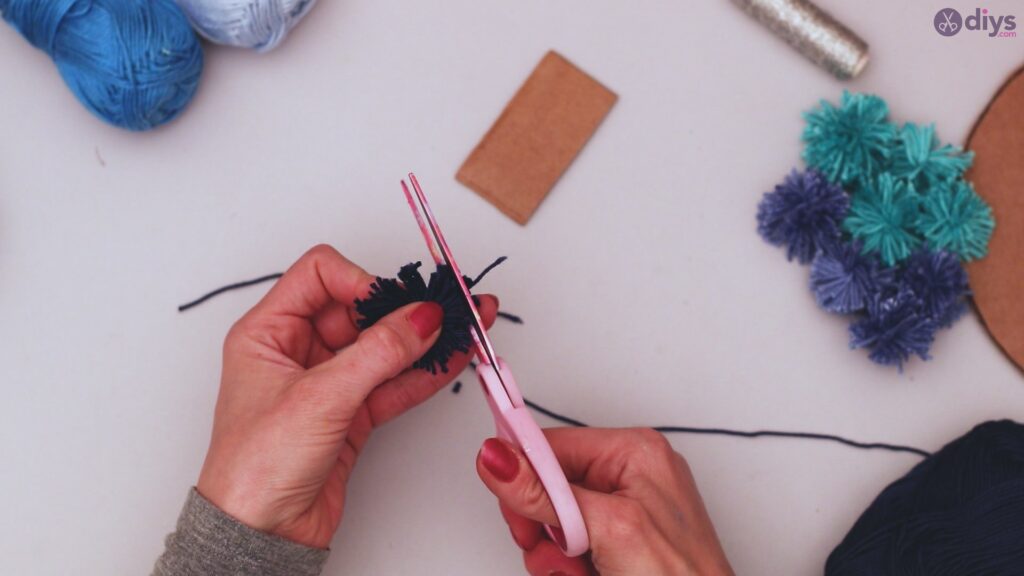
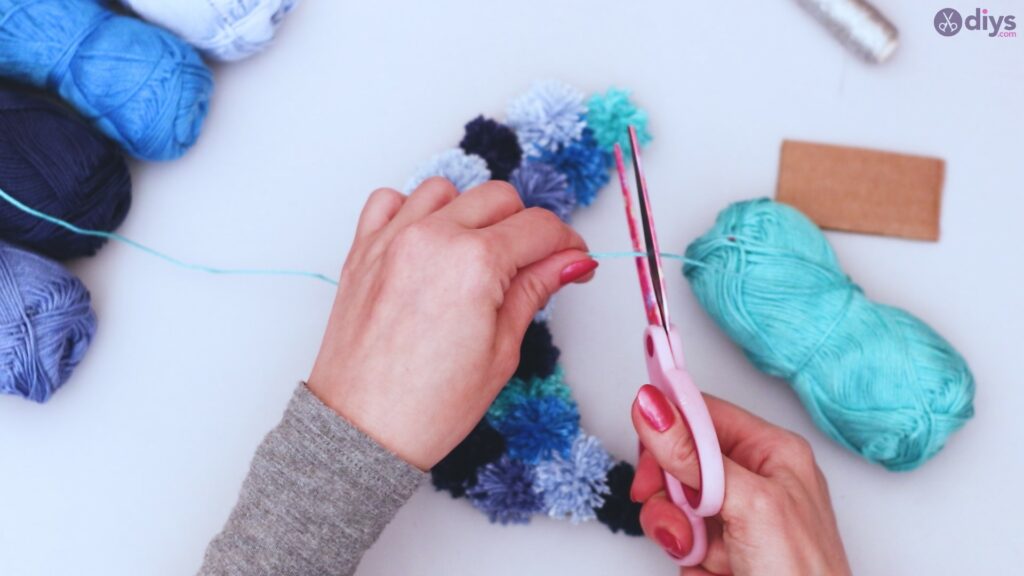
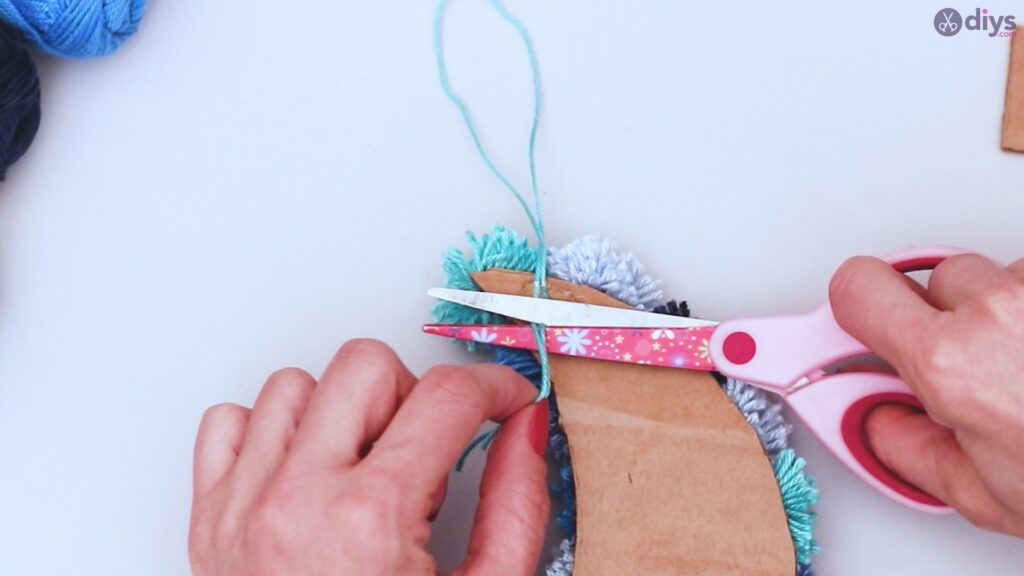
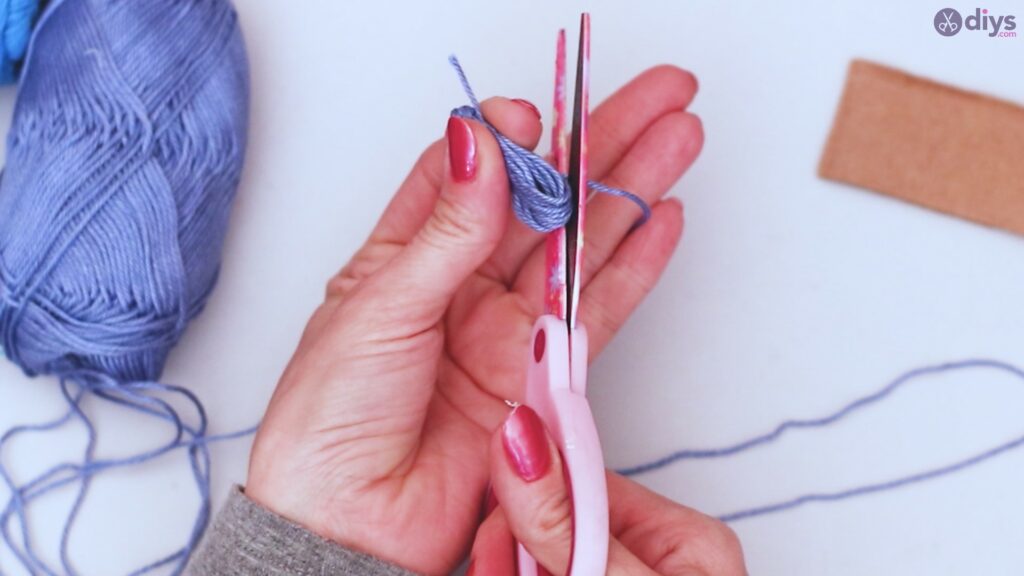
On each rounded end of yarn, stick the scissors through the loop, and snip so that you have loose ends.
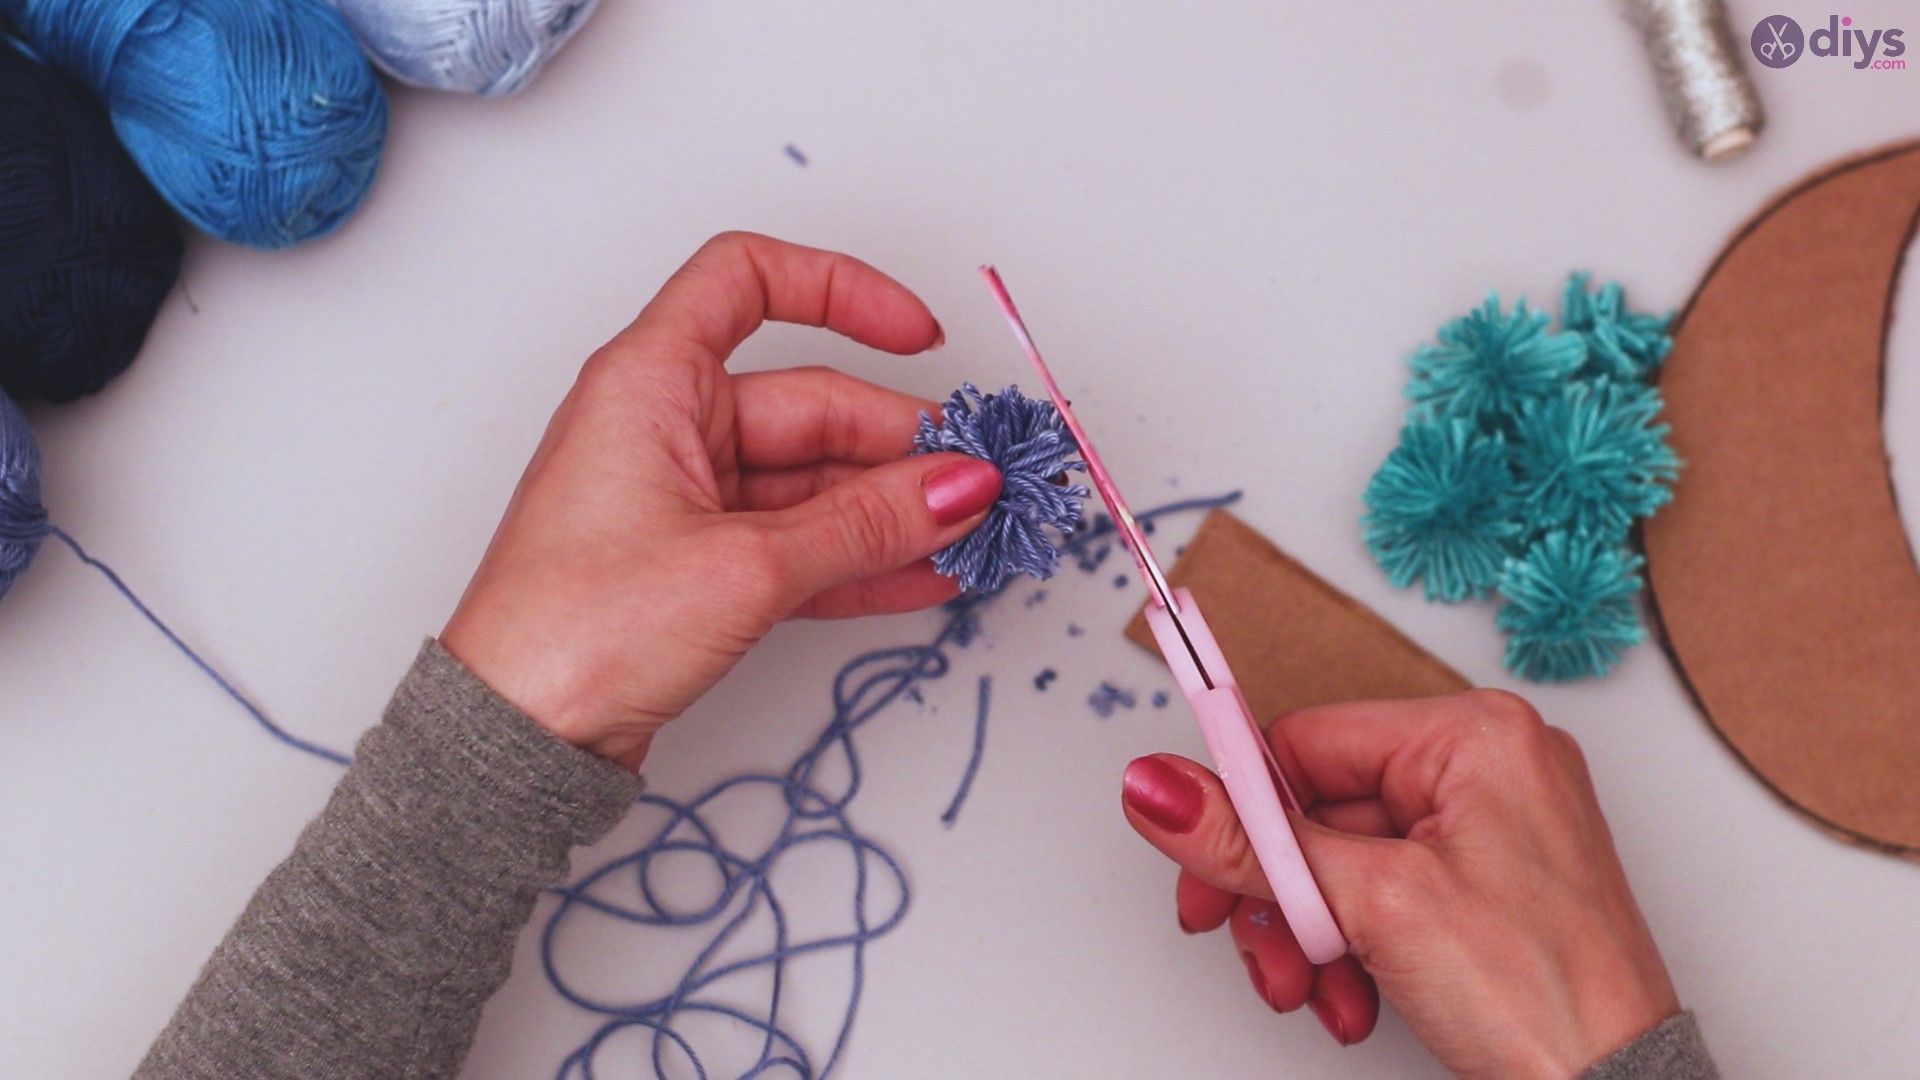
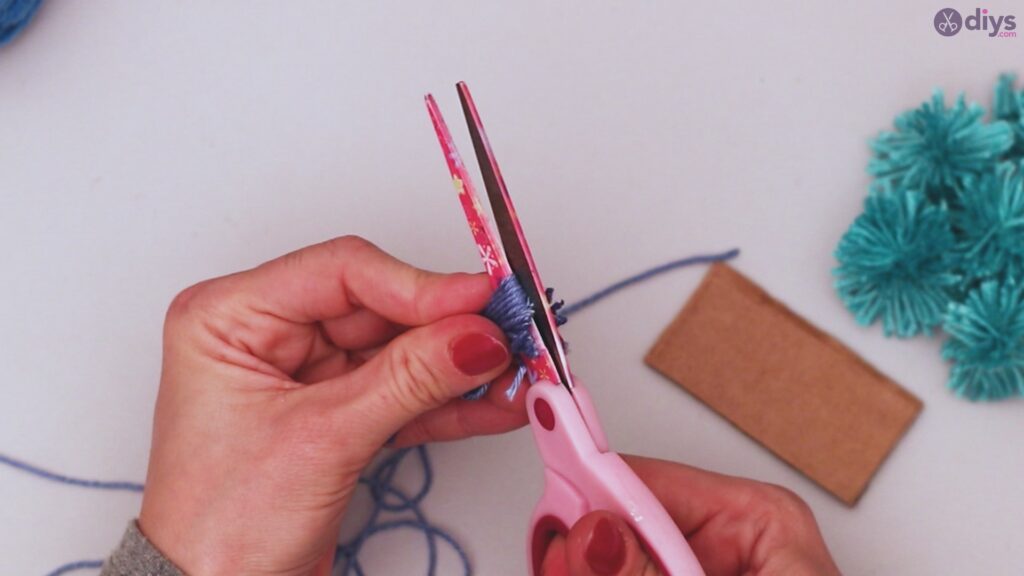
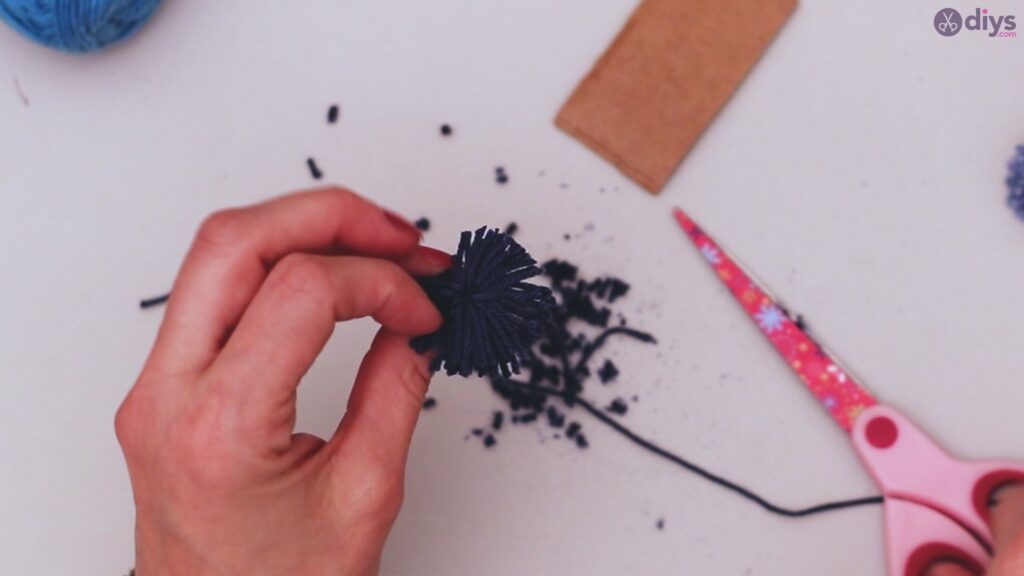
Trim the ends slightly to create texture.
Step 4: Repeat step 3
Using all of your colors of yarn, repeat step three until you have enough pom poms to cover your cardboard moon. You can do this with your single strip of cardboard or with strips of different sizes to vary the size of your pom poms.
Step 5: Arrange your design
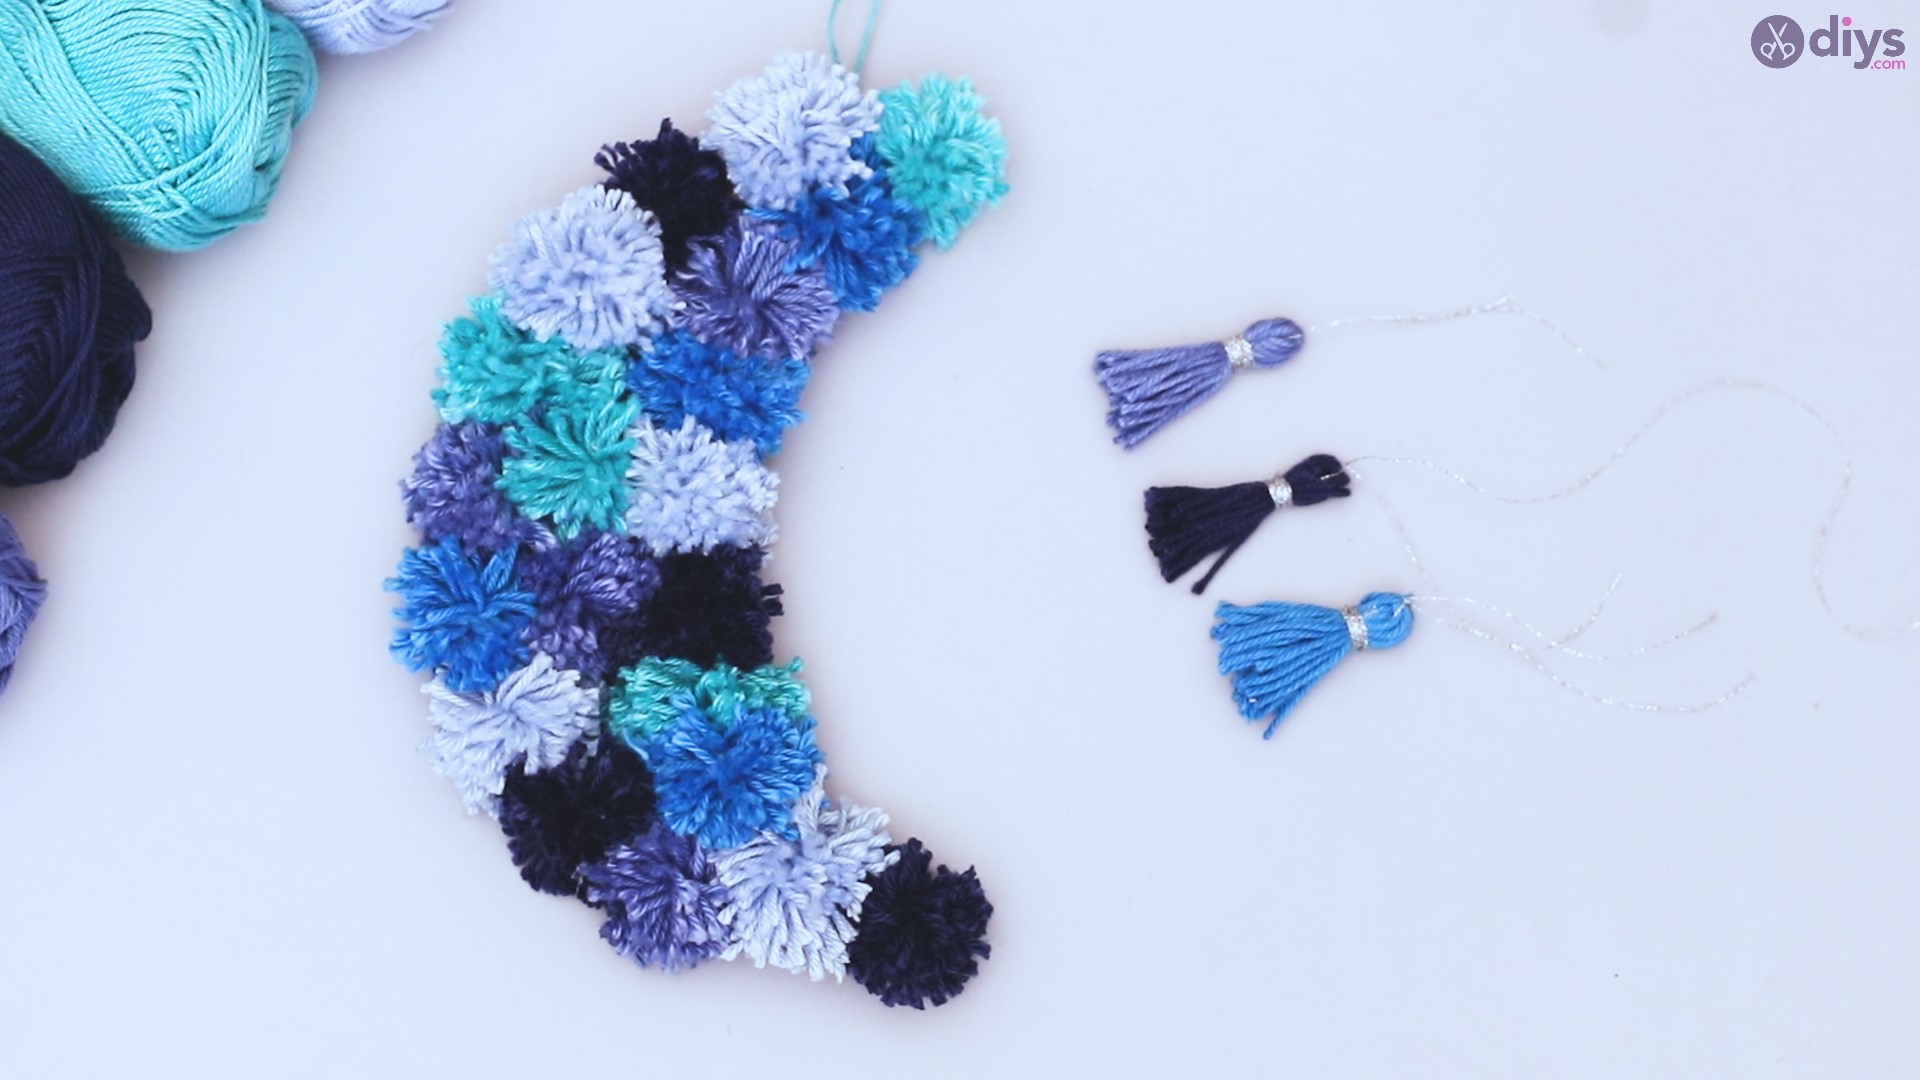
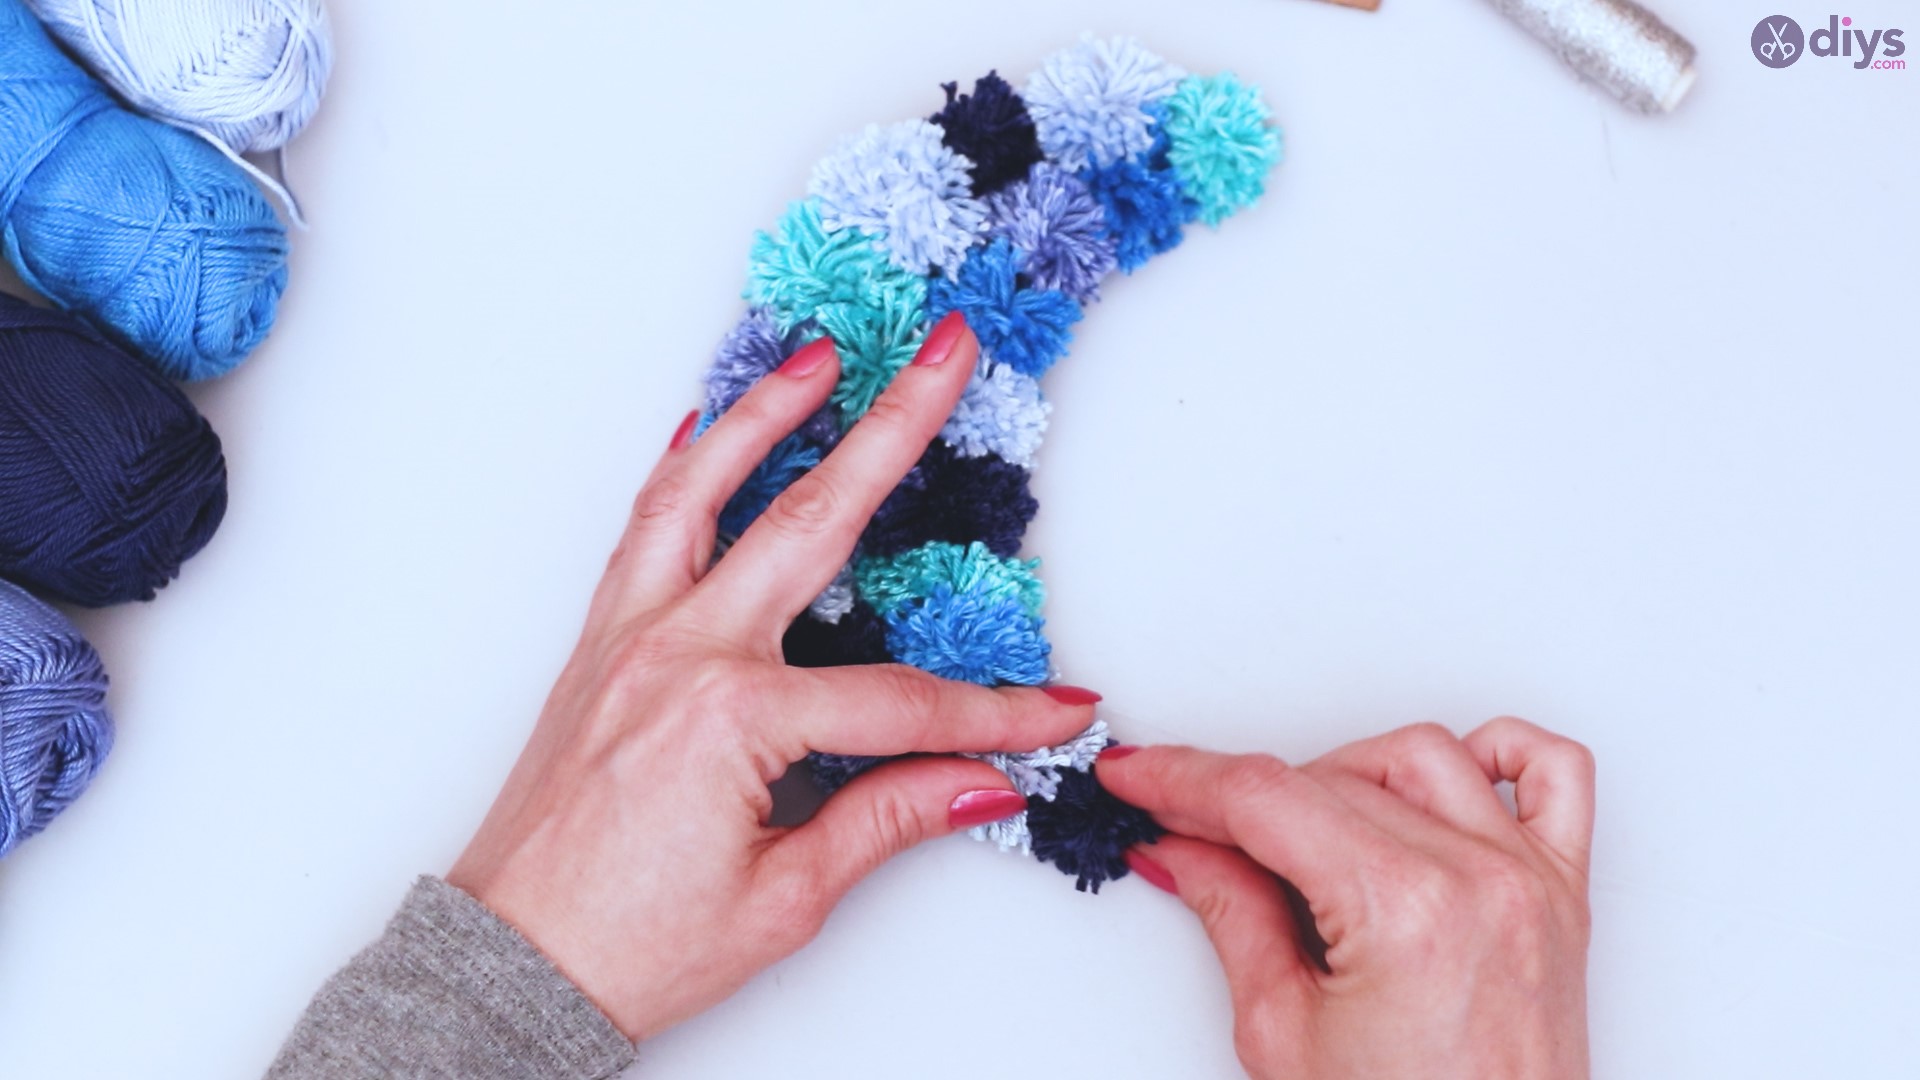
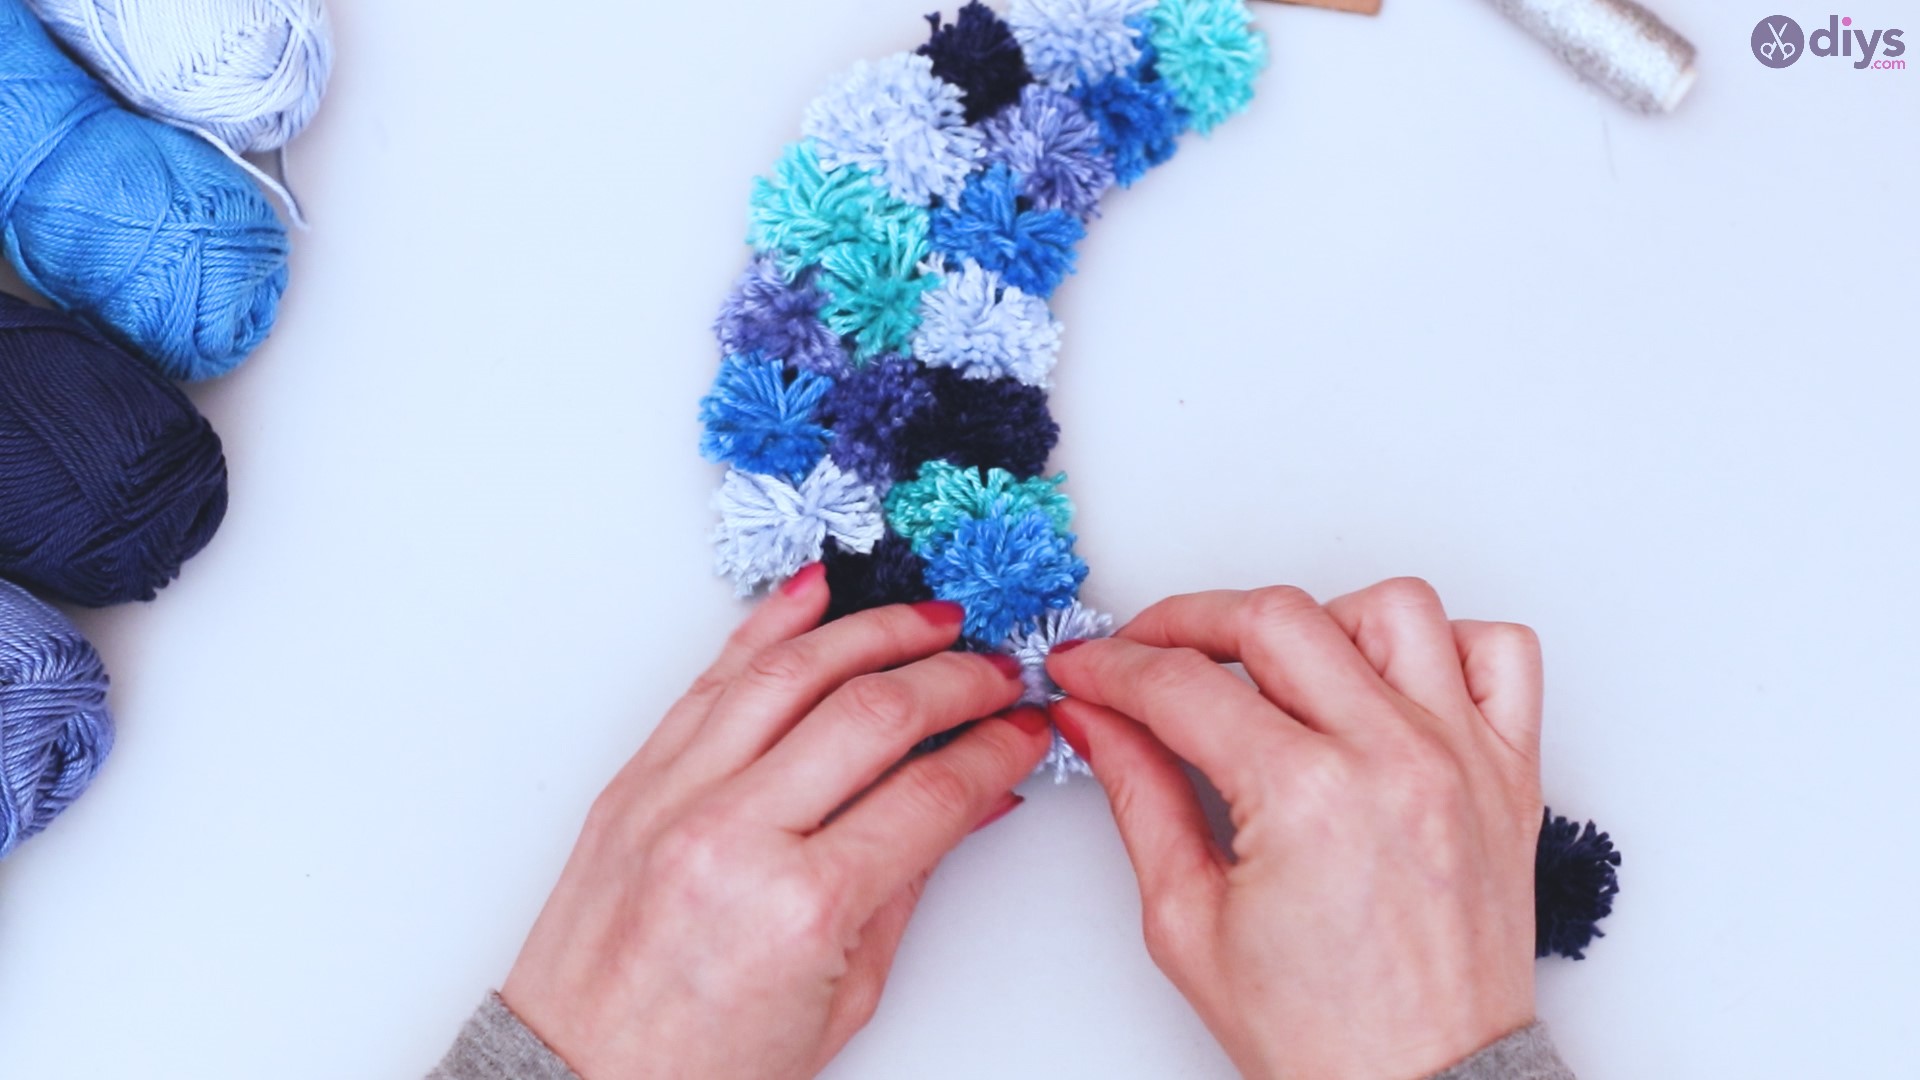
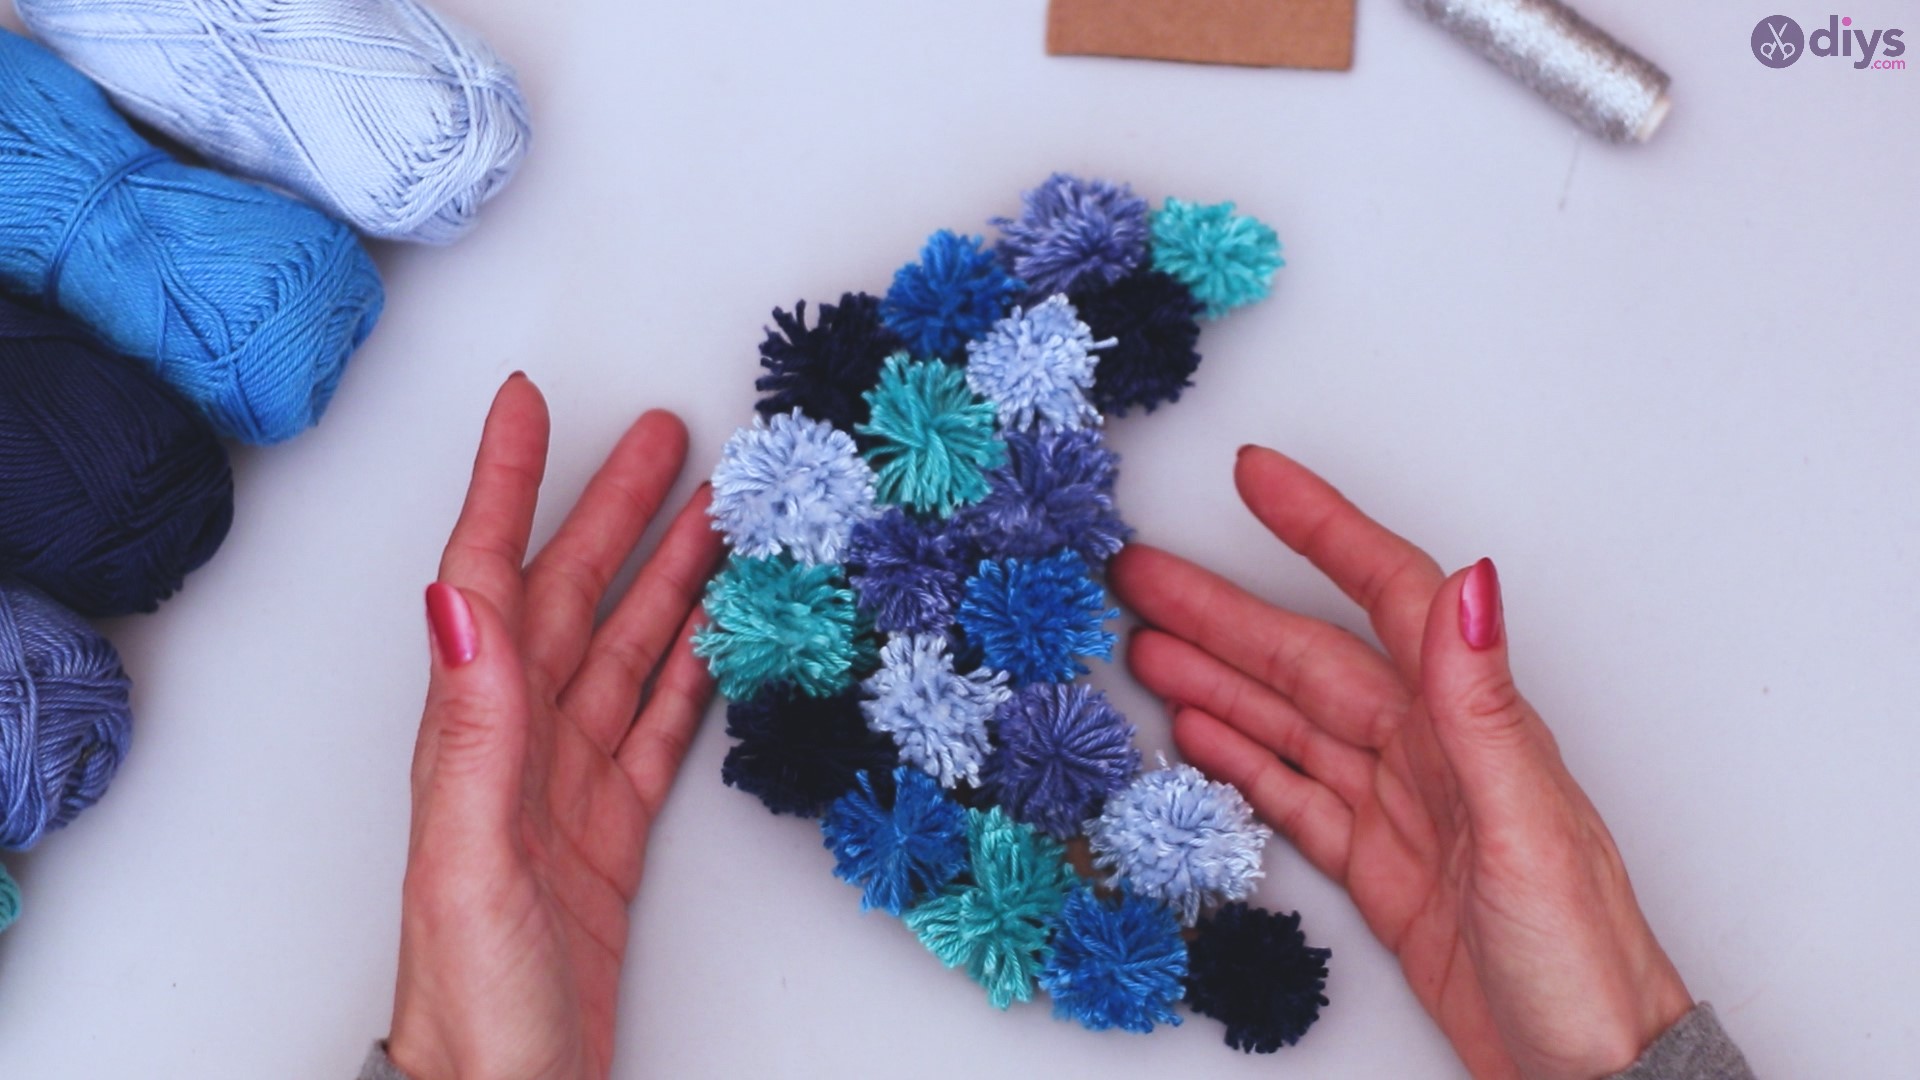
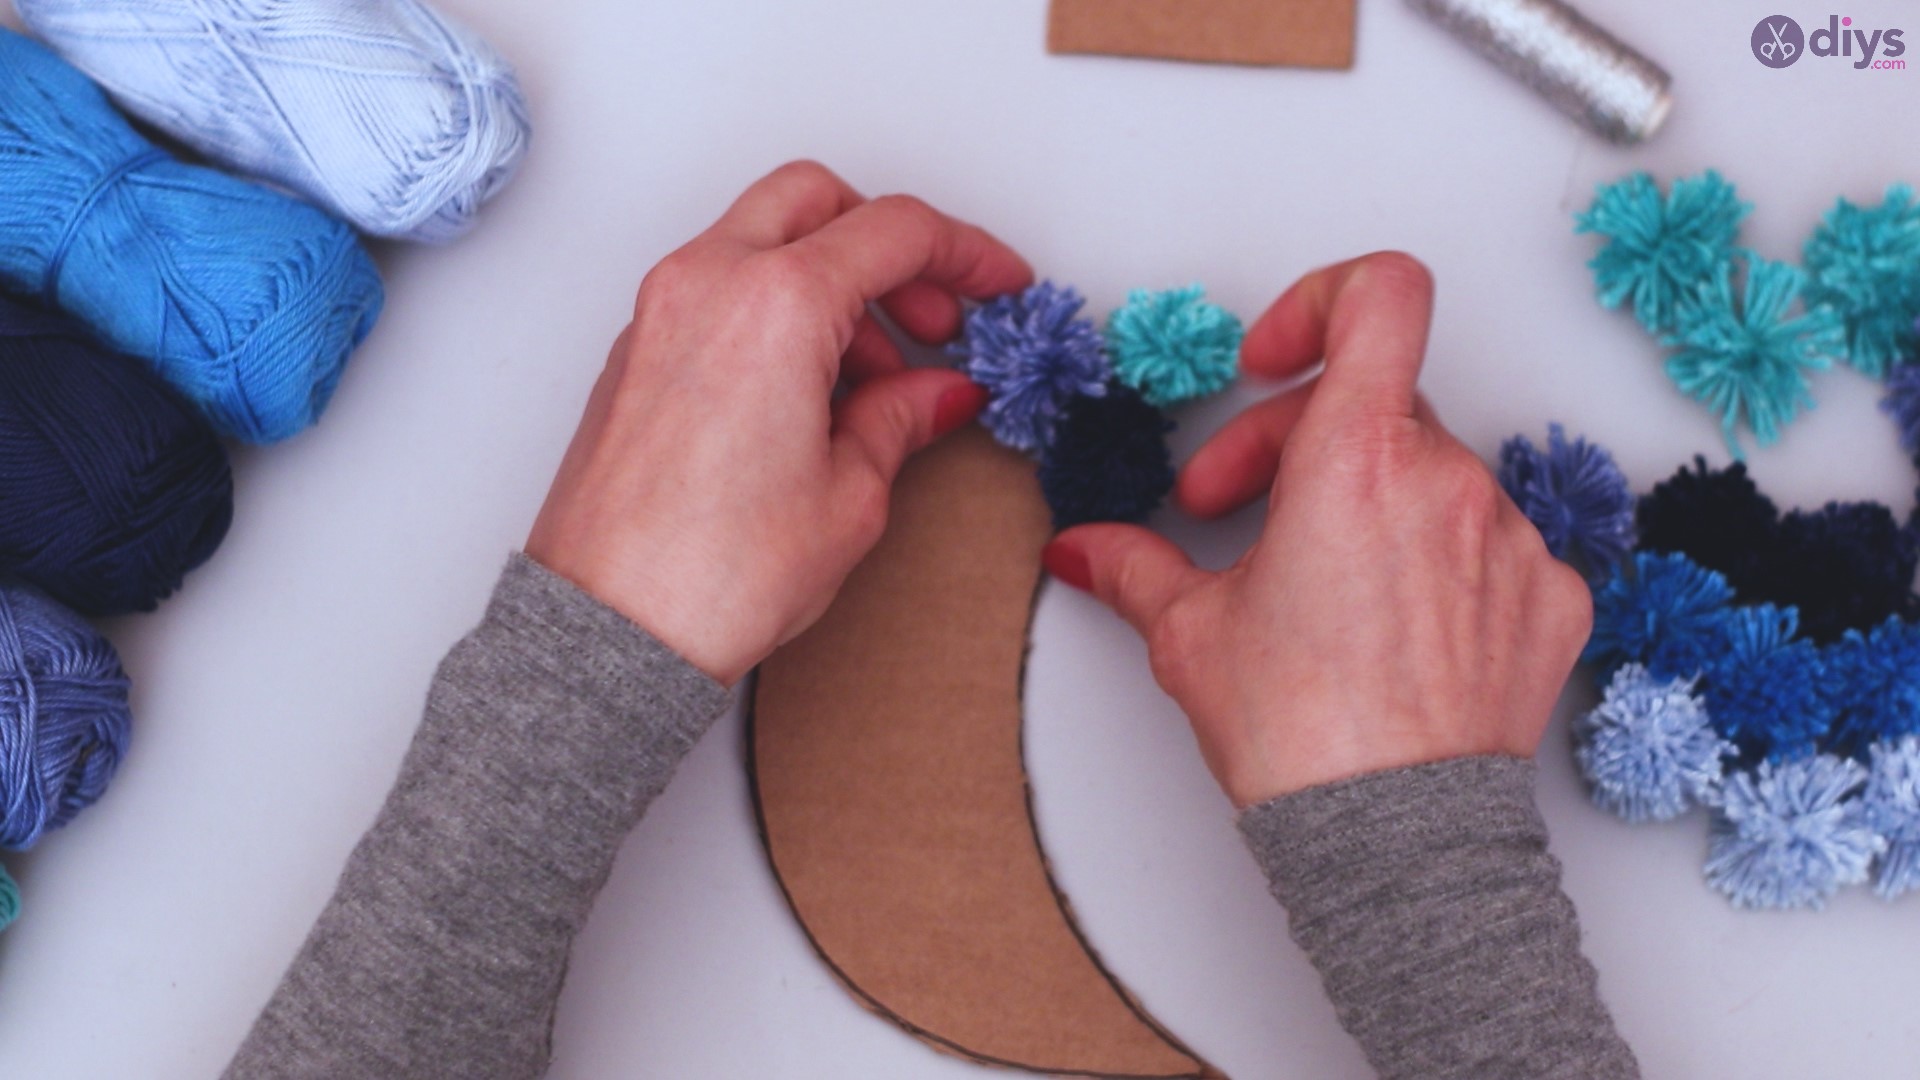
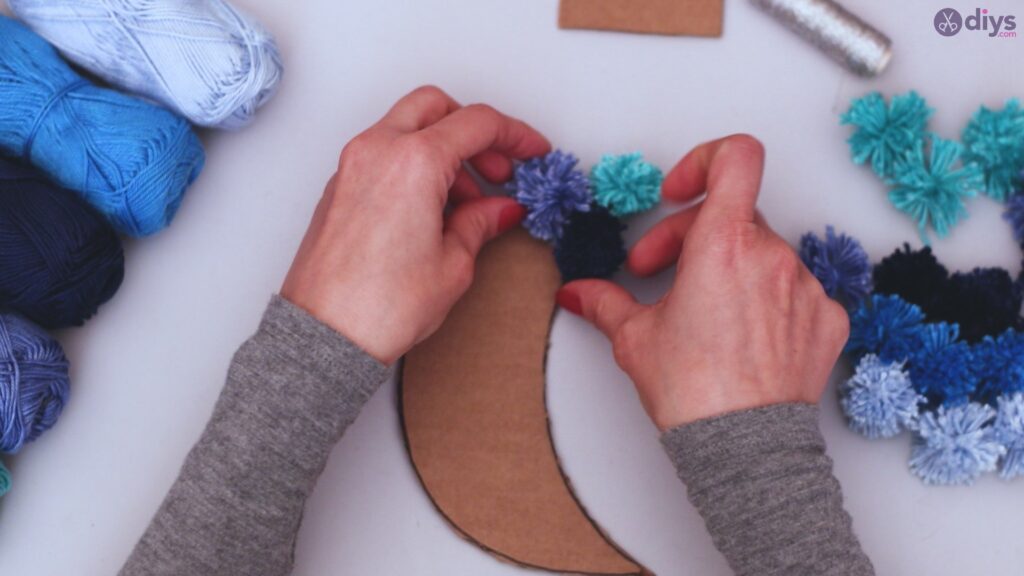
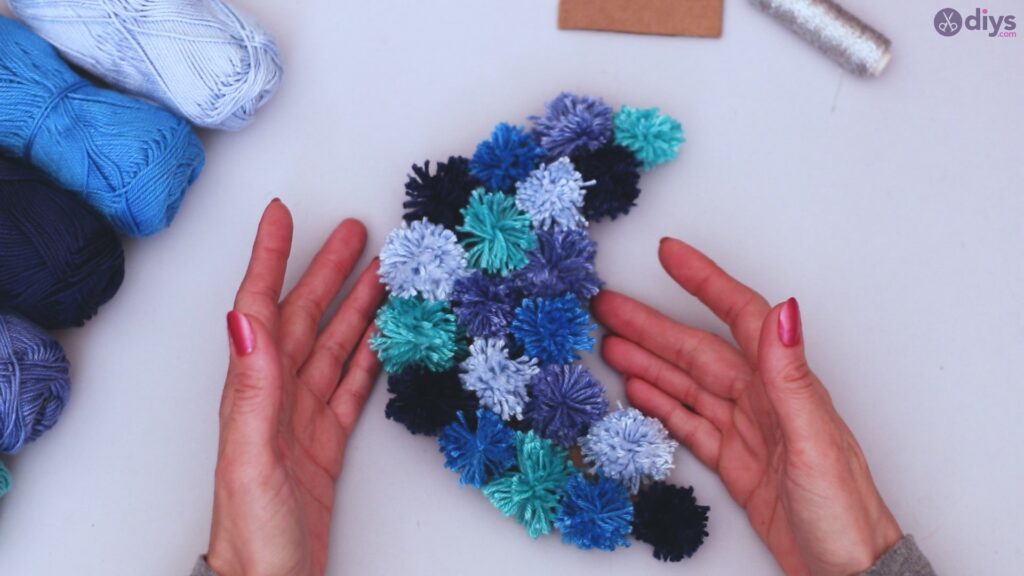
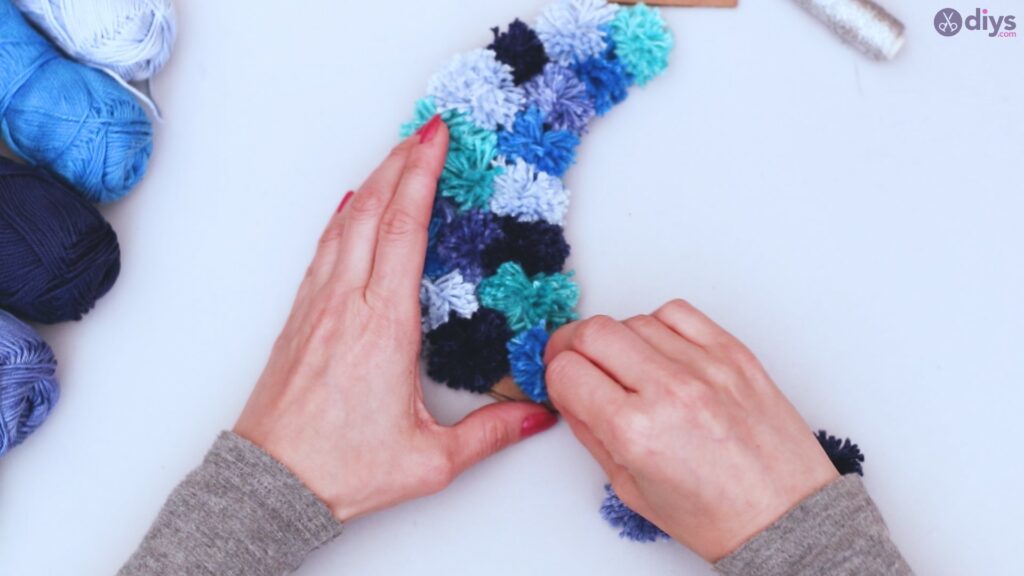
Lay out your various colors of pom poms on your cardboard moon. Don’t attach them yet. You want to be sure you have them set up with the variety of colors contrasting against each other for full effect. This gives you an opportunity to move them around as desired, as well as to determine if you may need additional pom poms.
Step 6: Attach your pom poms
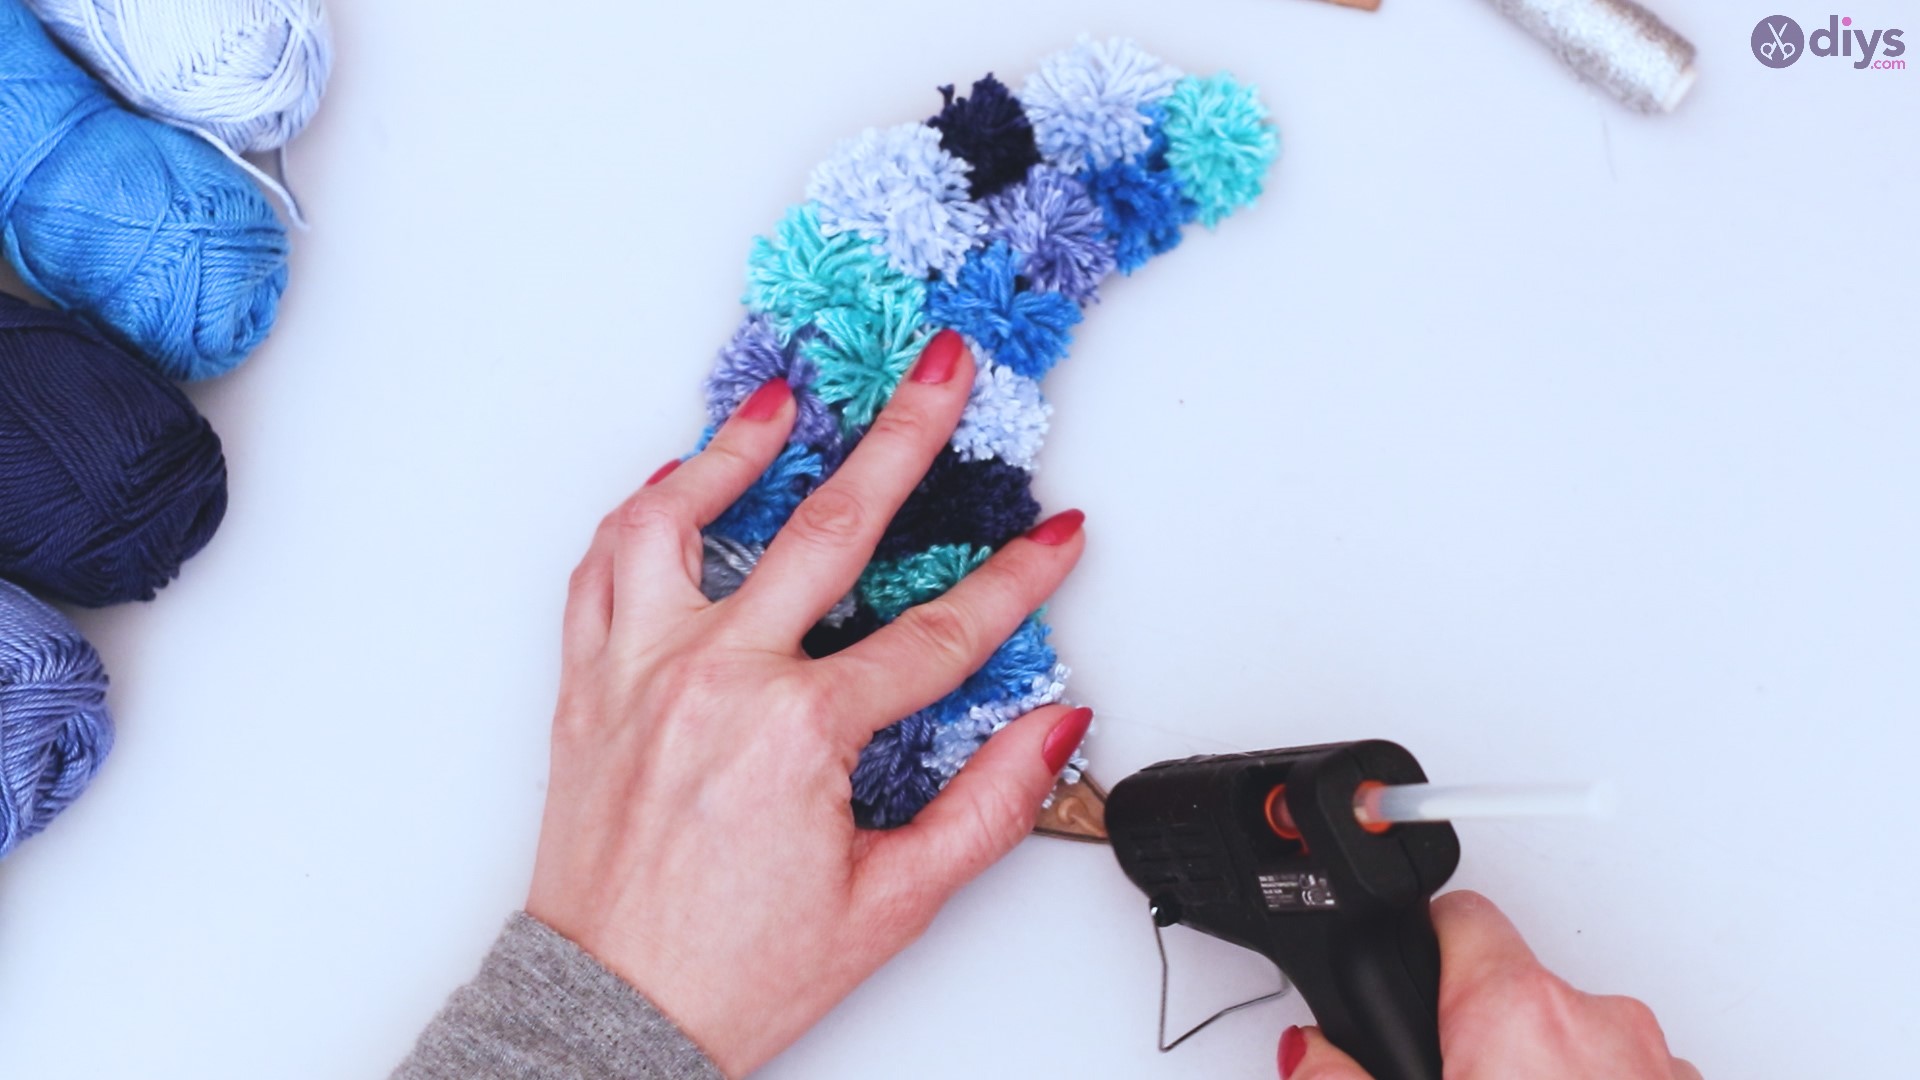
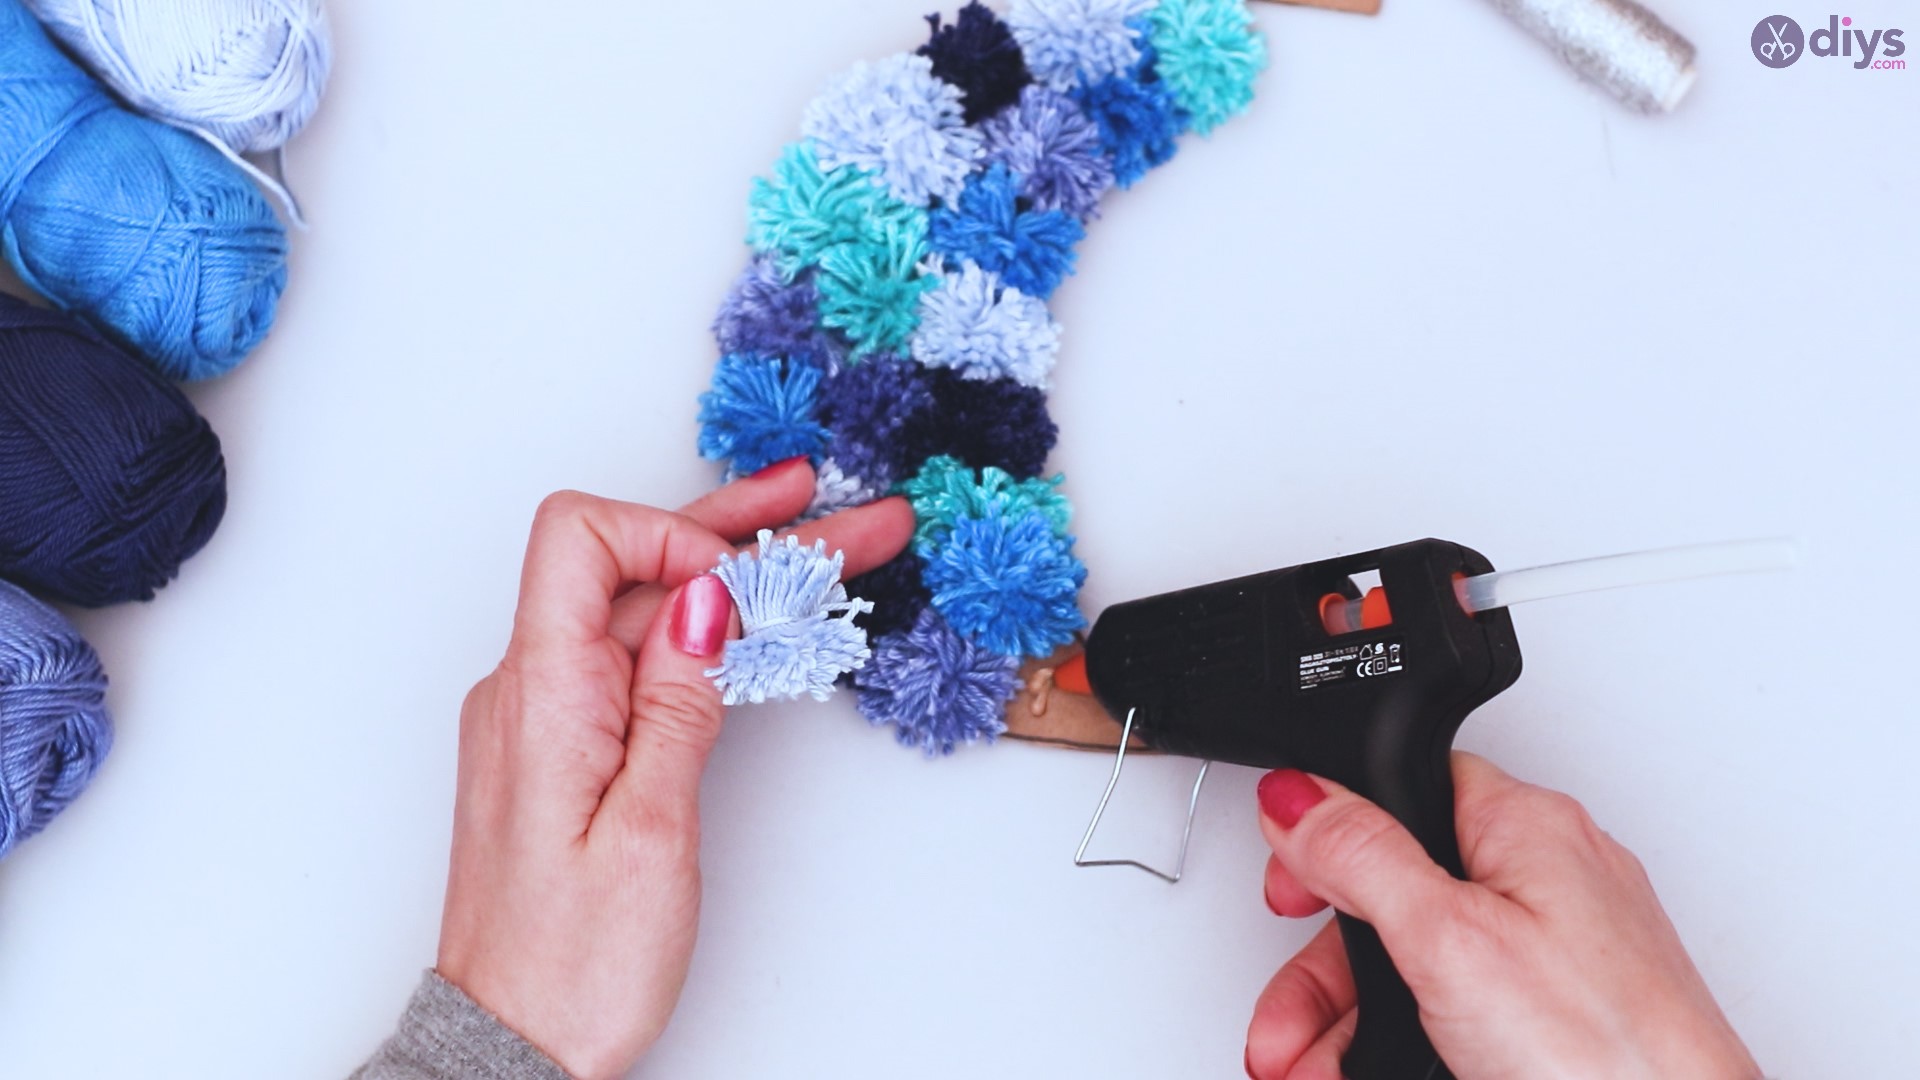
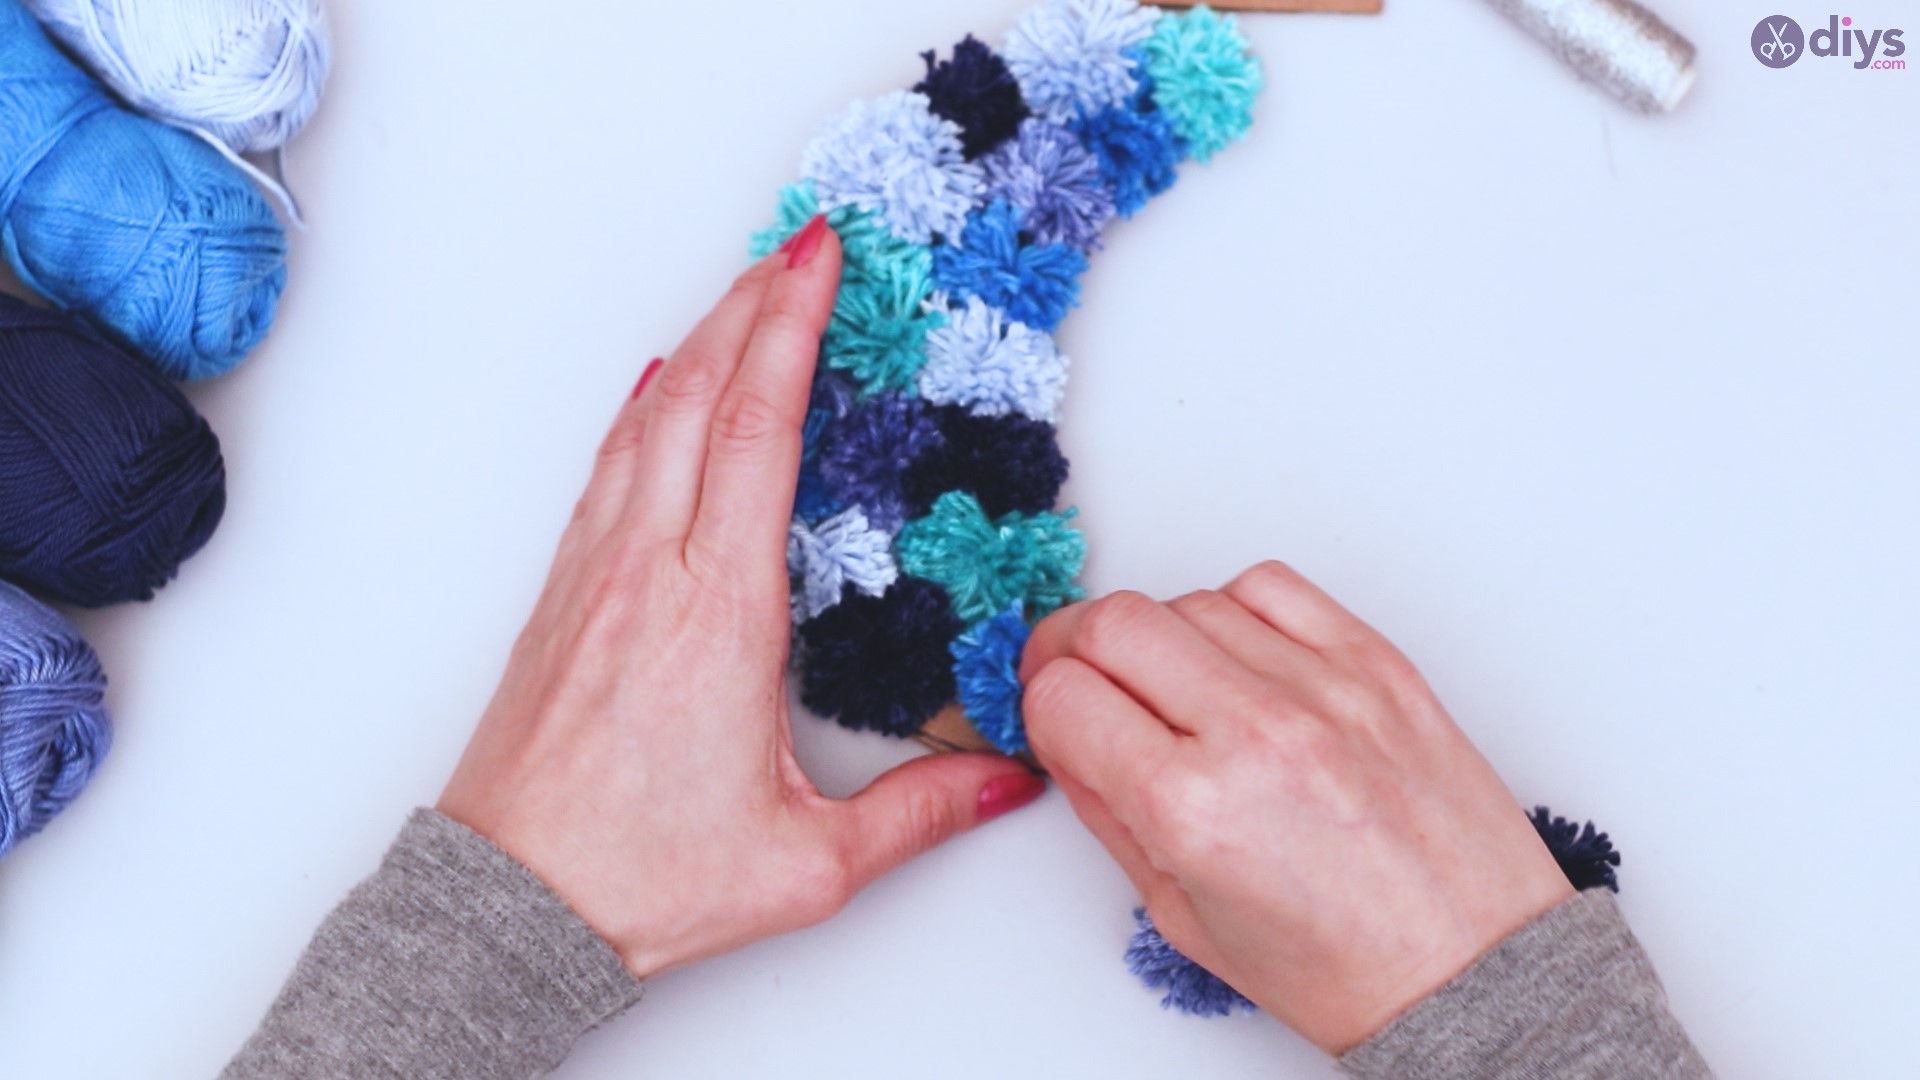
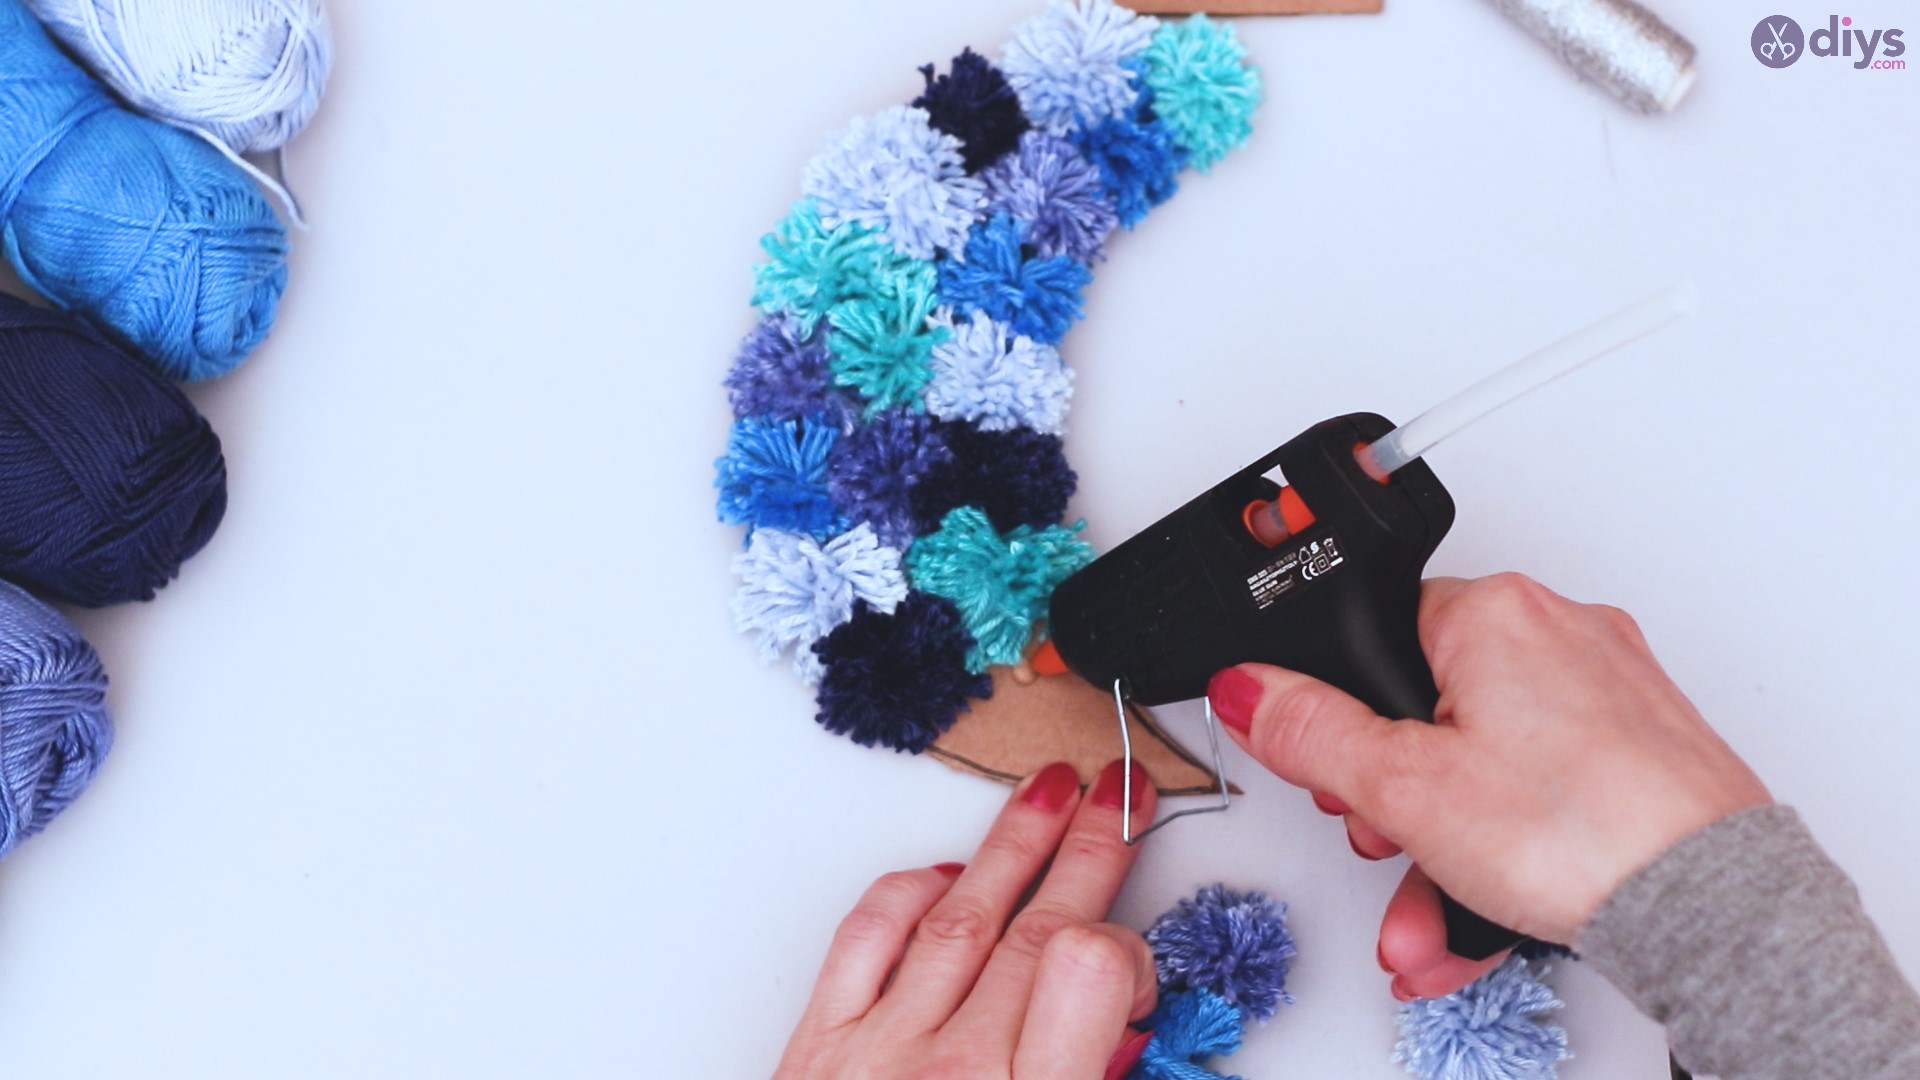
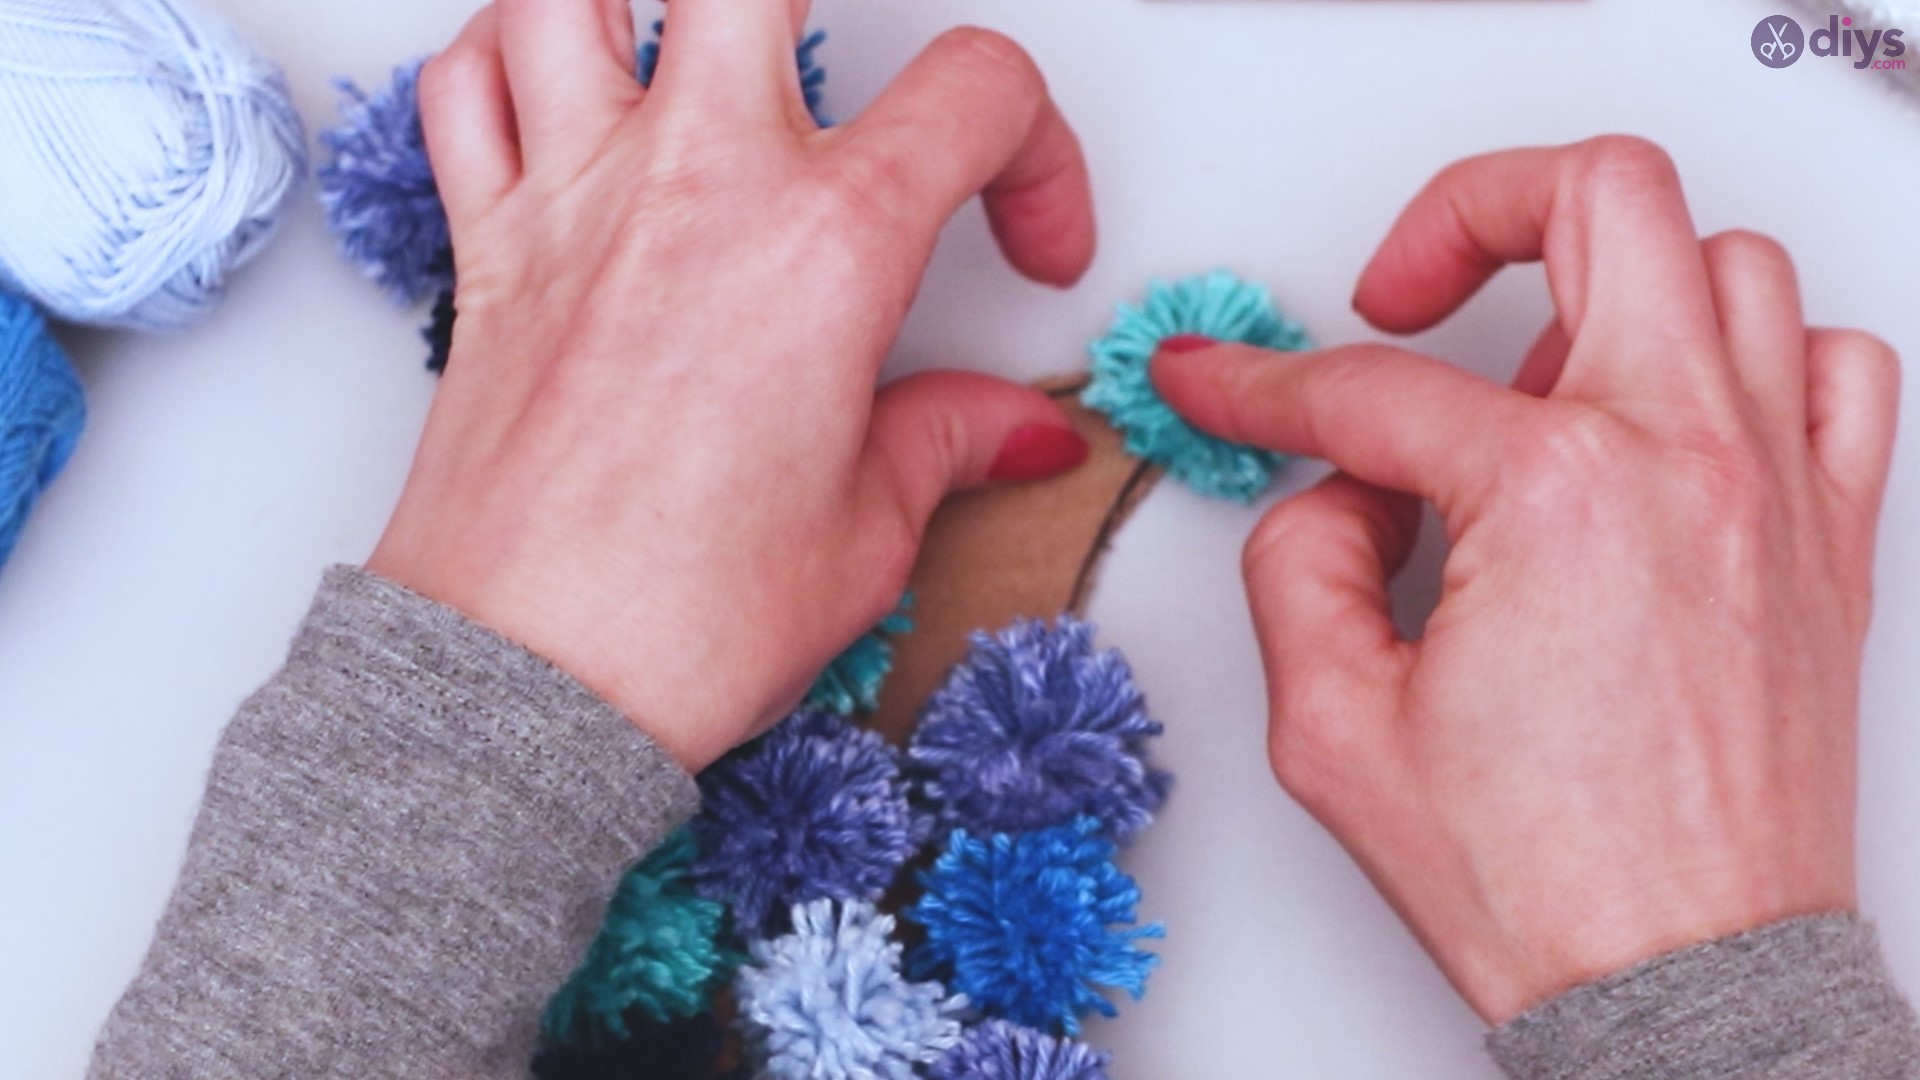
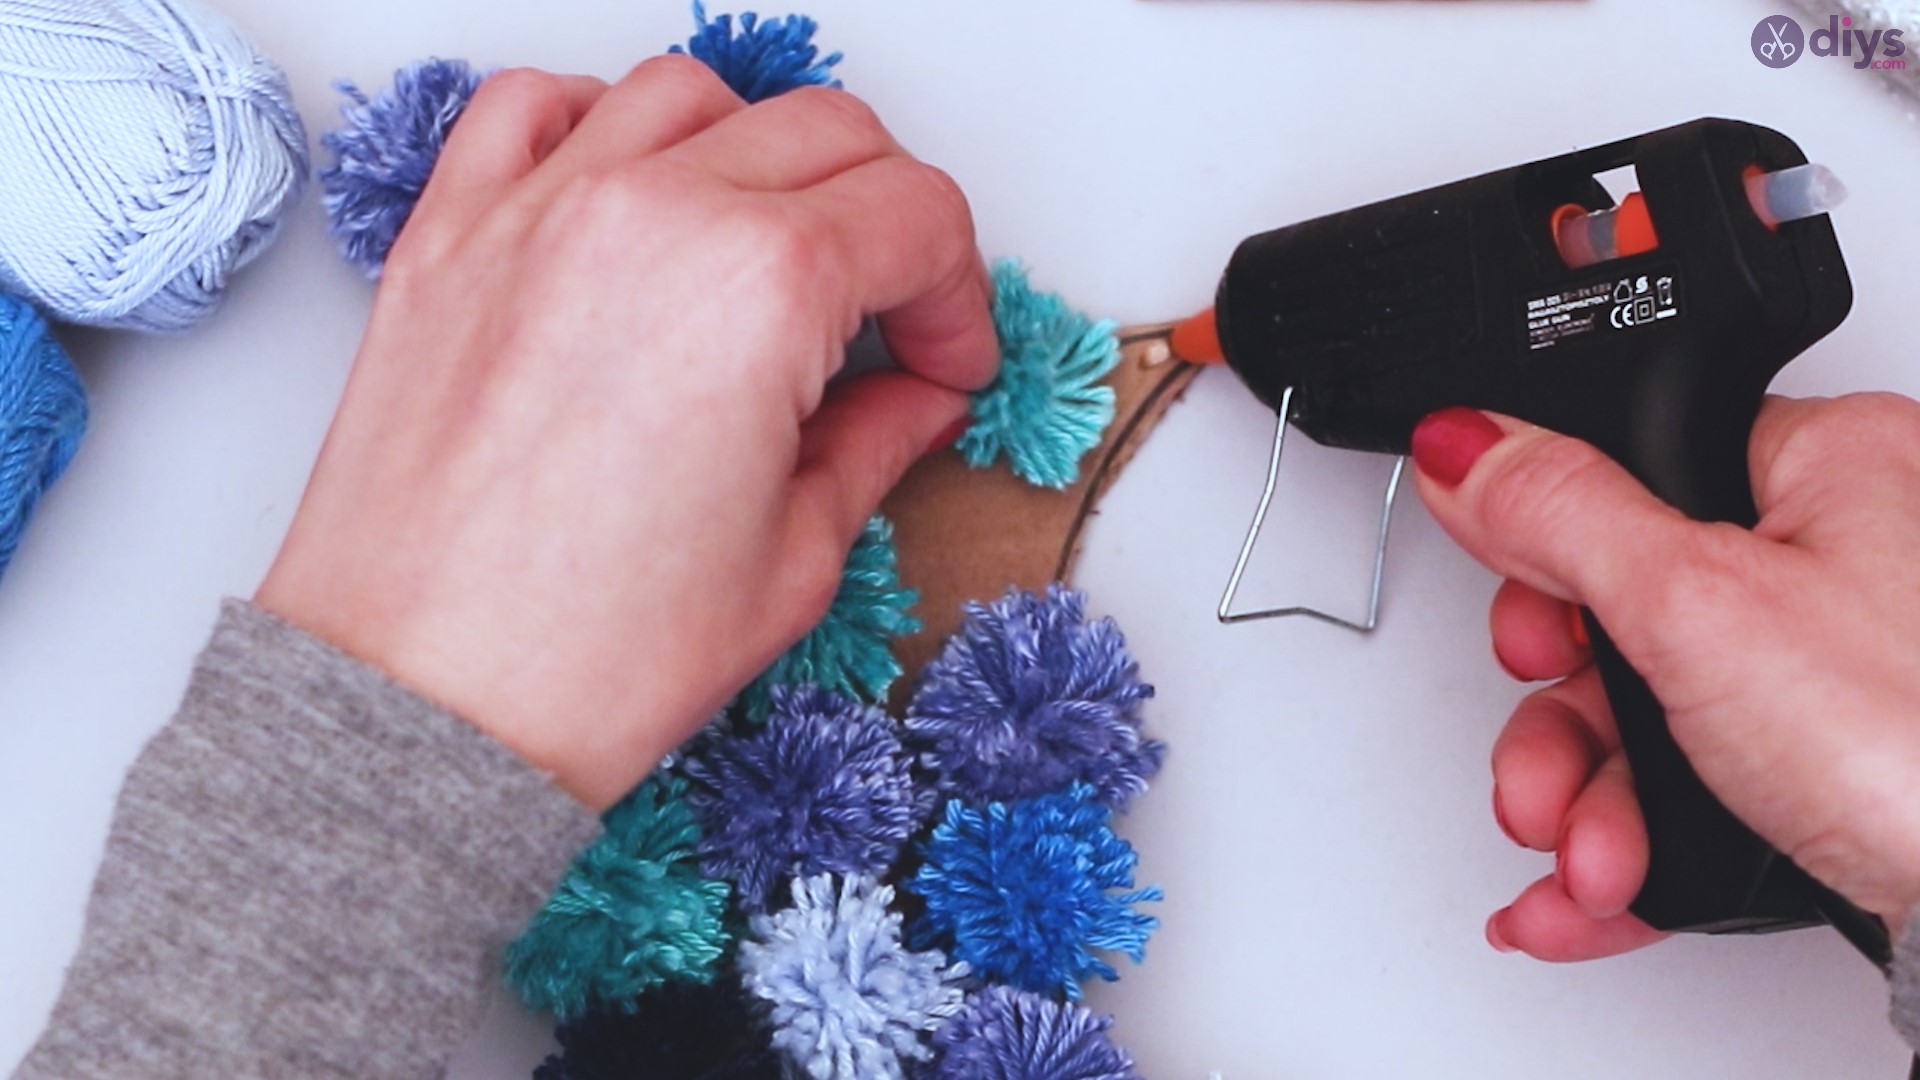
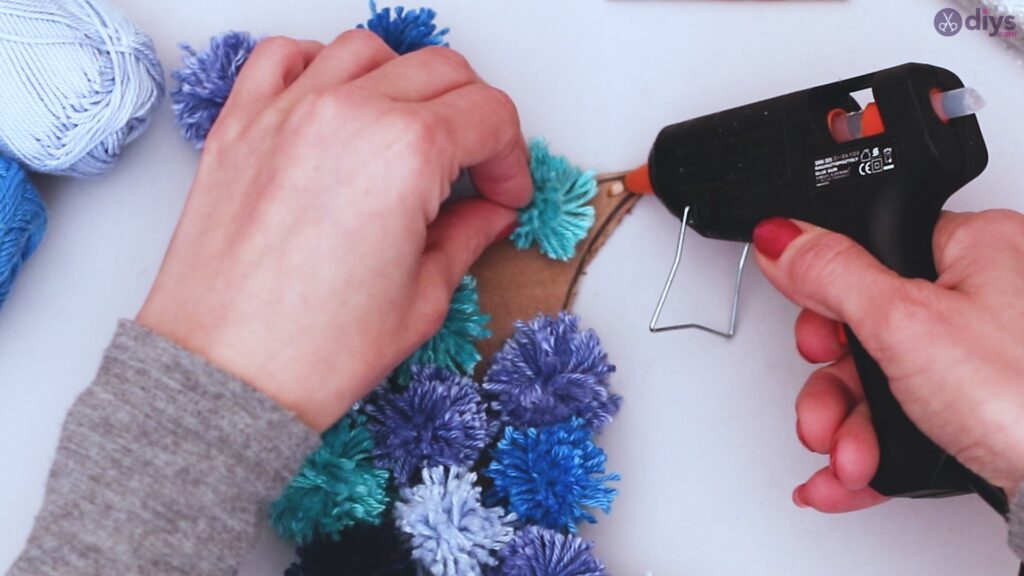
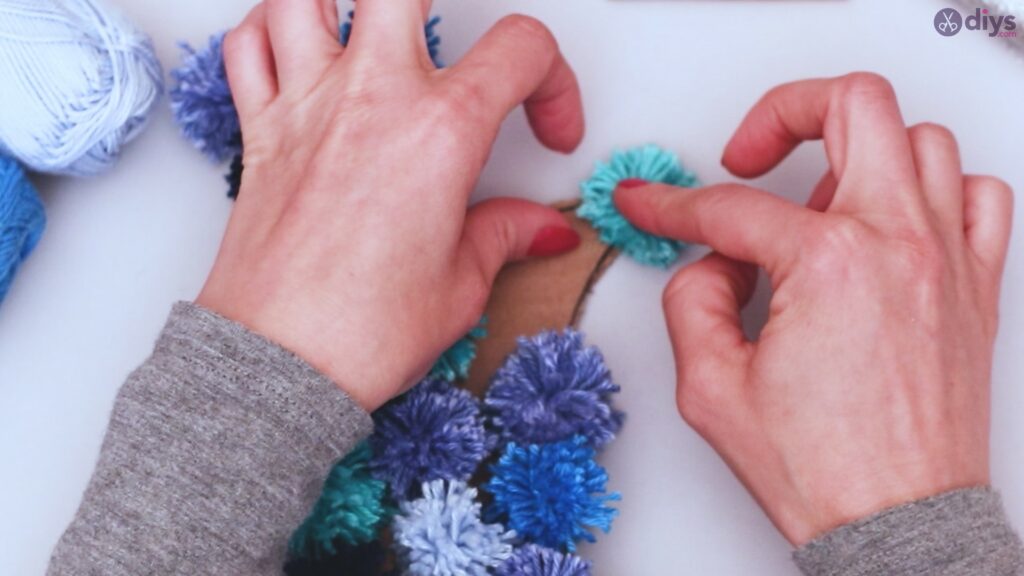
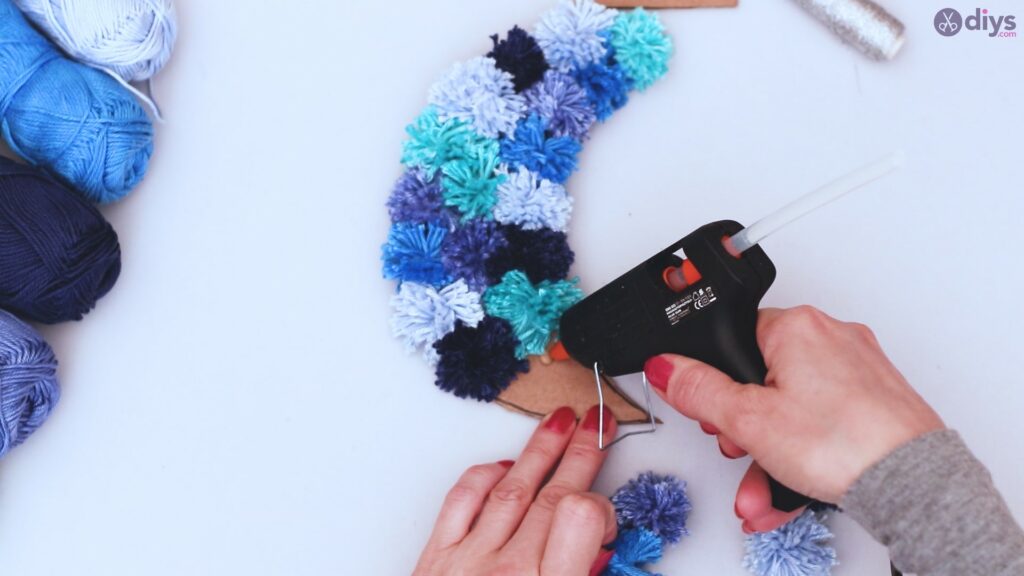
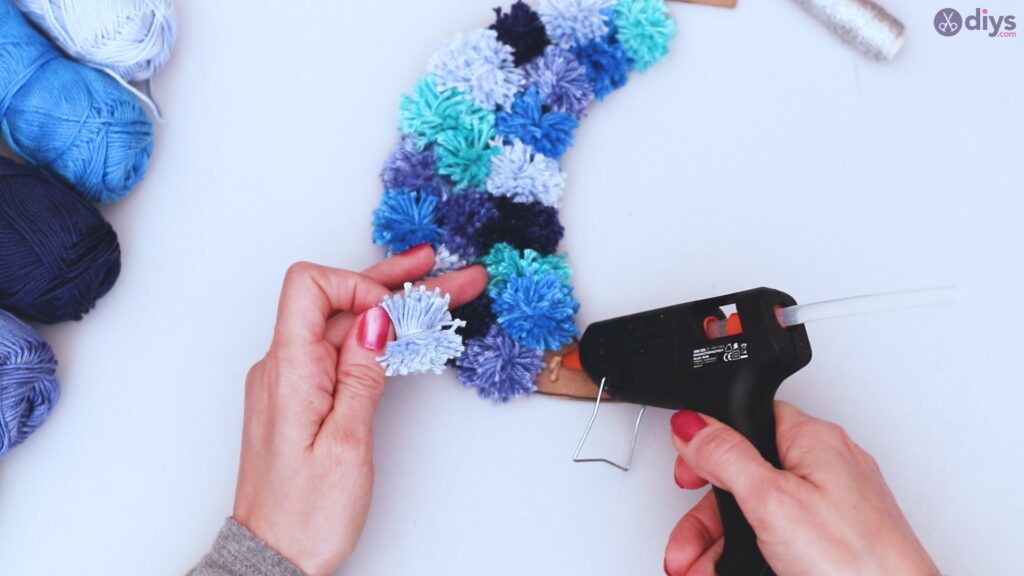
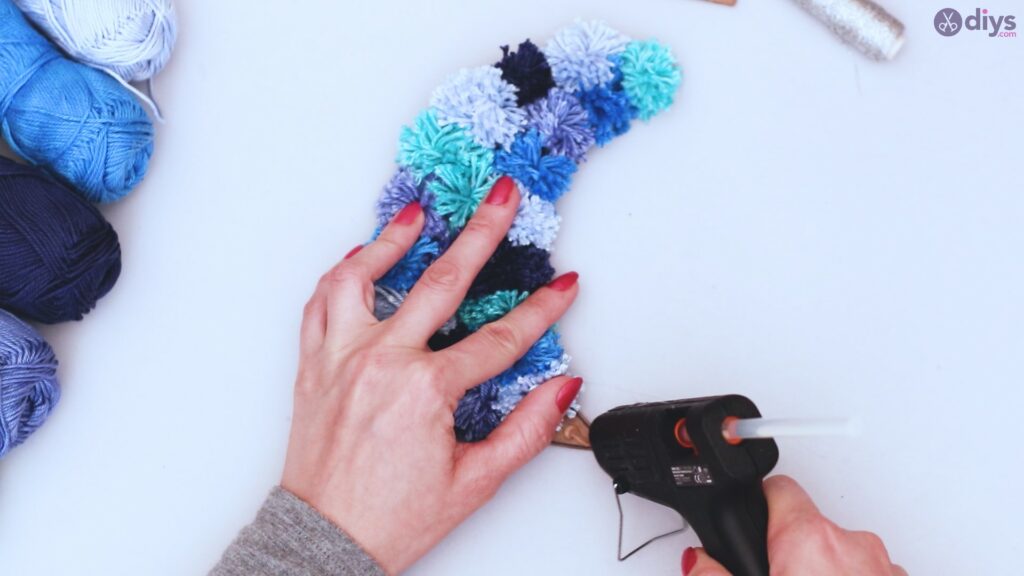
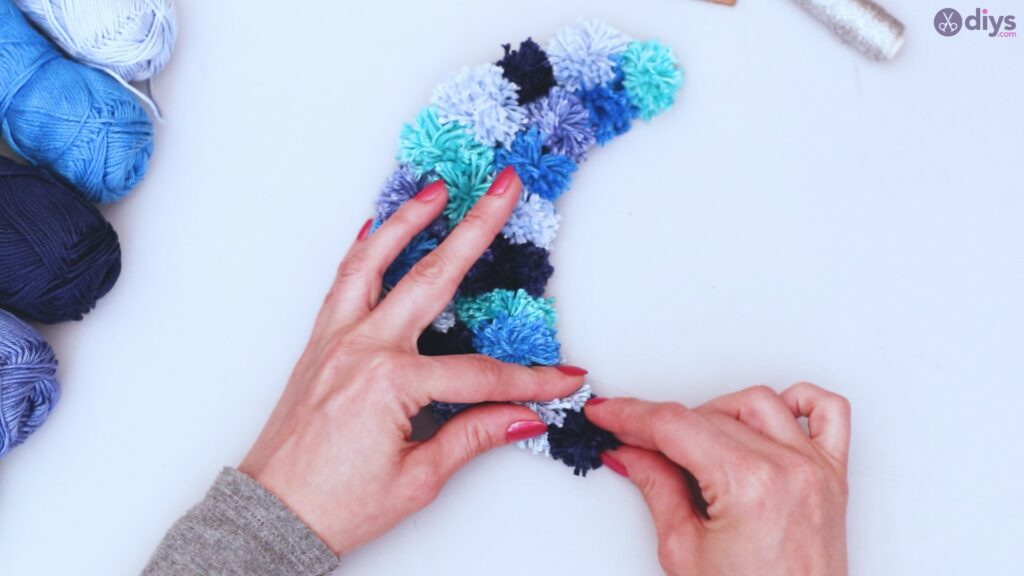
Using your glue gun, lift your pom poms one by one and place a dot of glue on the cardboard moon cutout. Put the pom pom back in place to secure it to the spot. Repeat this process until all your pom poms are glued to your moon securely. Give it a few minutes to dry – hot glue won’t take long.
Step 7: Attach a string to hang
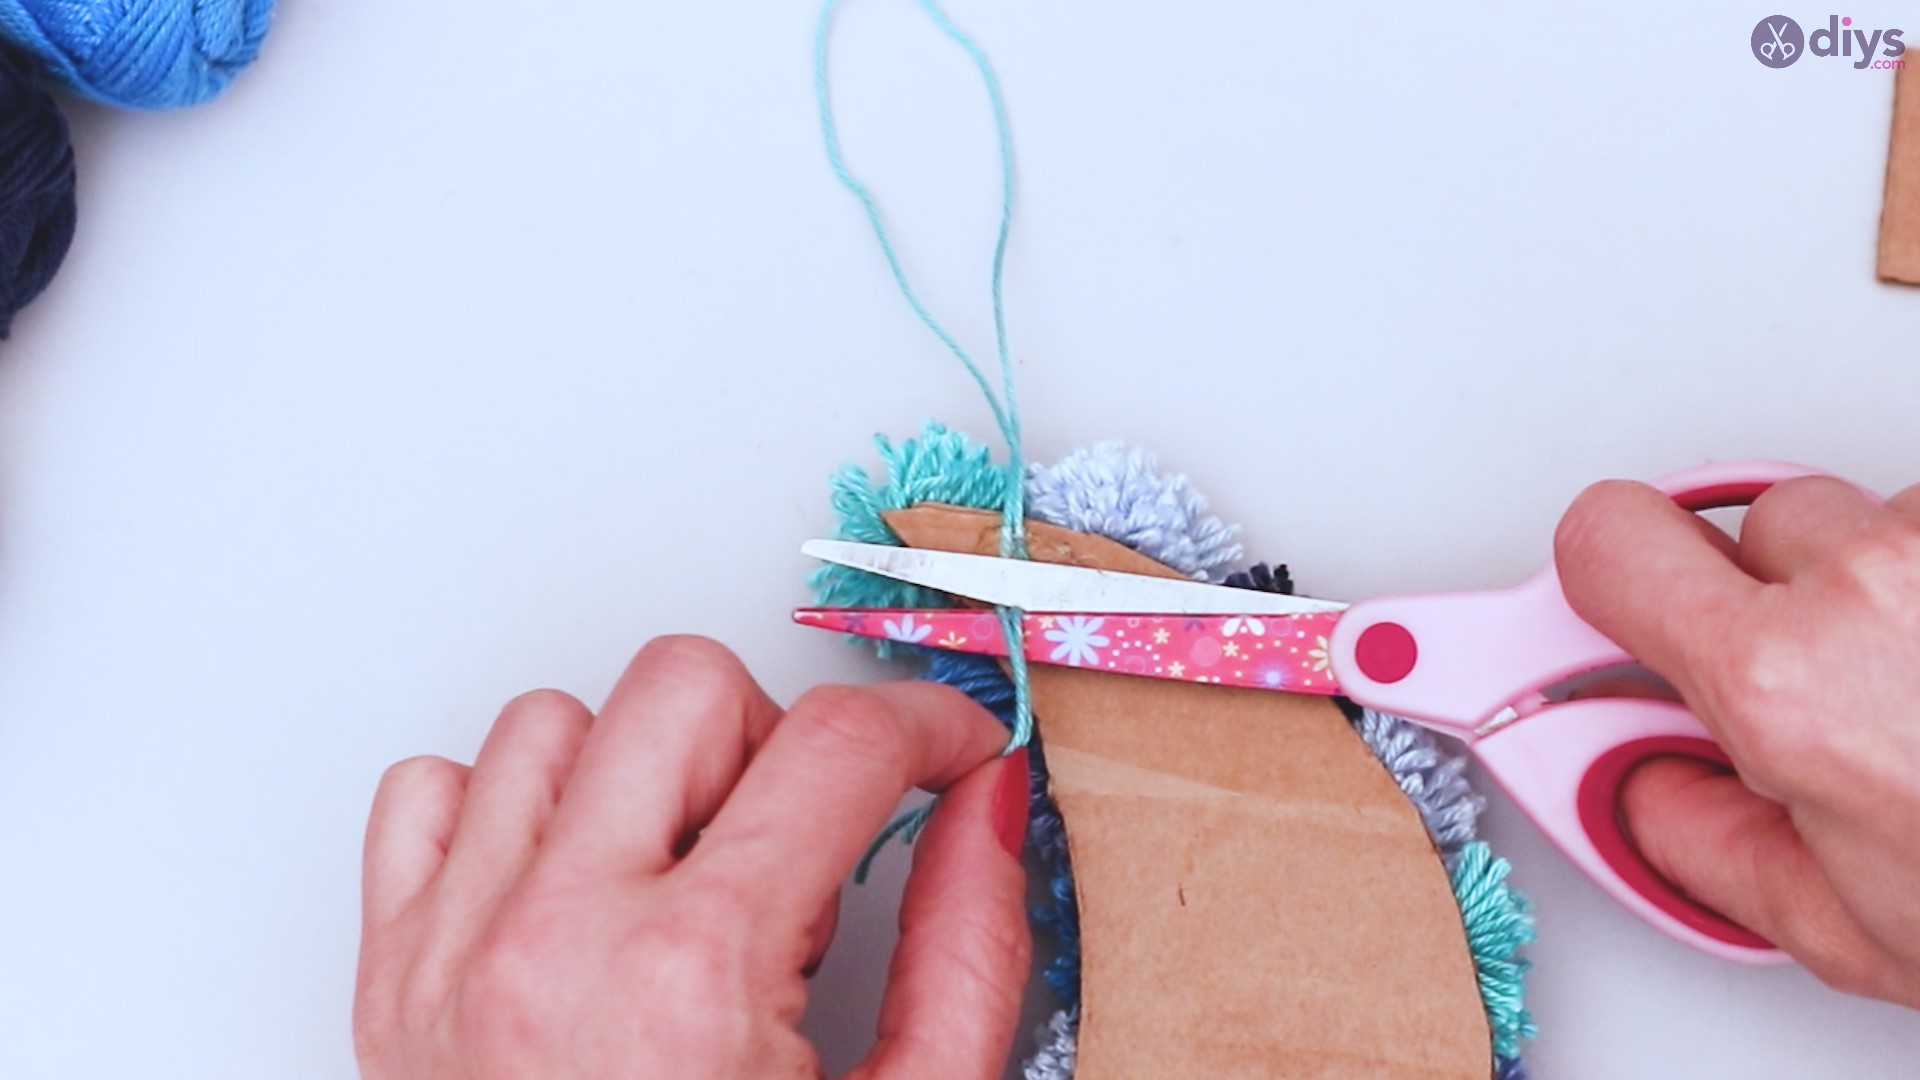
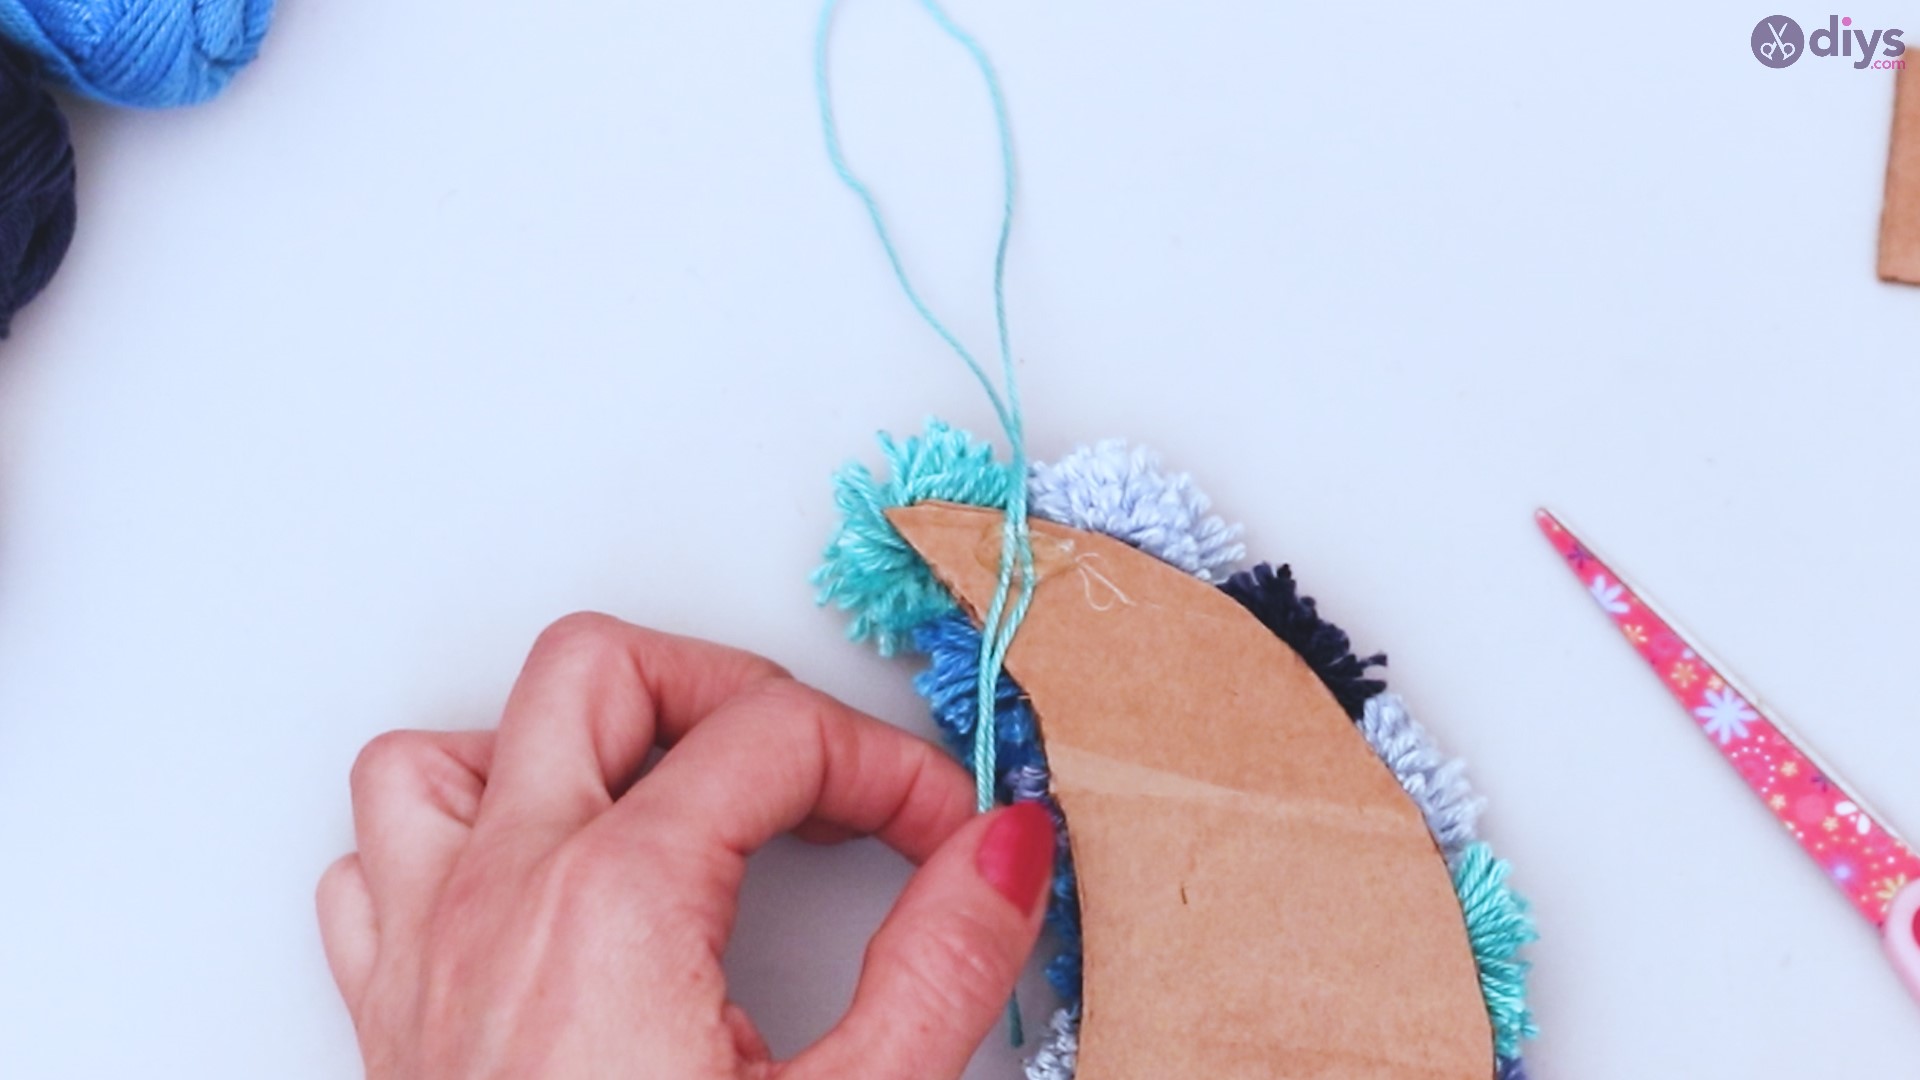
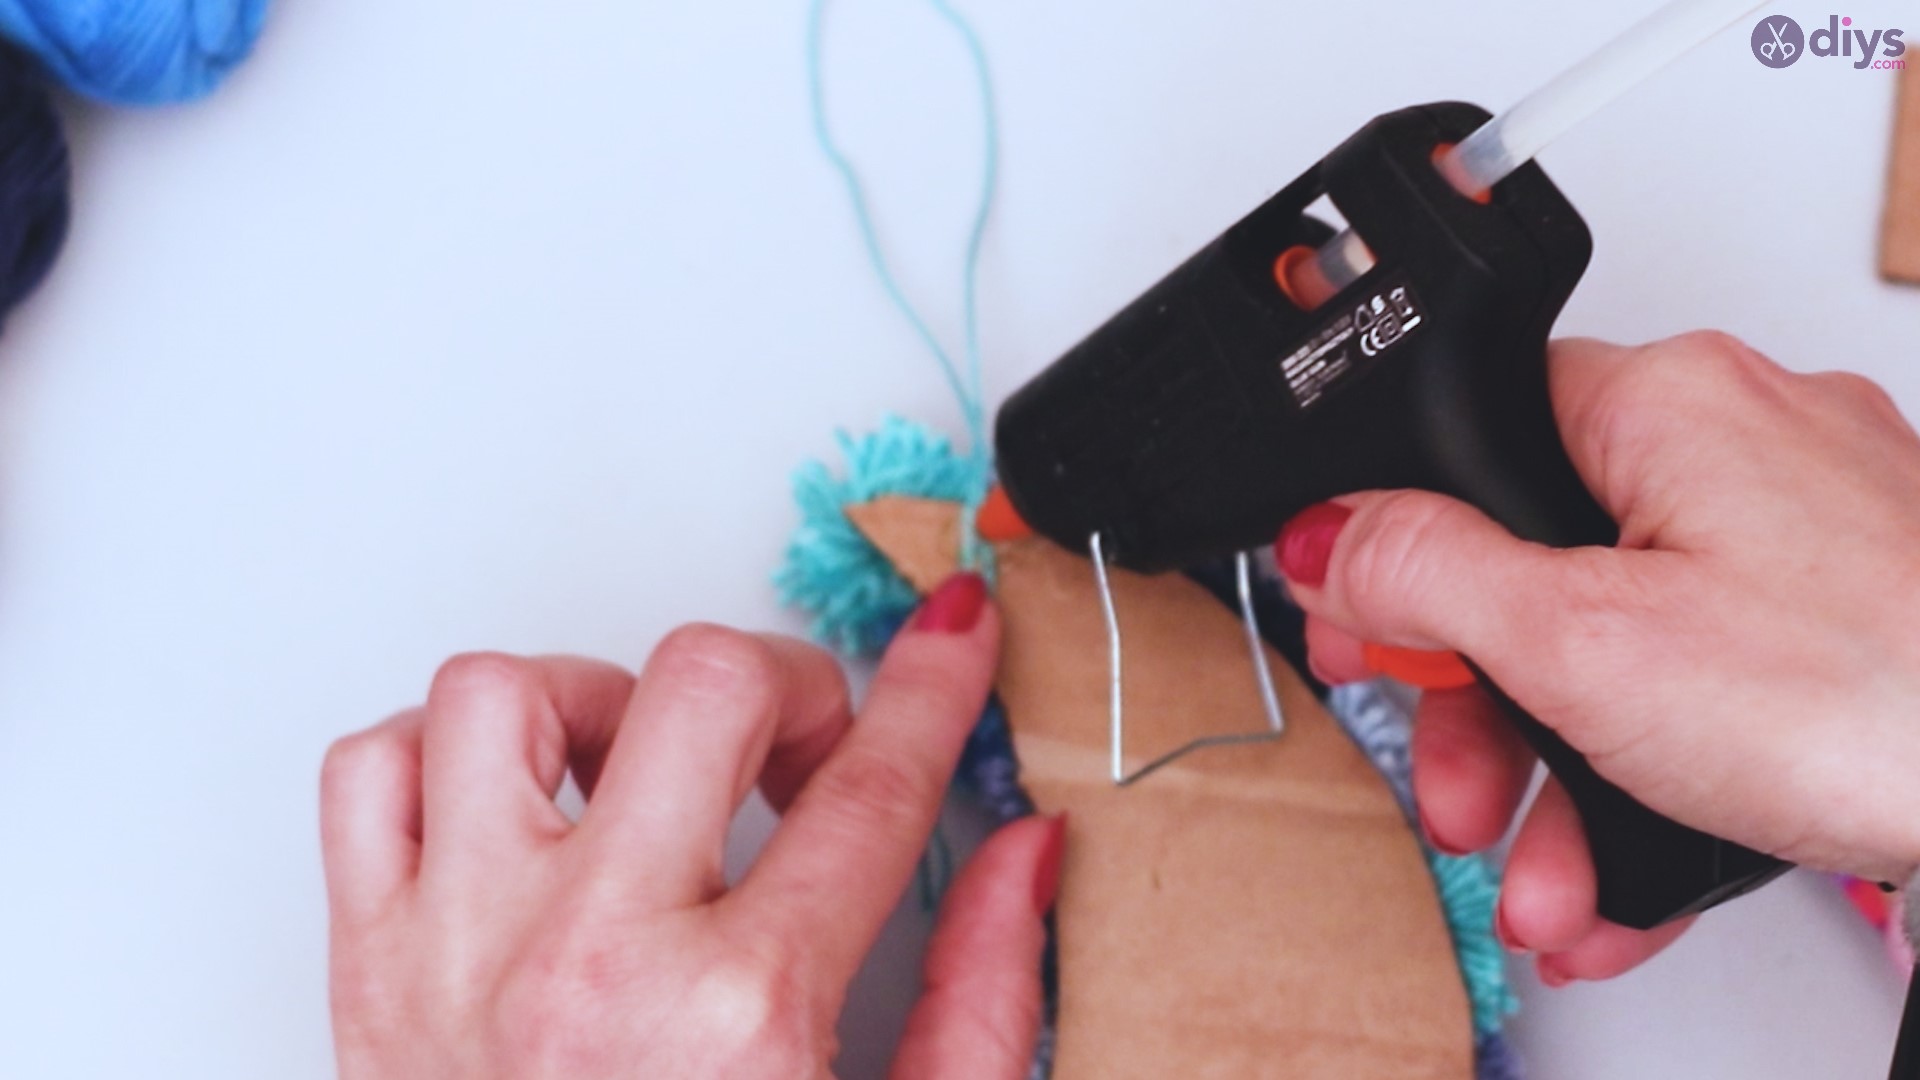
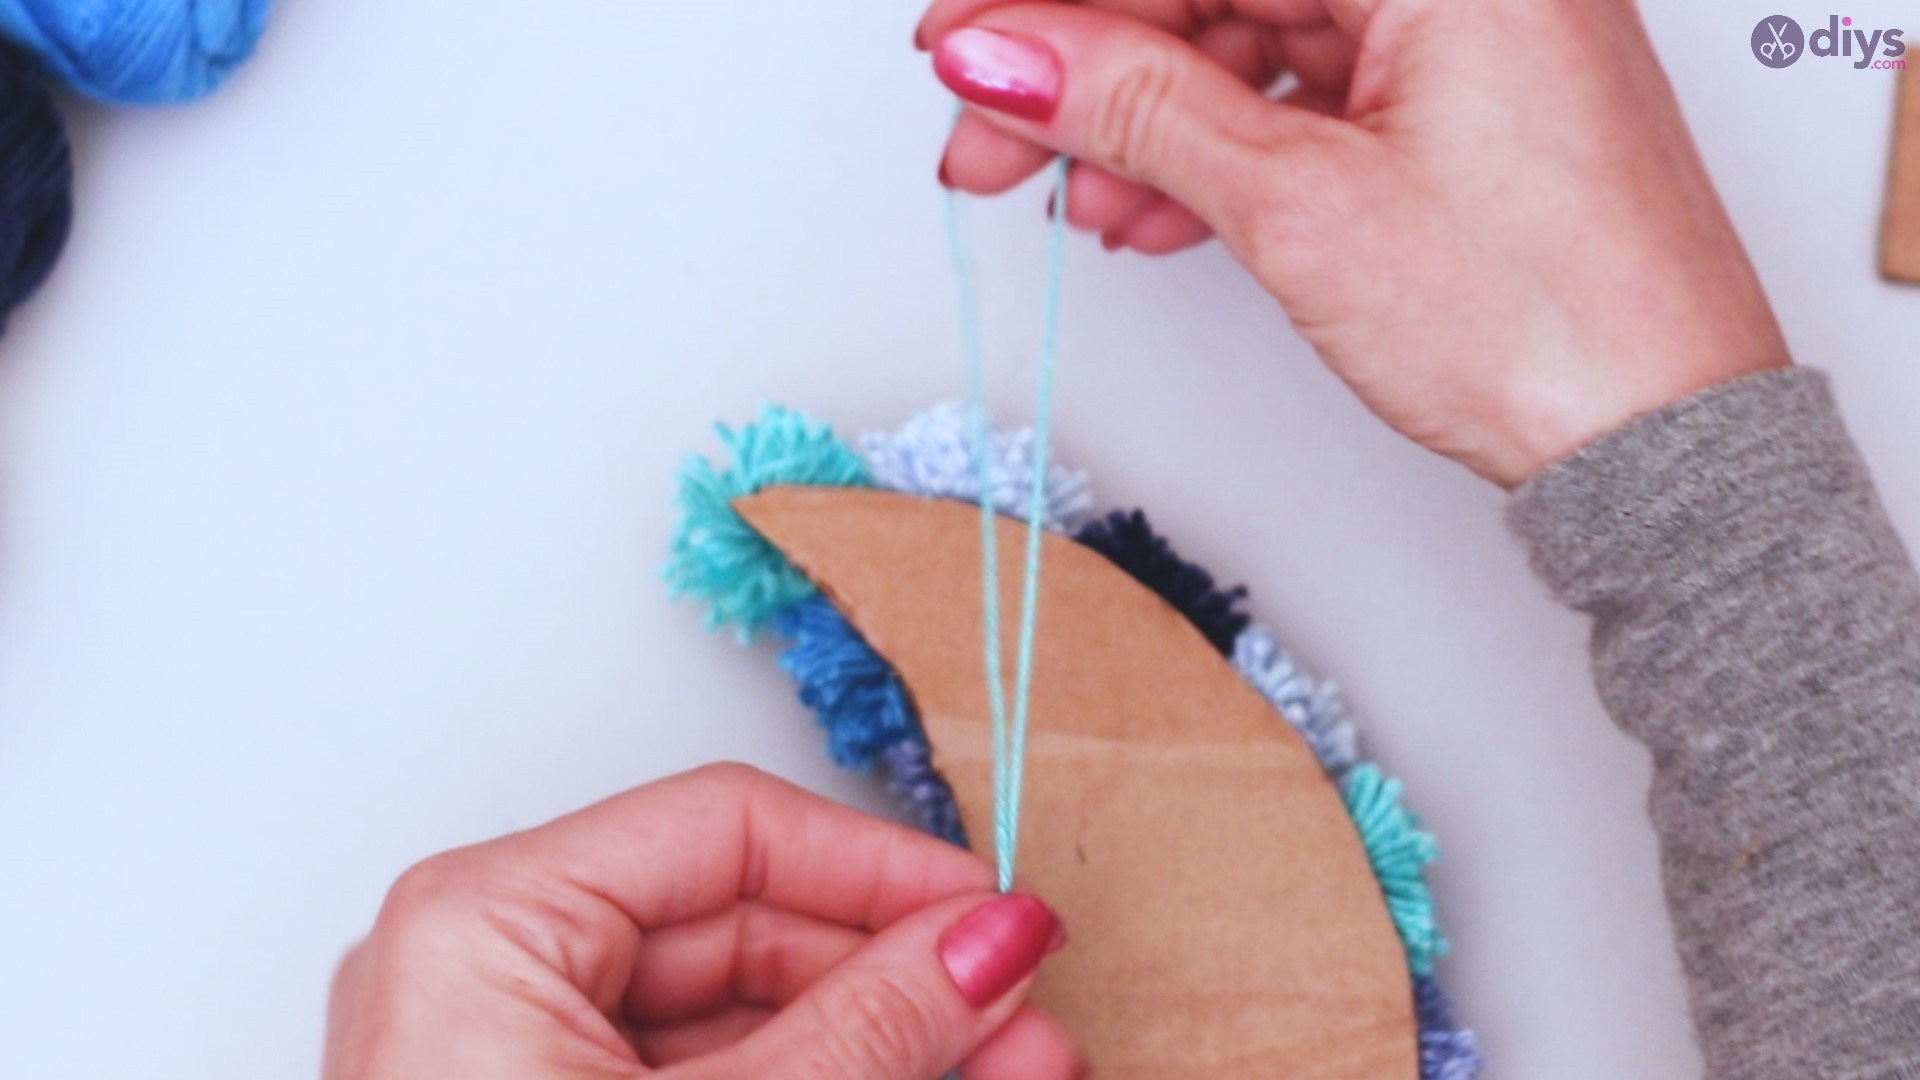
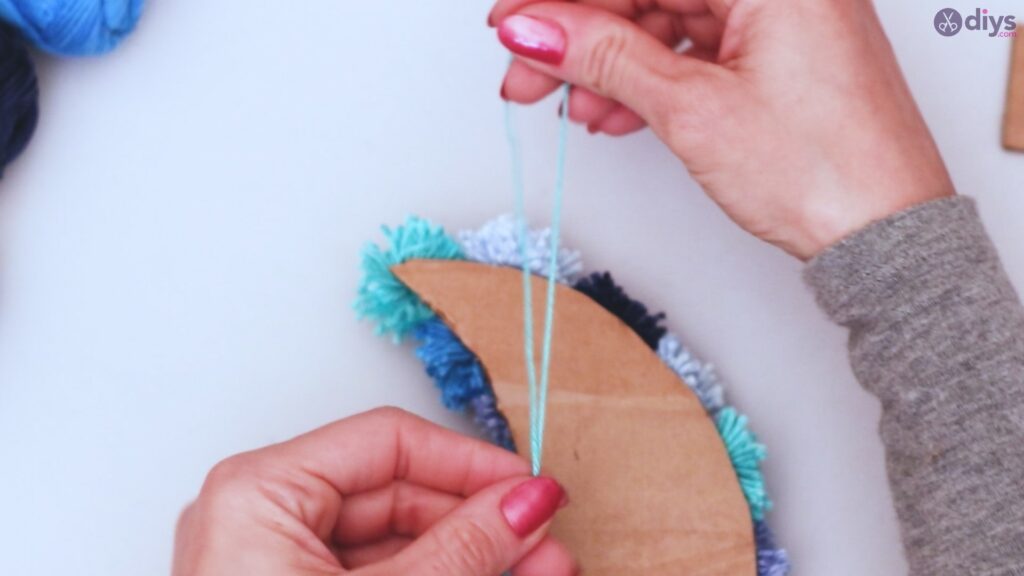
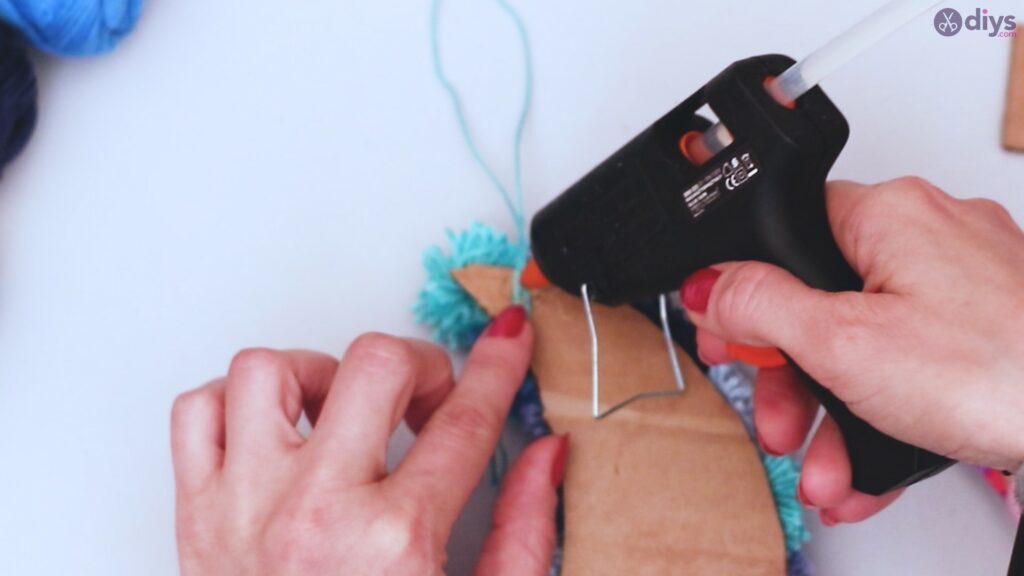
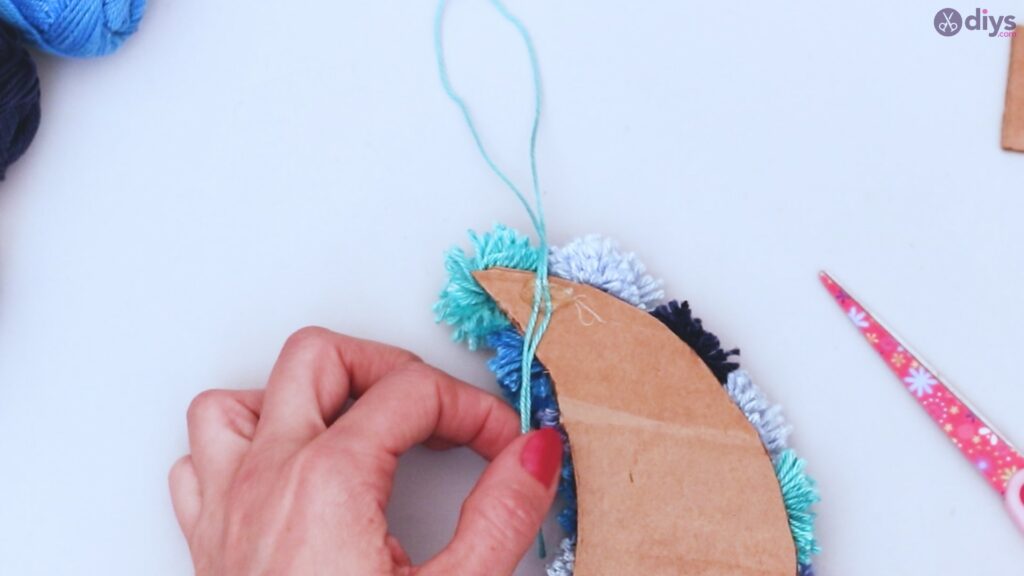
Choose a yarn color, and cut about six inches. Loop one end, and using your glue gun, attach the two cut ends to the back of your moon, giving you a loop to hang the design from. Cut off any excess string from the back of the moon.
Step 8: Create tassels
Pick three colors of yarn. Cut lengths similar to those used for your pom poms, or slightly shorter. As with your pom poms, loop the yarn around your strip of cardboard until you’ve used up all the yarn.
Slide the yarn off the cardboard strip, maintaining the folds.
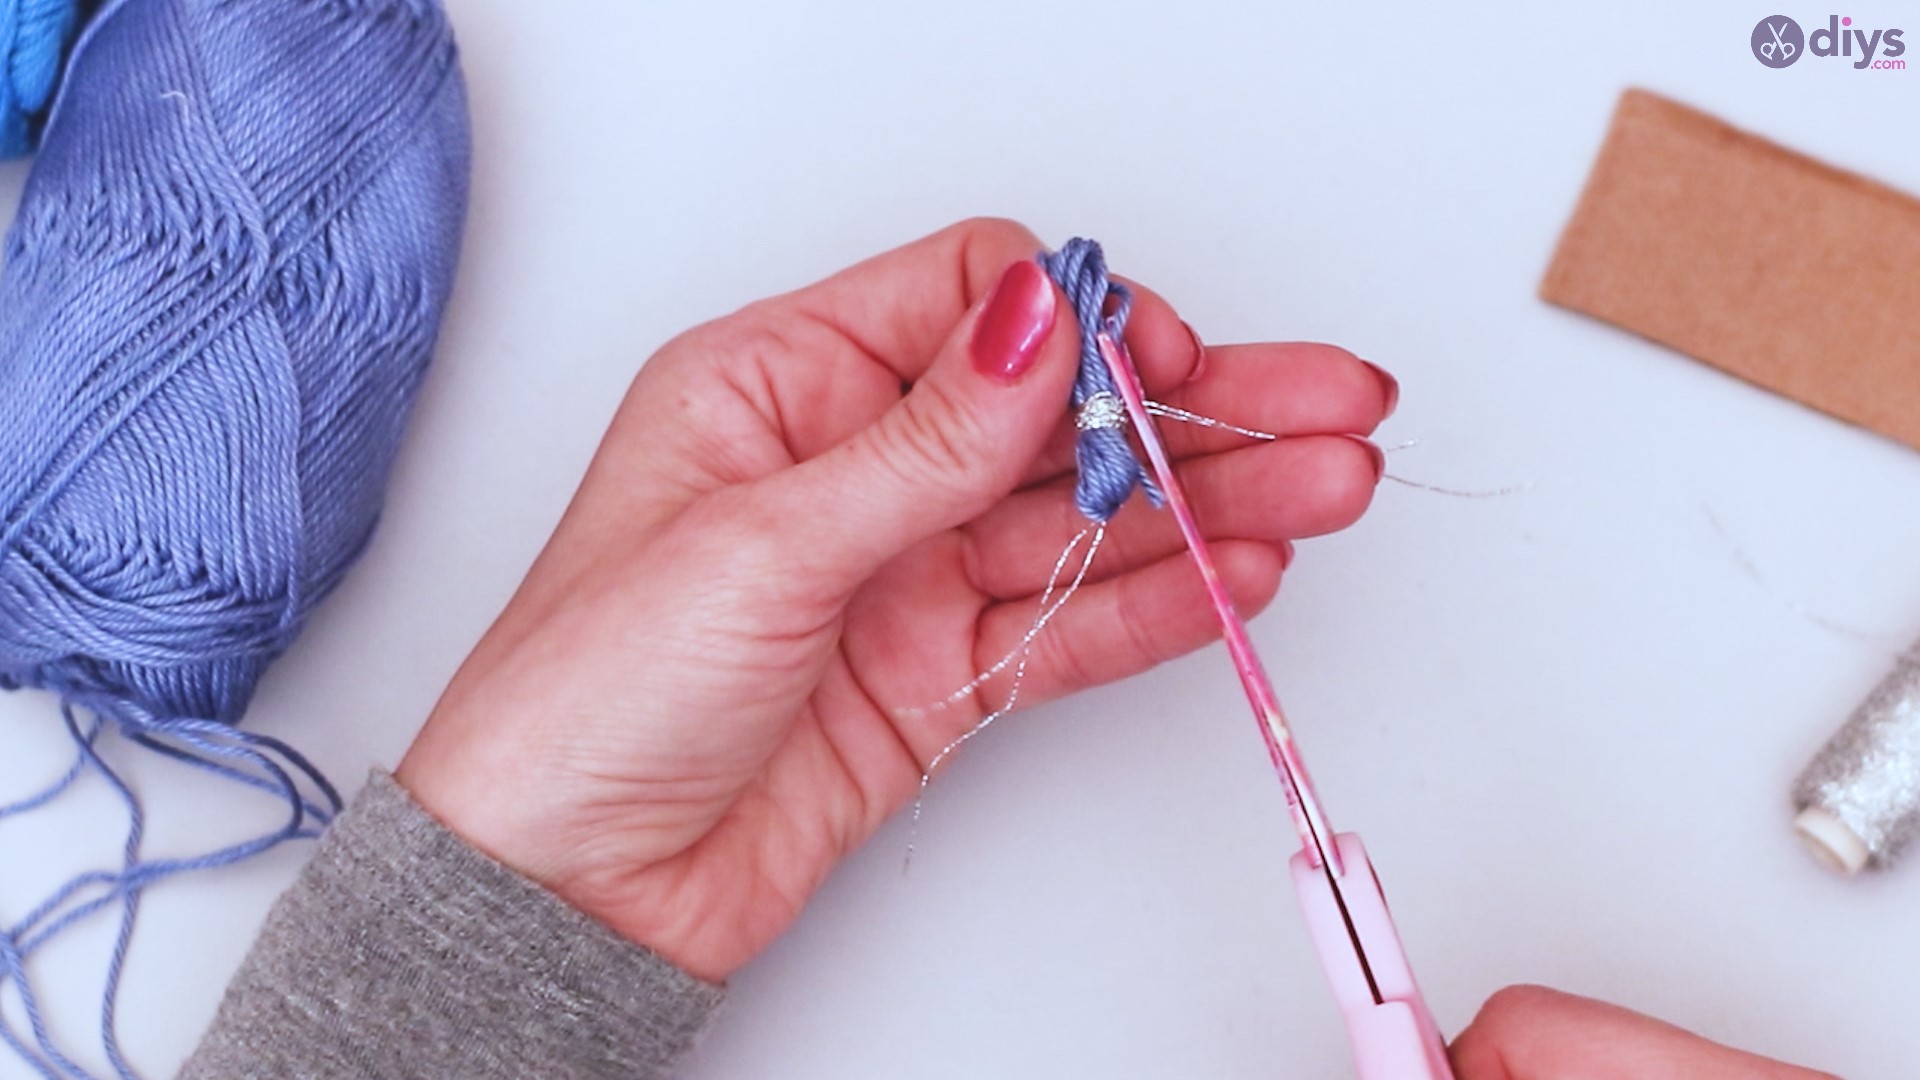
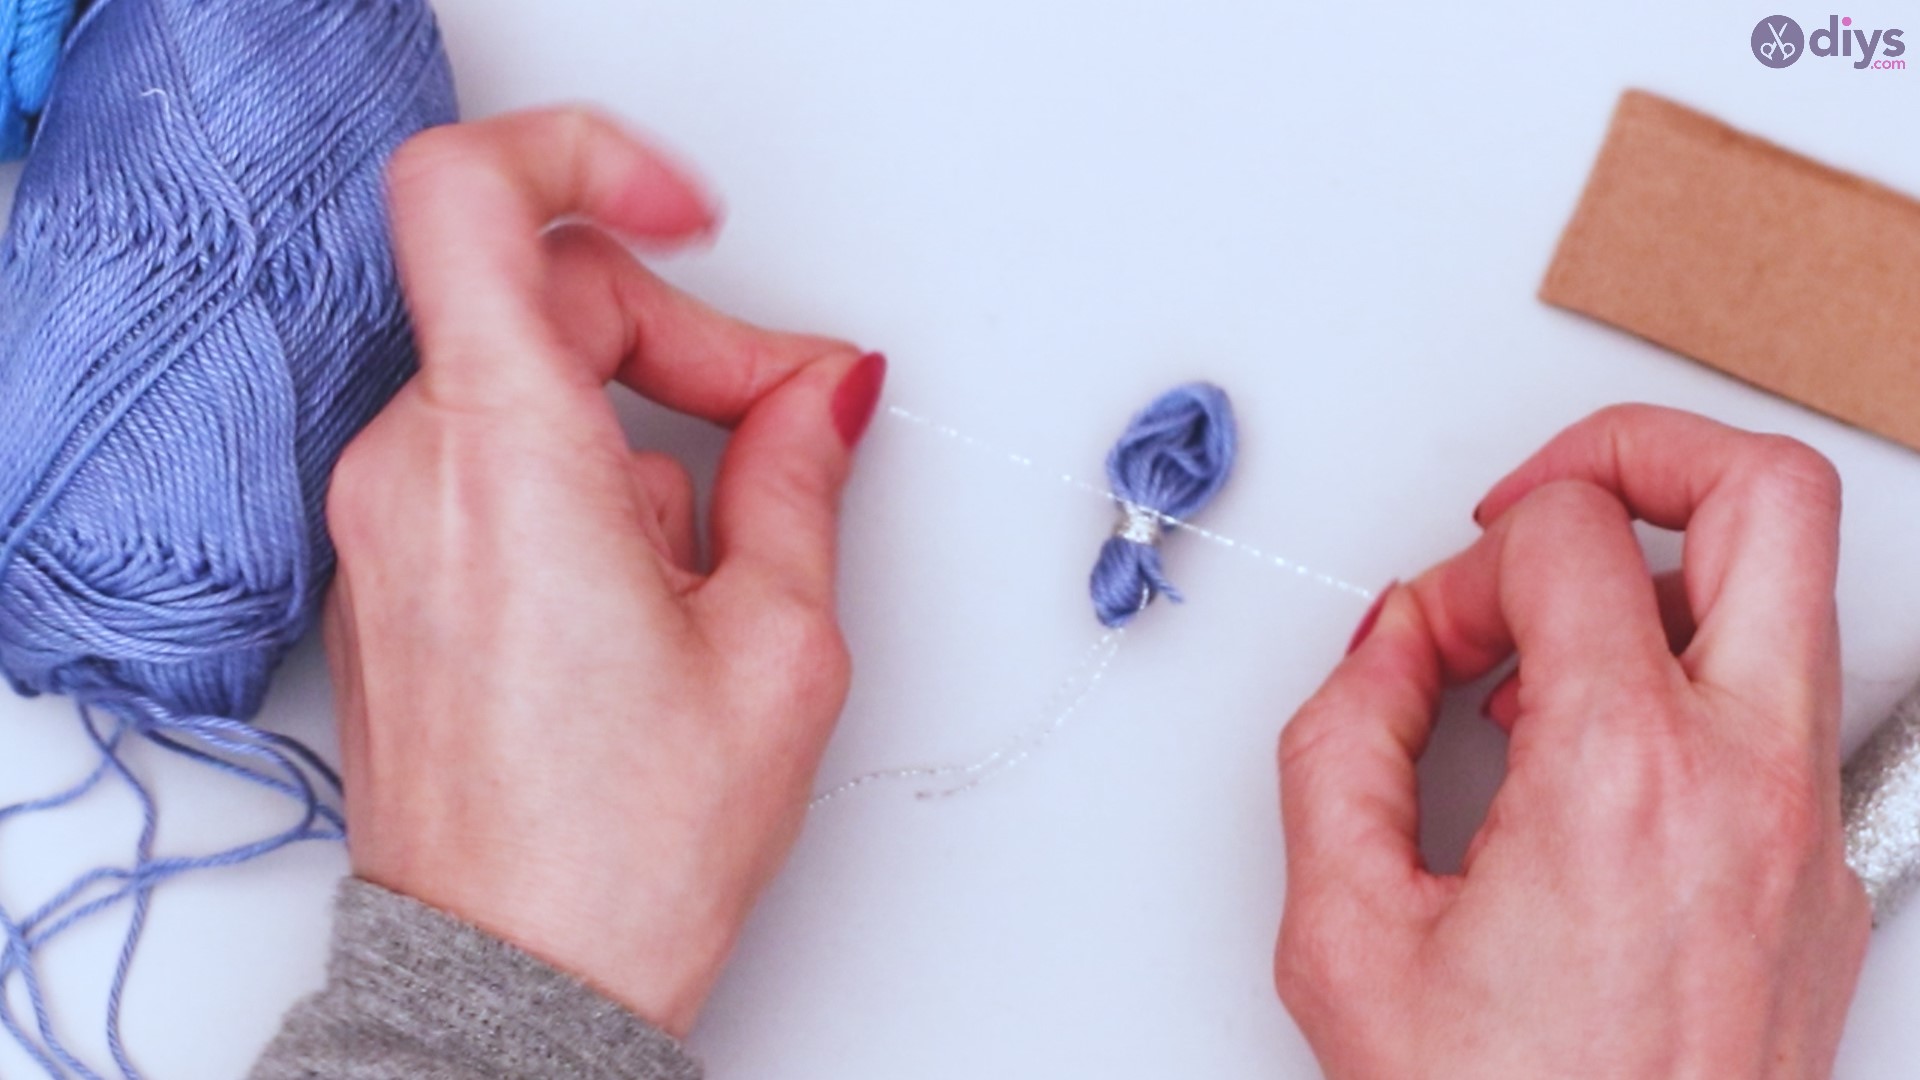
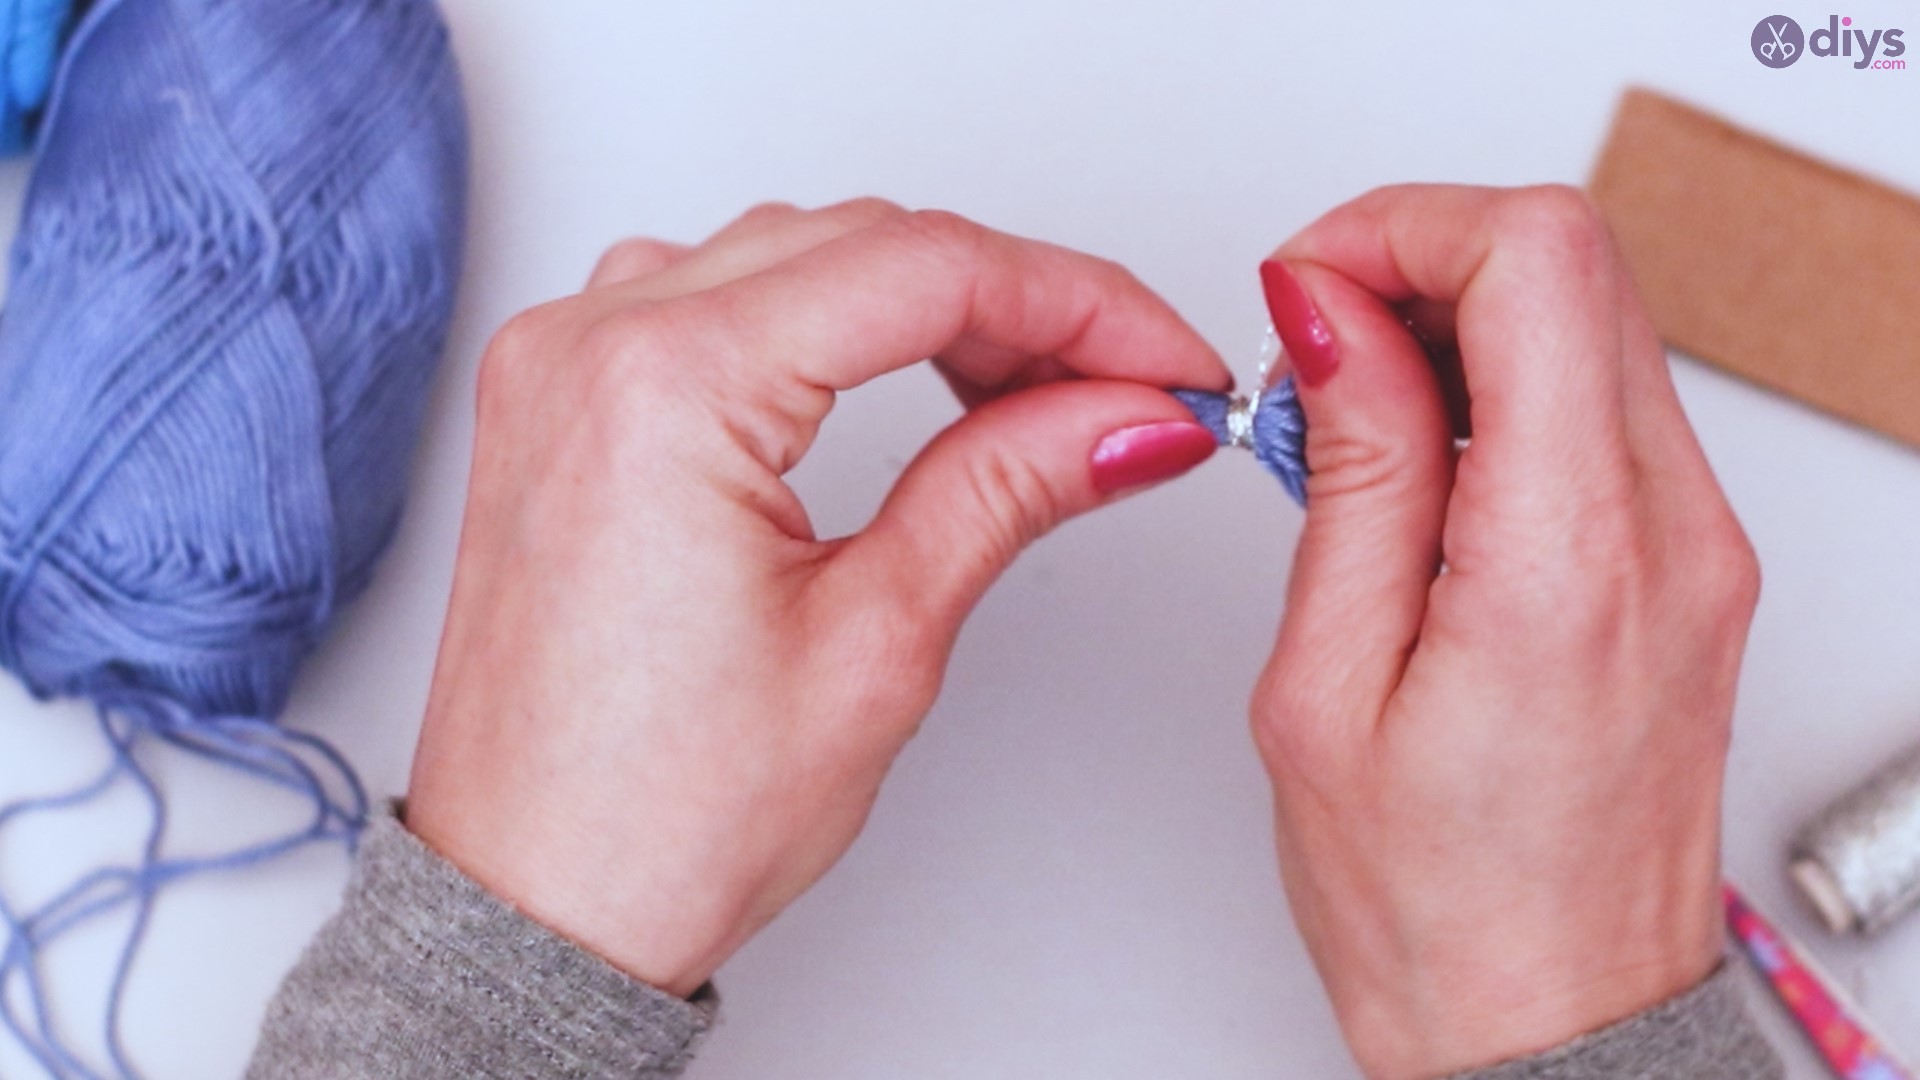
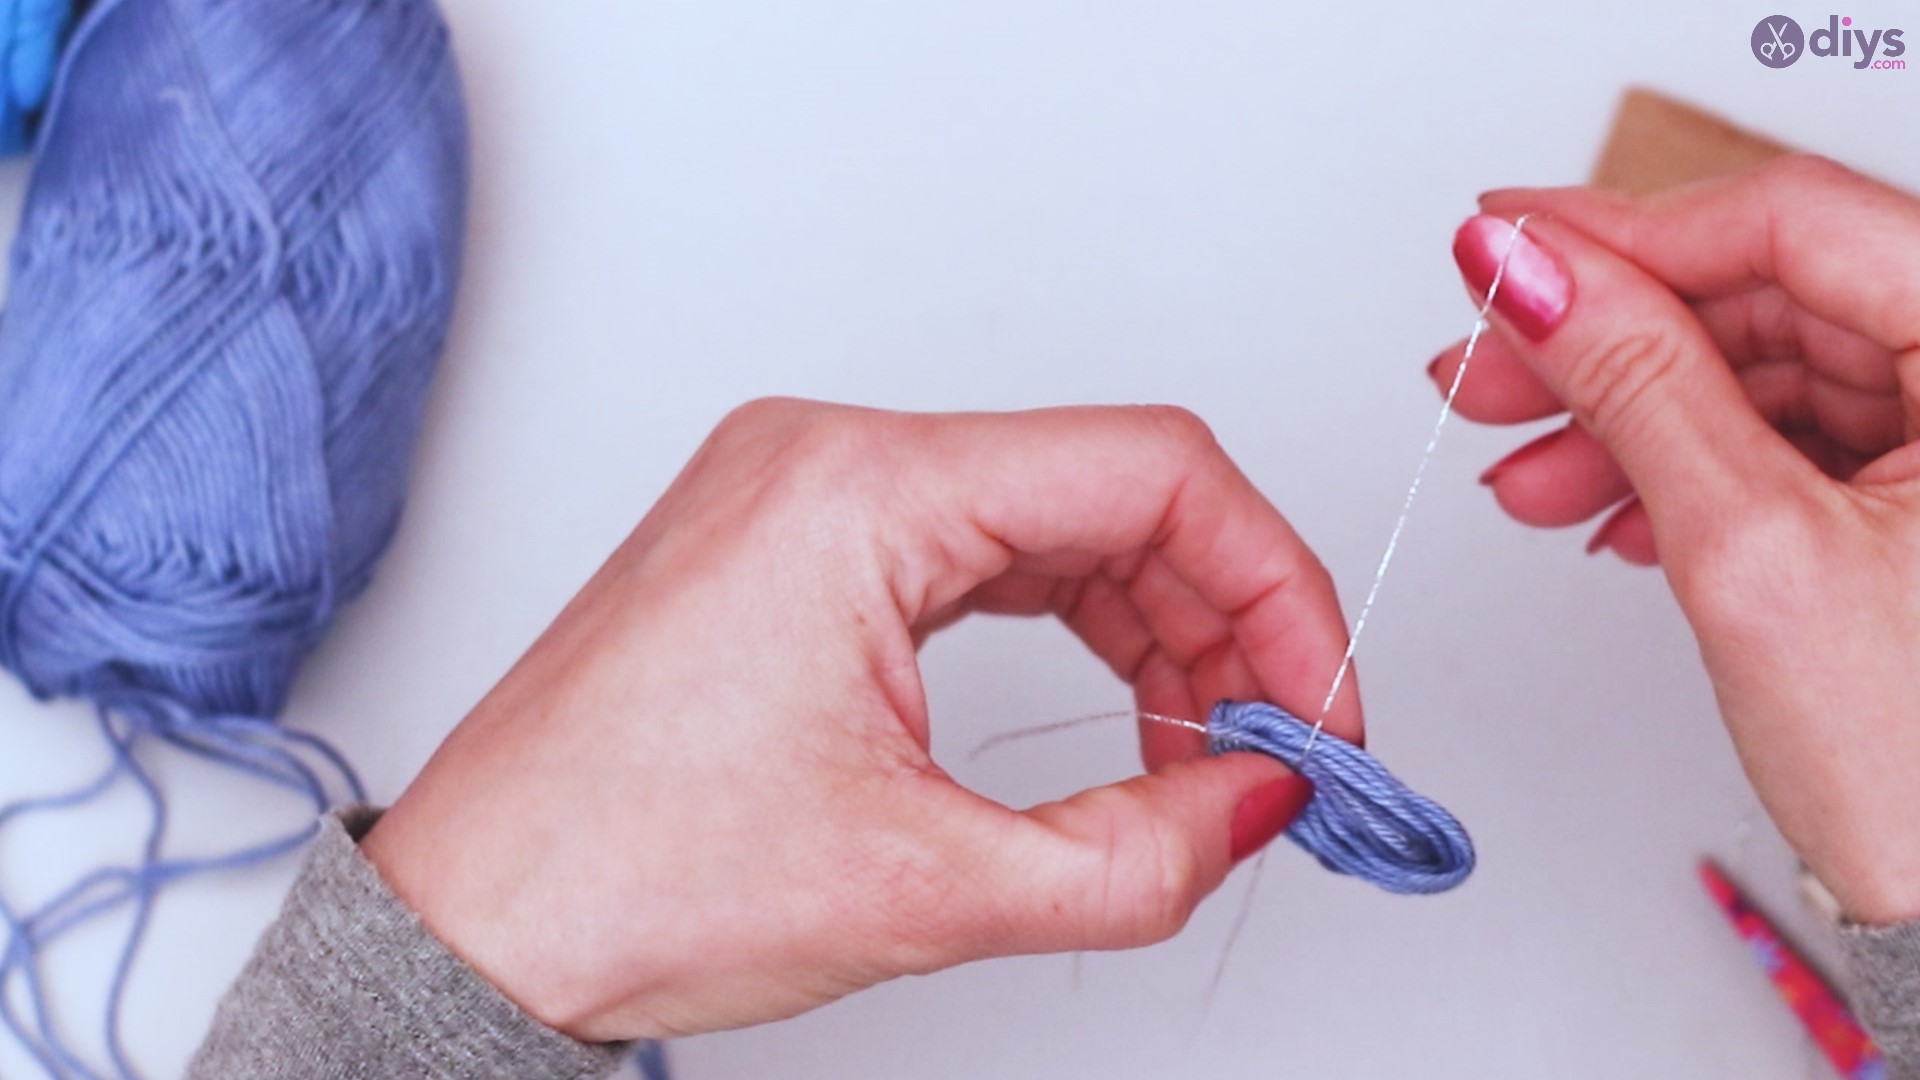
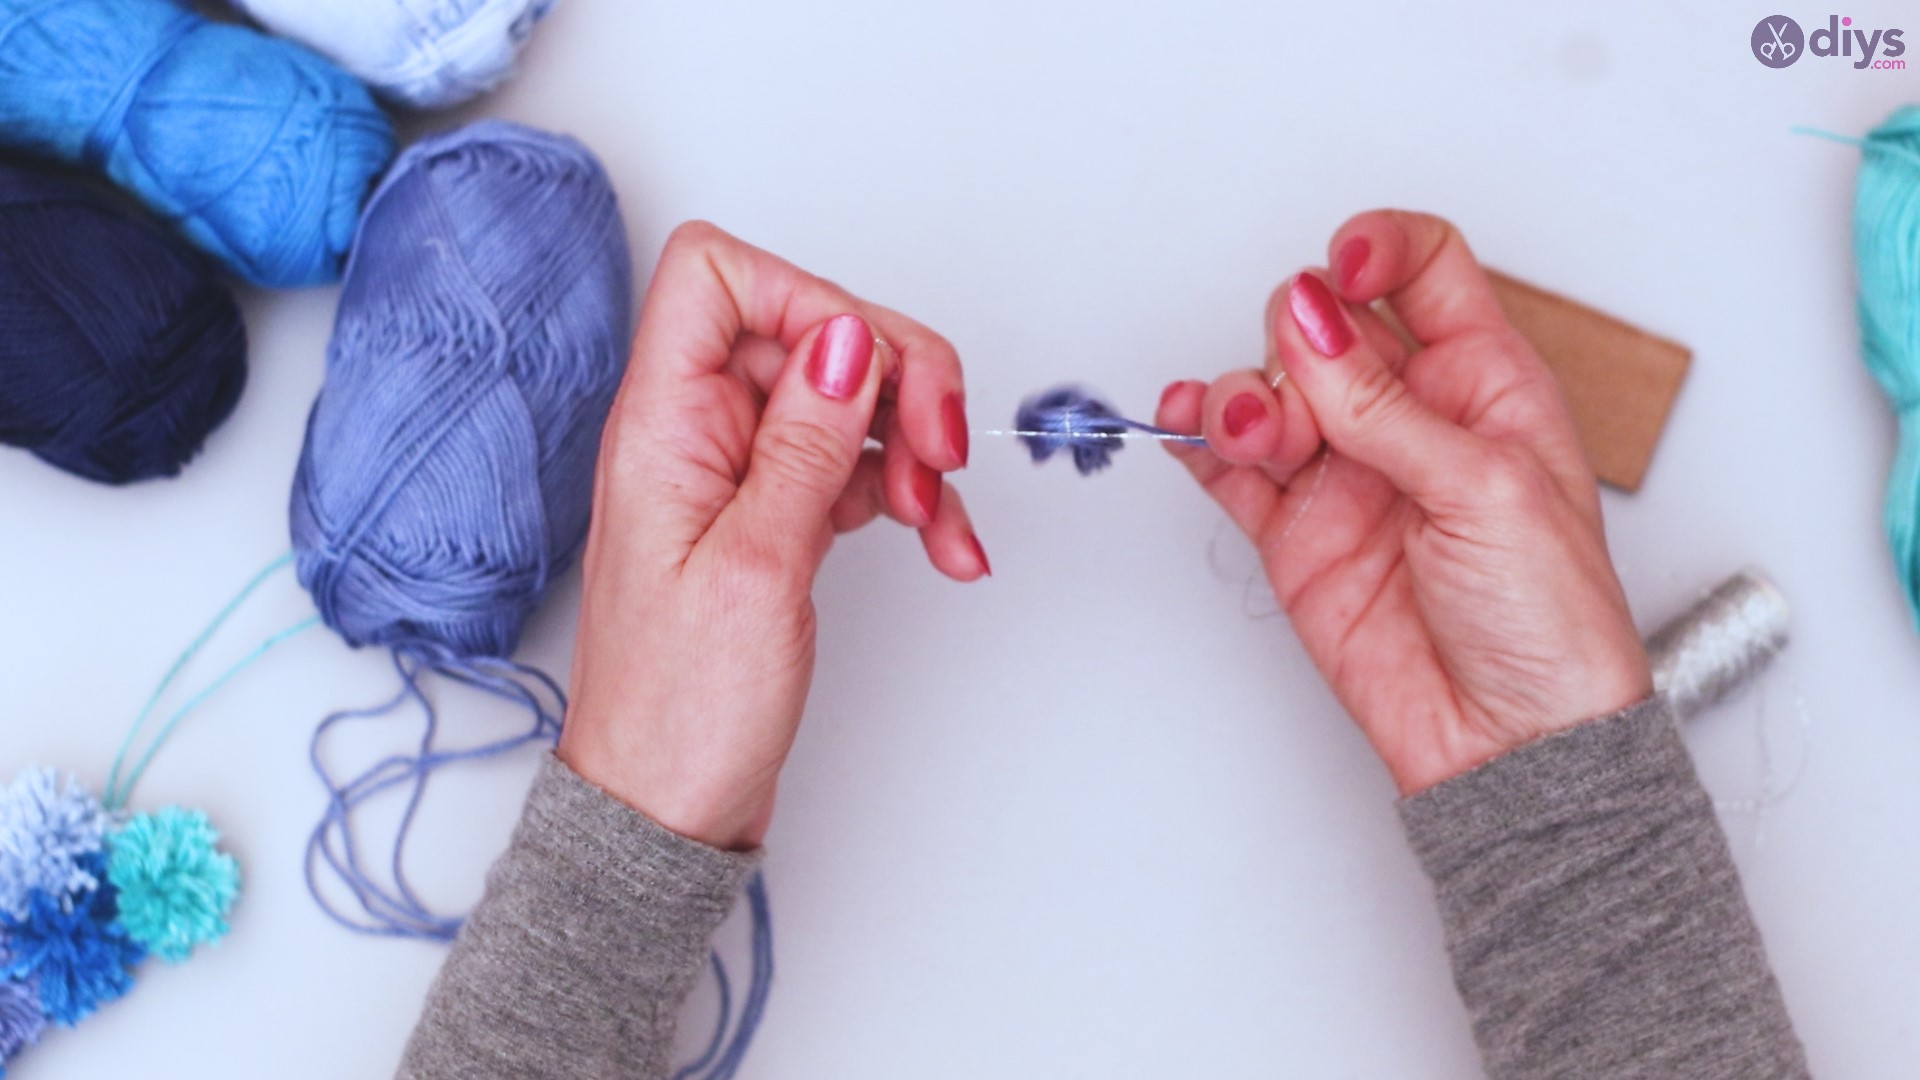
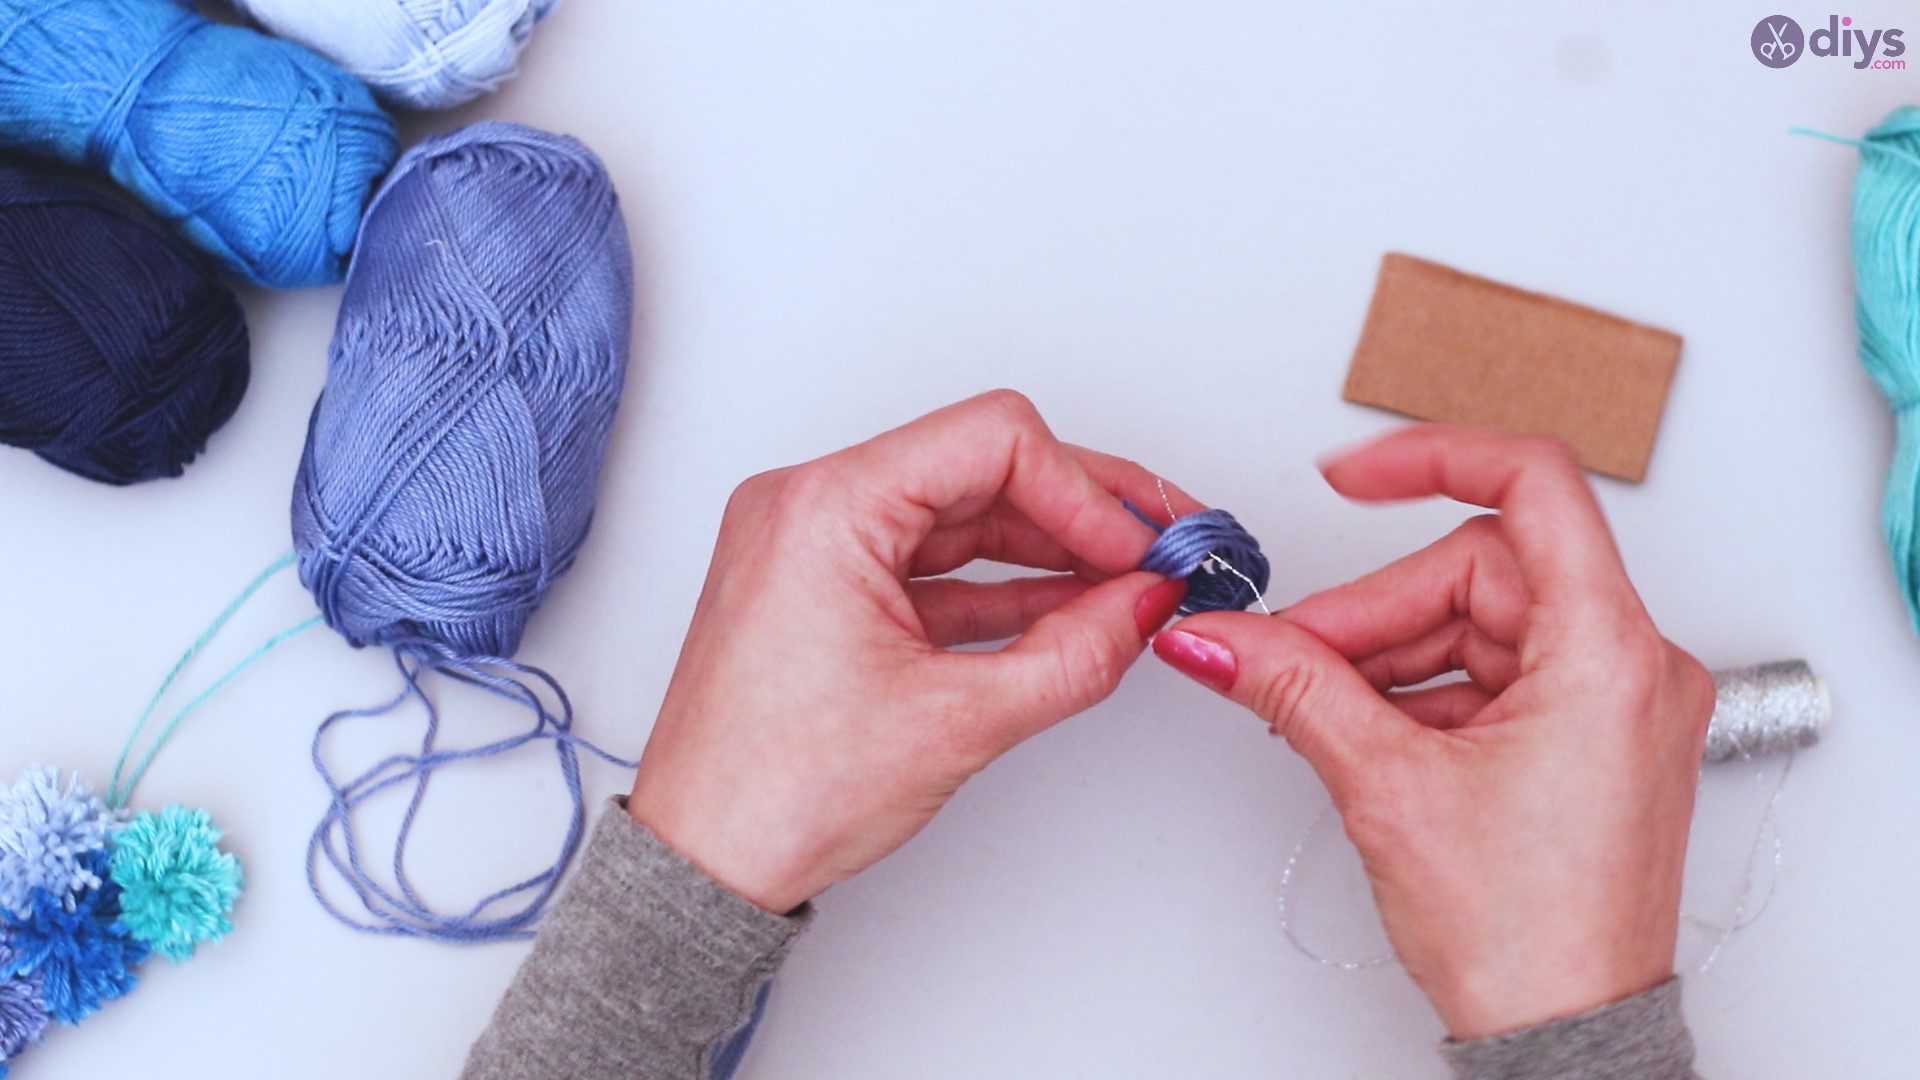
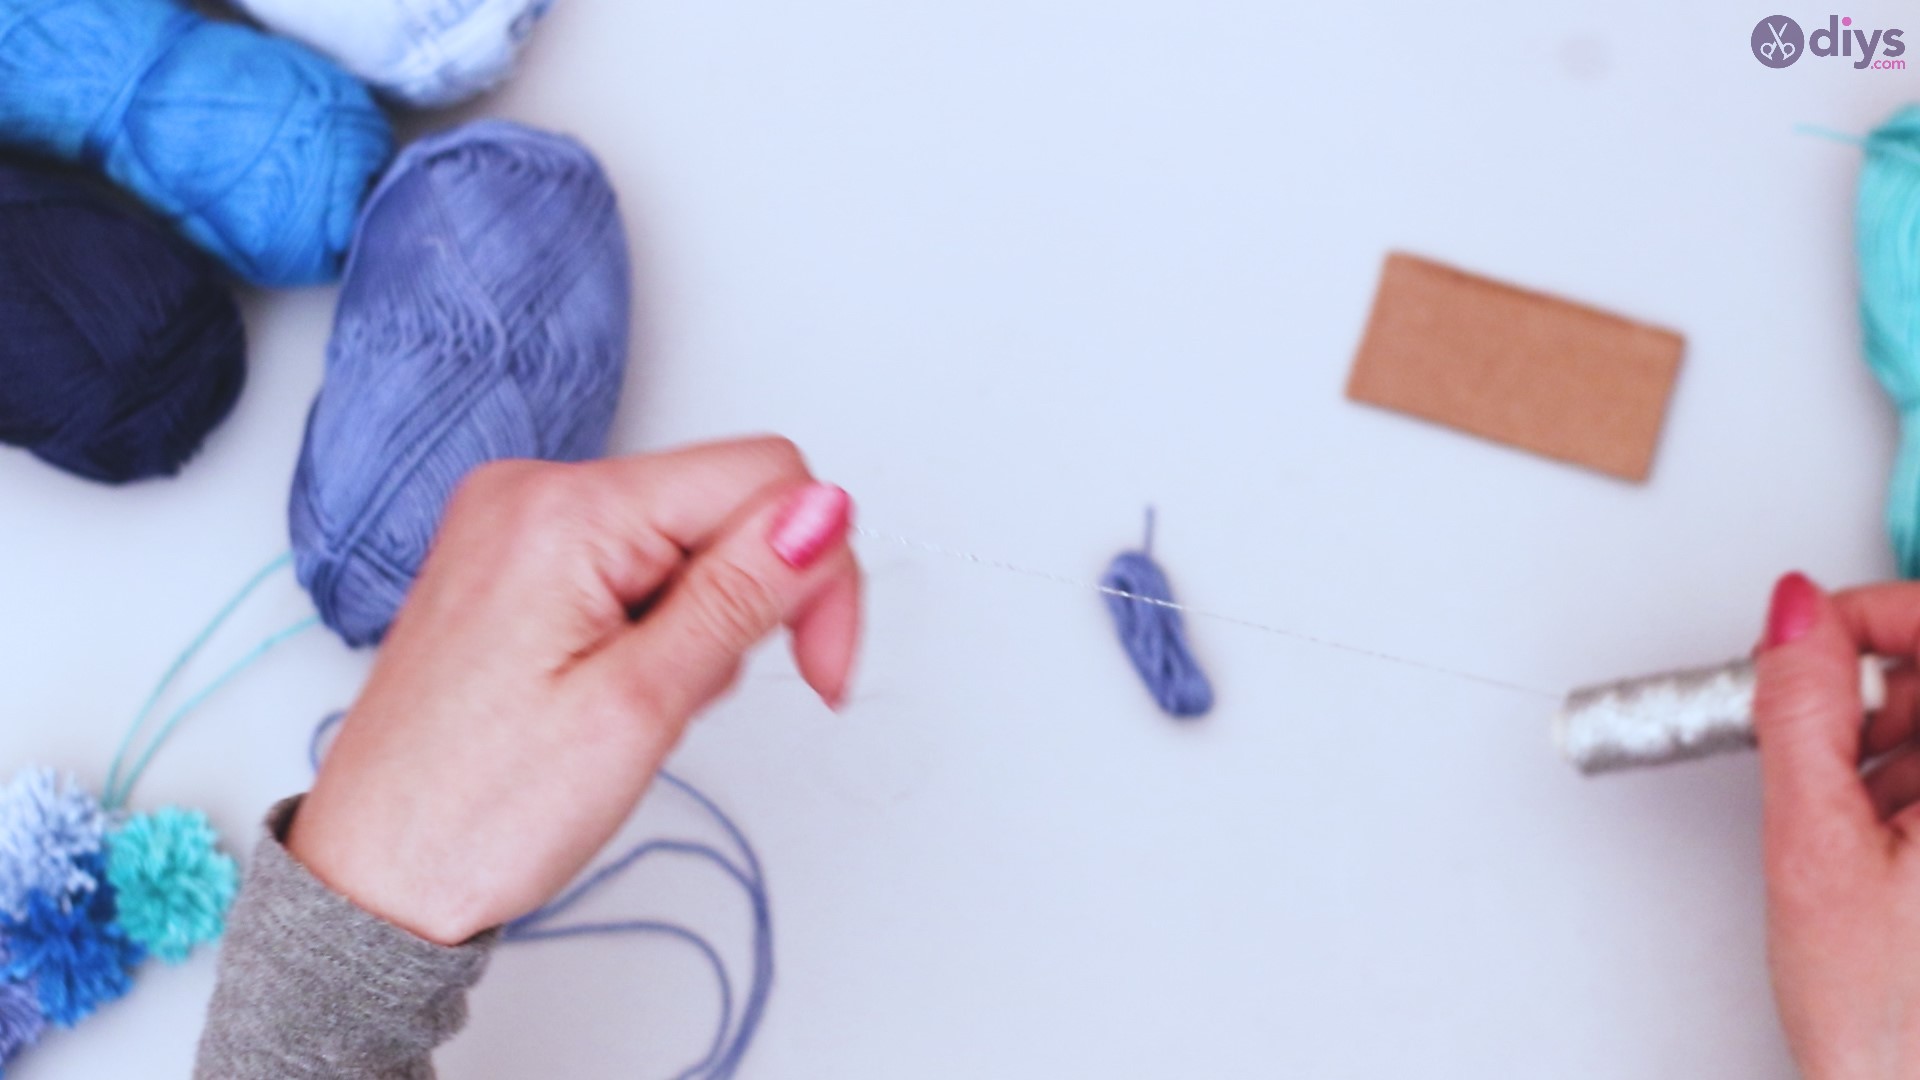
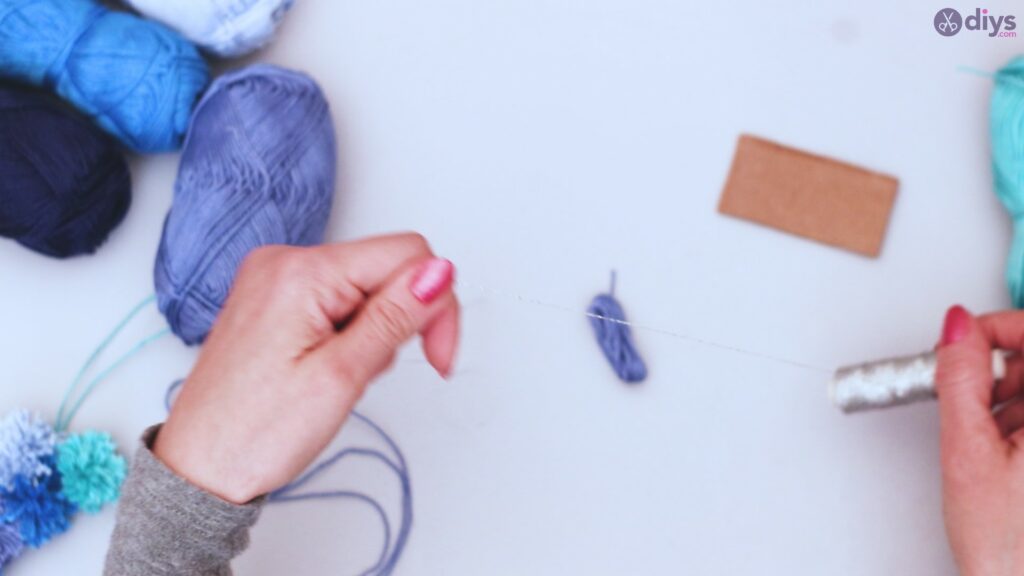
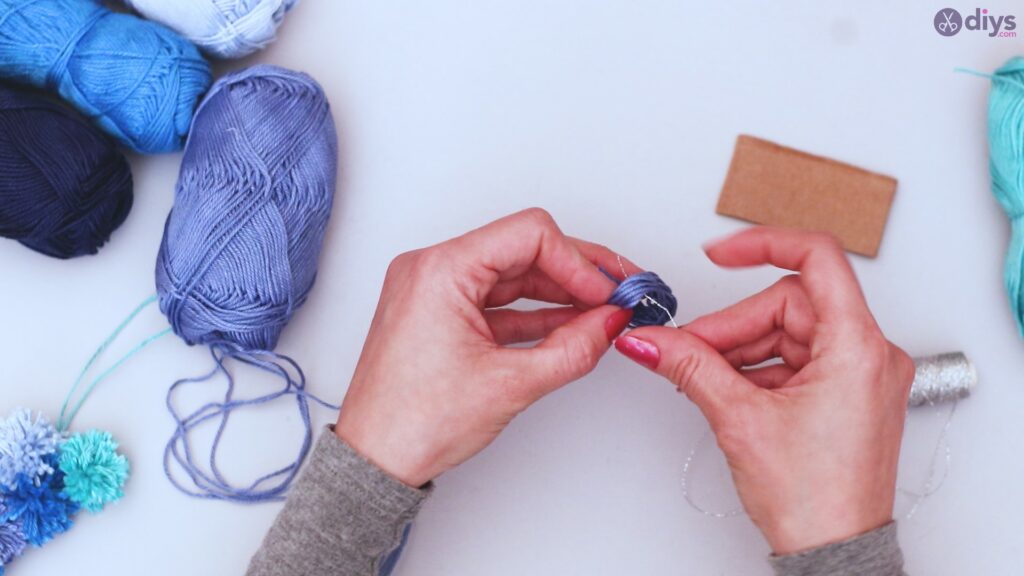
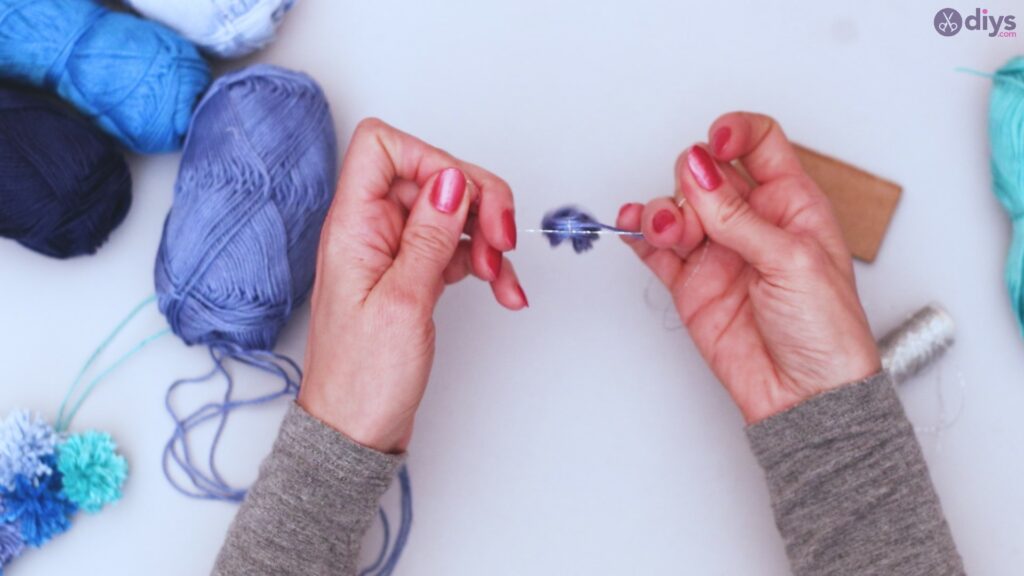
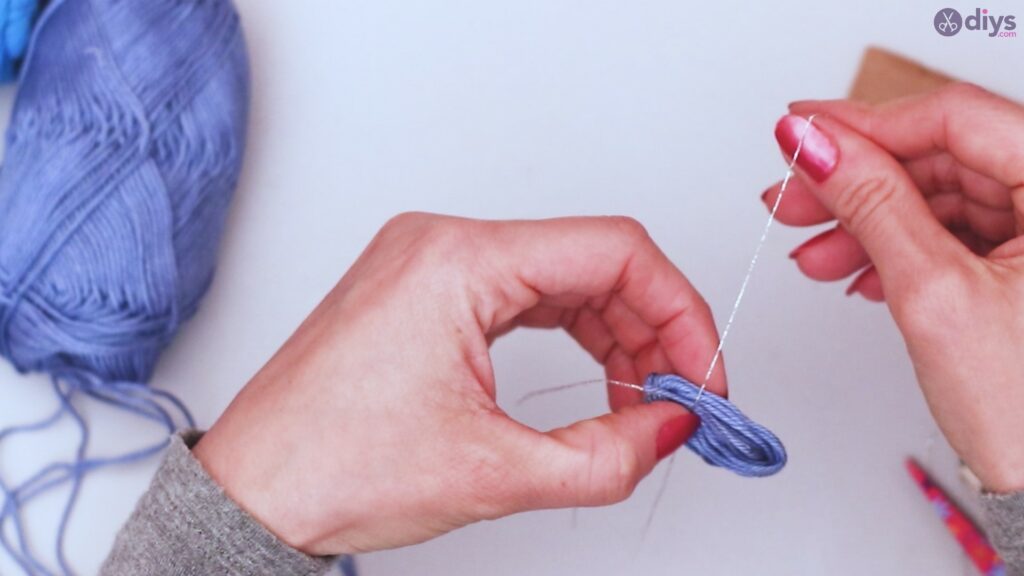
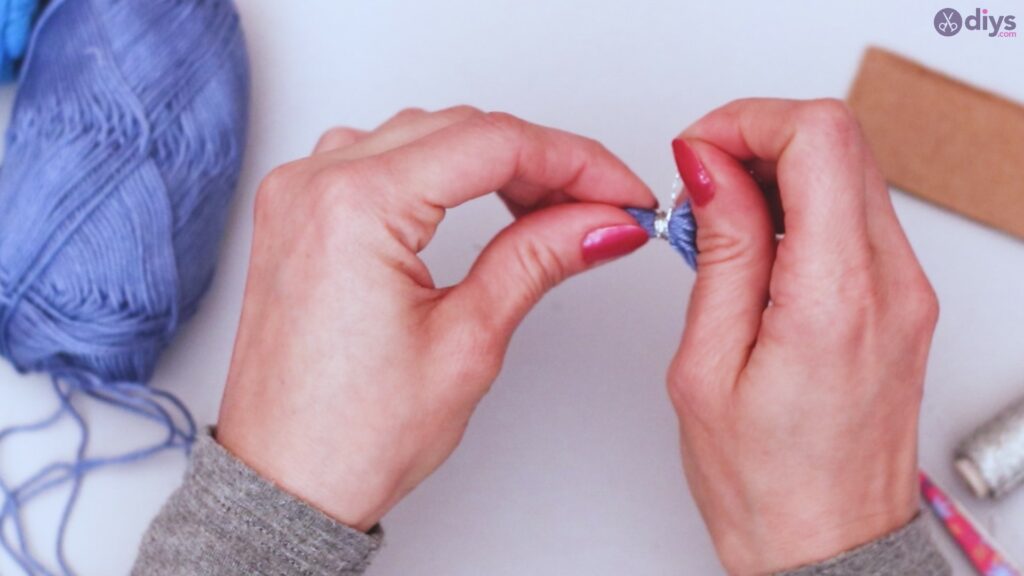
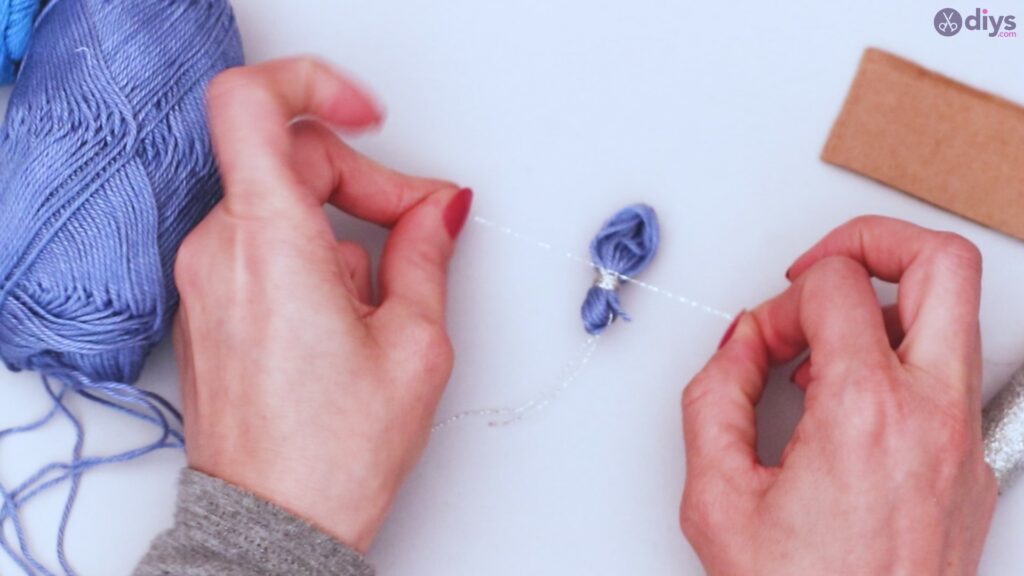
Cut a length of your silver twisted yarn. Pinch your colored yarn slightly off center, and wrap the silver twisted yarn around it until you have a little over an inch left on either end. Tie off the silver yarn and trim the remaining edges.
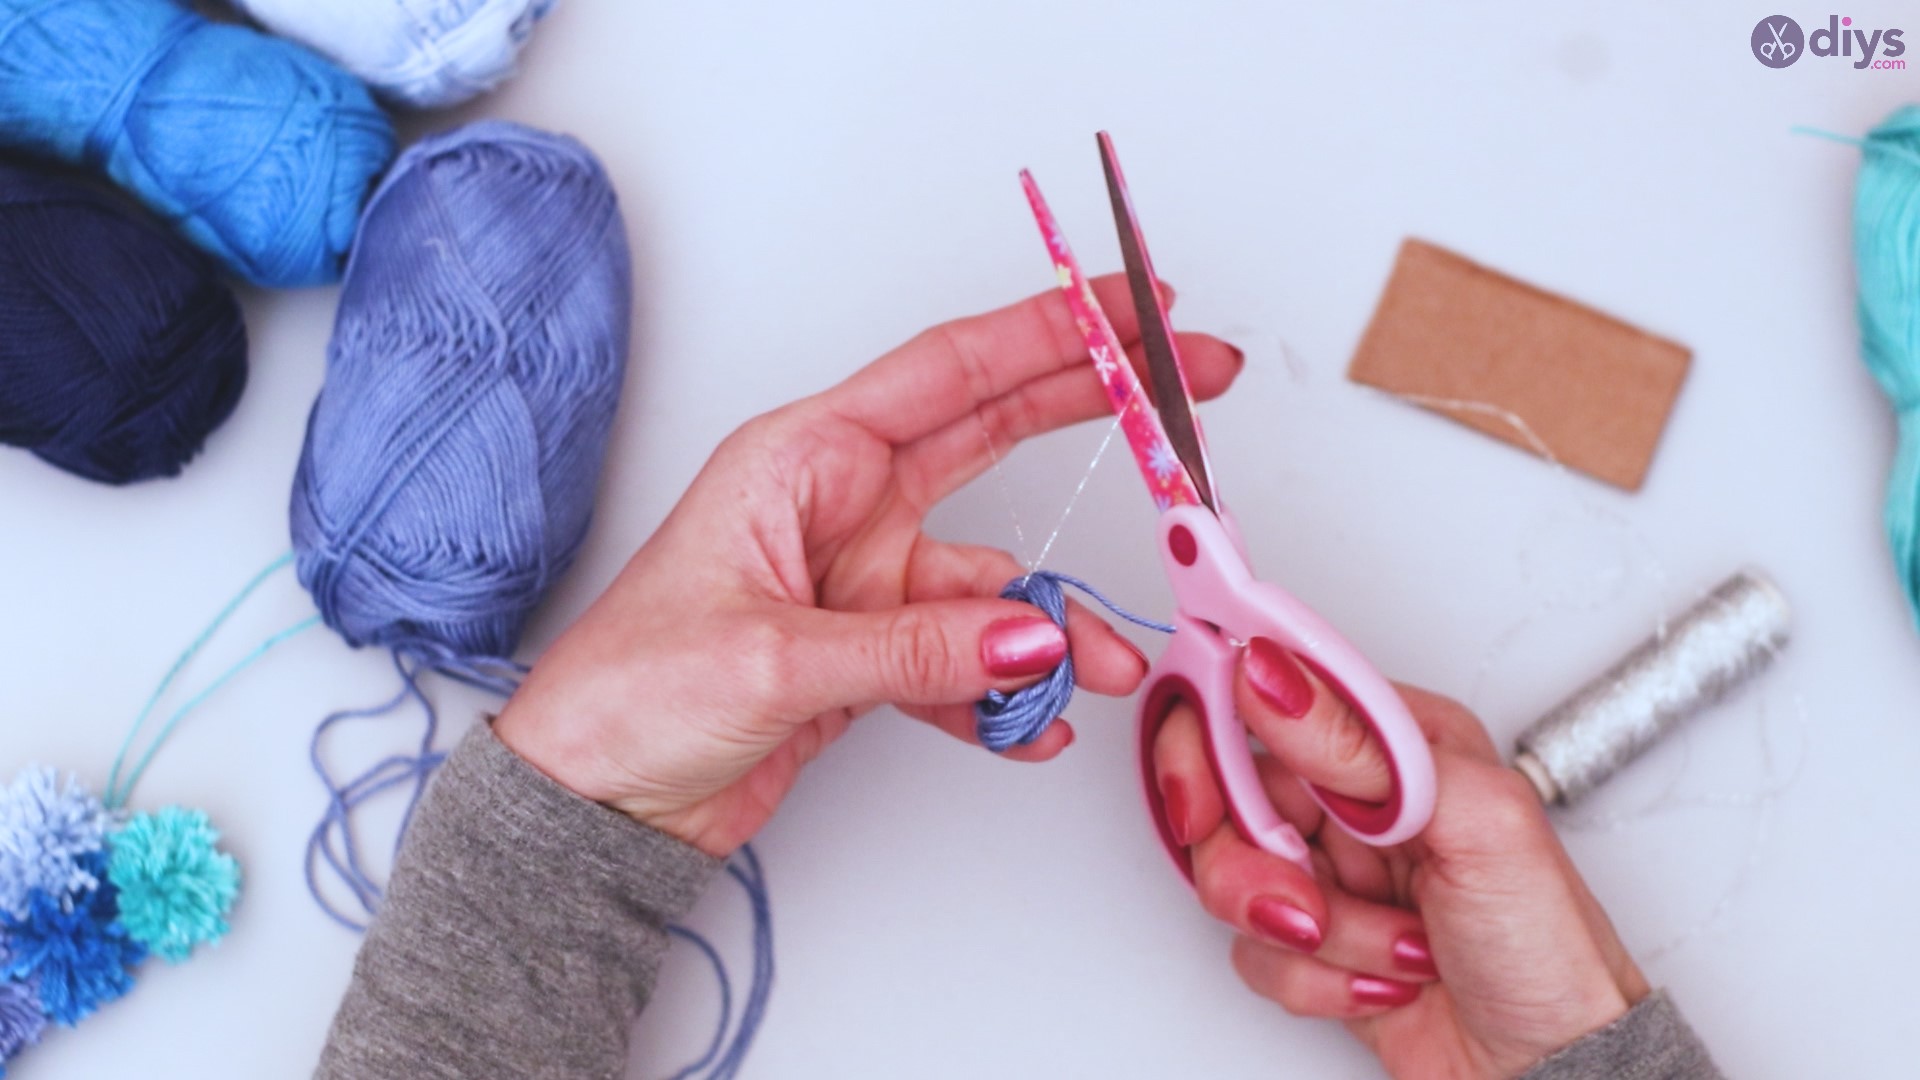
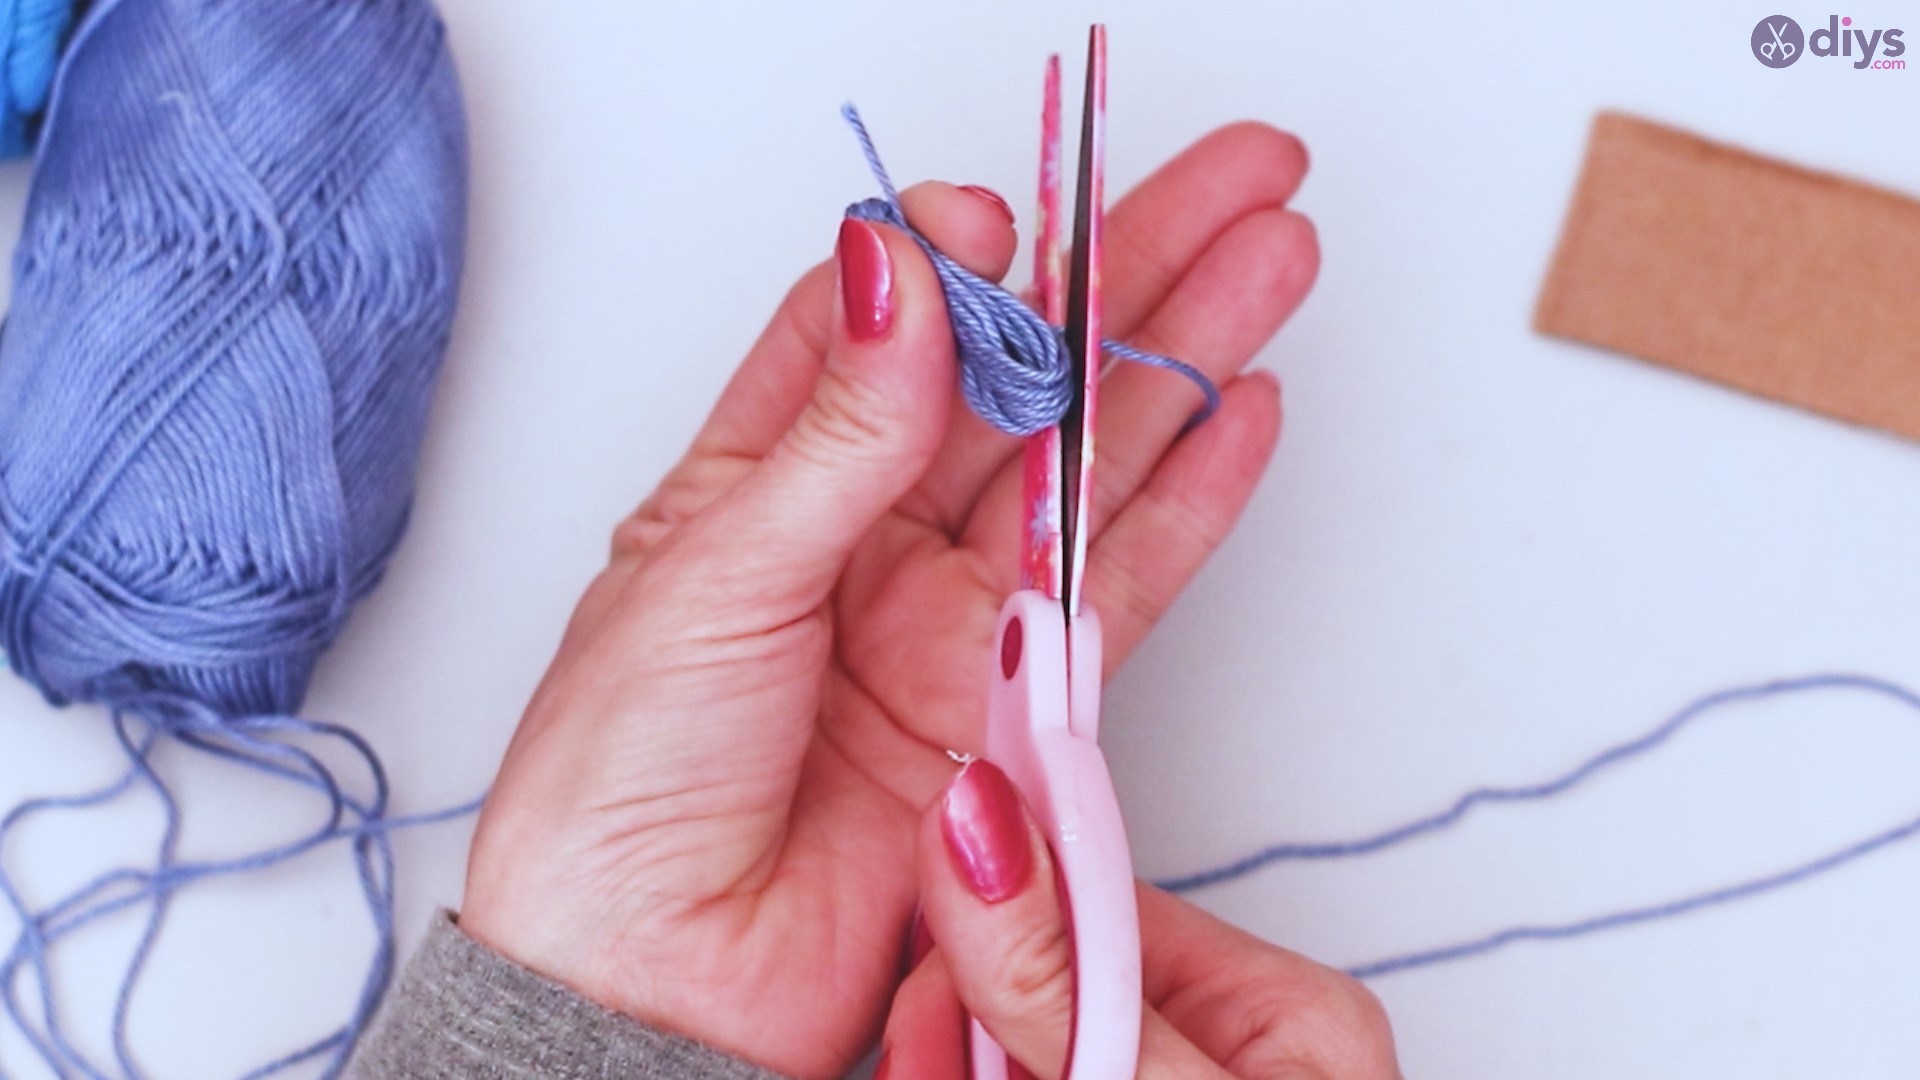
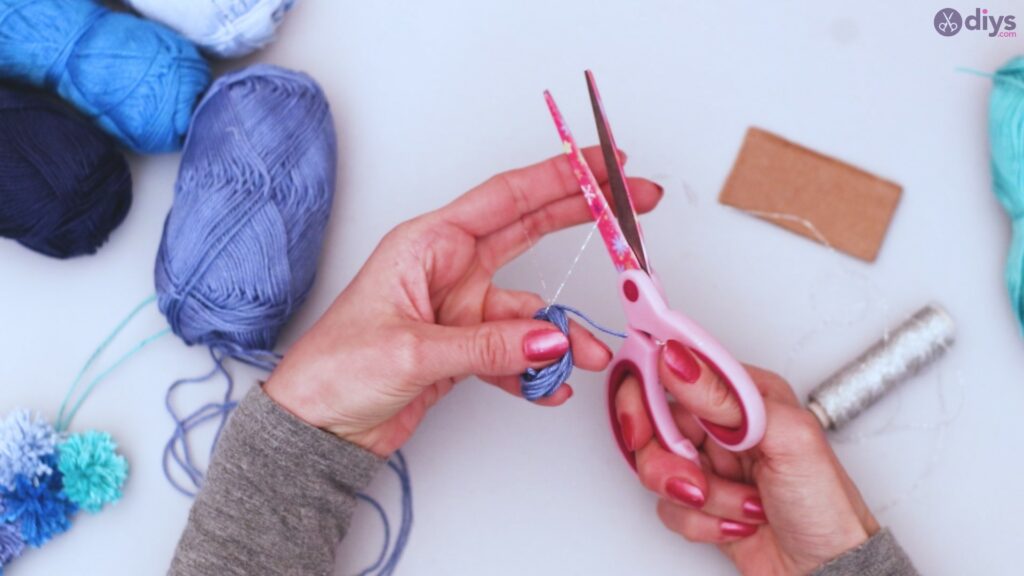
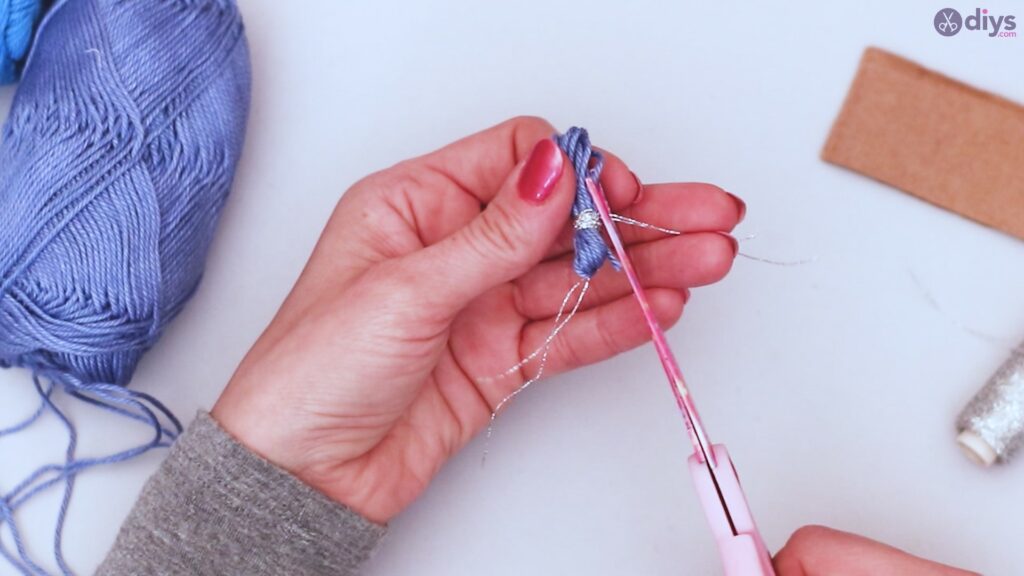
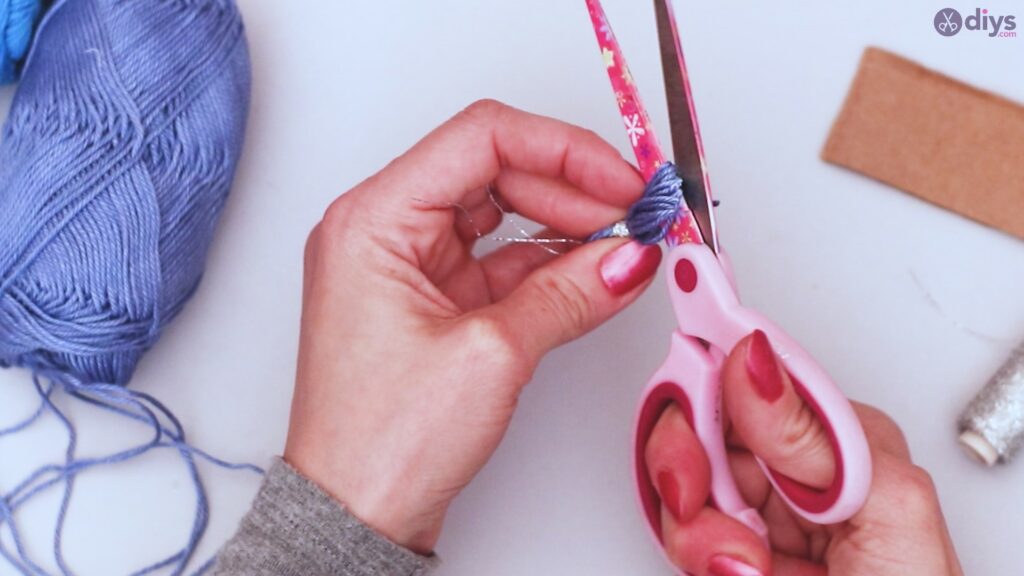
On the longer loop of your colored yarn, place your scissors through the loop and cut so you have loose ends.
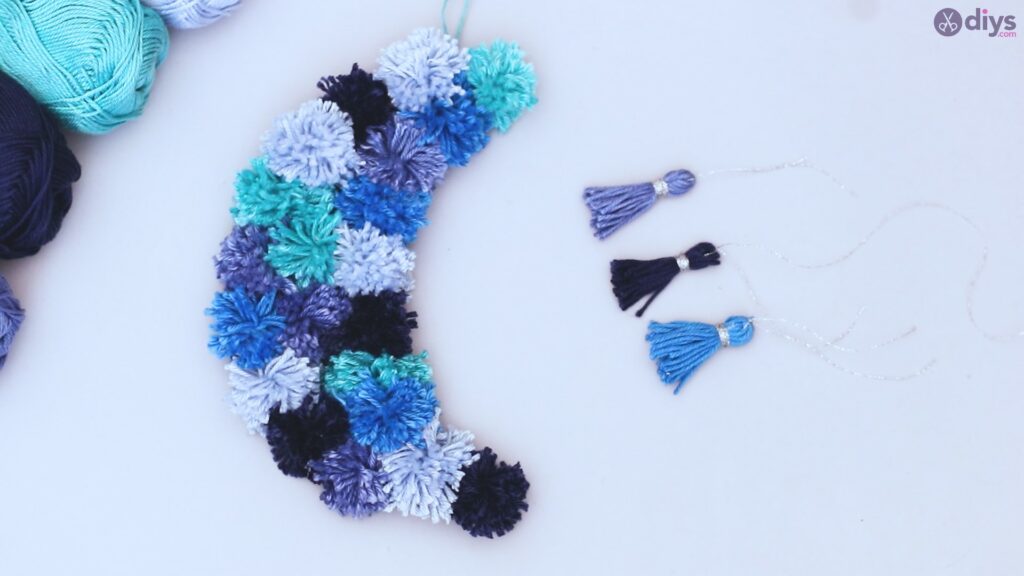
Repeat this process with three different colors of yarn.
Step 9: Attach your tassels
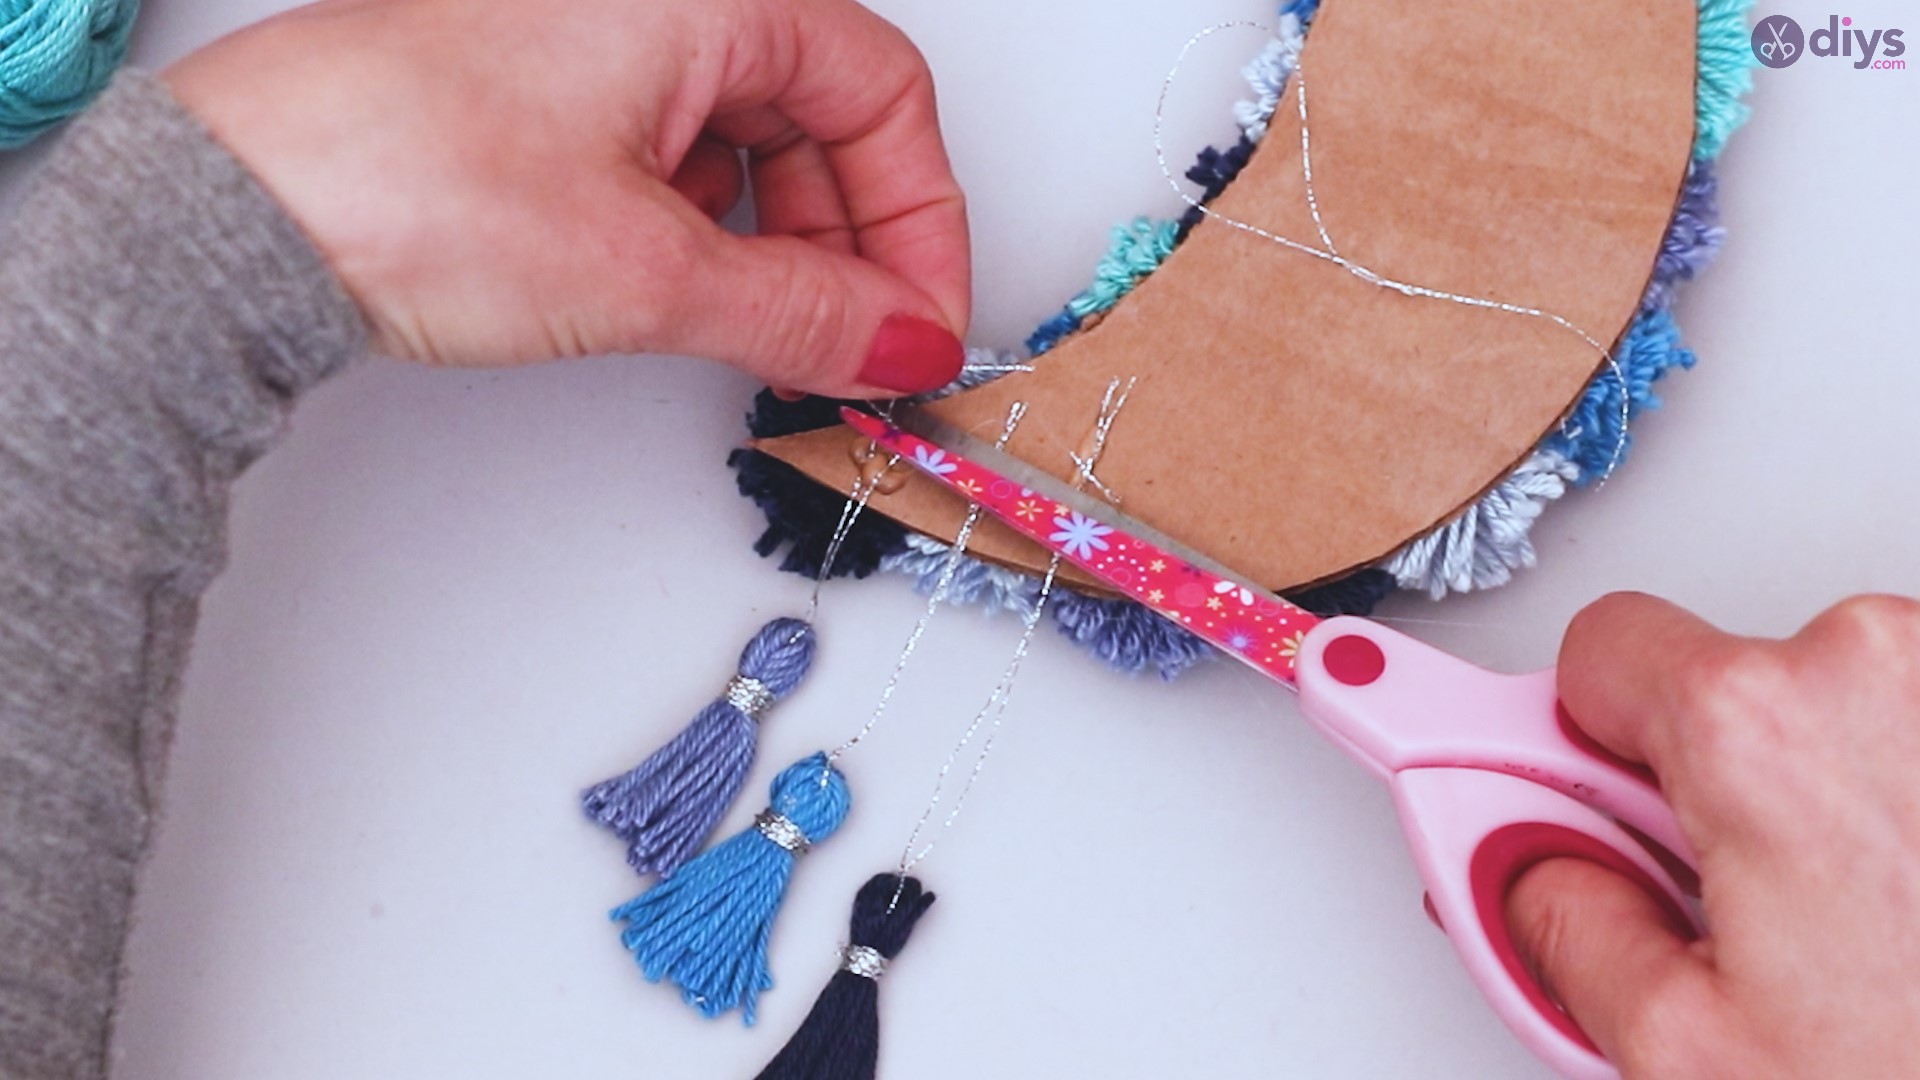
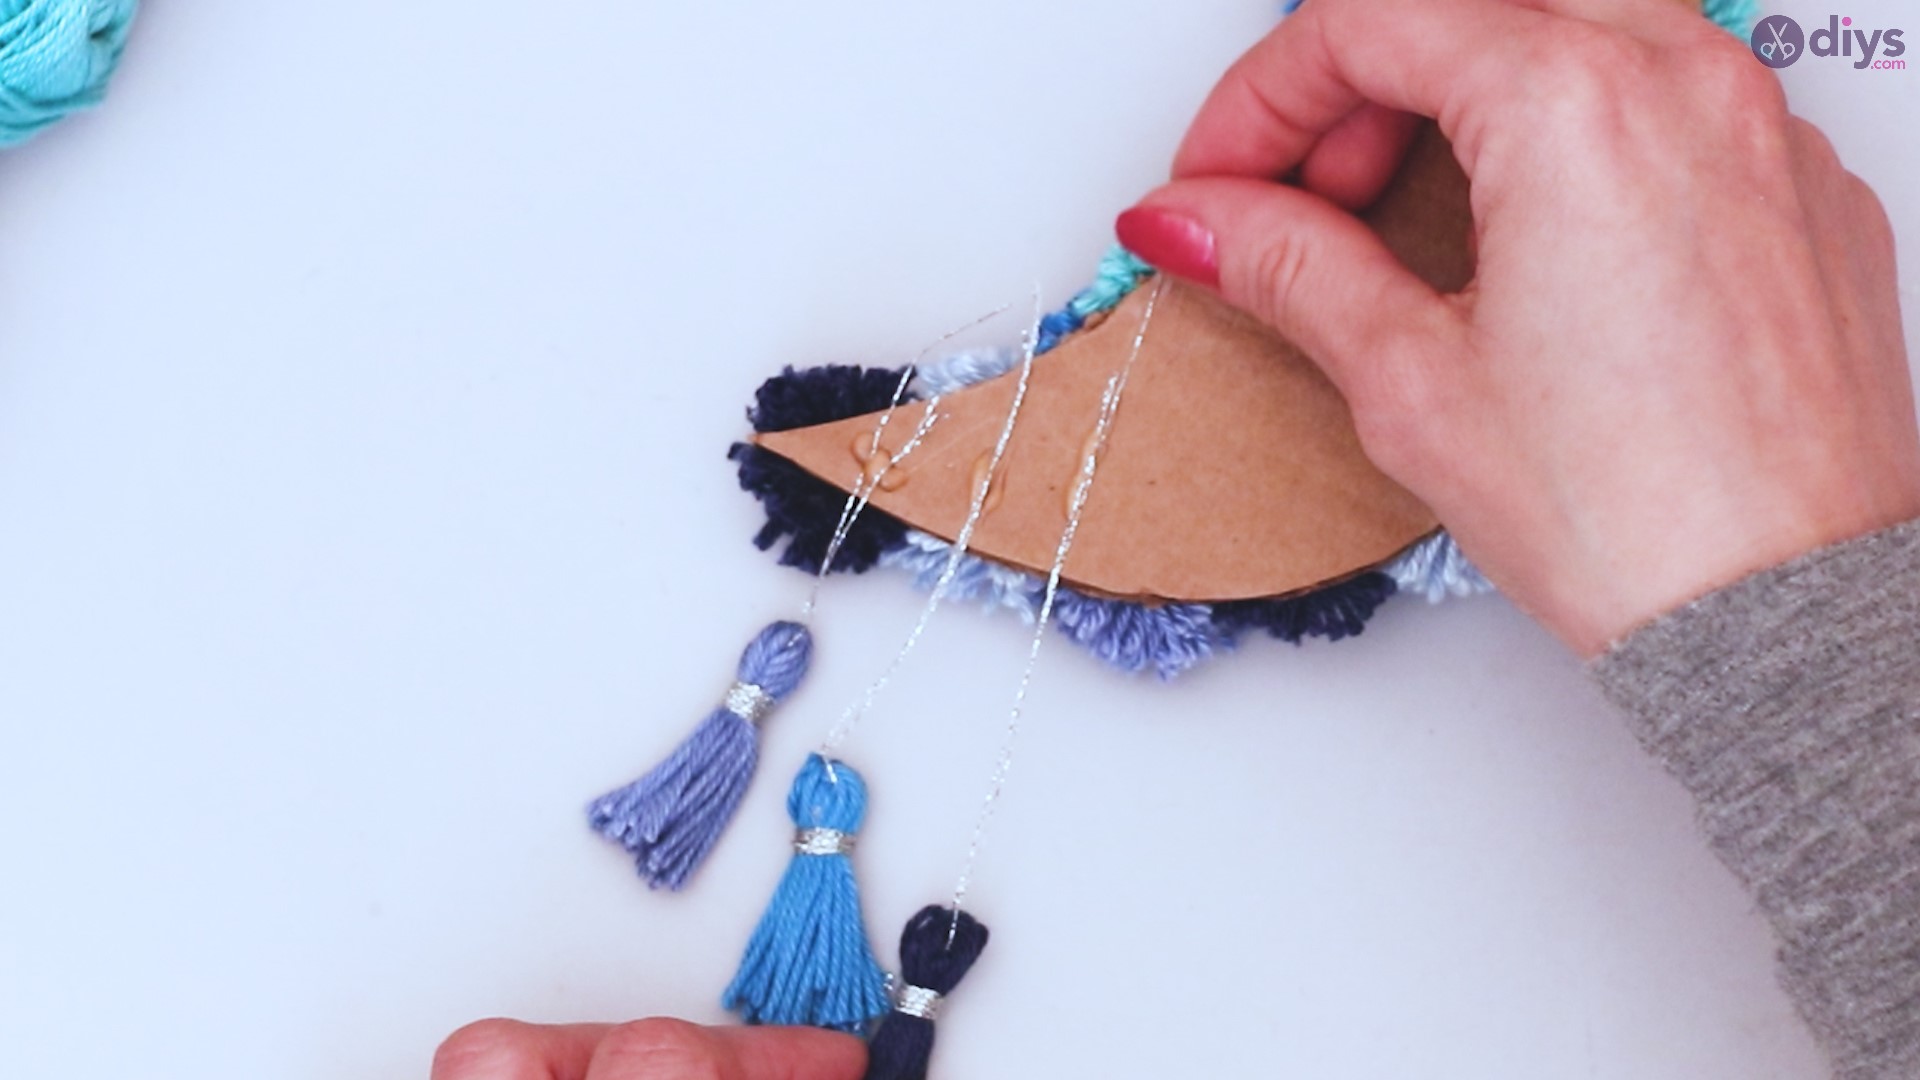
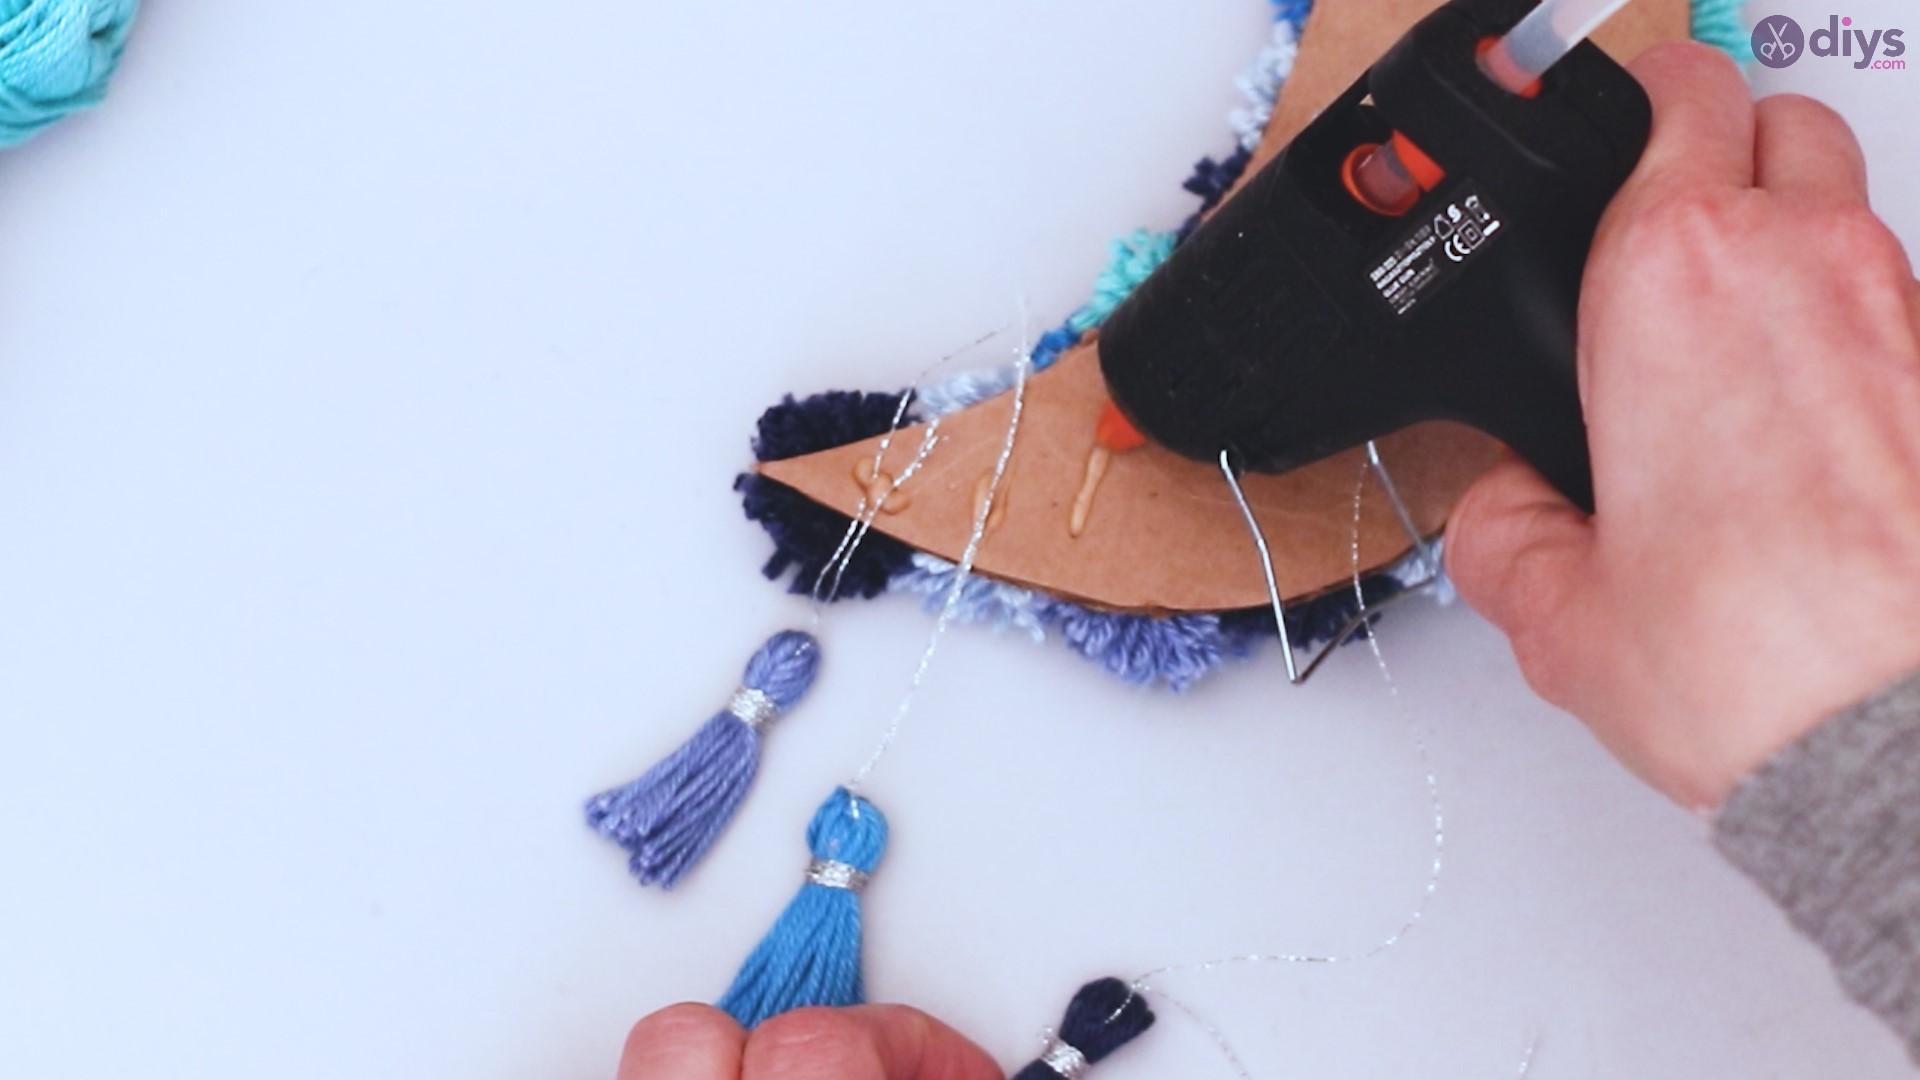
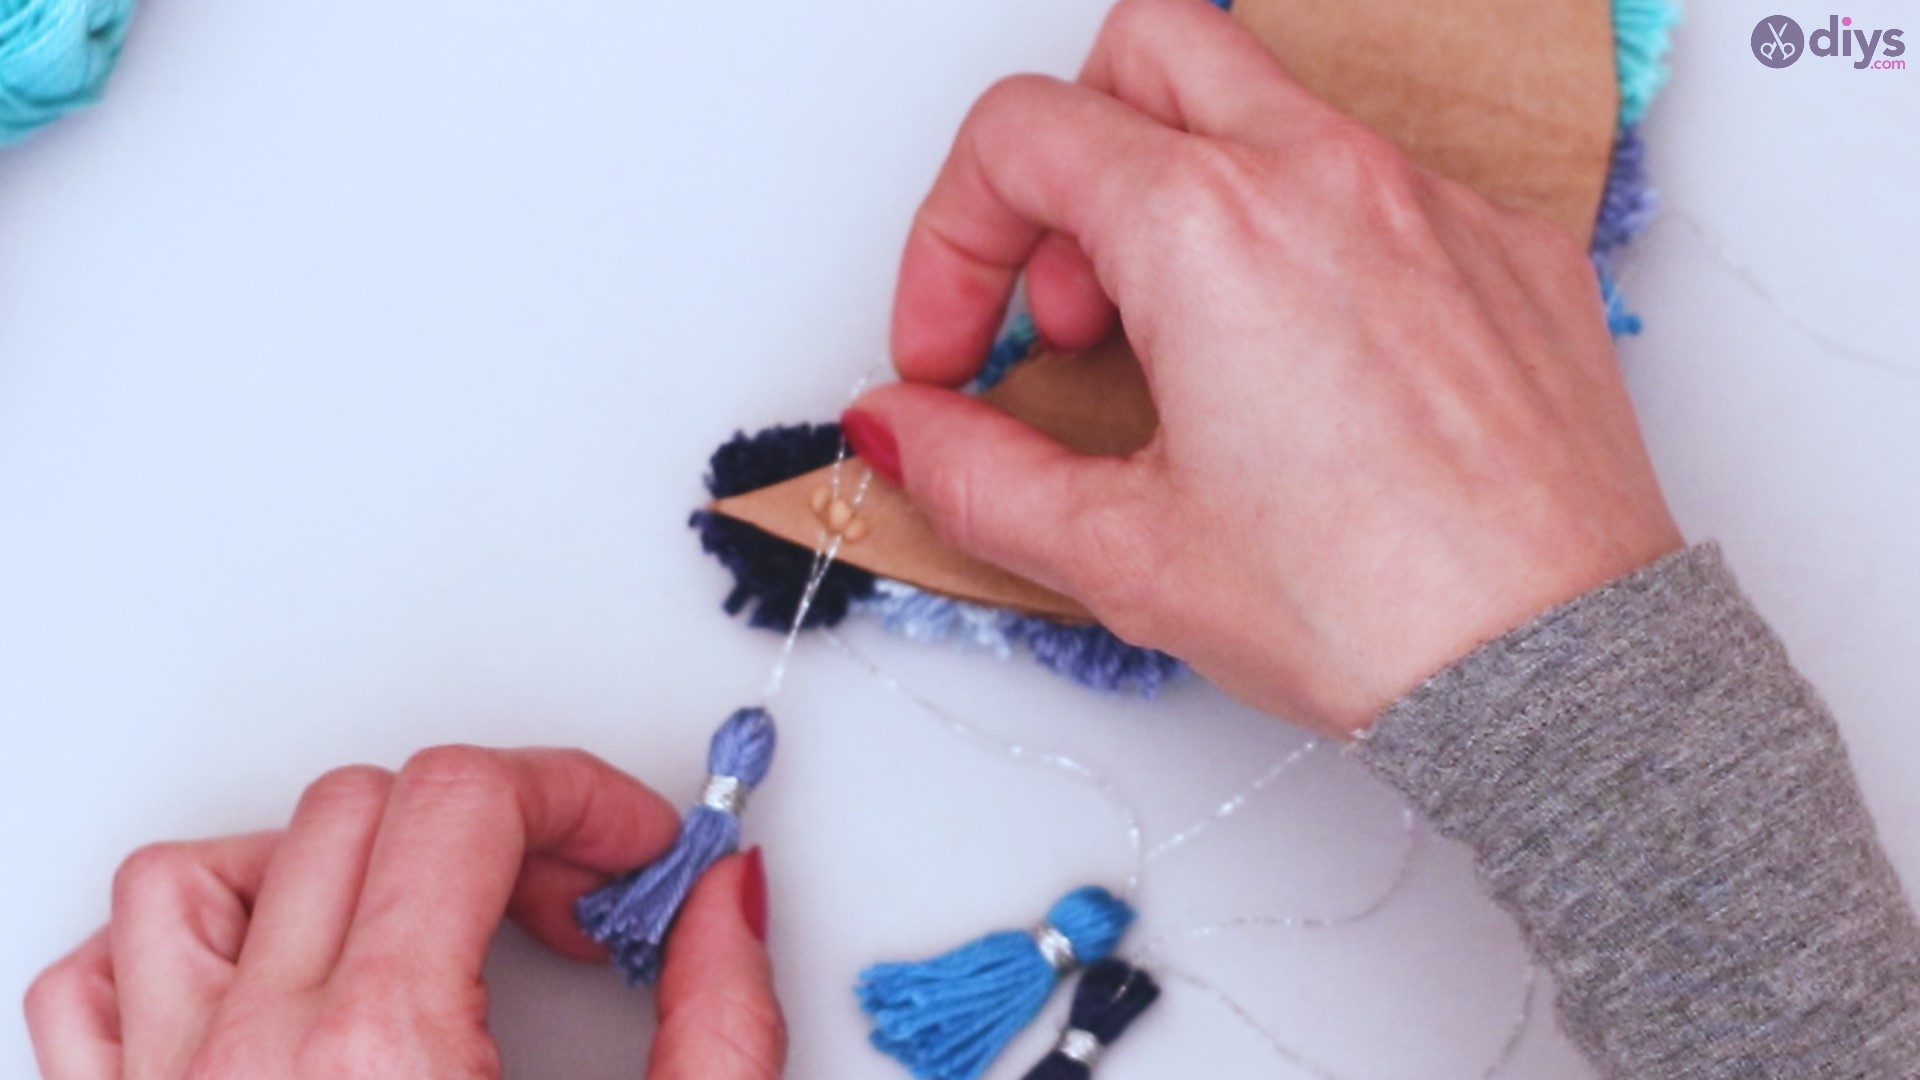
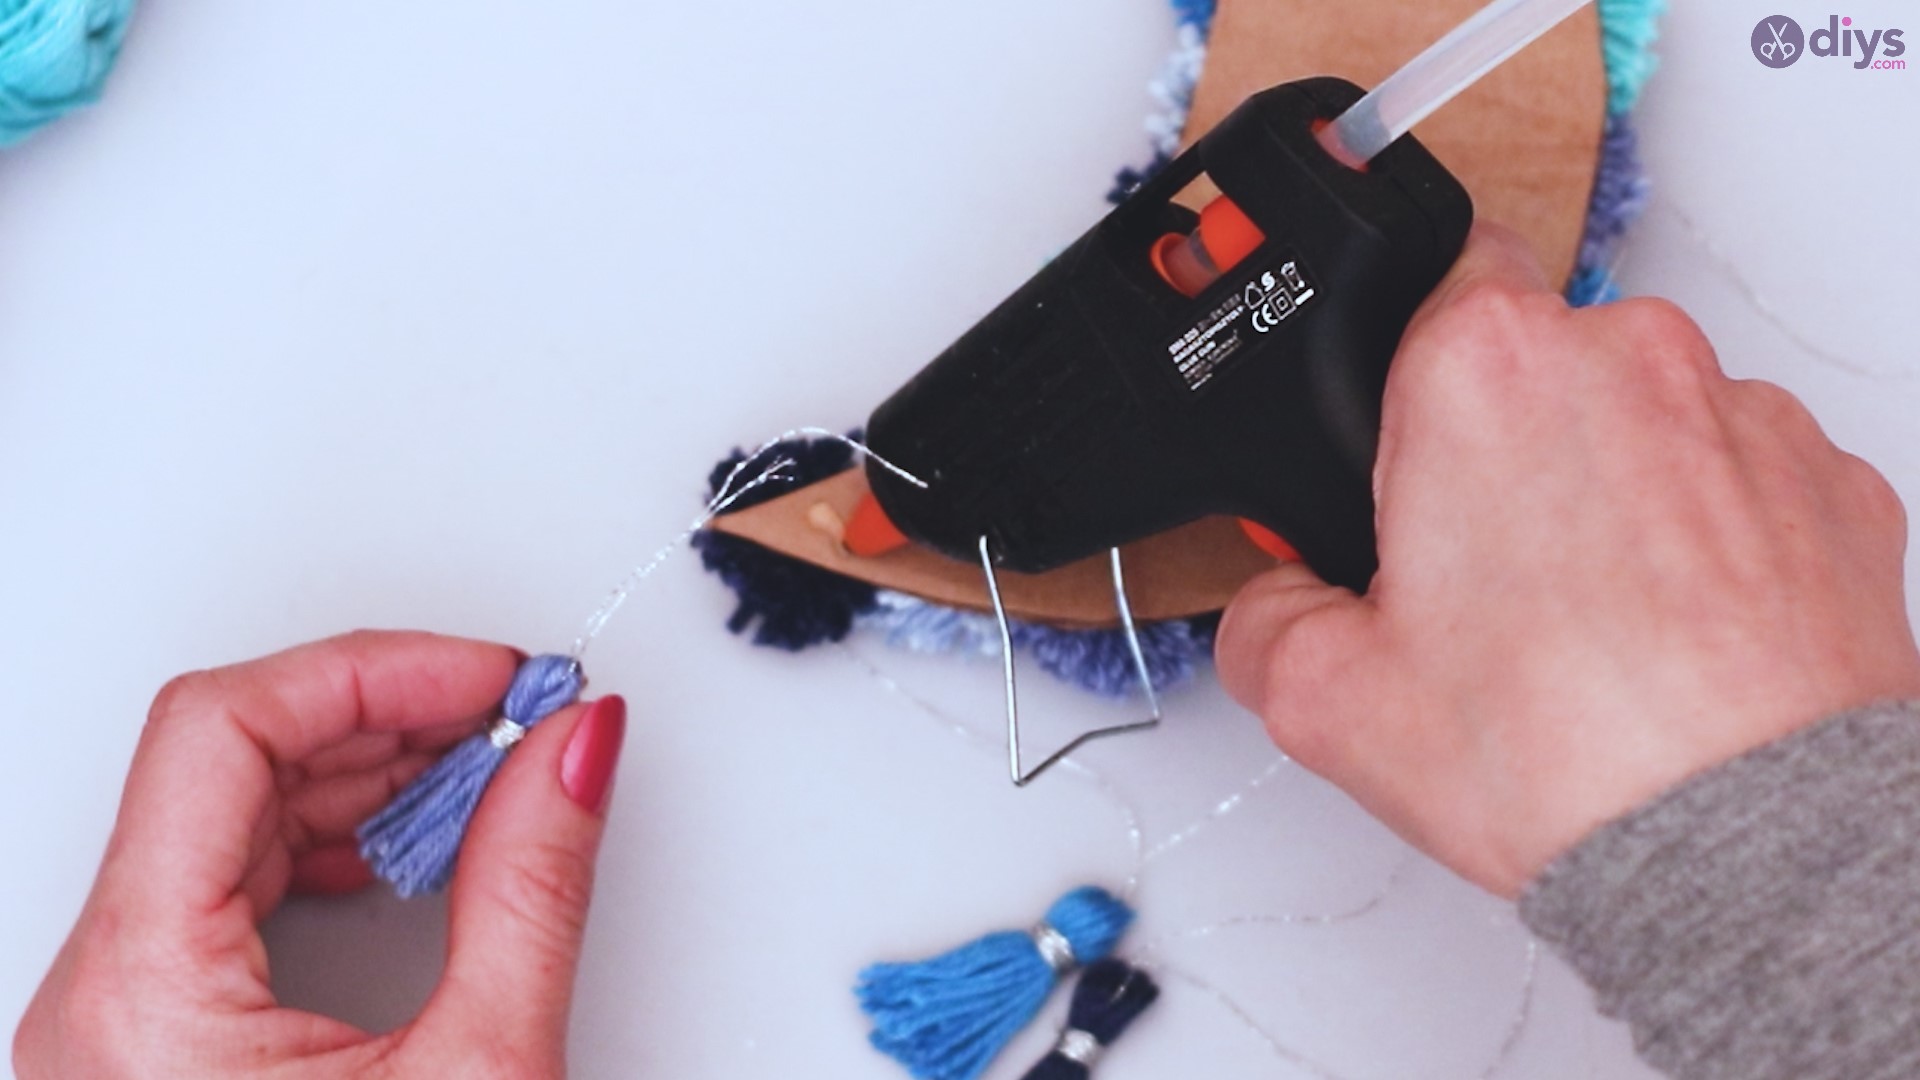
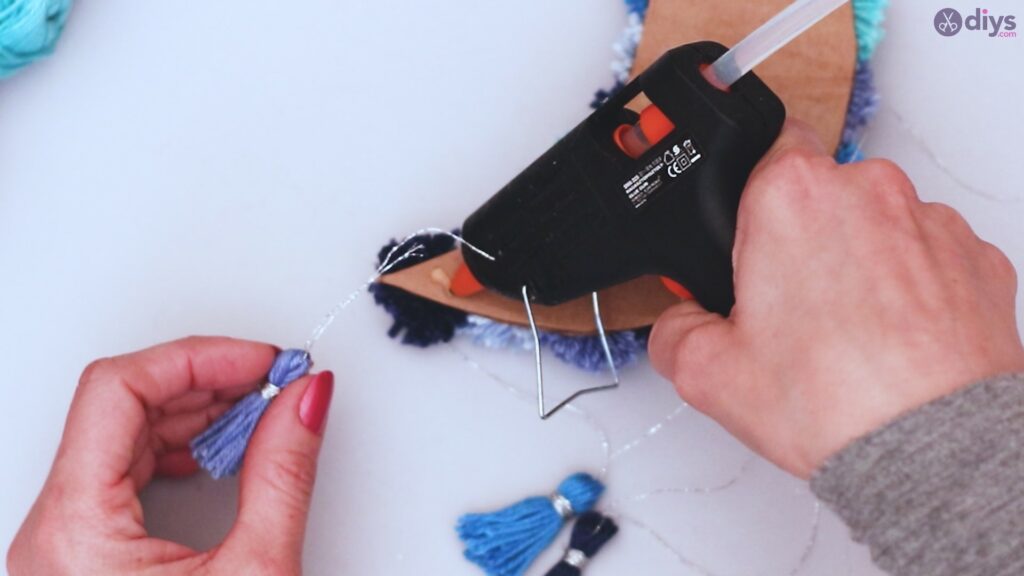
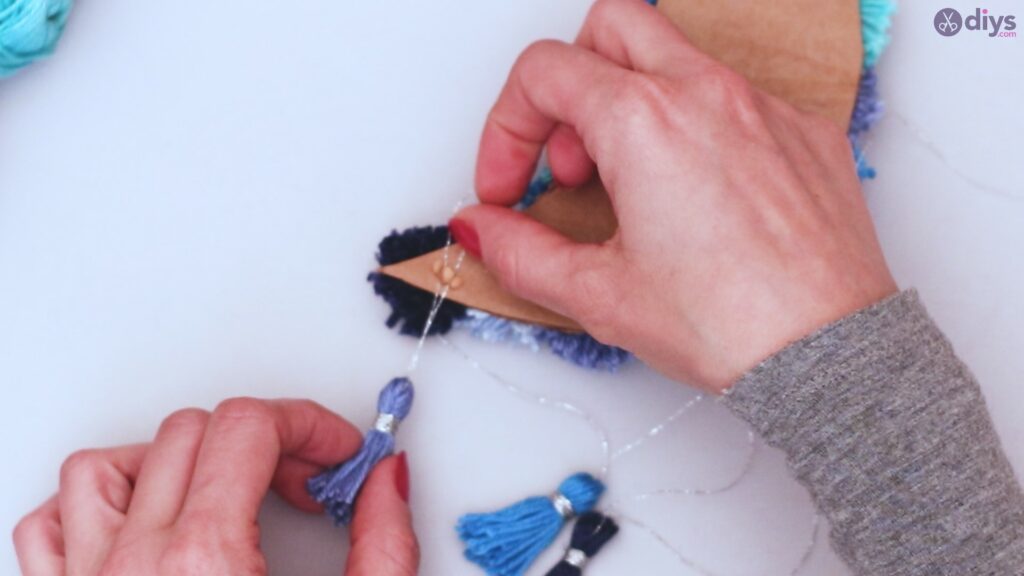
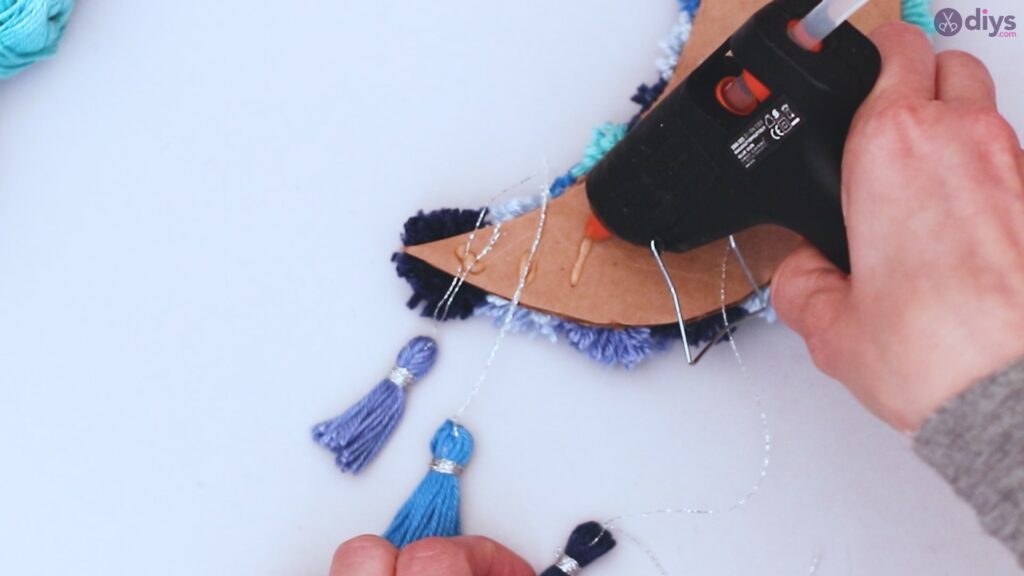
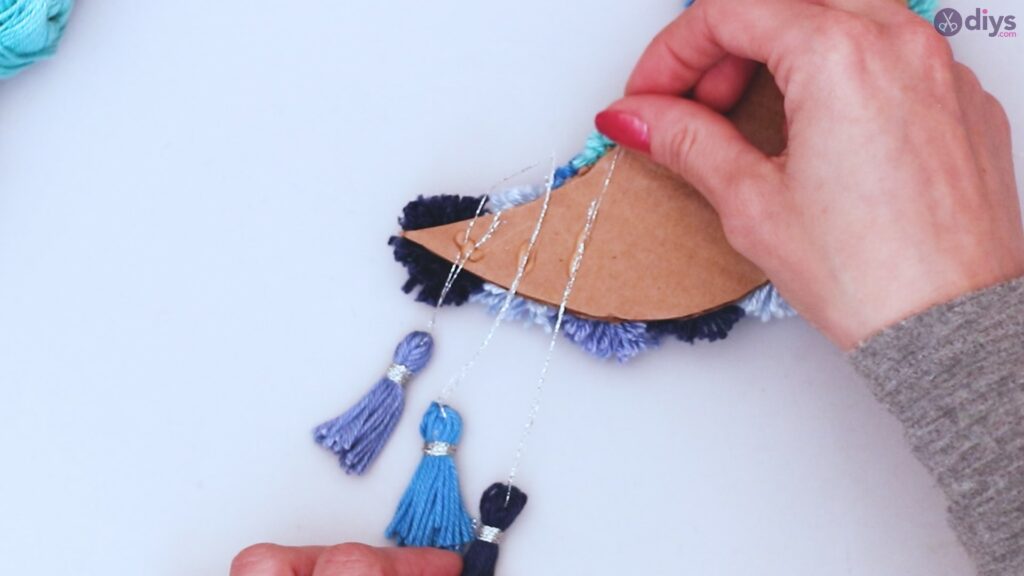
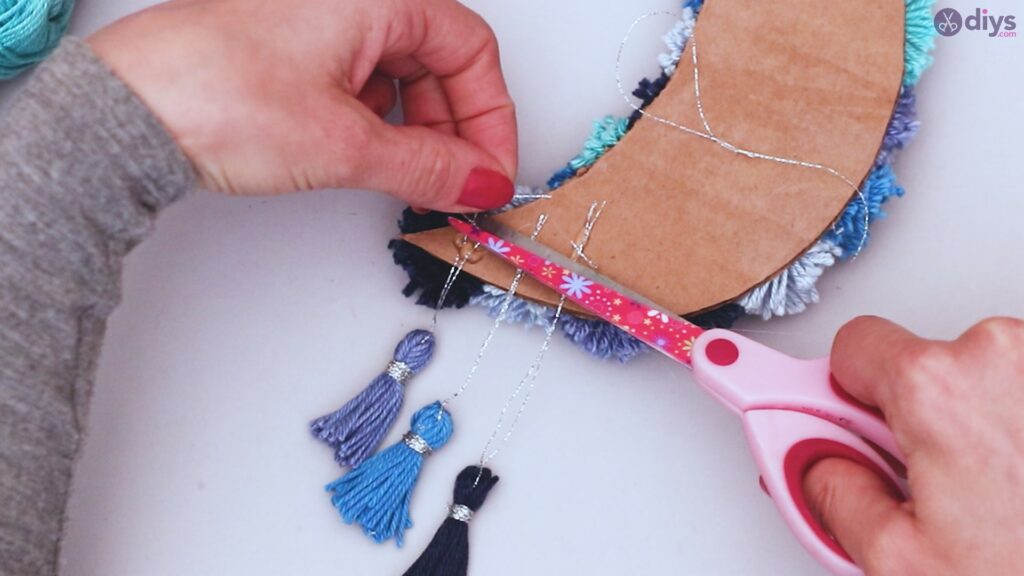
Cut three lengths of your silver yarn, in three different lengths. I would suggest four inches, six inches, and eight inches. On the back of your moon cutout, place a dot of glue near the bottom corner. Feed the shortest piece of your silver yarn through the loop of one of your tassels, and attach the two ends of the silver yarn to the dot of glue.
Repeat this process for your other two tassels, using the silver yarn in progressively longer lengths across the back of the moon.
Trim the excess silver twisted yarn.
Your completed work will be a virtual masterpiece, with multiple elements, a lot of texture, and a colorful design. The effort you put into this is minimal, with little time required, especially compared to the complex appearance in the end. Materials are inexpensive, and you should have tons of those materials left for future projects so you can continue your pursuit of do it yourself design.
