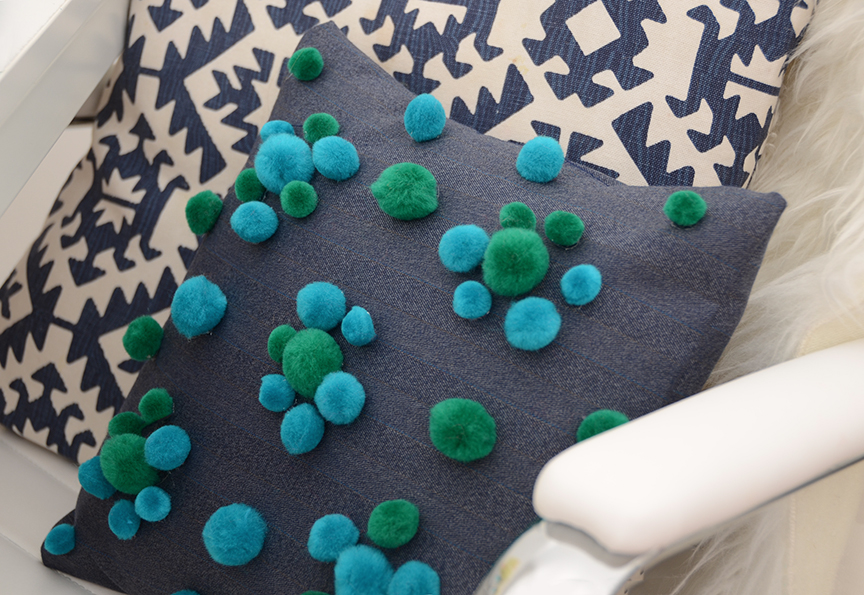
How To Make A Pillow Cover – Pom Pom Pillow
Today I want to share a quick and easy little DIY project that is sure to add some serious character to your sofa, bed or anywhere else you like to have throw pillows. It’s a great way to practice basic sewing skills, plus you’ll take advantage of the pom pom trend that seems to be taking Pinterest by storm these days! So let’s get started.
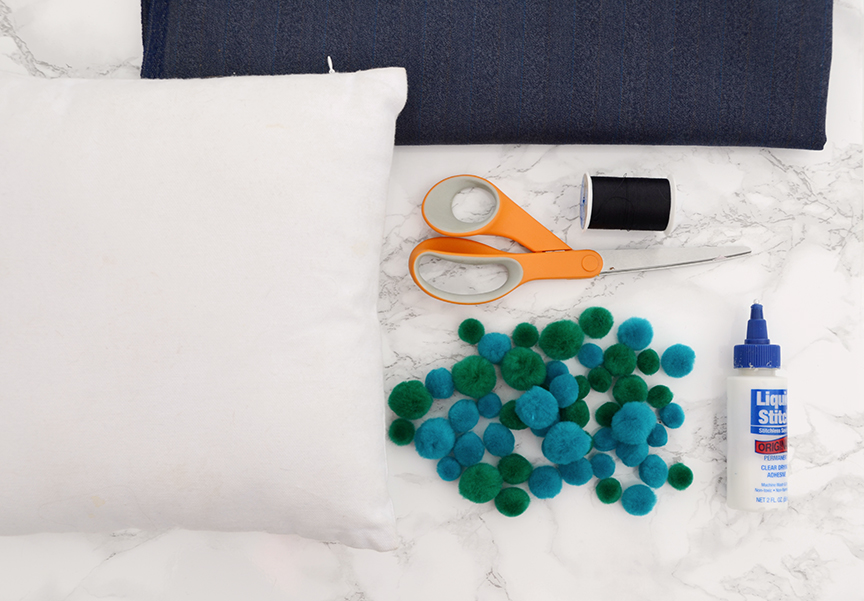
Here’s what you’ll need for your pom pom pillow:
- 12″ pillow insert
- 1/2 yard of any non-stretch fabric
- 40-50 pom poms in your favorite colors
- Scissors
- Thread
- Liquid Stitch fabric glue
- Sewing machine
Step by step directions to make the pom pom pillow:
Step 1: cutting fabric
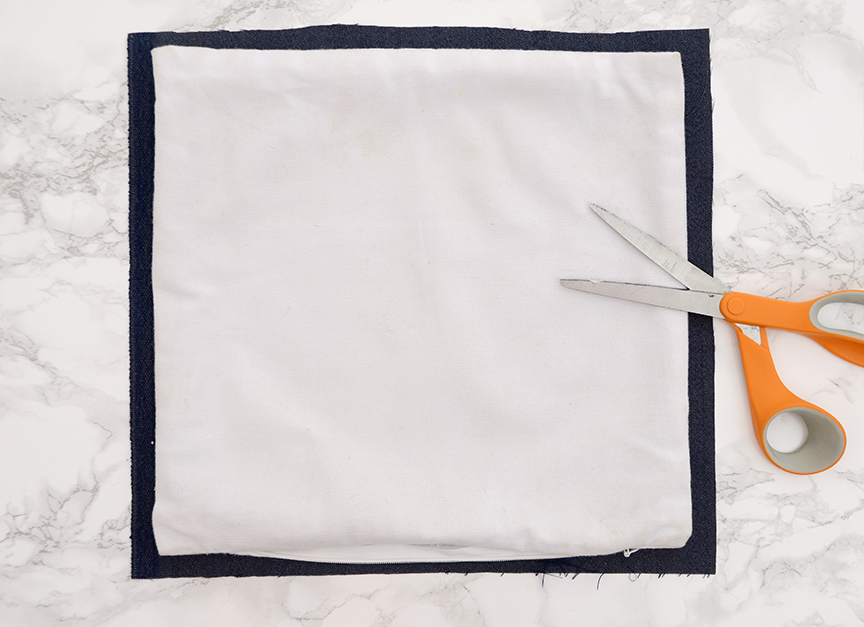
Begin by cutting out your fabric. For this pillow, you’ll need one piece of fabric that is 12×12 inches and two pieces that are 10×12 inches.
Step 2: fold edge
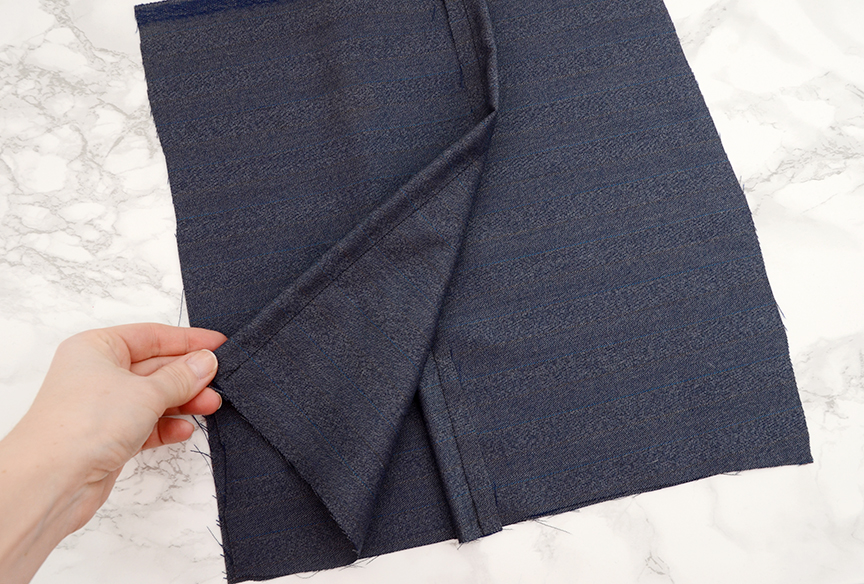
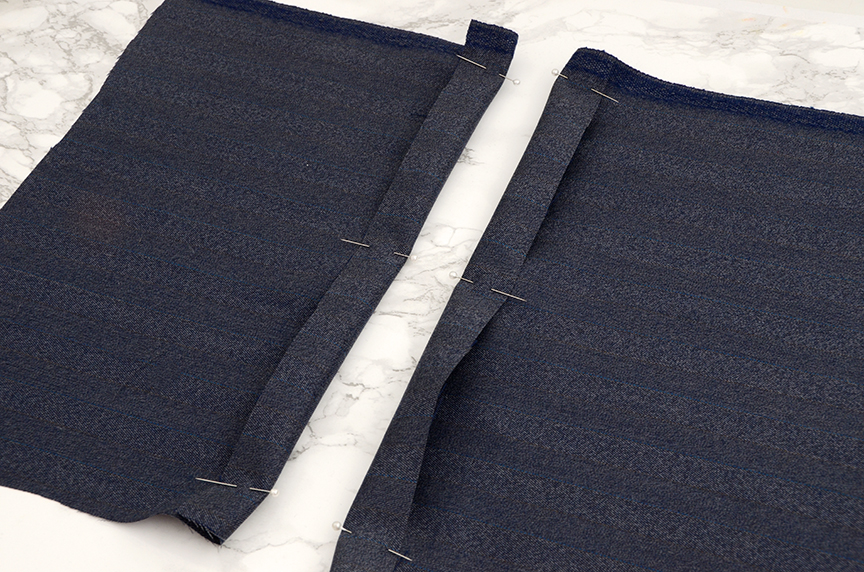
Fold one edge of the 10×12 inch piece so that it has one inch folded over. Do the same on the other one, as shown above.
Step 3: sewing process
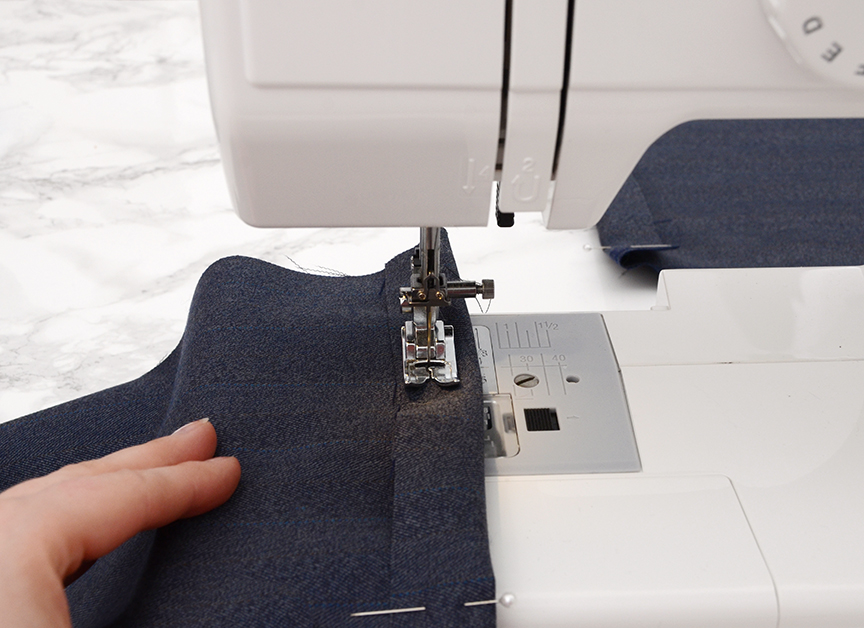
Sew down these edges with half inch seam allowances. Remove the pins as you go.
Step 4: arrange the fabric
Arrange them like I have shown above, so that the right sides are on the inside. Sew around the entire square perimeter of the pillow case with a half inch seam allowance.
Step 5: arrange the pom poms
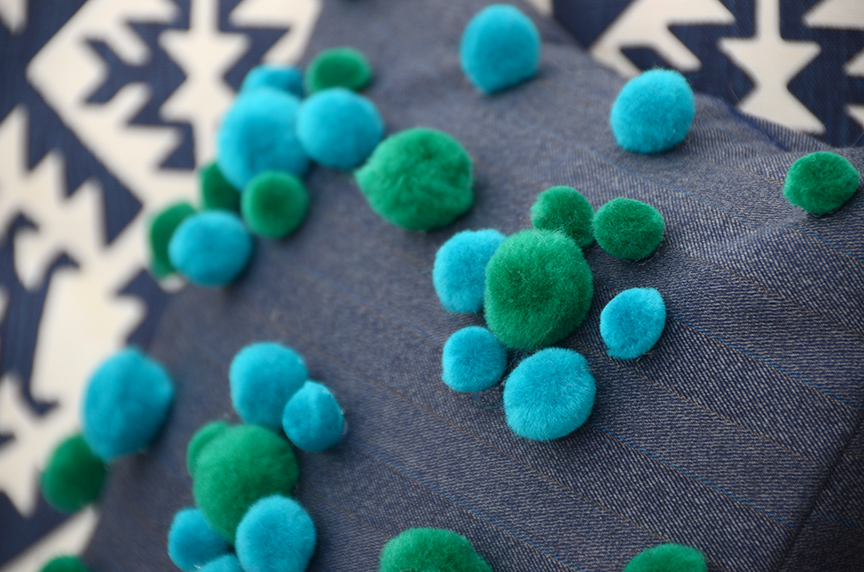
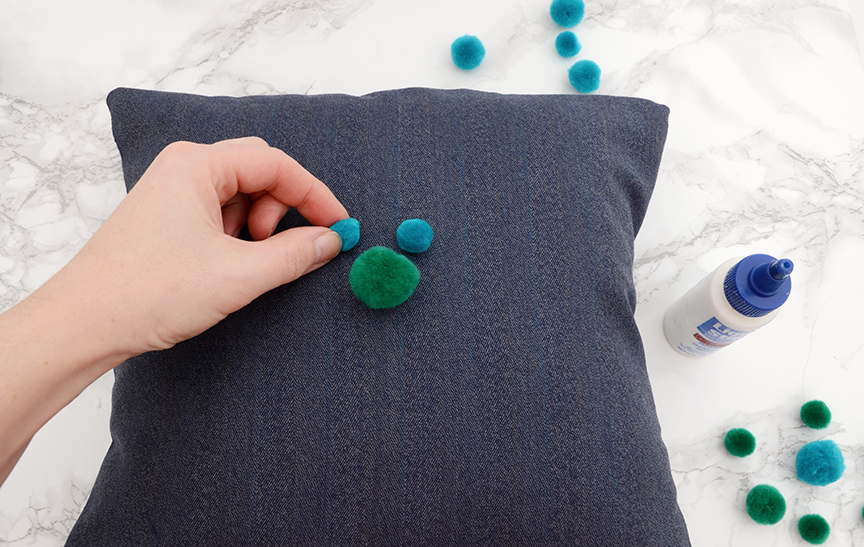
Turn it right side out and stuff the pillow inside. Begin arranging the pom poms however you like, and glue them on with the Liquid Stitch fabric glue. Let them dry according to the instructions on the bottle.
Conclusion
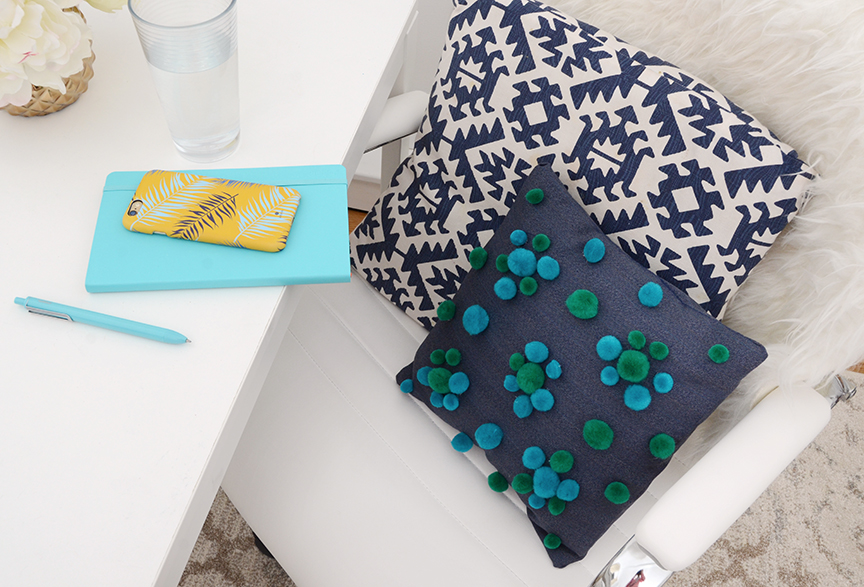
And that’s it!This project can be customized as much as you like, too… feel free to go crazy with the colors and be creative with the layout of the pom poms.
Now go toss your pillow onto the sofa for all to enjoy. Your friends are sure to smile when they see it!
