DIY Paper Pocketed Gift Tags
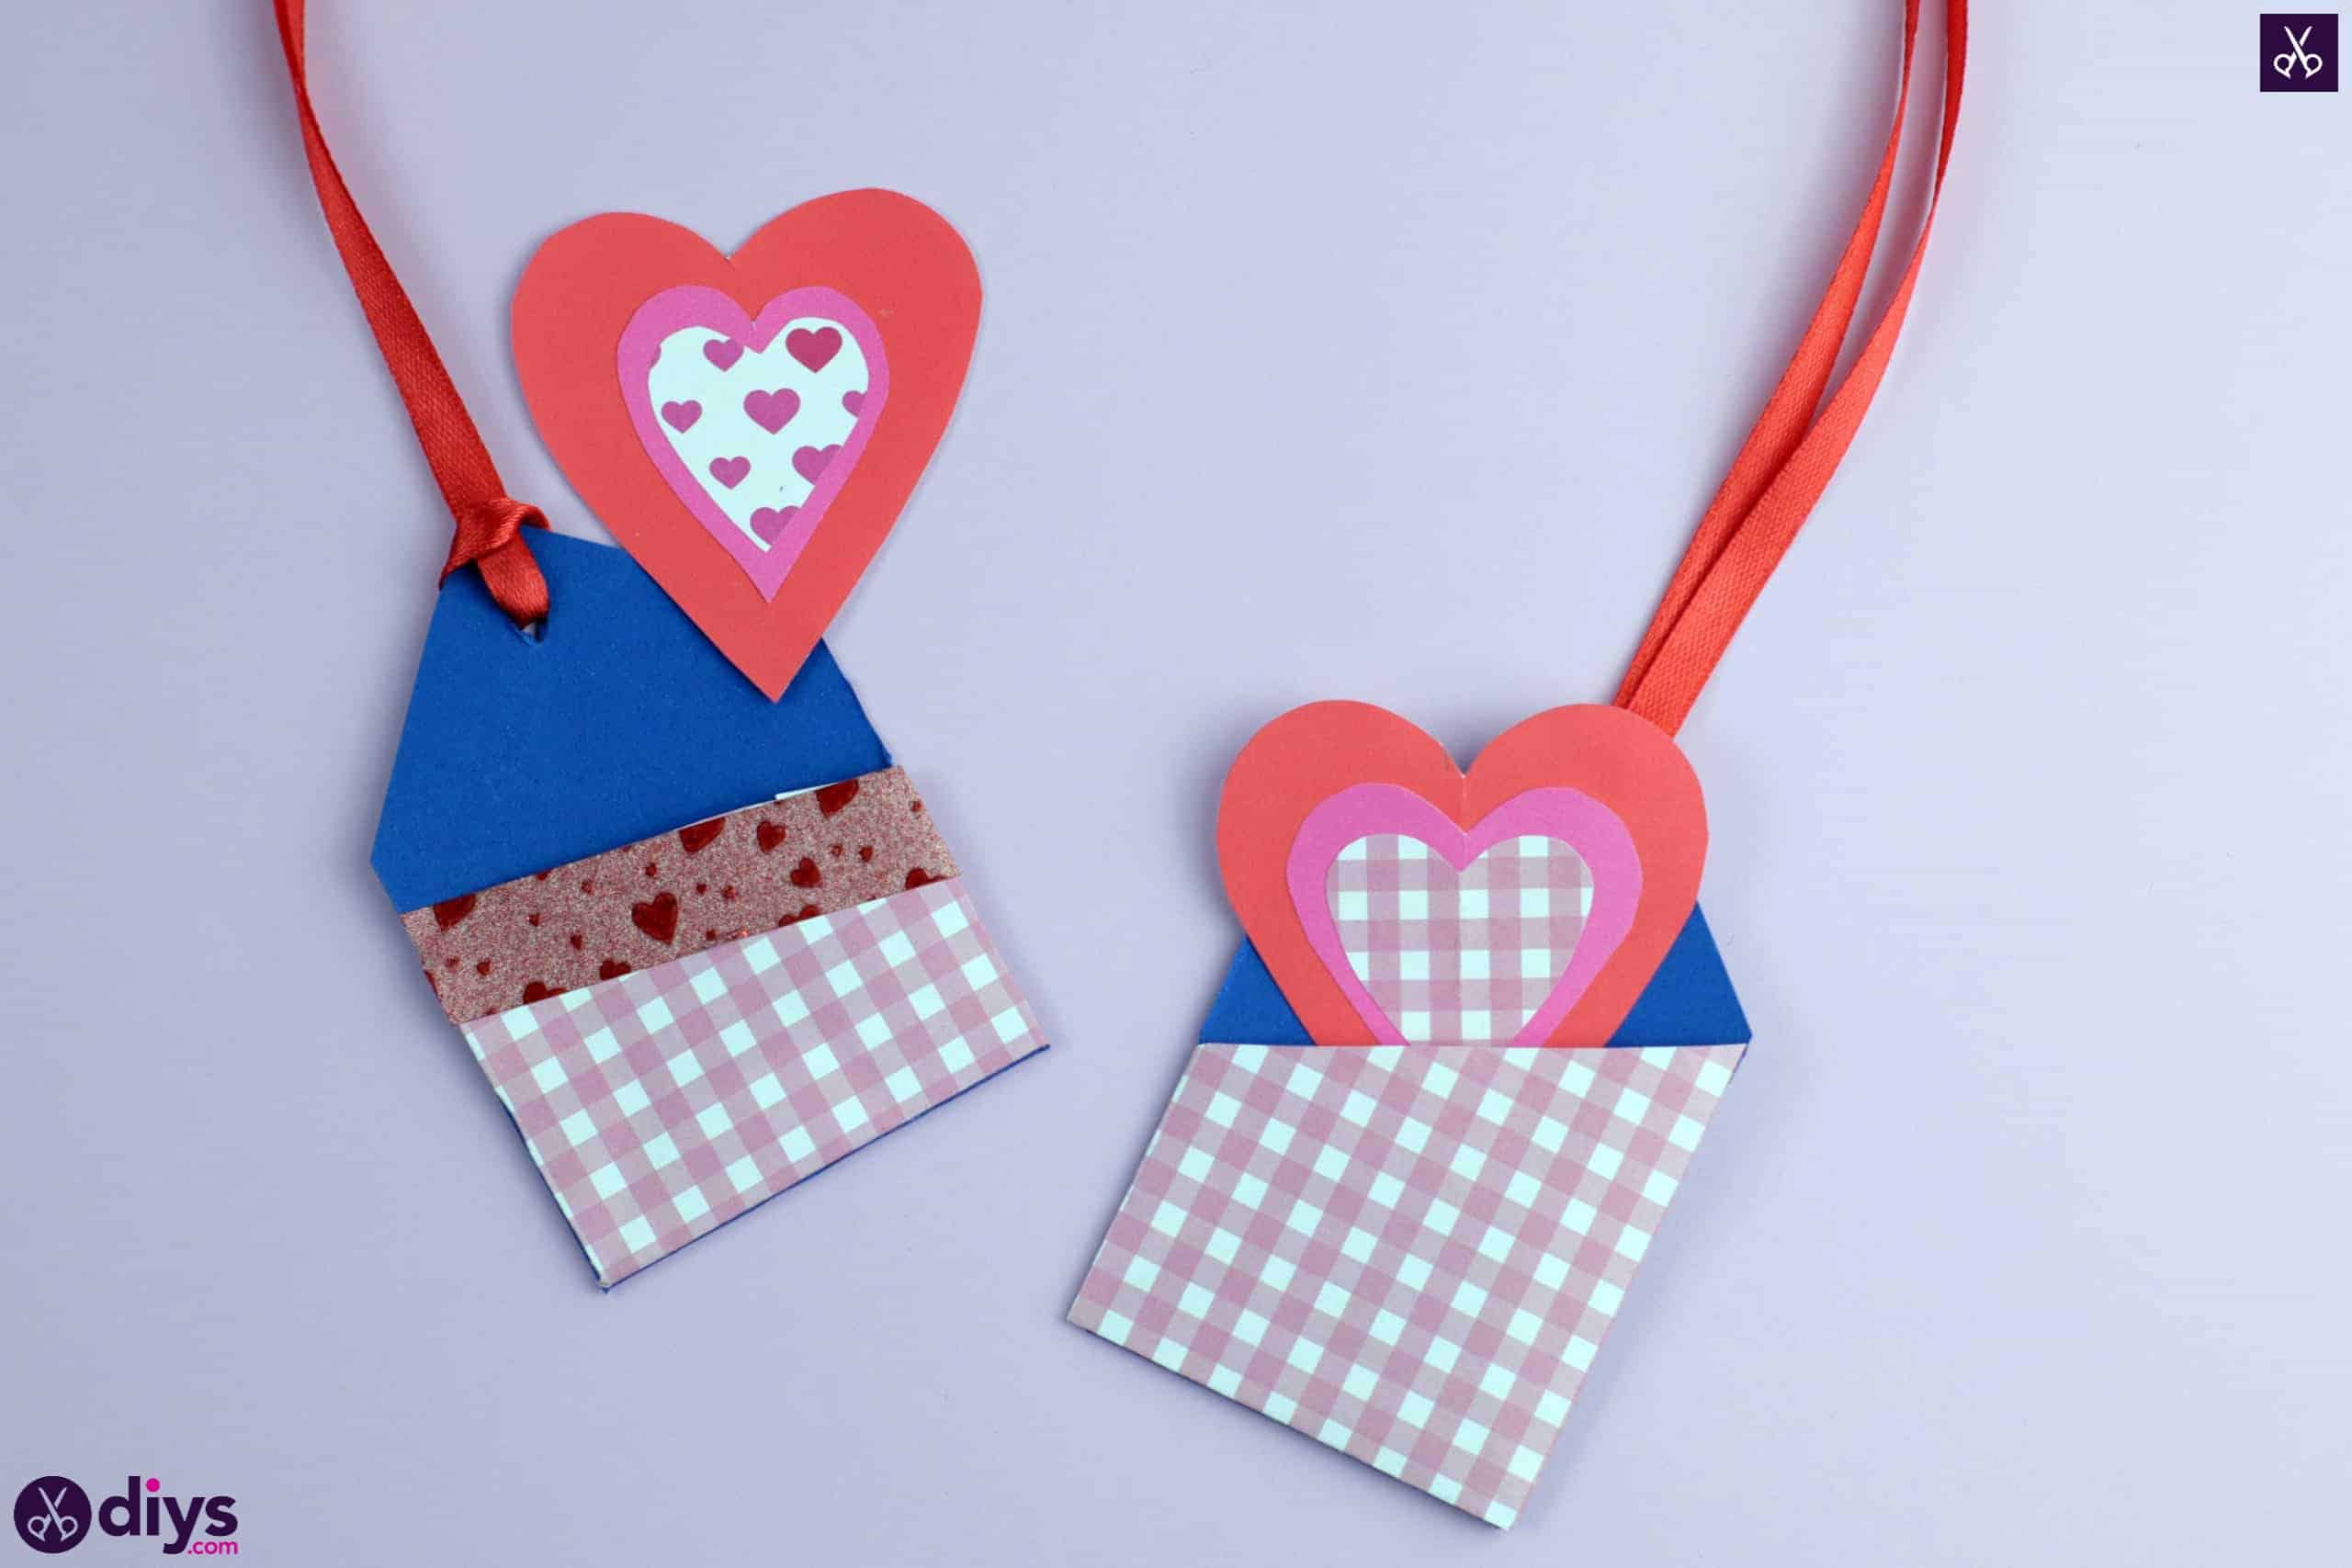
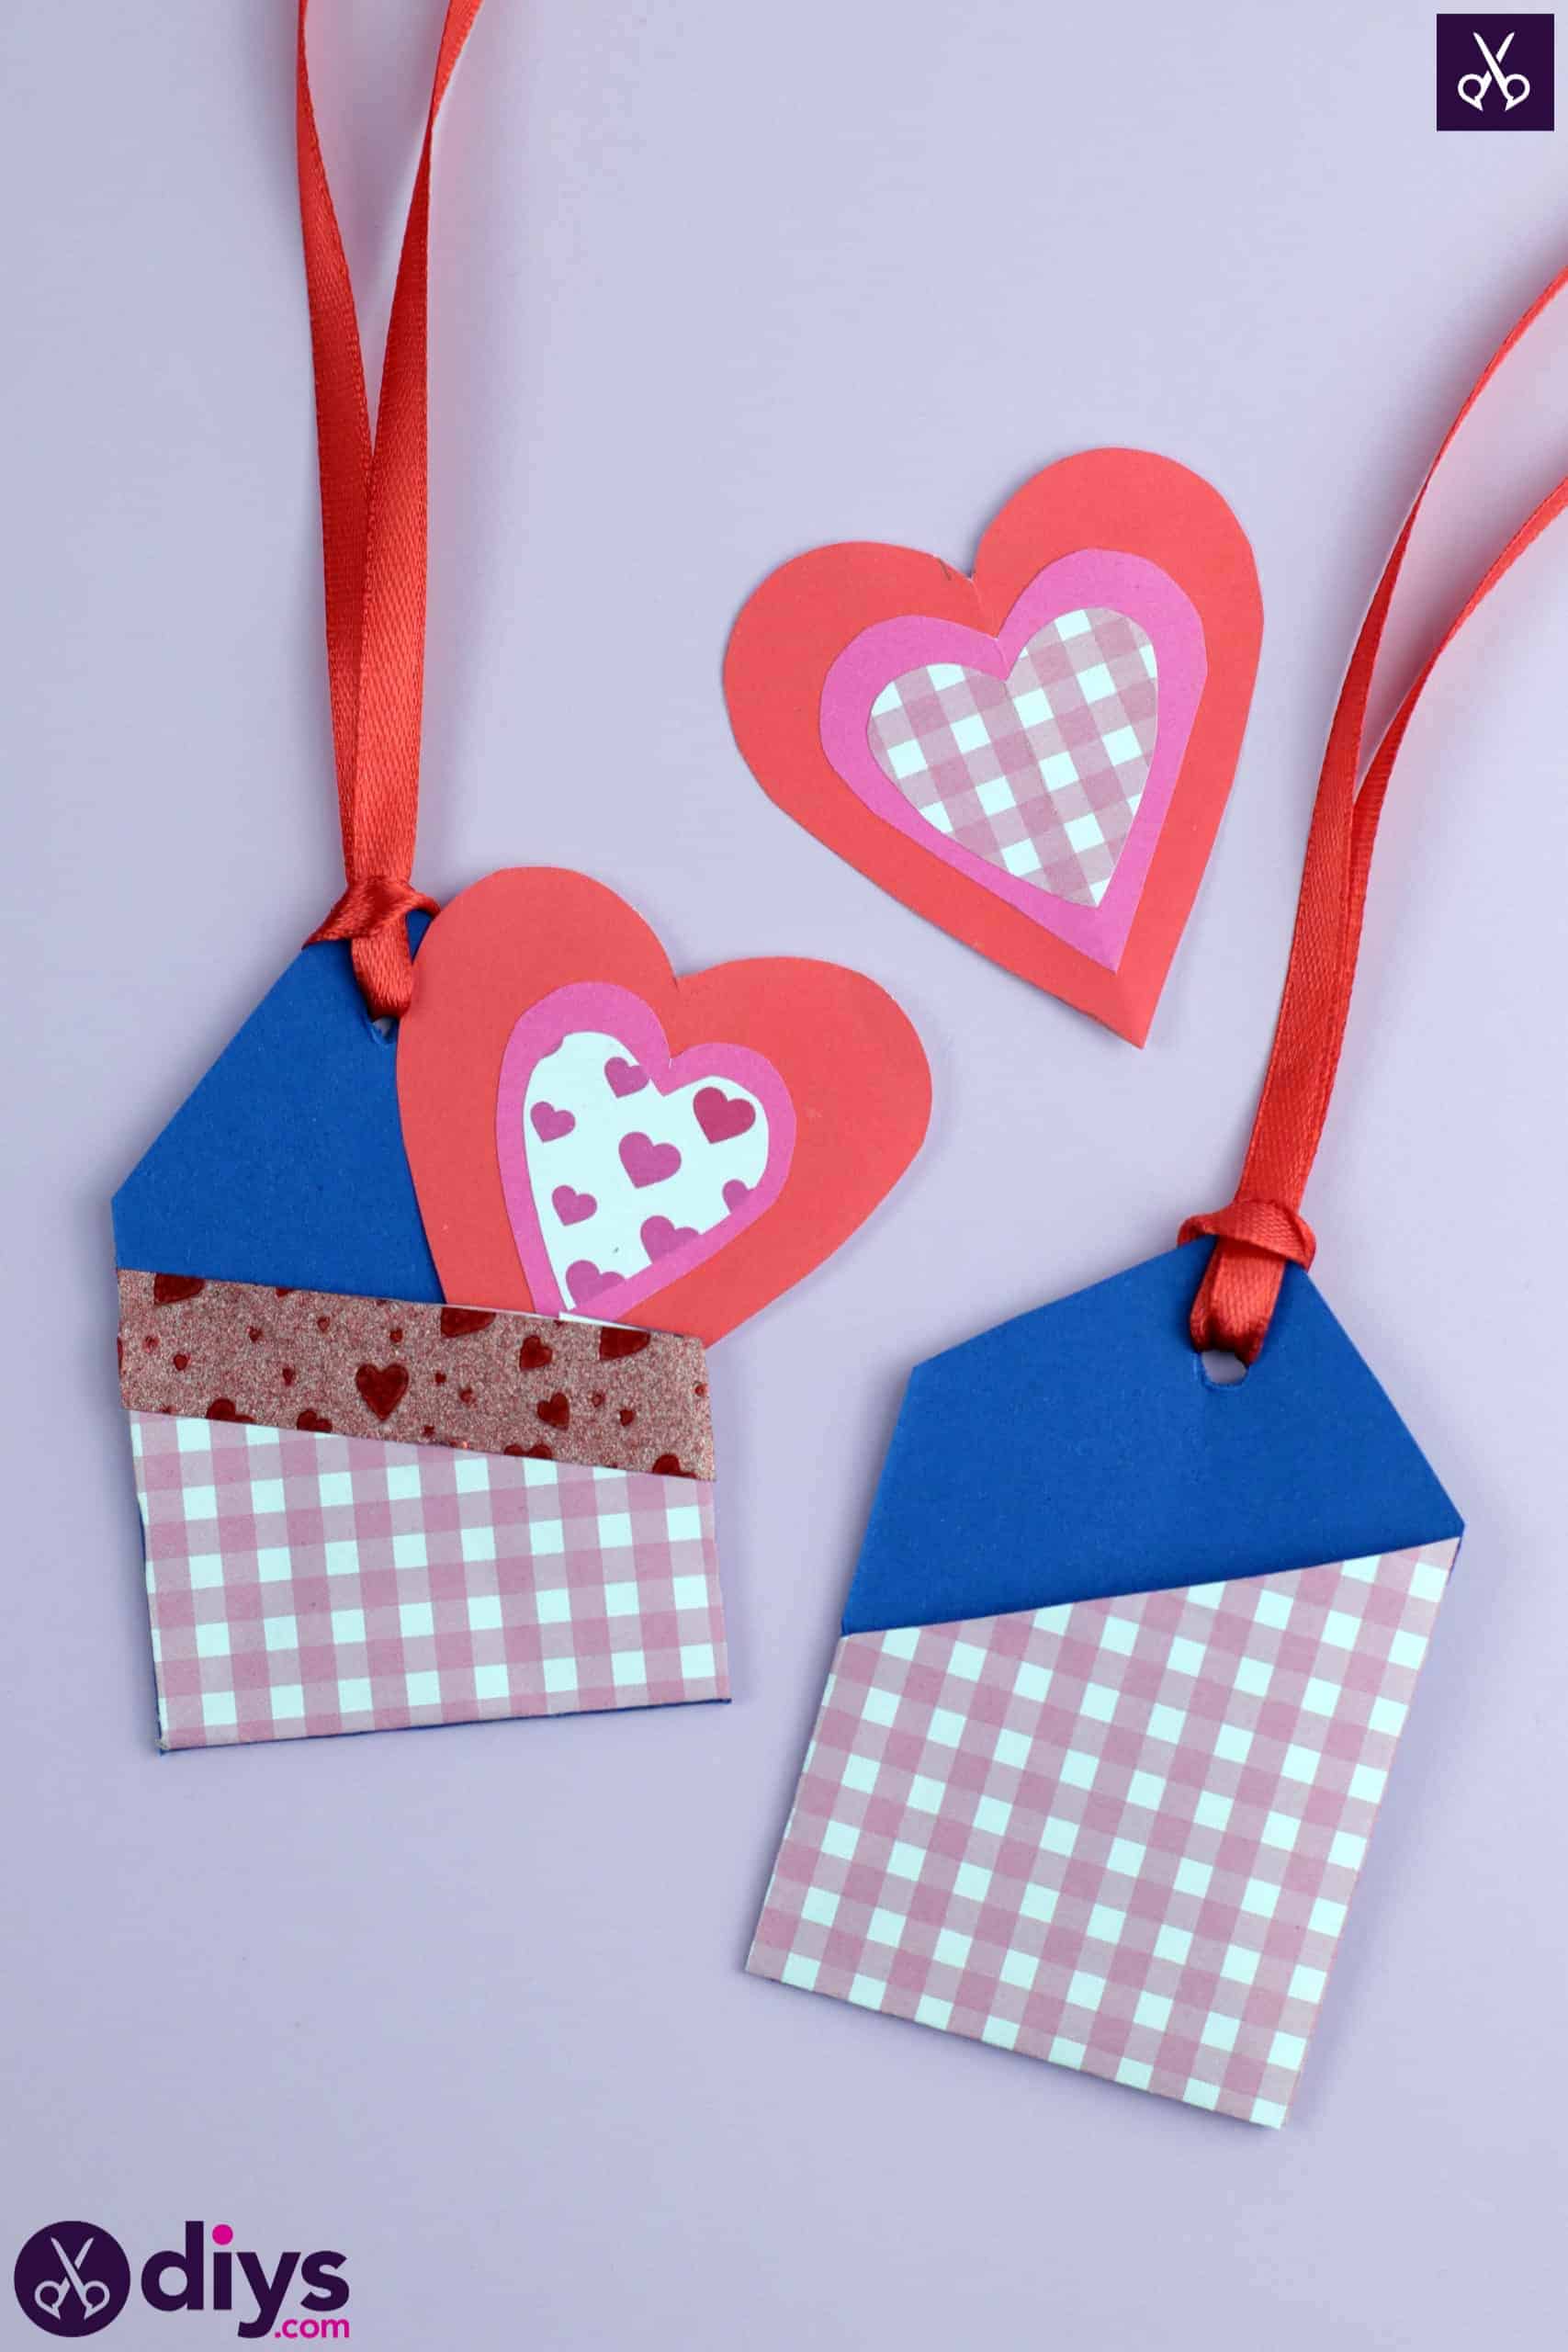
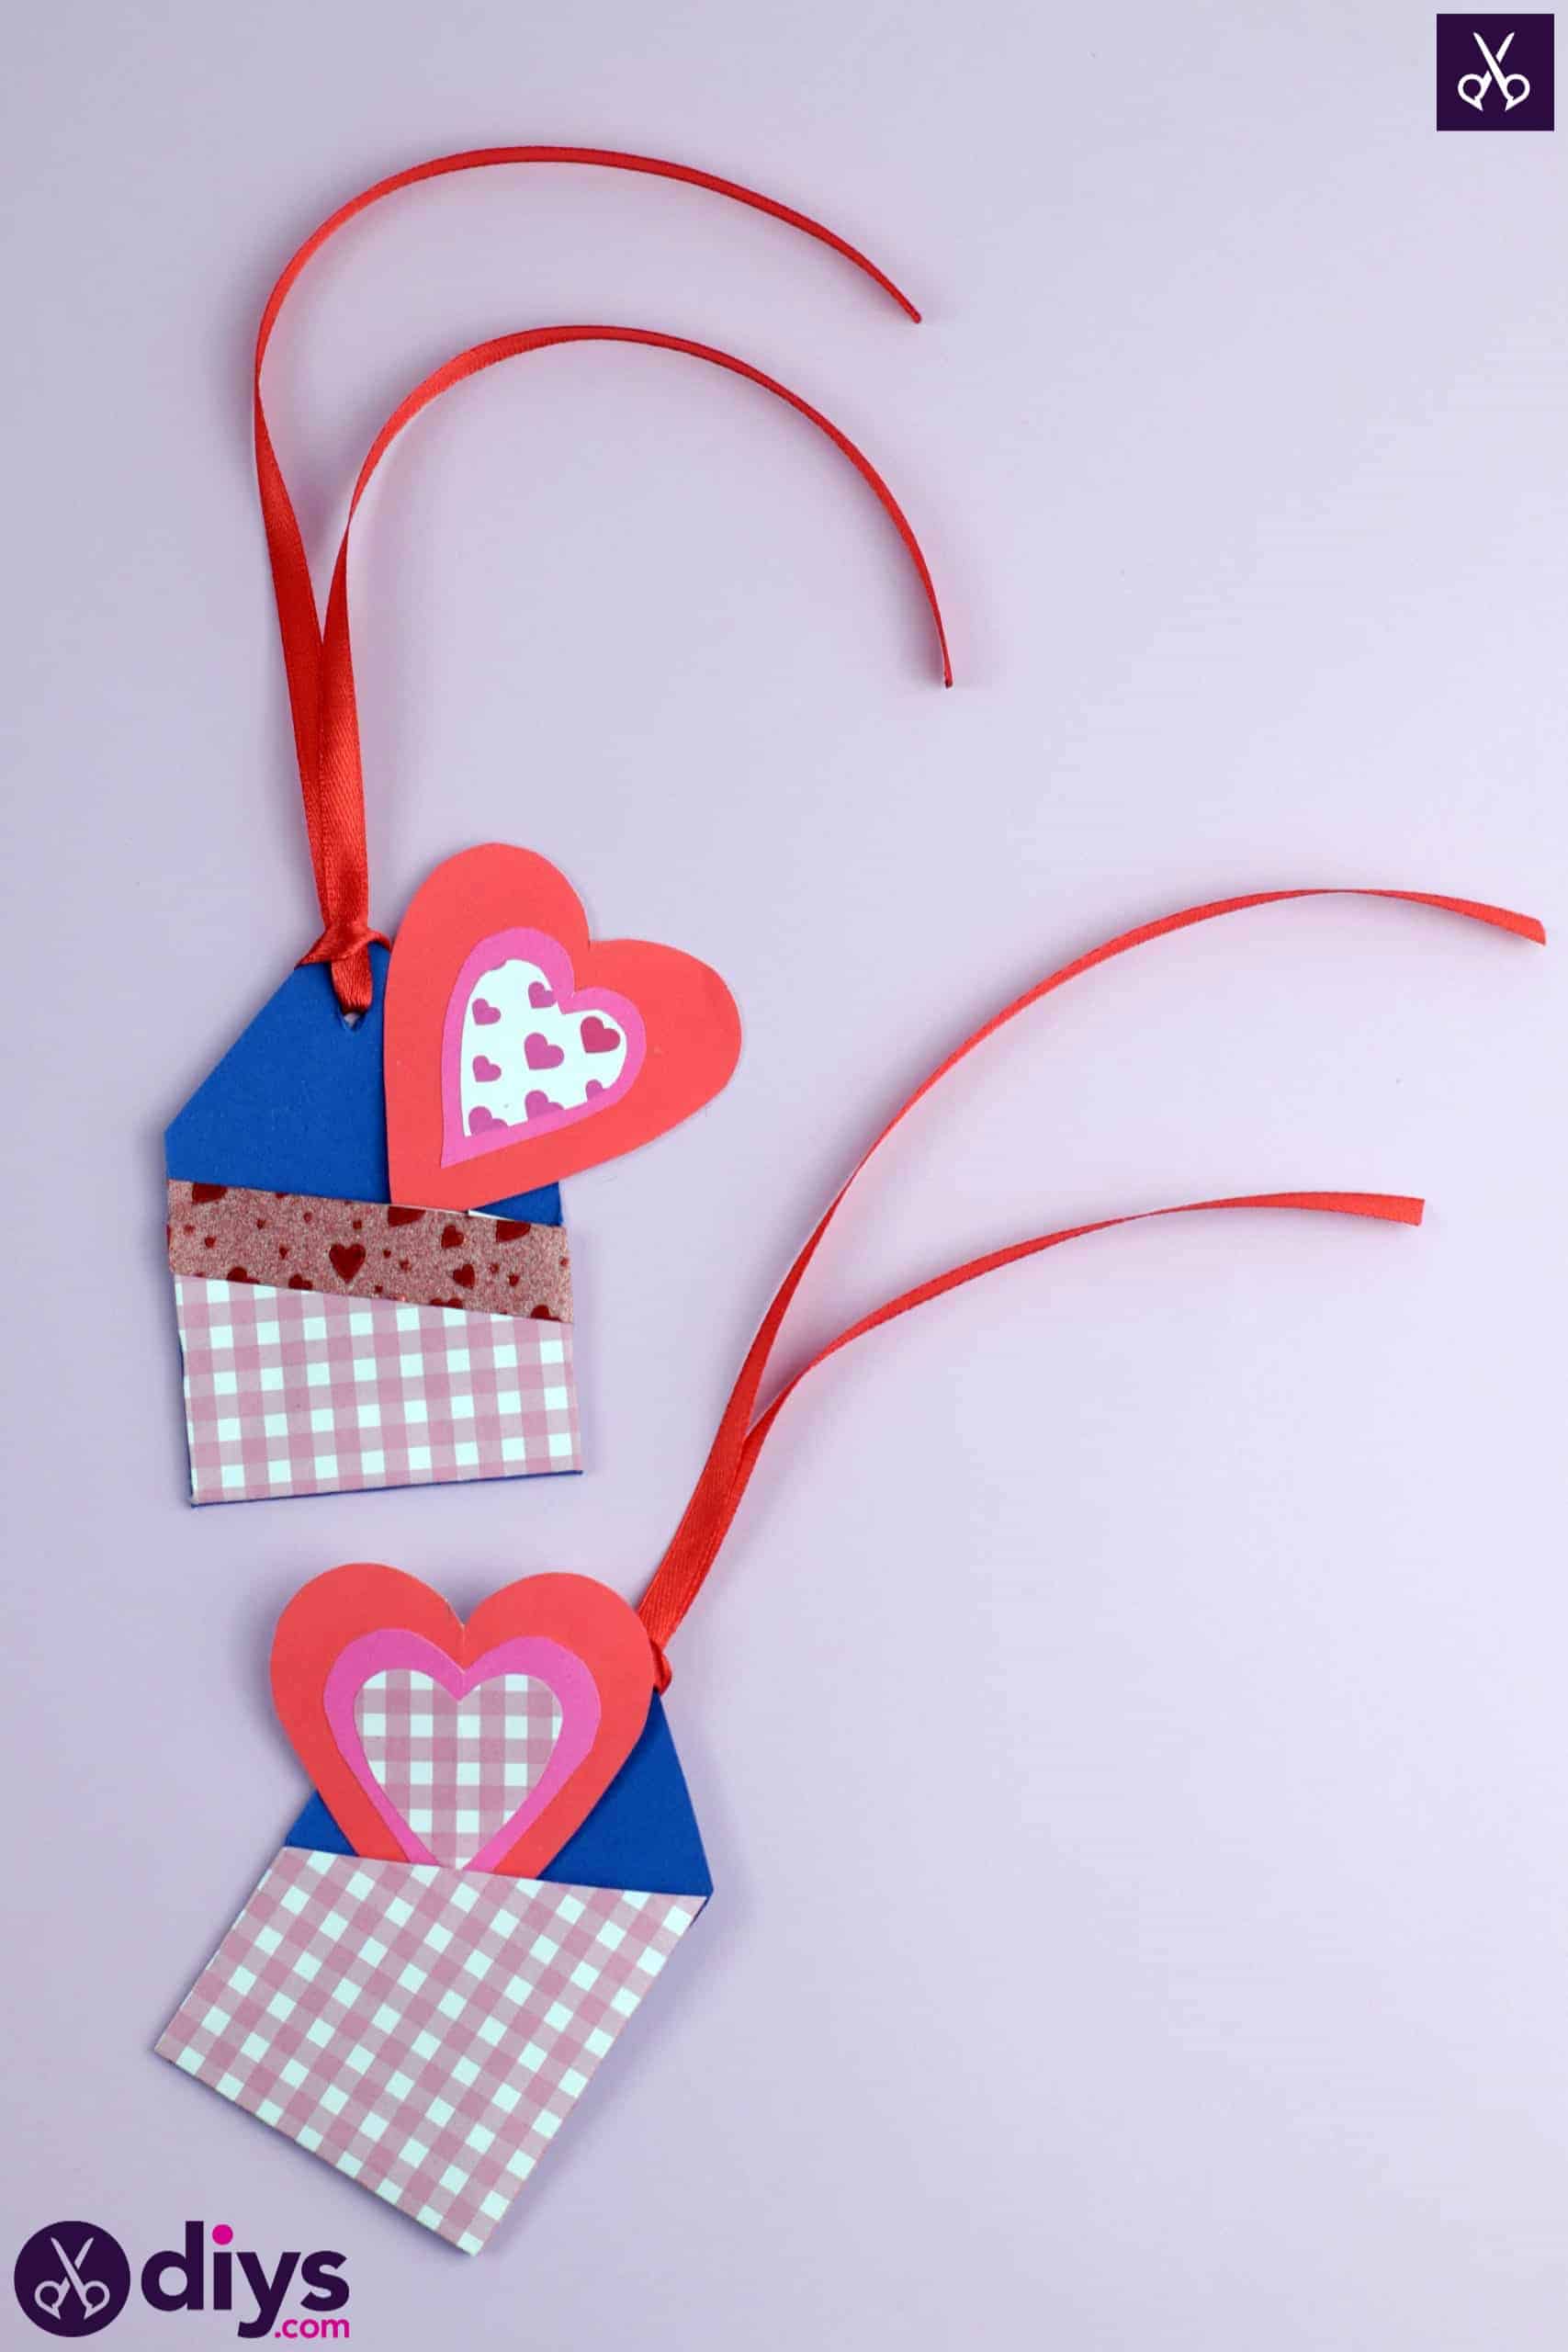
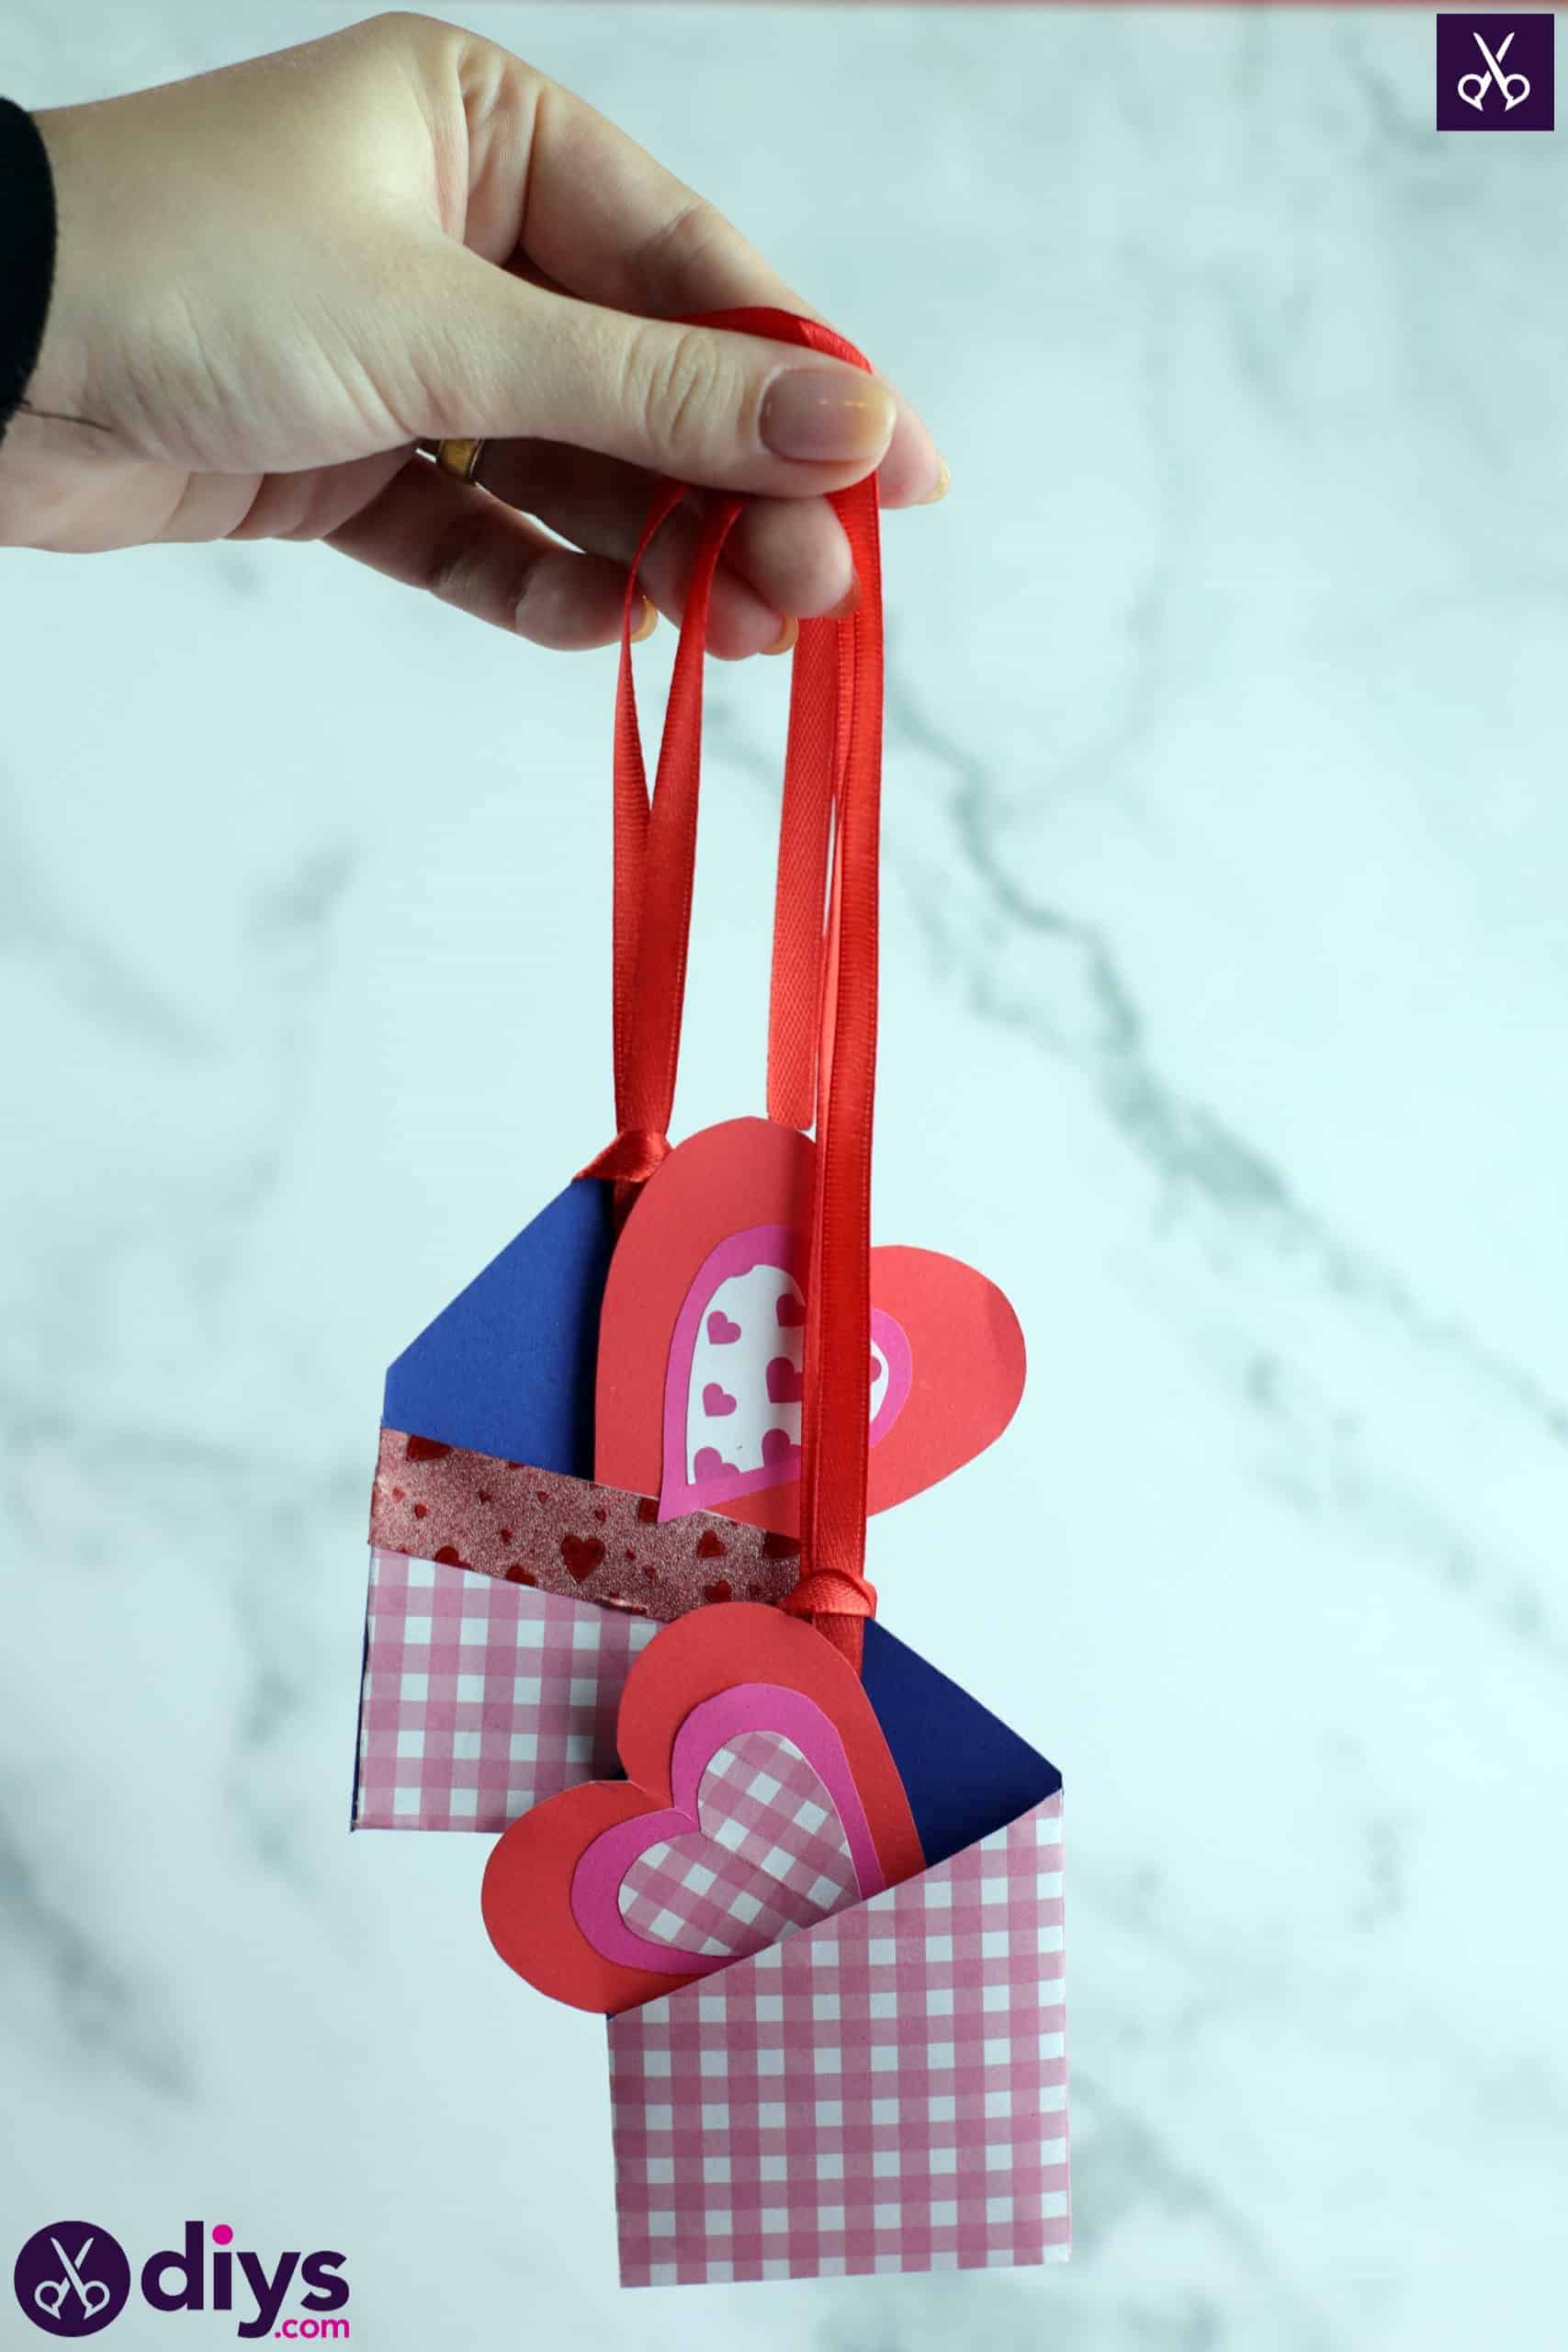
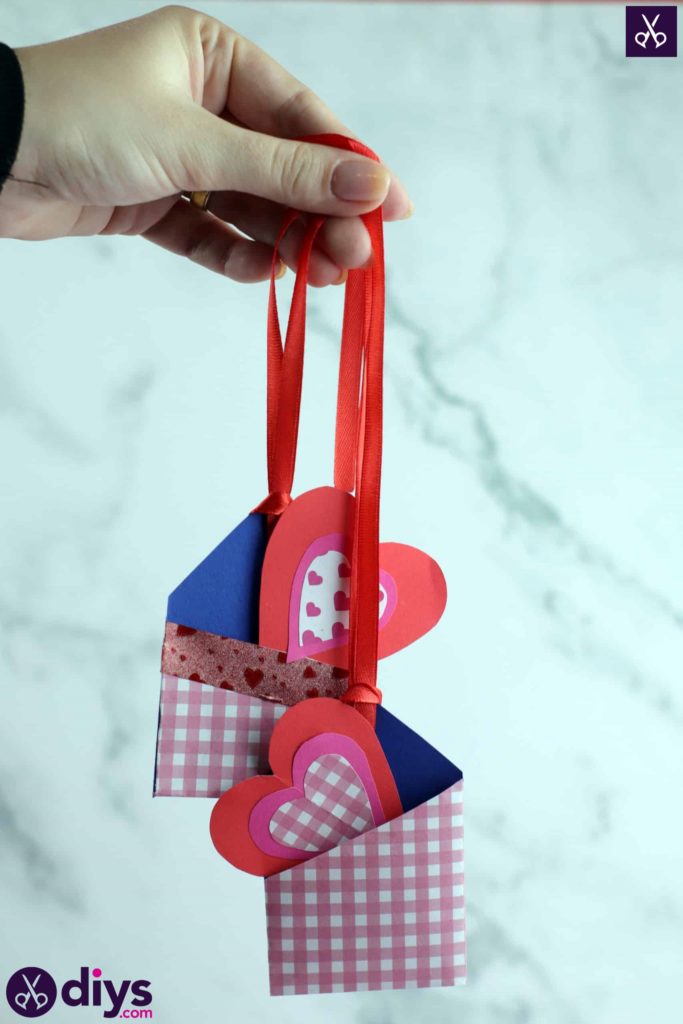
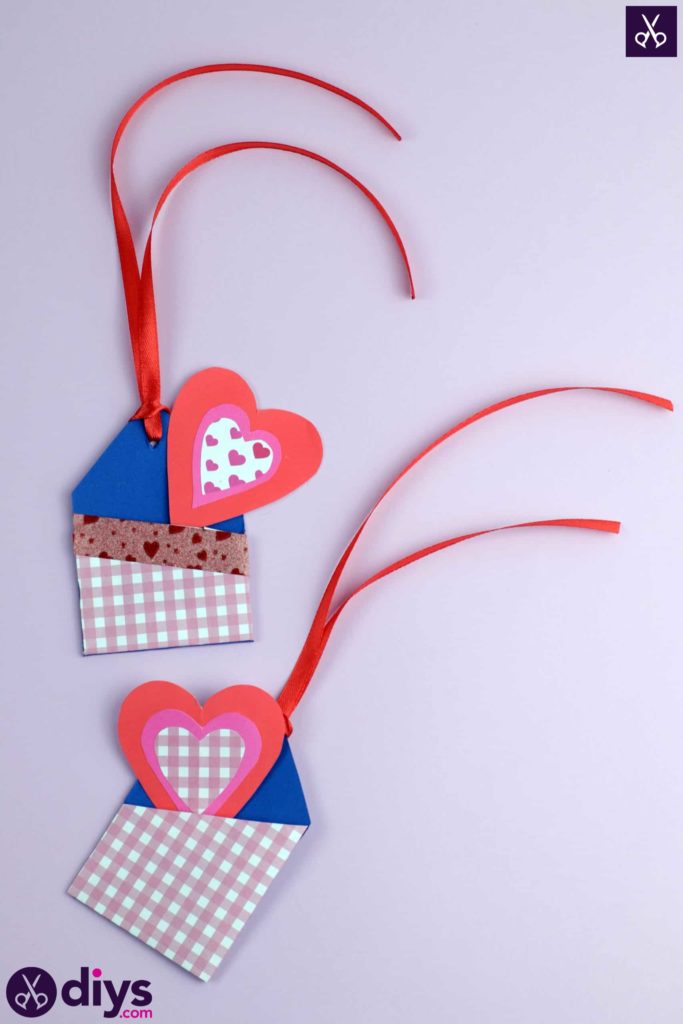
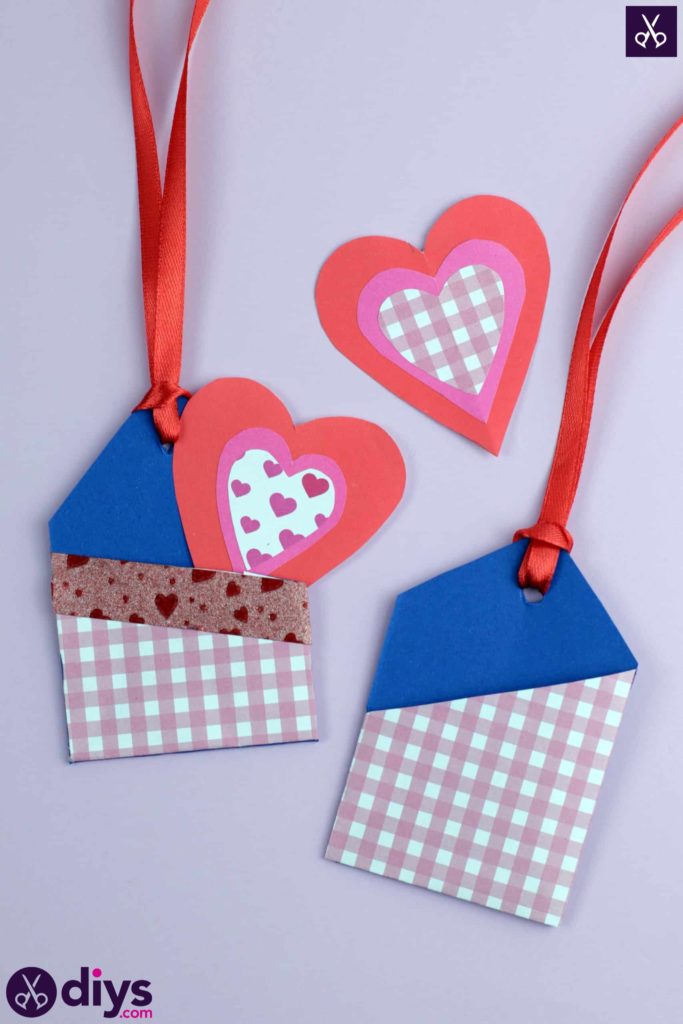
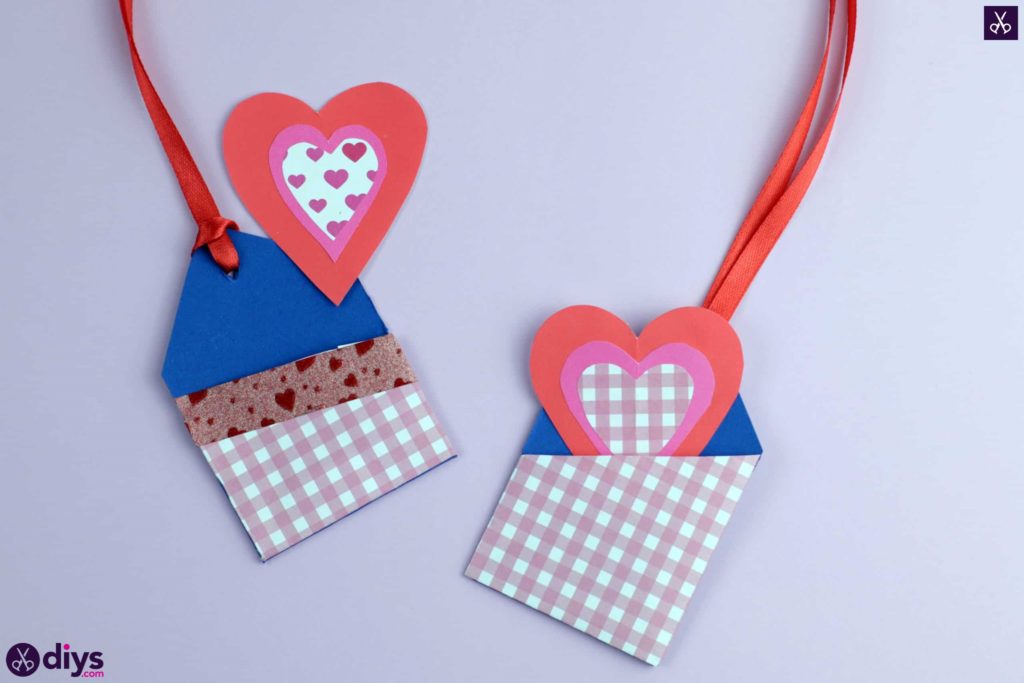
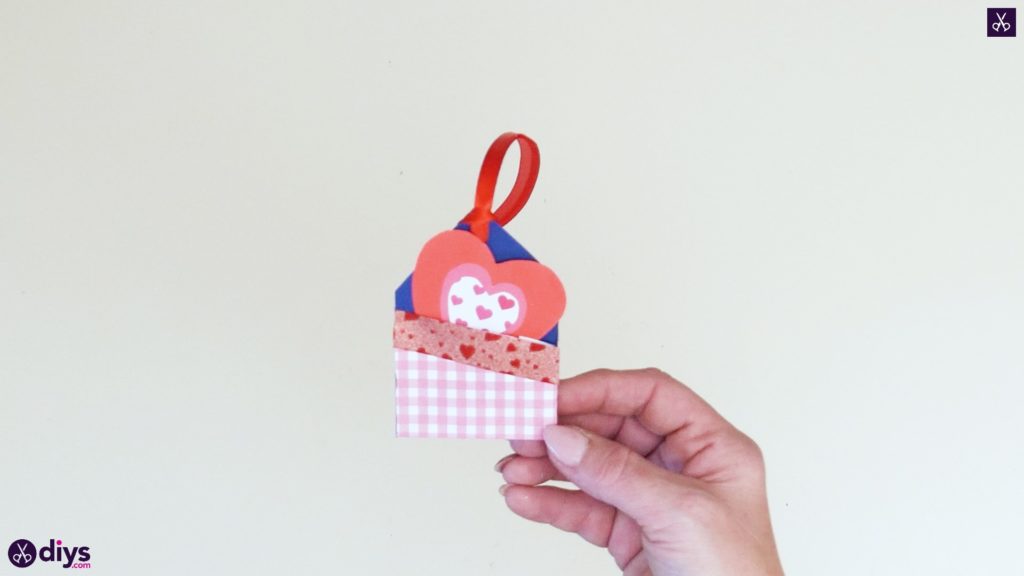
Are you the kind of person who loves to give the people in your life gifts more than just about anything else? What better way to show someone you love that you really put a lot of thought and care into the gift you’re about to give them than to make a custom heart element to top it off with? Check out how I made these DIY paper pocketed gift tags right here!
Check out these step by step instructions complete with photos! If you’d rather follow along with a video tutorial instead of written words, scroll to the bottom of this post to find just what you’re looking for.
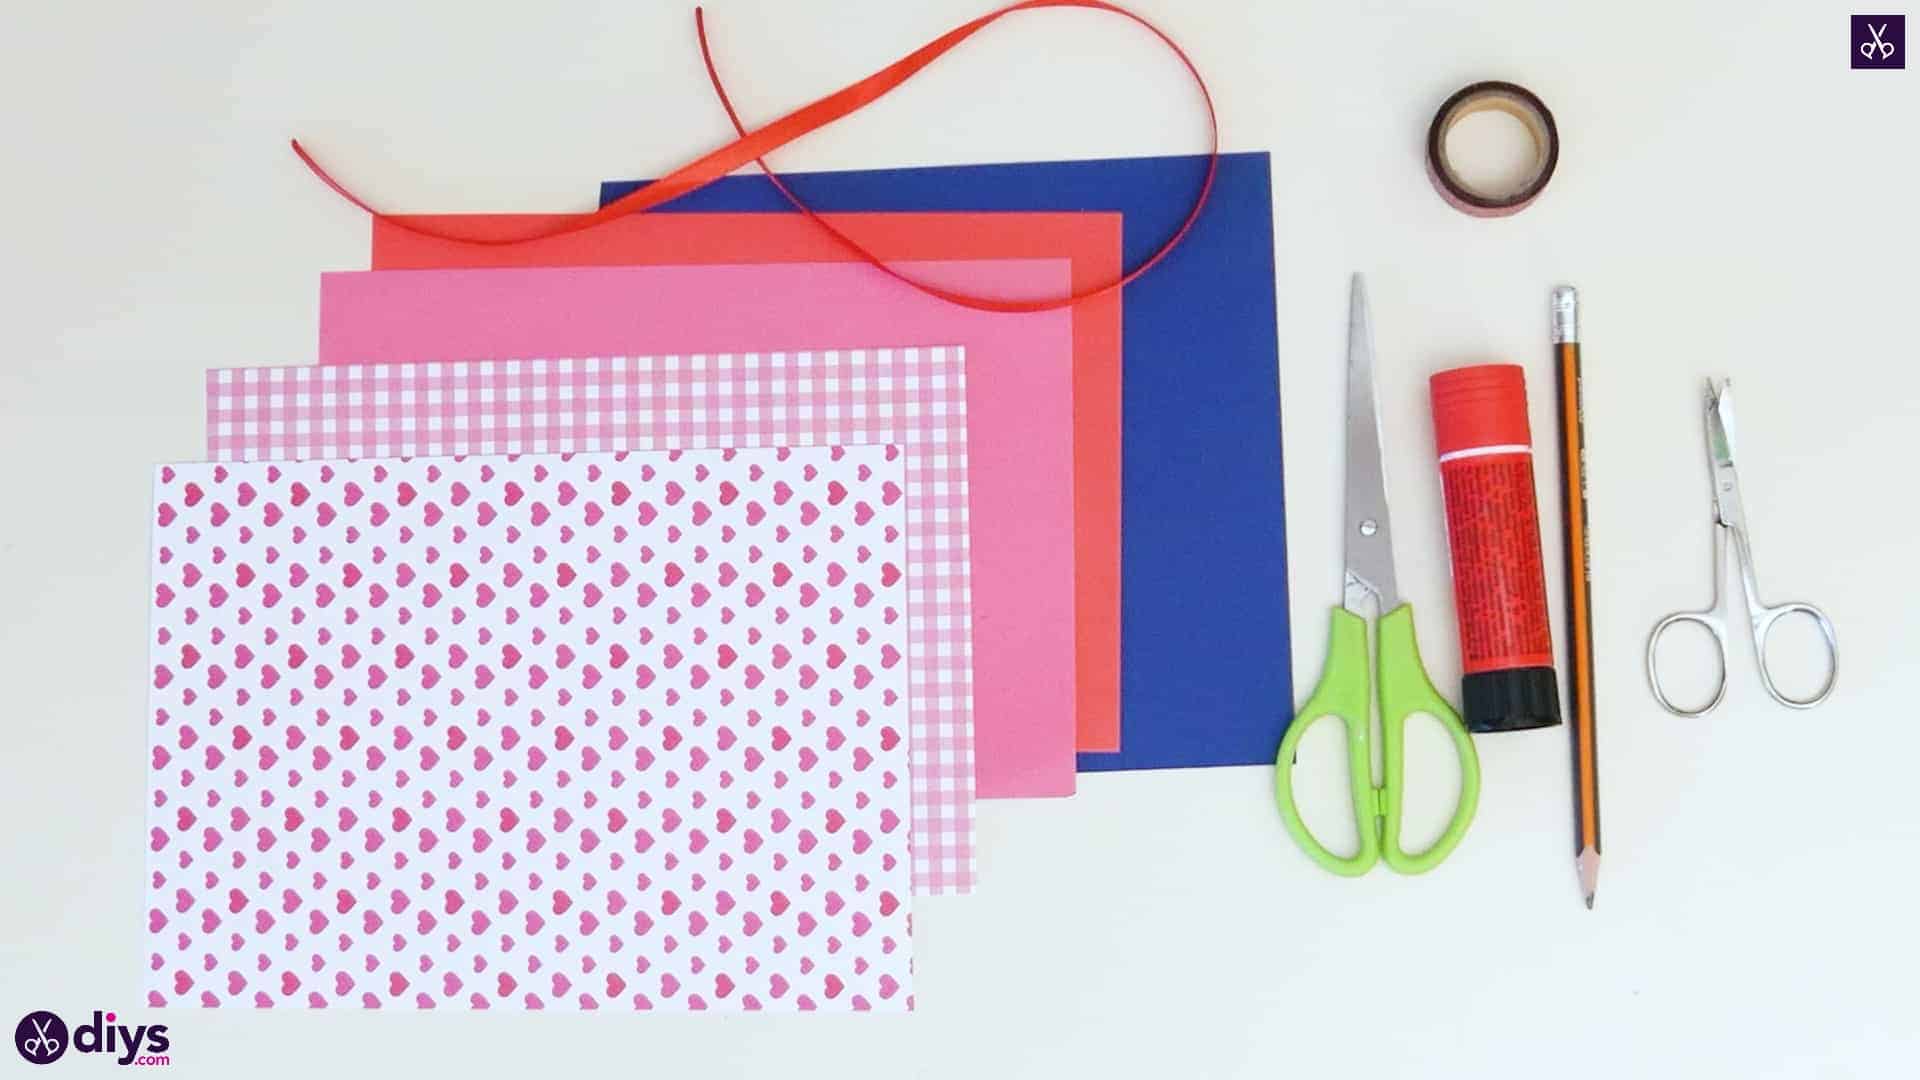
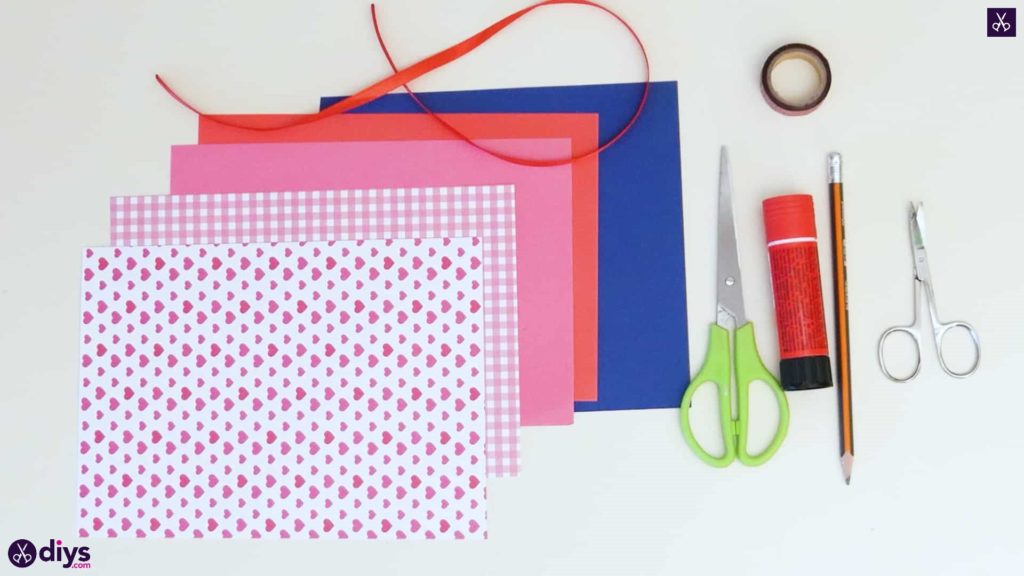
For this project, you’ll need:
- Paper (blue, red, pink, and multi-coloured)
- Scissors
- A glue stick
- A pencil
- Red ribbon
- Curved nail scissors
- Washi tape
Step 1: Gather your materials!
Double check your list and put all your materials in front of you.
Step 2: make the heart tag
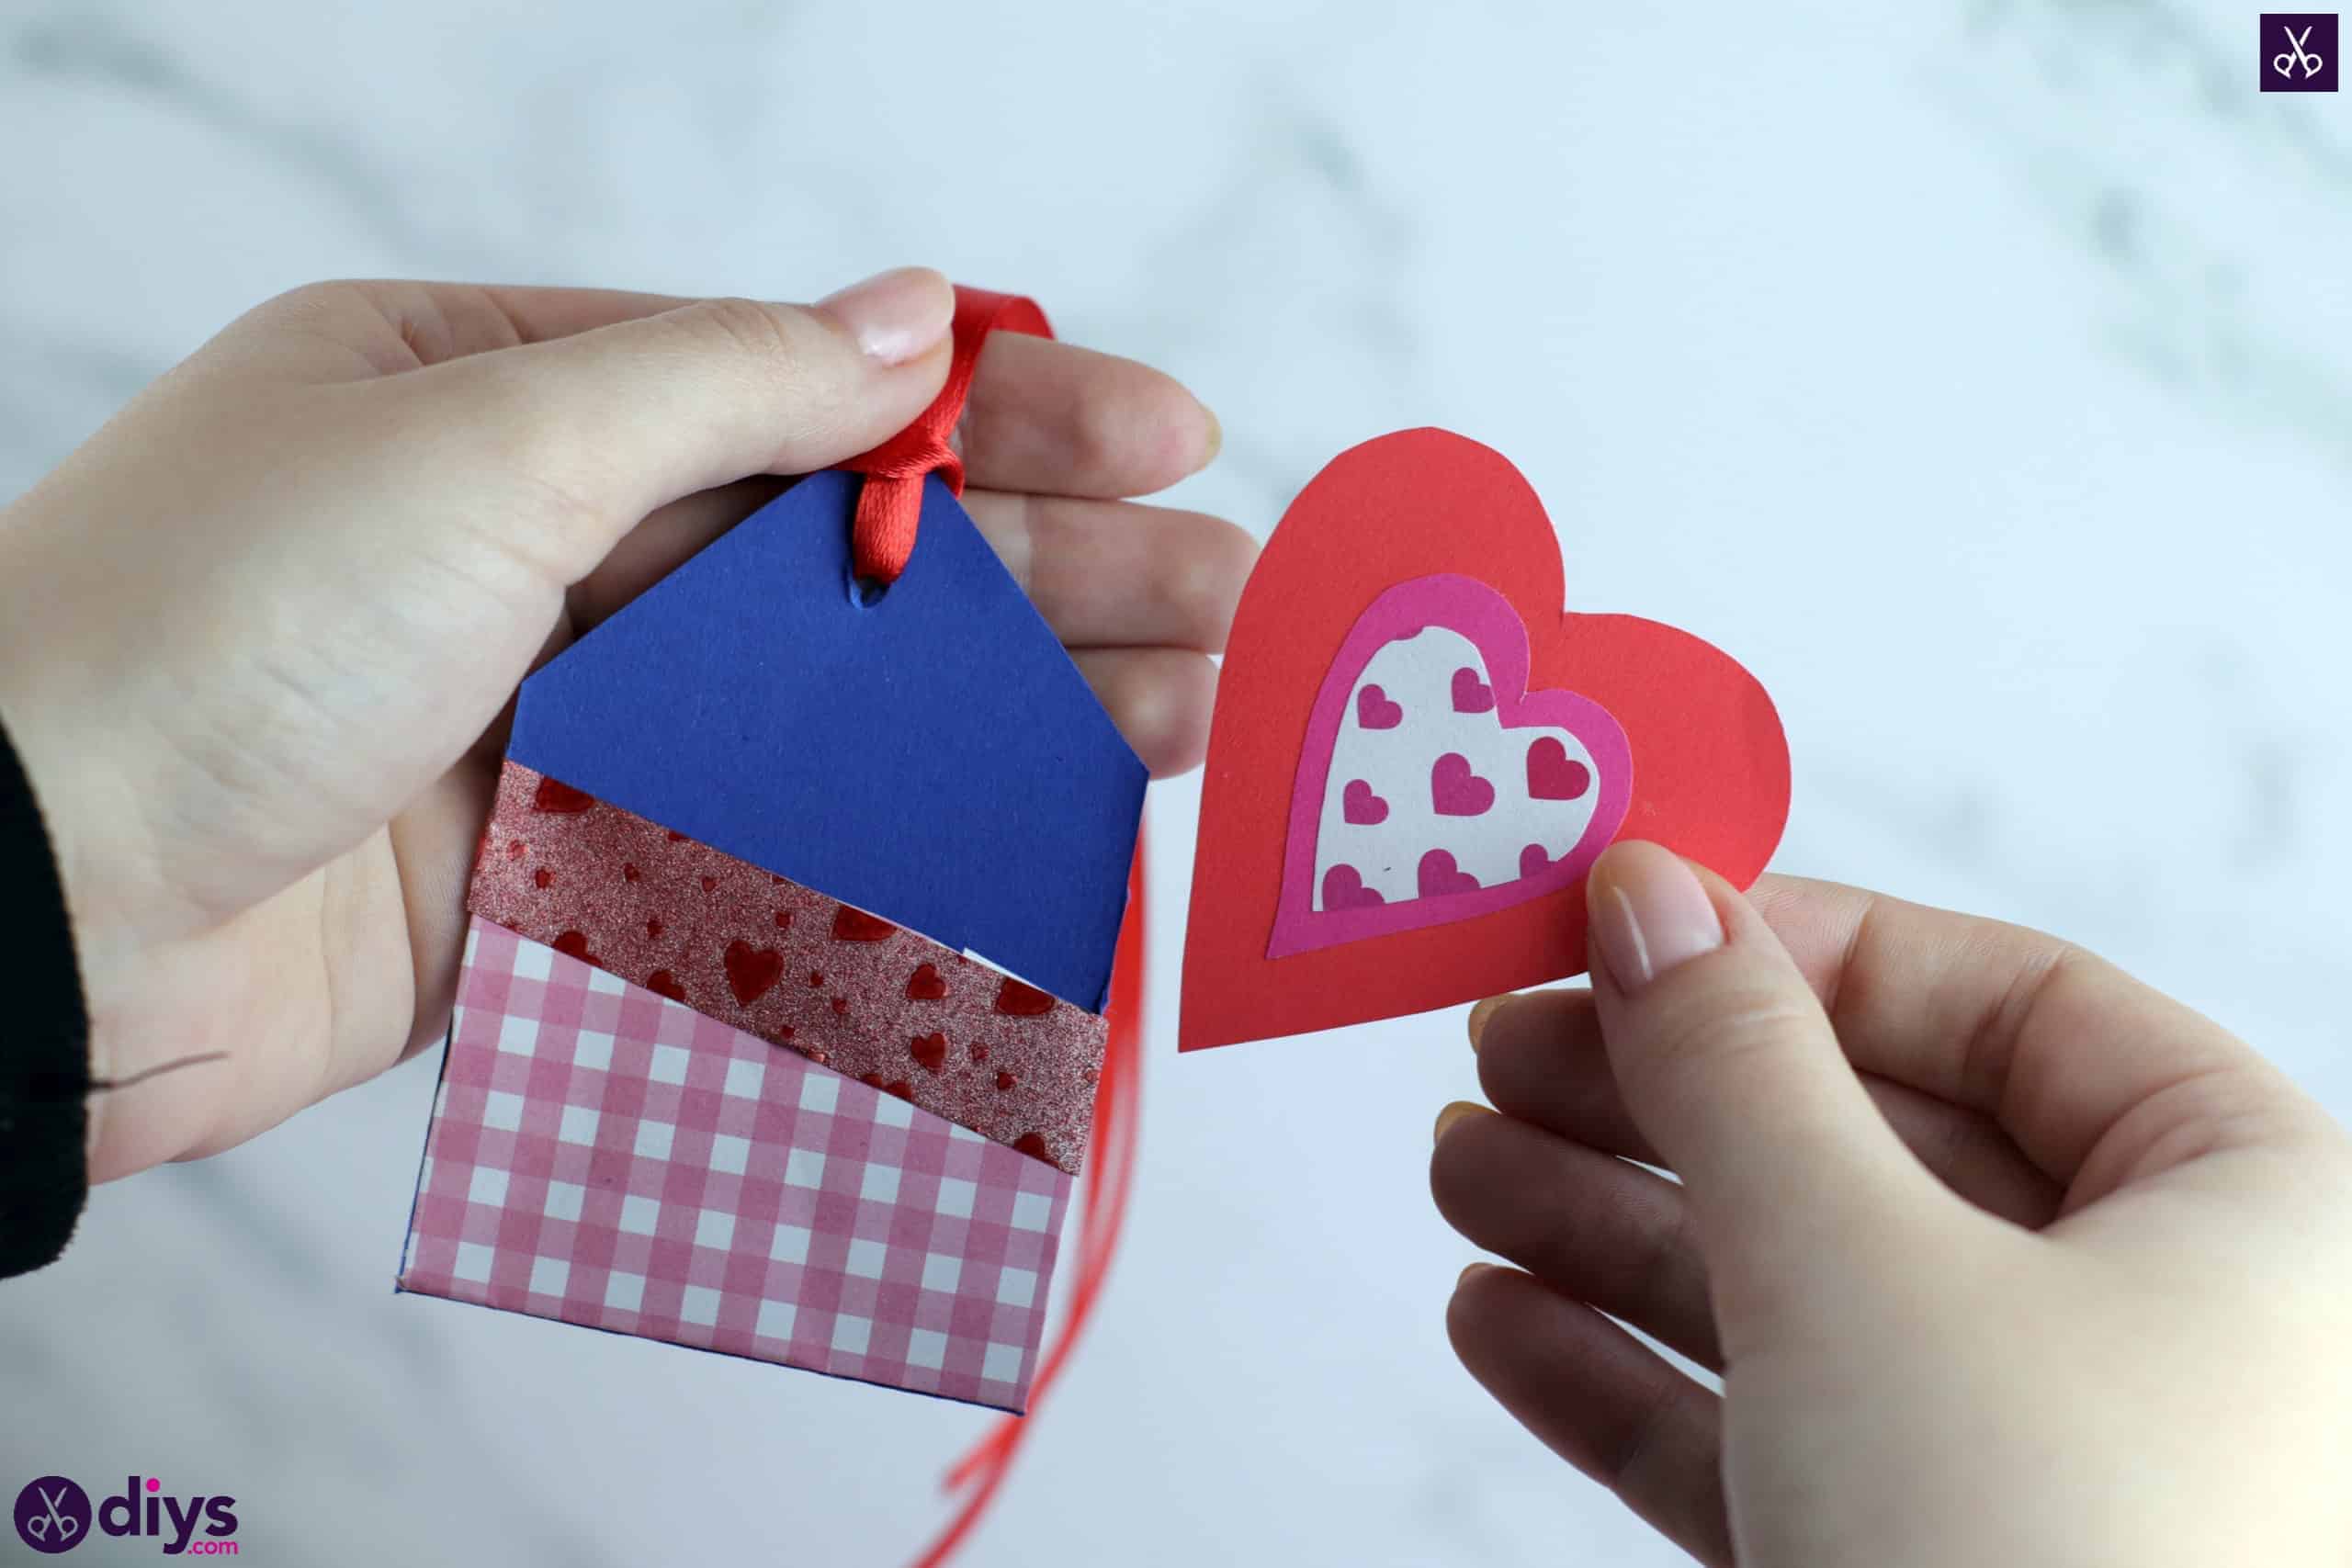
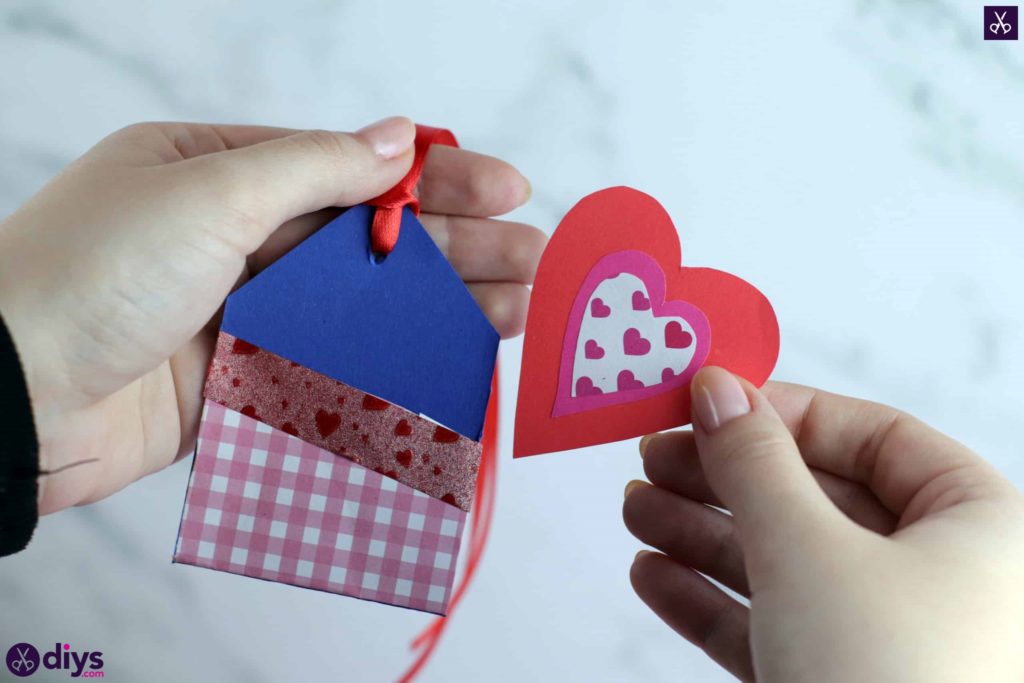
Make your heart tag, which is the piece you’ll actually write your message on later! This is also the piece that you’ll slot into the pocket when you’re finished. Choose three kinds of patterned or coloured paper; I chose red, pink, and heart printed! On each one, draw the shape of a heart. The trick here, however, is that you want to draw three hearts of three different sizes so that you can nest them one on top of each other in descending order, letting the edges of the bigger ones show all the way around the smaller one glued to its front. Draw a big heart, a medium heart, and a small heart and cut all of them out. Then glue them together, sticking medium one down in the centre of the big one and the small one down in the centre of the medium one.
Step 3: cut and shape
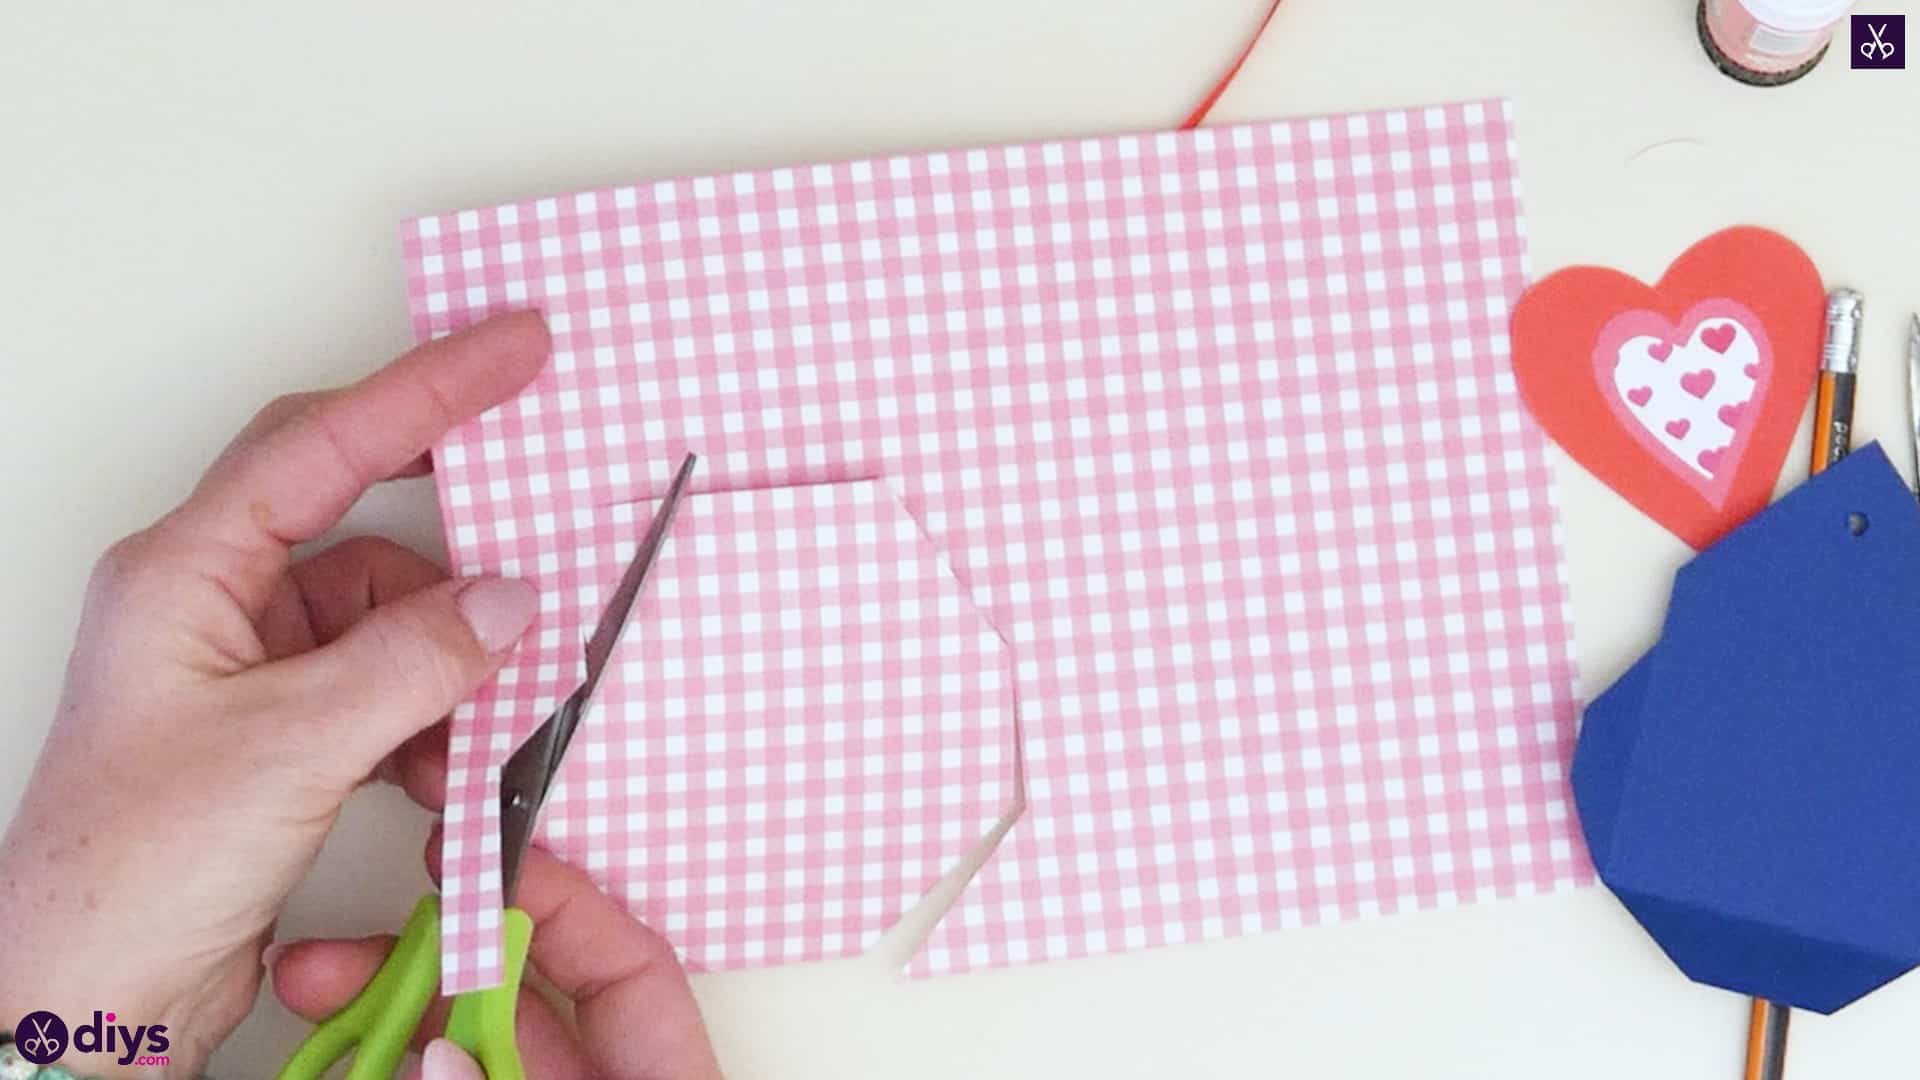
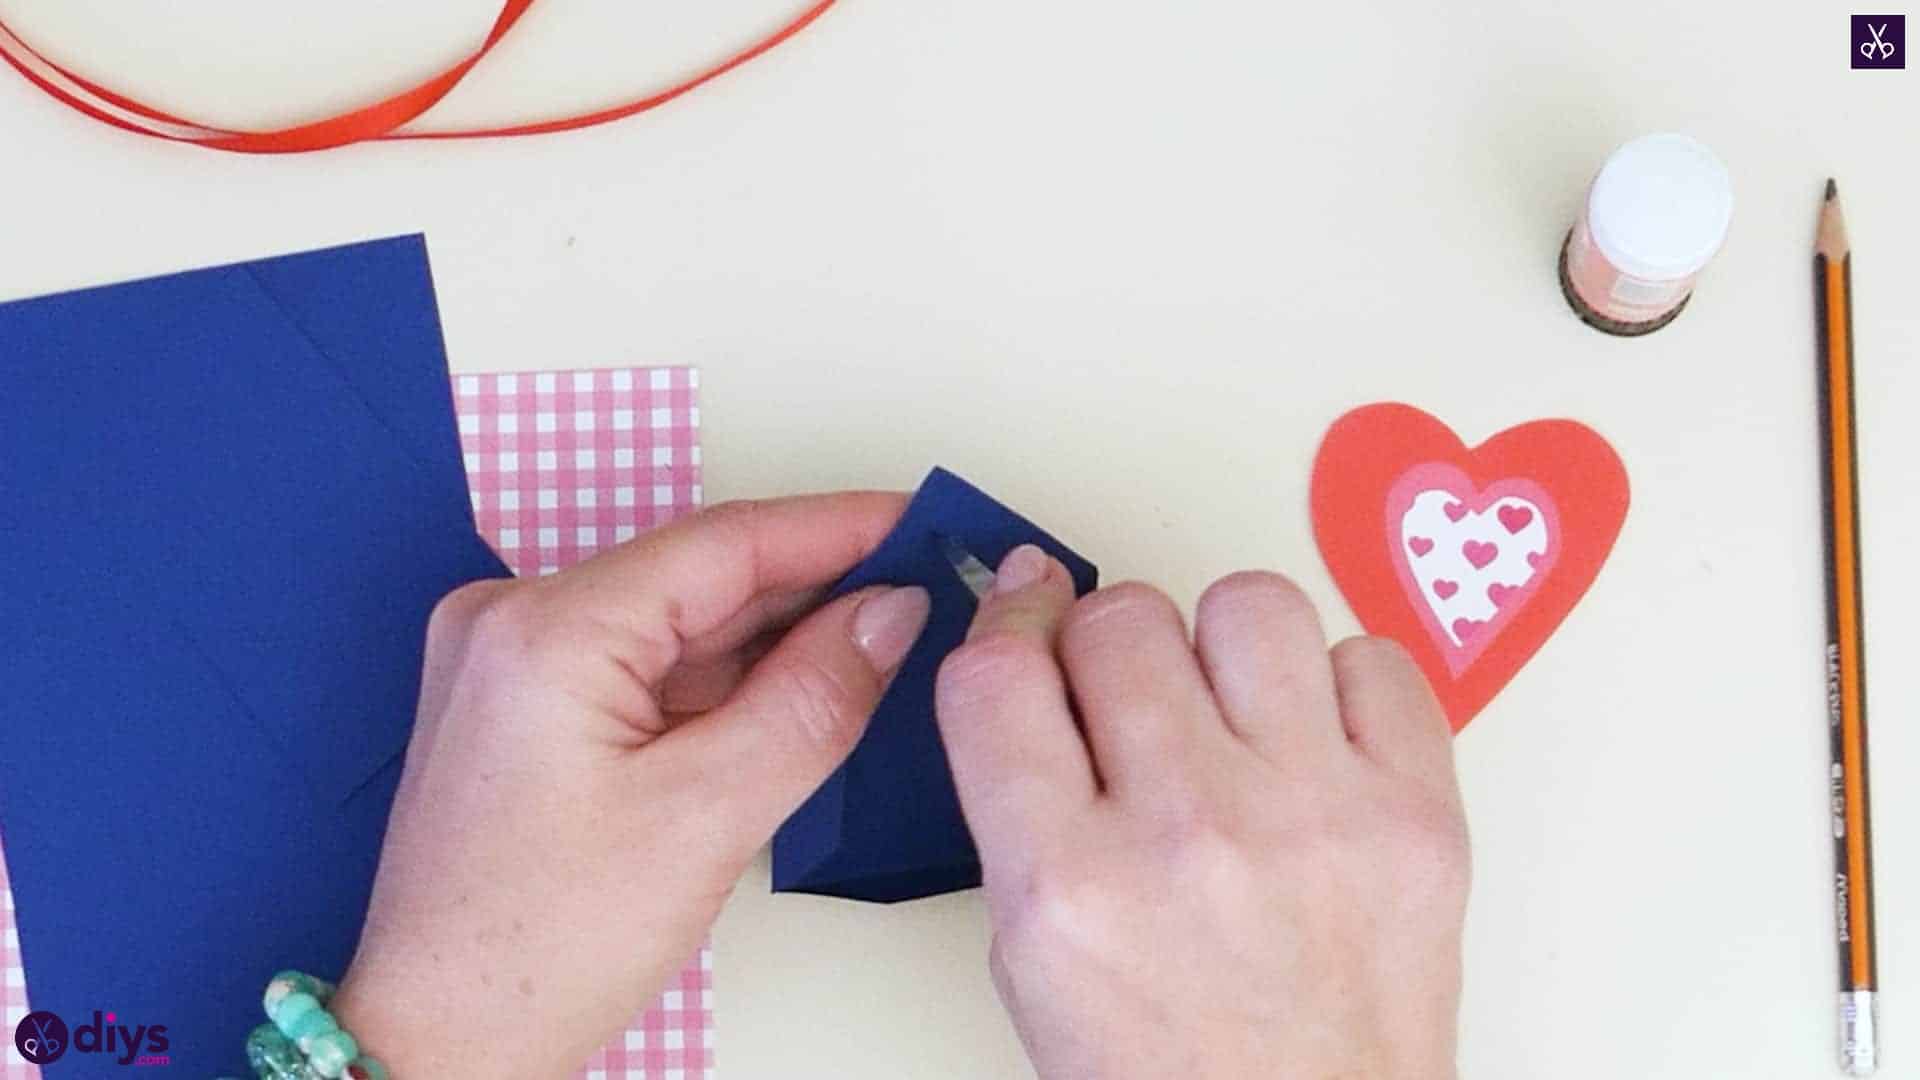
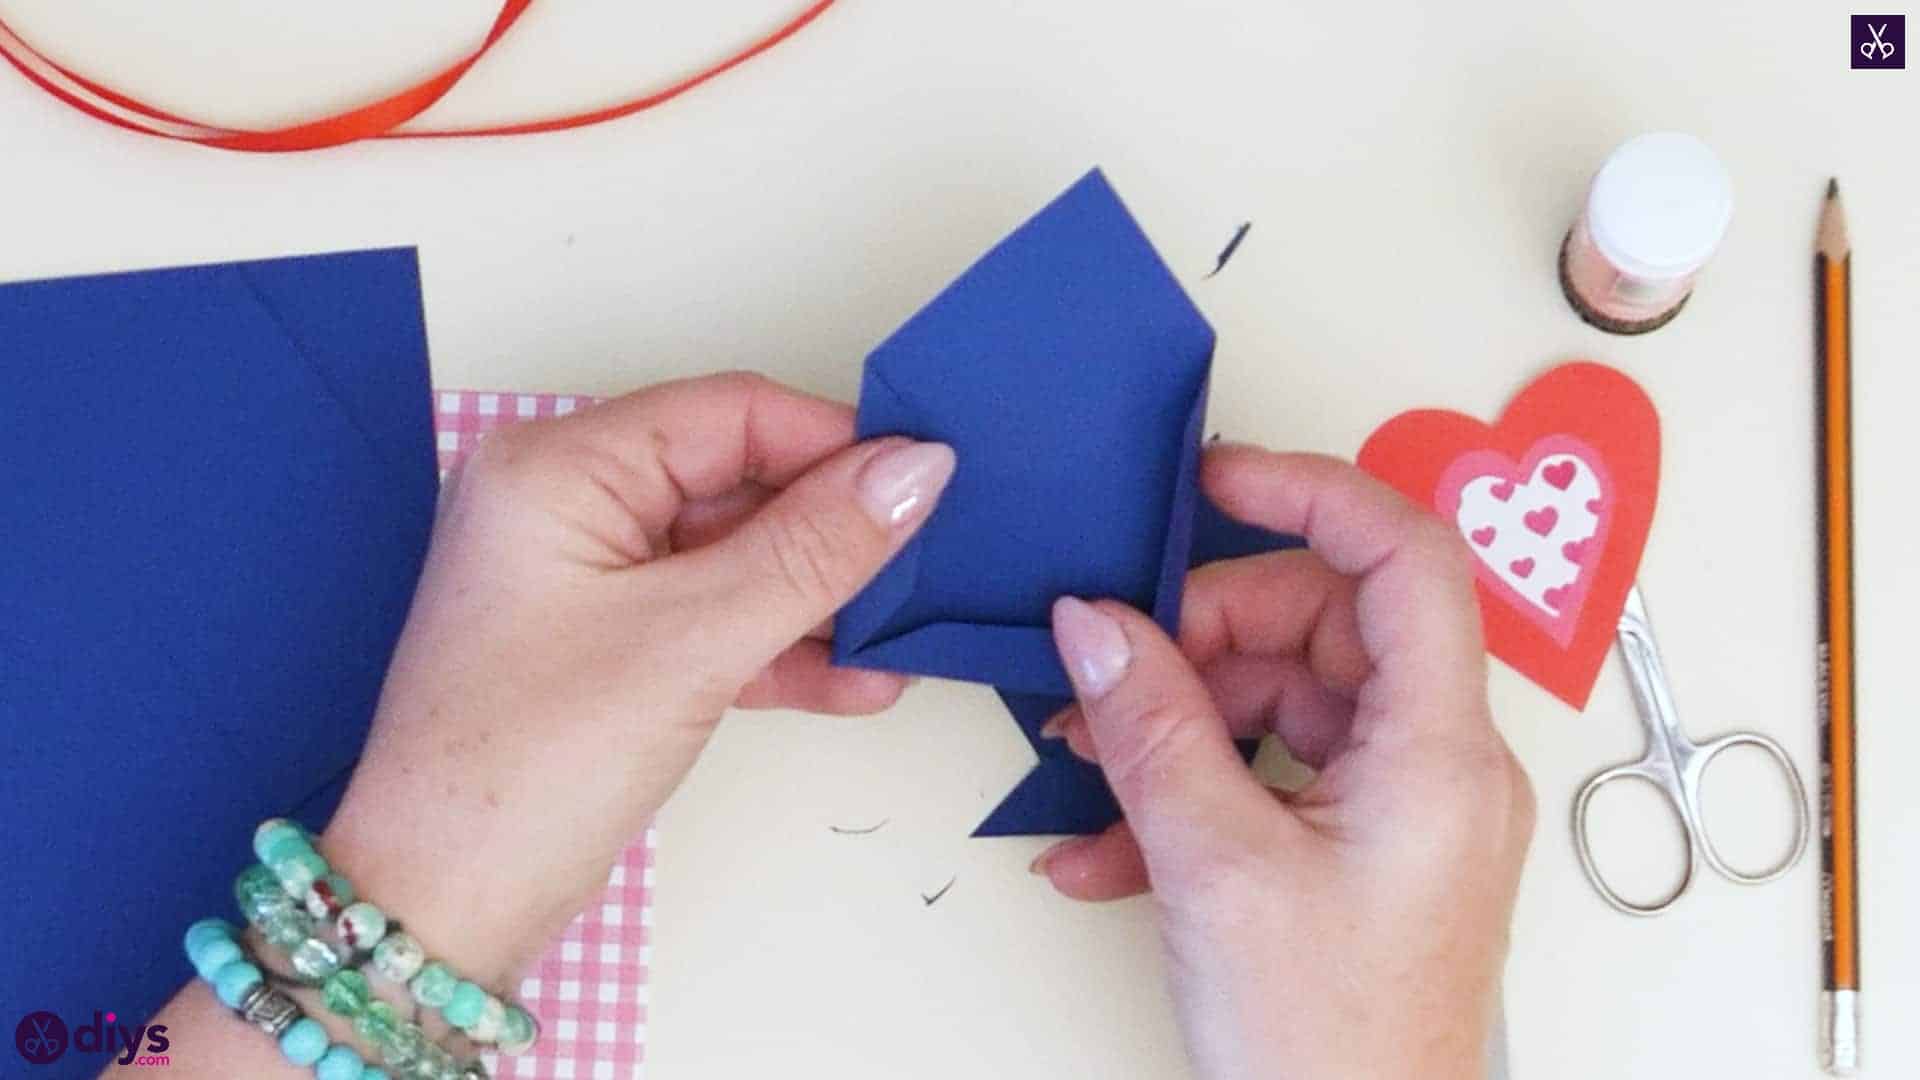
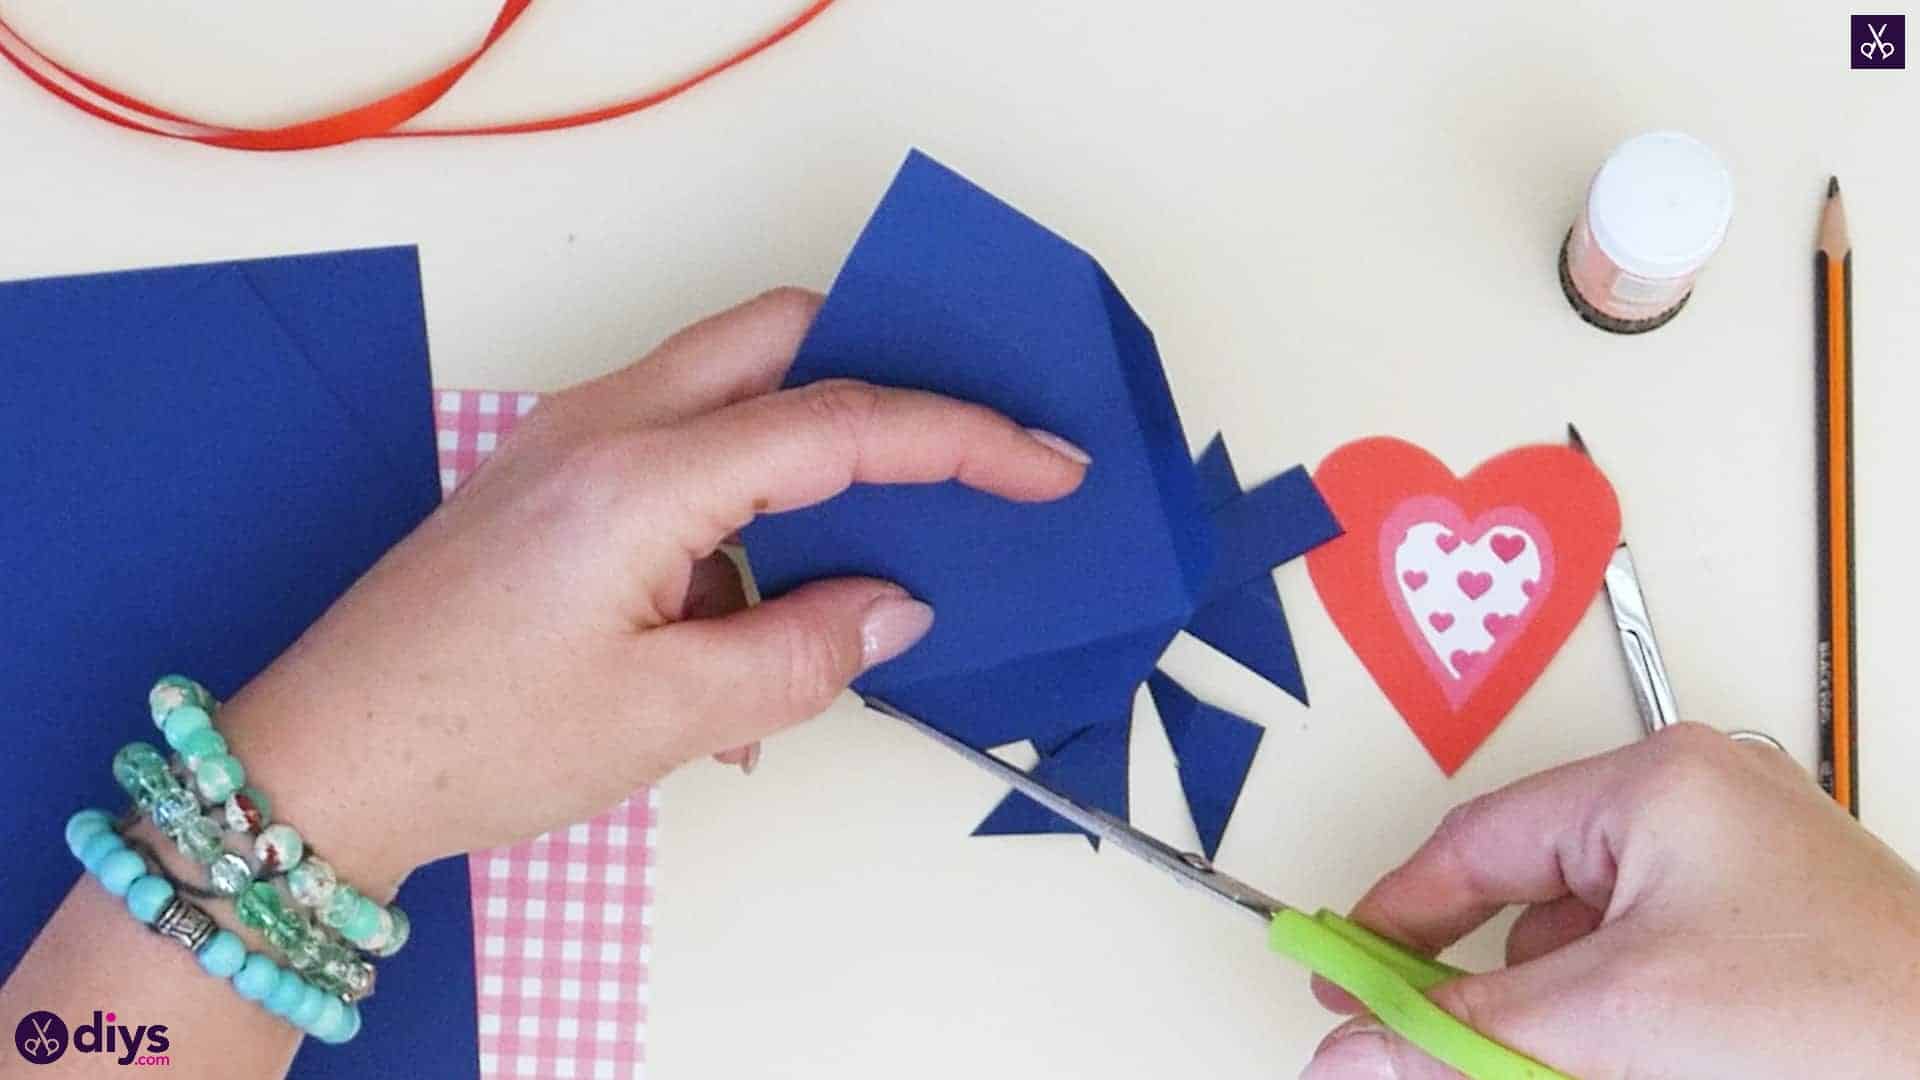
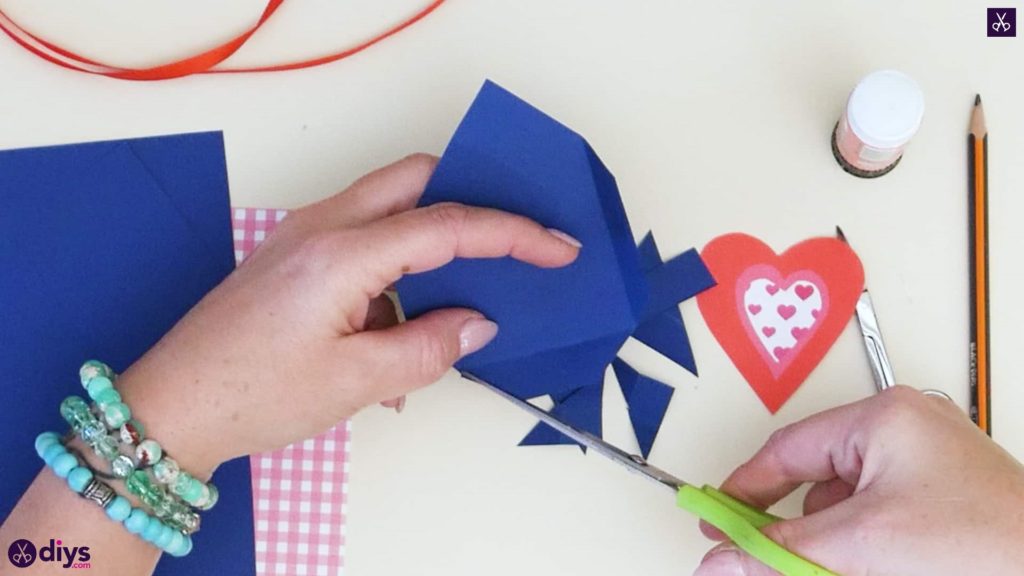
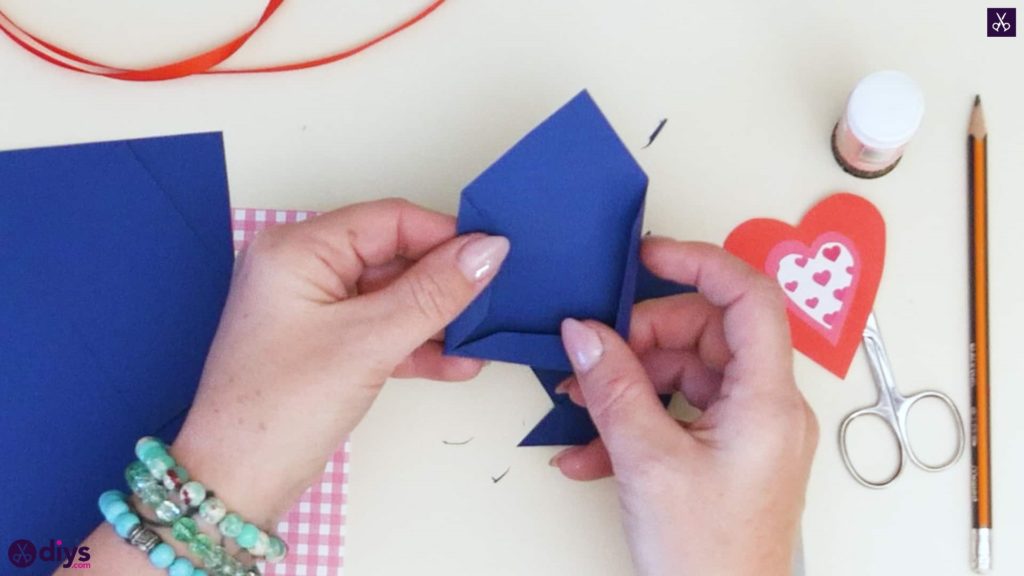
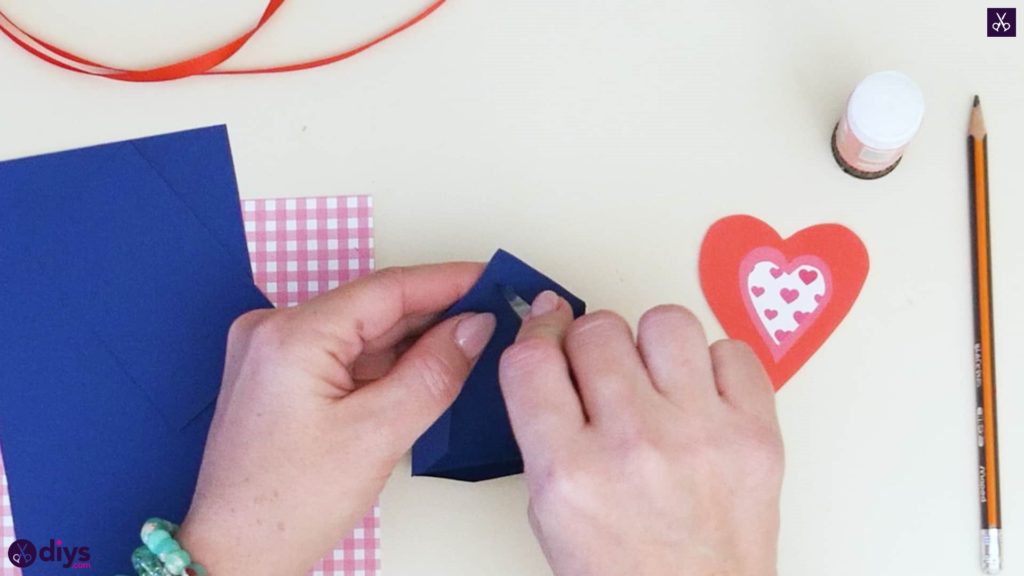
Cut a rectangle about two inches by three inches long from your blue paper. Turn it on your tabletop so its short edges are at the top and bottom and its long edges are on either side. Fold the bottom edge upwards and in towards the centre of the rectangle about half an inch and crease the paper so it stays folded. Make a fold of the same size inwards from either side, bringing the long edges towards the middle by half an inch and creasing the paper there. At the top, where you haven’t made any folds cut the two straight corners off (cutting right through the side folds) on a diagonal angle, creating a pointed top like a triangle or the closing flap of an envelope. Then open the sides and bottom and make small diagonal cuts to take the corners off there as well, always angling your scissors outwards. You’ll see that, when you re-fold the pieces, you’ve solved the way the corners make a bulky overlap. Now poke a hole in the middle top of your blue envelope, near the pointed tip, using the ends of your scissors.
Step 4: make the front
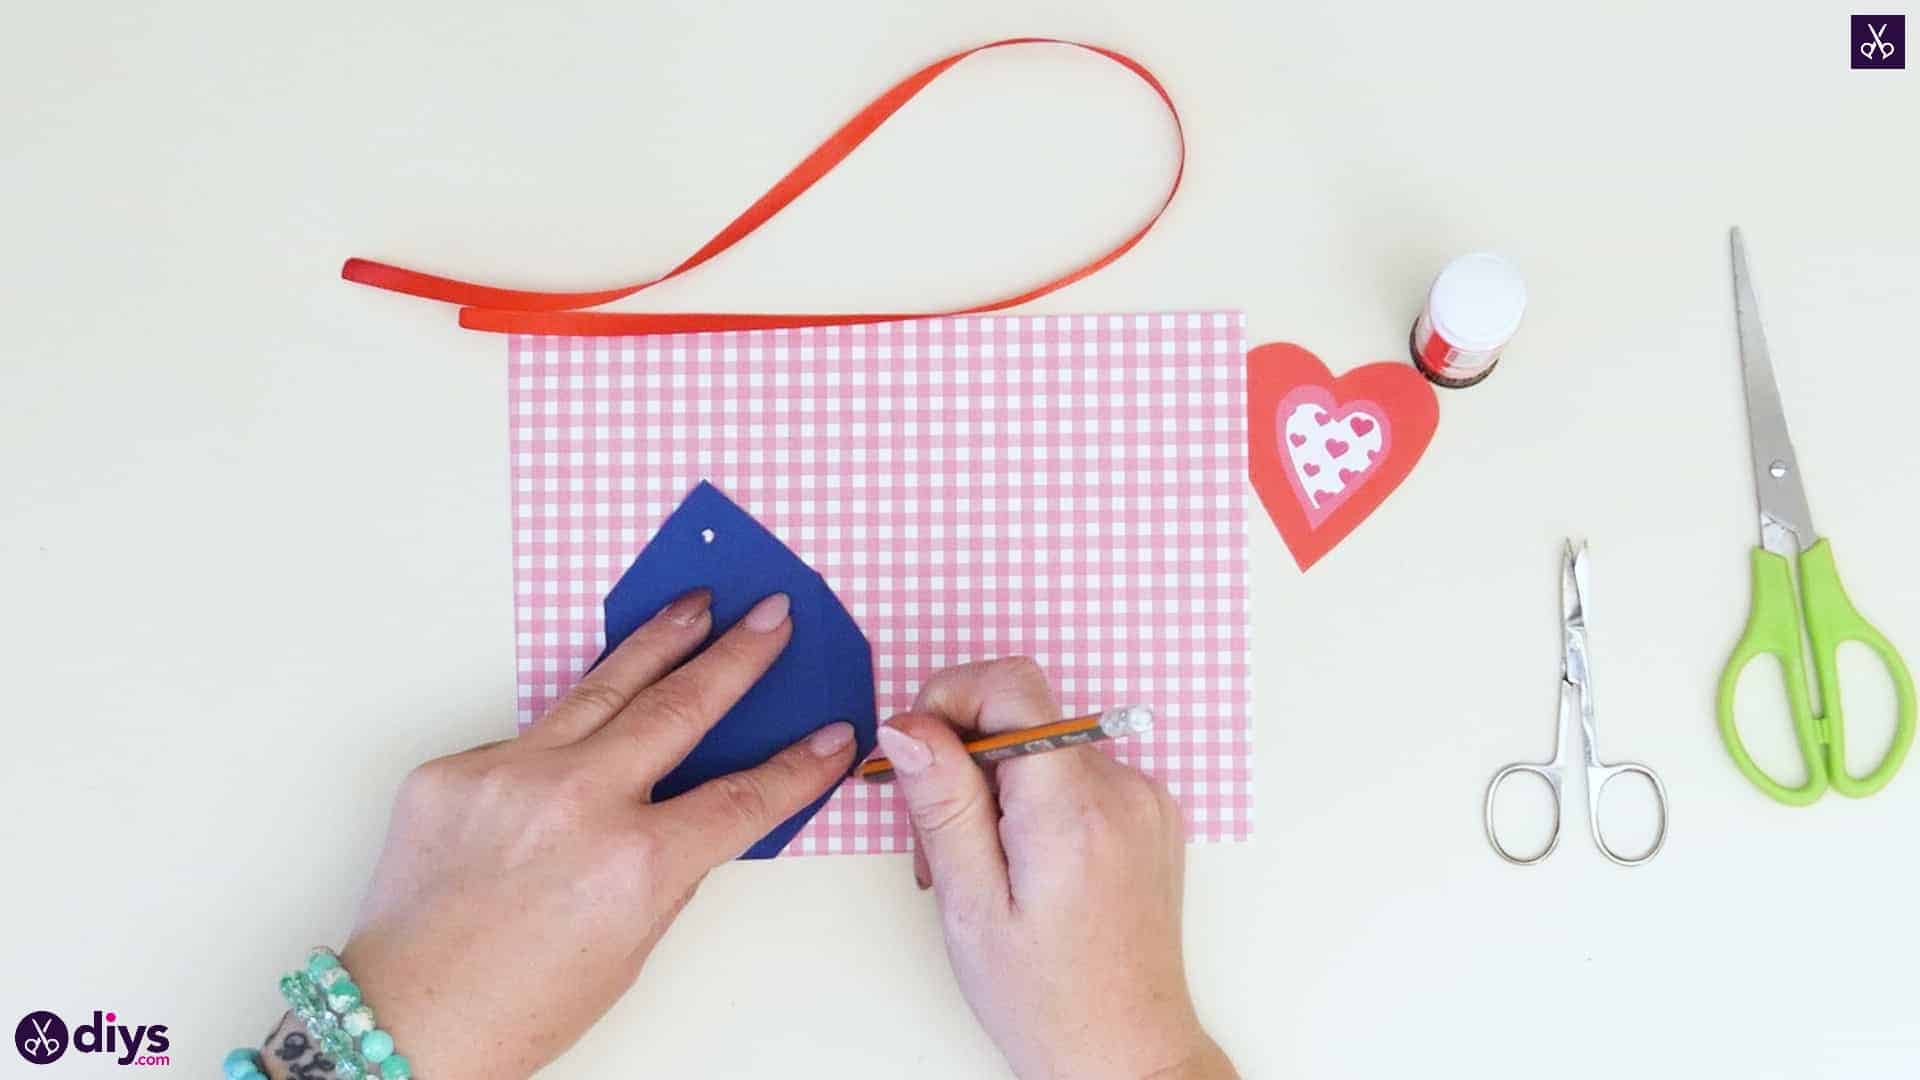
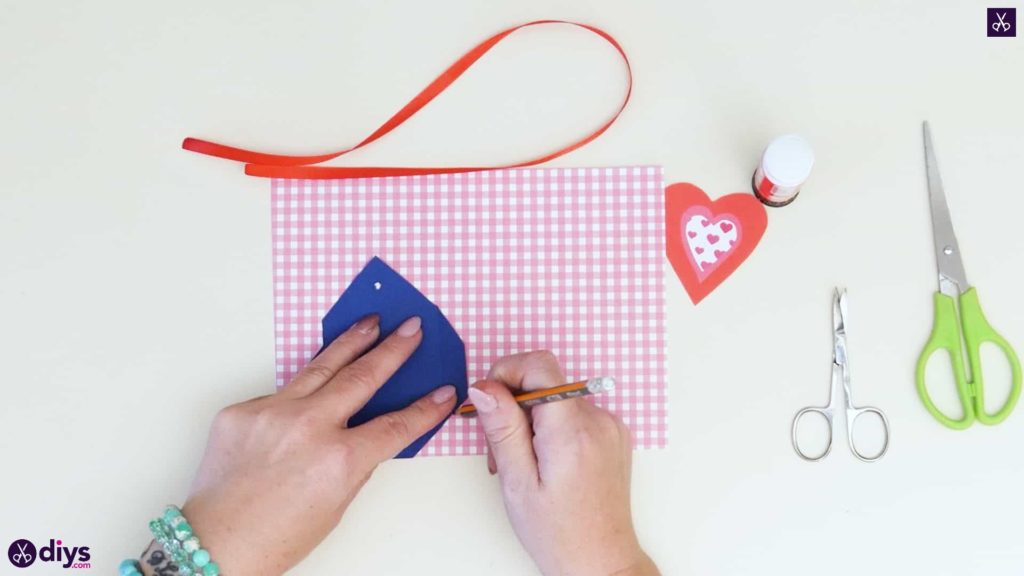
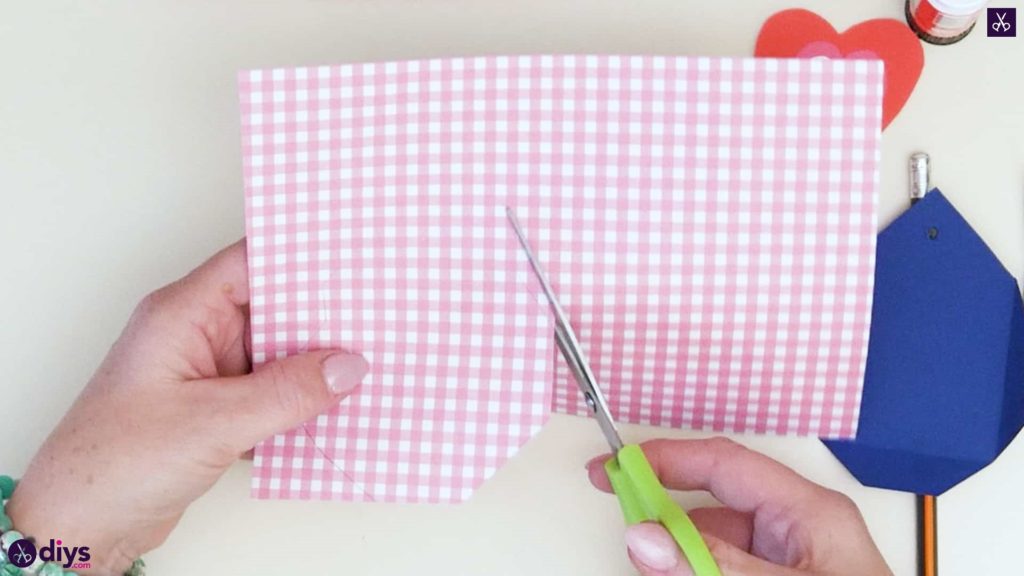
Now you’ll use your blue piece as a guide or template to make the front of your completed pocket in a contrasting colour! Lay the blue piece down on your pink checkered piece (or whatever colour or pattern you’ve chosen) so the folds are facing you and the pointed tip is at the top. Trace around the edges of the blue piece; the bottom and sides are what’s really important here, rather than the pointed tip and you’ll see why in a moment. Cut out the shape you just traced and then set it on top of the blue piece to make sure they actually line up.
Step 5: joining the pieces
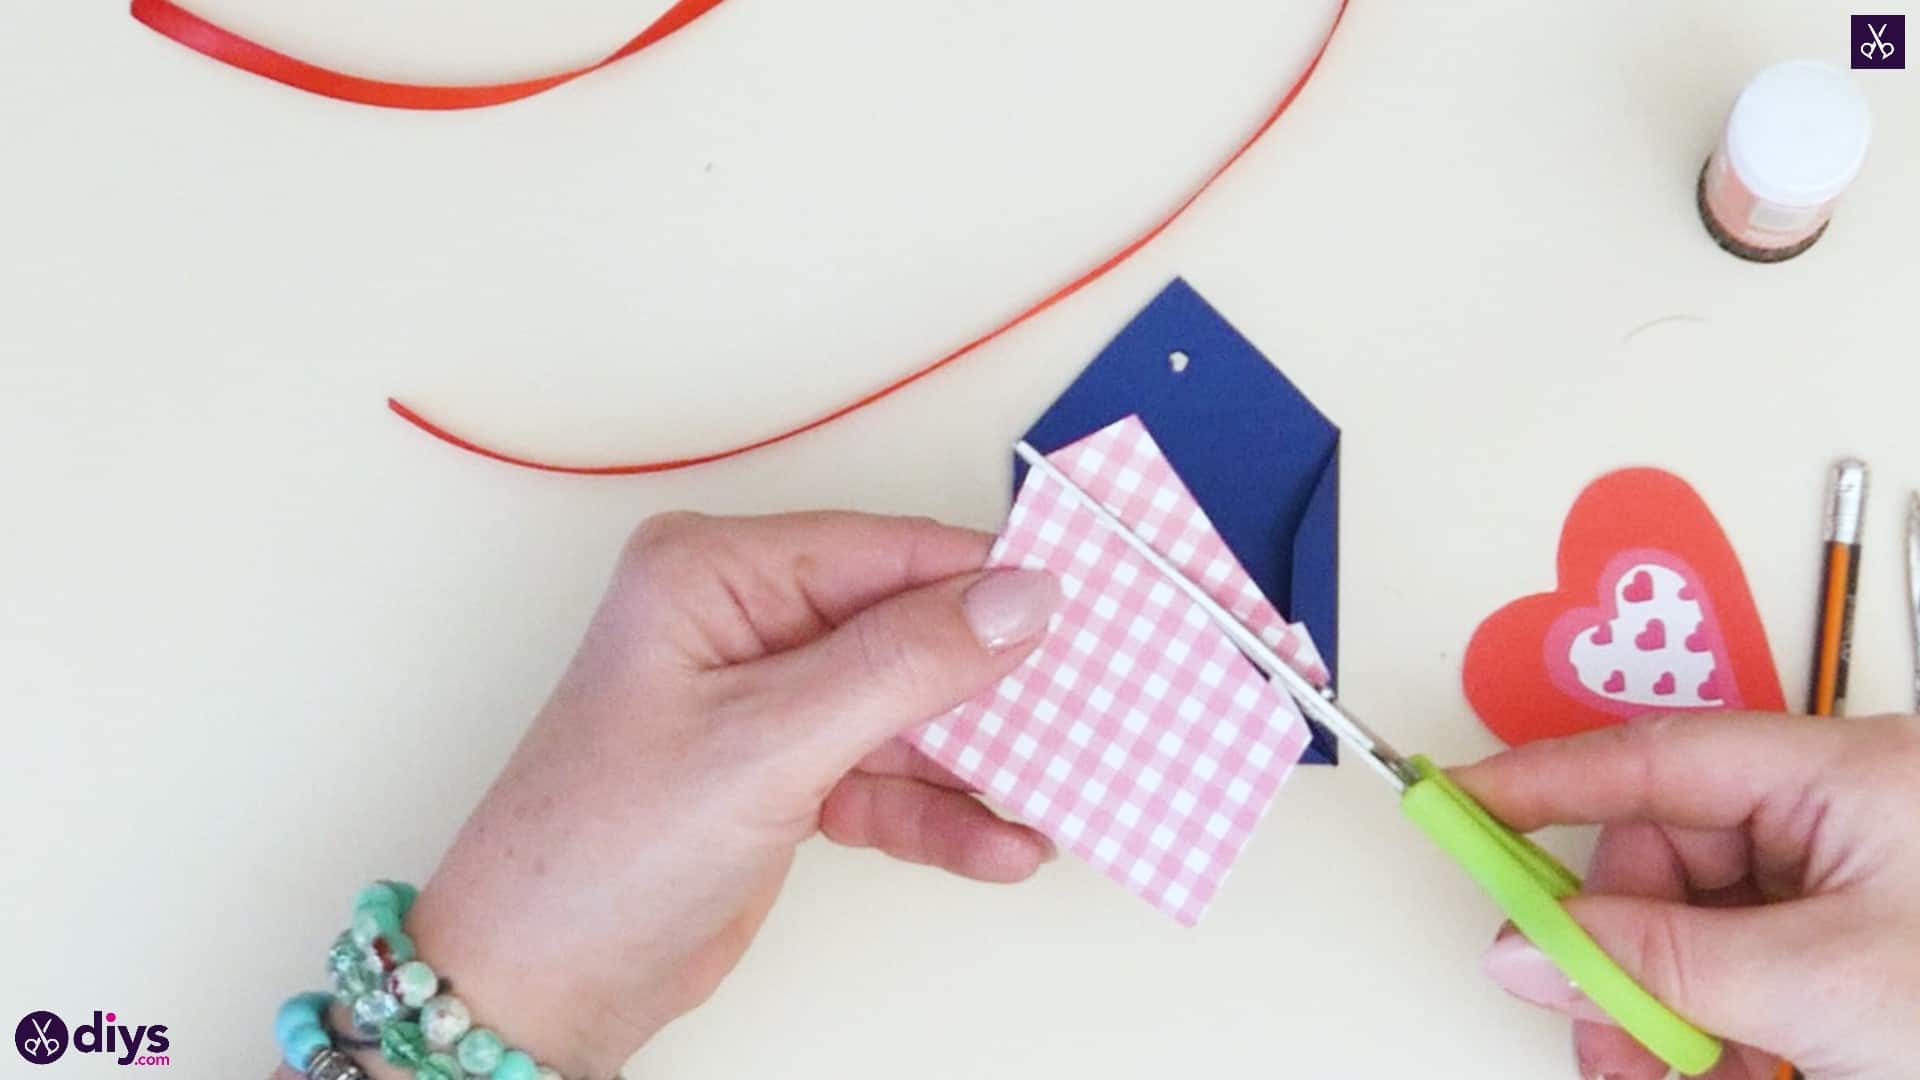
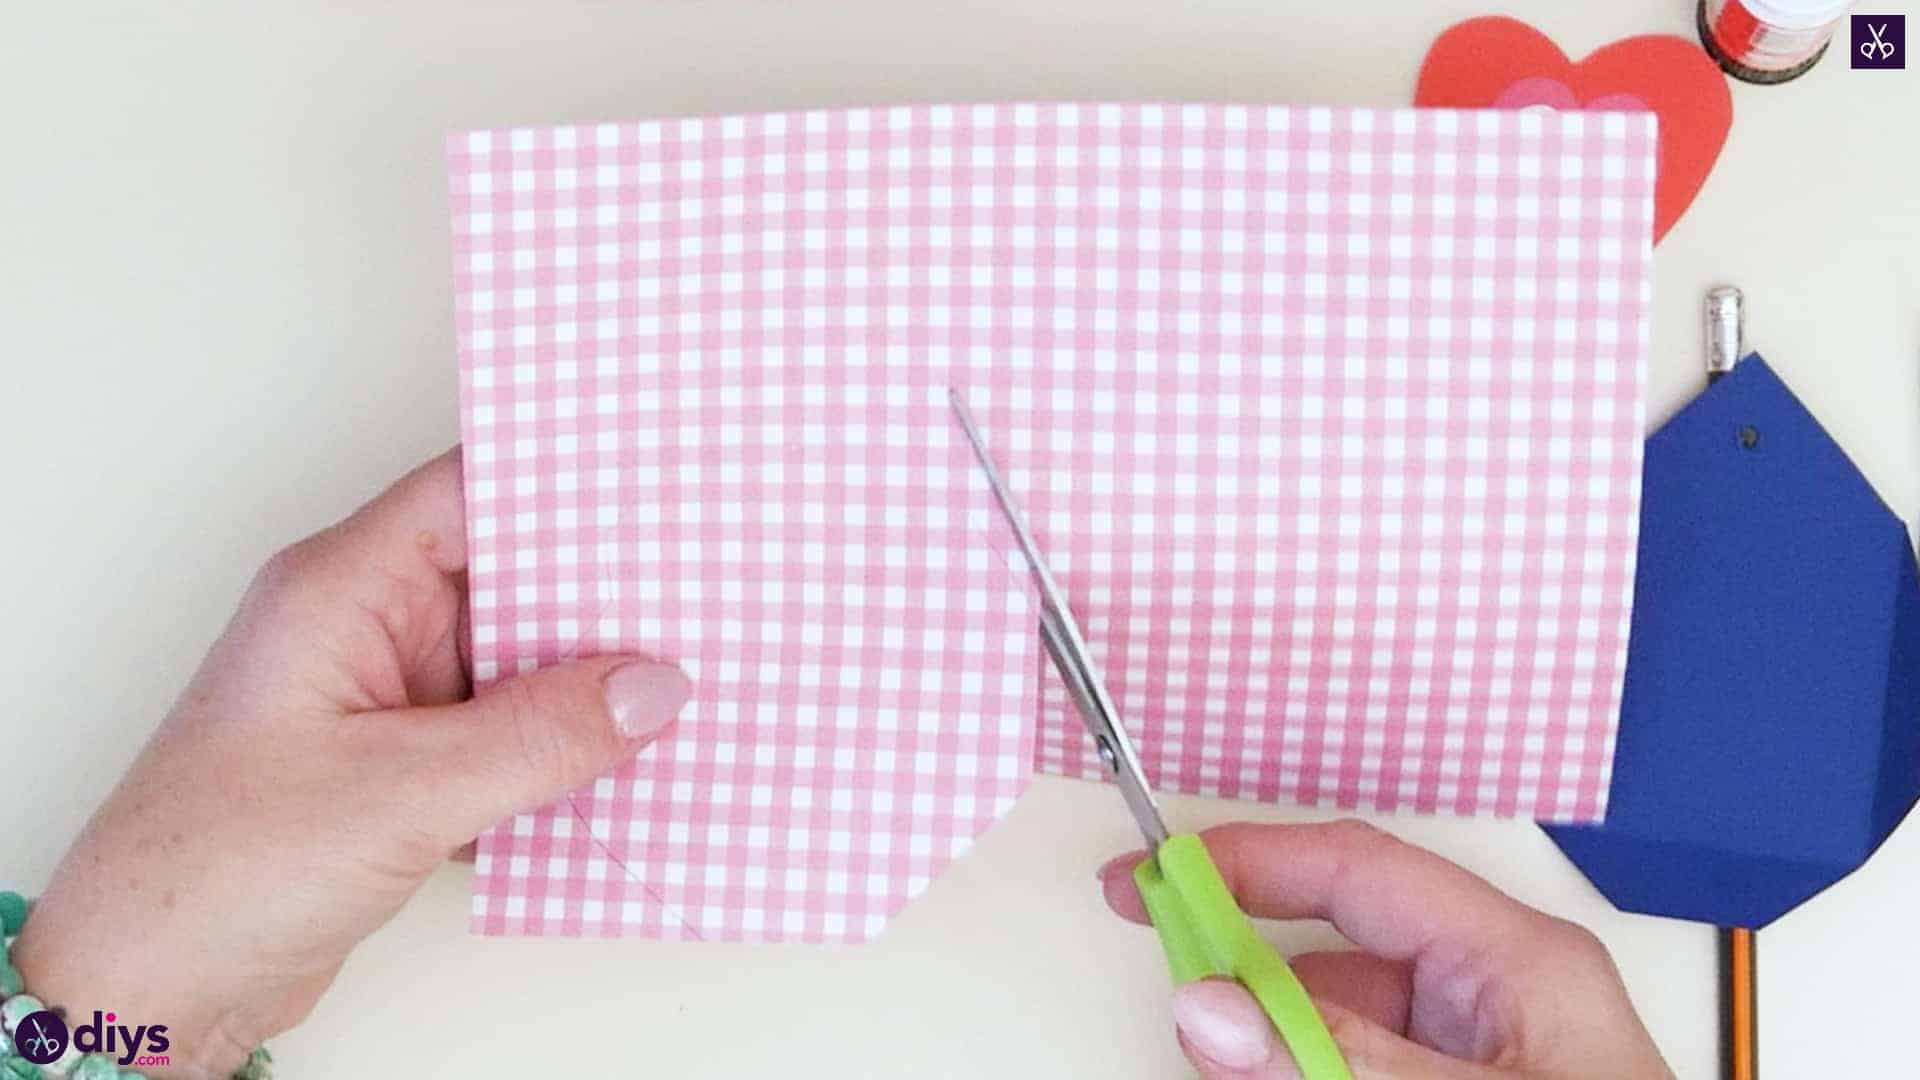
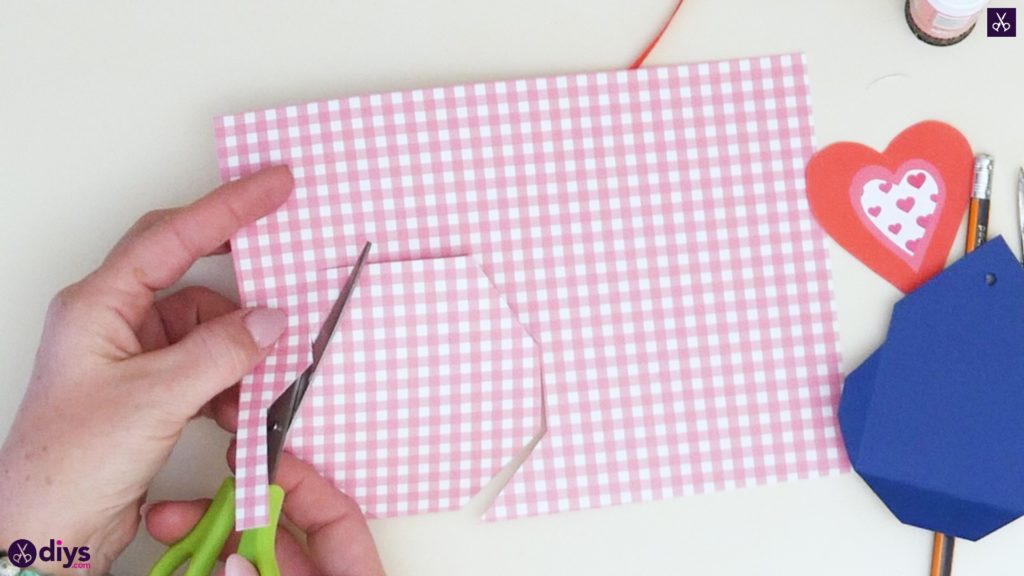
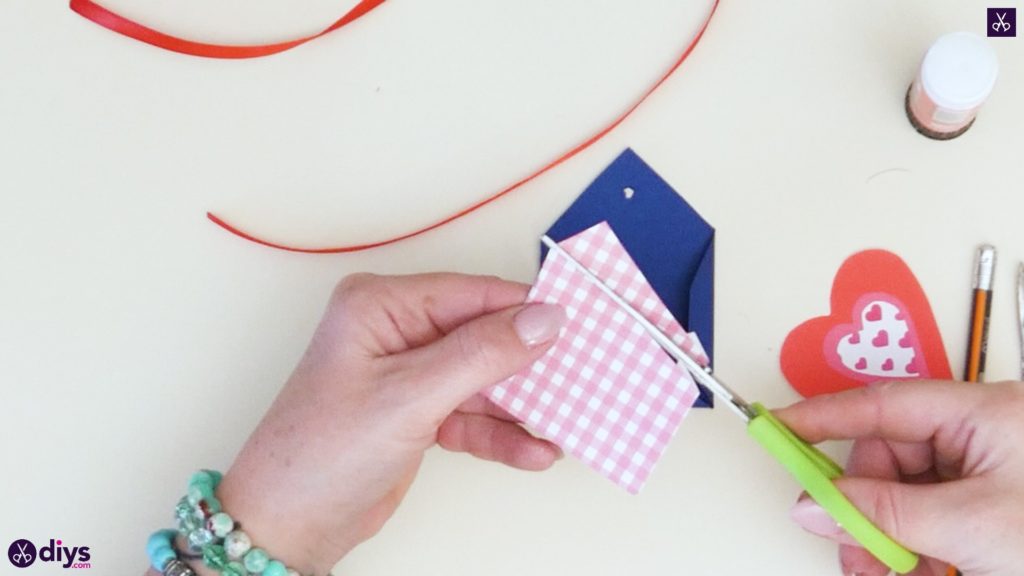
Use the folds in the blue piece as a guide to mark out where you’ll also make folds in the pink piece. This time, however, you’ll foldunder along those same lines, in the opposite way to what you did before. Fold the bottom and sides under so you’re left with a shape that’s the same size as your blue piece is whenits sides and bottom are folded inwards as well. Now, make a diagonal cut across the top of your pink piece to give the top a bit of character; you want it to be shorter than the blue side’s pointed top in the same way as the front of an envelope is shorter than the back before you fold it closed.
Step 6: glue
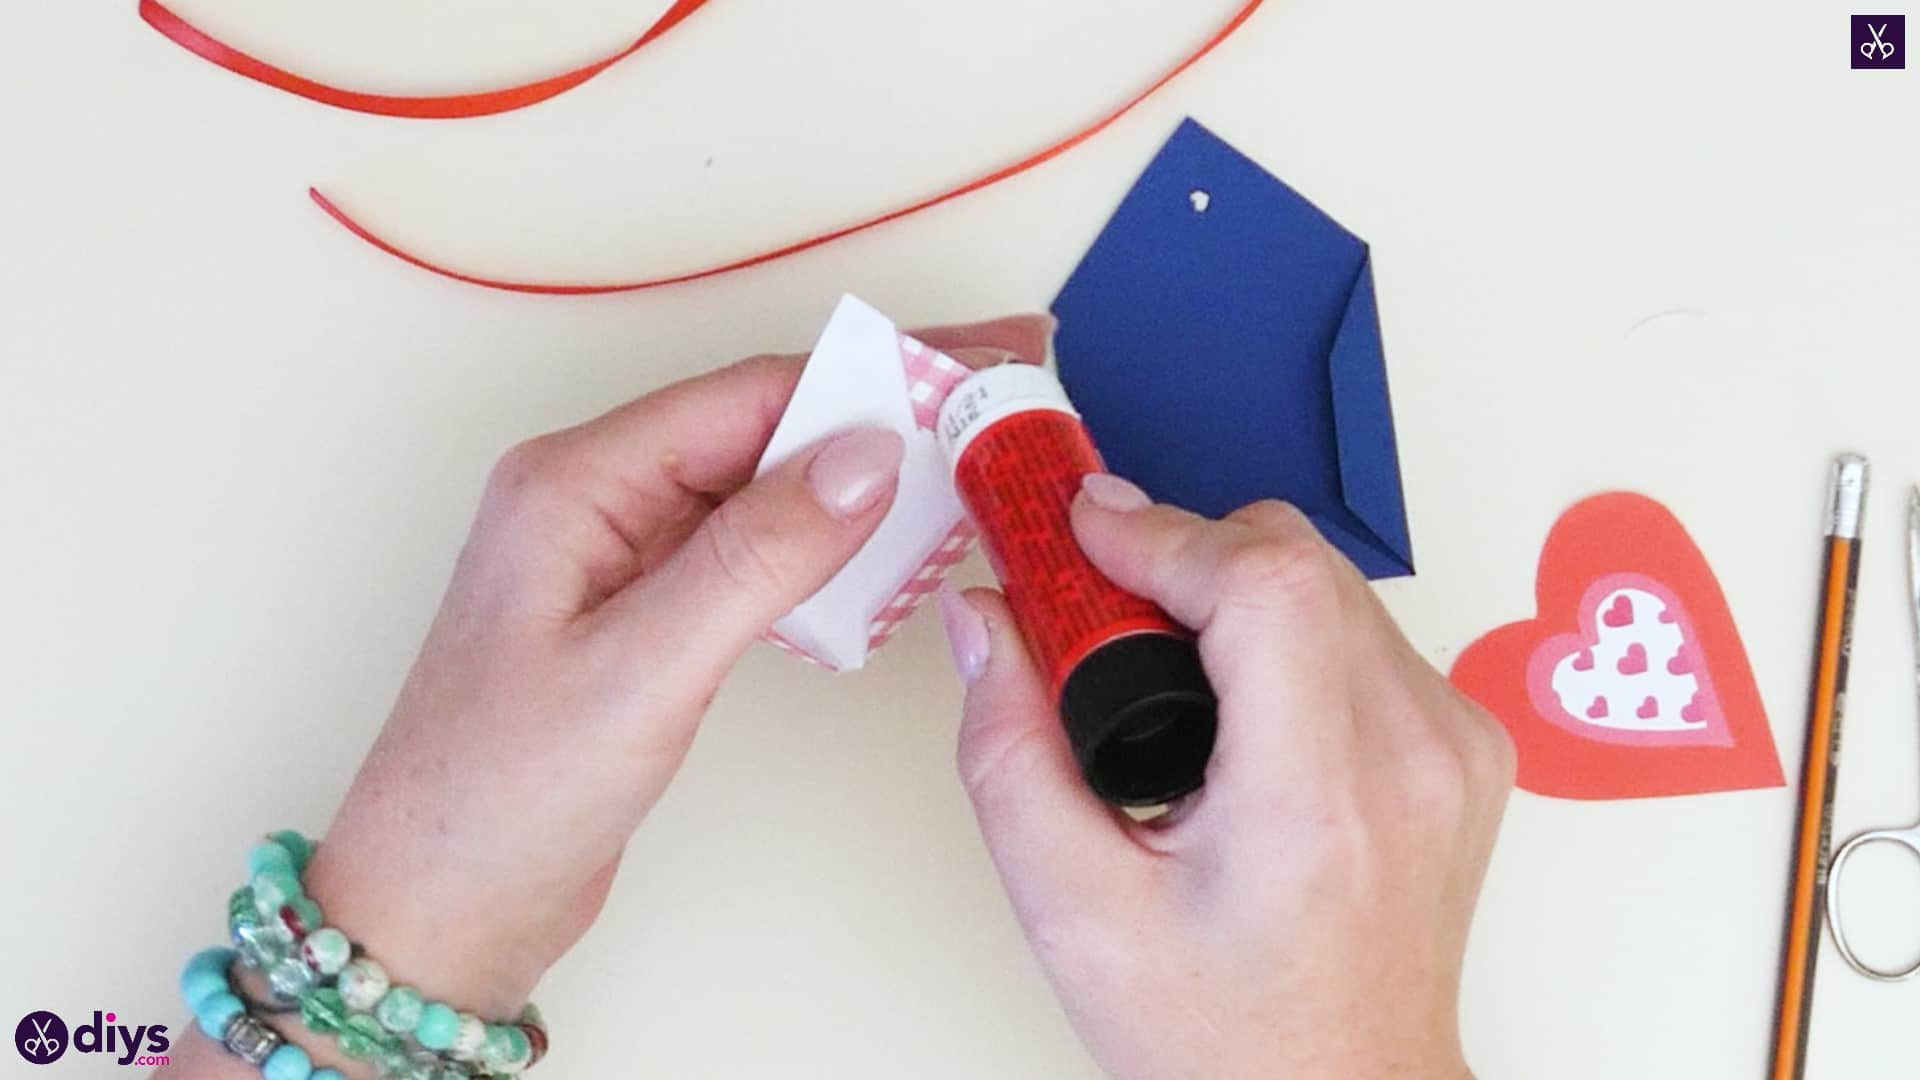
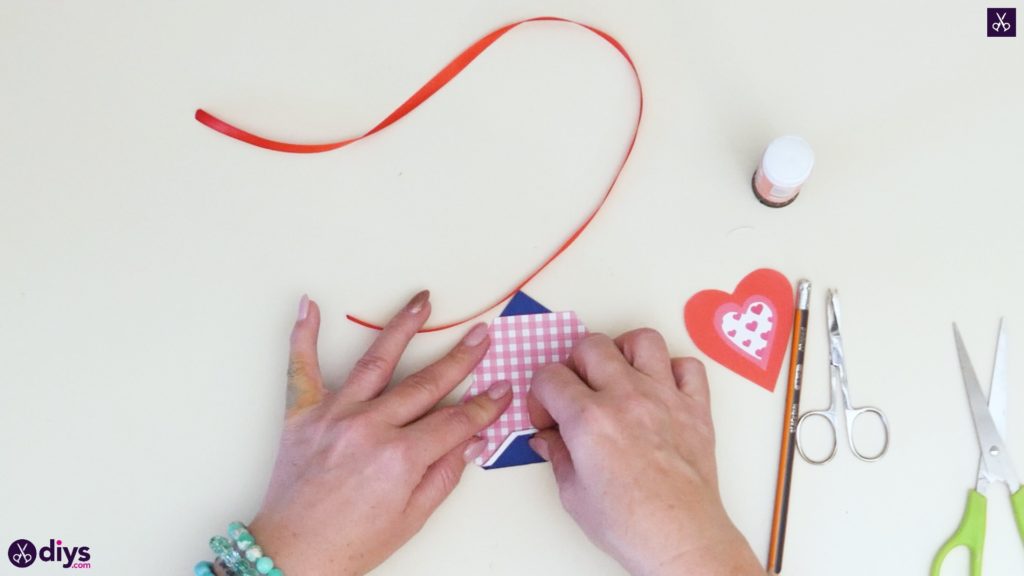
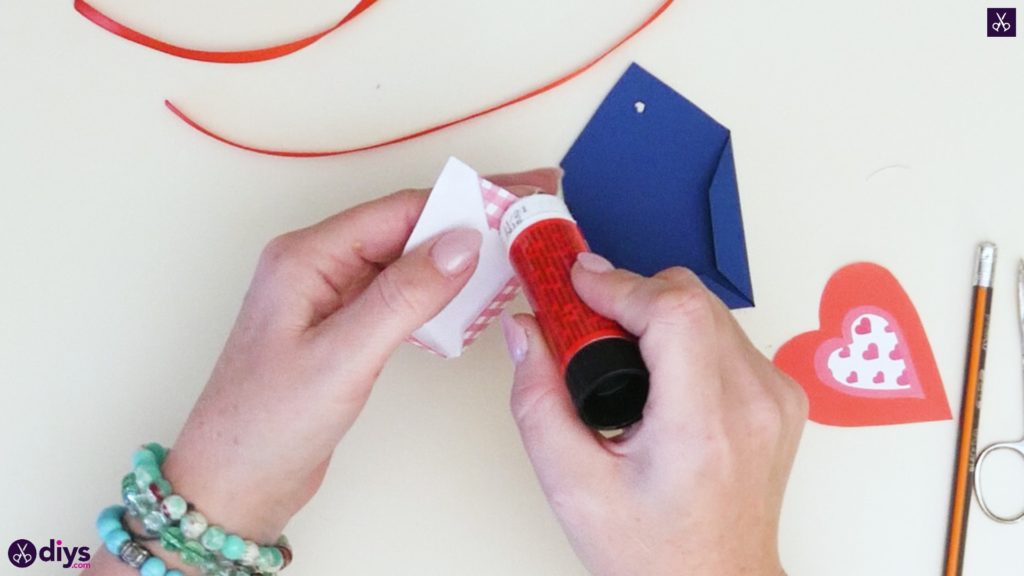
Turn your pink piece over and apply glue along the folded panels, where they meet with the folded panels of the blue piece when you put the two together. Stick the piece down in place on the front of the blue side so the folds and the edges they create along their creases are nice and even.
Step 7: add the ribbon
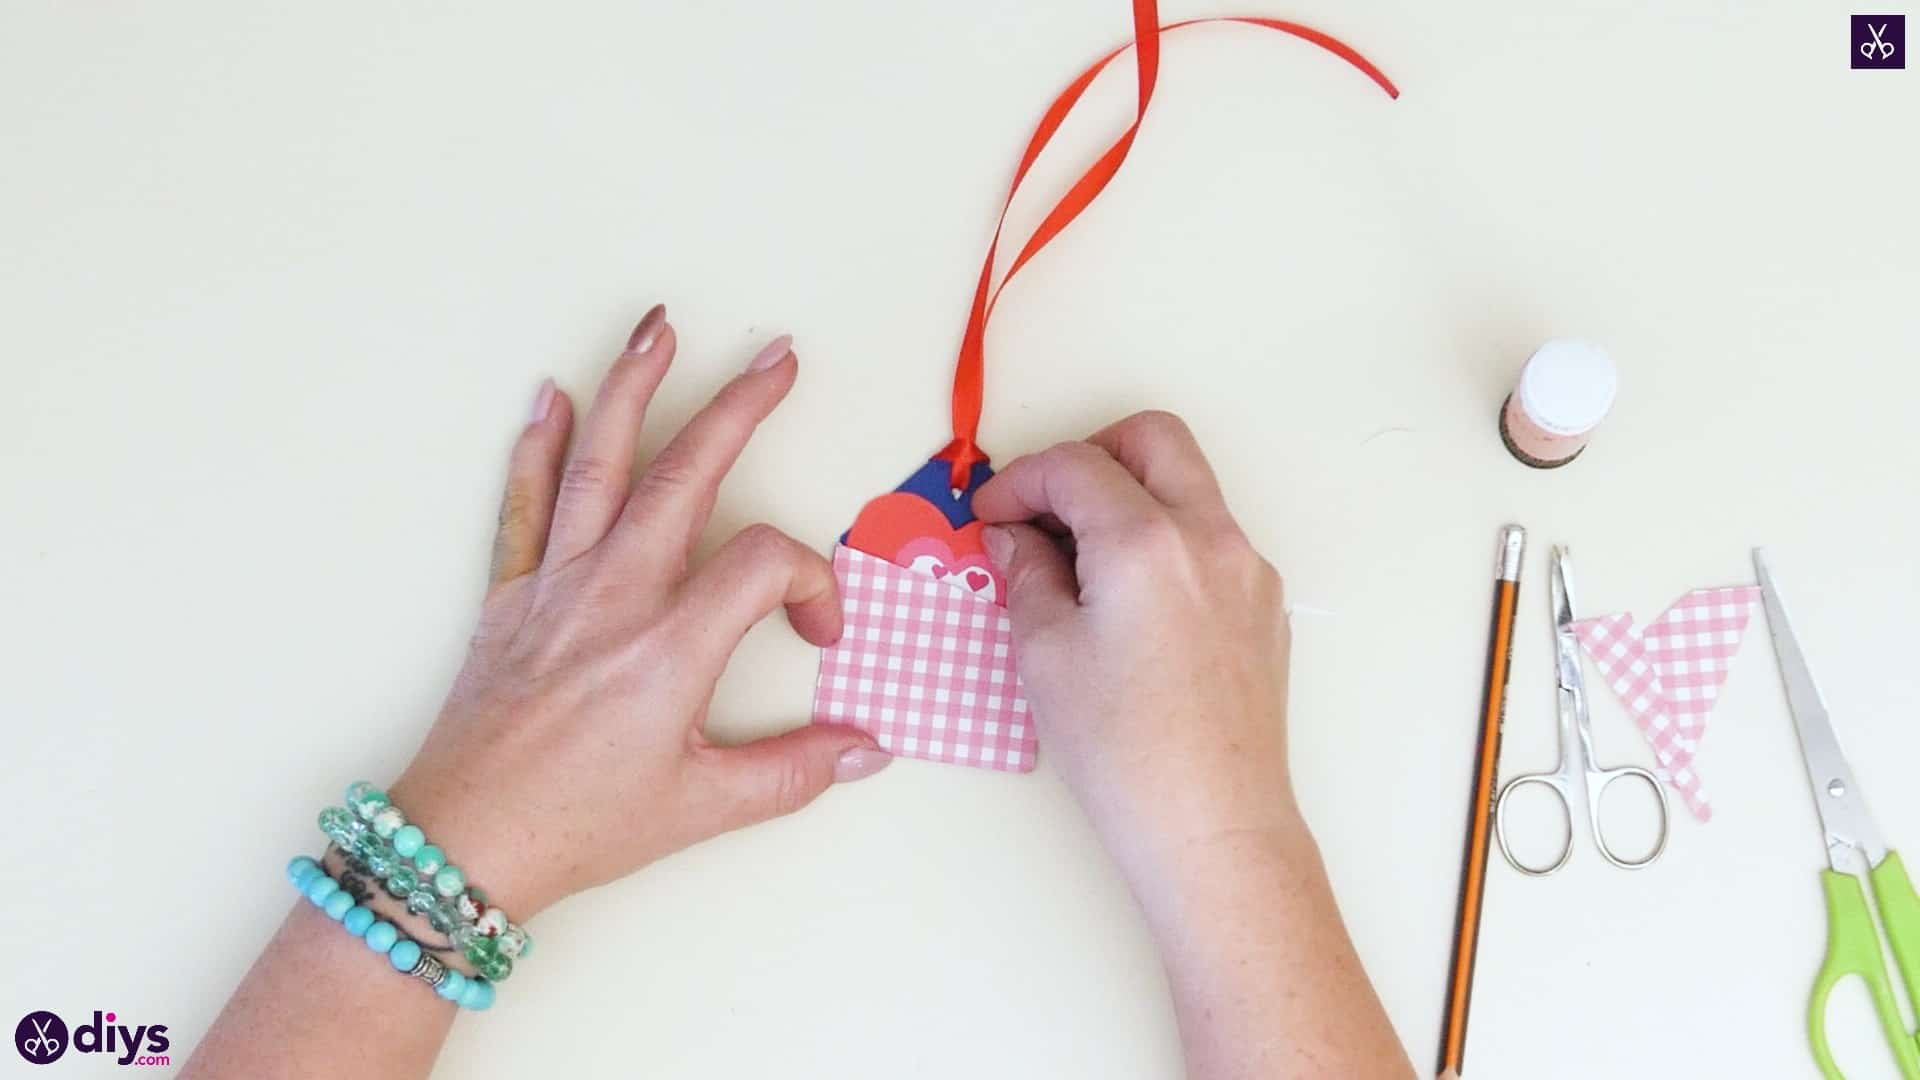
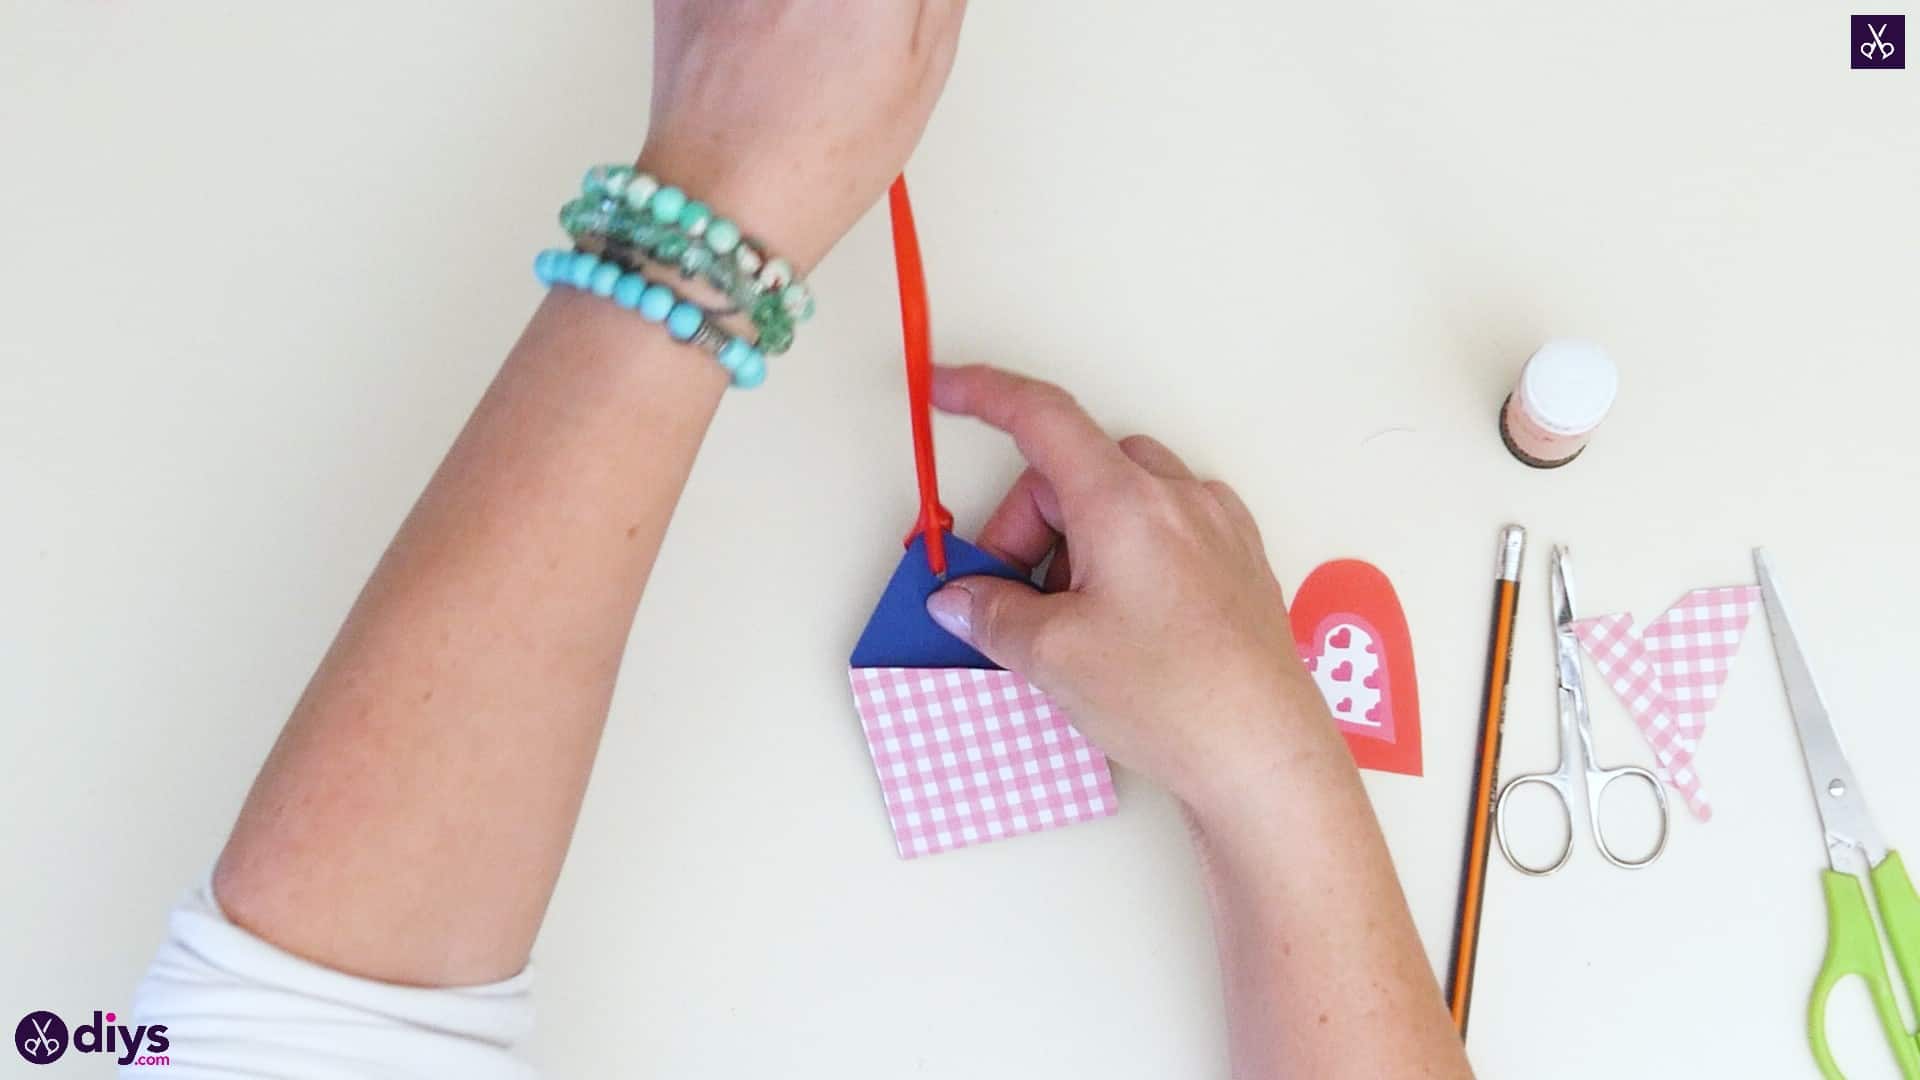
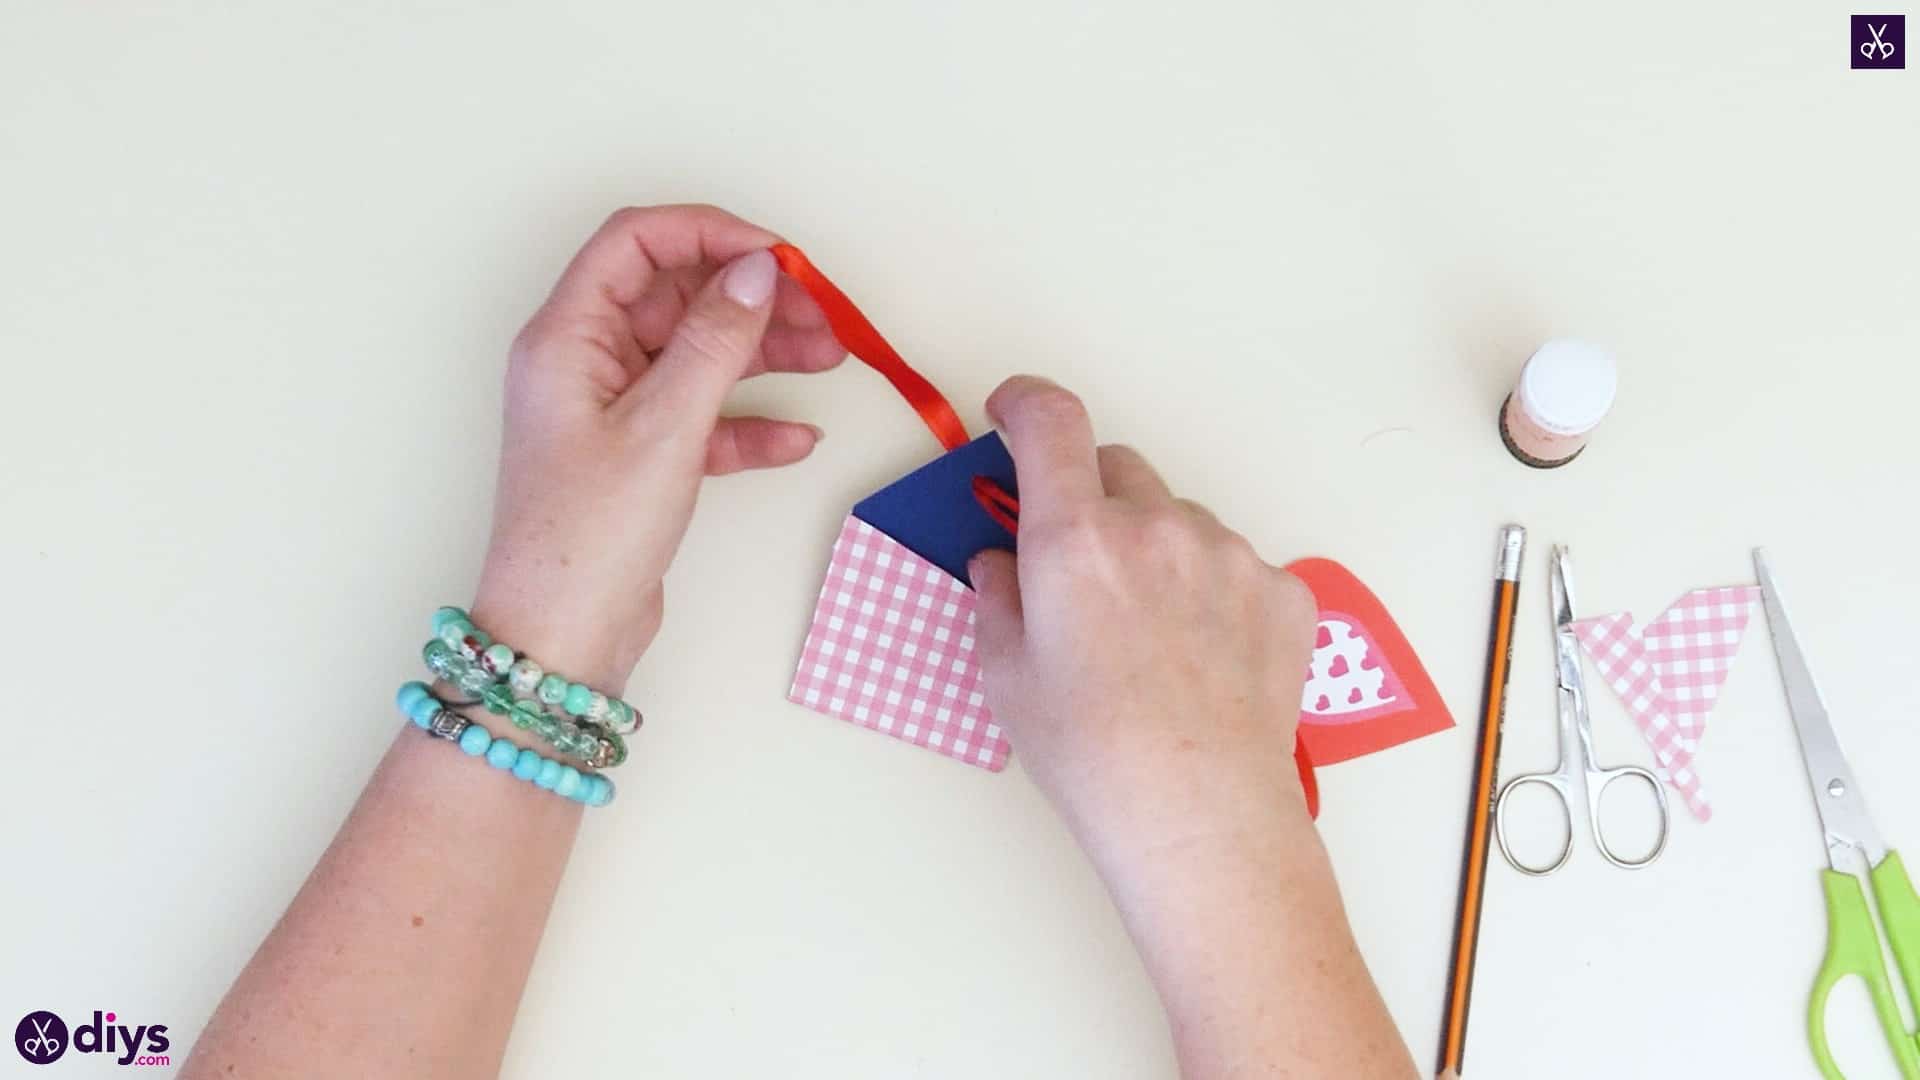
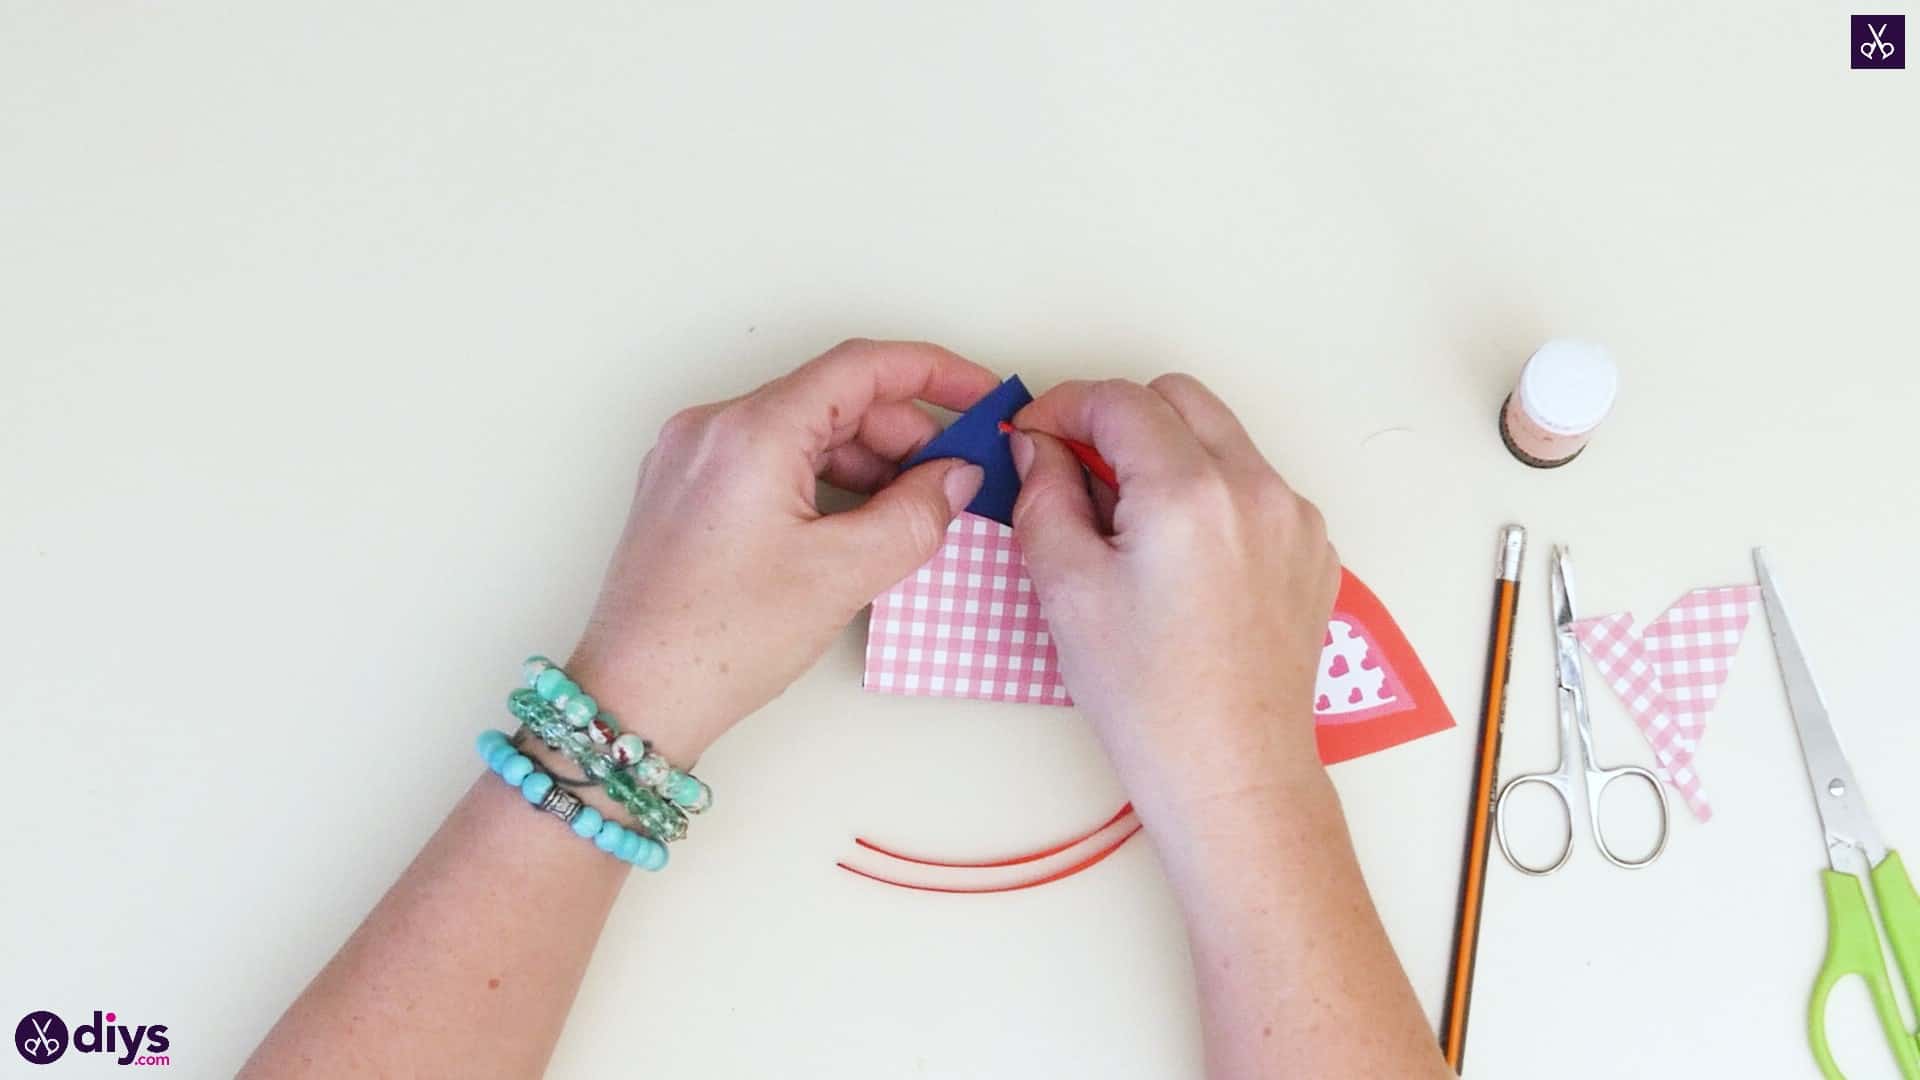
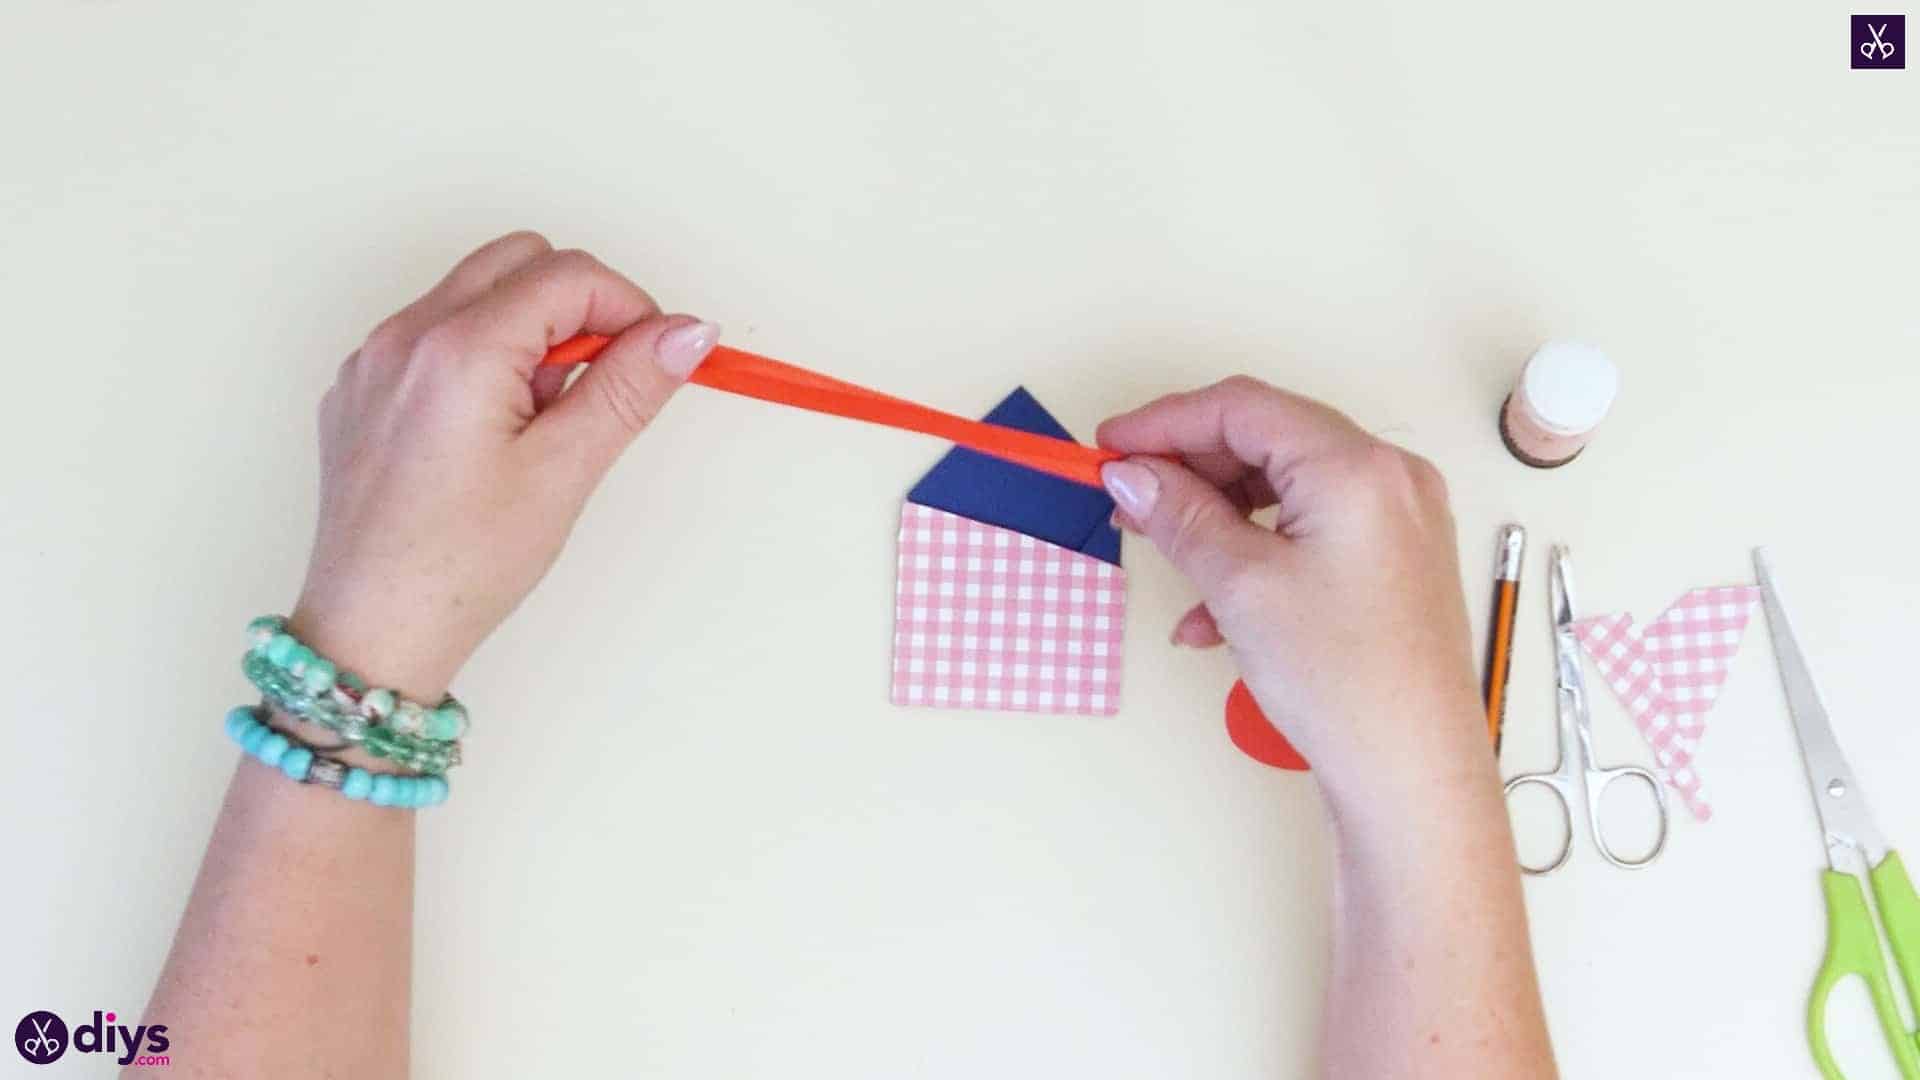
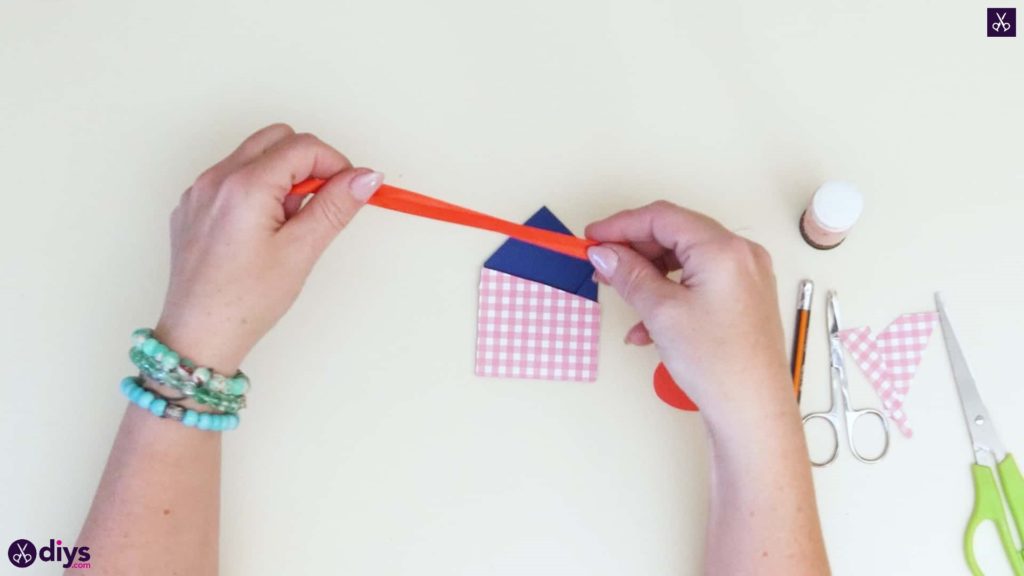
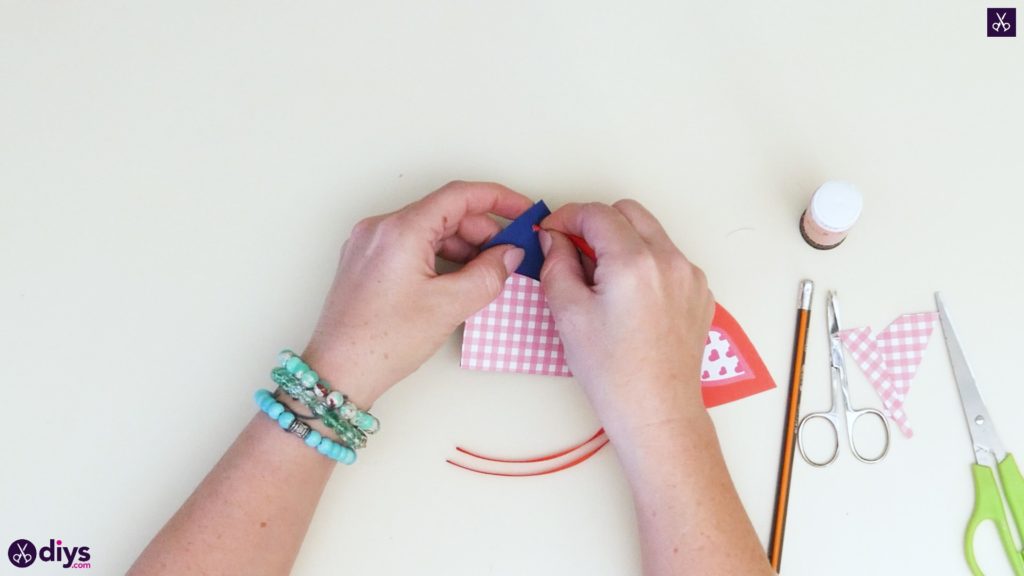
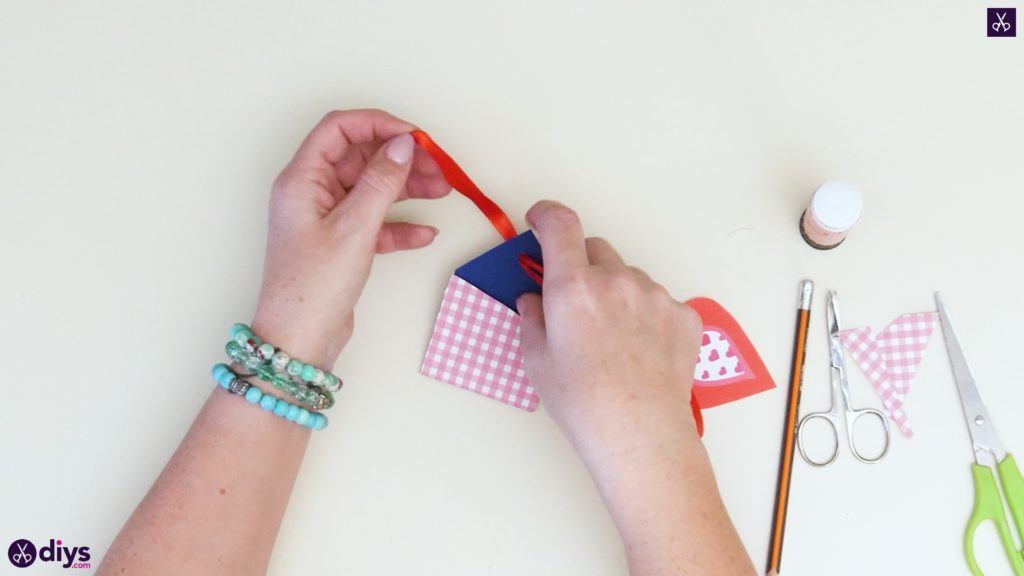
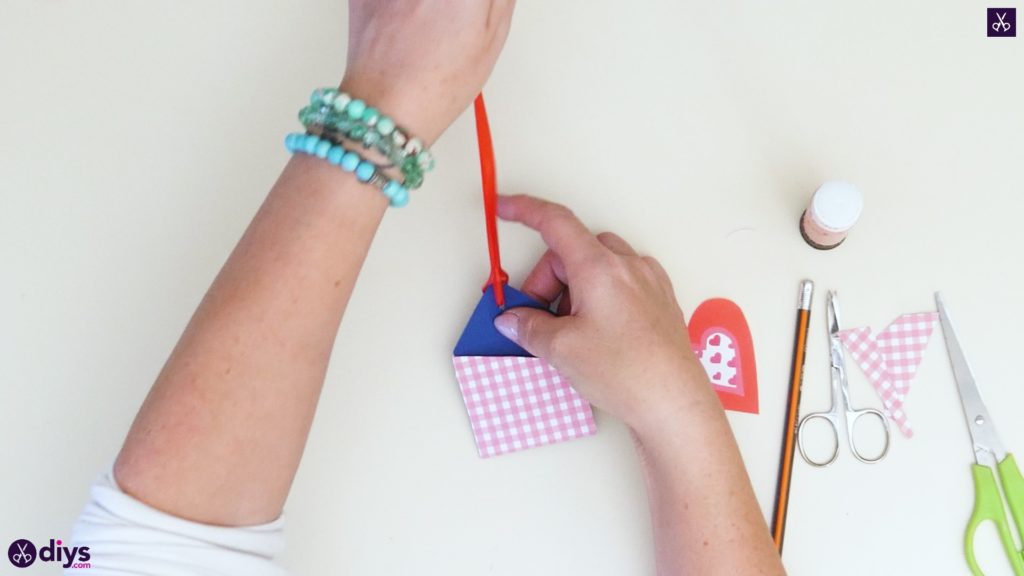
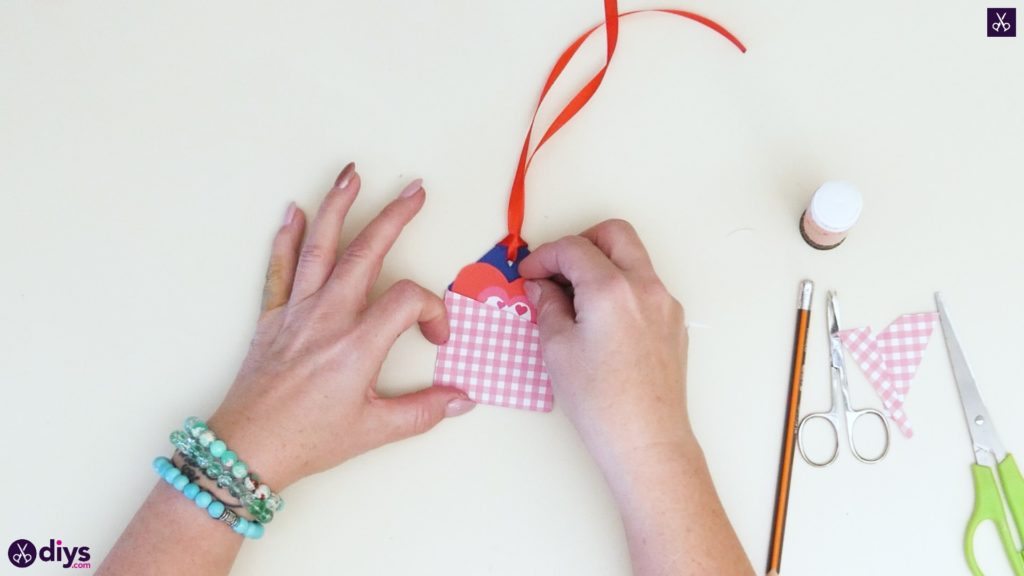
Cut a piece of ribbon about six inches long and double it over so its ends meet and create a loop at the other end, halfway down the ribbon’s length. Pinch that loop as small as you can and push it through the hole you made in the top of your blue piece earlier. Pull it through enough that you can fit the other ends through the loop and then gently pull it tight like a slip knot. Don’t pull it so tight that it crushed the blue paper and wrecks your tip; you just want to close the loop gently around the tip instead. This is also a good time to test that your little heart card actually fits inside your envelope! Feel free to trim the edges down a little bit to make it fit more easily if you need to.
Step 8: add the Washi tape
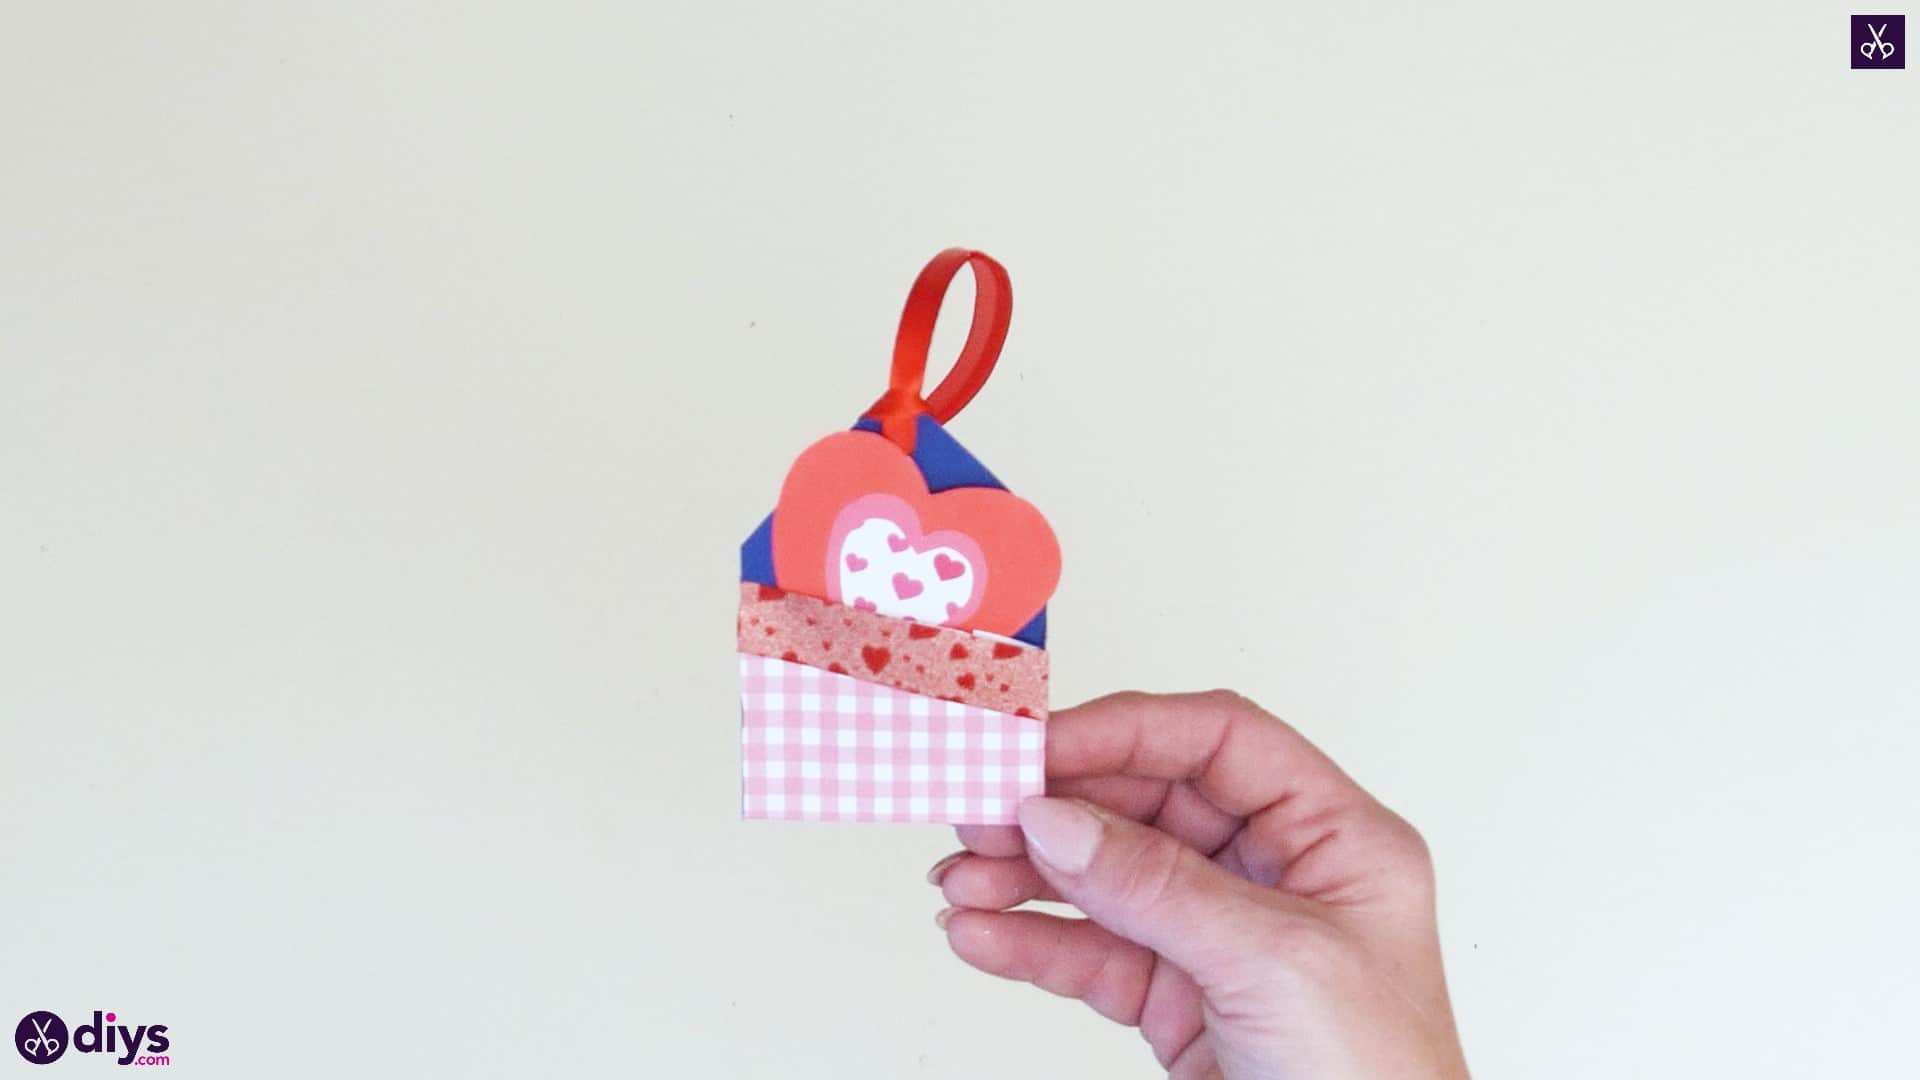
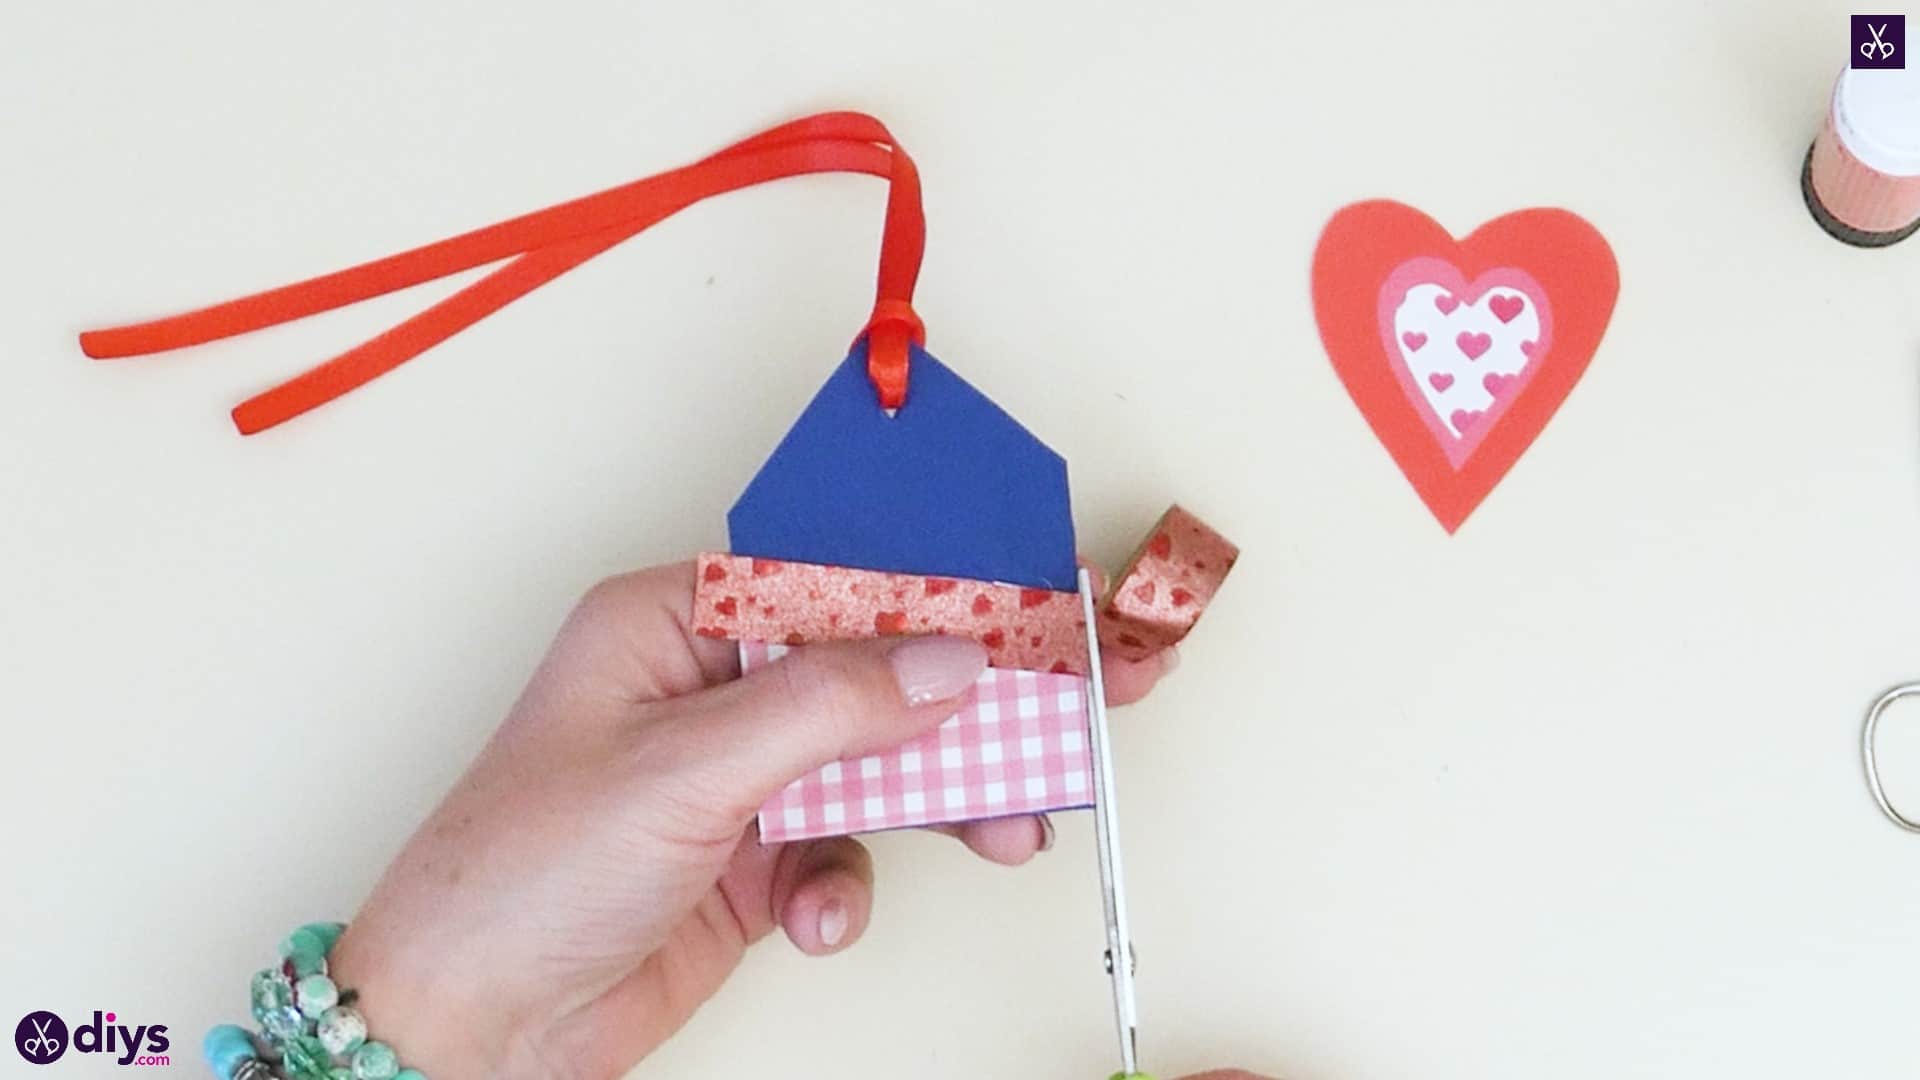
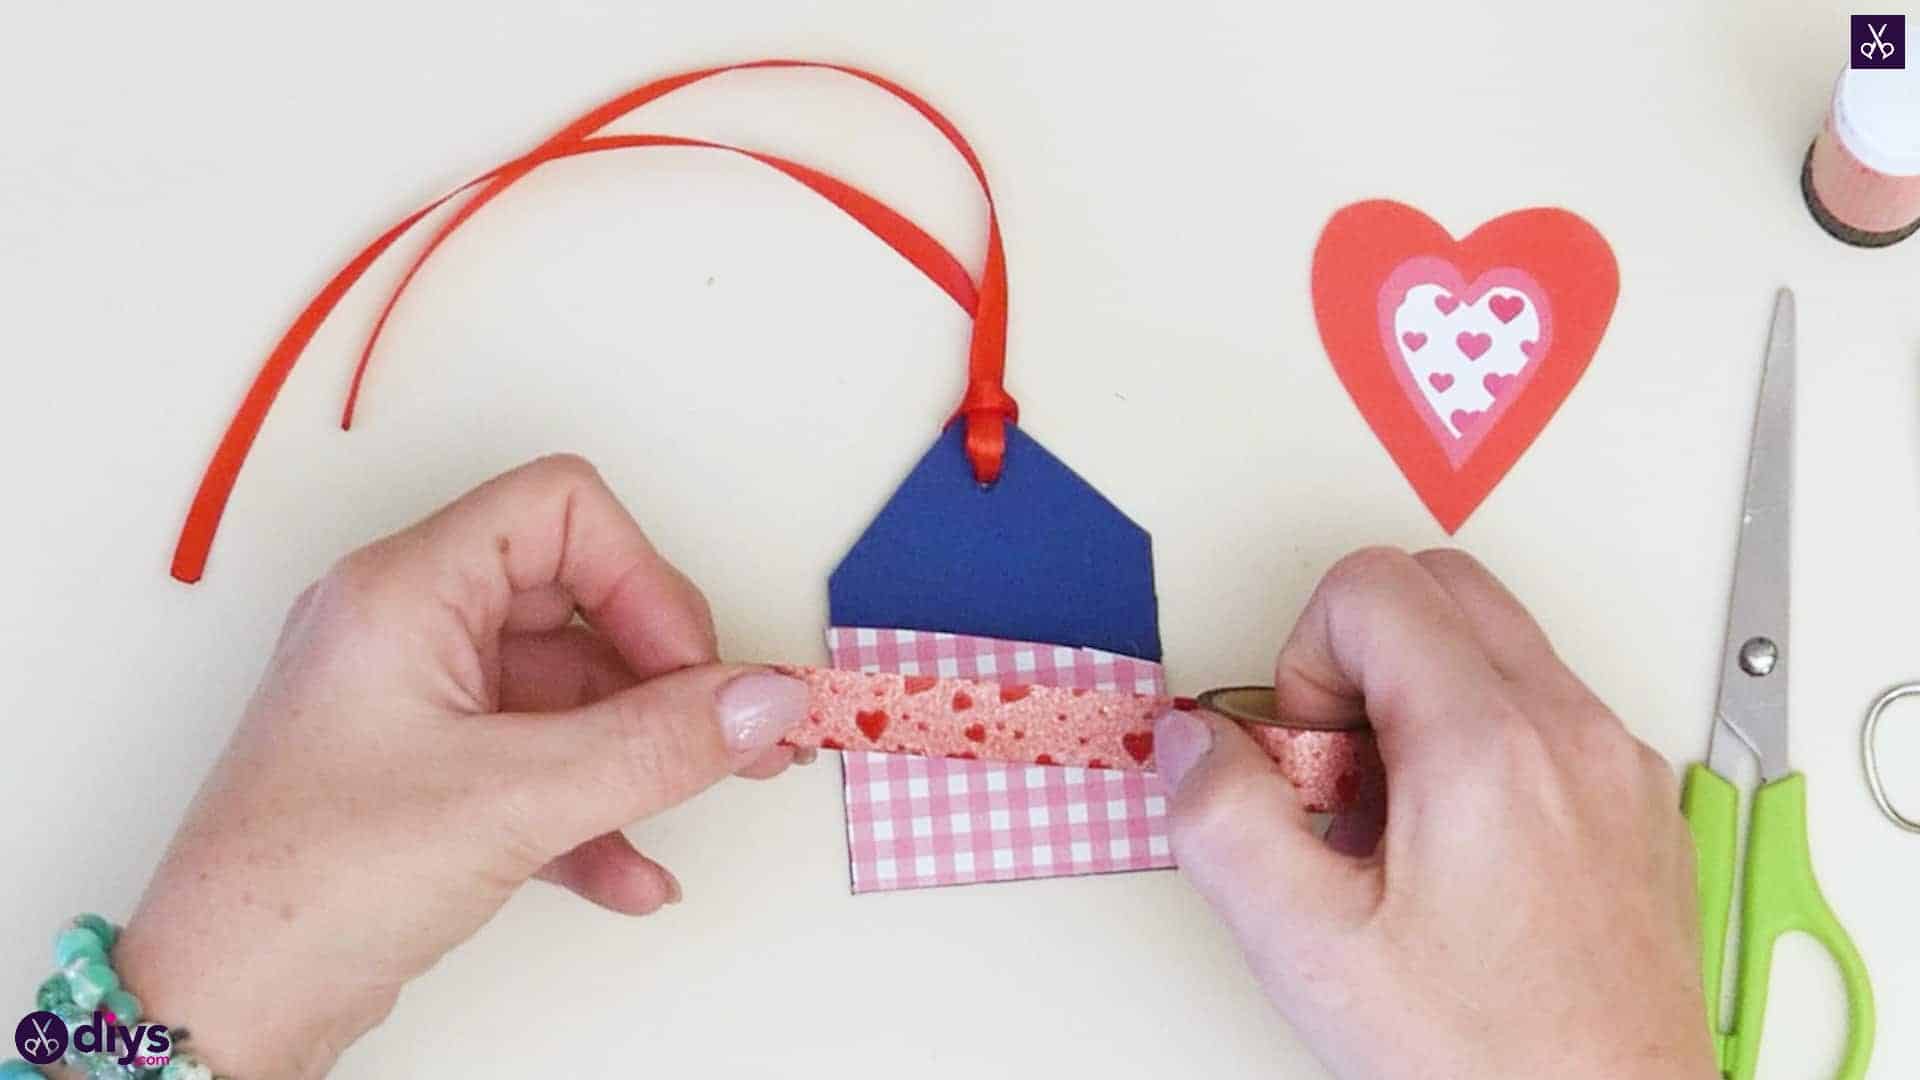
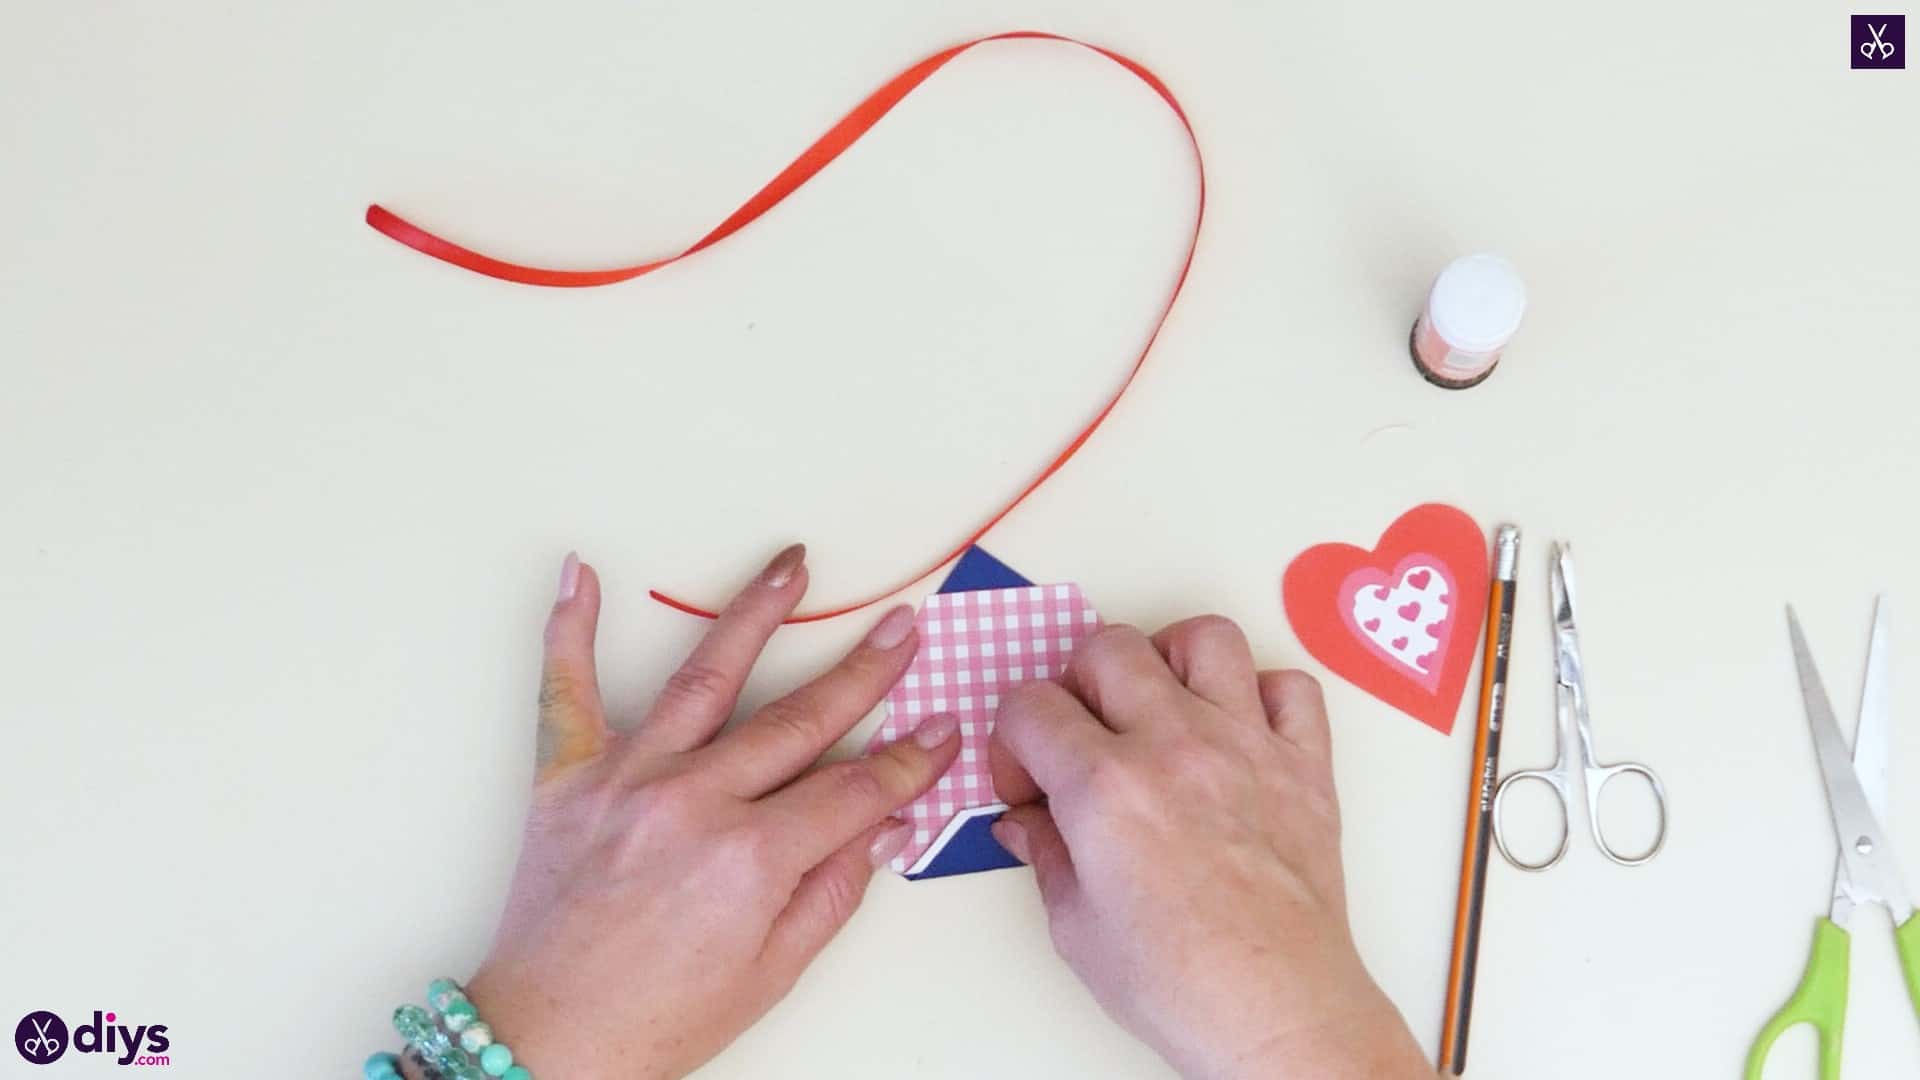
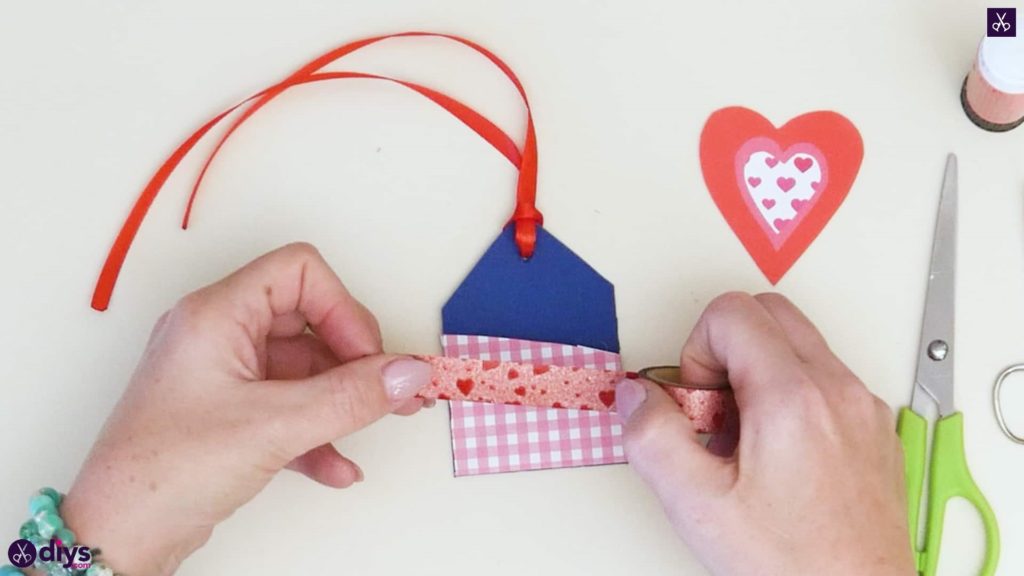
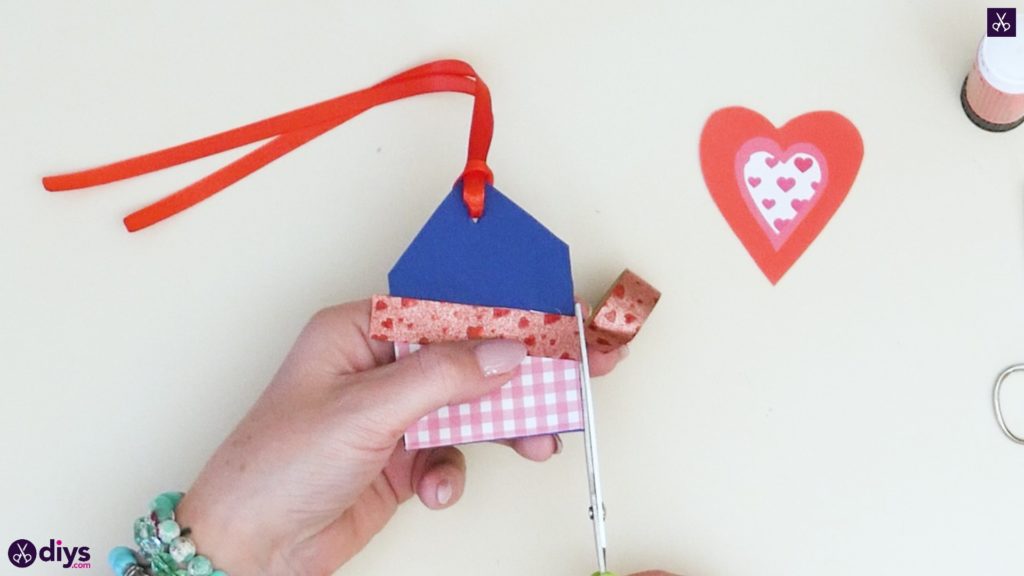
Measure out a piece of washi tape the length of your diagonal cut line in your pink pocket front. Trim it free from the roll and stick it down along the line, then trim the ends to be even with the edges or sides of your pocket so things look nice and neat. Write a nice message on the back of your heart, tuck it into your pocket, and voila!
Feel free to play with colours and shapes using this same basic technique but customizing it how you please! For example, you don’t have to make the card you tuck into the pocket shaped like a heart; we just love heart shaped things. Just in case you’d like to try this project out for yourself, here’s a fantastic tutorial video to help you!
