Plumeria Care – How to Grow Plumeria Plants
Nothing says you’re a good horticulturalist like having the plumeria shrub in your garden. A fast-growing tropical shrub and tree, the plumeria combines awesome blooms with strong fragrance to transform your garden in the summer.
This carnival of colors and smells attracts all types of butterflies, bees, and other pollinators to the benefit of the other plants that you grow and care for.
So how do you grow the plumeria in your garden and which one is right for you?
All about Plumeria
As a native of the Caribbean and Central America, plumeria was introduced to Hawaii where it became a popular flower on every island. The plumeria is a fixture of Hawaiian leis and crowns. It is also widely grown all over Asia especially in the tropics. As a member of the dogbane family, it goes by other names including frangipani.
In the wild, the plumeria tree can grow to 35 feet giving it all the appearances of a large tree. However, with proper pruning, you can keep it within a manageable size where it grows in a container in your patio or balcony.
The leaves of the plumeria are just as lush and alluring as the fragrant flowers. They have an elongated shape and have a glossy green color that acts as a dramatic background to the blooms.
The bark of the tree is gray and smooth.
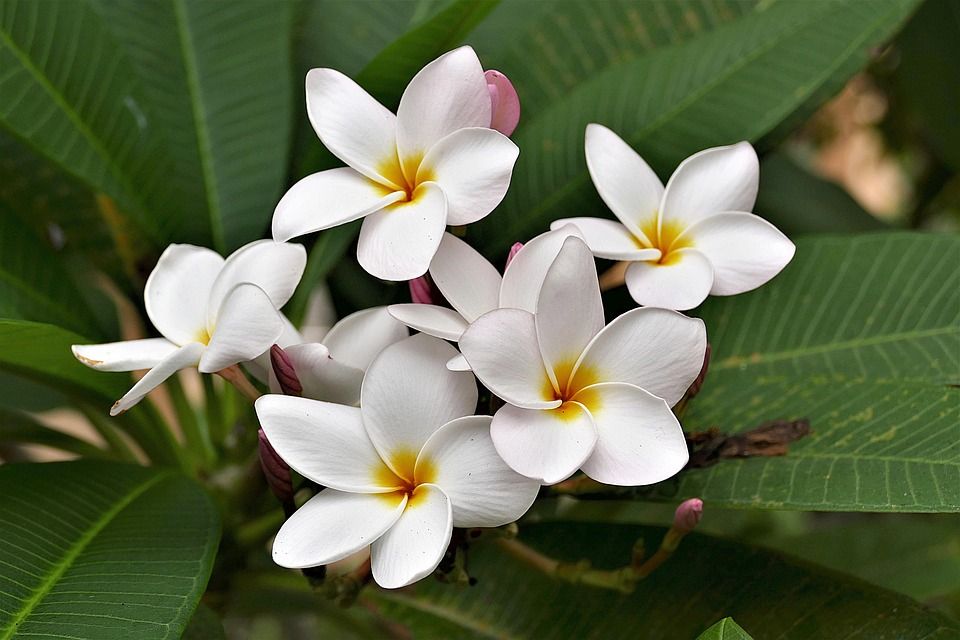
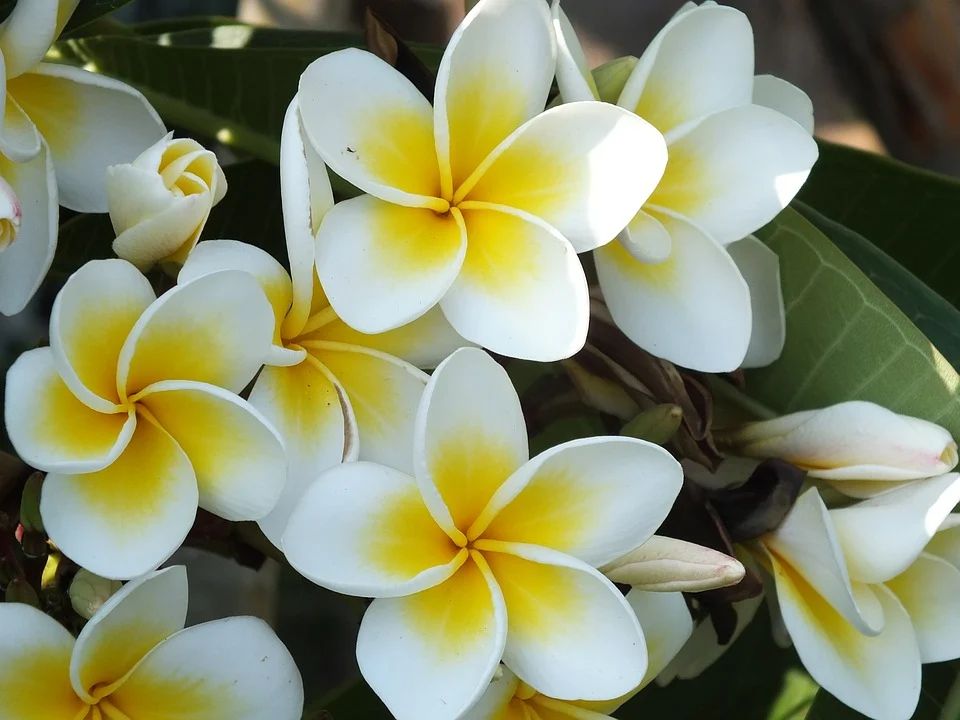
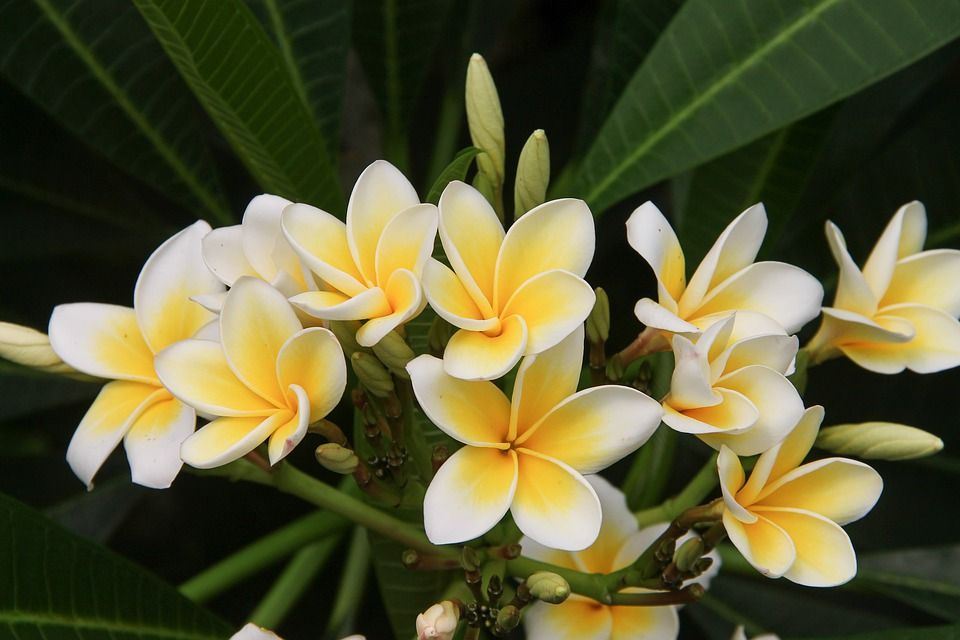
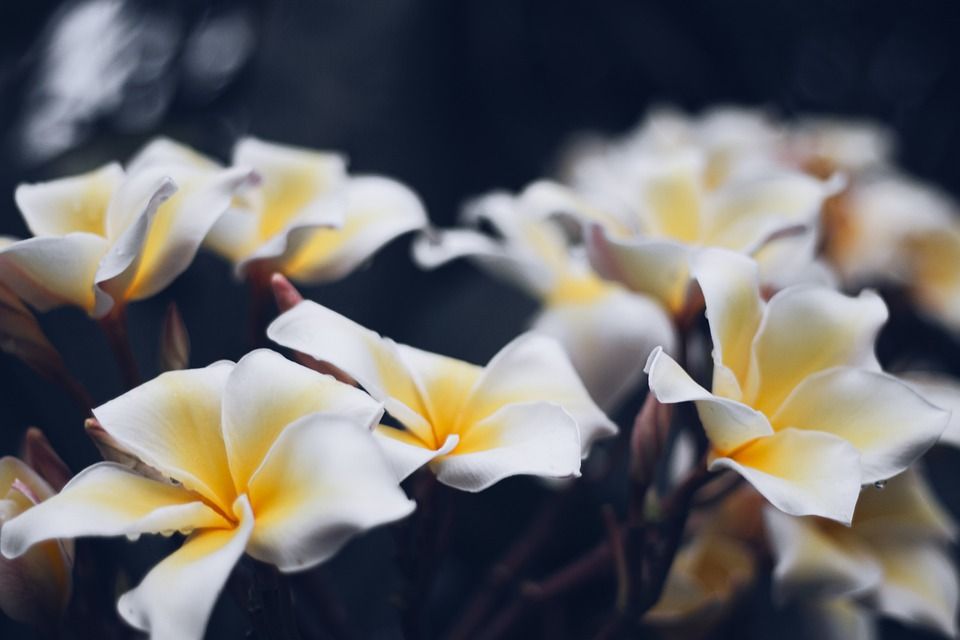
The flowers hang from a long stalk called an inflorescence and vary in color from white to red, pink, and yellow hues. They appear around the middle of summer and stay on until the fall. The flowers have a tubular shape with five overlapping petals that bloom in clusters at the end of the inflorescence. The fragrance of the flower is strong and gets even stronger at night to attract pollinators.
Plumeria Flower Varieties
As with many flowering plants, sometimes the cultivars outnumber the original species. The plumeria is no different in this respect. Each variety has something to offer from ease of care to gorgeous blooms and intoxicating fragrance. Here are the most popular species.
- Plumeria alba: The white plumeria is a native of Puerto Rico and grows to 40 feet tall in the wild. The flowers are the most distinguishing features of this species. They’re usually white with a yellow center.
- Plumeria pudica: This species can be truly called a tree, not a shrub. It has dense foliage and intricate leaves that look like spoon heads. It’s an evergreen species with flowers ranging from white to pink with round petals.
- Plumeria rubra: One of the most widely grown and cultivated species. Many cultivars have reddish flowers, leaves, and stalks giving it a striking appearance. The flowers can either be single or multi-colored and come in red, pink, orange, white, and yellow. The petals are usually curved and have a distinct oval shape.
- Plumeria obtusa: It grows mainly in Cuba and Hispaniola with evergreen dark green leaves and flowers that are either white or pink. The round petals are also curved and the plant is smaller than other plumeria varieties.
- Plumeria x stenopetala: A popular cultivar that is a hybrid of a few species including the plumeria stenopetala. The end product is a compact shrub suitable for small gardens and backyards. Unlike other species, this cultivar is deciduous with long and thin leaves. The flowers are often white and the petals are narrower than most other plumeria flowers.
- Plumeria stenophylla: Another species famous for its compact size. It stands at 8 feet tall when fully grown and the leaves are thin. The flowers are white and the petals are narrow and evenly spaced.
How to Grow Plumeria
When it comes to flowering plants be they perennials, annuals, shrubs, or trees, the golden rule is to provide about 6 hours of light a day, not to water the soil until it’s dry, and if you’re growing it in a container, make sure it has drainage holes. The same rules apply to plumeria as well.
Here we’ll cover how to plant plumeria using a cutting.
- Make a cutting out of a grown plumeria about 12 inches long and leave it aside for 10 days to develop a callus on the cut.
- Fill a container with a potting mix and perlite in equal portions. Make sure the container has plenty of drainage holes at the bottom.
- Make a small hole in the soil that is about 3 inches deep.
- Dip the end of the cutting in water to make it wet then cover it with rooting hormone powder.
- Ease the cutting into the hole you made in the soil and try not to disturb the hormone powder on the tip.
- Fill the hole with soil and pack it gently to keep the cutting standing upright without help.
- Add more potting soil mix into the container to stabilize the cutting.
- Water the container until the water flows out of the drainage holes at the bottom.
- Move the new plant to a place that gets about 6 hours of sun every day, preferably a window facing south or west.
- You can also use a grow light. Place it a few inches above the container and keep it on for at least 6 hours every day.
- After 3 to 4 weeks, the roots will develop and the cutting becomes stable in the container.
- Keep the soil moist but not wet. Too much water will make the cutting rot.
- Once the roots establish, the plant will grow leaves.
- Shield the new plant from strong wind which would blow away the tender leaves.
Plumeria Care
During its early stages, the plant is usually fragile. A strong gust of wind will carry it away. Even after the plumeria grows branches, these branches could snap under any slight pressure. So you need to keep your container away from nosy pets and curious children.
To protect the plant against being blown away in the wind, you can dig a hole in the garden and sink the container in it.
Fertilizing
Unlike many other shrubs we covered here, our plumeria prefers a fertilizer with an extra dose of phosphate in it. A phosphate-rich fertilizer not only gives you gorgeous blooms with a strong fragrance, but the flowers last on the plumeria for many weeks.
It’s recommended you feed it with a 10-30-10 fertilizer once every couple of weeks. You can use either liquid fertilizer or a powdery one. Keep in mind that you need only to fertilize the soil during the growing season between May and September. Hold off the fertilizer for the rest of the year.
Pruning
Since the fertilizer you will be using with your plumeria is high in phosphate but low in nitrogen, the plant will have a moderate growth rate of about one foot a year. This means that for the first few years, you won’t have trouble with it and won’t need to use your pruning scissors that much if at all.
But as the branches multiply and the leaves become dense, you will need to make sure your plumeria looks tidy and in good shape. Always remove broken branches and damaged or infected leaves.
Winter Care
Once the hot summer days are replaced with chilly fall evenings, that’s when it’s time to think about moving your plumeria.
In general, plumeria plants don’t do well in temperatures below 45 degrees Fahrenheit. So make space for them indoors and keep the containers inside until the weather warms up again. Signs the weather is too cold for the plant include drooping and yellowing leaves. Don’t let the shrub get the first frost outside since that could be fatal.
Repotting
Plumerias like many shrubs growing in containers tend to outgrow their pots pretty quickly. The robust root system needs more space and soil to grow over time. You should do this once every one or two years depending on how fast your plumeria grows.
To repot it, start by bare root the shrub.
- First you’ll need to loosen the soil from the pot then pull the shrub at the base gently. Give it a good shake to separate the tender roots from the soil then plant it in a larger pot.
- Make sure the whole root ball is buried in the pot then cover it with soil and pack it around the base.
- Water the plant until the water runs out of the drainage holes.
Pests and Diseases
For a tropical shrub that grows tall as a tree, no disease seems to bother plumeria plants. The same cannot be said about pests, however. You will often see mealybugs, white flies, and spider mites making the shrub their home.
Rather than chemical pesticides, you can hose them with water, then collect the fallen insects and get rid of them in a safe manner. Usually, it’s recommended that you drown them in a bucket of water with a few drops of bleach or detergent.


