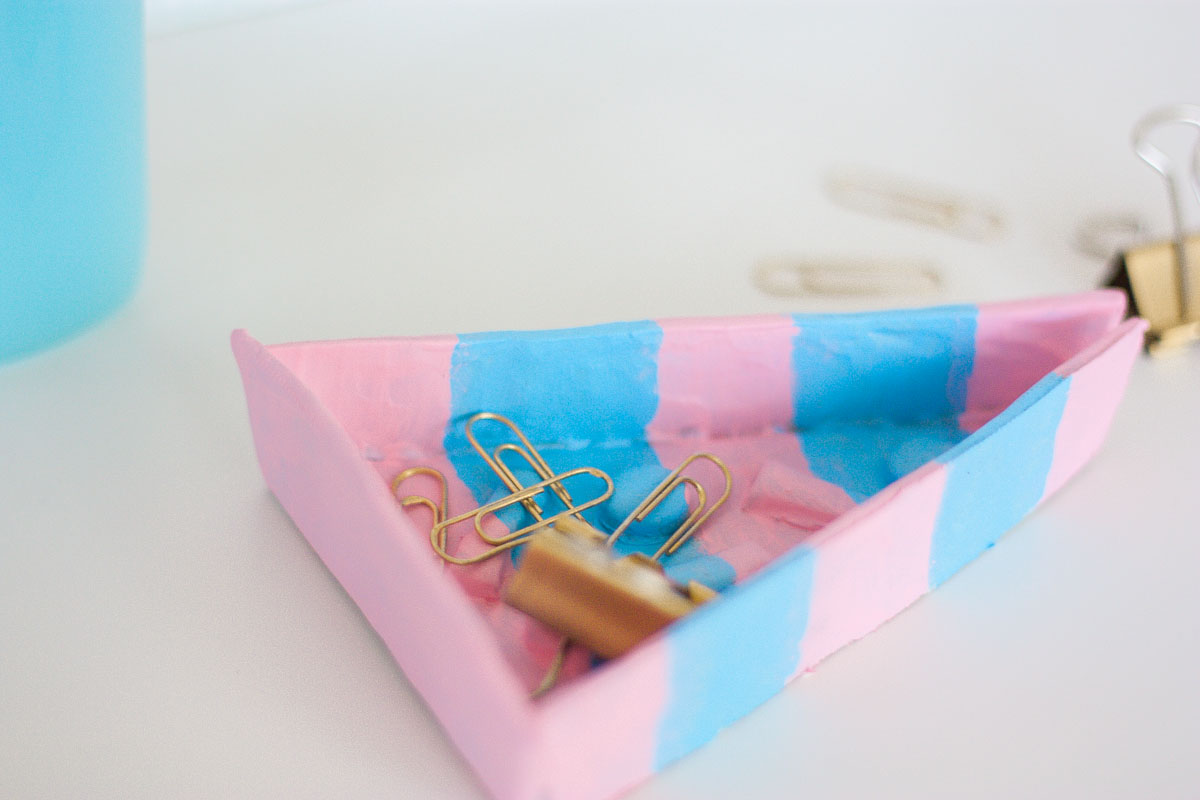
DIY Colorful Pizza Trinket Dish
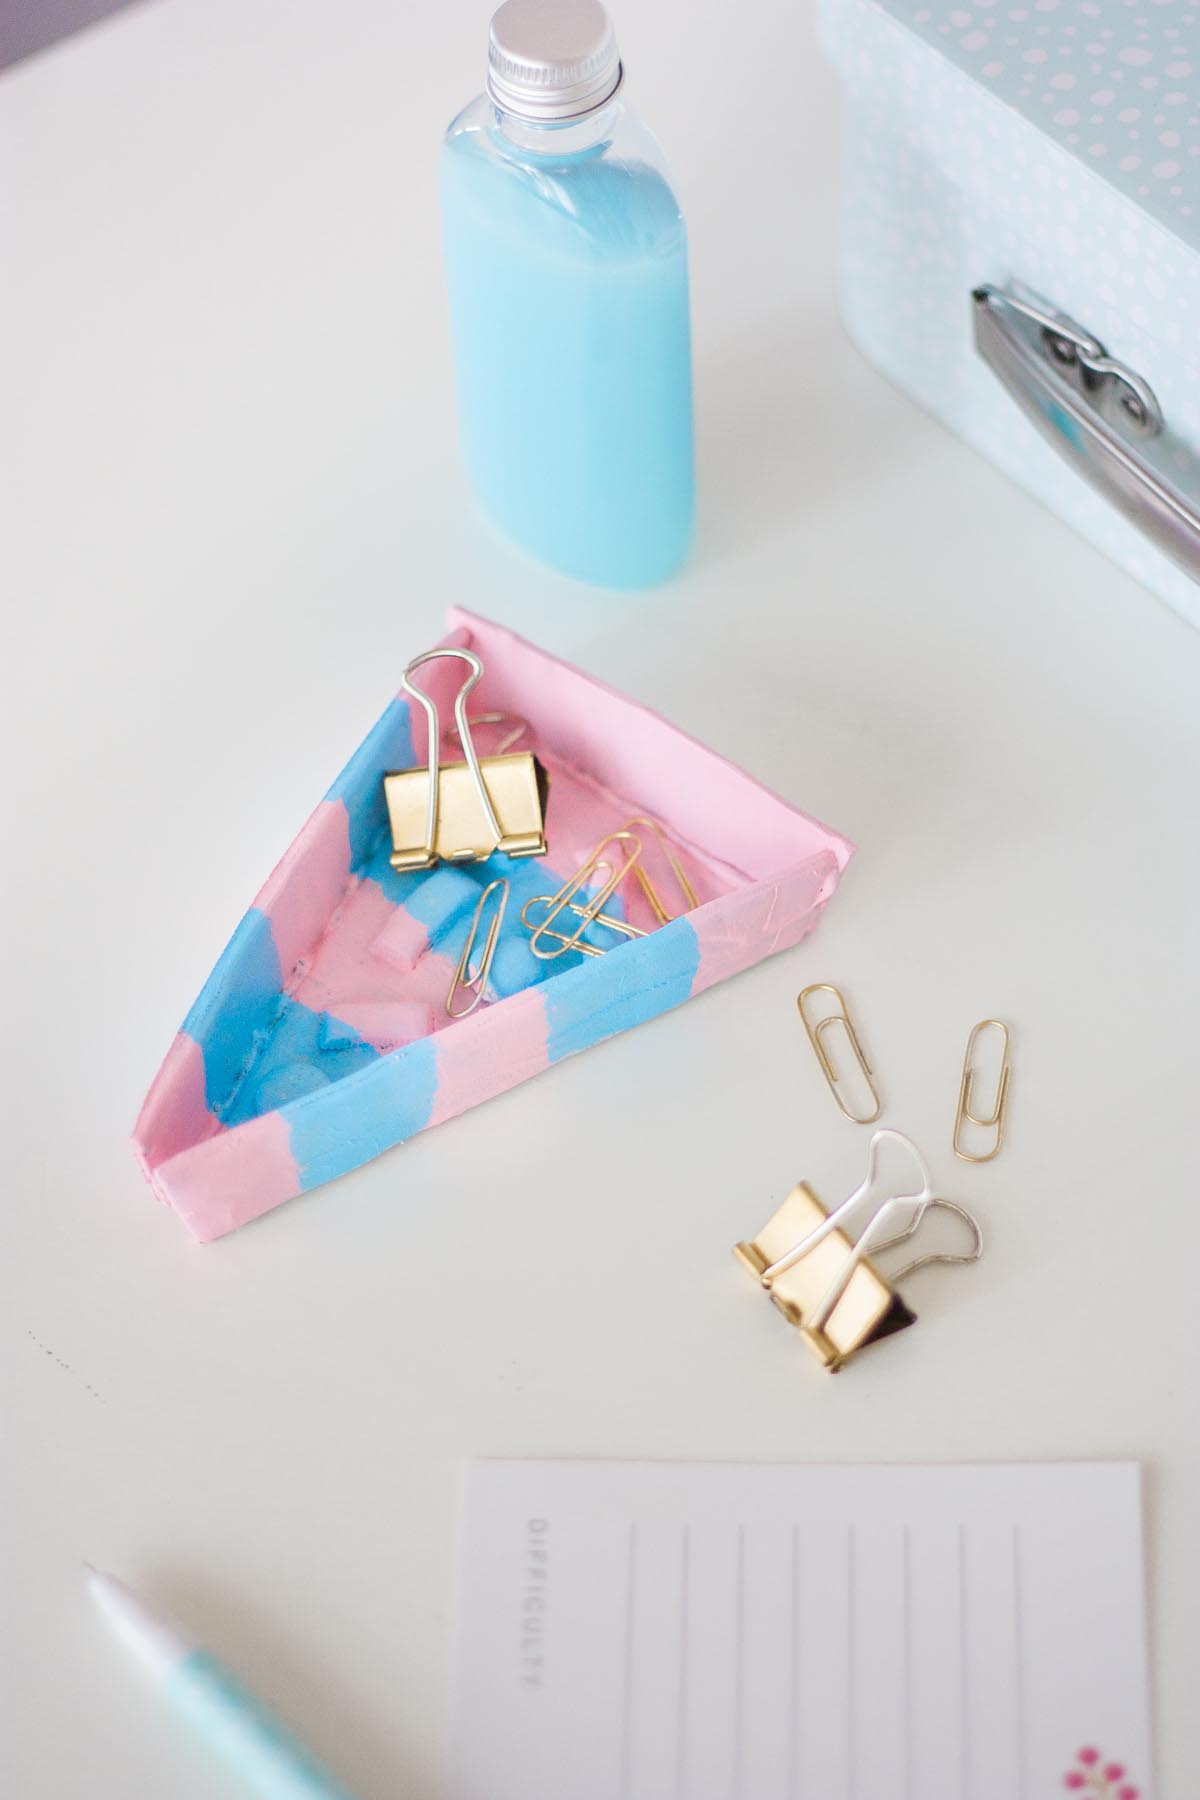
Whether you’re an organization maniac or a very messy girl, trinket dishes come in handy quite most of the times, to help you sort out various types of objects; they can be exposed on cupboards or nightstands – maybe collecting hair elastic band and bobby pins you take off before you go to sleep – or can be used hidden to make some sense in messy drawers. I’m using it to pile up my clips and binding clips that seem to always get lost around the desk’s drawers.
This tutorial will guide you into making your own fun pizza trinket dish, that you can decide to leave “nude” or paint multi-color like I did, for a real pop of color at home. Because let’s admit it, who doesn’t love anything involving yummy Italian pizza? Keep on reading and see how to make your own.
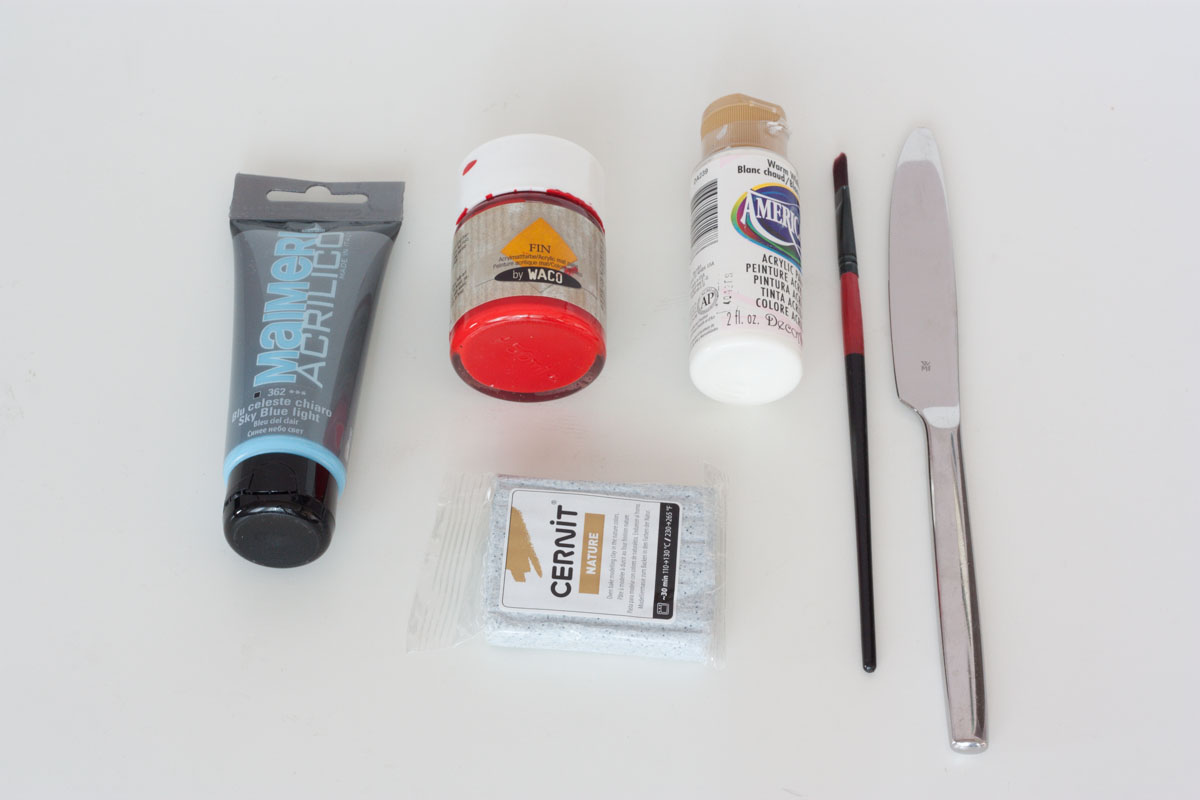
Supplies:
- knife
- acrylic colors
- brush
- clay
- baking paper
- rolling pin
- hot glue or instant strong glue
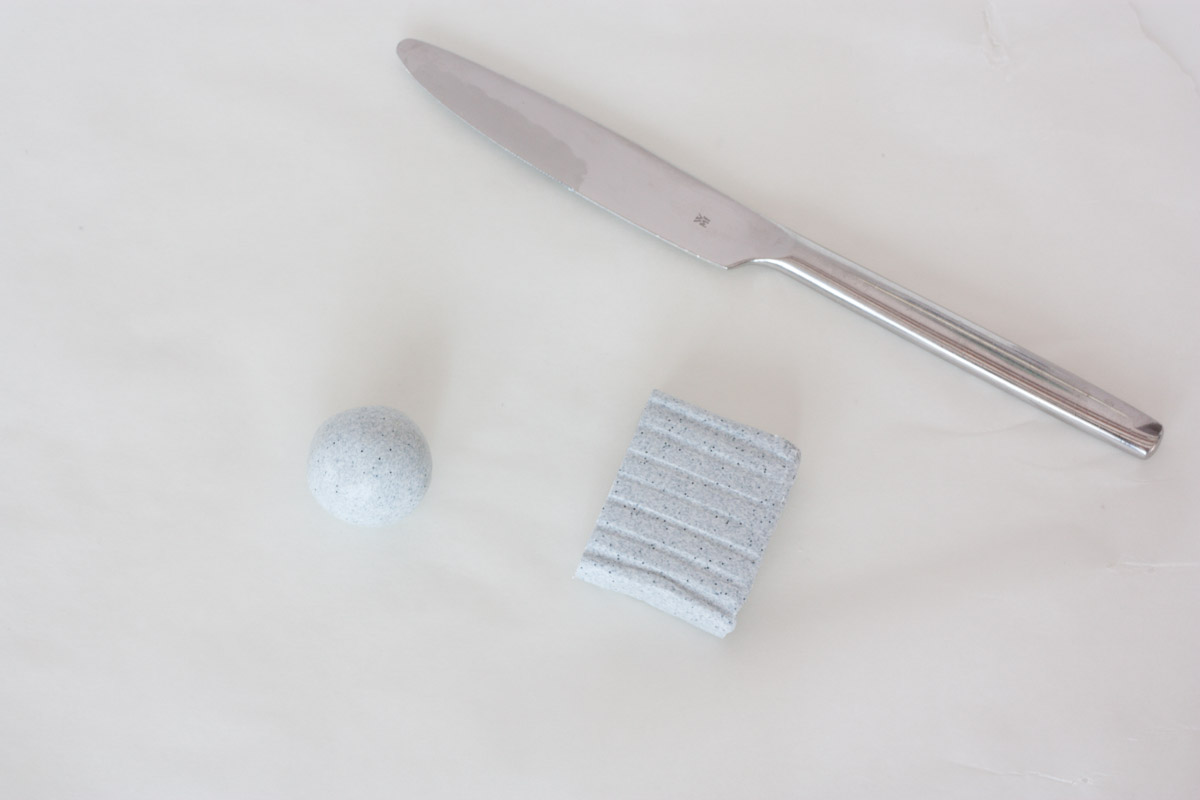
1. Start by making a ball of clay working it with your hand. Every time you have to make a new shape from clay, start with a ball like this one. Always work on baking paper if you’re using oven hardening clay.
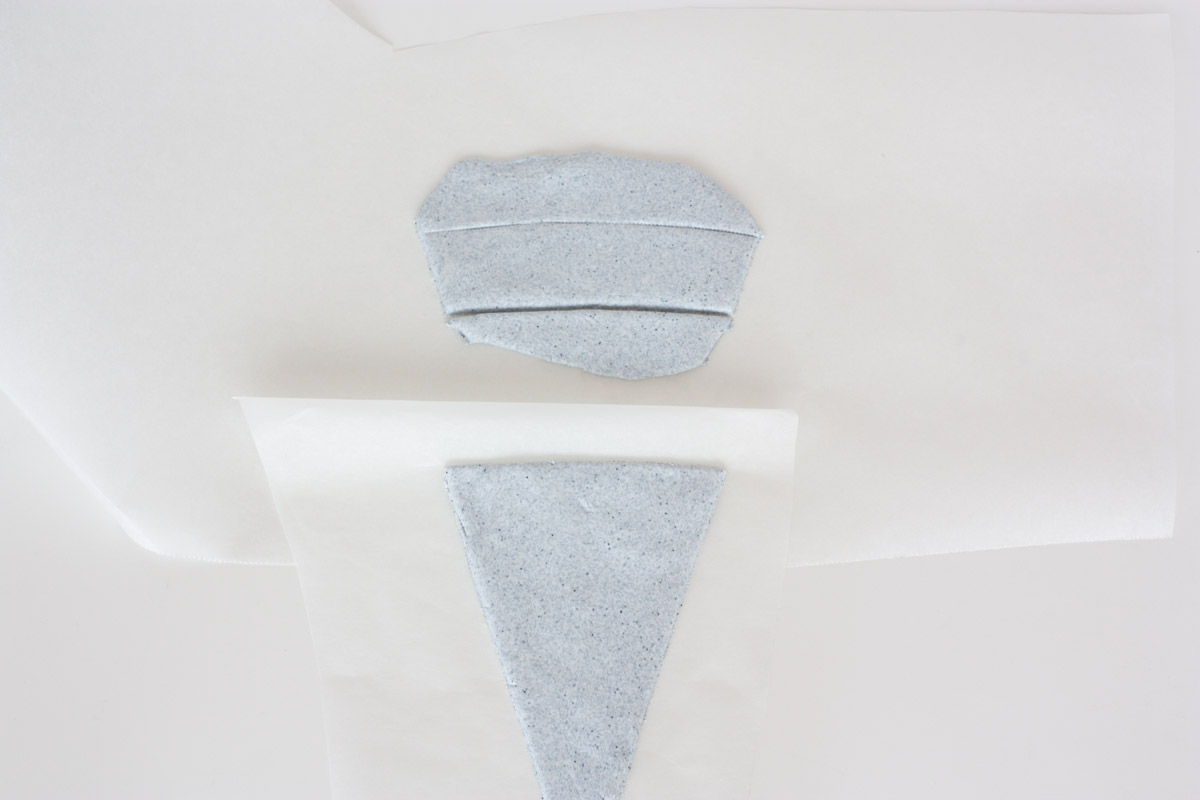
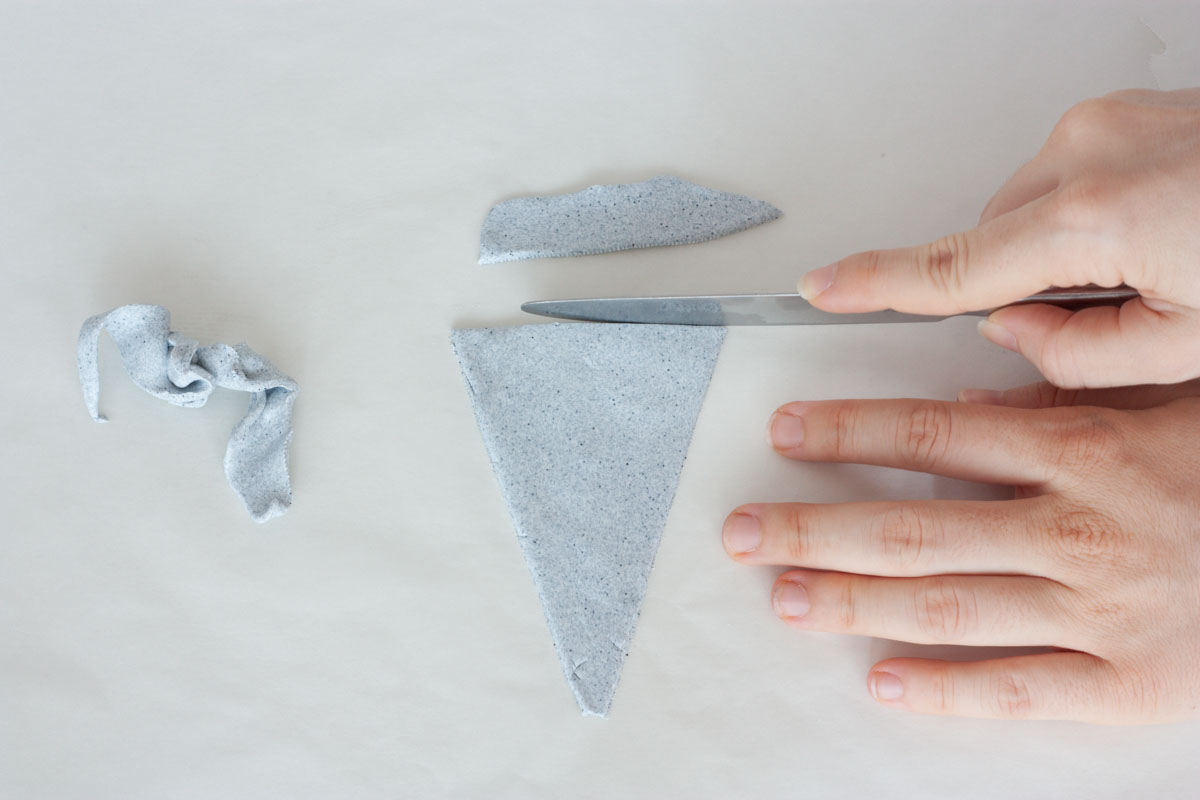
2. Now spread it with your rolling pin until you get an even shape of about 3 – 4 mm of thickness and cut a triangular shape.
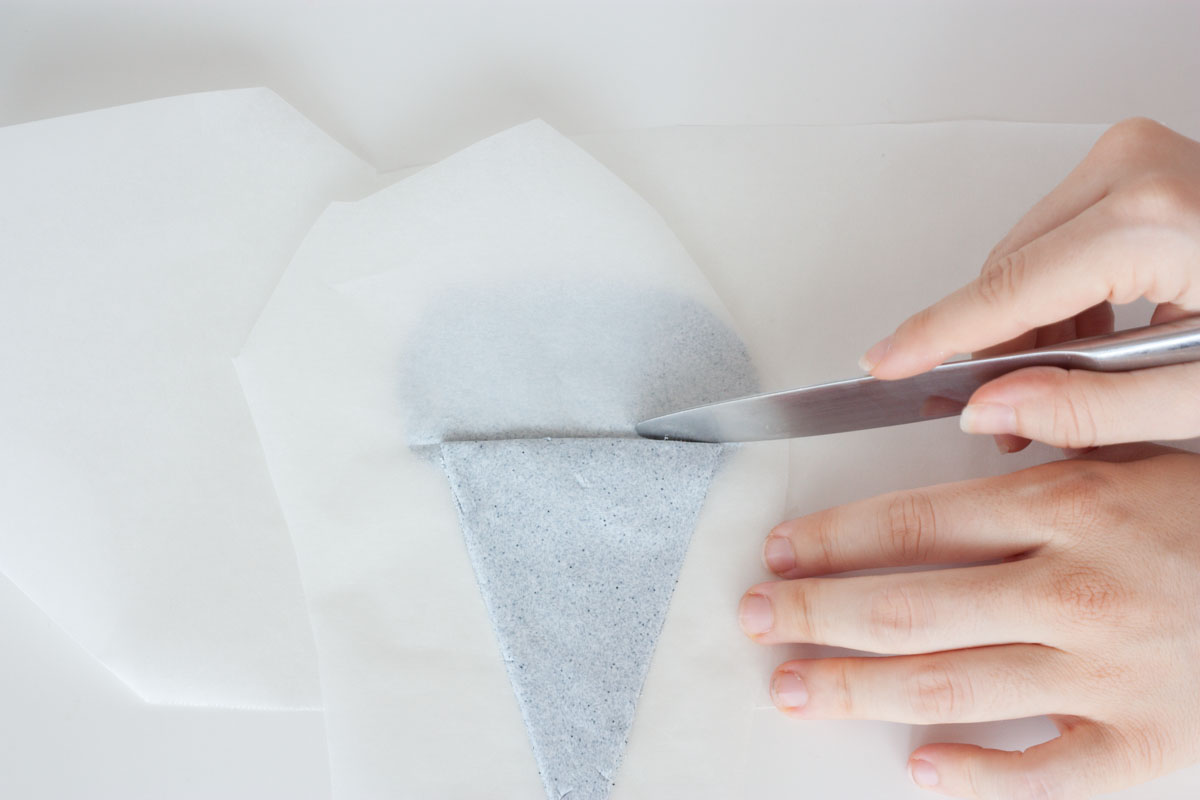
3. Next, starting from another ball of clay, spread out another piece making sure it’s at least large as much as your triangle’s short side. Place your triangle on top of it and measure and cut the width you’ll need. Decide how high you’d like the edges to be and cut the piece accordingly.
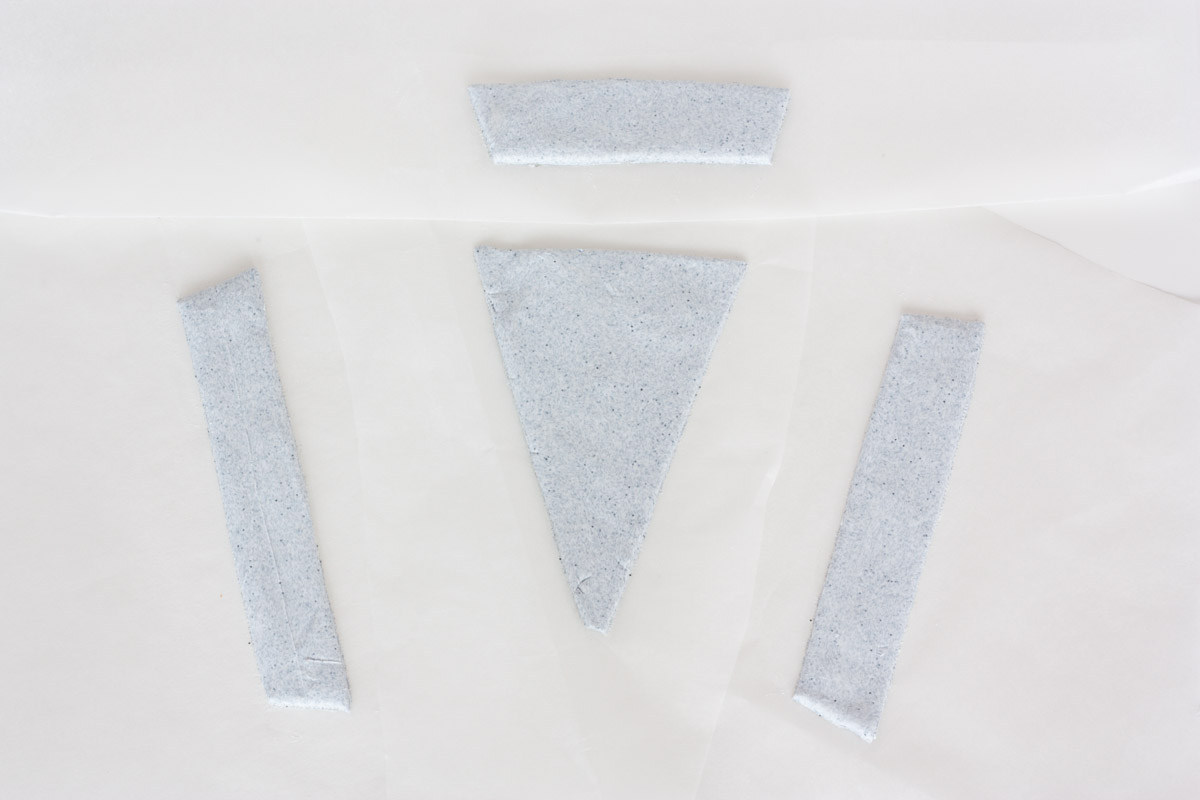
4. Go ahead and repeat this step for all the sides of the triangles: what we’re doing is constructing the edges of the trinket dish. You should end up with 3 matching sides and one triangle. Notice how the edges are slightly bigger than the base because they will need to fit sideways one to another.
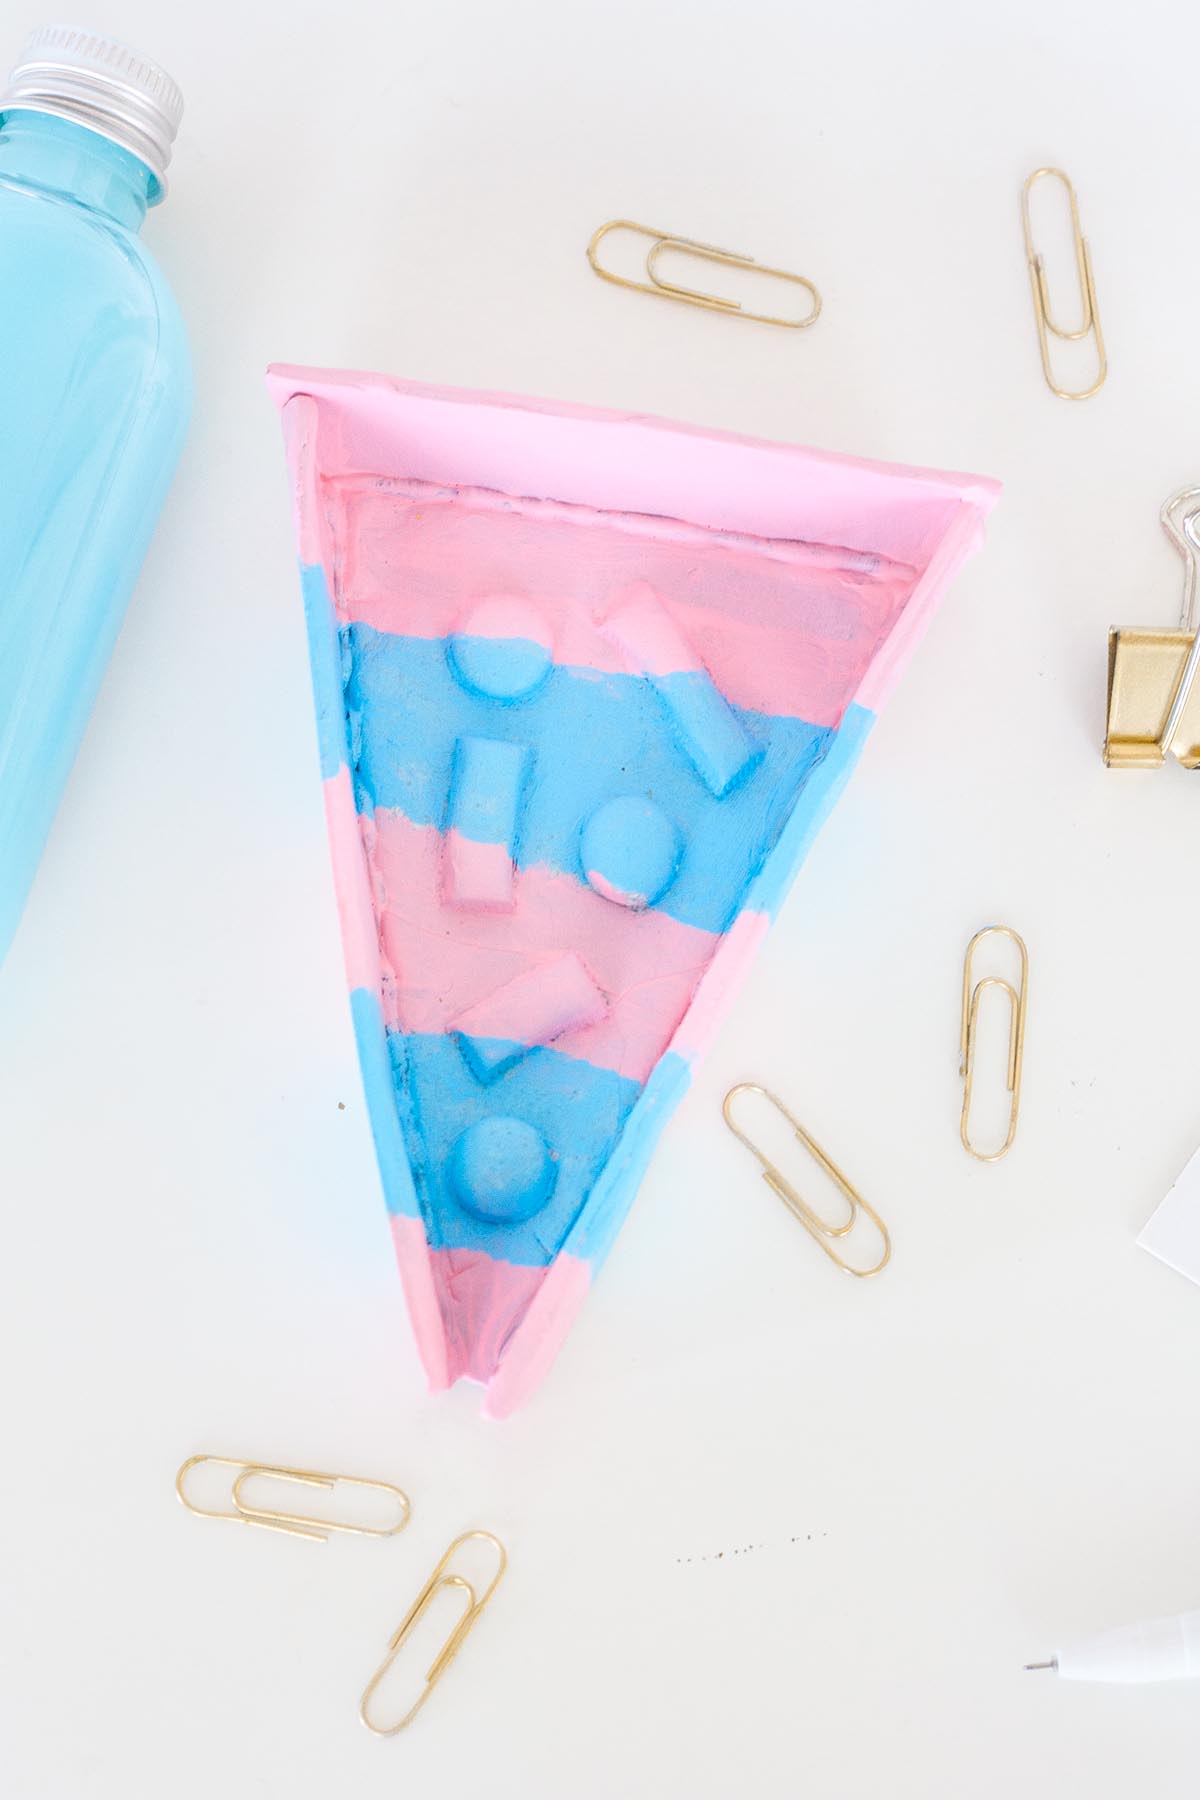
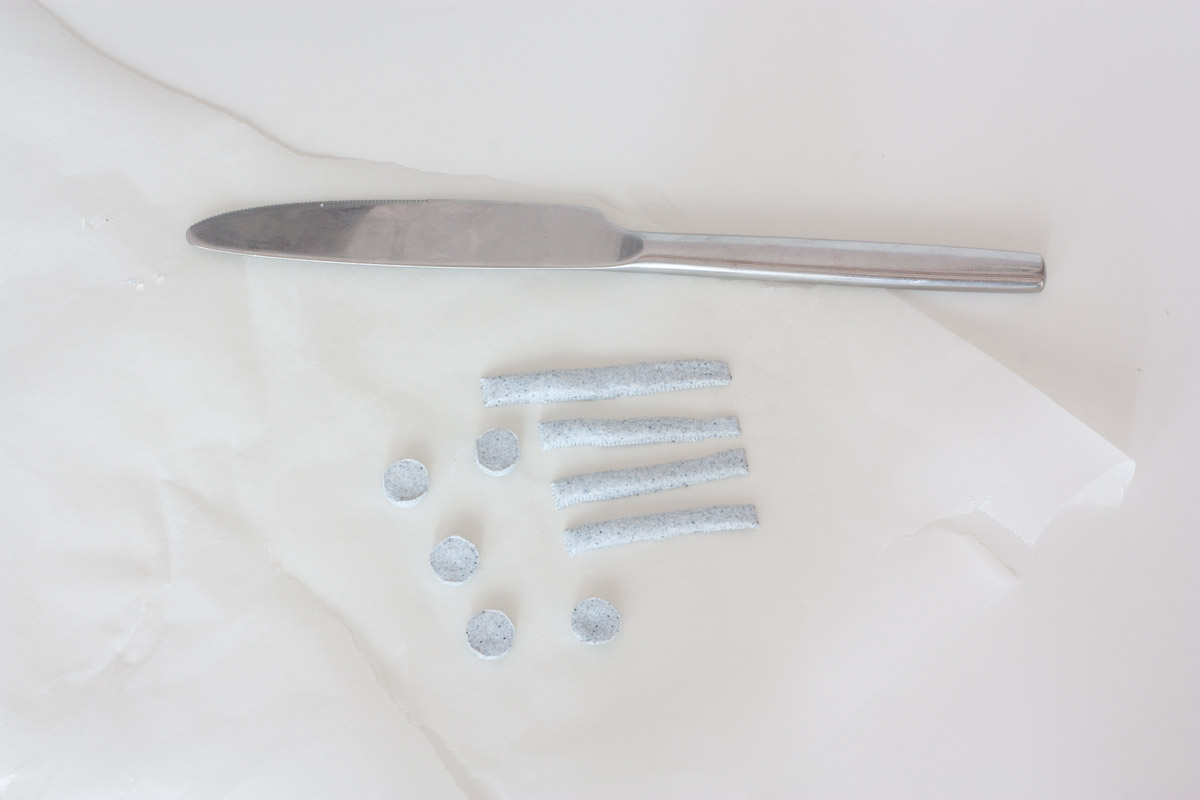
5. Help yourself with any round object at home and cut small circular shapes and some sticks. These will make the pizza topping :-)
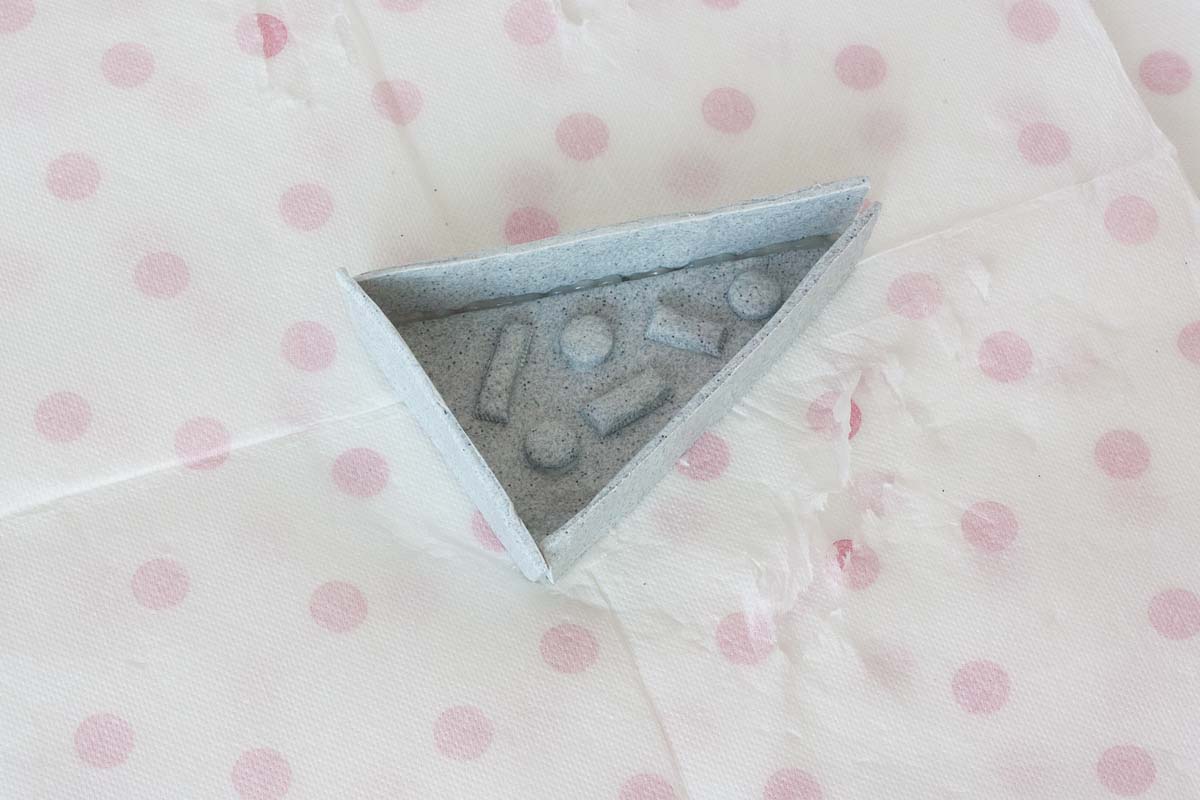
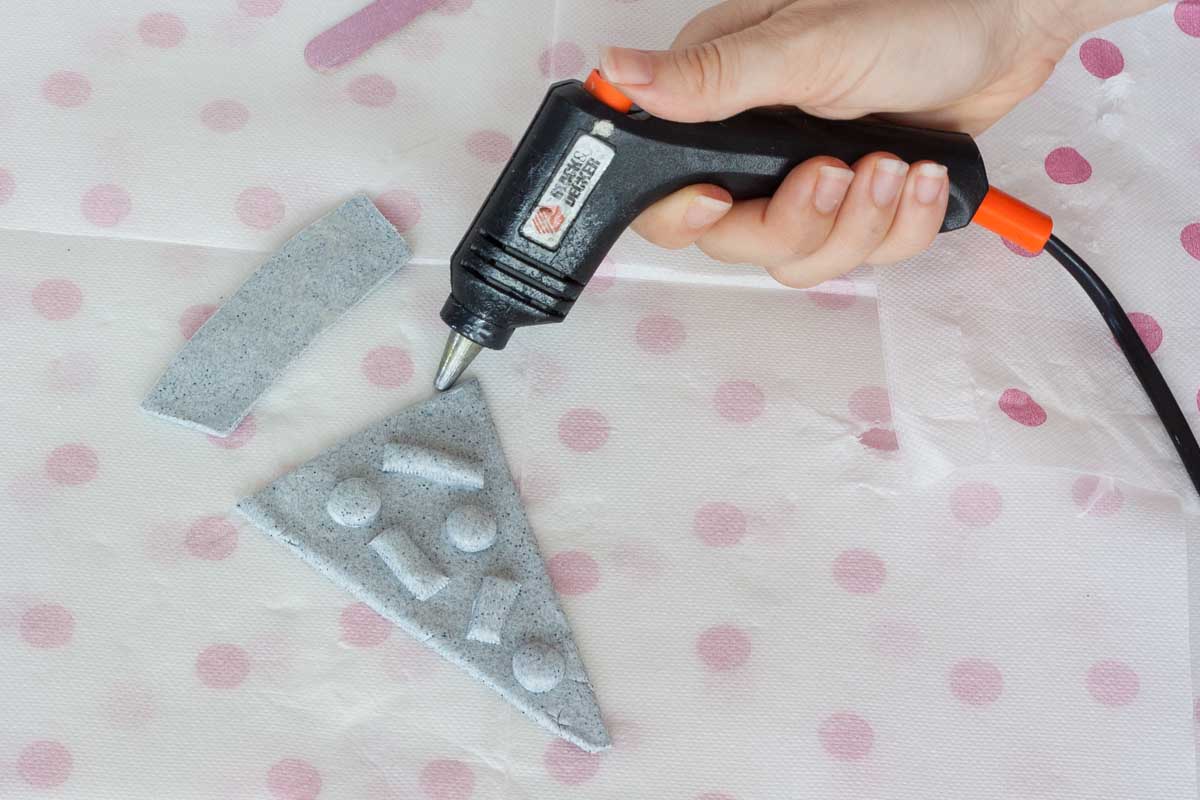
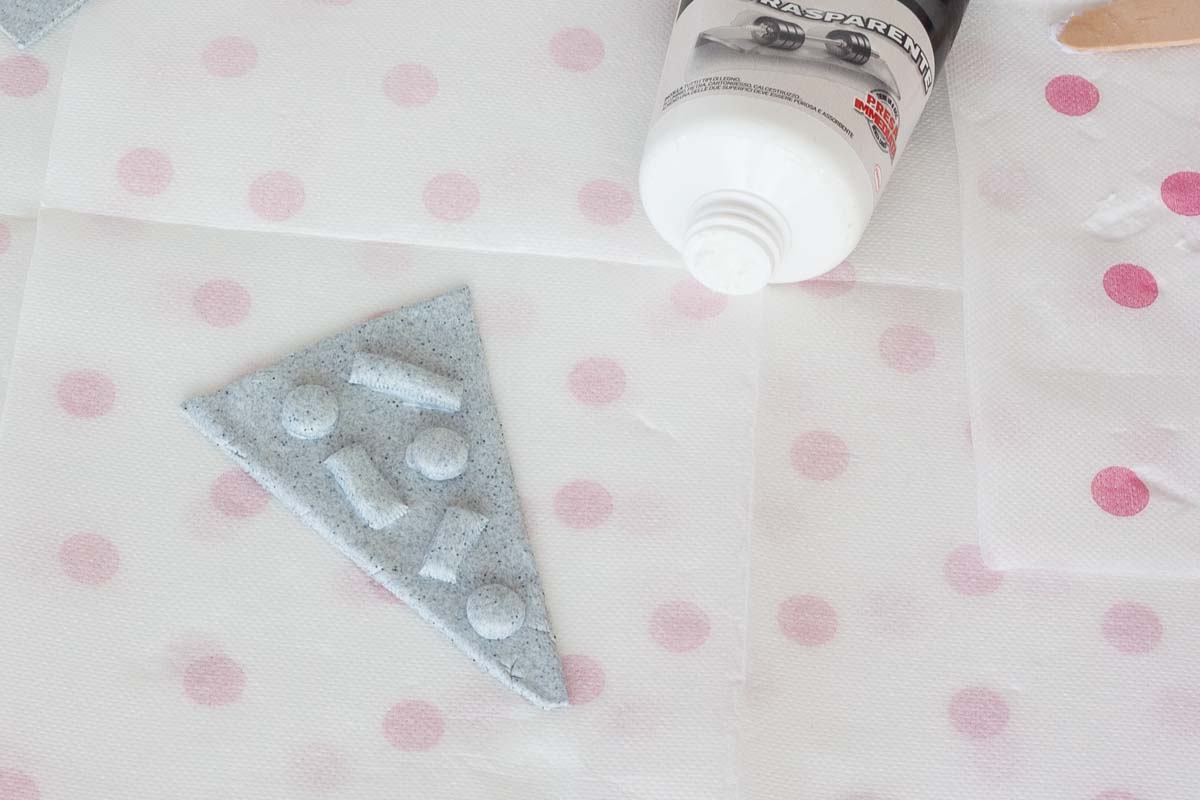
6. If you have oven hardening clay, bake for 30 mins at 140°C. If you use air hardening clay, just leave it overnight to dry. Then, use the glue to decorate your pizza.
7. Finally, using hot glue assemble the sides to the base.
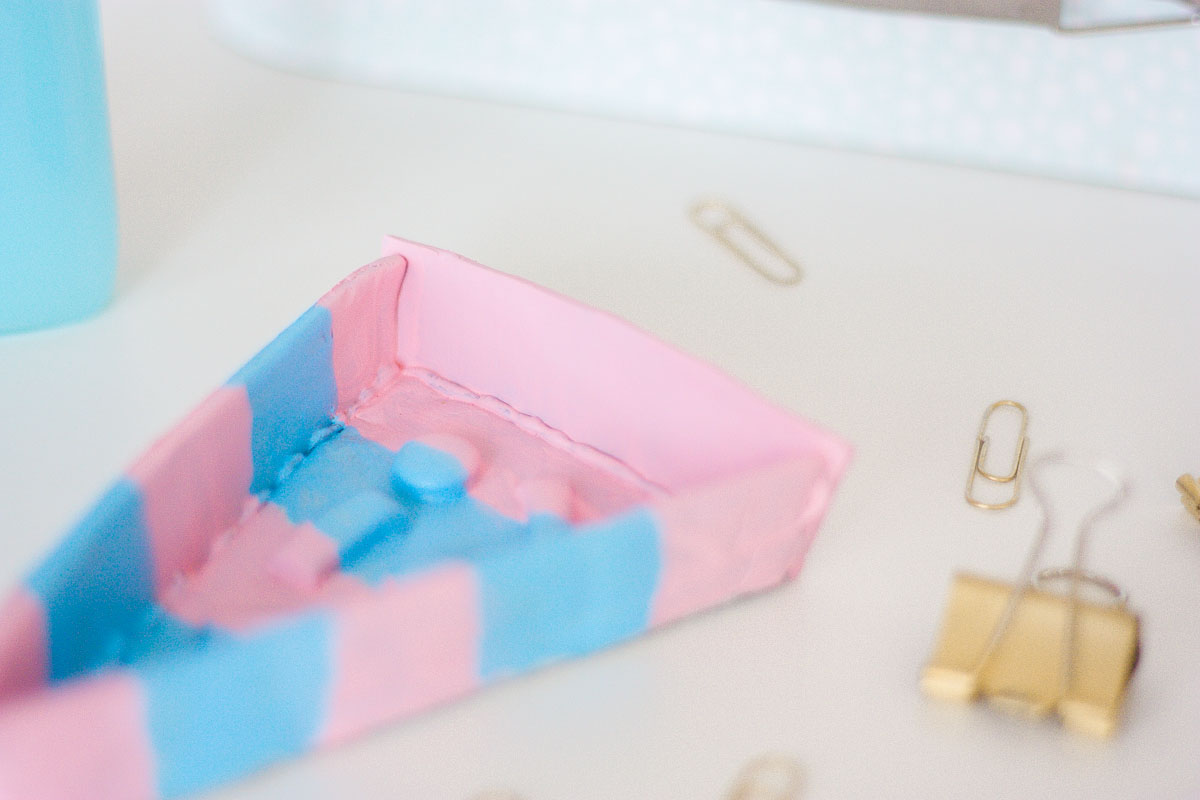
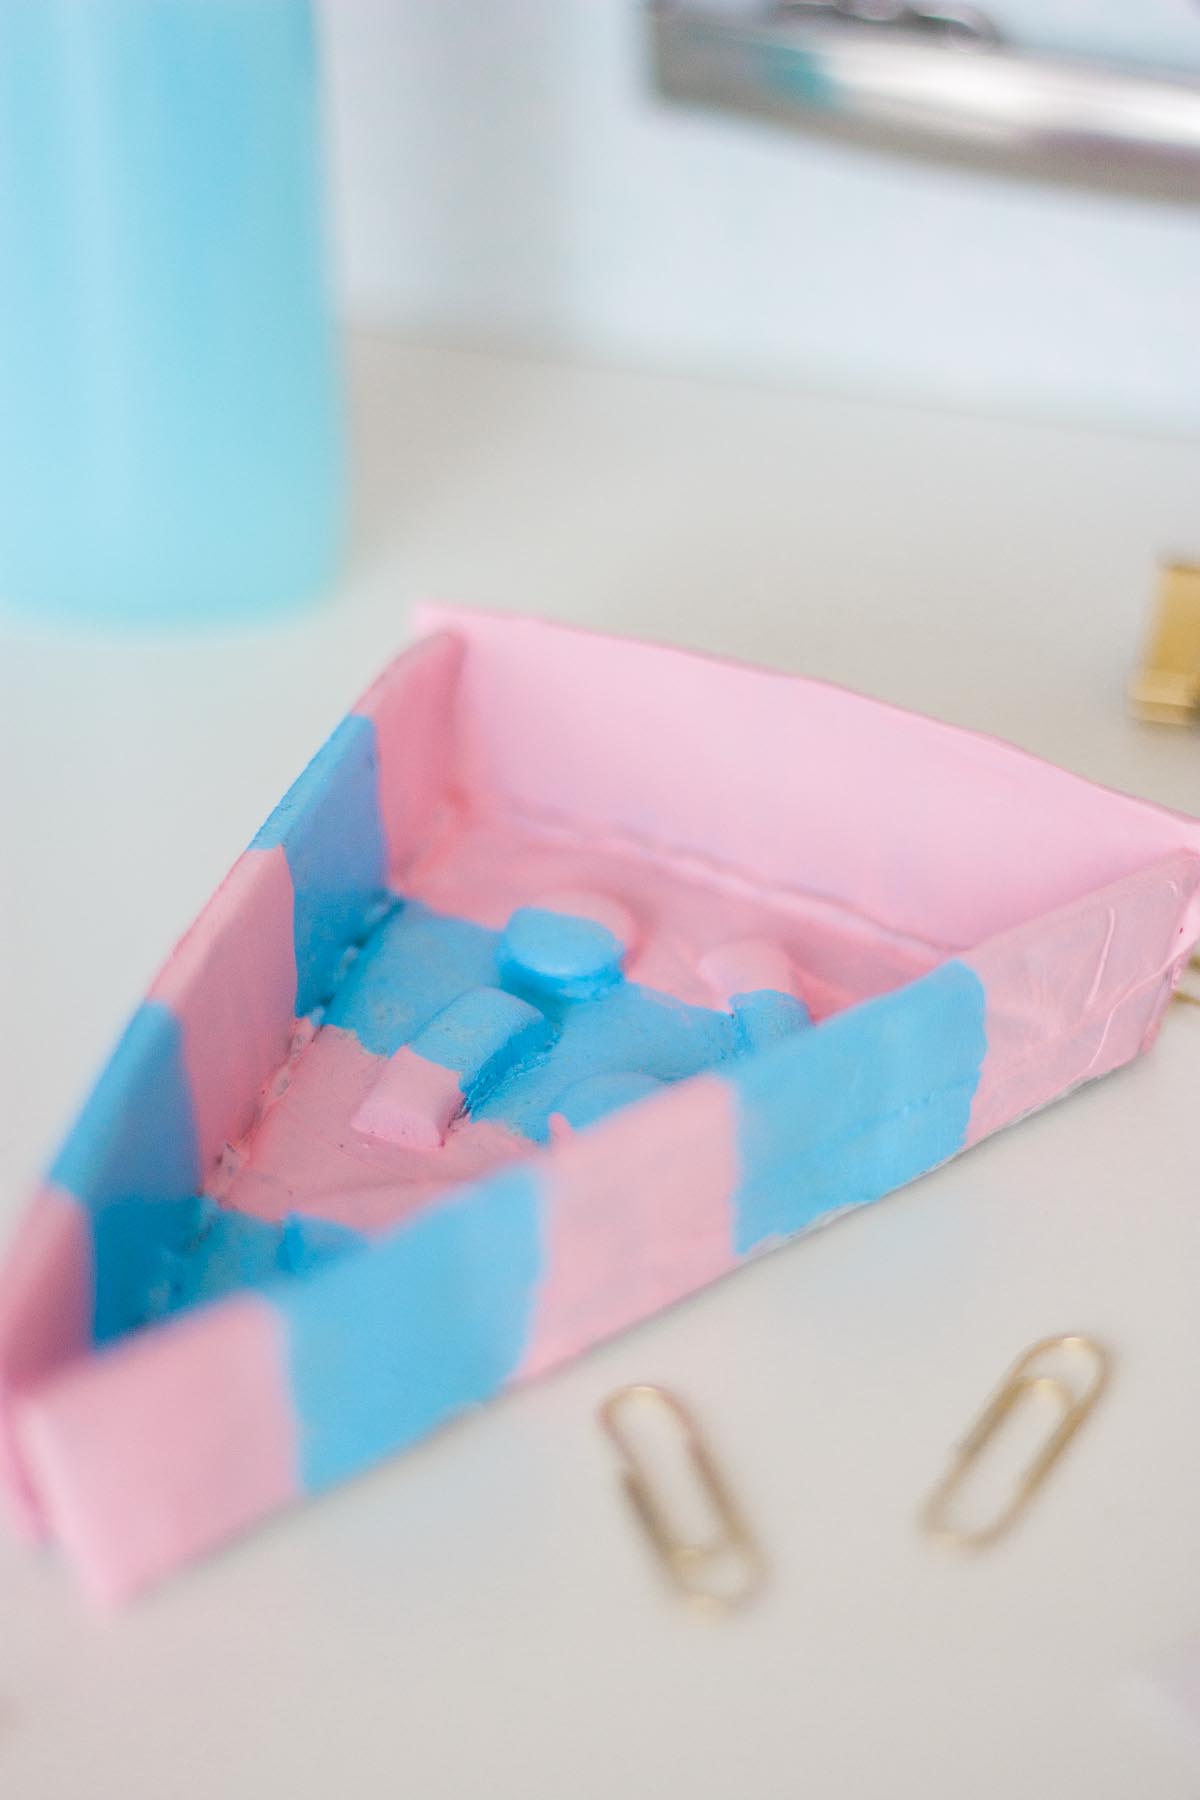
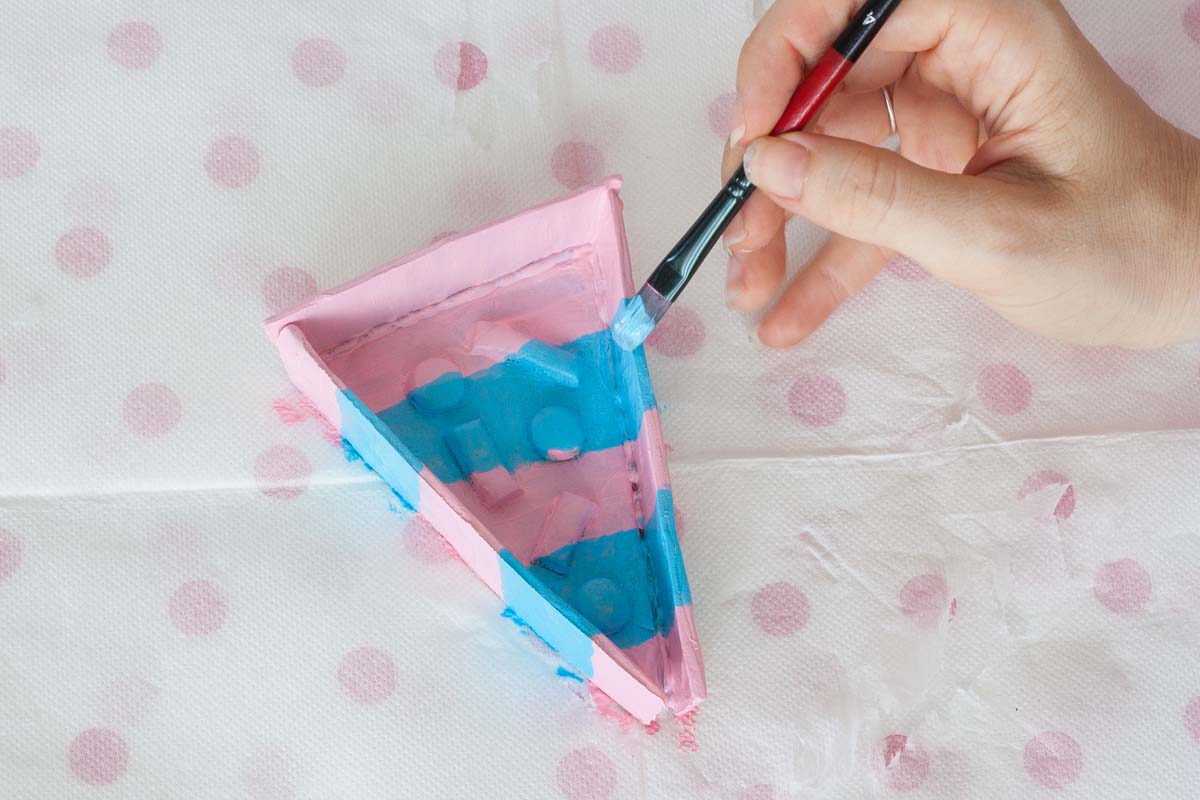
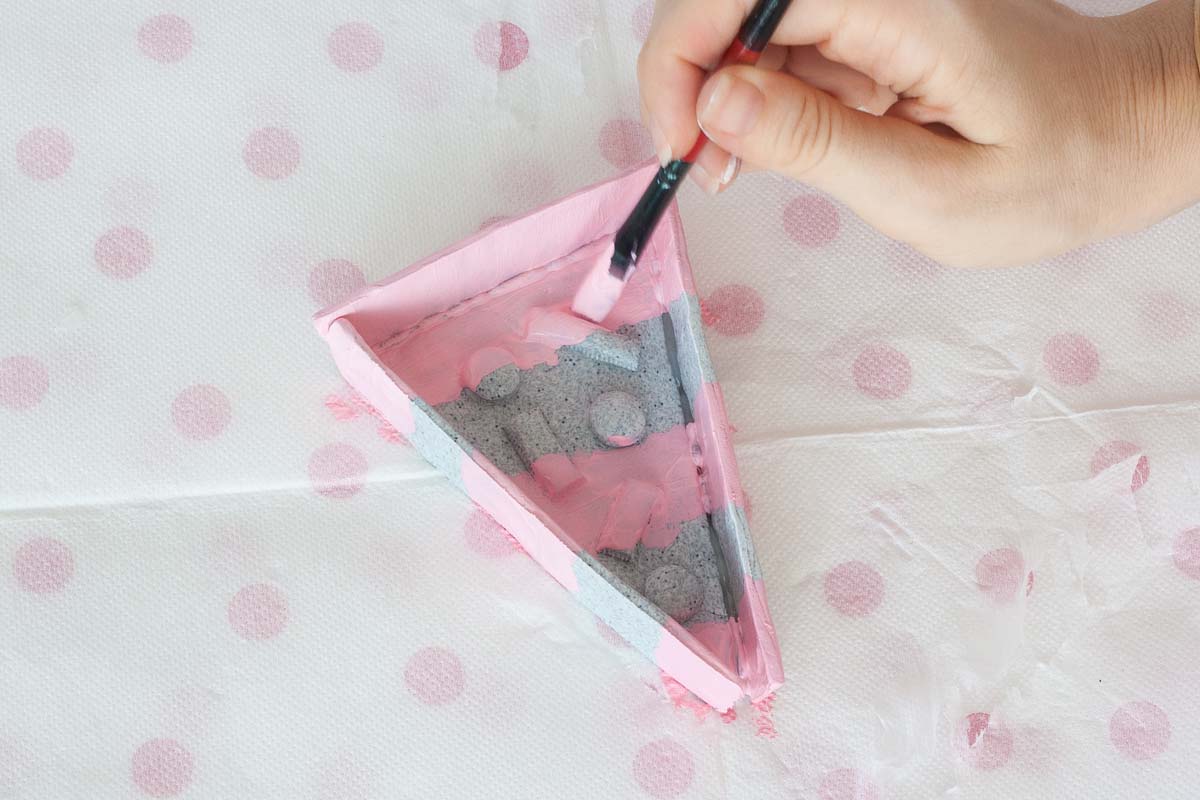
8. Optional step. If you wish to paint your trinket dish pizza and make it striped multicolored like mine, just add areas of pink and then areas of blue just as shown here. Remember to let the paint dry from one color to the other.
Very well, now go and fetch all those messy pins because they now have a home! And exhibit gladly your pizza trinket dish because it is absolutely one of a kind – guaranteed!
