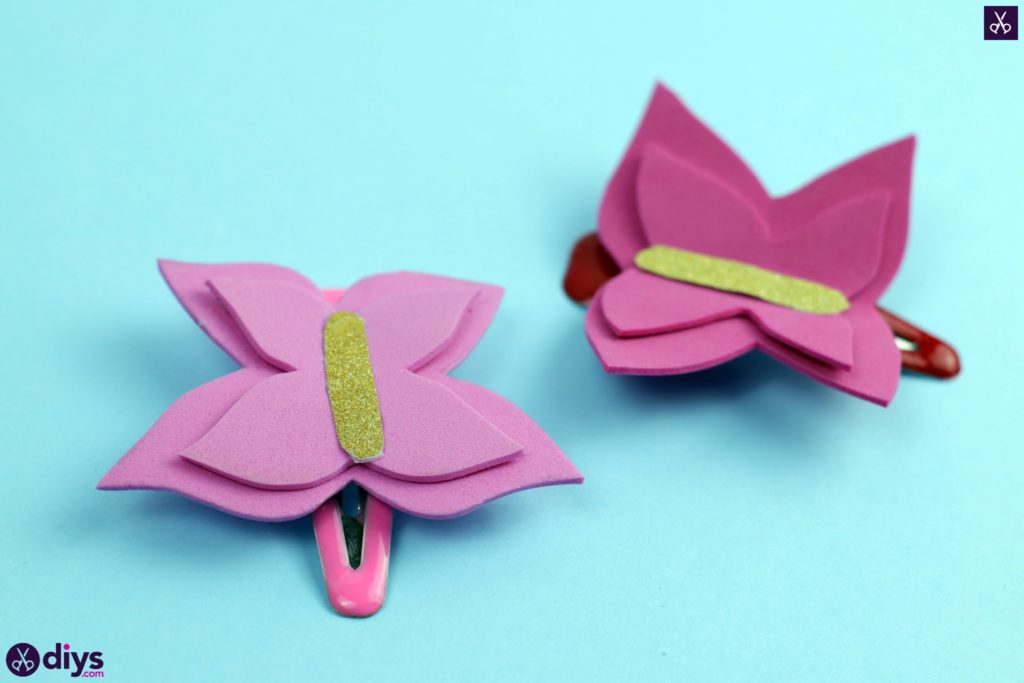
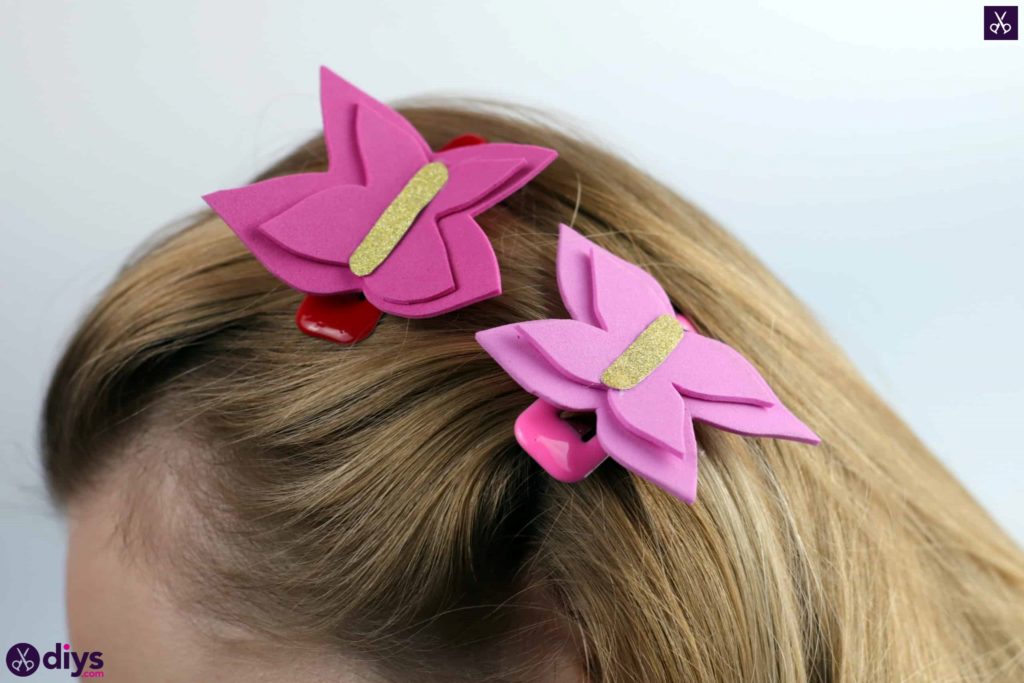
DIY Pink Butterfly Barrette
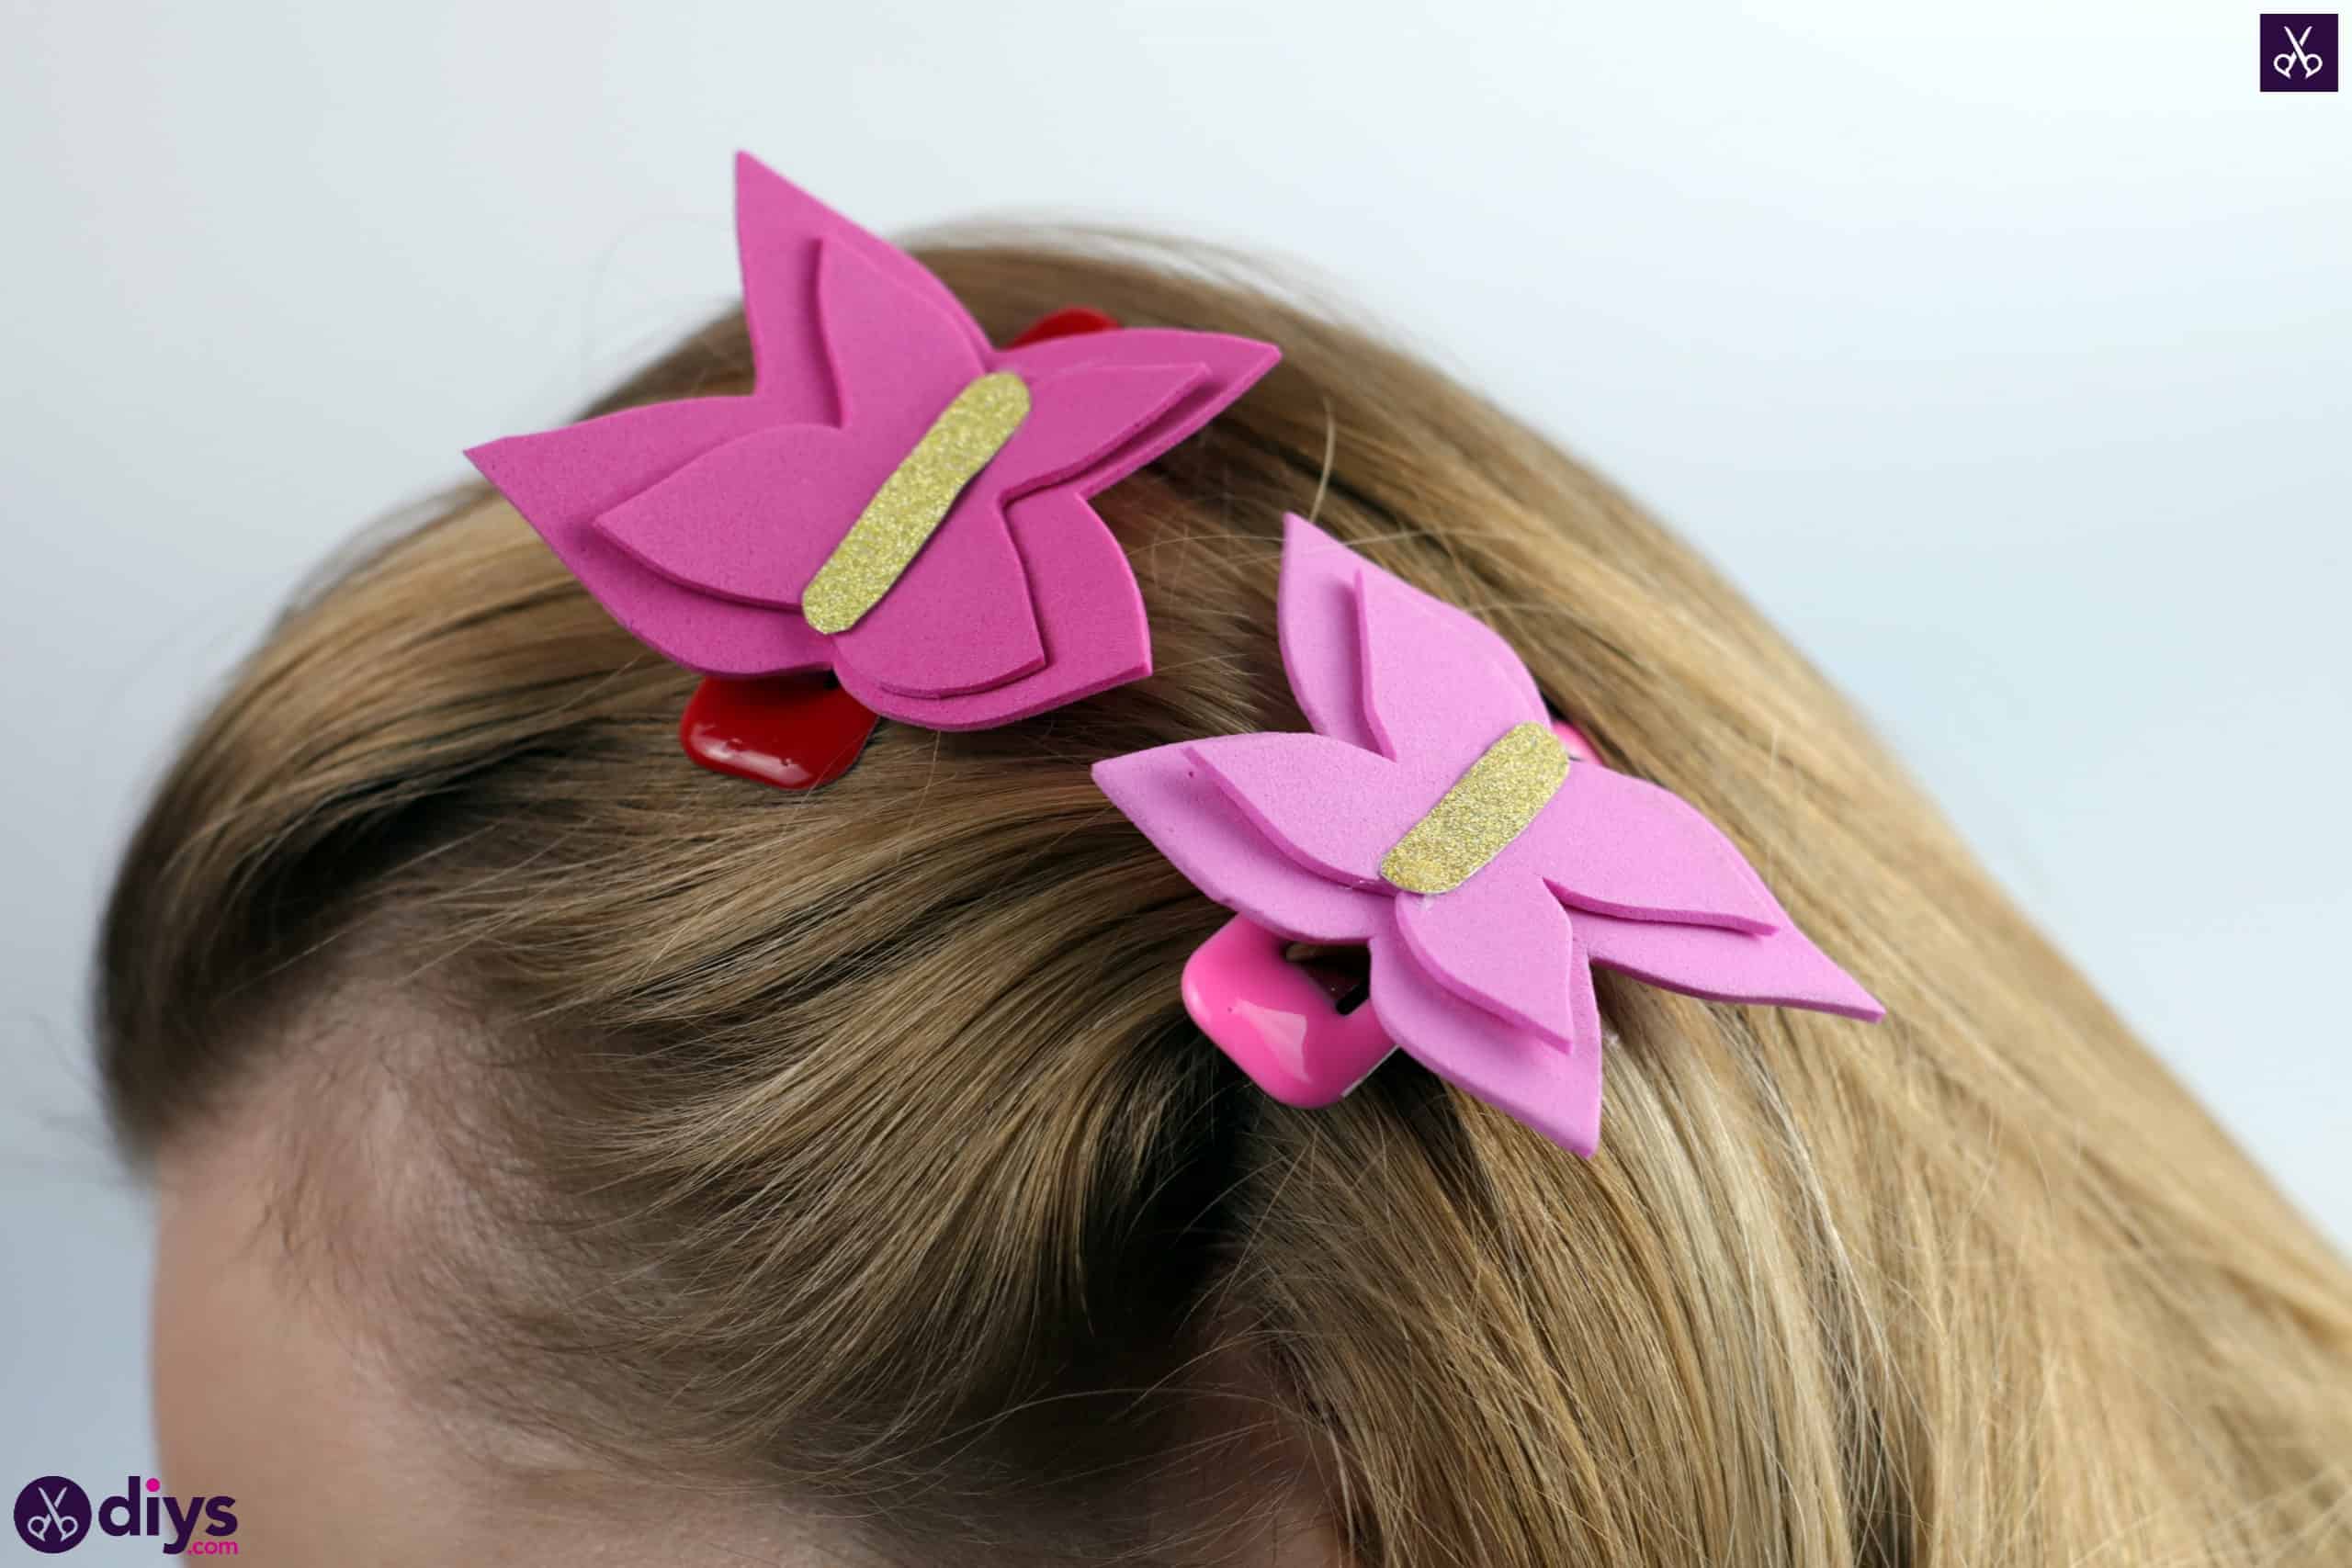
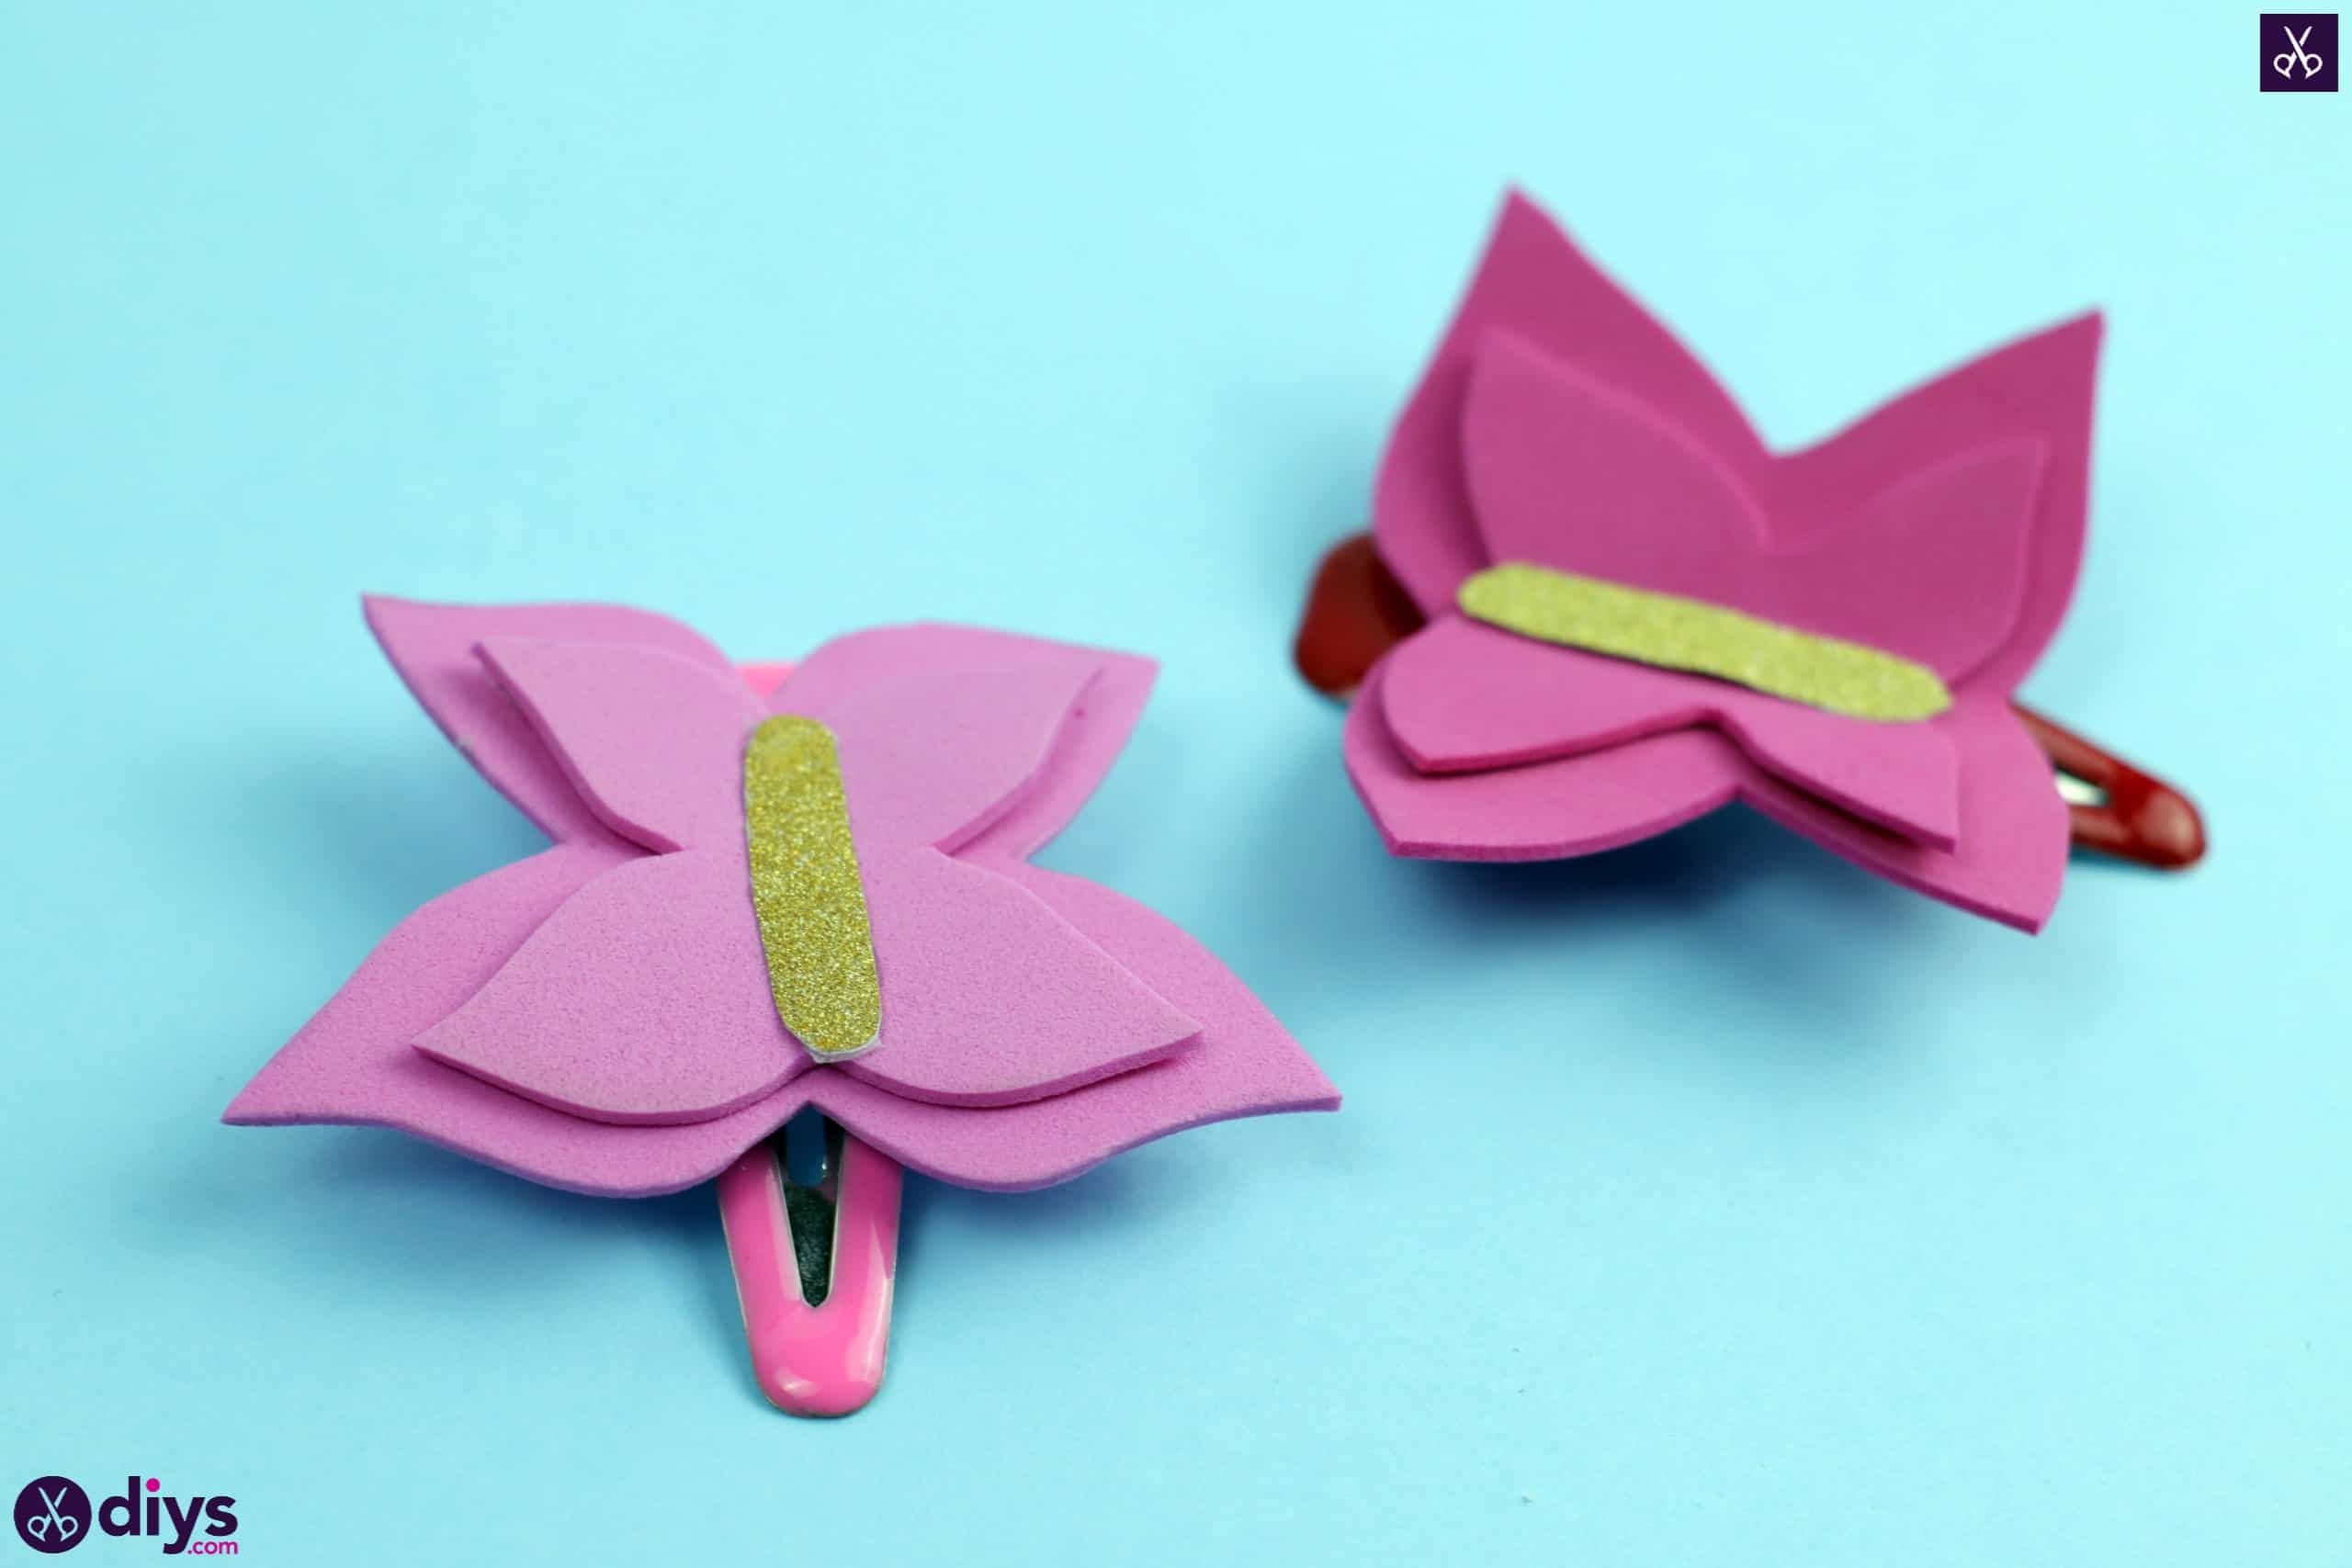
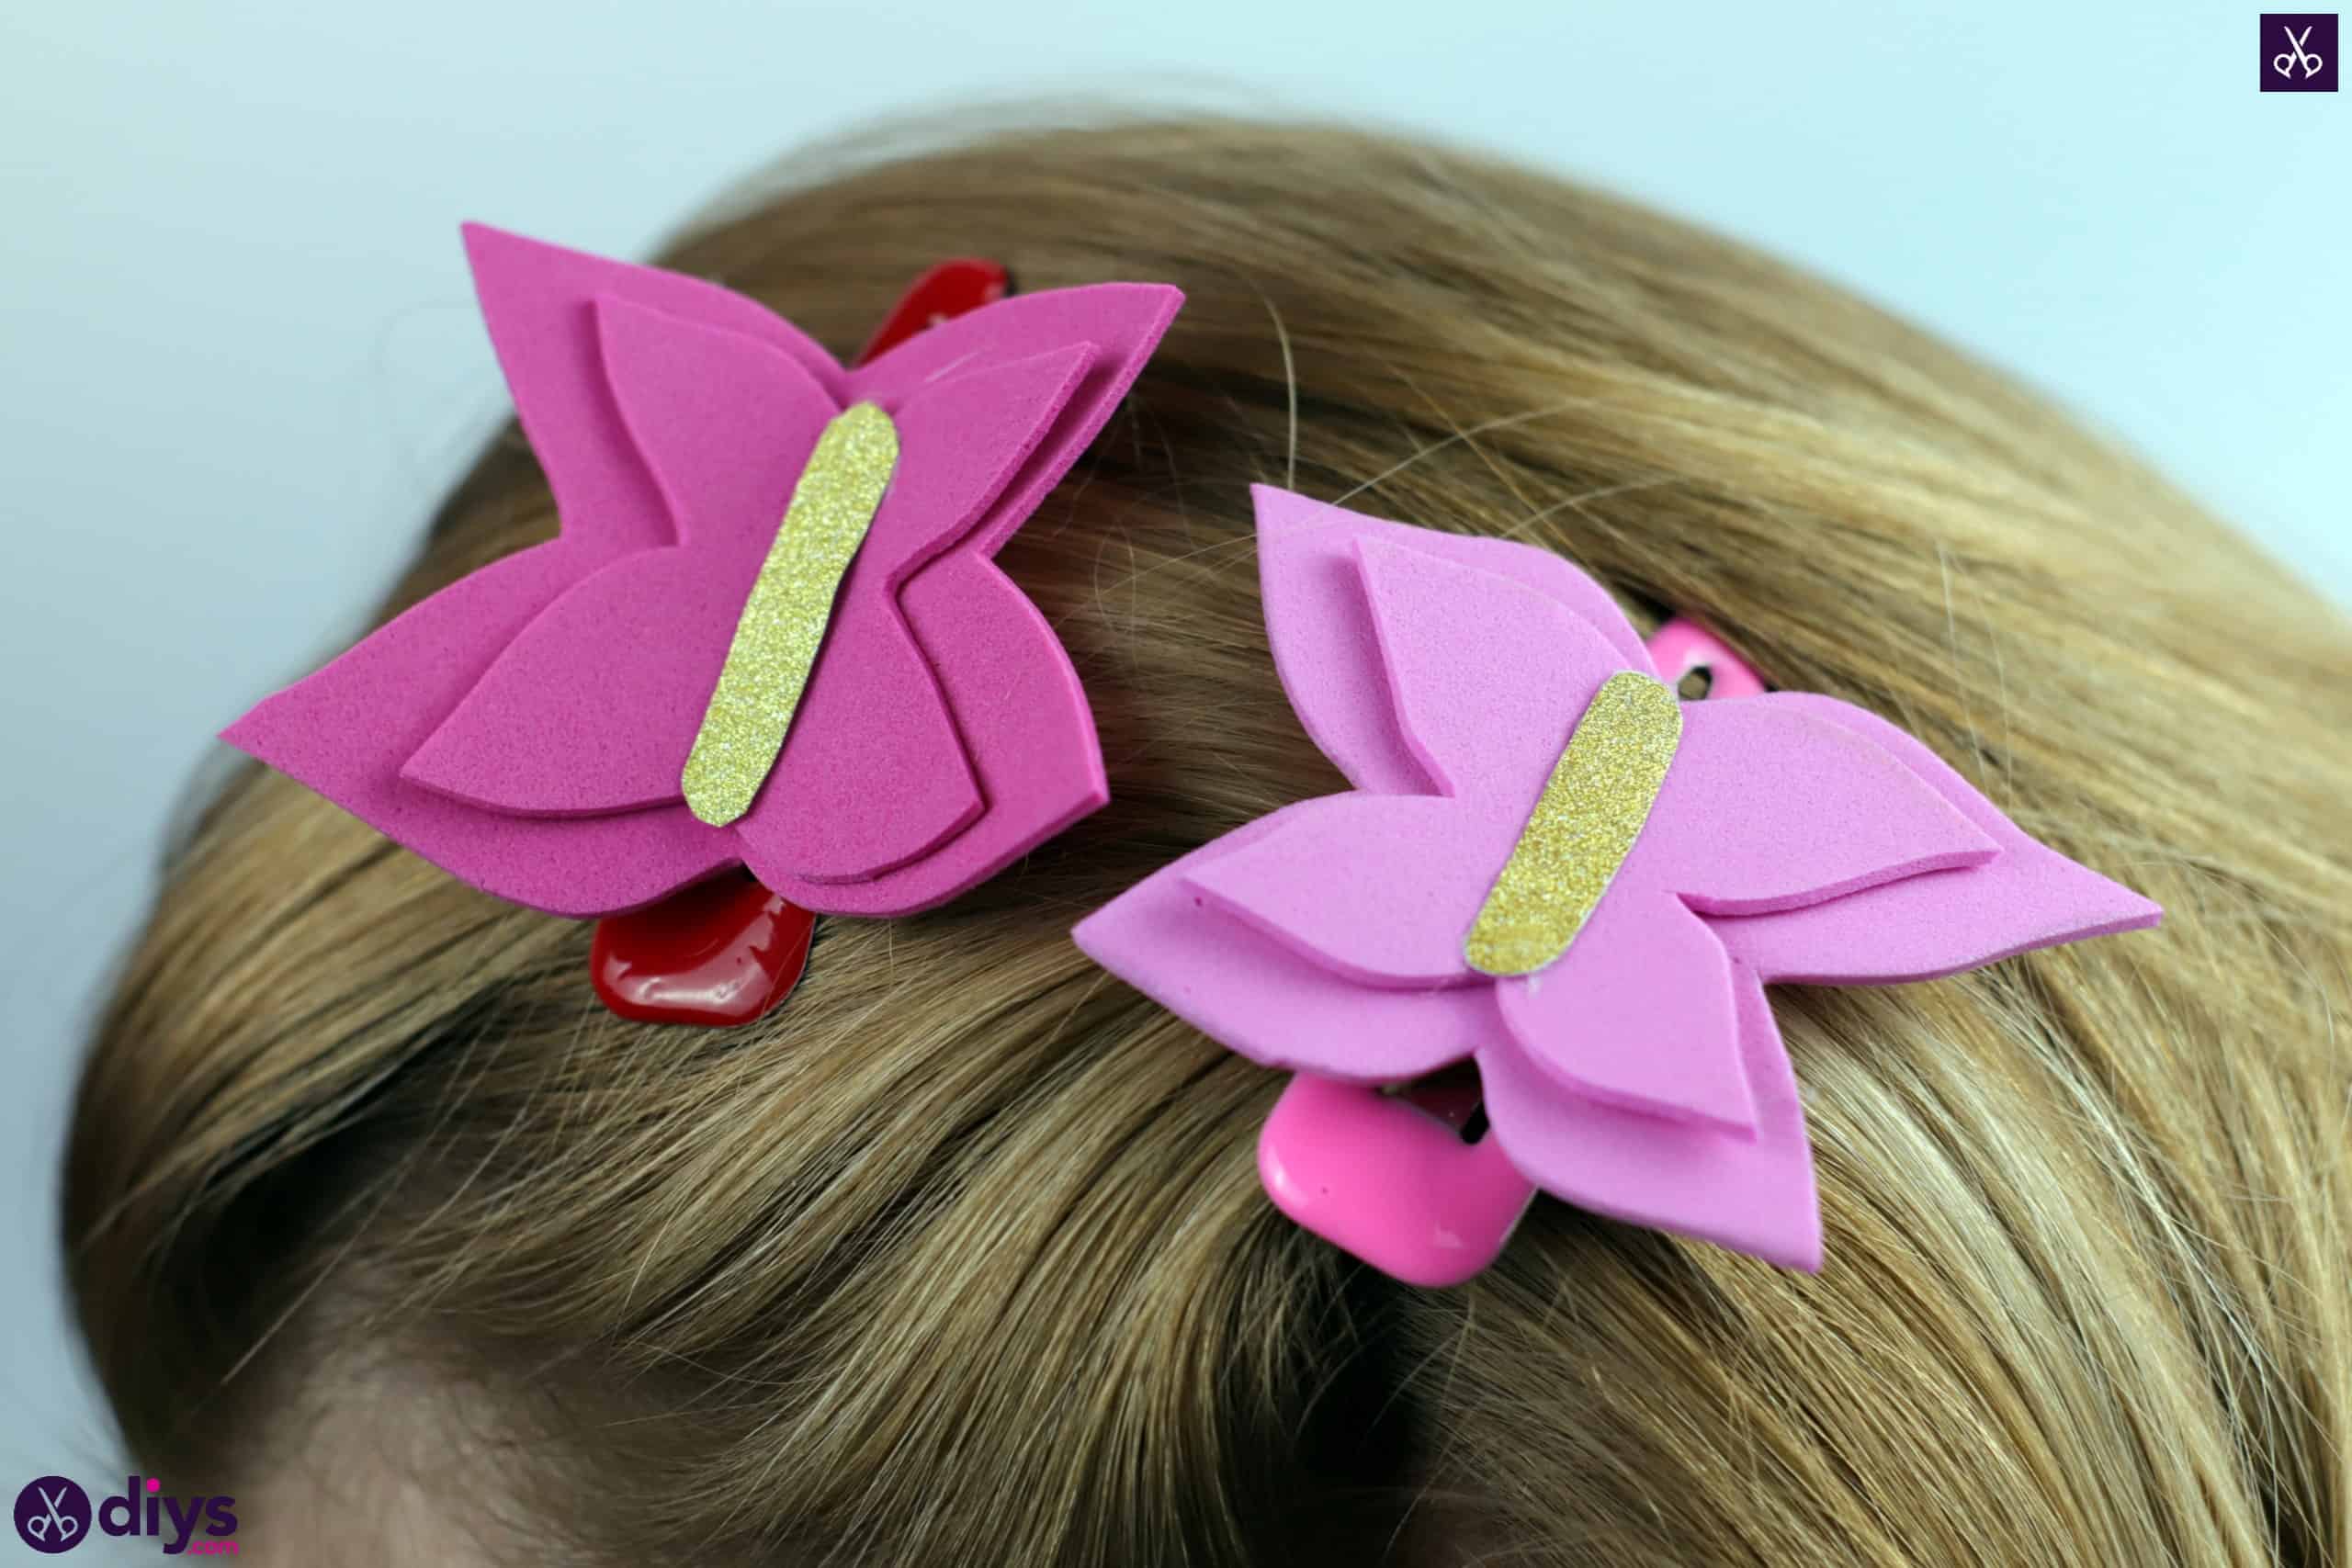
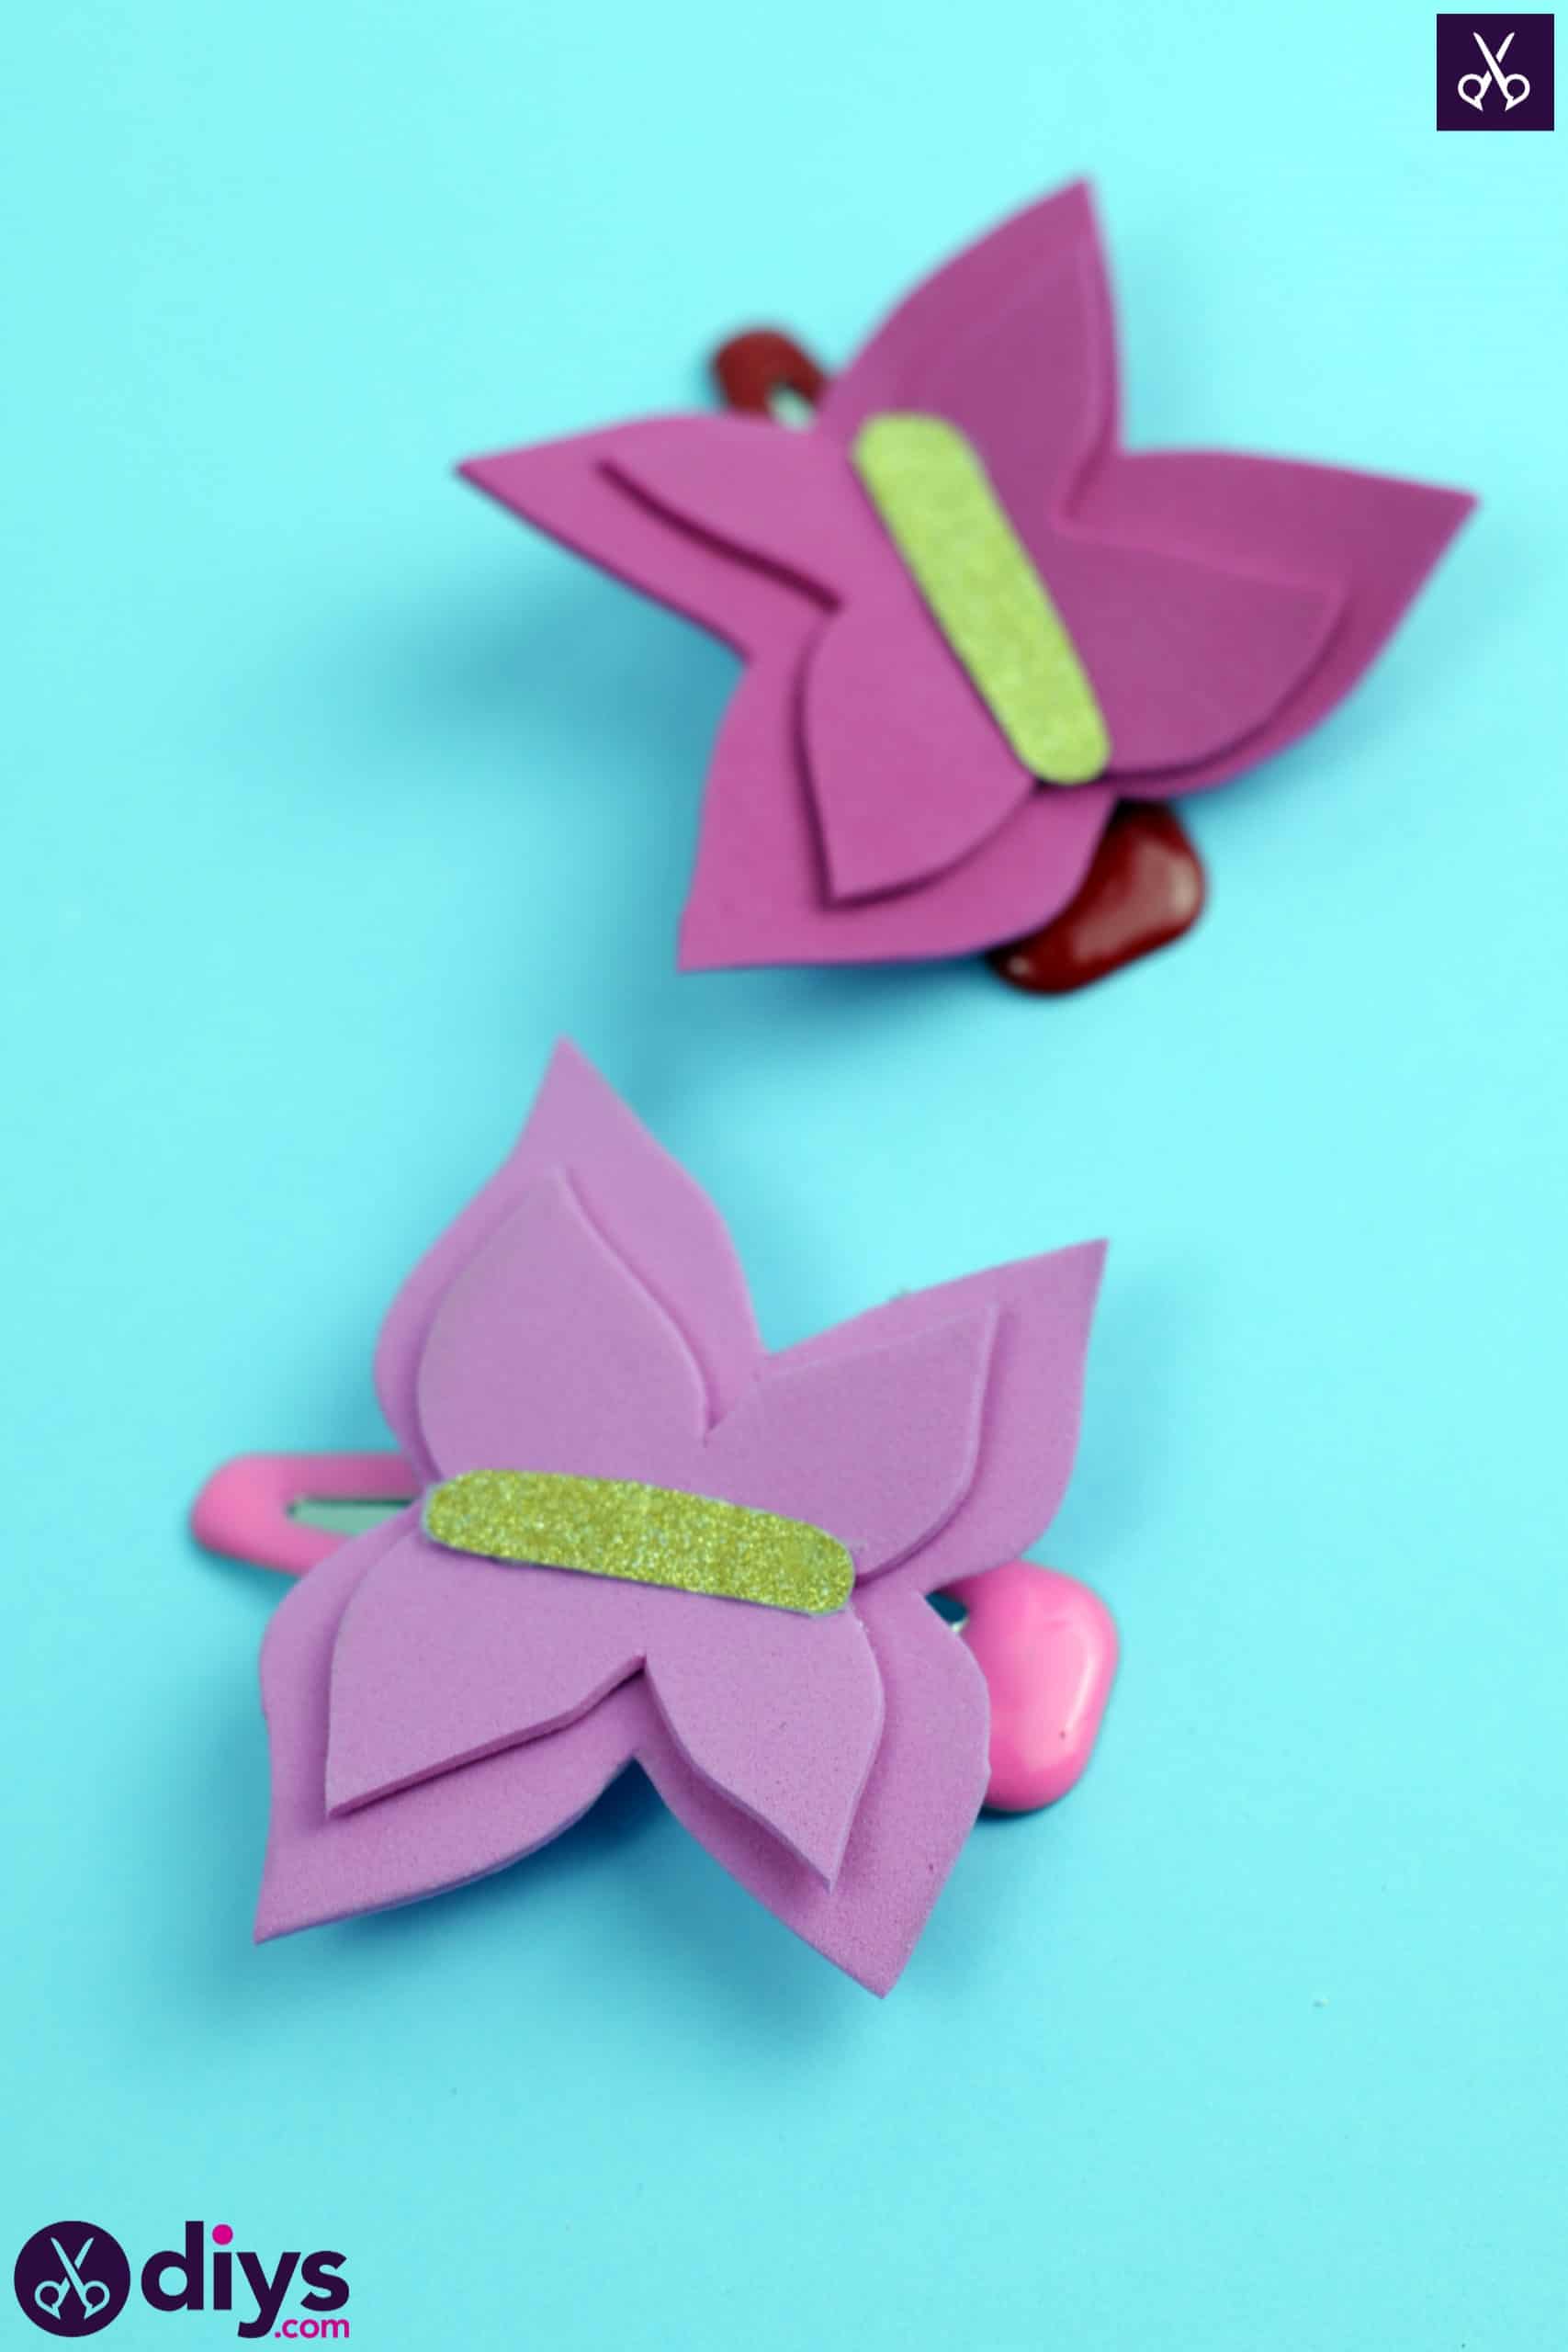
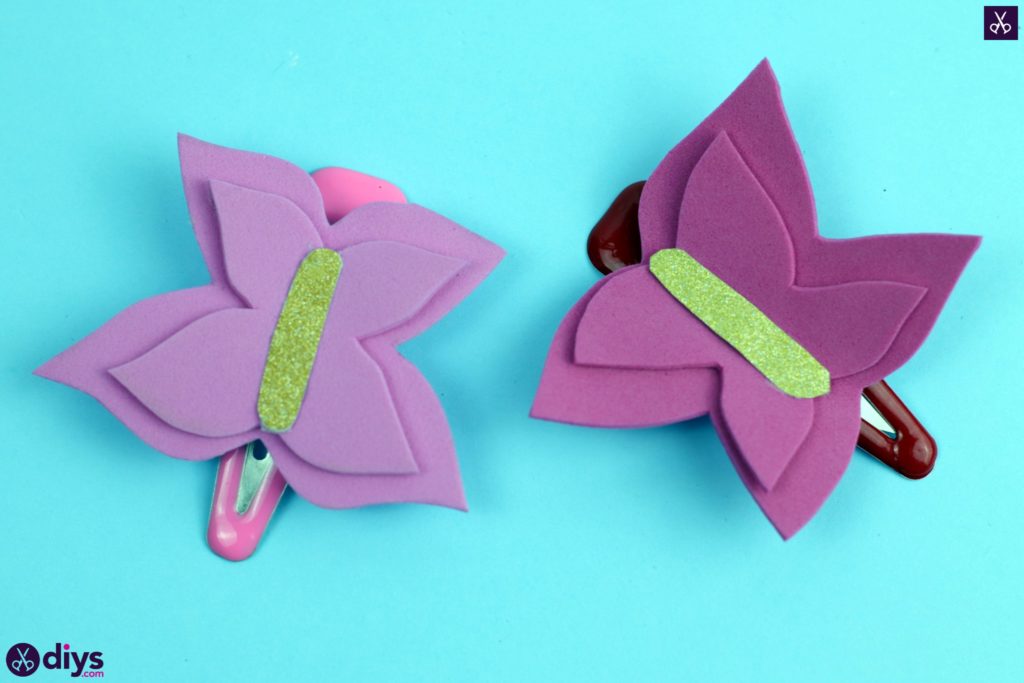
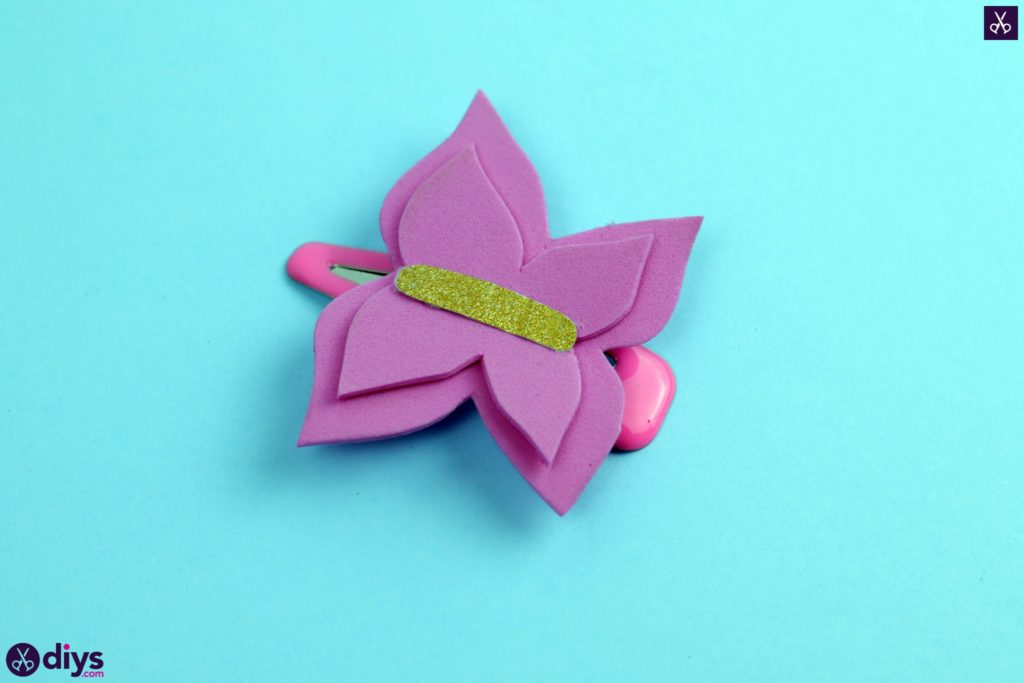
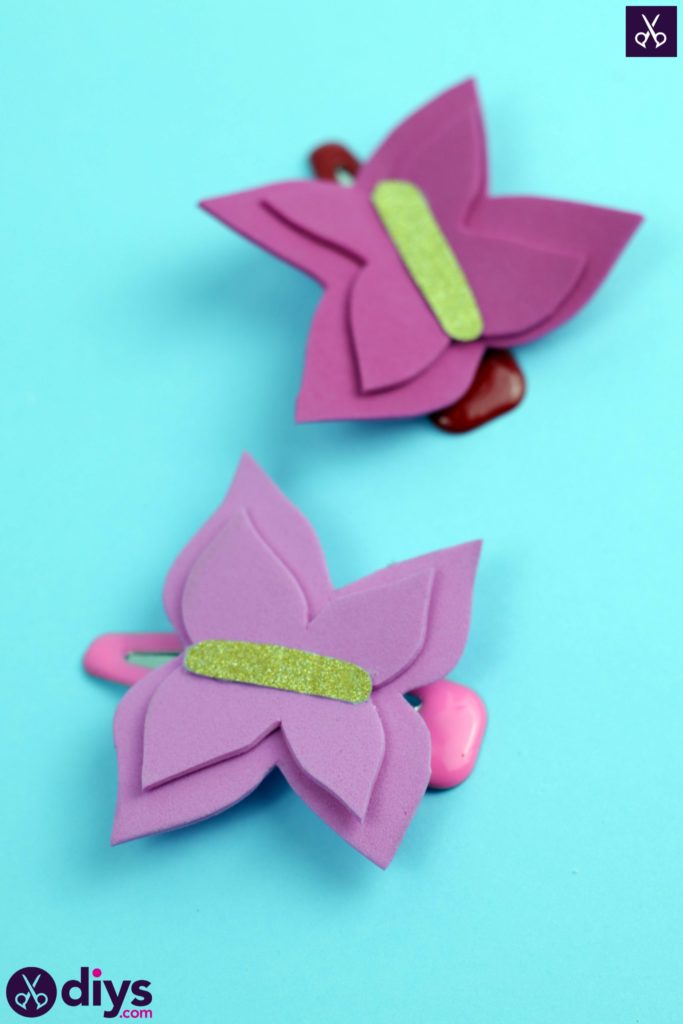
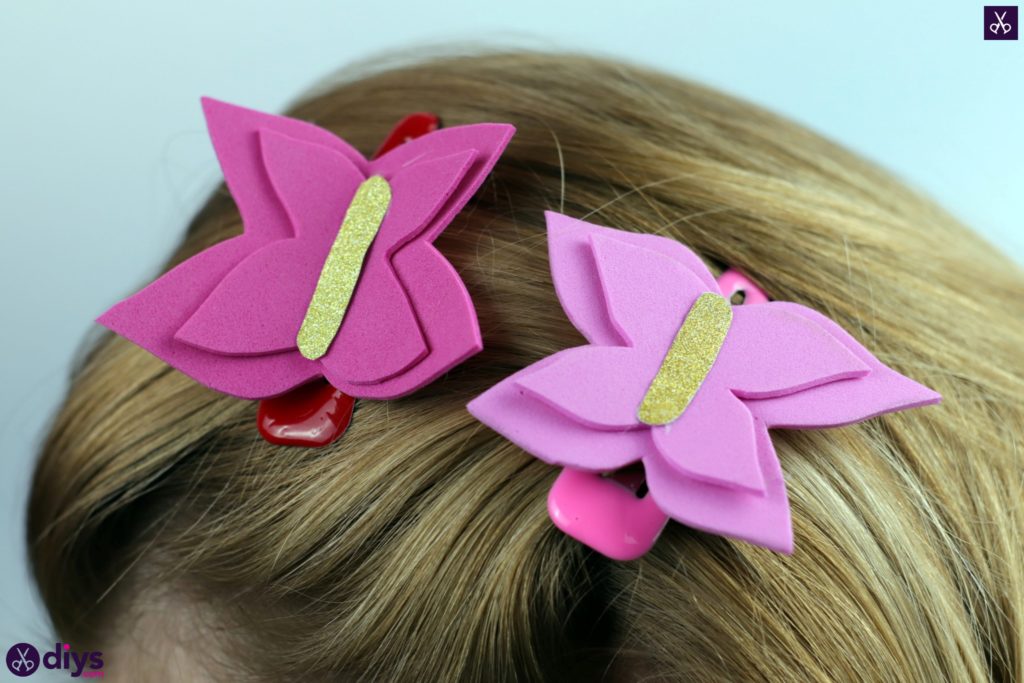
If you have a daughter or just like drafty hair accessories, then this DIY pink butterfly barrette idea is perfect for you to try! We’ve laid out the tutorial in easy to follow steps right here so check it out!
Like I often do, I decided to document the process of making one of these little butterfly barrettes so I could show other crafty parents and little accessory lovers how they were done. Check out these step by step instructions complete with photos! If you’d rather follow along with a video tutorial instead of written words, scroll to the bottom of this post to find just what you’re looking for.
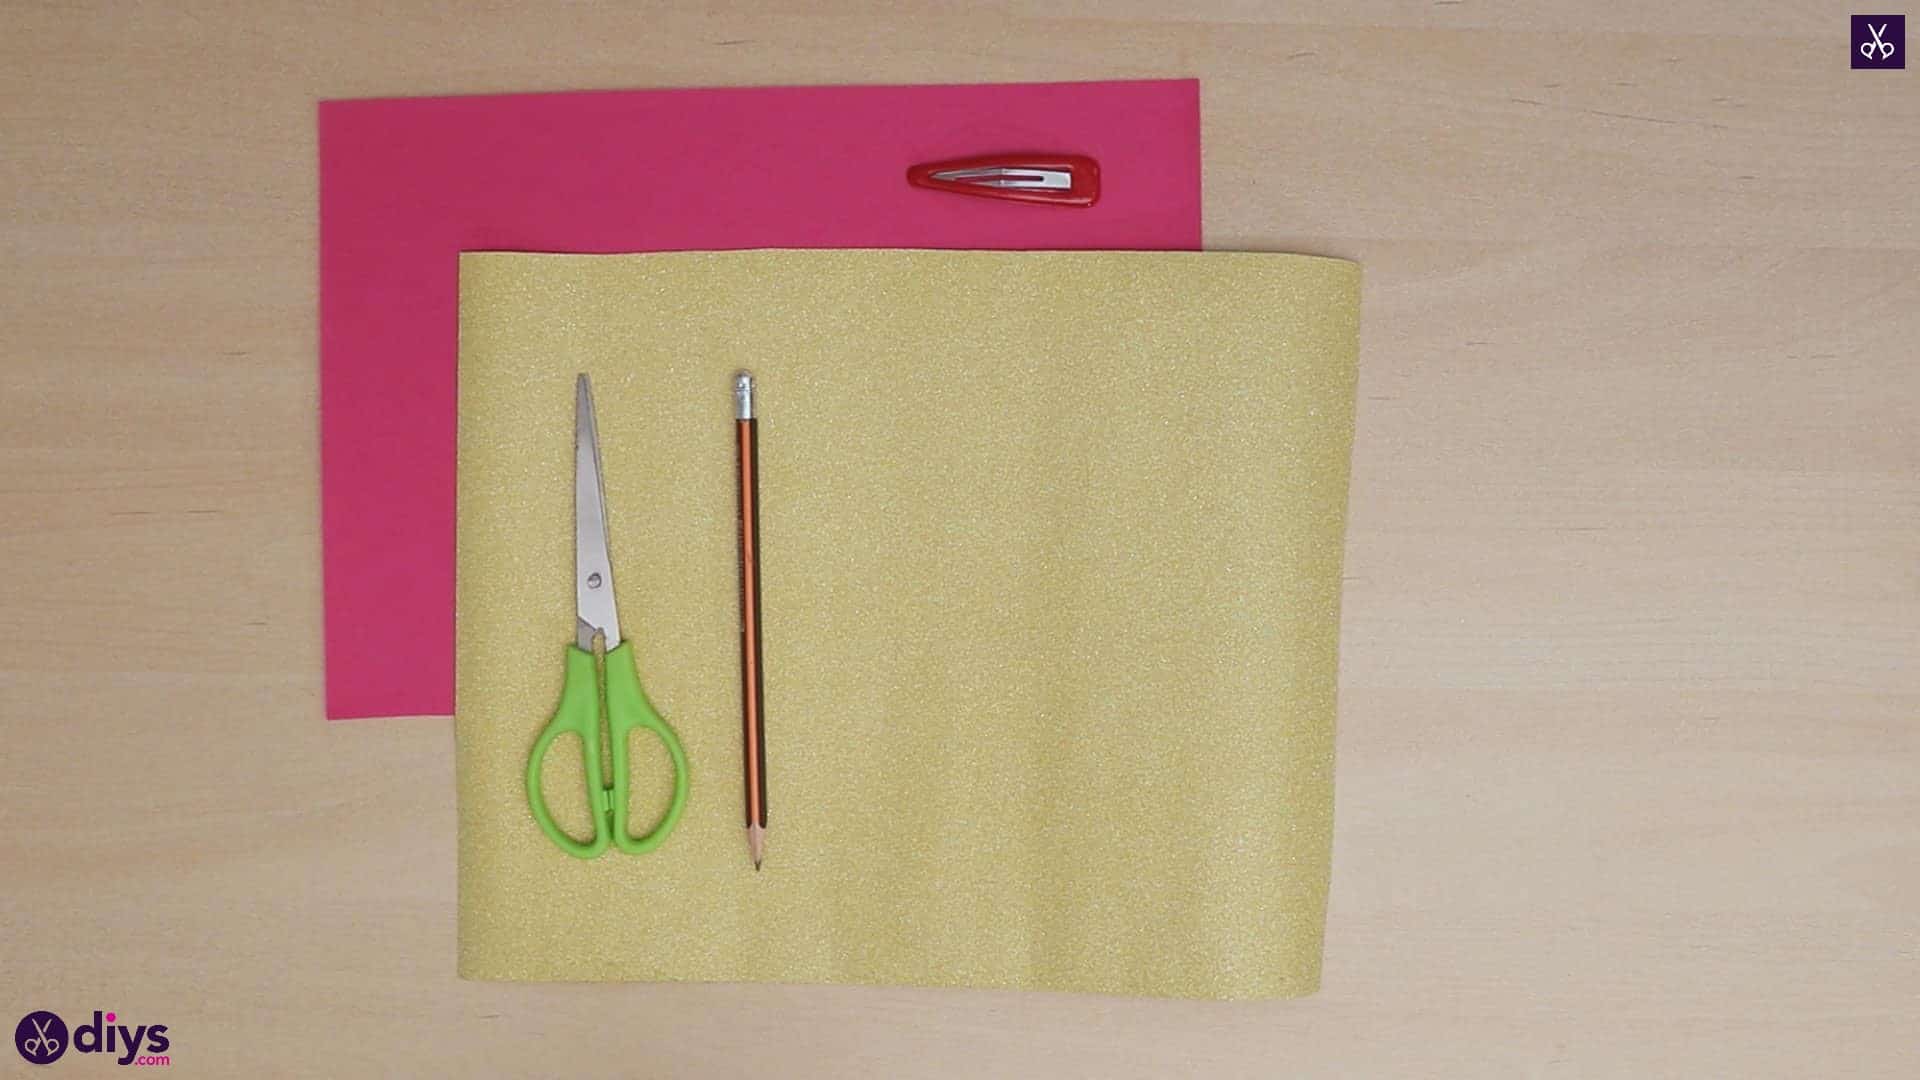
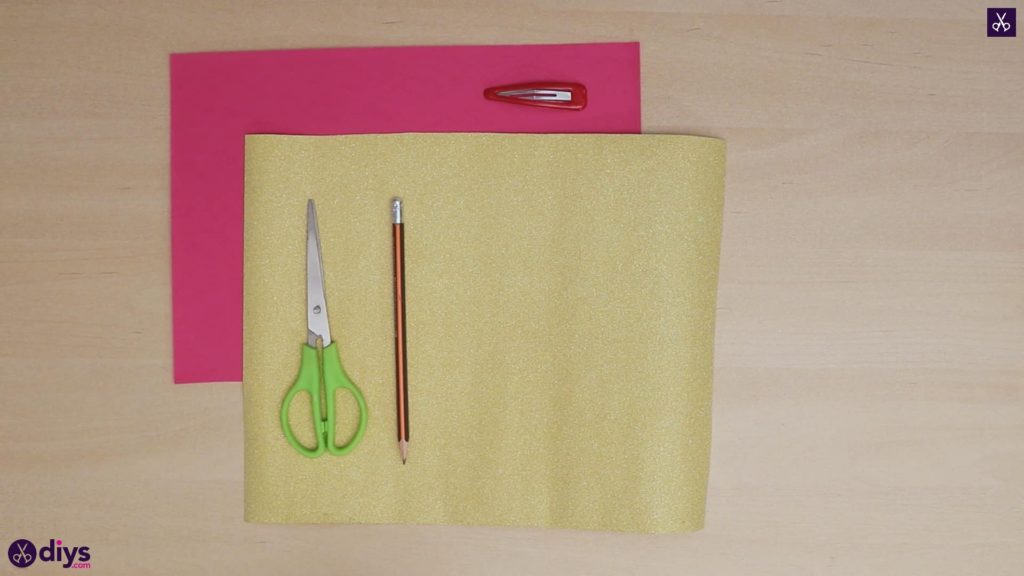
For this project, you’ll need:
- Pink foam paper
- Gold sparkly card paper
- A snapping hair barrette
- A pencil
- Hot glue
Step 1: Gather your materials!
I always like to ensure I have everything from my list before I begin.
Step 2: make the body
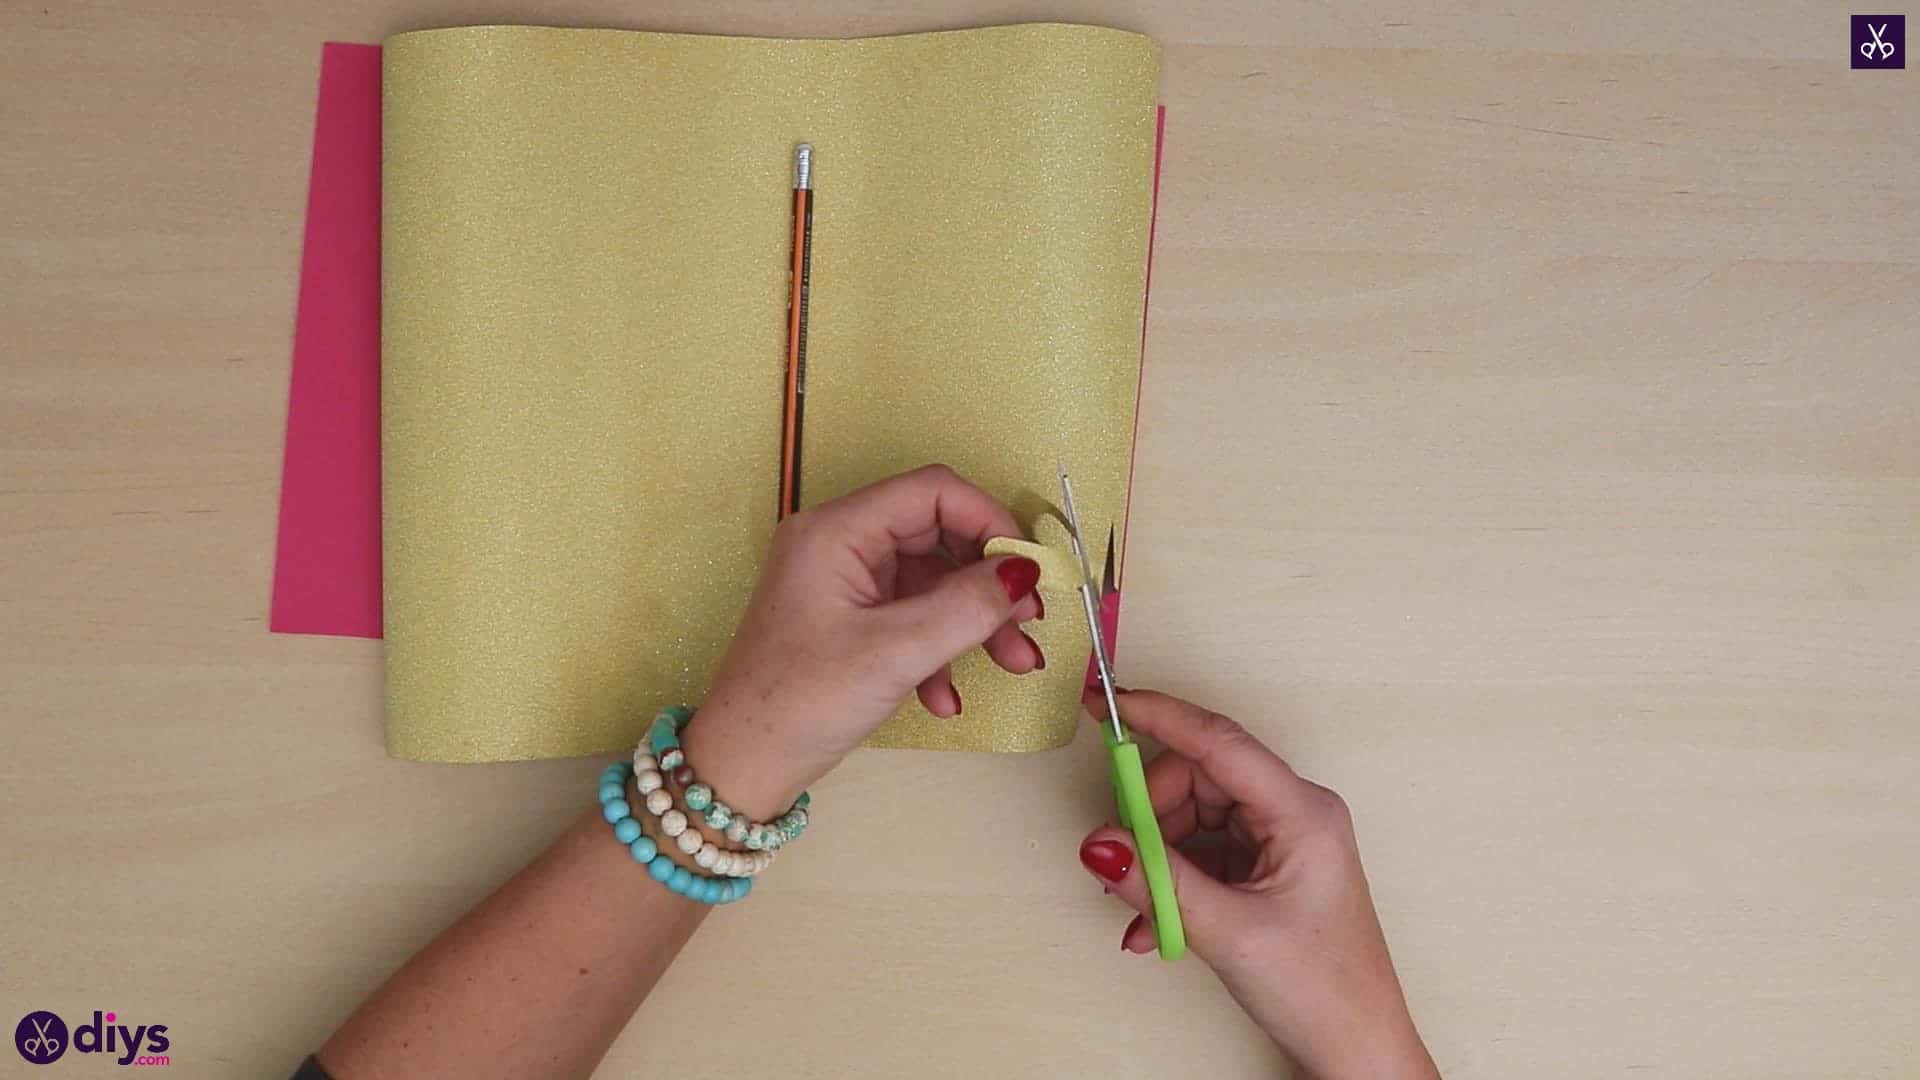
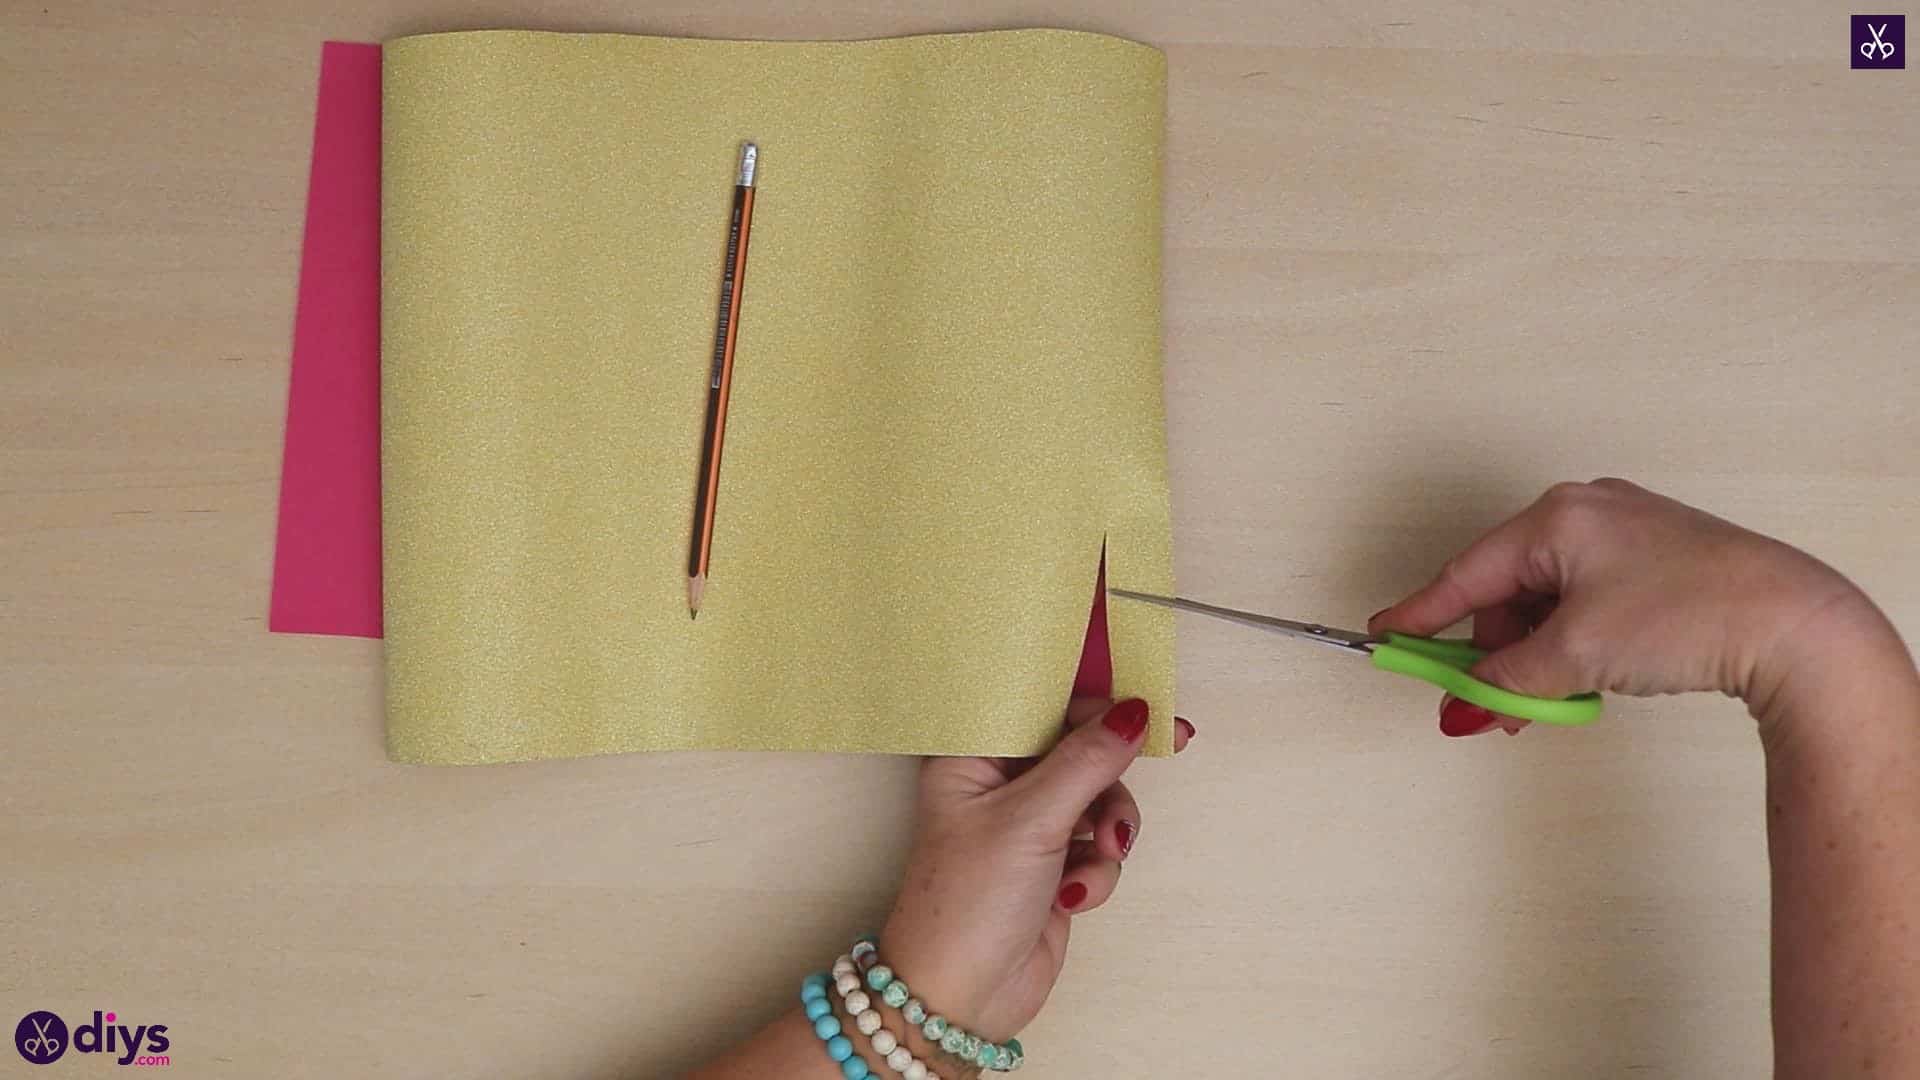
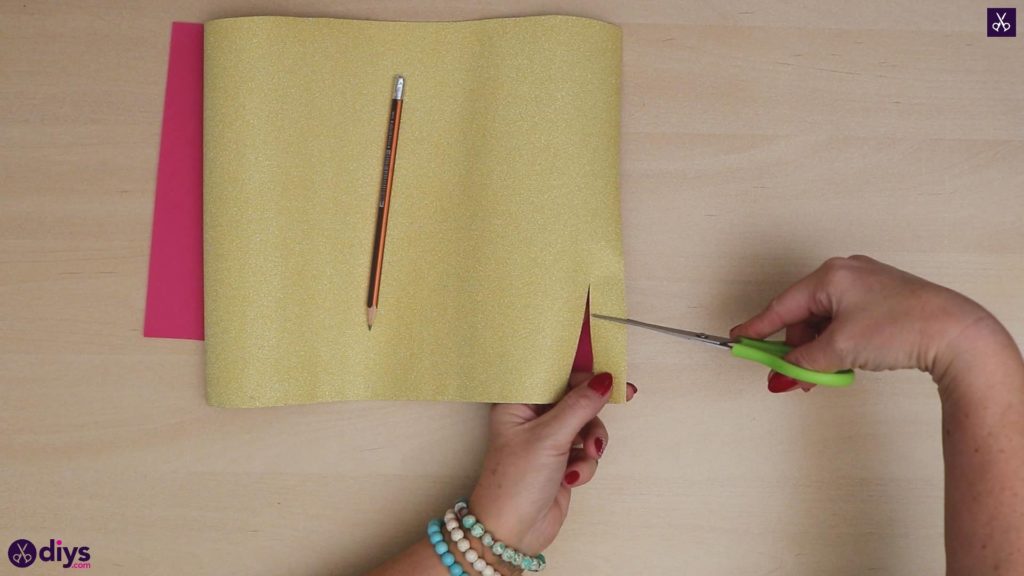
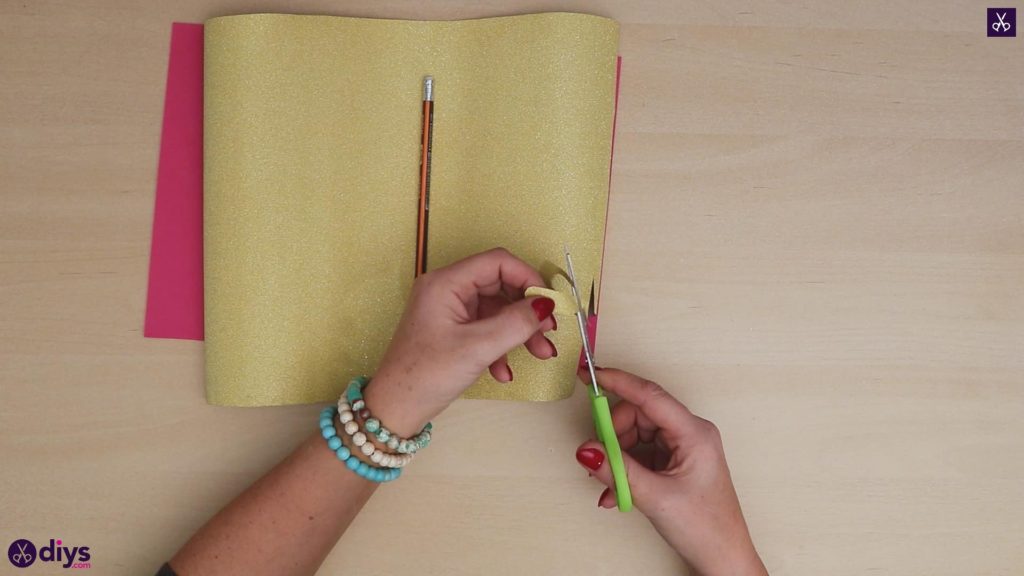
Use your scissors to cut a rectangular shape from the corner of your sparkly gold card paper that’s about an inch long and half an inch thick. Then use them to round the corners and straight edges off until you have the shape of a thinly elongated oval. This will be your butterfly’s body! Set it aside for the moment.
Step 3: make the wings
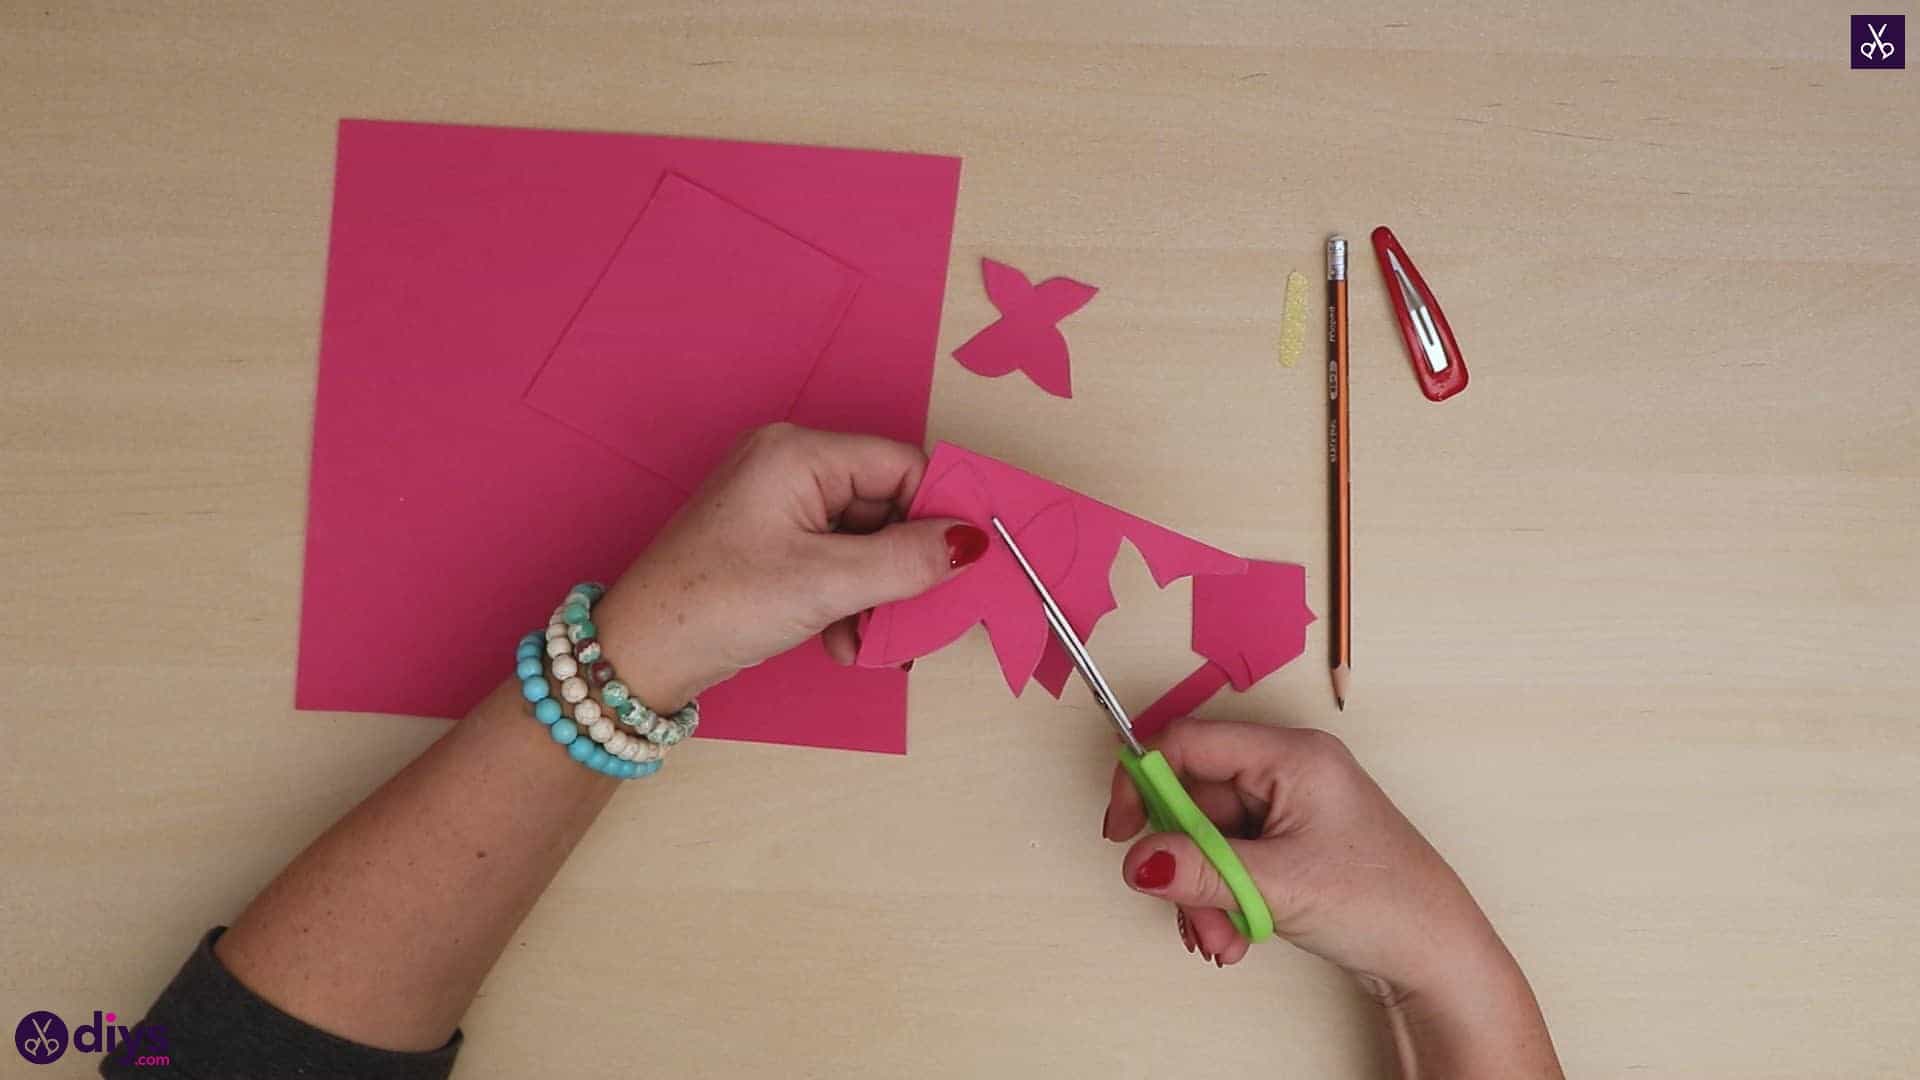
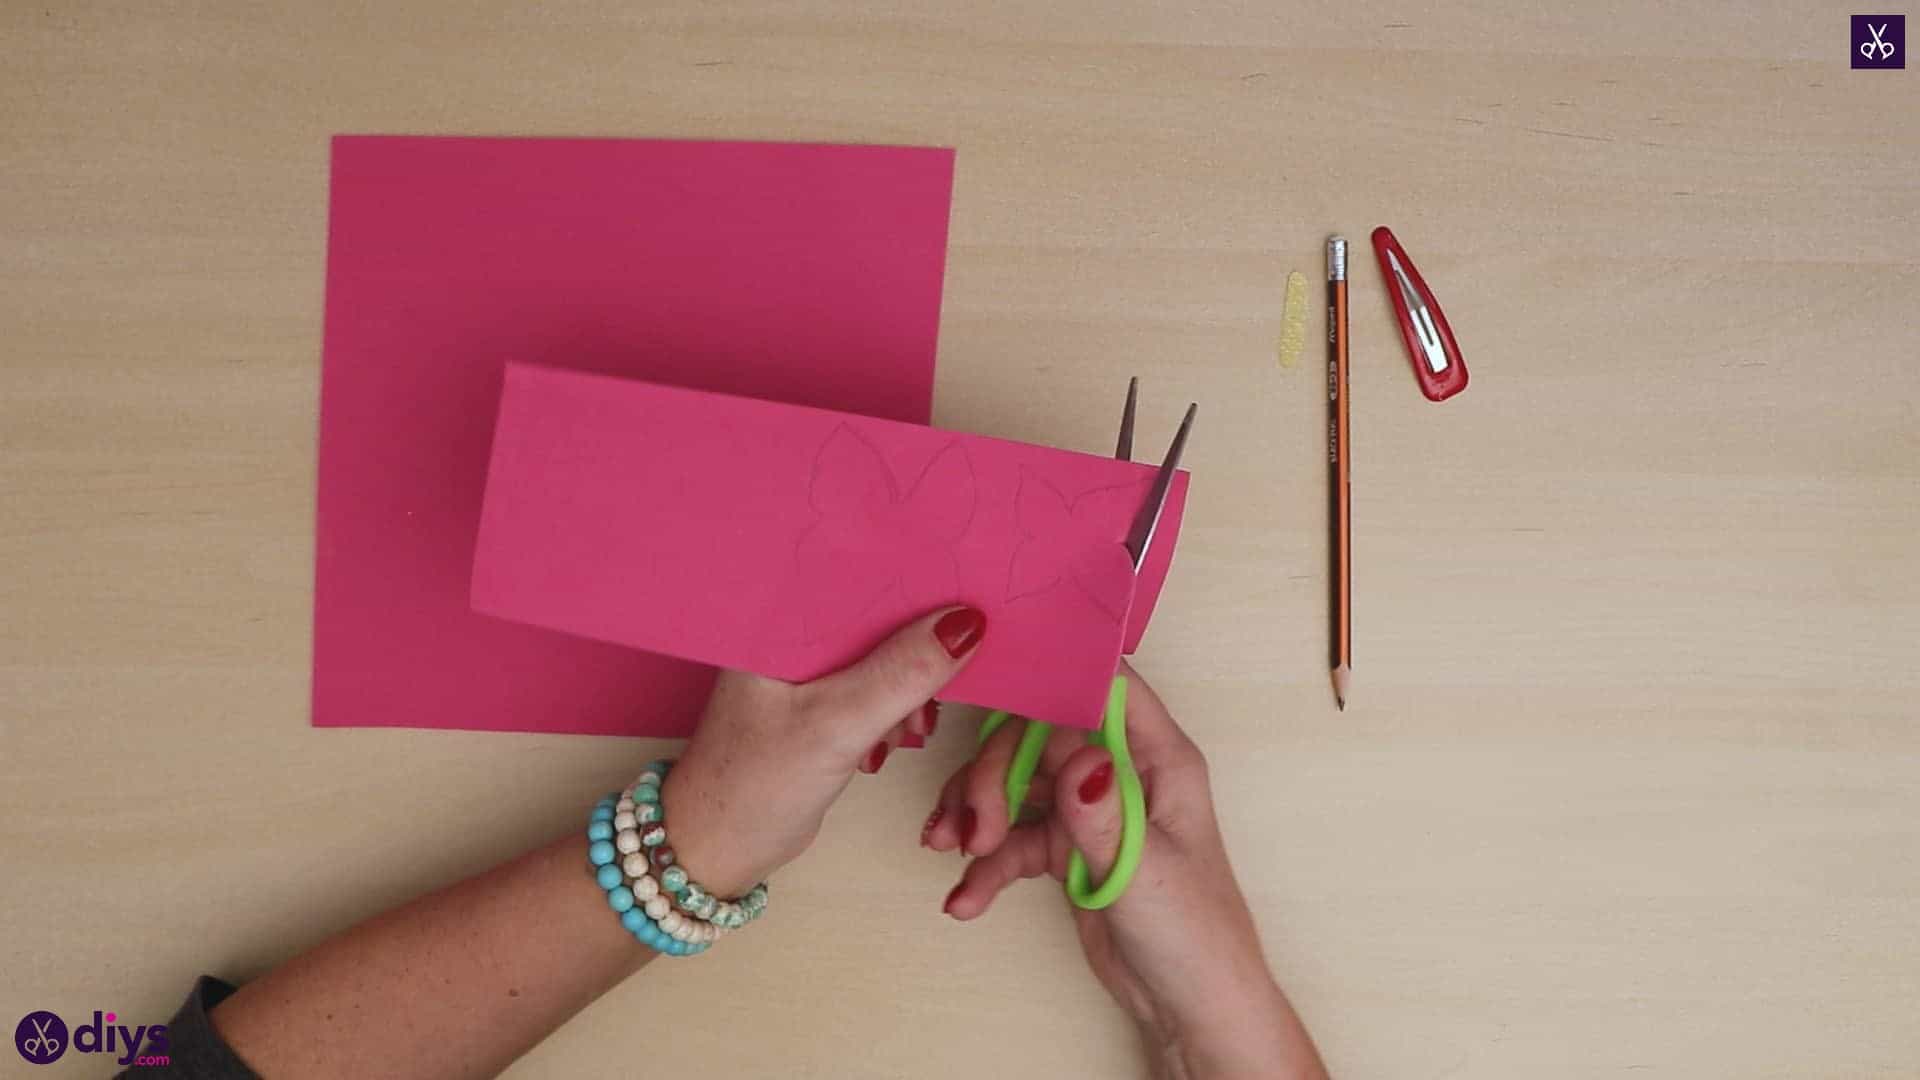
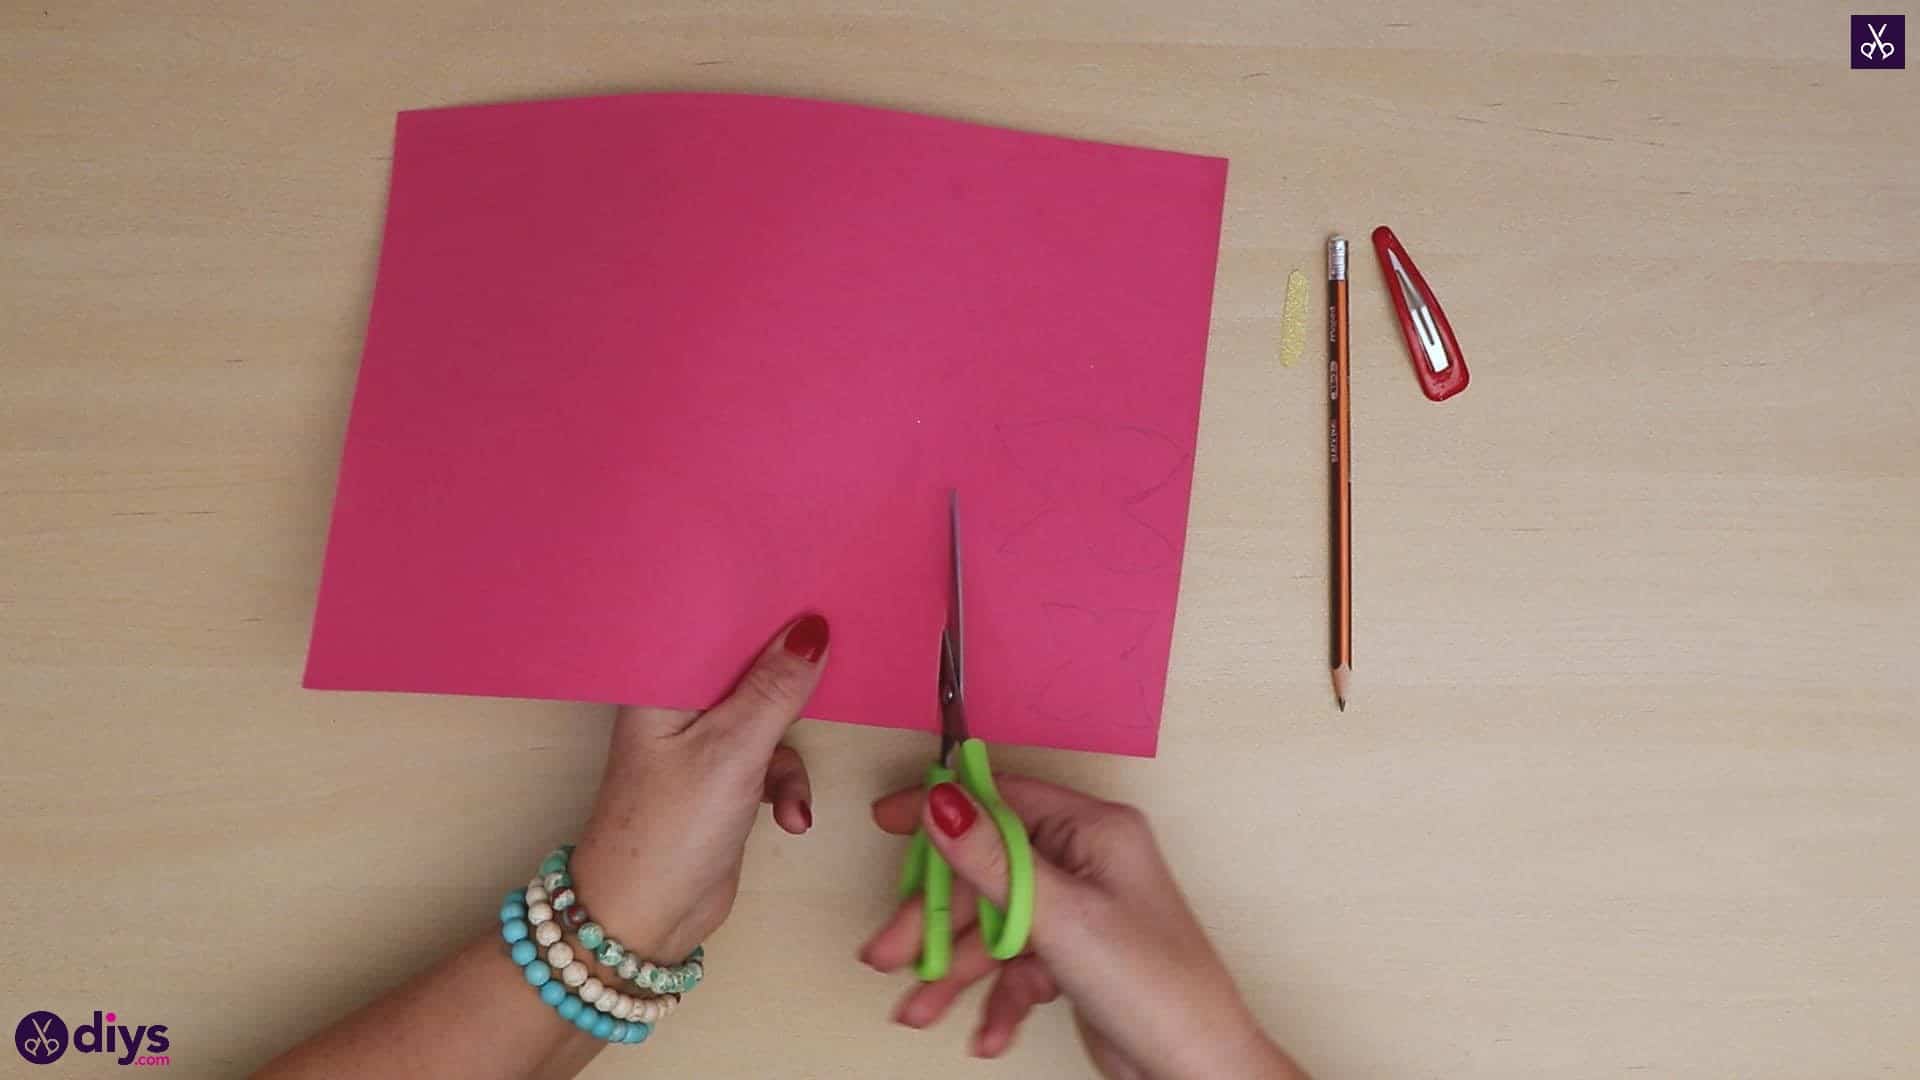
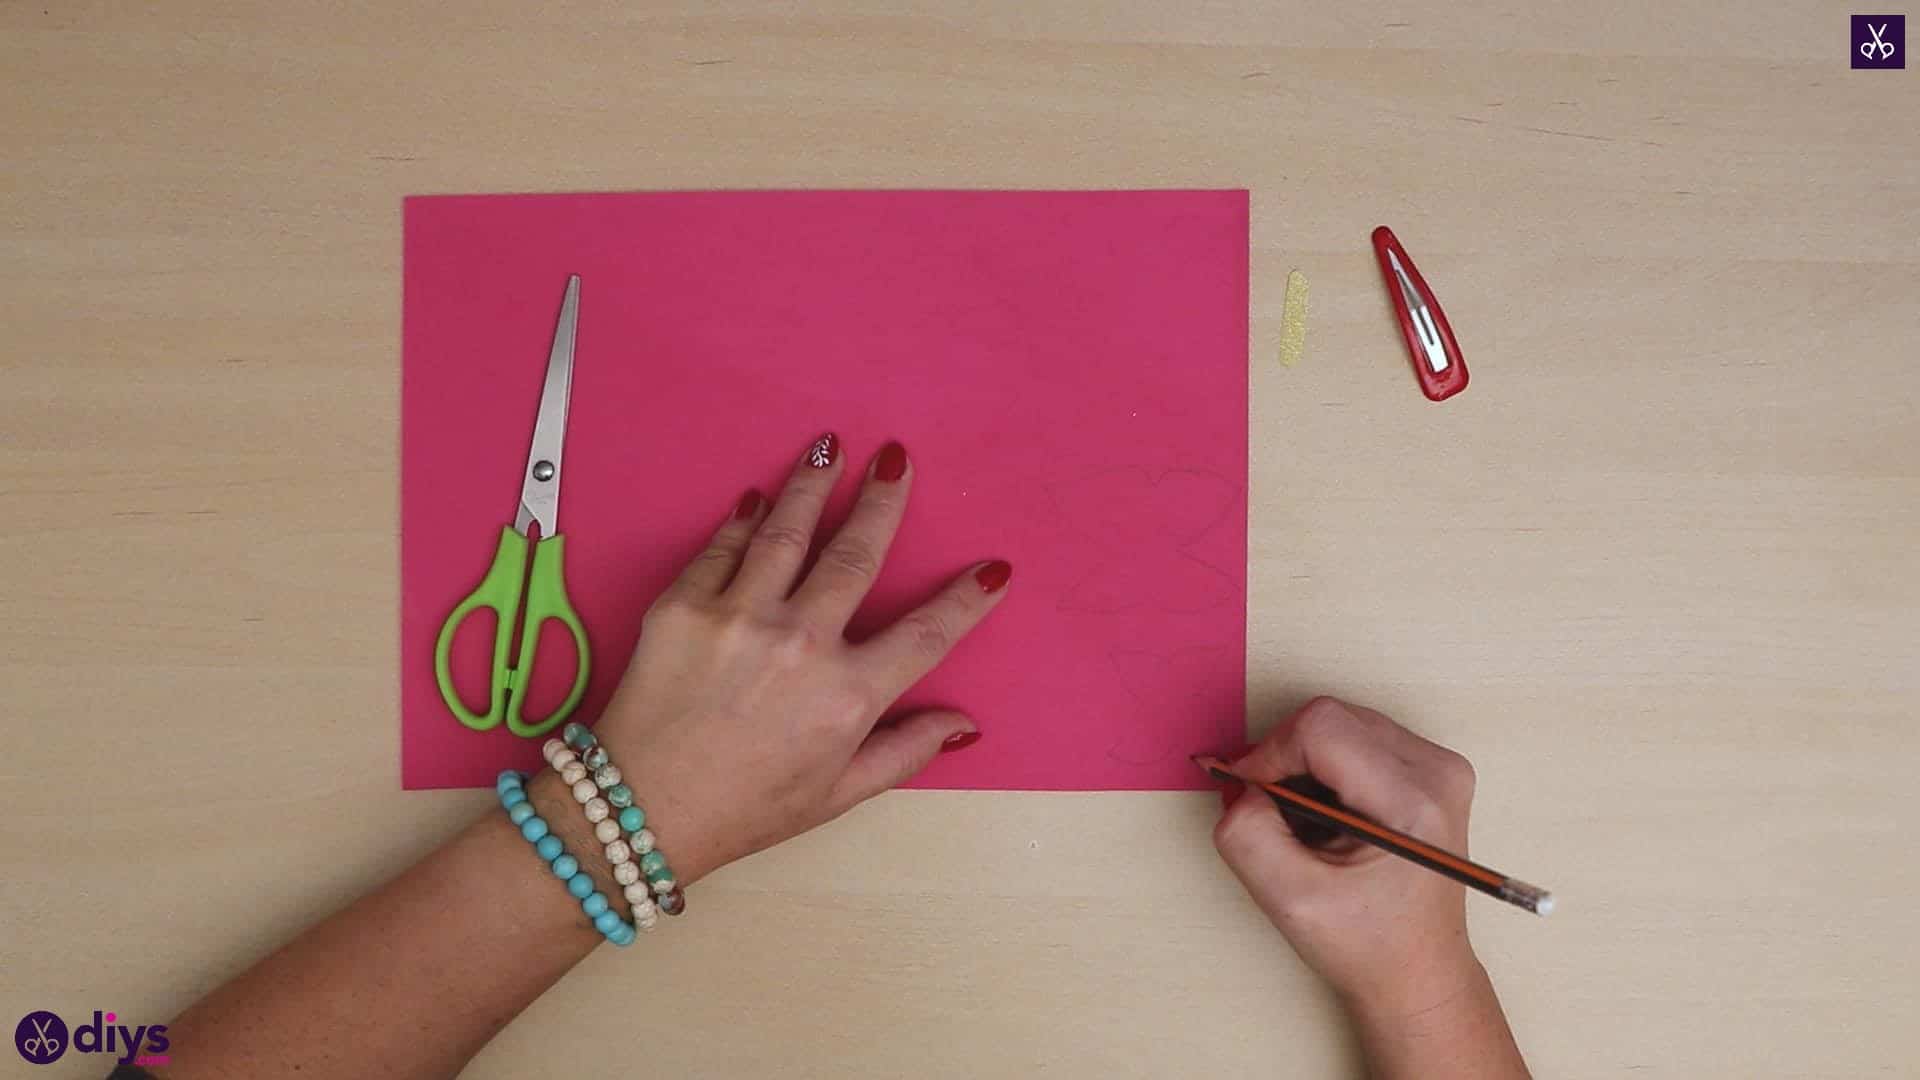
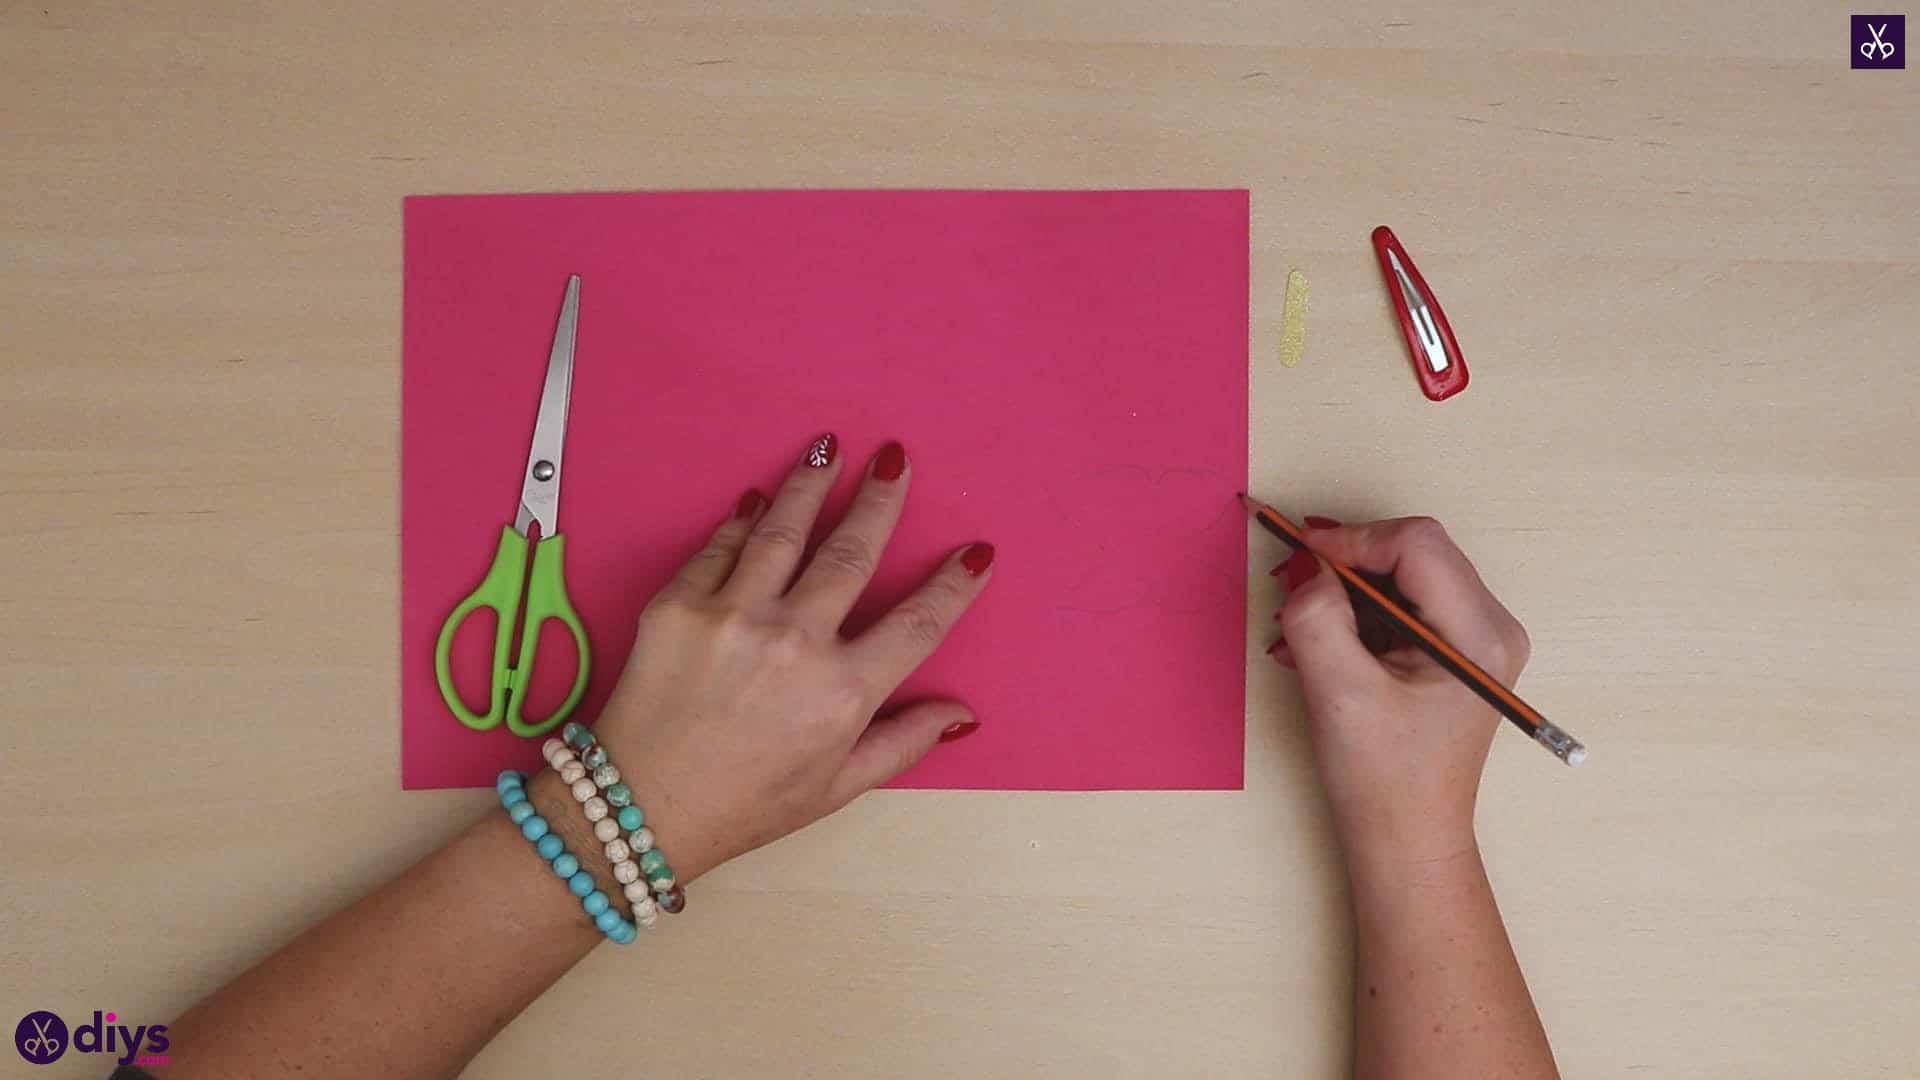
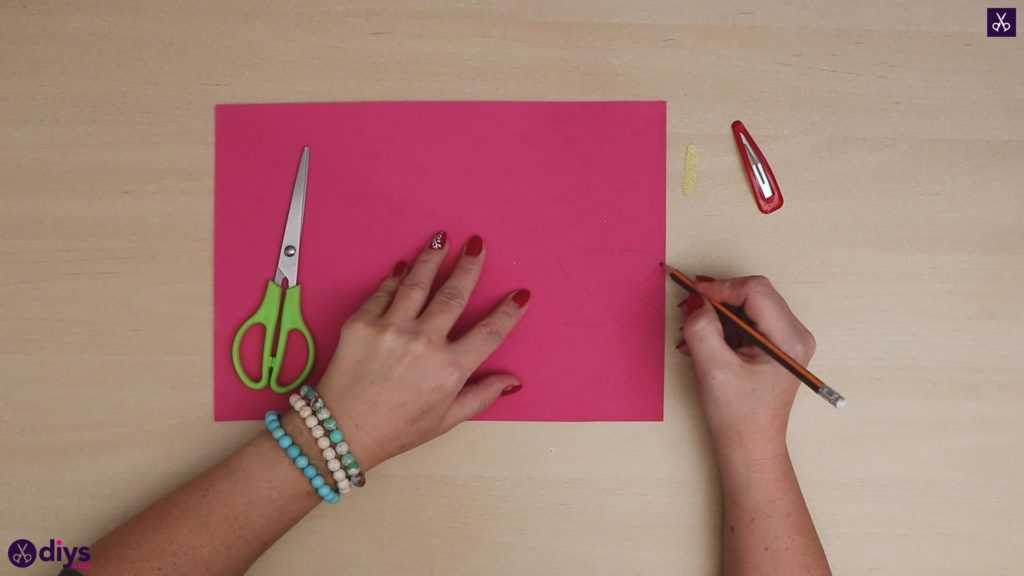
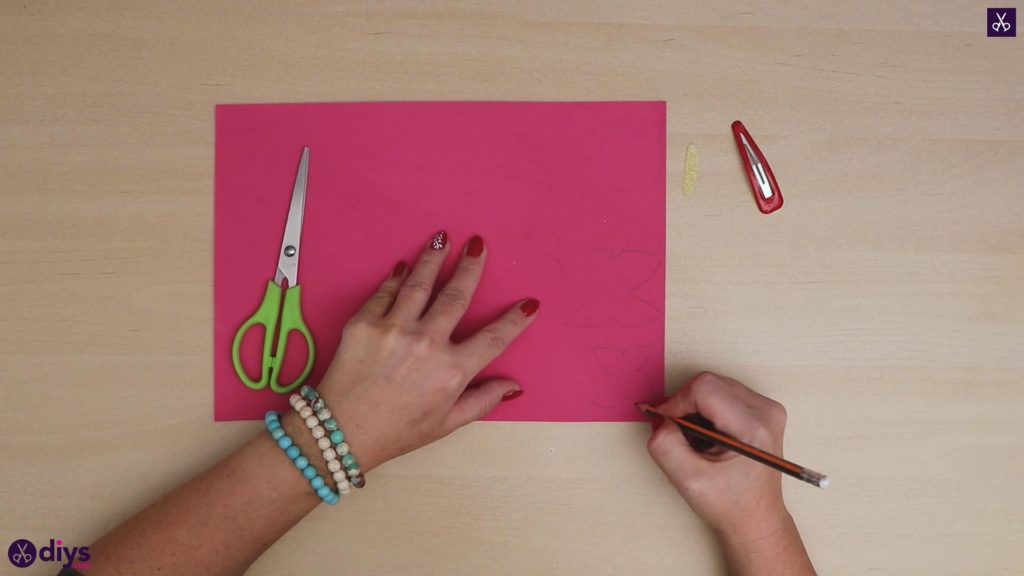
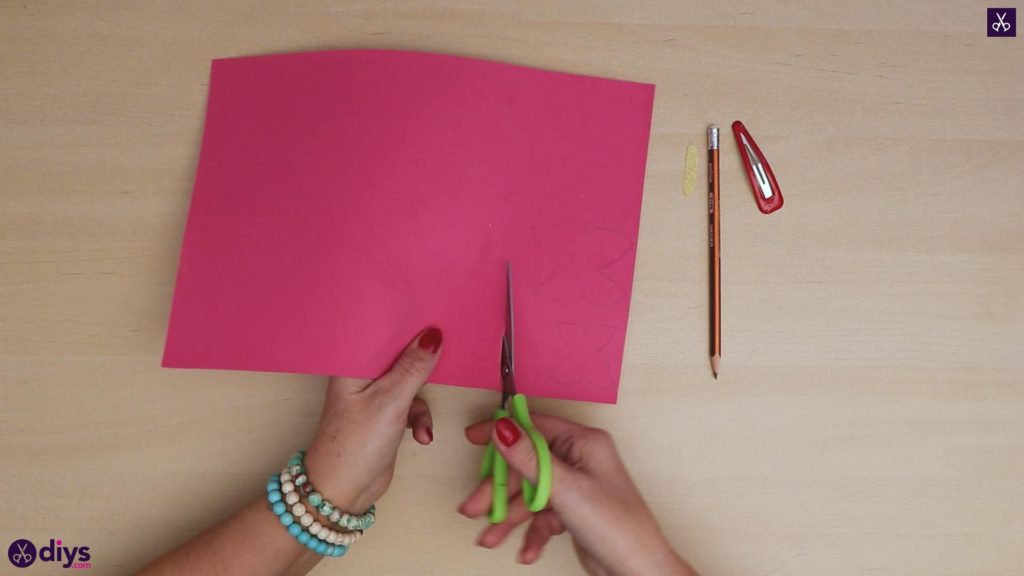
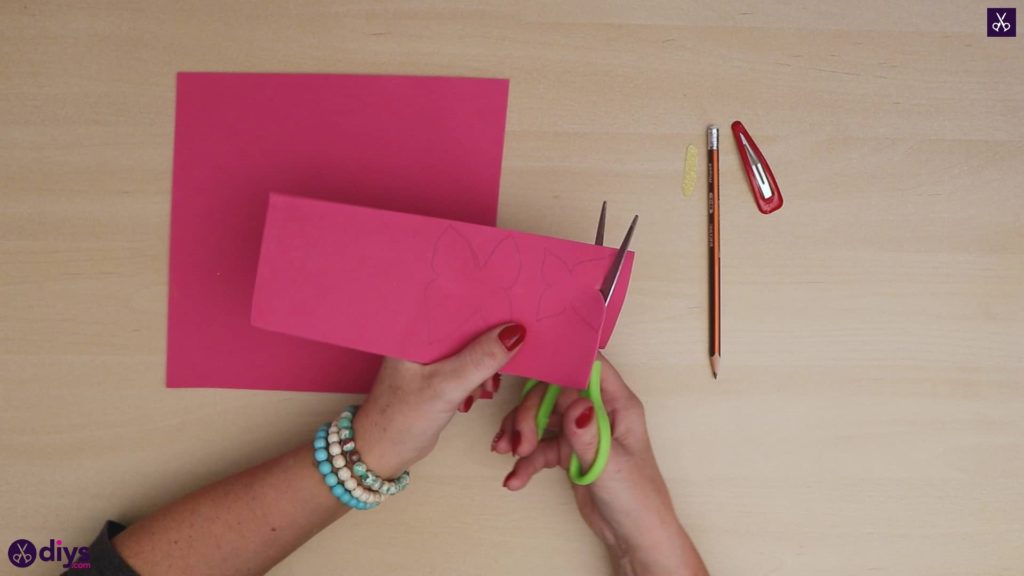
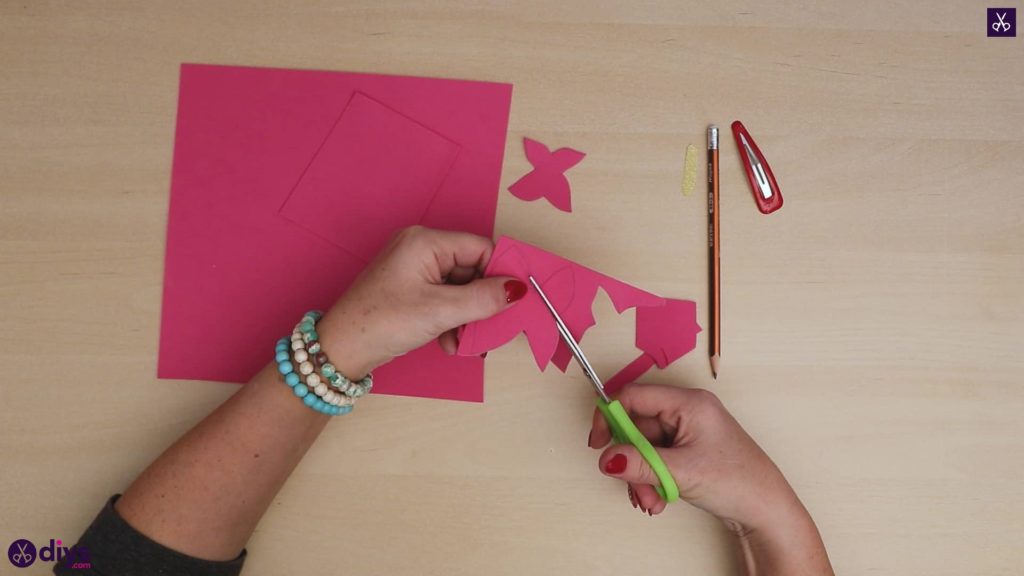
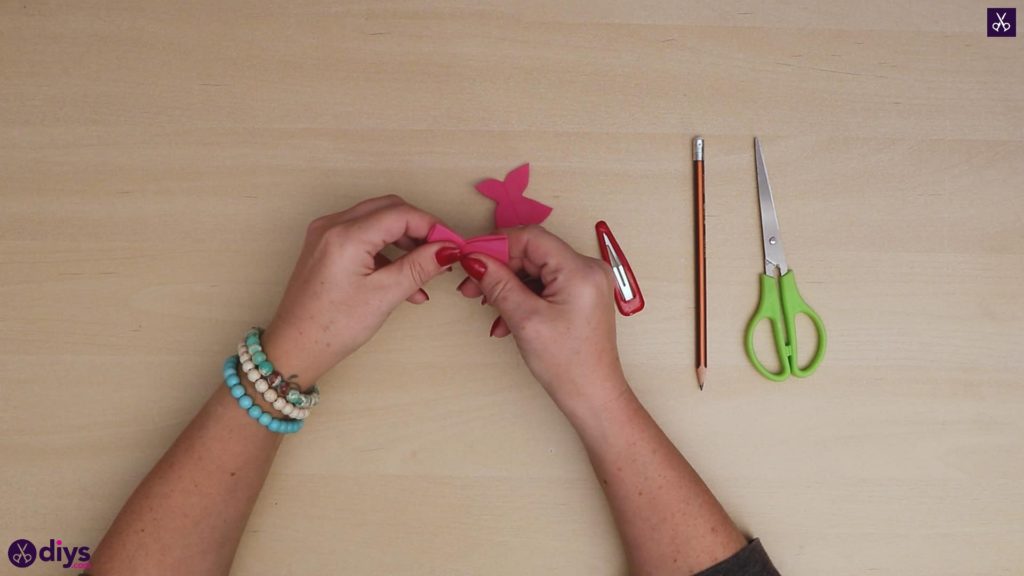
Use your pencil to sketch out the shape of two pairs of butterfly wings! Make one slightly larger than the other; you’ll layer them later and you want the larger wings to show around the edges of the smaller wings. Use your scissors to cut them out.
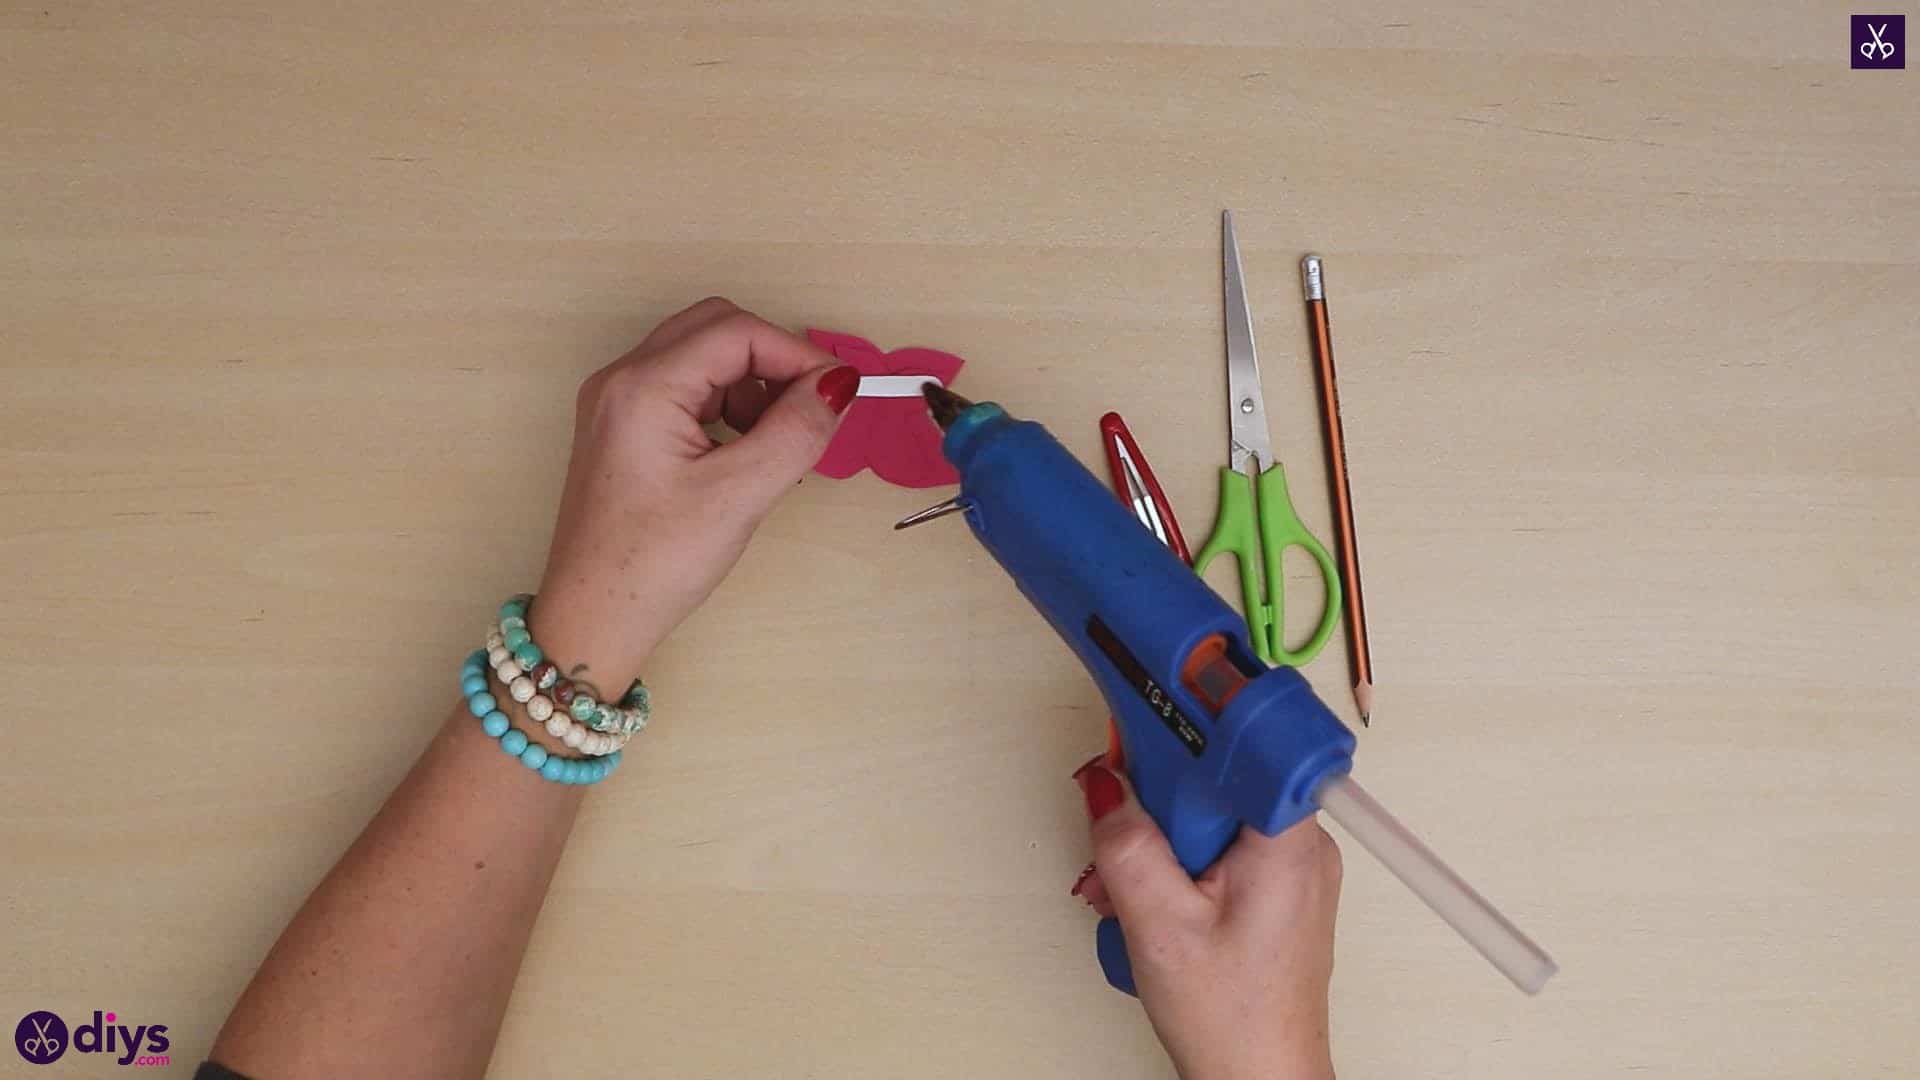
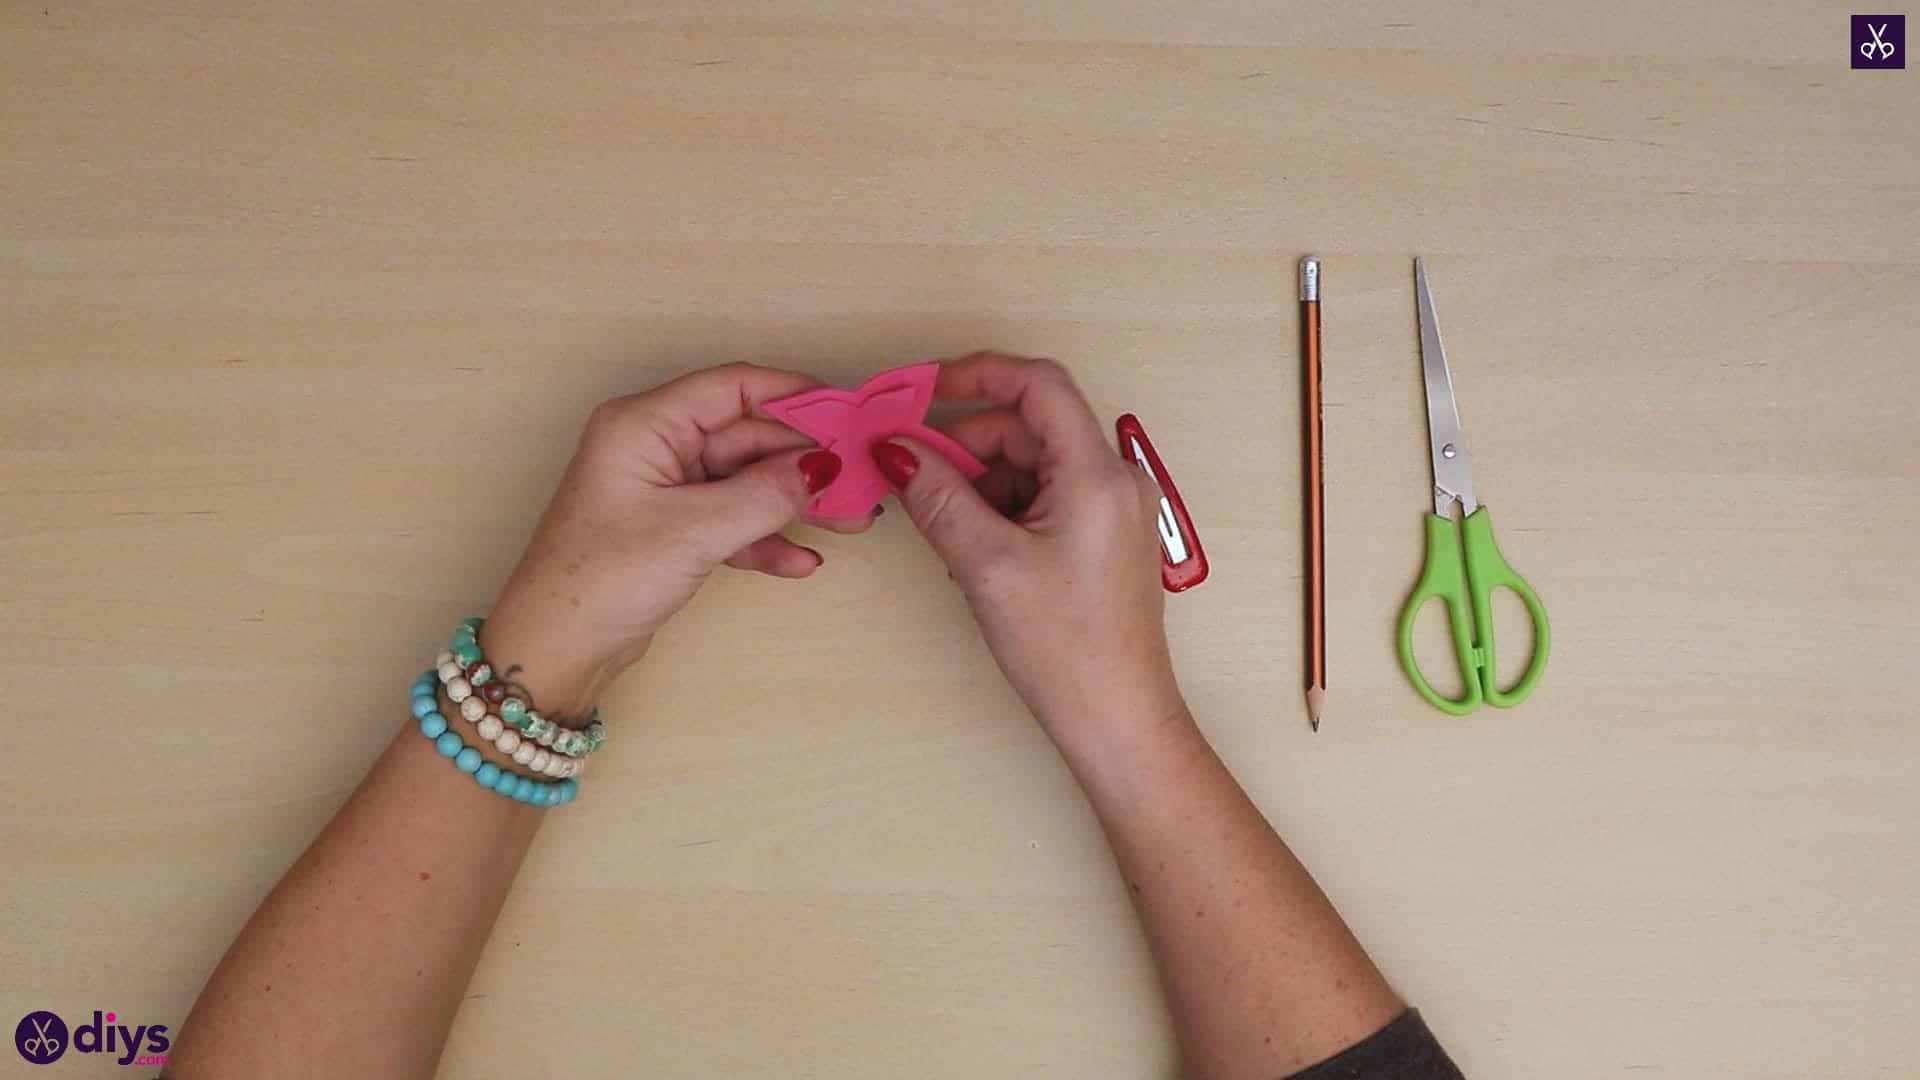
Step 4: shape the wings
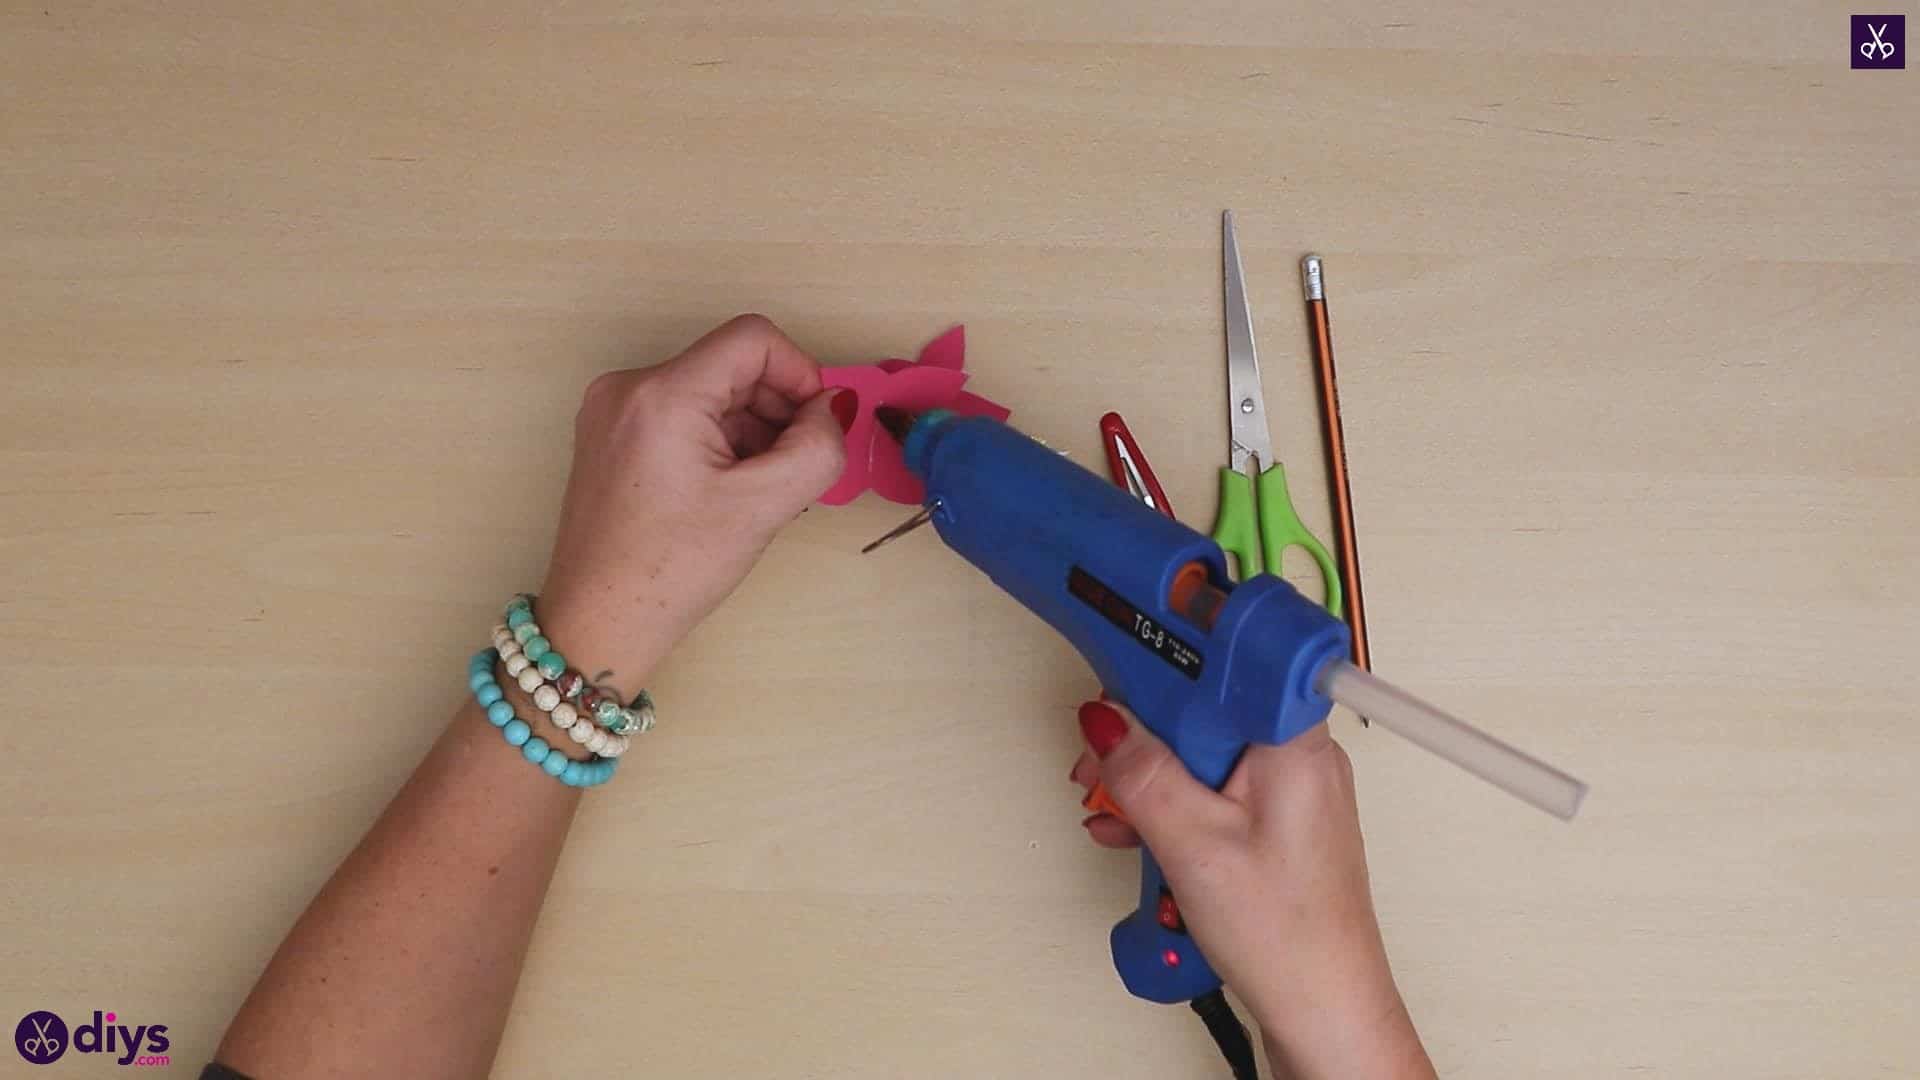
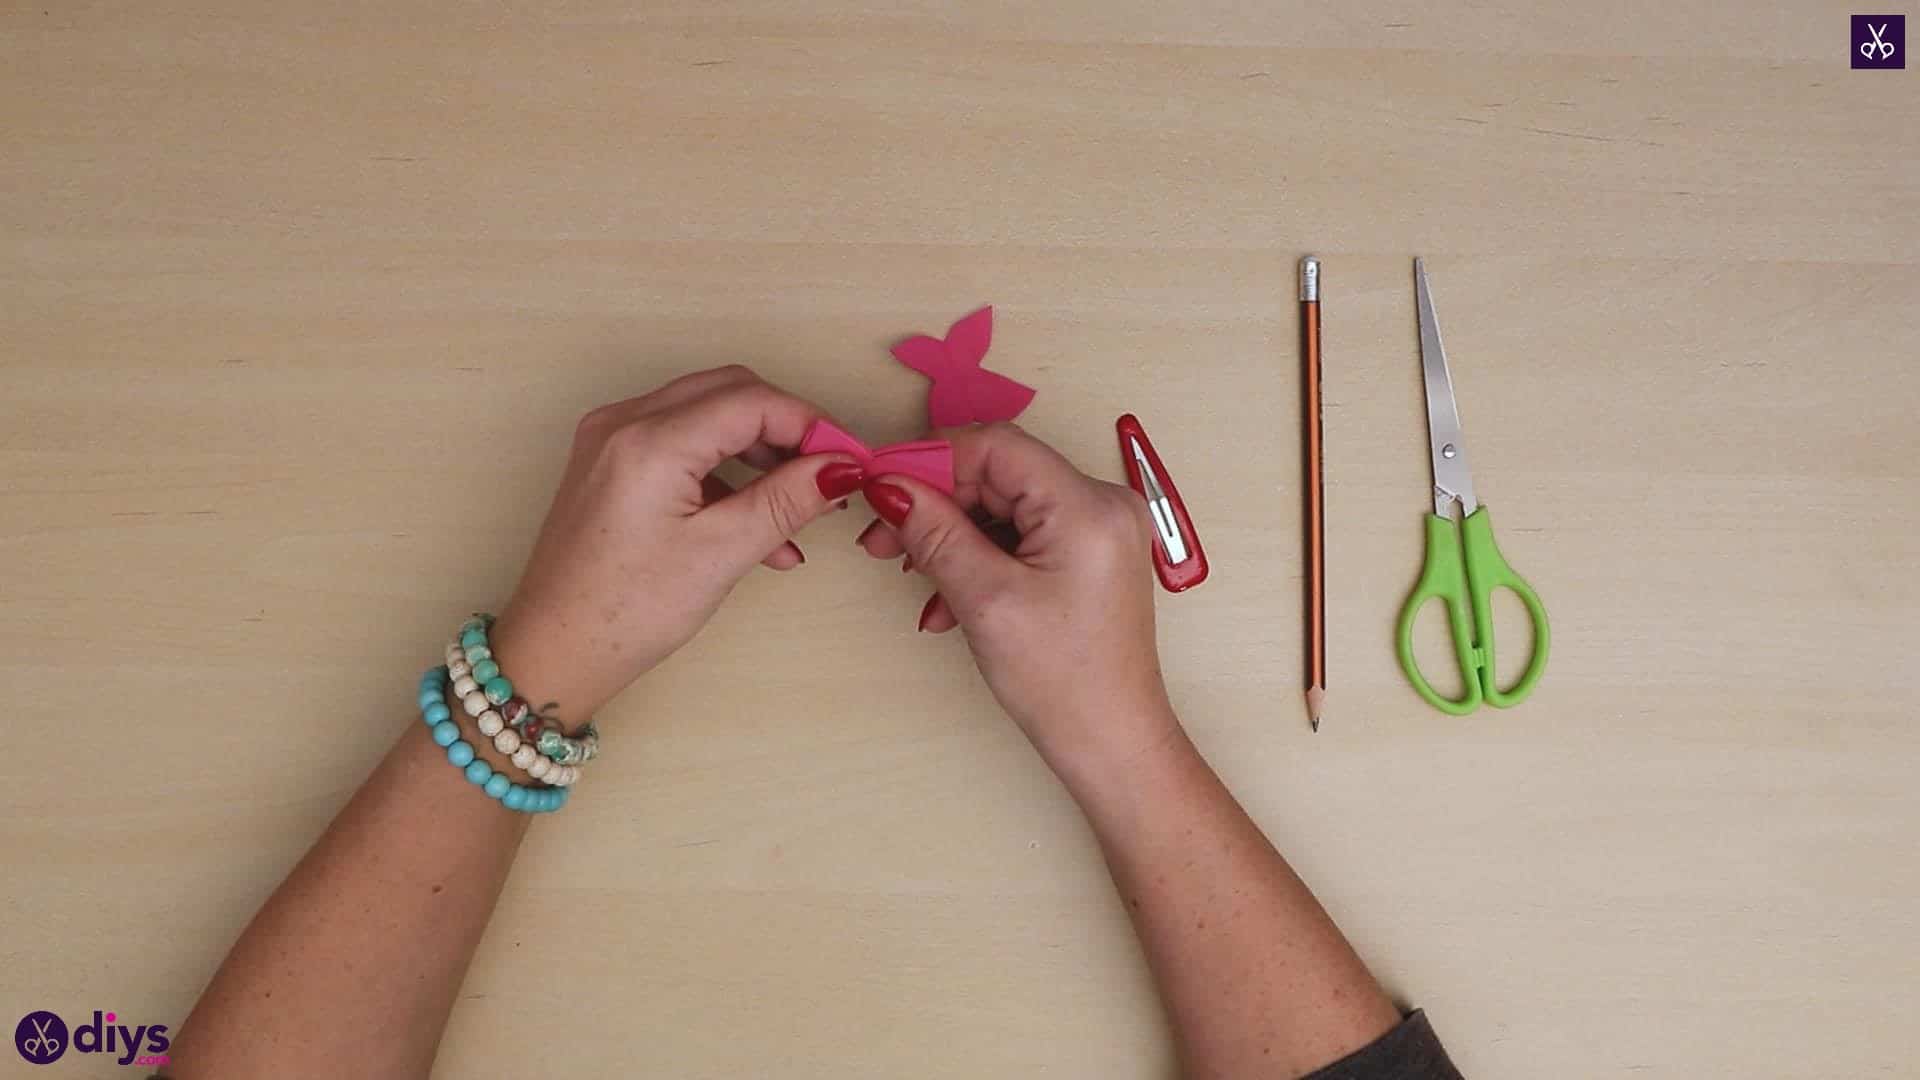
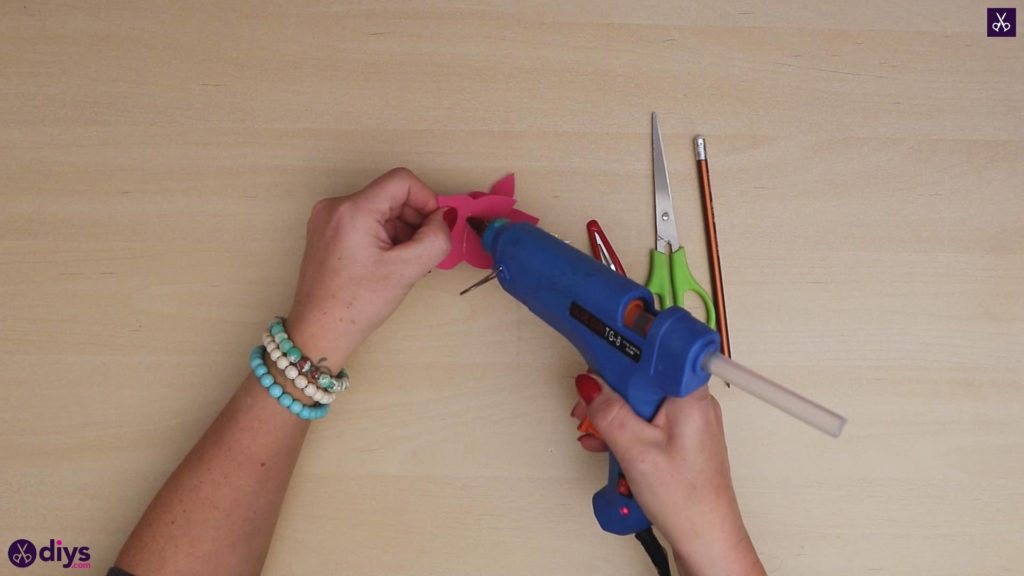
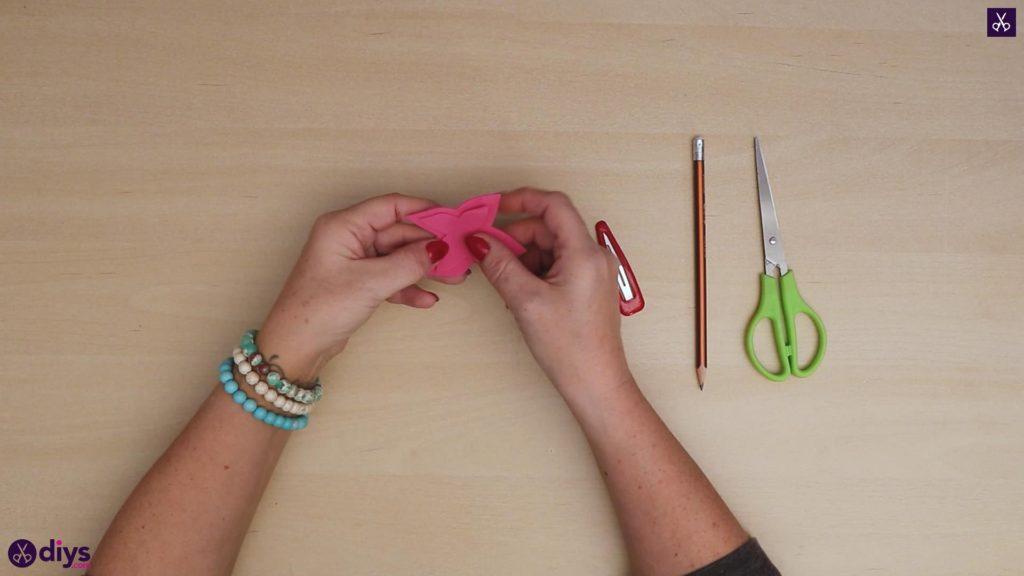
Bend your smaller set of wings along their vertical axis so the sides come together and the wings meet evenly along their edges. You don’t need to crease them too hard; you’re simply trying to give them a little bit of shape so they stand up from the larger ones. Now apply hot glue down the centre of your large wings, in the same spot that you just made a fold in your smaller ones. Stick the back centre, where your fold made an outer crease, down into the glue so your smaller wings are on top and your larger wings show around the edges.
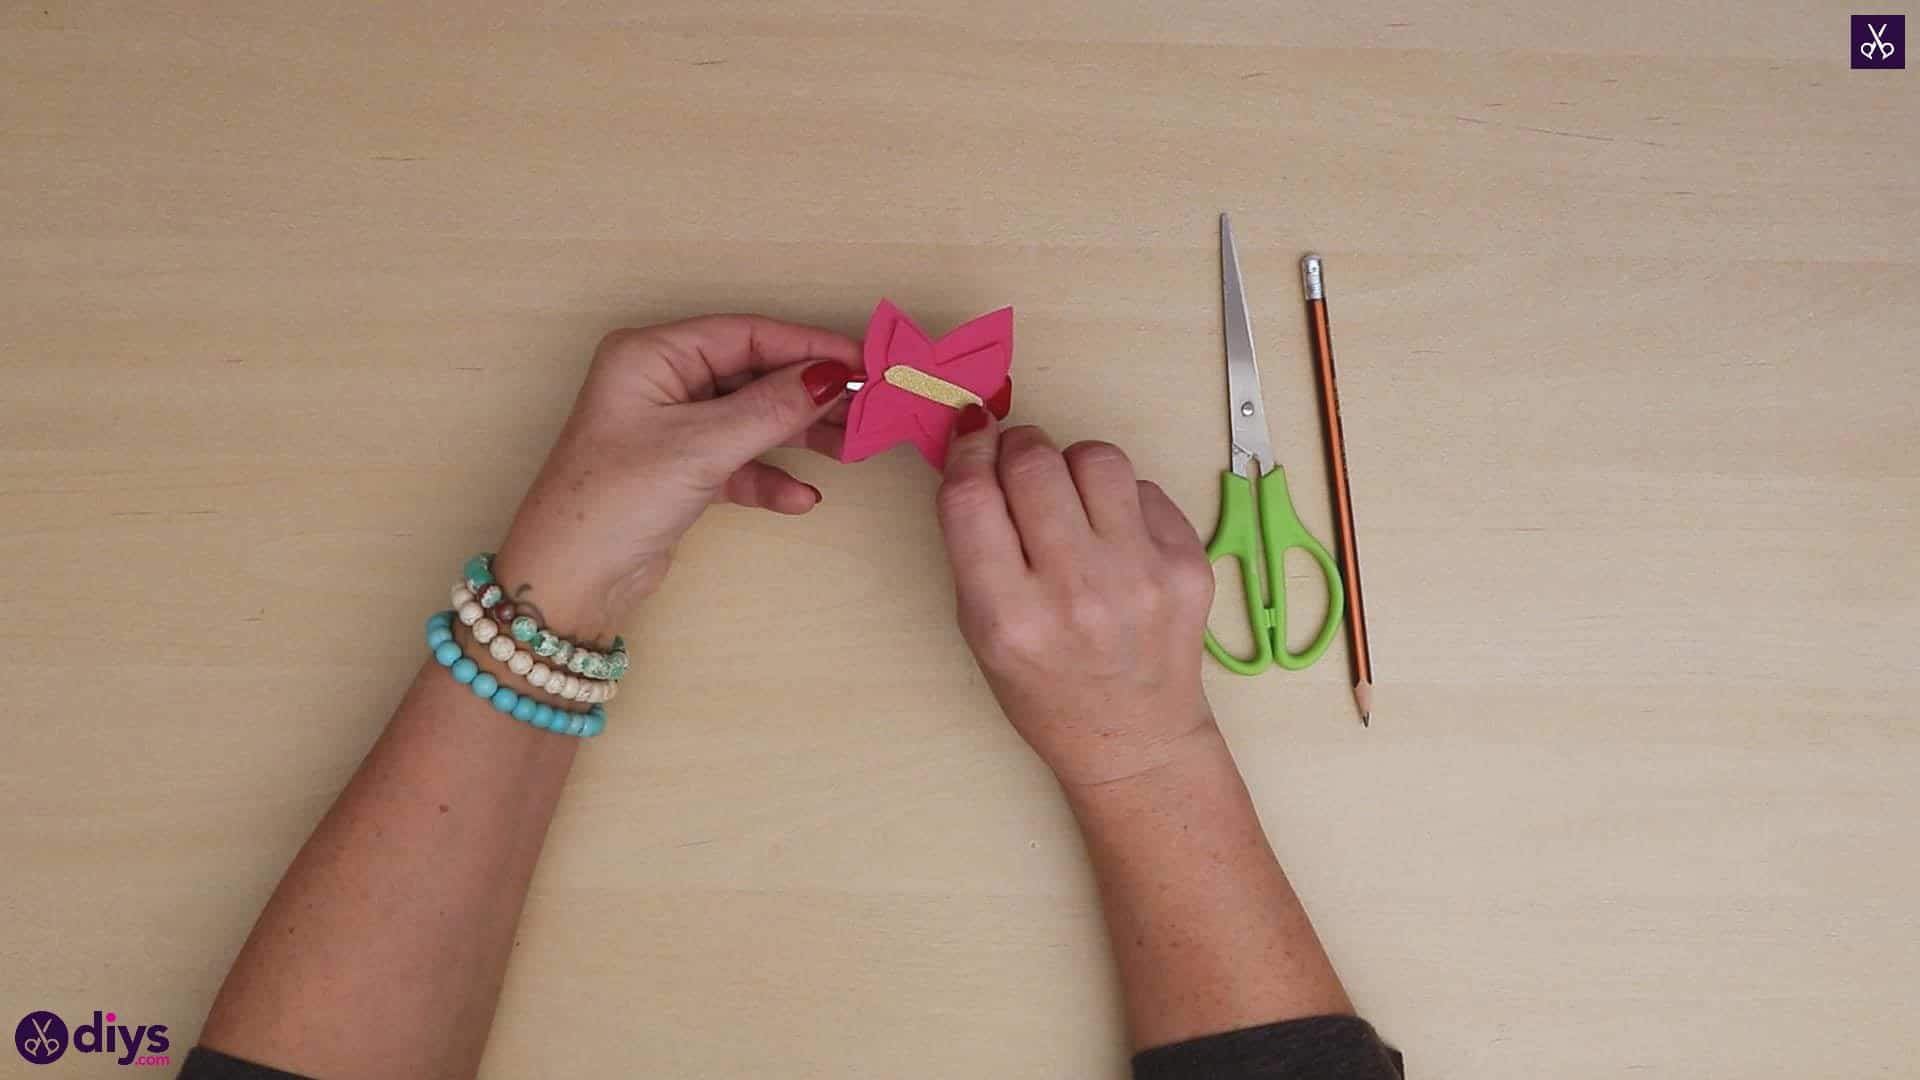
Step 5: add the body
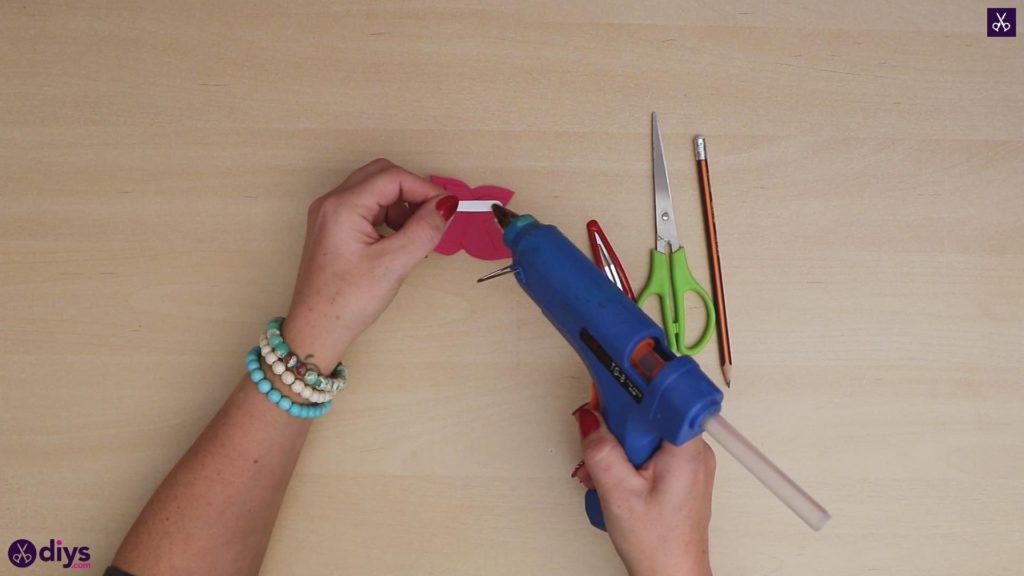
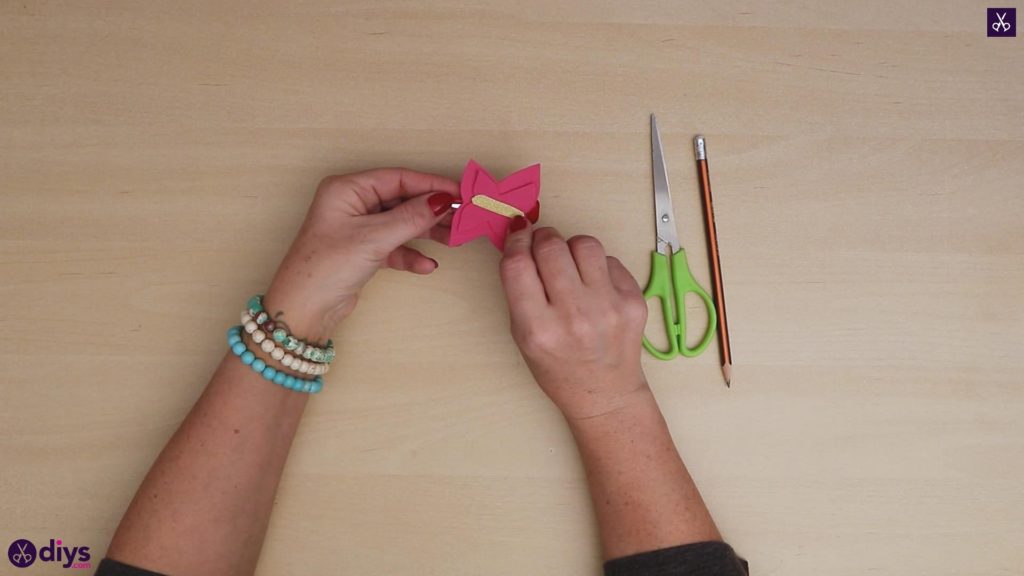
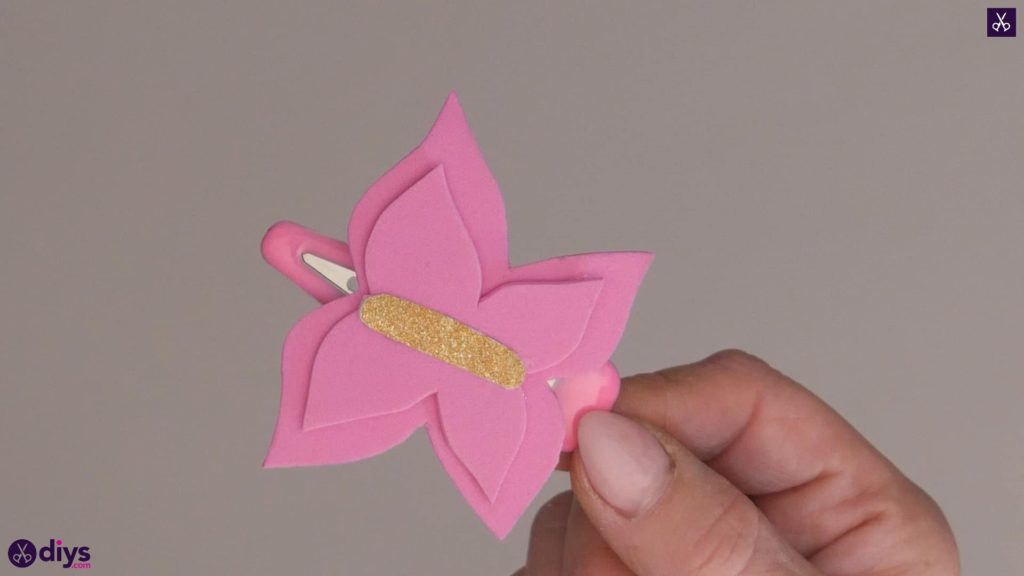
Apply glue to the back of your little gold butterfly body and stick it down along the centre of your smaller wing piece, right on the top.
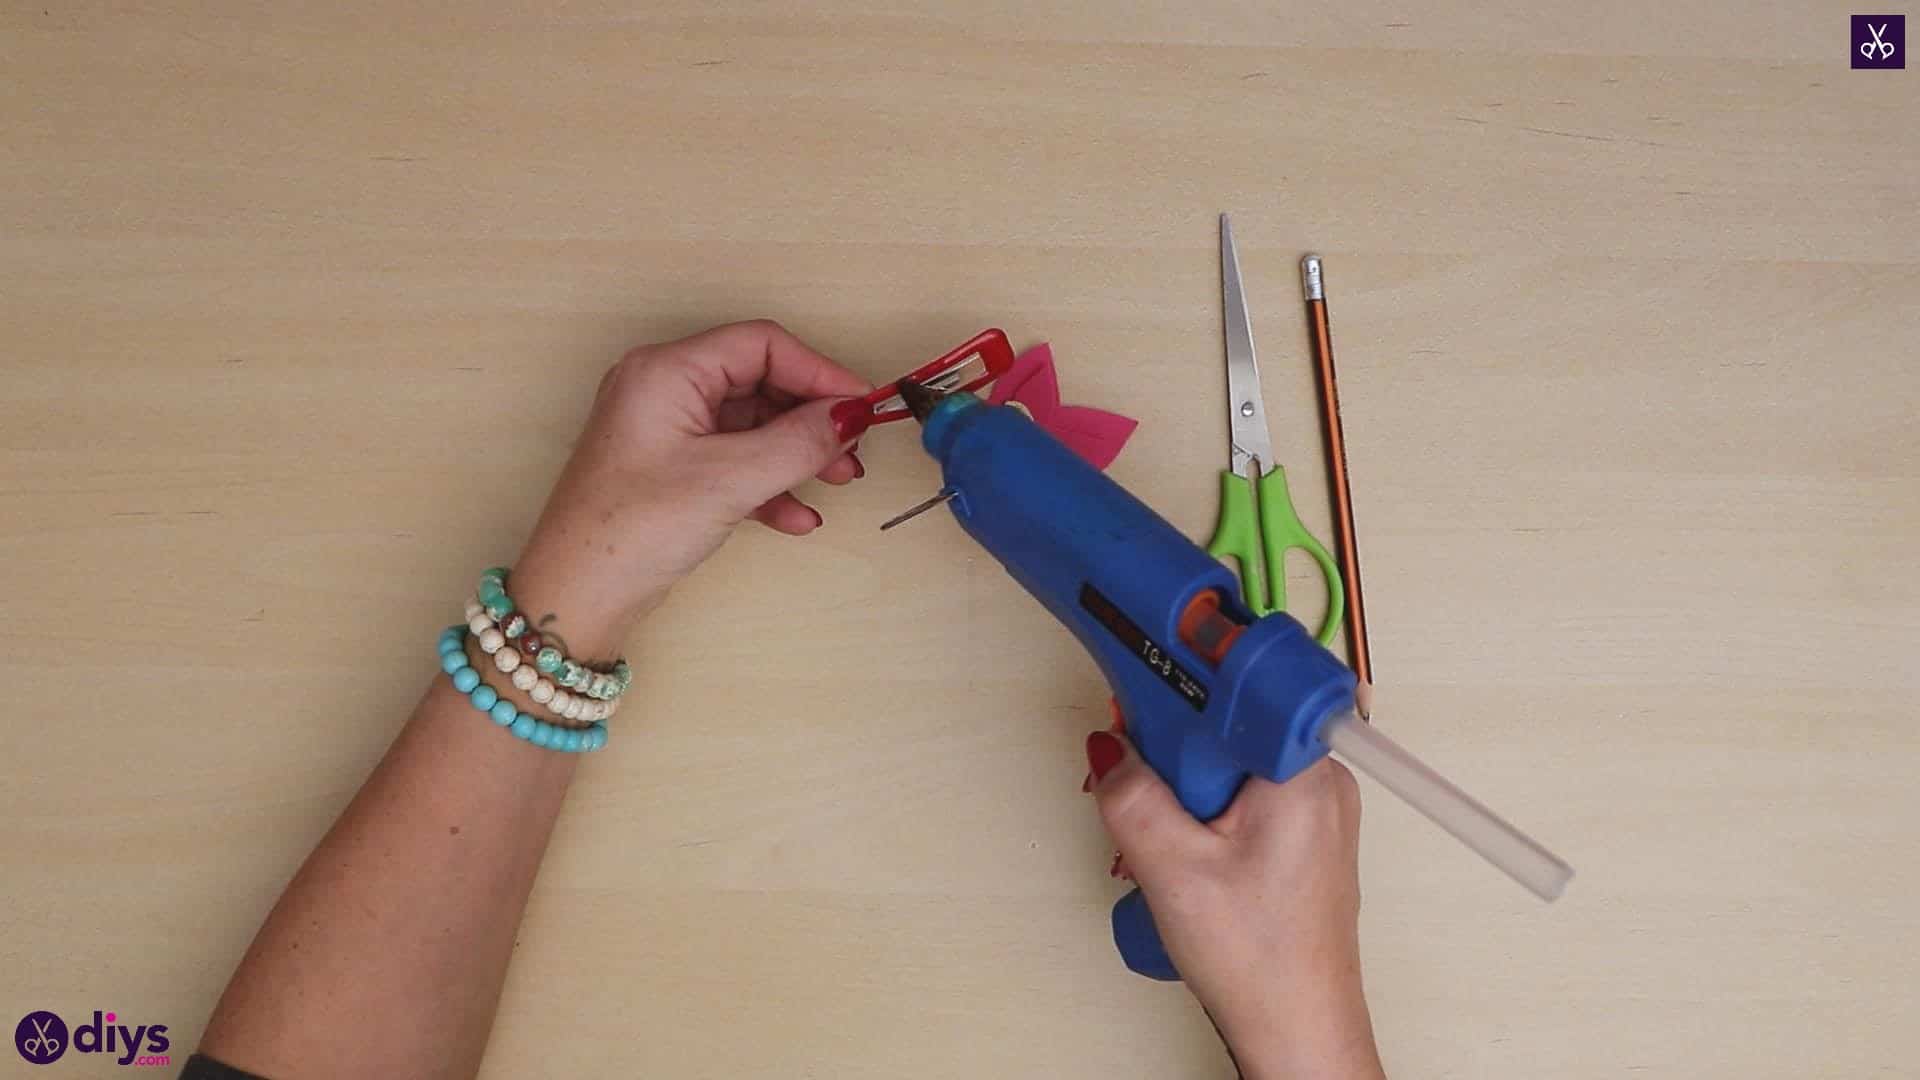
Step 6: glue to barrette
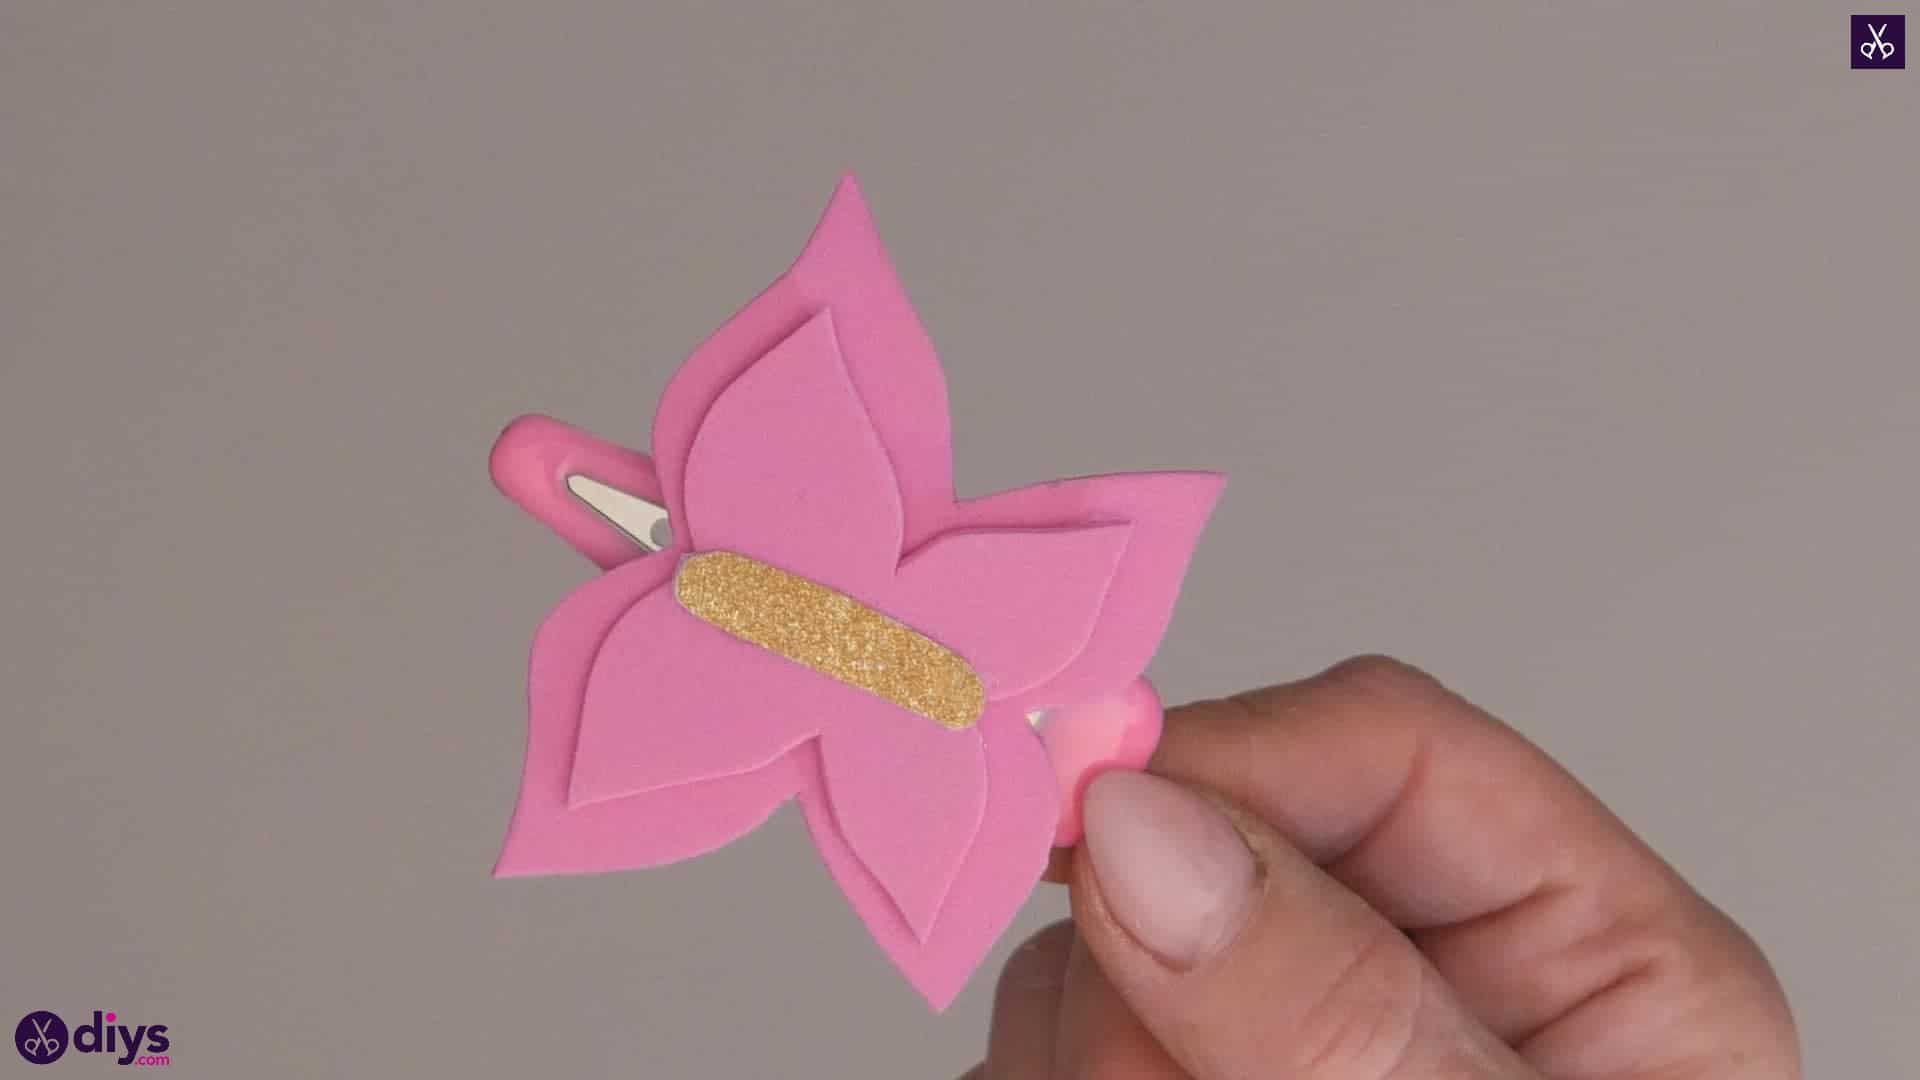
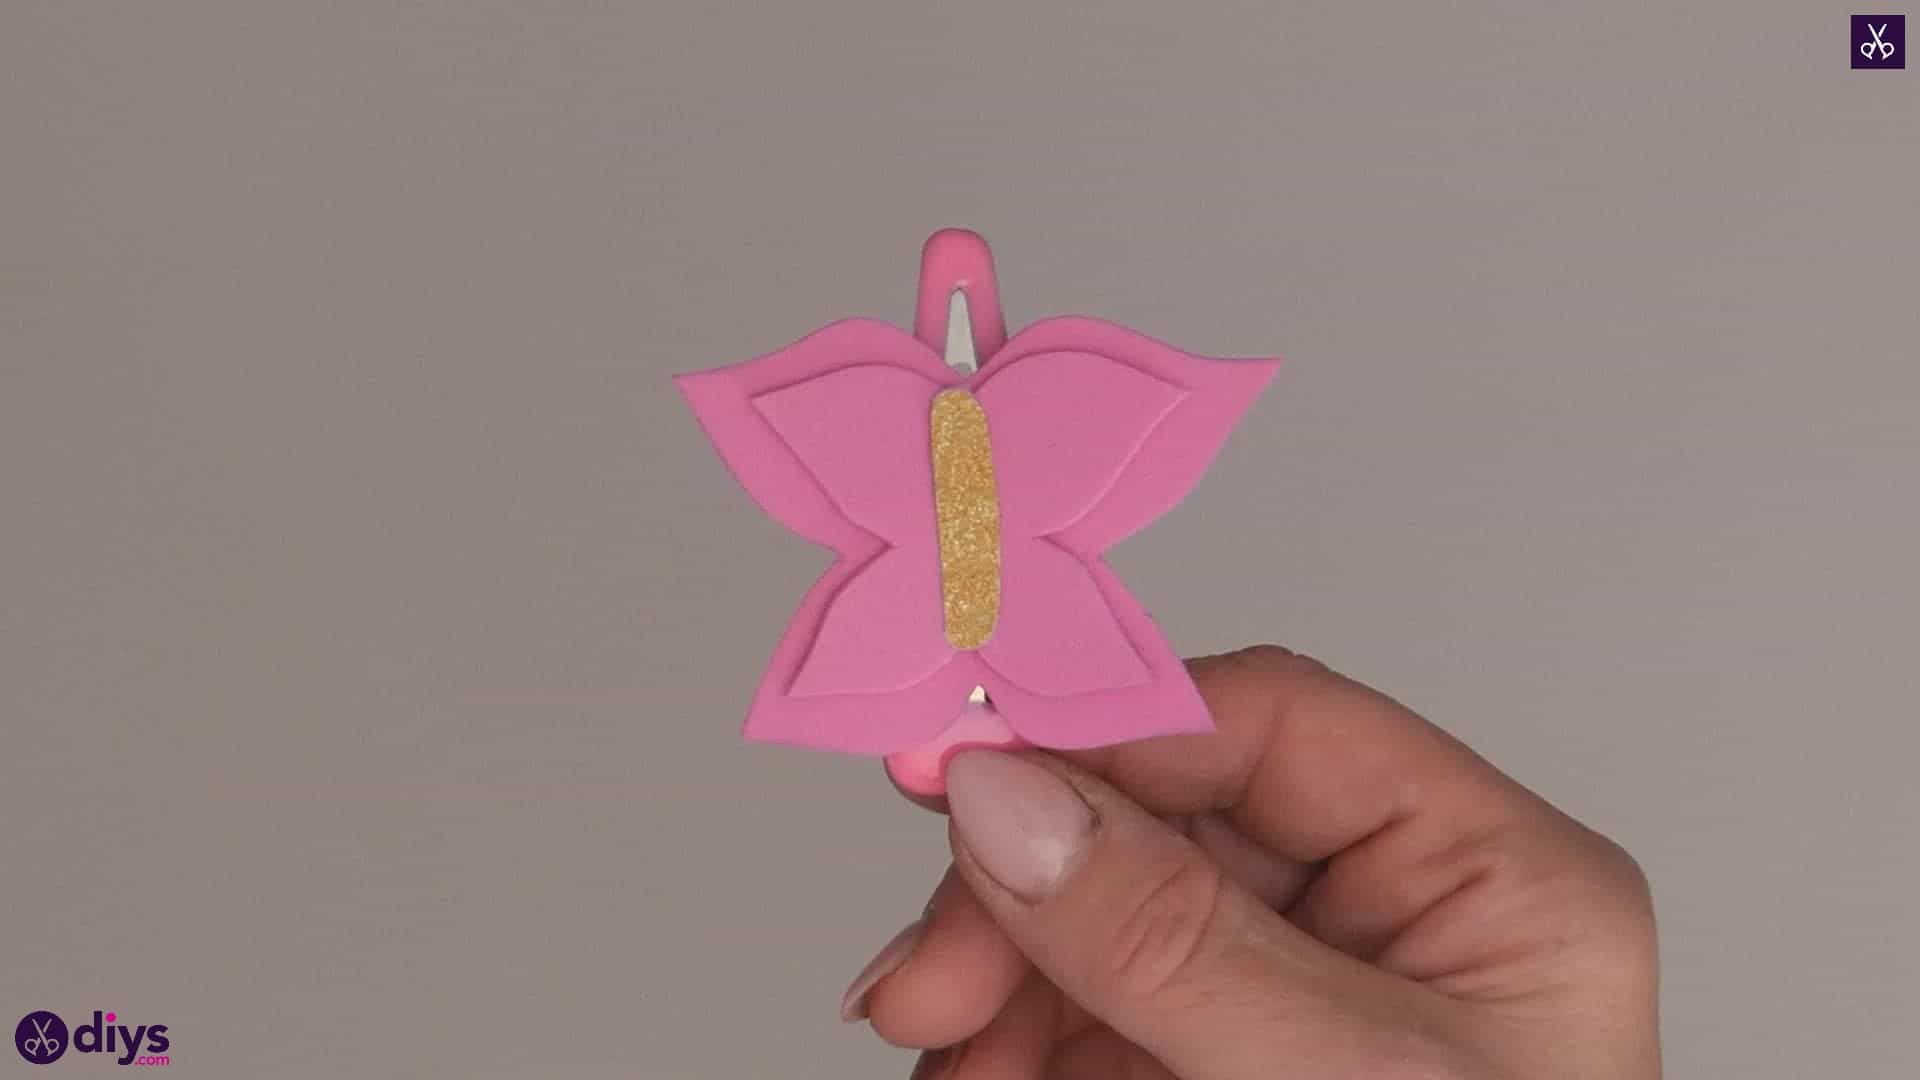
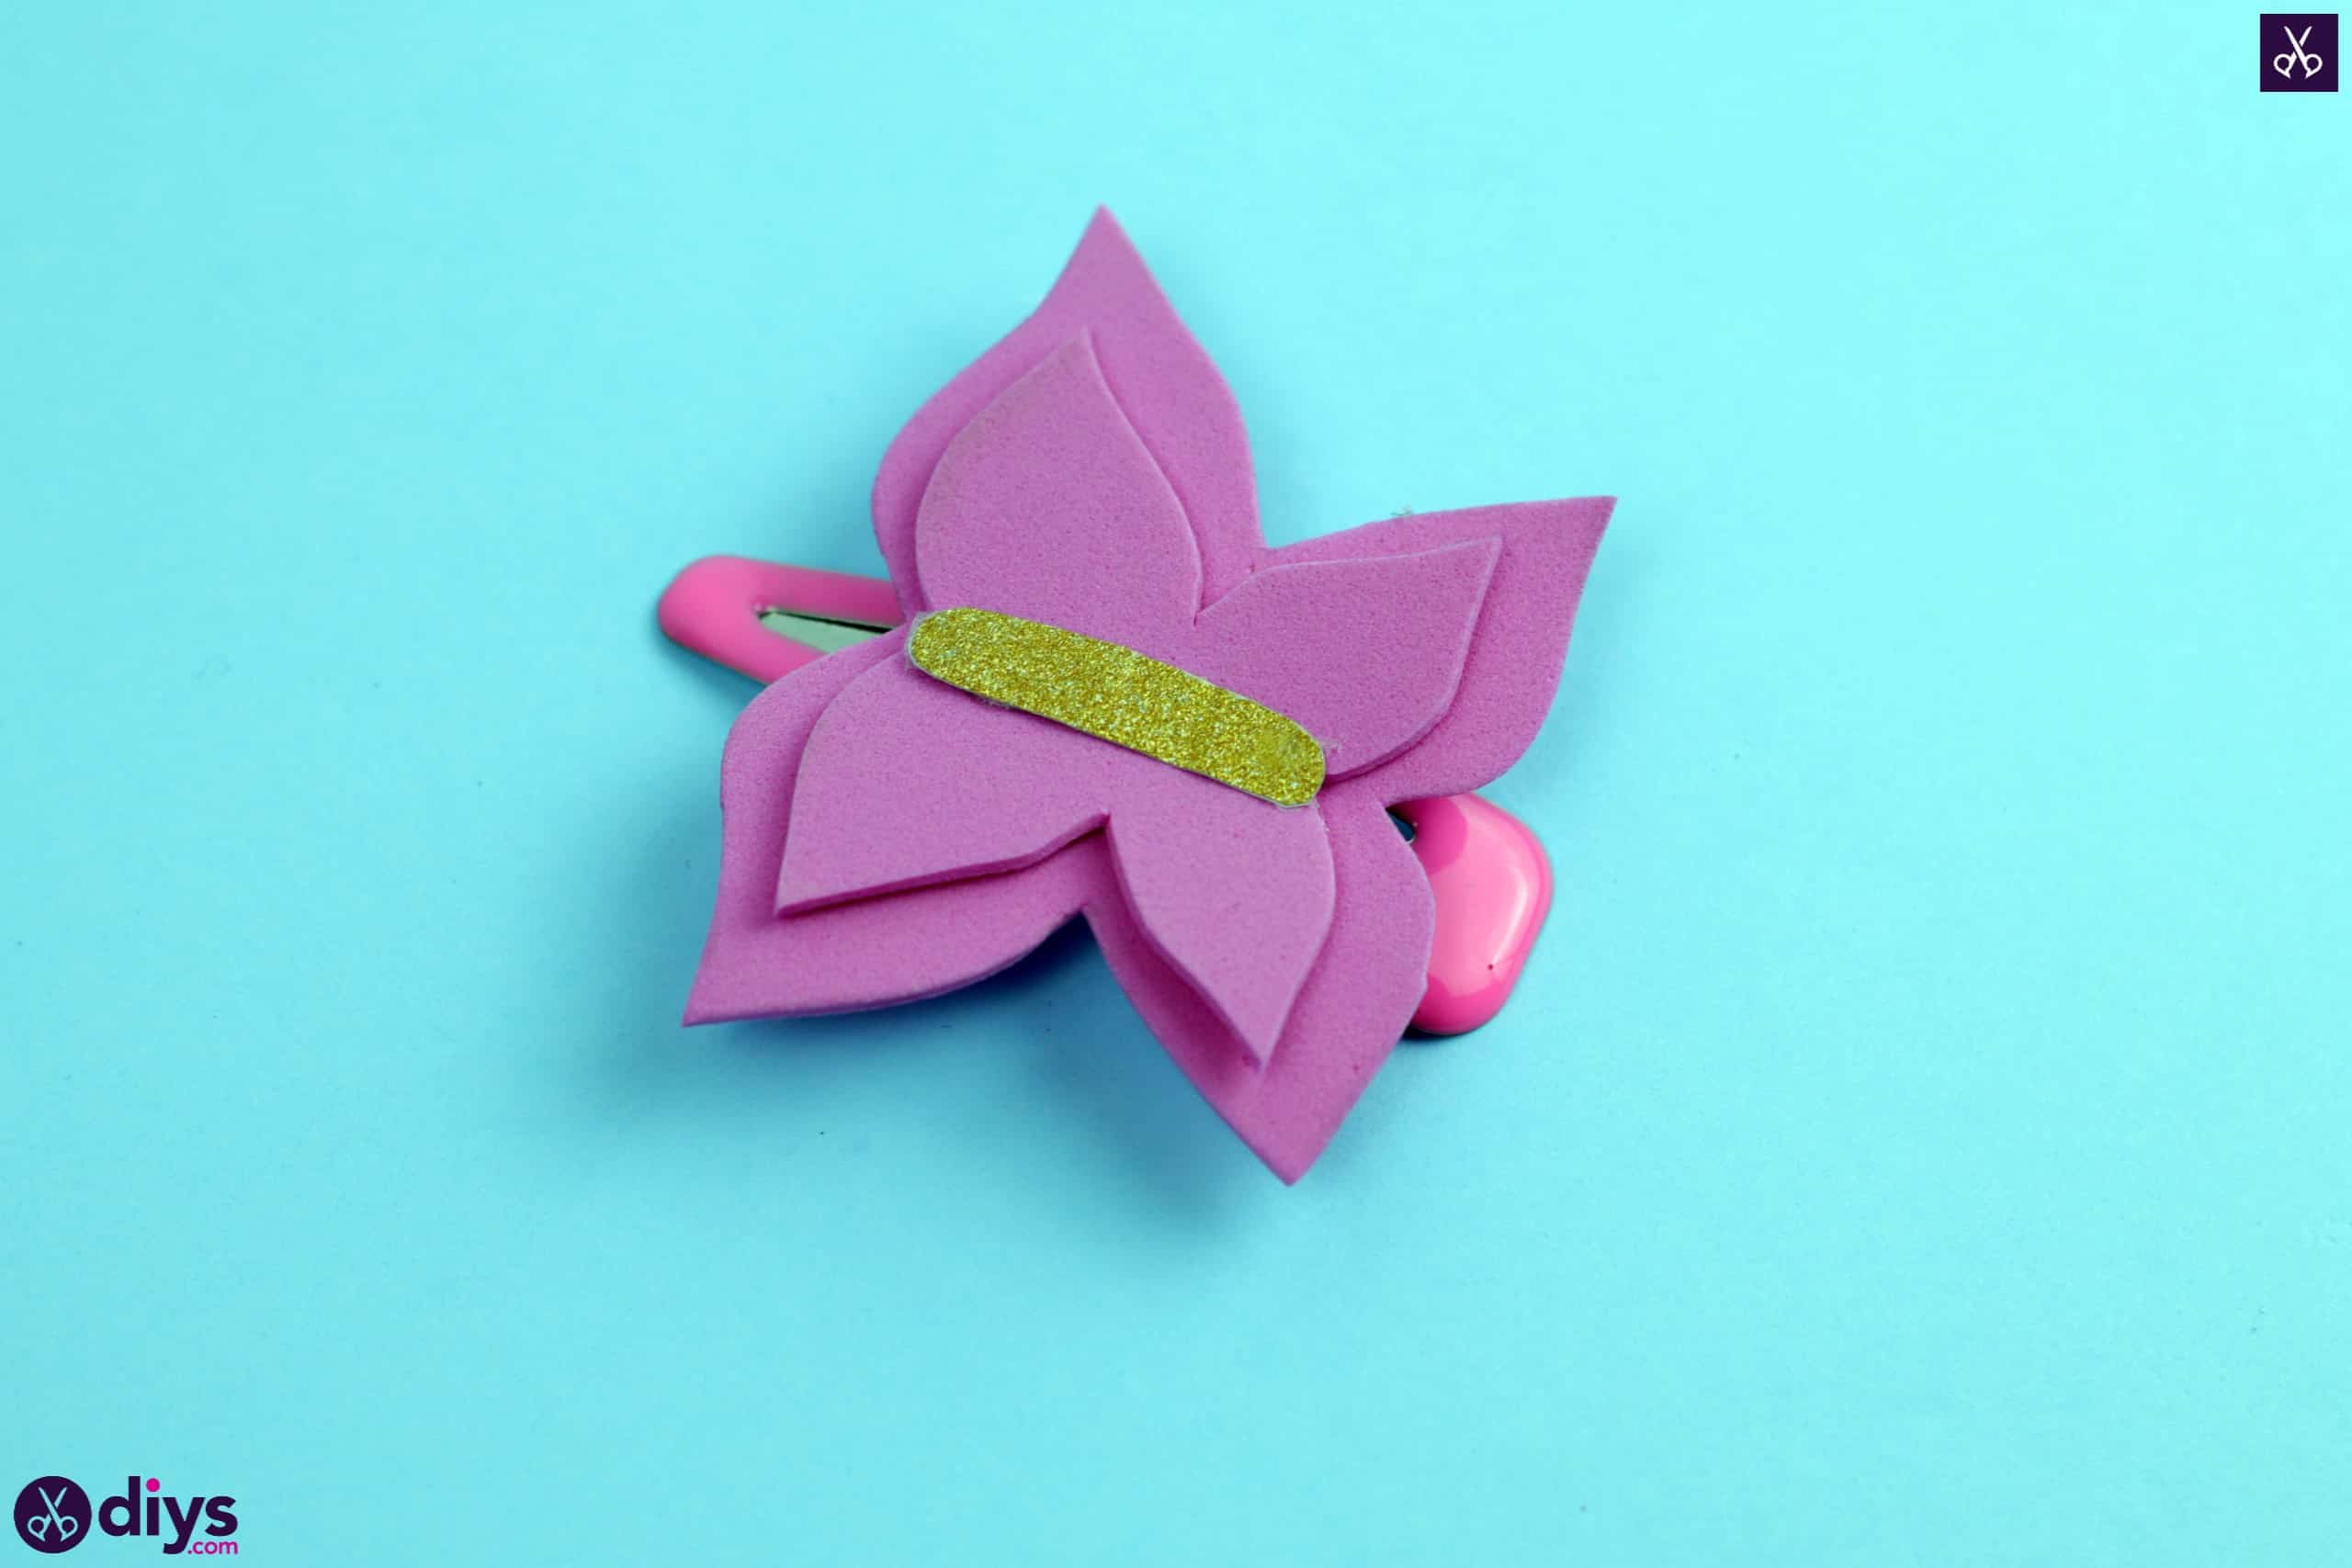
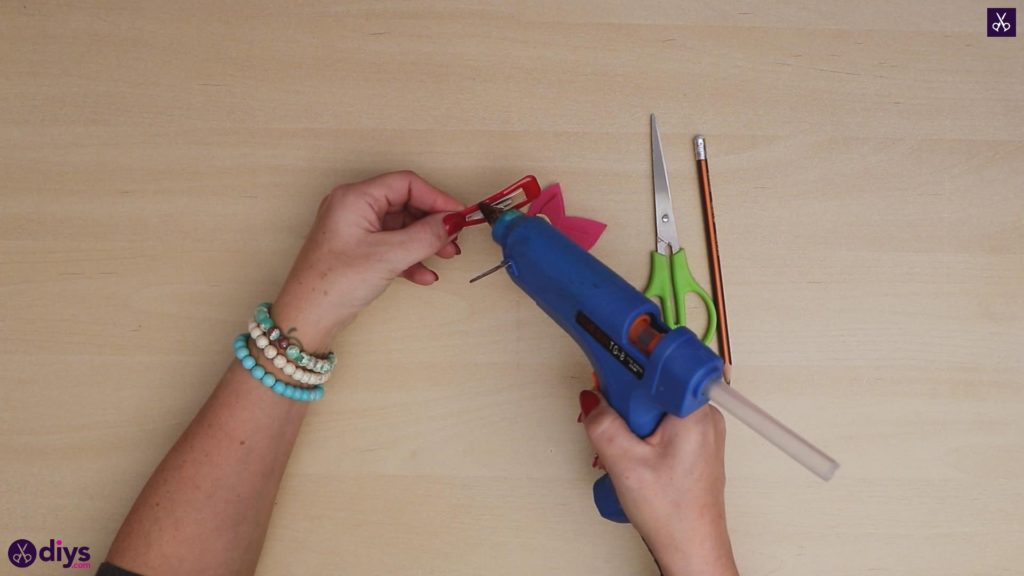
Apply hot glue to the top of your snapping barrette or hair clip. Stick the back of the larger wing piece down there, so its centre runs down the middle of the clip.
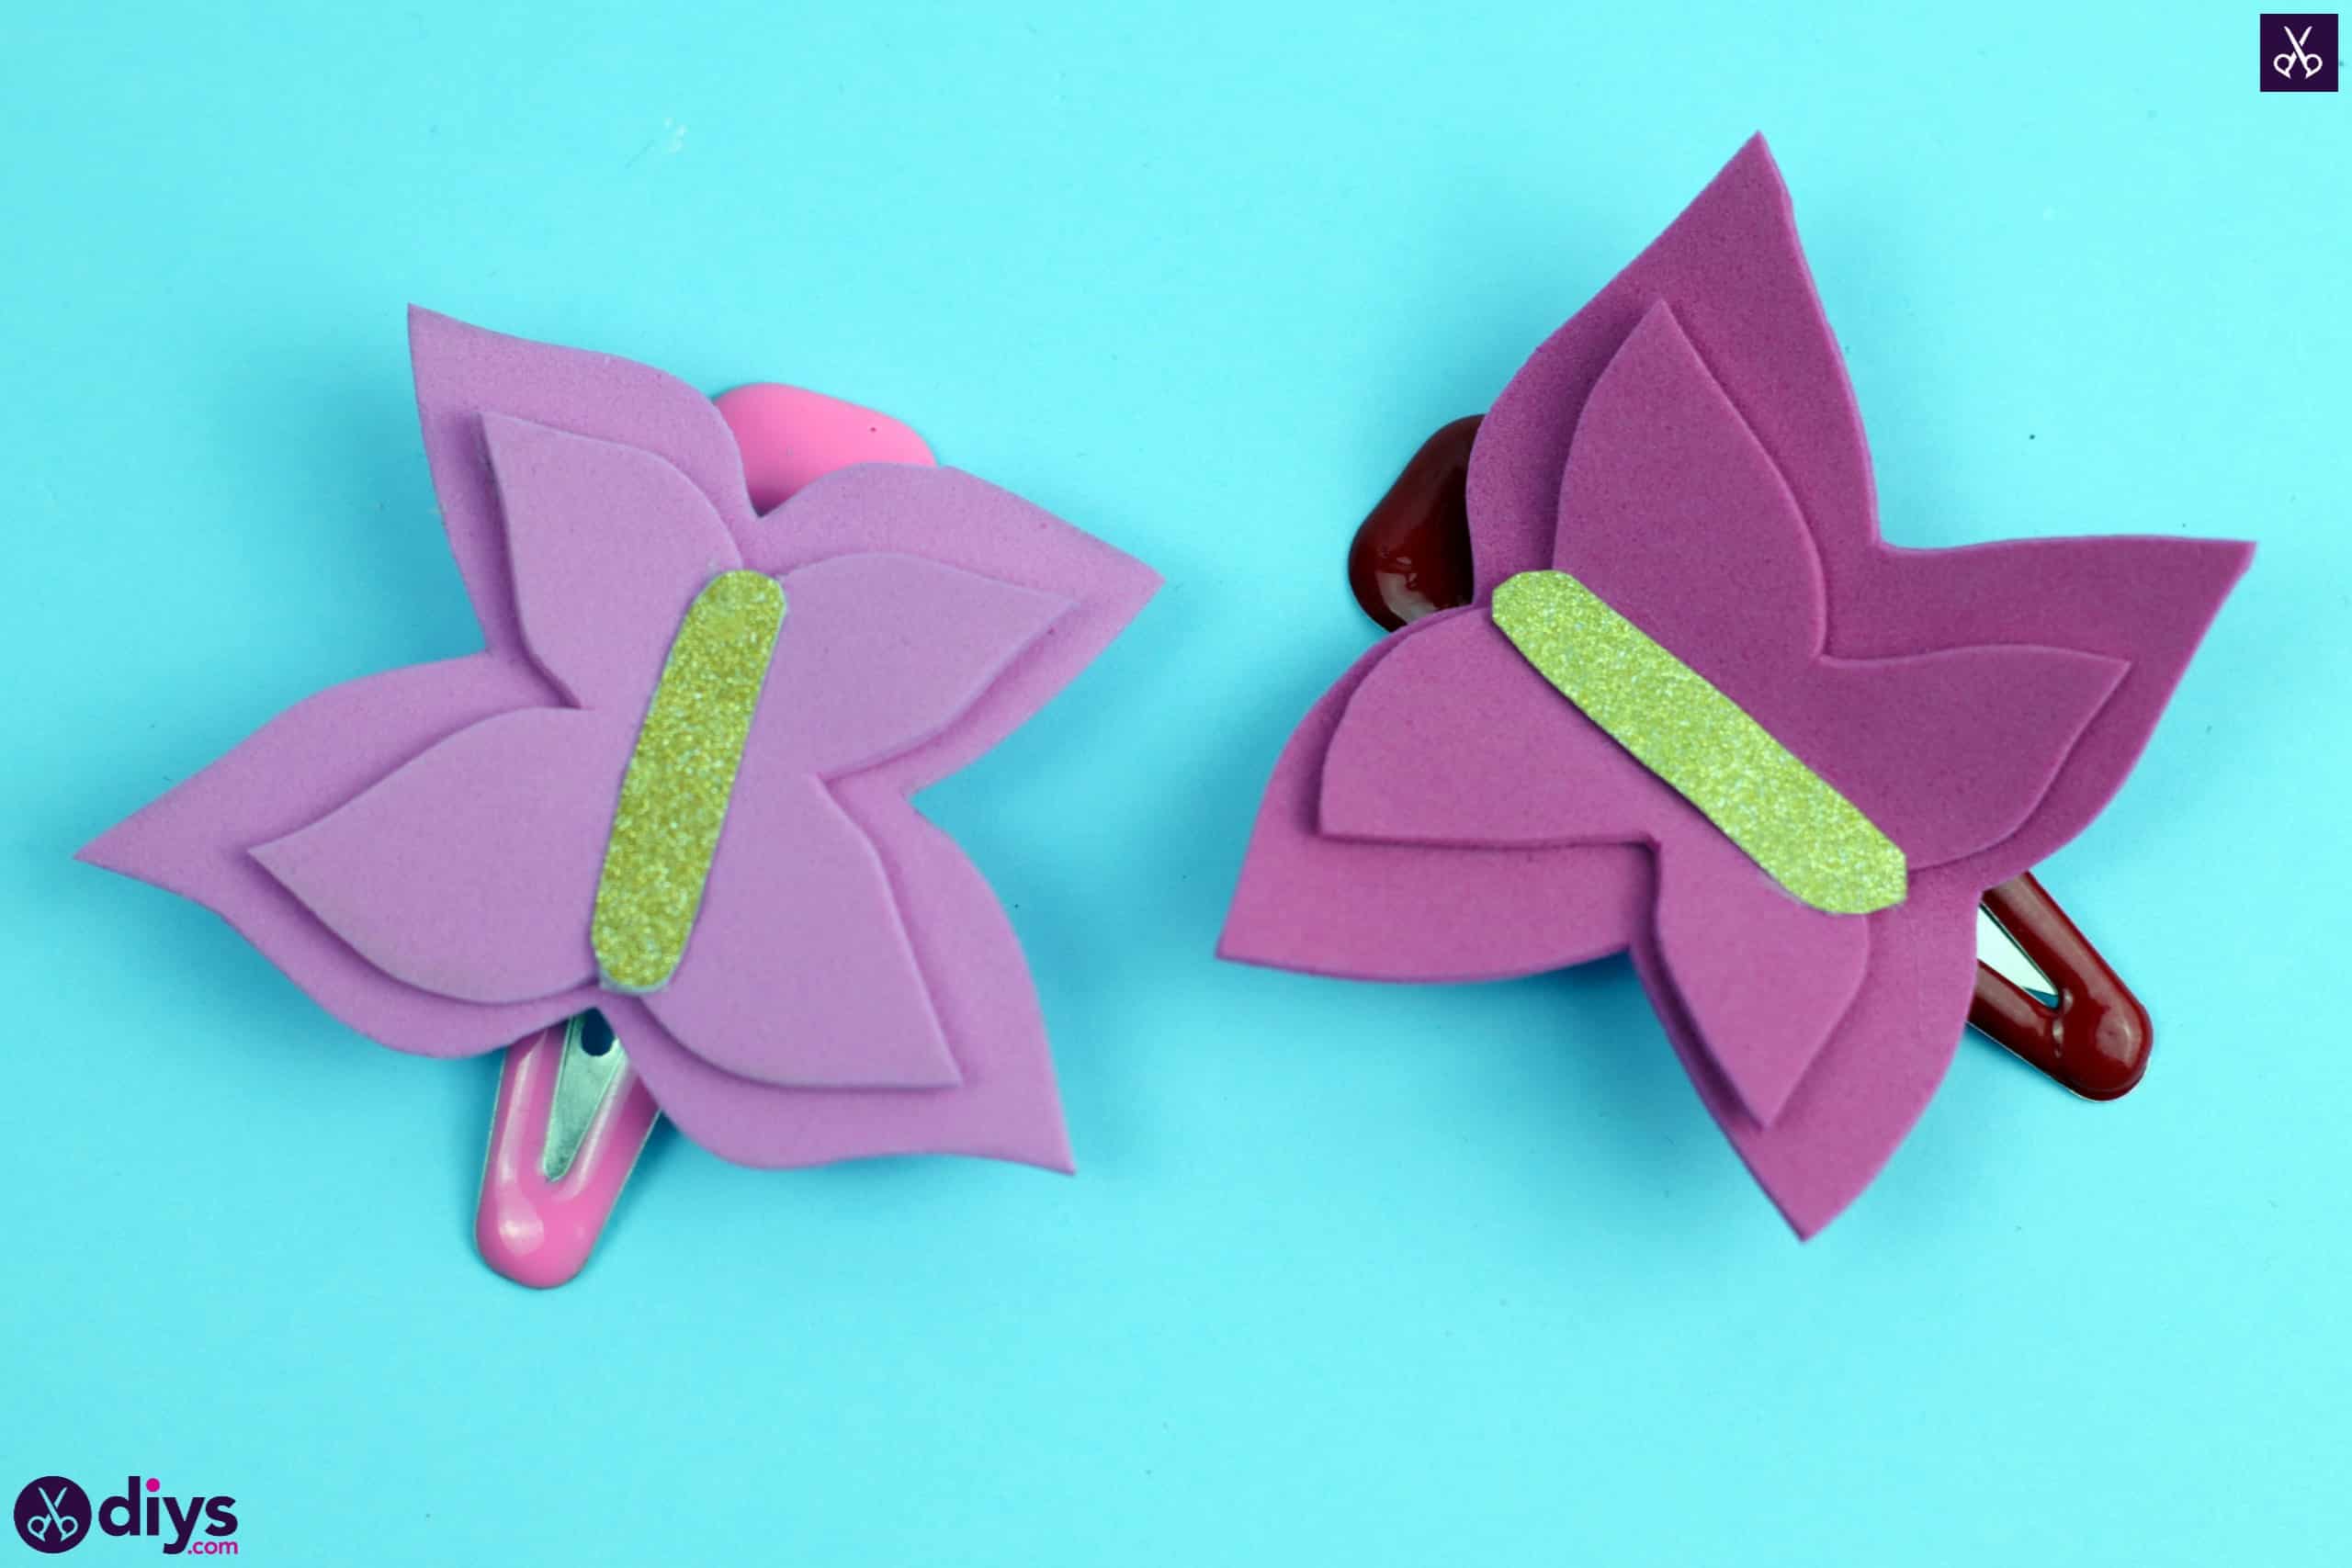
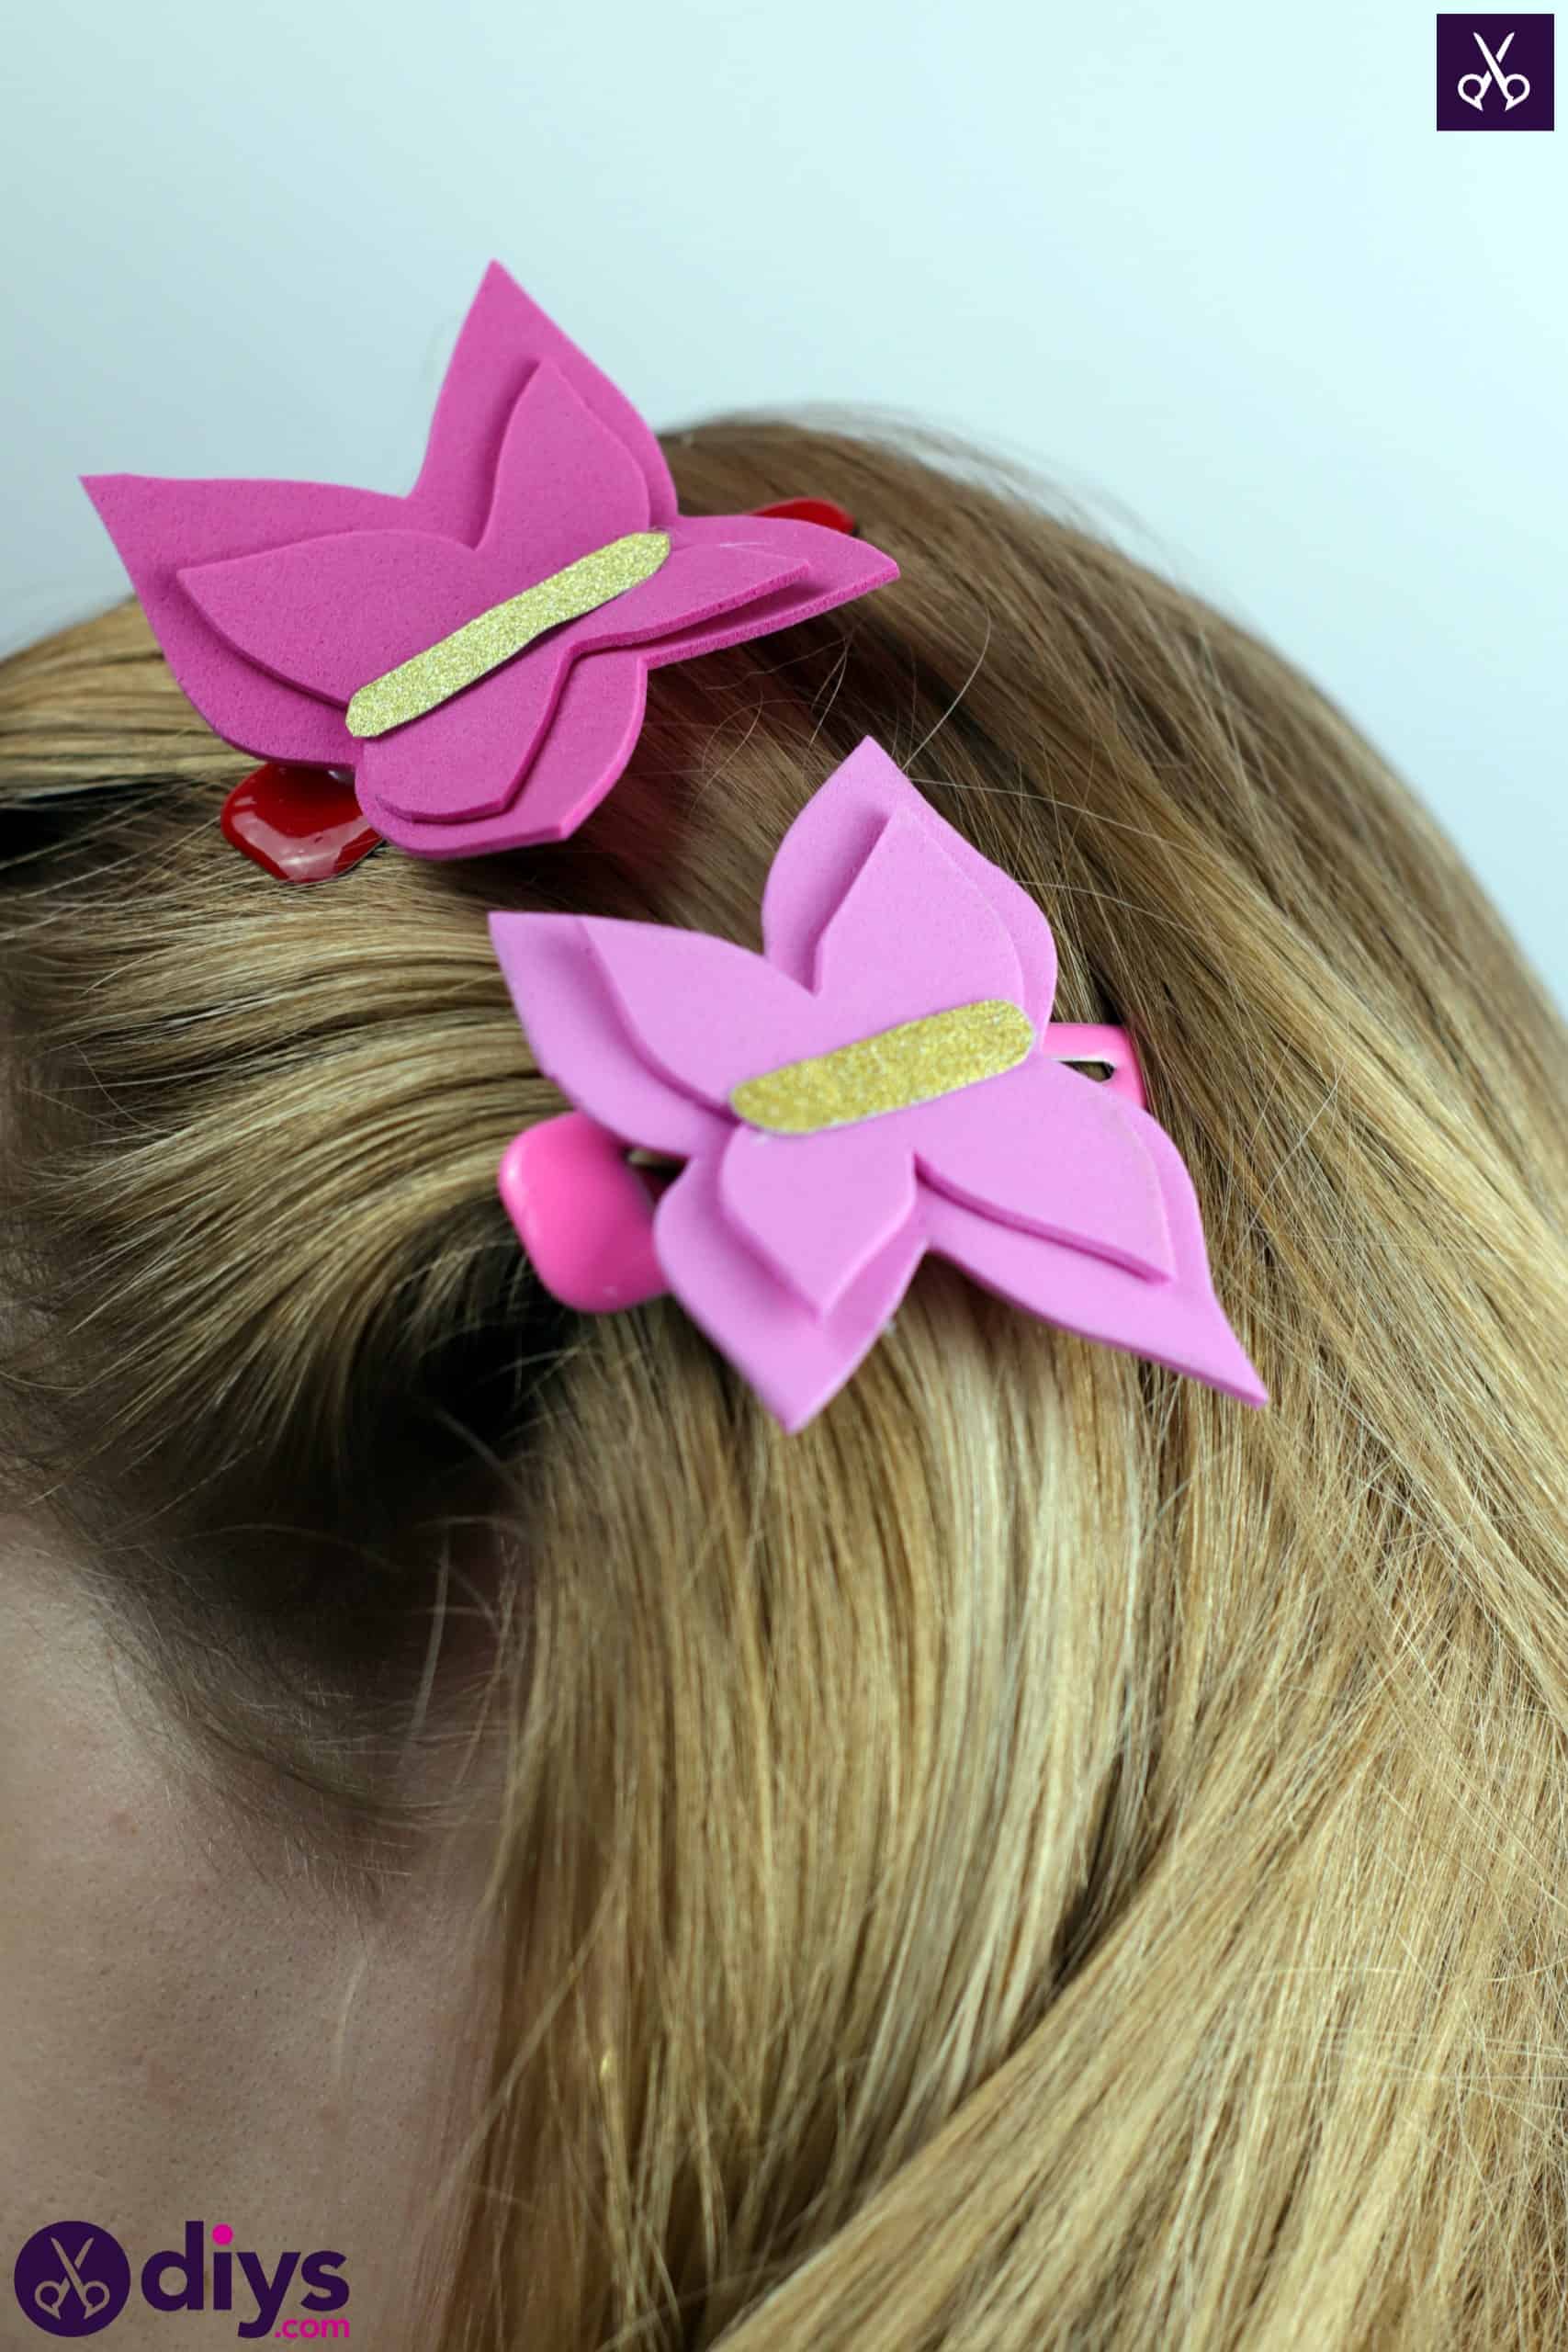
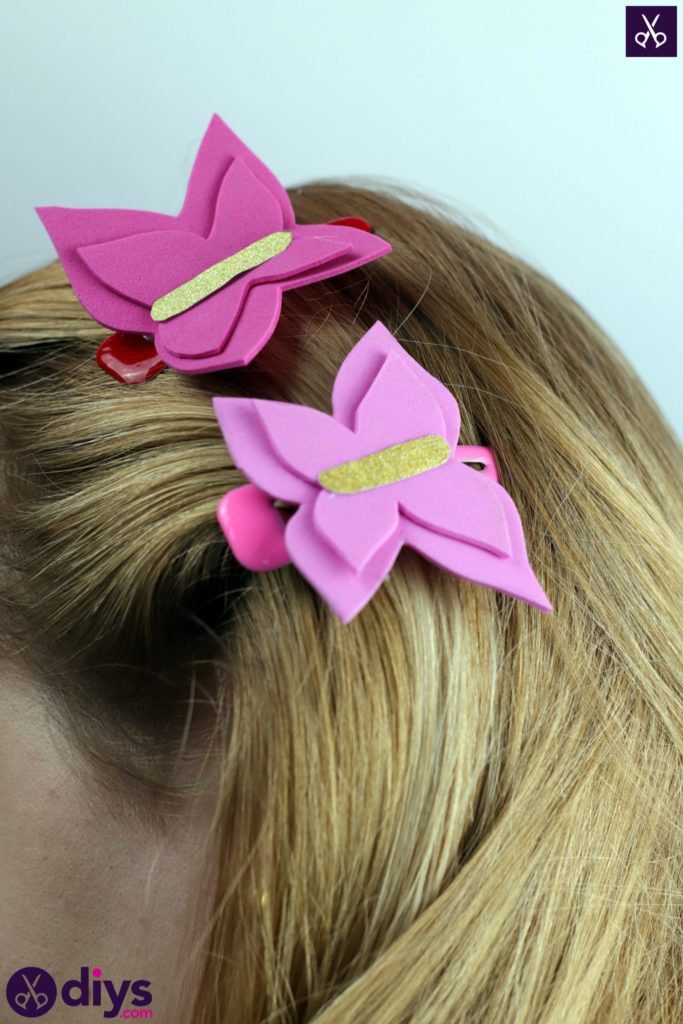
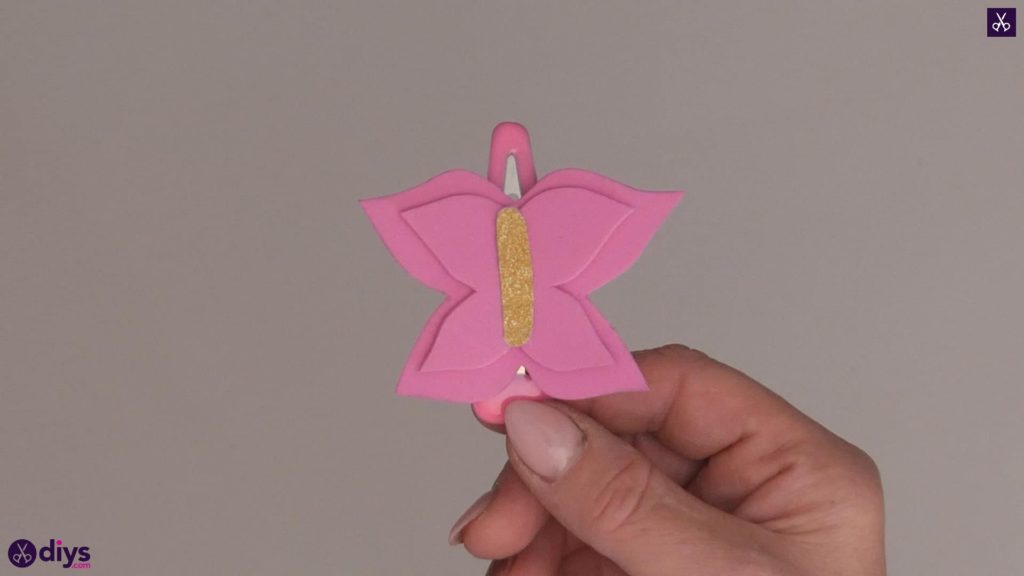
You’re all finished already! As usual, feel free to play with colour and detail when you make your own. Just in case you’d like to try this project out for yourself, here’s a fantastic tutorial video to help you!
