How to Craft DIY Pinecone Flower Wall Art in 6 Easy Steps
Handcrafted pinecone flower wall art is creative for transforming an ordinary wall into a beautiful, one-of-a-kind art piece. Read on to learn how to make pinecone flower wall art easily since no artistic skills are necessary.
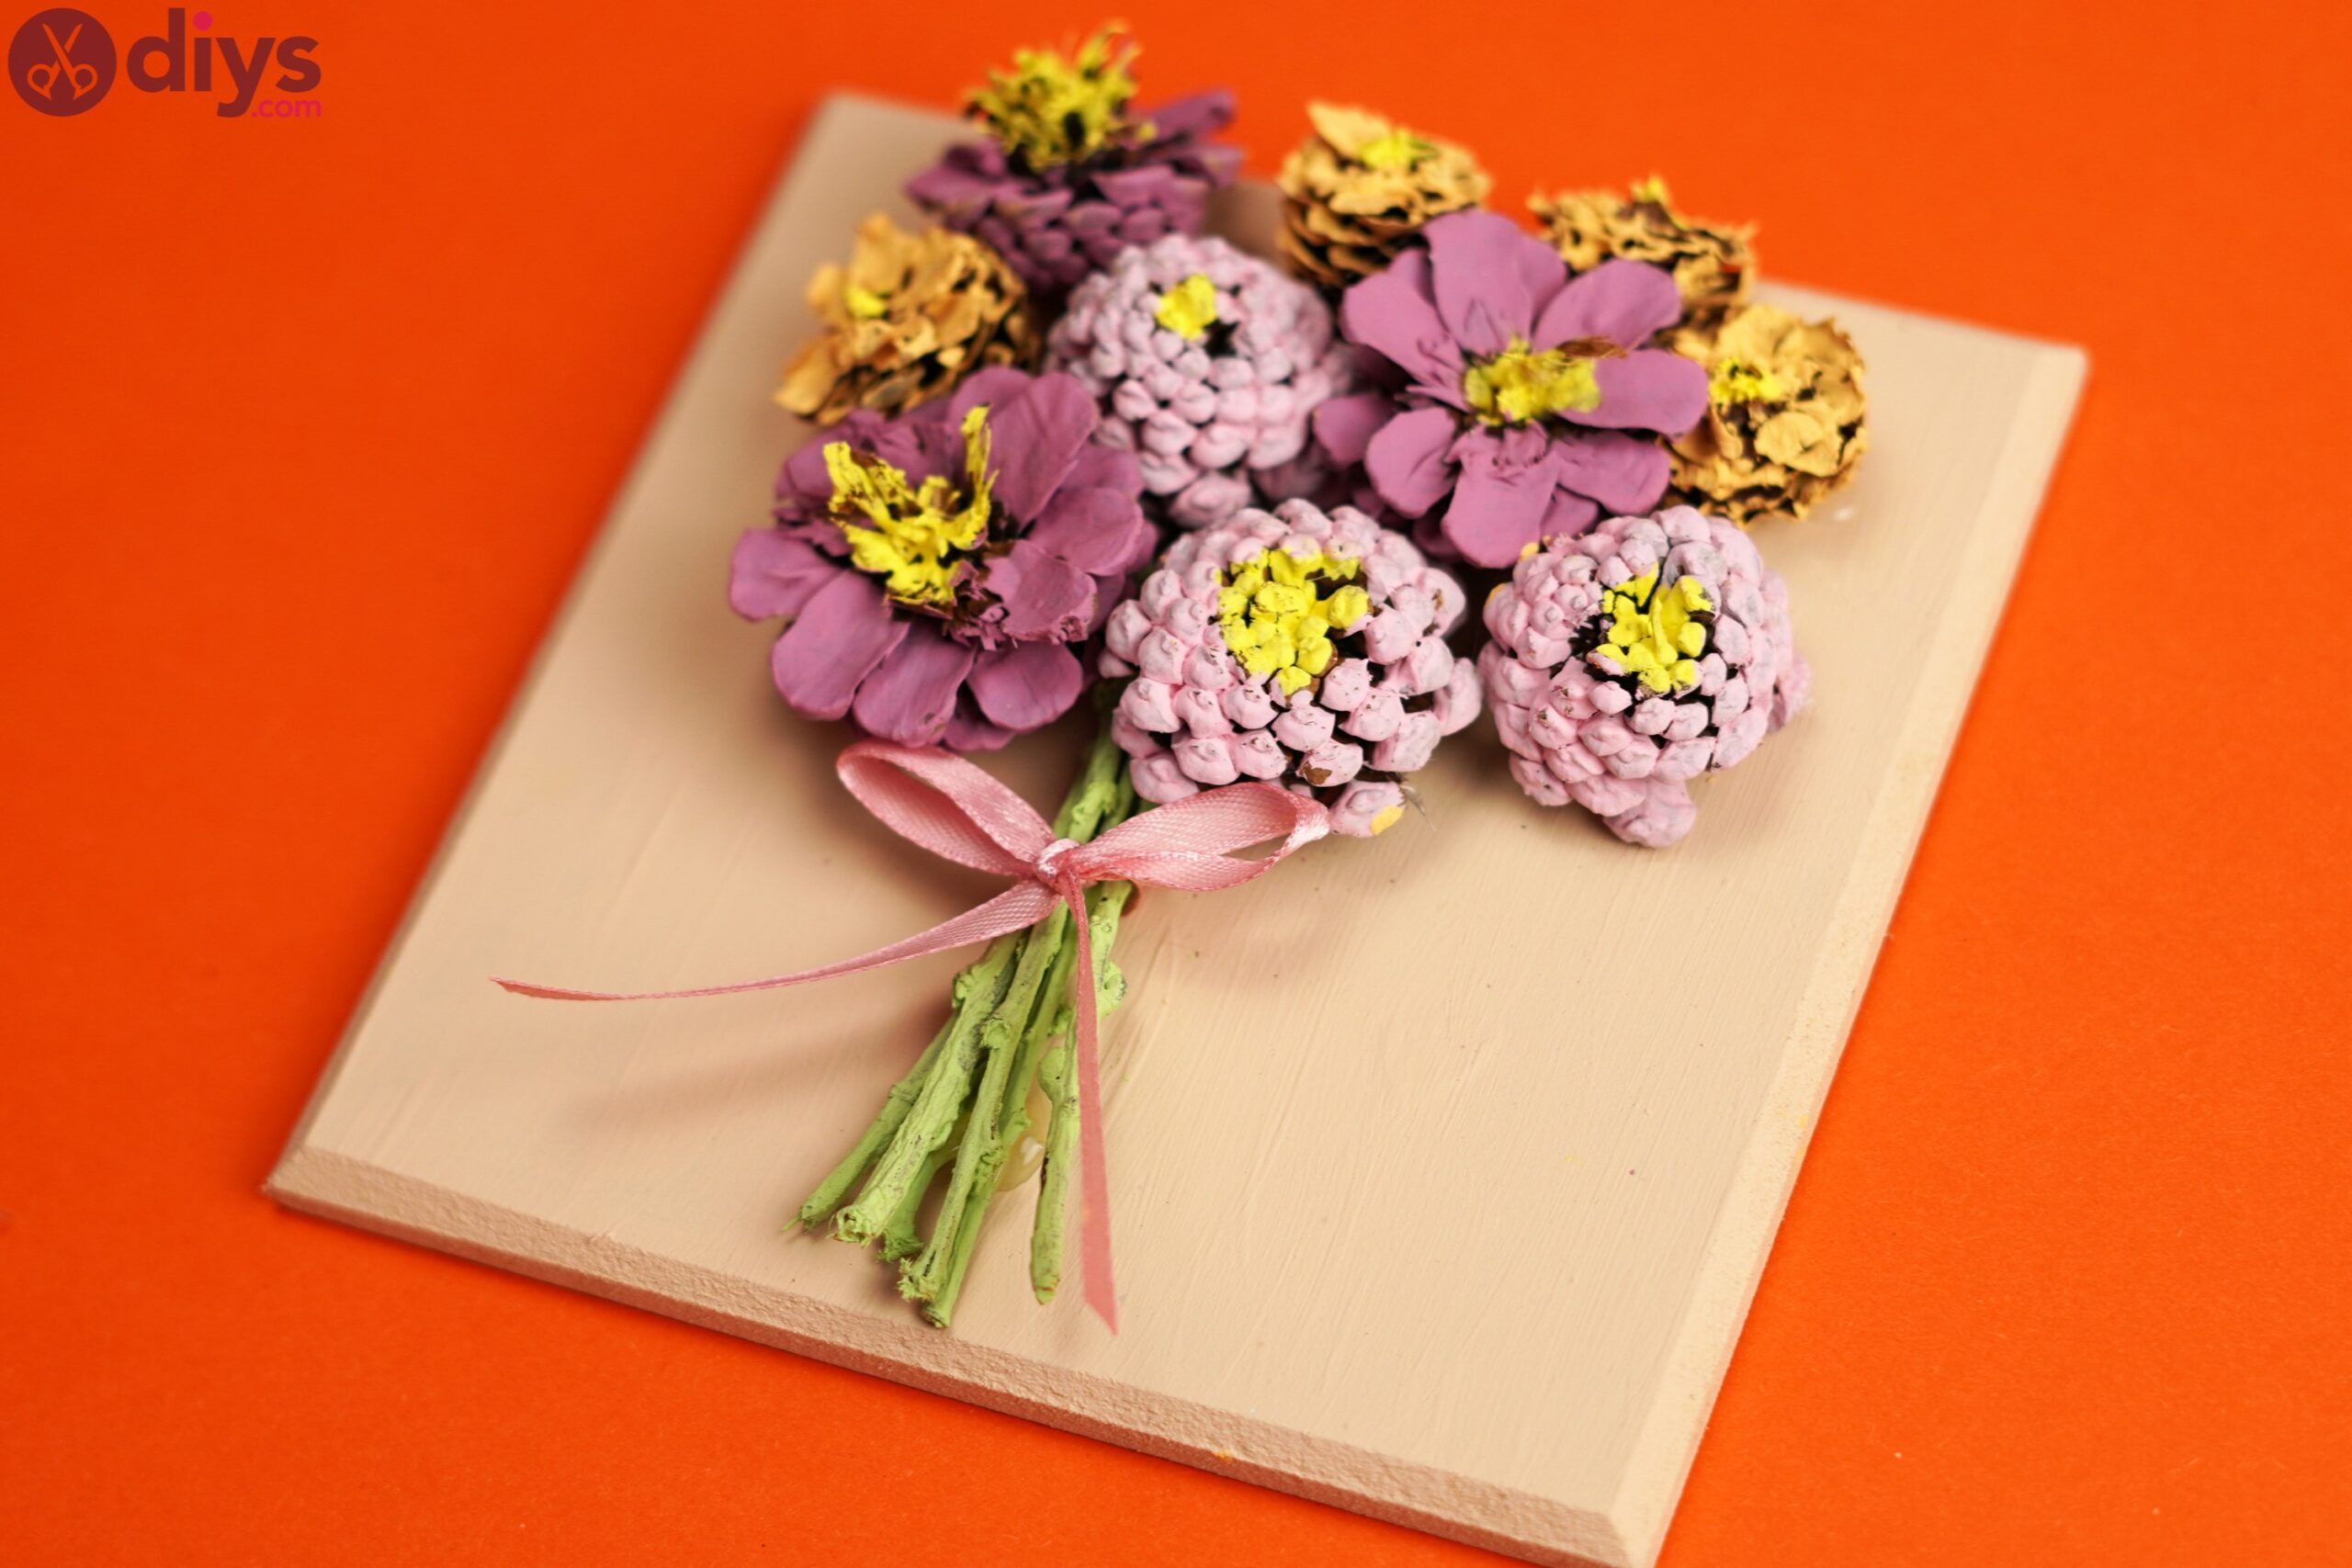
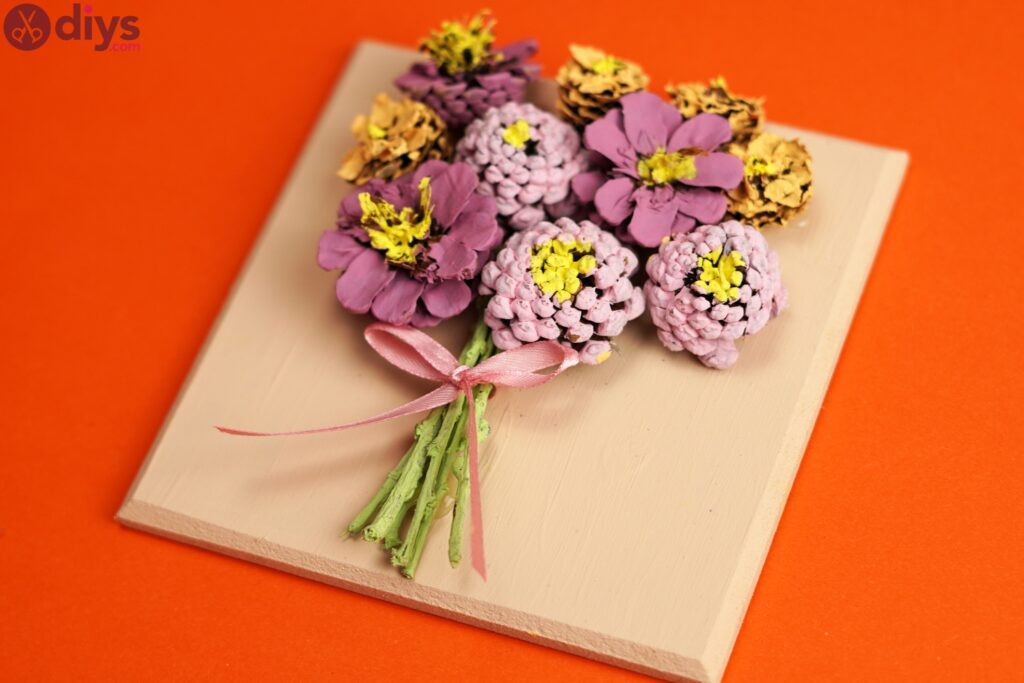
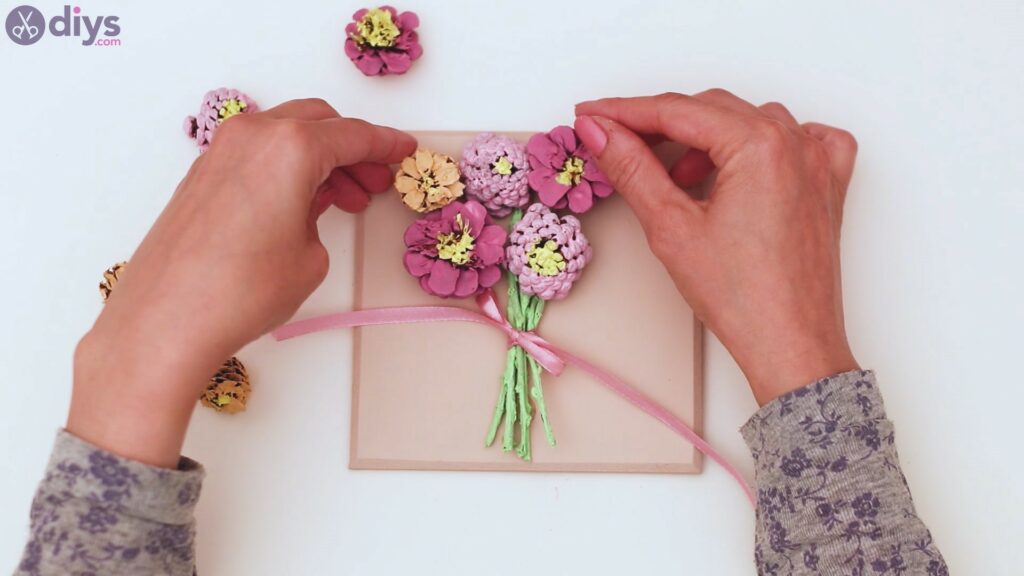
Pinecone flower wall art consists of a wooden board decorated with pinecones and branches that are painted and bundled to resemble an authentic flower bouquet. It has a rustic charm that fits the modern farmhouse decor. Use DIY pinecone flower wall art to decorate your home or make a thoughtful gift for Valentine’s Day, Mother’s Day, birthdays, housewarming, or other special events.
A pinecone flower wall art crafting activity is suitable for adults and kids old enough to safely handle a hot glue gun, scissors, and wire cutters. This DIY project lasts 2-3 hours; most of that time is spent waiting for paint to dry.
This guide describes the supplies and step-by-step instructions for making pinecone flower wall art. It has images and a video guide. Check out tips and trips for improving or changing this design.
Supplies
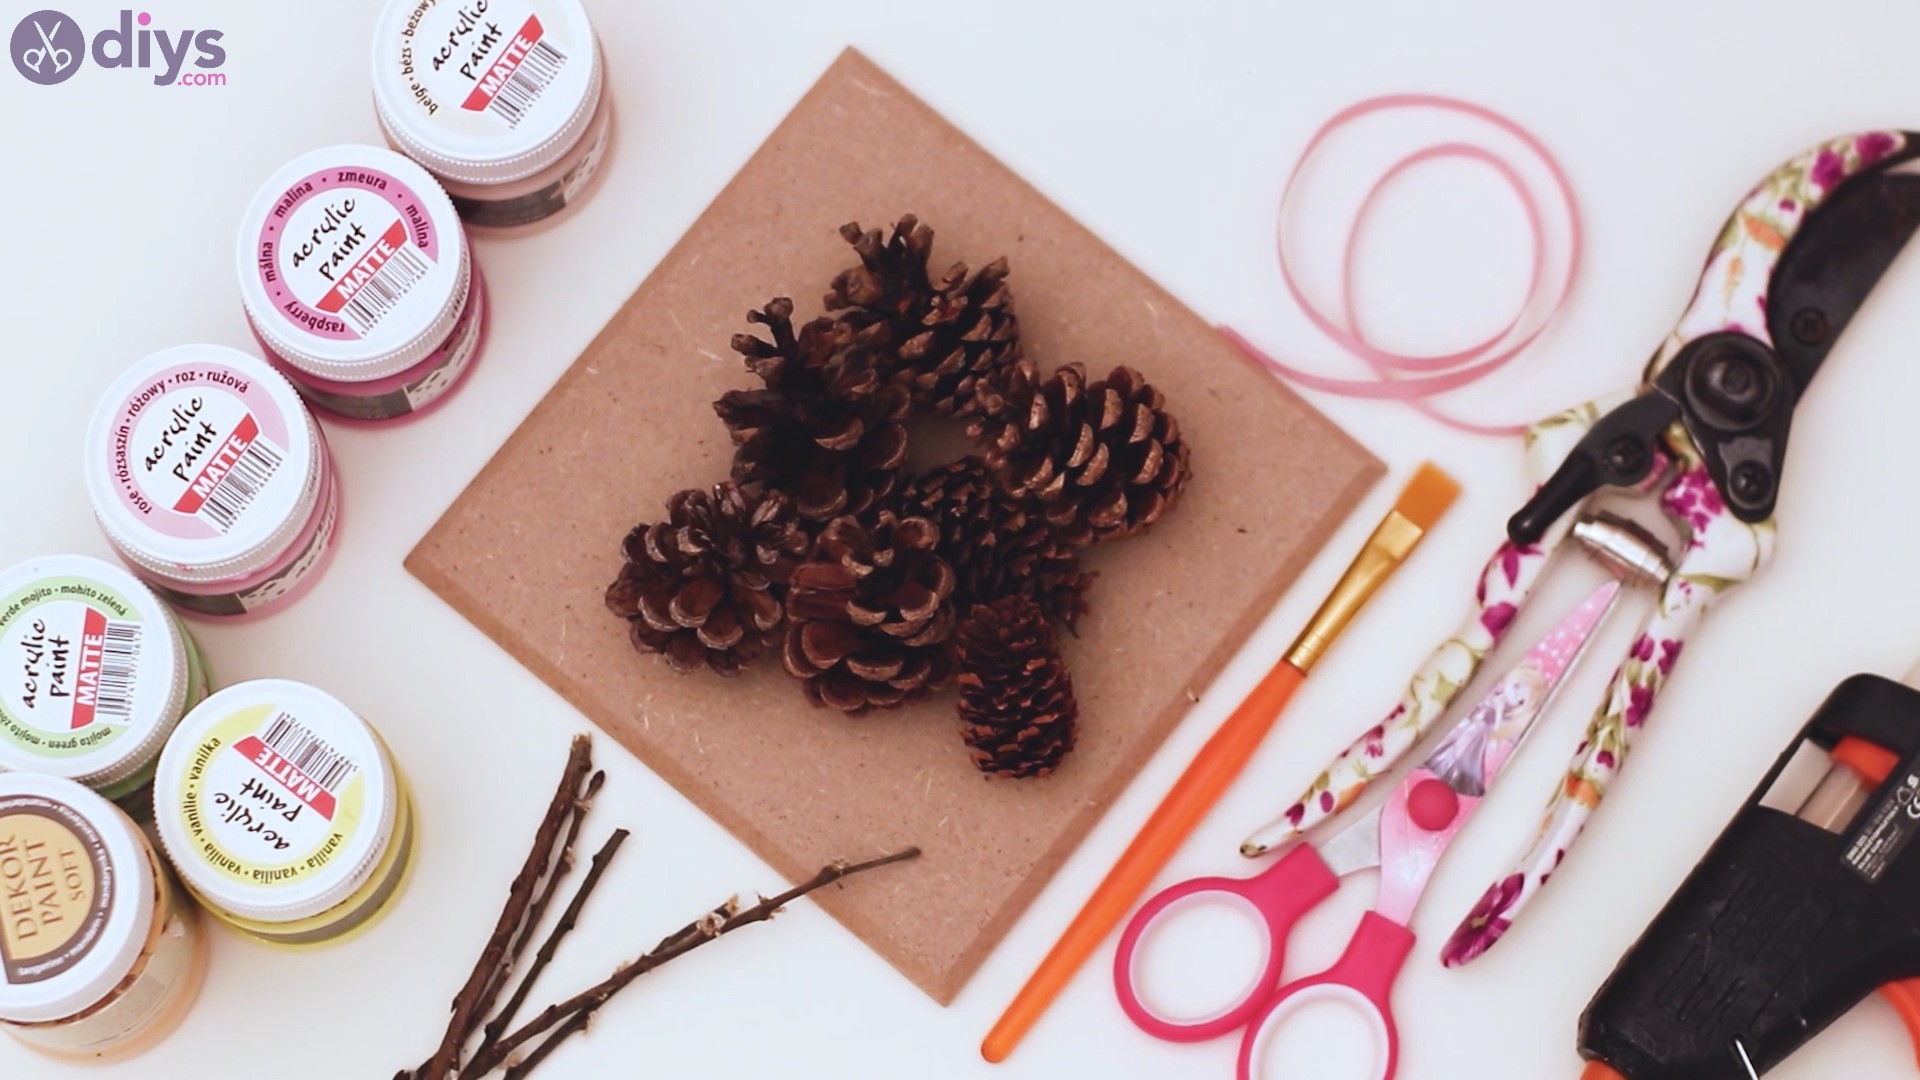
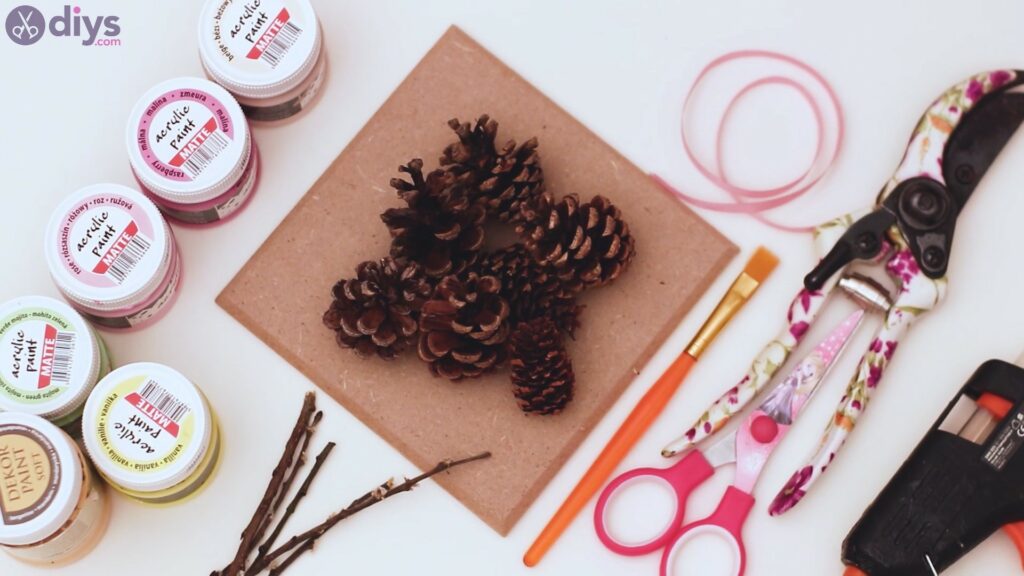
- Pinecones. It’s best to use short, fat, and open pinecones of various sizes to resemble flower petals.
- Wooden board
- Acrylic paints for the wooden board and pinecones. We used yellow, green, light pink, dark pink, peach, and beige.
- Thin paintbrush for pinecones
- Wide paintbrush for the wooden board
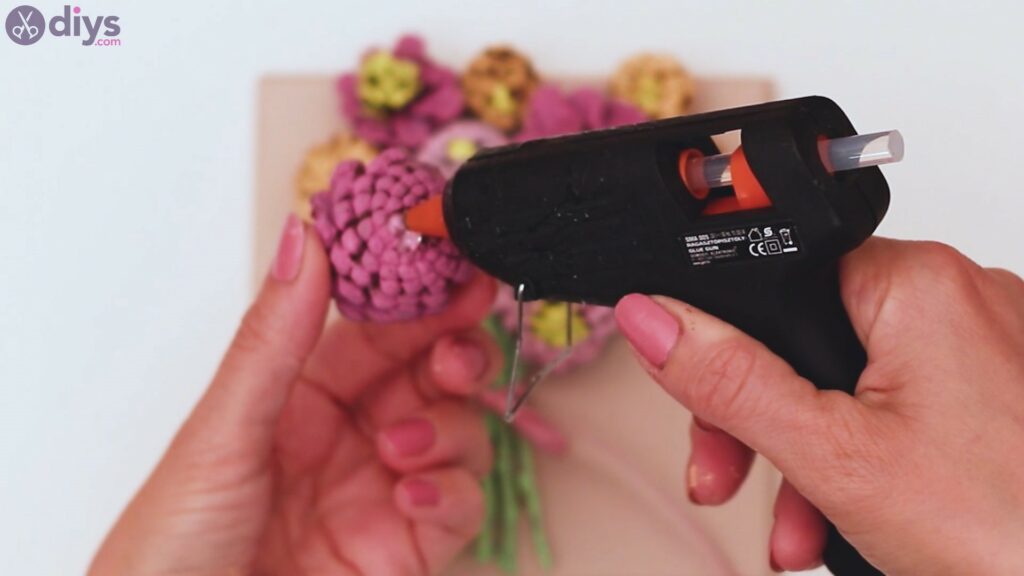
- Hot glue gun and glue sticks
- Garden pruners or wire cutters
- Branches to serve as flower stems. Use straight branches that aren’t too thin.
- Silk ribbon. We used a light shade of pink to contrast the green branches.
- Scissors
How do I craft pinecone flower wall art?
Follow these step-by-step instructions to make pinecone flower wall art:
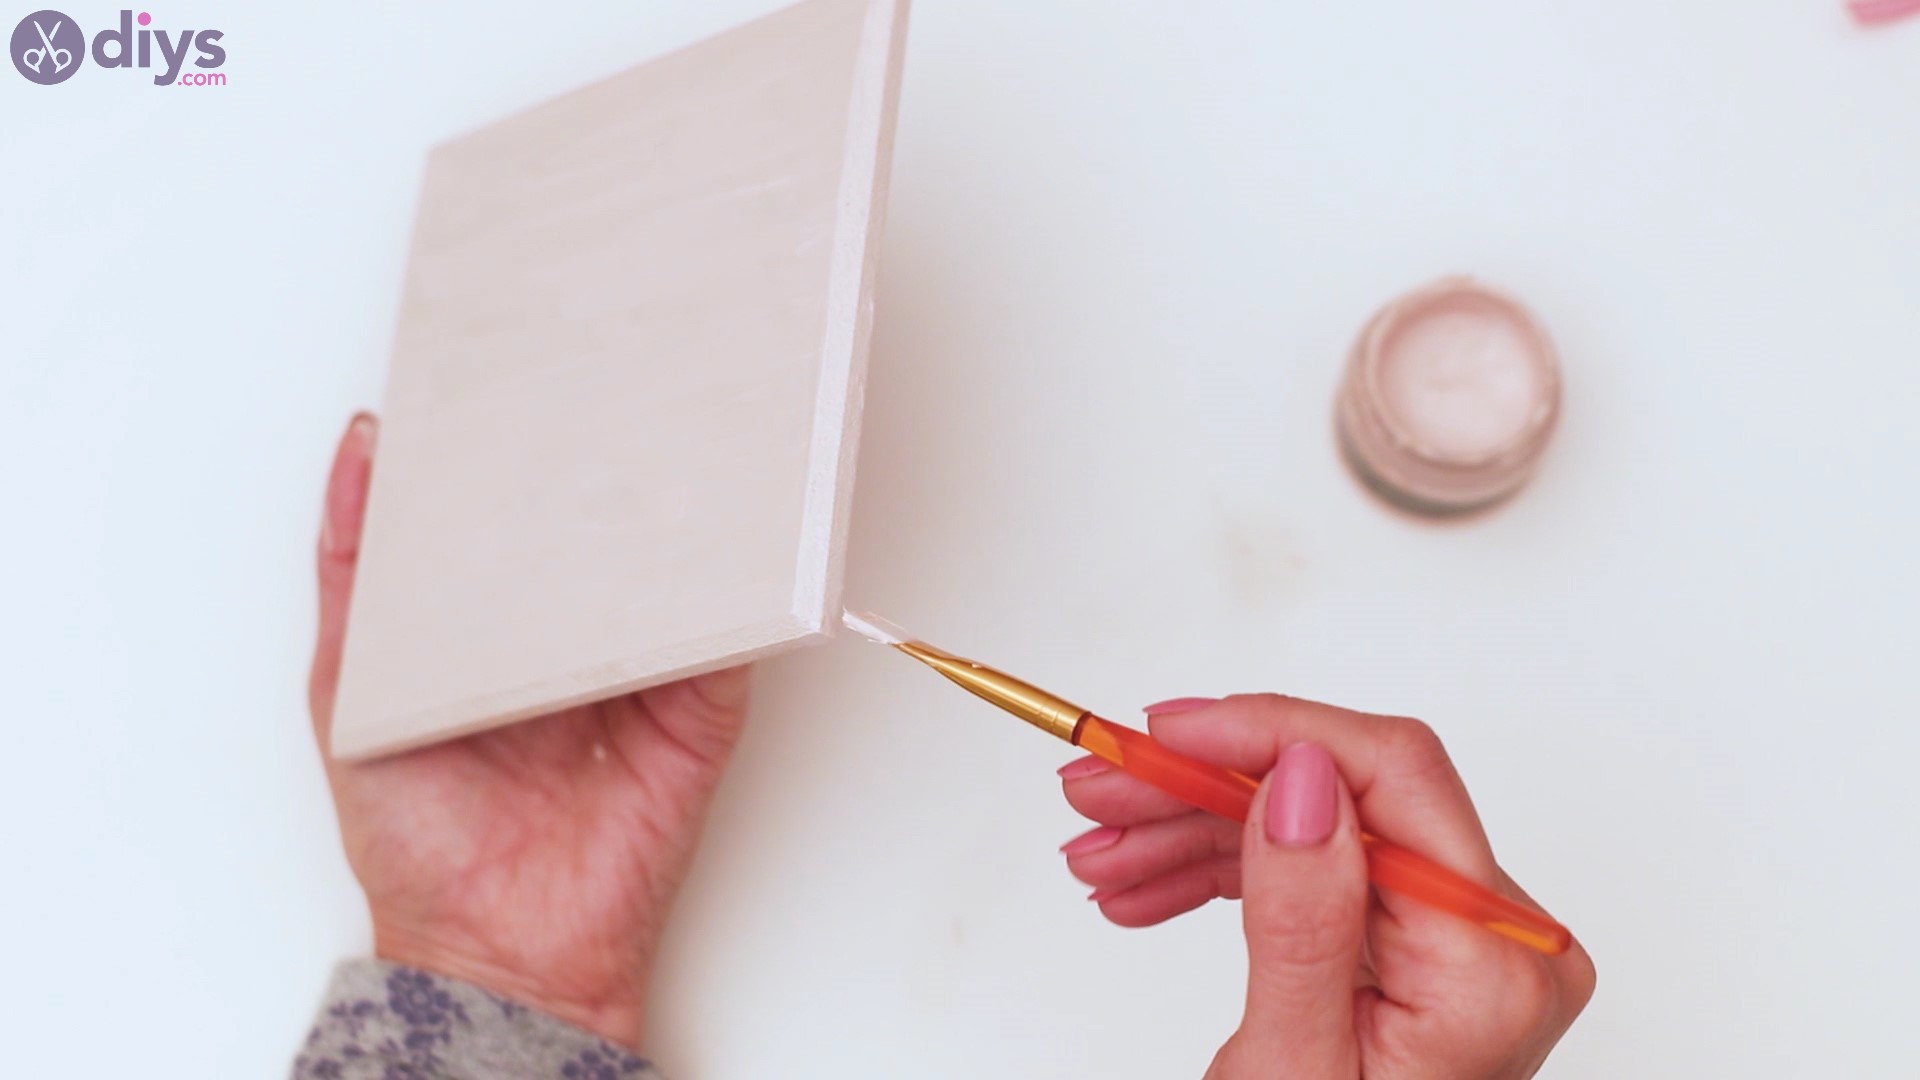
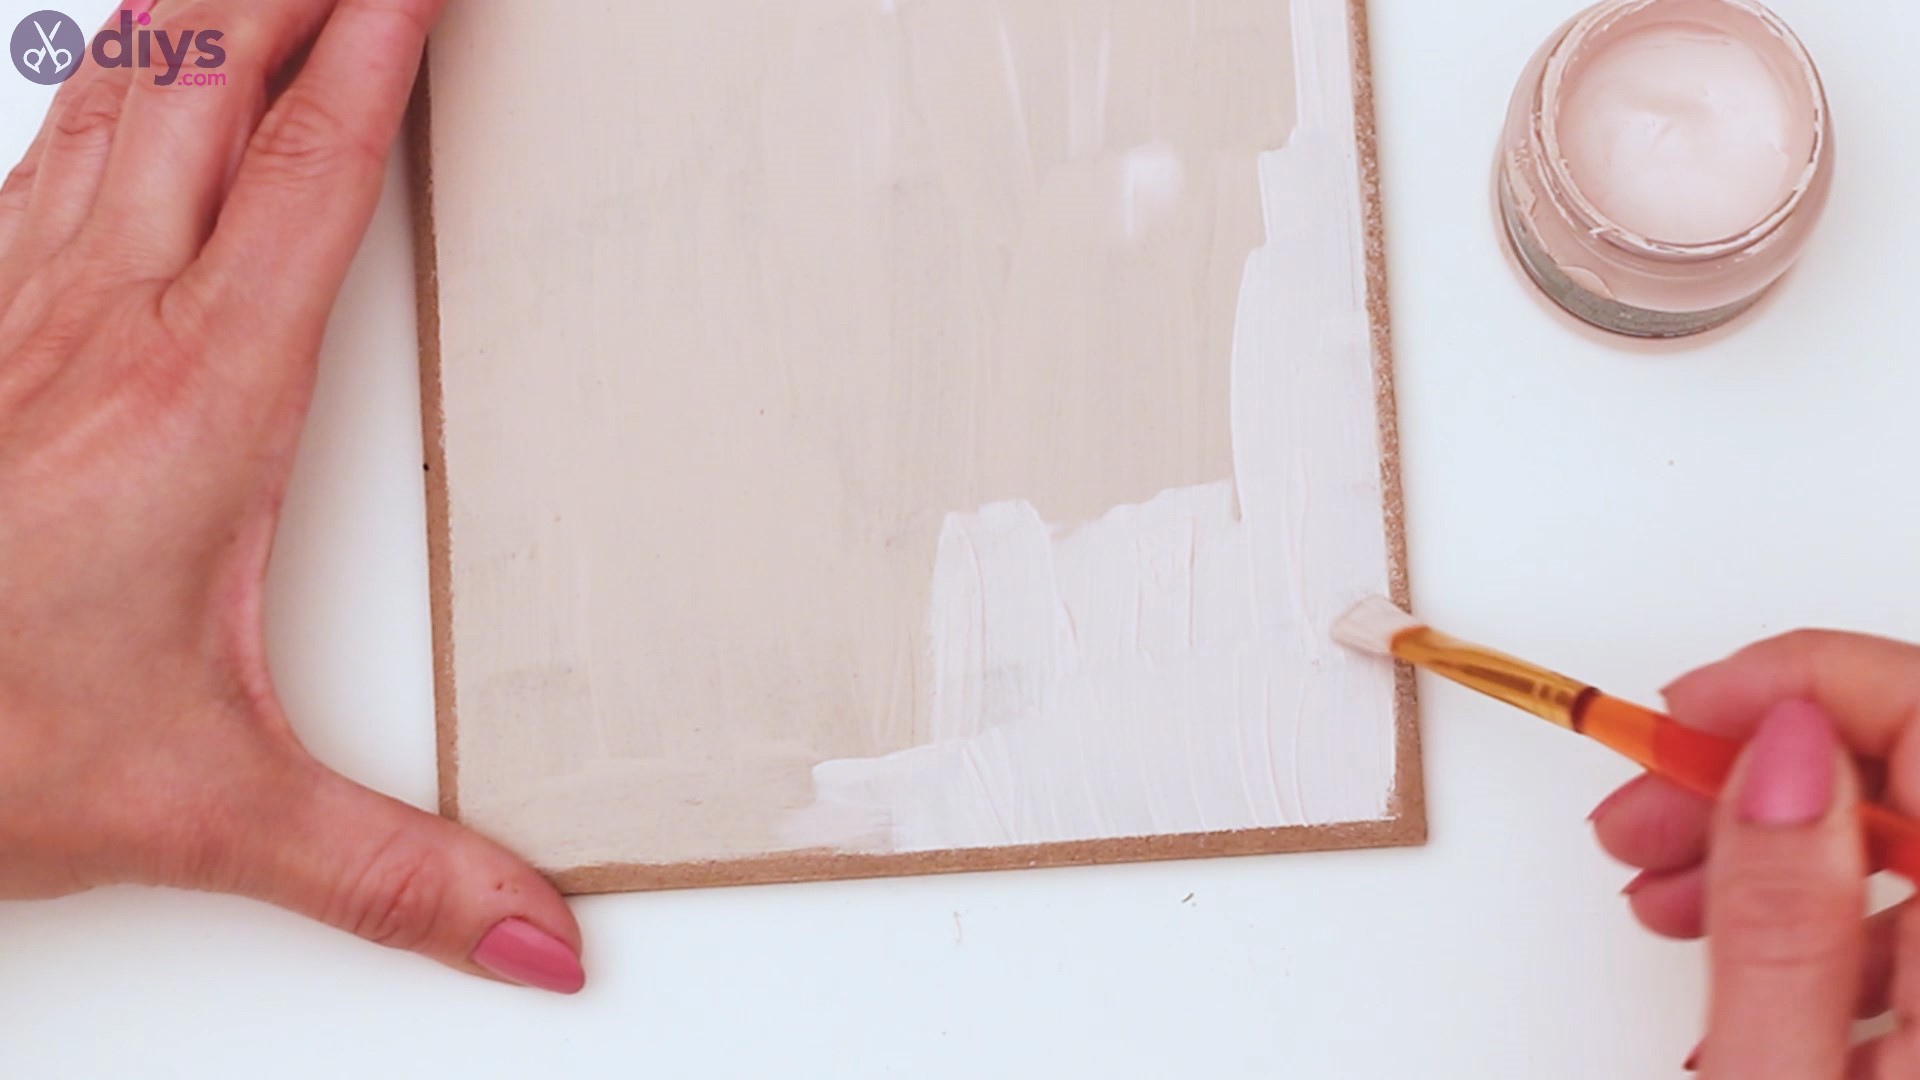
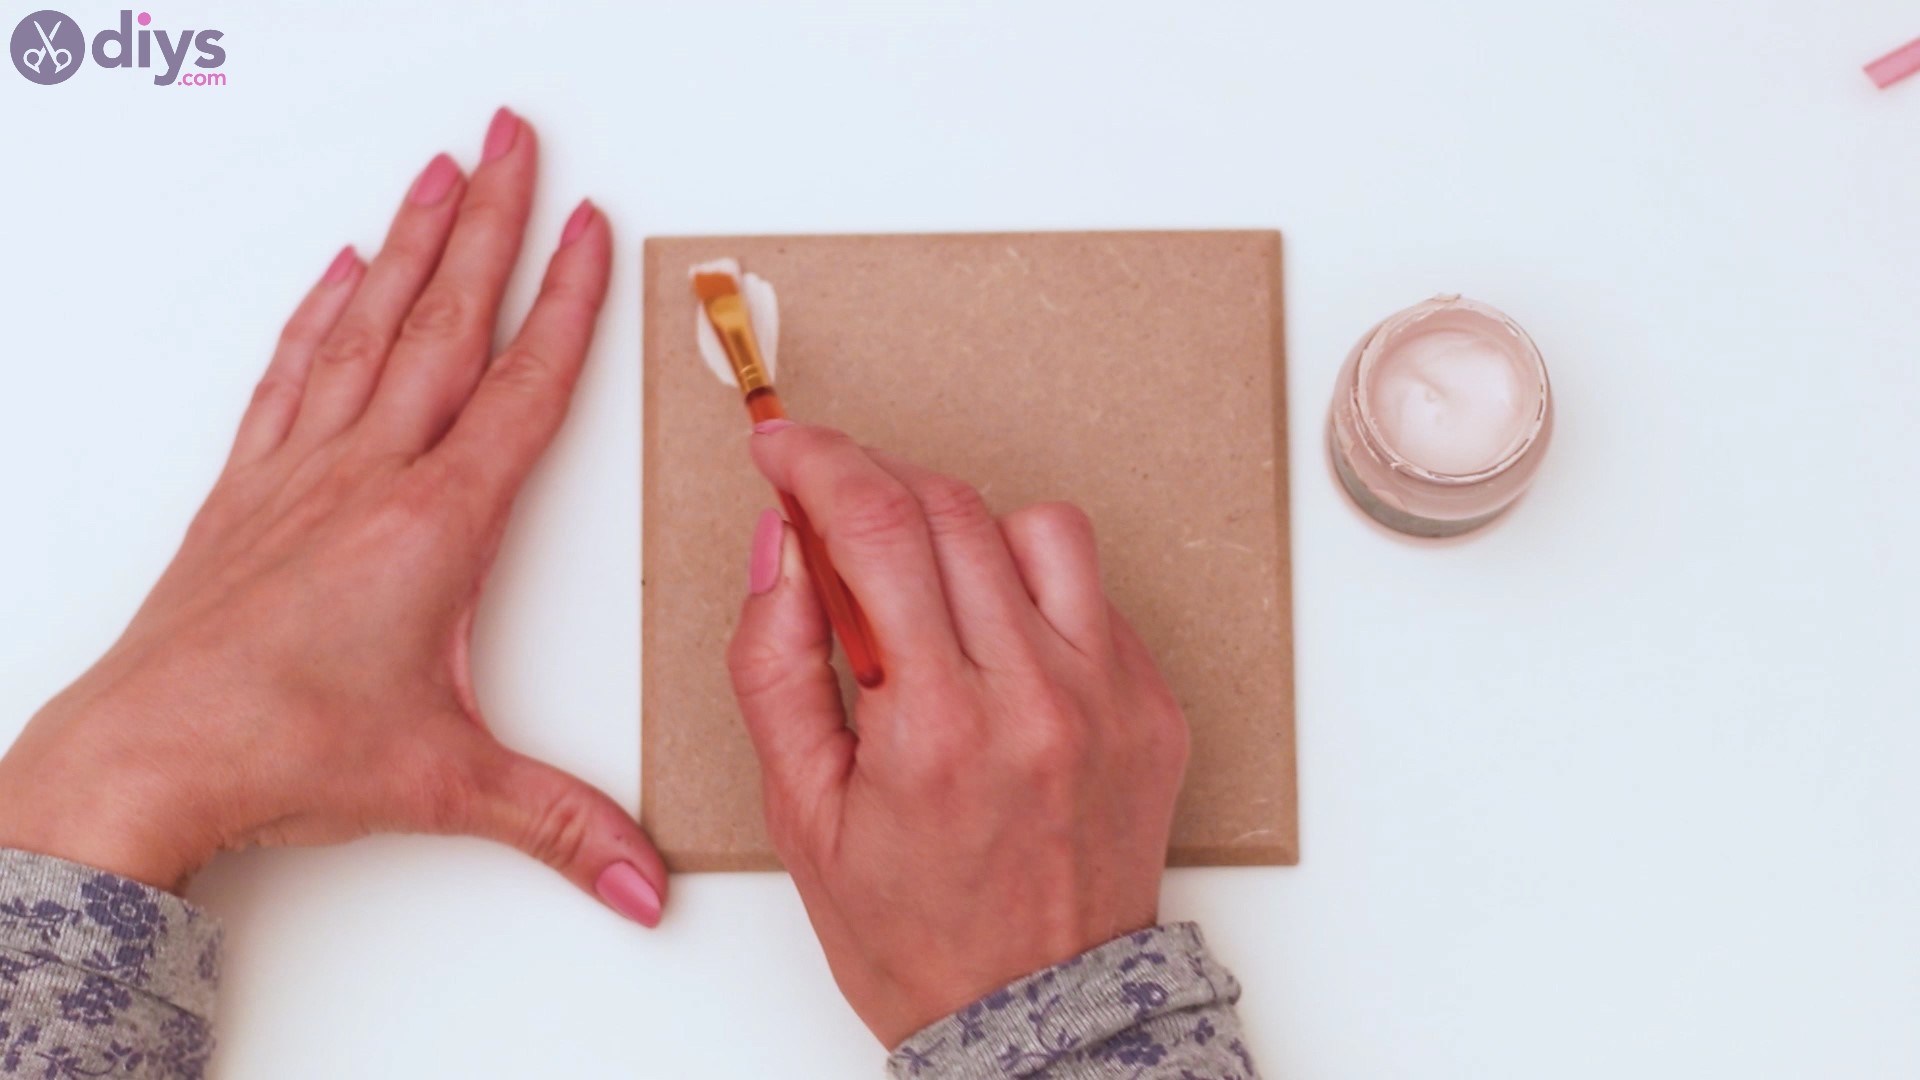
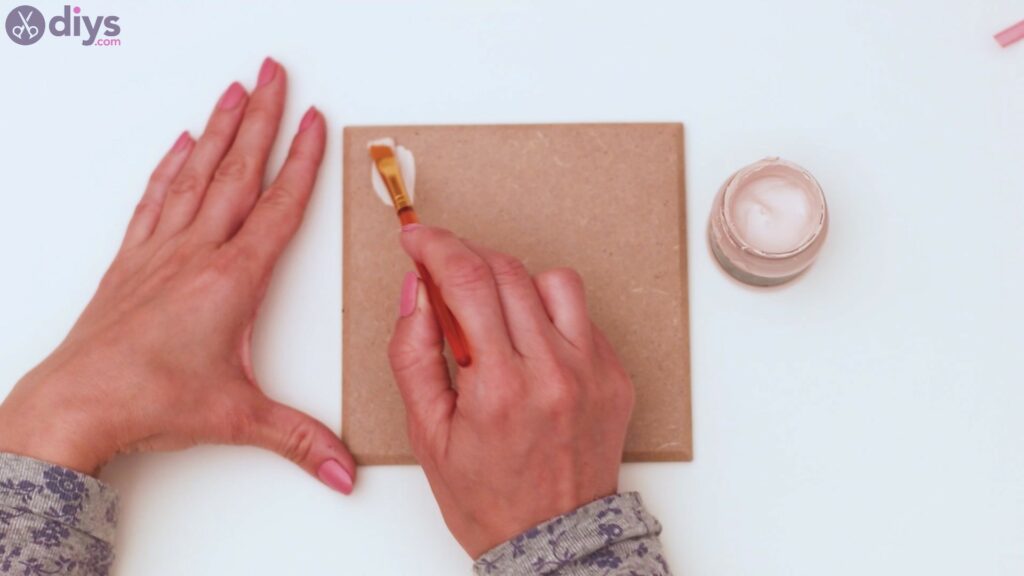
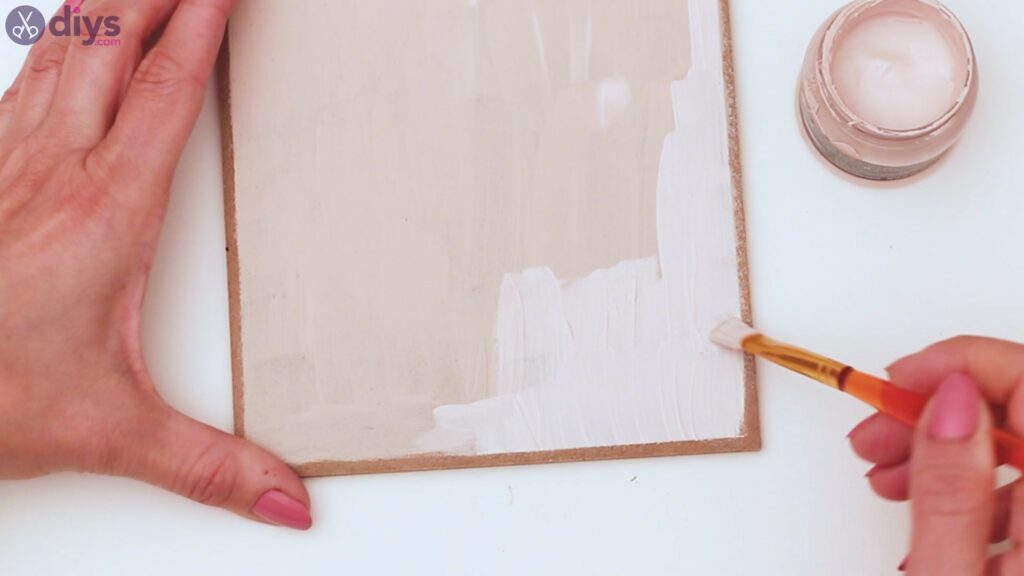
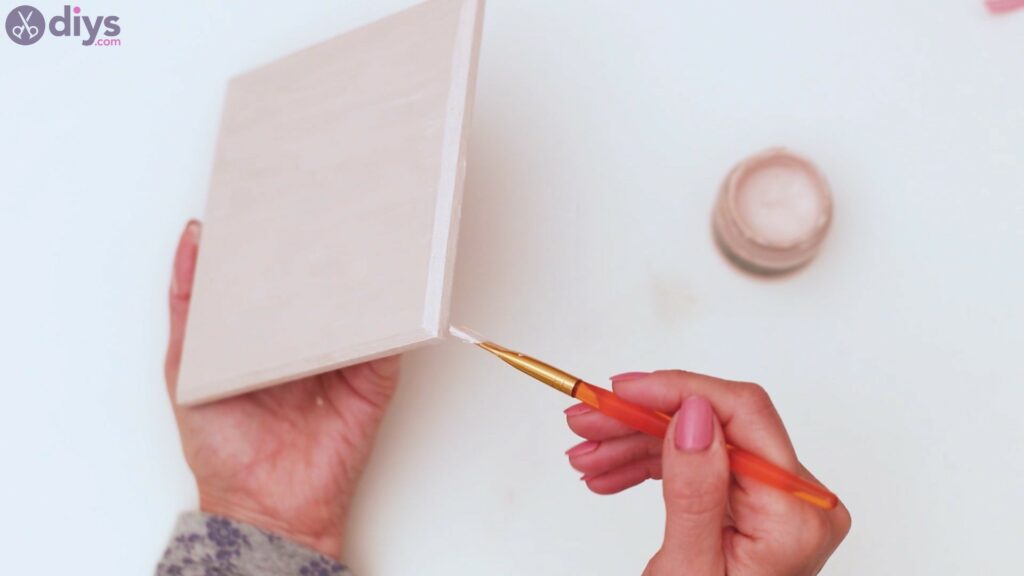
- Paint the wooden board: Apply a coat of beige paint to the front and sides; the backside isn’t necessary since it will be up against a wall. Add a second coat if the first one is too patchy. Proceed to the next step while waiting for the paint to dry.
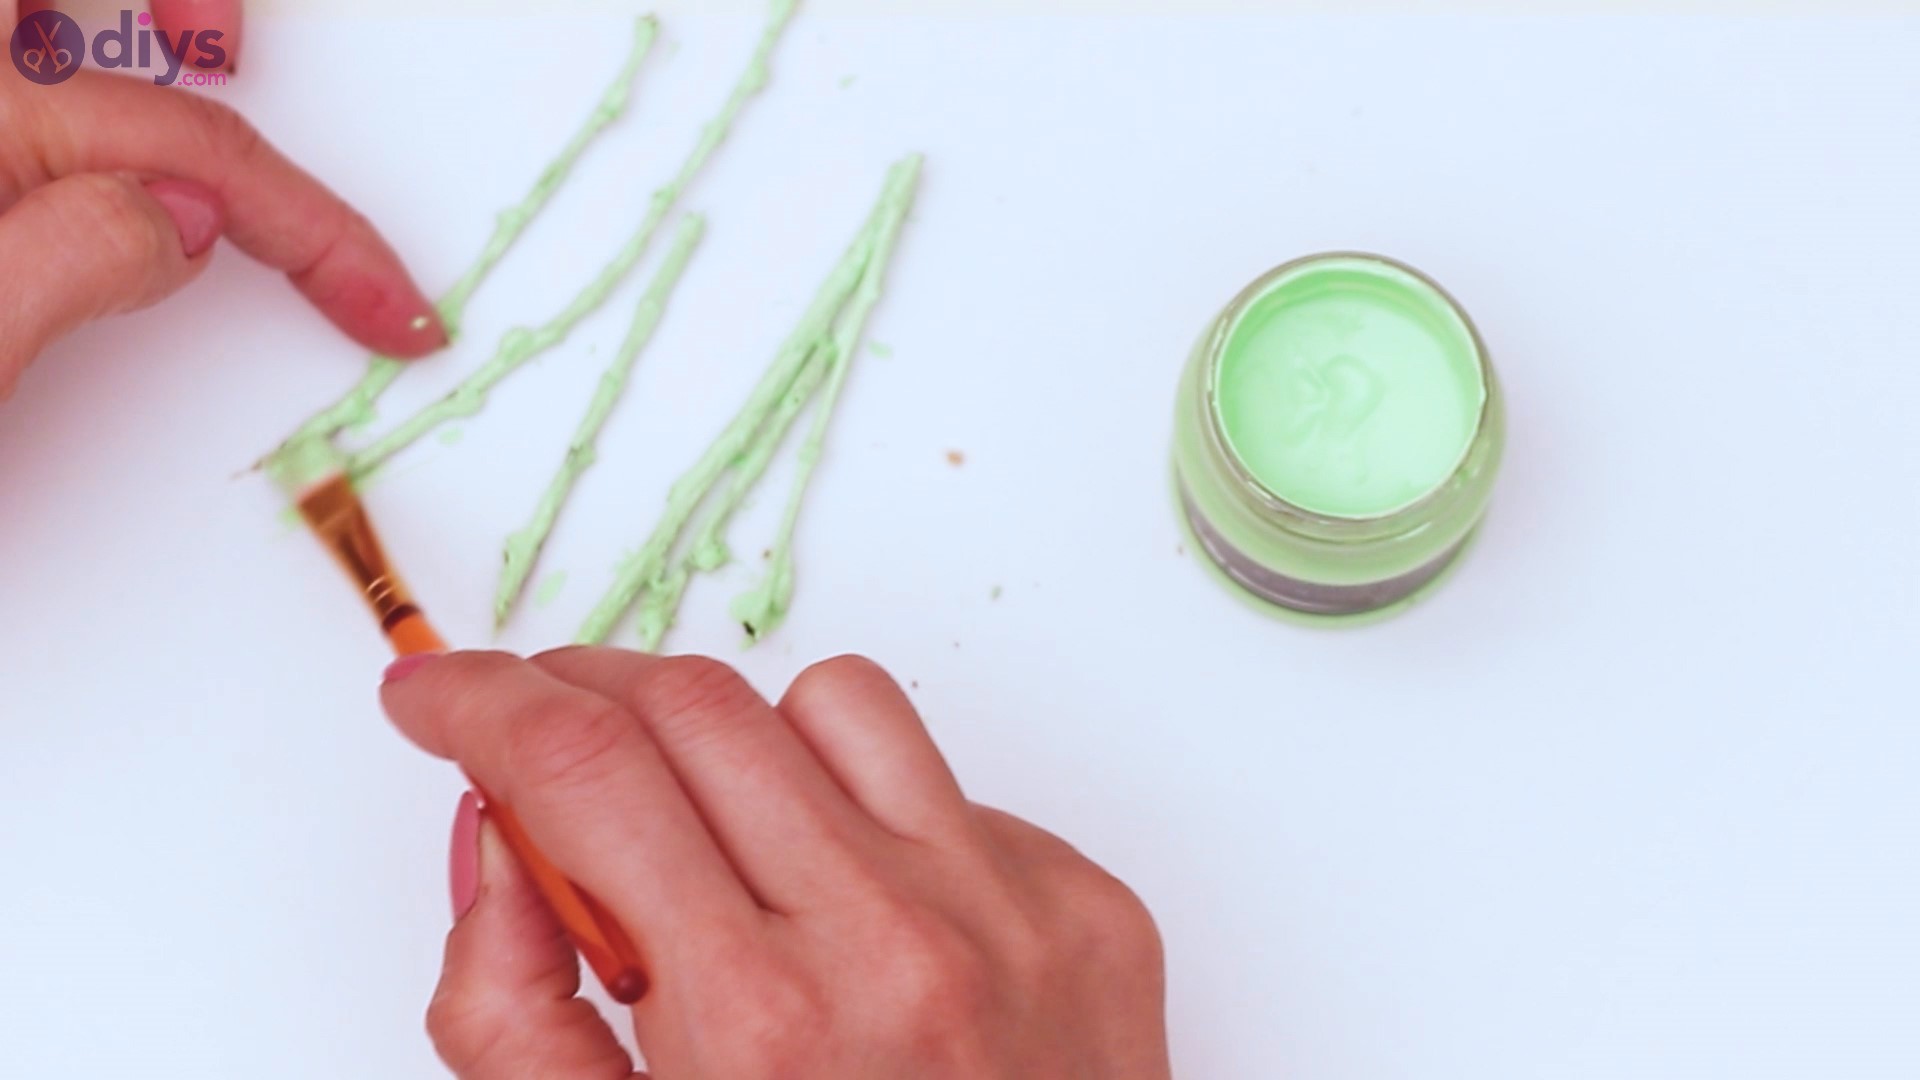
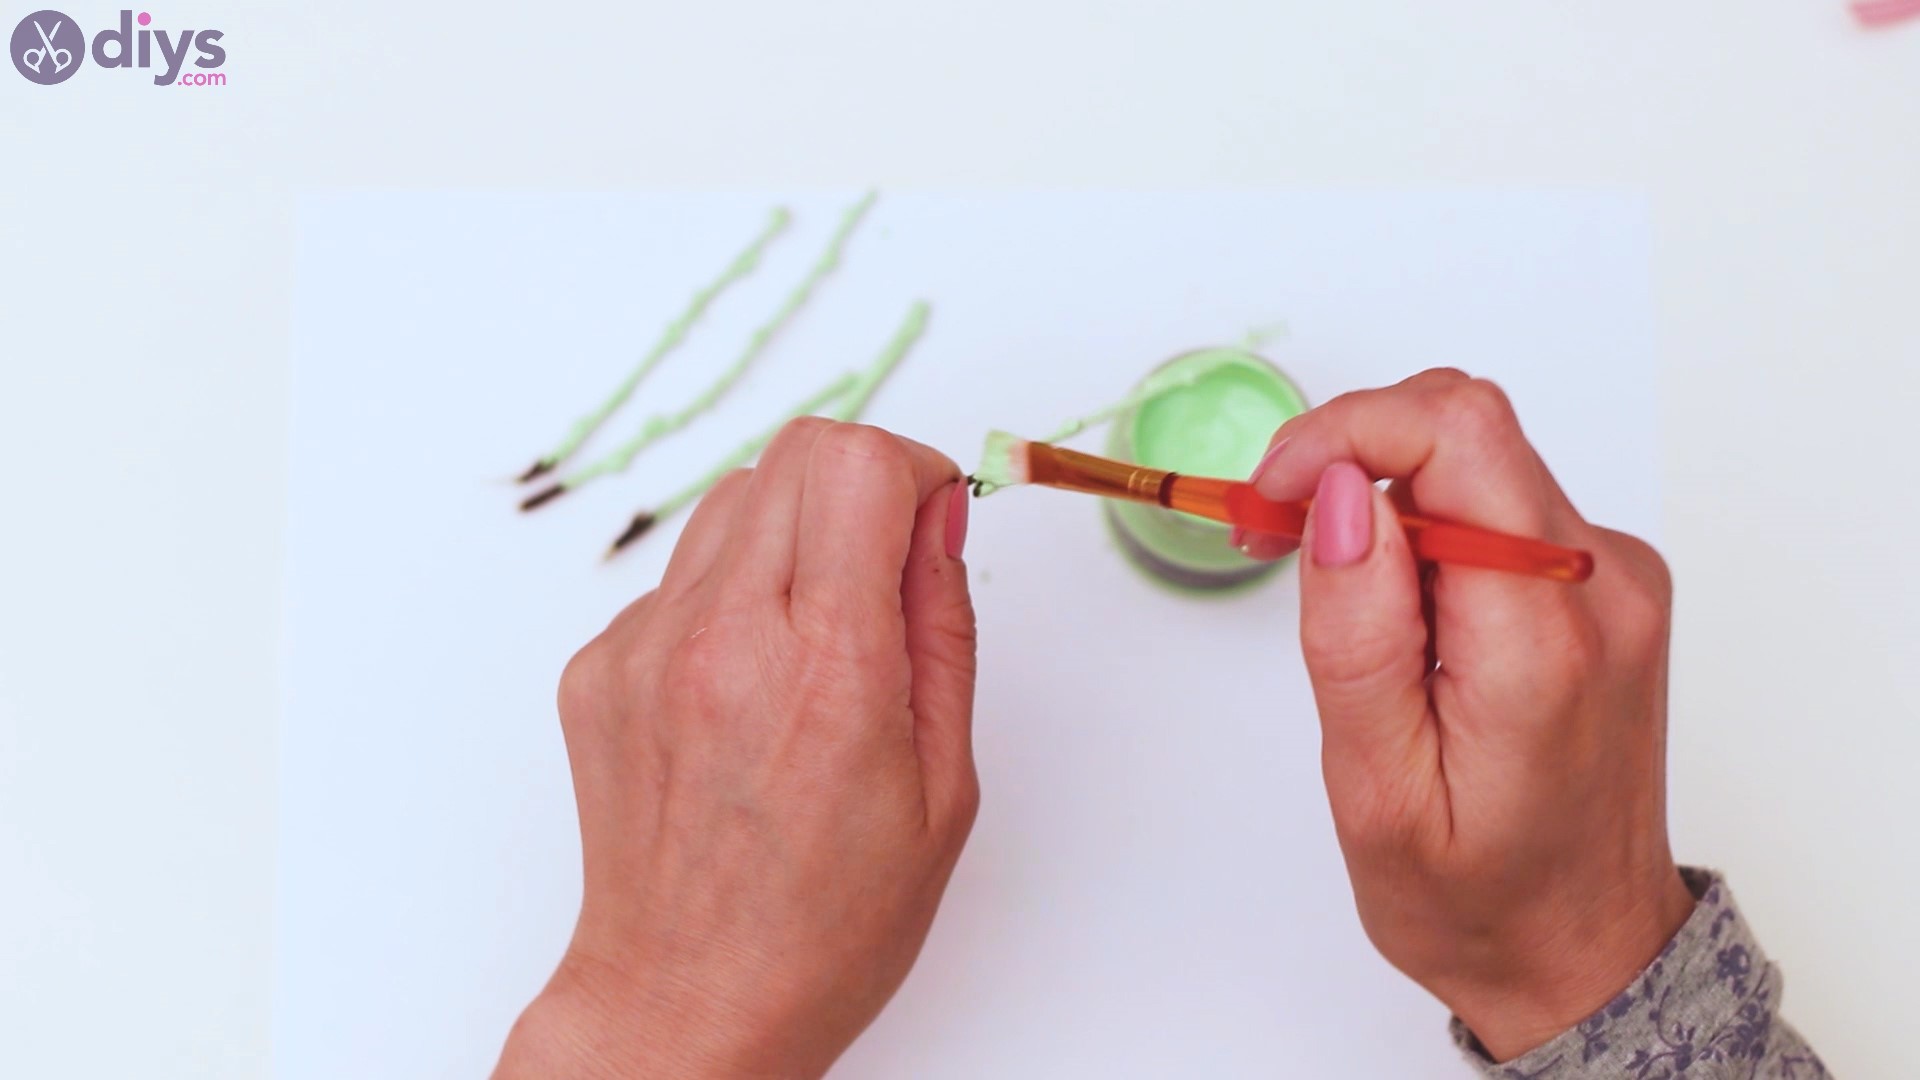
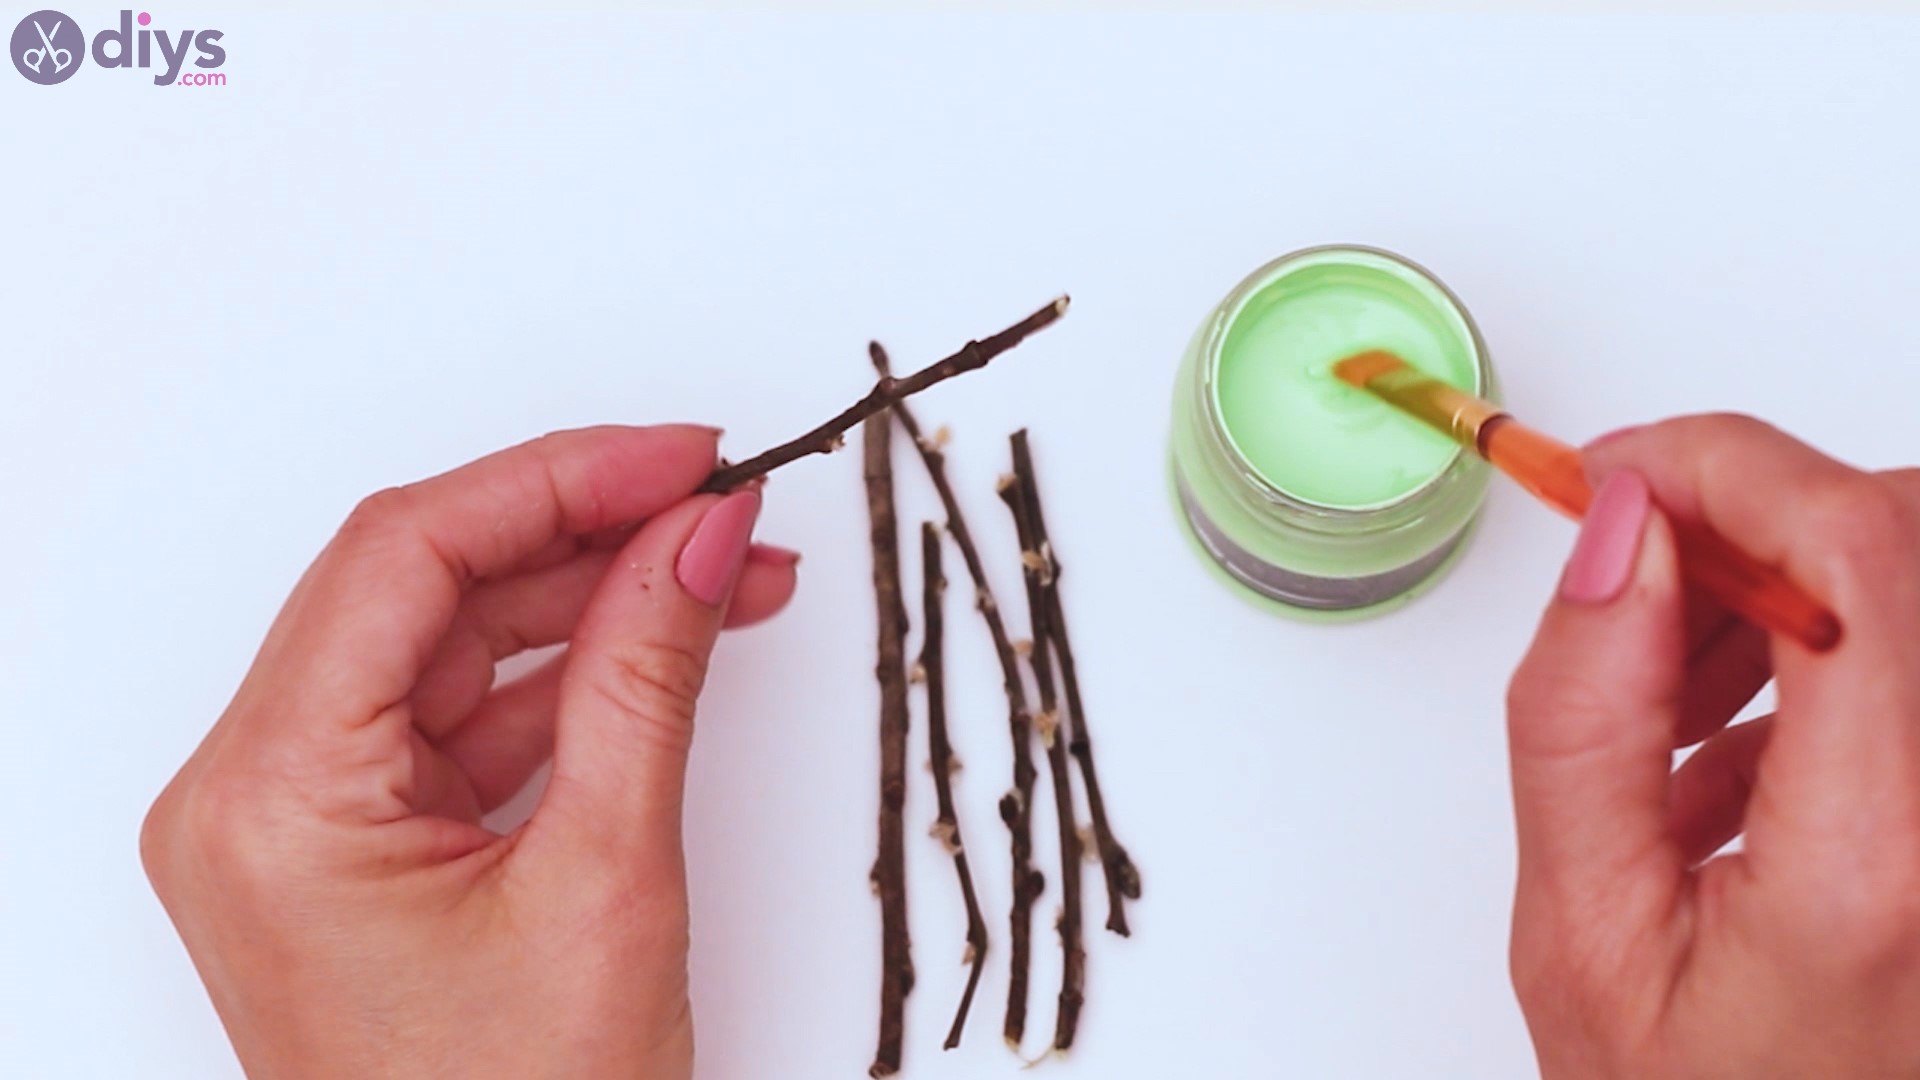
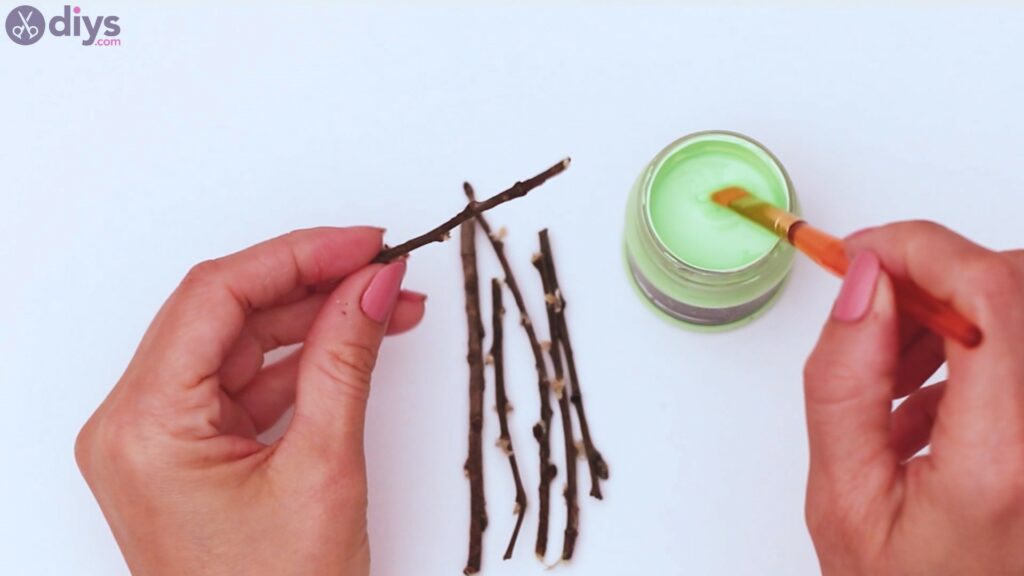
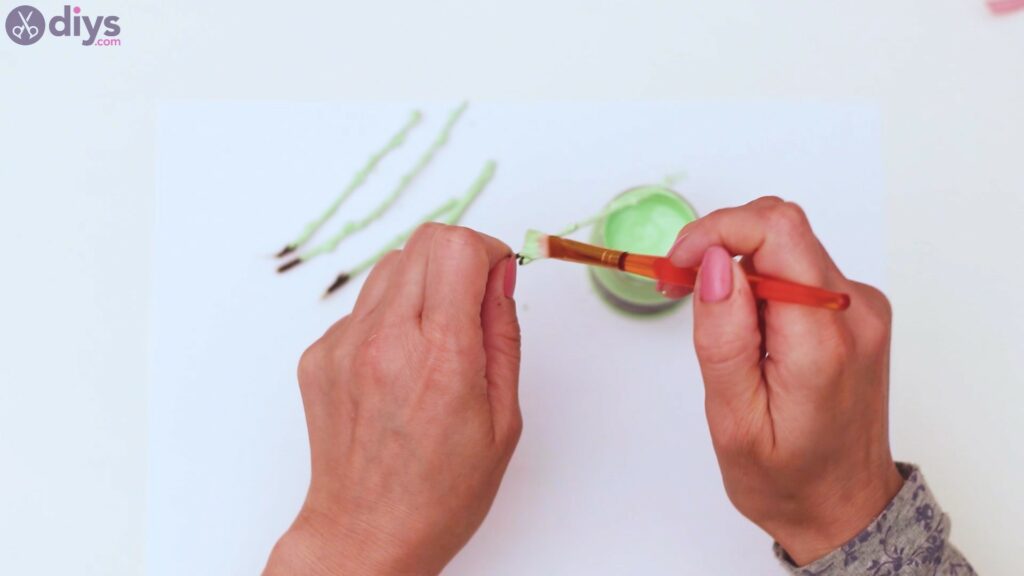
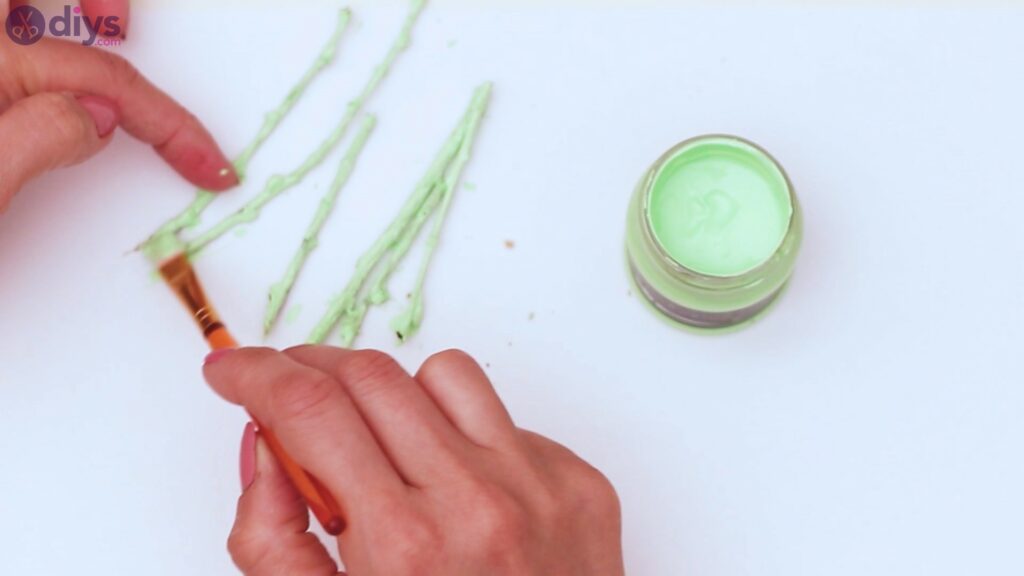
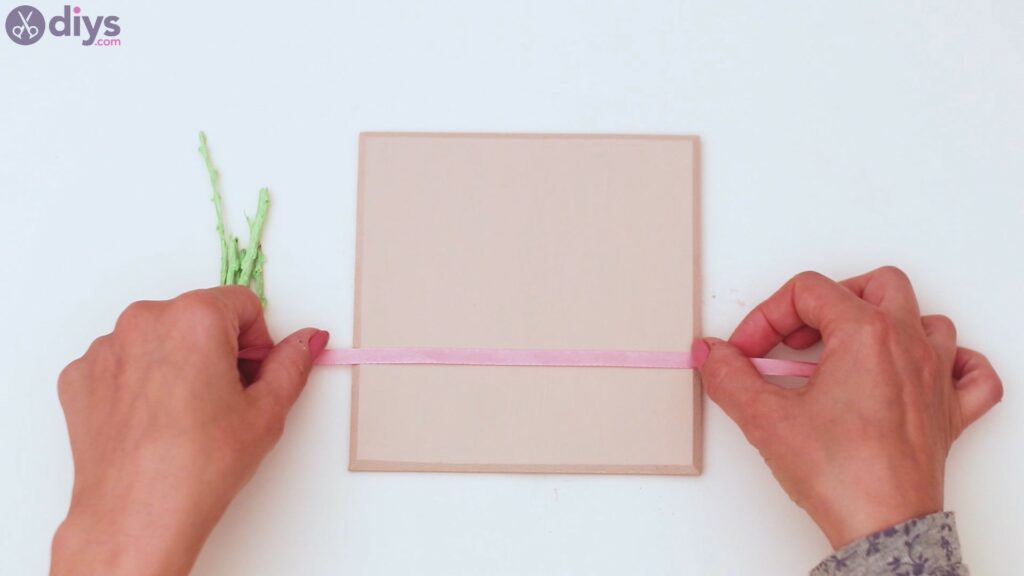
- Make the flower stems: Cut the branches with the pruners about 3 in (7.5 cm) long and paint them green. Spread out the branches flat so they won’t stick together while the paint dries.
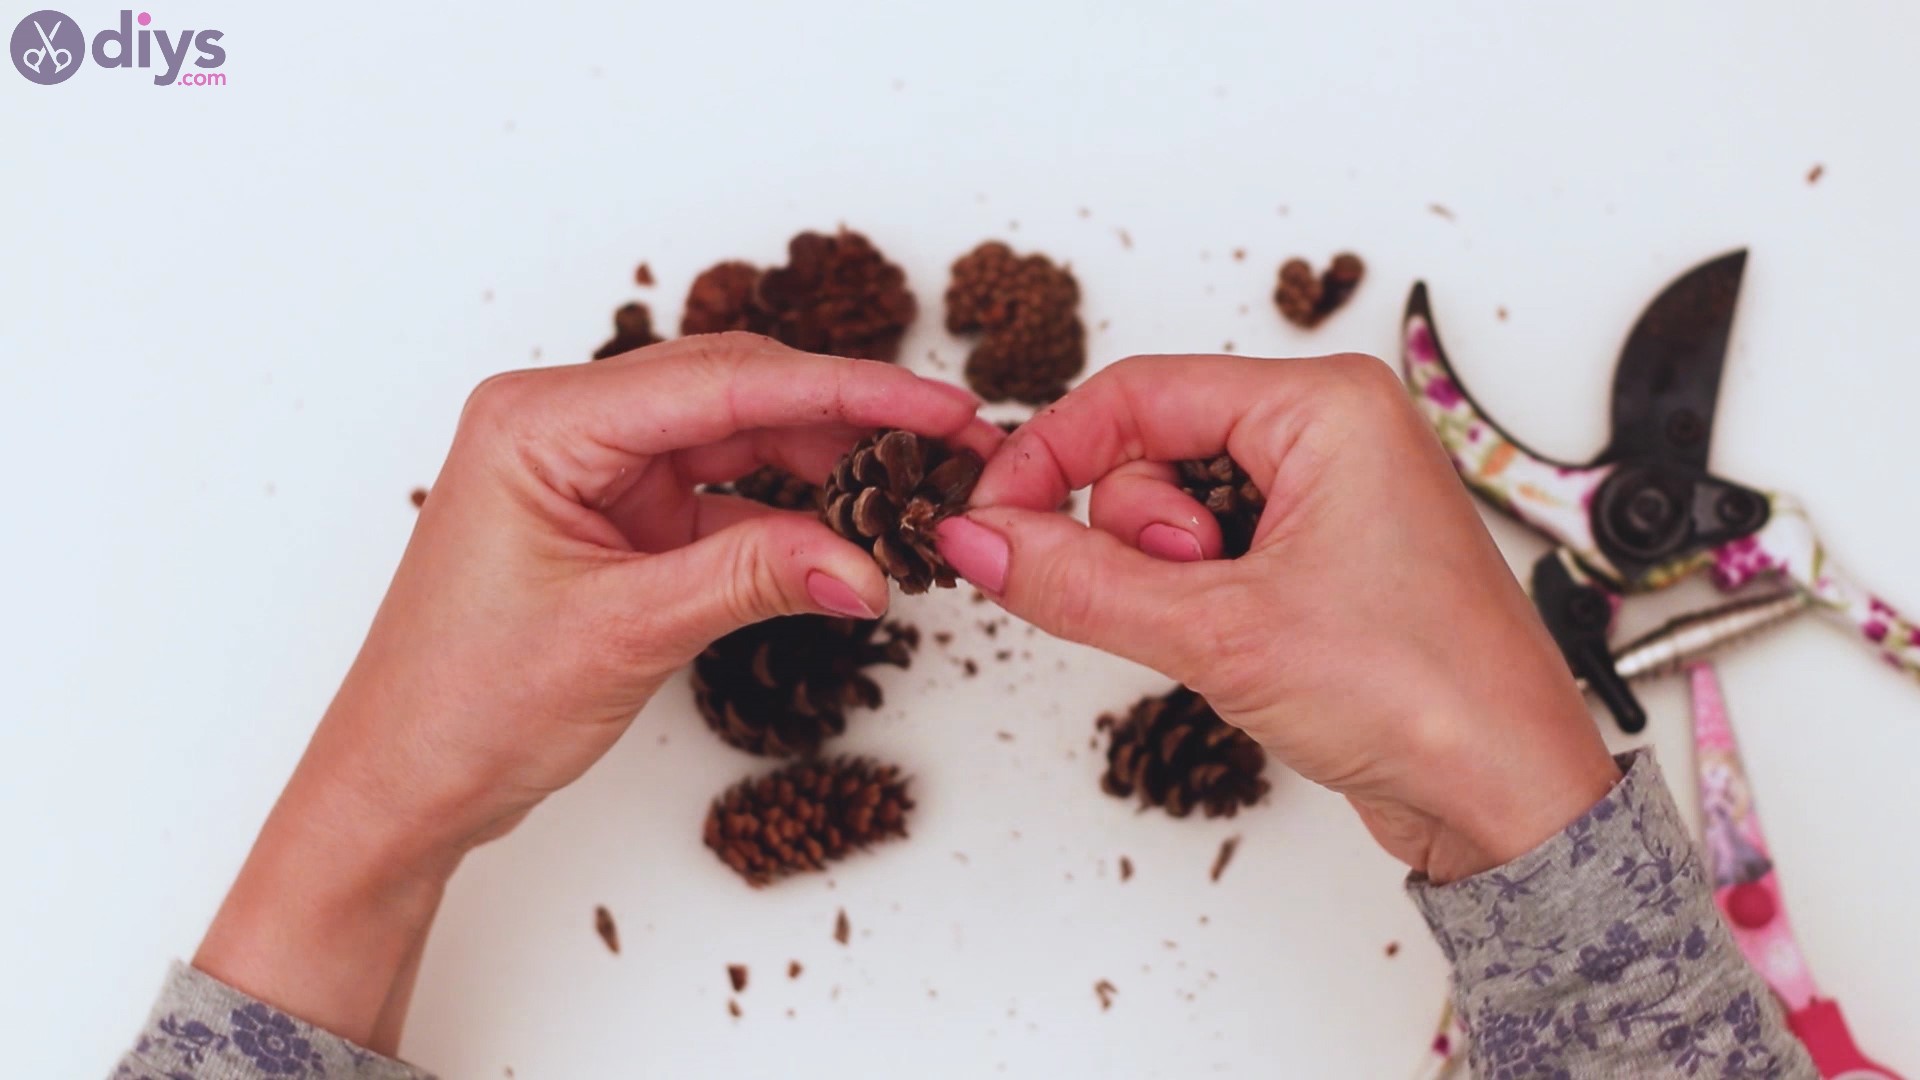
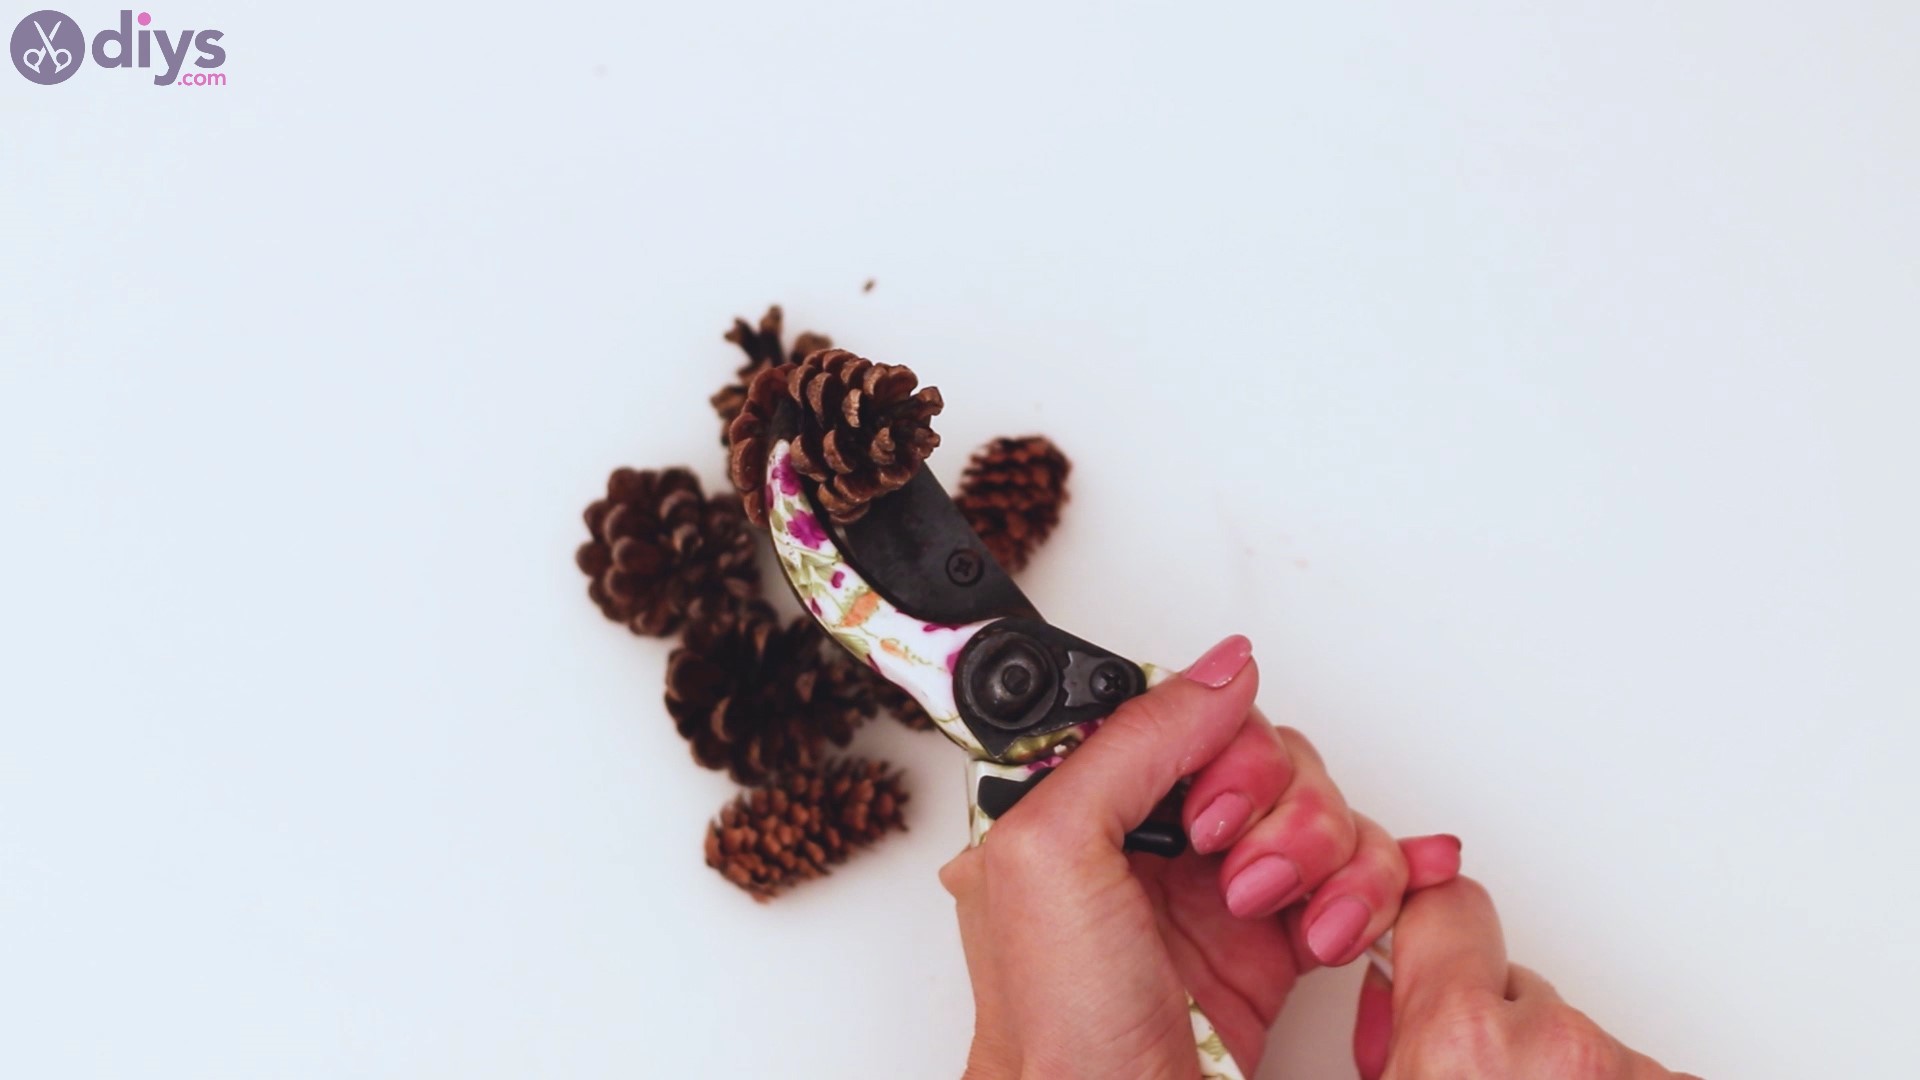
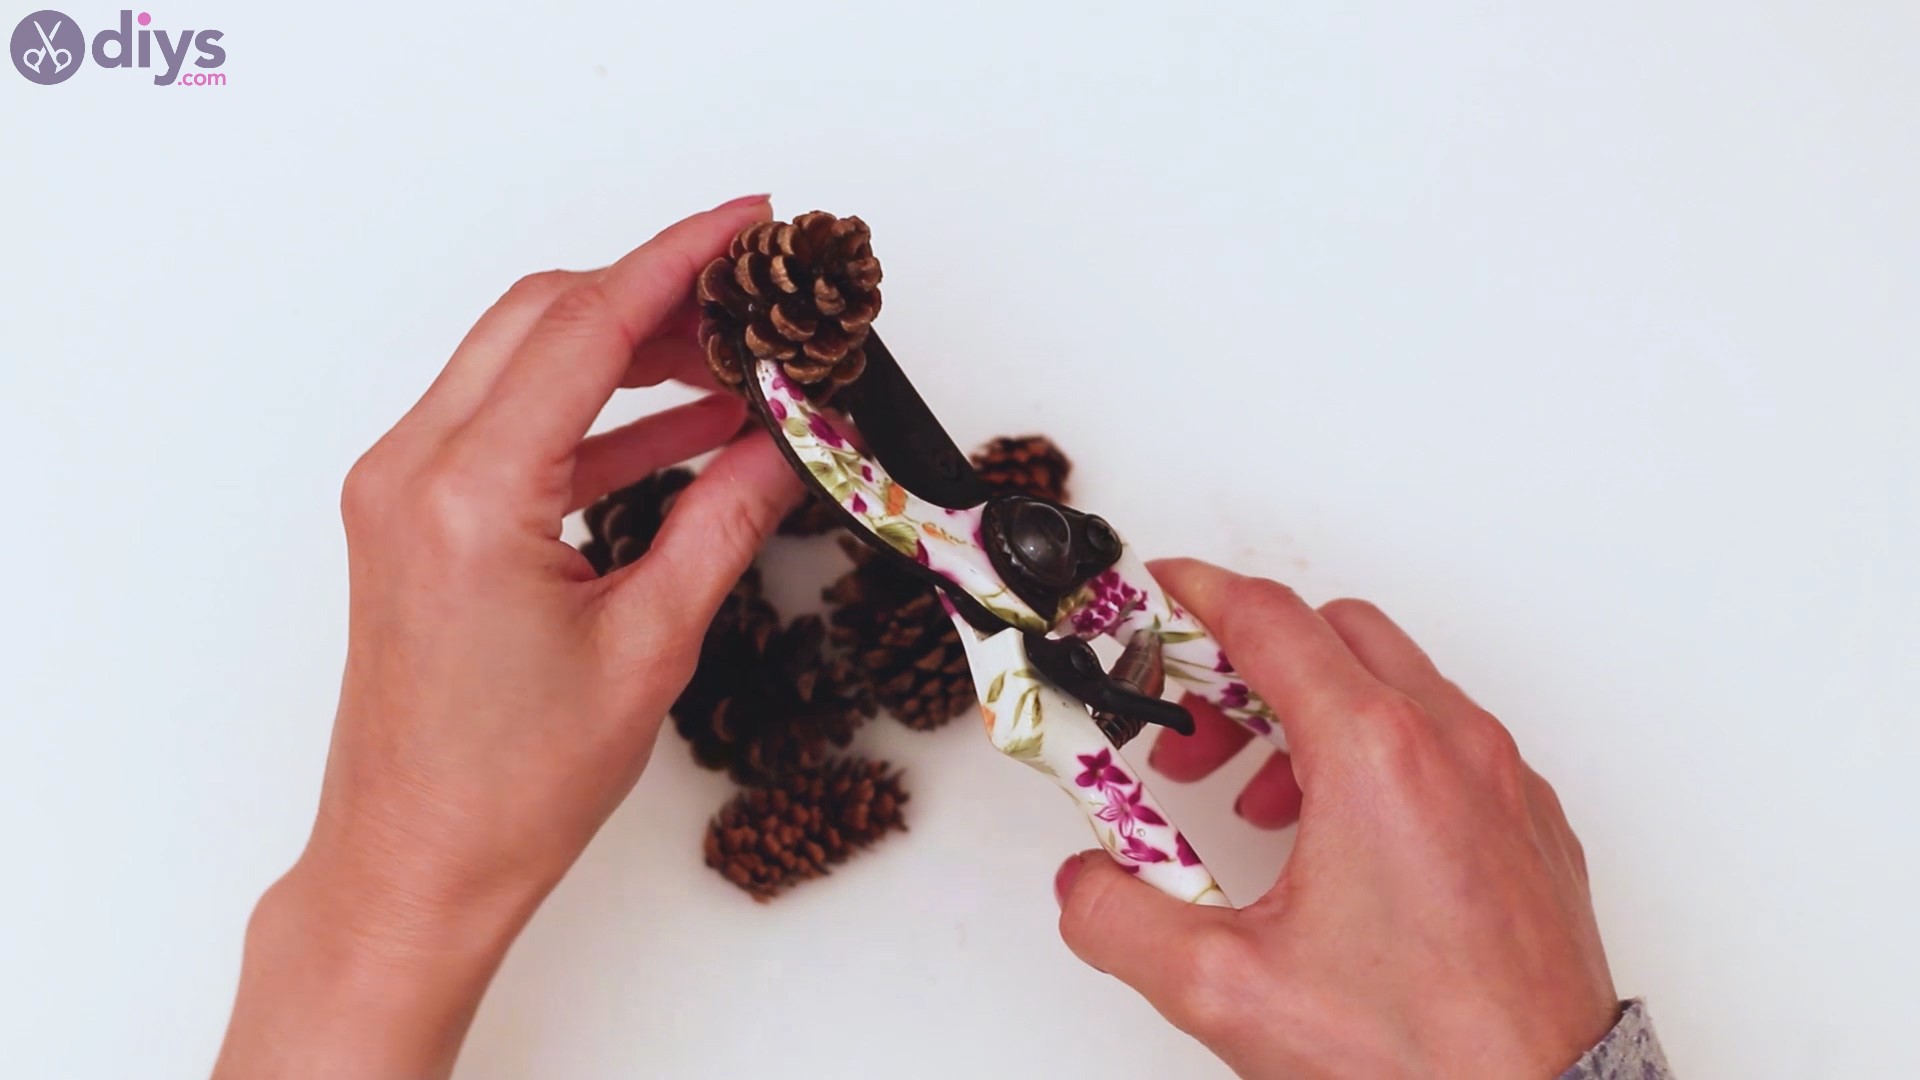
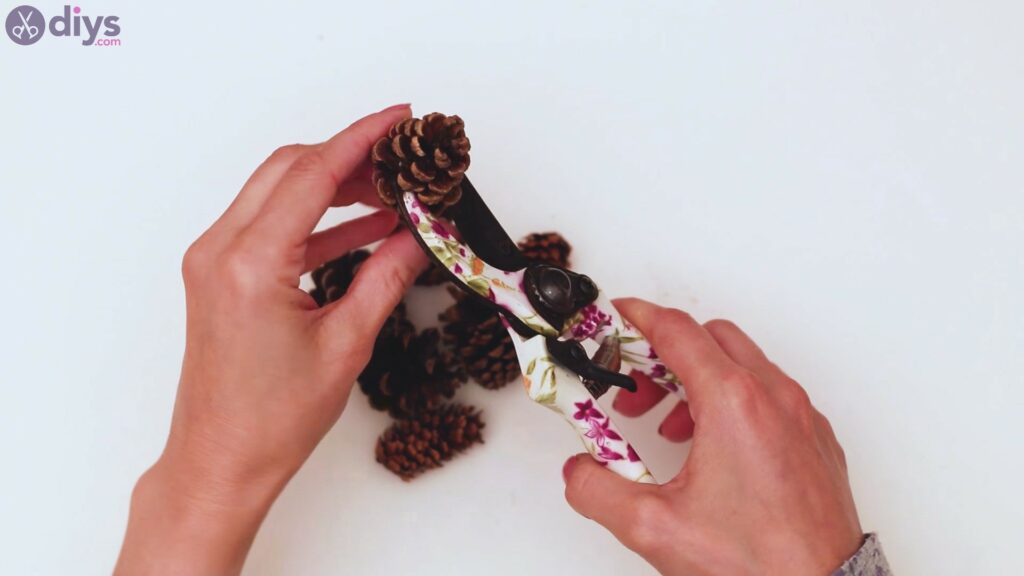
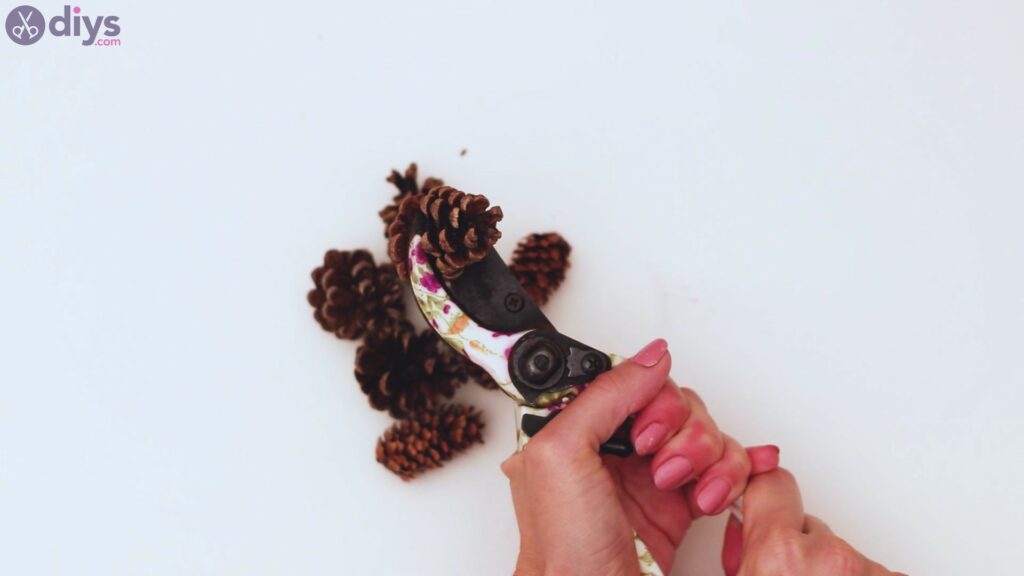
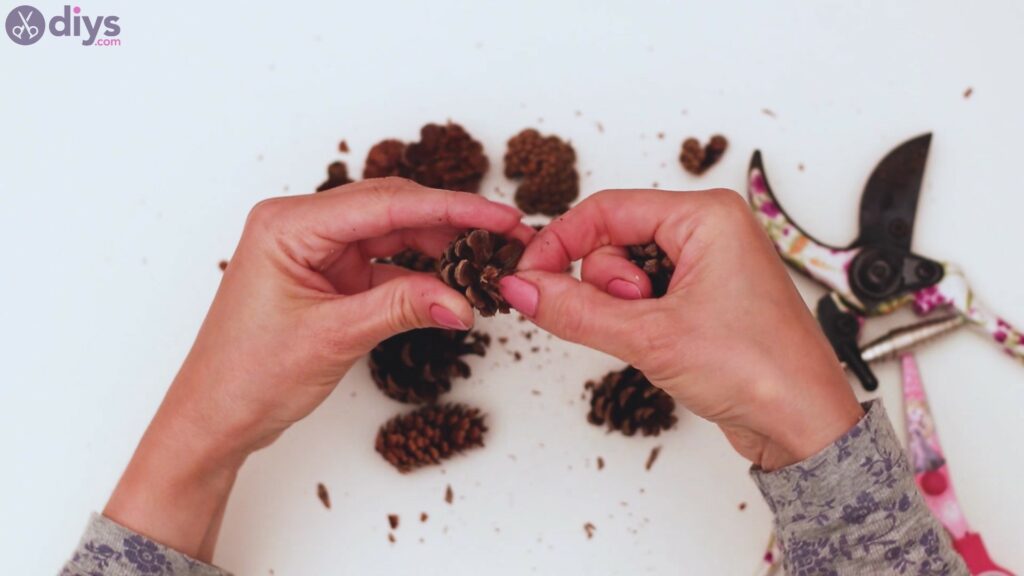
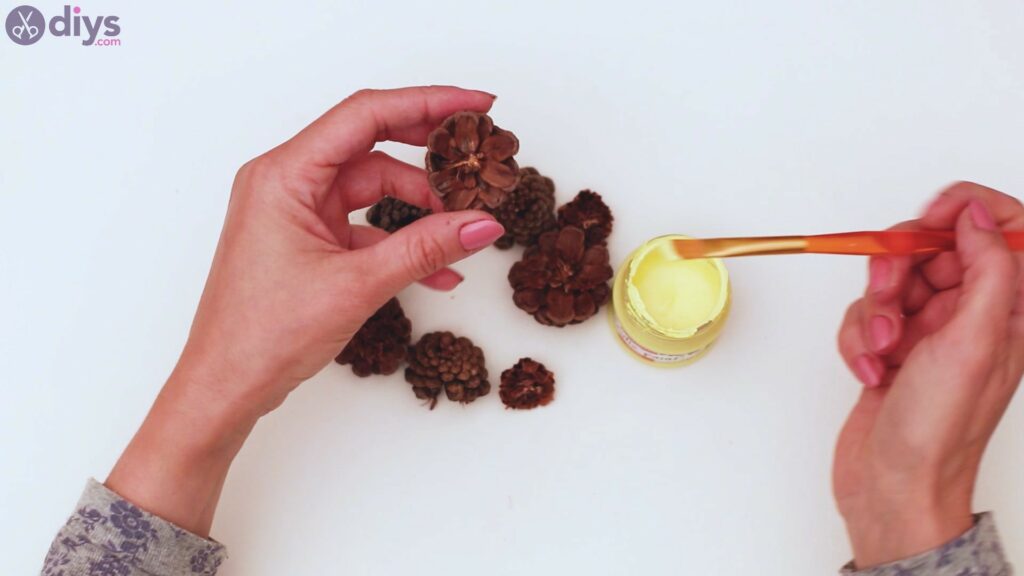
- Prepare the pinecones: Cut the pinecones in half using the garden pruners. To avoid making a mess and destroying the scales, place the pruners’ blades between the scales before cutting
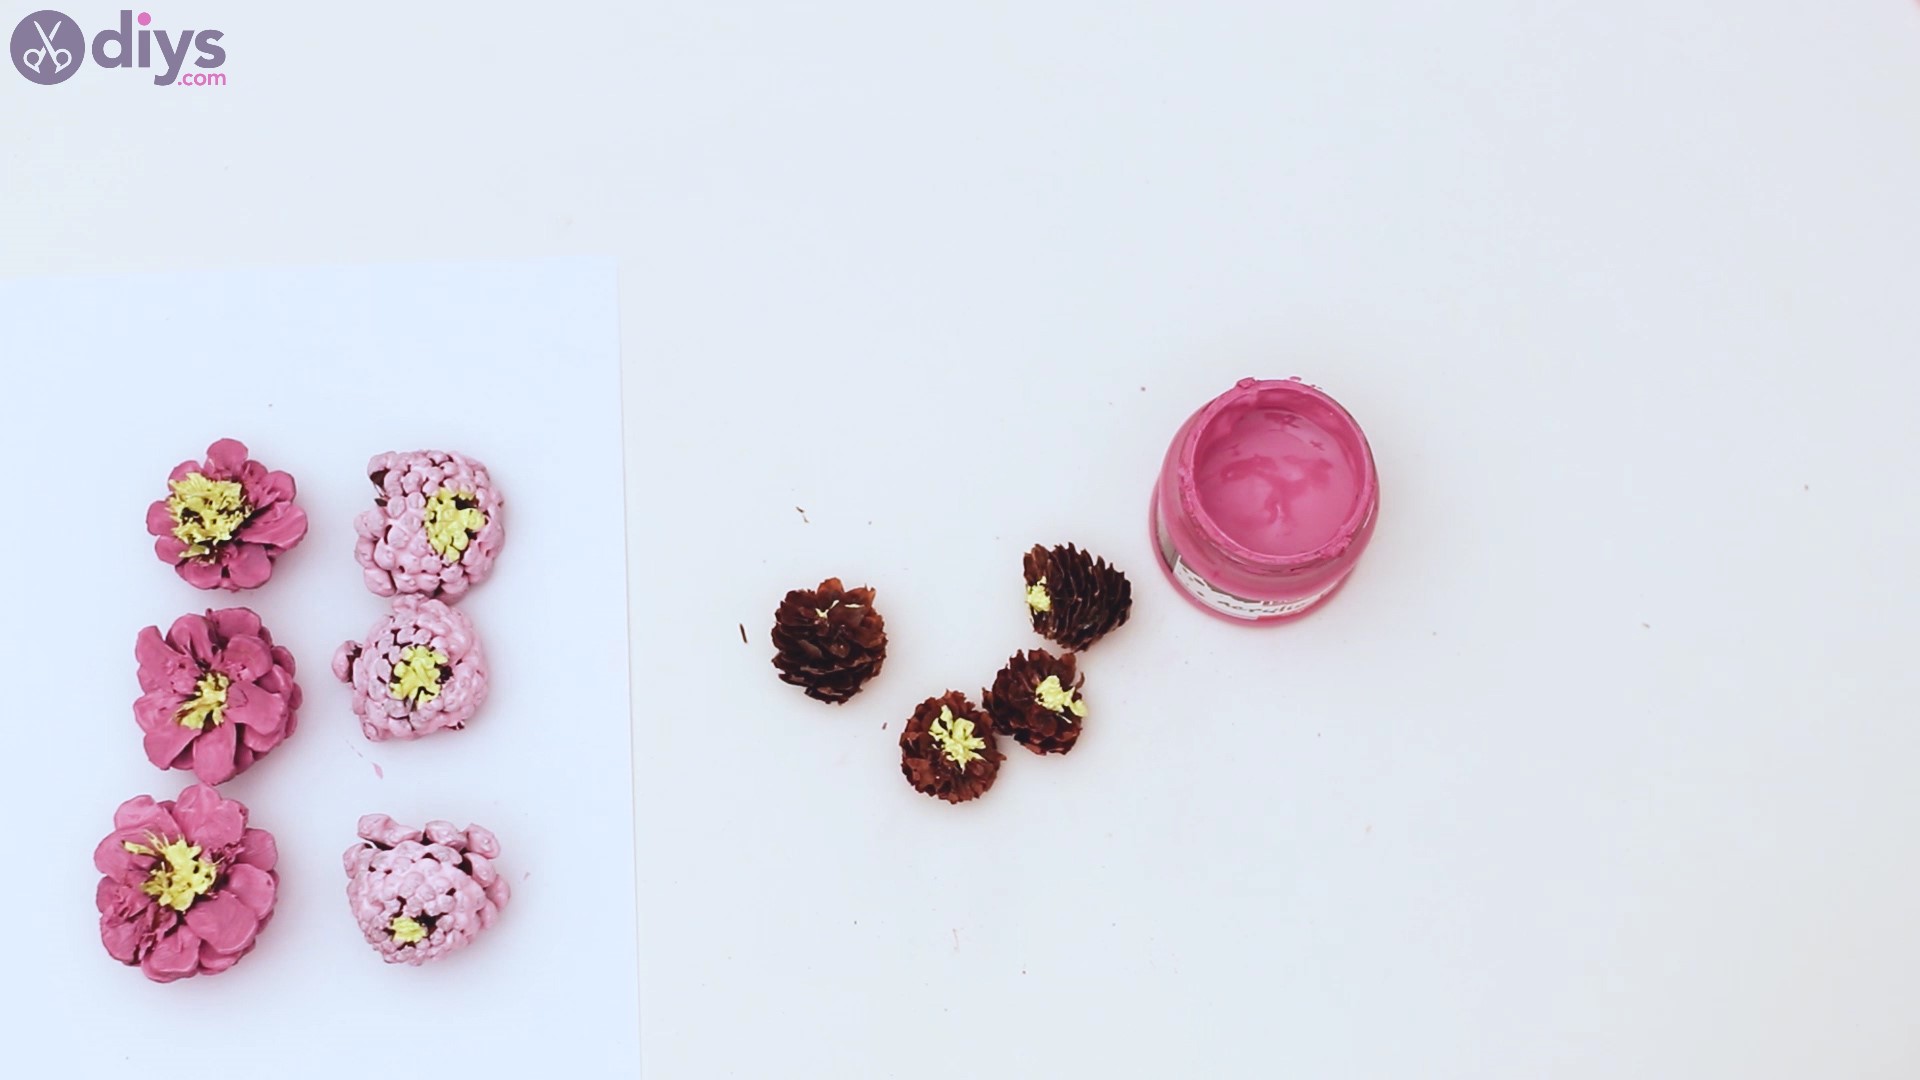
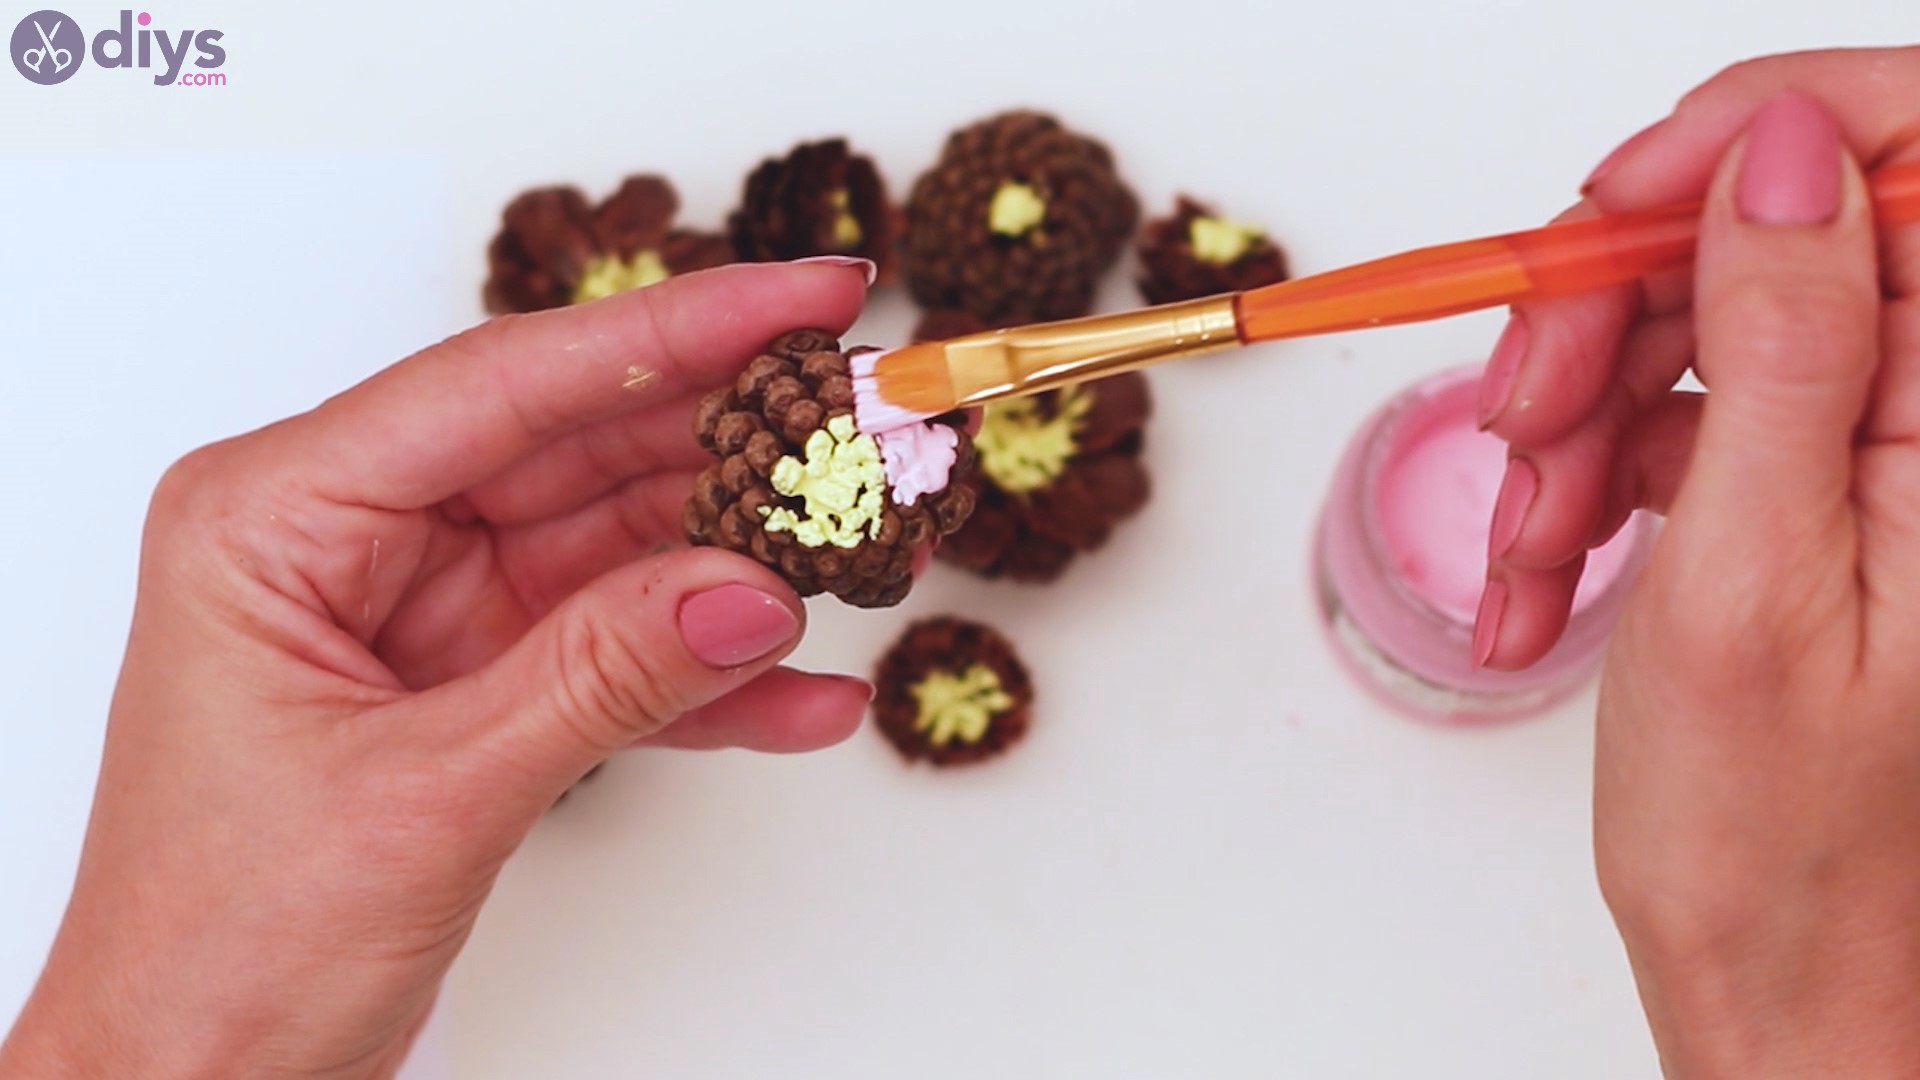
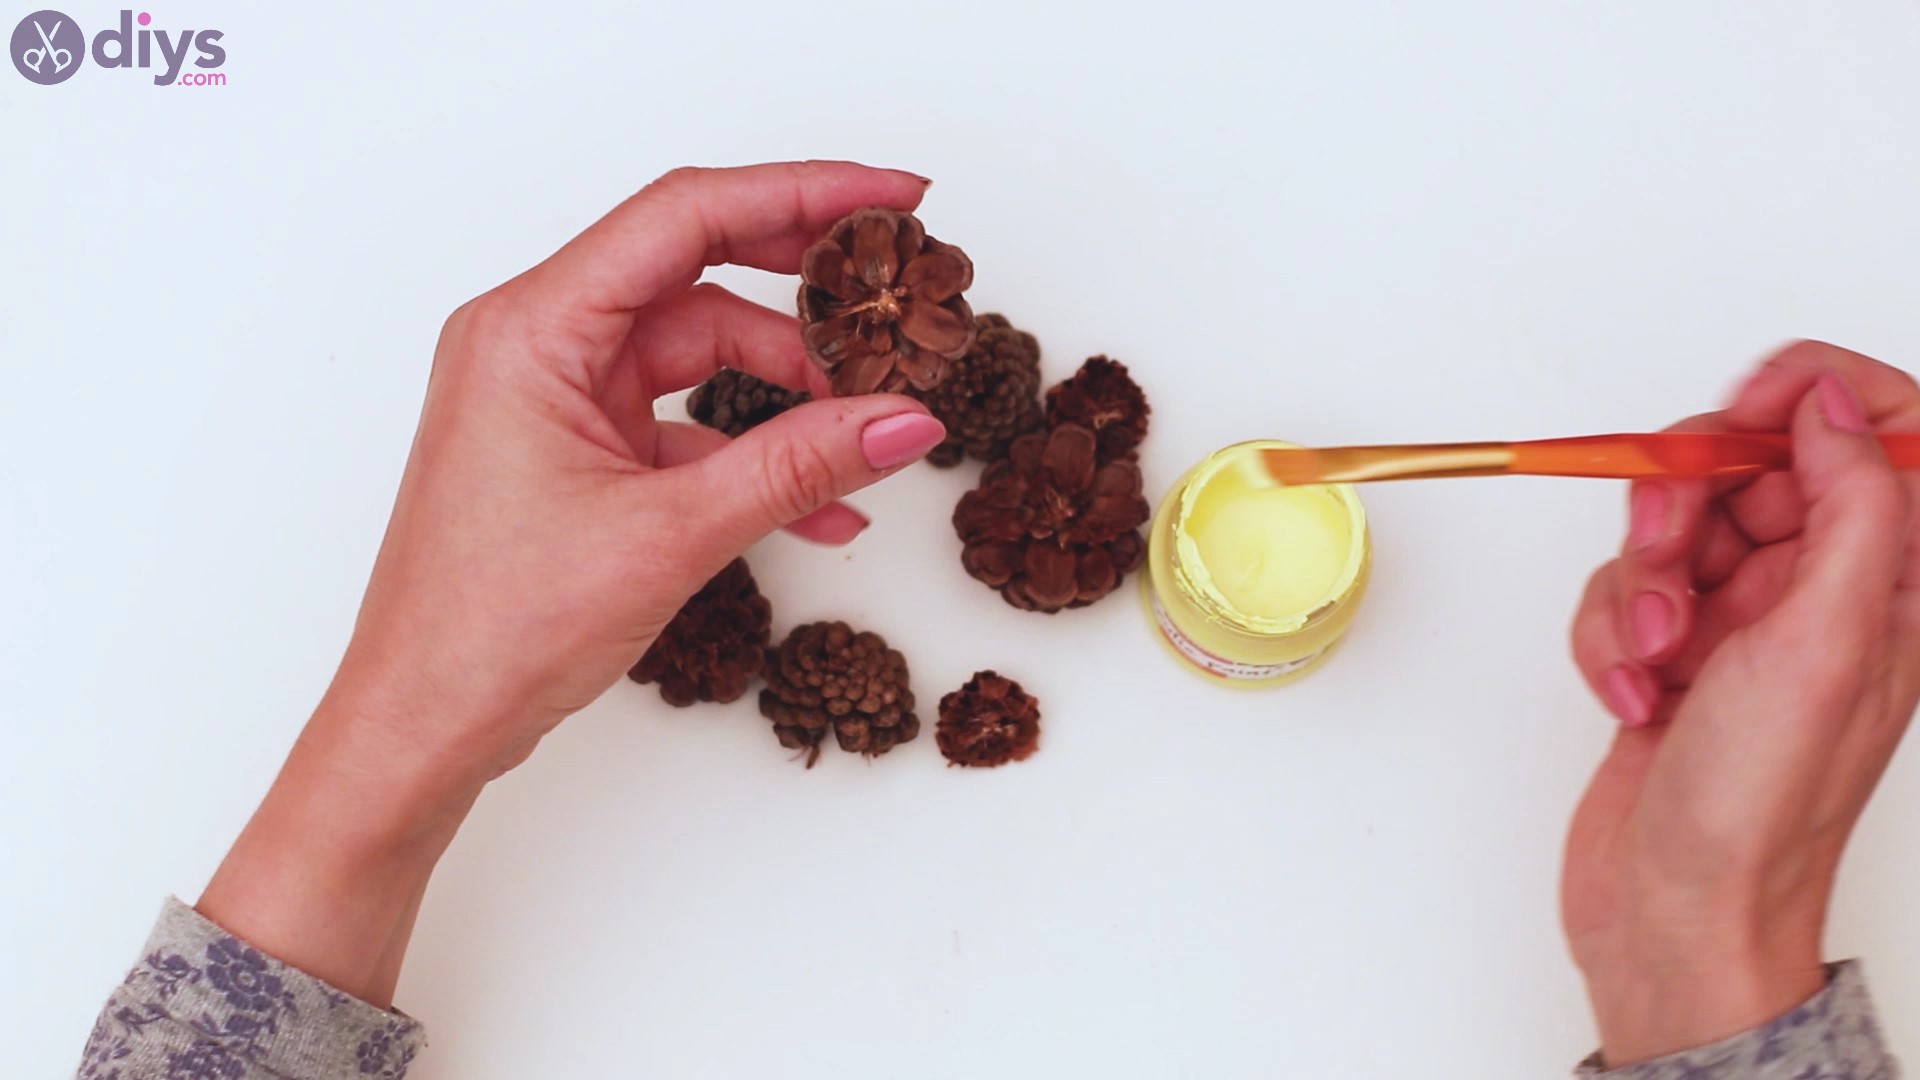
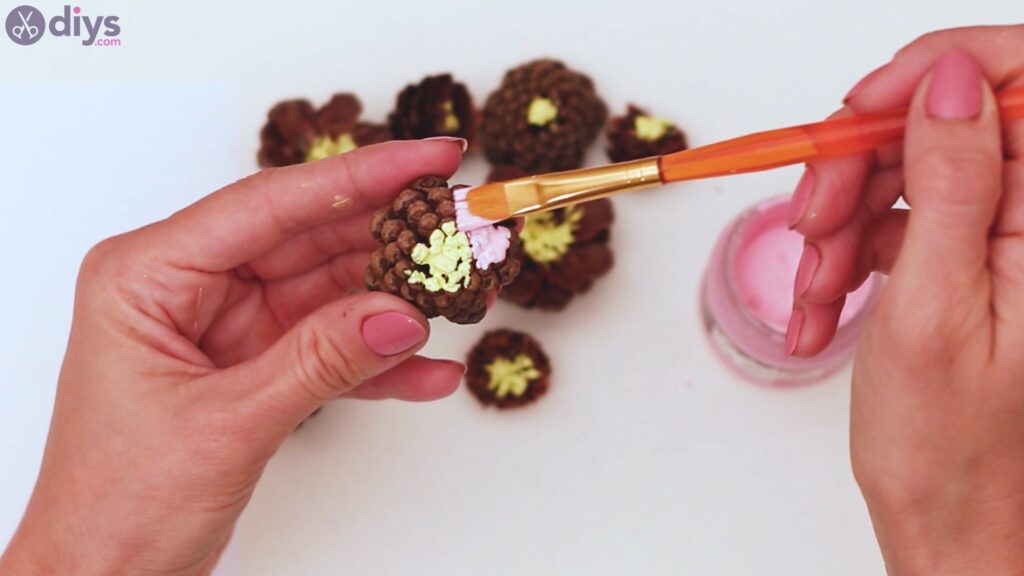
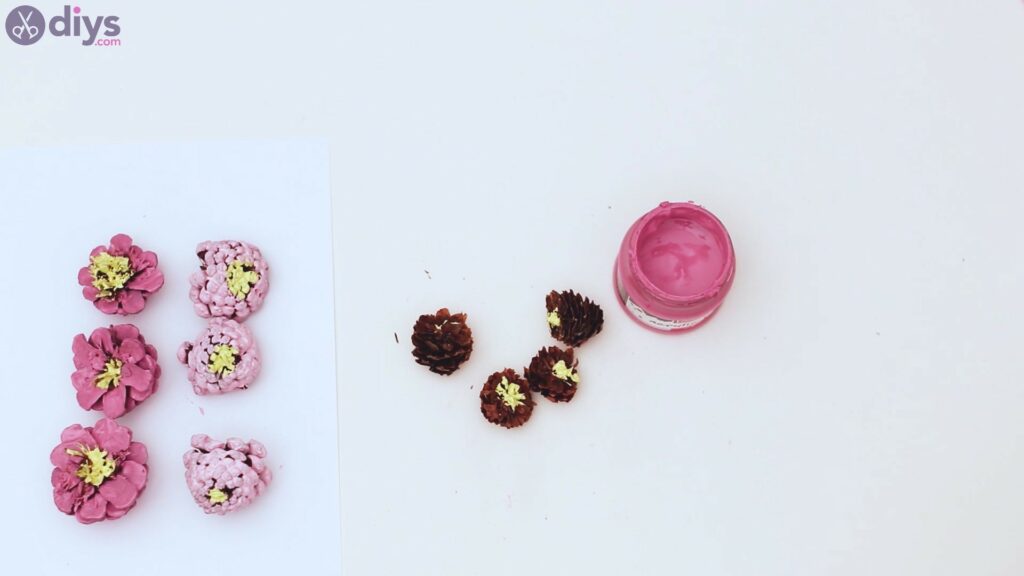
- Paint the flowers: Apply a thin coat of paint to each pinecone half, making sure to reach between the scales. Use the two pink shades to make the petals, yellow for the center, and light brown for a natural look. Allow the paint to dry before hanging the pinecones again.
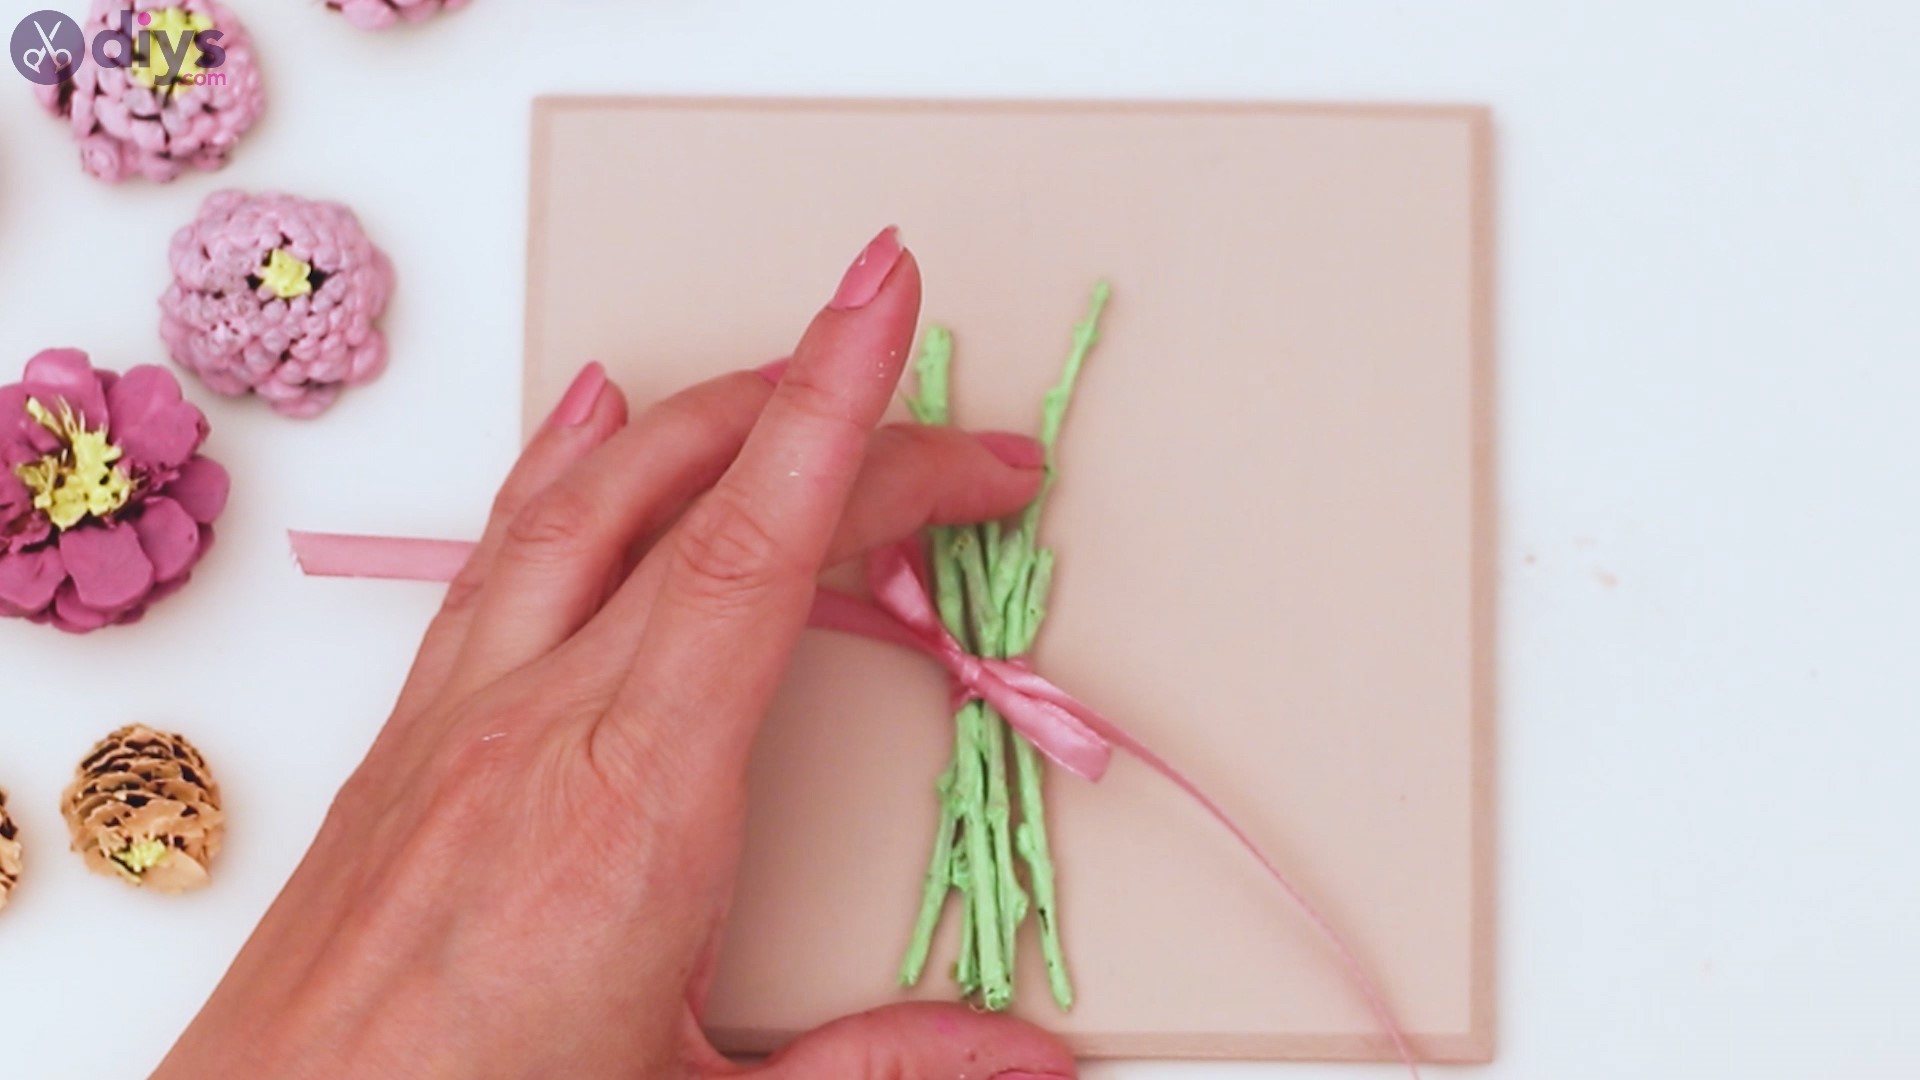
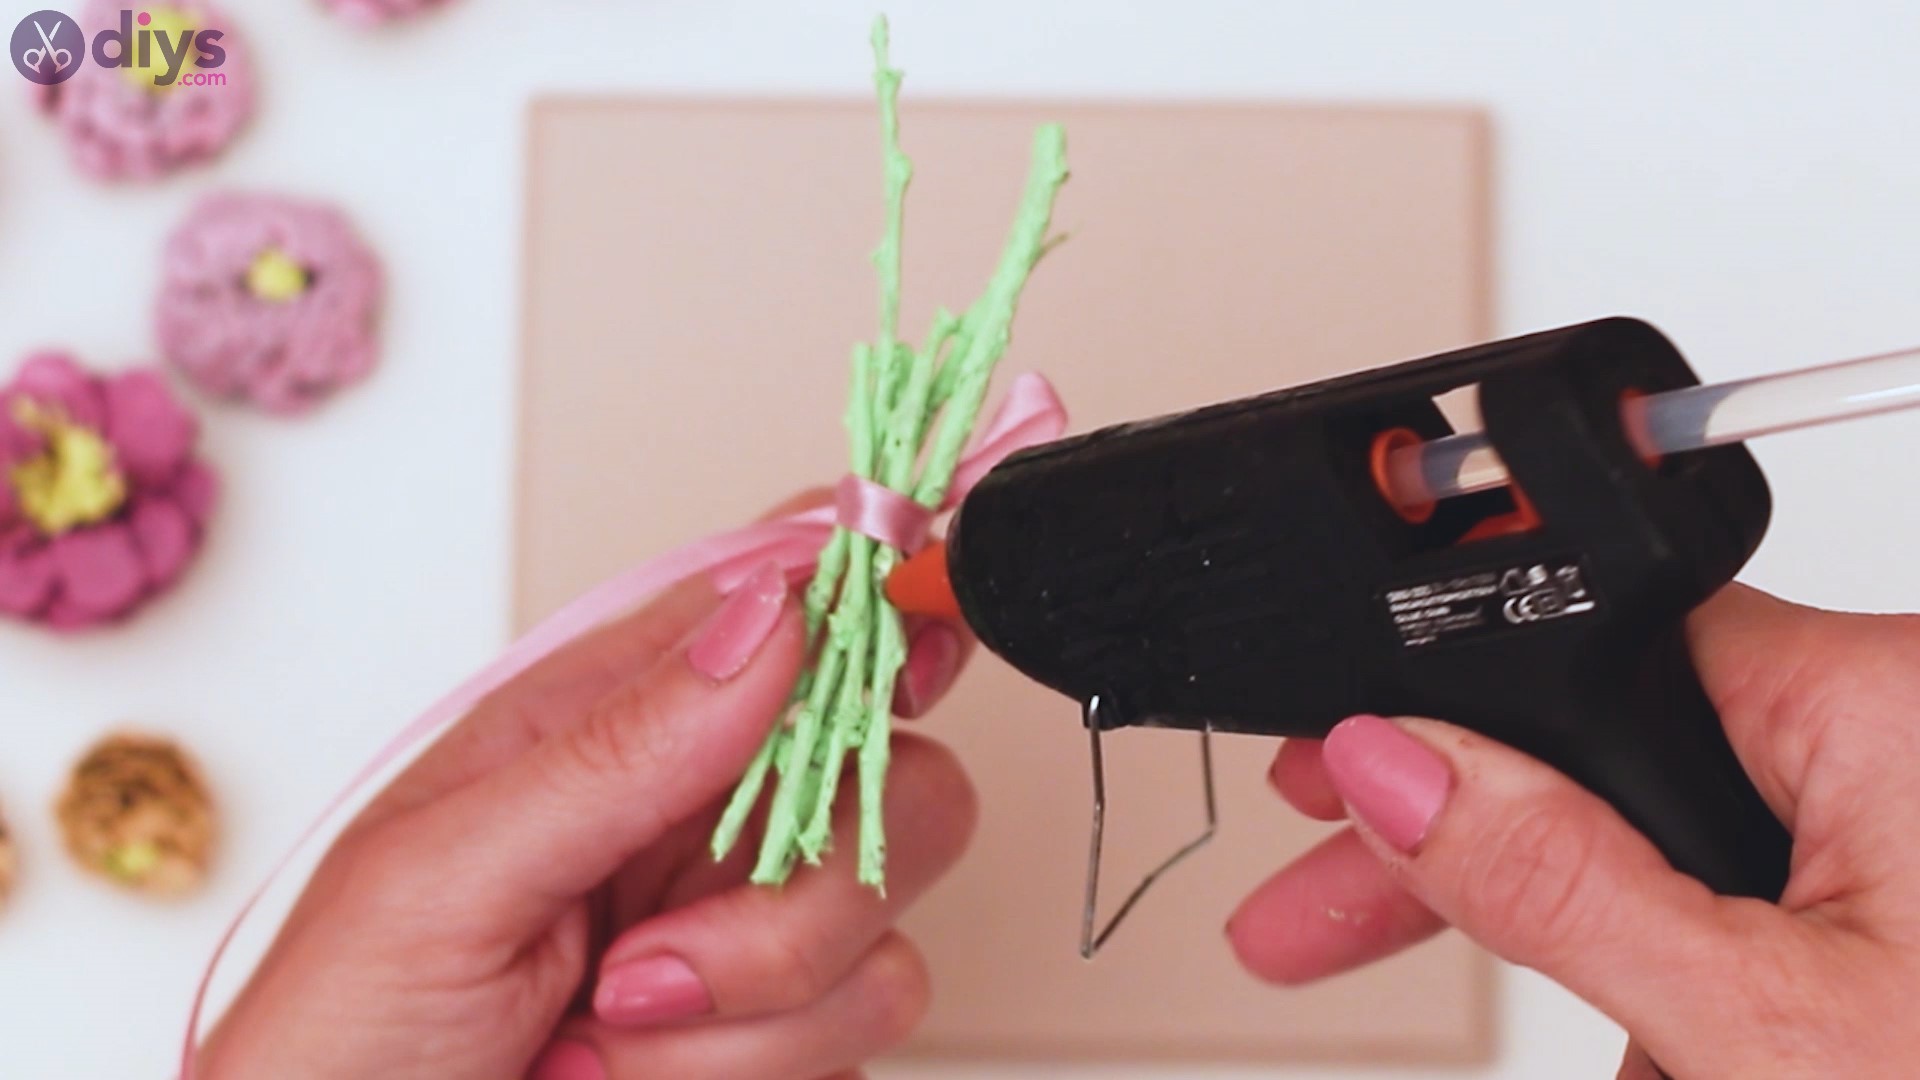
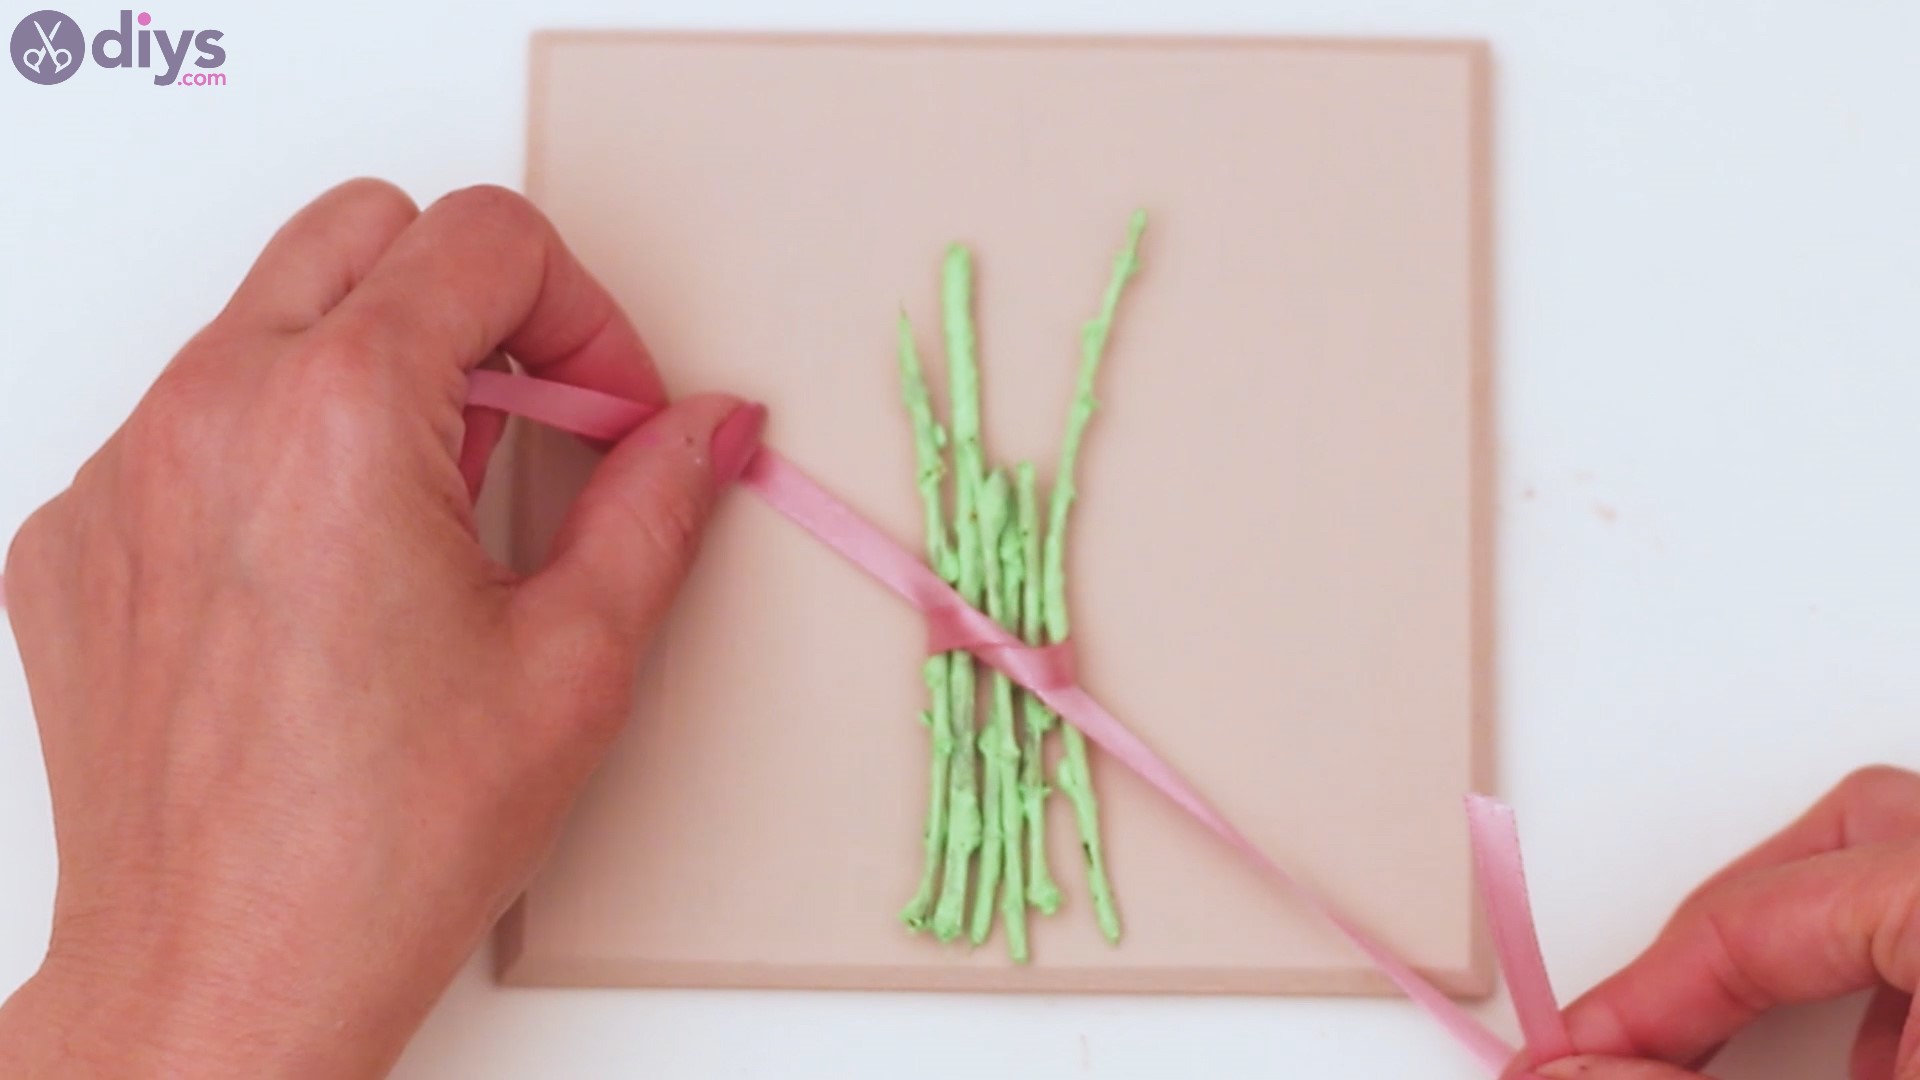
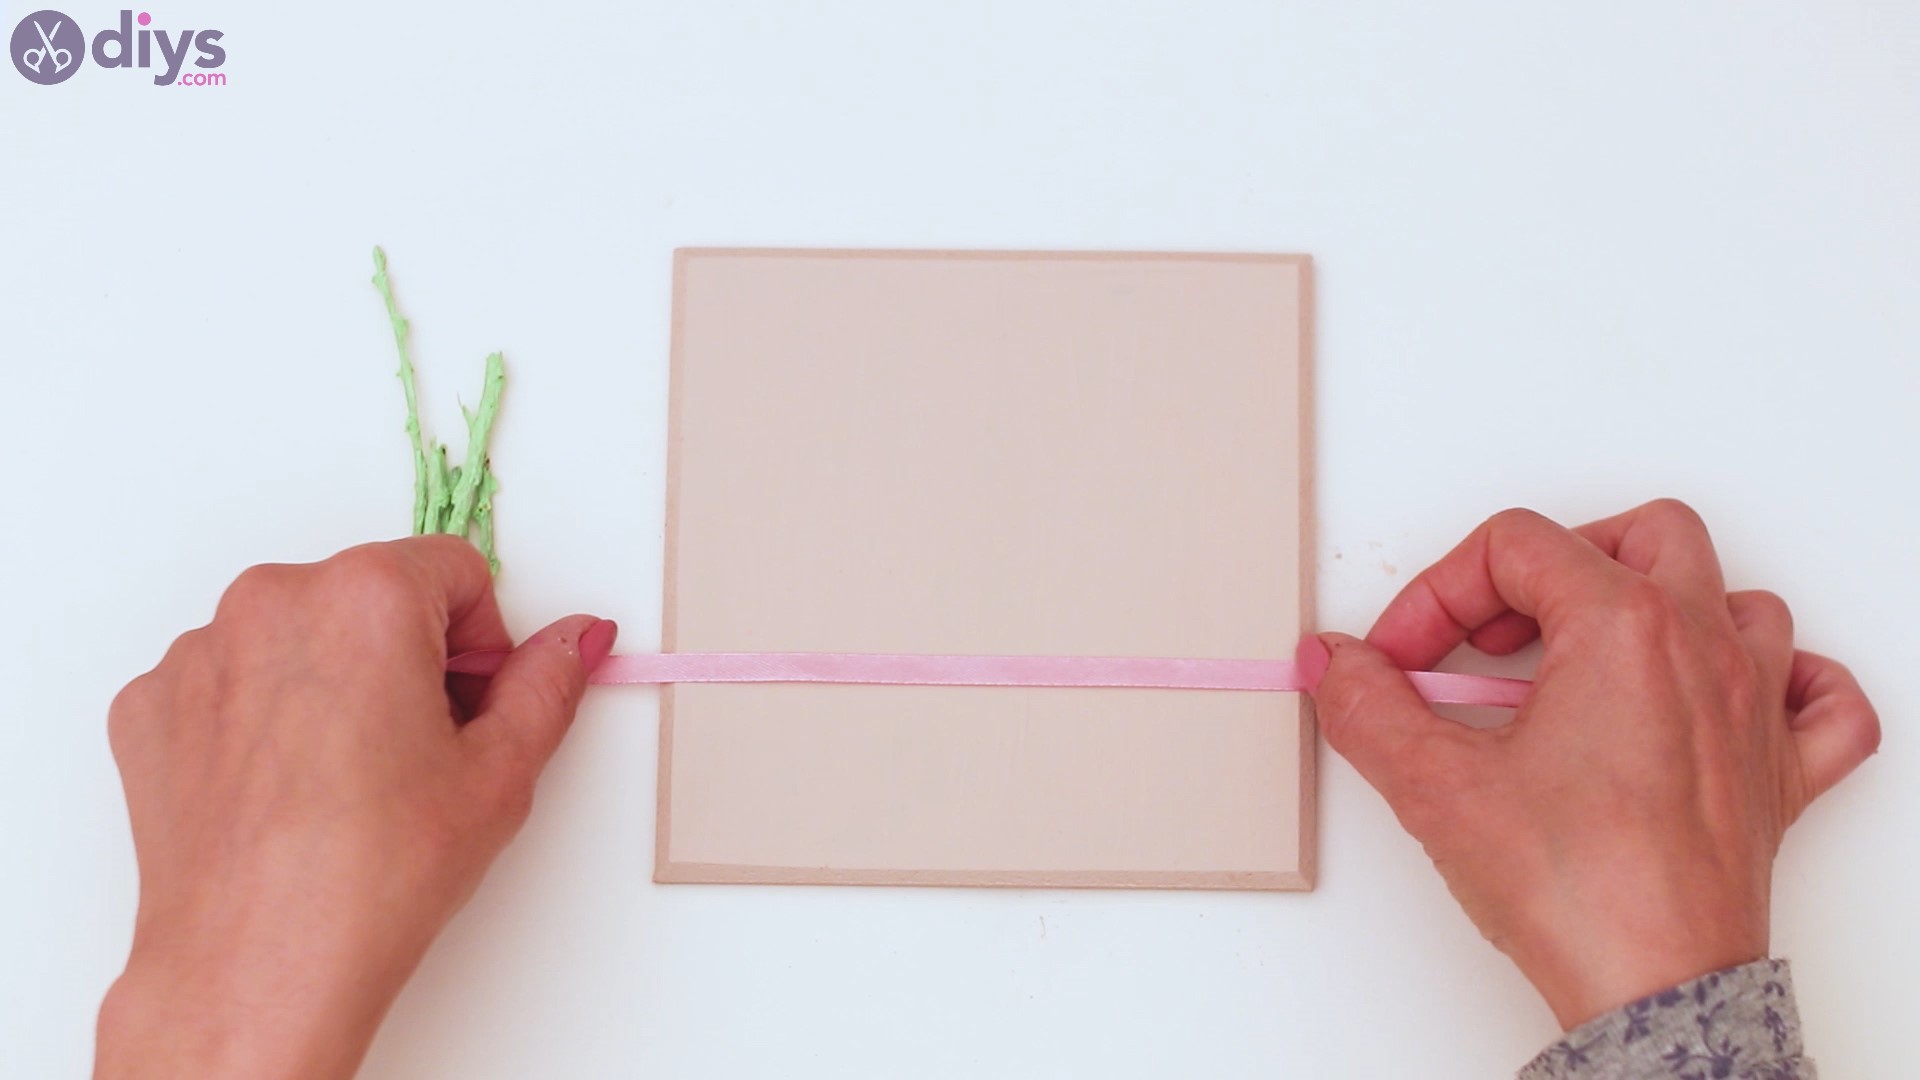
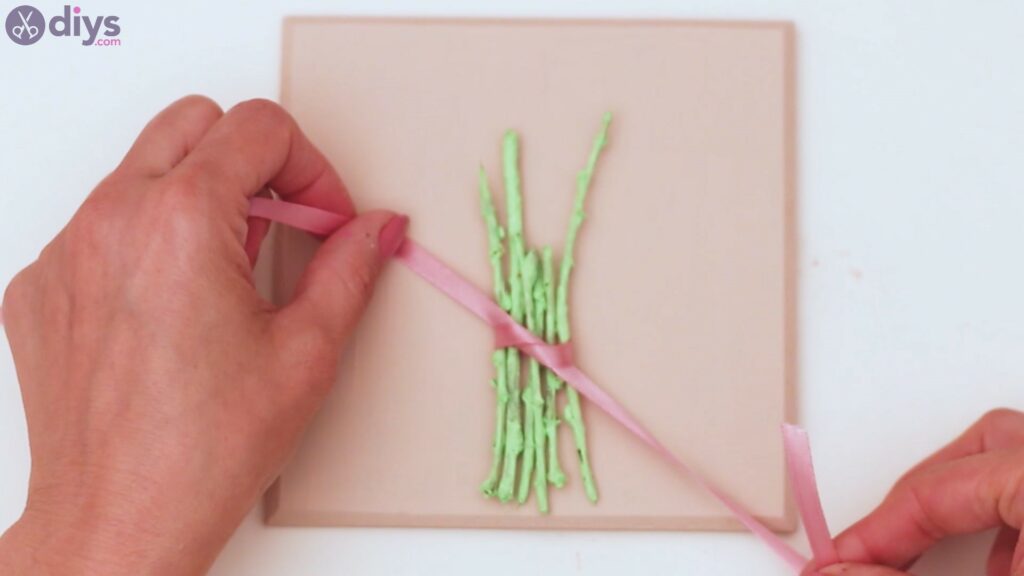
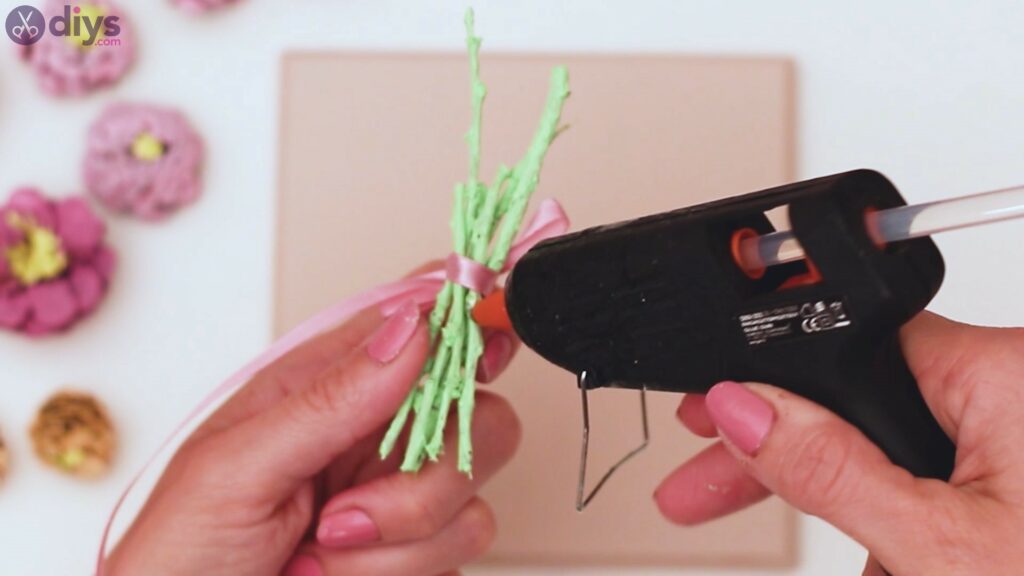
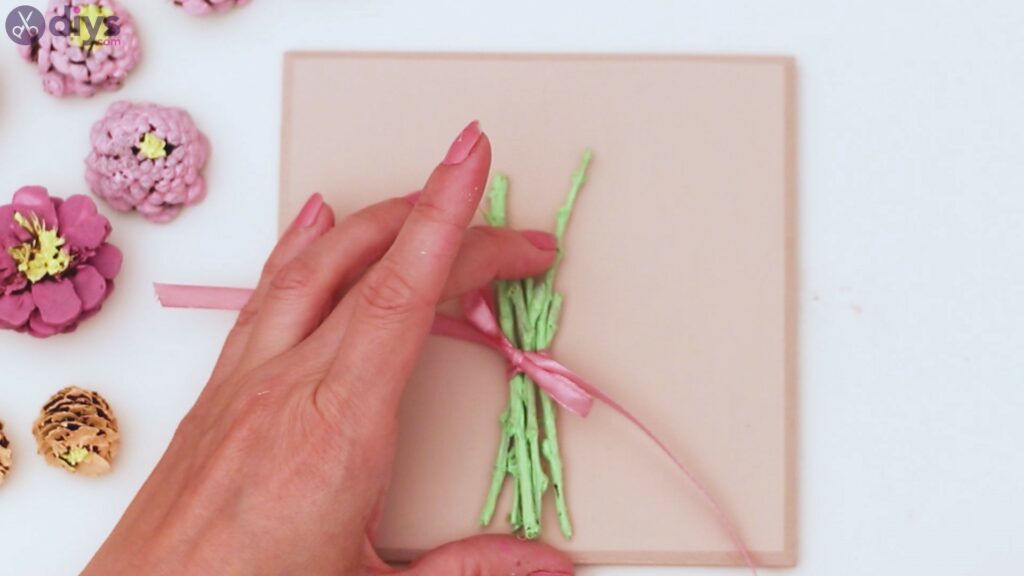
- Start making the bouquet: Cut a 15-in (40-cm) piece of silk ribbon, make a bundle out of the green branches, and wrap the ribbon around them to make a bow. Add glue to the back of the bundle and attach it to the wooden board.
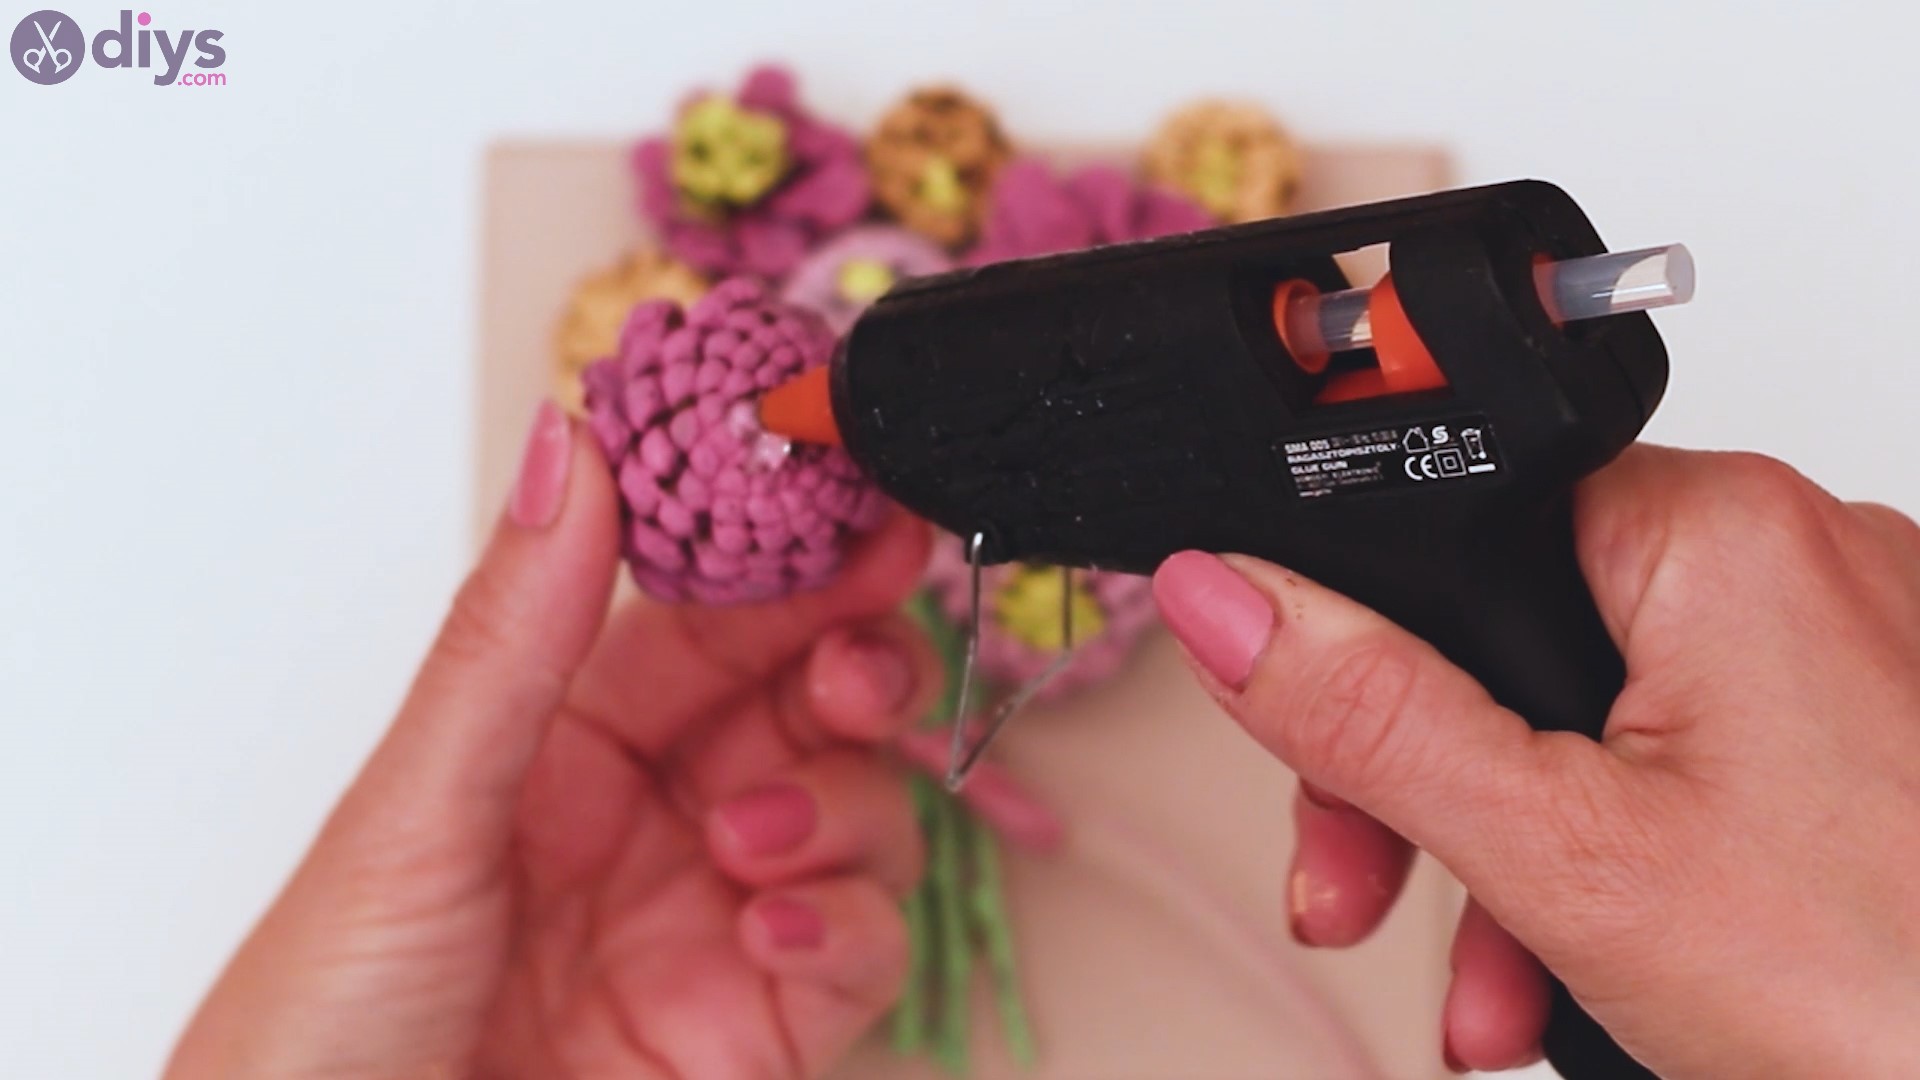
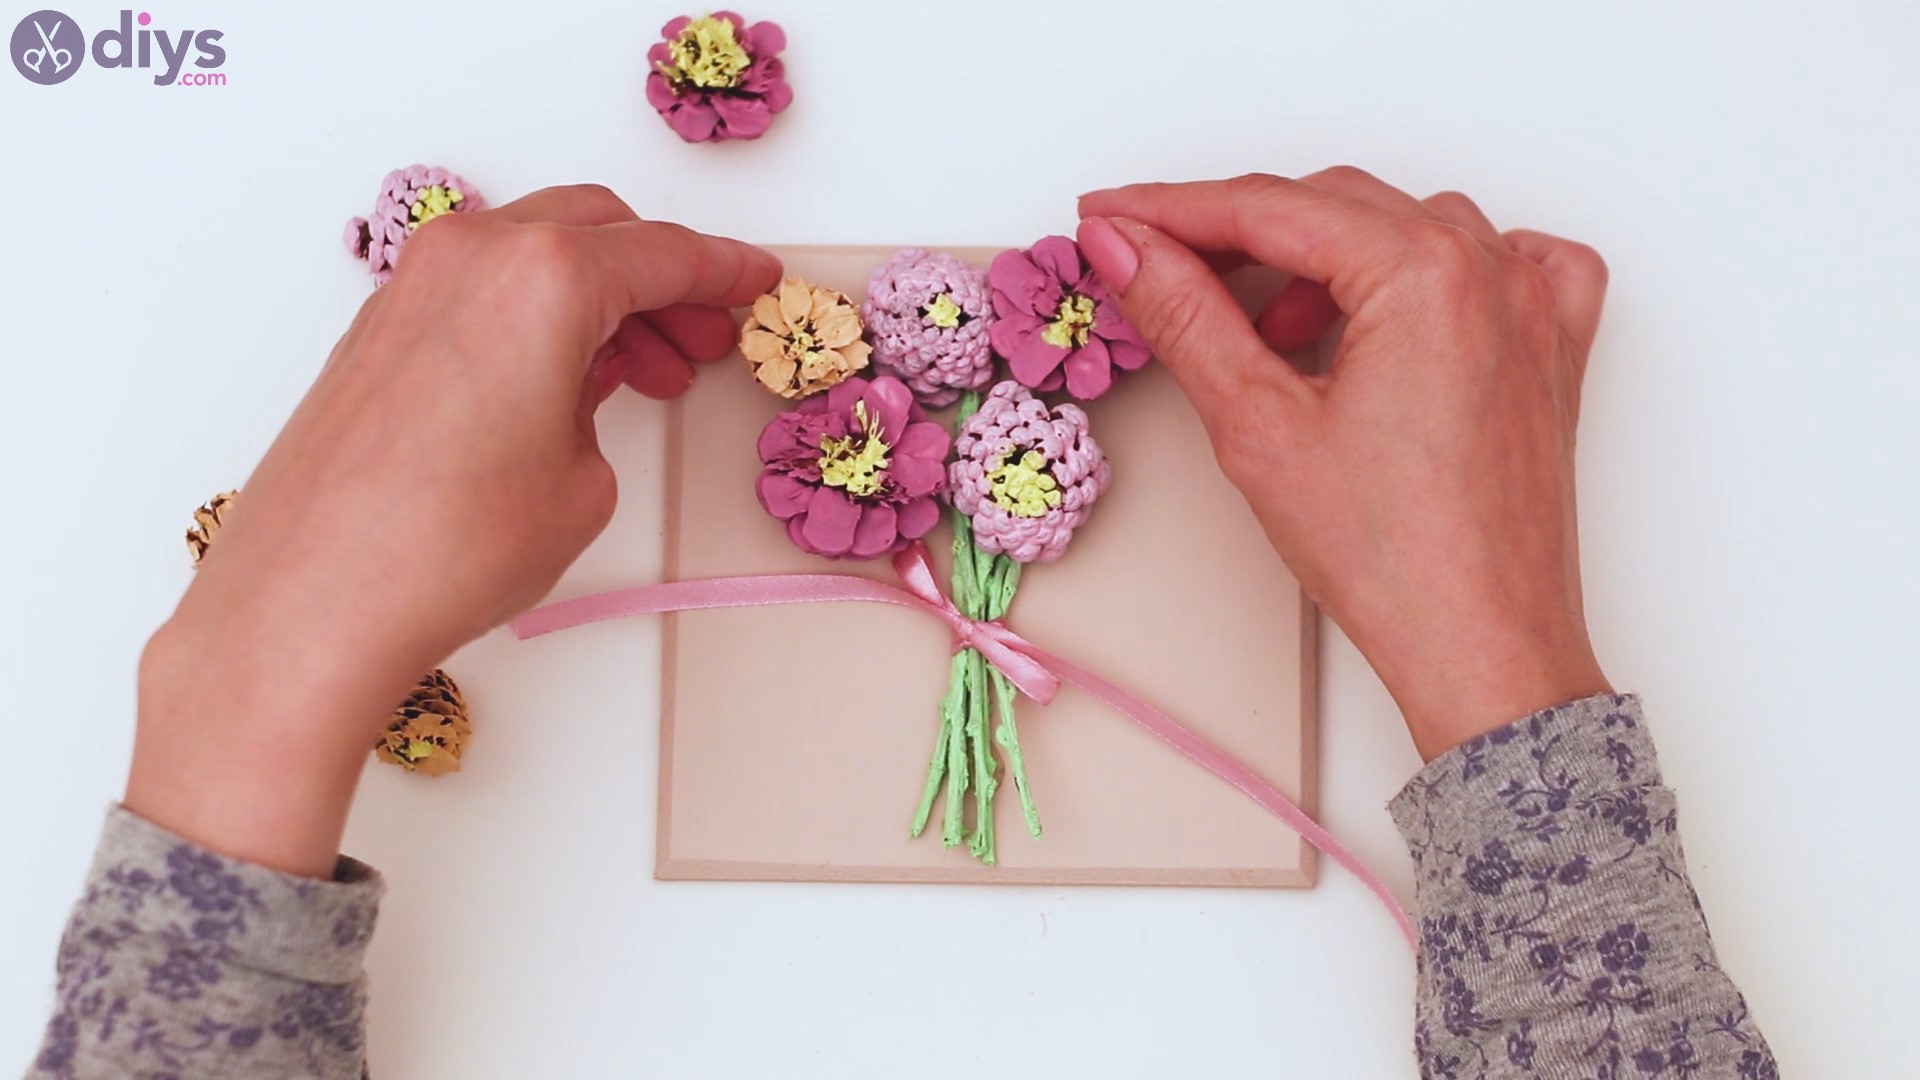
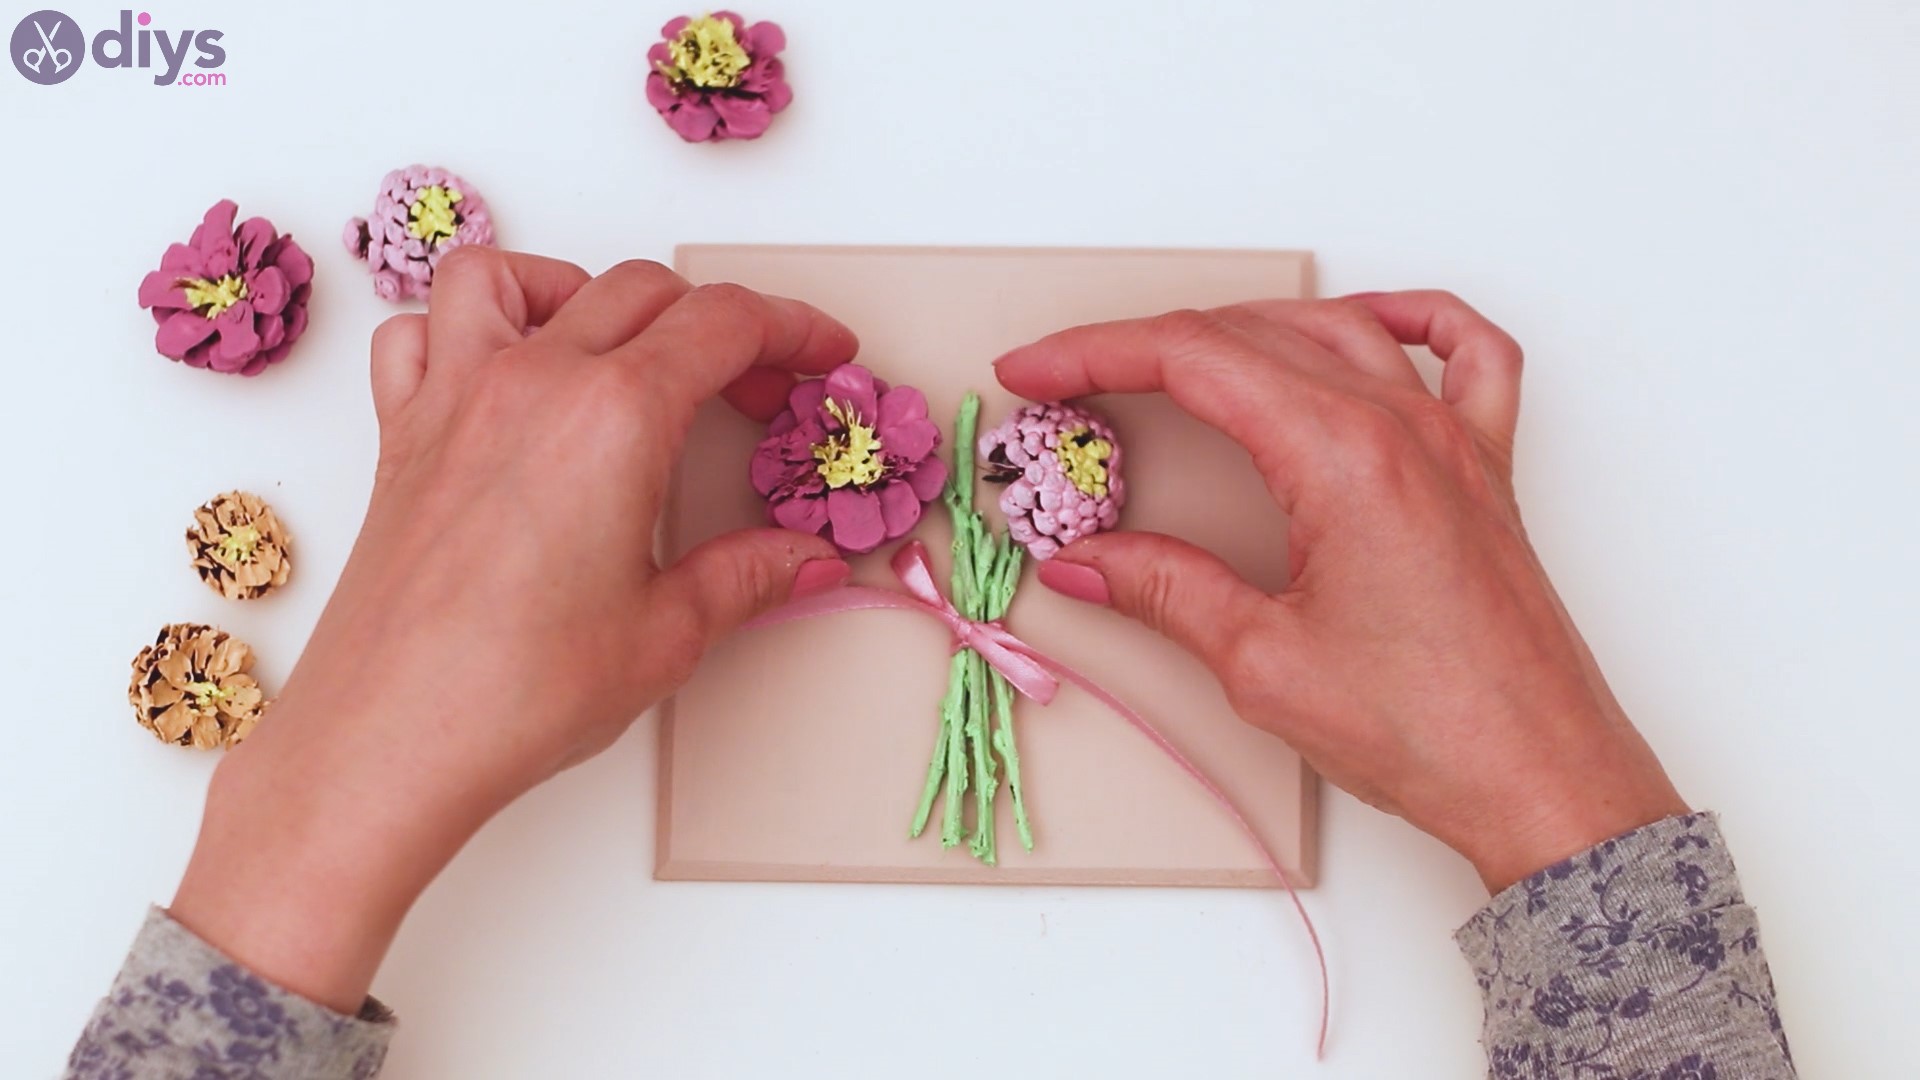
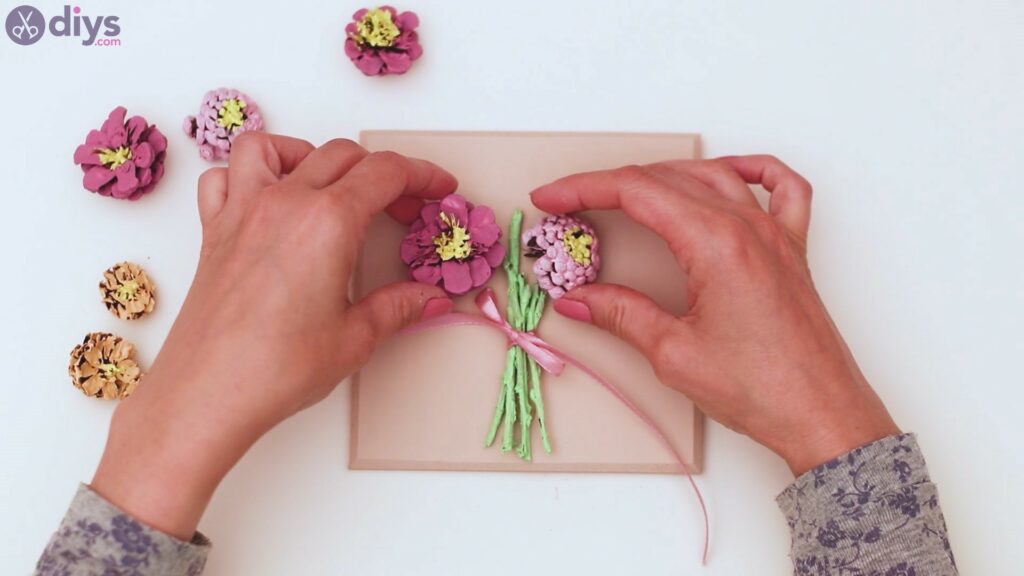
- Assemble the pinecones: Apply hot glue to one of the cut ends of each pinecone and carefully place it on top of the branch bundle. Arrange the pinecones to form a flower bouquet by mixing and matching different sizes and colors. Let the glue cool for several minutes before touching it again. Your pinecone flower wall art is now ready!
Video tutorial
Check out the following video guide that better explains the steps for making pinecone flower wall art:
More tips and tricks
Check out the following tips and tricks for improving or changing your pinecone flower wall art:
- Explore different textures: Use a matte or satin finish for the board to create a more natural look instead of glossy.
- Try other colors: We used only pastels in our design, but feel free to experiment with brighter and bolder shades.
- Add sparkle: Use glitter glue or rhinestones to add texture and make your wall art piece glamorous.
- Go full rustic: Whitewash the wooden board to create a shabby chic look, or use burlap instead of silk ribbon for an extra touch of folksy charm.
- Try a wintery look: Instead of painting the pinecones, use fake snow or white paint with a hint of sparkles to produce a wintery appearance. Complete the artwork by painting the board light blue or icy white.
- Add fragrance: Once every few days, spray the board with your favorite scent.
Closing thoughts
Making your own pinecone flower wall art is both easy and relaxing. Additionally, it’s a wonderful gift for many occasions, such as Mother’s Day, Valentine’s Day, Christmas, and birthdays. For similar crafts, check out our DIY wall decor projects.
