How to Paint Kitchen Cabinets Like a Pro in 7 Steps
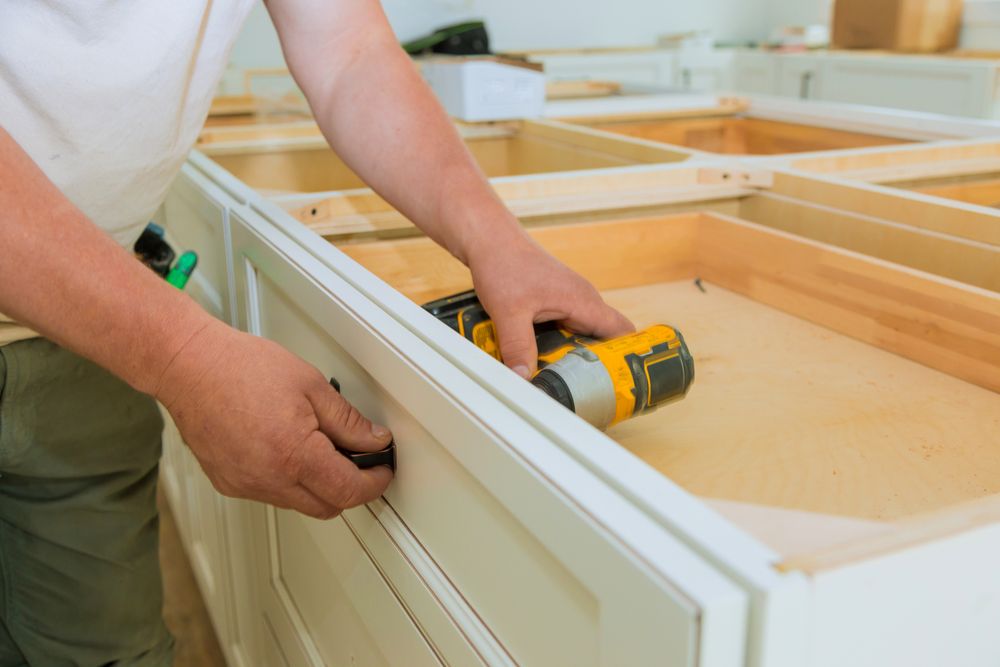
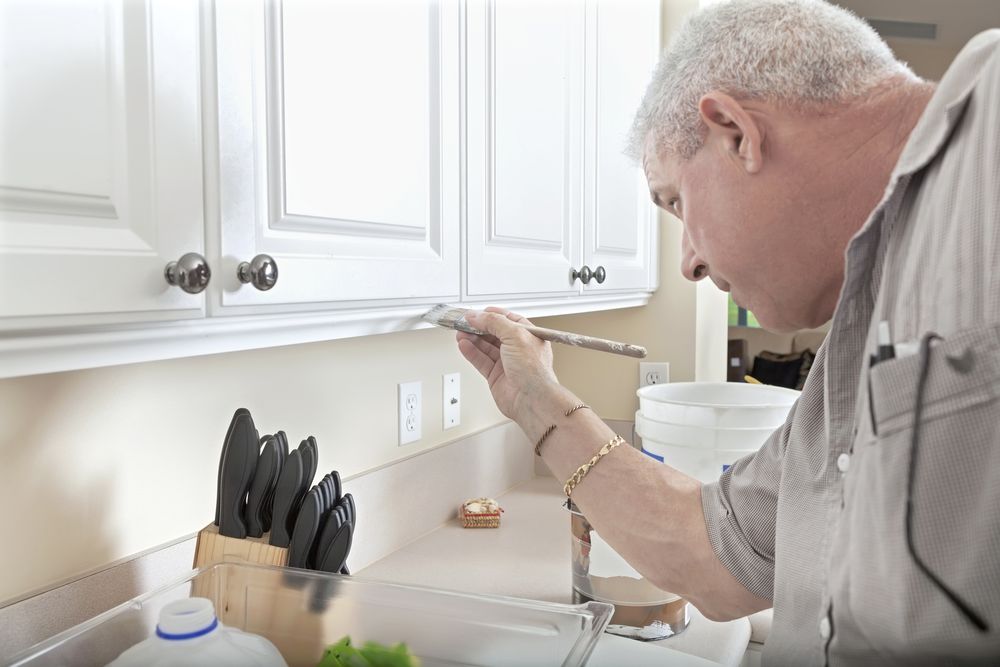
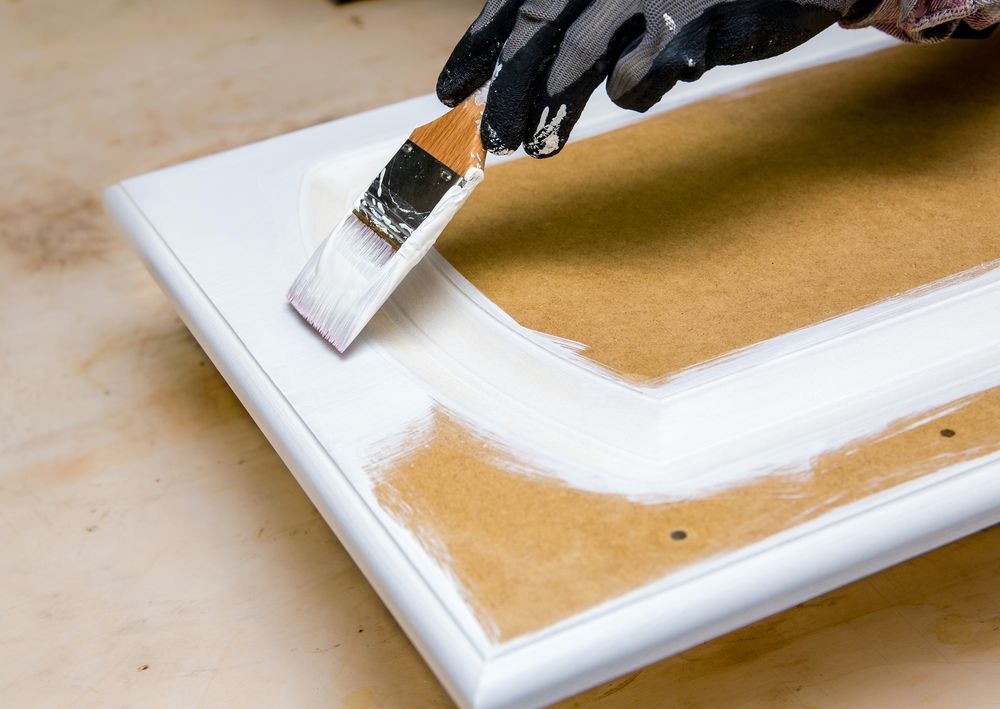
Give your kitchen cabinets new life without any hassle by painting them! It’s faster than replacing them, can be mess-free, and won’t require as much time as refinishing. Keep reading to find out how to paint kitchen cabinets like a pro.
If done properly, the results can be fantastic. Besides, it will increase the value of your home if you plan on selling it.
On the downside, painting cabinets is more challenging than painting walls or trim because of all those hard-to-reach areas. And you’ll need to use several coats of paint (compared to one coat for walls), which means more time spent on prep and cleanup.
But if you follow our step-by-step guide, you’ll be amazed at how good your cabinets turn out.
Table of Contents
Painting Kitchen Cabinets – What You Need to Know
A lot of homeowners underestimate the time and labor needed to paint kitchen cabinets. It’s not just a matter of slapping on some paint, stirring it together, and sealing it with a coat of spray polyurethane.
Most DIYers make the mistake of skimping on prep work. If you want your cabinets to look great for years to come, invest some time in the proper preparation.
Cost to Paint Kitchen Cabinets
Painting kitchen cabinets can be an expensive task when hiring a professional, depending on the size of your project. The average cost is anywhere from $1,000 to $5,000 if you have them refinished.
At the same time, you should know that refinishing old pine or oak cabinets may be half as much as painting new cabinets. It all depends on the scope of work and how many coats it takes to cover those old cabinets.
If you decide to tackle this task on your own, it can cost under $100.
Do I Need Cabinet Paint?
Since you are considering refinishing your cabinets, the existing paint is no longer in good condition. It can be gummy, chipped, or peeling. If that’s the case, then yes; you need cabinet paint to cover old cabinets and give them a fresh new look.
How Many Coats Do I Need?
This depends on how much prep work needs to be done before painting kitchen cabinets. Usually, it is recommended to apply two coats of primer followed by three coats of latex paint.
You may decide to spend $30-$50 per gallon for higher quality paints because it matters if you plan on selling your home.
Choosing Colors for Painting Kitchen Cabinets
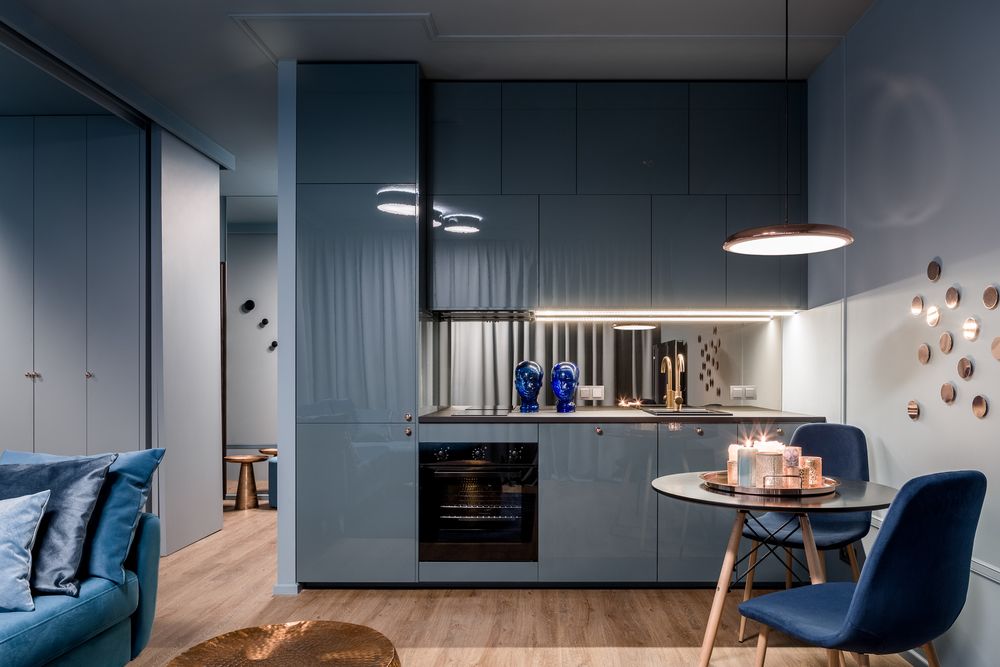
Painting kitchen cabinets comes with so many possibilities as far as colors are concerned. It’s all up to your preferences and your current home decor.
You can choose from a light, neutral tone for an airy kitchen look or bold colors if the cabinets are small and narrow. Look at paint samples in hardware stores as well as pictures on Pinterest to come up with ideas.
Here are some tips:
- Delicate colors create a soft and feminine look.
- Bold colors highlight a narrow or small kitchen.
- Neutral tones keep the cabinets looking neat and traditional.
- Eye-popping colors make the cabinets stand out more.
Types of Paint to Use
Here are the best types of paint to use on your kitchen cabinets:
- Oil-based paint. It’s thick and goes on fast. However, it may contain toxic chemicals that create awful odors, which is the reason why latex paint was developed in the first place.
- Latex paint. Since it’s water-based, it doesn’t contain any harmful solvents or fumes. It’s ideal for painting cabinets because it offers excellent coverage with a smooth finish in just two coats.
- Stain-blocking primer. It’s used to cover old paint and seal in any stains. It’s typically oil-based and requires only one coat. You usually apply it before the latex paint.
- Enamel-based paint. It’s specially made to resist chips and scratches, so they’re popular with homeowners that have active families.
- Chalk paint. It’s made with 100% non-toxic ingredients that resemble the look of chalk. It contains no odors, dries faster than other paints, and requires only one coat when applied correctly.
- Acrylic milk paint. It covers all surfaces well, including wood, metal, and plastic. It’s the best solution for refinished cabinets because it doesn’t show cracks or chips.
- Water-based alkyd paint. It’s a perfect choice because it creates a durable high-gloss finish that can resist heat up to 350 degrees Fahrenheit, ideal for kitchen cabinets.
How to Paint Kitchen Cabinets
Painting kitchen cabinets can seem like an intimidating task. However, applying paint to your cabinets is not as hard as it seems. With just a few simple pointers, you too can master it. Just follow our step-by-step instructions below:
Step 1: Preparing the kitchen cabinets
Before painting your cabinets, it’s vital to remove all dirt and residue. Avoid using hazardous chemicals if possible. Instead, try using a water- or solvent-based degreasing cleaner or natural citrus cleaner to help remove grease. Here are some tips:
- Wash the cabinets with a TSP (trisodium phosphate) solution or another cabinet cleaner.
- Clean any spilled food or grease. It ensures that no residue gets trapped in any cracks or crevices.
- Scrub fingerprints off doors and drawer fronts.
- Carefully remove the hardware, including doors and cabinet shelves.
- Place a china marker on the floor in front of the cabinets. This way, it will be easier to see when you need to align doors.
- Cover the backs of your doors with painter’s tape to protect them.
- Use painter’s tape to cover the lower part of the walls near the cabinets.
Step 2: Fill in spots and dents
If your kitchen cabinets suffer from minor imperfections, you can easily repair them before moving on to painting:
- Use a putty knife to fill in any dings, divots, or spots on your cabinet doors or drawer fronts.
- Run your fingernail over it to remove excess filler material so that only a thin layer remains.
- Afterward, prime it with wood scratch cover-up paint before painting kitchen cabinets for better results.
Step 3 (optional): Sanding the kitchen cabinets
This step is optional because it can require a lot of time, depending on the overall sanding surface. However, sanding is worth it if you want to obtain the best possible look for your repainted kitchen cabinets.
Sand your cabinets with high-grit sandpaper. Since you will be painting over it, make sure to roughen up the surface.
Furthermore, it’s essential to have a dustless work area when painting, so clean any sawdust from trimming, doors, or drawers.
Step 4: Priming the kitchen cabinets
Priming takes two coats, so be prepared to do some painting here! It might seem like extra unnecessary work, but this part is vital – paint will adhere better, and the finished look will be worth it. Here’s what you need to do:
- Start with the upper cabinets and use a 1/4-inch nap roller cover to apply two coats of primer.
- Roll the cover horizontally to ensure proper coverage.
- Let each coat dry completely before applying the next.
- If your kitchen cabinets have any bare wood, use a stain-blocking product for the first coat and switch to an oil-based primer for the second coat.
- On the final coat, use light pressure to smooth out any brush marks.
- When you’re done priming your upper cabinets, move on to the lower ones or any other unpainted parts of your cabinets that need attention.
Step 5: Painting the kitchen cabinets
Painting kitchen cabinets is just as easy as priming them:
- If you’re using rollers, swap them out for 1/4-inch nap roller covers to apply the first coat of paint.
- Using small circular motions, start at the bottom, work your way up, and continue until you’ve covered all exposed areas.
- Let the paint dry completely (about 1 hour) before applying any additional coats (which should take about 30 minutes to dry completely).
- You may need to apply several coats of paint for any spots that aren’t densely covered with paint – just remember to let each coat dry before adding another.
Here are some tips you can follow when applying the final coat of paint:
- Use a 1/2-inch nap roller for semi-gloss or gloss finishes (recommended for upper cabinets).
- Switch to a 3/8-inch nap roller cover for flat finishes (acceptable for lower cabinets).
- Use small circular motions and work from top to bottom with light pressure – this will prevent any brush marks or unevenness in your paint surface.
Step 6: Topcoating your kitchen cabinets
Topcoat is not required but recommended if you want your painted cabinets to have a high-gloss finish for extra protection and shine. Besides, it will make your kitchen cabinets look brand new! Here’s what you need to do:
- Make sure the surface is clean and free of dust or debris.
- Apply the topcoat in even strokes, using light pressure. It’s best to apply the topcoat in medium-sized strokes instead of long ones.
- Start at the top and work your way down.
- If you have any areas that need more coverage, apply a second coat.
- Let each coat dry before applying another one.
Use an epoxy-based coat to add a protective coating, which is recommended for high-traffic areas such as the kitchen. However, if you will be using the cabinetsfor general storage, a water-based coat will suffice. On the other hand, an oil-based coat ensures that the surface will not peel or chip away easily.
Step 7: Reinstalling the hardware
The fun part about painting your kitchen cabinets is putting the hardware back on. Just make sure that at least 24 hours pass before doing this since you might want to make paint adjustments.
With just a little bit of work and patience, your kitchen cabinets will look beautiful finishing the painting process. Give yourself a pat on the back for a job well done!
Tips for Painting Various Cabinet Surfaces
Kitchen cabinets are made from three materials: wood, particleboard, and melamine. Each requires different preparation:
Wood Cabinets
These are the most expensive and difficult to paint. Start by removing doors, drawers, and hardware – that’s a lot of parts! Then remove all hardware from the back of cabinet boxes, fill all nail holes with wood putty, sanding smooth as you go. After priming and painting the cabinets, replace the hardware.
Particleboard Cabinets
These are increasingly common since they’re relatively cheap and easy to assemble. The best way to paint these is by applying a coat of primer and lightly sanding the cabinet boxes with fine-grit sandpaper; it should be just enough to remove any surface gloss.
Next, apply two coats of latex paint, letting each coat dry at least 24 hours before applying the next.
Melamine Cabinets
These are the easiest to paint. Just sand any existing gloss from the surface and use a deglosser or liquid sanding sealer to remove dirt and grease; it helps ensure that paint adheres properly.
Follow with two coats of latex paint, allowing 24 hours between coats.
How to Paint Kitchen Cabinets without Sanding
If you’re pressed for time or just don’t want to deal with the mess of sanding your cabinets, then this is the way to go. It’s much faster than the traditional method and not as difficult as it may seem:
- Remove all doors and drawer fronts from cabinets.
- Apply a liquid deglosser or sanding sealer and let it sit for 10 minutes. It removes any dirt or grease that might be preventing the paint from sticking.
- Wipe away the residue with a clean cloth.
- Apply two coats of adhesion primer, allowing each coat to dry for 24 hours before applying the next. Adhesion primer helps the paint adhere better to the surface.
- After priming, apply latex paint (or any other type of paint) in the color of your choice and let it dry for at least 24 hours. It’s best to apply two coats of paint for best results. Using a paint sprayer to apply the second coat helps you get a smooth, even finish.
- Finally, apply a topcoat with a clear coat. It helps protect the finish of your cabinets and adds a shine that really brings out their beauty.
Best Paint for Kitchen Cabinets
Discover the best paint painting products for kitchen cabinets:
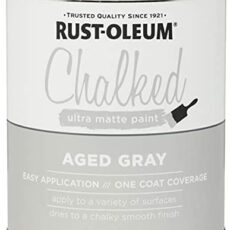
1. Rust-Oleum Chalked Ultra Matte Paint
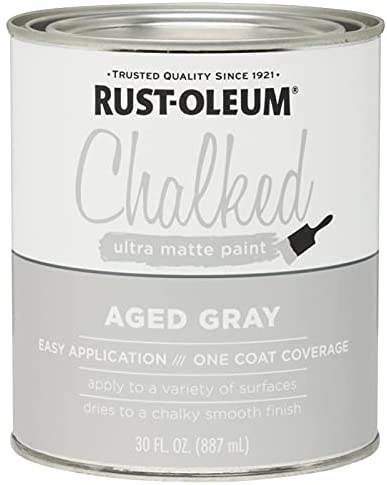
You can use the Rust-Oleum Chalked Ultra Matte Paint to produce an opaque, vintage, velvety soft matte look in your kitchen by painting it over your kitchen cabinets. It’s low-odor, water-based, and works with wood, metal, and ceramic surfaces.
The drying time is about 30 minutes for coating and between 2 and 4 hours for recoating or topcoating. It’s best to use light, even brush strokes.
View price on Amazon2. Nuvo Cabinet Paint
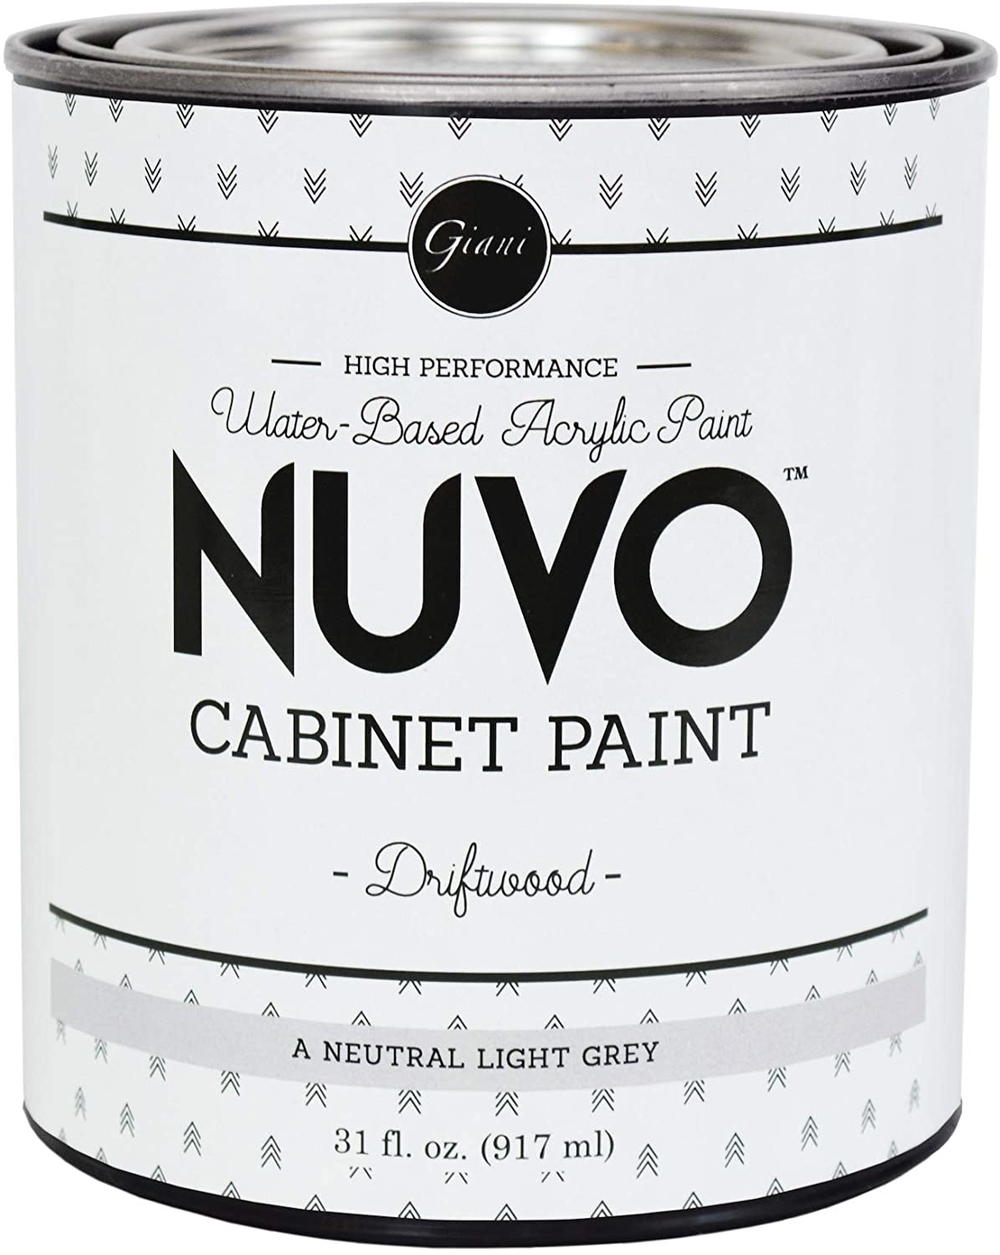
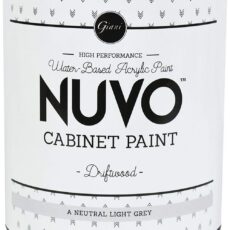
The Nuvo Cabinet Paint is a water-based acrylic paint with a satin finish, perfect for painting your kitchen cabinets. It’s safe to use and low on odor and VOCs. You can buy it in multiple colors.
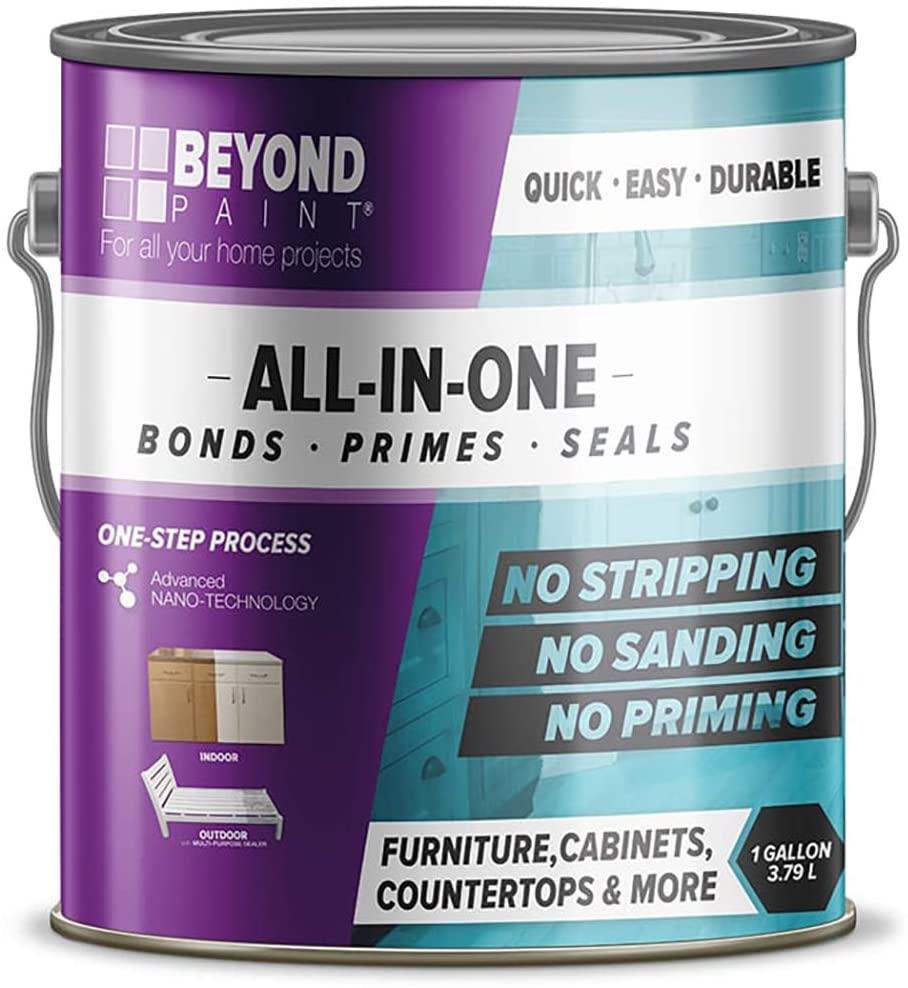
View price on Amazon3. Beyond Paint Furniture, Cabinets and More
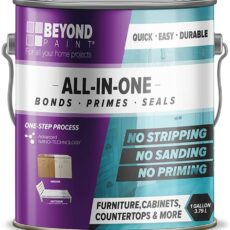
The Beyond Paint Furniture, Cabinets and More is designed to paint a wide range of furniture, as the name suggests. And it works great with kitchen cabinets, too. It’s easy to apply and doesn’t require any stripping, sanding, or priming.
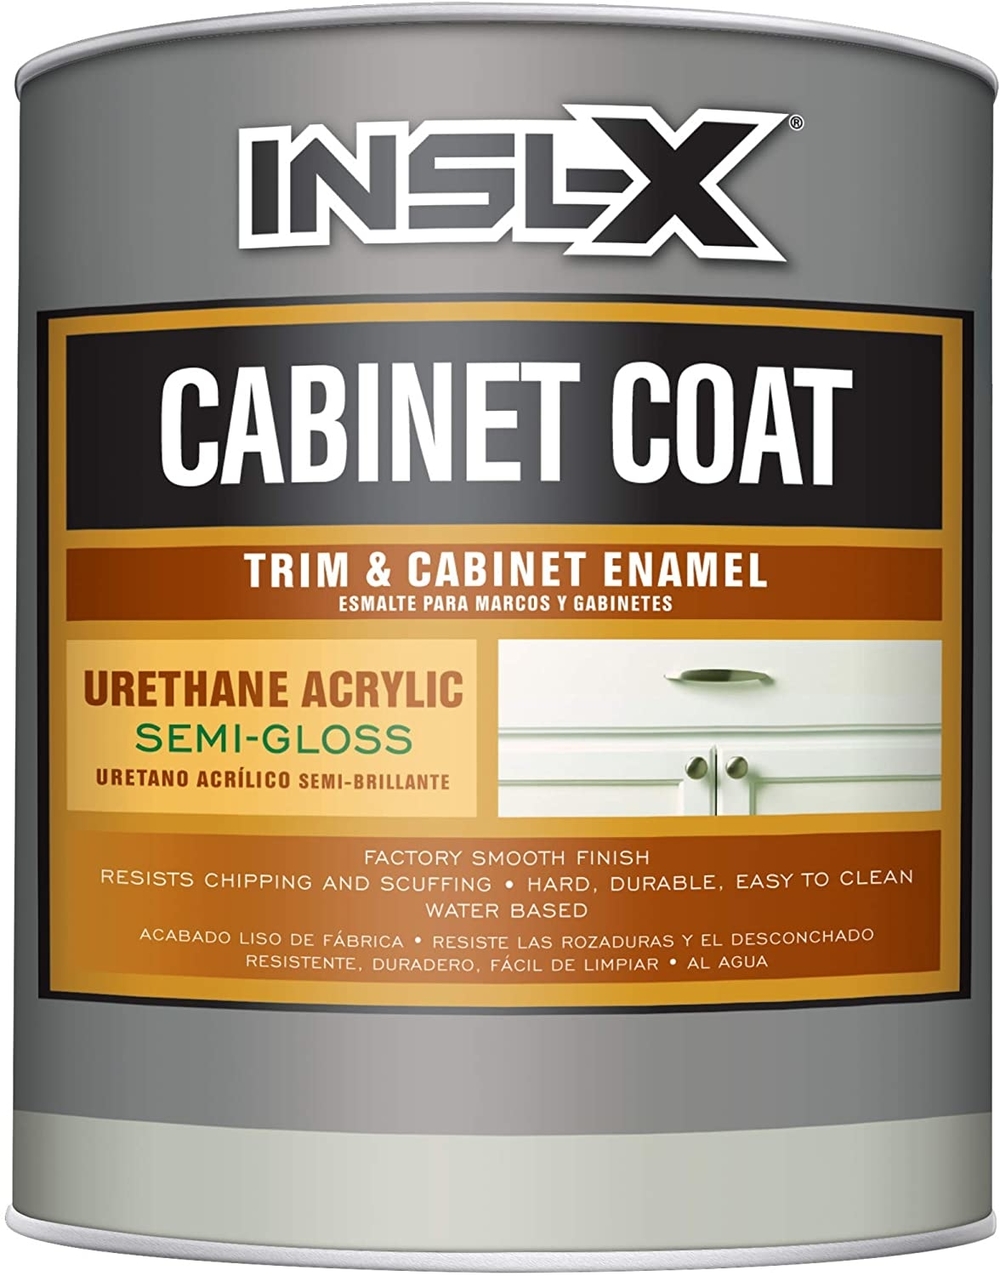
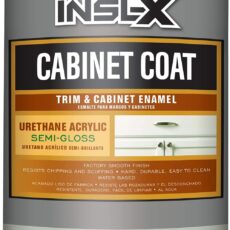
View price on Amazon4. INSL-X Cabinet Coat
The INSL-X Cabinet Coat creates a factory-like, ultra-smooth, and durable semi-gloss finish when using it on your kitchen cabinets. It adheres well to hard-to-coat surfaces, so it doesn’t require priming. Furthermore, it withstands chipping, scuffing, food stains, grease, and water.
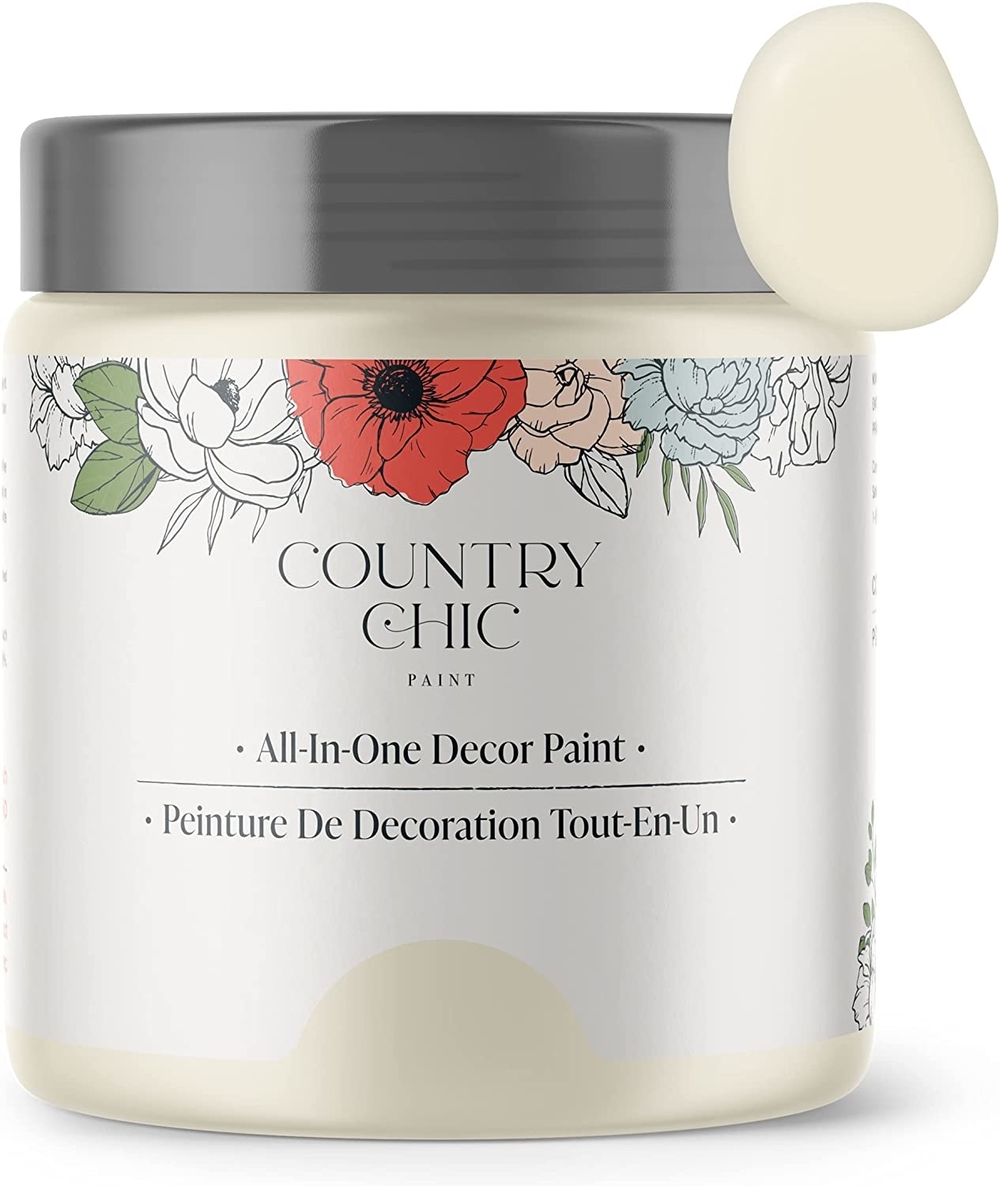
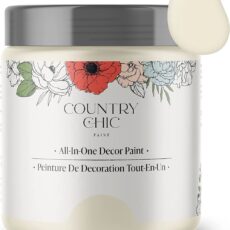
View price on Amazon5. Country Chic All-In-One Decor Paint
The Country Chic All-In-One Decor Paint is an excellent choice for furniture and home decoration projects, including kitchen cabinets. It adheres well, doesn’t require too many paint coats, doesn’t need any prep work besides cleaning, and provides long-lasting durability.
The product includes a primer and topcoat, requires 30 minutes to dry in a chalky matte finish, and doesn’t need waxing after painting. It’s low on odor and VOCs, making it completely safe to use.
View price on AmazonPainted Kitchen Cabinet Ideas
If you need more inspiration, check out the following ideas for DIY painted kitchen cabinets:
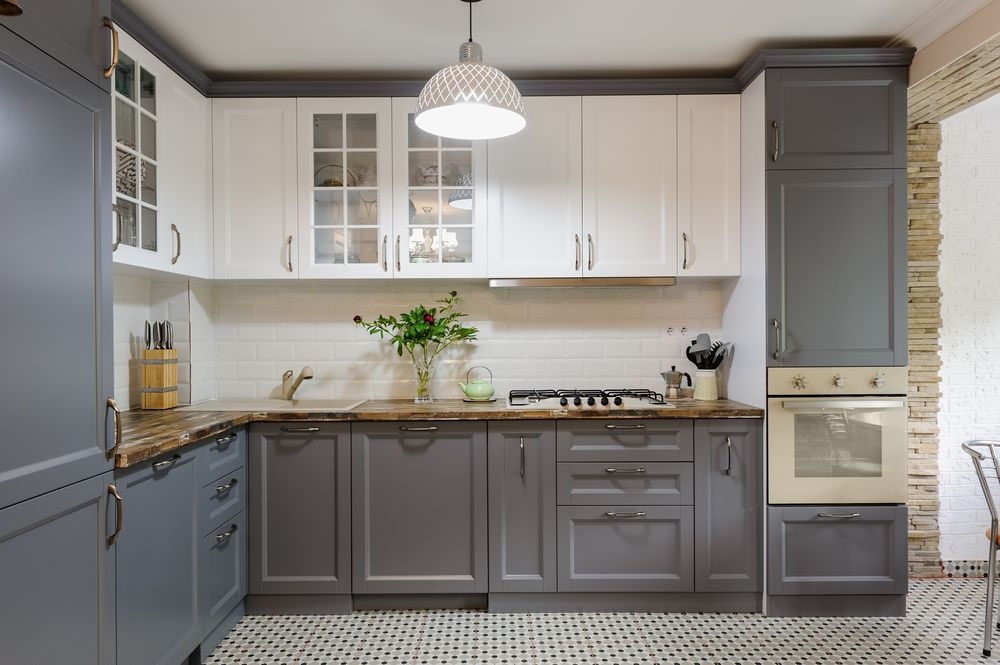
1. Modern Grey and White – DIY Painting Kitchen Cabinets
You can mix two colors for your kitchen cabinets by painting the top ones white and the bottom ones gray. It looks stylish and sleek, contemporary and cozy, as well as functional and appealing.
2. Retro Green – Repainting Kitchen Cabinets
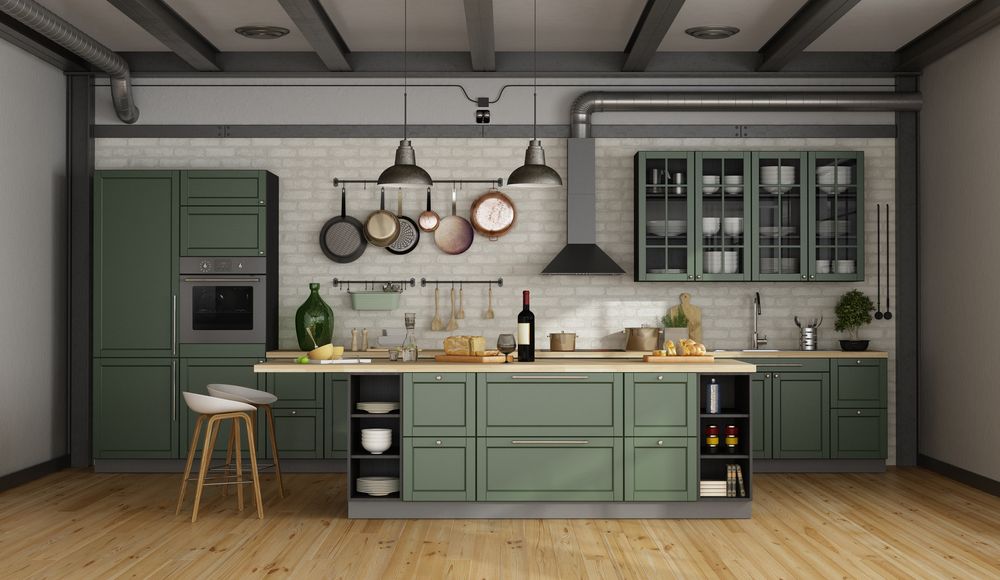
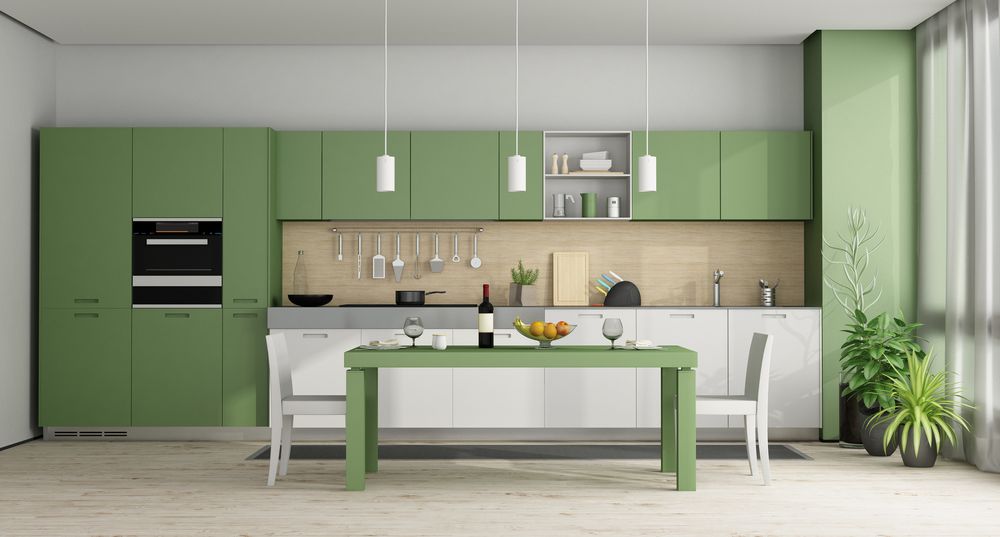
The retro green cabinet color gives your kitchen a feel of old times. Besides, you can paint it with neutral colors to add a vintage touch.
3. All Black – Refinishing Kitchen Cabinets
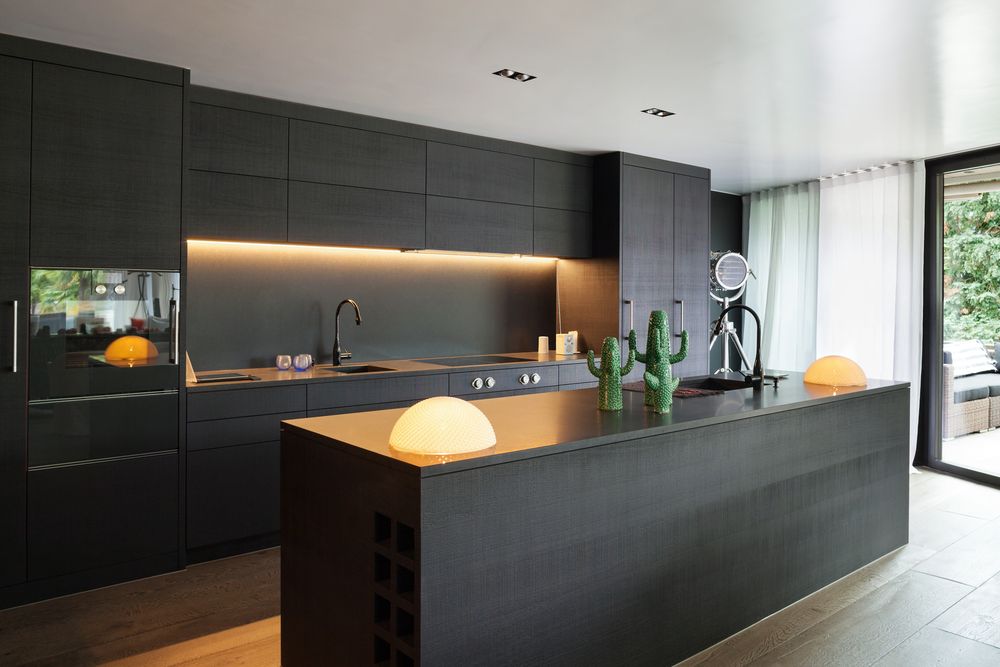
Using one color for your kitchen cabinets is a classic yet modern idea. So, if you want to give your kitchen a minimalist appearance, try painting it all in black. However, it only works if your kitchen is big enough.
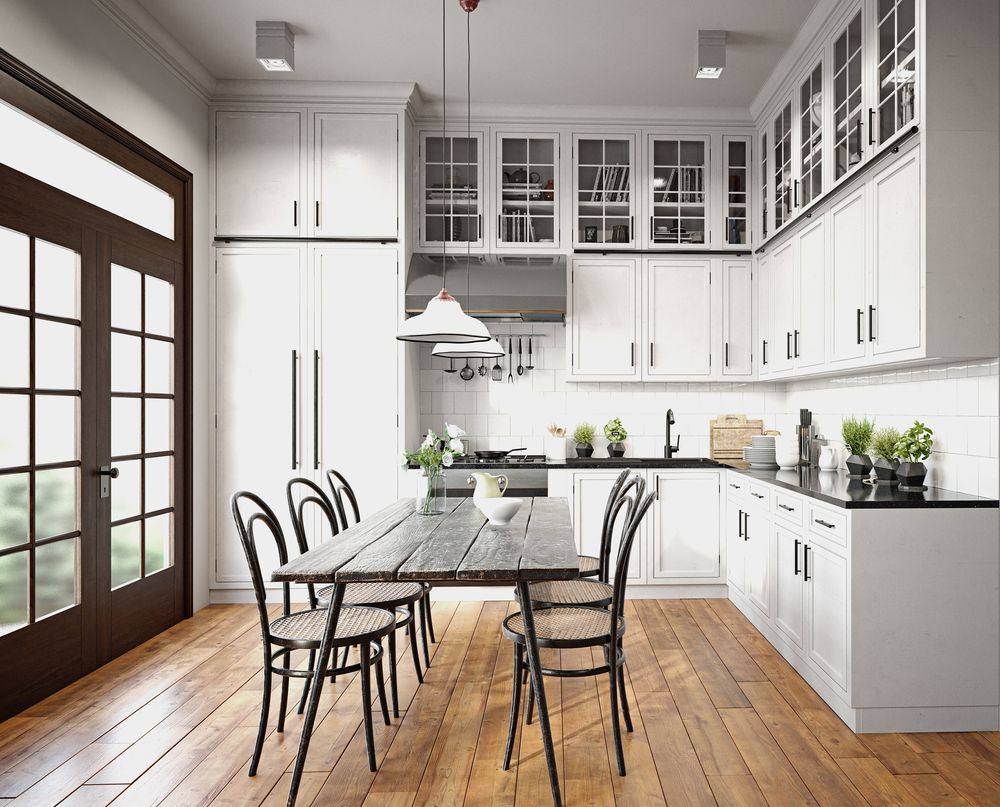
4. All White Cabinet Paint
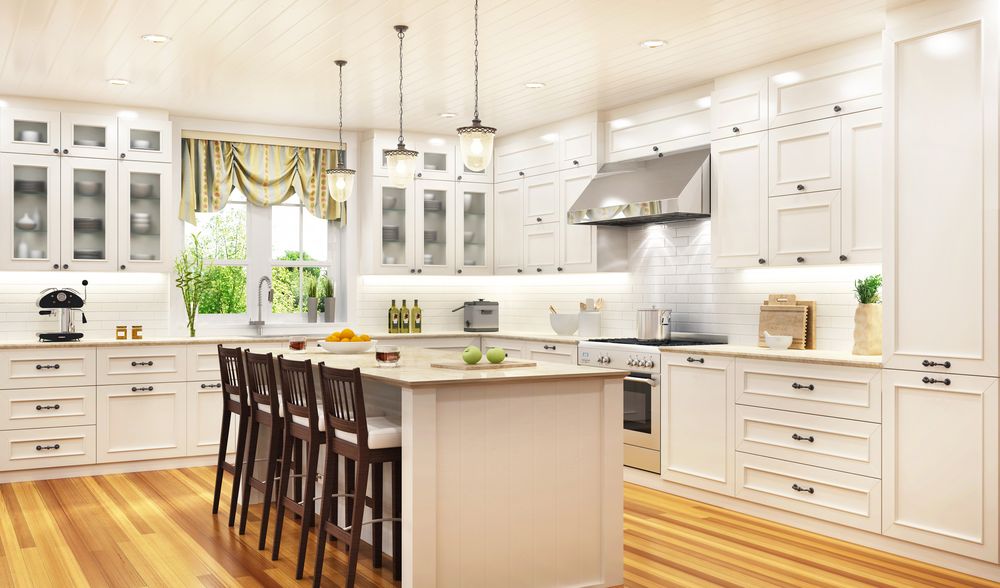
If you like the idea of using one color for your kitchen cabinets and you don’t want to go all black, then paint it all white. It’s a brilliant idea if you have oak cabinets, as it shows their texture. Besides, white is timeless in any country.
5. Natural Wood Kitchen Cabinets
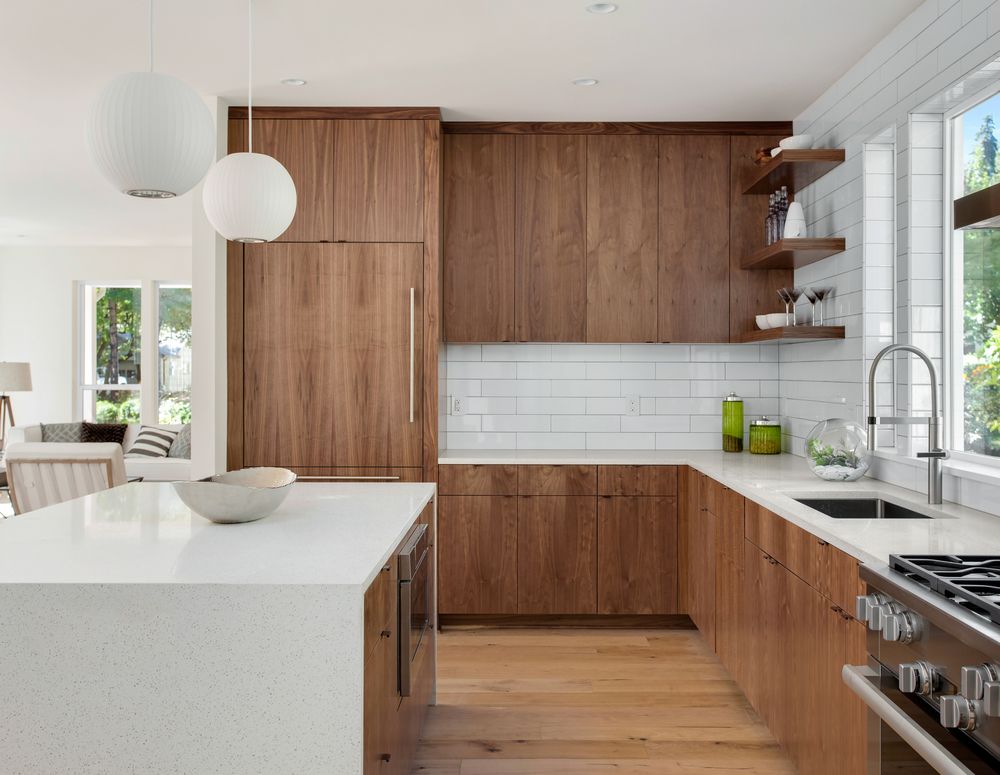
If you like to keep your kitchen warm and cozy, then go for painting it with natural wood. You can achieve this look either by staining cabinets or painting them with primer paint. Then, use your imagination to add some designs to the cabinets.
Final Thoughts on Painting Kitchen Cabinets
Painting is a simple and effective way to breathe life into your kitchen cabinets and give your entire kitchen a new look. Besides, it’s significantly cheaper than refinishing or replacing your existing cabinets, especially if they don’t require any repairs.
It’s not only easy but also inexpensive to paint kitchen cabinets. You can do this job over a weekend and be amazed at the differences, provided that you carefully follow our step-by-step instructions.
What are your favorite painted kitchen cabinet ideas? Let us know in the comment section below!
