DIY Ombre Painted Journals
Here’s a quick and easy craft that will help your journals or books stand out from the rest. For me, I have specific journals that I use to brainstorm craft ideas and other important notes. It’s great to have that one or two notebooks that I can travel with, where the cover of it gives me inspiration to write or create. Ombre is a definite reoccurring trend. We’re seeing it a lot in DIY clothing, wall art and other home décor. It’s an easy trend to replicate and with just a little bit of paint you can add a lot of brightness and color to any item. For this craft, pick up a plain journal from your local stationery store, or pull an old one from your office, and get ready to add some color.
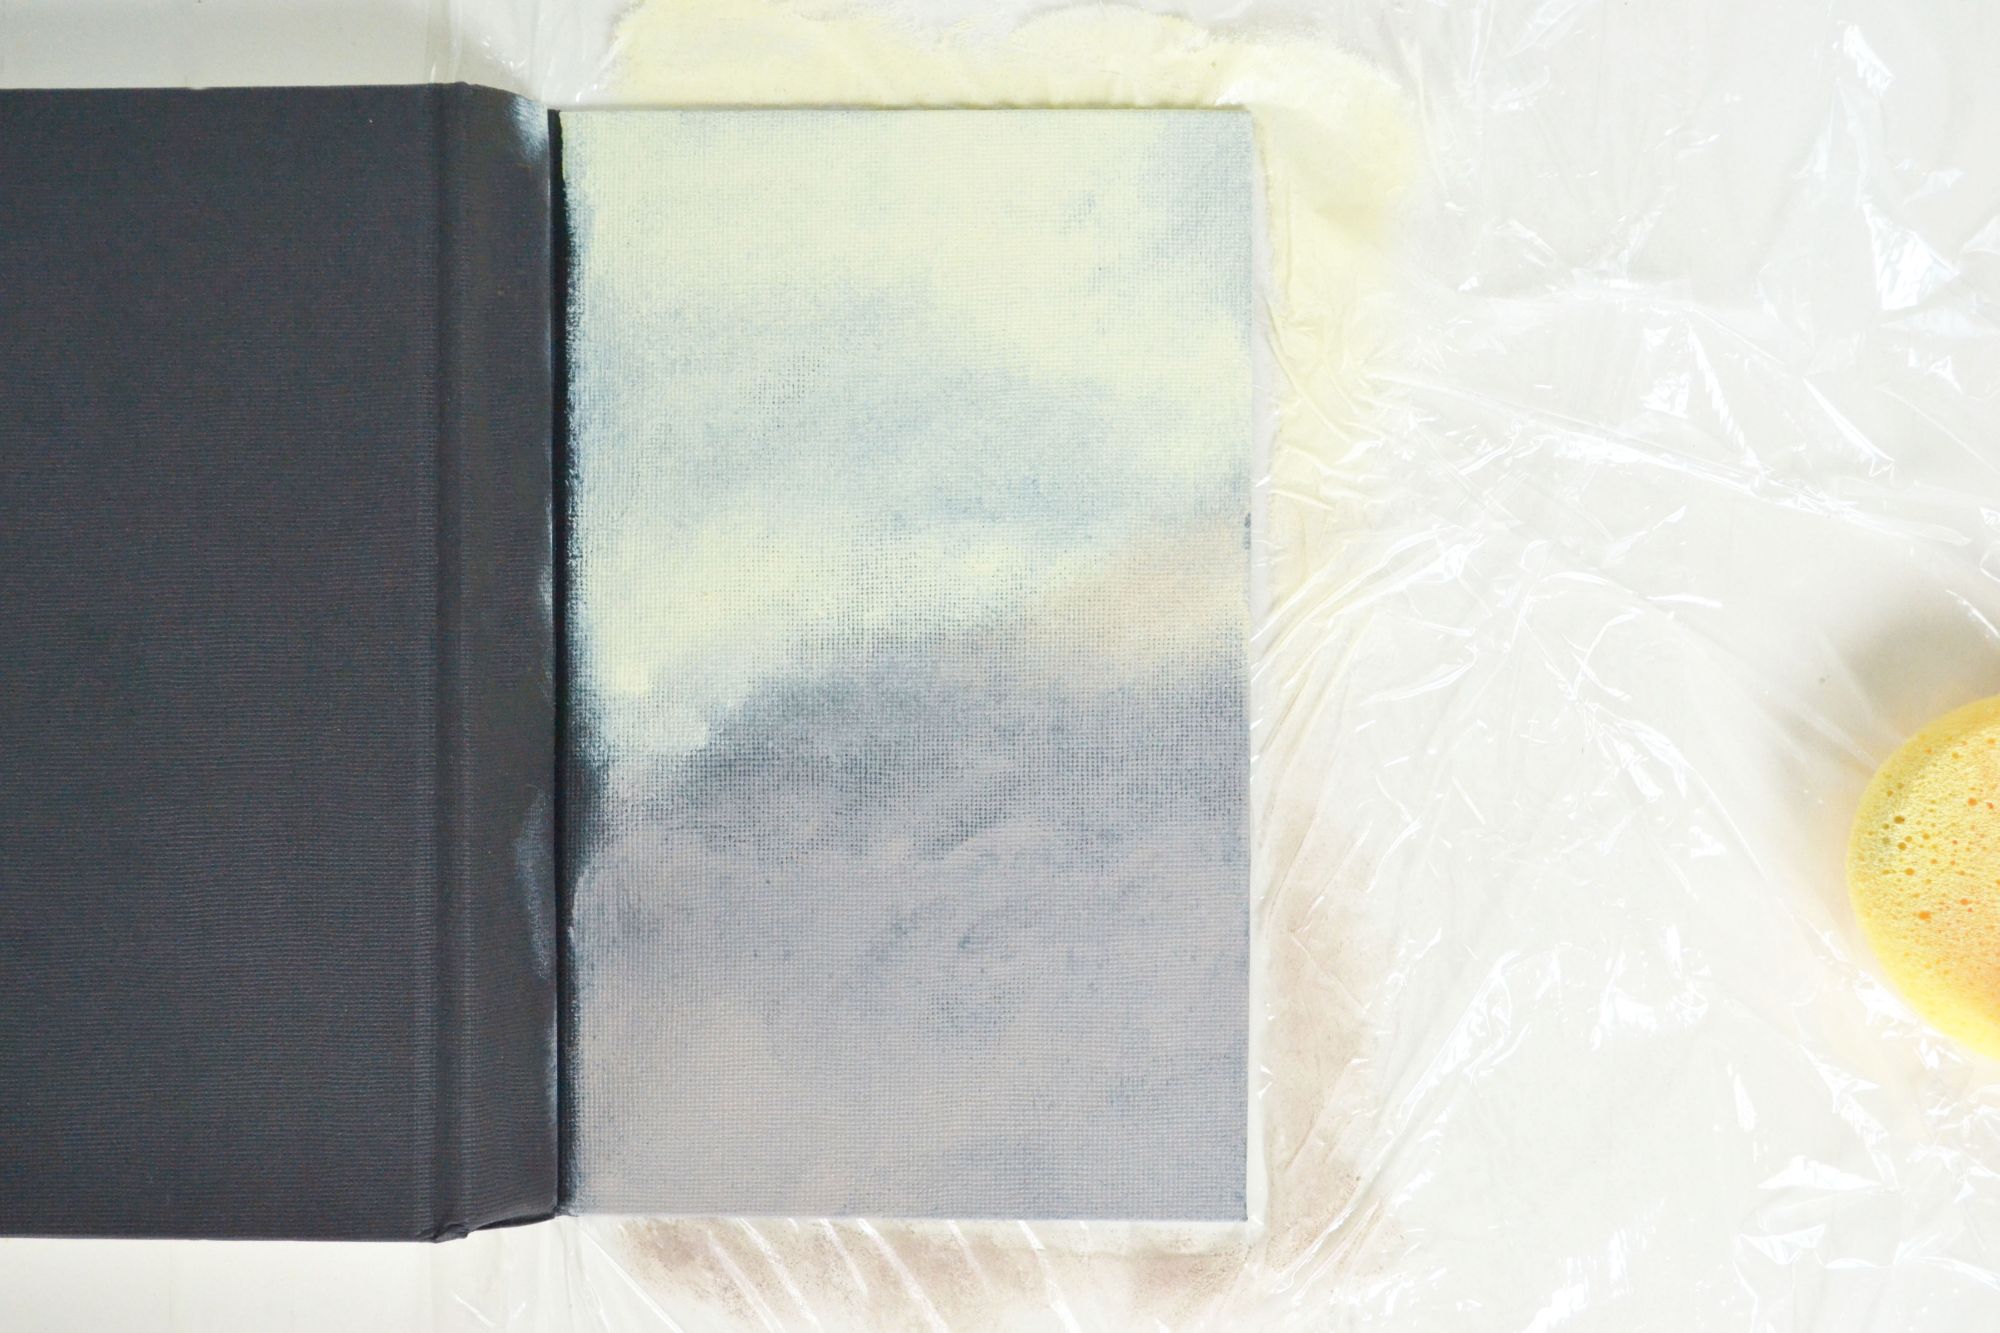
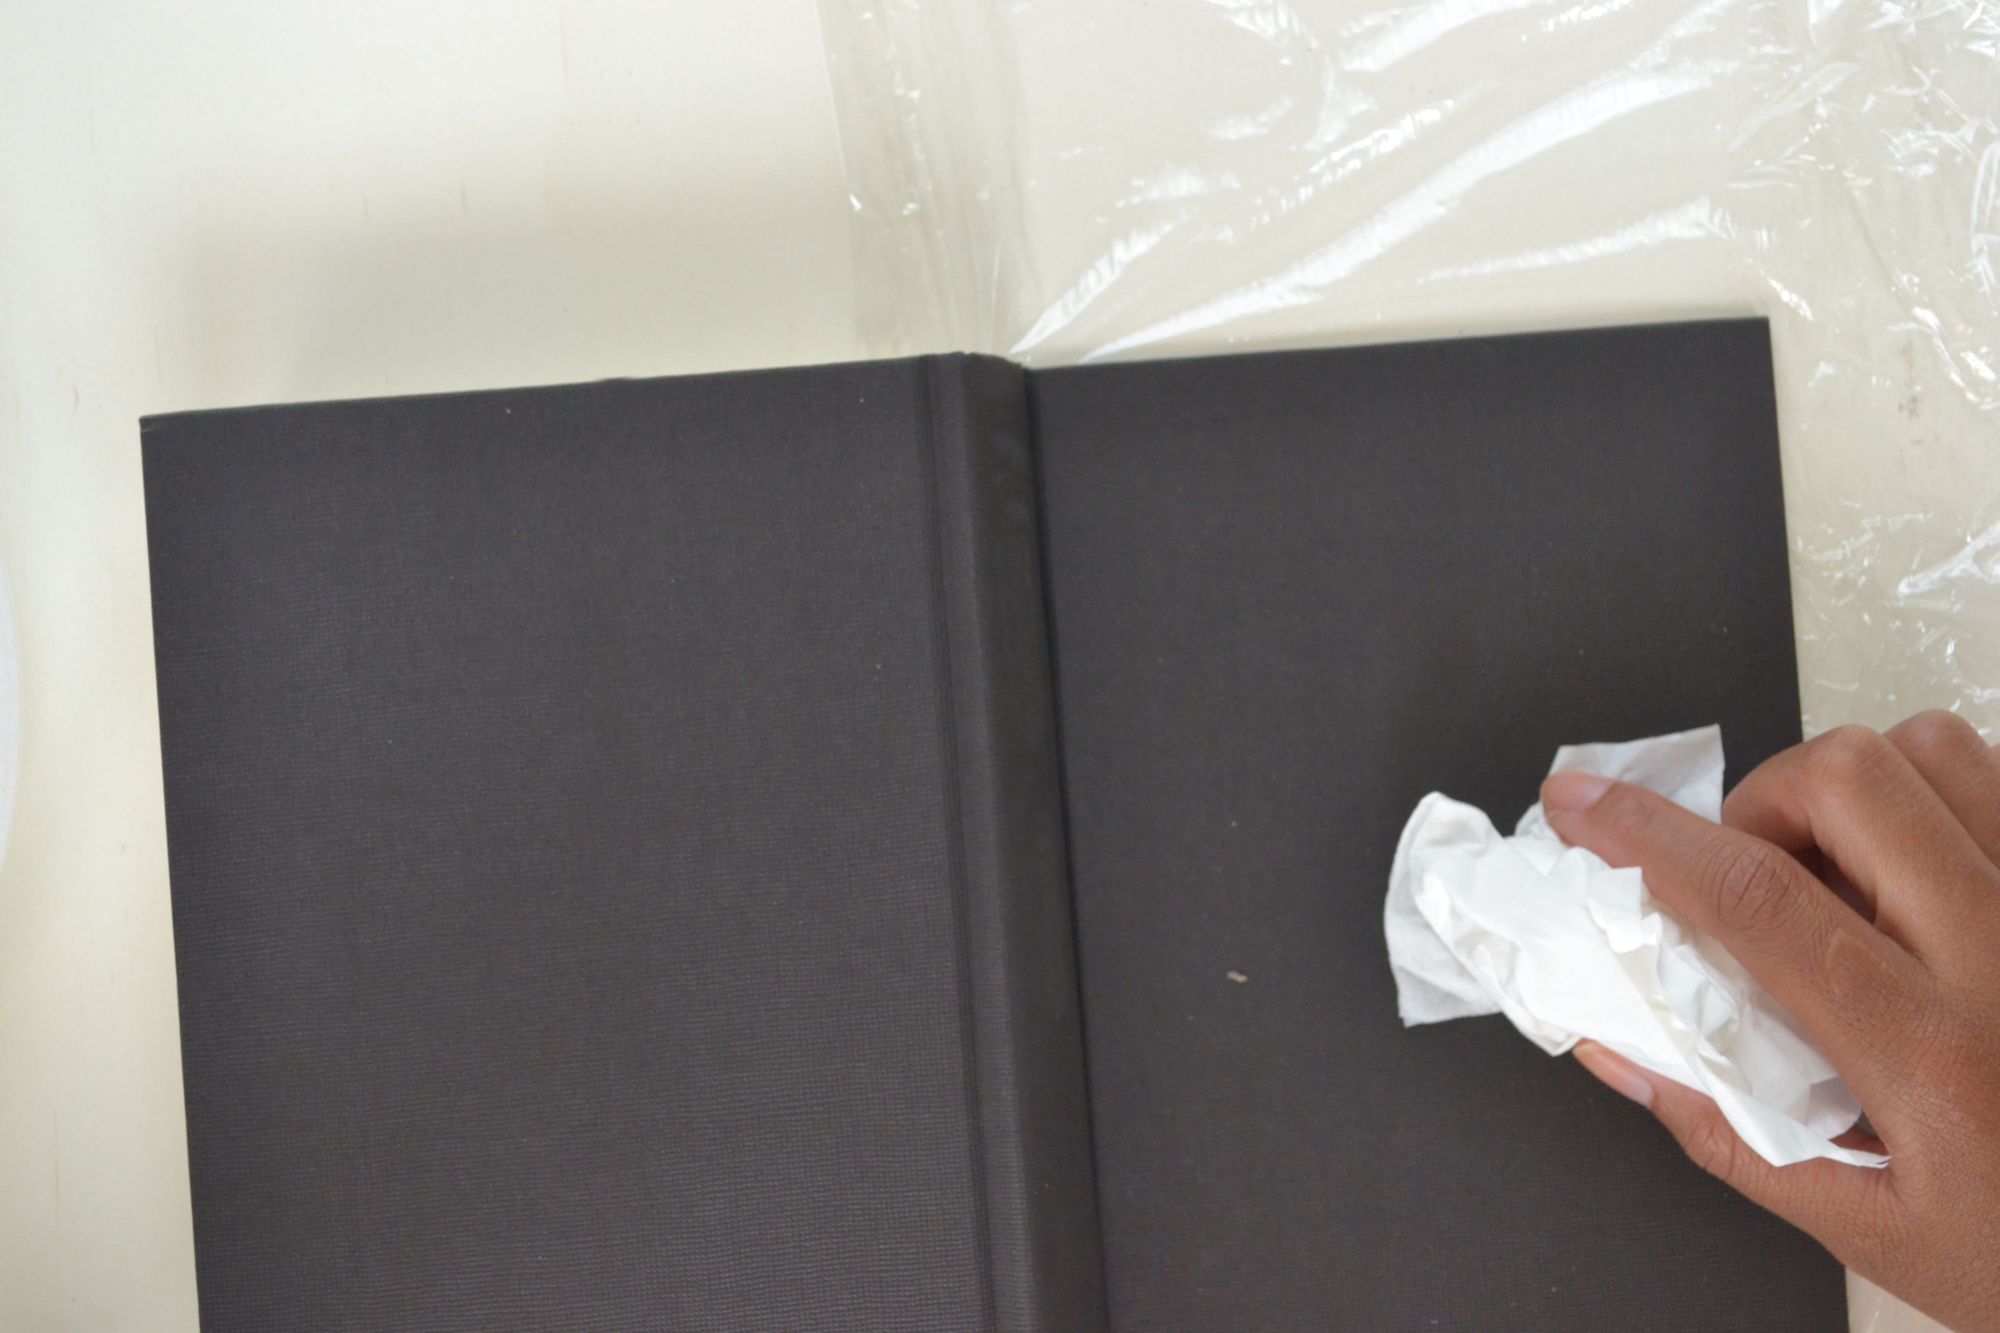
I suggest using a hardback book for this project. The paint will most likely ruin the pages of a paperback journal. Also, try to ombre a book that does not have any letter embossing on the front or back, unless you prefer the words on the cover to show through the paint. Start by wiping down the journal with a slightly damp cloth. A cloth that’s too wet may ruin the cover or the pages. You’ll want to get any dust and dirt off the surface. Protect the pages by placing the opened book on a piece of cardboard or cling wrap. You can also isolate the pages by wrapping them in foil or plastic wrap and taping the inside of the covers with painter’s tape.
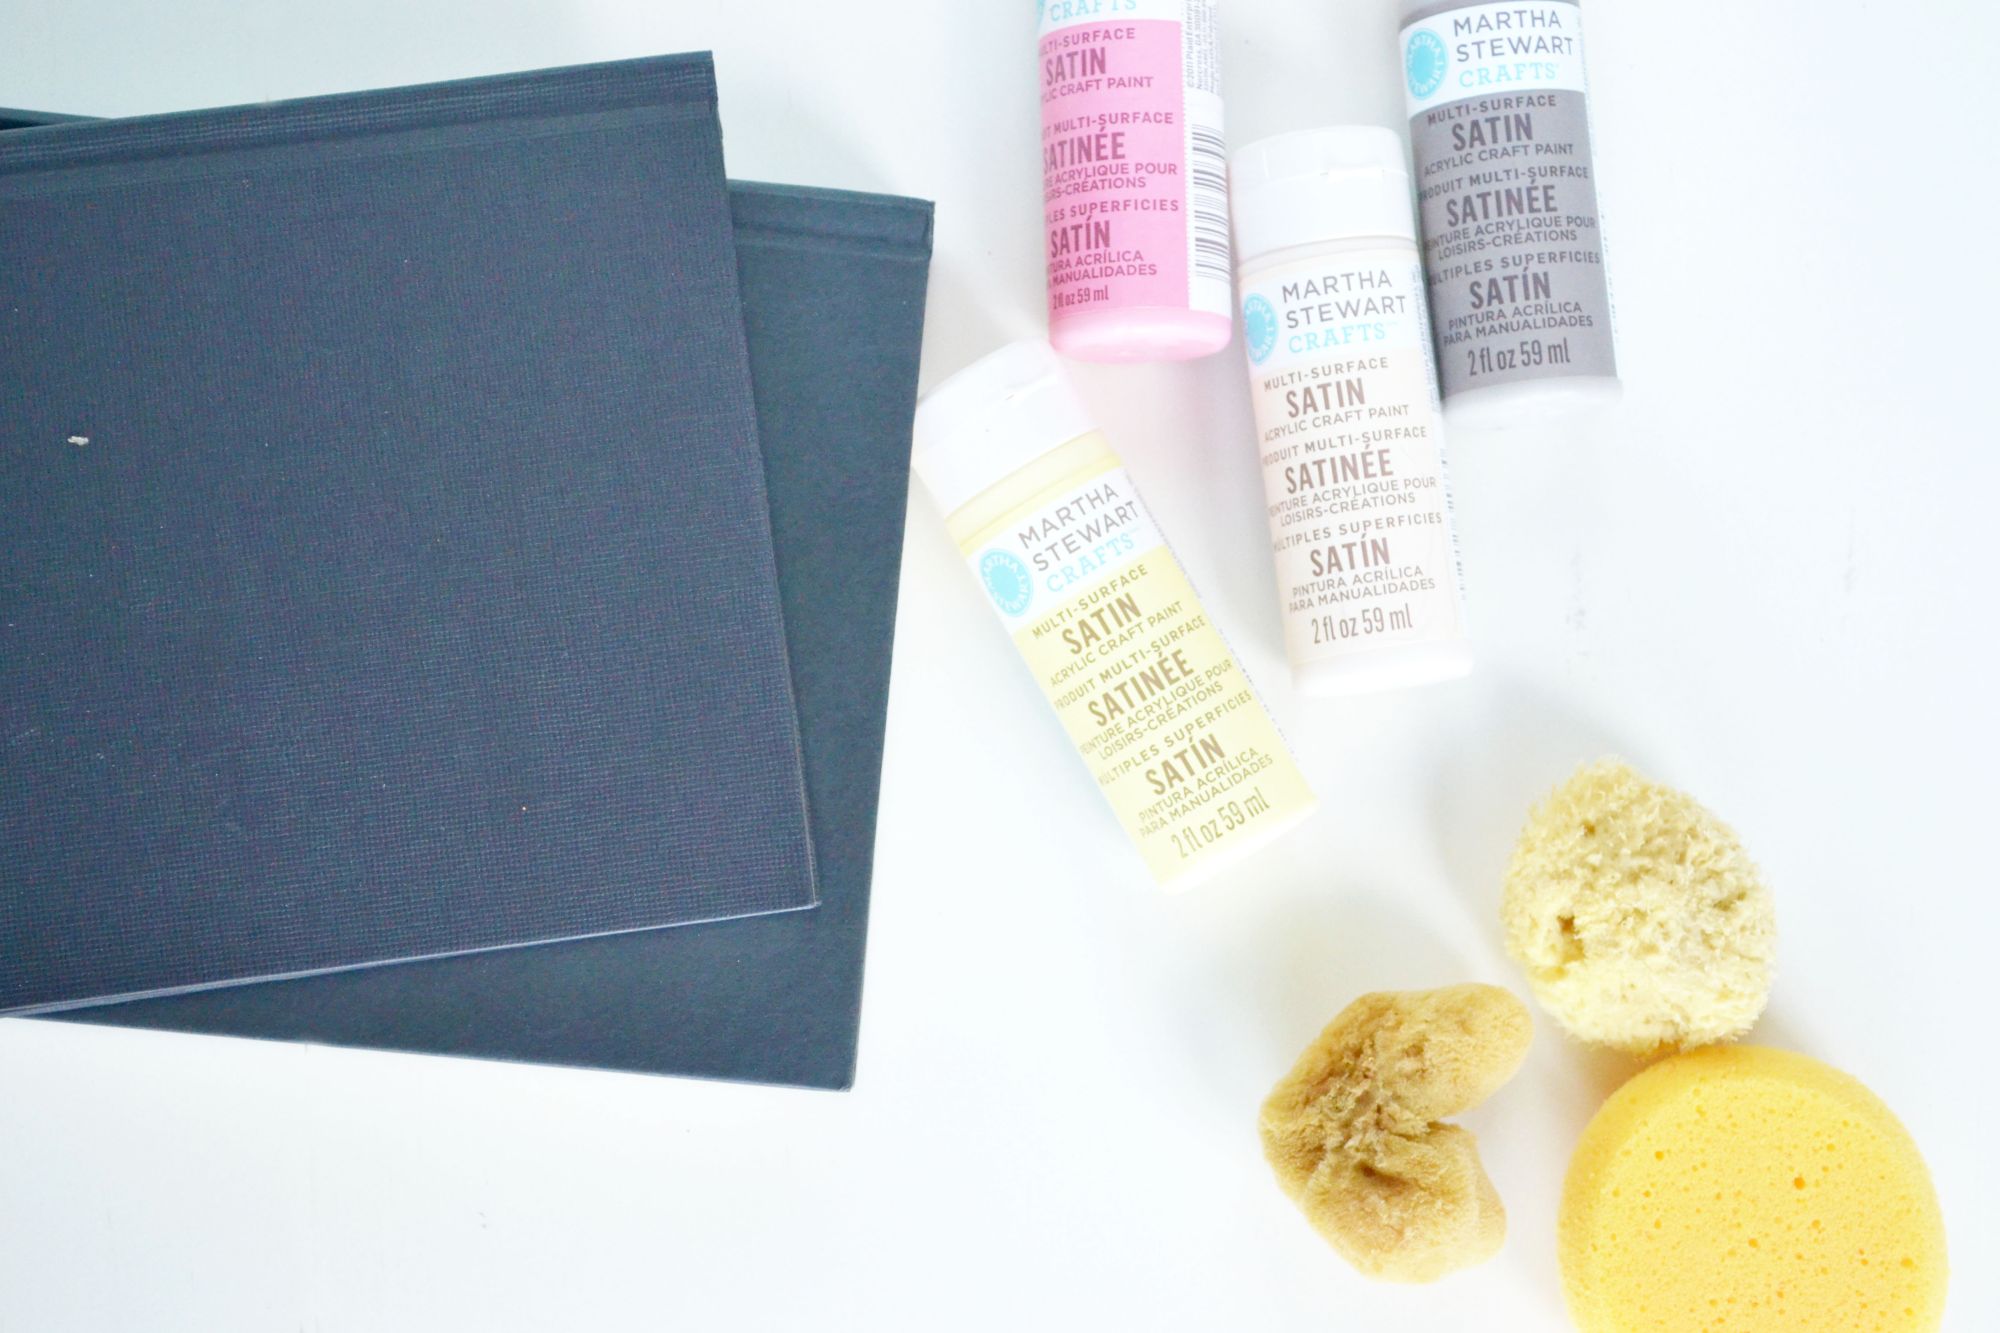
I am using a multi-surface acrylic paint for this project. It adheres very well to the books surface, and has a fast drying time. Determine how you want to ombre your book. You can have it span from a lighter color to a darker color, with colors all in the same family or you can have multiple different colors on the same book.
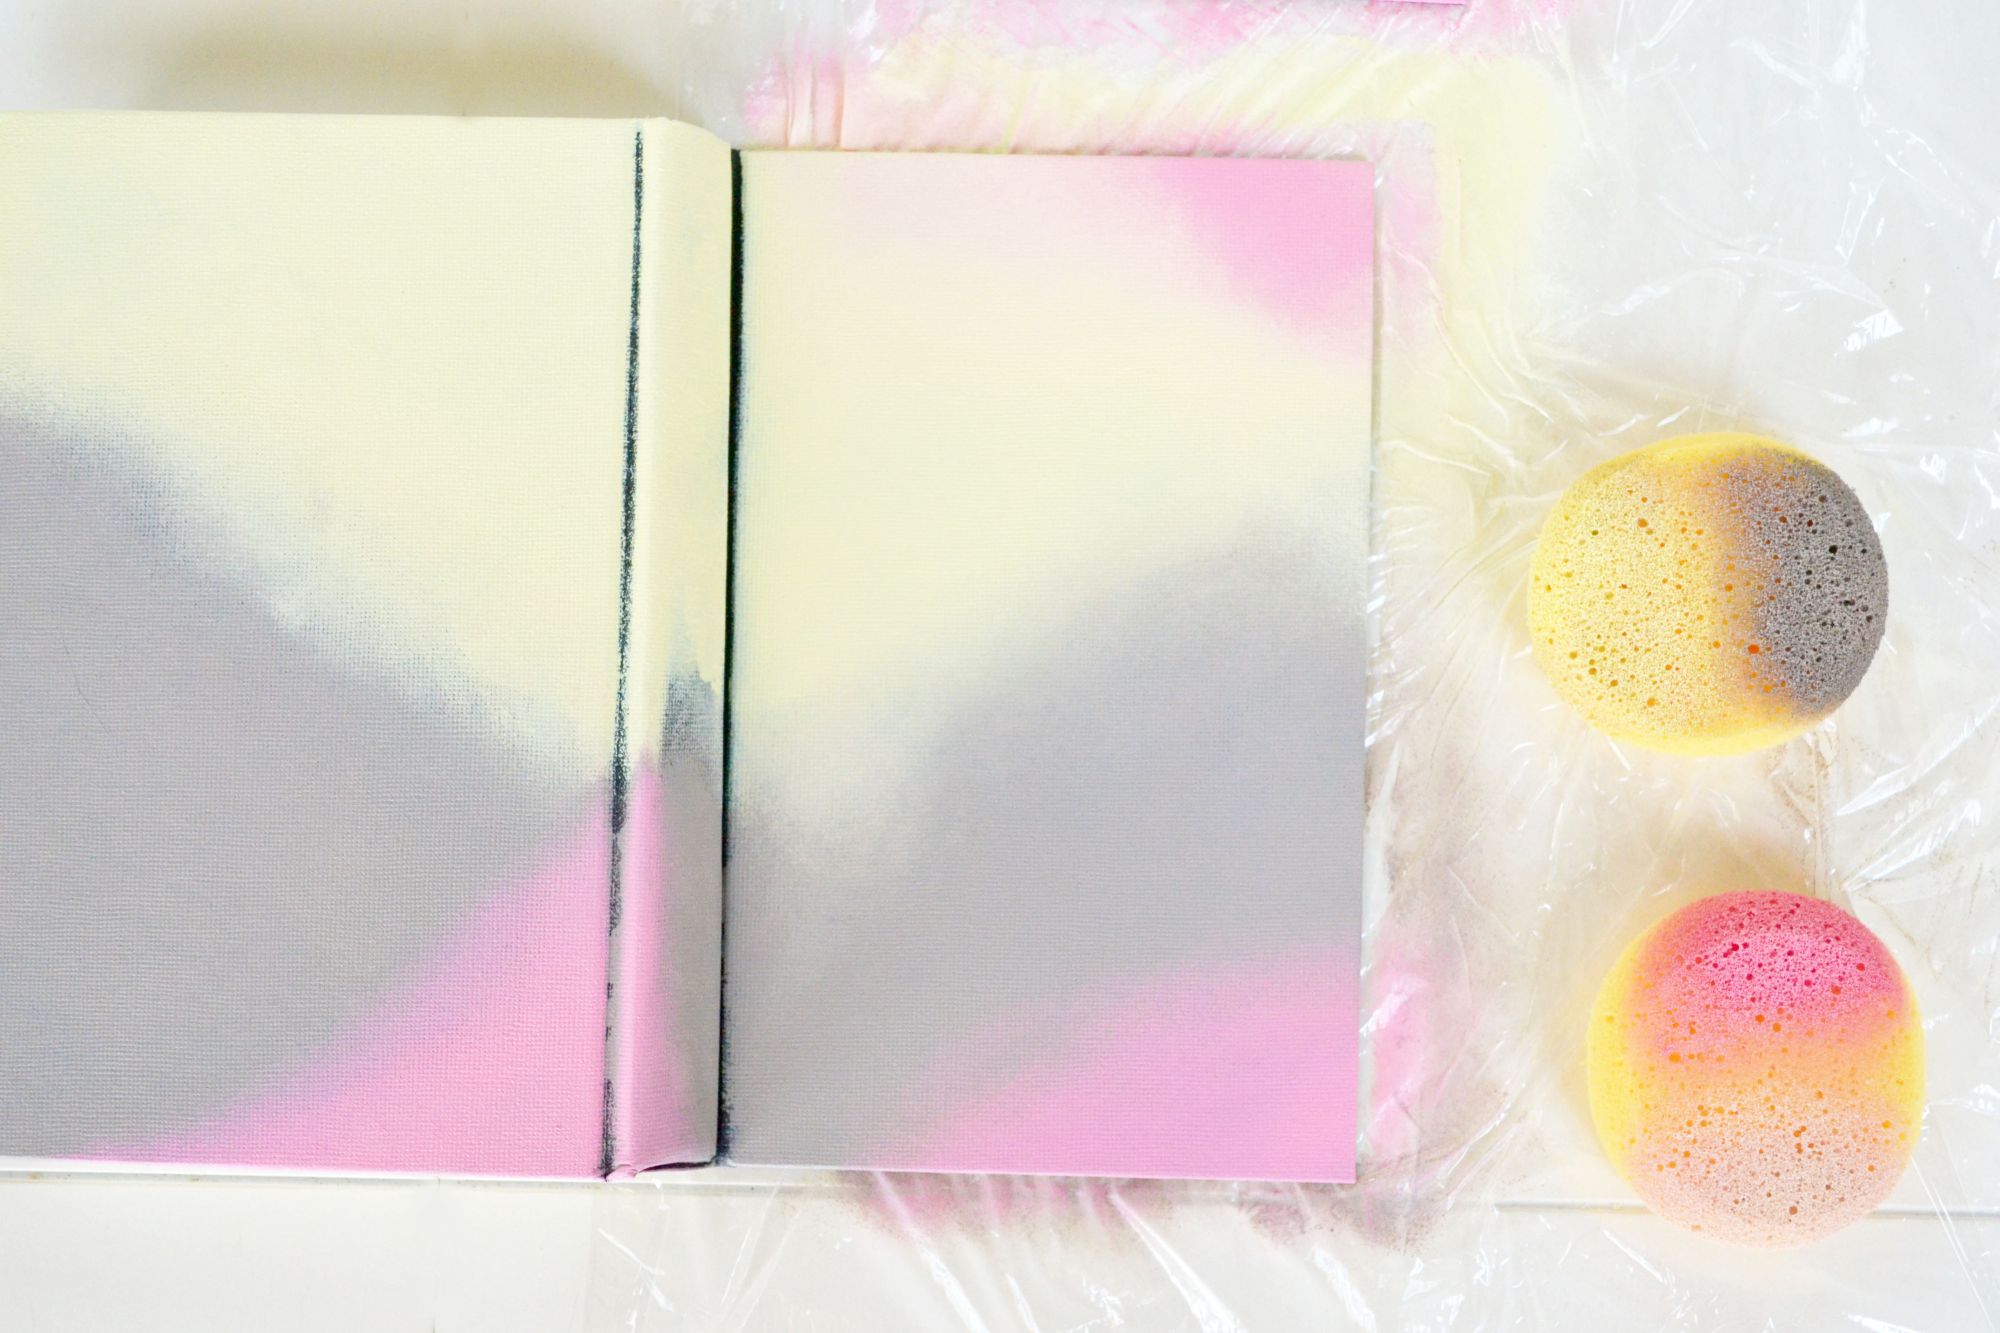
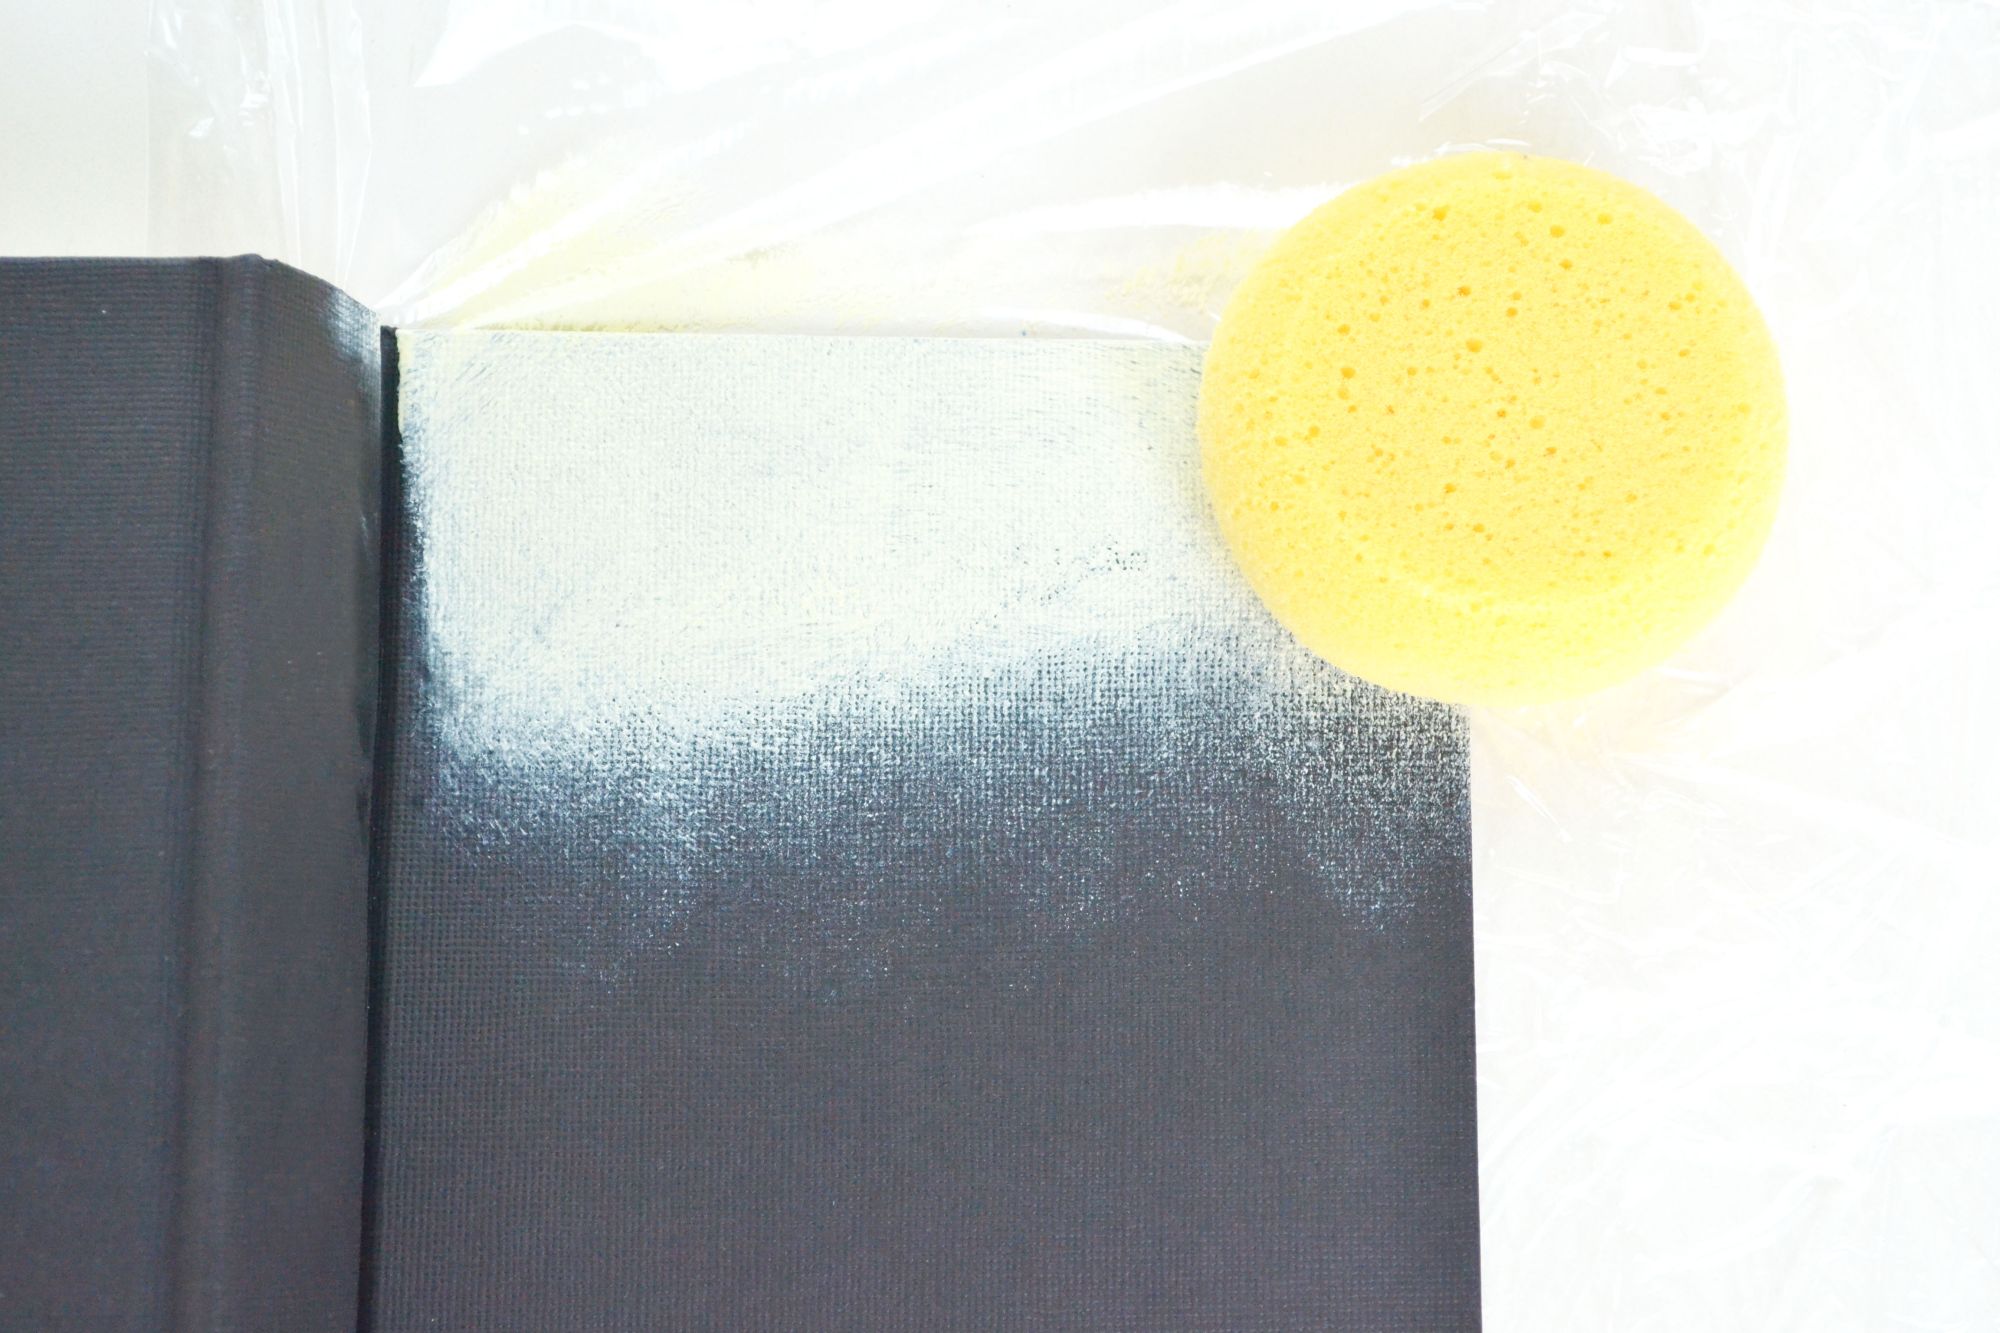
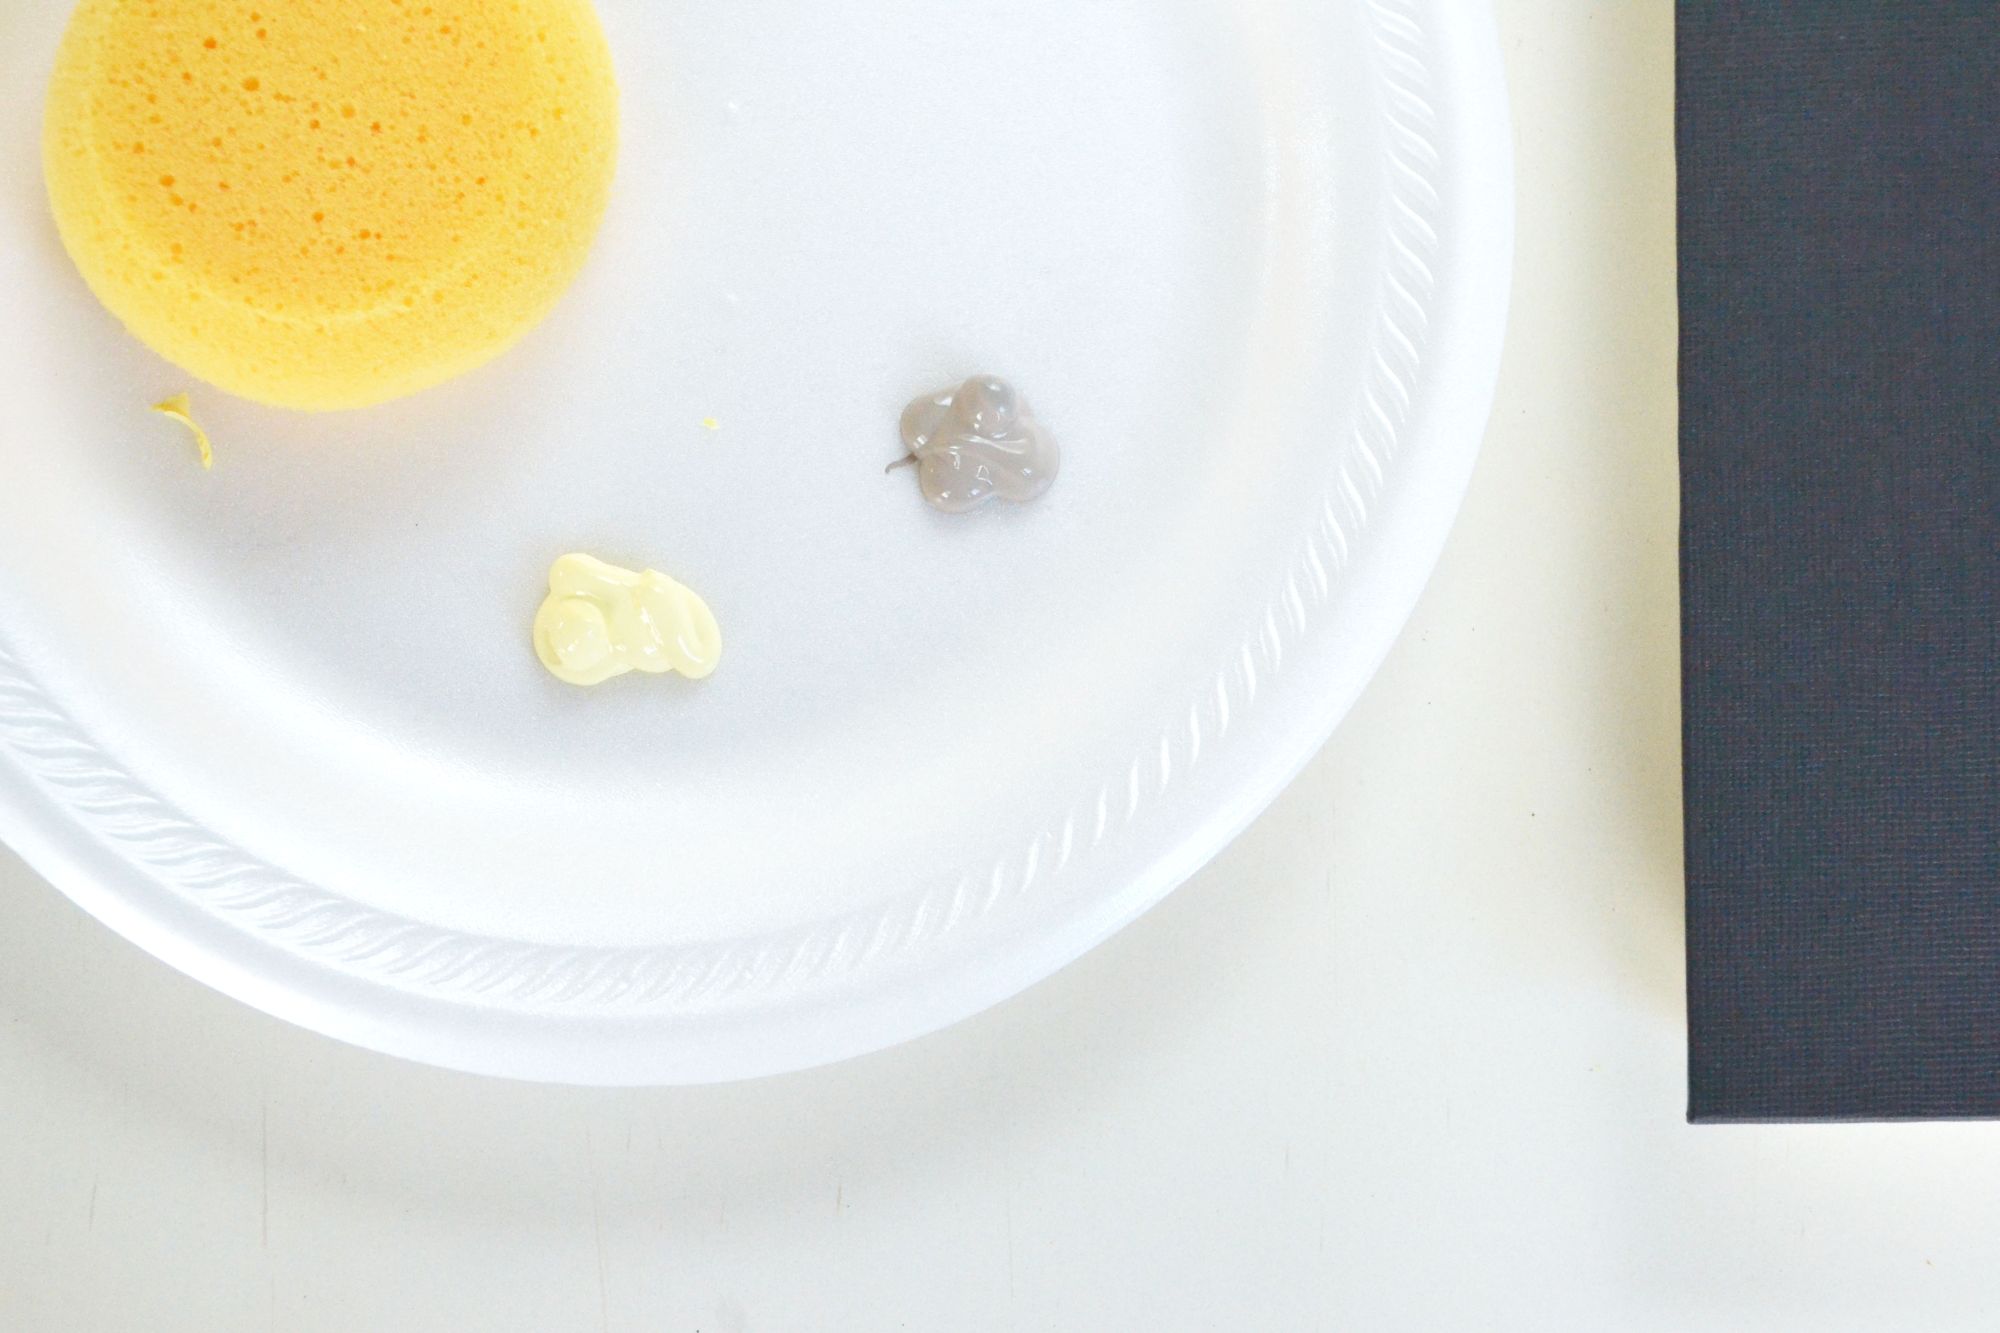
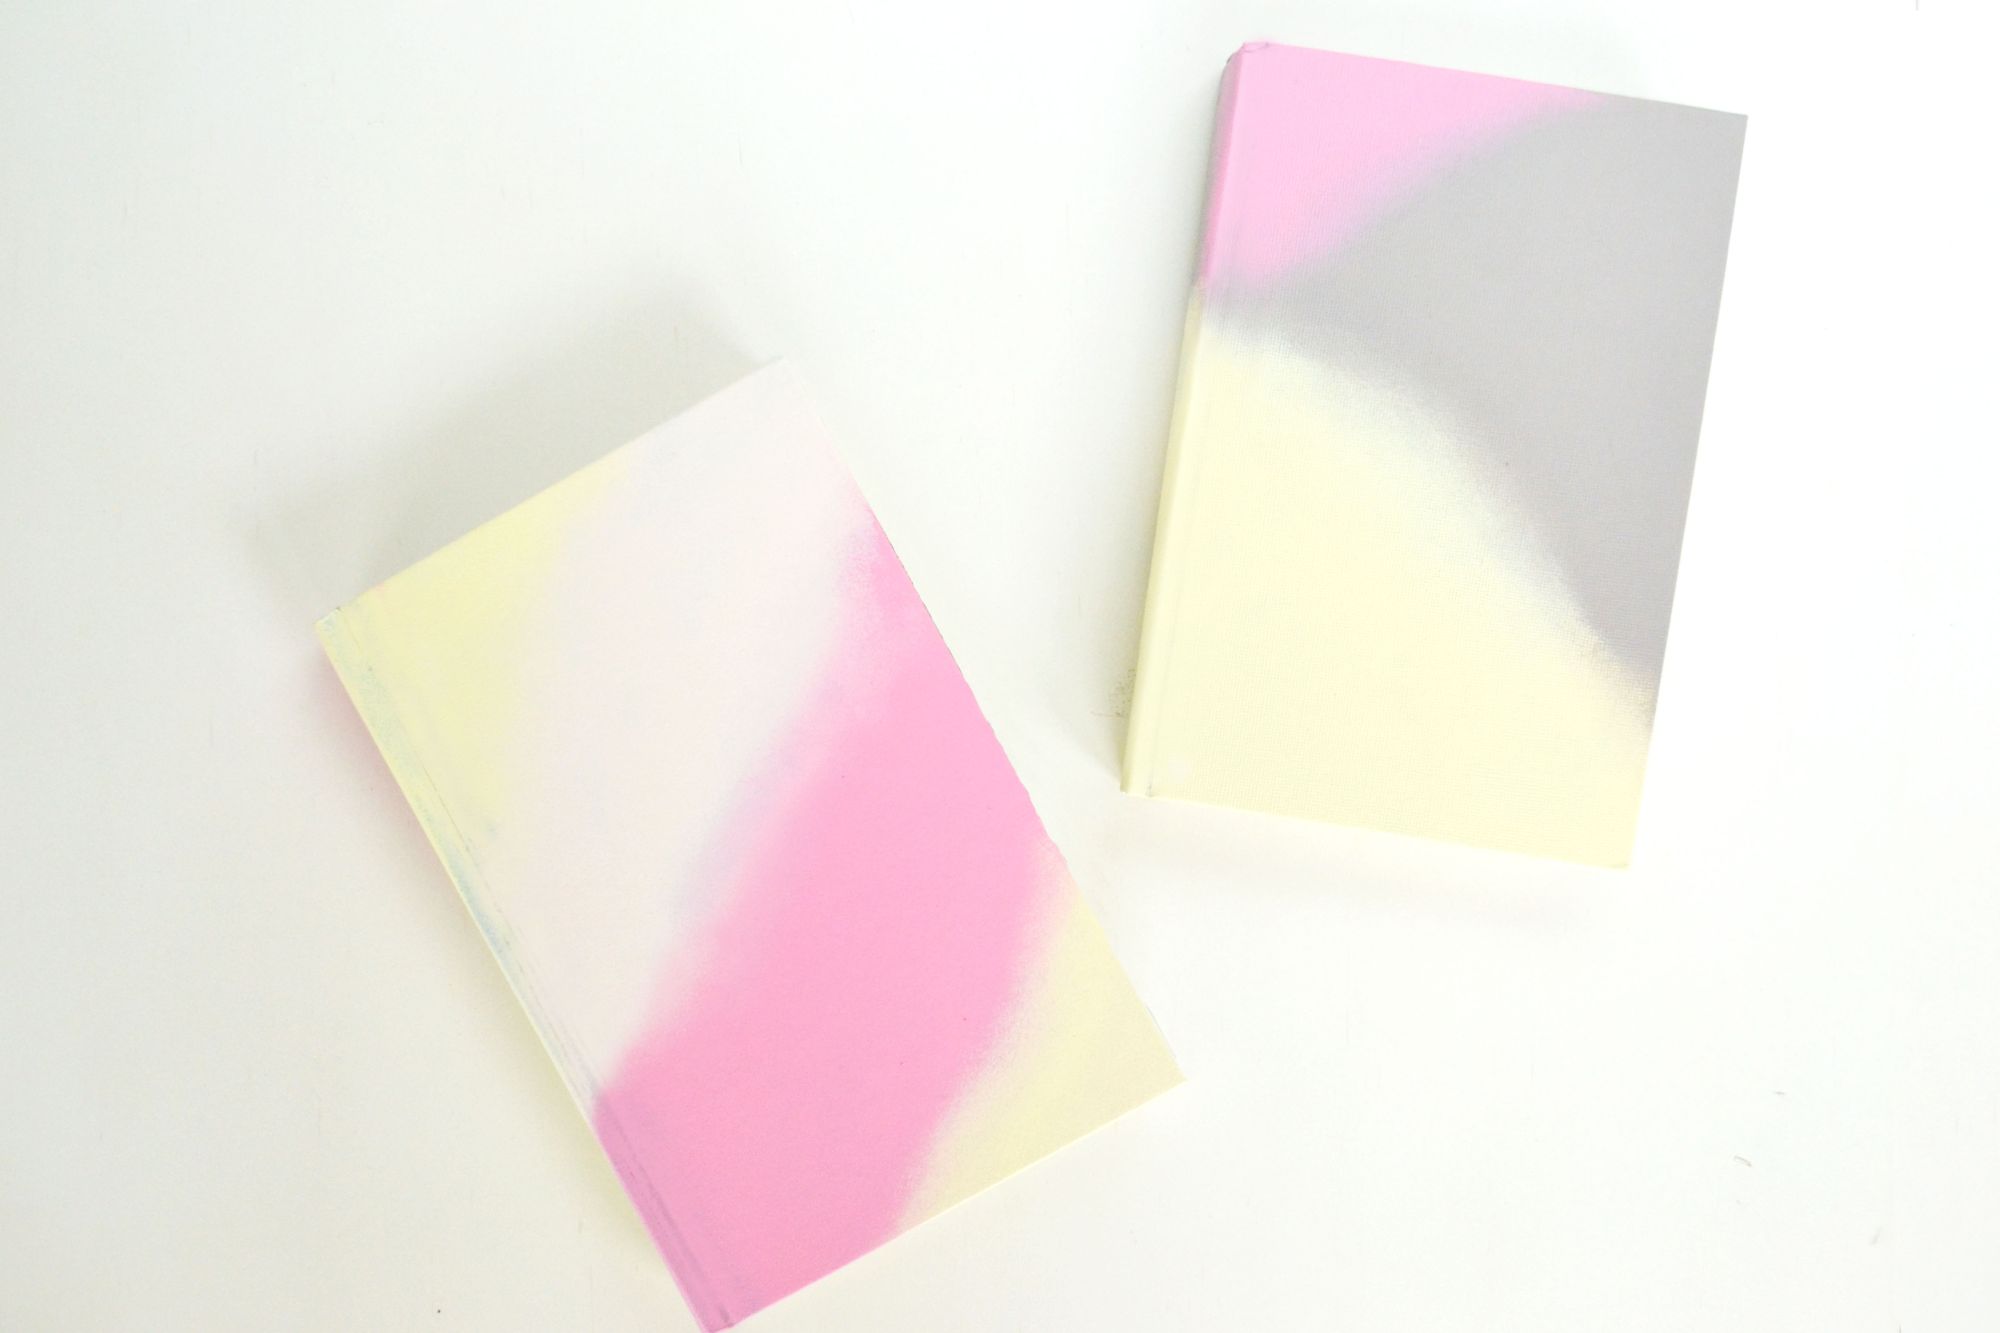
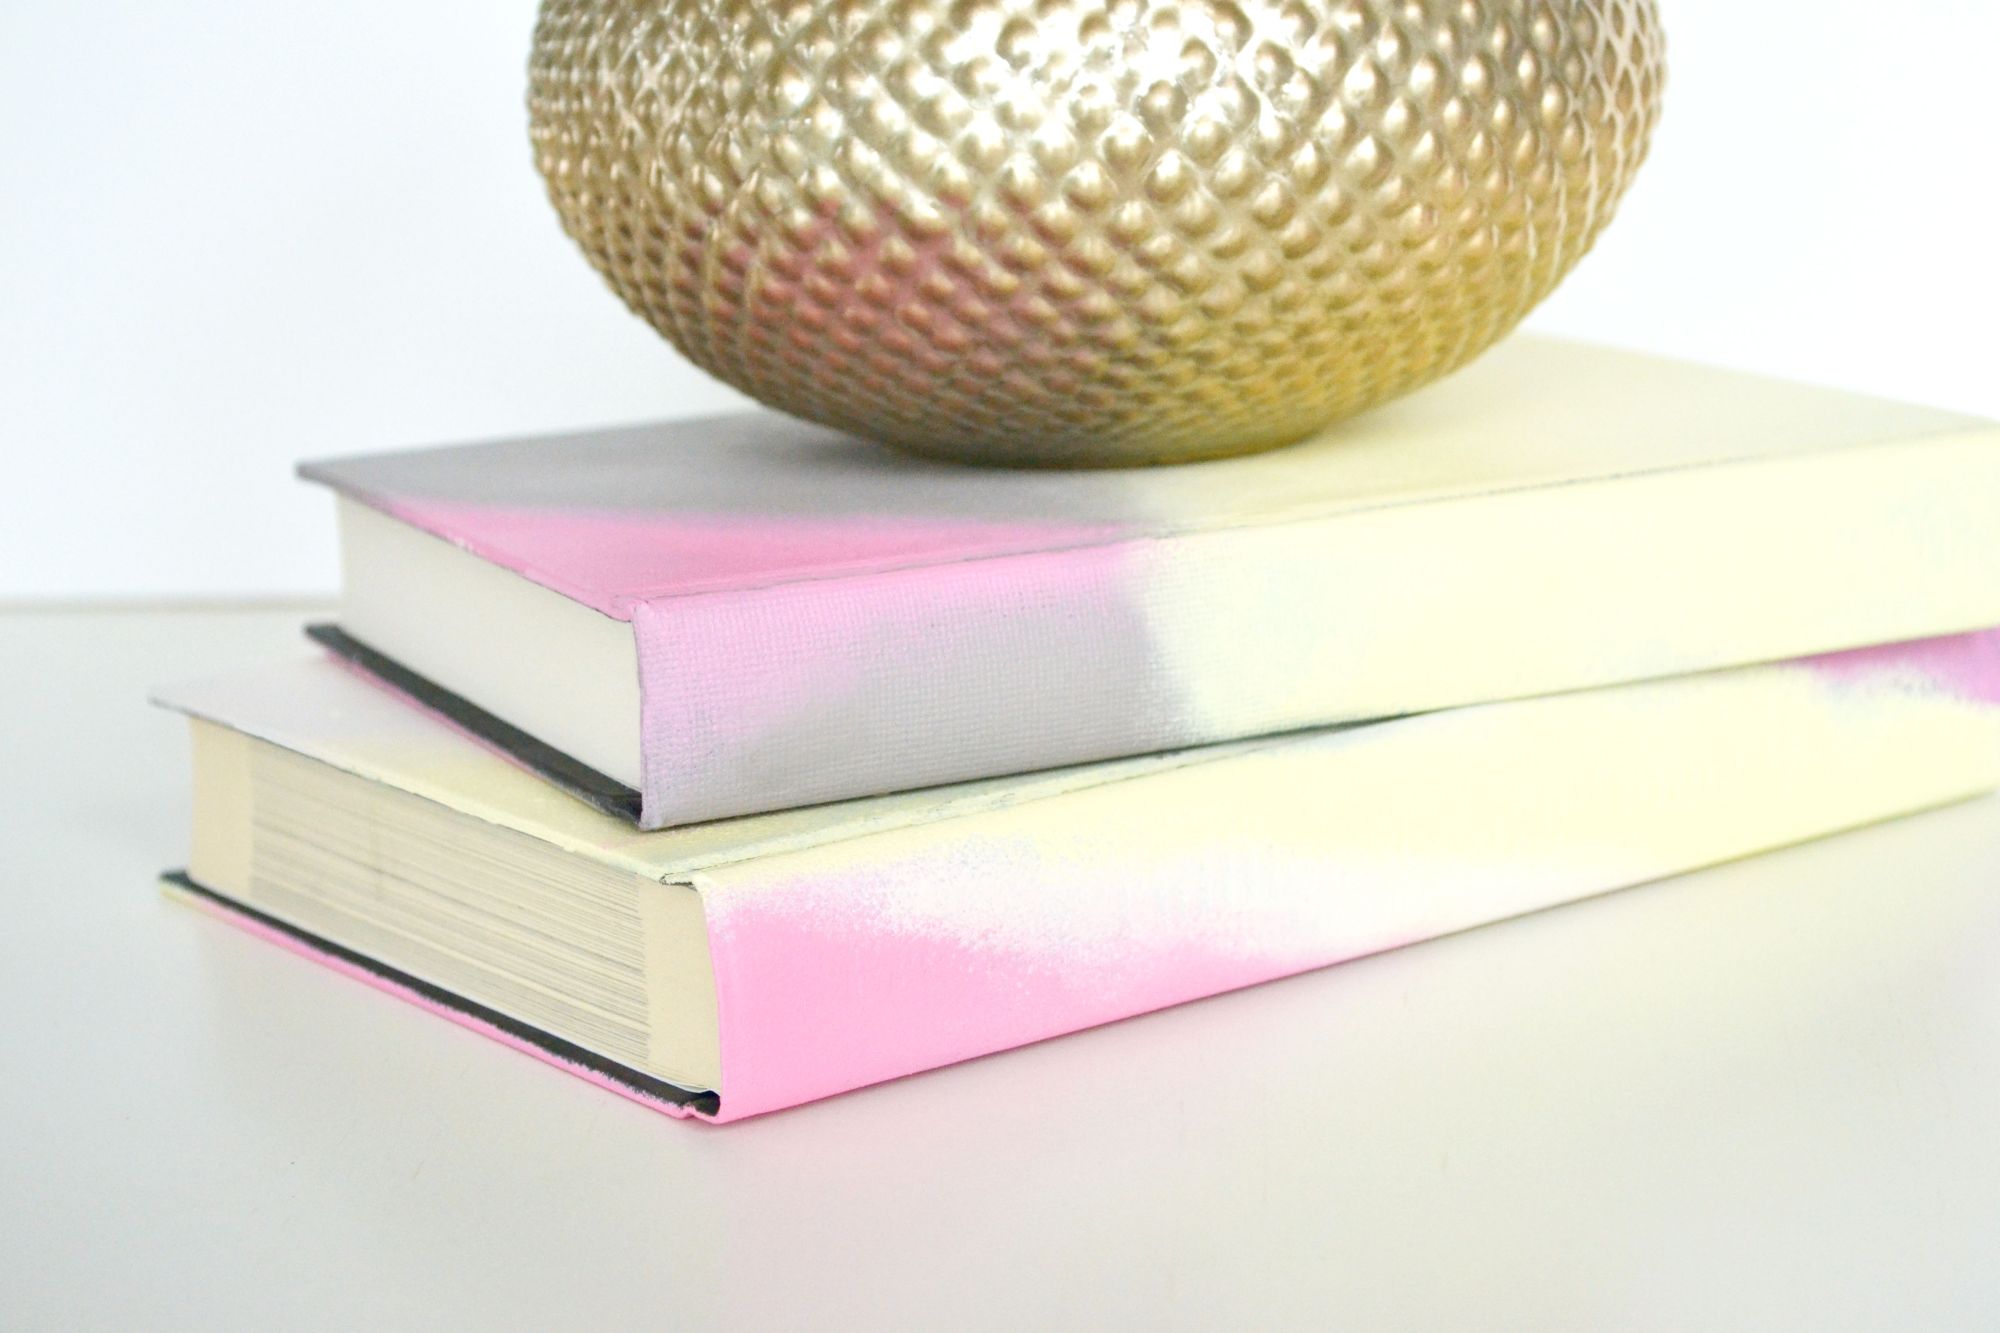
A little bit of paint goes a long way for this project. For the first journal, I decided to start with two colors starting at the top from yellow to gray, and then added a third color at the end.
Dampen the sponge brush before using. The sponge should never be dry with paint. The damp sponge allows the paint to blend more easily onto the surface. Pick up one paint color and using light patting motions, begin painting the book. Be sure to slightly overlap the layers as you change colors to make sure it’s well blended.
If one layer of paint is not enough, be sure to add a second layer. You don’t want the words (if any) on the front and back cover to peek through (unless this is intentional). A second layer should make the colors a lot more vibrant and saturated.
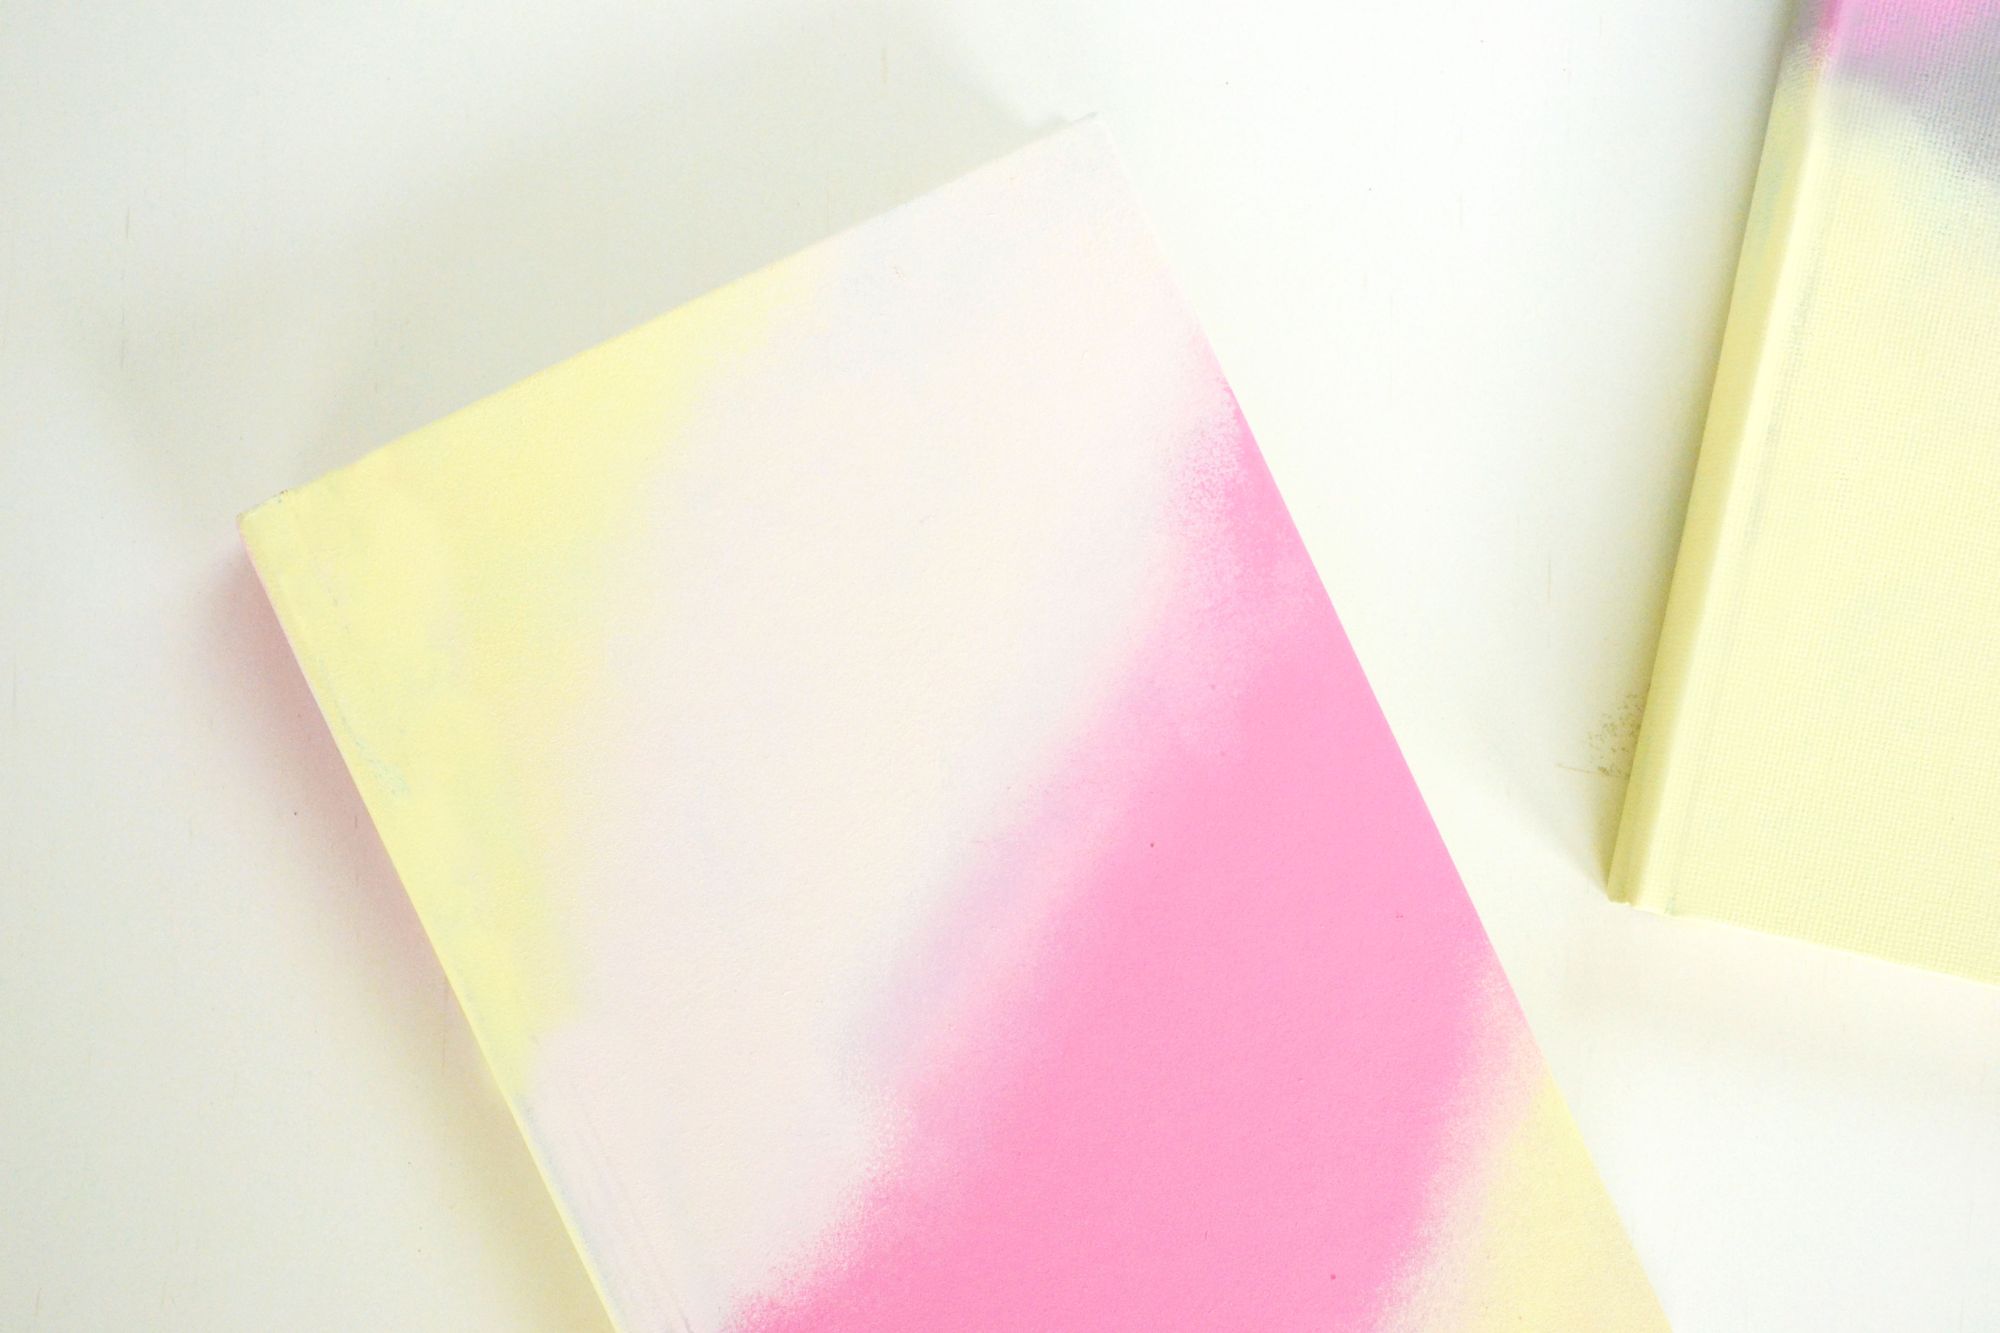
Let the paint dry before adding a second and third layer. Try to cover the entire cover without any of the original book colors showing through. When you are done the book should be completely covered with a blended design and no harsh lines. Use a regular paint brush to get into any small cracks and creases.
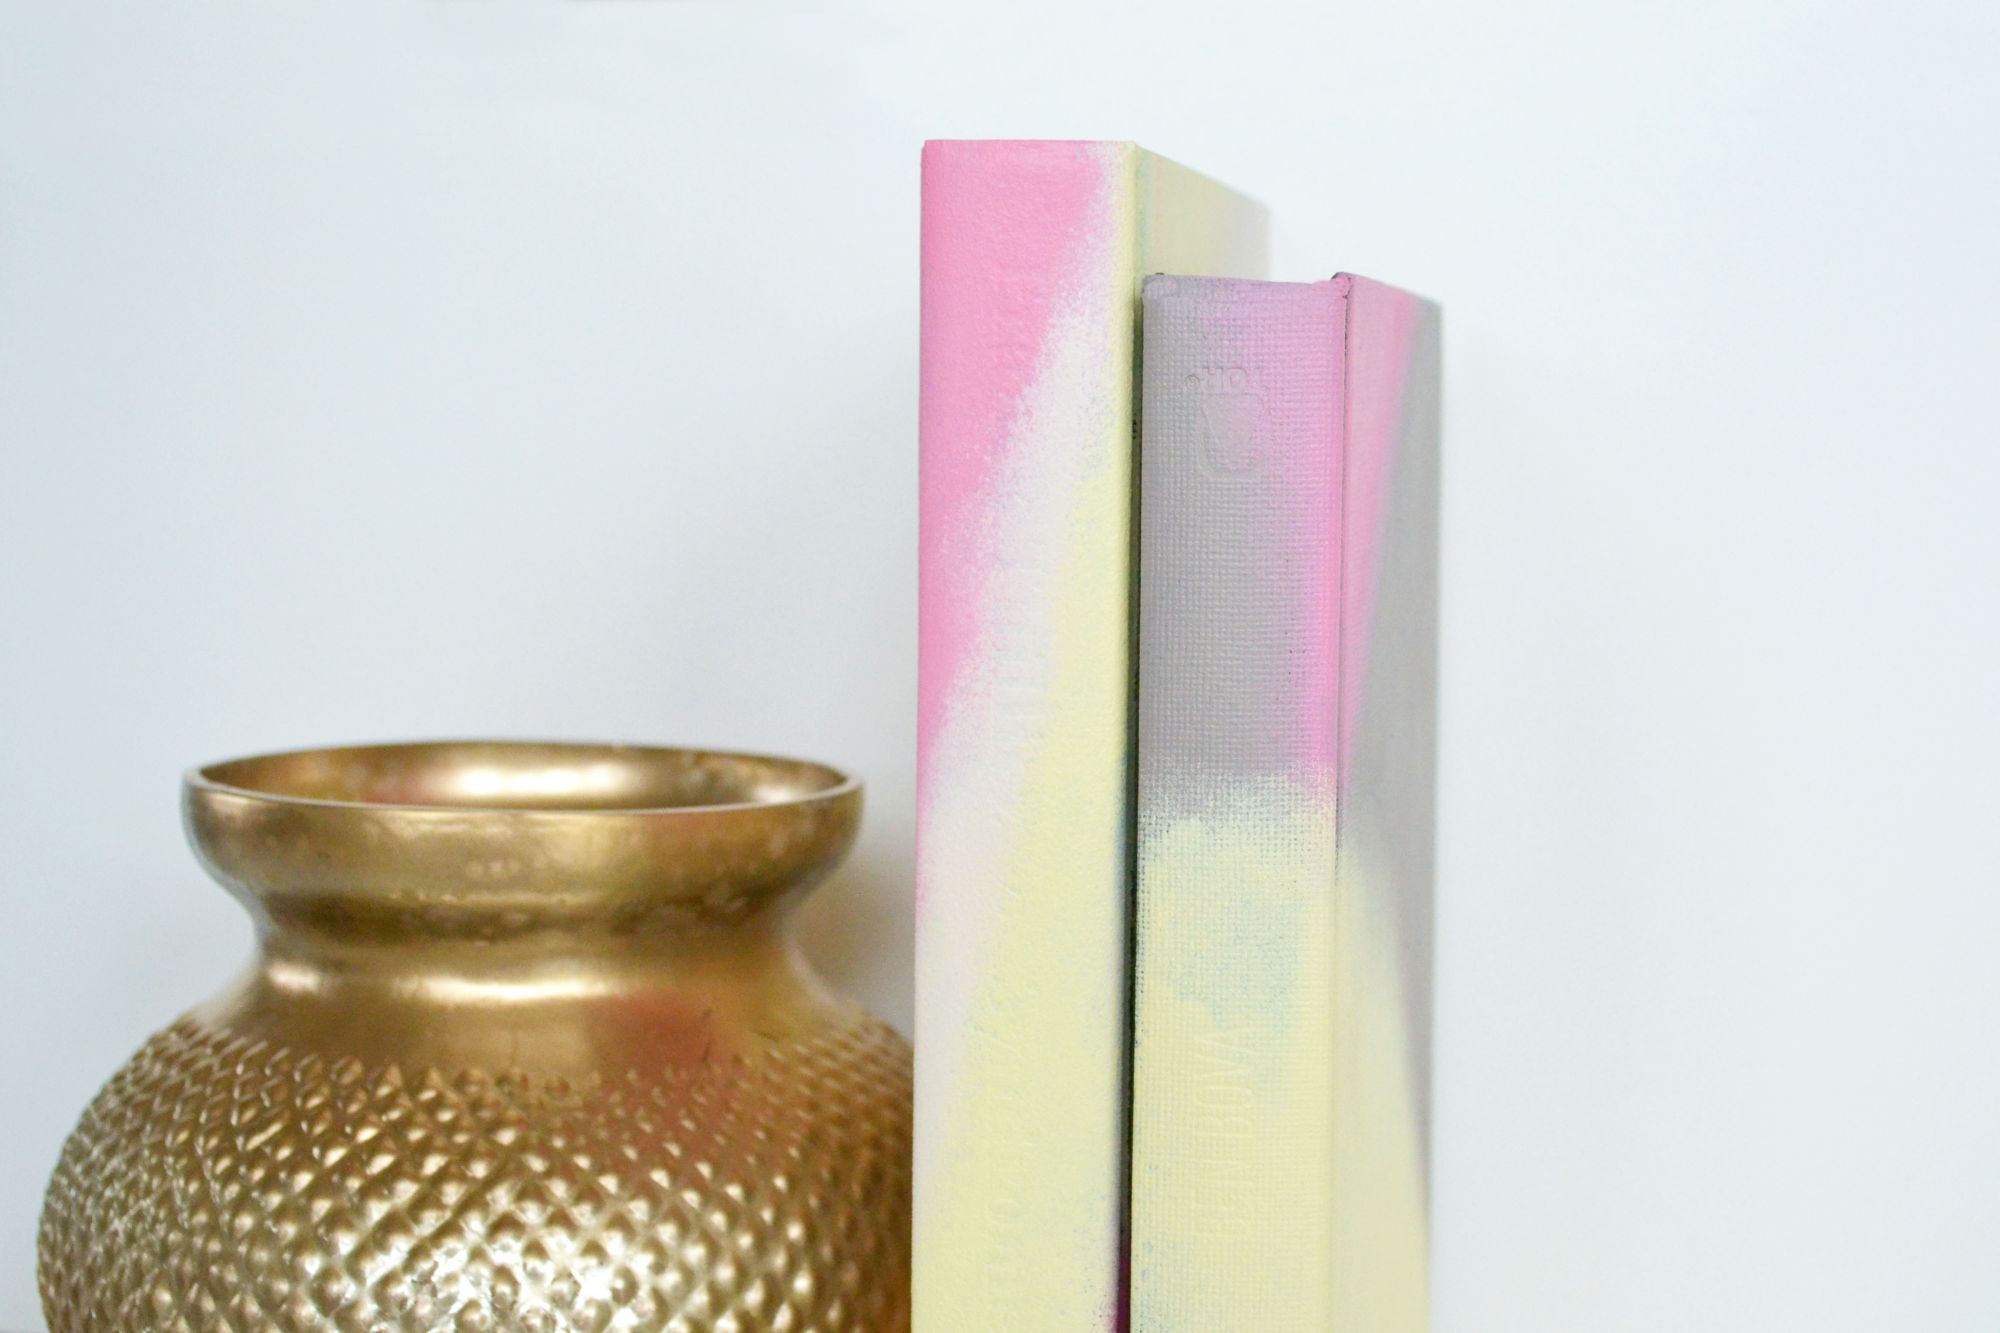
Spruce up any old book with this method and in no time you’ll begin to have a much more colorful bookshelf!
