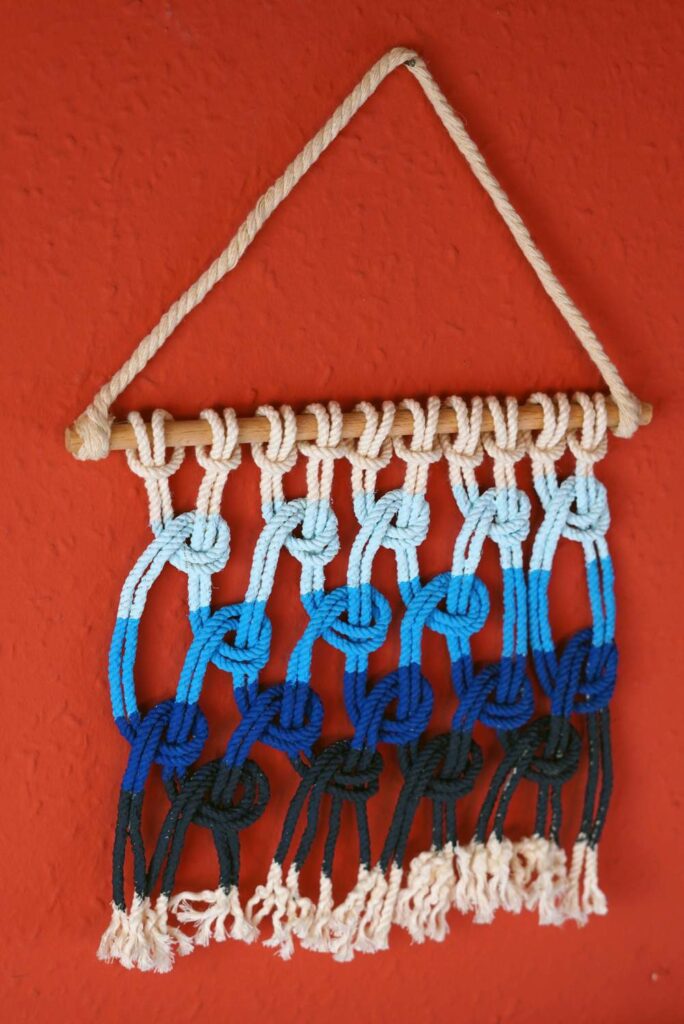
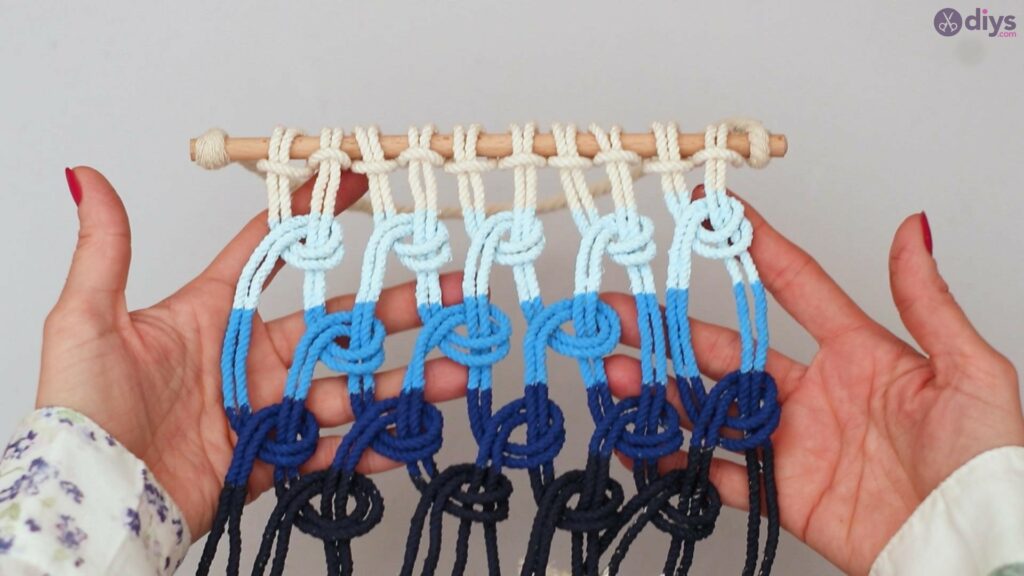
DIY Ombre Macrame Wall Hanging
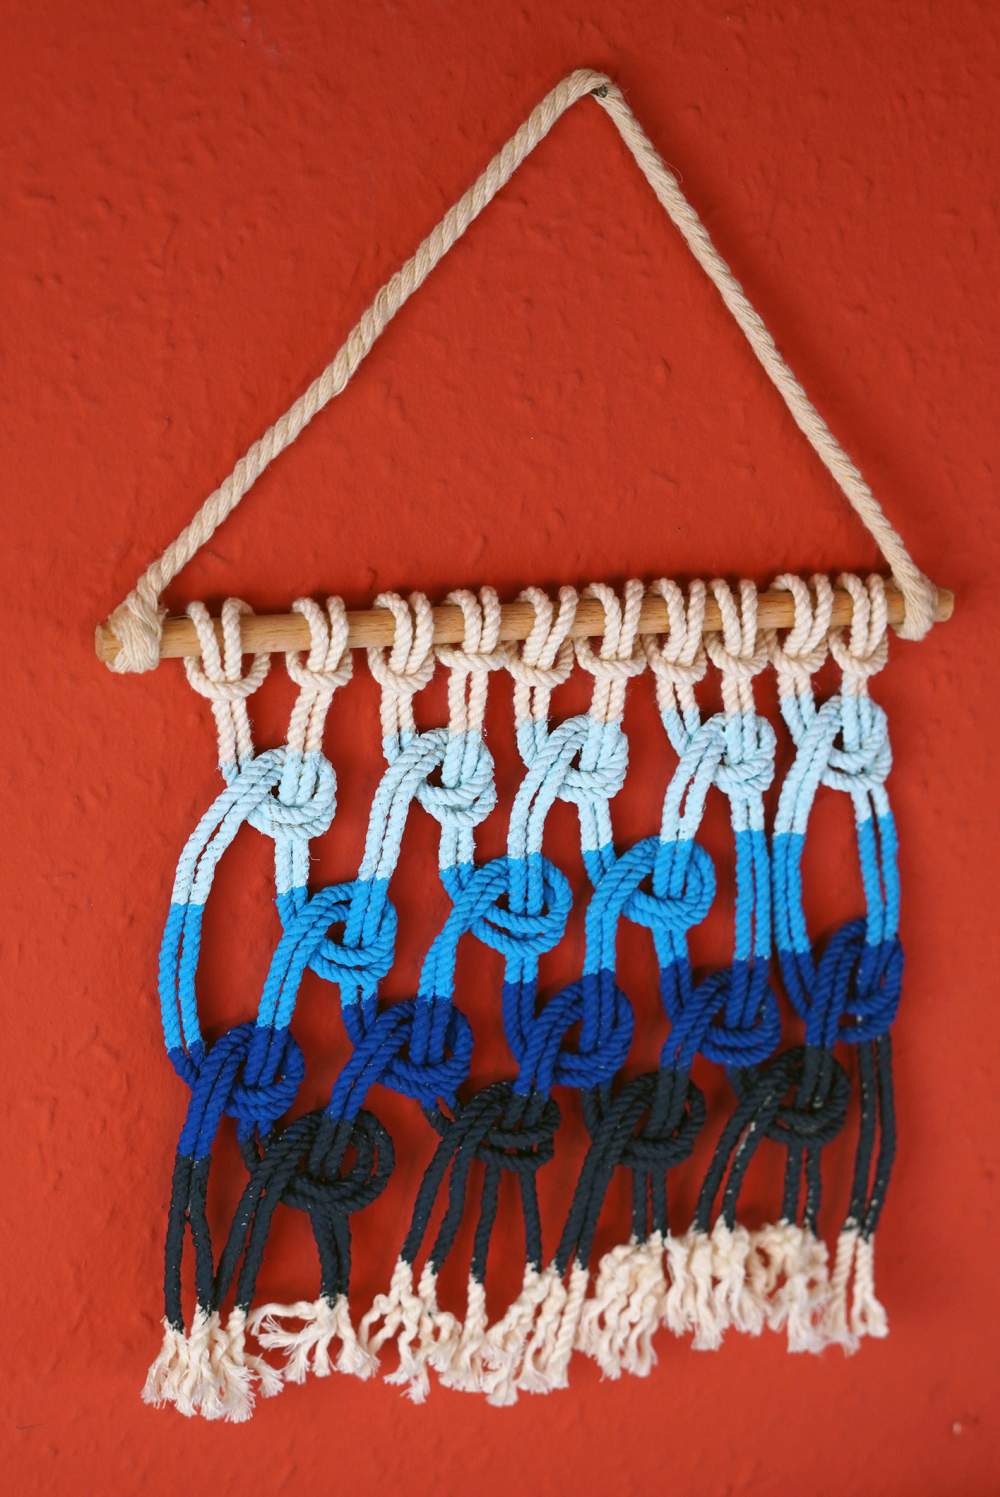
You can get creative while adorning your walls. There are so many fun-to-do art projects you can pick from and enjoy while beautifying your home, school, or office. This ombre macrame wall hanging is the perfect art project to add glam to bland walls. The best part is how easy it is to follow, meaning everyone, no matter how little or how big, can join in! Ombre refers to a painting style that has light colors fade into darker shades of the same color or vice versa.
Macrame is a knotting technique used in the production of textile. That same technique is mimicked in this art project. This wall decor brings a beautiful pop of color to your walls. Many people consider the ombre macrame wall hanging a happy piece because of its bright, beautiful colors. To begin, all you need is some art supplies that you probably already have lying around the house, some motivation, and of course, enough imagination! Let’s jump right into it!
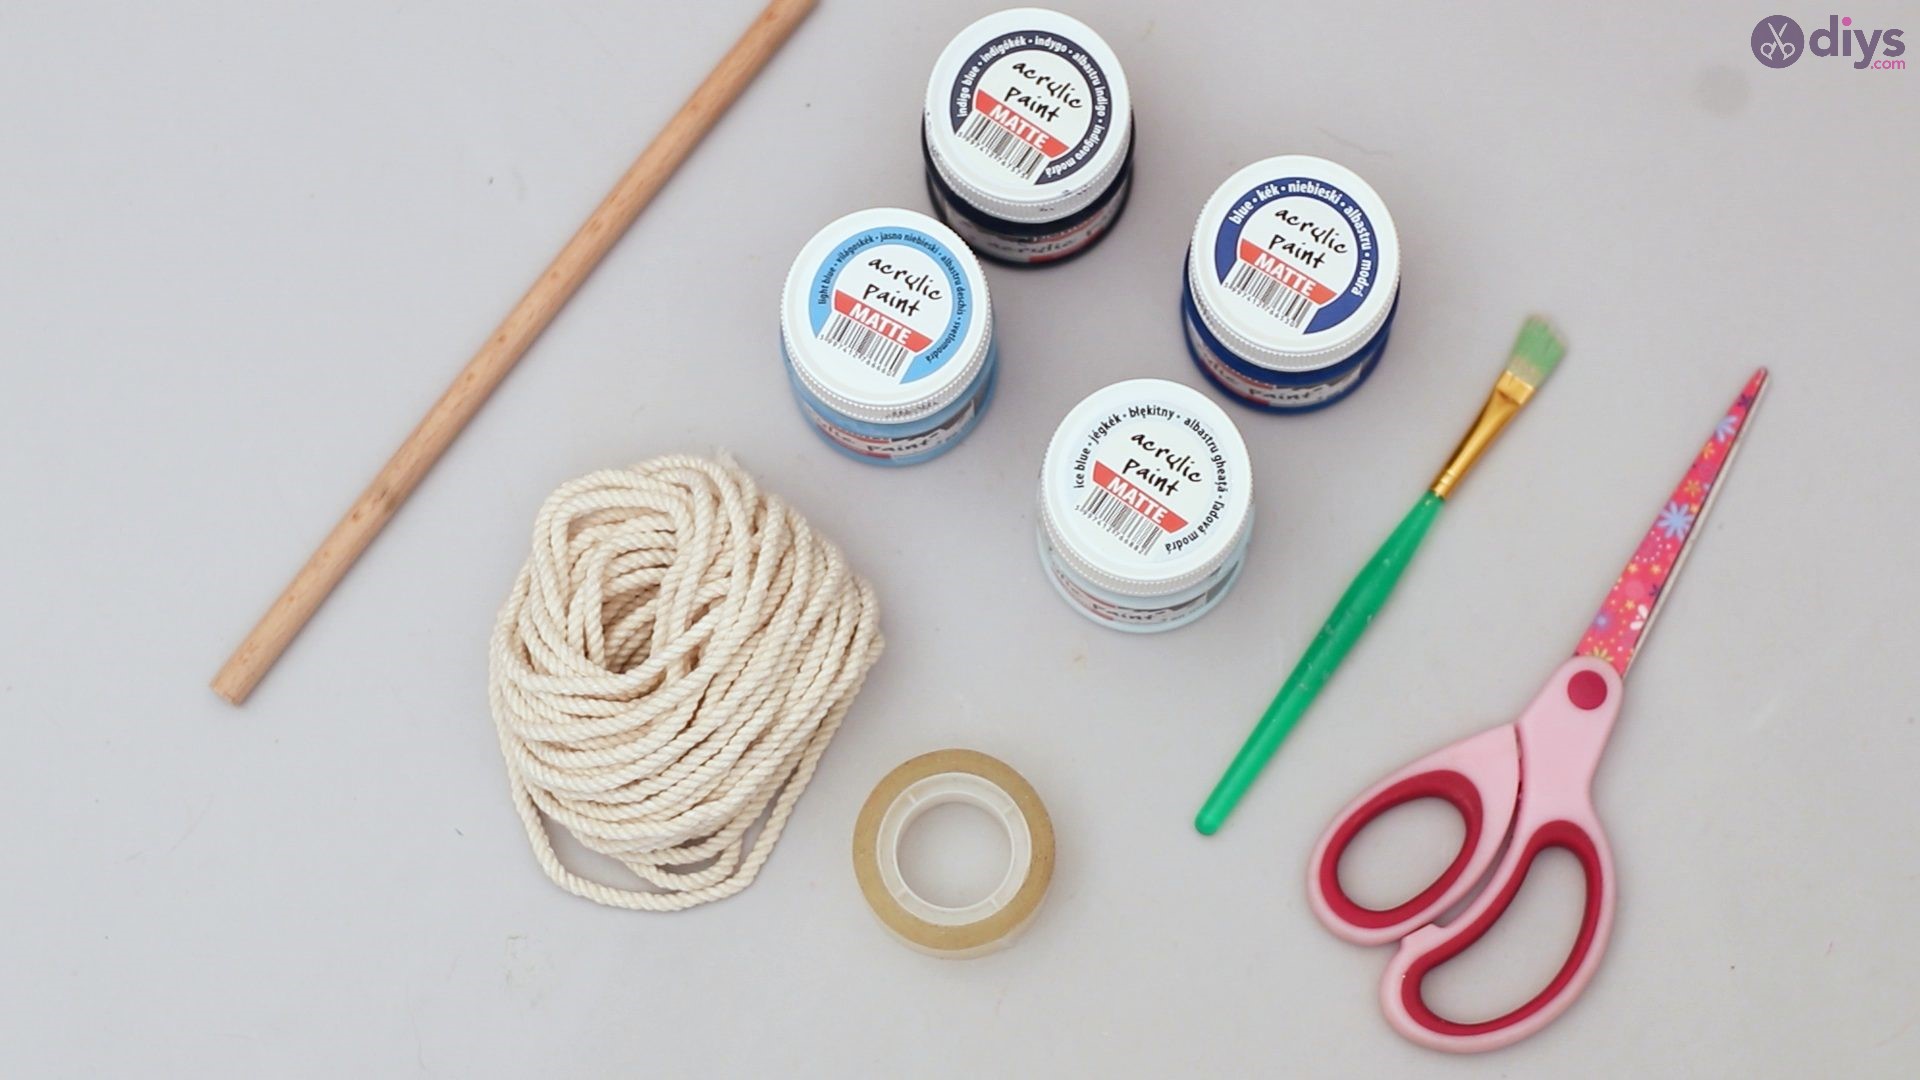
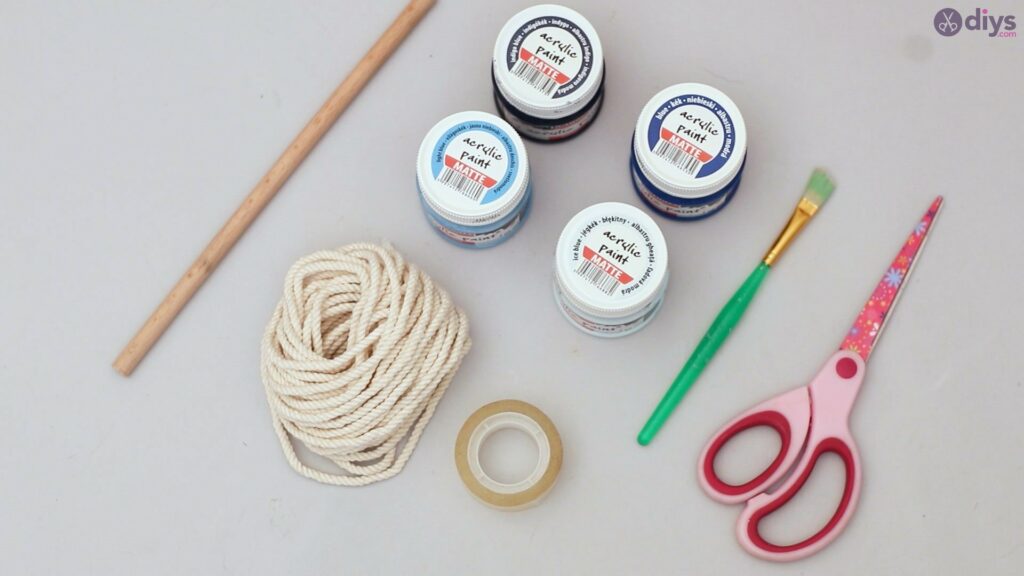
Materials you’ll need for Ombre Macrame Wall Hanging:
- Wooden rod
- Rope
- Tape
- Paintbrush
- 4 shades of blue acrylic paint
Step by step guide to craft the Ombre Macrame Wall Hanging:
Step 1: Measure the length of your rope
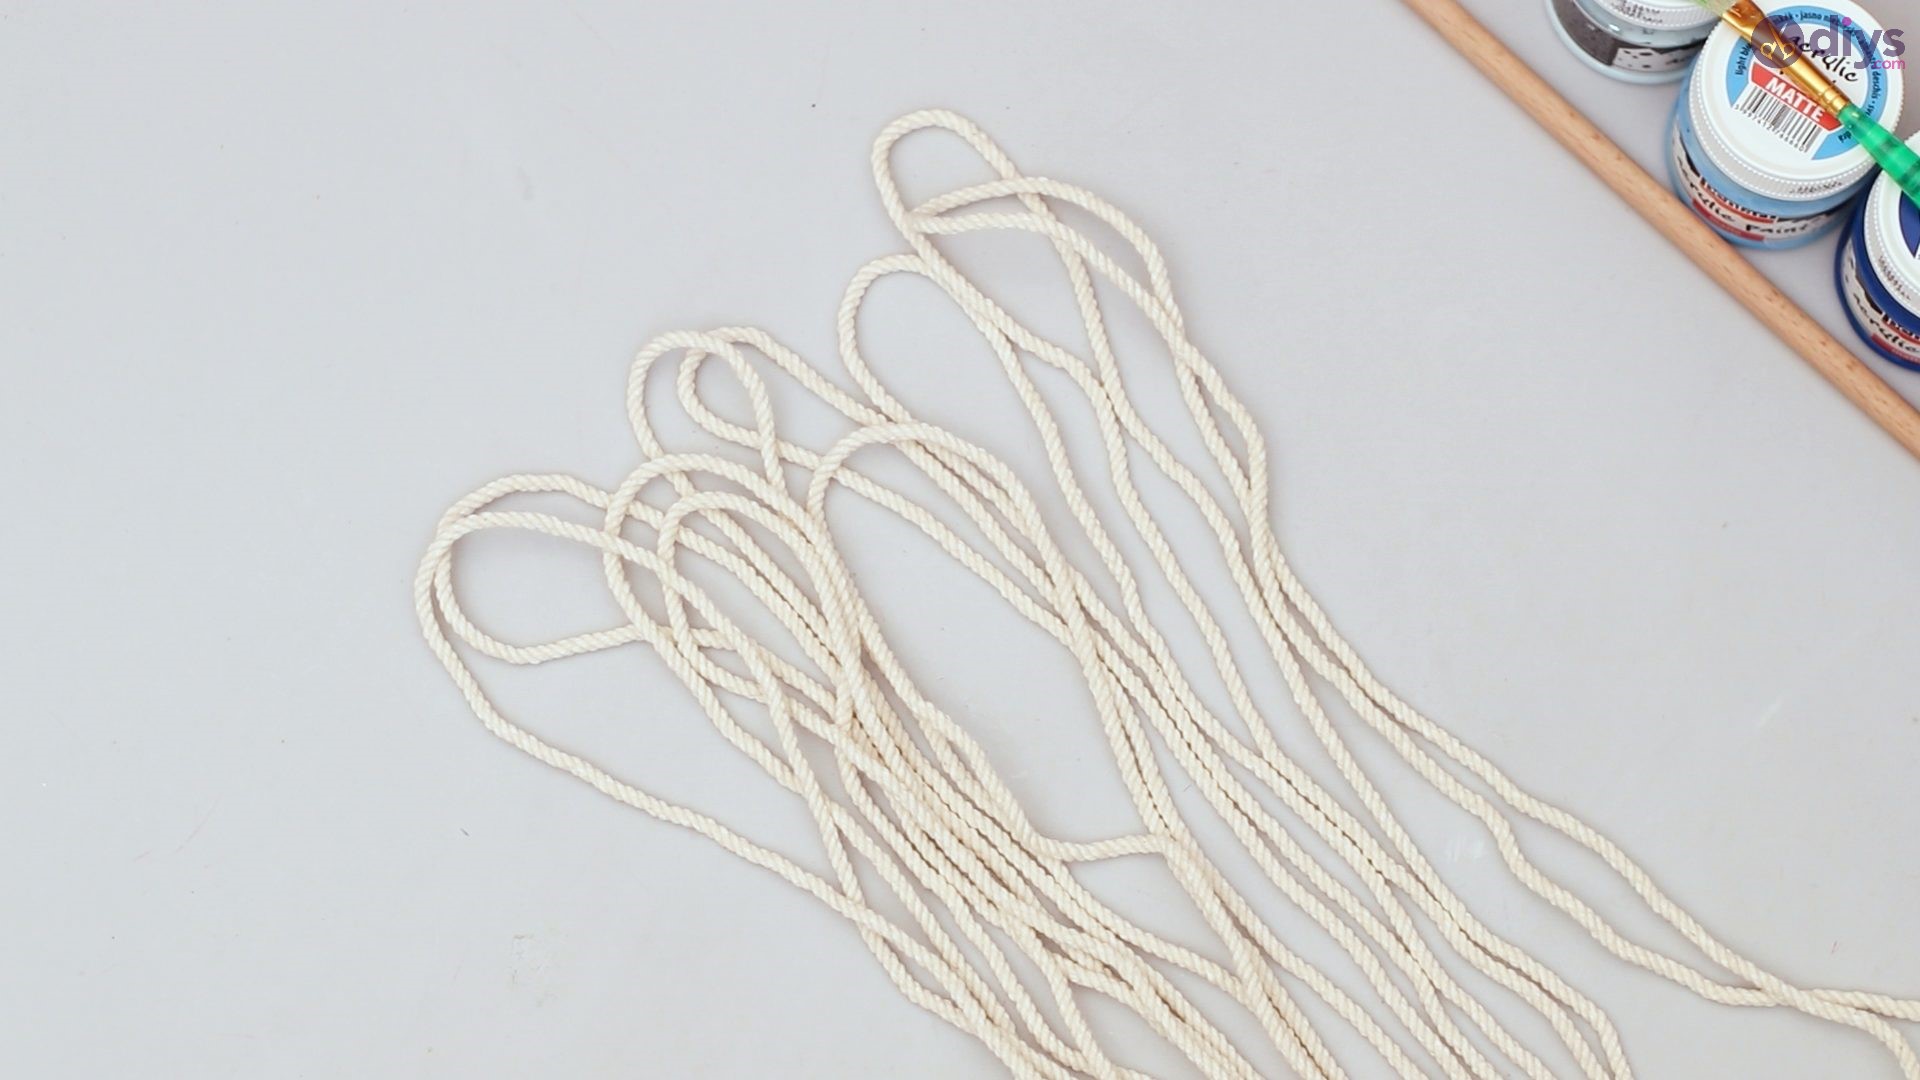
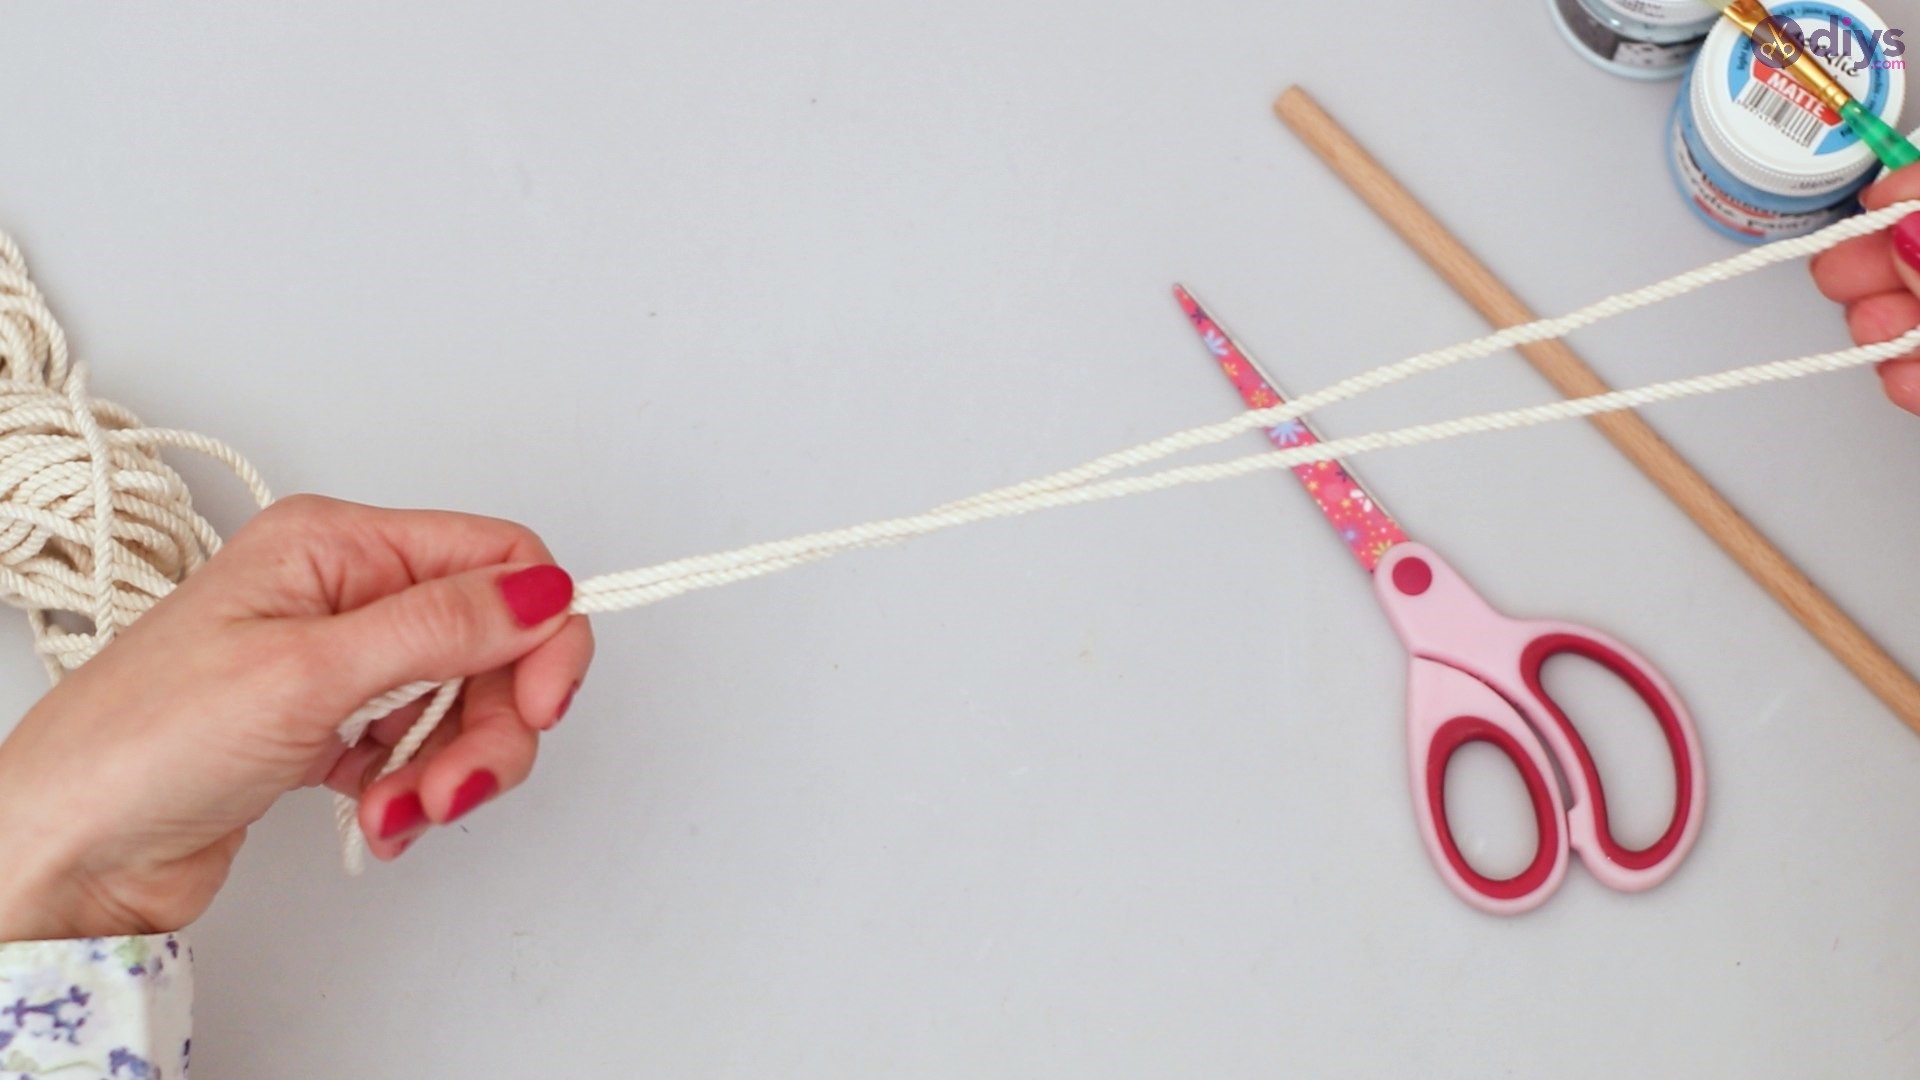
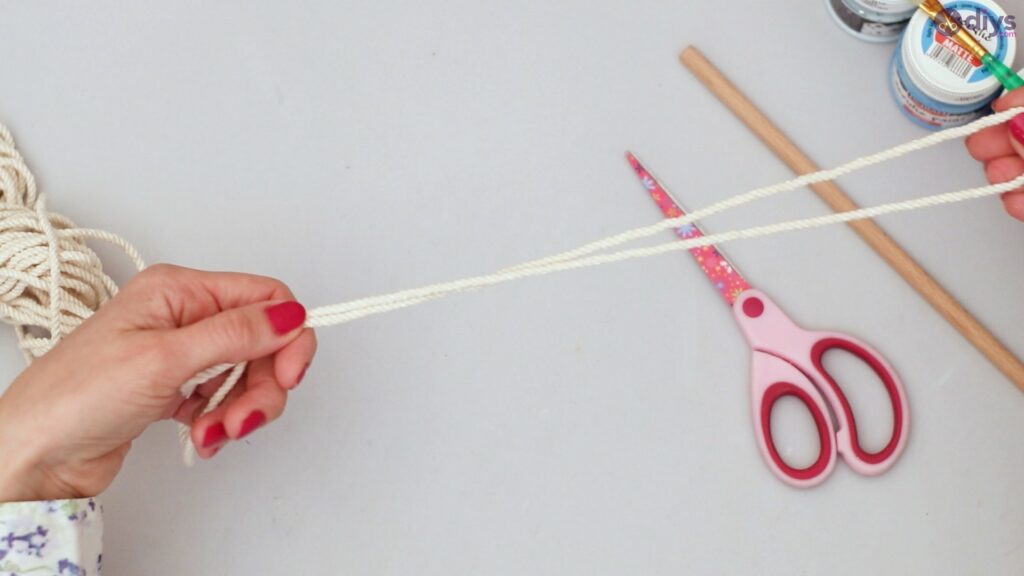
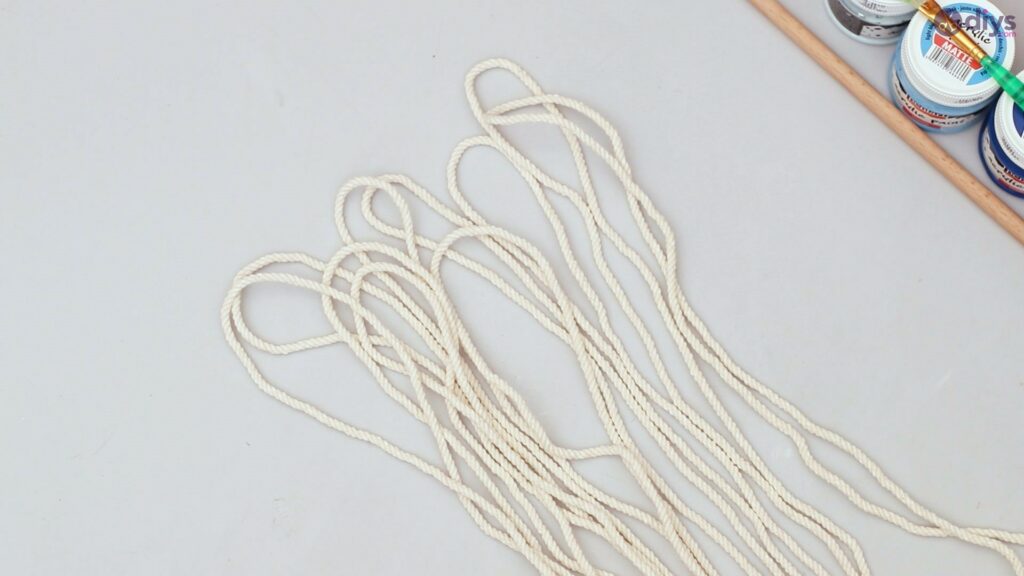
To begin, you need your scissors and rope. Pull out your desired length of rope.
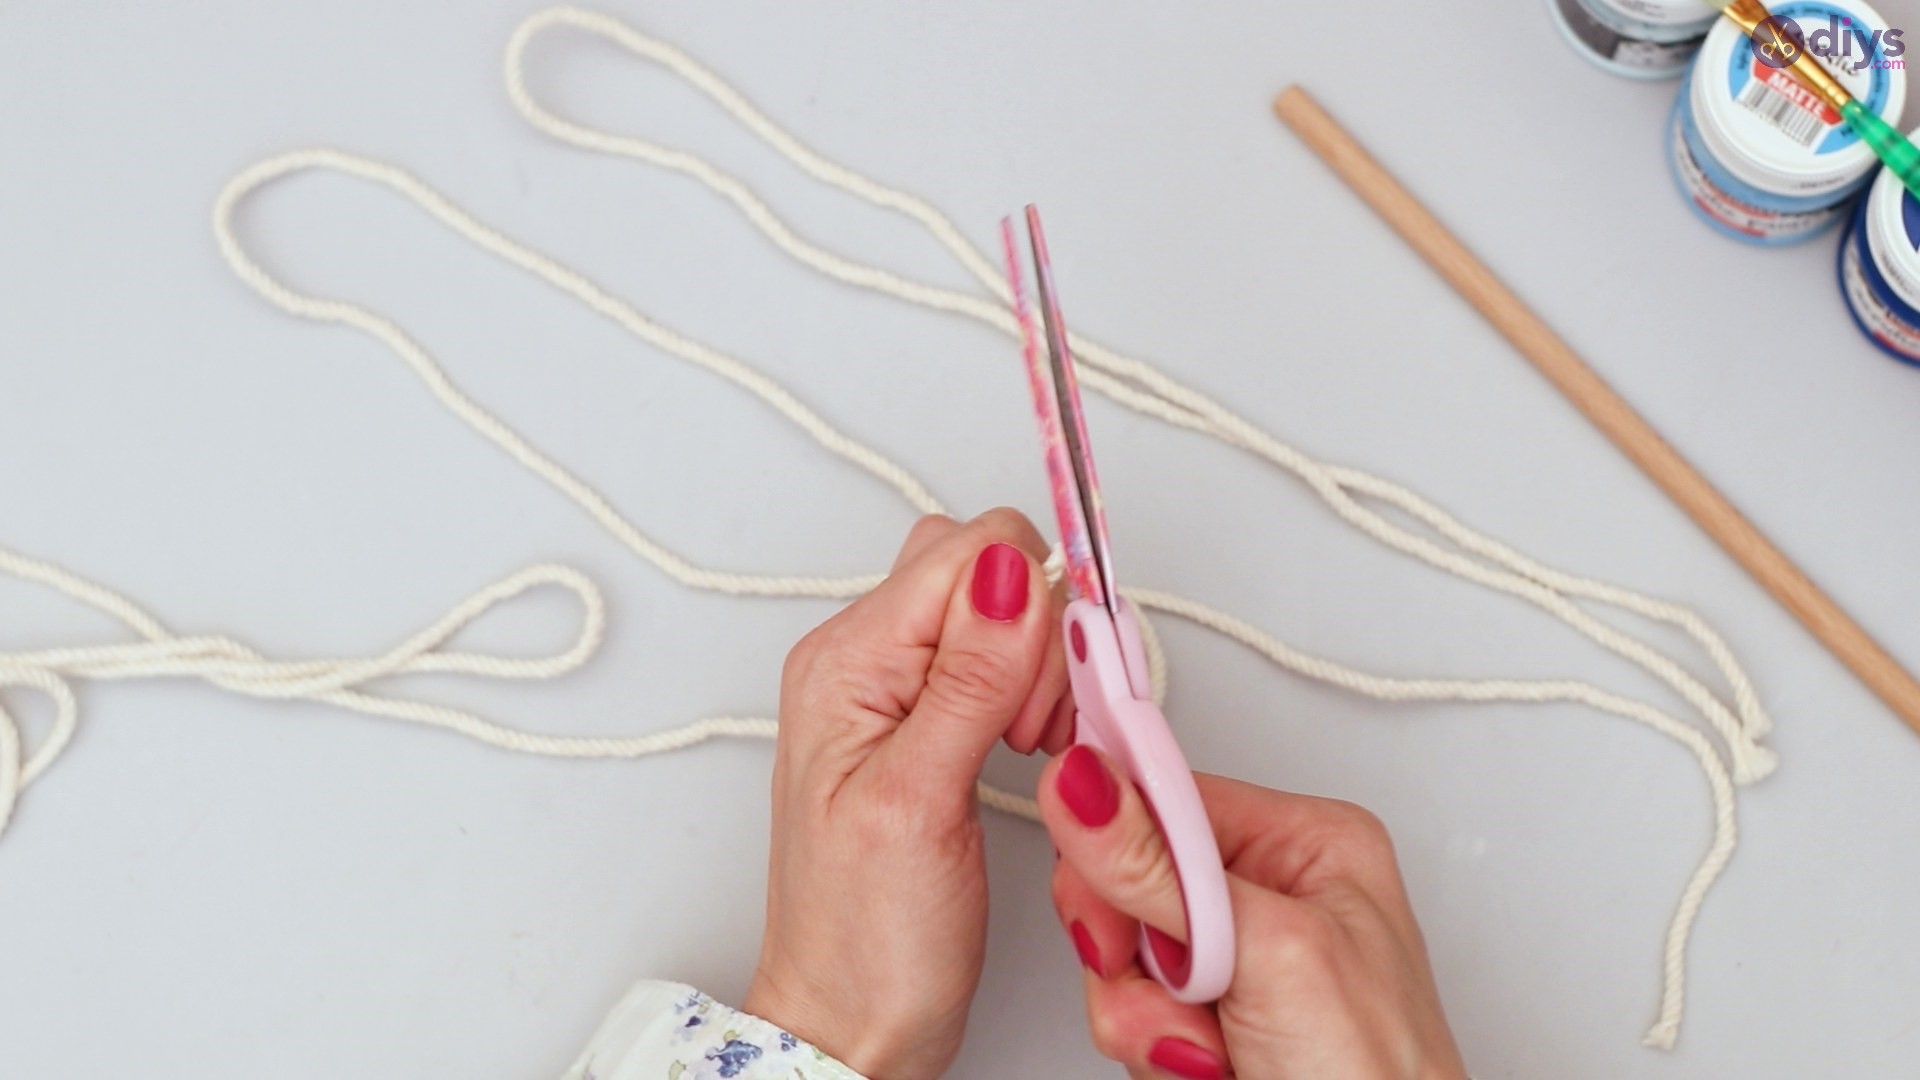
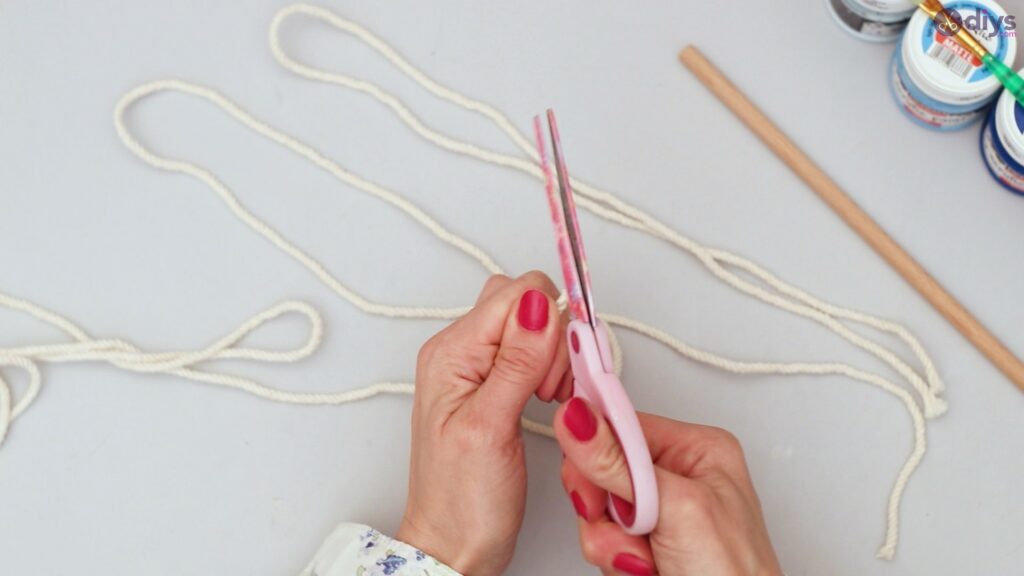
Take your scissors and cut the desired length multiple times, so you end up with various pieces of the same length rope.
Set the pieces aside.
Step 2: Knotting the rope
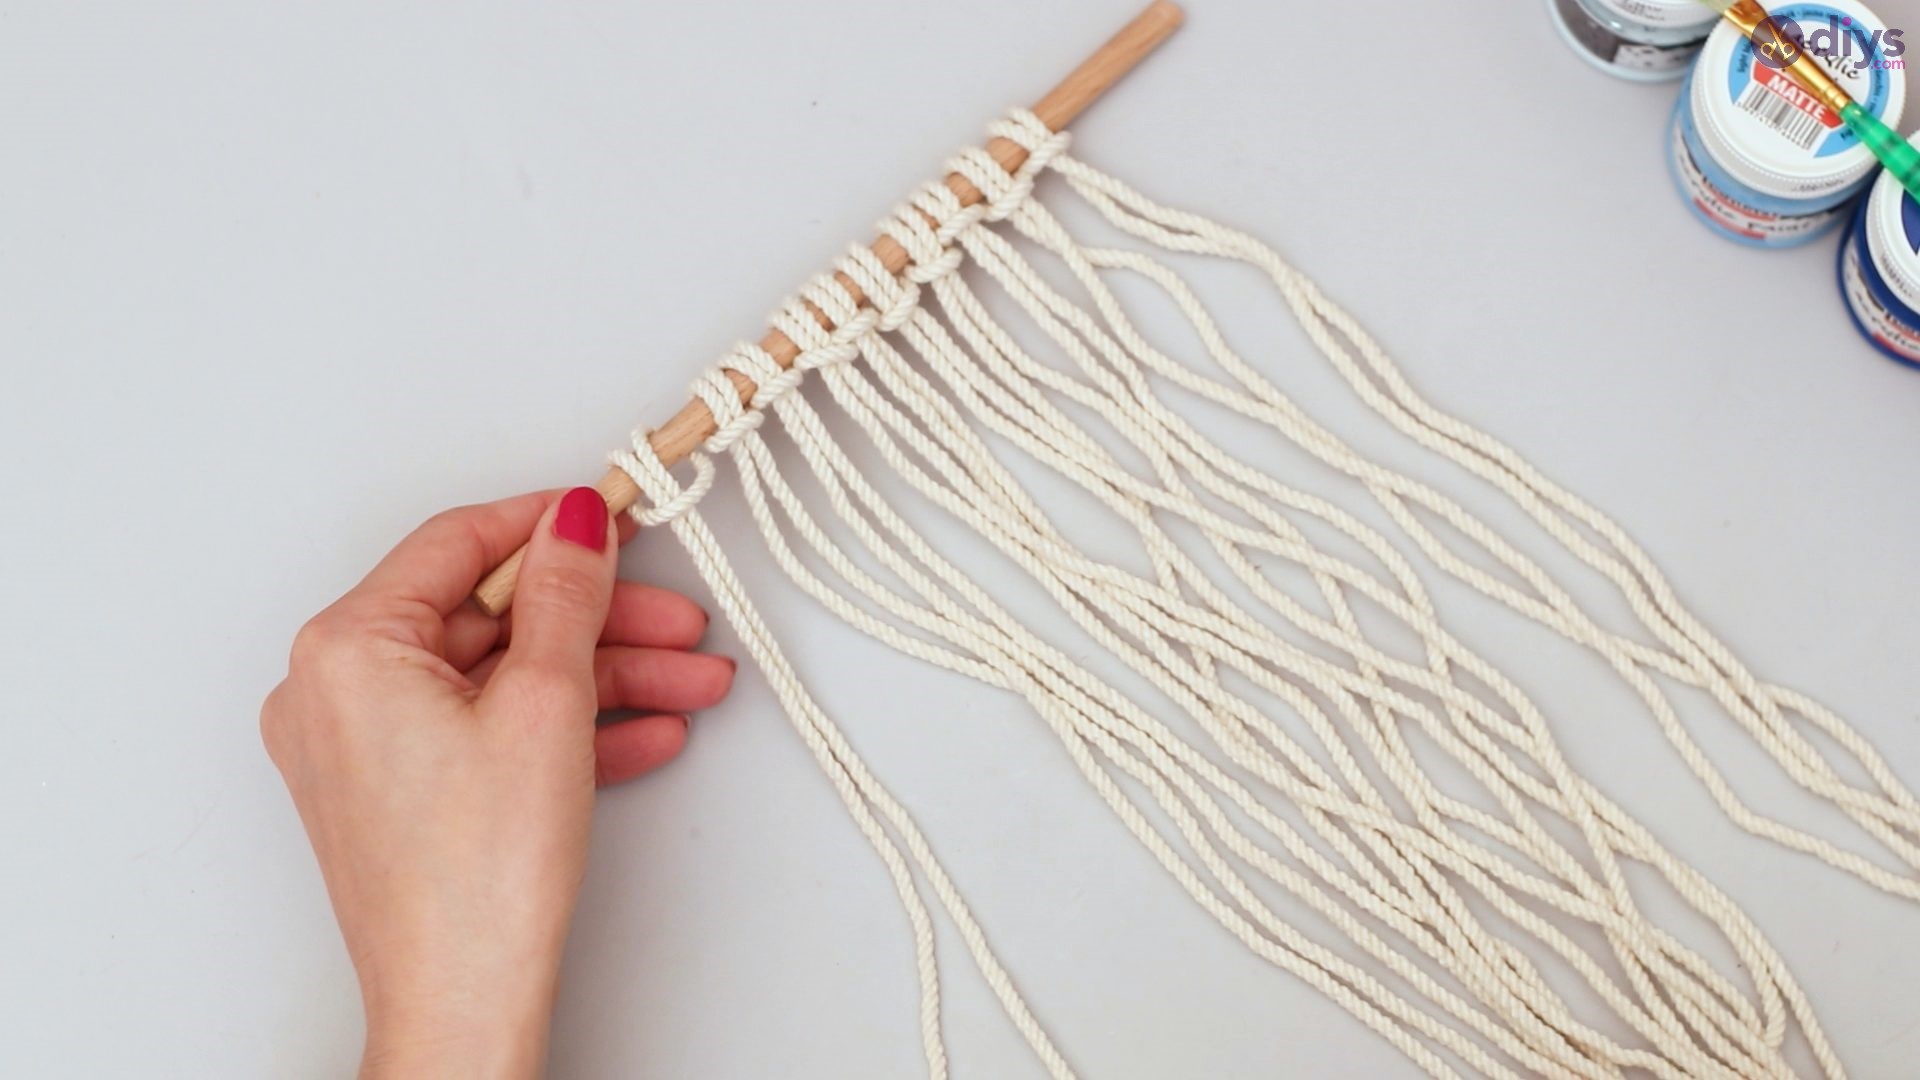
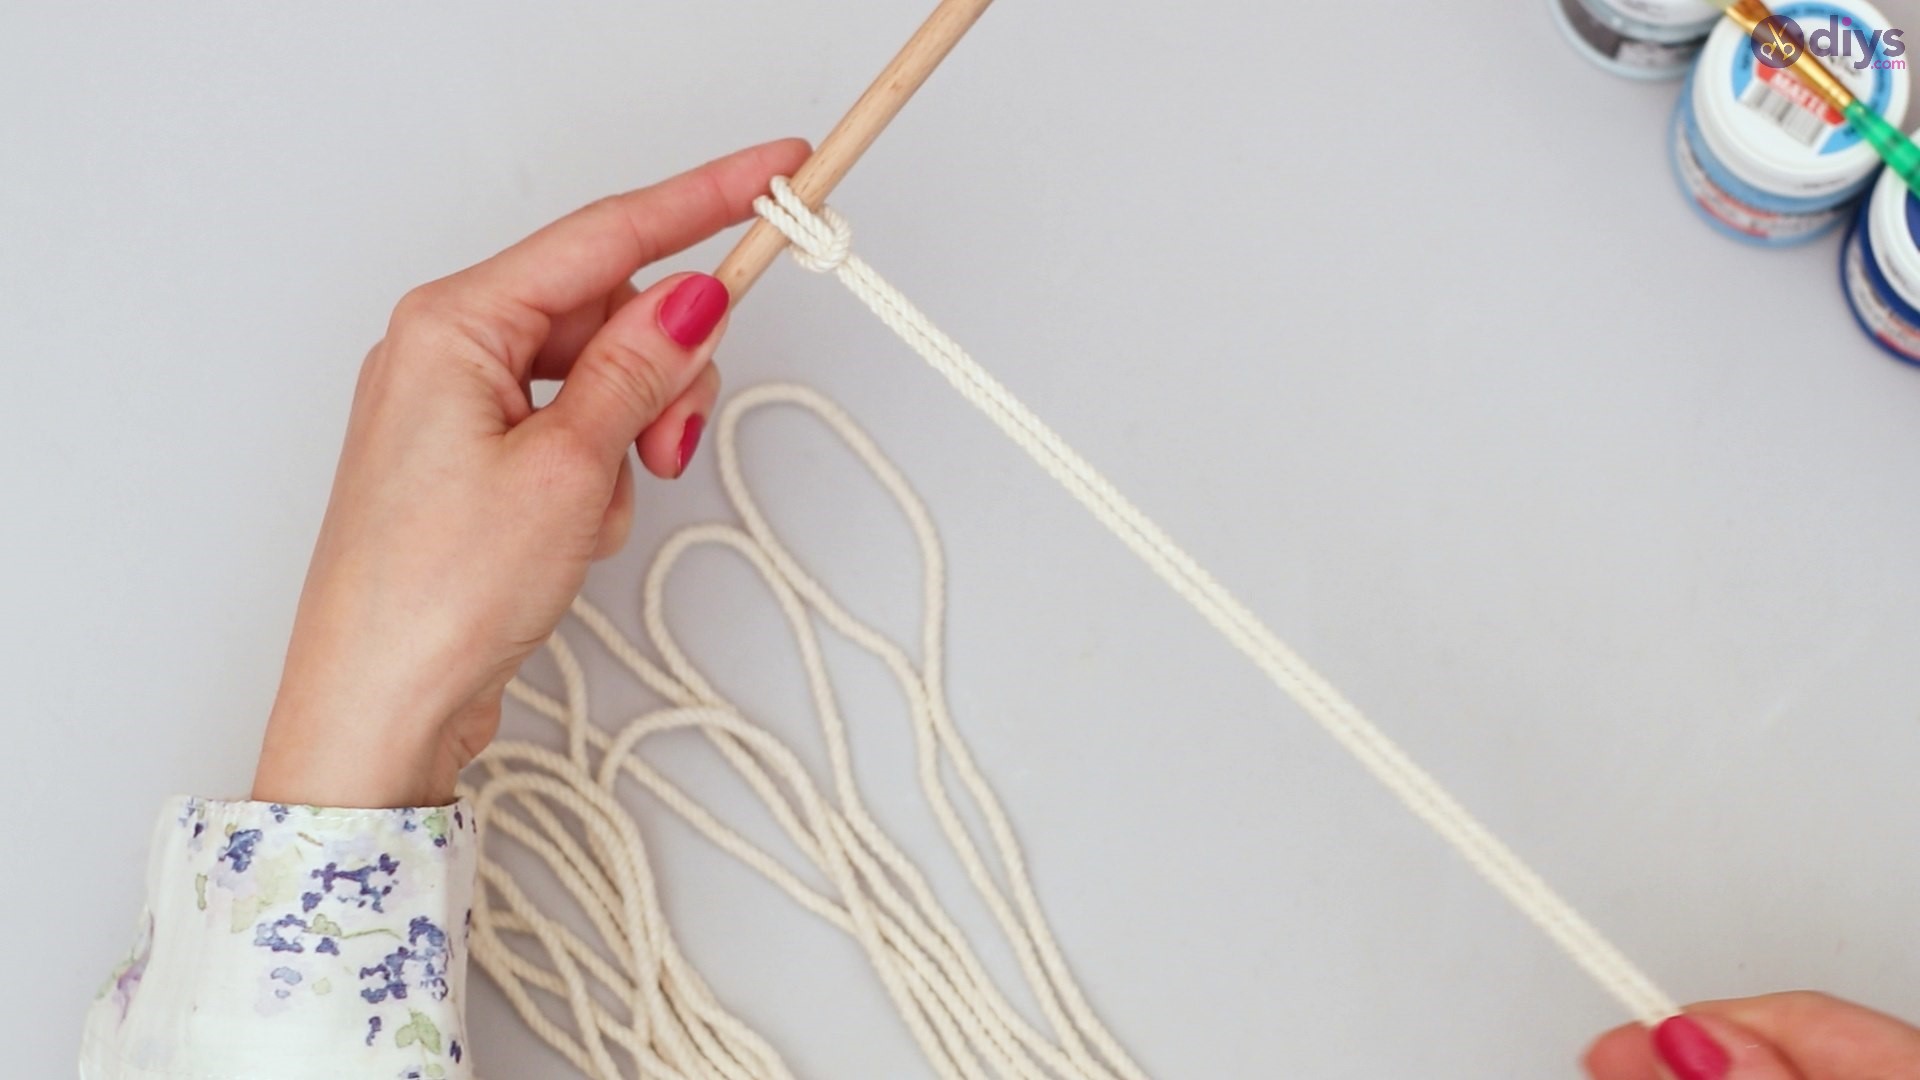
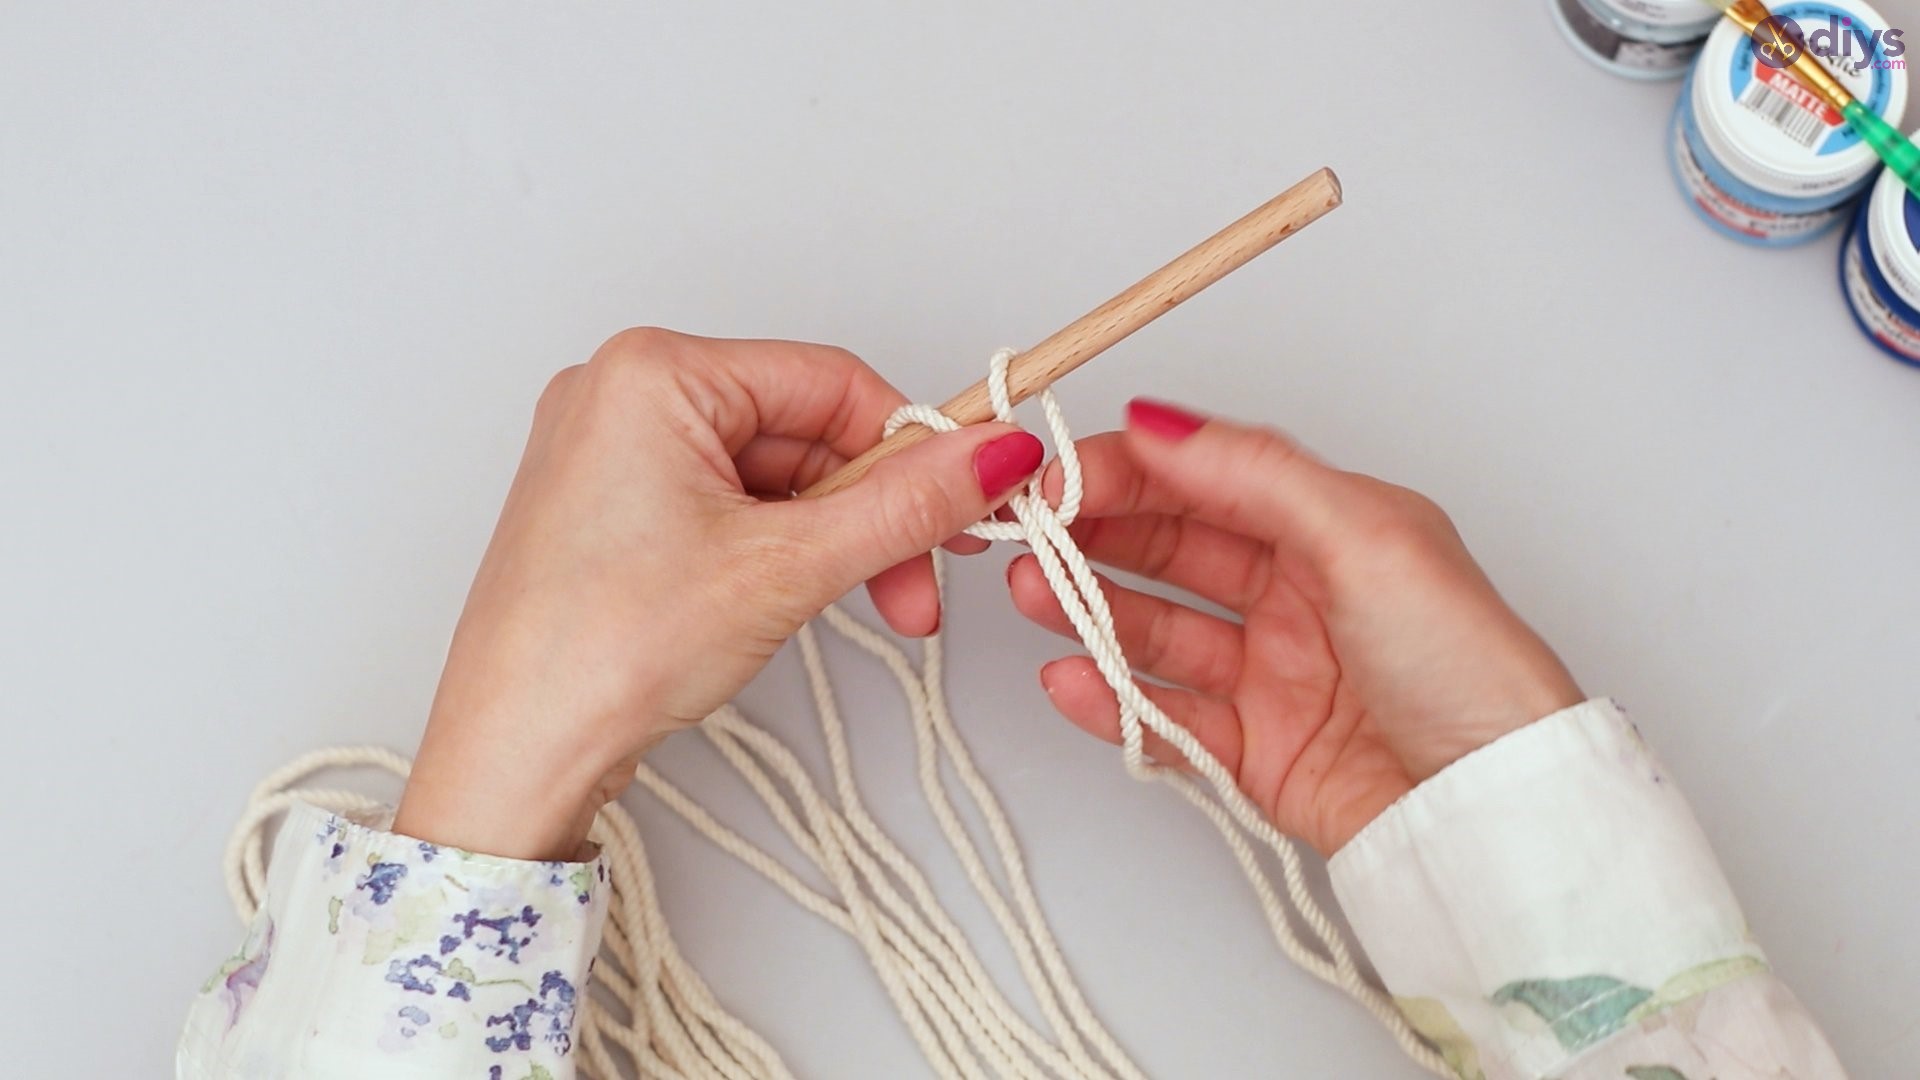
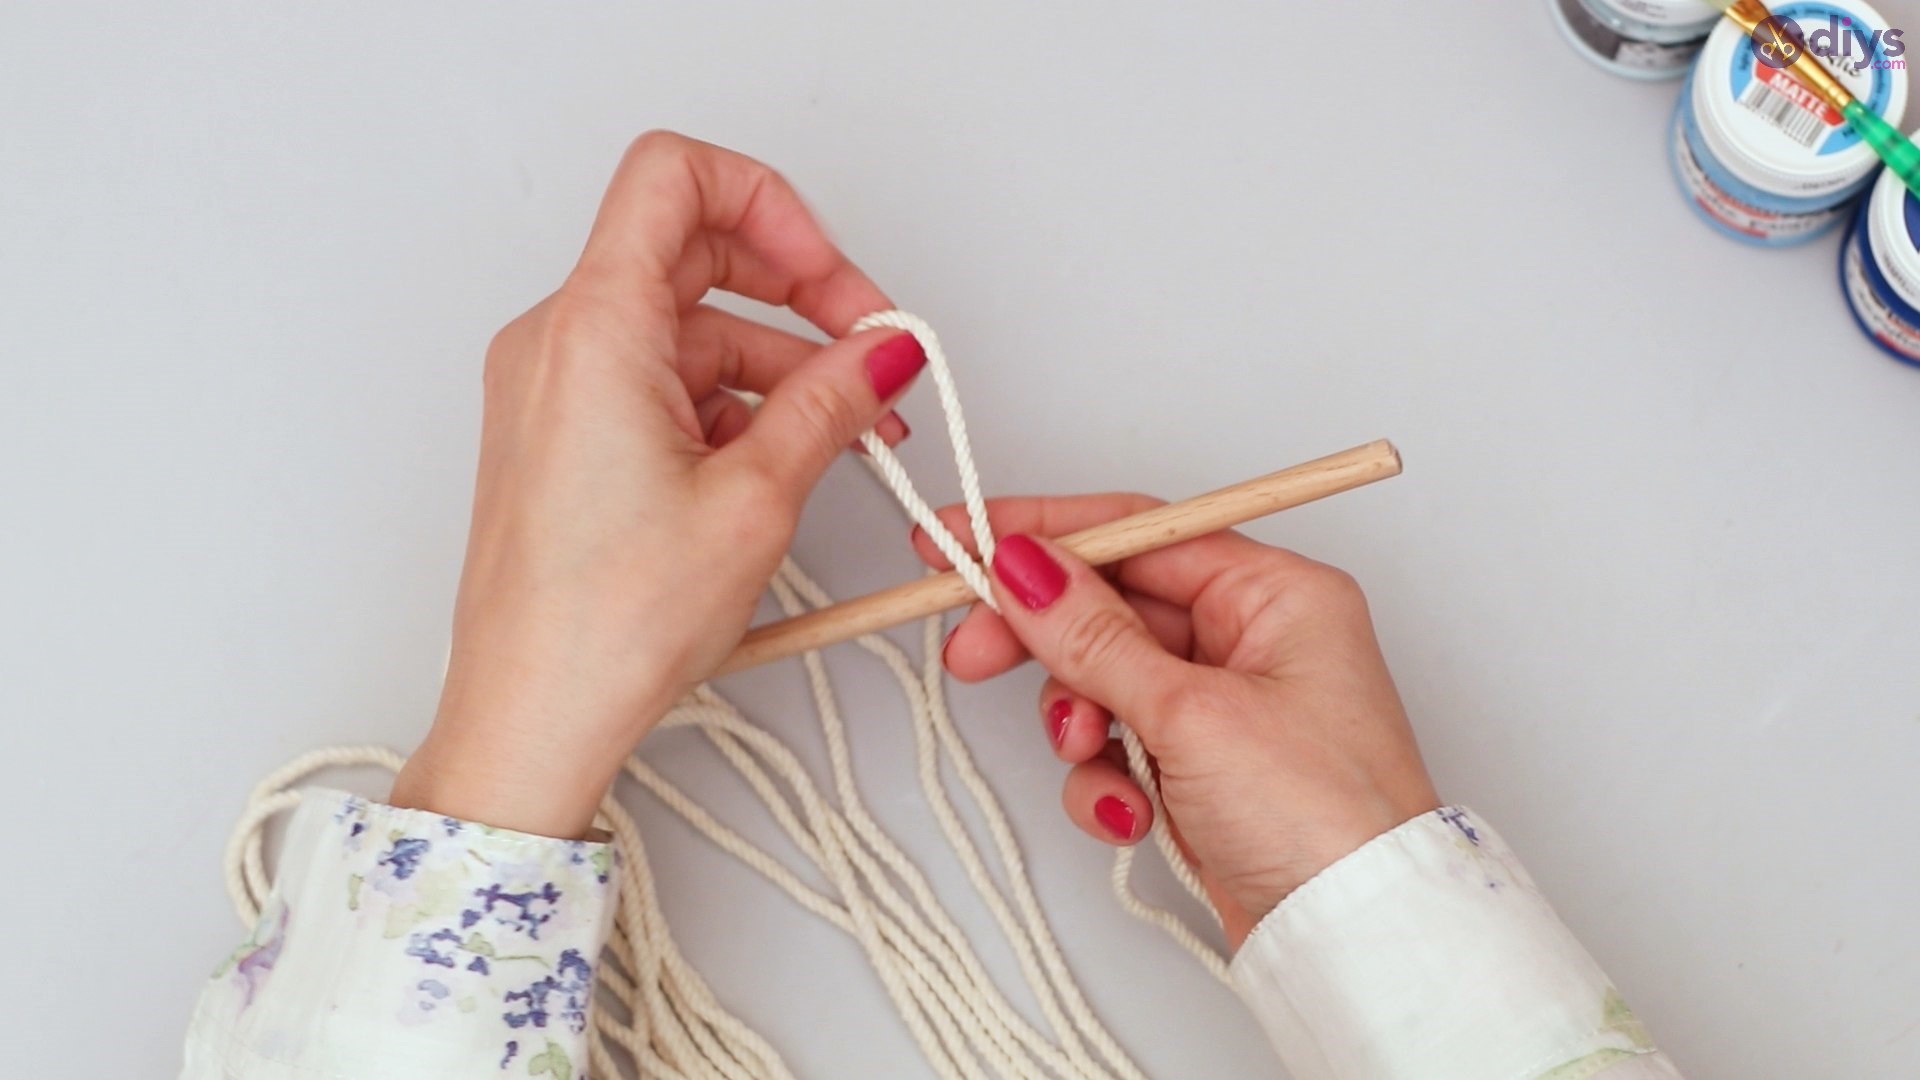
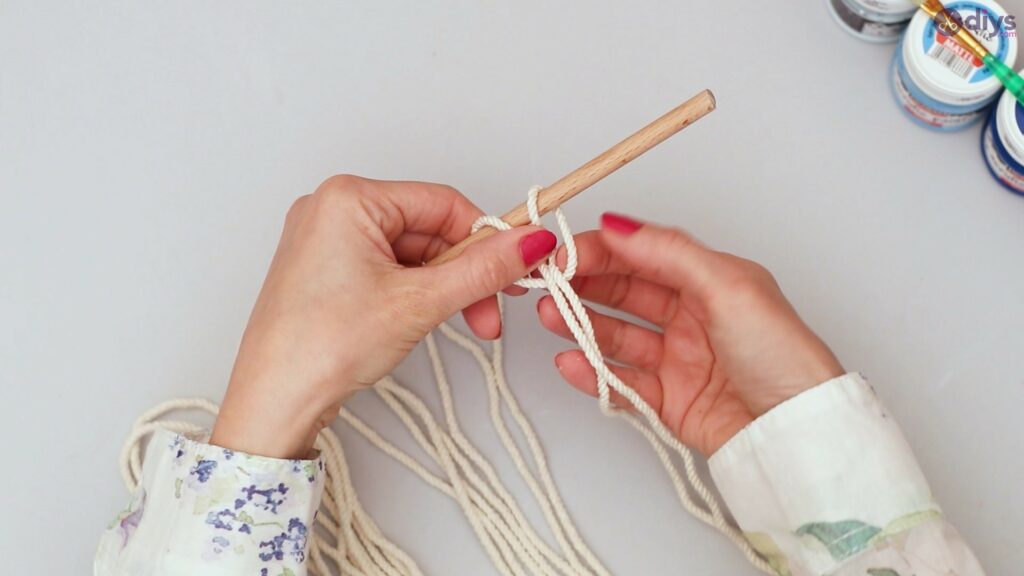
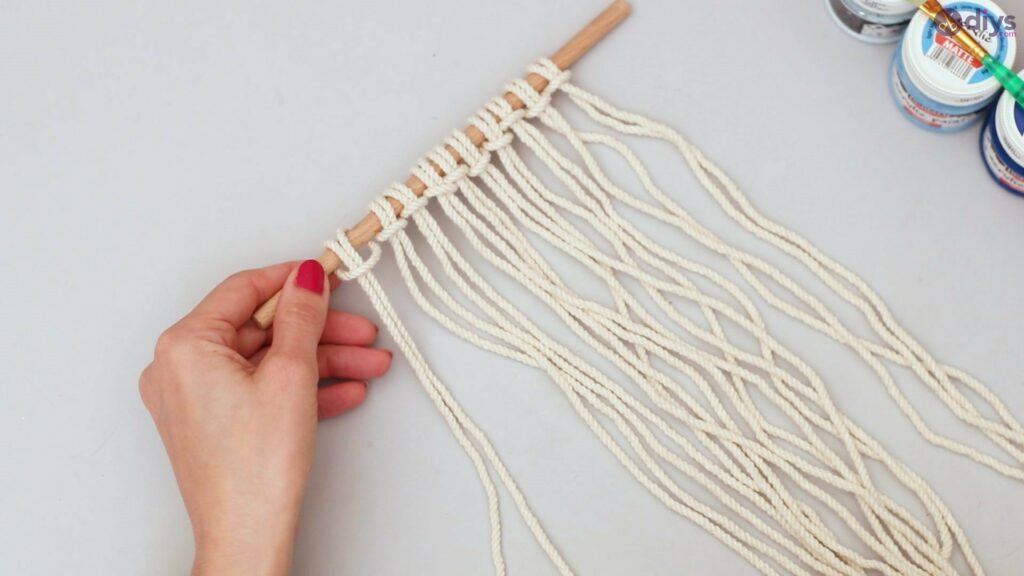
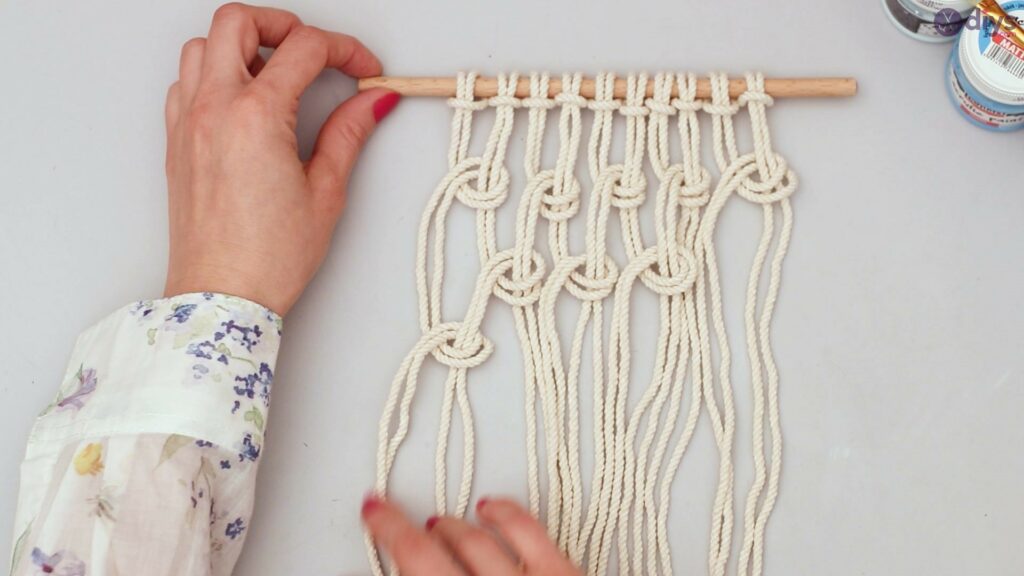
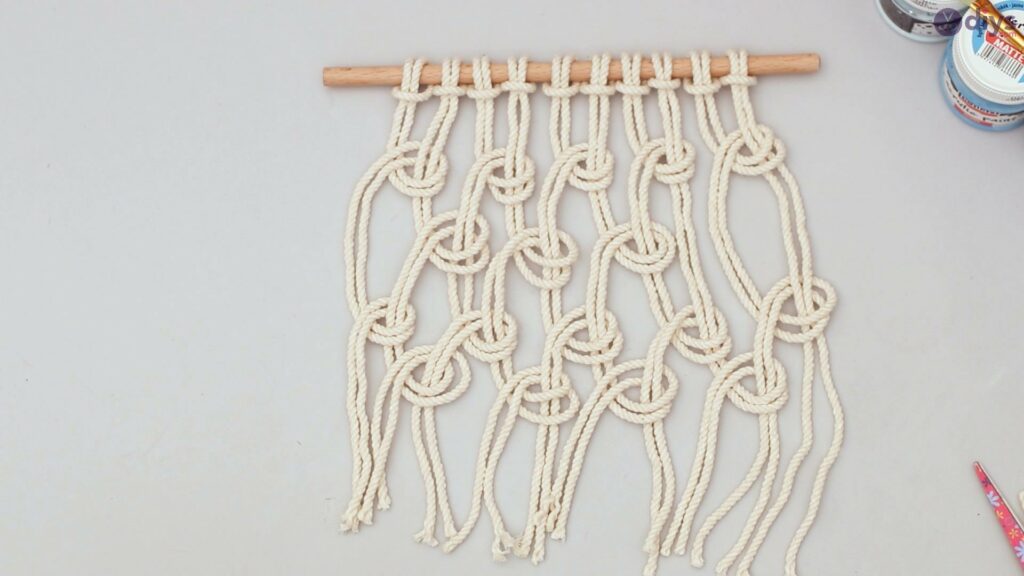
Grab your wooden rod and one of the pieces of rope. Fold the rope in two and pass it over the wooden rod.
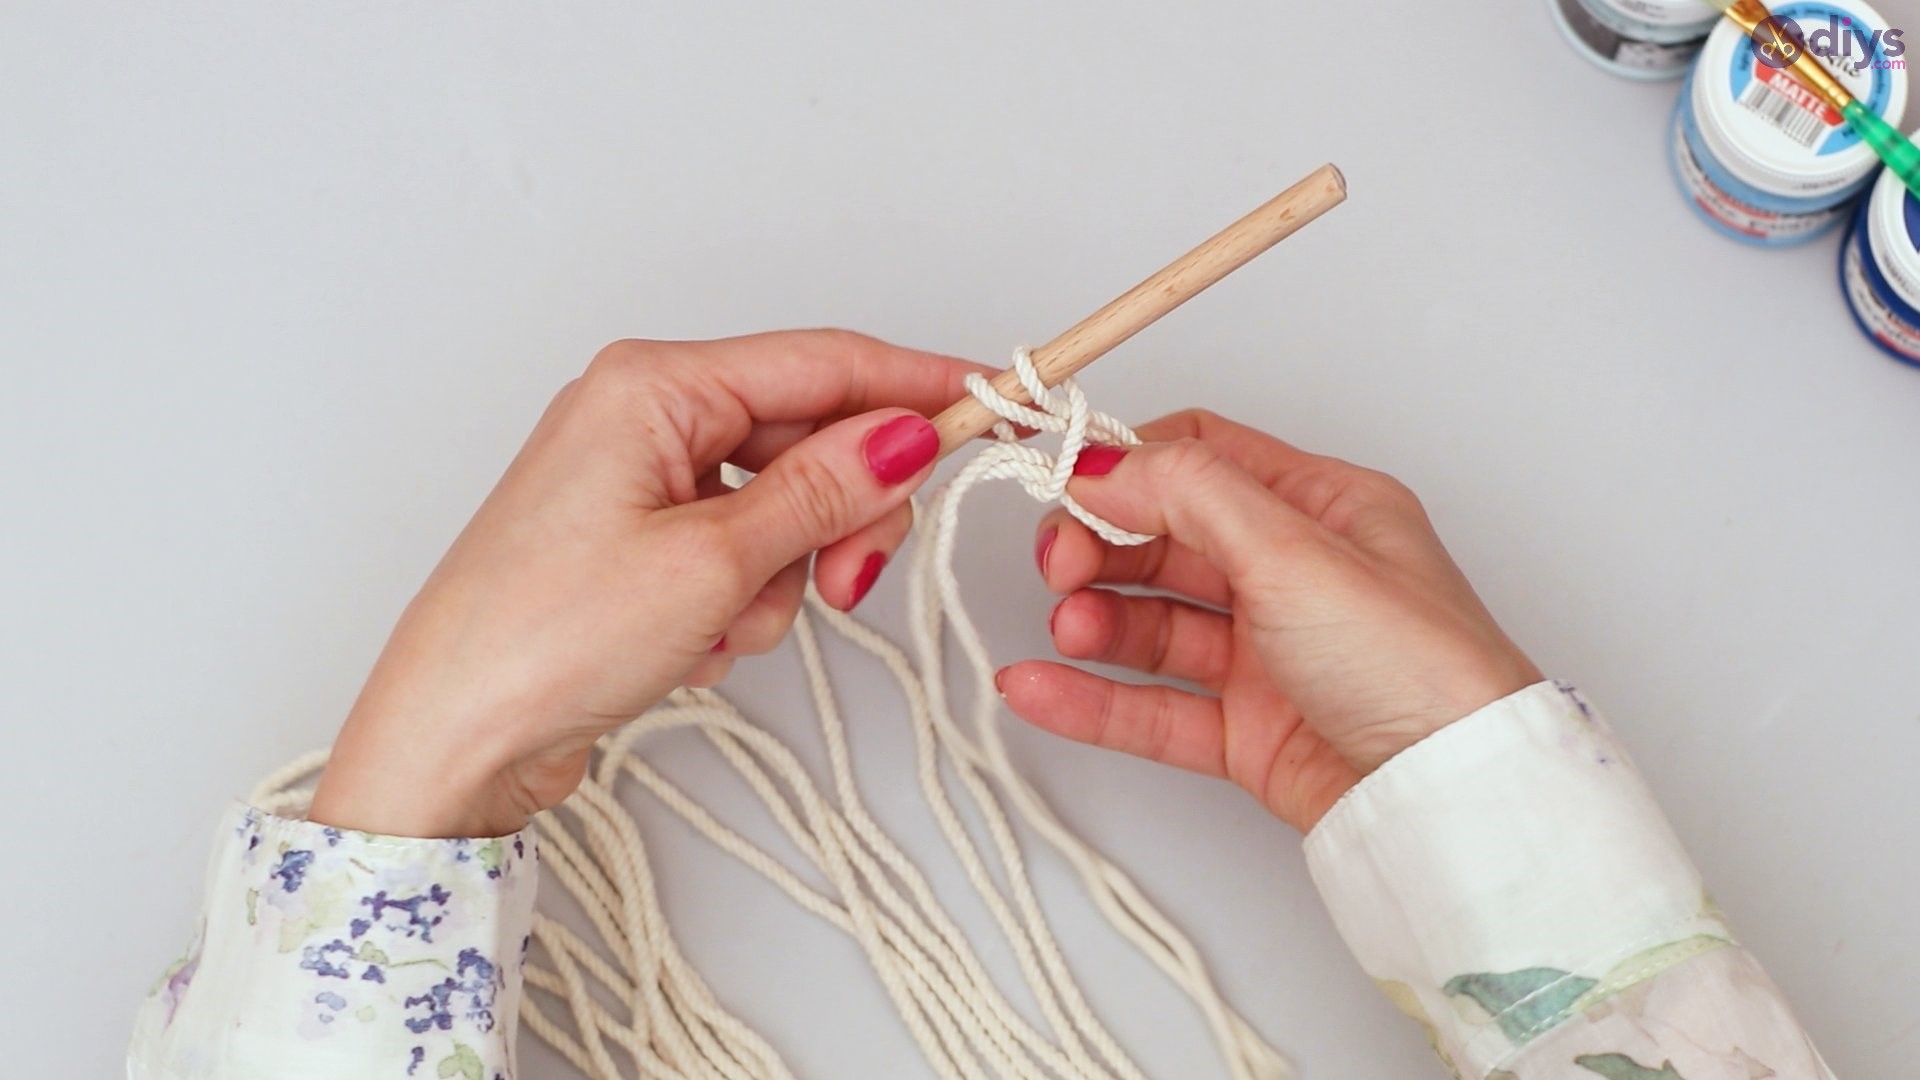
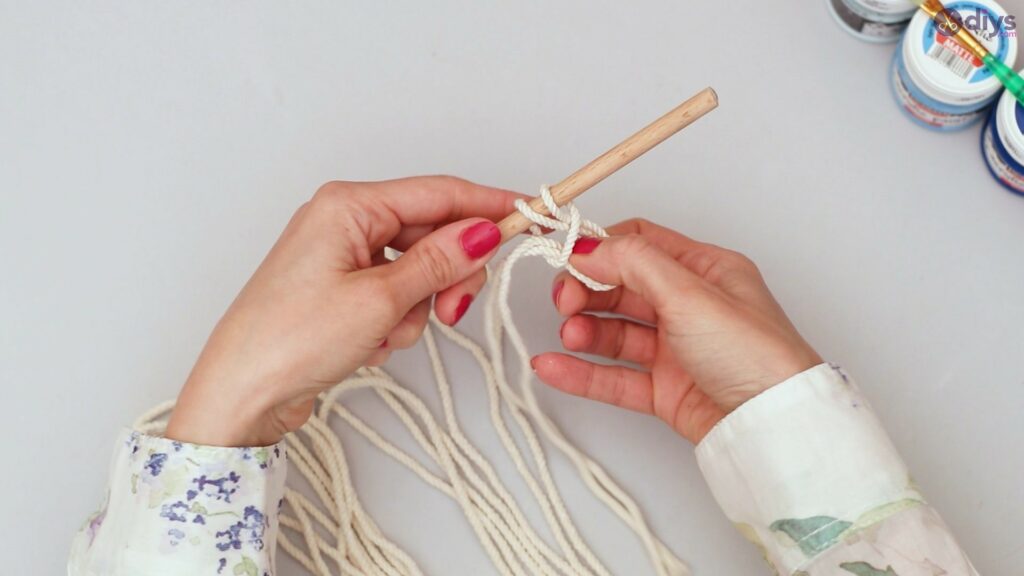
Loop the rope through, making a firm knot.
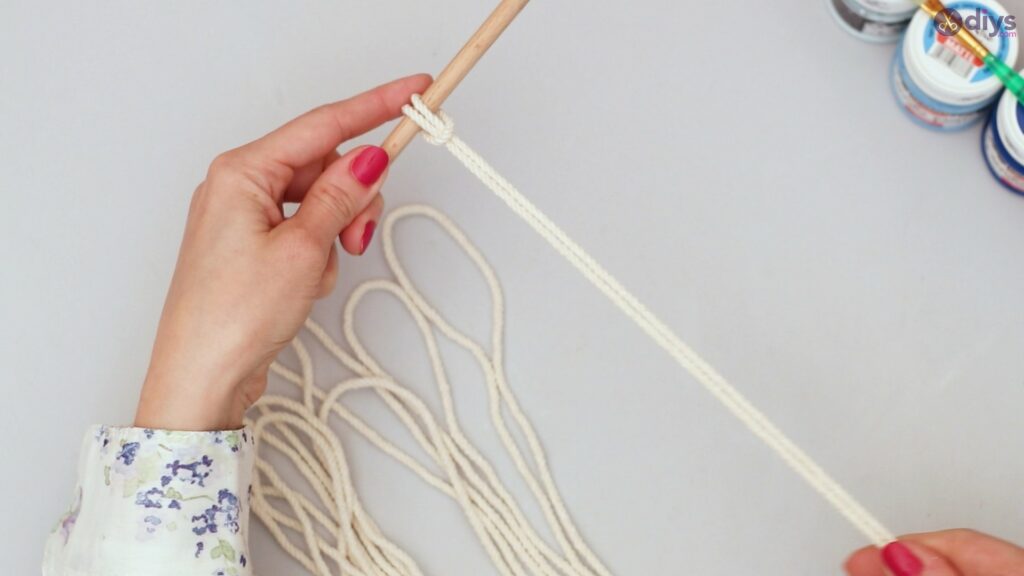
Tug on the rope to stretch it and make it knot tightly.
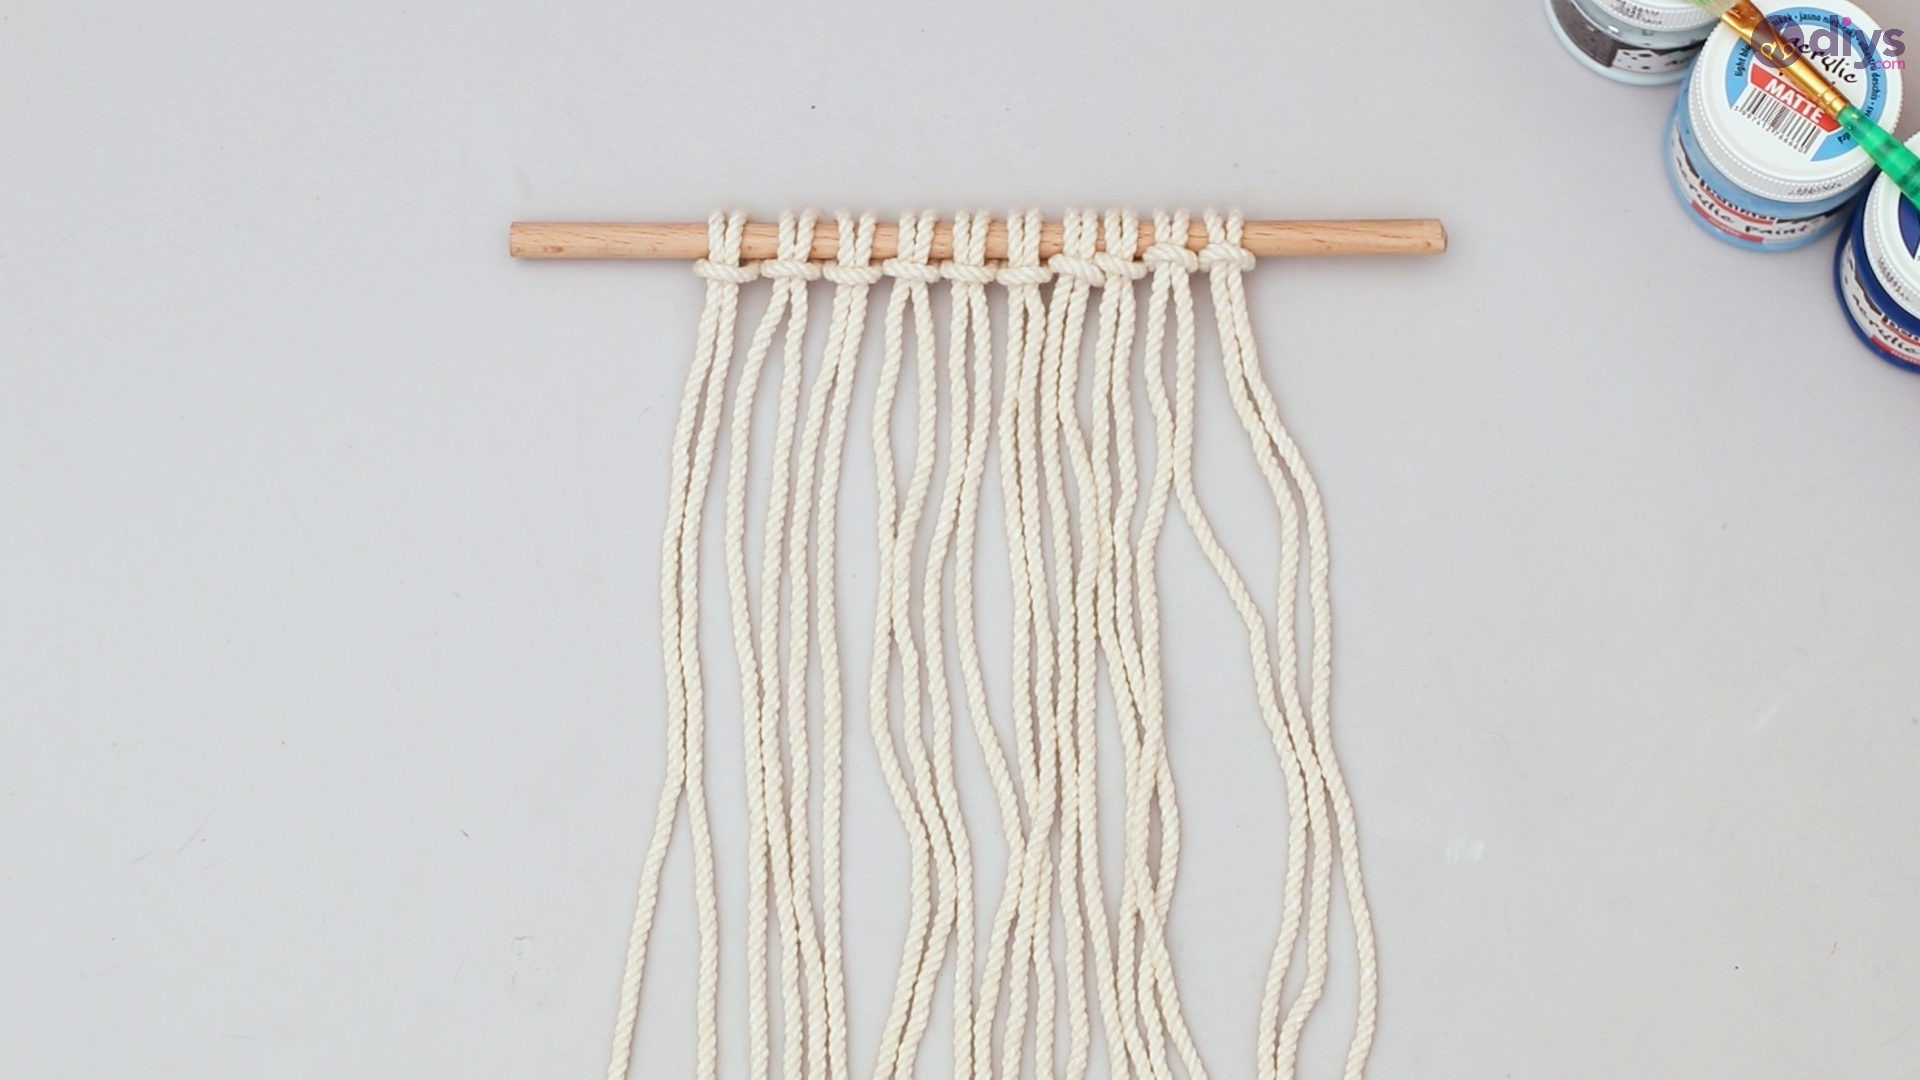
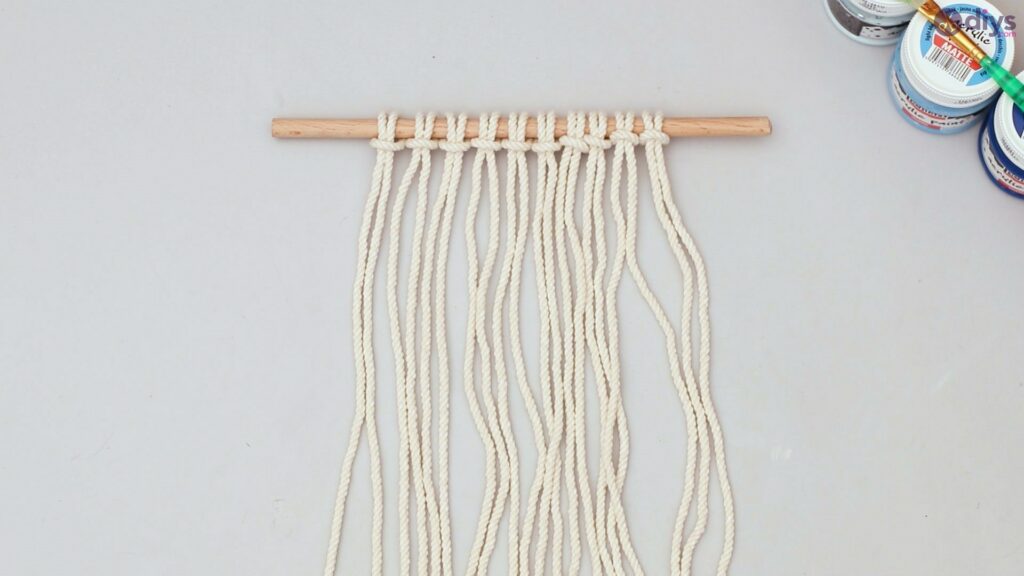
Repeat the process till you have knotted all the ropes on the wooden rod.
Once you are done with the first knots, lay the rod flat on the table.
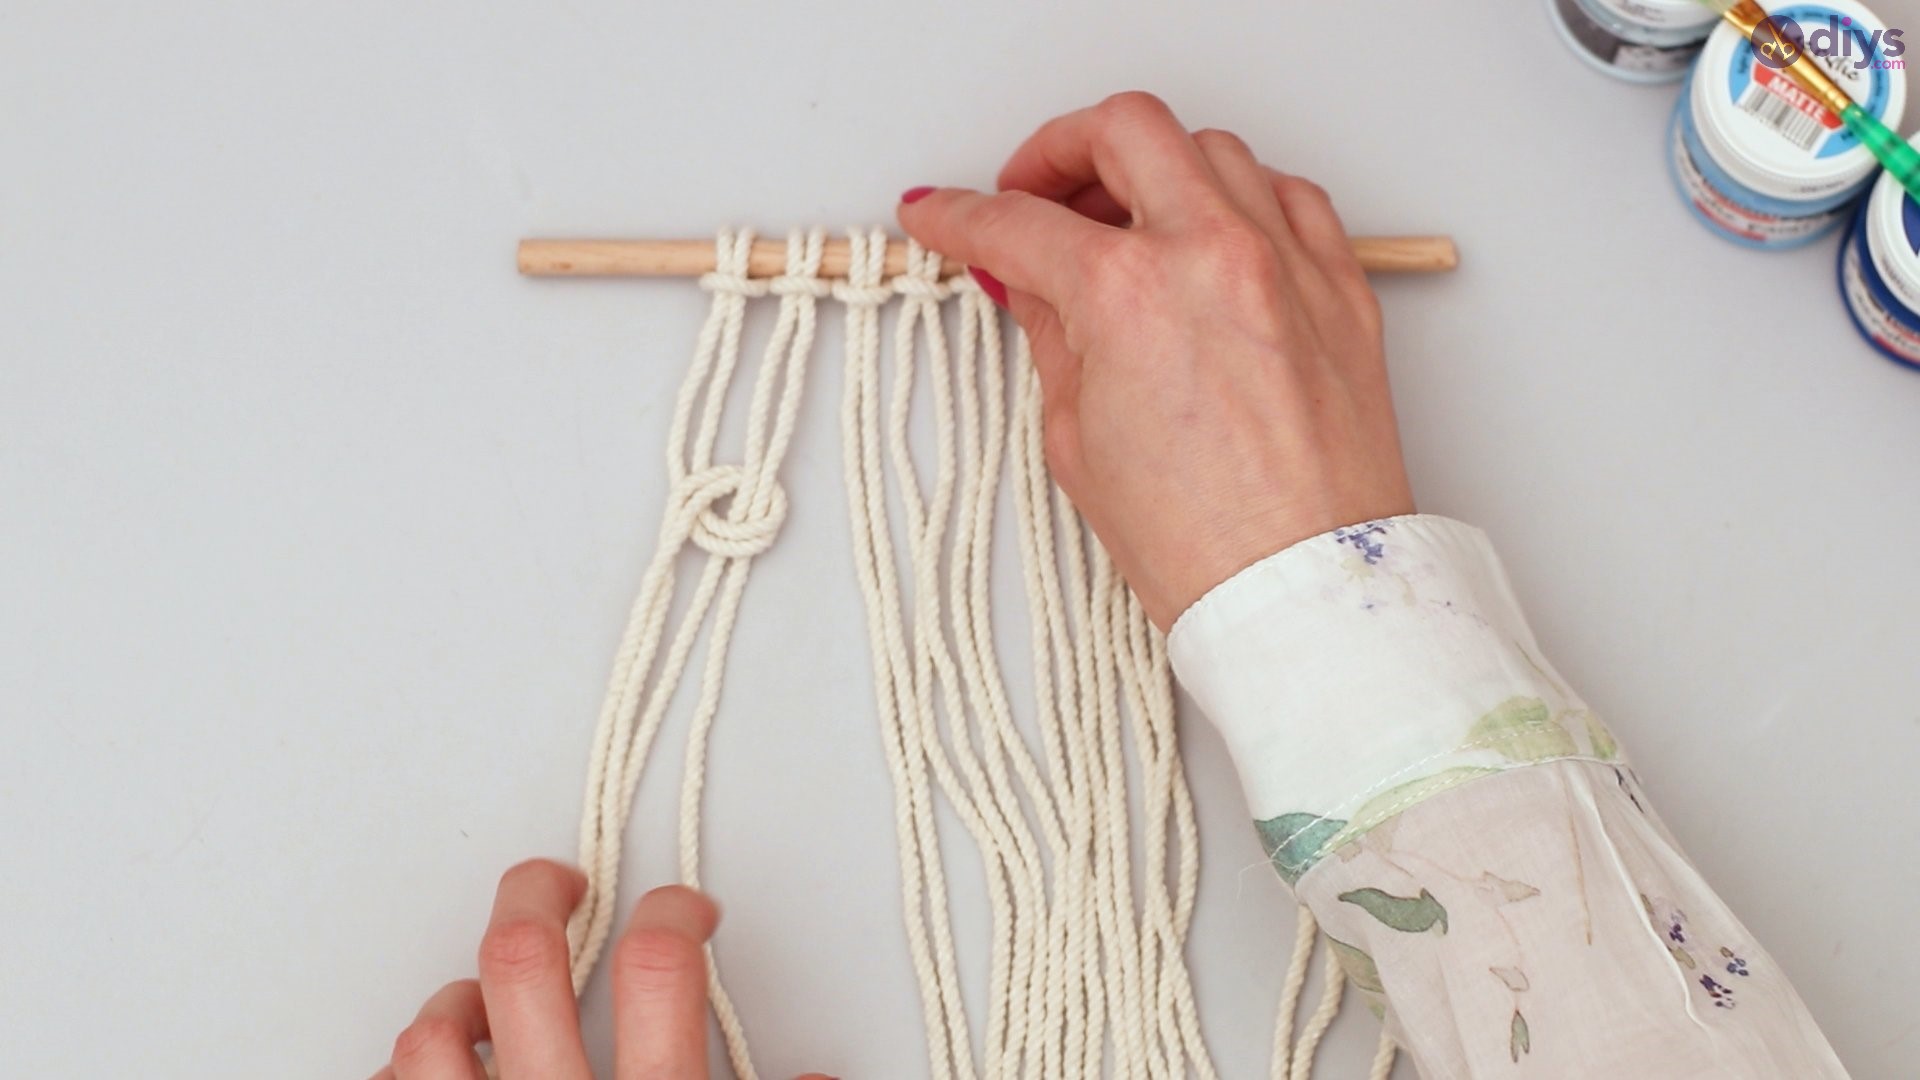
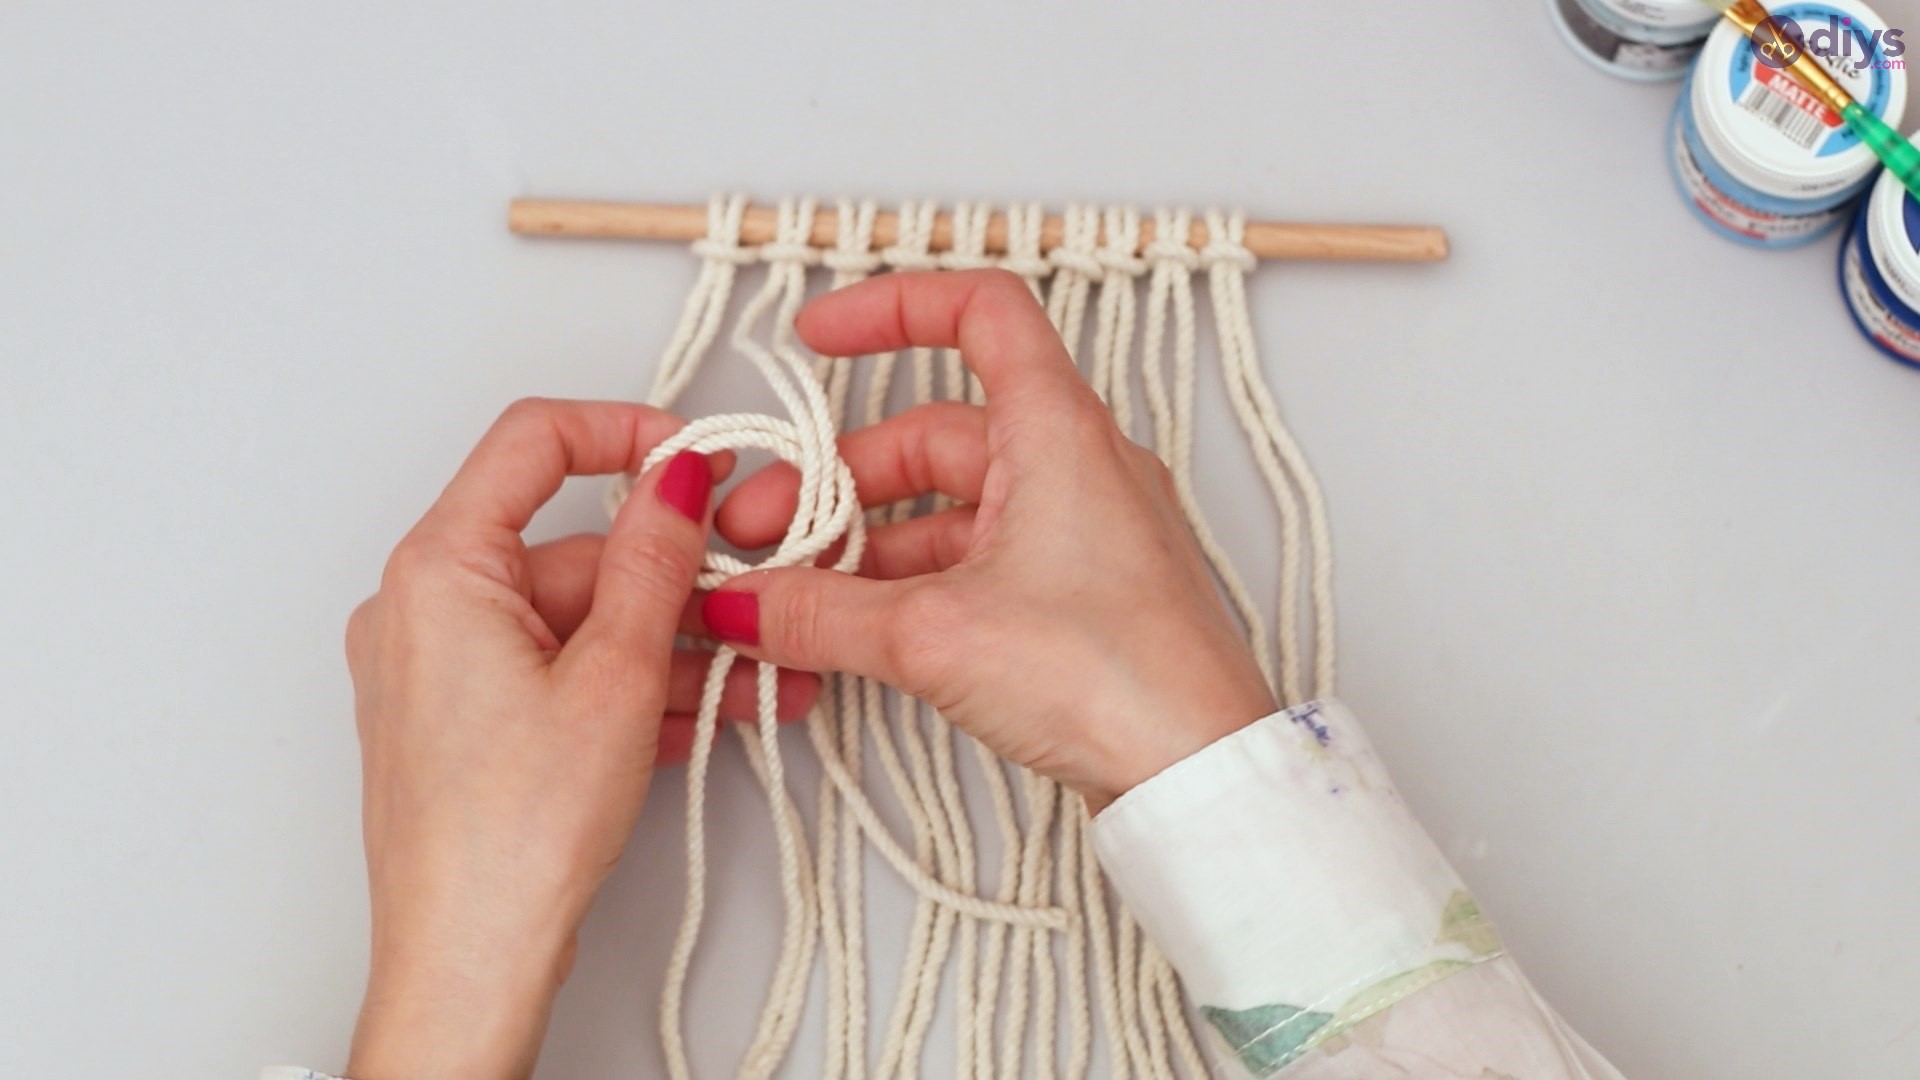
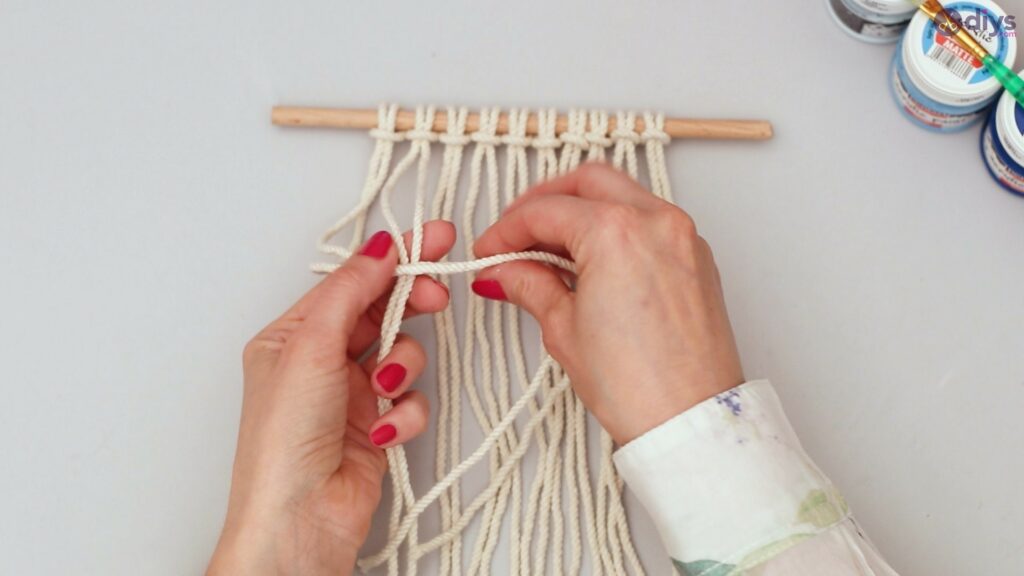
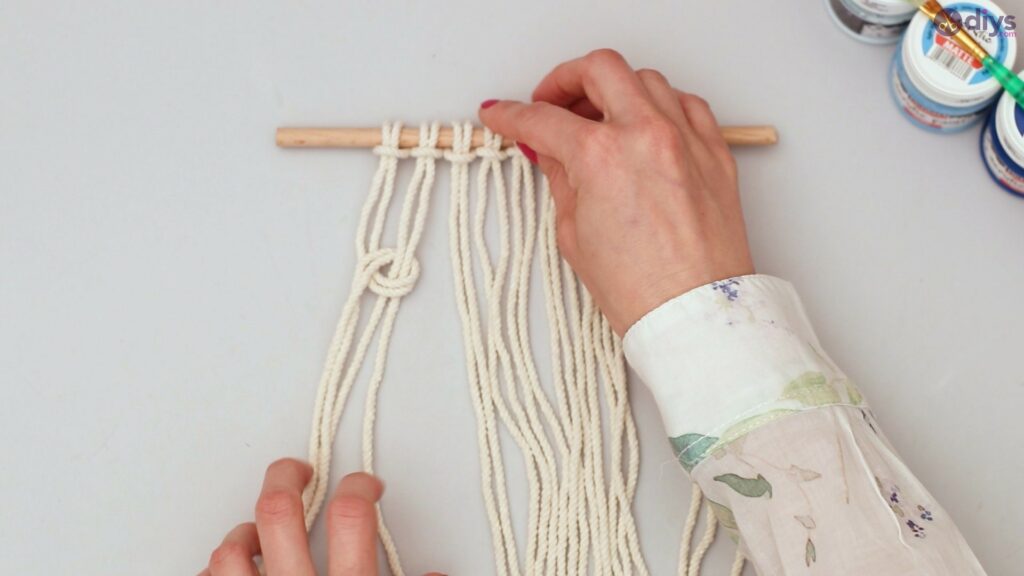
Take two ropes knotted next to each other.
Pass the ropes together to form another knot.
Now the two ropes have formed one knot.
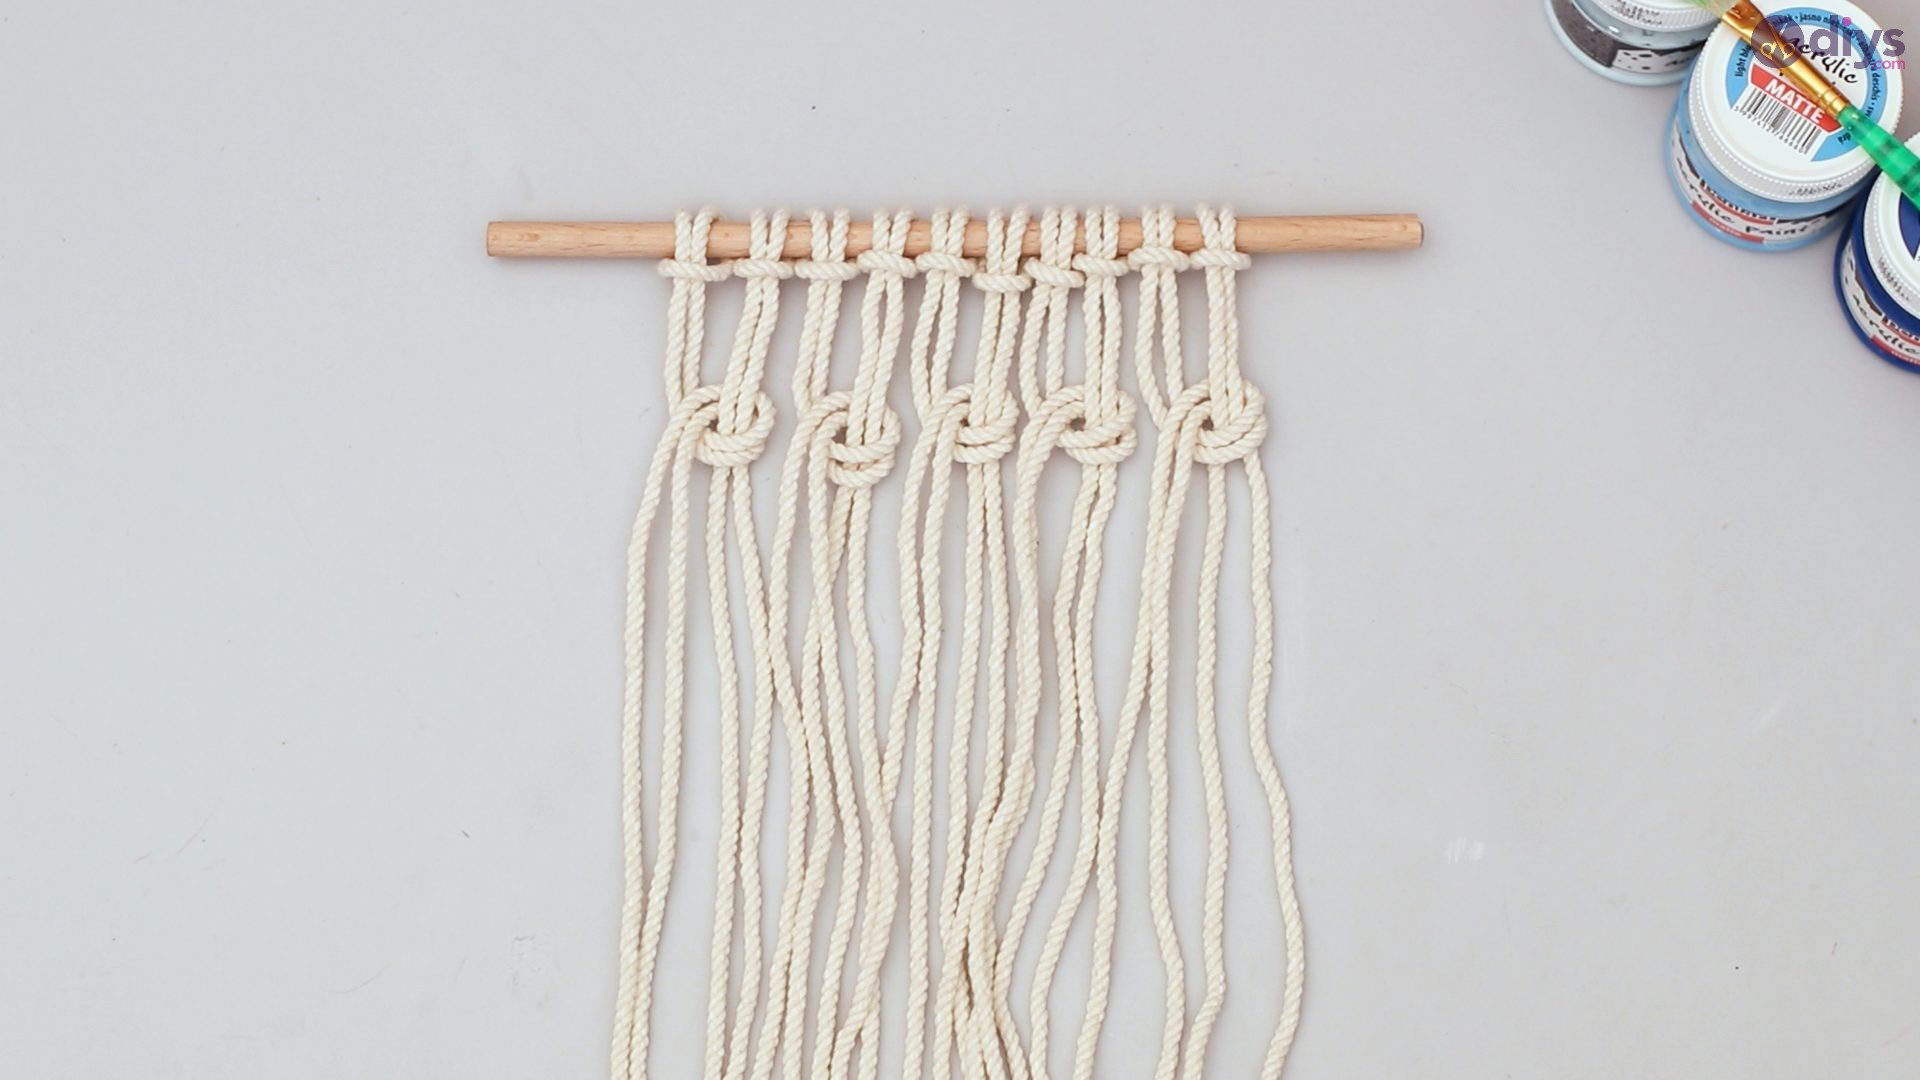
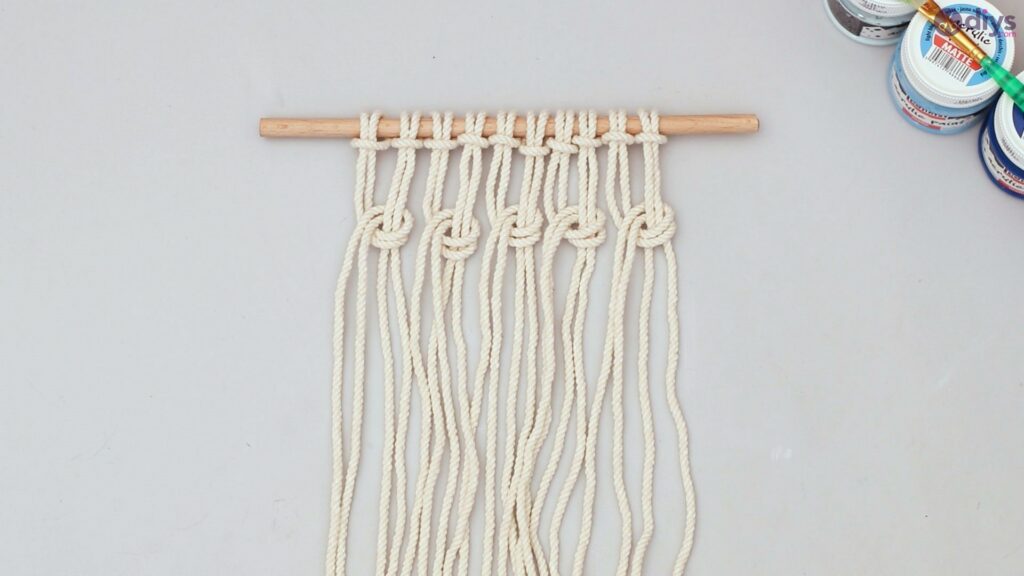
Repeat this step for each pair of ropes tied next to each other until you have successfully knotted all the previously single ropes.
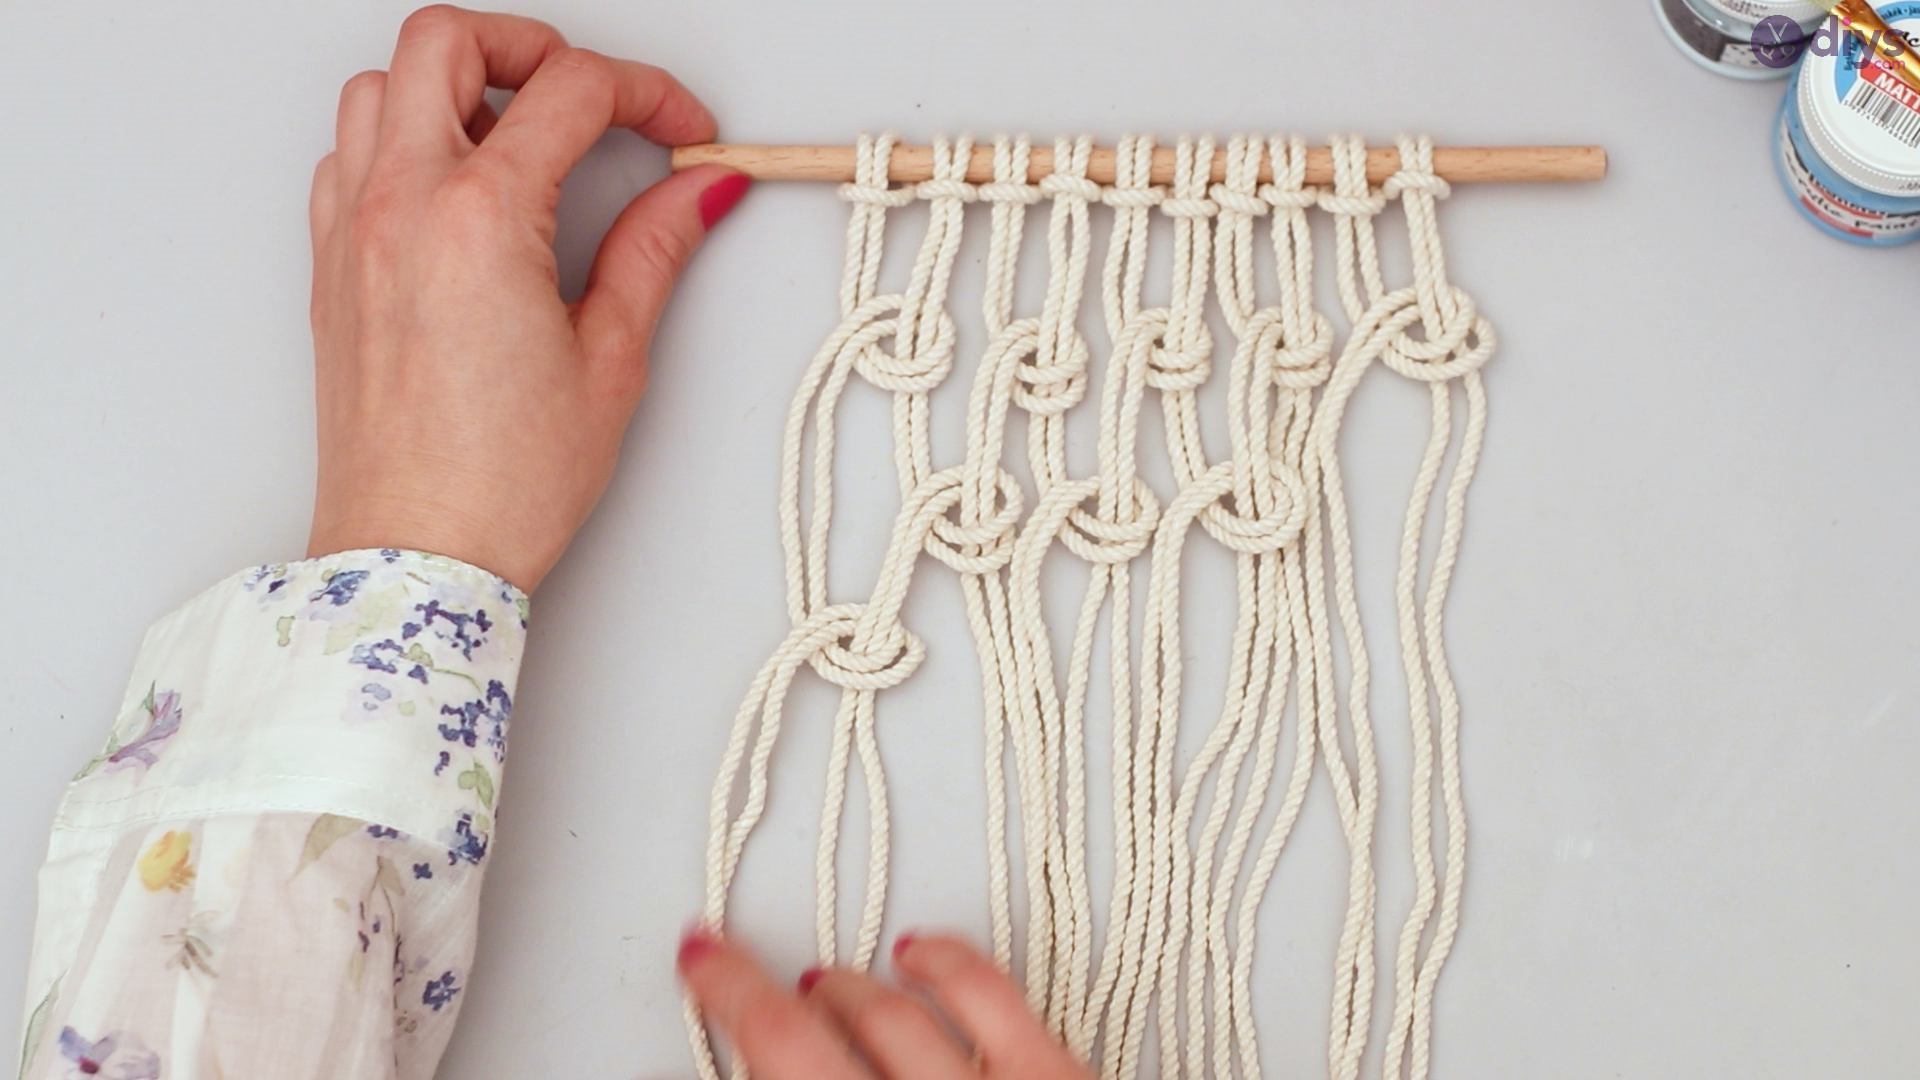
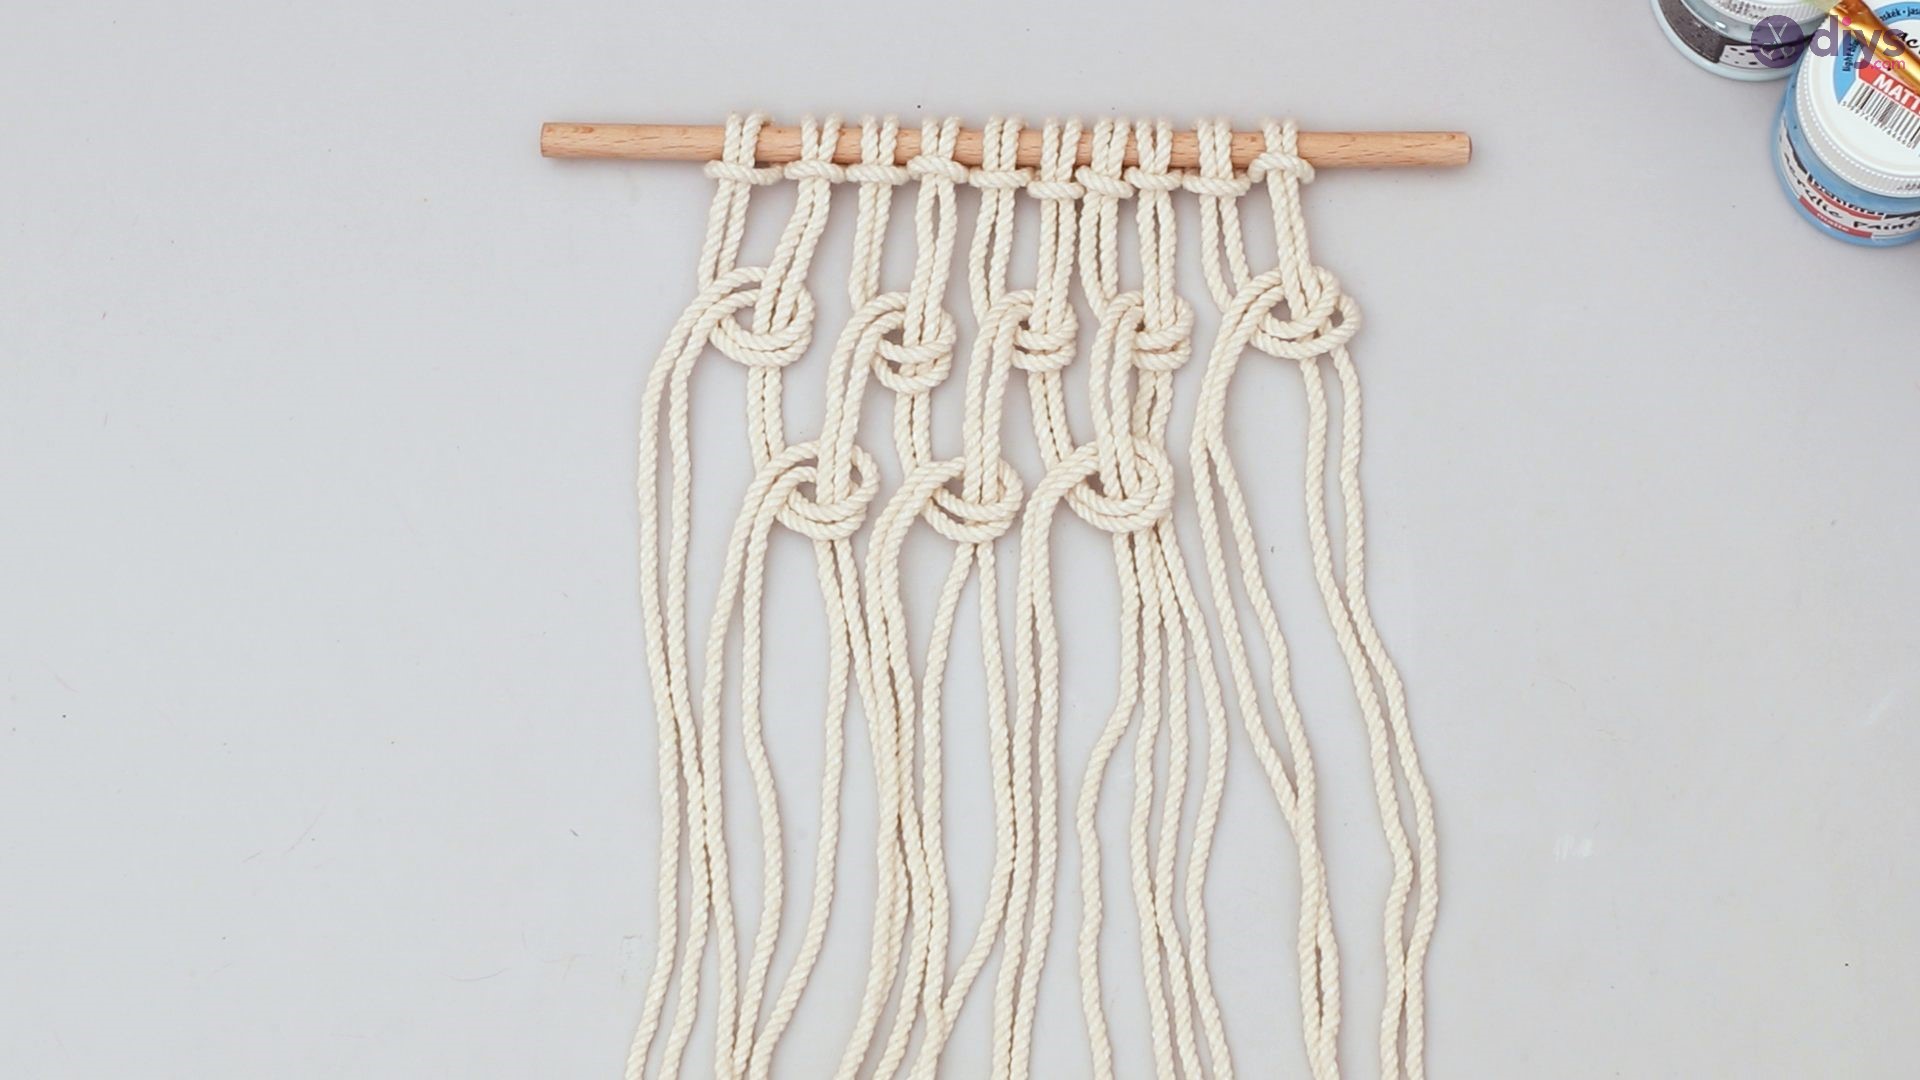
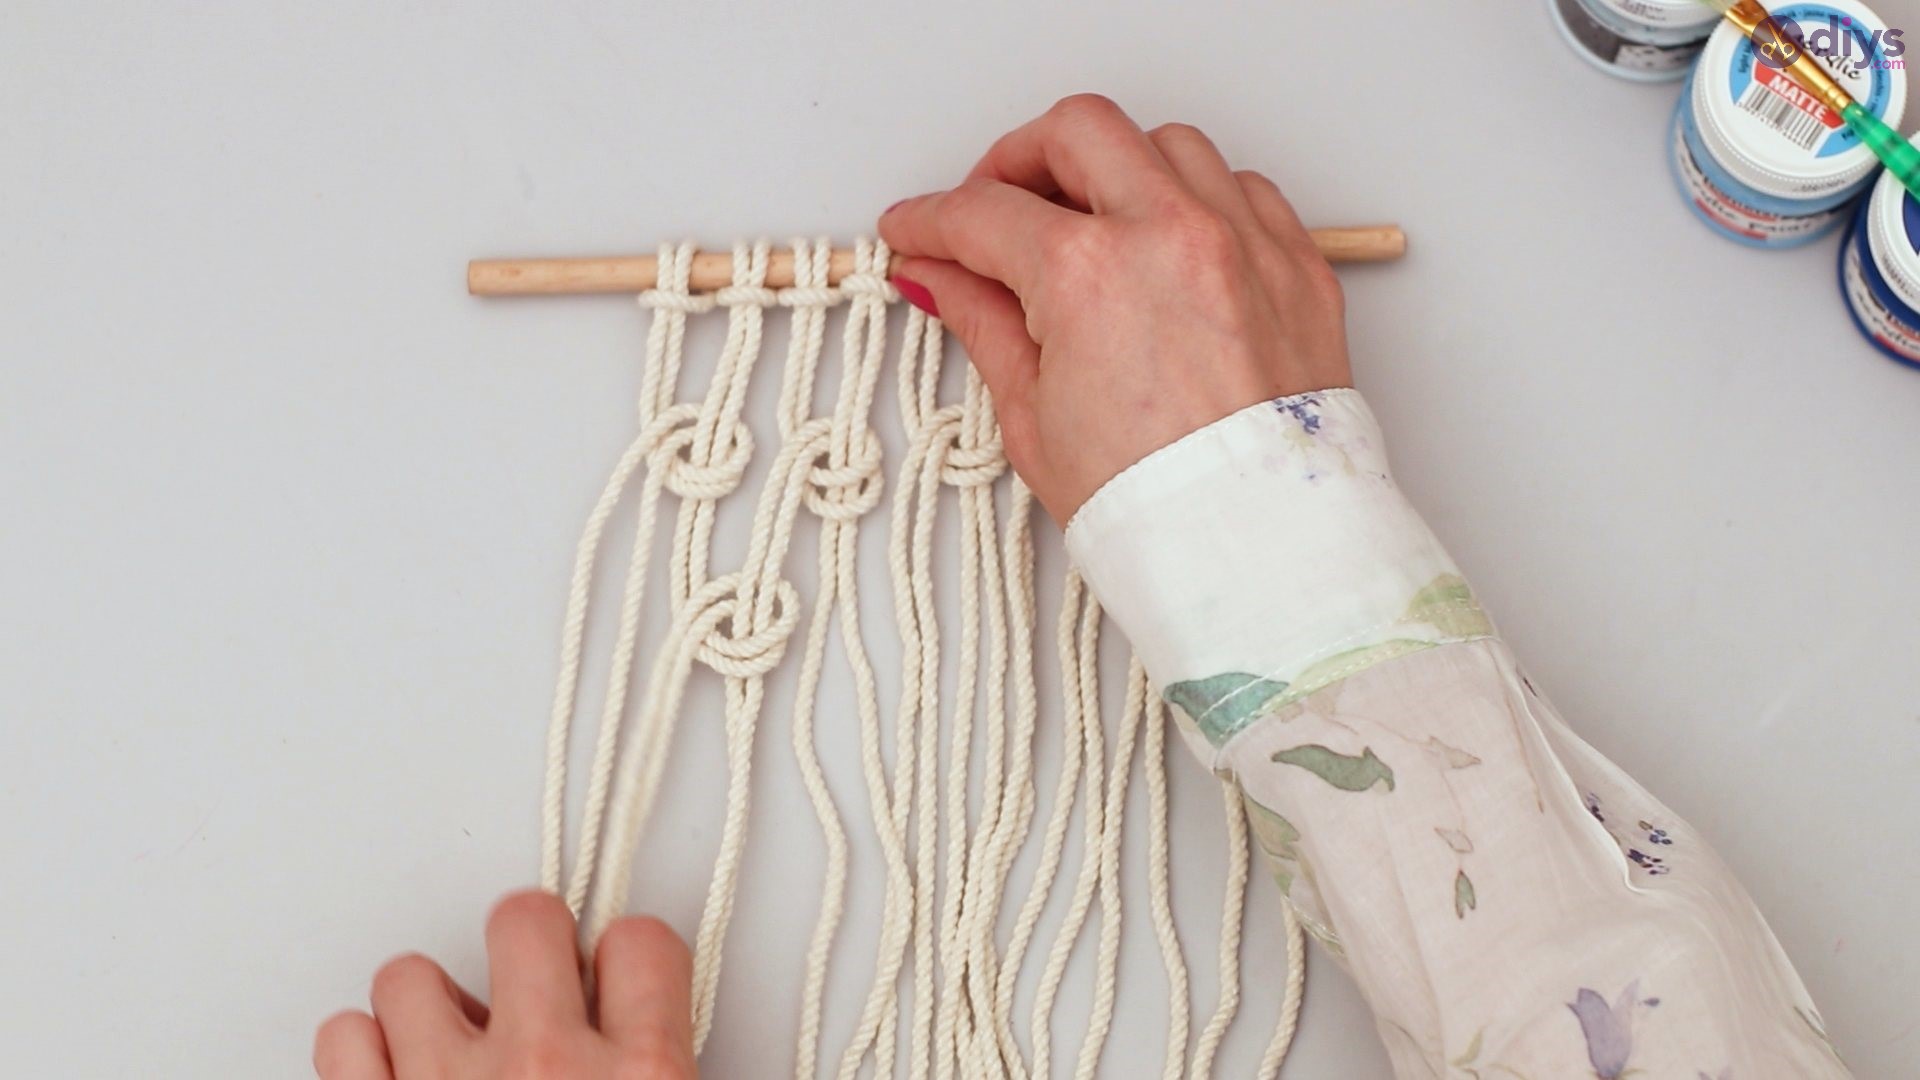
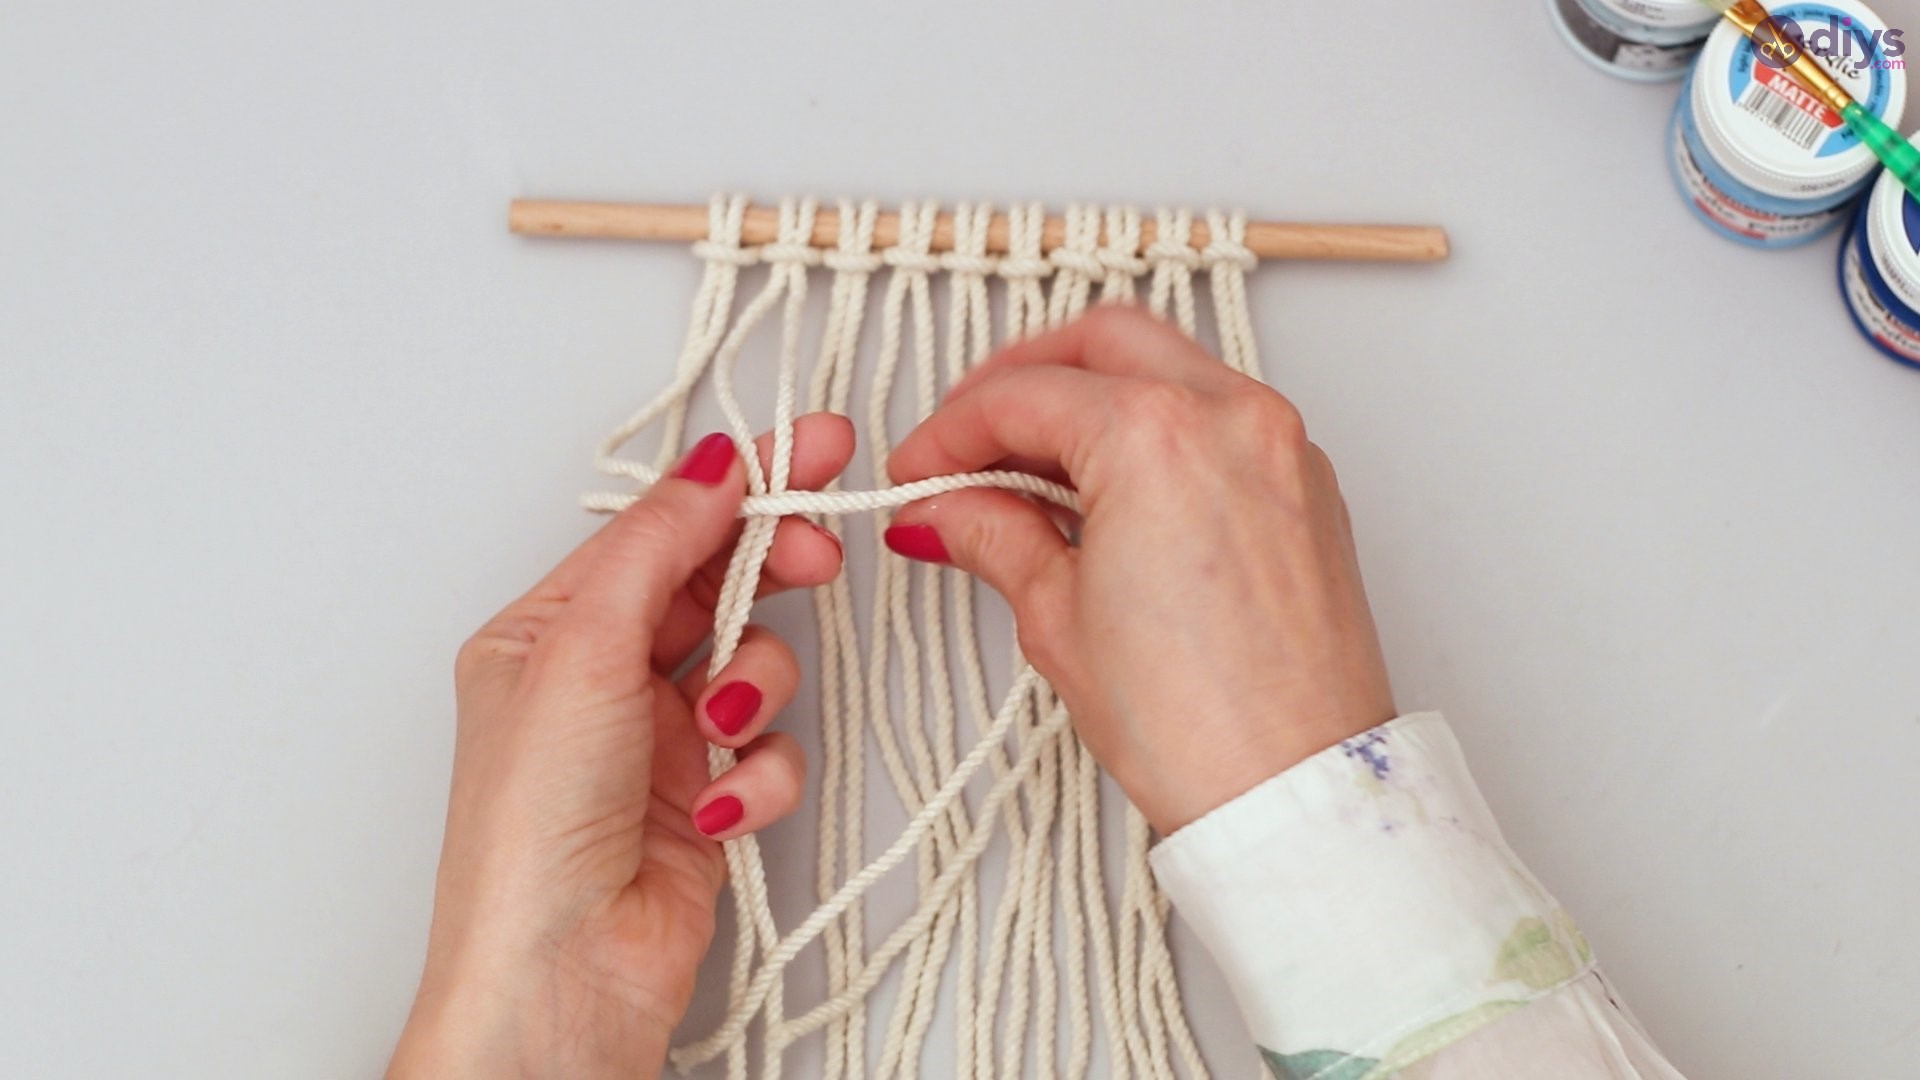
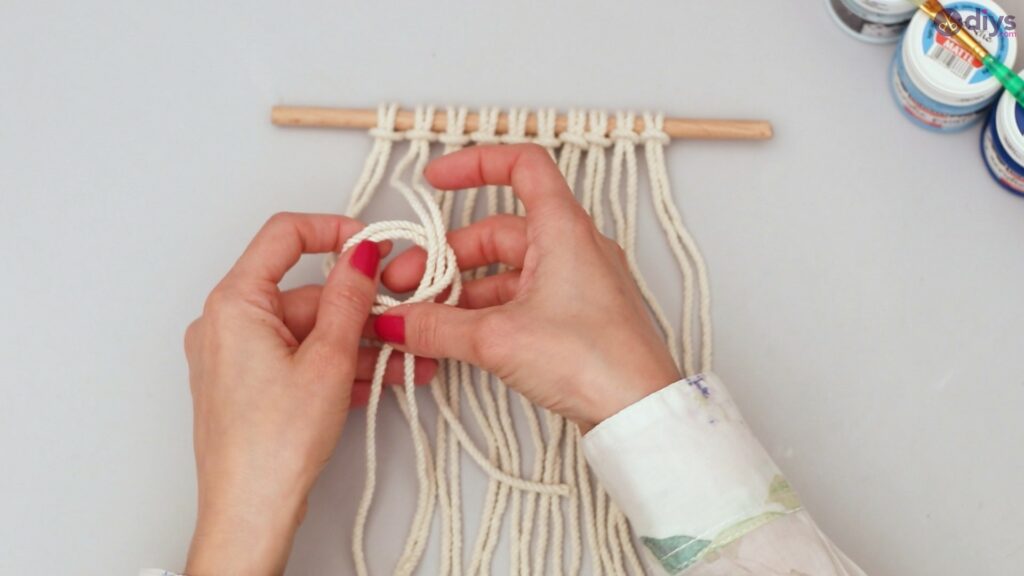
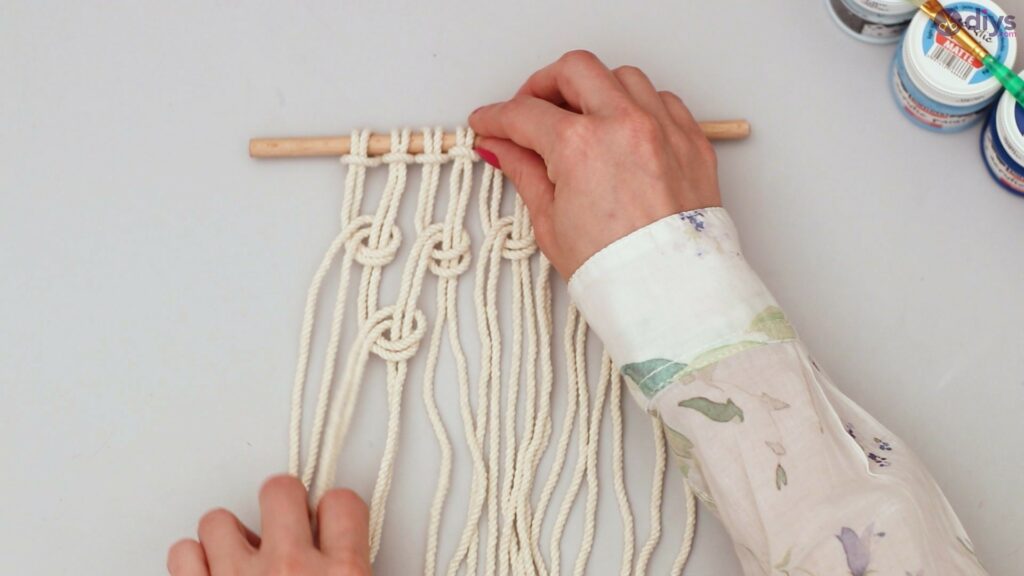
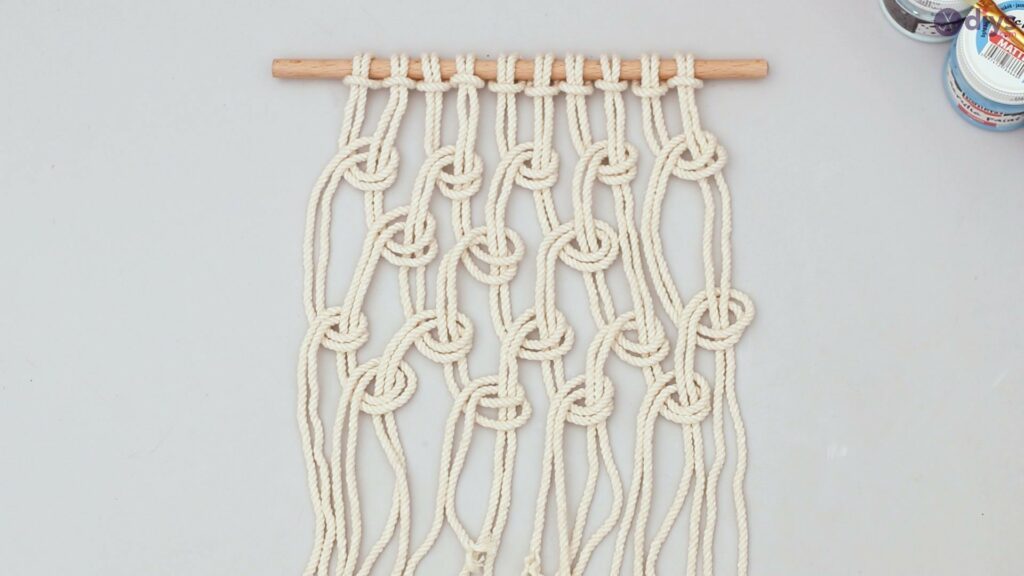
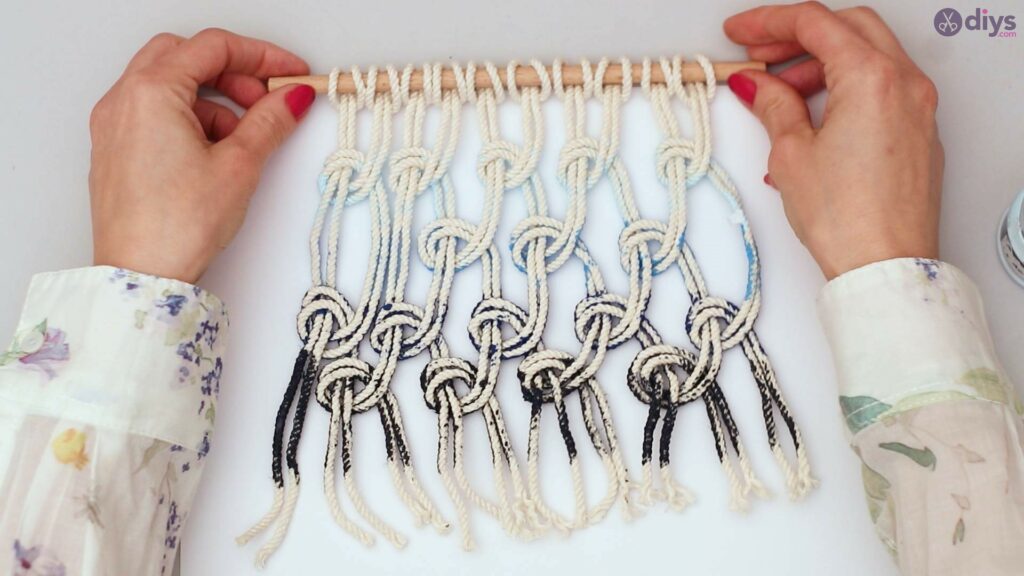
Now, you have four strands of rope sticking out of each knot. Take the last two strands from the first knot and the first two strands from the next knot.
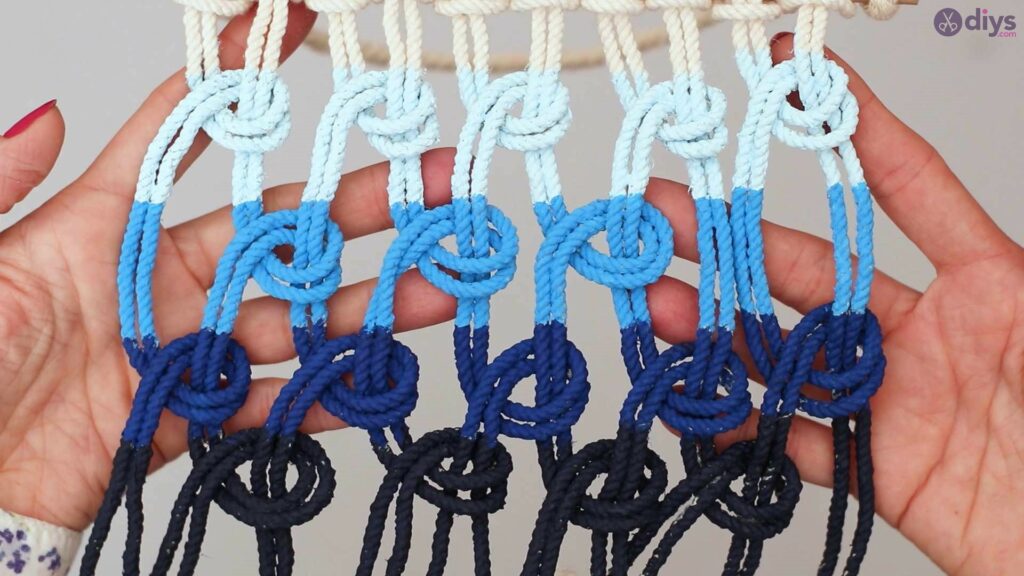
Loop the ropes together to form a single knot. Do this with all the pre-existing knots.
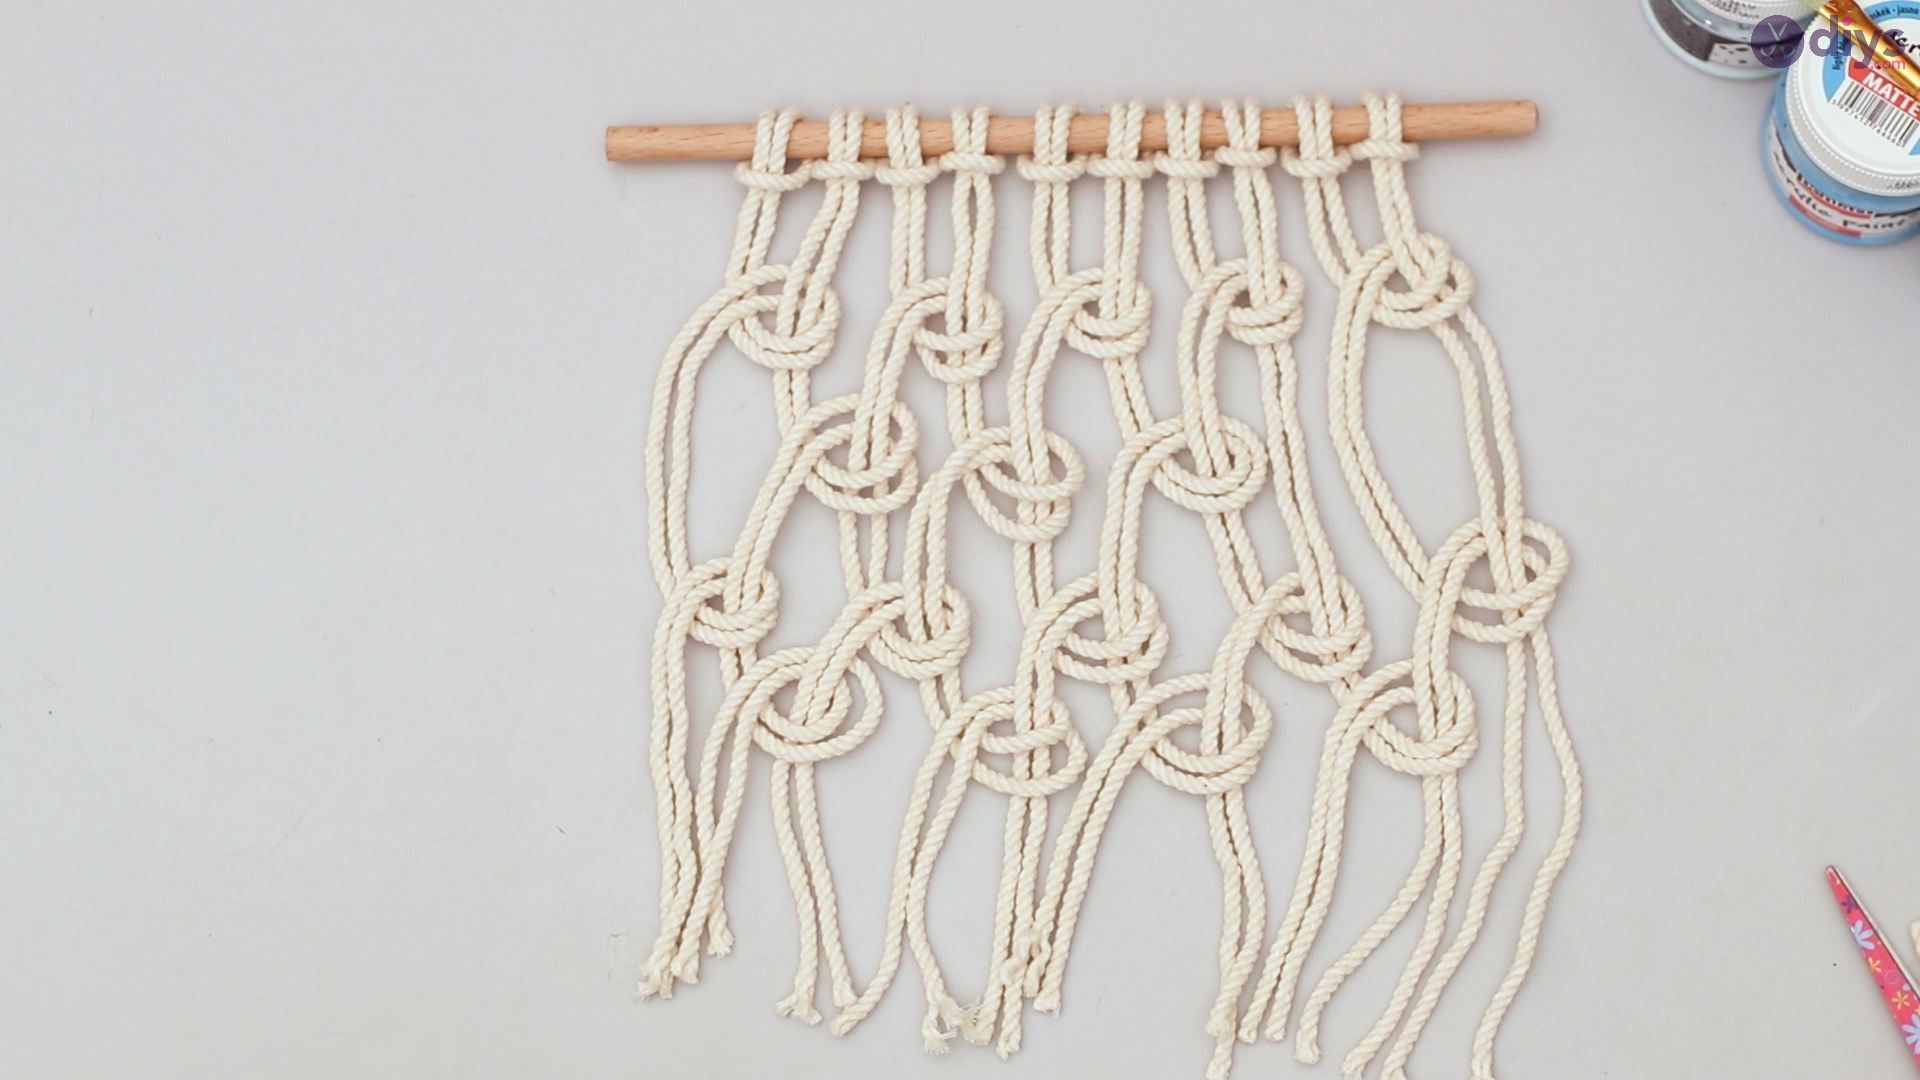
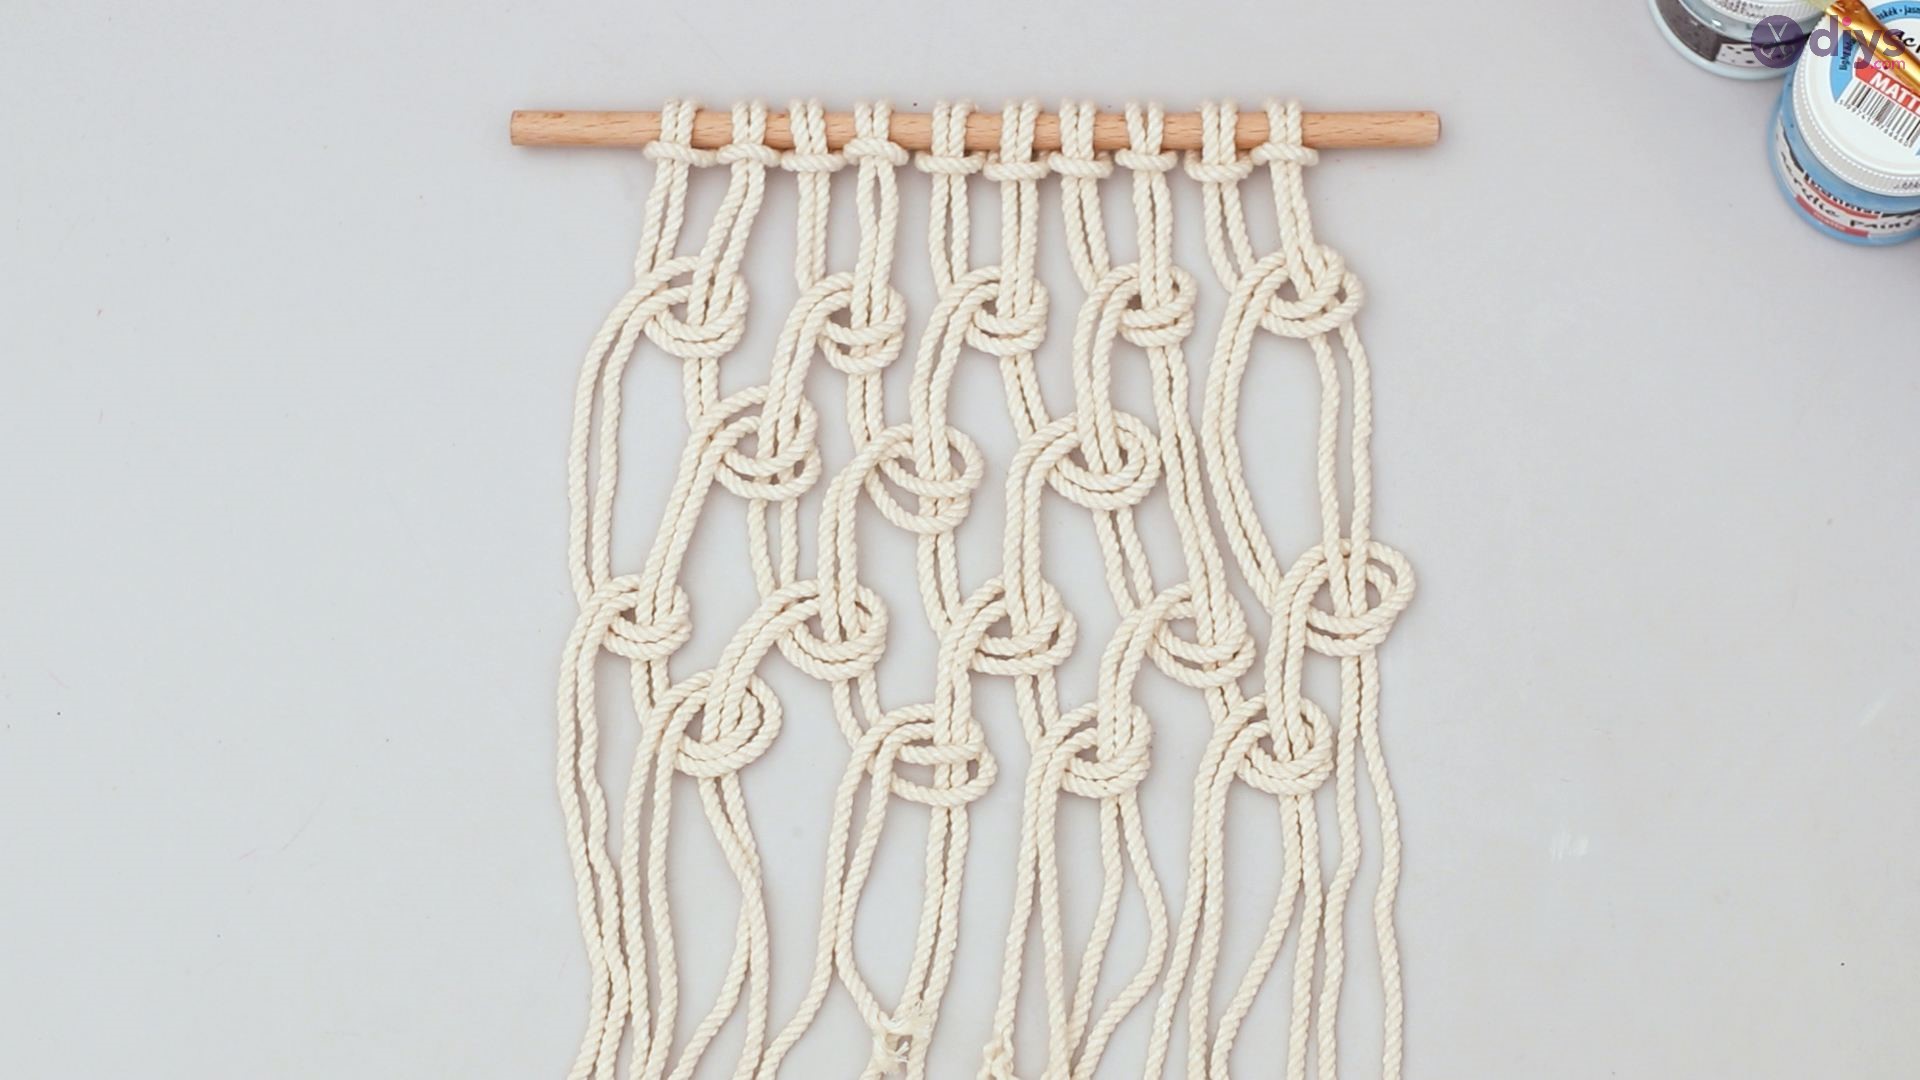
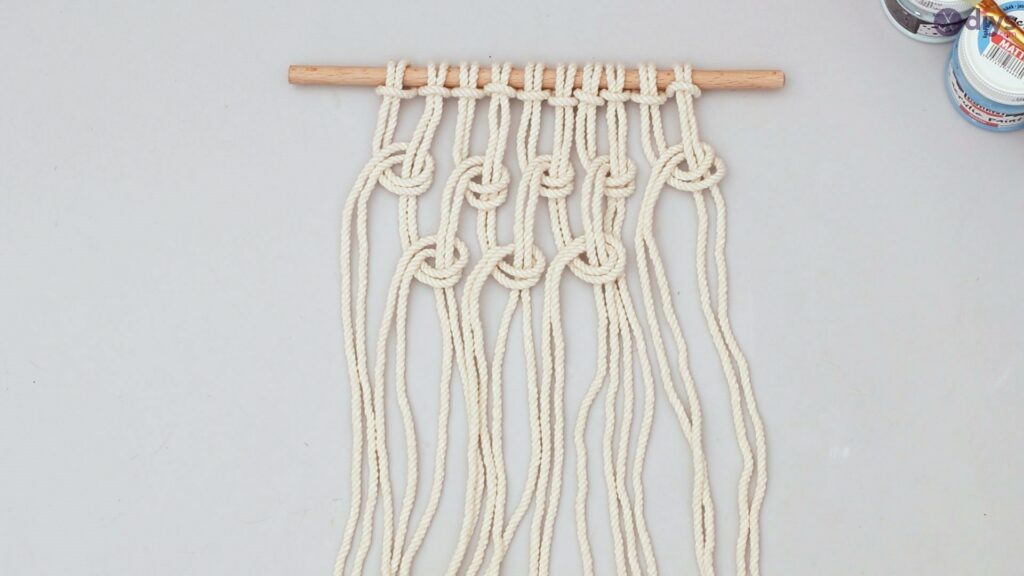
When you are done making the second row of knots, lay the wooden rod down and begin the third set of knots. Take the first two ropes from the first row of knots and loop them over the first two ropes from the second two ropes to form a new row.
You can make as many knots as you like.
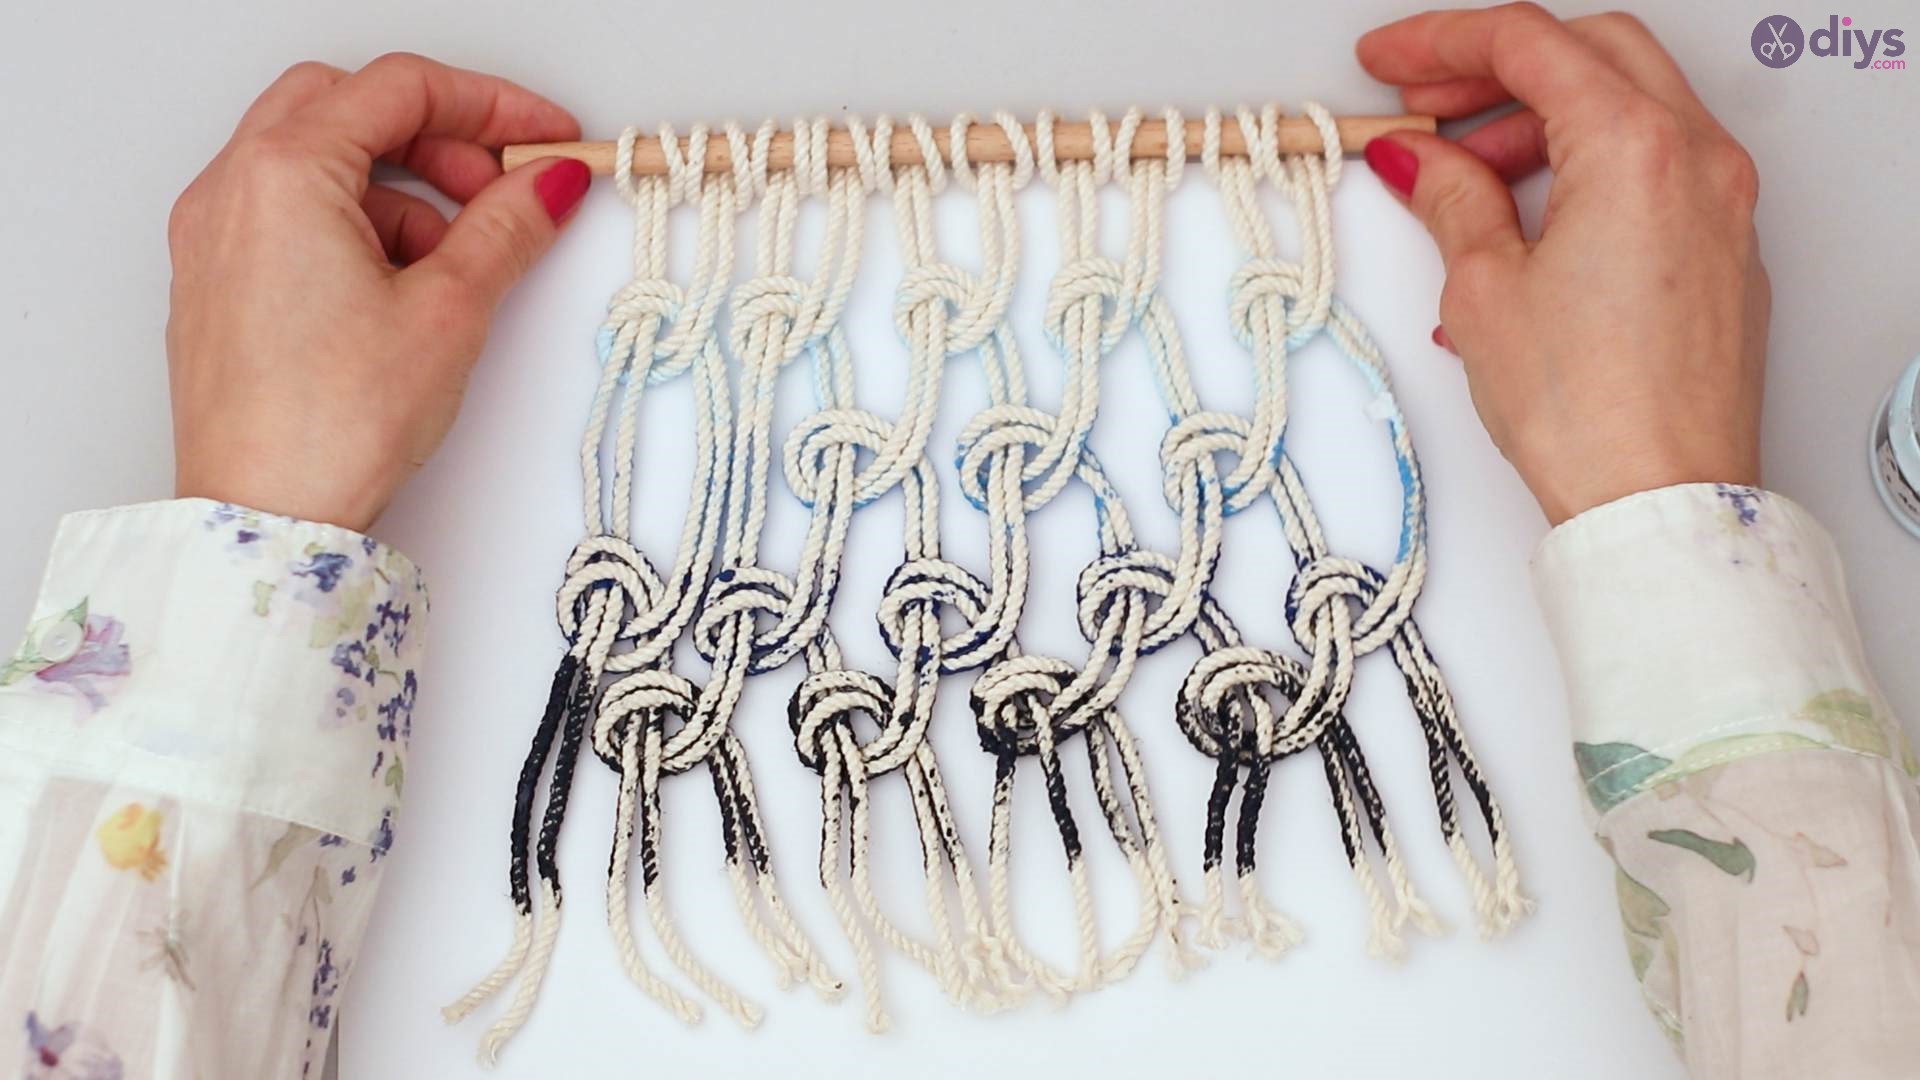
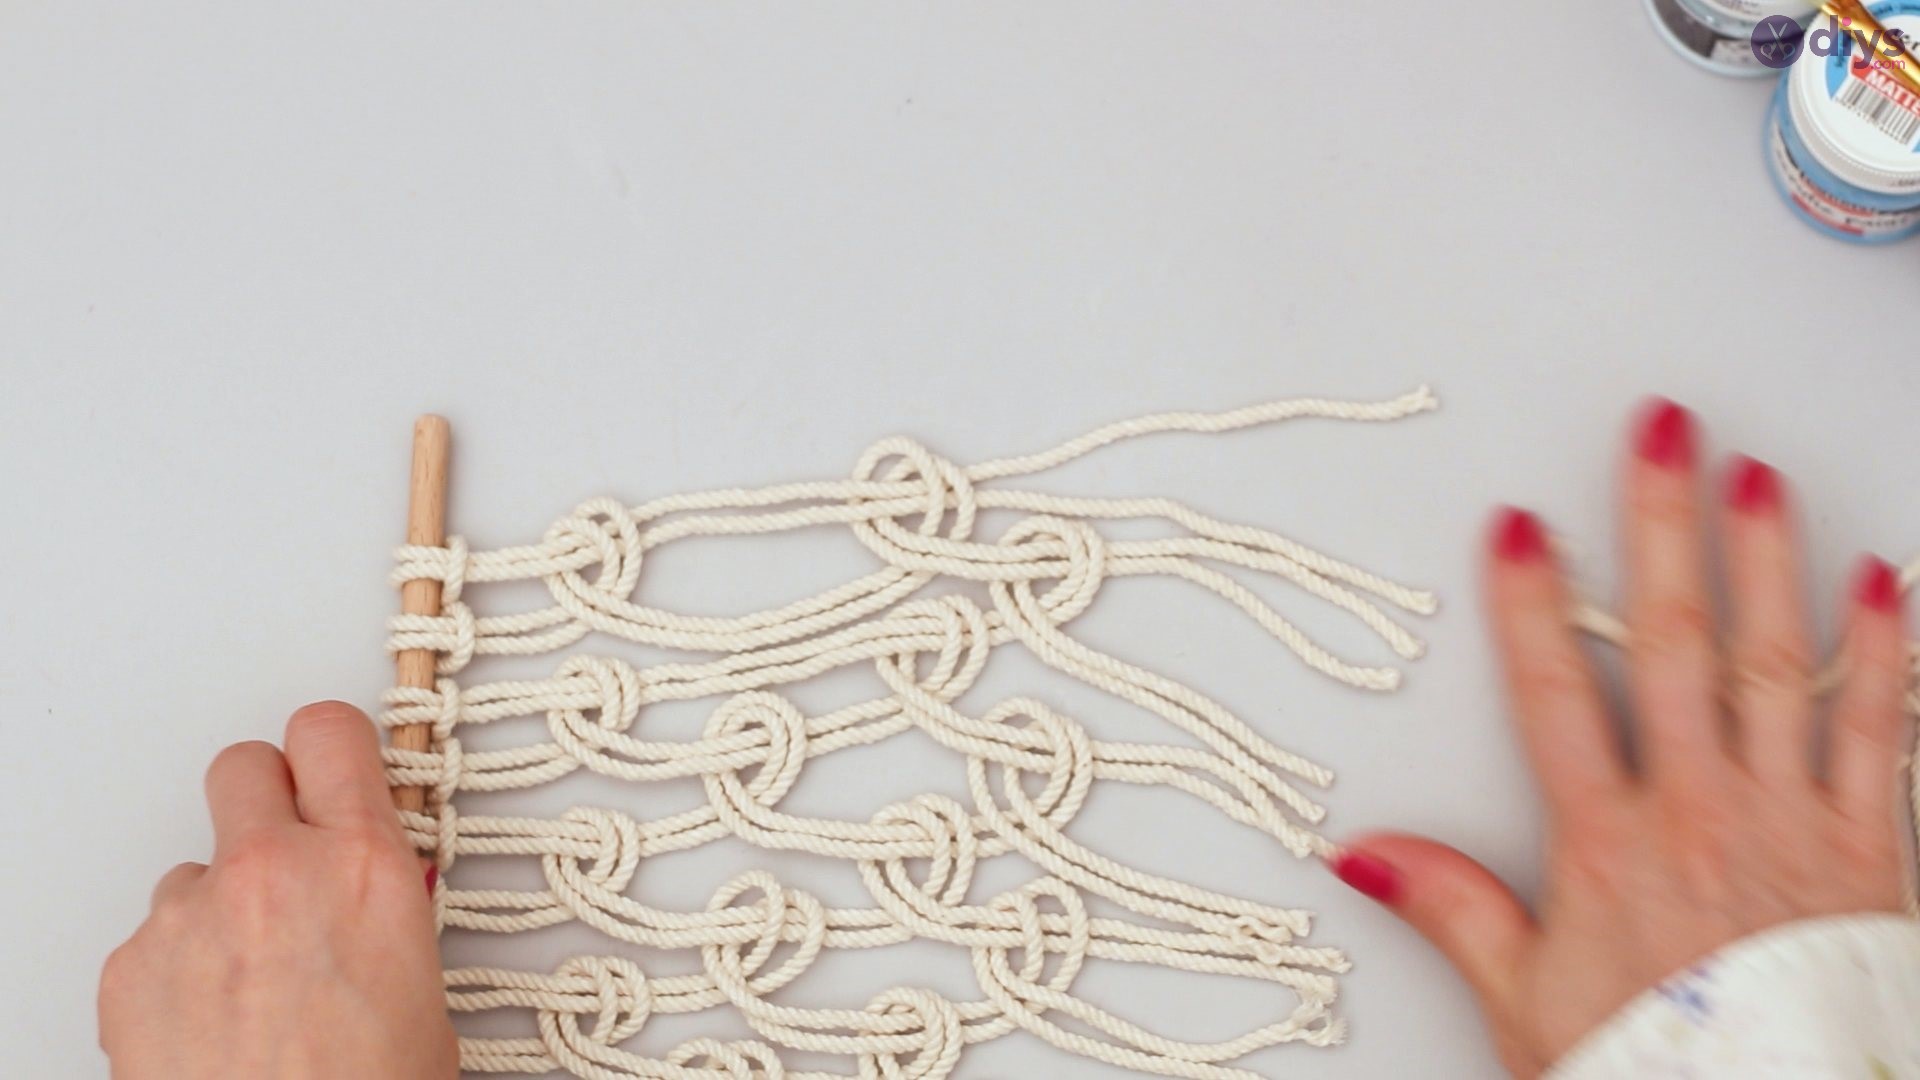
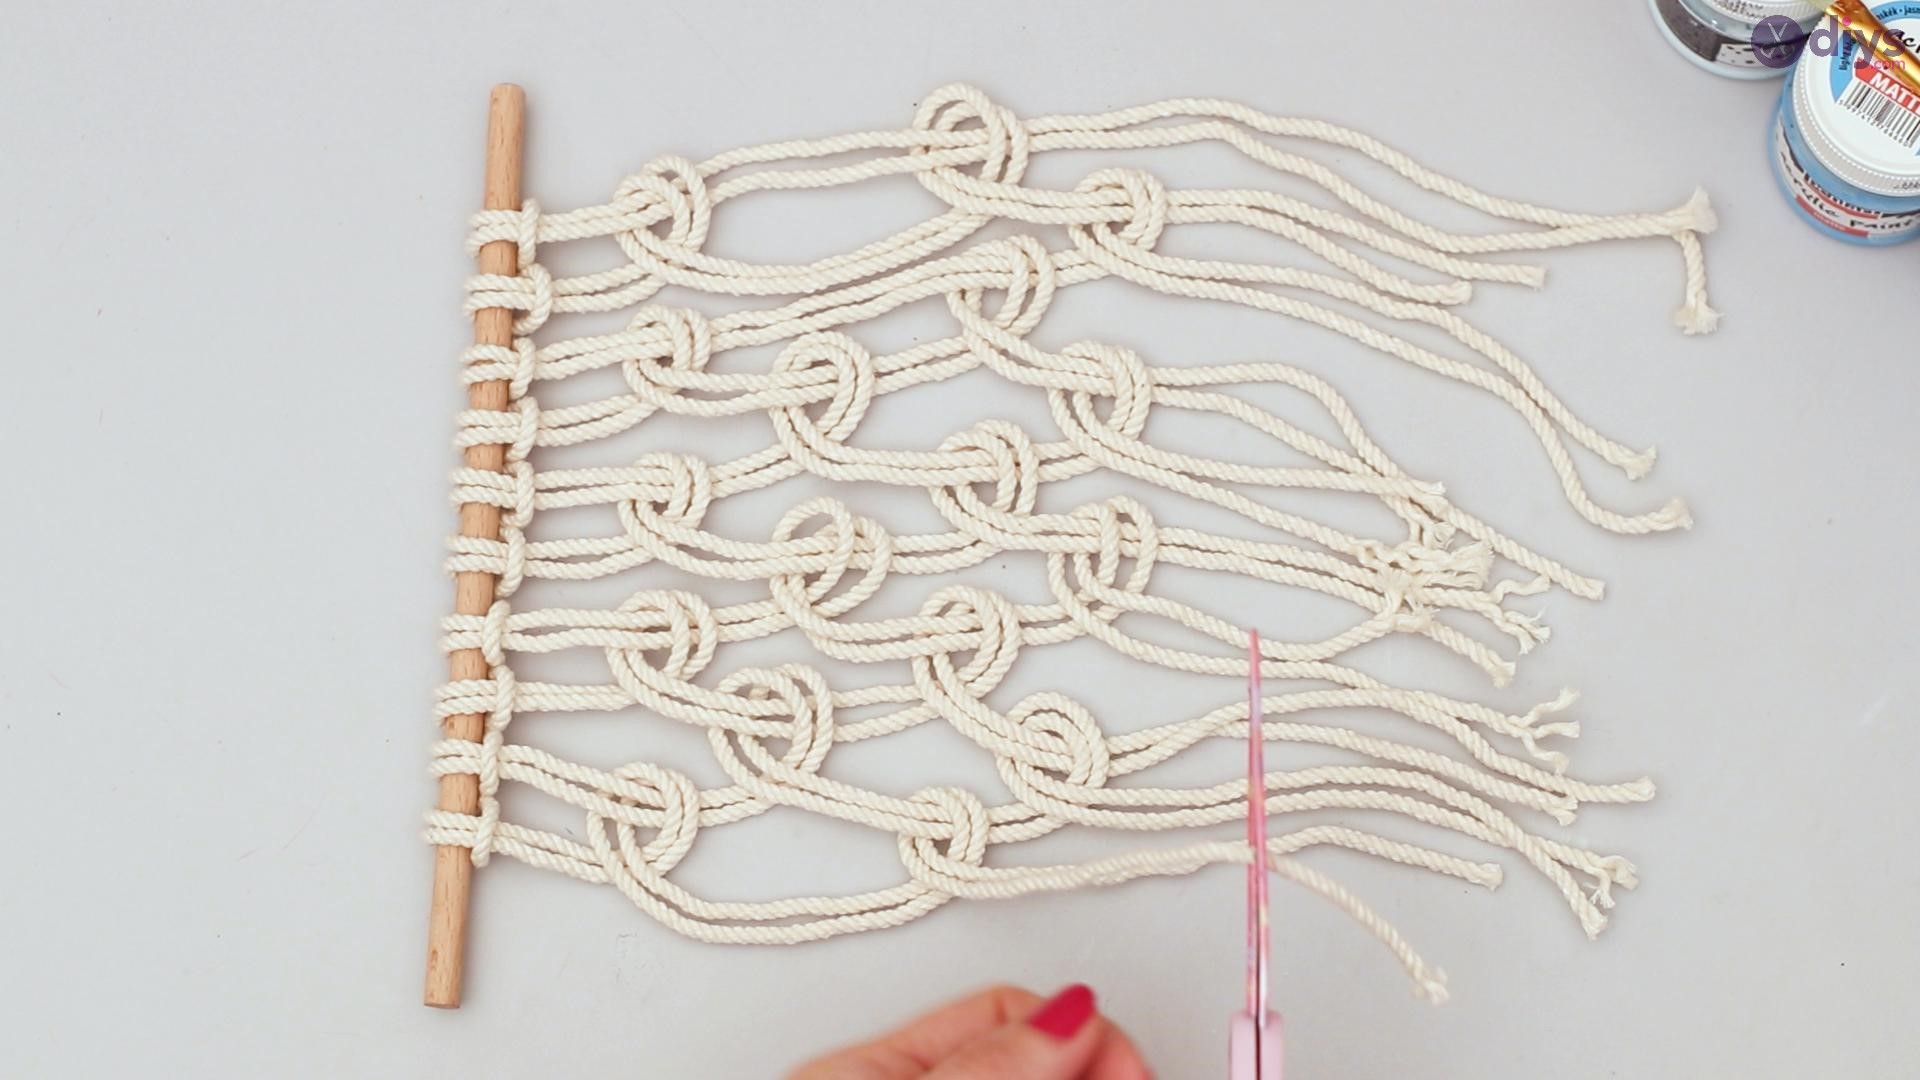
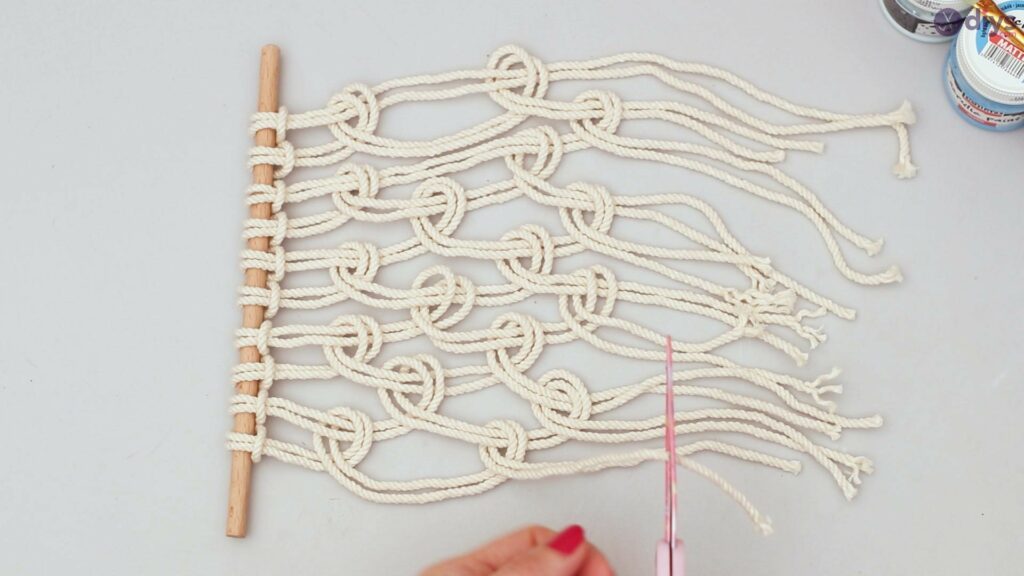
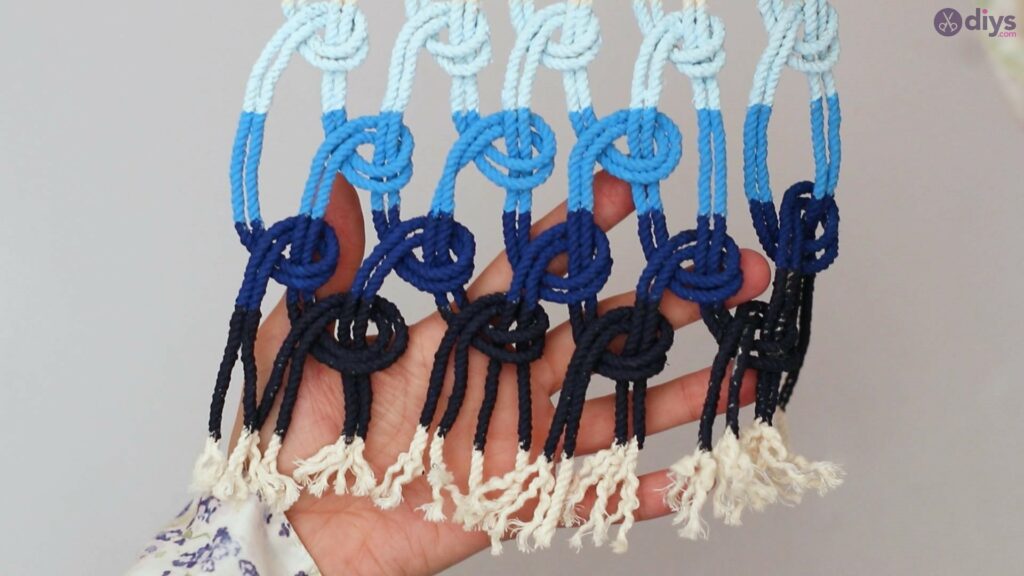
When you are done making the knots, lay the rod down vertically, and with your scissors, cut the excess rope.
Do not crop it too close to the last set of knots, so they do not come loose.
Step 3: Painting
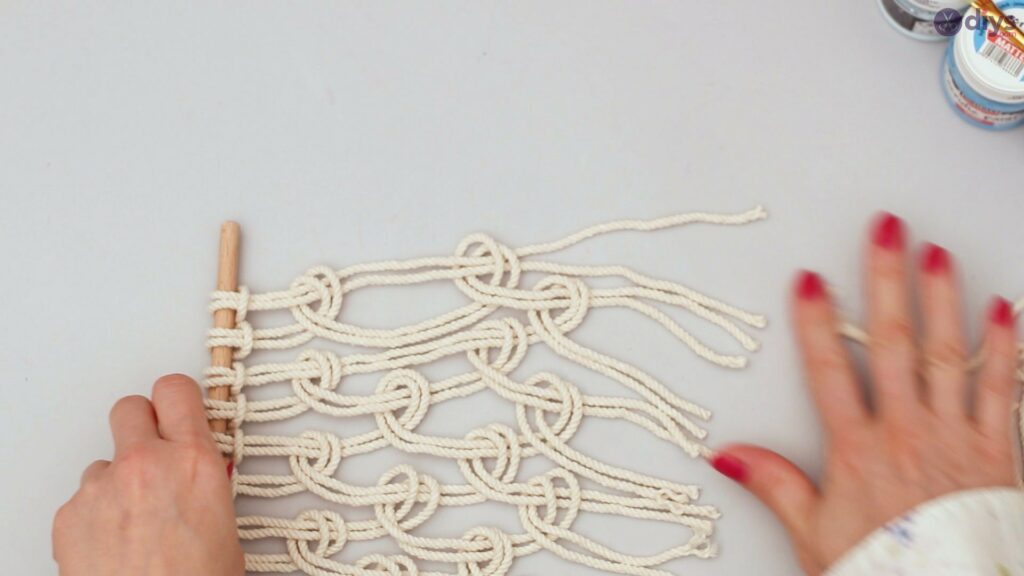
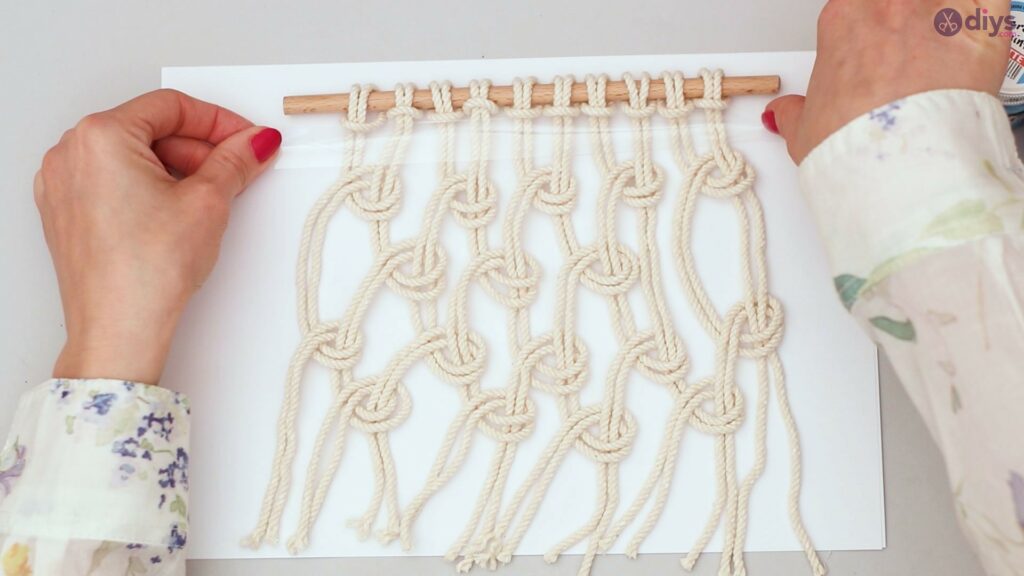
Lay your rod vertically on your work table.
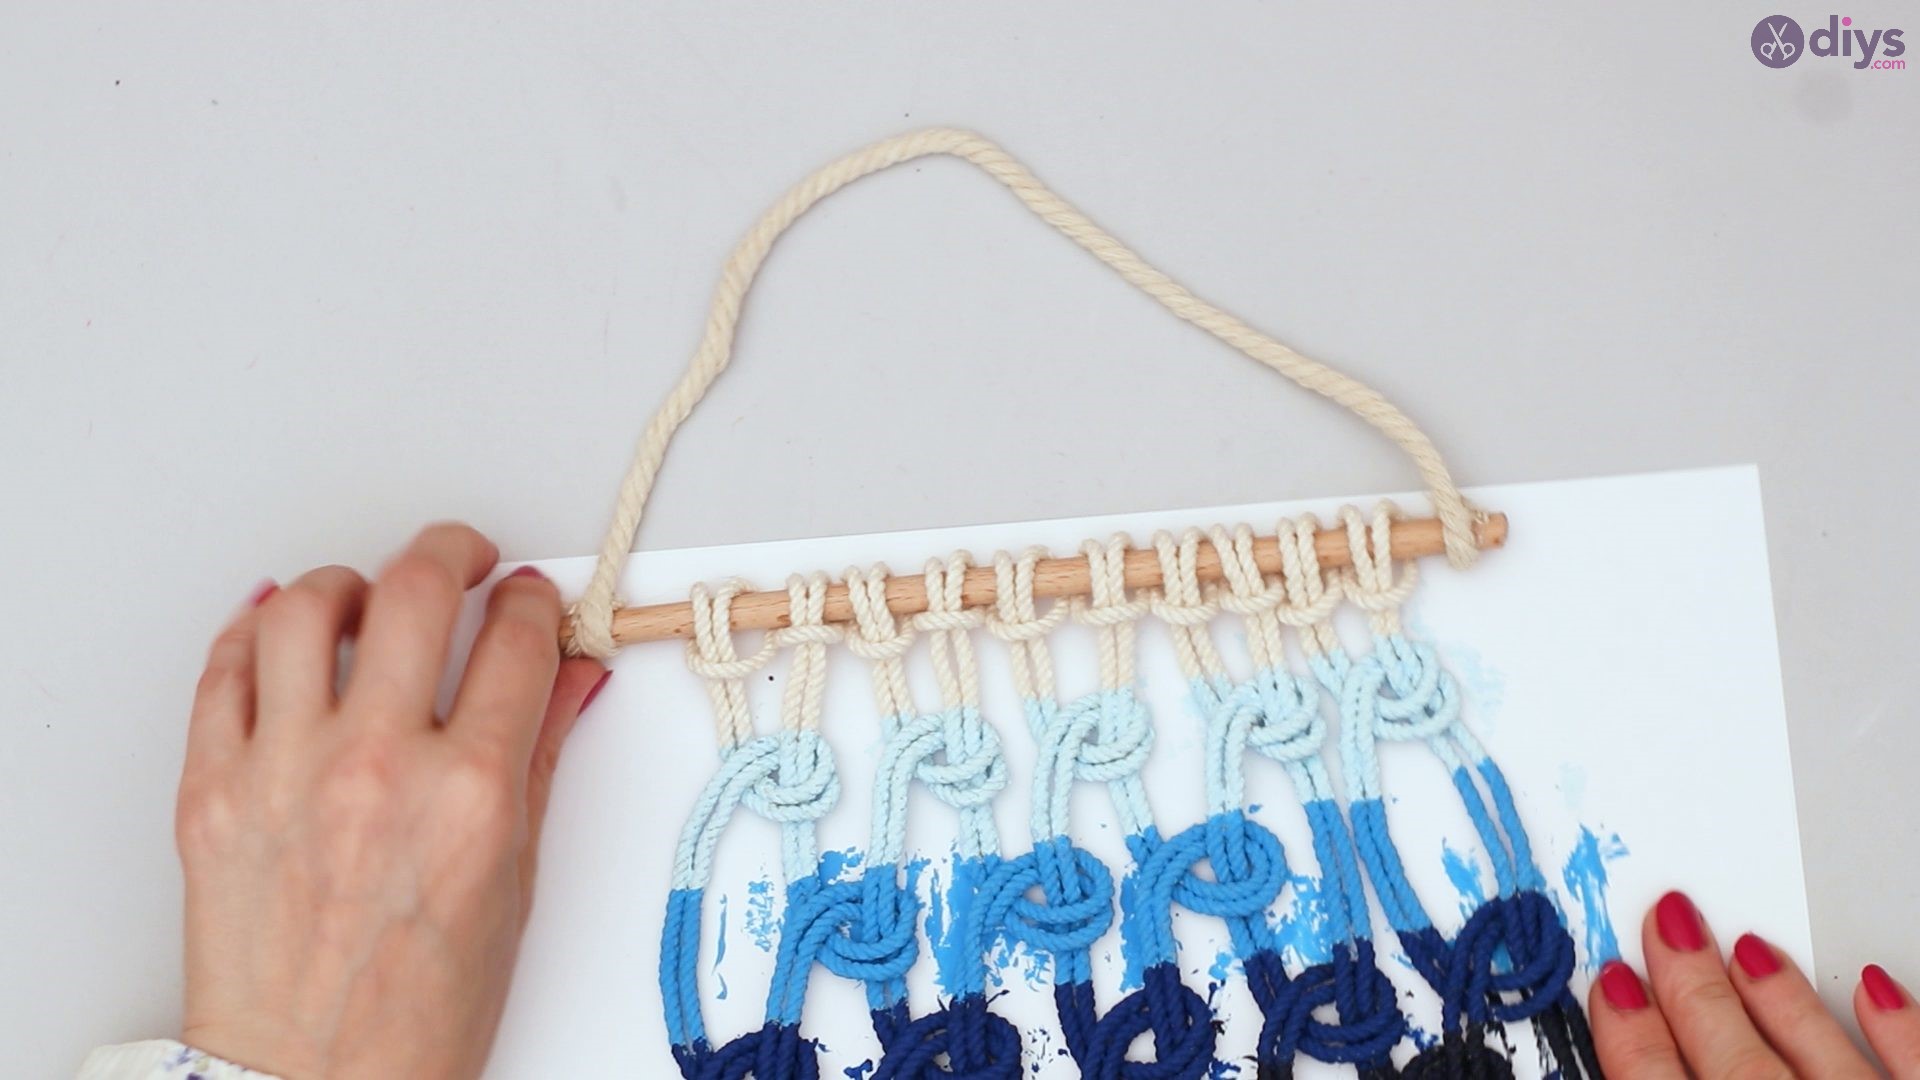
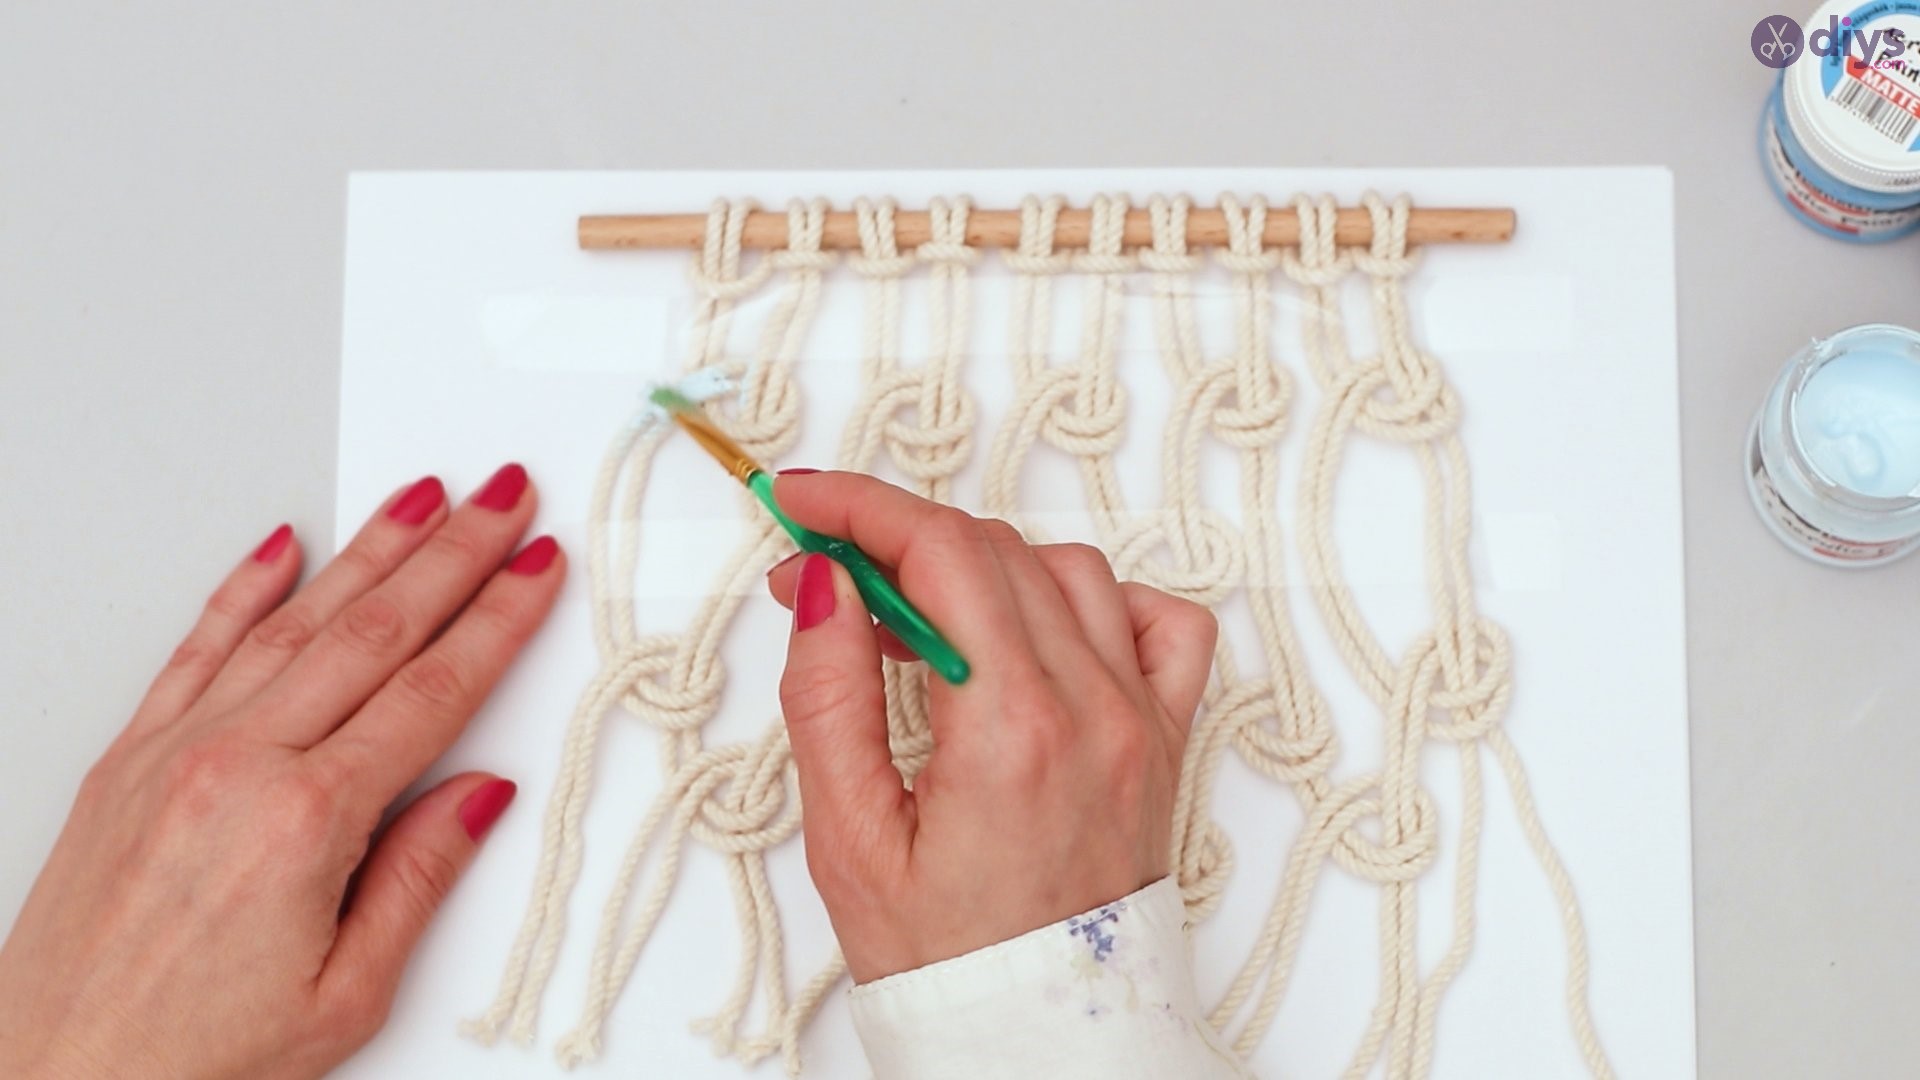
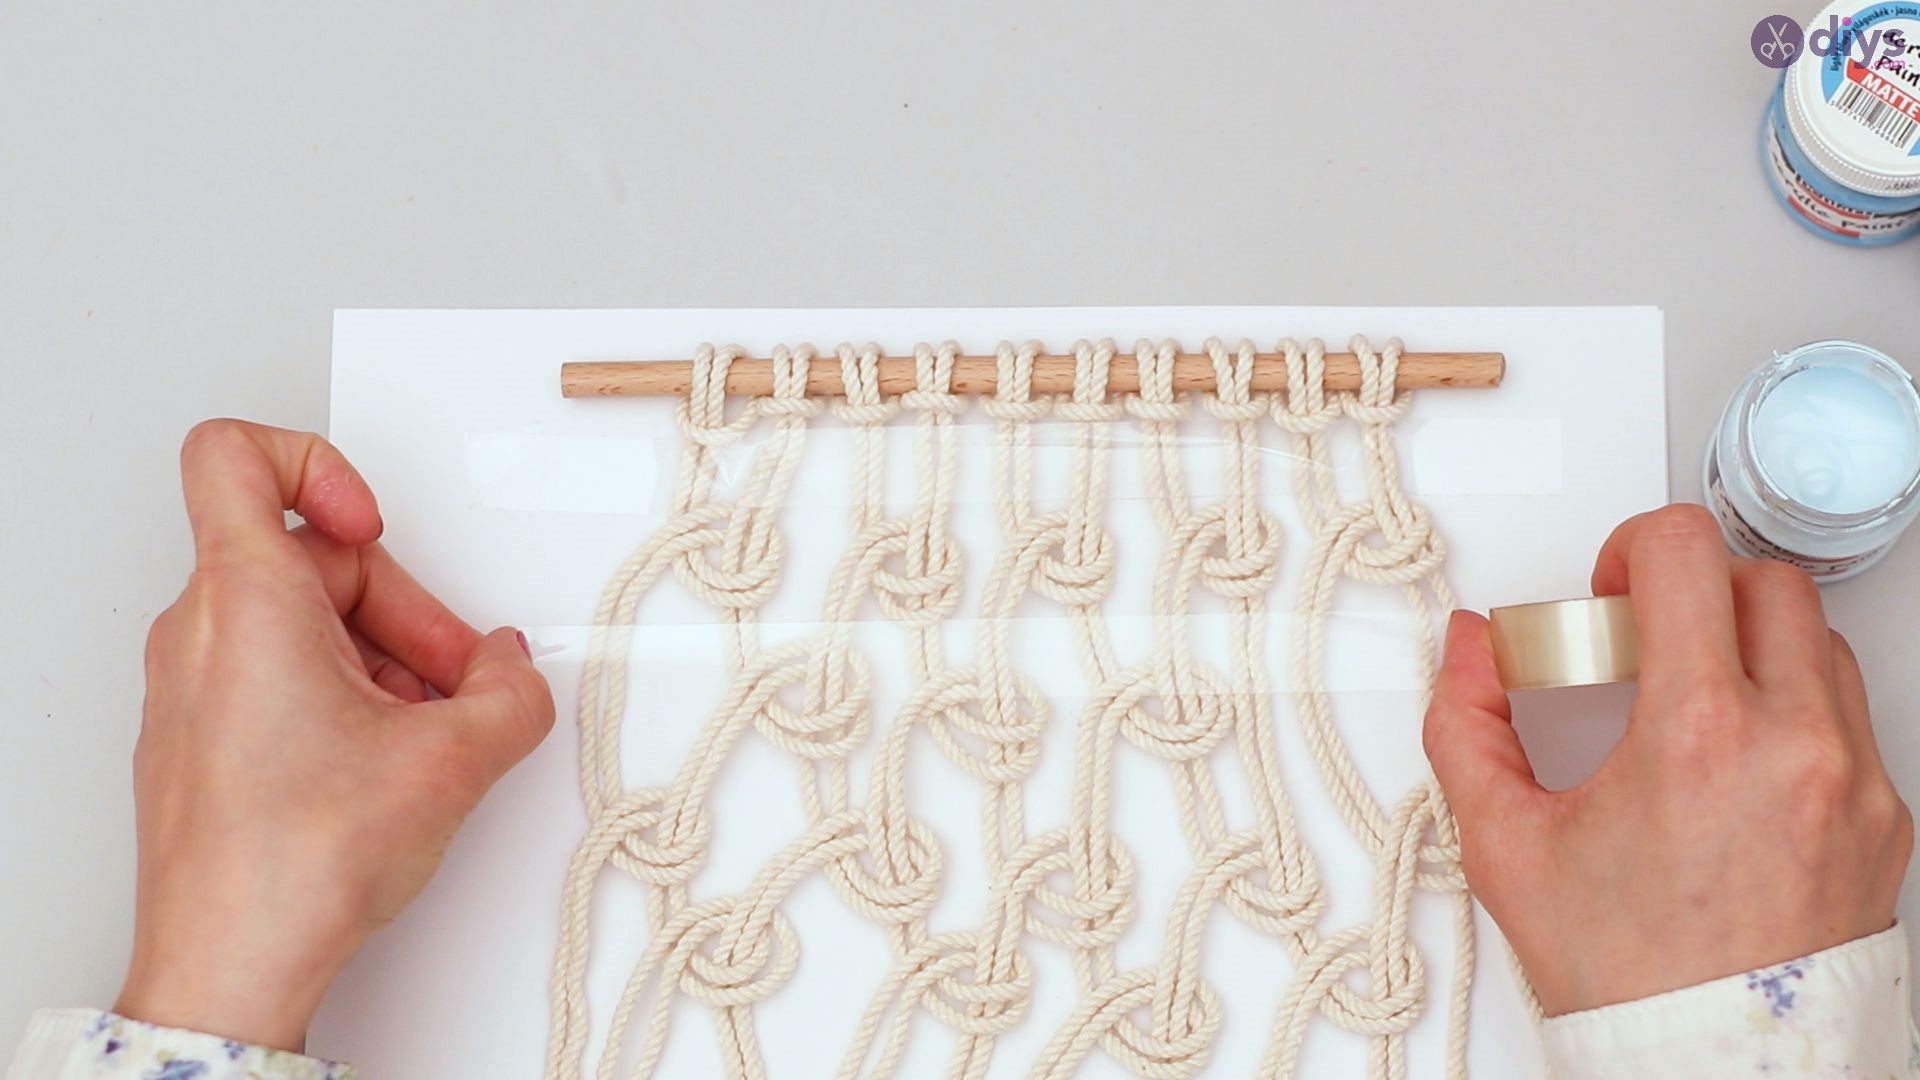
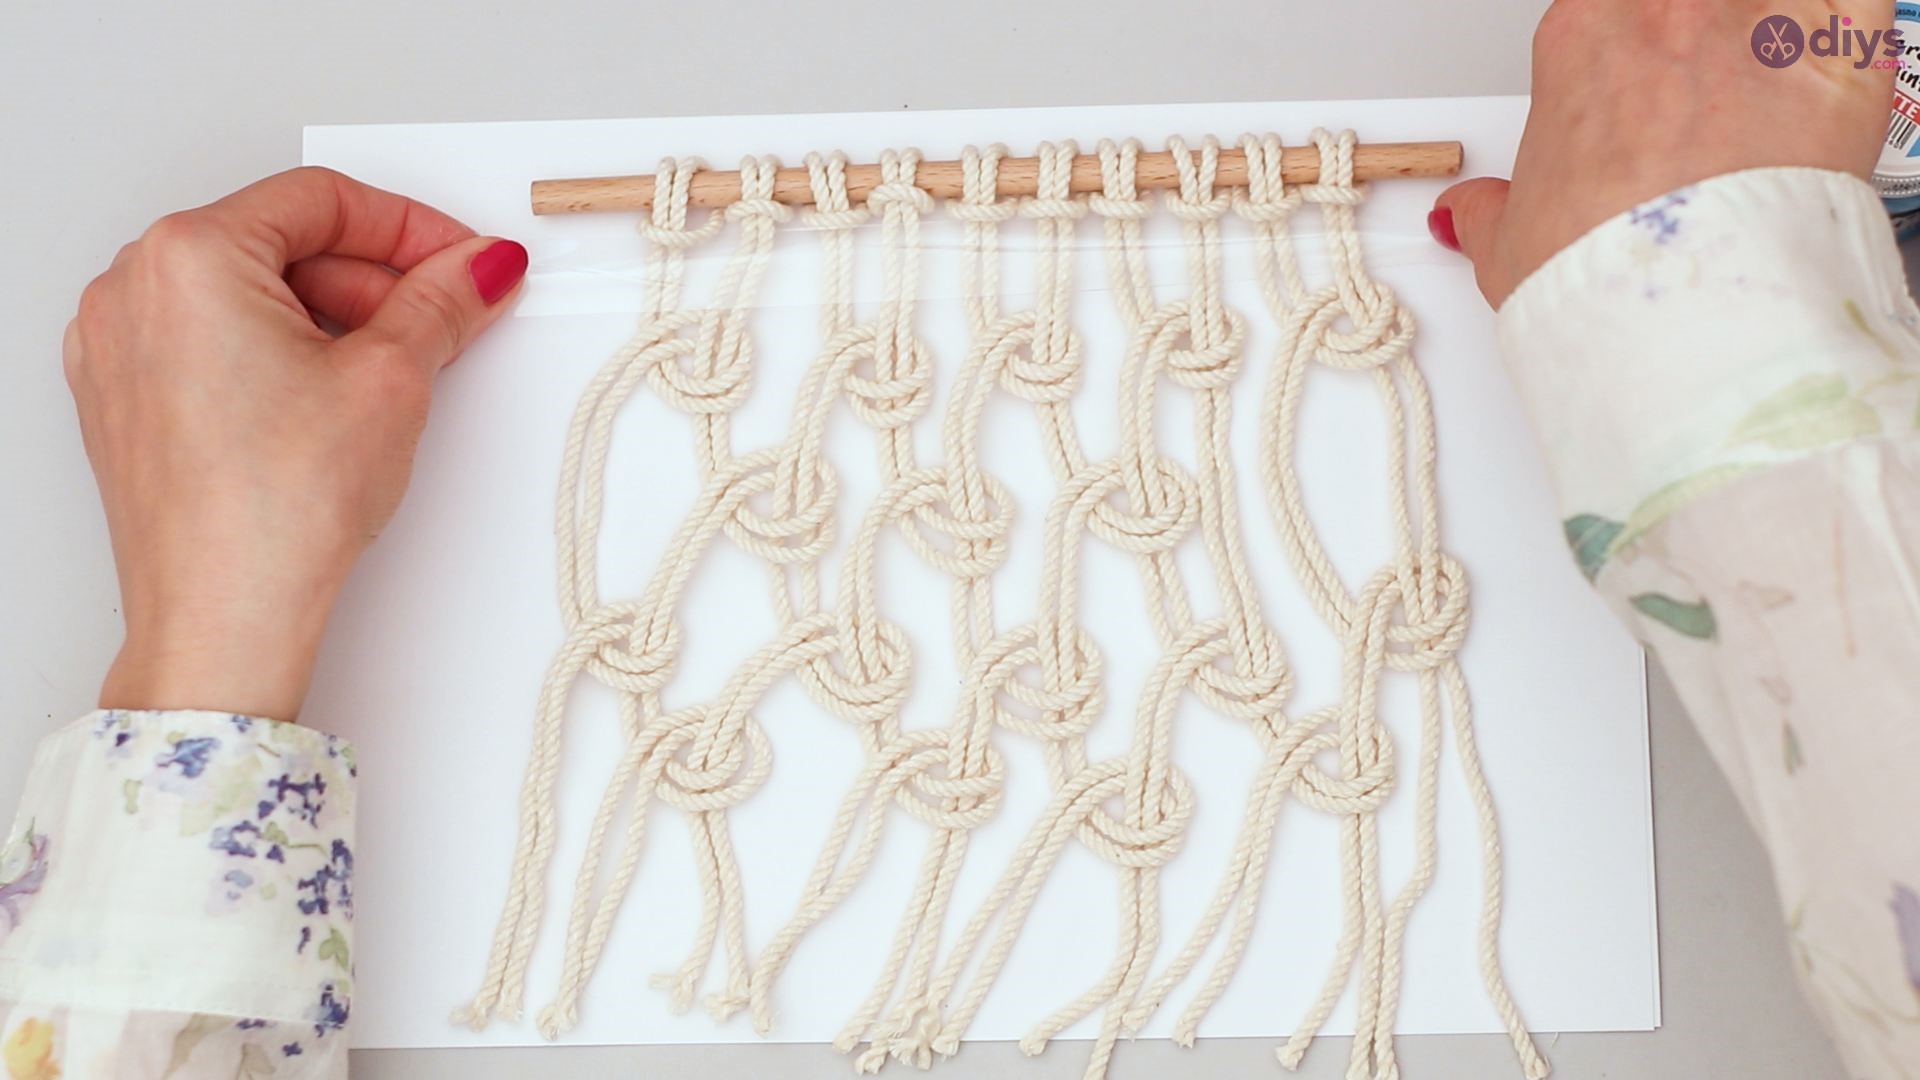
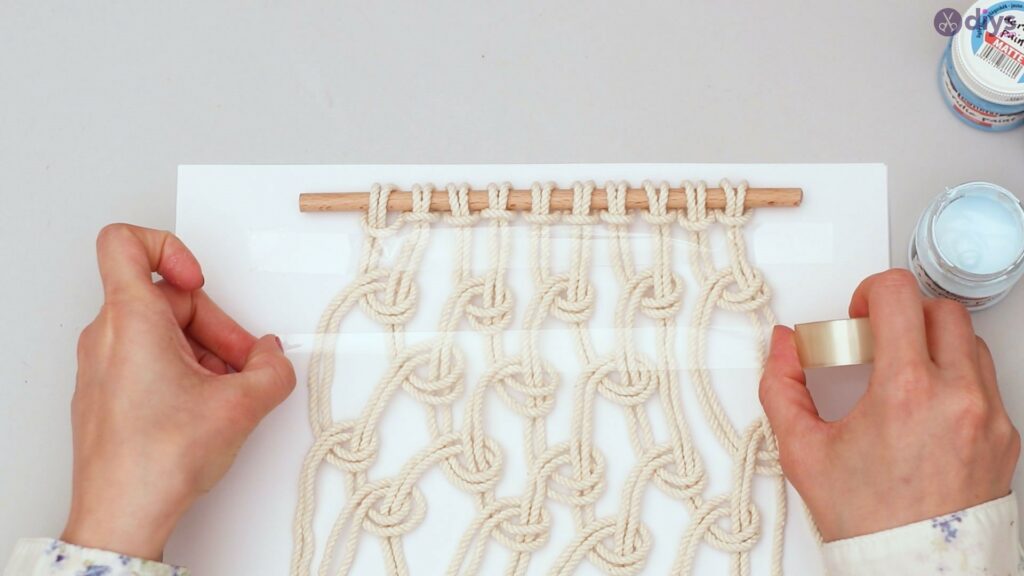
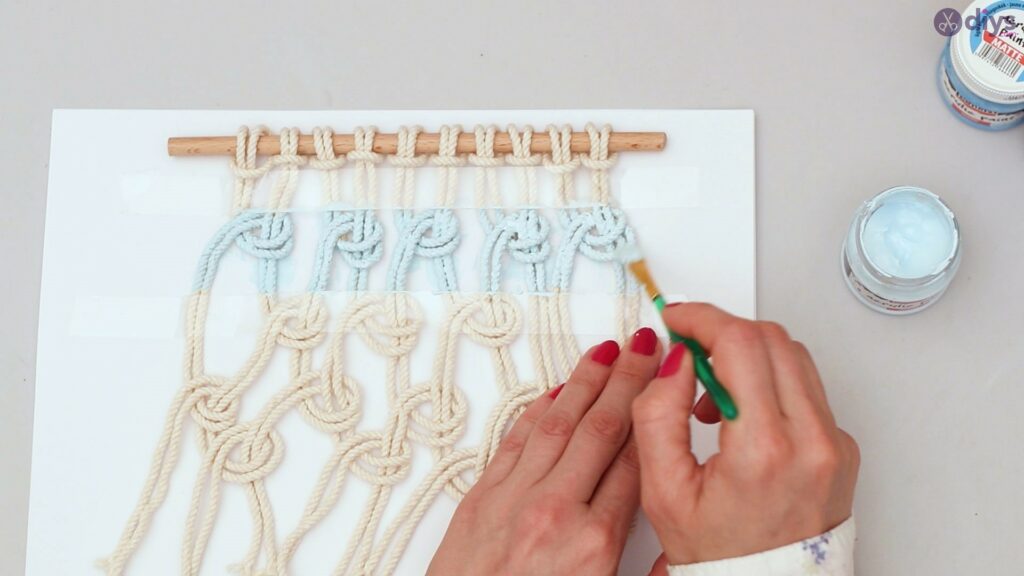
Set the rod down on a sheet of paper and tape space just above the first row of knots.
Tape the space just below the first row of knots.
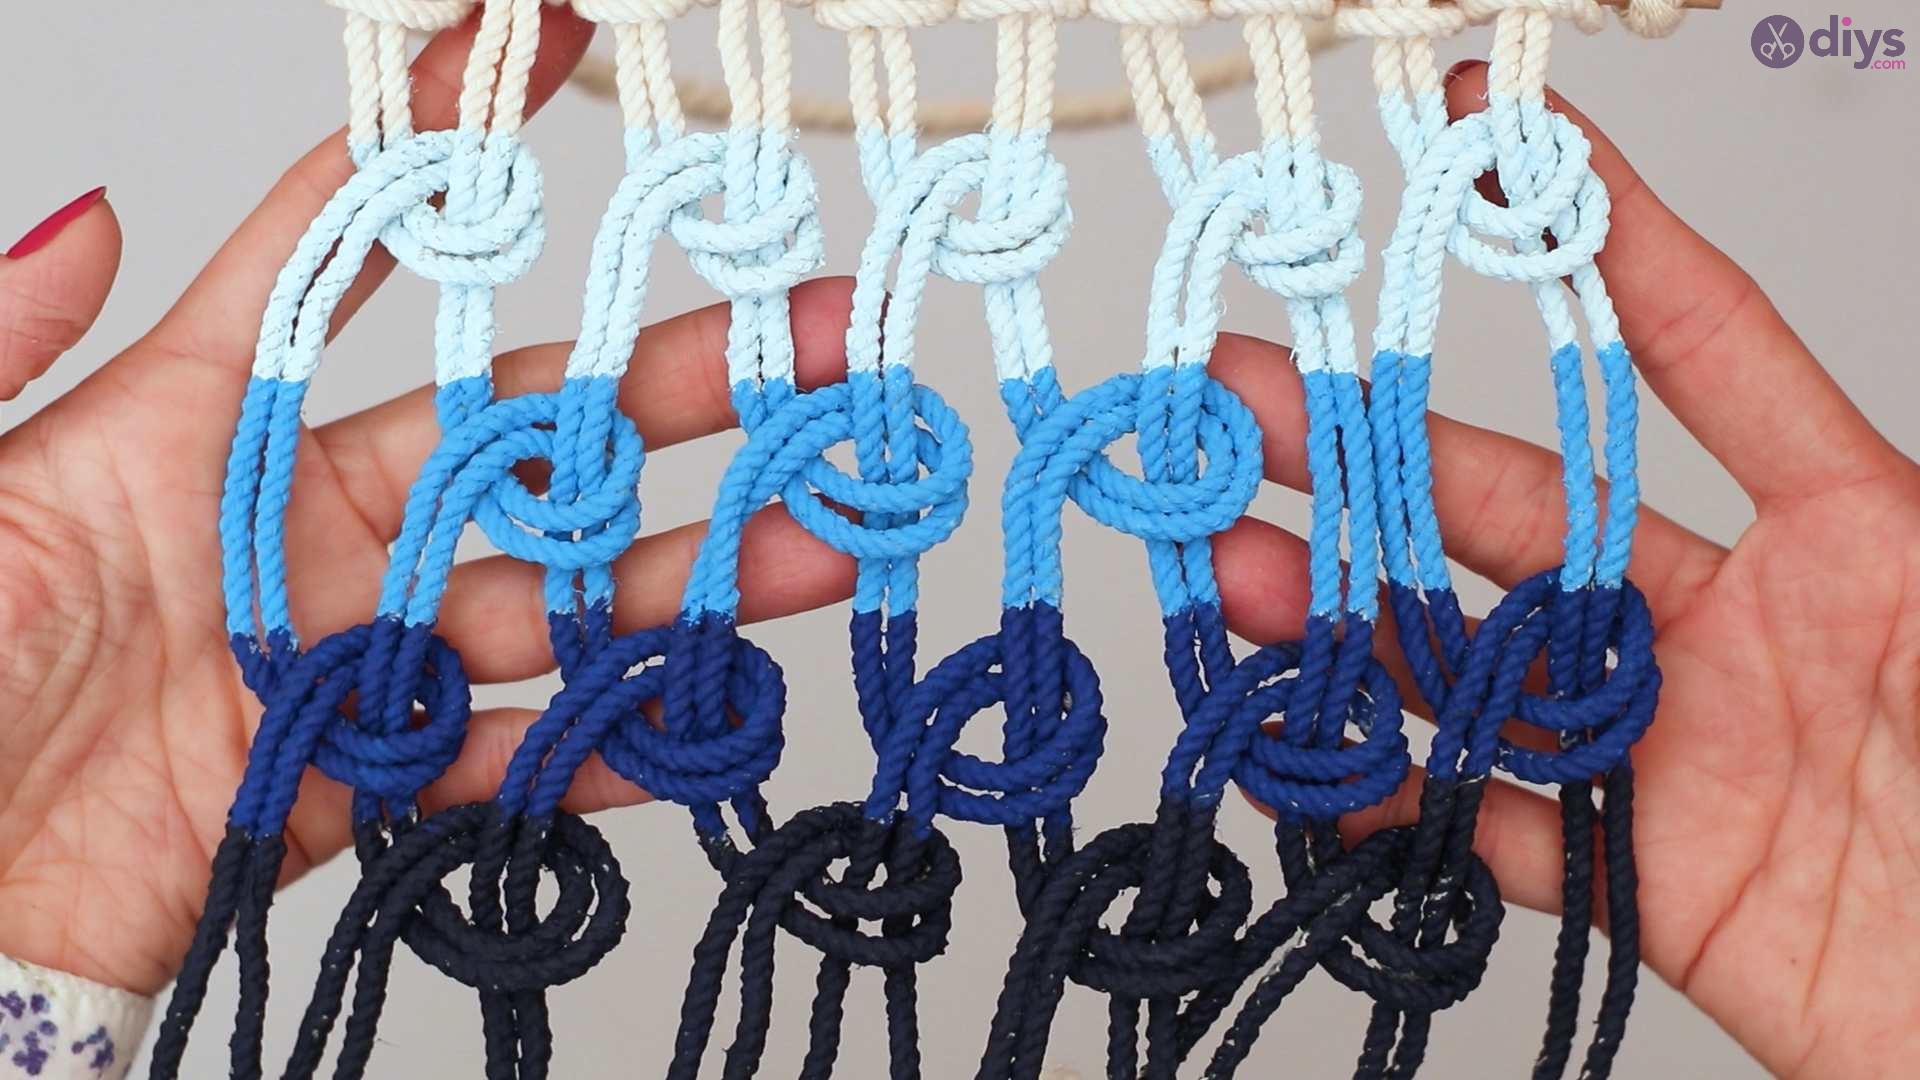
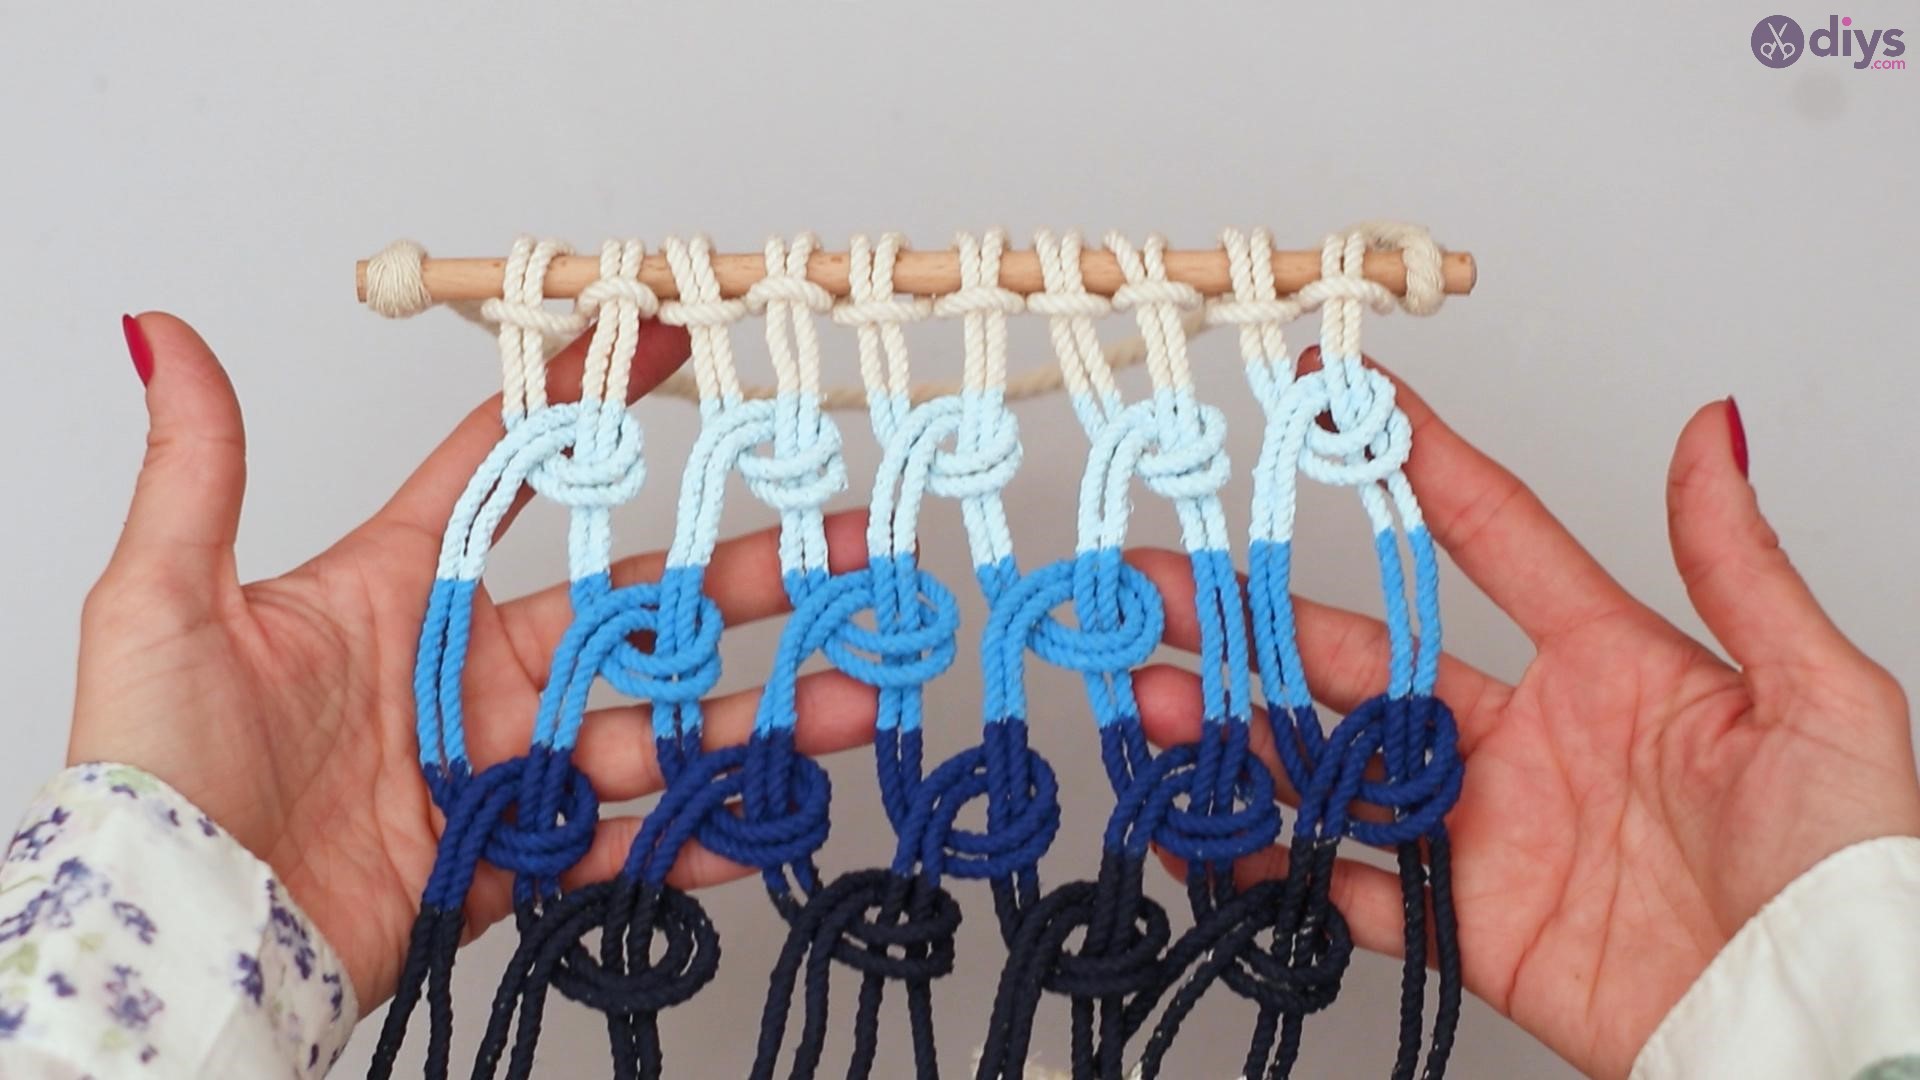
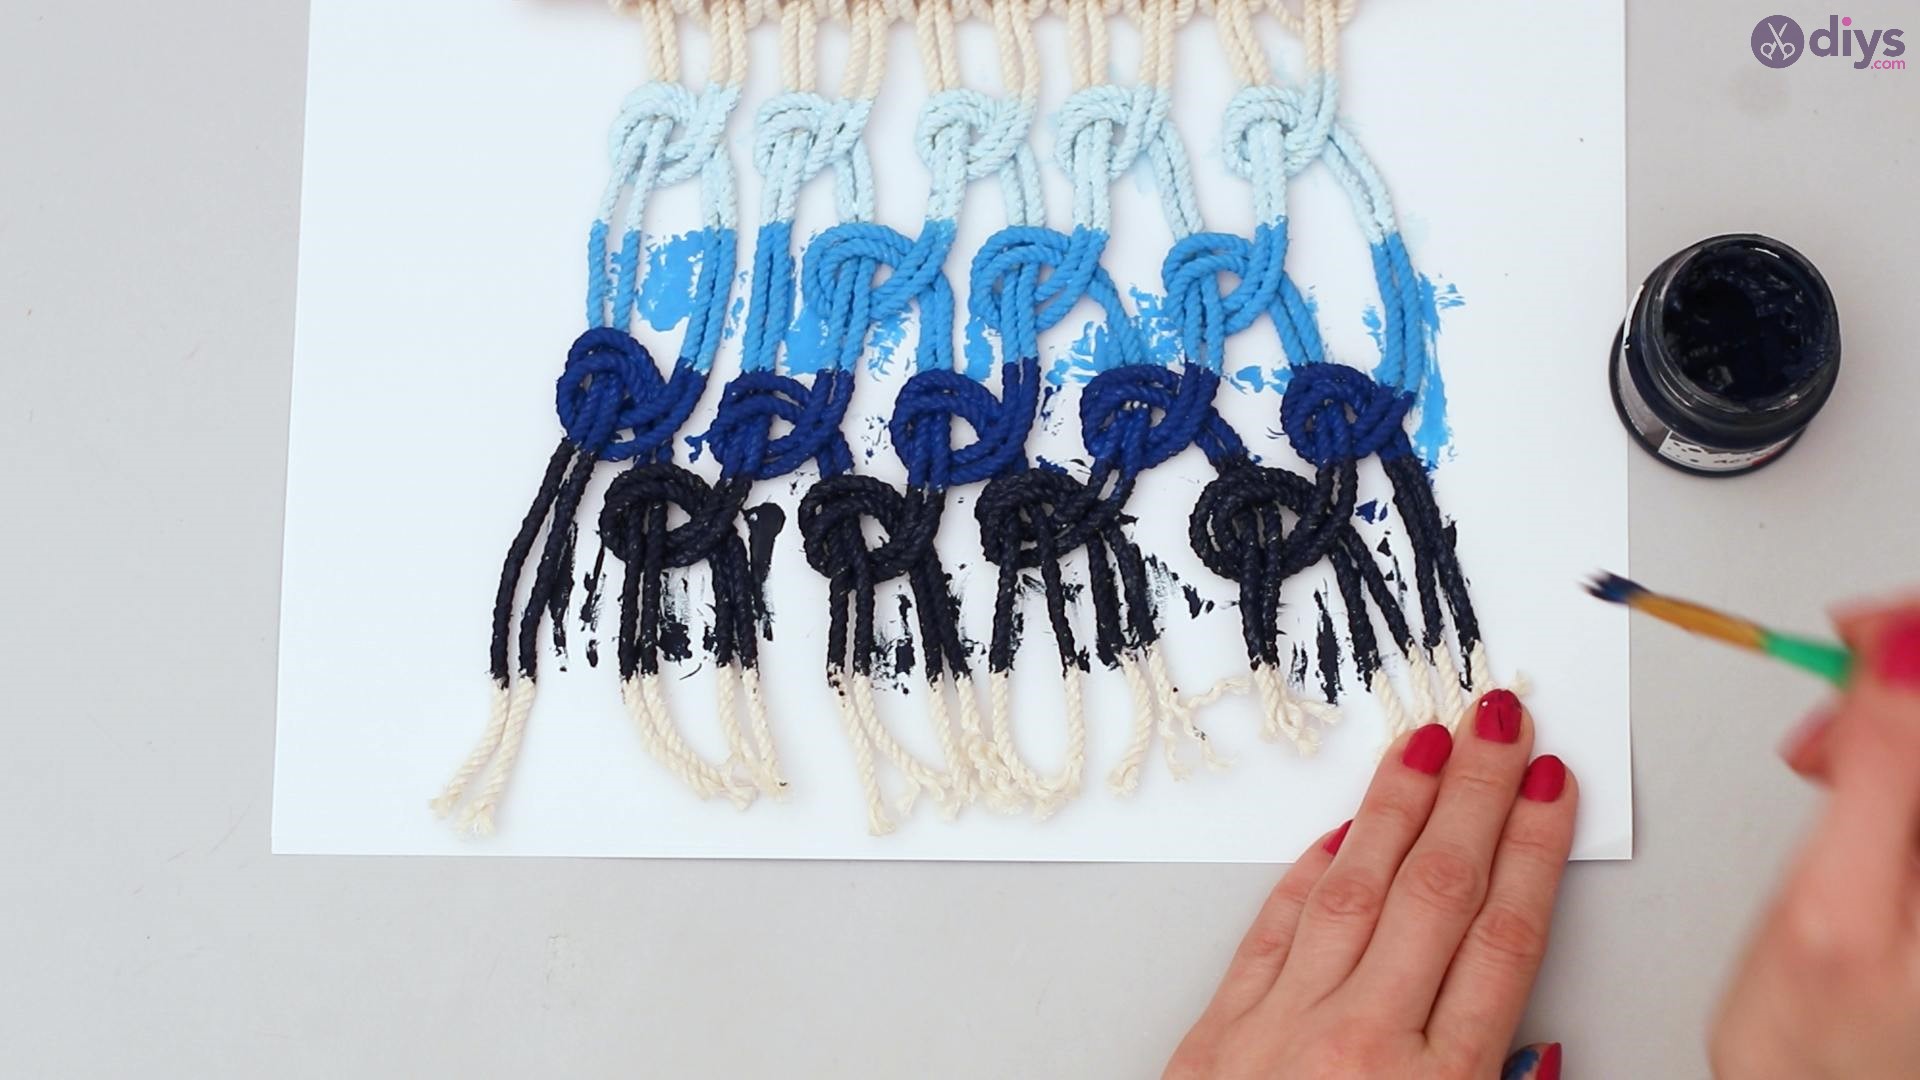
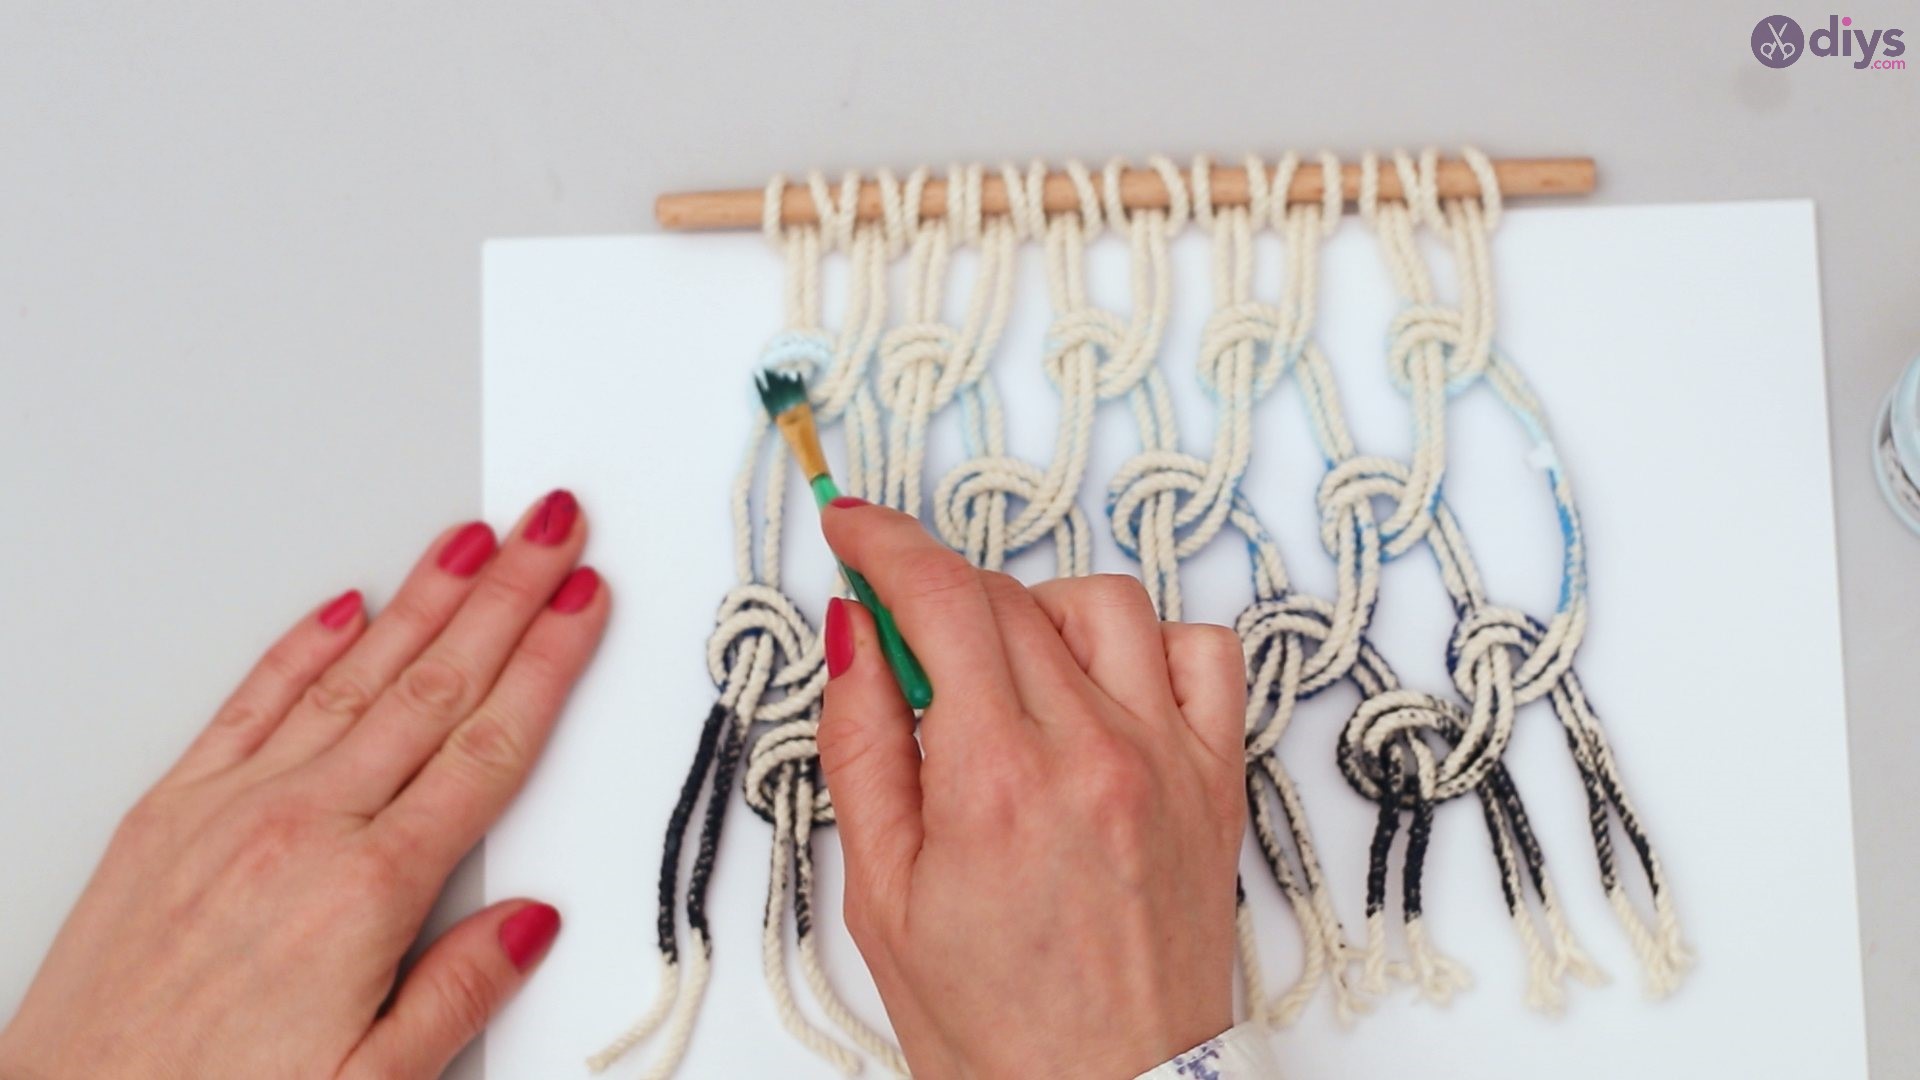
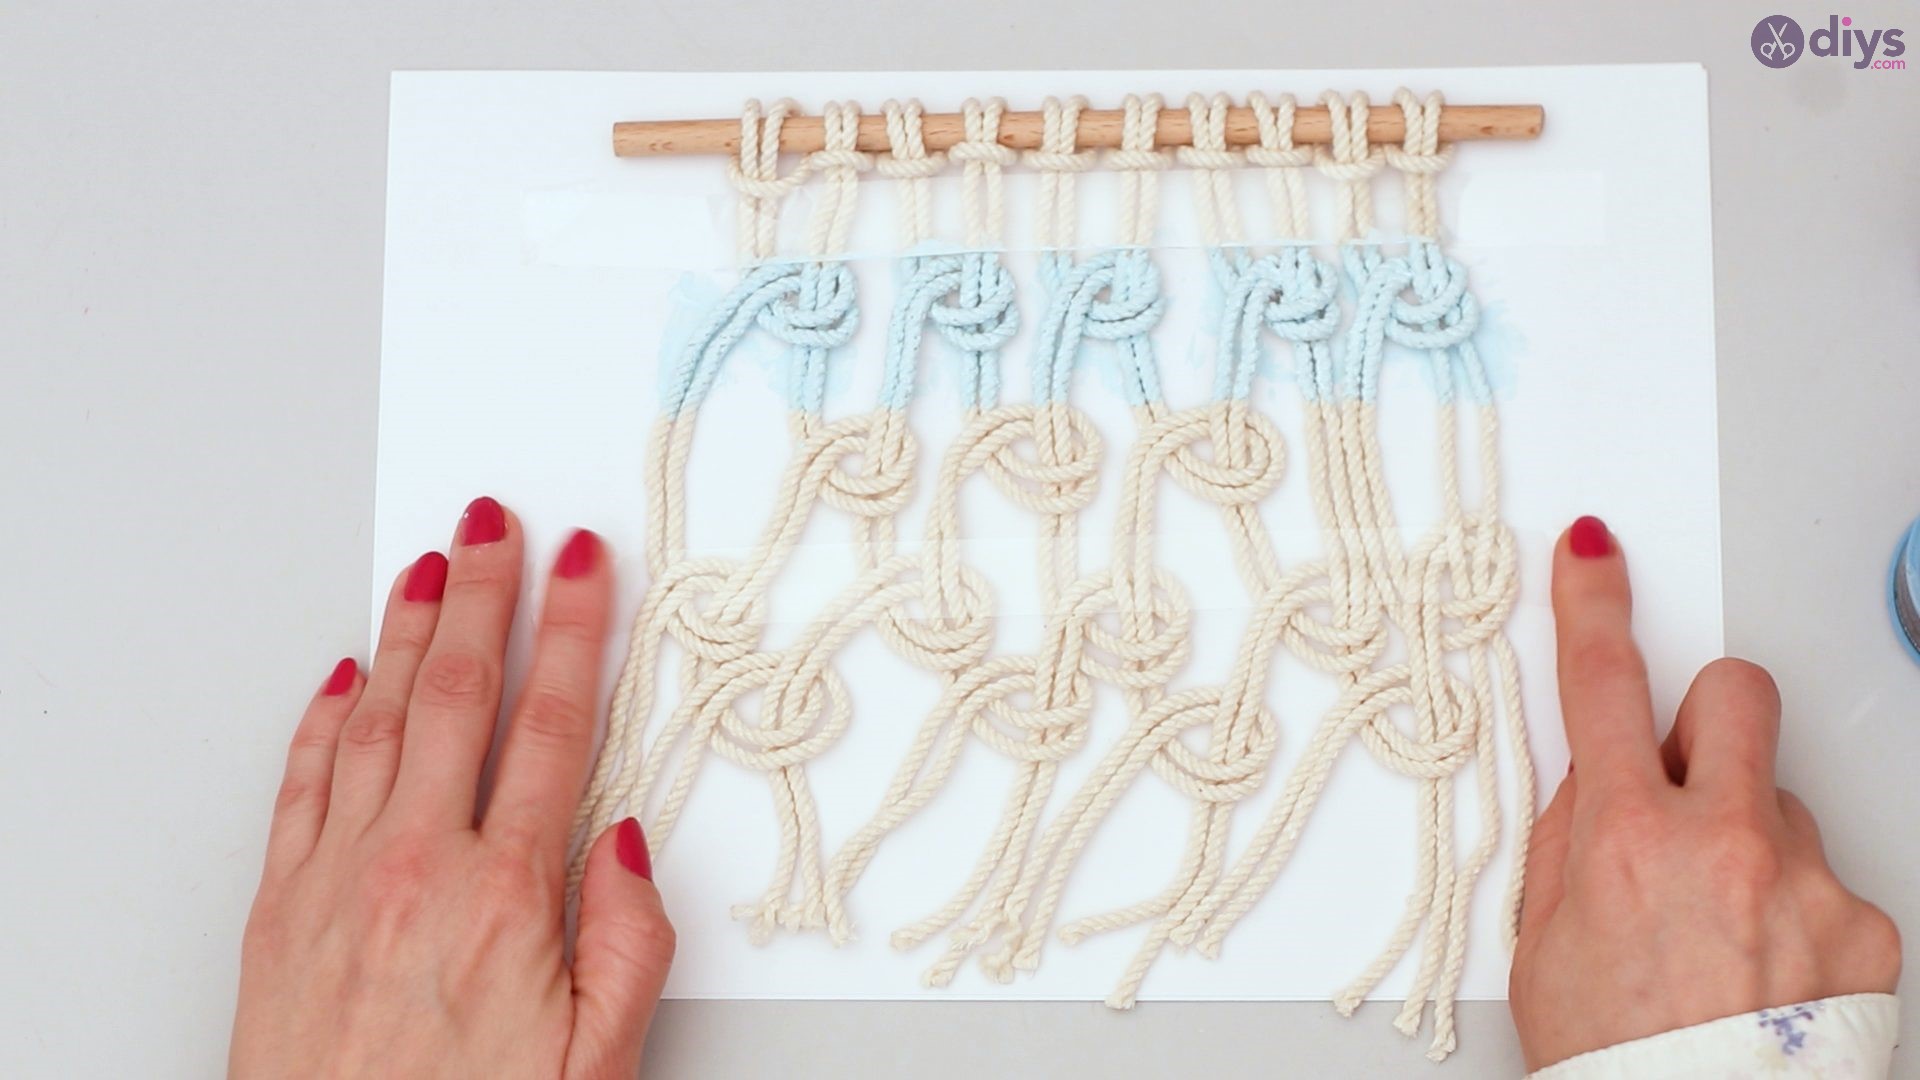
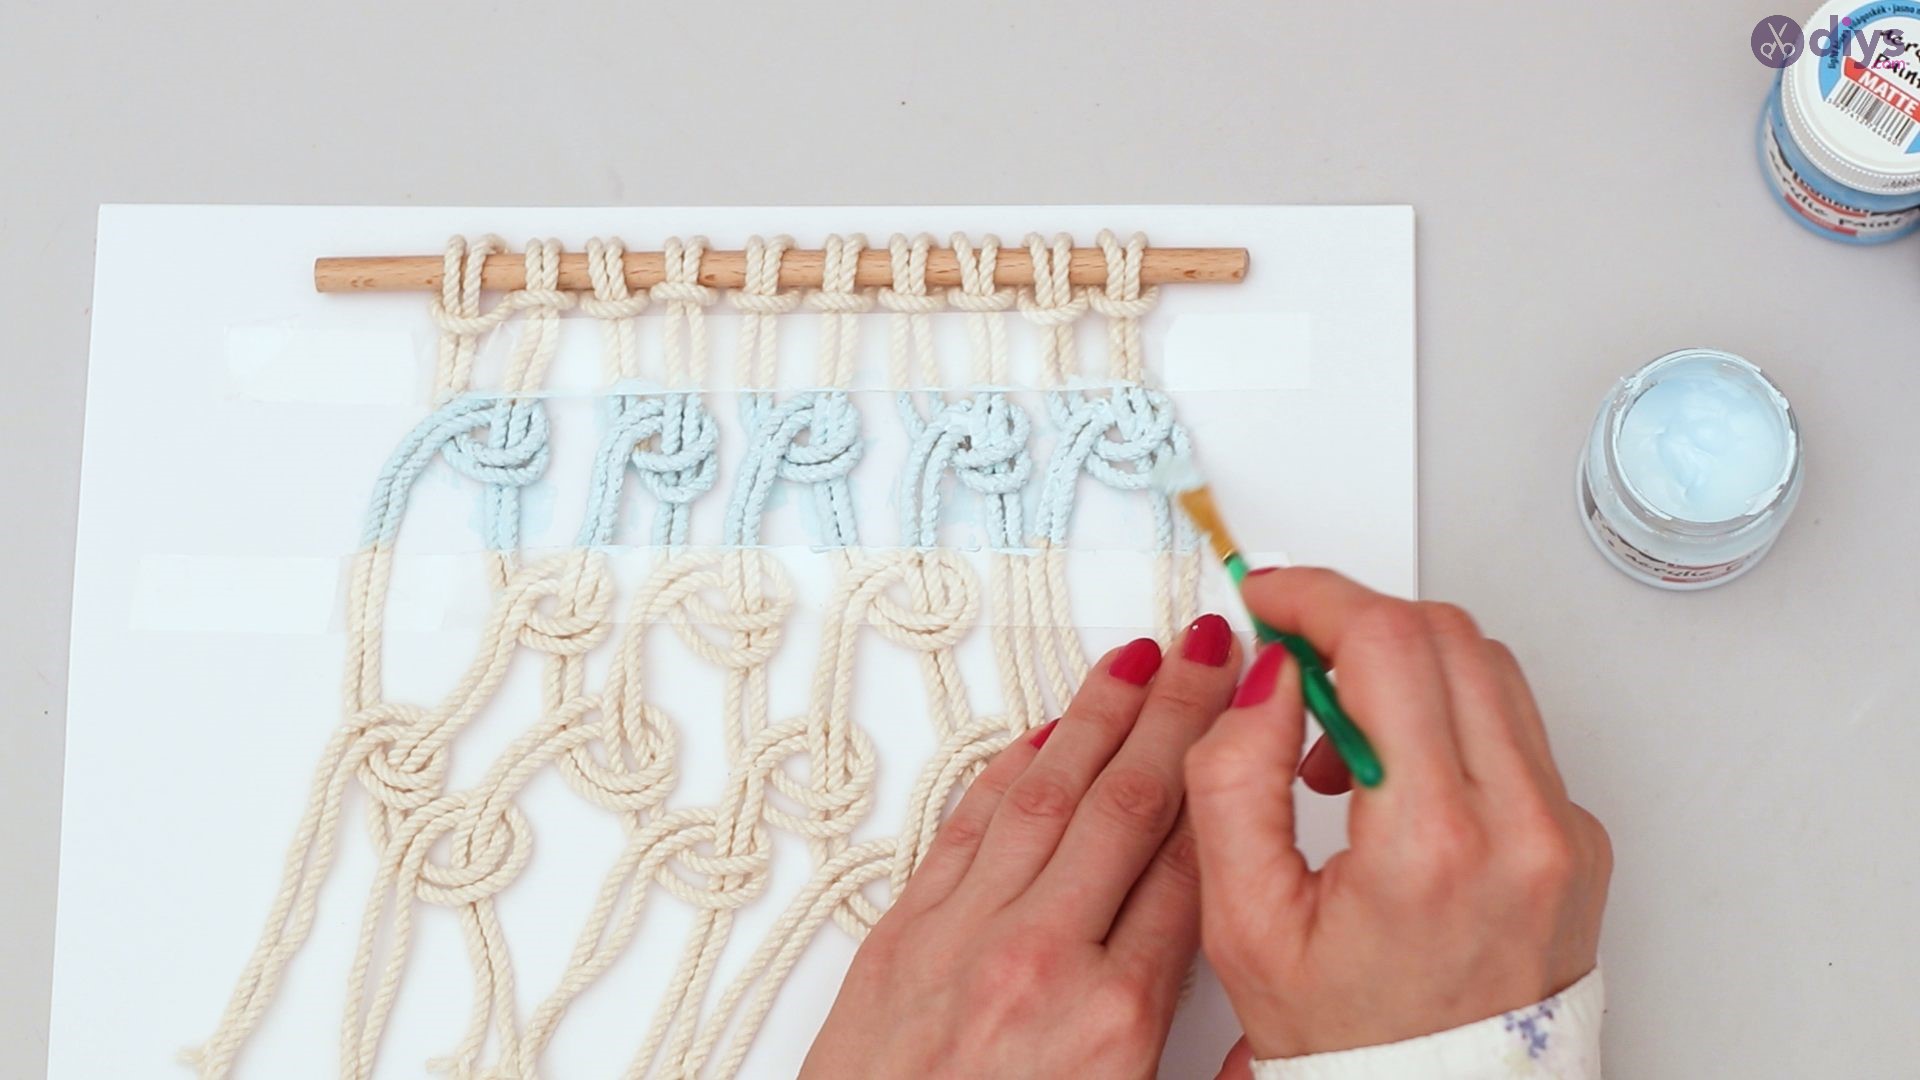
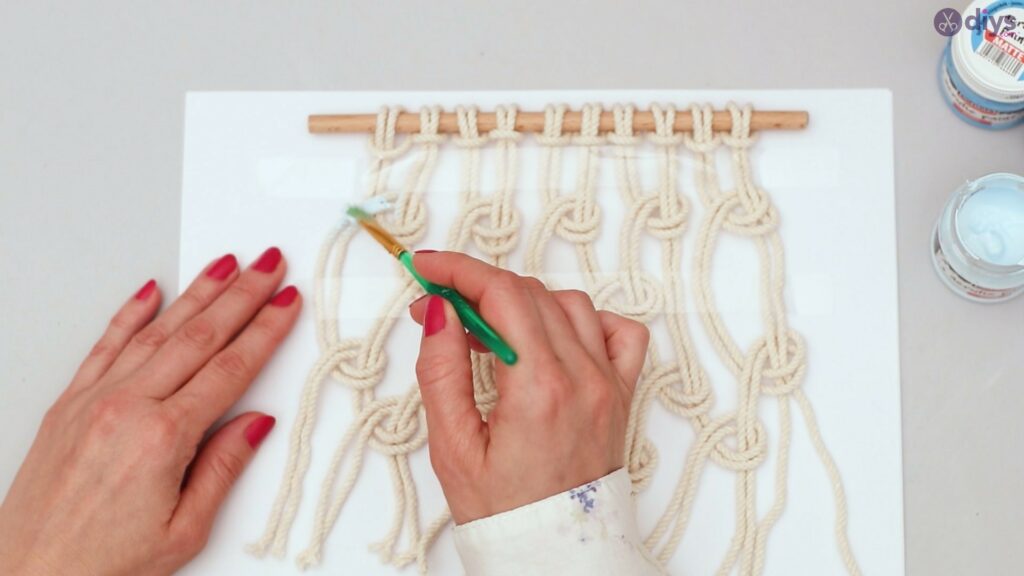
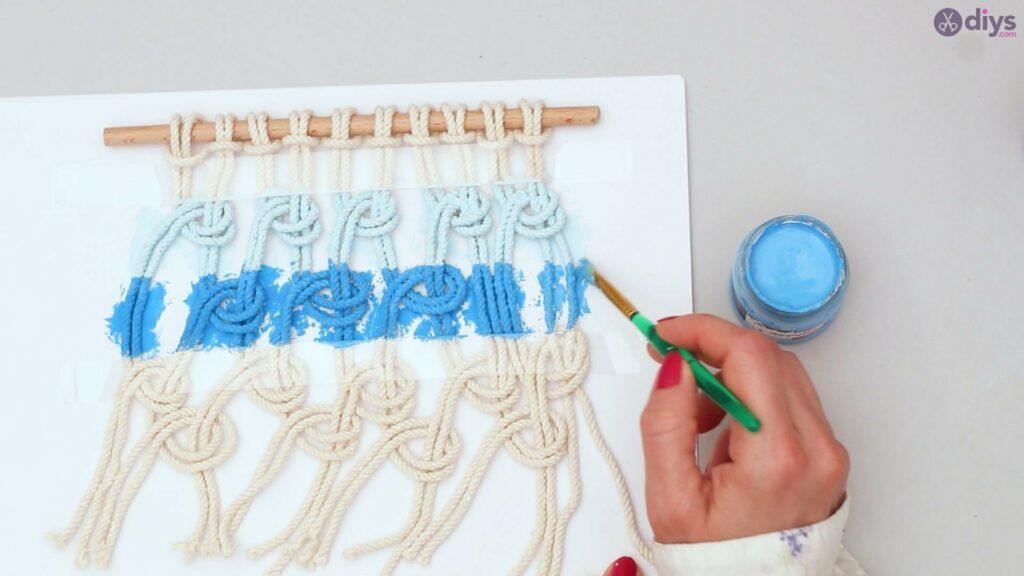
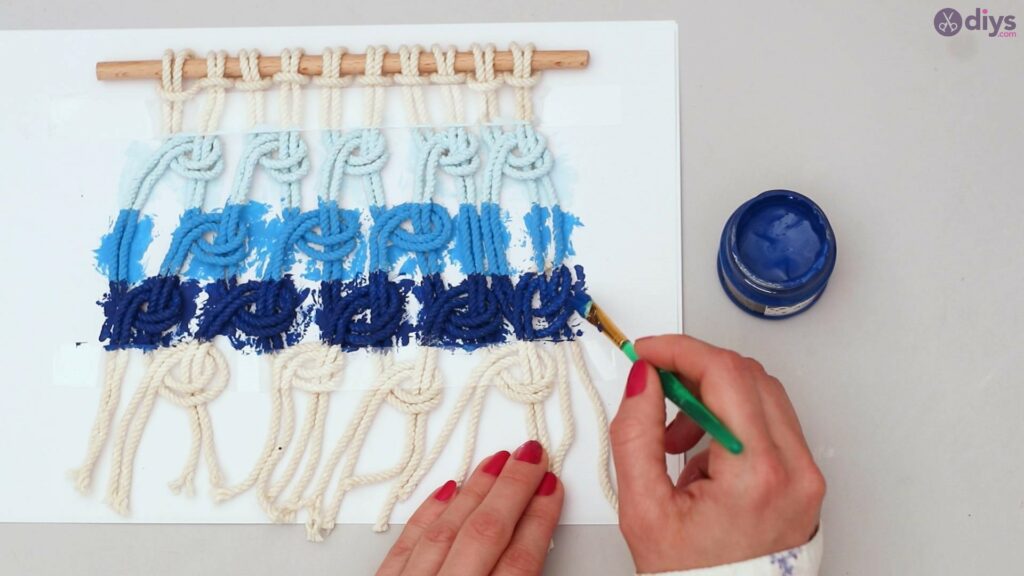
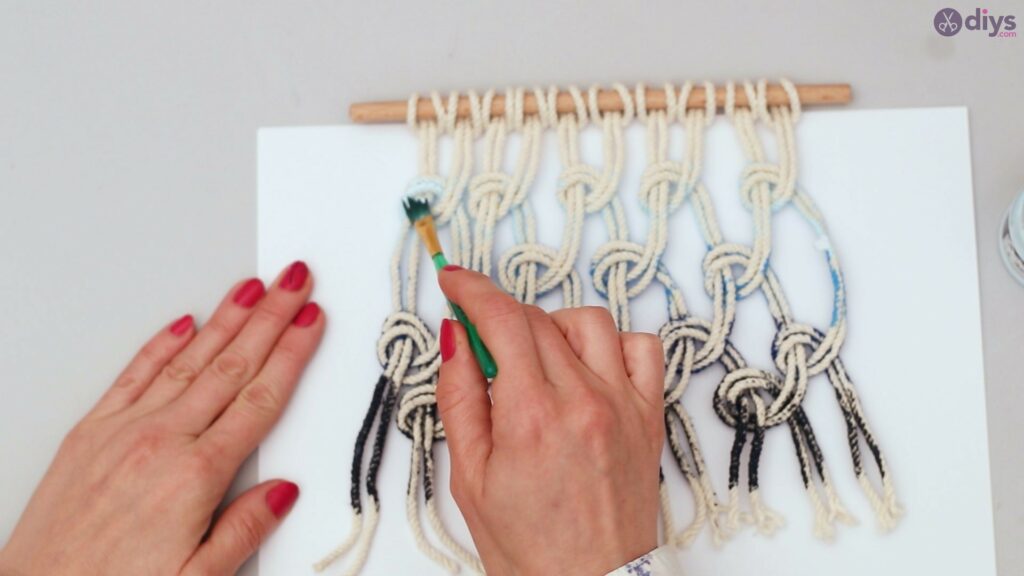
Grab your paintbrush and begin painting the first row of knots light blue or the lightest shade of paint you have. Remember, this is an ombre piece.
Allow the first row of painted knots to dry.
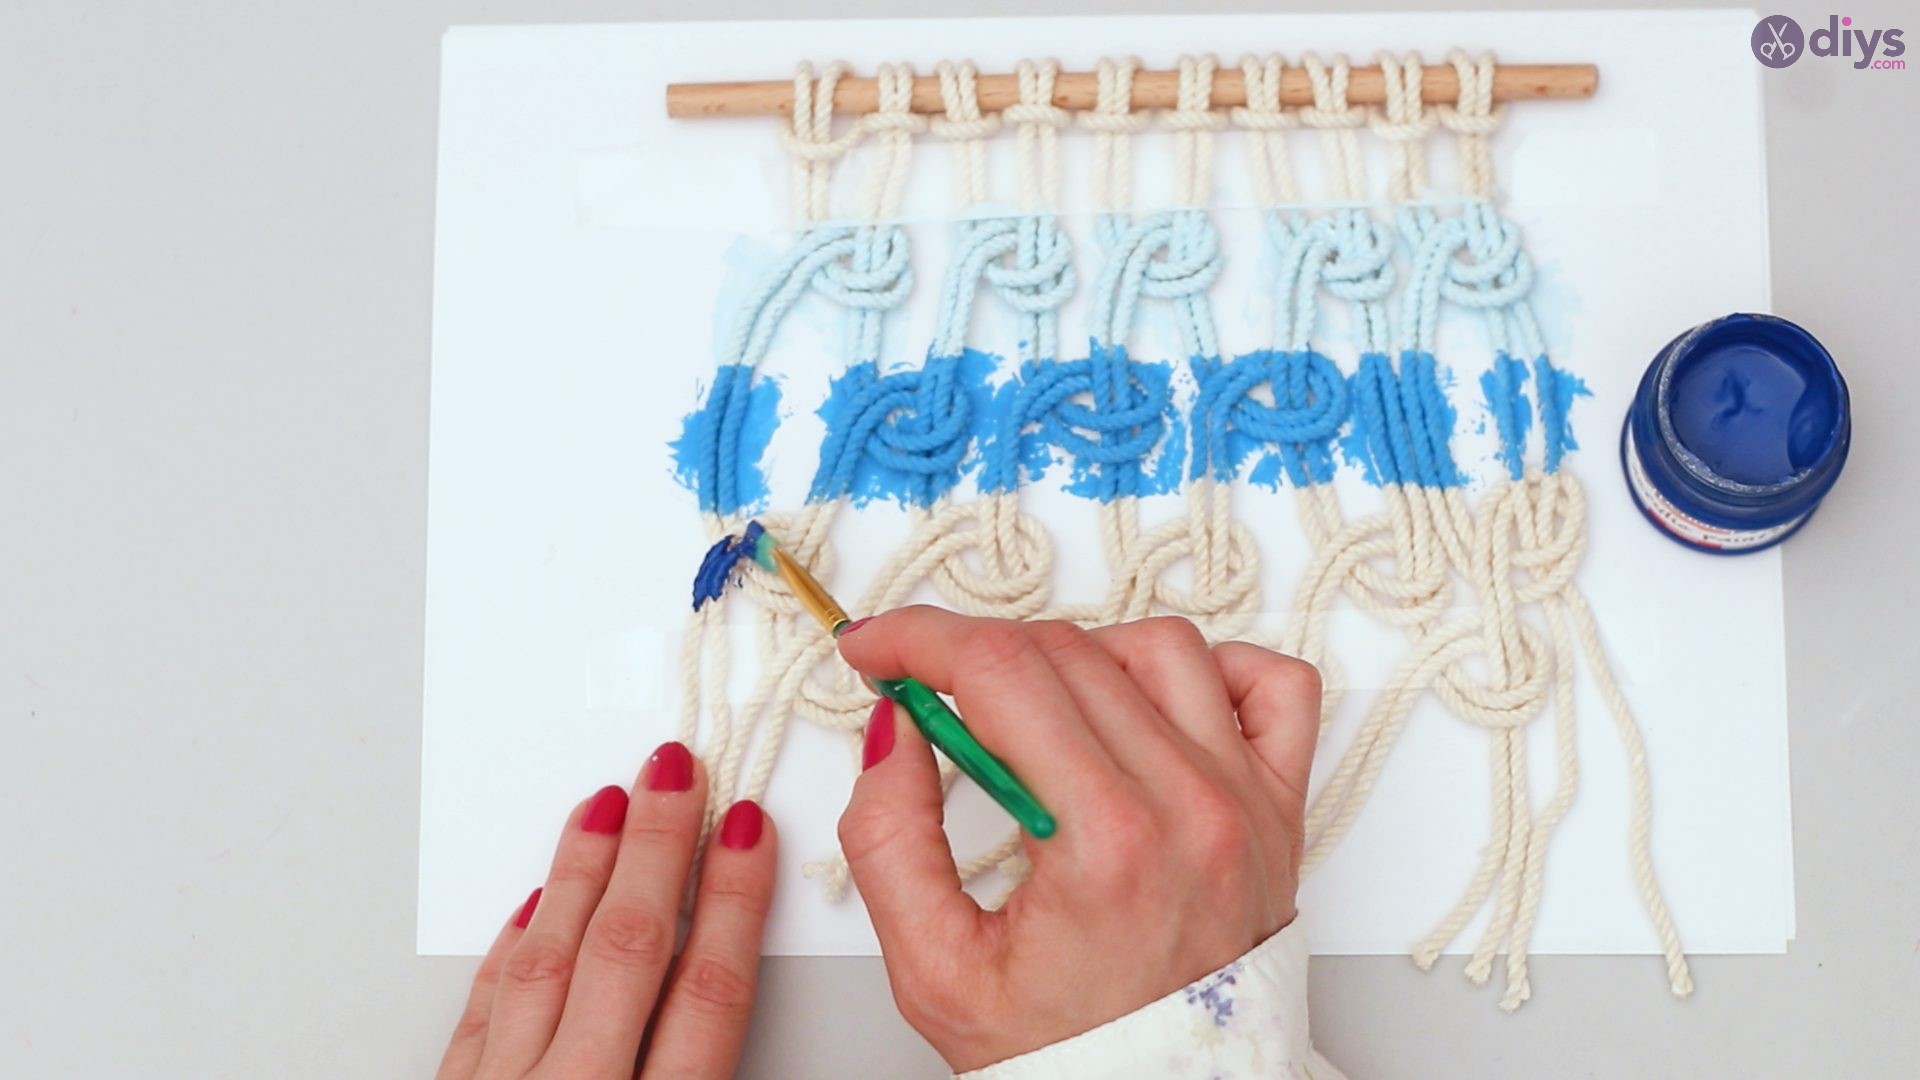
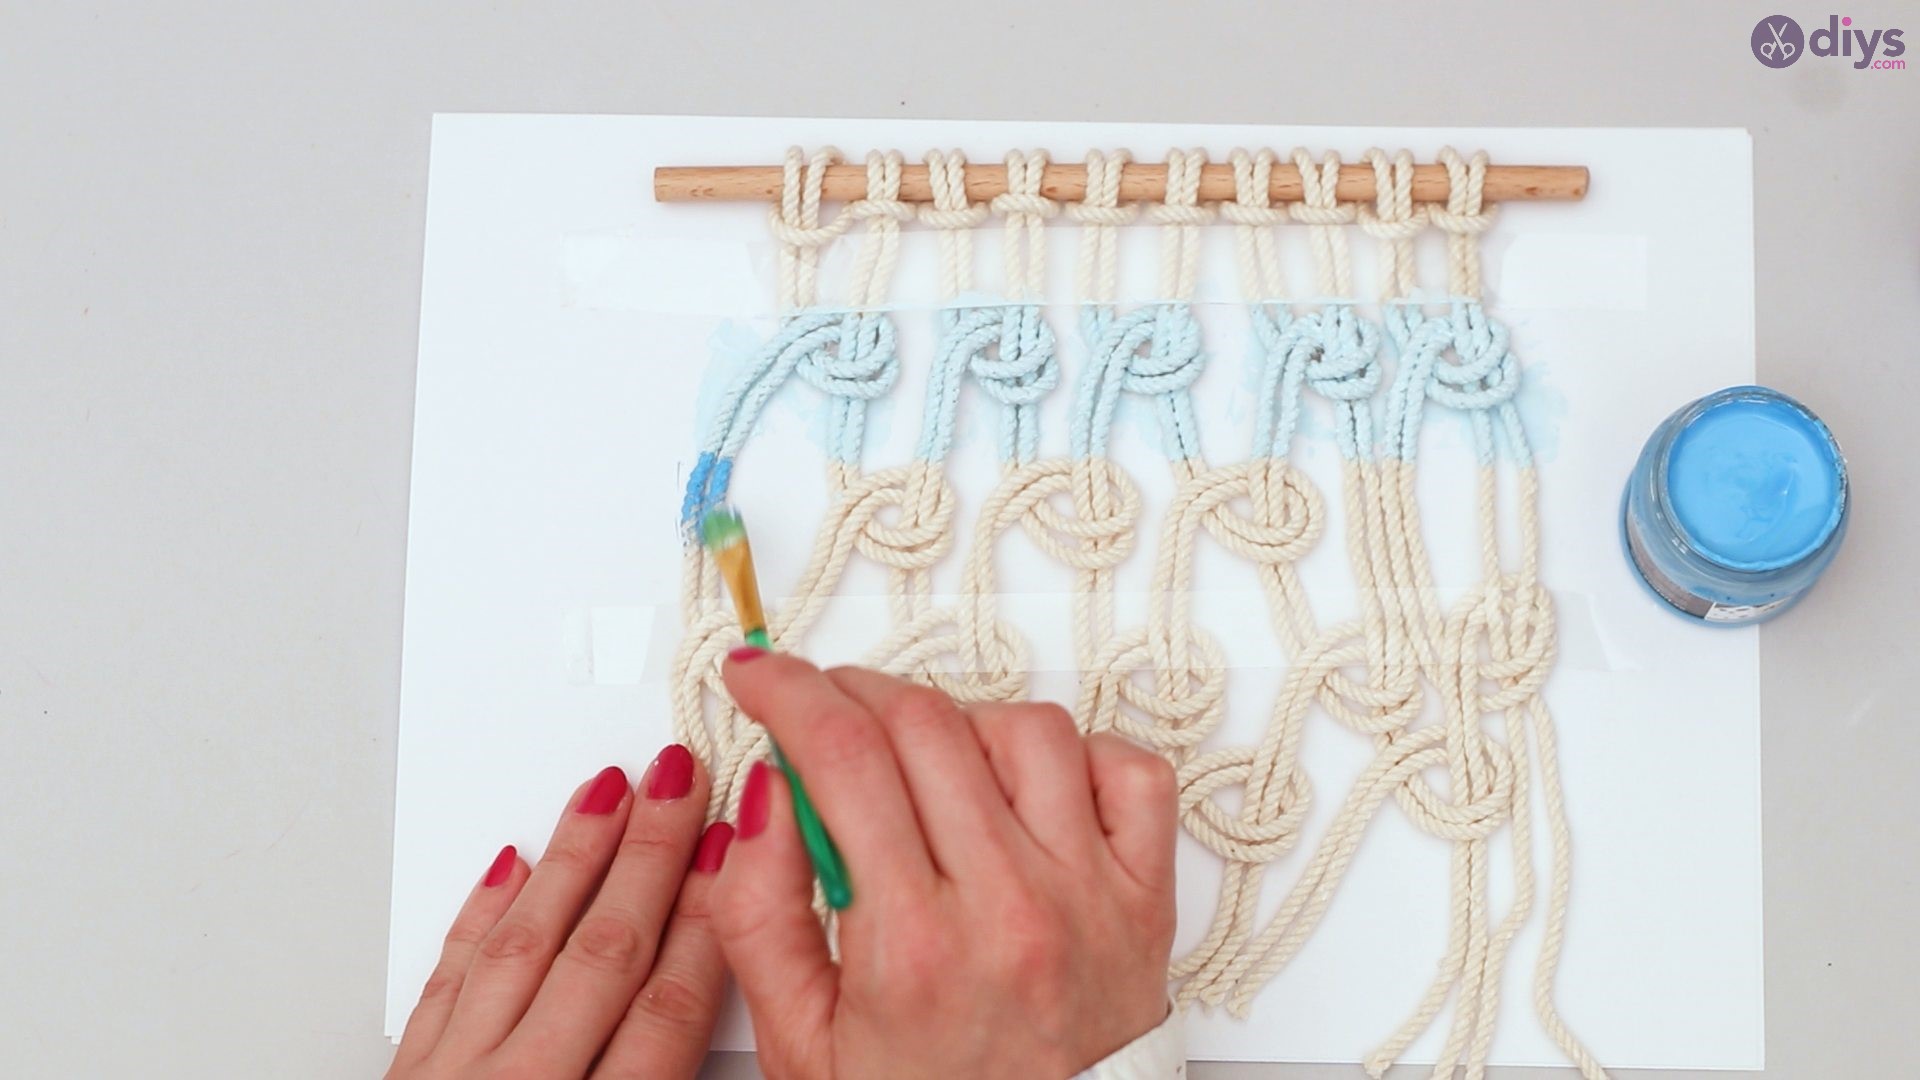
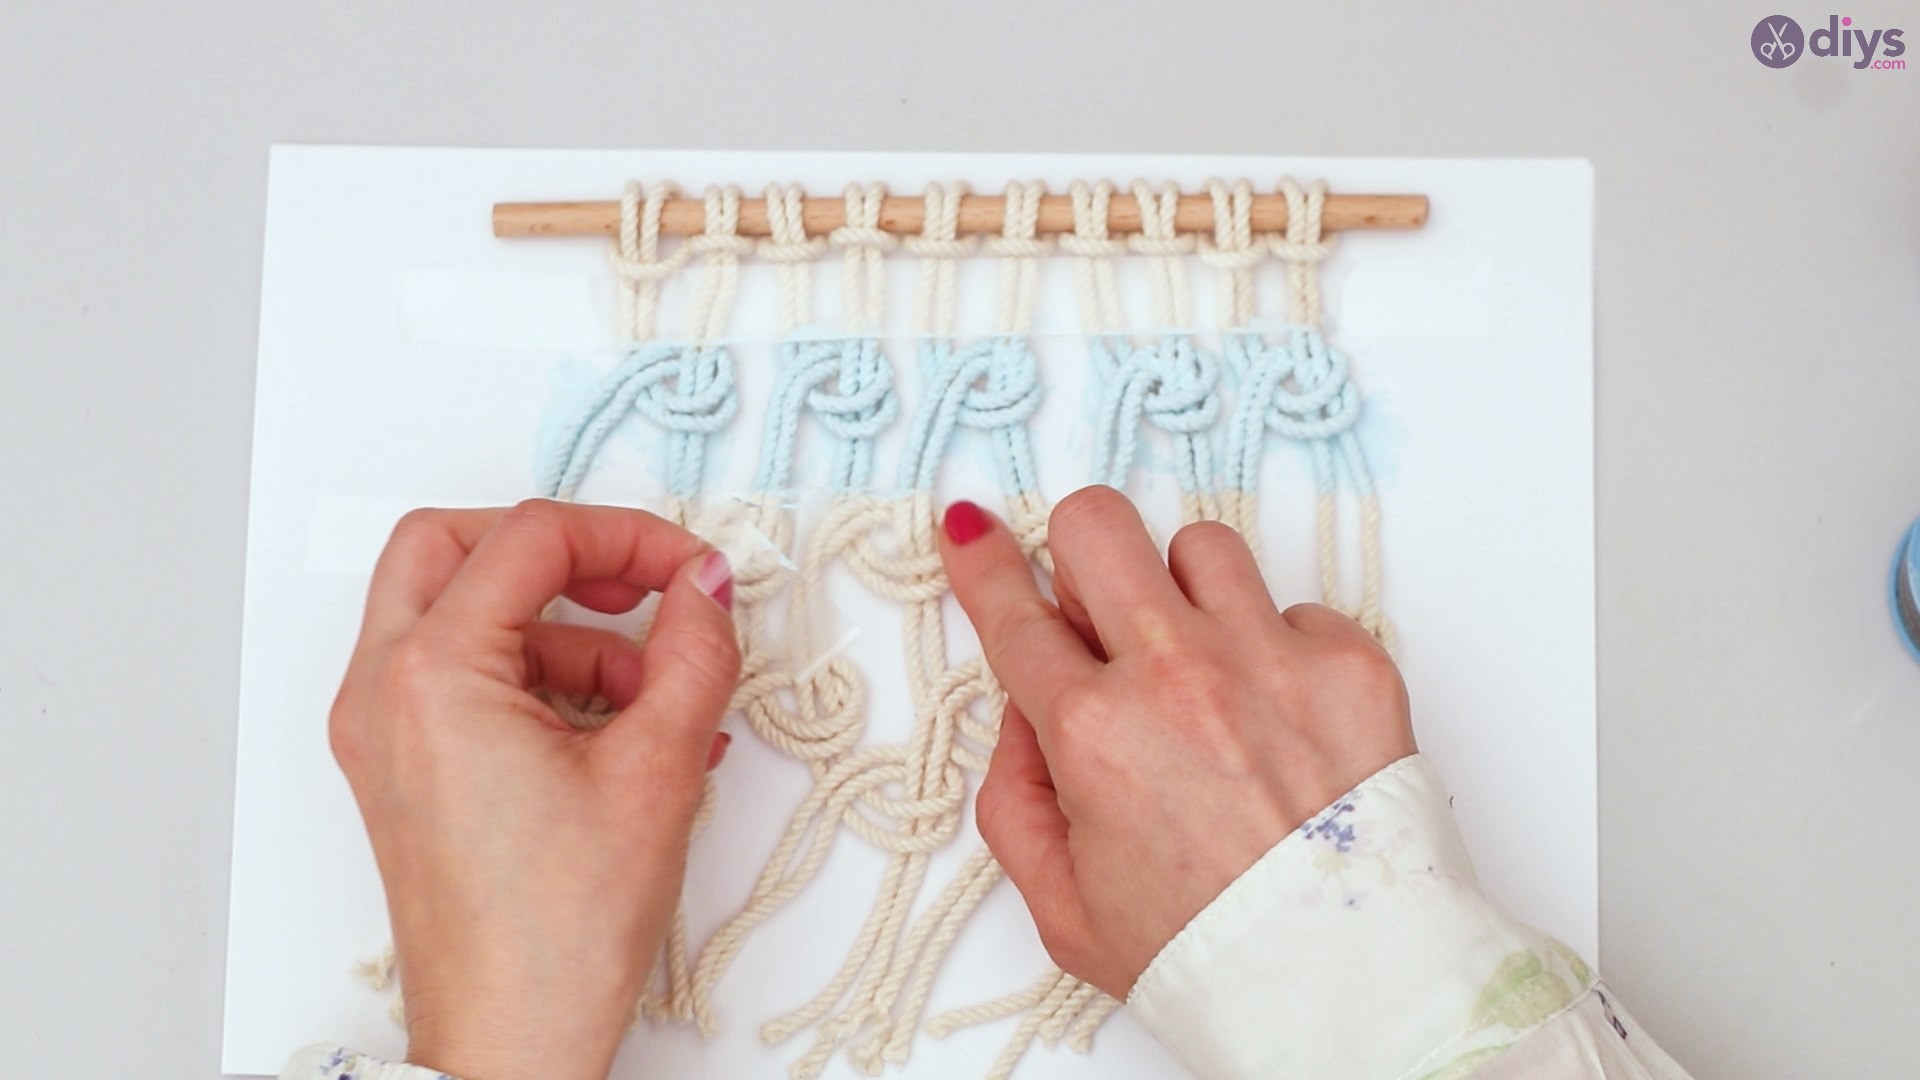
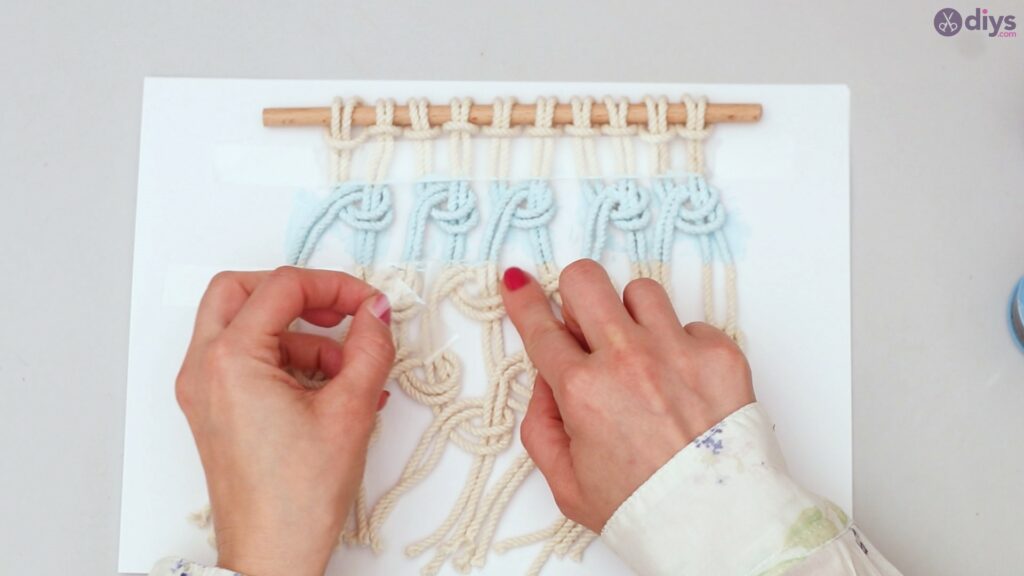
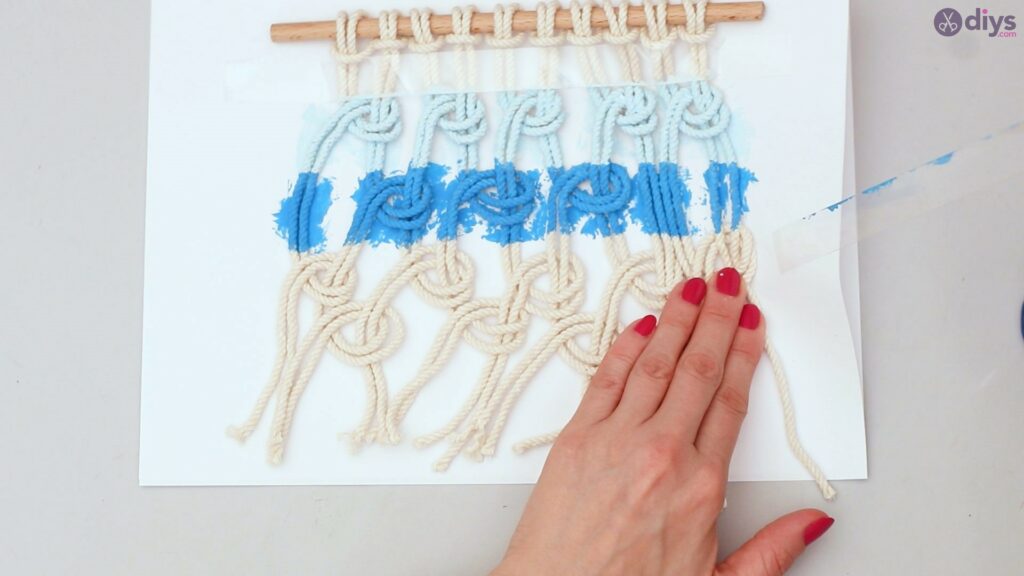
Once it is dry, take off the tape beneath the row you have just painted. Tape the section just beneath the second row. Tape the painted first row.
Begin painting the second row a darker shade of blue.
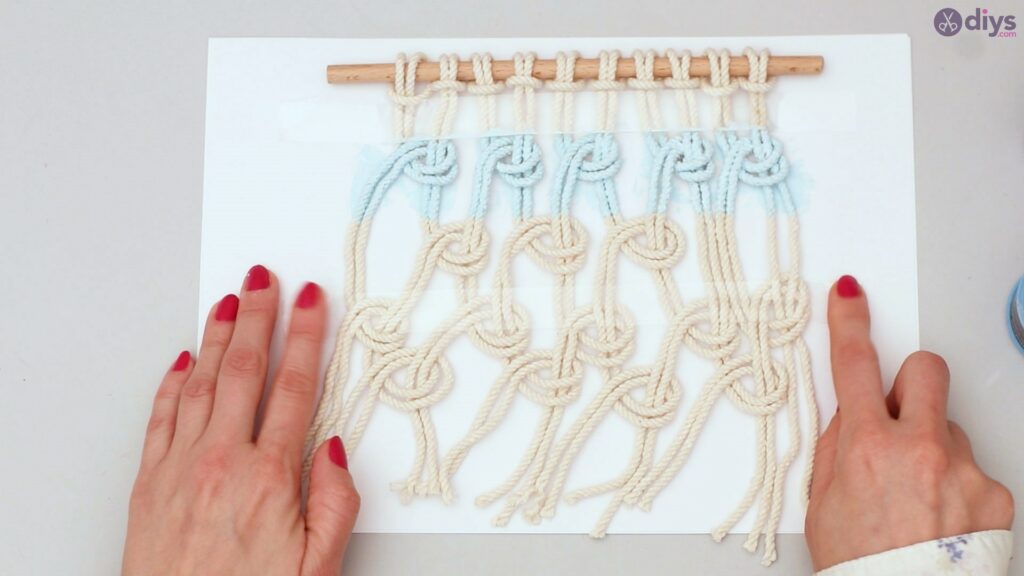
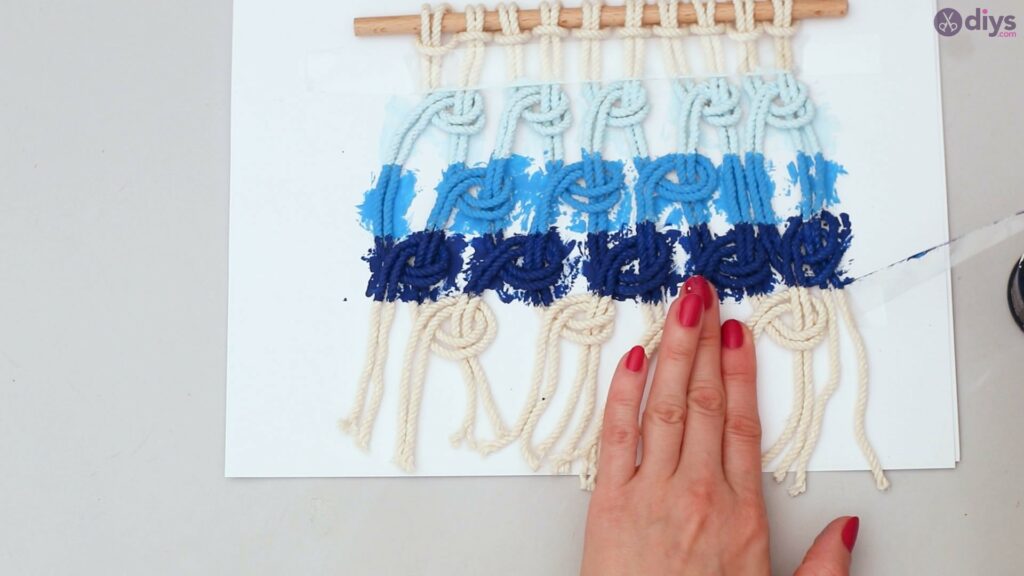
Allow the second painted row to dry.
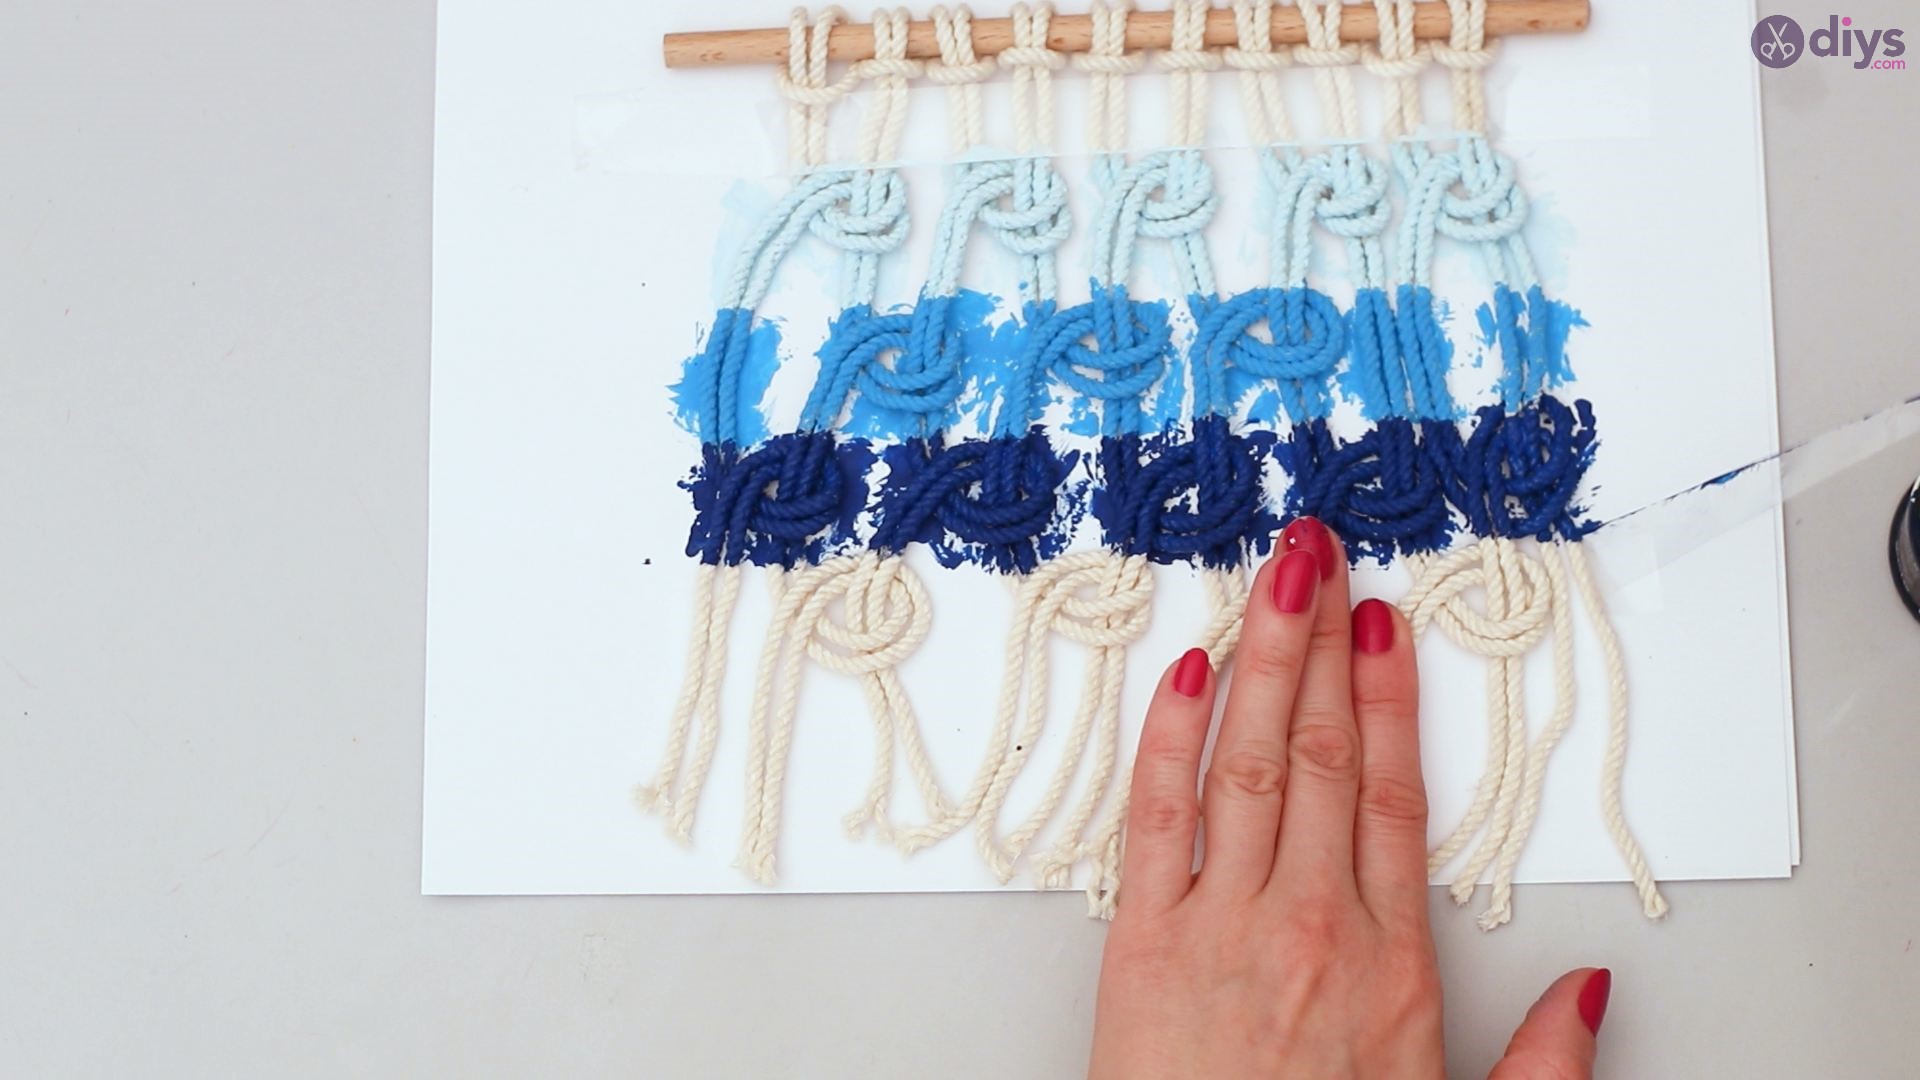
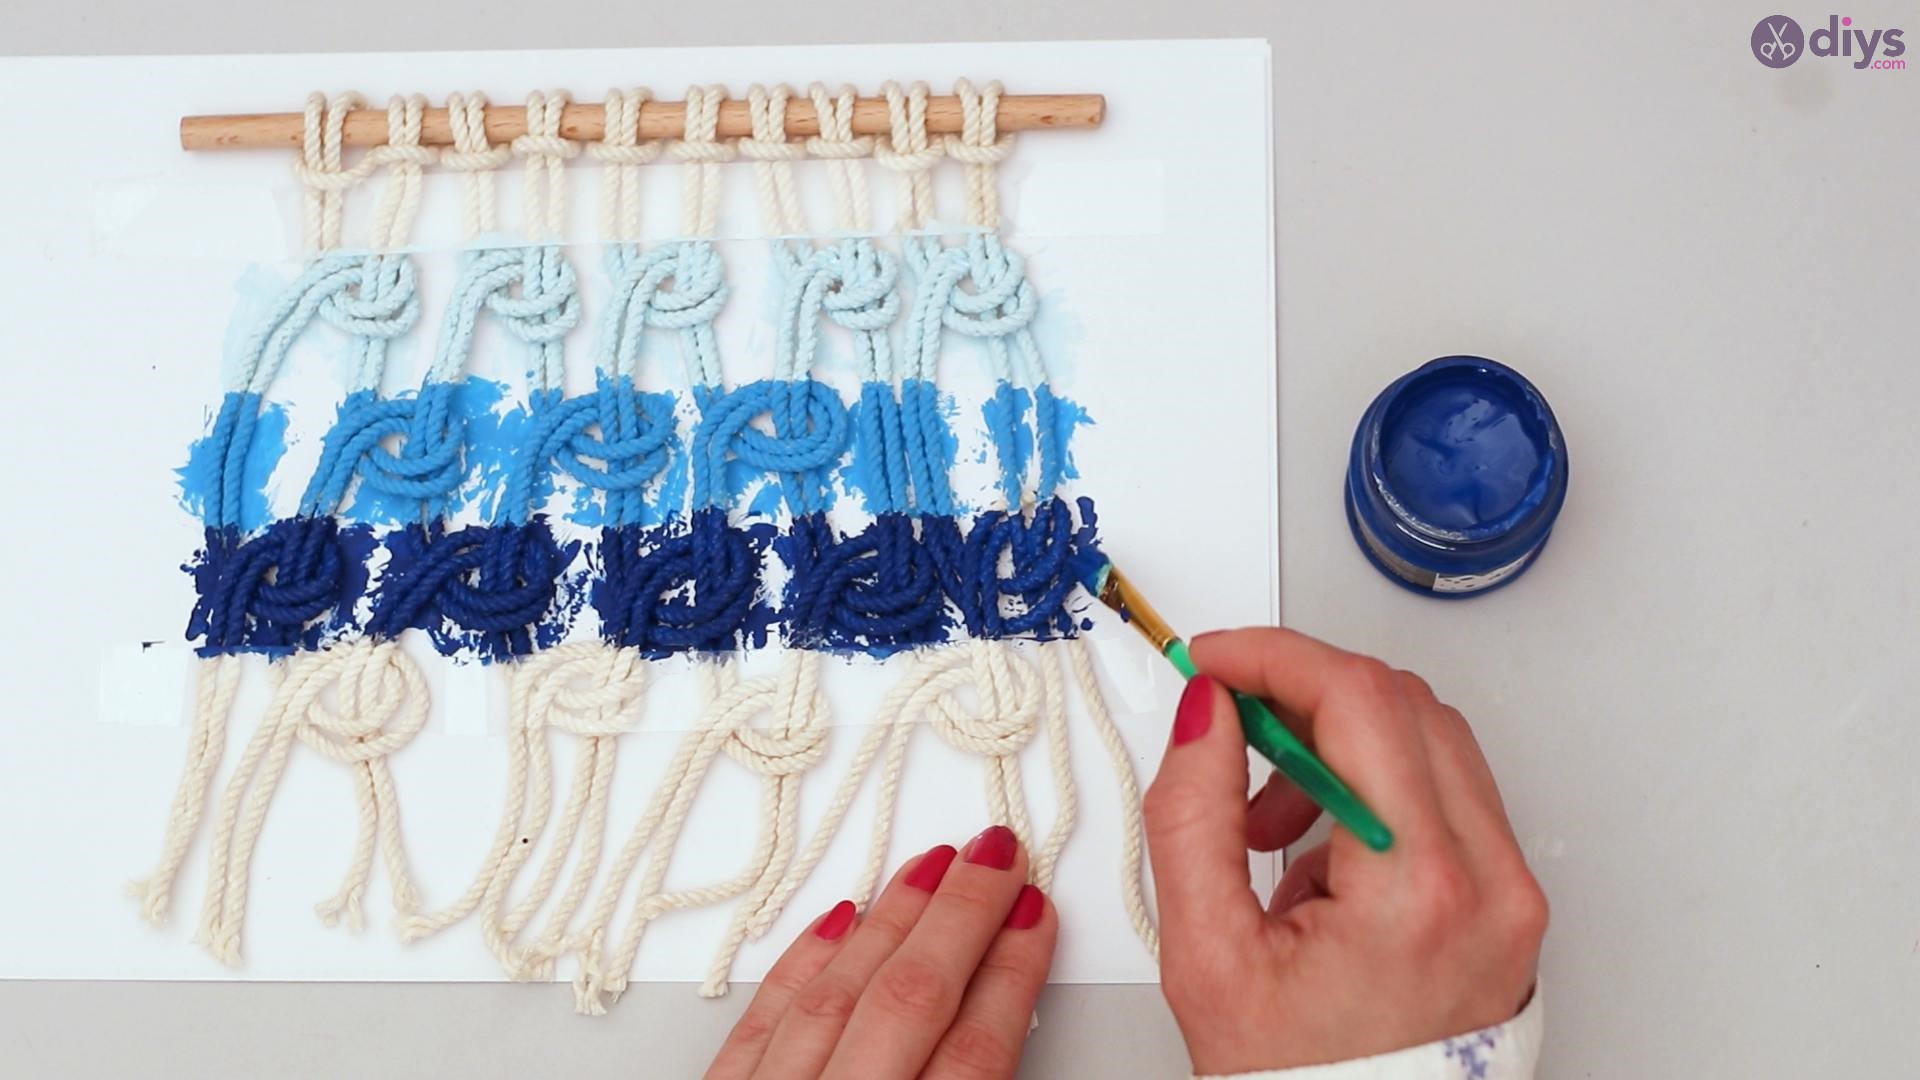
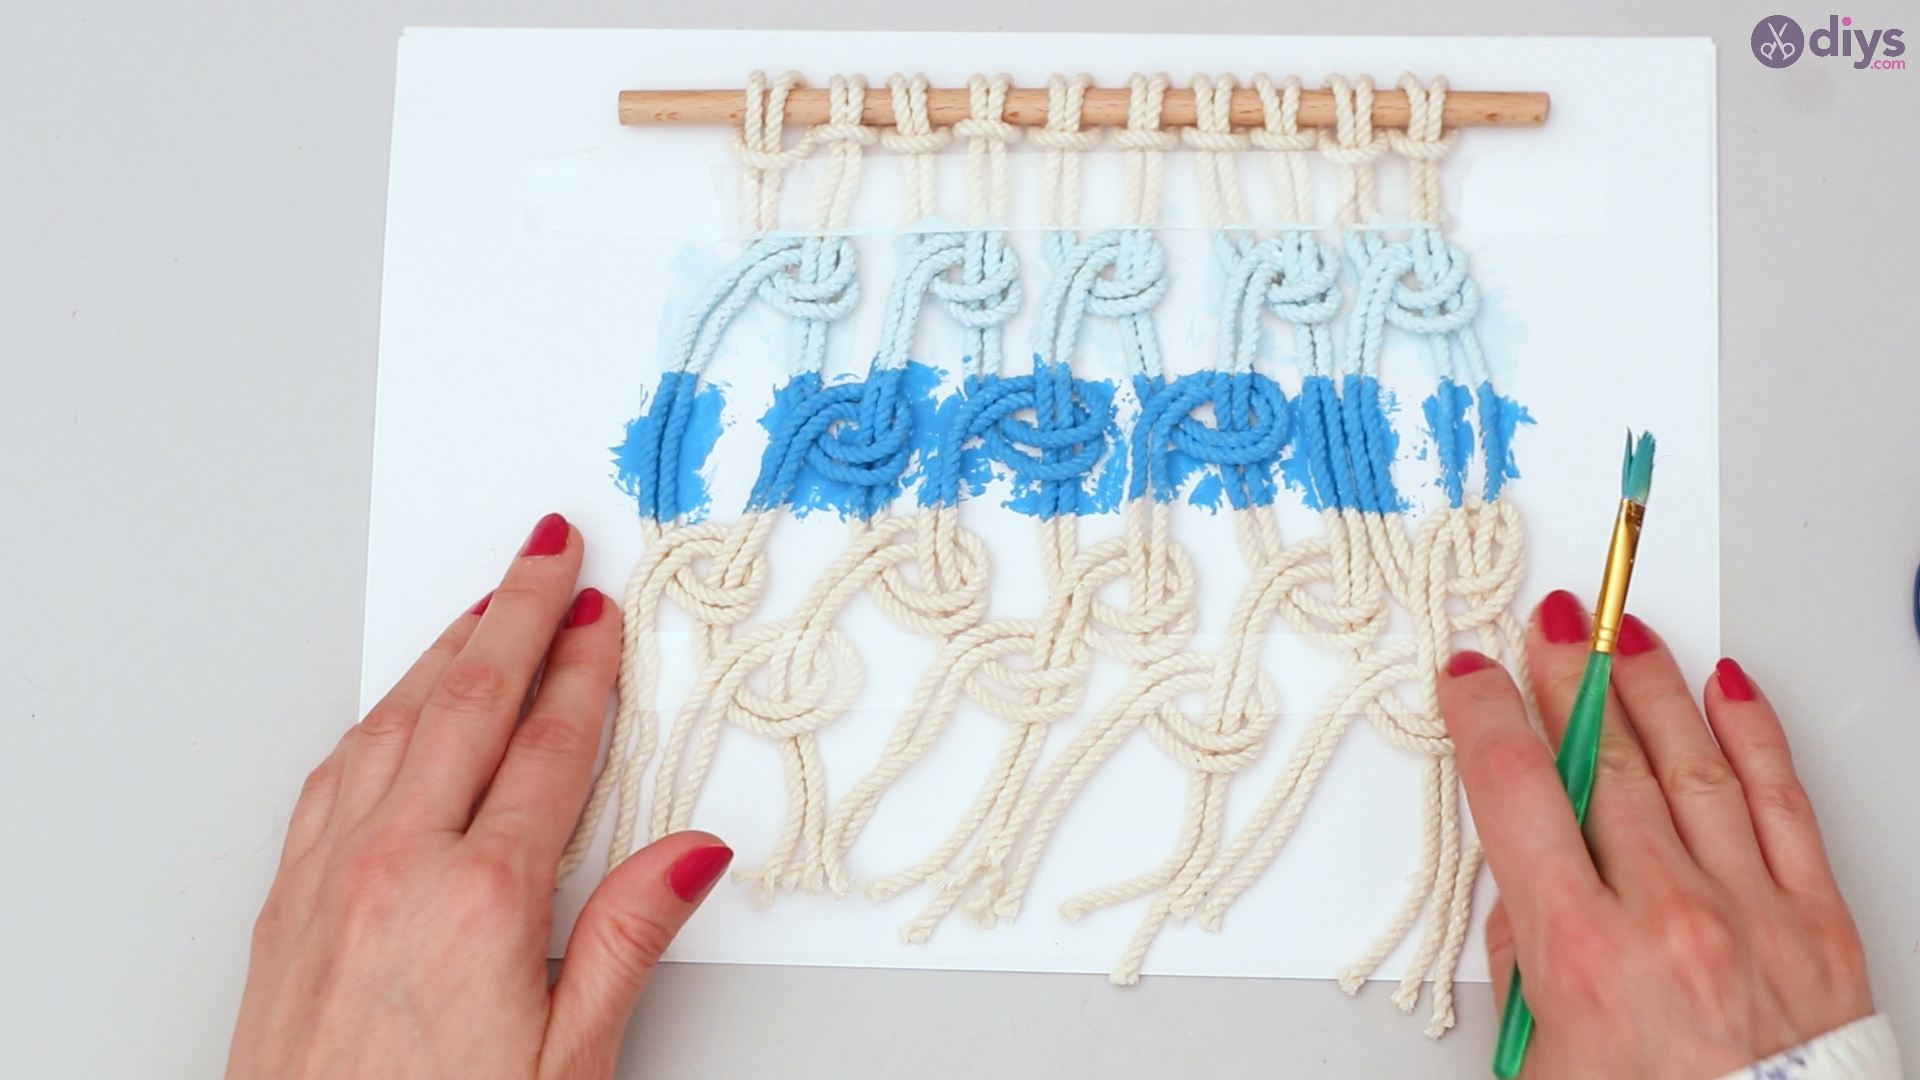
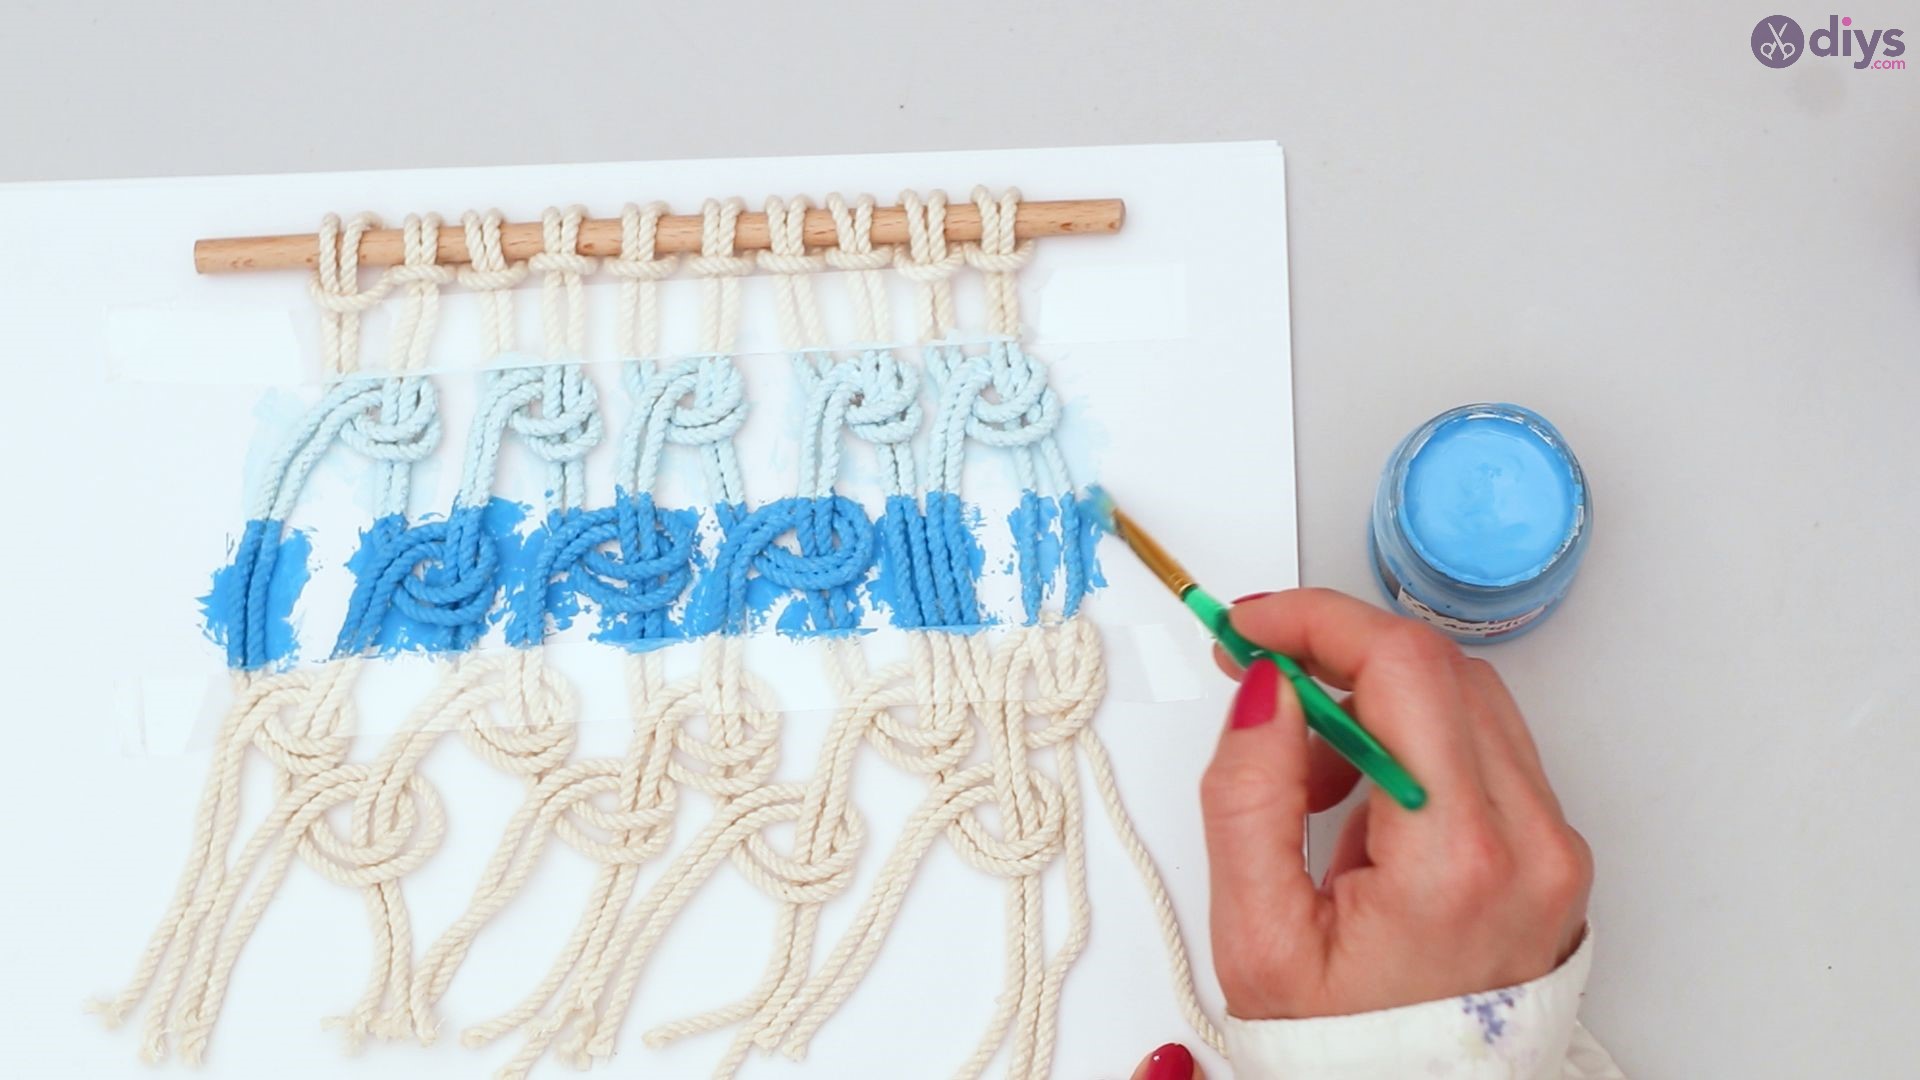
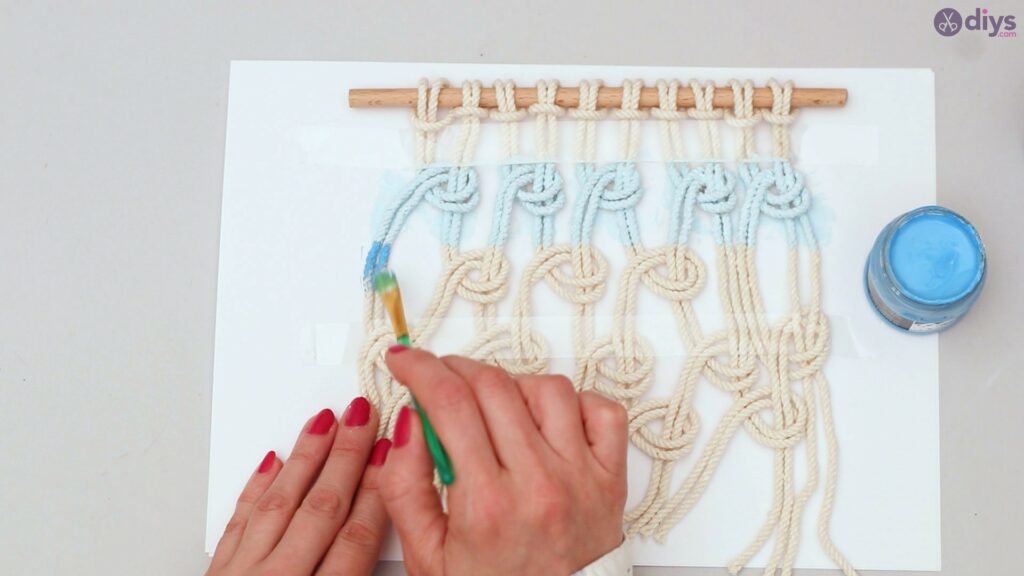
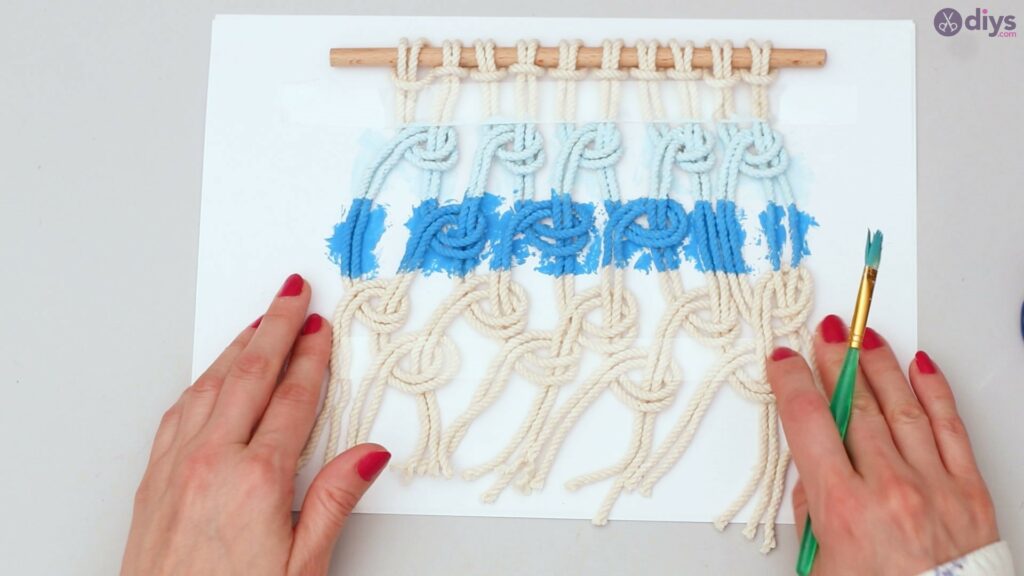
Once it is dry, take off the tape beneath the row you have just painted. Tape the section just beneath the third row. Tape the painted second row.
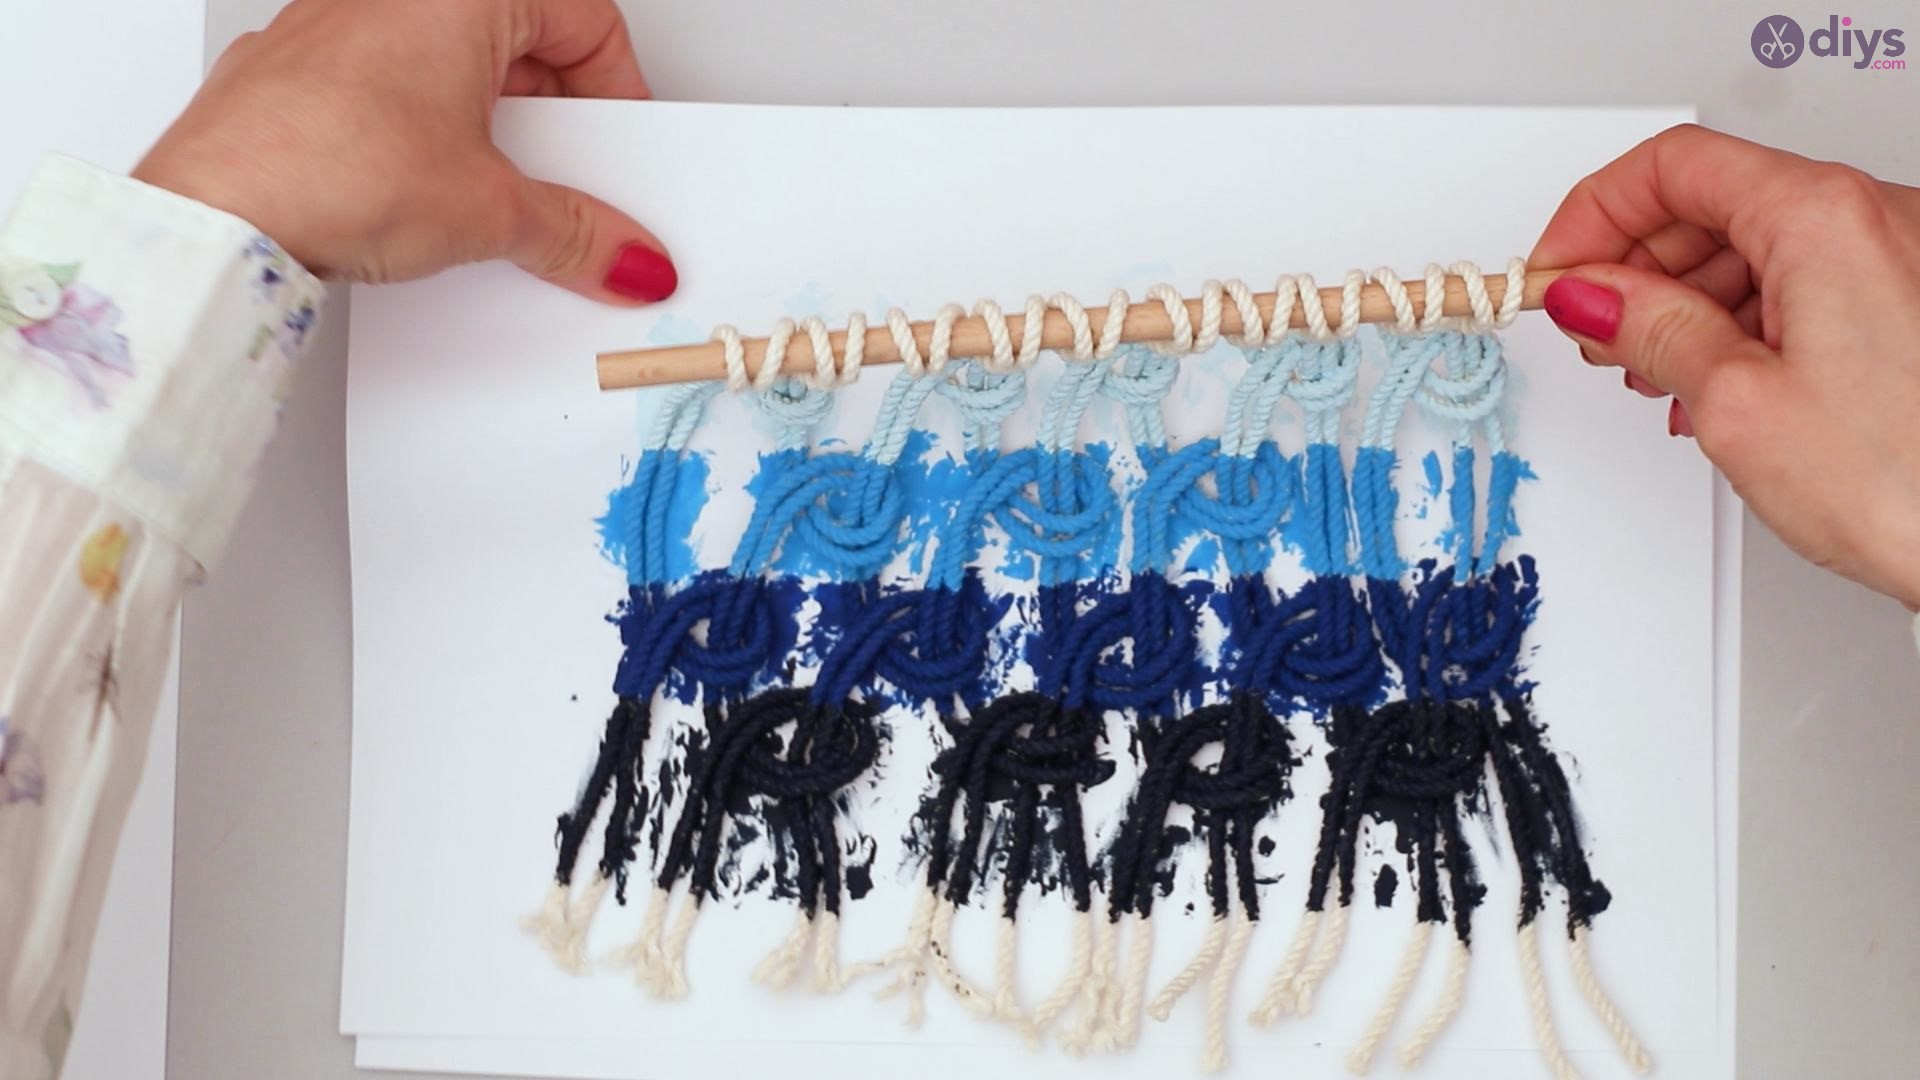
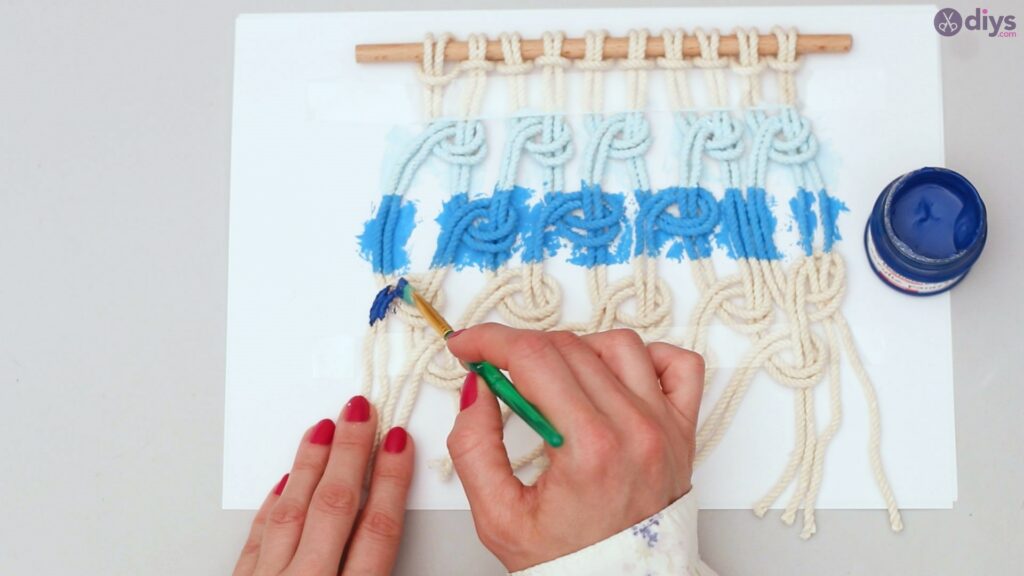
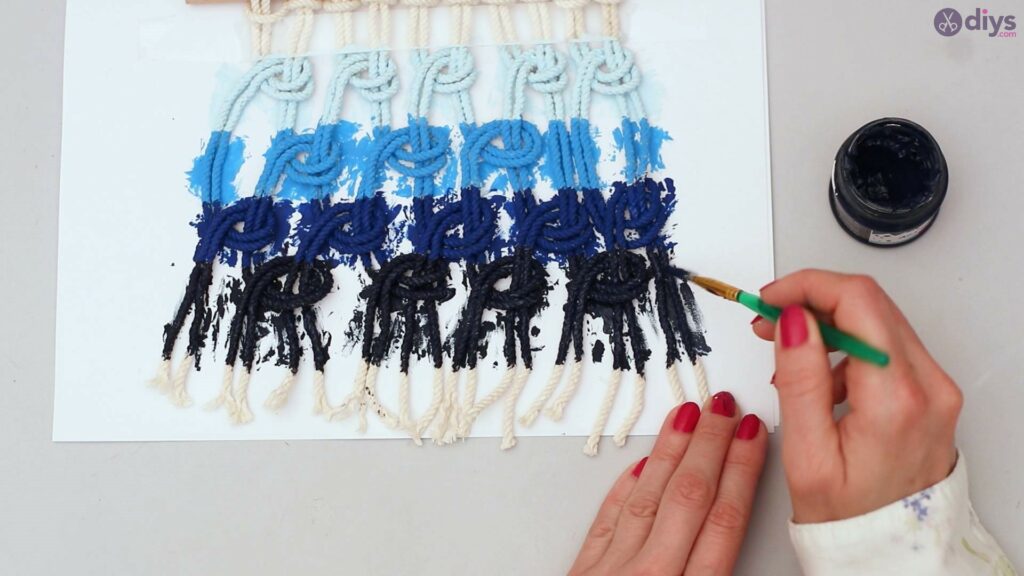
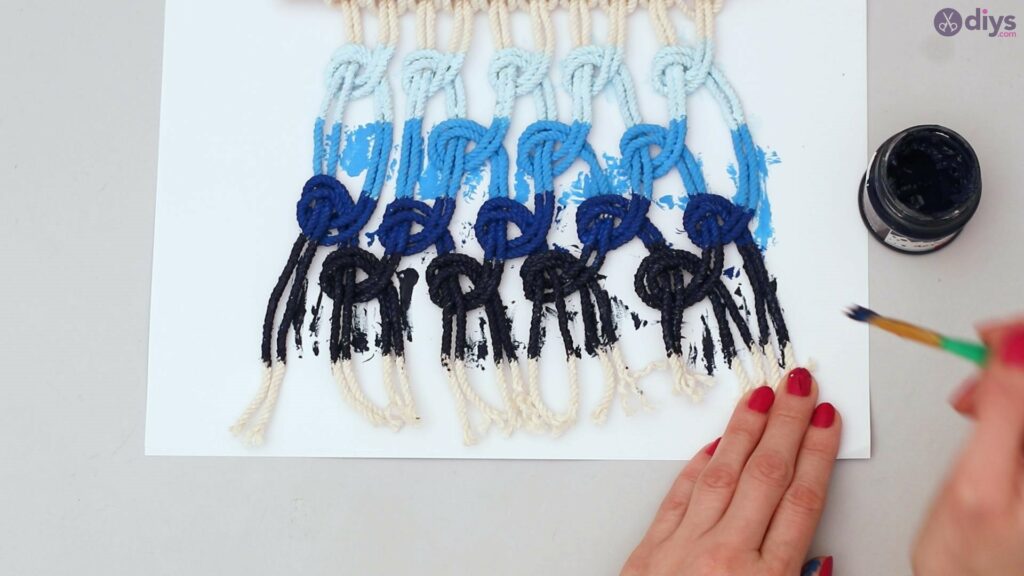
Begin painting the third row a darker shade of blue.
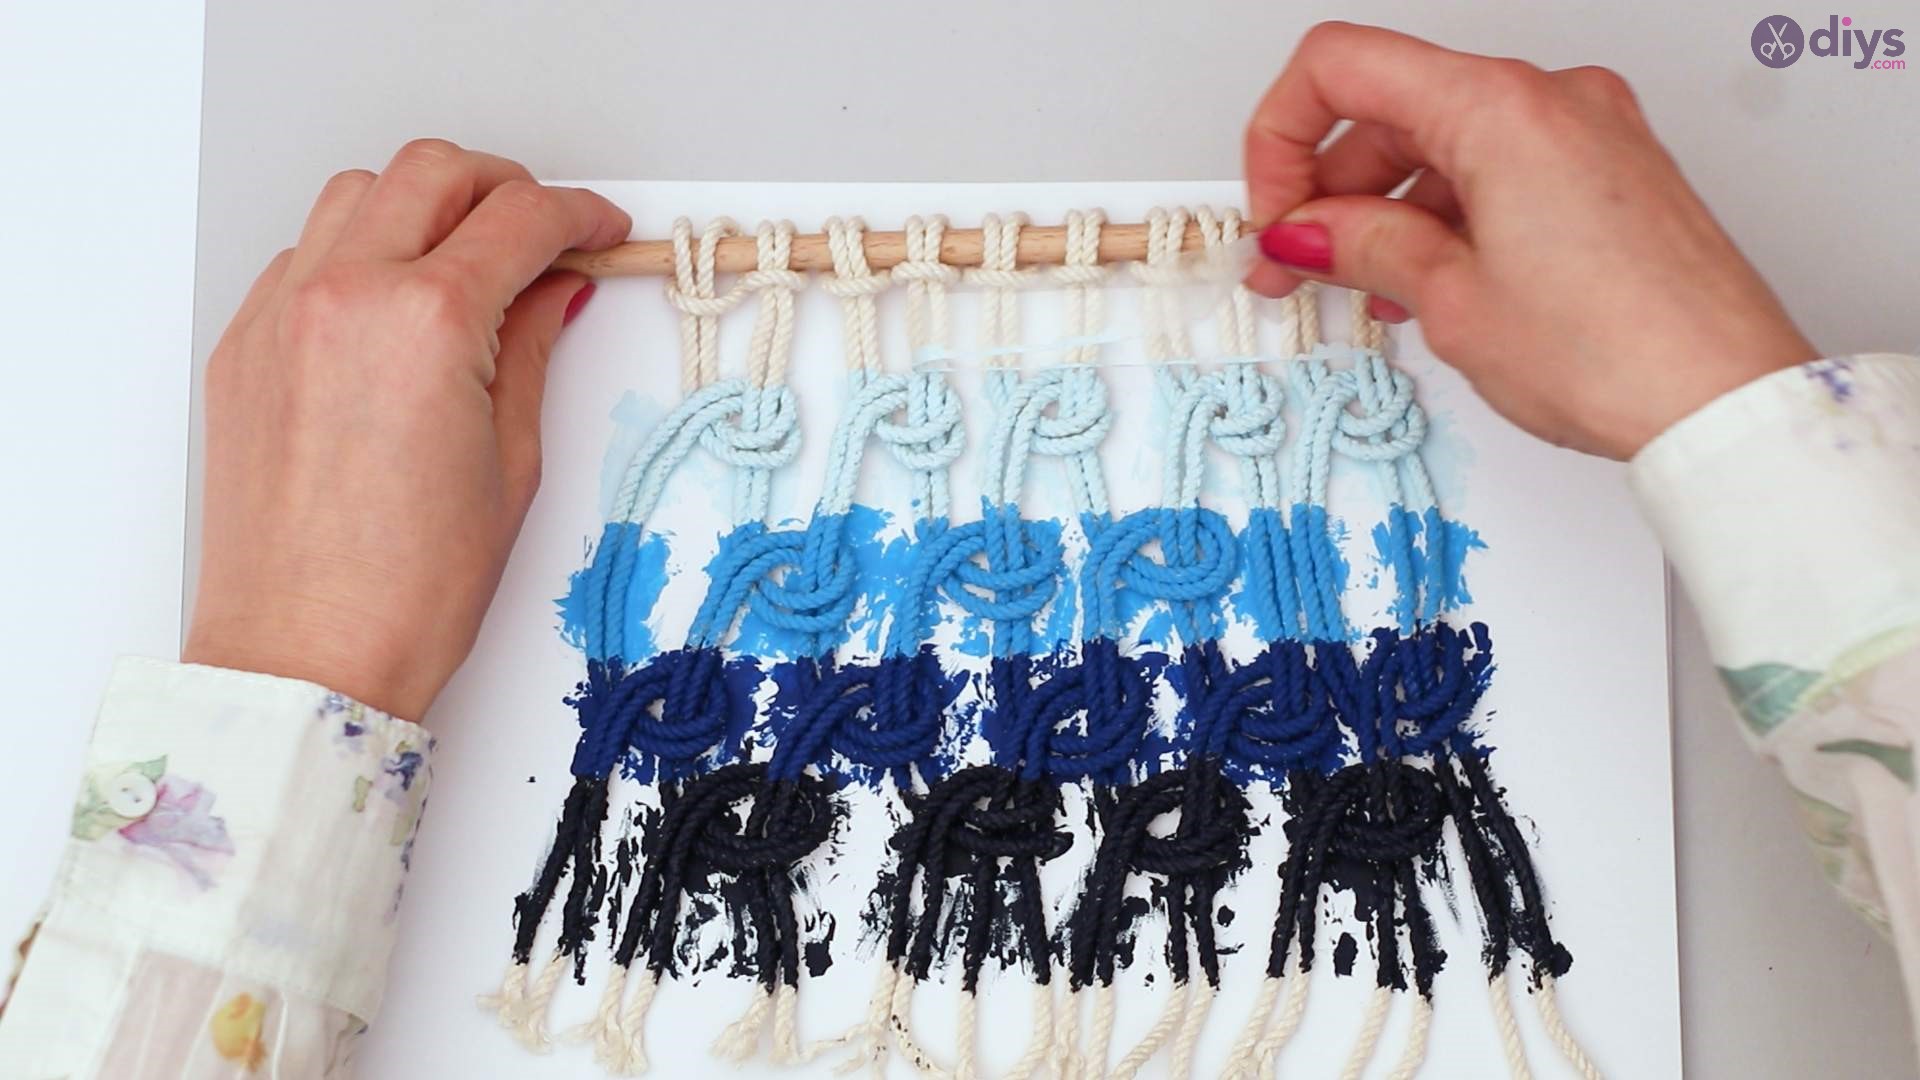
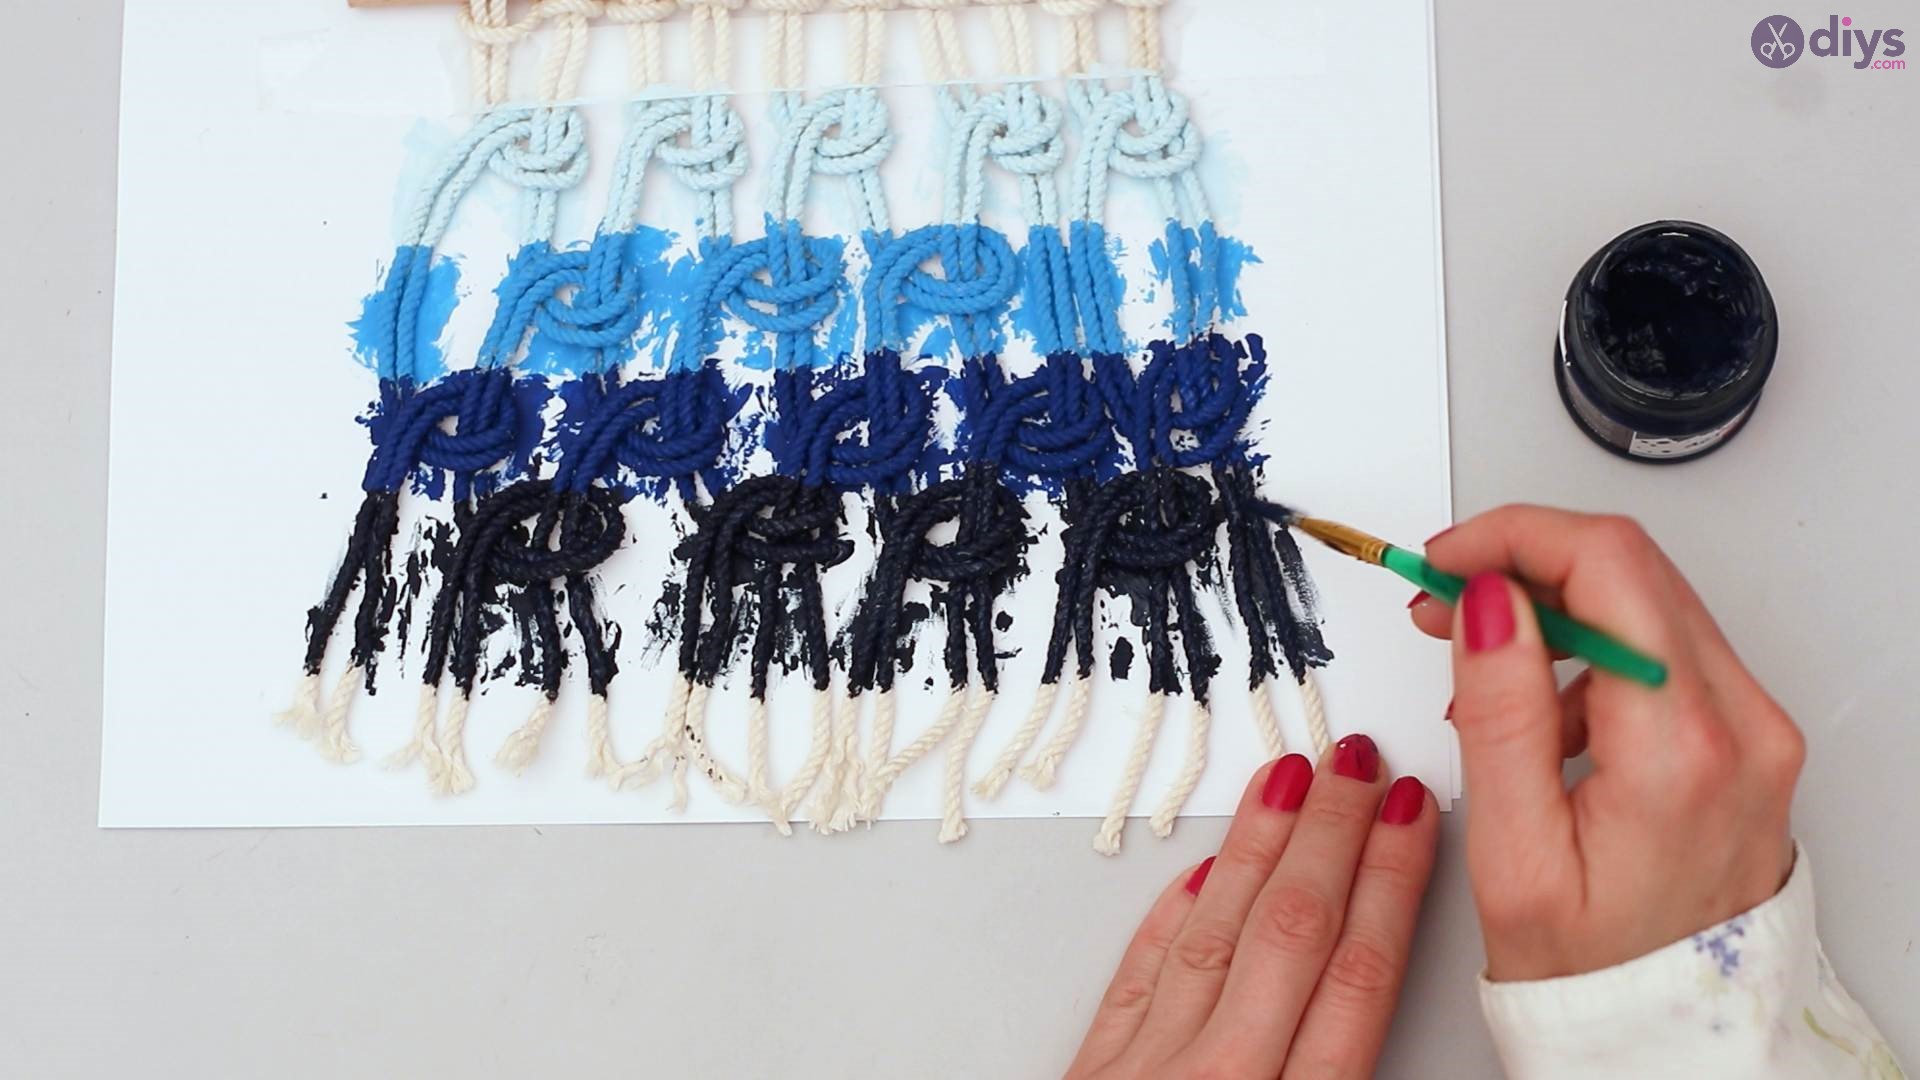
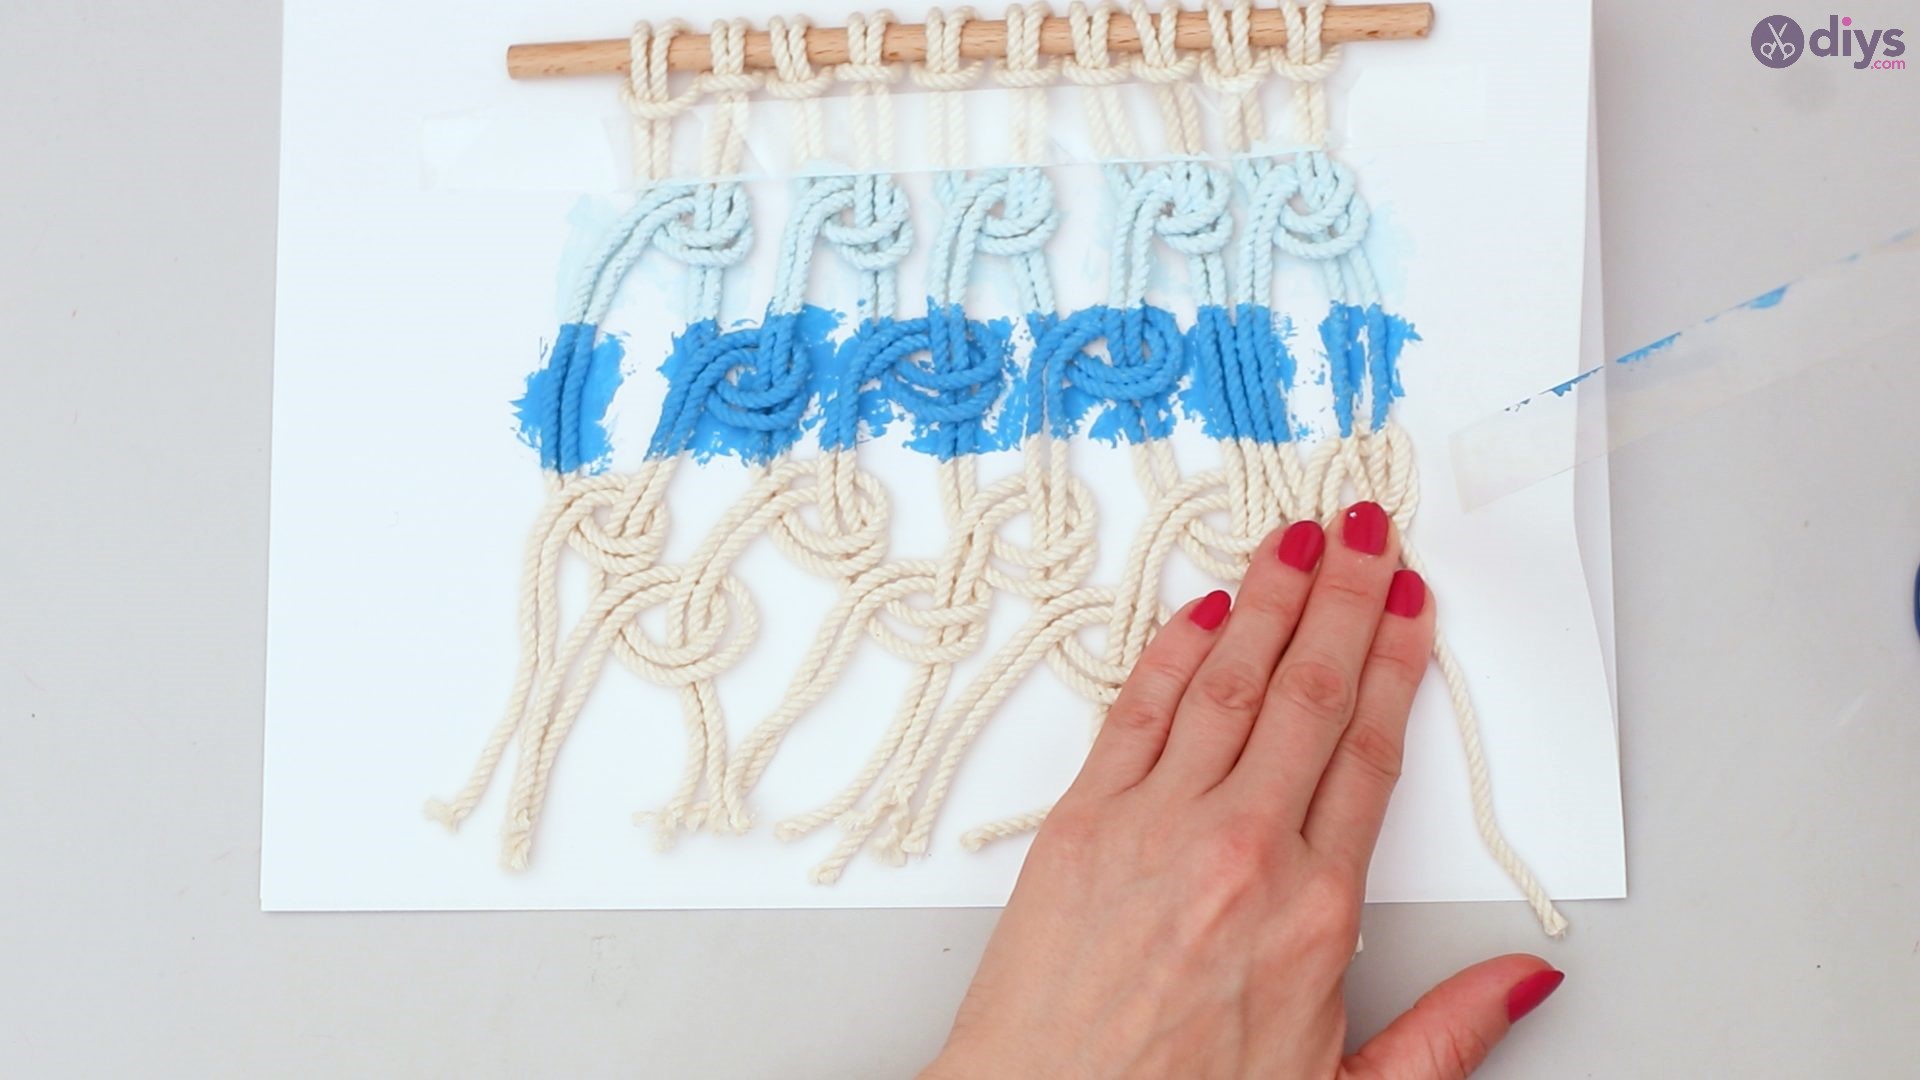
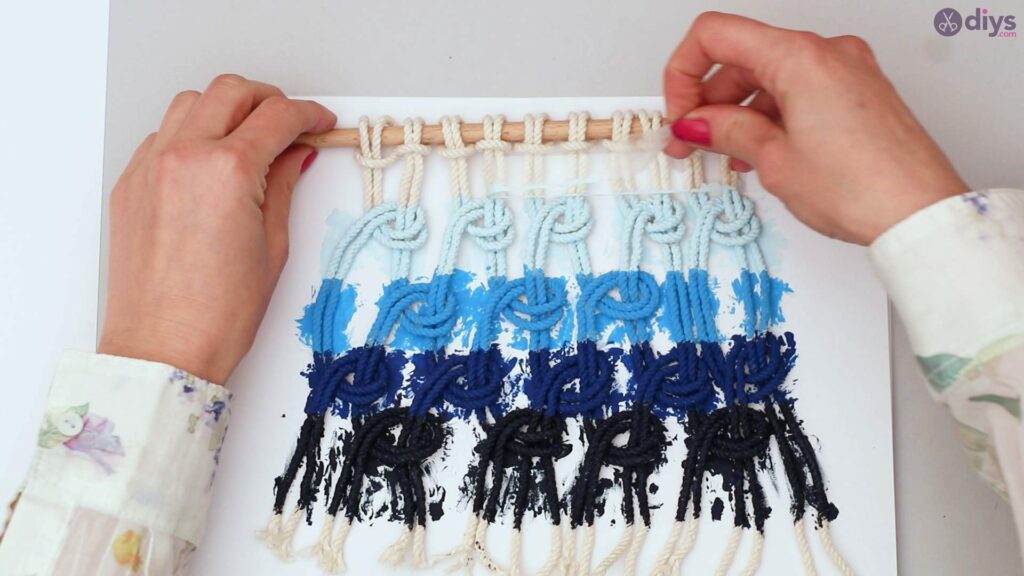
Allow the third painted row to dry. Once it is dry, take off the tape beneath the row you have just painted. Tape the section just beneath the fourth row. Tape the painted third row.
Flip the wooden rod over and paint the back of the ropes too.
Step 4: Making a strap
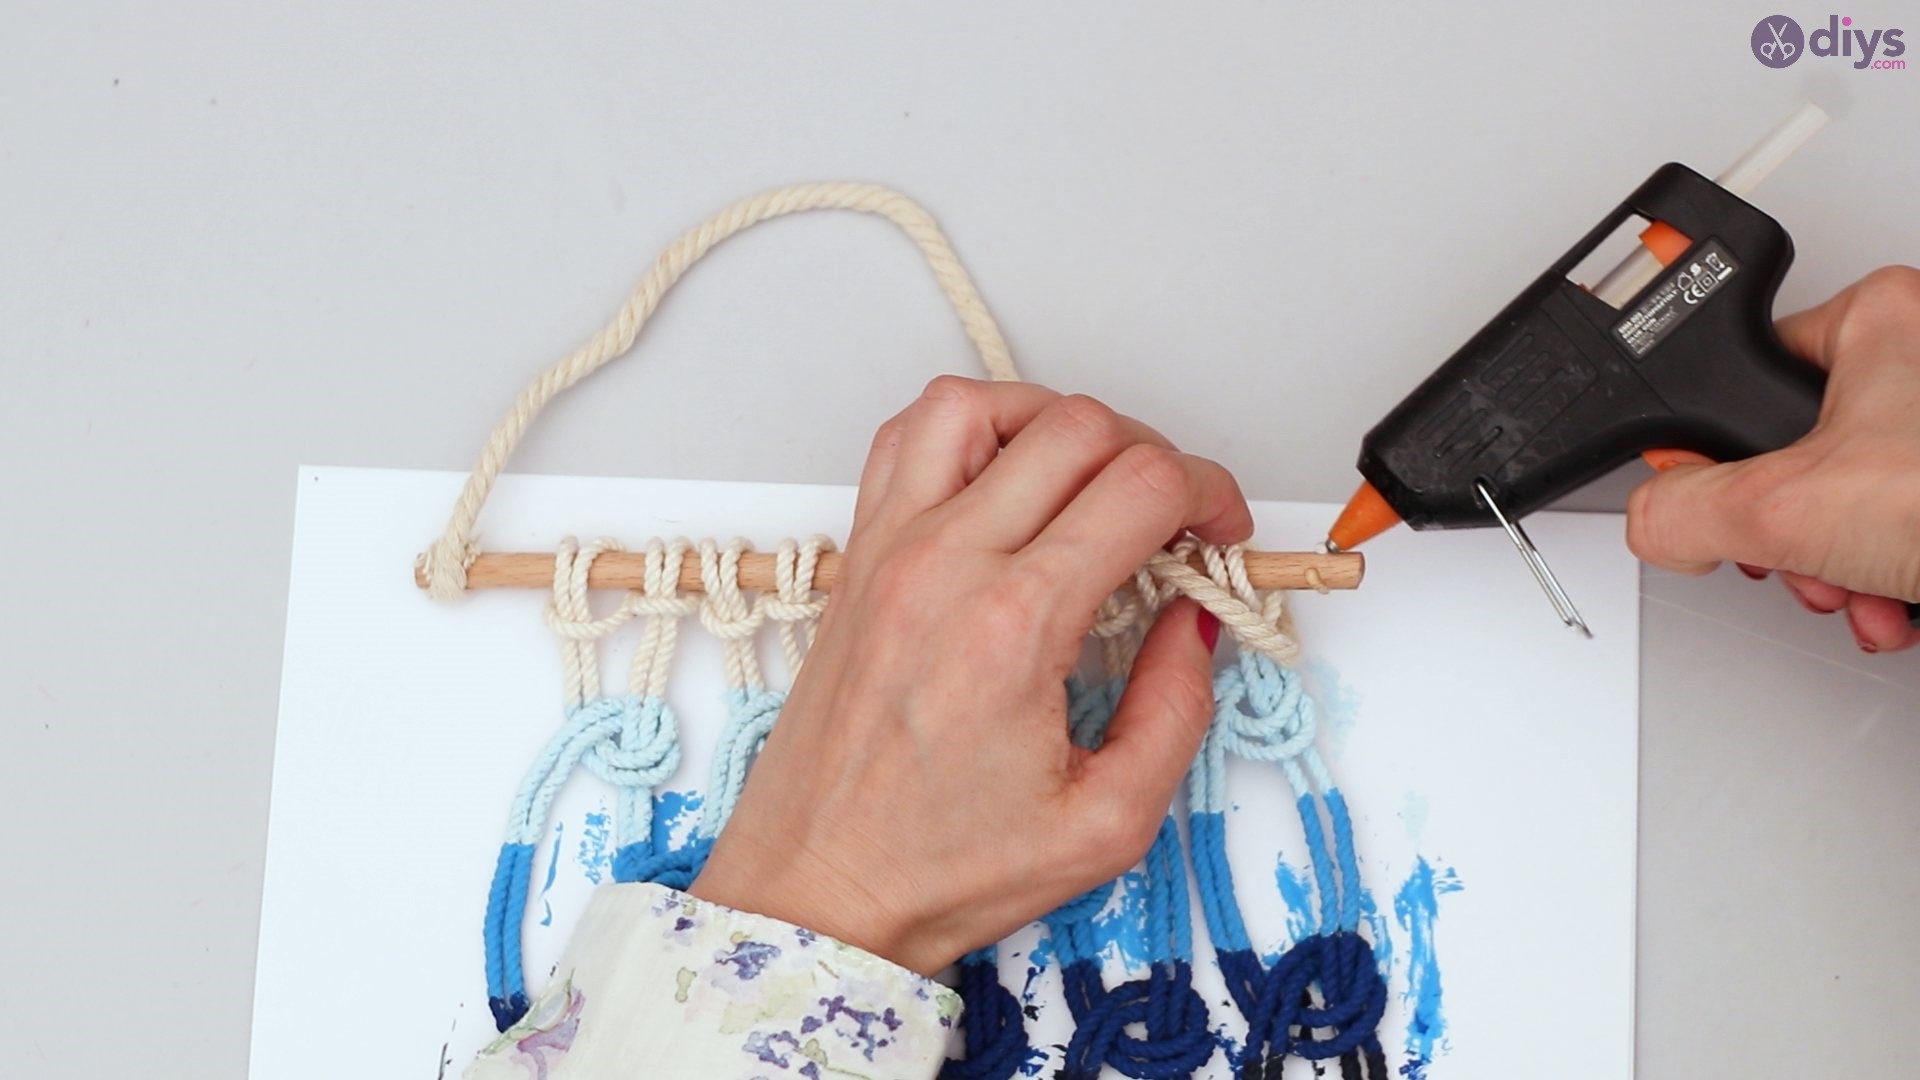
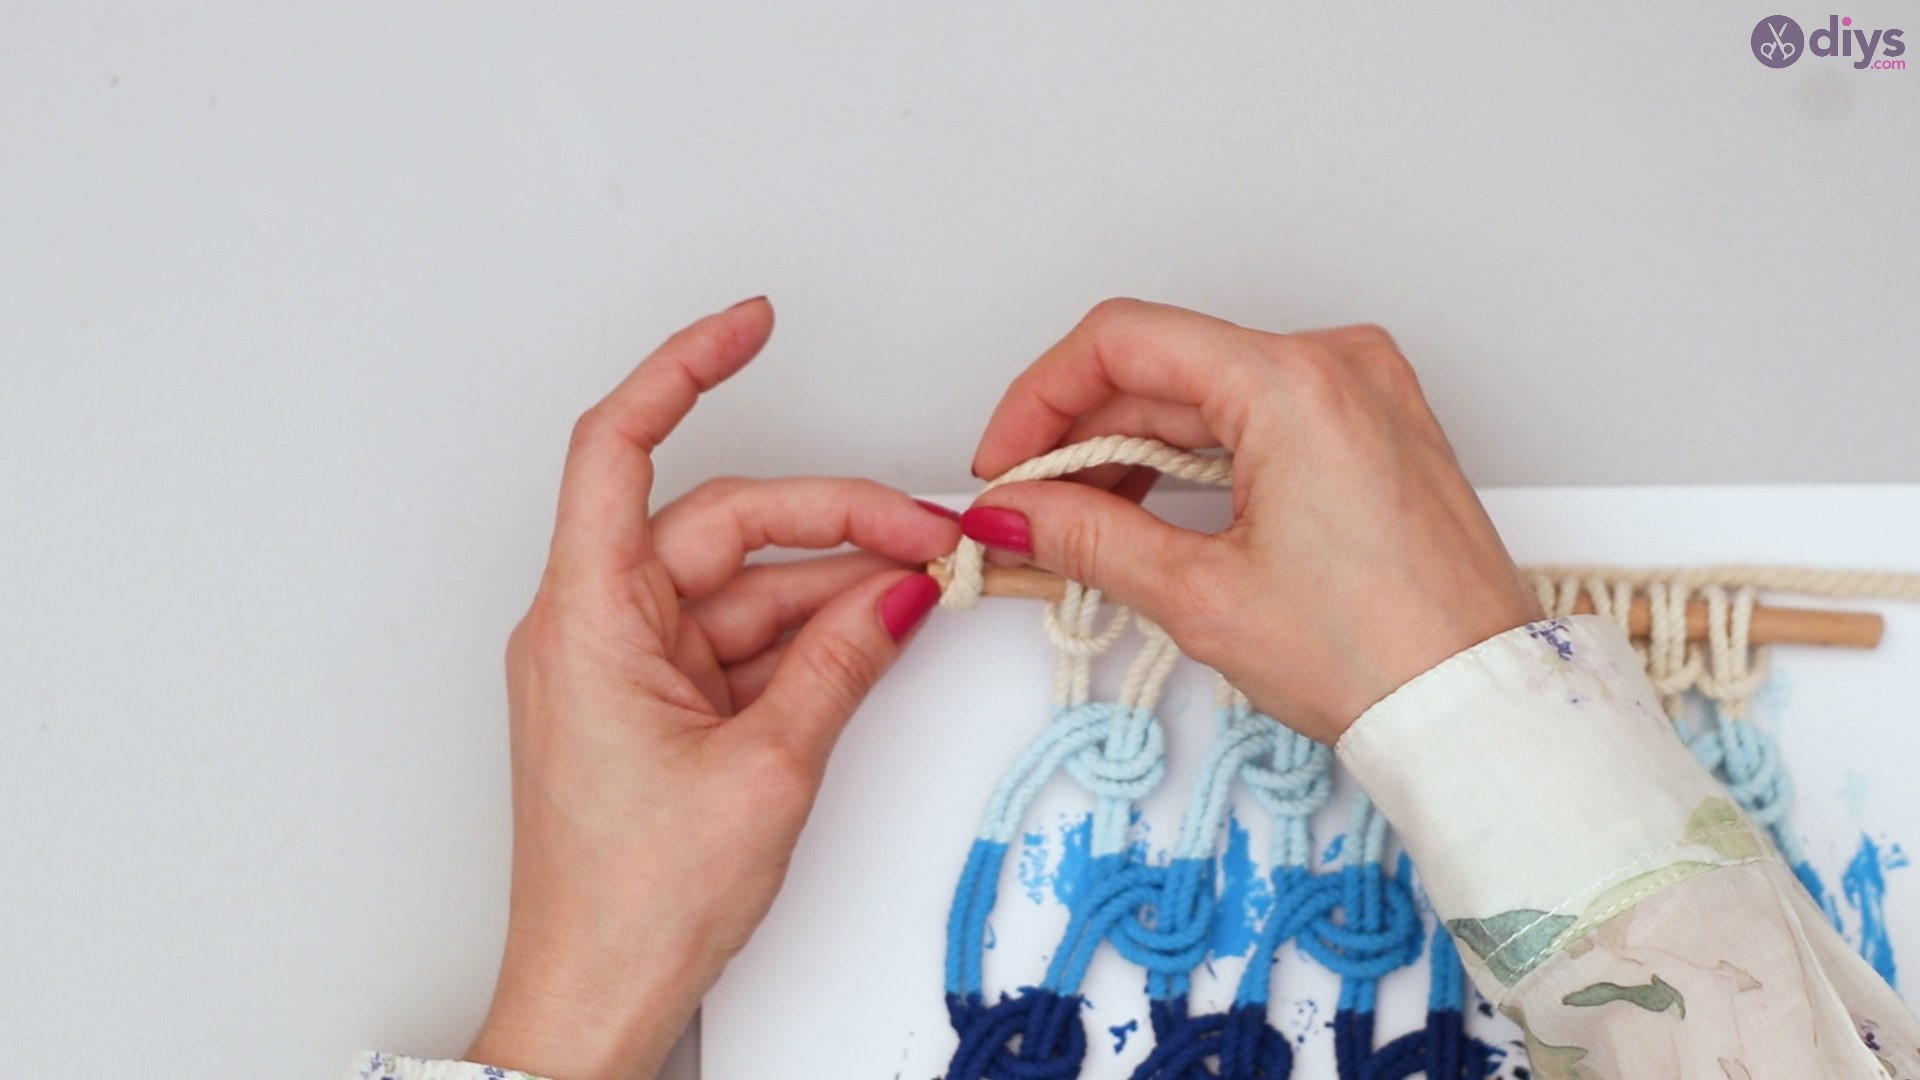
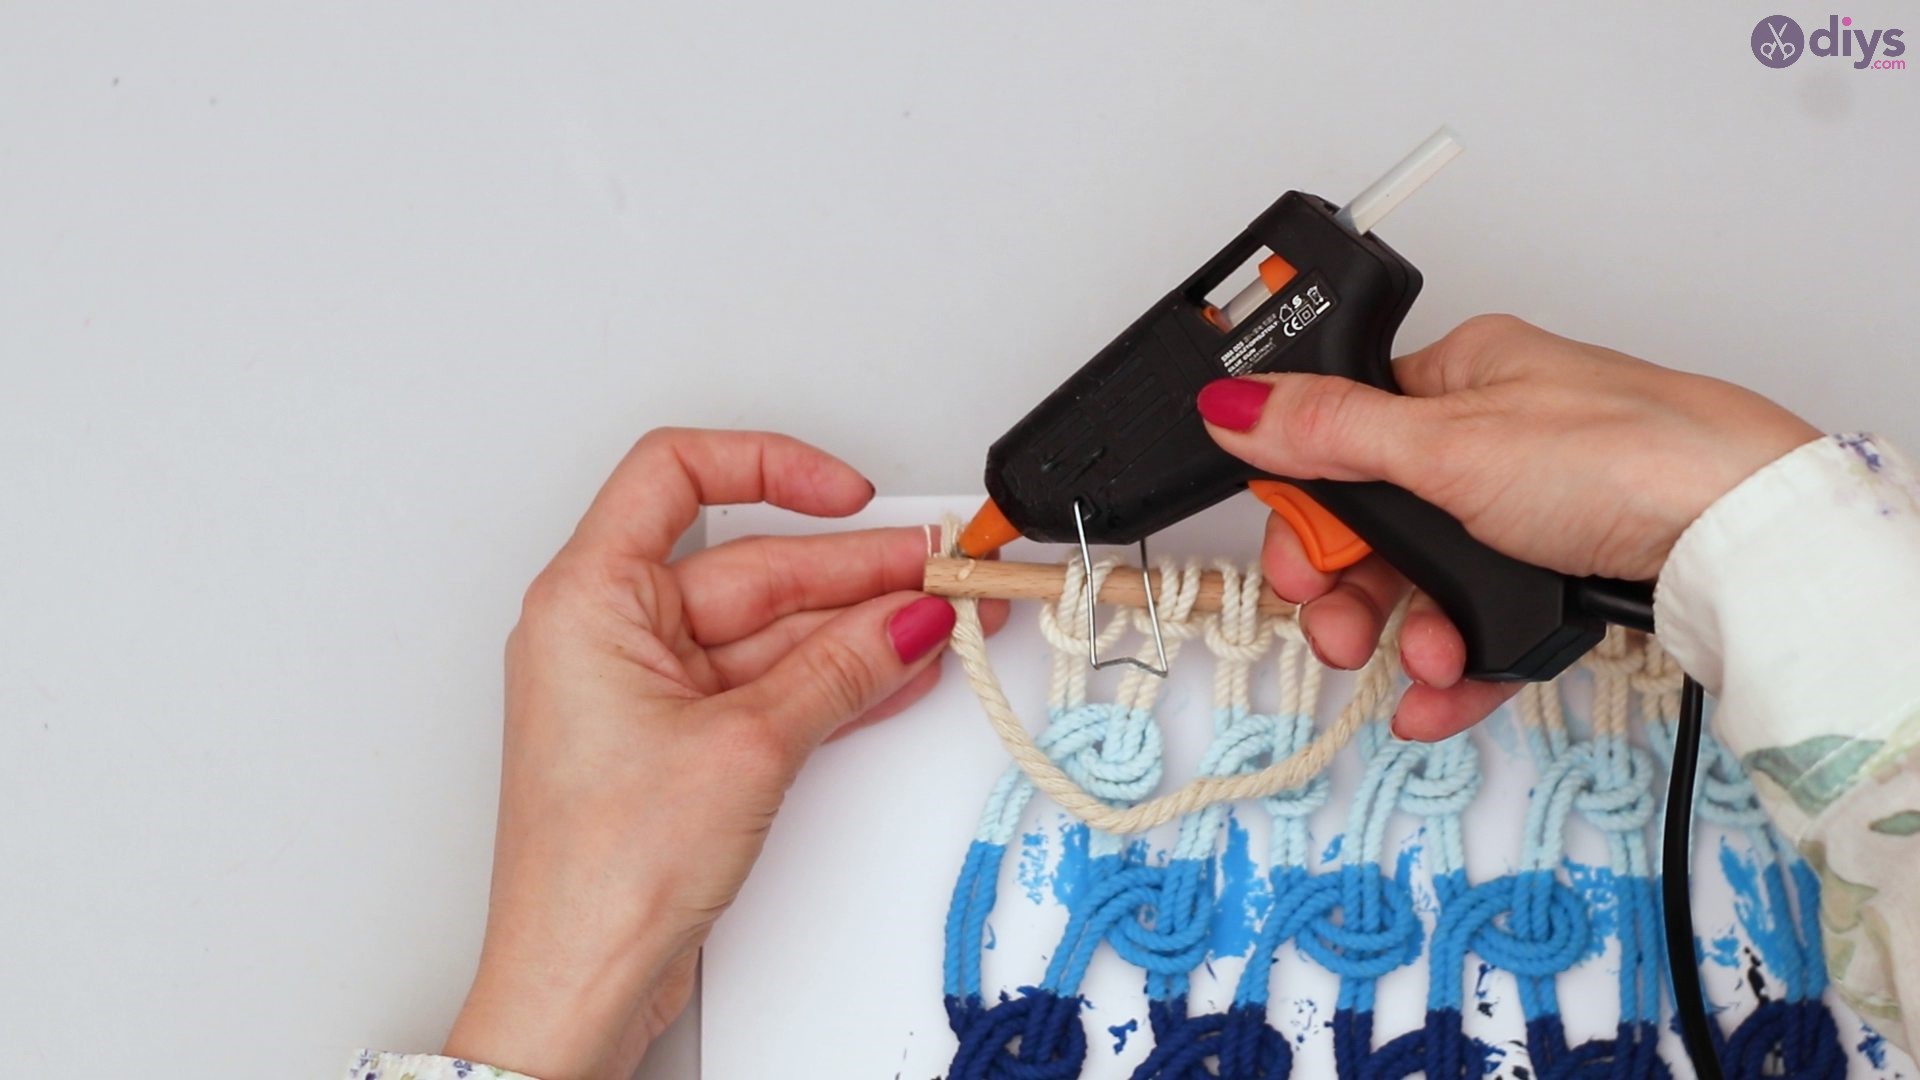
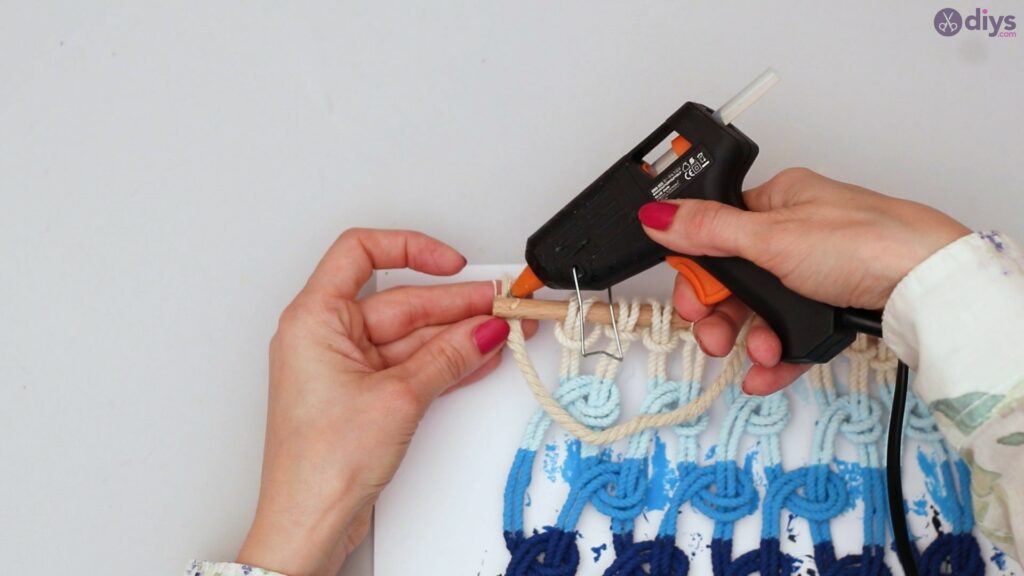
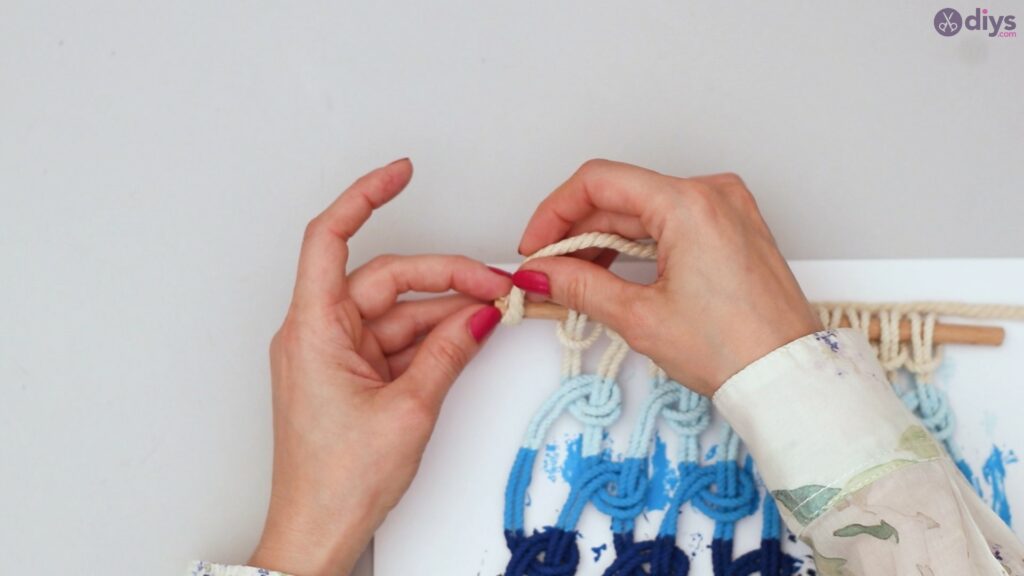
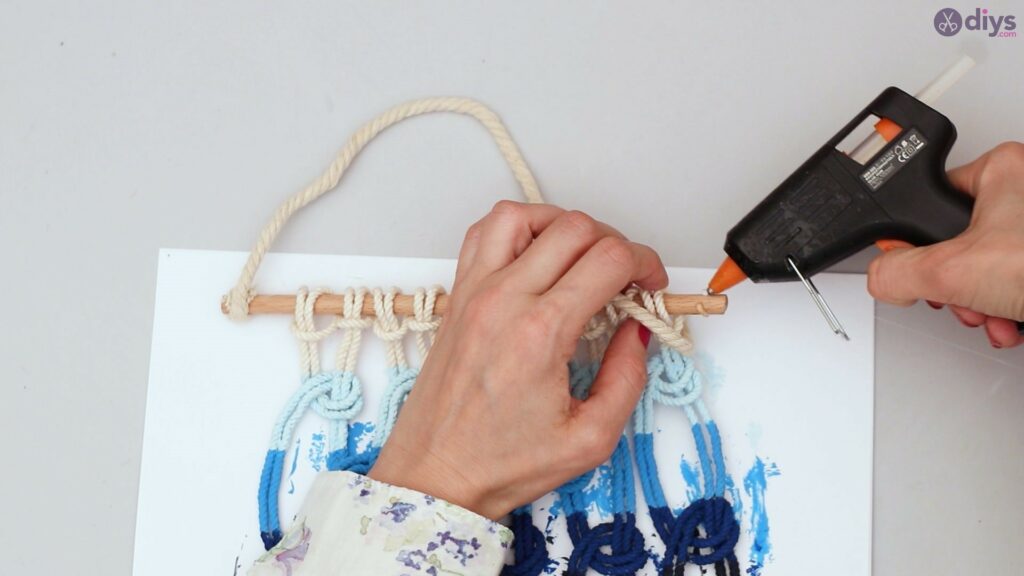
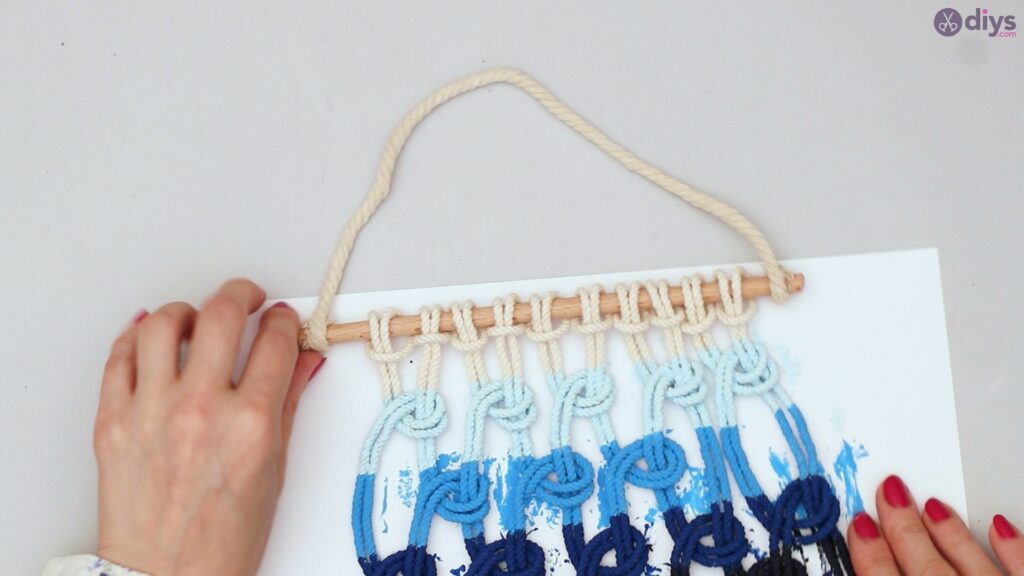
Take your rope and cut a piece long enough to hang your decor with. Use your glue gun and attach the piece of rope to the rod.
Glue both sides of the rope to the rod.
Fray the ropes at the end to give it a prettier look.
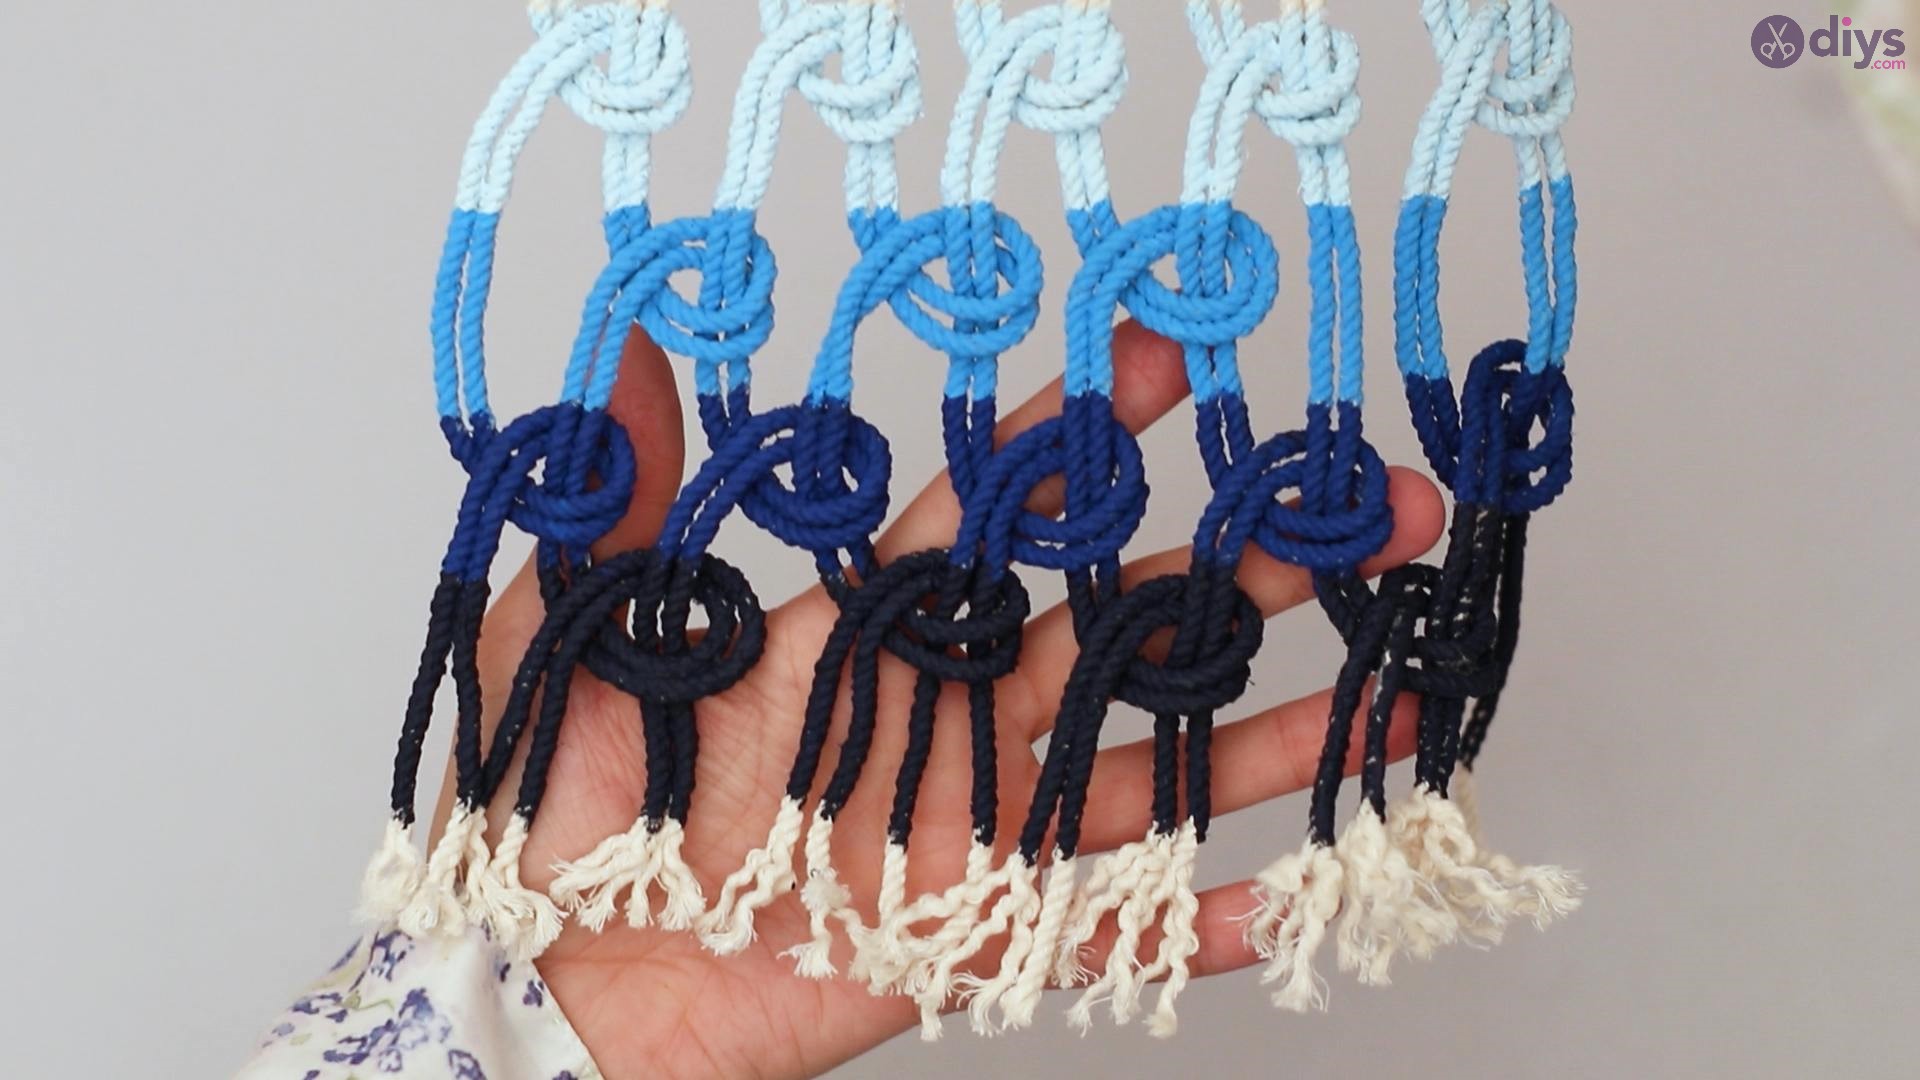
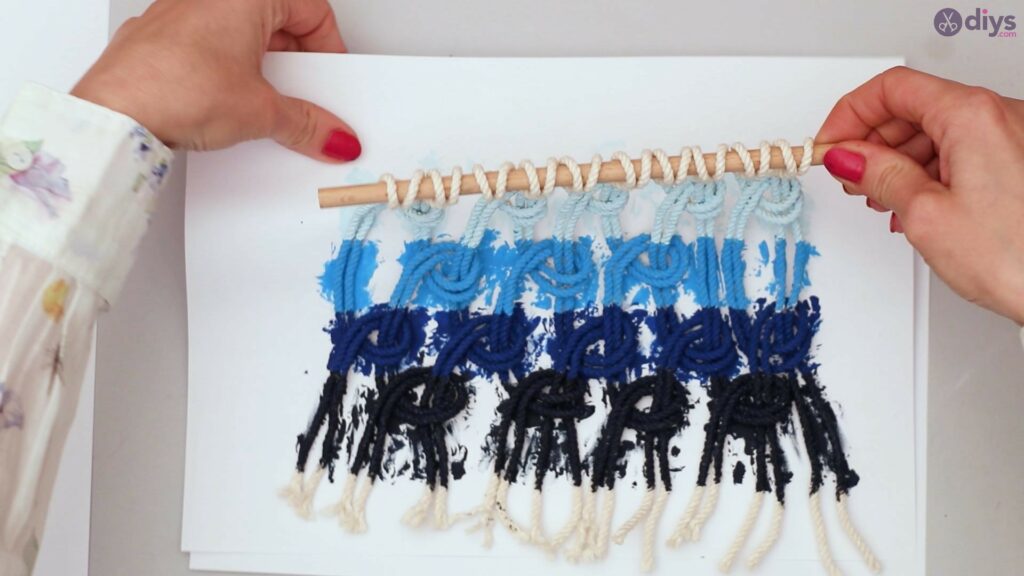
Yippe! Now you have your wonderful ombre macrame wall hanging. This piece is a fantastic gift idea for your friends and family members.
Feel free to get creative and try out different colors and even patterns. You can design your wooden rod with sparkles or use glitter colors when painting the ropes.
You can hang up this piece in your room, study, the kid’s playroom, over your bed, behind your door and so many other fun places.
Give this project a try today; you will be glad you did!
