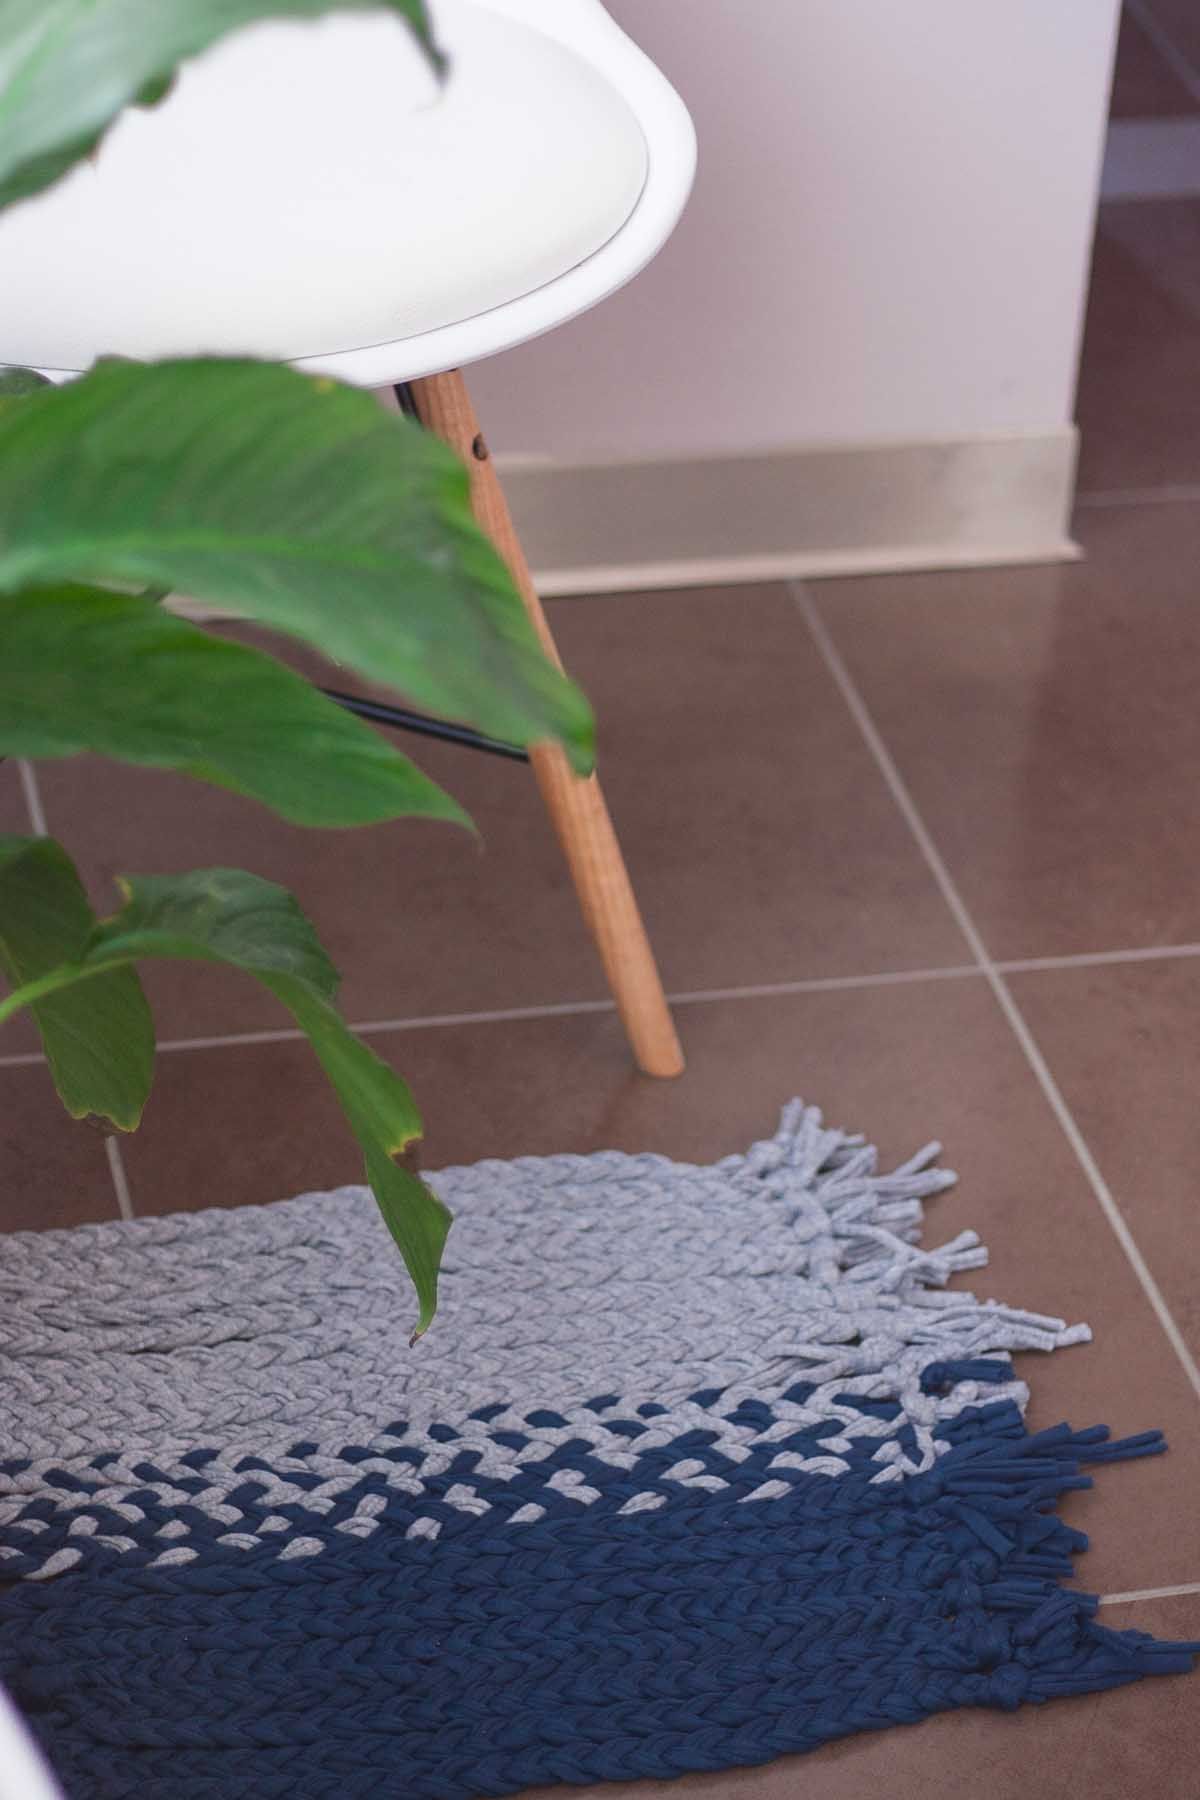
DIY No Loom Small Mat
If any of you have tried using the kitchens sink without any kind of mat or carpet beneath, you know exactly the kind of mess I’m going after. This tutorial is a total floor saver life saver for all modern housewives and ladies that spend some hours a day cooking and – mostly – cleaning.
Making your own mat is big fun and quite a relaxing activity, something therapeutic like coloring books. Unfortunately not all of us have the space at home to use its own weaving loom, you know what I mean? This tutorial requires no special technique at all, just some basic braiding skills is more than enough.
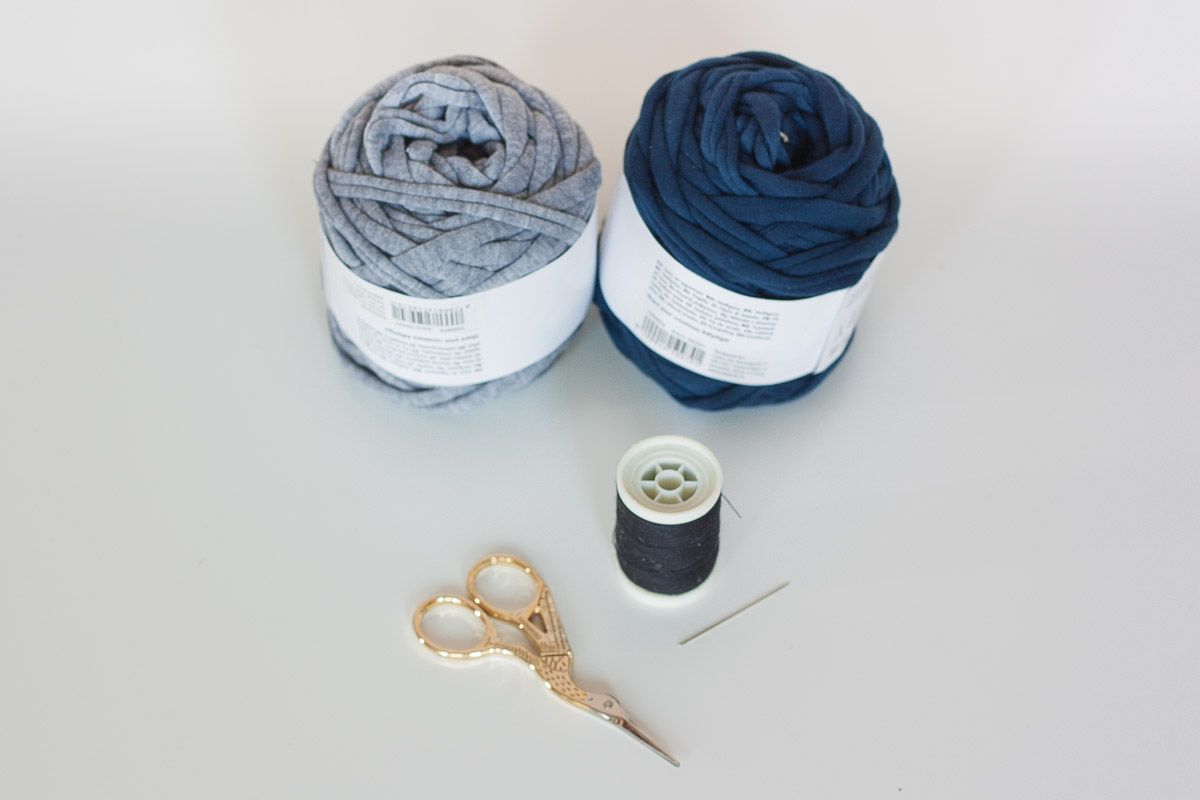
Here’s what you’ll need:
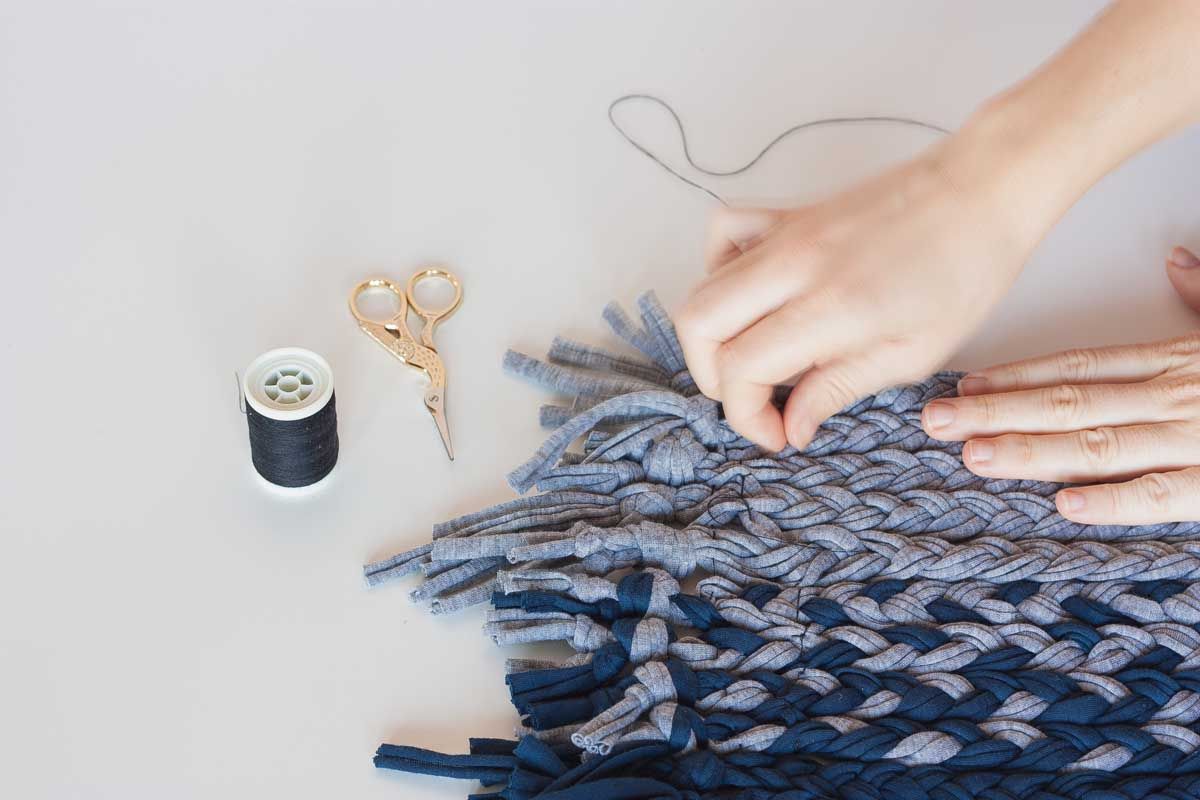
- Cotton elastic thread (you can repurpose it cutting stripes of old t-shirts)
- scissors
- sewing machine
- needle and matching thread.
1. Cut elastic thread stripes of 50-60cm, even more if you need a longer mat. To make my design I used 36 blue stripes and 36 grey ones.
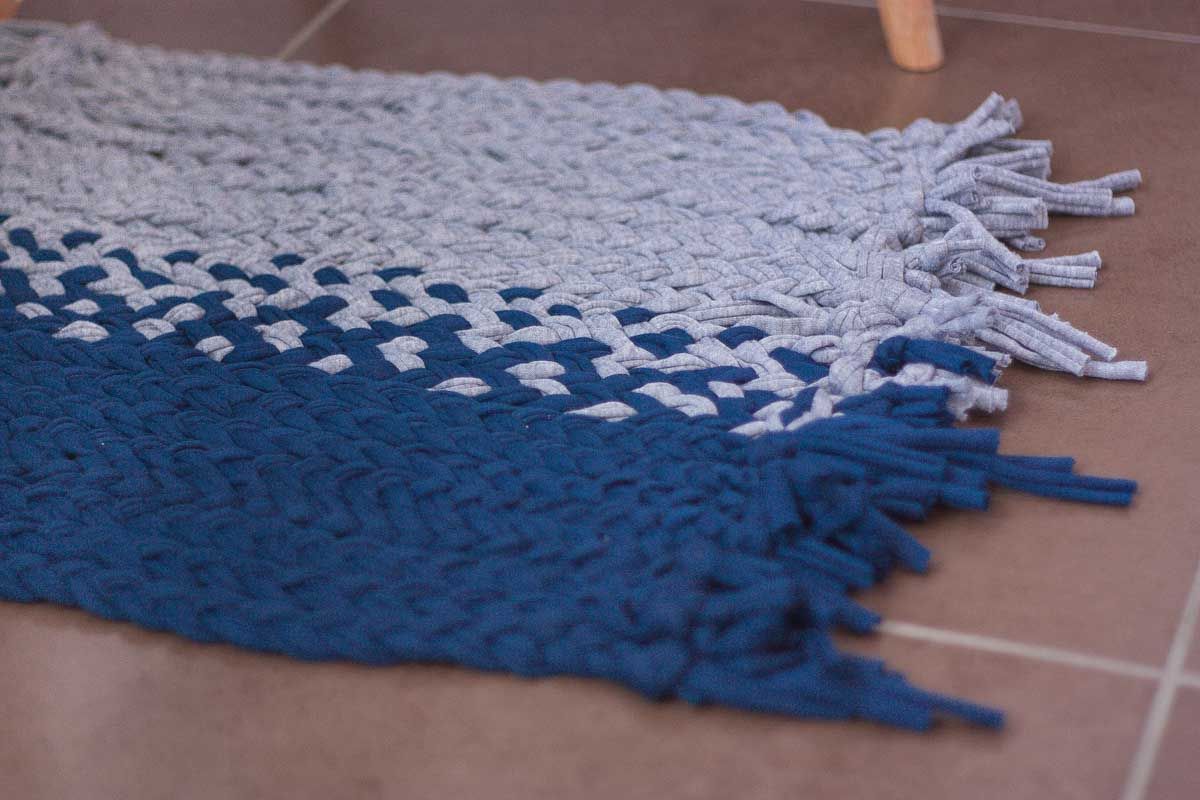
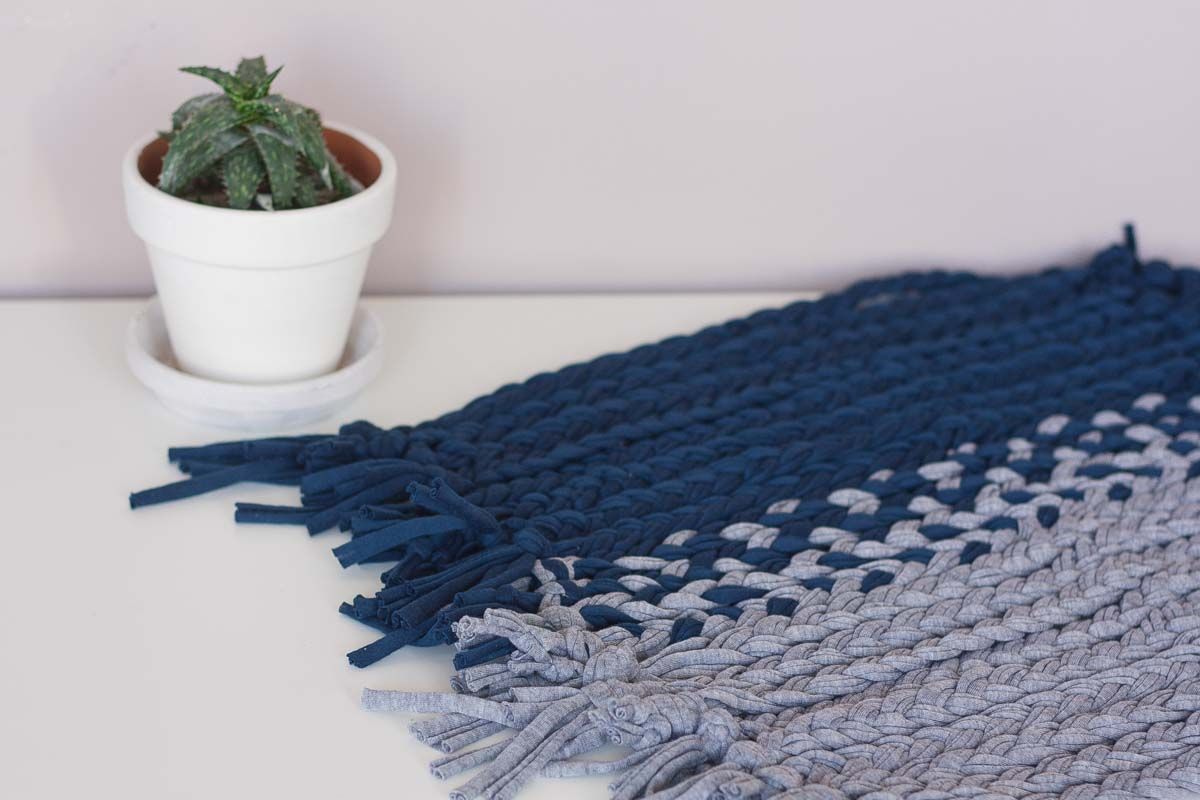
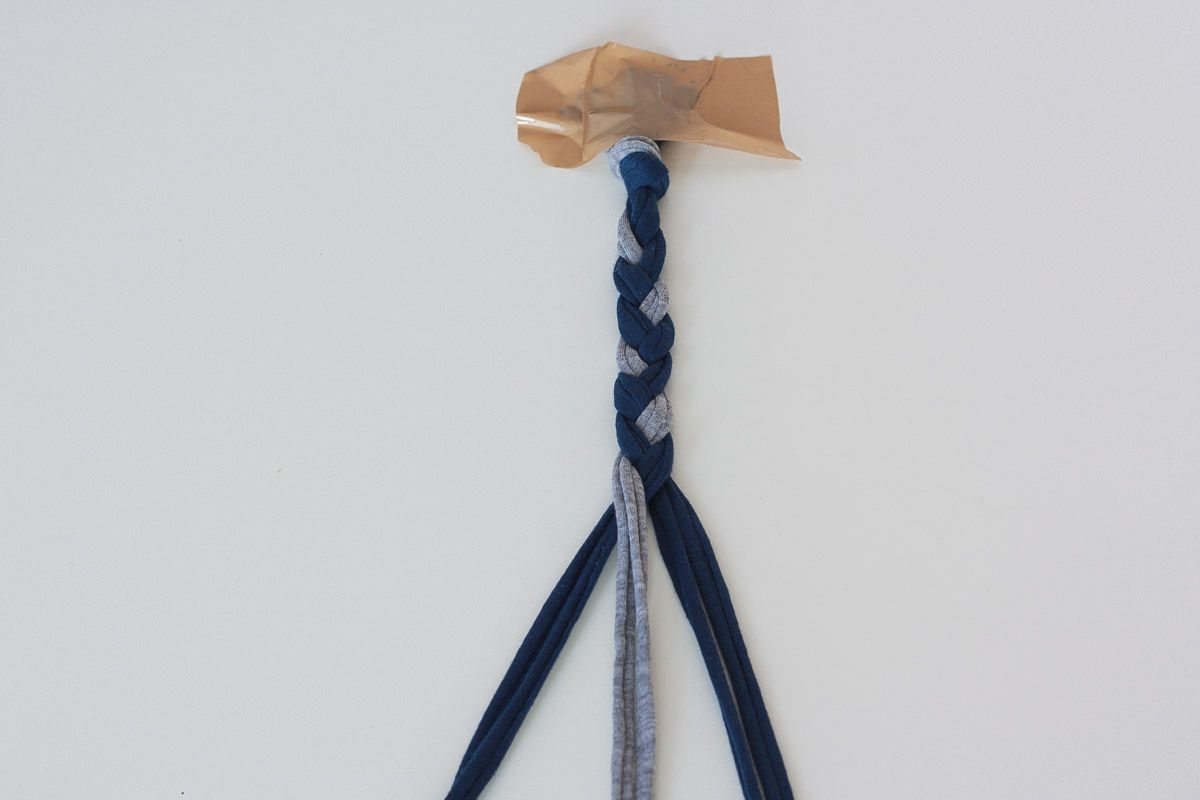
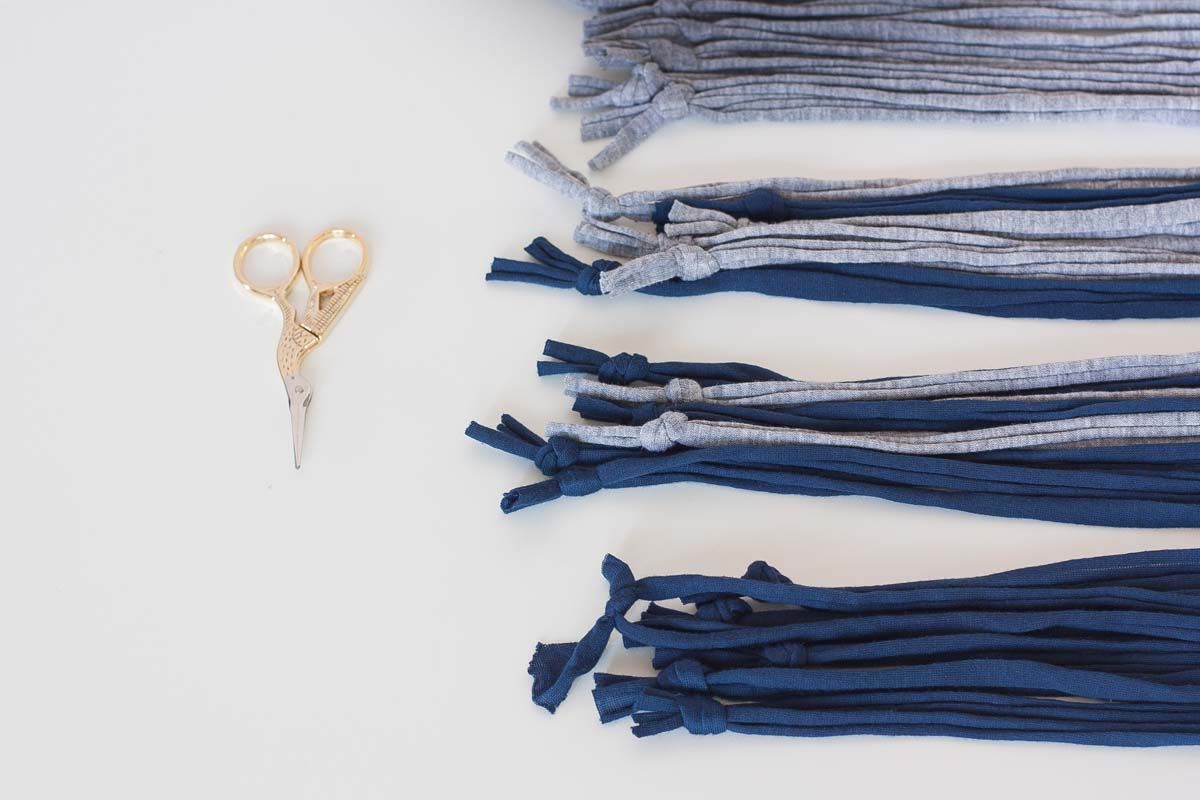
2. Once you’ve cut them all, make groups of 6 threads each, make a knot on one end and start braiding all the way to the other end. You can decide to make the braids full color, mix blue and grey or make some and some. In my design I used 8 total blue braids, 8 total grey, 2 mostly blue and 2 mostly grey. The idea is to make a sort of gradient effect.
3. Place the braids on a flat surface one next to the other in the order you prefer and give some hand stitches orthogonally to the direction of the braids, to keep them in place. Make sure they aren’t visible from the other side, which should be the front. I went for 4 stitching lines and then added a few extra securing lines with the sewing machine, large and medium loose stitch preference.
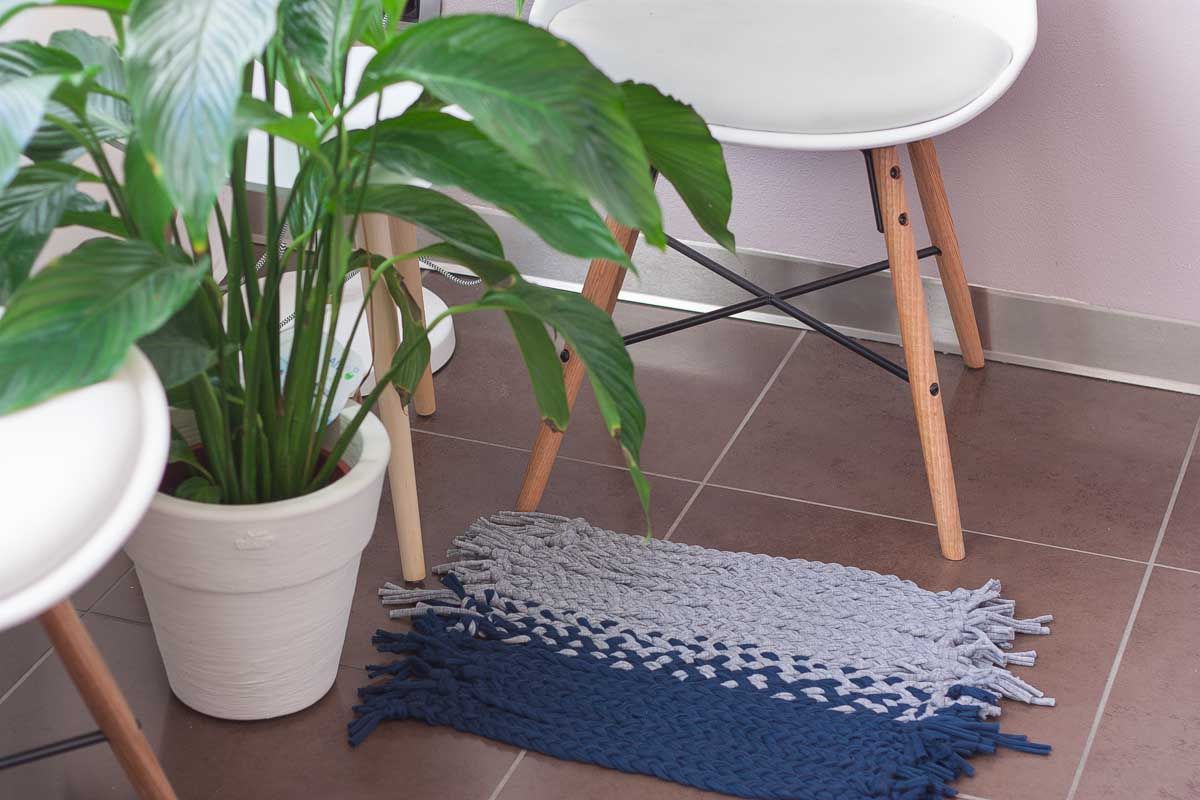
Optionally you can add a rectangle of non slippery mat beneath, just to prevent falling every time you step on it. I think the overall design is pretty nice! In the end, if you feel the stitches are tough enough, you can undo the knots to obtain a fringe effect at the ends. Have fun making all the combinations of color and thread you love!
