How to Make a Monster Shaped Hanging Halloween Decoration
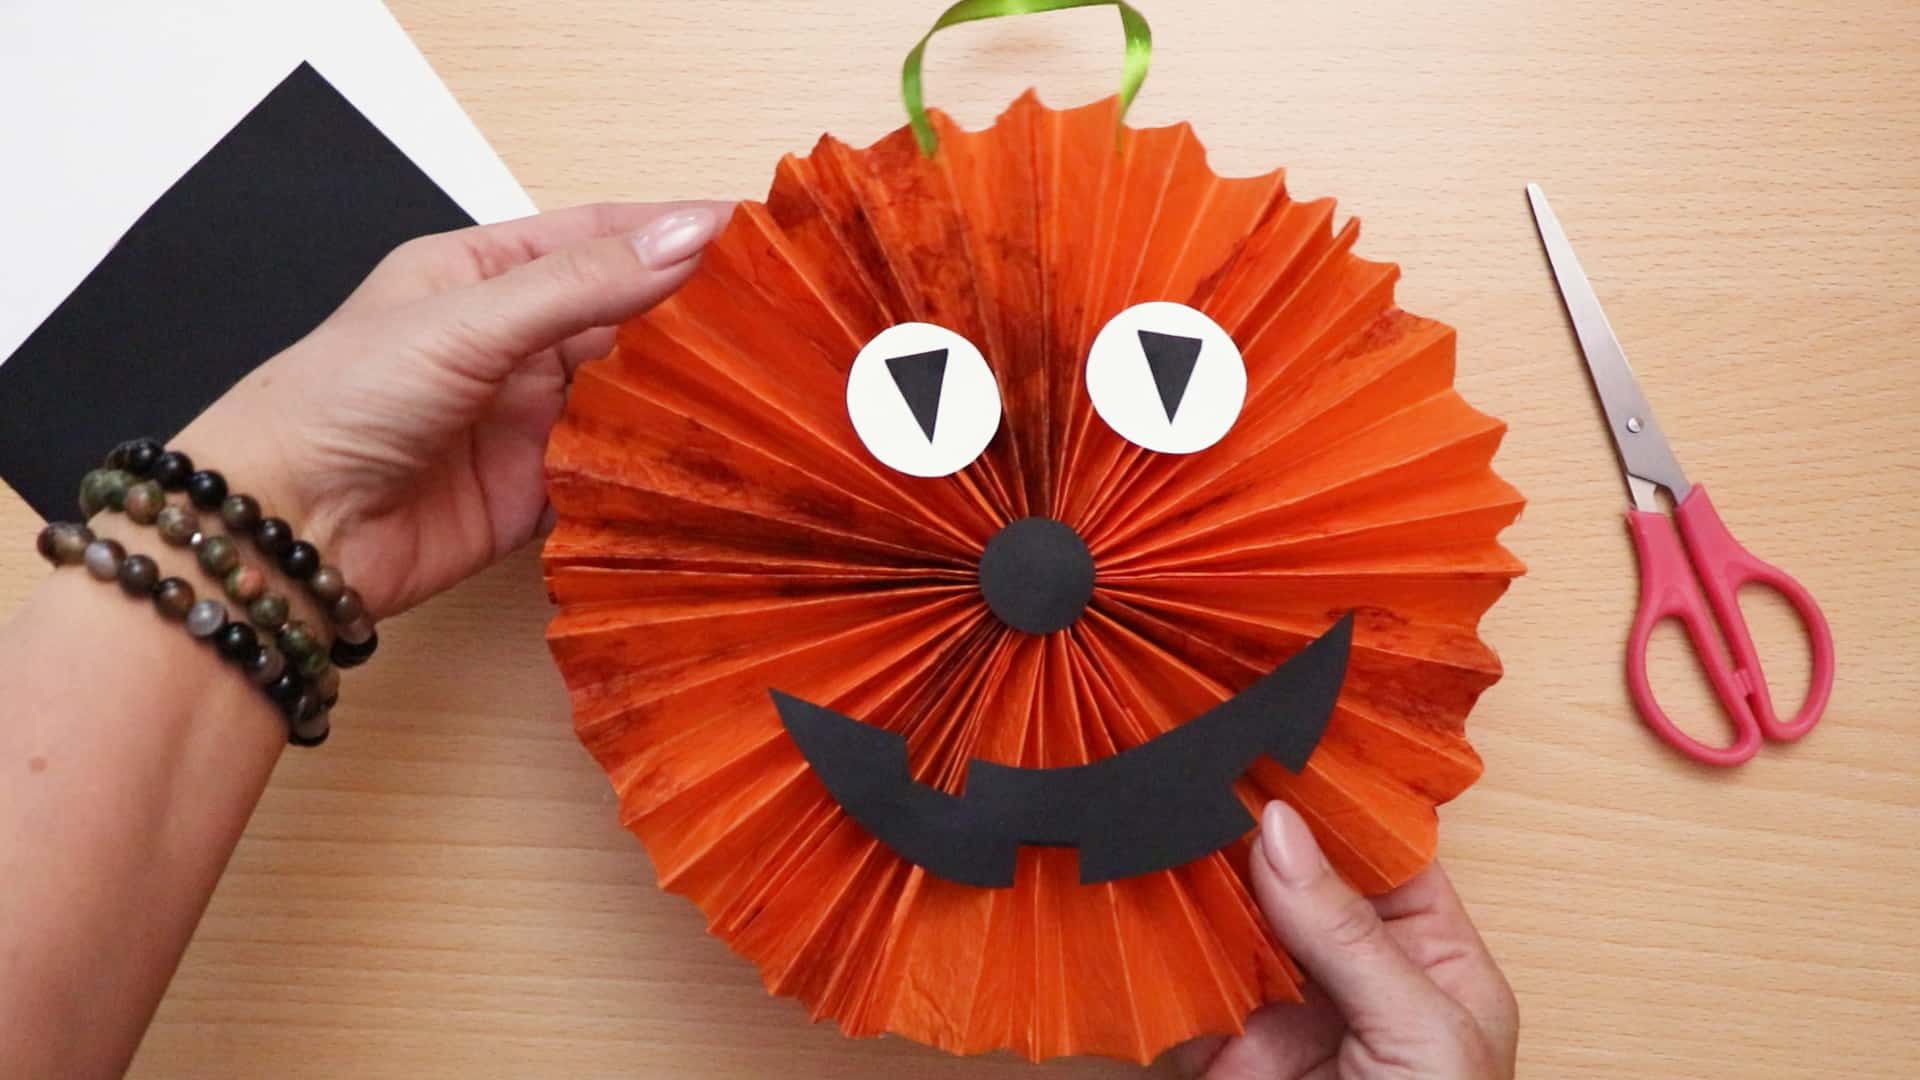
With Halloween on our minds, we were thinking of making something super cute with the kids. So, what better thing to do than a cute little monster-shaped hanging decoration?
It’s going to be rather easy to make and you can get the kids involved as this is not a difficult project in the least. Depending on their age, they may need some guidance, but it’s nothing too difficult for them to do.
Monster Shaped Hanging Halloween Decoration Materials
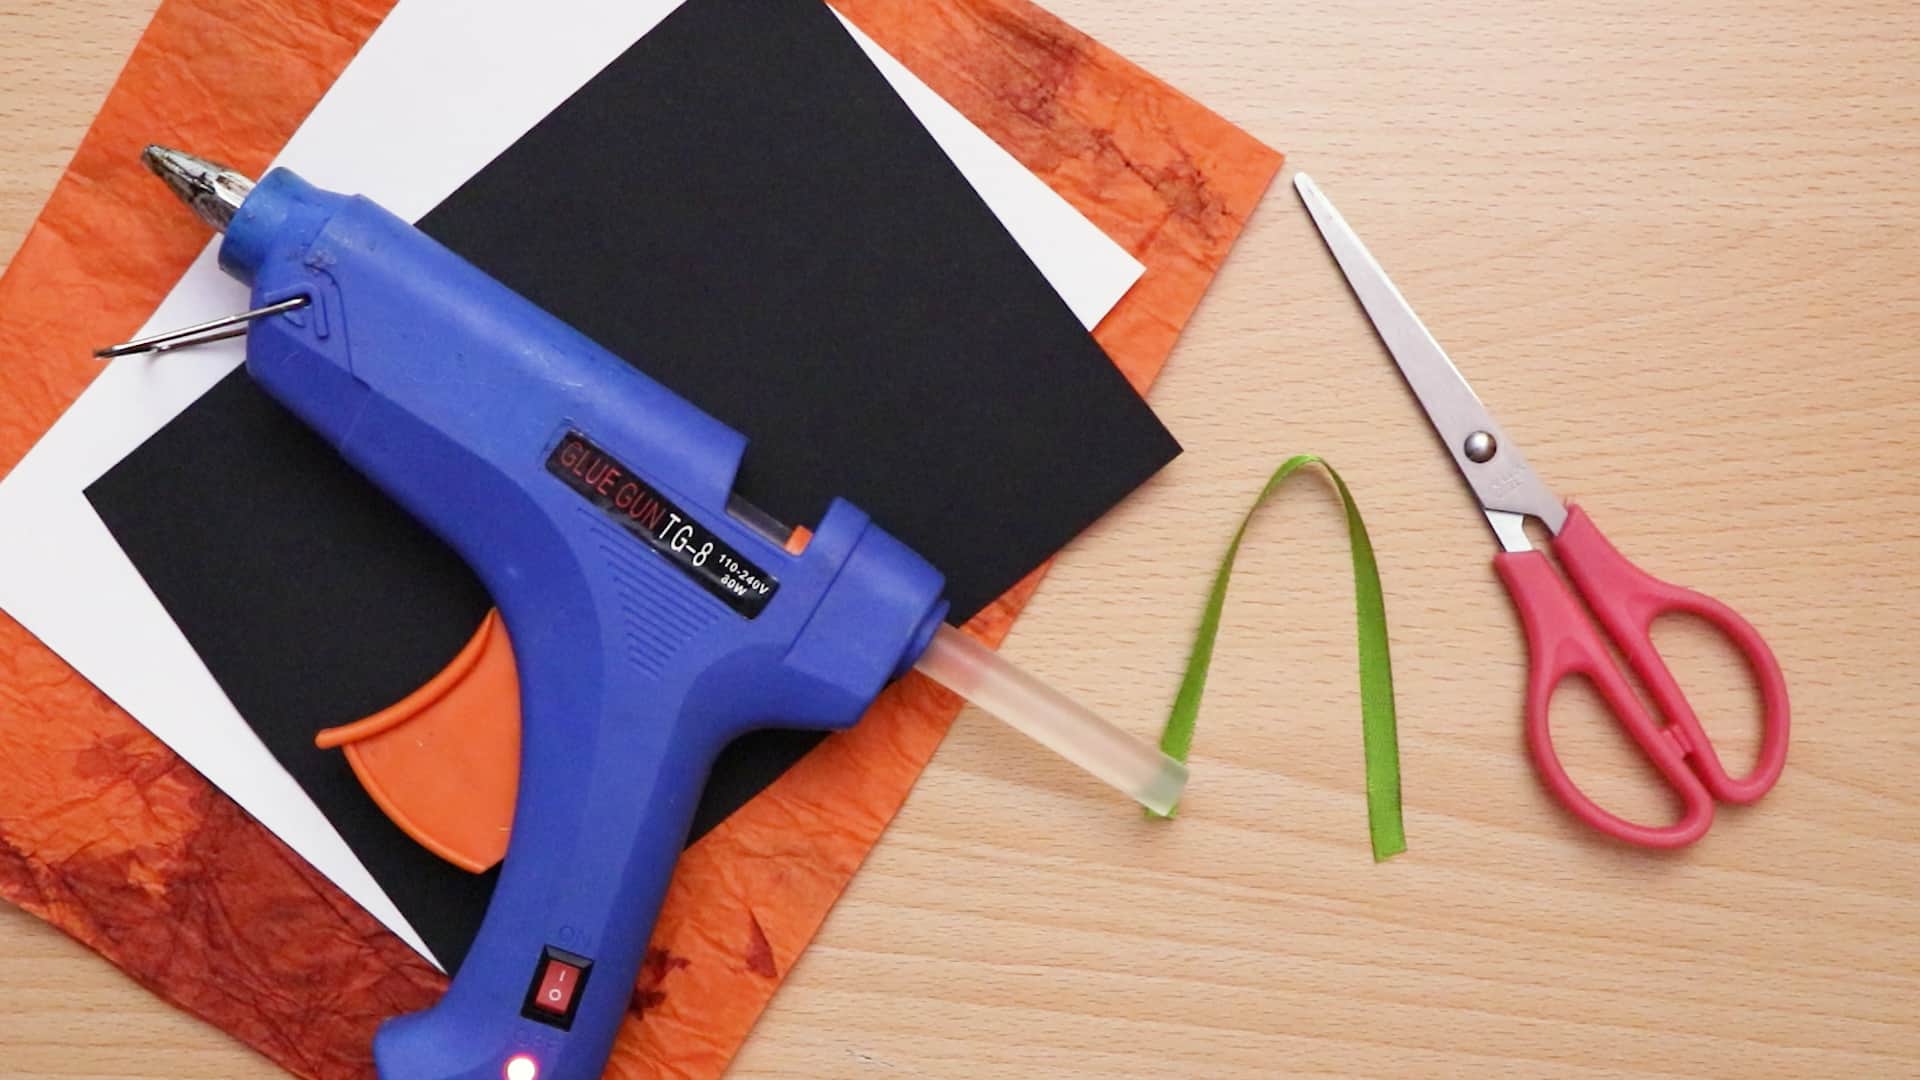
Before you get started, you need to gather up all the materials you’re going to need. Which really isn’t a lot and you likely have everything somewhere around the house.
- Construction paper (white, black)
- Marbled orange tissue paper (four pieces)
- A small green ribbon
- A glue gun
- Scissors
Monster Shaped Hanging Halloween Decoration Instructions
Do you have everything you need? Let’s get started!
Step 1:
Gather your materials!
Step 2:
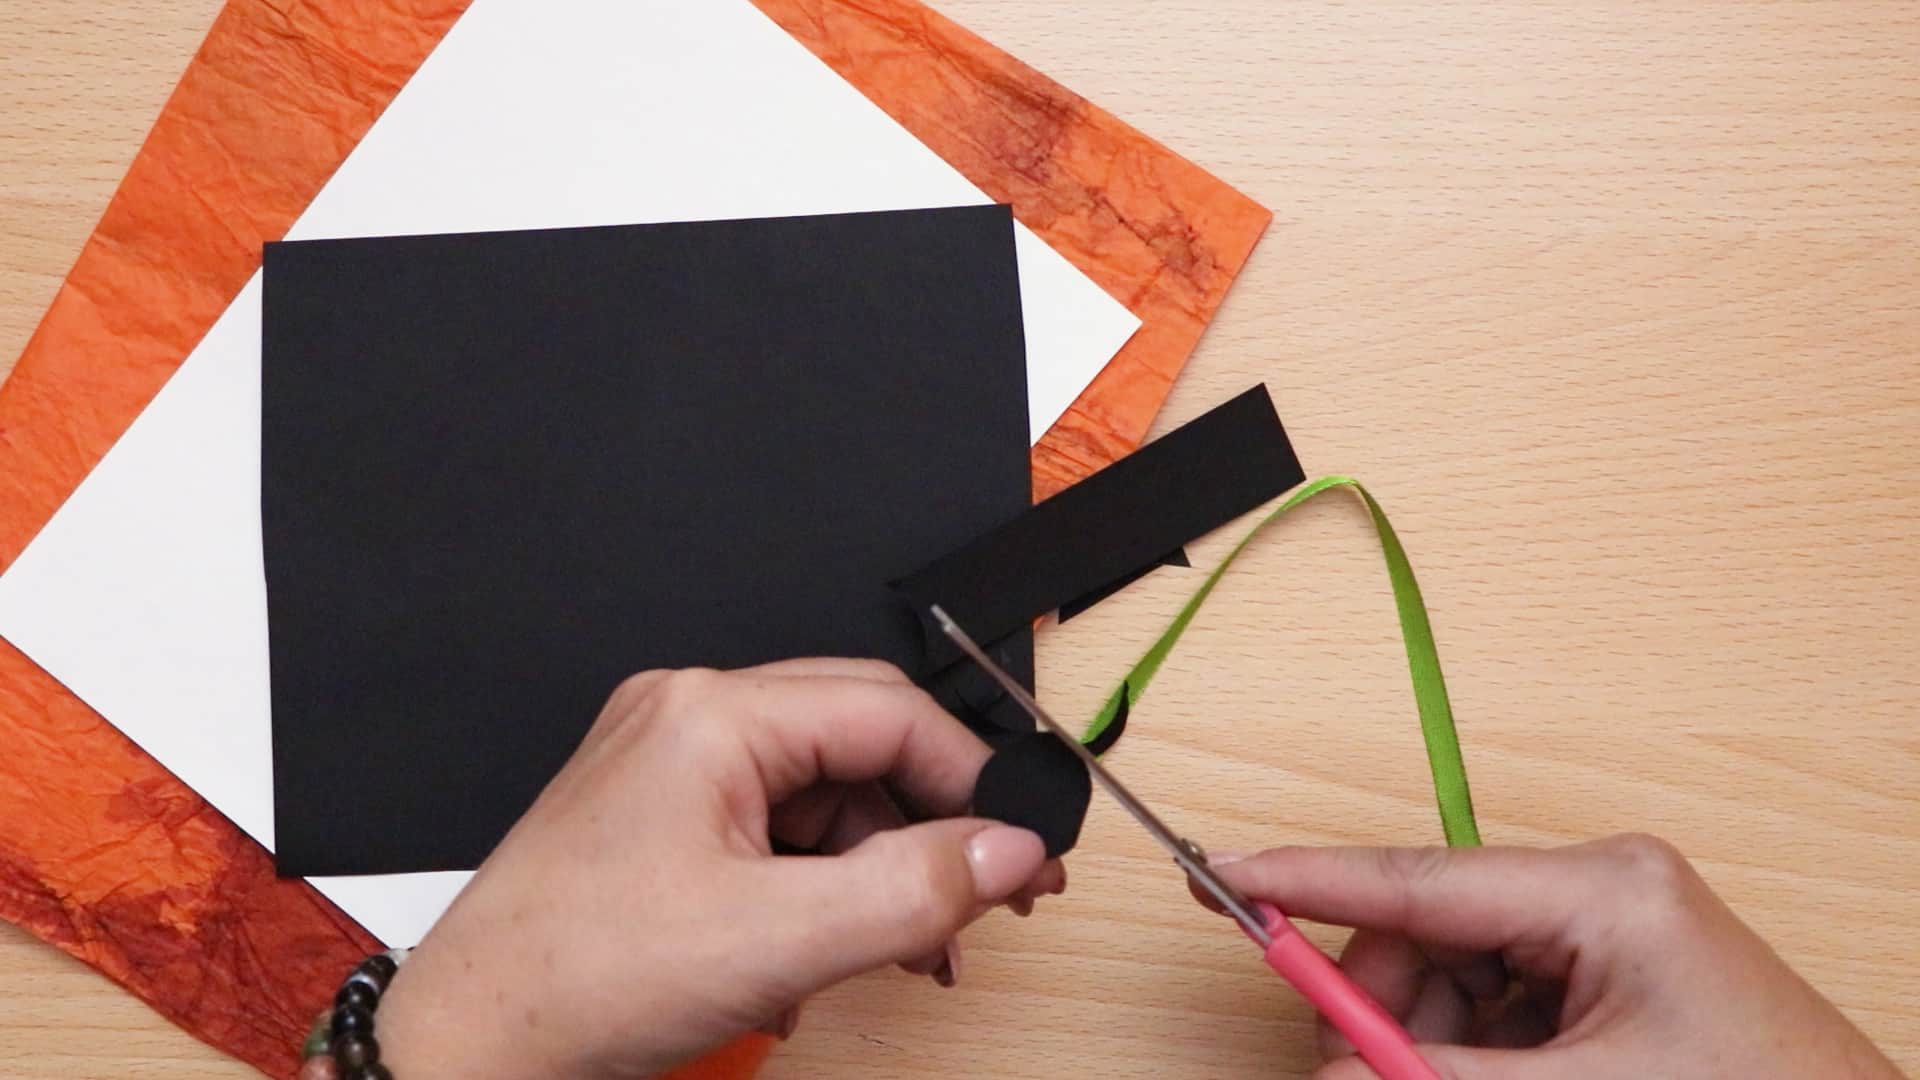
From your black paper, cut two small triangles of the same size and an oval shape. This oval will be your monster’s nose and the triangles will be its pupils.
Step 3:
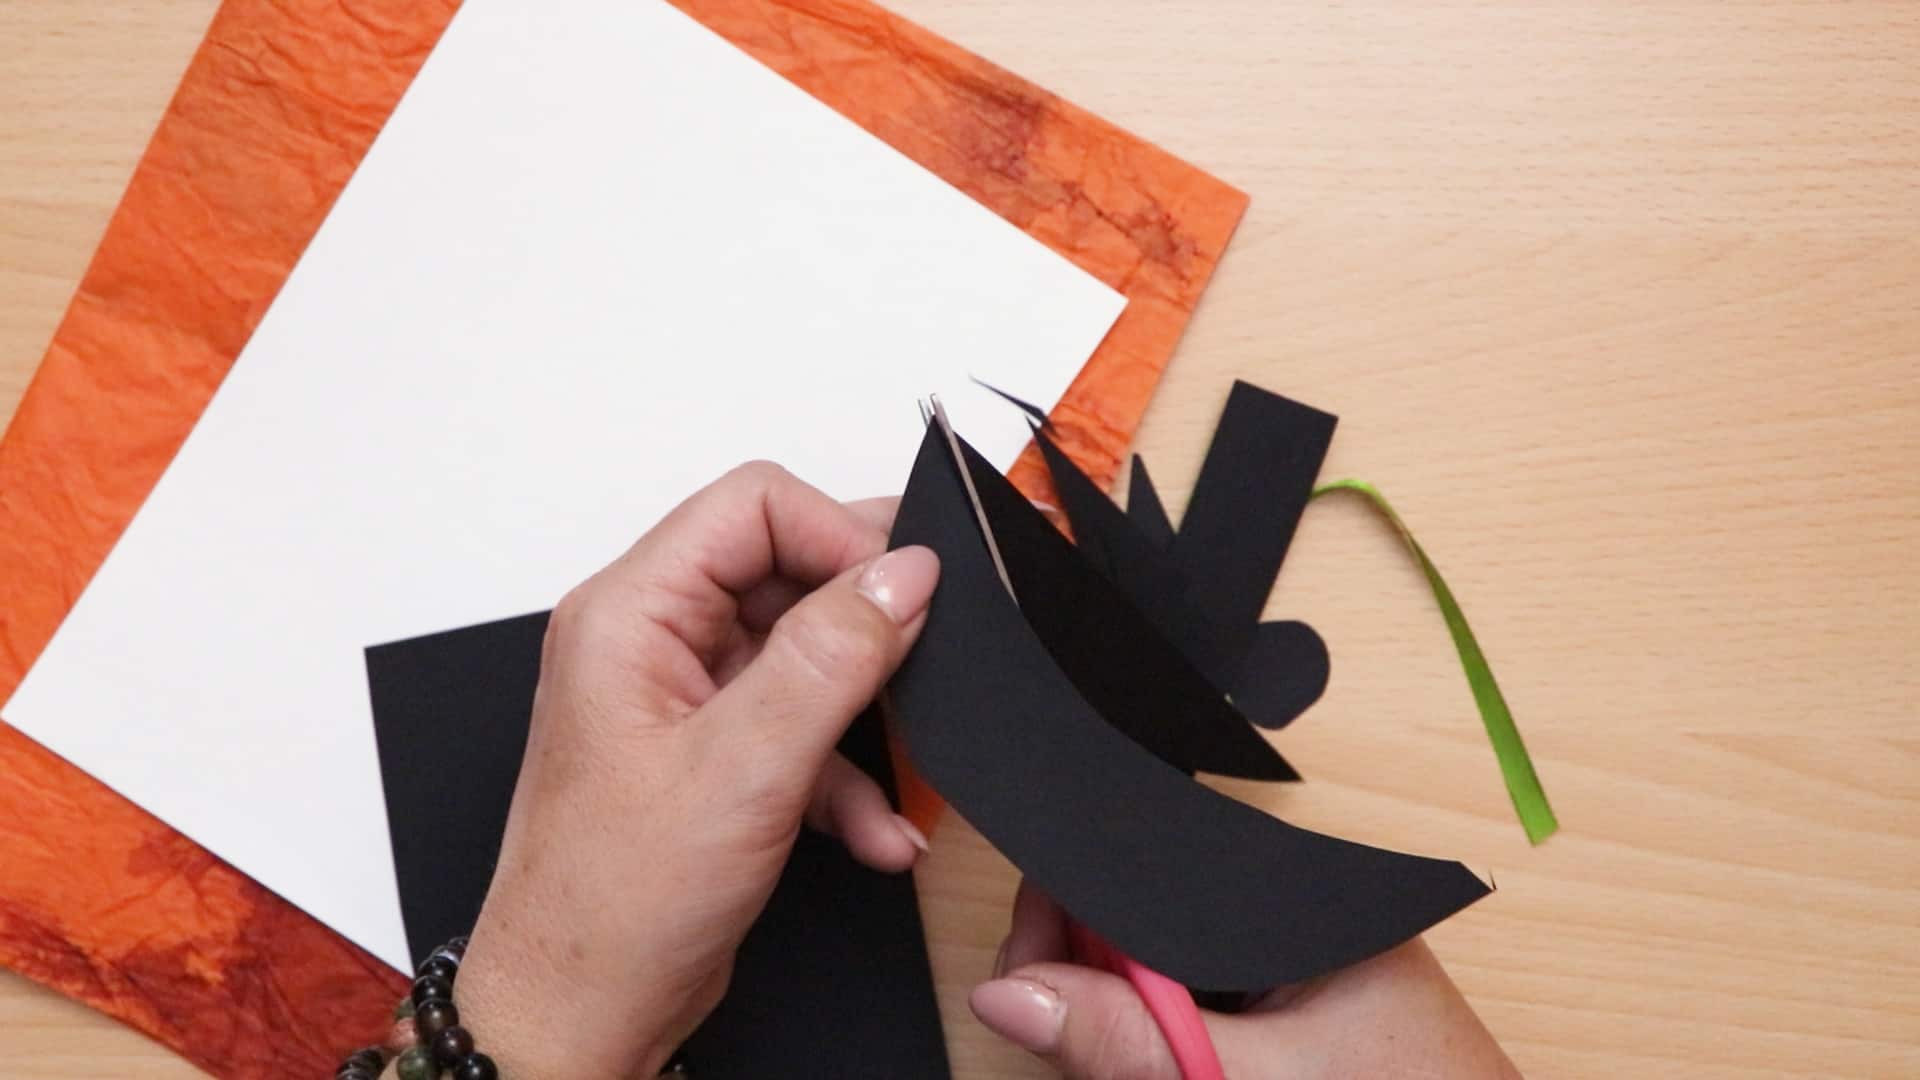
Cut a rectangle from your black paper that is the whole width of the page and about three inches thick. On one side, round off the corners so you have a semi-circle shape. Along the top where the edge is still straight, cut in a swopping motion to curve the same way as the bottom rounded edge, giving you a wedge shape almost like a smile. This will be your monsters mouth, but you’ll make it look spookier in just one moment, so set it aside for now.
Step 4:
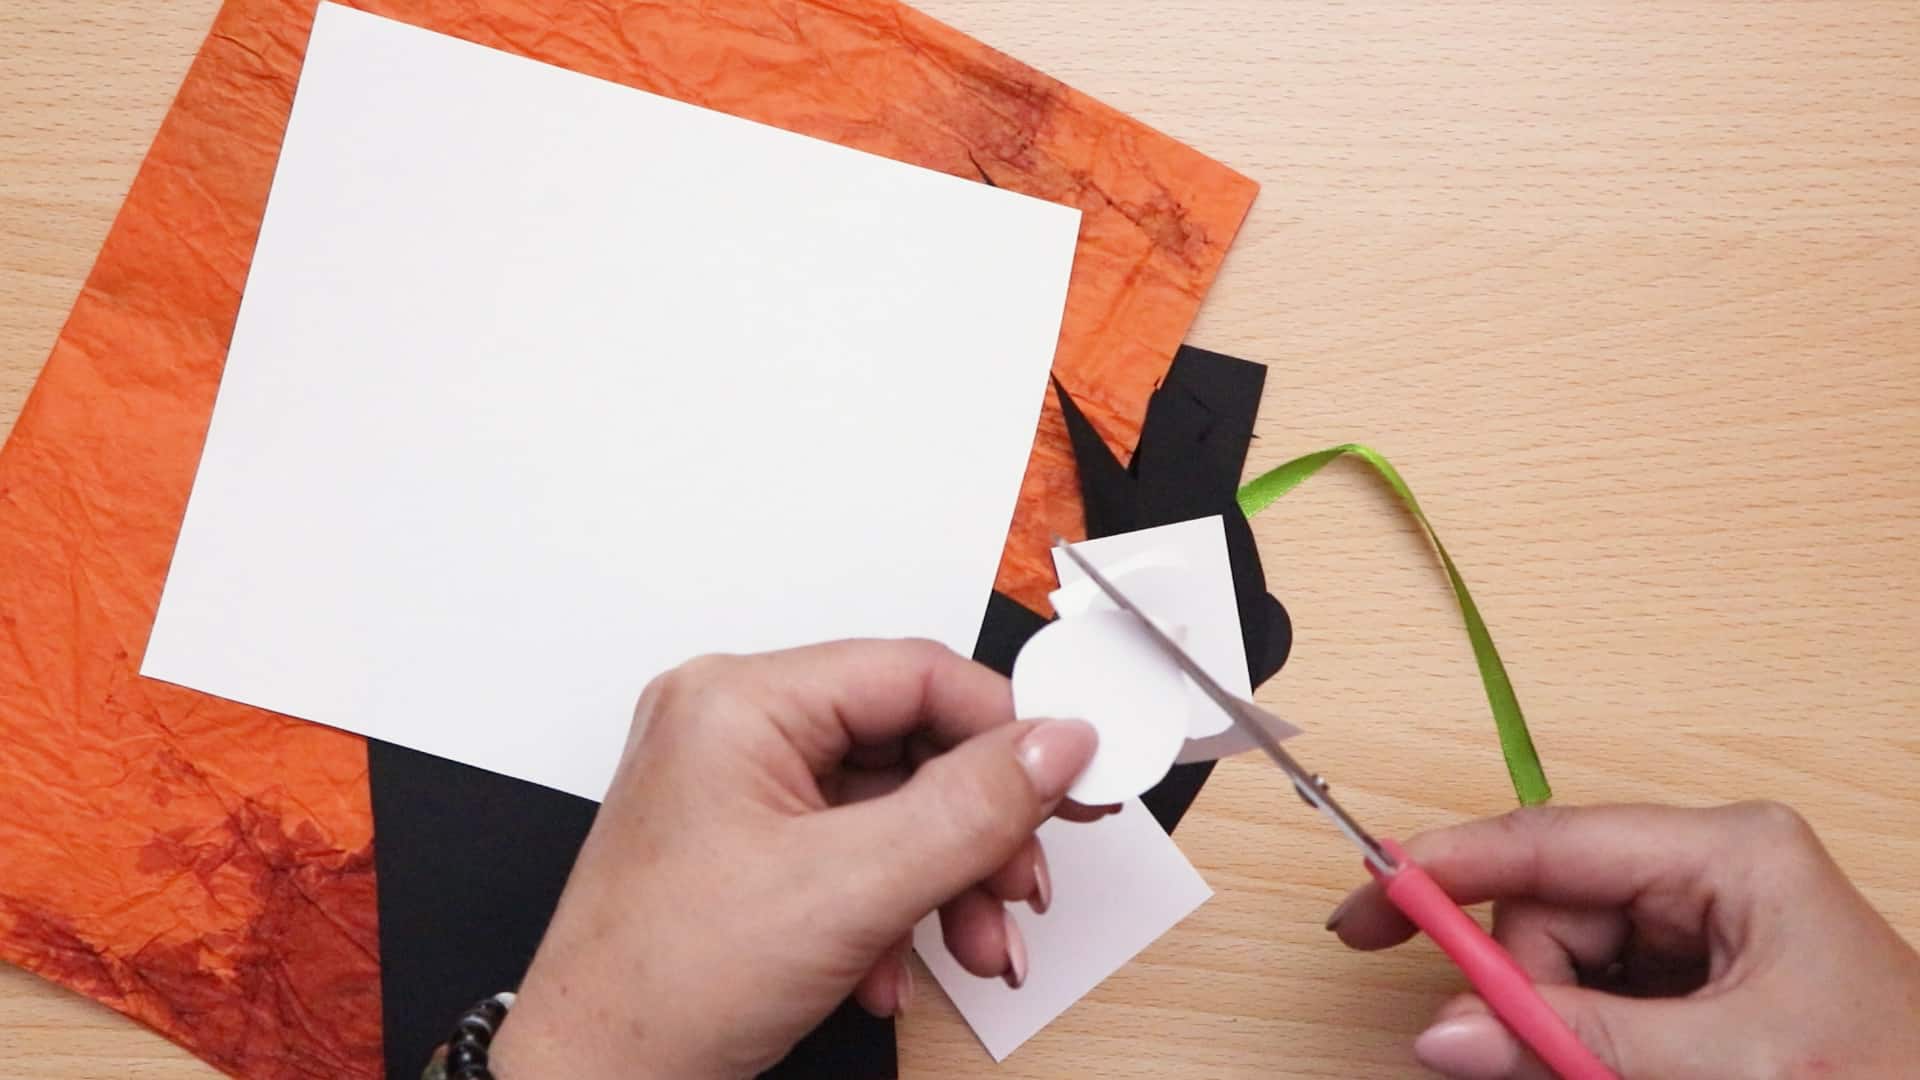
From your white sheet of paper, cut two circles that are large enough for the small black circles you cut earlier on to fit on top with white still showing on all sides. These will be the bases of your monsters eyes.
Step 5:
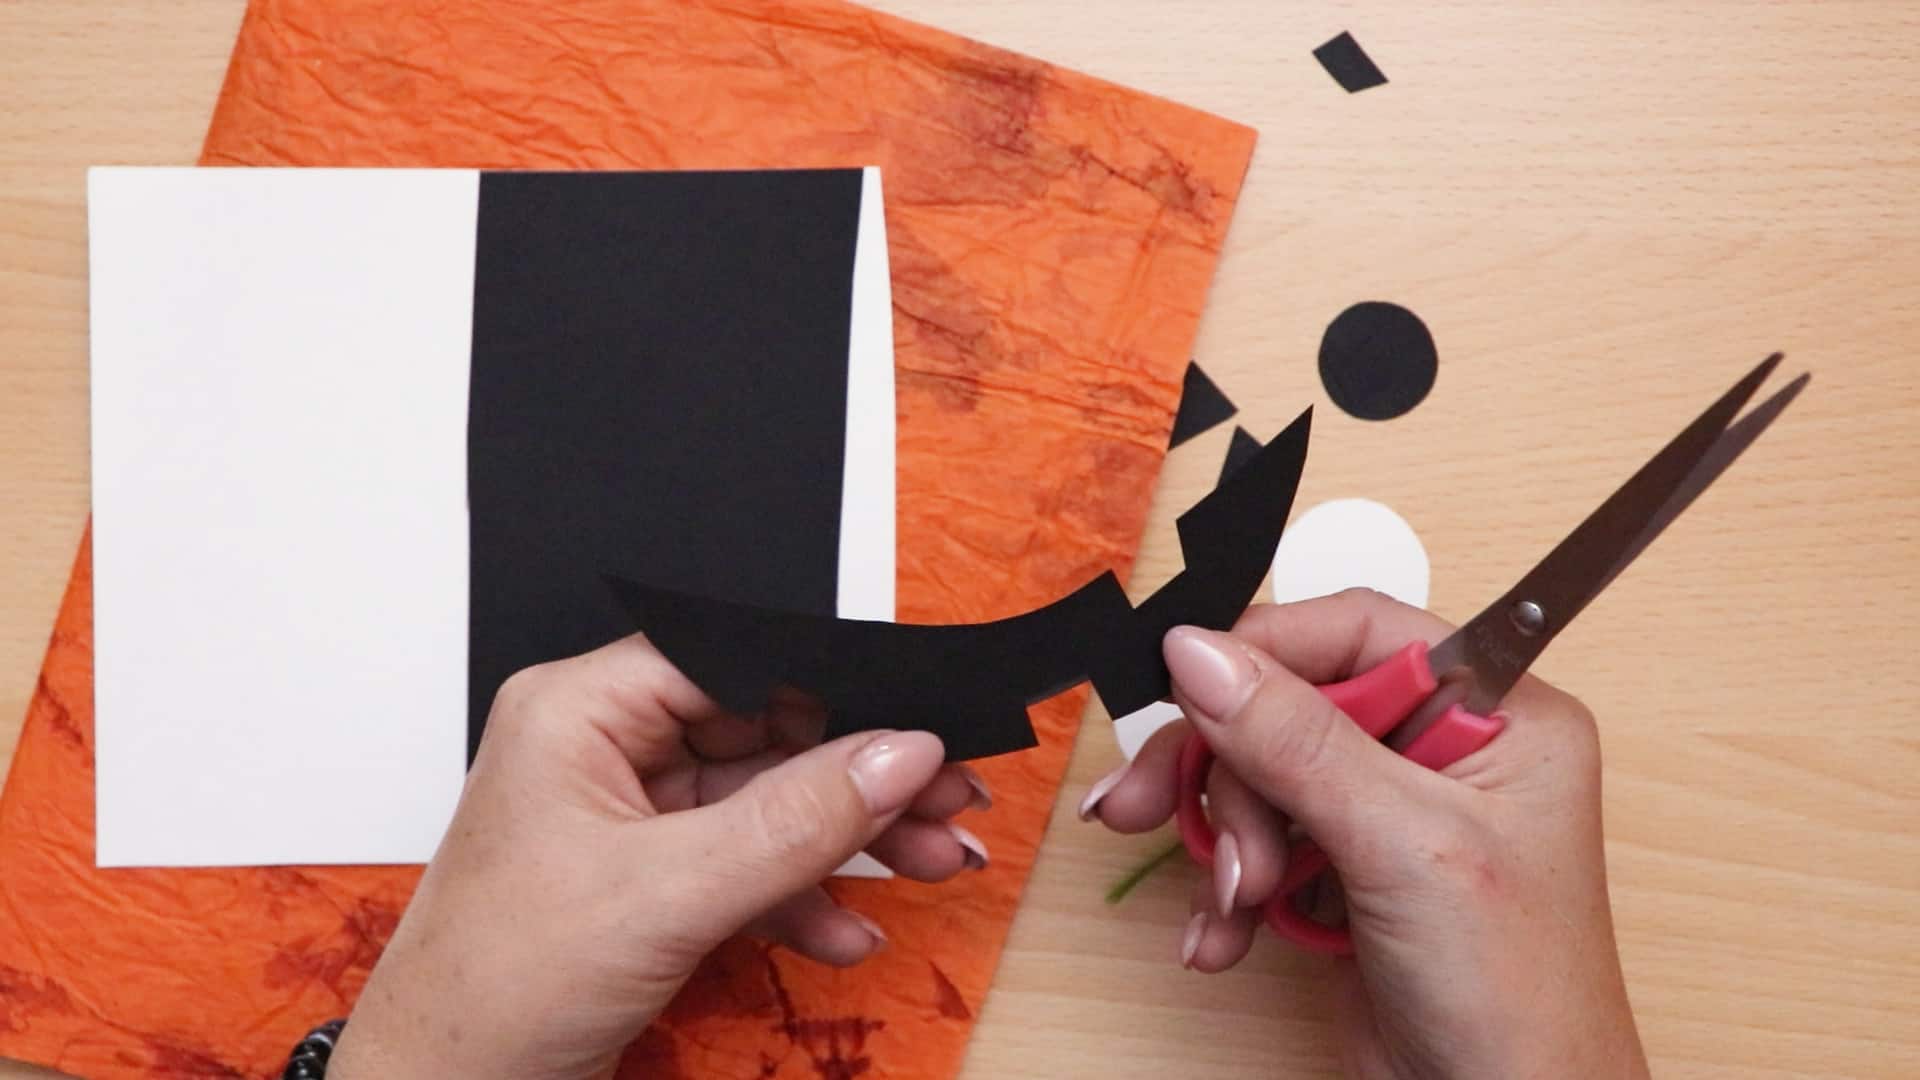
Turn your attention back to your black mouth piece. Rather than leaving it to look like a smile, cut squared sections out of it similarly to a jack-o-lantern, creating the illusion of teeth and maybe even missing teeth.
Step 6:
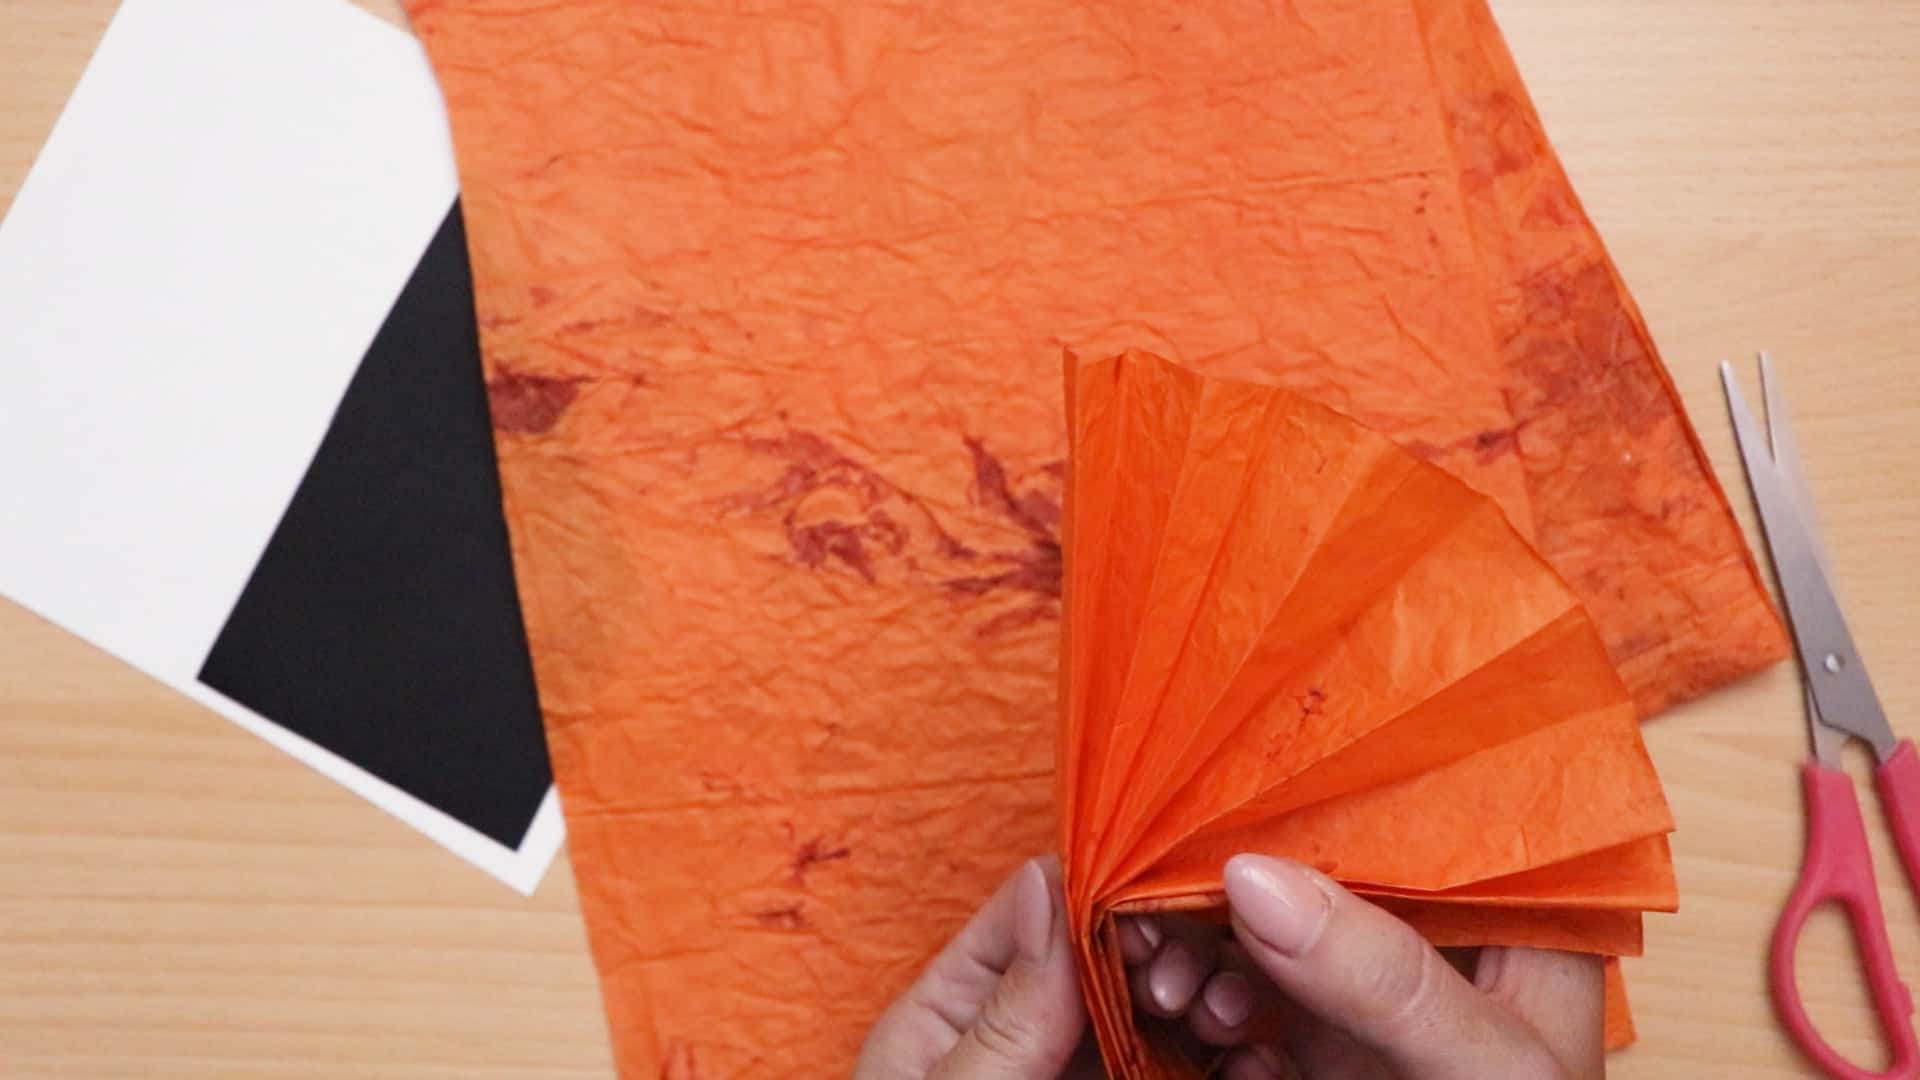
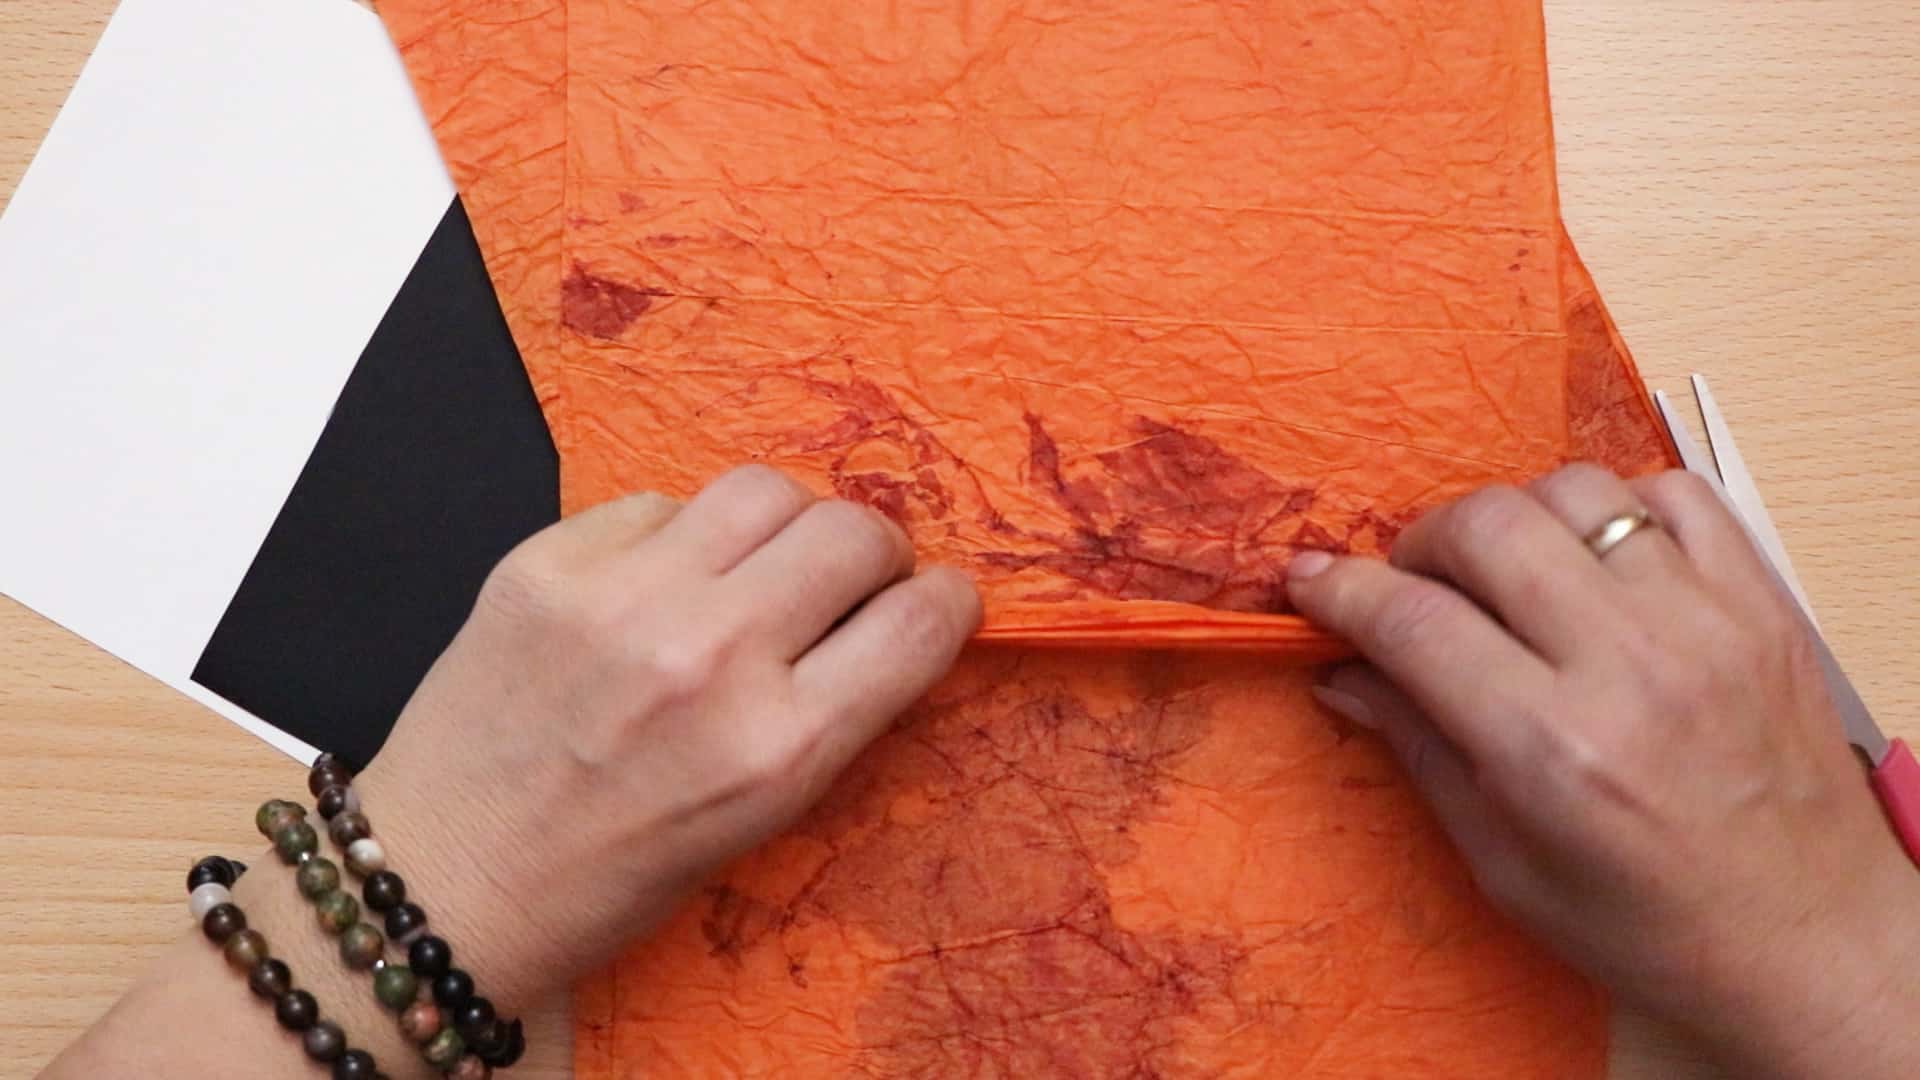
Take your first piece of orange tissue paper and fold it accordion style. I added some worn, spooky texture to mine by lightly scrunching it before I started the rest of the craft, smoothing it back out when I was done. That’s how it got the crinkly texture you see here. Starting at one end, fold over a piece that is about an inch wide. Flip the whole piece of tissue over and fold another inch wide section over the other way. Repeat this process all the way down the sheet until you have a thing strip of springy, folded tissue. If you pull one end out, you’ll see all your folded layers inside, like so. You’ll use that feature later on.
Step 7:
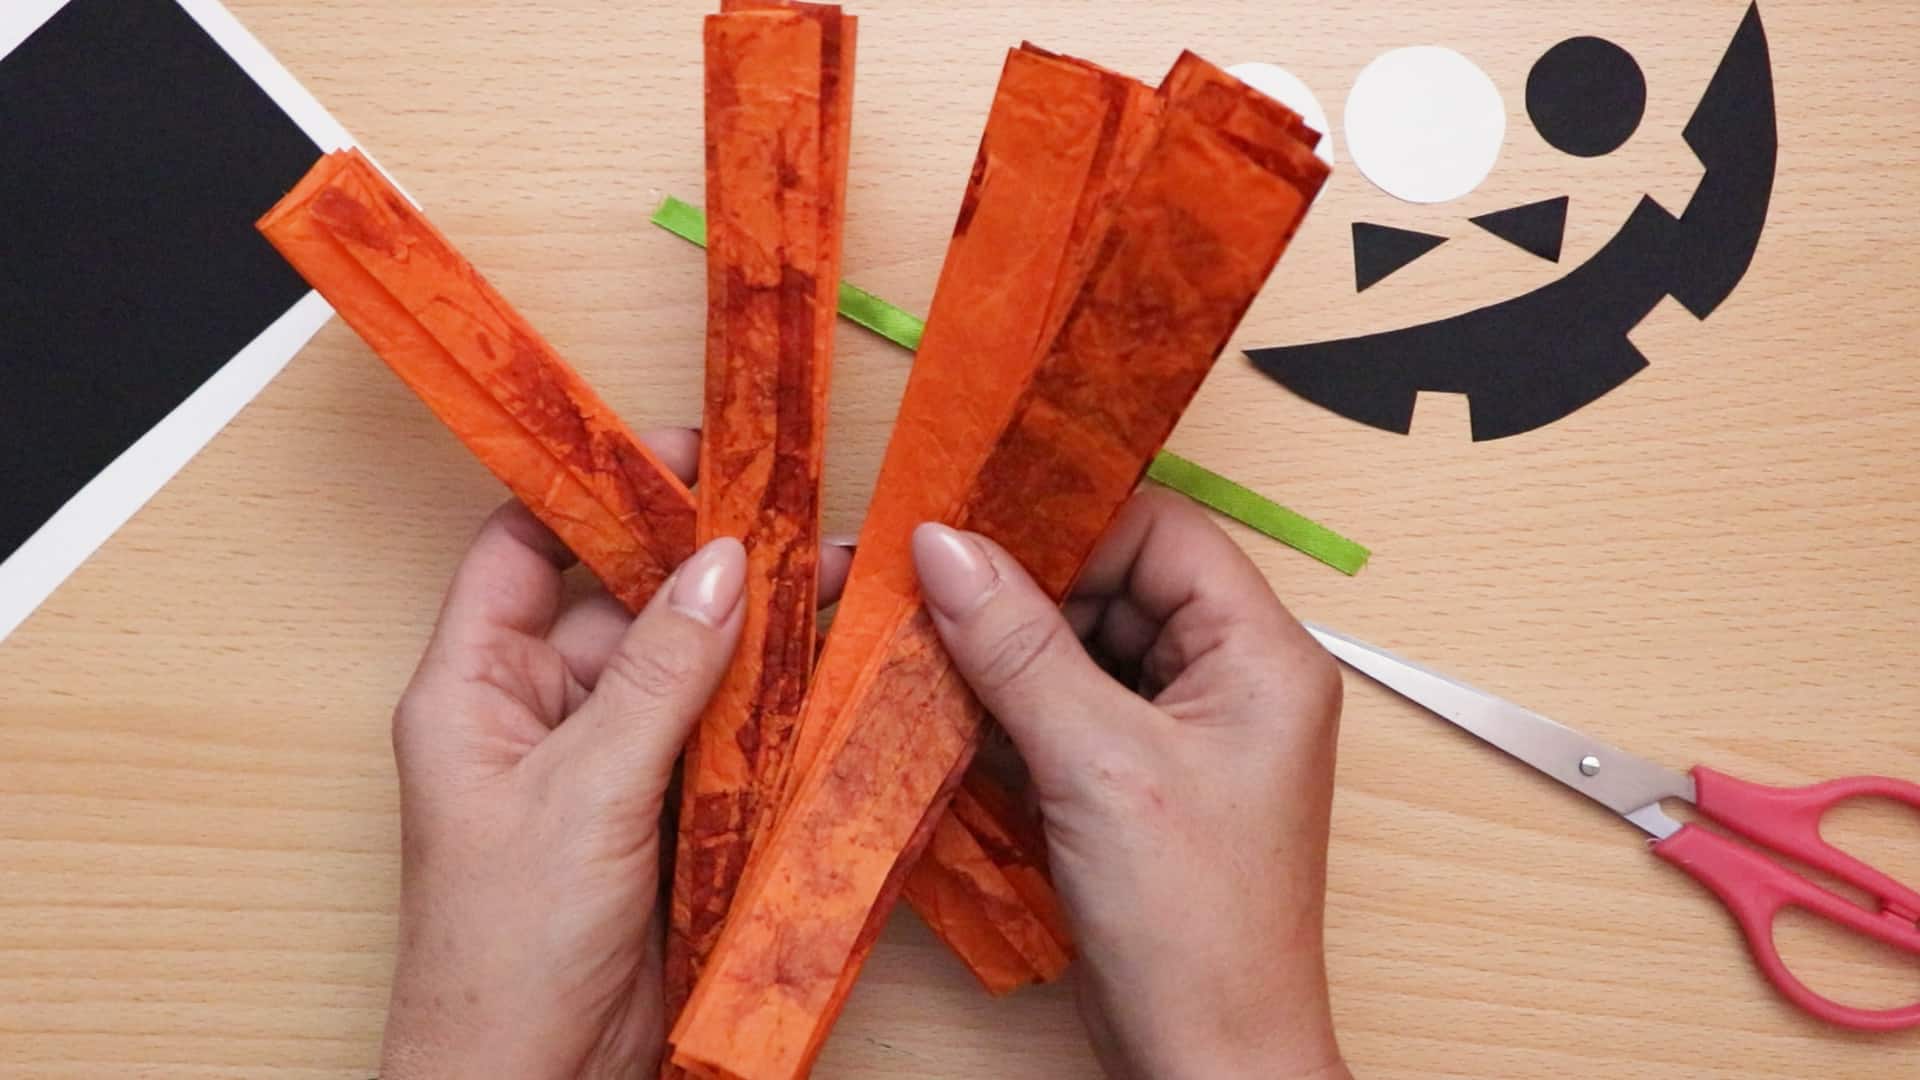
Fold your three other sheets of orange tissue paper so you have four accordion-like strips all together.
Step 8:
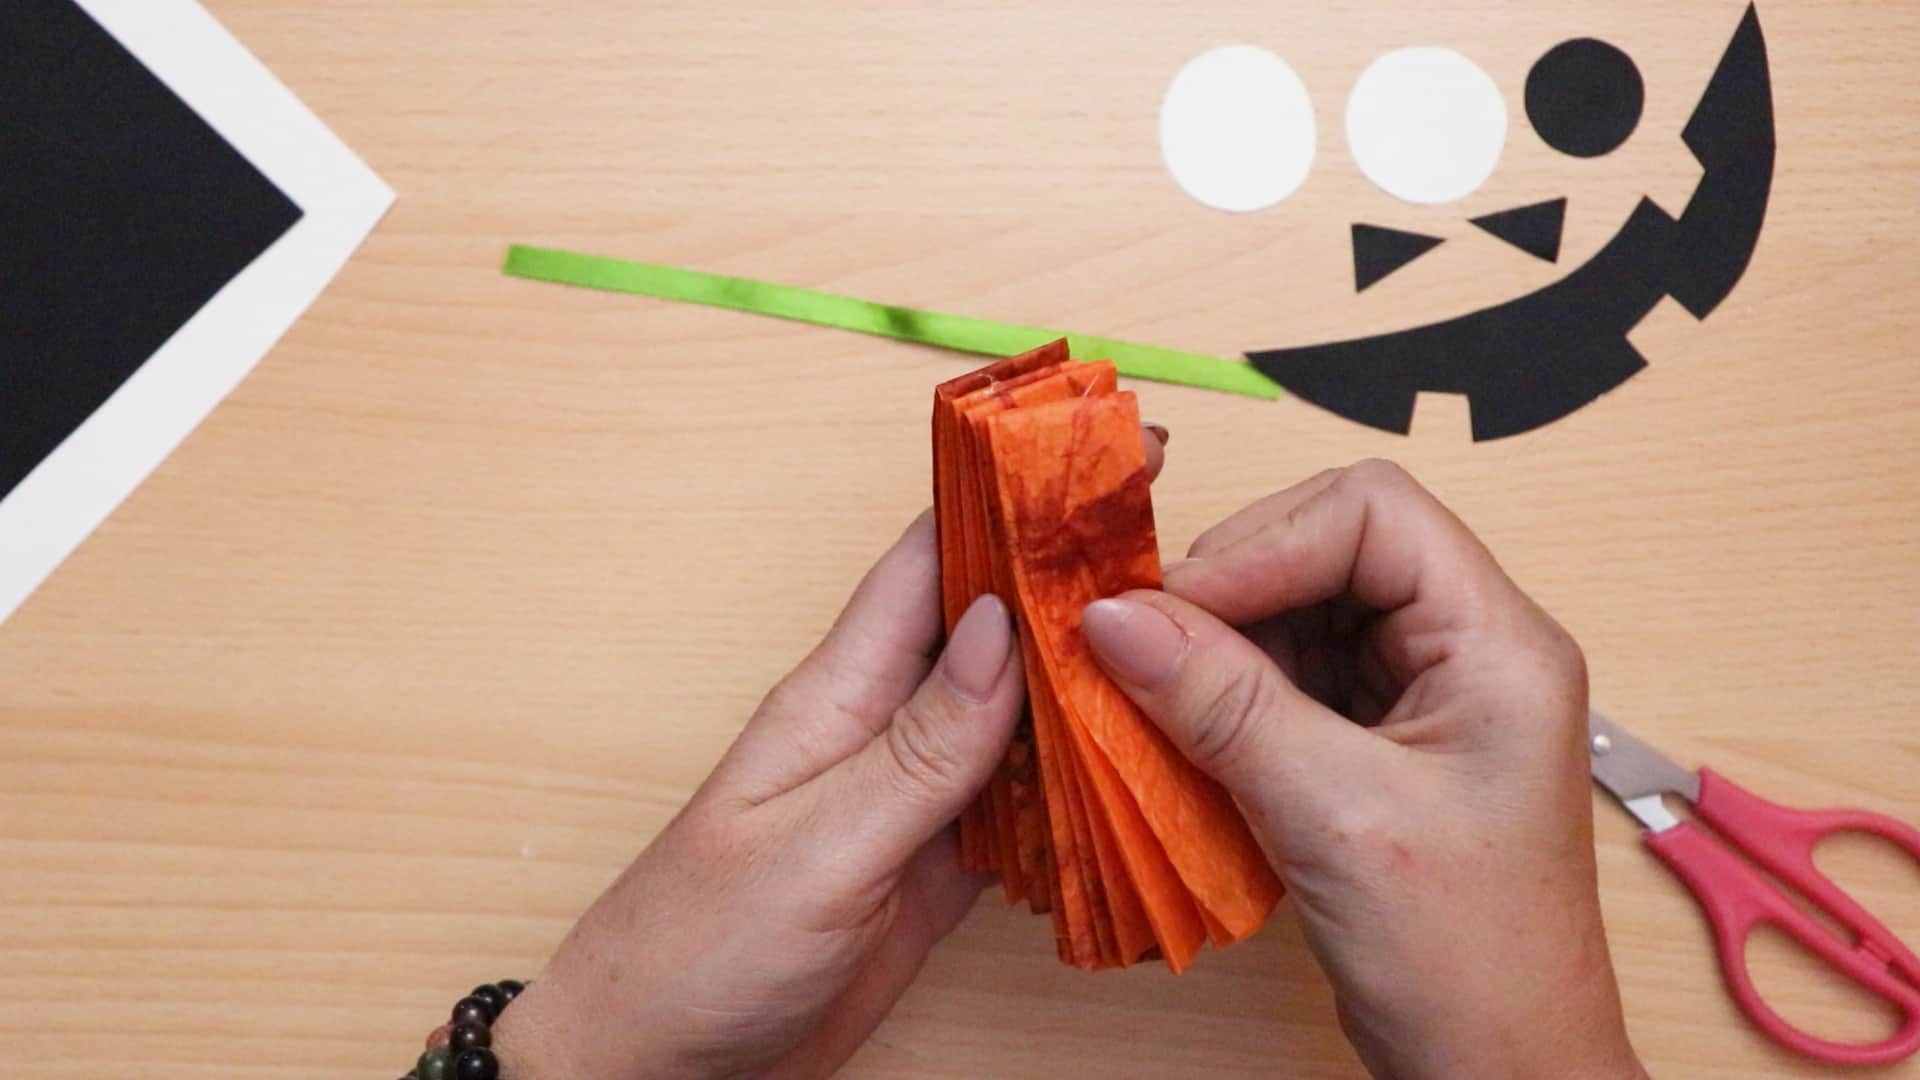
Take your first folded tissue piece and use your hot glue gun to apply glue on the flat side from about the middle down towards the end. Then fold the whole piece in half so the two faces of that side stick together. Repeat this process for your three other piece as well.
Step 9:
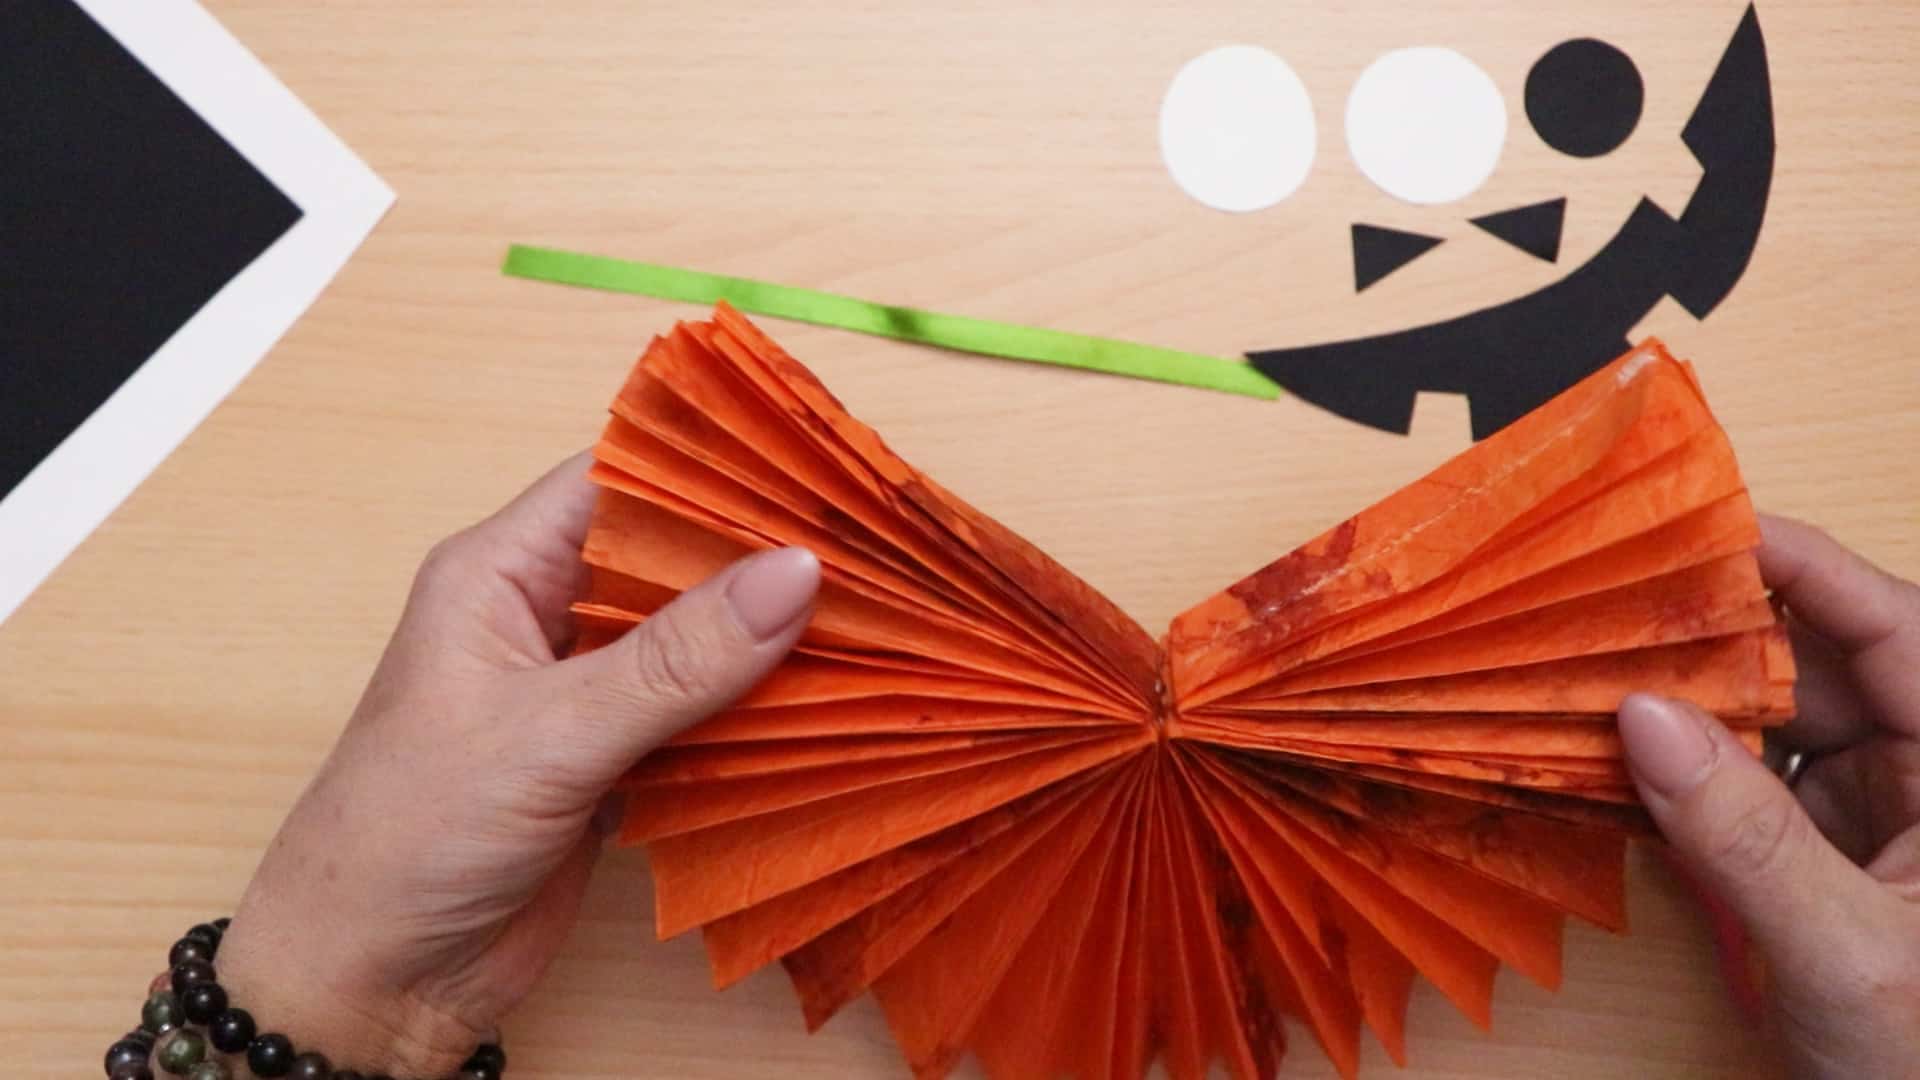
Now you’ll glue all four of your little fan pieces together. Apply glue along the flat side of each and press the flat side of the next one into it so they’re even and sitting flush against each other. Put all four in place this way until you have only two flat sides left and then glue those together to complete the circle. You now have a whole fan shape!
Step 10:
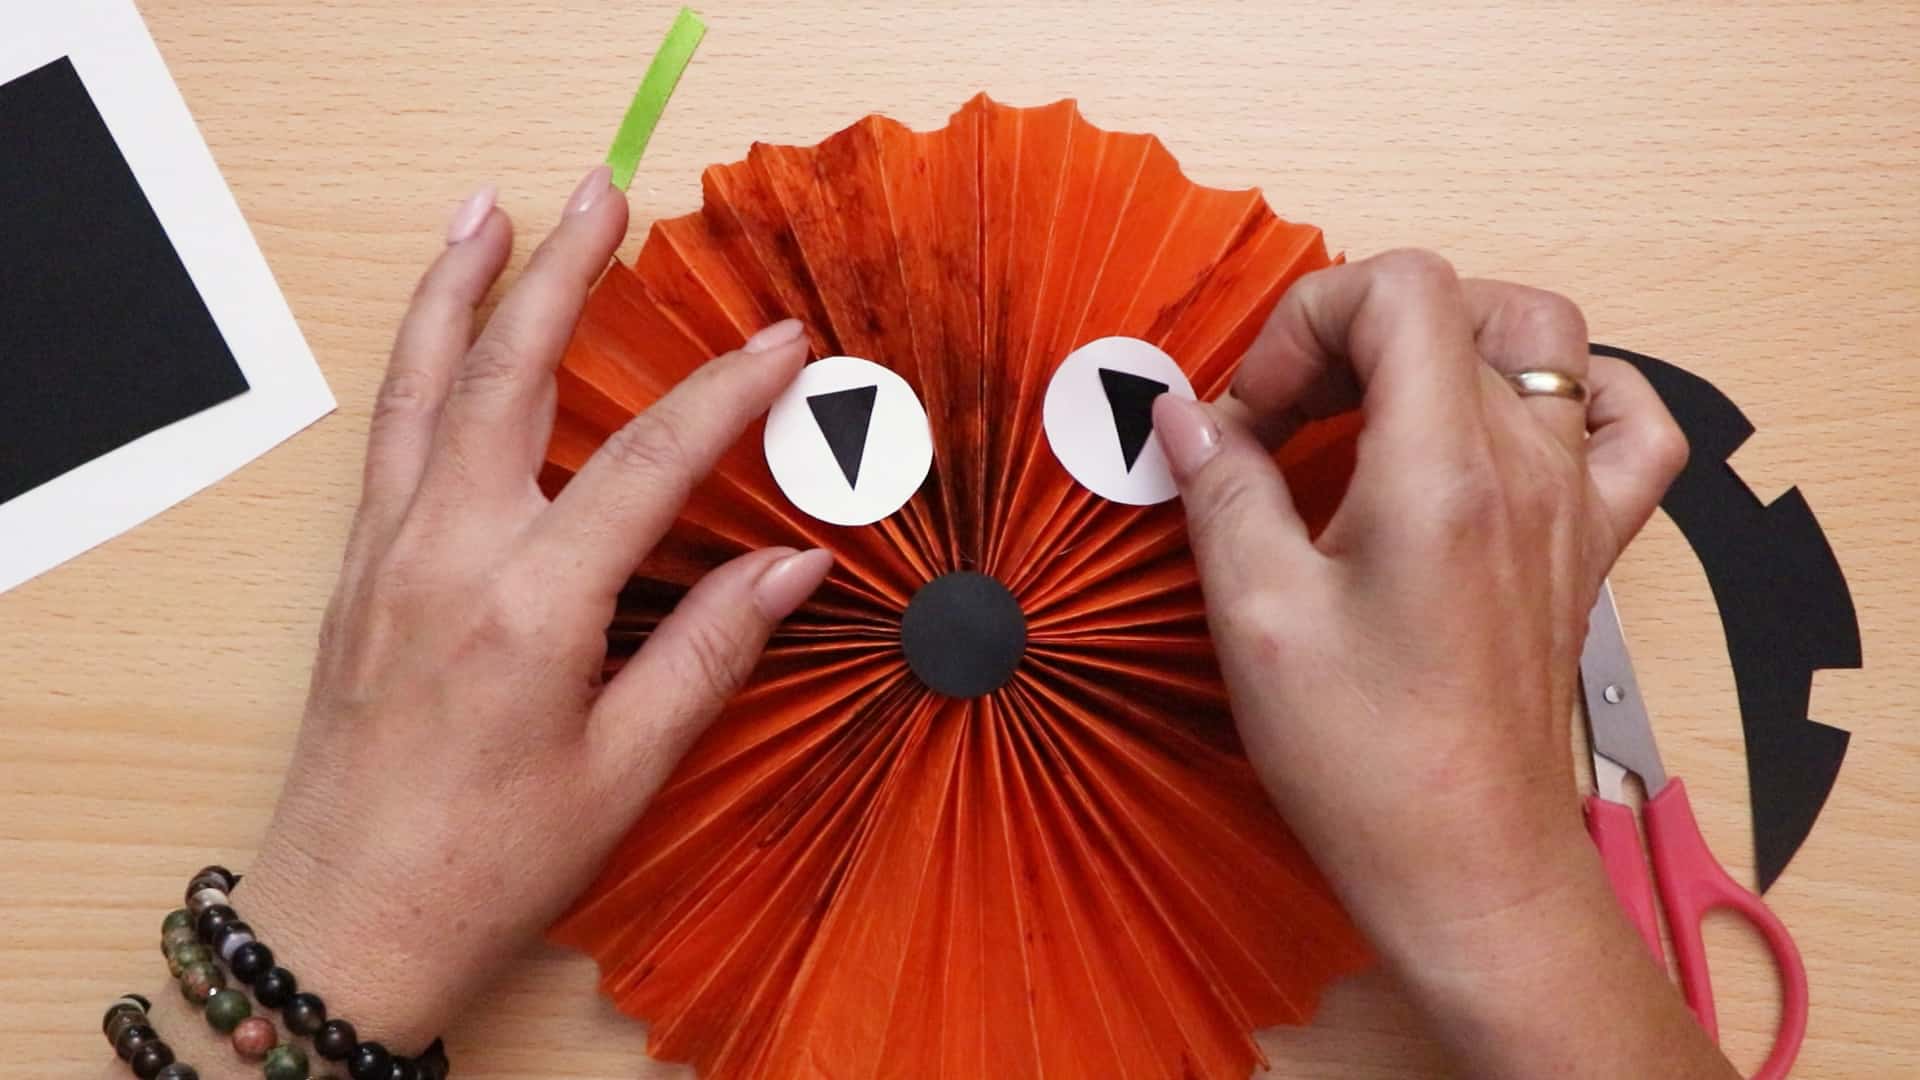
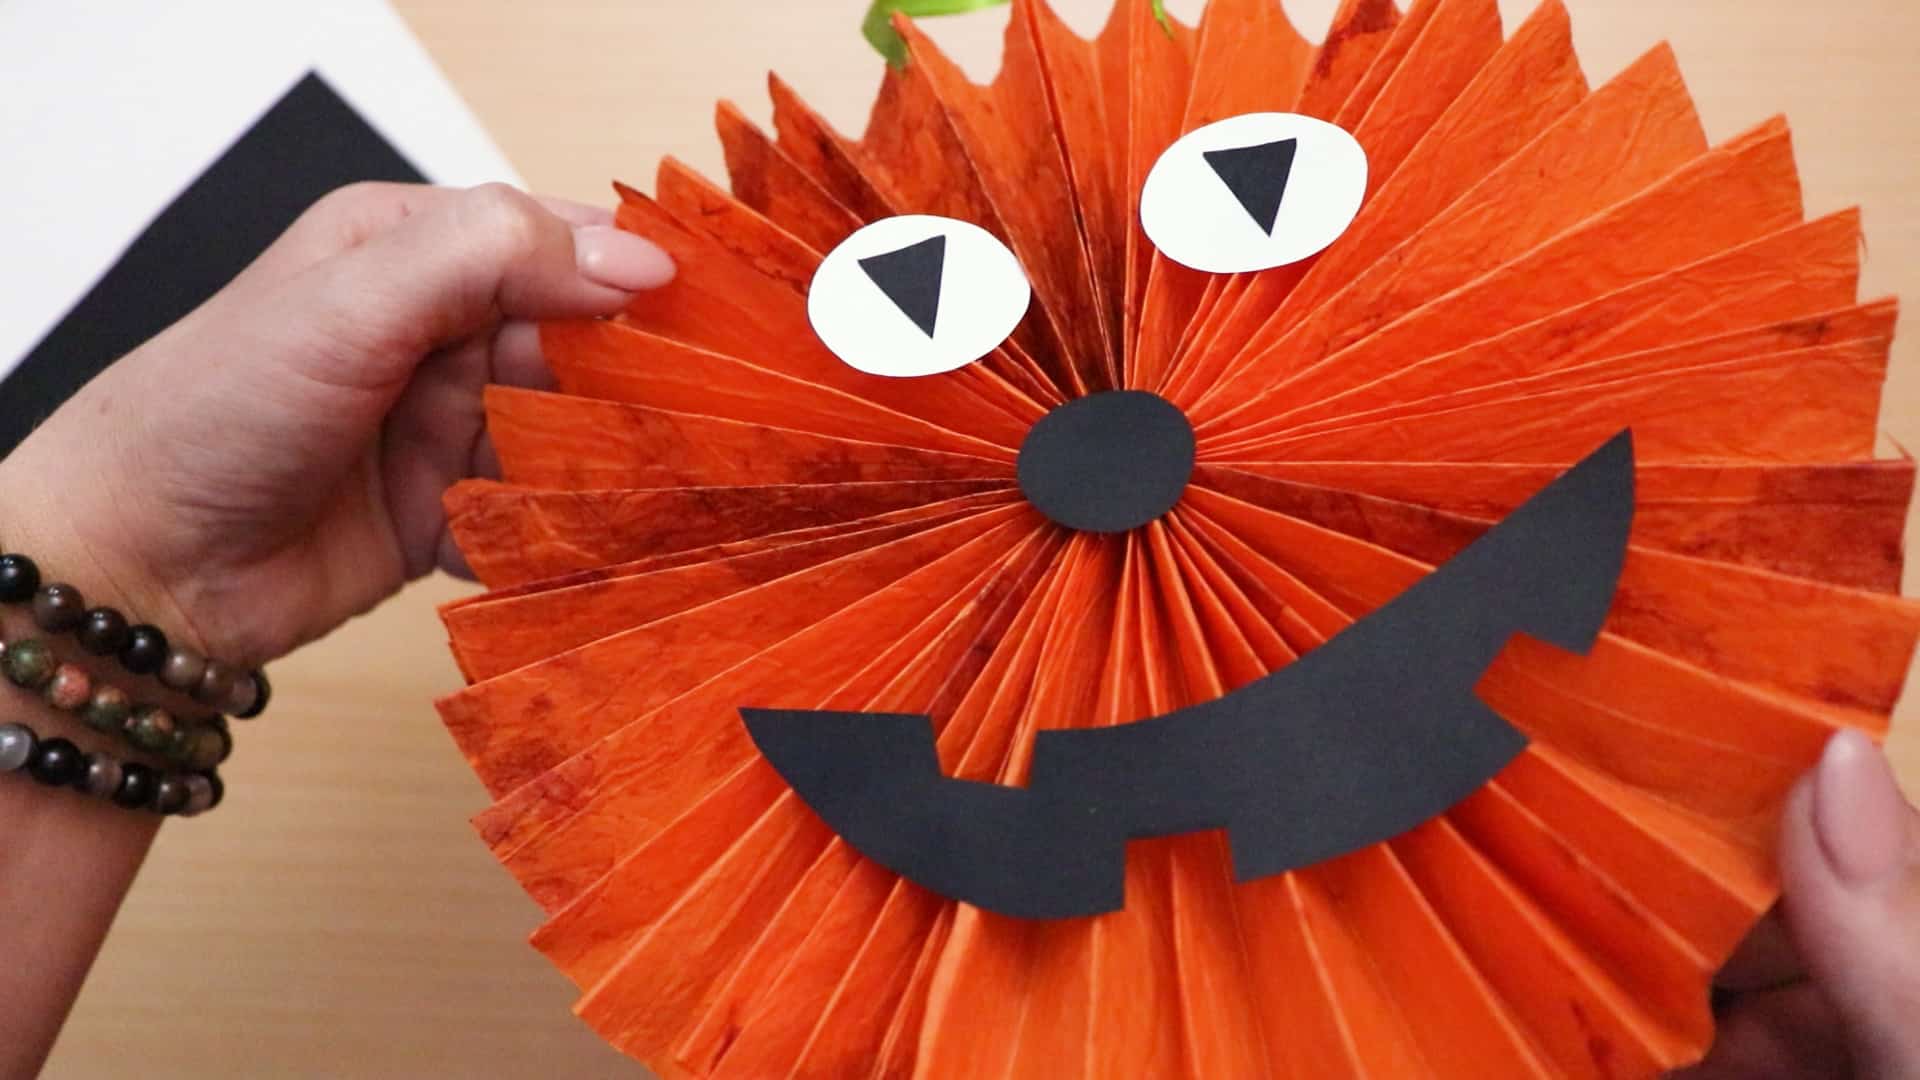
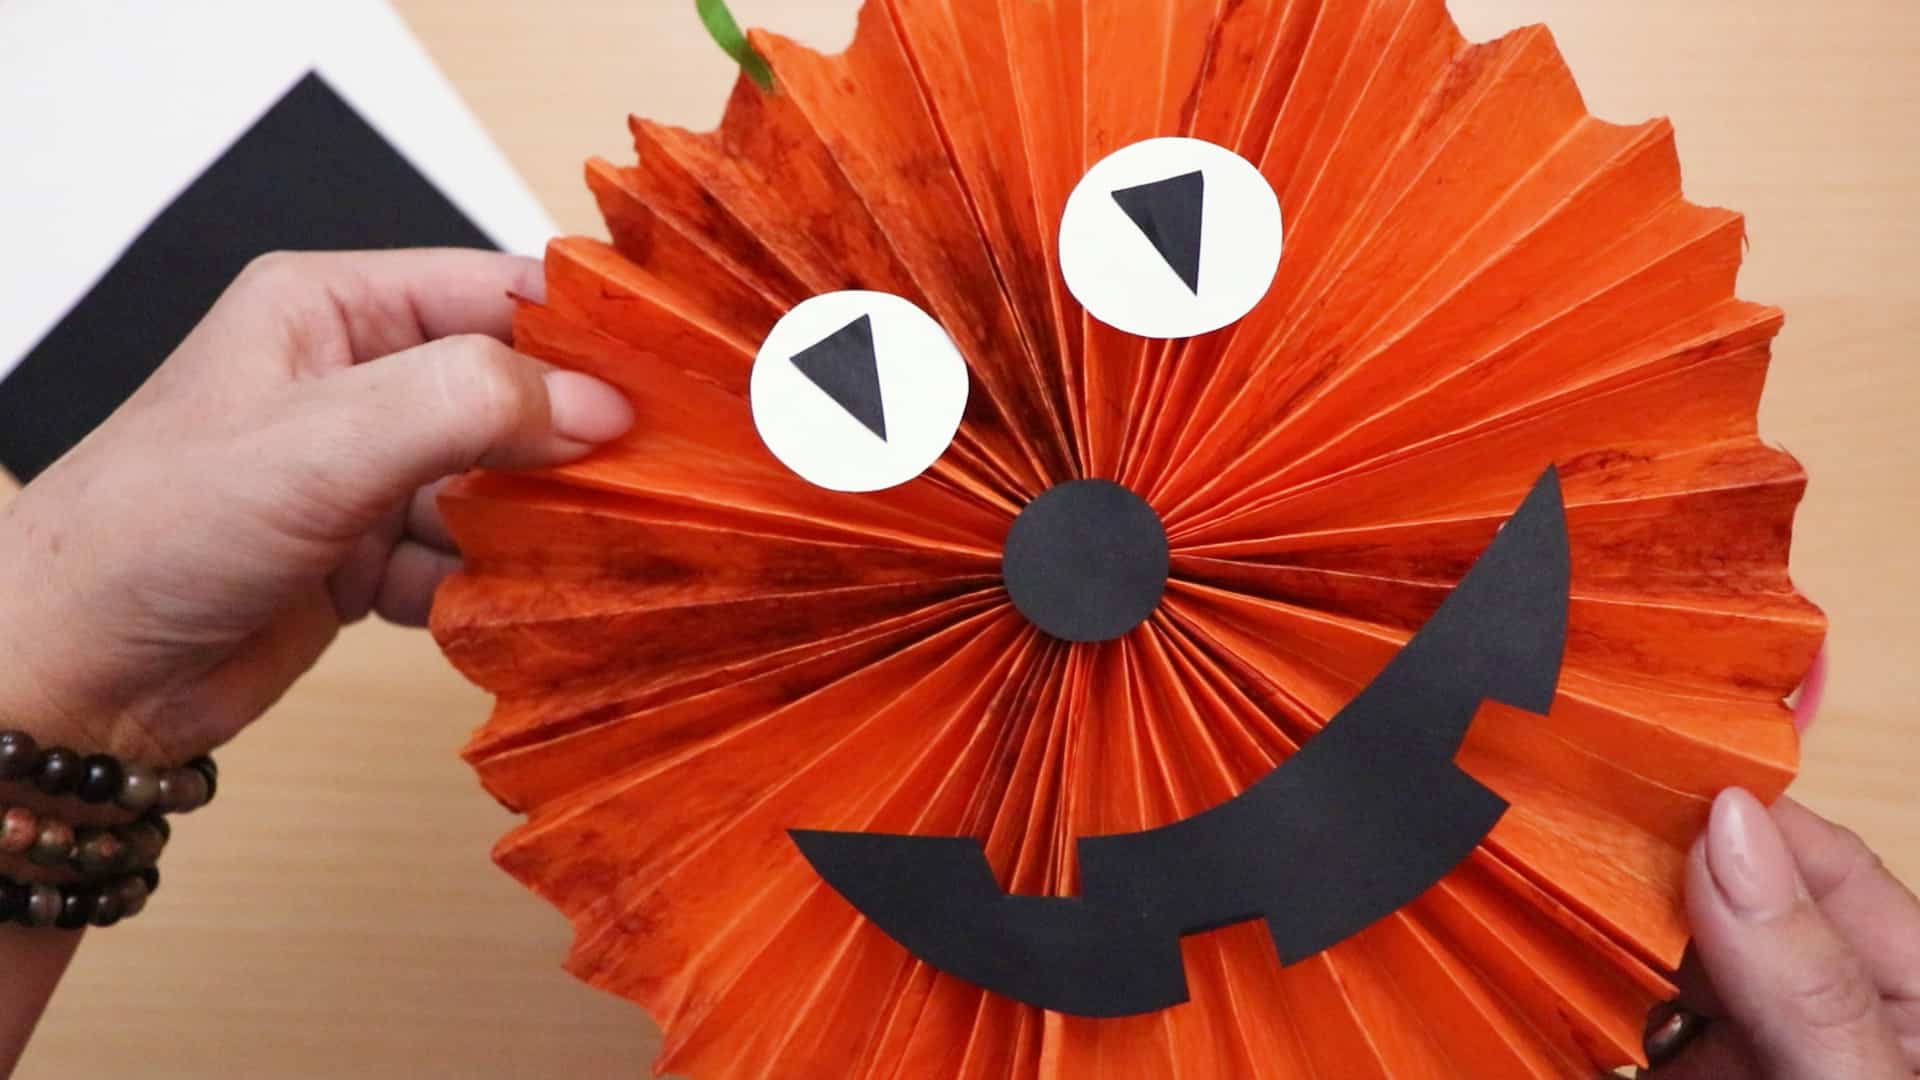
Apply glue on the back of your monster’s paper nose and stick it in the centre of the shape where all of your fan pieces meet. Then stick the small black triangles into the centre of the white circles before sticking the whole completed eyes to the orange shape above the nose. Then glue the mouth on below the nose.
Step 11:
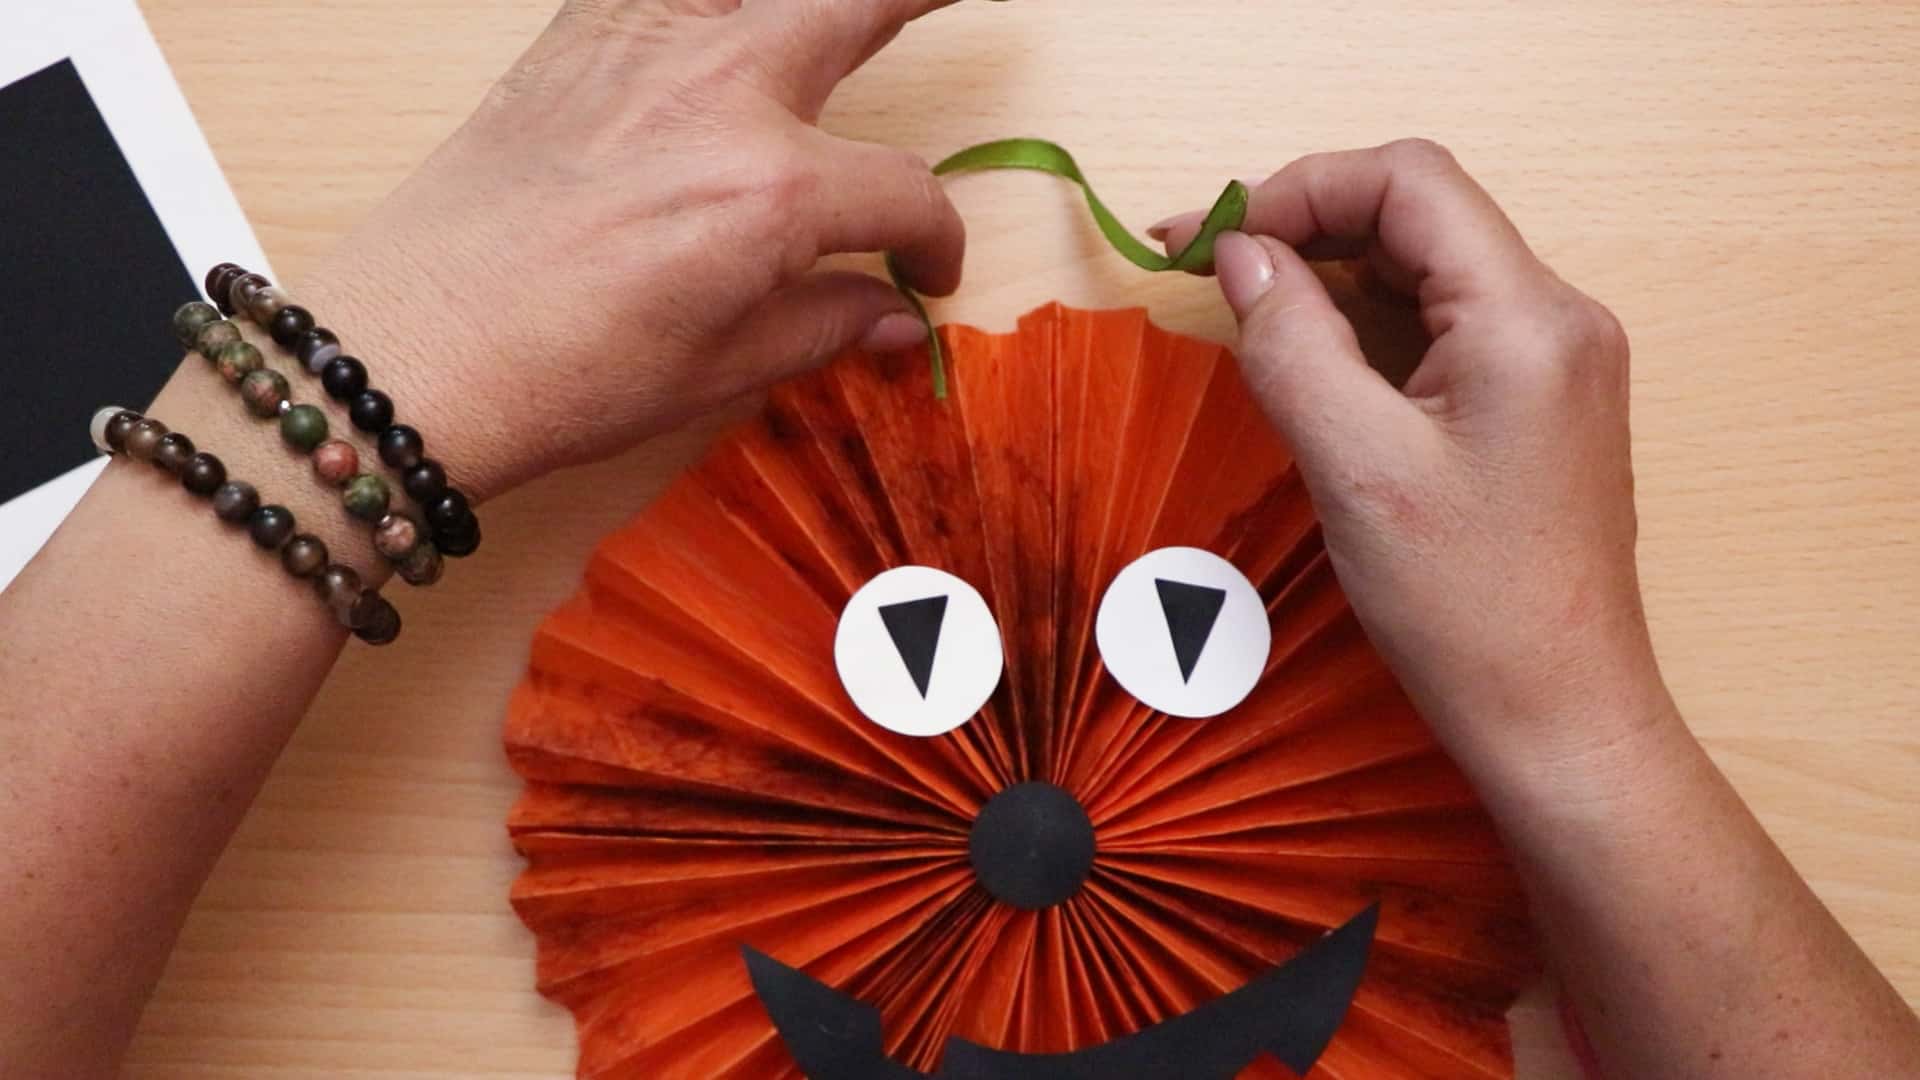
Apply glue to each end of your small green ribbon and stick the ends to the orange paper a few folds apart from each other. This is what you’ll hang your spooky monster face from on the wall or in your window for Halloween.
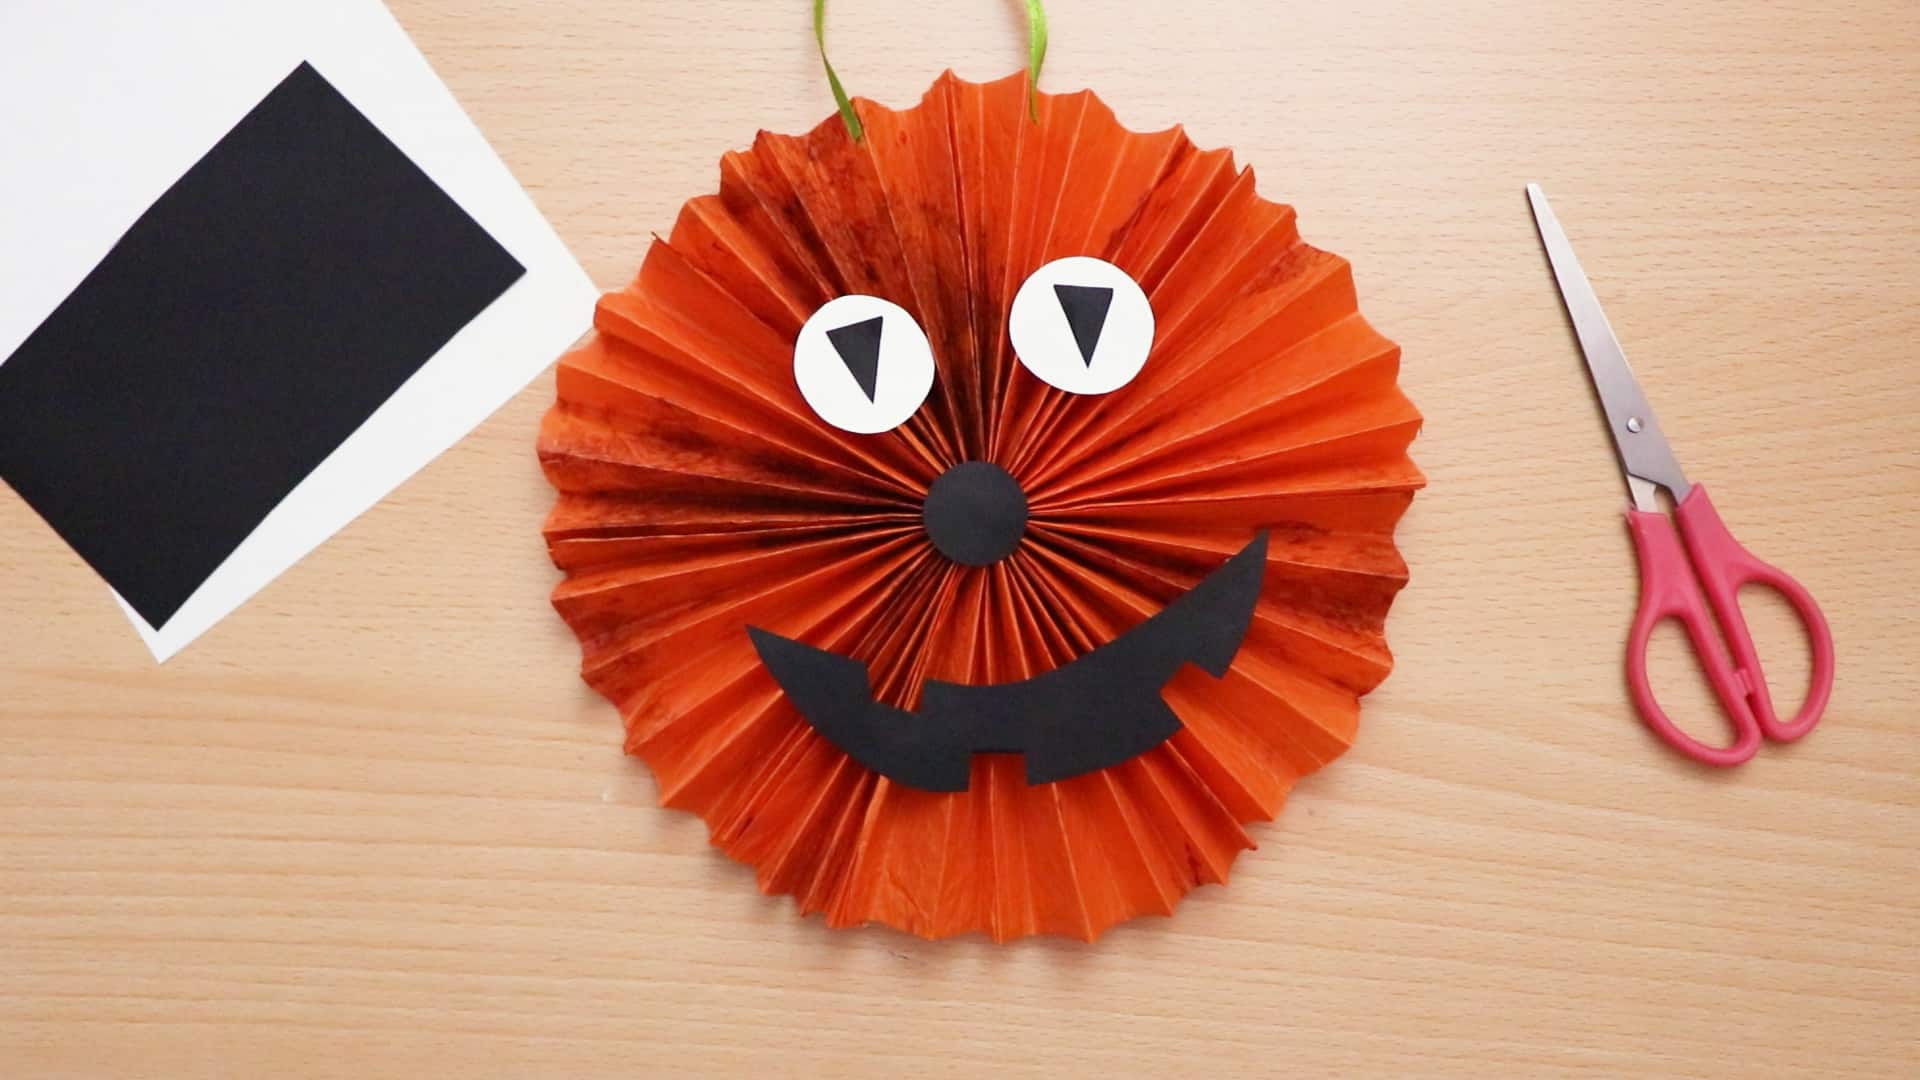
There you have it! You’ve completed your spooky monster hanging decor and it’s ready to go on your wall in wait of Halloween.
Just in case you’d like to try this project out for yourself, here’s a fantastic tutorial video to help you!
Final Thoughts on Our Halloween Monster
We love how the cute monster came through so we can’t wait to see what you have to say about it too! Did you enjoy making it? Did your kids love it too? Reach out to us and show us your creations!
