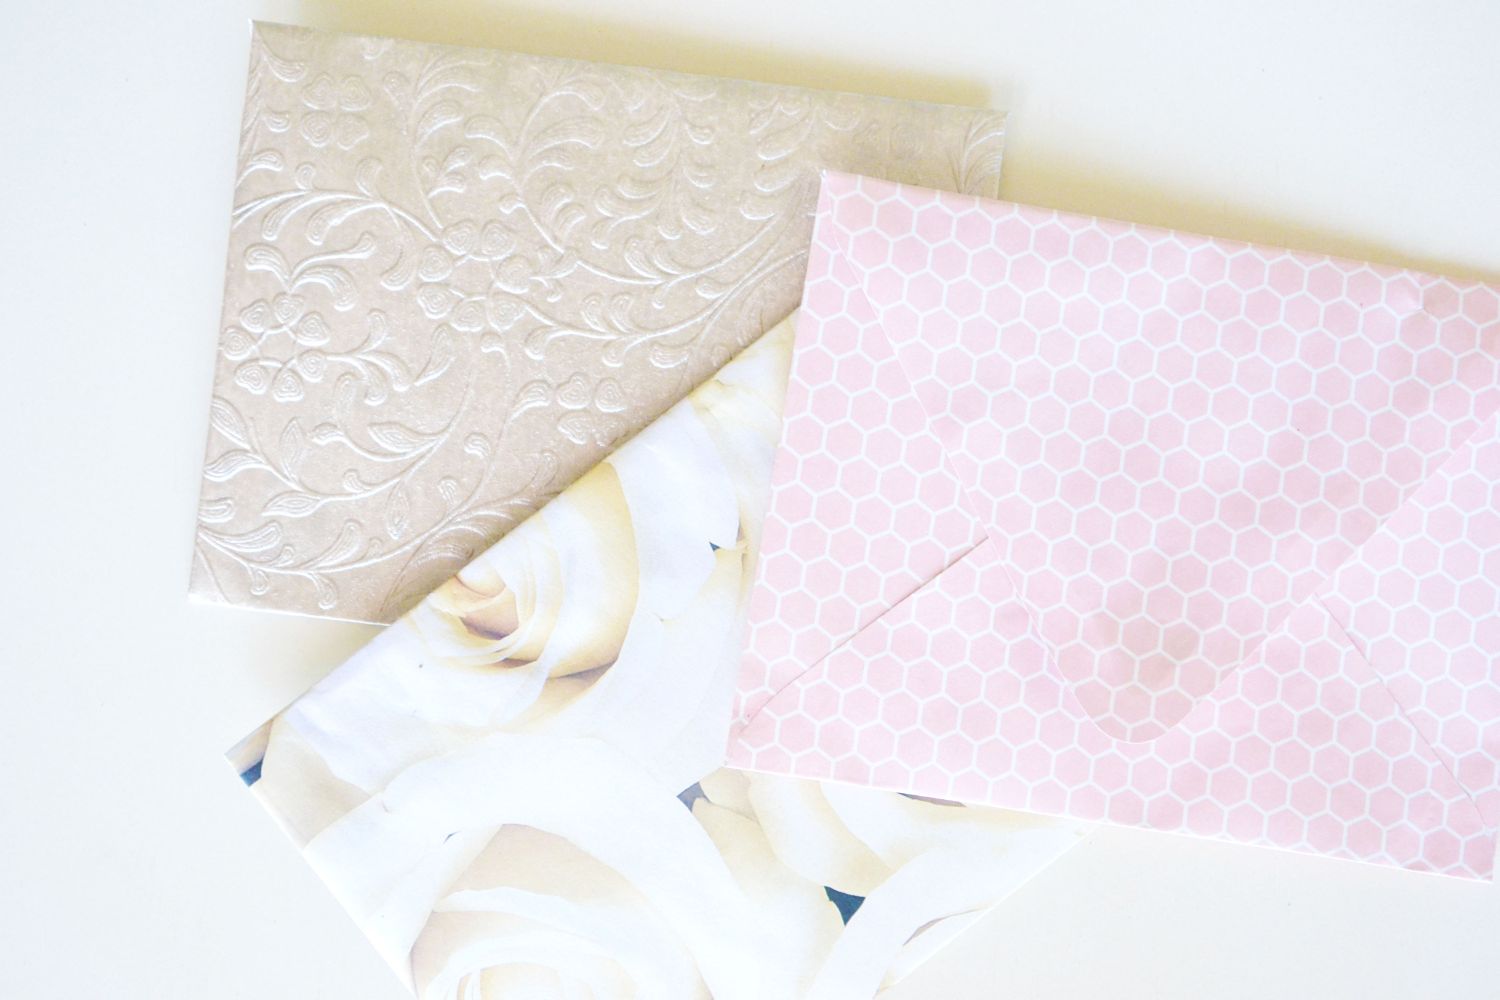
Glitter-Lined, Scrapbook Paper Envelopes
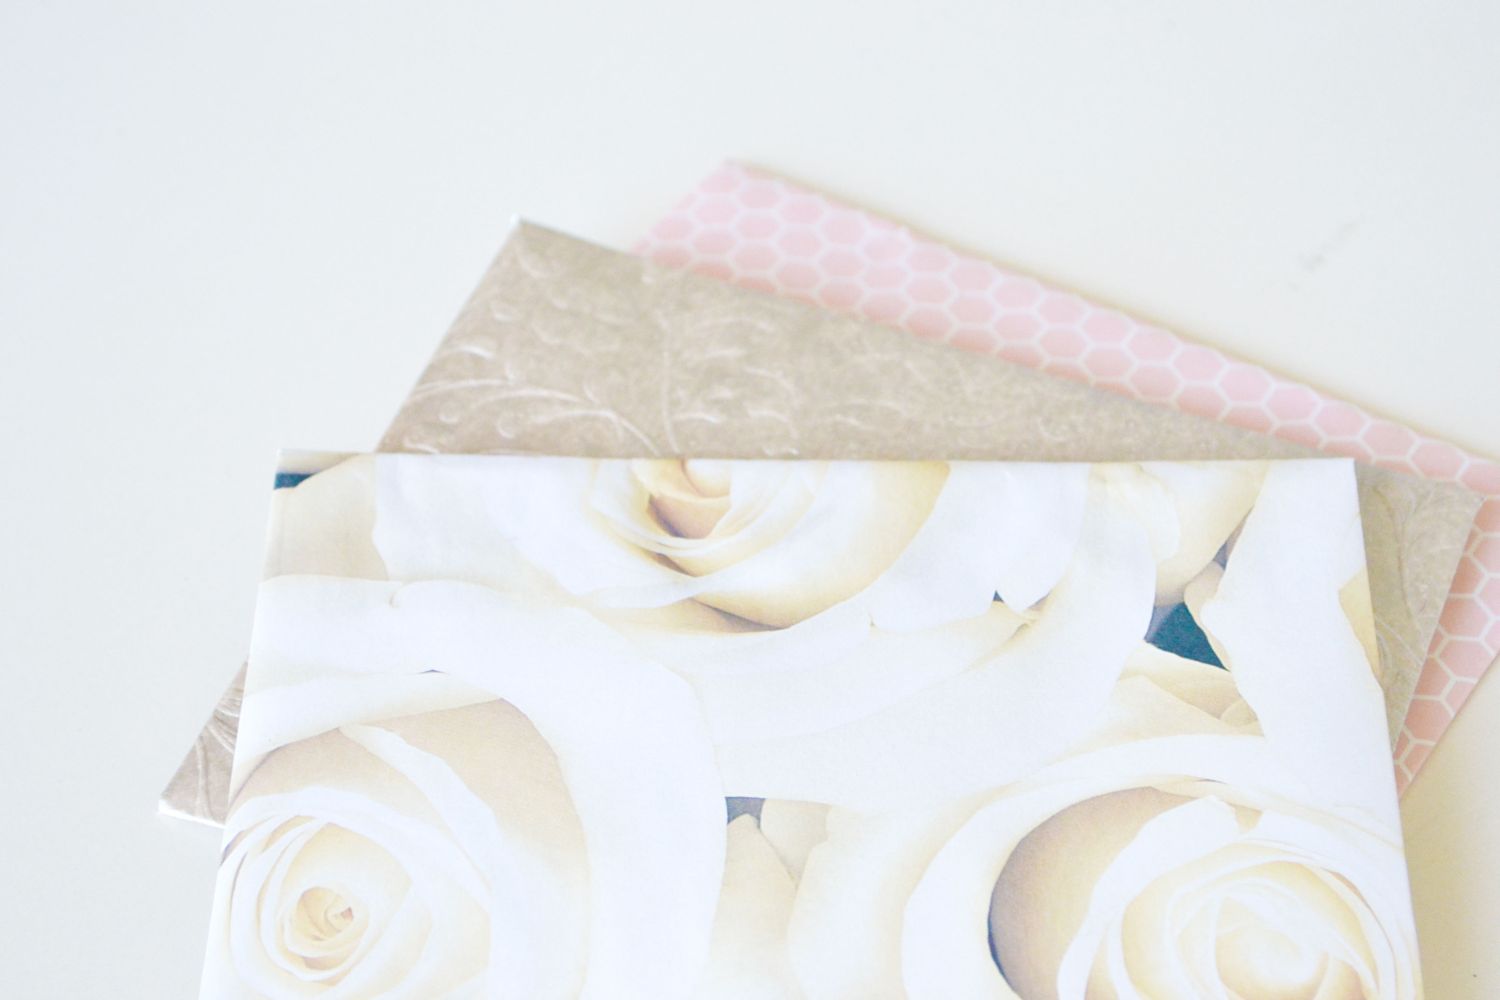
There are a ton of crafts to do with scrapbook paper. Whether it’s gift bags, paper boxes, tags or the like, there’s so much inspiration online when it comes to using decorative paper for crafting. Sure you can use scrapbook paper in the traditional sense of making decorative albums and using large 12 x 12 sheets as backgrounds for scrapbooking; but another great way to use scrapbooking paper is to make your own envelopes.
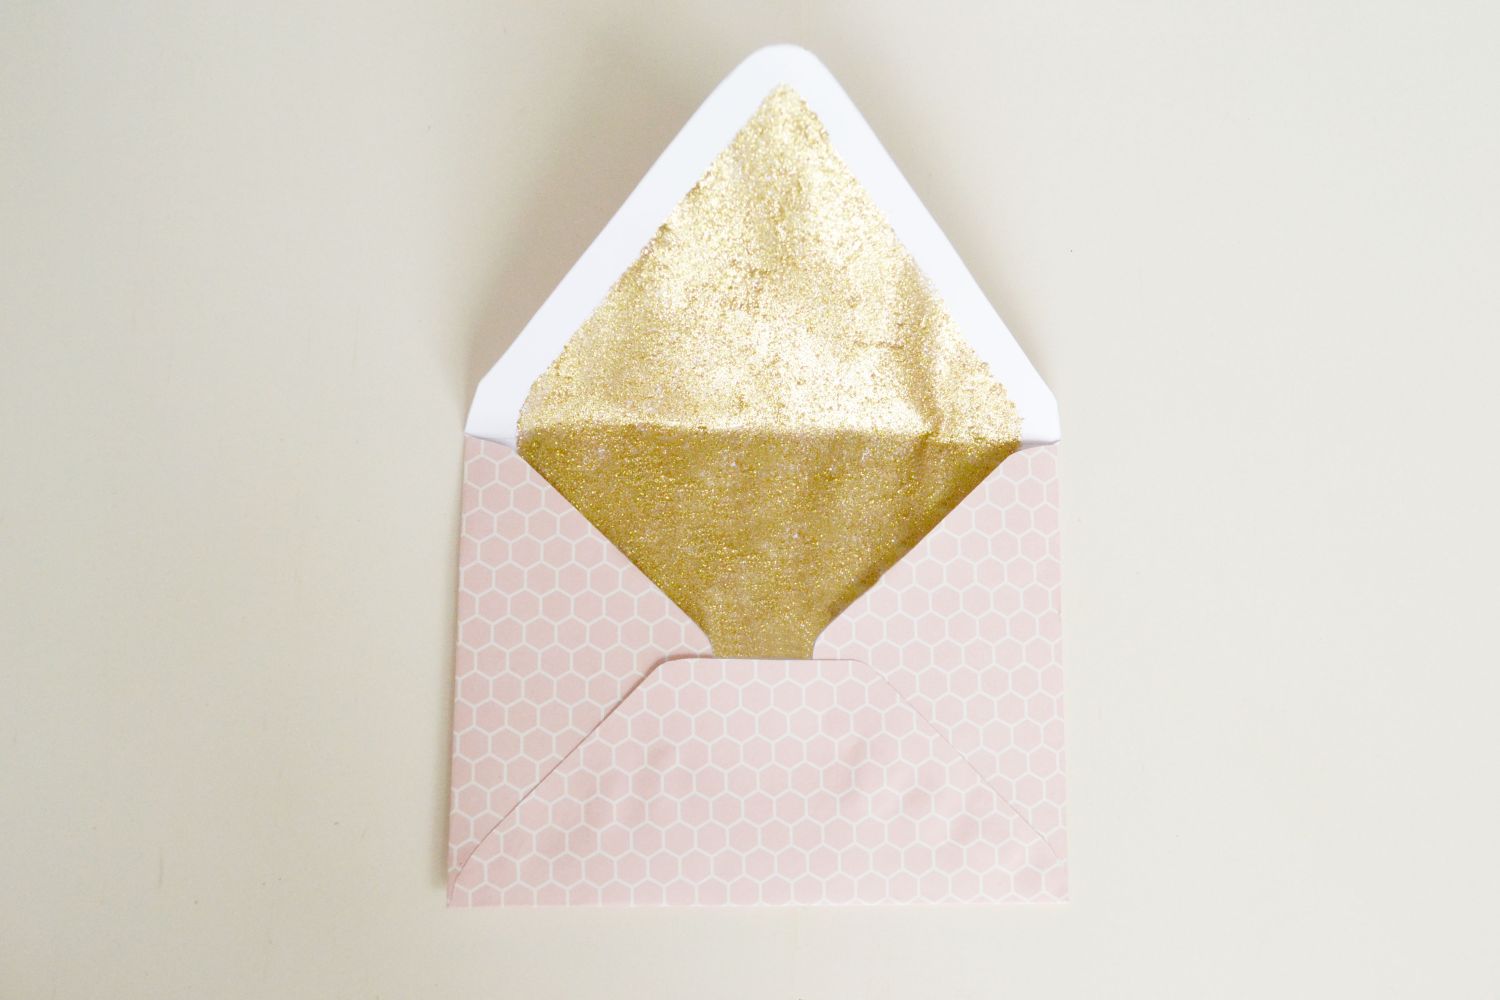
This is a very quick and easy DIY and these mini envelopes work well for invitations and cards.
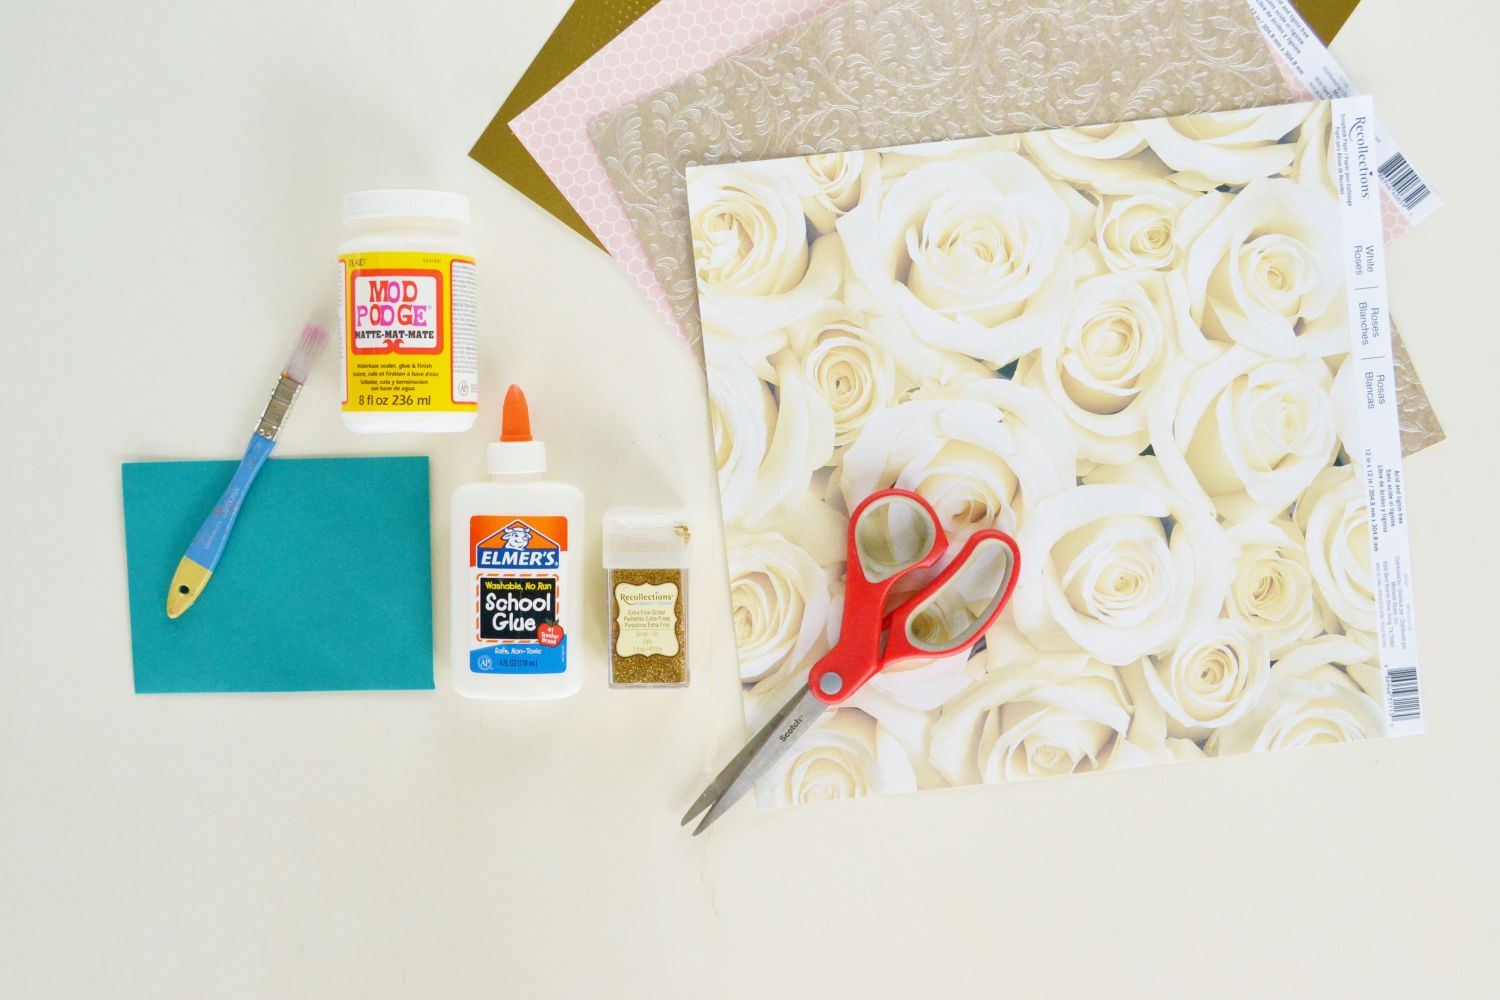
For this project, you will need an existing envelope to trace. You can use a business envelope or a card envelope. Depending on the size of the existing envelope, that will determine what size paper you need. For these smaller 4 x 6 envelopes, you will need 12 x 12 scrapbook paper. In addition, you need craft glue or a glue stick, glitter, ModPodge, scissors, a pencil and a ruler.
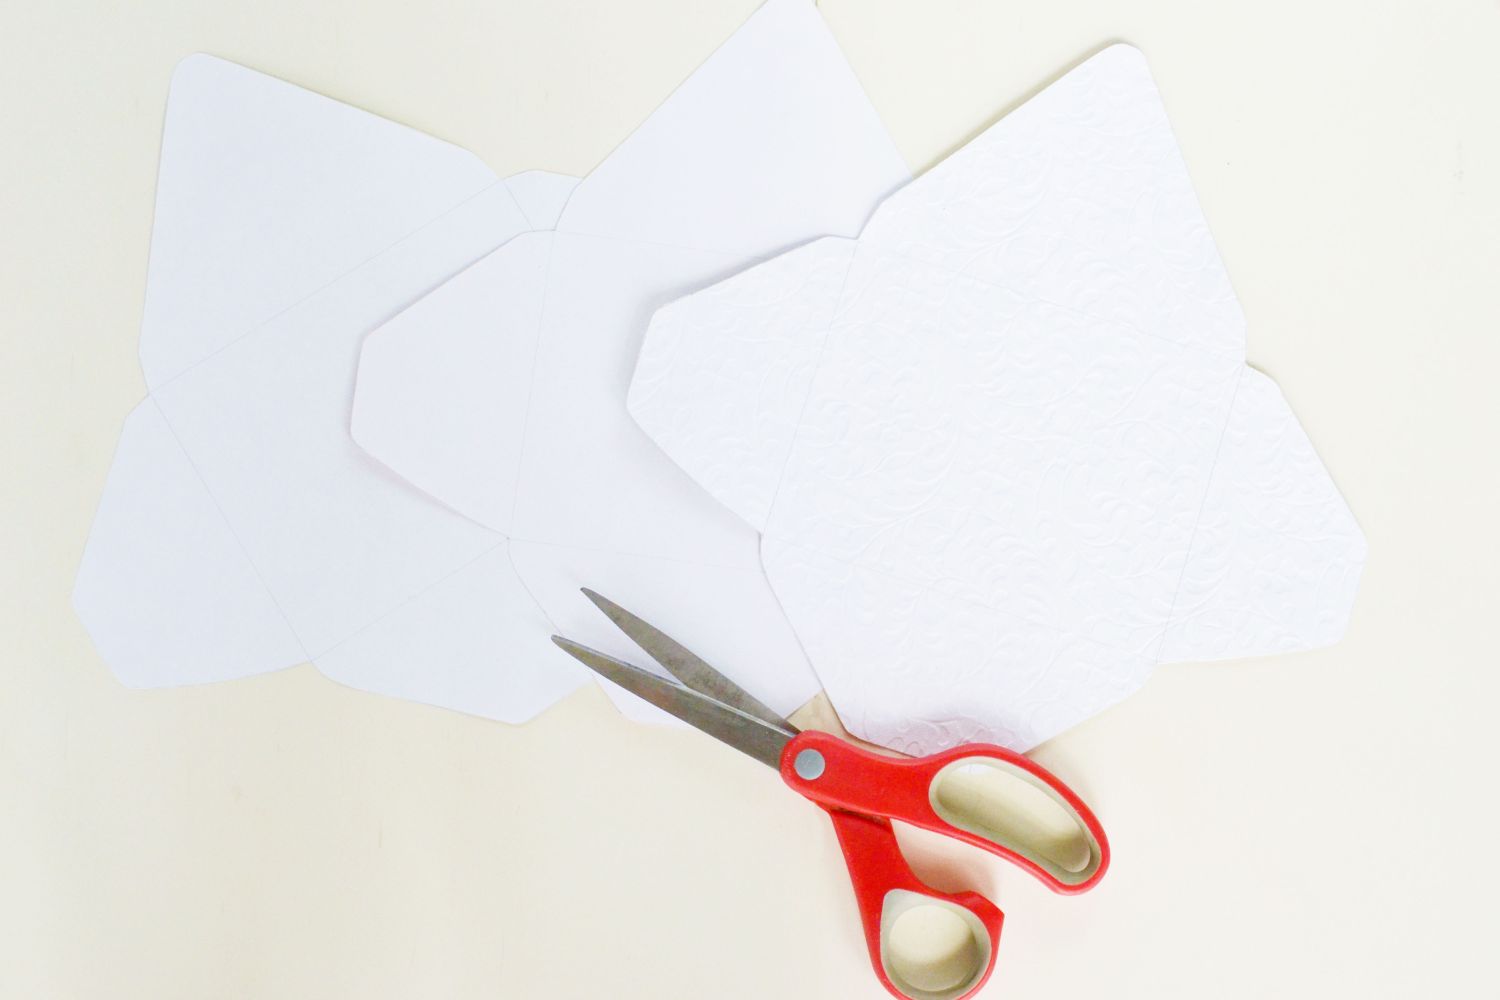
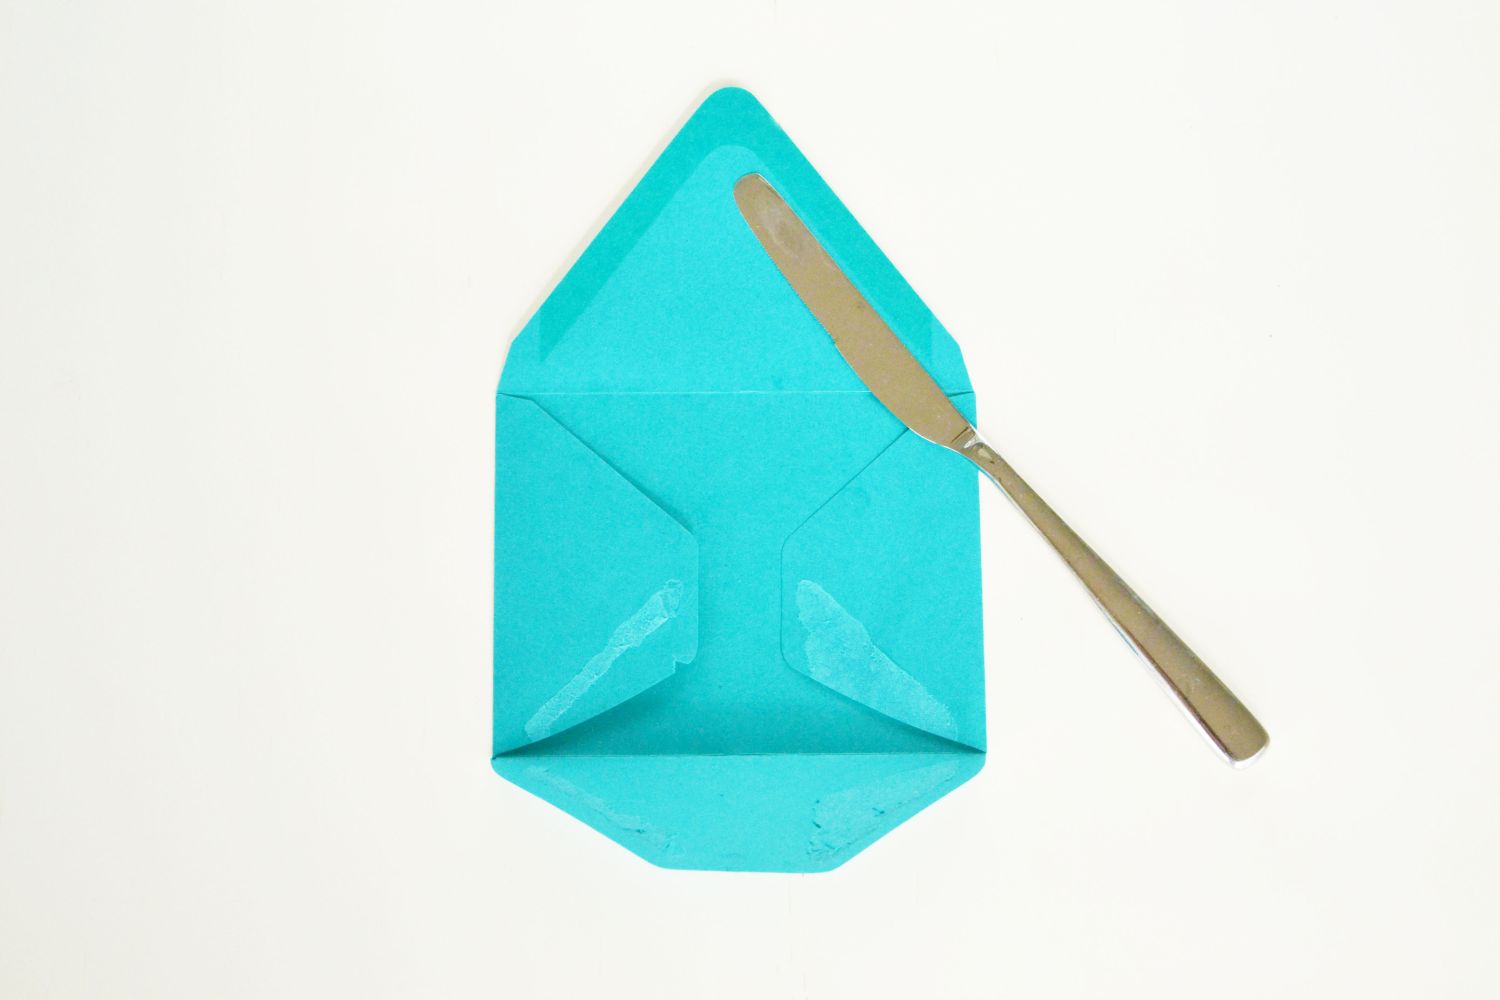
First, break the seams on the existing envelope to flatten it out. Use a knife or similar to gently lift the glued-down edges of the envelope ensuring that it doesn’t rip or tear.
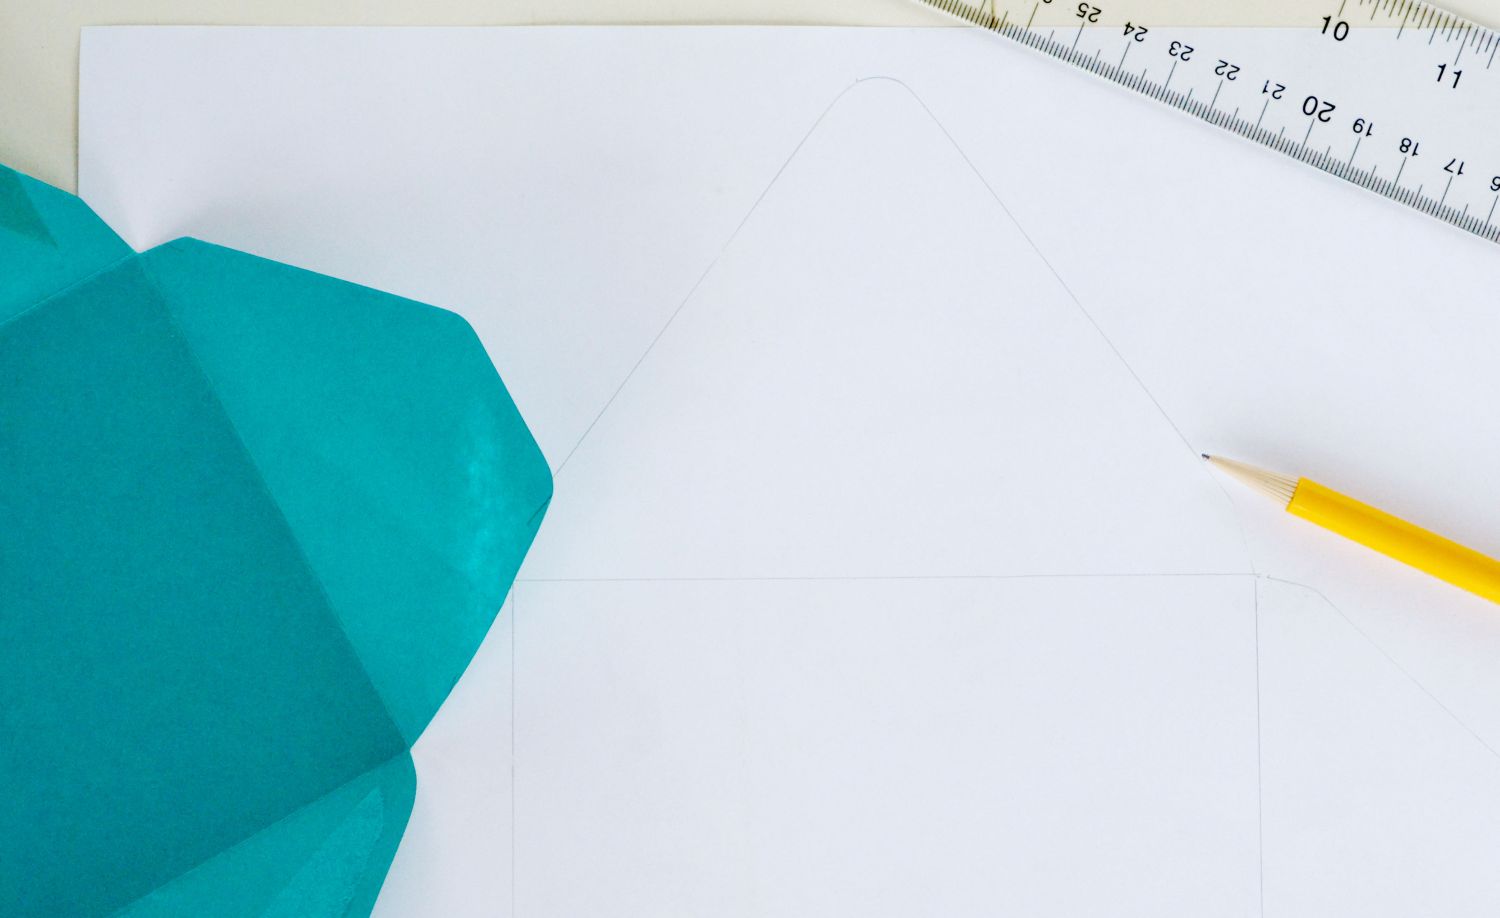
Lay the envelop on the back side of the scrapbook paper. Trace the outline of the envelope with a pencil. Be sure to draw in the lines in the center of the envelope to mark the where the sides, top and bottom flaps fold up.
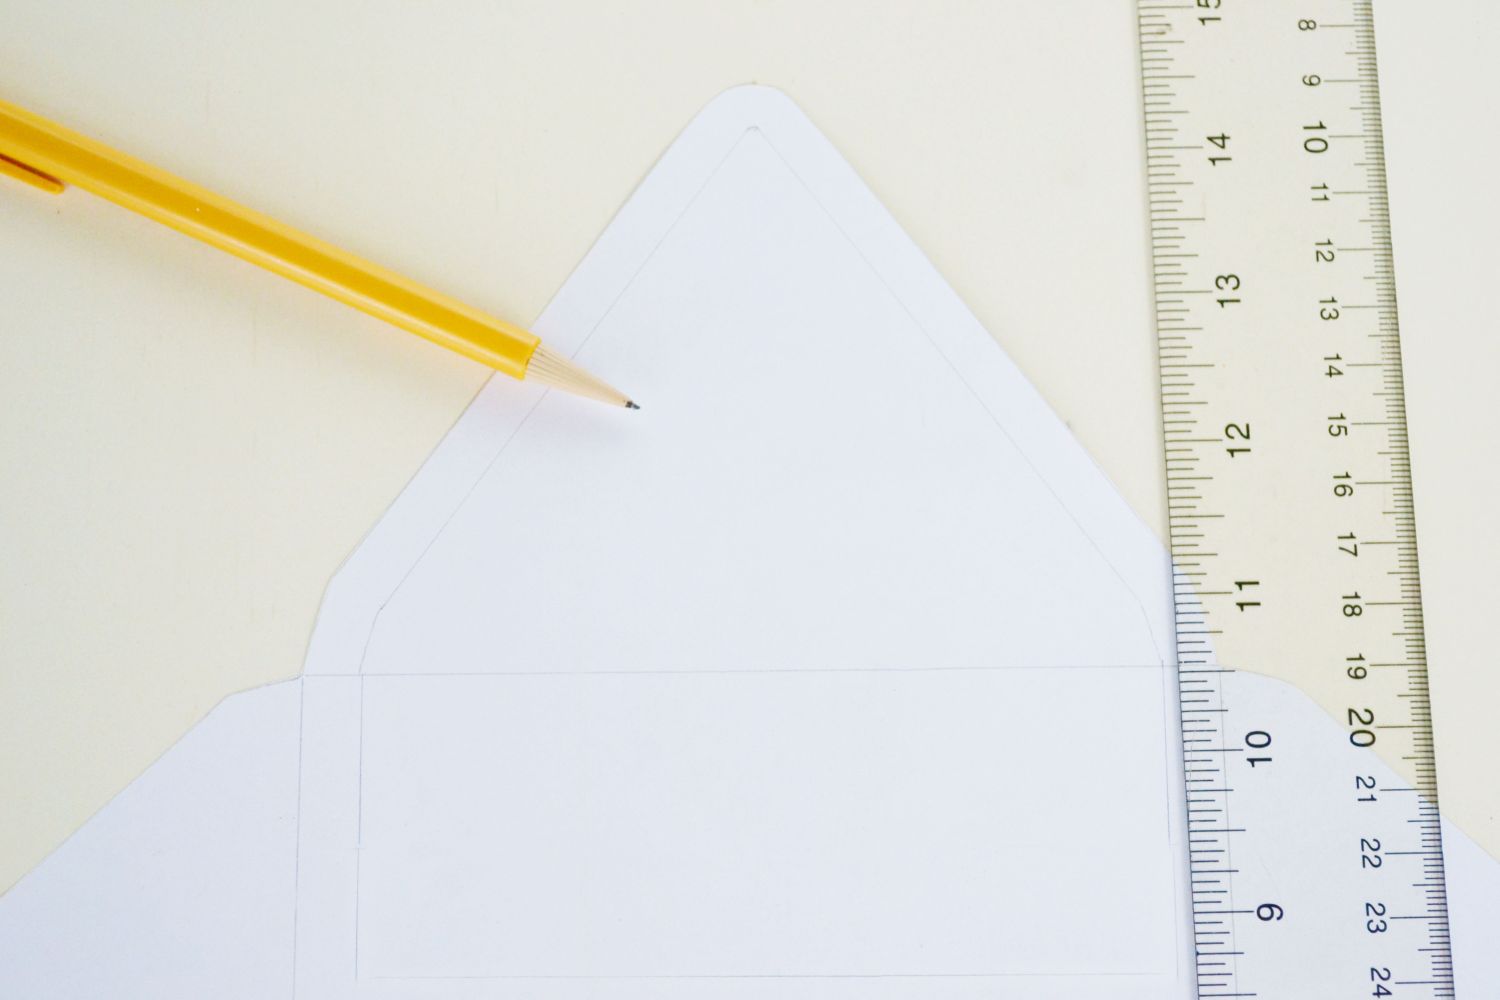
Next you’ll need create the outlines for the lining. Do this before you fold the side and bottom flaps up. On the top flap about a half inch from the outer edge, draw the outlines for the glitter lining. Make sure the spacing is even all the way down.
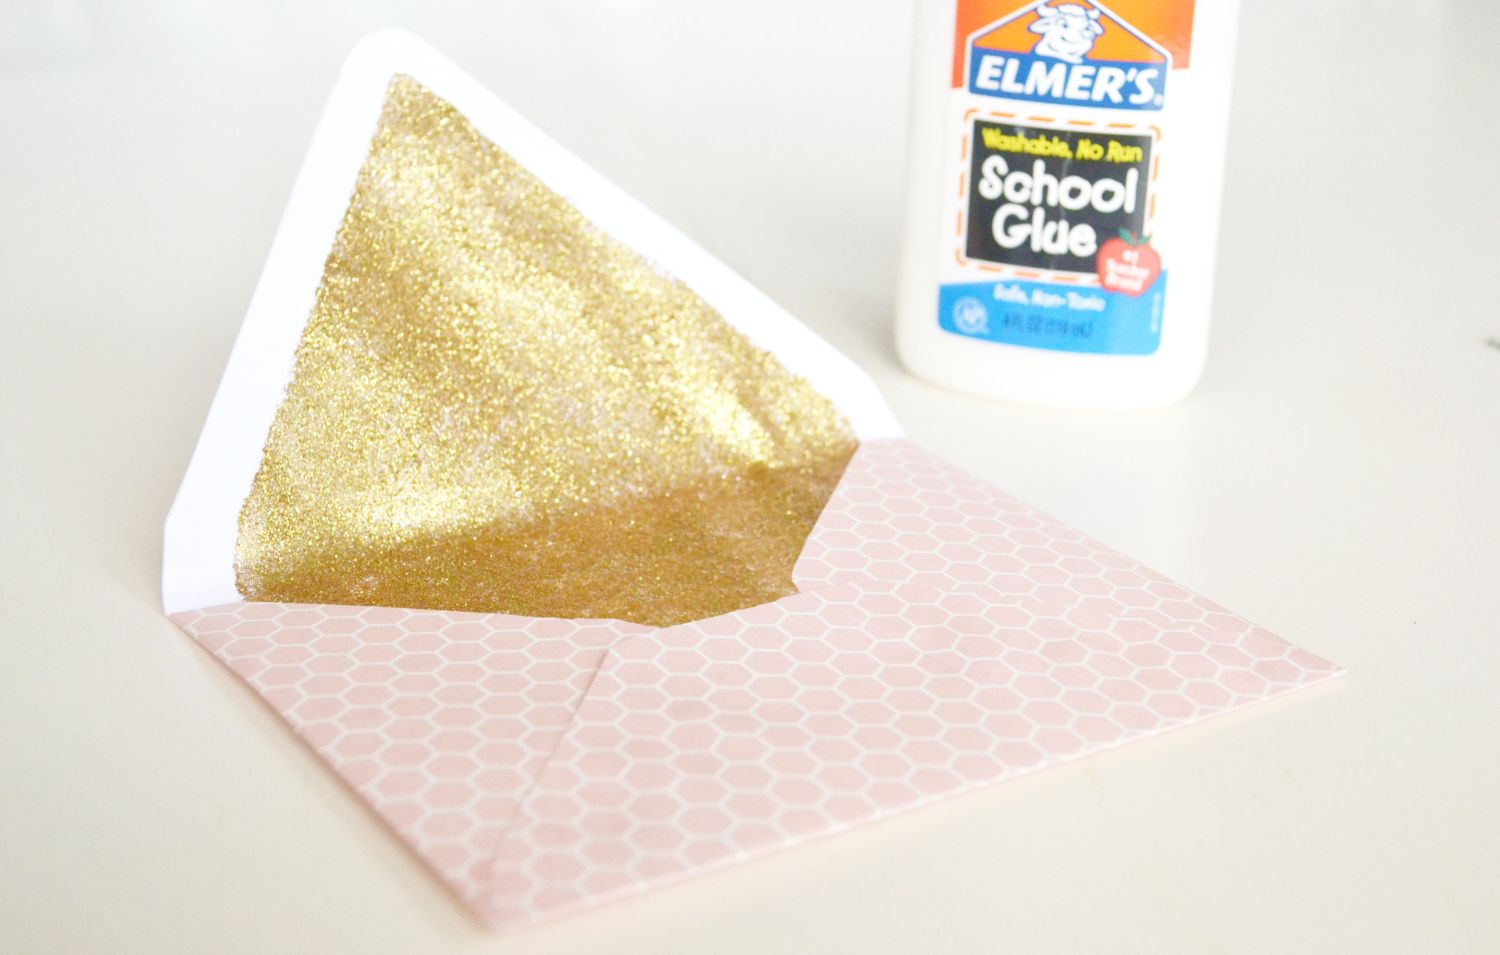
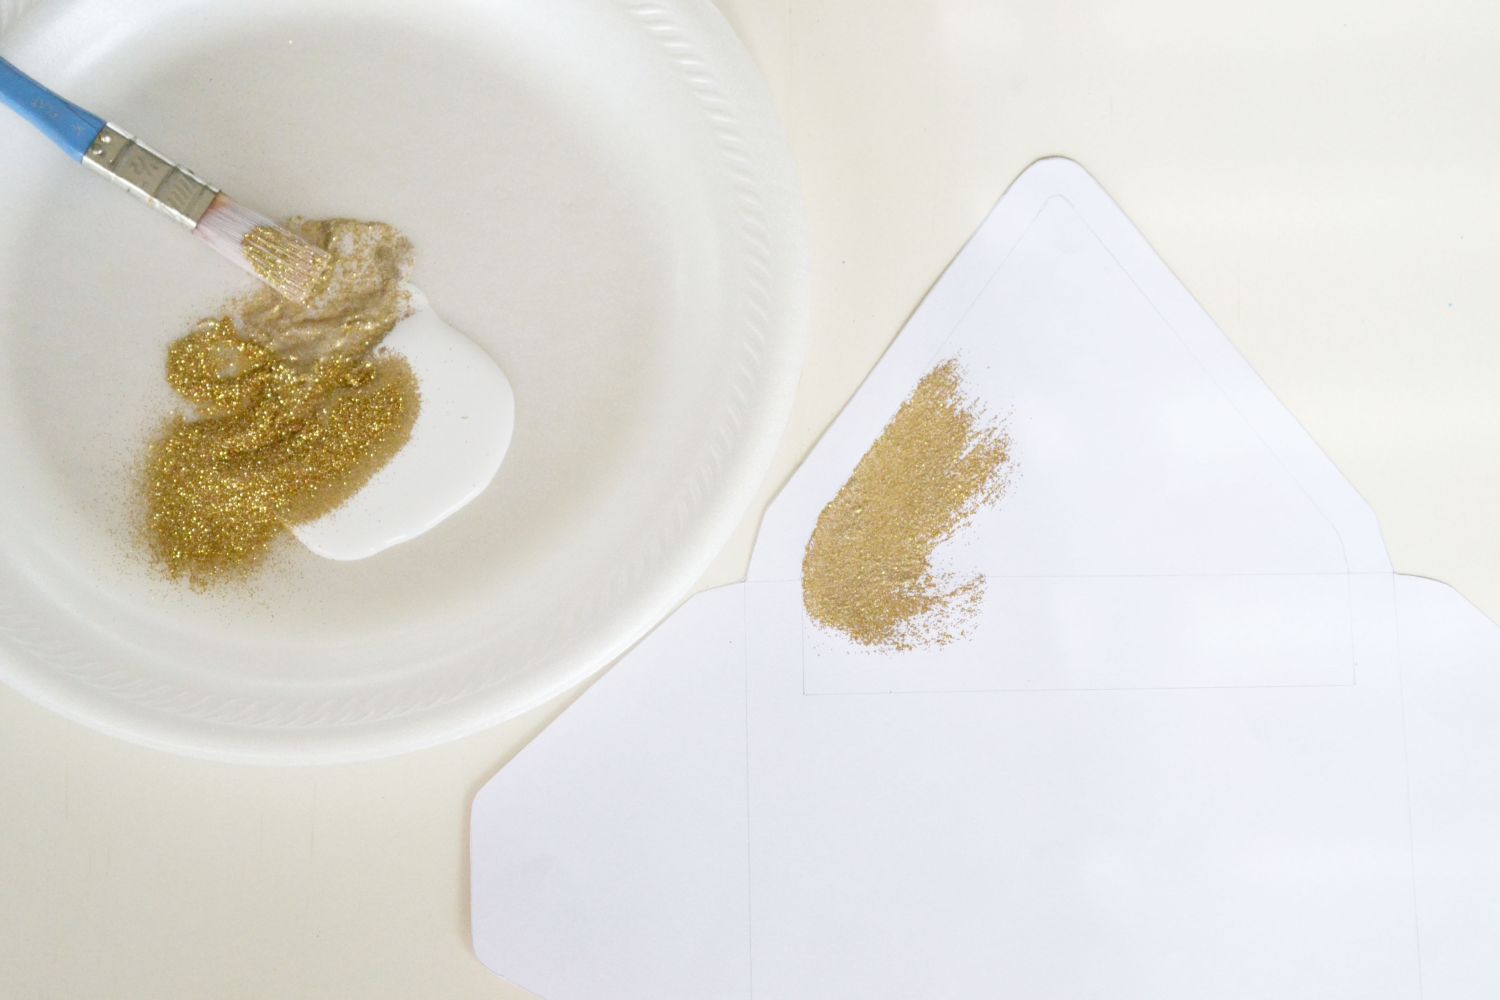
Mix 2 parts glitter and to one part ModPodge together. For one envelope I was able to mix about 1 tablespoon of ModPodge with 2 tablespoons of loose glitter. Try to use fine glitter for this project. The thicker the glitter pieces, the harder it may be to close the envelope. Also, if you use thicker glitter, the envelope may be top heavy in the end. This fine glitter is lightweight, mixes well with ModPodge and adheres smoothly on the paper.
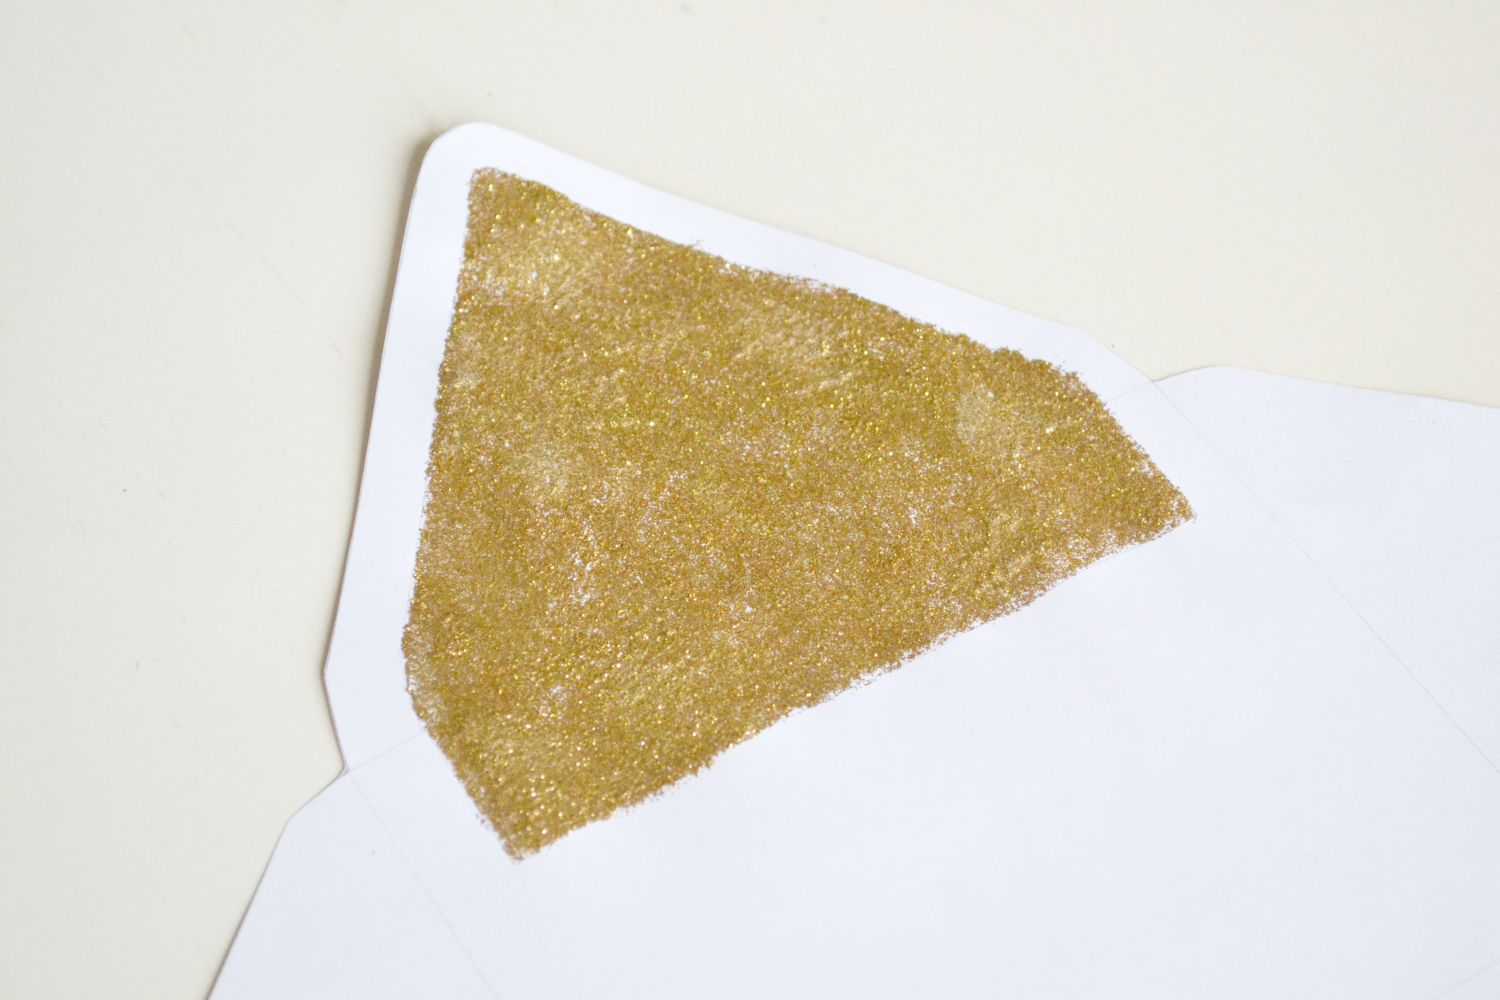
Begin painting the glitter mixture onto the envelope, being sure to stay in the outlined edge that you drew. Thin coats are the key to this step. Thicker coats will cause the paper to become too wet and bubble.
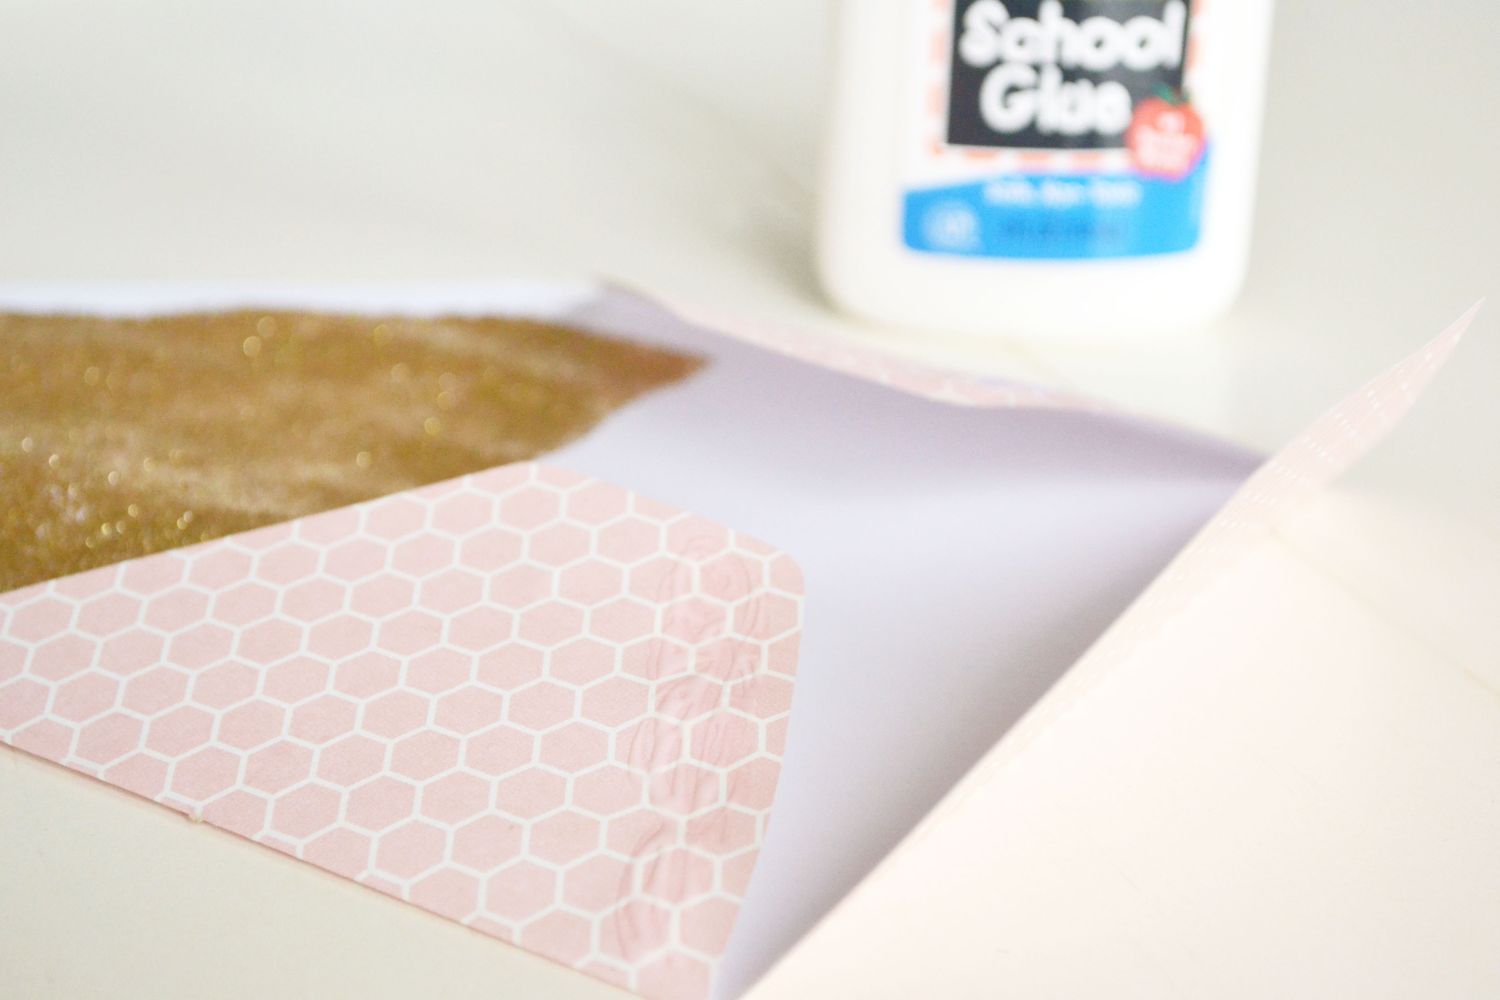
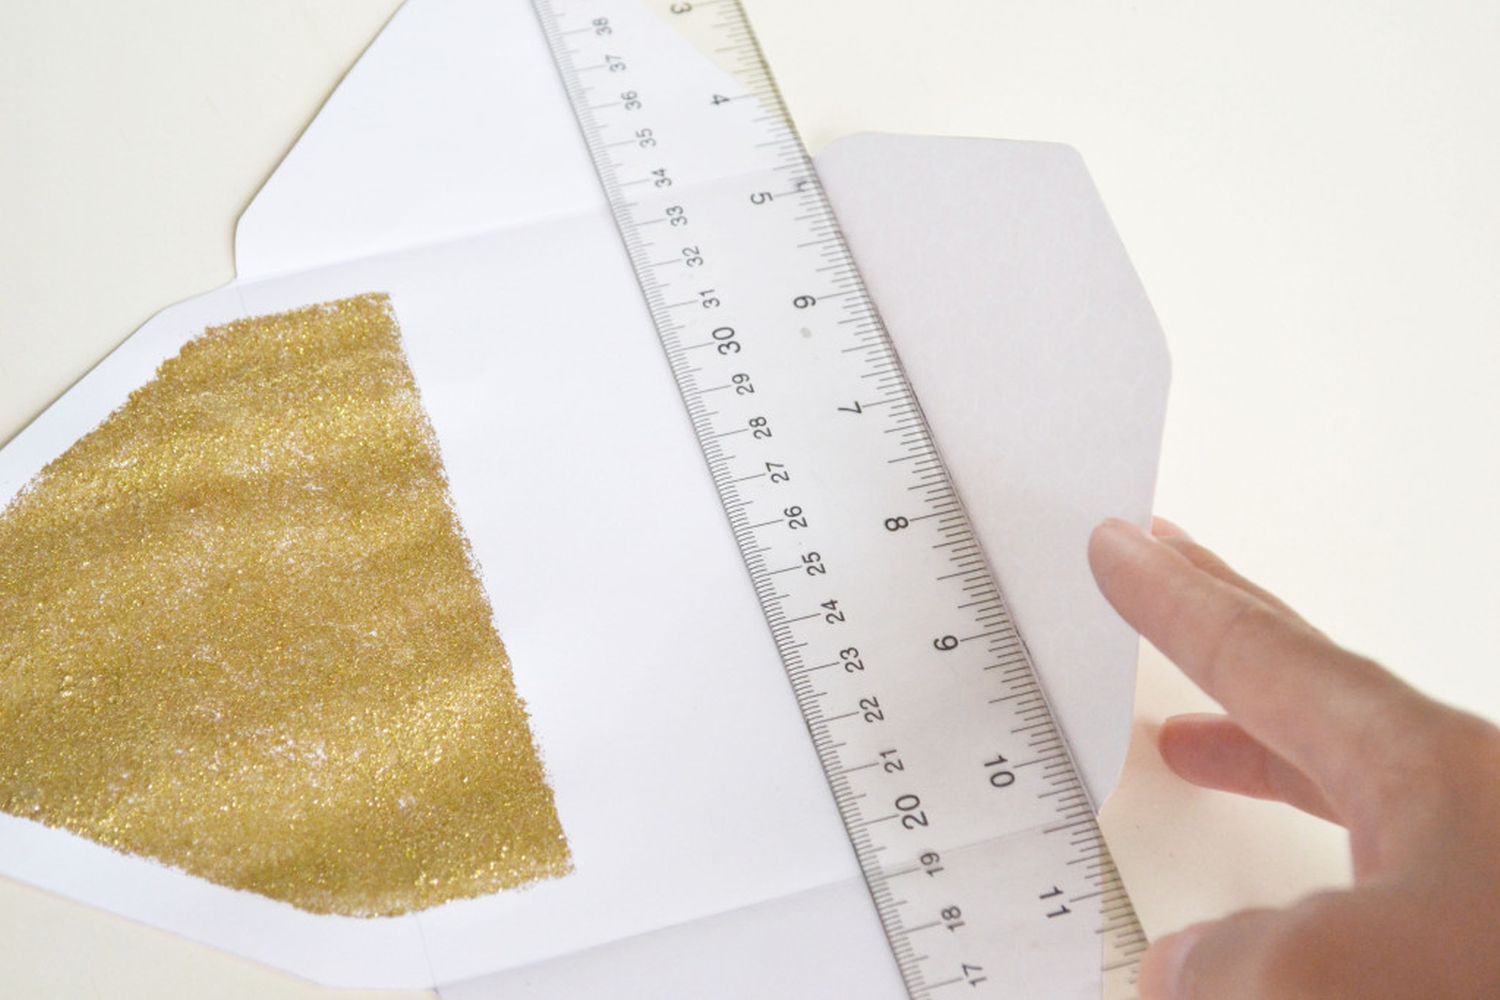
Use a scorer or ruler to help fold the side and bottom flaps up along the drawn line.
Fold up and glue down all of the flaps of the envelope, making sure the sides are underneath the bottom flap. When you have finished this step the bottom end of the glitter liner should not show above the side and bottom flaps.
These easy-to-make envelopes are a creative way to mail cards and letters and take no time at all. There are so many scrapbook paper designs to choose from; and maybe you’ll never have to use regular, boring white envelopes again!
