How To Make Hair Bows – Wire Style
I don’t know about you, but I end up styling my hair almost exactly the same way every day. But sometimes you just need a fresh new hairstyle. So I decided to make this fun wired hair bow that will hold my hair out of myfaceand also adds some serious pizzazz to my outfit. And today I’m sharing it with you!
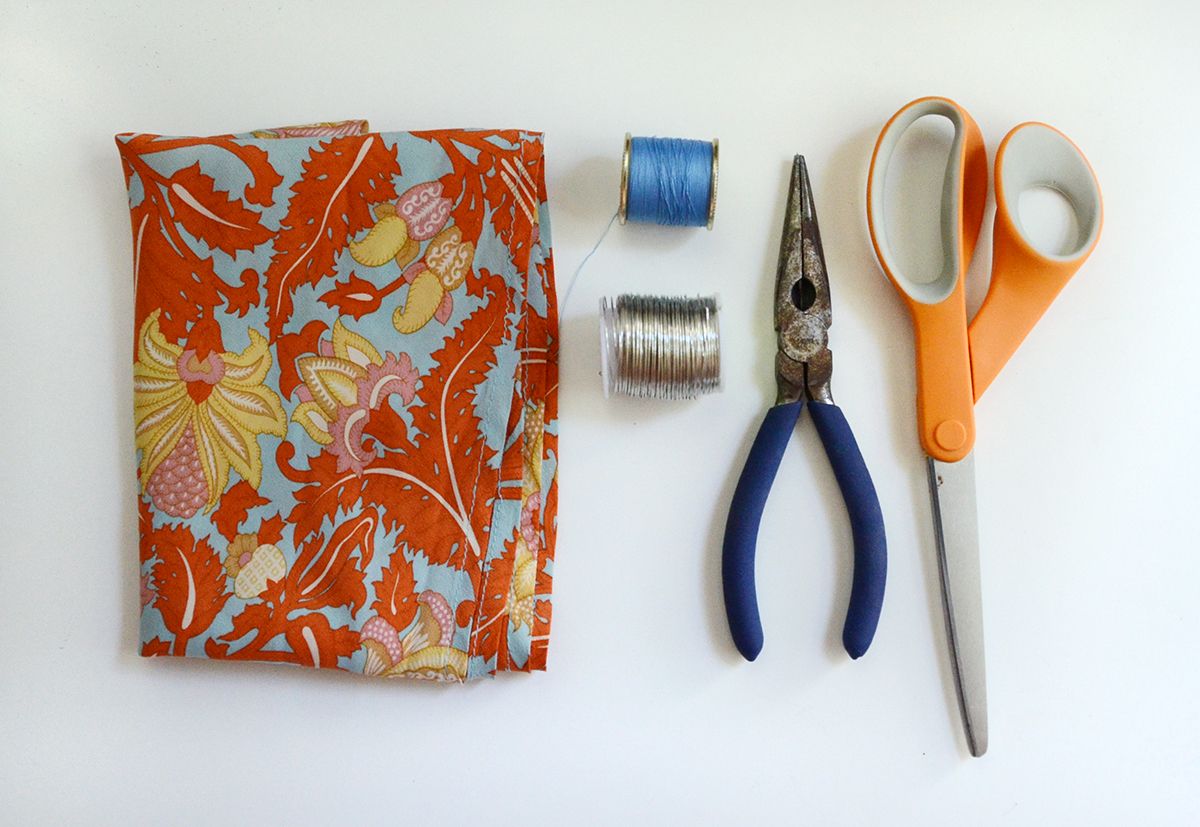
Here’s what you’ll need for the hair bow:
- 1/8 yard of fabric (any light fabric will work)
- Coordinating thread
- Malleable wire
- Scissors
- Wire cutters
How to make hair bows: Step by Step Process
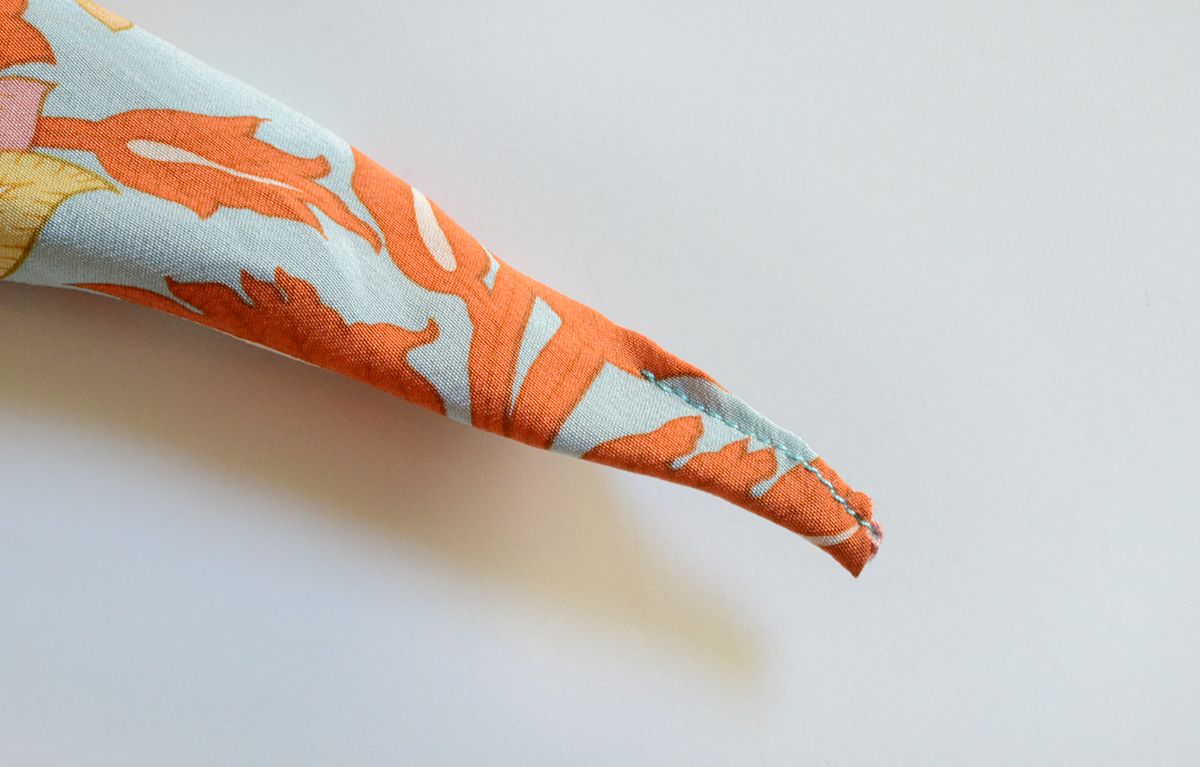
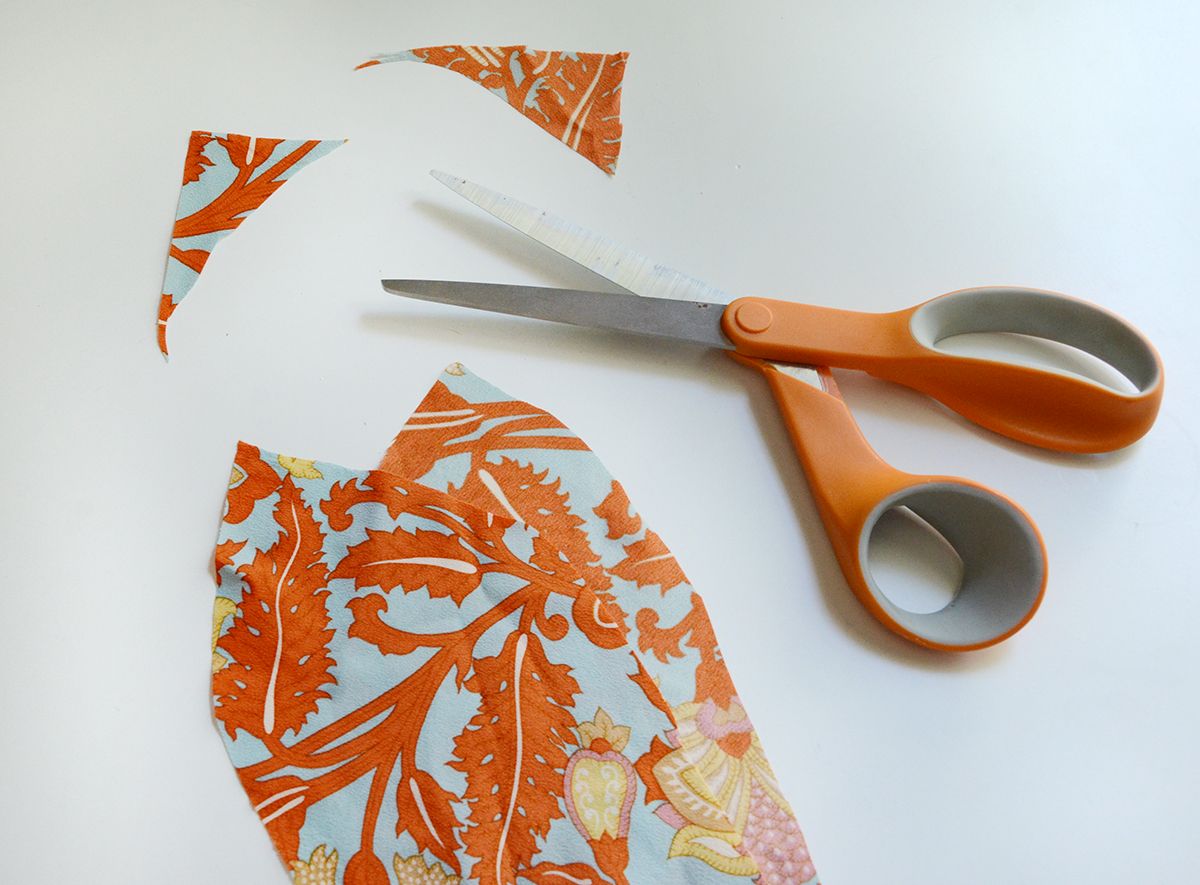
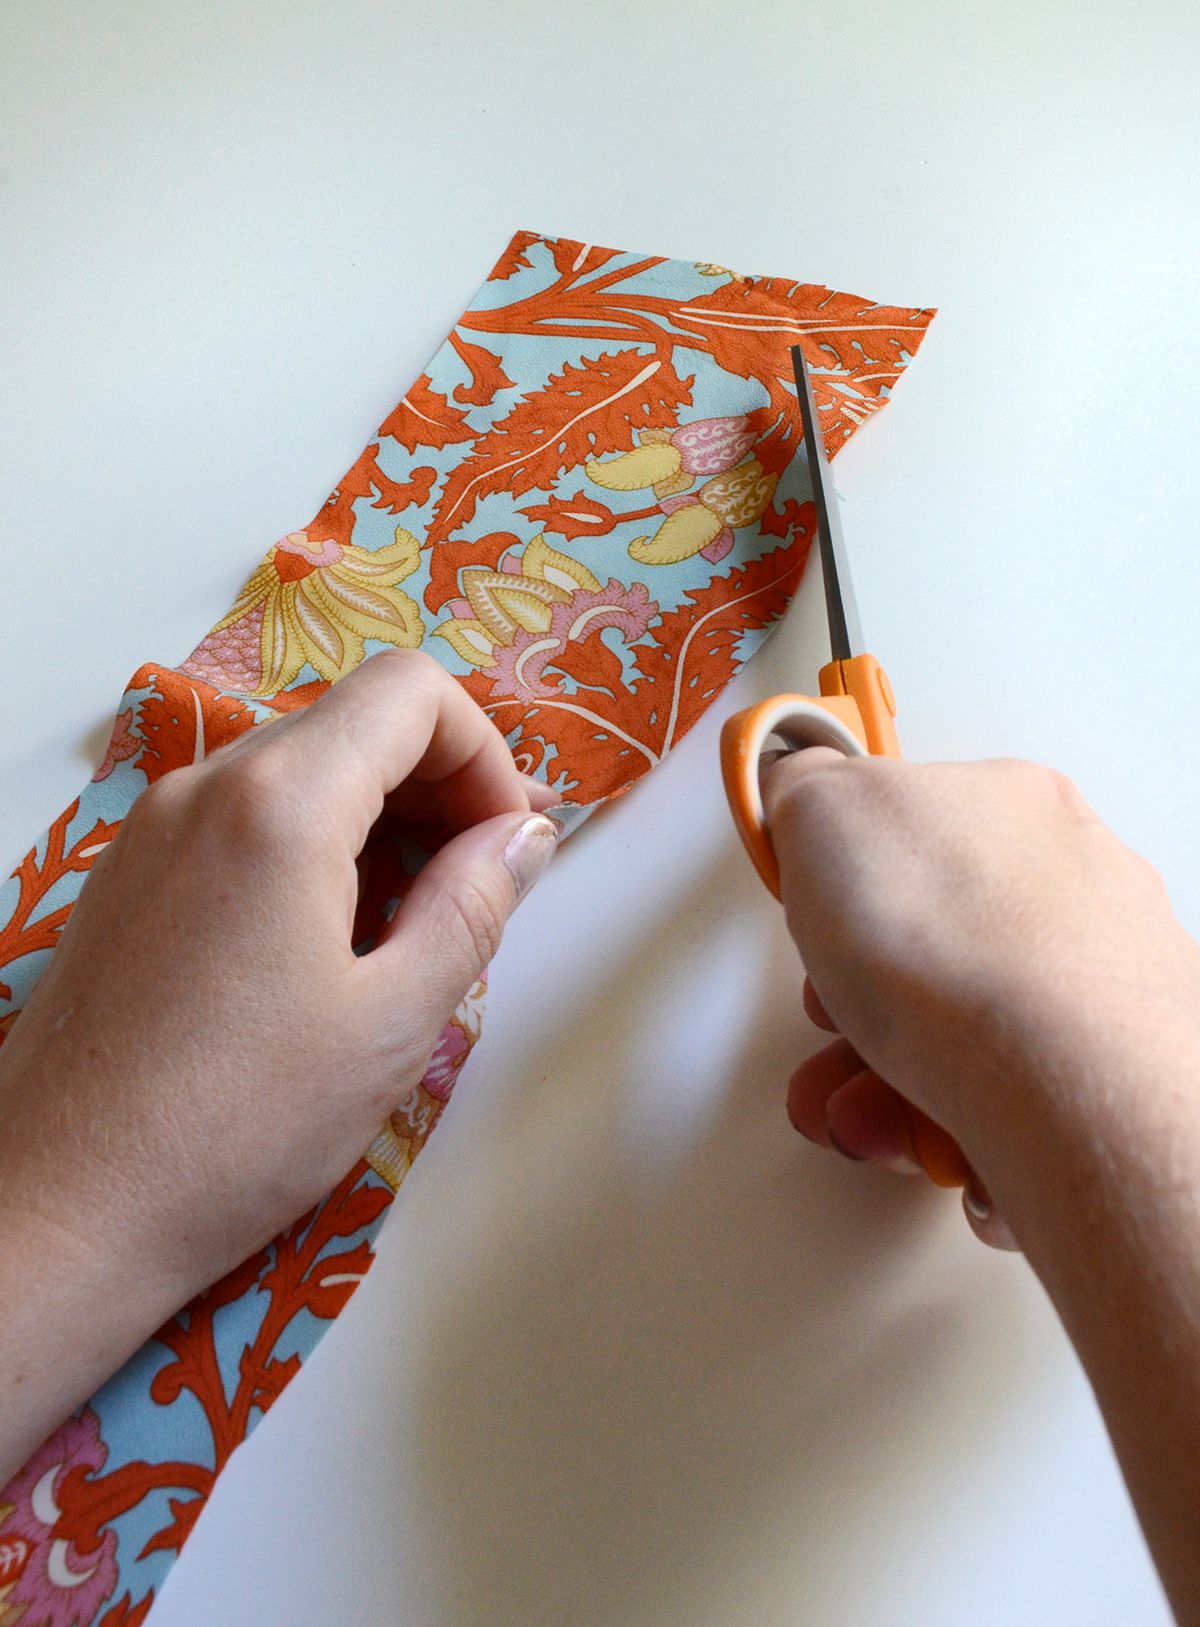
Begin by cutting a strip of fabric that is 34×4″. Next, starting about 2 inches from the top right, begin cutting the corner so it is rounded and then comes to a point in the middle as shown in the photo below. Do the same on the other remaining corners.
Here you can see the shape that the ends should form.
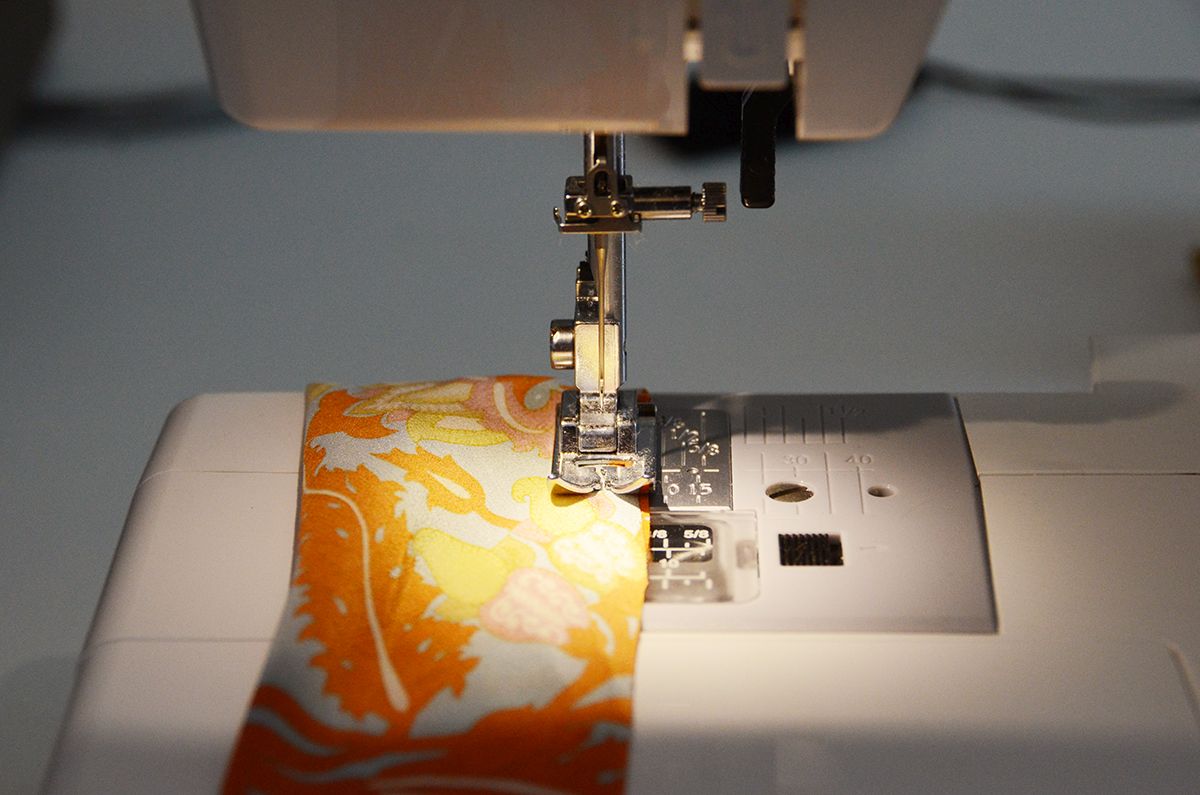
Next, fold the strip in half lengthwise with wrong sides out and sew almost all the way down, following the edge and leaving a 1/4″ seam allowance. Stop about 1.5″ from the bottom so there is a hole left.
Using that hole, turn everything right side out by threading the fabric back up through it.
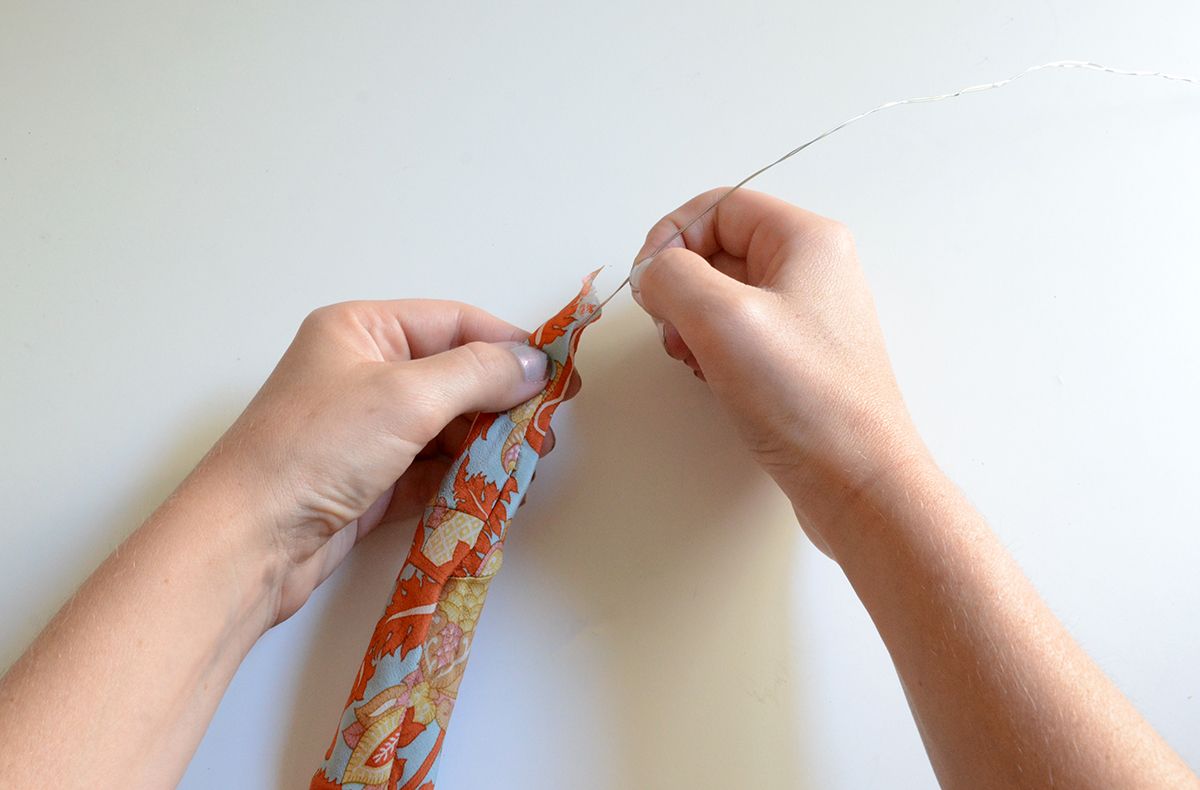
Next, cut a piece of wire that is 68″ long and fold it in half, twisting it so that it forms a sturdier piece. Thread it through the hole that is left at the bottom of the fabric tube.
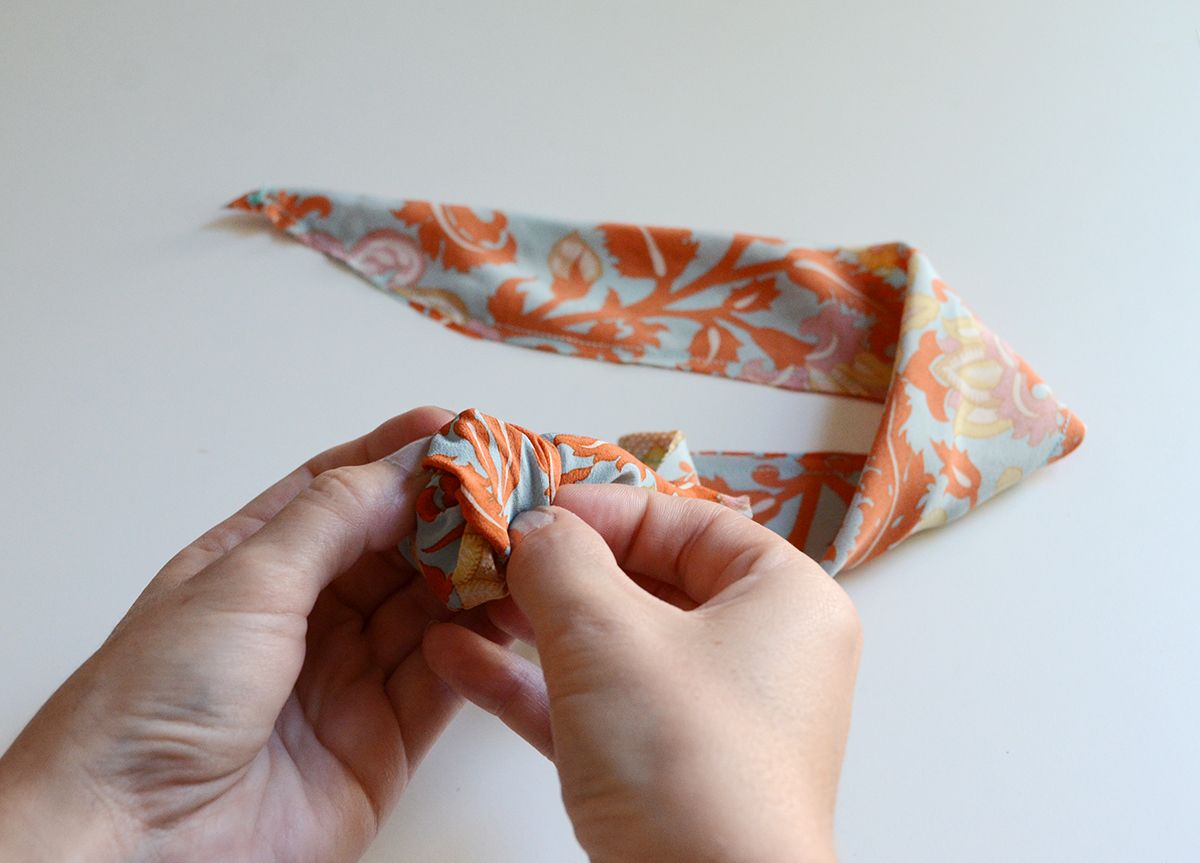
Fold the ends under and sew up the hole as shown above. And you’re all finished!
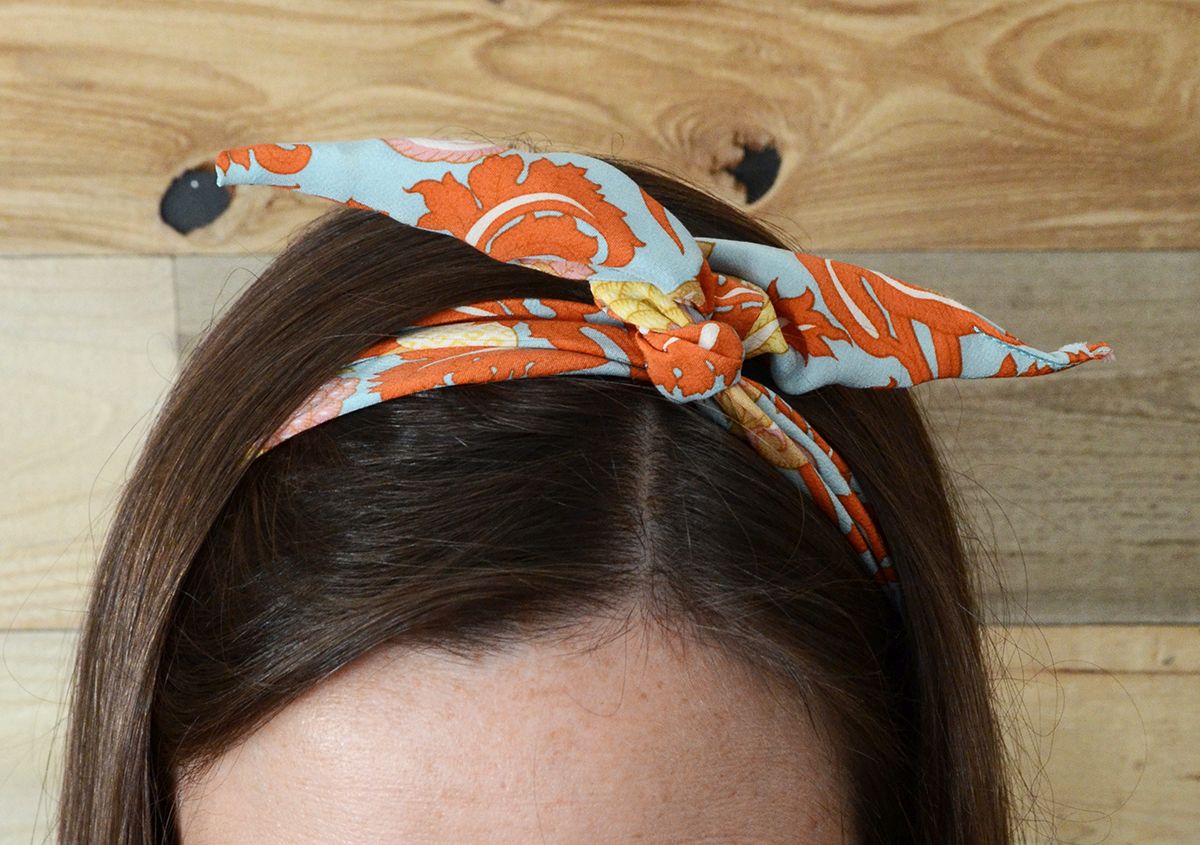
Wrap it around your head like a head band and then twist the ends around each other to form a bow on top of your head.
These are so quick and easy to make that you could do a few different colors in no time. You might experiment with different widths and lengths as well.
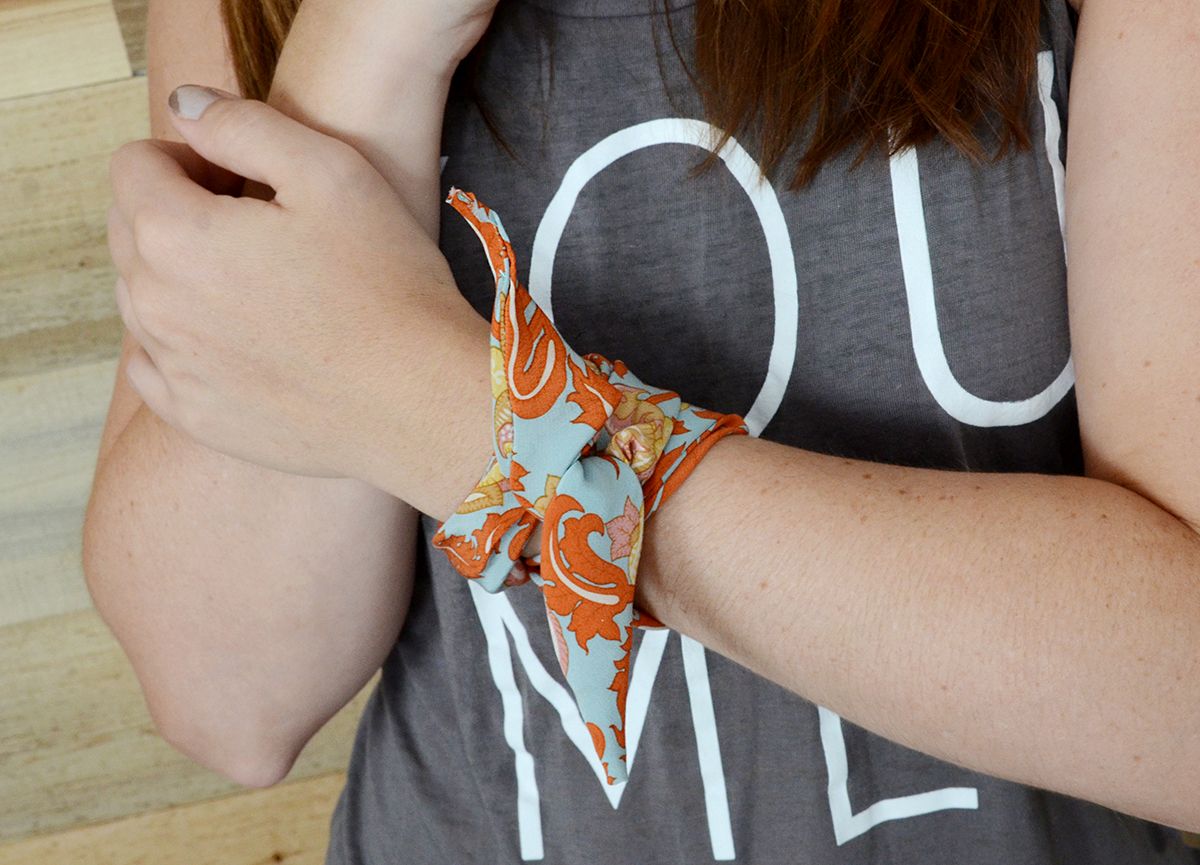
You can get creative with it too and wrap it around a bun or even your wrist. Enjoy!
