How to Make Recycled CD Art
If I’m being totally honest, one of my very favourite kinds of crafts to make is an upcycled one! There’s just something about repurposing old things that I find so satisfying, no matter what I’m actually making them into. Recently, I came across a pack of old rewritable CDs that I know I won’t use so, rather than getting rid of them, I decided to try and think of DIY ways that I could reuse them as art instead.
Here are the full steps for one of the creative ideas I had! Just in case you like following video tutorials more than written ones, there’s a full one at the end of this post for you as well.
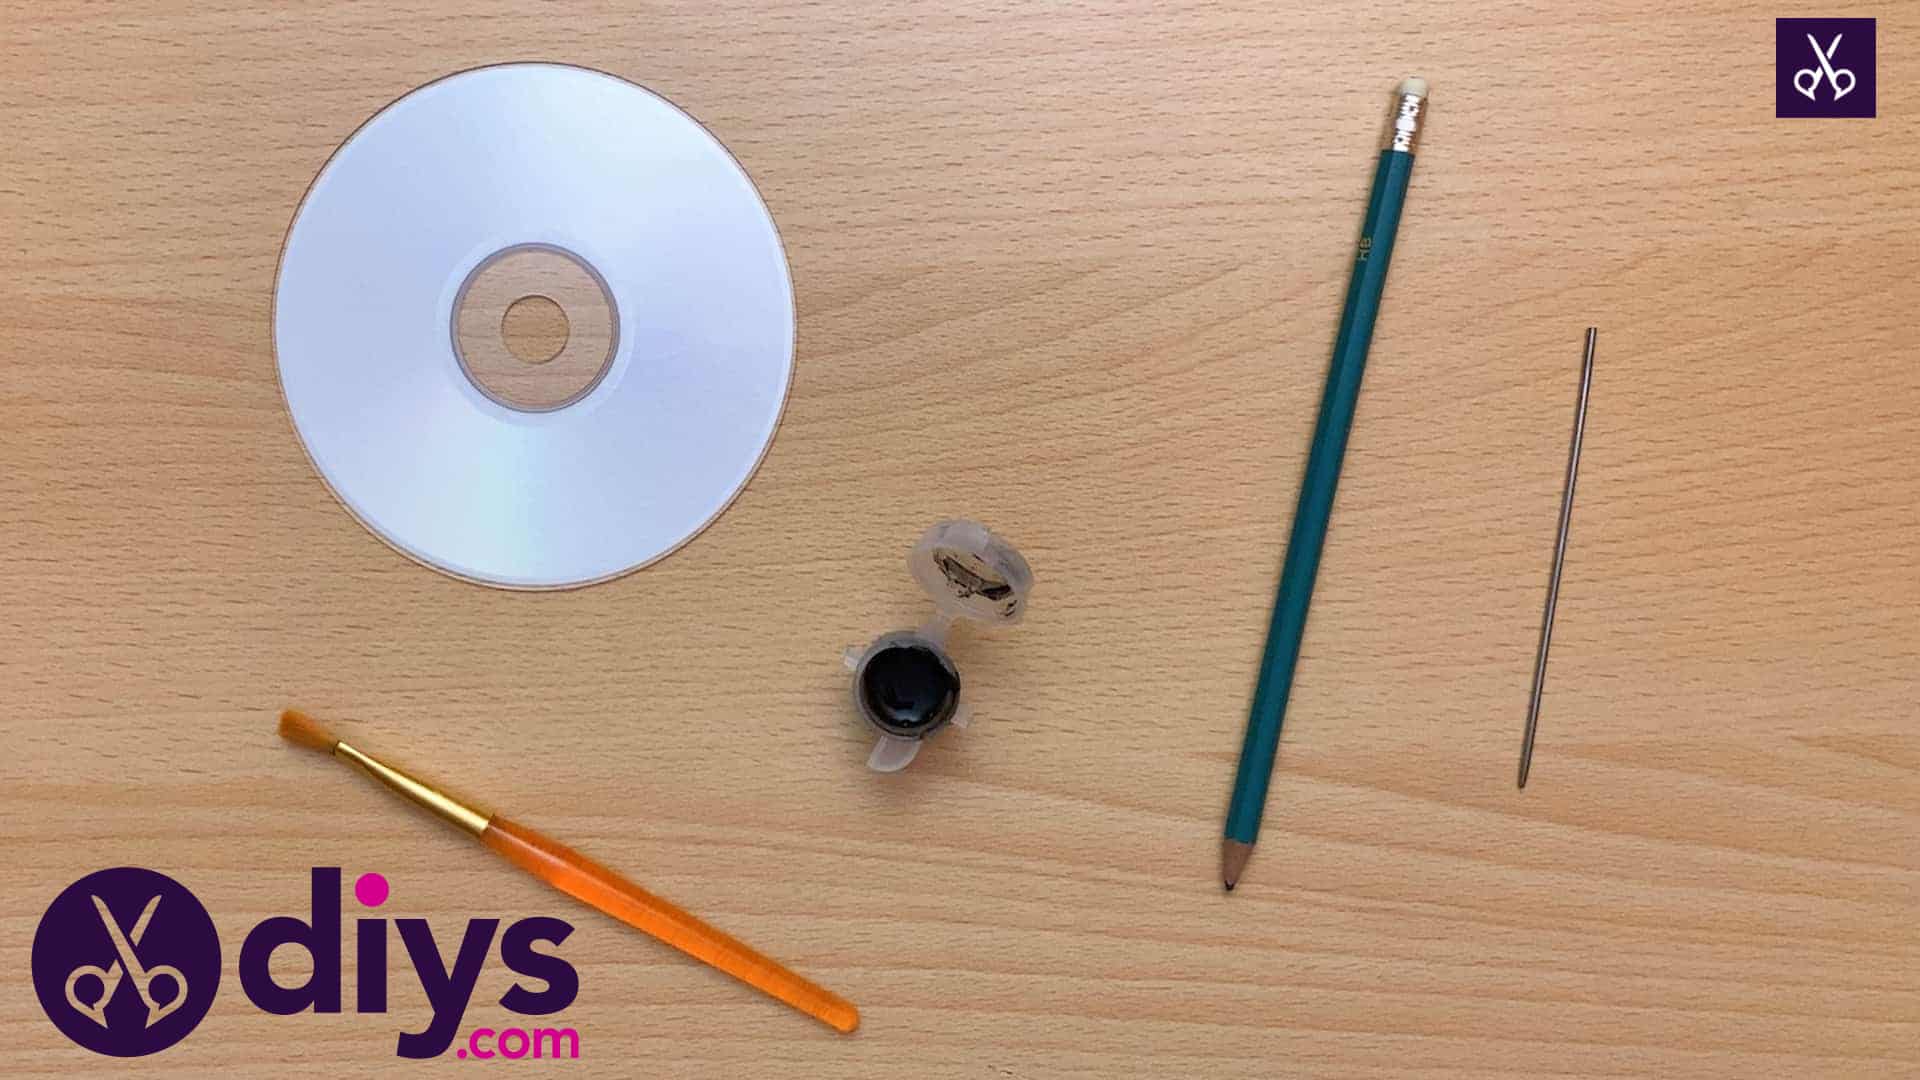
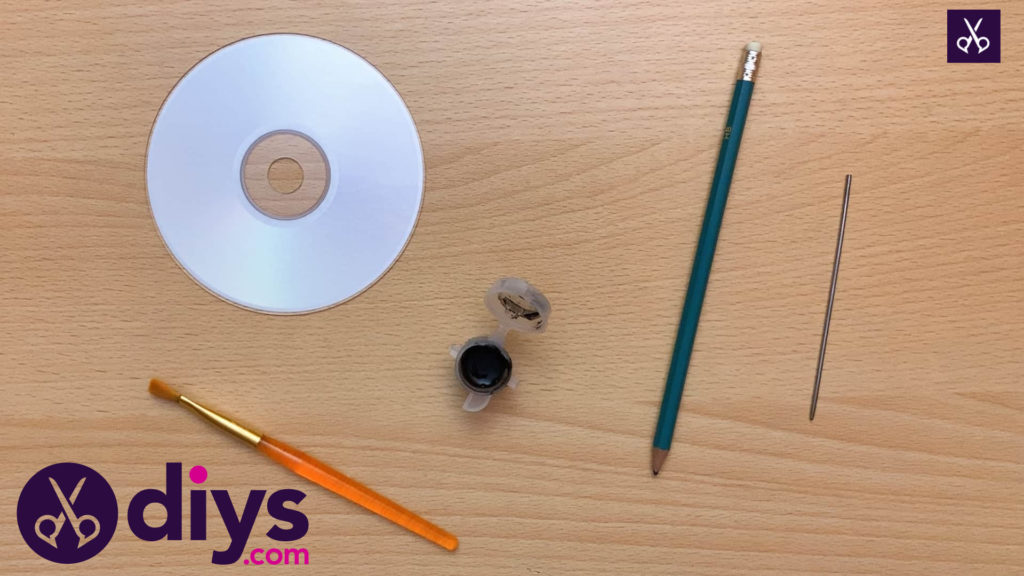
For this project, you’ll need:
- A single CD
- Acrylic paint
- Pencil
- Scratch knife
- Paintbrush
Step 1:
Gather your supplies!
Step 2:
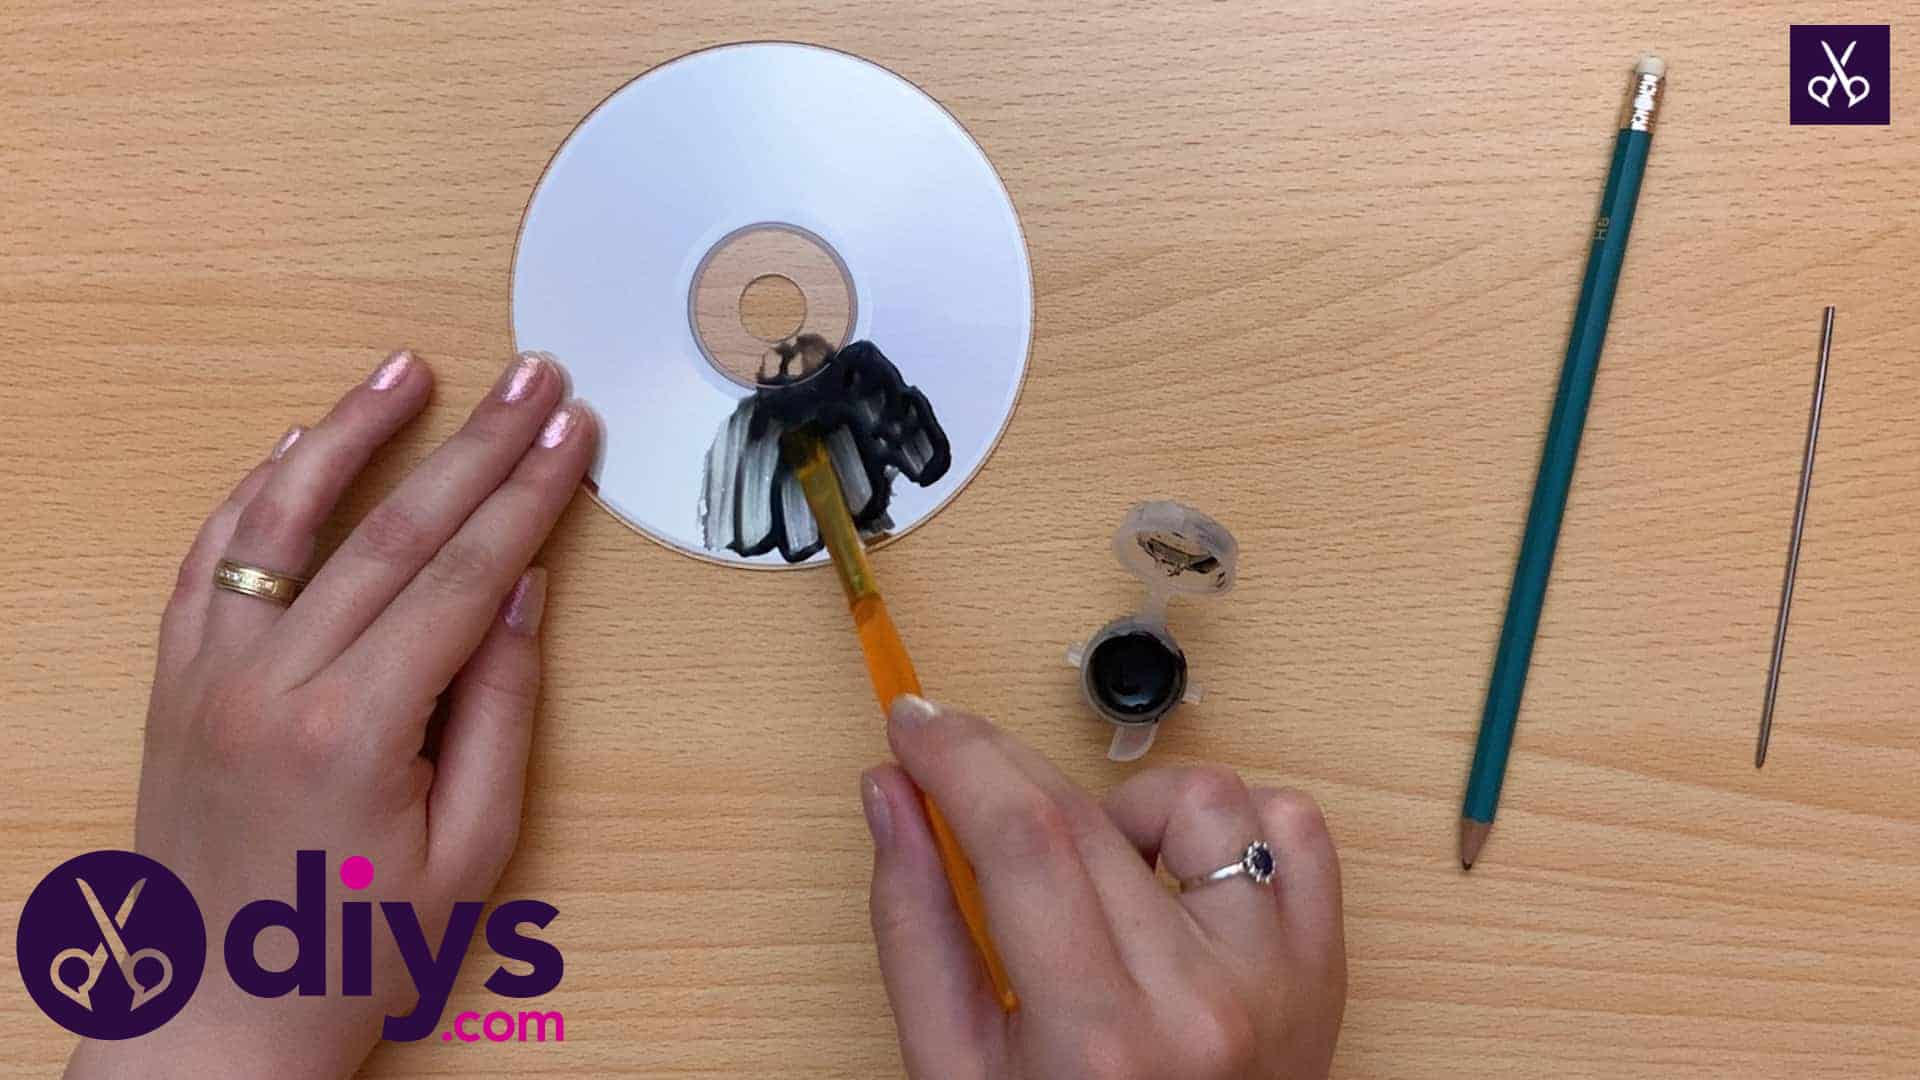
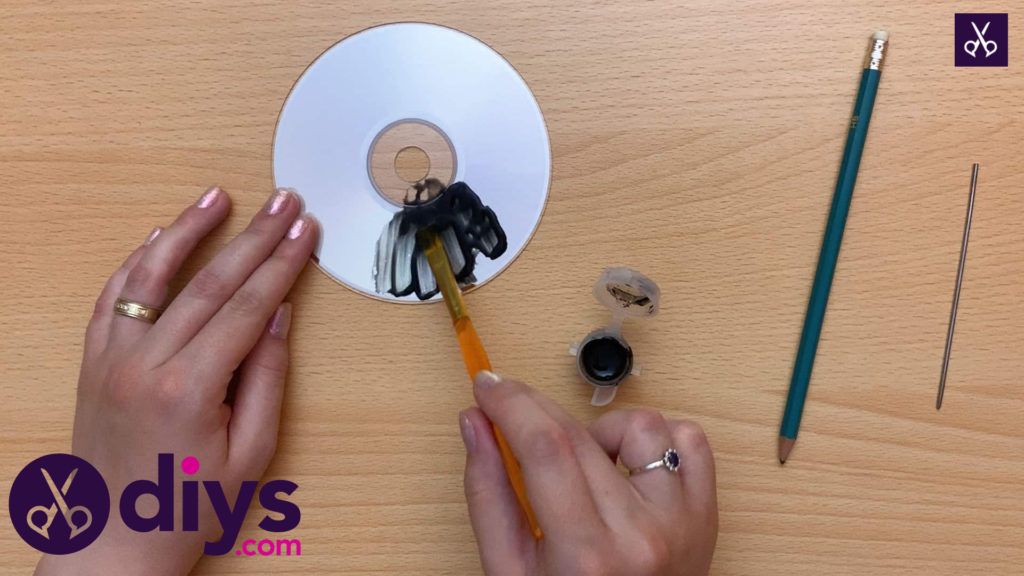
Paint your entire CD black. Because of its shiny surface, you’ll need an all surface paint of some kind. Otherwise, you might just have to practice a little bit of patience applying two or three layers of paint in order to cover the surface effectively and opaquely. I chose to cover my CD in black paint because I liked the idea of how well that dark shade would contrast with the shiny silver of the CD, but you could theoretically use any colour of paint you please. Set the CD aside until the paint has dried completely.
Step 3:
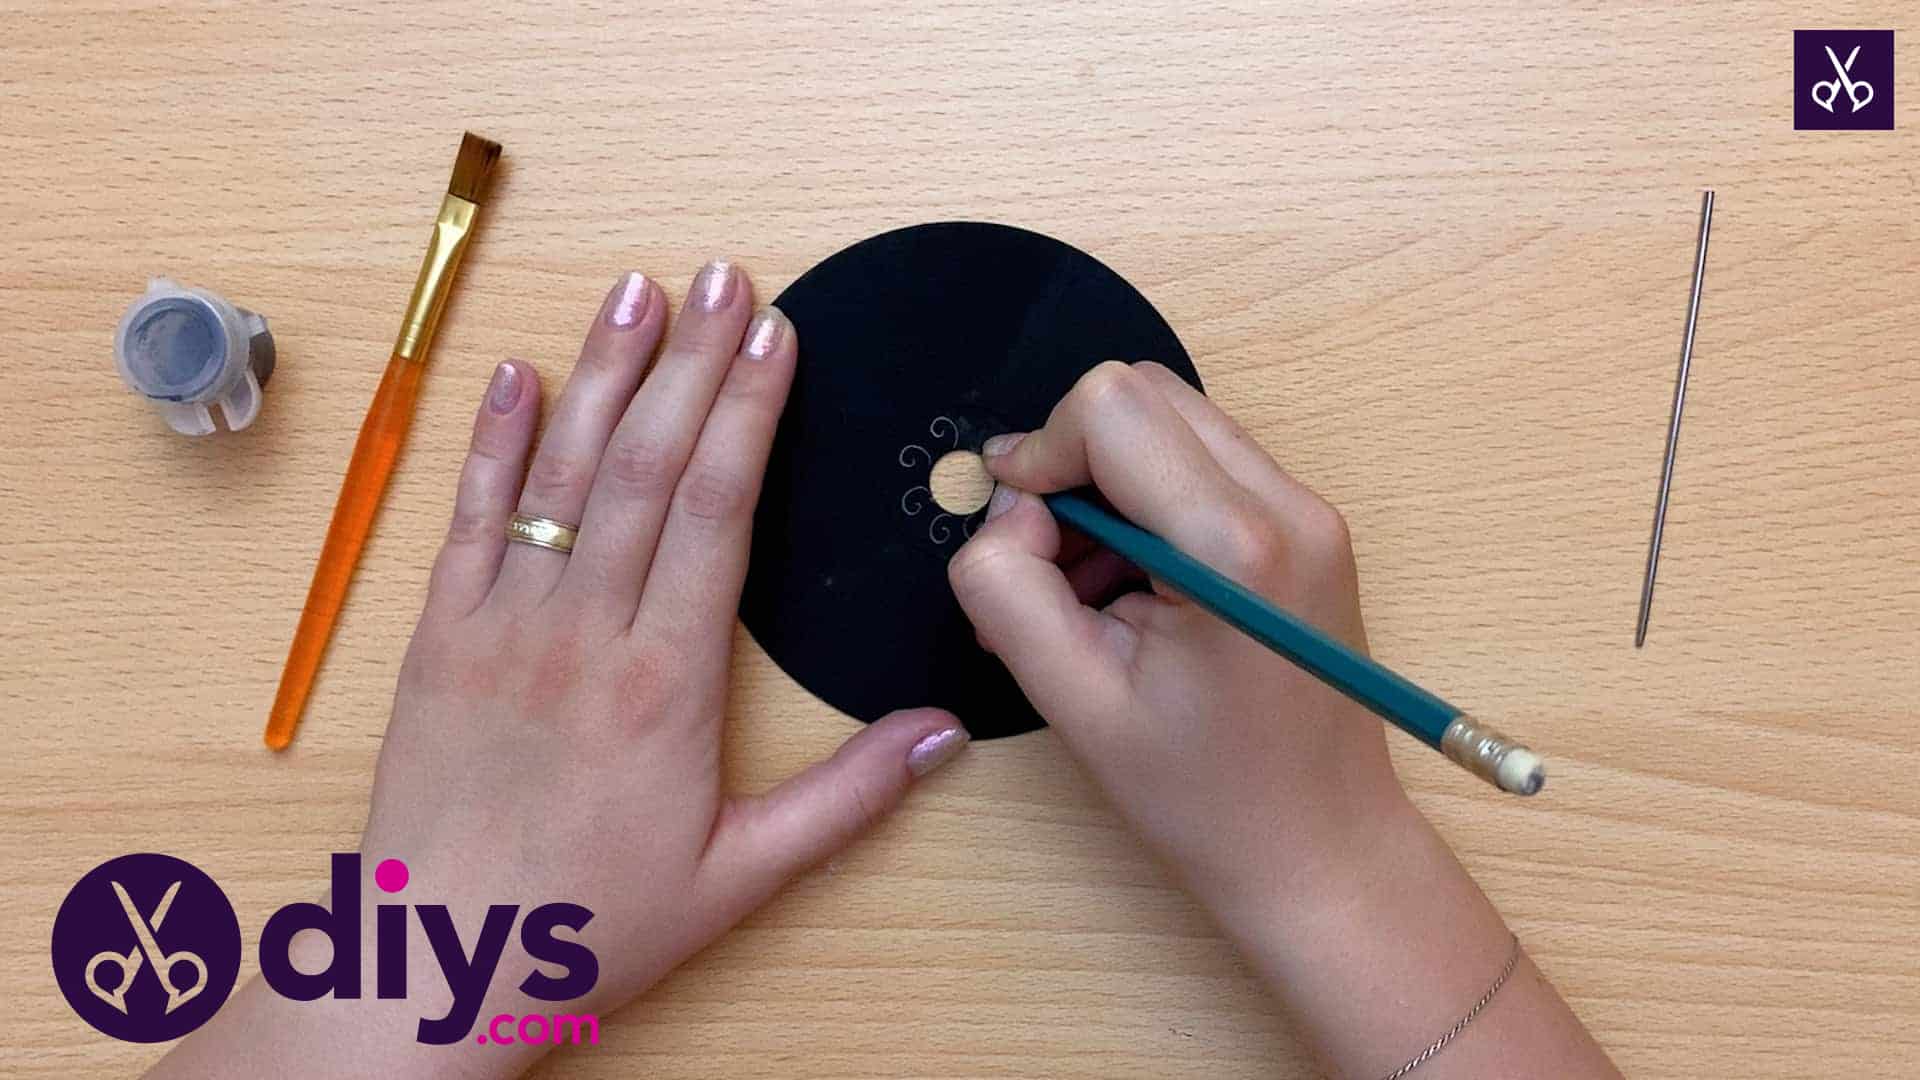
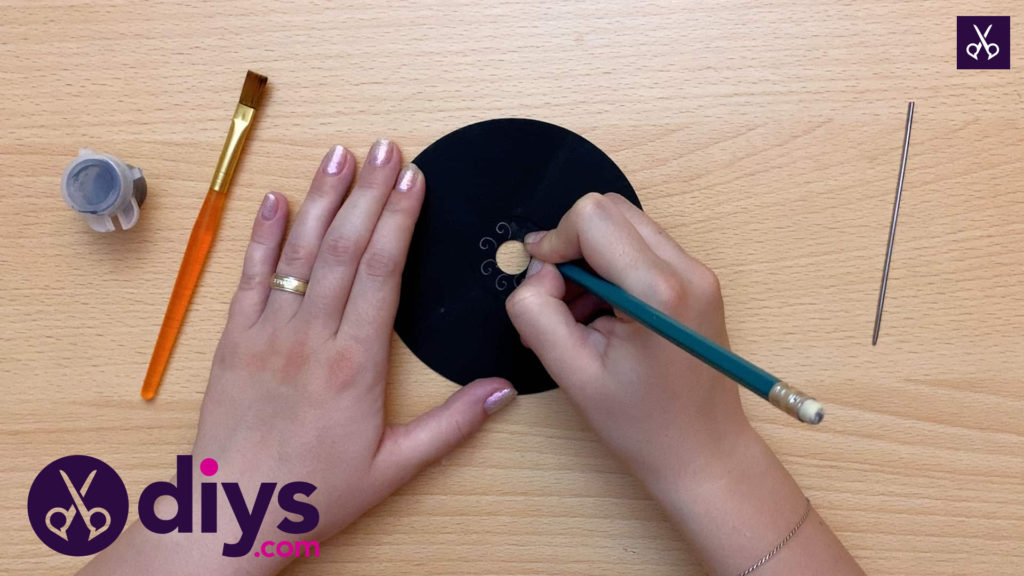
Using your pencil, draw out some swirling lines, patterns, and designs on your black paint. The silver of the pencil’s lead will show up well against the black, making your pattern easy to see and to follow later. Try not to push too hard with your pencil; you don’t want to scratch the paint quite yet. I started by drawing a few small curls all around the central hole of the CD.
Step 4:
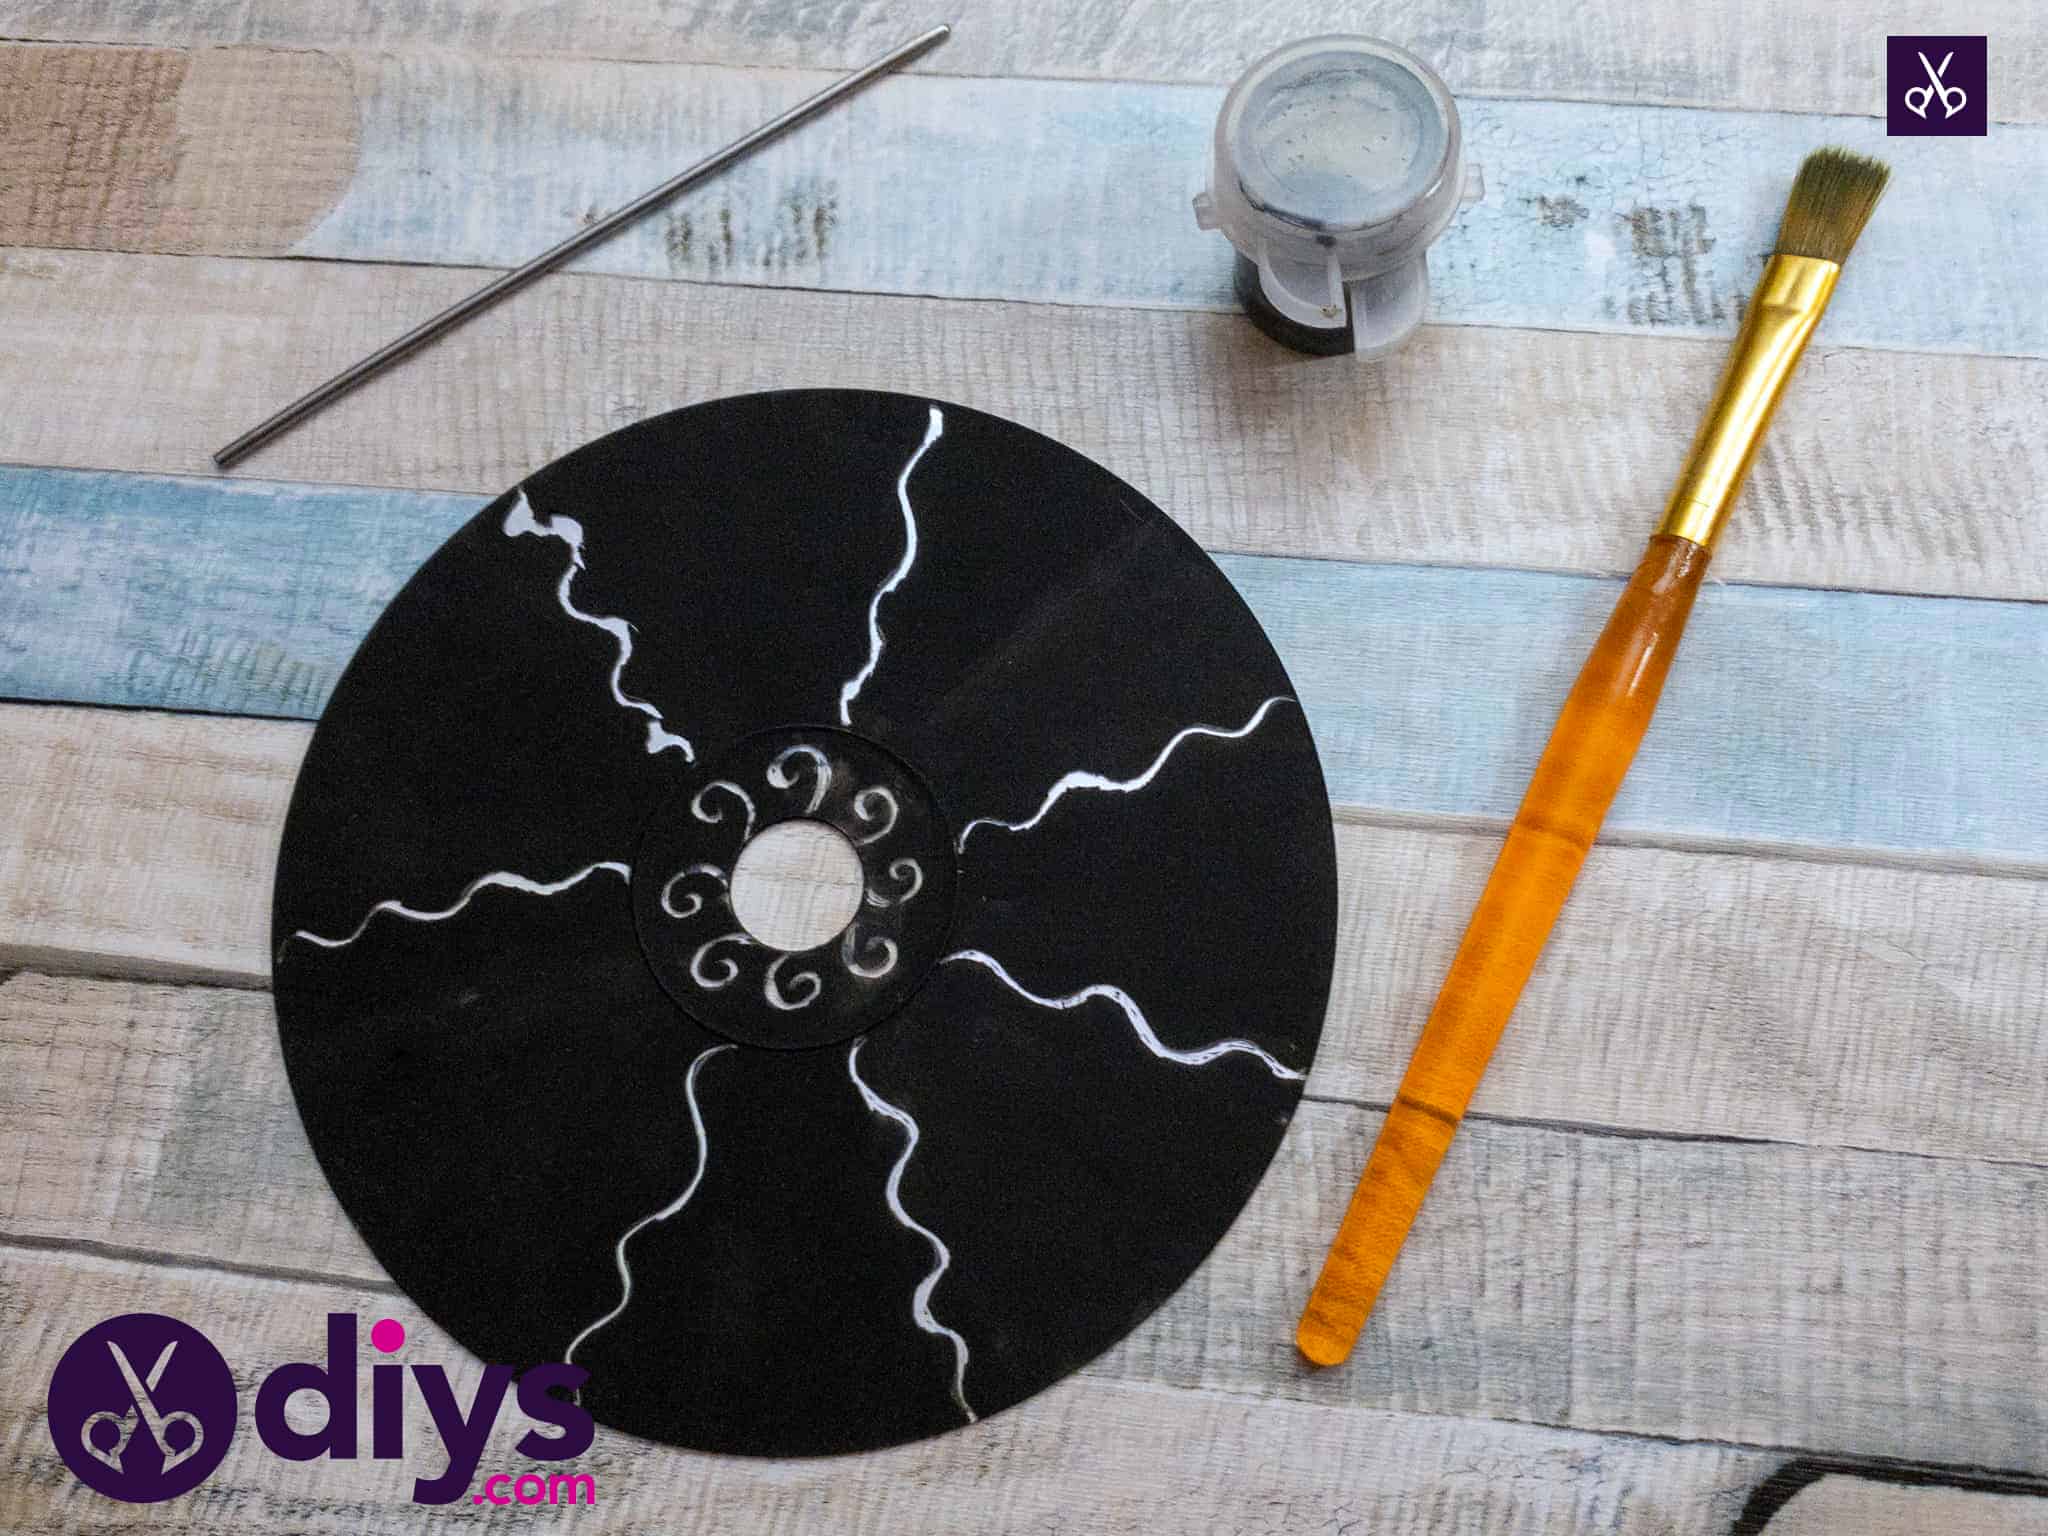
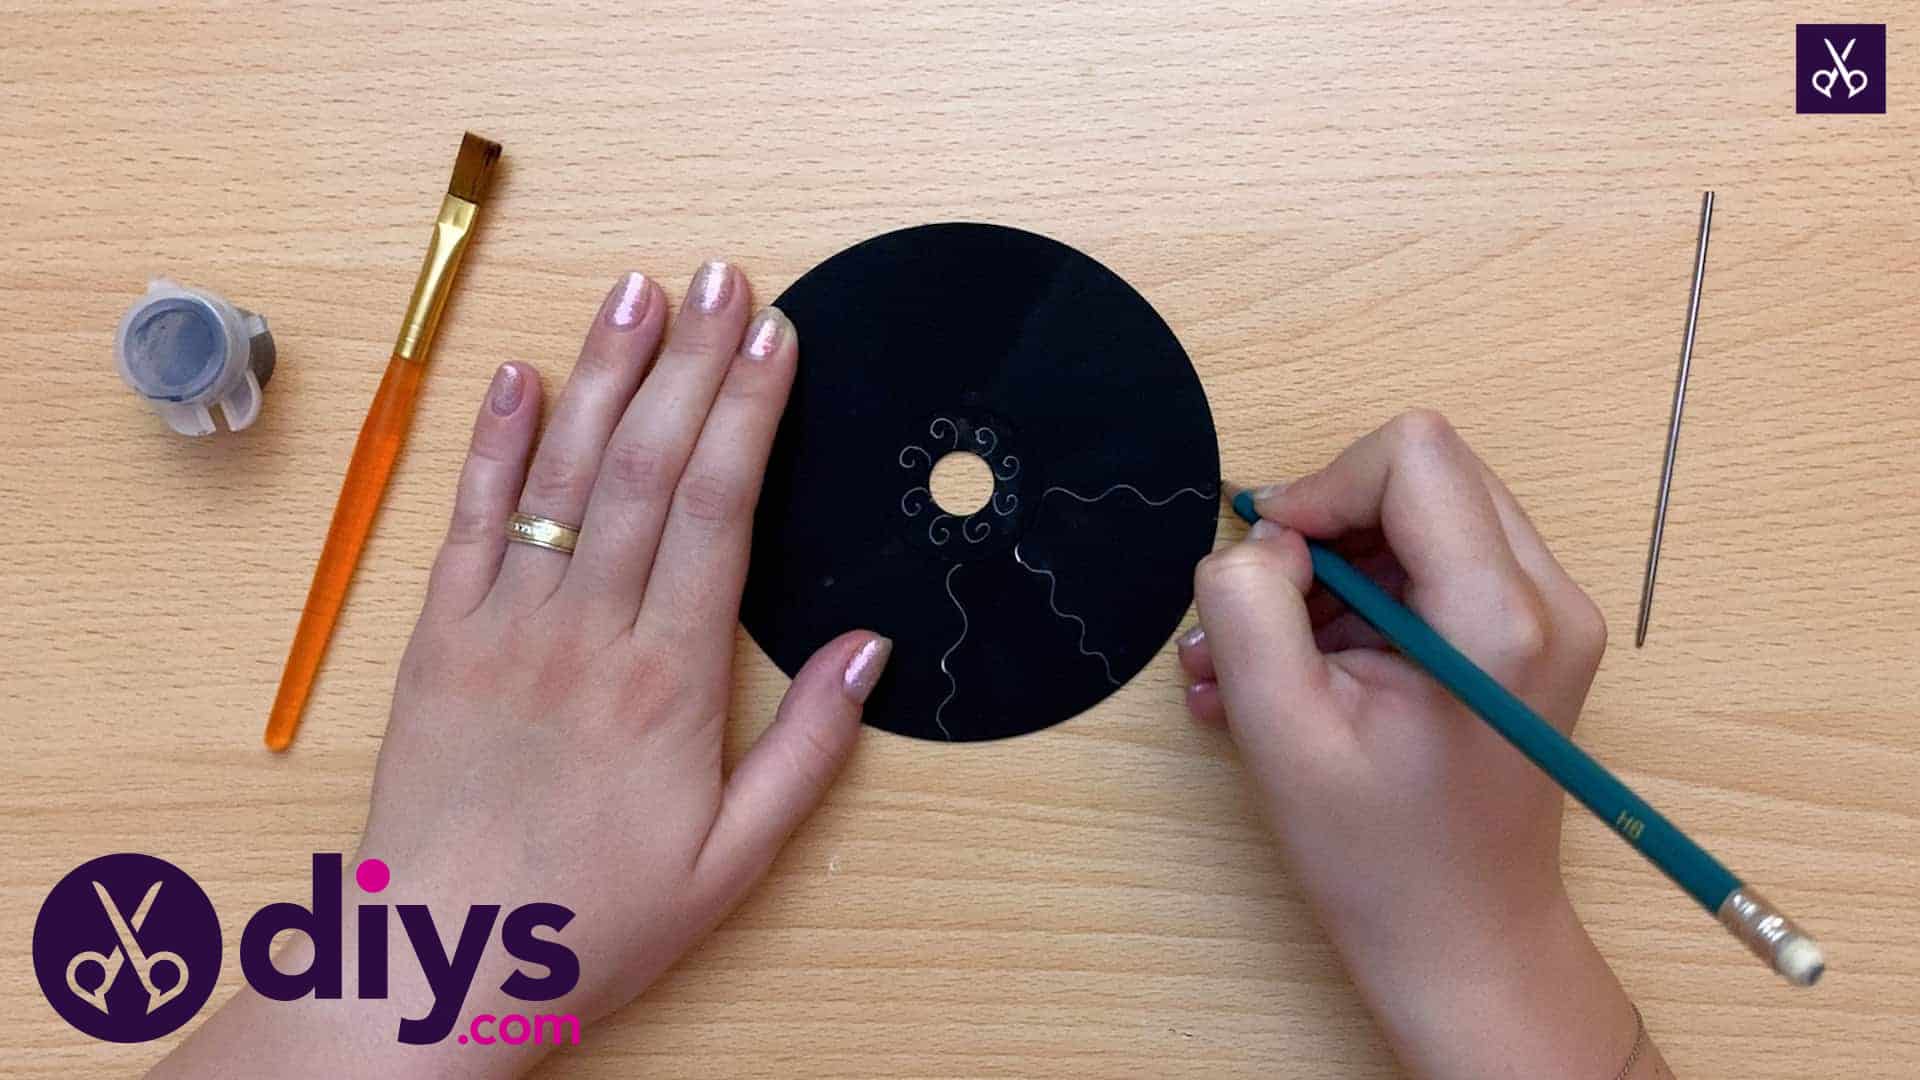
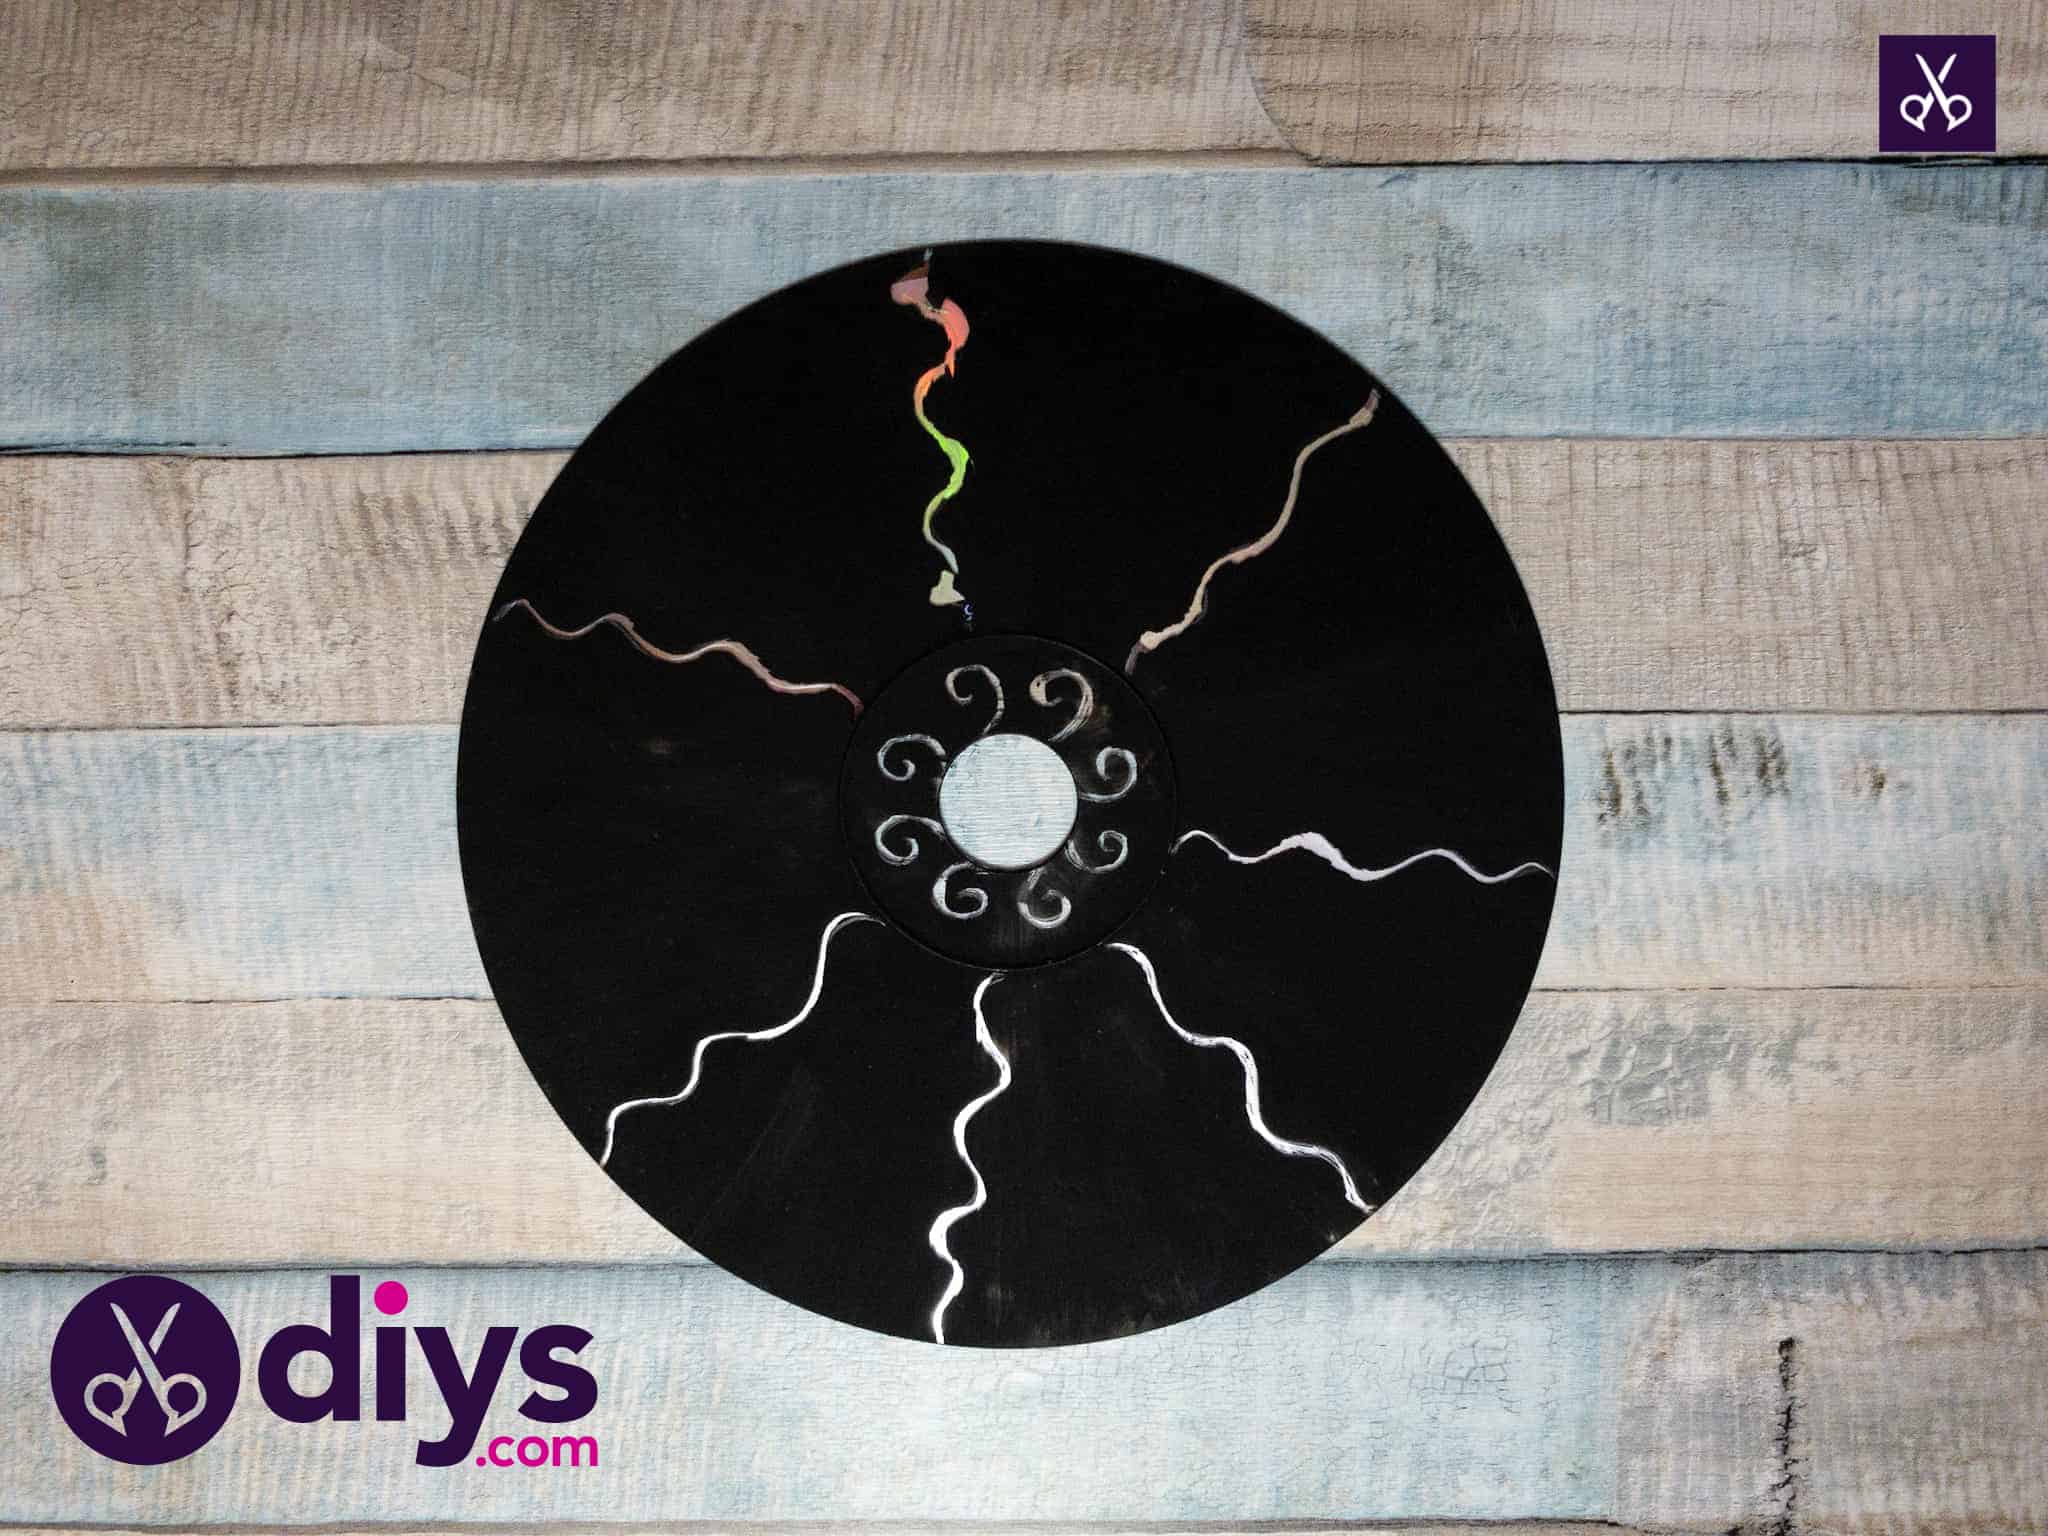
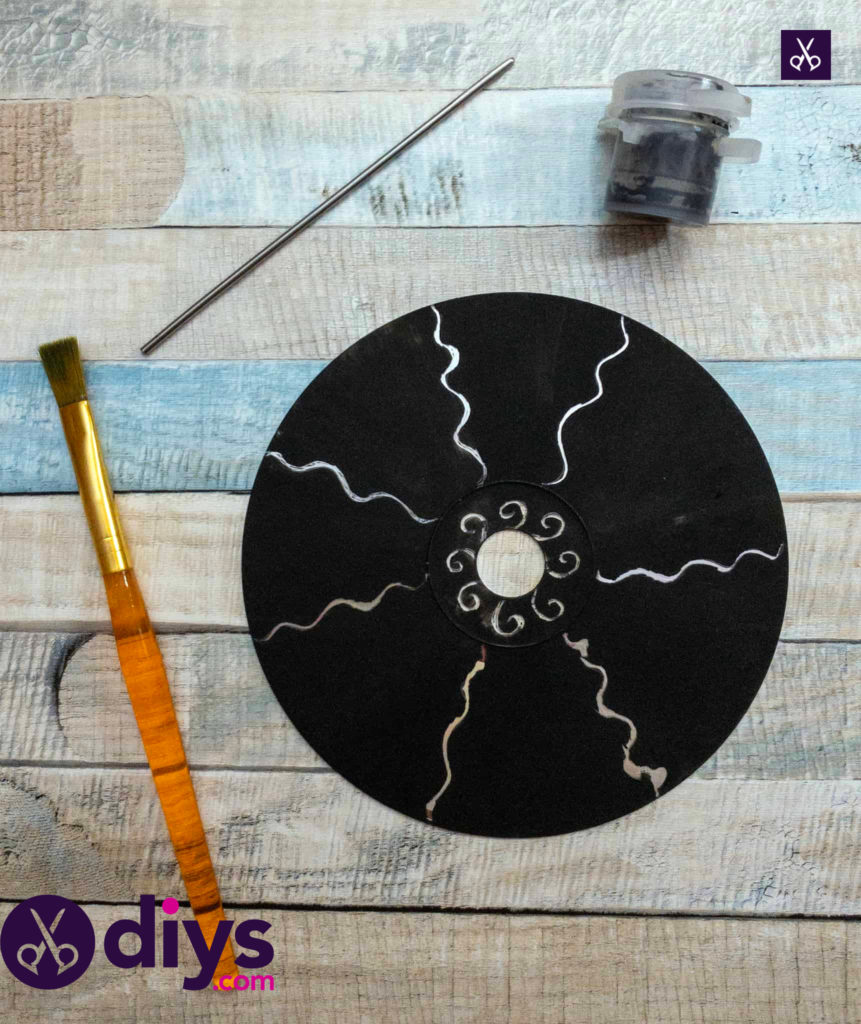
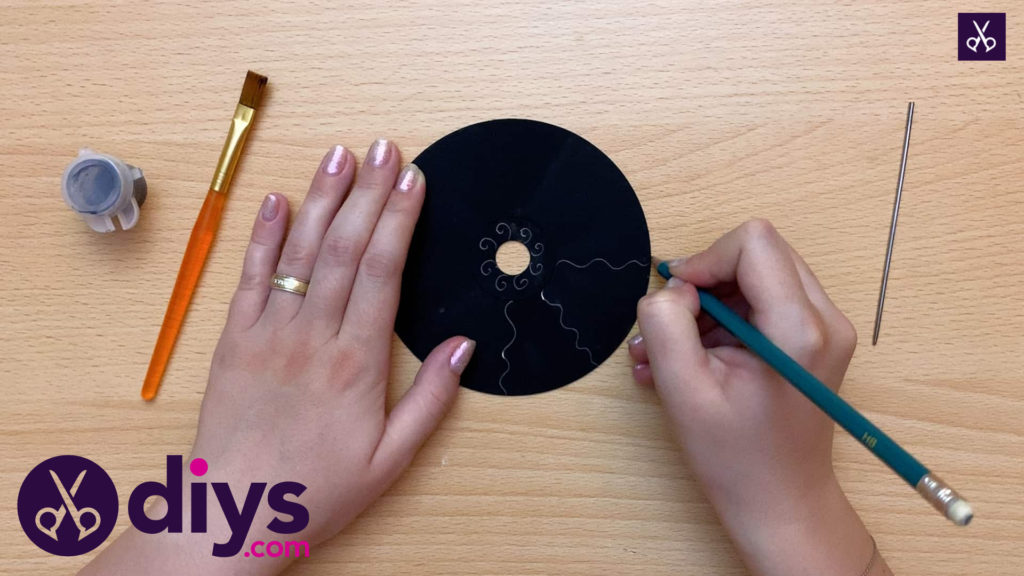
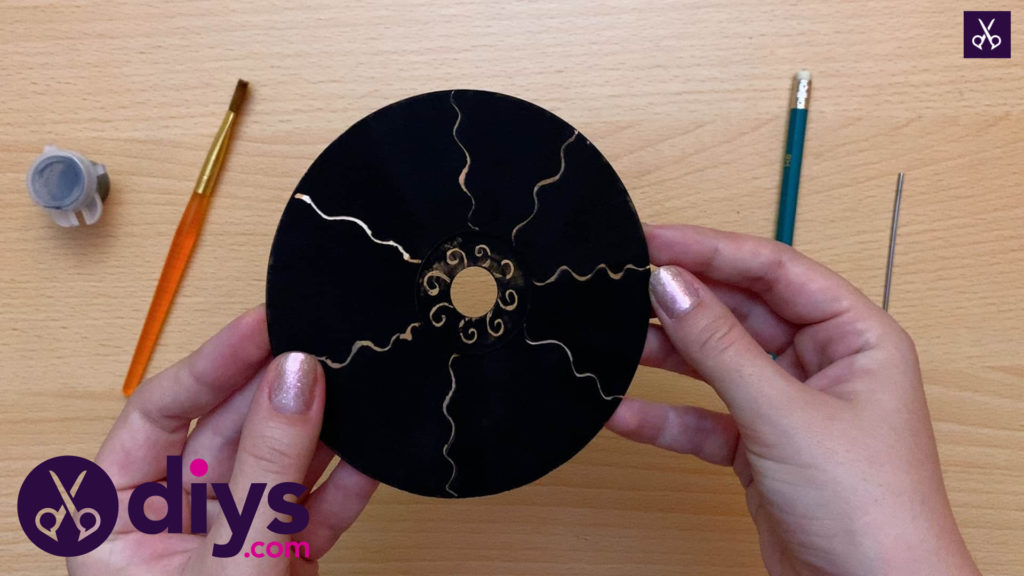
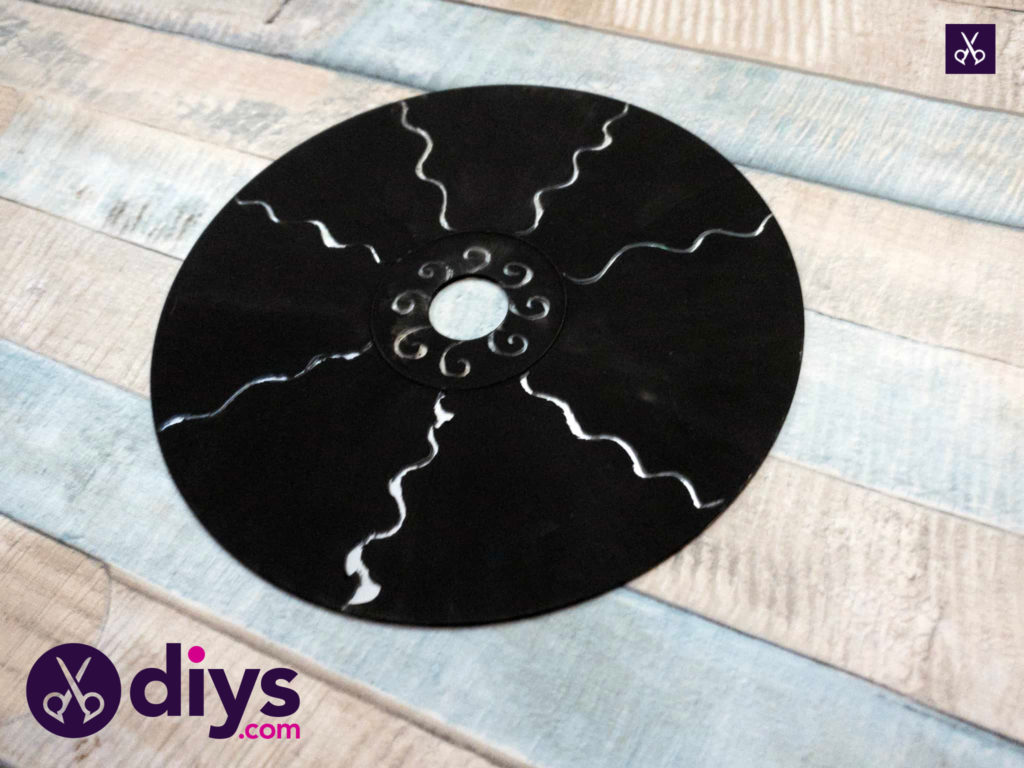
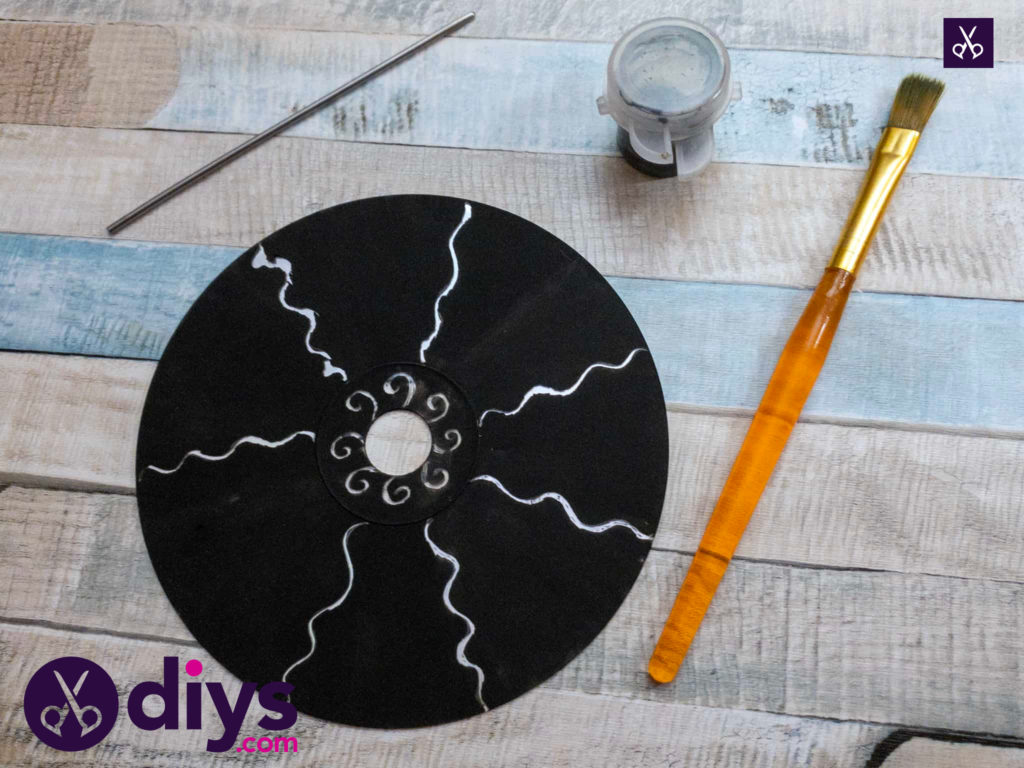
If you’d prefer to follow our specific pattern step by step rather than making one of your own, follow your central curlicues with a series of wiggly lines extending outward to the edge of the CD.
Step 5:
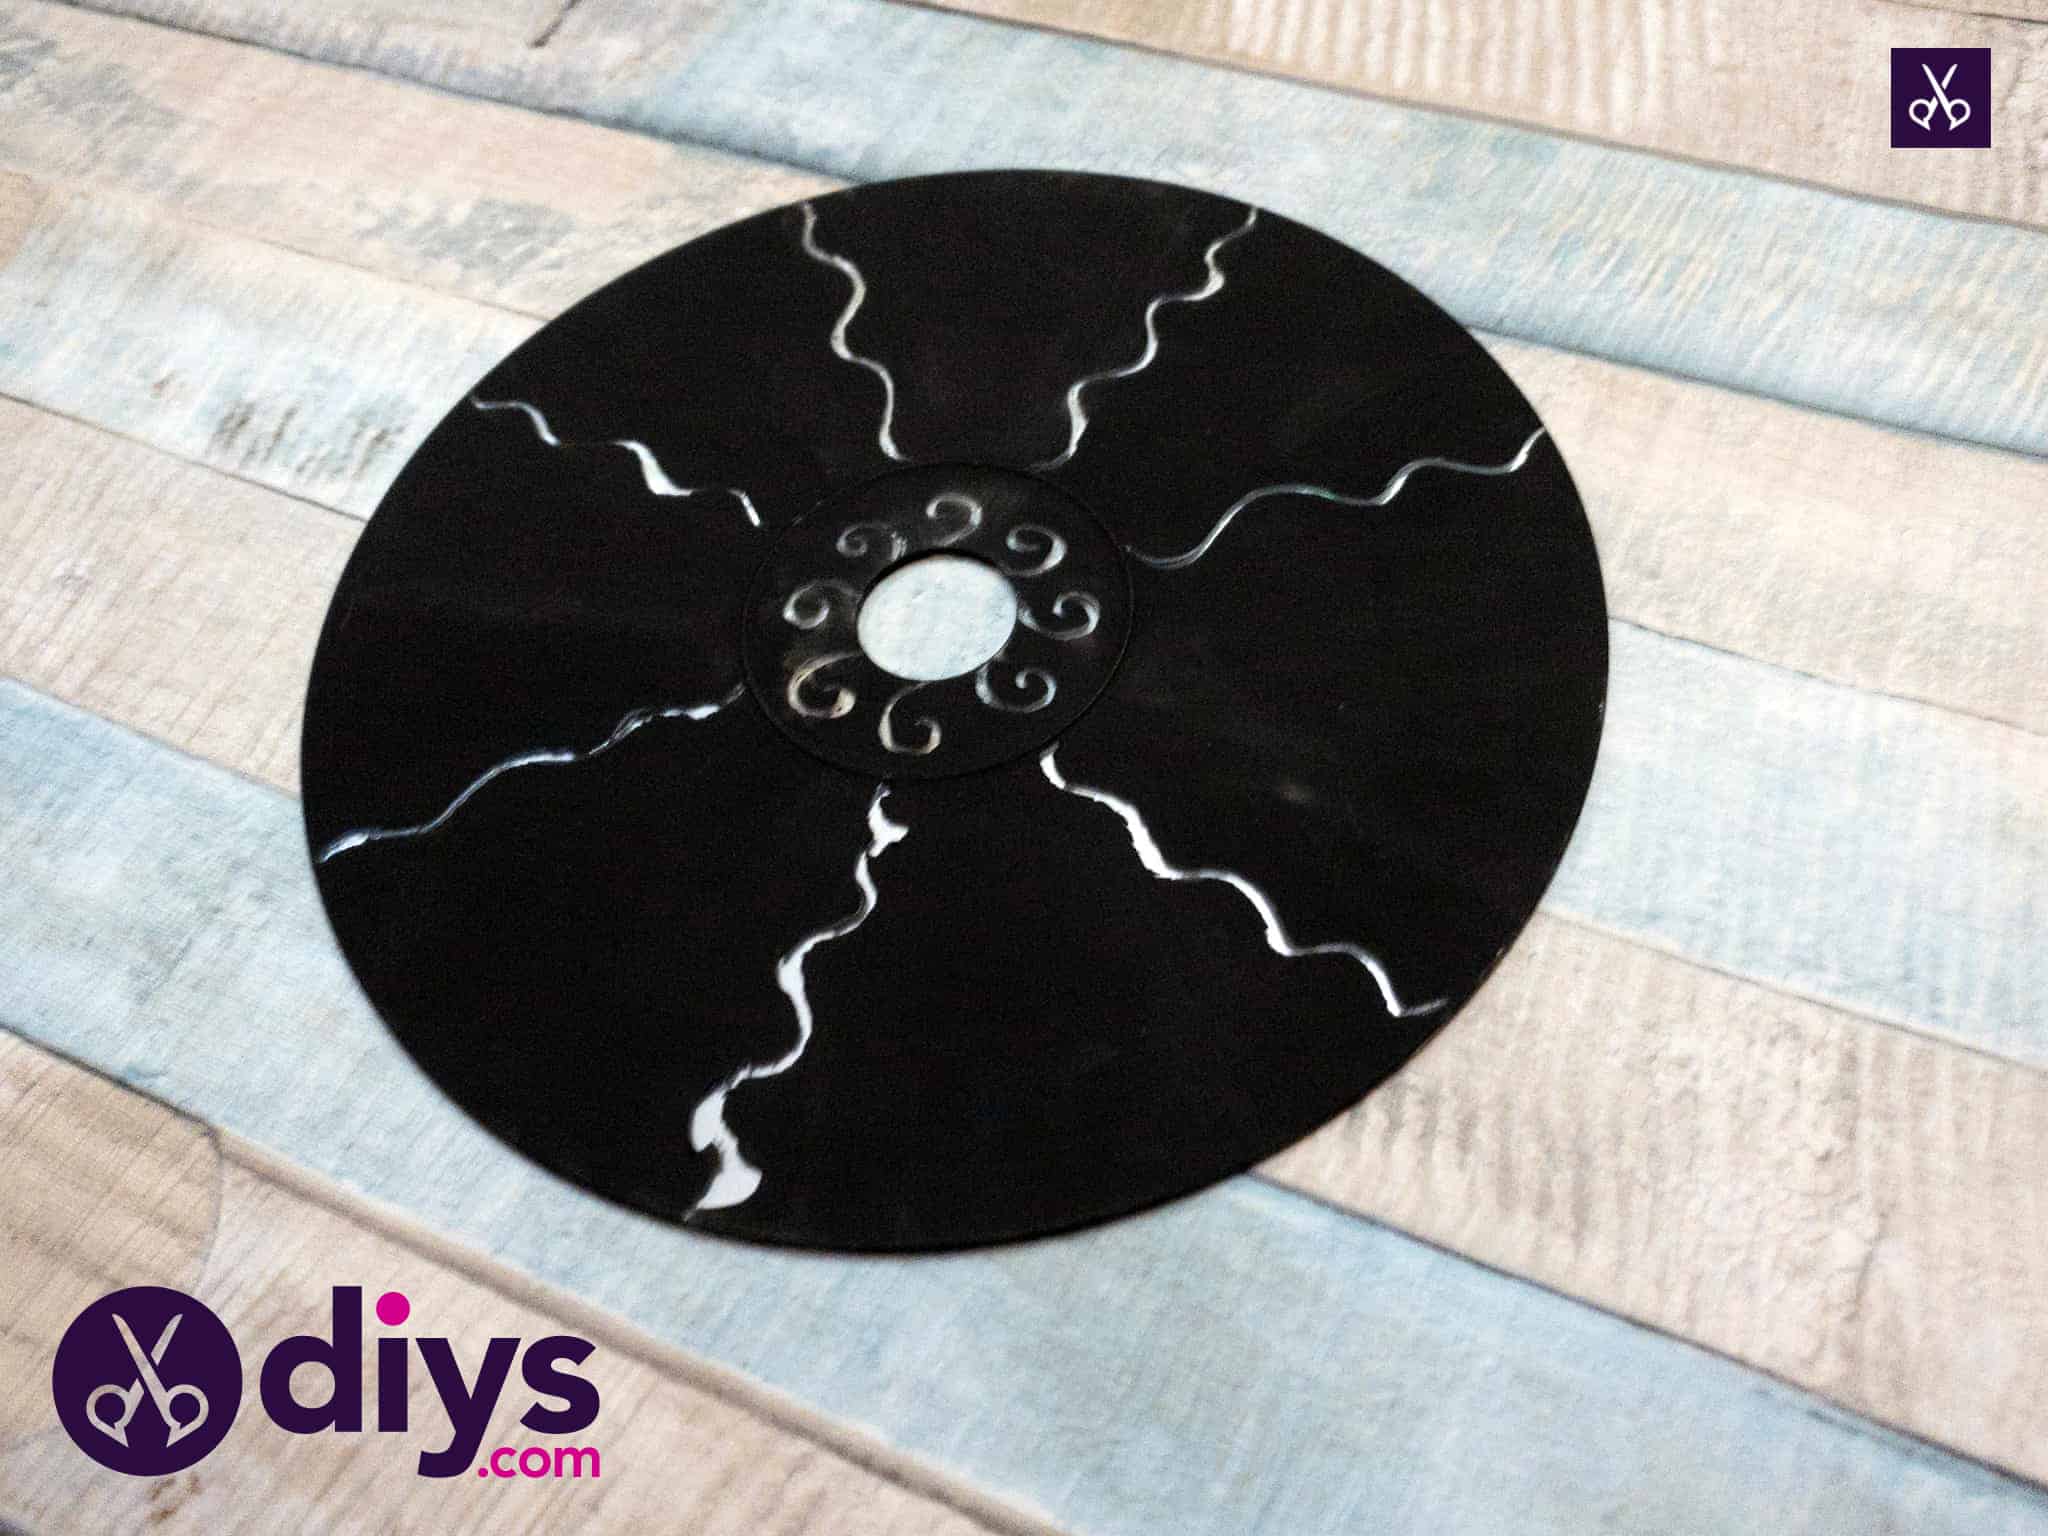
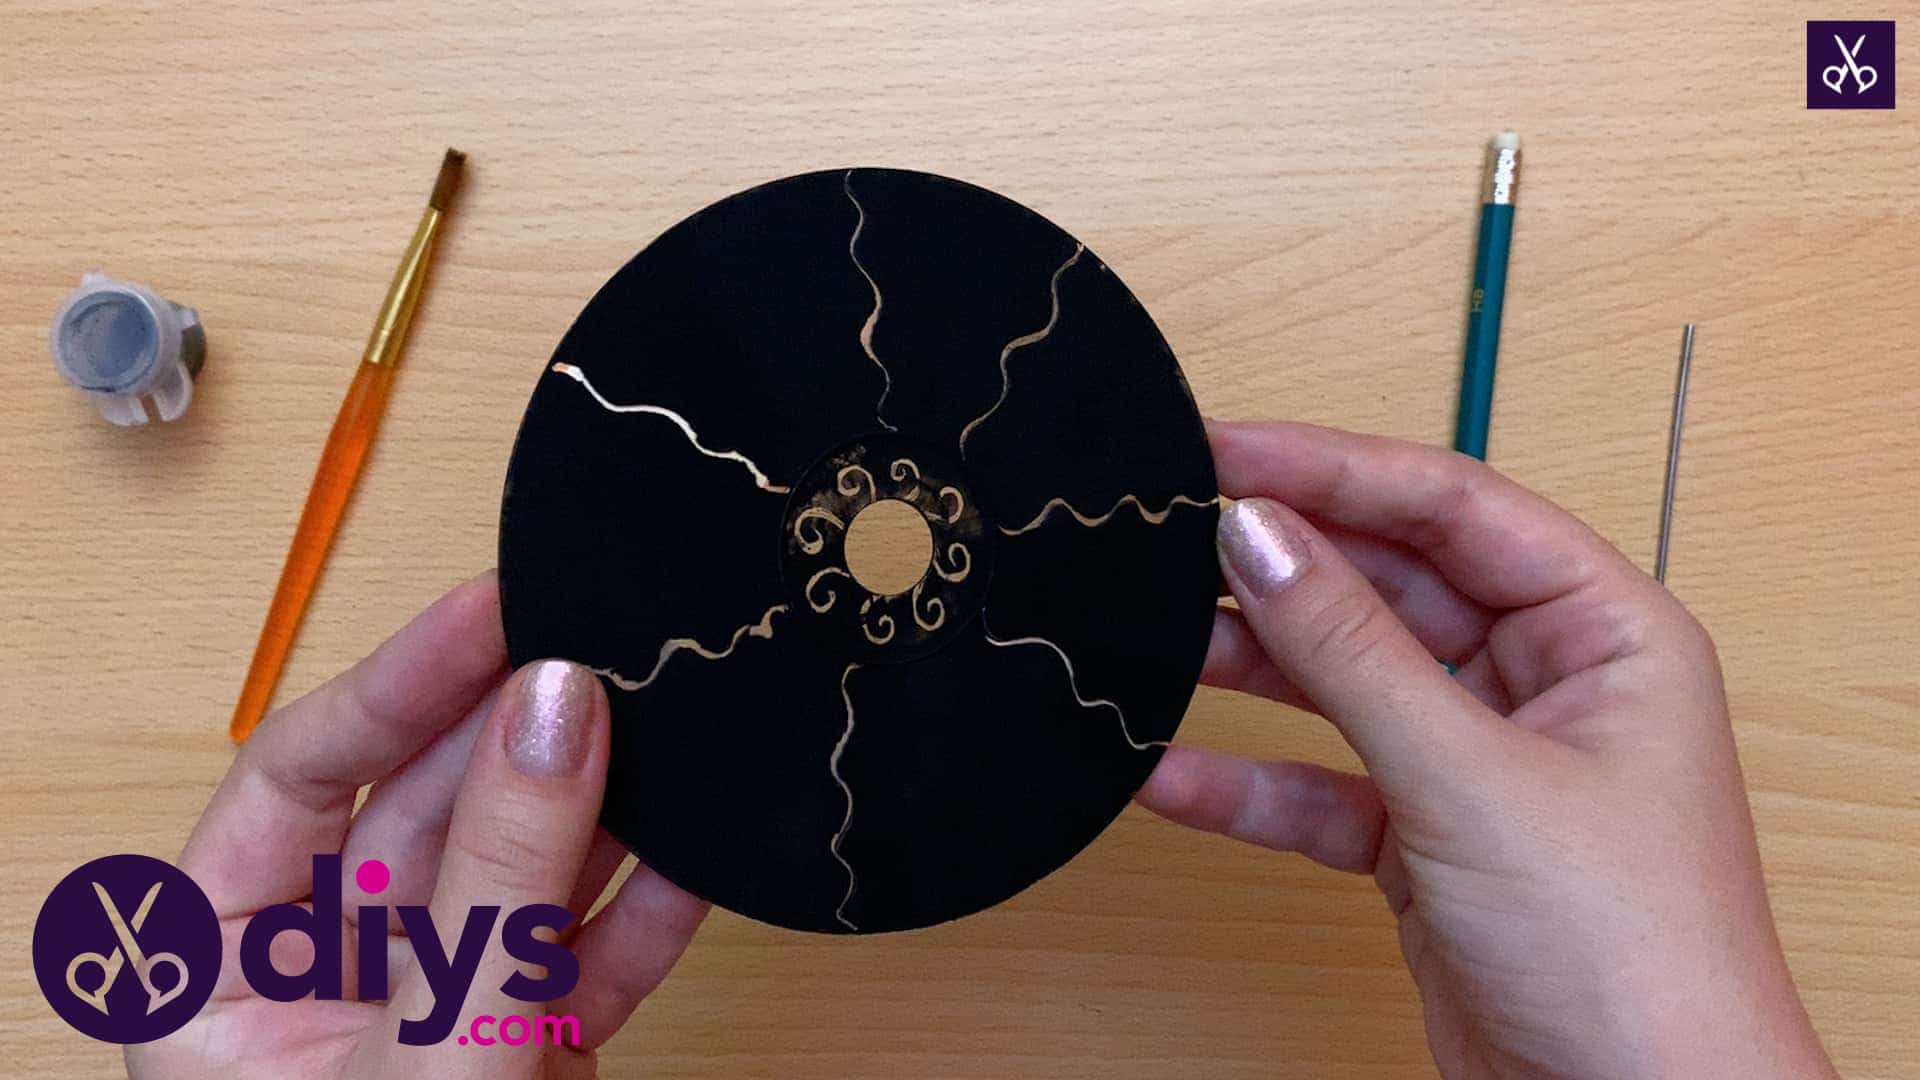
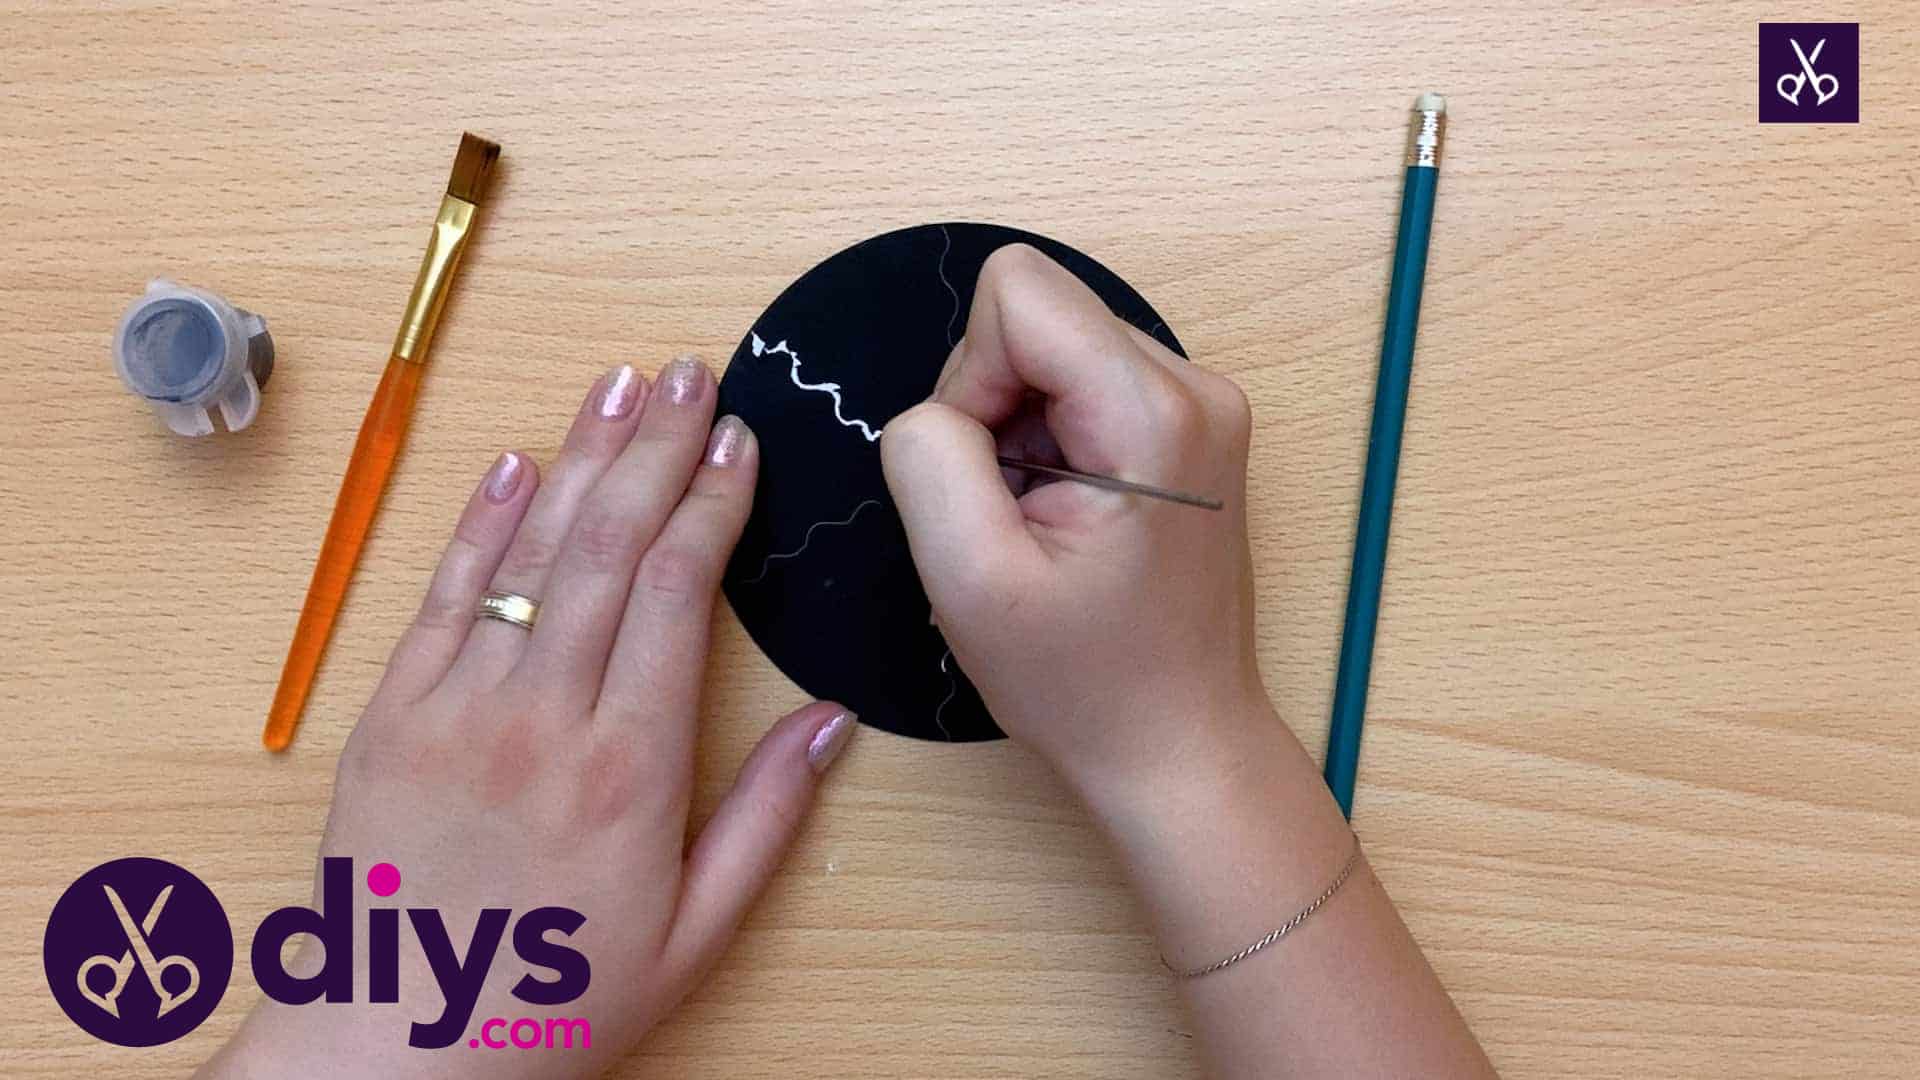
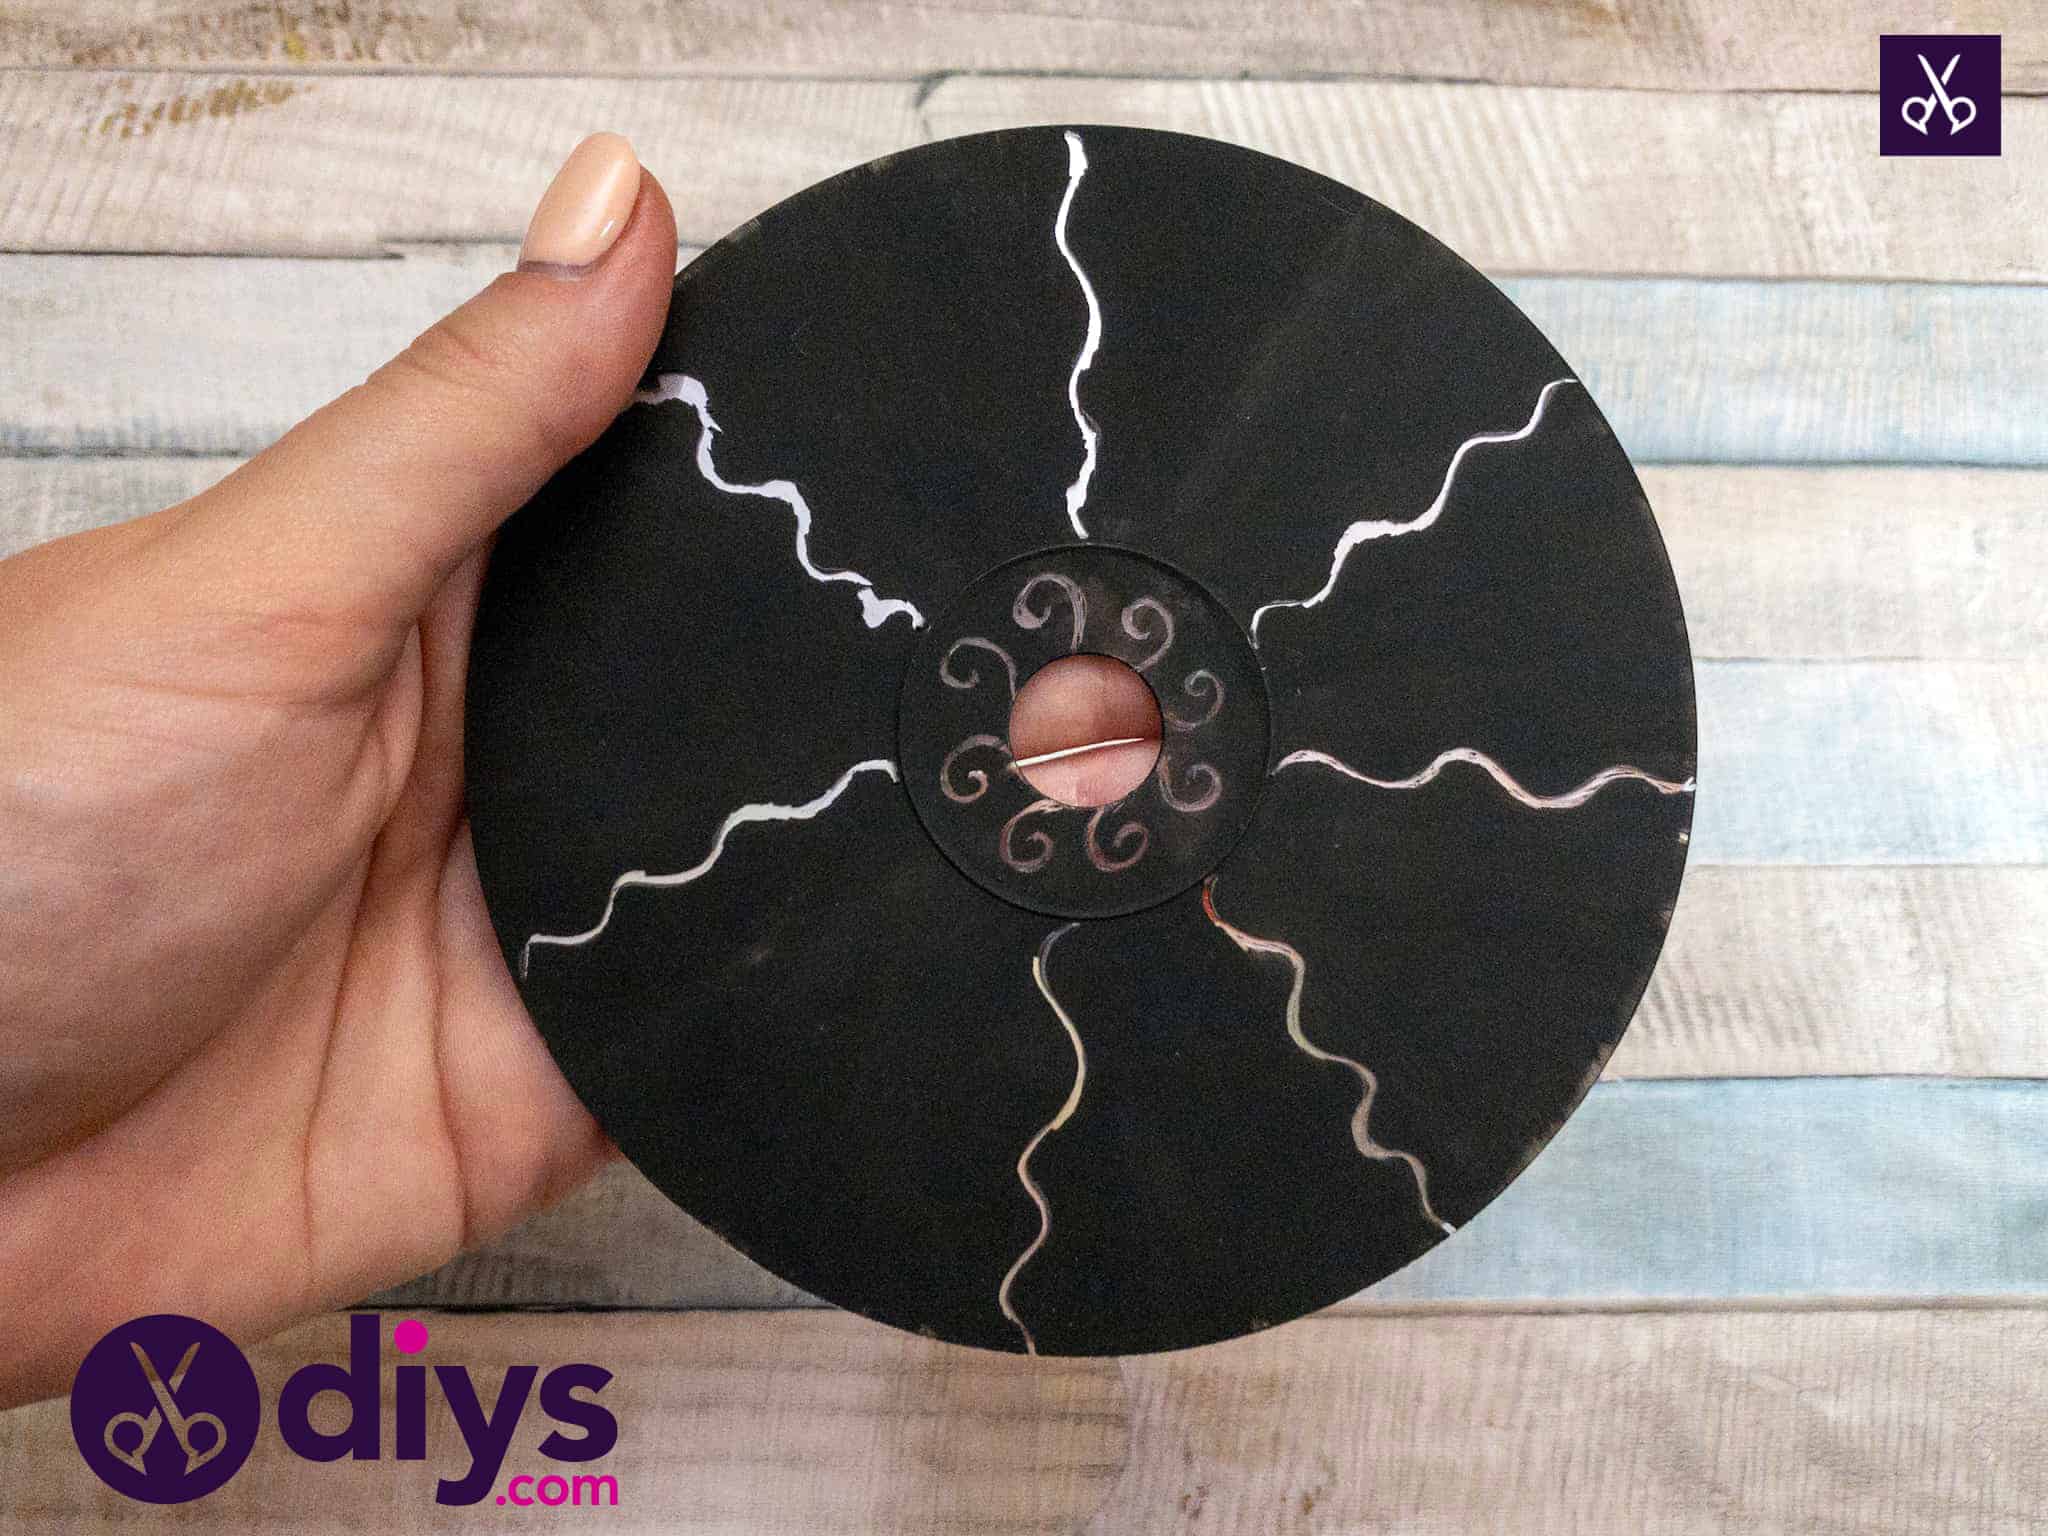
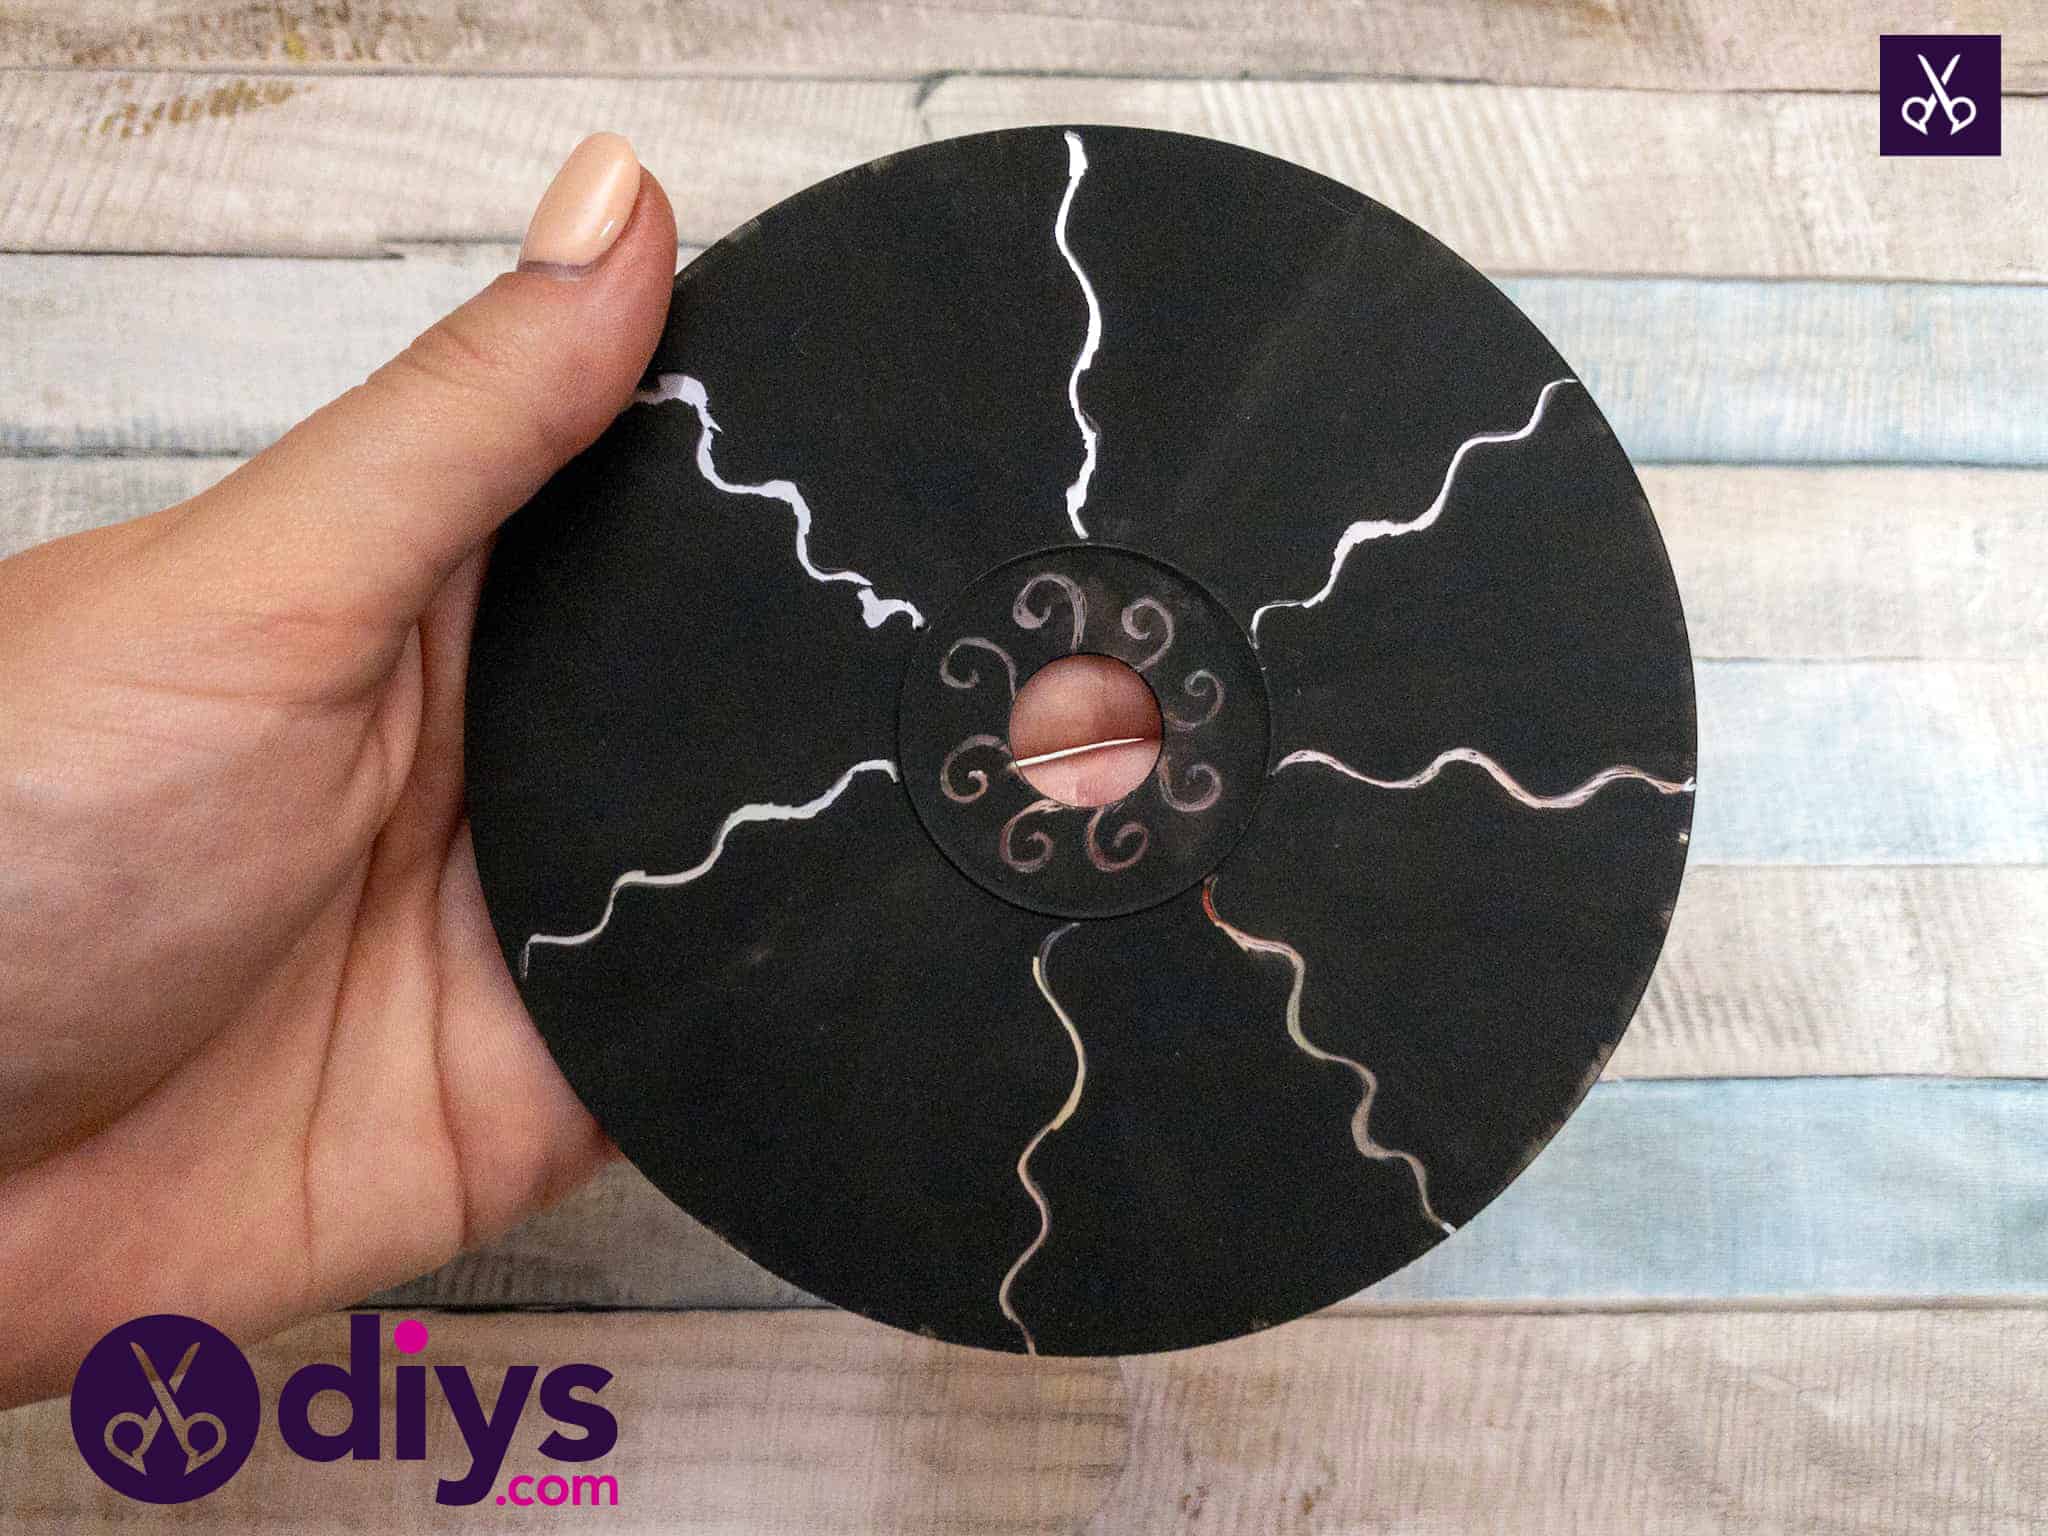
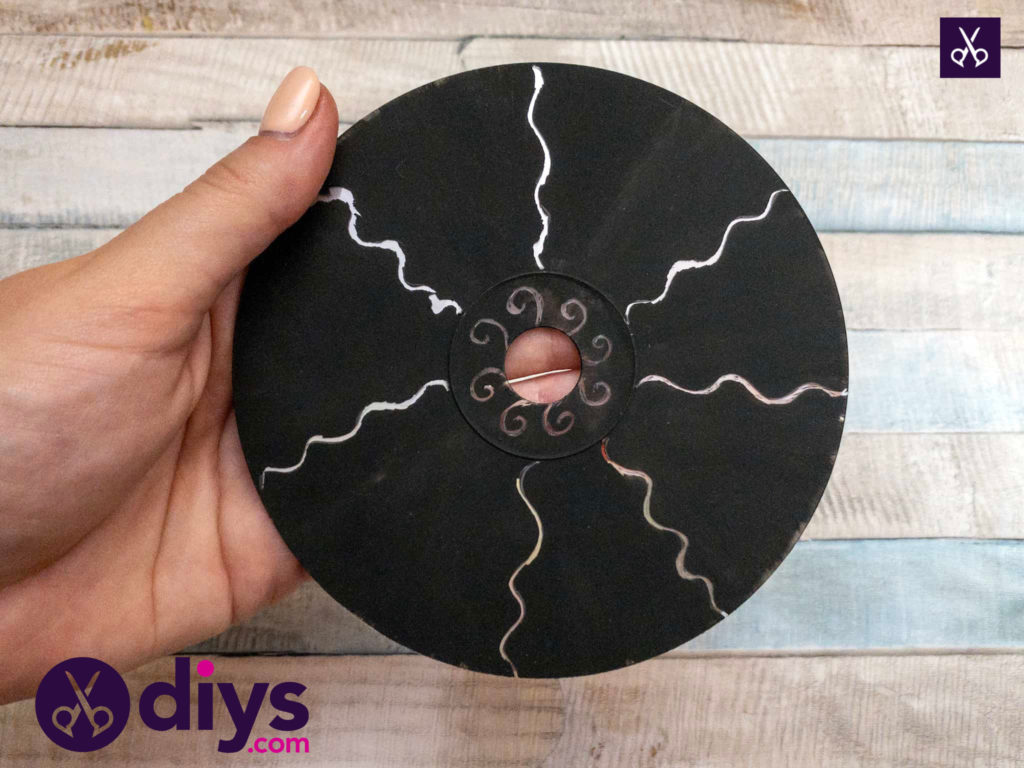
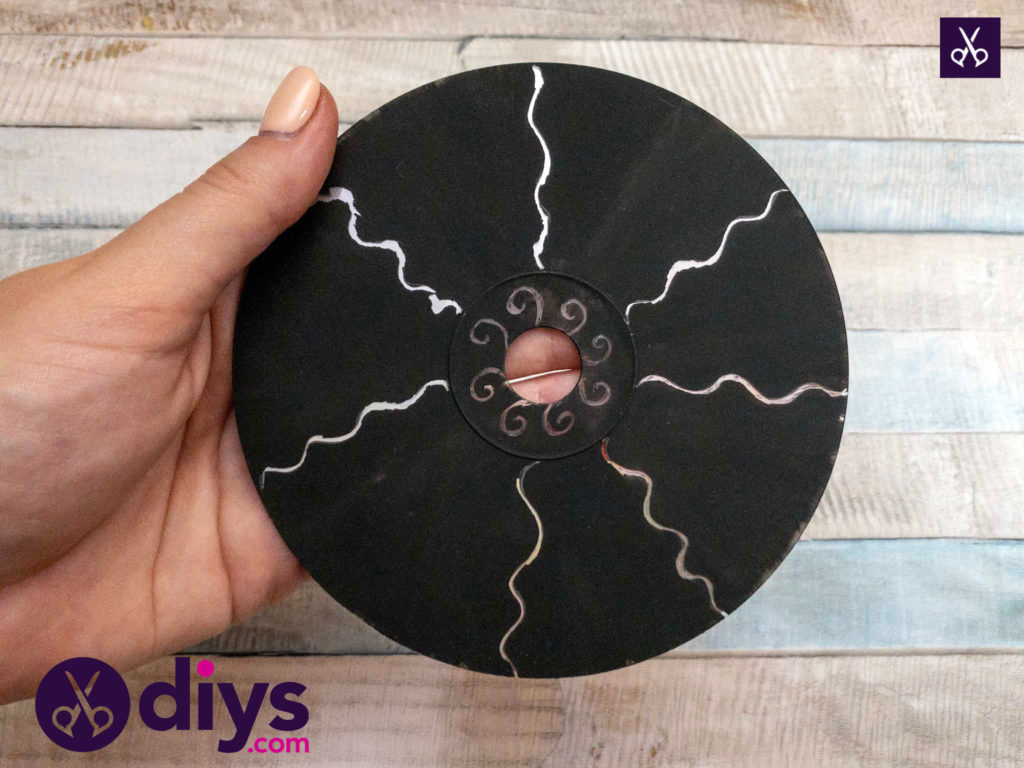
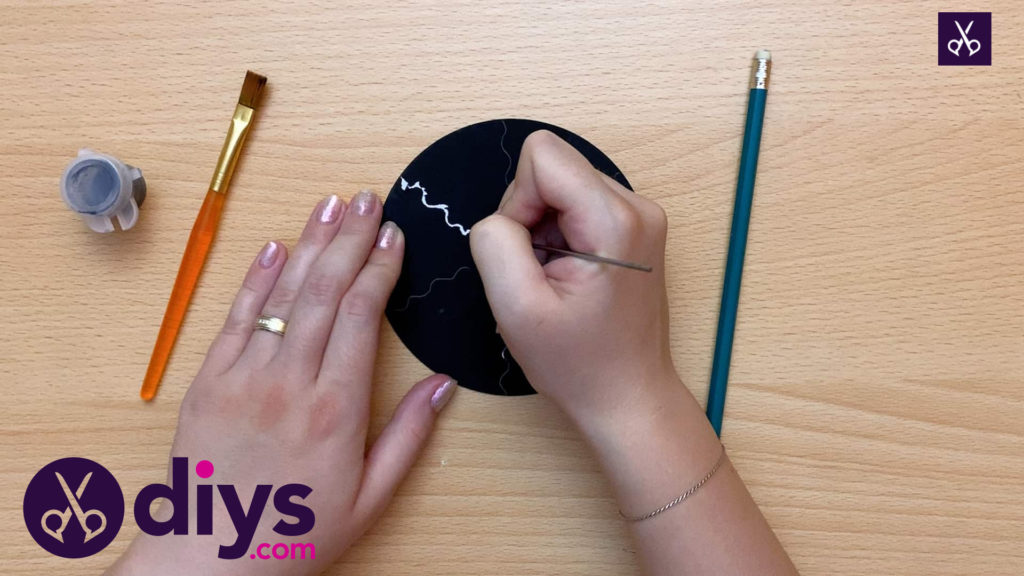
Now is the time to start scratching! Take your scratching knife and carefully follow the pines with your pencil to scratch out the design in your paint. The black layer will wear away under your knife, revealing the shining silver of the CD’s natural colour underneath so that it shines through.
That’s all there is to it! There are plenty of things you can do with this piece of art once you’ve finished adding the design. I strung a piece of clear fishing line through the centre of mine and hung it in my kitchen window like a mobile, but you could also, say, glue a magnetic strip on the back and stick it on your fridge! Feel free to get creative.
Just in case you’d like to try this project out as well, here’s an awesome tutorial video to give you a hand!
